Keep The Bunnies Away Carrot Cake

I was never a big fan of Carrot cake. While I pretty much like any vegetable – including Brussels sprouts – the idea of a vegetable in a cake didn’t sound all that appealing when I was growing up. But then, at my first job after college whenever a coworkers birthday rolled around we would usually get a carrot cake from a place a few blocks away and my love of a vegetable in a cake was born. I soon found out though that not all carrot cake is the same. I have had my share of bad ones which usually entailed them being too dry or instead of being frosted with cream cheese frosting they are frosted with buttercream frosting. In my opinion, cream cheese frosting is the only way to go… The same goes for Red Velvet Cake. I’ve been making this Carrot Cake for a while now after finding the recipe on the Food Network website, it’s called Gigi’s Carrot Cake from Emeril Lagasse and I love it. It’s been a while since I’ve made one and being that it is Easter weekend I decided it was time to whip up another one.

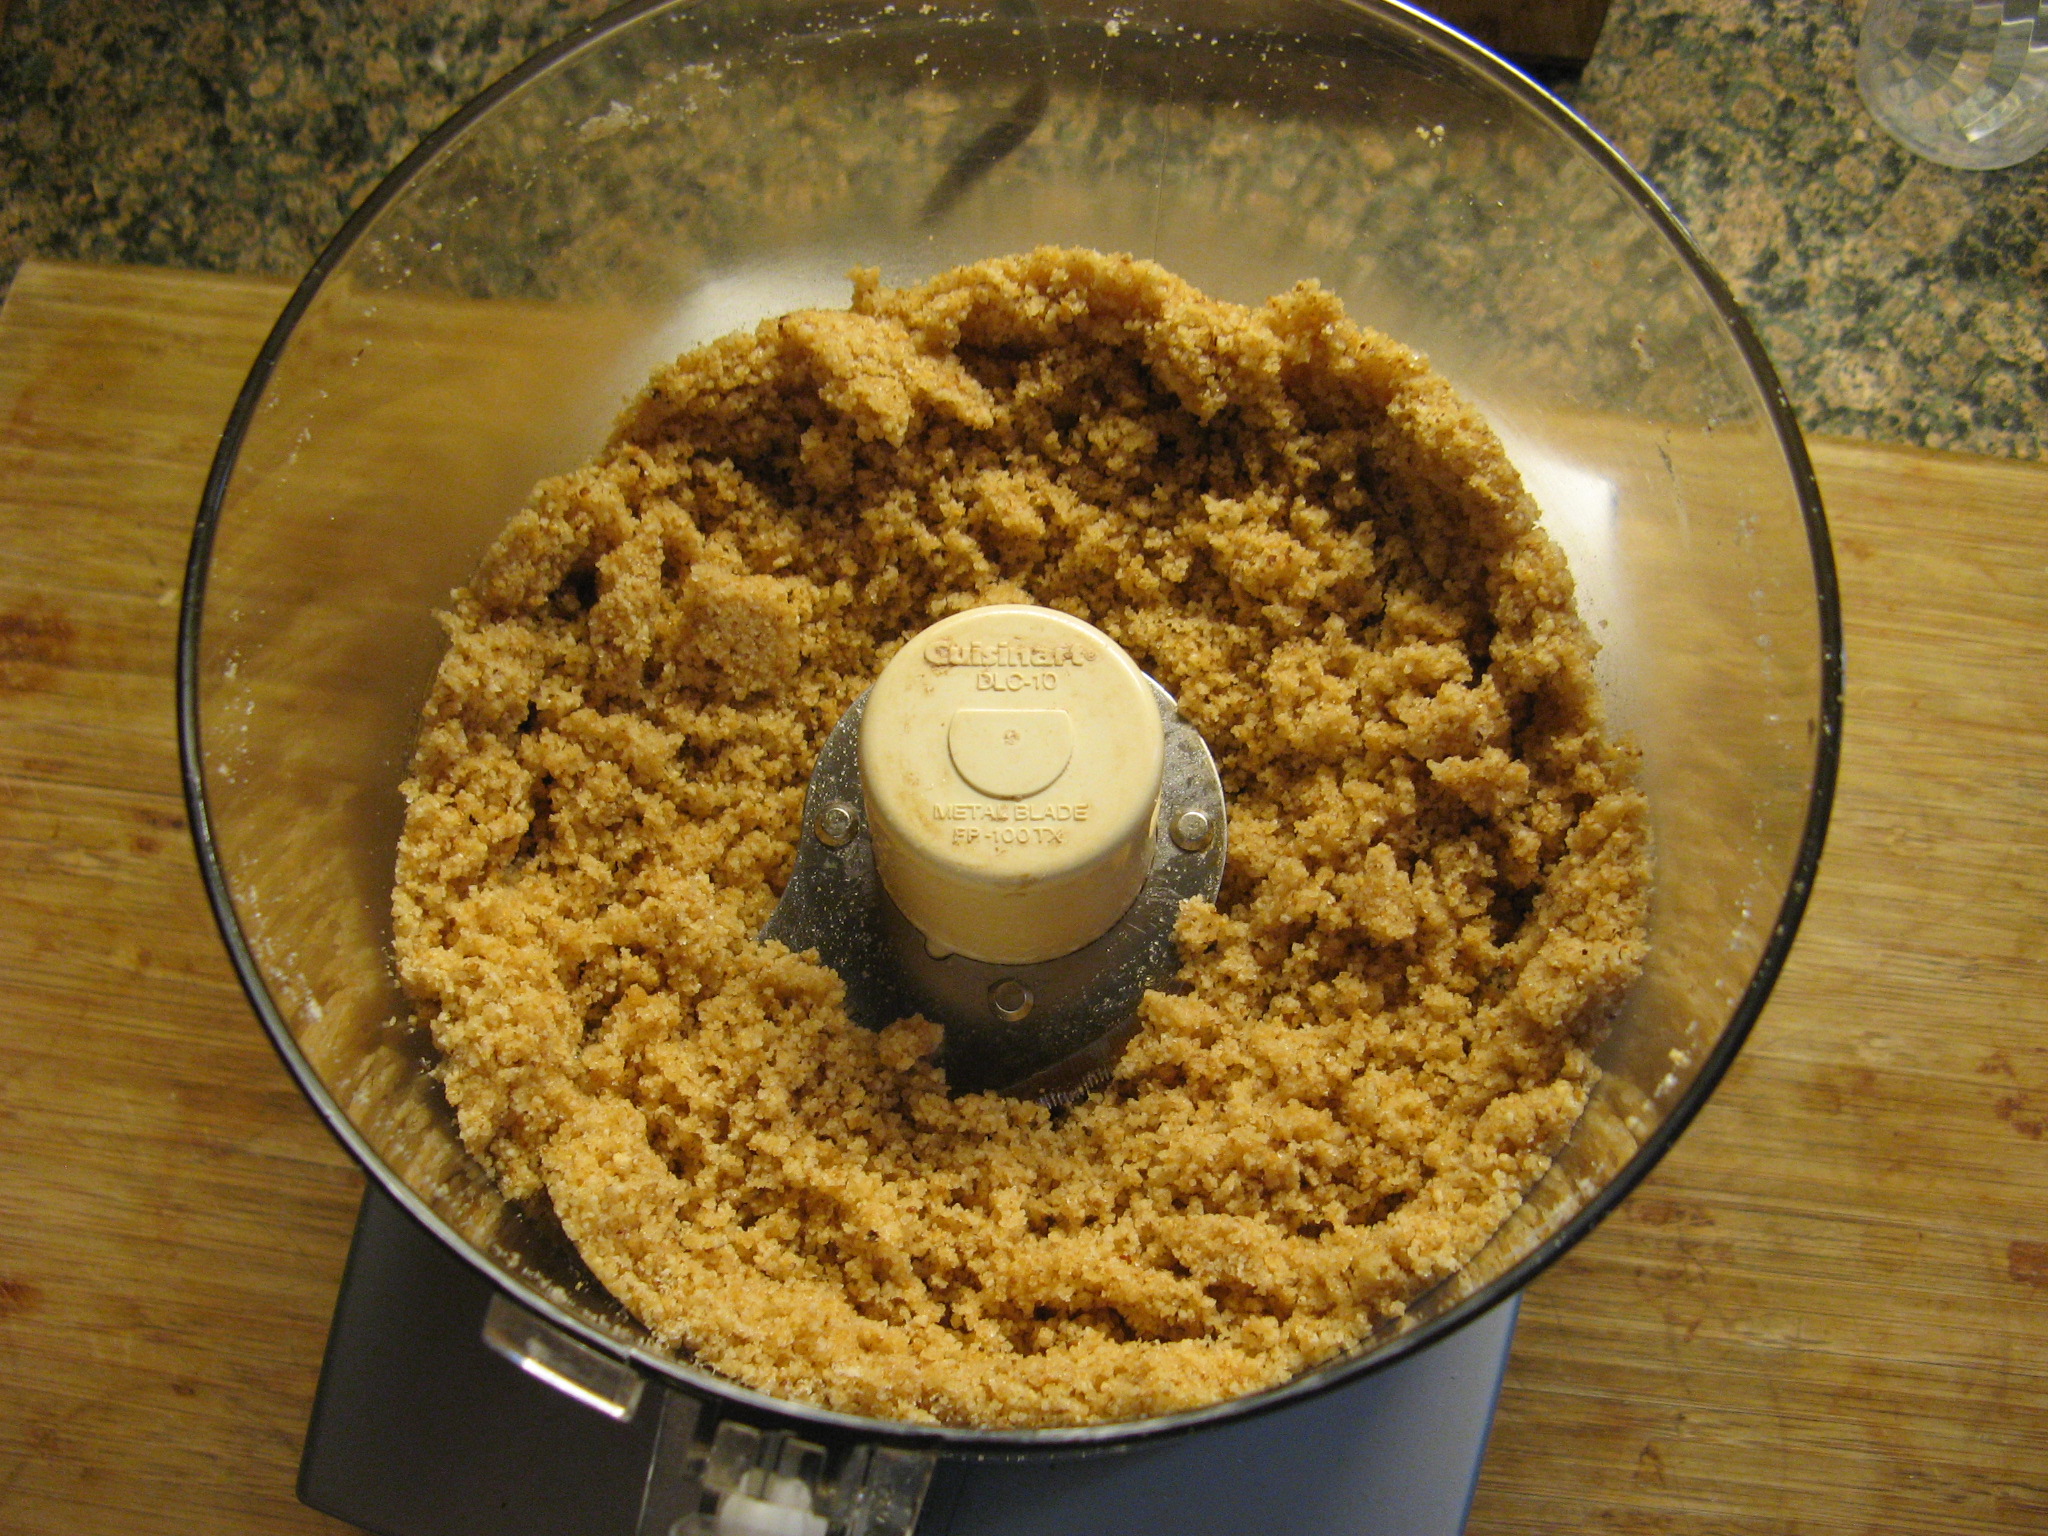
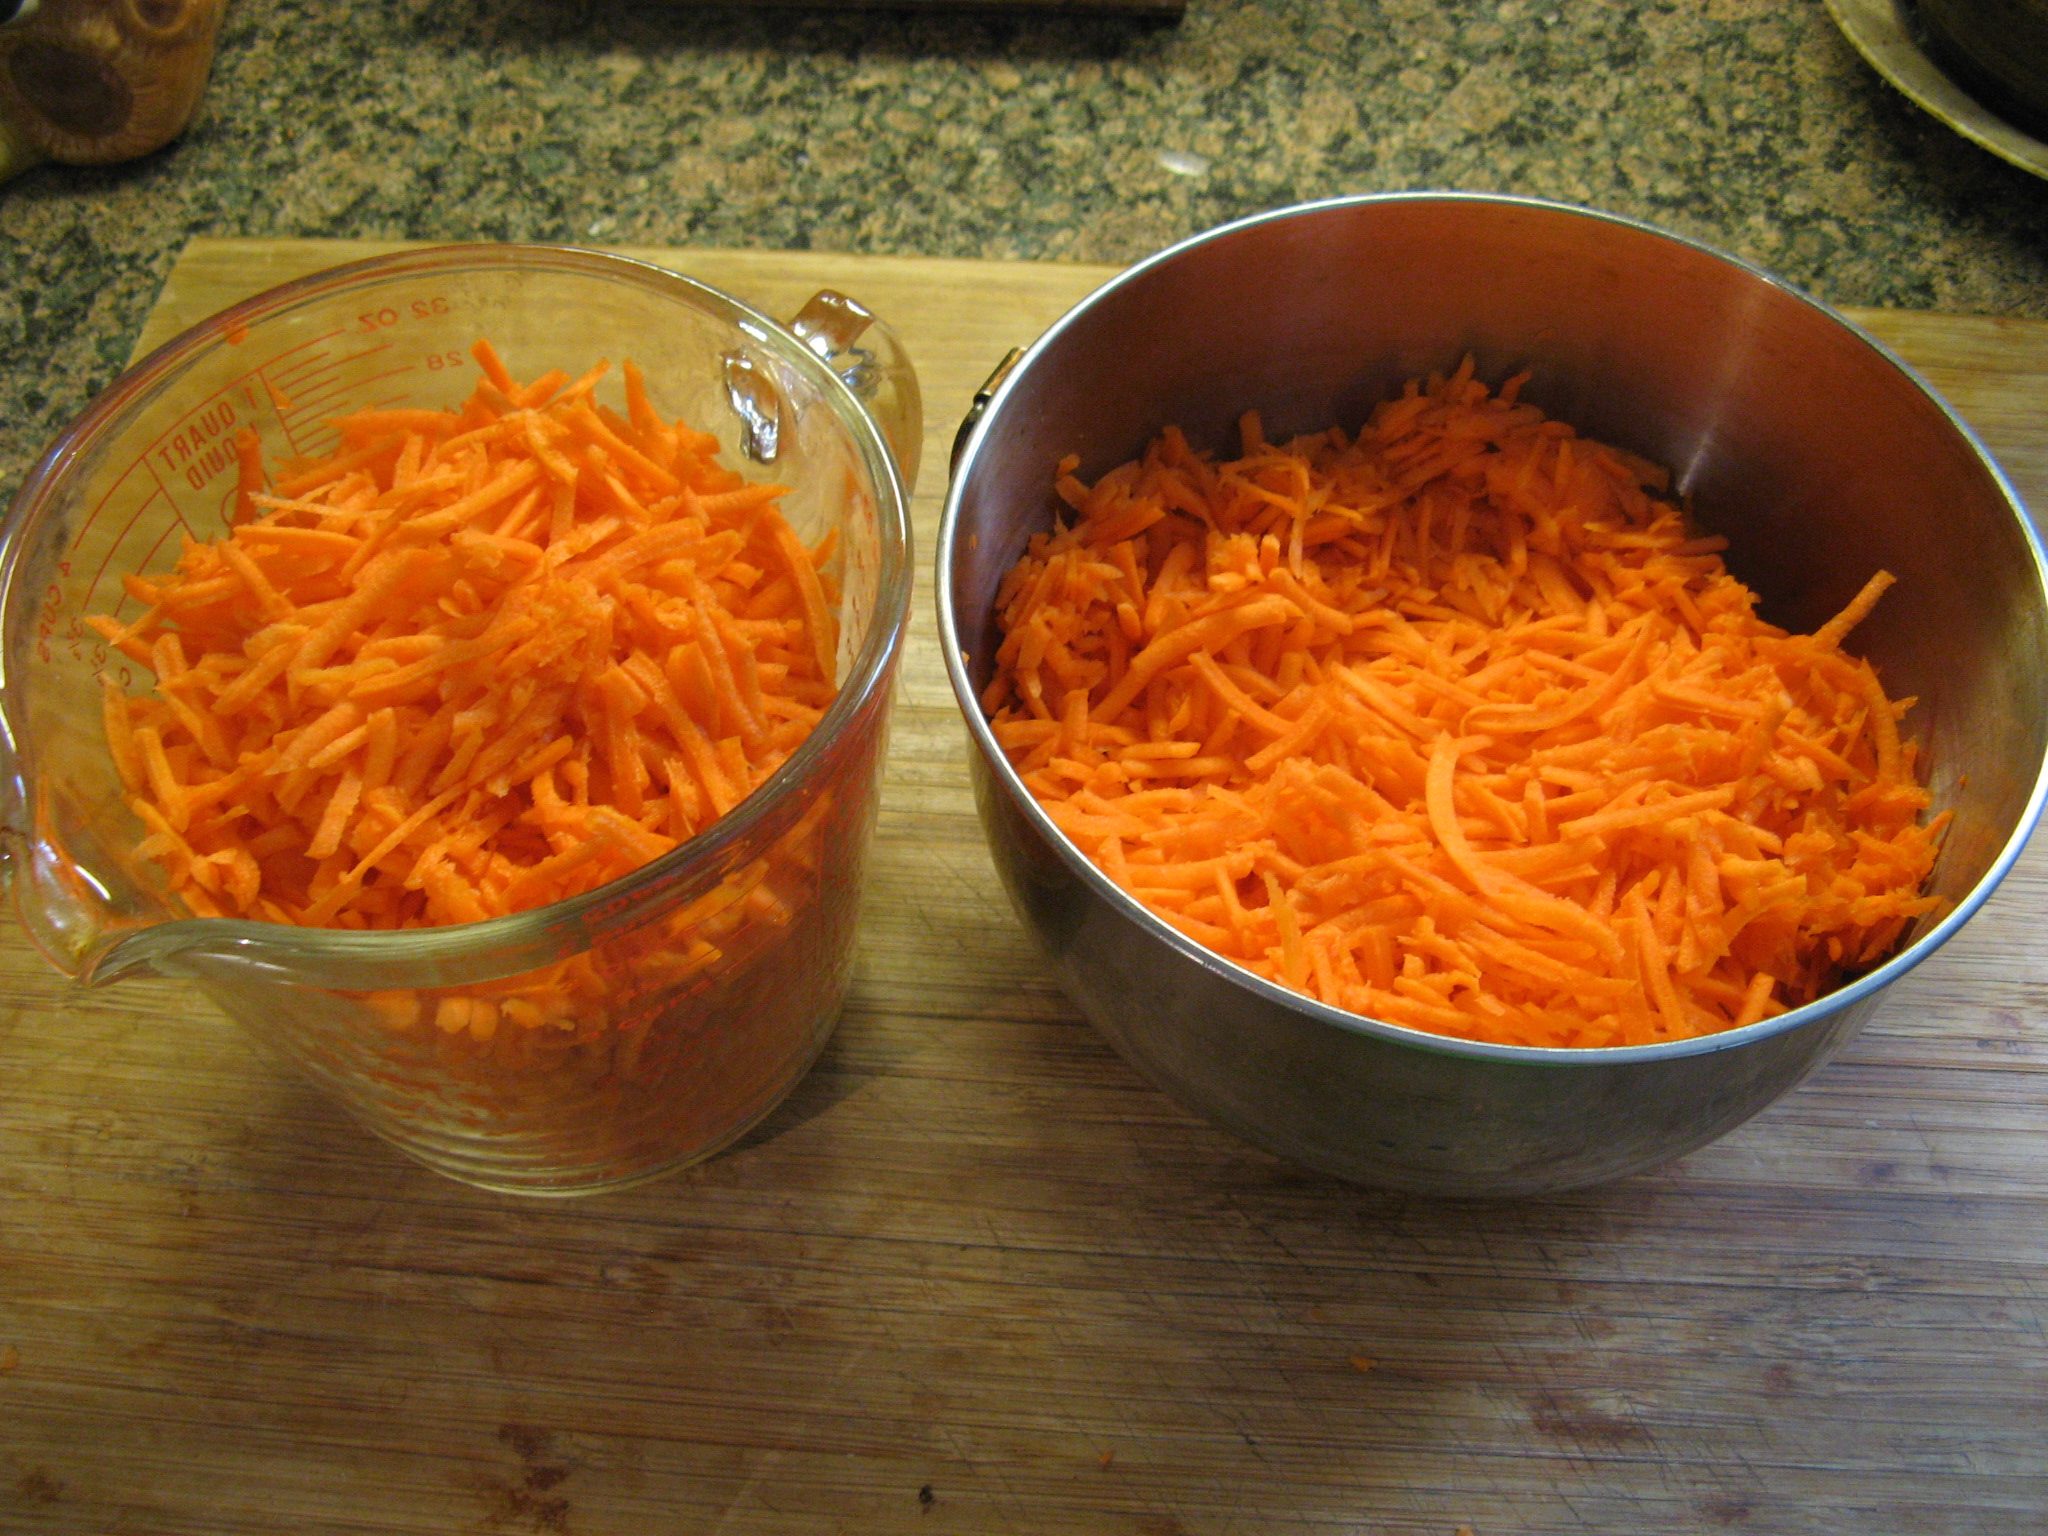
To start I peeled and grated my carrots. The very first time I made this cake I didn’t have a food processor so I grated the carrots by hand and while it was a nice arm workout I am definitely spoiled now and won’t be going back to using a box grater anytime soon.

IMG_9876

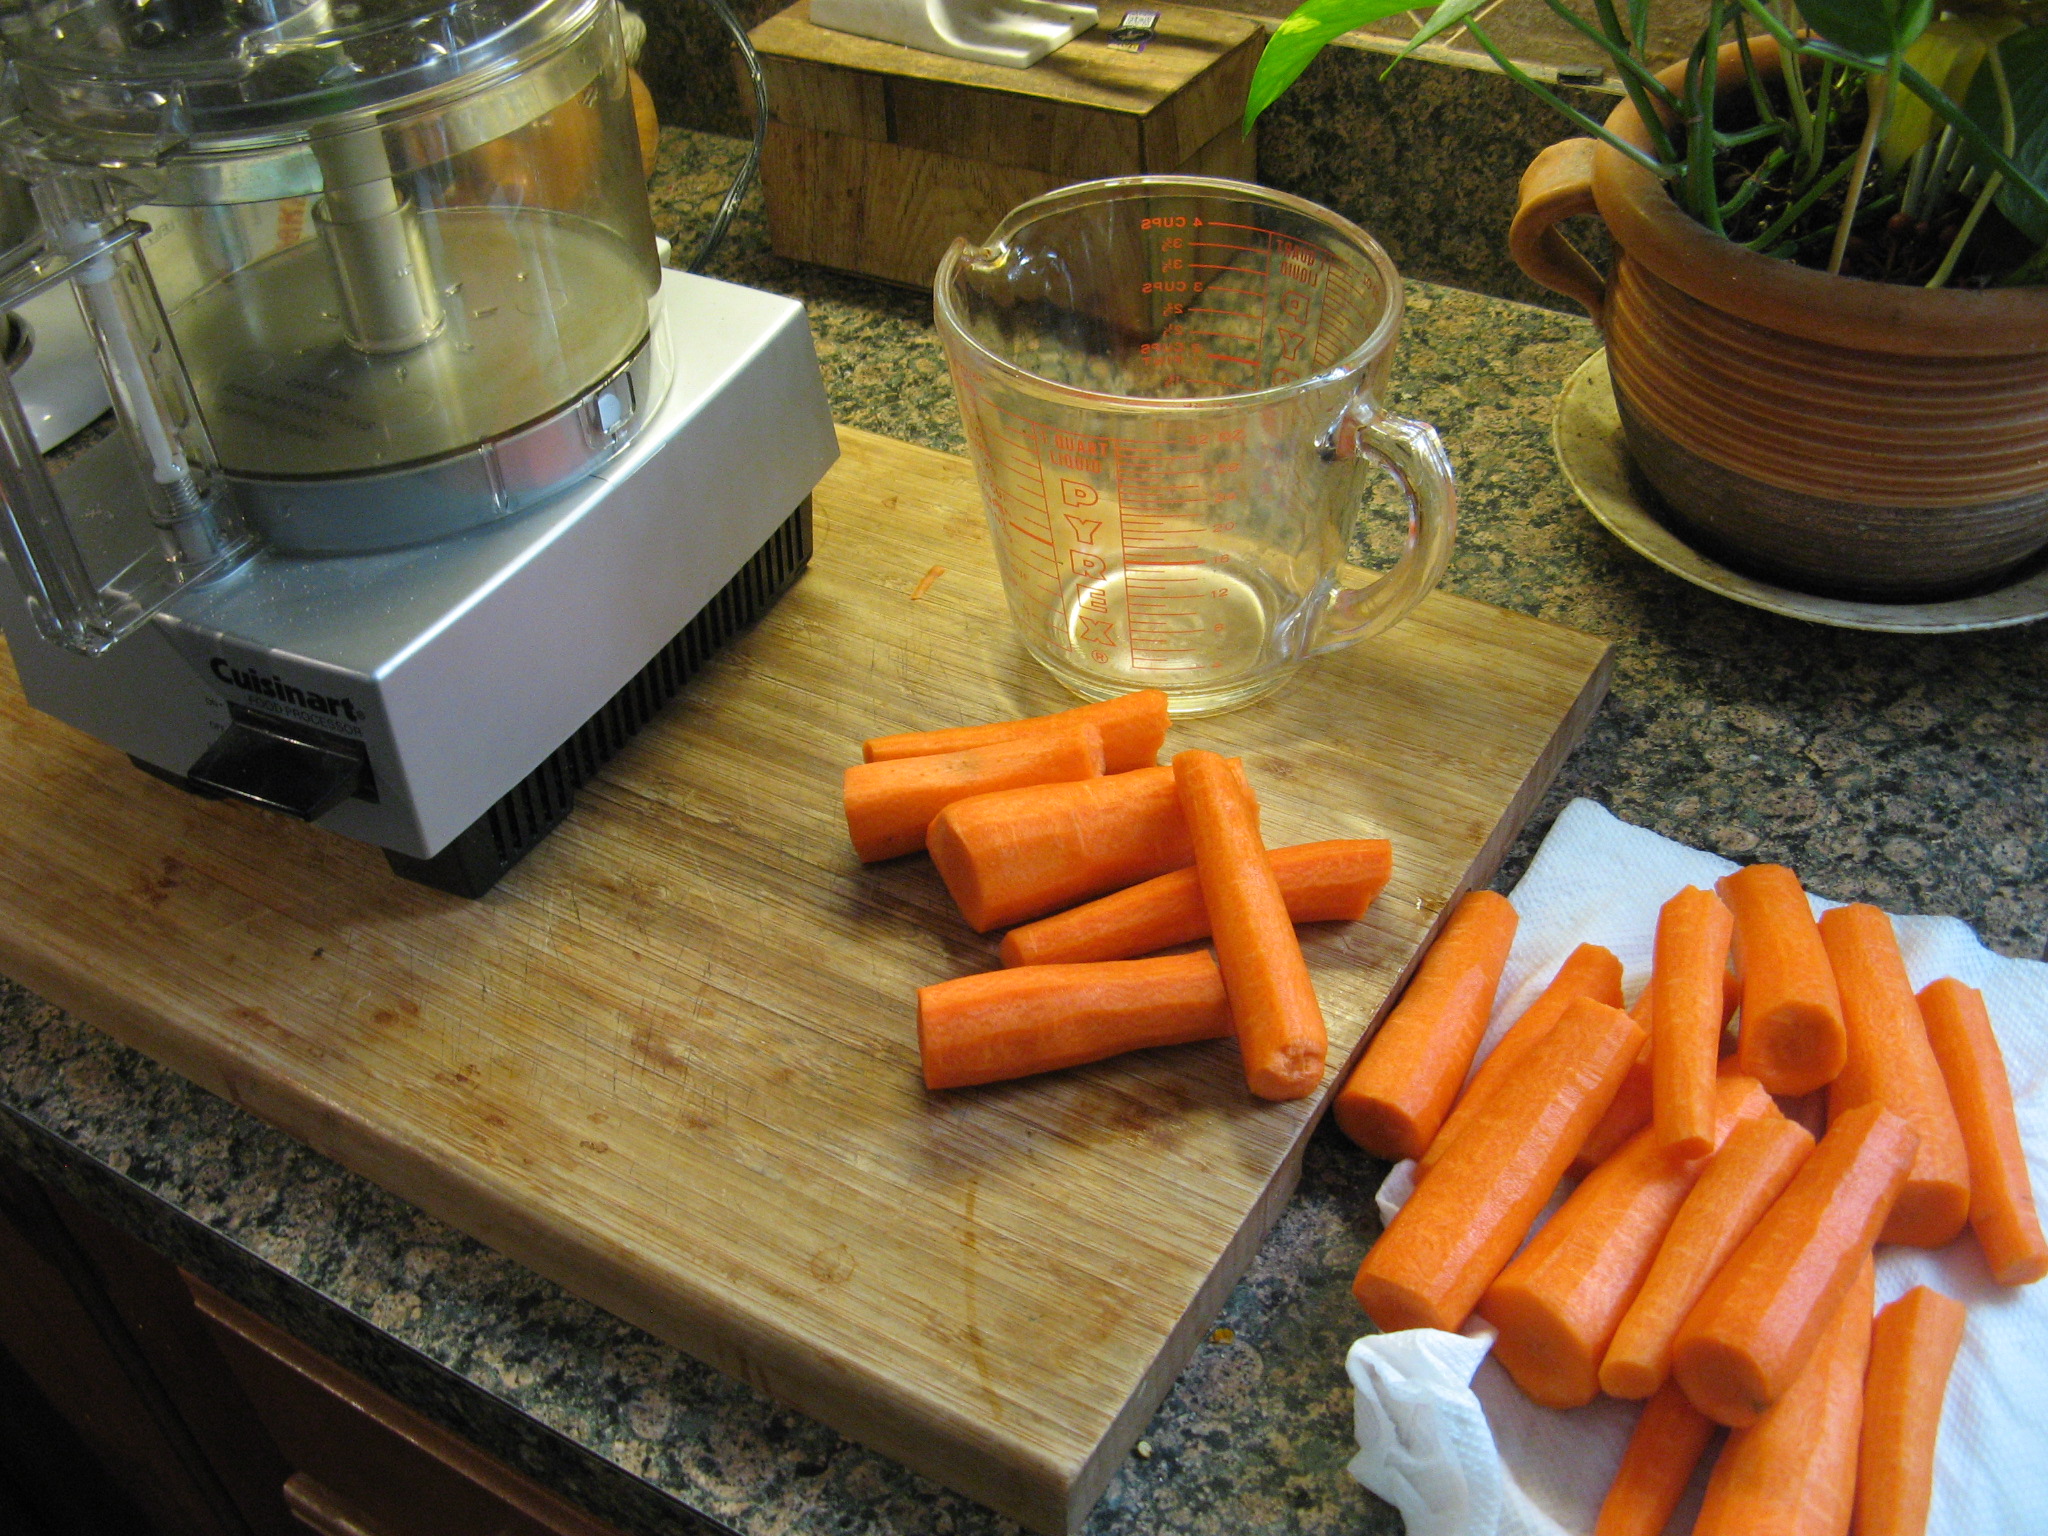
I only needed 3 cups of grated carrots for the recipe, which is approximately 1 pound of carrots, but I mistakenly bought a 2 pound bag instead. I ended up grating all of carrots since I had a yummy recipe for grated carrots in my recipe binder.

IMG_9878

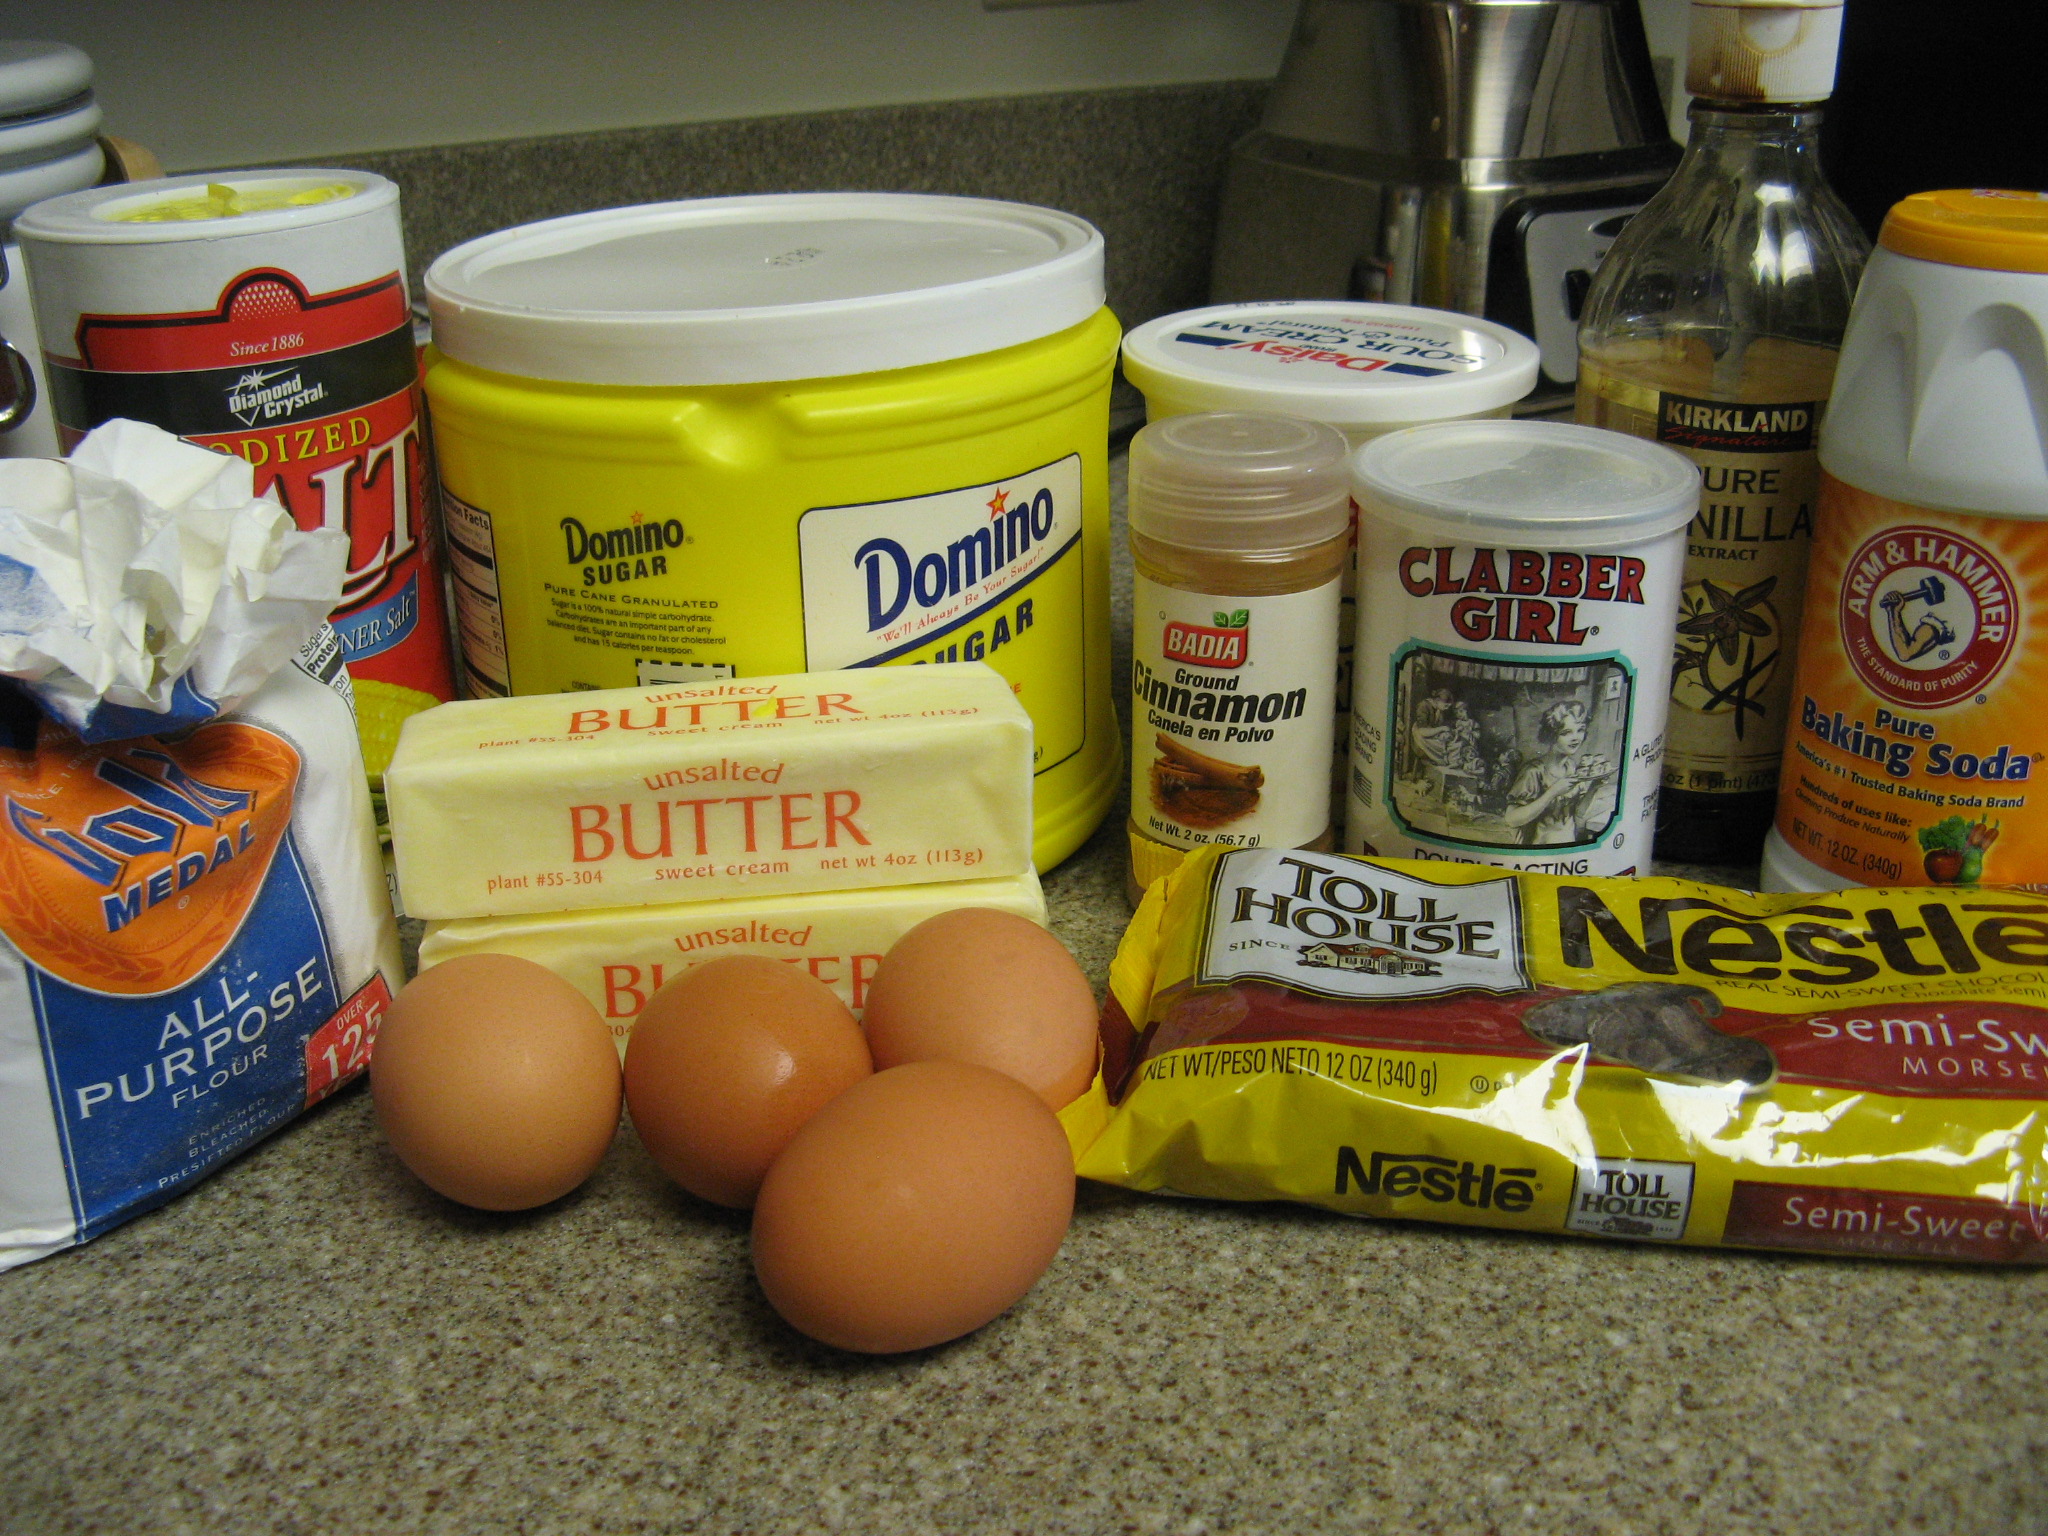
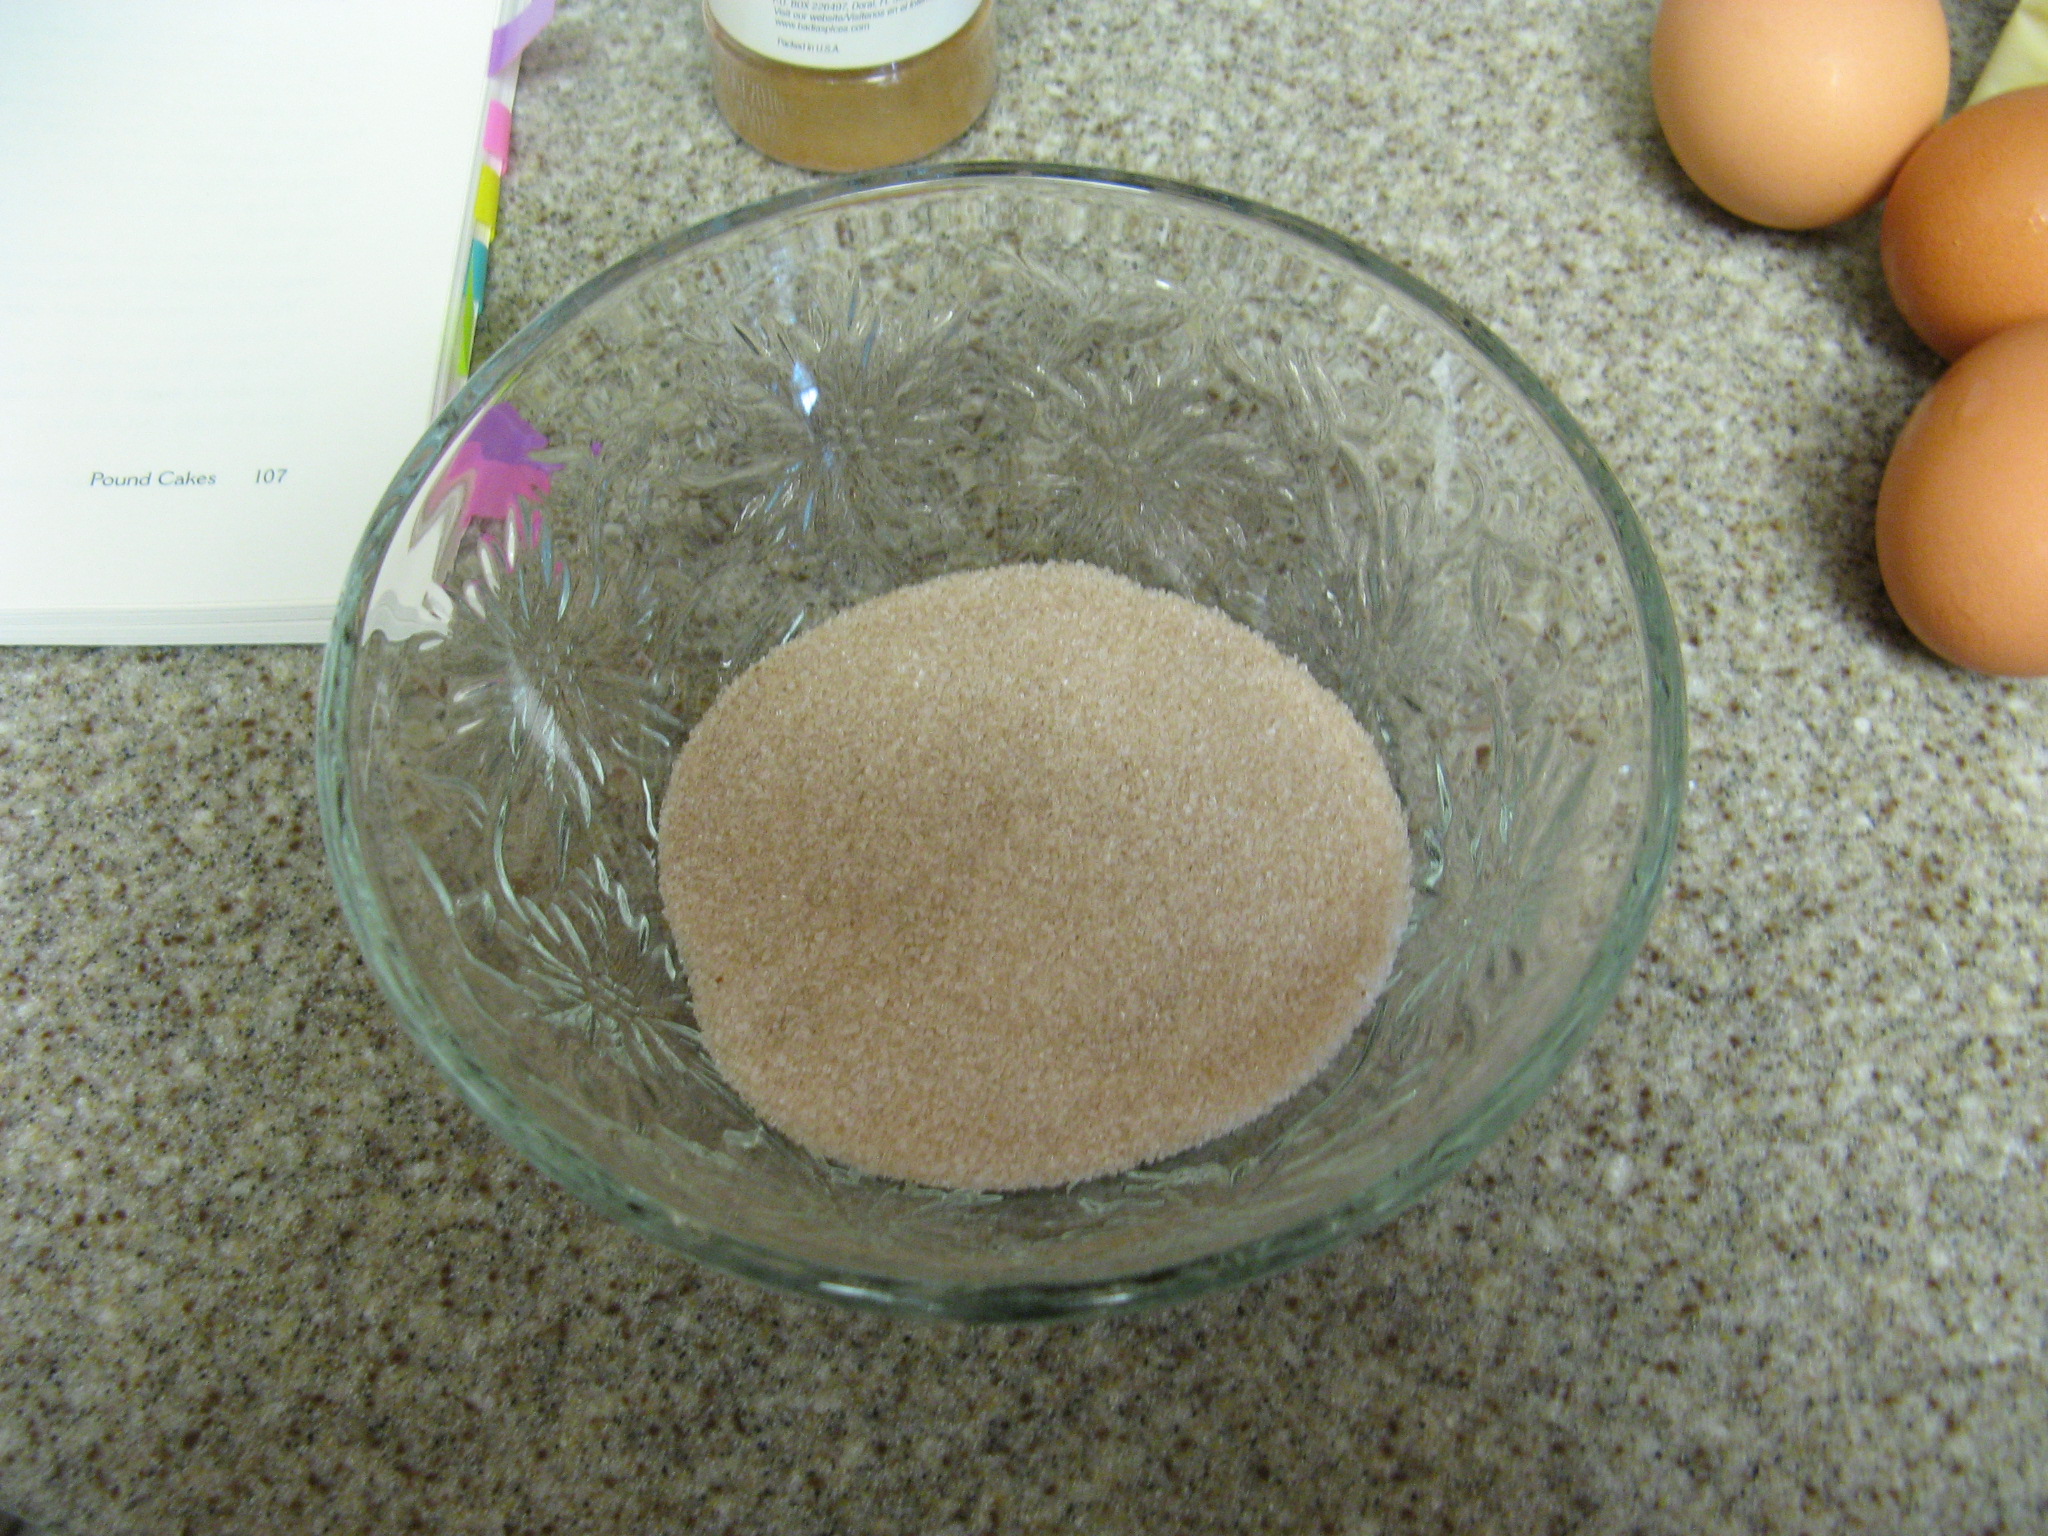
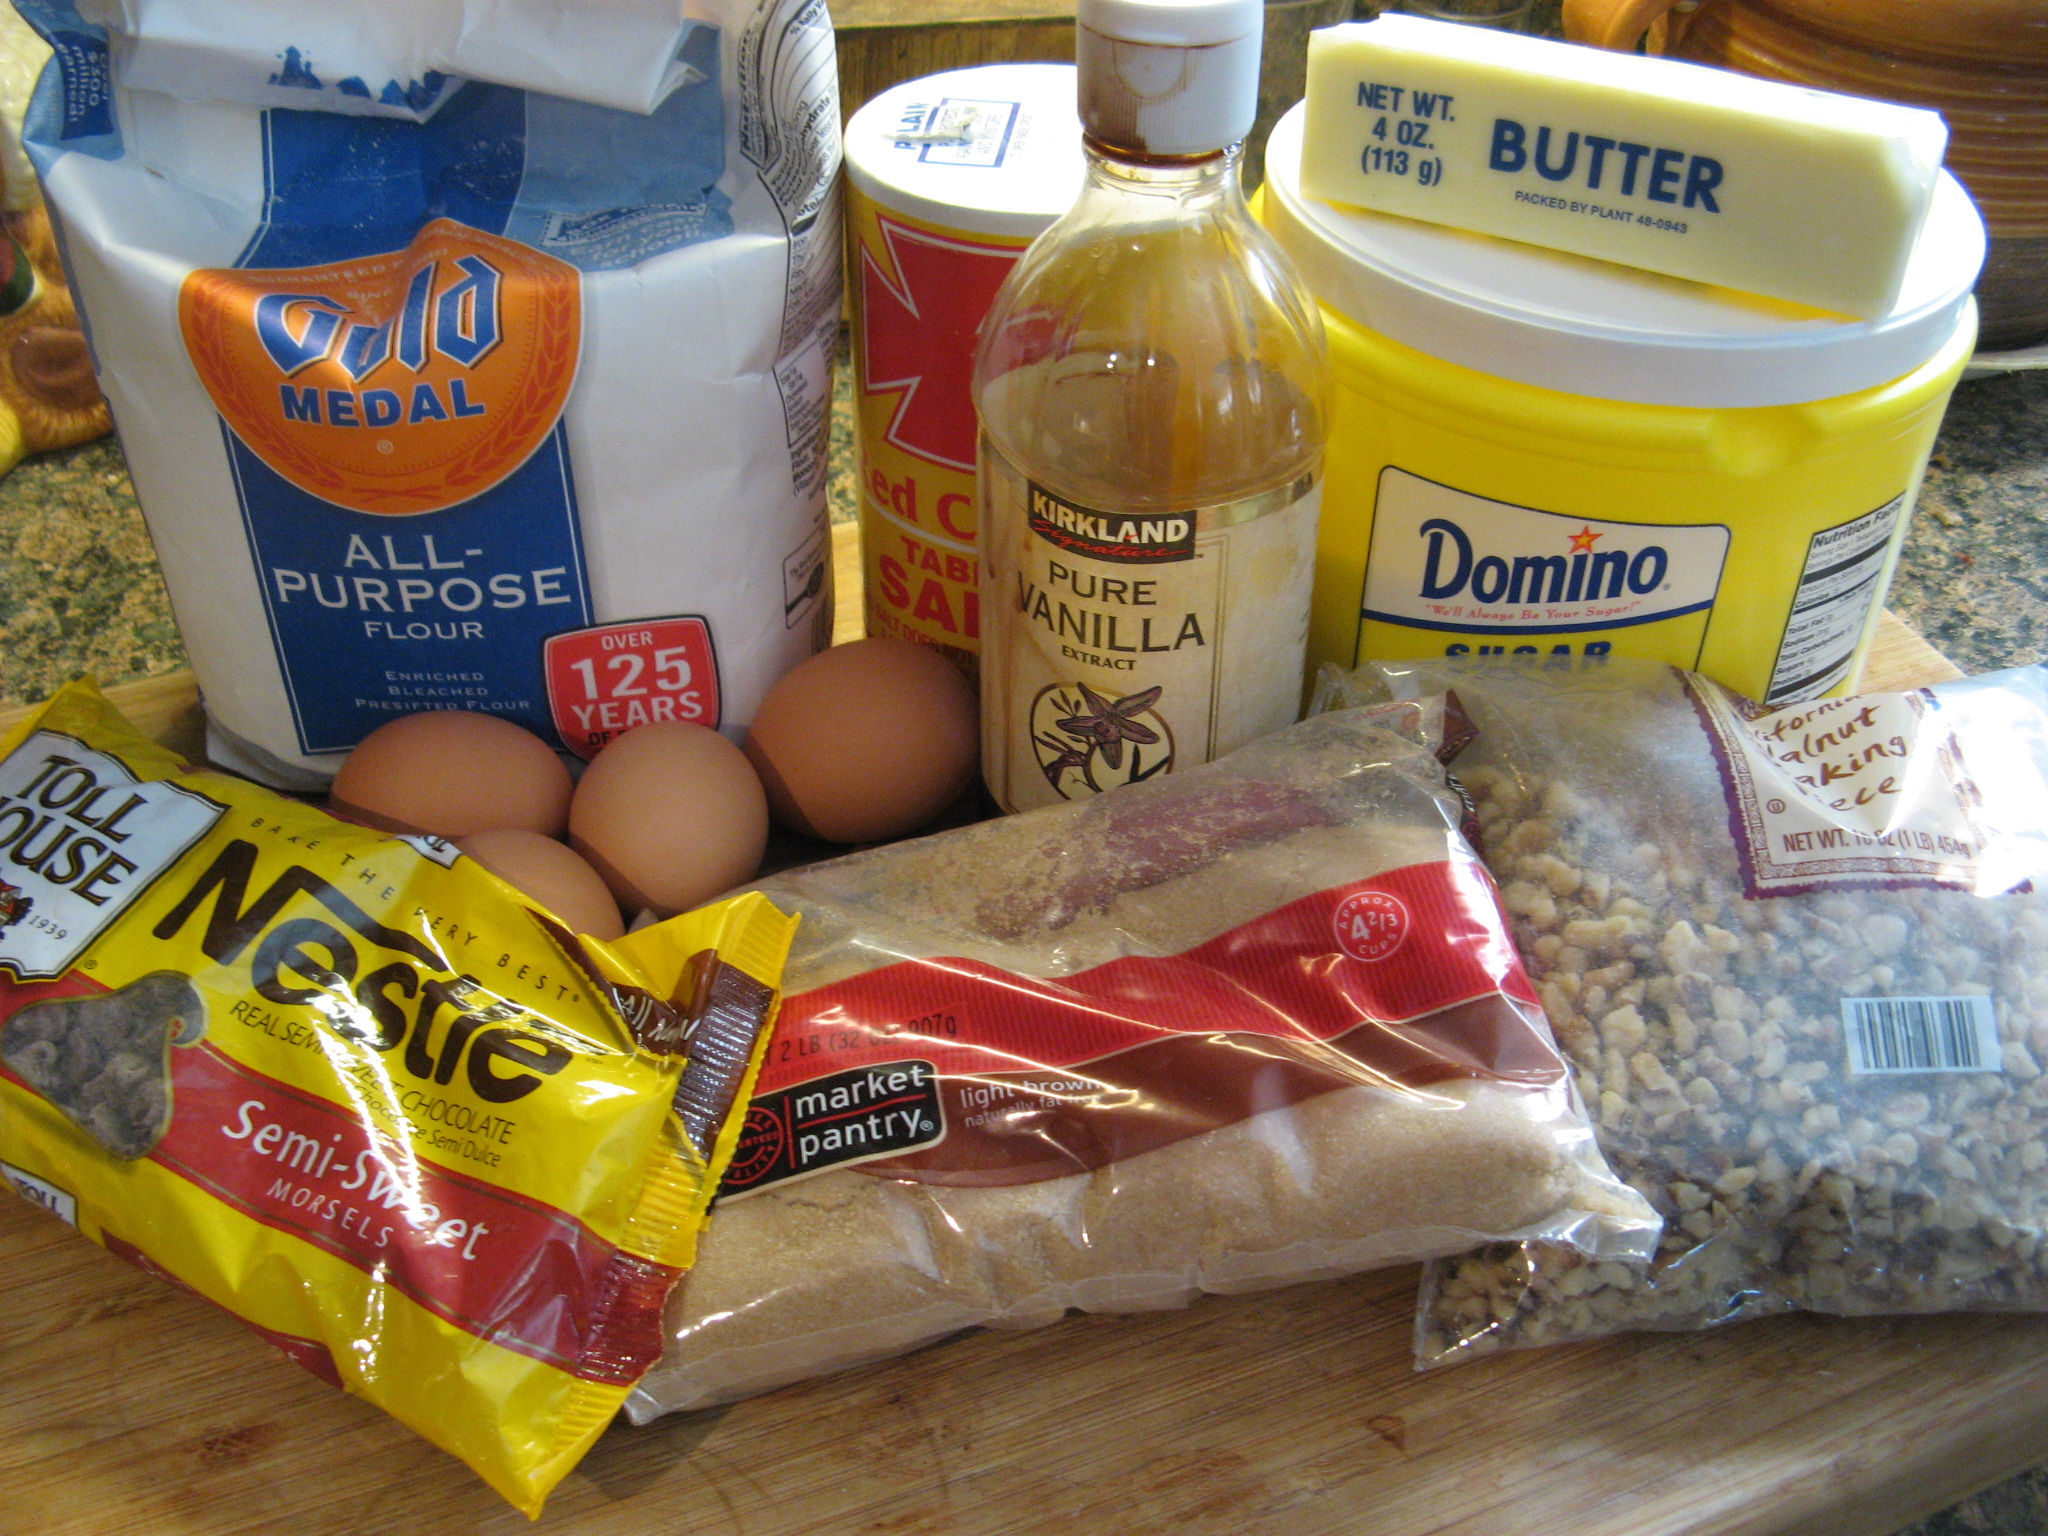
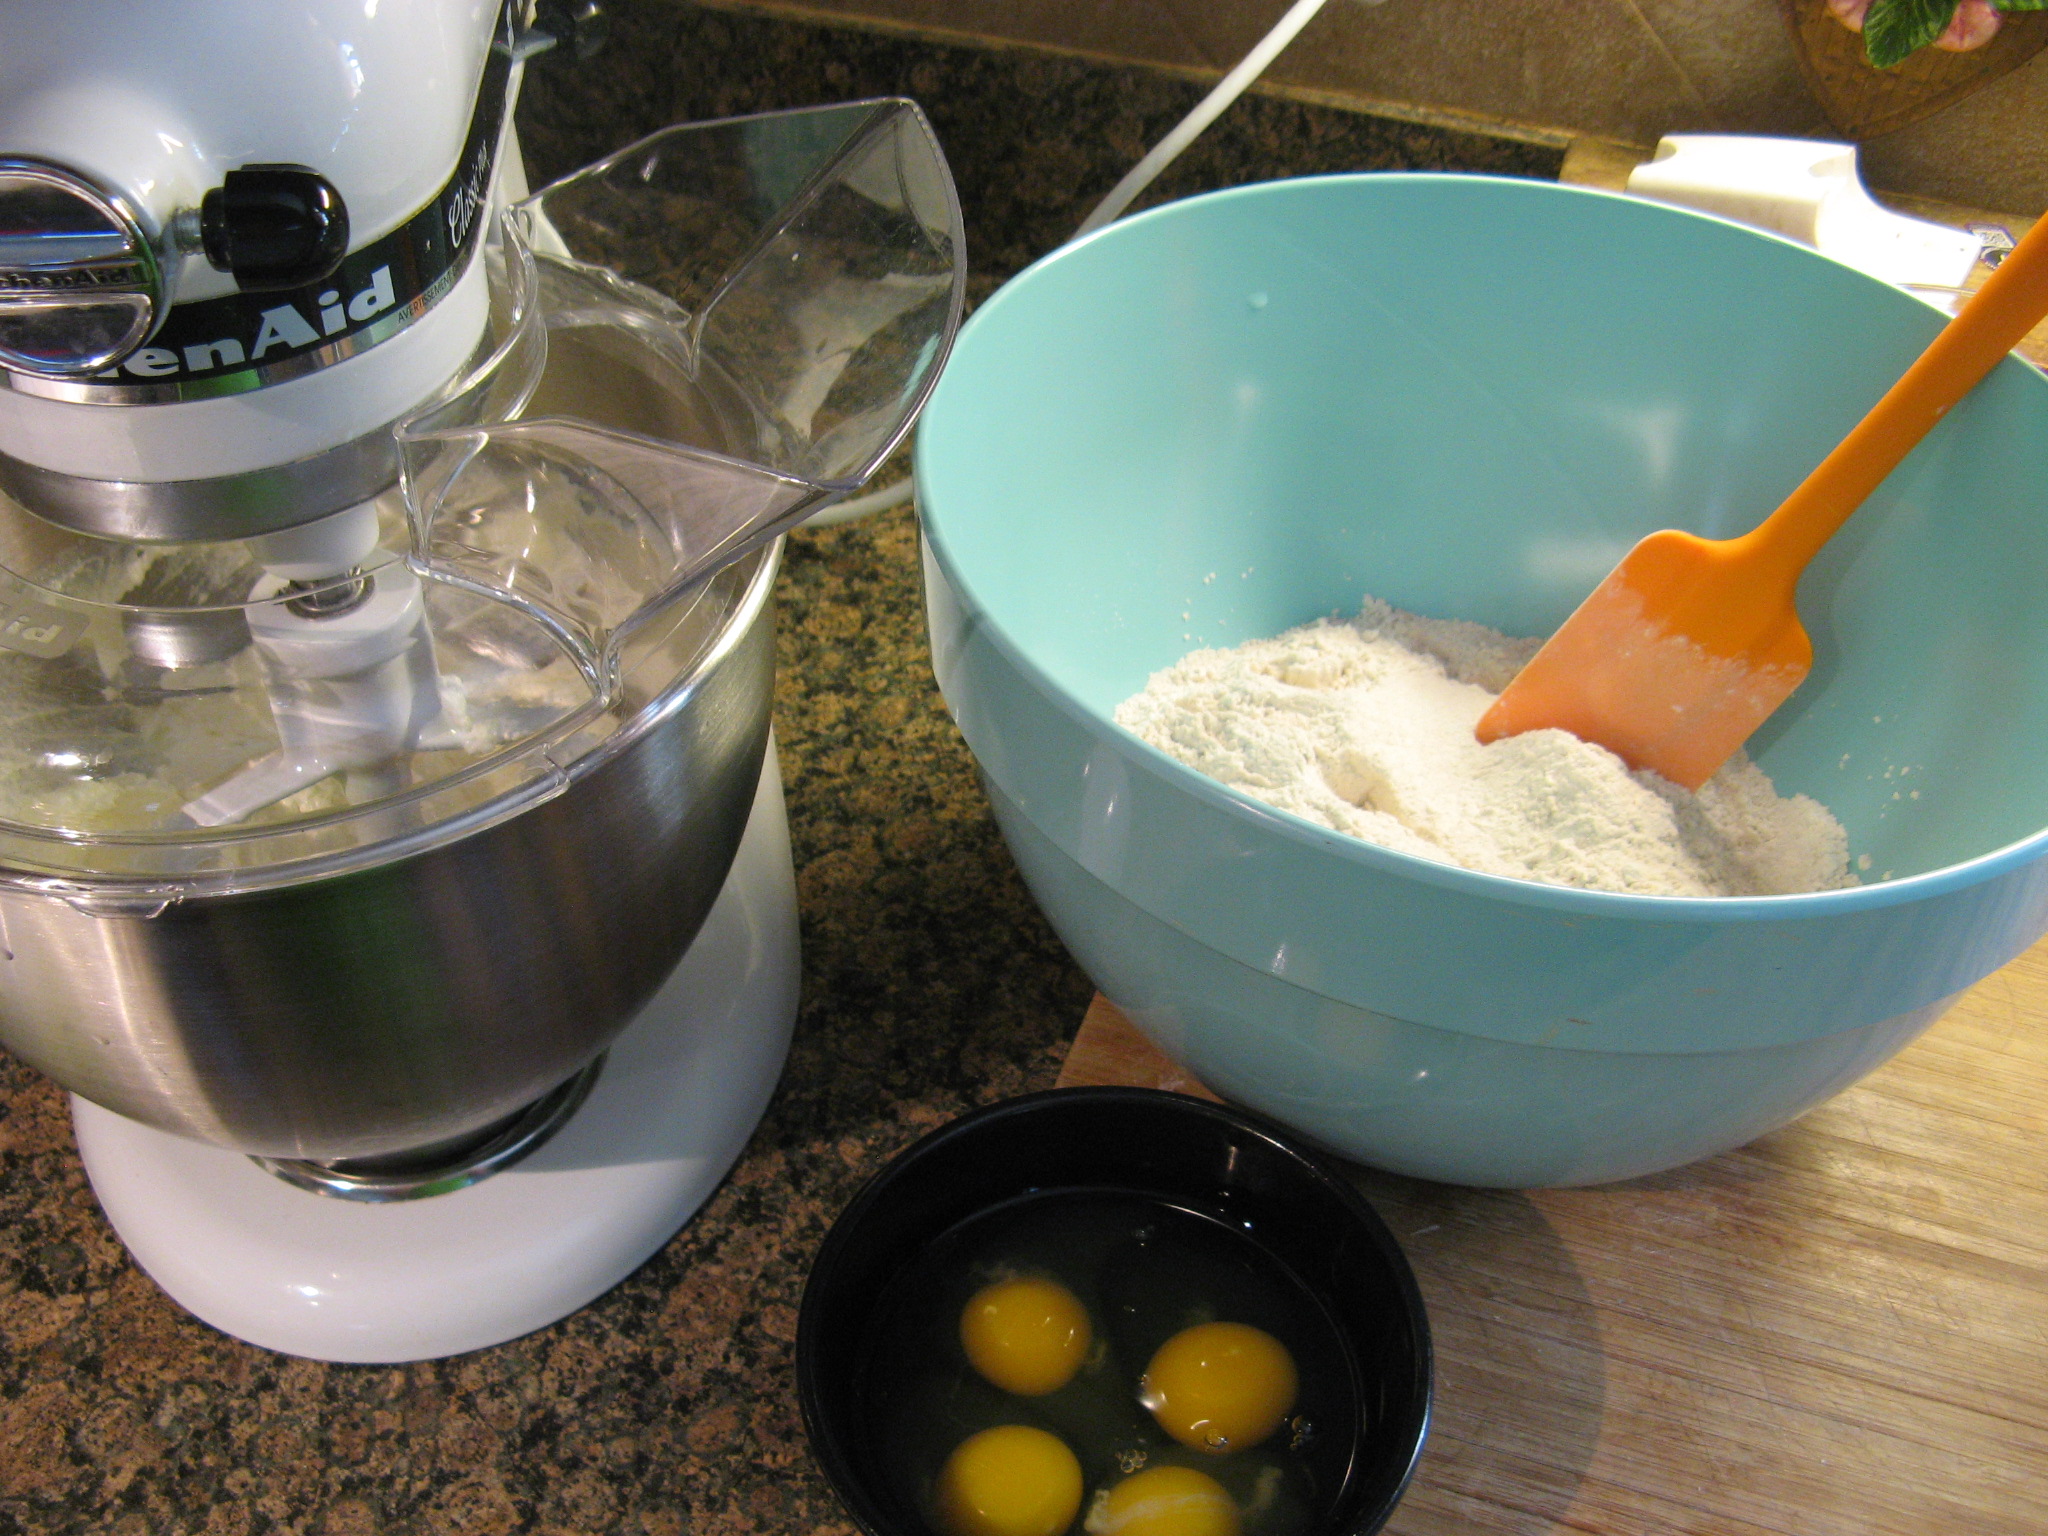
I started working on the batter by first combining the dry ingredients (flour, baking soda, cinnamon and salt) and then set it aside.

IMG_9886

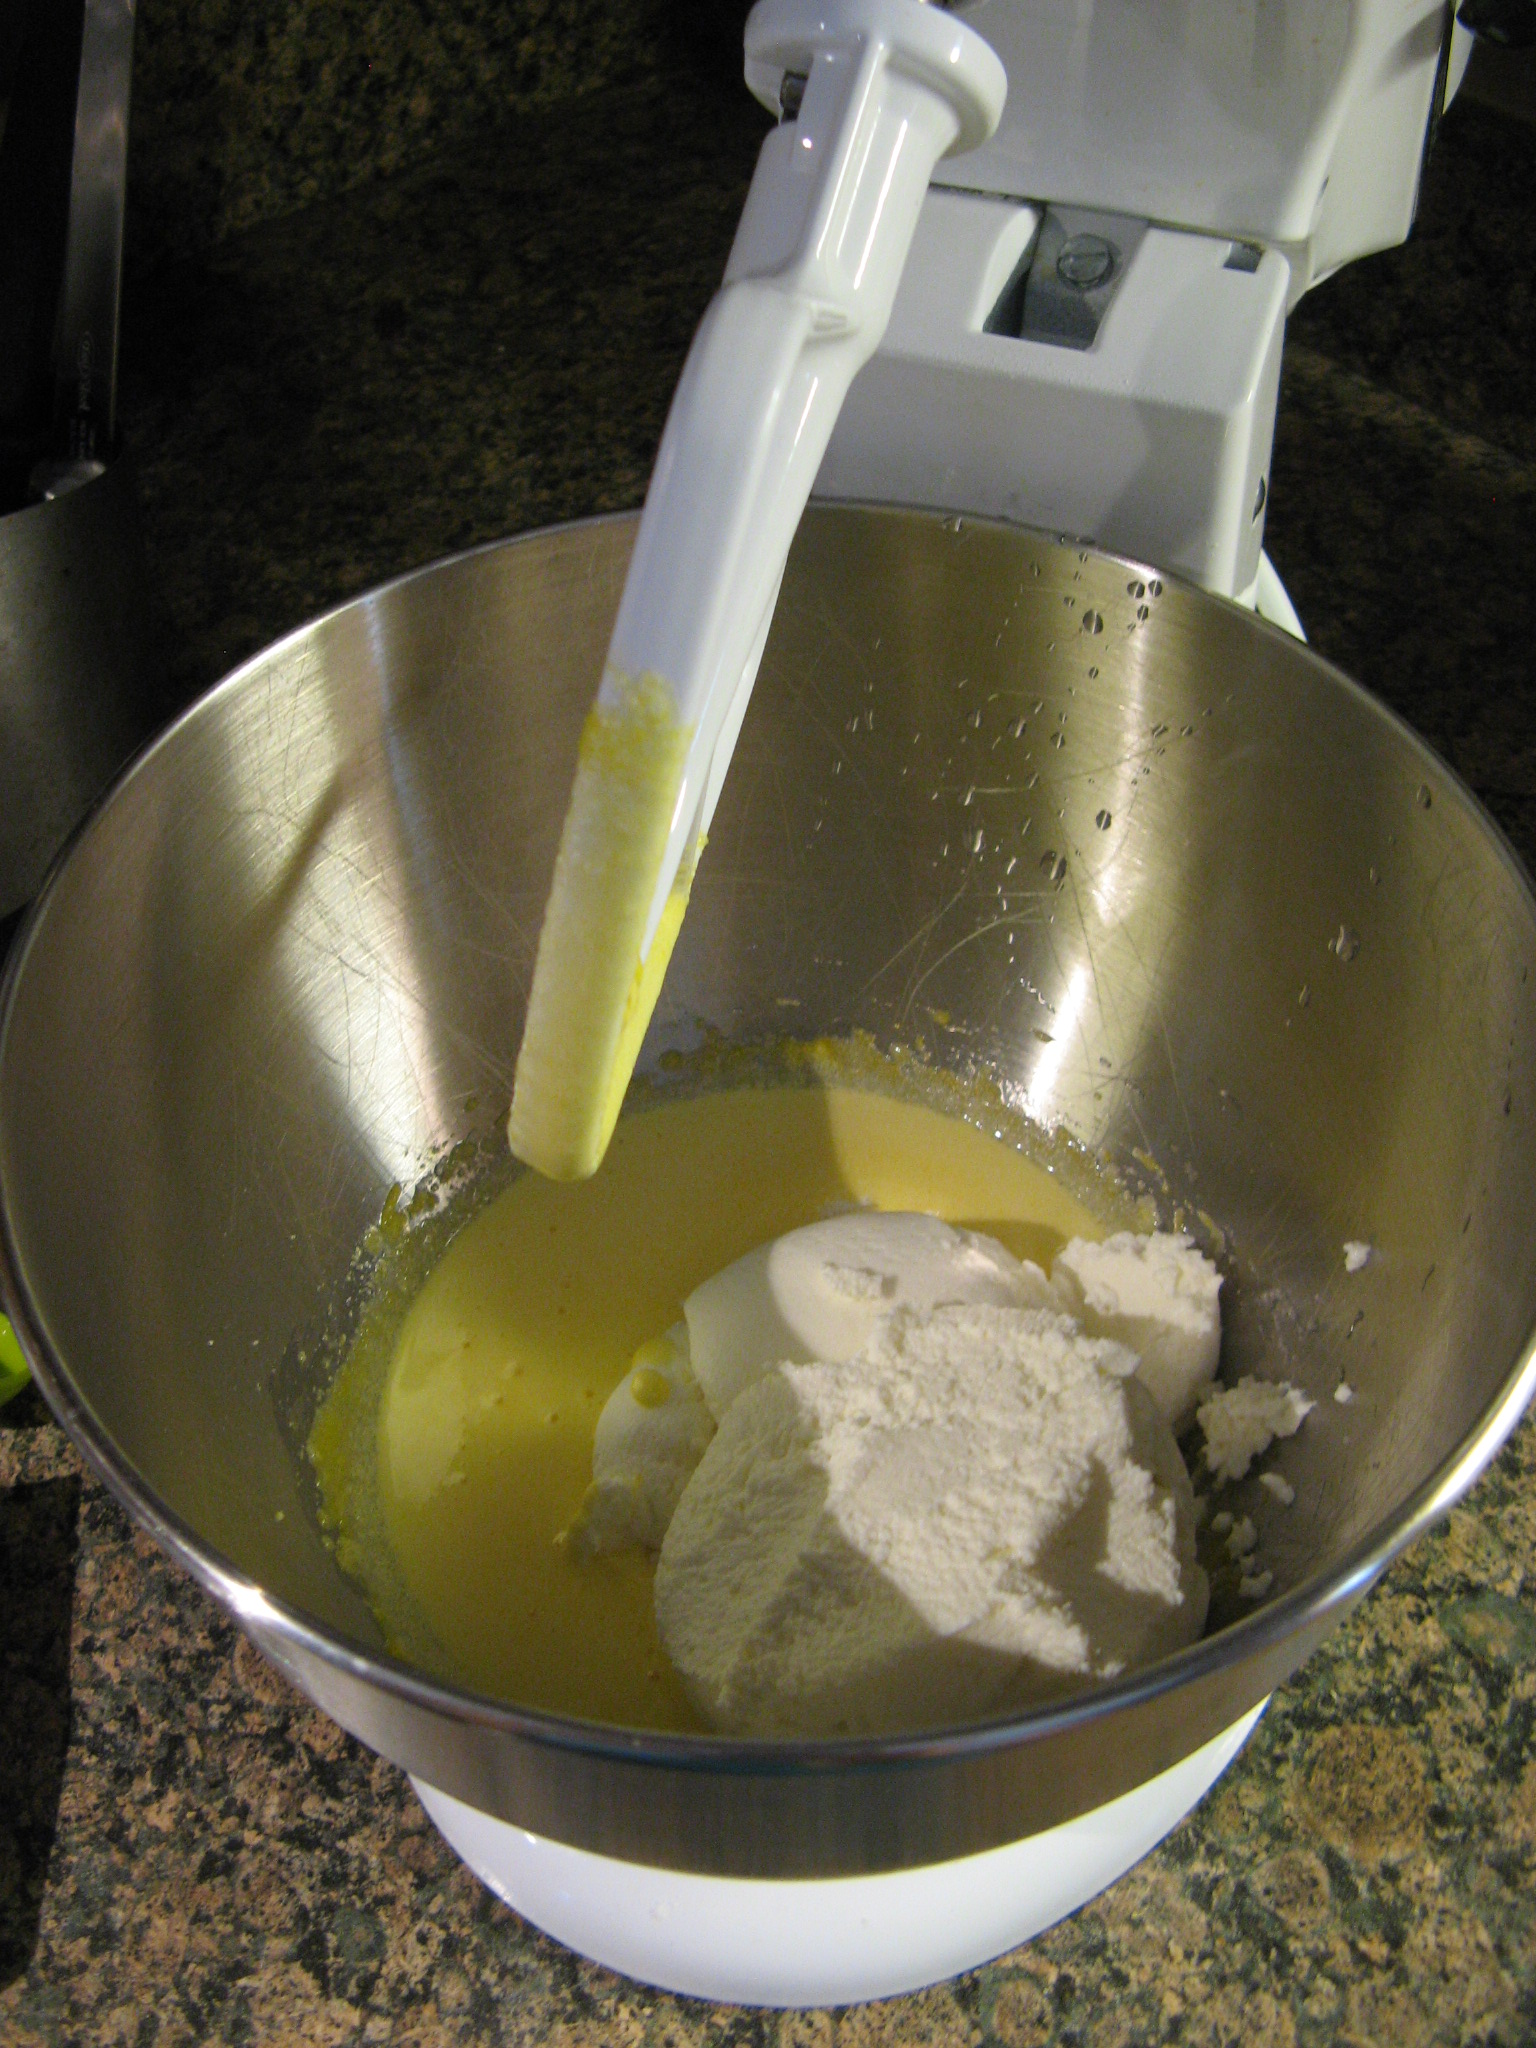
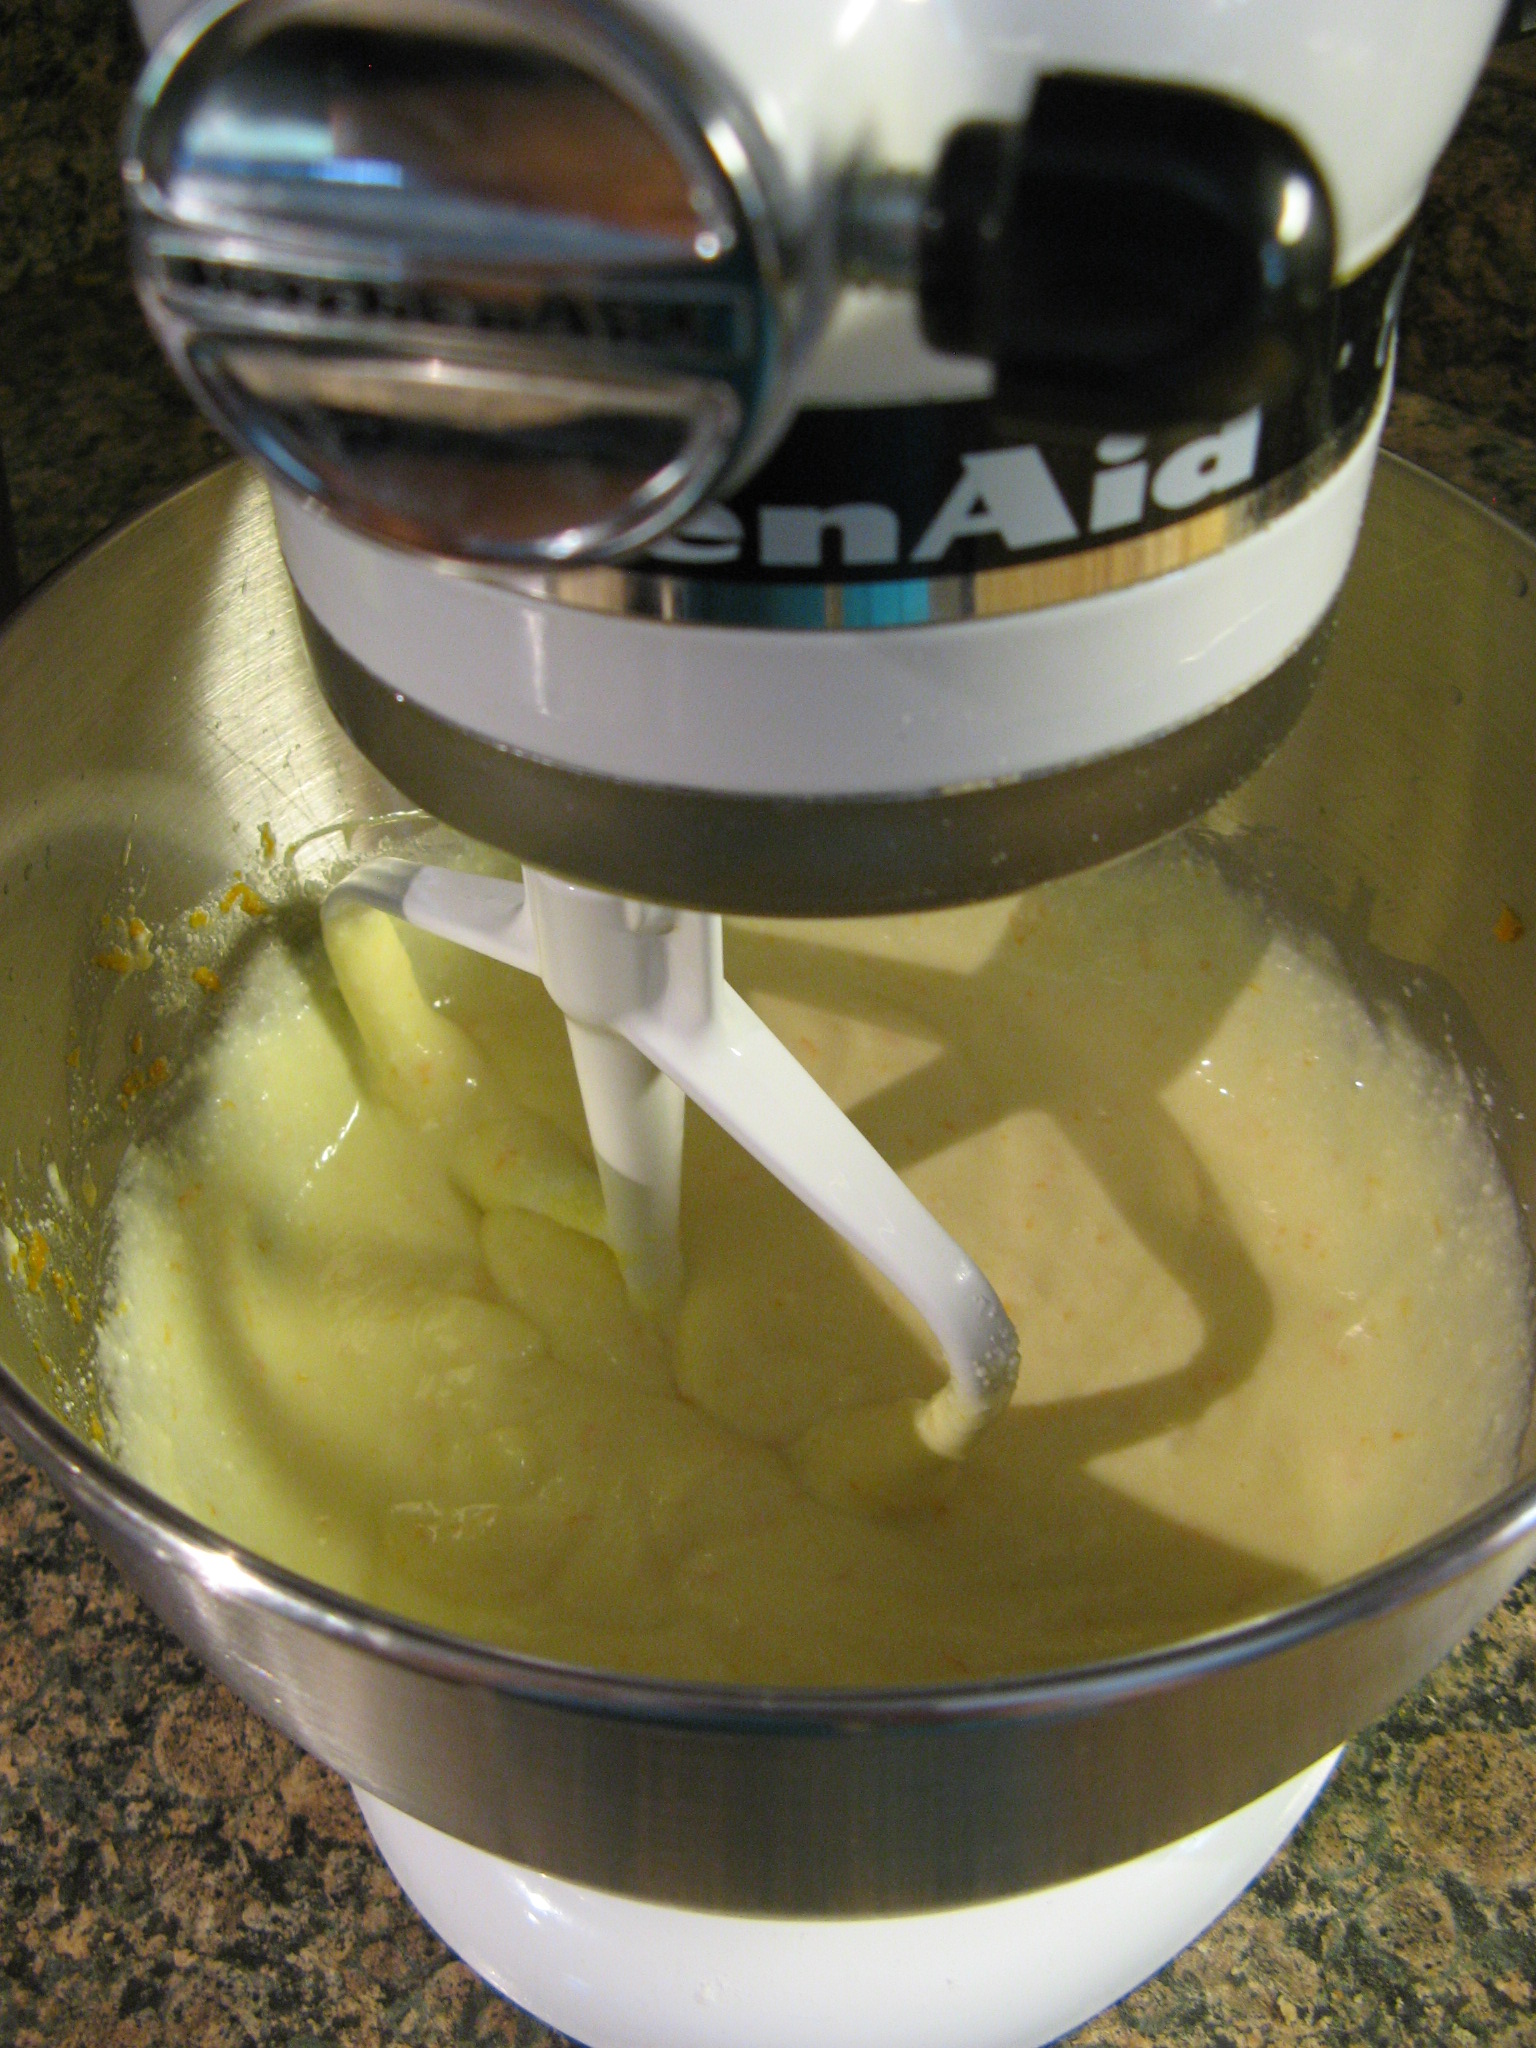
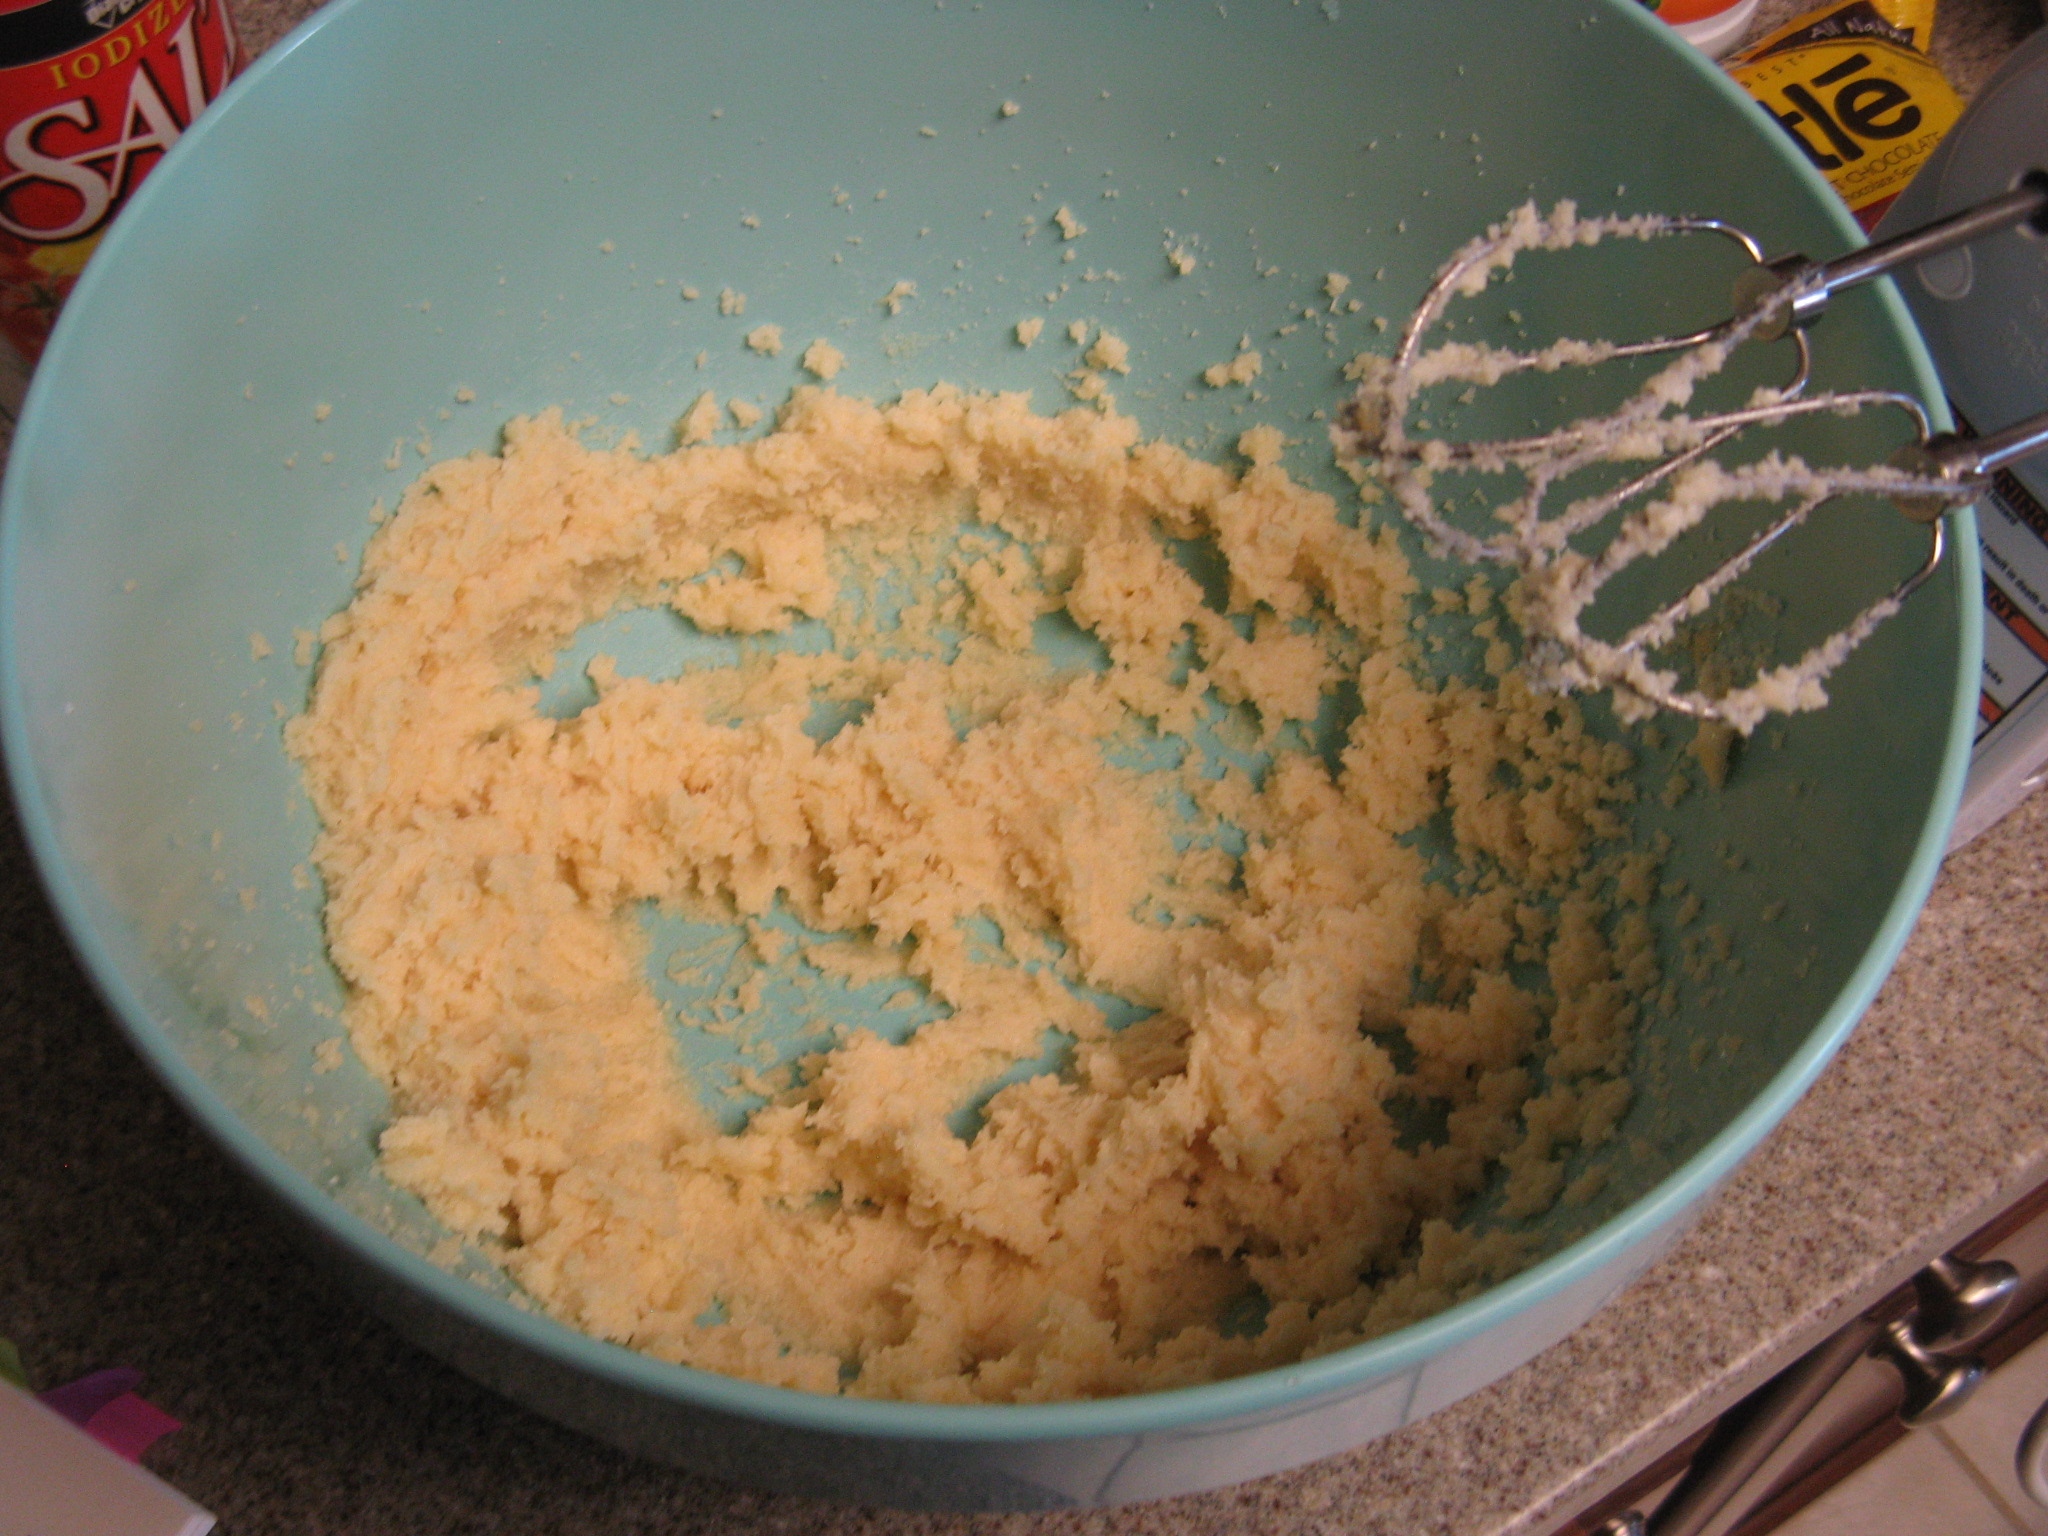
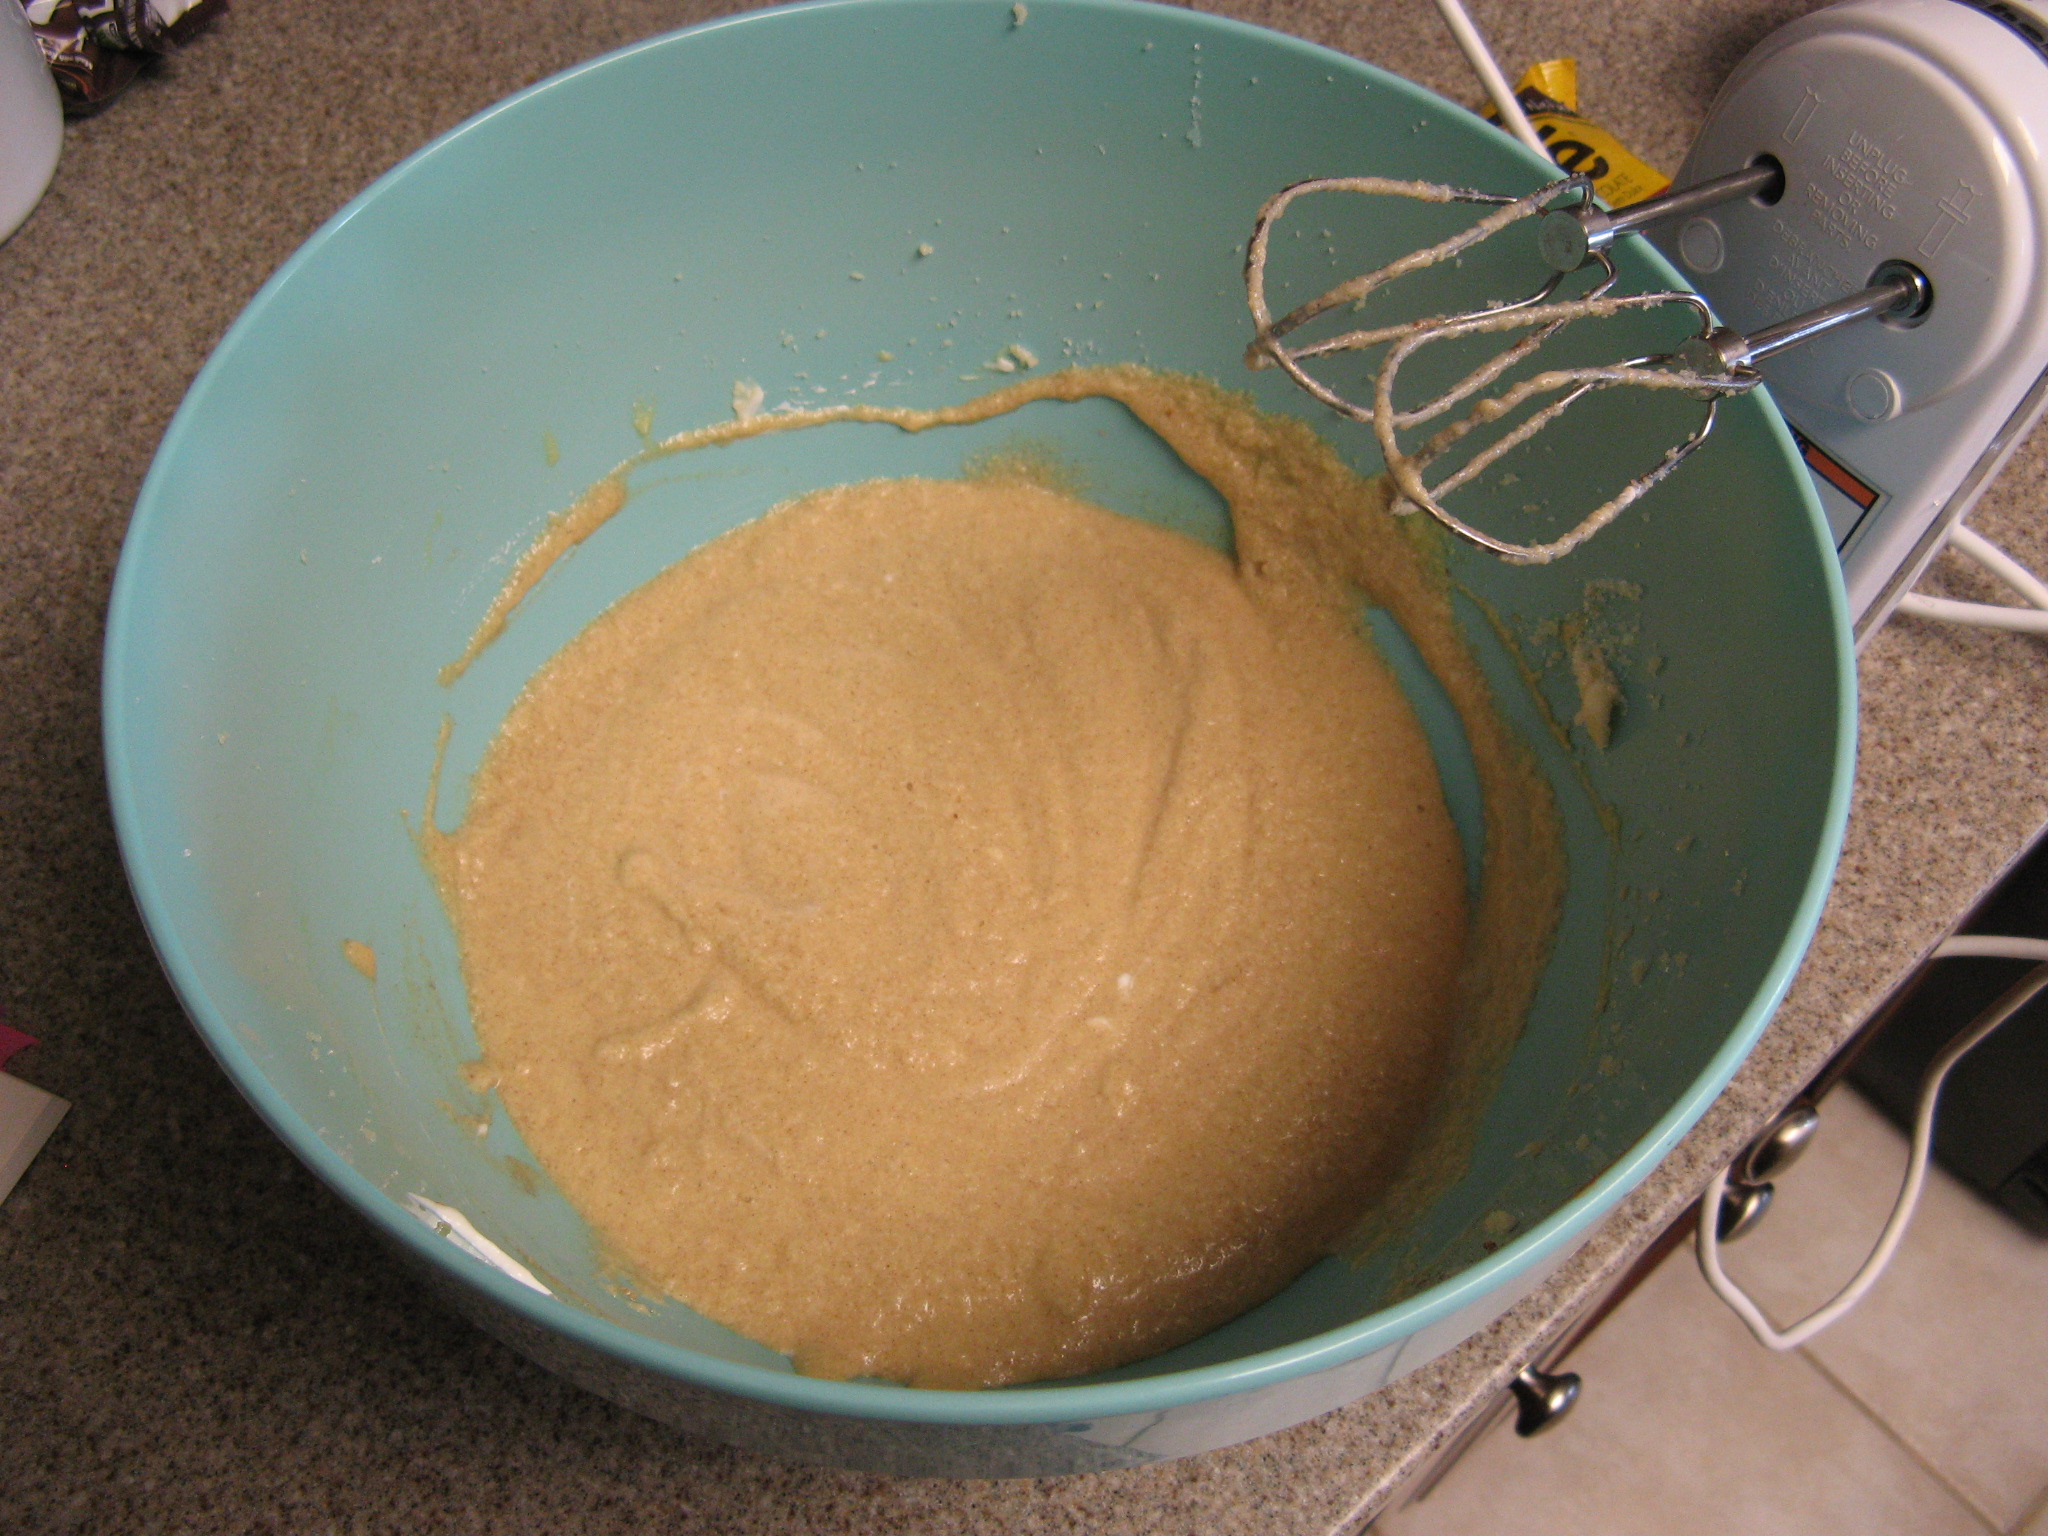
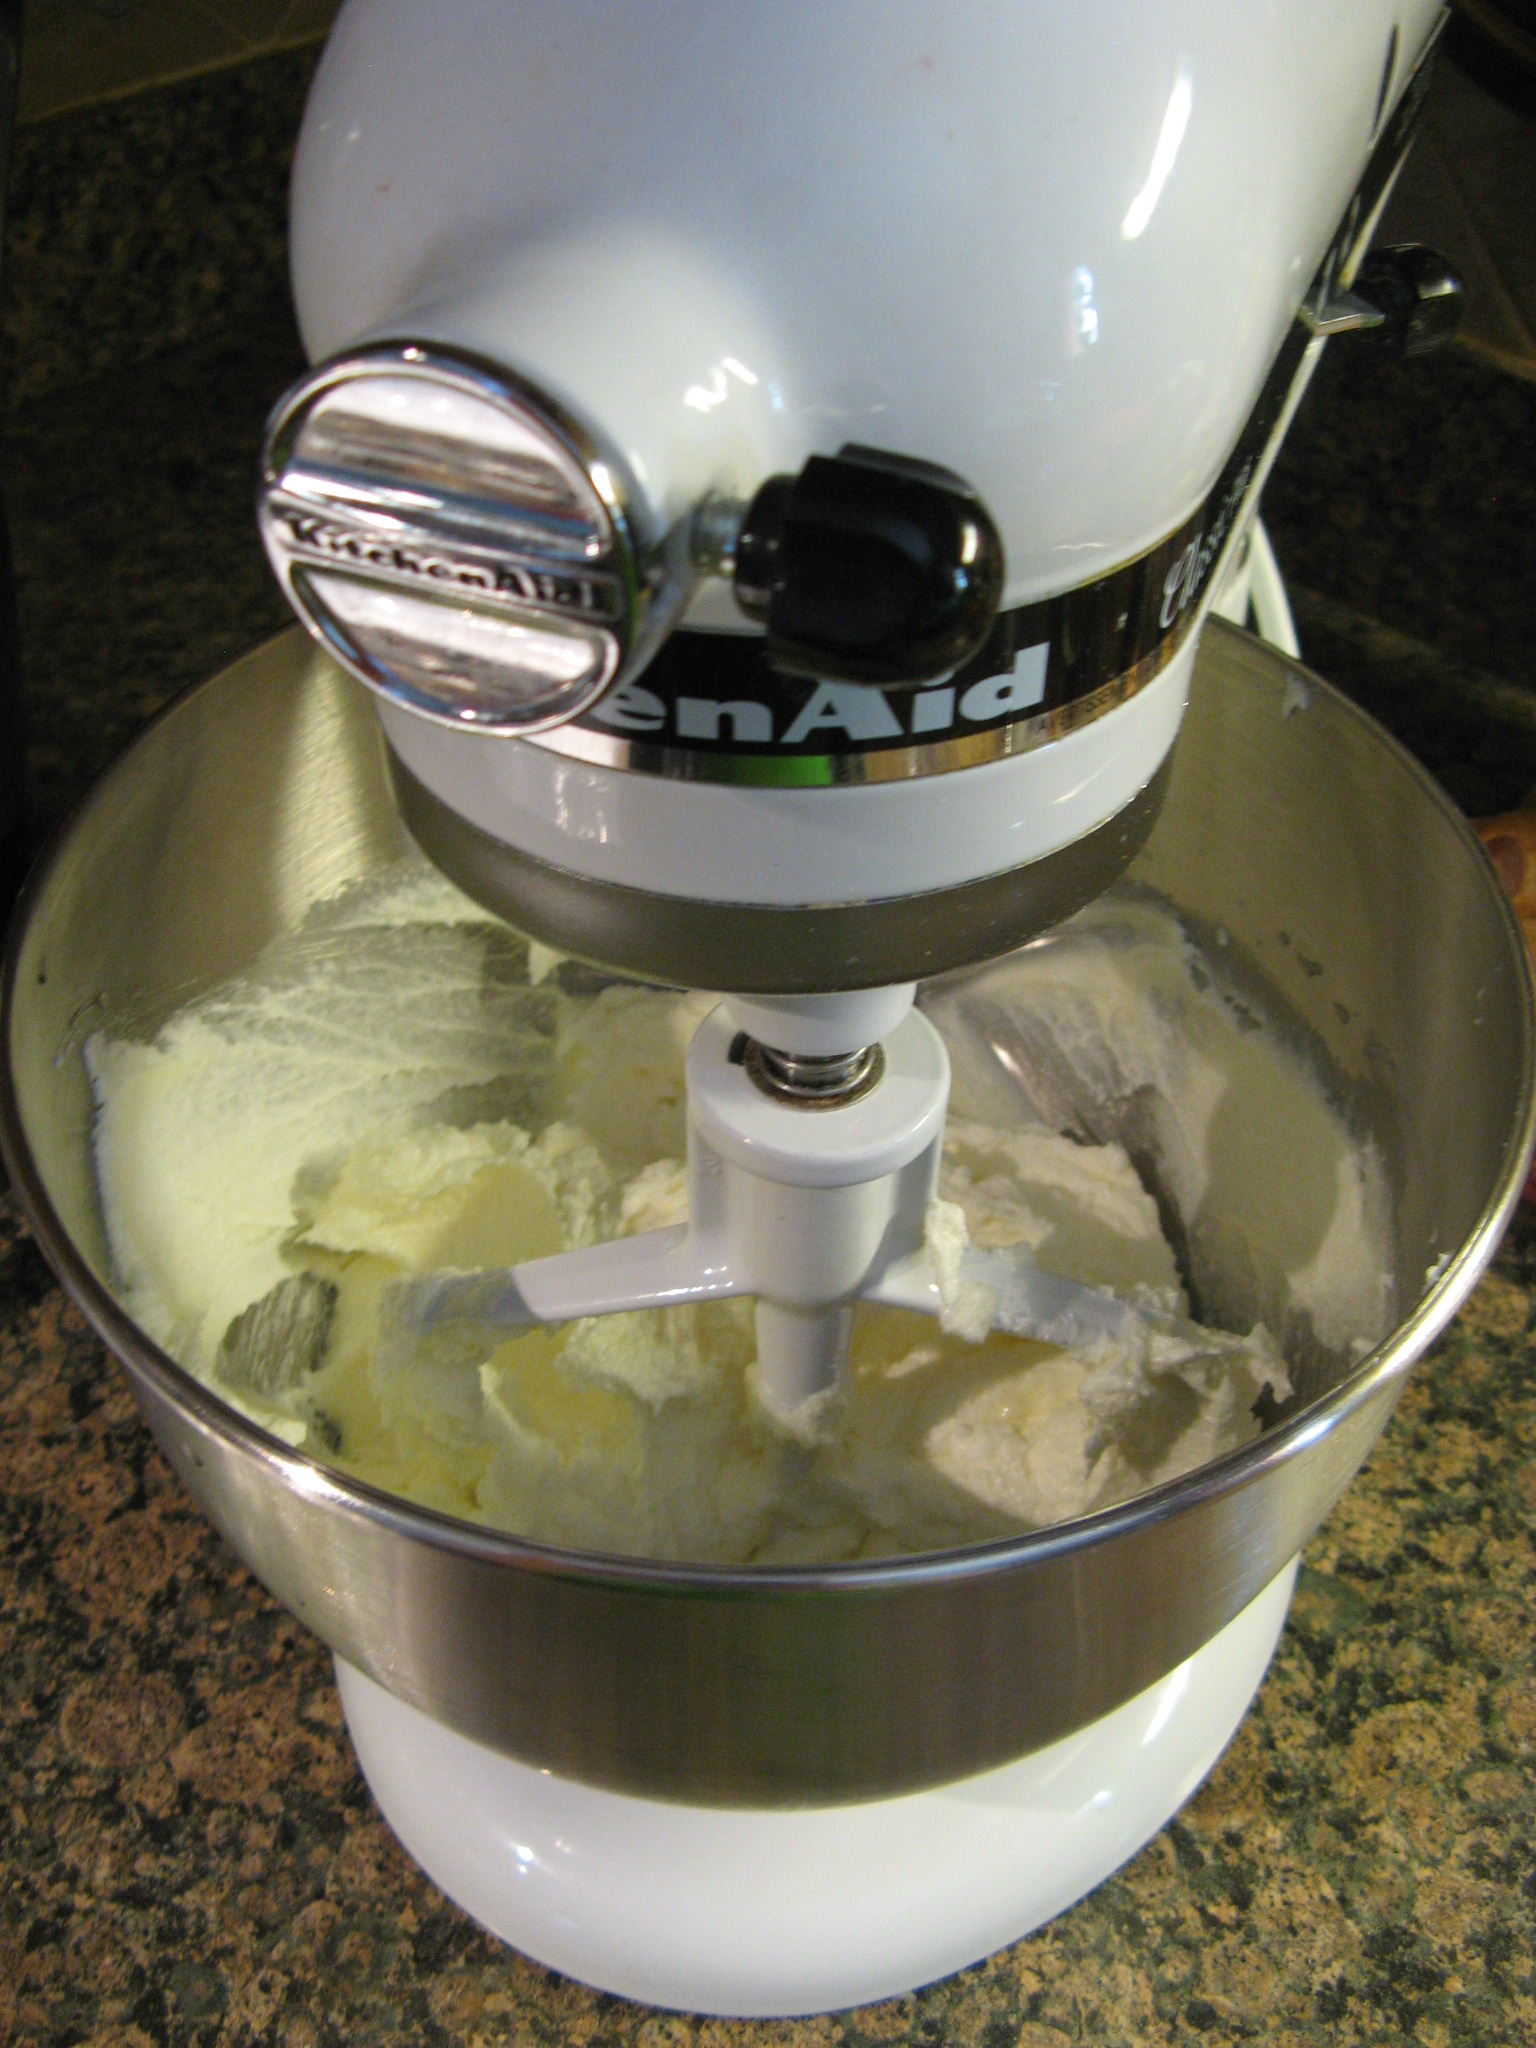
I creamed 3 sticks of butter and then added in 2 cups of granulated sugar.

IMG_9888

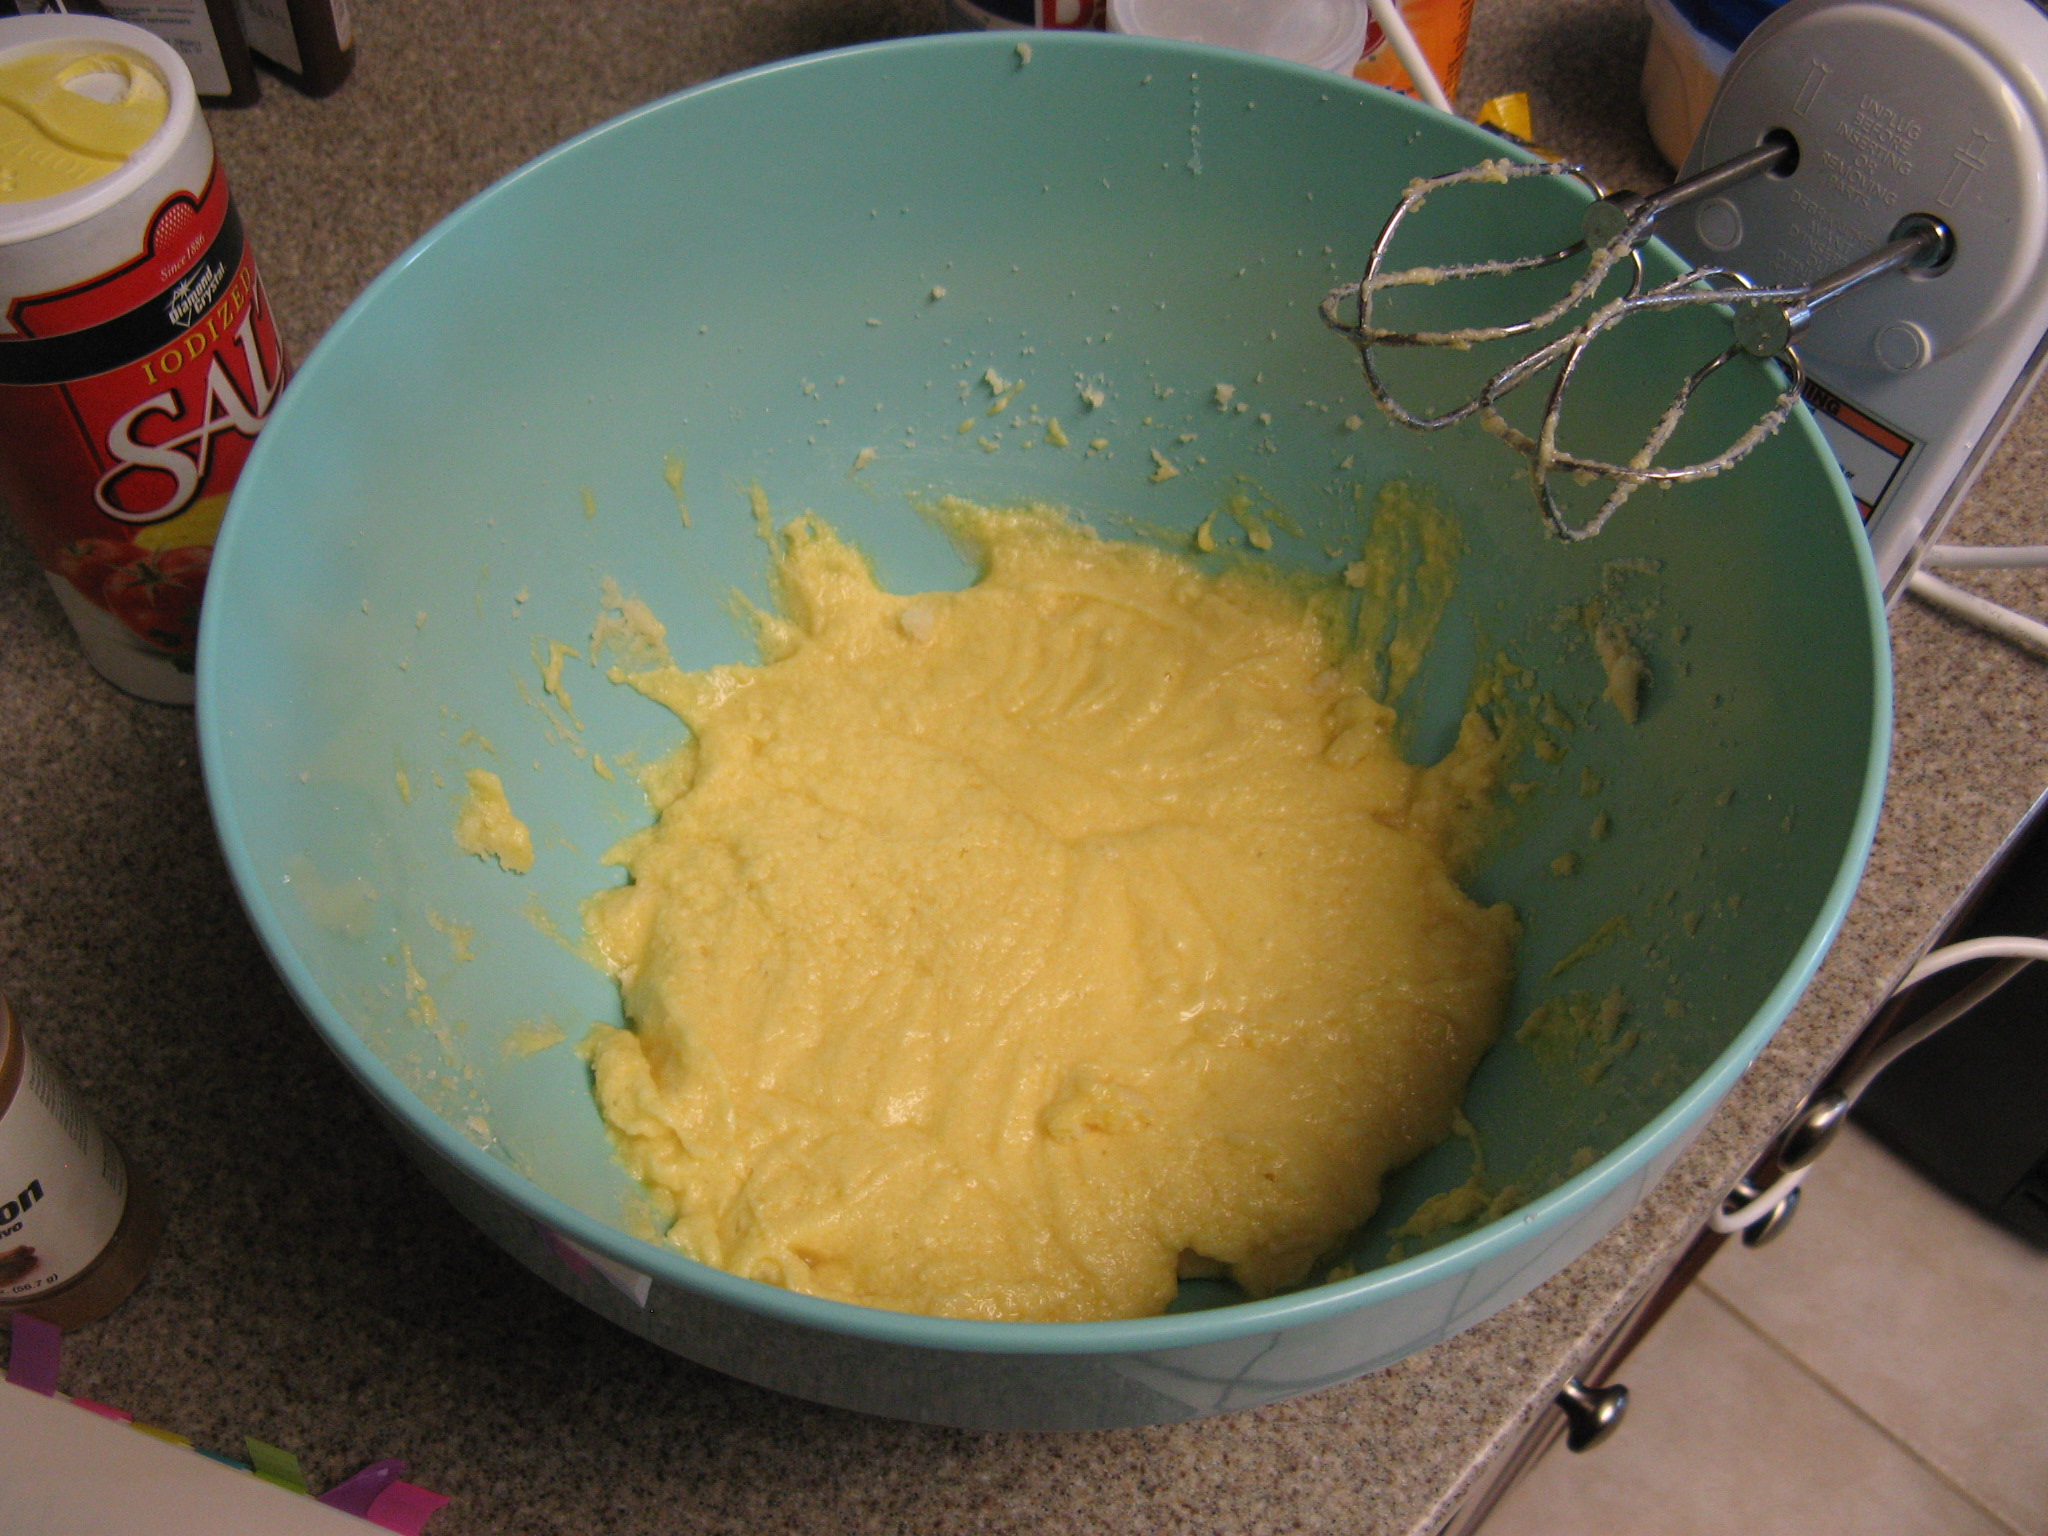
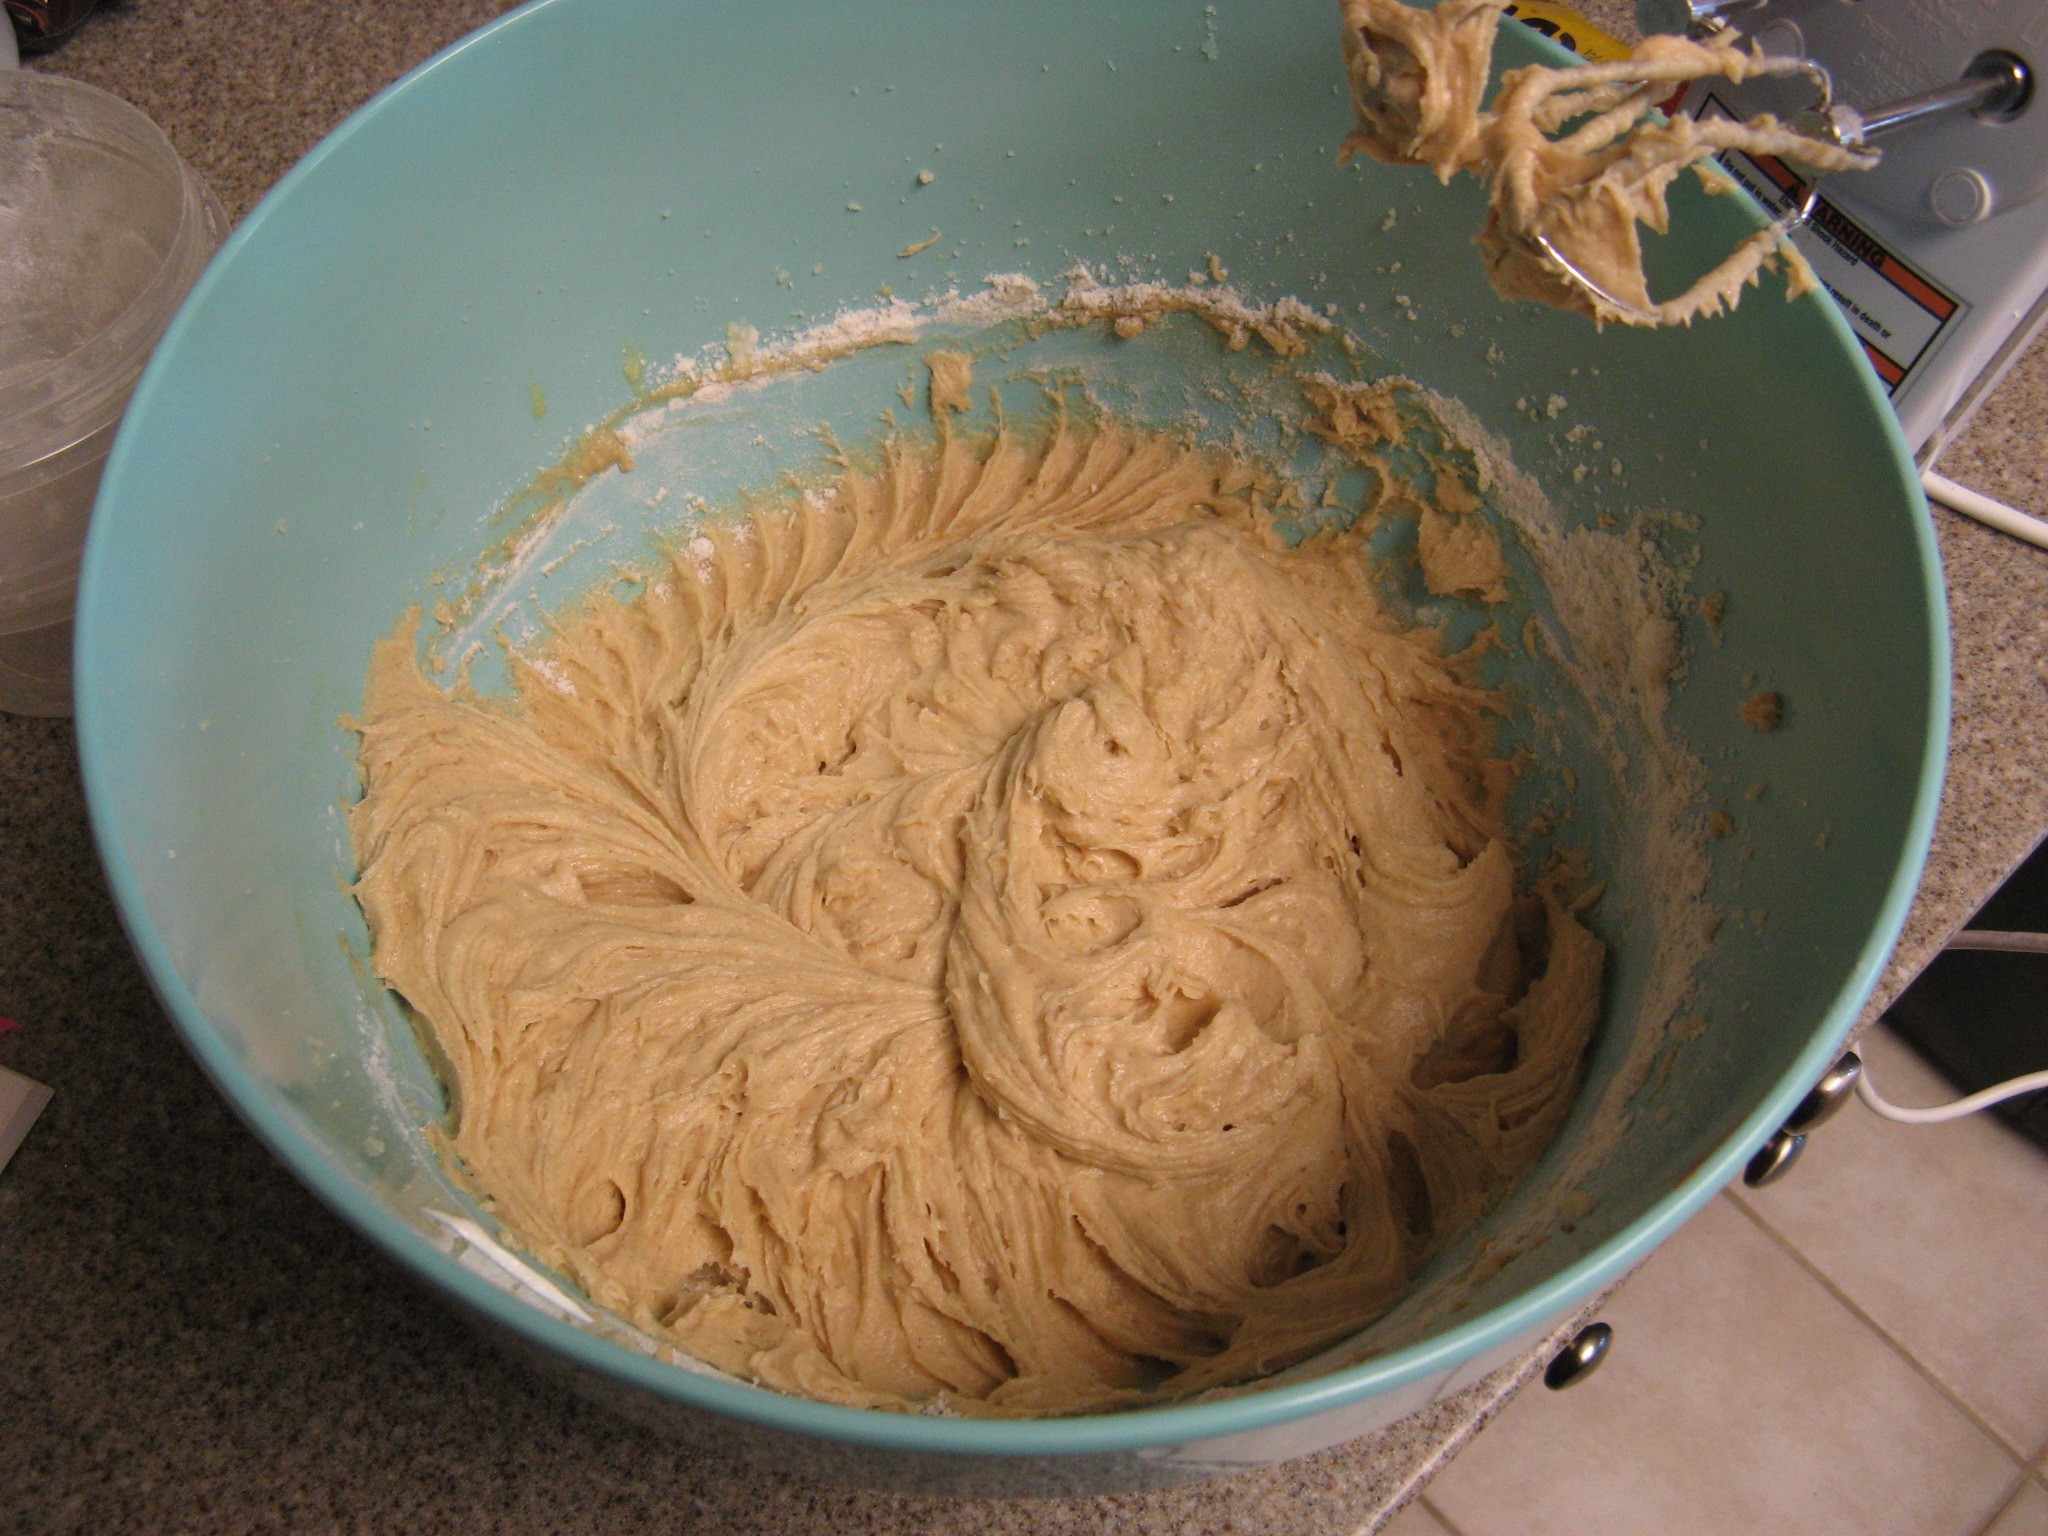
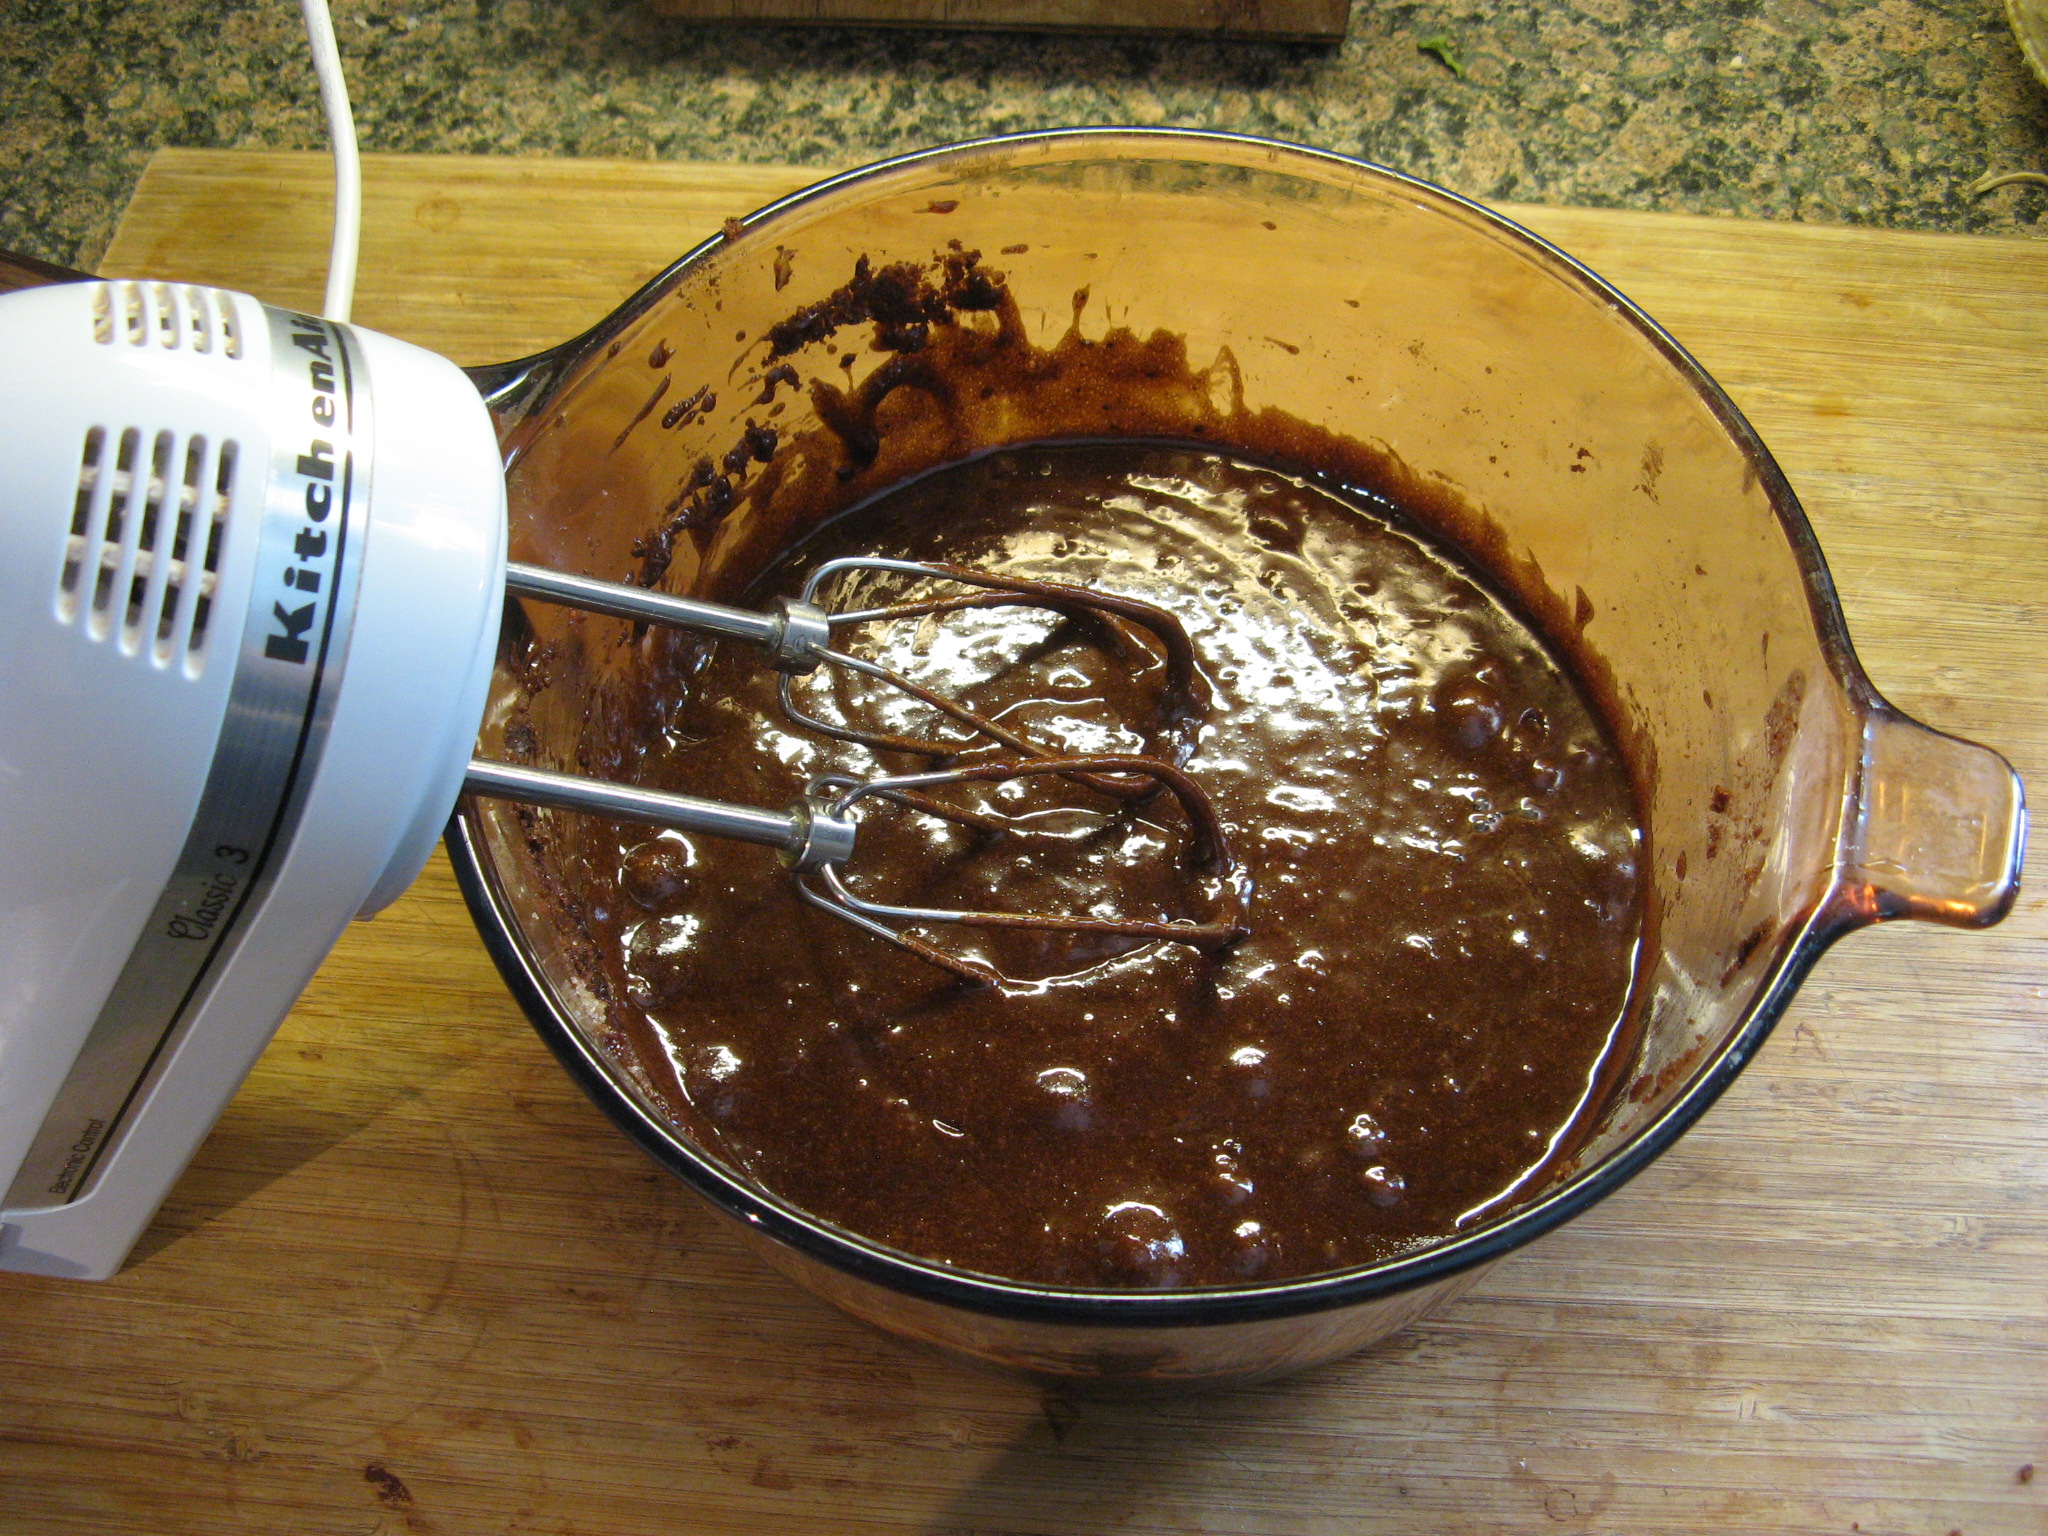
Once the butter and sugar were combined I added in the dry ingredients by alternating between the 4 eggs the recipe calls for.

IMG_9889

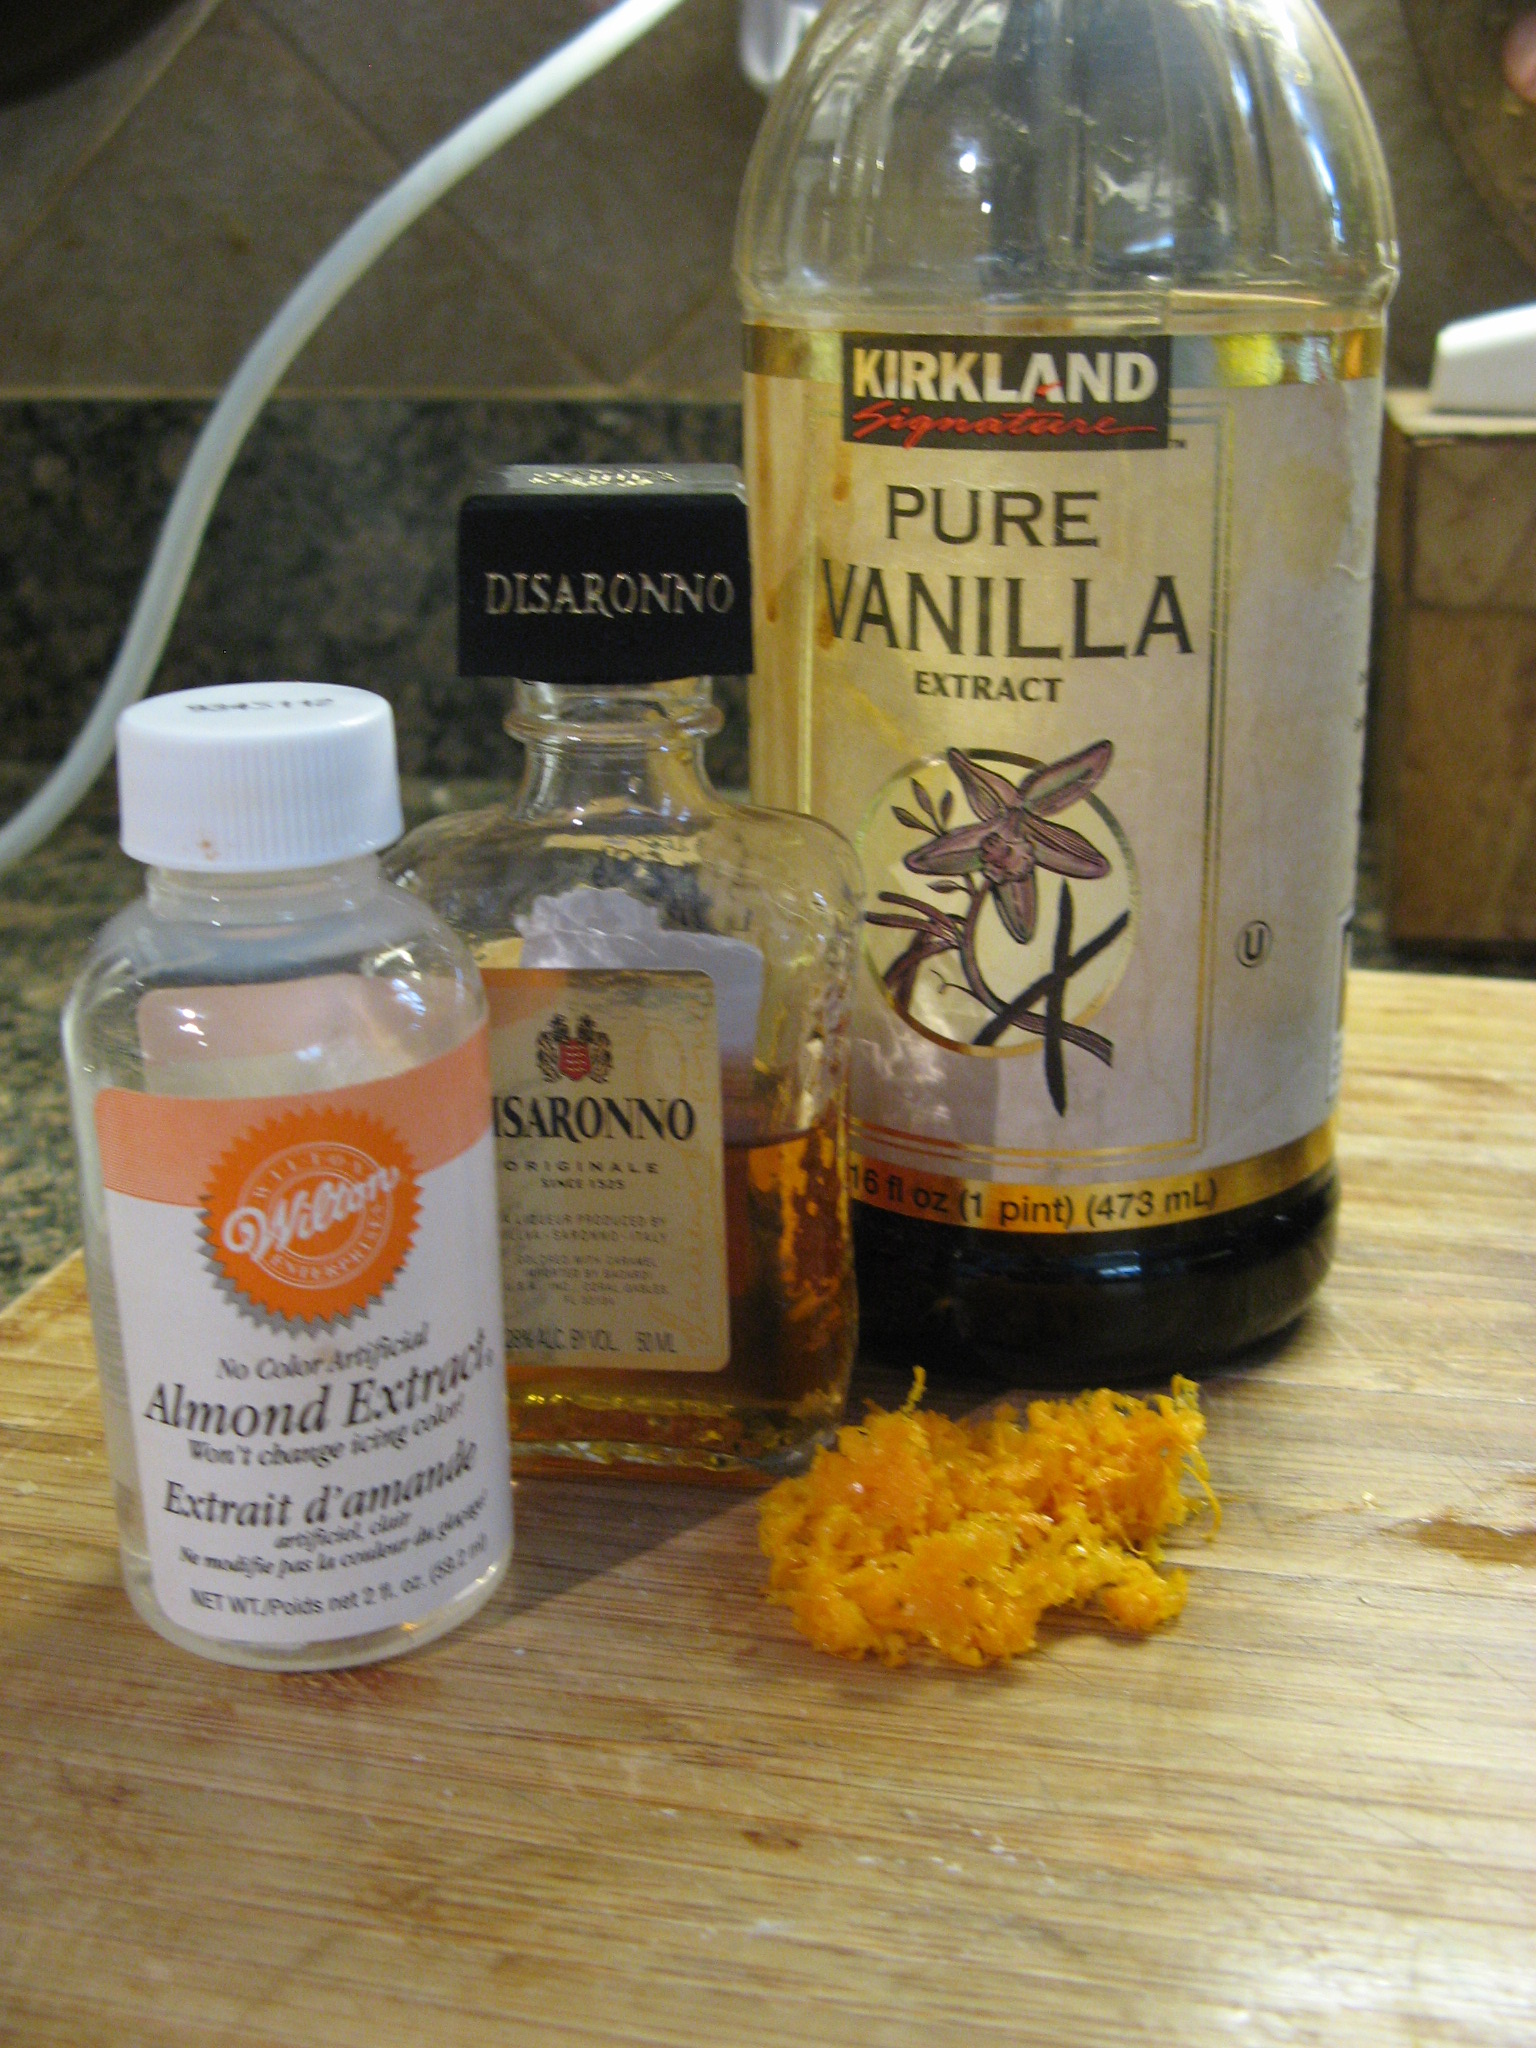
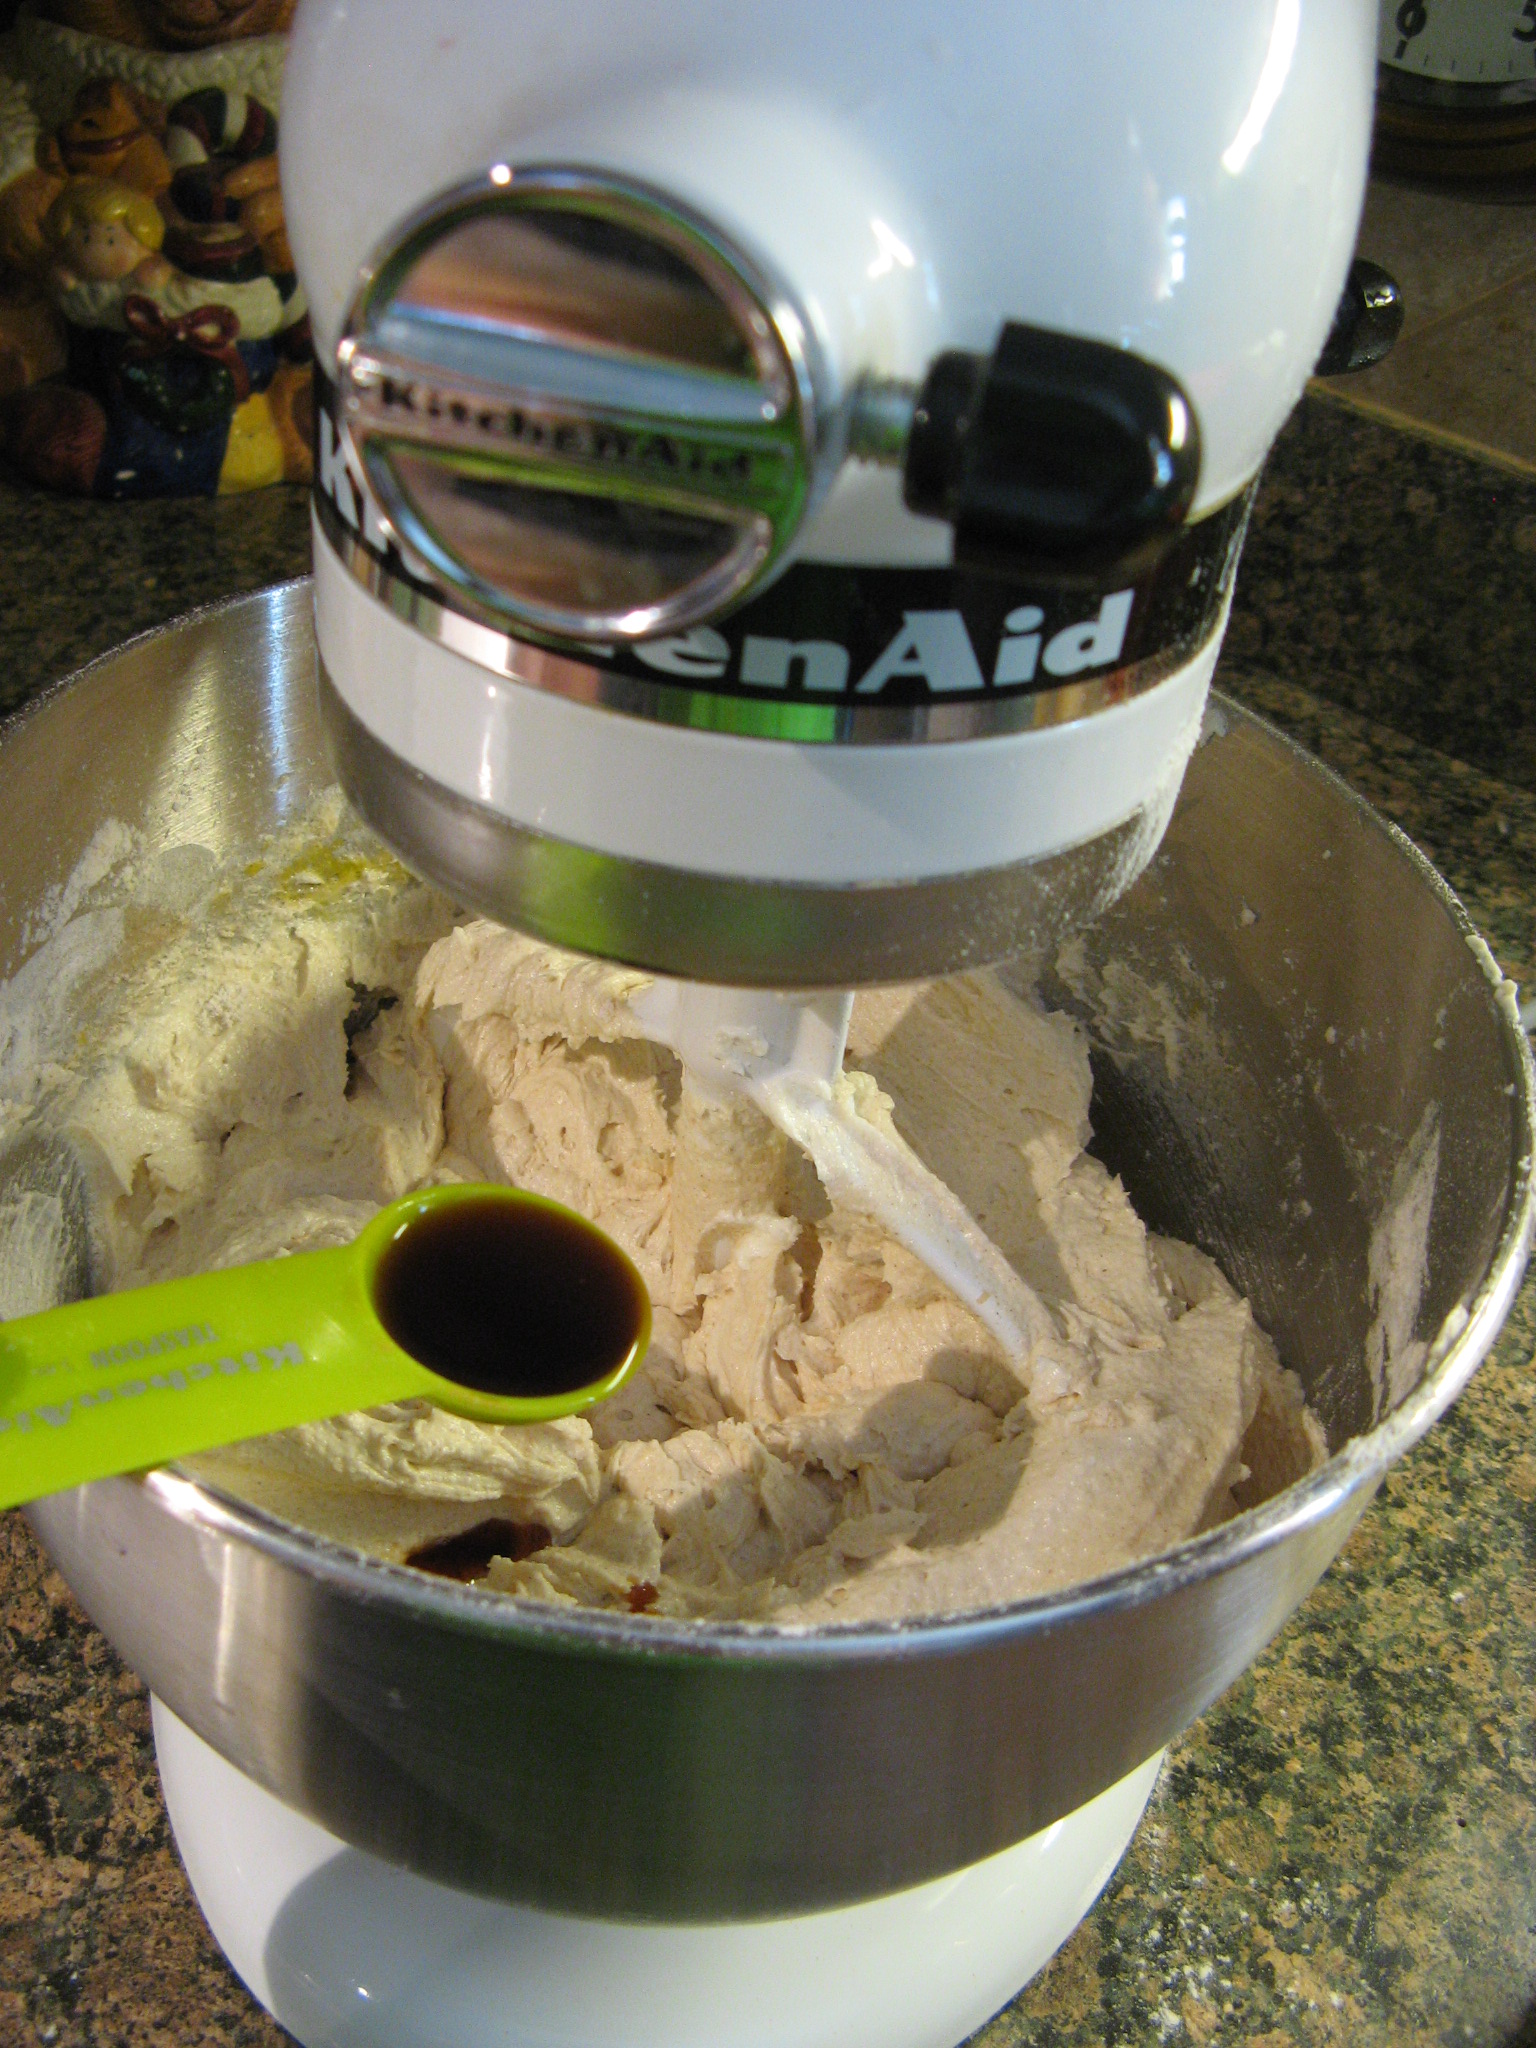
I then added in some vanilla extract.

IMG_9892

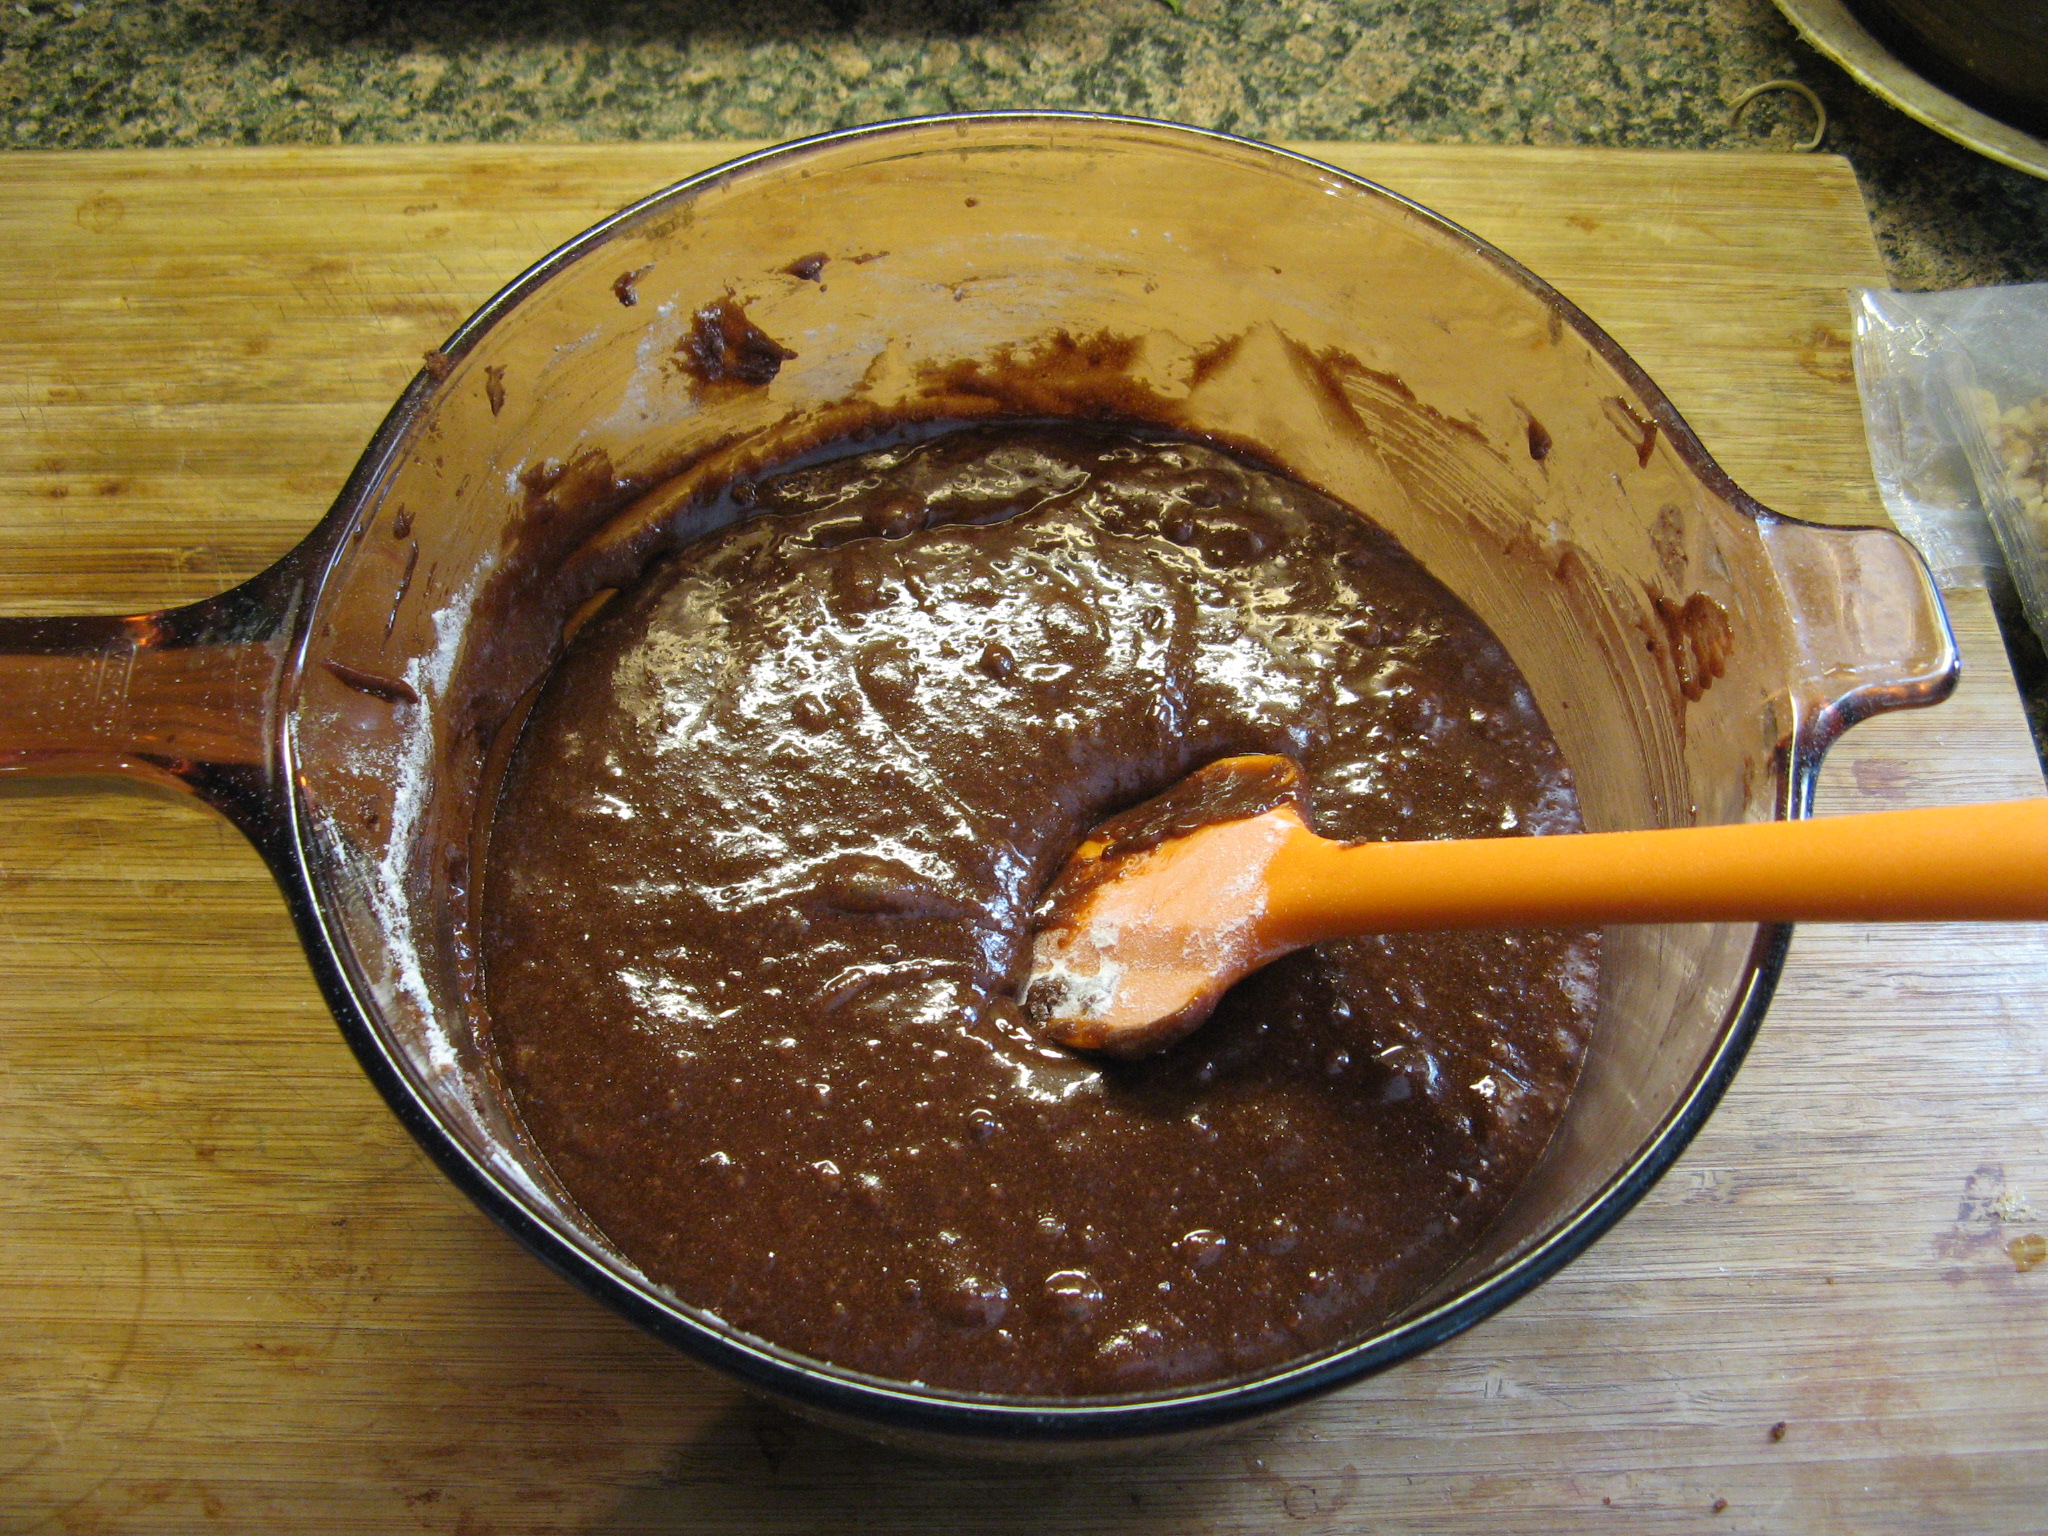
And it wouldn’t be carrot cake without the carrots.

IMG_9893

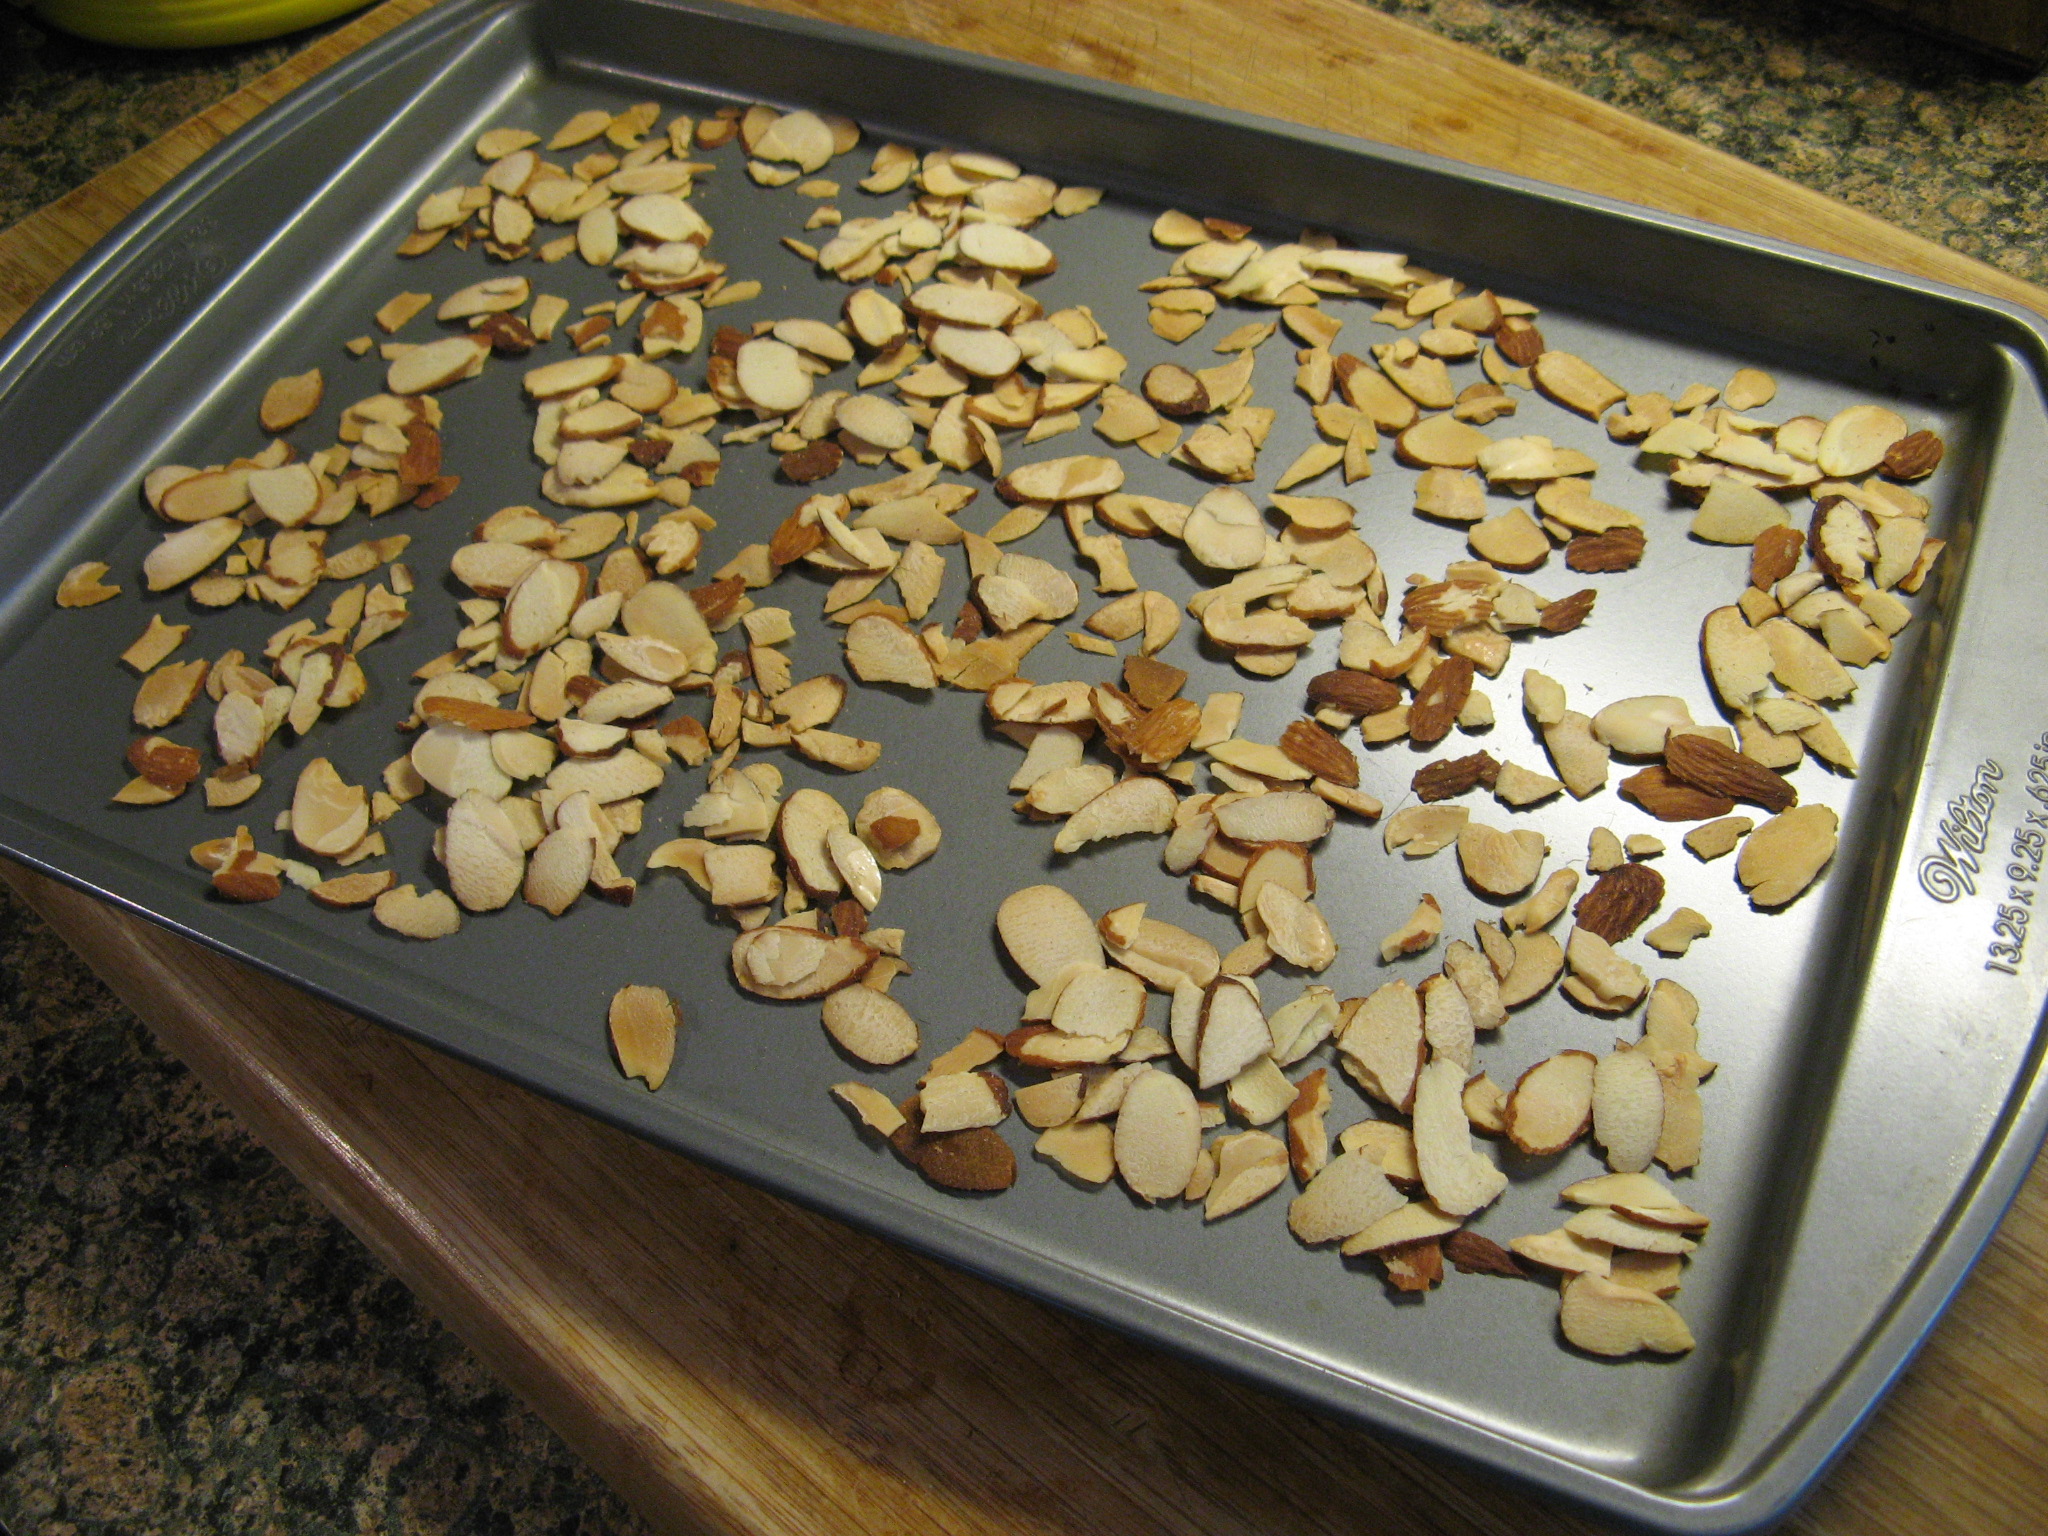
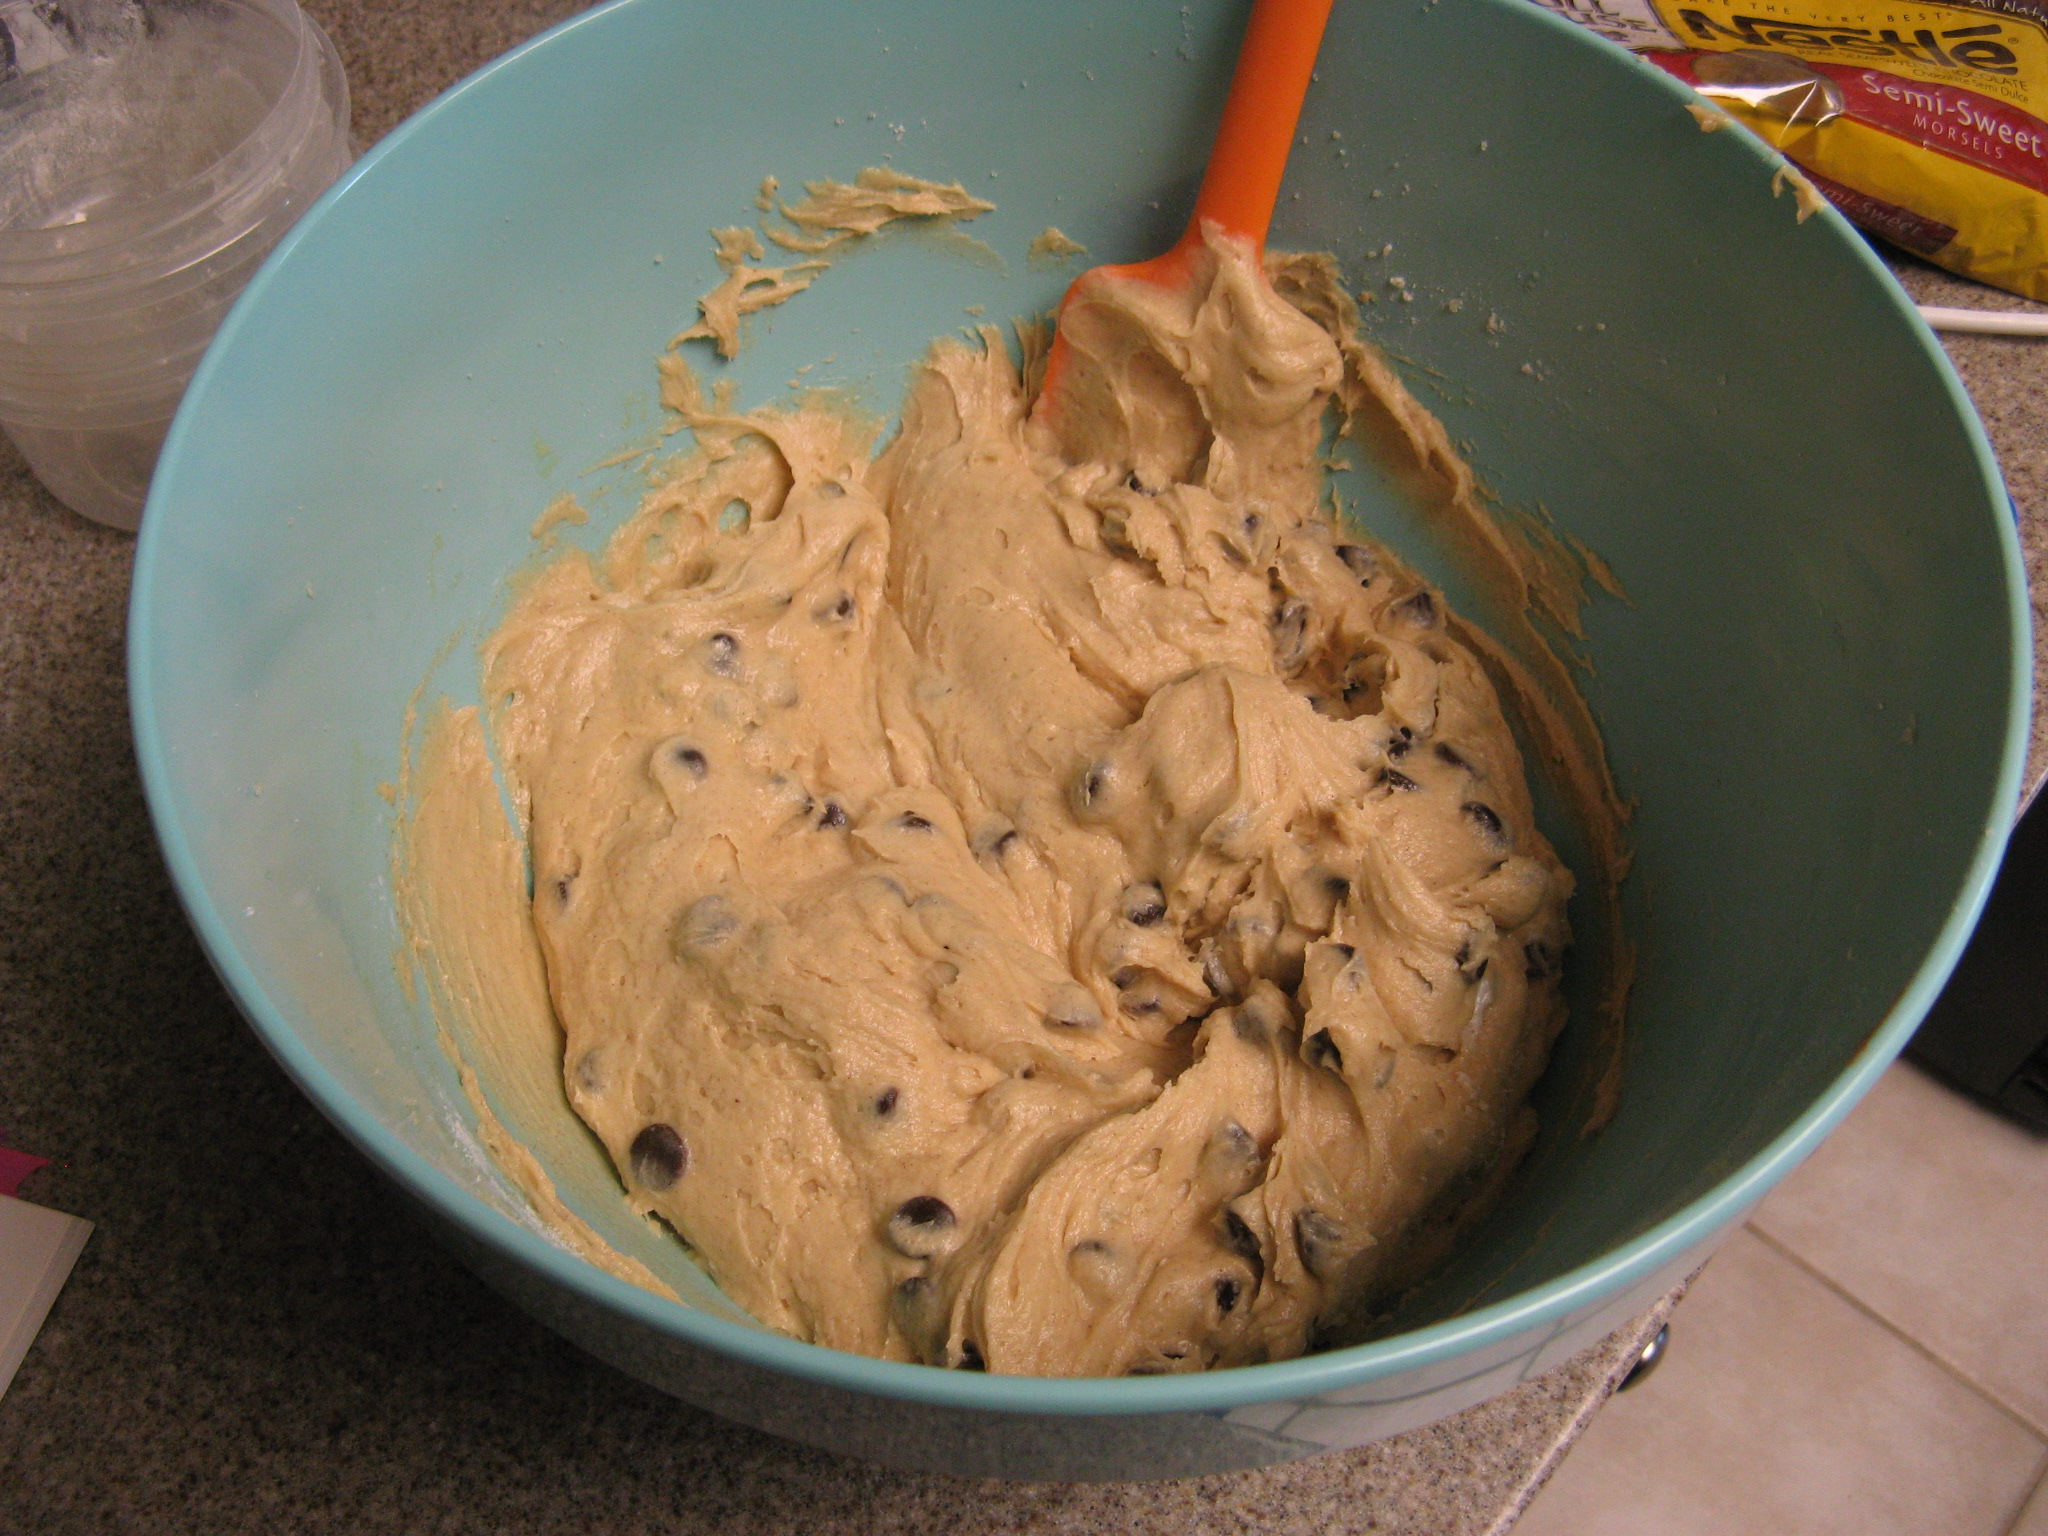
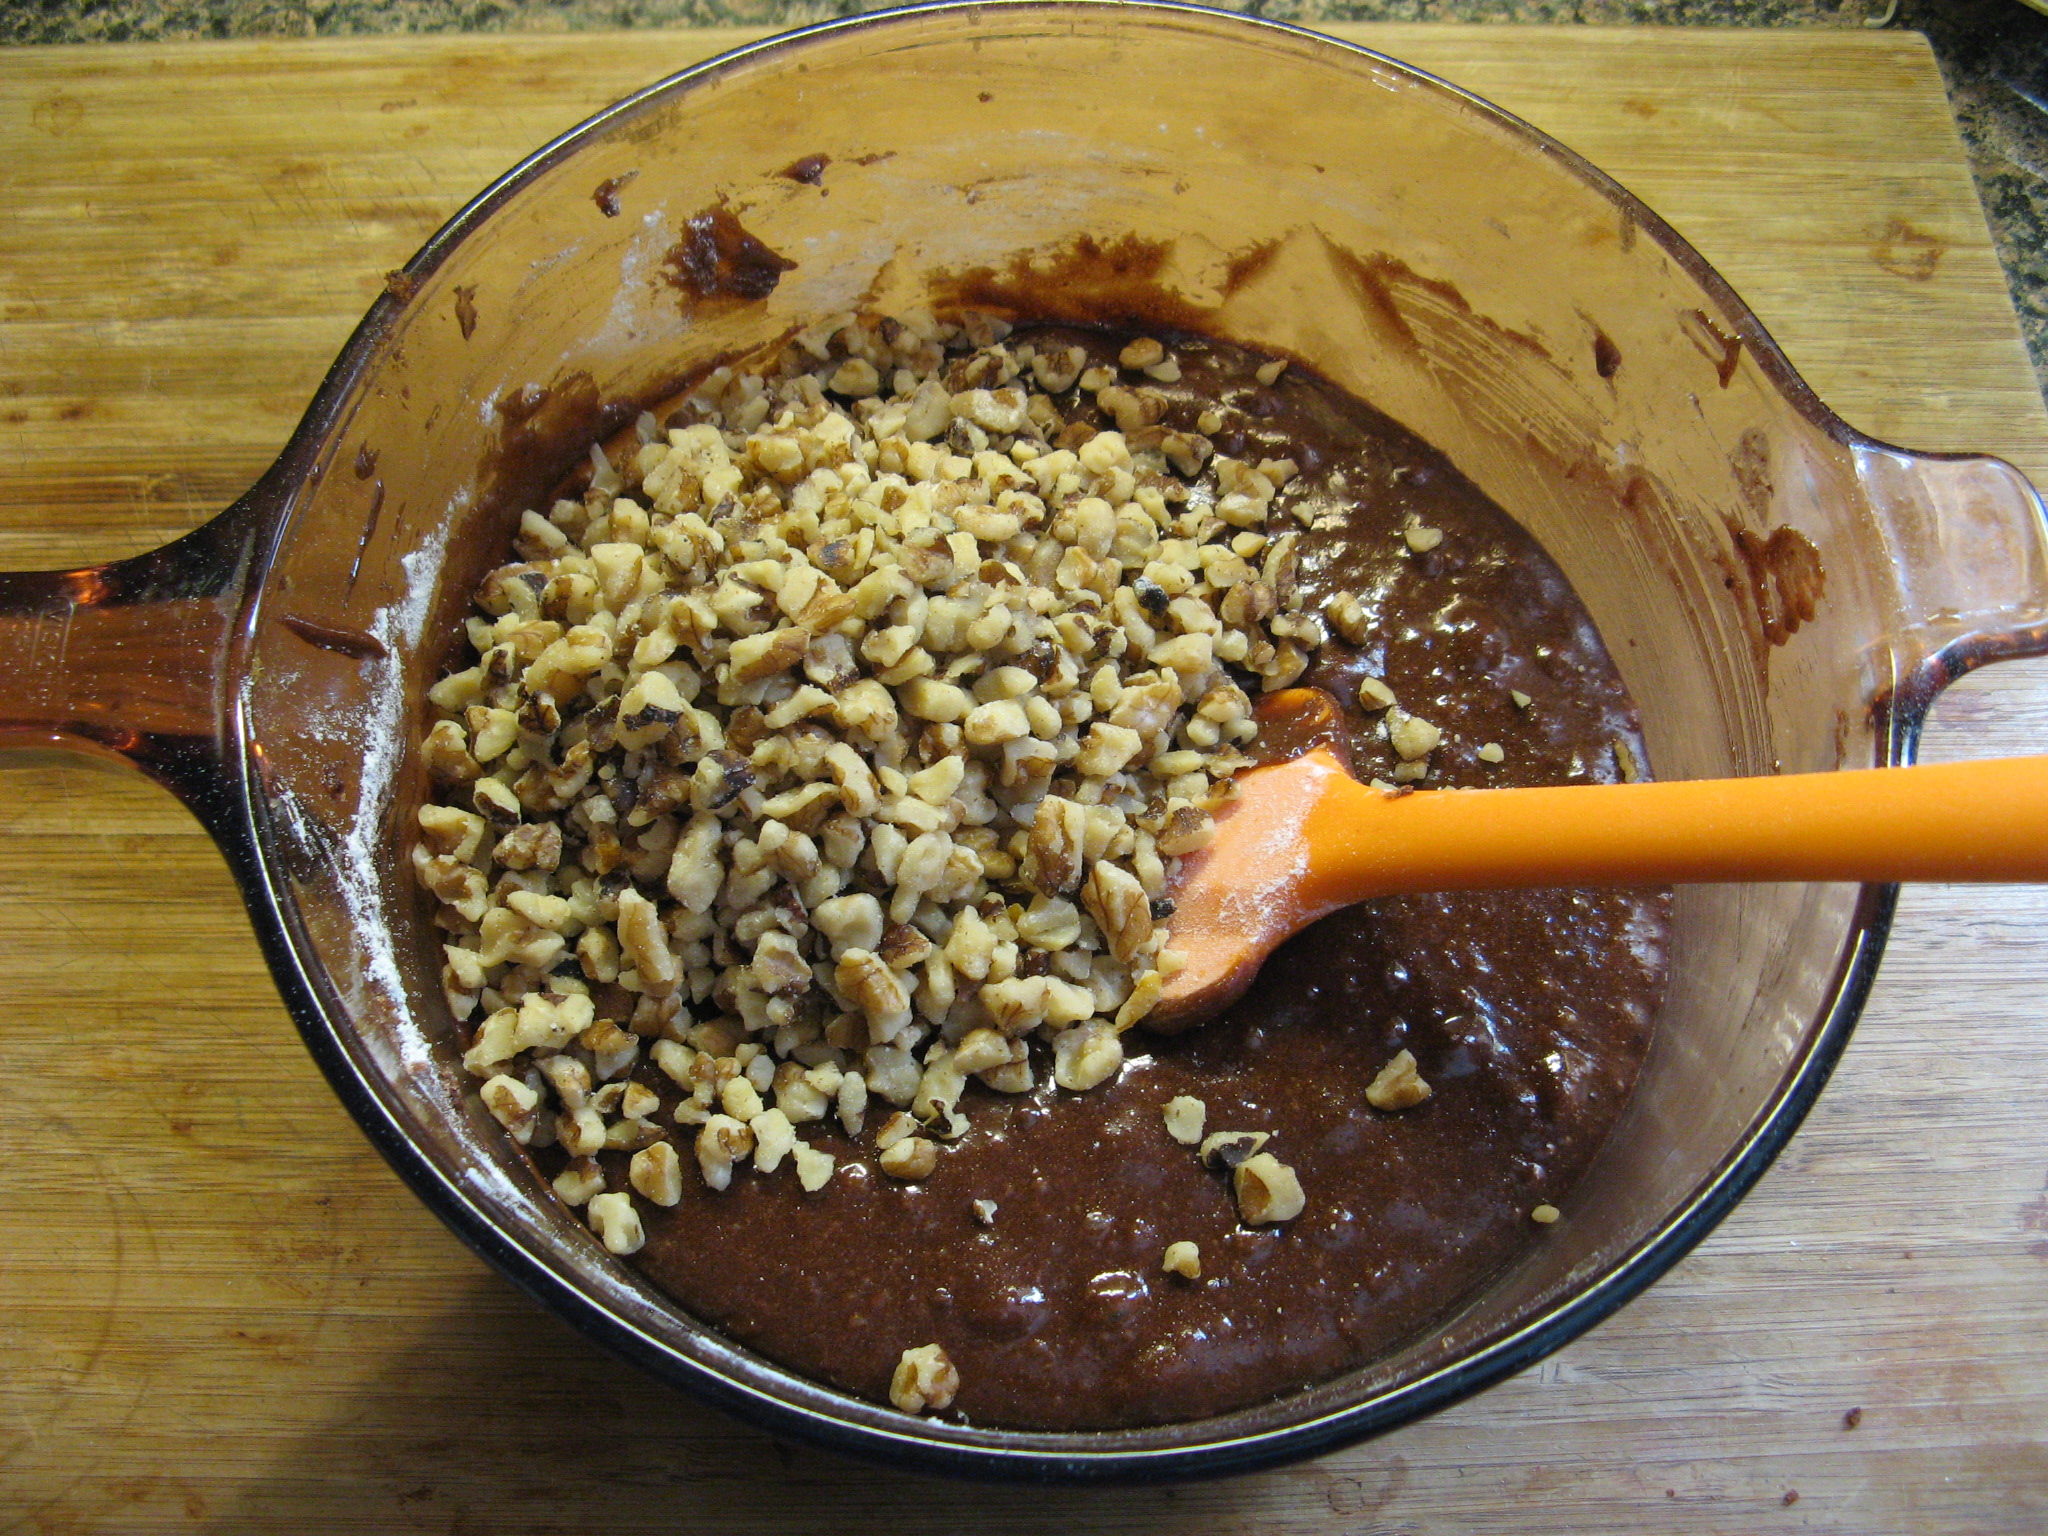
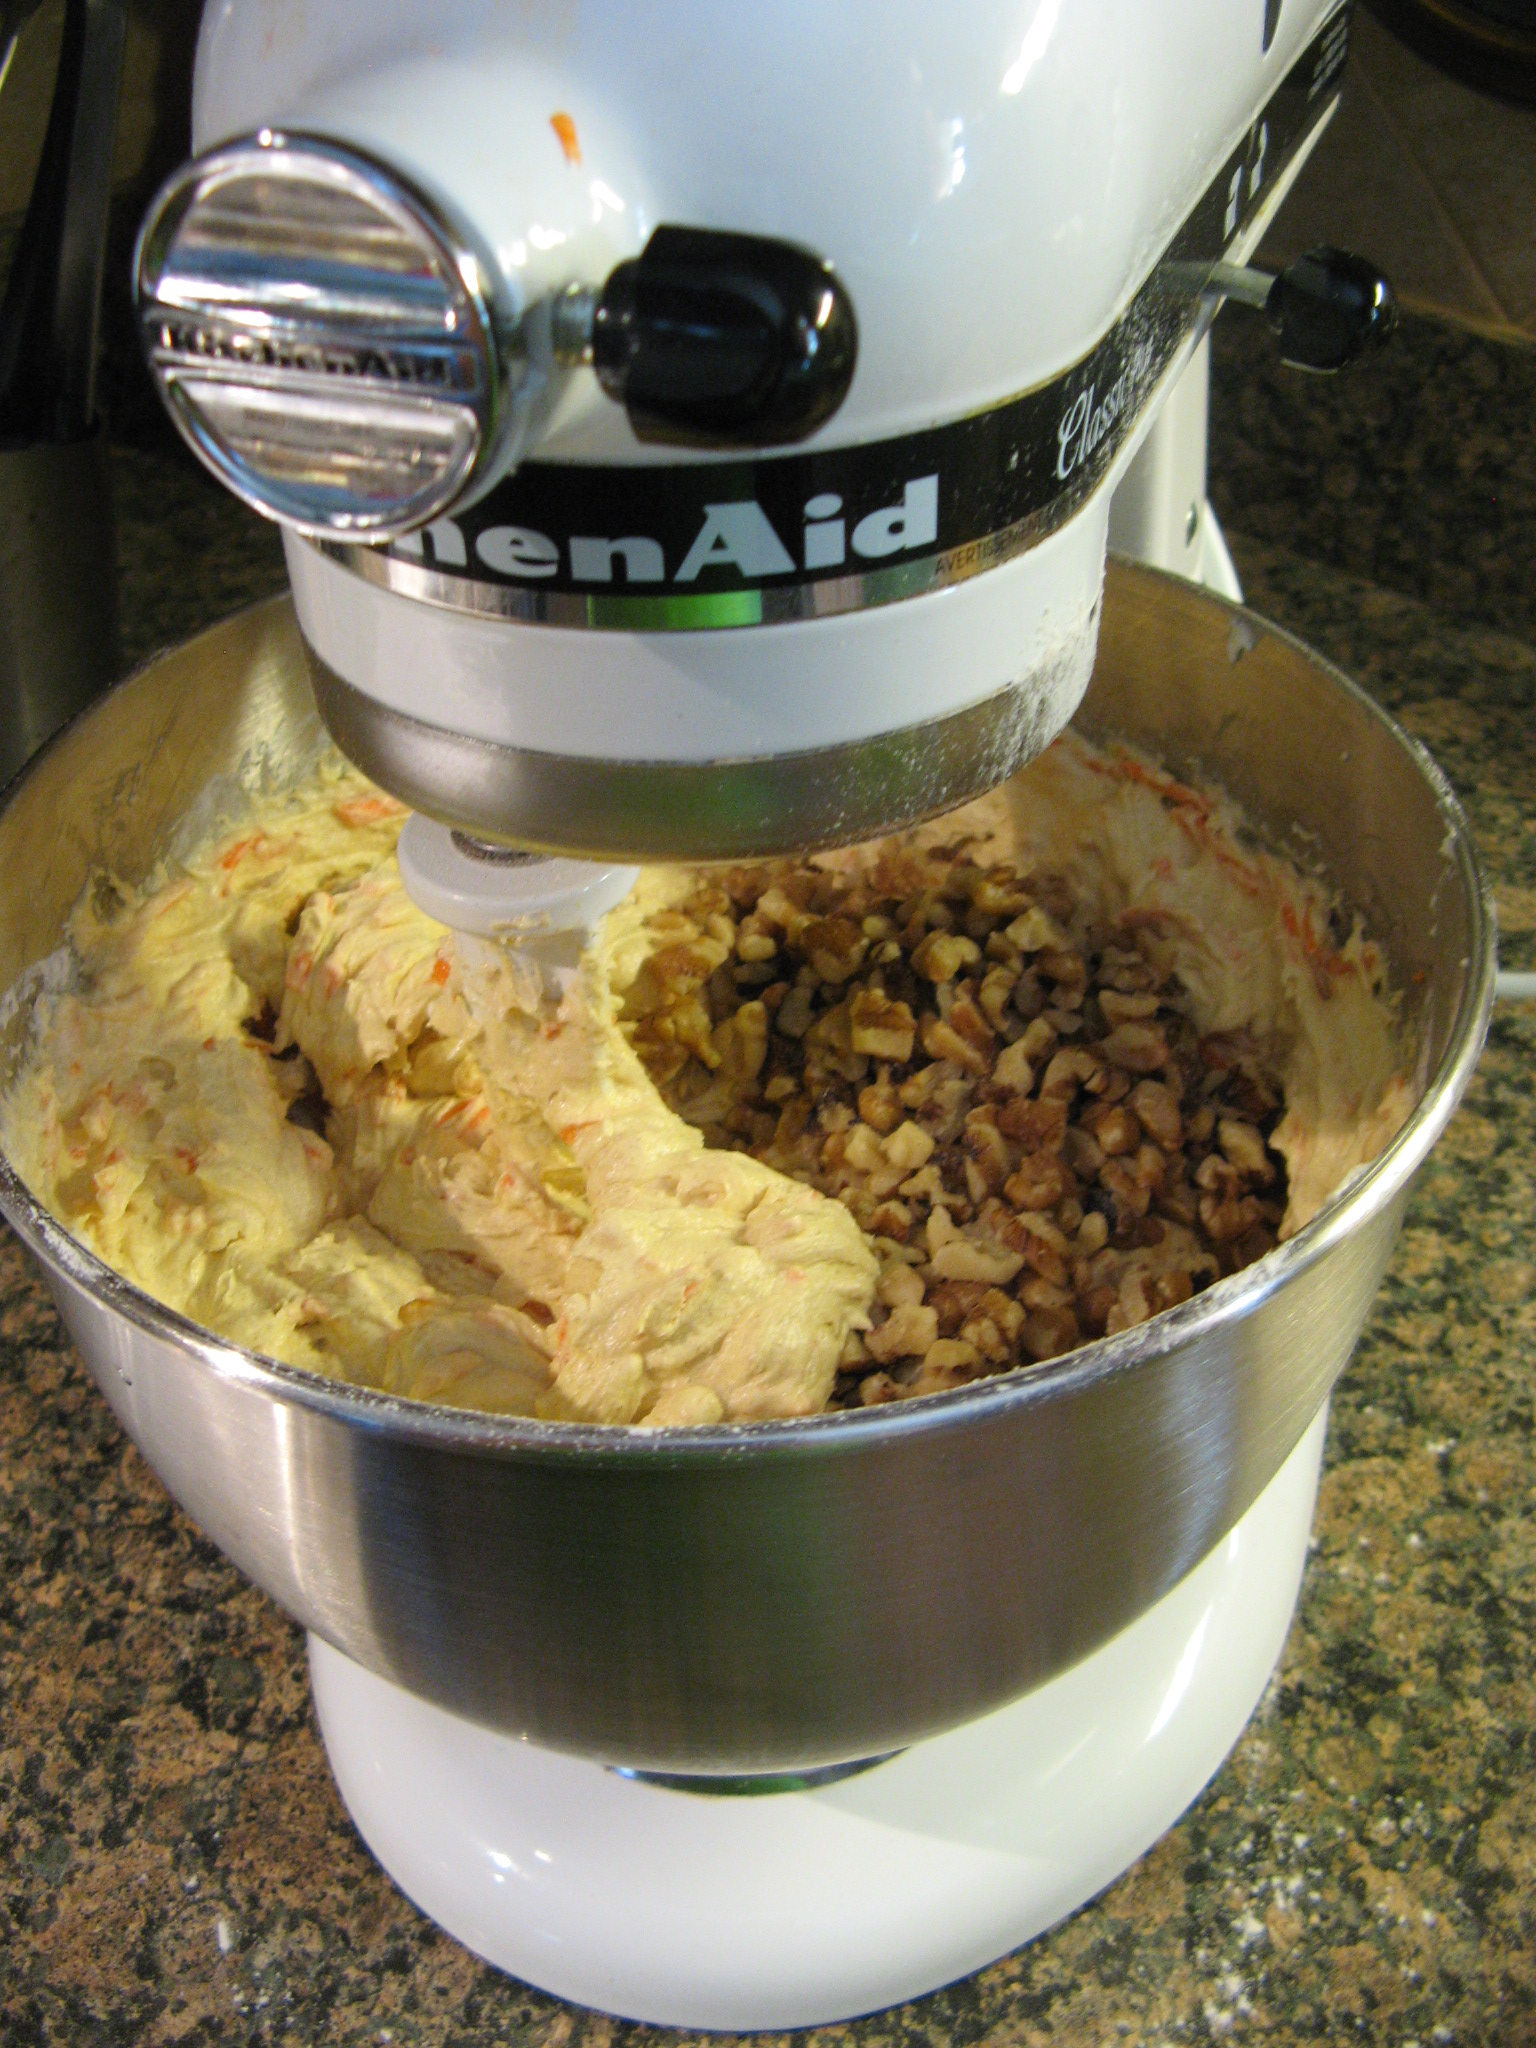
Finally, I added in the nuts. While the recipe calls for pecans I have always used walnuts. And I actually didn’t mix in the walnuts with the mixer but instead folded them in by hand with a spatula.

IMG_9894

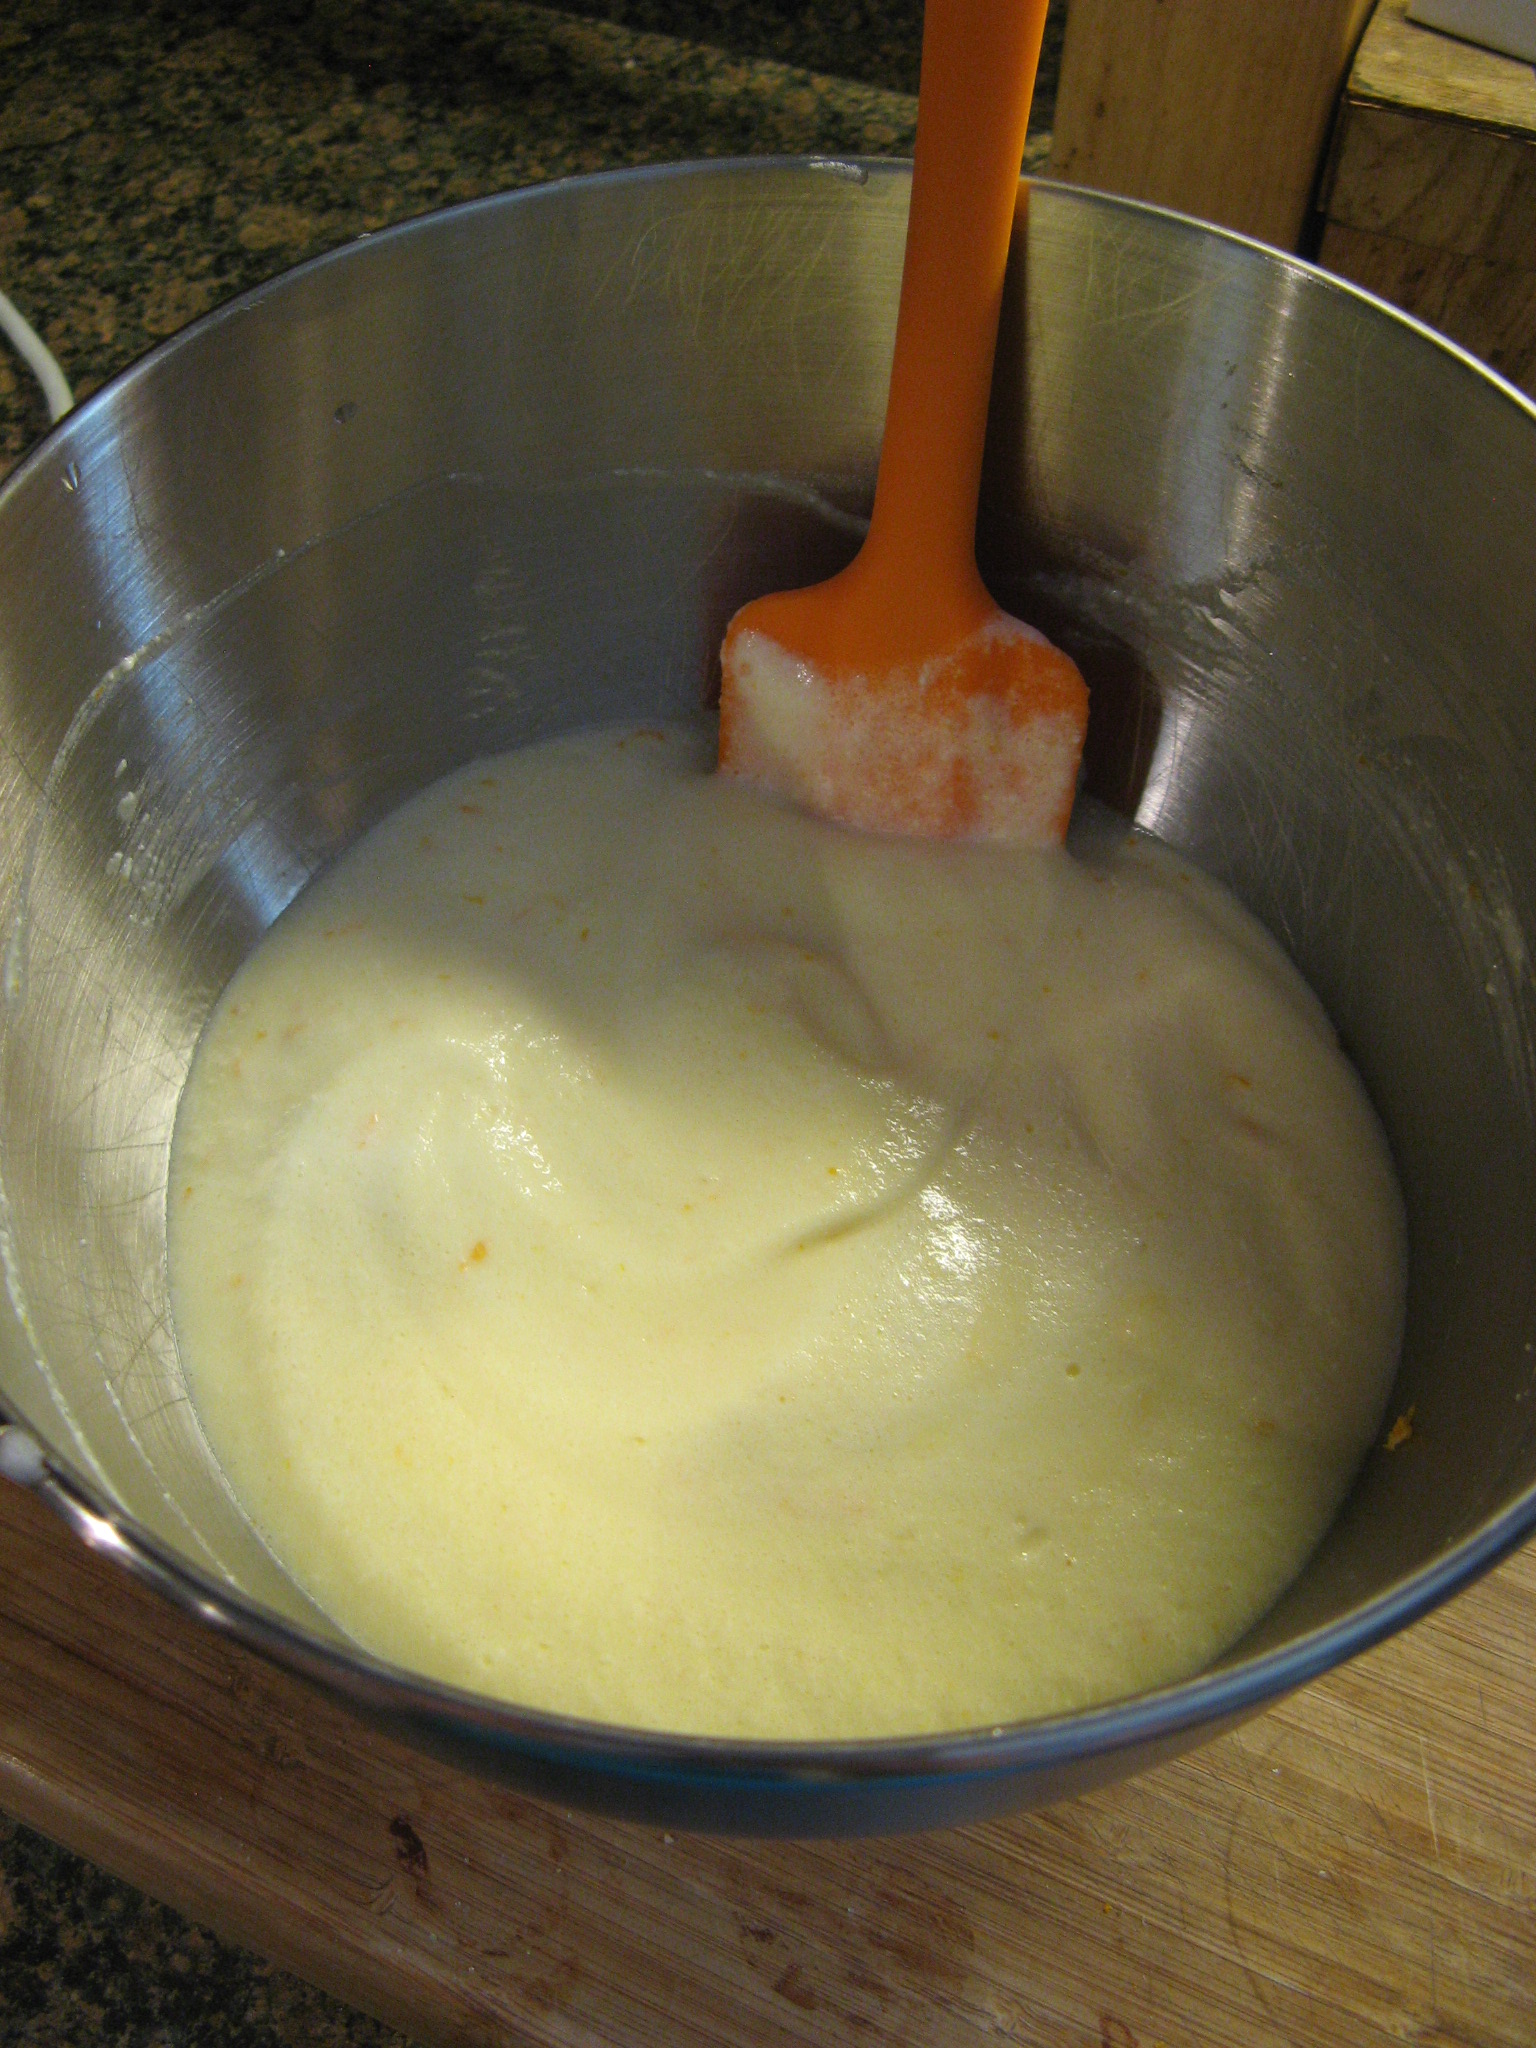
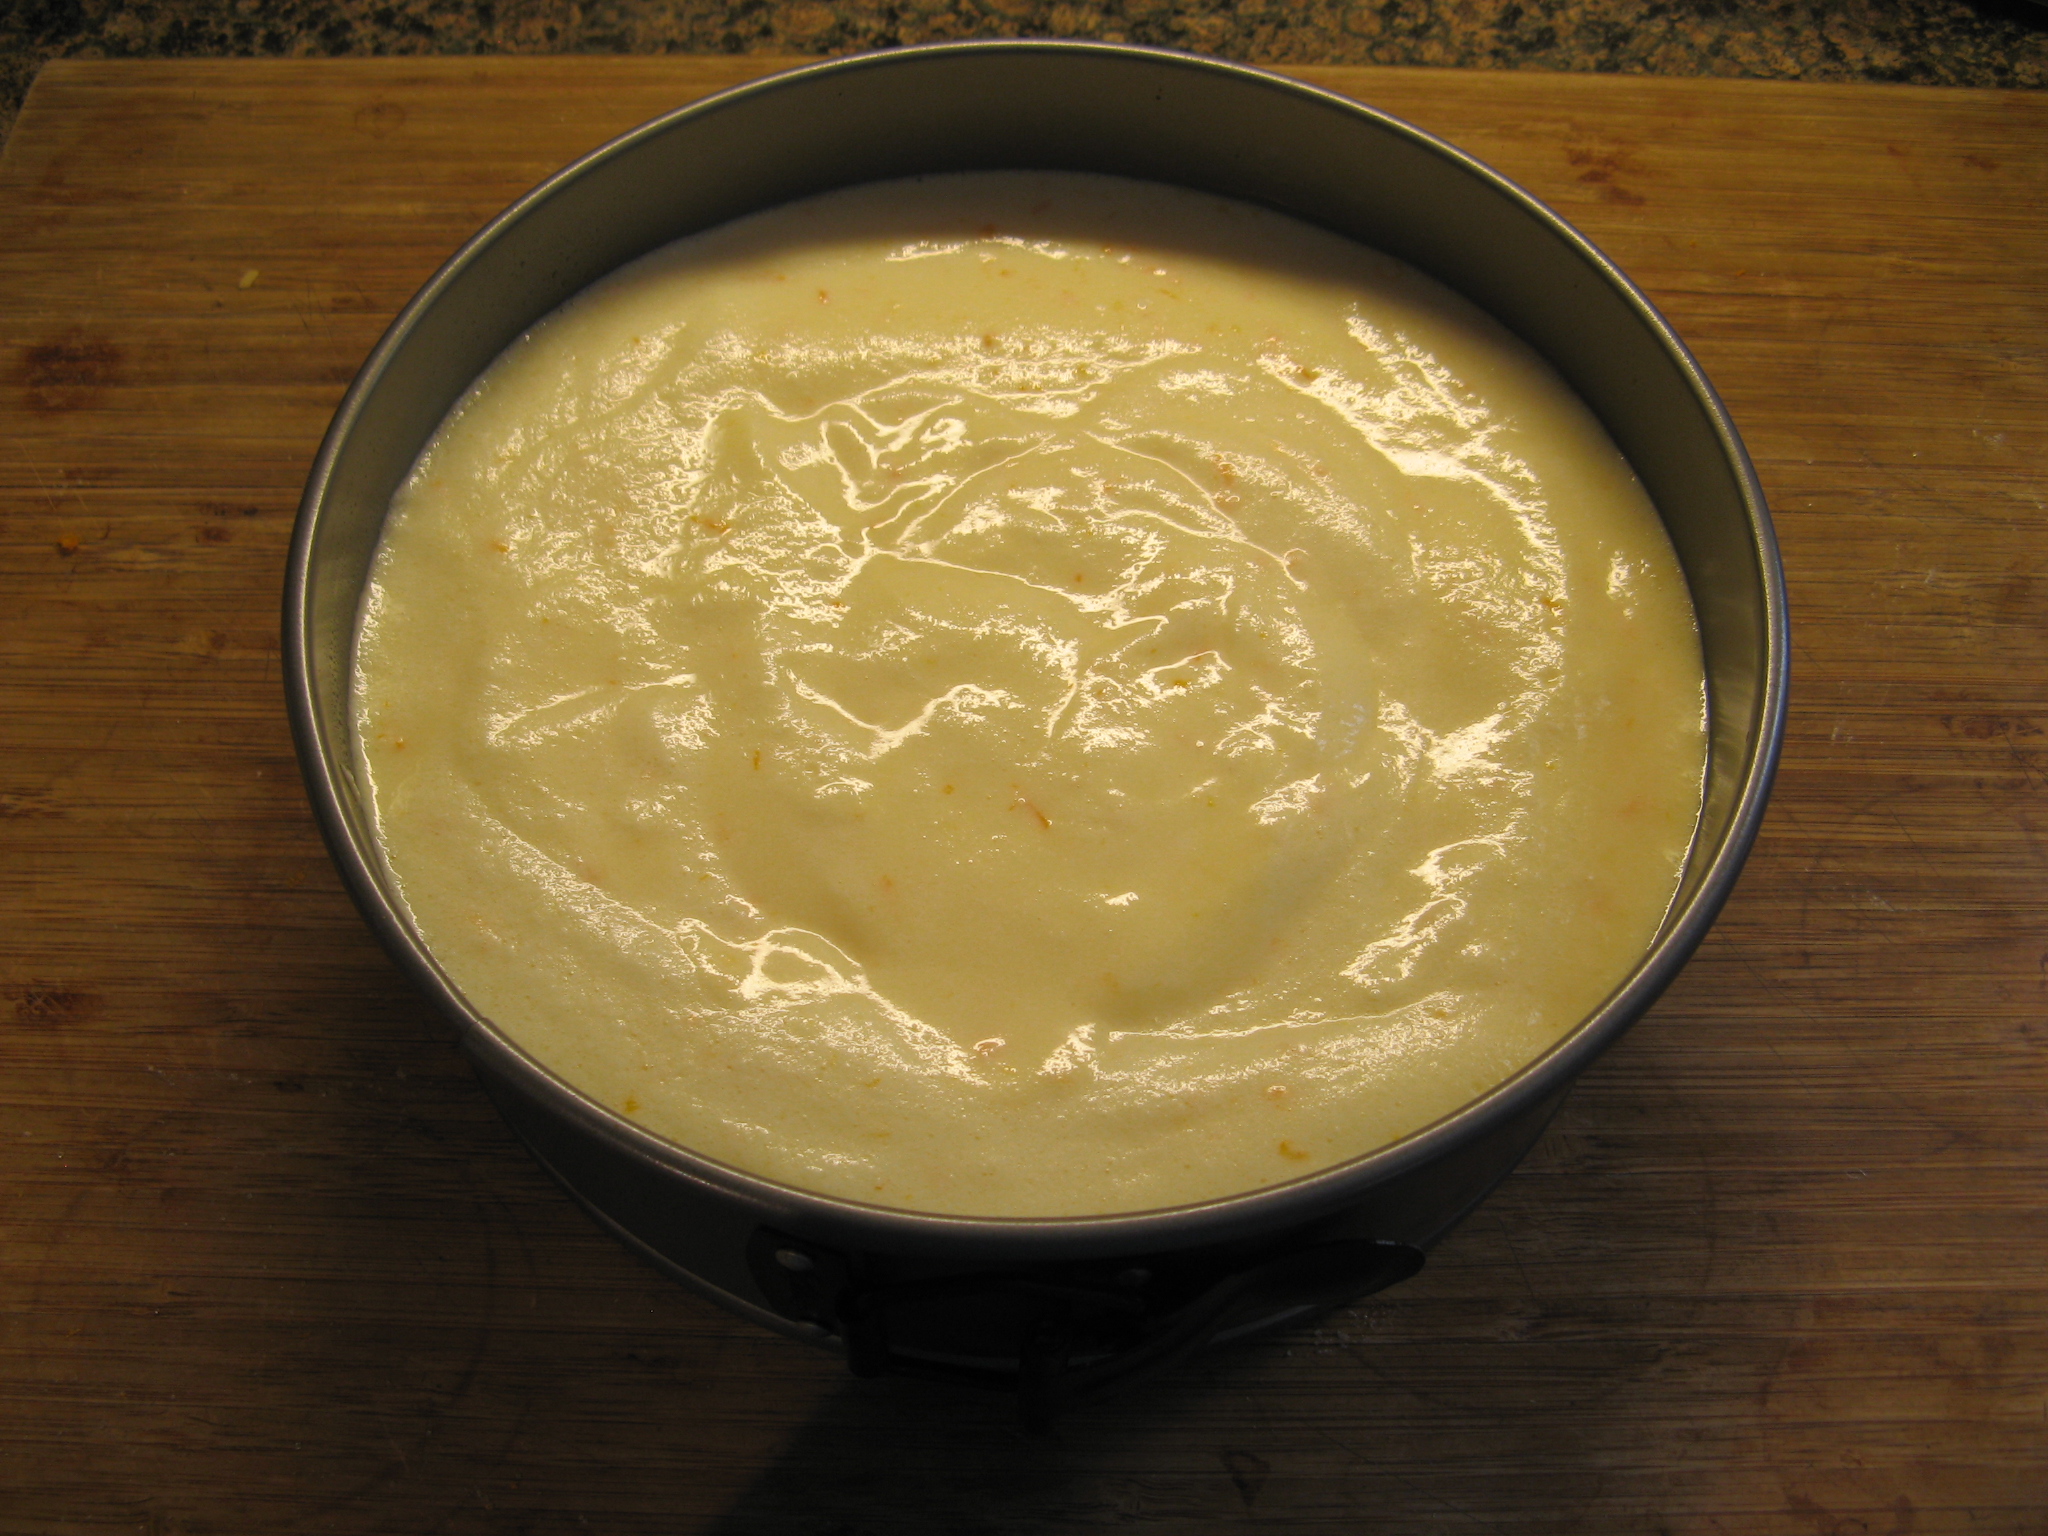
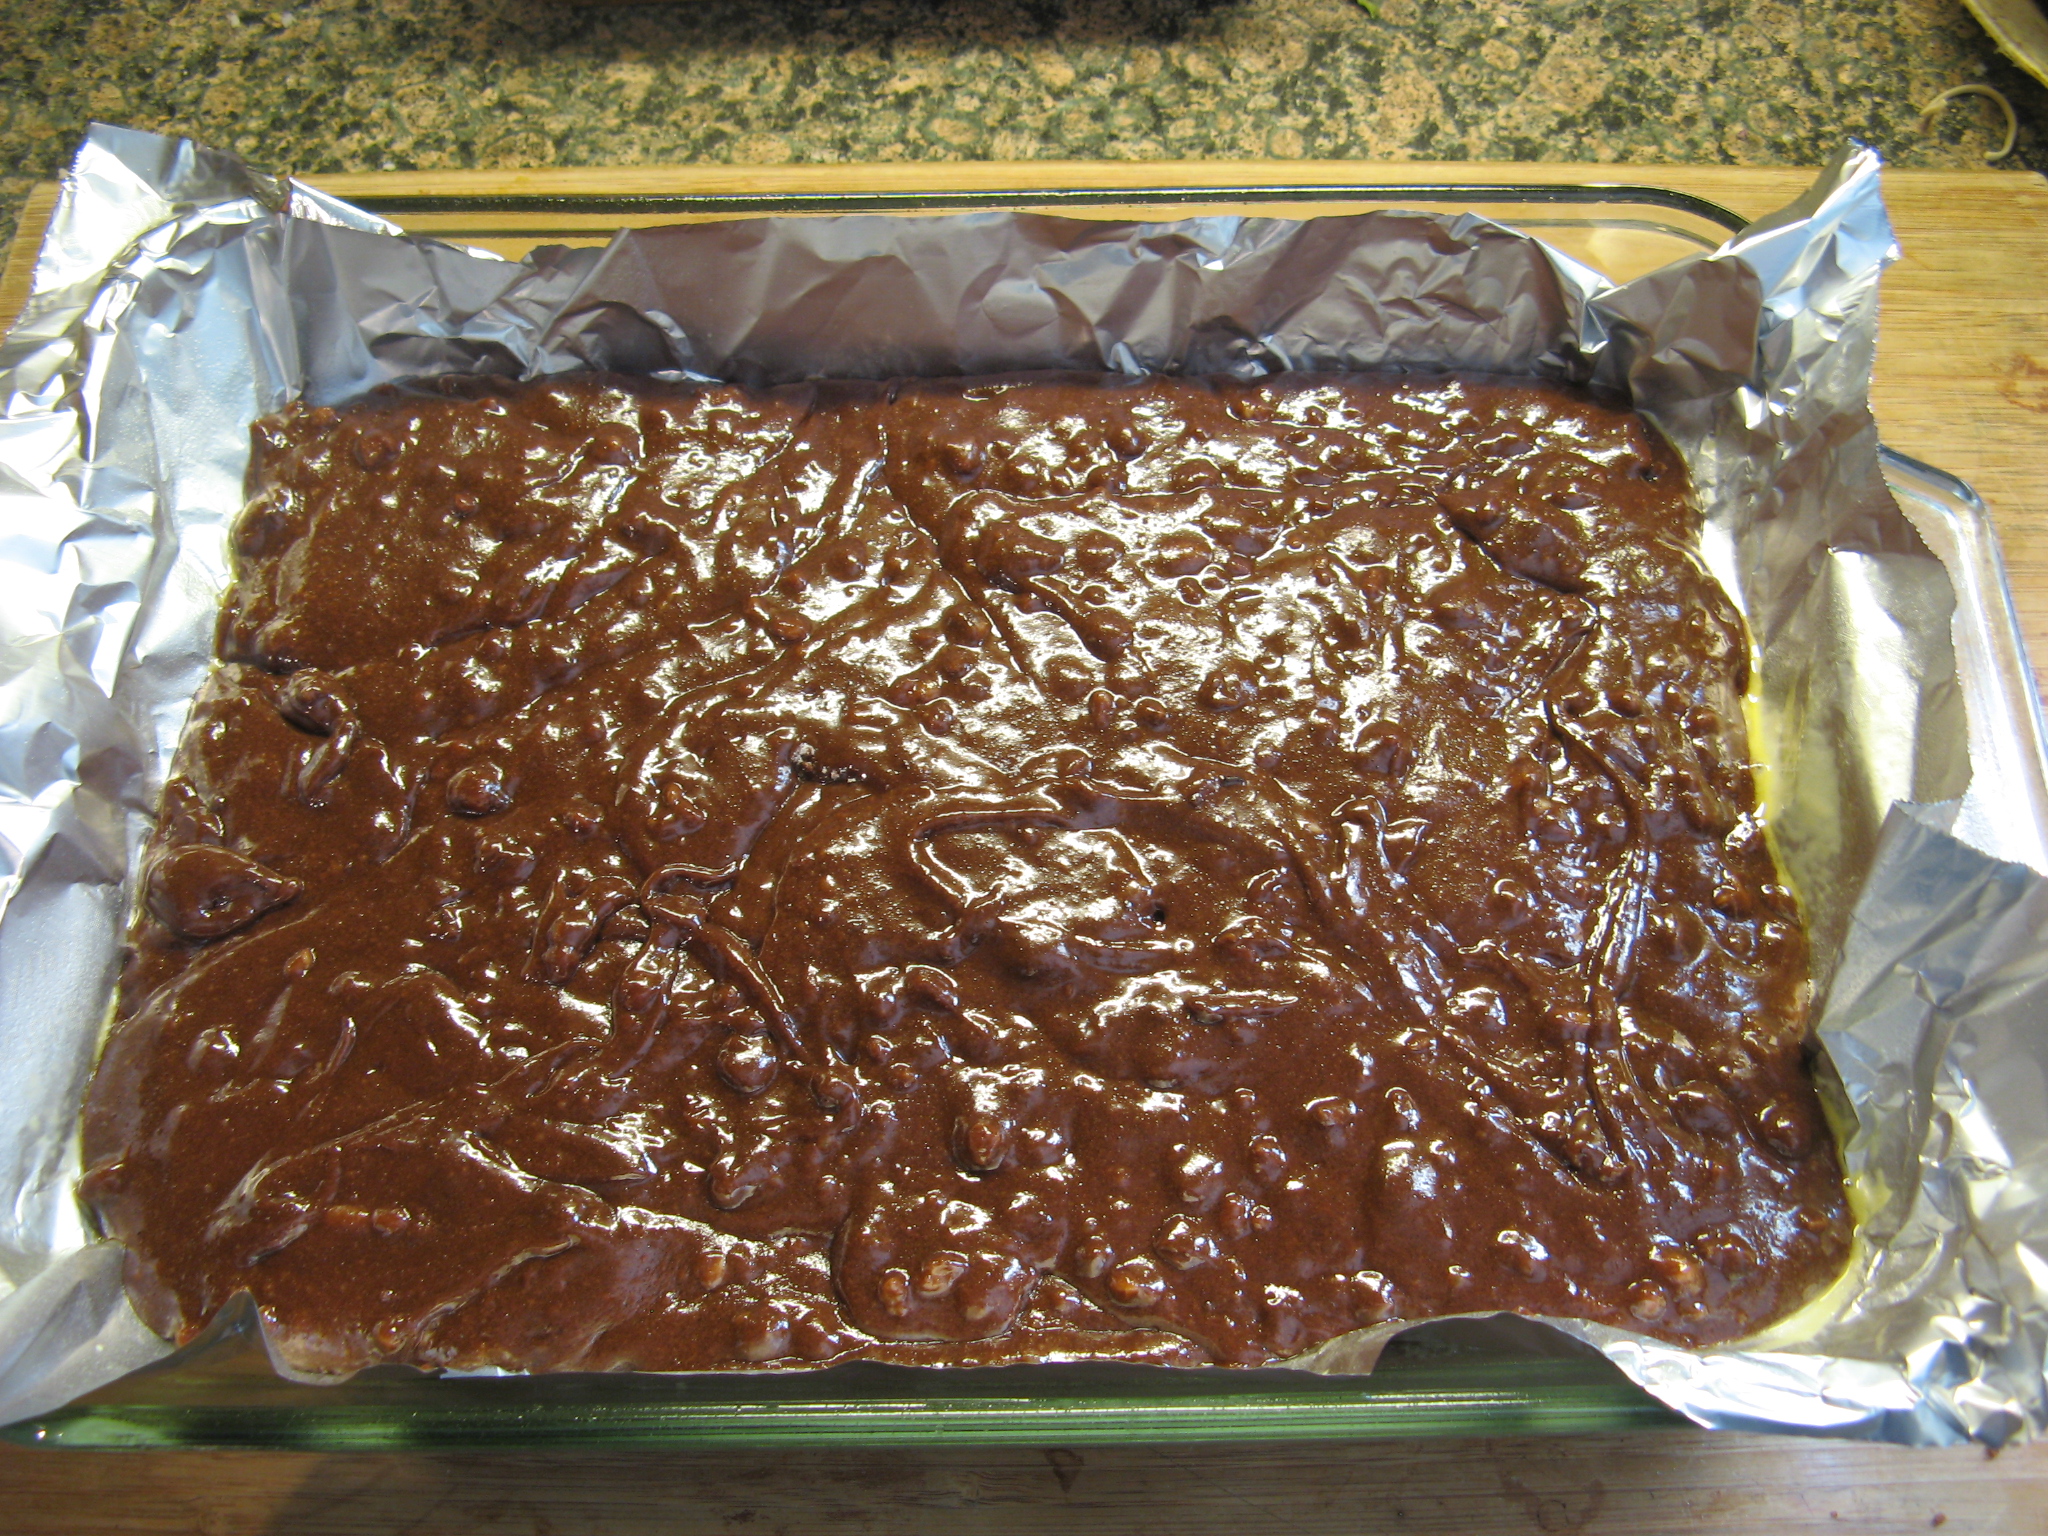
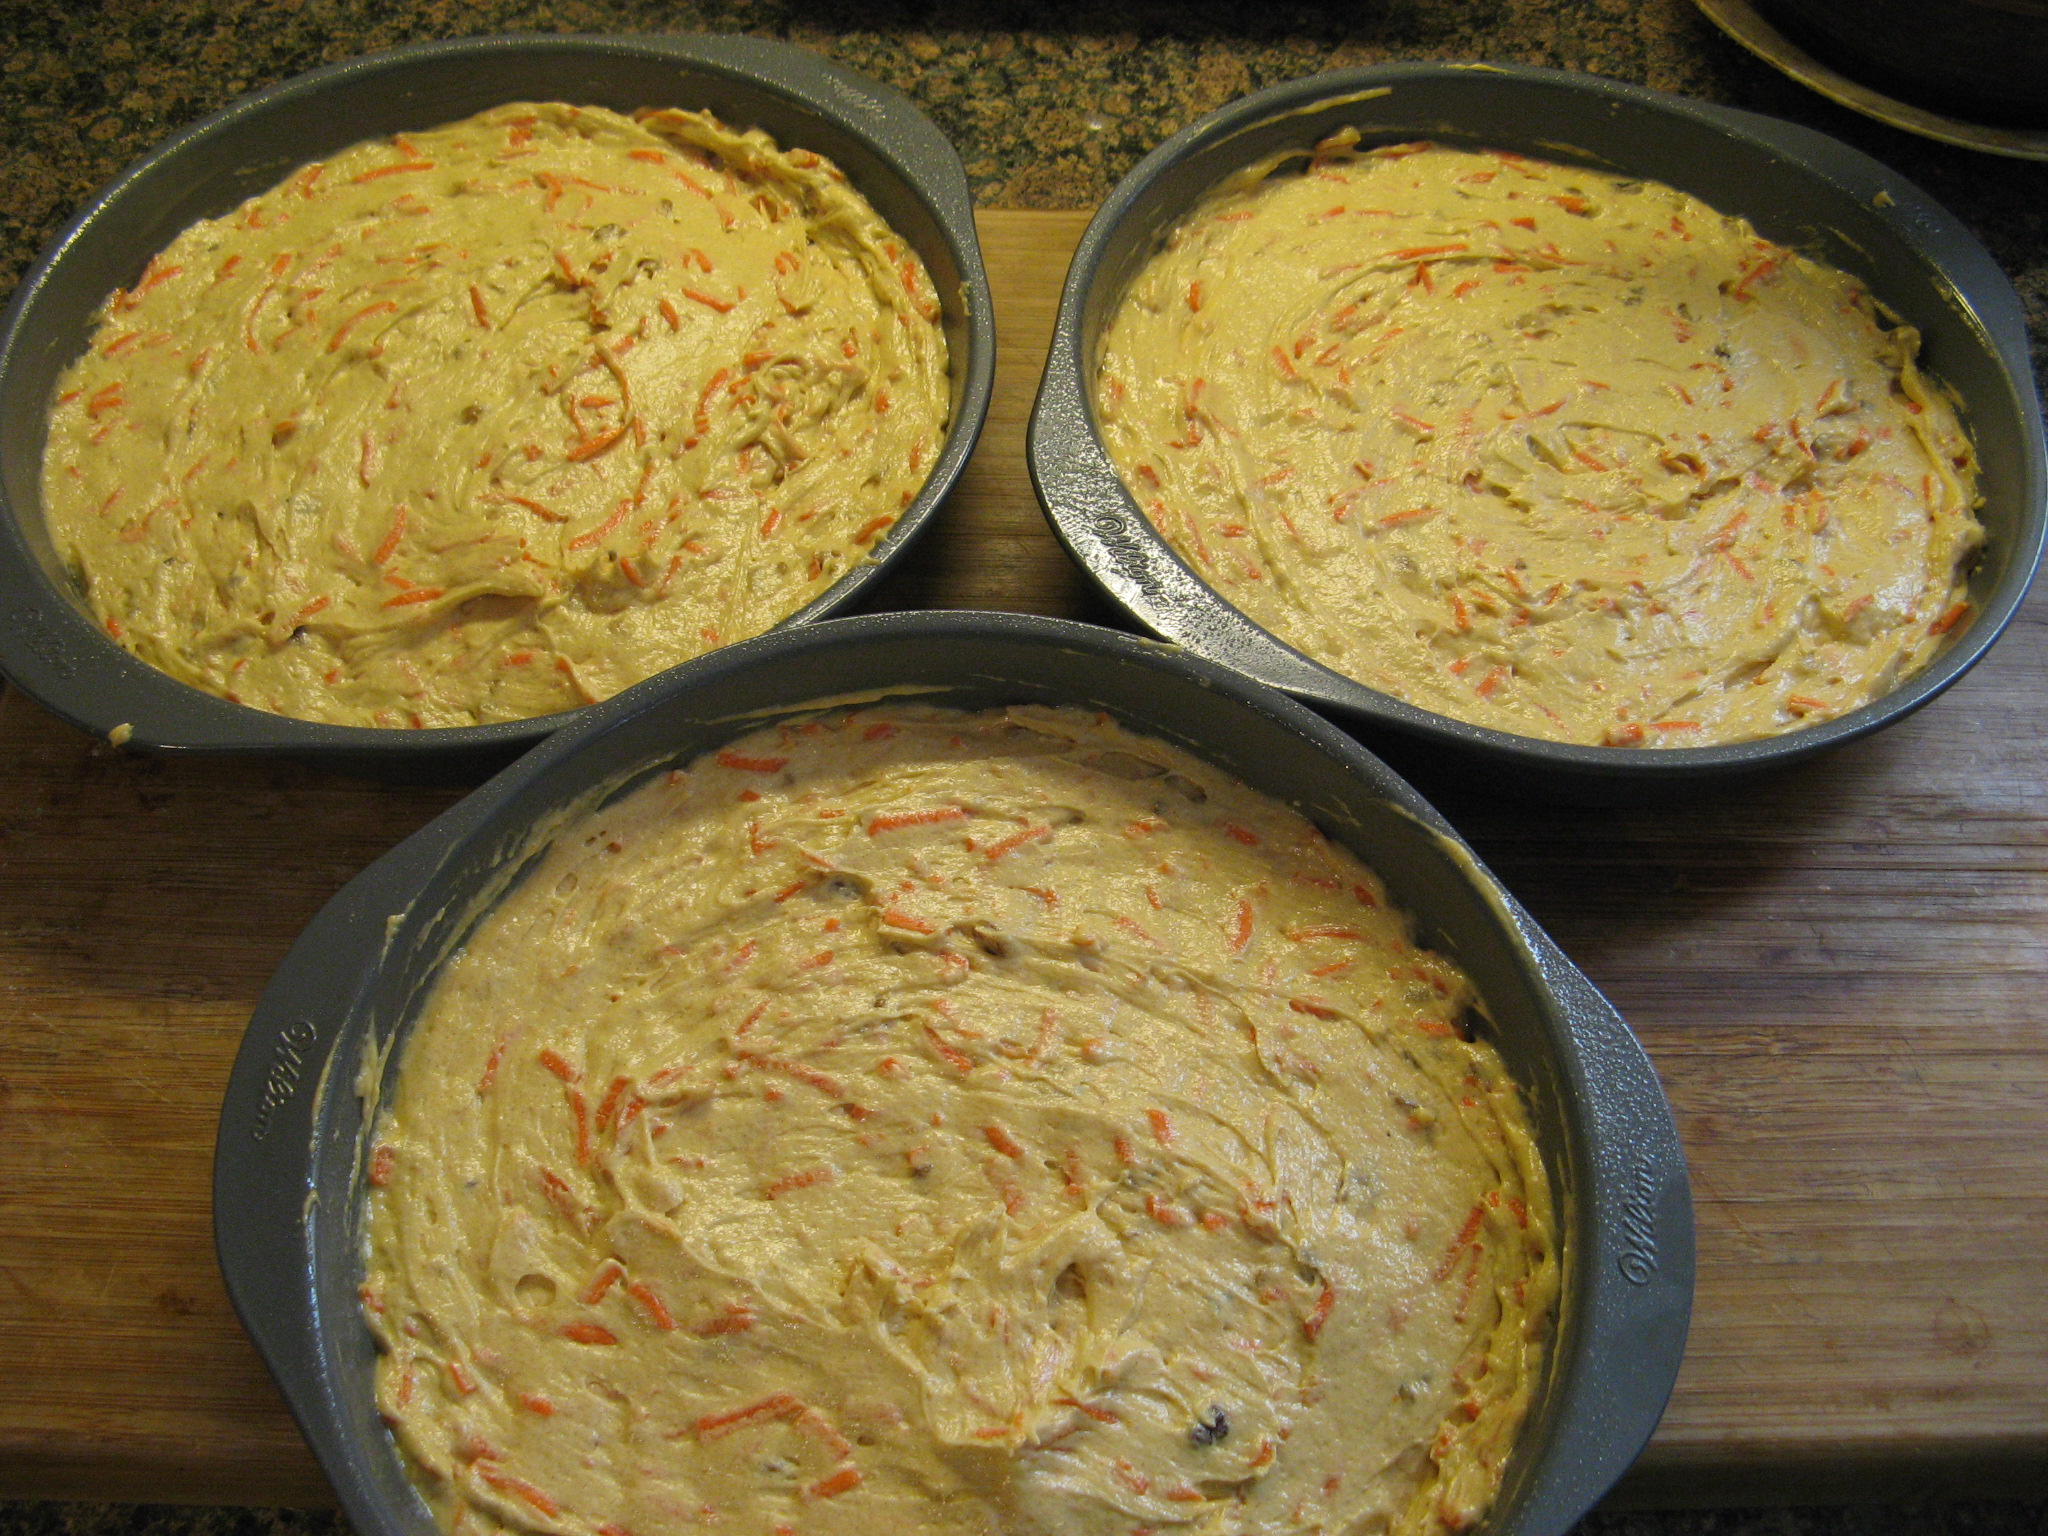
And here’s what my batter ultimately looked like.

IMG_9896

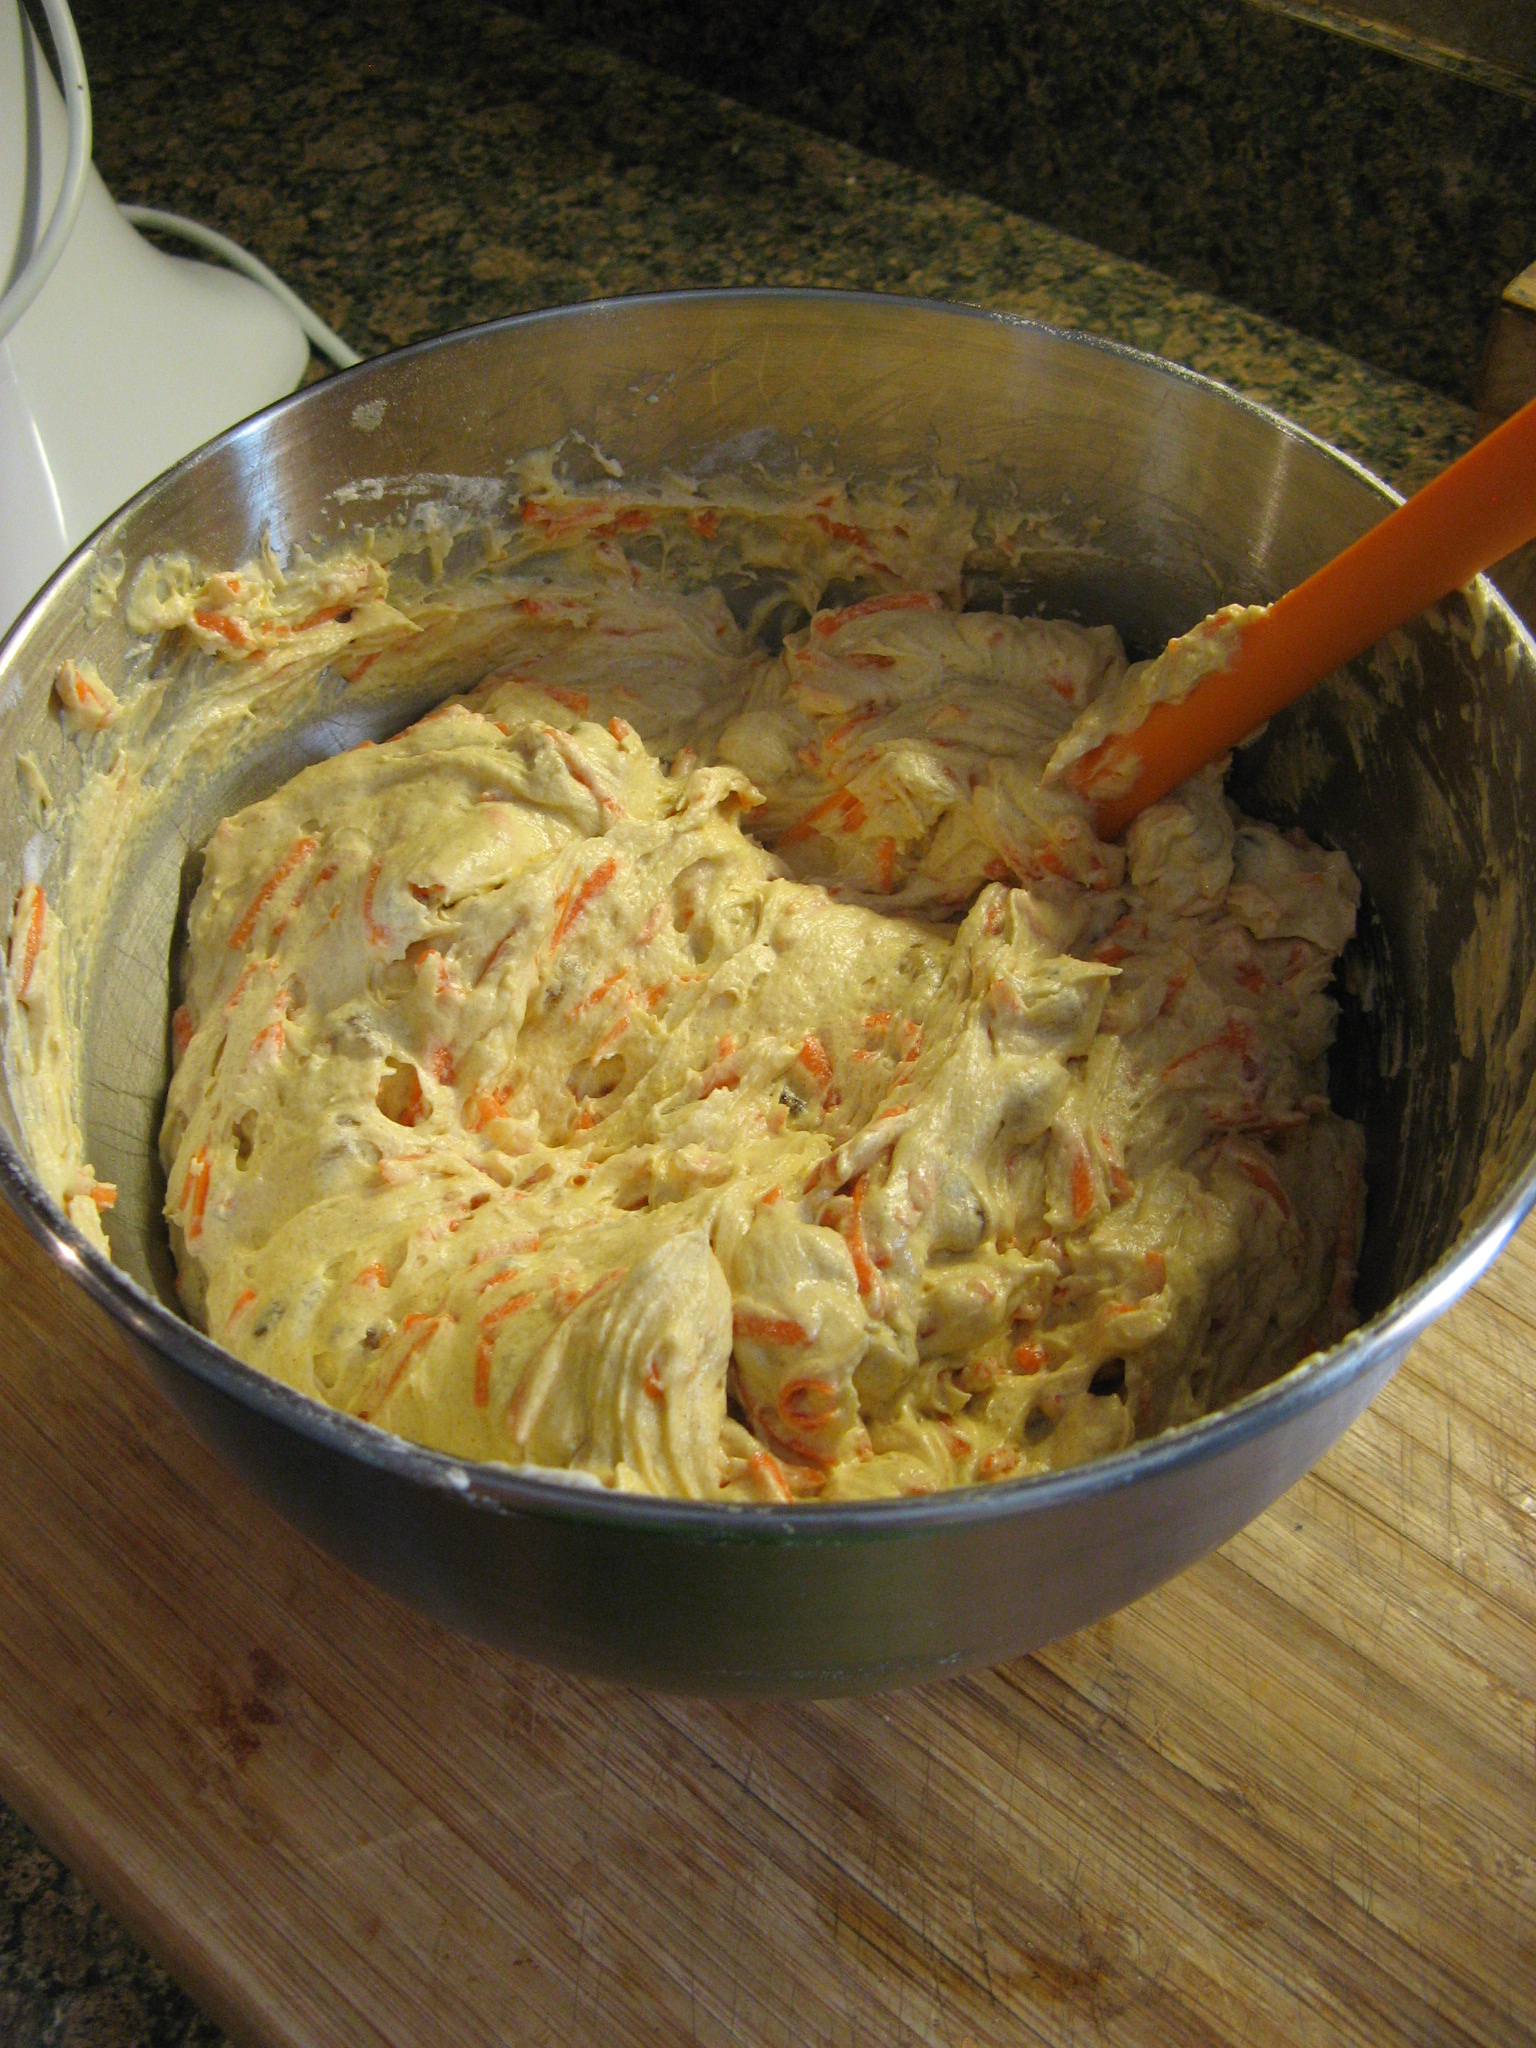
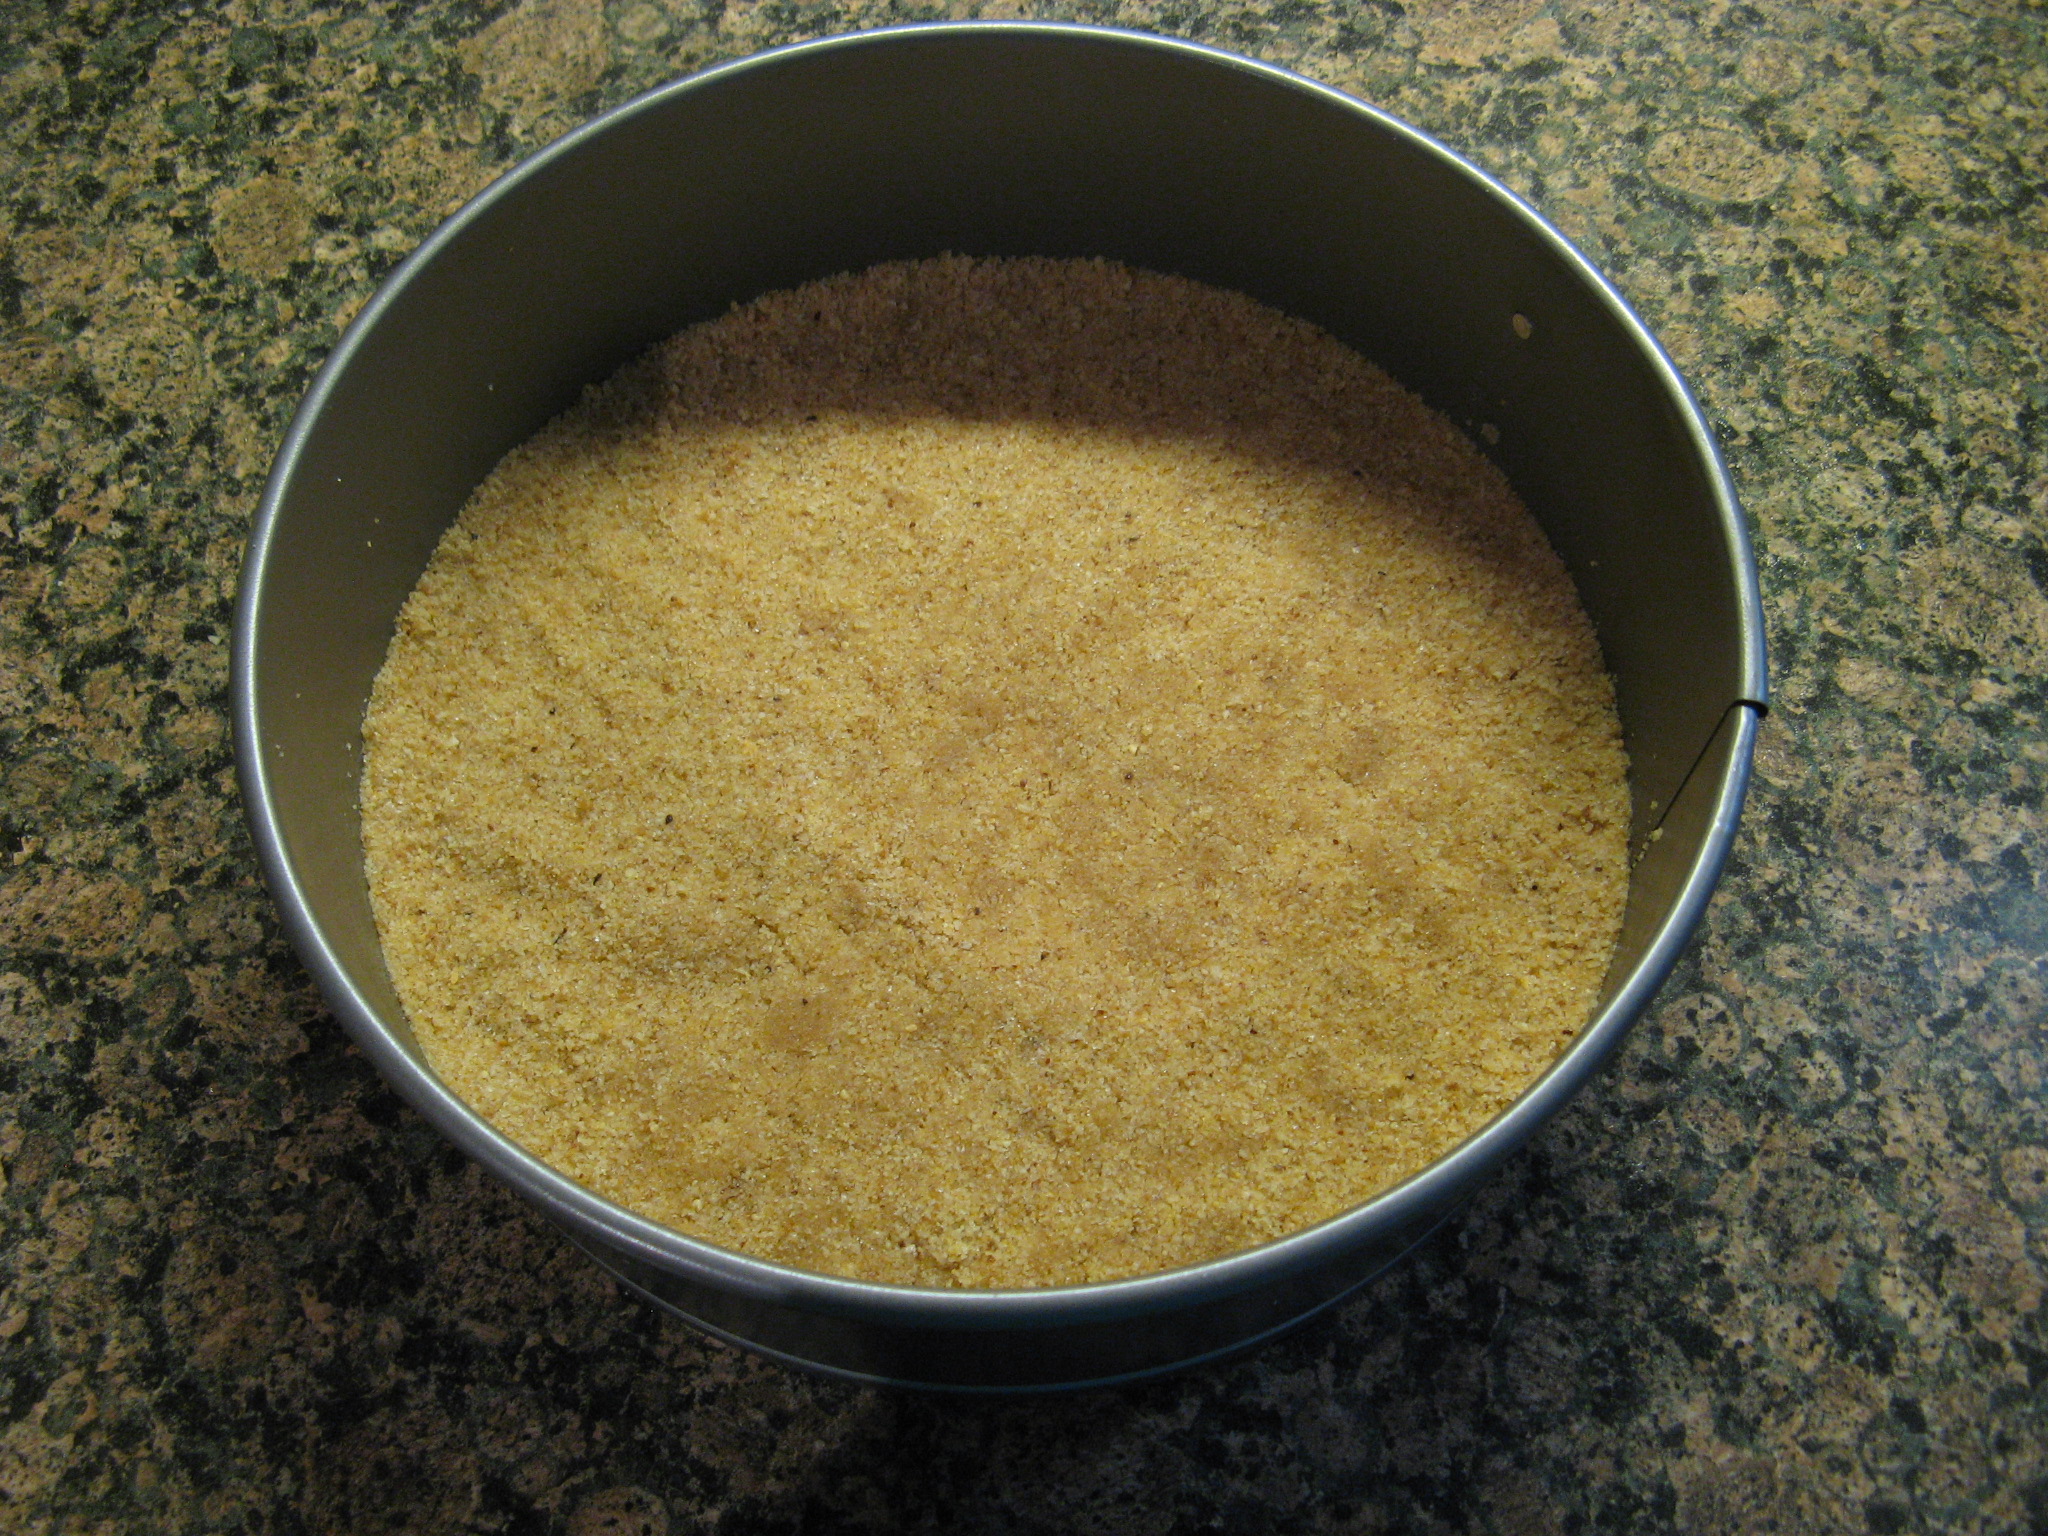
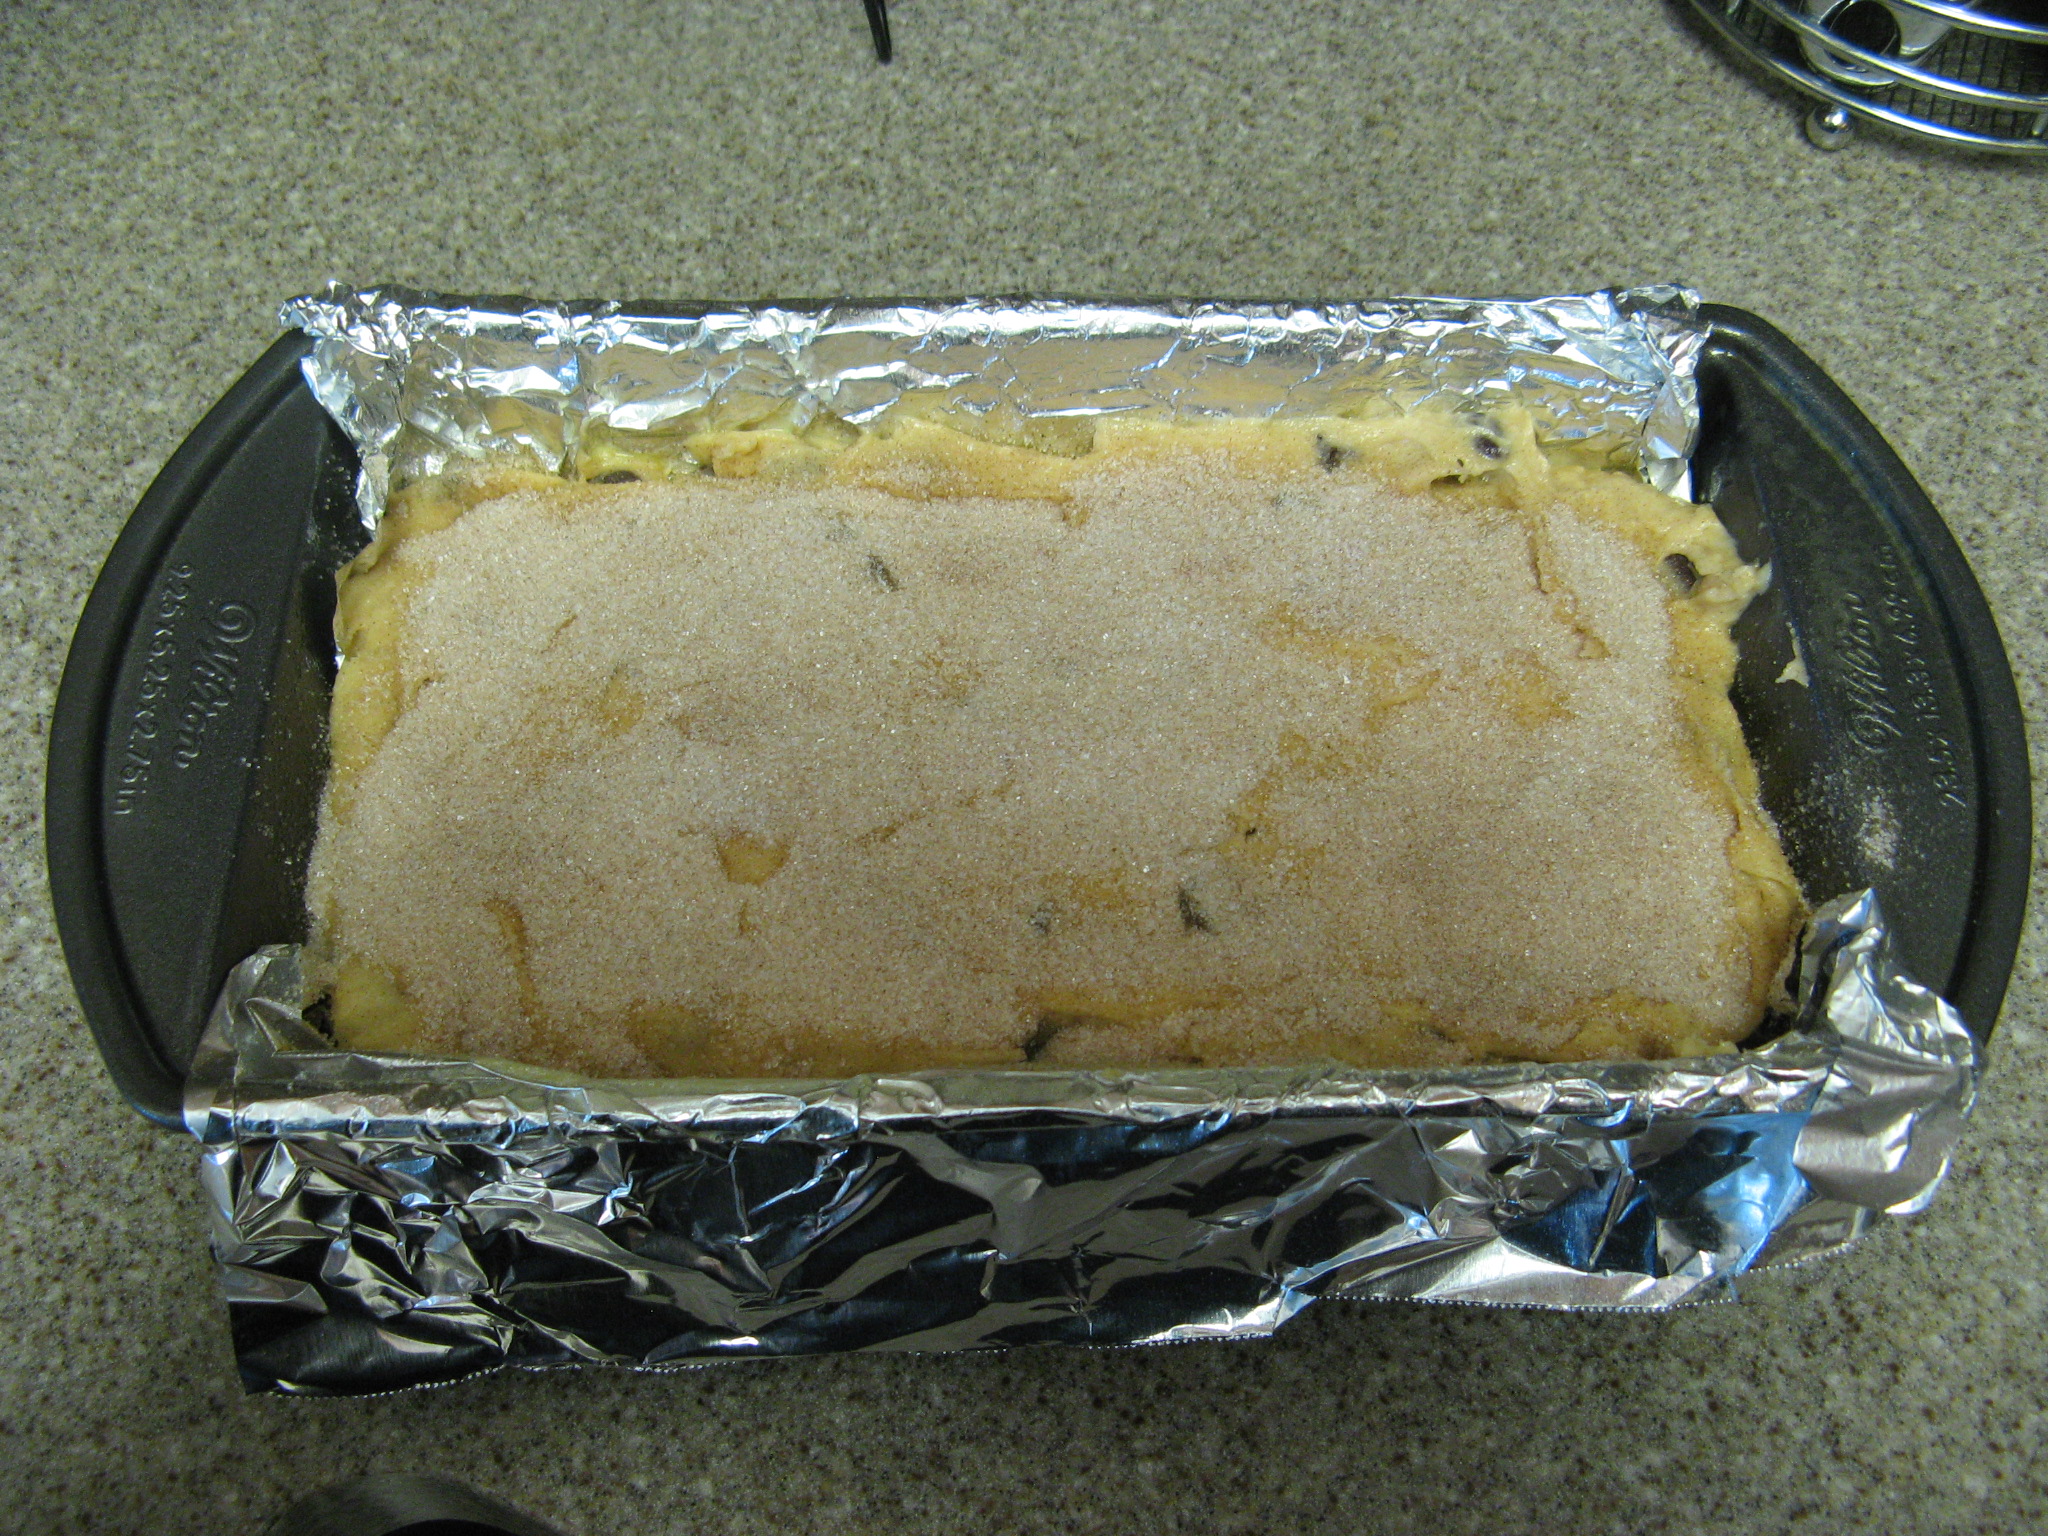
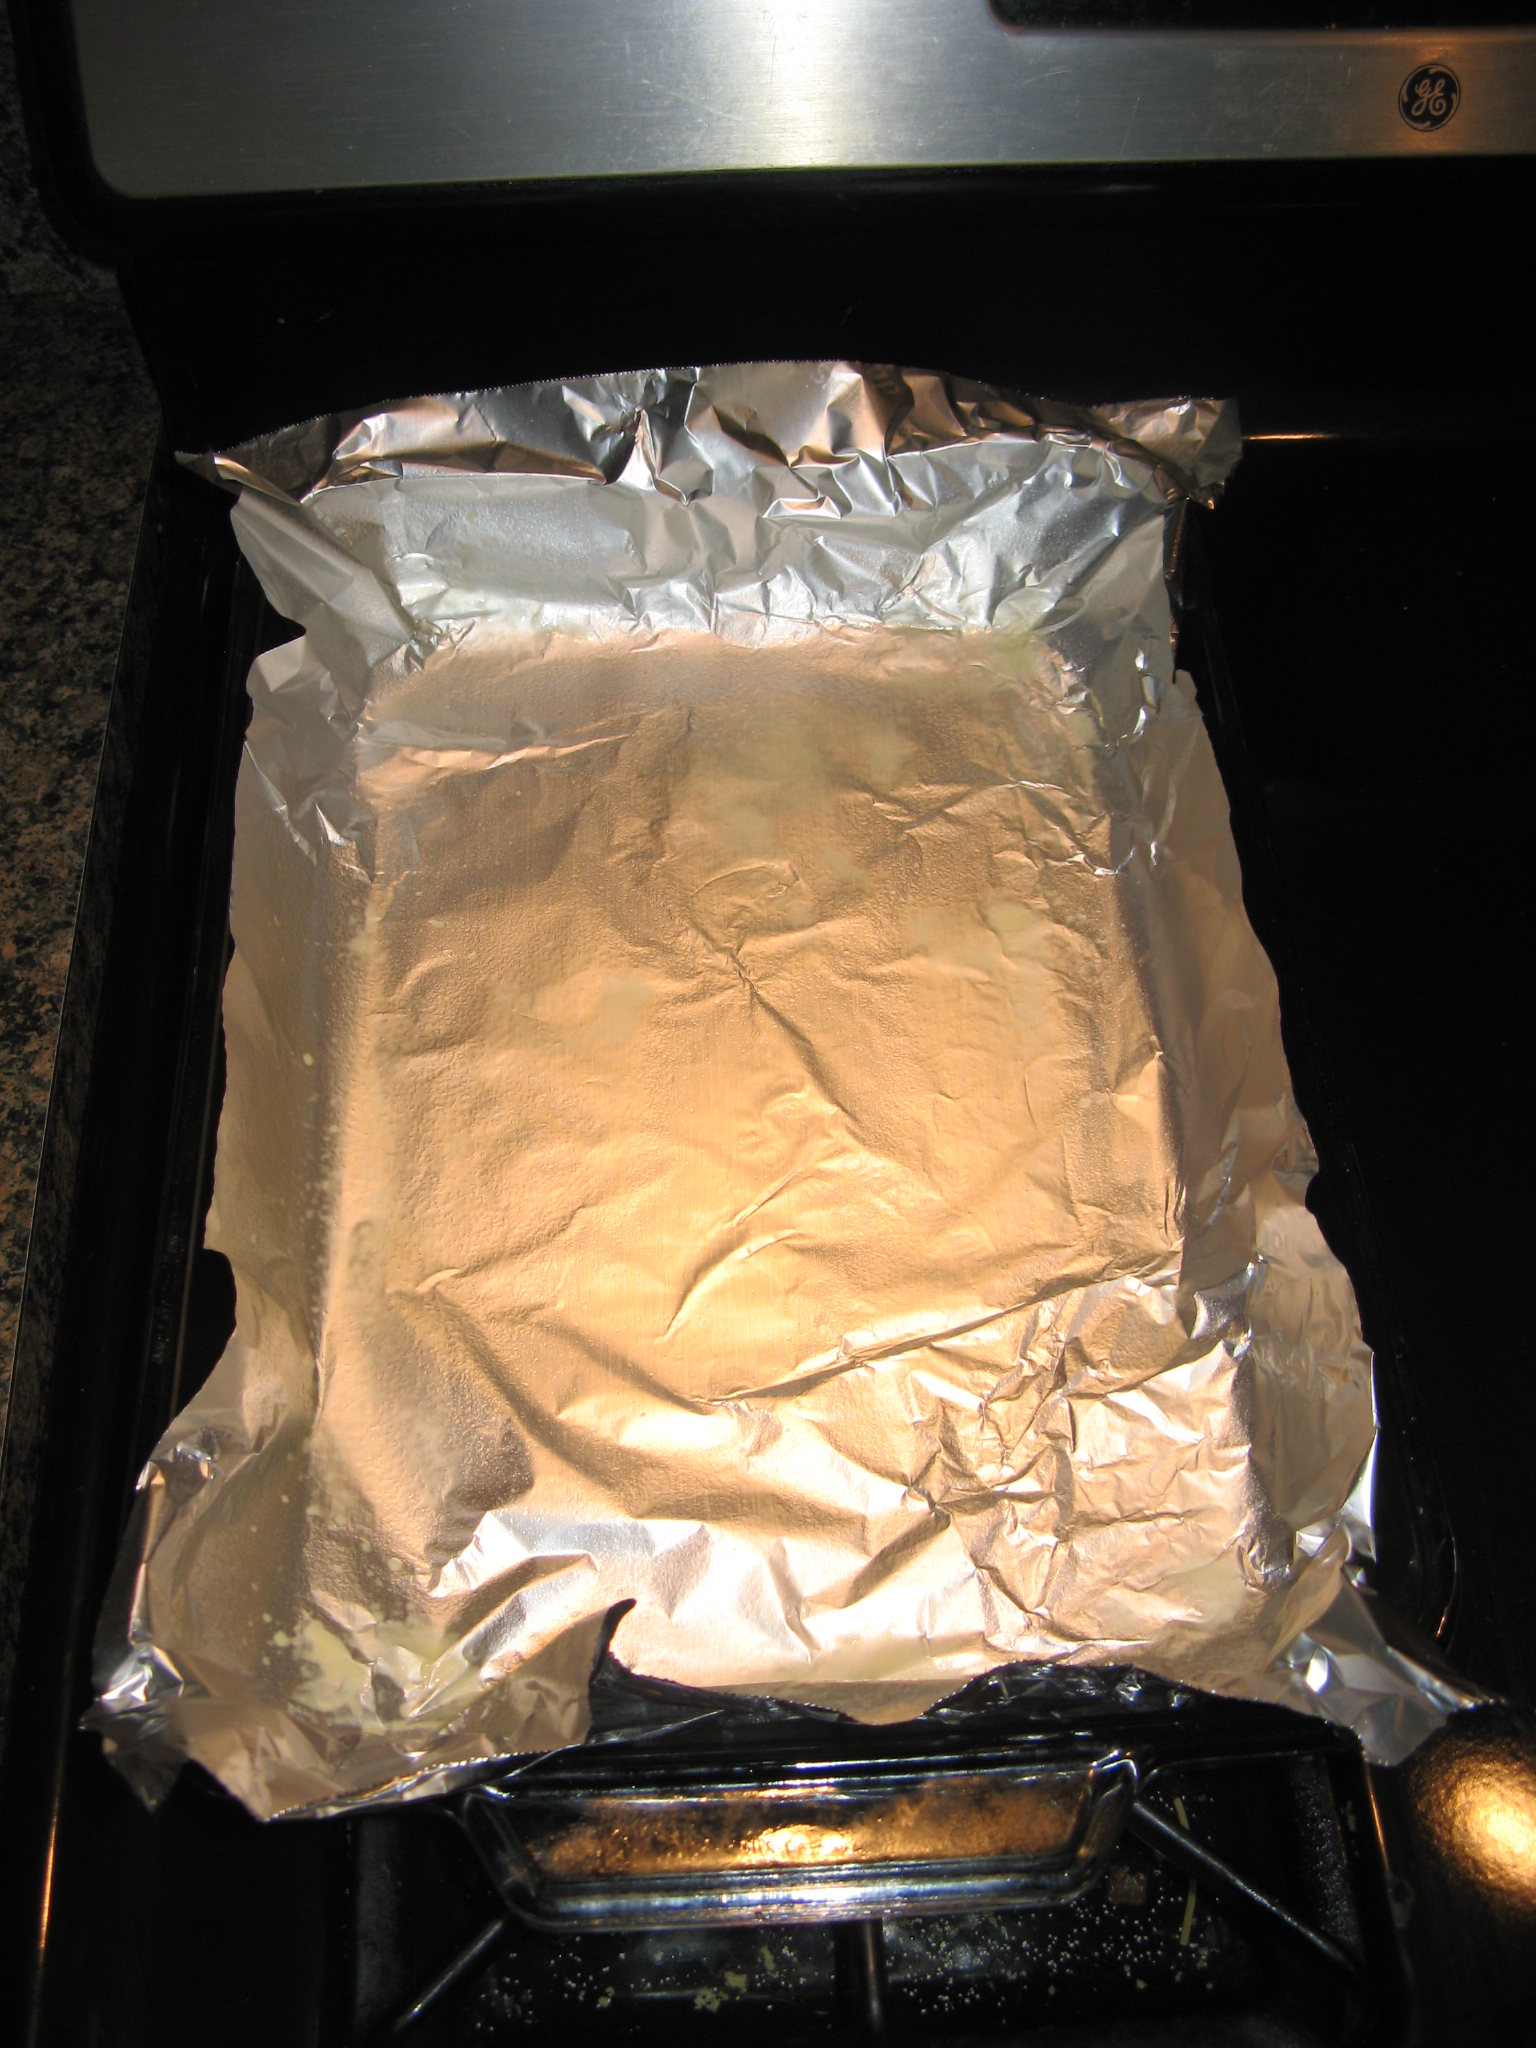
I then divided the batter between my three prepared 9-inch pans.

IMG_9897

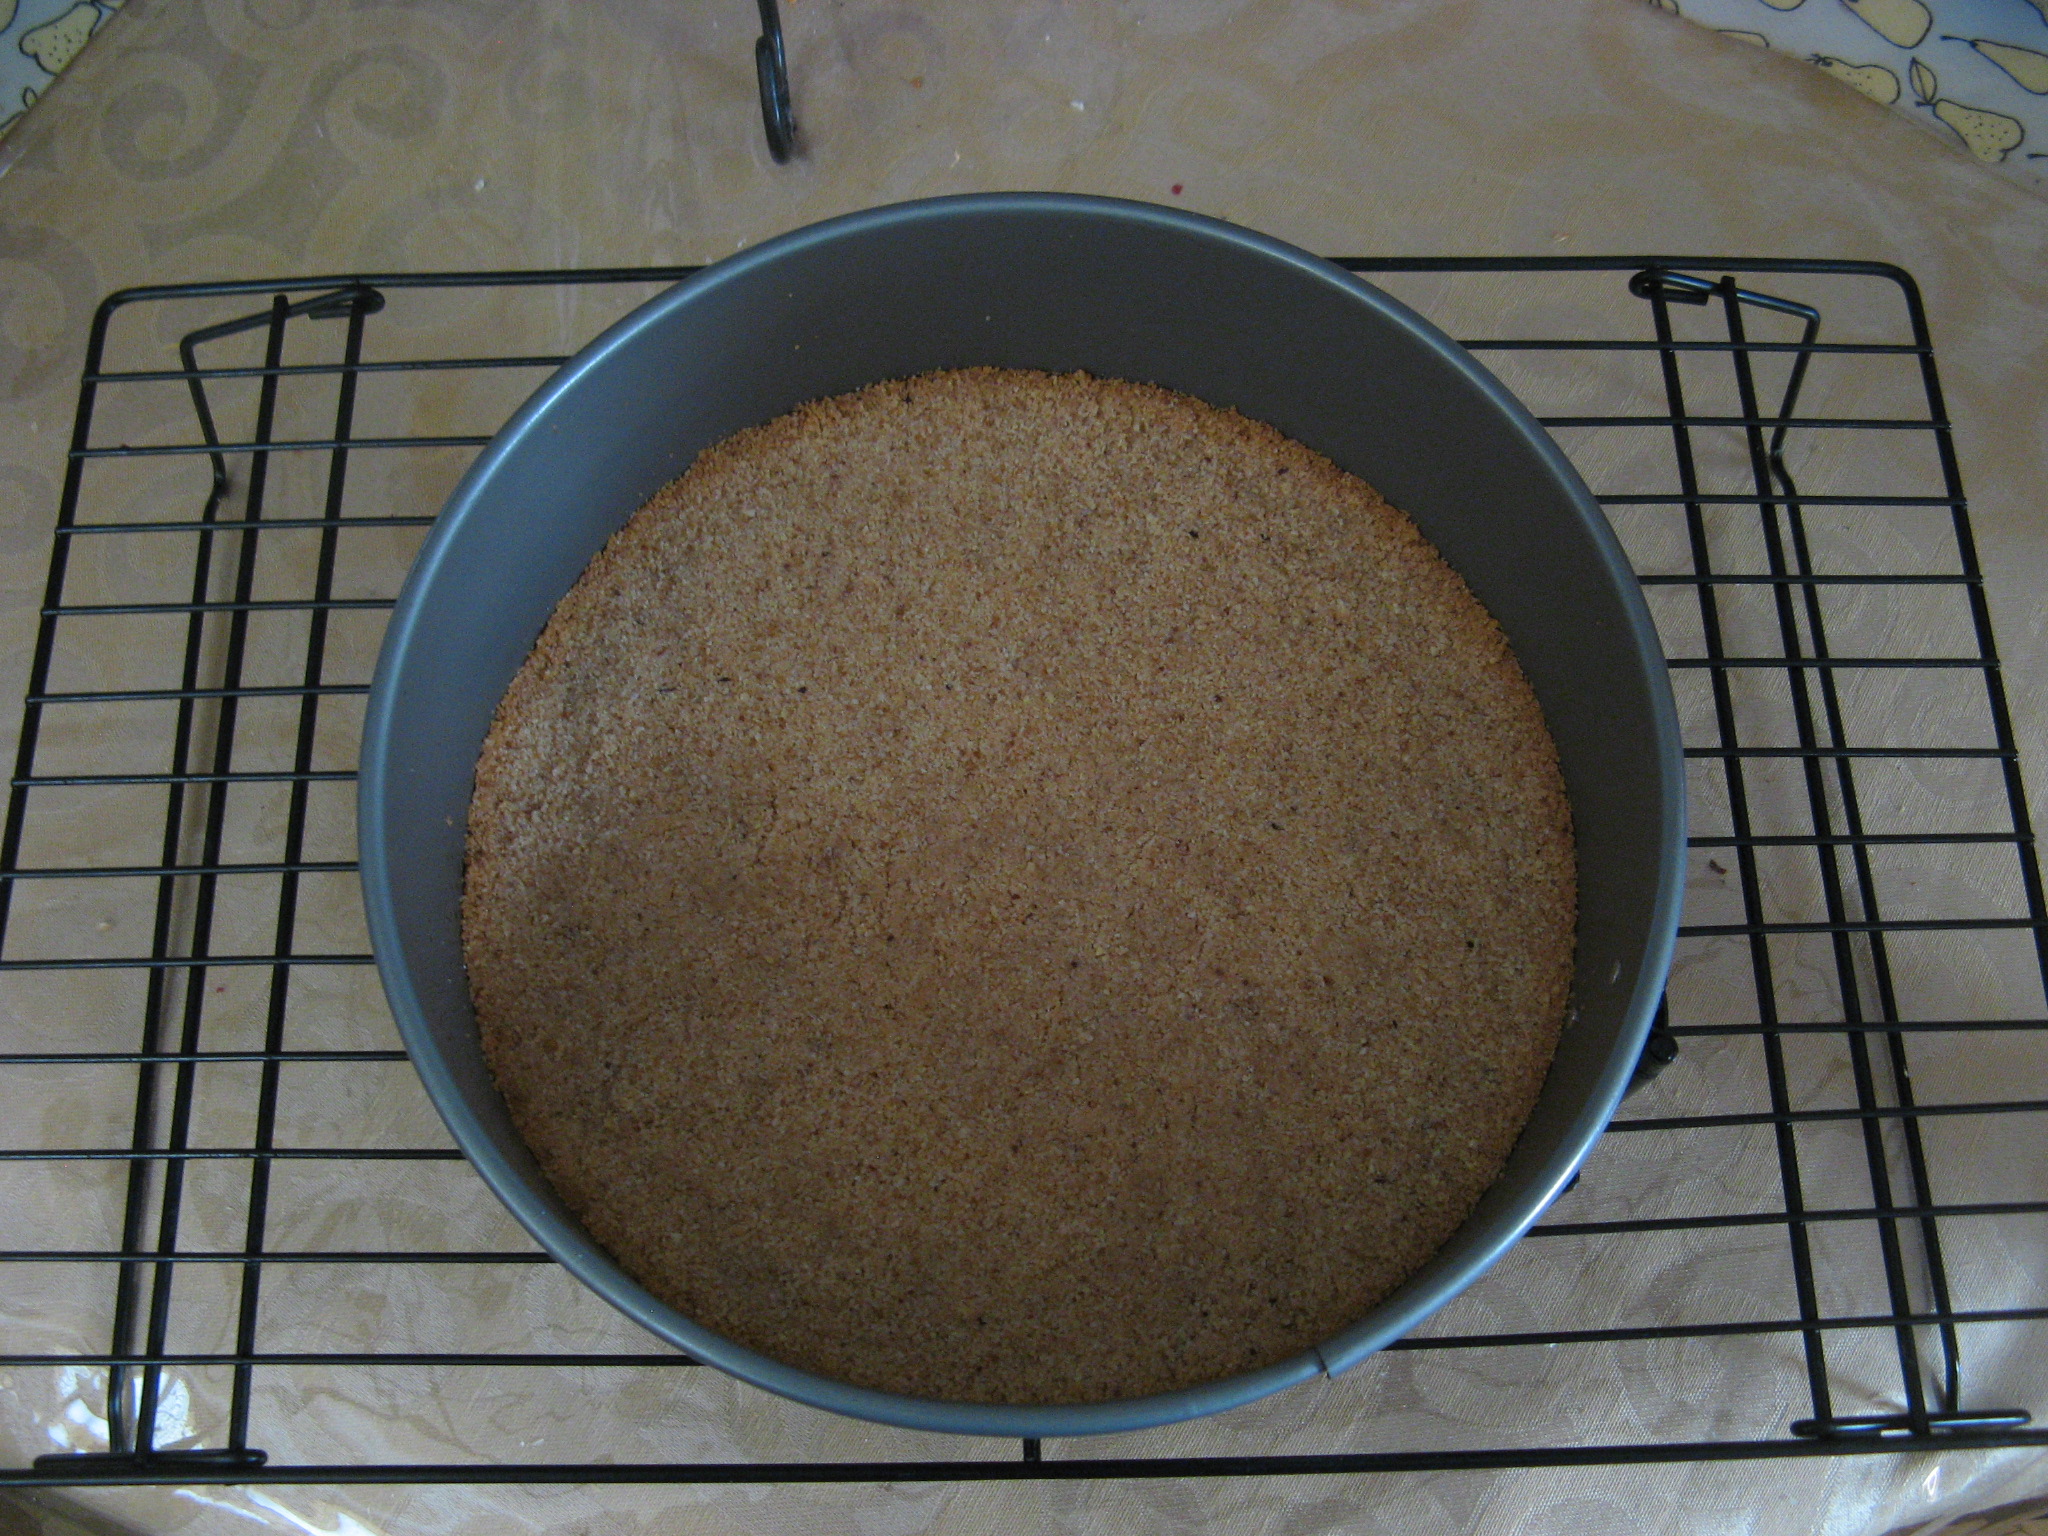
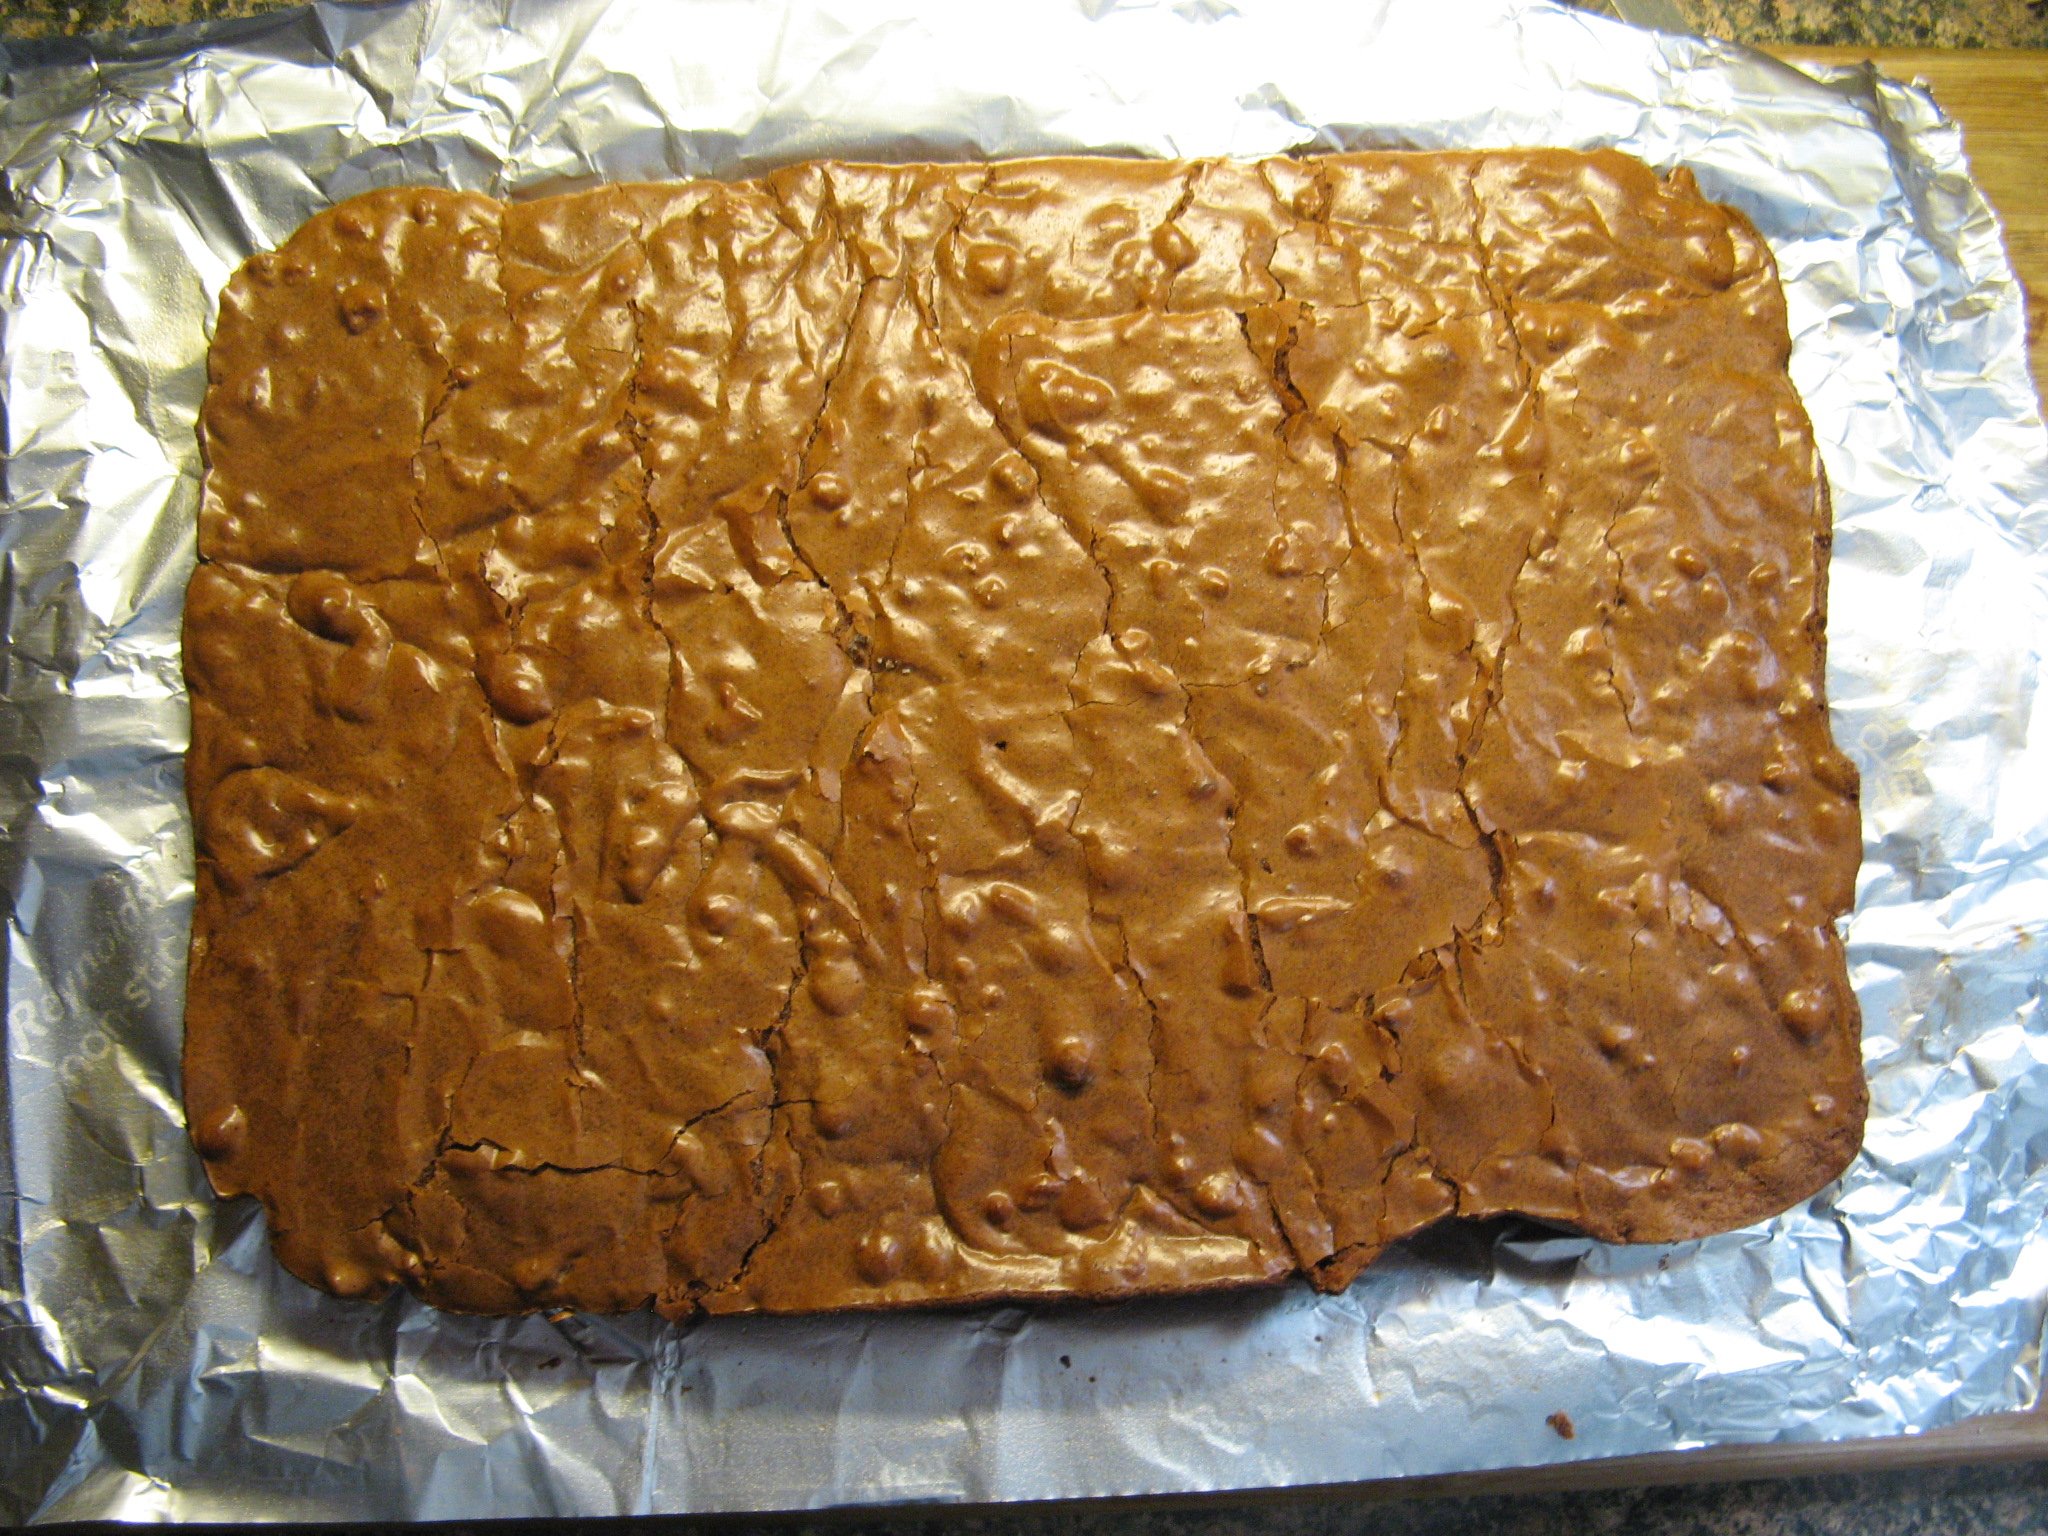
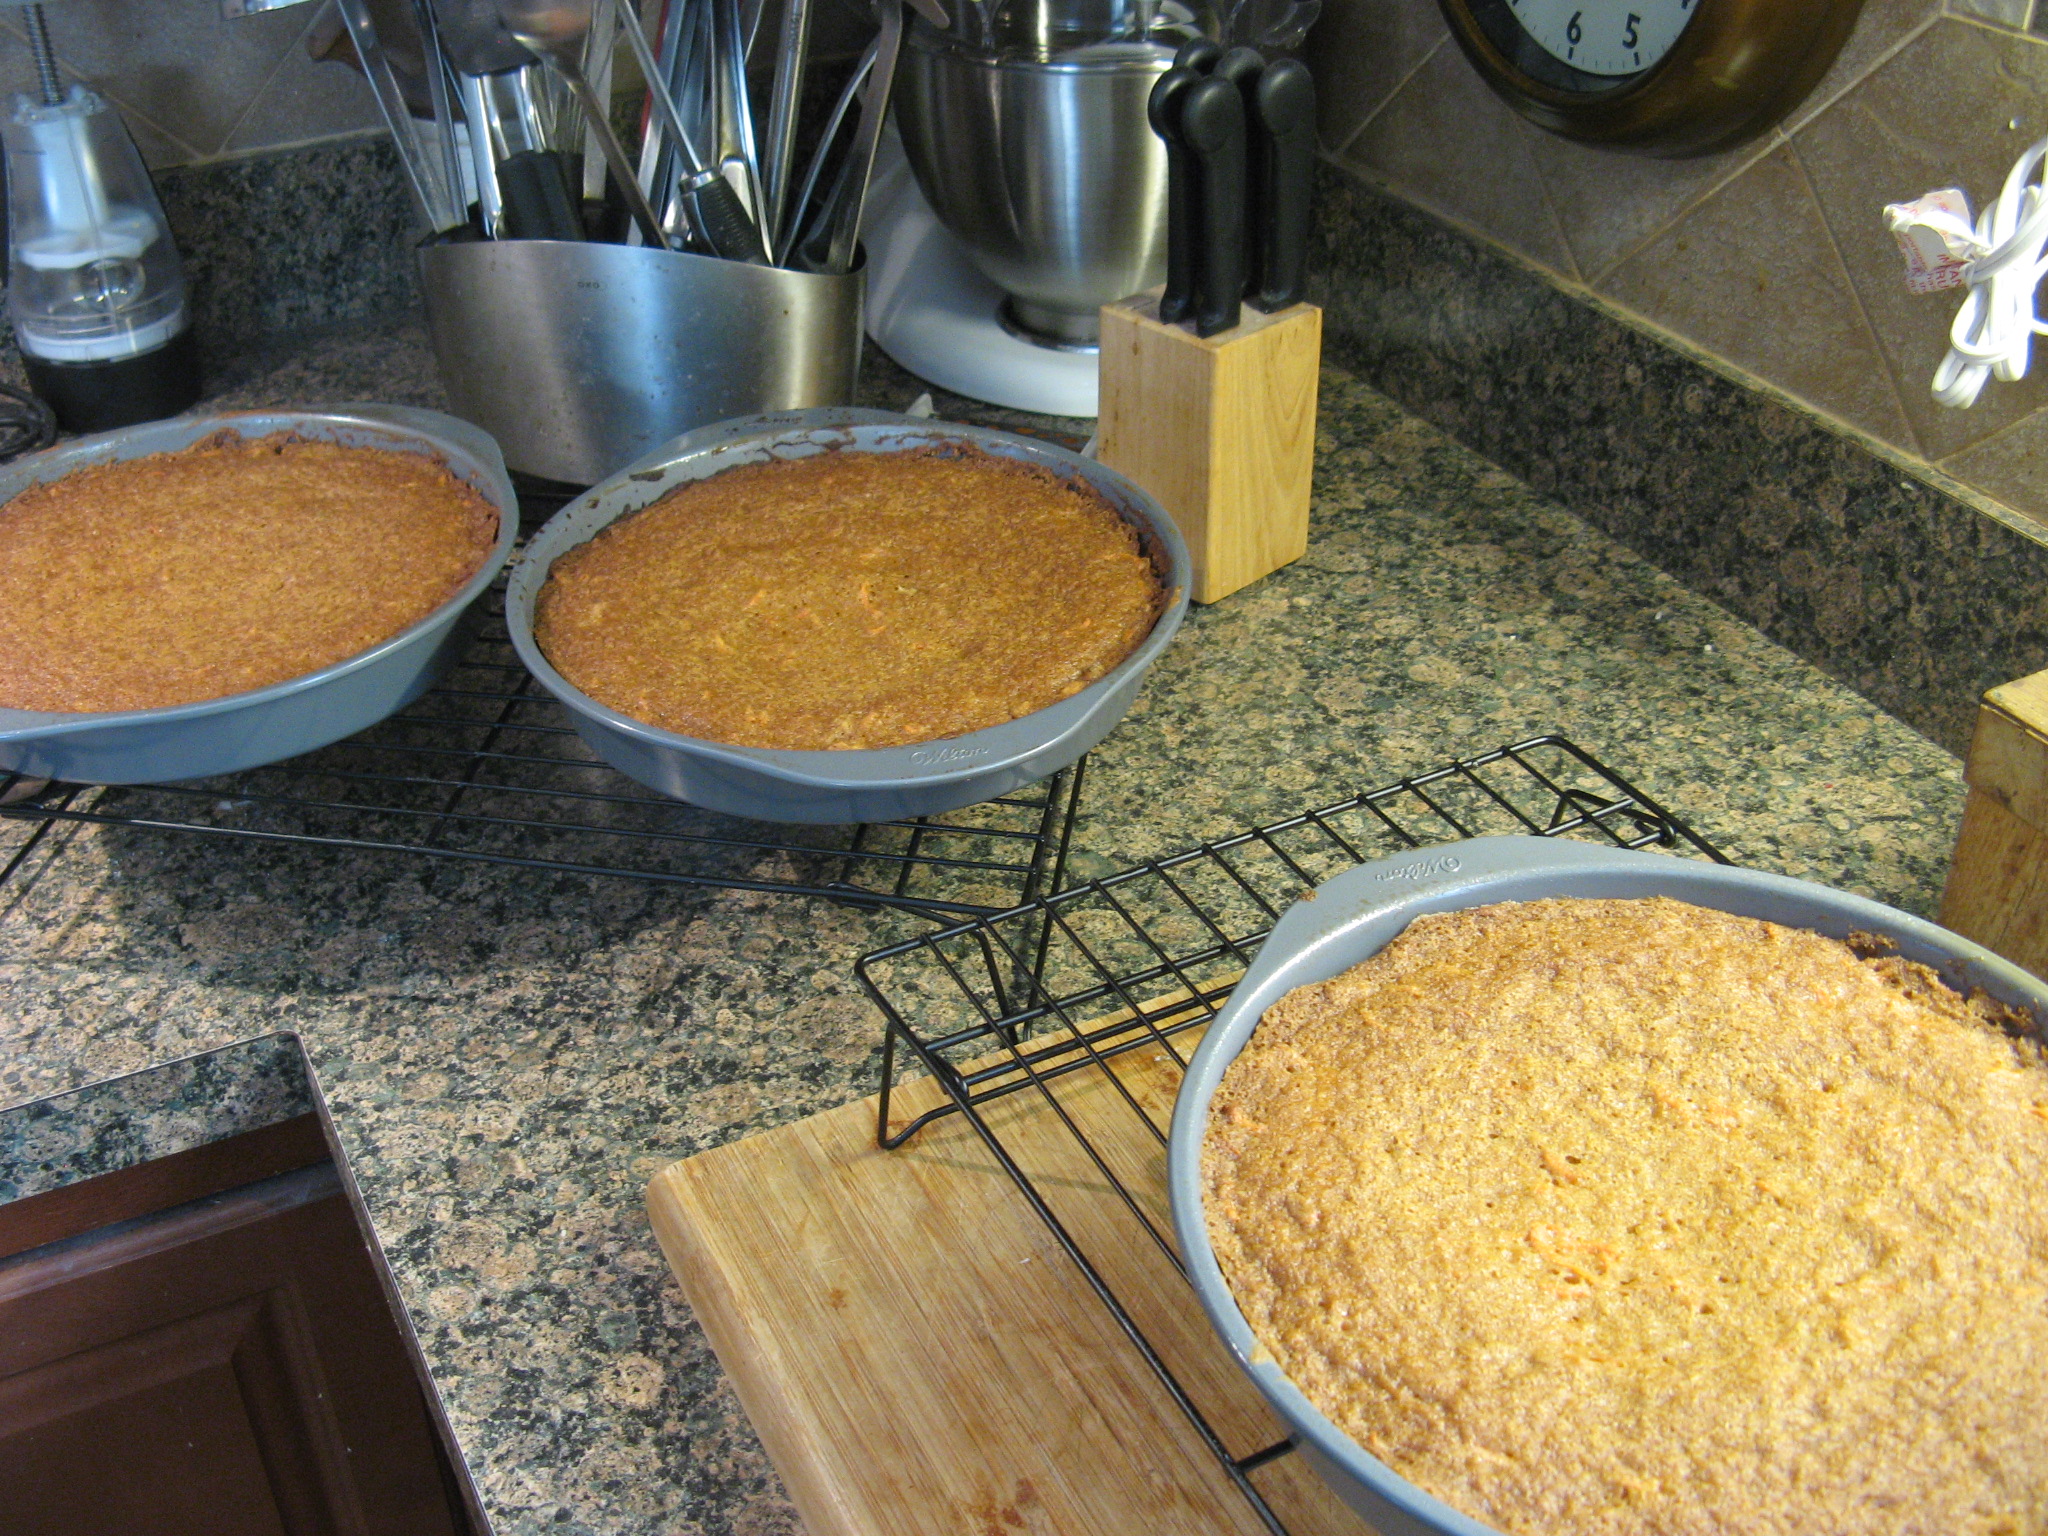
After baking for 25 minutes and cooling in the pans for 10 minutes I removed the cakes from the pans so they could cool completely.

IMG_9898  IMG_9899
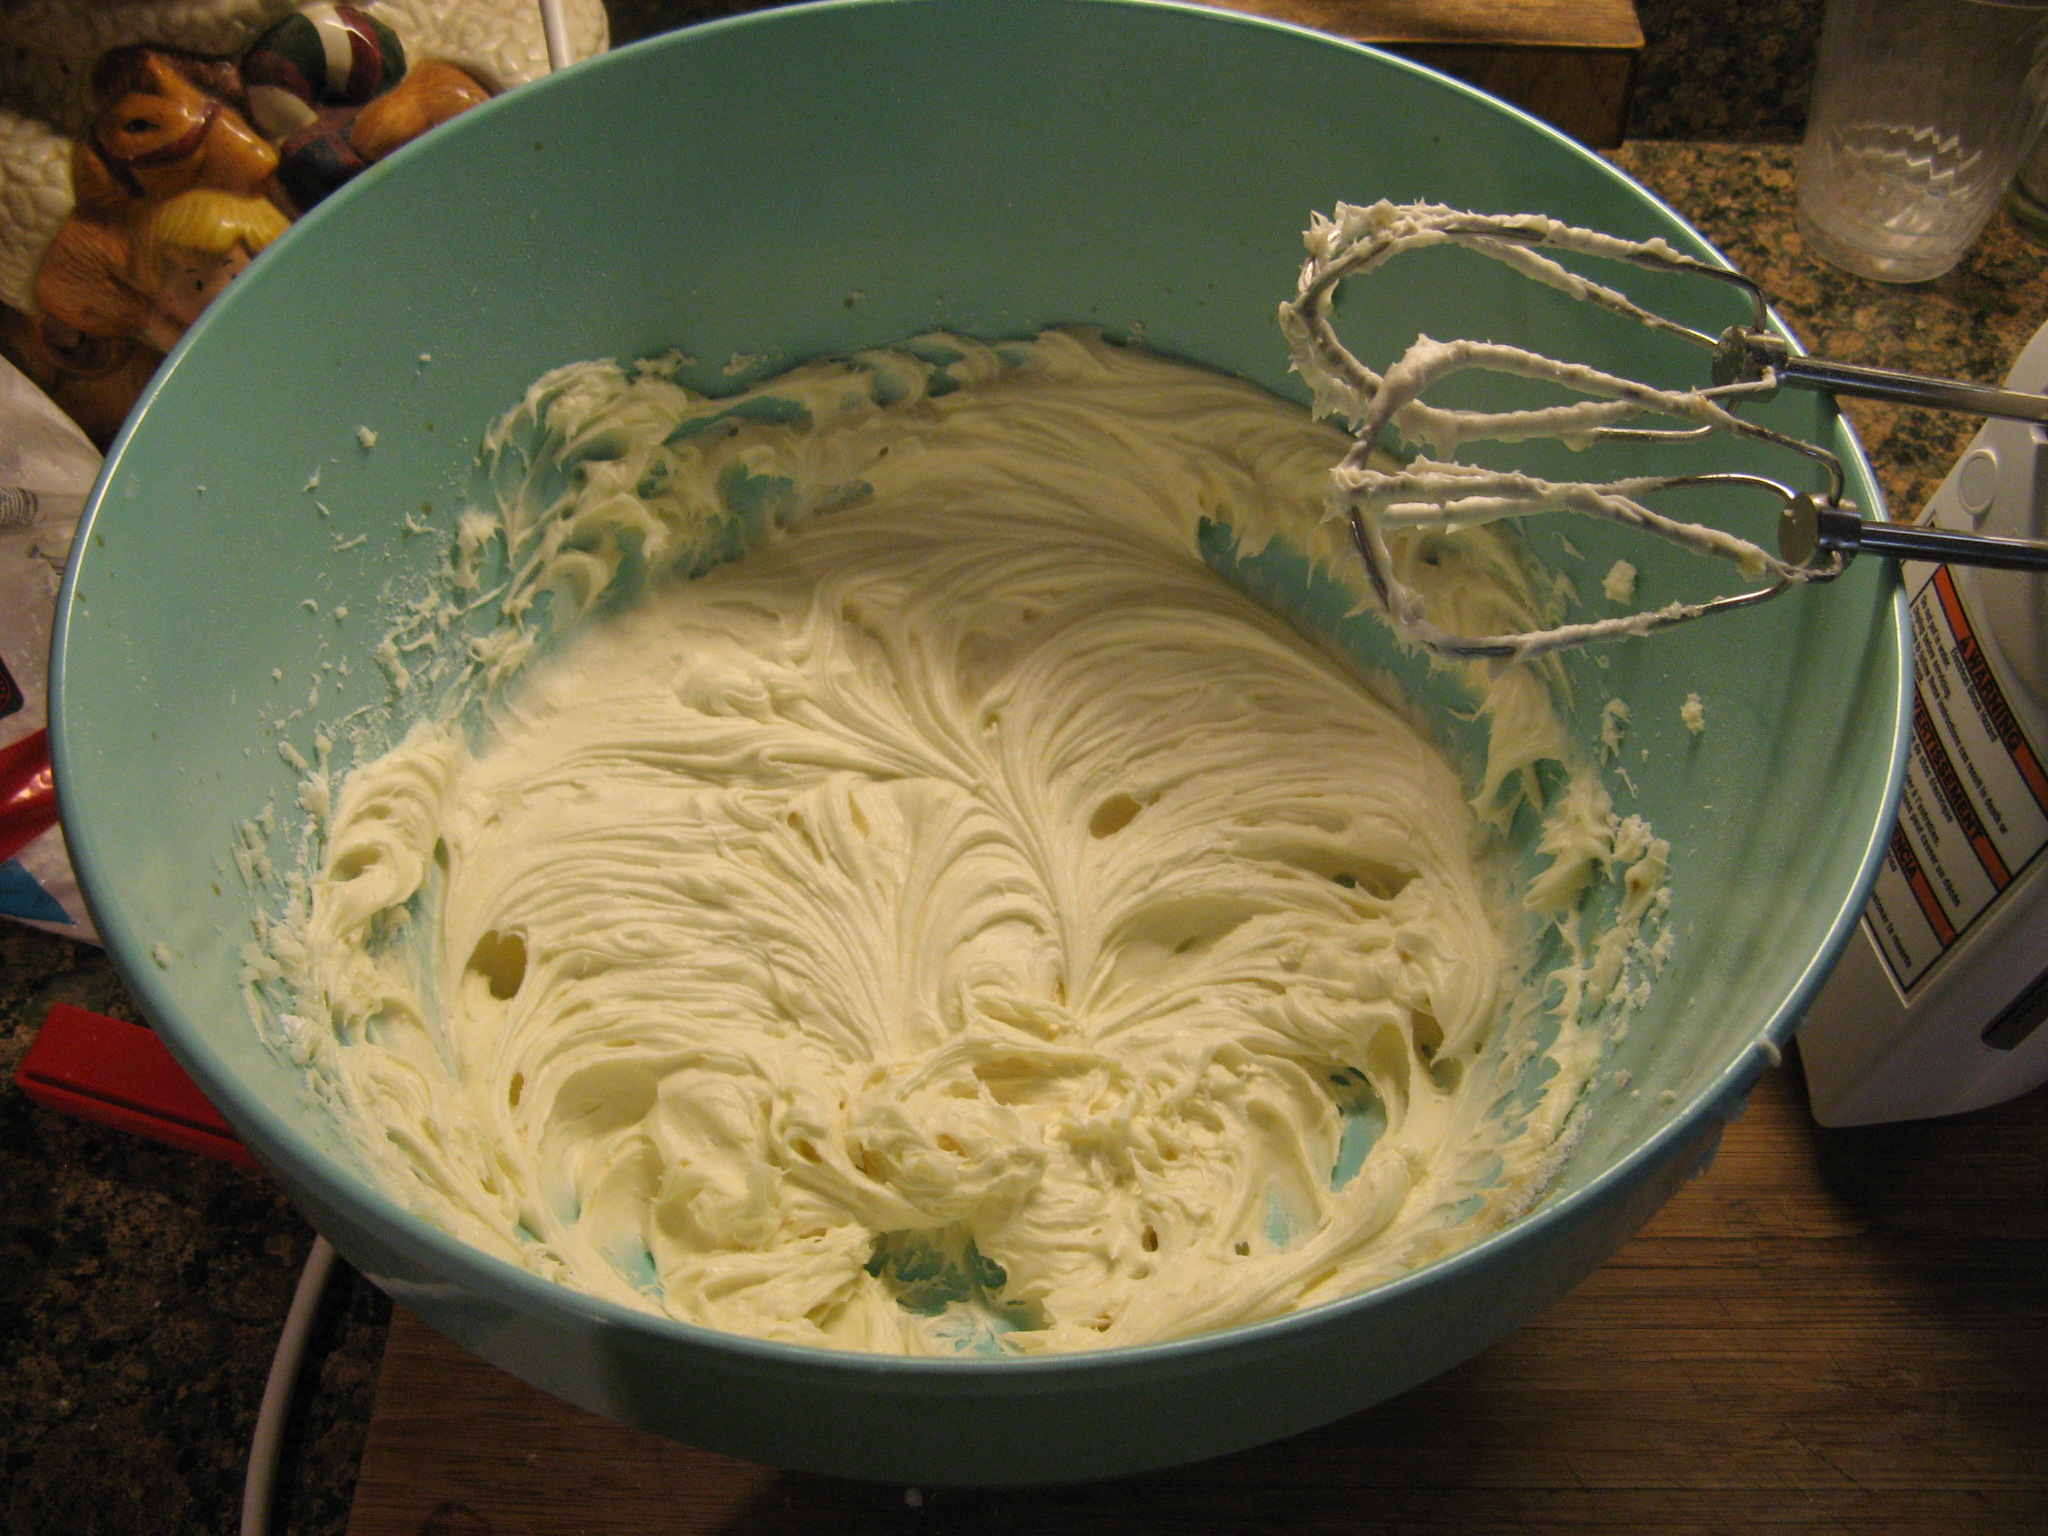
Once the cake was completely cooled it was time to frost it. To make the cream cheese frosting I creamed the cream cheese and butter together first and then mixed in the confectioners’ sugar and vanilla extract. I actually made two batches of the frosting. With the first batch I frosted between each of the layers and did a crumb coating and with the second batch I fully frosted the outside of the cake.

IMG_9900

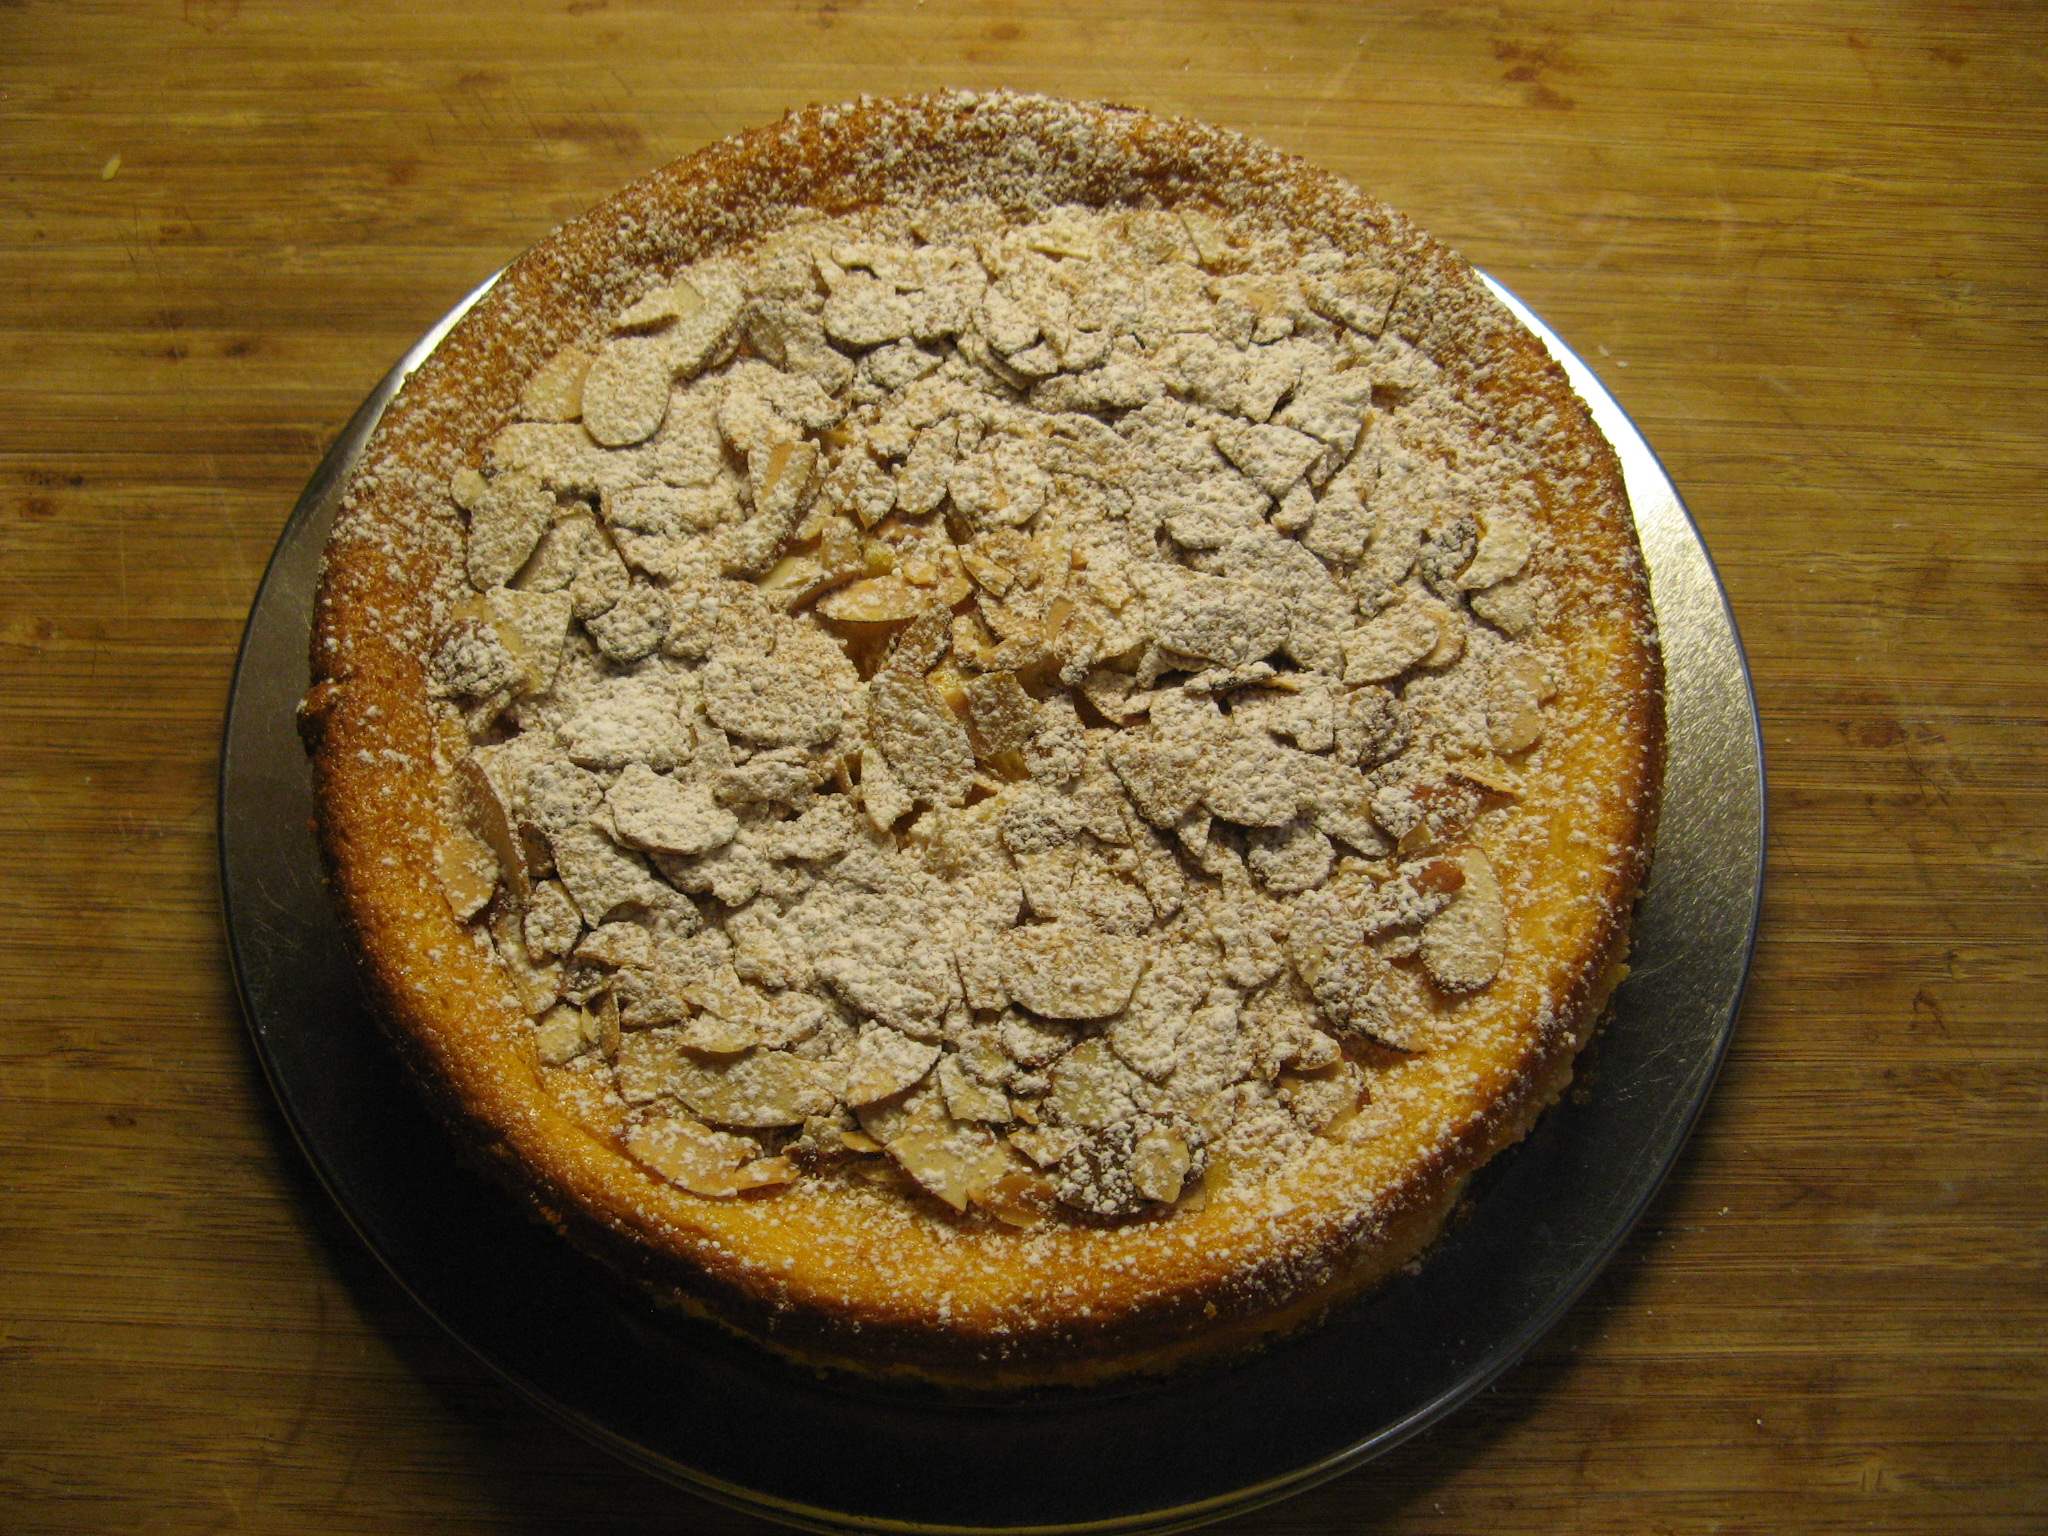
After decorating it with a few fondant/gum paste flowers I had made and writing on it this was the final product. I can’t wait to cut into it!

IMG_9905

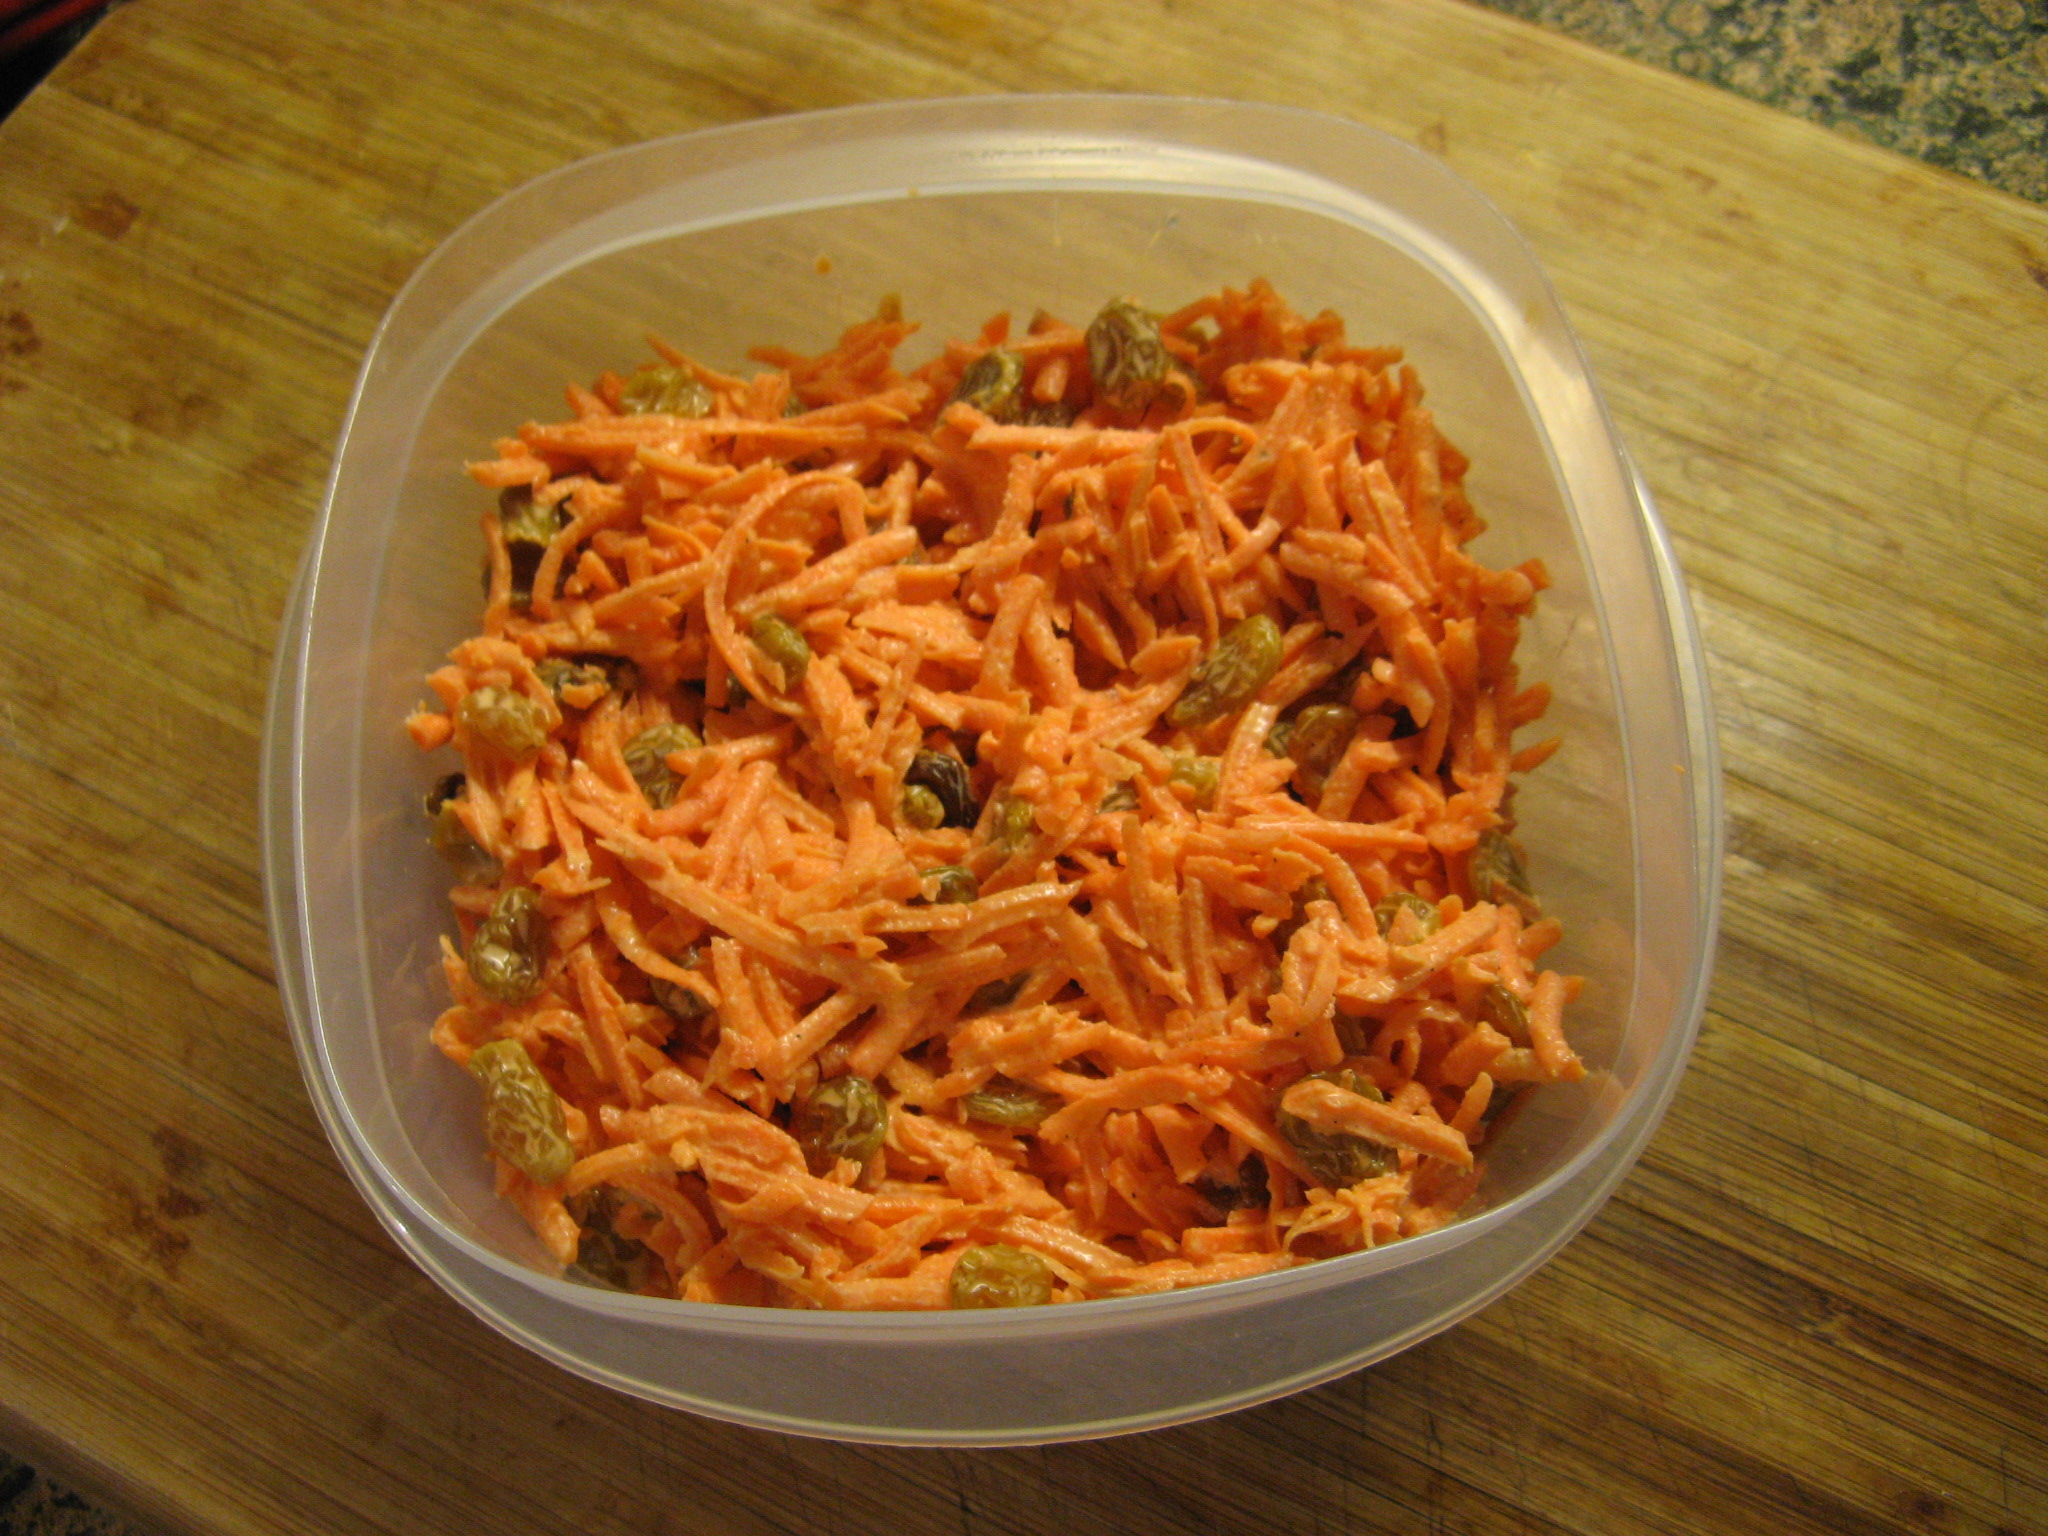
Oh, and those left-over grated carrots I had I used them to make a Carrot Raisin Salad.

IMG_9907

Gigi’s Carrot Cake

Recipe courtesy Emeril Lagasse, 2002

Ingredients
3 sticks, plus 1 tablespoon unsalted butter
2 cups granulated sugar
2 cups all-purpose flour
2 teaspoons baking soda
2 teaspoons ground cinnamon
1 teaspoon salt
4 large eggs
1 teaspoon pure vanilla extract
3 cups grated carrots
1 cup chopped toasted pecans

Pecan Cream Cheese Icing:
8 ounces cream cheese
1 stick unsalted butter
1 (1-pound) box confectioners’ sugar
1 teaspoon pure vanilla extract
1 cup chopped toasted pecans

Directions
Preheat the oven to 350 degrees F.
Butter 3 (9-inch) cake pans with 1 tablespoon of the butter and set aside. In a large bowl, cream the butter with an electric mixer. Add the sugar, and beat. In a medium bowl or on a piece of parchment, combine the flour, baking soda, cinnamon, and salt, and mix well.

Add the dry ingredients, alternating with the eggs, beating well after the addition of each. Add the vanilla extract and mix. Add the carrots and beat on medium speed until well incorporated, about 2 minutes. Fold in the nuts. Divide between the 3 cake pans and bake until set and a cake tester inserted into the middle comes out clean, 25 to 30 minutes. Remove from the oven and let rest in the cake pans for 10 minutes. Invert onto wire racks, remove from the pans, and let cool.

For the Frosting: In a large bowl, cream together the cream cheese and butter until light and fluffy. Add the sugar gradually, beating constantly. Add the vanilla and pecans.

When the cake is cool, place 1 cake layer on a cake plate or stand. Spread the top with cream cheese frosting and top with a second and third cake layer, spreading the icing between each layer. Spread the icing around the sides of the cake and let harden slightly before serving. To serve, cut into wedges.

Carrot Raisin Salad

Ingredients
1 lb. carrots, peeled & grated
1/2 cup raisins
1/3 cup mayonnaise
1 tablespoon sugar
1/2 teaspoon salt
1/2 teaspoon black pepper
2 tablespoons honey
Juice from 1 lemon

Directions
Pour boiling water over raisins for five minutes and then drain to plump them up. Combine all ingredients in a bowl, mix together and then chill for a few hours before serving.

A Day With Beads & Clay

This past Saturday I finally made it to a bead show that I have wanted to check out for a while. The Whole Bead Show comes to New York City twice a year (March & October) and this time around it worked out perfectly since I was going to be in the city for a pottery class on one of the days it was here- more on that later.

There were beads everywhere but it was important to walk around and make sure you got the best deal possible. There were quite a few vendors who sold identical things but with varying prices. And while there was a vast assortment of beads, gemstones and precious stones strung I was a little disappointed that there wasn’t more of a selection of seed beads and Swarovski crystals. I had a list of things I wanted to get but unfortunately those items were nowhere to be found. I was able to get a great deal on the beads I did pick up and I can’t wait to craft these into bracelets, necklaces and earrings.

IMG_9863

I also picked up a few findings: a toggle, a bag of daisy spacers and a bezel setting ring.

IMG_9868

After the bead show I went to an Introductory Hand Building workshop at La Mano Pottery  thanks to a Groupon deal. My friends and I had a lot of fun molding our slabs of clay into vases. Hopefully my vase will survive the firing and glazing process and then I can pick it up in four weeks. I may be willing to take another class one day, but, I definitely don’t see this becoming a new hobby of mine anytime soon.

Here’s a picture of my pre-finished vase. FYI, I didn’t sketch the pattern into the clay. The instructor had a bunch of molds, stencils and doilies that we could choose from to imprint the clay.

Pottery Class

Baby Blue Basketweave Blanket

I started this blanket a few weeks ago after I finished the Violet V-Stitch Baby Blanket. I should say though that I started this blanket quite a few times before I got it right. From the get-go I ran into stumbling blocks to get it done.

To make this blanket I used Lion Brand Pound of Love Yarn and size 10.5 circular knitting needles  . The pattern I was planning on using called for two strands of the yarn to be held together so I decided to take this huge skein of yarn

IMG_9392

and unwind it

IMG_9398

and then wound it up into a ball – which was no easy task since I ran into a few tangles along the way. Once I got to this point I was happy and ready to begin knitting. But, my joy was short-lived.

IMG_9416

The pattern I initially wanted to follow is called the Seed Stitch Baby Blanket from the Lion Brand Yarn website. Unfortunately I had a hard time following the seed stitch* pattern on circular knitting needles. So, I had to scratch that idea and look for a new pattern. I opted to go with a basketweave pattern since I had made a blanket following the pattern once before with the same yarn. The pattern I semi-followed is the baby blanket from the Simply Perfect Baby Set** also from the Lion Brand Yarn website. I knew I had to make modifications to the pattern though to get the blanket to be a decent size; when I made this before I ended up following the pattern exactly and ended up with a fairly small blanket (approximately 18 in x 24 in). To make the blanket larger I ended up knitting four mini blankets and stitching them together.  I didn’t want to do that this time so I decided to modify the original pattern.

So, the original pattern called for casting on 88 stitches, but I opted for 90 stitches and added the two additional stitches to the side border of the blanket. All was going fine until I realized that somewhere along the line I had added on an extra stitch, so I was working with 91 stitches as opposed to 90, and unfortunately knitting isn’t as forgiving as crocheting. It’s possible to hide a stitch while crocheting with no one being the wiser but when you are knitting it’s not so easy. (If anyone has figured out how to do so please share!) So, I had to start over.

On my second go at it I noticed that my rows for the basketweave weren’t as wide as I remembered them to be from the first time I made the blanket and I immediately realized it was because I was working in intervals of six rows as opposed to twelve rows. So, I started again.

But, a few rows into the pattern I decided that it looked better with the smaller intervals so I took what I had done thus far off the needles and decided to start AGAIN! I also noticed that the blanket wasn’t going to be very wide so I opted to cast on 100 stitches instead of my original 90.

I figured at this point I was good to go, but, I had one more hiccup to overcome. With the original pattern the basketweave is created using an even number of blocks in the rows, but, when I added the additional ten stitches the basketweave pattern was now going to be created over an odd number, nine to be exact. I should note that that didn’t even cross my mind when I decided to add the additional ten stitches; it was only when I finished my first row and wanted to follow the pattern that I realized it wasn’t going to work. Thankfully the solution came to me quickly. Essentially with basketweave you are knitting the purl stitches and purling the knit stitches as you go along to create the illusion of the weave – basically a version of seed stitch. So I just needed to do that as I went along and I was good to go. From that point on the blanket was a cinch to make. Sometimes the most simplest things are the most difficult to make.

And here’s the final product that measures approximately 29.5 in x 31.5 in.

IMG_9676 IMG_9691

Here’s the pattern I ultimately used:

Basketweave Blanket:

Cast on 100 stitches

Knit 10 rows

Row 1: Knit 5, *knit 10, purl 10; repeat from * to last 5 stitches, knit last 5 stitches

Row 2: Knit 5, *purl 10, knit 10; repeat from * to last 5 stitches, knit last 5 stitches

Rows 3, 5: Repeat Row 1

Rows 4, 6: Repeat Row 2

Row 7: Knit 5, *purl 10, knit 10; repeat from * to last 5 stitches, knit last 5 stitches

Row 8: Knit 5, *knit 10, purl 10; repeat from * to last 5 stitches, knit last 5 stitches

Rows 9, 11: Repeat Row 7 Rows 10, 12:

Repeat Row 8 Repeat Rows 1-12 twelve more times

Repeat Rows 1-6 one time

Knit 10 rows

Bind off


*Seed Stitch (over an even number of stitches)

Courtesy Lion Brand Yarn

Row 1: *K1, P1; repeat from * across

Row 2: P the knit stitches, and K the purl stitches

Repeat Row 2 for Seed Stitch


**Simply Perfect Baby Set Blanket

Courtesy Lion Brand Yarn

Cast on 88 stitches

Knit 10 rows

Begin working in pattern stitch as follows:

Row 1: knit 4, *knit 10, purl 10; repeat from * to last 4 stitches, knit last 4 stitches

Rows 2-12: Repeat row 1 Row 13: knit 4, *purl 10, knit 10; repeat from * to last 4 stitches, knit last 4 stitches

Rows 14-24: Repeat row 2 Repeat rows 1-24 five more times

Knit 10 rows

Bind off

Ricotta Cheesecake With Almonds

Cheesecakes are the one thing that I never seem to get right. Granted, I have never attempted to make a basic cheesecake I usually go with flavorful ones like pumpkin cheesecake, tiramisu cheesecake, and so forth. When I come to think of it though the pumpkin cheesecake I made wasn’t that bad it was just really dense. I decided to give it another go when I came across a cheesecake recipe in the March 2013 issue of Food Network Magazine – appropriately coined The Cheese Issue – called Ricotta Cheesecake with Almonds. I usually love anything made with almonds so I knew this would be a hit for me.

To begin, I toasted sliced almonds – 1/4 cup for the crust and another 1/3 cup for the topping – in a 350 degrees preheated oven for 5 minutes. I used to skip over toasting nuts whenever I saw it in a recipe but have to come to realize that toasting them definitely enhances their flavor.

IMG_9603

Once the almonds were cool I made the crust for the cheesecake. I combined the almonds, almond biscotti and granulated sugar in my food processor and pulsed the mixture until it was finely ground.

IMG_9610 IMG_9612

I then added melted butter and pulsed for a few more seconds so the mixture could come together. Once it did I pressed it into the bottom of an 8-inch springform pan and baked it in the oven for a little over 10 minutes so it could set.

IMG_9613 IMG_9619

While the crust was in the oven I did some prep work for the filing. I separated three eggs and used a Microplane to zest an orange. After I removed the crust from the oven I let it cool on a wire rack and lowered the oven temperature to 300 degrees in preparation for baking the cheesecake.

IMG_9636 IMG_9624

To make the filling I started by beating the eggs yolks and sugar on high speed for about two minutes until the mixture was a pale yellow.

IMG_9638

I then added in ricotta cheese and beat this for another two minutes until it was smooth.

IMG_9639

And finally I added in almond & vanilla extract, amaretto liqueur and the orange zest.

IMG_9644 IMG_9645

I put that part of the filling aside and beat the egg whites with sugar until soft peaks formed.

IMG_9647

To combine the two mixtures I began by folding in 1/3 of the egg white mixture into the ricotta mixture. I then folded in the rest until the two were just combined.

IMG_9648

After all the pulsing, mixing and baking I finally had my crust and filling ready.

IMG_9650

I poured the filling into the crust and baked it for 1 hour 10 minutes. I opted to reduce the baking time by 10 minutes from the directions since the cheesecake looked done according to them – slightly puffed and lightly golden on top.

IMG_9657

I let the cheesecake cool for 20 minutes on a wire rack and then removed the springform ring after running a knife around the edge of the cake to loosen it. Once the cheesecake was completely cooled I added the topping. I sprinkled cinnamon and confectioners’ sugar over the cheesecake, then spread out the 1/3 cup of almonds on top of it and then sprinkled more cinnamon and confectioners’ sugar over the almonds.

IMG_9665

This was a cheesecake success! I will say though that while the recipe name made it seem like almonds would be the dominant flavor that was only the case with the crust, the cheesecake itself really took on the flavor of the orange zest even though there was amaretto and almond extract in it. Either was it was delicious!

Ricotta Cheesecake with Almonds

Courtesy Food Network Magazine

Prep Time: 40 Minutes

Cook Time: 1 hour 40 minutes

Servings: 8

Ingredients

For the crust:

1/4 cup sliced almonds

5 ounces almond biscotti*

2 tablespoons granulated sugar

3 tablespoons unsalted butter, melted

For the filling and topping:

3 large eggs, at room temperature, separated

1/2 cup plus 2 tablespoons granulated sugar

1 pound fresh ricotta (about 2 cups)

1 tablespoon amaretto liqueur

1/2 teaspoon vanilla extract

1/2 teaspoon almond extract

Grated zest of 1 orange

1 tablespoon confectioners’ sugar

1/2 teaspoon ground cinnamon

1/3 cup sliced almonds, for topping

Directions

Make the crust: Position a rack in the lower third of the oven and preheat to 350 degrees F. Spread the almonds for both the crust and topping (1/4 cup plus 1/3 cup) on a rimmed baking sheet and bake until golden, about 5 minutes. Let cool.

Crumble the biscotti into a food processor; add 1/4 cup toasted almonds and the granulated sugar and pulse until finely ground. Add the butter and pulse to combine. Press the mixture into the bottom of an 8-inch springform pan. Bake until set, about 12 minutes, then transfer to a rack and let cool completely. Reduce the oven temperature to 300 degrees F.

Meanwhile, make the filling: Beat the egg yolks and 1/2 cup granulated sugar in a large bowl with a mixer on high speed until pale, about 2 minutes. Add the ricotta and beat until smooth, about 2 more minutes. Beat in the amaretto, vanilla and almond extracts, and orange zest.

Put the egg whites and the remaining 2 tablespoons granulated sugar in a separate bowl and beat with a mixer on medium-high speed until soft peaks form (do not overbeat). Using a rubber spatula, fold about one-third of the beaten egg whites into the ricotta mixture, then gently fold in the rest until just combined. Scrape the batter into the prepared crust. Bake until slightly puffed and lightly golden on top, about 1 hour, 20 minutes. Transfer to a rack and let cool, 20 minutes. Run a knife around the edge of the cake to loosen, then remove the springform ring and let cool completely.

Combine the confectioners’ sugar and cinnamon in a fine-mesh sieve and dust over the cheesecake. Scatter the remaining 1/3 cup toasted almonds on top and dust again. Serve at room temperature.

*5 ounces of biscotti is equivalent to about 8 pieces. I actually used Stella D’oro Almond Biscotti which conveniently came in a 5.5 ounce package.

Sour Cream – Chocolate Chip Pound Cake

This past week I went to dinner at a friend’s house and offered to bring dessert. I decided to bring a pound cake of some sort and remembered that I had a cookbook with different variations of the traditional pound cake. I tend to get cookbooks, mark off a few recipes that I like but then seem to never make them. Cookbooks are not my first go-to when I want to make something new and different. I got this recipe from Elizabeth Alston’s Best Baking cookbook which offers numerous recipes for pound cakes, angel food cakes, chiffon cakes, coffee cakes and tea breads.

IMG_9575

To start off here are the ingredients: sugar, cinnamon, unsalted butter, vanilla extract, eggs, sour cream, baking powder, baking soda, salt, flour and semi-sweet chocolate-chips.
IMG_9559
I began by preheating my oven to 325 degrees and prepping my loaf pan by spraying it with baking spray, lining it with aluminum foil so that it would hang over the sides for easy removal of the cake and then spraying the foil with more baking spray. I also made the topping of the cake by mixing 2 tbsp. of the sugar with 1/4 tsp. of the cinnamon. I set these two things aside then and got to making the cake.
IMG_9561 IMG_9562
I started making the batter by mixing together the butter, which should be at room temperature but I took a short-cut on this and warmed it up in the microwave for about 15 – 20 seconds, and the sugar. Unfortunately I wasn’t at home while making this cake so I didn’t have the advantage of using my stand mixer but my hand mixer works just as well with double, or maybe triple, the time. I mixed the butter and sugar until the mixture was pale and fluffy, per the directions.
IMG_9565
Next I beat in the four eggs one at a time.
IMG_9567
Following that I added in the sour cream, baking powder, baking soda, salt and the remaining cinnamon.
IMG_9568
And then I added in the flour. Up to this point the batter was pretty smooth and thinned out but once I added in the flour it became quite thick and heavy.
IMG_9569
Once the flour was incorporated I stirred in the chocolate chips.
IMG_9570
I then spread the batter out evenly in my prepared pan and sprinkled the cinnamon sugar mixture on top and put in the oven.
IMG_9571
My baking time was off in comparison to the directions. According to the directions it should take about 70 minutes, but, after 70 minutes my cake was still not fully cooked in the middle so I lowered the temperature to 300 and baked it for an additional 15 fifteen minutes which did the trick. After letting it cool in the pan for thirty minutes I removed it from the pan and let it cool for another hour or two on the wire rack. I was thinking that the cinnamon-sugar mixture was actually going to be bake into the cake but it just seemed to sit on top which I wasn’t too happy about. After it was fully cooled I wrapped it airtight and let it sit at room temperature for optimal flavor, per the directions. This actually helped the cinnamon sugar topping sink into the cake a little which was good.
IMG_9586
I would make this again but I would lower the oven temperature so that it could bake longer without sacrificing the moisture of the cake. While the cake was good I found it to be a bit dry and I am sure that had to do with the extra baking time.
Sour Cream – Chocolate Chip Pound Cake
From Best Baking by Elizabeth Alston
1 cup plus 4 Tbsp. granulated sugar
1 1/2 Tsps. ground cinnamon
14 Tbsps. (1 3/4 sticks) unsalted butter, at room temperature
2 Tsps. vanilla extract
4 large eggs, at room temperature
1/3 cup sour cream
1 Tsp. baking powder
1/4 Tsp. baking soda
1/4 Tsp. salt
2 1/4 cups all-purpose flour
1 1/2 cups semi-sweet chocolate chips
9 x 5 x 3 – Inch Loaf Pan
Heat the oven to 325F. Grease the pan and line with foil; letting it hang over the sides. Grease the foil.
Mix 2 tablespoons of the sugar with 1/4 teaspoon of the cinnamon, and set aside to use for the topping.
Beat the butter, the remaining 1 cup plus 2 tablespoons sugar, and the vanilla with an electric mixer on high speed, until pale and fluffy.
Reduce the speed to medium. Add the eggs, one at a time, beating after each.
Beat in the sour cream, baking powder, baking soda, salt, and the remaining 1 1/4 teaspoons cinnamon. Scrape the sides of the bowl often.
With the mixer on low, stir in the flour until nearly incorporated. Add the chocolate chips and stir until the batter is well mixed.
Spread the batter (6 1/2 cups) in the pan (the pan will be very full). Sprinkle the reserved cinnamon sugar over the top. (It will look like too much topping, but it isn’t.)
Bake until a cake tester inserted in the center comes out clean, about 1 hour and 30 minutes.
Cool the cake in the pan on a wire rack for about 30 minutes. Life the cake from the pan by the foil. Let cool completely on the wire rack. Remove the foil. For best flavor, wrap airtight, being careful not to disturb the sugar topping more than necessary, and store 1 day at room temperature before serving or freezing.

Two Bracelets and a Ring

I decided to take a break from my knitting projects last week to work on some jewelry pieces that I have wanted to get done. In all honesty my arms and wrists needed a break from all of the shoveling I did from when I was snowed-in.

Up first was something super simple… Yarn Wrapped Bangle. I got the idea from a craft email I receive every day from Martha Stewart’s website. All I needed to complete this project was yarn (you can also use ribbon), tacky glue and a plastic bangle. It doesn’t matter the color or pattern of the bangle since you will be covering it up. The one I used had sequins on the inside and only cost $2… You can’t beat that!

IMG_9460

To start off I wound a few yards of yarn into small ball and glued one end to the inside of the bangle. I let the glue dry completely and then started wrapping the yarn tightly around the bangle. Every so often I stopped to make sure there weren’t any spaces between the yarn and around the midway point I added some glue to secure the yarn in place.

IMG_9466 IMG_9478

It didn’t take long before I had a completely new bangle.

IMG_9482

After that was done I moved on to a Cabochon and Seed Bead Ring. I got the idea for this piece from the February 2013 issue of Bead & Button Magazine in an article called Ring Tones. I used two different color size 15 seed beads, an oval cabochon, an adjustable ring and prestiffened felt for my beading foundation. I was able to find the ring and felt at my local Michael’s store and I ordered an assortment of cabochons from Fire Mountain Gems (www.firemountaingems.com) for under $3 so I have plenty more to use if I want to make more rings or pendants and such. As for the size 15 seed beads, I had one of the colors and then took advantage of a sale at Beada Beada (www.beadabeada.com) and ordered an assortment of colors that I normally wouldn’t pick just to have a nice assortment for future projects.

IMG_9472

To start off I cut a piece of the felt to fit into the bezel of the ring. While the directions called for using two or more pieces of foundation I opted to use only one piece since the ring I was using had a very shallow well.

IMG_9474

Next up, I glued the cabochon to the center of the felt. After it completely dried I began to stitch the seed beads around the cabochon using the beaded backstitch. I started with a round of yellow and then added a second round of yellow on top of that round so that those seed beads would come up the sides of the cabochon. I then stitched two rounds of turquoise seed beads around the yellow.

IMG_9488

It wasn’t long before I was done and my embroidered piece was ready to be adhered to the ring. While I did have jewelry glue (which I used to glue the cabochon onto the felt) I opted to use Krazy Glue to adhere the entire piece to the ring so I could be sure it would stay put.

IMG_9492

I was really happy with how it came out and I can’t wait to wear it. And now that I know how to embroider on felt I am looking forward to making other pieces of jewelry.

IMG_9502

And finally the last piece I made was a bracelet that I also came across in the February 2013 issue of Bead & Button Magazine called Crystal Bridges. The bracelet is made with 12mm bugle beads, 4mm pearls, 4mm bicone crystals, 3mm fringe drops, size 11 & size 15 seed beads, 4x1mm daisy spacers and a two-strand slide clasp. While the article did have suggested colors for the bracelet I opted to go a different route and made my bracelet in shades of blue. I had Swarovski Crystal bicones in my beading stash that I wanted to use so I based my other colors off of them.

IMG_9513

To start I created the base of the bracelet by using the crossweave technique to add the bugles and pearls. On a comfortable length of Fireline I threaded a size #12 beading needle onto each end and then centered a bugle bead onto the thread. Then with each of the needles I picked up a pearl and with one of the needles a bugle bead and then crossed the other needle through it. In total I added 32 bugles for the bracelet to be approximately 7 1/2 inches. Just to note, if the size needs to be adjusted the number of bugles beads on the base must be an even number for the top embellishment to work.

IMG_9515

Following that I added the top embellishment. I once again used the crossweave technique to add the pearls, size 15 seeds beads, bicones   and daisy spacers.

IMG_9516 IMG_9519

Once that was done it was time to add the clasp. This was a little backwards to me since I am accustomed to adding a clasp to piece of jewelry only once it’s completely done. Once again I used the crossweave technique to add size 15 seed beads and a bicone crystal to attach the clasp to the bracelet. In all honesty the bracelet could be worn like this and you could forgo the side embellishment, but, if you want more of a unique piece I think it’s necessary to keep going – which is what I did.

IMG_9530

To add the side embellishment – which consists of the size 11 & 15 seed beads and the fringe beads – I worked in a simple bead weaving technique.   To start I added one size 11 seeds between each of the pearls.

IMG_9531 IMG_9534

I then added five size 15 seed beads by stitching my thread through the size 11 seed beads I had just added, which basically left the size 15   seed beads arching around the pearls. I was concerned at this point because the size 15 seed beads weren’t sitting flat. I kept playing with the thread   by pulling it snug and then loosening it in an attempt to have them fall flat, but, it didn’t work. Luckily the final step rectified the problem.

IMG_9535

Finally, I added the fringe drop beads by sewing through the three middle size 15 seed beads from the five I added in the previous step.   Basically the fringe drops sat next to the size 11 seed beads. I ended my thread and my bracelet was ready to wear. Unfortunately I’ll   have to wait a while to wear it since the colors are more for Spring/Summer.

IMG_9549 IMG_9550

Snowed-In Fudgy Walnut Brownies

So this past weekend I was held-up indoors after Nemo dropped 20 plus inches of snow in my area. While I was able to shovel the walkway & driveway and clean off my car – which was a painstaking task as I drive an SUV and cleaning the snow off the top of it is no fun (it’s one of the few times I wish I was an inch or two taller) – I couldn’t leave my block as the plows did clean the main roads in my area but didn’t get to the side streets. One of which I live on. So, what is a girl to do, well, this one decided to bake some brownies. I figured I deserved something sweet after all the hard work I did.

I remembered that I had a mini-recipe pullout from a Food Network Magazine with fifty different brownie recipes. I decided to keep it simple since I was sure I would have the ingredients for traditional brownies but not for anything too “wild.” There is a recipe for Cherry Almond Brownies that I am sure would be delicious, but, those will have to wait for another day. Hence, my Snowed-In Fudgy Walnut Brownies.

The ingredients were quite basic: Semi-sweet chocolate chips, butter, light brown sugar, granulated sugar, eggs, vanilla extract, flour and salt. And since I like some texture to my brownies I added in walnuts. The last time I made brownies I actually used cocoa powder so I was taken aback by using chocolate chips instead. Luckily I buy them whenever they’re on sale and store them in my refrigerator because you never know what may come up… like a snowstorm!

IMG_9418

I started off by melting the chocolate chips and butter in a saucepan over low heat.

IMG_9421  IMG_9423

Once the chocolate chips and butter were melted I removed it from the heat and whisked in both of the sugars. As you can see the mixture got quite thick.

IMG_9426

After letting it cool for a few minutes I whisked in four eggs one at a time and then the vanilla extract. I was actually going to do this by hand but immediately changed my mind and whipped out my hand mixer instead. My arm already had a good workout from clearing the snow.

IMG_9430

I did swap out the mixer for a rubber spatula though when I added in the flour and salt. I didn’t want to make too much of a mess since I wasn’t working with a deep bowl.

IMG_9433

And finally I folded in the walnuts.

IMG_9434

In prepping my baking dish I decided to go with the easy removal method and sprayed my dish with baking spray, lined it with aluminum foil ensuring that it was a large enough piece to overhang at the ends and then sprayed the aluminum foil with the baking spray. Once the batter was ready I spread into the prepared dish.

IMG_9437 IMG_9443

After baking for 45 minutes in a 325 degree oven my brownies were done.

IMG_9446

I let them cool for about two hours before I sliced them into twelve almost perfect squares.

IMG_9448

They were quite yummy and surprisingly not as sweet as I thought they would be considering they were made with chocolate chips and a cup and a half of sugar. They were also the perfect complement to my chai tea as I watched the Grammy’s on Sunday night!

Fudgy Walnut Brownies

Ingredients

2 cups semi-sweet chocolate chips

1 stick unsalted butter

3/4 cup light-brown sugar

3/4 cup granulated sugar

4 eggs

1 teaspoon vanilla extract

1 cup flour

1/2 teaspoon salt

1 cup chopped walnuts

Directions

Preheat the oven to 325 degrees.

Coat a 9×13 pan with cooking spray. For easy removal, line the pan with foil leaving an overhang, then coat with more cooking spray.

Melt the chocolate chips and butter in a saucepan over low heat, stirring. Off the heat, whisk in each of the sugars; cool slightly. Whisk in the eggs one at a time and the vanilla extract. Stir in the flour and the salt. Fold in the walnuts. Spread the batter into the prepared pan and bake for 45 minutes.

Cool on a rack, then cut into squares.

Violet V-Stitch Baby Blanket

After two weeks of crocheting I completed the baby blanket I’ve been working on. I followed a simple V-Stitch pattern and ended up with a blanket that measures 34×39 inches. A little bigger than what the pattern I followed suggested it would be (33×36 inches) but I also used a different kind of yarn (Red Heart Soft Baby Steps yarn as opposed to Lion Brand Babysoft yarn) and added a different border to it. When it comes to blankets I don’t think it hurts for it to be a little bigger as long as it’s proportionately correct.

The pattern called for adding a border around the perimeter of the blanket. I was a little unsure of how to do it from reading the directions, but, as I suspected once I started I immediately got the hang of it. To do so I first worked single crochets around the outside edge of the blanket and then in the second round added the decorative border by working into those single crochets. The pattern called for creating a picot edge. I decided to check out videos on YouTube to see how to make them and after a few attempts I couldn’t get the hang of them myself so I decided to go a different route and added a scalloped edge instead. To create the scalloped edge I worked a half-double crochet, double crochet, treble crochet, double crochet, half-double crochet into every third single crochet.

IMG_9371

And here’s the final product…

IMG_9389

Next up… Another baby blanket – a Seed Stitch Baby Blanket – which I am sure will take me a little longer to make since I will be knitting it on circular knitting needles.

IMG_9392

This is the pattern that I used as a basis for creating the blanket.

V-Stitch Baby Throw Pattern

Courtesy: Lion Brand (www.lionbrand.com)

Throw

Ch 148

Row 1: (dc, ch1, dc) in 5th ch from hook (V-St made) *sk next 2 ch, V-st in next ch; rep from * across to last 2 ch, sk next ch, dc in last ch – 48 V-sts at the end of this row

Row 2 – 78: Ch 3, turn, V-st in ch-1 sp of each V-st across, dc in top of turning ch. Do no fasten off.

Finishing

Border

Rnd 1: Do not turn, work sc evenly spaced around entire outside edge of Throw, working 3 sc in each corner st; join with sl st in first sc.

Rnd 2: *Ch 2, sl st in 2nd ch from hook (picot made), sk next sc, sl st in next 2 sc; rep from * around.

Note: As you near the end of Rnd 2, count your remaining sts. If necessary, you can sl st in 1 or in 3 sc (instead of 2 sc), in order to end the rnd evenly.

Fasten off and weave in ends.

Abbreviations:

ch – chain

dc – double crochet

sk – skip

st – stitch

sp – space

sc – single crochet

sl – slip

Minnie Mouse Cake

I started my blog about a year ago with an  Elmo Cake for a friend’s daughter’s birthday, well, here we are a year later and it’s time for another character cake. After mentioning a castle cake, a Cinderella cake, a Minnie Mouse cake and then back to Cinderella the birthday girl finally settled on a Minnie Mouse cake. Luckily I was able to find a place near me that actually rents out the cake pans so I won’t be collecting them. Needless to say, Elmo has been a one-time use pan thus far.

IMG_9298

After testing out a vanilla cake recipe last week that didn’t come out that great I opted to just use a yellow cake box mix for the cake. I actually had to bake the cake two times. The first time I used one box of mix and the cake was on the flat side and it was really difficult to distinguish the mold pattern on it. The second time I used a box and a half of mix and the results were much better. The cake was much taller and while I wish the mold pattern was more distinguishable on Minnie Mouse’s face, it was 100% better than my first attempt.

IMG_9284 IMG_9292

I also cheated when it came to making the frosting. I am usually one who loves making things from scratch, but, since I knew I was going to need quite a bit of frosting for this cake I opted to just go with store bought vanilla frosting to ensure that it would all be the same consistency and taste. I prepped all of my decorating bags with couplers and decorating tips the night before so I could save time while decorating. While the cake cooled I got to mixing all of the colors I would need. I kept the colors I wasn’t working with in the refrigerator so they wouldn’t soften up. Working with frosting that’s too soft can become a mess very quickly. It won’t hold shape or anything and it’s very frustrating… I speak from experience. While the frosting may seem to stiff when you take it out of the refrigerator once you give it a few stirs with a spatula and start working with it in the decorating bag it becomes the perfect consistency.

IMG_9295

After transferring the cake to a decorative cake board it was time to get to work. I started by frosting the background and sides of the cake with yellow. Admittedly, I was concerned immediately that the cake wasn’t going to look good, but, I forged ahead.

IMG_9300 IMG_9301

Next up, I outlined Minnie Mouse with black frosting using a size 3 decorating tip. Once she started to look like herself I felt more at ease. If you look closely at the picture you can see that I actually messed up once or twice with the outlining, but, since I was filling in the cake with individual stars as opposed to spreading the frosting all of those mishaps would be covered up and no one would be the wiser.

IMG_9302

Now it was time for Minnie’s face to come to life. To create the stars I used a size 16 decorating tip and to smooth out the frosting in her eyes, nose and mouth I used a decorator brush dampened with water.

IMG_9305

Bringing more of her face to life I next filled in her ears with black stars as well as her legs. At this point I was very happy with how it was coming together.

IMG_9306

Some pink stars on Minnie’s bow and dress really added some much needed color.

IMG_9308

I then added white stars on Minnie’s gloves and trim on her dress and violet stars on her dress sash and shoes.

IMG_9309

And finally, I cleaned up the cake board and added yellow rosettes using a size 21 decorator tip along the border to complete the cake. I was really happy with the final outcome, so was the birthday girl, that’s what really matters.

IMG_9318

I also made some cupcakes to go along with the cake. Unfortunately you can’t see it in the picture, but, the cupcake liners were Minnie Mouse themed.

IMG_9315

The cake was a hit at the party, which also happened to be a Superbowl party as well. So, we all got an extra fill of cake during that thirty-four minute delay!

…Beading and Crocheting/Knitting Update #1

It’s been a week since I started tackling my project to-do list and so far so good. The blanket I started last week is coming along nicely. I just started working with my third skein of yarn and have about twenty inches of the blanket completed (according to the pattern directions it’s supposed to be thirty-six inches). I’m thinking that I am going to need another skein of yarn to complete the border around the blanket – thankfully this yarn doesn’t have a dye lot number. I was on the fence as to whether I was going to add the border because the directions sounded a little confusing, but, I am sure once I start it will make more sense.

IMG_9282

Something that wasn’t on my to-do list but I received a request for was a few ruffle scarves. Luckily these only take me a few hours to make so I had no trouble knitting them up.

IMG_9275

It wasn’t all about crocheting and knitting this week. I also tested out a vanilla cake recipe for a Minnie Mouse cake that I am making this weekend. Unfortunately I wasn’t too pleased with it so I’ll be sticking with a box cake to ensure that it comes out well. I also needed to brush up on my cake decorating skills for this cake so I was busy doing that as well. Coming up next week… hopefully a completed blanket and pictures of the Minnie Mouse cake.