Minnie Mouse Cake

I started my blog about a year ago with an  Elmo Cake for a friend’s daughter’s birthday, well, here we are a year later and it’s time for another character cake. After mentioning a castle cake, a Cinderella cake, a Minnie Mouse cake and then back to Cinderella the birthday girl finally settled on a Minnie Mouse cake. Luckily I was able to find a place near me that actually rents out the cake pans so I won’t be collecting them. Needless to say, Elmo has been a one-time use pan thus far.
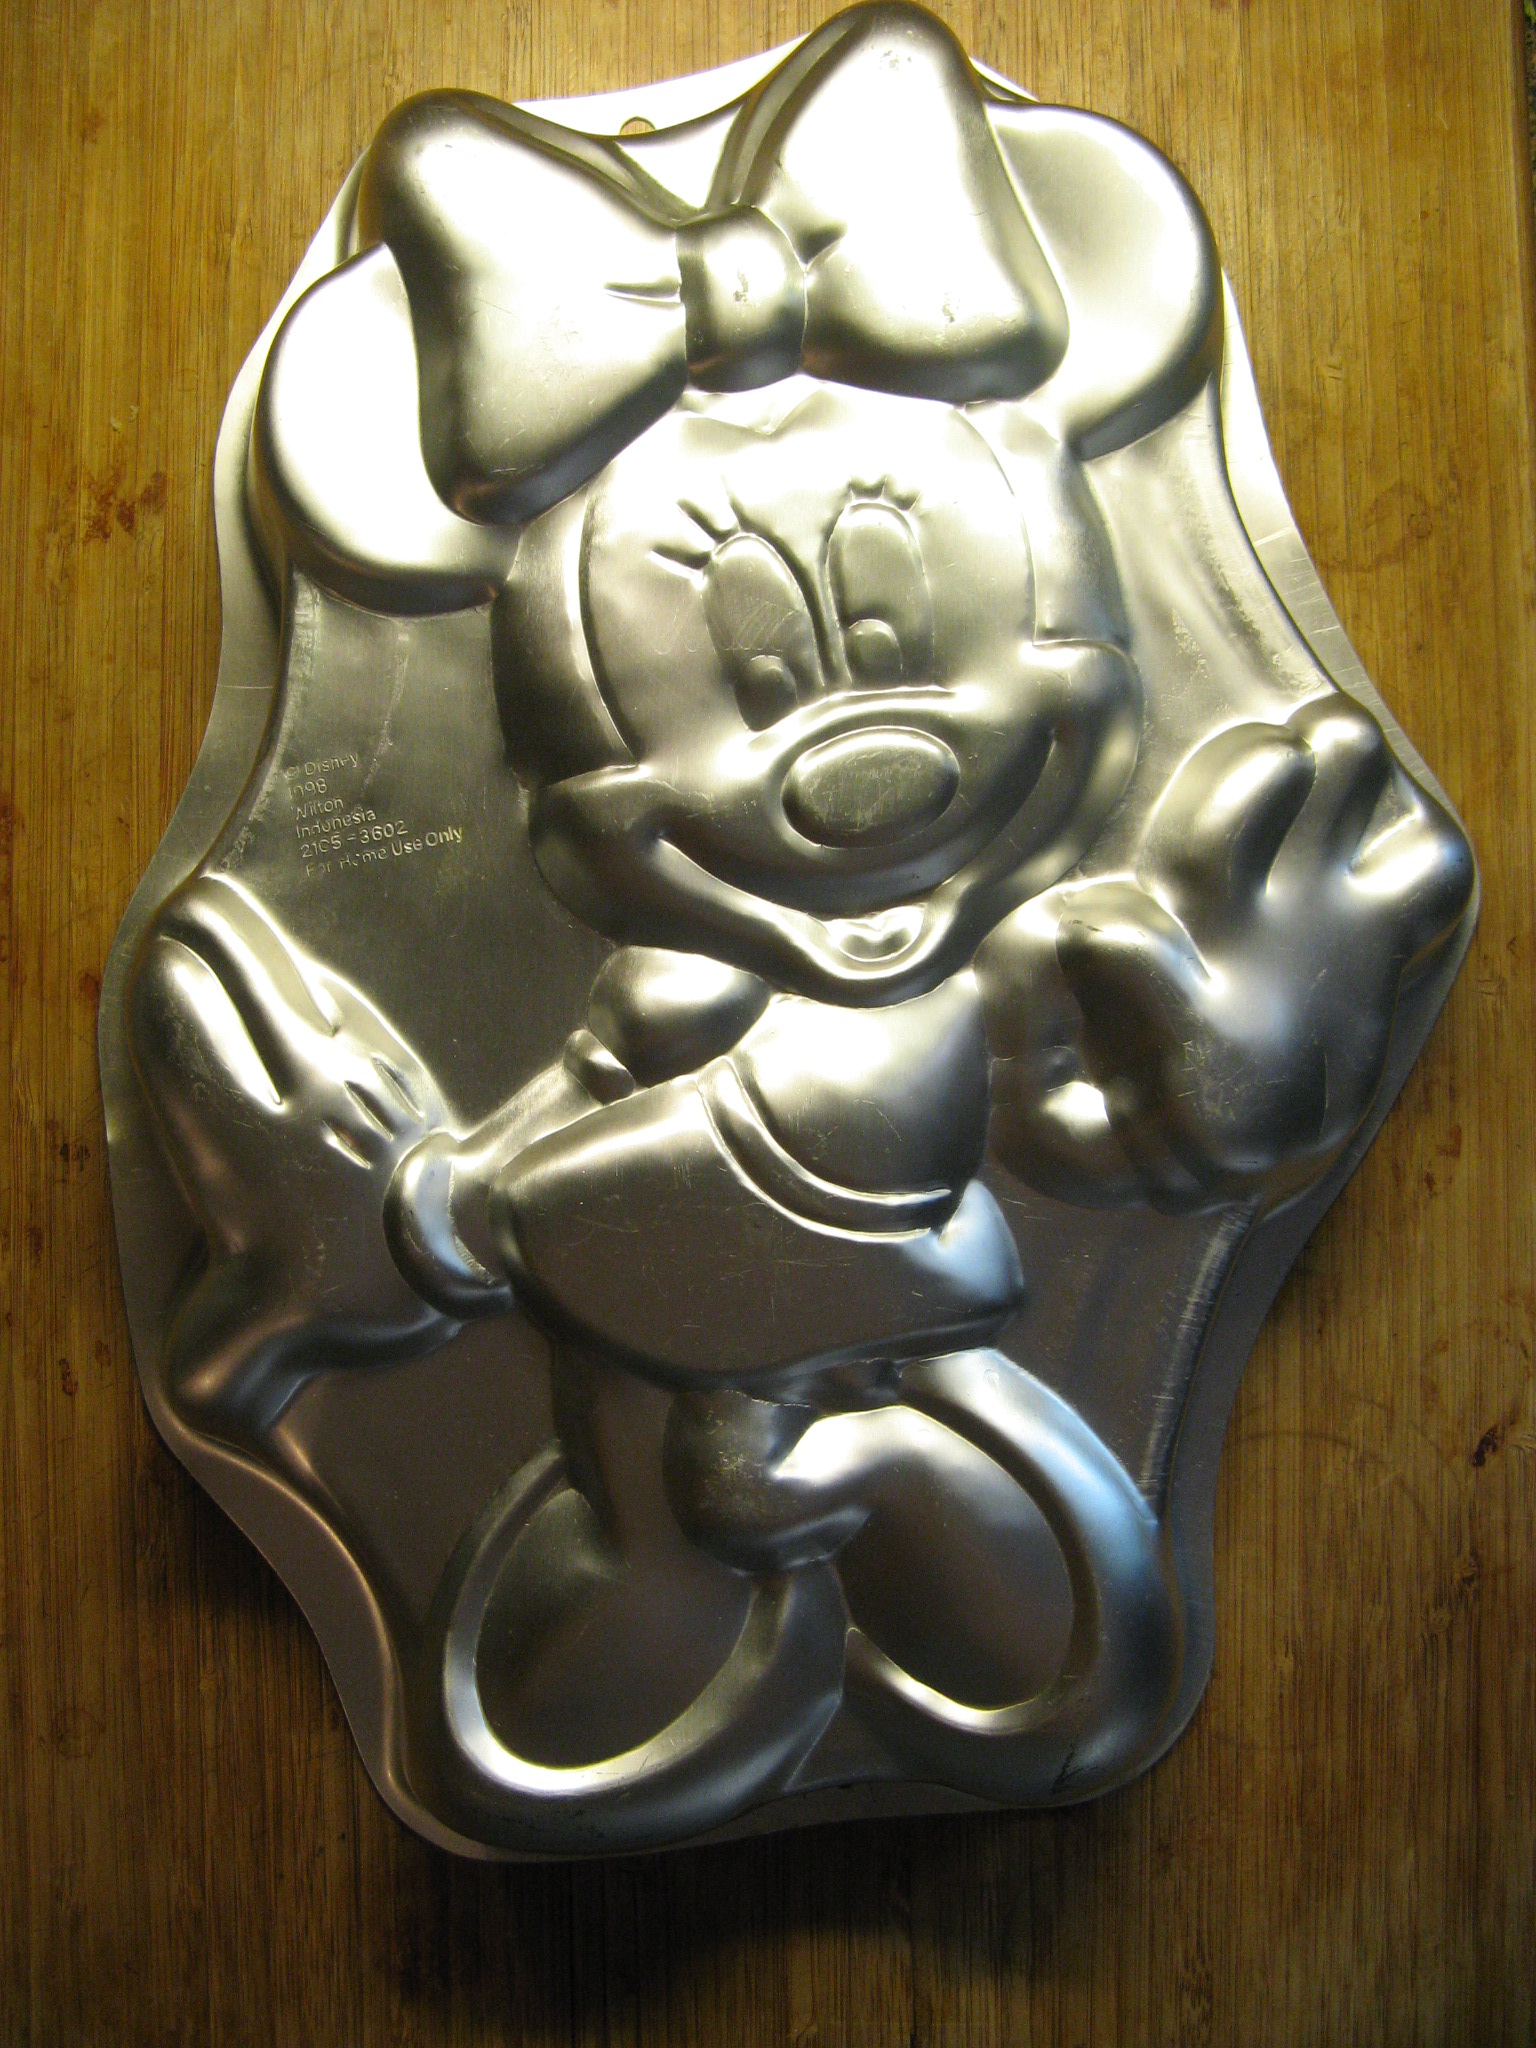
IMG_9298

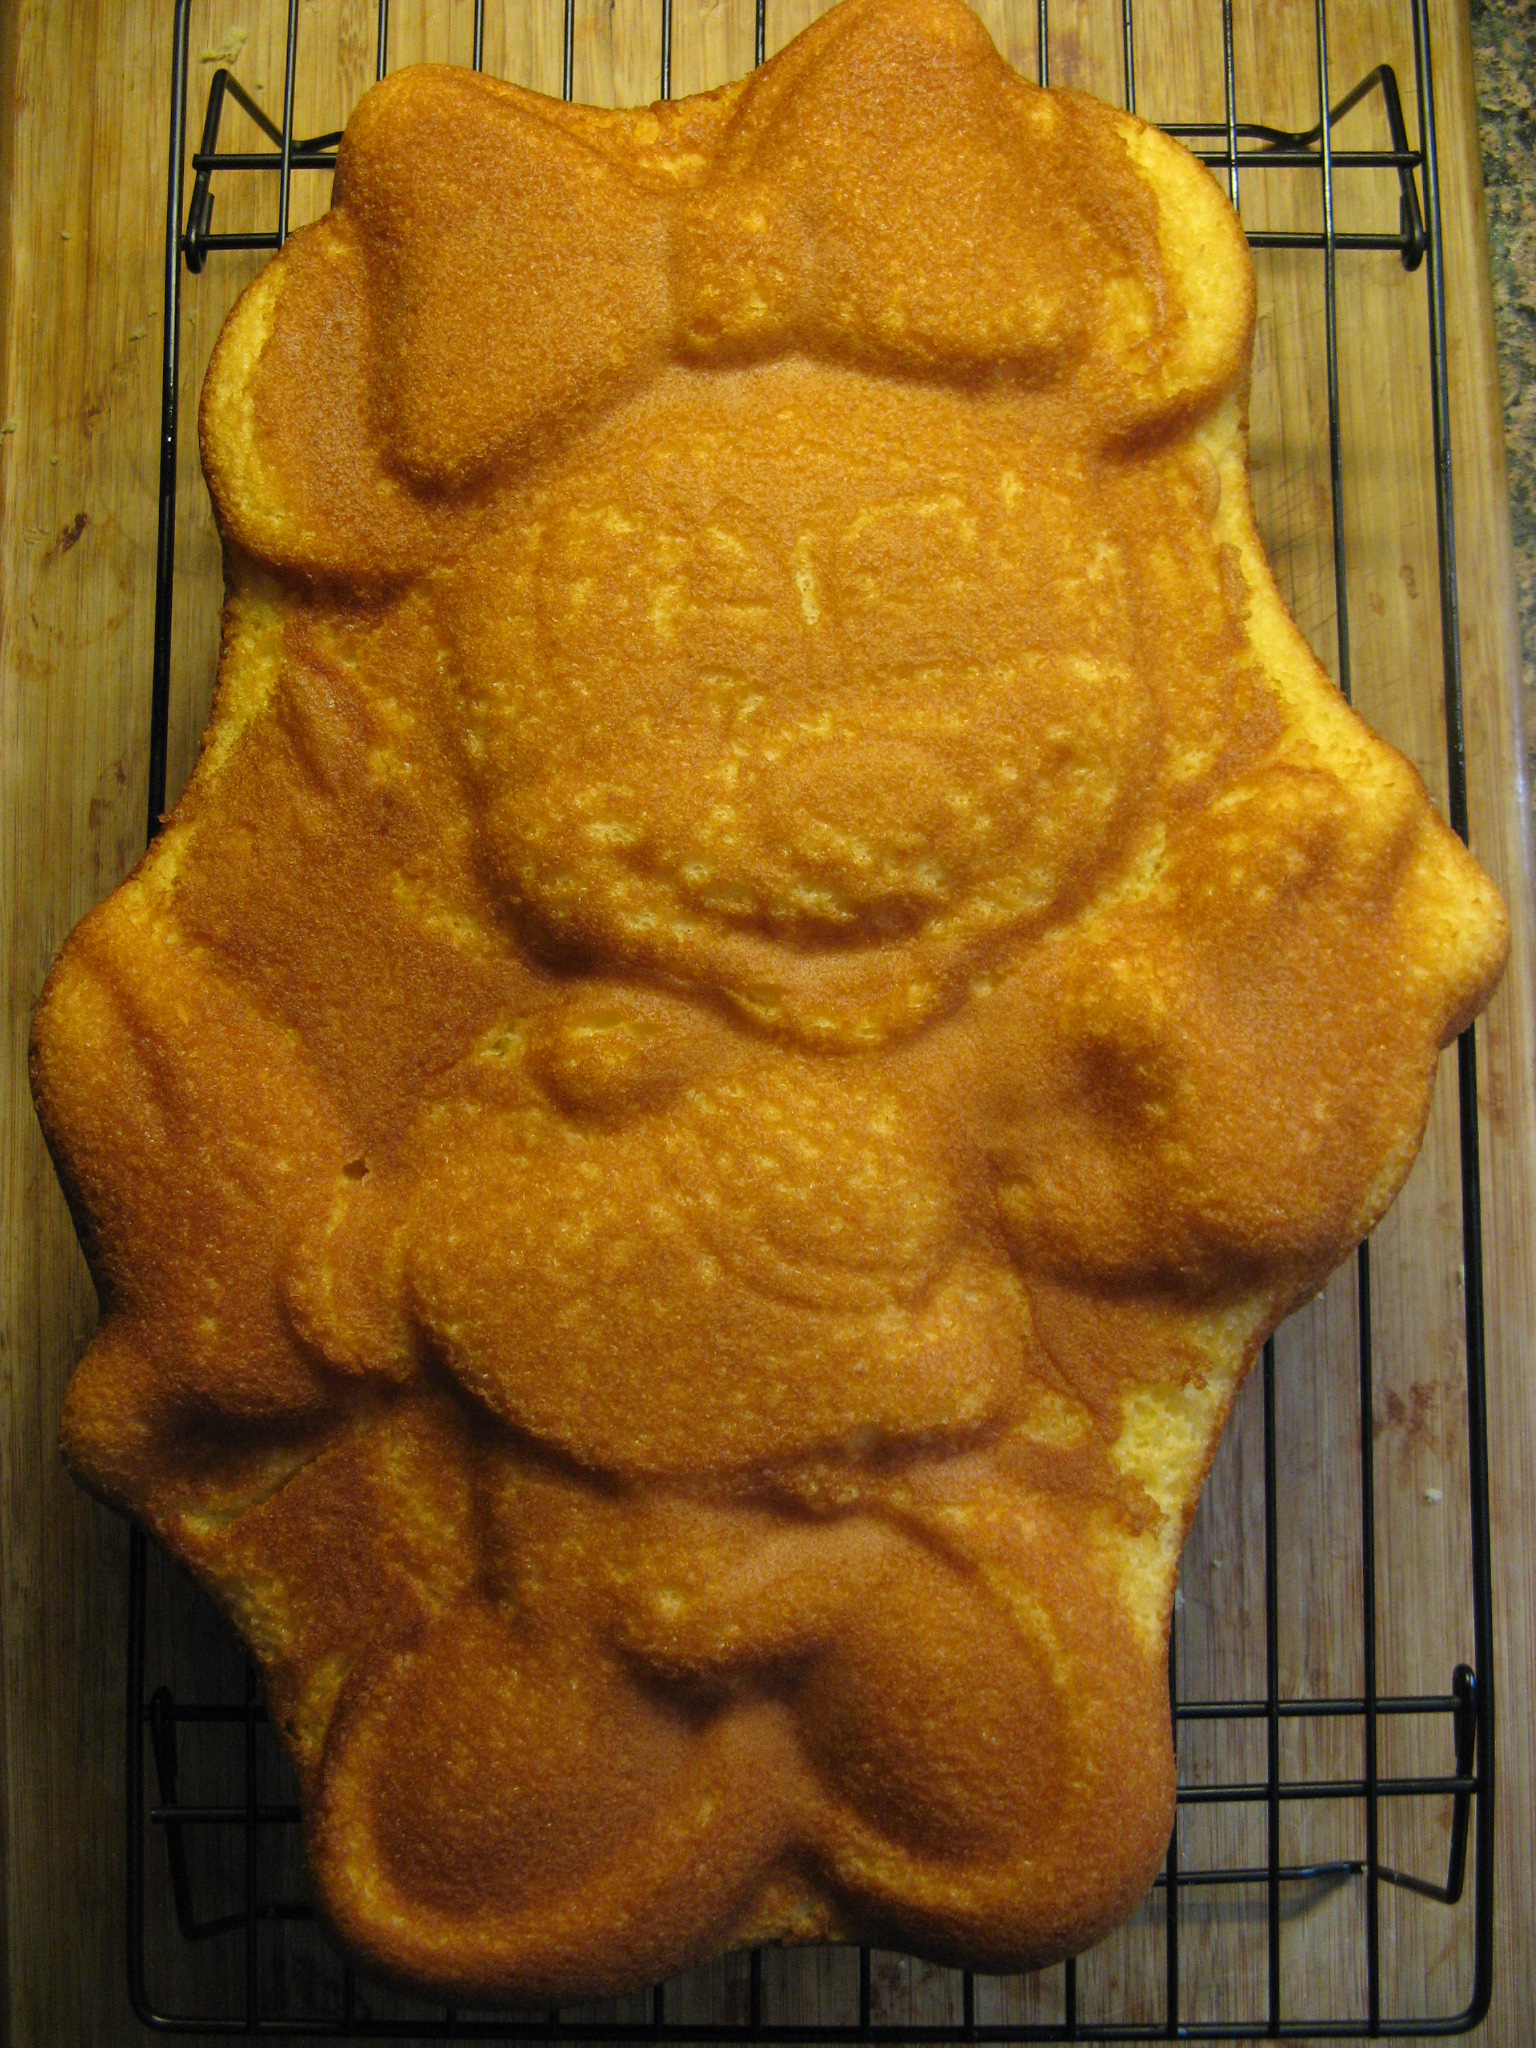
After testing out a vanilla cake recipe last week that didn’t come out that great I opted to just use a yellow cake box mix for the cake. I actually had to bake the cake two times. The first time I used one box of mix and the cake was on the flat side and it was really difficult to distinguish the mold pattern on it. The second time I used a box and a half of mix and the results were much better. The cake was much taller and while I wish the mold pattern was more distinguishable on Minnie Mouse’s face, it was 100% better than my first attempt.
IMG_9284 IMG_9292

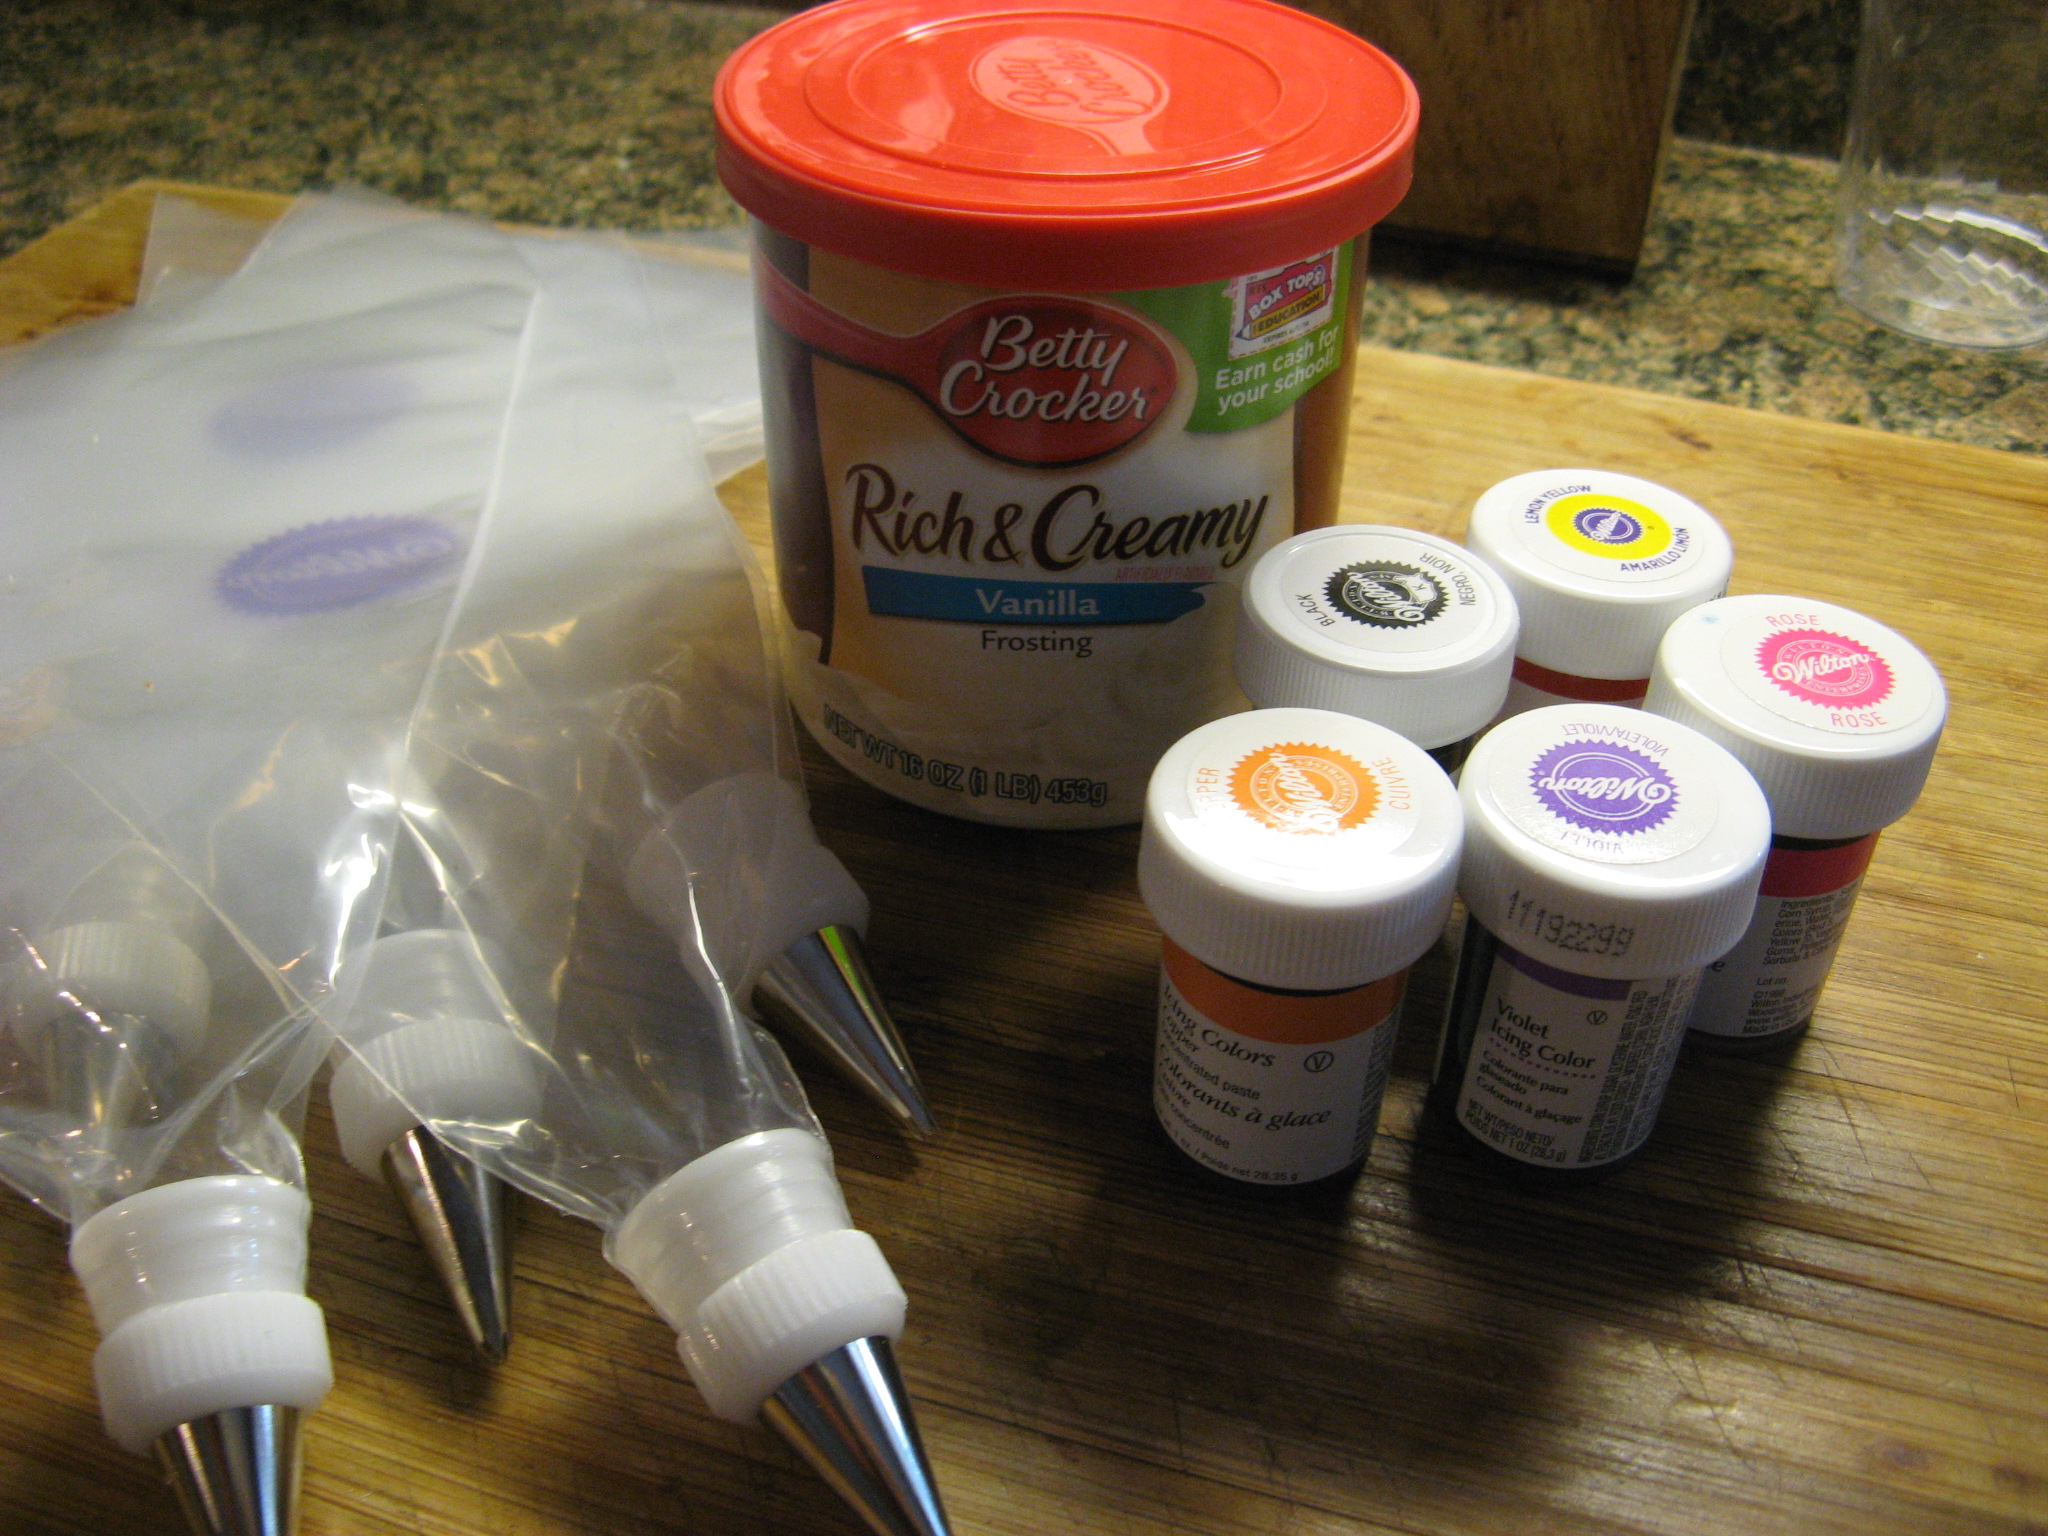
I also cheated when it came to making the frosting. I am usually one who loves making things from scratch, but, since I knew I was going to need quite a bit of frosting for this cake I opted to just go with store bought vanilla frosting to ensure that it would all be the same consistency and taste. I prepped all of my decorating bags with couplers and decorating tips the night before so I could save time while decorating. While the cake cooled I got to mixing all of the colors I would need. I kept the colors I wasn’t working with in the refrigerator so they wouldn’t soften up. Working with frosting that’s too soft can become a mess very quickly. It won’t hold shape or anything and it’s very frustrating… I speak from experience. While the frosting may seem to stiff when you take it out of the refrigerator once you give it a few stirs with a spatula and start working with it in the decorating bag it becomes the perfect consistency.
IMG_9295

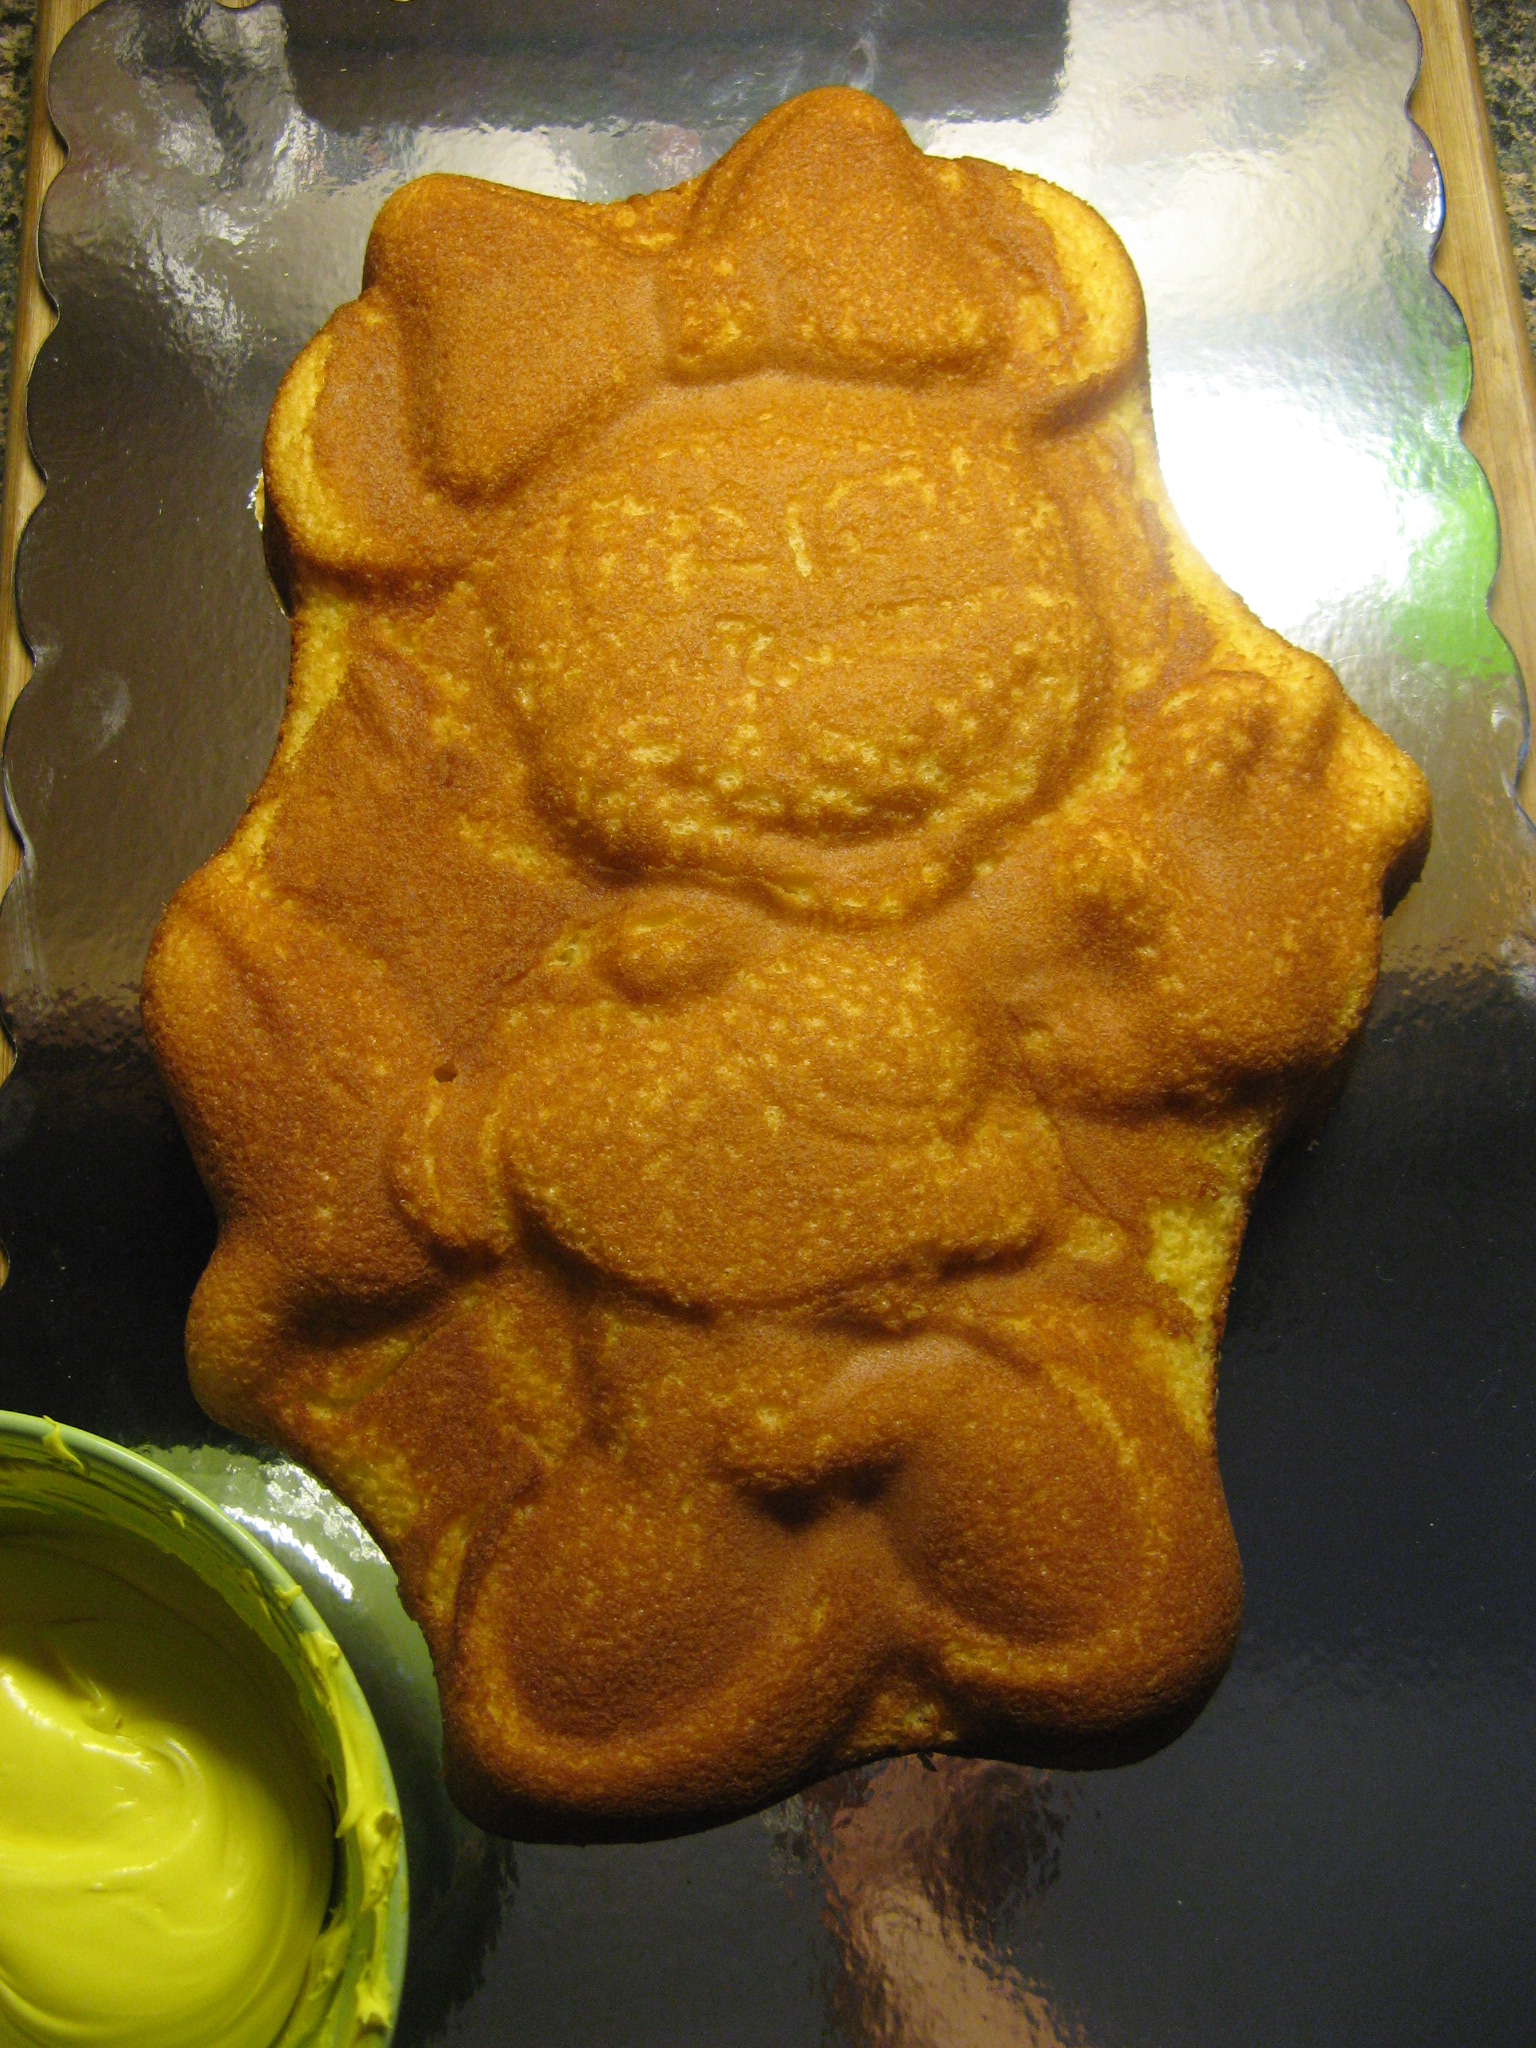
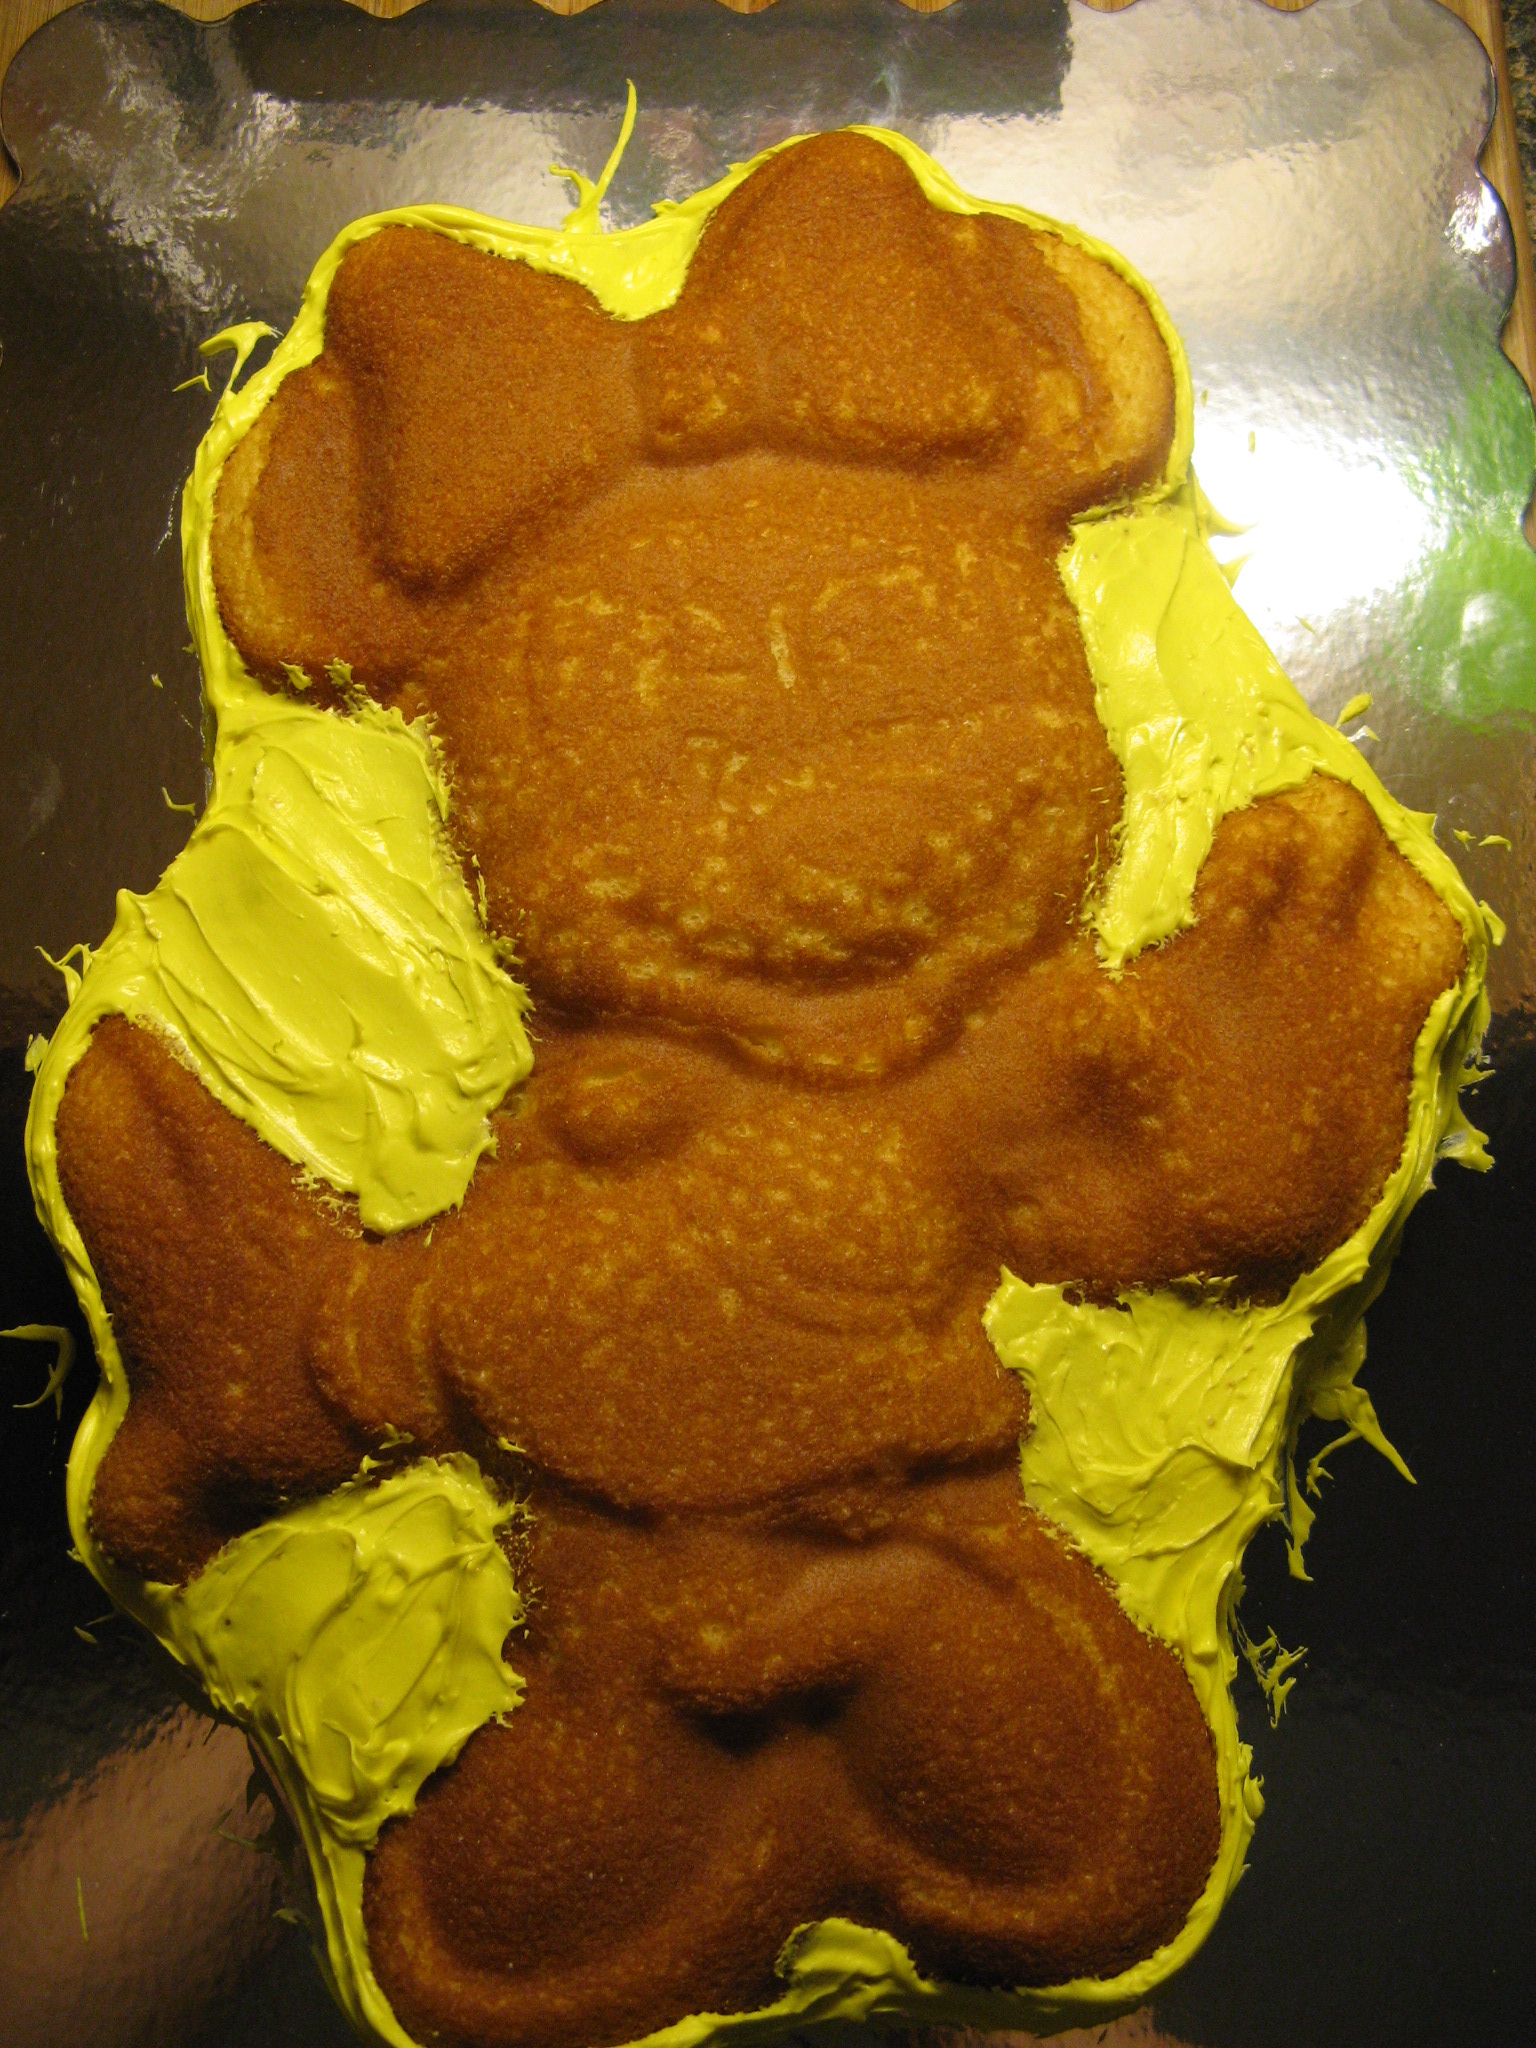
After transferring the cake to a decorative cake board it was time to get to work. I started by frosting the background and sides of the cake with yellow. Admittedly, I was concerned immediately that the cake wasn’t going to look good, but, I forged ahead.
IMG_9300 IMG_9301

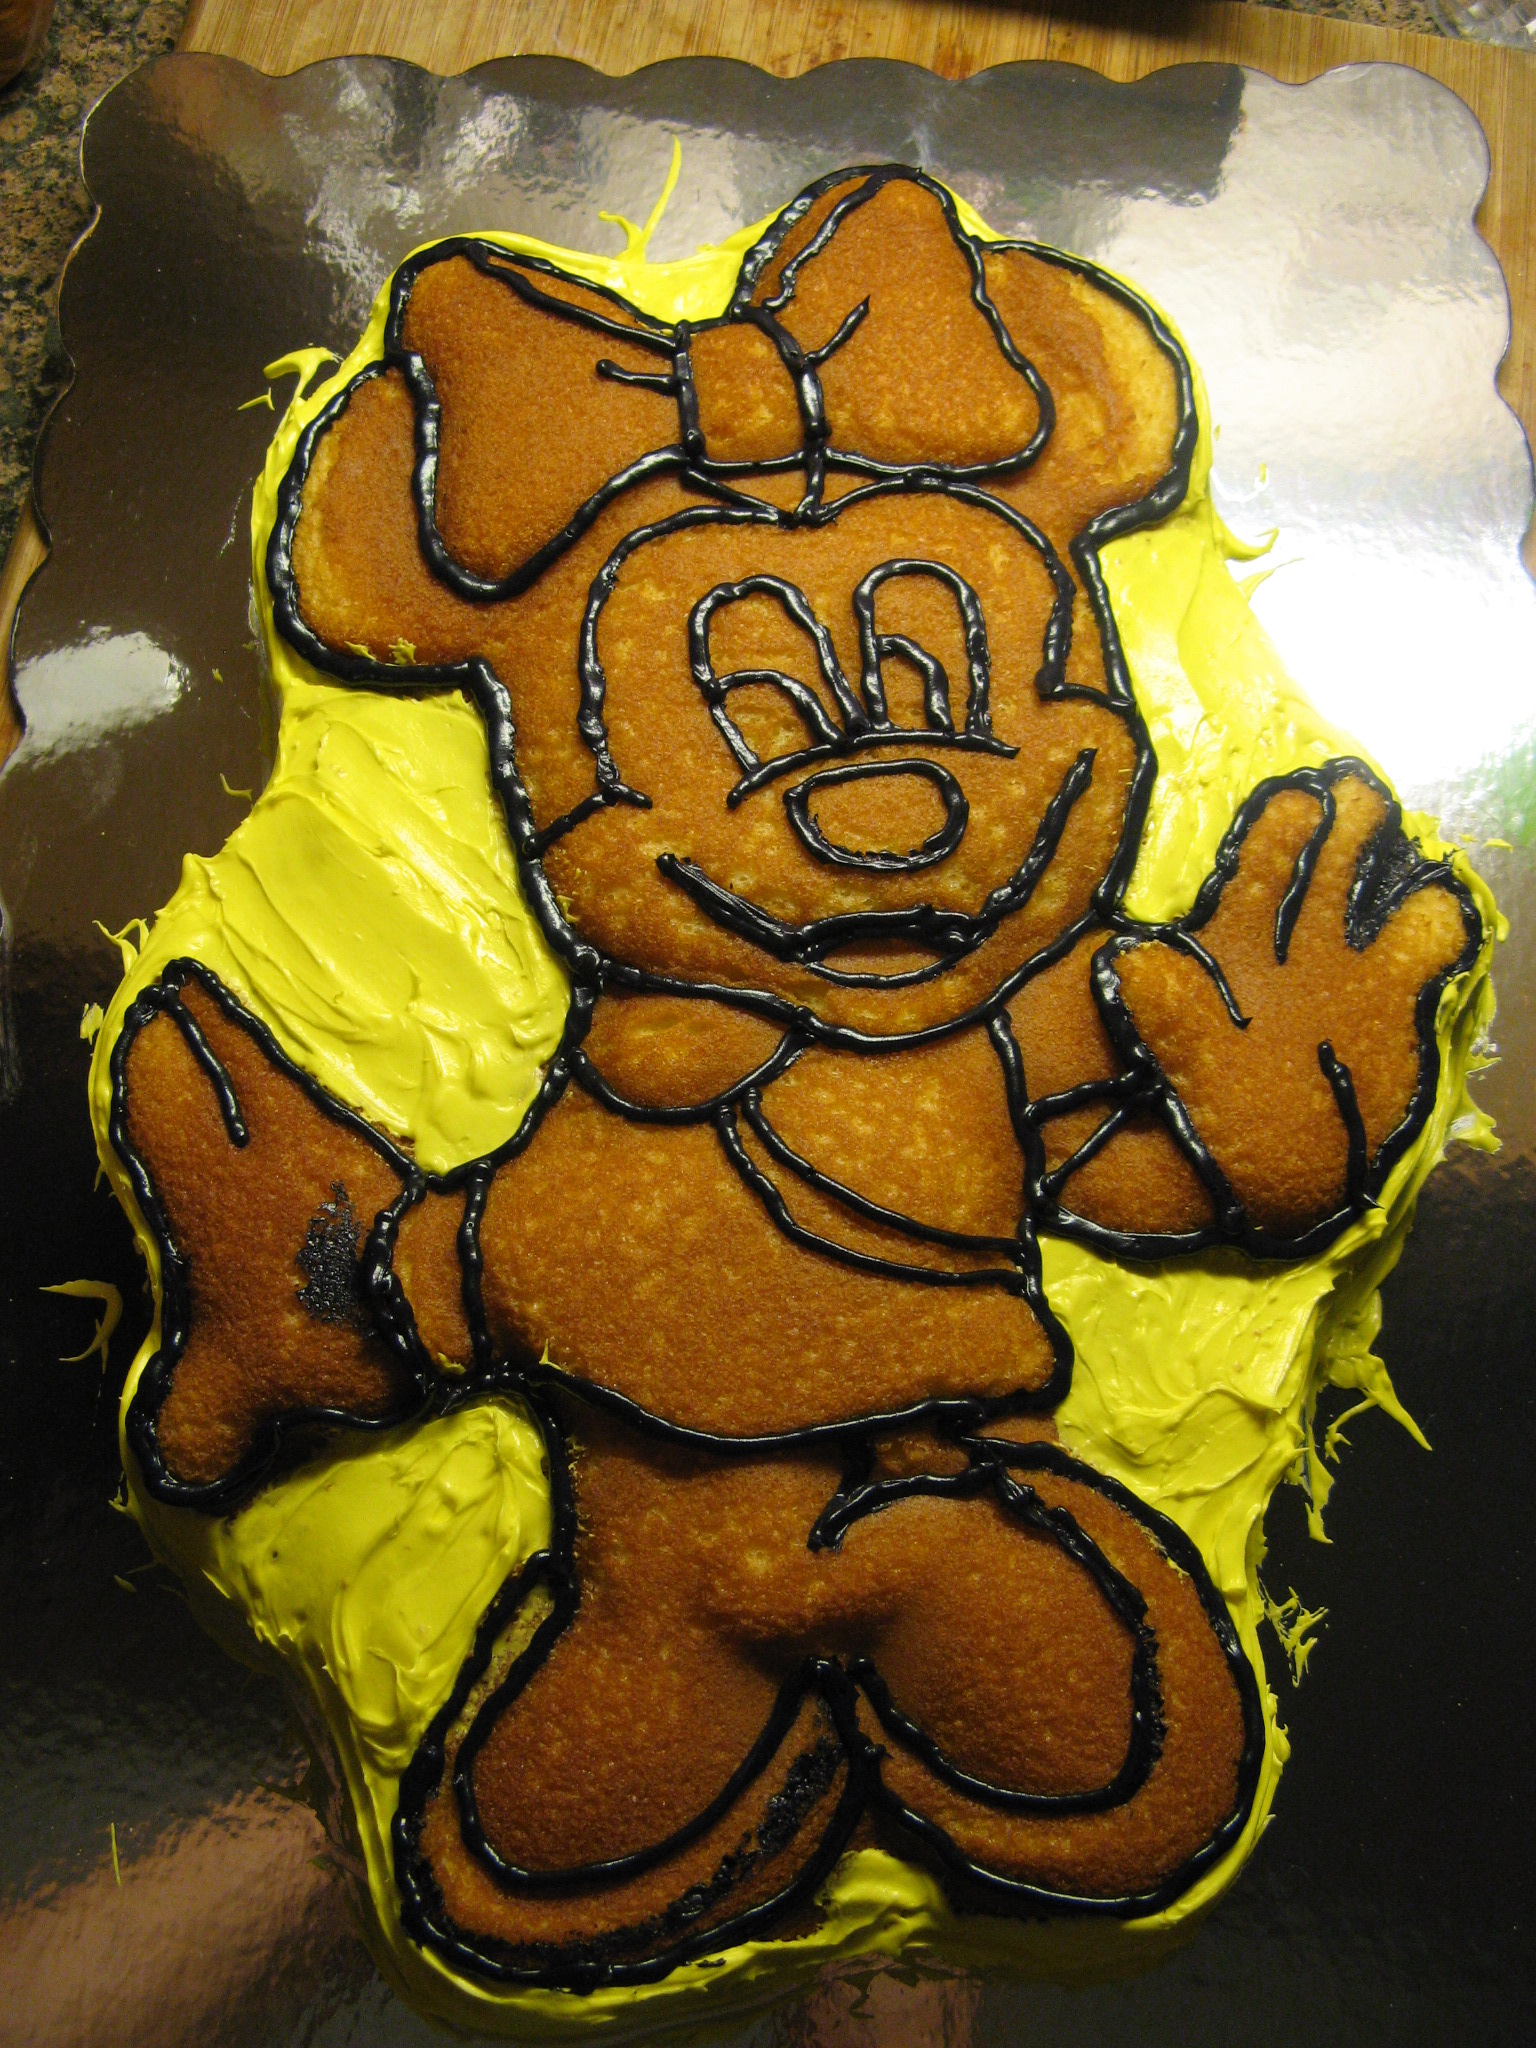
Next up, I outlined Minnie Mouse with black frosting using a size 3 decorating tip. Once she started to look like herself I felt more at ease. If you look closely at the picture you can see that I actually messed up once or twice with the outlining, but, since I was filling in the cake with individual stars as opposed to spreading the frosting all of those mishaps would be covered up and no one would be the wiser.
IMG_9302

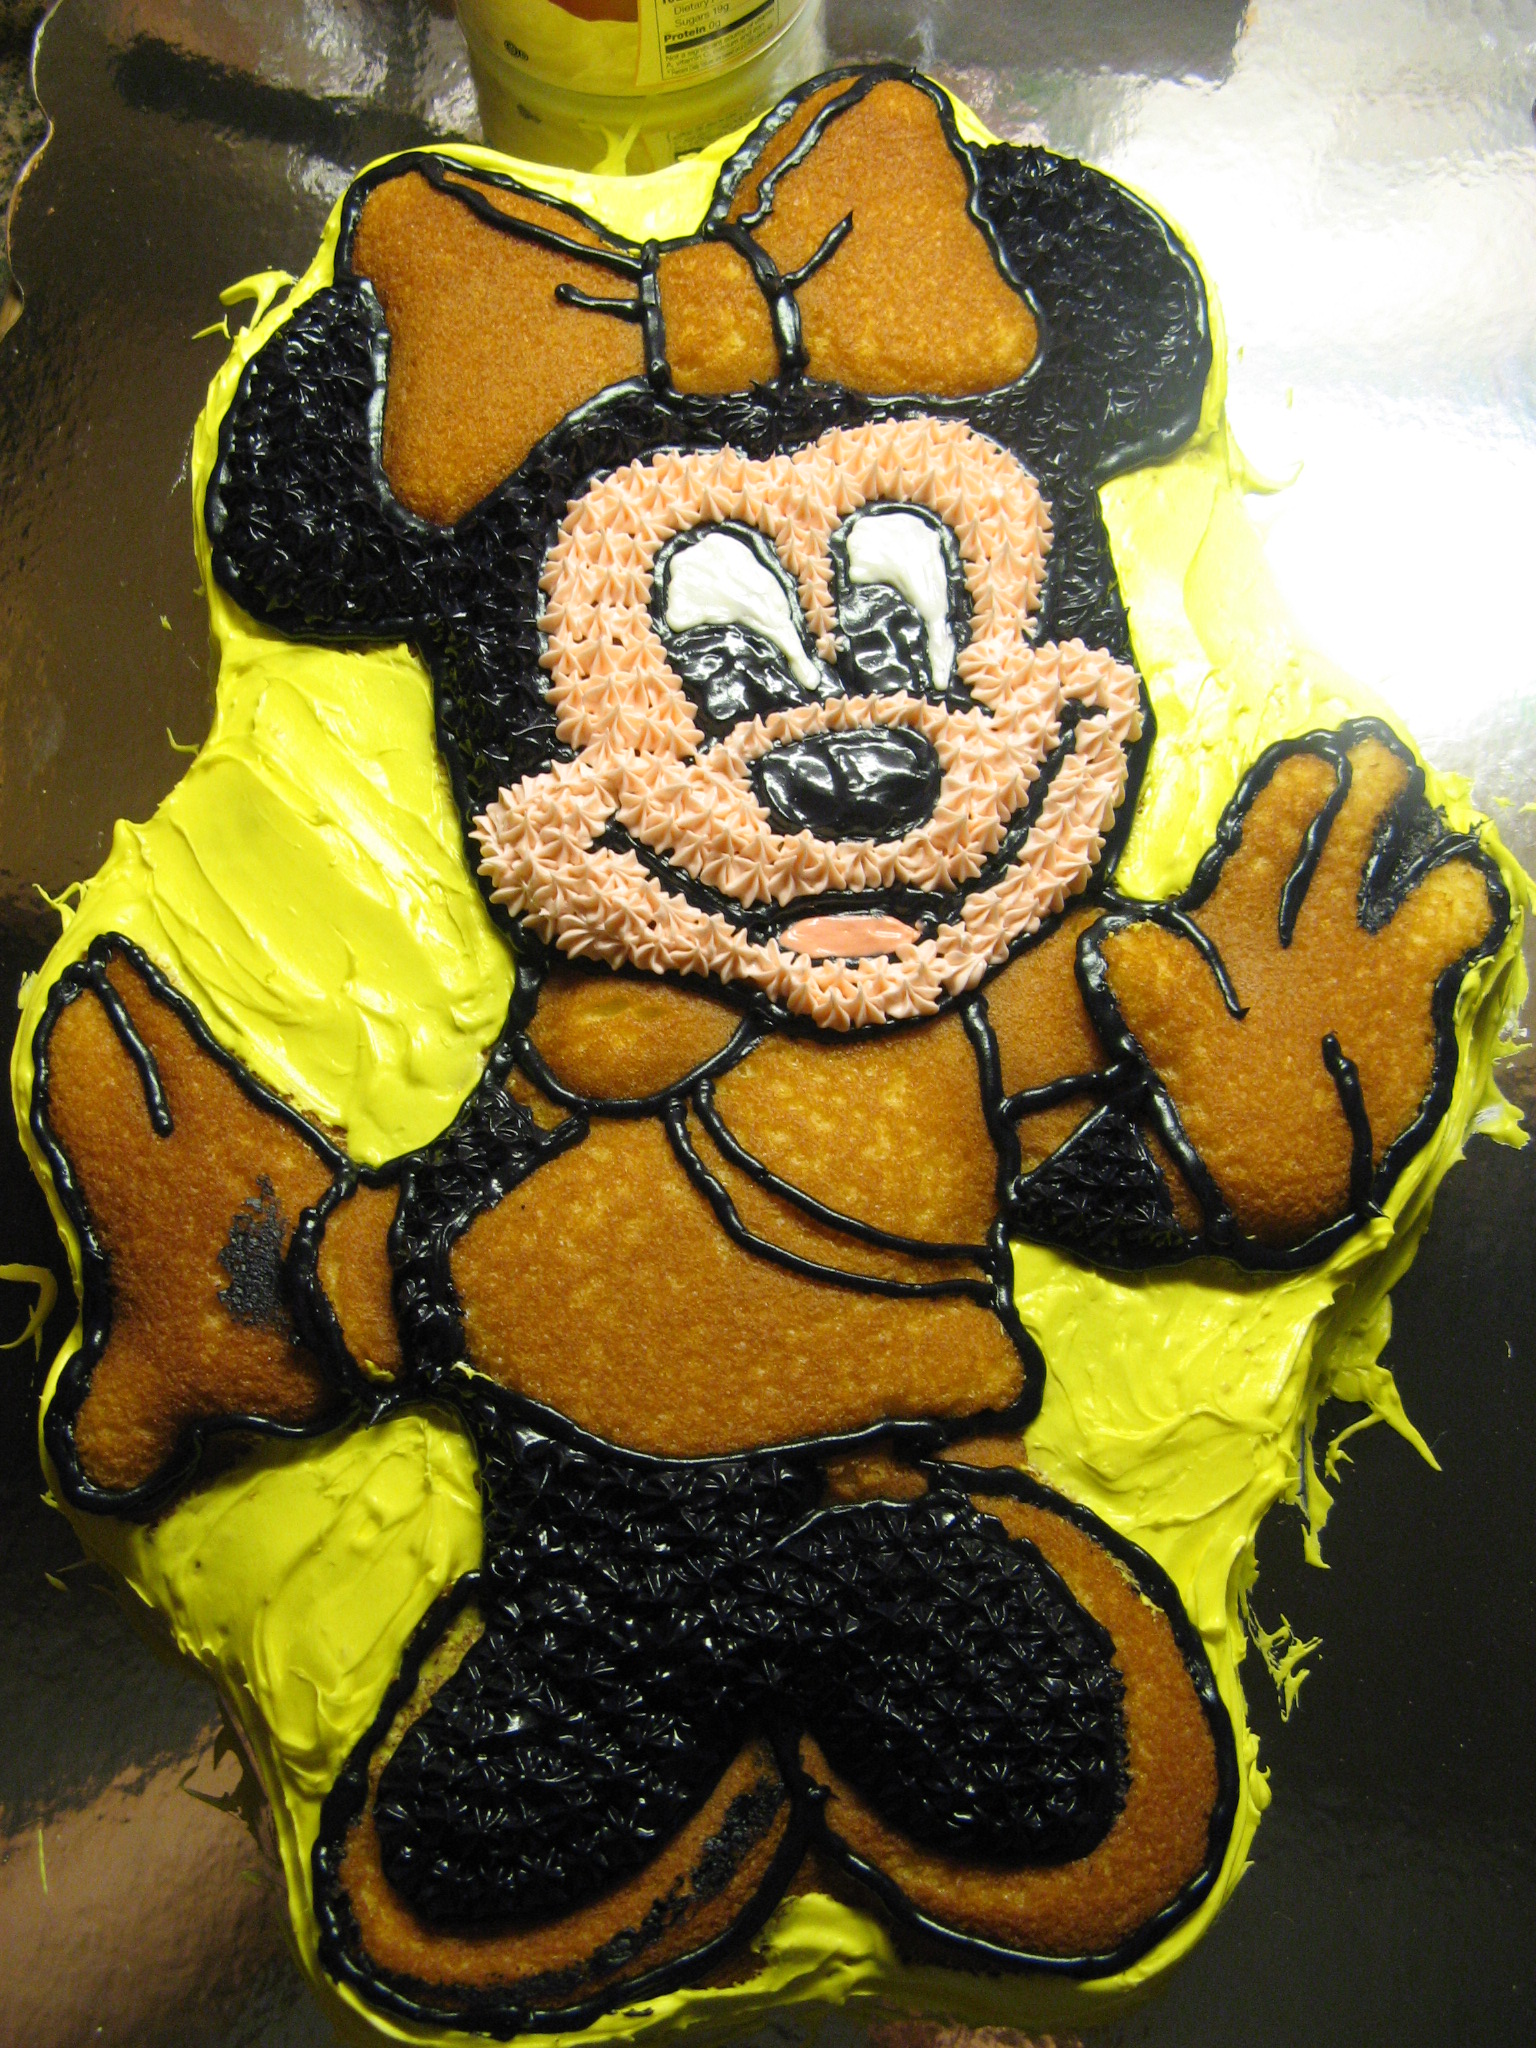
Now it was time for Minnie’s face to come to life. To create the stars I used a size 16 decorating tip and to smooth out the frosting in her eyes, nose and mouth I used a decorator brush dampened with water.

IMG_9305

Bringing more of her face to life I next filled in her ears with black stars as well as her legs. At this point I was very happy with how it was coming together.
IMG_9306

Some pink stars on Minnie’s bow and dress really added some much needed color.

IMG_9308

I then added white stars on Minnie’s gloves and trim on her dress and violet stars on her dress sash and shoes.
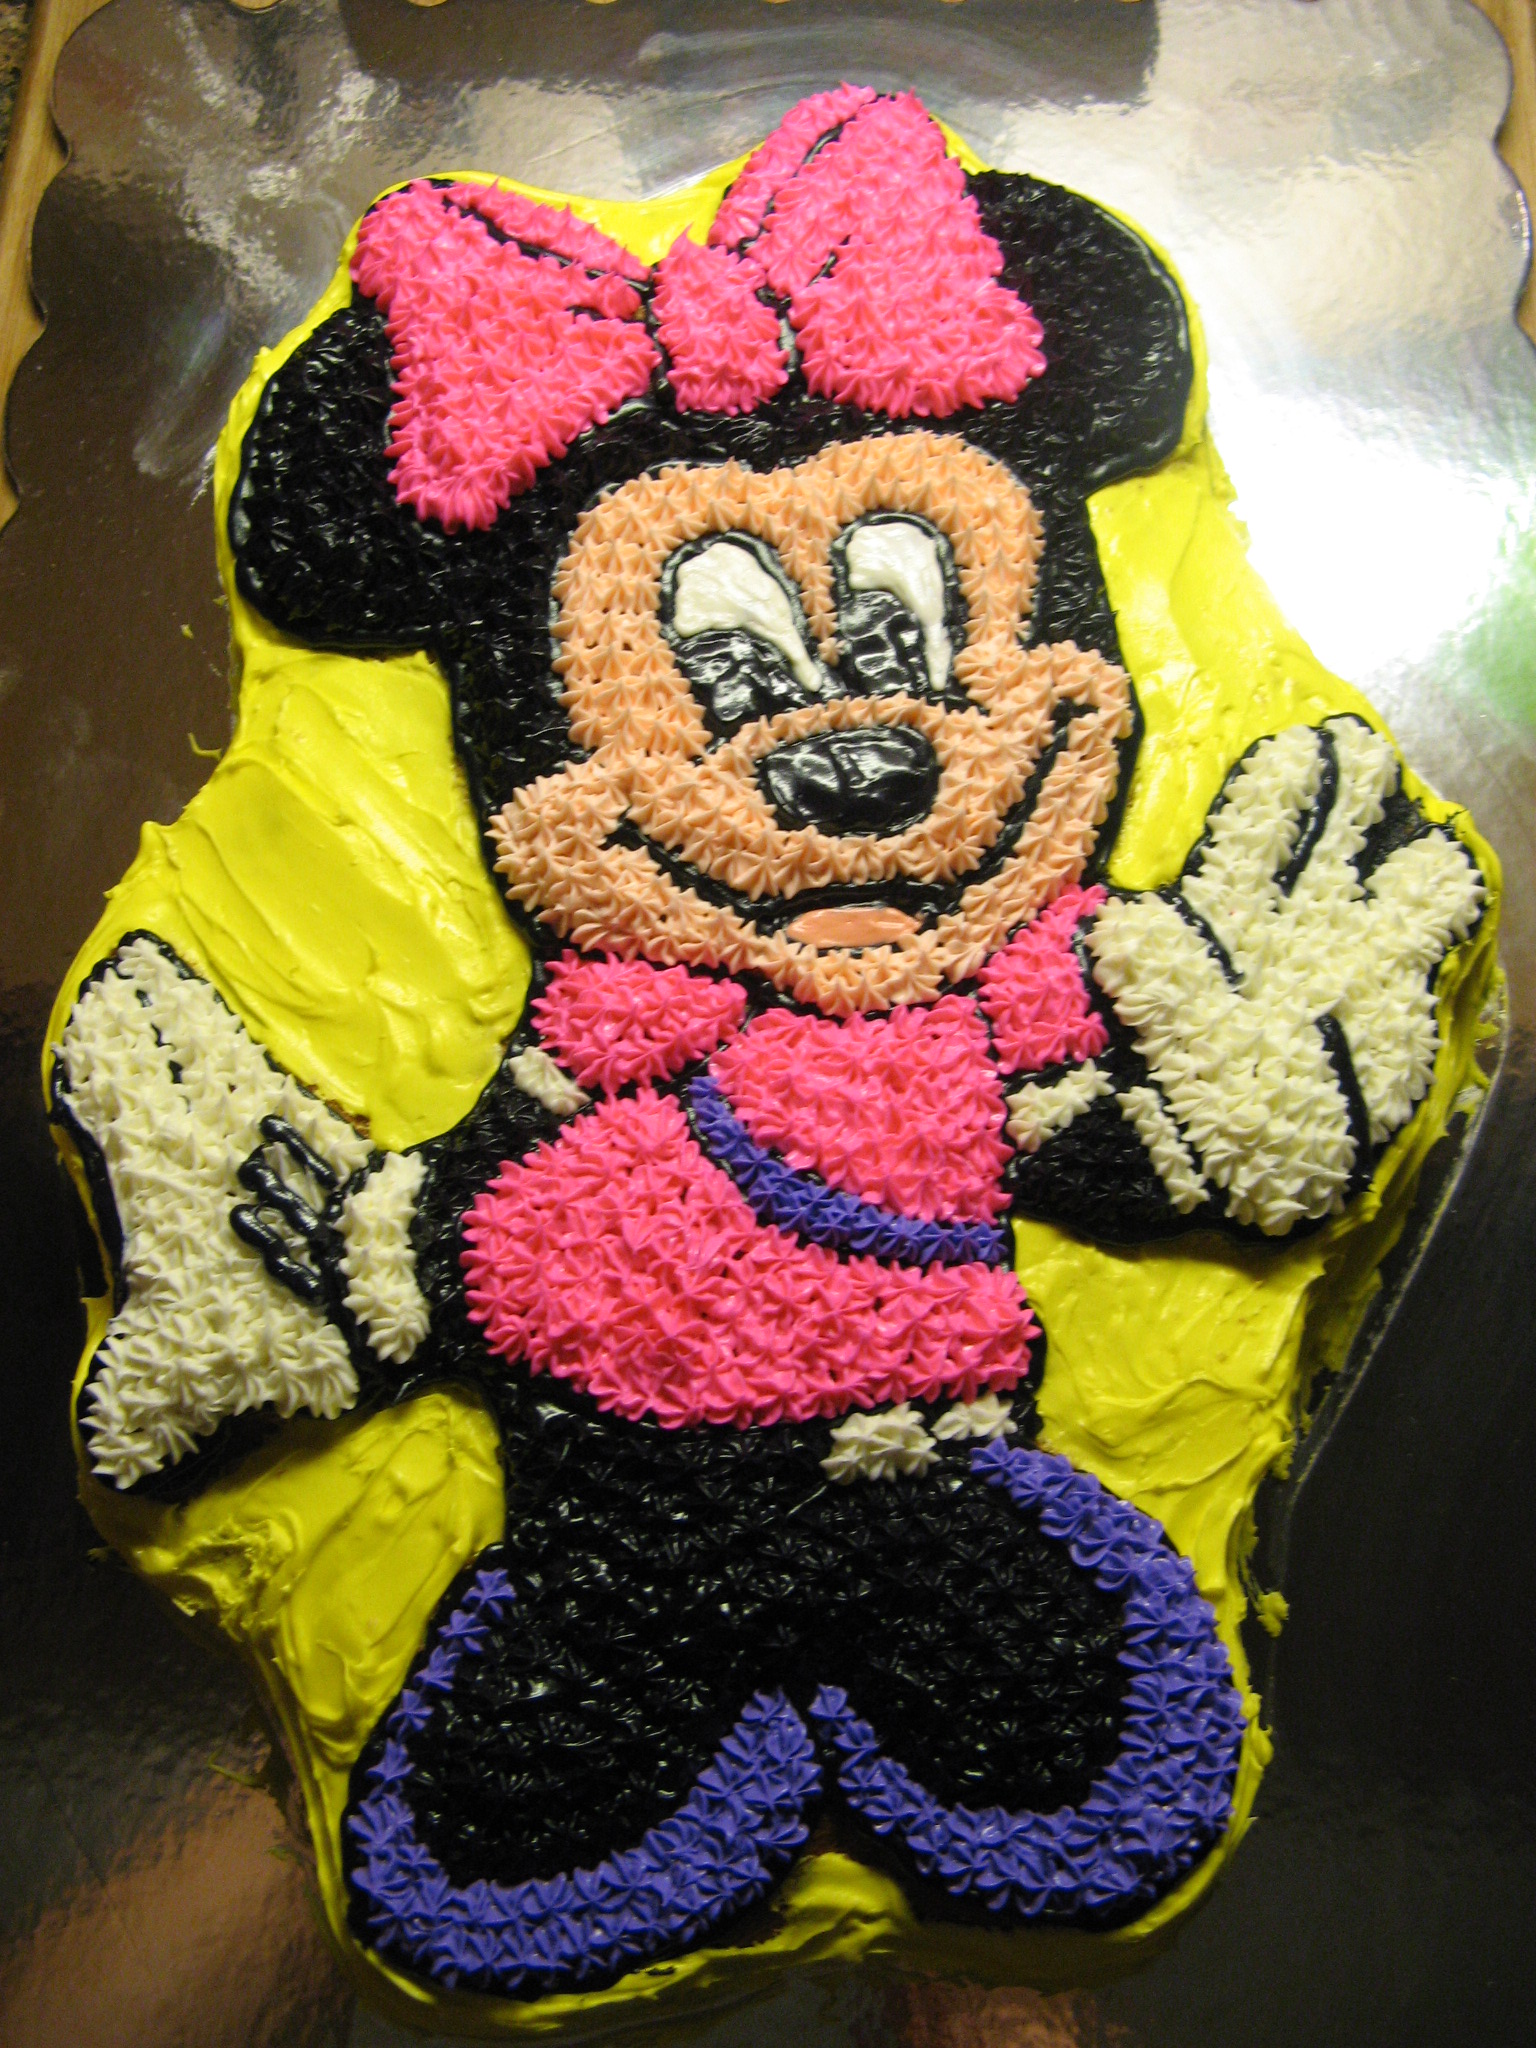
IMG_9309

And finally, I cleaned up the cake board and added yellow rosettes using a size 21 decorator tip along the border to complete the cake. I was really happy with the final outcome, so was the birthday girl, that’s what really matters.
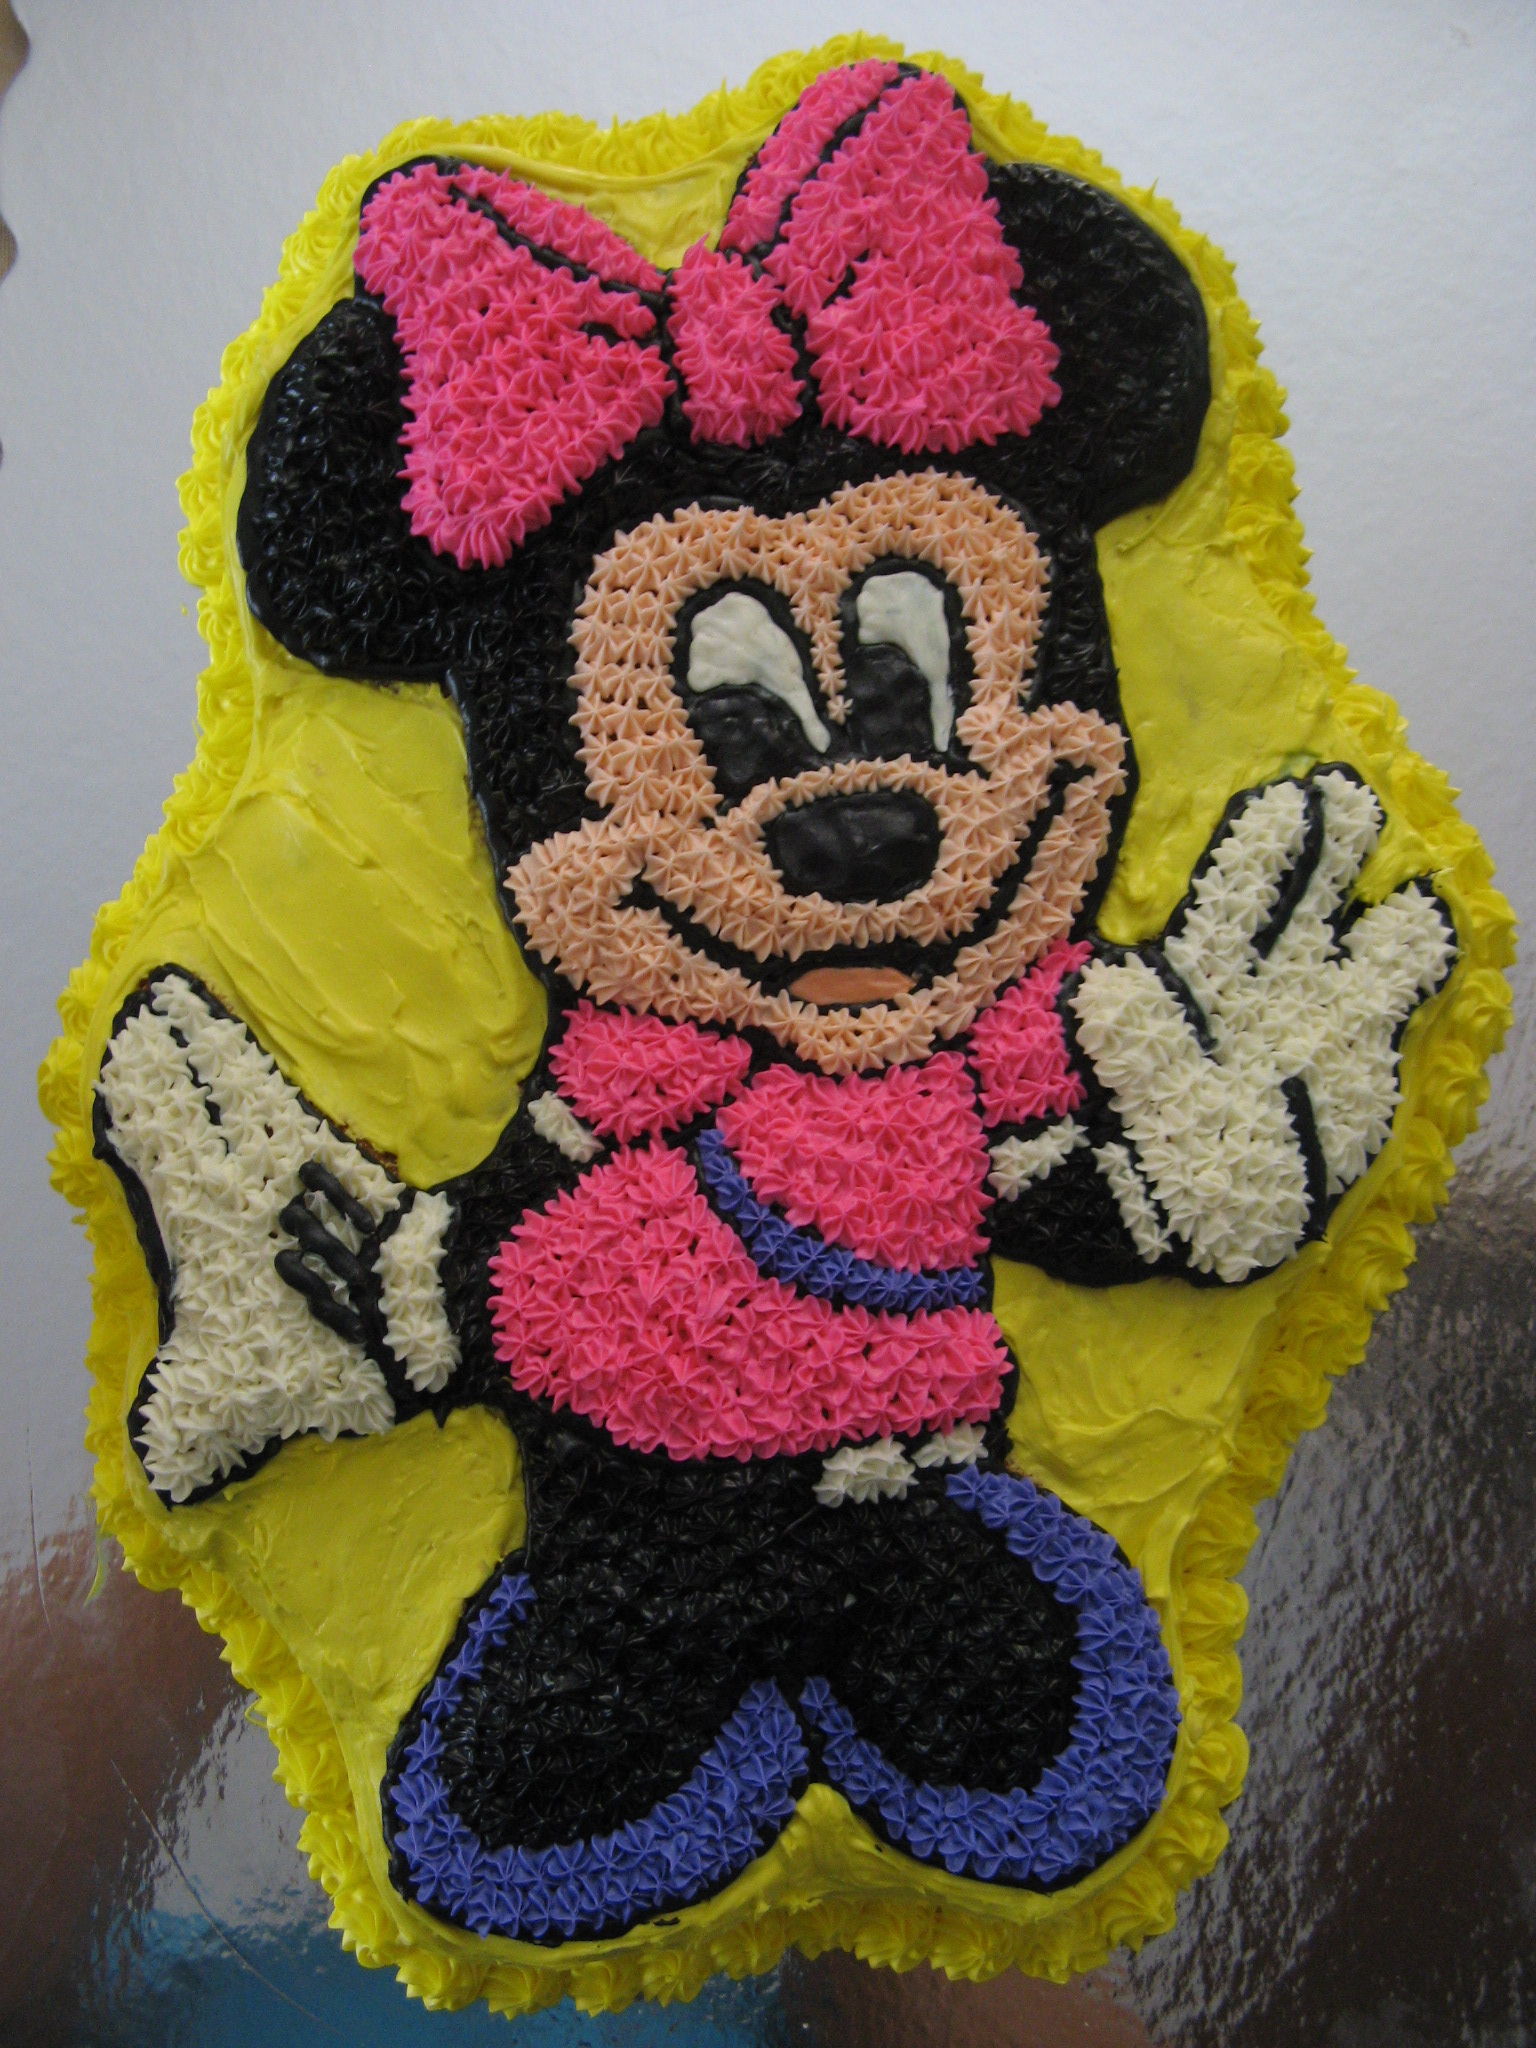
IMG_9318

I also made some cupcakes to go along with the cake. Unfortunately you can’t see it in the picture, but, the cupcake liners were Minnie Mouse themed.
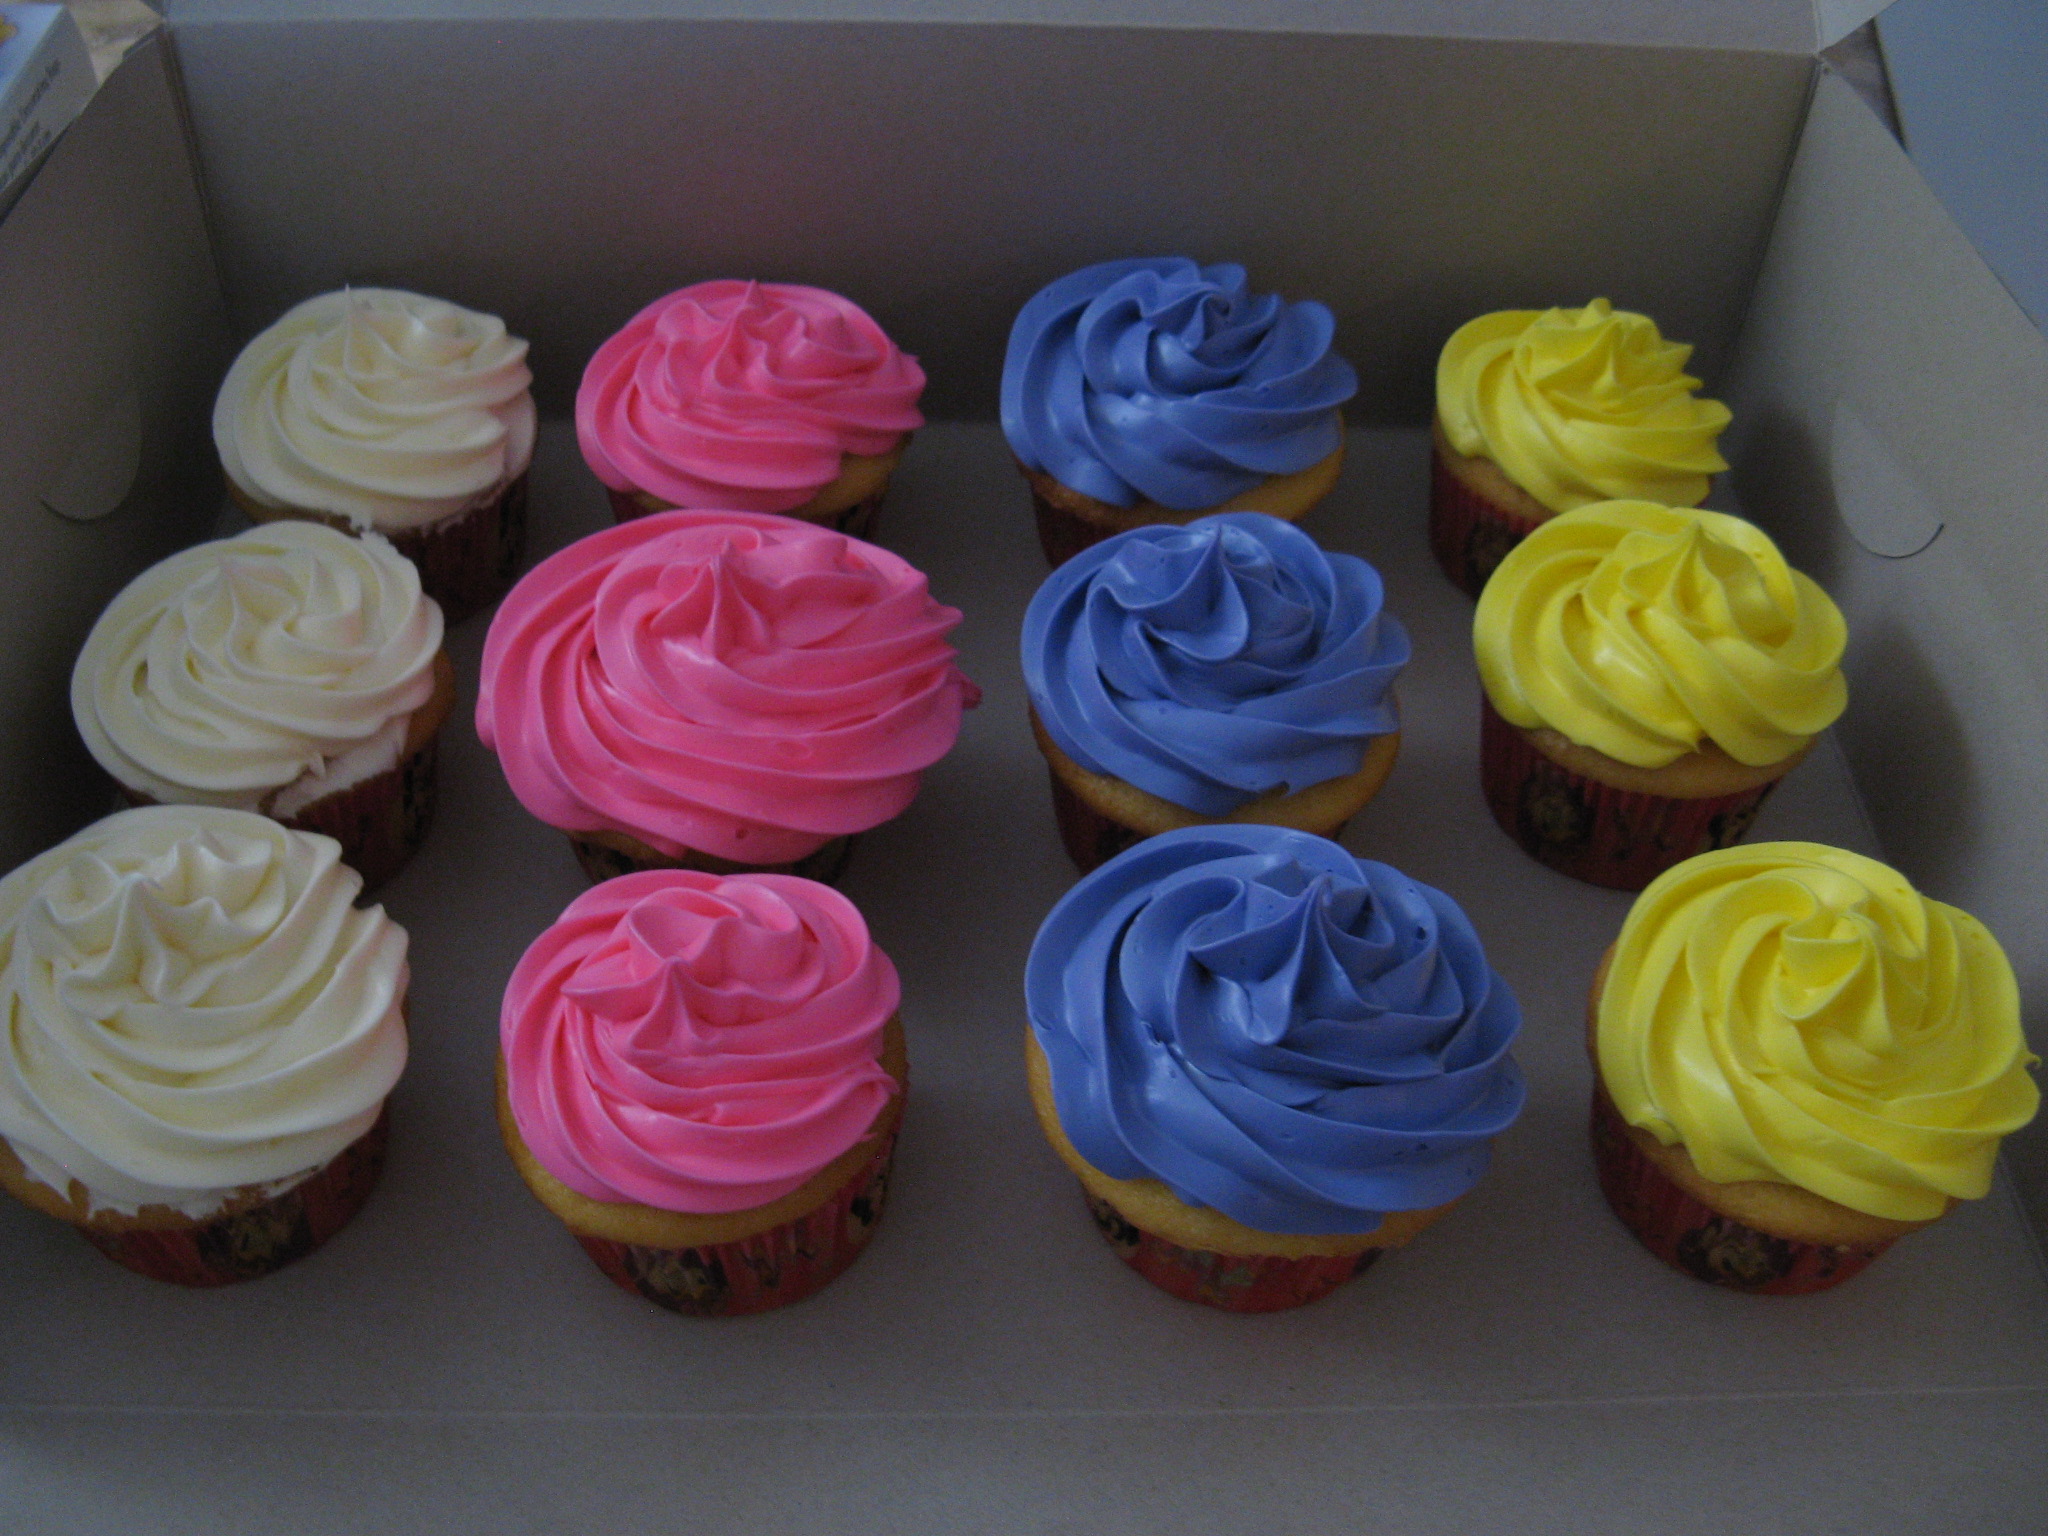
IMG_9315

The cake was a hit at the party, which also happened to be a Superbowl party as well. So, we all got an extra fill of cake during that thirty-four minute delay!
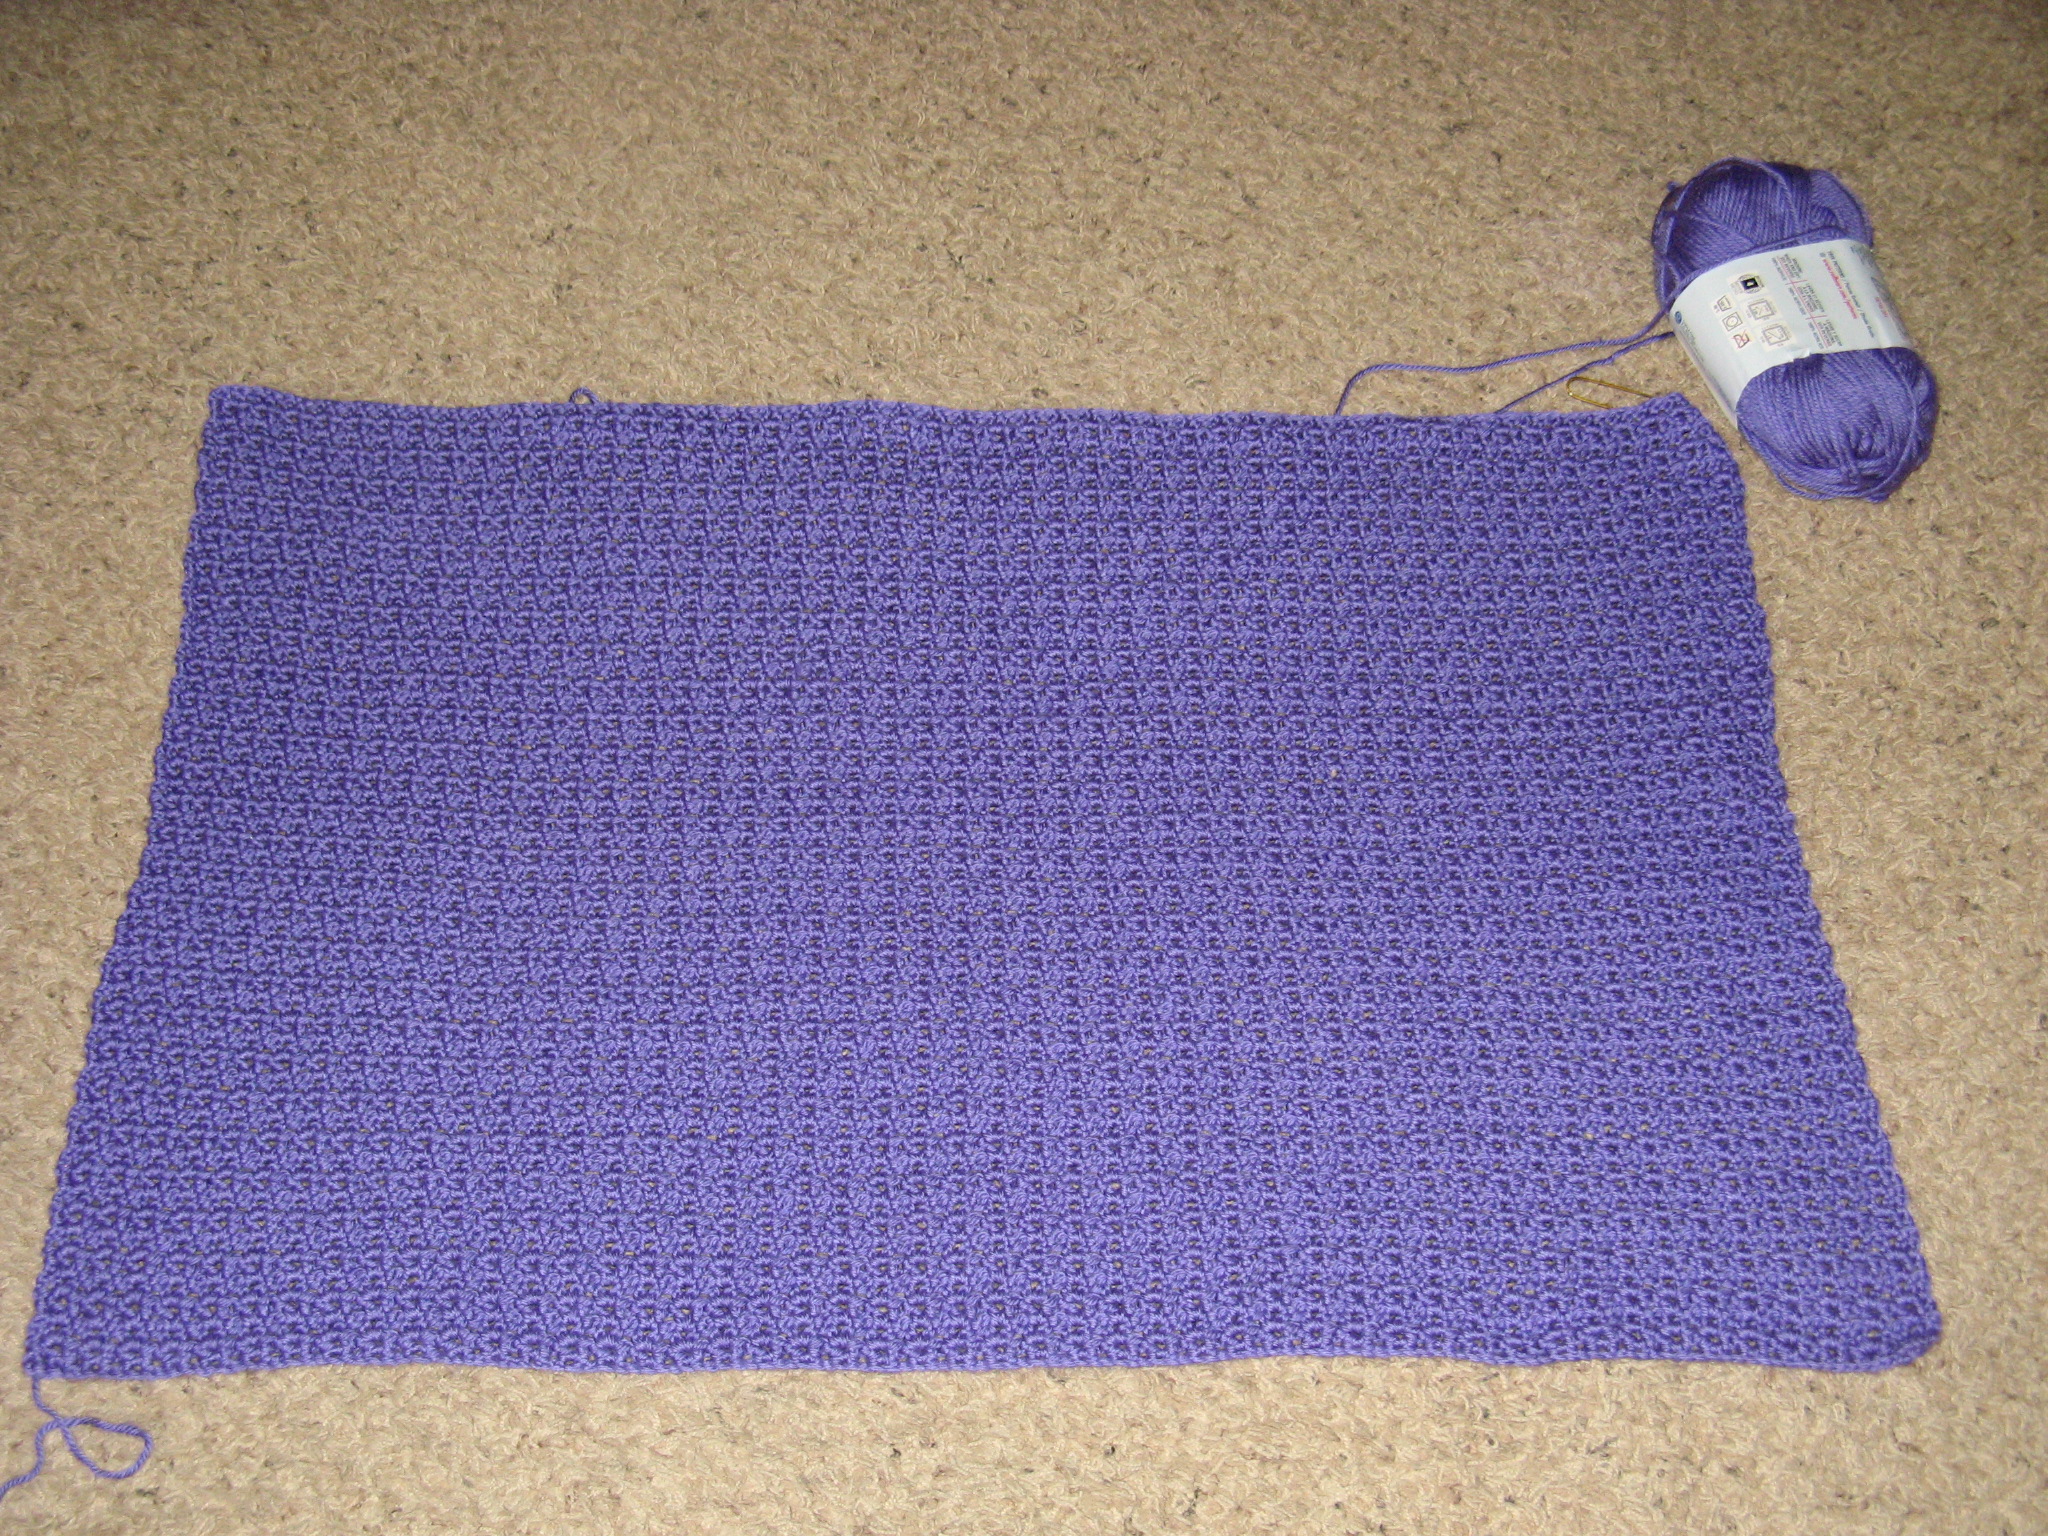
…Beading and Crocheting/Knitting Update #1

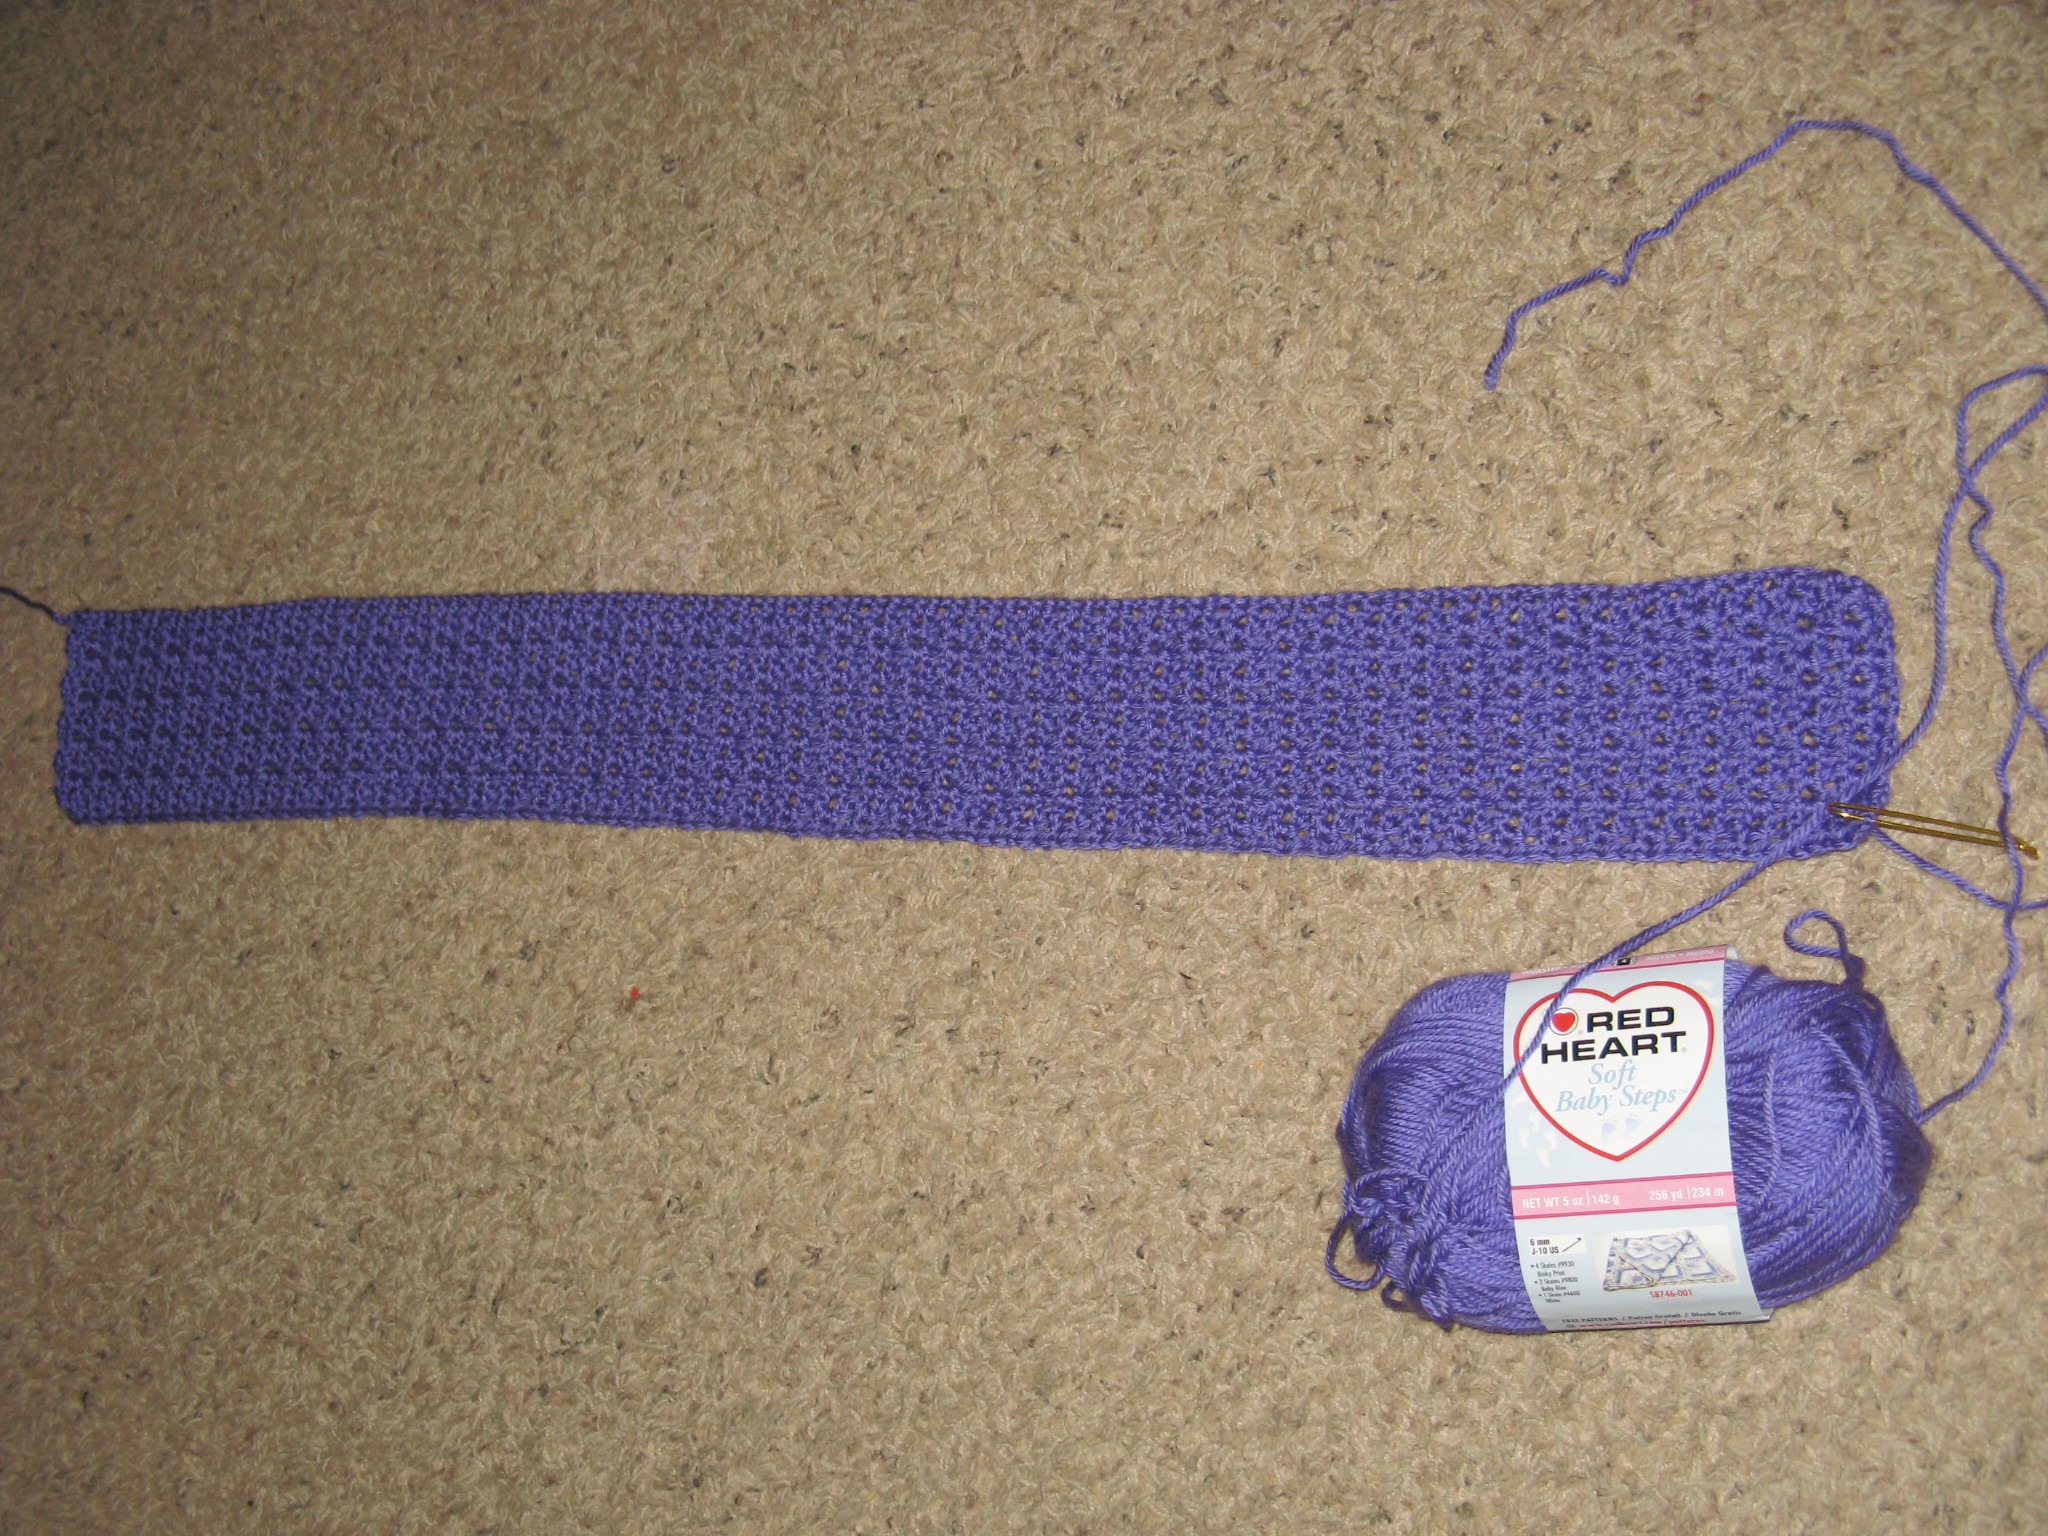
It’s been a week since I started tackling my project to-do list and so far so good. The blanket I started last week is coming along nicely. I just started working with my third skein of yarn and have about twenty inches of the blanket completed (according to the pattern directions it’s supposed to be thirty-six inches). I’m thinking that I am going to need another skein of yarn to complete the border around the blanket – thankfully this yarn doesn’t have a dye lot number. I was on the fence as to whether I was going to add the border because the directions sounded a little confusing, but, I am sure once I start it will make more sense.

IMG_9282

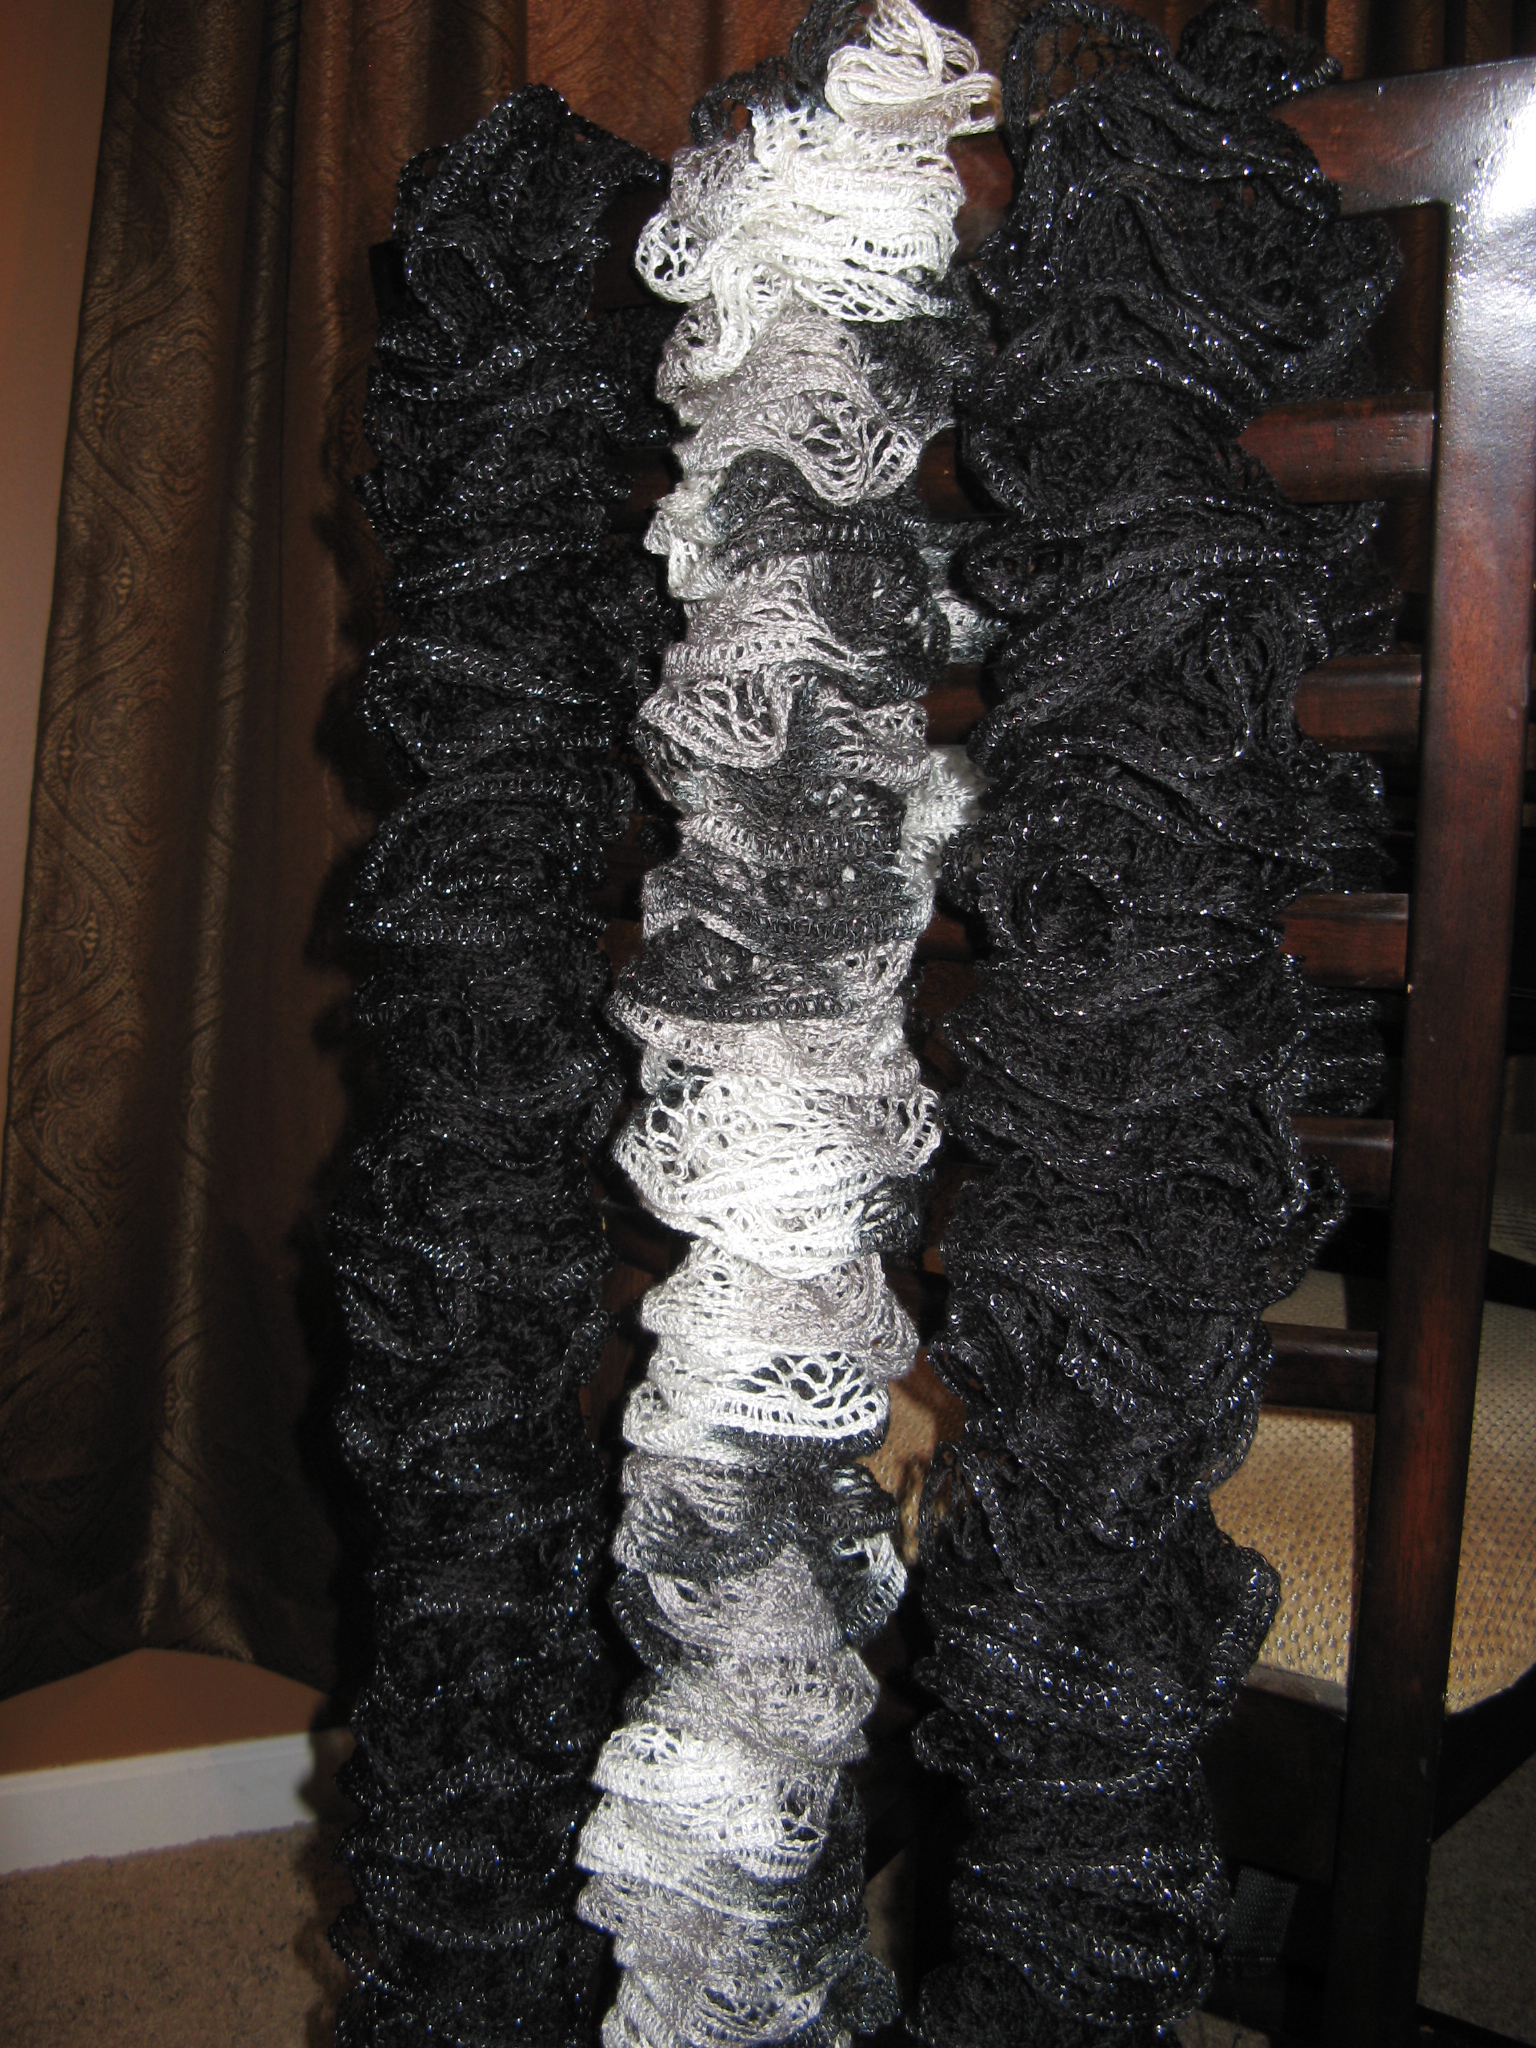
Something that wasn’t on my to-do list but I received a request for was a few ruffle scarves. Luckily these only take me a few hours to make so I had no trouble knitting them up.

IMG_9275

It wasn’t all about crocheting and knitting this week. I also tested out a vanilla cake recipe for a Minnie Mouse cake that I am making this weekend. Unfortunately I wasn’t too pleased with it so I’ll be sticking with a box cake to ensure that it comes out well. I also needed to brush up on my cake decorating skills for this cake so I was busy doing that as well. Coming up next week… hopefully a completed blanket and pictures of the Minnie Mouse cake.

It’s Time To get Beading and Crocheting/Knitting

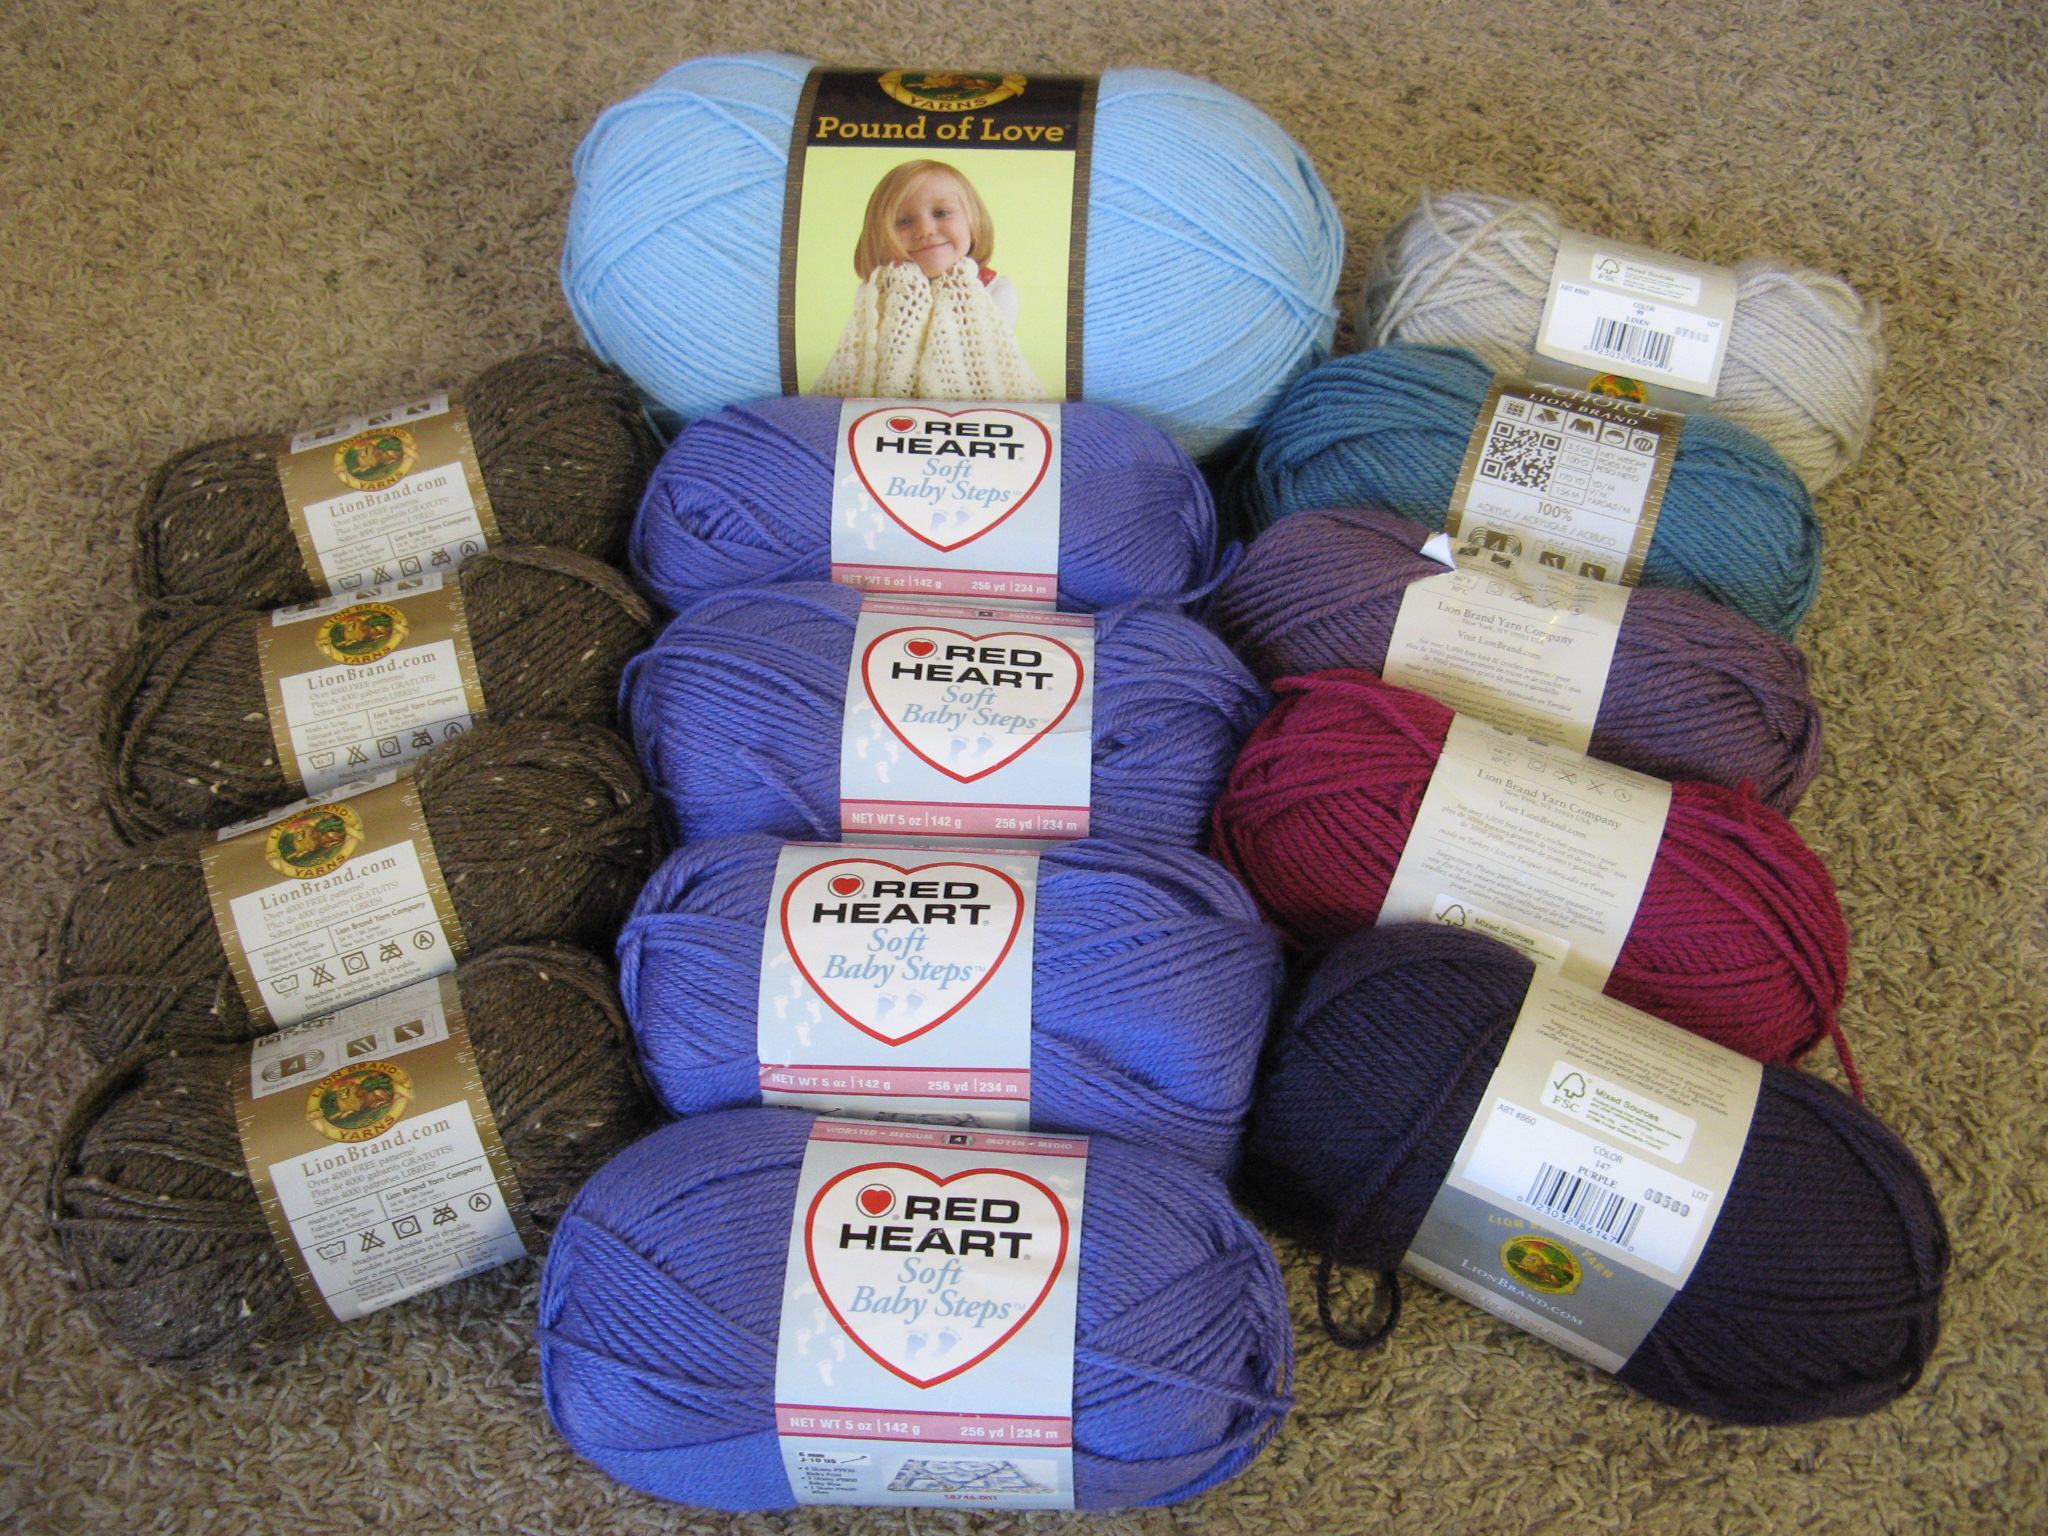
I’ve been piling up yarn for the past month or so for knitting and crocheting projects and I finally decided it was time to start working on them. On my plate I have two baby blankets, a cardigan and a scarf to make. I definitely have to get the blankets done, but, there is the possibility that the cardigan and scarf will end up sitting on the back burner once I am done with the blankets. I tend to push big projects that are for myself further and further down my to-do list as other things come up, especially if they are quick and easy.

IMG_9255

First up a baby blanket using Red Heart Soft Baby Steps Yarn in Light Grape.

IMG_9261

While I thought it was going to take a while to work this blanket up, after a few hours of crocheting I am happy with my progress and am looking forward to the finished product.

IMG_9269

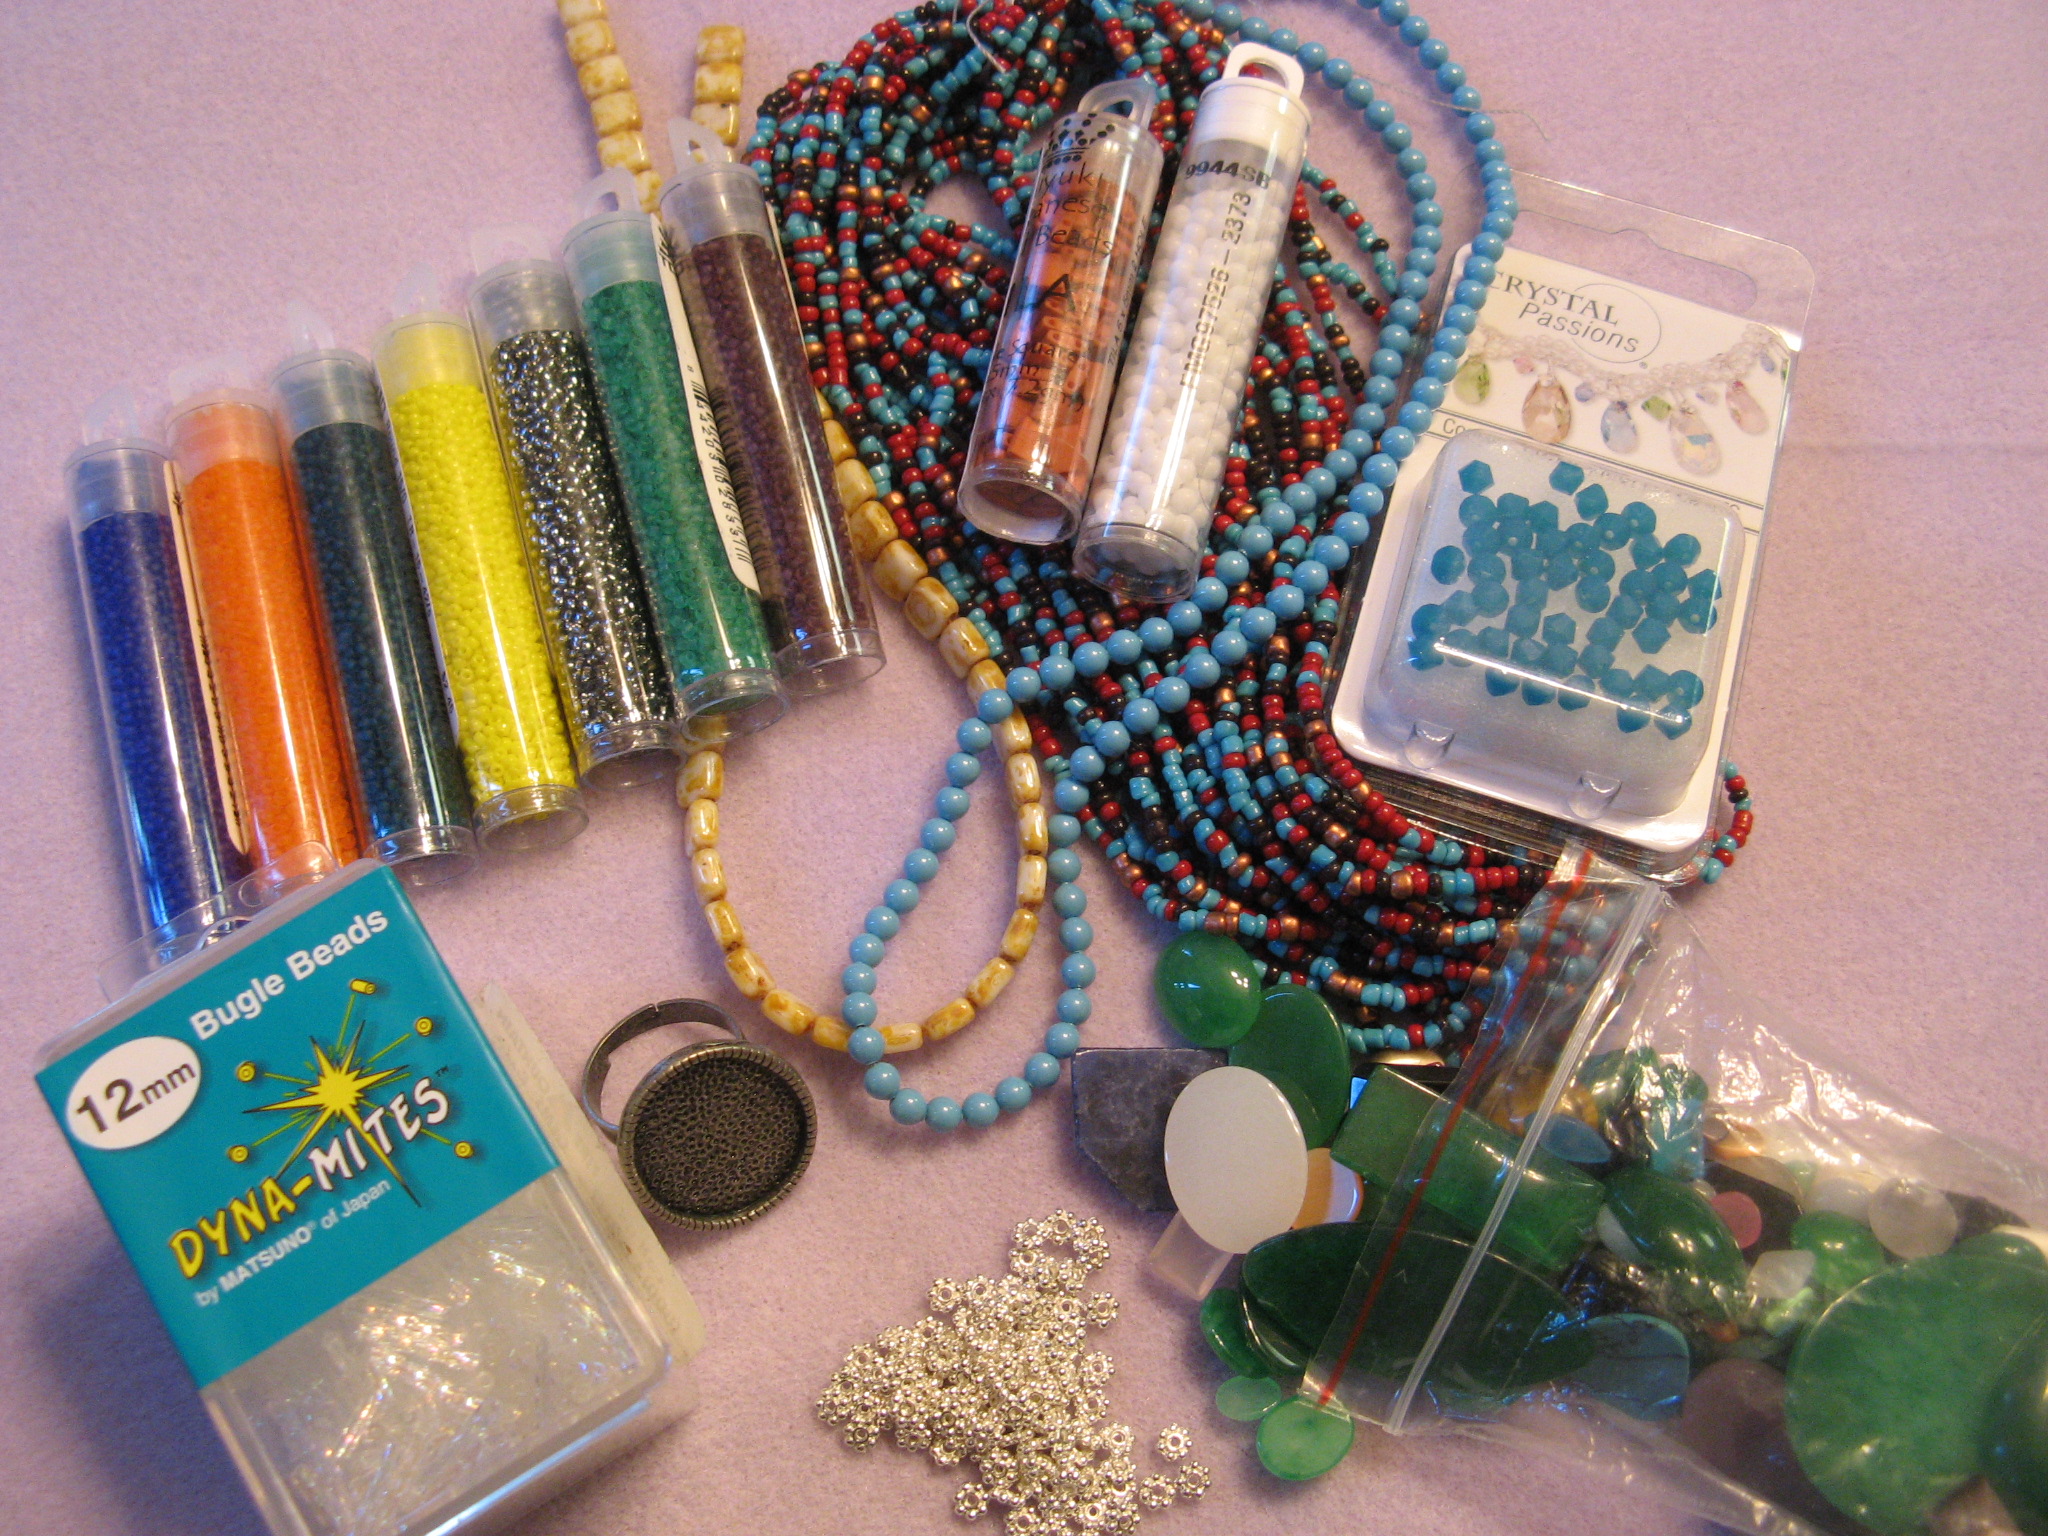
I also have some beading projects that I am eager to get done as well. In a recent issue of Bead & Button magazine there were a few pieces that piqued my interest. While going through my own collection of beads to pick out colors I realized that I wasn’t too happy with the colors I had so I decided to take advantage of a sale at a beading website and stocked up on some different colors of size 15 beads. I also added some bugle beads, tila beads and cabochons to my collection.

IMG_9247

Stay tuned to see what I create!
The Runaround Knit Cowl

It’s my first project of the New Year and it’s a simple and versatile one! It’s called The Runaround Cowl and I came across it on a Lion Brand Yarn Facebook post. Originally it came from a blog known as Smashed Peas and Carrots and can be found here: Smashed Peas and Carrots: The Runaround Cowl

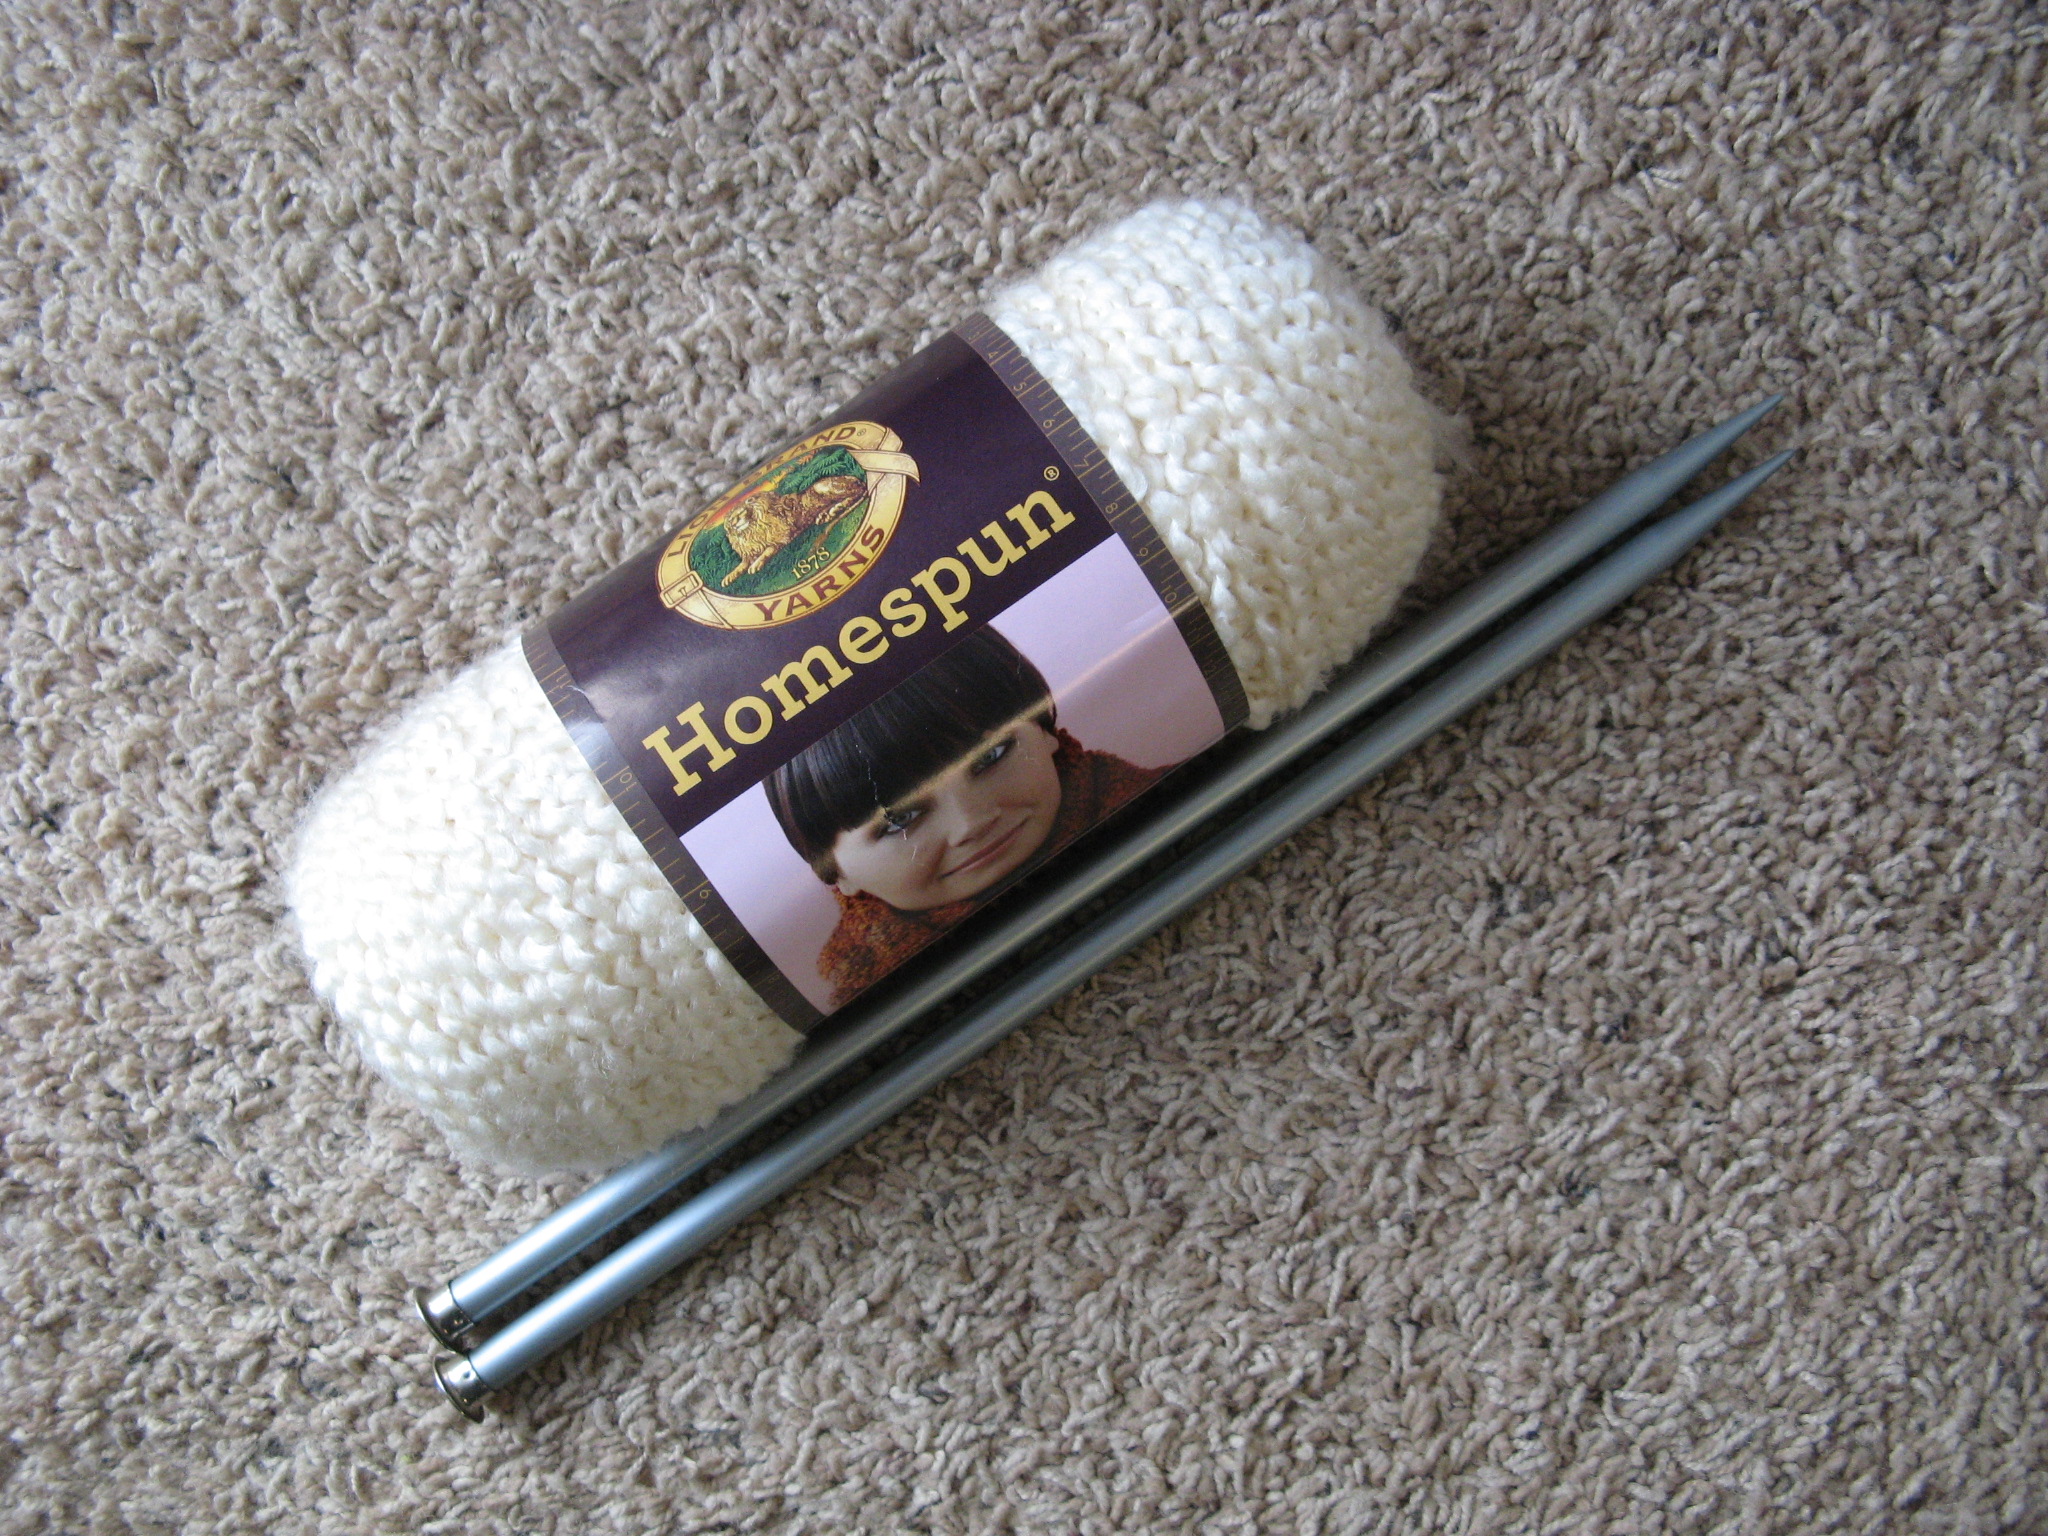
As for supplies, all you need is one skein of Lion Brand Homespun Yarn and Size 15 knitting needles. While Homespun yarn does come in an array of colors I am not too fond of the heather and striping colors so I chose to stick with something neutral – Cream.

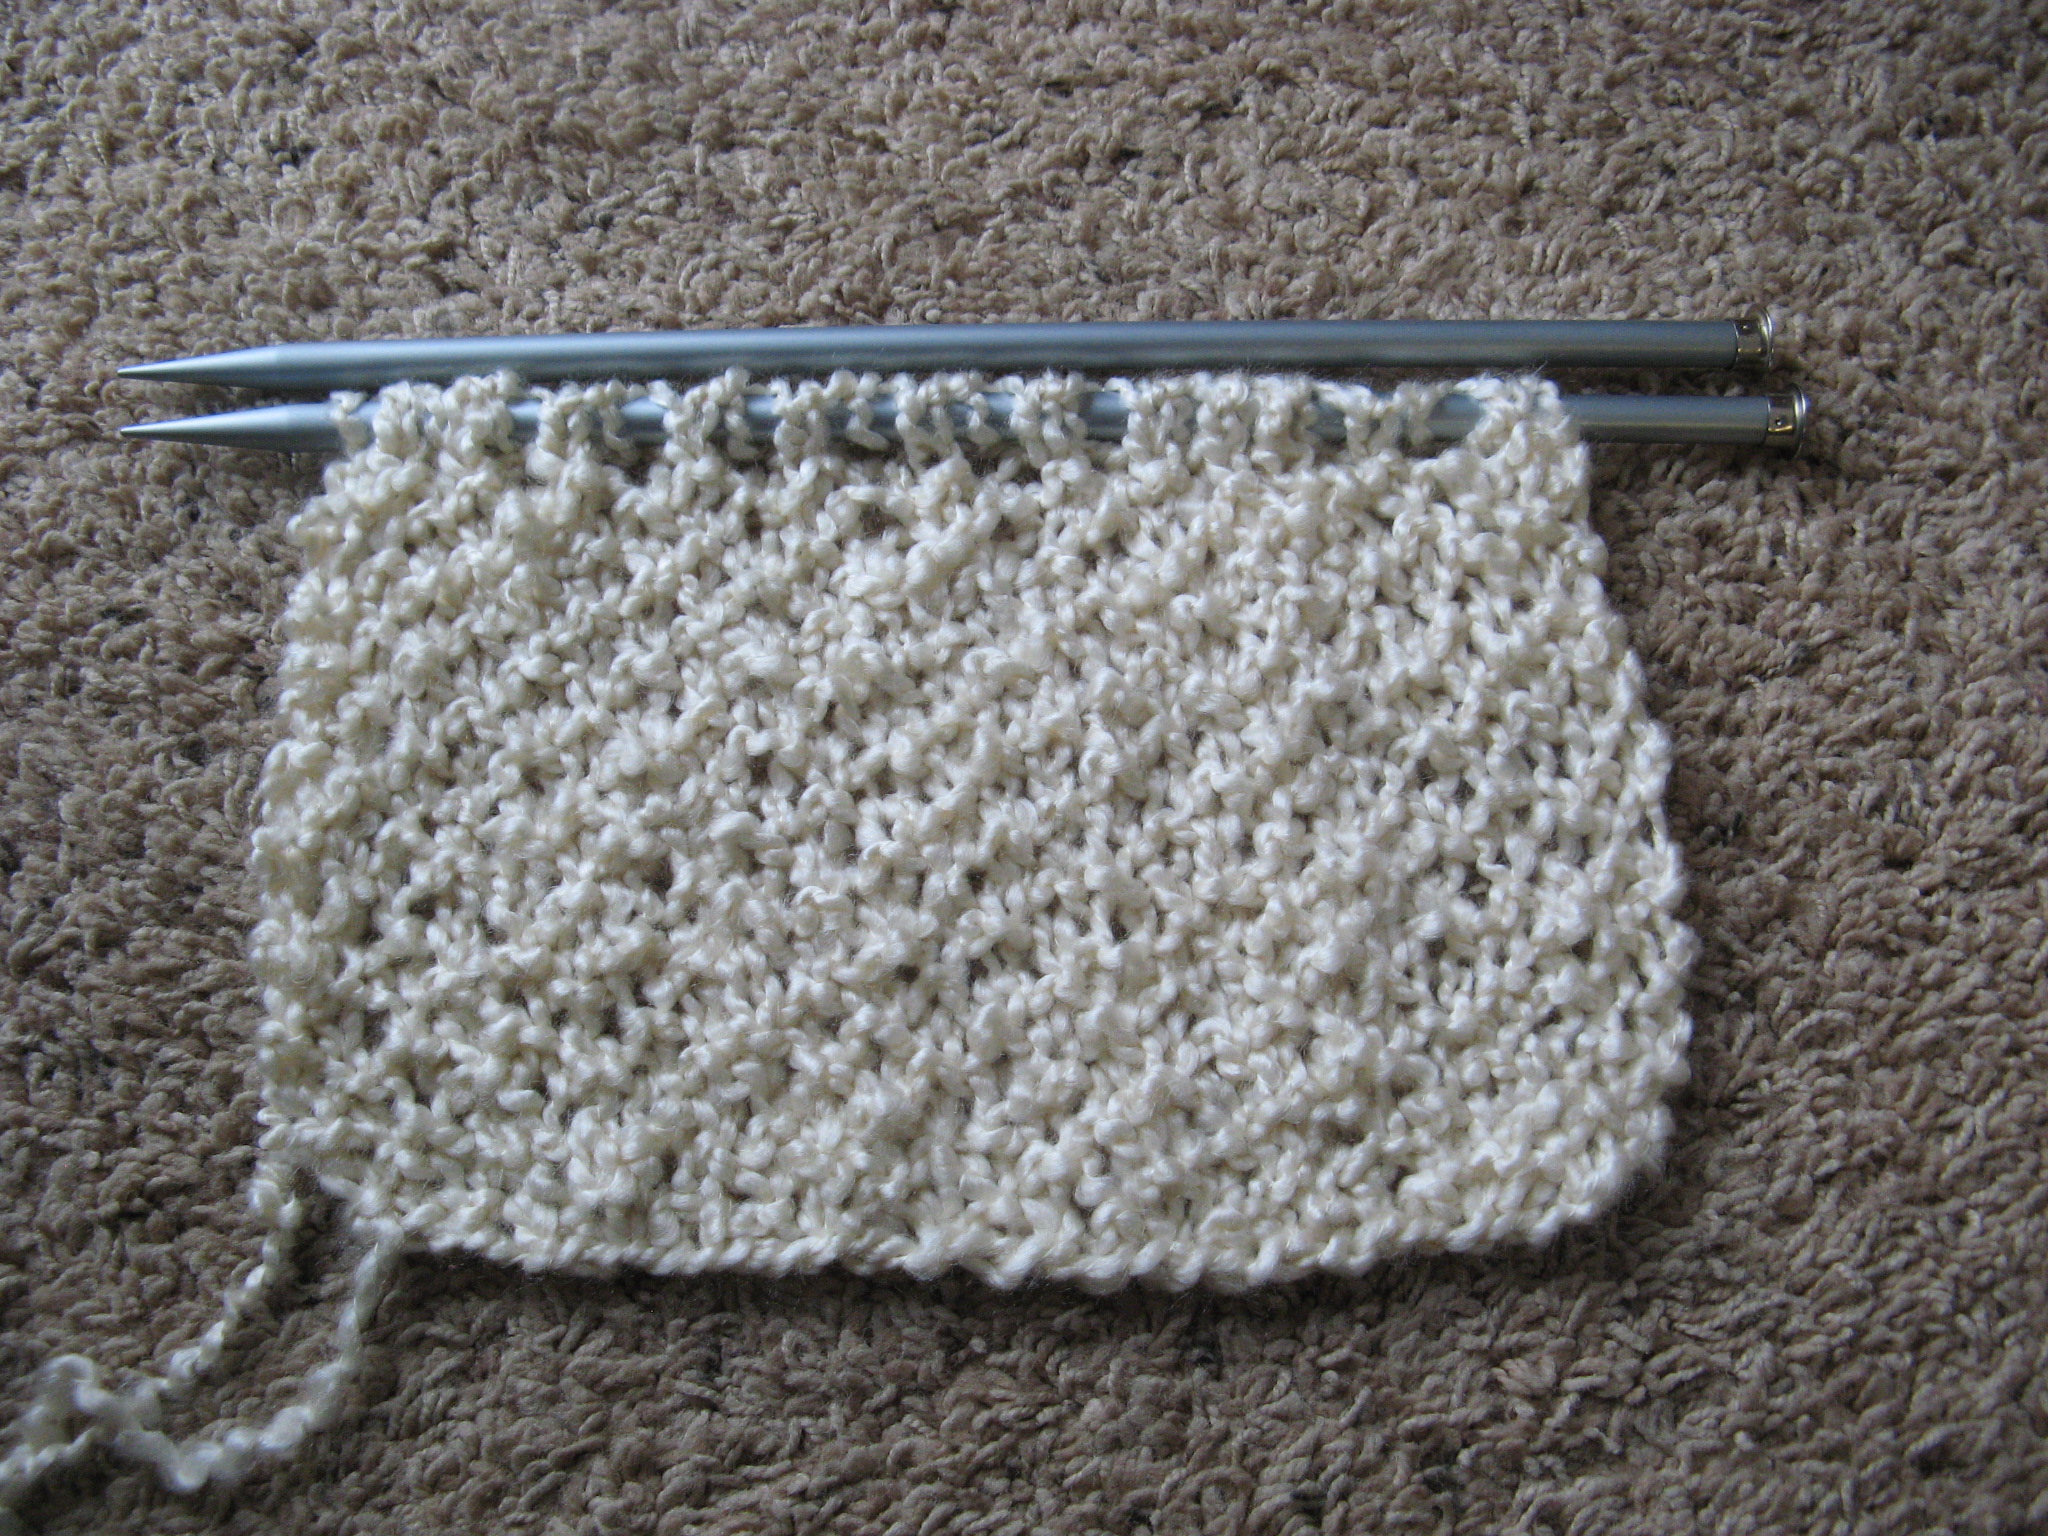
IMG_9209

At first I was a bit unsure of how the end product was going to look. I started and wasn’t too happy with how it was working up and it took some getting used to working with the yarn. Sometimes my tension is a bit too tight and that can make working with this yarn a little frustrating.

IMG_9216

Unfortunately once I got on a roll I somehow ended up with an extra stitch and instead of trying to correct the problem I opted to just start over. This is one of the reasons I prefer crocheting over knitting, it’s much easier to correct any errors. The second time around I was much happier with how it was looking and after a few hours of knitting I reached my desired length of 55 inches – I decided to make mine a few inches longer than the directions said. I will also note that while the directions state to bind off in pattern I decided to bind off by knitting my last row, I just find it easier to do that and I figured it wouldn’t alter the look of the cowl since I was going to stitch the two ends together.

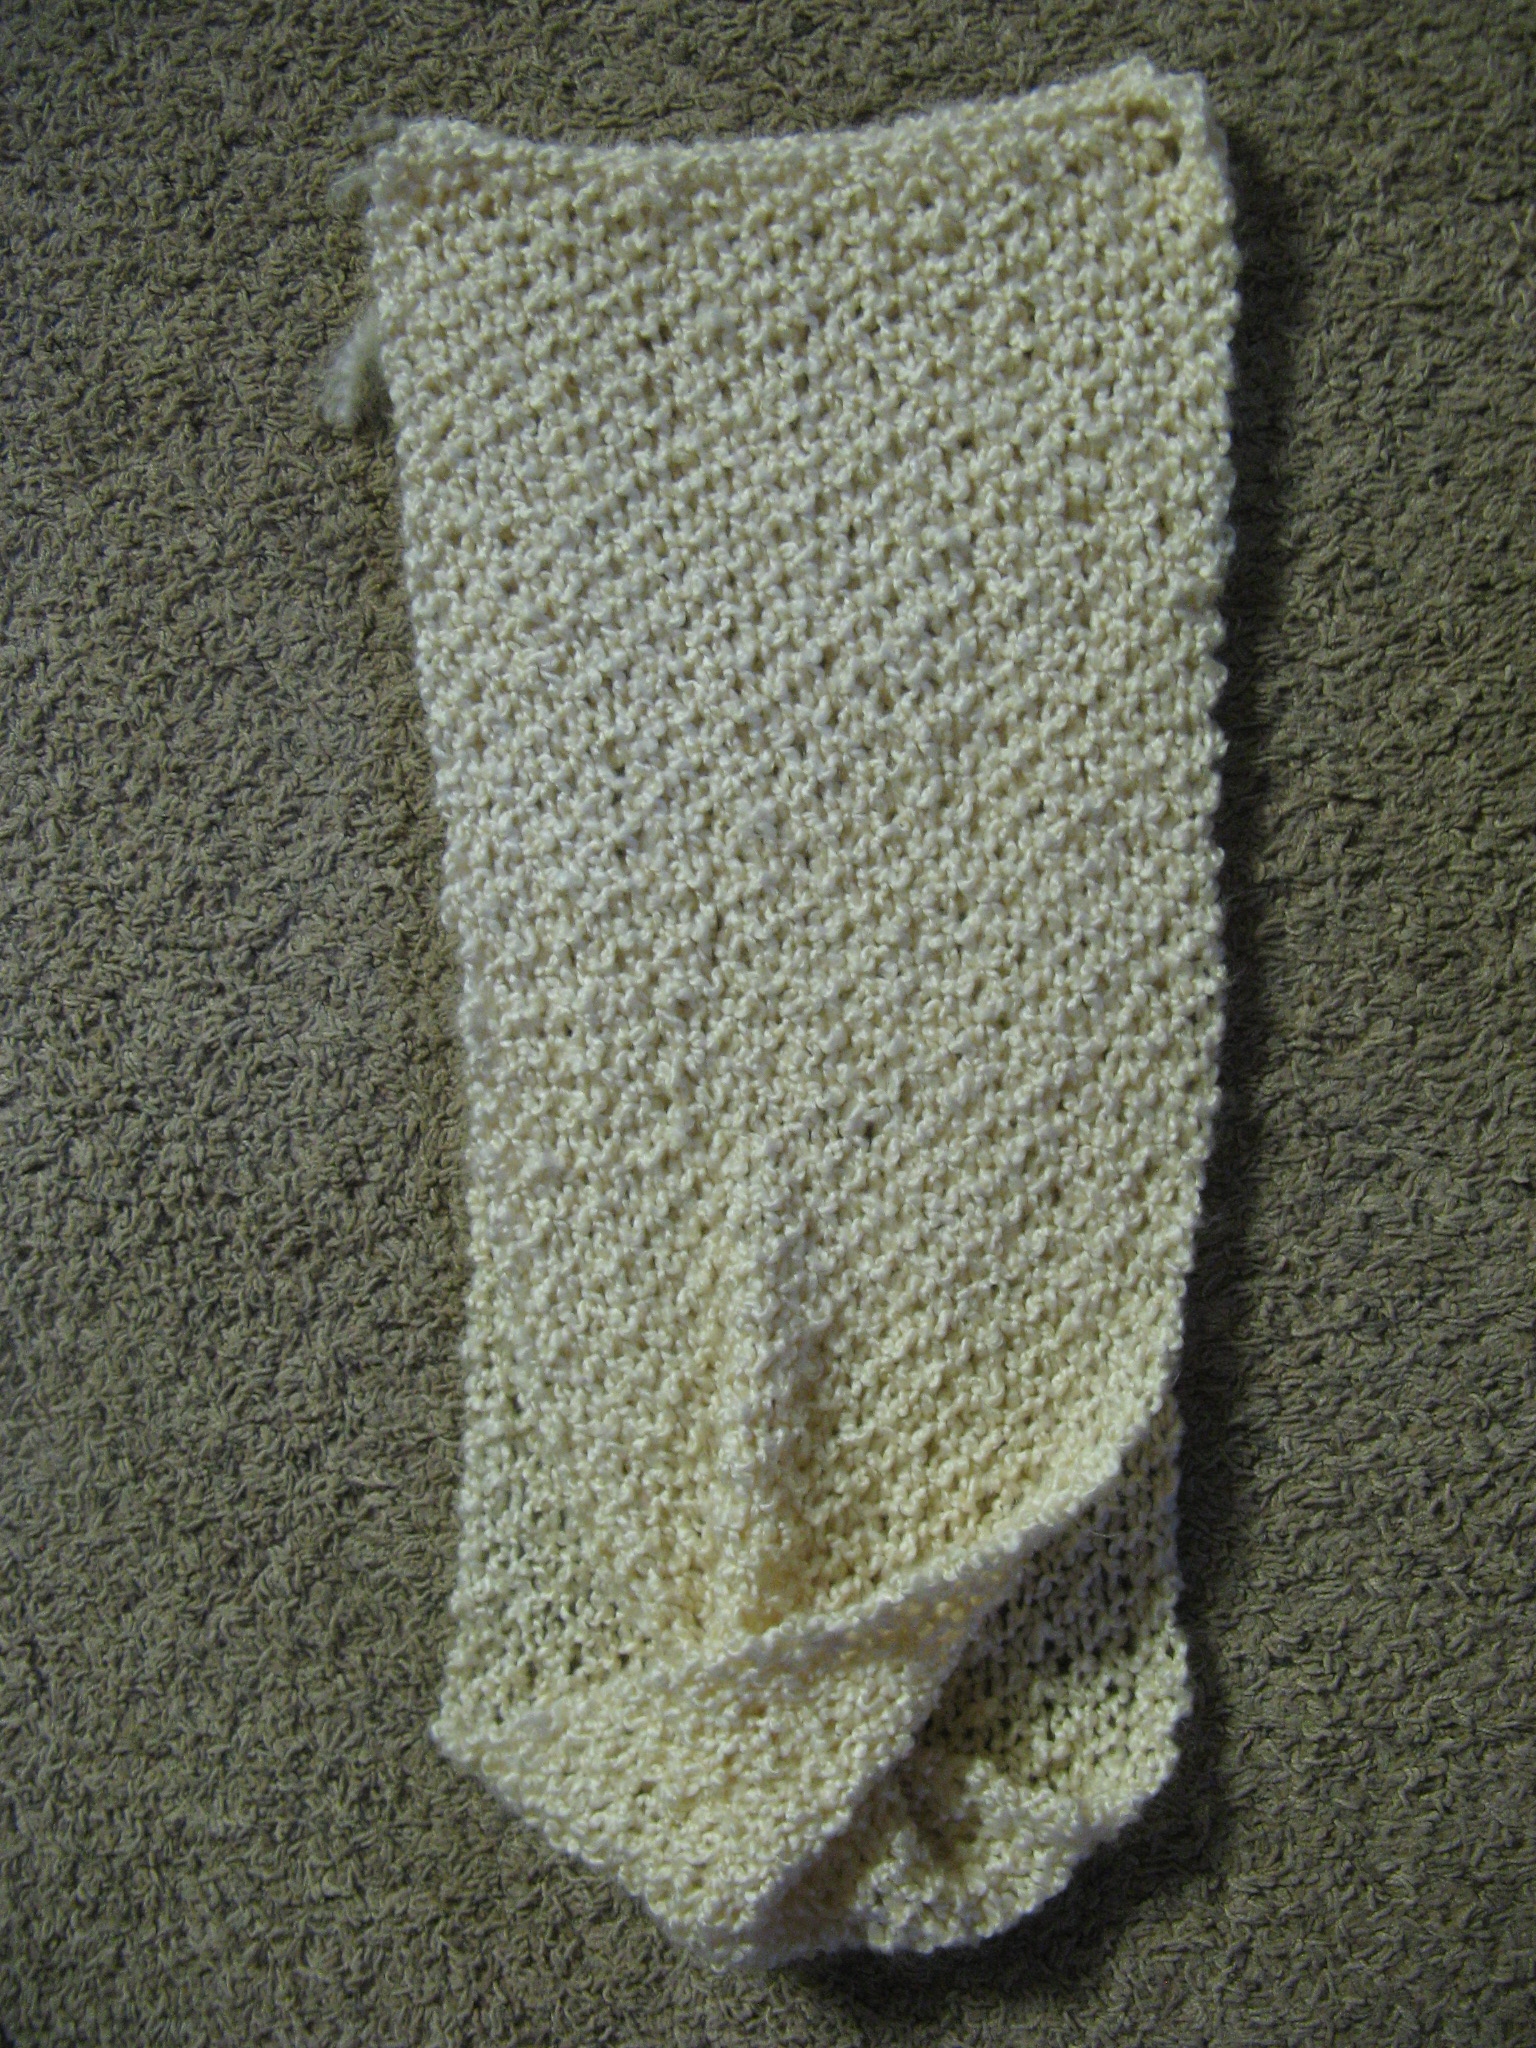
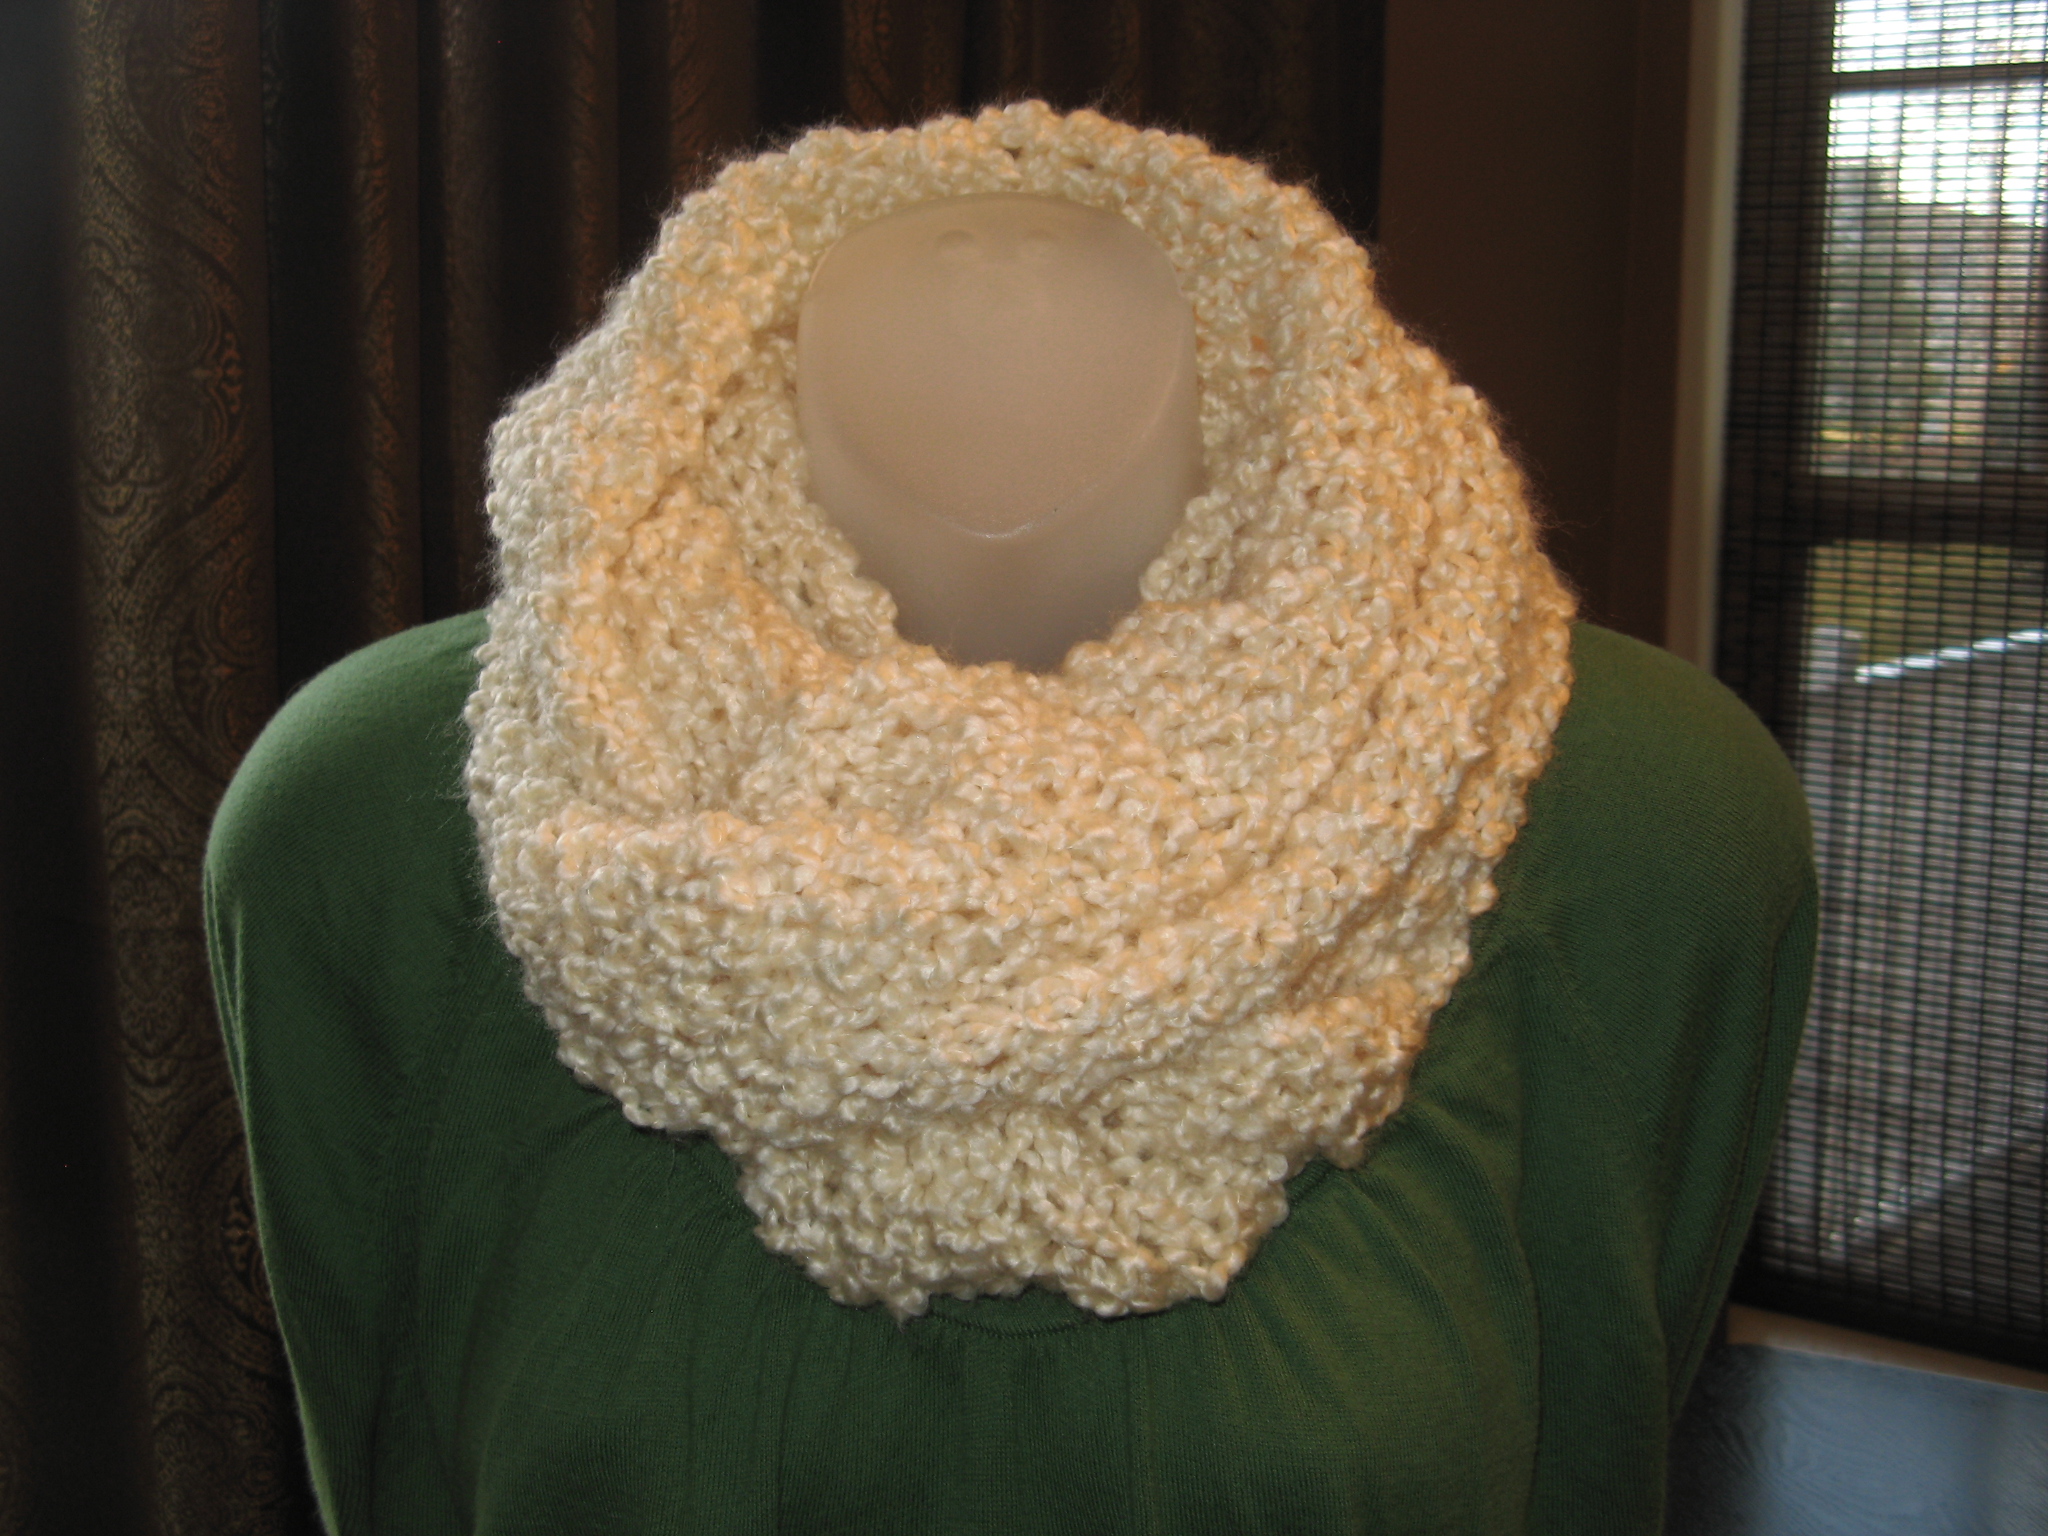
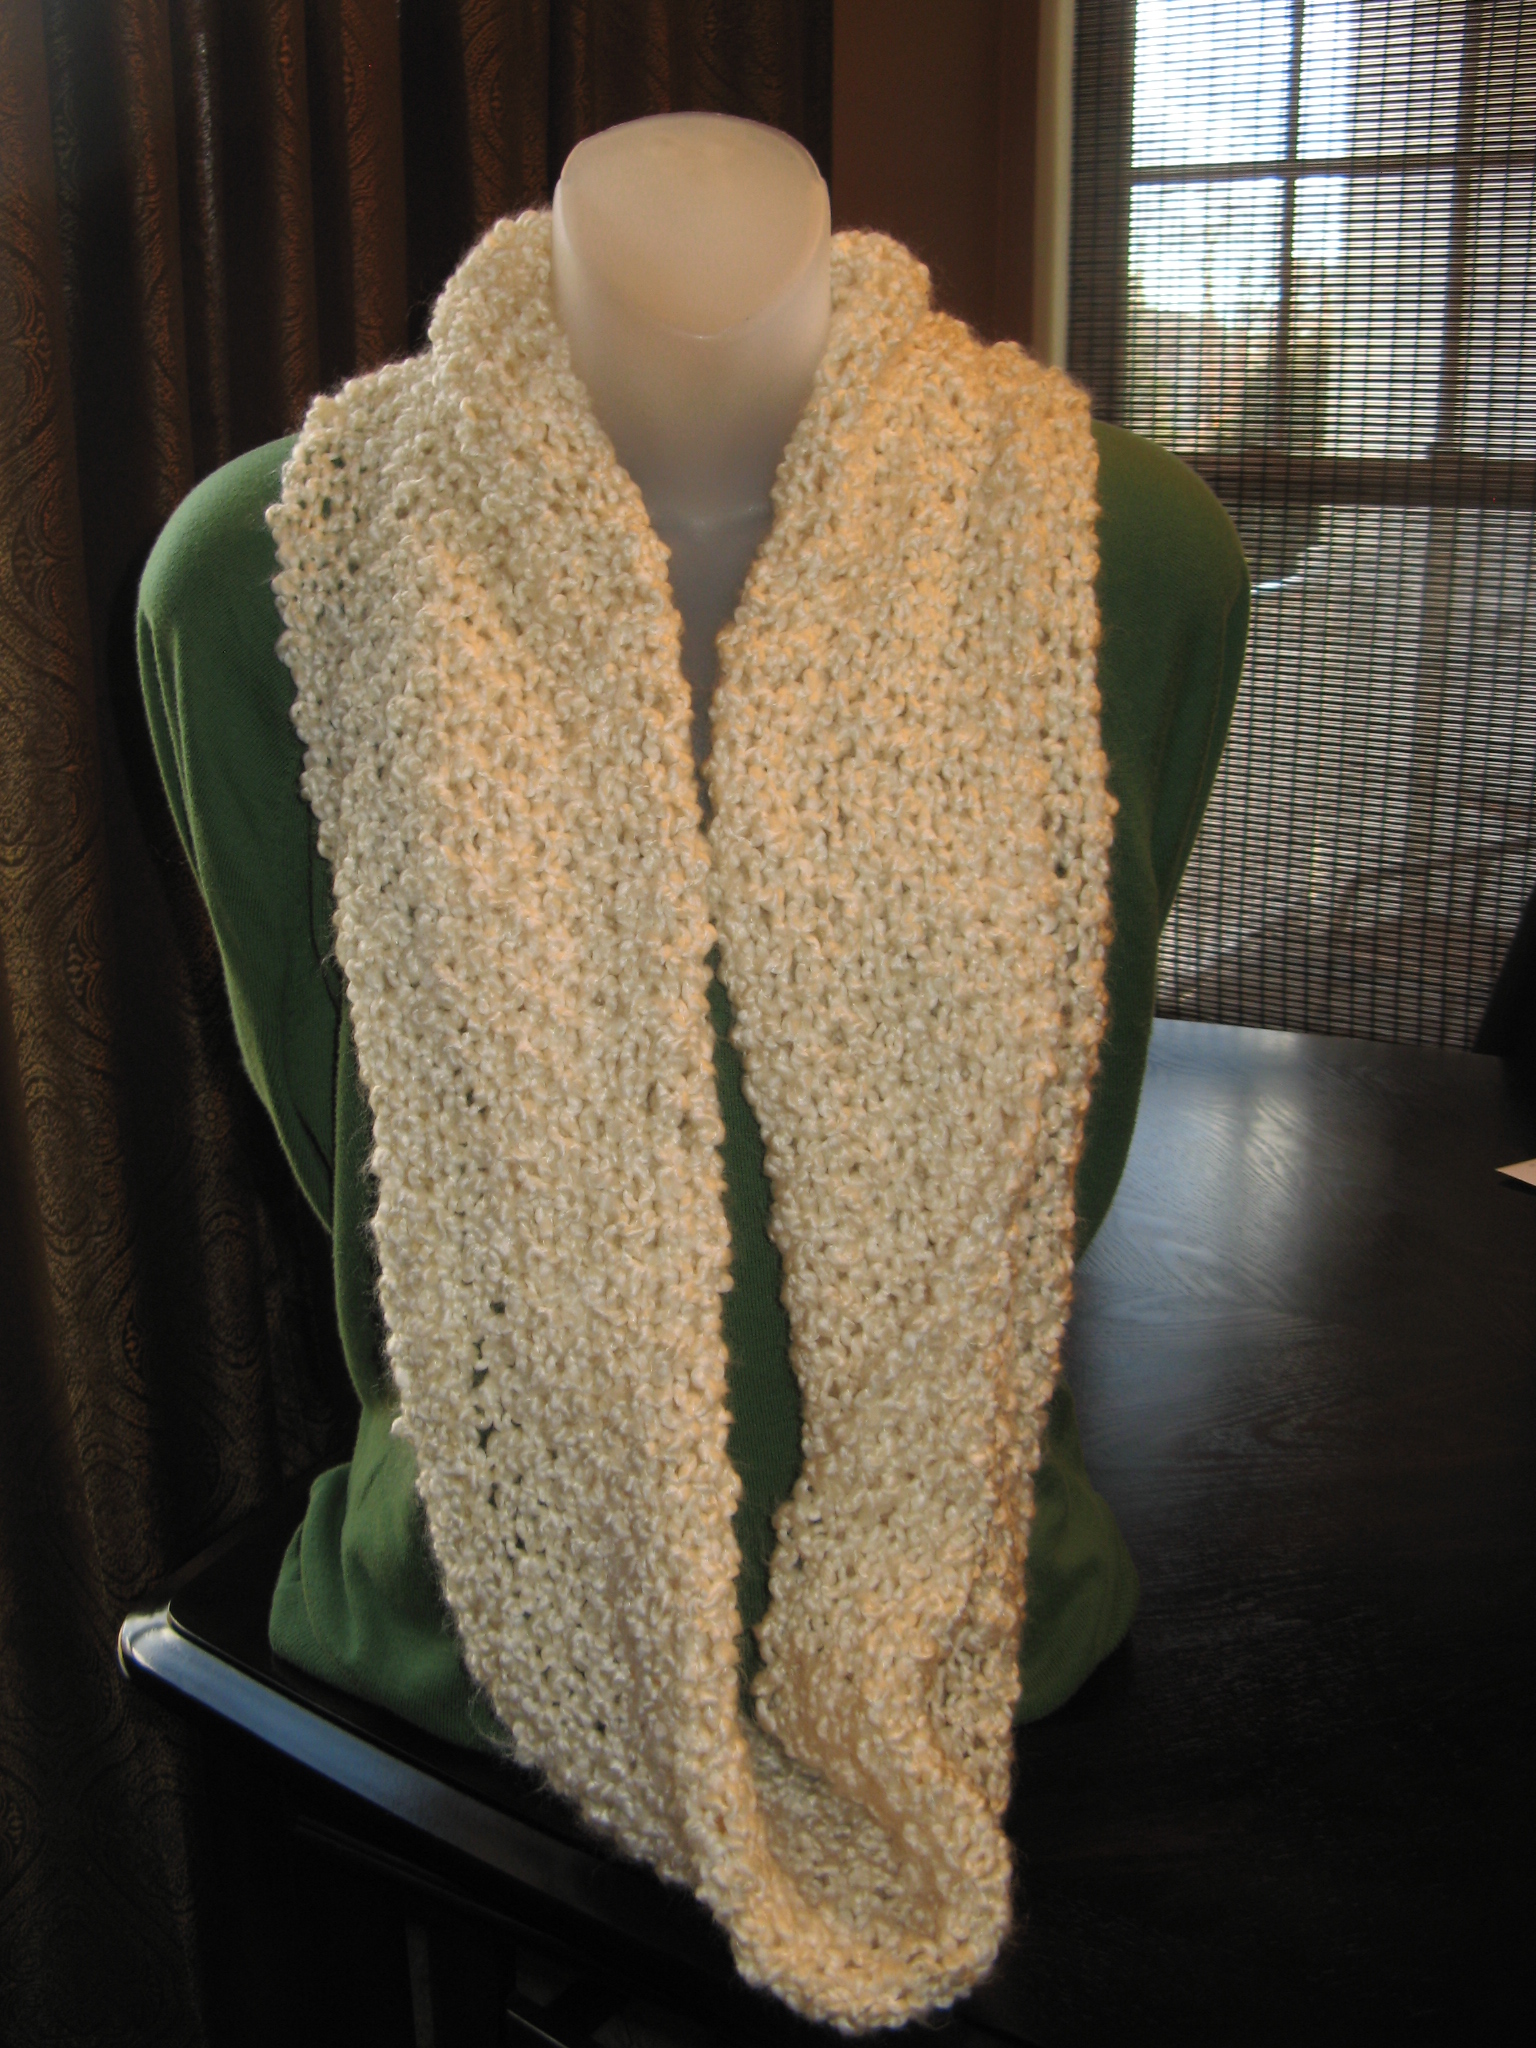
I then weaved in the ends of my yarn, created a twist and stitched the ends together. And voila I had a new cowl! Once the weather gets a little warmer I’m sure this will become one of my go-to scarves.

IMG_9220 IMG_9234 IMG_9236

Runaround Cowl

Courtesy: www.smashedpeasandcarrots.blogspot.com

Cast of 25 stitches

Row 1: *K1 P1, Repeat from * across, K1

Continue with this pattern until cowl measures 50 inches or your desired length.

Bind off loosely in pattern.

Weave in tails.

Sew short ends together with a yarn needle making sure that you have made one twist in the cowl before sewing ends.

Knitting for the Holidays

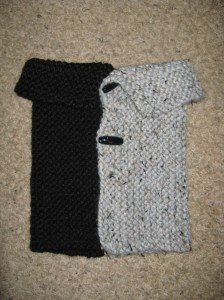
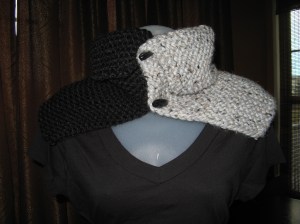
I wasn’t intending on knitting or crocheting any Christmas gifts this year except for the toddler hat and scarf set I had finished a month or two ago for a friend’s daughter, but, when another friend sent me a pic of cowl neck scarf she liked with button closures I decided that I would have time to finish this one item. Every year I find myself racing to finish things a day or two before Christmas because at times I can be such a procrastinator and as we all know the Christmas holiday just sort of sneaks up on you regardless of how early you start your shopping and/or crafting. There was actually one year that I was up until 2am Christmas morning finishing up scarves… Not fun!

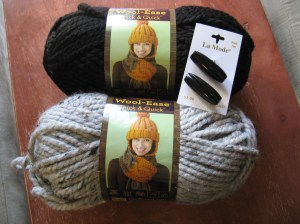
While I did start this project about two weeks prior to the holiday I knew I would be able to get it done since I opted to use Lion Brand Wool-Ease Thick & Quick Yarn. This is probably my favorite yarn to knit with since as its name suggests it does work up quite quickly. I did crochet a scarf with it once and for me personally I find it too thick to crochet with. I opted to use neutral colors – Black and Grey Marble – this way the scarf could match with anything. As for the buttons, I spent a good amount of time at my local JoAnn’s trying to find the right ones. I really wanted wooden ones but, the only wooden cylinder shaped ones were on the small side so I decided to go with simple black ones.

IMG_8916

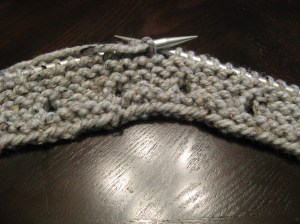
As for a pattern, I sort of followed one that I found on the Lion Brand Yarn website – the Buttoned Cowl – but, modified it a bit this way my finished product would be bulkier. Essentially I just casted on more stitches than the original pattern called for, forty-one vs. twenty-seven. Since the pattern just called for a straightforward garter stitch – knitting every row – I knew this was going to be a piece of cake. I really wanted to knit this in a rib pattern, but, was having a hard time adjusting the pattern into one that would still incorporate the stitches to create the buttonholes. Speaking of buttonholes, it took a few tries before I was able to get them right. I kept missing one and would end up with only three as opposed to four. After about five tries though I finally got it right and I was on my way. If by any chance you are wondering, I decided to start with the grey marble yarn as opposed to the black yarn this way the black buttons would stand out on it.

IMG_8930

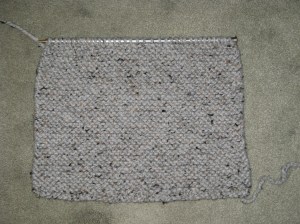
I wanted the finished cowl to be approximately twenty-four inches so I worked in garter stitch for about twelve inches, which equates to about fifty-eight rows and then I switched to the black yarn.

IMG_8978

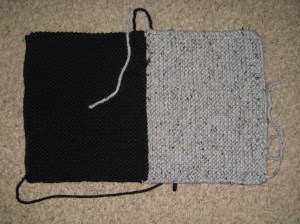
After knitting another fifty-eight rows with the black yarn and binding off this is what I ended up with. Admittedly it doesn’t look like much and I was a little concerned that I wasn’t going to be happy with it.

IMG_9009

But, once I sewed the two buttons on – for buttonholes one and three – and tried it on I was happy with how it looked. And while this picture makes it seem like it’s on the small side it actually has a considerable amount of stretch to it.

IMG_9011

And although my mannequin isn’t doing it justice, its intended recipient was very happy with it and it fit her perfectly.

IMG_9022

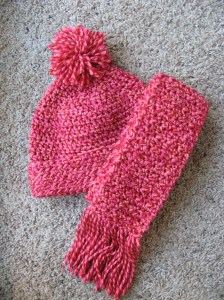
And finally, here’s a pic of the toddler-sized hat and scarf set I made. She was ecstatic with it, especially since it matched her new pink coat so well. Making a pom-pom and adding fringe to a scarf was a first for me with this set but it definitely added that fun factor that little kids accessories always need.

IMG_9153

Holiday Baking… Six Hits and A Miss

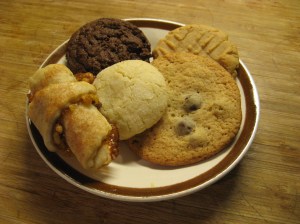
What would the holidays be without some yummy homemade treats? Every year a day or two before Christmas Eve I bake about four or five different types of cookies. This year was no different, although this year baking didn’t seem as stressful as year’s past- probably because I was able to bake on the weekend as opposed to a weekday. Every year I get the idea to bake up actual Christmas cookies with frosting and decorations, but, it never happens. Instead my holiday cookies look more like this…

An assortment that includes Rugelach, Peanut Butter, Malted Chocolate Chip, Lemon and Fudgy Chocolate Cookies.

IMG_9083

I also decided to bake a cake for a friend’s Christmas Eve dinner. I wanted to try something new so I went with a recipe that I saw in the December 2012 issue of Food Network Magazine, an Almond Layer Cake with White Chocolate Frosting.

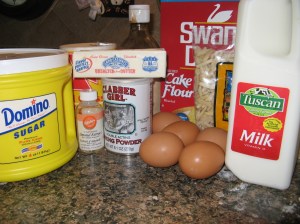
First things first, I got together all of my ingredients together.

IMG_9059

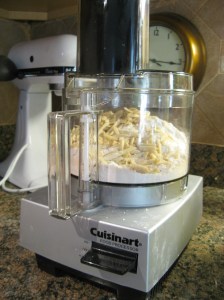
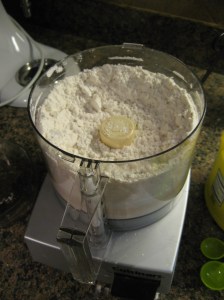
To start off I essentially created a variation of pure almond flour by pulsing together cake flour, baking powder, salt and almonds until the almonds were finely ground down.

IMG_9061 IMG_9062

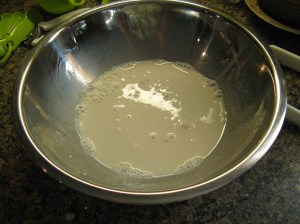
Next up I whisked together egg whites, milk, vanilla and almond extract. While there are almonds in the flour component of the batter, the almond extract is what truly gives this cake its almond taste and scent.

IMG_9064

And finally, what cake would be complete without creaming together butter and sugar.

IMG_9066

I then incorporated all three of these components to create the batter for the cake.

IMG_9068

And then divided the batter among my two prepared pans and popped them into the oven.

IMG_9070

After about twenty-five minutes my cakes were ready to come out of the oven and cool down.

IMG_9072

While I had no doubt that the cake would taste good I was a bit doubtful that the frosting would be as good. I have never been partial to white chocolate so I wasn’t sure how I would like white chocolate frosting. Also, I couldn’t imagine the almond flavor actually tasting good with it. But, I was wrong. The frosting actually leaned more towards a cream cheese flavor than a white chocolate flavor which was a good match for the almond flavor.

The frosting was super simple to make. Basically I made a cream cheese frosting and then incorporated melted white chocolate into it. For the white chocolate I opted to use two Ghirardelli white chocolate baking bars.

IMG_9094

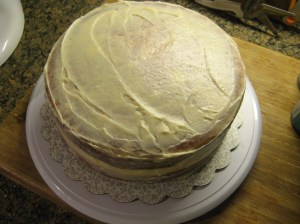
To start frosting I used about a cup of frosting in between the two layers and then covered the cake in a crumb coat and placed it in the refrigerator for 15 minutes.

IMG_9095

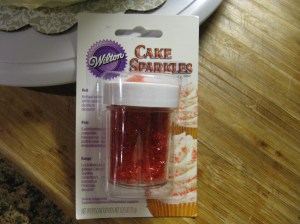
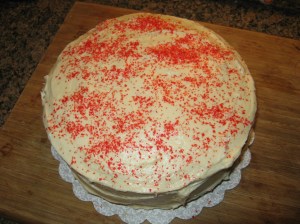
I then used the remaining frosting to finish covering the cake. Once that was done I covered the cake in some red sparkles I had bought to give it a festive feel.

IMG_9099 IMG_9105

This cake was a HIT! One of my friends said it was like eating a Good Humor Toasted Almond ice cream bar!

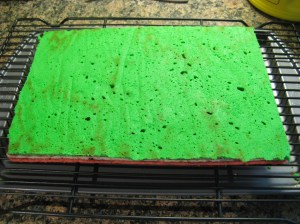
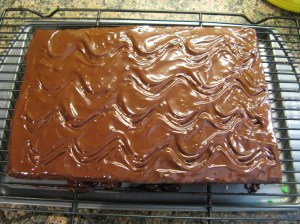
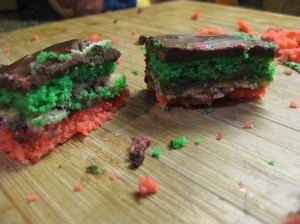
Unfortunately everything can’t always be a success. I tried making Rainbow Cookies a few years and I wasn’t too happy with the end result. While they tasted good I wasn’t pleased with the way they looked. I decided to try this year after coming across a recipe in a recent issue of Food Network magazine that seemed flawless enough. Once again though, there wasn’t a pot of gold at the end of my rainbow. I’m not sure if I waited too long to slice them or something went wrong while mixing and baking but they weren’t too appetizing looking. While I could overlook that, I couldn’t overlook the fact that they didn’t have much of a taste. All I could taste was the chocolate and not much of anything else.  After failing twice to get these cookies to somewhat near perfection I doubt I will try again. Sometimes you don’t need three strikes to be out!

IMG_9078 IMG_9079 IMG_9081

They looked great prior to and after being covered with chocolate, but, as you can see that was short-lived once I started slicing them. Oh well!

Knitted Flower Headband

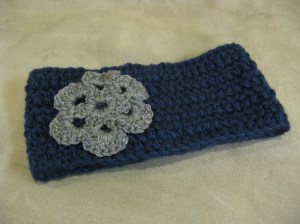
I’ve seen knitted headbands practically everywhere this season that I got inspired to make one.

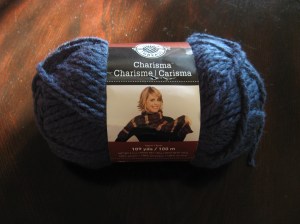
While I do have a decent stash of leftover yarn from previous projects that would have sufficed for this small one, I ended up buying a new skein of yarn after coming across it on sale at my local Michaels store. I am partial to most shades of blue and this basic navy blue yarn from Loops & Threads Charisma caught my eye. The one downfall about this yarn is that it fuzzes a great deal so I doubt I’ll be using it again.

IMG_8826

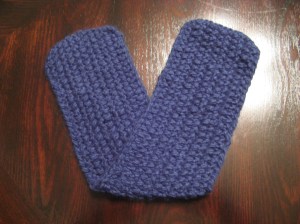
I opted to semi-follow the Seed Stitch Headband pattern from Lion Brand modifying it a bit to get my desired length and width. Using size 9 knitting needles I casted on 13 stitches (which gave me a width of 4 1/4 inches) and then simply followed a pattern of Slip 1, *P1, K1 (repeat from * to end of row) and continuing it for each row until I reached a length of 20 inches.

IMG_8858
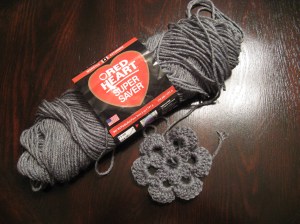
I decided I wanted to spruce up this basic headband so I crocheted a simple flower to attach to it. Once again I followed a Lion Brand Yarn pattern – the Six-Petal Flower Motif – using Red Heart yarn that I had leftover from my Easy Slouchy Beret Hat. This actually wasn’t my first yarn choice to make the flower. I wanted to incorporate a sparkle yarn with the navy blue yarn but unfortunately the navy yarn was just too thick to work with.
IMG_8859
Now that I had all of my pieces it was time to put this headband together.
IMG_8856
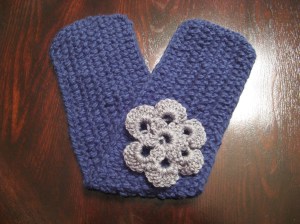
I first stitched the two ends of the headband together and then attached the flower and was quite pleased with the final product. I’m sure I’ll make a few more of these, if anything, just for fun.
IMG_8874

Dutch Oven Peach Cobbler

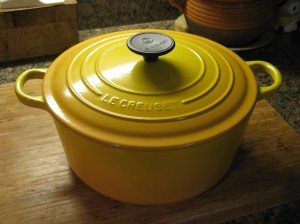
I recently received a Le Creuset Dutch oven as a gift and couldn’t wait to use it. I’ve actually wanted one of these for a while after seeing it used during a cooking demonstration and also because so many recipes I come across call for one. Before using it to cook something though I opted to bake something first, so, I decided on something fairly simple, a Peach Cobbler. Since I didn’t have a recipe on hand I did a quick search on Food Network’s website and found a recipe from Paula Deen that was simple to follow and quick to make.

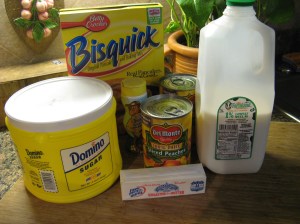
My lovely Dutch oven and my ingredients: Bisquick, sugar, milk, cinnamon, cinnamon sugar, & butter.

IMG_8833 IMG_8837

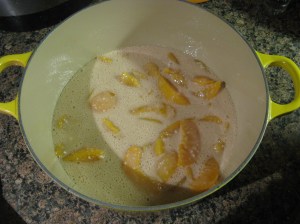
In my prepared Dutch oven -I sprayed it with cooking spray- I added the mixture of 2 cans of peaches, Bisquick, sugar and cinnamon.

IMG_8838

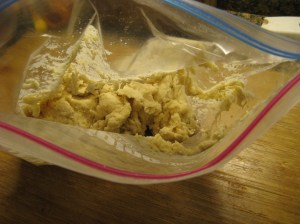
In a Ziploc bag I mixed together the following ingredients to make the dough topping: more Bisquick, sugar, butter and milk.

IMG_8839

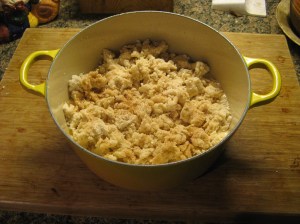
I then dropped pieces of the dough on top of the peach mixture and sprinkled it with cinnamon sugar and then popped it into my 350 degrees preheated oven.

IMG_8841

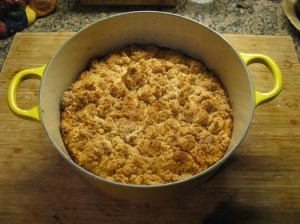
After 45 minutes it was done!

IMG_8846

Unfortunately while it looked and smelled delicious I wasn’t thrilled with the way it tasted. It was lacking in flavor so I doubt I’ll be making it again.

Below is the recipe I followed. One thing to note, I opted not to use blueberries.

Dutch Oven Peach Cobbler

Recipe courtesy Paula Deen

Ingredients

2 (16-ounce) cans sliced peaches in heavy or light syrup, or in fruit juice, your choice

1 pint fresh blueberries, optional

1/2 cup baking mix (recommended: Bisquick)

1/3 cup sugar

Ground cinnamon

Topping

2 1/4 cups baking mix (recommended: Bisquick)

1/4 cup sugar

1/4 cup (1/2 stick) butter, melted

1/2 cup milk Cinnamon sugar (1/4 cup sugar combined with 2 teaspoons ground cinnamon; store in an empty spice shaker jar; shake well before each use)

Directions

Preheat oven to 350 degrees F. Spray a Dutch oven with vegetable oil cooking spray Drain 1 can of the peaches. Combine both cans of peaches, including the juice from the undrained can, the blueberries, if using, the baking mix, sugar, and a sprinkling of cinnamon. Place this mixture into the Dutch oven. To make the topping: Combine the biscuit mix, sugar, butter, and milk in a resealable plastic bag. Drop bits of dough, using your fingers, on top of the peaches. Sprinkle with cinnamon sugar. Place the Dutch oven into the preheated oven and bake for 45 minutes, until the top is golden brown and crusty.

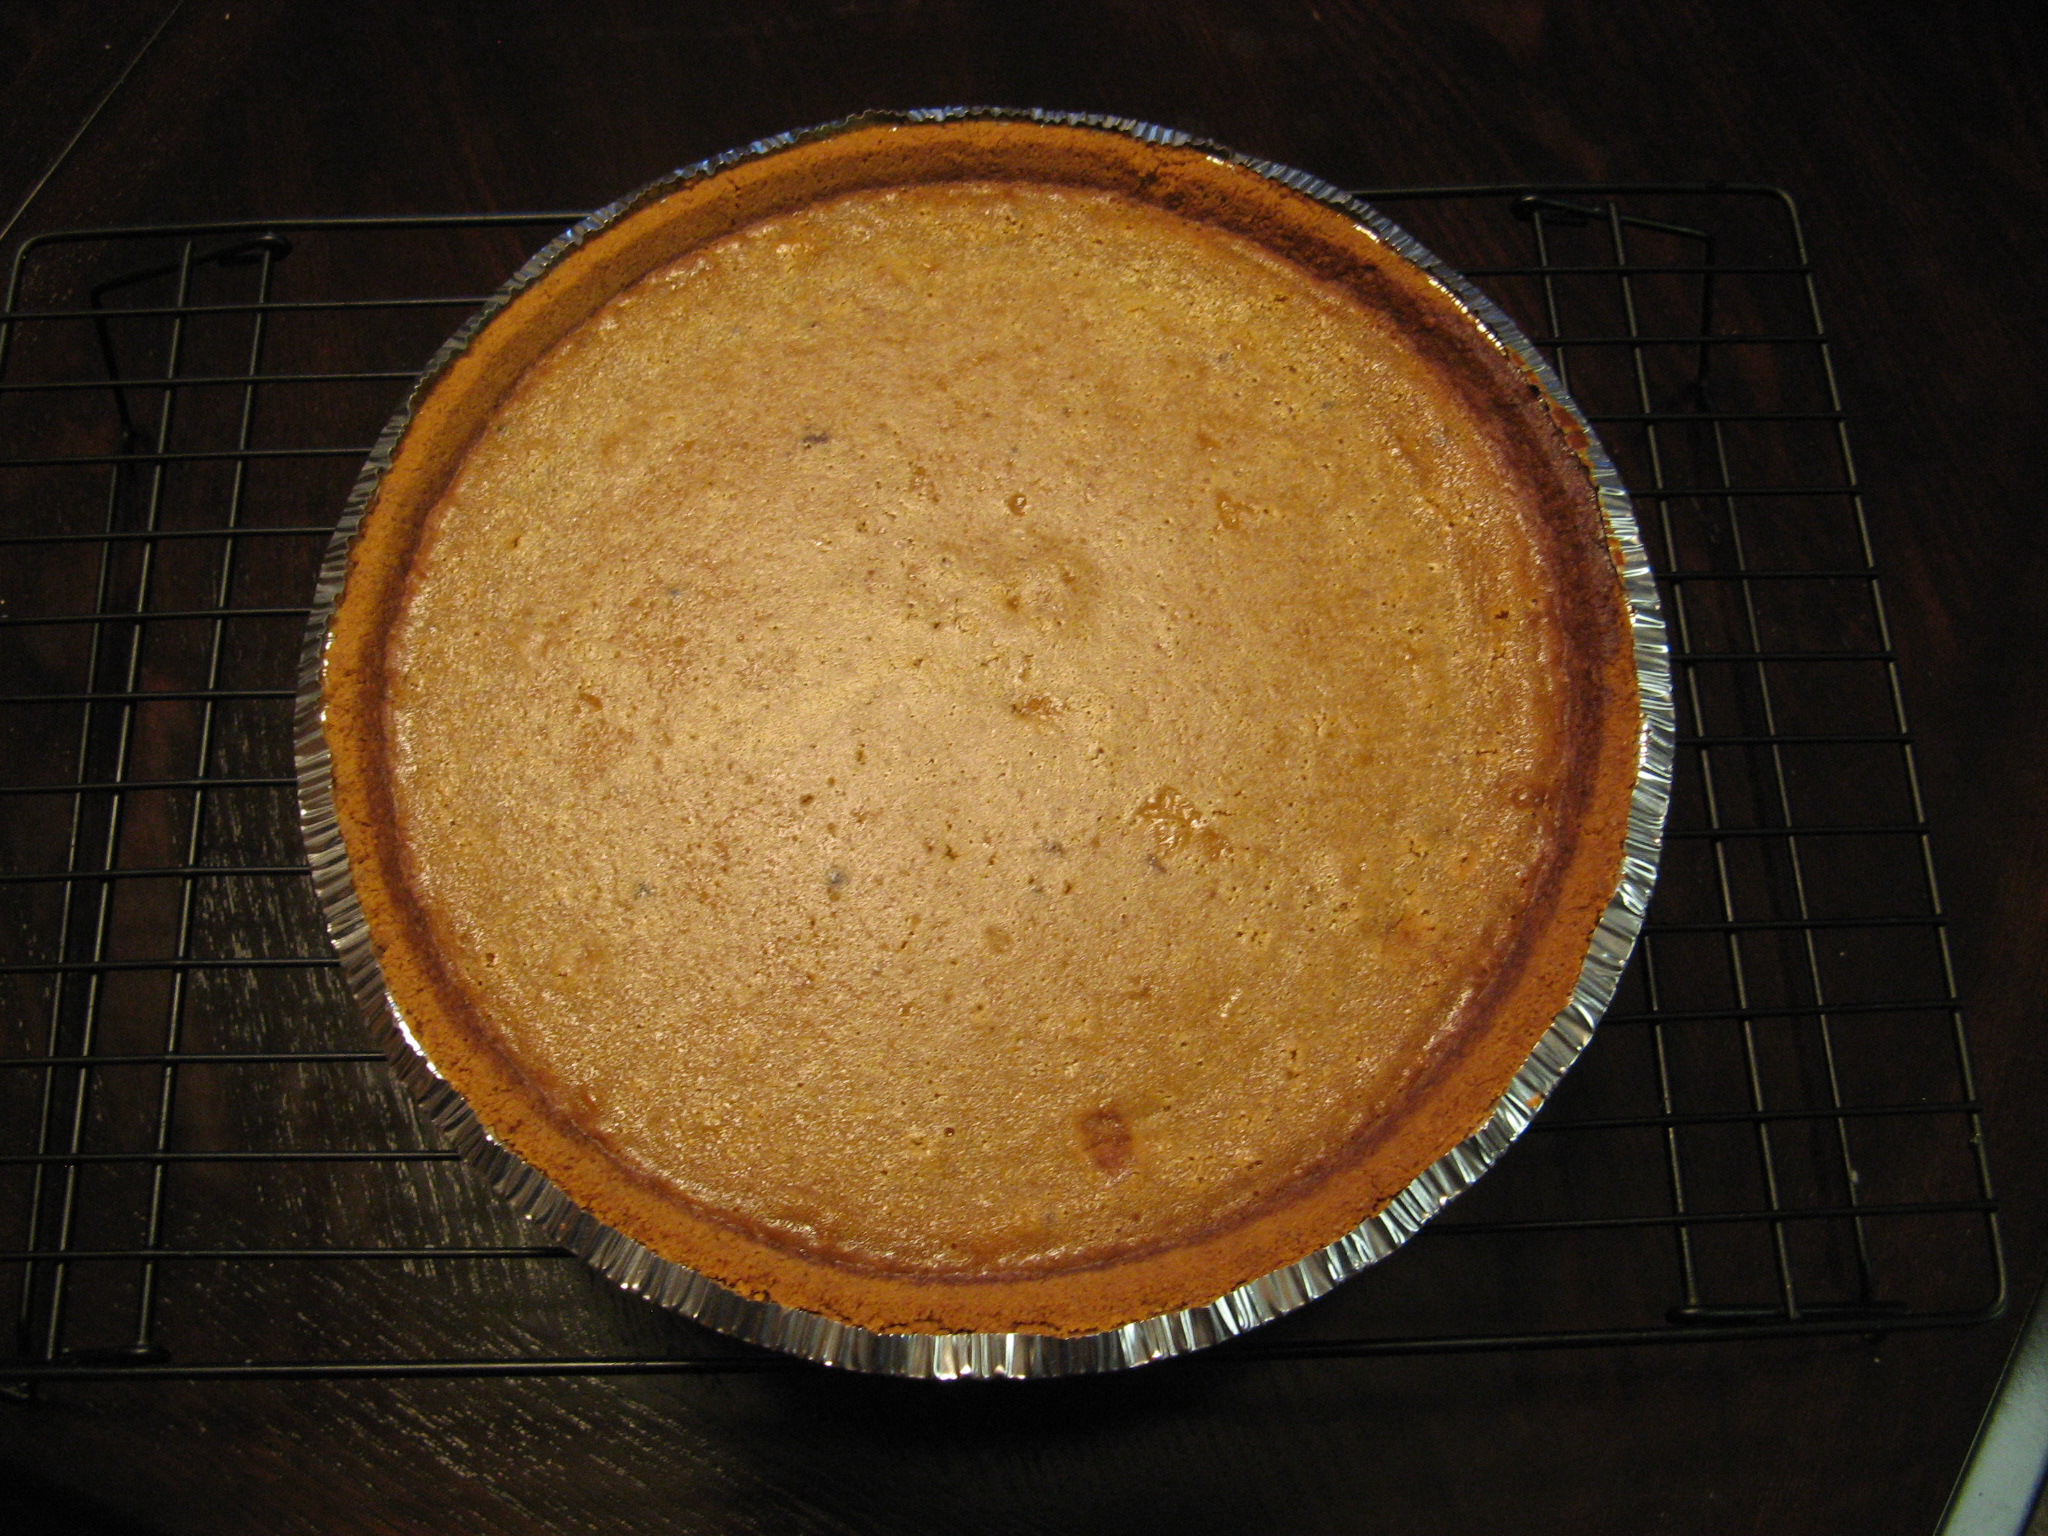
A Pumpkin Pie… And Tart

Thanksgiving is not only a day to indulge in some yummy food but also a day to save room for dessert. This year along with making the prerequisite pumpkin pie I also made something a little more special, a Pecan Pumpkin Frangipane Tart. (Frangipane is a filling that is made from or flavored with almonds.) I got the recipe two years ago when I attended a cooking demonstration at Williams & Sonoma. I made it for Thanksgiving that year and have wanted to make it again ever since.

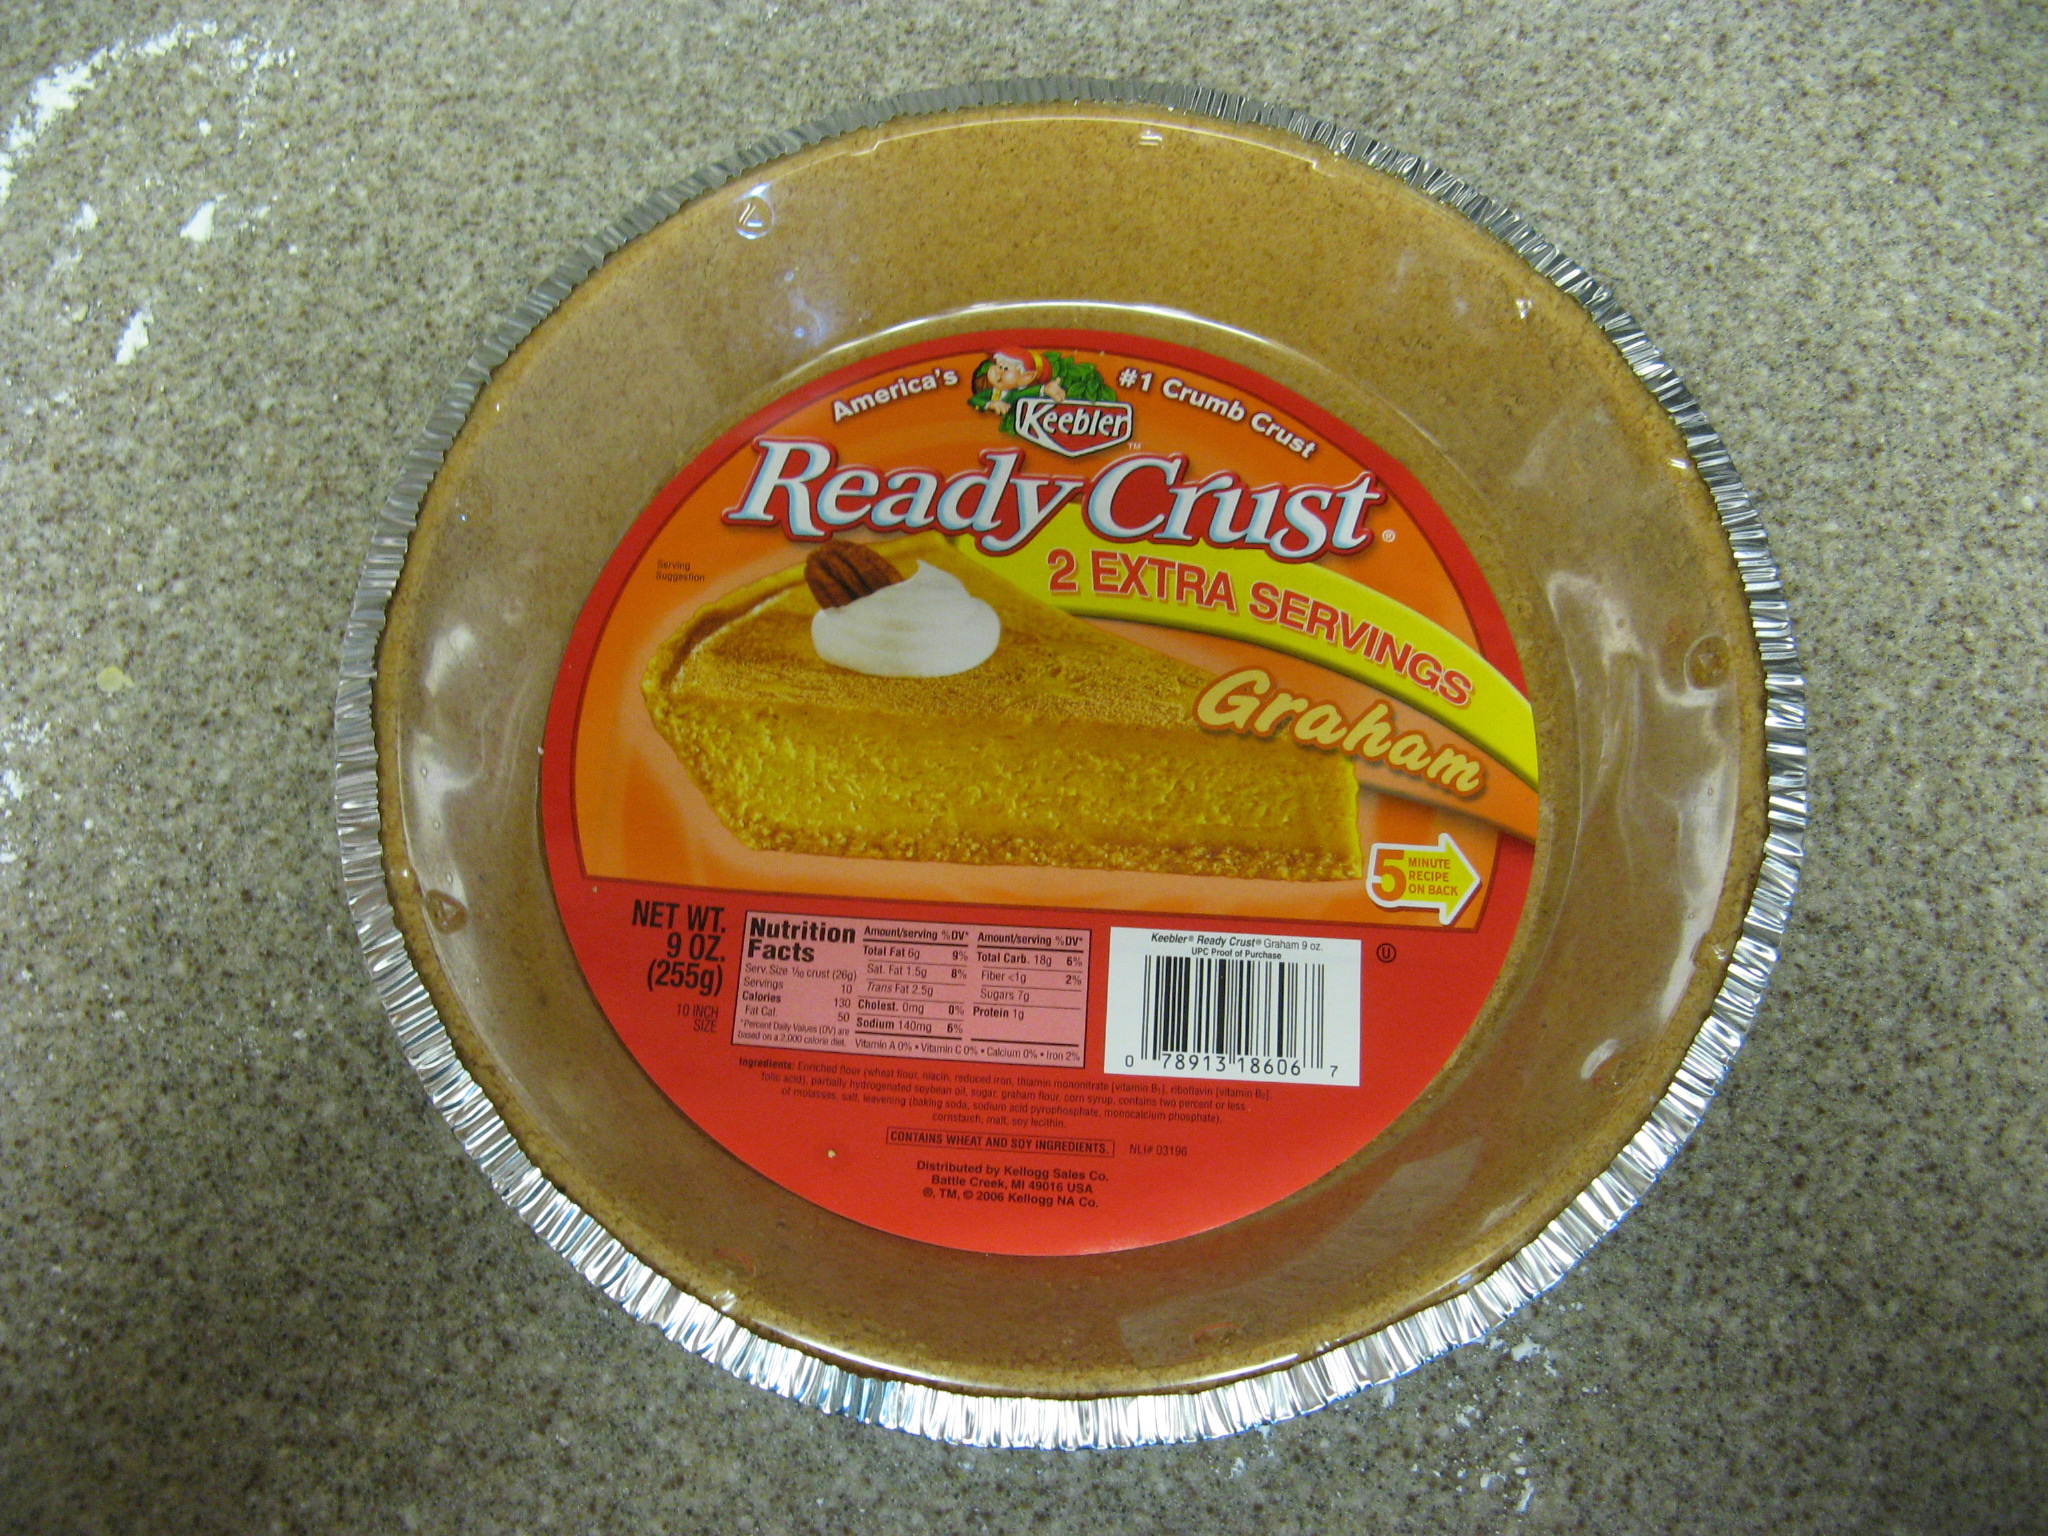
First up though… The Pumpkin Pie. I followed a recipe that I got from the Food Network website. This is probably one of the simplest recipes I have seen for pumpkin pie but it turns out one the yummiest ones I have ever tasted. I actually wasn’t a big fan of pumpkin pie until I made this one; I always thought it tasted quite bland. Although, I did cheat a little and bought my pie crust instead of making it from scratch as the recipe calls for. I opted to use the Keebler Ready Crust Graham 2 Extra Servings Pie Crust to make sure that my filling wouldn’t overflow. I used a regular sized pie crust once and quickly learned my lesson. The filling overflowed and I had to spend a considerable amount of time cleaning my oven afterwards. Not fun!


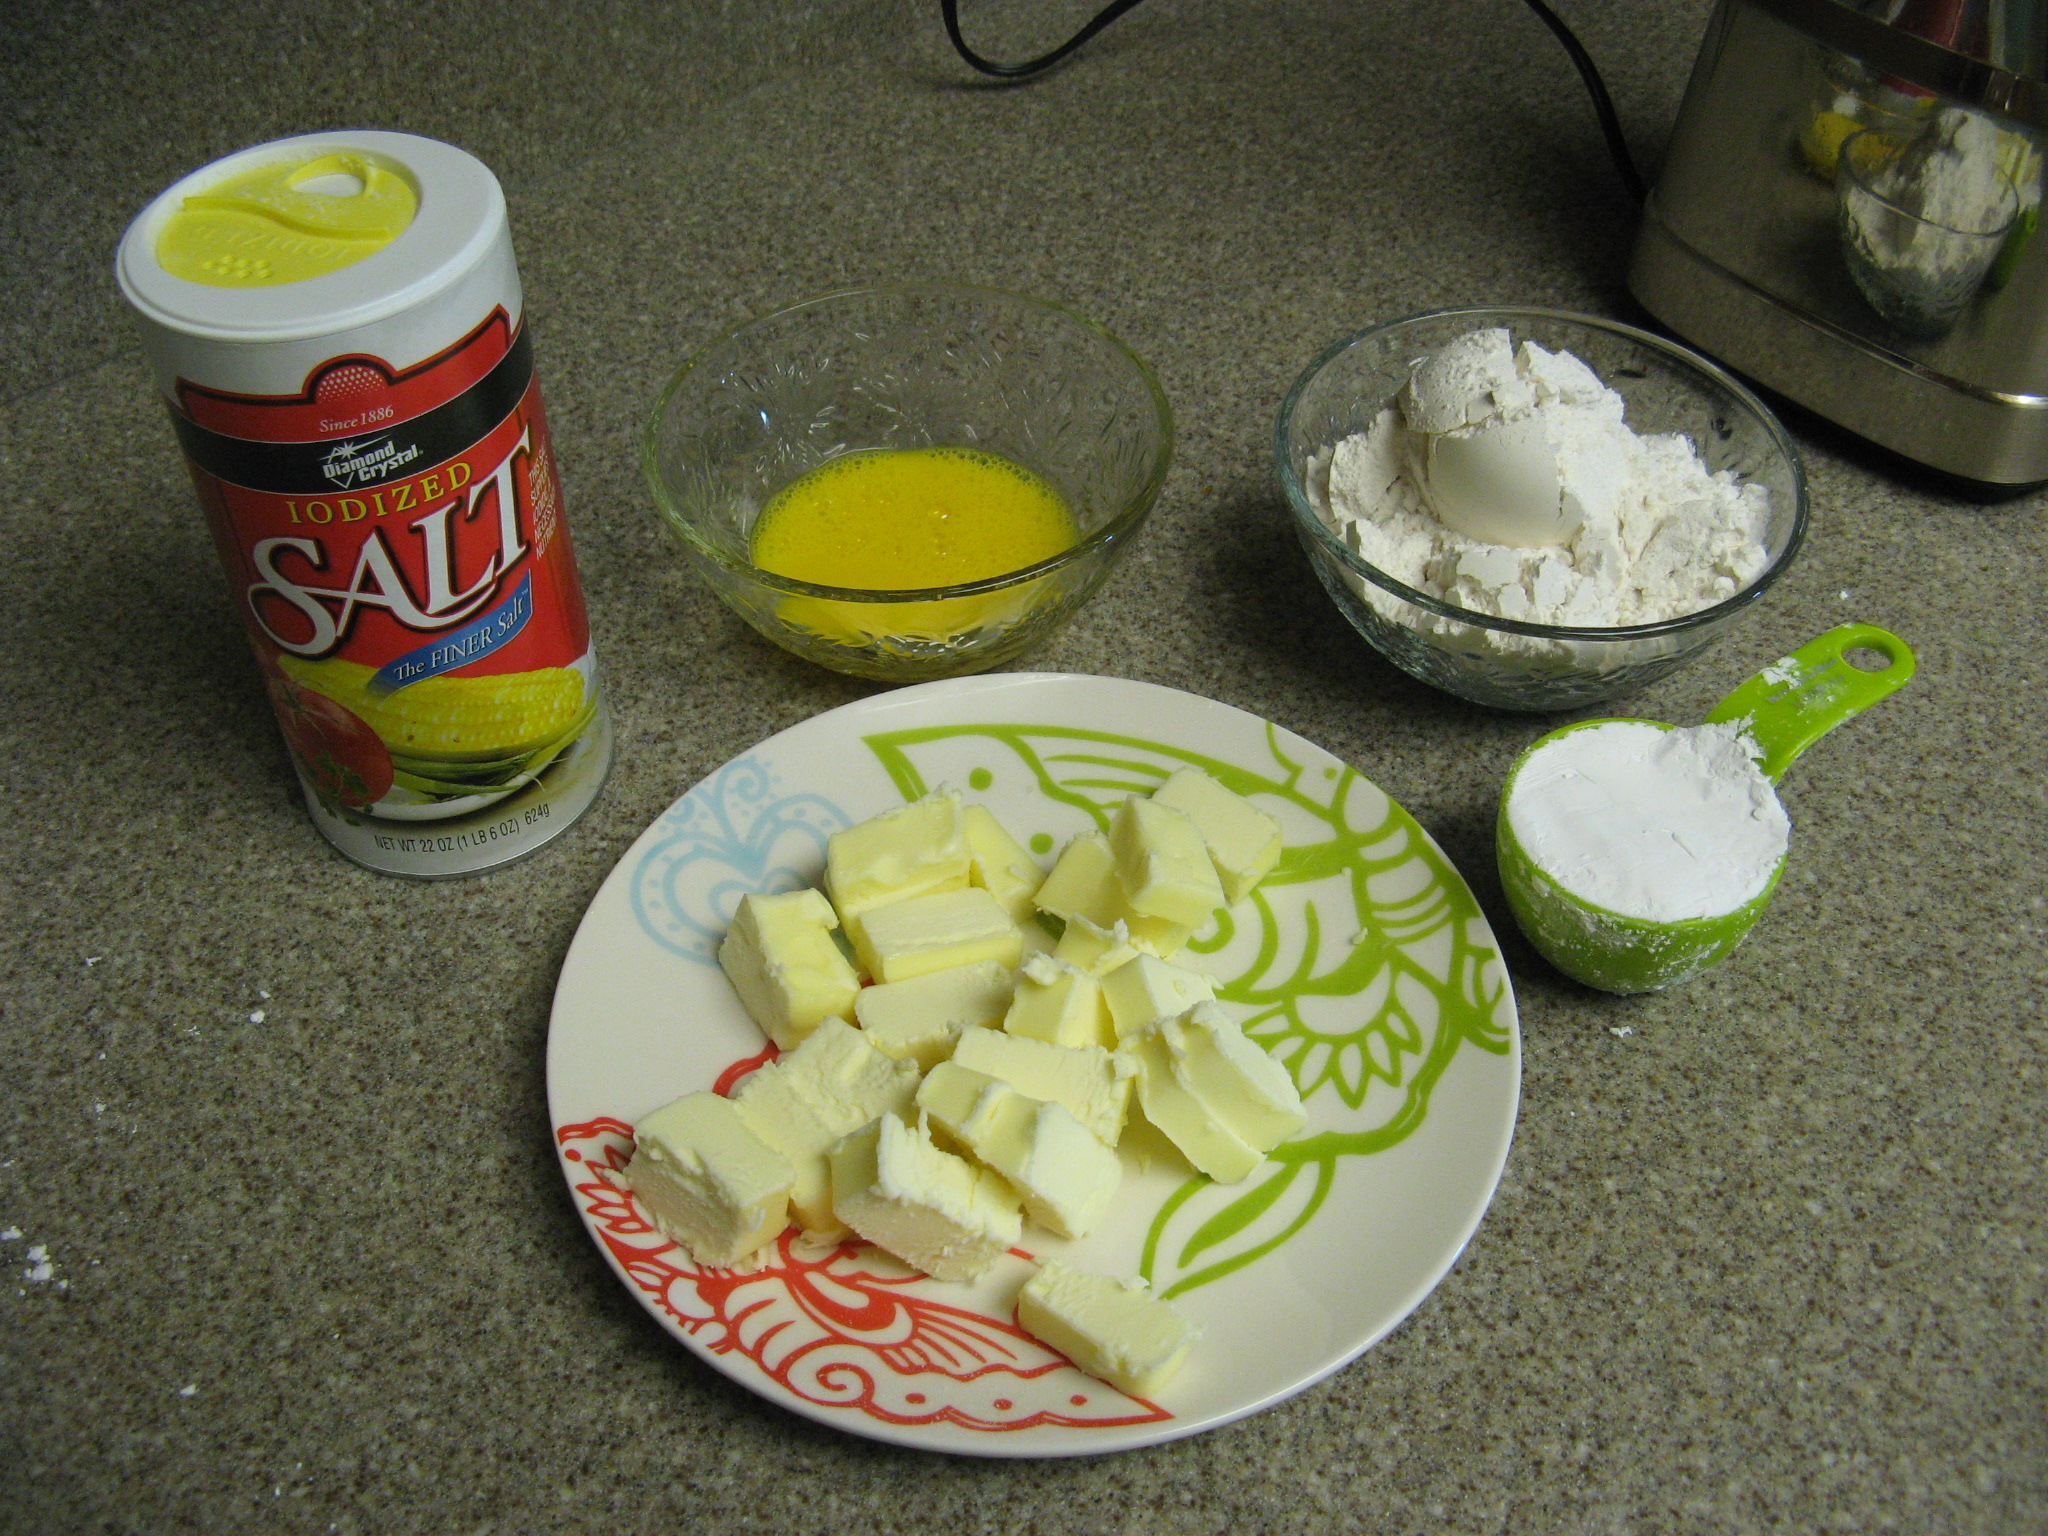
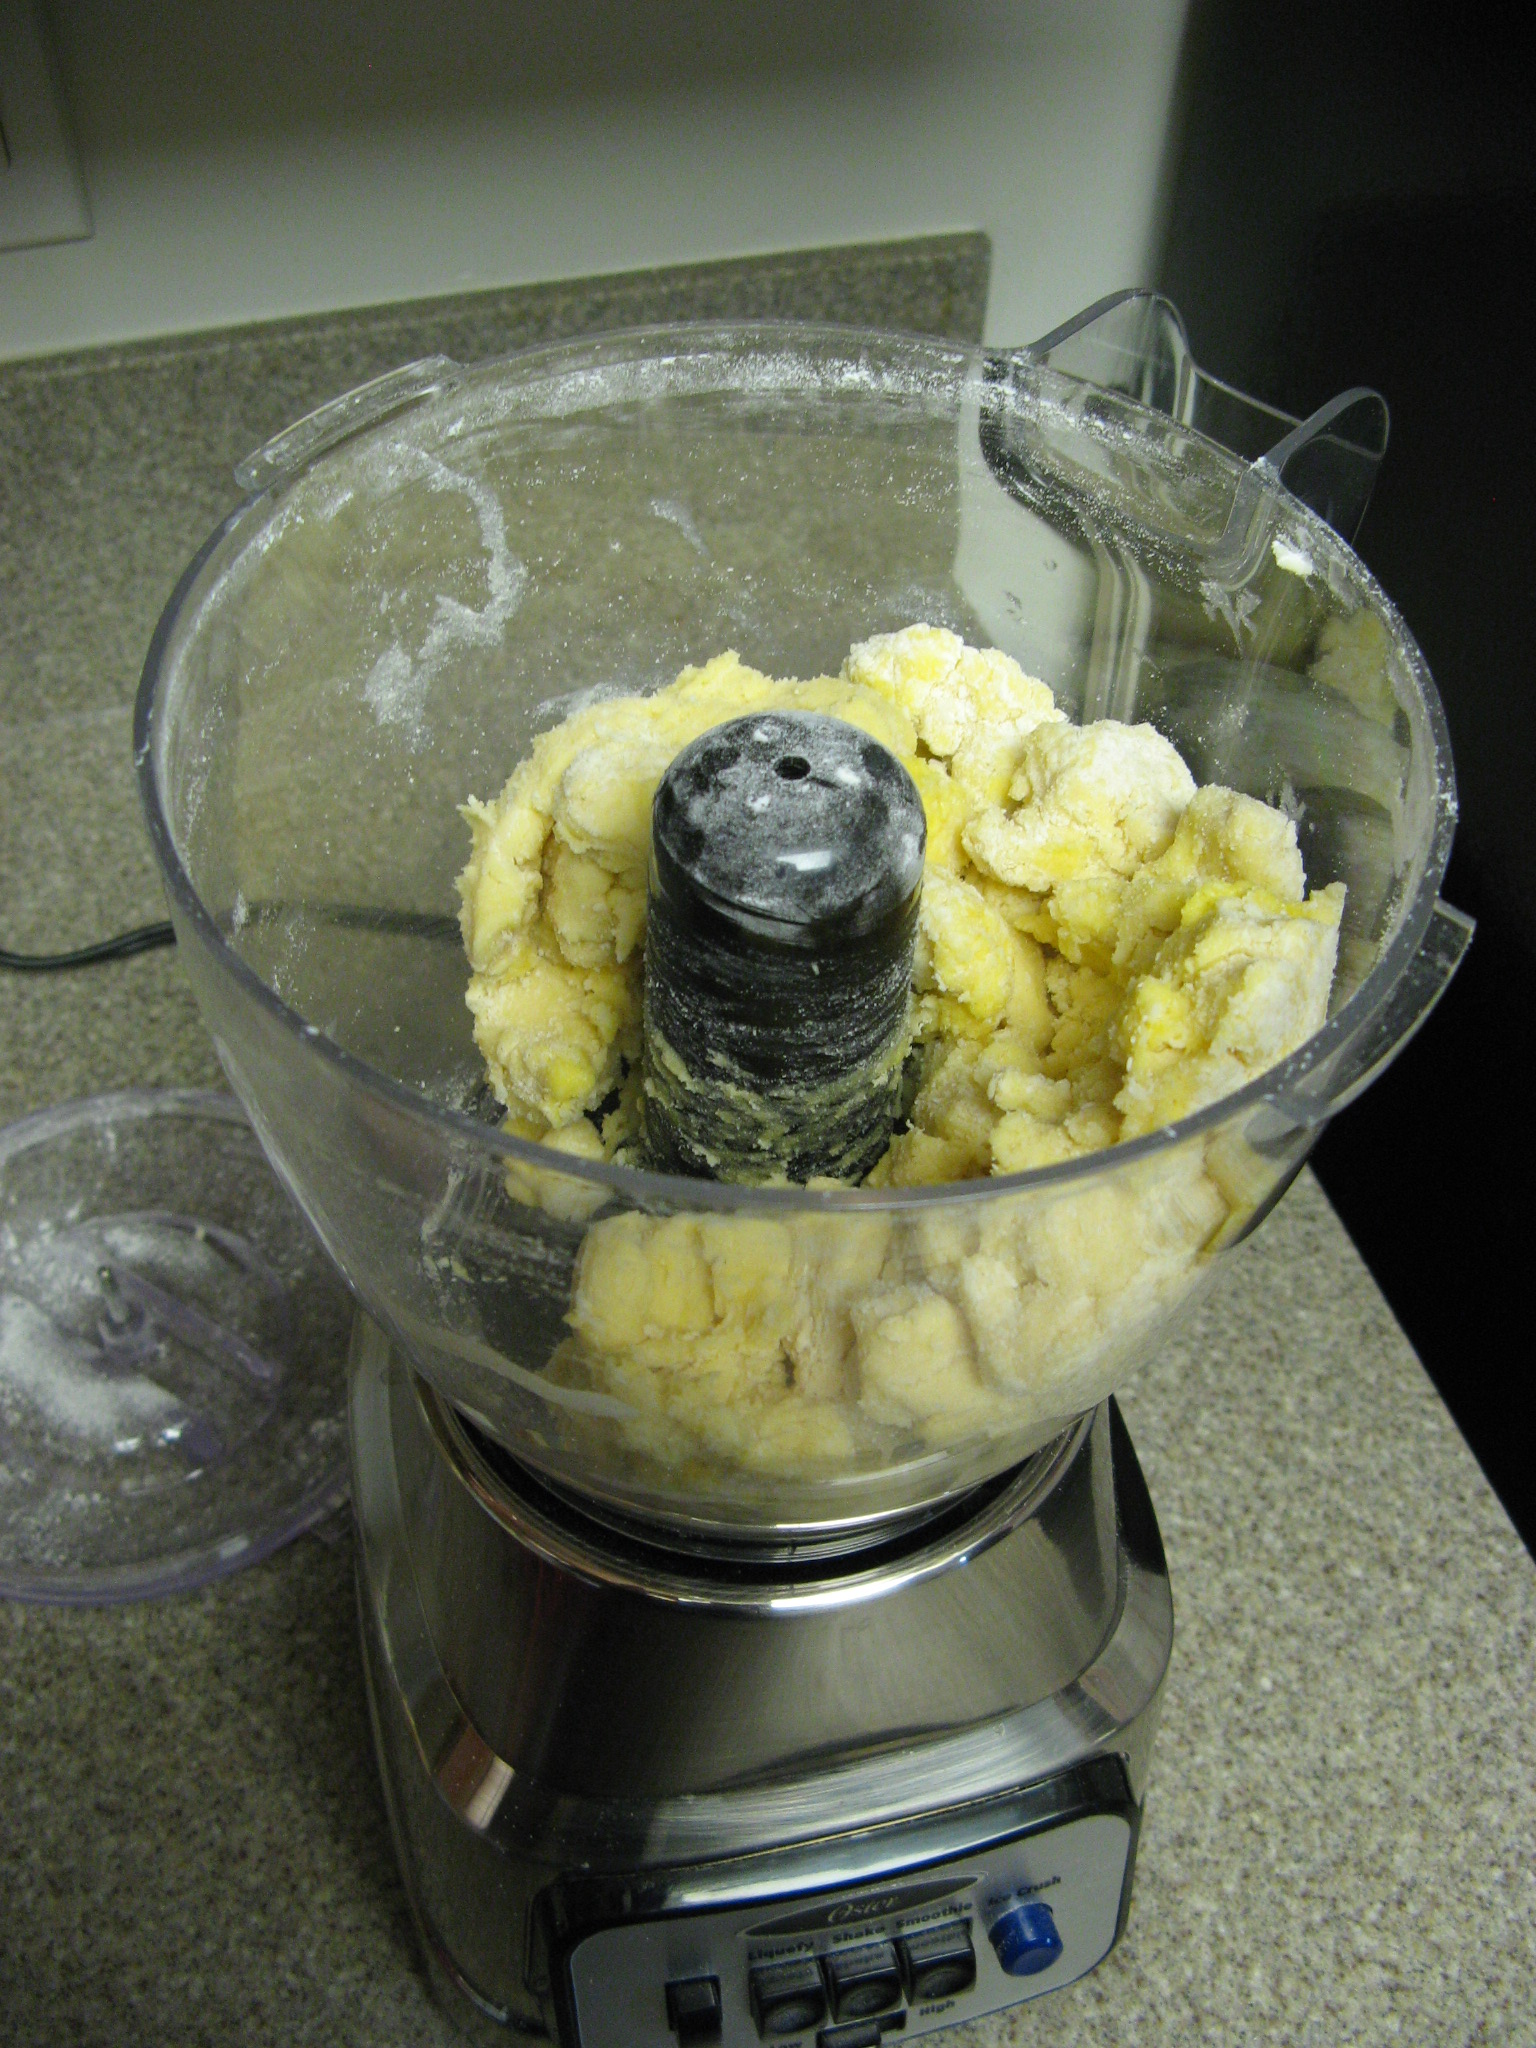
To make the Pecan Pumpkin Frangipane Tart I started off by making my crust. Using a store bought crust for this tart just wouldn’t be the same. Using a food processor I pulsed together the following ingredients: salt, eggs, flour, confectioners’ sugar & butter.


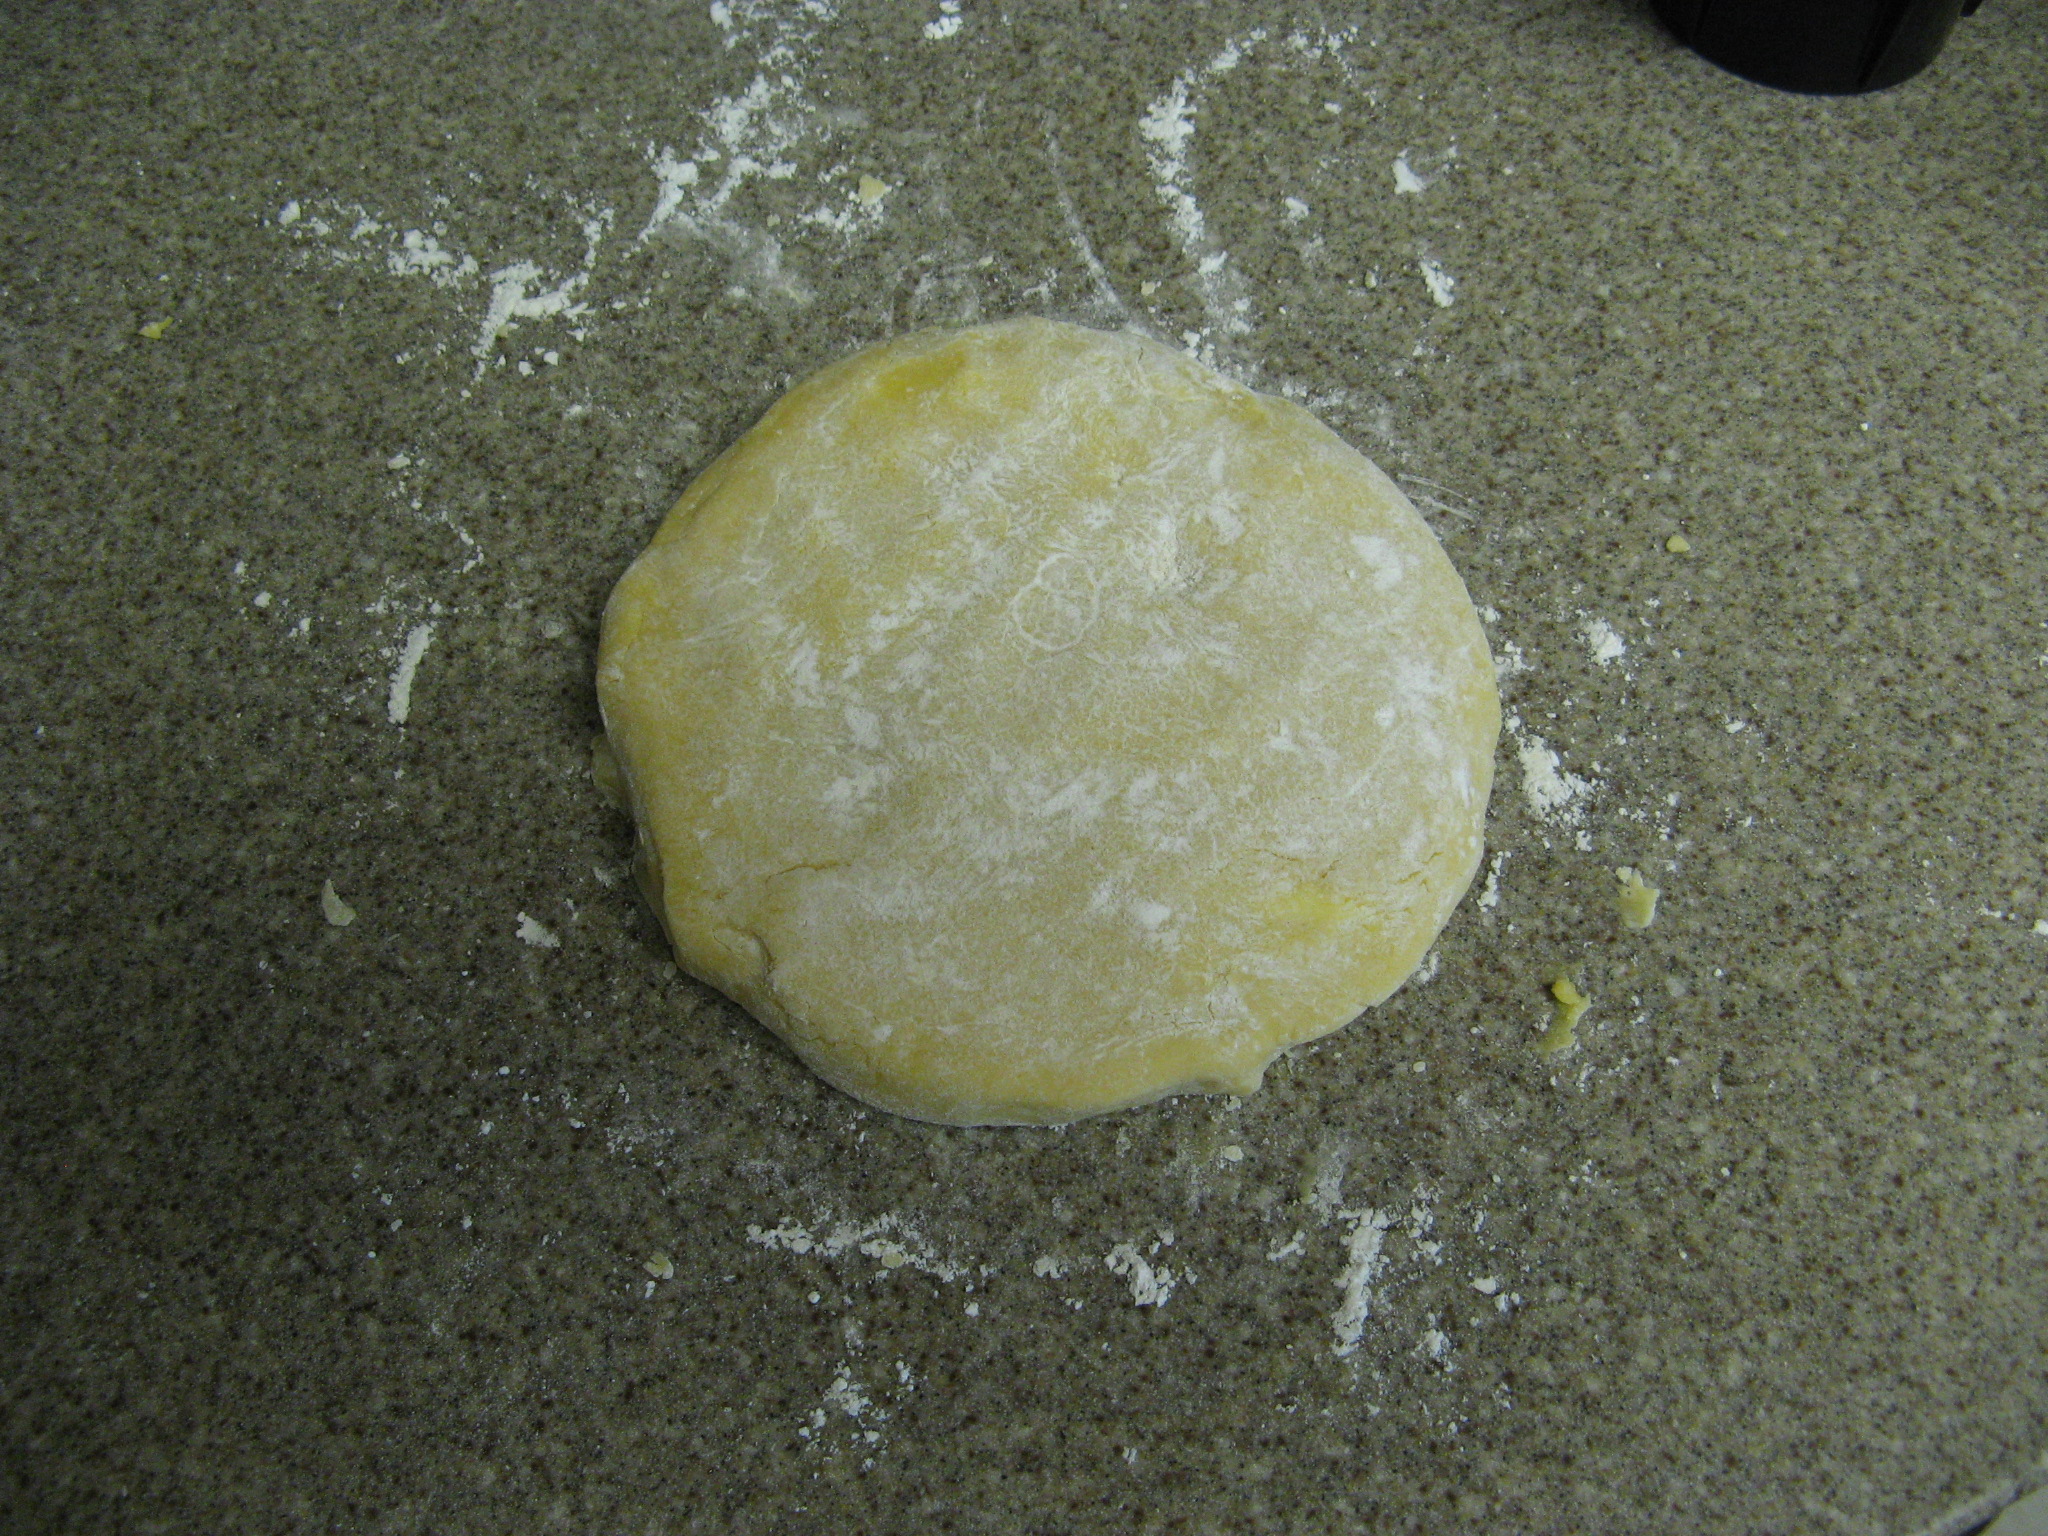
I then formed the dough into a disk and refrigerated it for 2 hours.

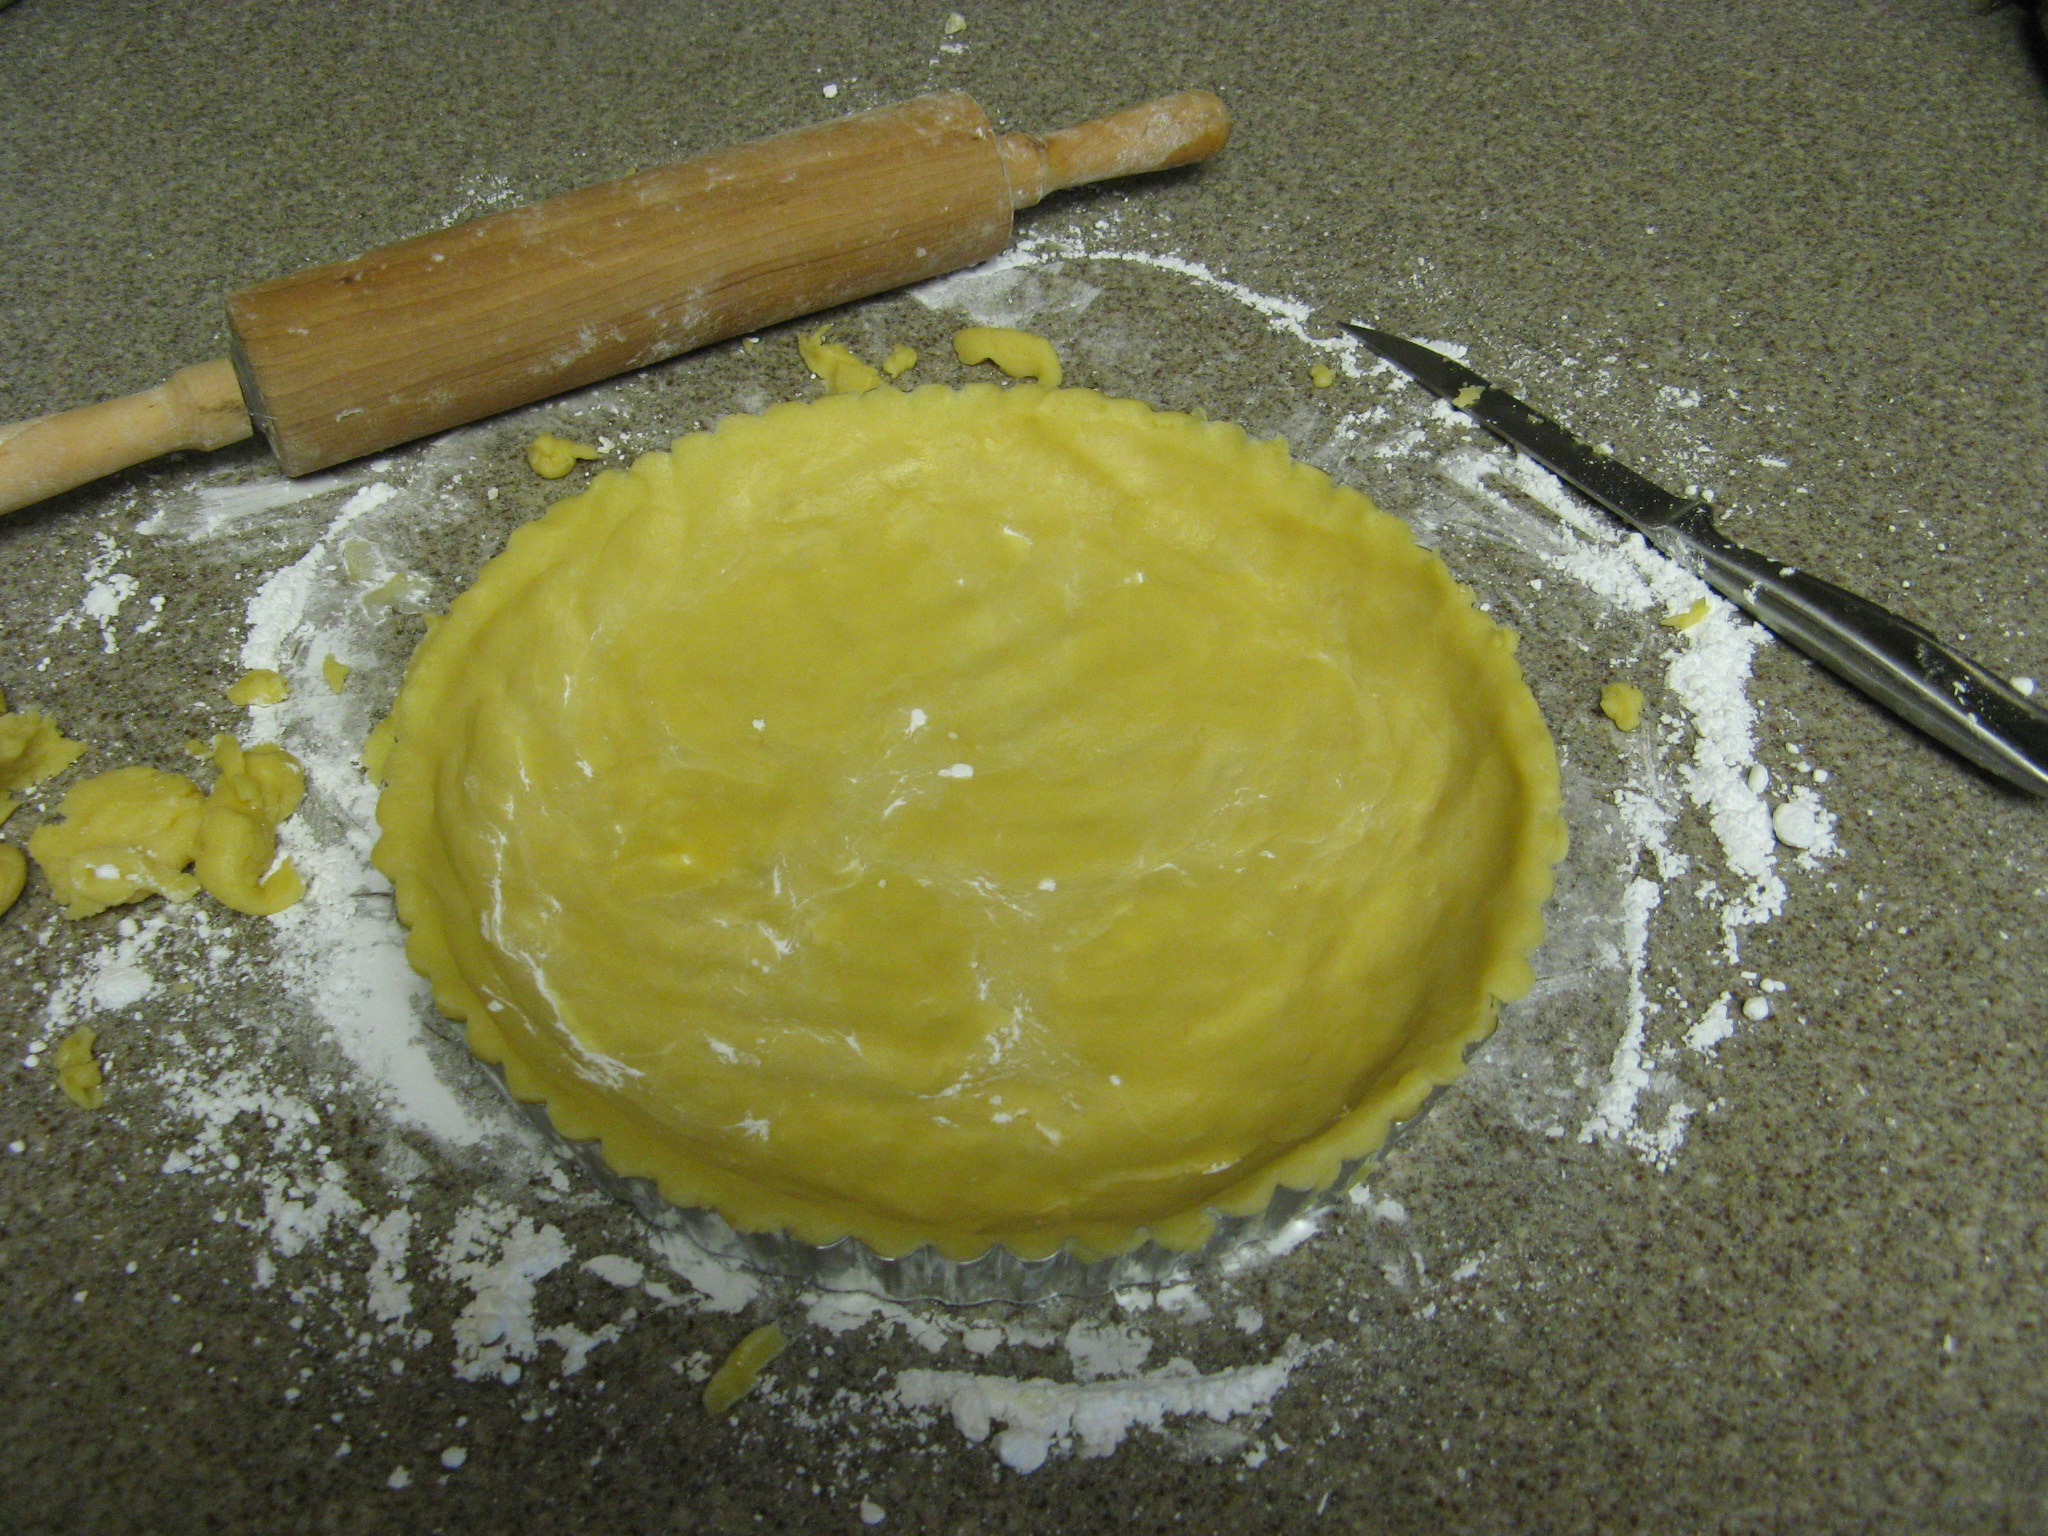
Afterwards I rolled out the dough and pressed it into my tart pan and refrigerated it once again. It needs to be refrigerated for at least 30 minutes. I ended up being refrigerating mine for a few hours, but, it had no effect on the final outcome.

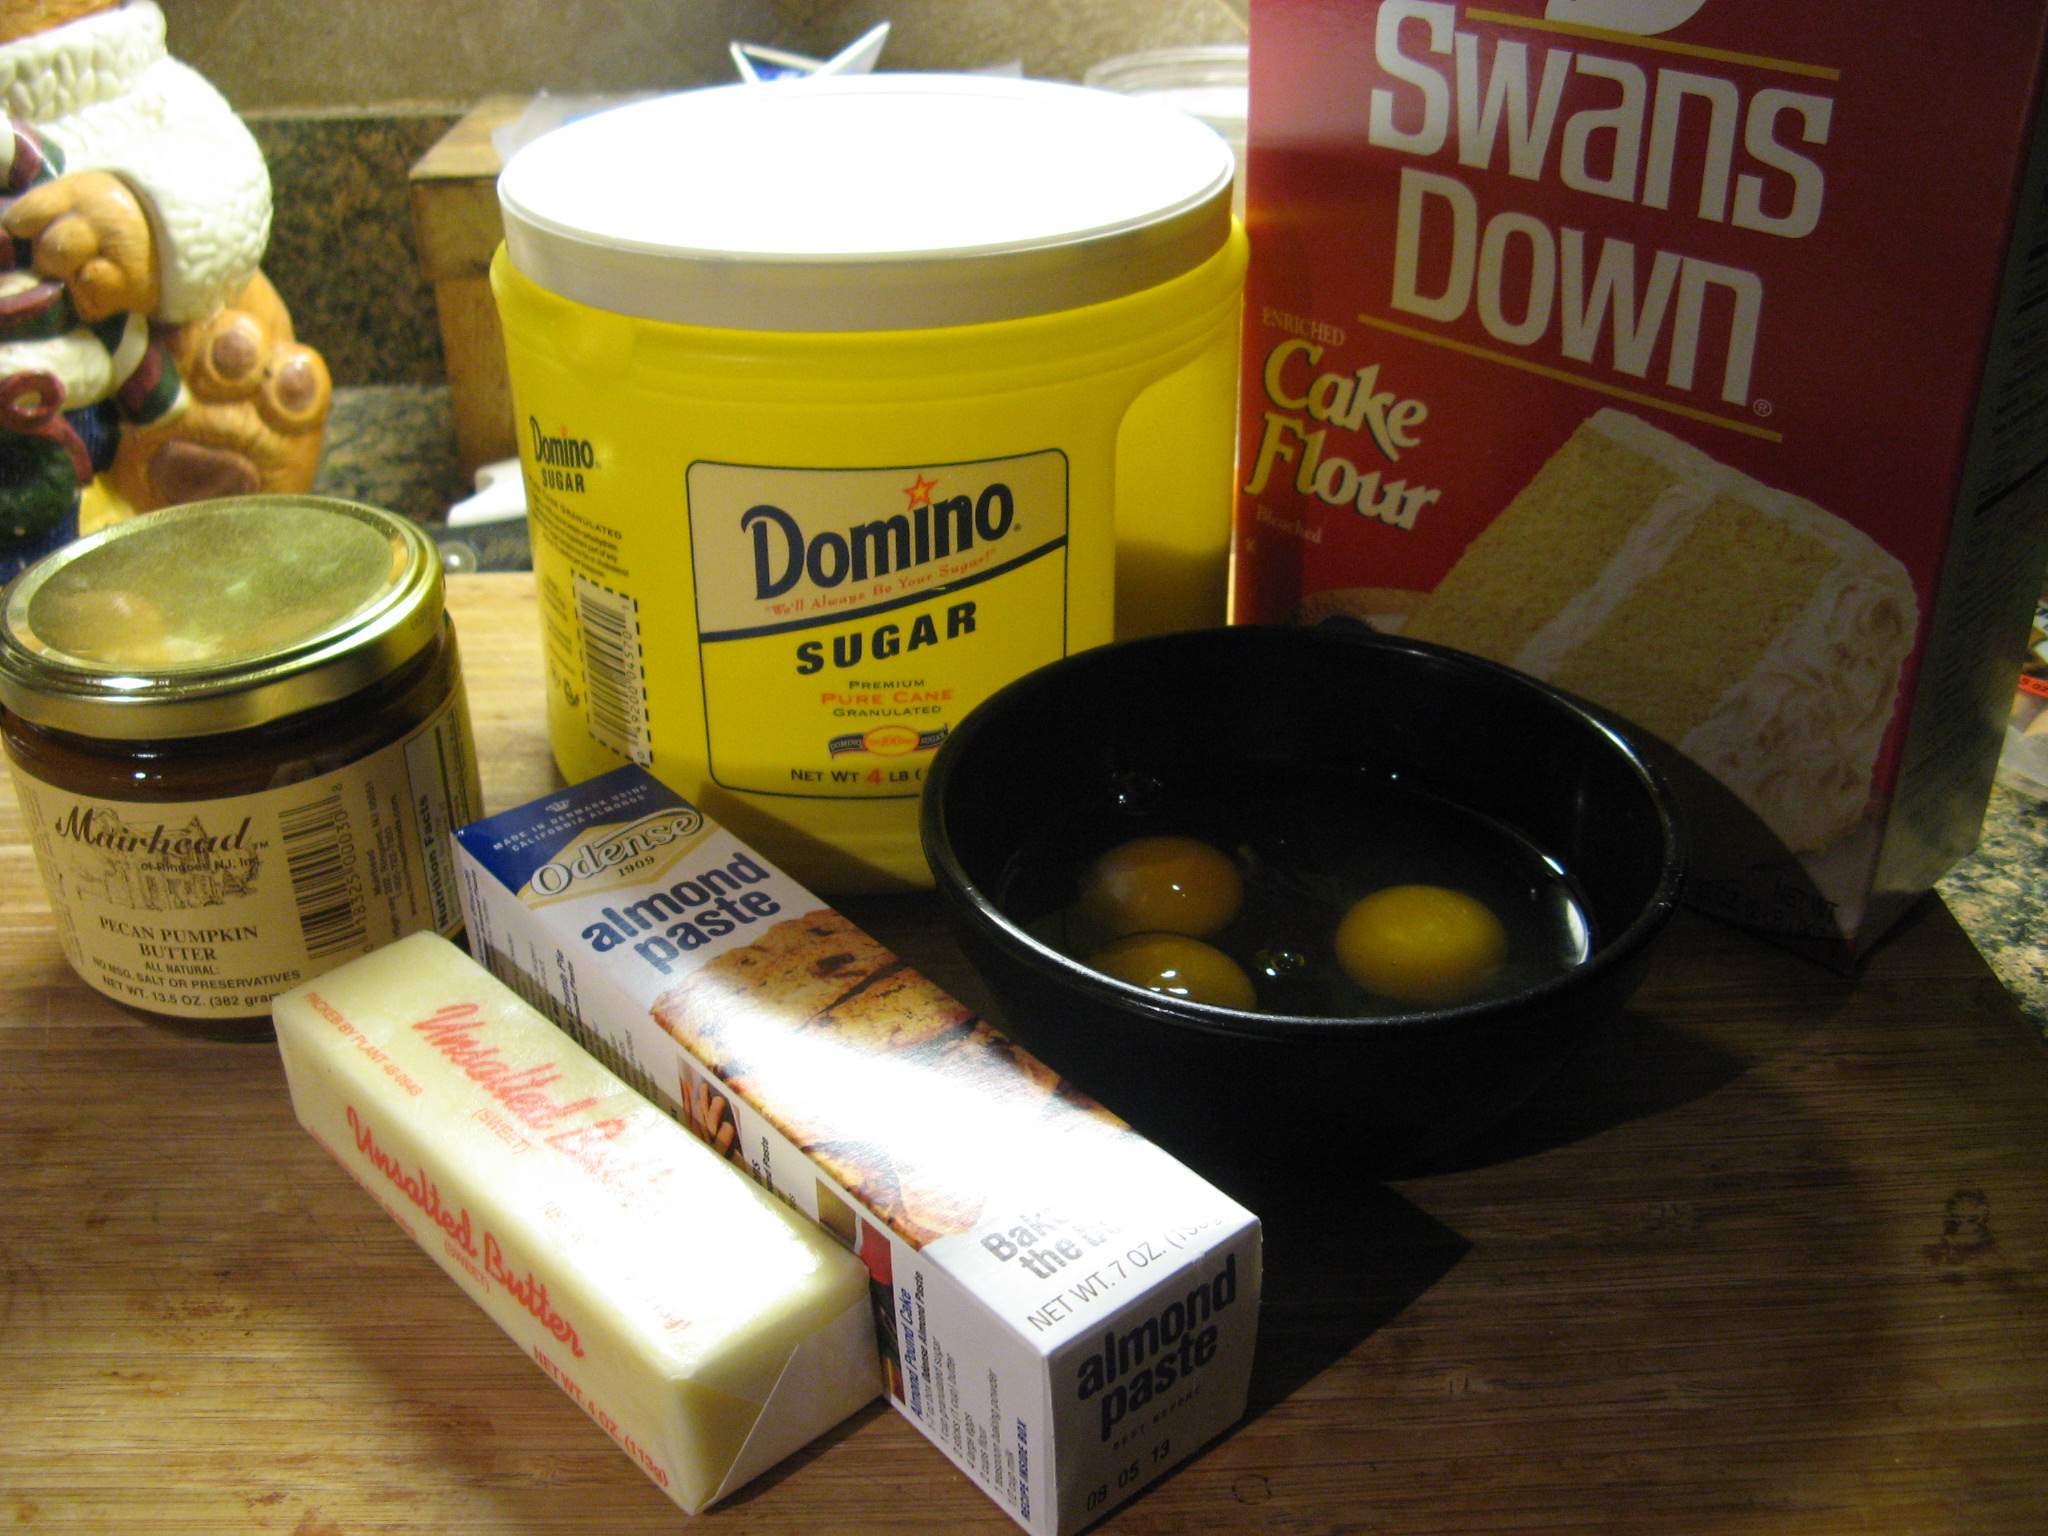
To make the frangipane I used sugar, cake flour, eggs, almond paste and butter.

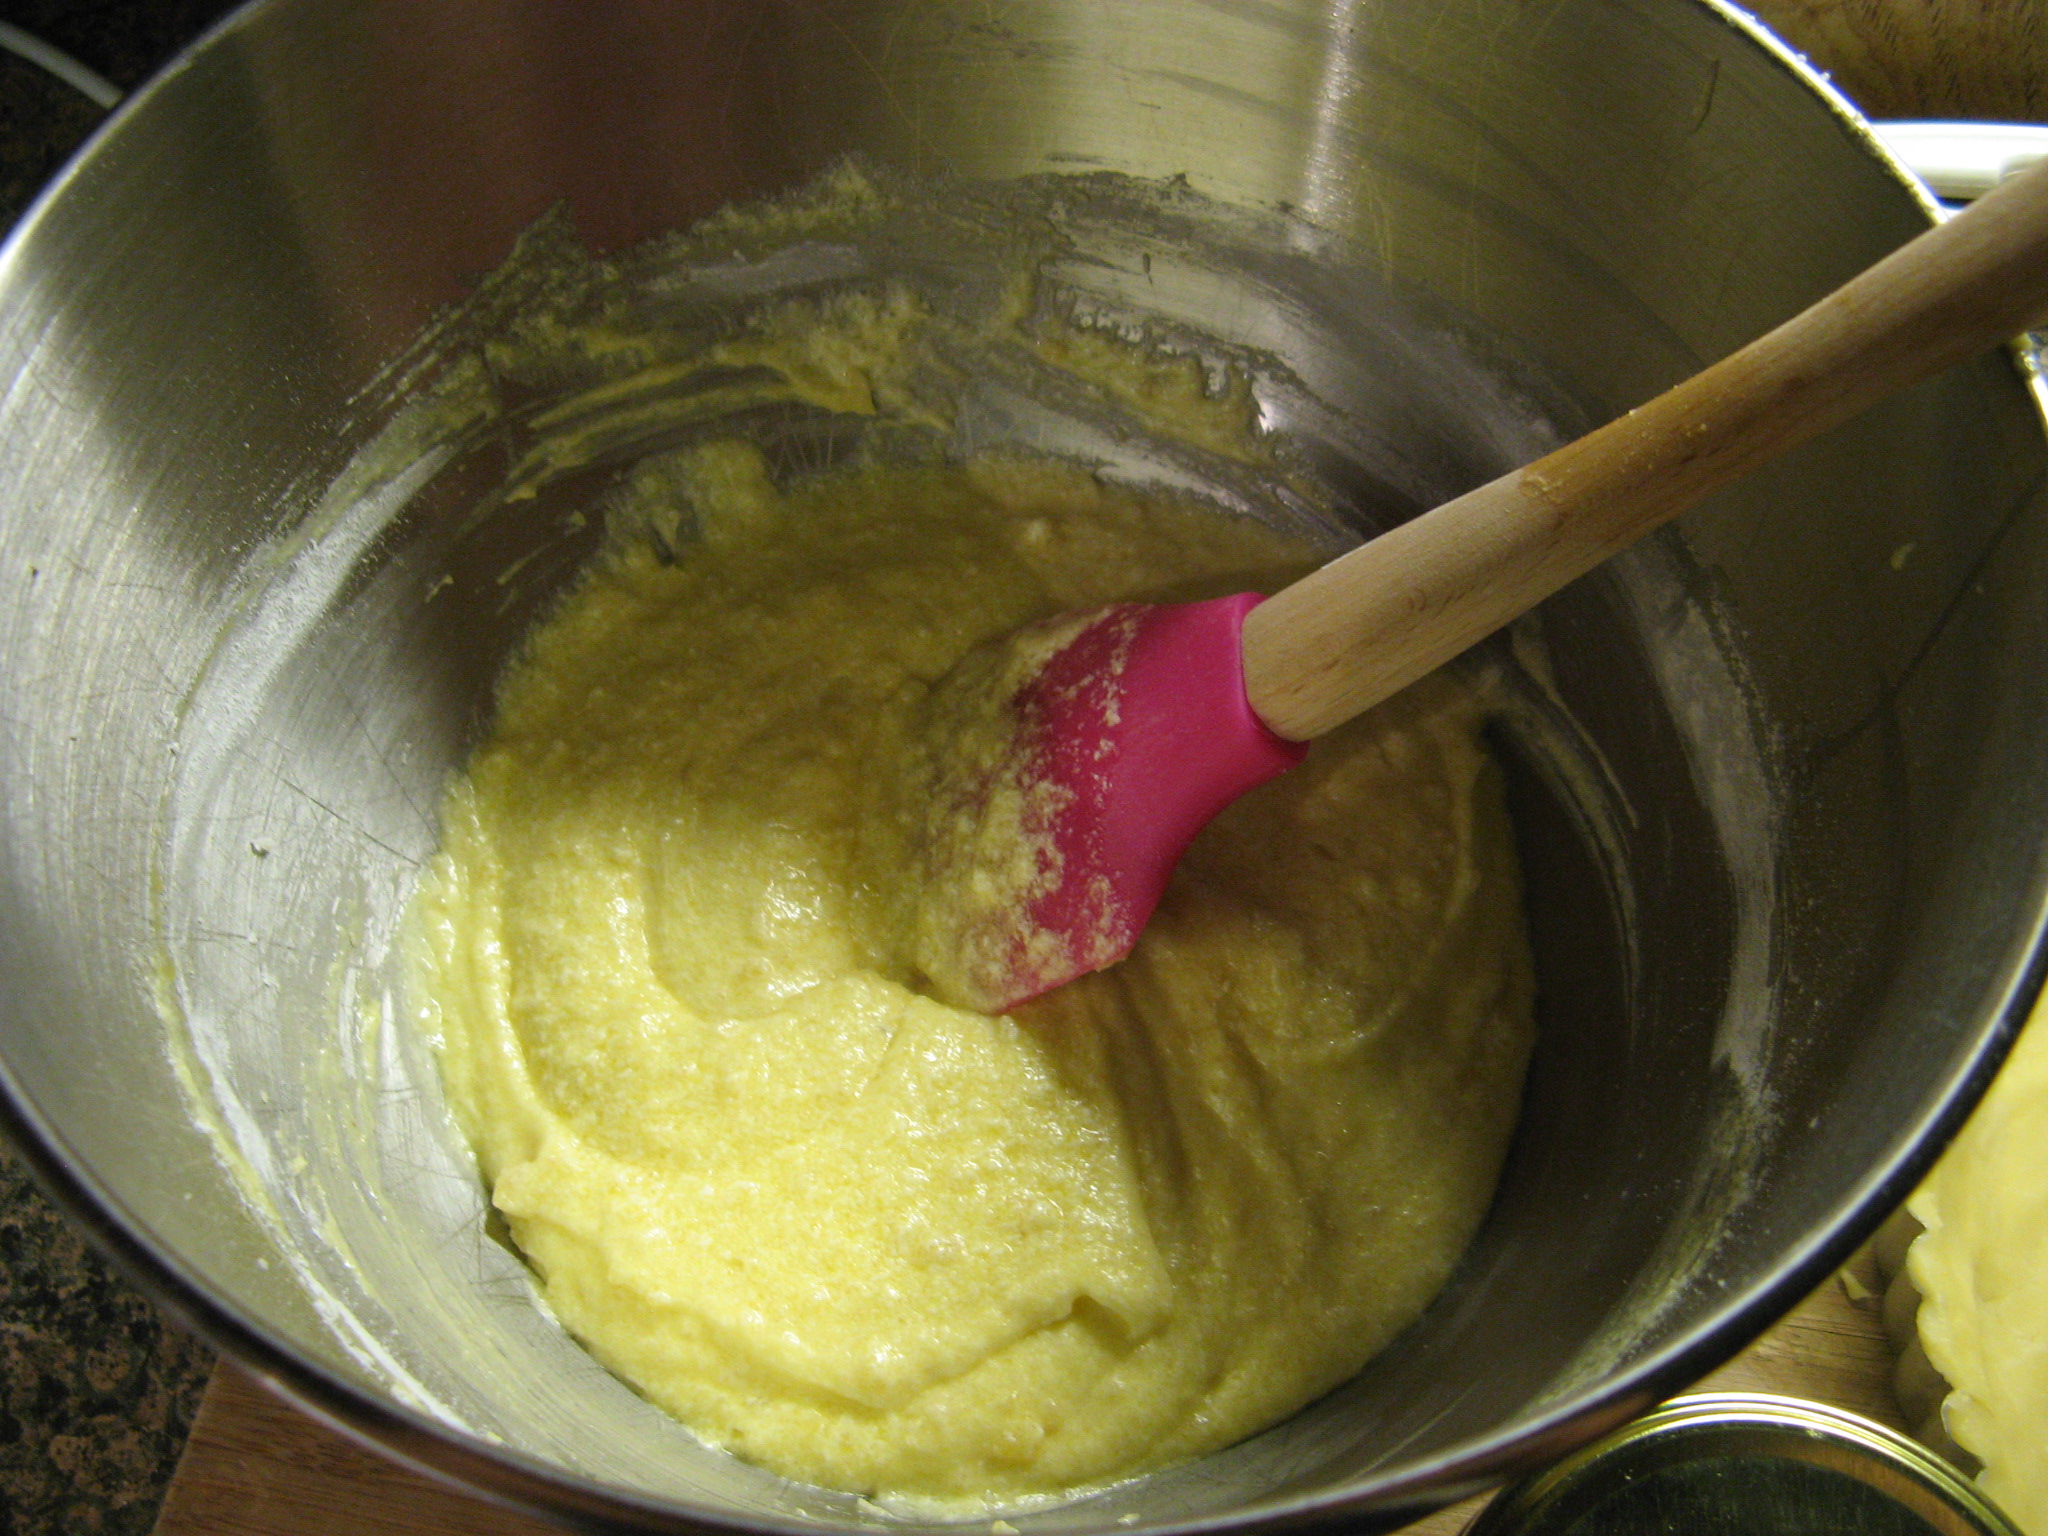
I combined all of these ingredients in my mixer.

Now it was time to assemble the tart.

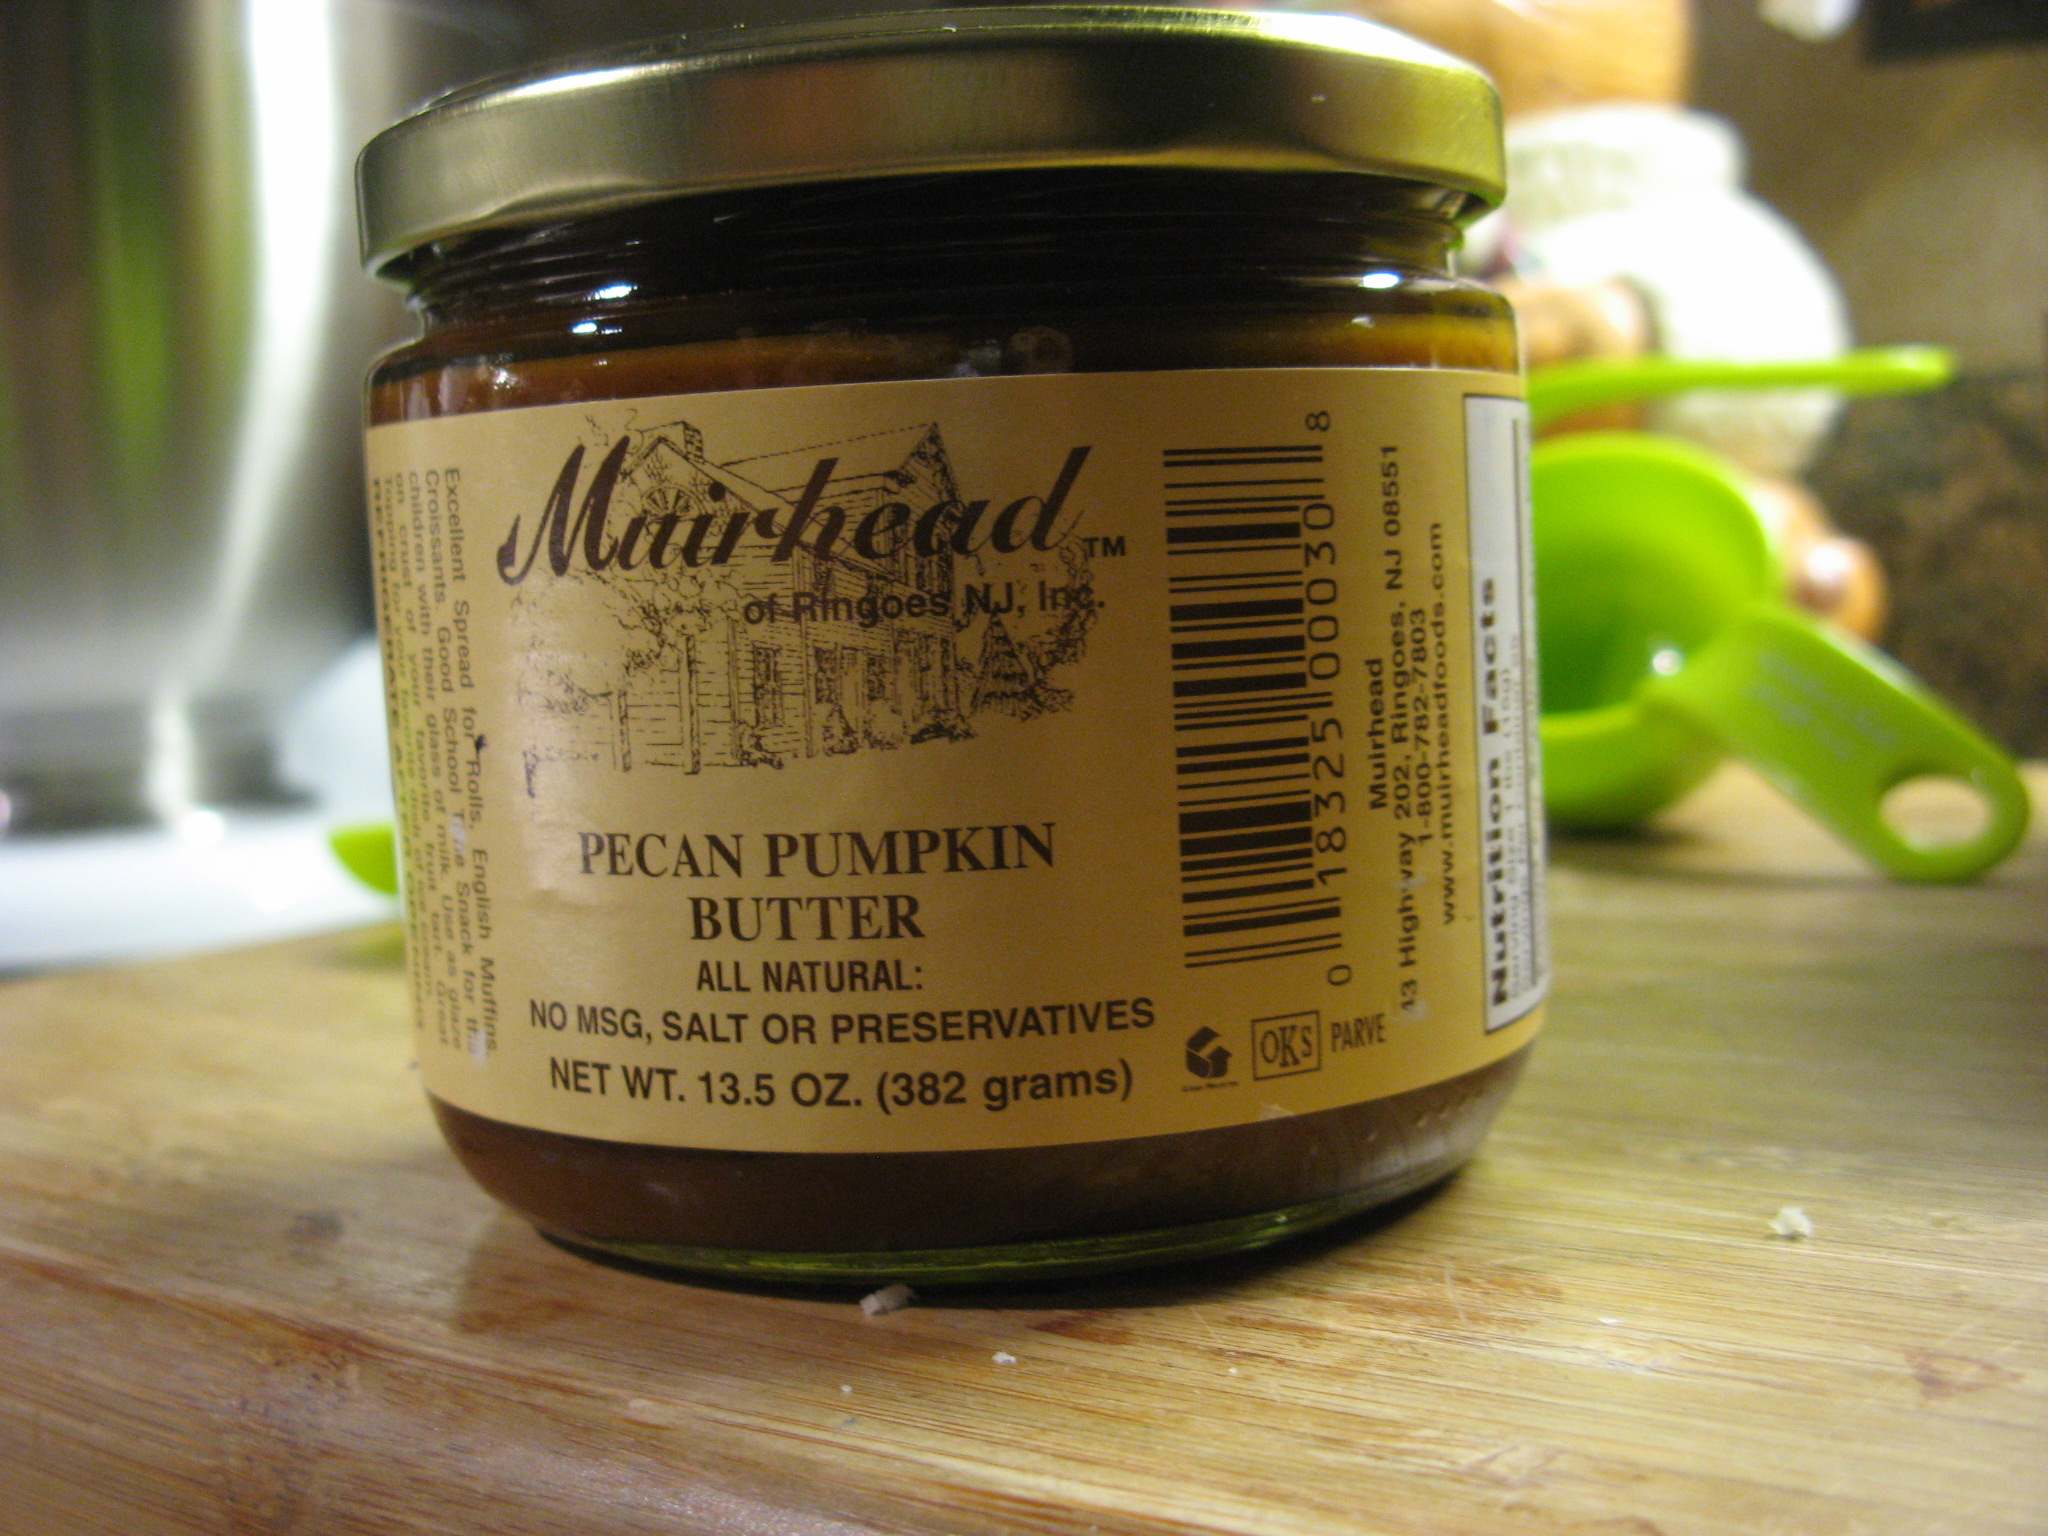
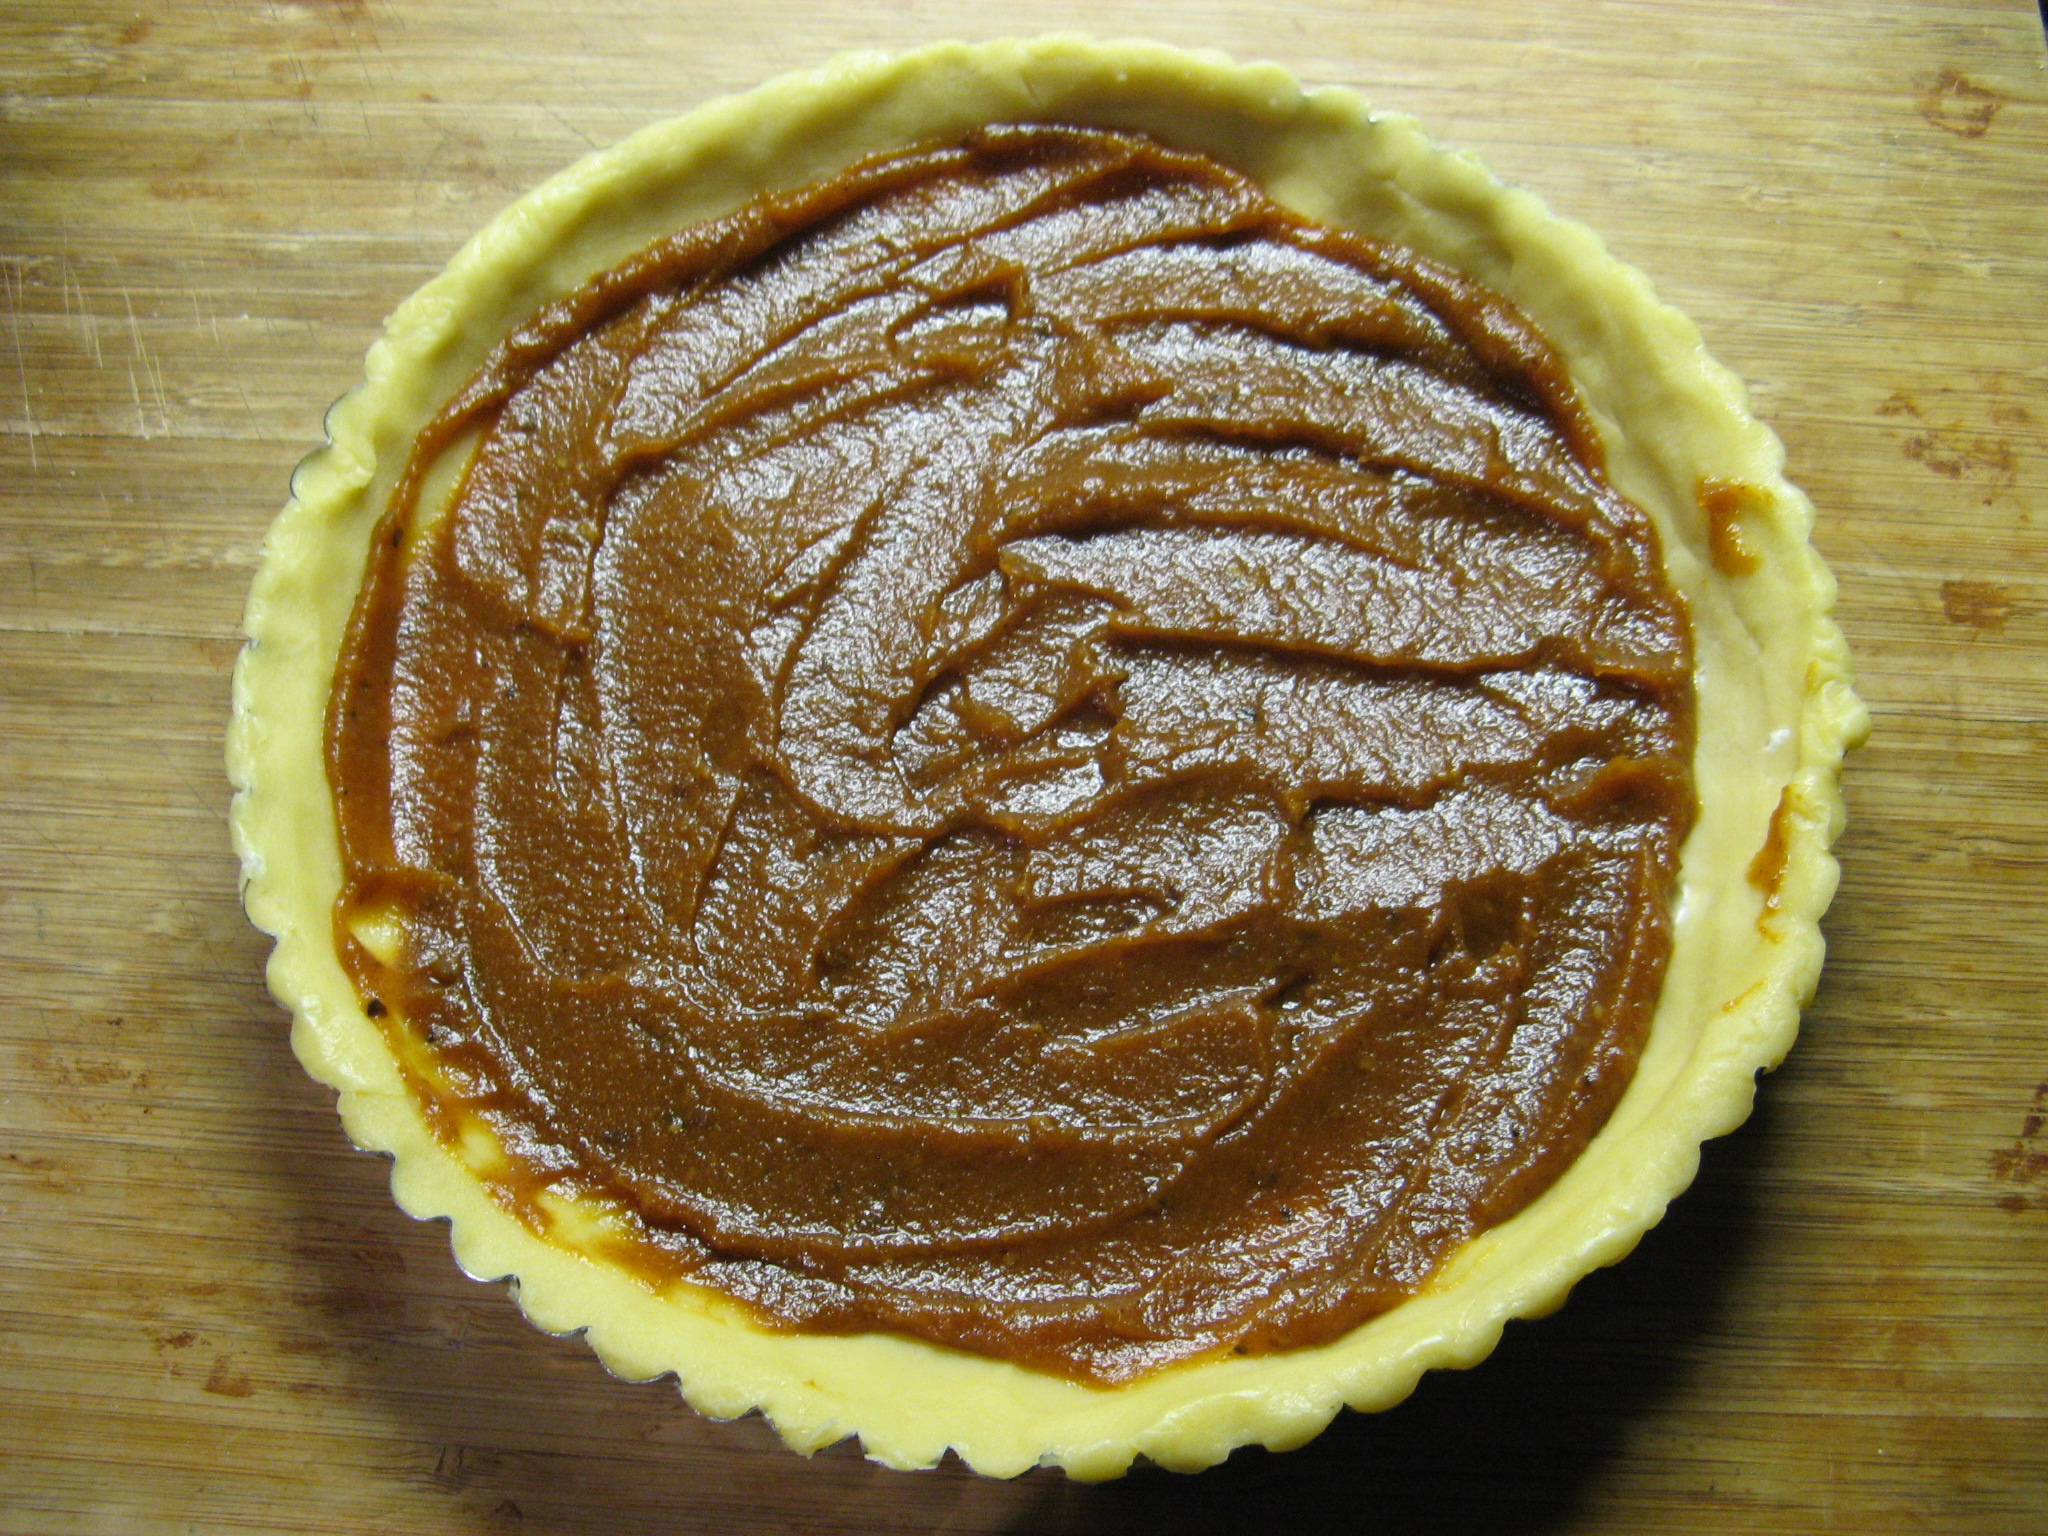
I started out by spreading Pecan Pumpkin Butter, which I bought from Williams & Sonoma, on the bottom of my dough. Unfortunately this is a seasonal item so it’s only available in the early fall. But, this isn’t the only thing you can use as the base for this tart. You could actually use fruit, jams/jellies, pudding and so forth. The frangipane is what really gives this tart it’s burst of flavor so whatever you use as the base is just a complement to that.


I then spooned the frangipane on top and smoothed it out evenly.

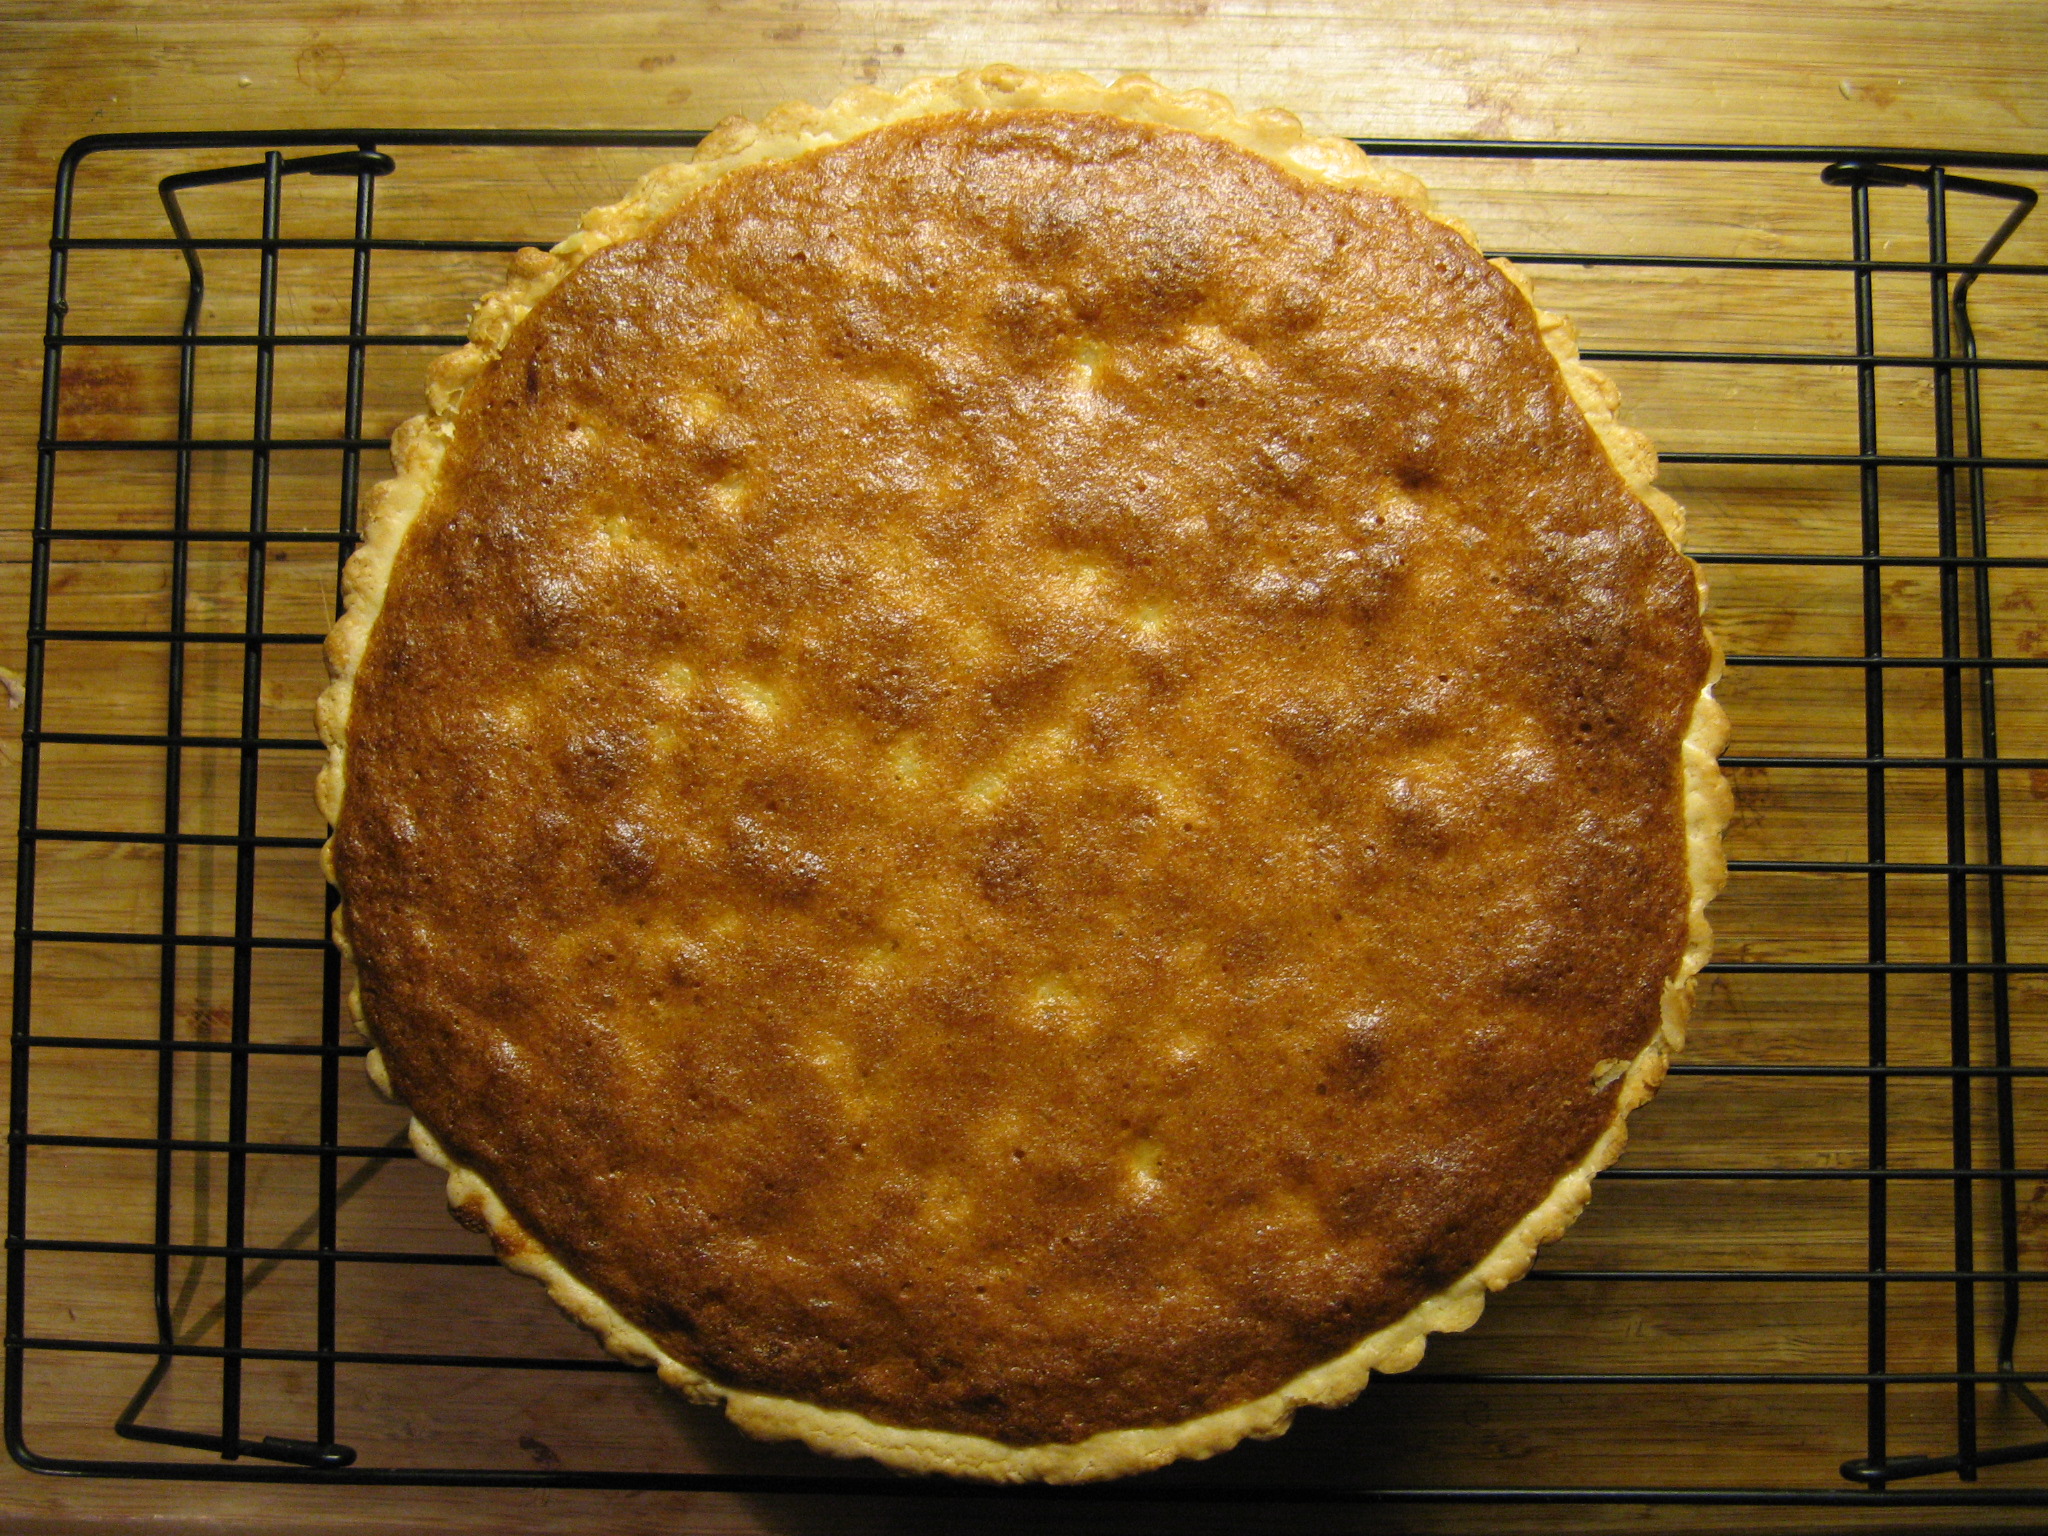
I baked it for about 30 minutes and this was the final product and it was delicious!


Pumpkin Pie

Recipe courtesy Joanne Chang

Pie Dough:
2 cups all-purpose flour
1 tablespoon sugar
1/4 teaspoon salt
1 cup unsalted butter, cut into cubes
2 egg yolks
3 tablespoons milk

Filling:
1 1/2 cups canned pumpkin
1/2 cup brown sugar
2/3 cup heavy cream
7 tablespoons sweetened condensed milk
6 1/2 tablespoons evaporated milk
1/4 teaspoon vanilla extract
1 1/2 teaspoons ground ginger
1 teaspoon ground cinnamon
1 teaspoon ground nutmeg
Pinch ground clove
Pinch salt
2 eggs
1 egg yolk

Equipment: 9-inch pie pan

Directions

Make the Pie Dough: In a standing mixer fitted with the paddle attachment, combine the flour, sugar, and salt and mix to combine. Add the butter and continue mixing until the mixture holds together when you clump it, and there are pecan-sized lumps of butter still visible.

Meanwhile, whisk together the yolks and milk in small bowl.

Add the yolk mixture to the flour mixture and mix until a dough forms. Transfer the dough to a sheet of plastic wrap, wrap well and store in the refrigerator for several hours. (The dough will keep for several days in the fridge and several weeks in the freezer.)

On a lightly floured work surface, roll half of the dough into a 11 to 12-inch circle about 1/8 inch thick. Line the pan with the dough and crimp the edges. Chill the pie shell for about 30 minutes.

Preheat the oven to 350 degrees F.

Line the pie shell with aluminum foil and fill with dried beans. Bake the shell until golden brown, about 45 minutes. Remove the foil and beans.

Meanwhile, make the Filling: Lower the oven to 325 degrees F. In a medium saucepan, mix together the pumpkin and sugar. Cook over medium heat, stirring frequently, until reduced and thick, about 15 to 20 minutes. Remove from the heat and whisk in the cream, milks, vanilla, ginger, cinnamon, nutmeg, clove, salt, eggs, and yolk. Pour the filling into the pie shell and bake until set, about 45 to 55 minutes. Cool and serve


Pecan Pumpkin Frangipane Tart

From Williams & Sonoma

For the Pastry:
1 1/4 cups all-purpose flour
1/2 cup confectioners’ sugar
1/2 tsp. salt
10 tbs. (1 1/4 sticks) chilled unsalted butter, cut into pieces
2 egg yolks, lightly beaten with 1 tbs. water

For the Frangipane:
8 Tbs. (1 stick) unsalted butter
1/3 cup firmly packed almond paste
1/2 cup granulated sugar
3 eggs, lightly beaten with 1 egg white
1/3 cup plus 1 tbs. cake flour

3/4 cup (1/2 jar) Murihead Pecan Pumpkin Butter

Confectioners’ sugar for dusting

To make the pastry, in the bowl of a food processor, combine the all-purpose flour, confectioners’ sugar and salt and pulse to mix. Add the butter and process in short pulses until pea-size crumbs form, 20 to 25 seconds. While pulsing, add the egg yolk mixture and process to form large, moist crumbs, 10 to 15 seconds more.

Turn the dough out onto a lightly floured surface and shape the dough into a disk. Wrap with plastic wrap and refrigerate for at least 2 hours.

Roll out the dough 1⁄8 inch thick, dusting it with confectioners’ sugar if it begins to stick. Transfer the dough round into a 10-inch tart pan and, using your fingers, press the dough into the pan. Refrigerate for at least 30 minutes.

Preheat an oven to 350°F.

To make the frangipane, in the bowl of an electric mixer fitted with the flat beater, beat the butter on medium speed until light and creamy. Add the almond paste and granulated sugar and beat until smooth and creamy. While beating, add the eggs a little at a time, beating well after each addition. Reduce the speed to low and fold in the cake flour until just blended and no lumps of flour remain.

Spread the pecan pumpkin butter into the chilled tart shell, forming a layer about 1⁄4 inch thick. Spoon the frangipane on top in an even layer. Bake until the tart is golden and set, 25 to 30 minutes. Transfer the pan to a wire rack and let the tart cool to room temperature, then remove it from the pan. Dust the tart with confectioners’ sugar just before serving. Makes one 10-inch tart.

Gearing Up For Winter

One of my favorite things about the temperatures dropping is the opportunity to wear scarves. I’ve always viewed scarves as shoes. Shoes can make or break an outfit and a cool scarf can dress up even the most basic black coat. Once I learned how to knit and crochet scarves were the one thing I was looking forward to making – they are also the easiest things to make when you are just starting out. While I am usually partial to working with Lion Brand Yarn I came across yarn from Red Heart that I couldn’t resist.
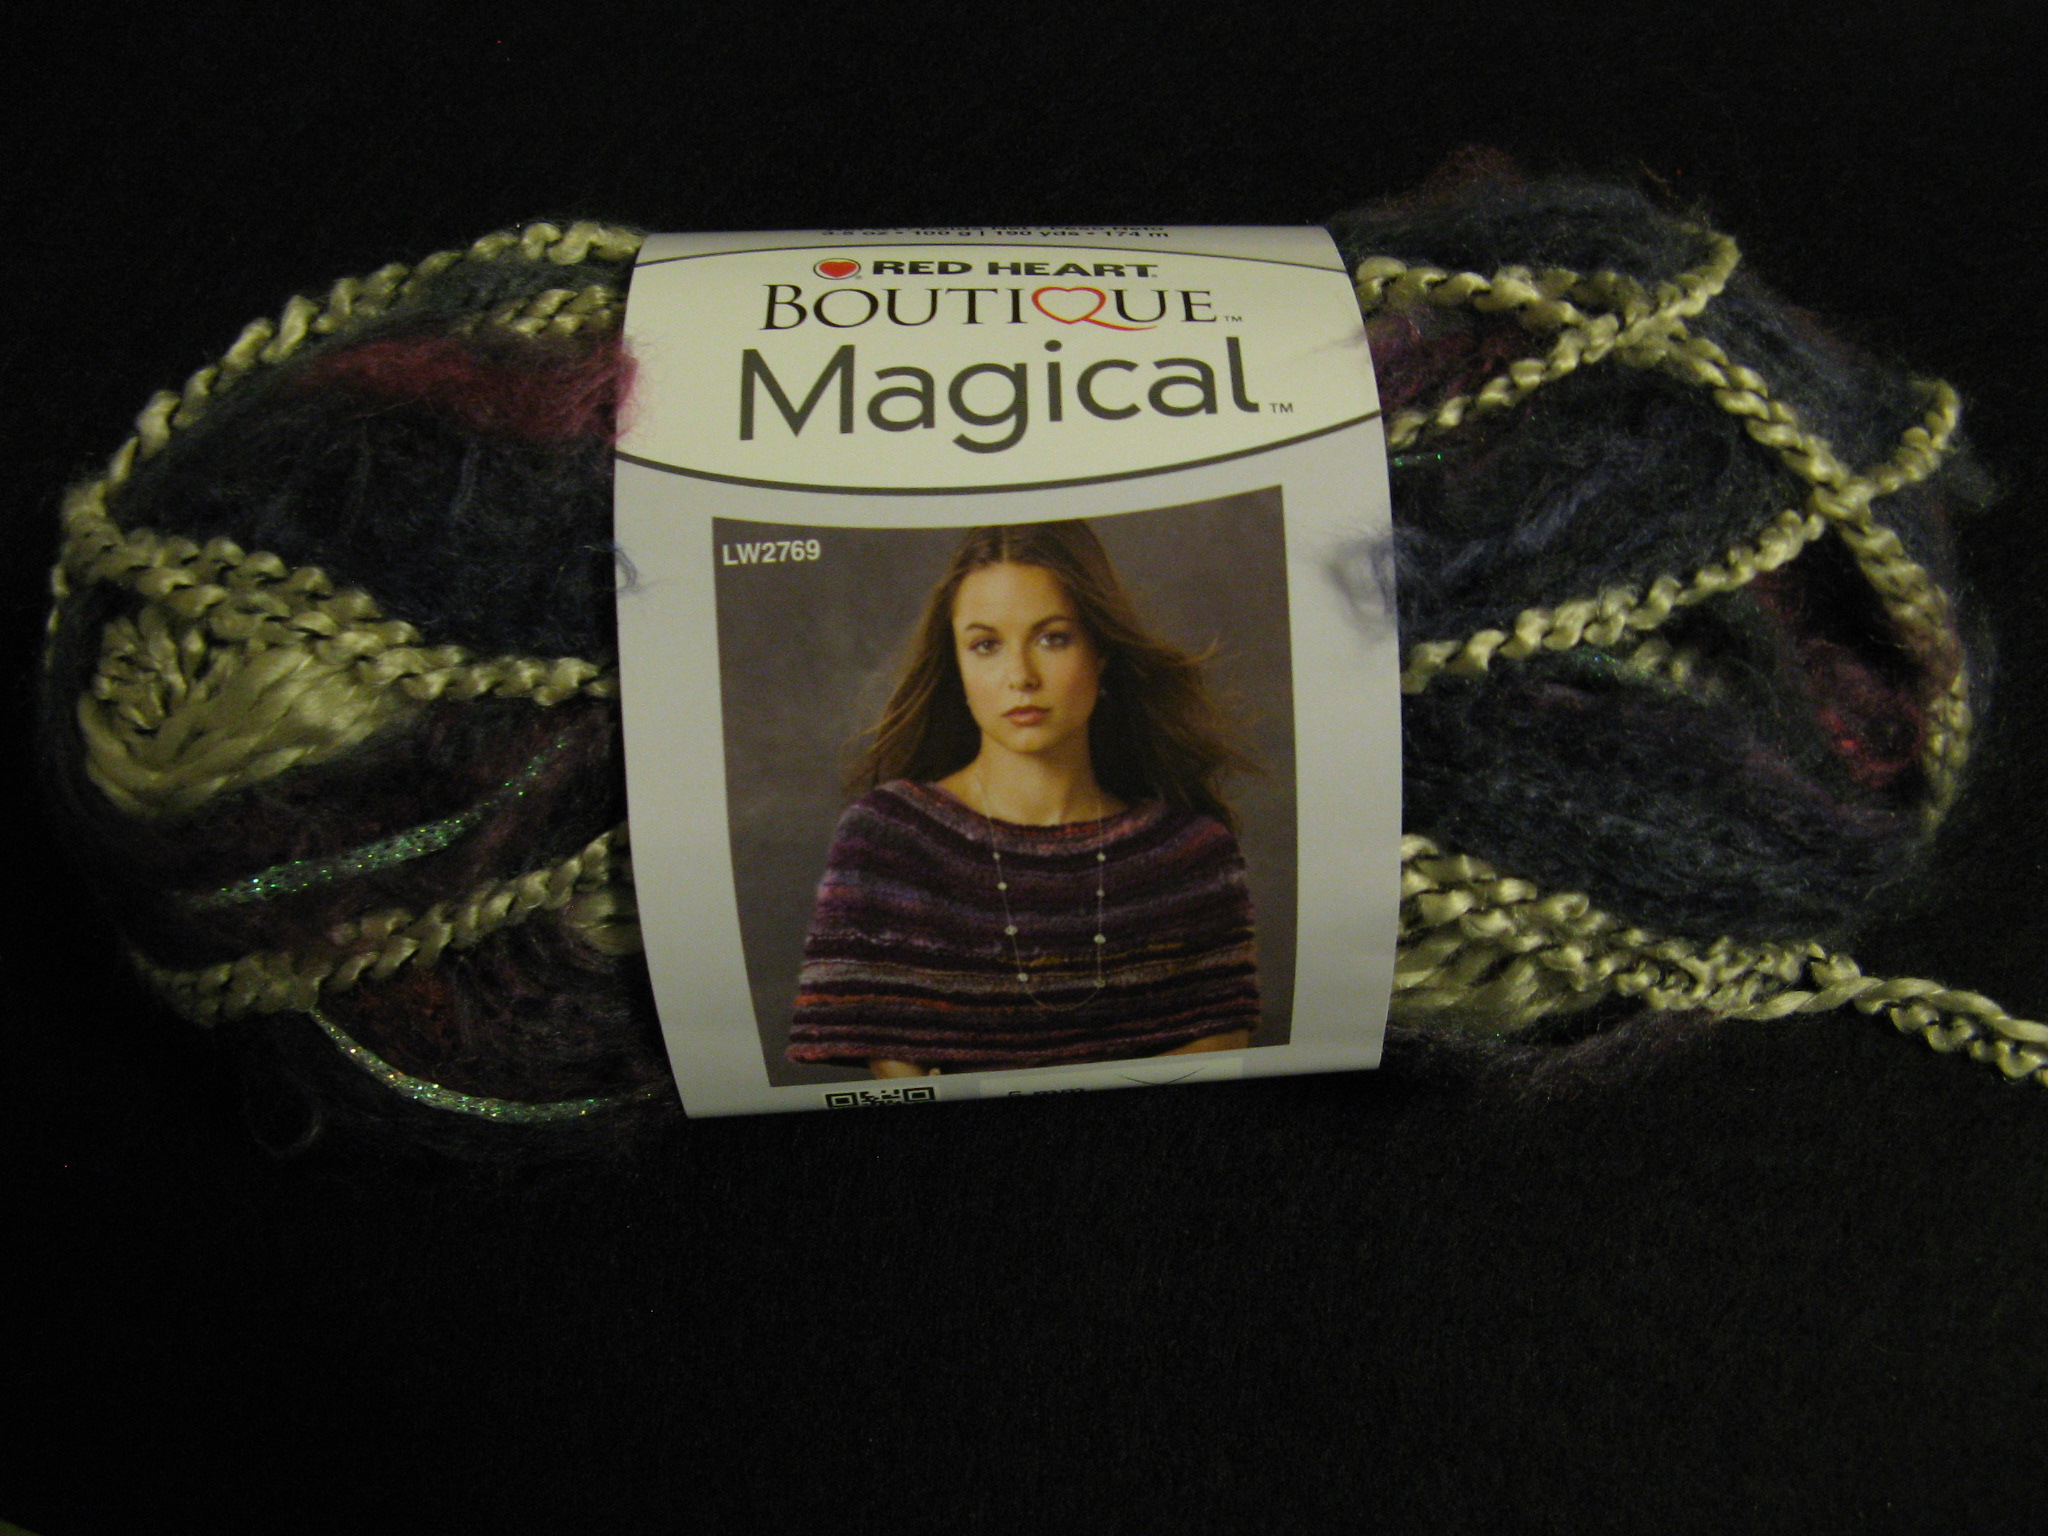
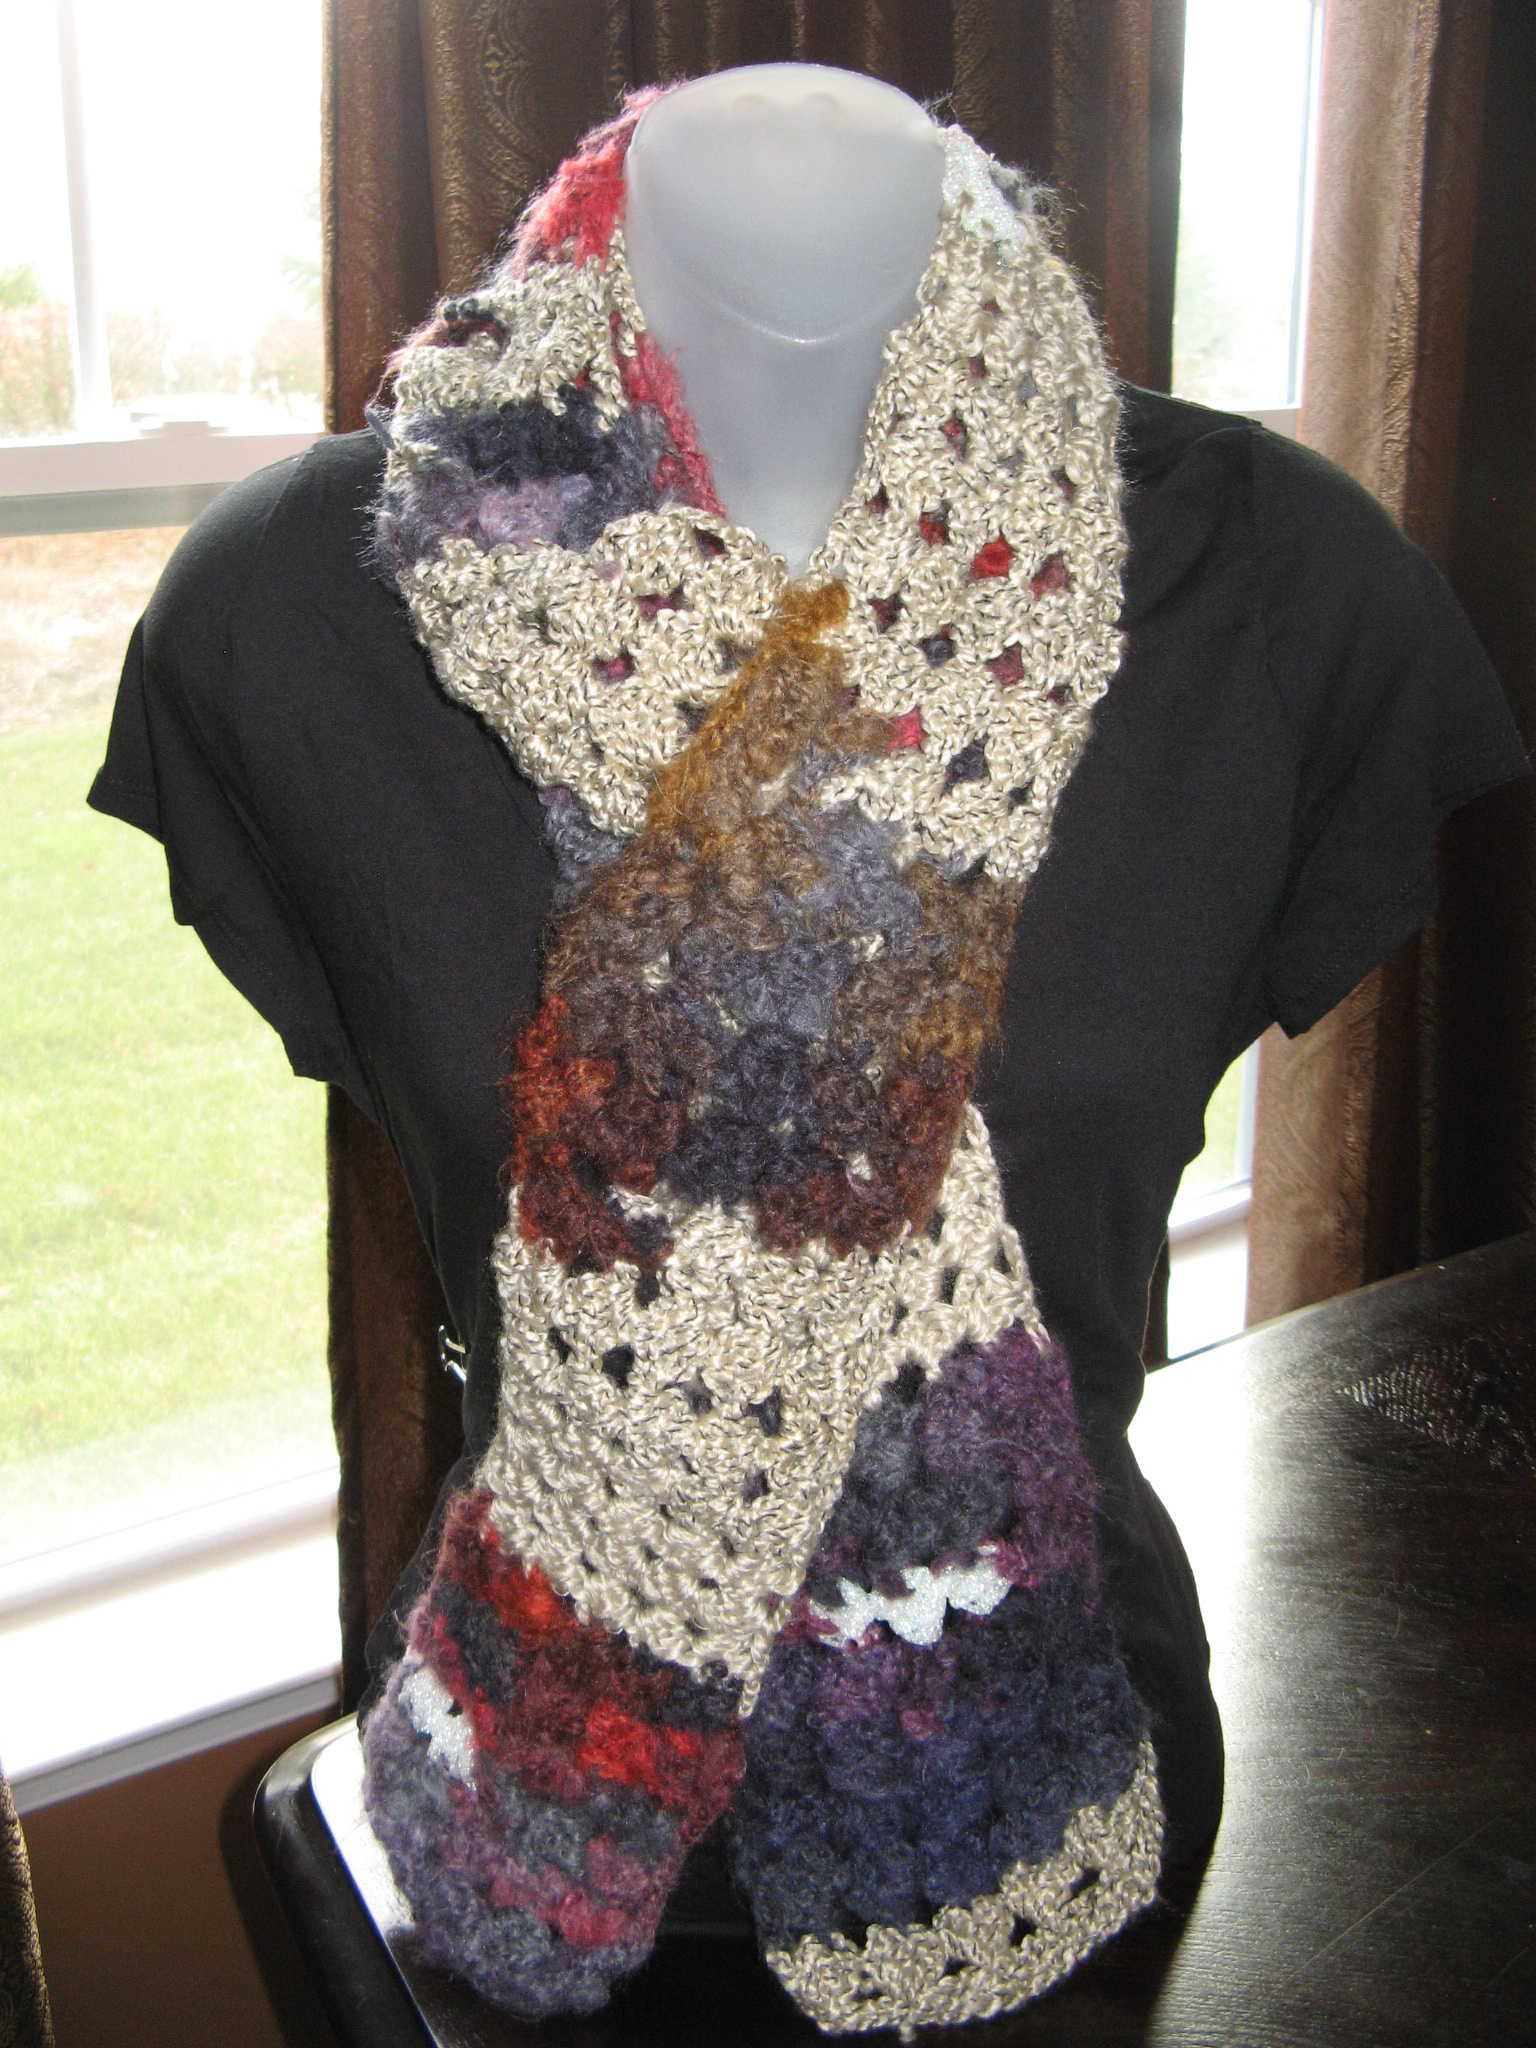
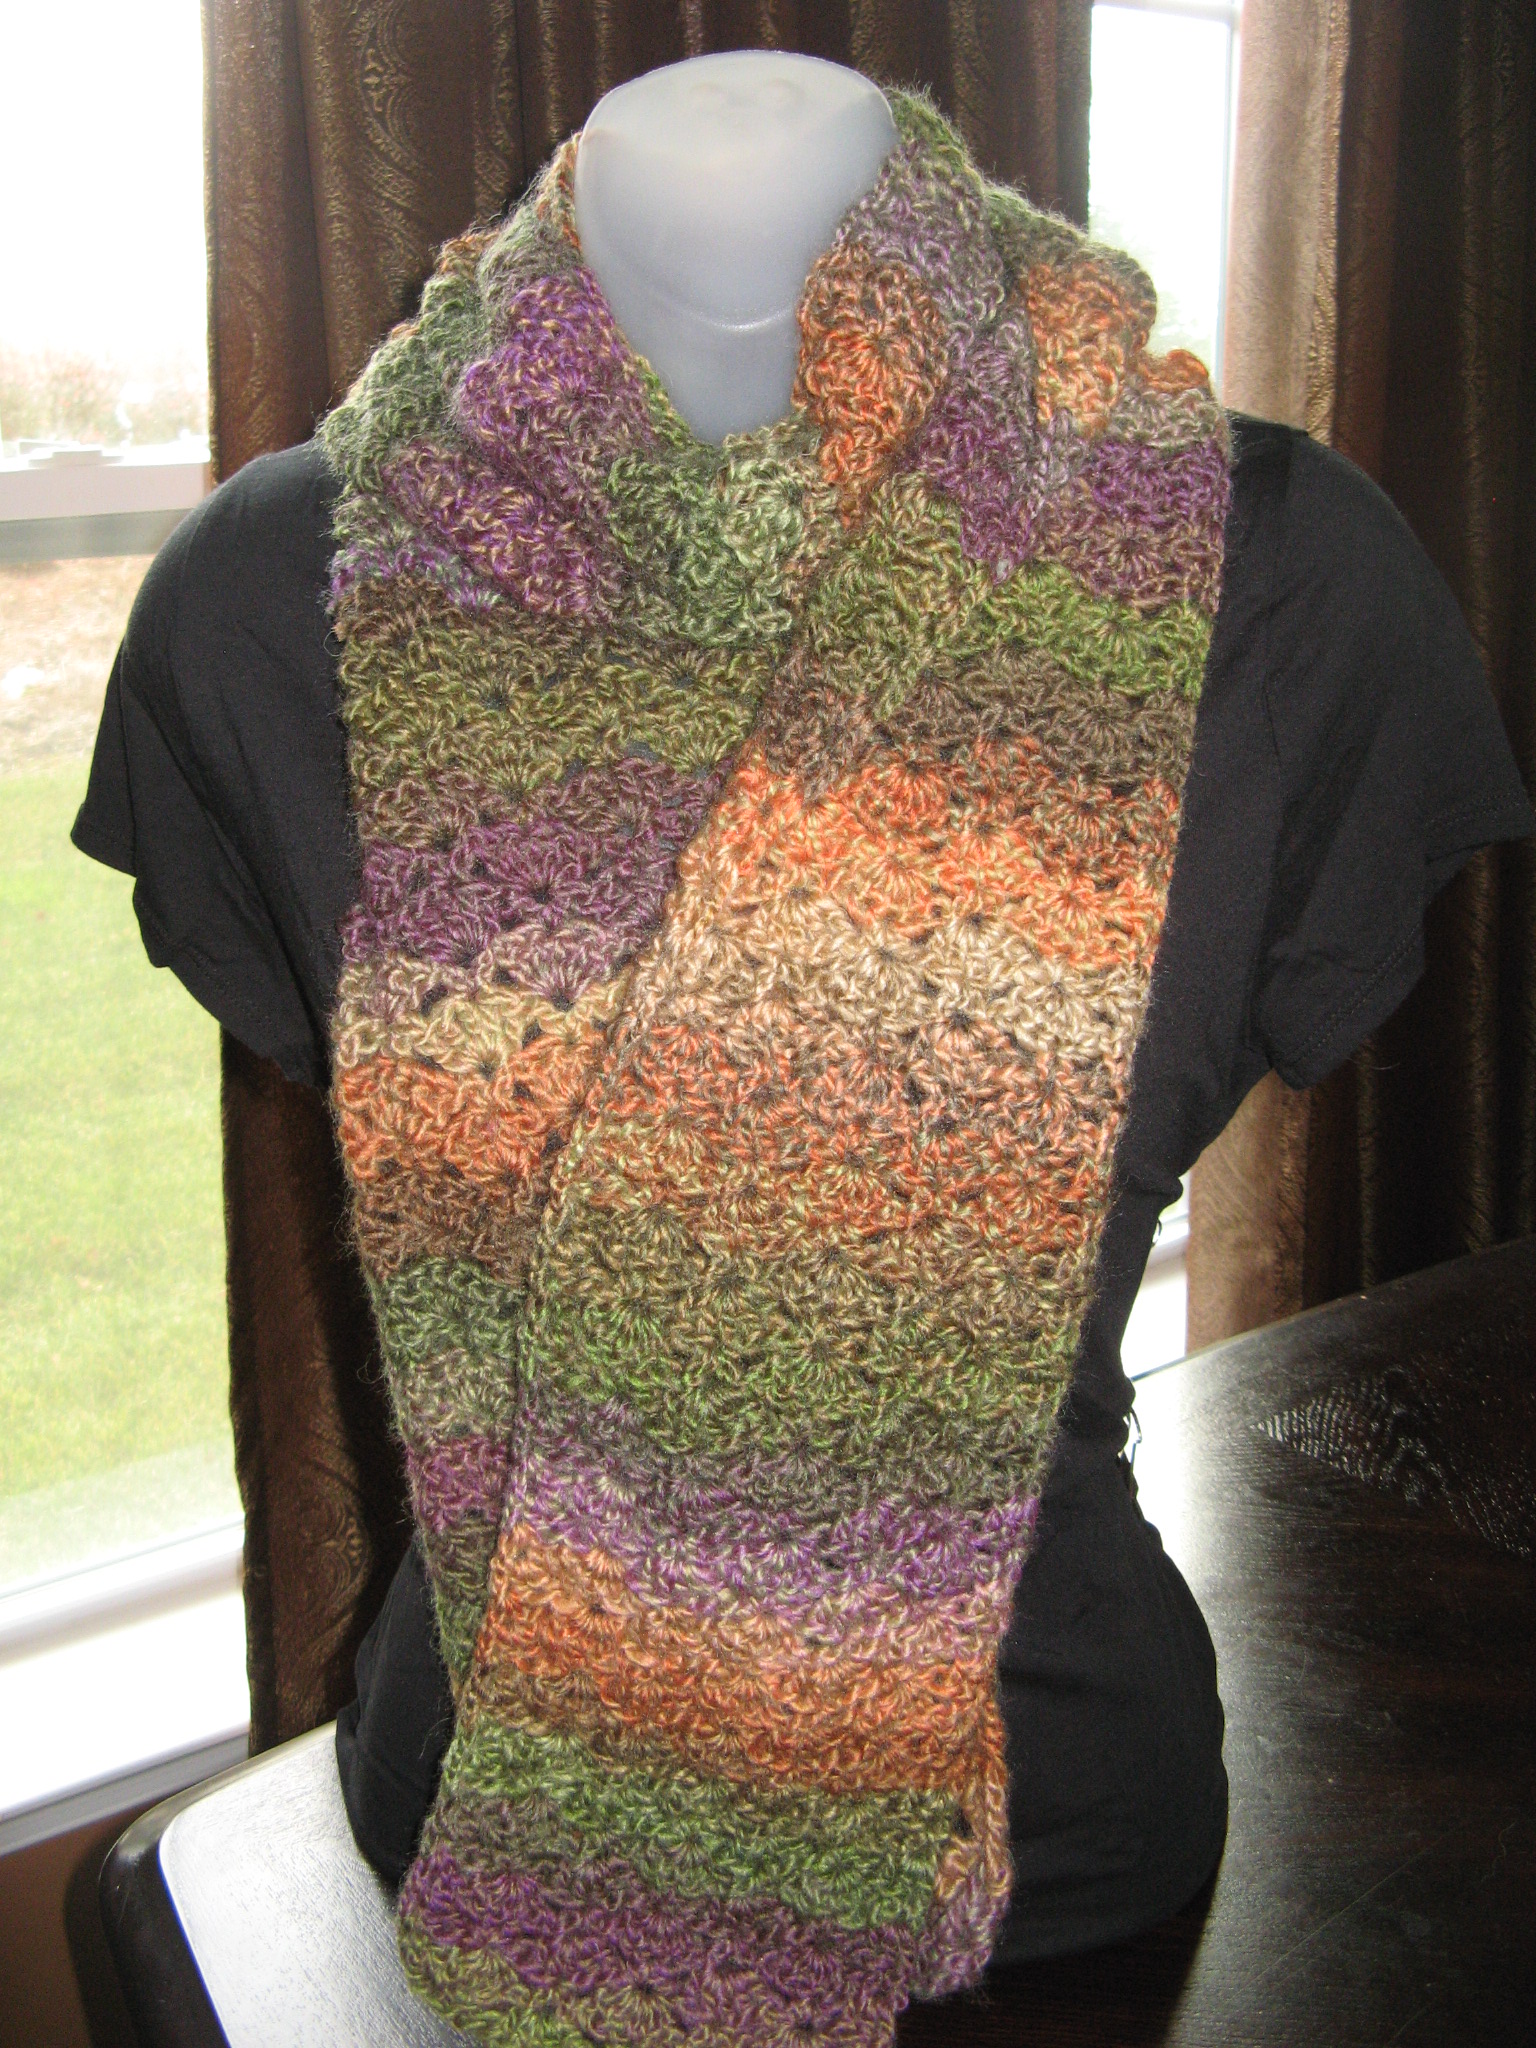
Using Red Heart’s Boutique Magical Yarn in Wizard – which is actually four yarns in one – I created a scarf following a pattern called Spectrum. While the pattern said that only one skein of yarn was necessary to complete the scarf I actually used half of a second skein to get my desired length. One thing I learned quickly while using this yarn is that one section of it is not meant to be pulled apart in the unfortunate event you make a mistake while using it. That happened a few times to me and I ended up ripping the yarn when I tried to pull out the stitches – probably why I needed that second skein of yarn.


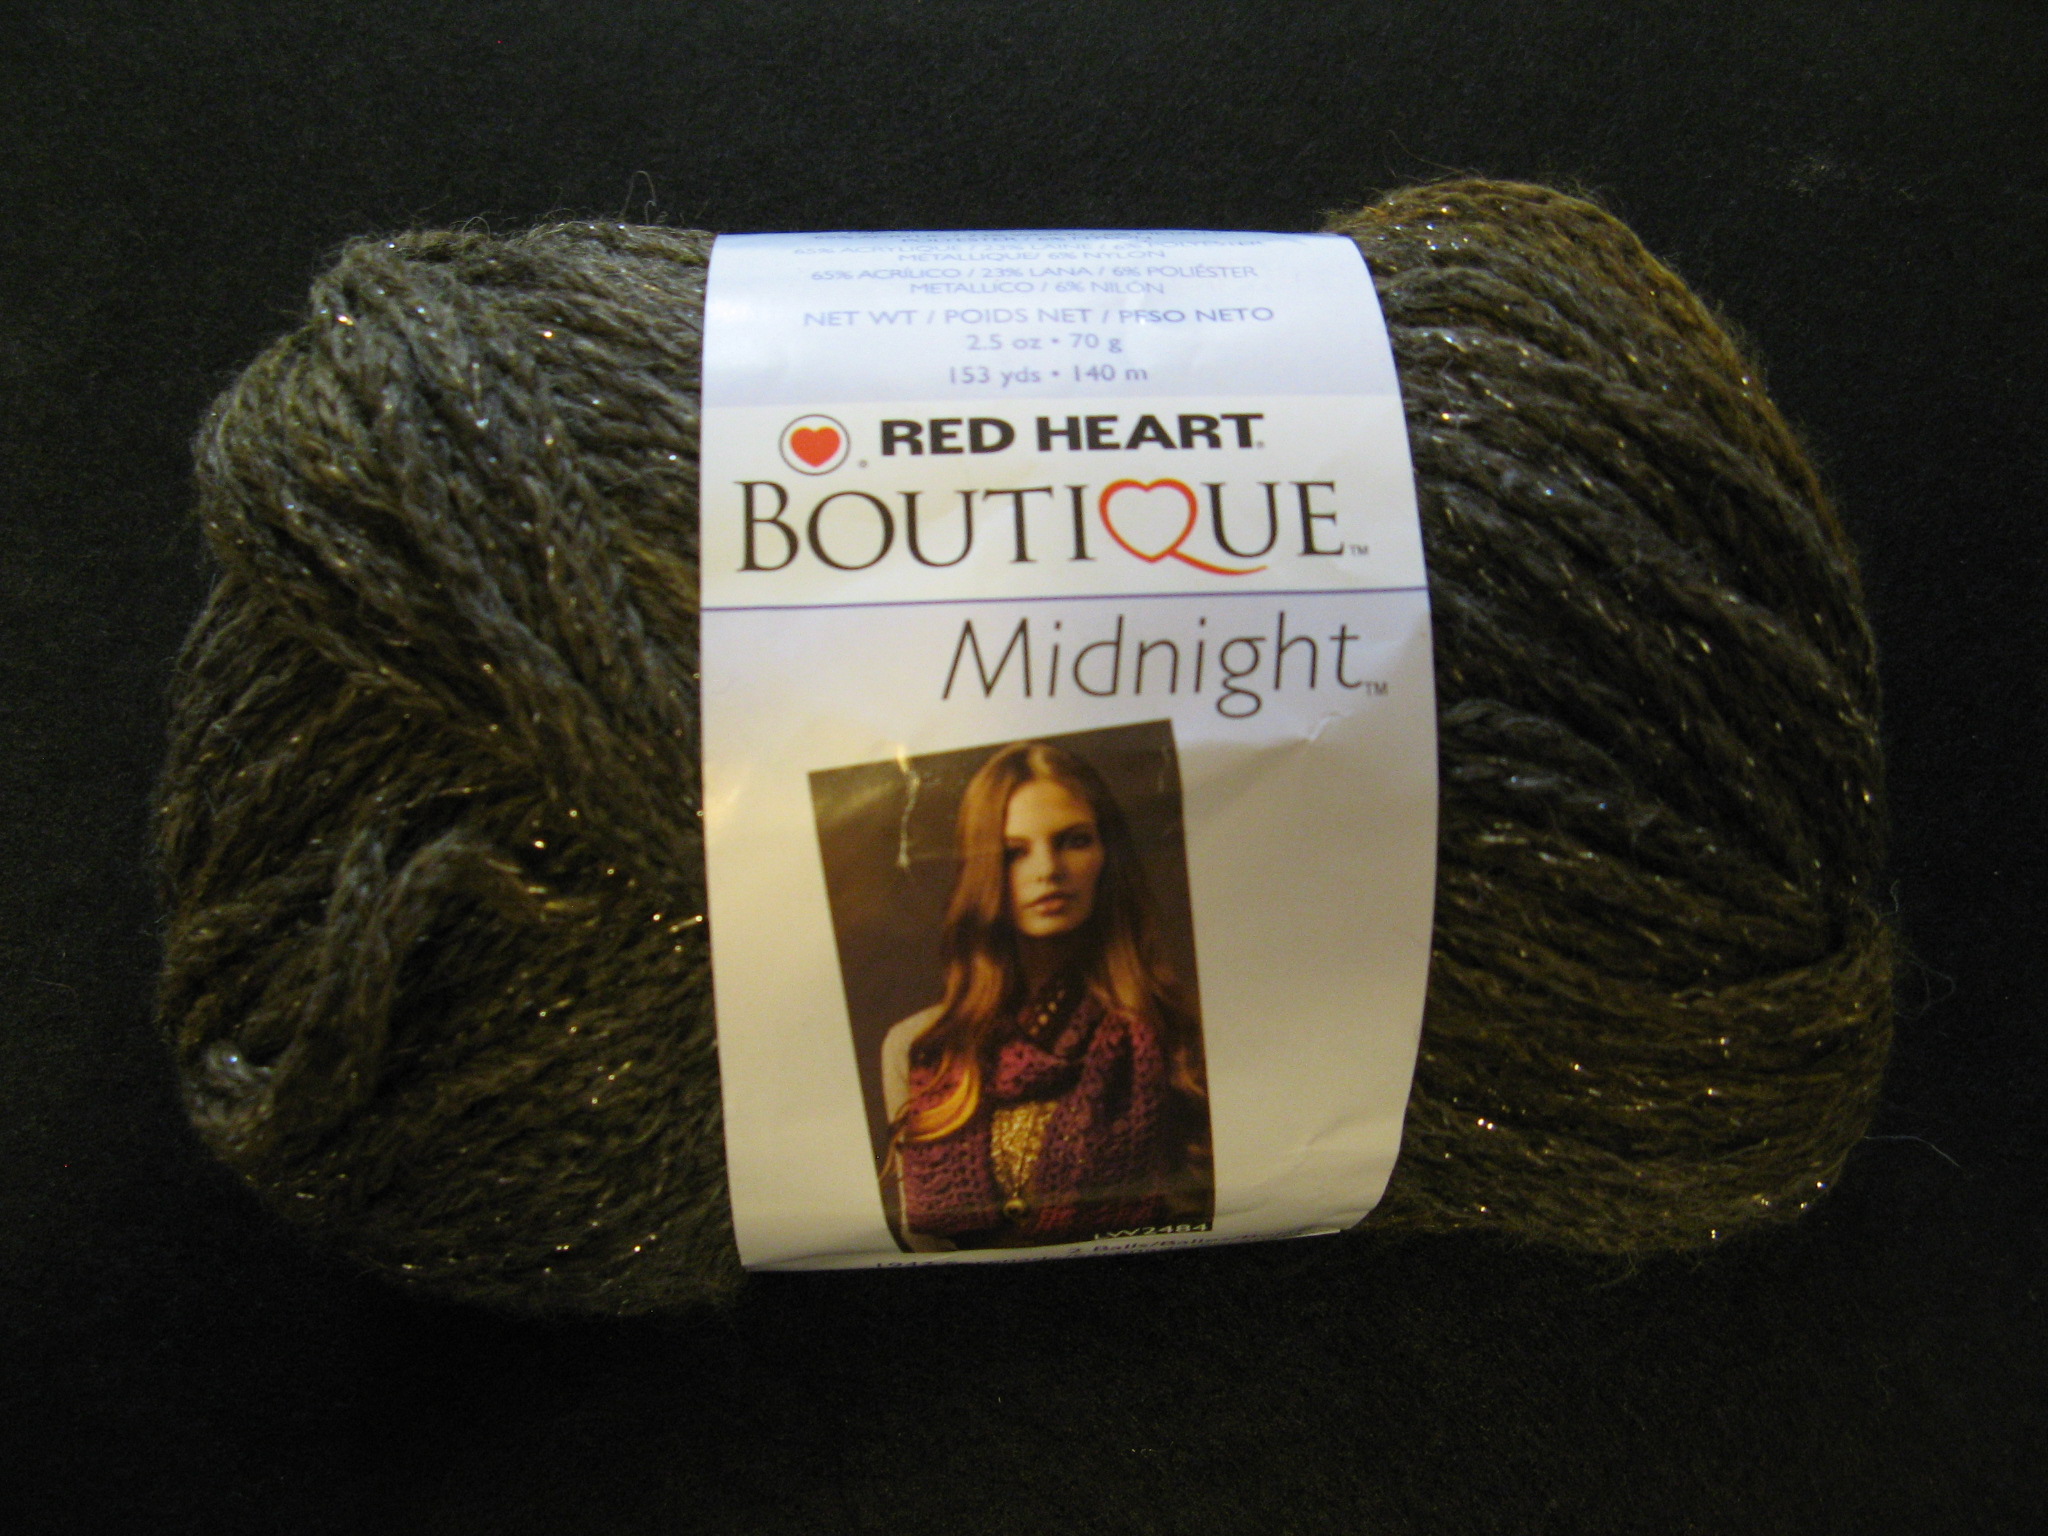
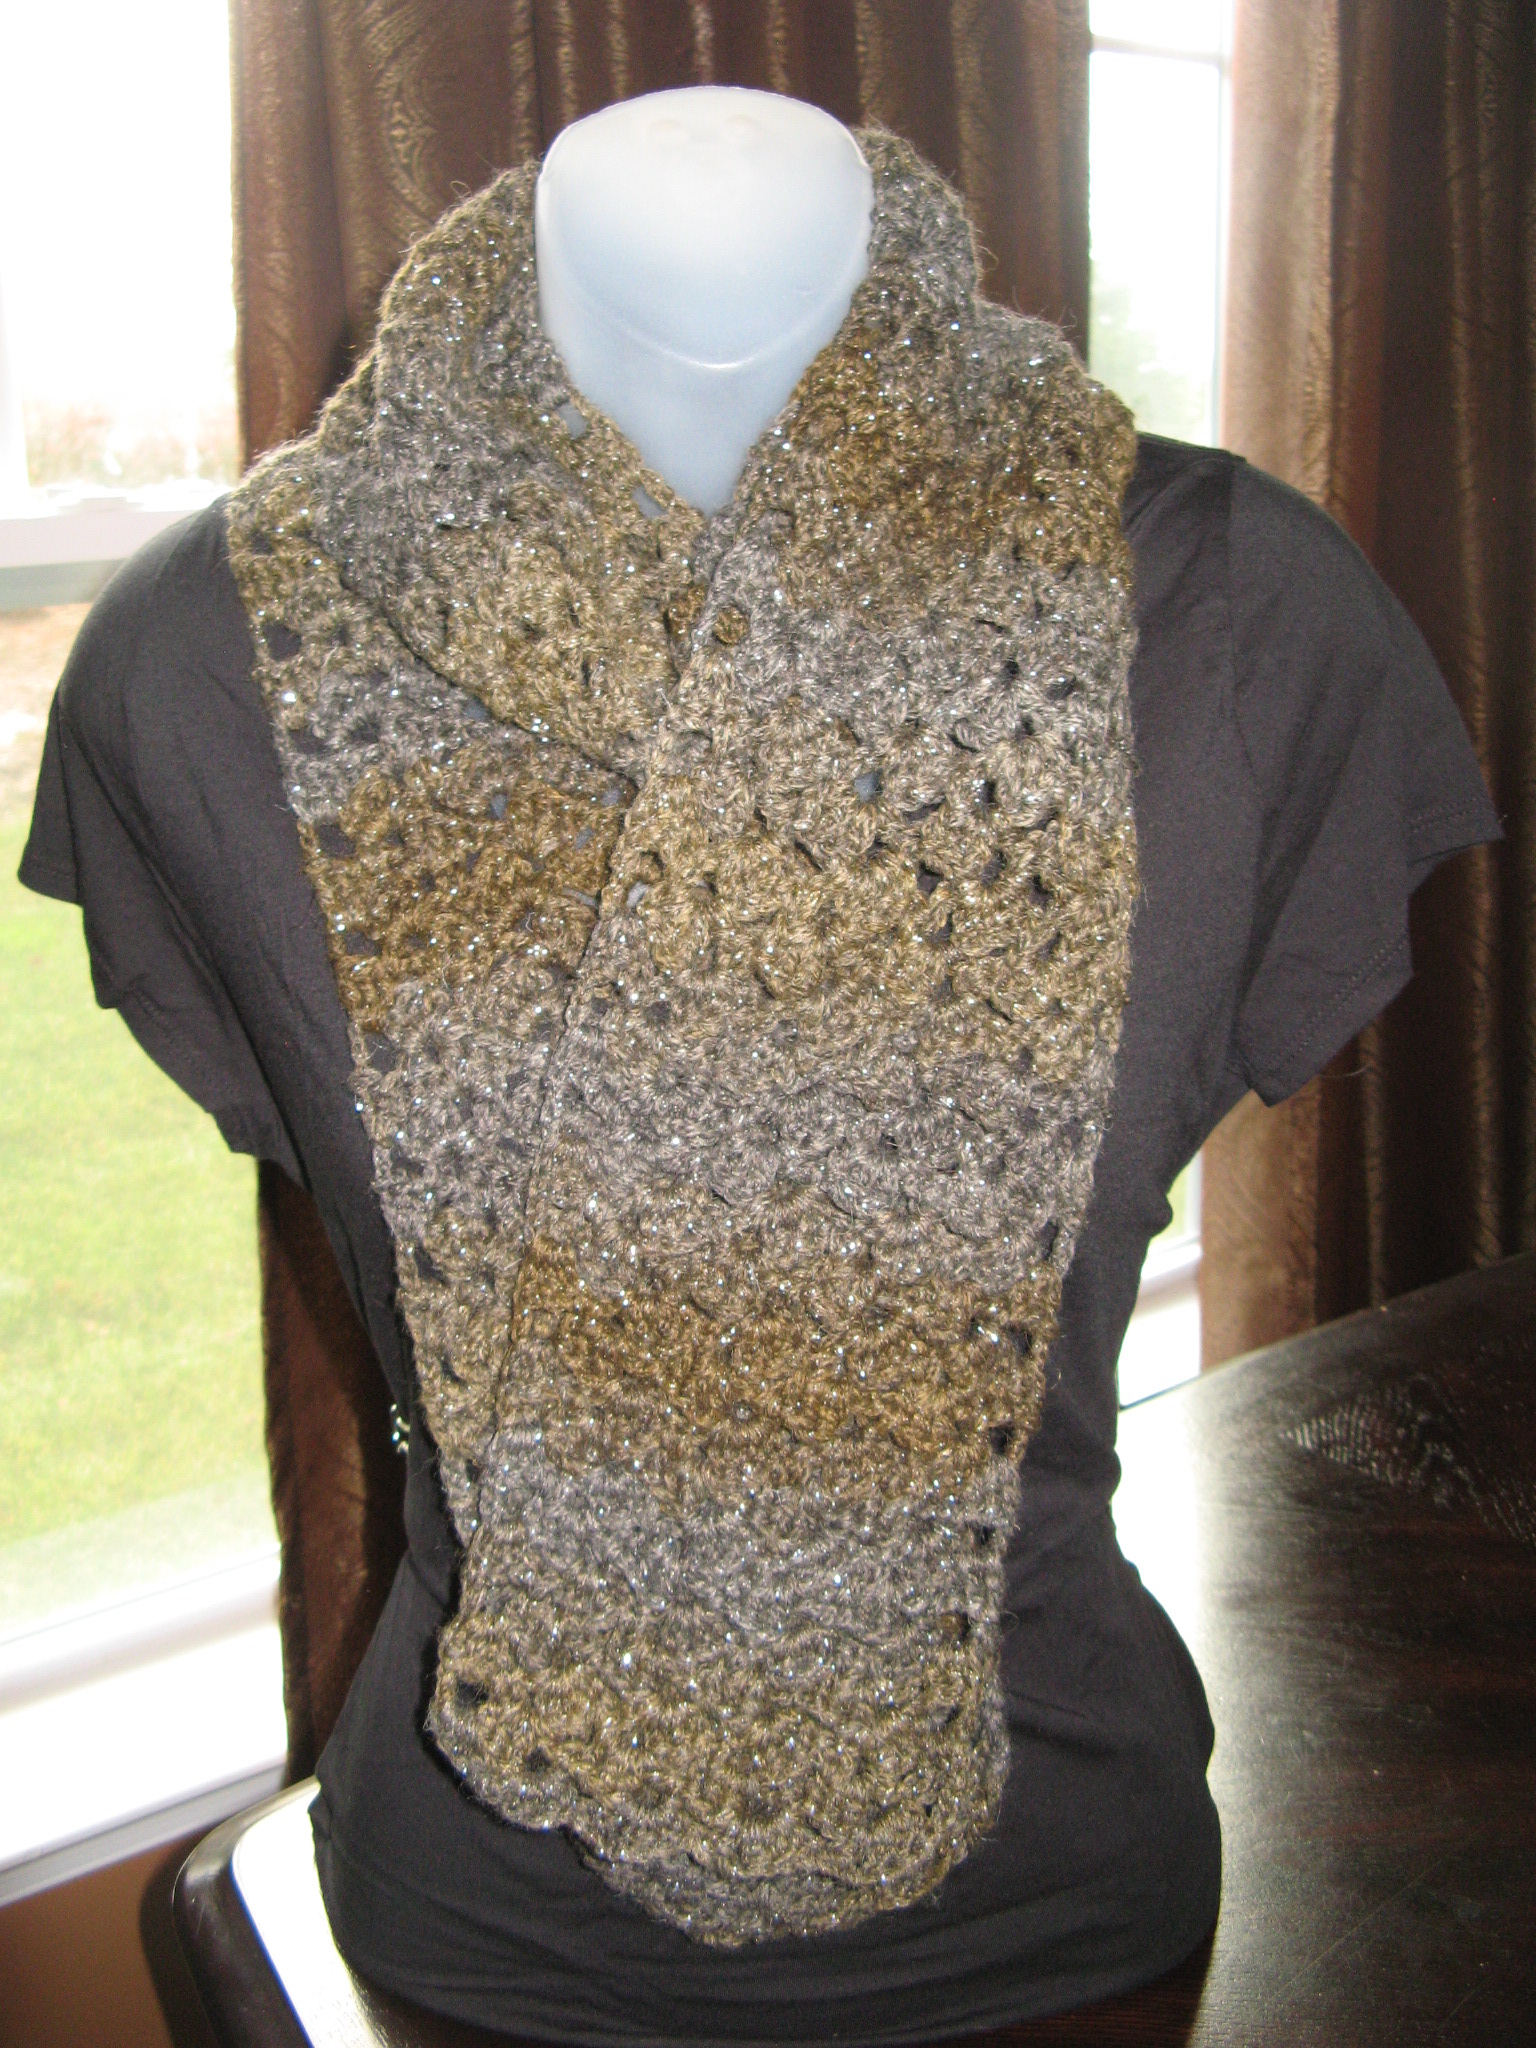
Next up I followed the Flights of Fancy scarf pattern from Lion Brand Yarn’s website while using Red Heart’s Boutique Midnight Yarn in Whisper – a yarn that has subtle changes in color with a metallic thread weaved throughout it. It’s a quick and simple pattern mainly comprised of double-crochet stitches.


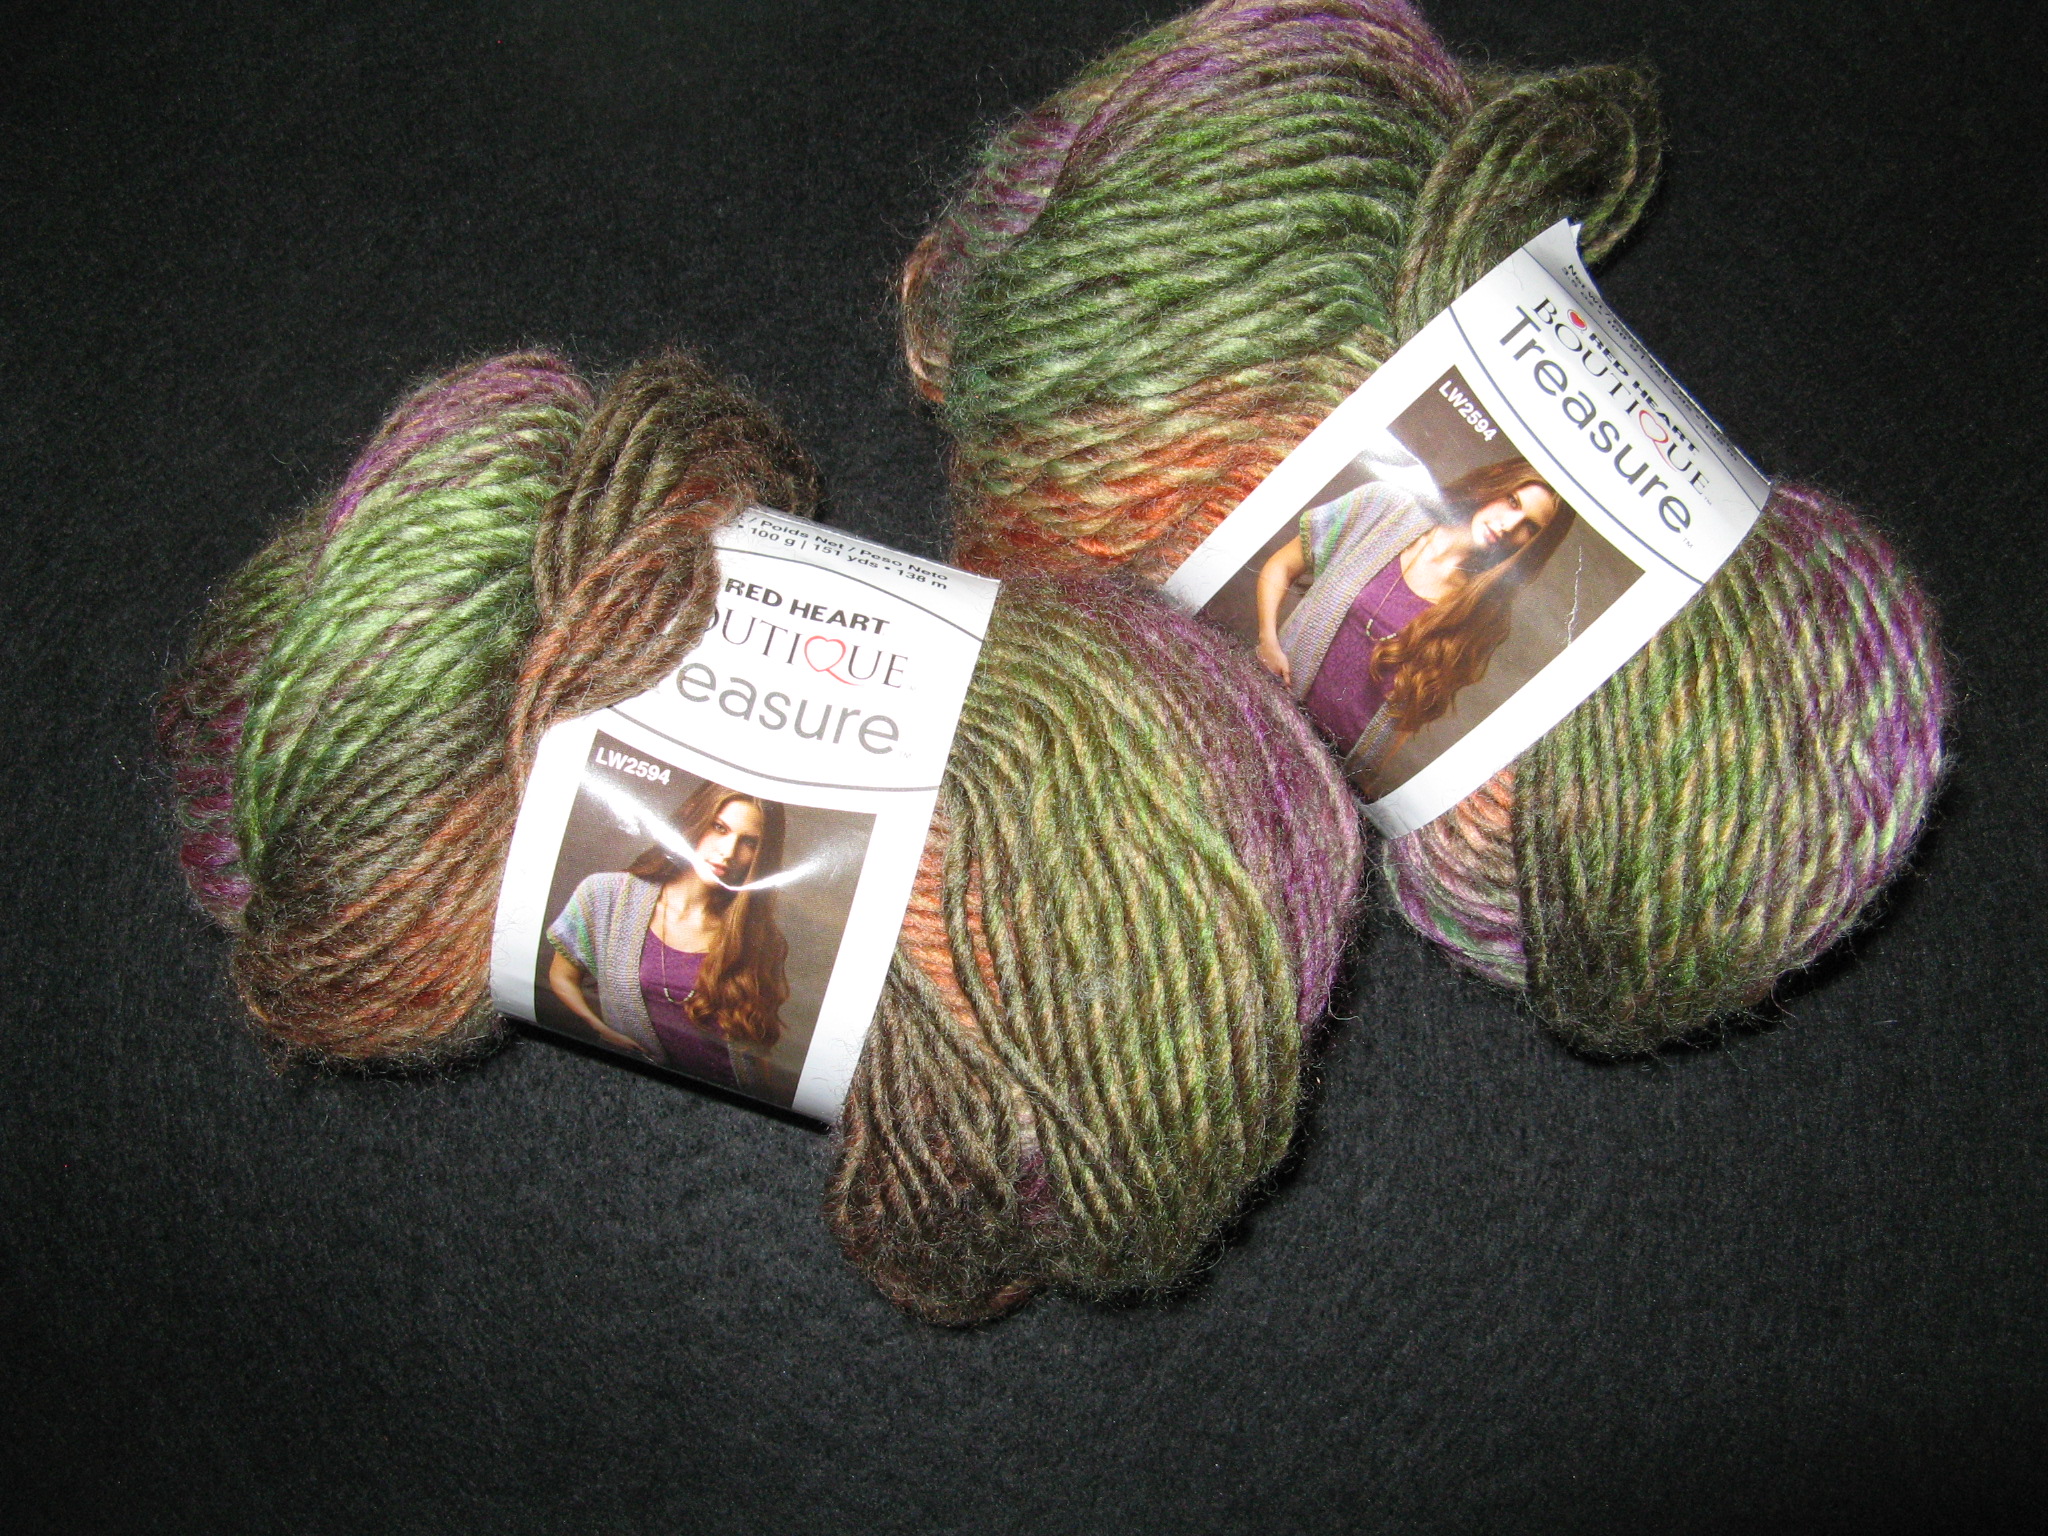
And for the final scarf I used Red Heart’s Boutique Treasure Yarn in Tapestry – which again is a yarn that has subtle gradations in color – and followed the Snapdragon Stitch which is made up of double-crochet stitches and the V-Stitch. This was definitely my favorite of the three scarves because of the yarn color and the overlook look of the stitches. And while most scarves are made with at most two skeins of yarn this one actually took three. I initially only bought two but was lucky enough to find a third one with the same dye lot.


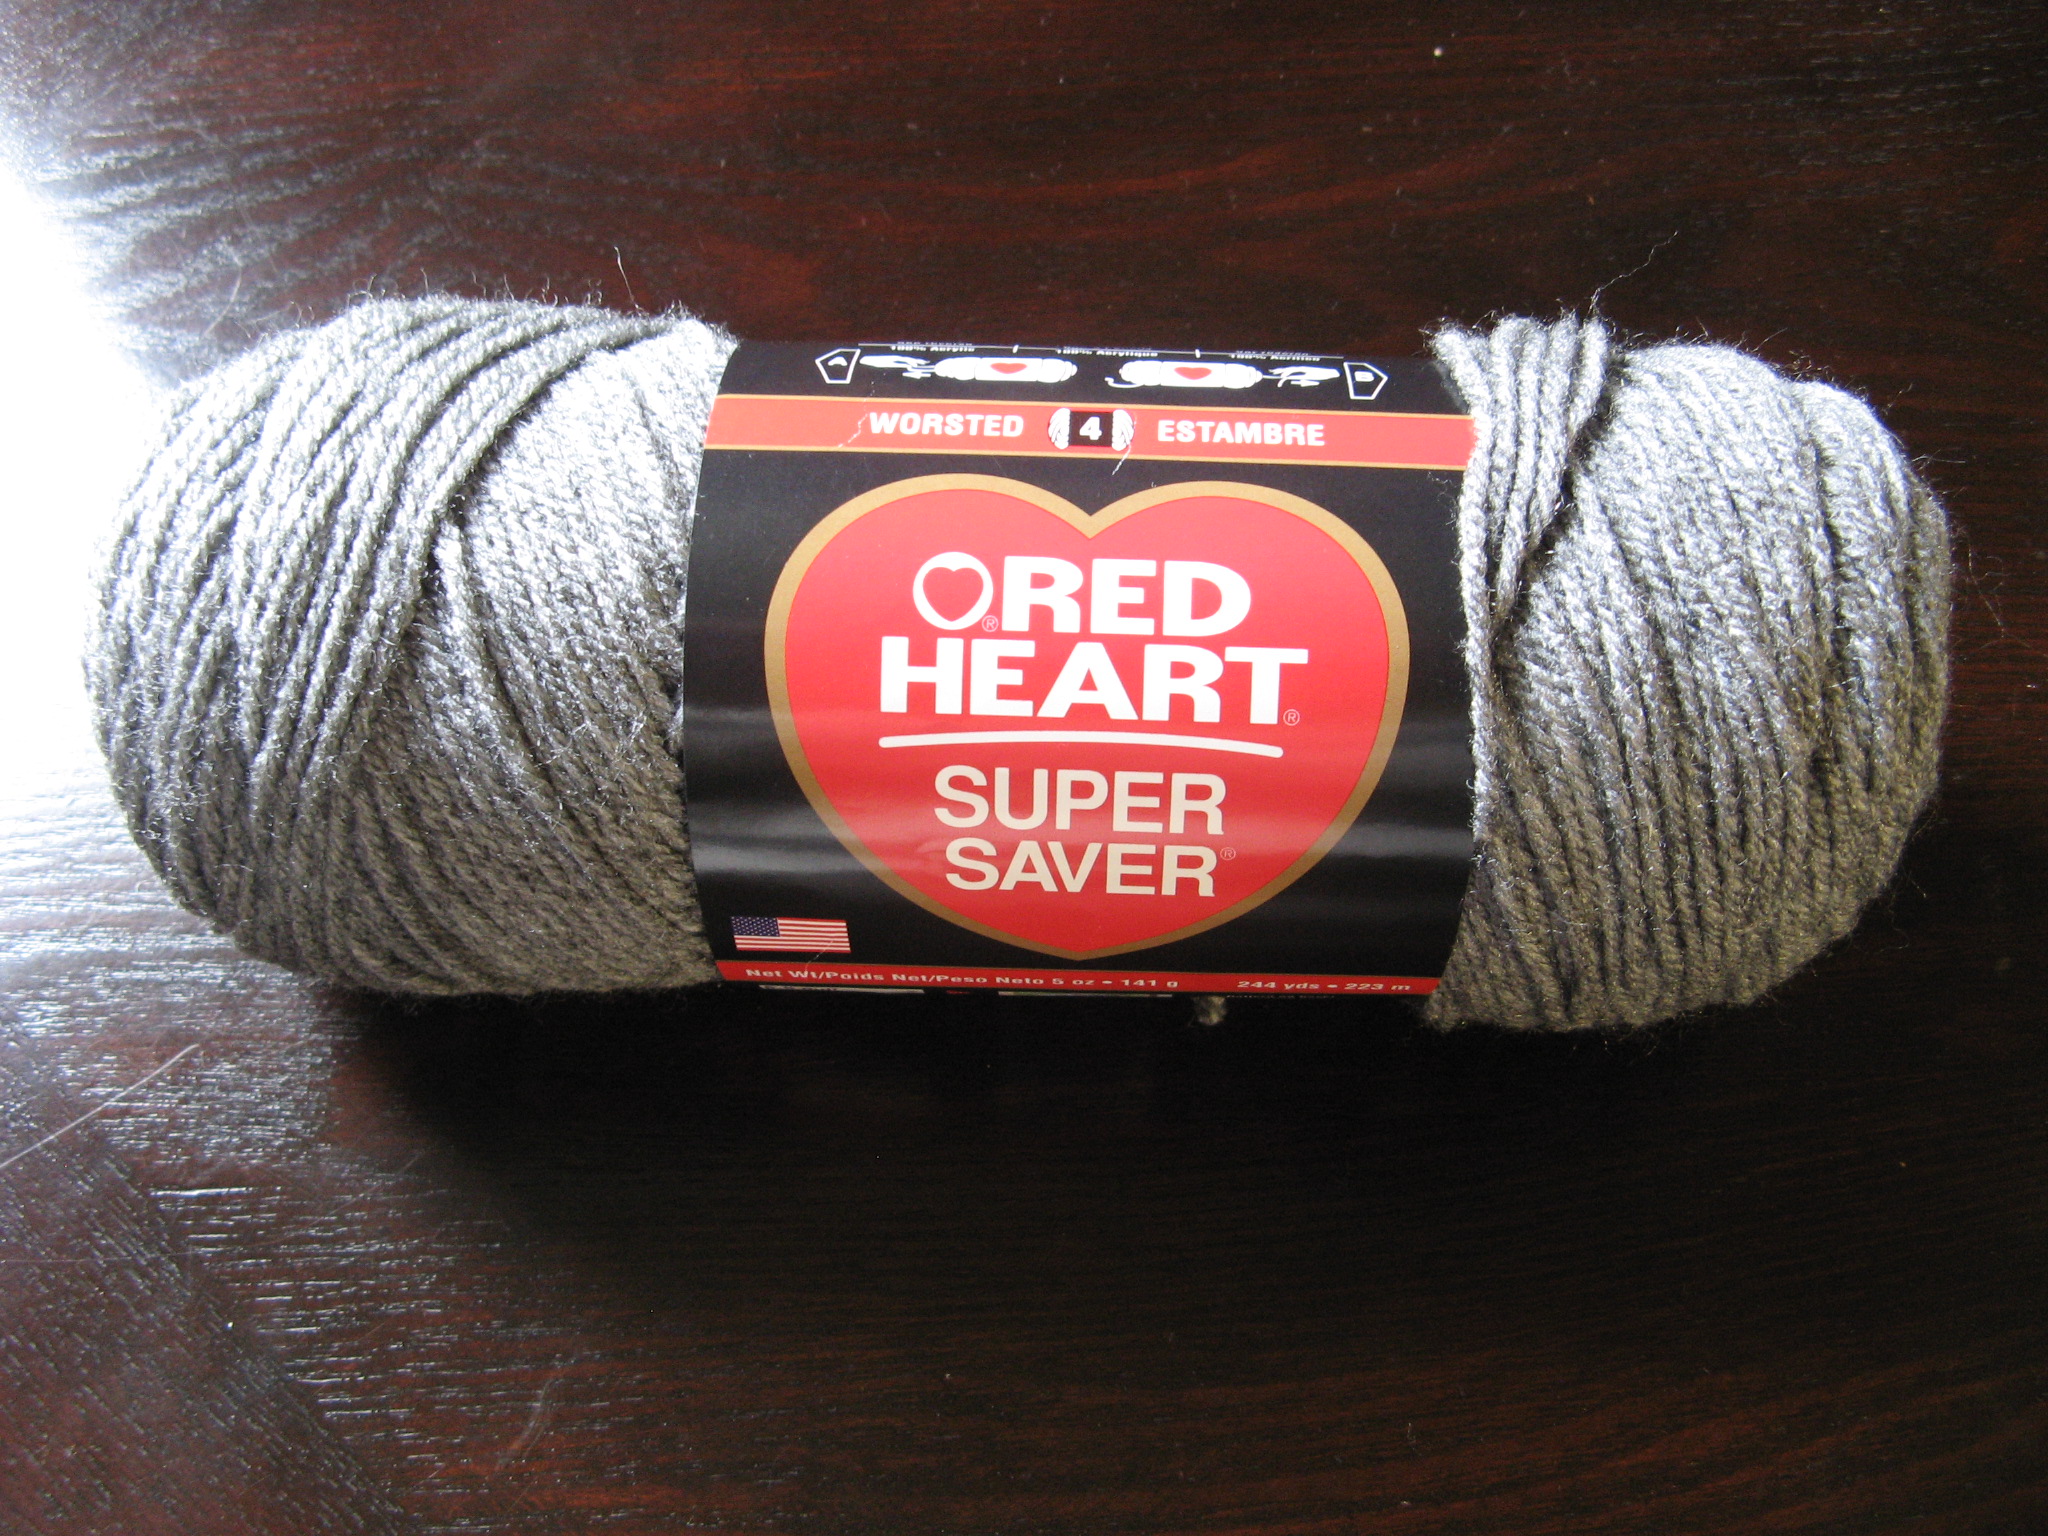
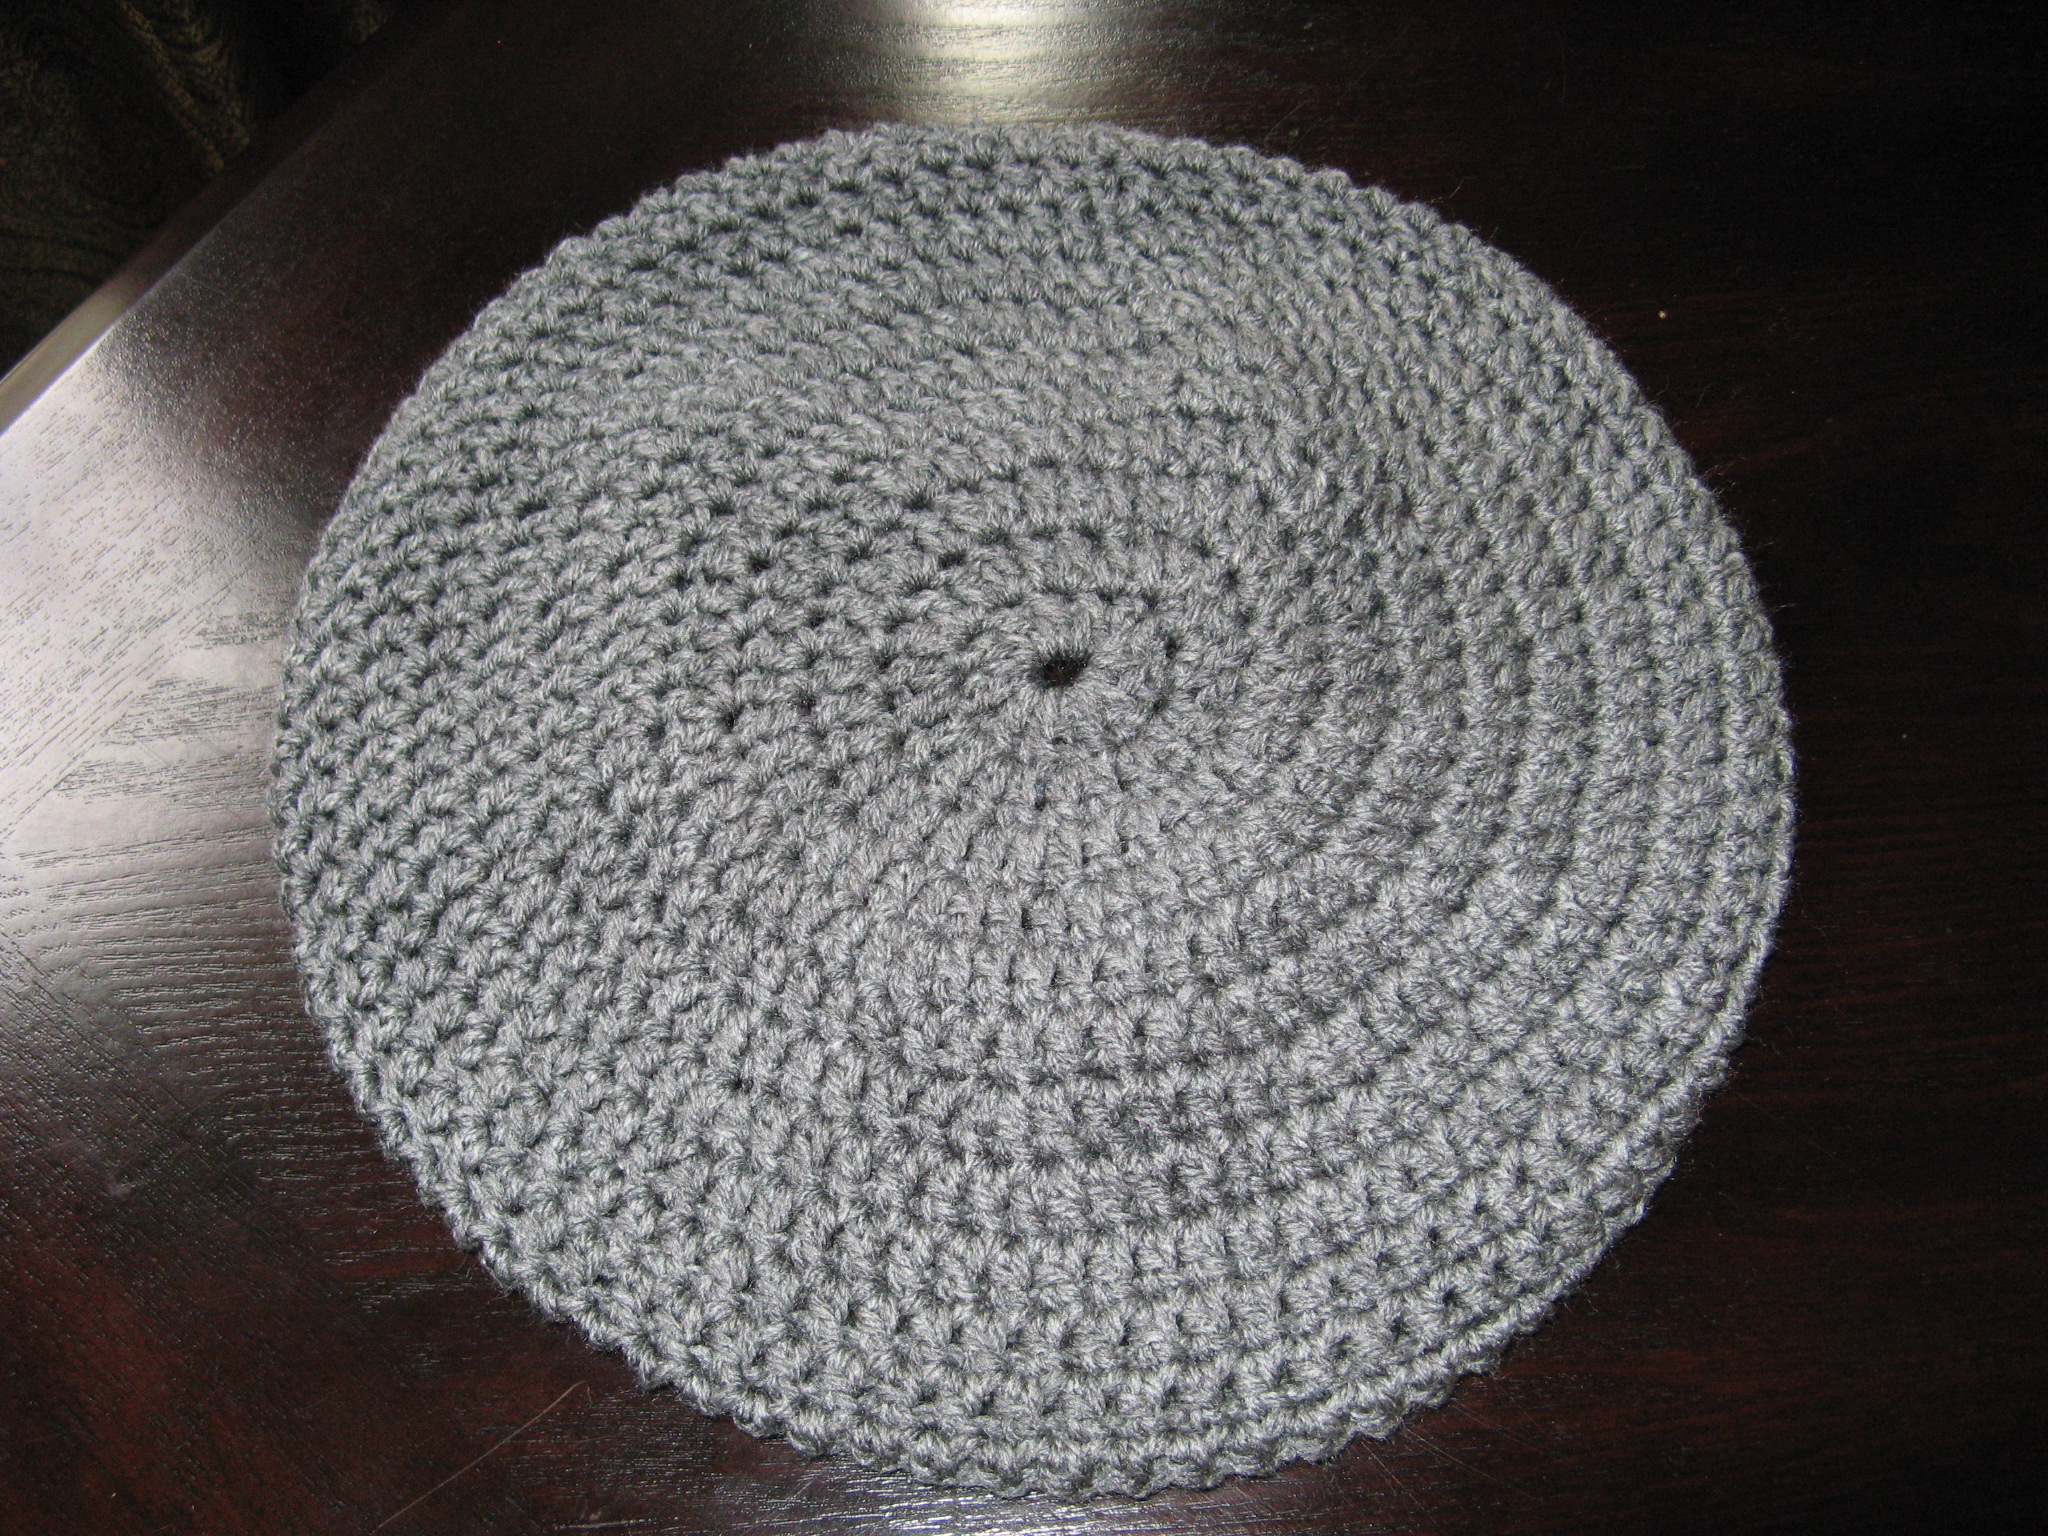
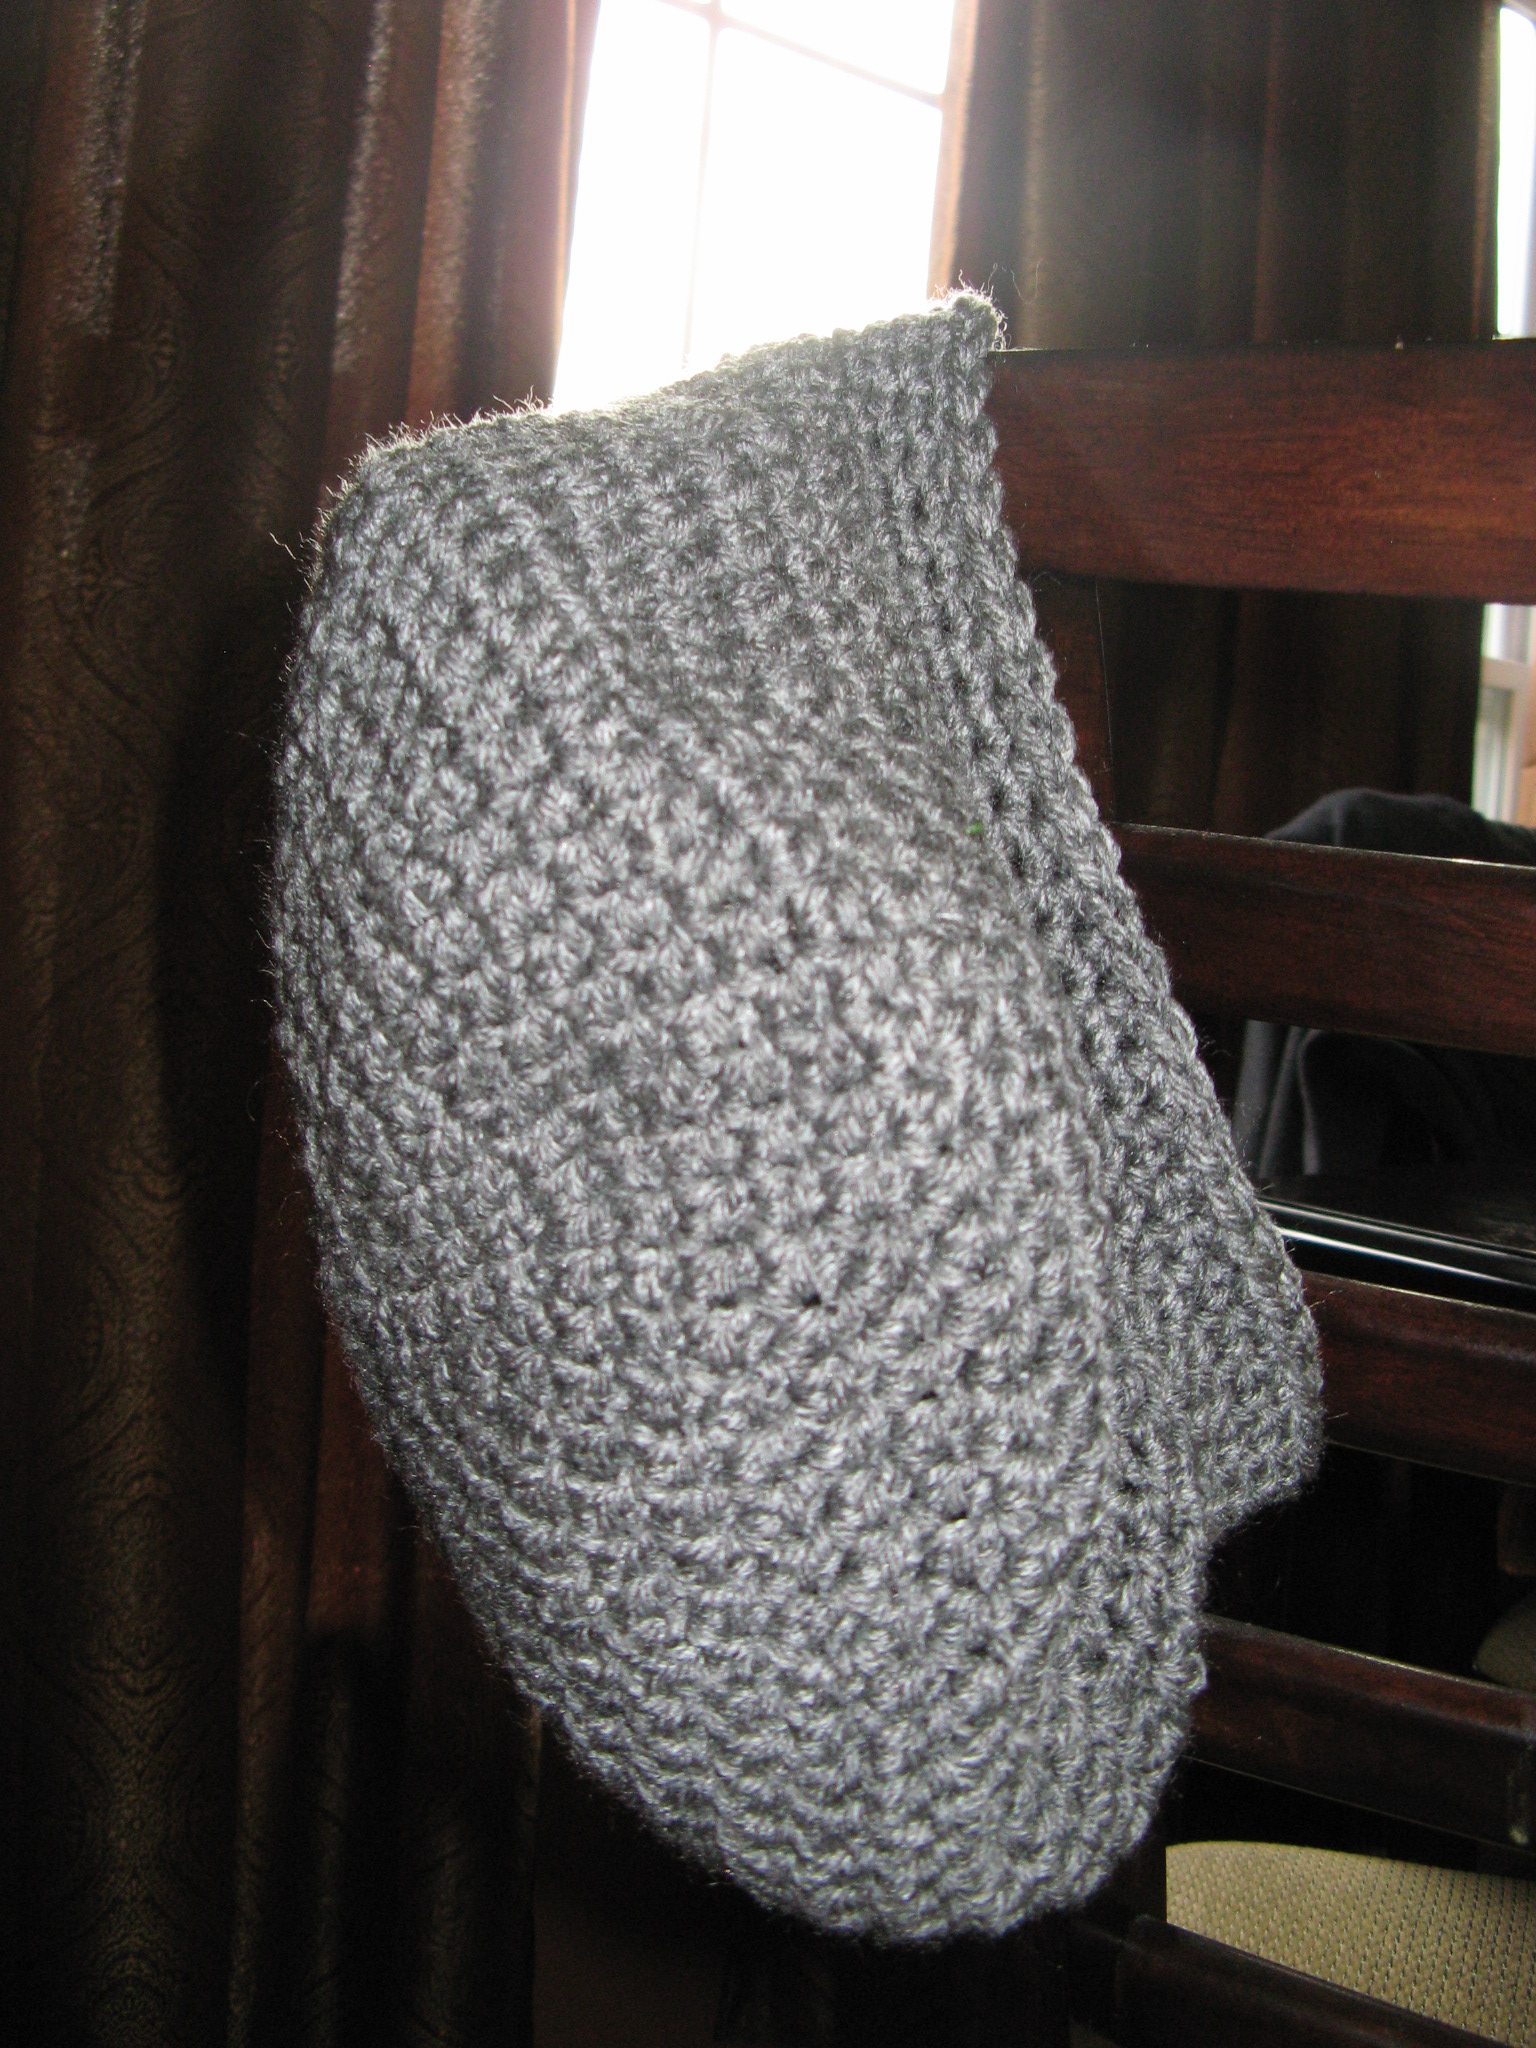
My winter accessory collection wouldn’t be complete without a good hat to keep me warm but I have always avoided wearing one. I have curly hair so hats tend to flatten down my curls… Not good. But, I have wanted to get a slouchy beret which seems to have enough room in it to allow my curls to stay intact. Before buying one though I decided to try and make one. First the search was on to find a pattern that would be simple enough to follow. I haven’t made a hat since I learned how to crochet a few years ago so I figured I should stick with something somewhat simple. With a Google search of “slouchy beret crochet pattern” I found a pattern from Donna Rutledge-Okoro appropriately titled Easy Slouchy Beret Hat Crochet. It was simple to follow and suggested using another Red Heart Yarn, their Supersaver Yarn which comes in a variety of colors but I chose Gray Heather. I was able to work this up in just a few hours and just in time too because it snowed the following day!