I decided to take a break from my knitting projects last week to work on some jewelry pieces that I have wanted to get done. In all honesty my arms and wrists needed a break from all of the shoveling I did from when I was snowed-in.
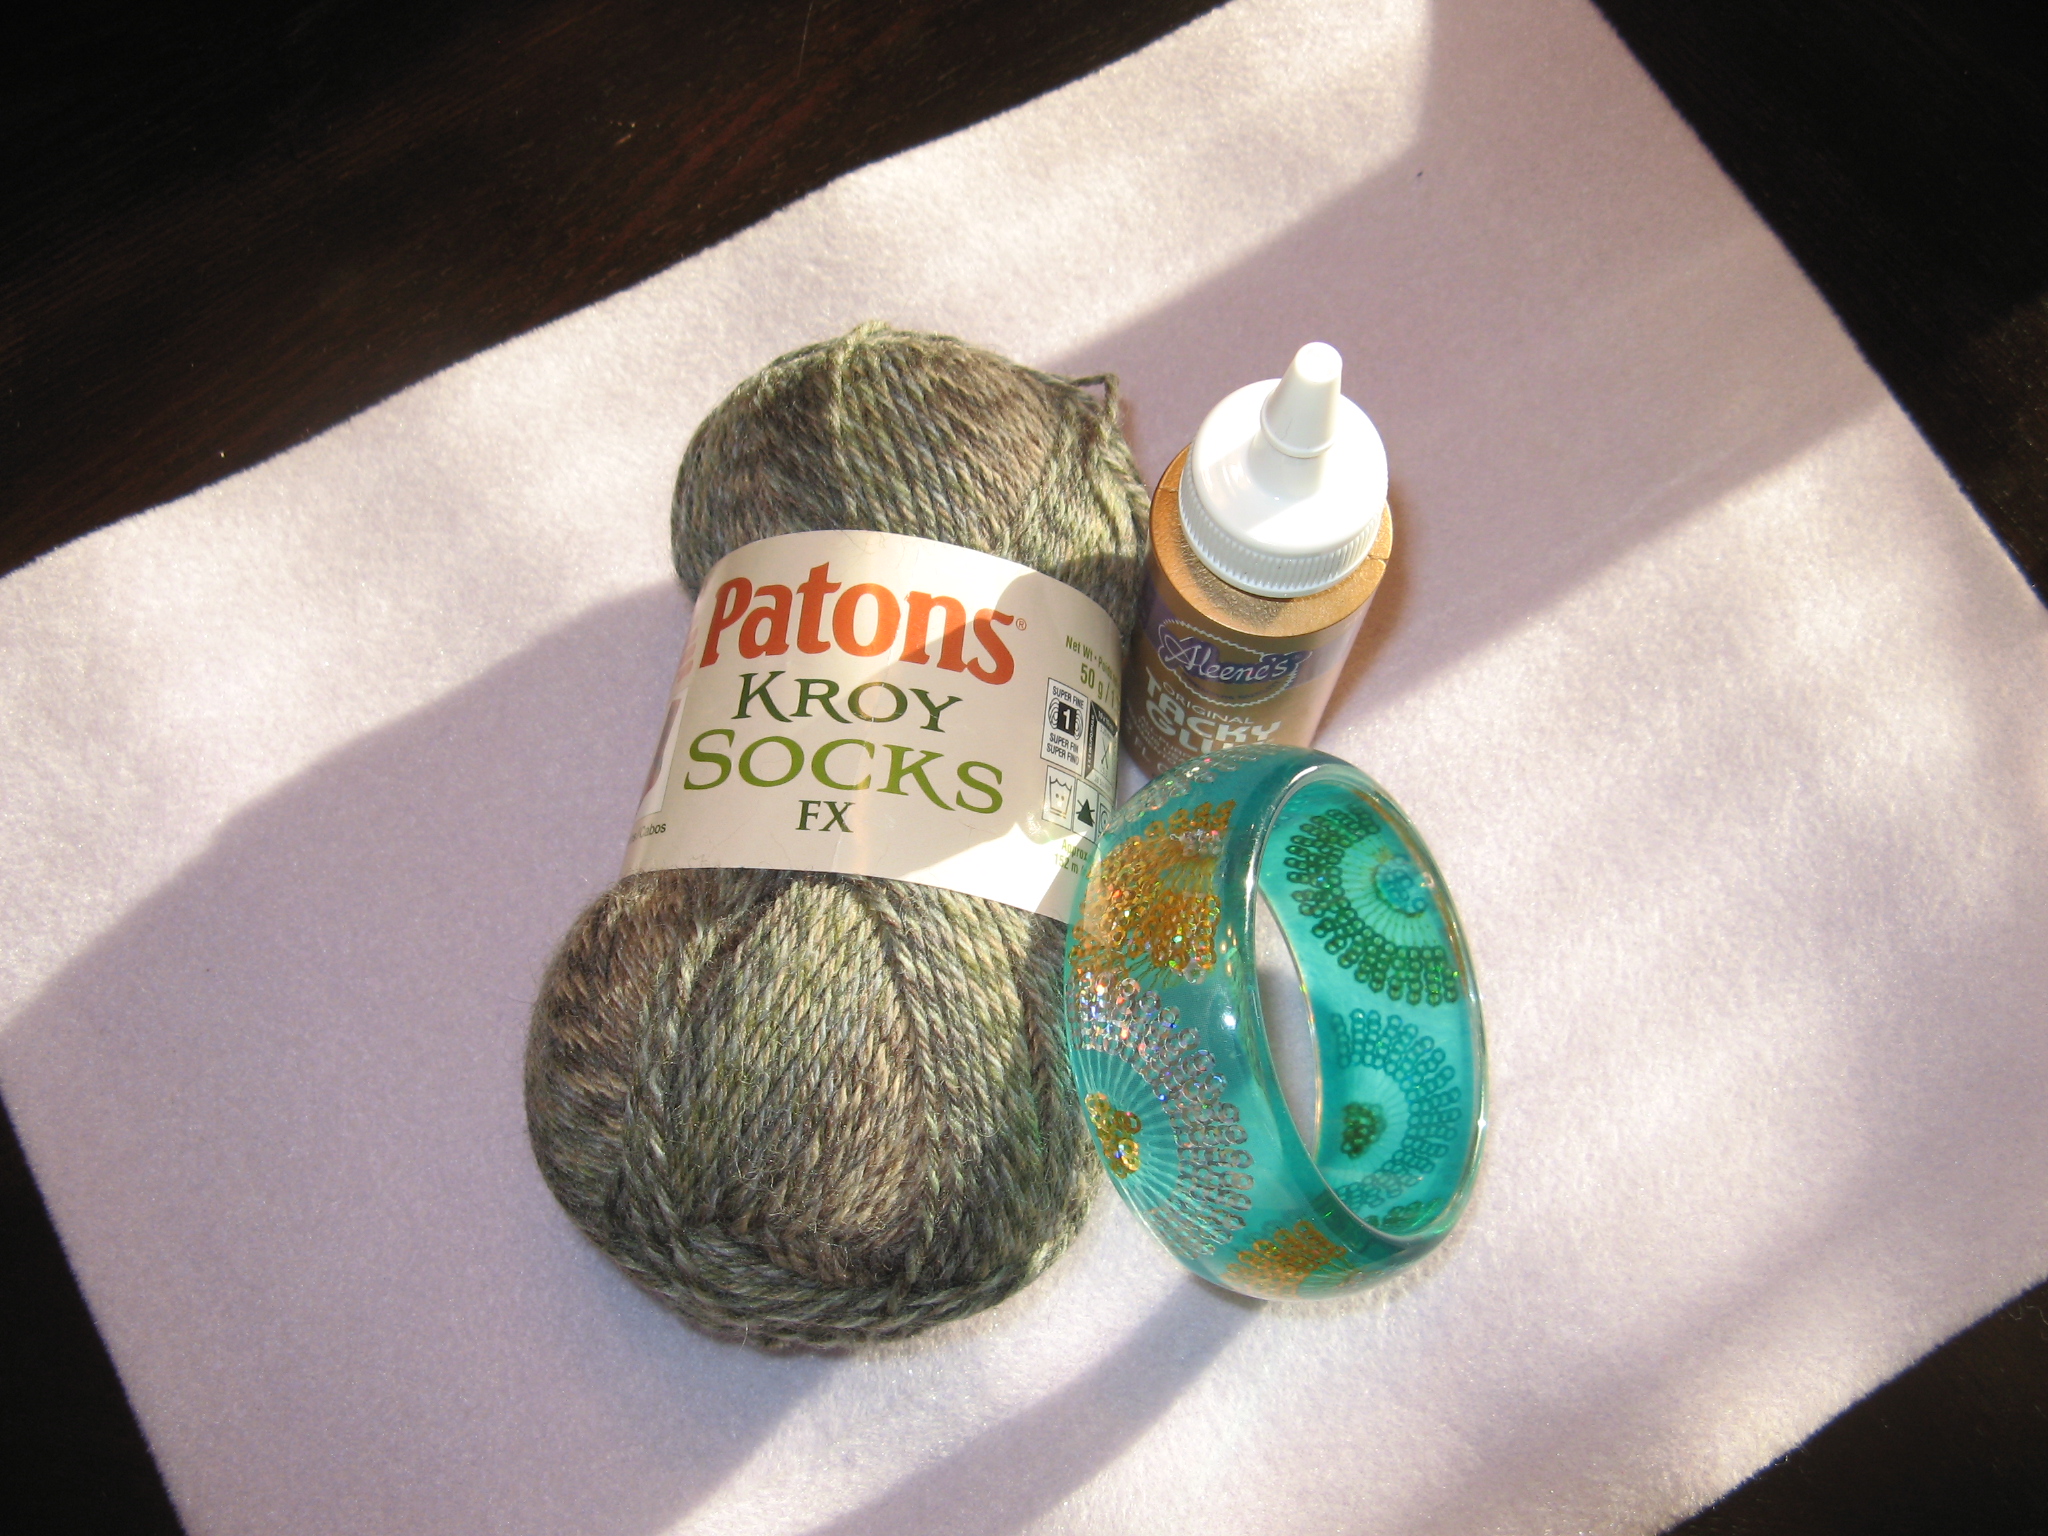
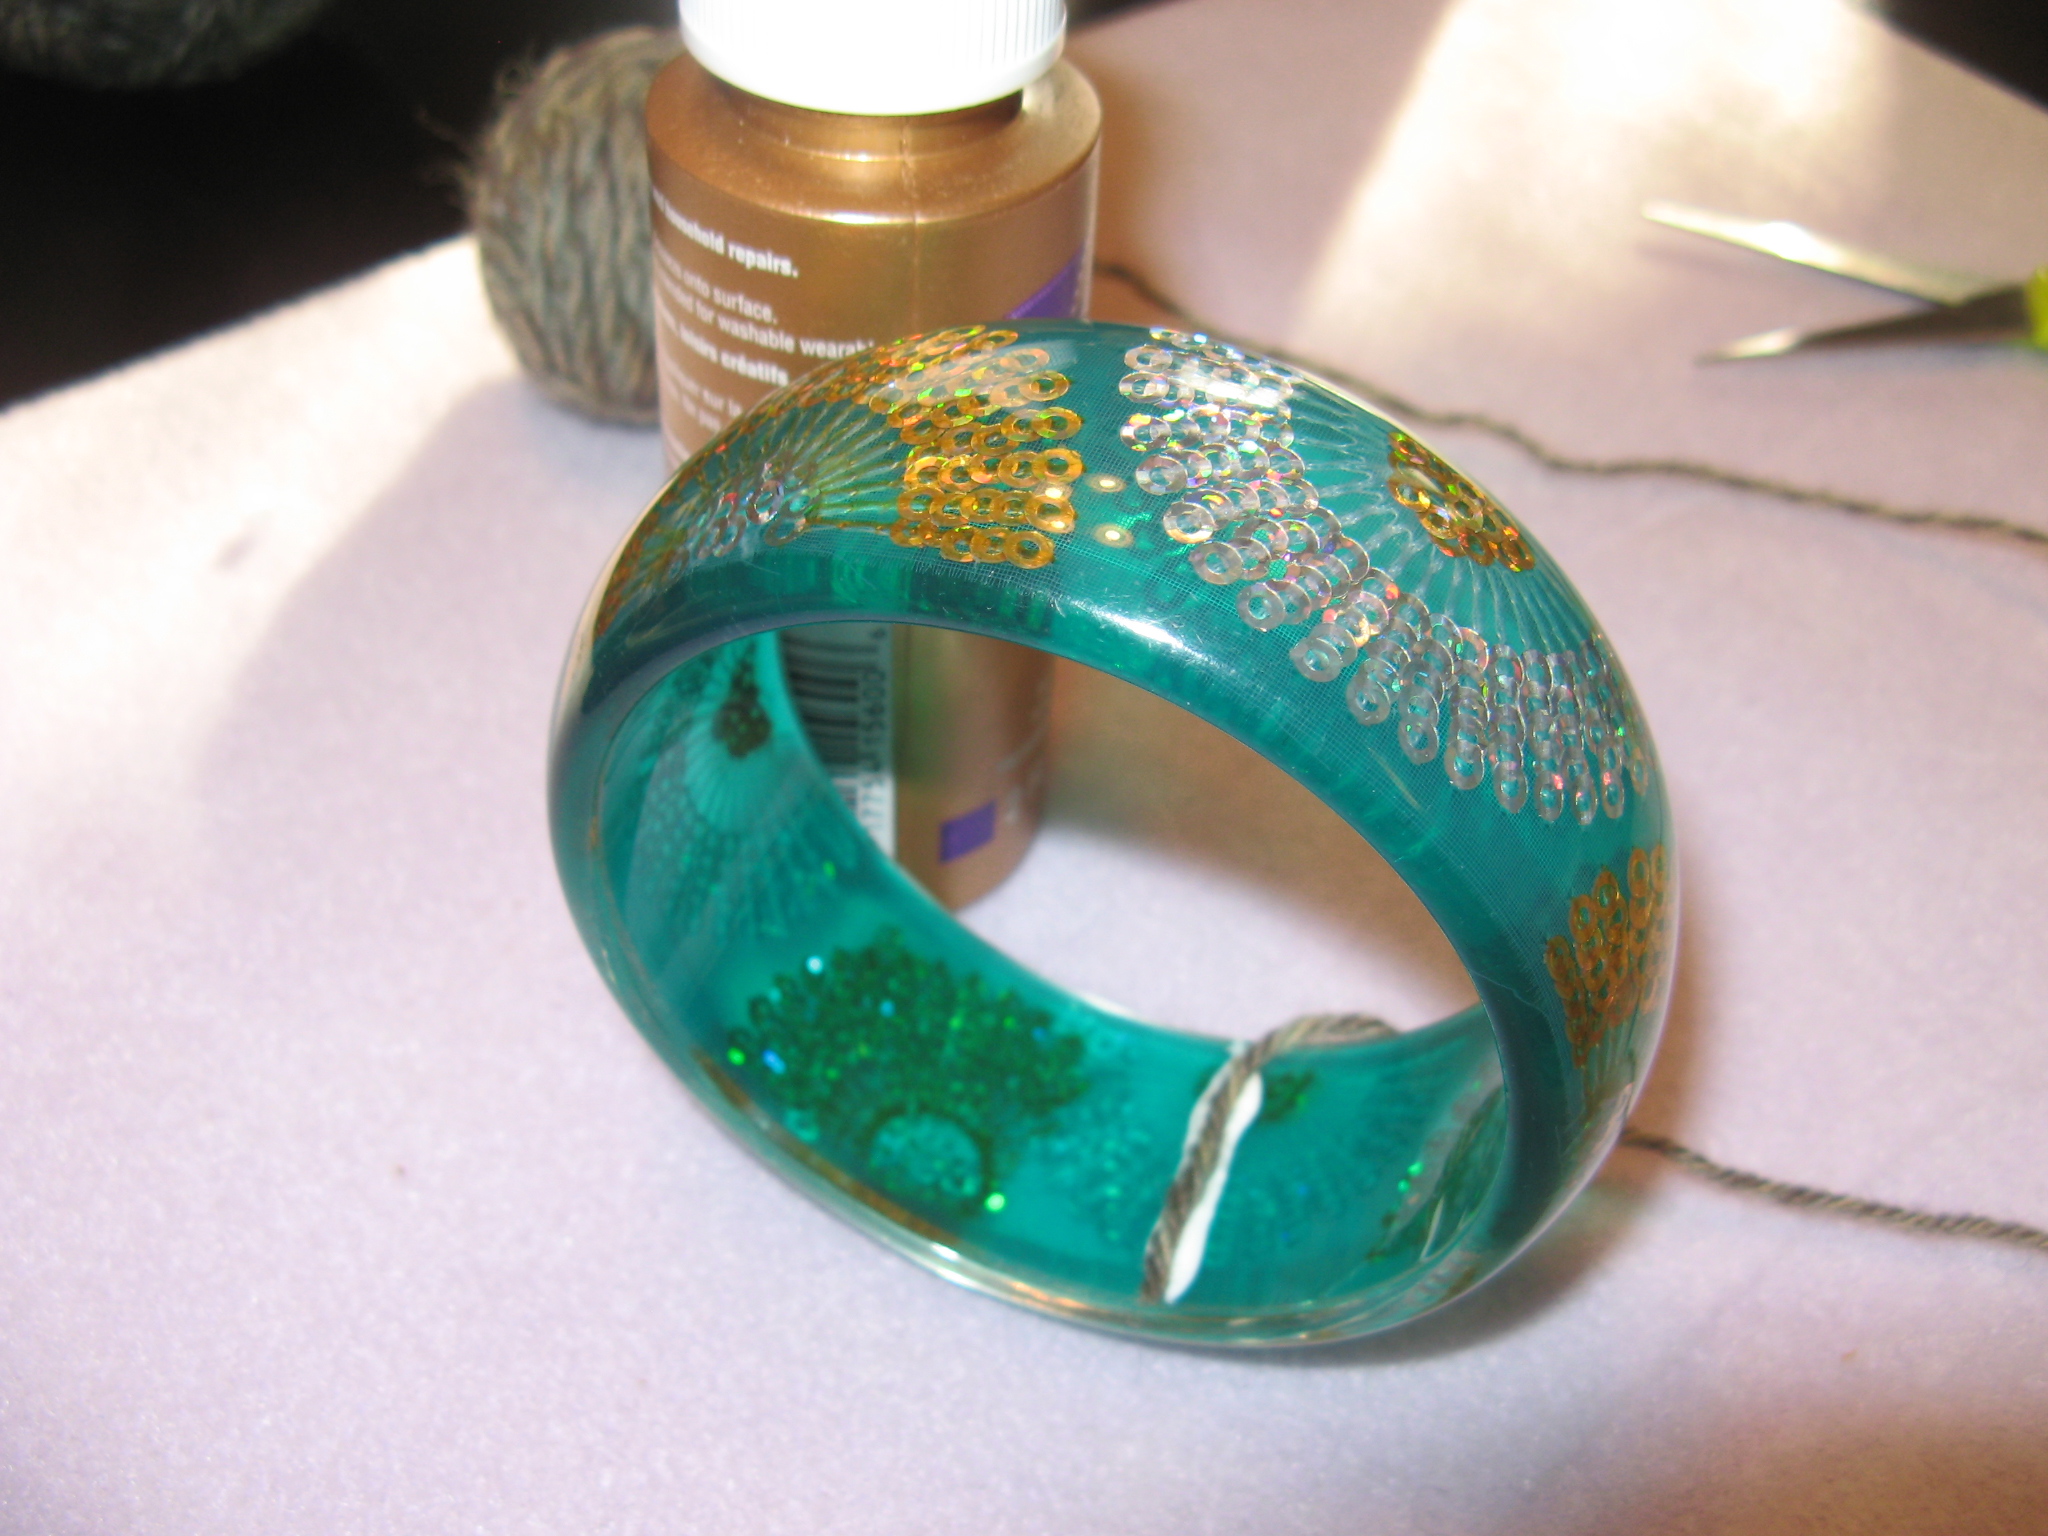
Up first was something super simple… Yarn Wrapped Bangle. I got the idea from a craft email I receive every day from Martha Stewart’s website. All I needed to complete this project was yarn (you can also use ribbon), tacky glue and a plastic bangle. It doesn’t matter the color or pattern of the bangle since you will be covering it up. The one I used had sequins on the inside and only cost $2… You can’t beat that!
To start off I wound a few yards of yarn into small ball and glued one end to the inside of the bangle. I let the glue dry completely and then started wrapping the yarn tightly around the bangle. Every so often I stopped to make sure there weren’t any spaces between the yarn and around the midway point I added some glue to secure the yarn in place.
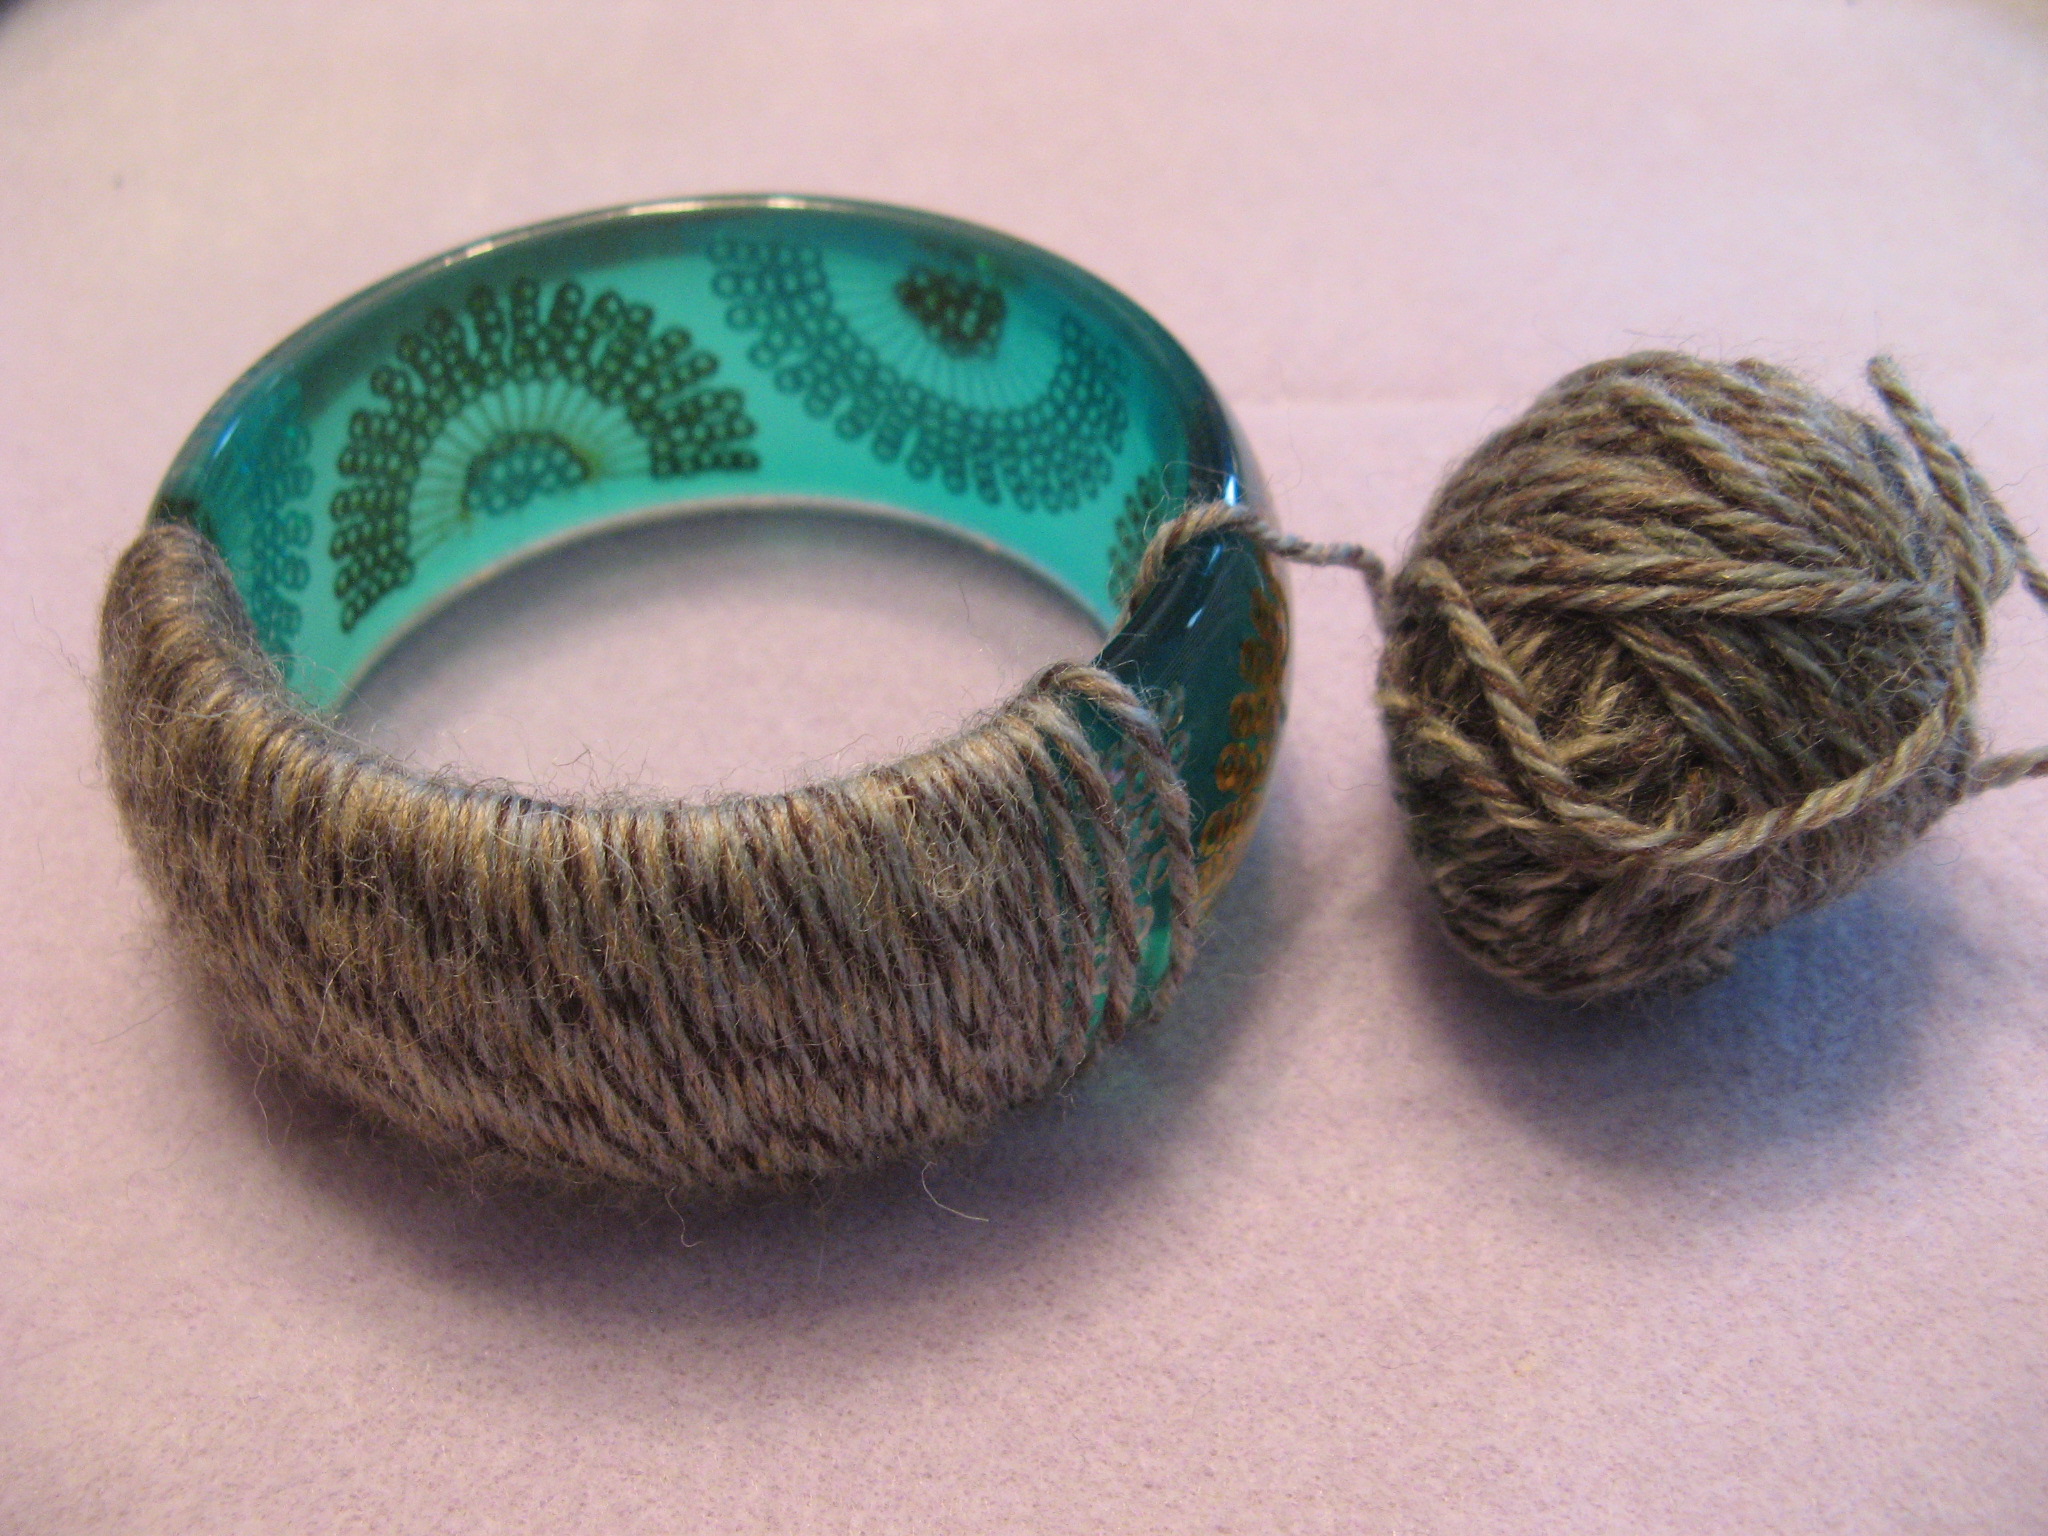
It didn’t take long before I had a completely new bangle.

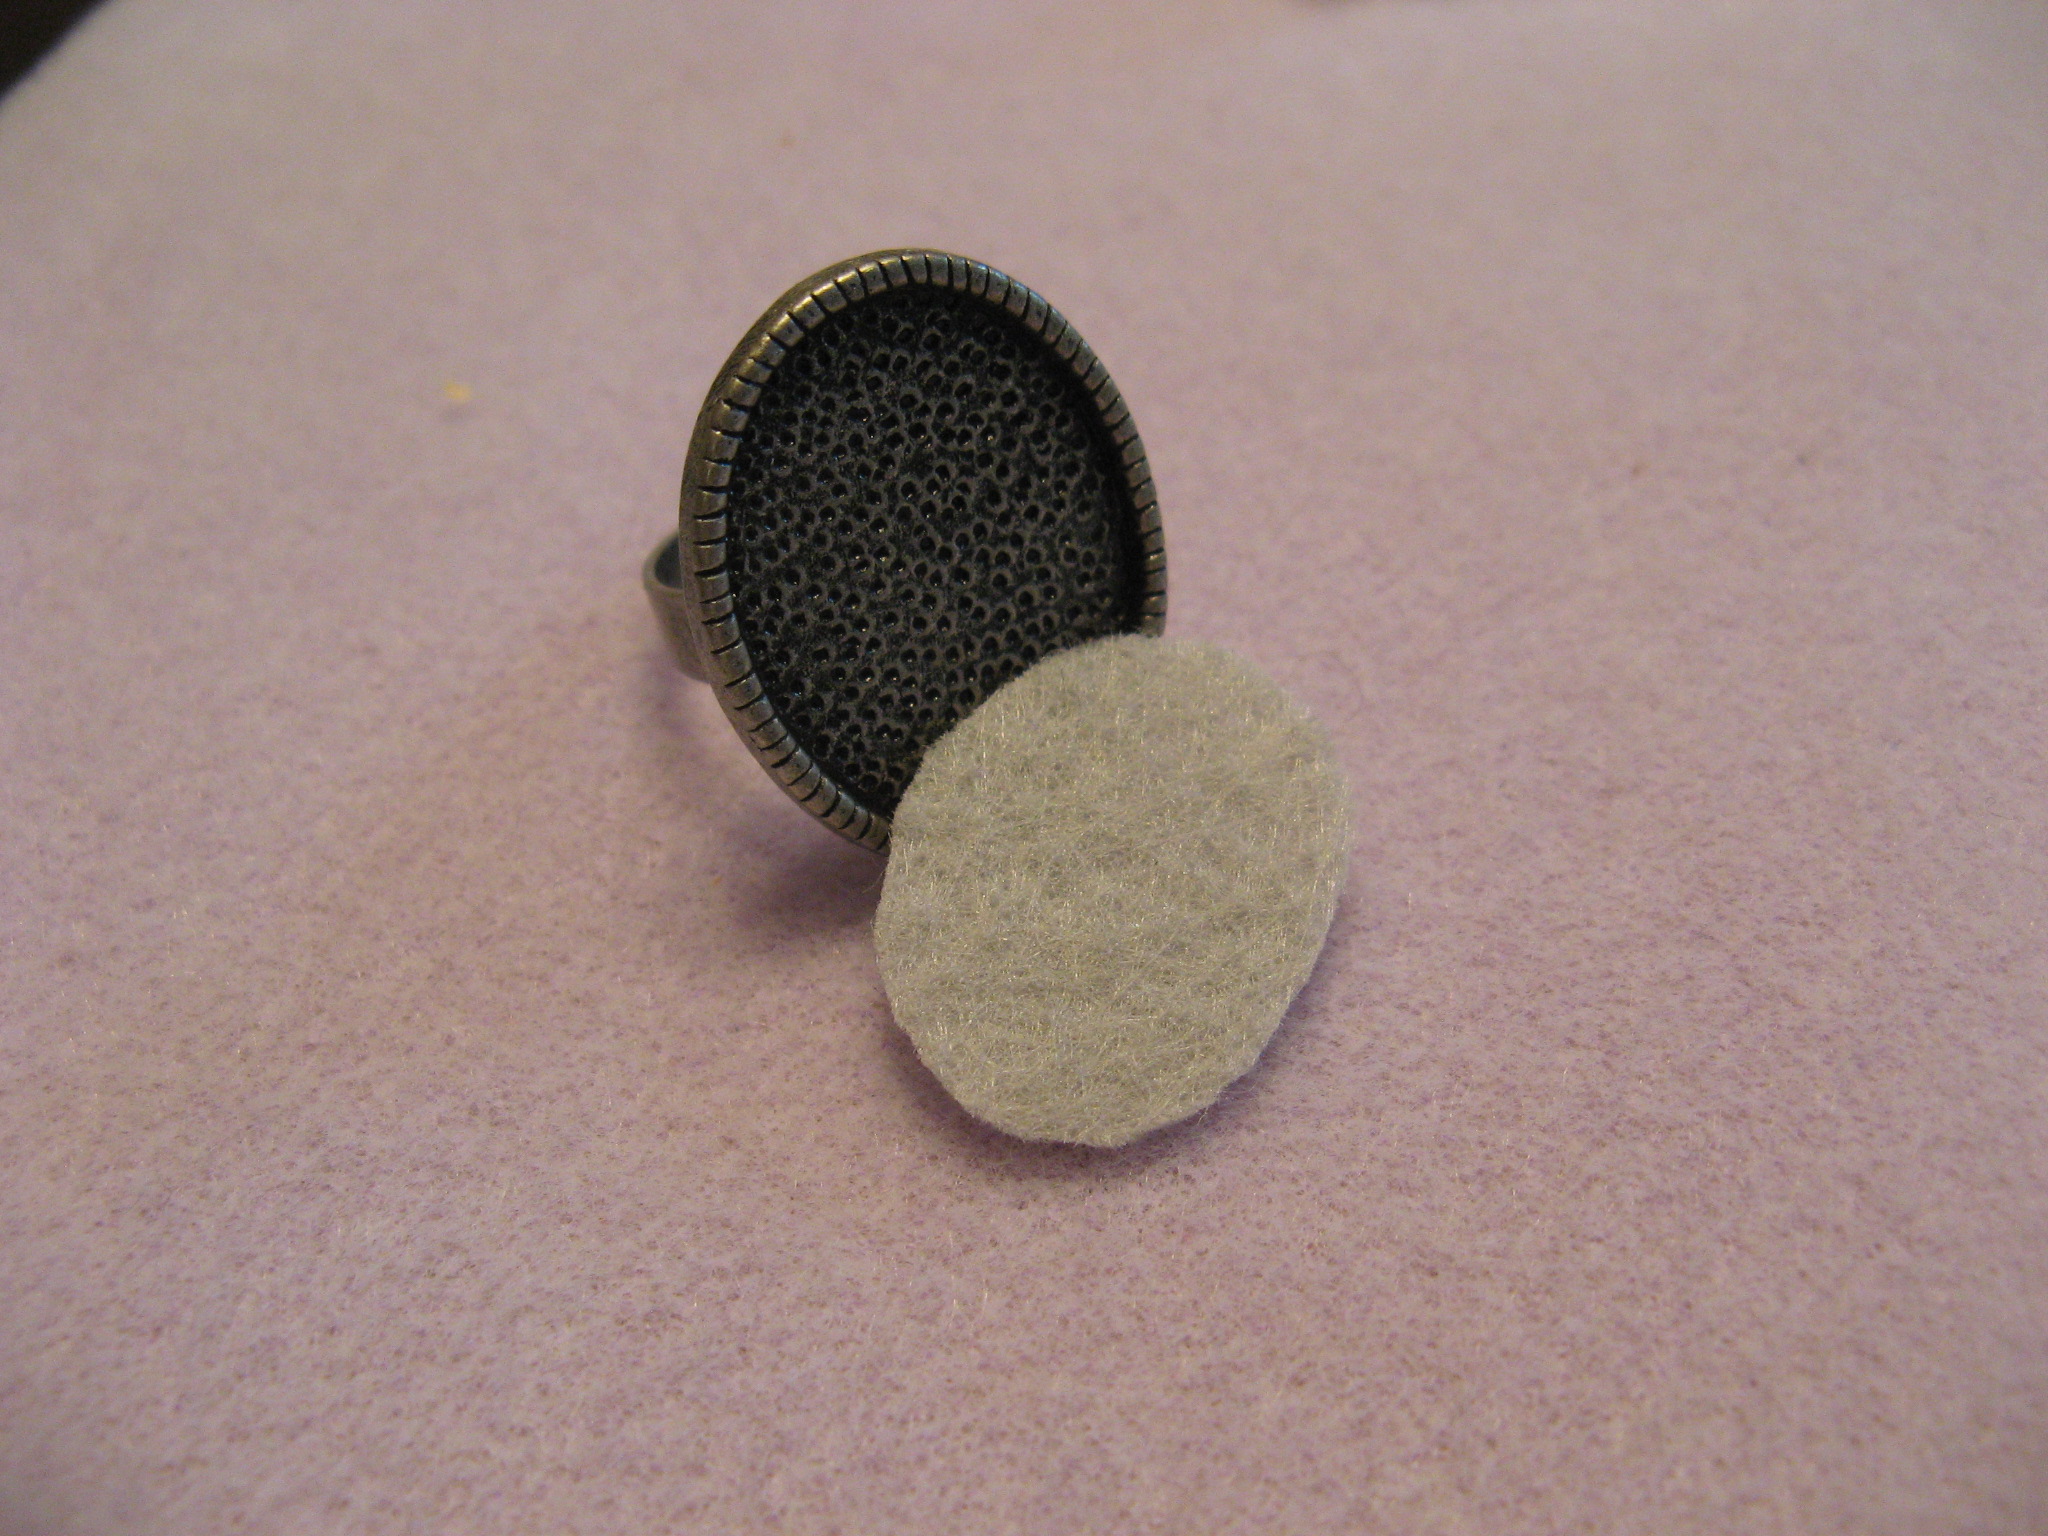
After that was done I moved on to a Cabochon and Seed Bead Ring. I got the idea for this piece from the February 2013 issue of Bead & Button Magazine in an article called Ring Tones. I used two different color size 15 seed beads, an oval cabochon, an adjustable ring and prestiffened felt for my beading foundation. I was able to find the ring and felt at my local Michael’s store and I ordered an assortment of cabochons from Fire Mountain Gems (www.firemountaingems.com) for under $3 so I have plenty more to use if I want to make more rings or pendants and such. As for the size 15 seed beads, I had one of the colors and then took advantage of a sale at Beada Beada (www.beadabeada.com) and ordered an assortment of colors that I normally wouldn’t pick just to have a nice assortment for future projects.

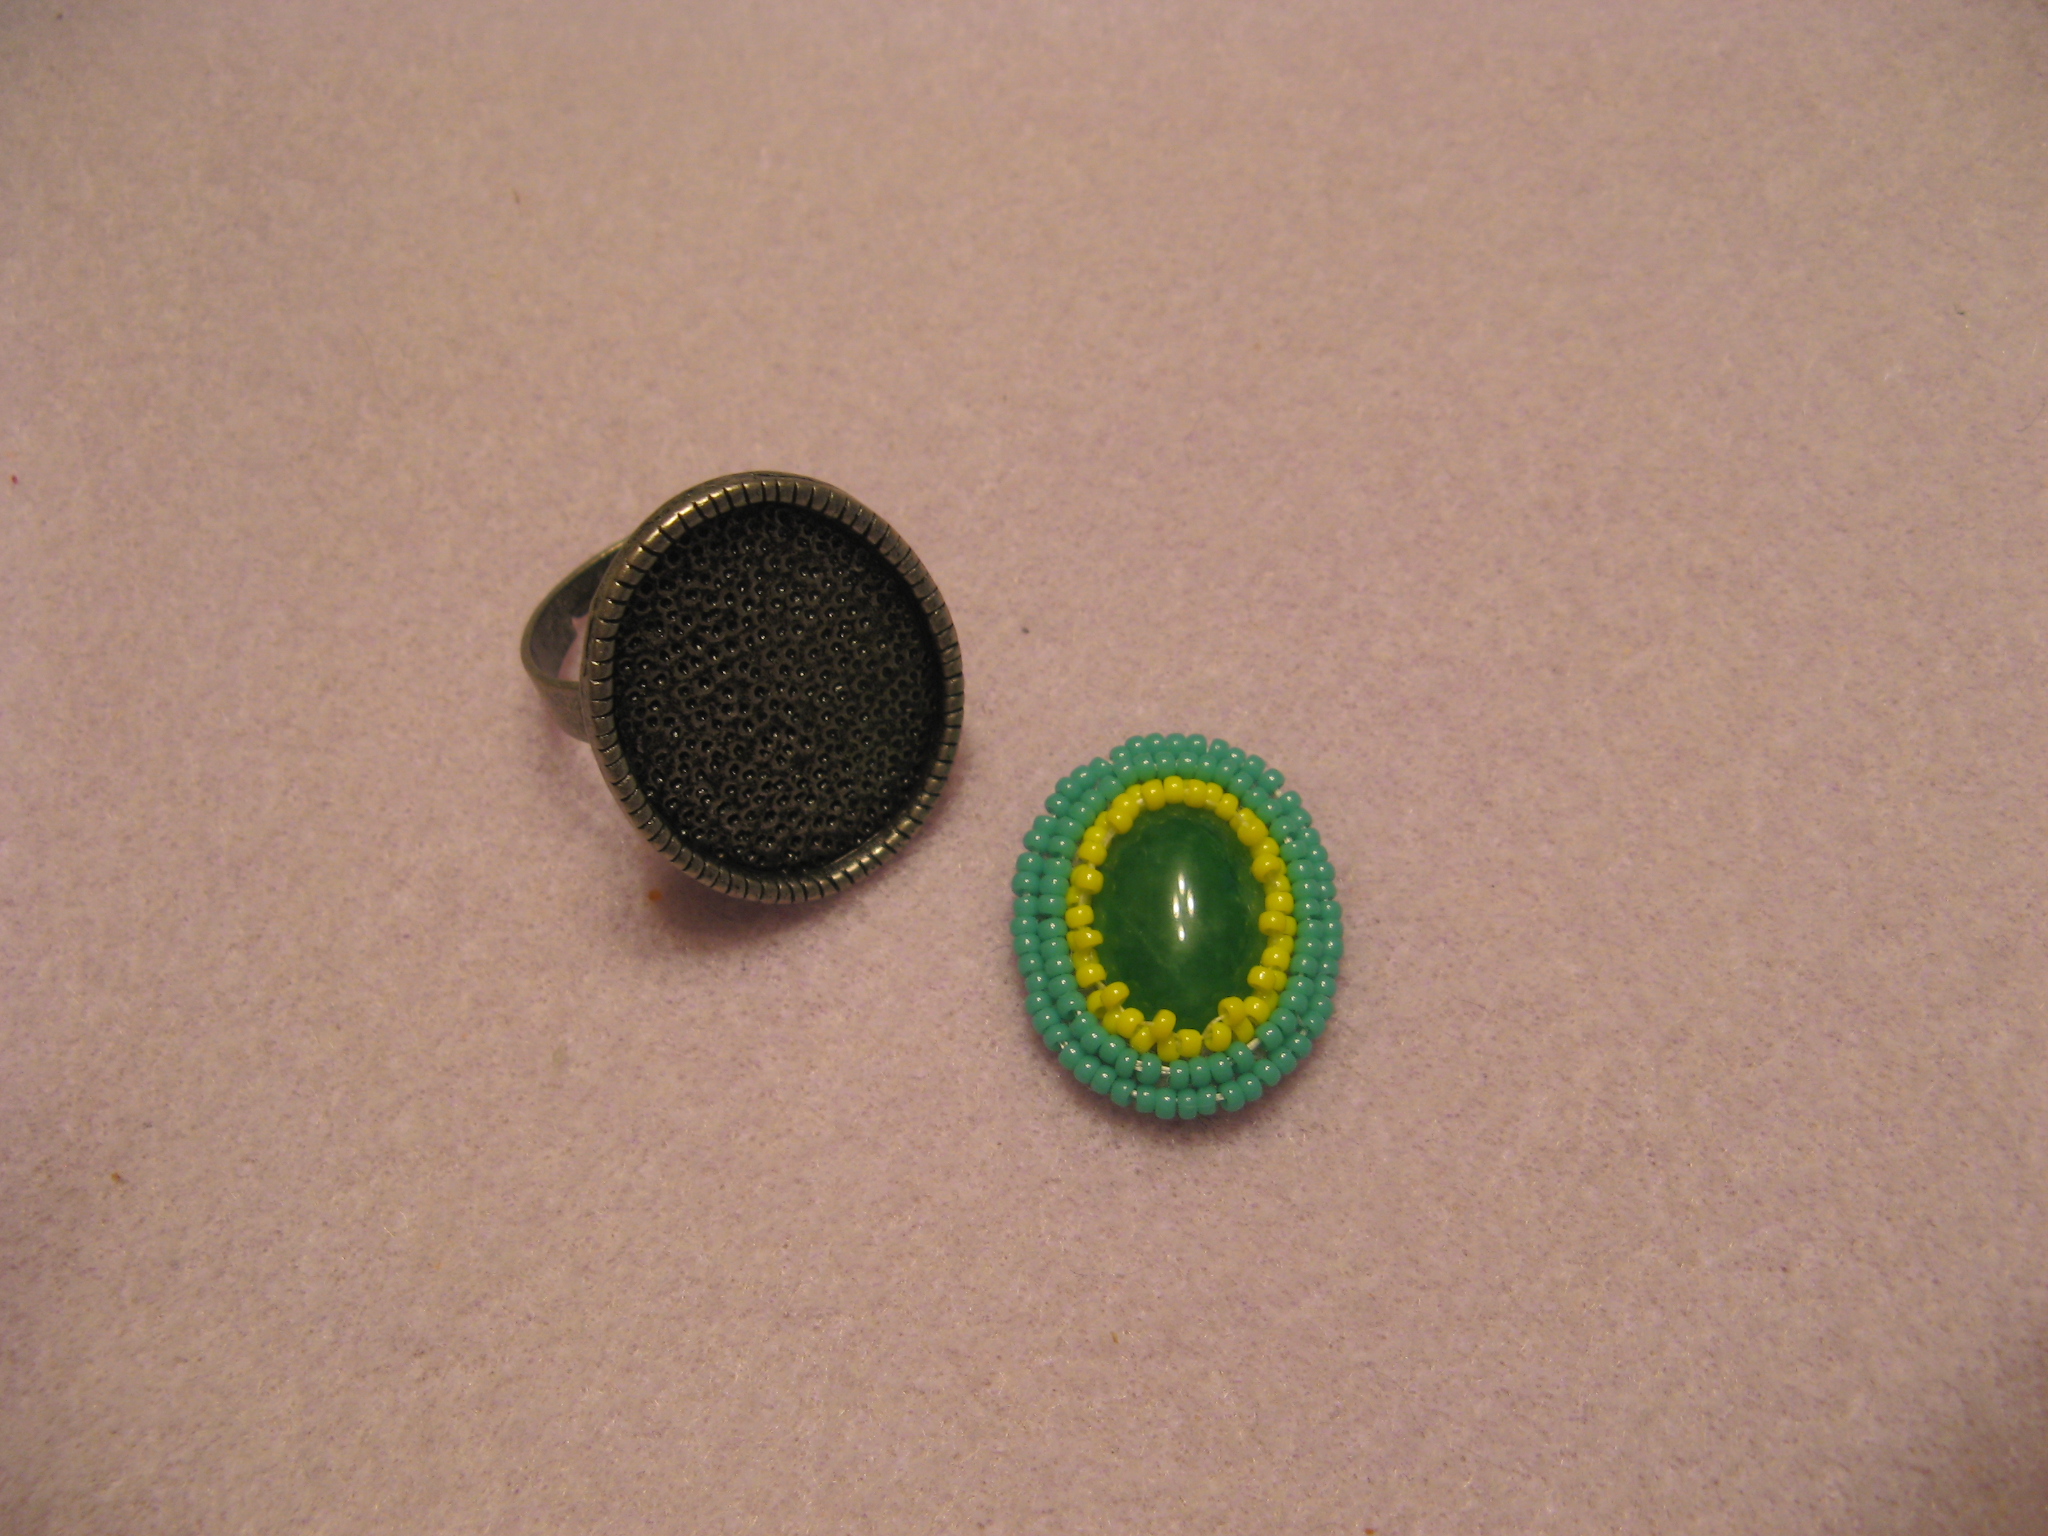
To start off I cut a piece of the felt to fit into the bezel of the ring. While the directions called for using two or more pieces of foundation I opted to use only one piece since the ring I was using had a very shallow well.
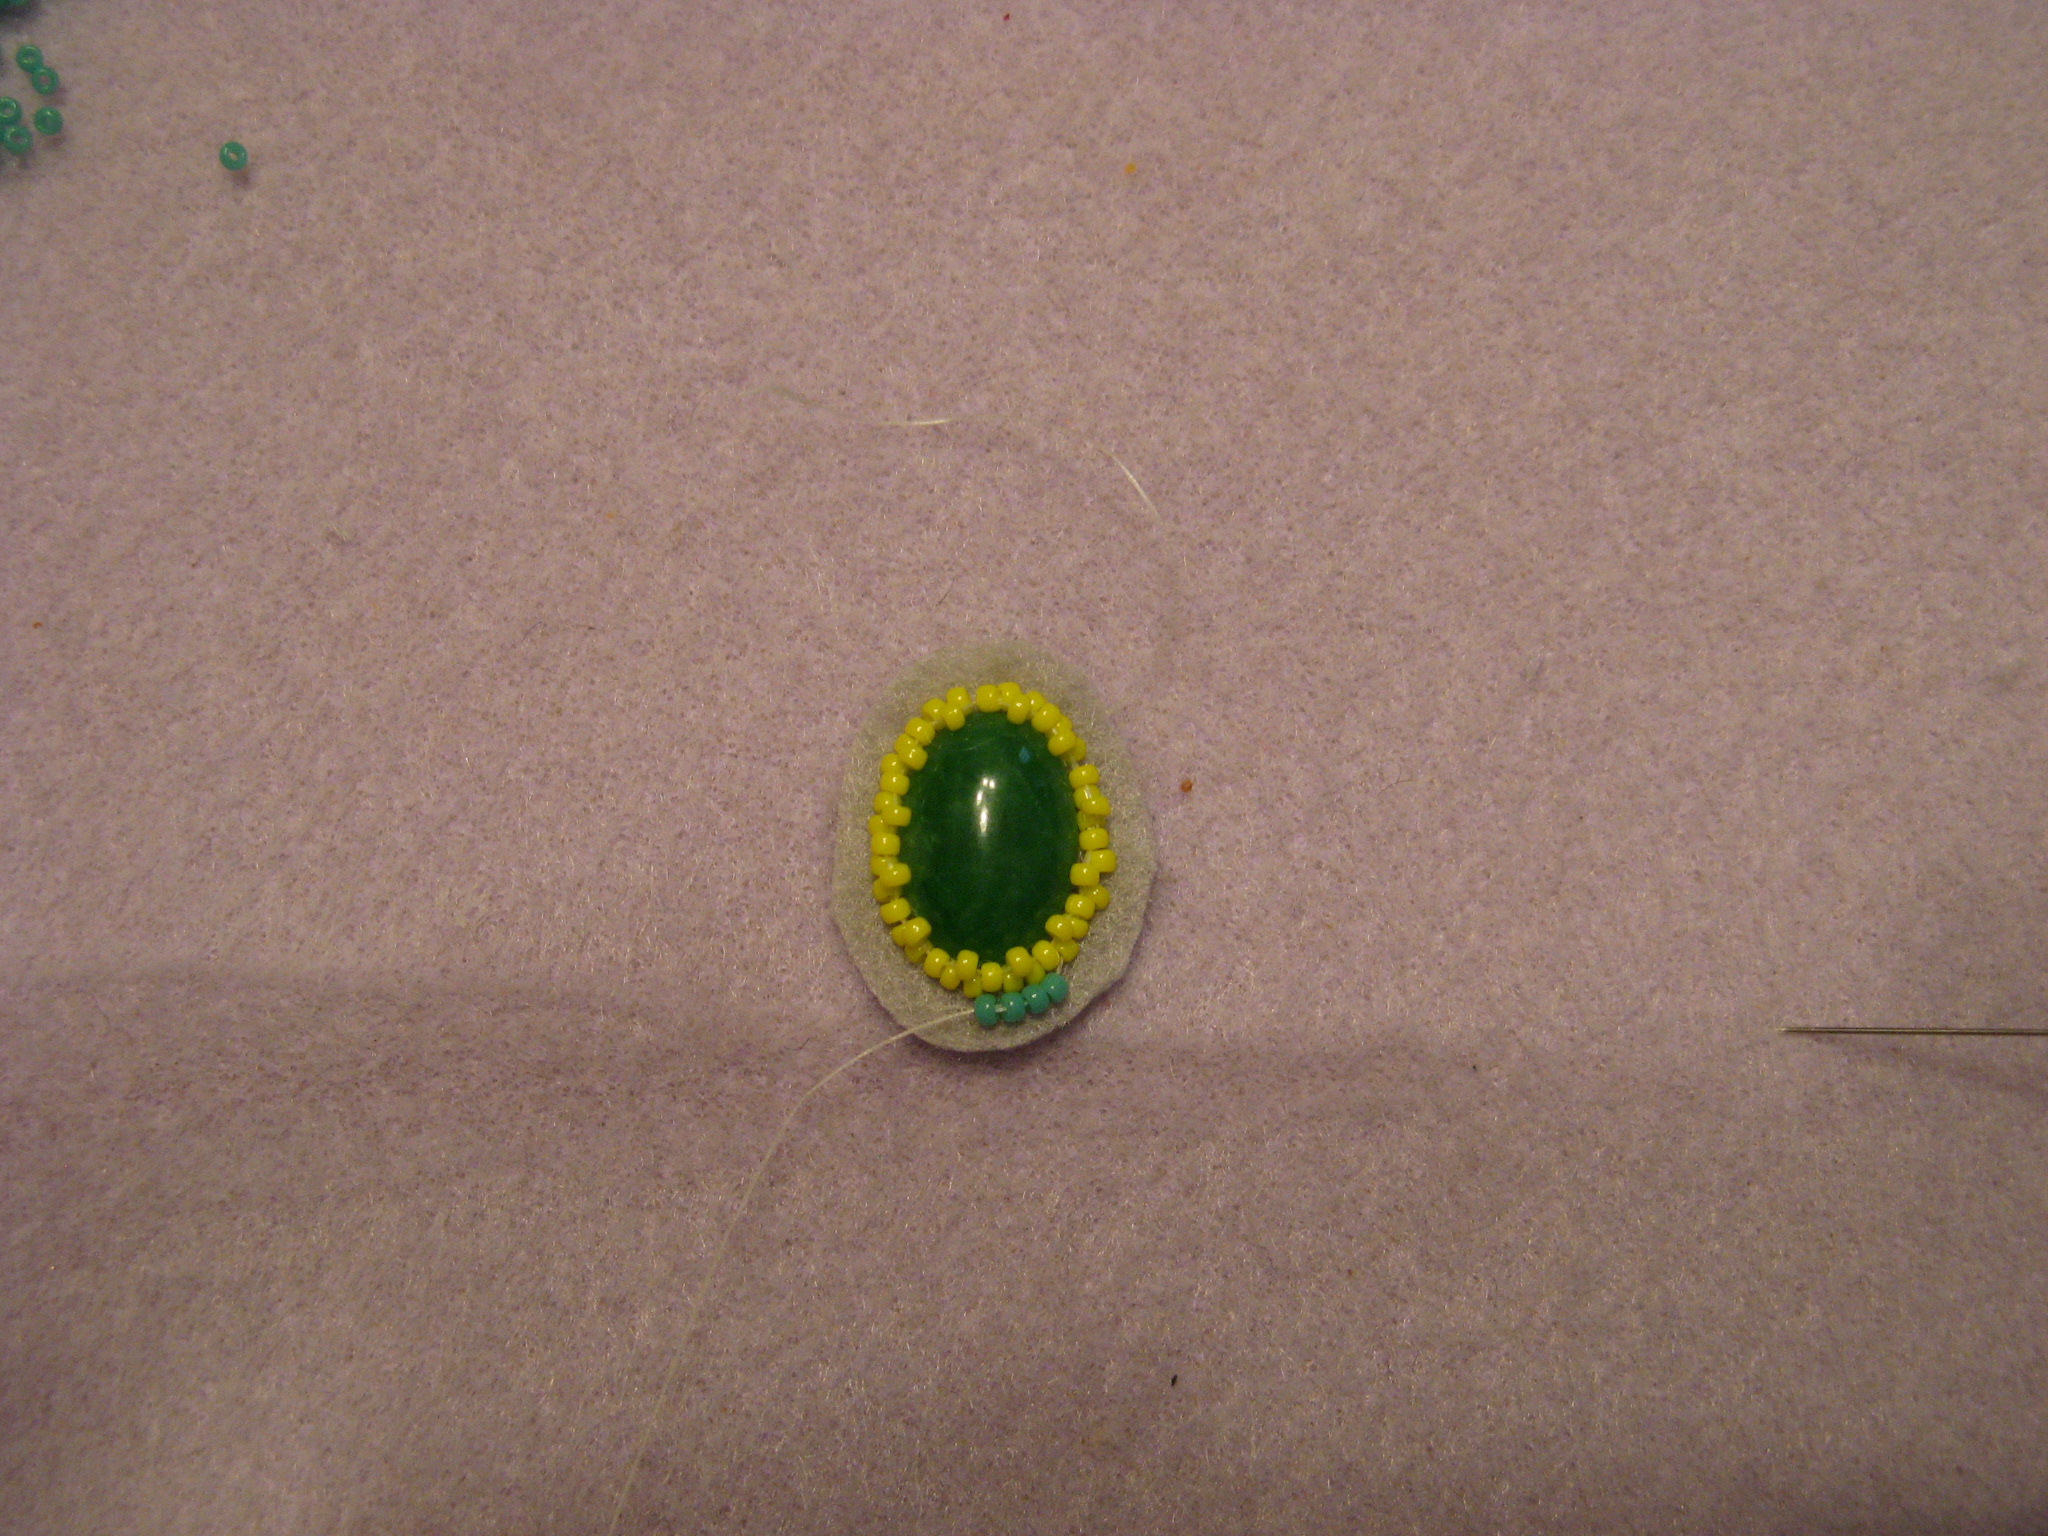
Next up, I glued the cabochon to the center of the felt. After it completely dried I began to stitch the seed beads around the cabochon using the beaded backstitch. I started with a round of yellow and then added a second round of yellow on top of that round so that those seed beads would come up the sides of the cabochon. I then stitched two rounds of turquoise seed beads around the yellow.
It wasn’t long before I was done and my embroidered piece was ready to be adhered to the ring. While I did have jewelry glue (which I used to glue the cabochon onto the felt) I opted to use Krazy Glue to adhere the entire piece to the ring so I could be sure it would stay put.
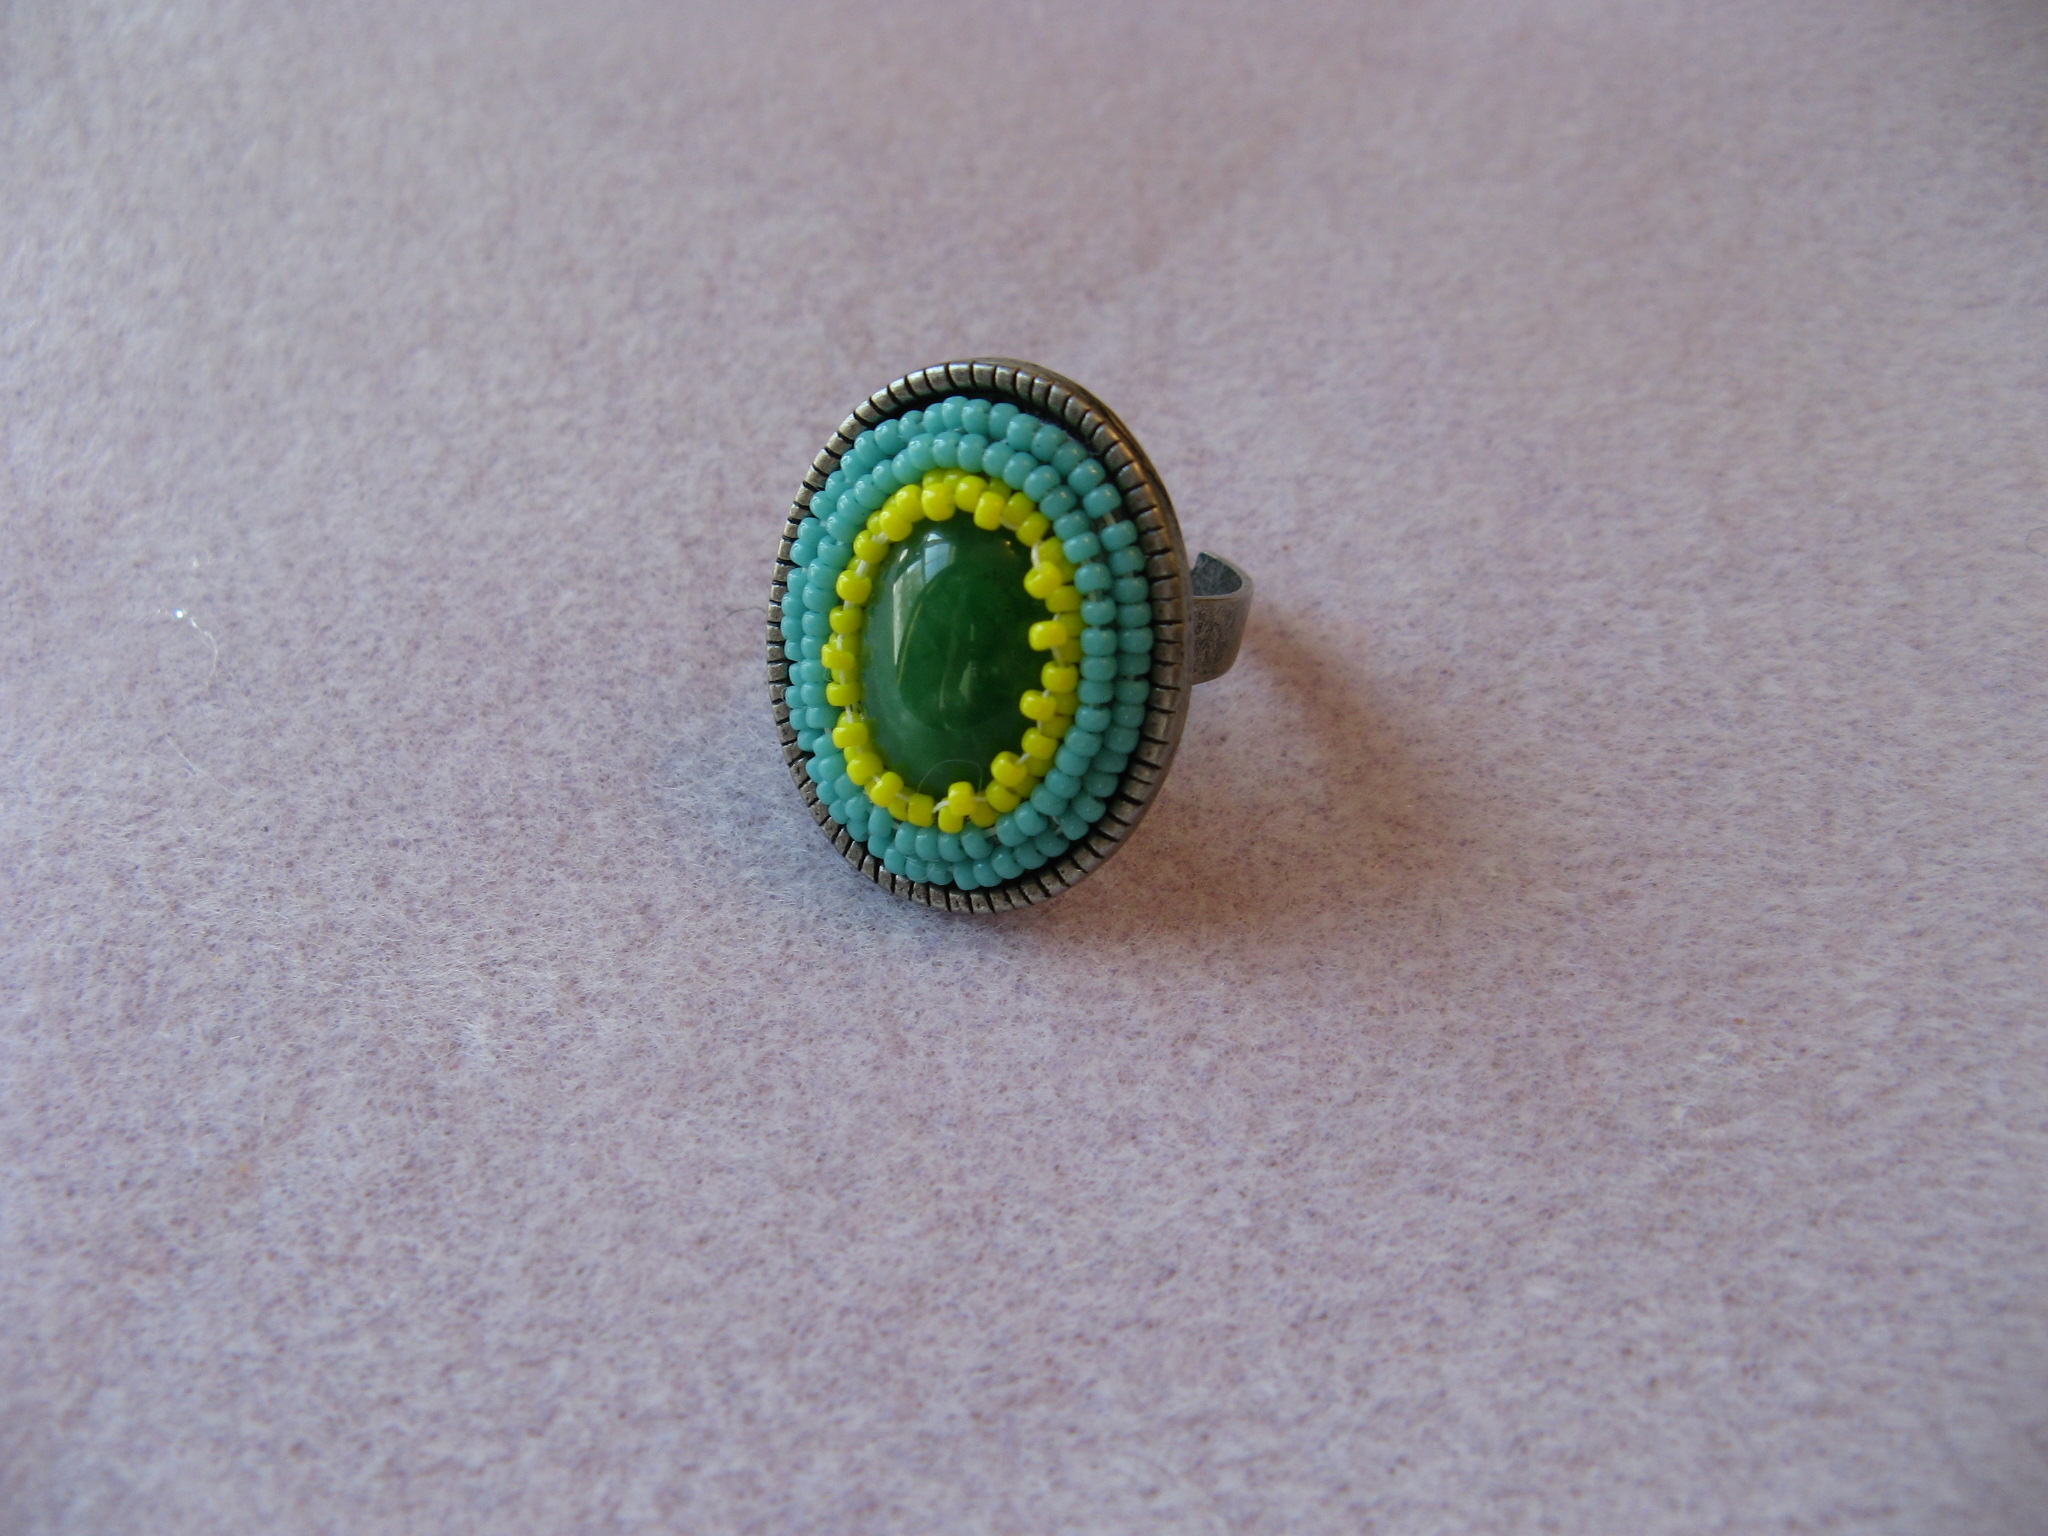
I was really happy with how it came out and I can’t wait to wear it. And now that I know how to embroider on felt I am looking forward to making other pieces of jewelry.
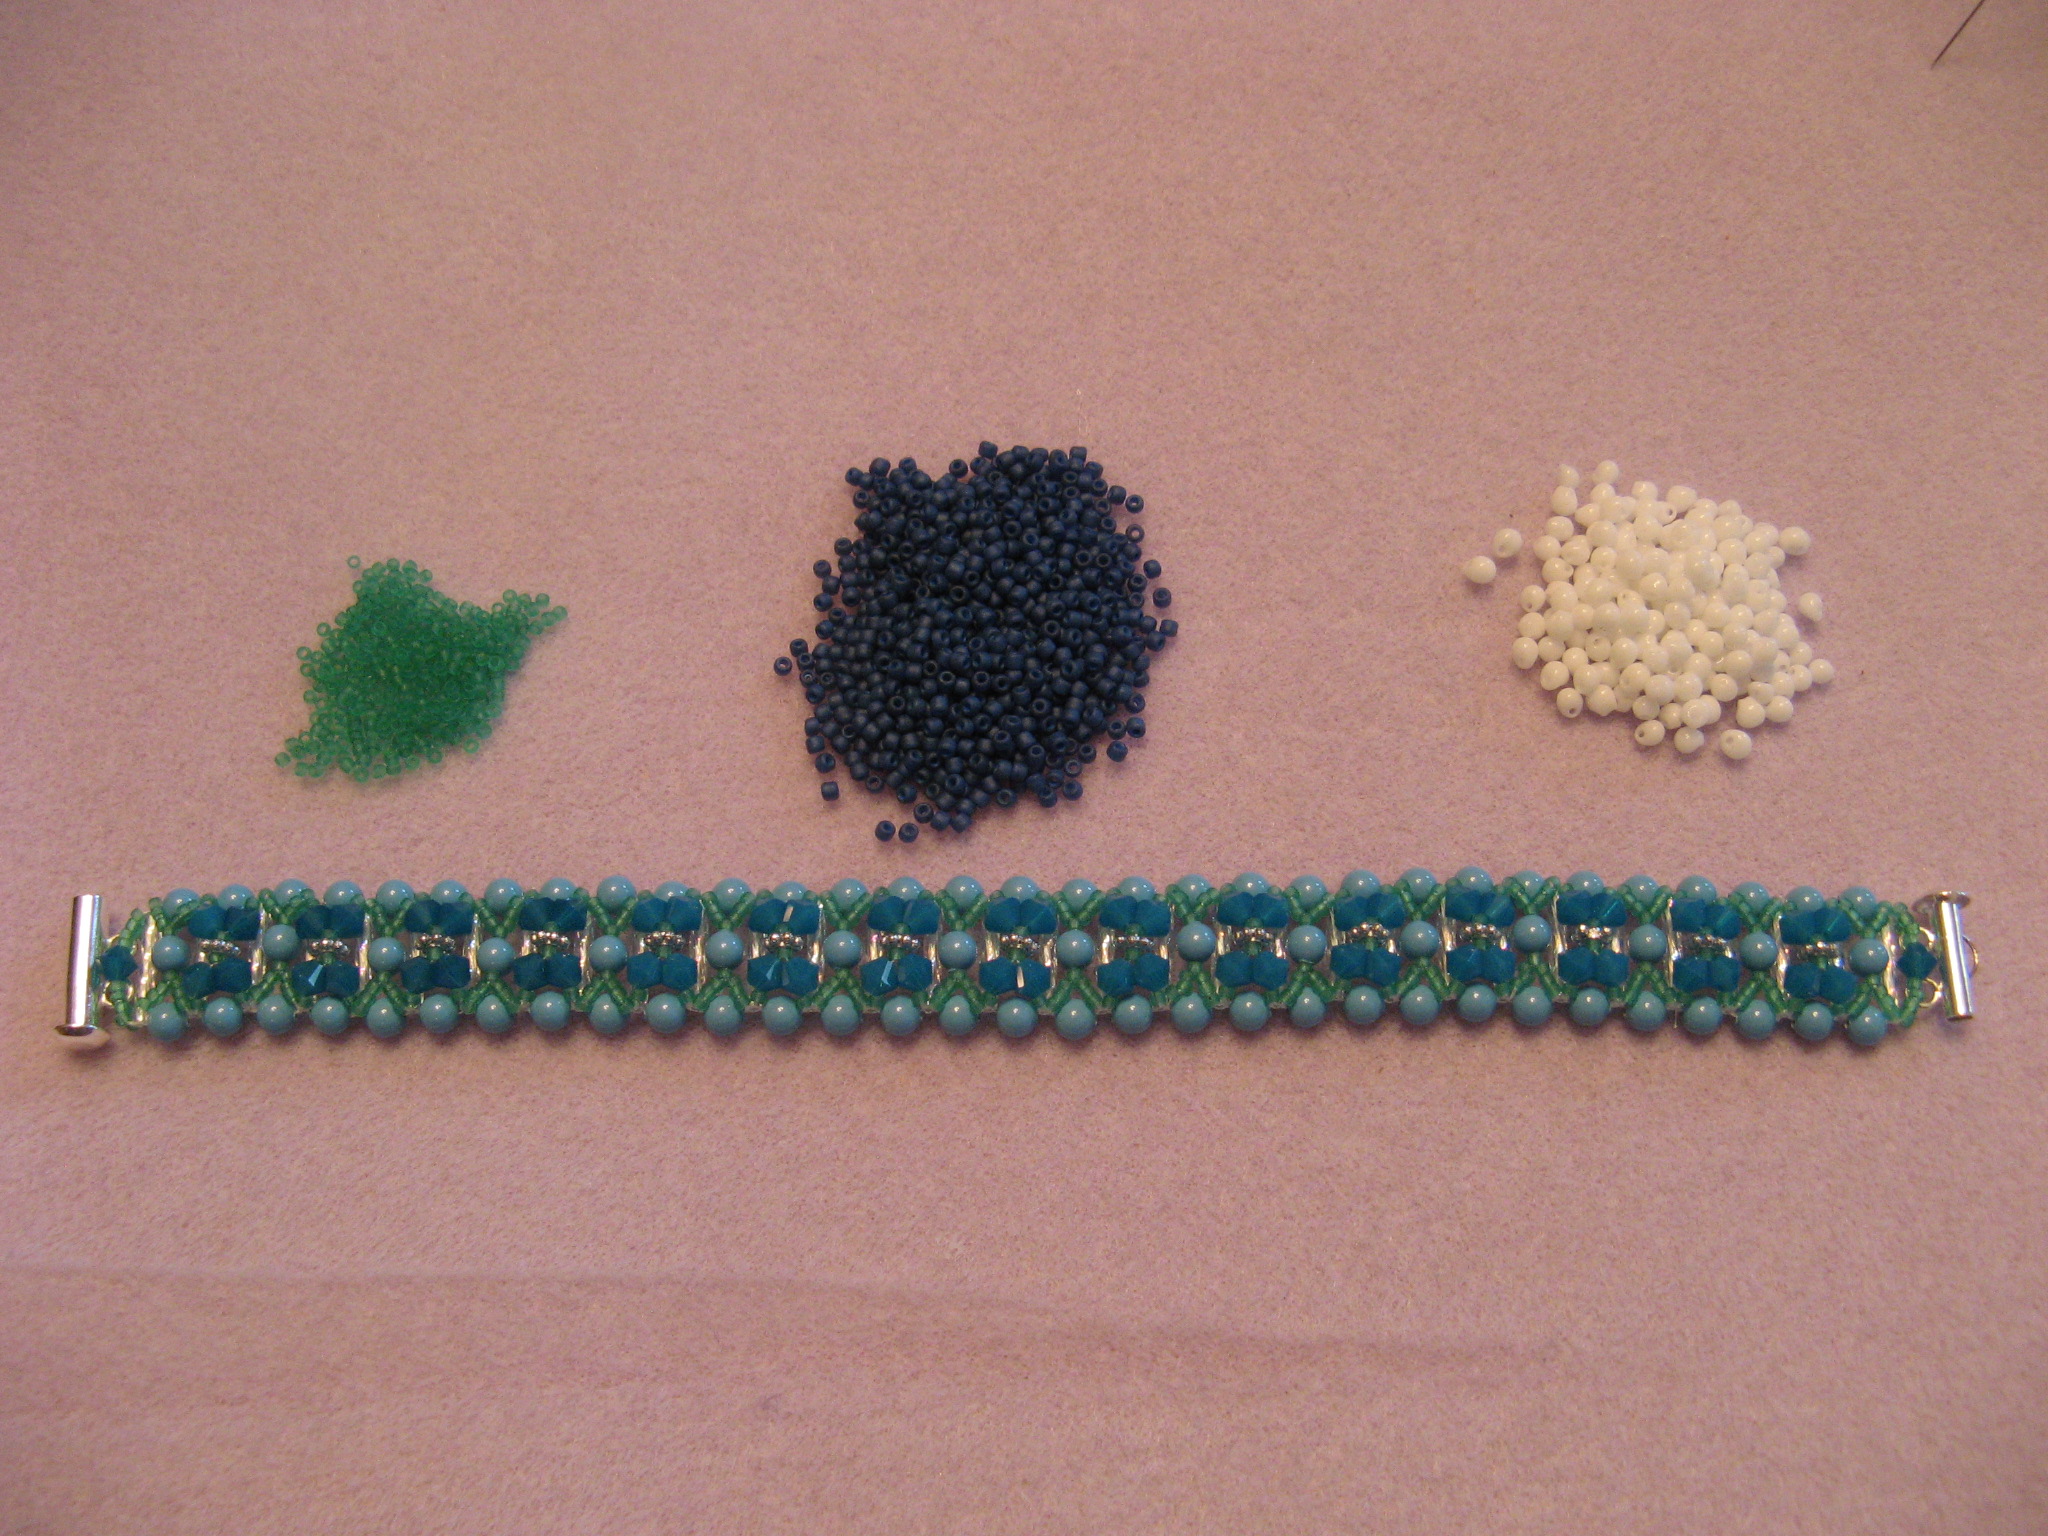
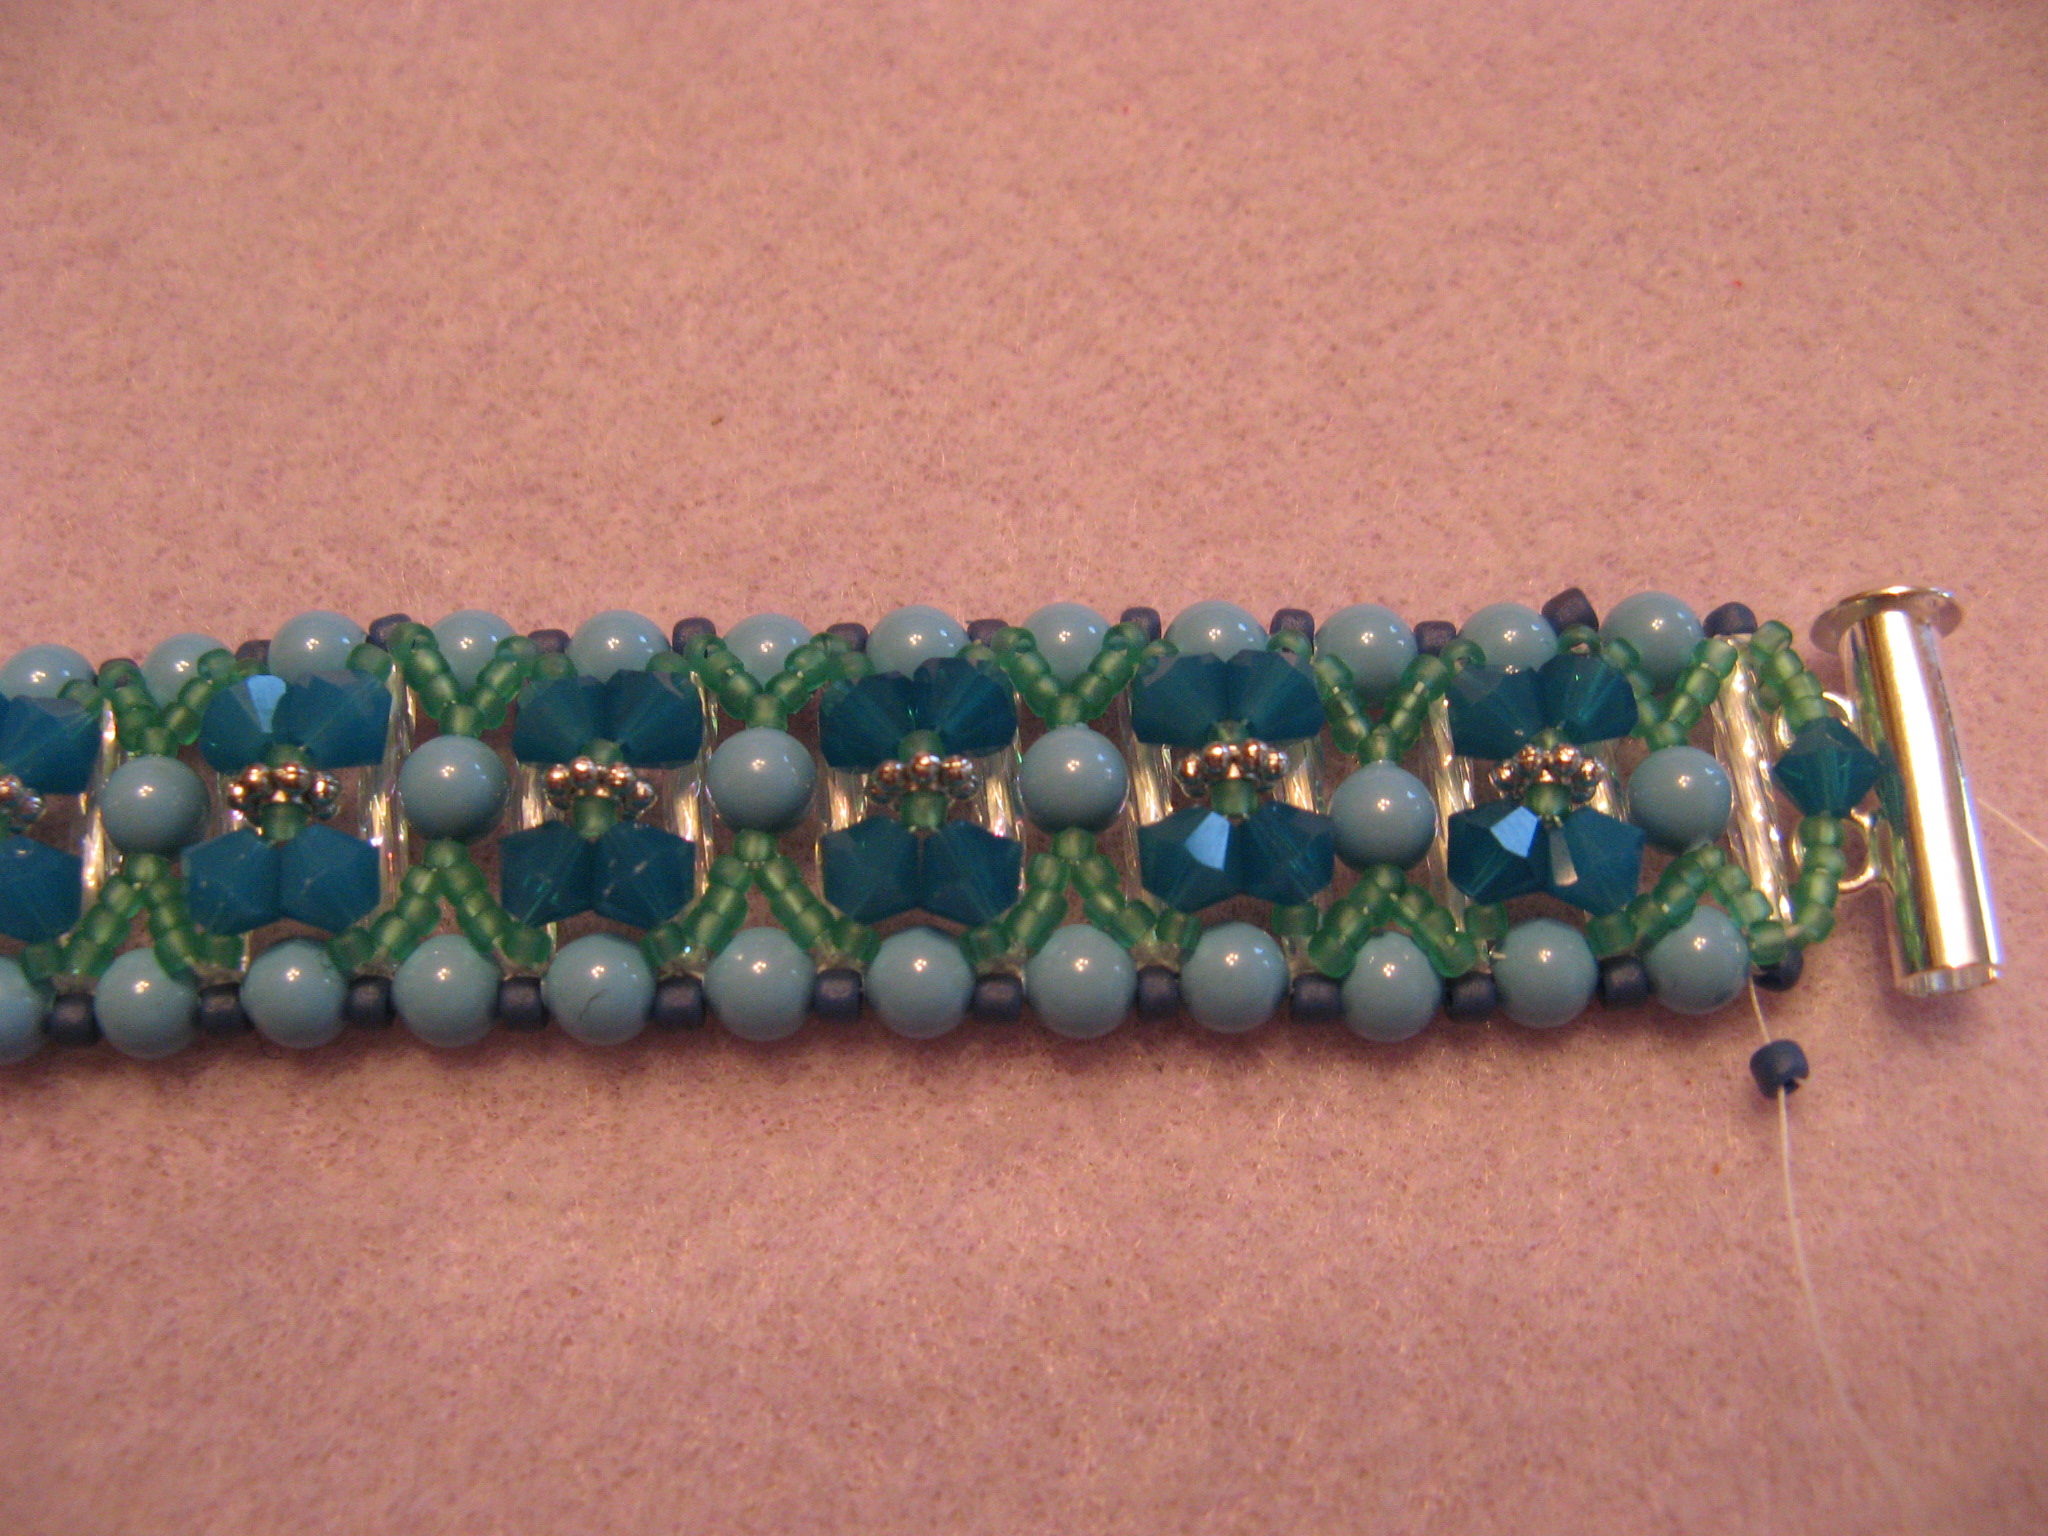
And finally the last piece I made was a bracelet that I also came across in the February 2013 issue of Bead & Button Magazine called Crystal Bridges. The bracelet is made with 12mm bugle beads, 4mm pearls, 4mm bicone crystals, 3mm fringe drops, size 11 & size 15 seed beads, 4x1mm daisy spacers and a two-strand slide clasp. While the article did have suggested colors for the bracelet I opted to go a different route and made my bracelet in shades of blue. I had Swarovski Crystal bicones in my beading stash that I wanted to use so I based my other colors off of them.

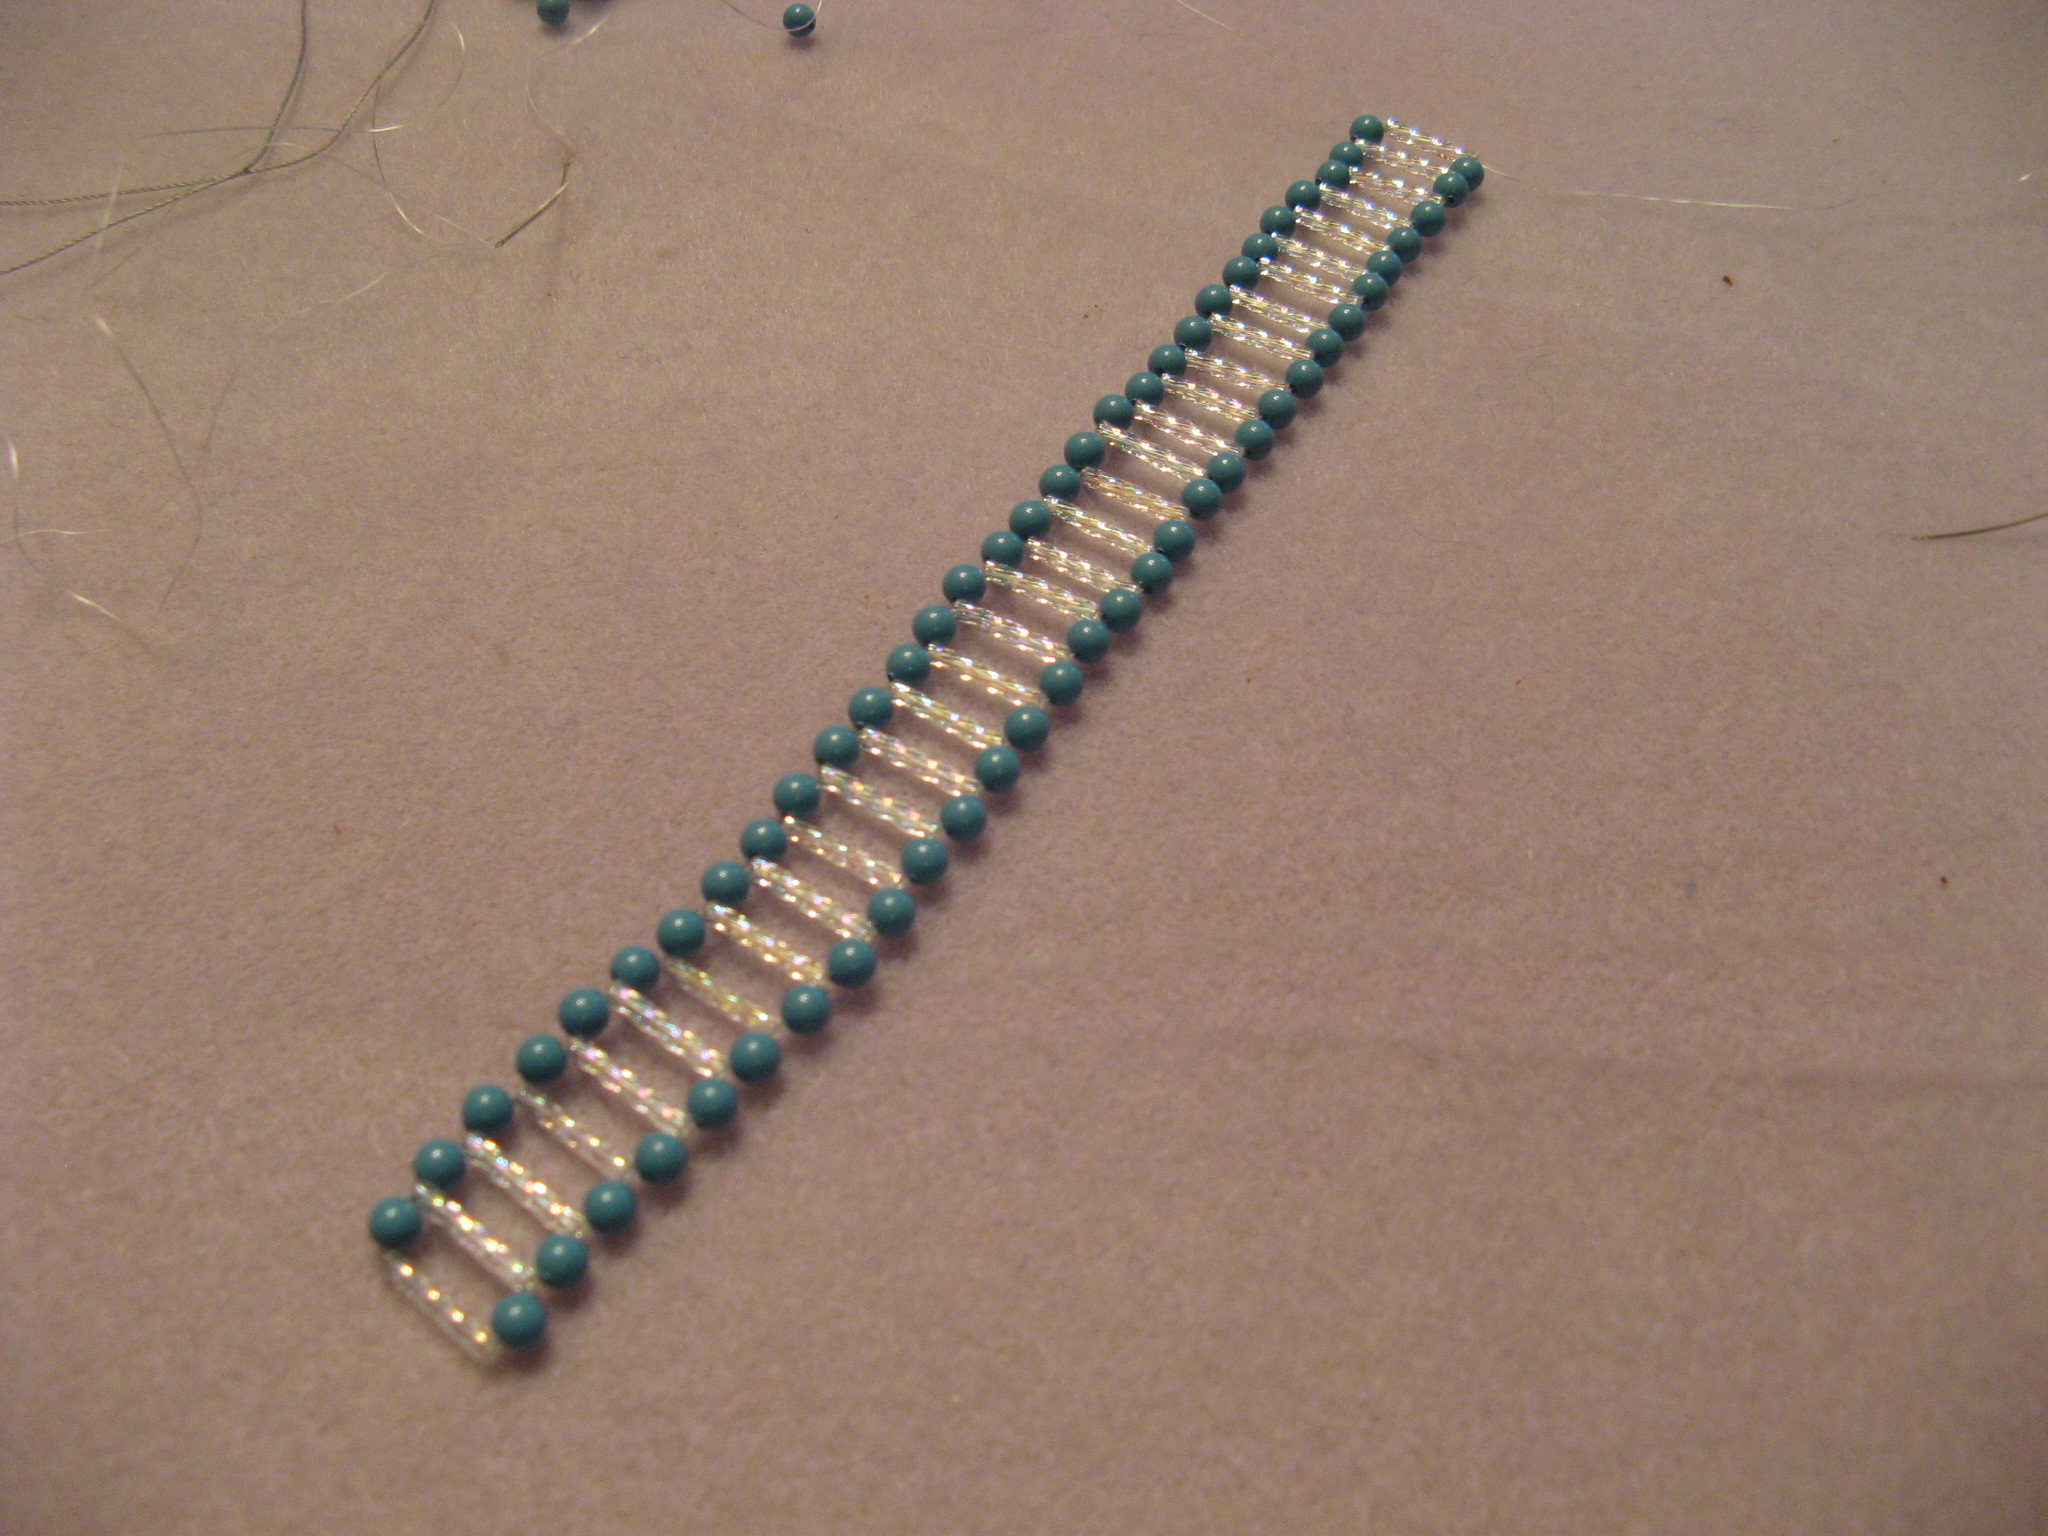
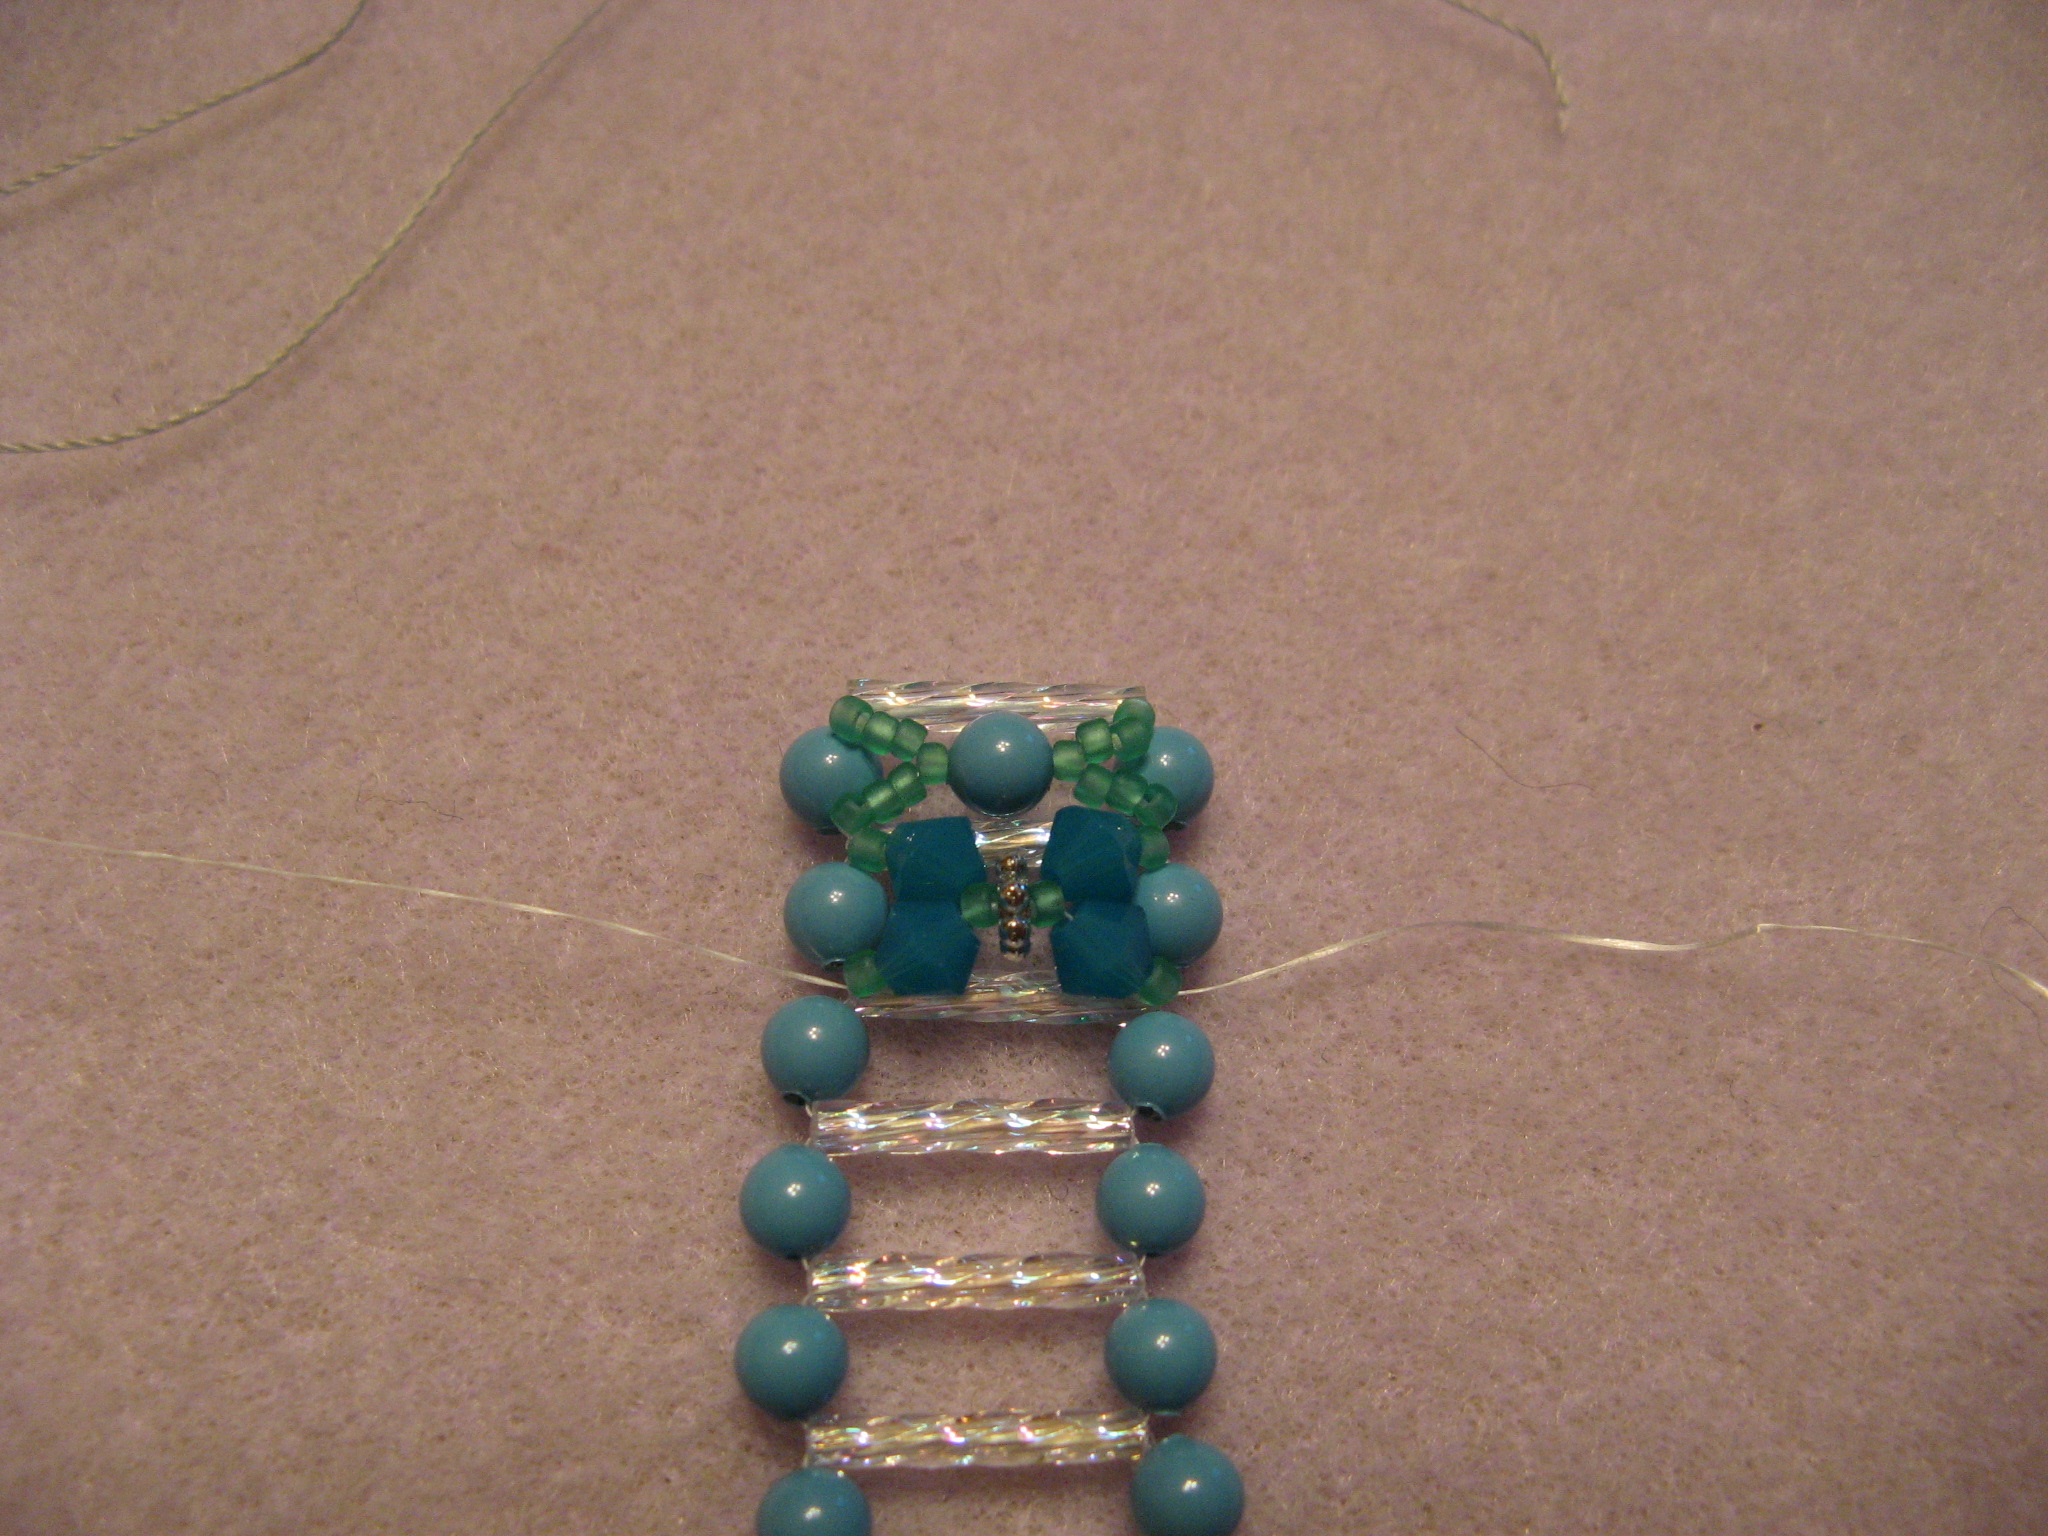
To start I created the base of the bracelet by using the crossweave technique to add the bugles and pearls. On a comfortable length of Fireline I threaded a size #12 beading needle onto each end and then centered a bugle bead onto the thread. Then with each of the needles I picked up a pearl and with one of the needles a bugle bead and then crossed the other needle through it. In total I added 32 bugles for the bracelet to be approximately 7 1/2 inches. Just to note, if the size needs to be adjusted the number of bugles beads on the base must be an even number for the top embellishment to work.
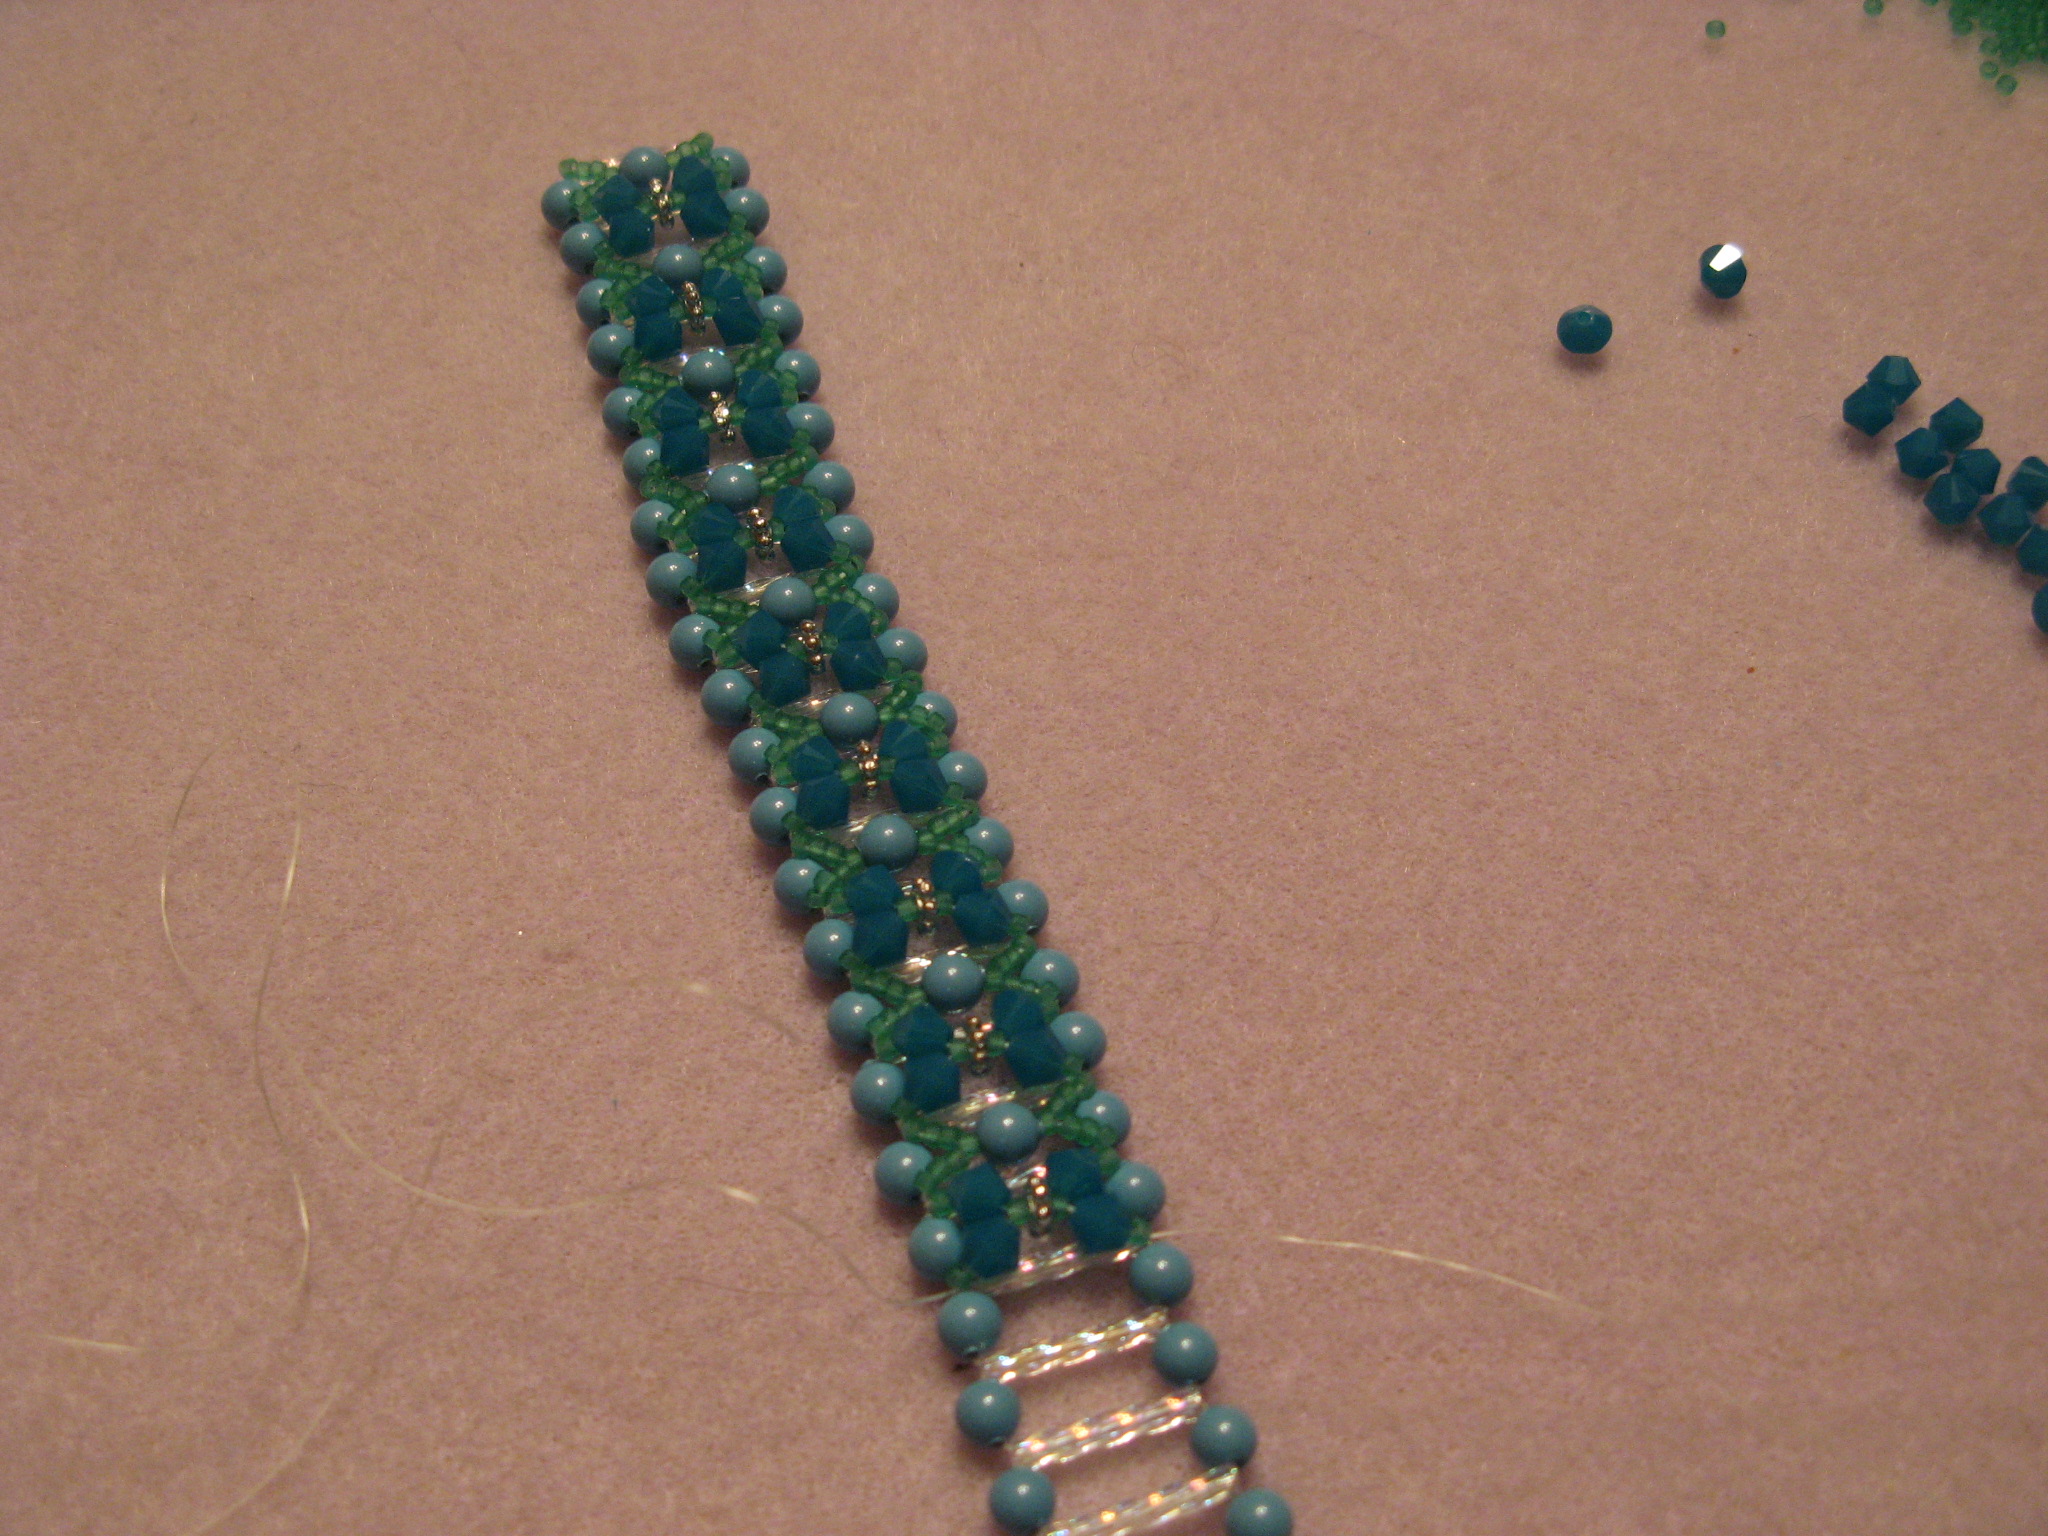
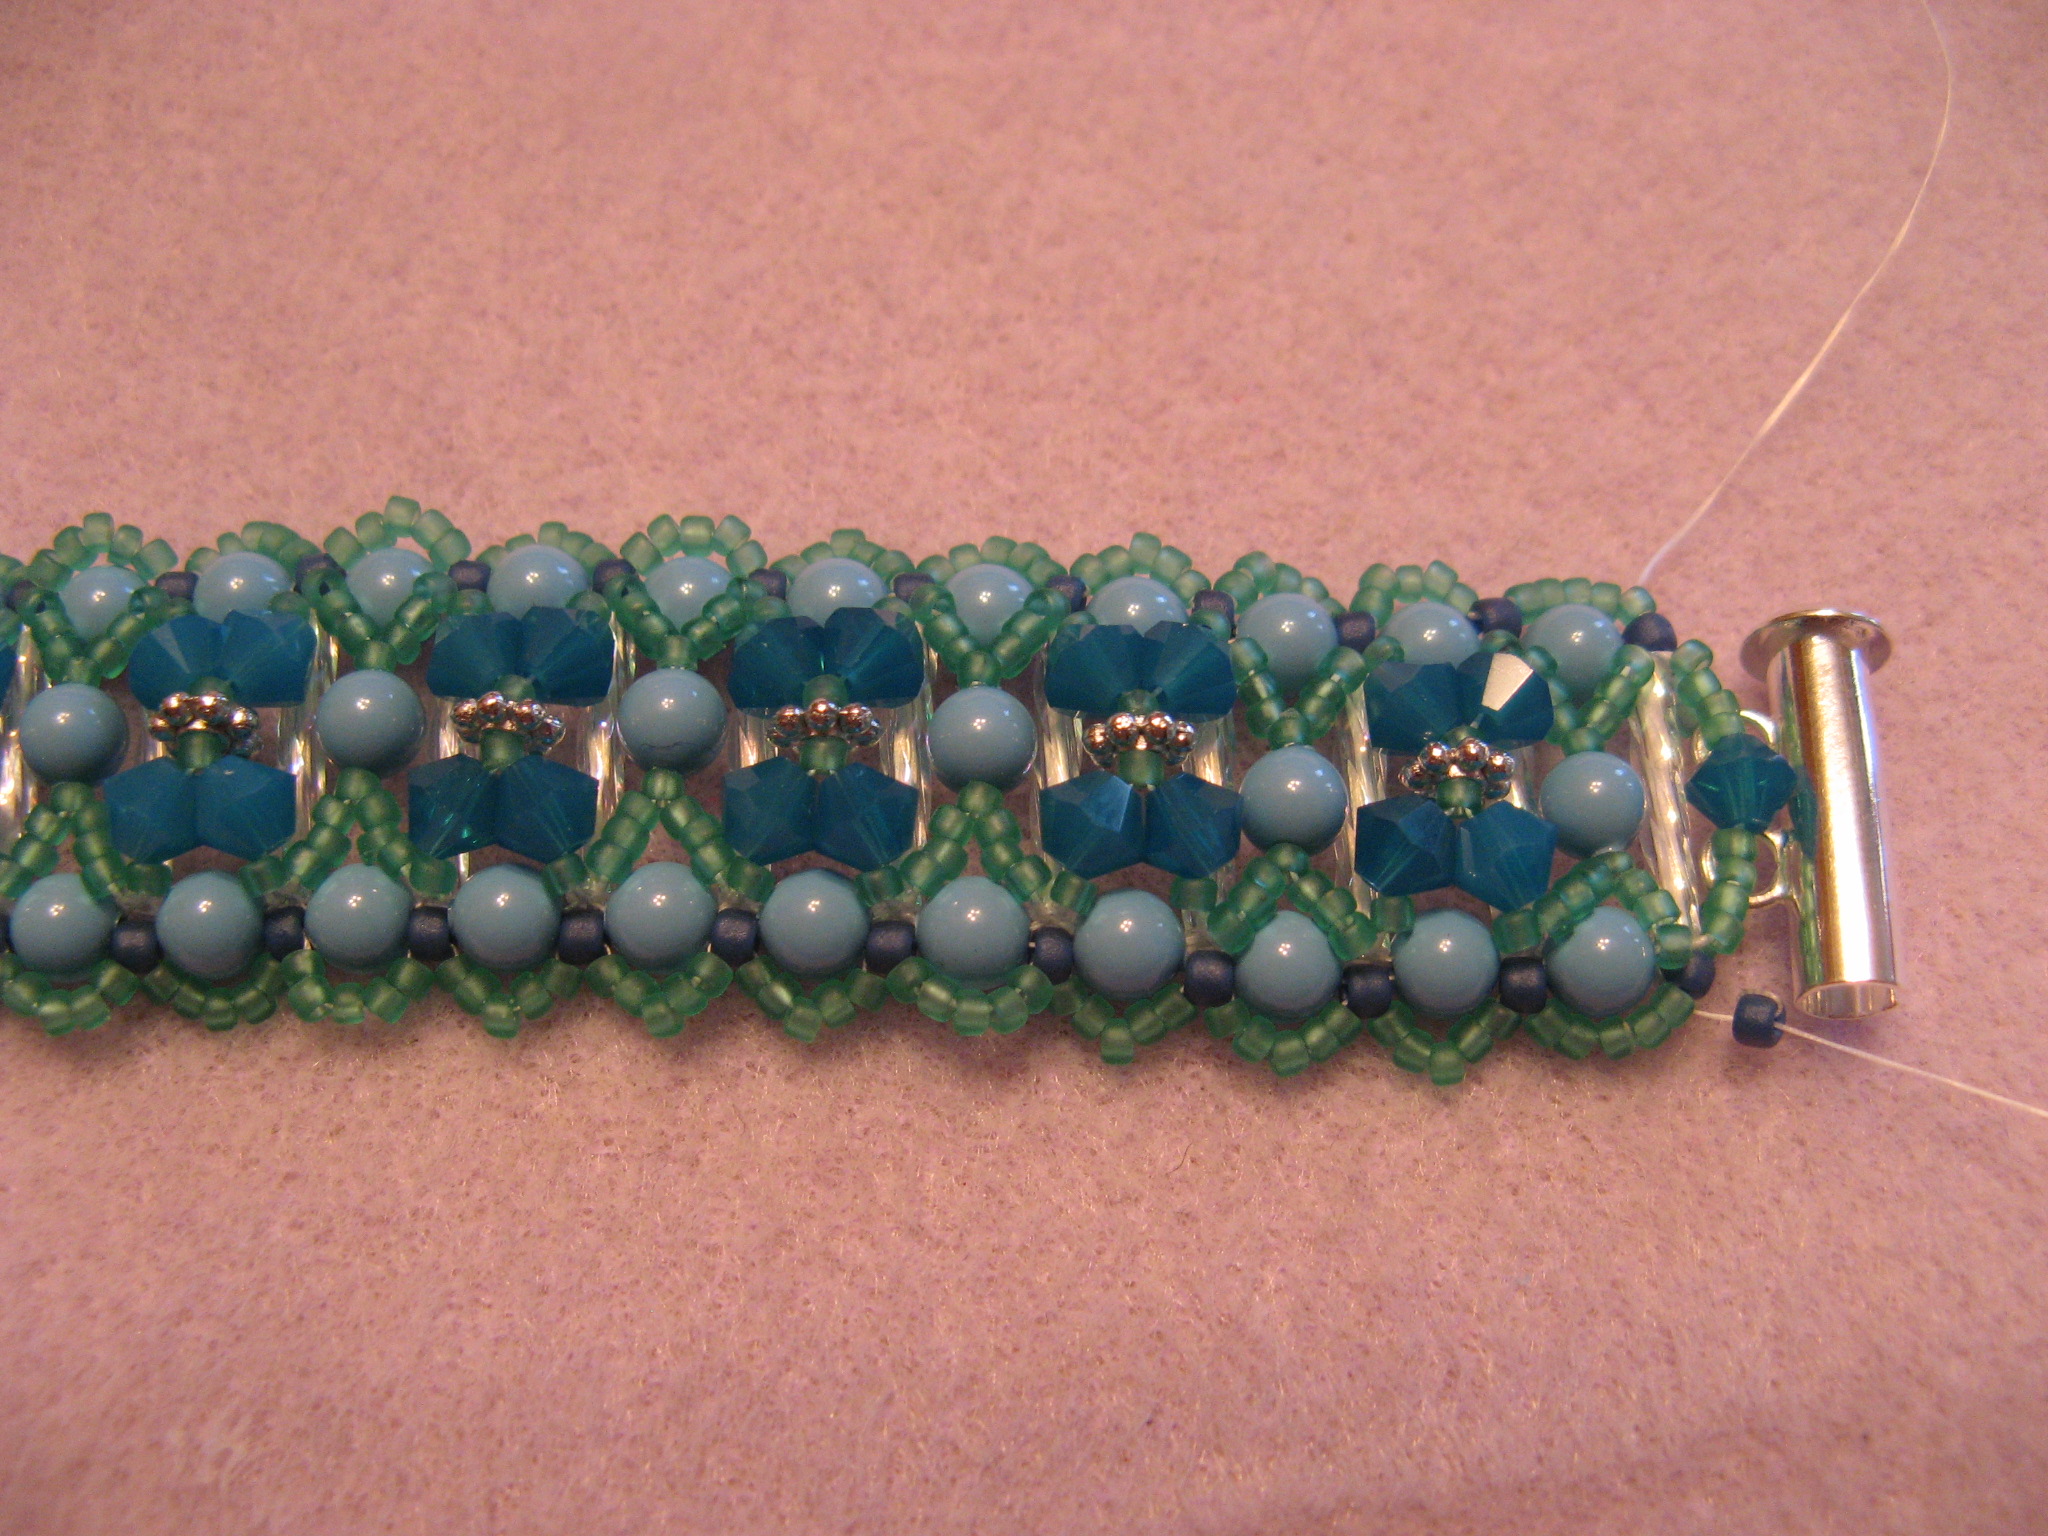
Following that I added the top embellishment. I once again used the crossweave technique to add the pearls, size 15 seeds beads, bicones and daisy spacers.
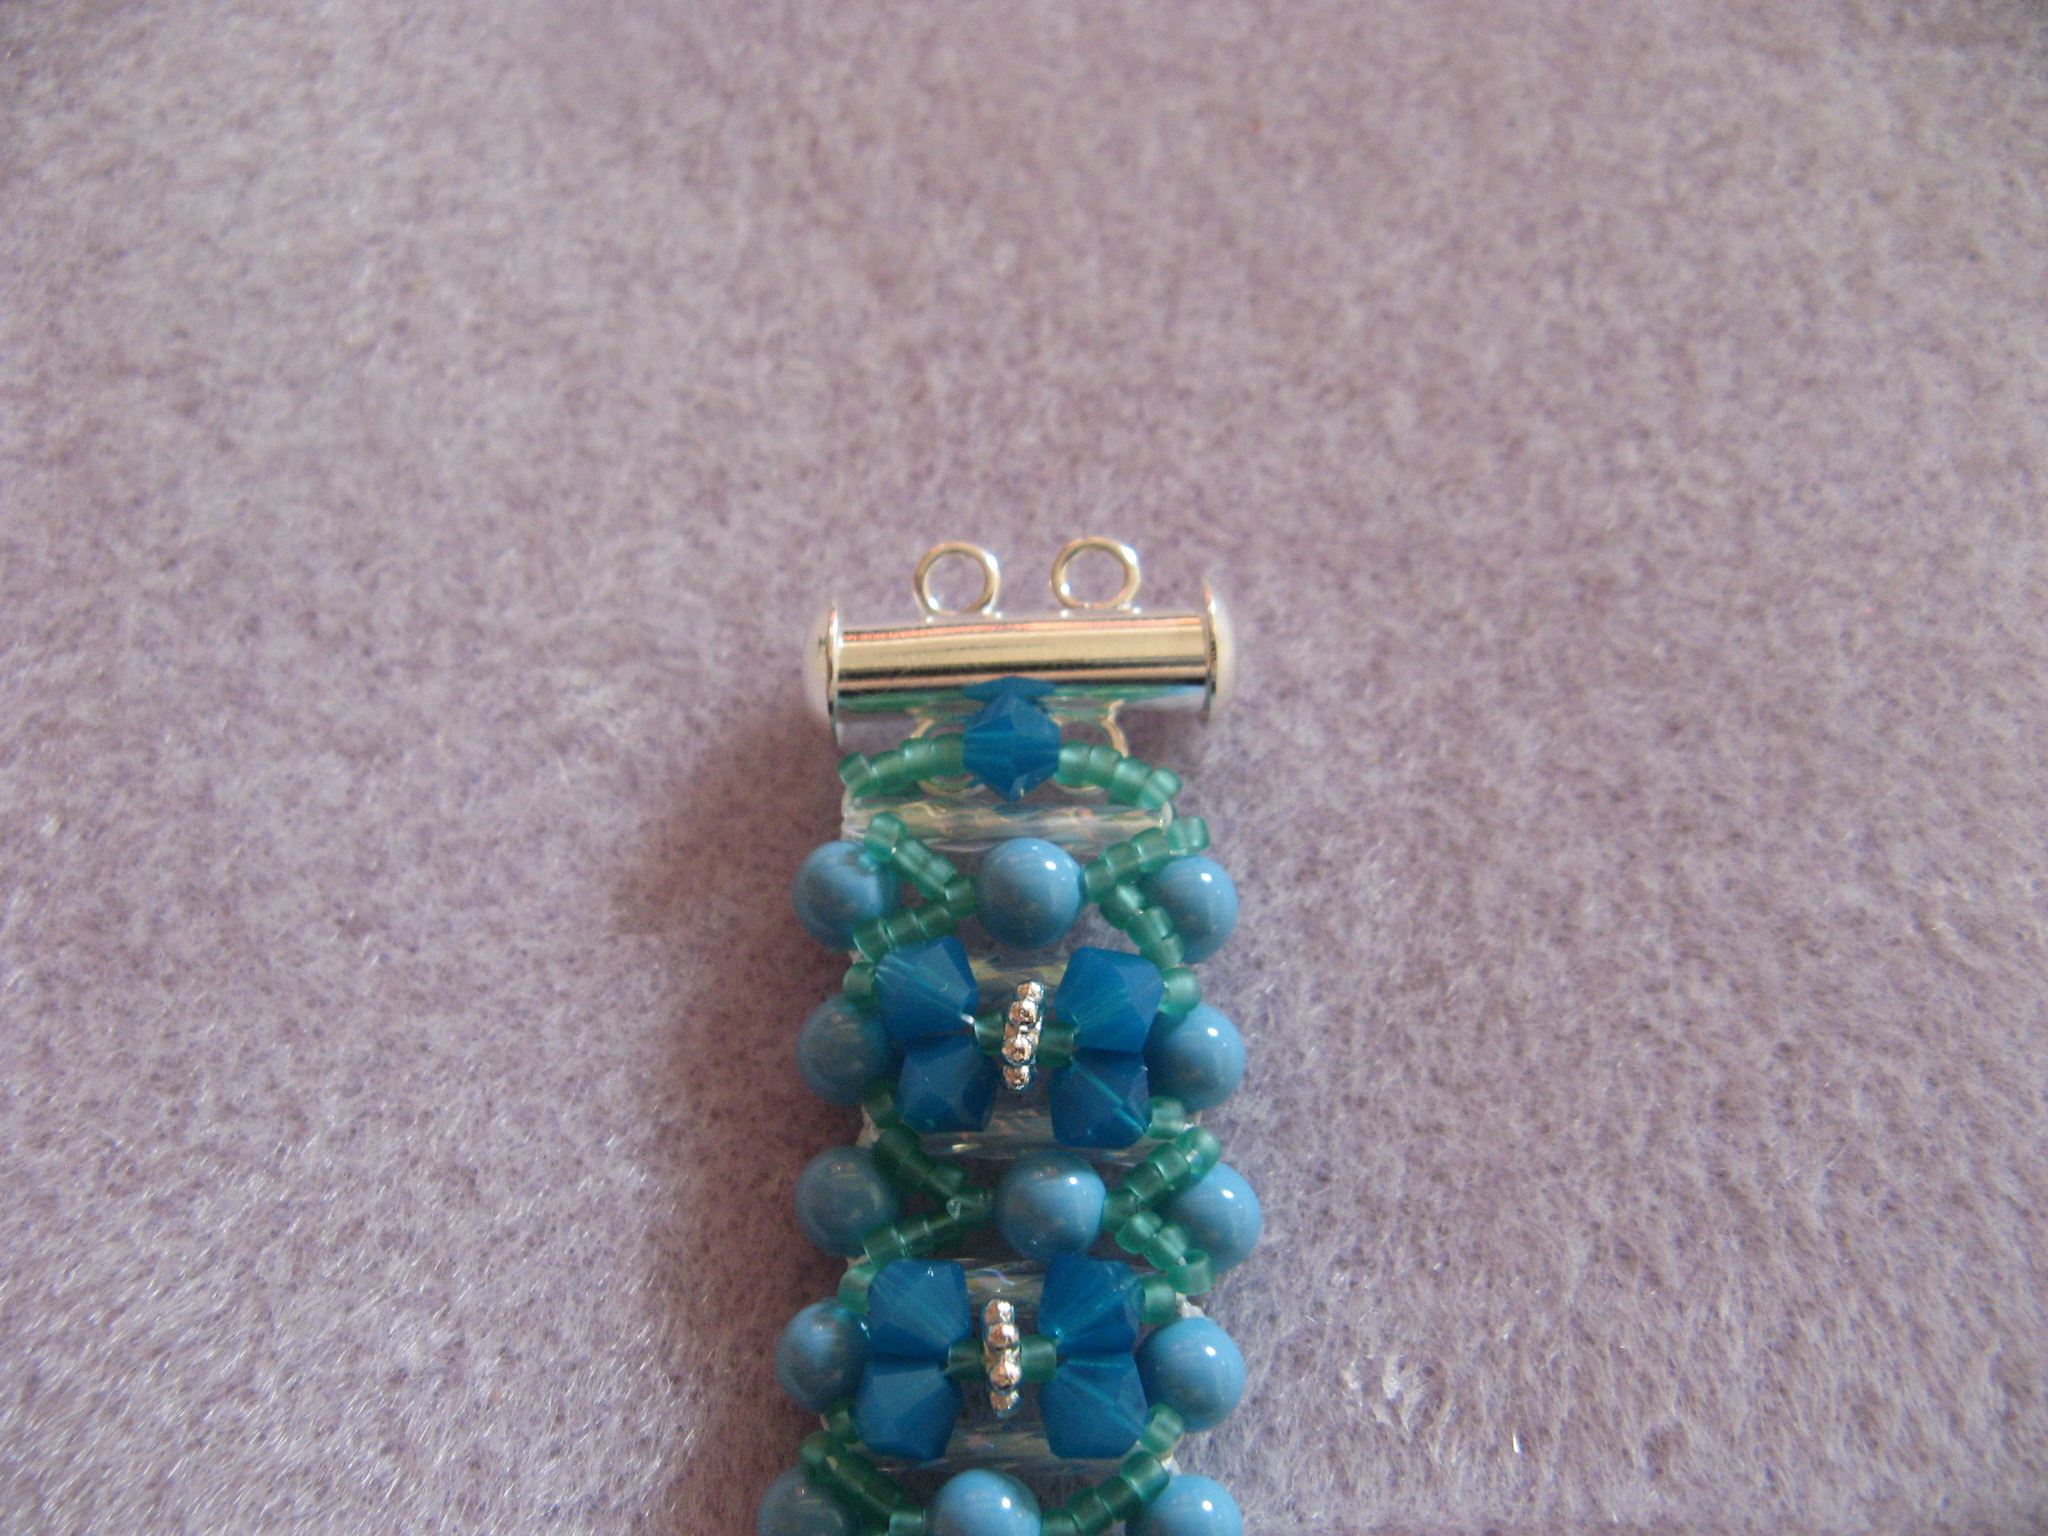
Once that was done it was time to add the clasp. This was a little backwards to me since I am accustomed to adding a clasp to piece of jewelry only once it’s completely done. Once again I used the crossweave technique to add size 15 seed beads and a bicone crystal to attach the clasp to the bracelet. In all honesty the bracelet could be worn like this and you could forgo the side embellishment, but, if you want more of a unique piece I think it’s necessary to keep going – which is what I did.
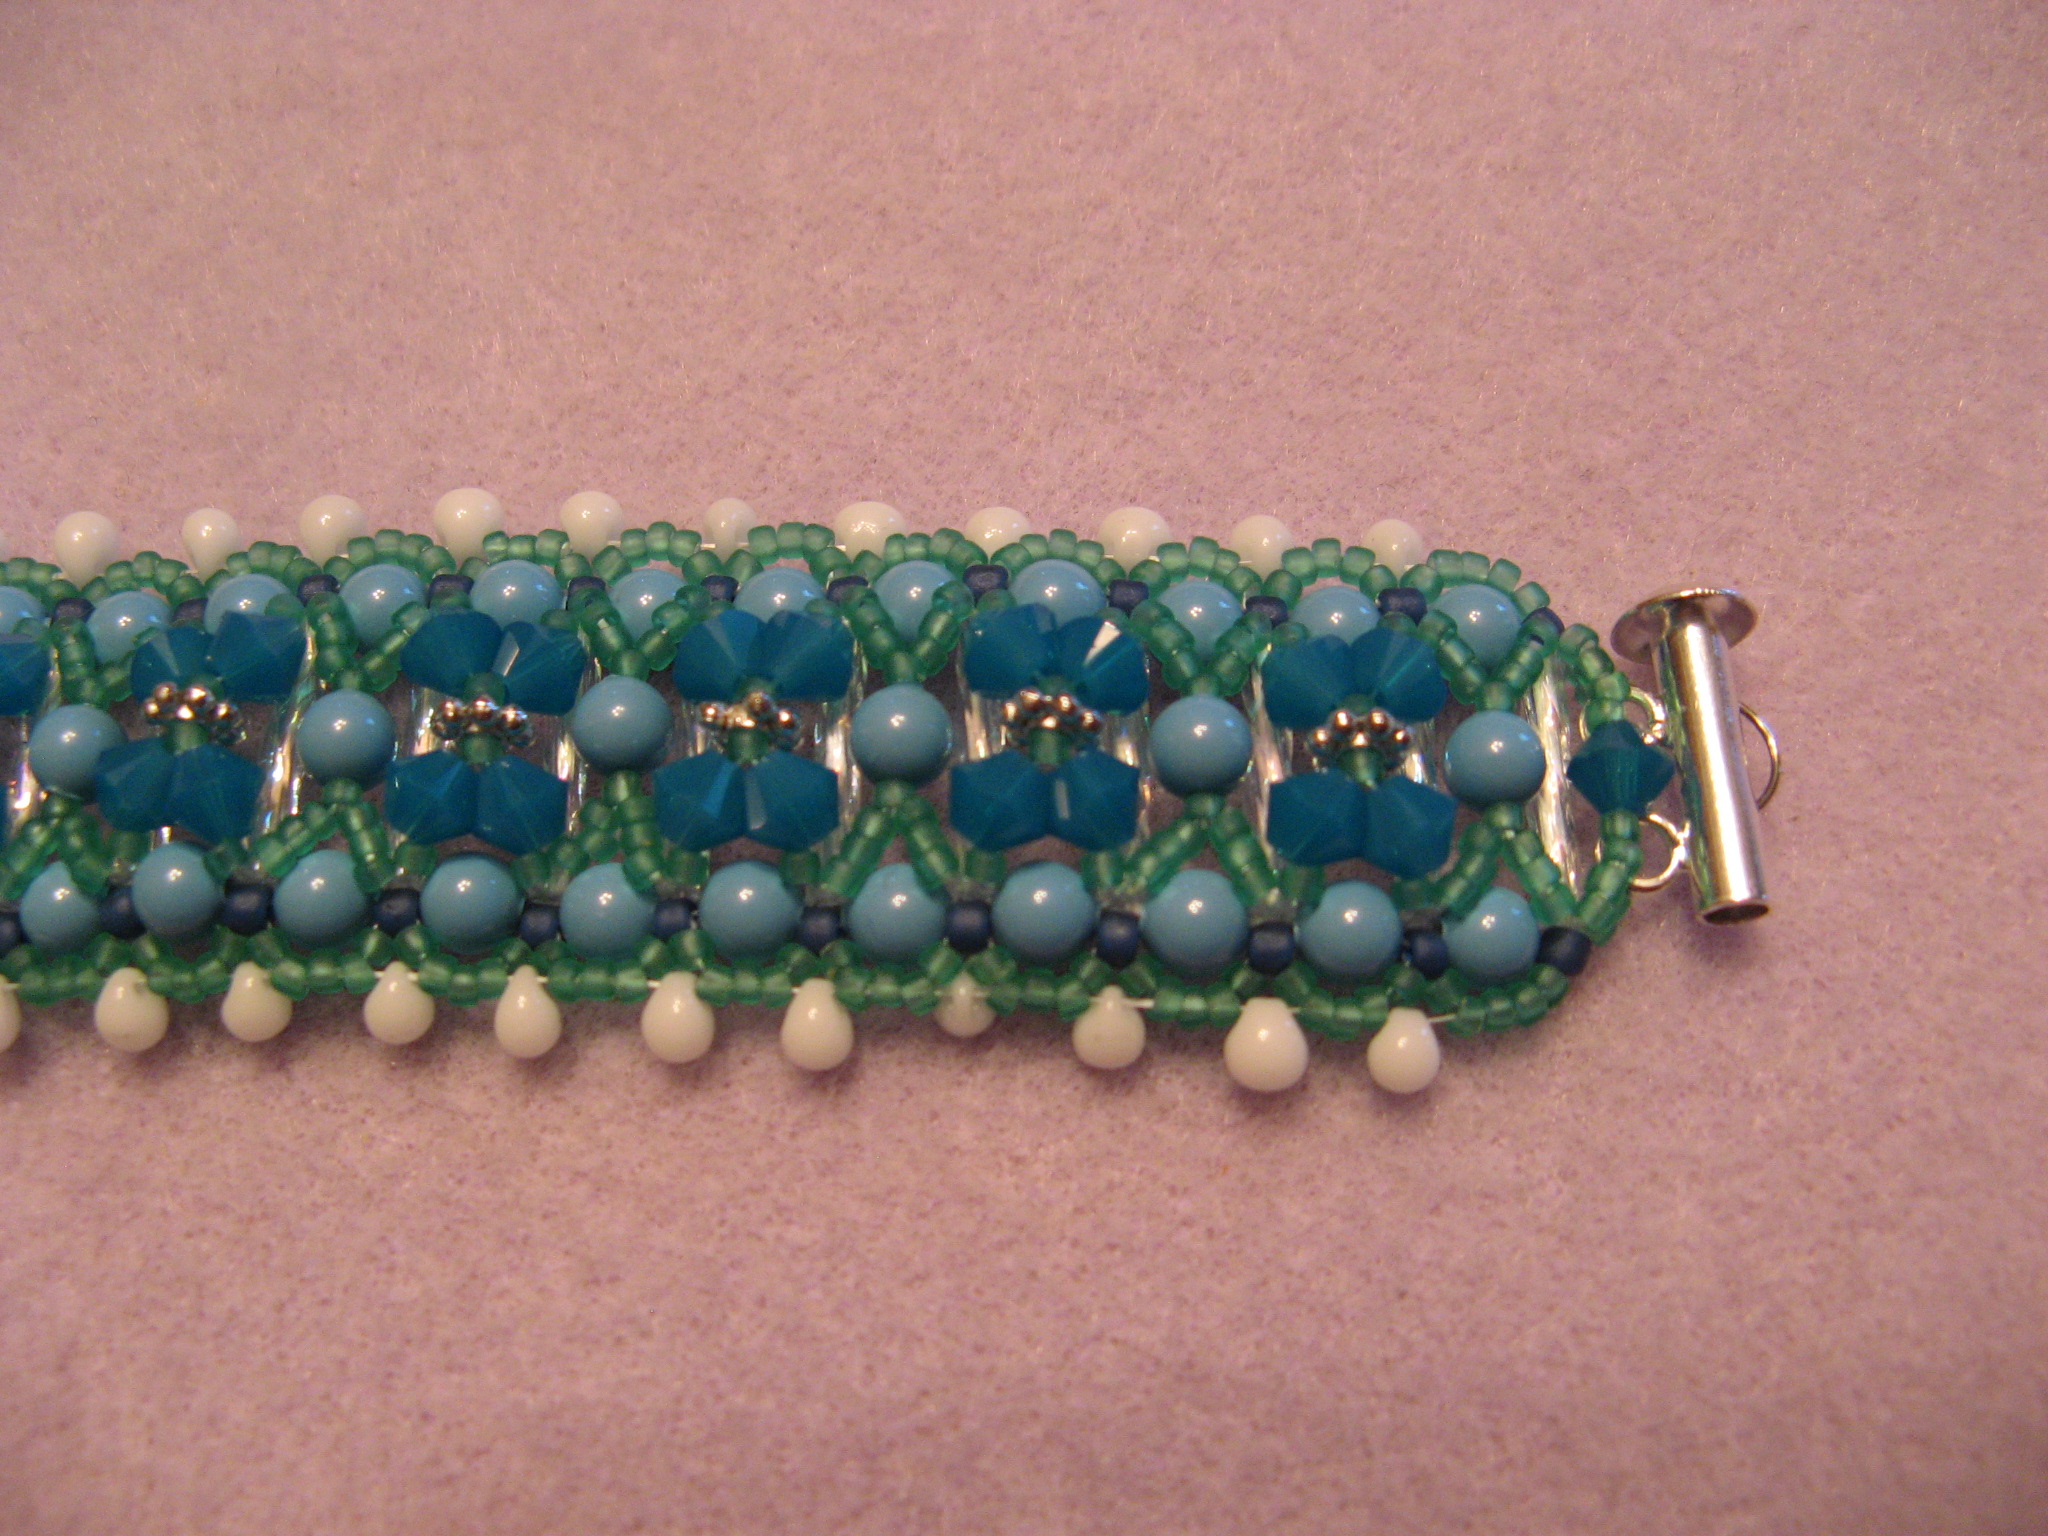
To add the side embellishment – which consists of the size 11 & 15 seed beads and the fringe beads – I worked in a simple bead weaving technique. To start I added one size 11 seeds between each of the pearls.
I then added five size 15 seed beads by stitching my thread through the size 11 seed beads I had just added, which basically left the size 15 seed beads arching around the pearls. I was concerned at this point because the size 15 seed beads weren’t sitting flat. I kept playing with the thread by pulling it snug and then loosening it in an attempt to have them fall flat, but, it didn’t work. Luckily the final step rectified the problem.
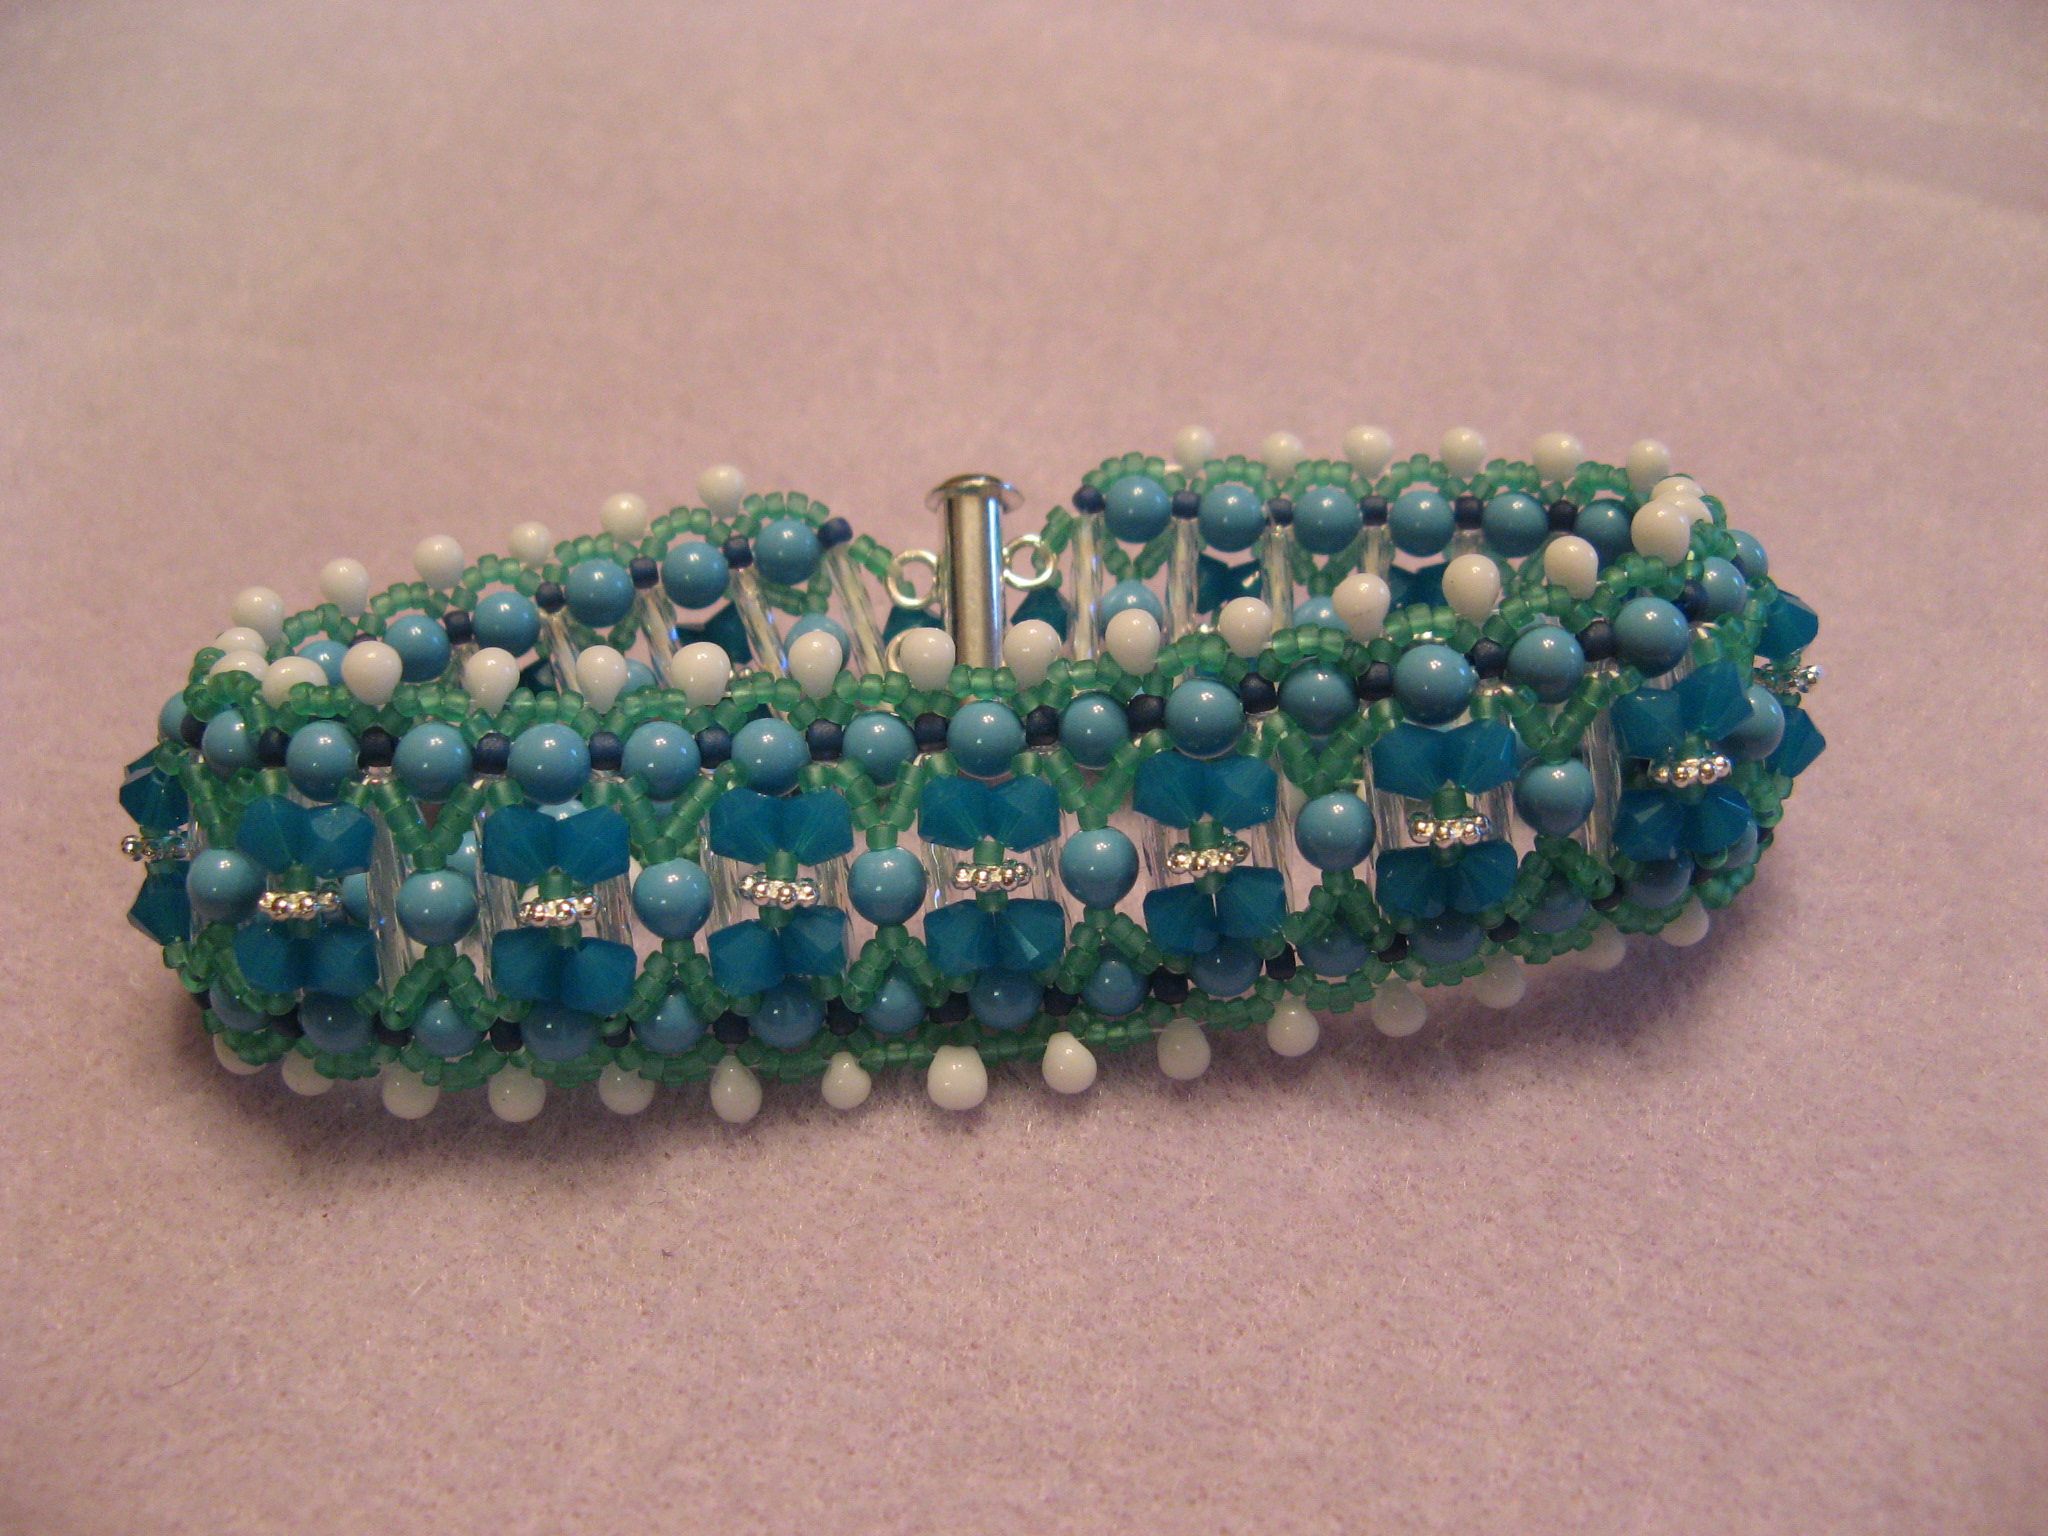
Finally, I added the fringe drop beads by sewing through the three middle size 15 seed beads from the five I added in the previous step. Basically the fringe drops sat next to the size 11 seed beads. I ended my thread and my bracelet was ready to wear. Unfortunately I’ll have to wait a while to wear it since the colors are more for Spring/Summer.

The bracelets are beautiful. Maybe you should start a shop on Etsy!!
Thanks Liz!
Really crafty… I agree with Liz… This is art and you should let people know your caliber…..
Thank-you… Hopefully one day soon I’ll have an online shop up and running.