Cookie Palooza: Chocolate Dipped Shortbread Cookies

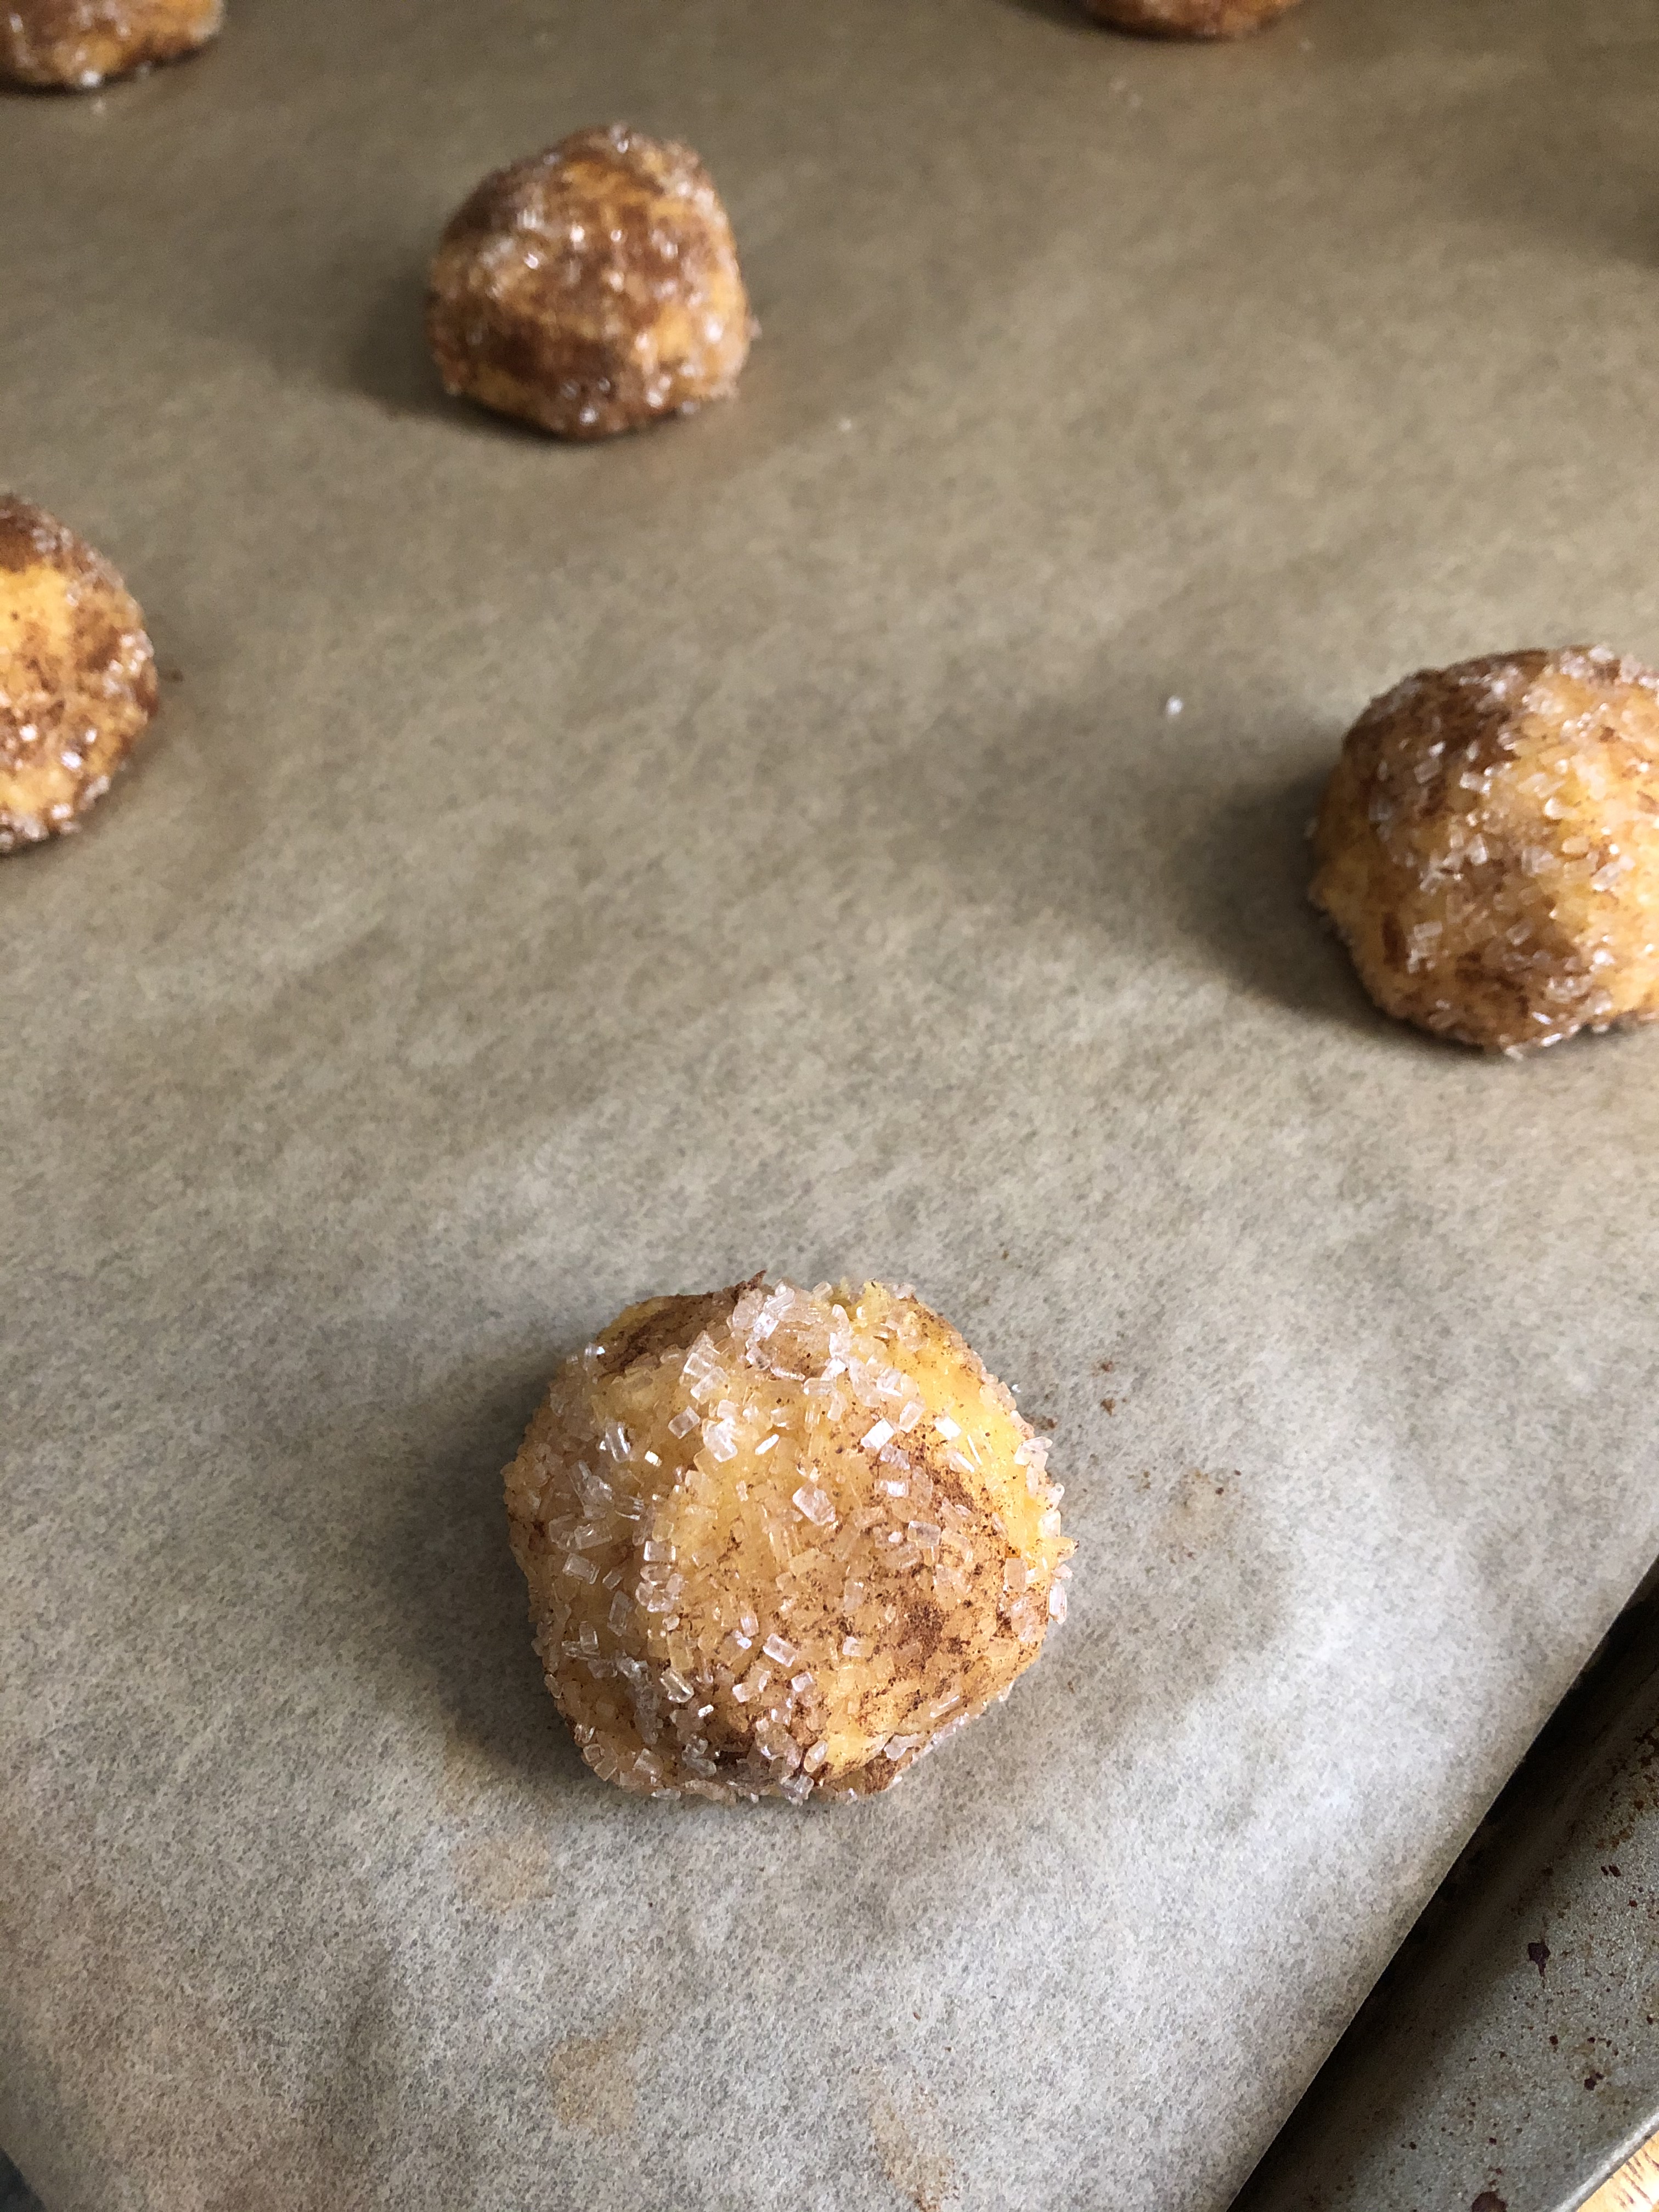
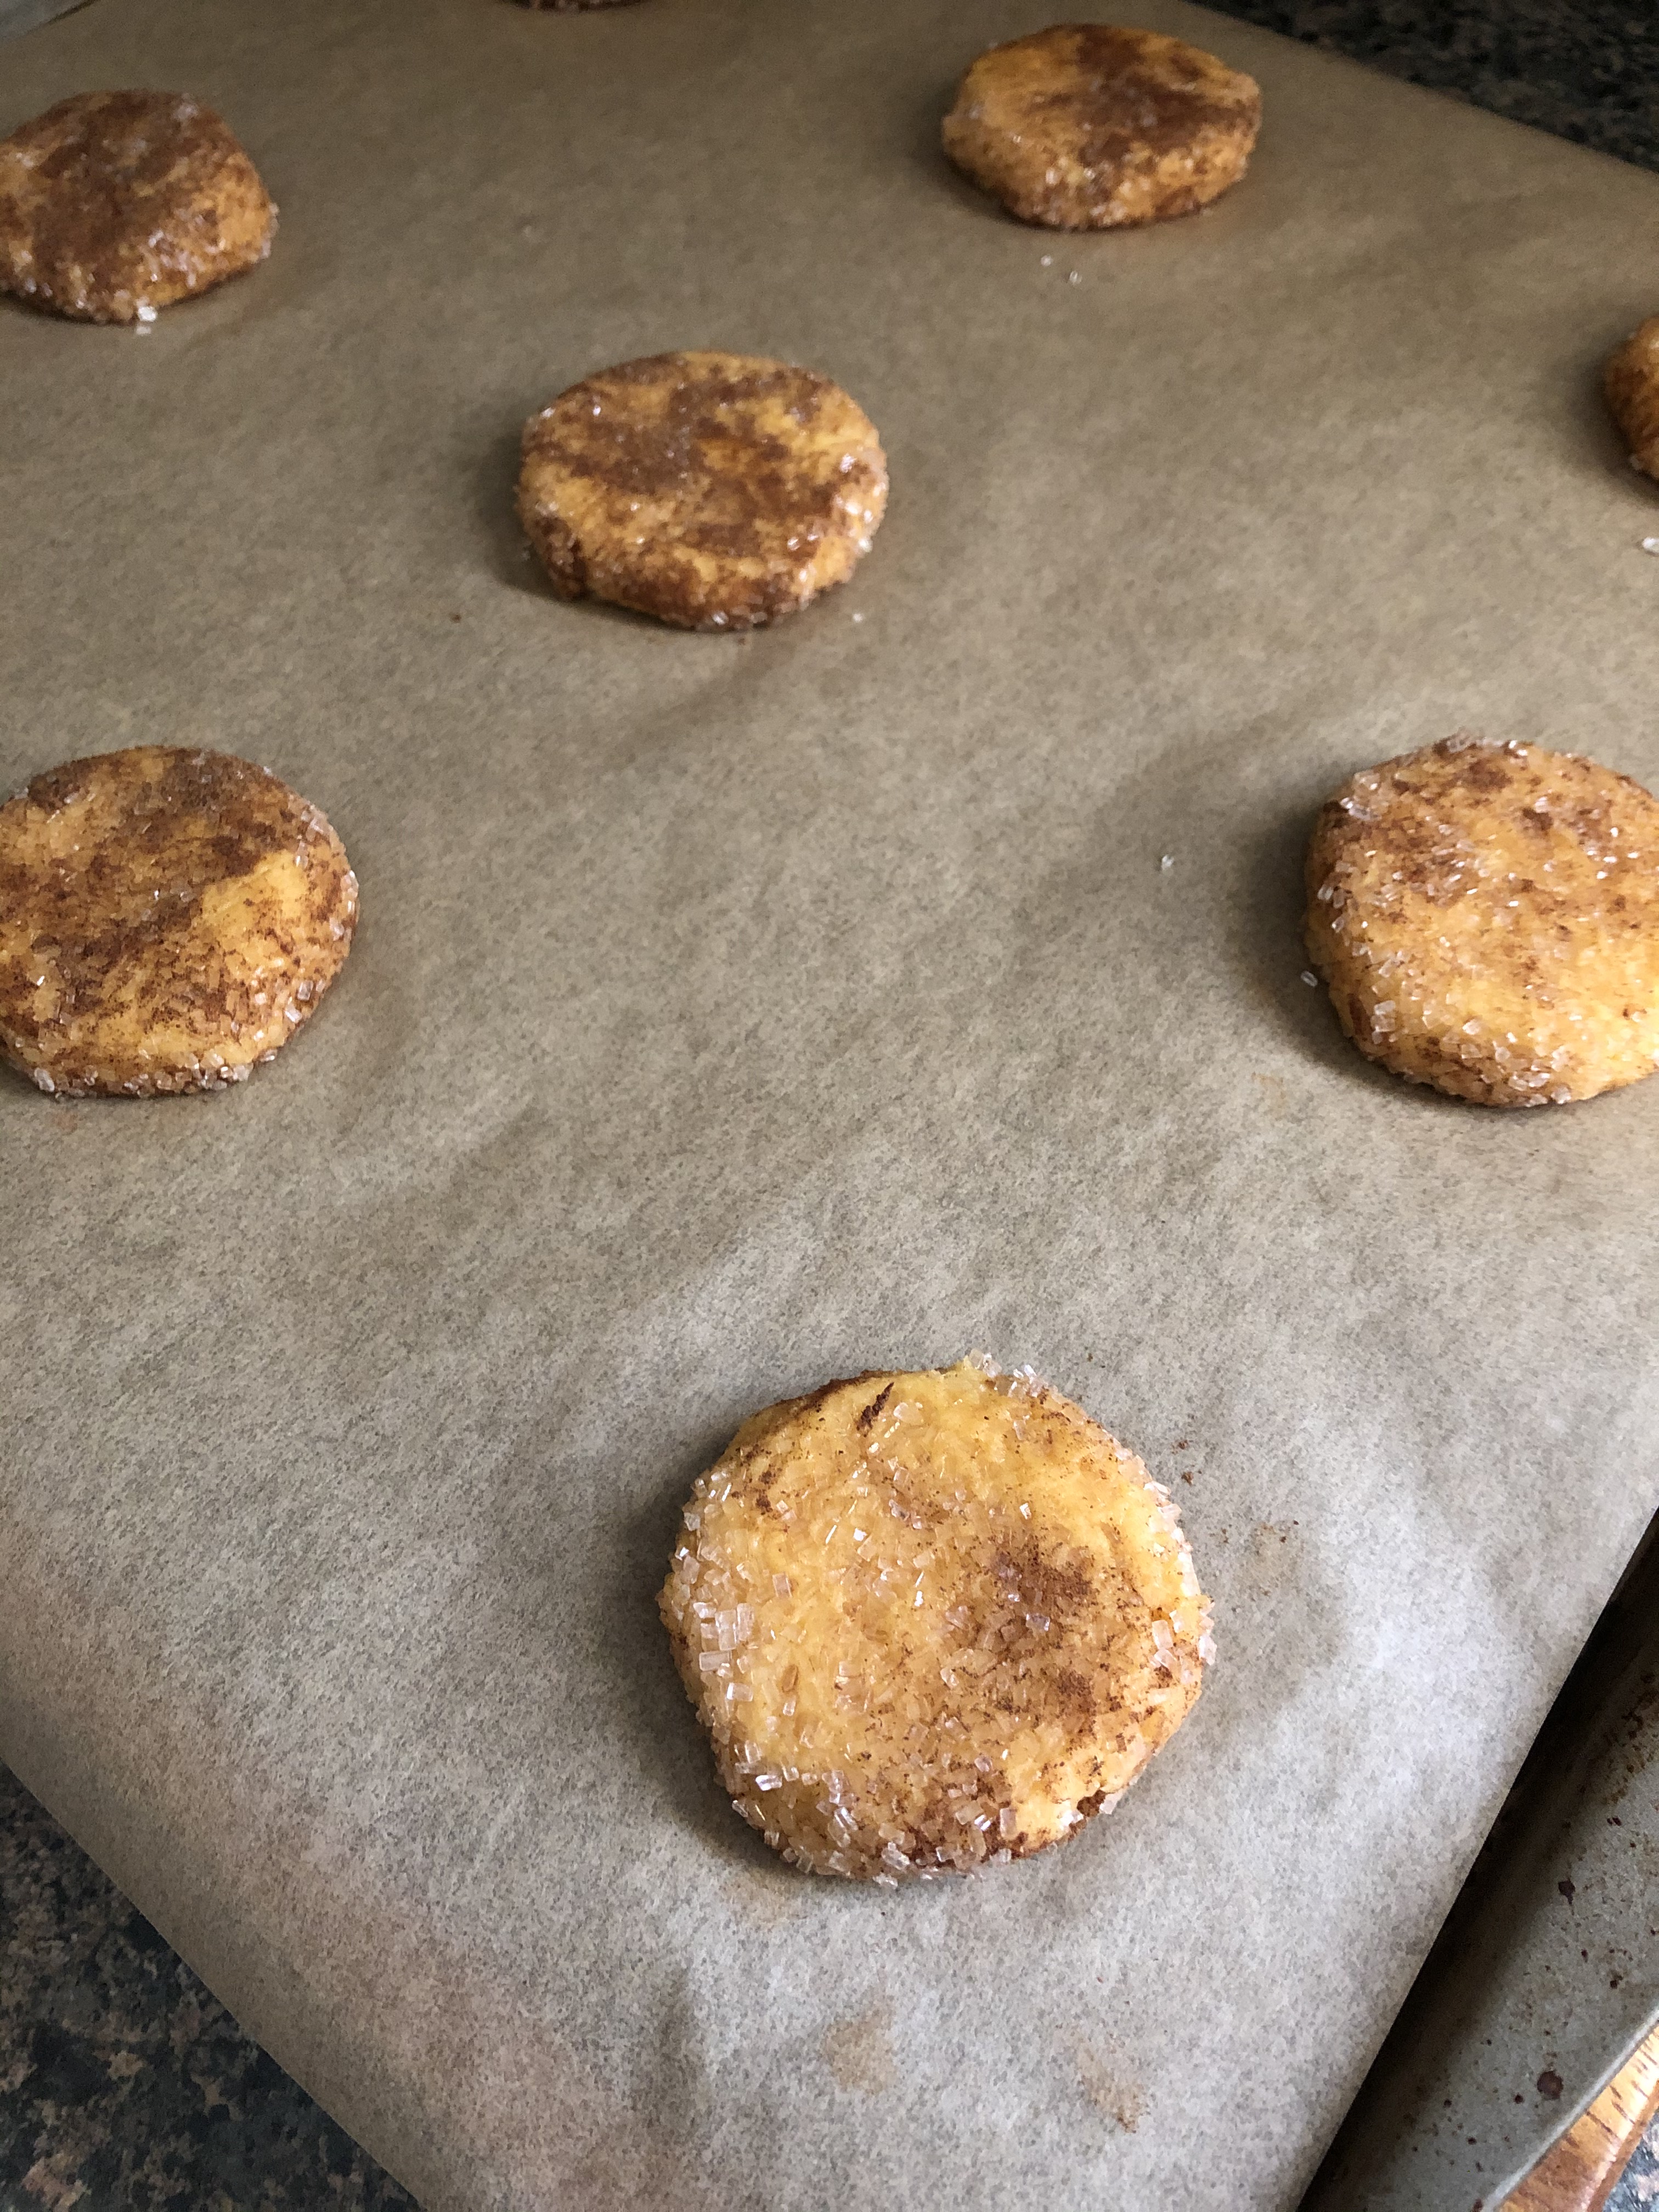
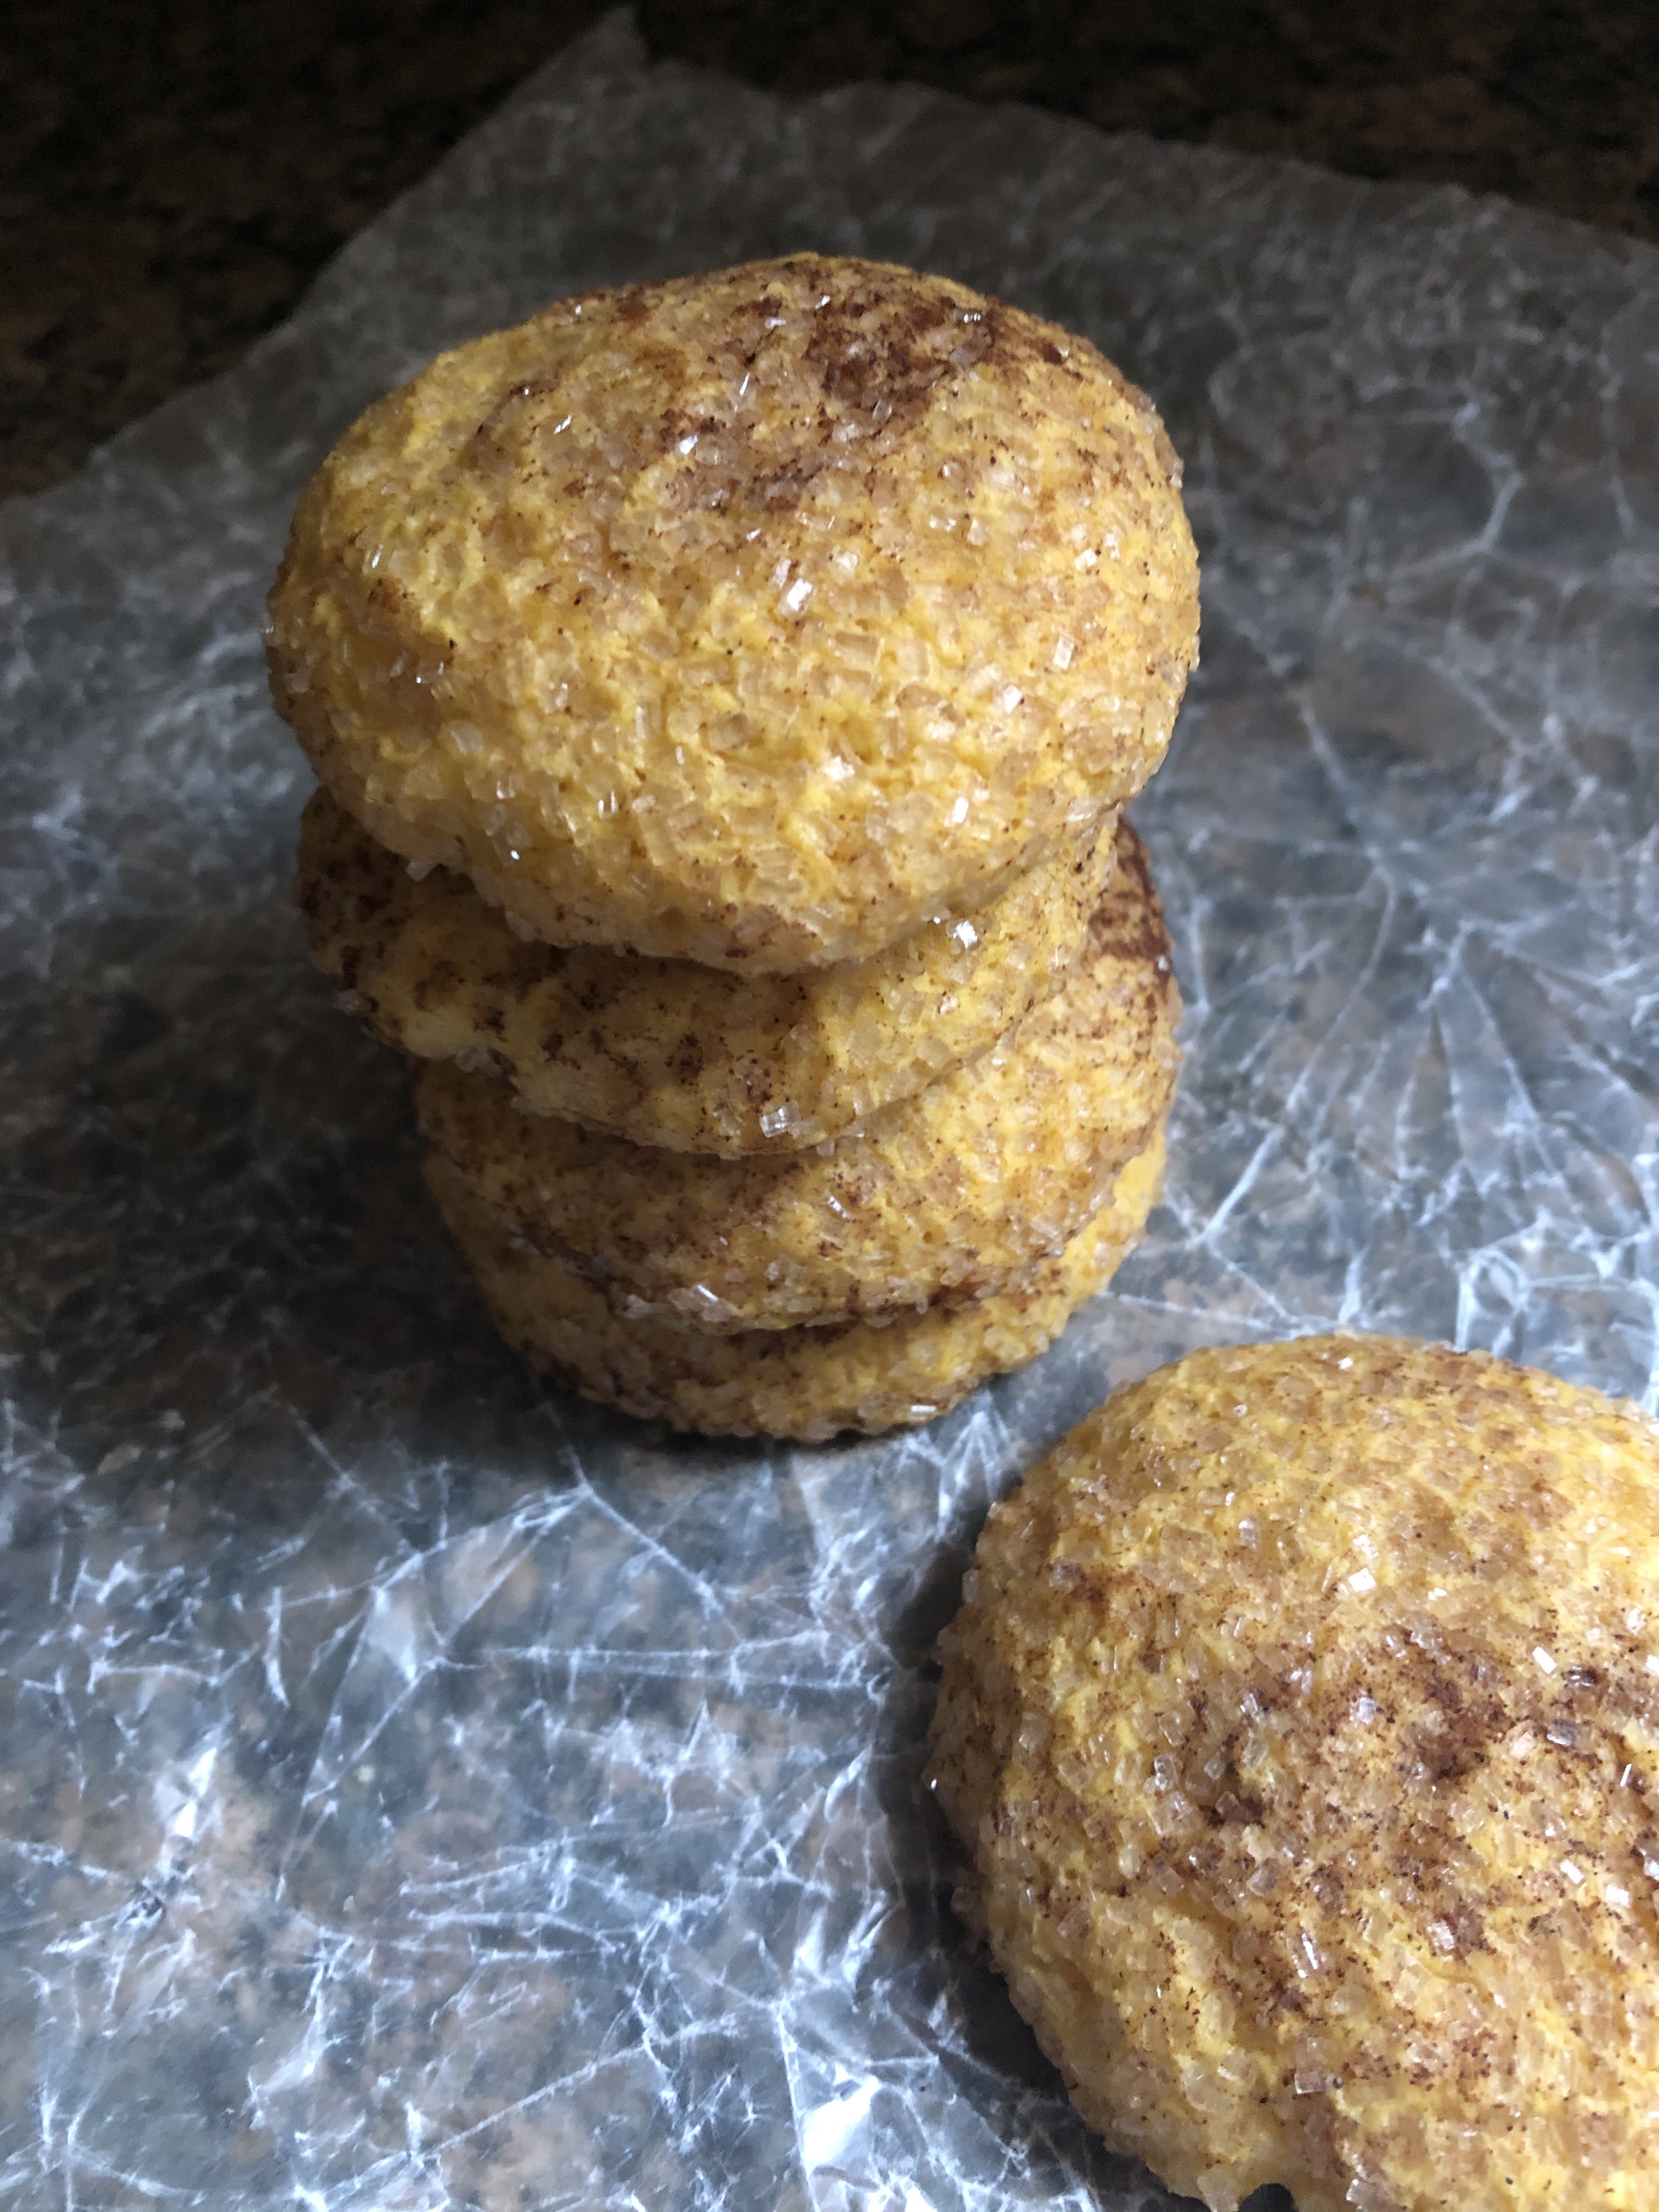
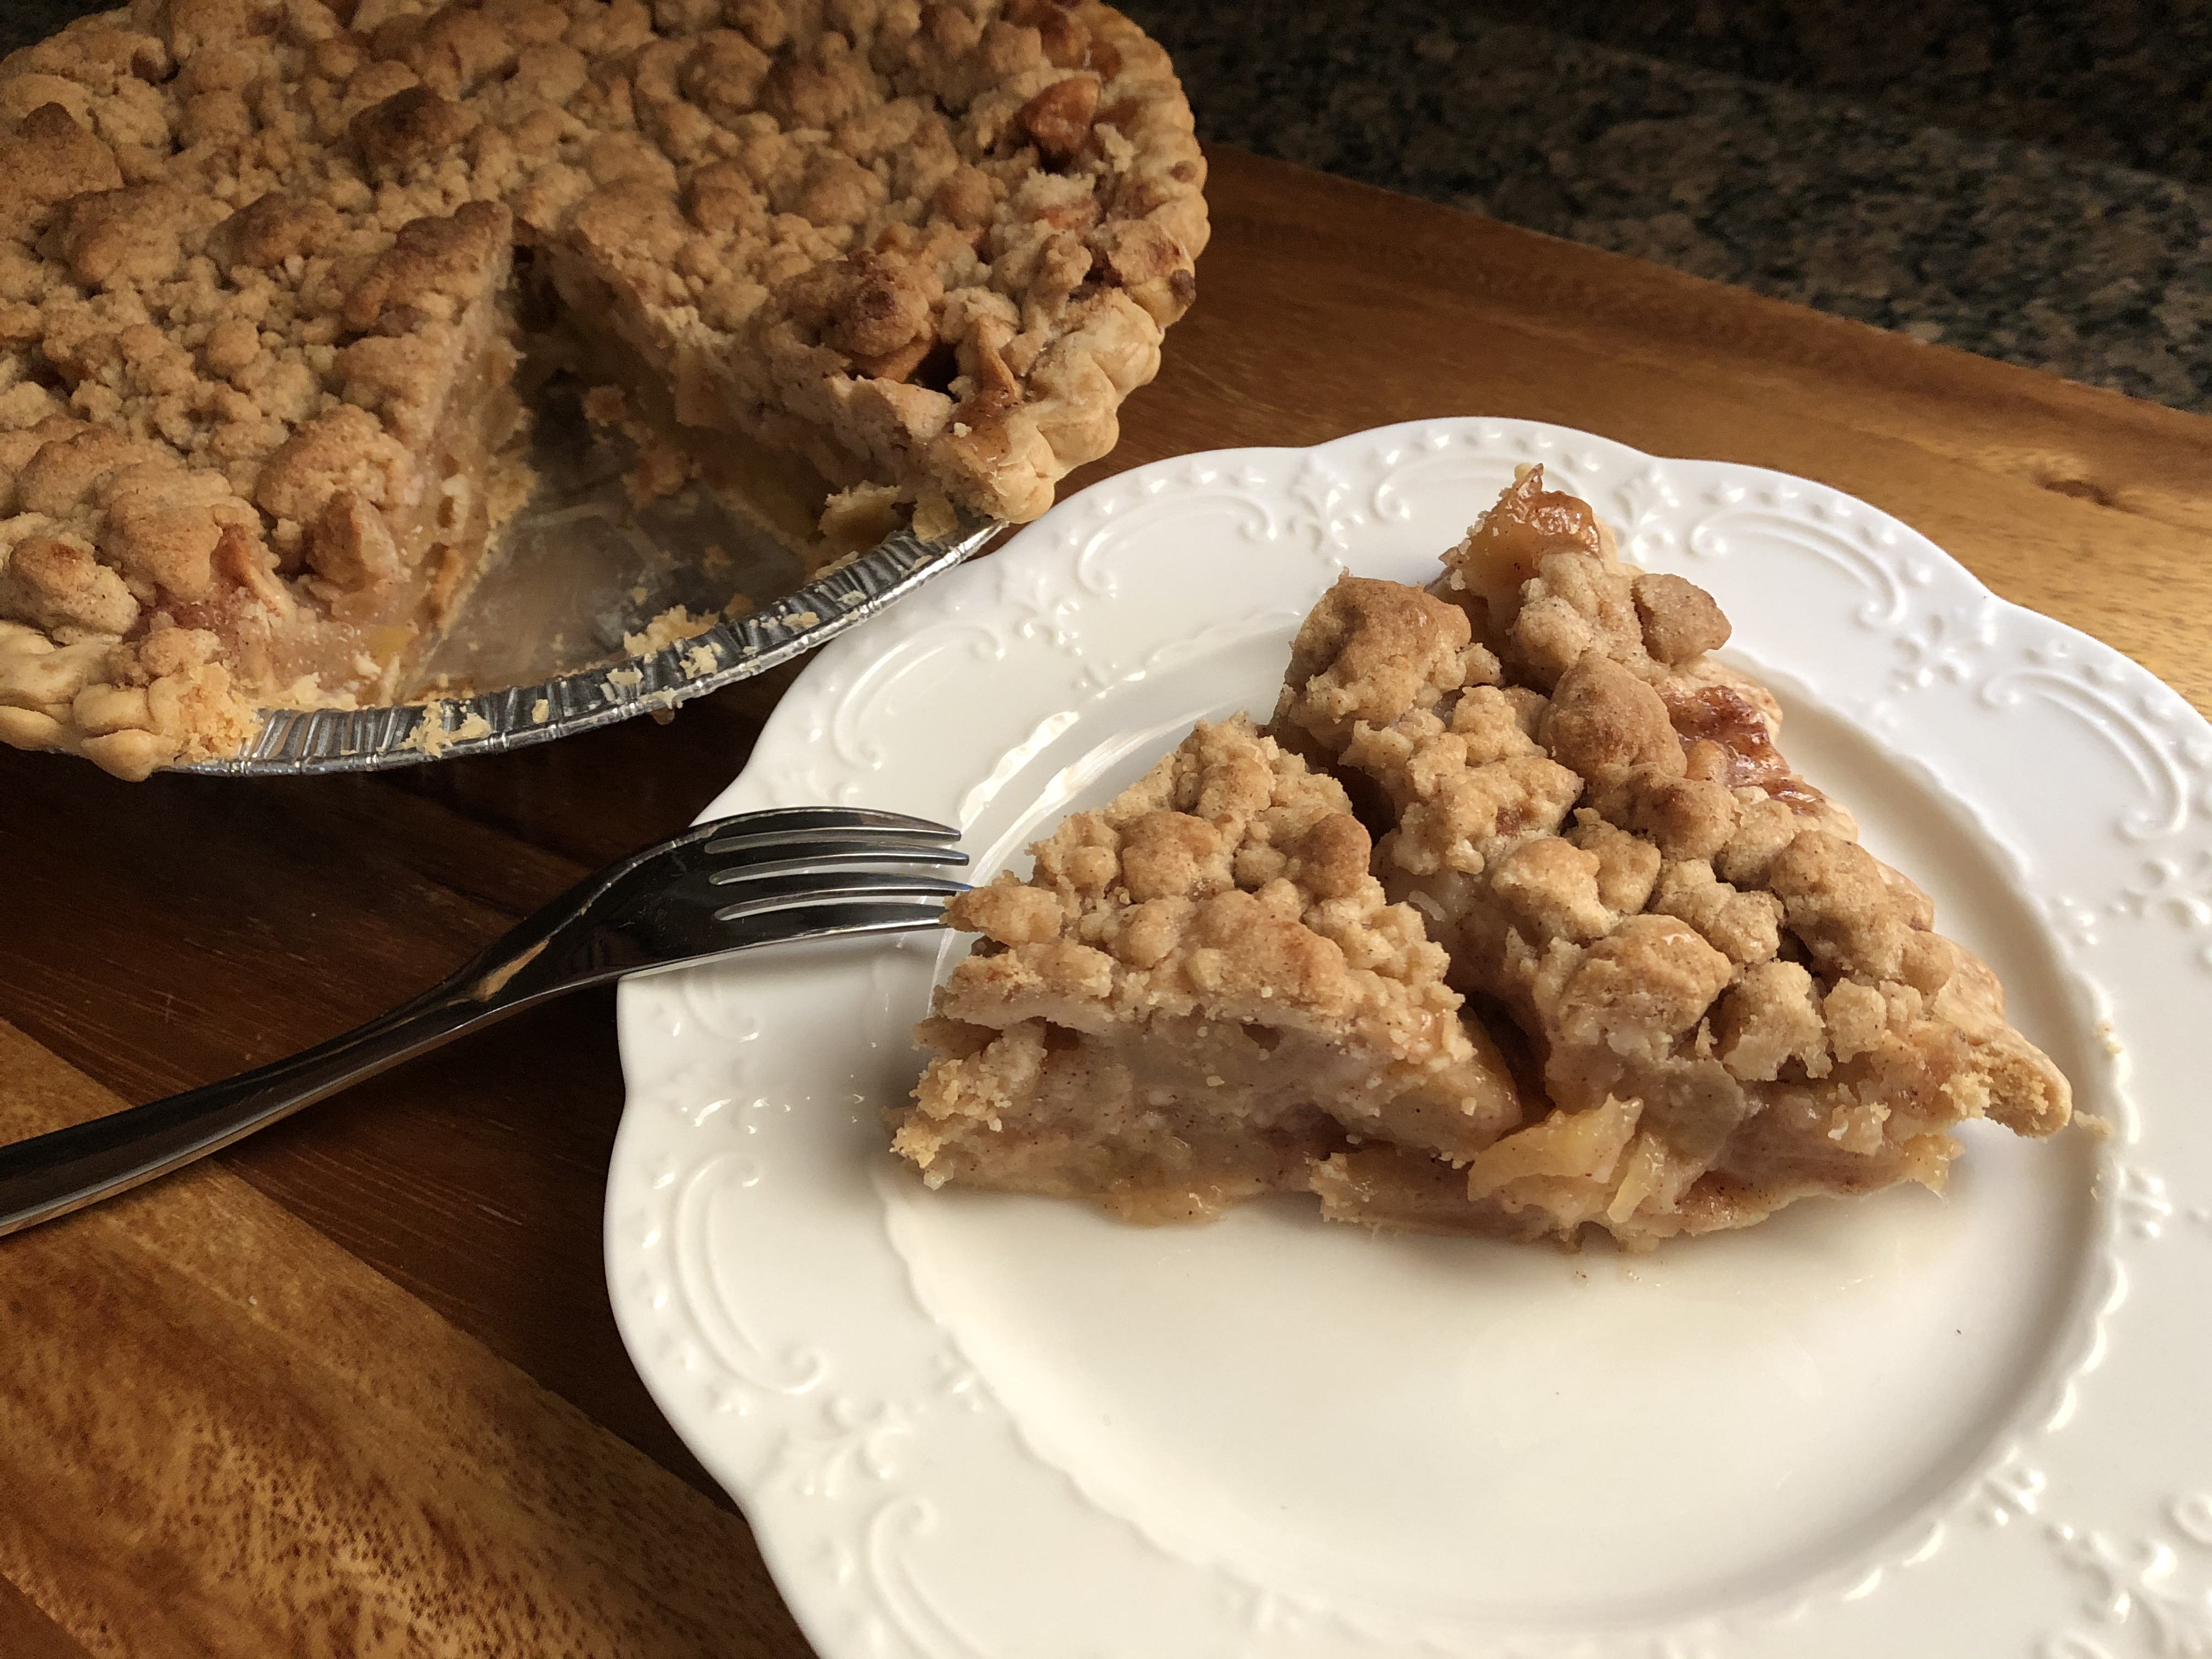
I hope you have enjoyed this year’s Cookie Palooza cookies. Today I am bringing you a no bake option for those of you who are not fond of baking, just don’t have the time, just don’t want to but have somehow got roped into “baking” something and everyone else in between. It’s a shortbread cookie dipped in chocolate and then sprinkled with either jimmies, nonpareils or crushed candy canes.

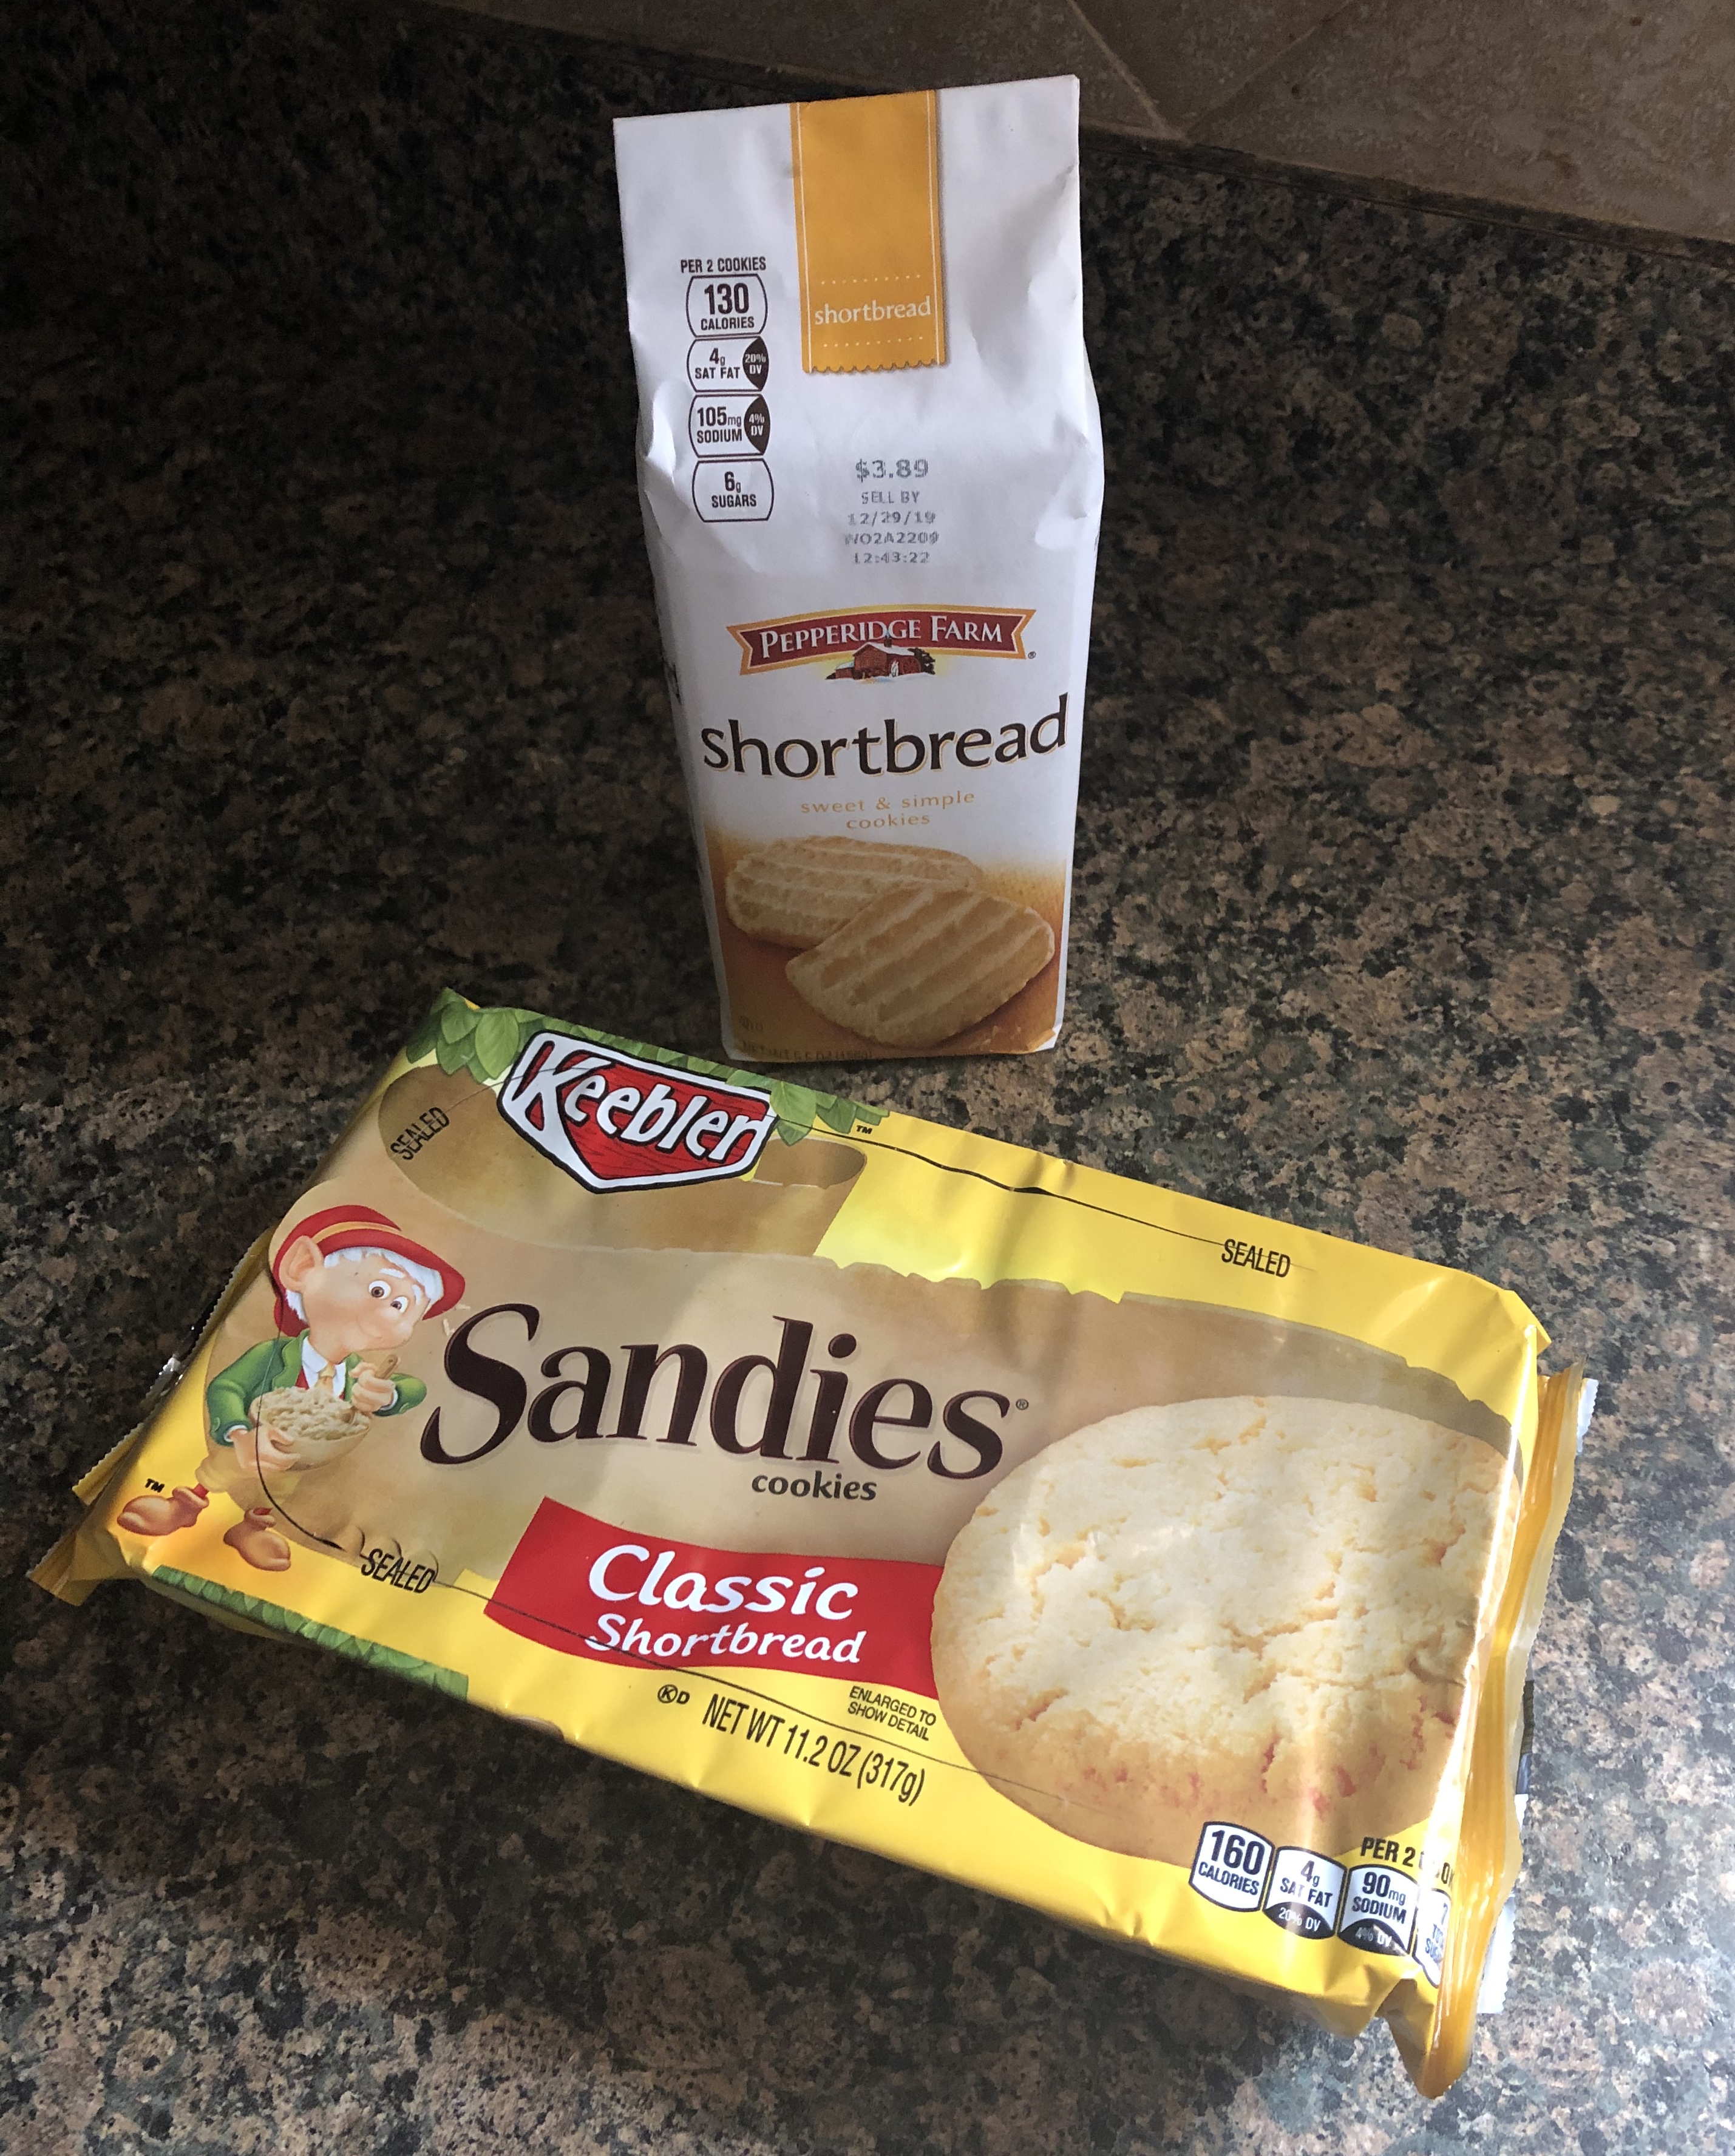
I opted to use two different types of shortbread cookies… Pepperidge Farm’s Shortbread cookies (which I had some trouble finding, I am wondering if they are only available around the holidays) and Keebler’s Sandies Classic Shortbread Cookies (I found these in the cookie aisle at my local supermarket.

I melted 8 ounces of semi-sweet chocolate using the double boiler method (fill a pot with a few inches of water and then place it on the stove over medium heat, place a bowl over the water making sure the bottom of the bowl doesn’t touch the bottom of the pot, and then fill the bowl with the chocolate) I normally melt my chocolate in the microwave, but, have decided to switch back to doing it on the stove since there is less of a risk of burning the chocolate and truthfully it works just as quick. Once the chocolate had melted I stirred in a tablespoon of shortening to keep it smooth.

To prep my workspace I placed the melted chocolate on a trivet, poured the sprinkles and crushed candy canes into small bowls and lined two large cookie sheet with wax paper. And then I was ready to start dipping.

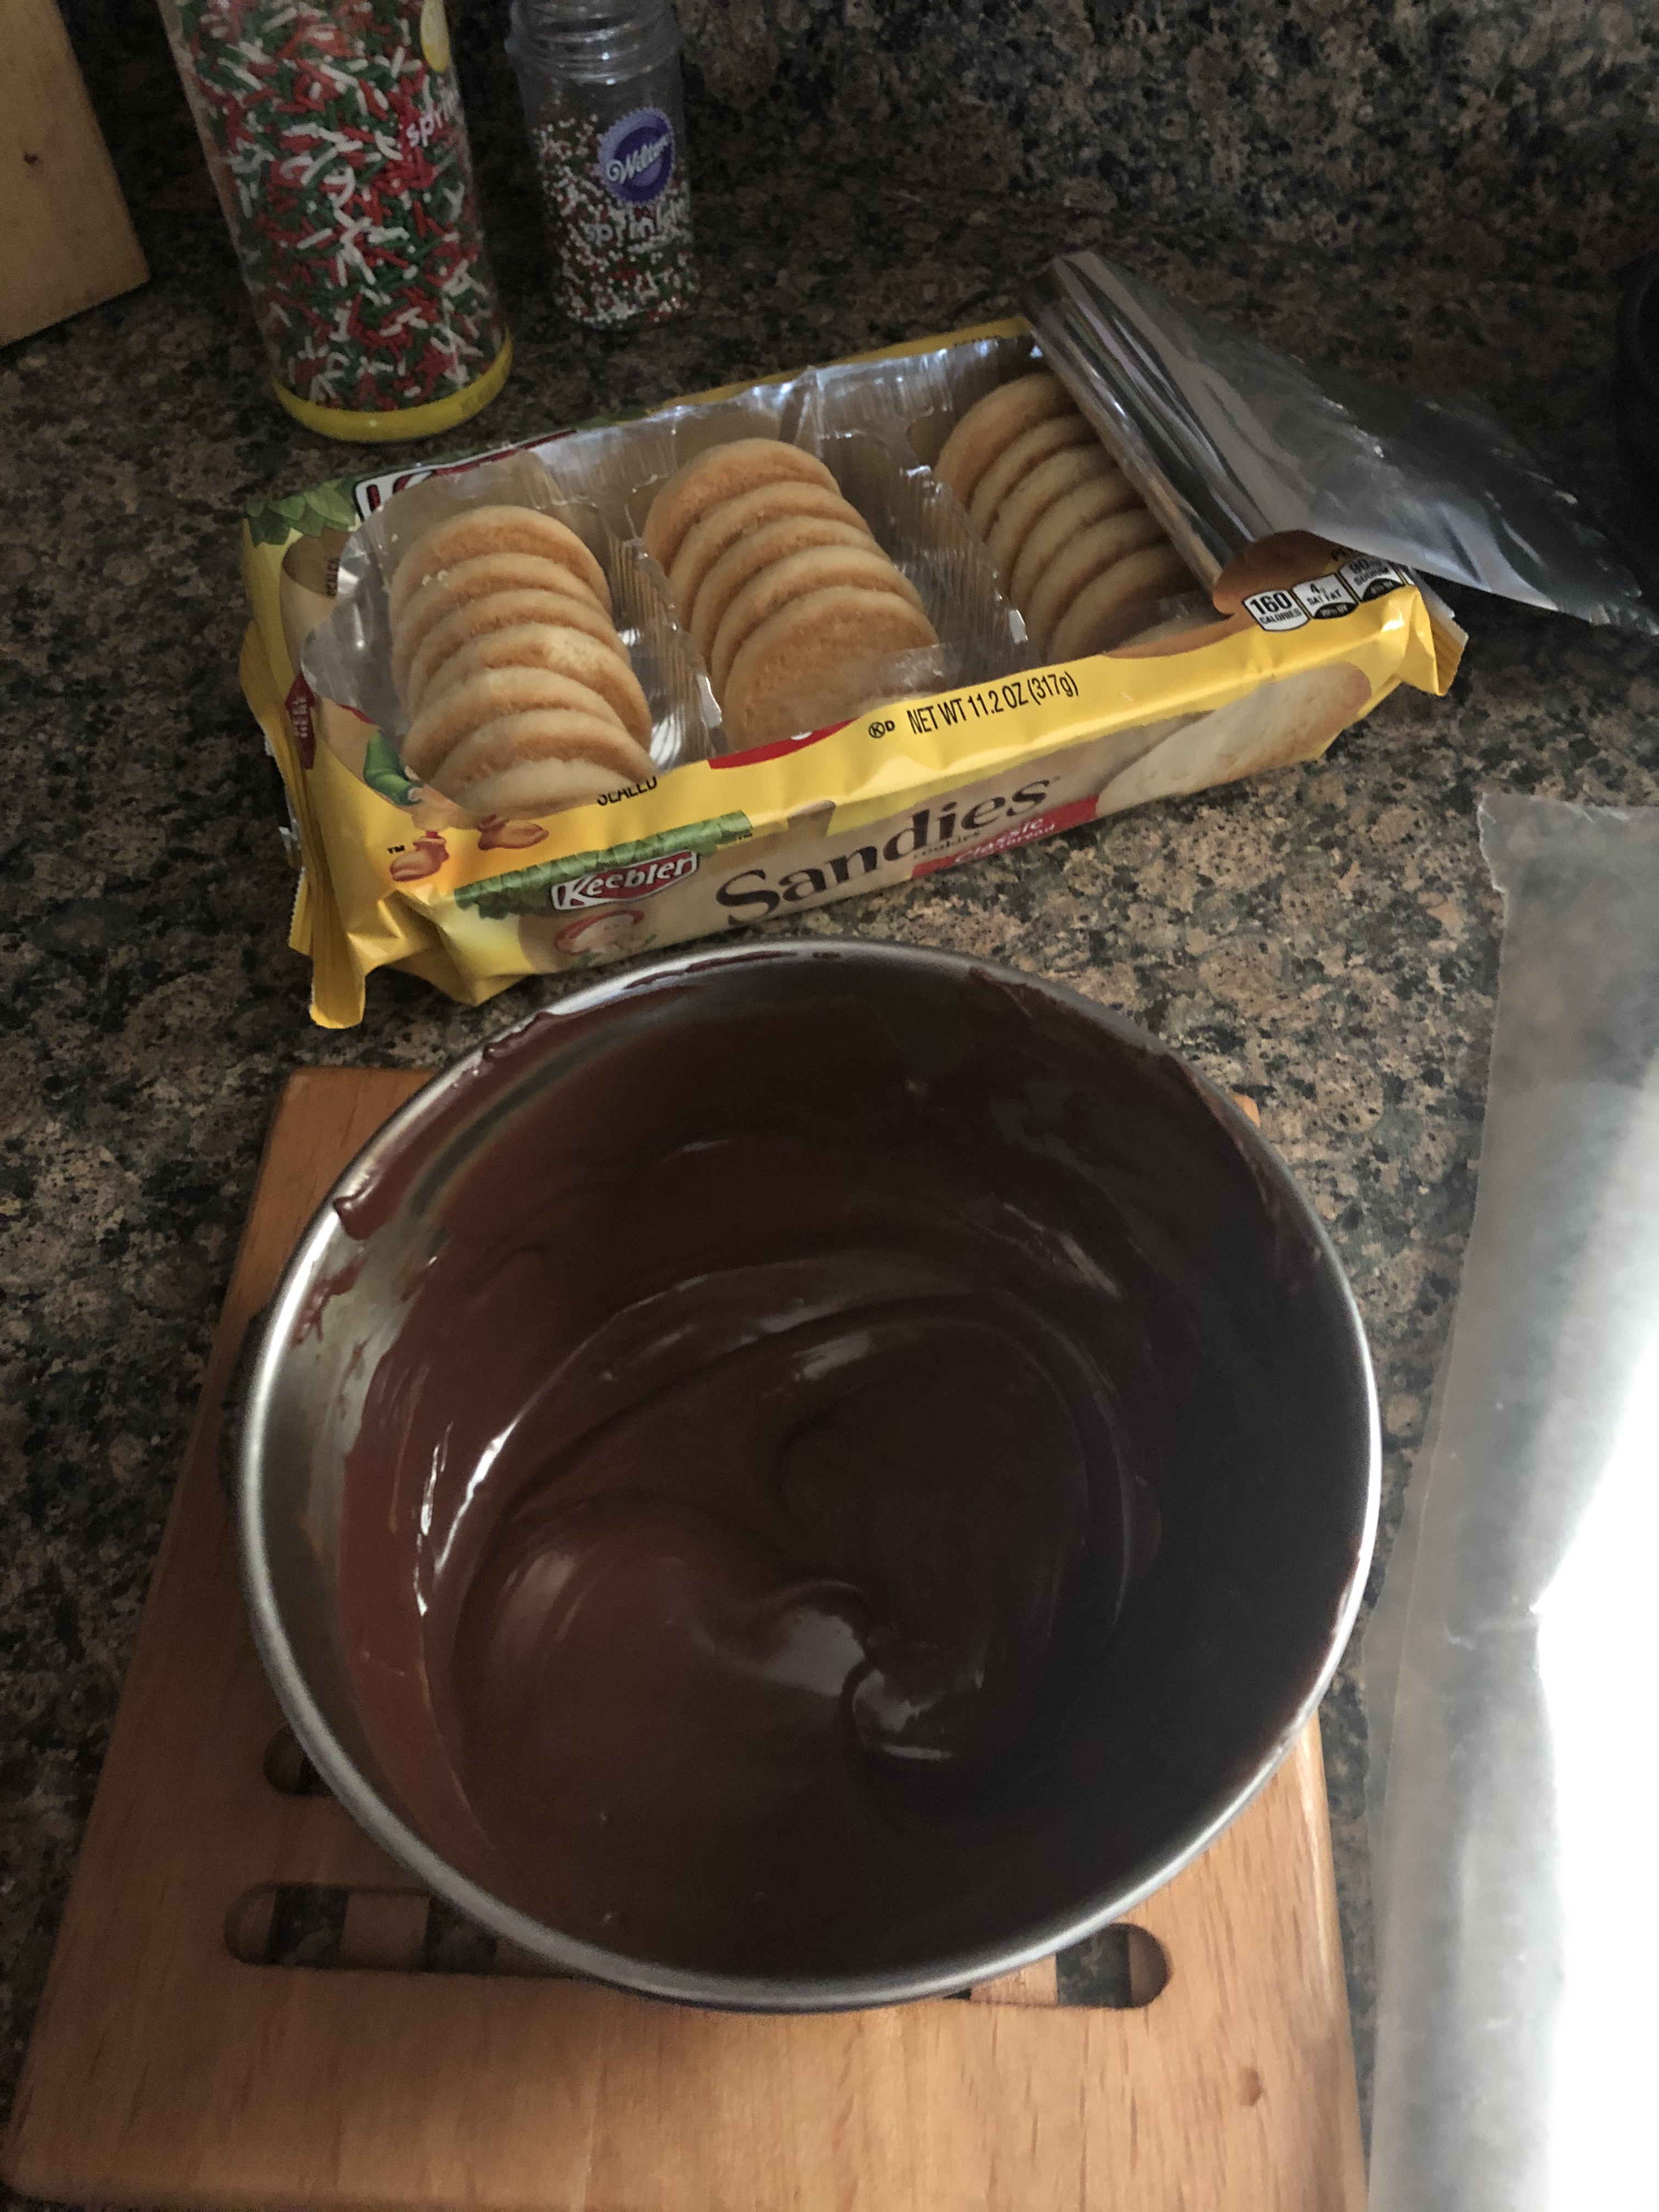
I dipped half of each cookie into the melted chocolate then placed it on the prepared cookie sheet and then topped it with either the sprinkles or the candy. Once the sheet was full I placed it in the refrigerator for a few minutes so the chocolate could harden.

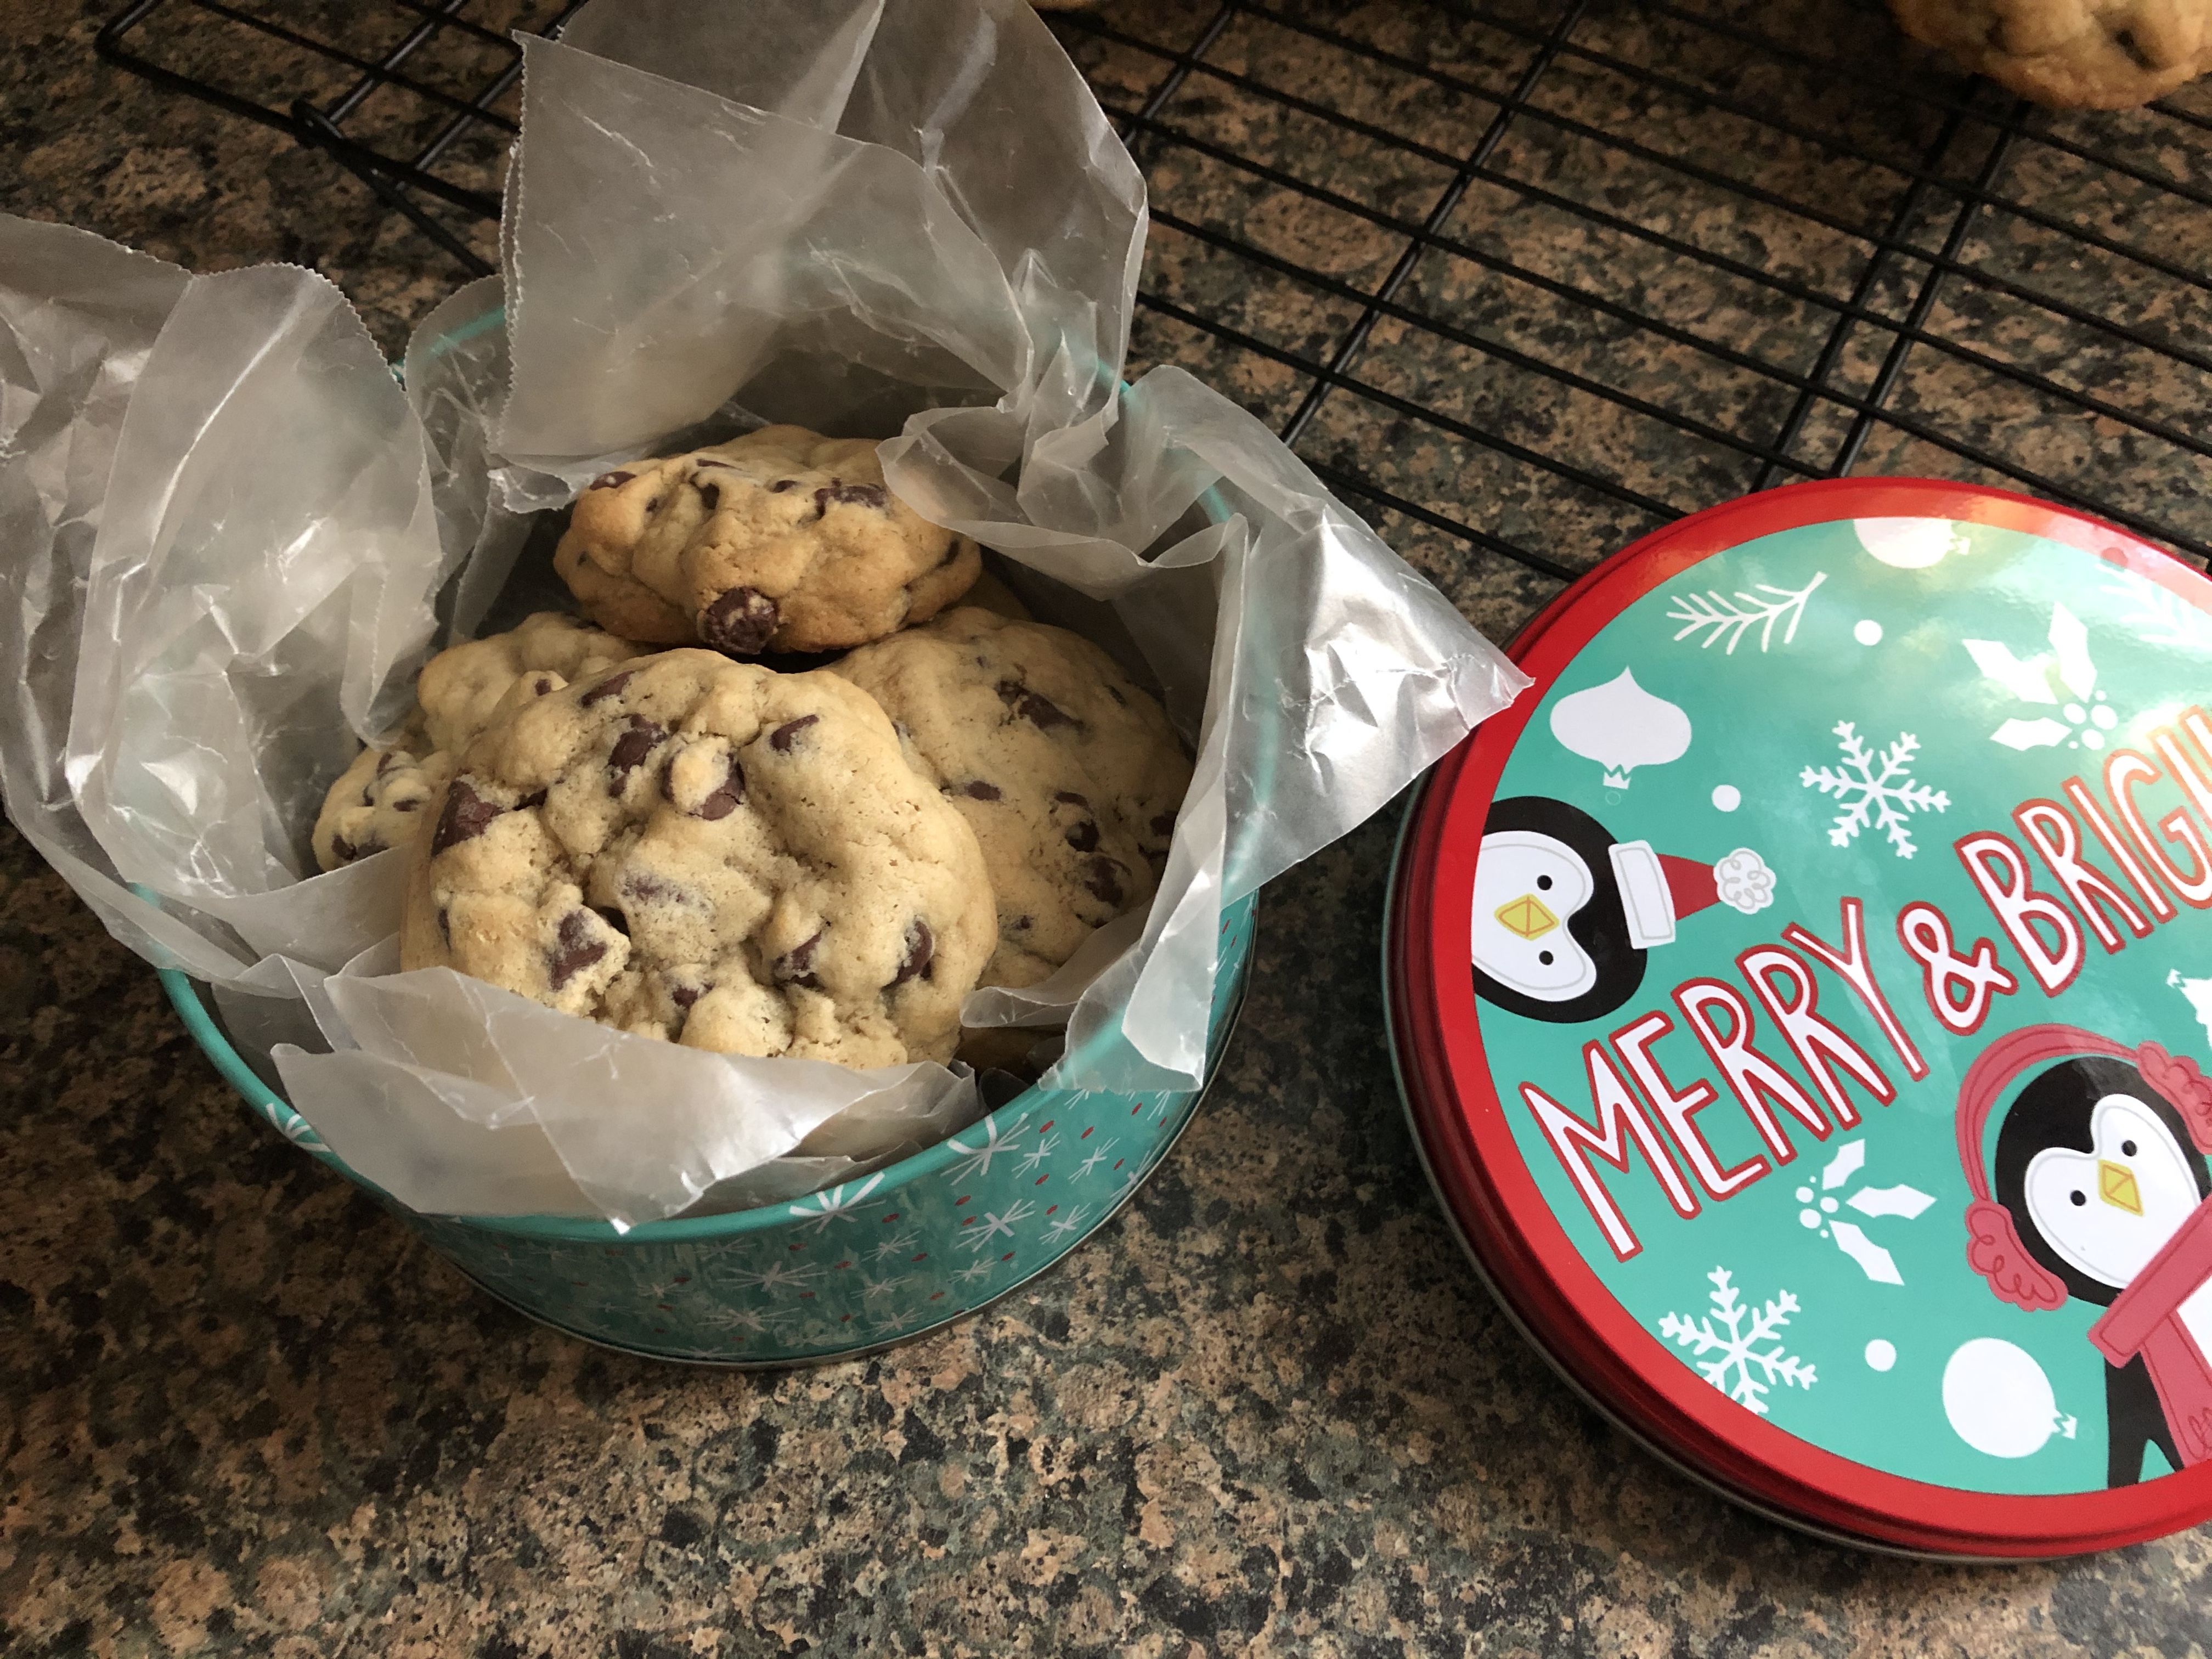
Once the chocolate was set I arranged the cookies on a platter. These would be the perfect addition to any dessert table, as a gift wrapped in cellophane, or just to snack on while you are getting your last minute decorations or wrapping done.

And while I went with sprinkles and crushed candy canes to decorate the cookies, you could also do chopped nuts, crushed pretzels, or drizzle the chocolate part with more chocolate in another color.

If you’re looking for more no-bake options click on the links for the cookies below…

Peppermint Chocolate Cookies

Cannoli Wafer Sandwich Cookie 

Hope you have enjoyed this year’s Cookie Palooza. Happy Baking!

Chocolate Dipped Shortbread Cookies

  • Servings: 30 cookies
  • Print

Ingredients:

8 oz. semi-sweet chocolate*

1 tbsp. shortening

Shortbread Cookies**

Assorted toppings: sprinkles, crushed candy canes, chopped nuts, crushed pretzels


*You can use baking bars or chocolate chips, I used a combination of both

**I used 1 package of of Keebler’s Sandies Shortbread Cookies (about 20 cookies) & 1 package of Pepperidge Farm Shortbread Cookies (12 cookies)


Directions:

Line two large baking sheets with wax paper and set aside.

Pour your toppings into individual small bowls to make them easily accessible.

Melt the chocolate using your preferred method. If using a double boiler stir the chocolate as it melts from the bottom. If using the microwave, microwave the chocolate in 15 second intervals until melted, stirring between each. Once melted add in the shortening and stir to incorporate.

Dip half of each cookie in the melted chocolate then place on the prepared baking sheet and sprinkle with your desired topping. Place the cookies in the refrigerator for 15-20 minutes until the chocolate is firm. Enjoy!

Cookie Palooza: Pumpkin Snickerdoodles

I kicked off Cookie Palooza on Monday with a chai spiced inspired snickerdoodle and here I am a few days later bringing you another snickerdoodle variation, a pumpkin one. I figured snickerdoodles are the perfect cookie for the season since they are rolled in sanding sugar (along with other spices) prior to baking giving them a nice glisten to go with the season so why not share two. And with this pumpkin version you can keep those pumpkin lovers happy and not let them go overboard with the traditional flavor of the season… peppermint.

I began by making the dough for the cookies. In one bowl I whisked together all of the dry ingredients and in another bowl I mixed together the wet ingredients and then I added the dry to the wet to make the dough. I then set the dough aside for a few minutes and combined sanding sugar, cinnamon and allspice in a small bowl to roll the cookie dough in. Using a cookie scoop I scooped the dough and then rolled it in the sugar mixture and then placed it on a cookie sheet lined with parchment paper. Per the directions I placed the cookies about 3 inches apart on the sheet. Truthfully you could get away with 2 inches. While the cookie dough looks small the cookies will rise and spread a little while baking.

Next, I flattened the cookies with a spatula (use could also use the bottom of a glass cup) to about 1/2 inch thickness. I then baked them in a 375 preheated oven for 10 minutes.

After letting the cookies cool on the sheet for 5 minutes I then transferred them to a wire rack to cool completely.

Final verdict… I must say these are probably one of the best cookies I have ever made. They are firm on the outside but have a nice cakey center that isn’t dry. That is thanks to the addition of pumpkin puree. And while pumpkin often results in baked desserts that are super moist, the ingredients are so well balanced that that is not the case here. No one wants to eat a pumpkin cookie that is reminiscent of pumpkin pie.

Pumpkin Snickerdoodles

  • Servings: 30 Cookies
  • Print

Ingredients:

2 cups flour

1/2 teaspoon baking soda

1/2 teaspoon cream of tartar

1/2 teaspoon kosher salt

Pinch of freshly grated nutmeg

1 stick unsalted butter, melted and cooled

1 cup granulated sugar

1/2 cup canned pumpkin puree

1 large egg, at room temperature

1 teaspoon vanilla extract

2/3 cup fine sanding sugar

2 teaspoons ground cinnamon

1 teaspoon allspice


Directions:

Preheat the oven to 375 F. Line two baking sheets with parchment paper.

In a medium bowl whisk together the dry ingredients – flour, baking soda, cream of tartar, salt and nutmeg.

In a large bowl using a handheld mixer beat together the butter and pumpkin until smooth. Add the egg and vanilla and continue beating until combined. Add the flour mixture and continue beating until combined.

In a small bowl mix together the sanding sugar, cinnamon and allspice. Using a cookie scoop, scoop the dough and then roll it in the sugar mixture and then place it on the prepared cookie sheet 3-inches apart. Flatten the cookies with a spatula to about 1/2-inch thick and then bake in the preheated oven for 10 to 12 minutes.

Let the cookies cool on the sheets for 5 minutes until transferring to a wire rack to cool completely.

Recipe from Martha Stewart

Cookie Palooza: Sea Salt Chocolate Chip Cookies

Over the summer I went to a pop-up shop celebrating Kitchen Aid’s 100th anniversary. While there I got to try different treats, saw a life-sized Kitchen Aid Stand Mixer (unfortunately it was just for show), got a free customized tote bag and stocked up on recipe cards. One of the recipes is today’s Cookie Palooza cookie… A Sea Salt Chocolate Chip Cookie.

If you are hoping for a sweet and salty cookie I am sorry to disappoint you but that’s not what you are getting with this cookie. What you do get is a cookie that is thick, chocolatey and perfect for any add-ins. I love walnuts in my chocolate chip cookies and this would be the perfect chocolate chip cookie for just that. And while this recipe is not ideal for cookie swaps since its only 12 cookies, it’s perfect for gift giving in a festive holiday tin.

A few things to note about these cookies. The original recipe called for smoked sea salt, I searched and couldn’t find smoked sea salt so I opted to use regular sea salt. I did come across sour sea salt which had me wondering what recipe would call for that. I also swapped out using chopped semi-sweet with chocolate chips. I used Ghirardelli chocolate chips since I knew theirs were a tad bit bigger than Nestle’s Toll House, although, if you can find these Nestle Toll House Chocolate Chunks they would be perfect.


Sea Salt Chocolate Chip Cookies

  • Servings: 12 cookies
  • Print

Ingredients:

1/2 cup unsalted butter, at room temperature

1/4 cup dark brown sugar

1/4 cup granulated sugar

1 egg

1 teaspoon vanilla extract

1 1/2 cups flour

3/4 teaspoons baking soda

3/4 teaspoons sea salt*

1 1/2 cups semi-sweet chocolate chips**

3/4 cups chopped walnuts (optional)


*Original recipe called for smoked sea salt

**Original recipe called for 8 ounces semi-sweet chocolate, chopped


Directions:

In a medium bowl combine the flour, baking soda and salt. Set aside.

Add butter and sugars to a large bowl and beat on medium speed with a hand mixer until the mixture is smooth. Add in the egg and vanilla extract and continue mixing until well blended.

Add the flour mixture to the butter mixture and beat on low until just combined. Add in the chocolate chips and walnuts (if using) and continue mixing on low speed until just combined. Cover the bowl and refrigerate for at least 2 hours or overnight.

Preheat the oven to 350 F. Line 2 cookie sheets with parchment paper. Using a 1/4 cup measuring cup (or a trigger ice cream scoop) scoop the dough* and place it on the prepared cookie sheets. Bake for 12-15 minutes until the cookies are set and no longer shiny on top. Transfer to a wire rack to cool.

*You may have to let the dough sit at room temperature for a few minutes before scooping.

Recipe from Yummly / KitchenAid

Cookie Palooza: Red Velvet Blossom Cookie

Today’s Cookie Palooza Cookie is a Red Velvet Blossom Cookie. A fun festive twist on the traditional Peanut Butter Blossom Cookie. We all know that cookie, the peanut butter one that has a Hershey Kiss pressed into the center of it and marries that wonderful flavor combination of peanut butter and chocolate… YUM!

I began by prepping the dough for the cookies. In one bowl I whisked together my dry ingredients and set them aside. In another bowl I added in my wet ingredients and beat them until they were well combined. And finally I added in the flour mixture and beat the two together until they were incorporated. At this point the dough was too soft to handle so I covered and refrigerated it for a few hours. Once the dough was firm enough I added about half a cup of confectioners’ sugar to a small bowl and rolled 1-inch shaped balls (I used a cookie scoop to measure the dough) in the sugar before placing them on a cookie sheet I lined with parchment paper. Rolling the cookies in the sugar will give them a nice crinkle effect (another popular cookie around the Holiday’s) and this is reminiscent of a traditional blossom cookie that is rolled in granulated sugar prior to baking. I then baked the cookies in a 350 preheated oven for 9 minutes. While the cookies were in the oven I unwrapped the Hershey Kisses to place in the center of each of them. You need to press these into the cookies while they are still warm before the cookie set so it’s best to have them ready for when the cookies come out of the oven. They might melt a little at the bottom but as the cookie cools the Kisses will firm up again.

And once they cool they are a delicious cookie to enjoy with a cup of hot chocolate. Or pack up in a festive tin to give as a gift, or bring along to a Holiday cookie swap or party.

If you are feeling really festive and ambitious you could easily divide the dough in half and tint one half red and the other half green for Red & Green Velvet Blossom Cookies.

Red Velvet Blossom Cookies

  • Servings: 48 Cookies
  • Print

Ingredients:

1 3/4 cups flour

1/3 cup unsweetened cocoa powder

1 1/2 teaspoons baking powder

1/2 cup unsalted butter, at room temperature

3/4 cup light brown sugar

1/2 cup sugar

1/2 teaspoon salt

2 large eggs

2 teaspoons vanilla extract

1/2 teaspoon red gel food coloring

1/2 cup confectioners’ sugar, more as needed

Milk Chocolate Hershey Kisses


Directions:

In a medium bowl whisk together the flour, cocoa powder and baking powder and set aside.

Using a handheld mixer, combine the butter, both sugars, and salt in a large bowl and beat on medium speed until creamy. Add in the eggs, vanilla extract and food coloring and continue beating until the ingredients are well combined. Add in the flour and beat on low speed until mixed in. Cover and refrigerate until firm, at least two hours.

Preheat the oven to 350 F and line two cookie sheets with parchment paper. Place confectioners’ sugar in a small bowl. Unwrap the Hershey Kisses and set aside,

Using a cookie scoop shape the dough into 1-inch balls. Roll in the confectioners’ sugar and then place on the prepared cookie sheets about 2 inches apart. Bake in the preheated oven for 9 to 10 minutes, untilt the edges of the cookies are set. Remove from the oven and immediately place an unwrapped Hershey Kiss in the center of each cookie and then transfer to a wire rack to cool completely.

Recipe from Land O Lakes

Cookie Palooza: Cinnamon Chip Chai-Spiced Snickerdoodles

Welcome to Cookie Palooza 2019. For the past couple of years I have dedicated the first week of December to bringing you cookie recipes that would be a perfect addition to your cookie swaps, dessert tables, office parties, get togethers and so forth for the holidays. This year I have a fun batch of cookies to bring you, starting with a nice twist on your traditional snickerdoodle. A Cinnamon Chip Chai-Spiced Snickerdoodle. If you can’t find cinnamon chips in your neck of the woods, the only brand I’ve come across that sells them is Hershey’s, it’s totally okay to leave them out. These cookies will still be delish thanks to the homemade chai-spiced sugar that’s added to the dough and that the cookie is rolled in prior to baking.

After making the dough I refrigerated it for at least an hour so it could firm up. The dough will be too soft to handle otherwise and what will ultimately happen is that the cookies will spread too much during baking or they will be a mess when trying to roll in the sugar.

Once the dough was firm enough I used a cookie scoop to scoop the dough and rolled it between my hands to round it off before rolling it in the spiced sugar. I then placed the dough on cookie sheets that I covered with parchment paper. After baking the cookies for about 11 minutes I removed them from the over and transferred them to a wire rack to cool completely. Don’t worry if you think the cookies are too soft, they will harden as they cool. One thing to note, the recipe states the dough will make 6 dozen cookies, but, I was only able to get 4 dozen out of it. I thought maybe my dough balls were larger than the 1-inch mentioned in the recipe but, I measured them and they were just about 1-inch.

I’ll just say, if you love chai tea you are going to love these cookies. Thanks to rolling the cookies in the spiced sugar every part of the cookie will have the flavors of the spices. Warm spices that are perfect for this time of year.

Cinnamon Chip Chai-Spiced Snickerdoodles

  • Servings: 4 Dozen Cookies
  • Print

Ingredients:

Chai-Spiced Sugar

1/2 cup sugar

2 teaspoons cardamom

2 teaspoons cinnamon

1/2 teaspoon ginger

1/2 teaspoon cloves

1/4 teaspoon nutmeg


Dough:

1/2 cup butter, at room temperature

1/2 cup shortening

1 cup sugar

2 large eggs, at room temperature

1 teaspoon vanilla extract

2 3/4 cups flour

2 teaspoons cream of tartar

1 teaspoon baking soda

Pinch of salt

1 10 oz. bag cinnamon baking chips


Directions:

Combine the ingredients for the spiced sugar in a medium bowl and set aside.

In a large bowl cream together the butter, shortening, sugar, and 2 tablespoons of the spiced sugar using a hand mixer until light and fluffy. Beat in the vanilla extract and eggs.

In another bowl combine the flour, cream of tartar, baking soda and salt and whisk together.

Gradually beat the flour mixture into the butter mixture until well combined. Stir in the cinnamon baking chips.

Cover the bowl and refrigerate until the dough is firm enough to shape, about 1 hour.

Preheat the oven to 350 F. Cover two baking sheets with parchment paper.

Once the dough is firm, using a cookie scoop scoop the dough and shape into balls. Roll the dough into the remaining spiced sugar and then placed on the prepared cookie sheet. Leave space between each as the cookies will spread while baking.

Bake for 11-13 minutes, until the cookie starts to set around the edges. Transfer to a wire rack to cool completely.

Recipe from Taste of Home

Pumpkin Cream Cheese Swirl Muffins

Muffins are not a go-to for me when it comes to baking. I have a great recipe for Blueberry Muffins that I normally make a few times a year and once in a blue moon I will make chocolate chip ones. I did try making a Pumpkin Crumb Muffin once and they were a disaster. By the time the muffins had finished baking the crumb topping had essentially melted into the muffin and let’s face it, the best part of any crumb muffin is the crumb topping!I did have success making these Pumpkin Cranberry Muffins a few months ago and decided to try another pumpkin based muffin again after coming across a recipe for Pumpkin Cream Cheese Muffins. They reminded me of a Cheesecake Stuffed Pumpkin Bread I have made a few times to rave reviews so I figured a pumpkin version would be just as delicious.

After making the batter for the muffins I divided it among a muffin tin that I lined with paper liner.

Next, I made the cream cheese mixture and then dolloped about a tablespoon of it over each muffin and then swirled it with a toothpick.

After baking in a 375F oven for about 20 minutes my muffins were ready.

And after letting them cool for a bit I tried one and it was delicious. The cream cheese swirl adds a nice sweetness to this super moist muffin.

FYI… I halved the recipe to use some leftover pumpkin puree I had from another recipe (a cookie one I will be sharing next week during Cookie Palooza). Also, instead of using a cupcake tin and making “mini” muffins, I opted to use a jumbo muffin tin and ended up making 6 large muffins. This also increased my baking time to 25-30 minutes.

Pumpkin Cream Cheese Swirl Muffins

Ingredients:

1 3/4 cups flour

1 tablespoons pumpkin spice

1 teaspoon baking soda

1/2 teaspoon salt

1 15oz. can pumpkin puree

1 cup sugar

1/2 cup light brown sugar

2 large eggs

1/2 cup vegetable oil

1 tablespoon vanilla extract


Cream Cheese Swirl:

8 oz. cream cheese, at room temperature

1/4 cup sugar

1 large egg yolk

2 teaspoons vanilla extract


Directions:

Preheat the oven to 375 F. Line a muffin pan with paper liners and set aside.

In a medium bowl whisk together the dry ingredients – flour, pumpkin spice, baking soda and salt until well combined. Set aside.

In a large bowl using a handheld mixer beat together the pumpkin, sugar and brown sugar. Beat in the eggs, vegetable oil and vanilla extract. Slowly add in the flour mixture and mix until there are no lumps.

Fill the muffin tins about 3/4 full.

In a medium bowl beat the cream cheese until smooth. Add in the sugar, egg yolk and vanilla extract and continue beating until combined.

Top each muffin with about 1 tablespoon of the cream cheese mixture and then using a toothpick swirl it into the batter.

Bake for 18 to 20 minutes, or until a cake tester inserted in the middle of the muffins comes out clean.

Store in an airtight container in the refrigerator.

Recipe from The Novice Chef Blog

Slow Cooker Sunday: Corn Chowder

One of the best things to make in your slow cooker is soup. I normally make corn chowder during the summer months on the stove thanks to the abundance of fresh corn available, but, for this recipe, I used frozen corn and you guessed it, my slow cooker. And to be honest, using frozen corn requires a lot less effort. Shucking corn and getting the kernels off the cob is just not fun.

In a small bowl I combined 1/2 cup of the frozen corn along with a ¼ cup of diced red bell pepper and a tablespoon of fresh lemon juice. After stirring it together I covered the bowl with plastic wrap and then refrigerated it until my soup was ready.

In my slow cooker I combined the necessary ingredients for the chowder and then set it to cook on low for 8 hours. In case you are wondering, no, I didn’t cook the soup with the thyme on top, after taking this picture I gave the soup a good stir so the thyme sprigs could work their magic while the soup was cooking.

After the 8 hours I transferred 2 cups of the soup to a blender and blended it until it was smooth and then returned it the slow cooker along with heavy cream and butter. I stirred the soup until the butter had melted and then it was ready to enjoy.

I served it topped with the pepper and corn. You may be tempted to pass on the corn and pepper topping but trust me don’t. The fresh lemon juice from the mixture adds a nice taste to the soup.

Slow Cooker Corn Chowder

Ingredients:

1/4 cup diced red bell pepper

1 tablespoon freshly squeezed lemon juice

4 cups (32 ounces) frozen corn

1 pound Yukon gold potatoes, peeled and diced

2 14.5 oz. cans of chicken broth

1/2 cup chopped yellow onion

2 garlic cloves, minced

2 sprigs fresh thyme

2 teaspoons kosher salt

1/2 teaspoon freshly ground black pepper

1/2 cup heavy cream

2 tablespoons unsalted butter


Directions:

In a small bowl combined the diced pepper, 1/2 cup of the corn and the lemon juice. Stir together and the cover and refrigerate until ready to serve.

In your slow cooker add the remaining corn, potatoes, chopped onion, garlic, thyme salt and pepper. Stir everything to combine and then cover and cook on low for 8 hours.

Remove the thyme springs and transfer 2 cups of the soup to a blender and blend until smooth. Return the blended soup to the slow cooker along with the heavy cream and butter. Stir the soup until the butter has melted.

Ladle the soup into bowls and top with the reserved corn and pepper mixture.

Recipe slightly adapted from The Kitchn

Crocheted Hexagon Christmas Tree Skirt

I started this project way back in January. I actually posted a little about it in my Elusive Magic Ring post. By the way, I still cannot do a magic ring, but, I am not letting it hold me back. I am sticking with my chain 6 and join with a slip stitch method to get around it. So, why did it take me so long for me to complete it? Well, while I easily found enough skeins of red & gray yarn in the same dye lot I was having trouble doing the same for the green I wanted to use. After a while I just gave up looking. But then September rolled around and I knew that if I wanted to finish my tree skirt for Christmas this year I would have to find it. And so, luckily one day at my local Michael’s I came across three skeins in the same dye lot and I picked up a fourth one that looked similar just in case. I crocheted 12 green hexagons and I finally had the 36 I needed to make my Christmas Tree Skirt.

I began by laying out all of the hexagons on top of my old Christmas tree skirt to ensure that the 36 hexagons would be enough. It ended up being a little smaller than my old one, but not by much. I also wanted to make sure that I laid the hexagons out in a pattern that I liked. I basically placed them haphazardly but also made sure that there weren’t too many of one color in one area. I probably switched the hexagons around once or twice before finally settling on the design.

And once I did I began stitching the hexagons together to create columns.

And then I stitched those columns together to form the tree skirt. As you can see, my new skirt isn’t that much smaller than my old one. I was initially think of adding 2 hexagons to each column (one on top and one of the bottom) but I decided against it because I felt that the skirt would be too big and it may take away from the overall design. Also, if I did that I would then need to add another column on each end consisting of 5 hexagons each to balance it out, and I just didn’t have enough yarn to do that. I only had 1 skein of each color left over and that would give me another 12 hexagons and with the added hexagons I was thinking of I would have needed an additional 24 hexagons… Eeek!

And to make sure I can easily place this around my Christmas tree I left two columns unstitched. Choosing one near the center just made the most sense.

I think it looks perfect under my tree…


Hexagon Christmas Tree Skirt

Yarn: Bernat Chunky Yarn (3 skeins each of Berry Red, Dark Green & Gray Heather – you should get 4 hexagons from each skein)

Crochet Hook: L / 8.0 MM

Hexagon Pattern:

Round 1: Ch6 and join with a slip stitch in the first chain*. Ch1 and then Ch2 more, dc in ring, ch2, *2dc, ch2* 5 times into ring. sl st to join last ch to the top of the first series of 3 ch. (You will have 6 sets of 2dc + 2ch. The 2 dc will become the sides of the hexagon and the 2 ch gaps will become the corners.

*Alternately you could start with a magic loop

Round 2: Ch3, dc in next dc stich, *[dc, ch2, dc in chain gap from previous round], dc in next 2 dc* (5 times). dc, ch2, dc in last corner gap. sl st to join last ch to the top of the first series of 3 ch. (Each hexagon side now has 4 dc stitches, separated by a ch 2 space)

Round 3: ch3, dc in next 2 dc, *[dc, ch2, dc in chain gap from previous round], dc in next 4 dc* (5 times). dc, ch2, dc in last corner gap. dc in remaining 1 dc. sl st to join last ch to the top of the first series of 3 ch. (Each hexagon side now has 6 dc stitches, separated by a 2 ch space)

Round 4: ch3, dc in next 3 dc, *[dc, ch2, dc in chain gap from previous round], dc in next 4 dc* (5 times). dc, ch2, dc in last corner gap. dc in remaining 2 dc. sl st to join last ch to the top of the first series of 3 ch. (Each hexagon side now has 8 dc stitches, separated by a 2 ch space)


sl st – slip stitch

ch – chain

dc – double crochet


Once you have all of your hexagons made lay them out in 7 rows. Your 1st and 7th row will have 4 hexagons each, your 2nd & 6th will have 5, your 3rd and 5th will have 6 each and the middle row (row 4) will also have 6, but, you will leave a space in the middle for your tree / tree stand to go through. The hexagons will be staggered so that the final skirt will somewhat look like a hexagon as well. You may have to use your imagination to see it.

Once you like the pattern, begin by stitching the hexagons together into columns.

Once you have your columns done, stitch them together to complete the skirt. When you have decided which half of your skirt will be the top and which will be bottom (or in terms of laying it down for the tree, which will be the back part and which will be the front part) be sure not to stitch one side of middle column to the adjacent column so you can easily place your skirt around your tree. You can use leftover yarn to tie the two columns together while the skirt is around your tree to prevent it from moving around.

Apple Crumb Pie

I’m wrapping up my mini apple week today with a pie that would be a perfect addition to your Thanksgiving dessert table… An Apple Crumb Pie. I make my fair share of desserts for Thanksgiving and this year I decided to make things a little easier on myself and forgo making any pies with a decorative pie crust. My baking list for Thanksgiving usually includes about 6 or 7 different desserts so taking that small thing off of my list is definitely going to help me get everything done in a timely fashion. And since I normally head to the city to see the Macy’s Thanksgiving Day Parade balloons get inflated the night before Thanksgiving I have limited time on that day to bake so I normally end up baking one last thing on Thanksgiving morning and I am trying to avoid that this year. Coupled with no decorative pie crusts I am also thinking of baking one or two things ahead of time which should definitely free up some time for me.

To begin this pie I started by making the crumb topping. Once I mixed all of the ingredients together I placed it in the freezer so it could firm up. Next, I covered a large baking sheet with aluminum foil and placed it on the bottom rack of my oven and preheated it to 400 F. And finally I made the filling. I added all of the ingredients for the filling to a large bowl and using a rubber spatula gently folded them together.

Now, I’ve never had much success in making pie crust from scratch so I always opt to either use refrigerated pie crust or my real favorite frozen pie crust. I apologize to those of you who are cringing right now. I just find it fool-proof, especially the frozen one, and since I am usually more concerned with how the filling is going to come out and perfecting a decorative crust it’s just easier for me. To be honest, when I do make a decorative pie crust I use a frozen crust for the filling and a refrigerated pie crust to decorate it. It’s so much easier to make cut outs or cut long strips with pie crust that is already the perfect thickness. If you’re thinking of following my trick here’s another one. If you want to decorate your pie with cut-outs make sure you refrigerate them after cutting them out before placing them on your pie. Same thing goes for the strips you would use for braiding or a lattice design. Handling the pie crust softens it quickly and then when you go to place it on your pie it won’t place as well or may start to break (especially if you are making a lattice design), firming it up again makes it easier to work with and it will bake better. Okay, so back to the pie at hand. I used a frozen 9-inch deep dish pie crust. I kept the pie crust in the freezer until I was ready to fill it. I spooned the filling into the pie crust and then gently topped it with the crumb topping, breaking any pieces of crumb that were too large. I carefully removed the hot pan from the oven and placed the pie on it and then returned it to the oven.

Look at those nice pieces of crumb topping… YUM!!!

I baked it at 400 F for about 25 minutes and then reduced the oven temperature to 350 F and baked it for about another 50 minutes. My apples were a tad soft to begin with (I got them a few weeks ago from apple picking) so my pie was ready rather quickly. About 25 minutes after reducing the heat I covered the top of the pie with a piece of aluminum foil so the crumb topping wouldn’t burn. Once I removed it from the oven the crumb topping was a perfect golden color and the filling had bubbled out just a bit.

After letting it cool completely I placed it in the refrigerator covered with aluminum foil for a few days before cutting into it -I baked it on a Thursday night and sliced it on Sunday. Final verdict… It was the best apple pie I’ve ever made. I would say pie in general, but that distinction belongs to Key Lime Pie. Per requests, I am planning on making two of these for Thanksgiving!


Apple Crumb Pie

Ingredients:

1 Frozen 9-inch deep dish pie crust*

Crumb Topping:

1 cup all-purpose flour

1/3 cup light brown sugar

1/4 teaspoon ground cinnamon

1/4 teaspoon salt

1 stick unsalted butter, cut into 1/2-inch pieces at room temperature

Filling:

3 pounds mixed apples, peeled and sliced 1/4-inch thick

4 tablespoons unsalted butter, melted

1/3 cup granulated sugar

1/4 cup light brown sugar

2 tablespoons all-purpose flour

1 tablespoon fresh lemon juice

1 teaspoon ground cinnamon

1/8 teaspoon salt

*You could also use a homemade pie crust or a refrigerated pie crust. If using either, once you have prepped your pie plate with the crust place the dish in the refrigerator until the crust is firm, at least 1 hour or overnight. If using a frozen pie crust, you can fill the crust right out of the freezer.


Directions:

Make the crumb topping: Mix the flour, brown sugar, cinnamon and salt in a medium bowl. Add the butter to the mixture and use your hands to mix it until crumbs form. Place in the freezer until ready to use.

Line a large baking sheet with aluminum foil and place it in the bottom rack of your oven and then preheat the oven to 400 F.

Make the filling: Mix the apples, melted butter, both sugars, flour, lemon juice, cinnamon and salt in a large bowl. Spoon the filling into the pie crust. Sprinkle the filling with the frozen crumbs. Breaking any large crumbs into smaller pieces and making sure to spread them evenly over the pie and patting them down while doing so.

Place the pie on the baking sheet in the oven and bake until the crumbs lightly brown, about 25-30 minutes. Reduce the oven temperature to 350 F and continue baking until the apples are completely soft when pierced with a knife, about an additional 60 to 80 minutes. If you find the crumb topping is getting too dark cover it loosely with a piece of aluminum foil. Transfer the pie to a wire rack to cool completely.

Recipe from Food Network

Apple Cider Doughnut Cake

I’ve mentioned it quite a few times before that one of my favorite things about going apple picking is getting freshly made apple cider doughnuts. I posted about a baked version last year. And while those were good, there is something about a fried doughnut that just can’t be topped. If you are not sure about frying doughnuts (I tried once and it was a fail) check out my post for Apple Cider Fritters. They’re bite size and so good you may end up guilty of eating one too many. So, when I came across a recipe for a twist on my favorite doughnuts in a cake form (including a cinnamon sugar topping) I knew I had to try it. Well, at first I was going to pass on it. I try to stick with recipes that require ingredients that I have on hand or that I know I will use again. So, when I saw that this recipe included wheat flour as one of the ingredients I was a tad bit skeptical. I know, wheat flour isn’t something that is all that odd, but, there aren’t many recipes I come across that require it so I was a bit concerned that it would end up just sitting in my cabinet or refrigerator indefinitely. I also wondered why both? Which of course required a Google search. And what I learned is that using a combination of all-purpose and whole wheat flour produces a cake that is lighter in texture and rises better. And by mixing the two you also get the added benefits of more fiber and nutrients thanks to the whole wheat.

So, a slightly funny story while making this cake. One of the ingredients is unsweetened applesauce. I had a jar of it in my refrigerator from another recipe but I never actually checked it until it was time to add it to the batter. So, I had all of my wet ingredients in a bowl and was about to add in the applesauce when I saw there was mold on top of it. Okay, not so funny. I didn’t bother to check it since it wasn’t set to expire until next year. But, this will definitely be a lesson to me to check those odd ball ingredients just in case. This is a good example of what I was saying before, buying ingredients that will sit without being used for a while. I ended up covering the ingredients with a piece of plastic wrap and ran out to the store to buy a new jar of applesauce. Hopefully the same thing won’t happen to this one. I guess I better come up with recipes for whole wheat flour and applesauce ASAP.

Letting the ingredients sit for a bit of time didn’t have any affect on the final cake. It did somehow separate while baking, but, I doubt it was because of the time my ingredients were left sitting. If you are having trouble seeing it in the picture below it’s on the right-hand side.

After adding a cinnamon sugar coating to the cake and letting it cool completely it was time to slice in to the cake and enjoy a piece. It didn’t taste exactly like my favorite apple cider doughnuts, but, it was just as good.

Apple Cider Doughnut Cake

Ingredients:

2 cups all-purpose flour

1 cup whole-wheat flour

1 1/2 teaspoons baking powder

1 1/2 teaspoons ground cinnamon

1/2 teaspoon baking soda

3/4 teaspoons kosher salt

1 3/4 cups sugar

1 cup apple cider

3/4 cup extra-virgin olive oil

3/4 cup unsweetened applesauce

2 teaspoons vanilla extract

3 large eggs, at room temperature

4 tablespoons unsalted butter, melted


Directions:

Preheat the oven to 350 F degrees. Spray a Bundt pan with baking spray or coat with butter and flour.

In a large bowl whisk together both flours along with the baking powder, 1 teaspoon of the cinnamon, baking soda and salt.

In another bowl whisk together 1 1/2 cups of the sugar, apple cider, olive oil, applesauce, vanilla and eggs. Once well blended add to the flour mixture and whisk both mixtures together until well combined. Transfer the batter to the prepared pan.

Bake in the preheated oven for 45 to 50 minutes, or until a cake tester inserted in the middle comes out clean. Transfer the pan to a wire rack set over a large bowl or rimmed baking sheet to cool for 15 minutes. While the cake is cooling mix together the remaining sugar and cinnamon and melt the butter.

Invert the cake onto the wire rack. Brush sections of the cake with melted butter and the sprinkle with the cinnamon sugar mixture. Continue doing this until the entire cake is coated with the butter and cinnamon sugar. Let the cake cool completely before serving.

Recipe from Martha Stewart