I started this project way back in January. I actually posted a little about it in my Elusive Magic Ring post. By the way, I still cannot do a magic ring, but, I am not letting it hold me back. I am sticking with my chain 6 and join with a slip stitch method to get around it. So, why did it take me so long for me to complete it? Well, while I easily found enough skeins of red & gray yarn in the same dye lot I was having trouble doing the same for the green I wanted to use. After a while I just gave up looking. But then September rolled around and I knew that if I wanted to finish my tree skirt for Christmas this year I would have to find it. And so, luckily one day at my local Michael’s I came across three skeins in the same dye lot and I picked up a fourth one that looked similar just in case. I crocheted 12 green hexagons and I finally had the 36 I needed to make my Christmas Tree Skirt.
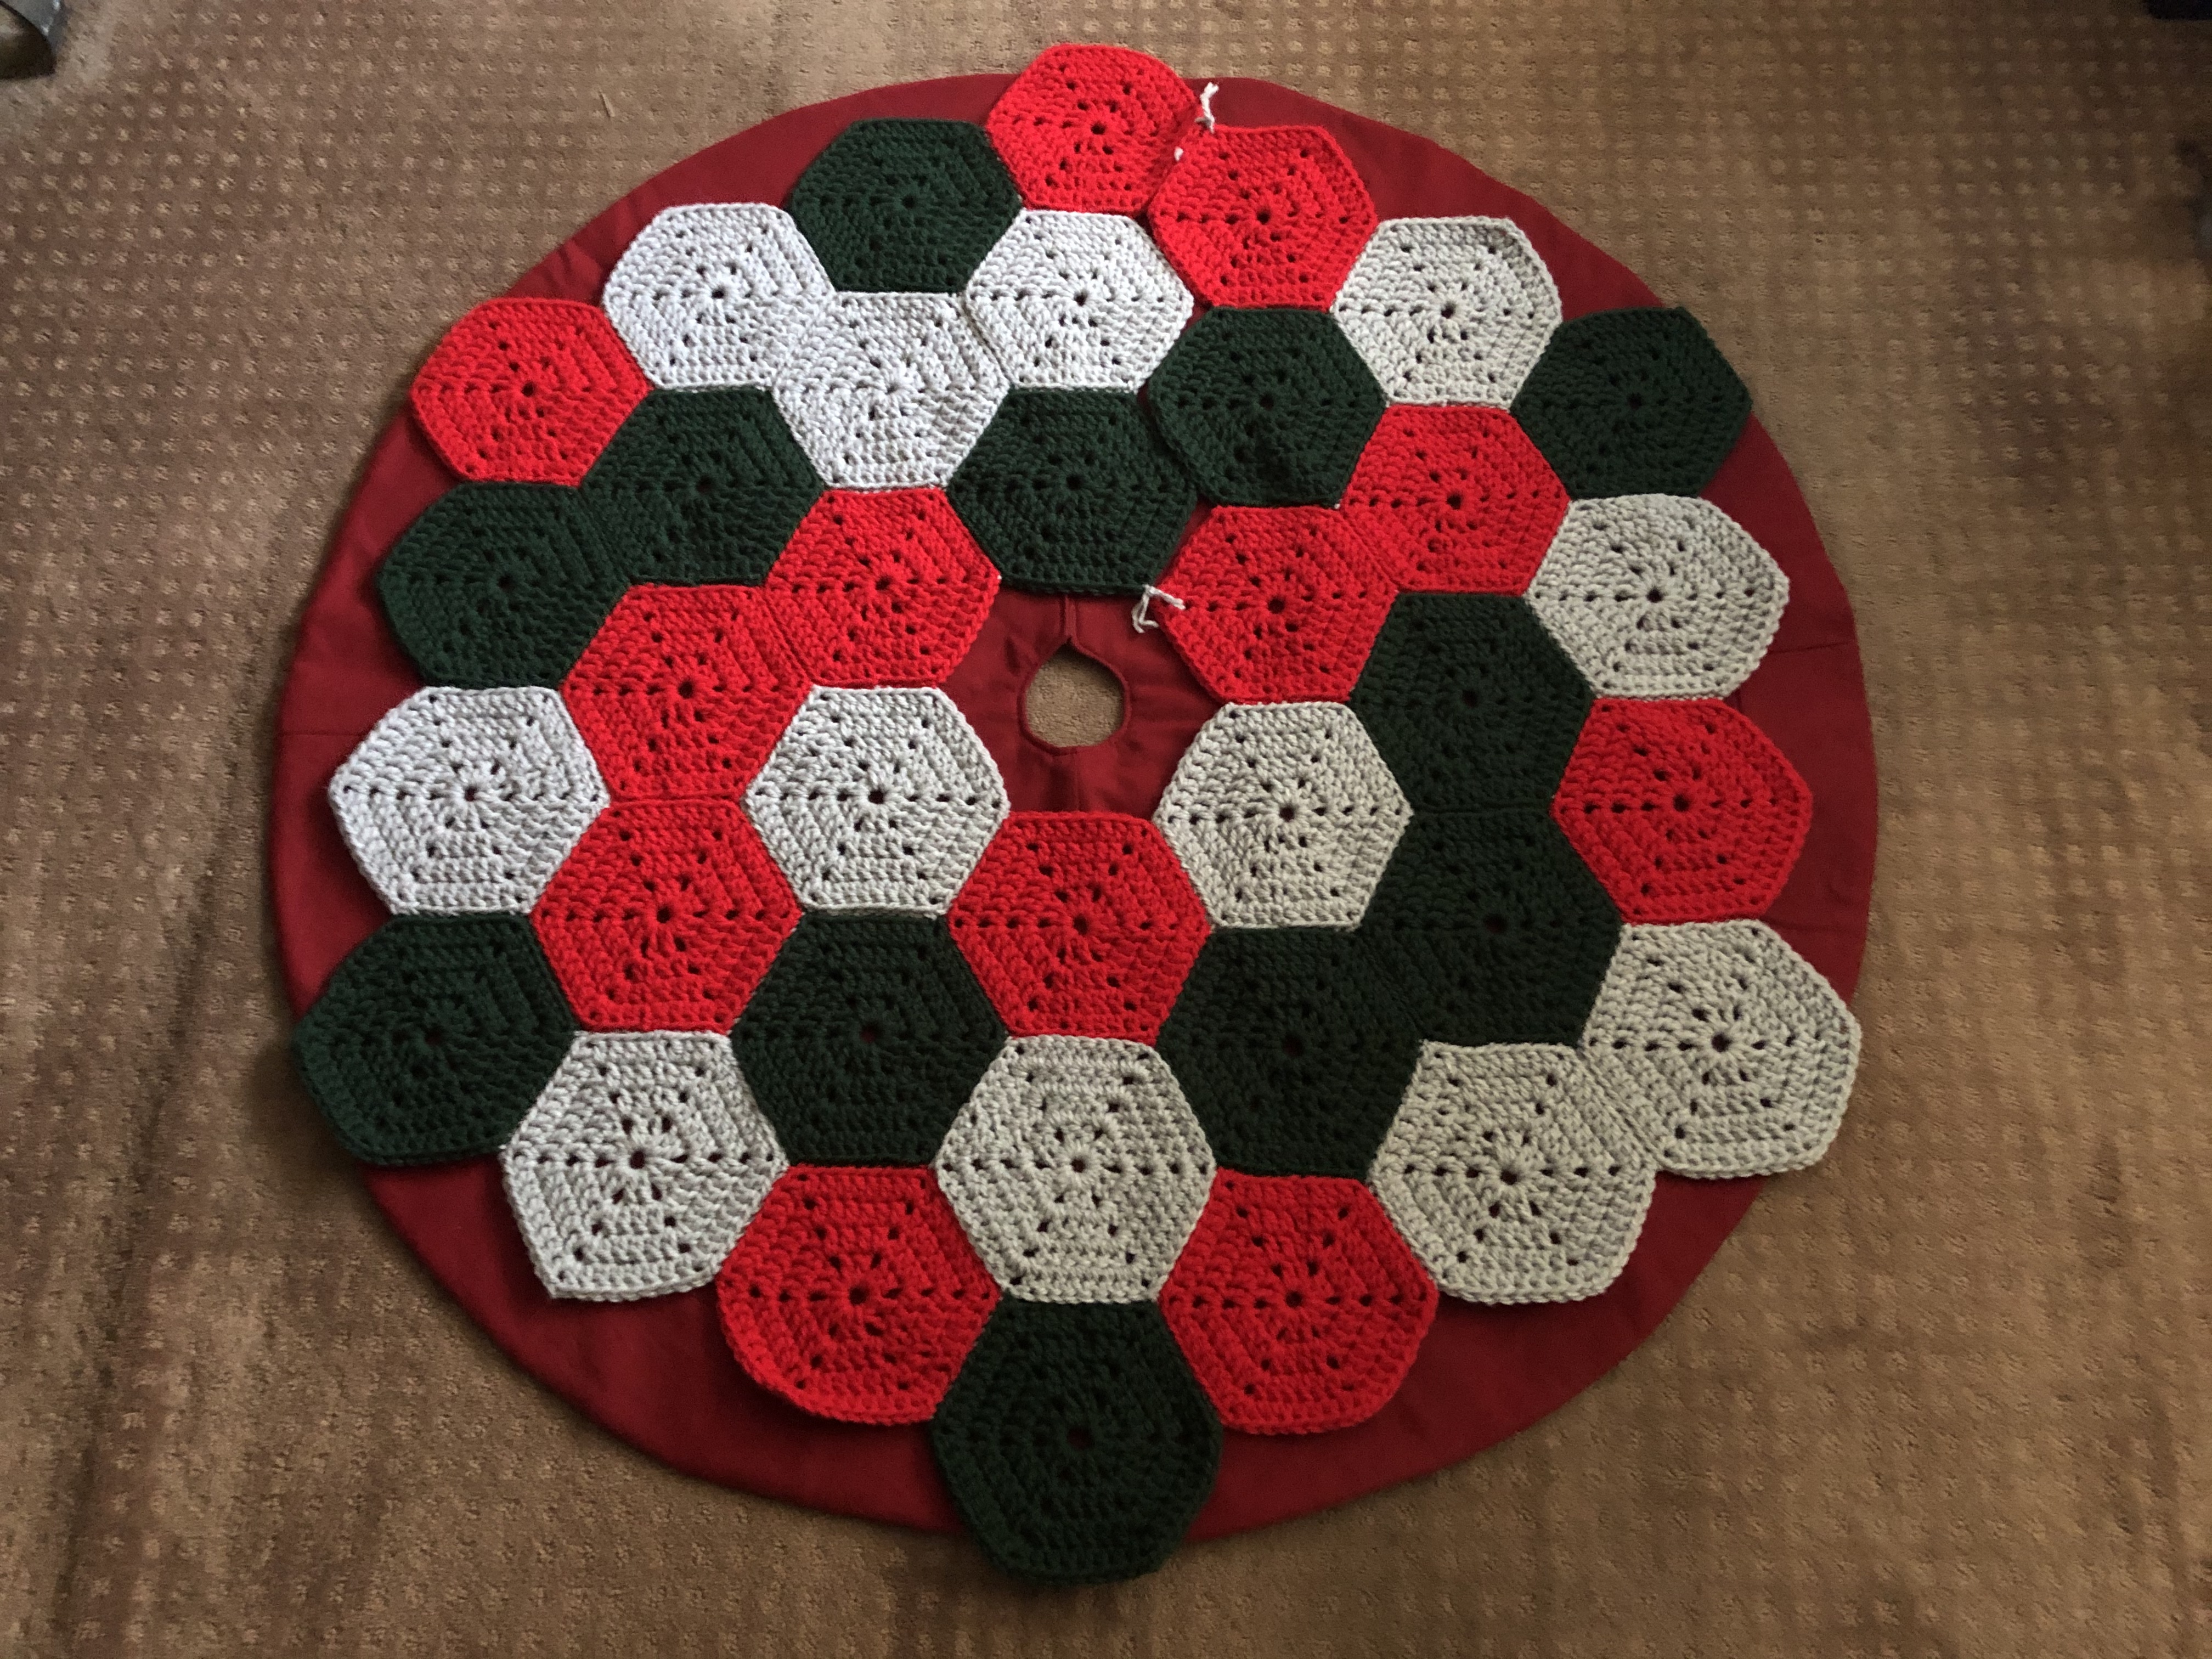
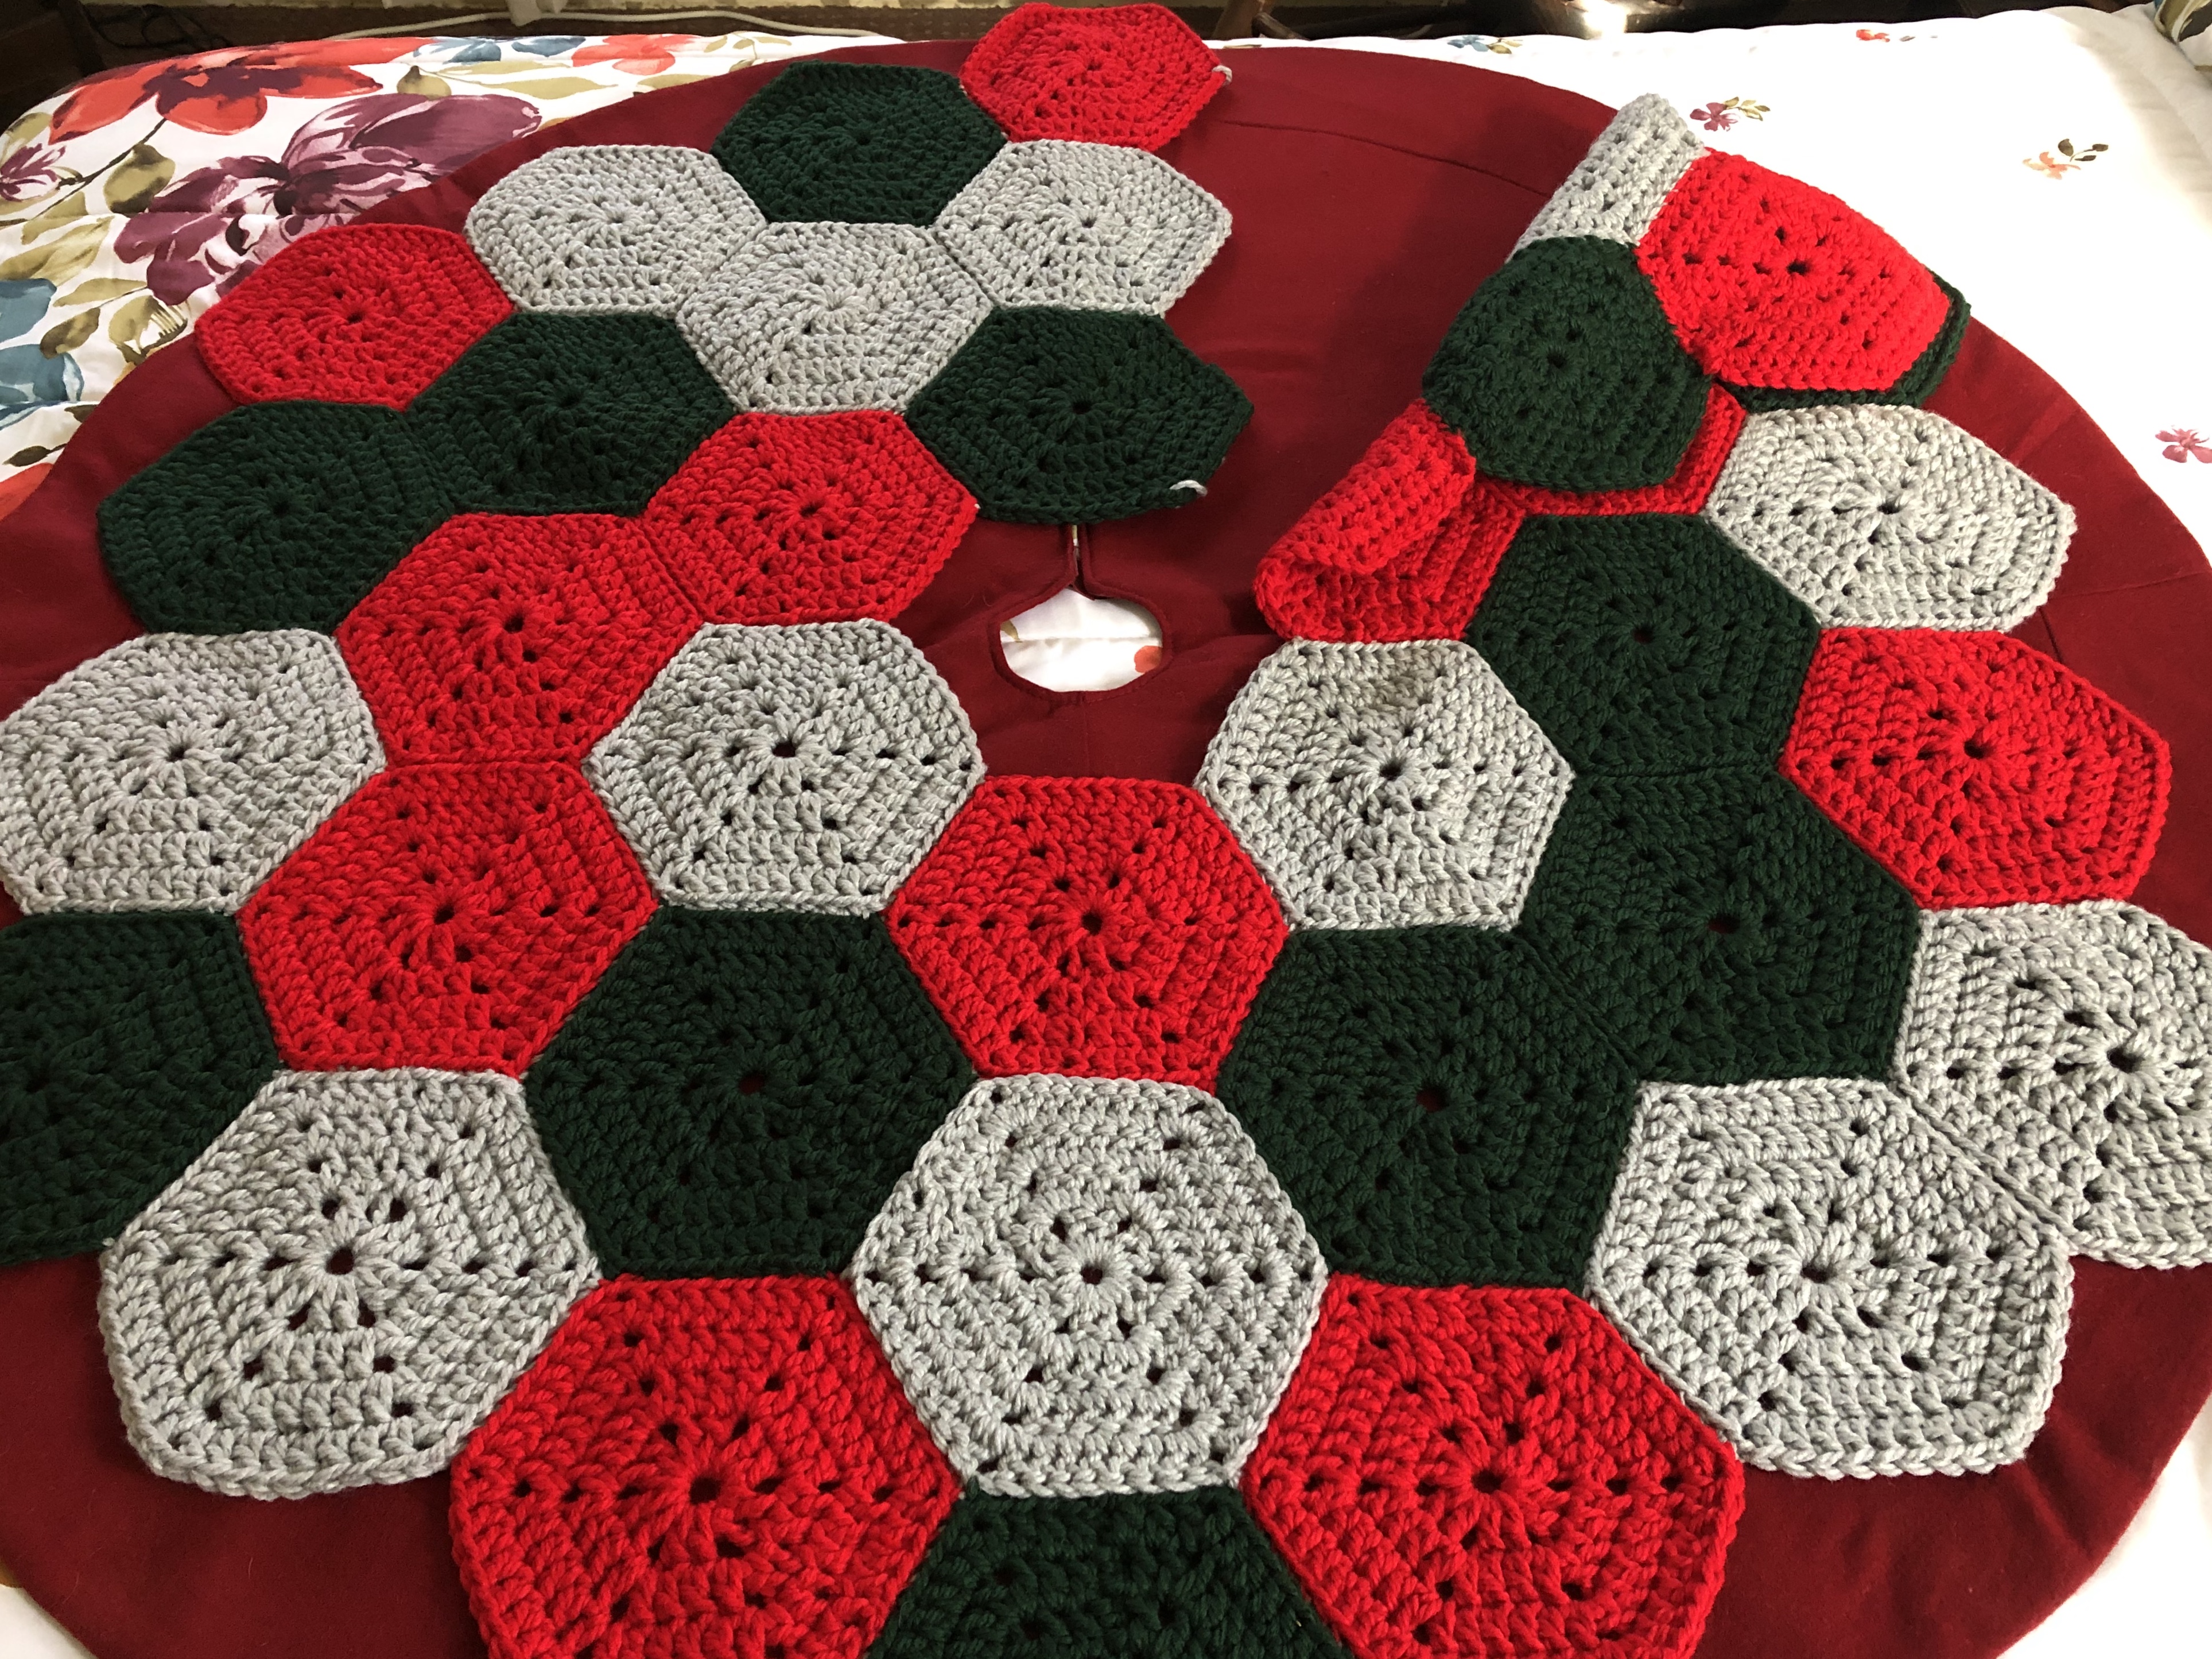
I began by laying out all of the hexagons on top of my old Christmas tree skirt to ensure that the 36 hexagons would be enough. It ended up being a little smaller than my old one, but not by much. I also wanted to make sure that I laid the hexagons out in a pattern that I liked. I basically placed them haphazardly but also made sure that there weren’t too many of one color in one area. I probably switched the hexagons around once or twice before finally settling on the design.
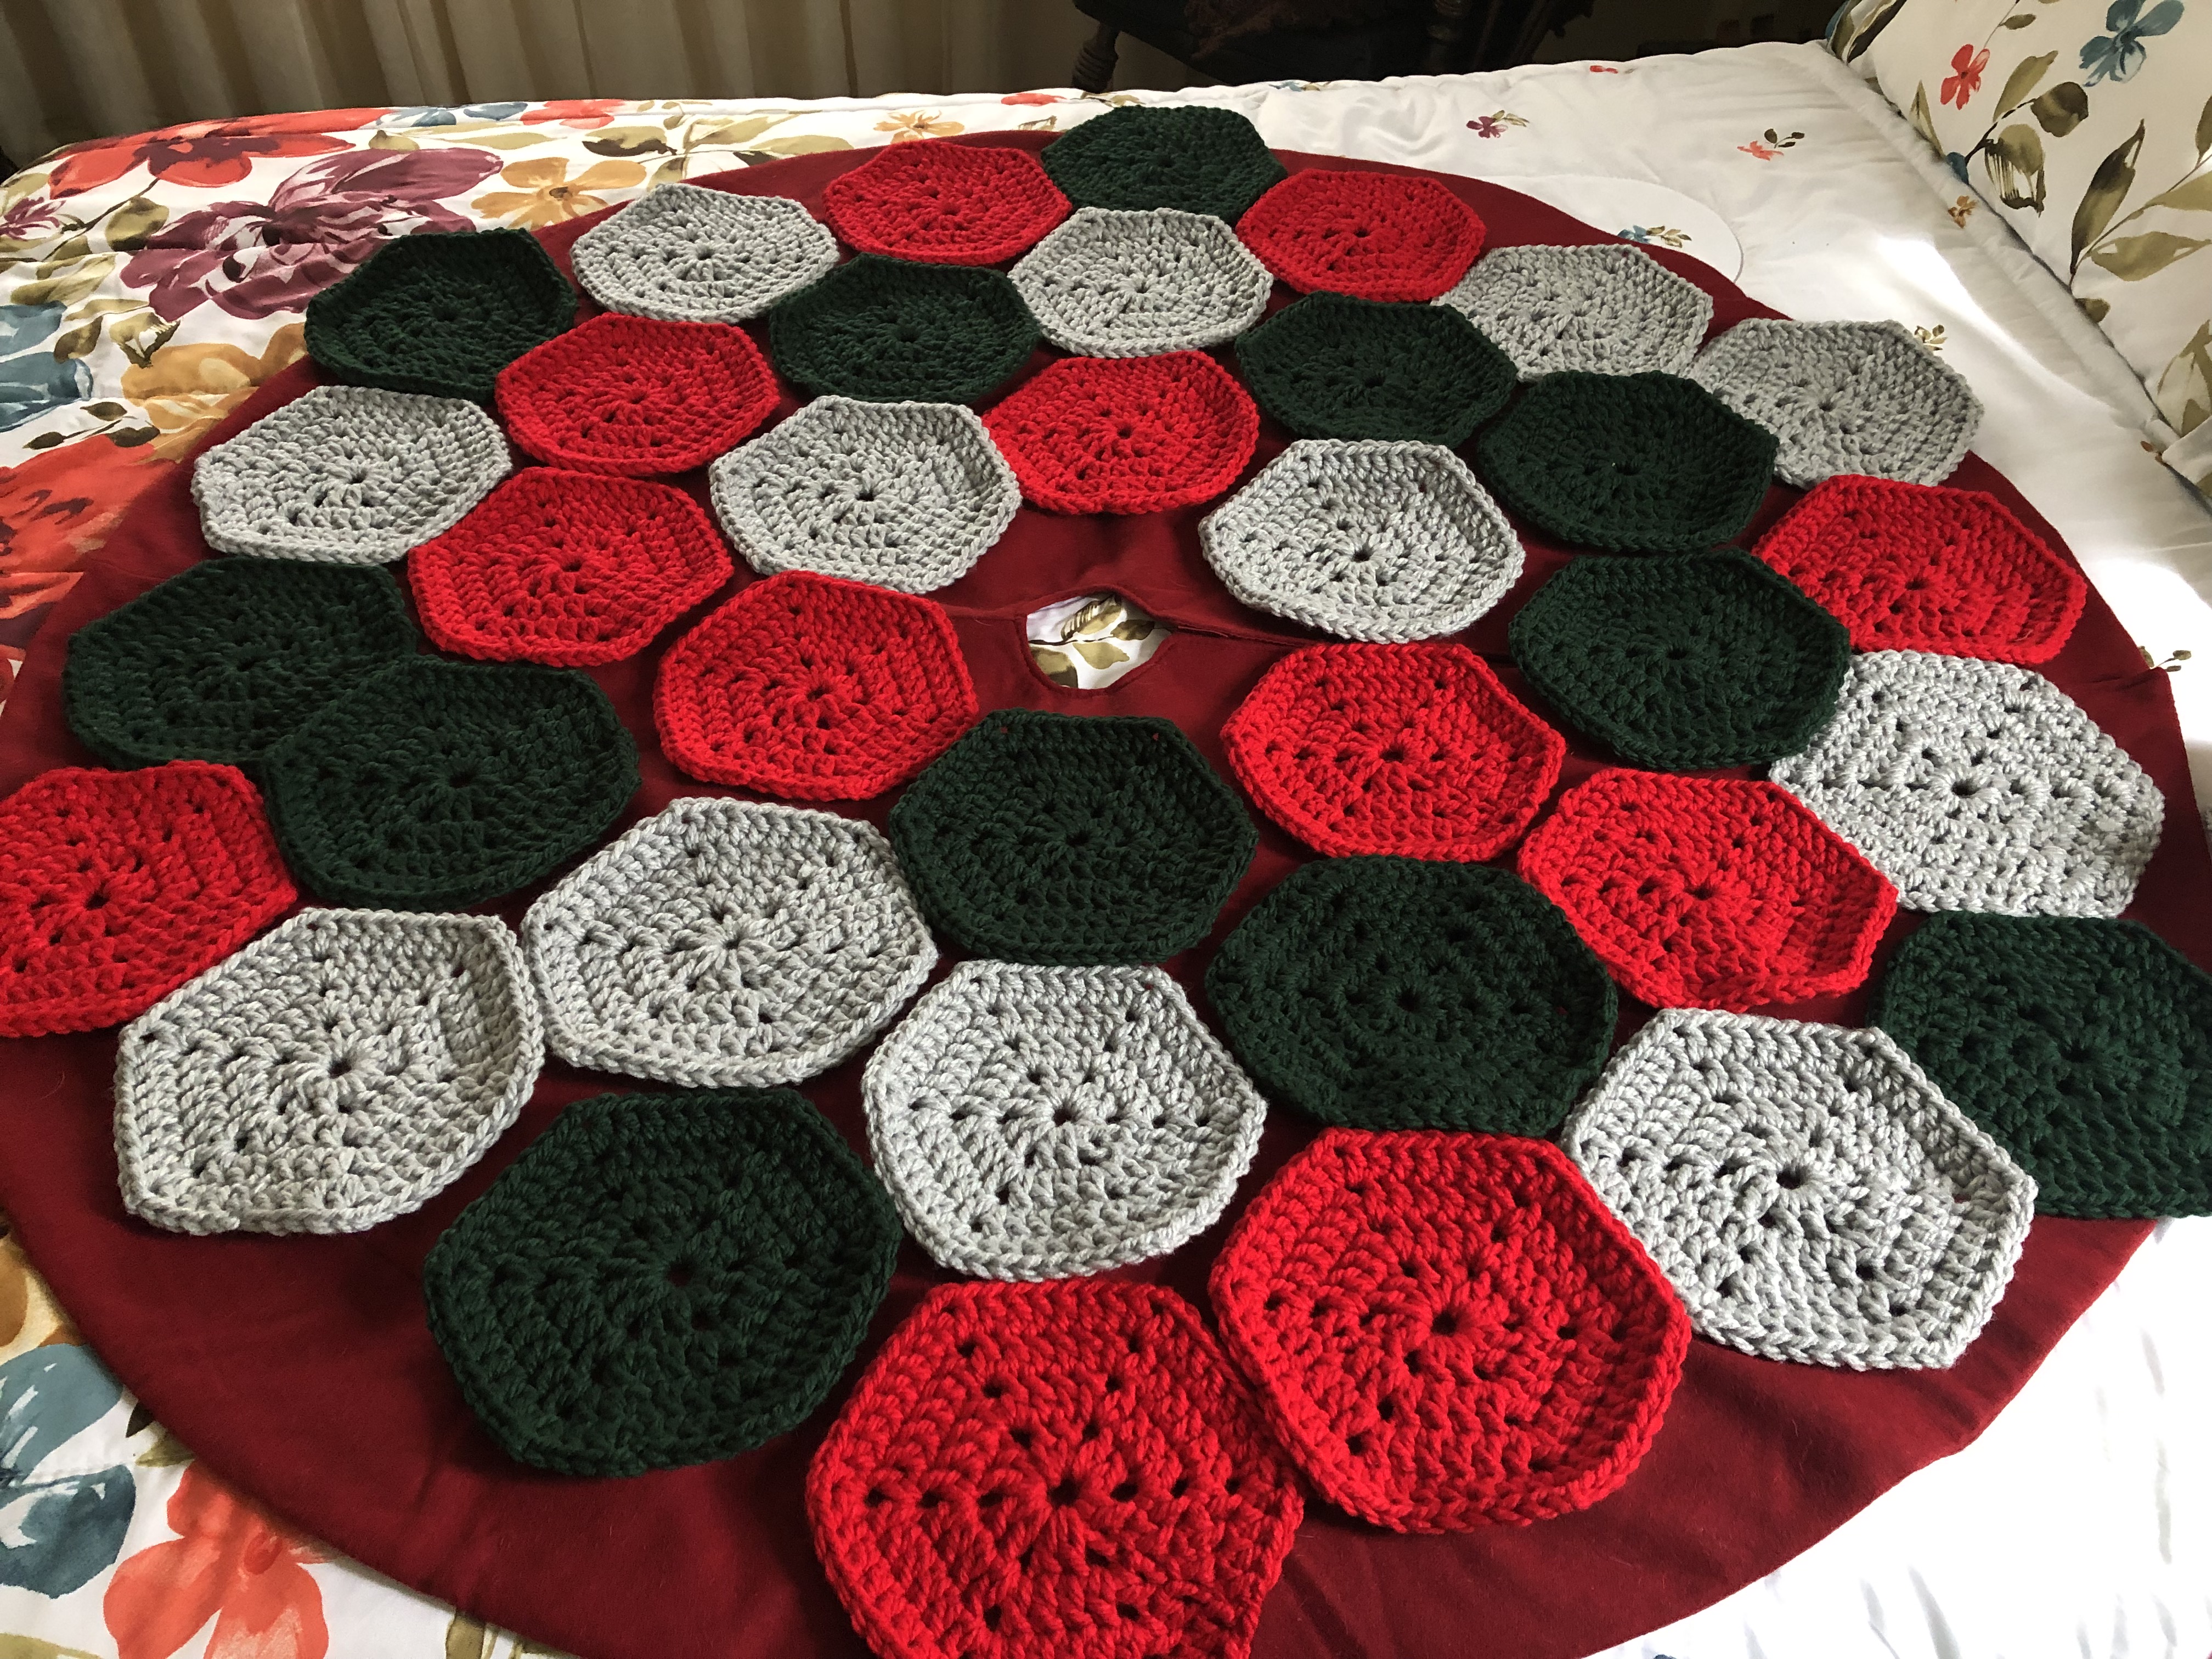
And once I did I began stitching the hexagons together to create columns.
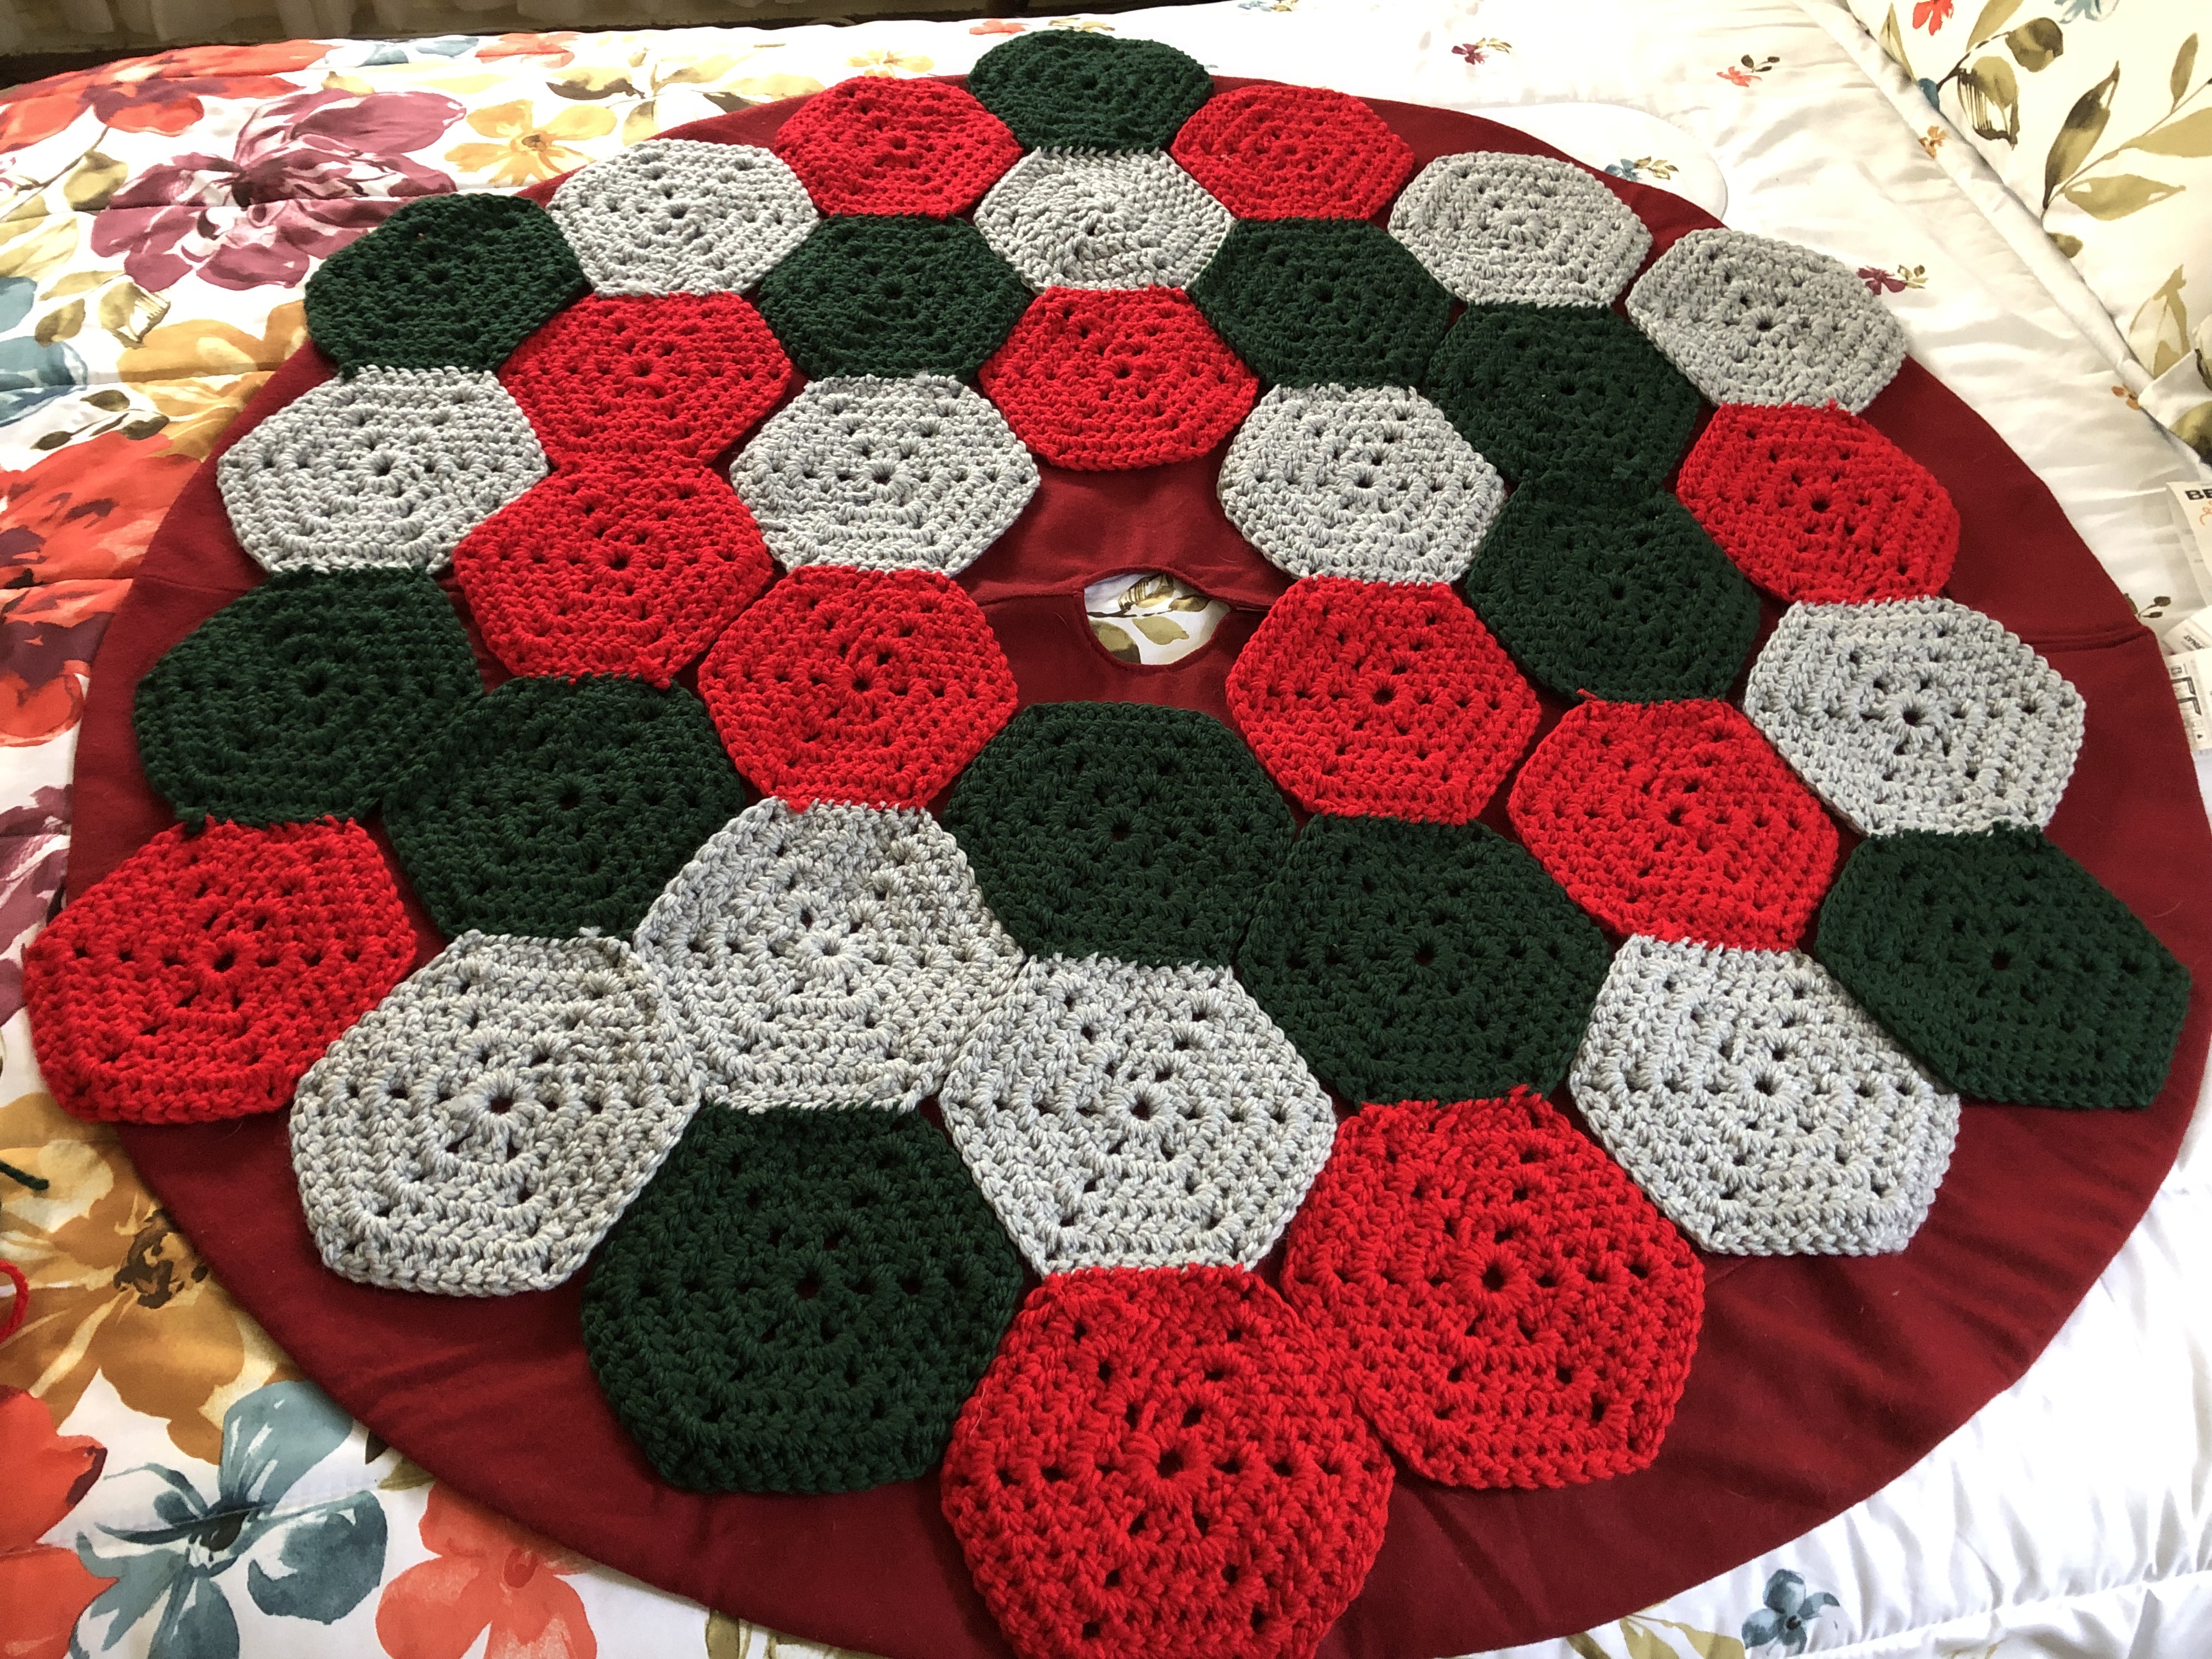
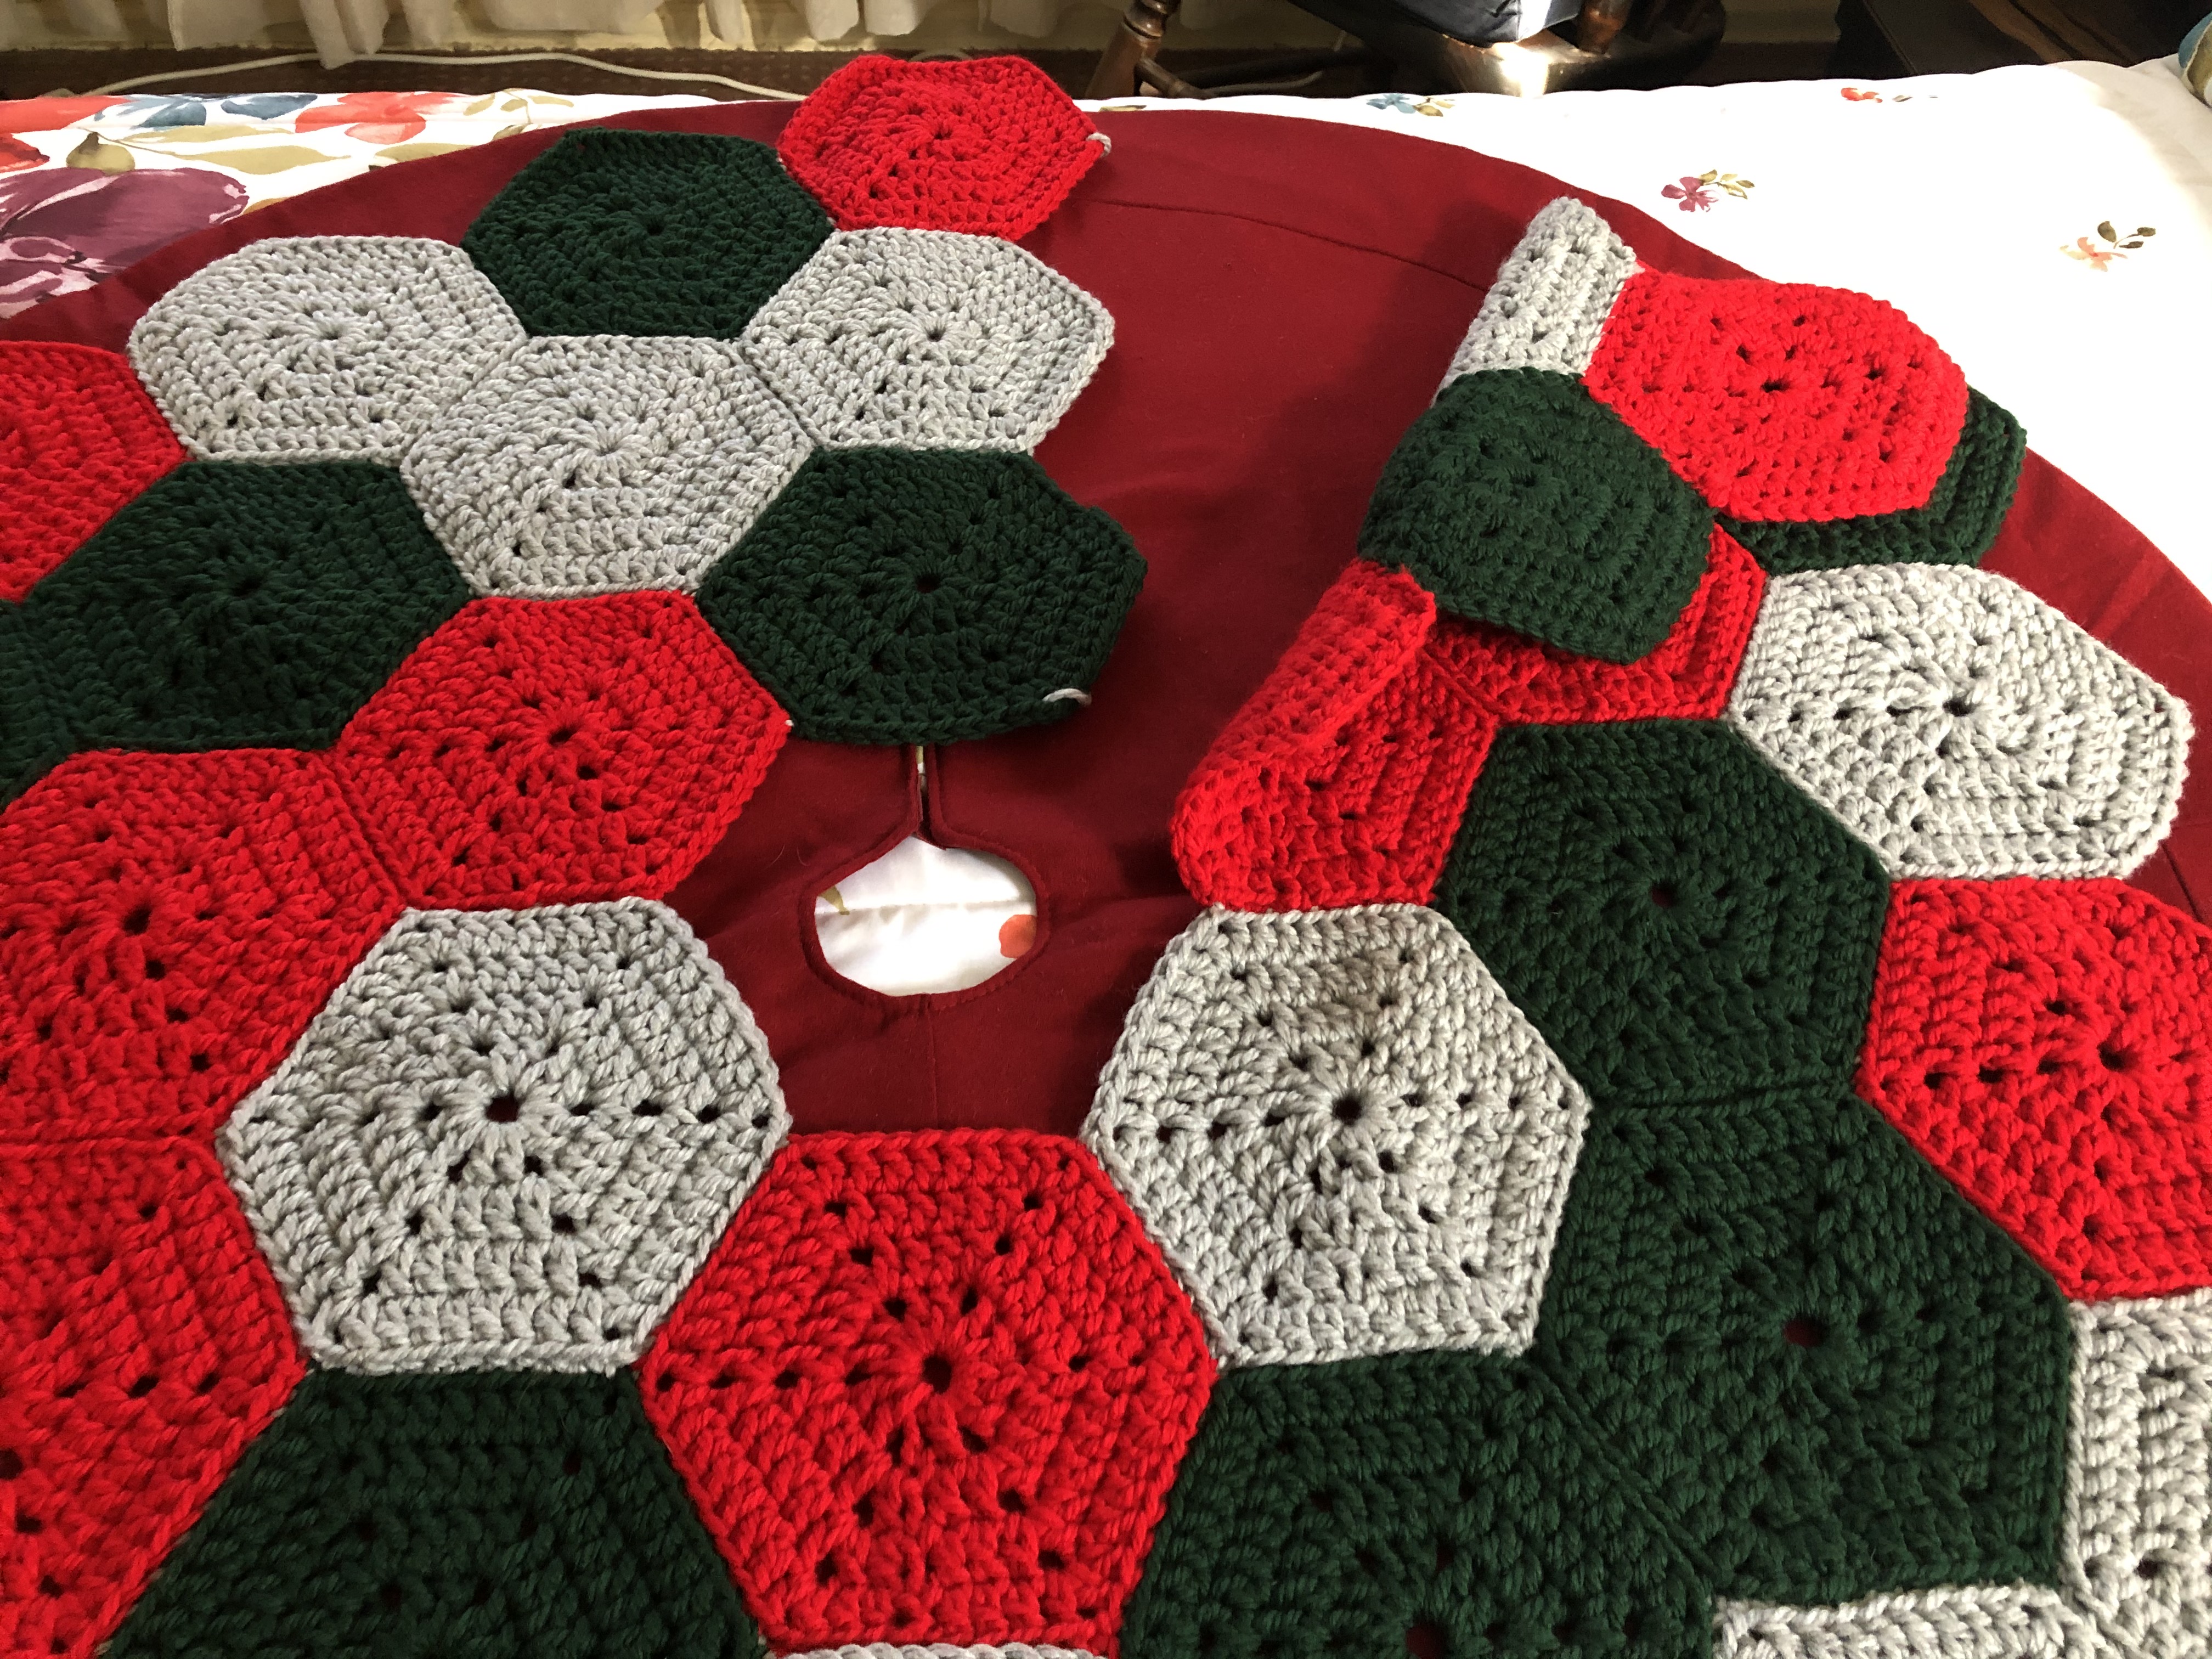
And then I stitched those columns together to form the tree skirt. As you can see, my new skirt isn’t that much smaller than my old one. I was initially think of adding 2 hexagons to each column (one on top and one of the bottom) but I decided against it because I felt that the skirt would be too big and it may take away from the overall design. Also, if I did that I would then need to add another column on each end consisting of 5 hexagons each to balance it out, and I just didn’t have enough yarn to do that. I only had 1 skein of each color left over and that would give me another 12 hexagons and with the added hexagons I was thinking of I would have needed an additional 24 hexagons… Eeek!
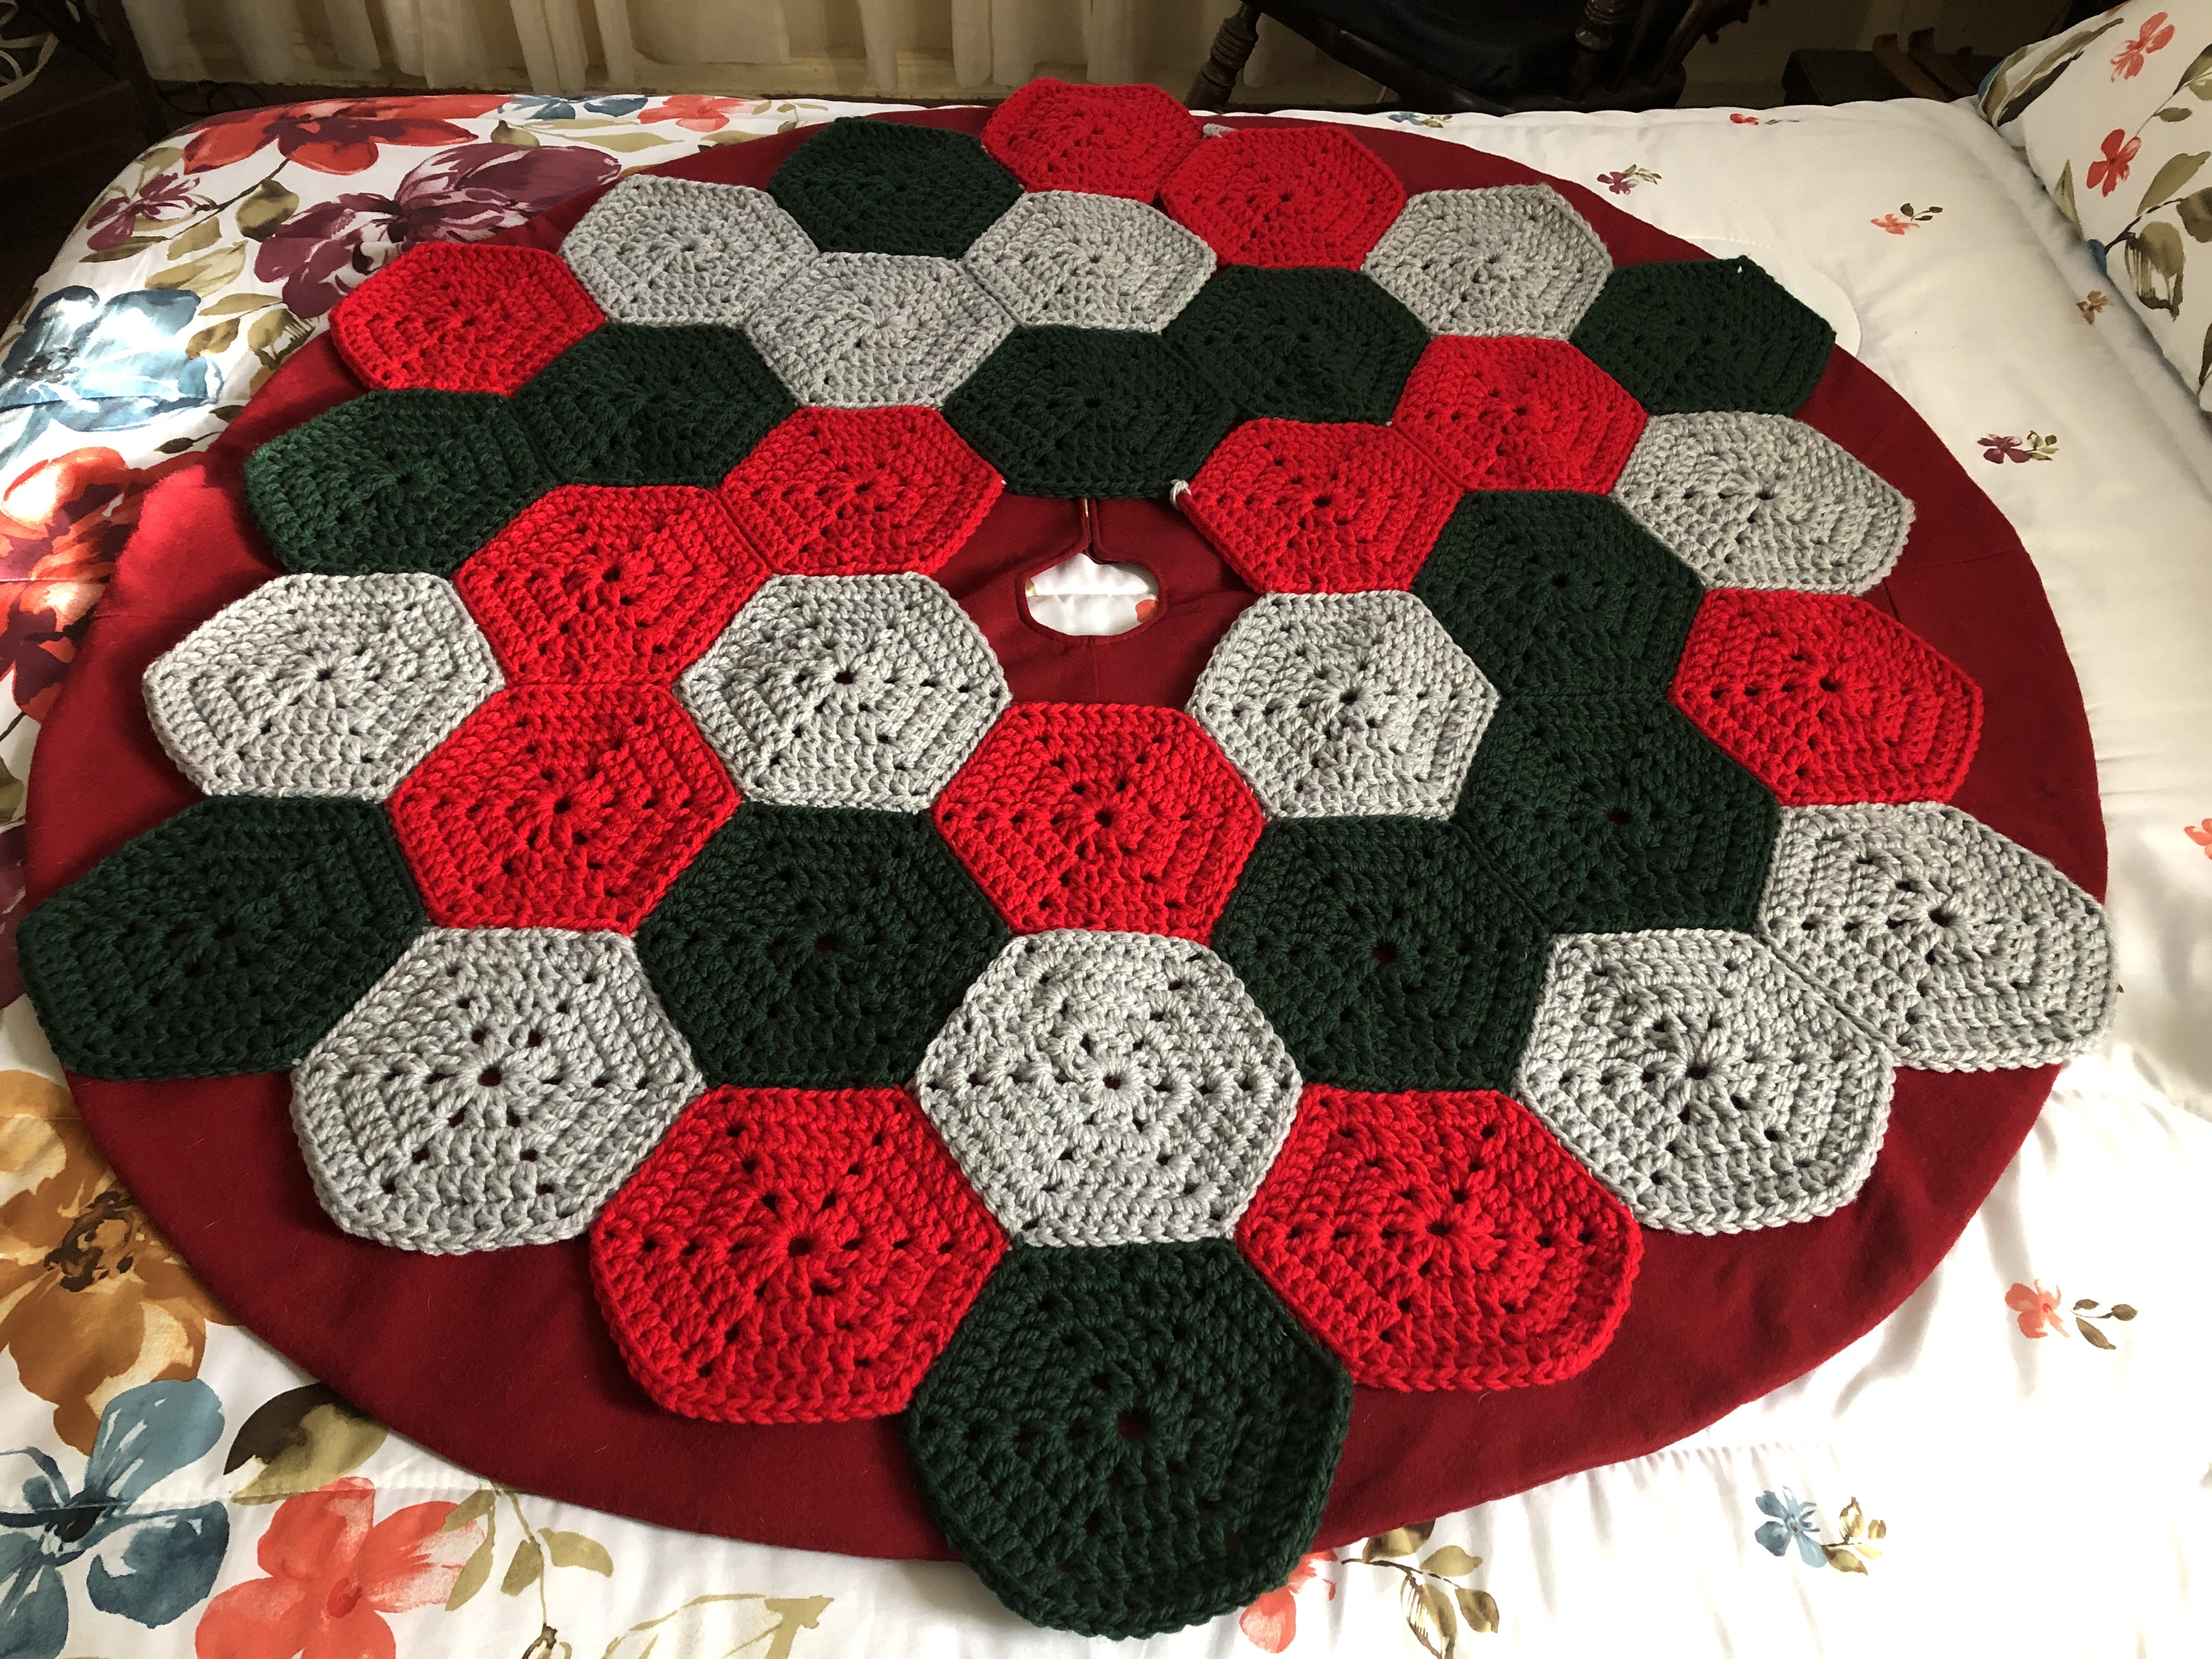
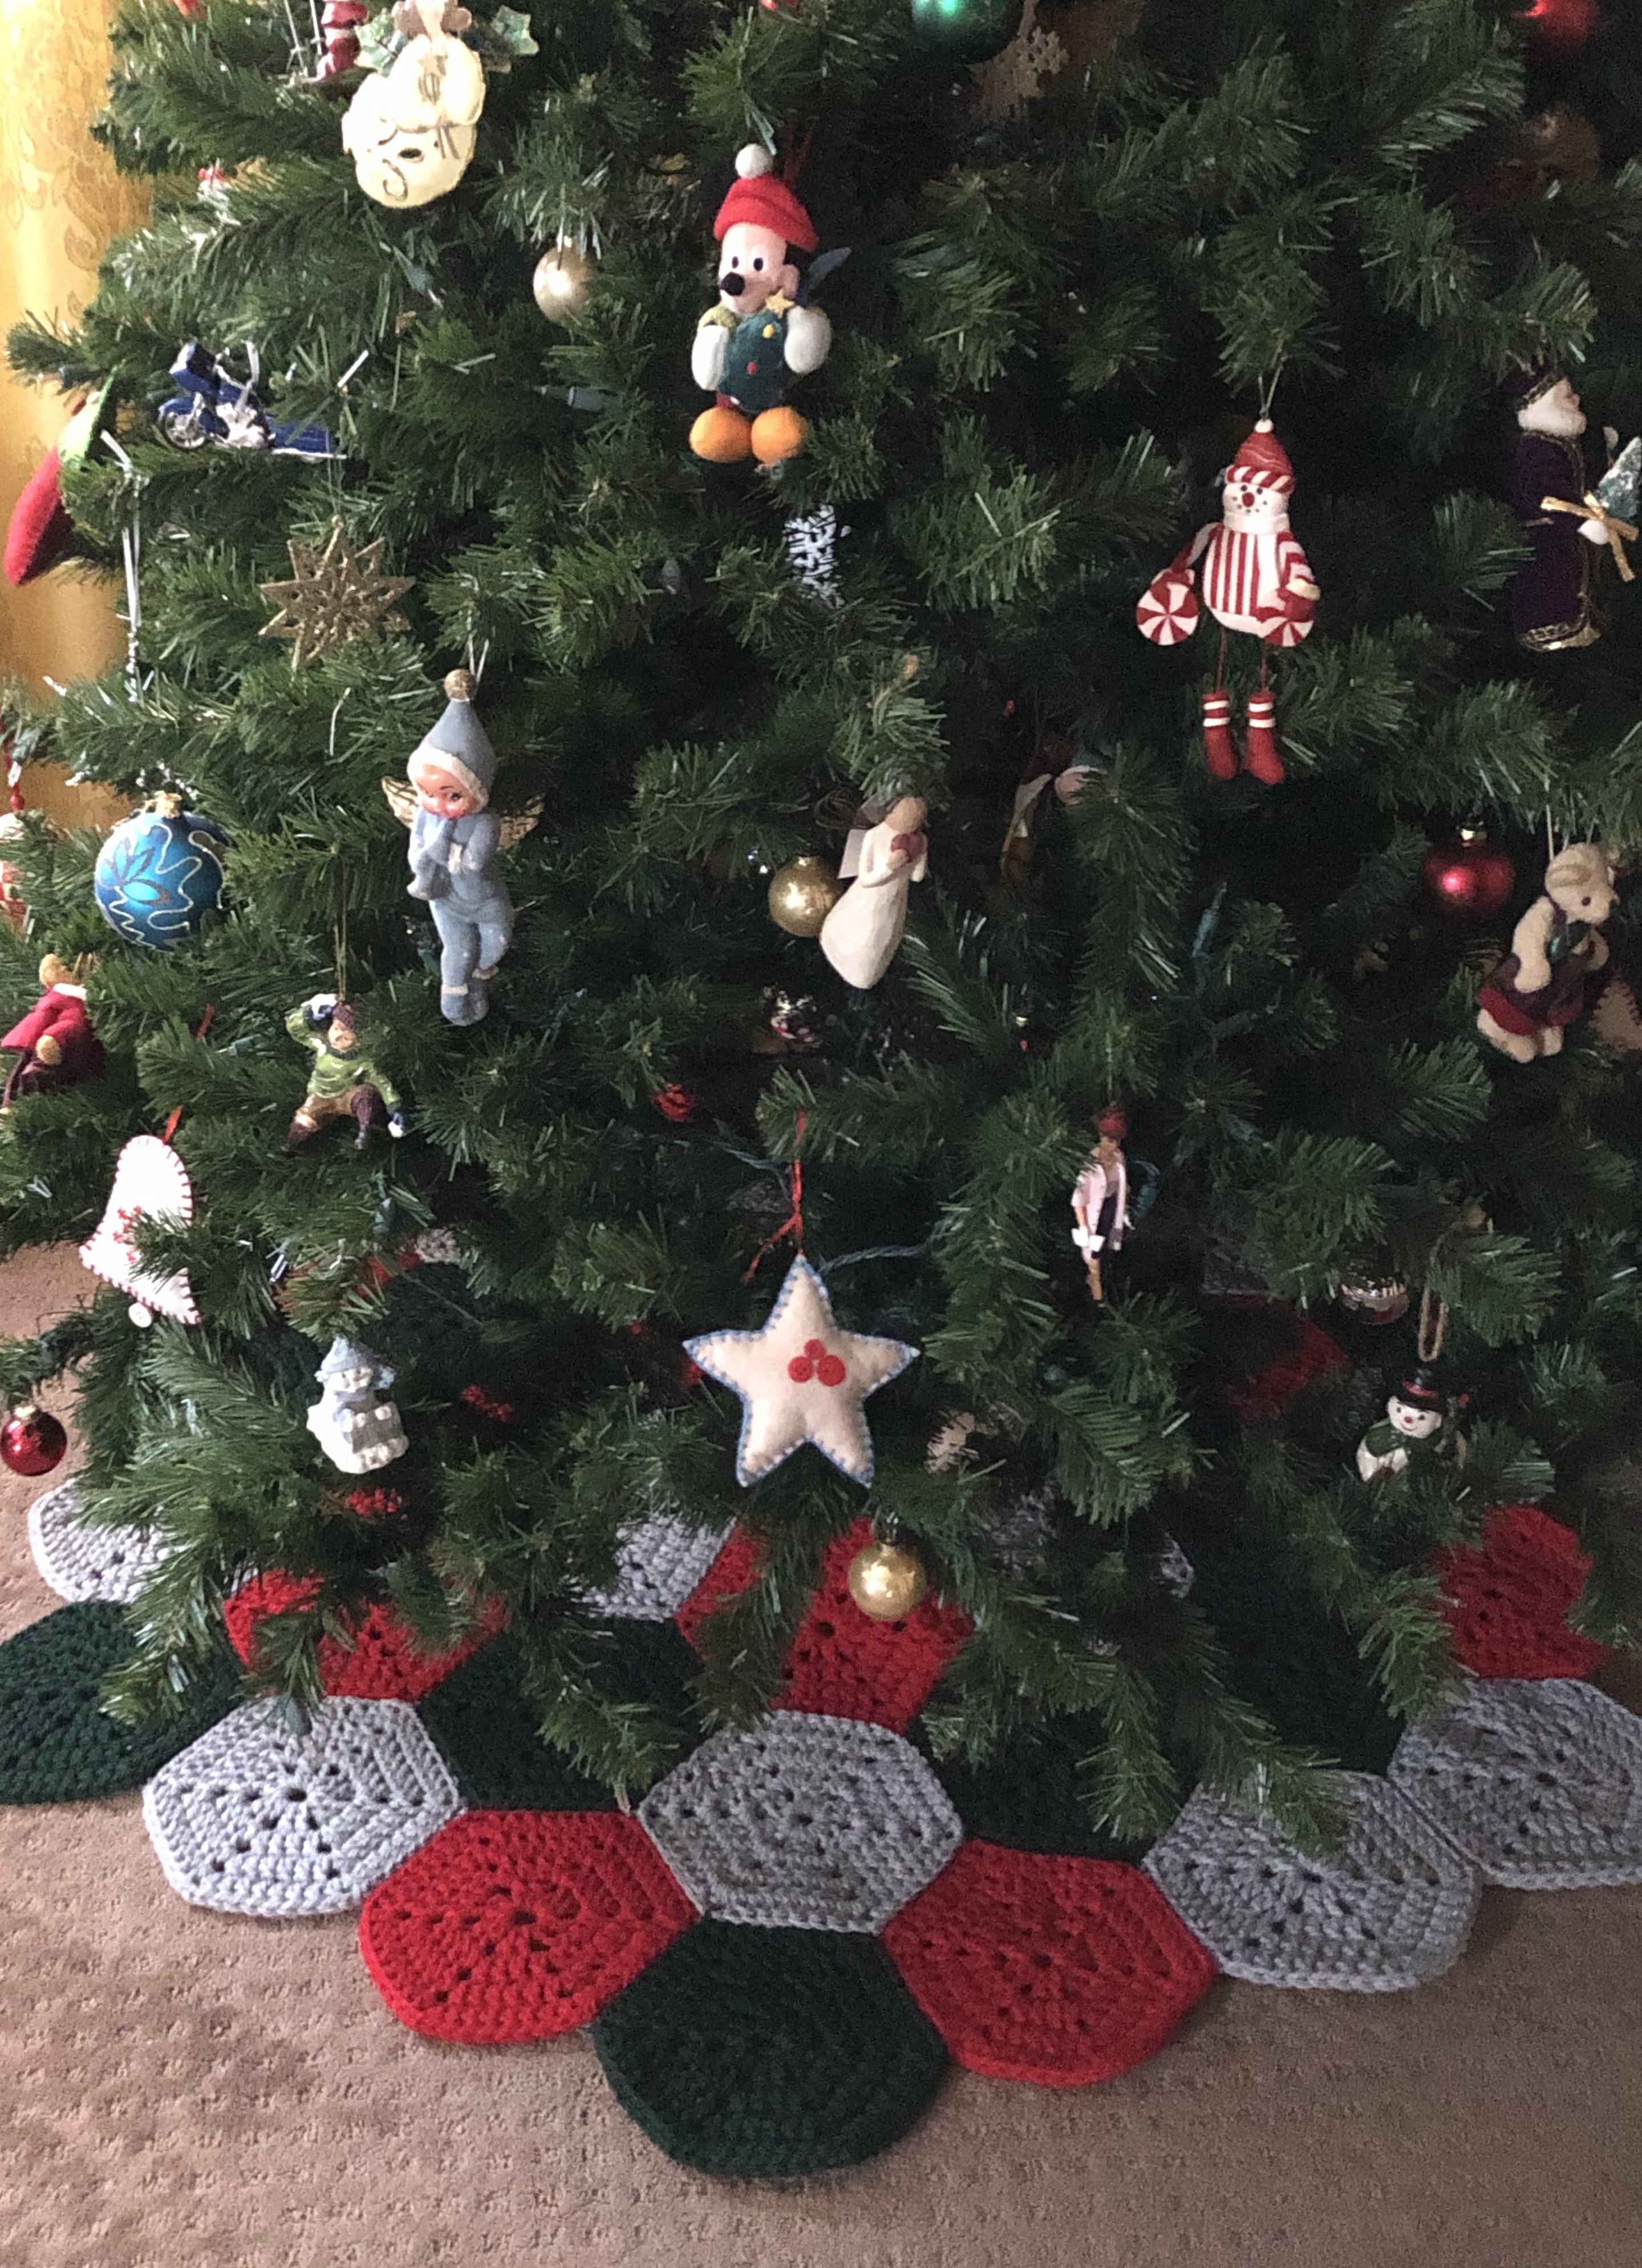
And to make sure I can easily place this around my Christmas tree I left two columns unstitched. Choosing one near the center just made the most sense.
I think it looks perfect under my tree…

Hexagon Christmas Tree Skirt
Yarn: Bernat Chunky Yarn (3 skeins each of Berry Red, Dark Green & Gray Heather – you should get 4 hexagons from each skein)
Crochet Hook: L / 8.0 MM
Hexagon Pattern:
Round 1: Ch6 and join with a slip stitch in the first chain*. Ch1 and then Ch2 more, dc in ring, ch2, *2dc, ch2* 5 times into ring. sl st to join last ch to the top of the first series of 3 ch. (You will have 6 sets of 2dc + 2ch. The 2 dc will become the sides of the hexagon and the 2 ch gaps will become the corners.
*Alternately you could start with a magic loop
Round 2: Ch3, dc in next dc stich, *[dc, ch2, dc in chain gap from previous round], dc in next 2 dc* (5 times). dc, ch2, dc in last corner gap. sl st to join last ch to the top of the first series of 3 ch. (Each hexagon side now has 4 dc stitches, separated by a ch 2 space)
Round 3: ch3, dc in next 2 dc, *[dc, ch2, dc in chain gap from previous round], dc in next 4 dc* (5 times). dc, ch2, dc in last corner gap. dc in remaining 1 dc. sl st to join last ch to the top of the first series of 3 ch. (Each hexagon side now has 6 dc stitches, separated by a 2 ch space)
Round 4: ch3, dc in next 3 dc, *[dc, ch2, dc in chain gap from previous round], dc in next 4 dc* (5 times). dc, ch2, dc in last corner gap. dc in remaining 2 dc. sl st to join last ch to the top of the first series of 3 ch. (Each hexagon side now has 8 dc stitches, separated by a 2 ch space)
sl st – slip stitch
ch – chain
dc – double crochet
Once you have all of your hexagons made lay them out in 7 rows. Your 1st and 7th row will have 4 hexagons each, your 2nd & 6th will have 5, your 3rd and 5th will have 6 each and the middle row (row 4) will also have 6, but, you will leave a space in the middle for your tree / tree stand to go through. The hexagons will be staggered so that the final skirt will somewhat look like a hexagon as well. You may have to use your imagination to see it.
Once you like the pattern, begin by stitching the hexagons together into columns.
Once you have your columns done, stitch them together to complete the skirt. When you have decided which half of your skirt will be the top and which will be bottom (or in terms of laying it down for the tree, which will be the back part and which will be the front part) be sure not to stitch one side of middle column to the adjacent column so you can easily place your skirt around your tree. You can use leftover yarn to tie the two columns together while the skirt is around your tree to prevent it from moving around.