Each day this week I will be bringing you a cake / cupcake idea that is perfectly festive for this time of the year… It’s Holiday Cake Week.
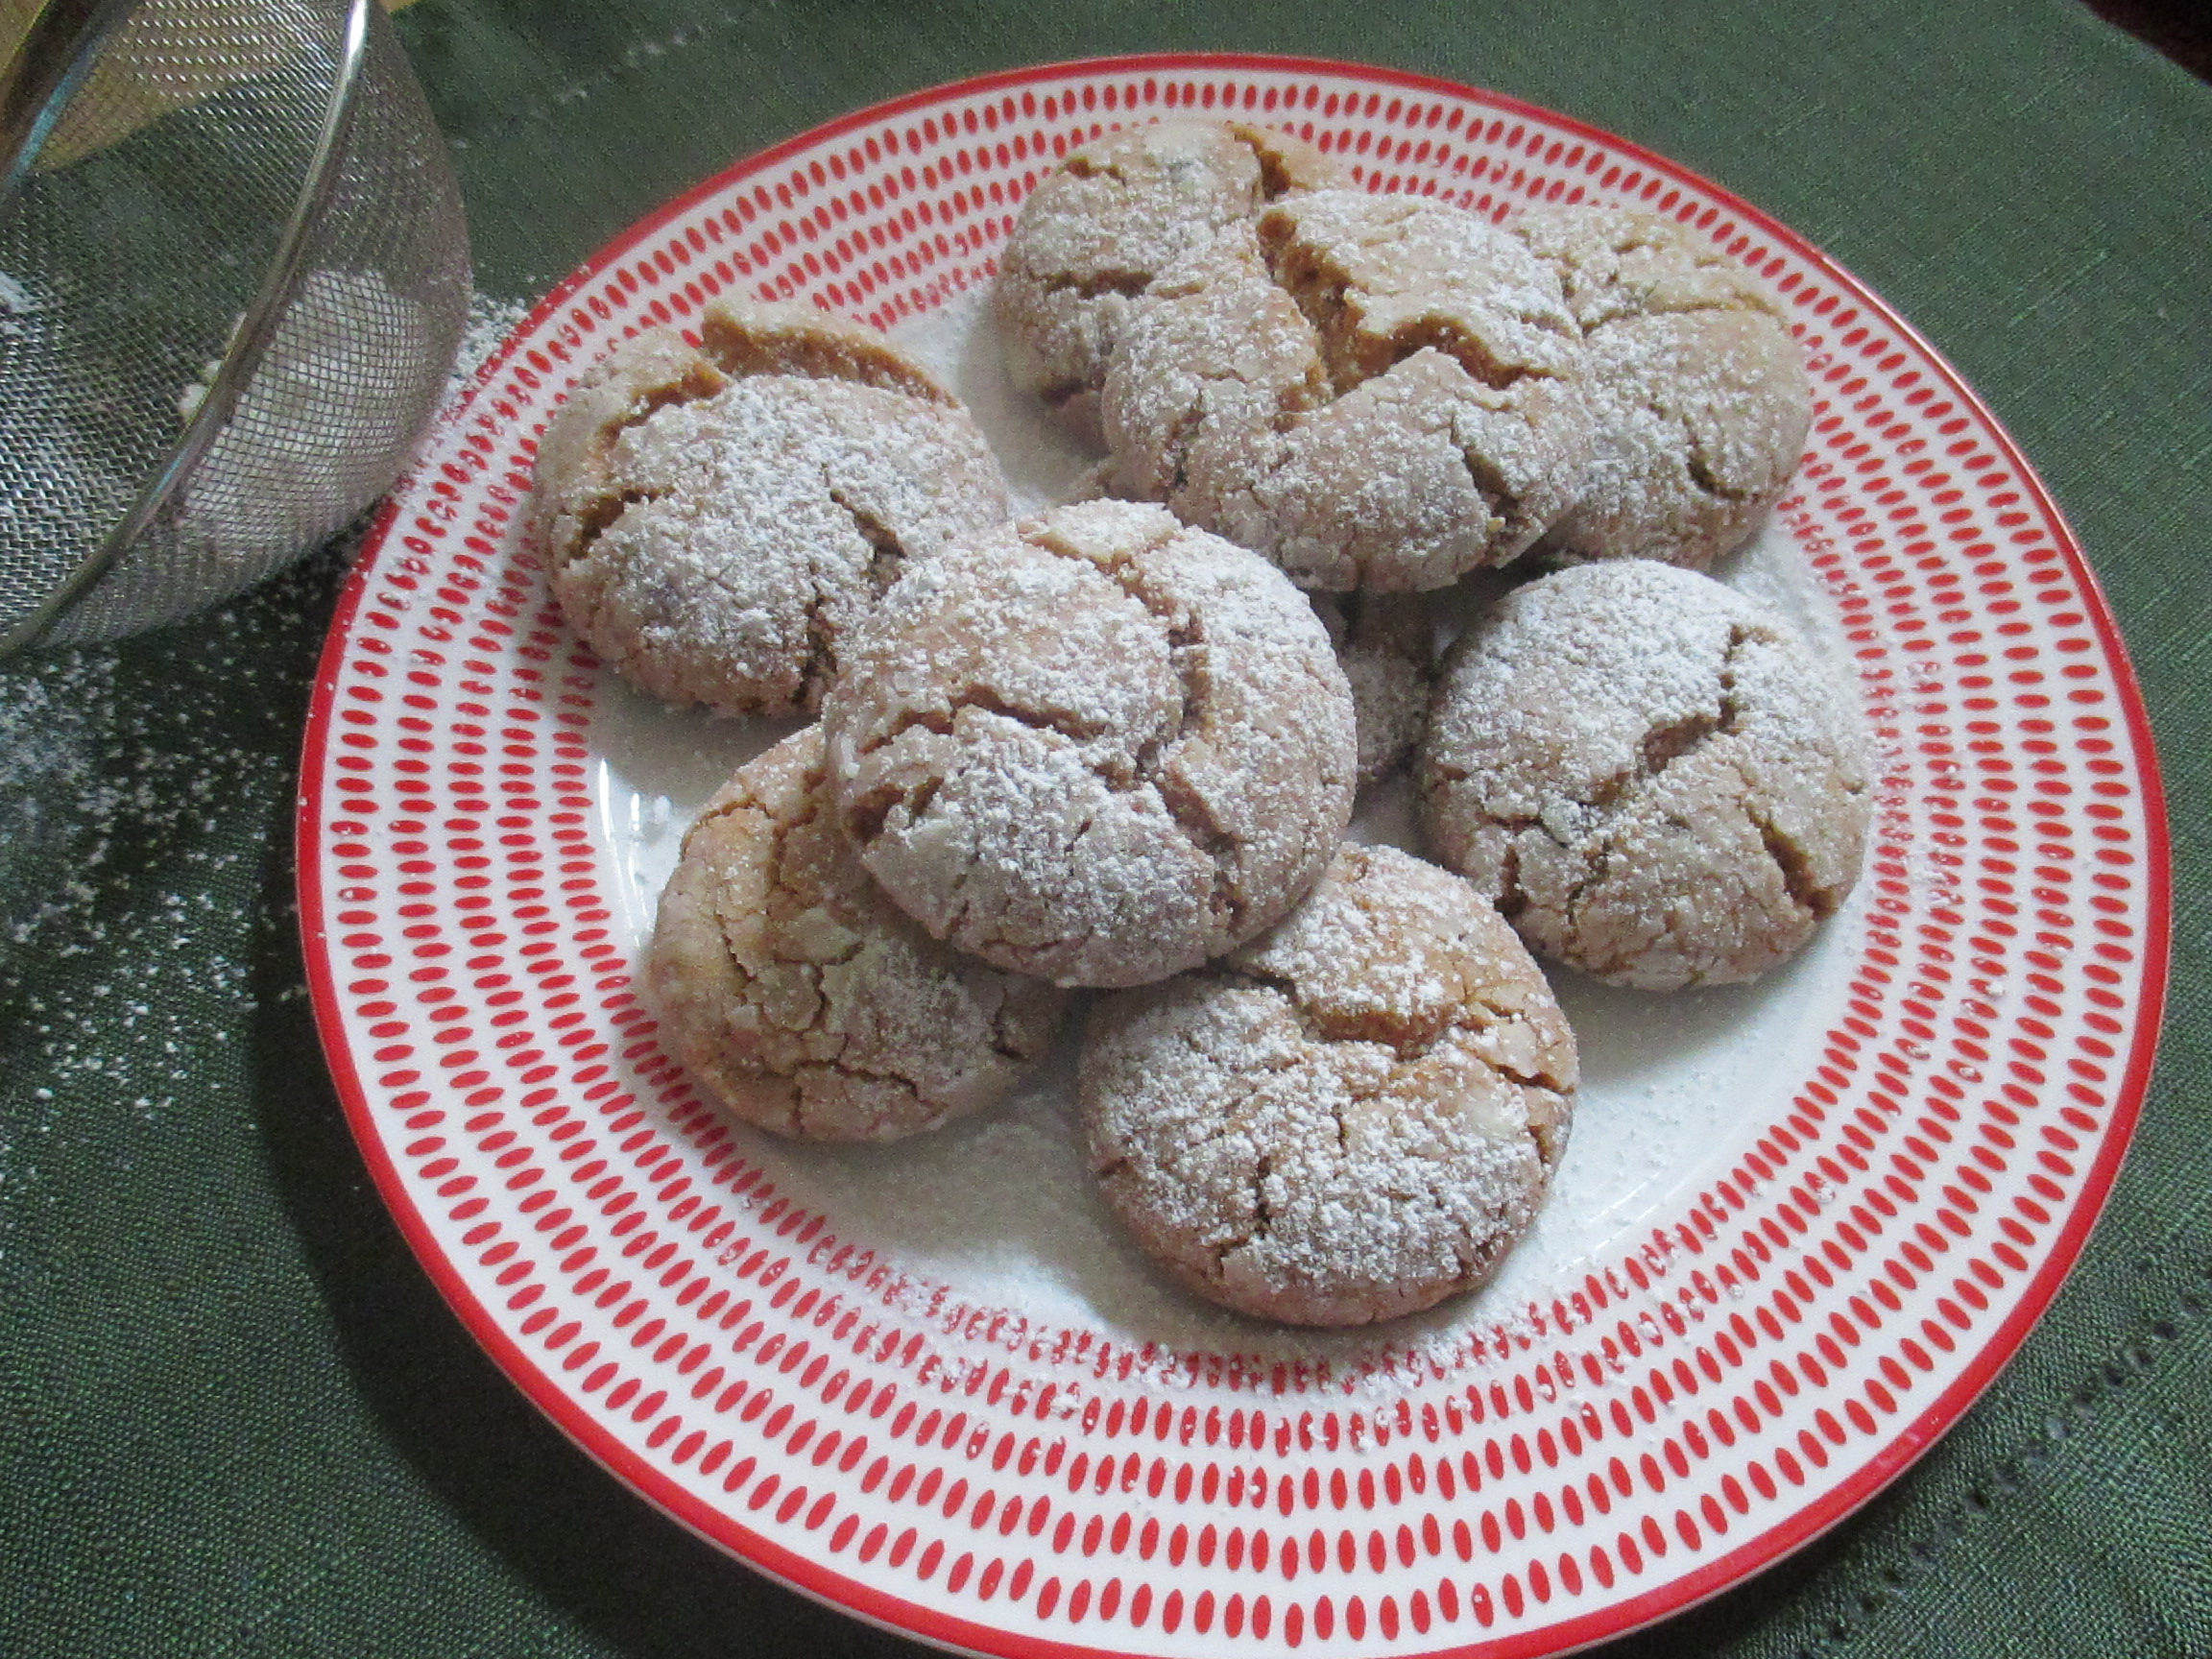
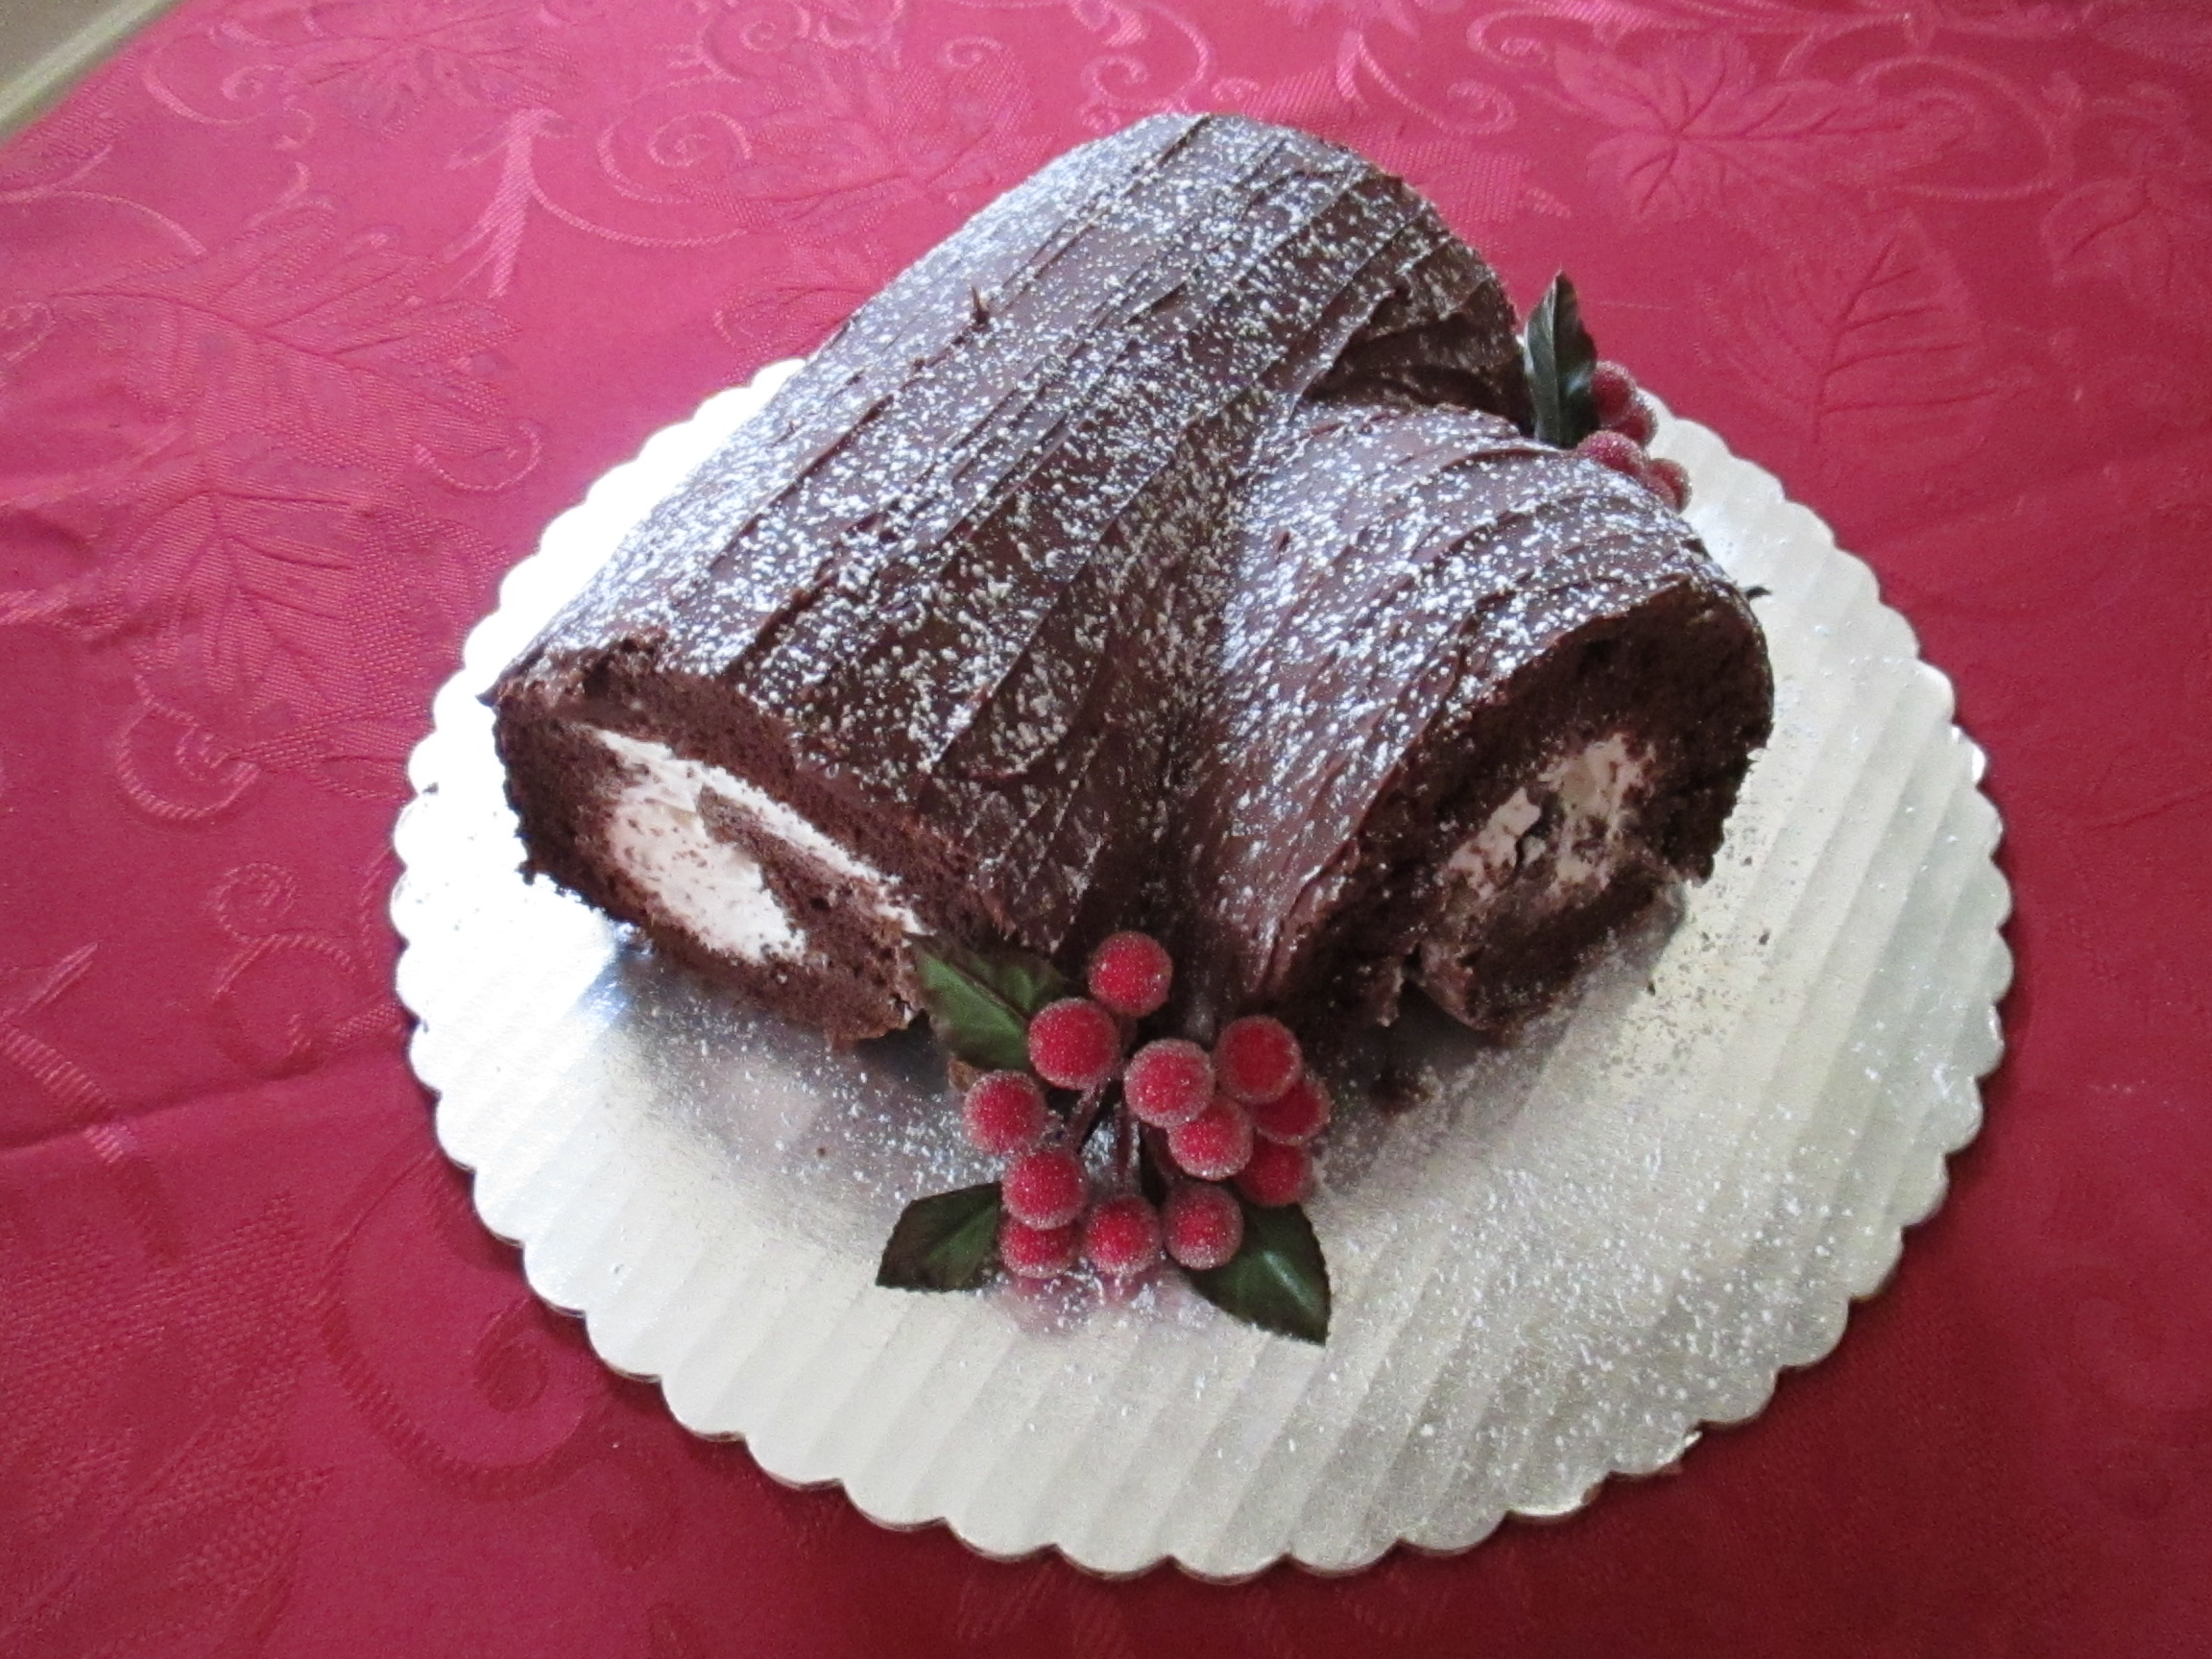
To kick off Holiday Cake Week a traditional cake seen around the holidays… A Yule Log Cake. It originated in France and is a sponge cake rolled and then frosted with chocolate frosting to resemble a tree bark. Customarily a small portion of the cake is cut off and either placed on top of the cake or protruding from the side of the cake to resemble a chopped off branch. The cake can then be furthered decorated with powdered sugar to resemble snow, fresh berries, mushrooms made of marzipan and so forth.
I opted to go the easy route with my cake and used a box cake mix and a container of vanilla frosting for the filling. Also, while the recipe didn’t call for it, I ended up a slicing off a portion of the cake and placing it on the side to get that traditional branch look. And to top it off, I sifted confectioners’ sugar over the cake and placed some decorative holly berry picks I got from a local craft store around it.
Yule Log Cake
Ingredients:
Cake:
6 eggs
1 box of Devil’s food cake mix
1/2 cup water
1/4 cup vegetable oil
1 tablespoon confectioners’ sugar
Chocolate Frosting:
1/2 cup whipping cream
1 cup semi-sweet chocolate chips
1 tablespoon corn syrup
1/4 teaspoon vanilla extract
Filling:
1 container whipped vanilla frosting
Directions:
Heat oven to 375 F. Line the bottom of a 15x10x1-inch (Jelly Roll Pan) pan with foil or waxed paper, spray with baking spray.
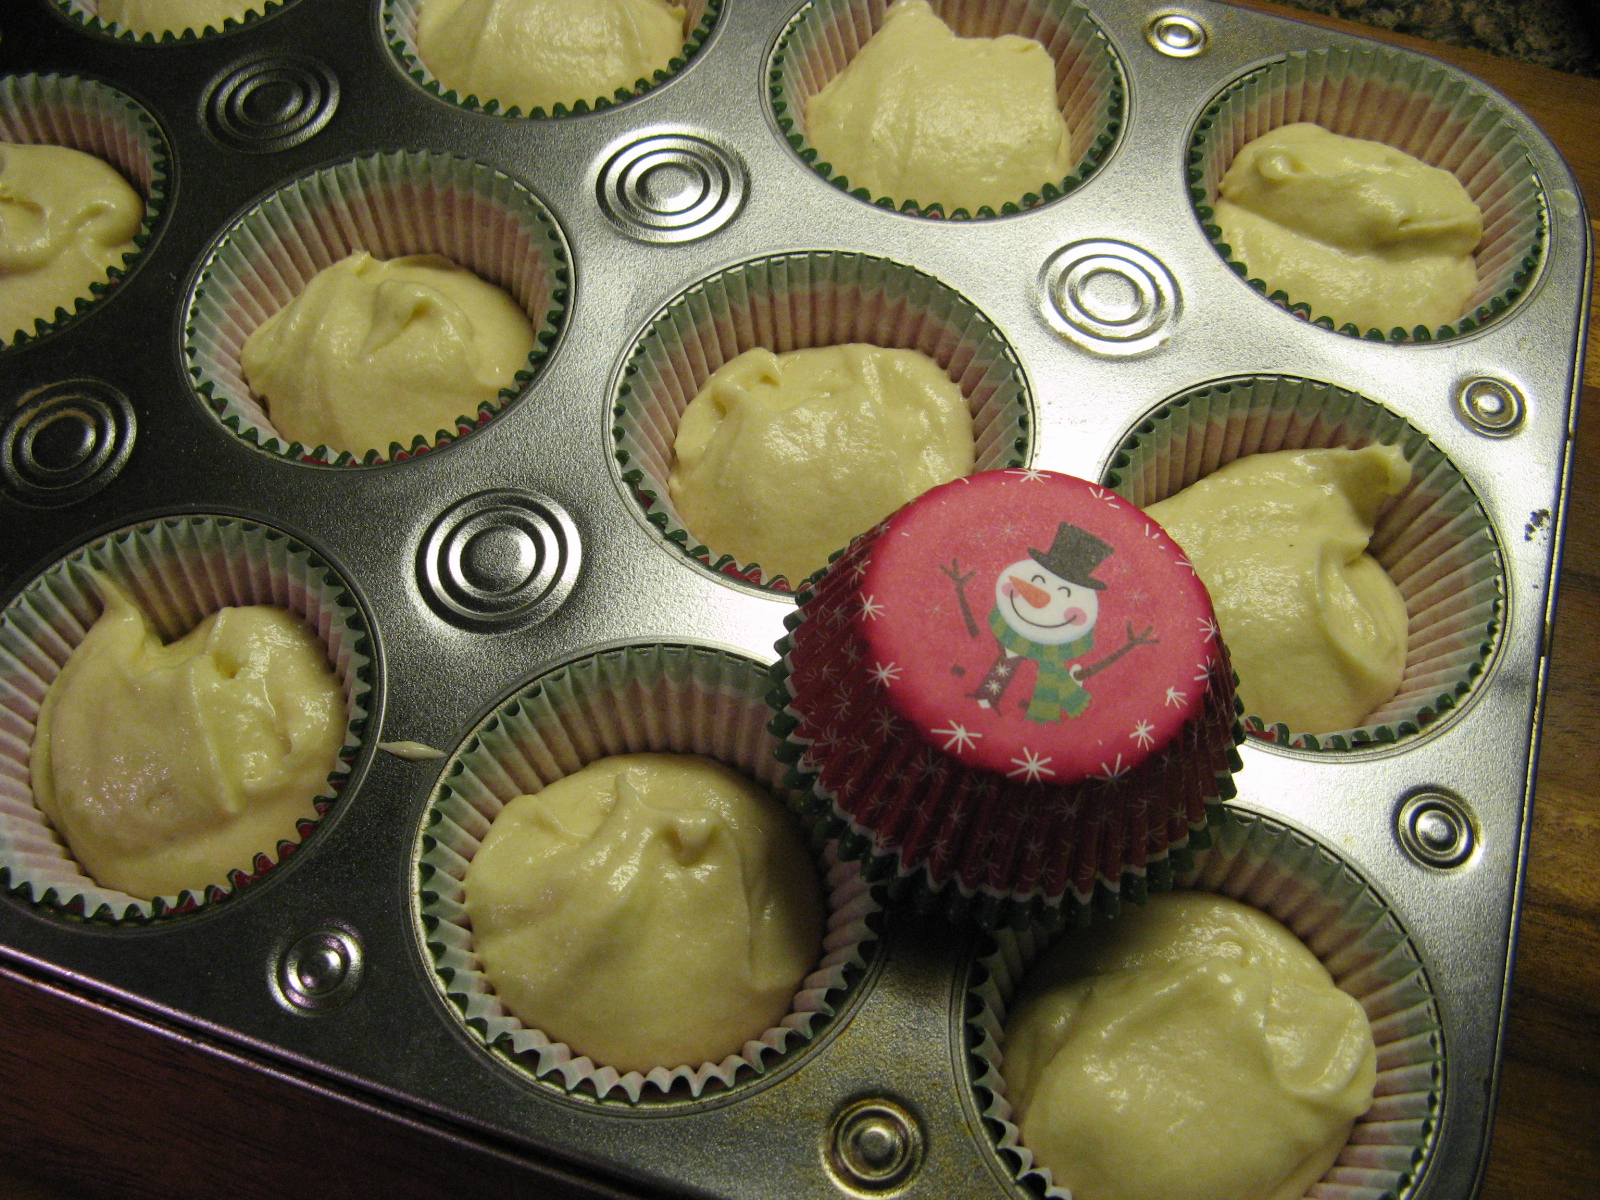
In a large bowl beat the eggs with an electric mixer on high until the eggs are thick and lemon colored, about 5 minutes. Add the cake mix, water and oil and beat on low speed for 30 seconds, then on medium speed for 1 minutes. Pour about 2 3/4 – 3 cups of the batter into the prepared pan. Use the remaining batter to make cupcakes, or as you wish.
Bake 14 to 16 minutes, or until the cake springs back when lightly touched in the center. Turn the cake out on a clean kitchen towel sprinkled with the confectioners’ sugar. While the cake is still hot, carefully roll up the cake and towel together from one shorter end to the other. Cool completely on a wire rack from 1 hour.
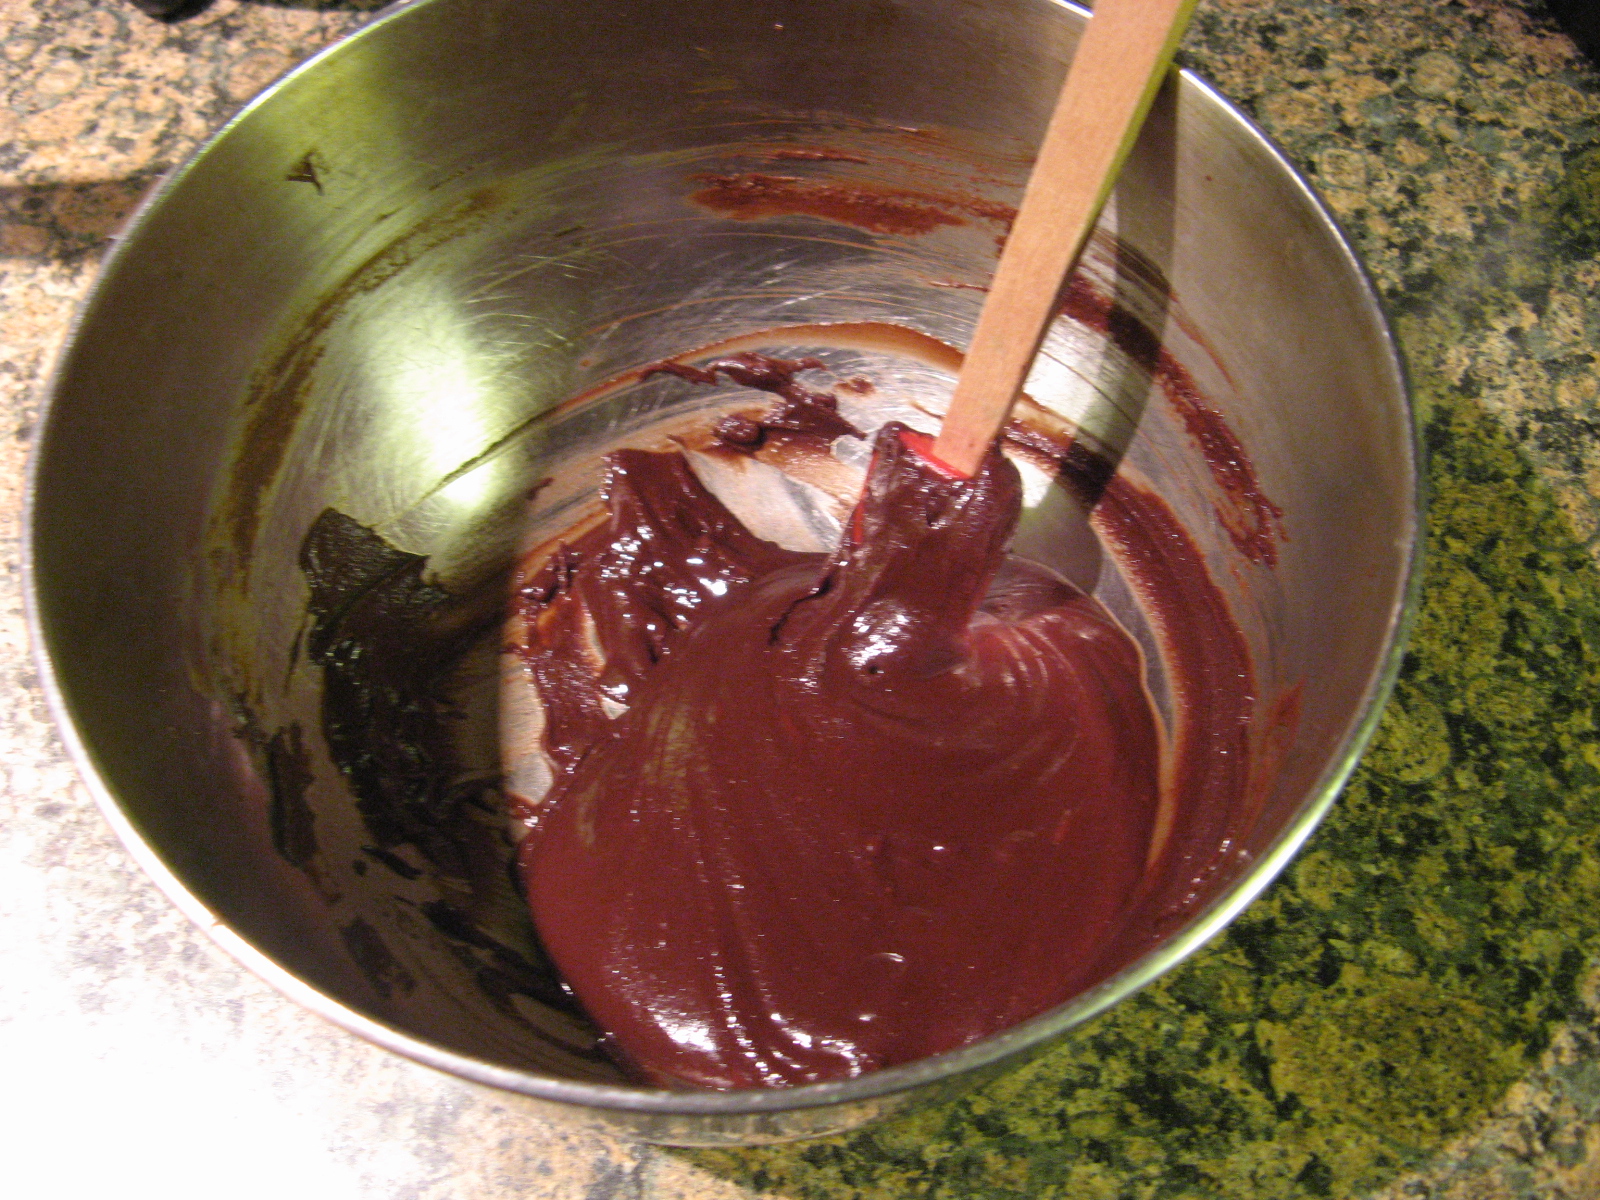
While the cake is cooling make the chocolate frosting… In a medium pot heat the whipping cream over medium heat until the cream starts to boil. Remove from the heat and add in the chocolate chips and corn syrup, let stand for 3 minutes. Beat with a wire whisk until smooth and then add in the vanilla. Refrigerate for about 1 hour, stirring every 15 minutes, until it’s a spreadable consistency.
After an hour, unroll the cake carefully and remove the towel. Spread the vanilla frosting evenly over the cake and roll it up once again. Place the cooling rack on sheet of waxed paper and return the cake to the wire rack and frost the cake with the chocolate frosting. Drag the tines of a fork through the frosting to give the cake a log look. Let the cake stand for 15 minutes and then refrigerate loosely covered until ready to serve. Let stand at room temperature prior to serving.
*If you want to make the log resemble more of a branch, prior to frosting with the chocolate frosting, cut a piece of the cake off and place on the side of the cake or on top and then frost.
Recipe from Betty Crocker