No Churn Key Lime Ice Cream

Today marks the unofficial end of the summer. While the calendar may say that we still have a little over two weeks left to the season, with schools back in session, pumpkin spice everything popping up in stores and some cooler temps there is no doubt that Fall is just around the corner. That’s fine by me as it is my favorite season. It’s been quite some time since I posted an ice cream recipe, just under two years and surprise surprise it was for a No Churn Pumpkin Spice Ice Cream, so I decided that this unofficial end was the perfect excuse for another ice cream recipe. A flavor that can help to extend the feeling of summer… A No Churn Key Lime Ice Cream.  

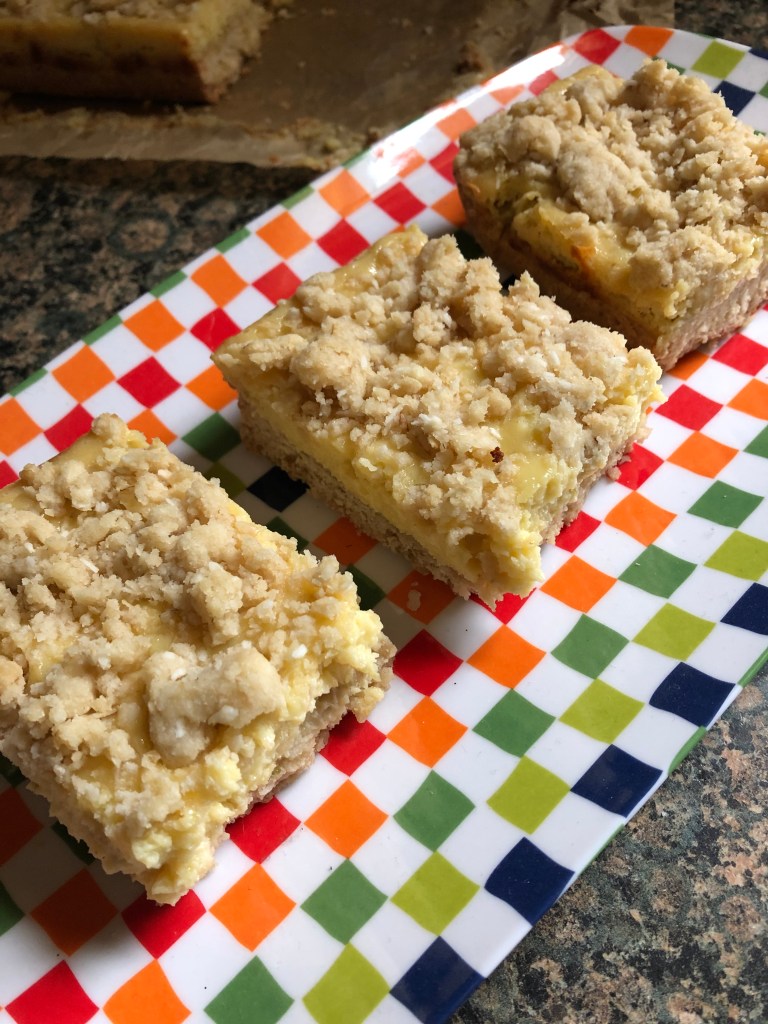
If you love a classic key lime pie you are going to love this ice cream. It has all the ingredients of the traditional pie (key lime juice, lime zest, sweetened condensed milk), whipped cream (folded into the mixture as opposed to piped on top) and graham cracker crumbles. And best of all you don’t need an ice cream machine to churn up a batch of it. Just mix all the ingredients together and transfer it to loaf pan and then freeze until firm.  

No Churn Key Lime Ice Cream

Ingredients:

Graham Cracker Crumble:

4 graham crackers, crumbled

2 tablespoons unsalted butter, melted

2 teaspoons sugar

Ice Cream:

1 14oz. can sweetened condensed milk

1 tablespoon key lime or regular lime zest

1/3 cup key lime juice*

1 teaspoon vanilla extract

1/4 teaspoon kosher salt

2 cups heavy whipping cream

*Can use fresh key limes or Nellie & Joe’s Key Lime Juice

Directions:

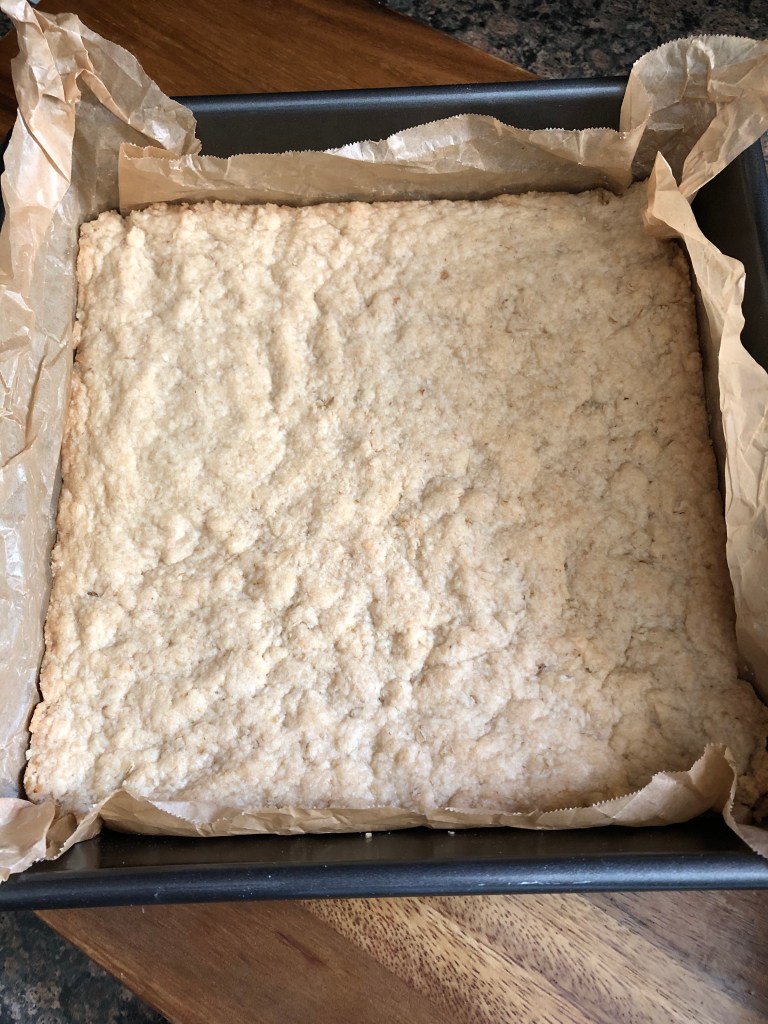
In a small bowl combine the crumbled graham crackers, sugar and butter and mix together until well combined. Reserve 1 tablespoon and set aside

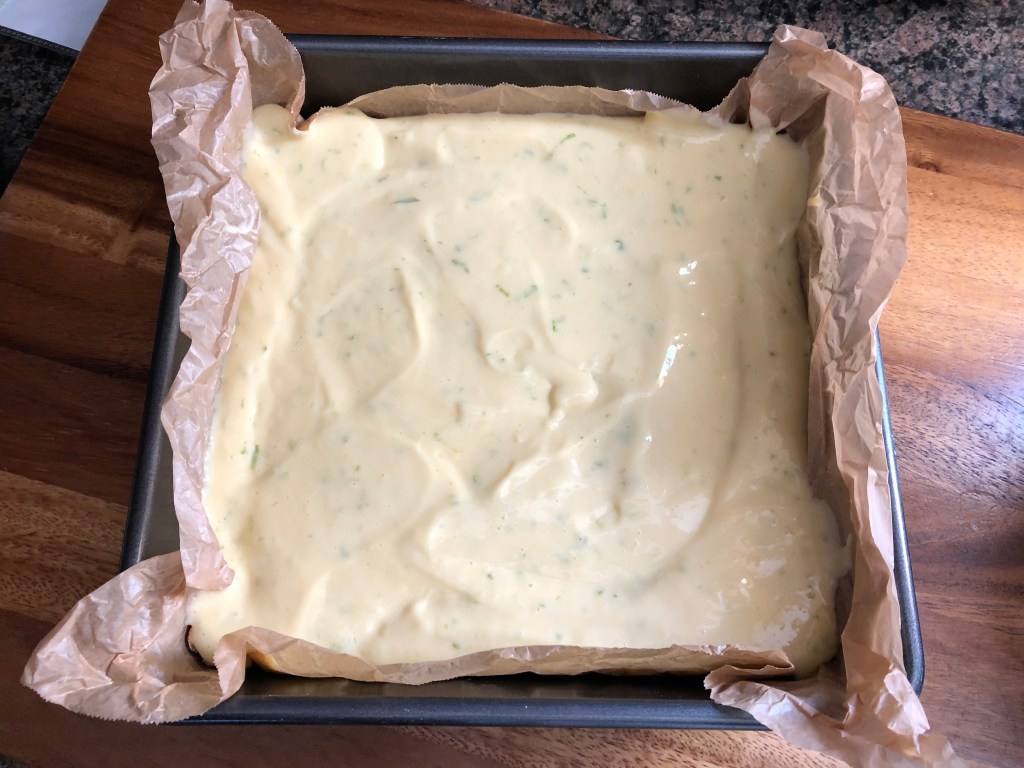
In another medium bowl whisk together the condensed milk, lime zest, key lime juice, vanilla extract and salt and set aside.

Using a hand mixer on medium speed beat the heavy whipping cream until stiff peaks form.

Fold the whipped cream and graham cracker crumb mixture into the condensed milk mixture until everything is combined and no streaks of either mixture remain.

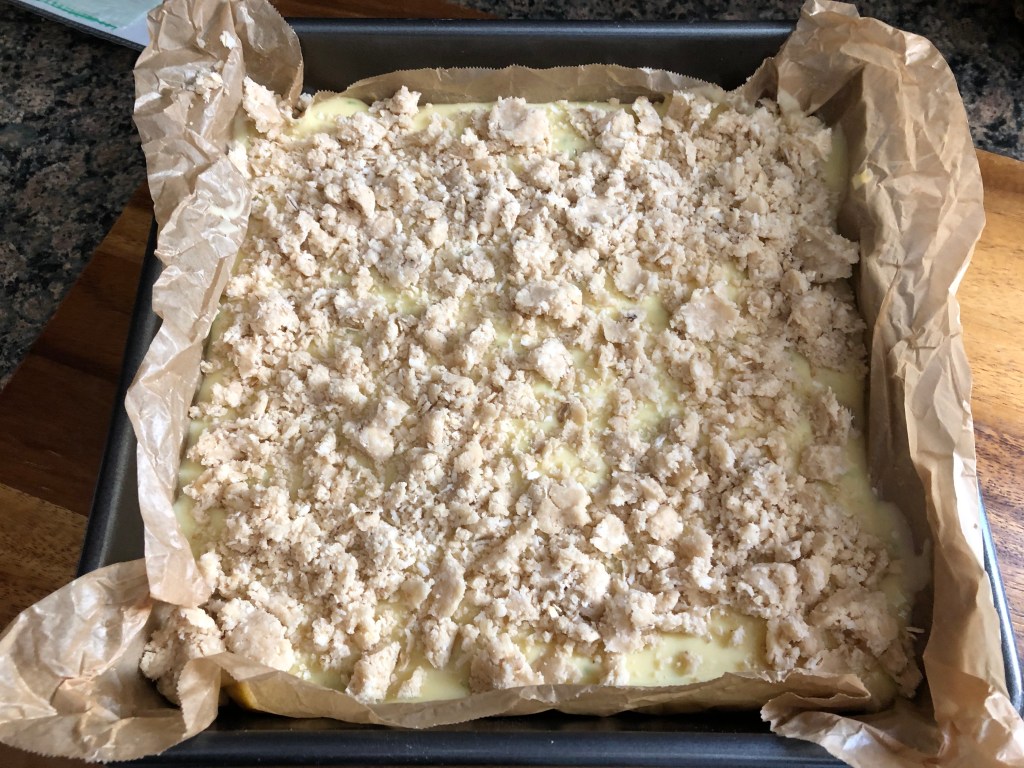
Transfer the mixture to a 9 x 5-inch loaf pan. Sprinkle the reserved graham cracker crumb mixture on top. Cover with a piece of wax paper and aluminum foil and freeze for at least 6 hours.

Recipe from Southern Living

Coconut Lime Crumble Bars

Feliz Cinco De Mayo! I was planning on making a different version of these crumble bars last year for Cinco De Mayo, but I ended up making a Key Lime Bundt Cake instead. And truth be told, these crumble bars are not the exact recipe from the ones I saw. I decided to tweak the recipe to use ingredients I had on hand and I thought the filling from the original recipe sounded too sweet since it listed two cans of condensed milk (and one is sweet enough) so I used the filling recipe for my Key Lime Pie. What I ended up with was a delicious crumble bar with hints of coconut in the crust and topping and a filling that was perfectly sweet and tangy.

I began by making the crust. In the bowl of my food processor I combined all of the ingredients – flour, shredded coconut, oats, brown sugar, butter, baking soda, Kosher salt and coconut extract (which is completely optional, but, will up the coconut flavor) – and pulsed it until it started to clump together but was still crumbly. I reserved a cup of the mixture and pressed the remaining amount into the bottom of a 9-inch square baking pan I lined with parchment paper leaving an overhang.

I then baked the crust in a 350 F preheated oven for about 20 minutes until it was beginning to brown. I actually took it out of the oven at the 15-minute mark but since it still looked a bit undercooked, I decided to leave it in the oven for a few more minutes. You don’t want to leave it in too long though as you will be baking it again with the filling and you don’t want the crust to get hard during the second bake.

While the crust was cooling, I made the filling. In a large bowl I beat egg yolks until they were pale and fluffy and then added in condensed milk, key lime juice and lime zest. Now, I used key lime juice, but you could easily just use freshly squeezed lime juice. I prefer the flavor of key limes over regular limes and while I would love to use freshly squeezed key lime juice, key limes are a rarity at my local supermarket.

Once the crust had cooled, I poured the filling on top.

And then sprinkled the reserved flour mixture over it.

I then baked it in the oven for about 25 minutes, until the filling had set and the crumble topping was beginning to brown.

After letting it cool completely on a wire rack, I refrigerated it for a few hours before slicing and enjoying.

Coconut Lime Crumble Bars

Ingredients:

For the crust:

1 3/4 cups flour

3/4 cup shredded coconut, unsweetened

1 cup old-fashioned oats*

3/4 cup light brown sugar

1 1/2 sticks unsalted butter, at room temperature

1/4 teaspoon baking soda

1/4 teaspoon Kosher salt

2 teaspoons coconut extract (optional)

For the filling:

1 14oz. can condensed milk

4 large egg yolks

1/2 cup lime juice**

Zest of 1 lime

*can substitute quick oats

**I used key lime juice

Directions:

Preheat the oven to 350 F. Line a 9-inch square baking pan with parchment paper leaving an overhang.

Make the crust: In the bowl of a food processor combine all of the ingredients for the crust. Pulse until the mixture begins to clump together but is still crumbly. Reserve 1 cup of the mixture and press the remaining amount into the prepared baking pan, just on the bottom. Bake for 15-20 minutes, or until beginning to brown. Cool for 10 minutes.

Make the filling: While the crust is cooling make the filling. In a medium bowl beat the eggs with a hand mixer on medium speed until pale and fluffy. Mix in the condensed milk and then the lime juice and lime zest.

Pour the filling over the cooled crust and sprinkle the top with the reserved crust mixture.

Bake for 20 – 25 minutes, or until the filling is just set and the crumble topping is golden.

Let cool completely on wire rack and then refrigerate for at least hour before slicing into 12 bars.

Store leftovers in the refrigerator.

Key Lime Bundt Cake

Happy Cinco de Mayo! How perfect that this year it lands on a Tuesday so you can make it a “Taco Tuesday” to celebrate!

Originally I was planning on making Coconut Lime Crumble Bars to celebrate the day, but, one of the necessary ingredients was macadamia nuts. I normally have walnuts and almonds in my fridge but neither seemed to be a good substitute. And since my grocery shopping hasn’t been as frequent as before and I’m sticking to the things I really need and with the prices of certain things currently inflated, macadamia nuts just didn’t make the list. So, I opted to make this Key Lime Bundt Cake instead. Not really festive for the day, but, the flavor does make up for it and I have all of the necessary ingredients on hand.

After baking and letting the cake cool…

I made the key lime glaze for it. I’ll admit, whenever I saw cake recipes that included a glaze I would normally omit them thinking that the cake would just be overly sweet with them, but, I have to come to realize that the glazes enhance or complement the flavor of the cake. After drizzling the glaze on the cake I popped it in the refrigerator for a few minutes so it could set.

And then it was time to enjoy a slice! The cake itself isn’t overly sweet and the lime flavor isn’t overpowering by any means. The glaze didn’t add any extra sweetness, if anything, it added to the lime flavor.

Key Lime Bundt Cake

Ingredients:

Cake:

3/4 cup unsalted butter, at room temperature

1 3/4 sugar

2 tablespoons key lime zest (or lime zest)

3 eggs, at room temperature

1/4 key lime juice*

3 cup flour

1 teaspoon baking soda

1 1/2 cups buttermilk**


Glaze***:

2 1/2 cups confectioners’ sugar

3 tablespoons key lime juice

1 tablespoon milk


*Use can use freshly squeezed juice or use store-bought

**Make your own buttermilk by combining 1 1/2 cups milk (I used whole milk) with 7-8 teaspoons of white vinegar in a measuring cup. Stir together and let sit until thickened and slightly curdled.

***This makes more glaze than you will need for the cake, you can easily cut the ingredients in half and will still have enough glaze to drizzle over the cake.


Directions:

Preheat the oven to 350 F. Spray a 12-cup Bundt cake with baking spray, or grease the pan and lightly dust with flour.

In a medium bowl combine the flour and baking soda and set aside.

In a large bowl using a handheld mixer beat the butter, sugar and lime zest together on medium speed until creamy. Add the eggs, one at a time, and then add in the lime juice. Continue beating until everything is well combined.

Add the flour mixture in three parts, alternating with the buttermilk.

Pour the batter into the prepared pan, spreading it out evenly. Tap the pan on the counter a few times to release any air bubbles.

Bake in the preheated oven for 50-60 minutes, or until a cake tester inserted in the cake comes out clean.

Let the cake rest 10 minutes in the pan and then invert on a wire rack to cool completely.

Once the cake has cooled you can pour the glaze over it.

In a medium bowl combine the powdered sugar, key lime juice and milk and whisk together until the glaze is smooth and there are no lumps remaining. Drizzle the glaze over the cake and refrigerate a few minutes so it can set and then slice and serve.

Recipe from Life In The Lofthouse

Key Lime Pie Thumbprints

Thumbprint cookies… A versatile cookie that traditionally has a shortbread base and an indent in the center filled with jam, chocolate, dulce de leche, or for today’s cookie, a key lime chocolate filling. Don’t worry its white chocolate, not semi or milk chocolate. I definitely don’t think these cookies would be as appetizing if key lime juice was mixed in with either of those chocolates. Somehow I think the key lime flavor would be lost. Now, as a filling for a truffle I think it would be perfect. I may have had one or two of those before so I am speaking from experience.

img_1266

I have a friend who has all of a sudden fallen in love with Key Lime Pie. I’ve been making it for a few years now but all of a sudden when I made it last year it was like he was eating it for the first time. And when I asked some friends what cookies they wanted for Christmas last year (just over a month ago sounds so much better to say this early in the year) he suggested rugelach and a key lime pie. Which got me thinking of a key lime pie cookie since I wasn’t in the mood to make a pie (which I ultimately ended up making anyway.) So, I initially made the Key Lime Crinkles that were part of Cookie Palooza. While they were delicious, they lacked the key lime filling he enjoys so I knew I would have to try these thumbprints instead and I am happy to say that these were a hit with everyone who tried them. A cookie that will definitely be in my cookie rotation. Thanks to the graham cracker crumbs in the base of the cookie this is almost like enjoying a piece of key lime pie, but, in a bite size grab and go form. And while the key lime flavor is apparent in the filling I could imagine adding another tablespoon or so would kick it up even more.

img_1271

Key Lime Pie Thumbprints

  • Servings: 40 cookies
  • Print

Ingredients:

Cookies:

1 cup unsalted butter, at room temperature

1/3 cup sugar

1/3 cup light brown sugar

1 teaspoon vanilla extract

1 large egg yolk

2 cups flour

1/2 cup graham cracker crumbs (4 graham crackers)

2 teaspoons cornstarch

1/2 teaspoon salt


Filling:

1 cup white chocolate chips

1/2 cup sweetened condensed milk

3 tablespoons key lime juice

2 teaspoons lime zest (1 lime)


Directions:

Line cookie sheets with parchment paper.

Combine the butter and sugars in a large bowl and beat on medium speed until creamy.

Switch the mixer to low and add in the egg yolk and vanilla extract and continue mixing until well combined, scraping the sides of the bowl as necessary.

In a separate bowl which together the flour, graham cracker crumbs, cornstarch and salt.

Gradually add the flour mixture to the butter mixture, mixing until the ingredients are incorporated. Scraping the sides of the bowl as necessary.

Scoop 2 teaspoons of the dough and roll into a smooth ball and place on the prepared cookie sheets about an inch apart. (Using a standard cookie scoop I scooped the dough and then divided the dough in half to get the 2 teaspoon amount)

Using the back of a rounded teaspoon gently press an indent in the center of each ball. I have tried using my thumb for this step, but, have found that a teaspoon produces a much better circular shape.

Chill the dough in the freezer for at least 30 minutes. Freezing the dough prevents the cookie from spreading too much while baking giving you more room for your filling.

Preheat the oven to 350 F.

Bake the cookies for 10-11 minutes. Immediately after removing the cookie from the oven press the teaspoon into the indent once again to redefine it. Let the cookies cool completely on the sheets before filling them.

To make the filling… Combine the chocolate chips, condensed milk and key lime juice in a small saucepan and cook over medium-low heat. Stir frequently until the chocolate chips have melted and the ingredients are well combined. Stir in the lime zest and continue stirring until the mixture begins to boil. Reduce the heat to low and using a teaspoon spoon the filling into the cookies.

Allow the filling to cool and set before serving. When storing the cookies, keep in mind that the filling may remain a bit tacky. Store in an airtight container at room temperature.

Recipe from Sugar Spun Run

Cookie Palooza: Key Lime Crinkles

How about some crinkles for Mr. Kringle? Sorry for corniness, but, I couldn’t resist. While crinkles are customarily a chocolate cookie I decided to switch things up a bit and bring you Key Lime Crinkles for the last cookie of Cookie Palooza week. And in case you didn’t know, crinkles are a drop cookie that is rolled in confectioners’ sugar prior to baking. The sugar draws moisture out of the cookie while it’s baking allowing the cookie to crack and dry out. Leaving the exterior of the cookie with a bit of a crust and the interior soft and yummy. This key lime version is a great cookie for someone who wants something sweet but not with all the decadence of chocolate.

The search for these cookies came about because I recently asked some friends what cookie they wanted for Christmas and one friend said rugelach and a key lime pie. So, I started searching for key lime cookies since I wasn’t planning on making a pie during my weekend of cookie baking in a few weeks. The first cookie I came across was a thumbprint cookie that actually has a key lime filling, I was all set to make that one for Christmas and then I came across this recipe and decided that I would share this recipe with you as my final cookie for Cookie Palooza week. While I normally share a no-bake cookie as my final cookie, I just couldn’t find one this year that I liked 100%. My friend who wants the key lime pie tried these and he said that while they are good and they do have the key lime flavor he likes, he was hoping for a key lime filling, a la the aforementioned thumbprint cookie. So, I will be making the pie after all since that is quicker and easier than the cookies.

It may be hard to find key limes this time of year, so, you can use bottled key lime juice. I usually find this key lime juice in the baking aisle of my supermarket. This is the same juice I use to make my key lime pie when I am short on time to squeeze key limes, or they are not available at my supermarket. In all honesty, I’ve made key lime pie with fresh limes and with this juice and the taste is exactly the same. And if all else fails, you can use regular limes. I actually used the zest of a regular lime in this recipe. And speaking of zest, if you want more of a lime flavor I suggest adding in more zest. I would avoid adding in more lime juice as that will alter the consistency of your dough.

I hope you’ve enjoyed Cookie Palooza 2018 as much as I enjoyed baking the cookies and bringing you the recipes. Check back next week for Holiday Cake Week. I’ve also got some other Holiday treats hitting the blog soon as well… Chocolate Covered Pretzels, Slow Cooker Spiced Nuts (they are really Candied Nuts) and a Chocolate Truffle Cookie (which I initially was thinking would be cookie #5 for this week).


Key Lime Crinkles

  • Servings: 30 cookies
  • Print

Ingredients:

2 1/2 cups flour

1 teaspoon baking powder

1 teaspoon key lime zest

1/2 teaspoon salt

1 stick unsalted butter, at room temperature

1 1/4 cups granulated sugar

2 large eggs

1 tablespoon key lime juice

1/2 cup confectioners’ sugar, sifted

Directions:

In a medium bowl whisk together the flour, baking powder, zest and salt.

In a large bowl combine the butter and sugar and beat with an electric mixer on medium speed until light and fluffy. Add the eggs, one at a time, mixing well after each one. Mix in the lime juice.

With the mixer on low speed, gradually add the flour mixture to the butter mixture and beat until just combined. Cover the dough and refrigerate for 30 minutes.

Preheat the oven to 350 F. Line two baking sheets with parchment paper. Place the confectioners’ sugar in a small bowl.

One chilled, use a cookie scoop to scoop the dough and roll into balls and then roll in the confectioners’ sugar. Place on the prepared baking sheets and bake for 15 to 18 minutes, or until the cookie begin to brown along the edges.

Cool on the pans for 5 minutes and then transfer to a wire rack to cool completely.

Recipe from Bake or Break

Cookie Palooza: Key Lime Pie Tassies & Pistachio Cookie Cups

These are definitely not your typical cookies, they’re more like mini tarts, but are cookies nonetheless. I tried to do some research as to how a tassie got its name and what the difference was between a tassie and a cookie cup, but, I came up empty handed… Oh well. If anyone knows feel free to share it in the comments sections below!

These weren’t on my original list of cookies for this week, originally I was planning on an Earl Gray Tea Cookie that called for cardamom. Cardamom became the main flavor of the cookie as opposed to the titled earl gray and while that was fine as the cookie tasted good, after making the cookie 2 different times – following the directions exactly the first time and making some variations the second time – both times the cookie came out too dense. I knew then that the recipe was a fail and searched for something else. Hence these tassies and cookie cups, both of which turned out to be a major hit. On a side note, I had a second fail with another cookie recipe as well. It was for a Maple Pecan Chocolate Cookie that called for maple sugar. I had to do some searching for the maple sugar and while the cookie dough – yes, I eat raw cookie dough from time to time – tasted delish with a maple flavor the cookie itself lost the maple flavor and was flat, chewy in the middle and crispy along the edges. Not at all what I was expecting. I read the directions numerous times afterwards to make sure I added the right amount of ingredients and such and I had. I wonder if anyone tests some of these recipes before publishing them sometimes.

Back to the cookies at hand. When I initially made them I didn’t want to make too many – each recipe calls for 24 – just in case this was another fail. But, after friends tried them it was evident that I needed the full amount so I made them again for Thanksgiving and once again they were a hit.

Here are some tips to make these…

To help divide the dough into 24 somewhat evenly balls I formed the dough into a 6×4-inch rectangle on a lightly floured surface and cut it into 24 squares. I began by scoring it with a pizza cutter and then actually cut it once it had all been scored.

For the Pistachio Cookie Cups to save money, but not time, I opted to buy roasted unsalted pistachios in their shells and shelled and chopped them myself.

Which I then mixed with an egg, confectioners’ sugar and chopped dried apricots for the filling.

Since key limes aren’t always available in my area and I do love key lime pie, I usually have key lime juice in my fridge. You can find it in the juice aisle or oddly enough at some supermarkets they have it in the baking aisle. I can’t say for sure if using the juice from key limes as opposed to regular limes alters the flavor of the tassies since there are other ingredients involved, but, I do know that there is a difference in the flavor between the two of them. It’s all about preference and authenticity to the recipe when it comes to which lime or lime juice you choose.

The Pistachio Cookie Cups are baked filled while the Key Lime Pie Tassies pastry cup is baked first and then filled with the key lime filling and then baked again. Don’t worry, the pastry cup won’t burn or dry out… that’s what I initially thought would happen. Both of these are delicious and it’s hard to choose a favorite and thankfully they are easy enough and quick enough to bake that you could bake them both to enjoy them at the same time.

And while the Key Lime Pie Tassies are good on their own, I decided to add a little homemade whipped cream and lime zest to some of them for a little more sweetness.

Pistachio Cookie Cups

  • Servings: 24 Cookie Cups
  • Print

Ingredients:

1/2 cup butter, softened

3 oz. cream cheese, softened

2 tablespoons sugar

1 cup flour

1/2 teaspoon orange zest

1 egg, lightly beaten

1 cup confectioners’ sugar

1/2 cup finely chopped pistachios

2 tablespoons finely chopped dried apricots

Directions:

Preheat oven to 350 F. In a medium bowl beat the butter, cream cheese and sugar with a mixer on medium speed until smooth. Beat in the flour and orange zest. Shape the dough into 24 balls and press onto the bottom and sides of mini muffin pan.

To make the filling: In a small bowl combine the egg, confectioners’ sugar, 1/3 cup pistachios and the dried apricots. Spoon into the pastry-lined mini muffin tin. Sprinkle remaining chopped pistachios over them.

Bake 18 to 20 minutes or until the pastry is golden brown and the filling set. Cool in the muffin tin on a wire rack for 10 minutes. Remove from the pans and cool completely.

Recipe from Better Homes & Gardens

Key Lime Pie Tassies

  • Servings: 24 Tassies
  • Print

Ingredients:

1/2 cup butter, softened

3 oz. cream cheese, softened

1 cup all-purpose flour

1/2 teaspoon lime zest

1/4 cup key lime or lime juice, but bottled or the juice from 5 to 6 key limes or 2 to 3 regular limes

2 egg yolks

2/3 cup sweetened condensed milk

Sweetened whipped cream for topping, optional

Directions:

Preheat oven to 325 F. In a medium bowl beat the butter and cream cheese with a mixer on medium speed until smooth. Beat in the flour. Shape the dough into 24 balls and press onto the bottom and sides of mini muffin pan. Bake 20 to 25 minutes, or until the edges are golden brown. Cool slightly in the muffin tin on a wire rack.

Make the filling: In a medium bowl beat the eggs with a whisk. Gradually whisk in the condensed milk. Next, whisk in the lime zest and lime juice. Spoon about 1 tablespoon of the filling into each pastry-lined cup.

Bake about 10 minutes, or until filling is set. Cool in muffin tin on a wire rack. Cover and chill for 2 to 3 hours. If desired, top with sweetened whipped cream and additional lime zest.

Sweetened Whipped Cream: Beat 1/2 cup heavy, 1 tablespoon confectioners’ sugar and 1/4 teaspoon vanilla extract with a mixer on medium speed until soft peaks form.

Recipe adapted from Better Homes & Gardens

A Key Lime Cookie Miss

So after baking my Key Lime Pie I had quite a few key limes left over and wanted to put them to good use so I decided to bake some Key Lime Spritz cookies. Unfortunately this was one recipe that didn’t work for me for numerous reasons.

The ingredients were basic enough: butter, sugar, salt, baking powder, an egg, key lime zest and juice, and flour.
IMG_1093
Two things attracted me to the recipe I followed, it sounded simple enough and it gave me an opportunity to use my Wilton Cookie Press.
IMG_1098
I followed the direction to make the dough…
IMG_1110
And then it was time to bring out the cookie press – this is where things went downhill.
IMG_1111
I filled my cookie press with the dough and was ready to start pressing out cookies in my selected shape.
IMG_1113
Instead of dropping cookies onto my cookie sheet this is what happened instead.
IMG_1114
Frustrated after numerous tries I turned to my trusted cookie scoop instead.
IMG_1115
I scooped the dough and pressed it down to make round cookies.
IMG_1117
I baked them for about 7 minutes until the cookies looked firm but weren’t browning.
IMG_1118
I didn’t even bother using the rest of the cookie dough… I tried one of the cookies from the first batch and was extremely disappointed. The cookies had no lime flavor whatsoever and the overall taste of it was nothing to rave about. Not sure if it had to do with the recipe itself or just my technique.

Besides the recipe not being all that I was hoping for I was disappointed that my cookie press didn’t work as it should again – yes, this was the second time I had a failed experience using it. At this point I am not sure if I will try for a third time with it. So, has anyone ever had success using a cookie press? And if so, how did you get it to work? Any and all advice is welcome. Thanks!

%d bloggers like this: