I hope you have enjoyed my Cookie Palooza and that one of these cookie recipes will be one that you try or has inspired you to create something totally your own. On this final day of Cookie Palooza I bring you a cookie with a flavor of the season, peppermint. A Chocolate-Mint Thumbprint to be precise. And don’t worry, the peppermint flavor isn’t overpowering as some peppermint-flavored things are.
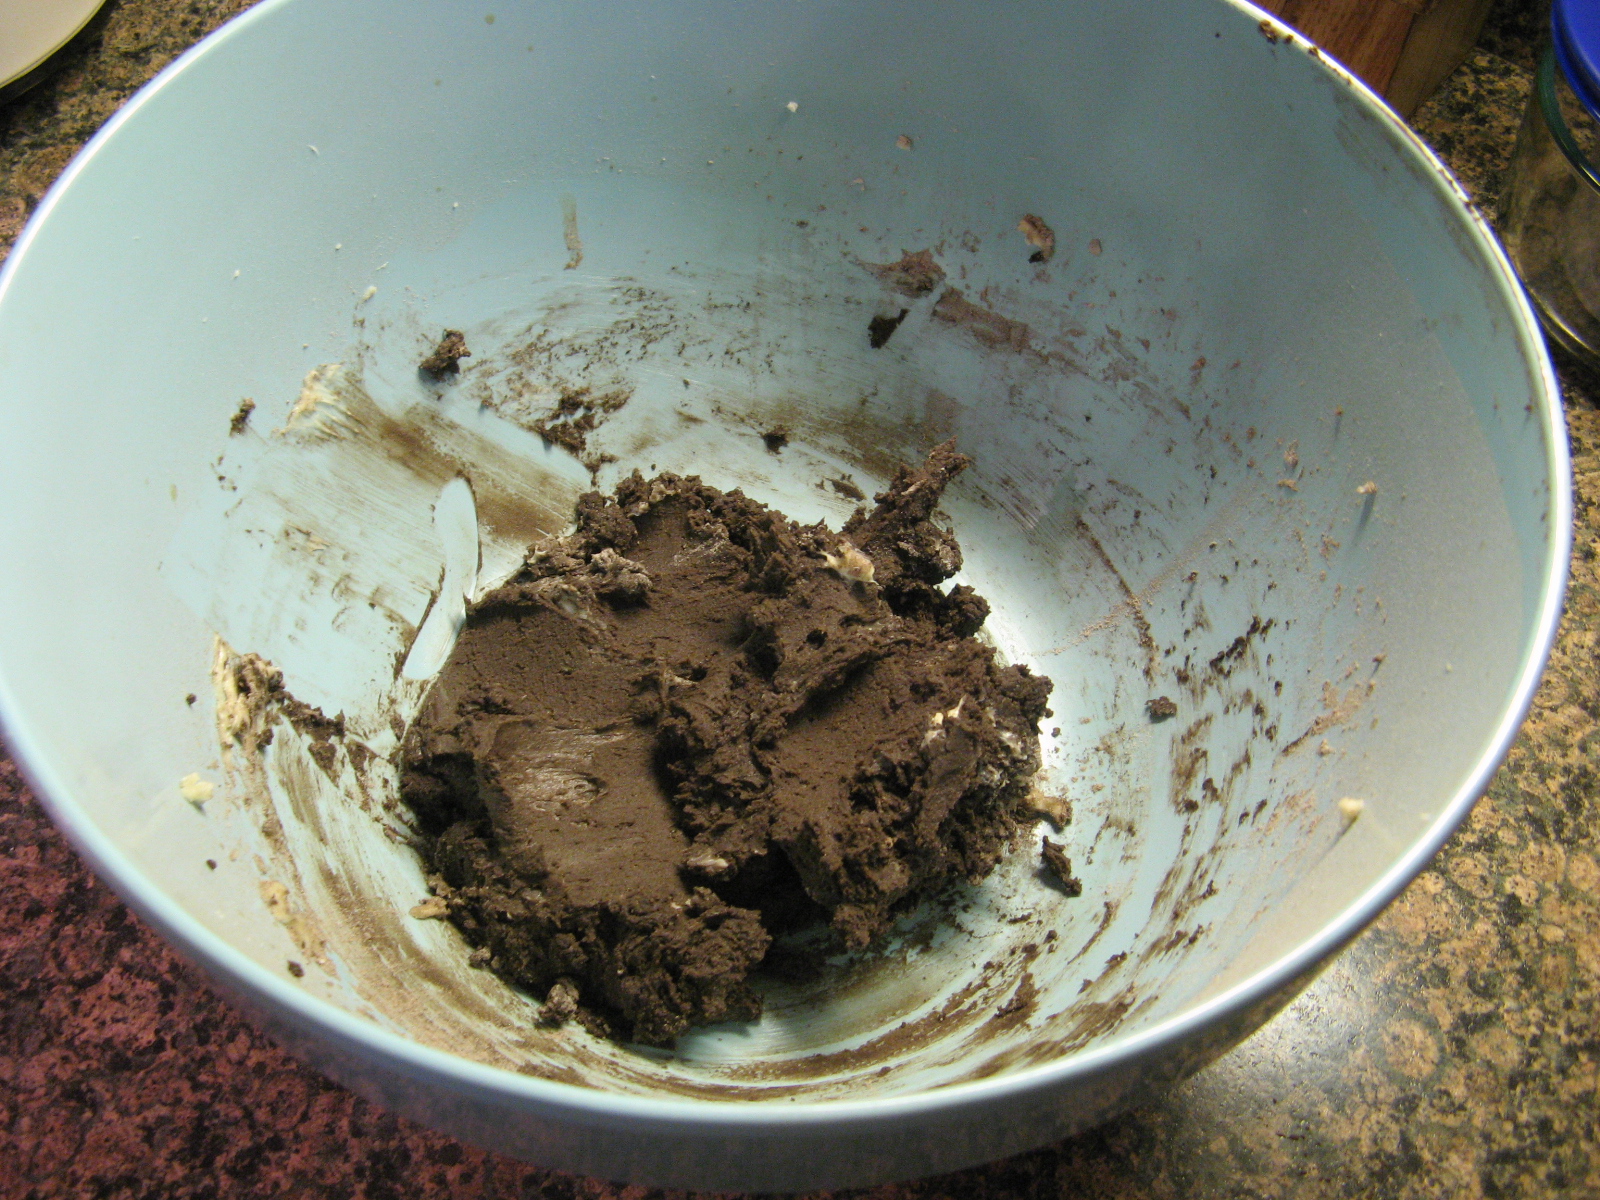
After sifting flour and cocoa powder together in a medium bowl, I creamed butter and confectioners’ sugar together in a large bowl and then added in vanilla extract and salt. Once the butter mixture was well blended I added in the flour mixture and continued mixing using my handheld mixer on low speed until the dough formed. I chilled the dough for about 40 minutes until it was firm enough to roll into balls, but, not so cold that I would have to “defrost” it once out of the fridge.
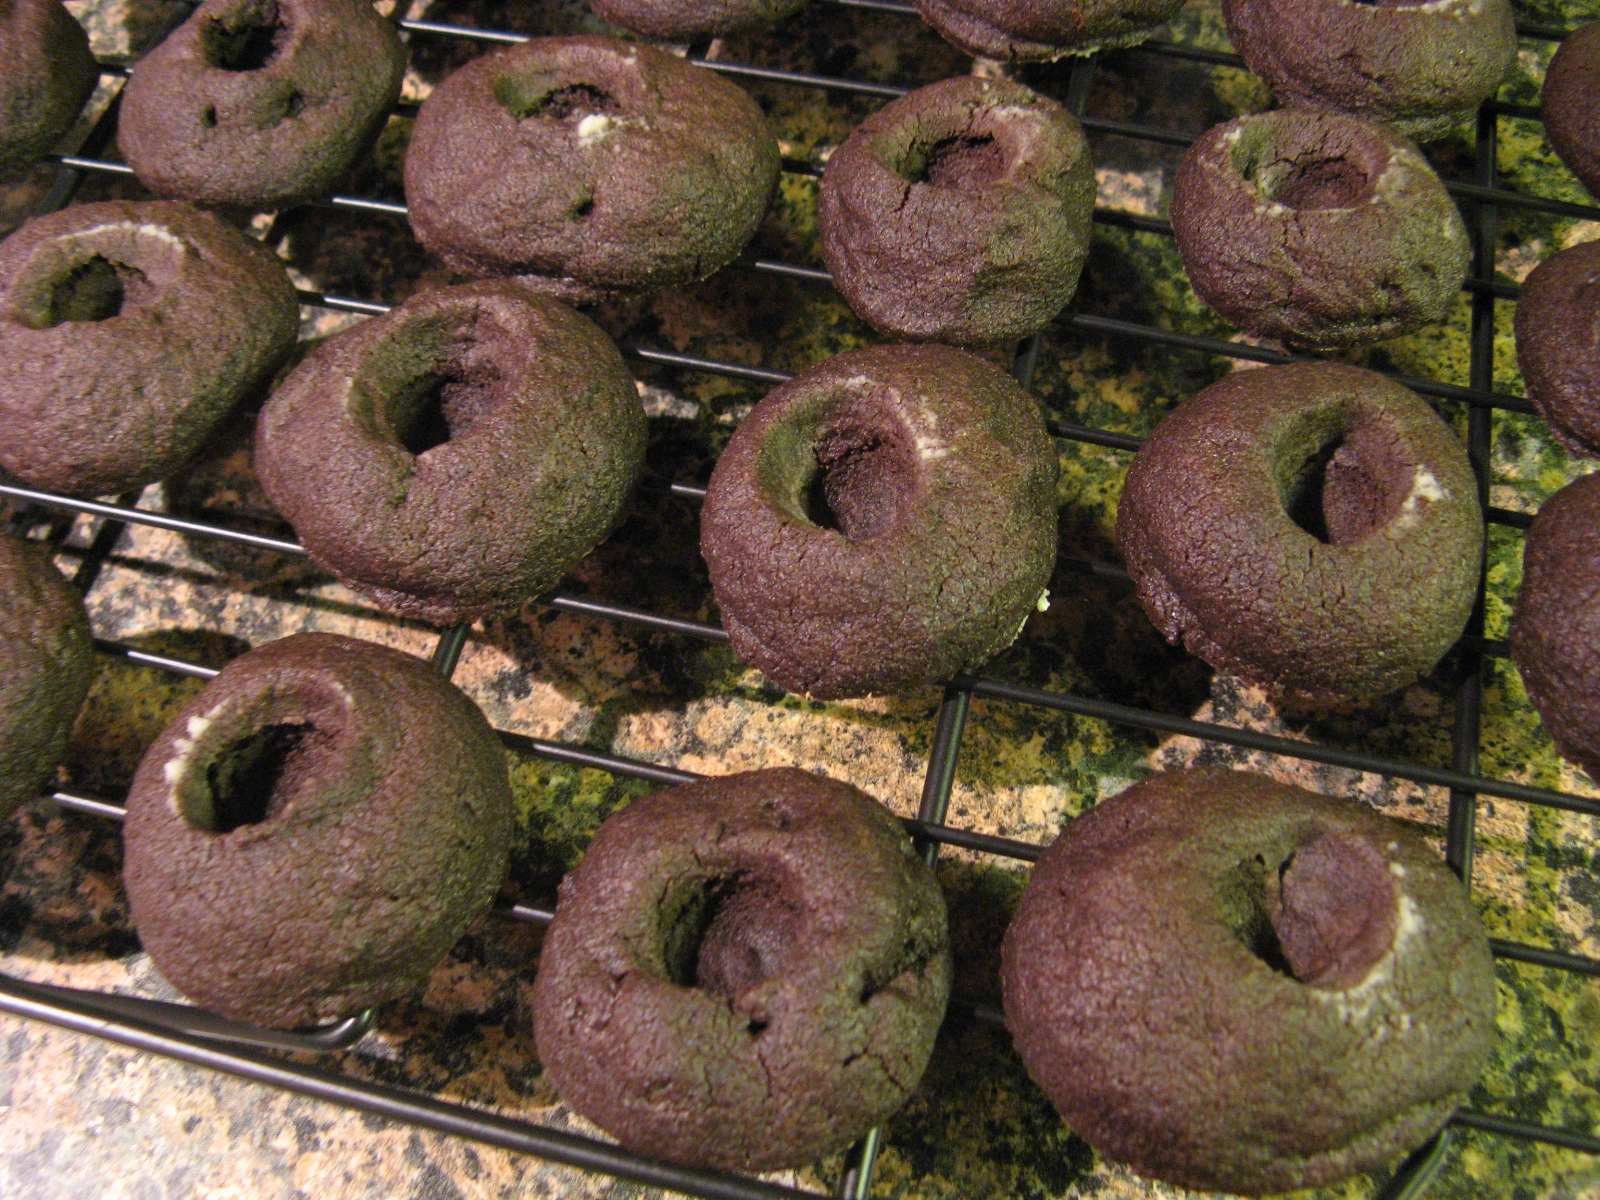
I rolled teaspoonfuls of the dough into balls and placed them on a parchment lined cookie sheet. Next, I pressed straight down the middle of each ball with a floured finger – you could also use the end of a wooden spoon – almost to the cookie sheet to make a deep well. After baking the cookies in a 350 F preheated oven for about 8 minutes, I redefined the indentations with the end of a wooden spoon. I let the cookies cool for a few minutes on the cookie sheet so they could set and then transferred them to a wire rack to cool completely.
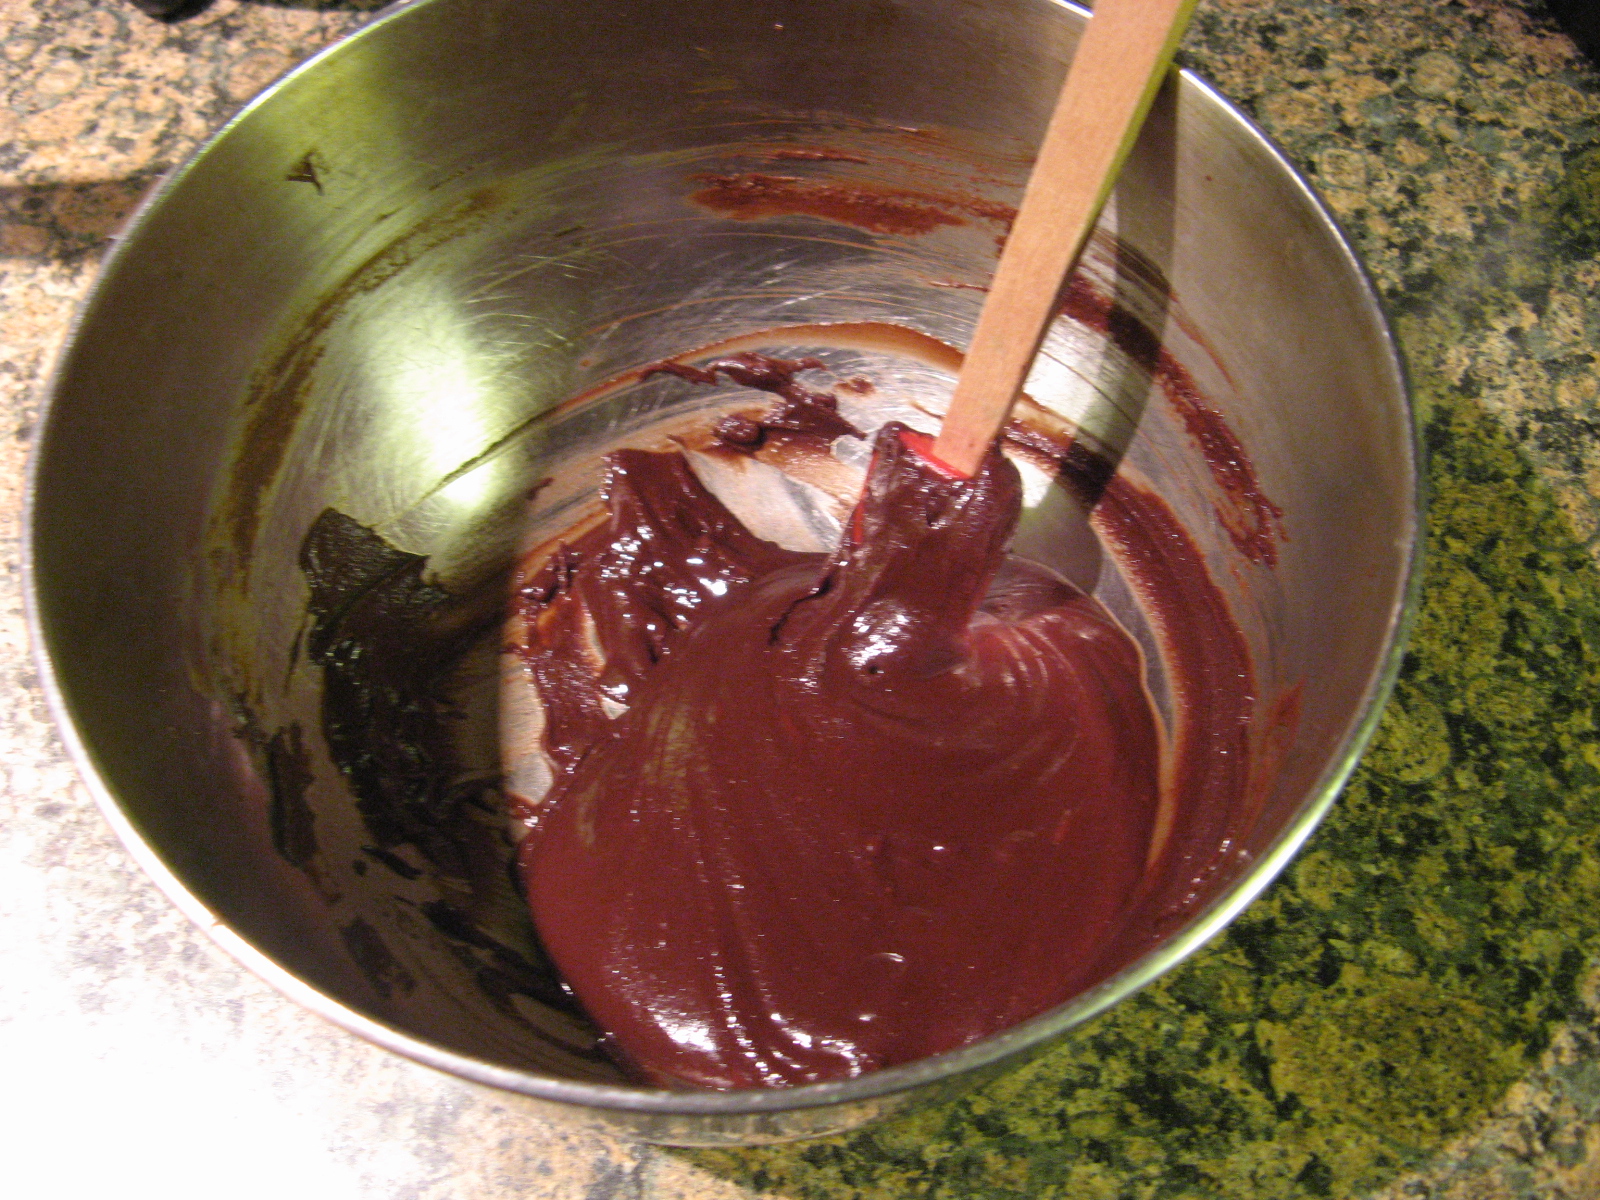
Once the cookies were completely cooled I made the filling. I created my own double-boiler by bringing a pot of water to a simmer and then placed semisweet chocolate chips and unsalted butter in a heat proof bowl and set it over the simmering water. I began stirring the mixture with a rubber spatula and after a few minutes, before the mixture was completed melted, I removed it from the simmering water and continued stirring the mixture until it melted and then stirred in peppermint mixture. I let the mixture cool for about a half hour – until it was warm and slightly thickened…
And then transferred it to a decorator bottle. You could also transfer the chocolate to a decorator bag with a small tip attached or a resealable bag with a small portion of the corned snipped off. I then piped the chocolate into the wells of the cookies.

I’ll be the first to admit that my thumbprints came out a bit wonky looking, but, that didn’t detract from how yummy they were with just the right balance of chocolate and peppermint.
Chocolate-Mint Thumbprints
Ingredients:
For the Cookies:
1 cup plus 2 1/2 tablespoons flour
1/4 cup Dutch processed cocoa powder
3/4 cup (6 oz.) unsalted butter, at room temperature
1/2 cup confectioners’ sugar, sifted
1 1/2 teaspoon vanilla extract
1/4 teaspoon table salt
For the Mint-Filling:
3/4 cup semi-sweet chocolate chips
3 tablespoons unsalted butter, cut into 6 pieces
1/4 teaspoon pure peppermint extract
Directions:
For the Cookies:
Sift the flour and cocoa powder together into a medium bowl. Using a handheld mixer (or stand mixer with the paddle attachment) cream the butter and confectioners’ sugar on medium speed until light and fluffy. Add the vanilla extract and salt, continue beating until smooth. Add the flour mixture and beat on low speed until the dough comes together. Chill the dough in the refrigerator until the dough is firm enough to roll into balls, about 40 to 60 minutes.
Preheat the oven to 350 F and line two cookie sheets with parchment paper.
Roll heaping teaspoonfuls of dough into balls and place them on the parchment paper about 2-inches apart. With a lightly floured thumb or fingertip (or the end of thick-handled wooden spoon), press straight down into the middle of each ball, almost to the cookie sheet, to make a deep well.
Bake for 8 to 9 minutes. Gently redefine the wells using the end of a wooden spoon. Let the cookies cool for a few minutes on the cookie sheet and transfer them to a wire rack to cool completely.
For the Filling:
Put the chocolate and butter in heatproof bowl over a pot of simmering water. Stir with a heatproof spatula until the chocolate is almost melted. Remove from the heat and continue stirring until melted and smooth. Stir in the peppermint extract. Let cool for about 30 to 40 minutes, until the mixture is slightly warmer than room temperature and it has begun to thicken. Spoon the filling into a pastry bag fitted with a small plain tip or into a resealable bag with a corner snipped off and pipe the filling into the center of each cookie. Let the filling set completely before storing.
Recipe from Fine Cooking
