One item in my kitchen that is completely underutilized is my slow cooker. It’s one of those kitchen items that doesn’t ever seem to make it on to a coveted kitchen counter spot so it’s usually in a cabinet somewhere behind other things, at least that’s where it lives in my kitchen. It’s not like I forget I have it, it’s just getting it out involves moving quite a few things. Nevertheless it’s always worth the effort.
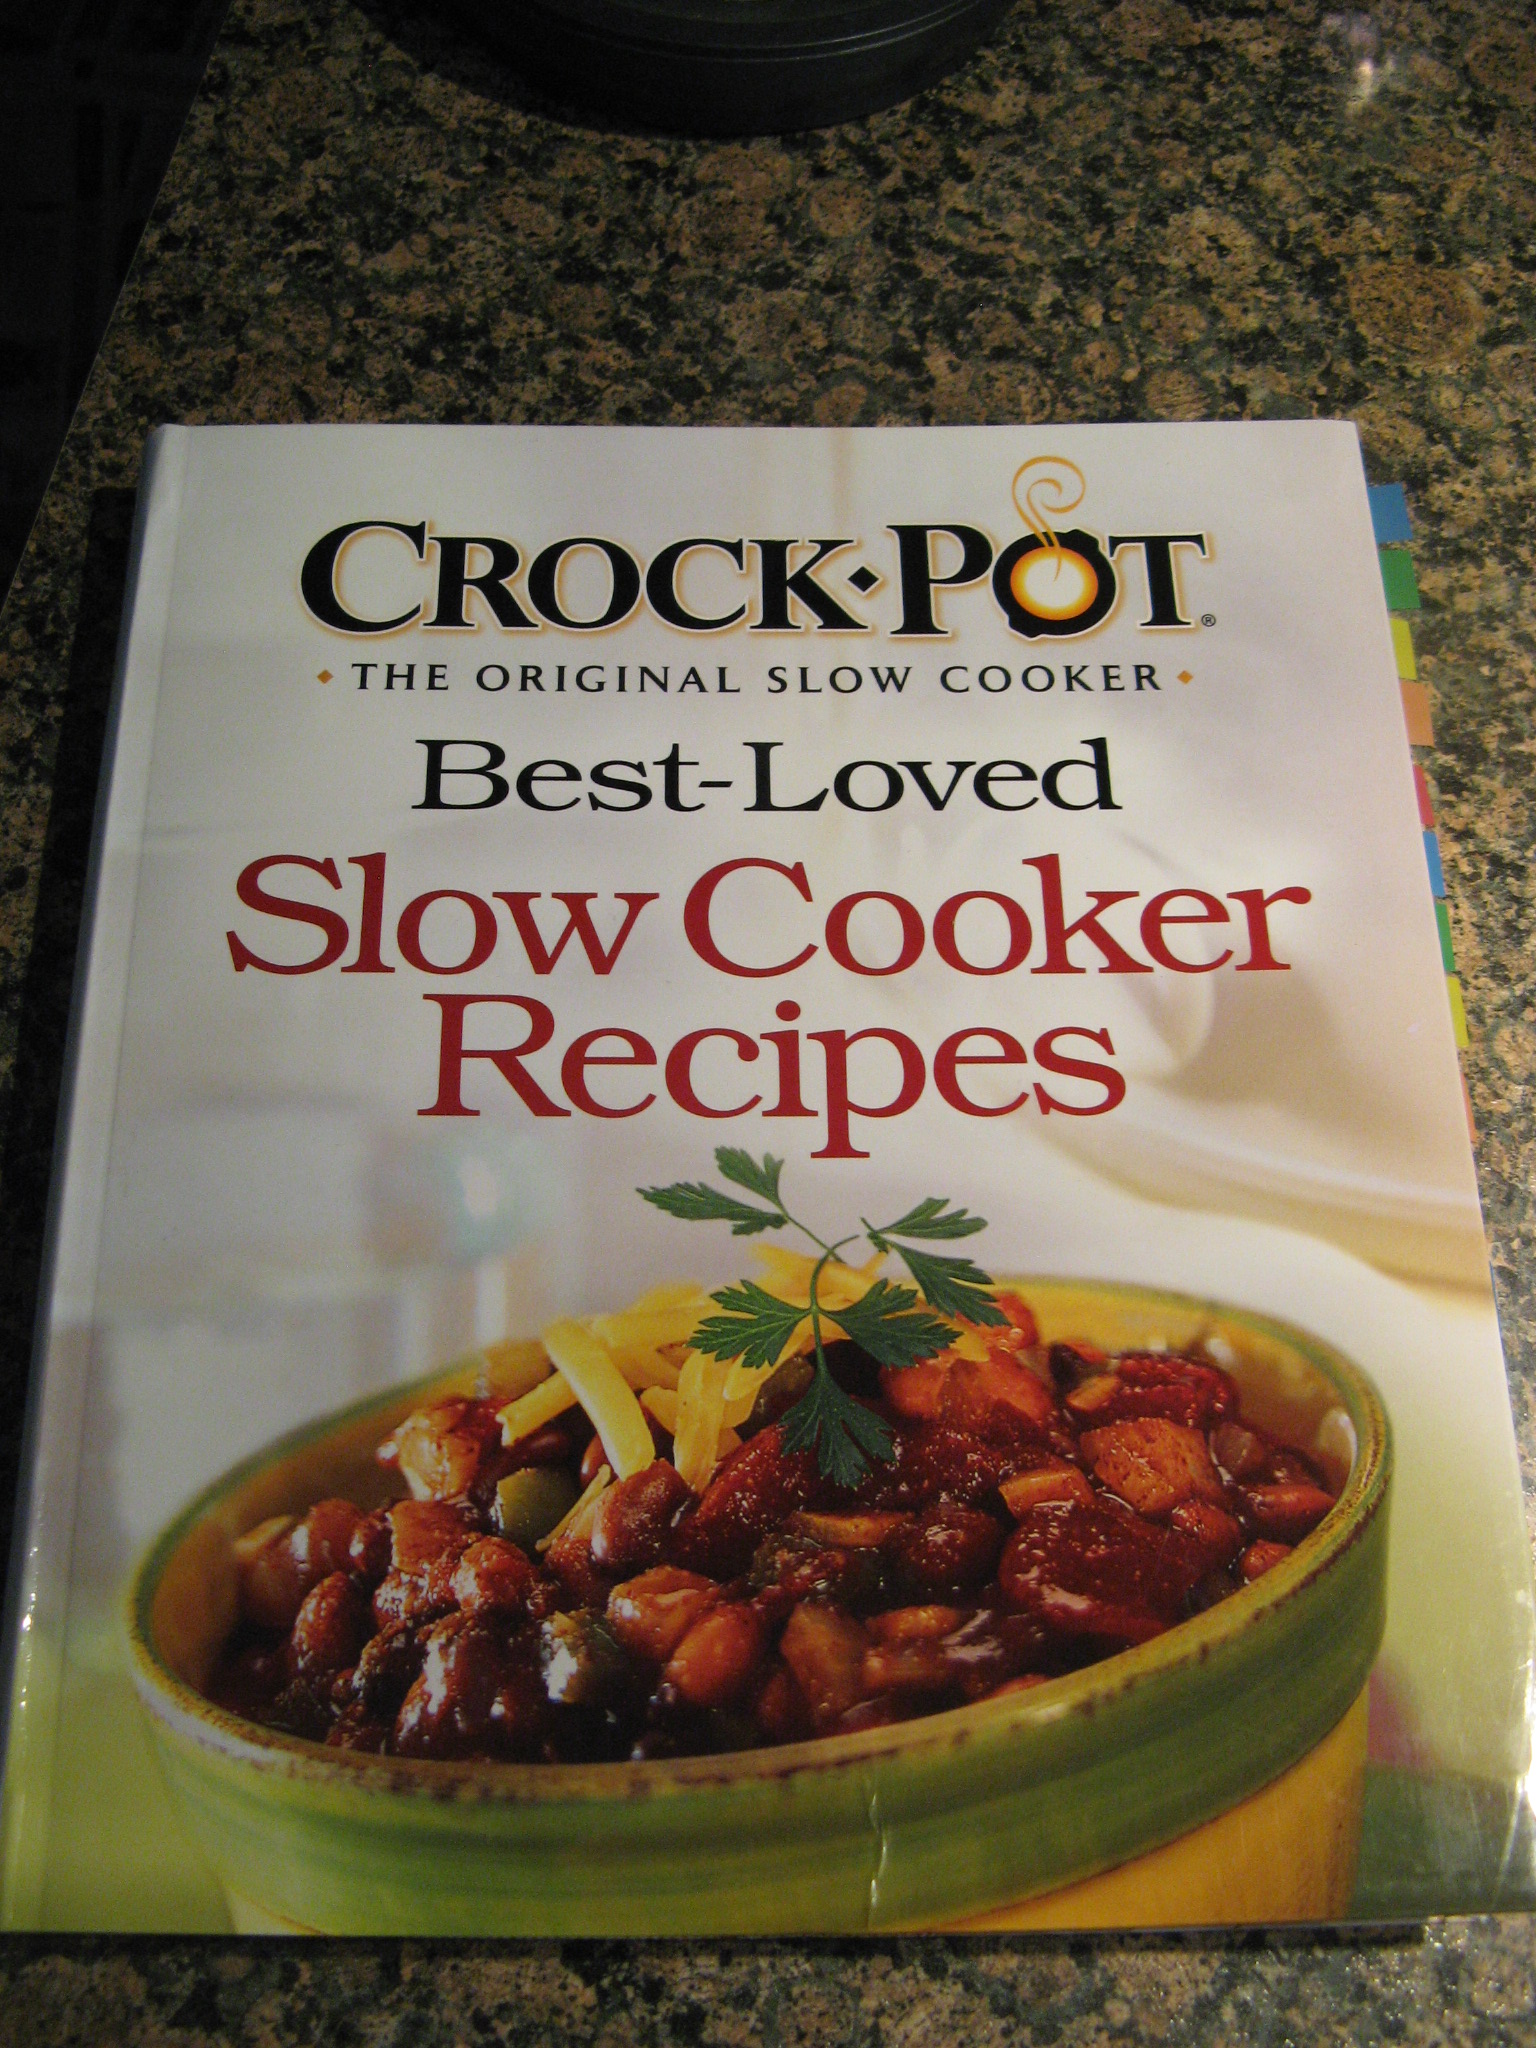
While at my local Barnes & Noble recently I picked up a slow cooker recipe book and immediately went through it and flagged some recipes that I wanted to try. I’m a bit of an organized nerd when it comes to cookbooks… I go through them and flag the recipes I want to try with mini post-its and then write down the recipes on another post-it and stick it in the front of the book.
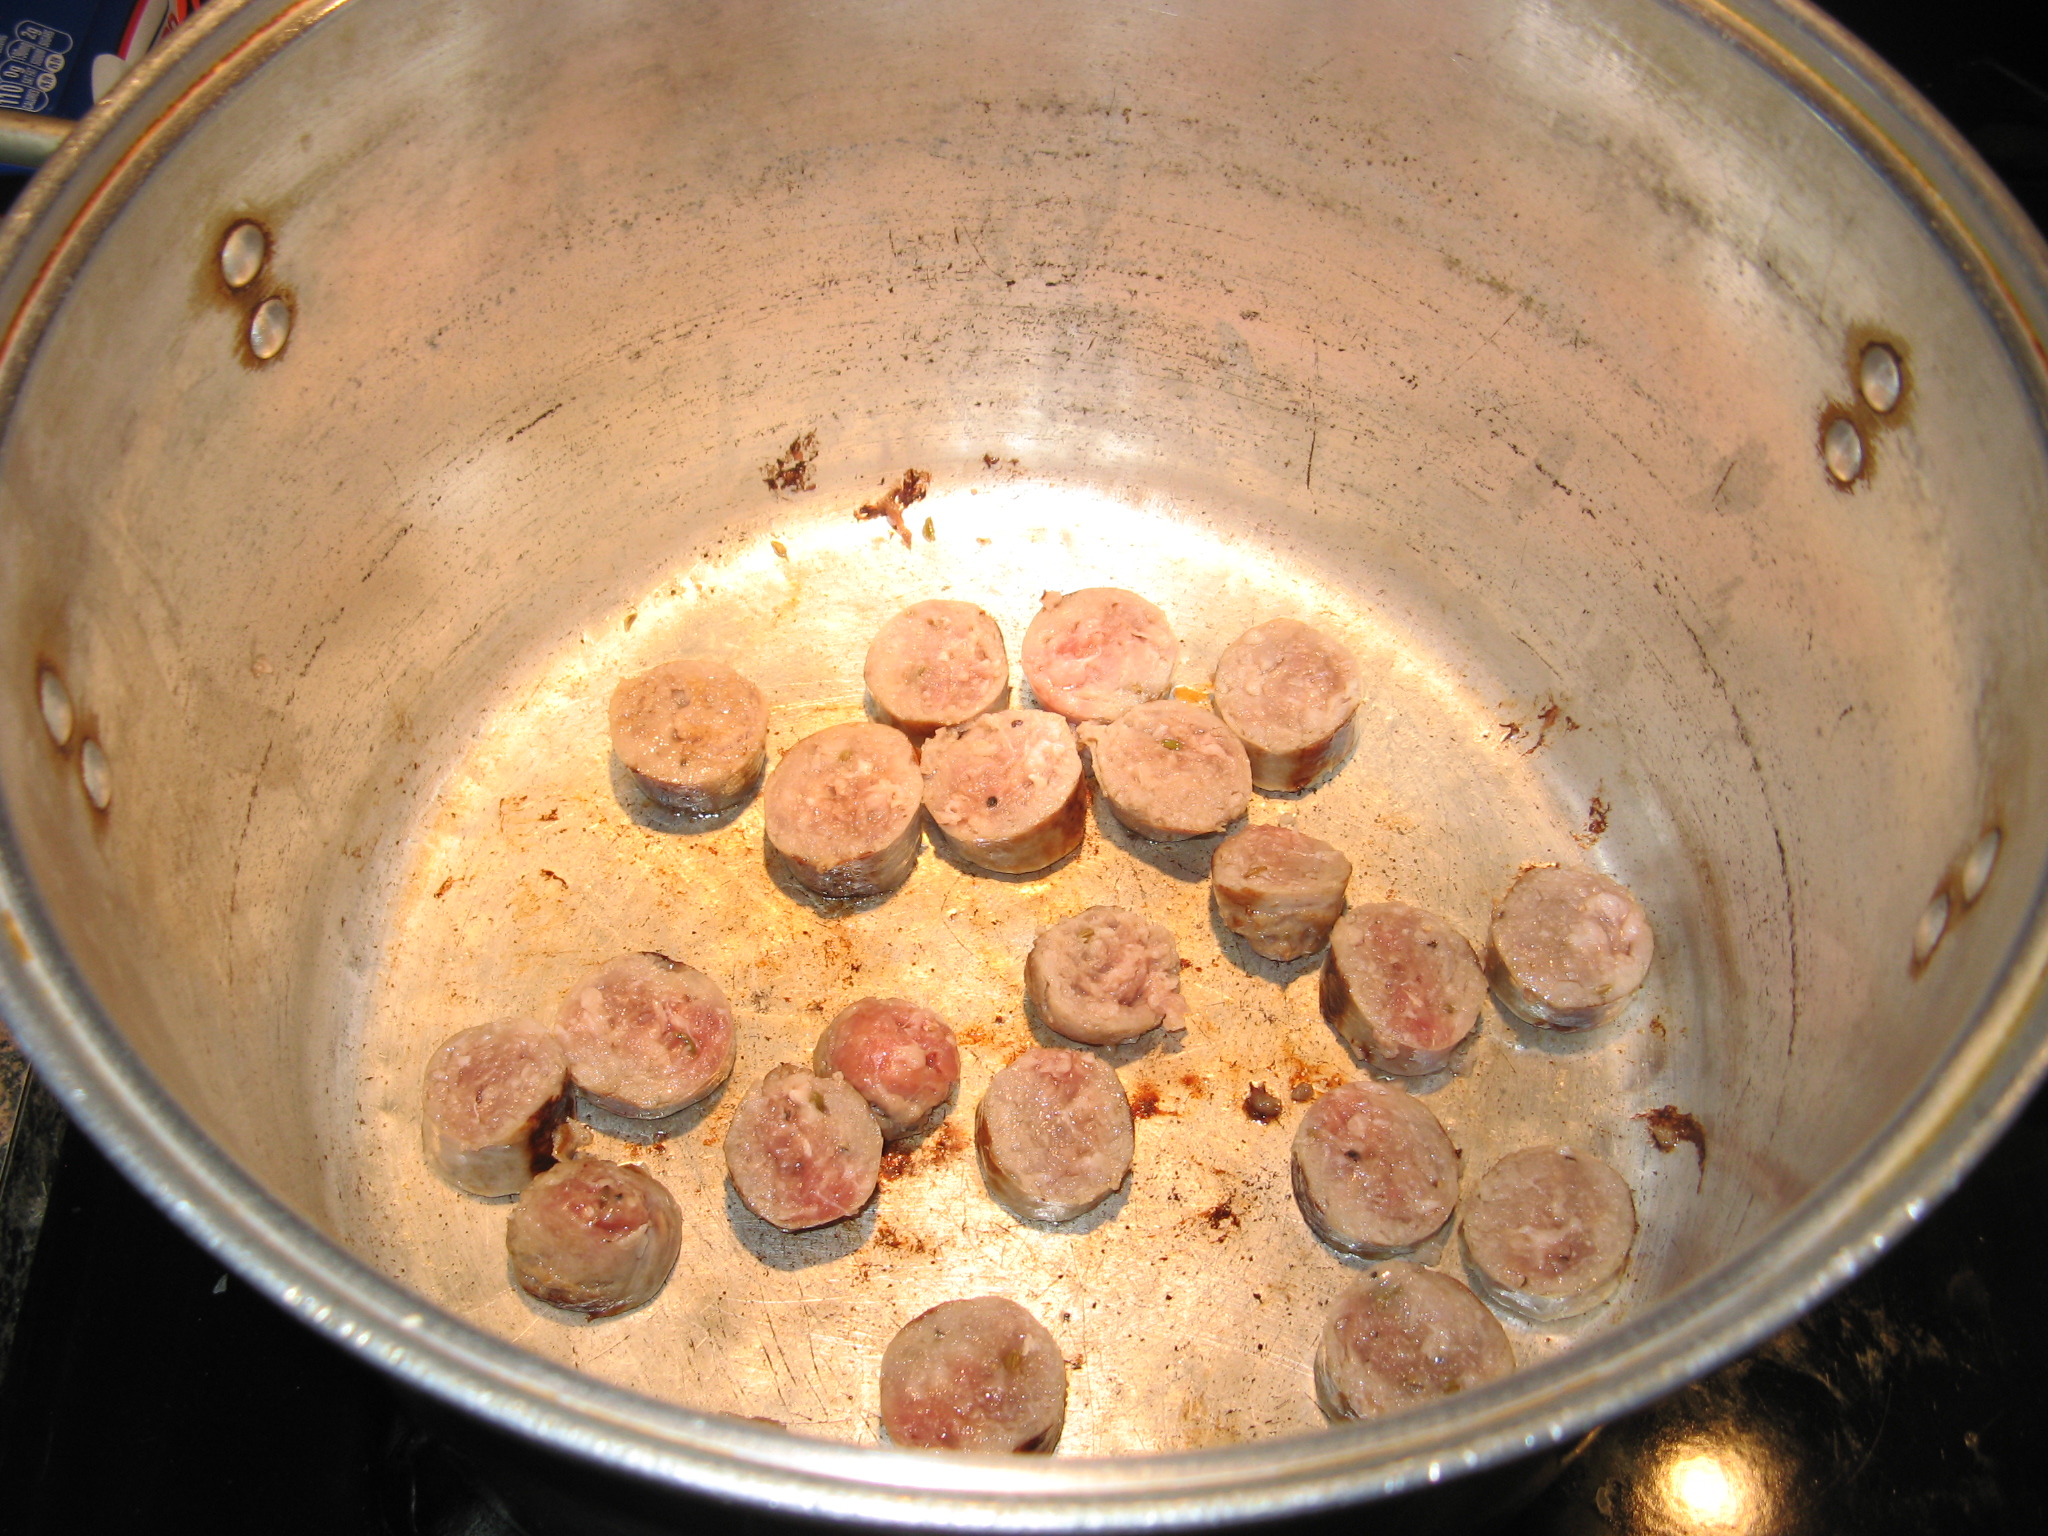
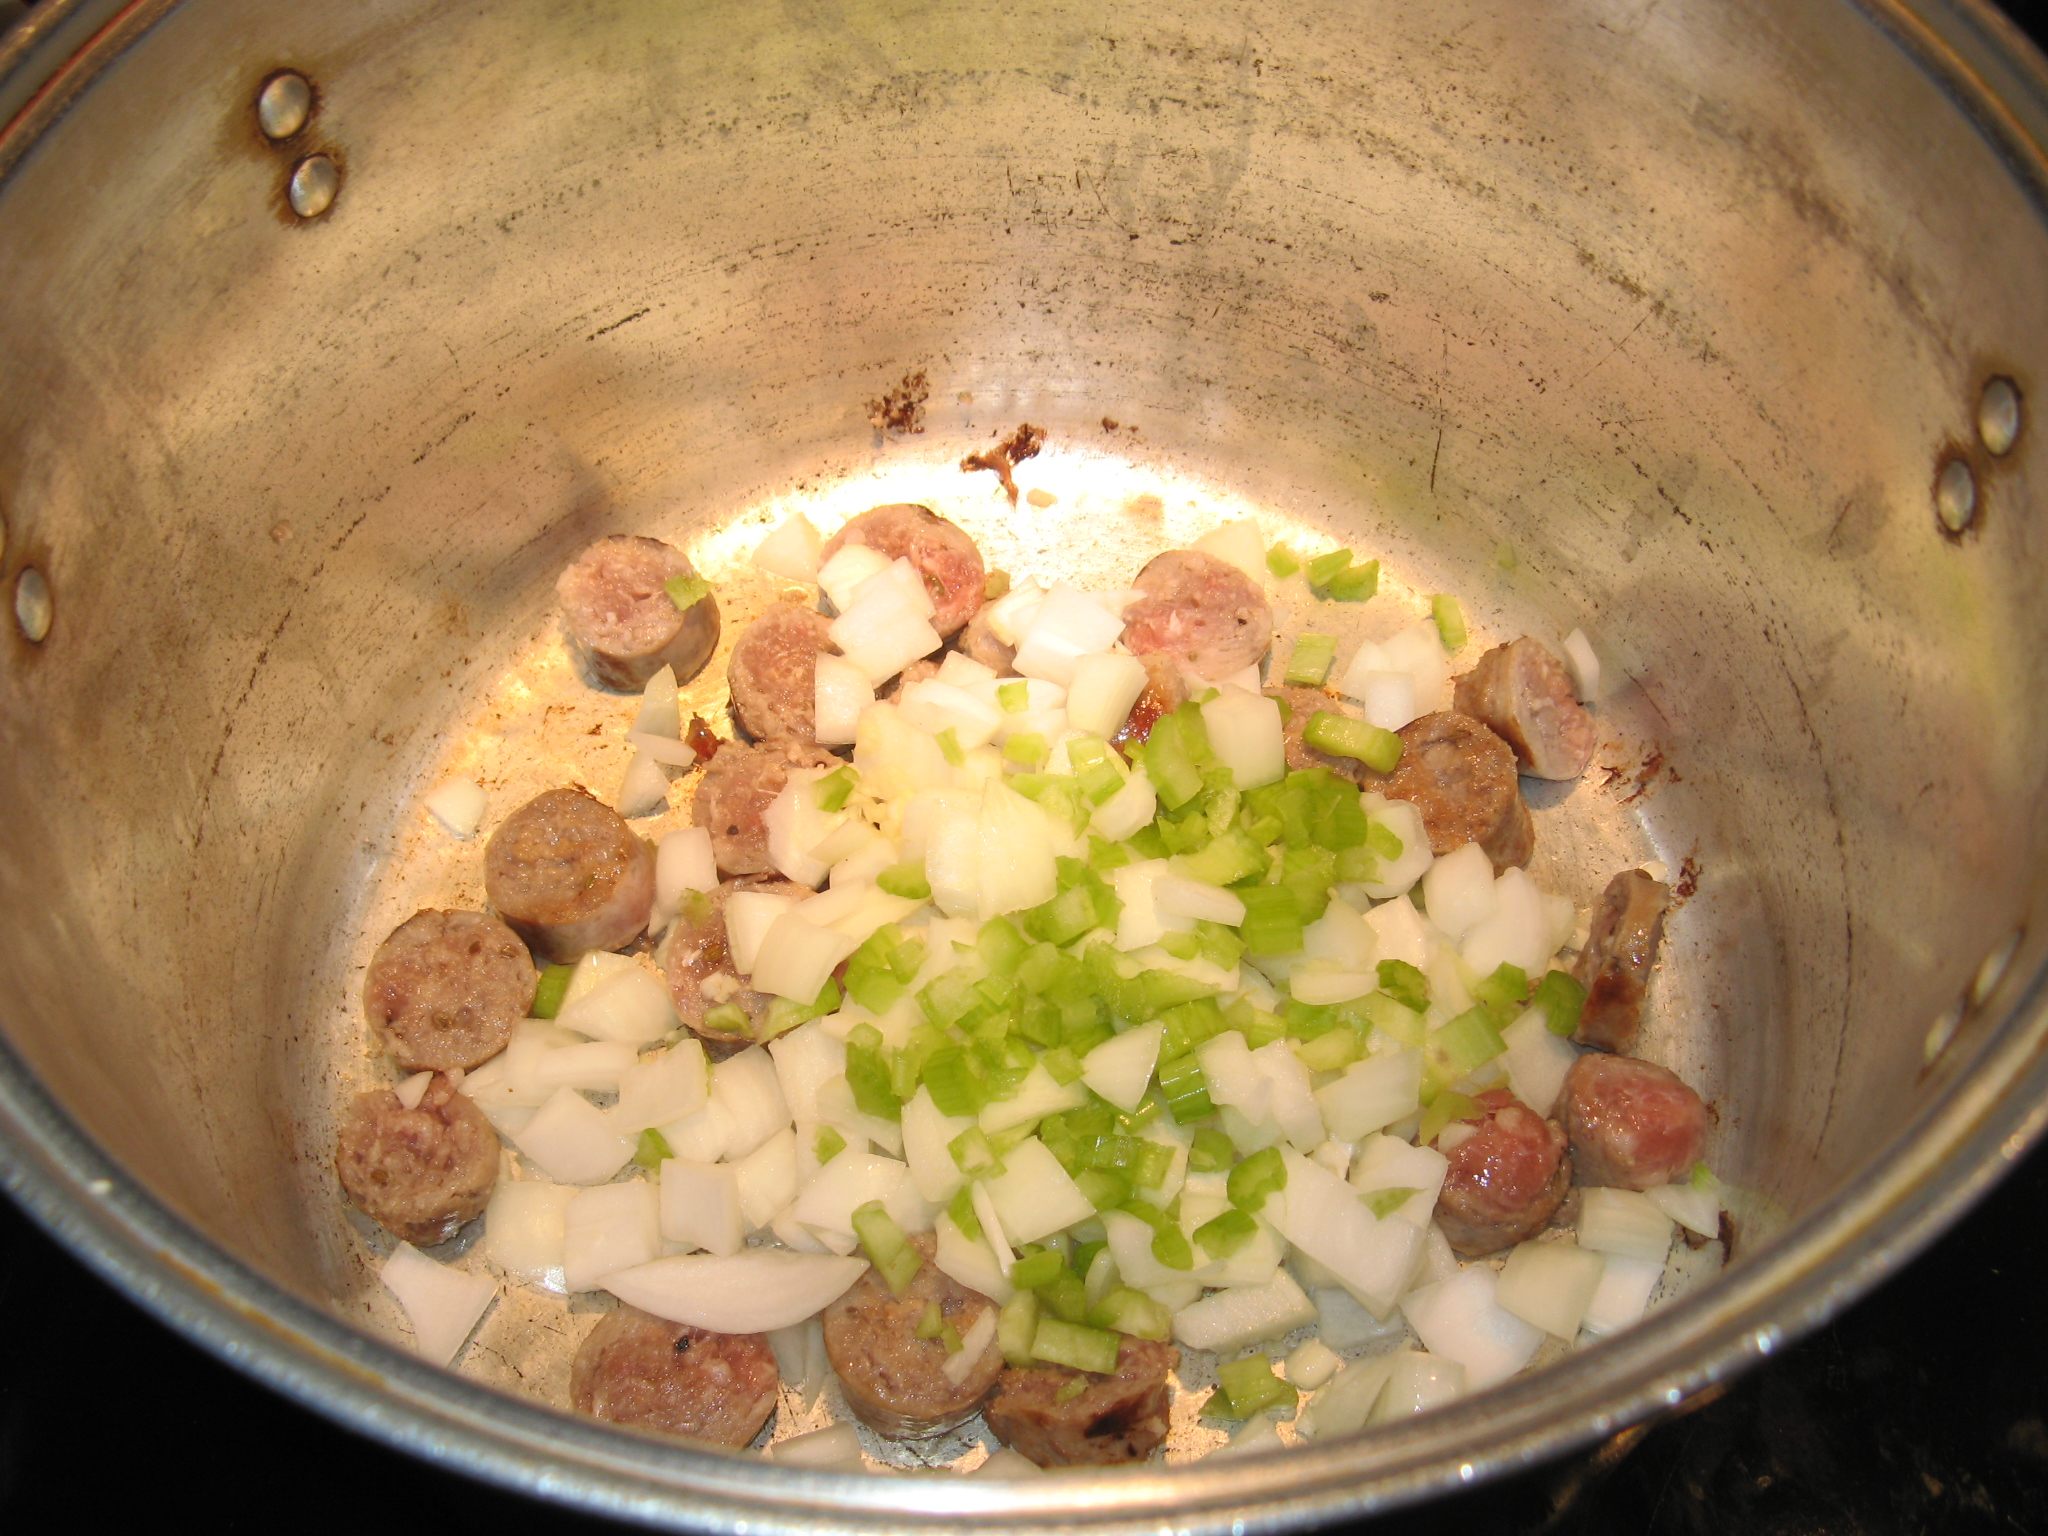
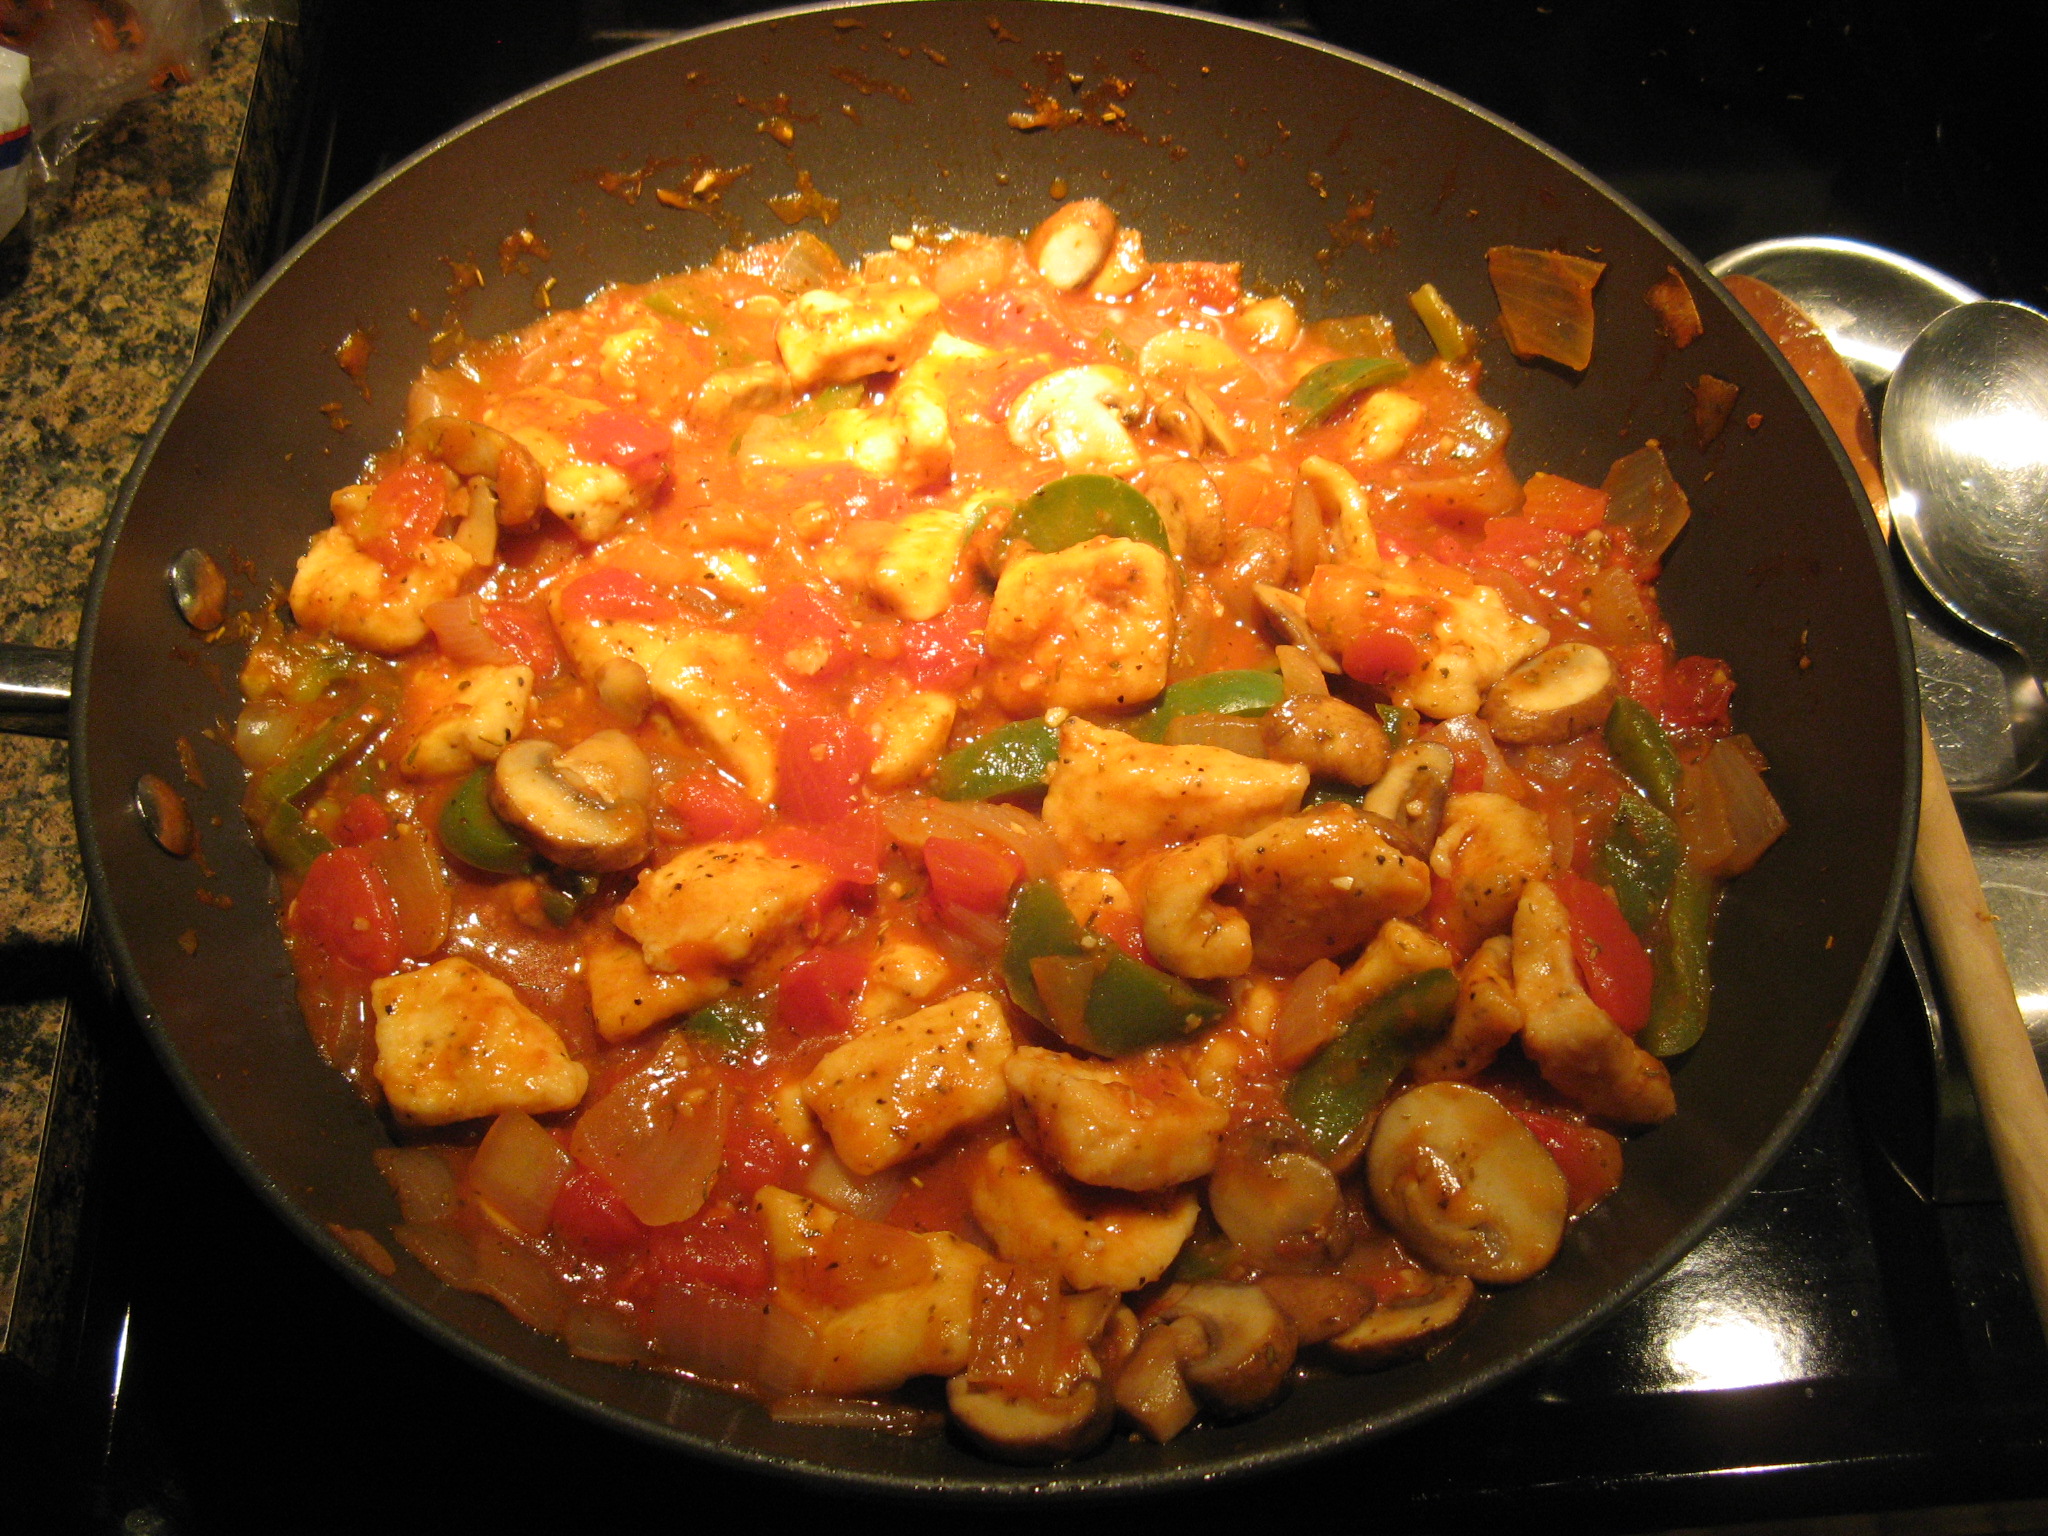
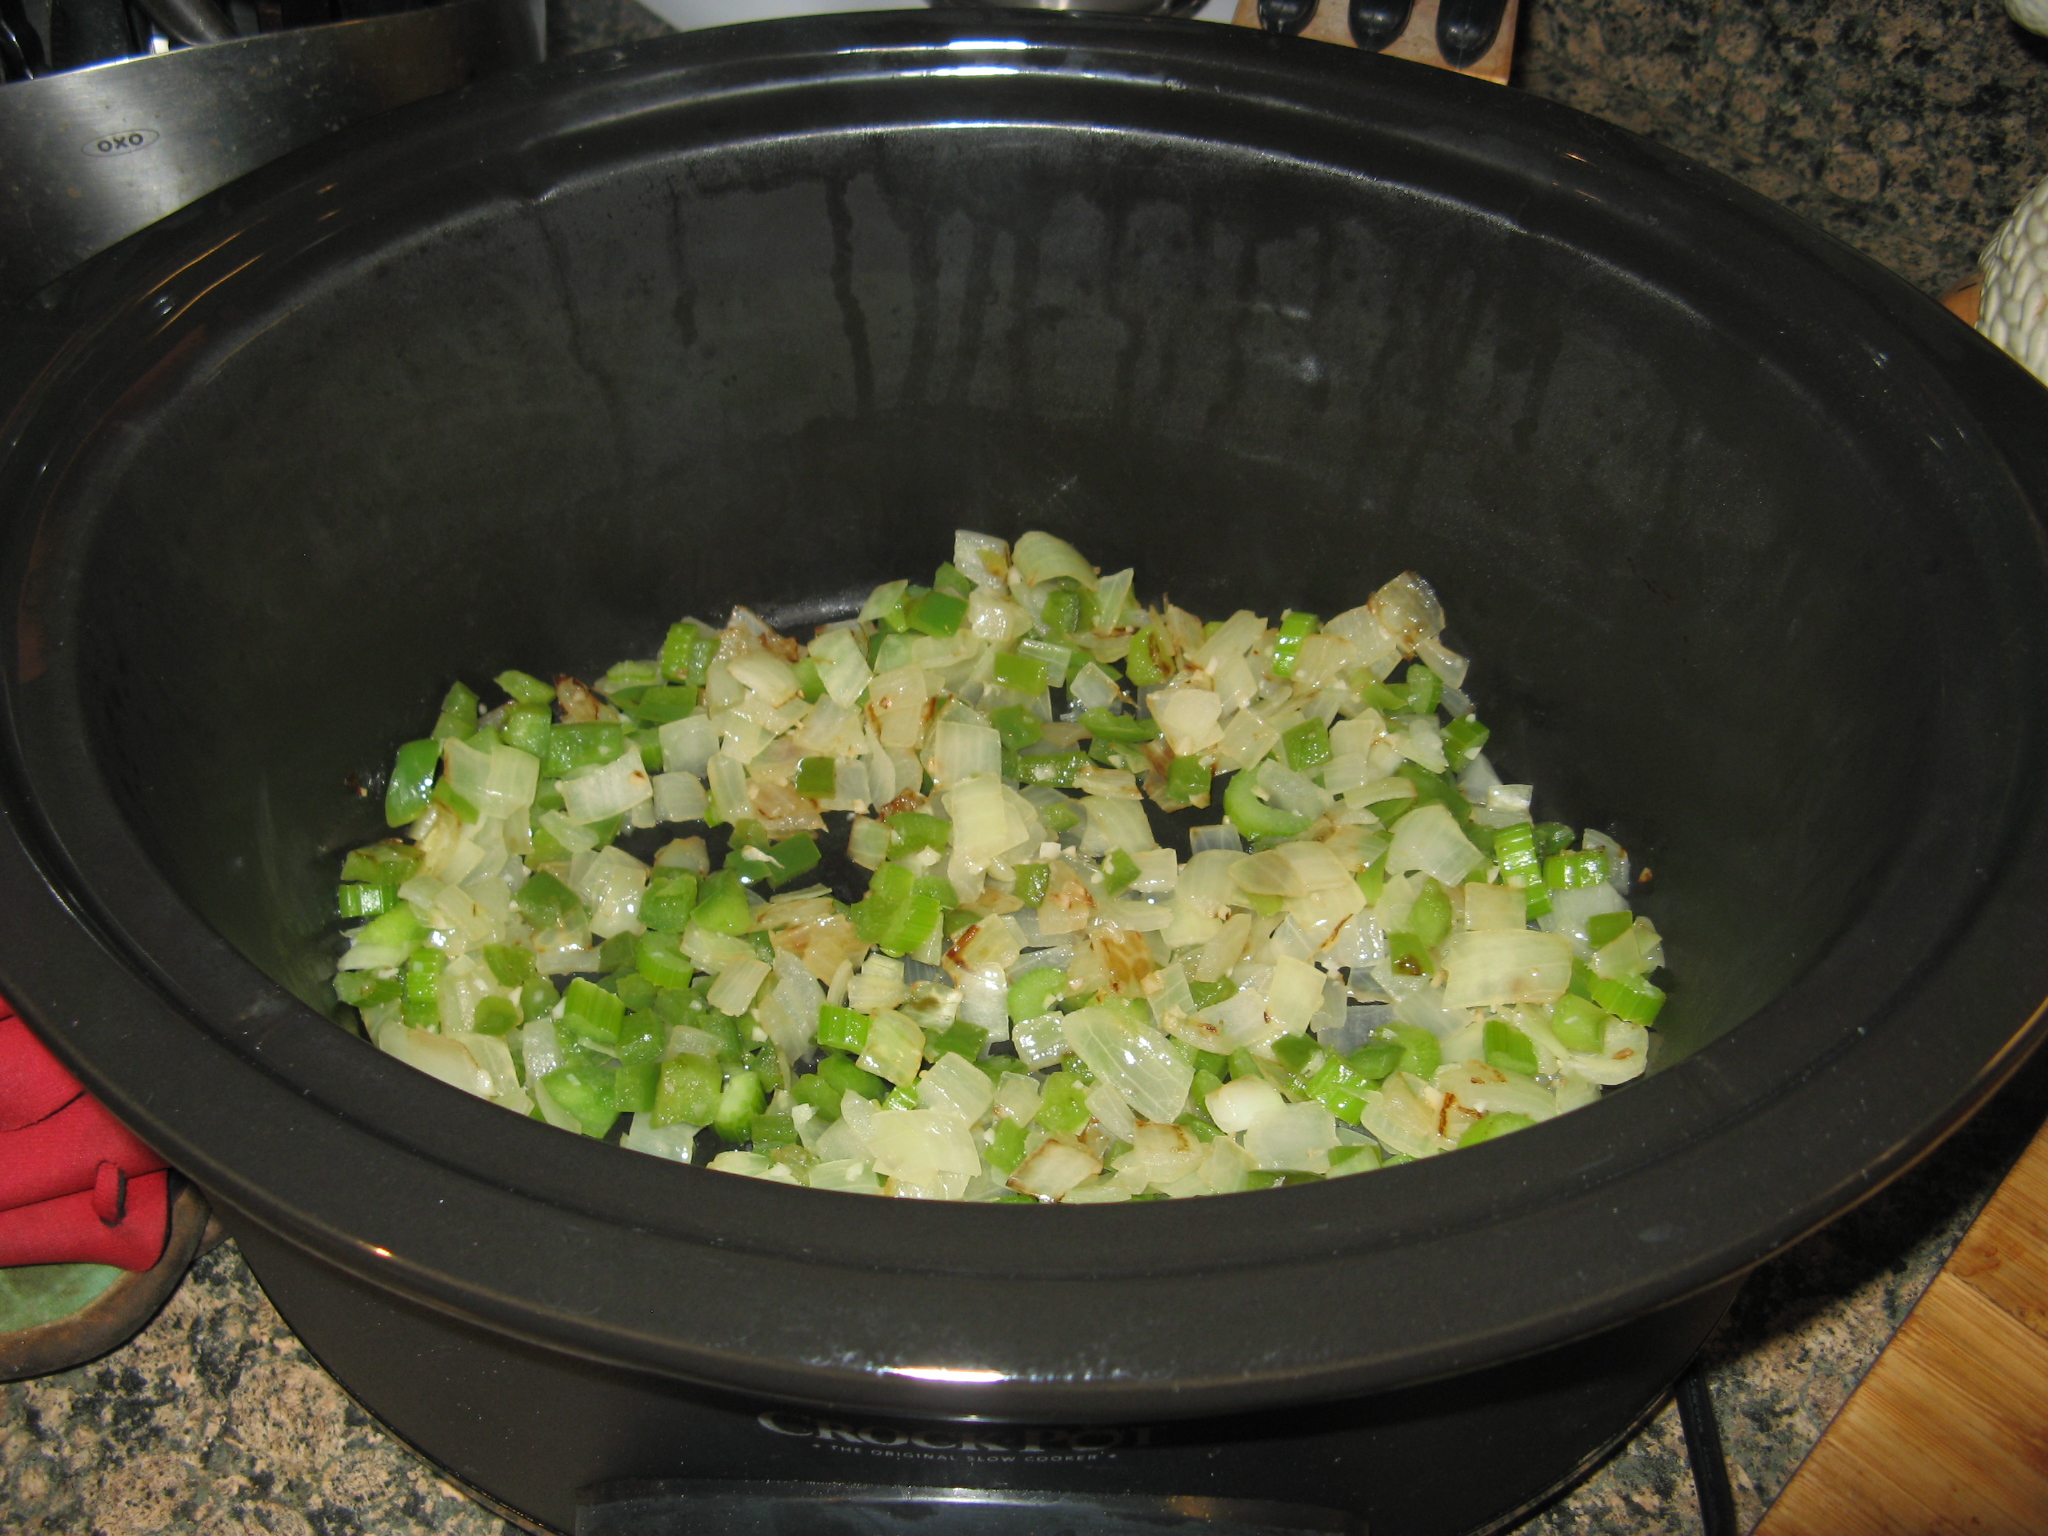
This time around I decided to try out the slow cooker version of Country Captain Chicken. In all honesty prior to writing this post I wasn’t aware that it was a traditional recipe found in the Southern part of the United States. I thought it was just something that was created for the cook book. Oops! To start I sautéed a green bell pepper, onion, celery and garlic with olive oil over medium-high heat until the vegetables were tender. I then placed that in the bottom of my slow cooker.
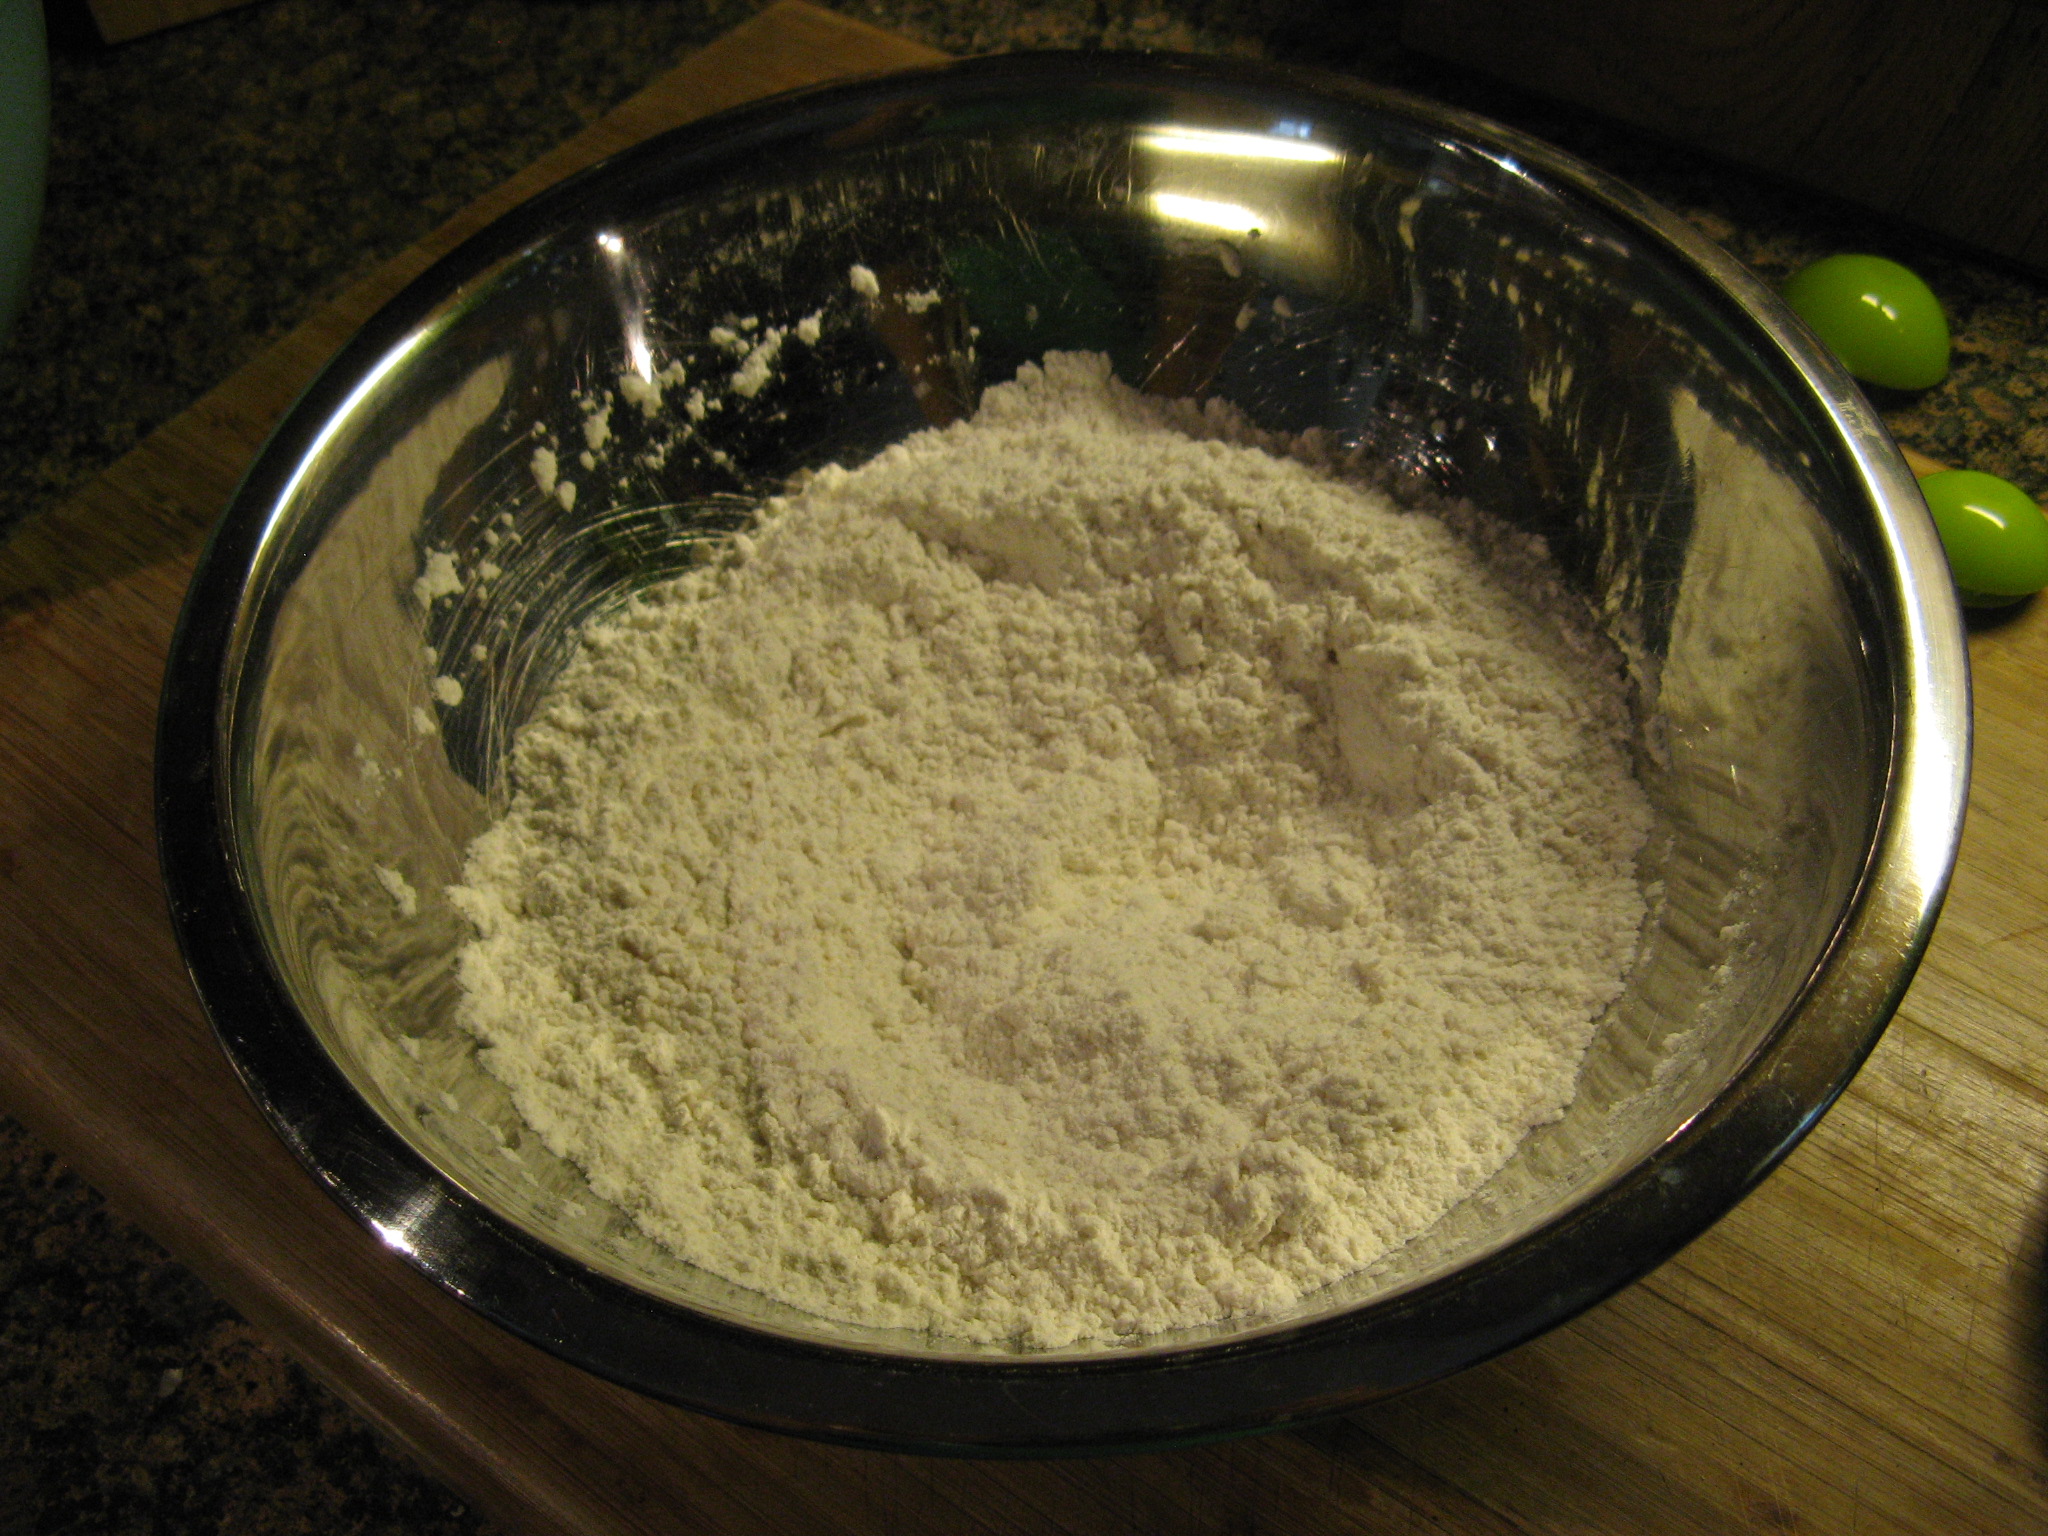
I then browned chicken thighs, which I coated with flour, and placed them on top of the vegetables inside of the slow cooker.

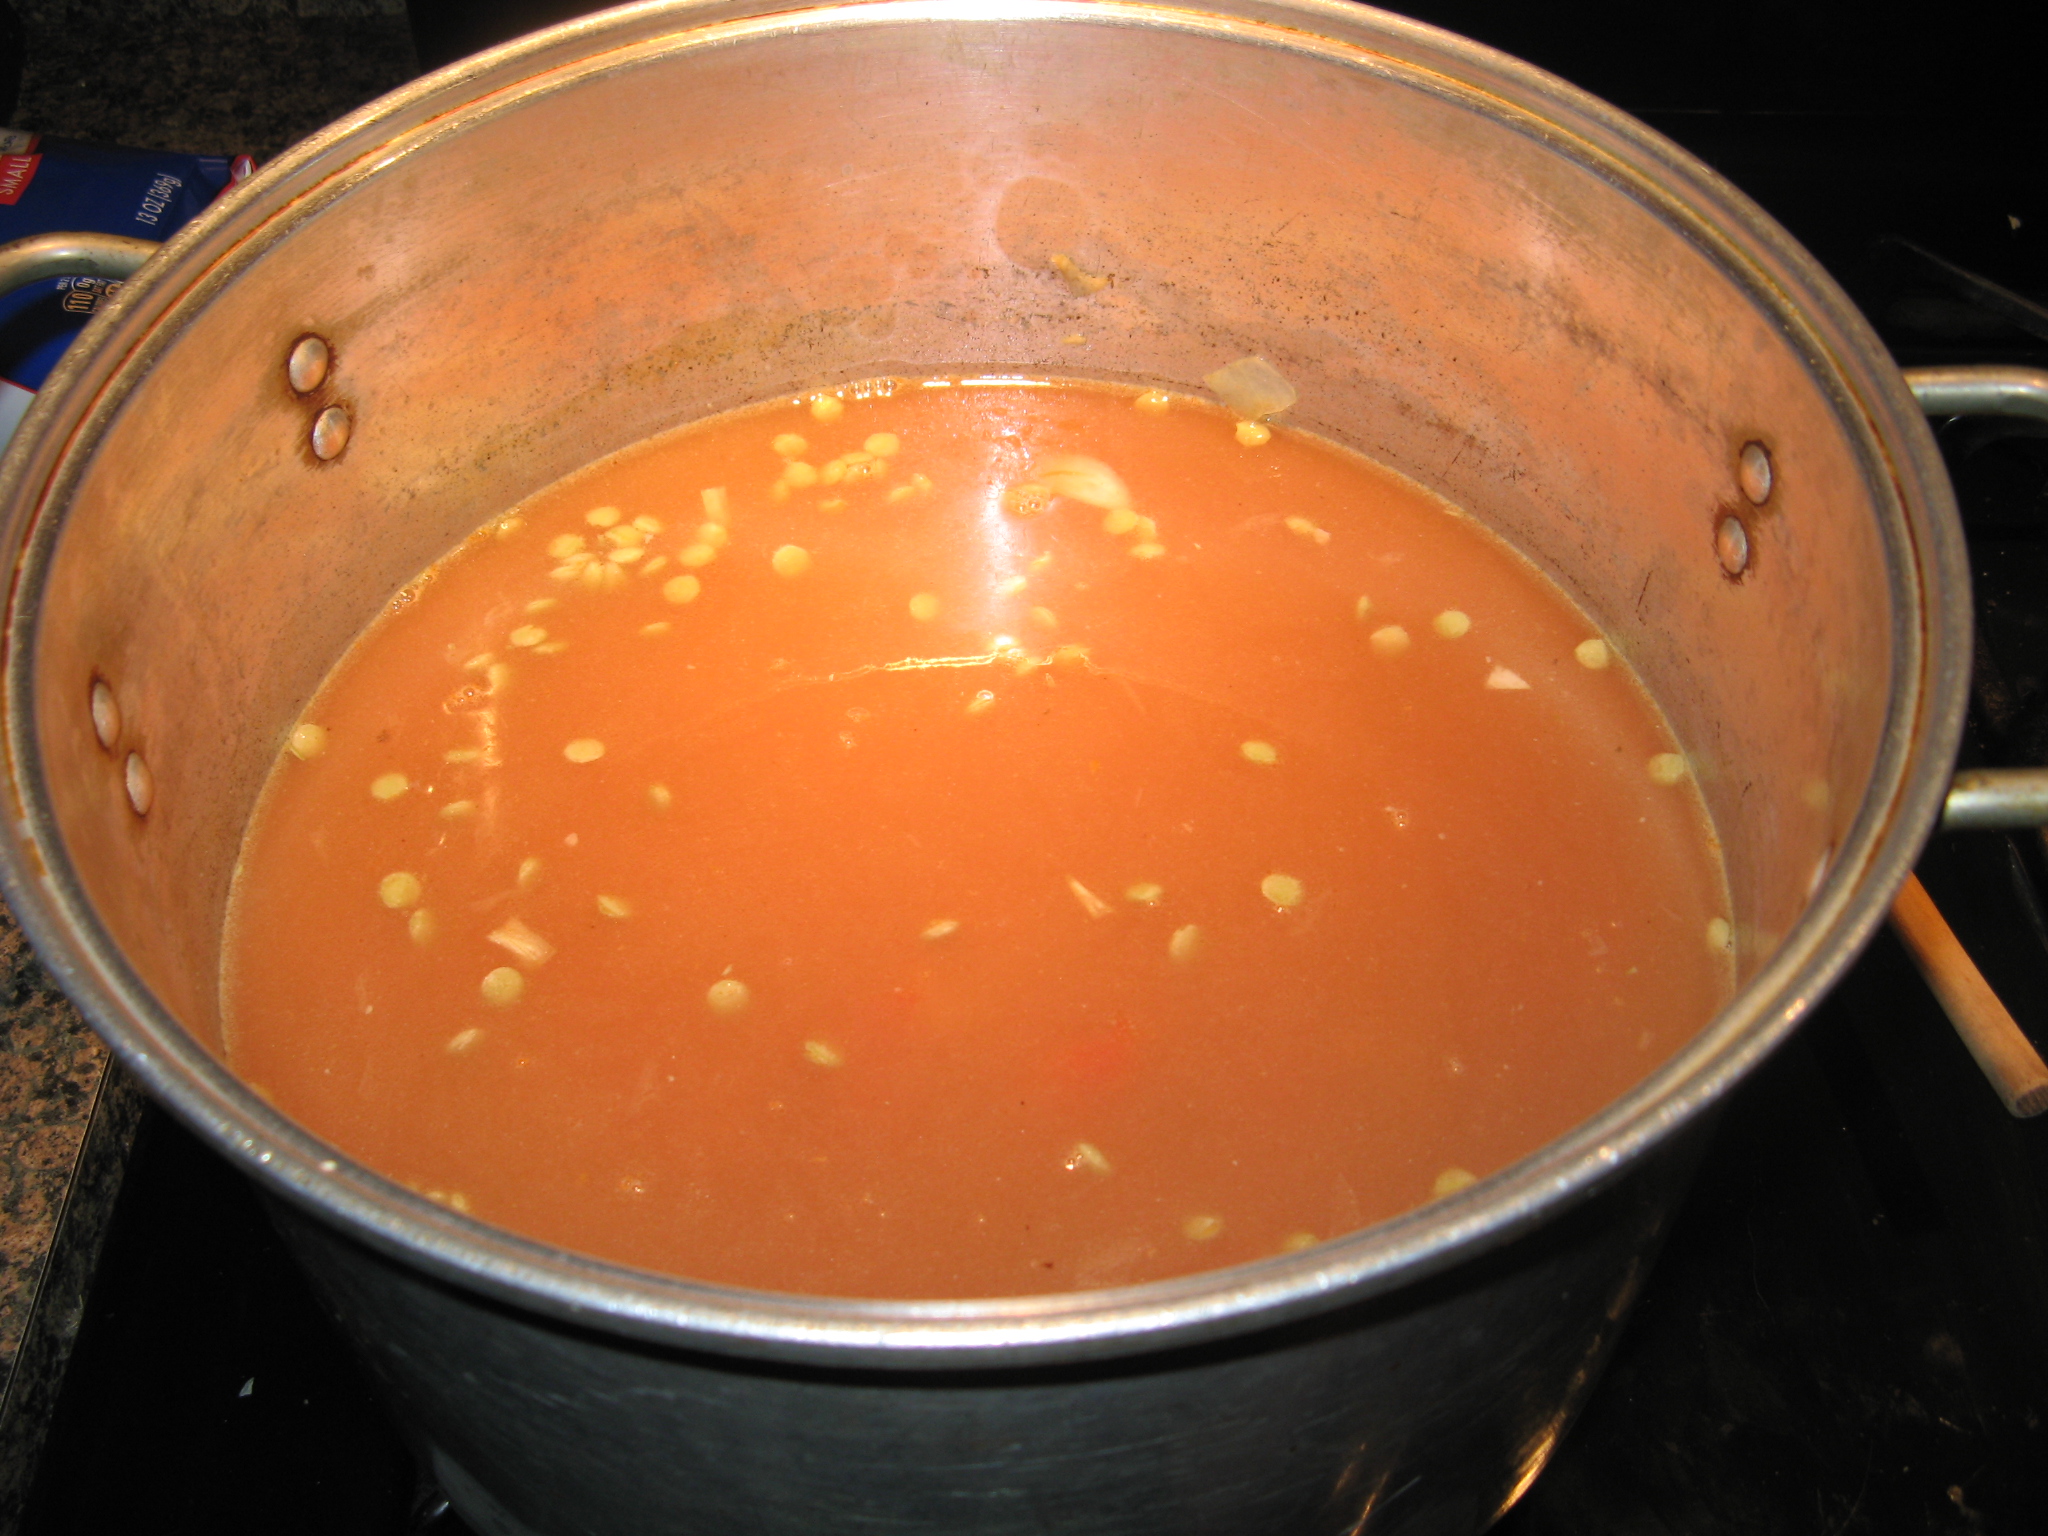
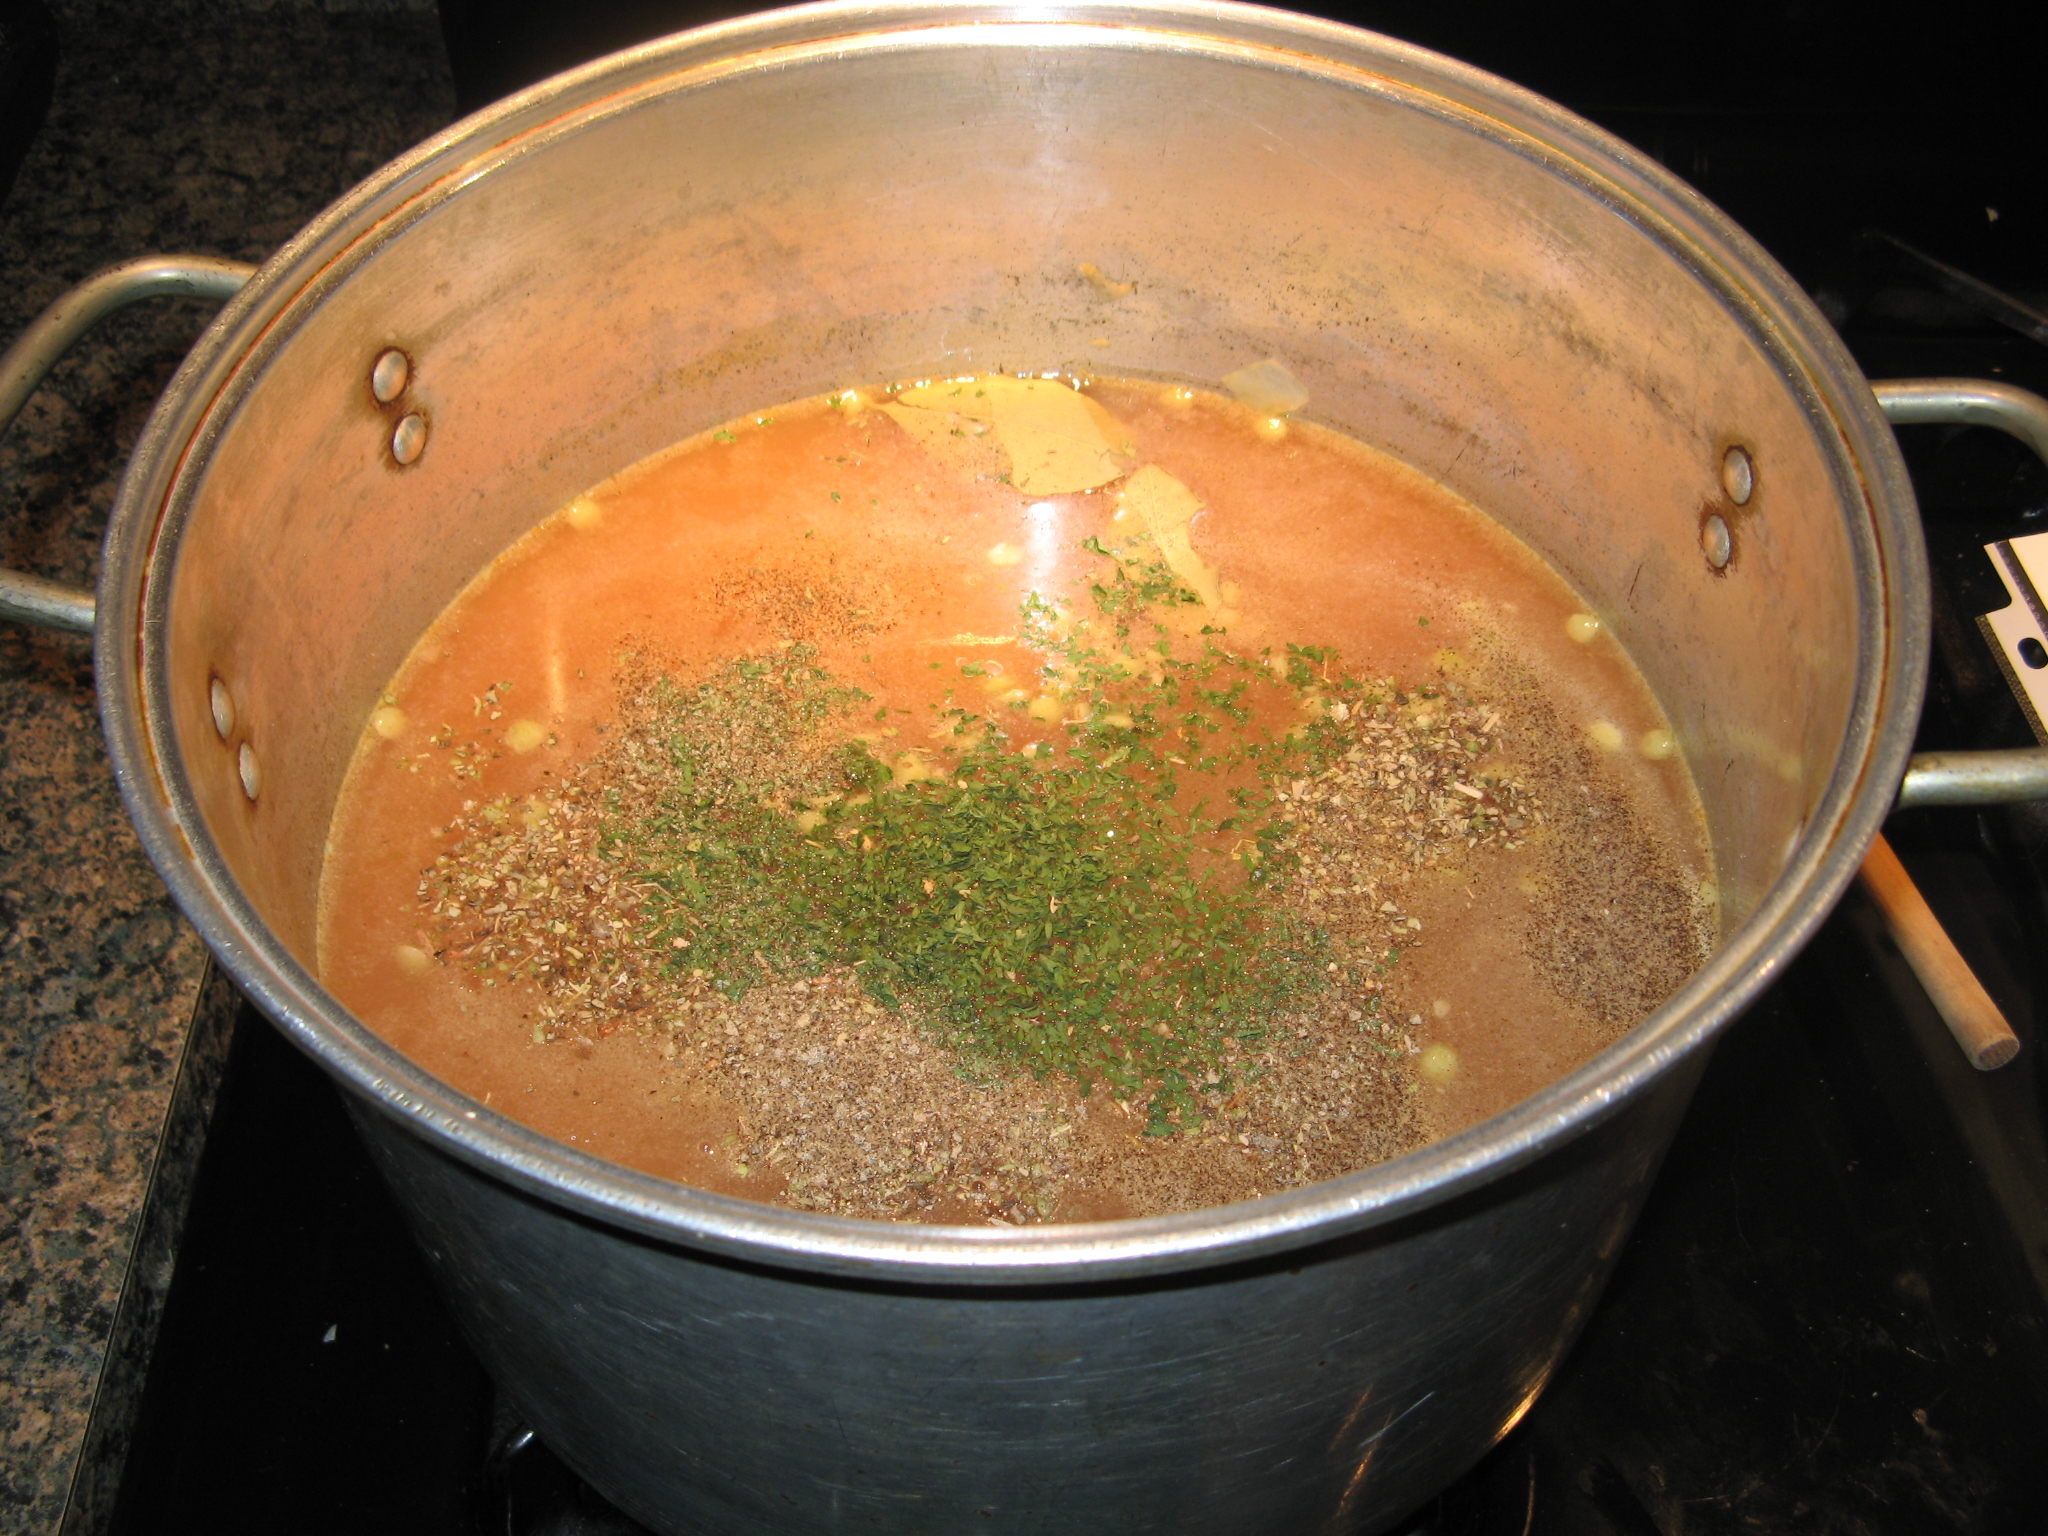
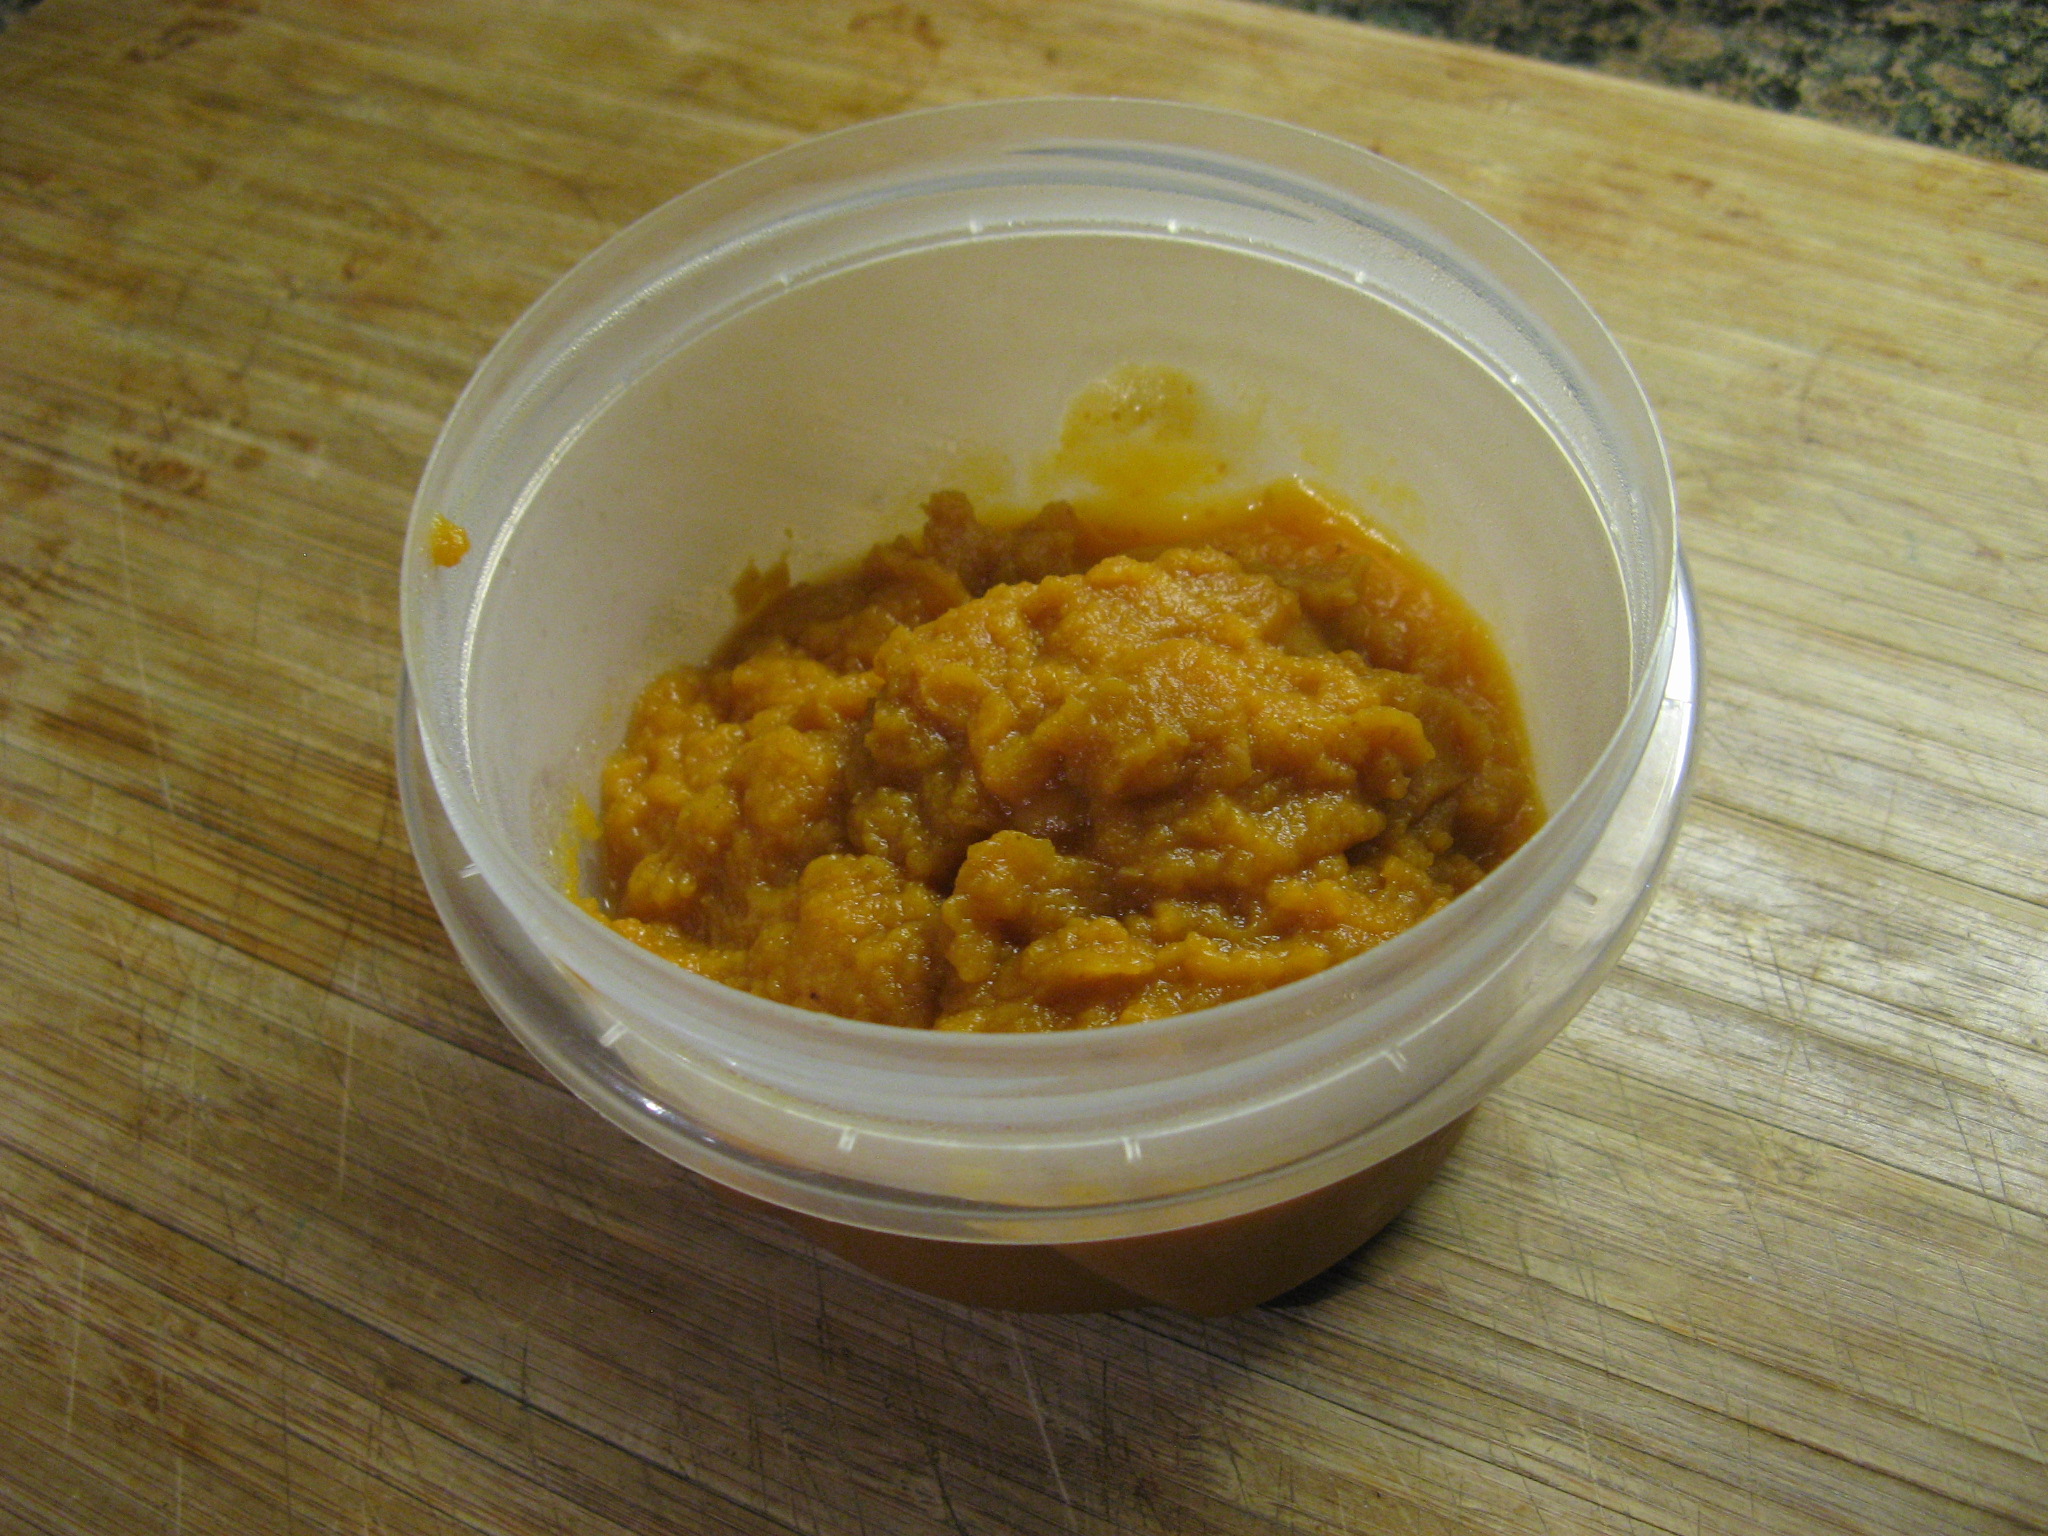
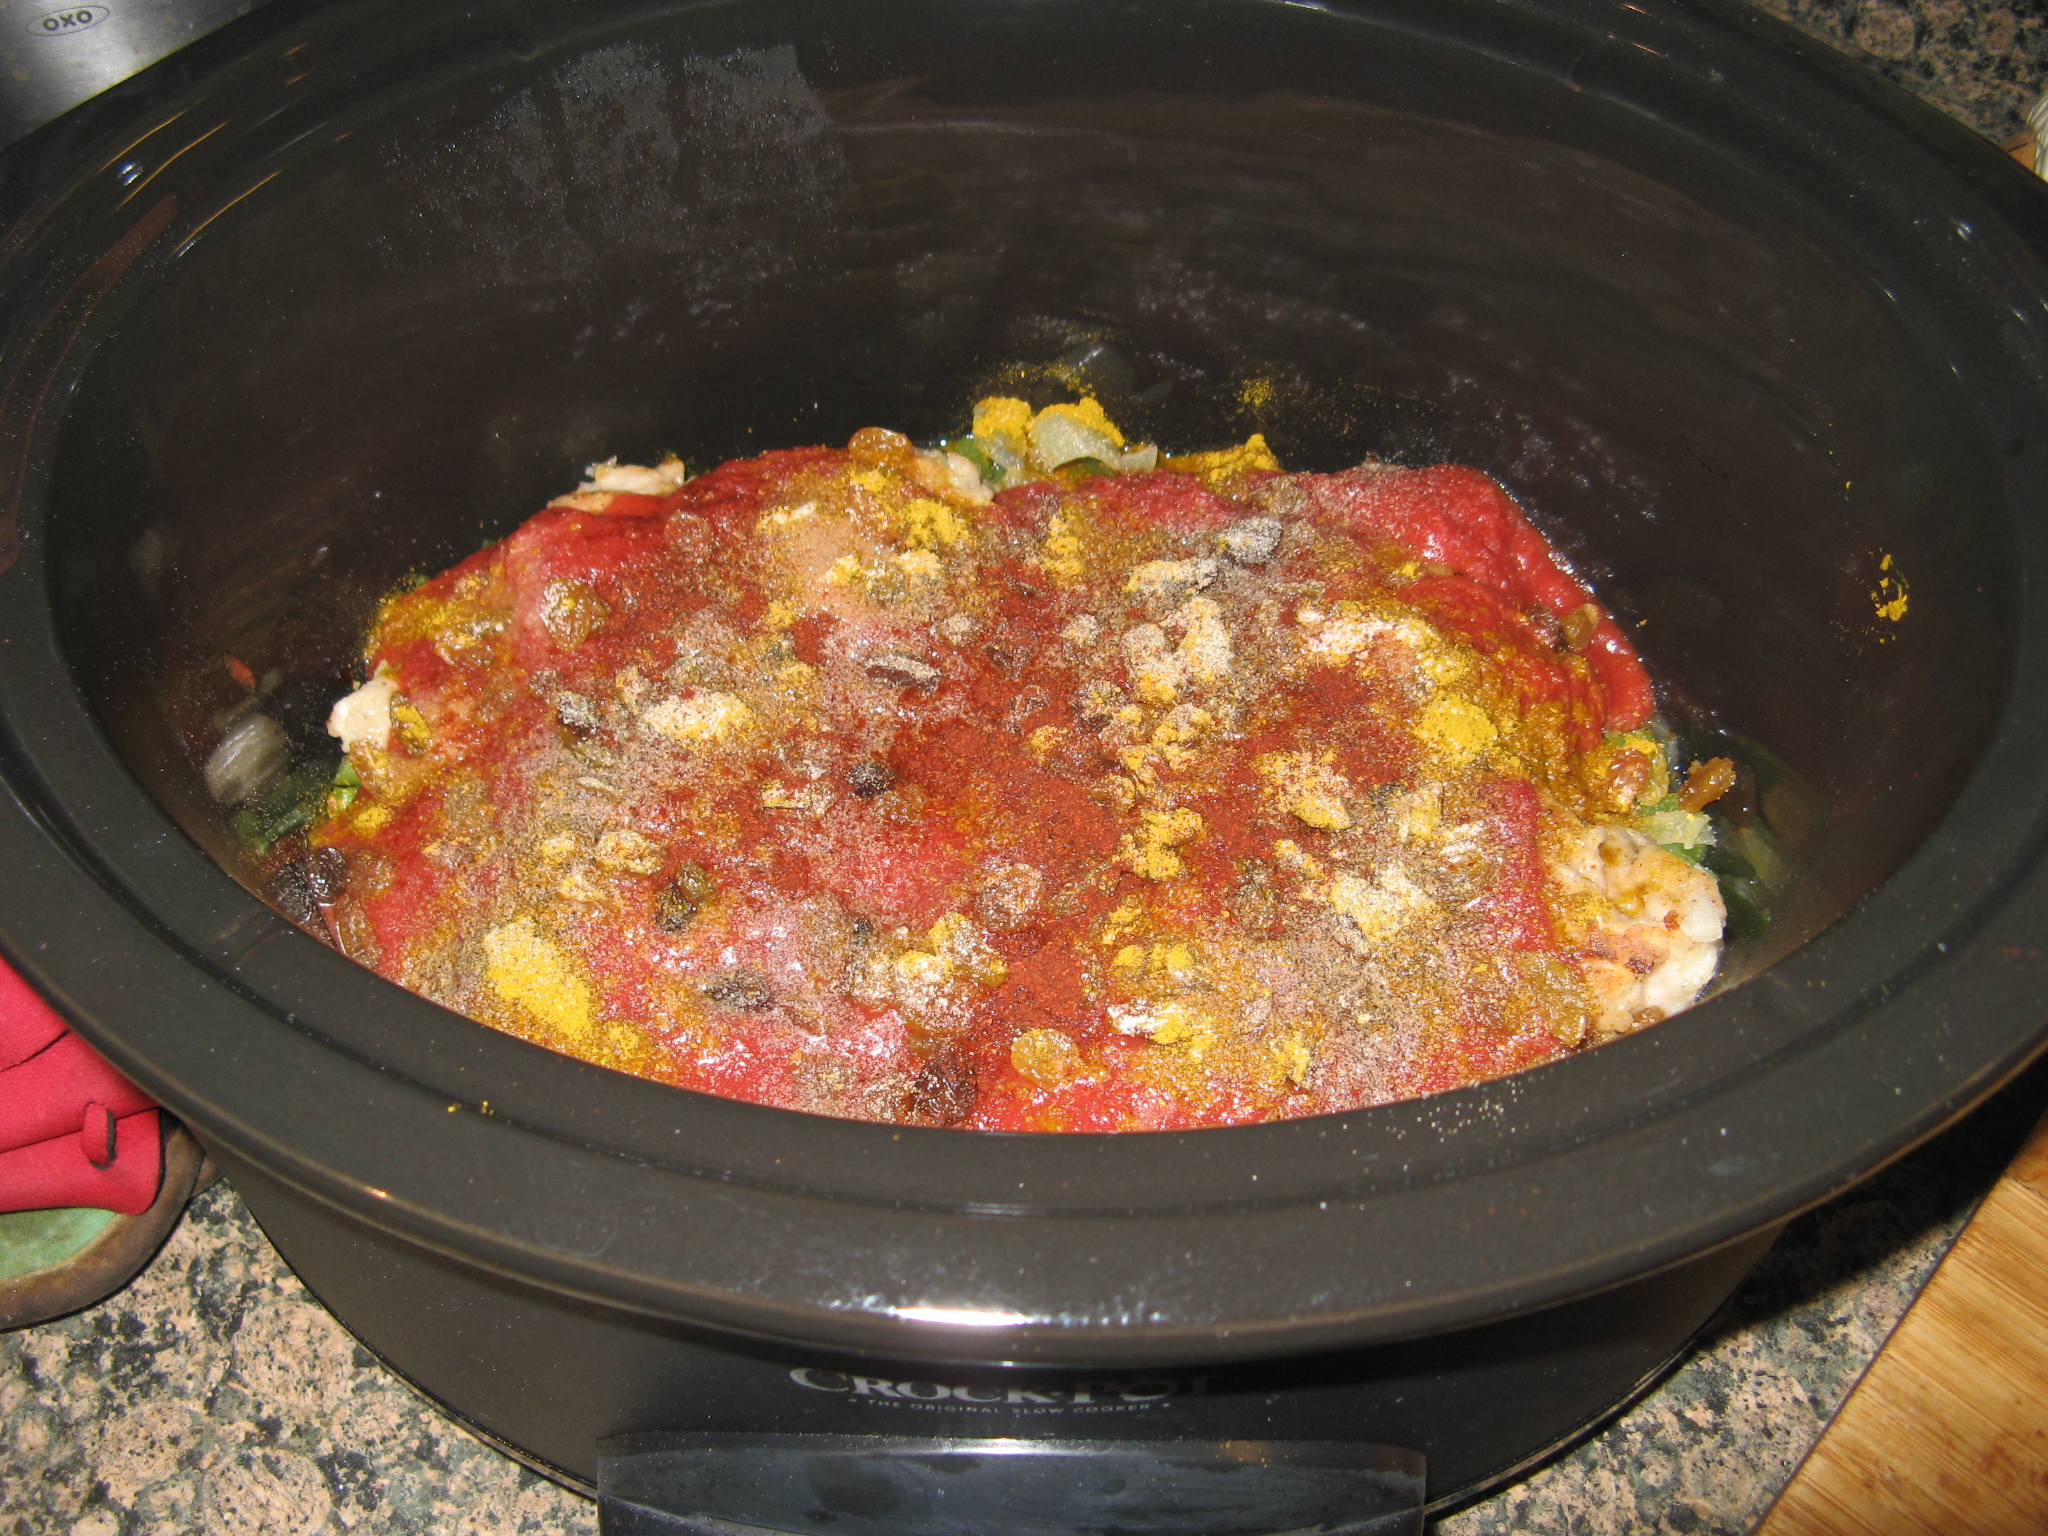
I then poured water into the skillet where I cooked the vegetables and chicken and scraped up any brown bits that were left in the pan. While the recipe called for chicken broth I didn’t want to open up a whole can of broth when I just needed a 1/4 cup of it. I poured this over the chicken and then added in the rest of my ingredients: crushed tomatoes, raisins, curry powder, salt, paprika and black pepper. The recipe only called for 2 cups of crushed tomatoes and unfortunately crushed tomatoes only come in 28 oz. cans (Does anyone know where I can find them smaller?) so I had about 2 cups of tomatoes leftover which I refrigerated for a later day.
I covered this up and let it cook on low for 3 hours and one of the perks of cooking with a slow cooker is the wonderful aroma that fills your house from it. The final product was delicious and went perfectly with just some plain white rice.

Country Captain Chicken
4 boneless skinless chicken thighs
2 tbsp. all-purpose flour
2 tbsp. vegetable oil, divided
1 cup chopped green bell pepper
1 large onion, chopped
1 rib celery, chopped
1 clove garlic, minced
1/4 cup chicken broth
2 cups canned crushed tomatoes
1/2 cup golden raisins
1 tsp. salt
1/4 tsp. paprika
1/4 tsp. black pepper
1. Coat chicken with flour; set aside. Heat 1 tbsp. oil in large skillet over medium-high heat until hot. Add bell pepper, onion, celery and garlic. Cook and stir 5 minutes or until vegetables are tender. Place vegetables in slow cooker.
2. Heat remaining 1 tbsp. oil in same skillet over medium-high heat. Add chicken; cook 5 minutes per side or until browned. Place chicken in slow cooker.
3. Pour broth into skillet Cook and stir over medium-high heat, scraping up any browned bits from bottom of skillet. Pour broth mixture into slow cooker. Add tomatoes, raisins, curry powder, salt, paprika and black pepper. Cover; cook on LOW 3 hours.
I wasn’t too sure what I was going to make with the leftover crushed tomatoes, but, after a day or two it finally came to me… Pizza. I attempted to make pizza before but it wasn’t all that successful. Mainly because I didn’t properly cook the pizza dough, or I should say I overcooked the pizza dough so that the crust of the pizza was a little too crispy bordering on hard. I had pretty much given up on trying to make it again until I came across Pillsbury’s Thin Crust Pizza dough in the refrigerated section of my local supermarket. I know some may be shaking their heads at this point by my super short-cut in making pizza, but, I figured it was worth the try. I did have my doubts though… Would my pizza just taste like a jazzed up crescent roll?

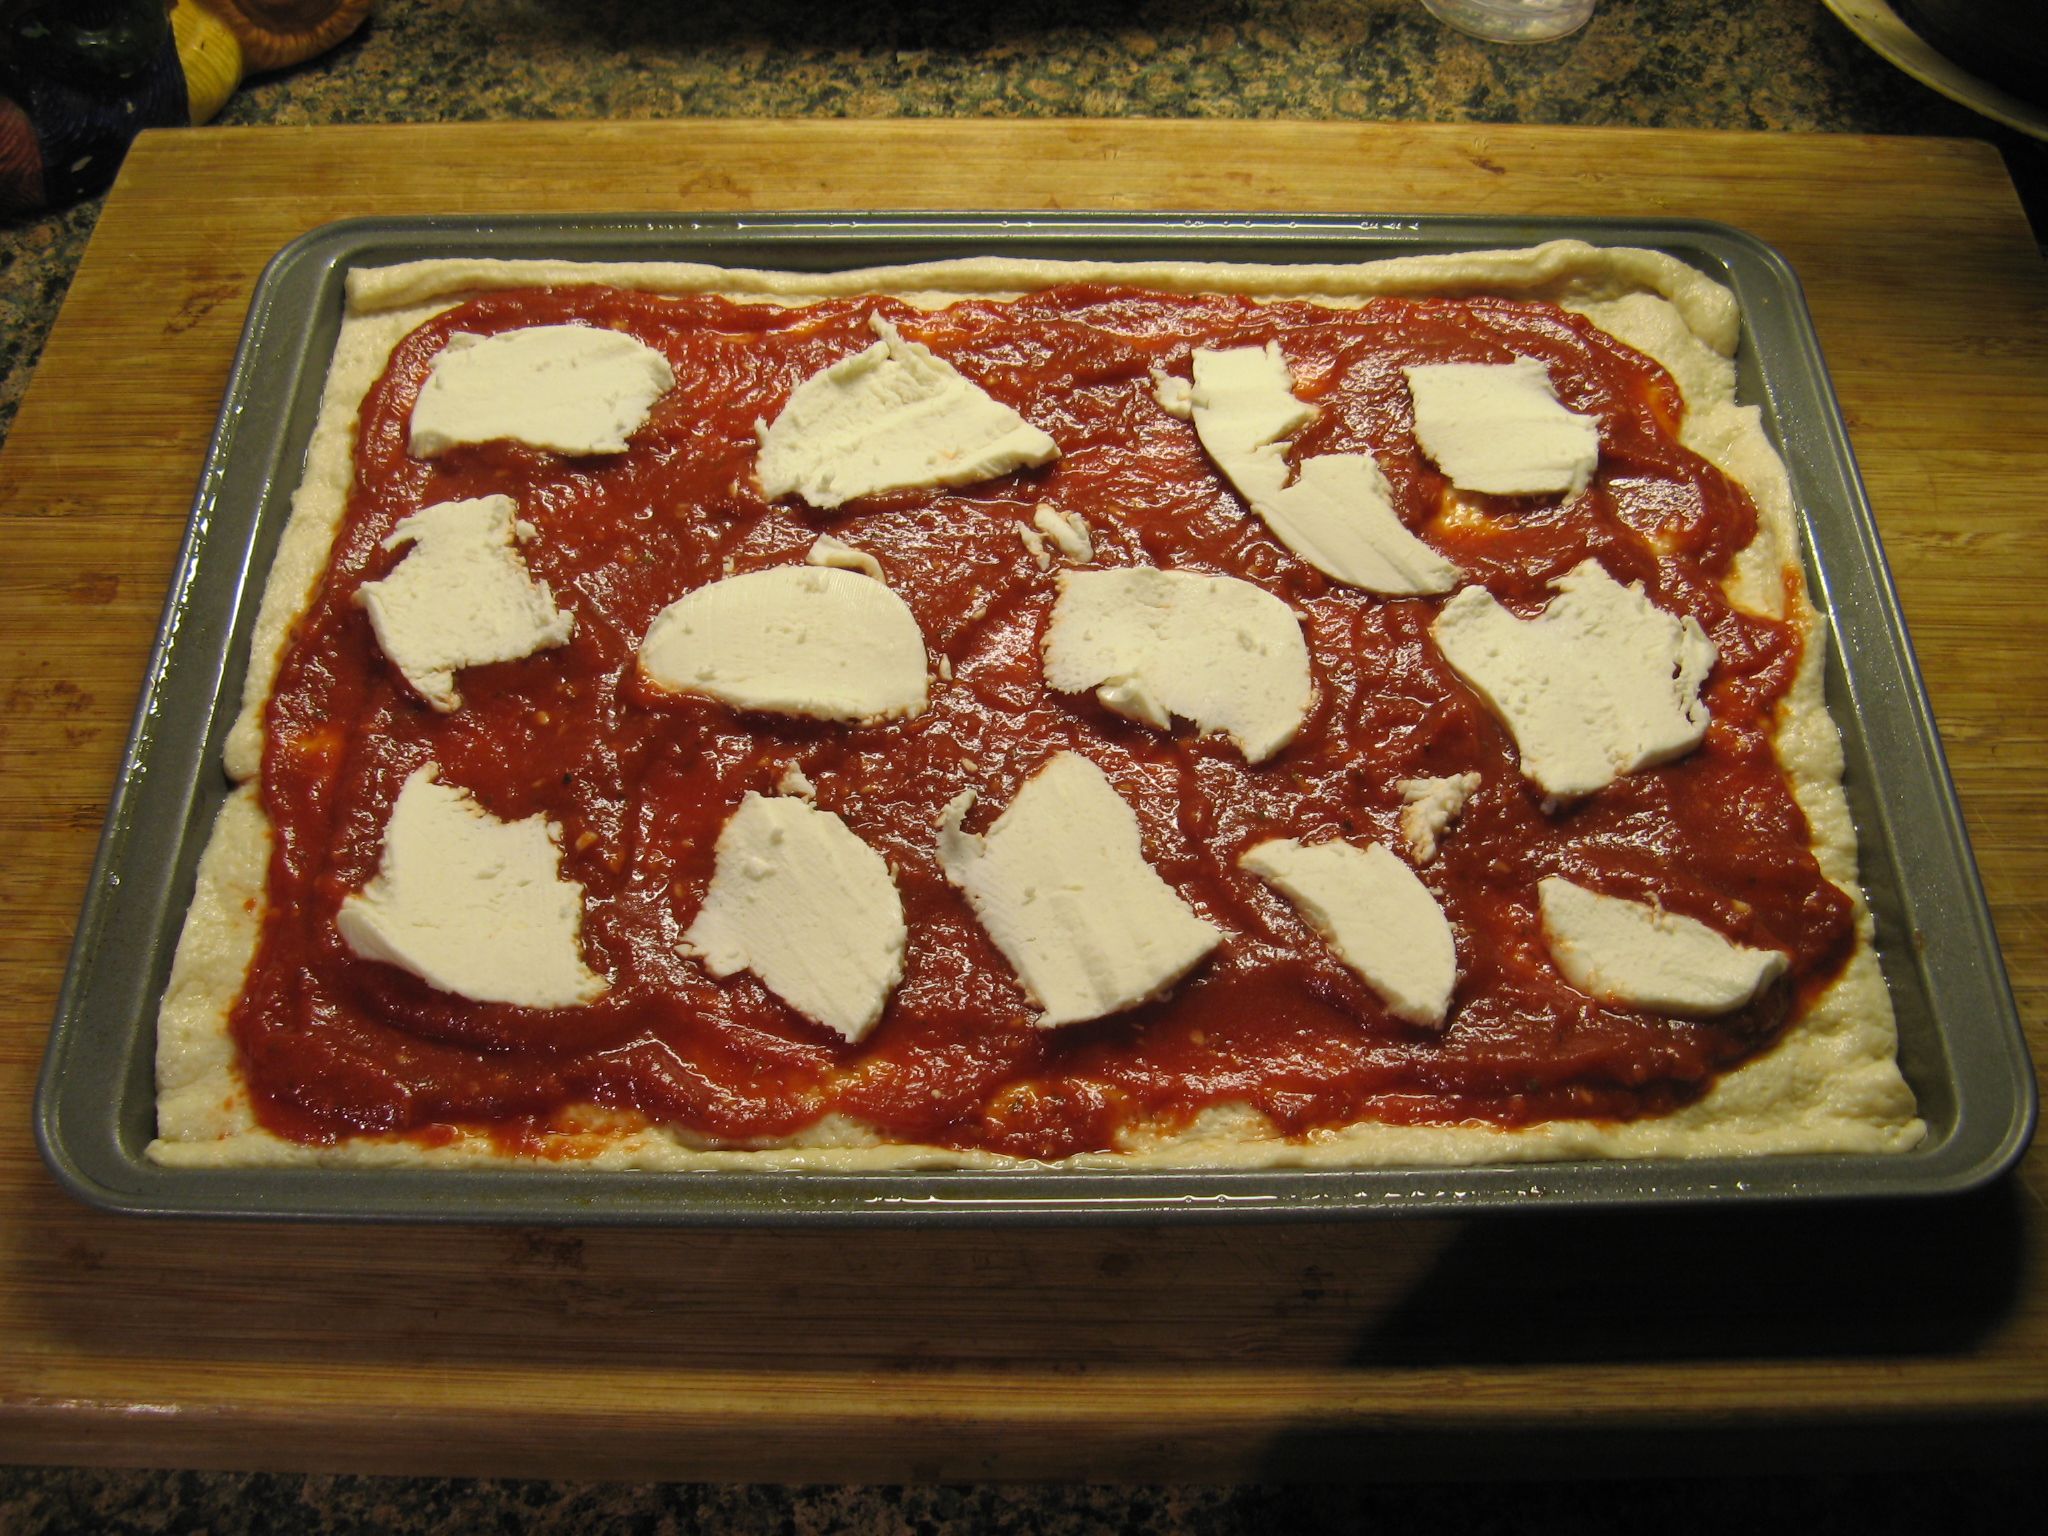
To start I rolled out the dough onto a lightly greased 15 x 10 inch cookie sheet.

I then spread my sauce on to the dough making sure to leave a small border. To make the sauce I mixed together about 2 cups of crushed tomatoes, 1 tbsp. of tomato paste, 2 garlic cloves finely chopped, 1 tsp. of dried basil, 1 tbsp. of olive oil and salt and pepper to taste.

And finally I thinly sliced some fresh mozzarella for my one and only topping.
I then baked it in a 425 degree preheated oven for about 12 minutes and it was perfect. I definitely will be taking this short-cut again when I make pizza in the future.