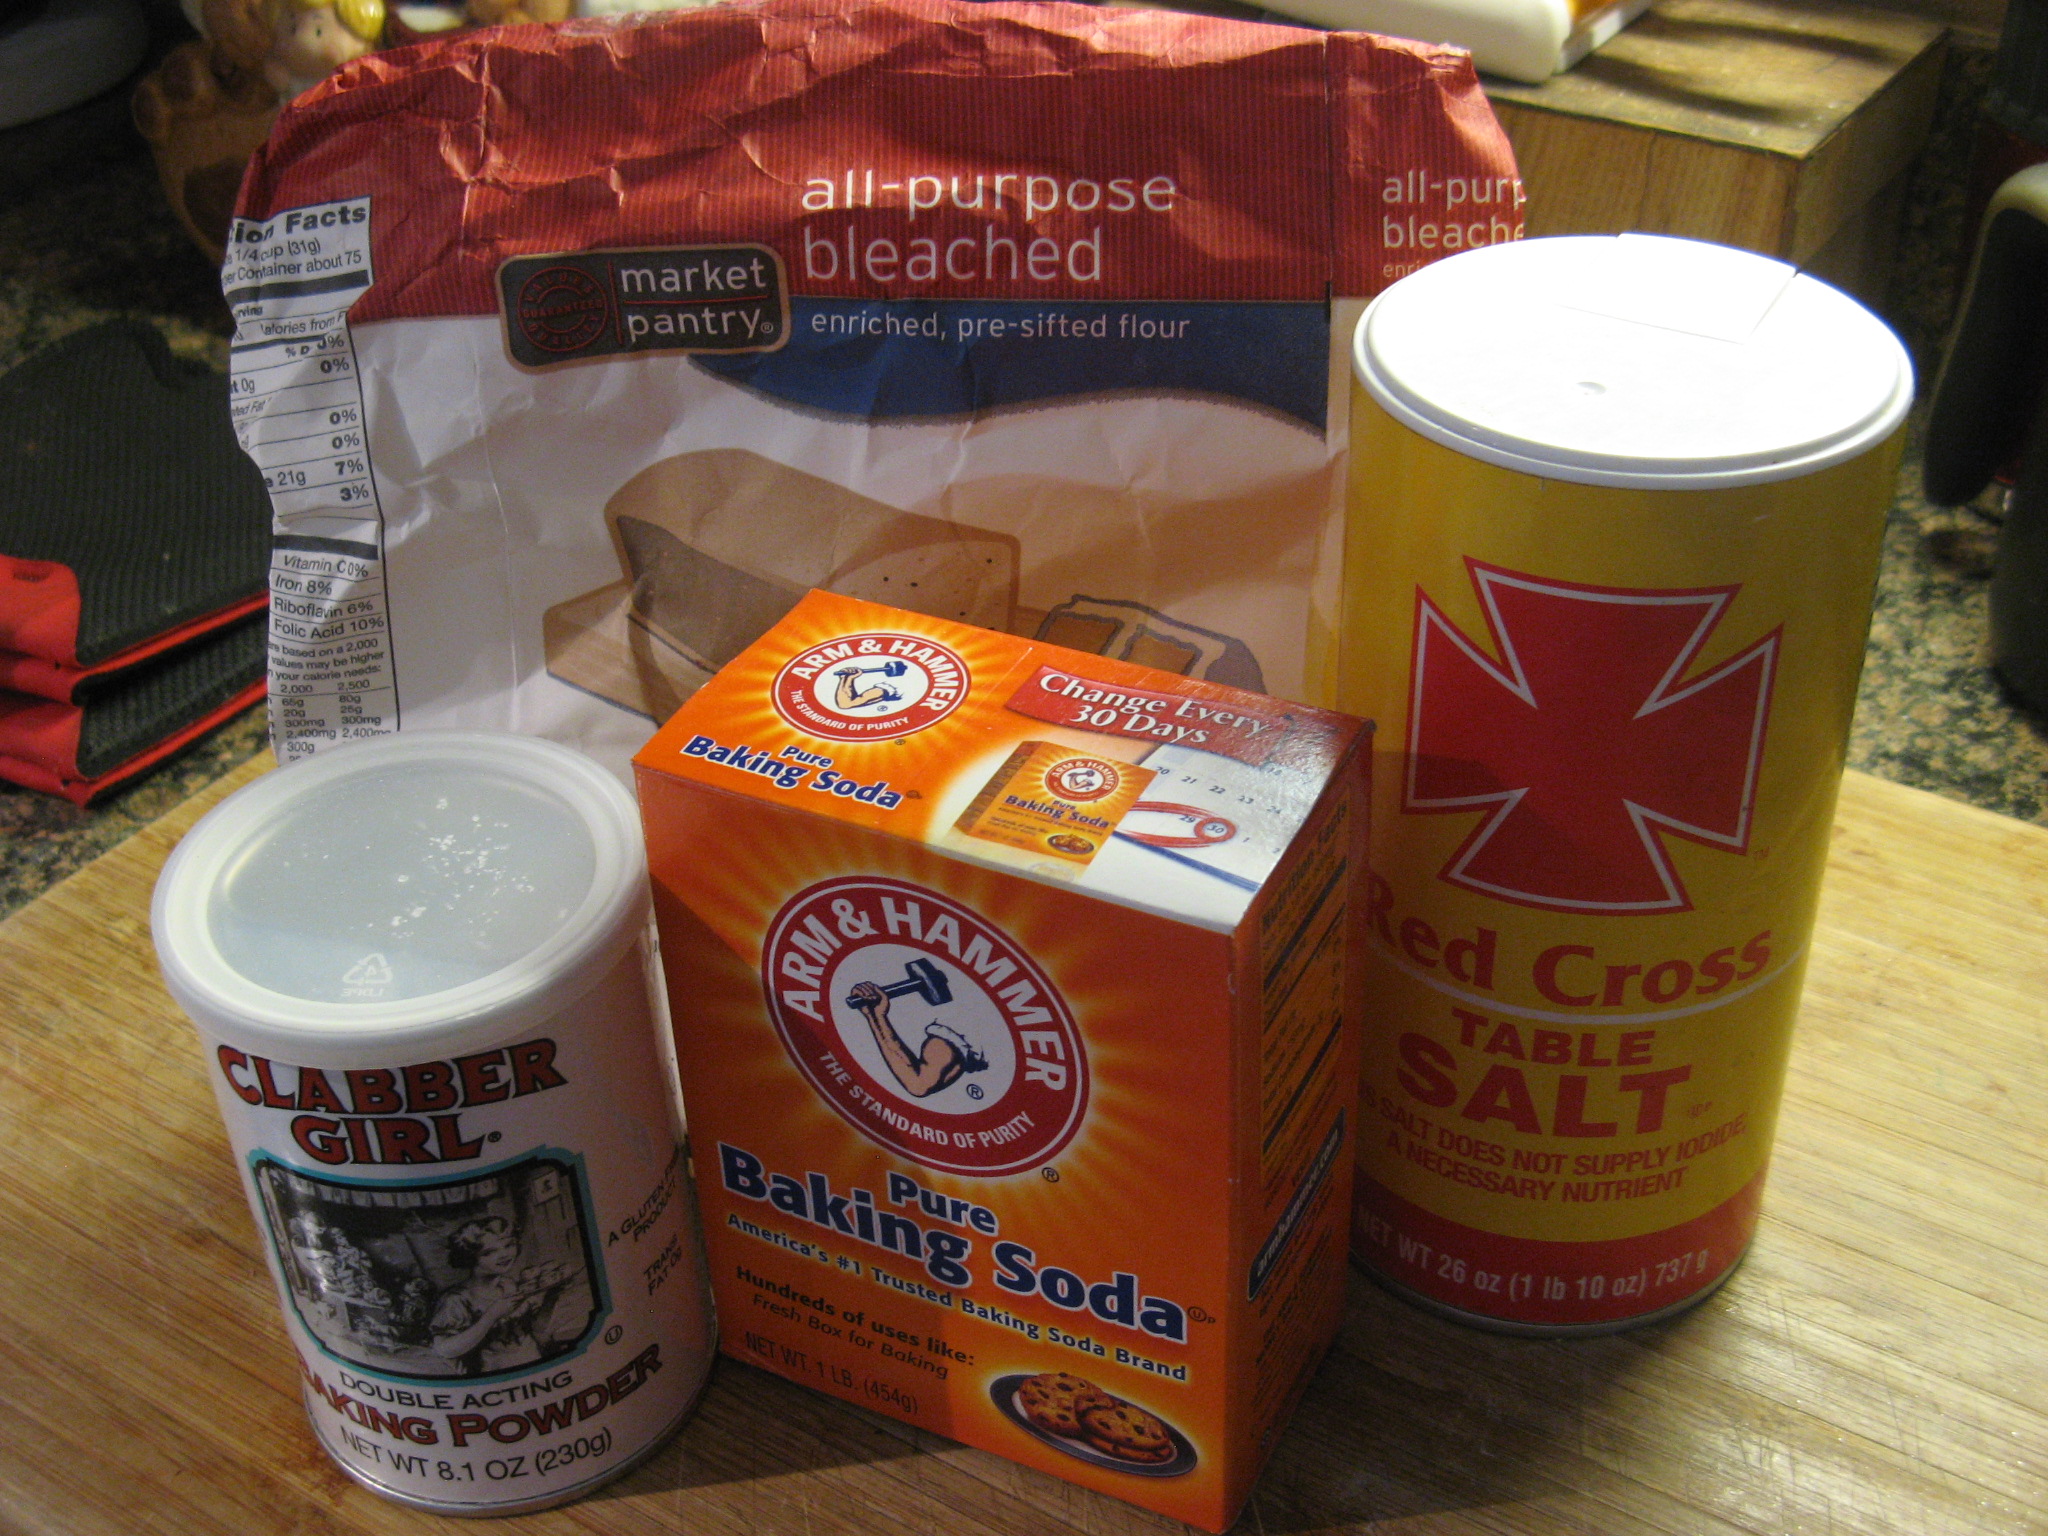
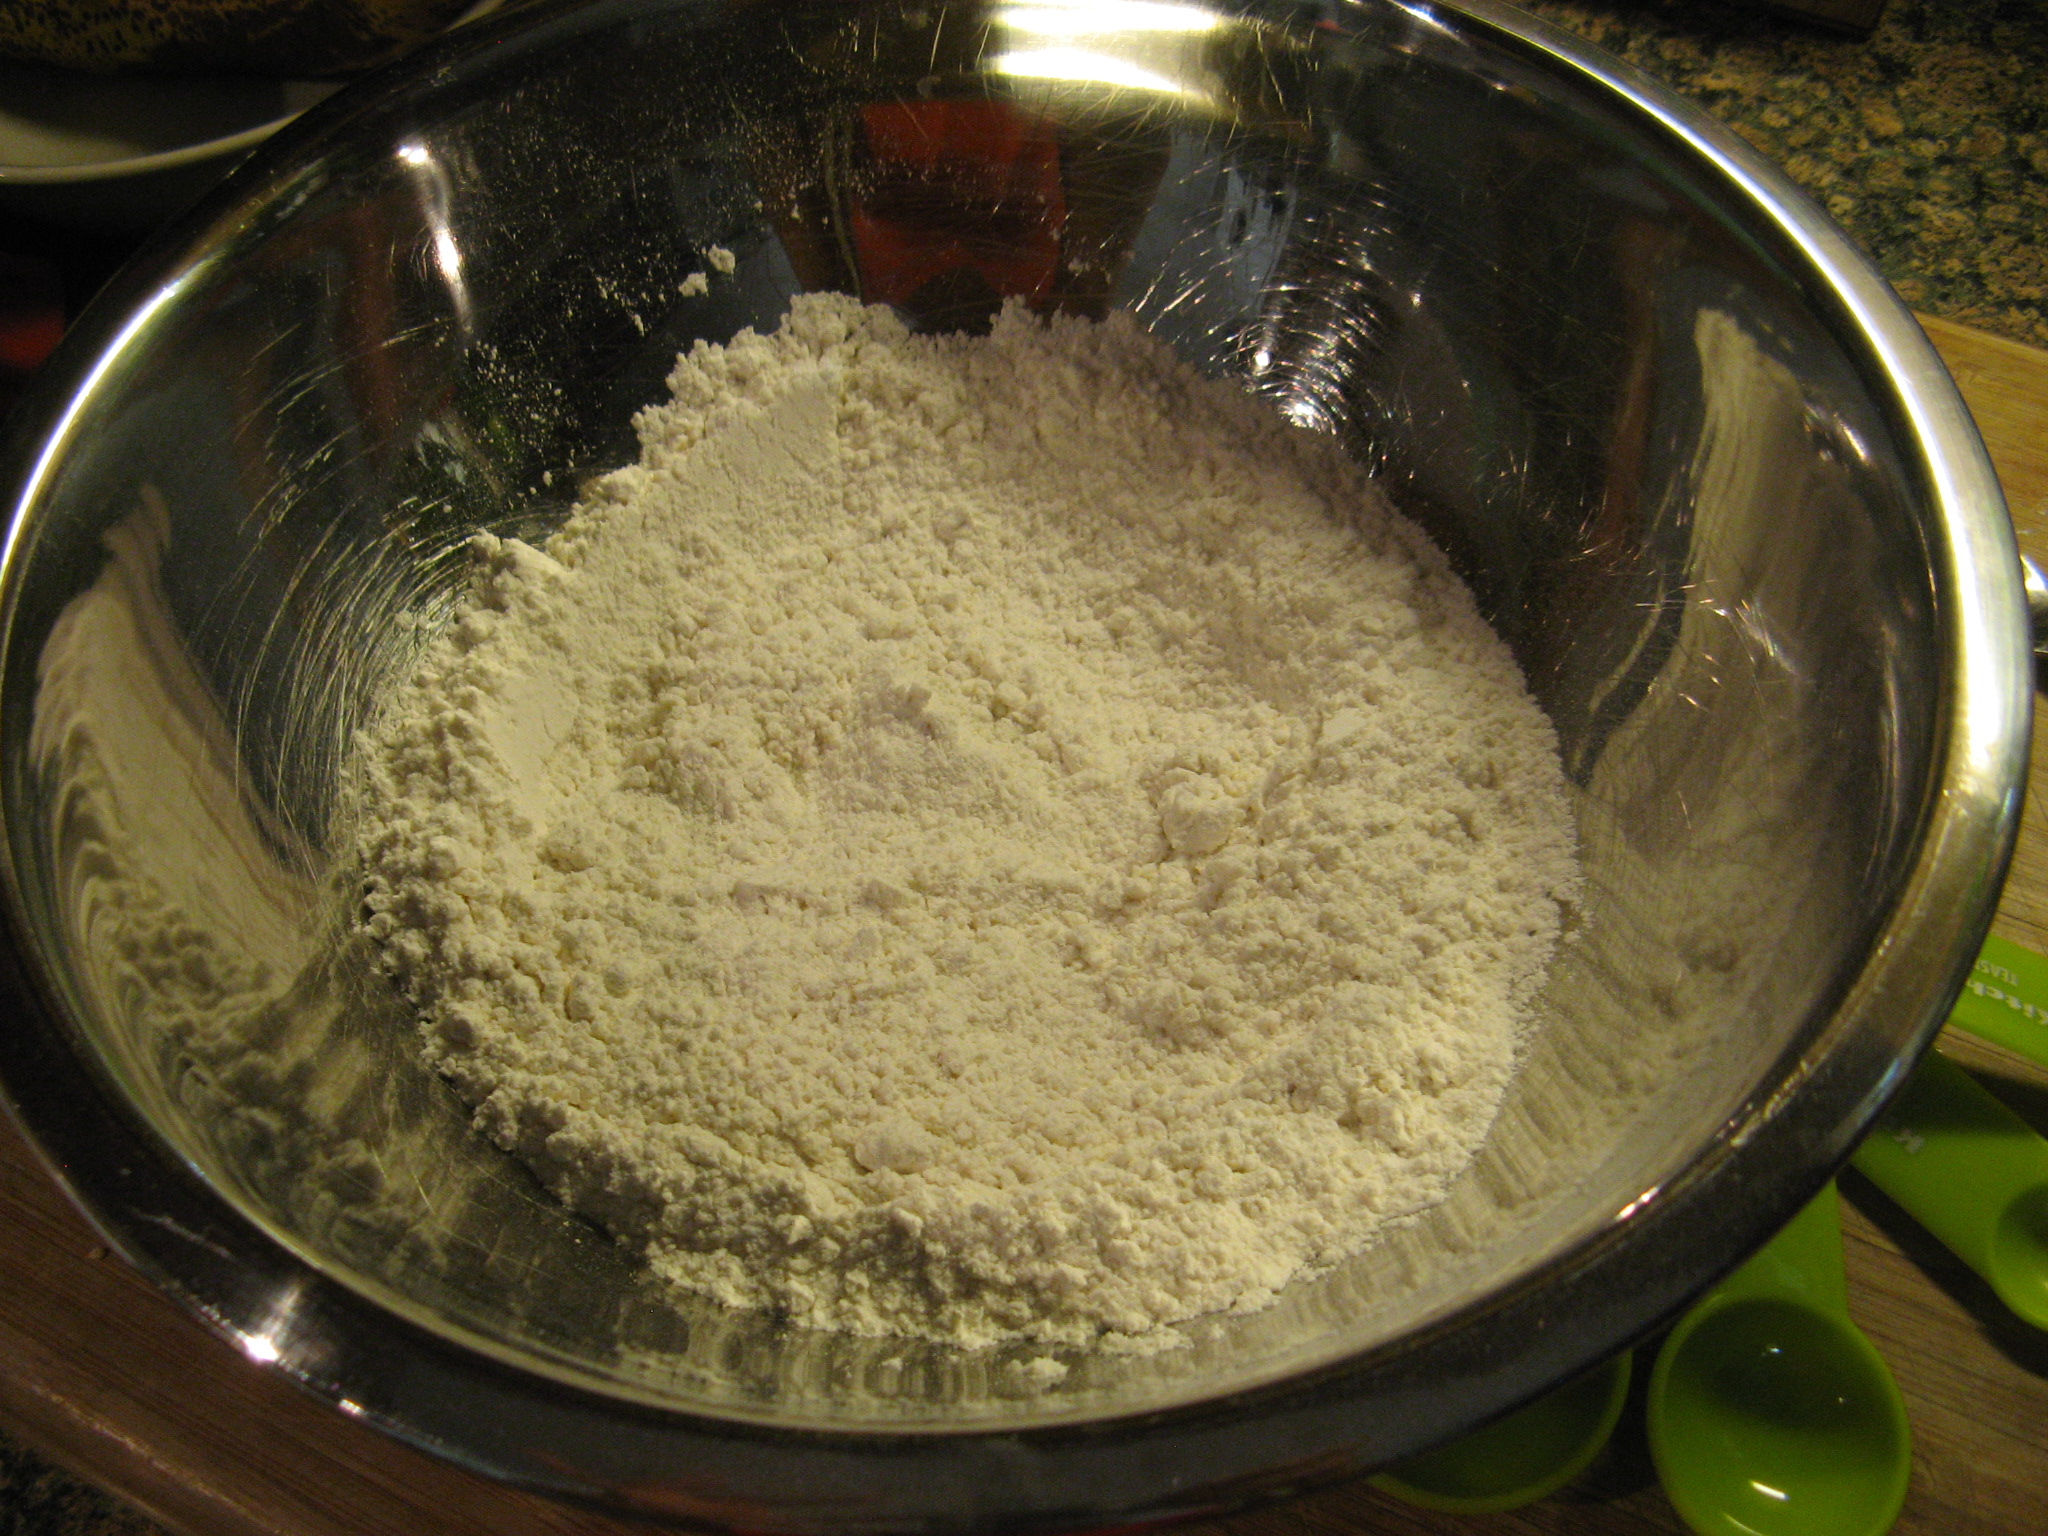
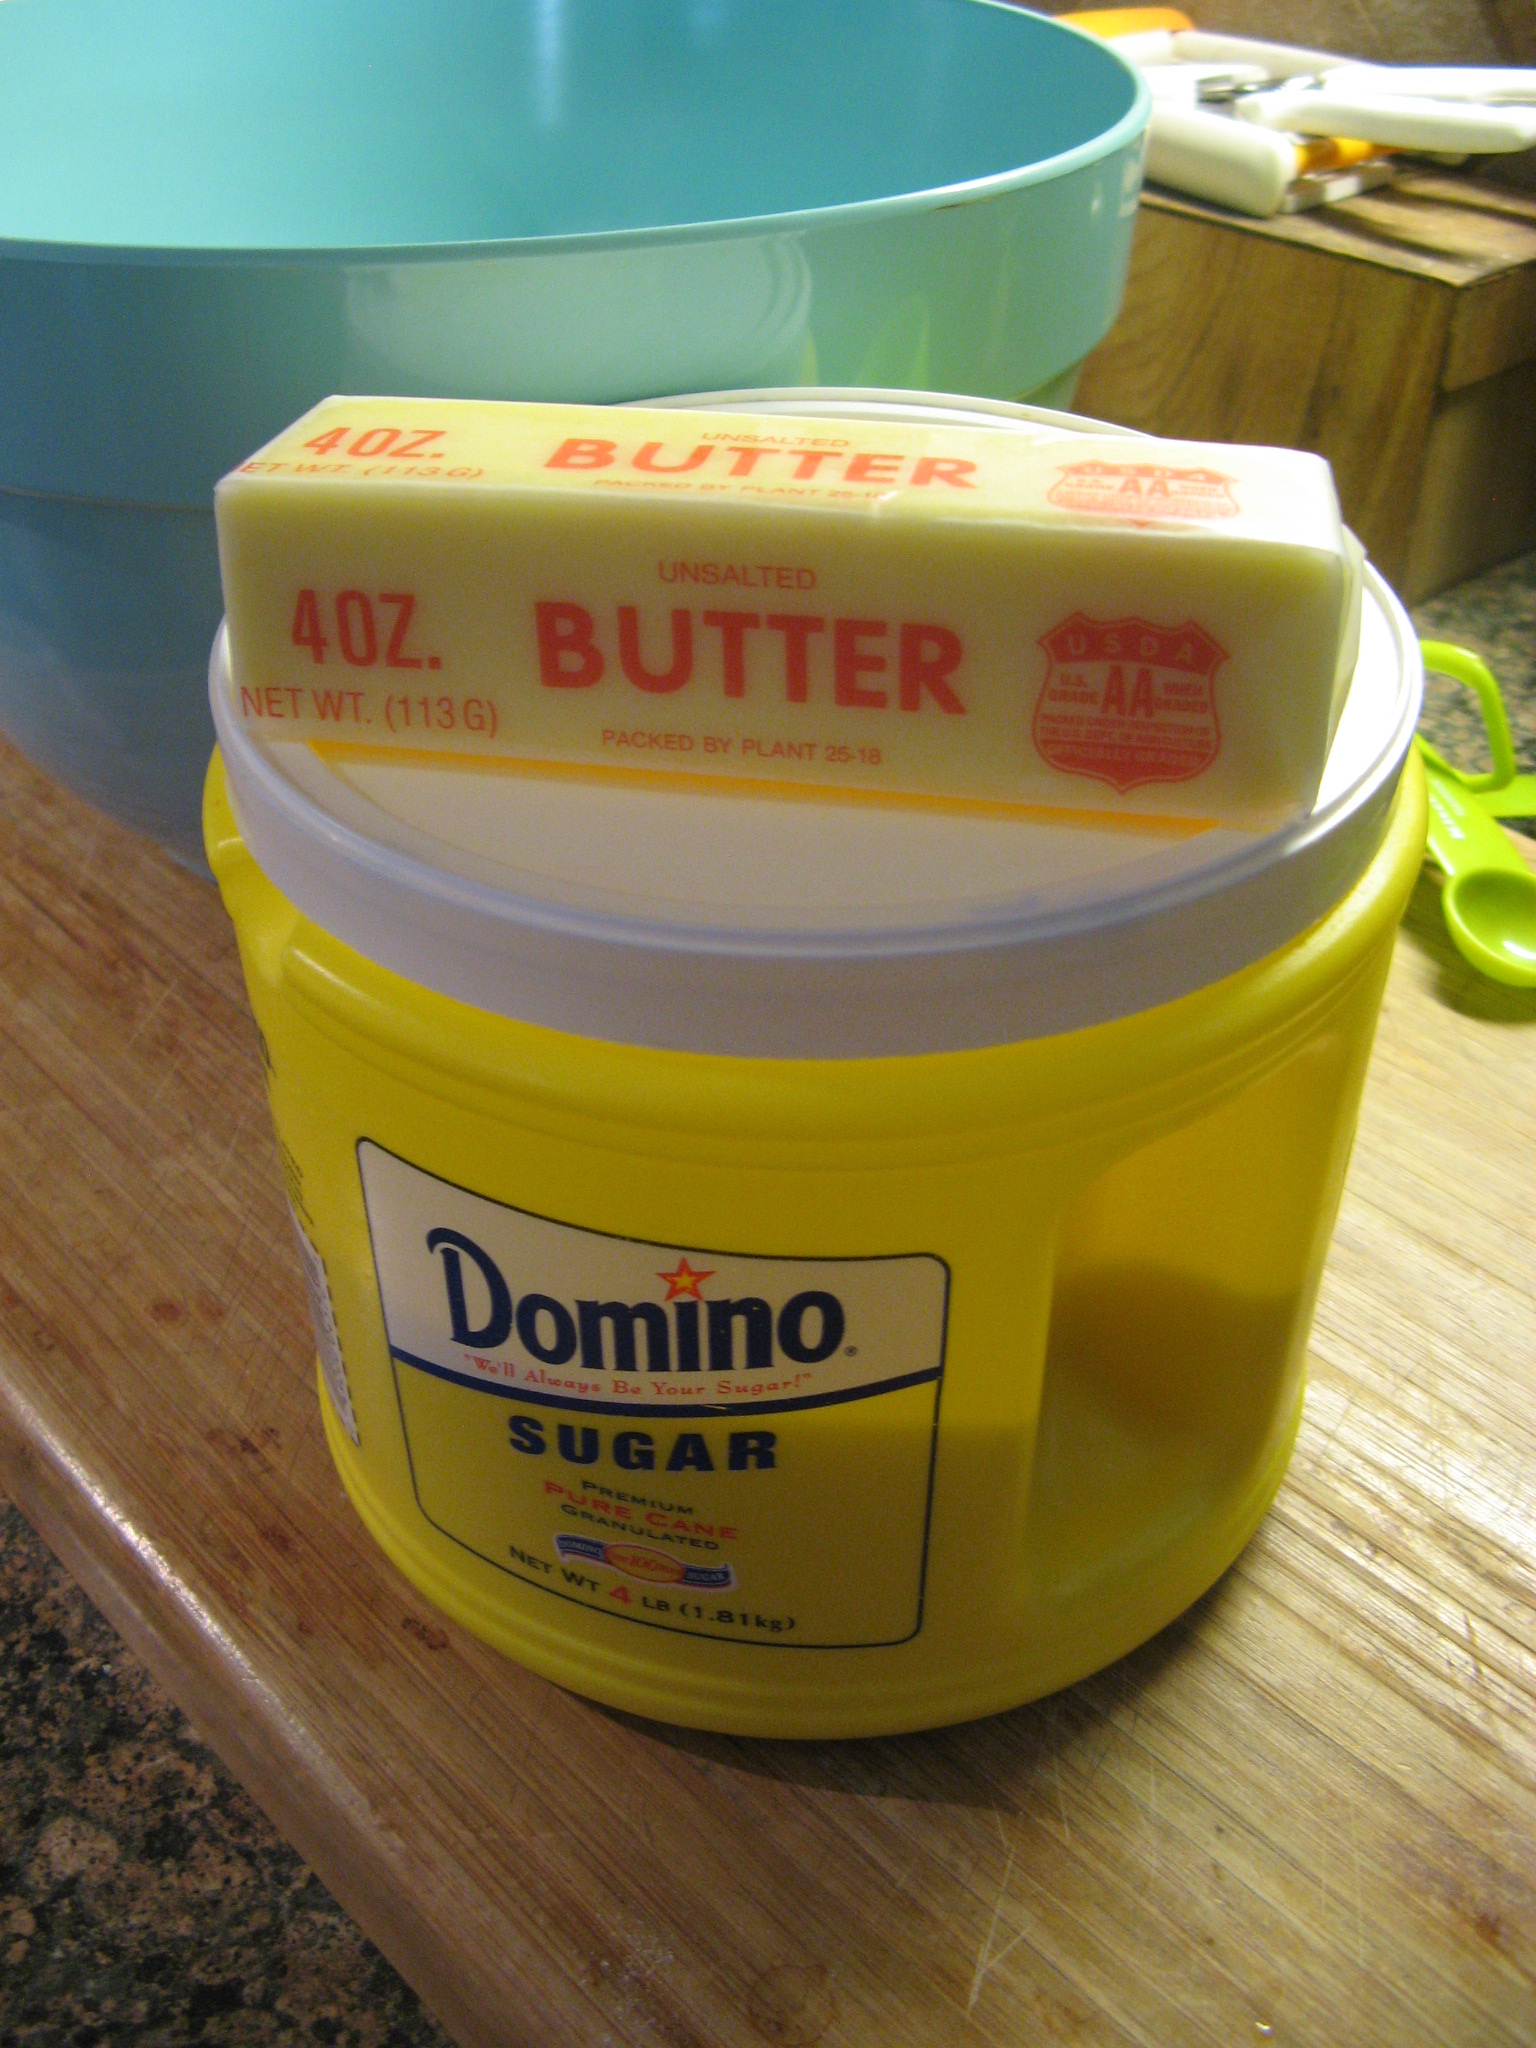
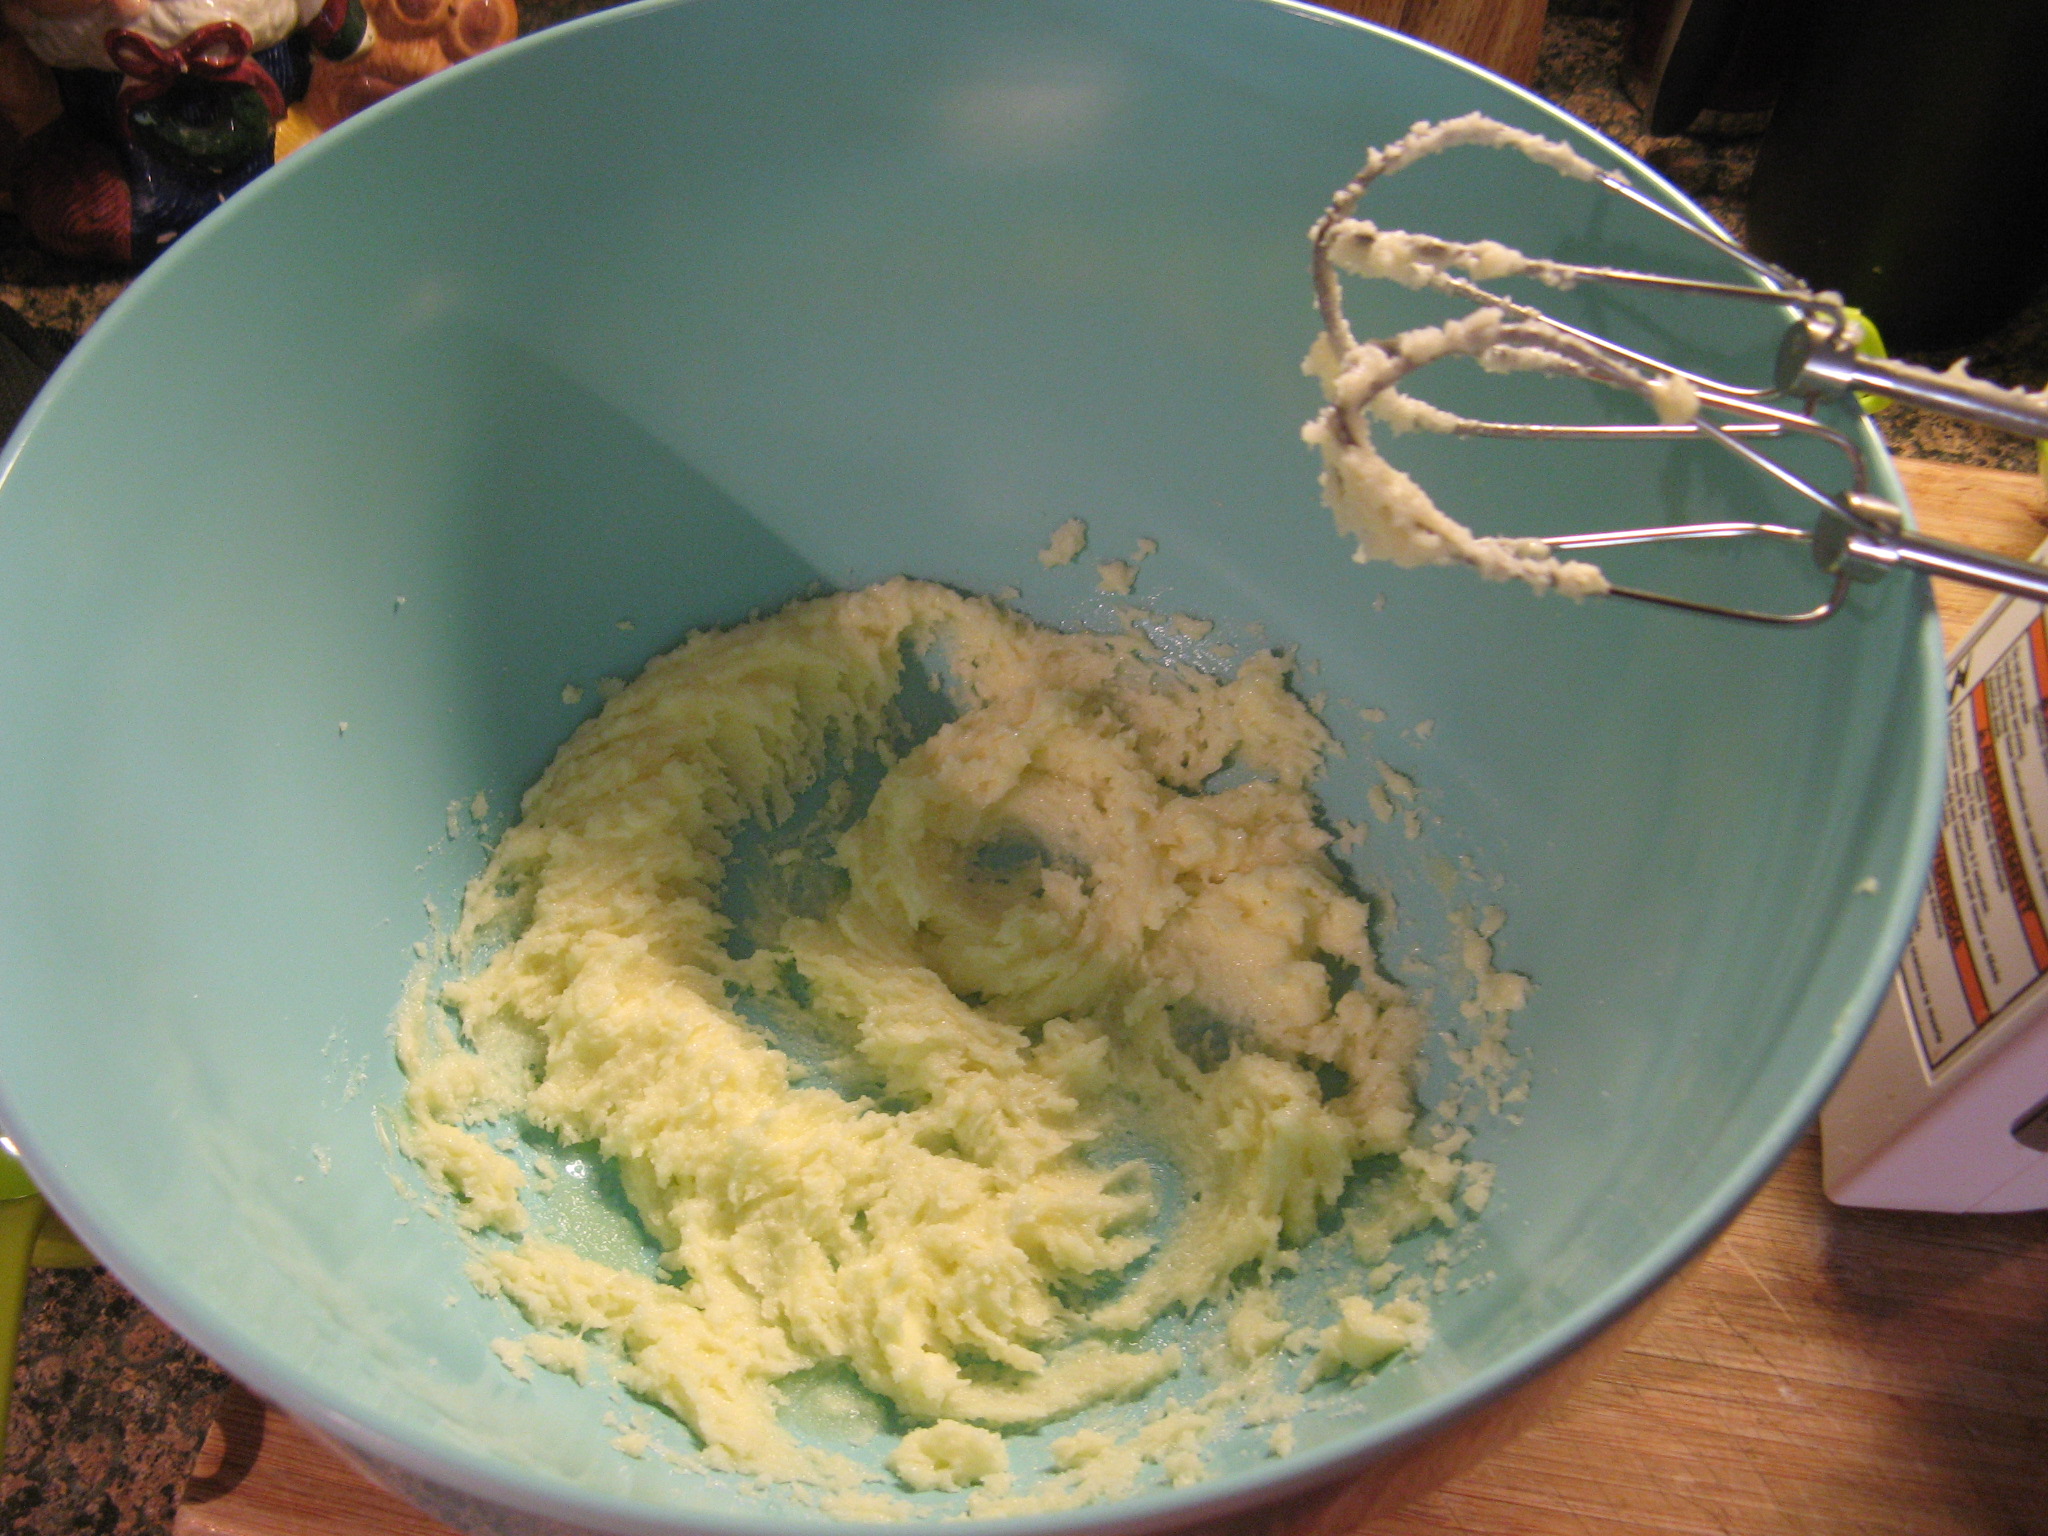
A Quintessential Fall Birthday Cake

A good friend recently celebrated a birthday and a few days prior to it I asked her what kind of cake she would like me to bake for her and she responded with an apple cake. The only apple cake I could recall making was an Apple Walnut Cake that really wasn’t what I would consider to be a birthday cake. So, after a few texts back and forth we settled on an apple cake with walnuts with a cinnamon cream cheese frosting. While her birthday technically falls in the summer according to the calendar it’s unofficially in the fall since it is after Labor Day, hence this cake being the quintessential fall birthday cake. Since I haven’t mastered creating my own recipes I did a few internet searches to find a recipe for the cake and frosting. After coming up empty handed I decided to follow the recipe for my favorite carrot cake and substitute grated apples in lieu of the carrots and for the frosting, I made my favorite cream cheese frosting and added in ground cinnamon in small increments until I reached my desired flavor.

To begin I prepped my Granny Smith Apples…
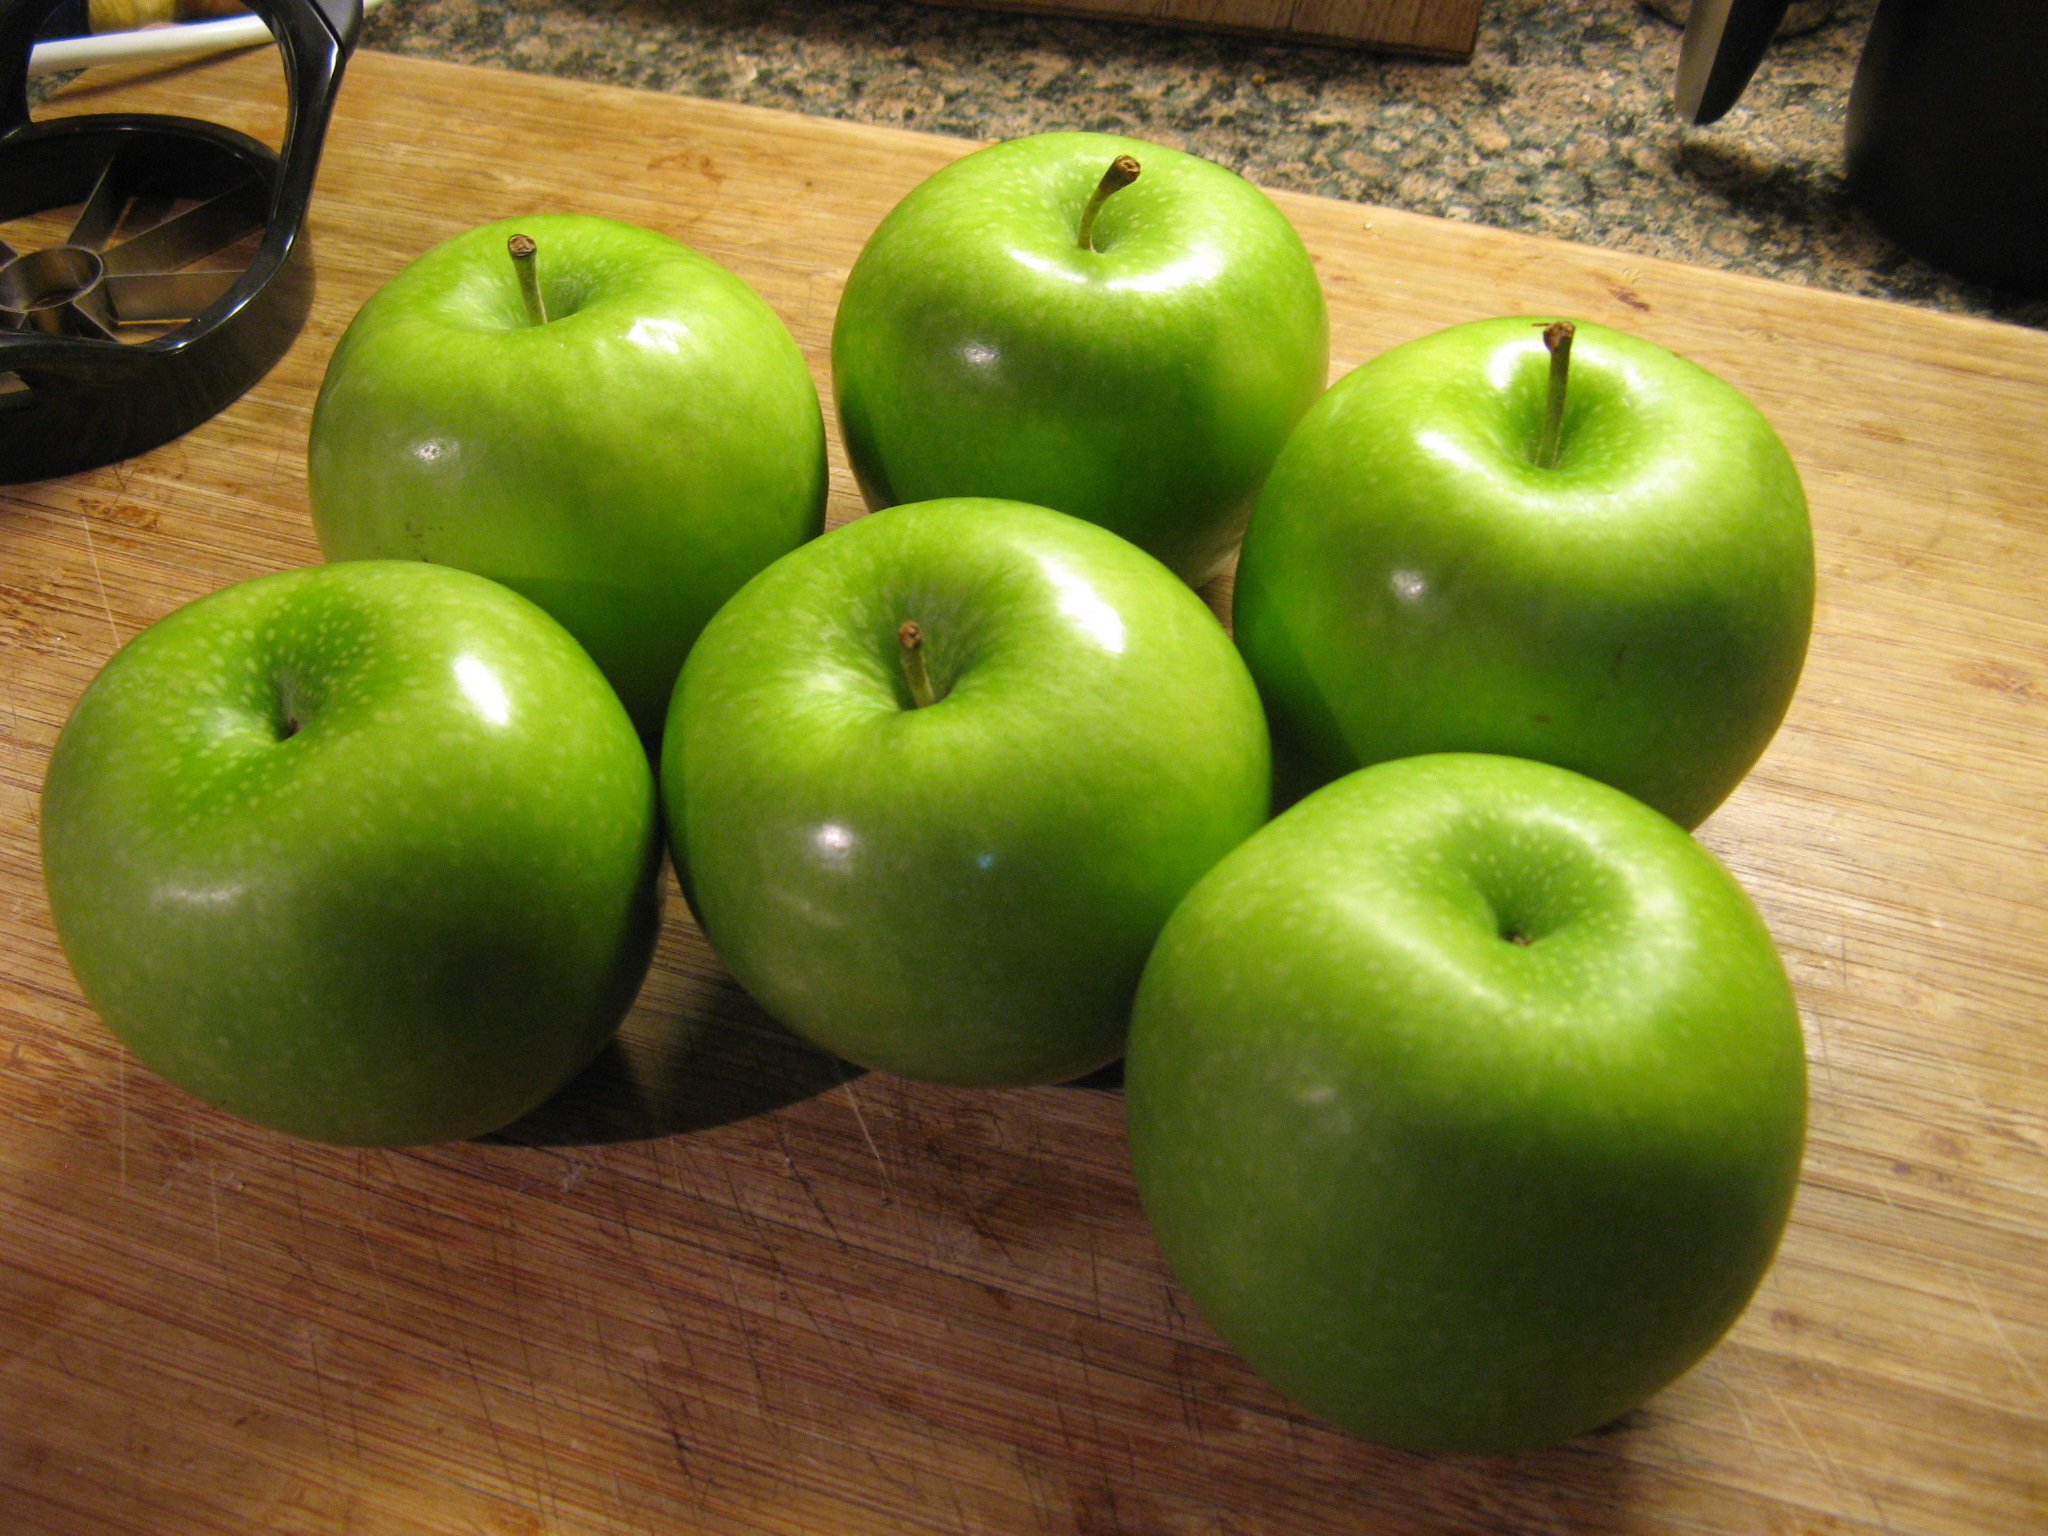
IMG_1301

First I peeled them…

IMG_1303

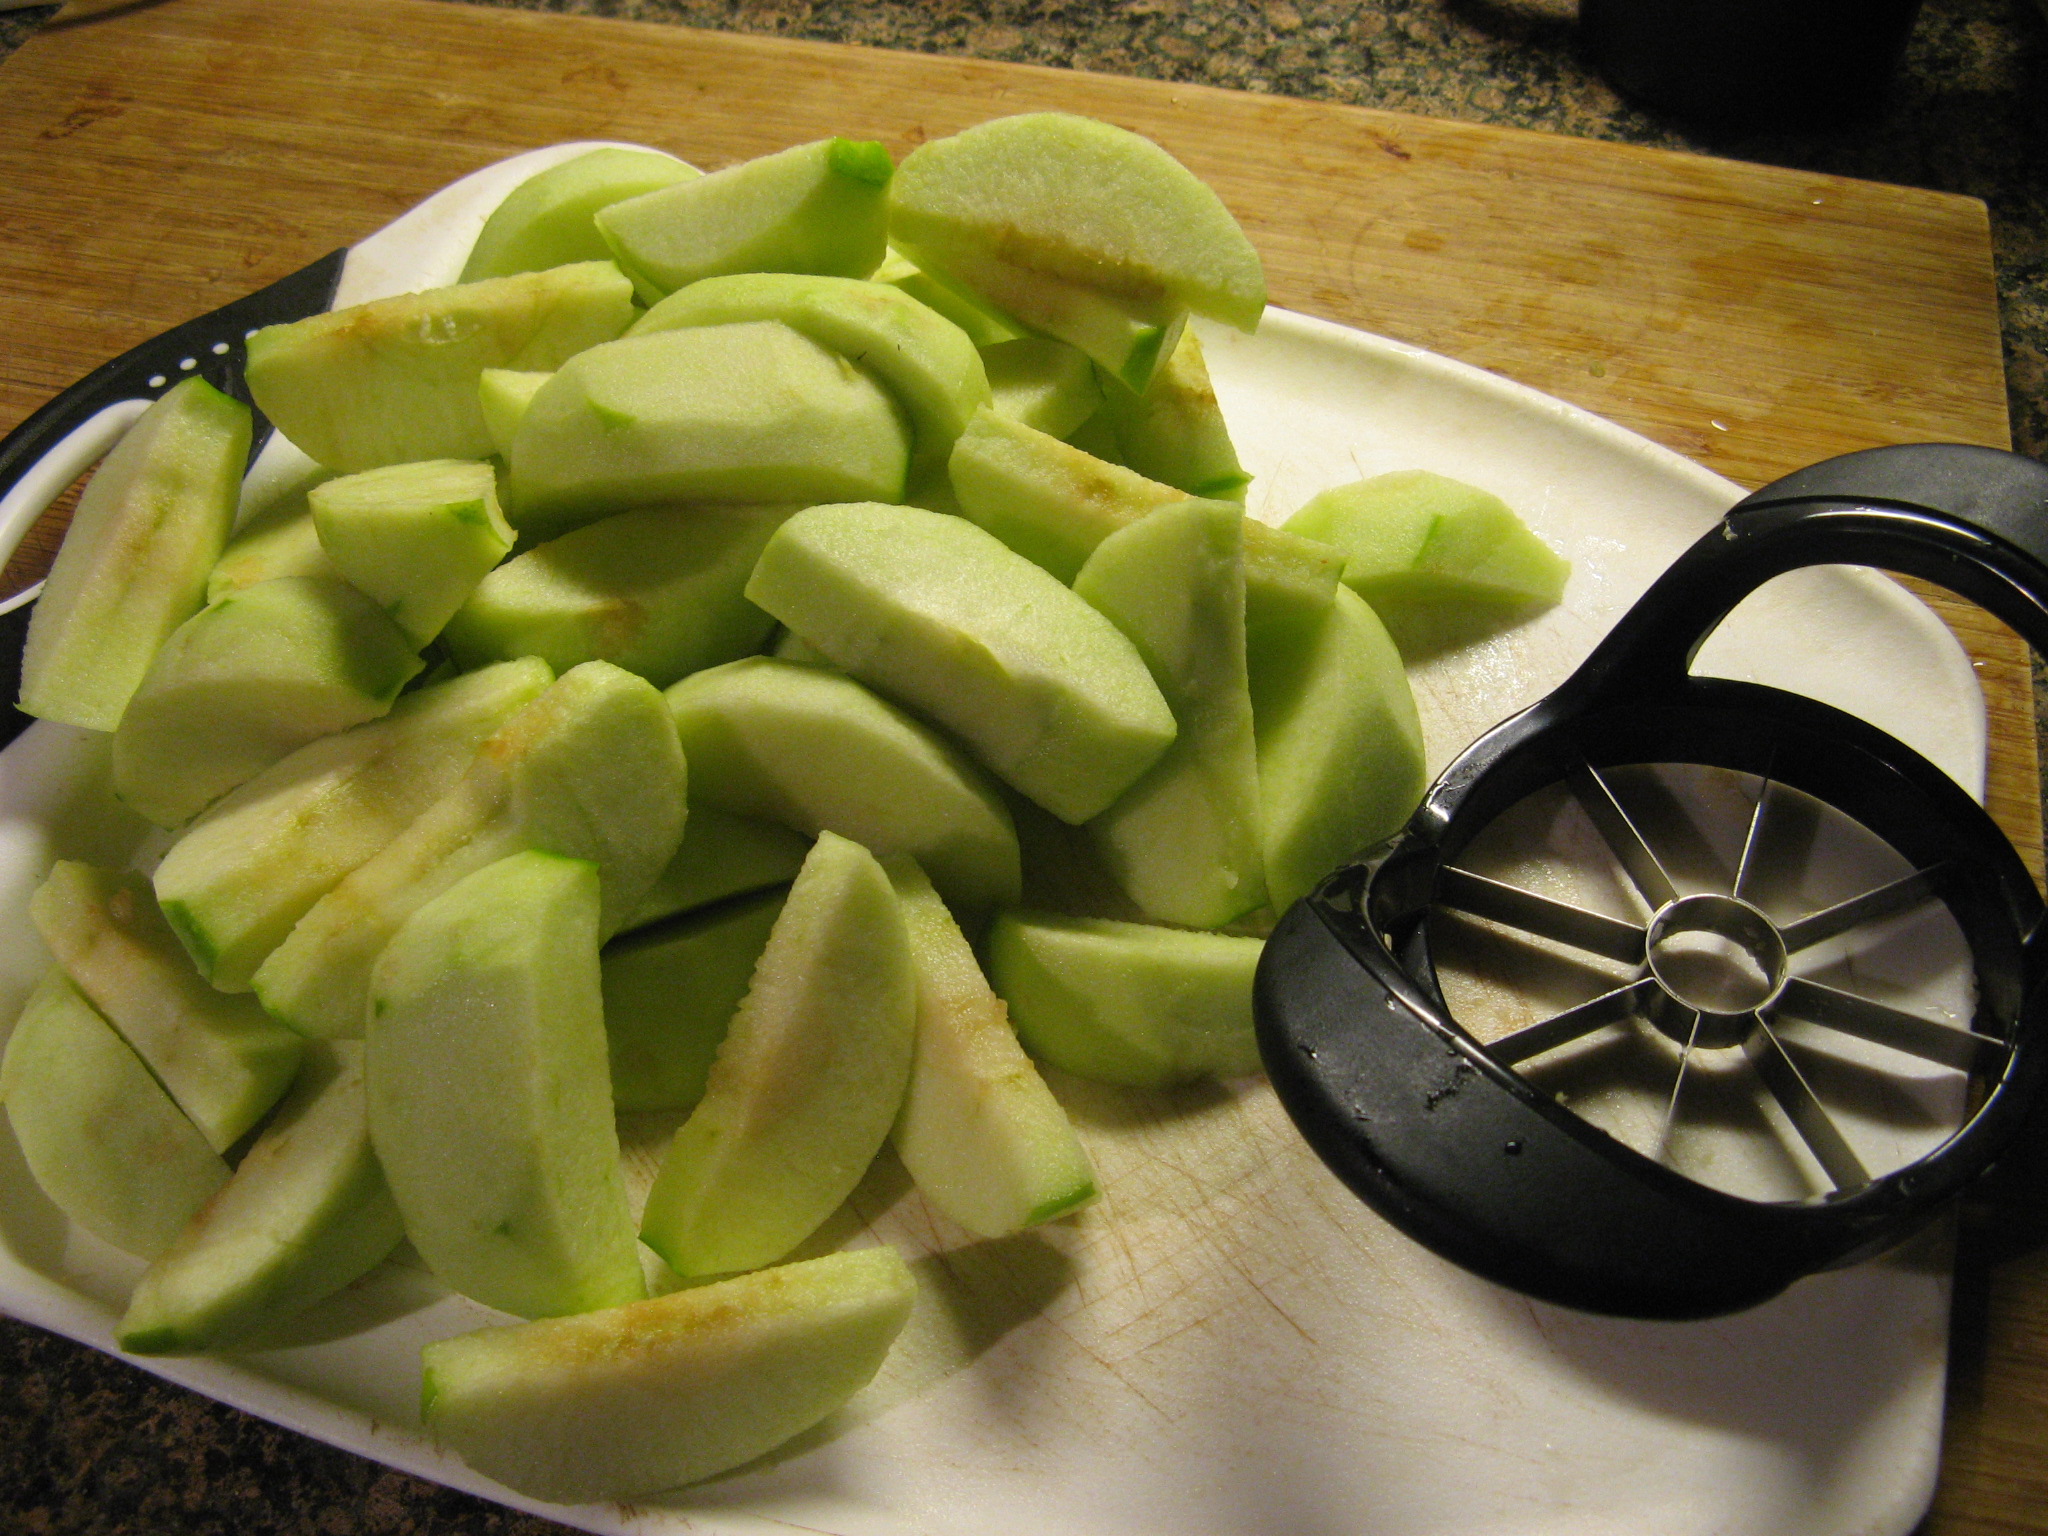
Then cored and sliced them using an apple divider…
IMG_1305

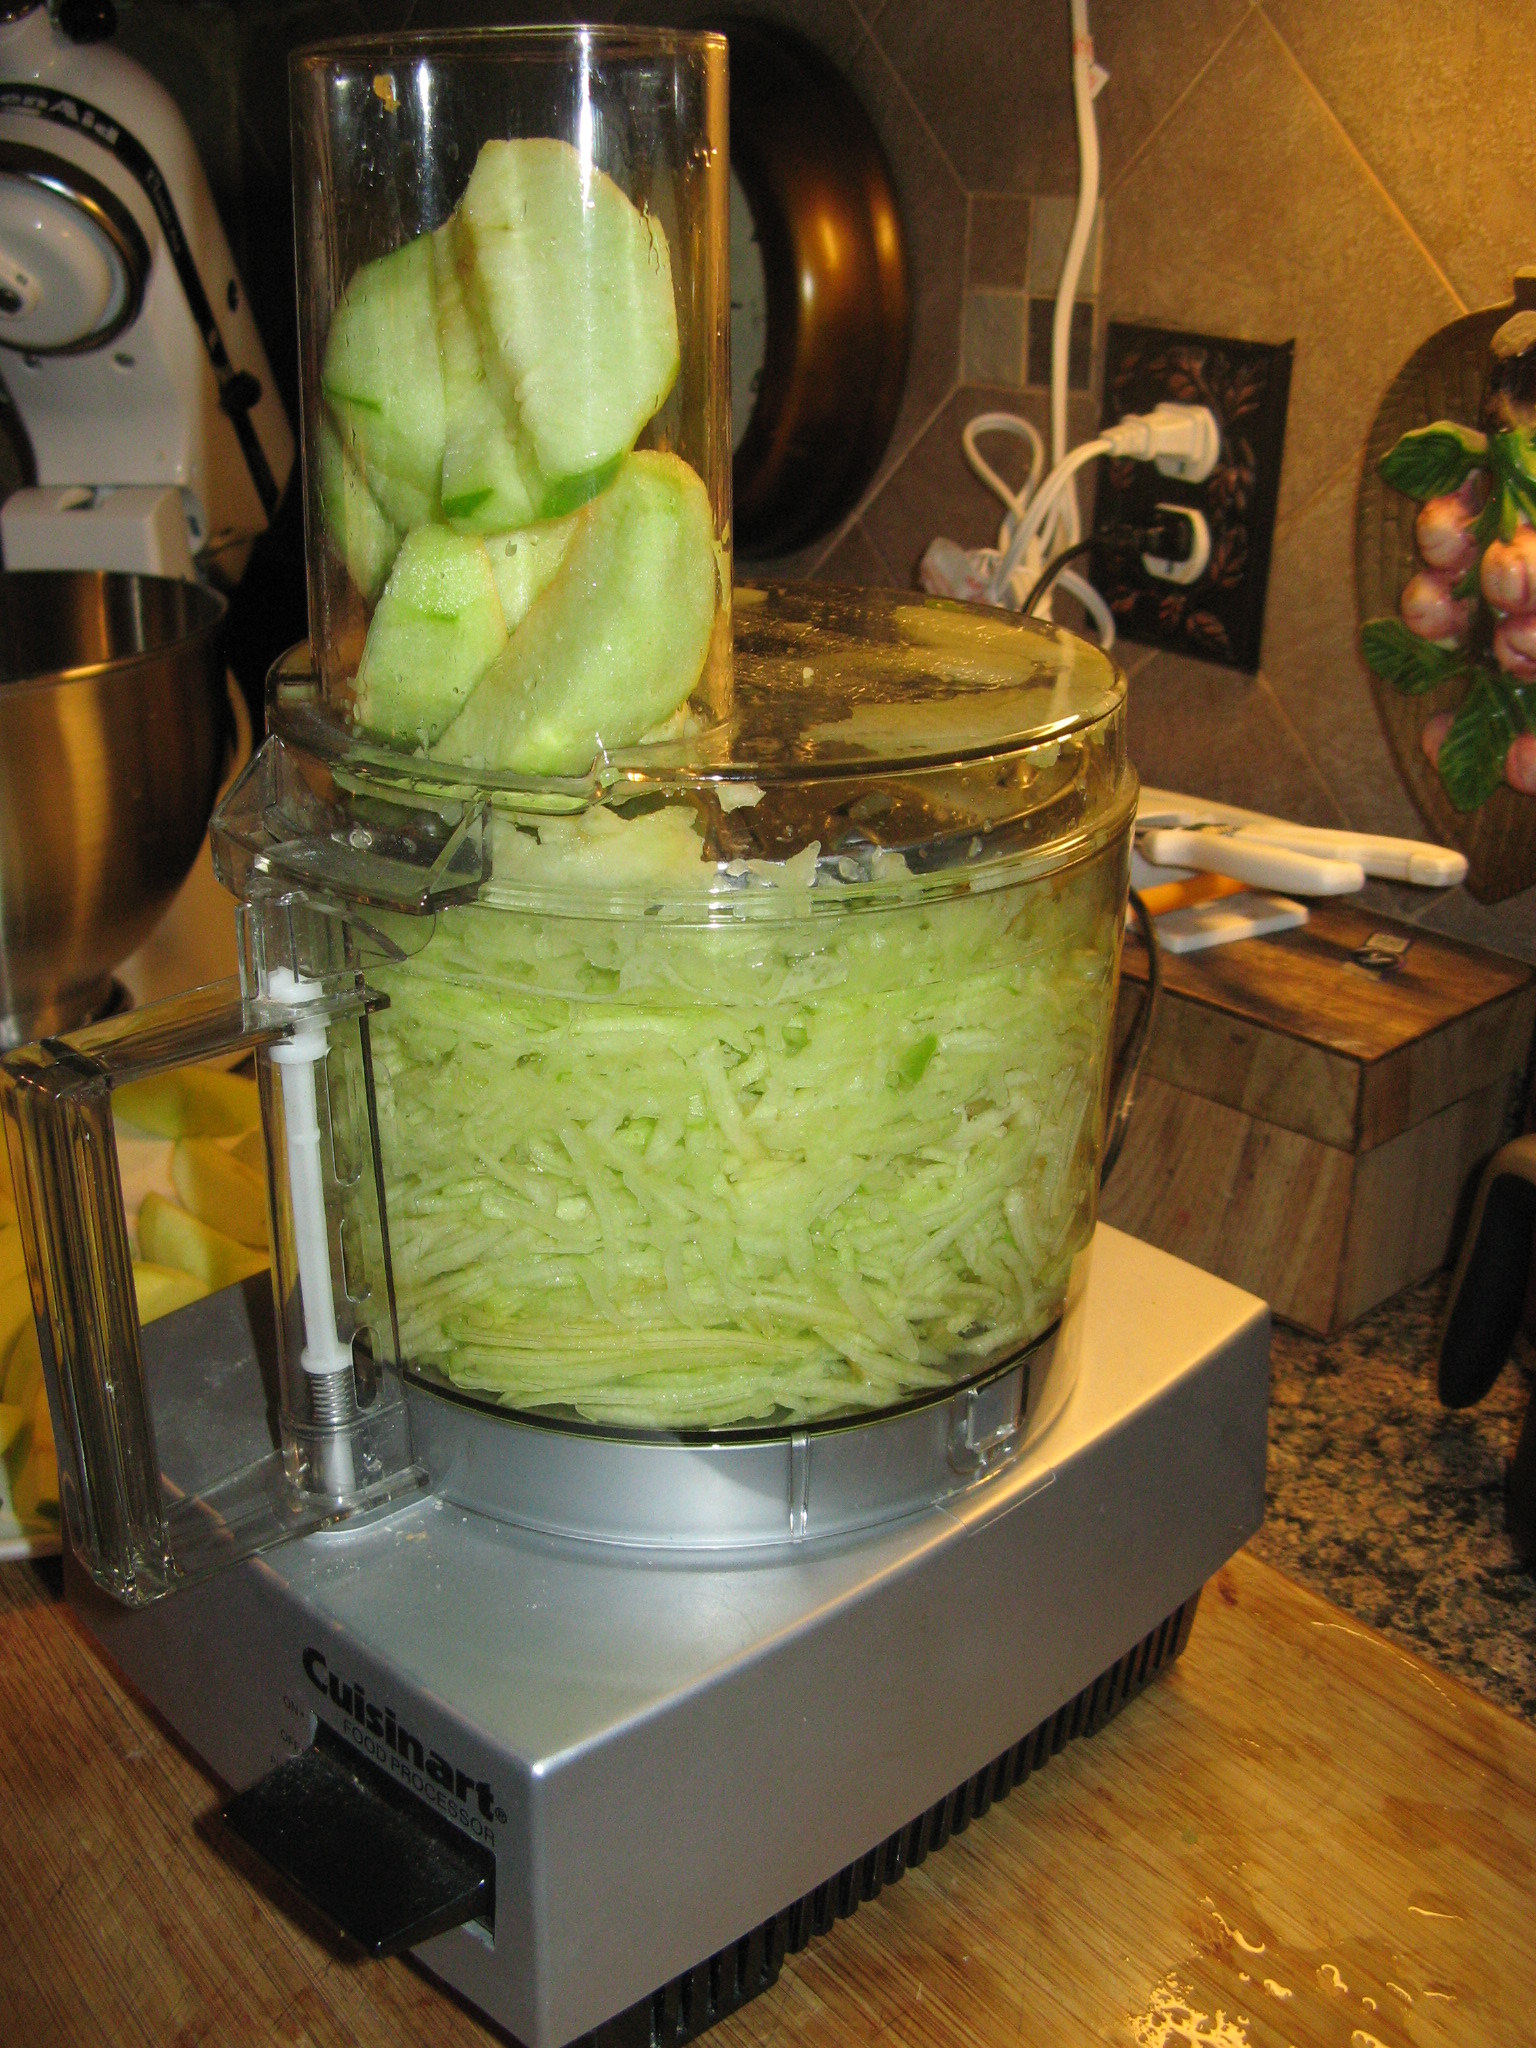
And finally grated them using a food processor.
IMG_1308

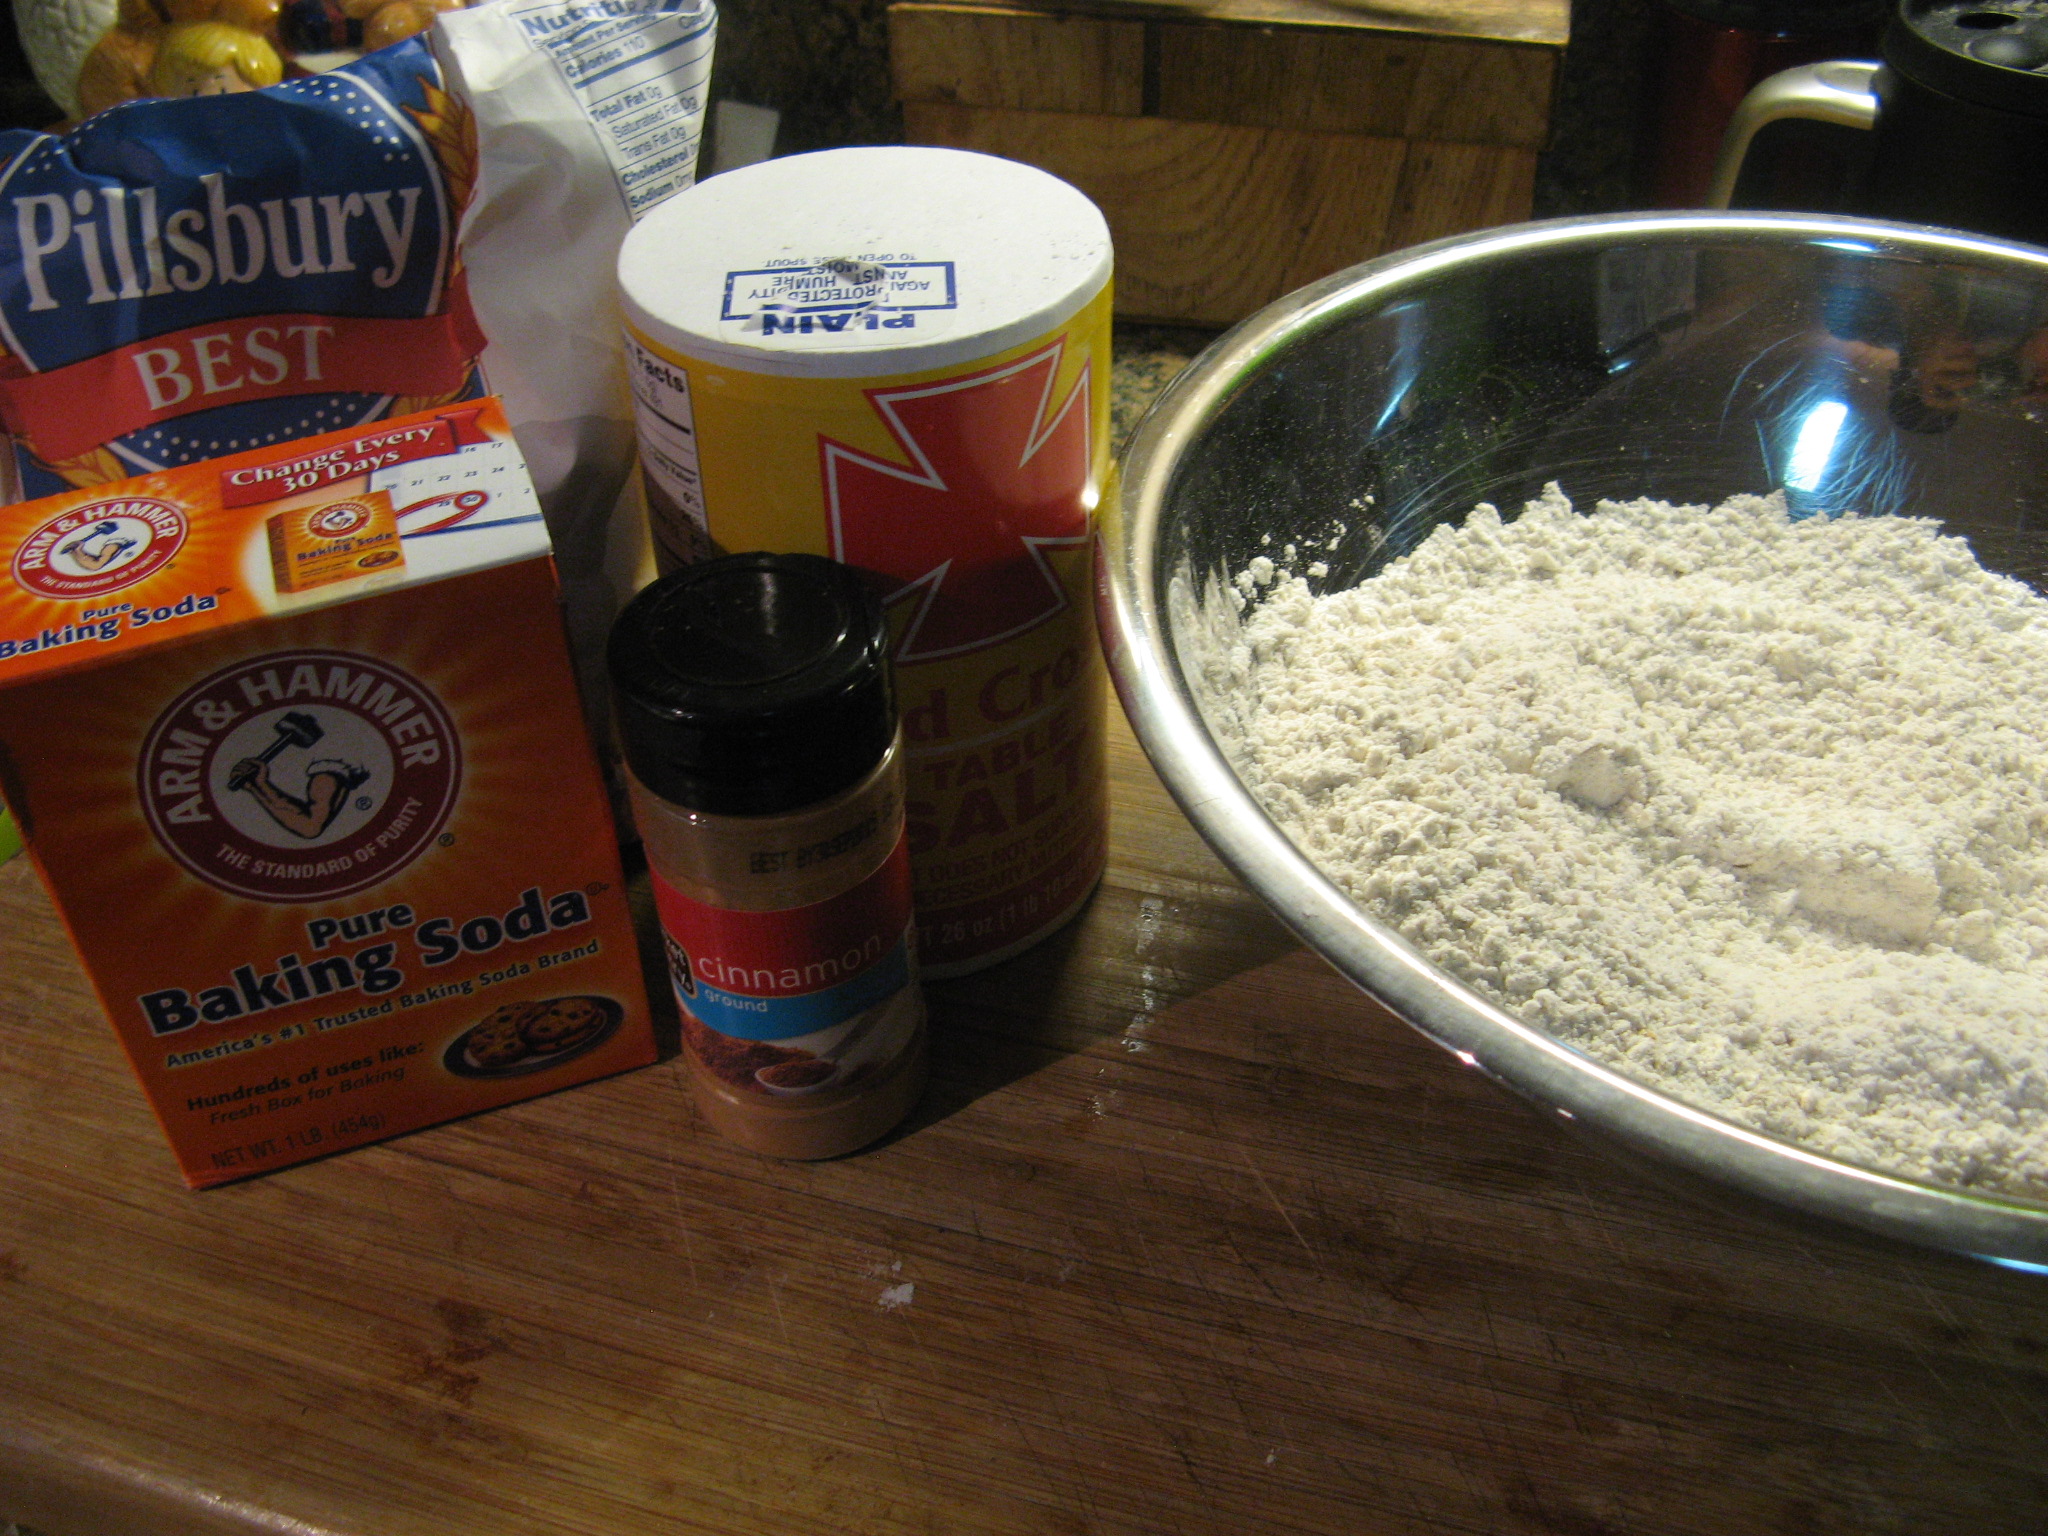
I started the batter by combining the dry ingredients and setting it aside.
IMG_1313

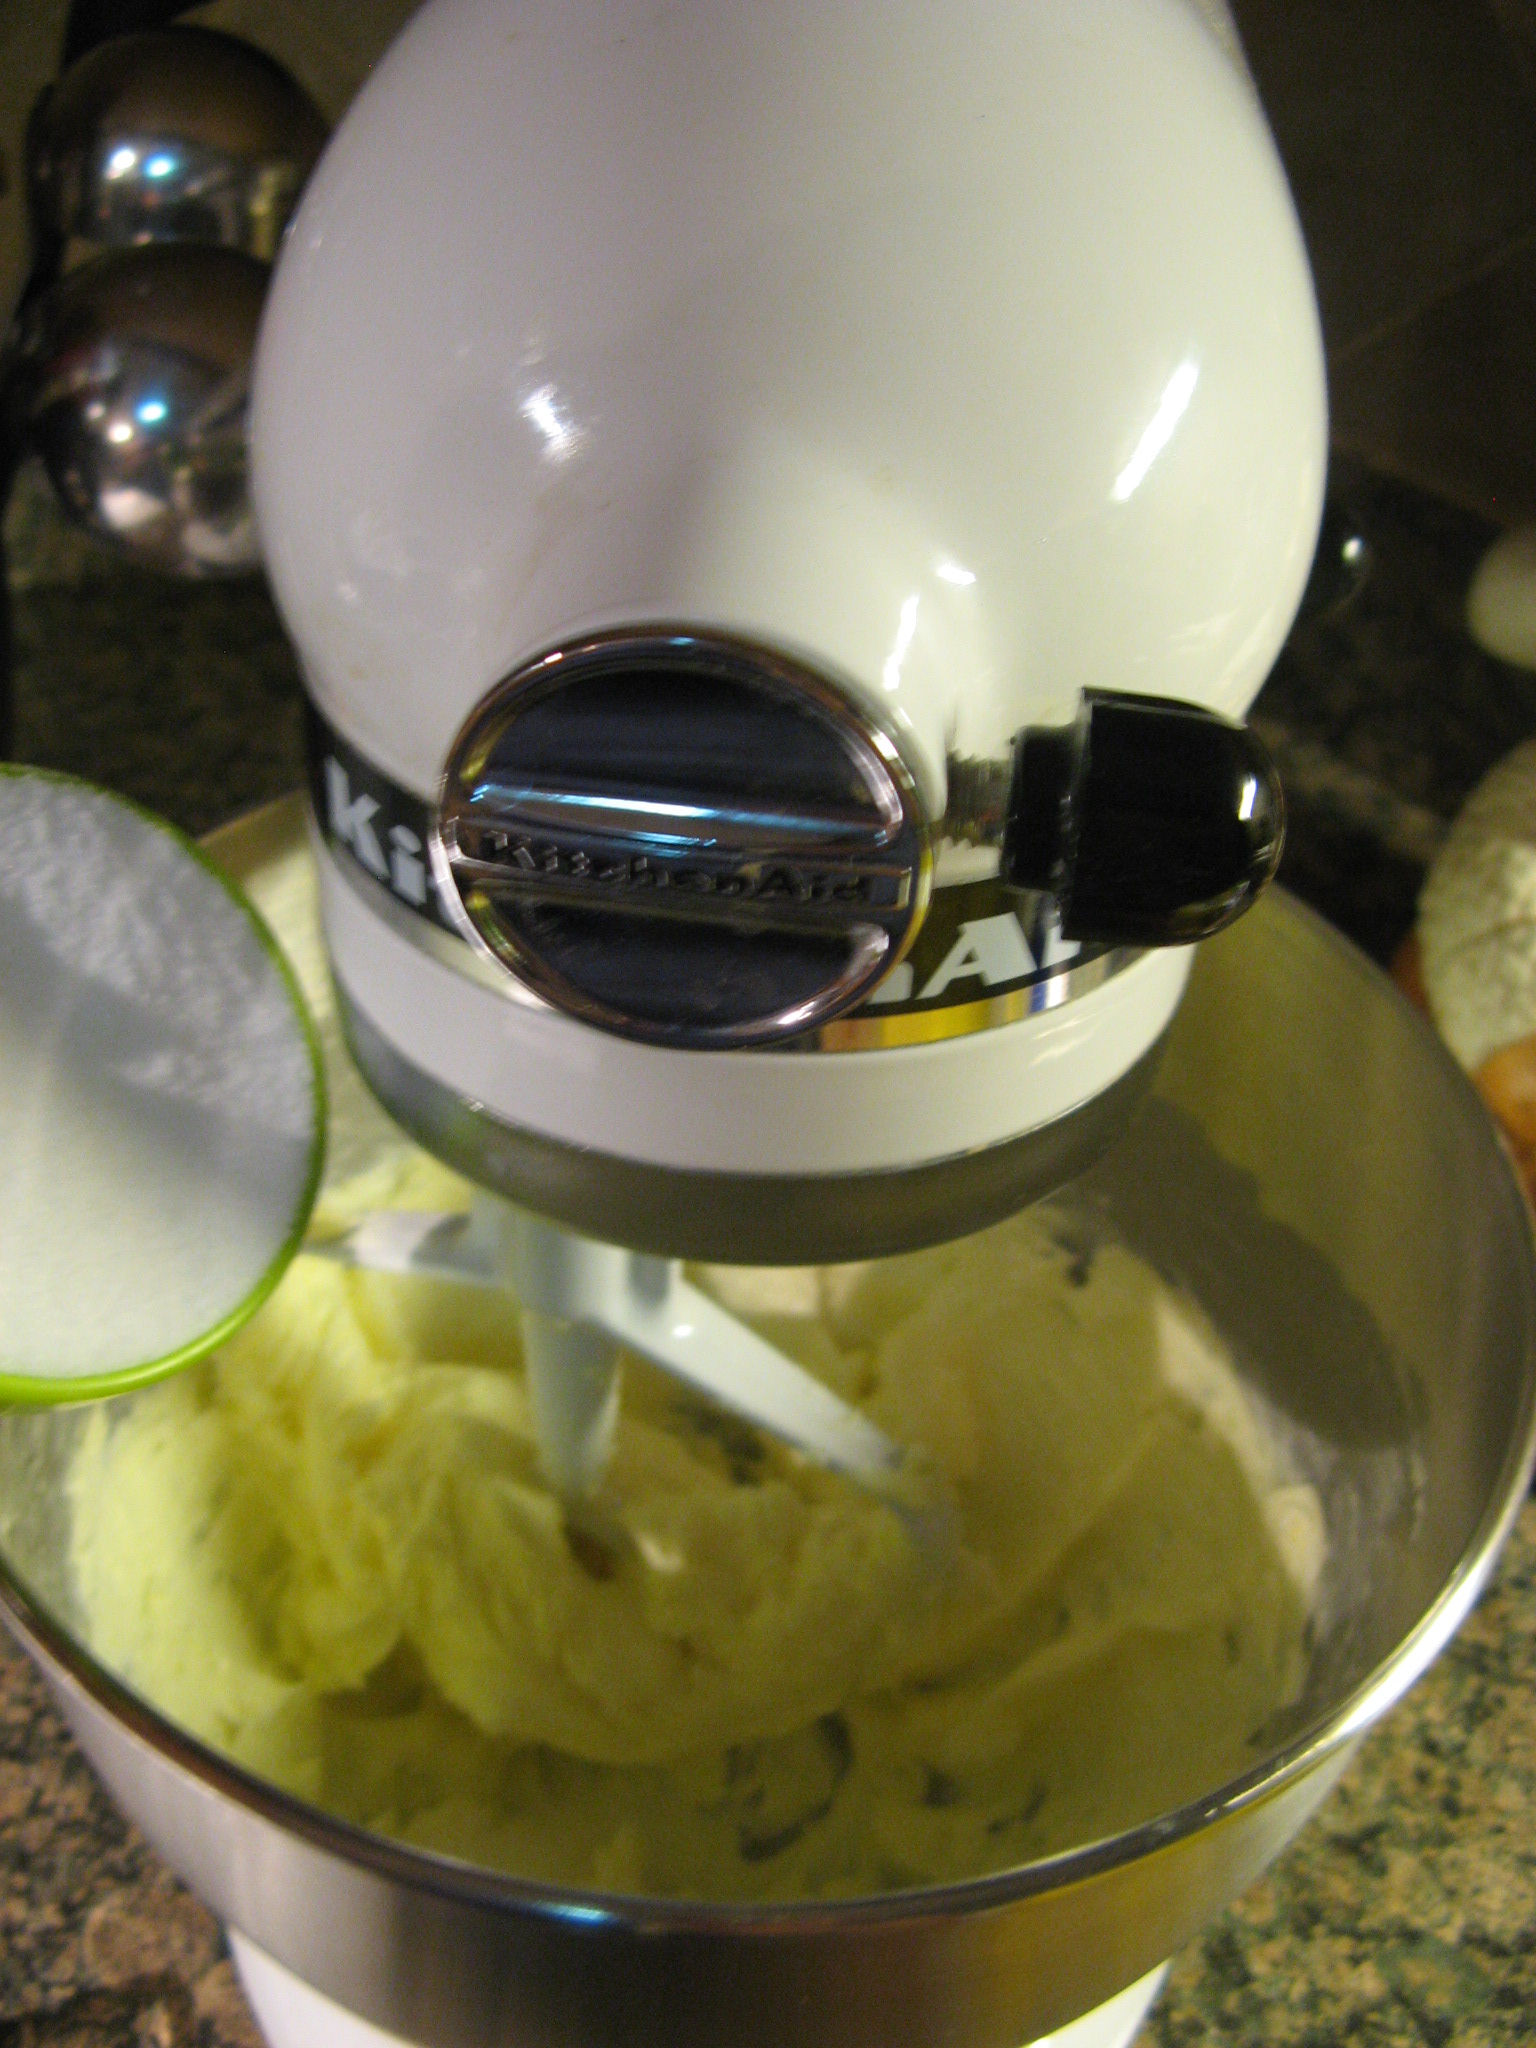
I then creamed butter and sugar together.
IMG_1316

Once the butter and sugar were mixed together well I added in the eggs and dry ingredients by alternating between the two.

IMG_1318

And them some vanilla extract.

IMG_1322

It was then time to add in the grated apples.

IMG_1323

And finally I folded in some chopped walnuts.
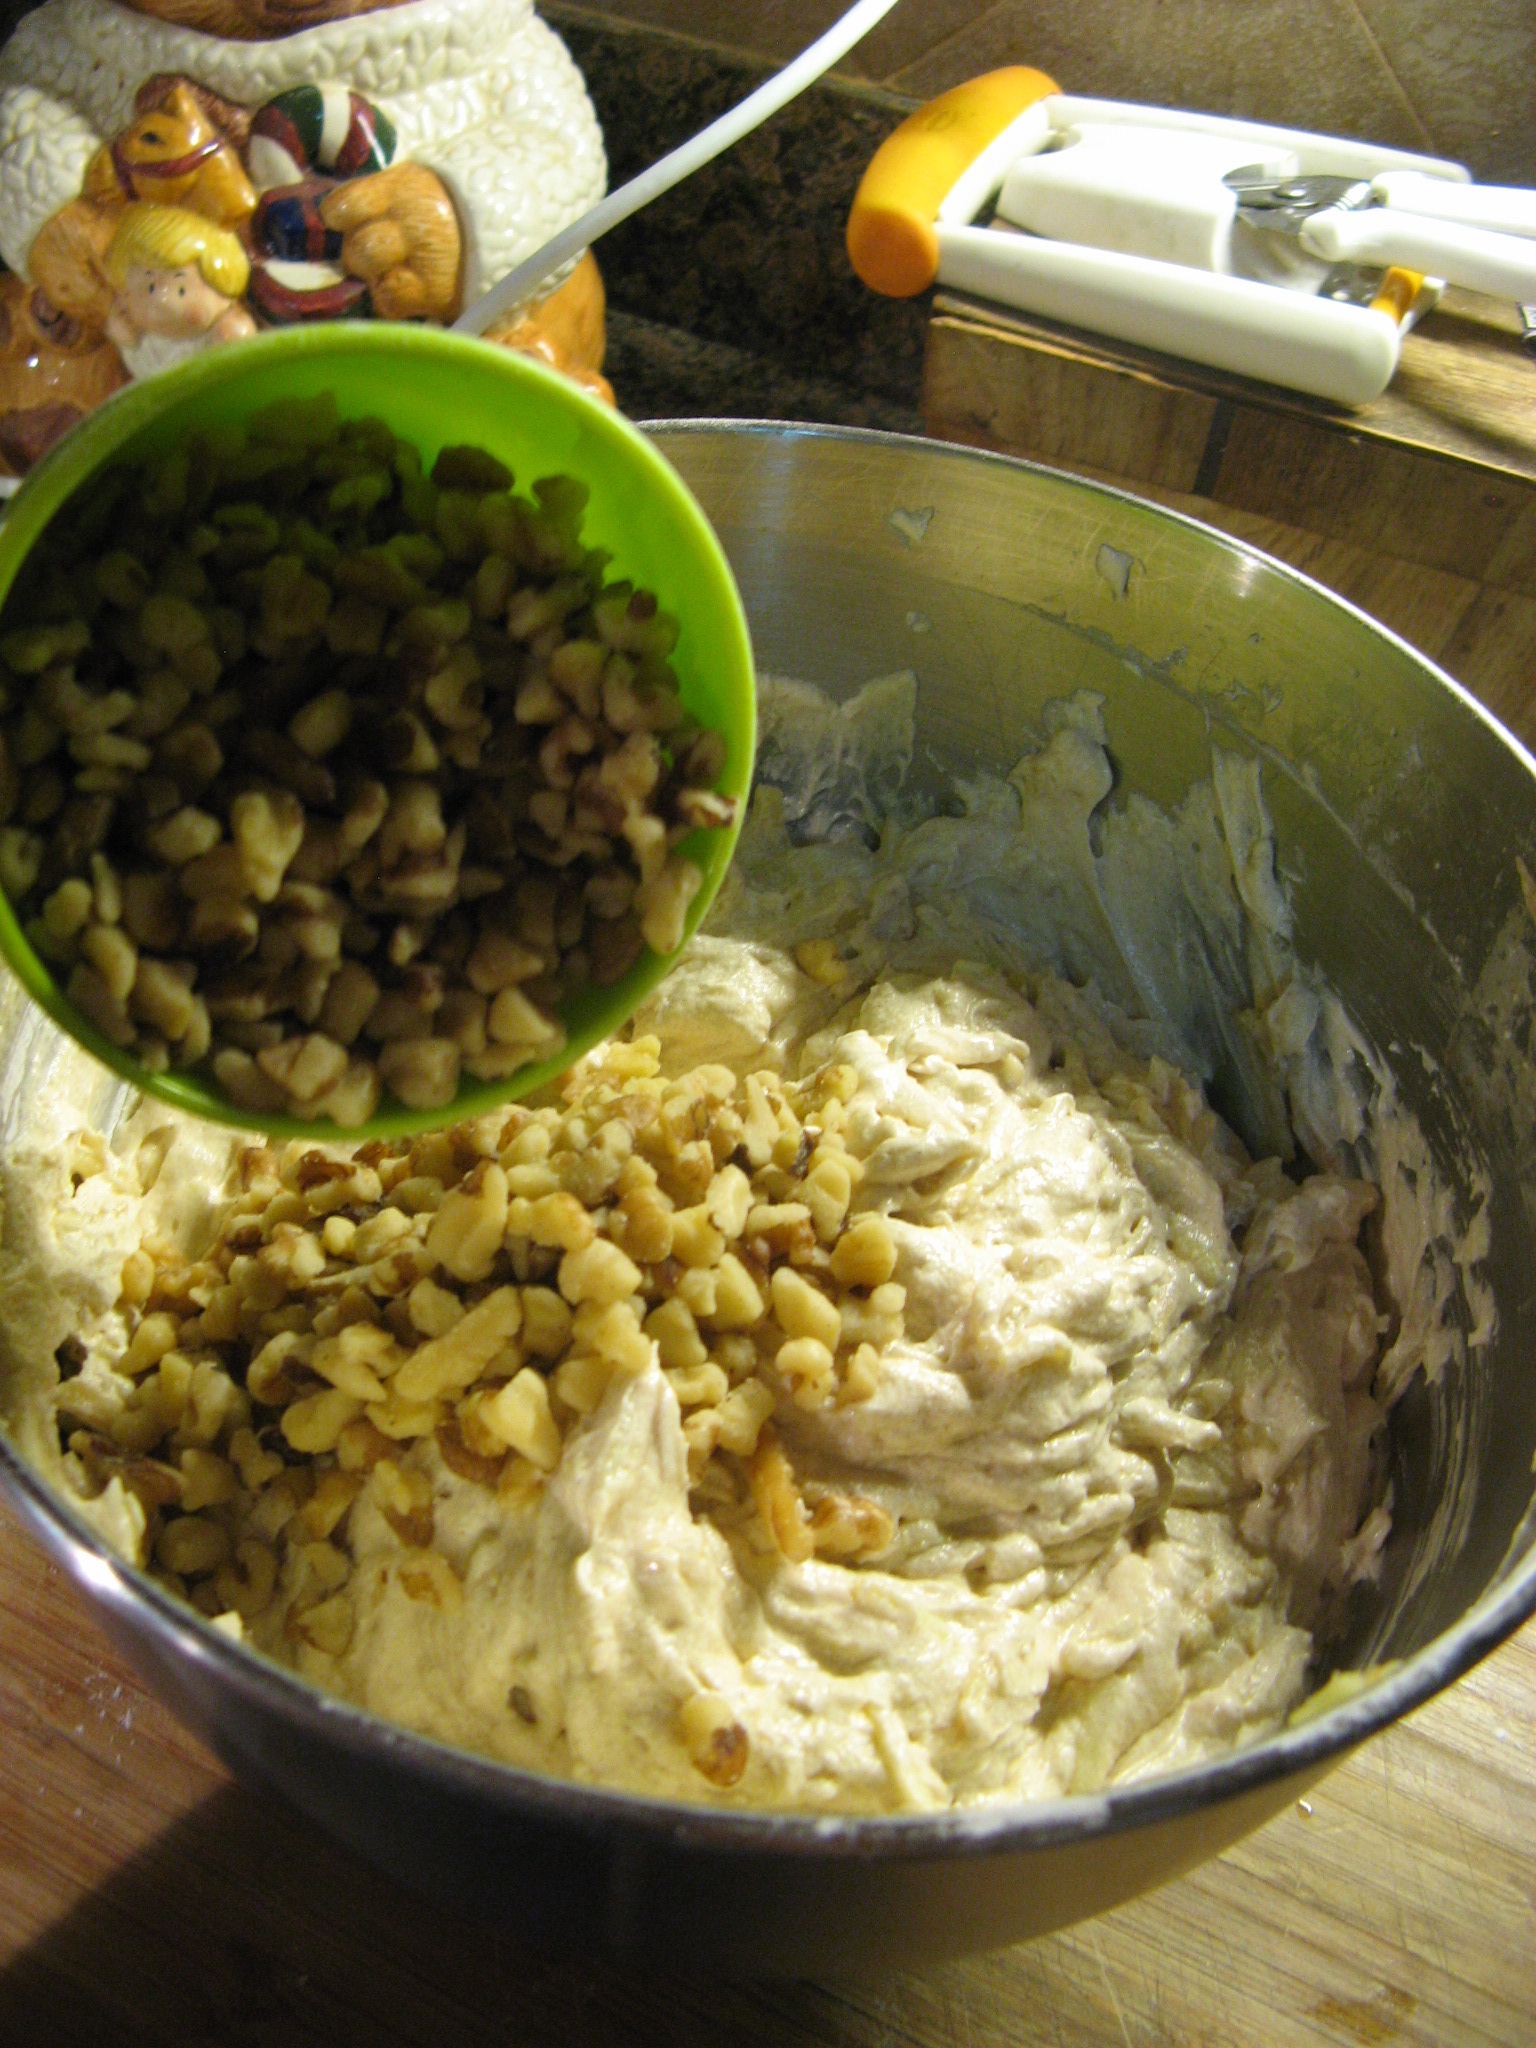
IMG_1325

Once the walnuts were incorporated well into the batter it was time to divvy it up among my prepared pans.
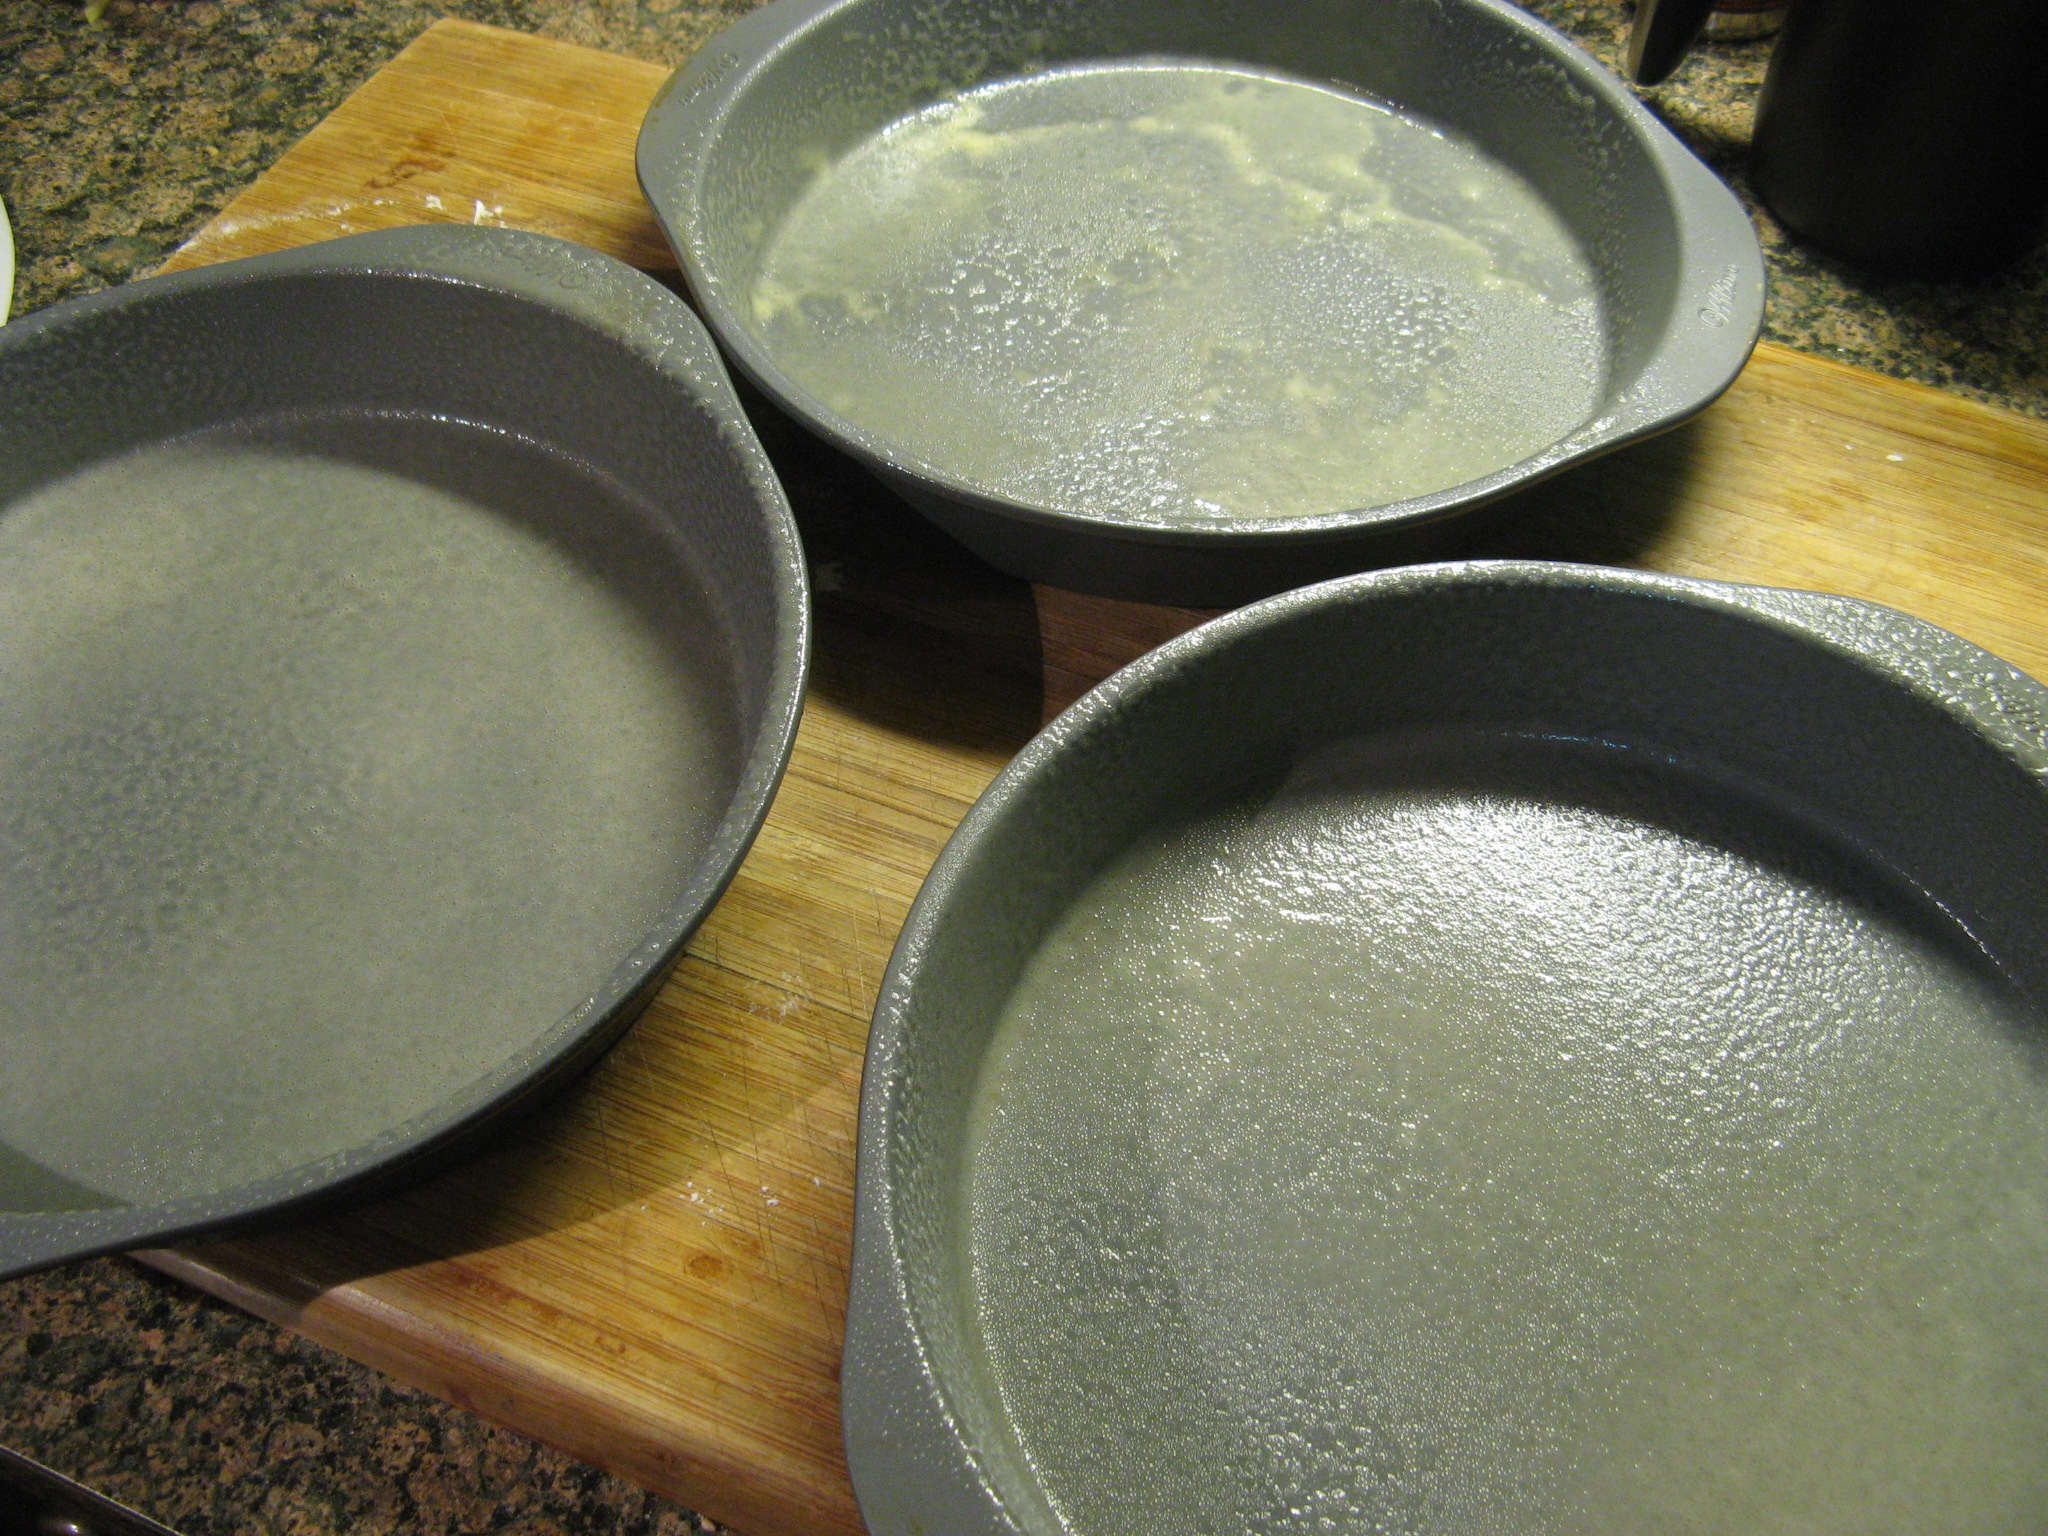
IMG_1326 IMG_1327

Once divided I popped them into a 350 degrees oven.
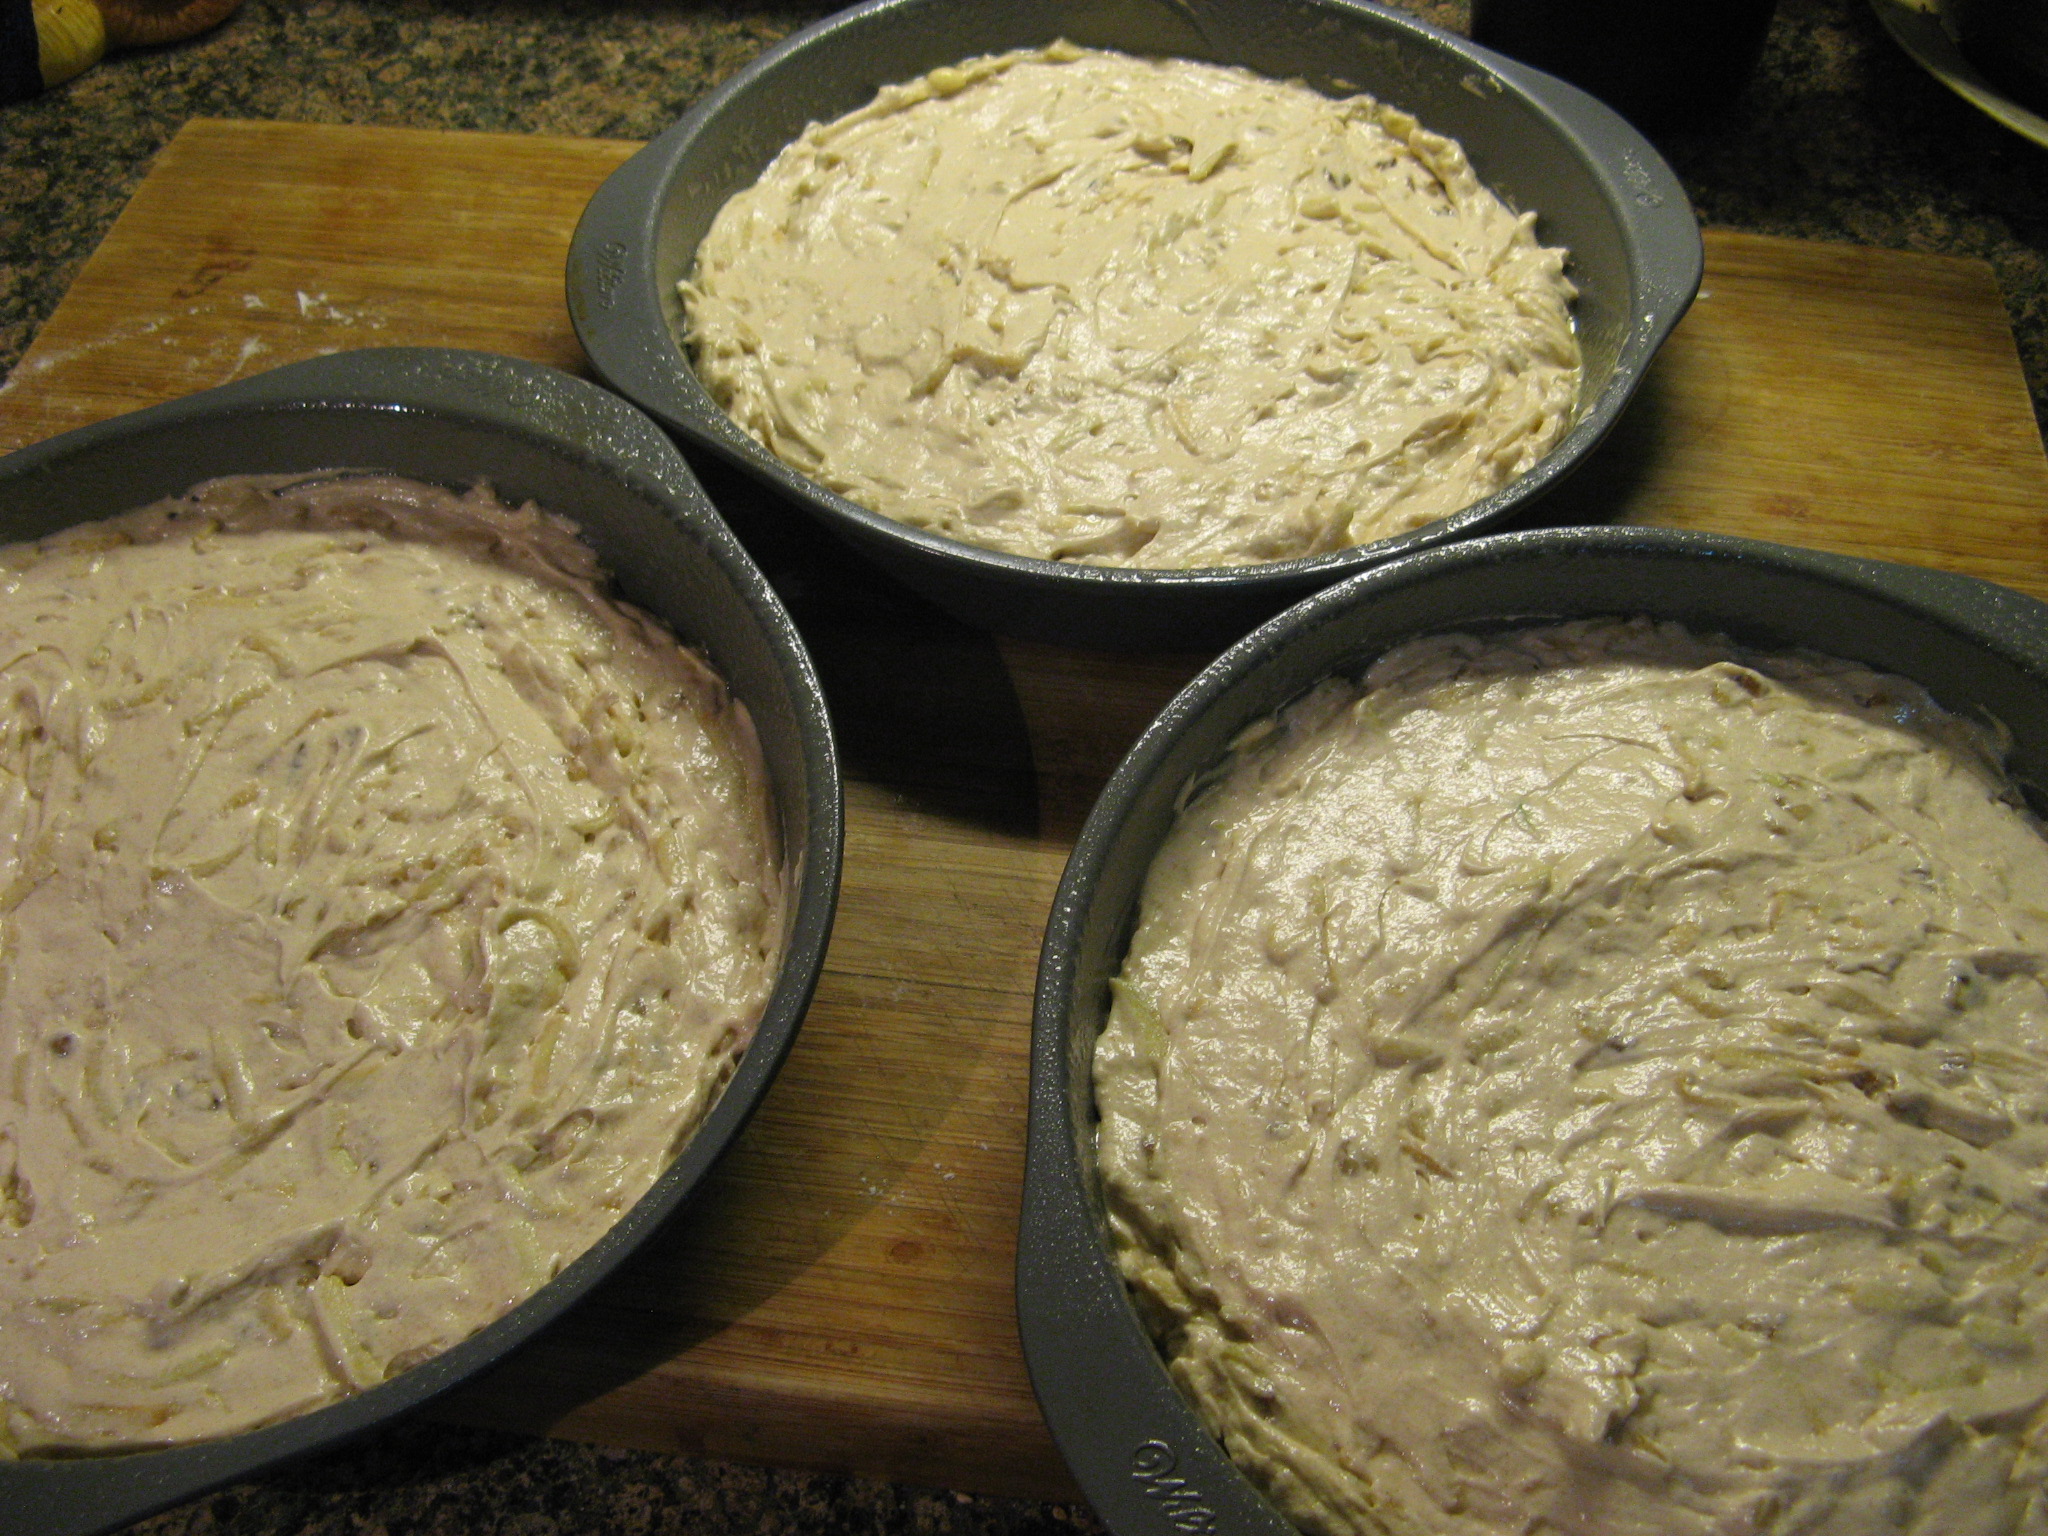
IMG_1328

After baking for 25 minutes the cakes were done.

IMG_1331

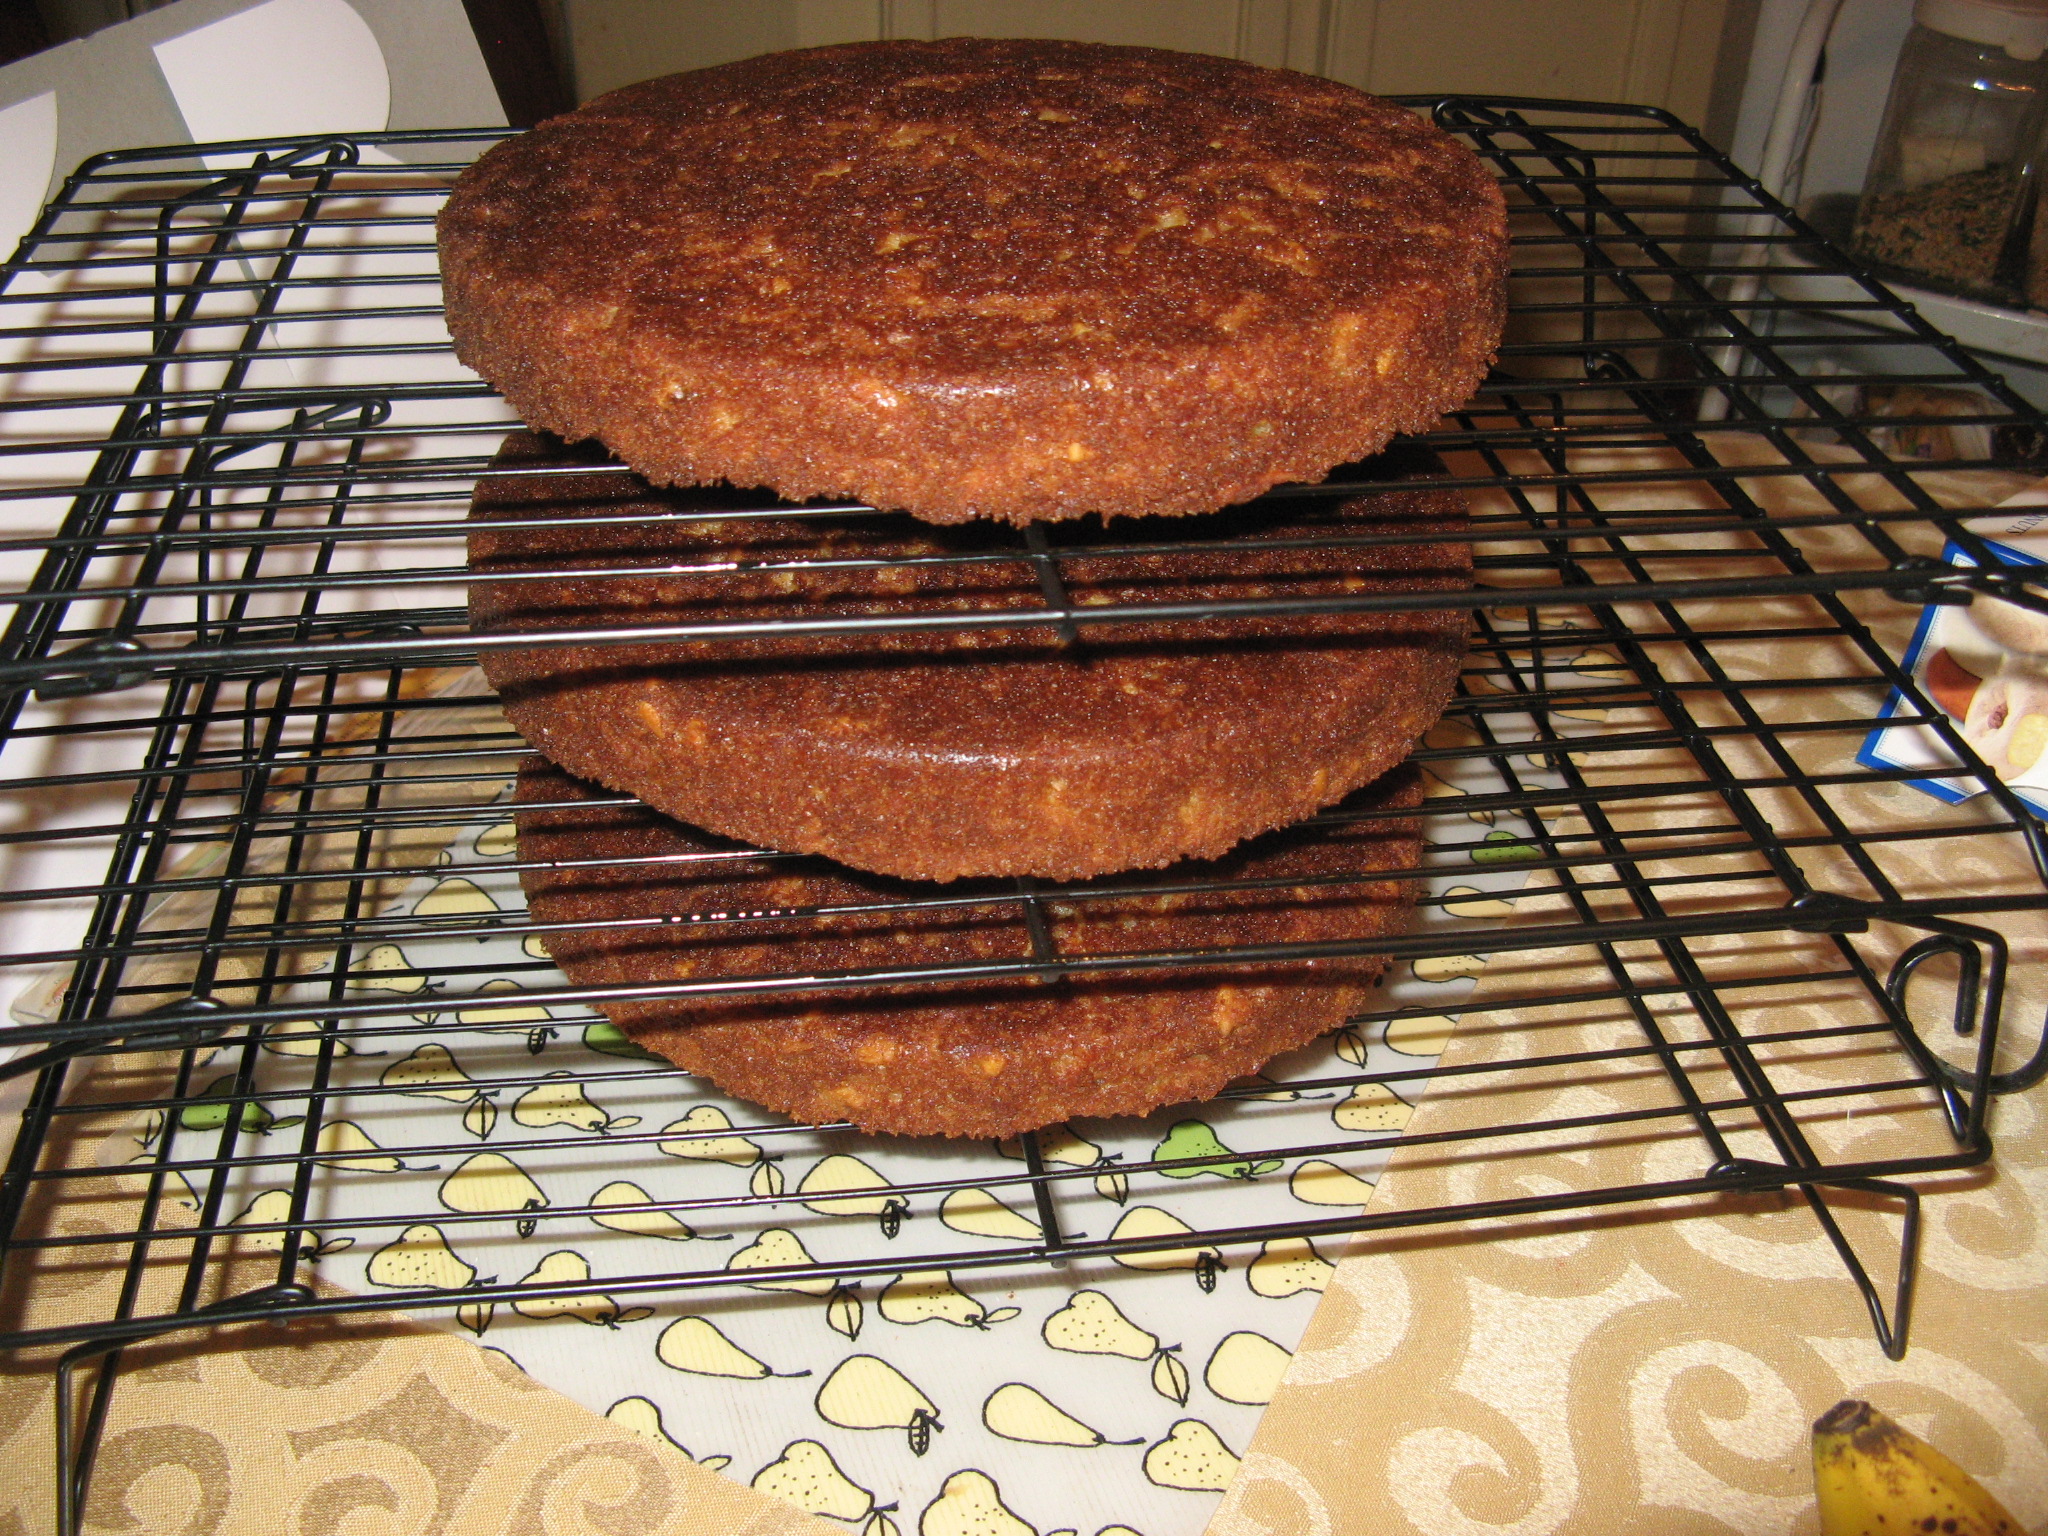
I let them cool for a bit in the pans and then inverted them onto cooling racks to let them cool completely.
IMG_1332

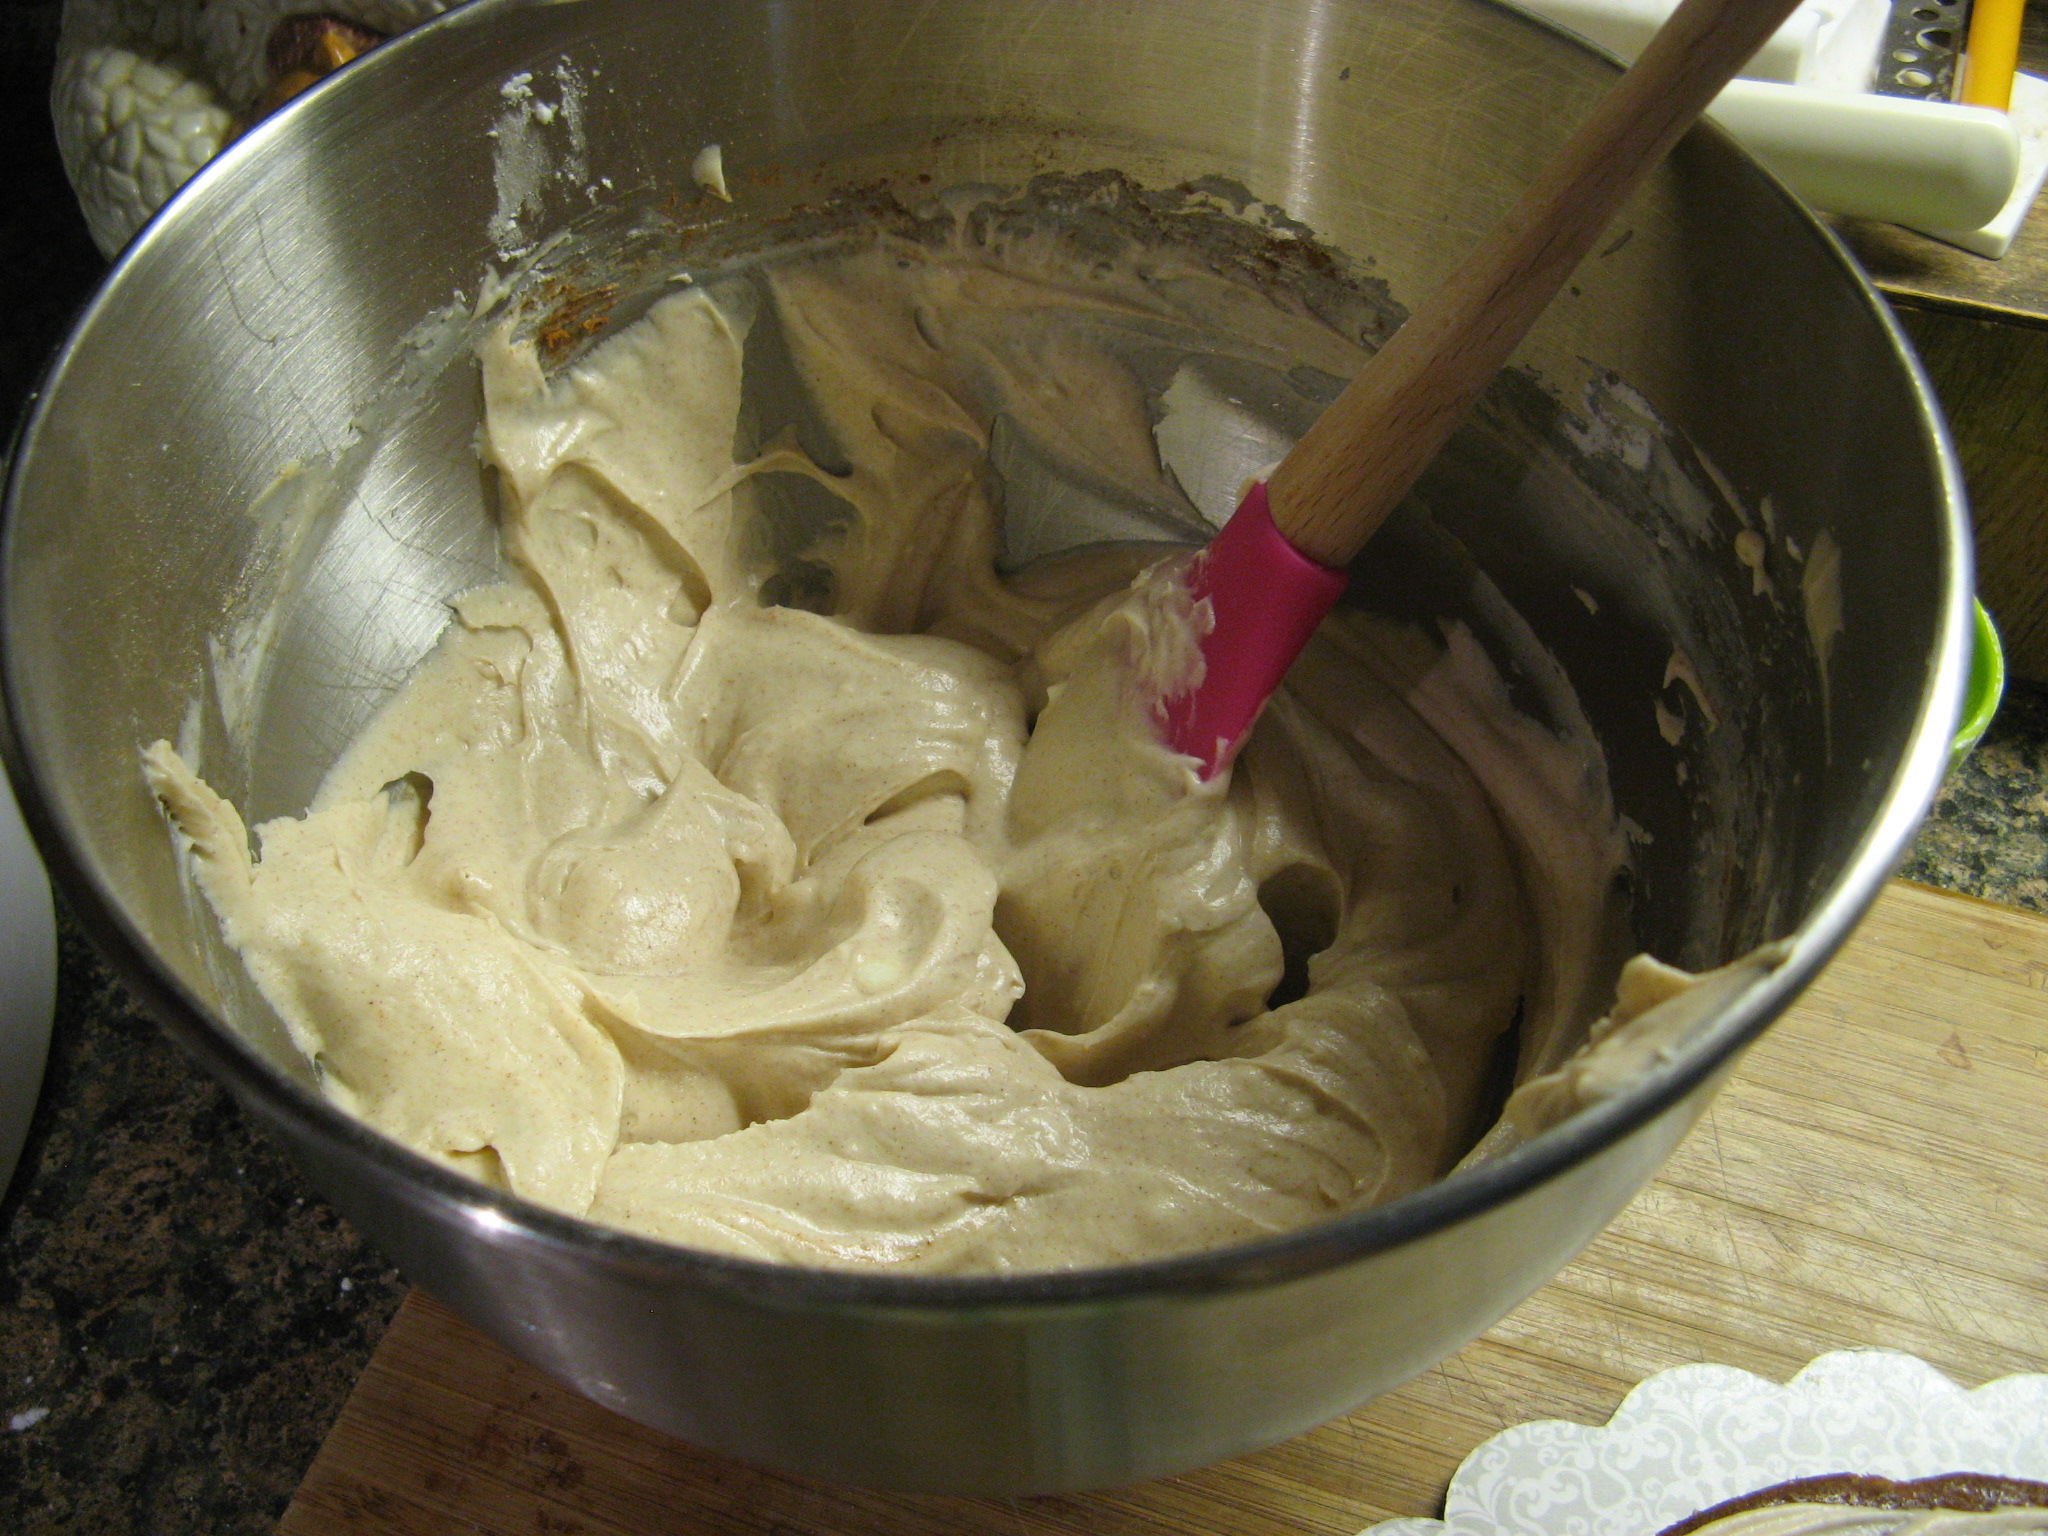
After the cakes cooled completely I made the Cinnamon Cream Cheese Frosting by combing cream cheese, butter, confectioners’ sugar, vanilla extract and of course cinnamon.
IMG_1333

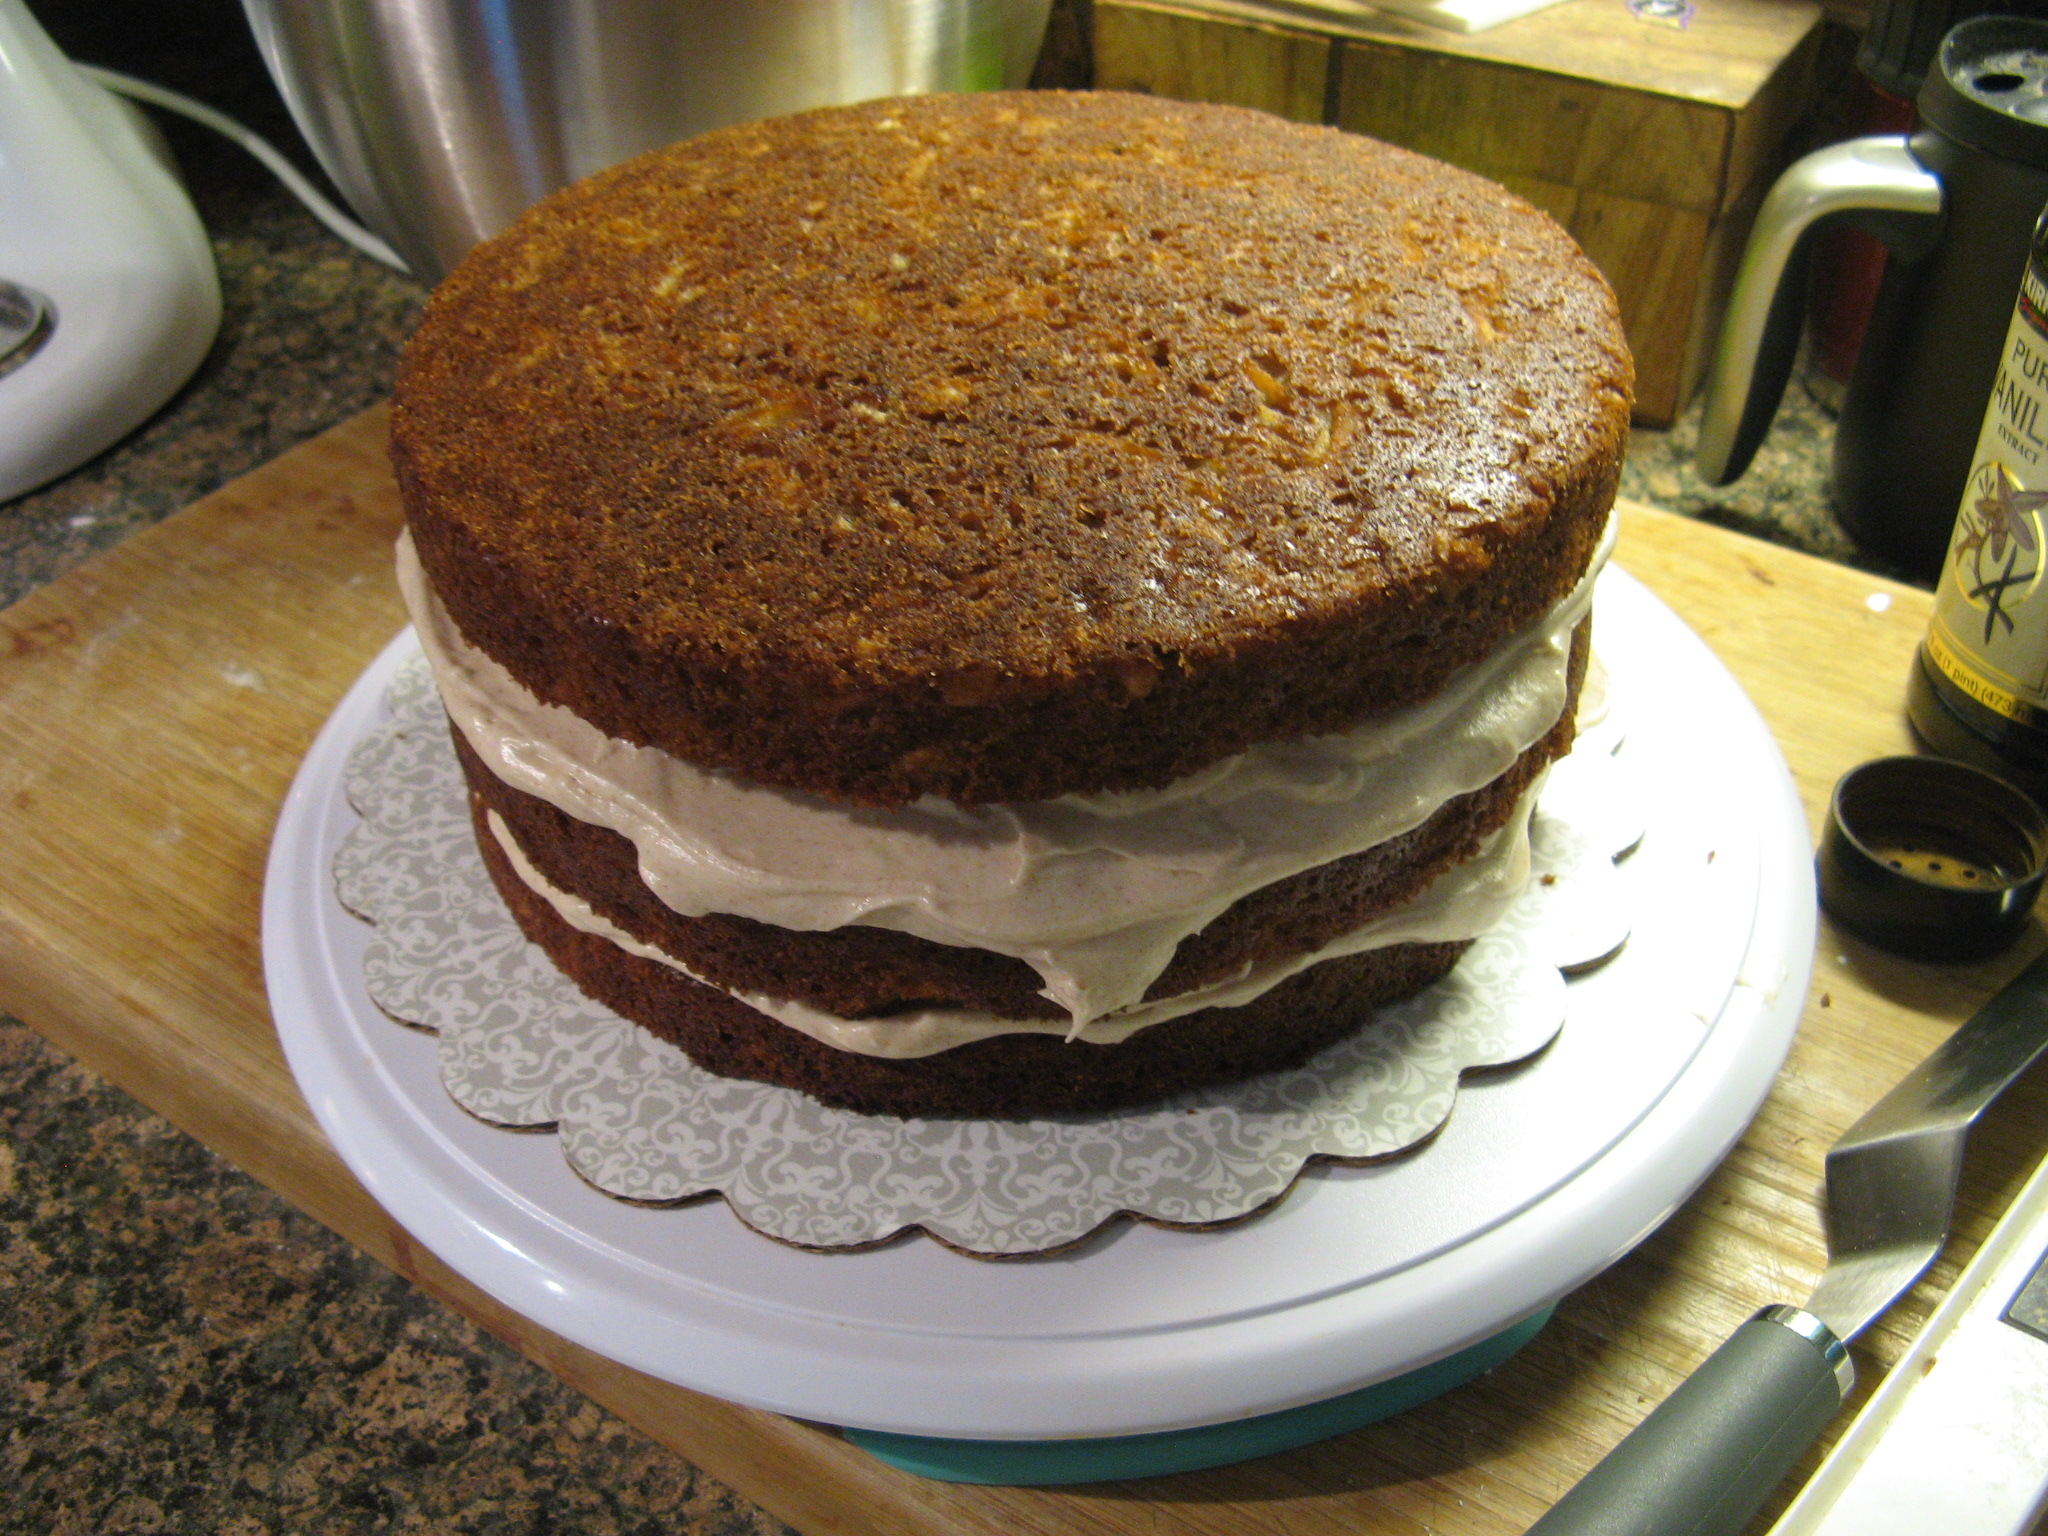
I spread frosting between each of the layers…
IMG_1336

And then crumb coated the cake and refrigerated it for a bit while I made another batch of frosting to finish covering the cake and for decorating.

IMG_1337

After about twenty minutes in the fridge I finished frosting it…

IMG_1339

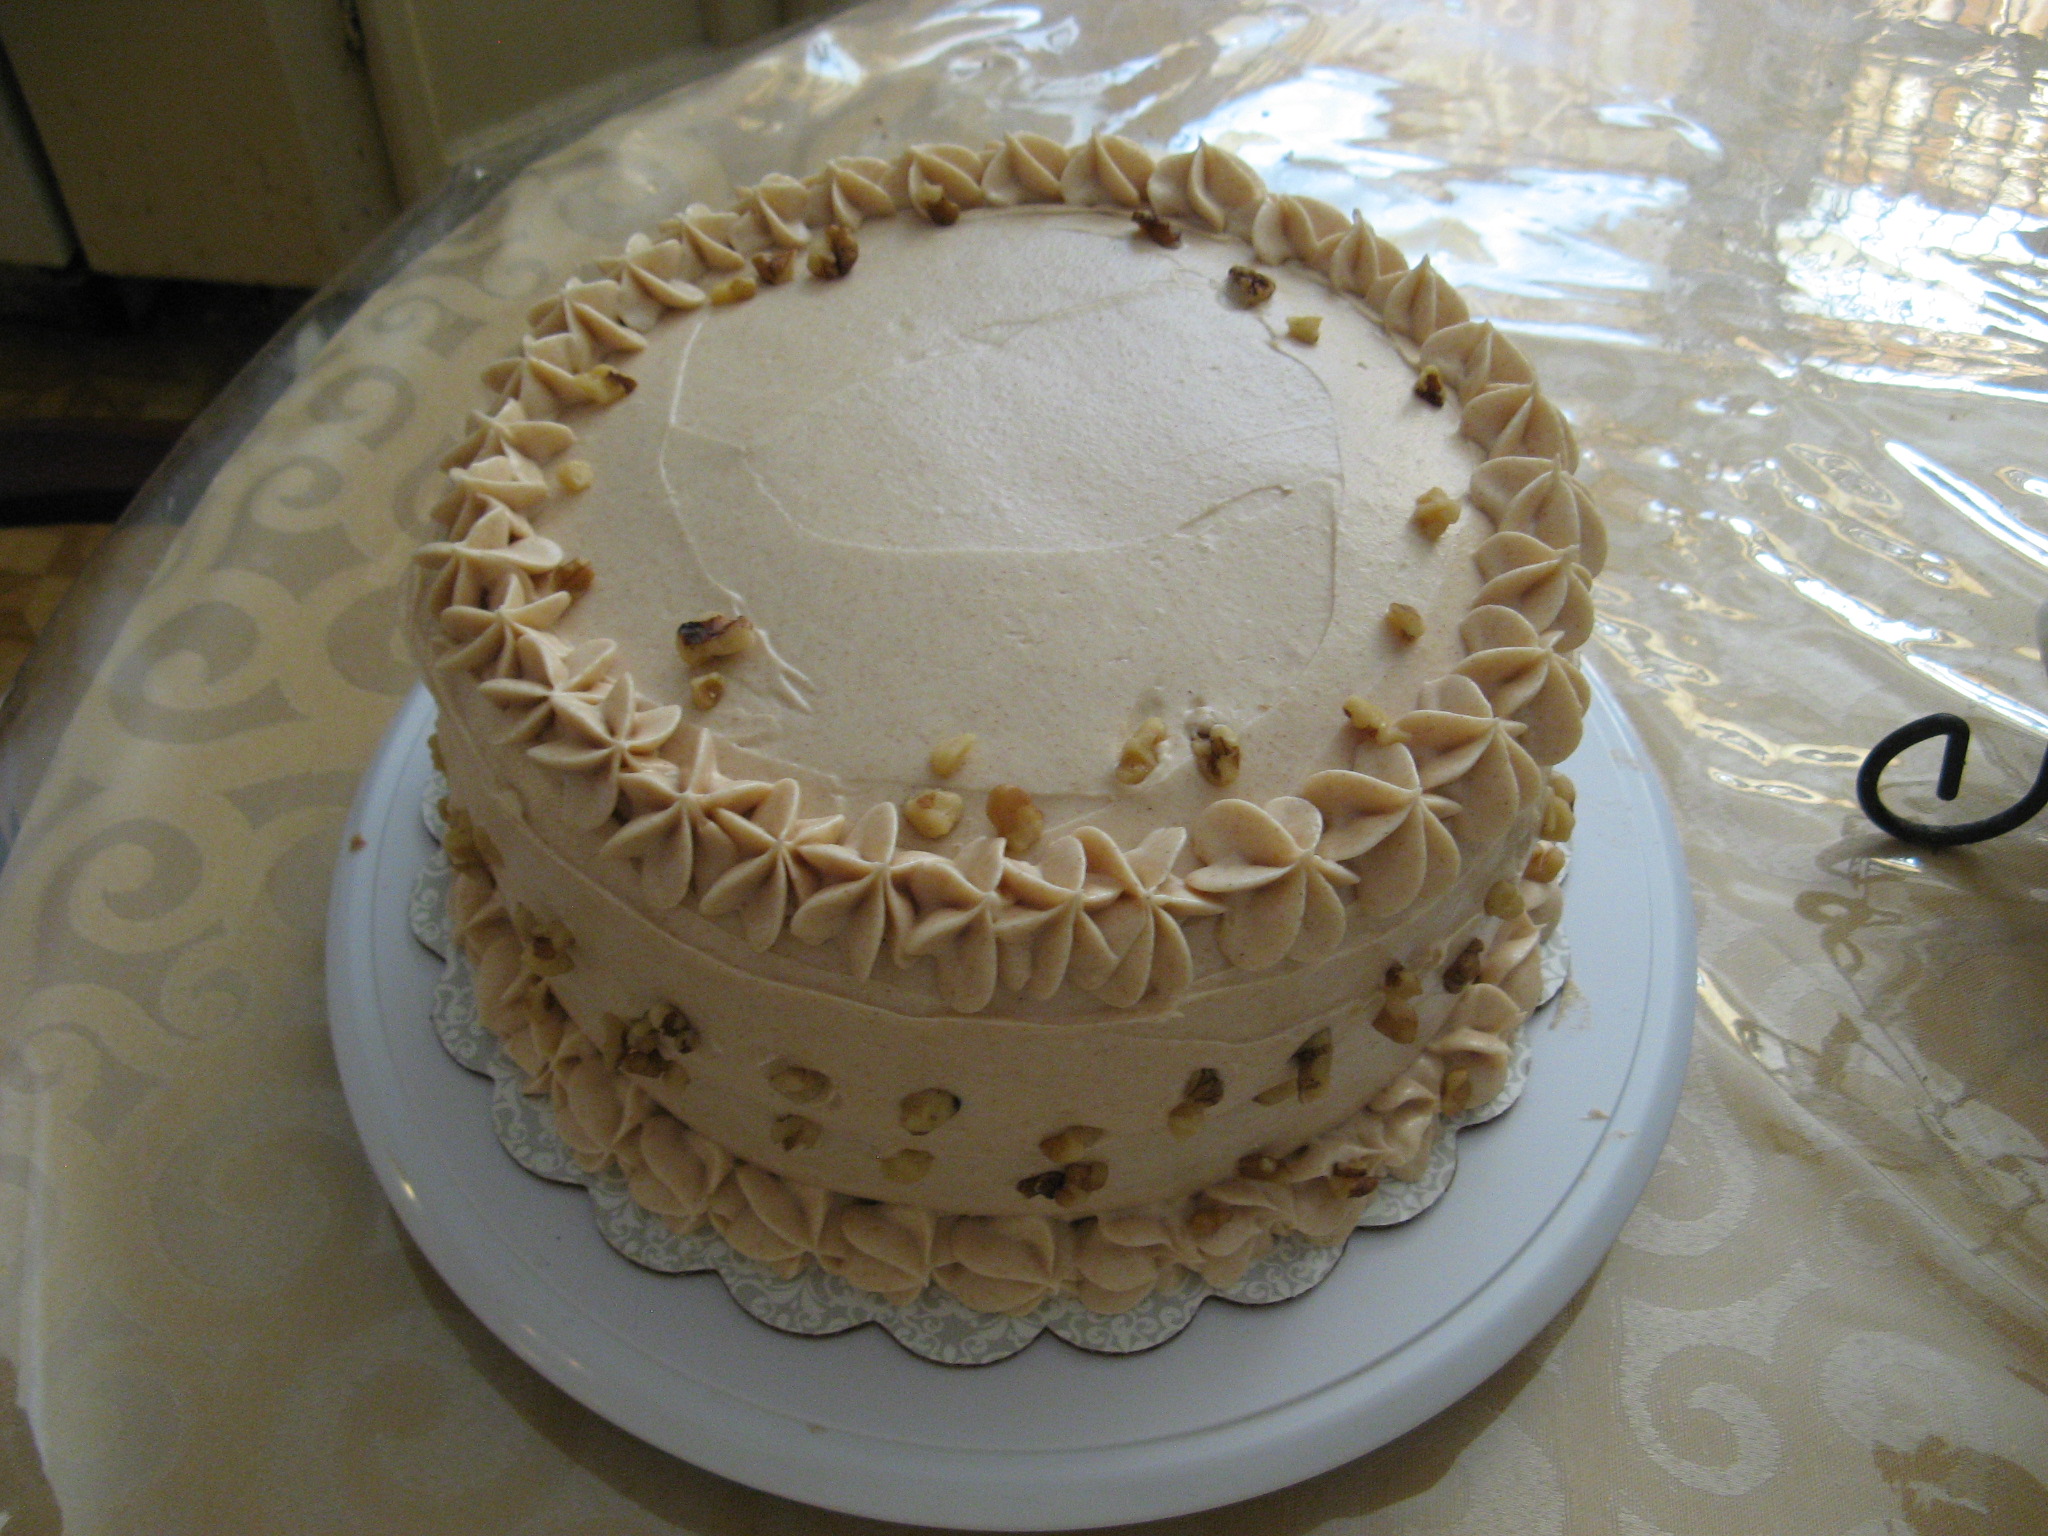
And then I added some decorations and scattered some walnuts along the sides of the cake prior to writing a birthday message on it.
IMG_1343

Final verdict: It was a hit… Definitely something I’ll make again!
Apple Walnut Cake
(Adapted from Gigi’s Carrot Cake)
Ingredients
3 sticks unsalted butter
2 cups granulated sugar
2 cups all-purpose flour
2 teaspoons baking soda
2 teaspoons ground cinnamon
1 teaspoon salt
4 large eggs
1 teaspoon pure vanilla extract
3 cups grated apples (I used Granny Smith apples)
1 cup chopped walnuts
Directions
Preheat the oven to 350 degrees F.
Spray 3 (9-inch) cake pans with baking spray and set aside. In a large bowl, cream the butter with an electric mixer. Add the sugar, and beat. In a medium bowl combine the flour, baking soda, cinnamon, and salt and mix well.
Add the dry ingredients, alternating with the eggs, beating well after each addition. Add the vanilla extract and mix. Add the apples and beat on medium speed until well incorporated, about 2 minutes. Fold in the walnuts. Divide the batter between the 3 cake pans and bake until set and a cake tester inserted into the middle comes out clean, 25 to 30 minutes. Remove from the oven and let rest in the cake pans for 10 minutes. Invert onto wire racks, remove from the pans, and let cool.
Cinnamon Cream Cheese Frosting
Ingredients
2 8-oz packages cream cheese, softened
1 stick butter, softened
2 cups sifted confectioners’ sugar
1 teaspoon vanilla extract
1 teaspoon ground cinnamon
Directions
In a medium bowl cream together the cream cheese and butter until creamy. Add in the vanilla extract and then gradually add in the confectioners sugar. And finally mix in the ground cinnamon.

Peach Streusel Cake

I tend to rip recipes out of magazines and file them away for quite some time before actually trying them. I recently made a turkey meatloaf following a recipe from a 2008 issue of a magazine. I wish I had made it sooner… It was quite good. So, when I was looking to make a cake to give as an anniversary treat for a friends’ parents I turned to a Peach Streusel Cake recipe that I had ripped out from a 2011 issue of Food & Wine magazine.

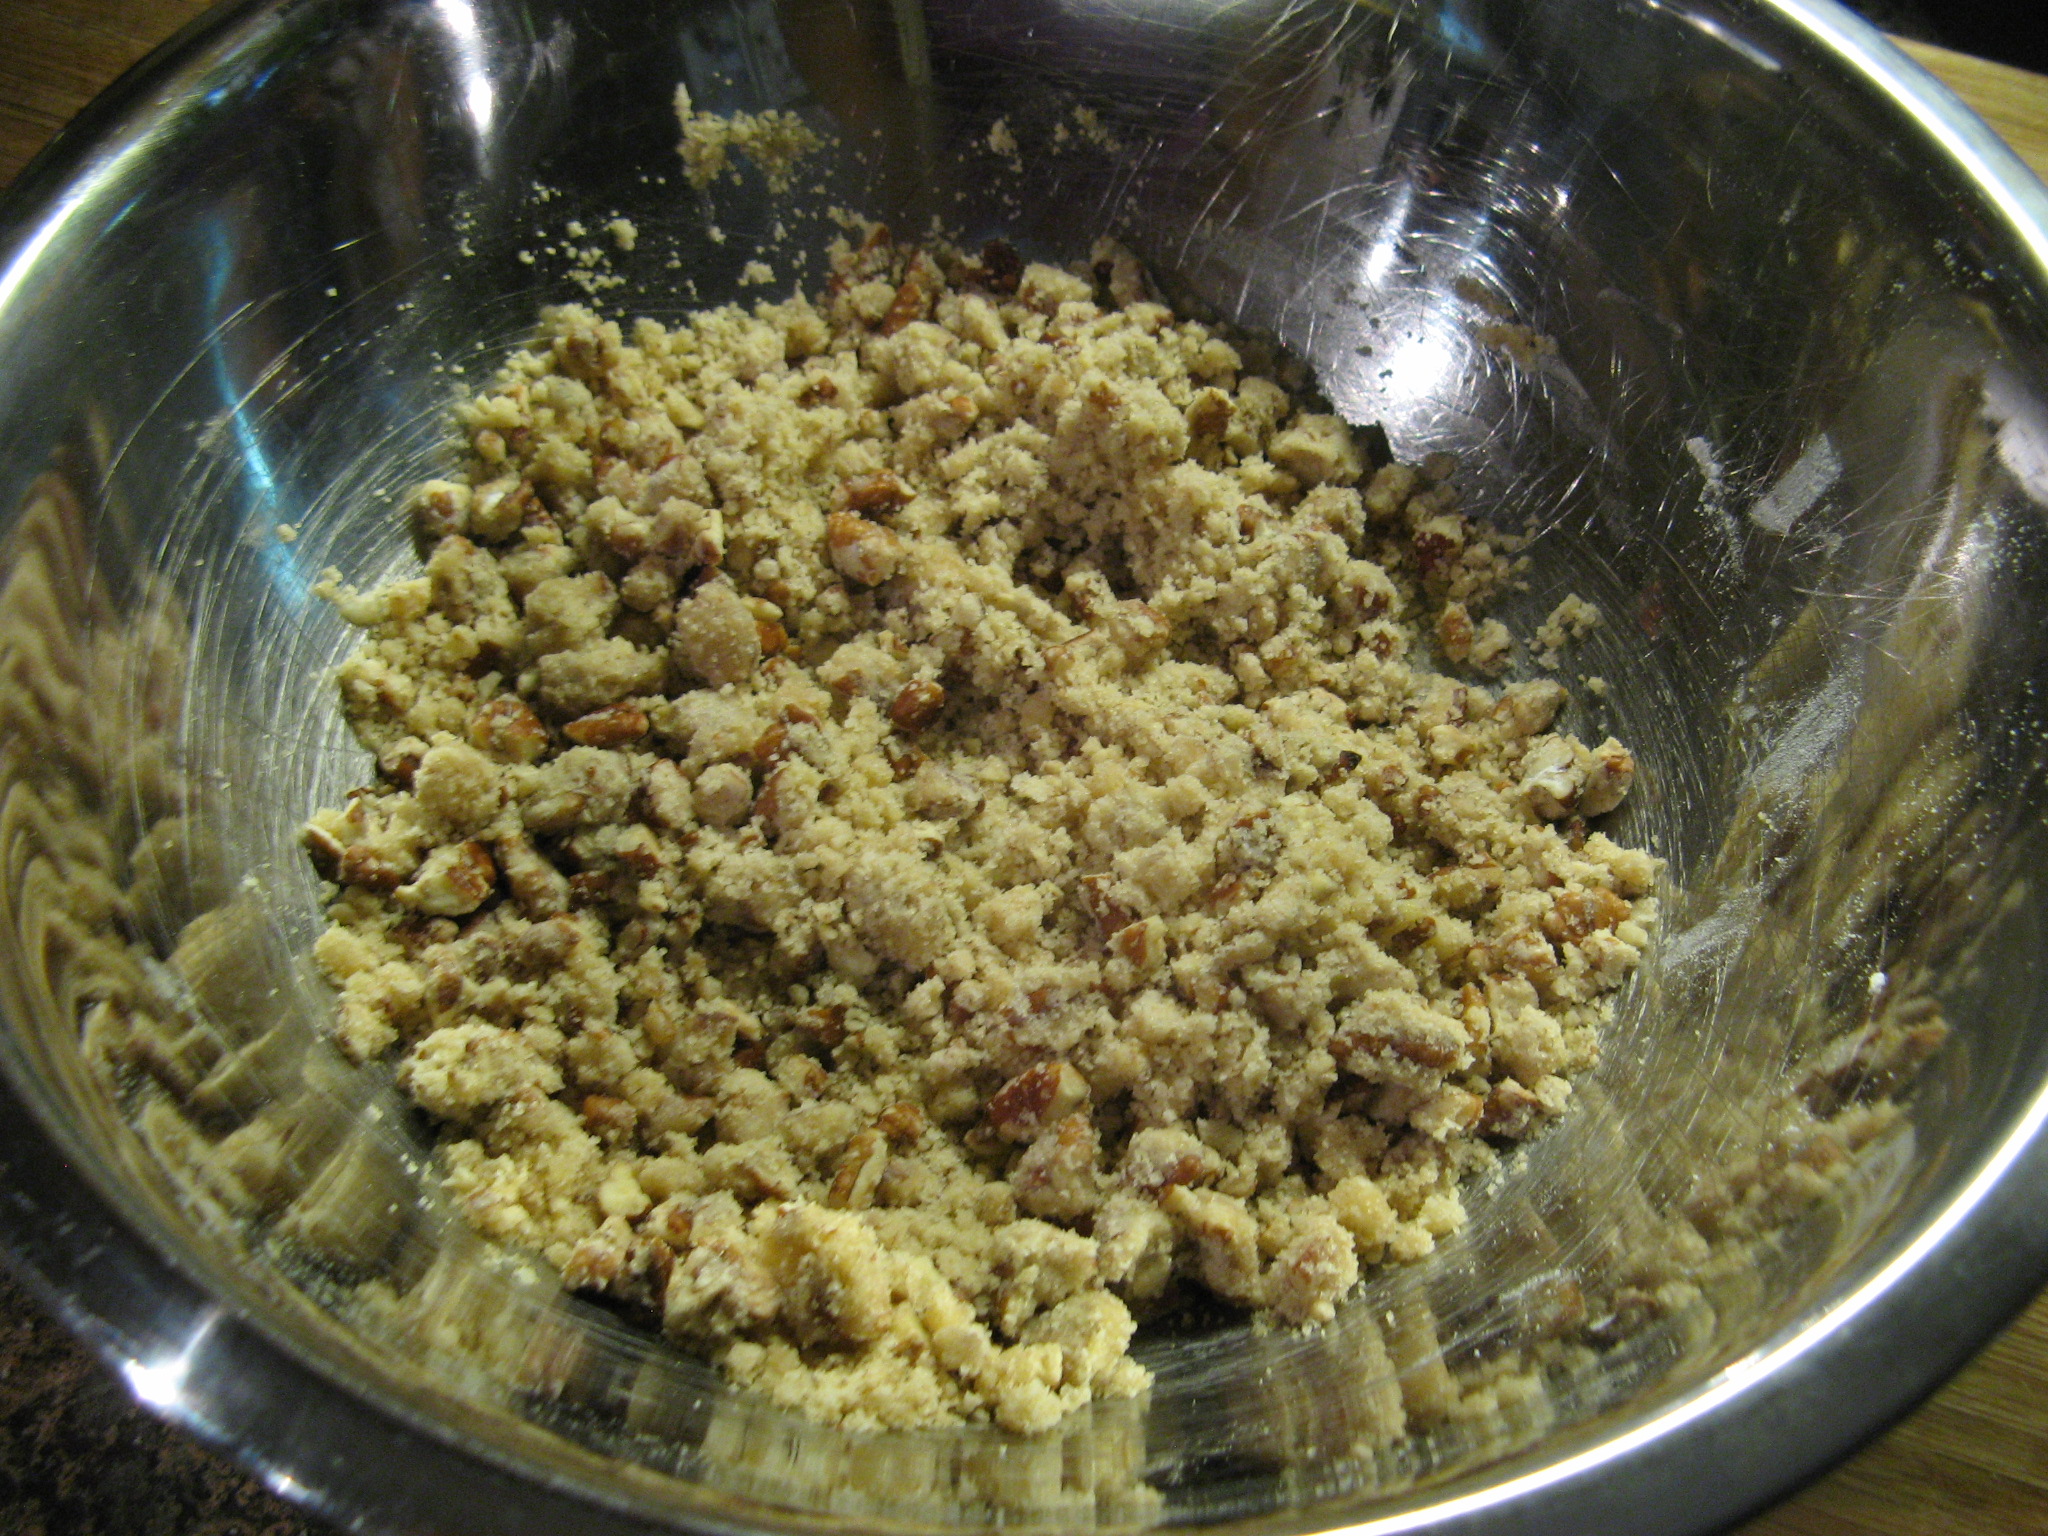
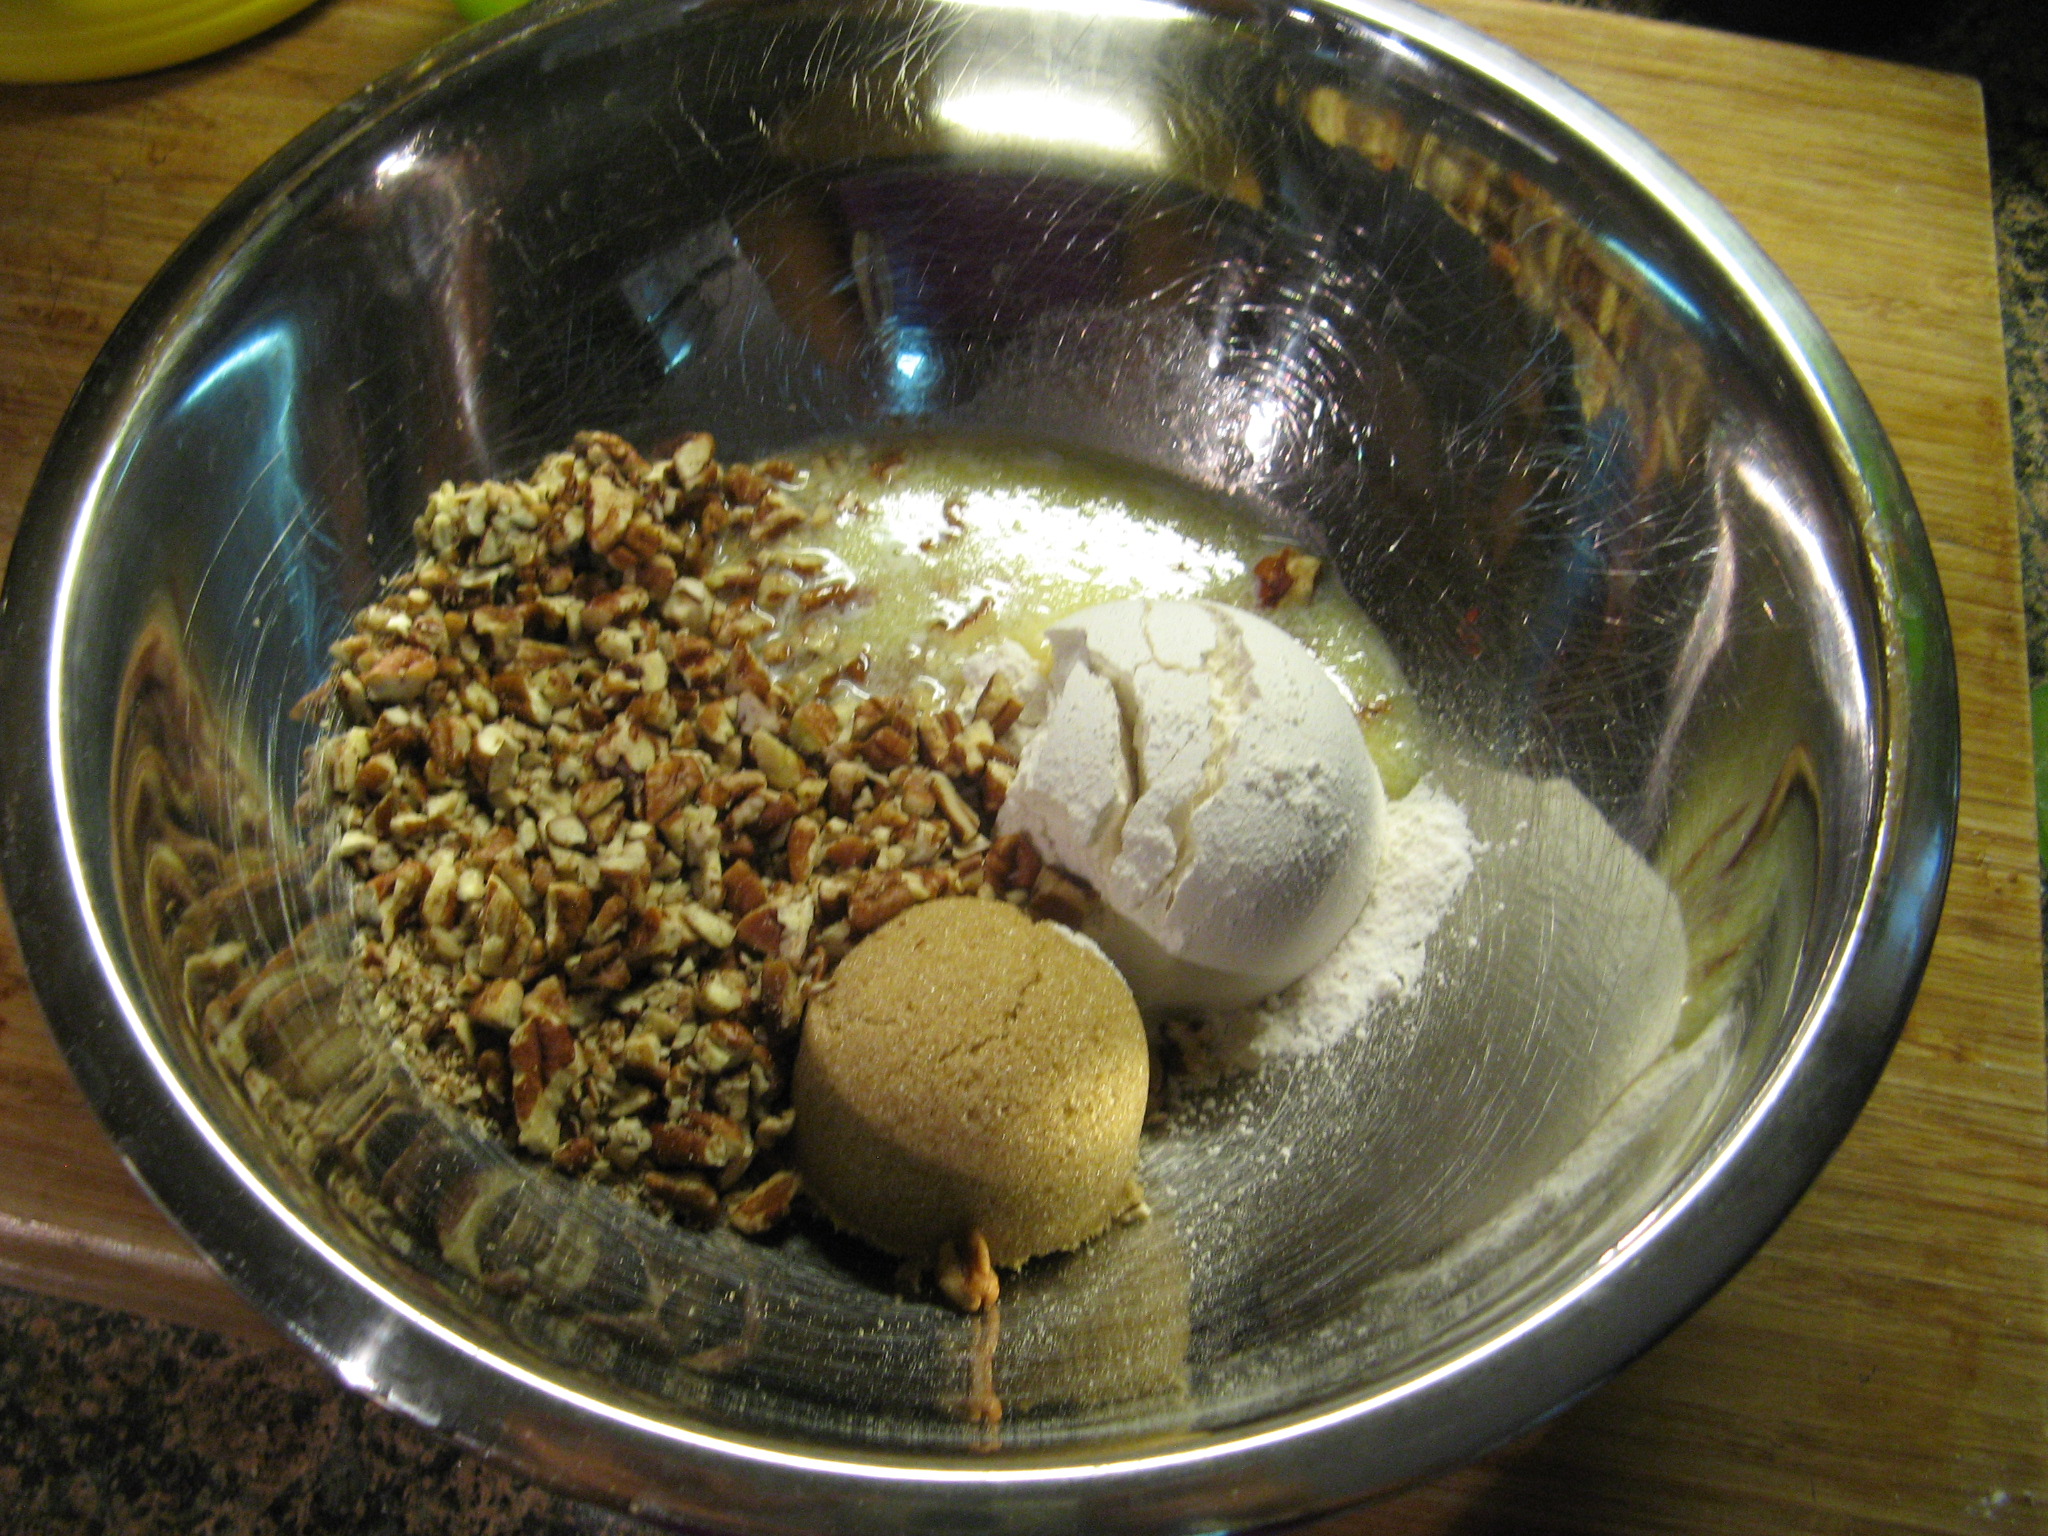
I started the cake by making the streusel. I combined flour, light brown sugar, salt, butter and pecans in a bowl…

IMG_1256

And mixed it together with my fingers to form small clumps with the mixture and then set it aside.

IMG_1258

Next up I whisked together flour, baking powder, baking soda and salt in a bowl and set this aside as well.

IMG_1255

In a separate bowl I began making the batter for the cake by beating together butter and sugar.

IMG_1259

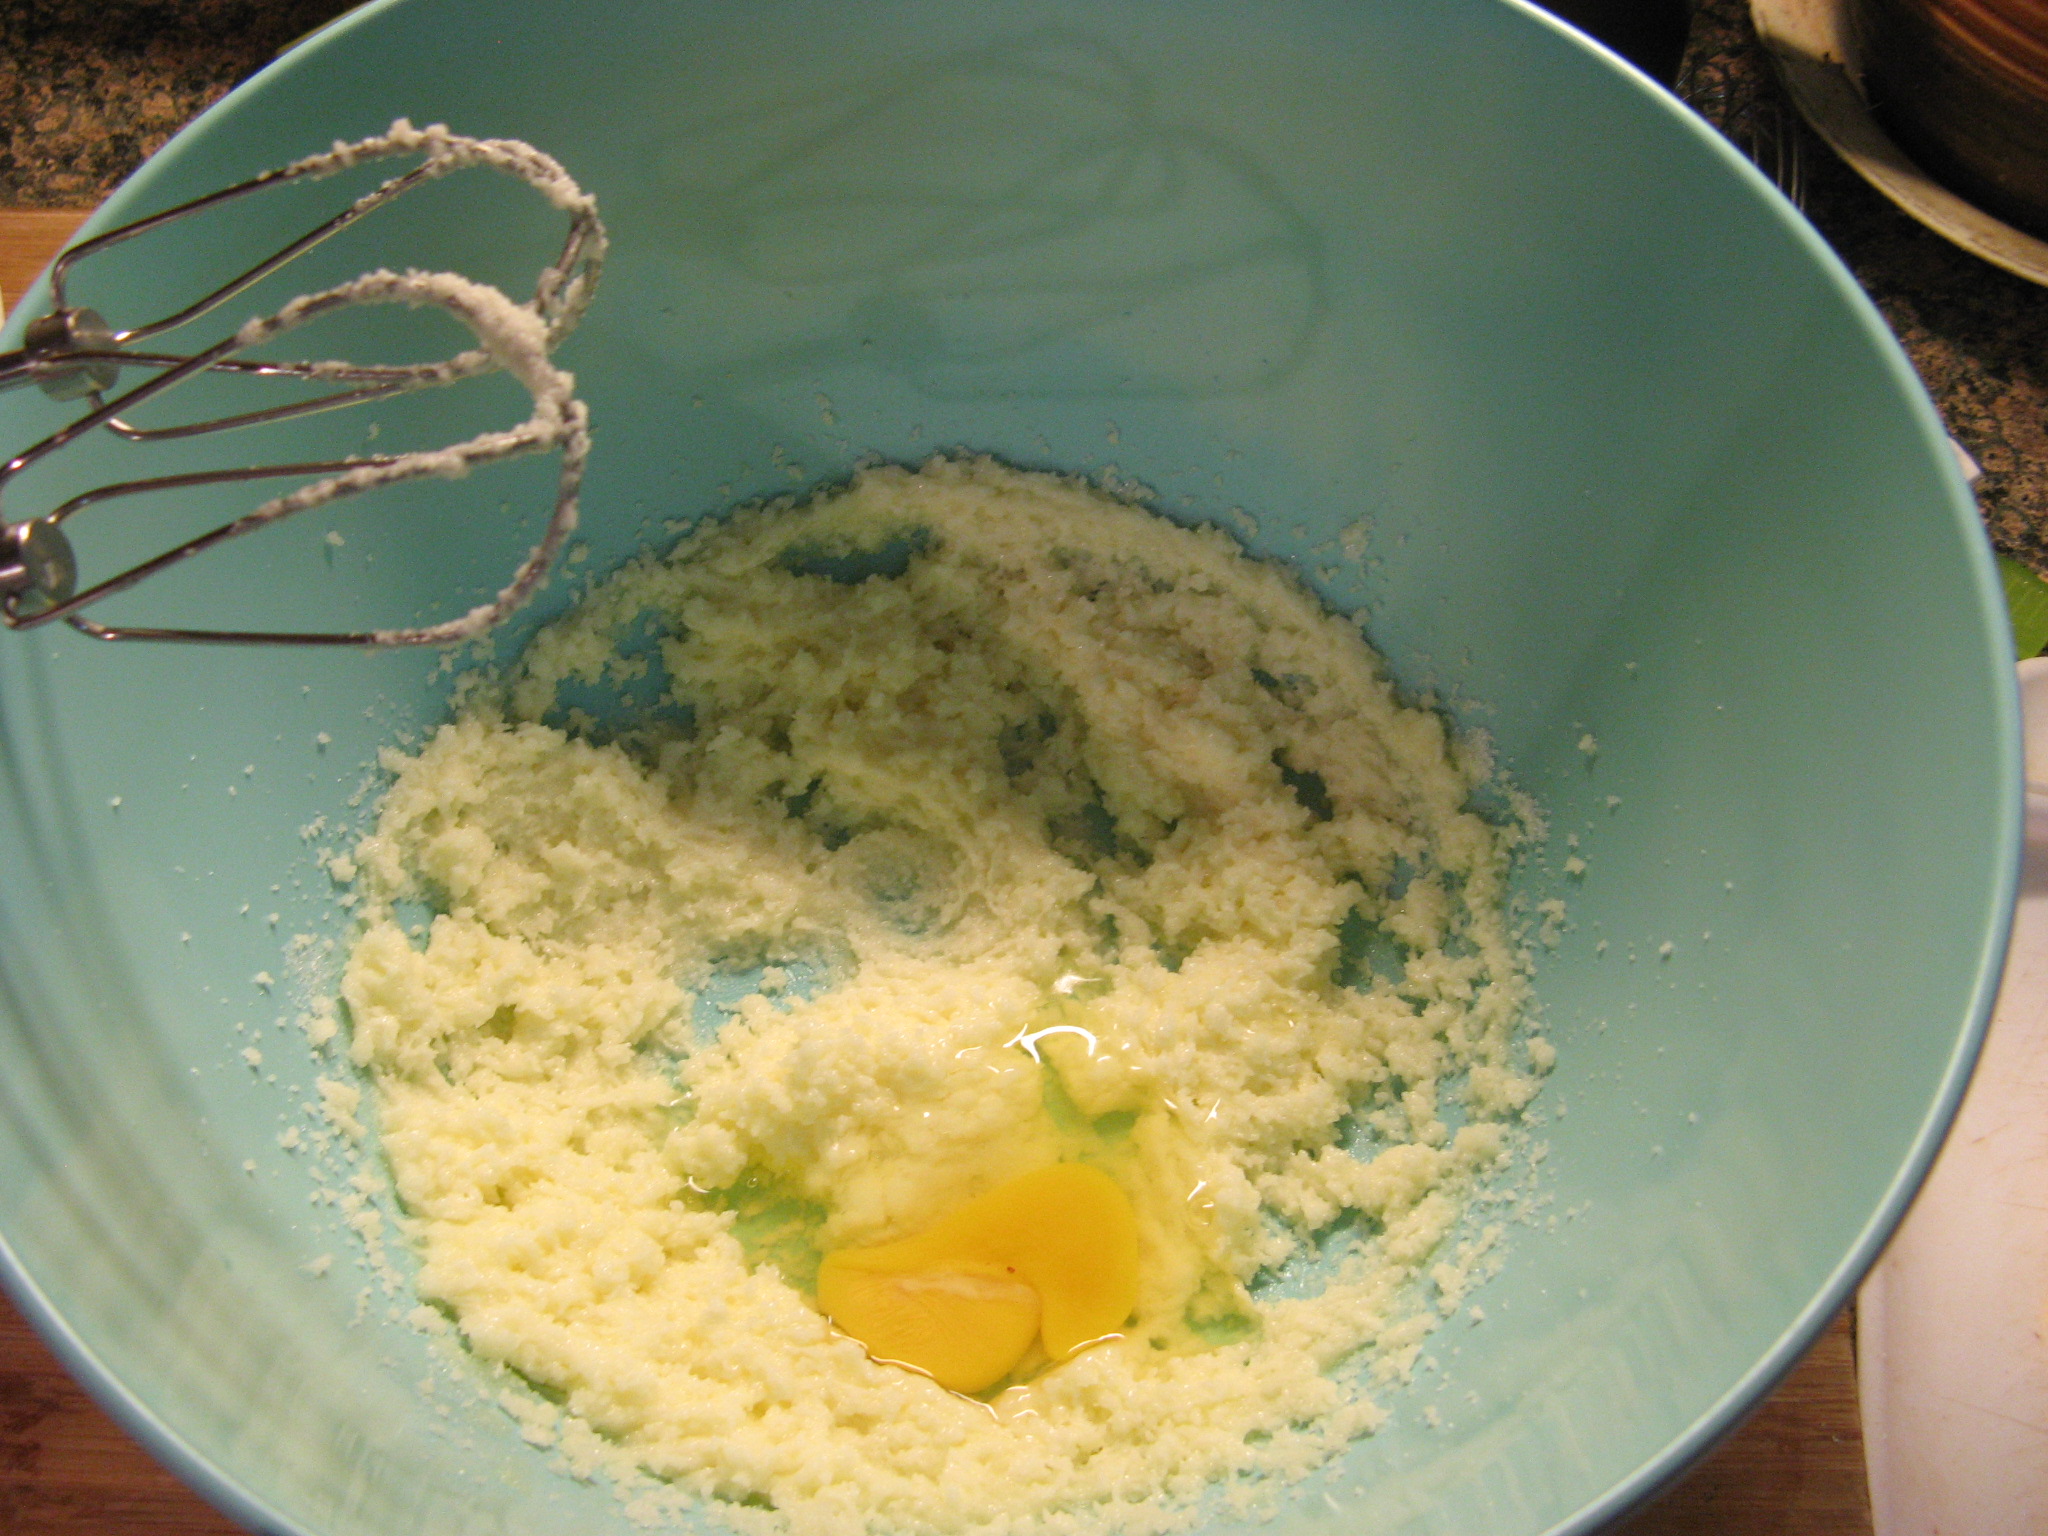
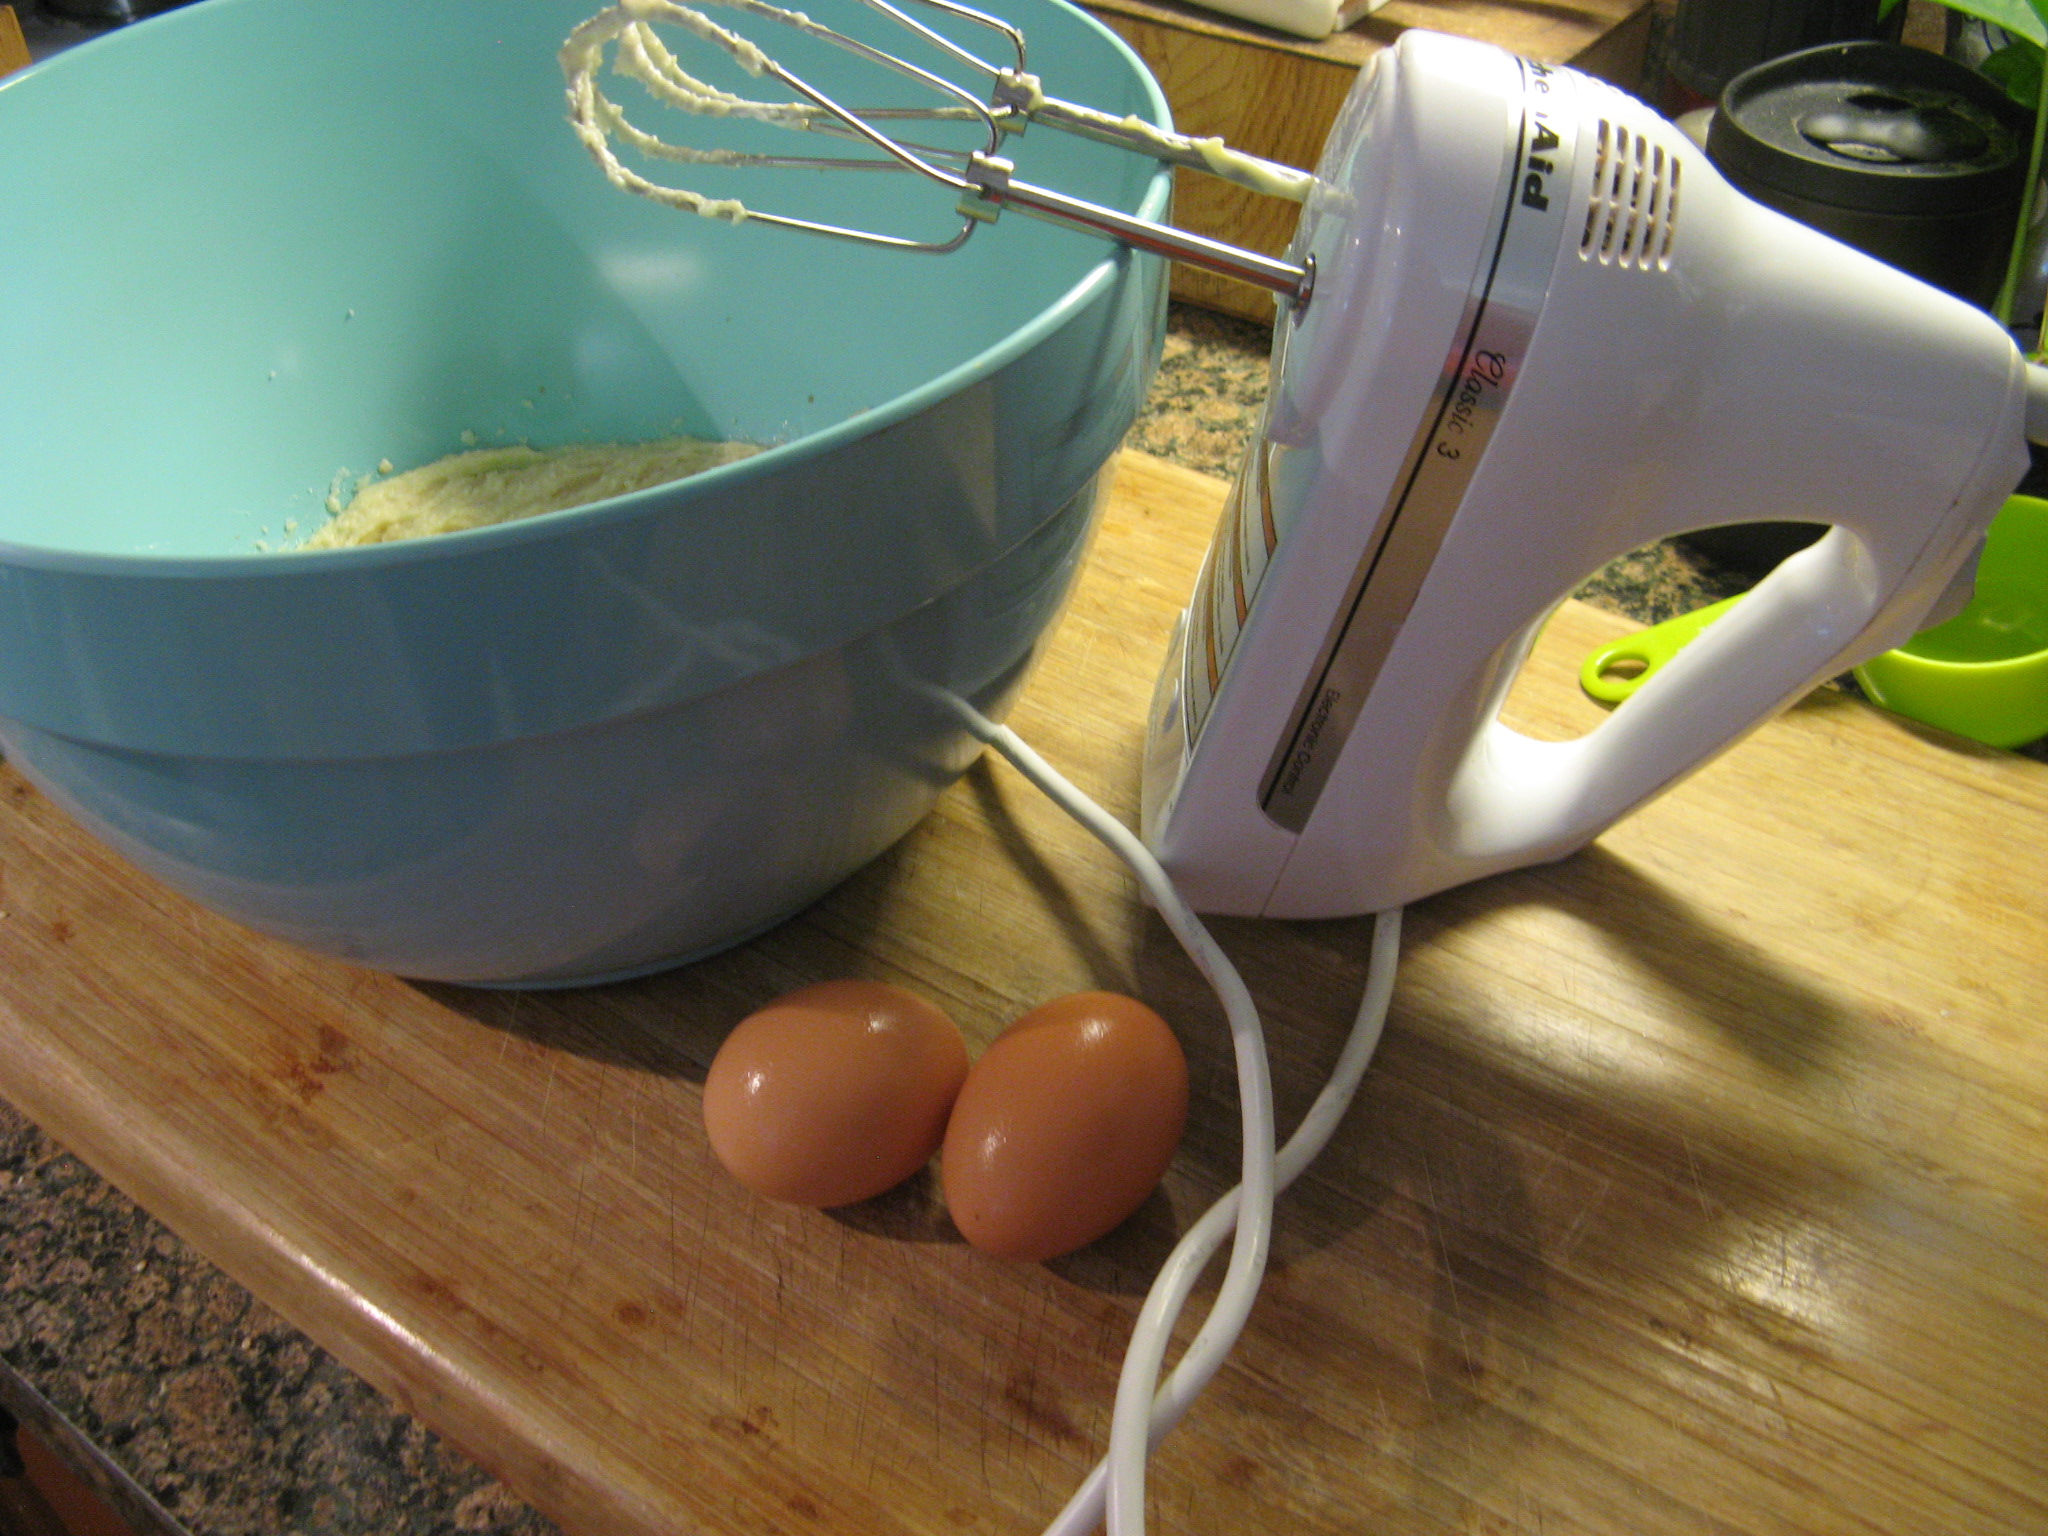
I then added in two eggs one at a time.

IMG_1264

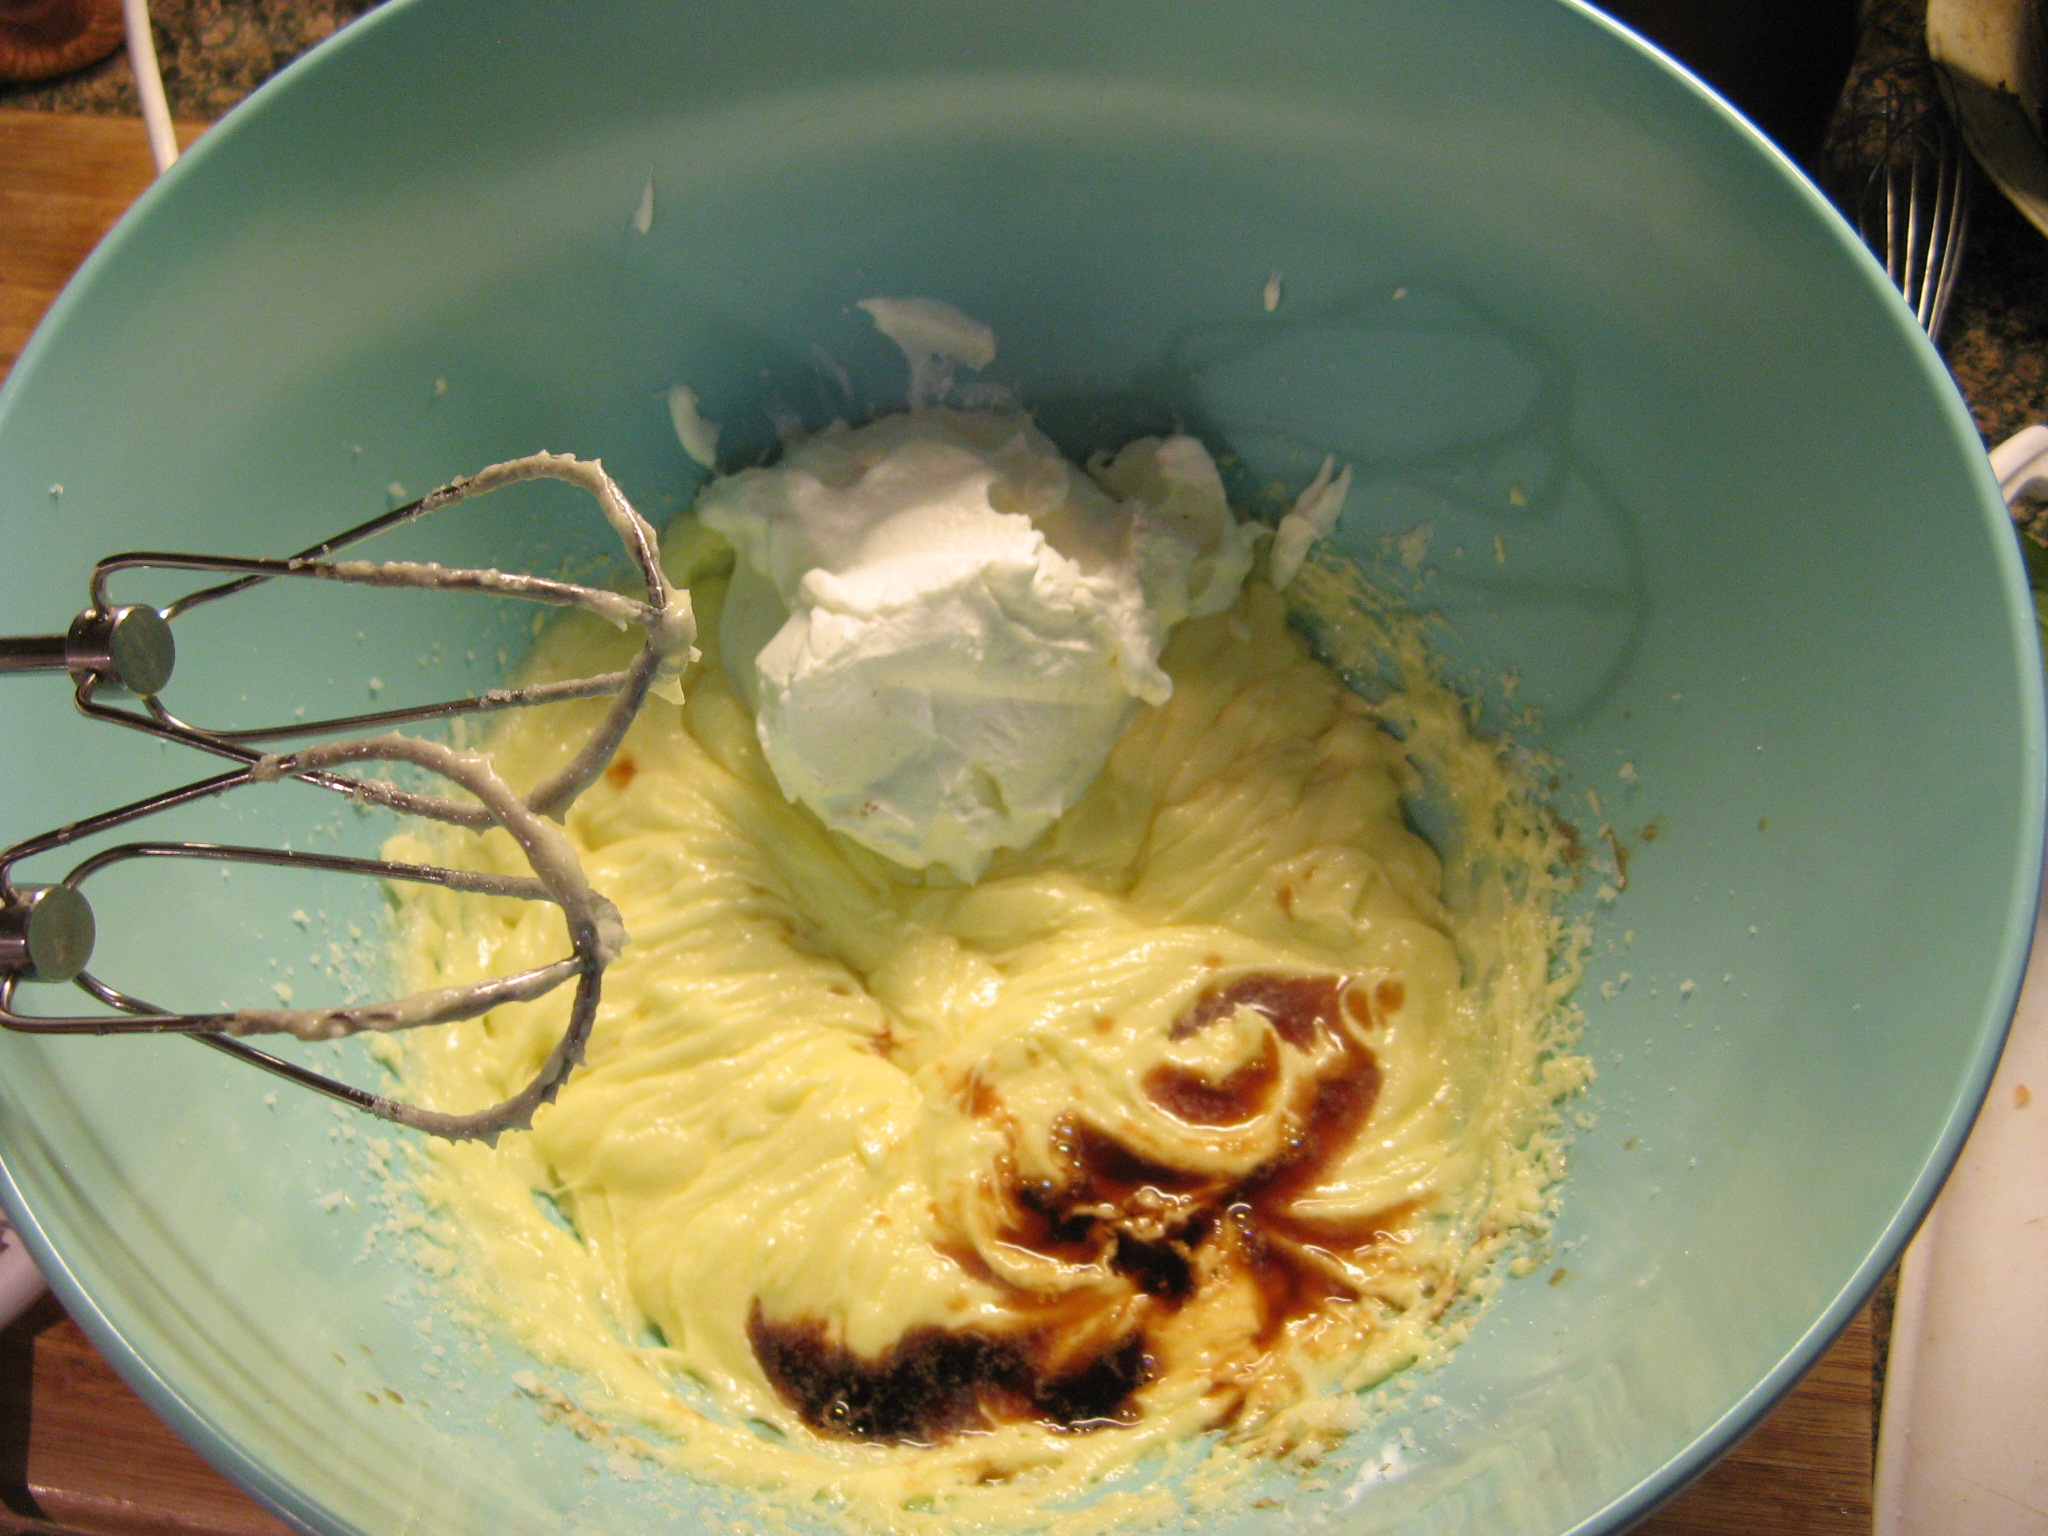
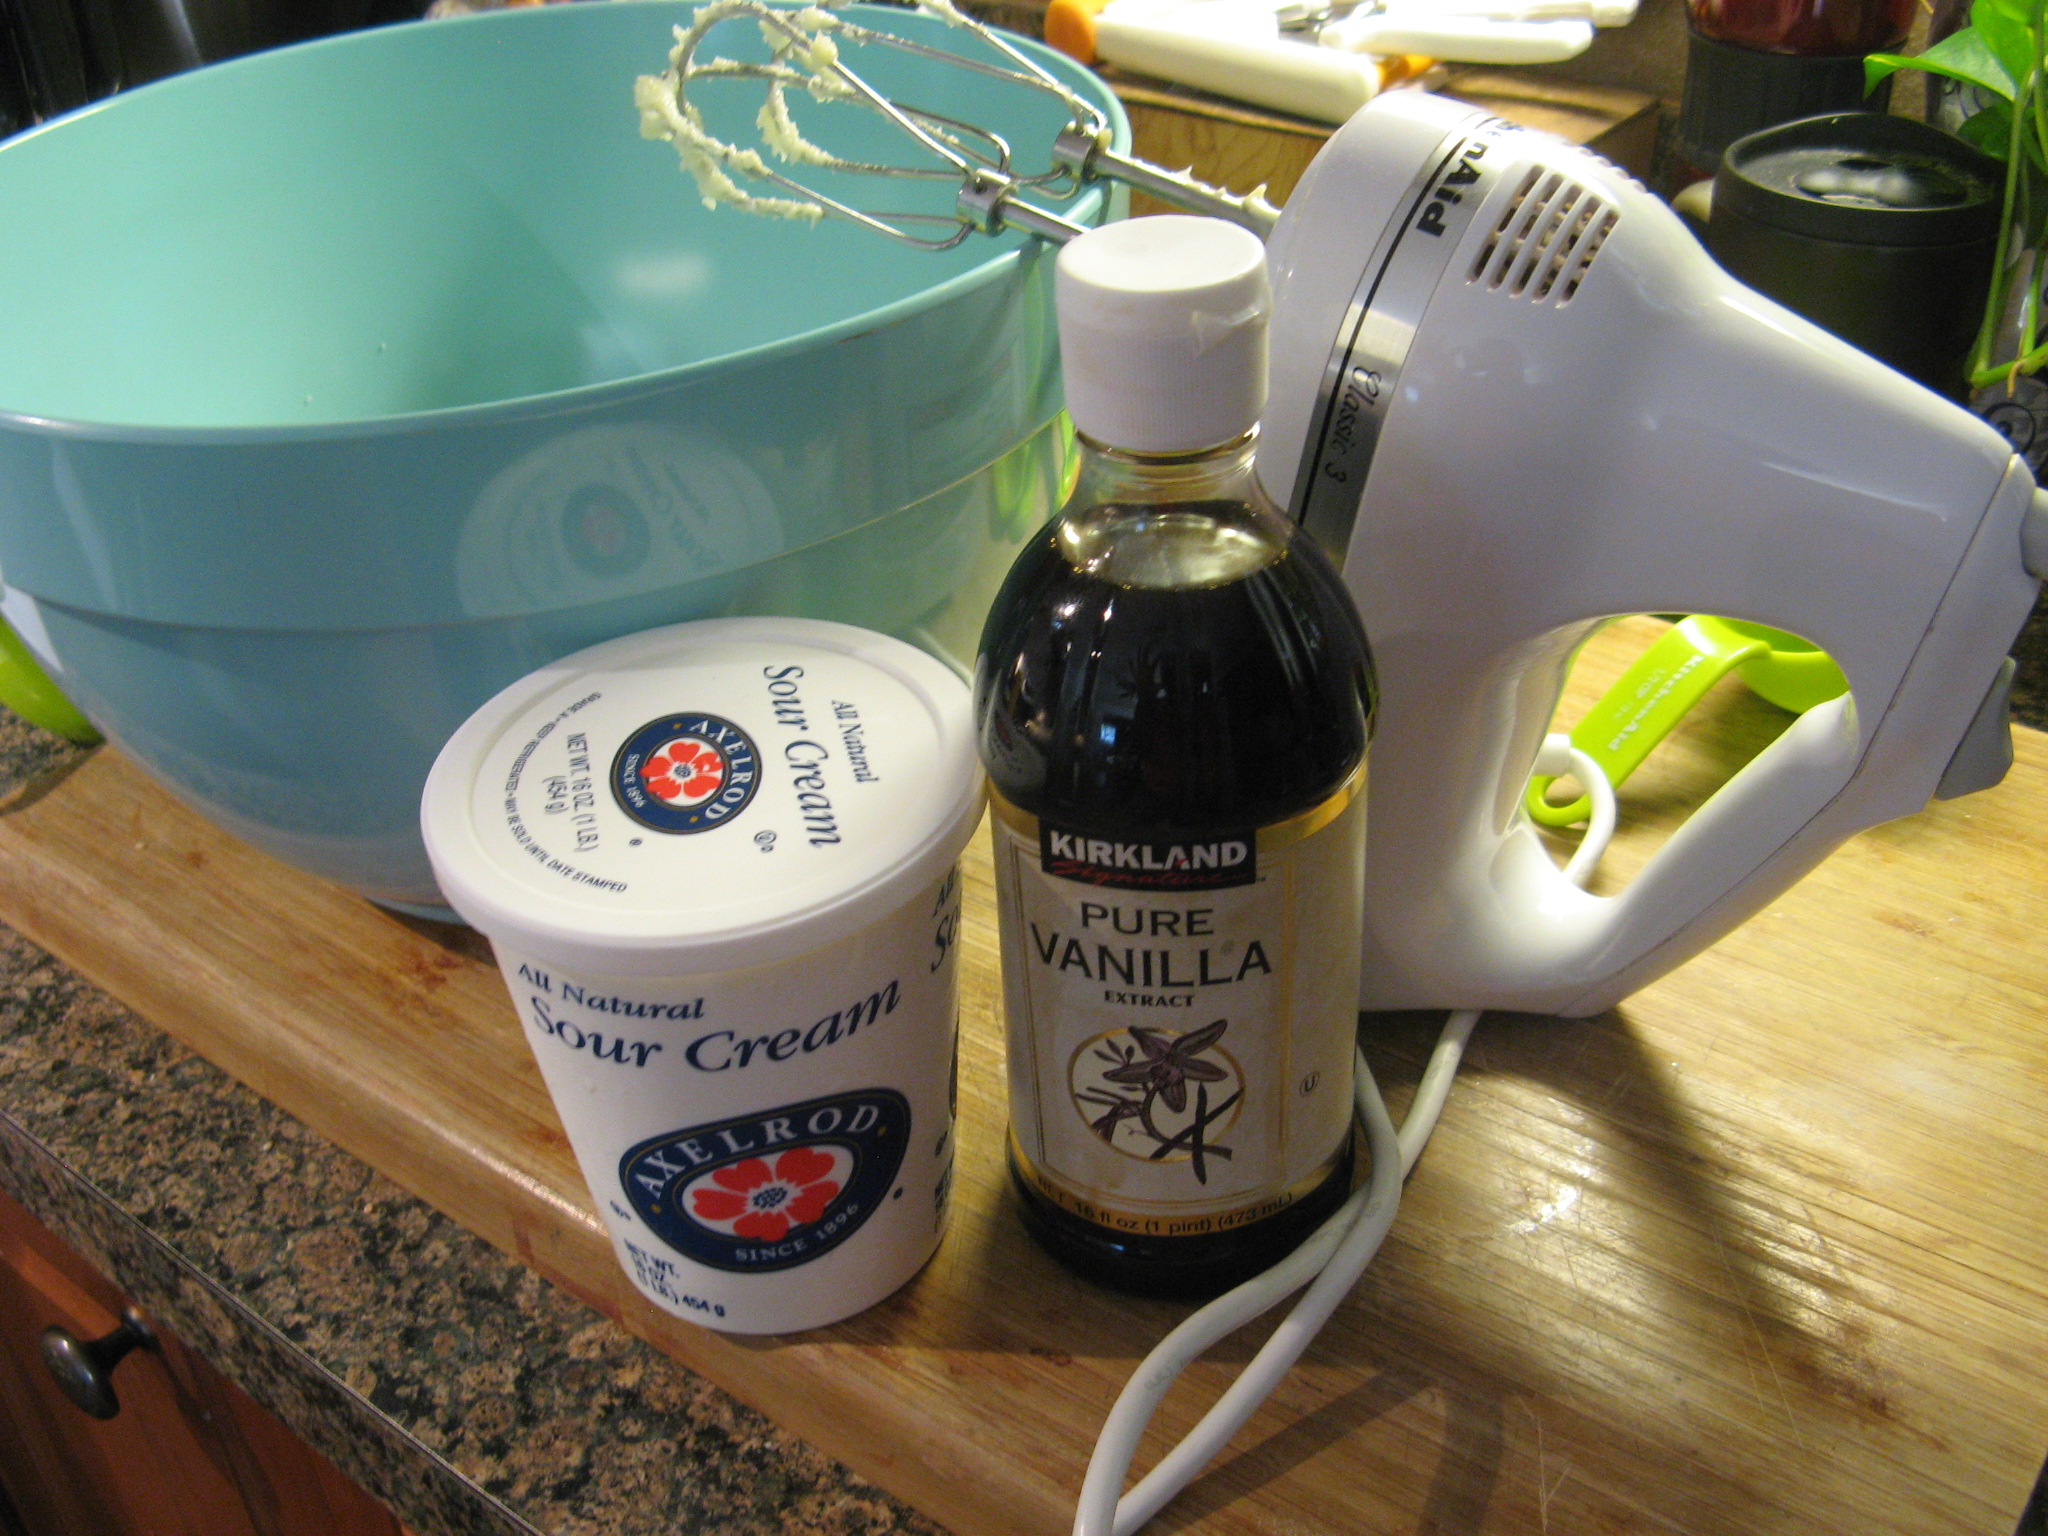
And then sour cream and vanilla extract.

IMG_1266

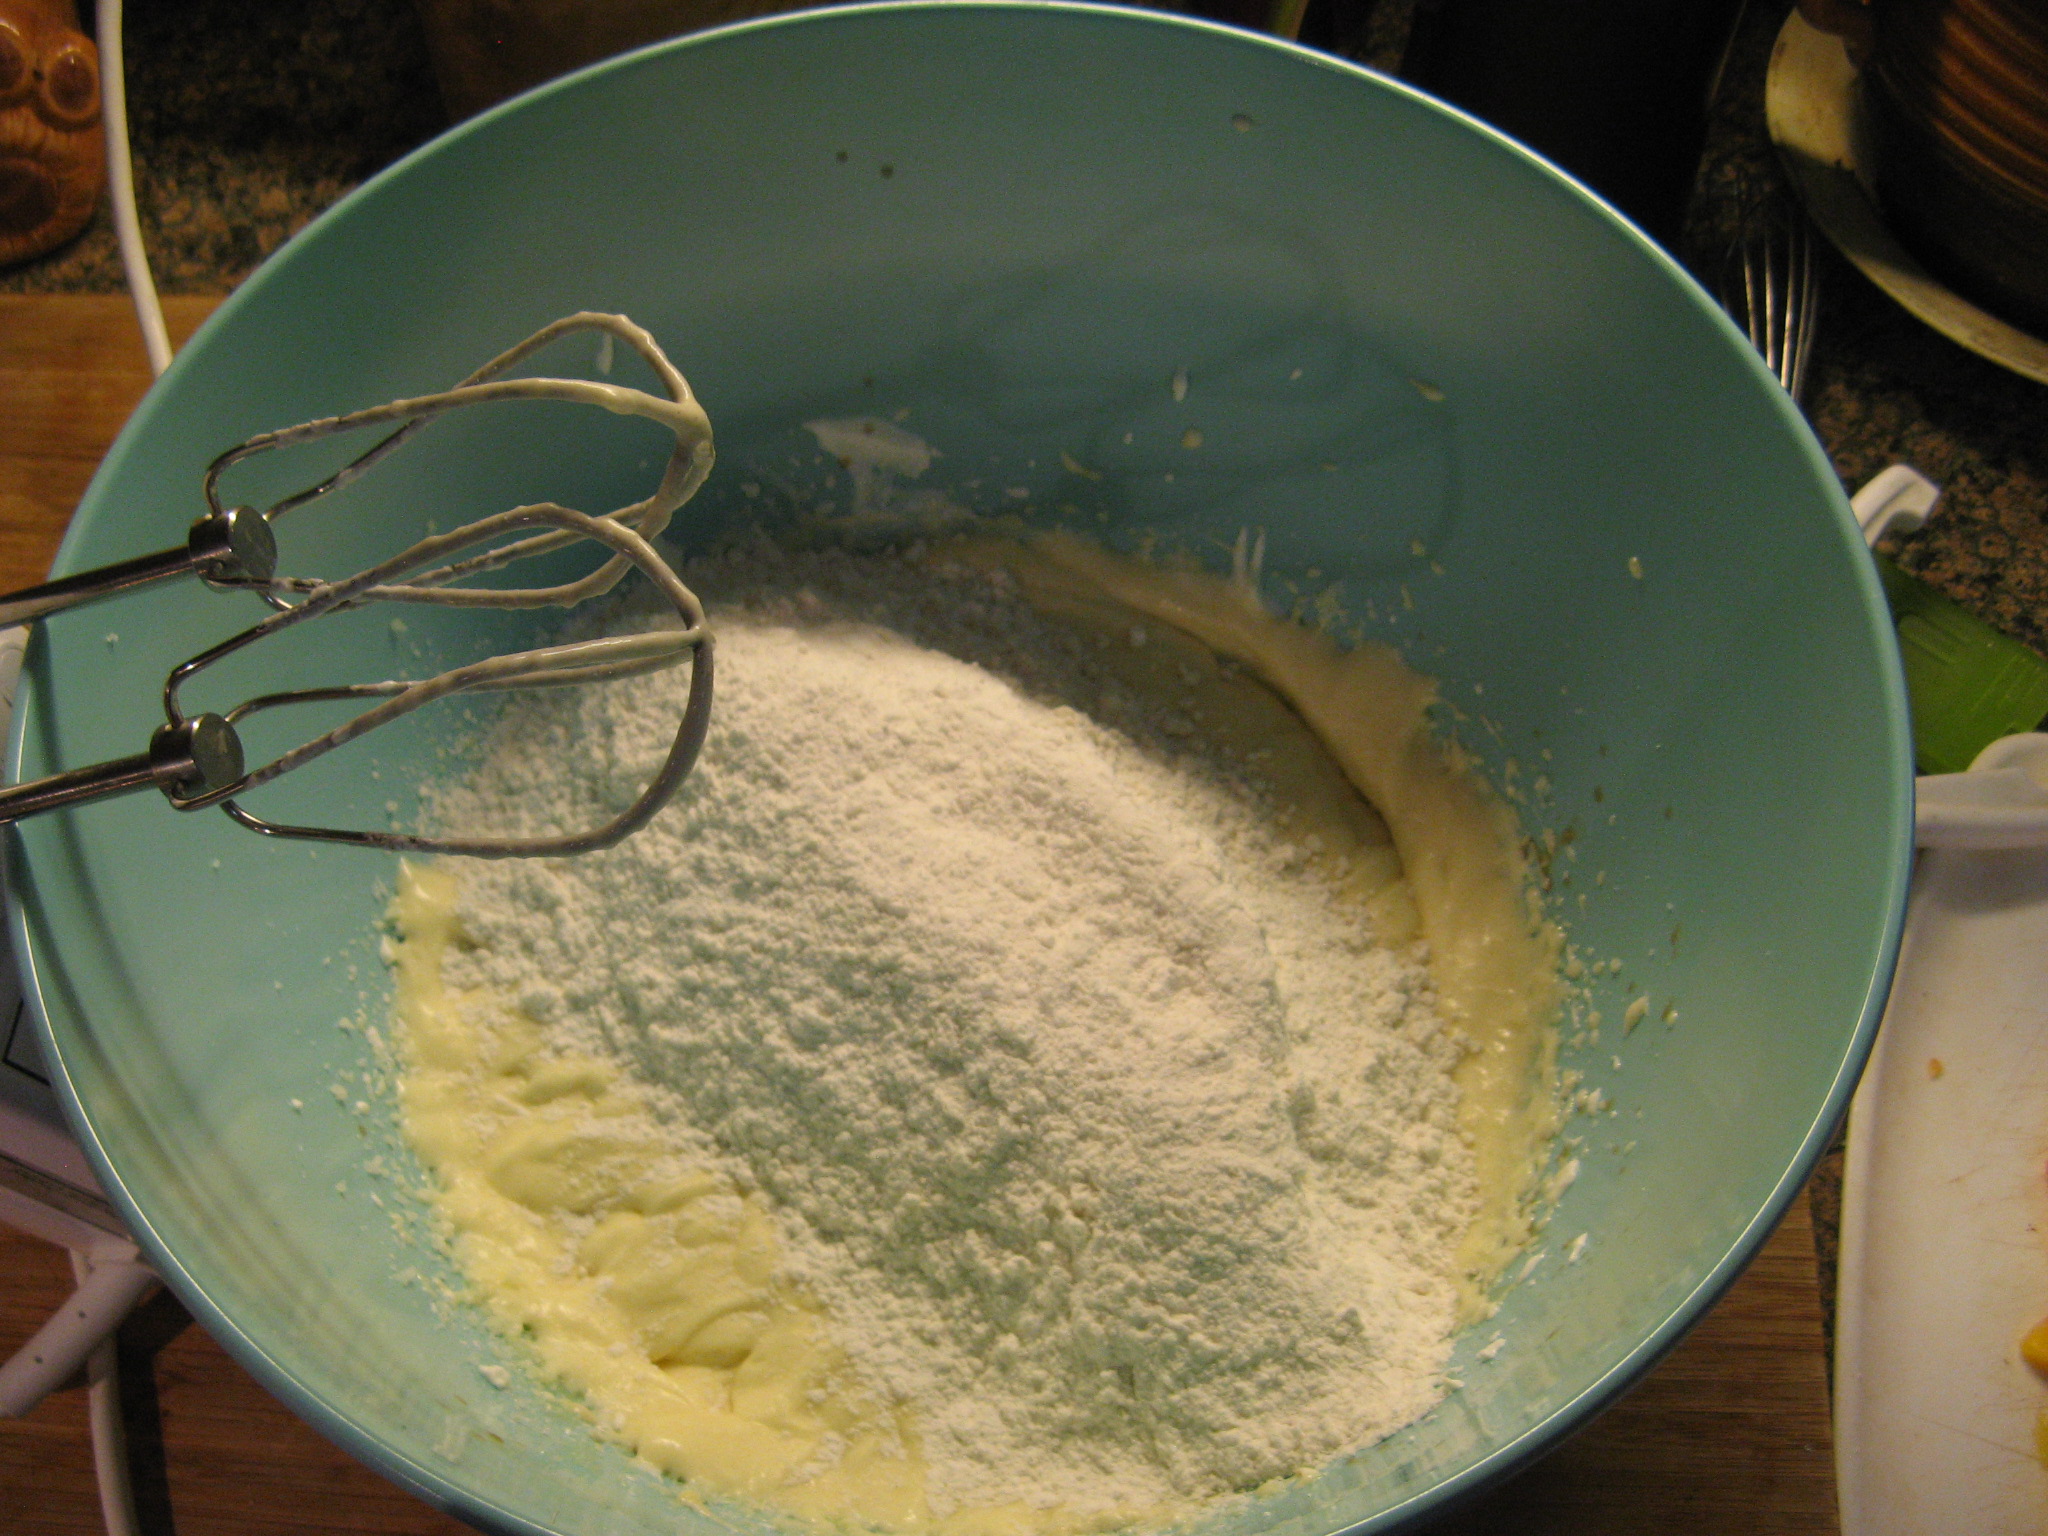
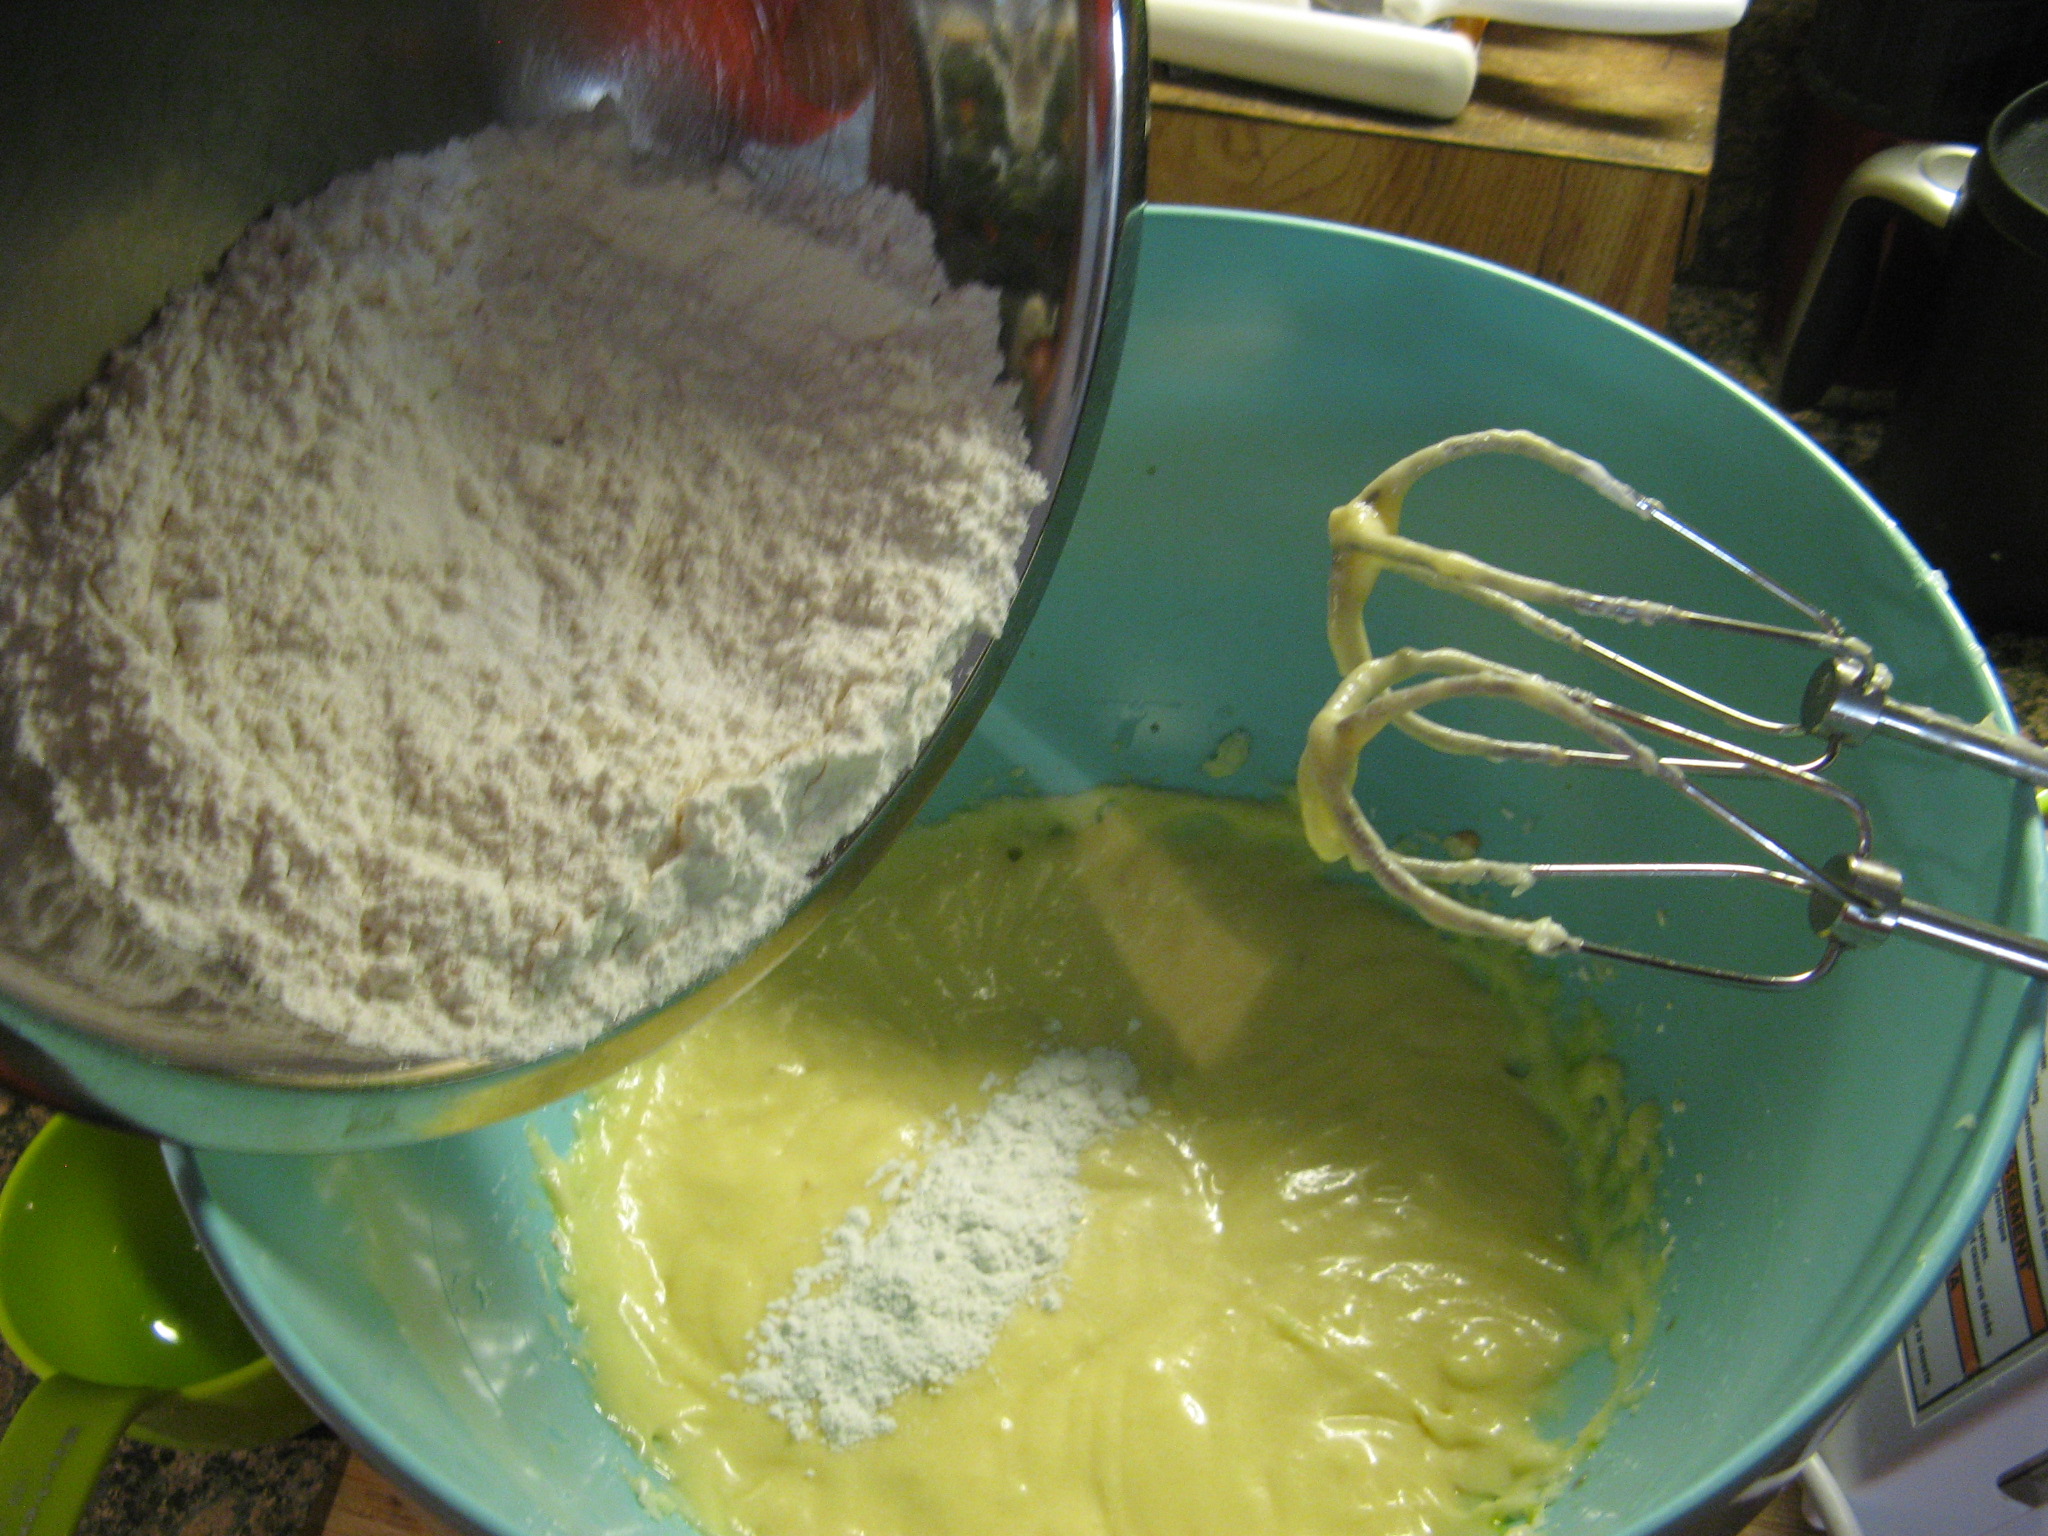
Once all of the wet ingredients were combined well I added in the dry ingredients.

IMG_1268

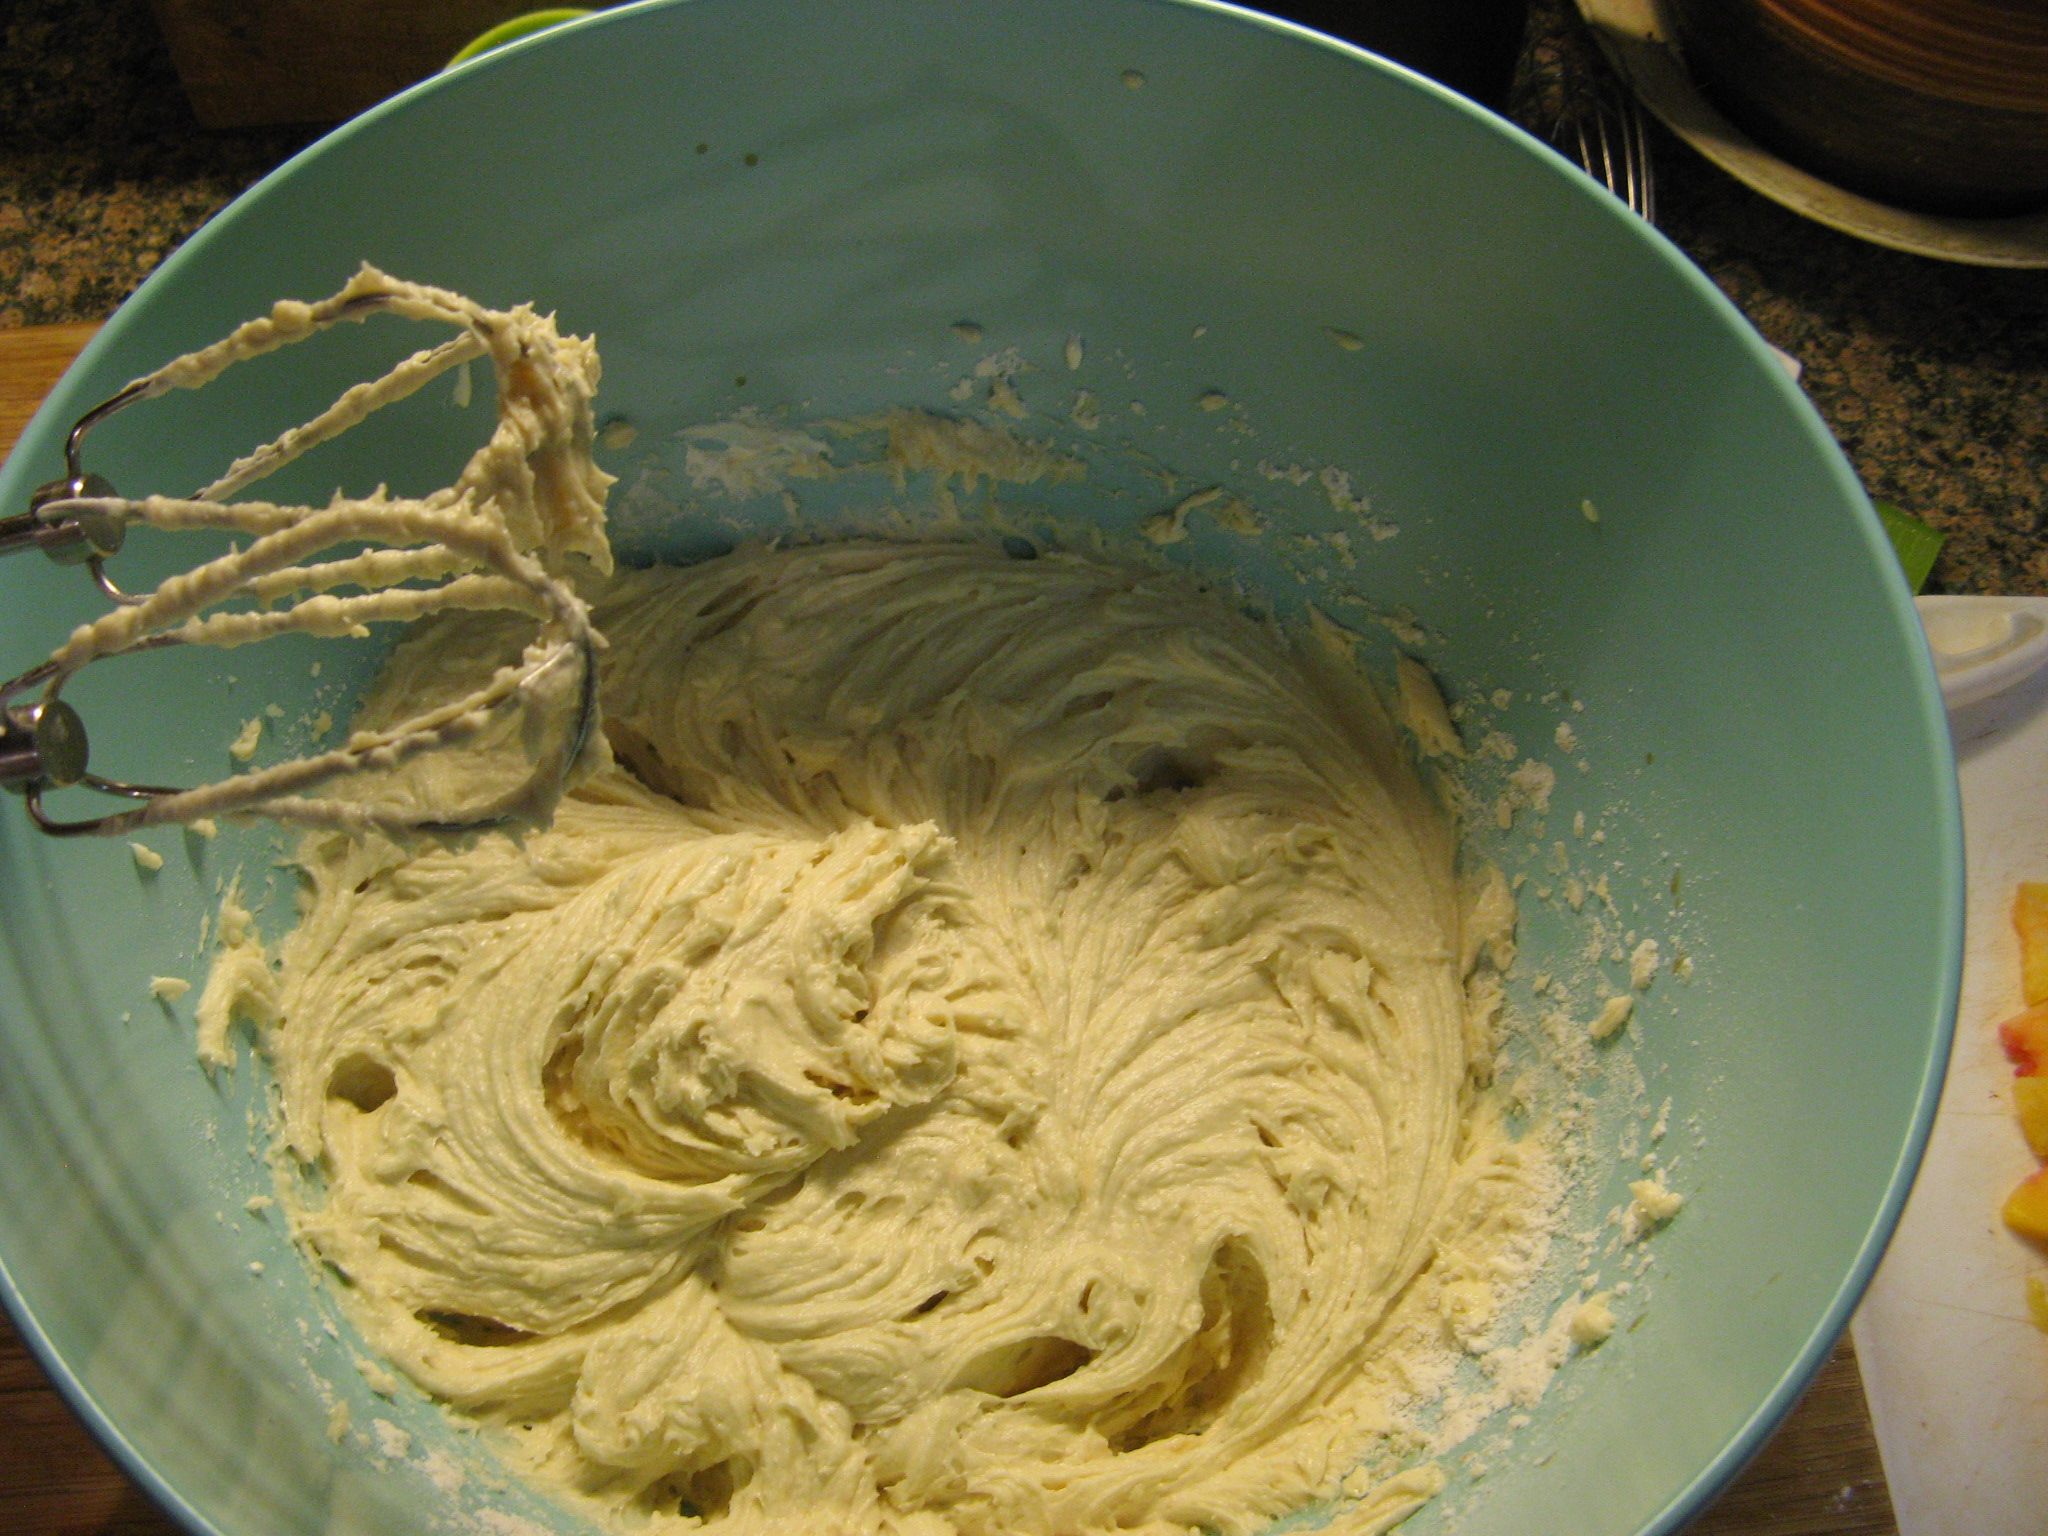
Once the wet and dry ingredients were mixed together it was time to pour it into my prepared pan.

IMG_1269 IMG_1270

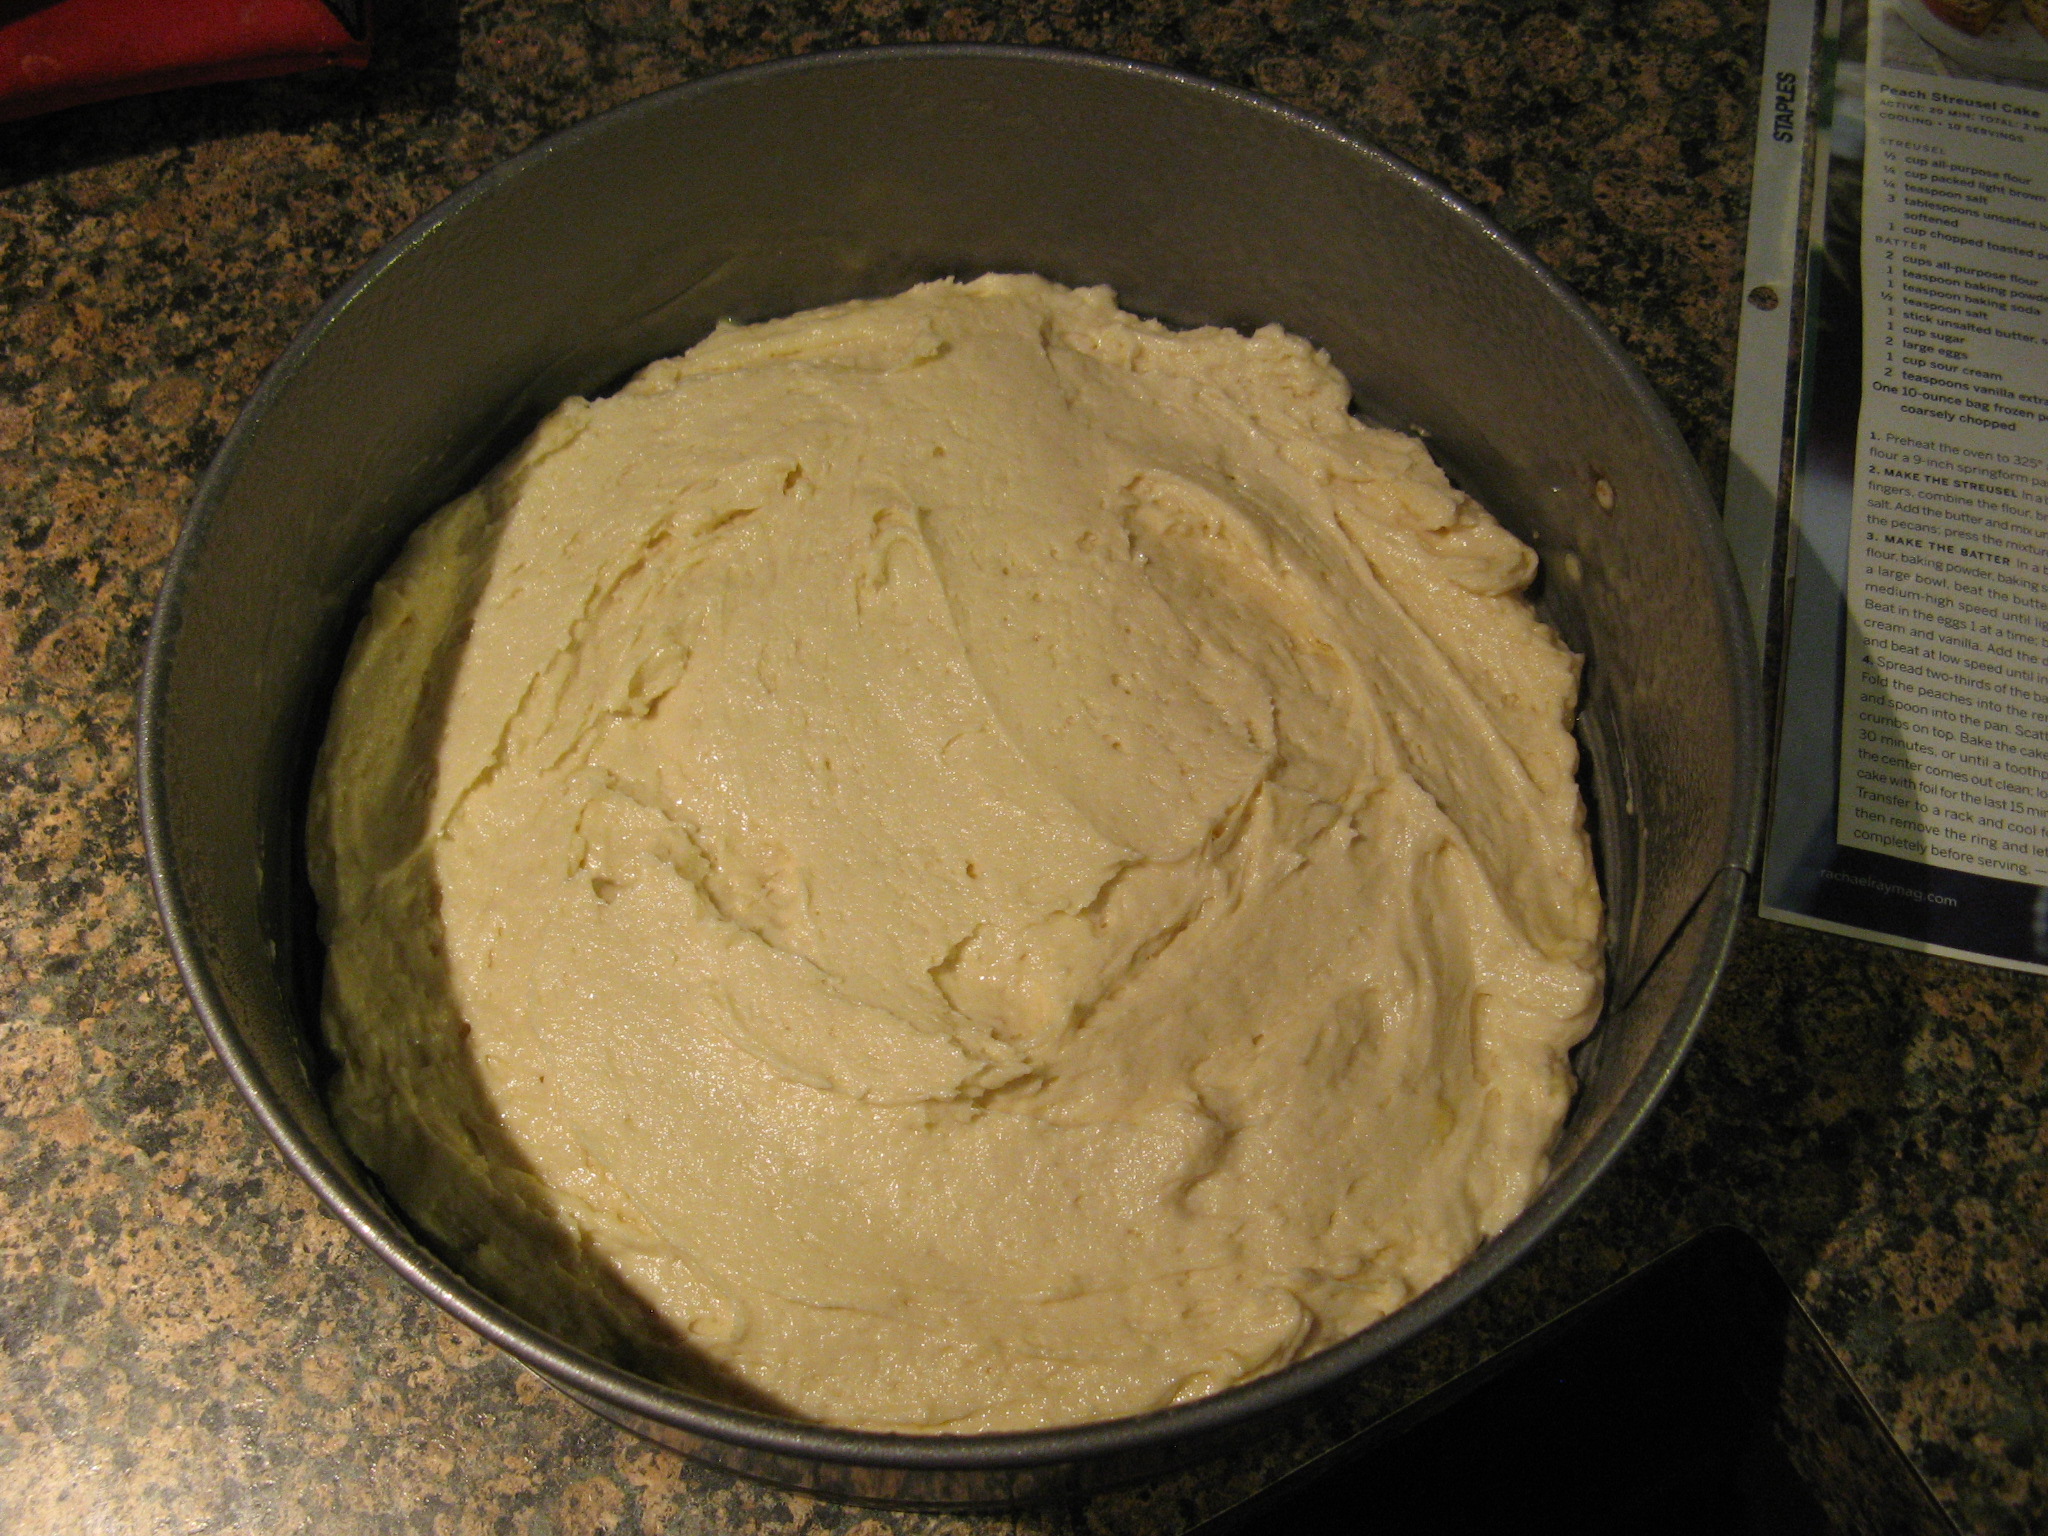
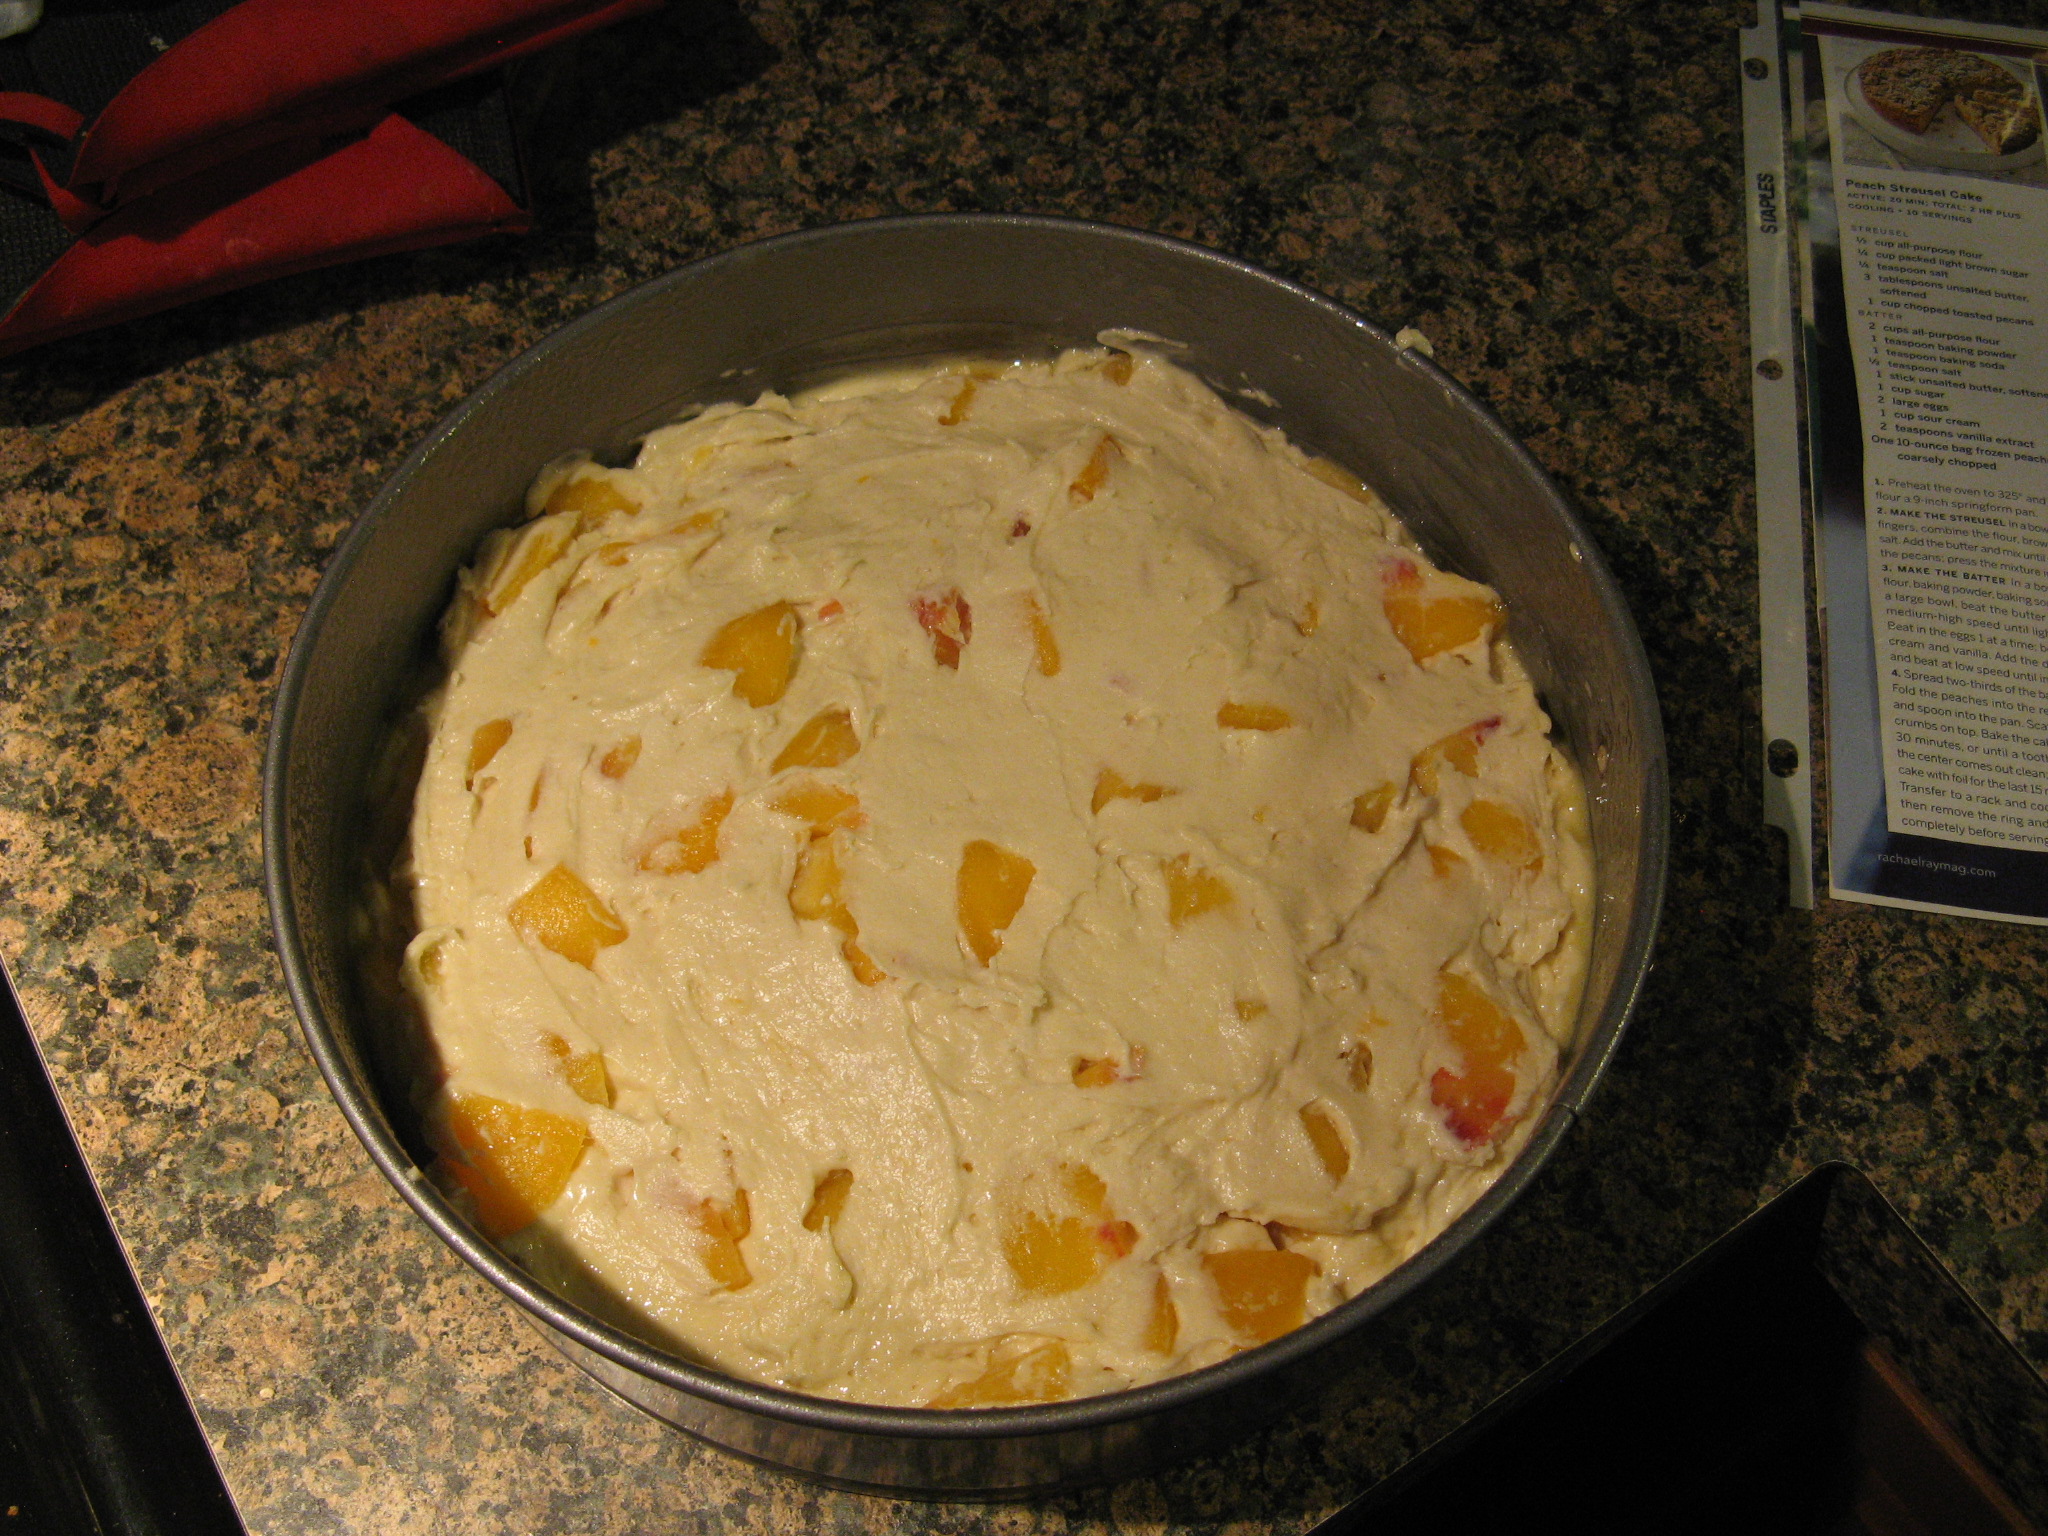
I started by spreading two-thirds of the batter into the pan.

IMG_1272

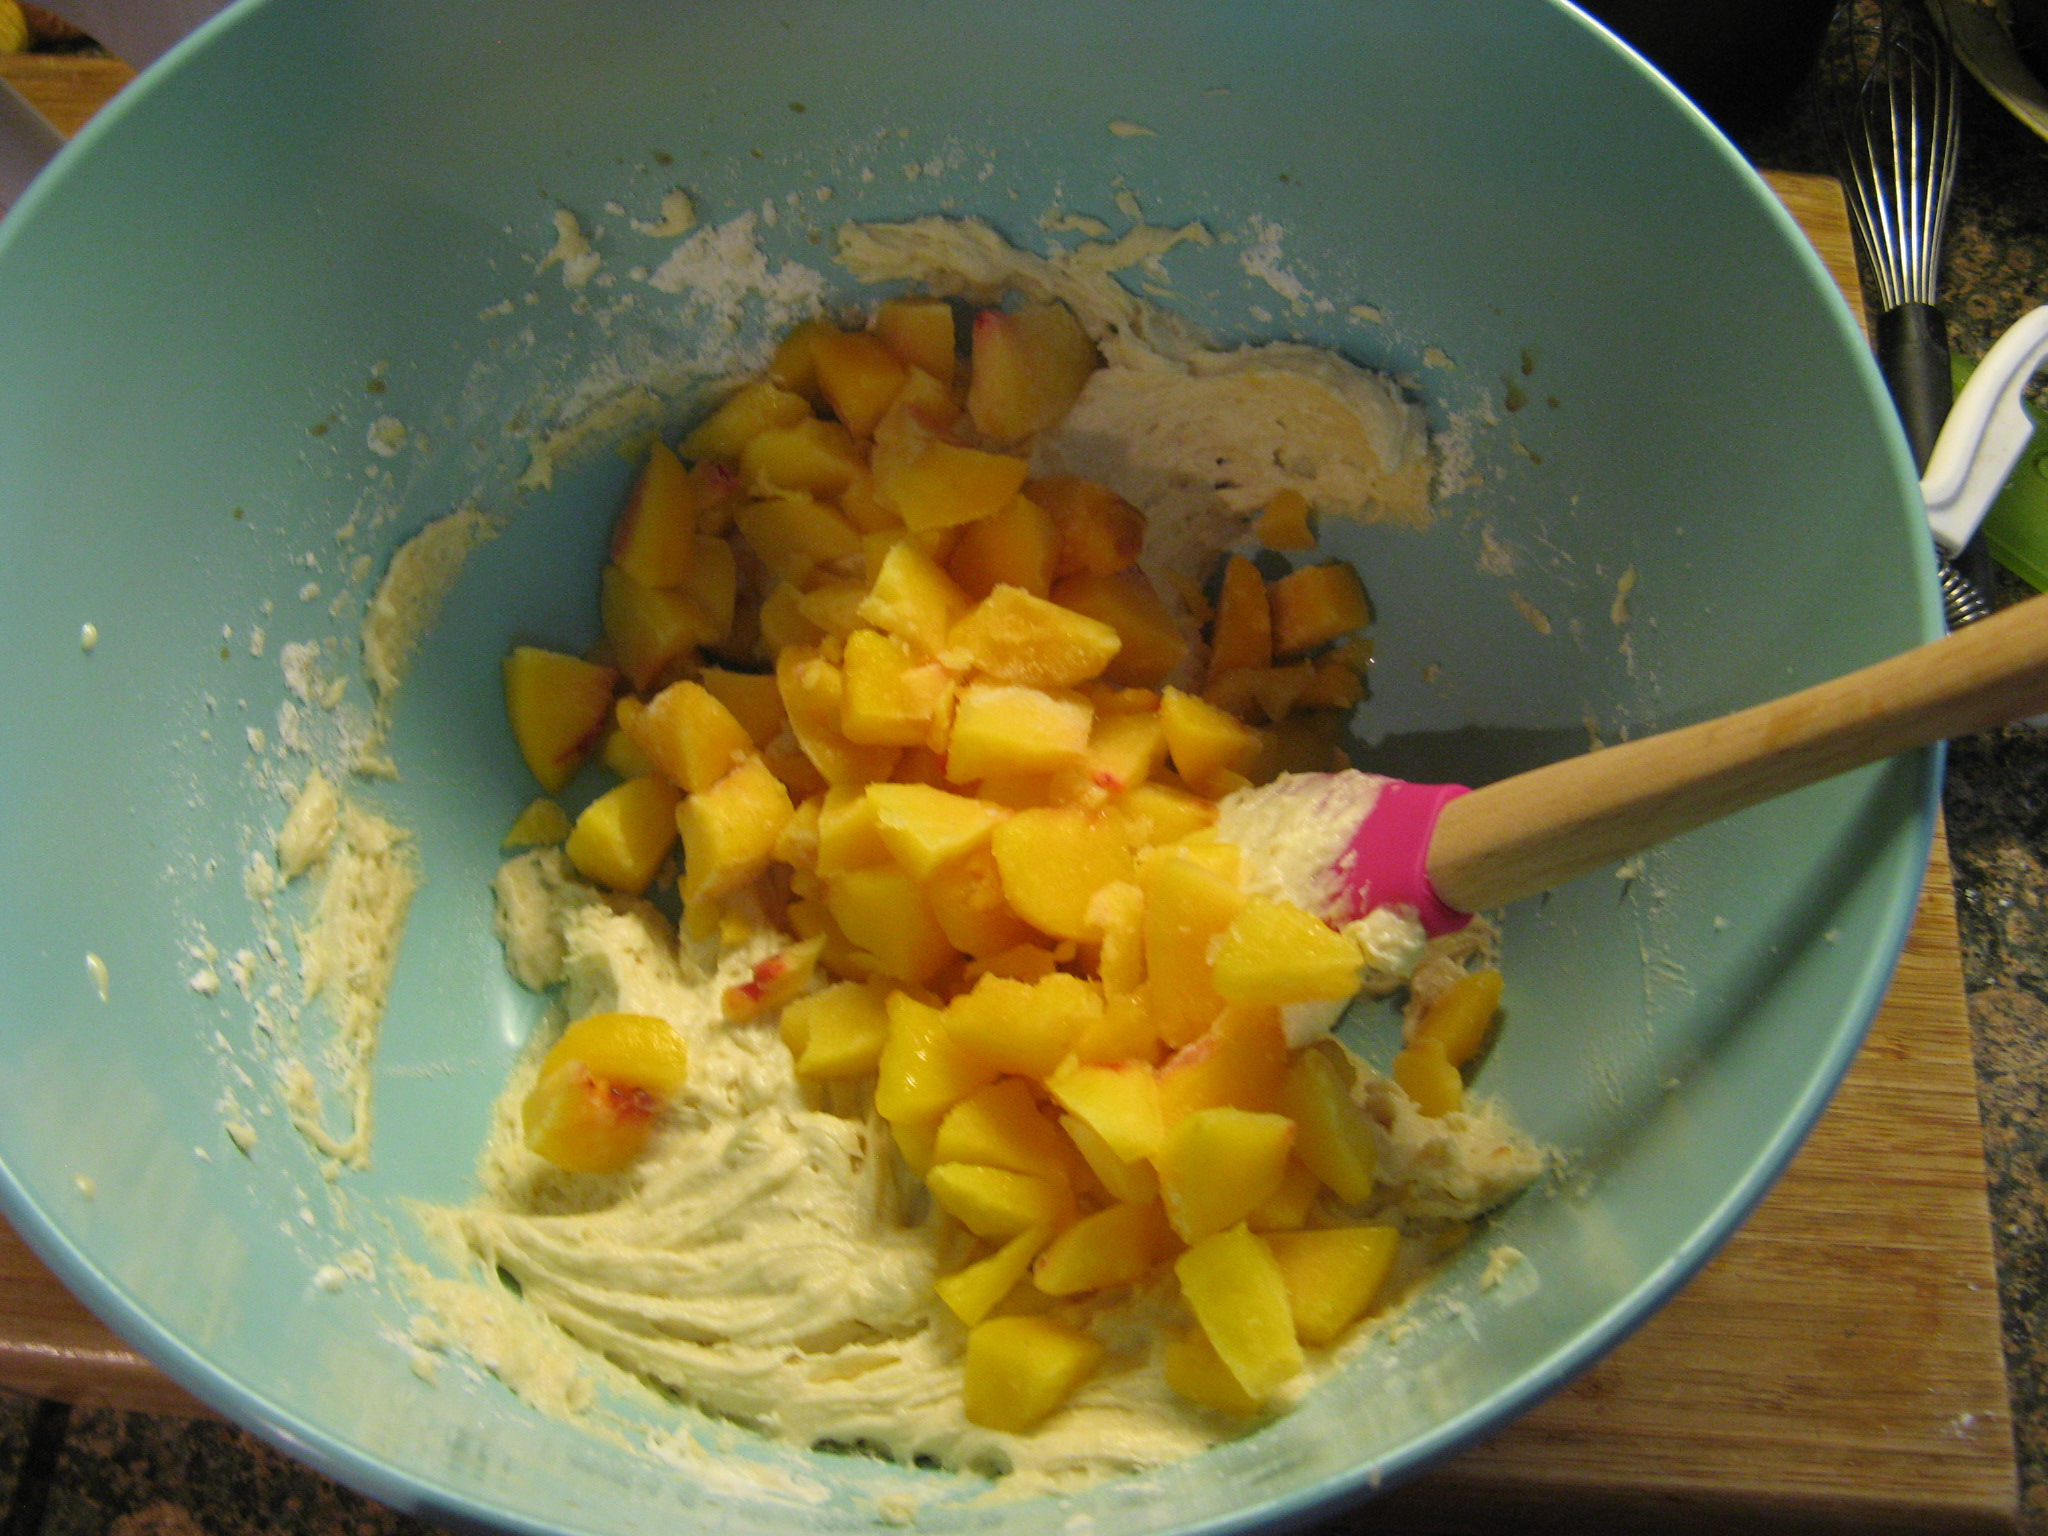
I then folded in chopped frozen peaches into the remaining batter. I had to go to about 4 different places to find frozen peaches. Each supermarket I went to had strawberries, blueberries and other frozen berries but no peaches. I ended up finding them at my local Target. It’s always the last place you check that has what you want.

IMG_1273

I then spread this batter on top of the non-peach batter already in the pan.

IMG_1275

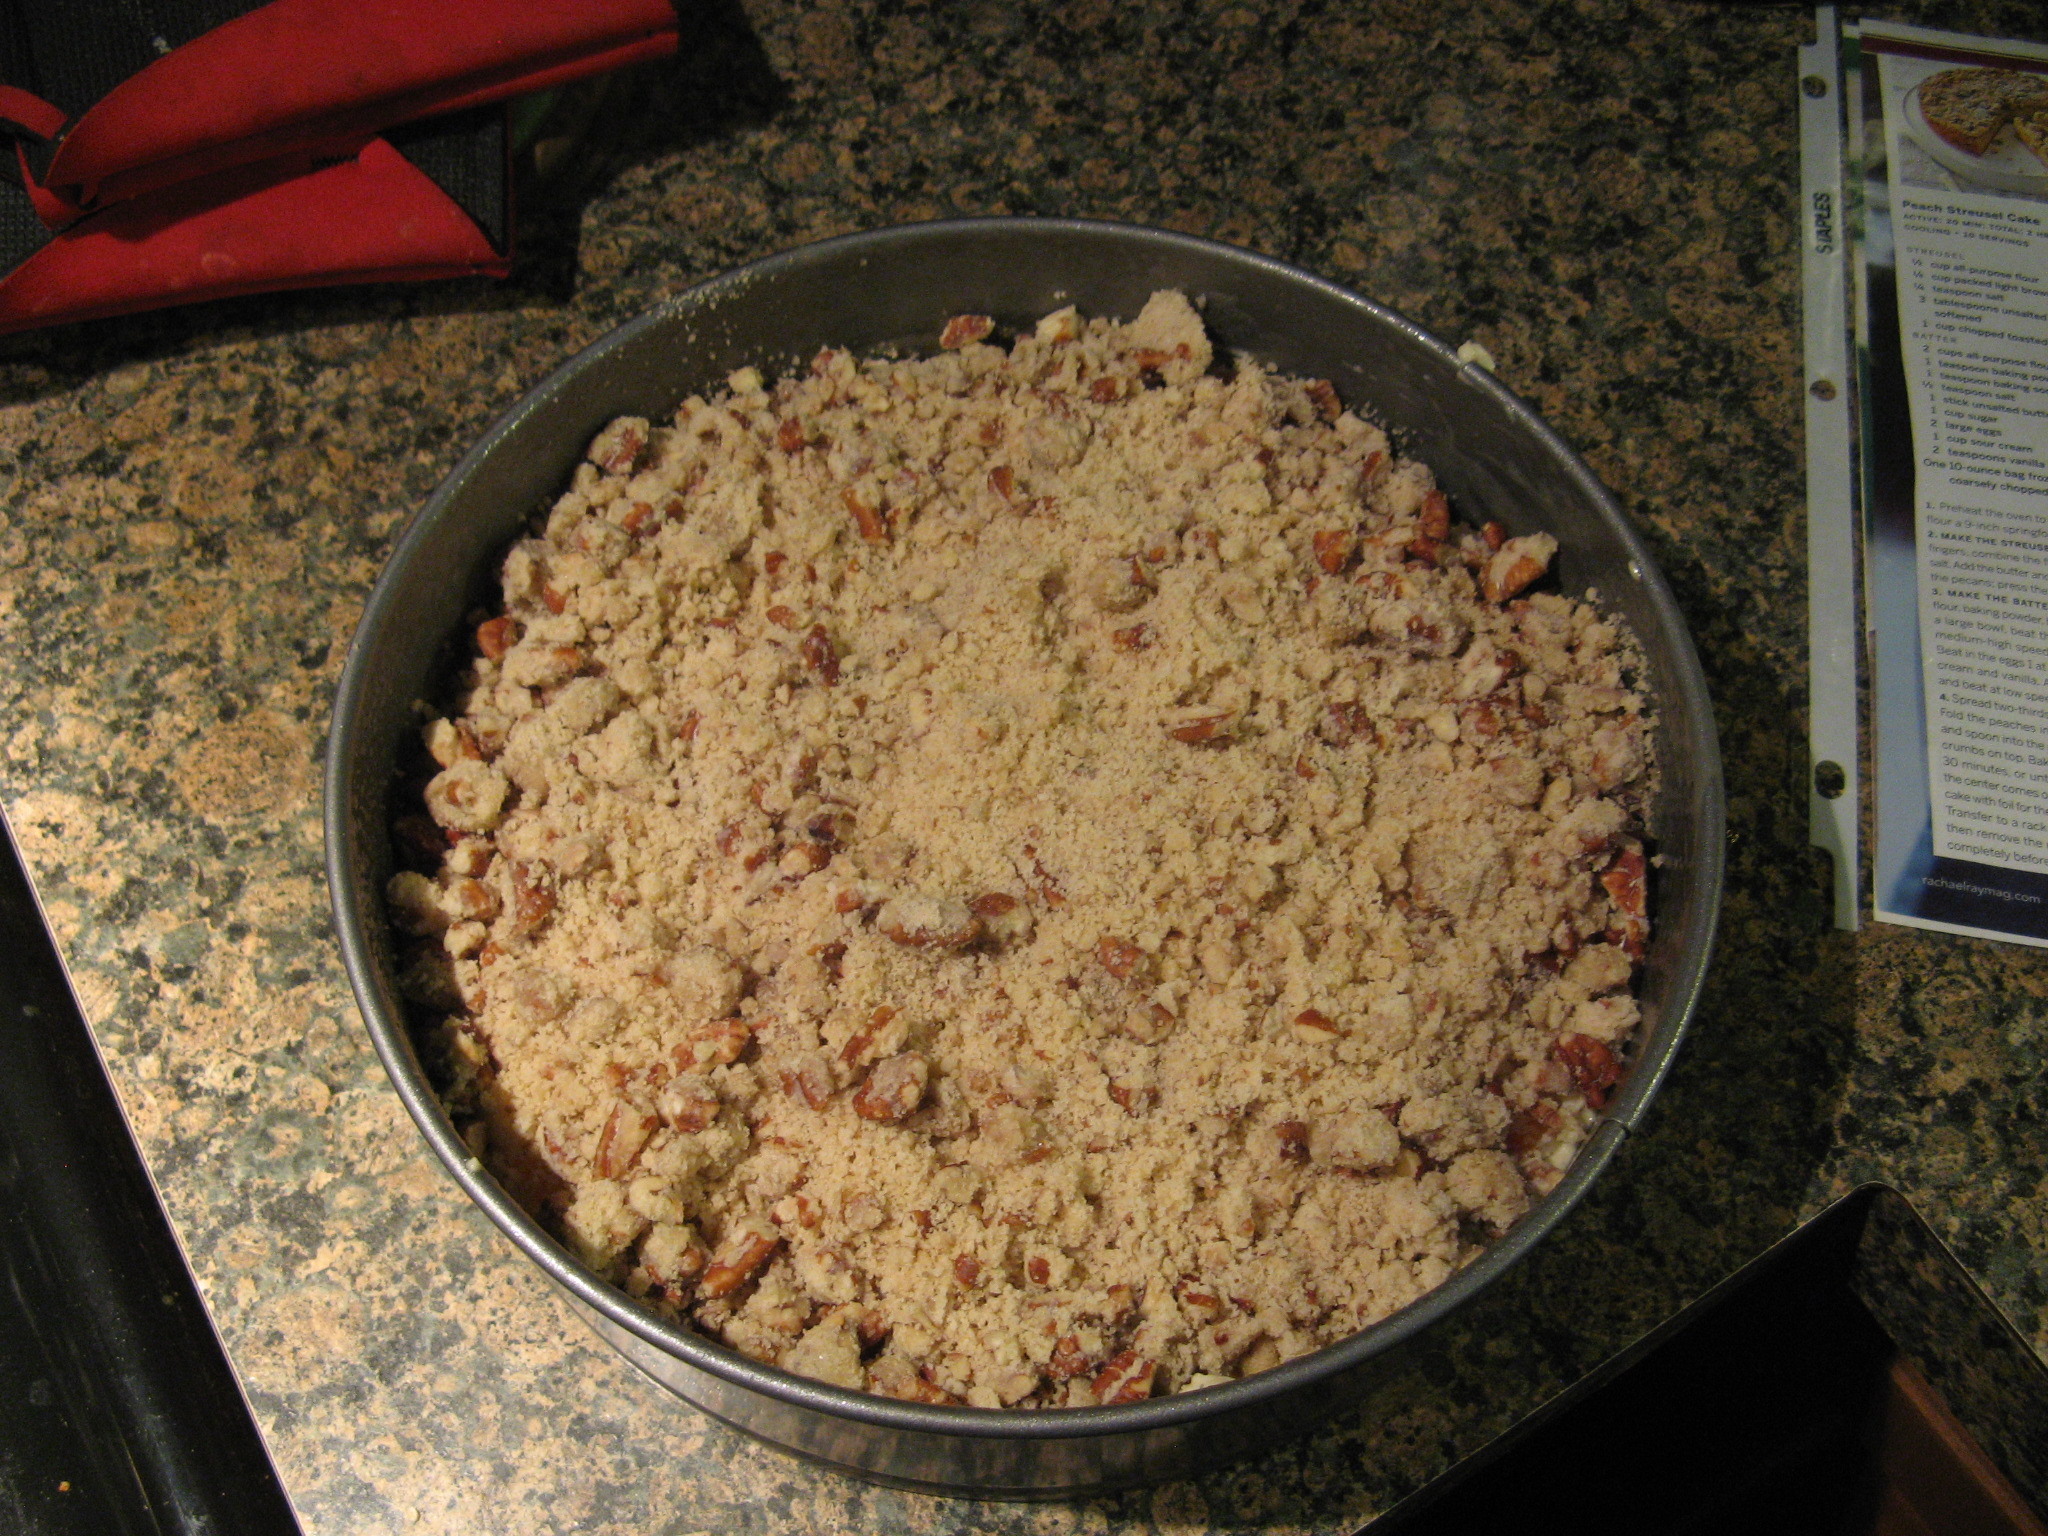
And finally I spread the streusel topping on top.

IMG_1276

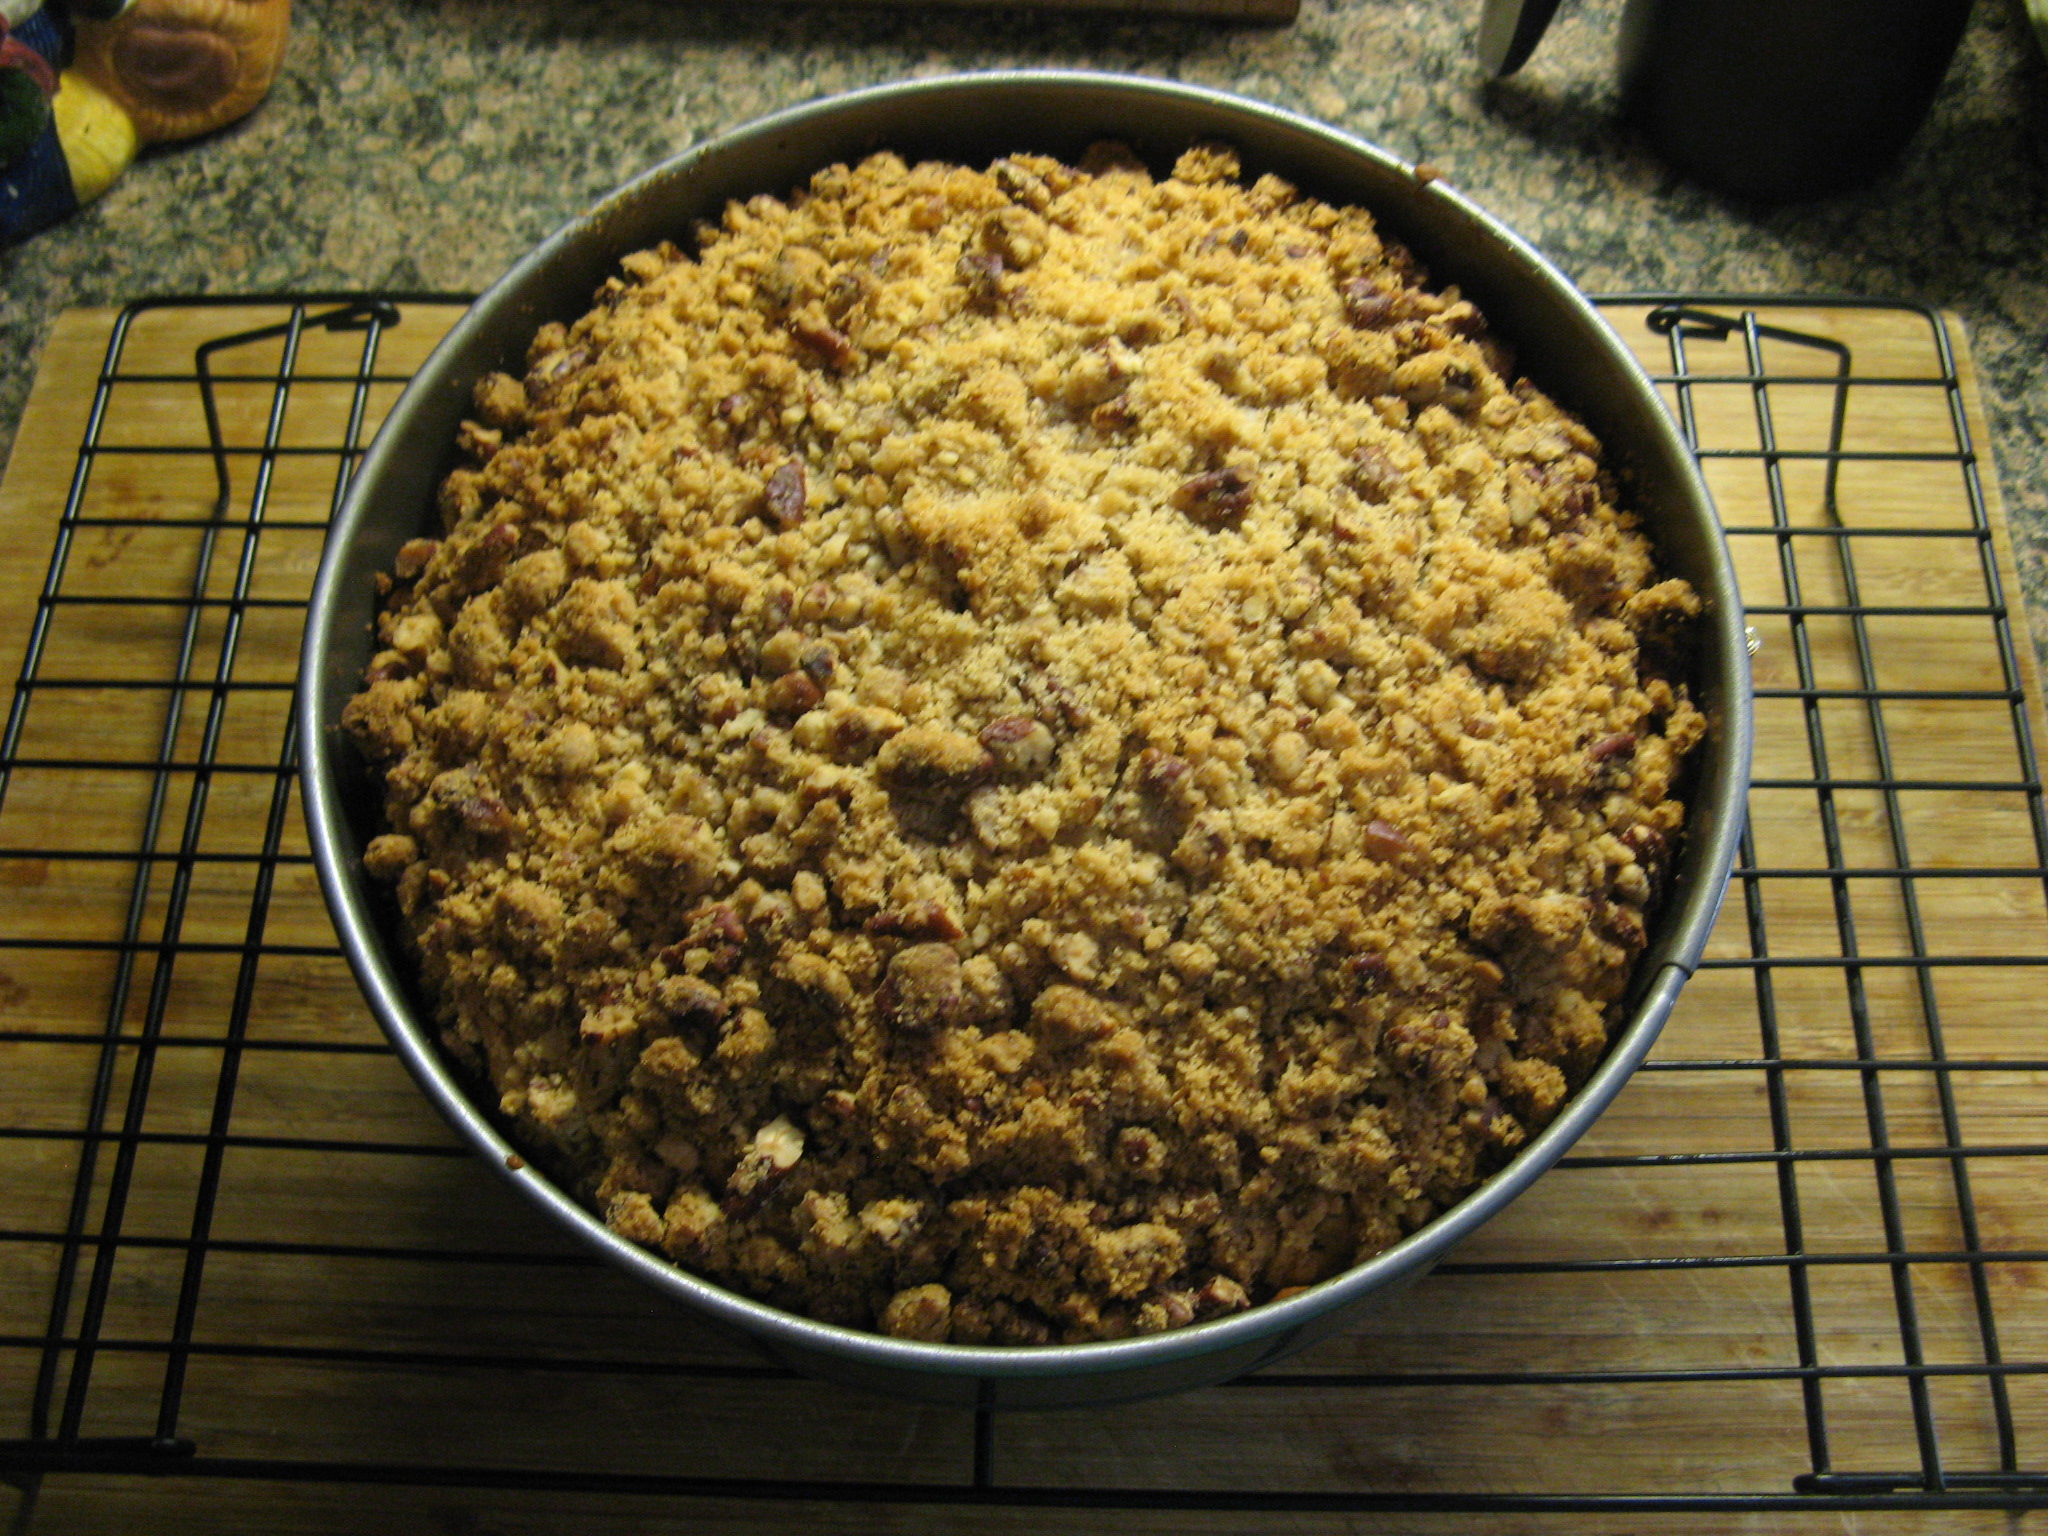
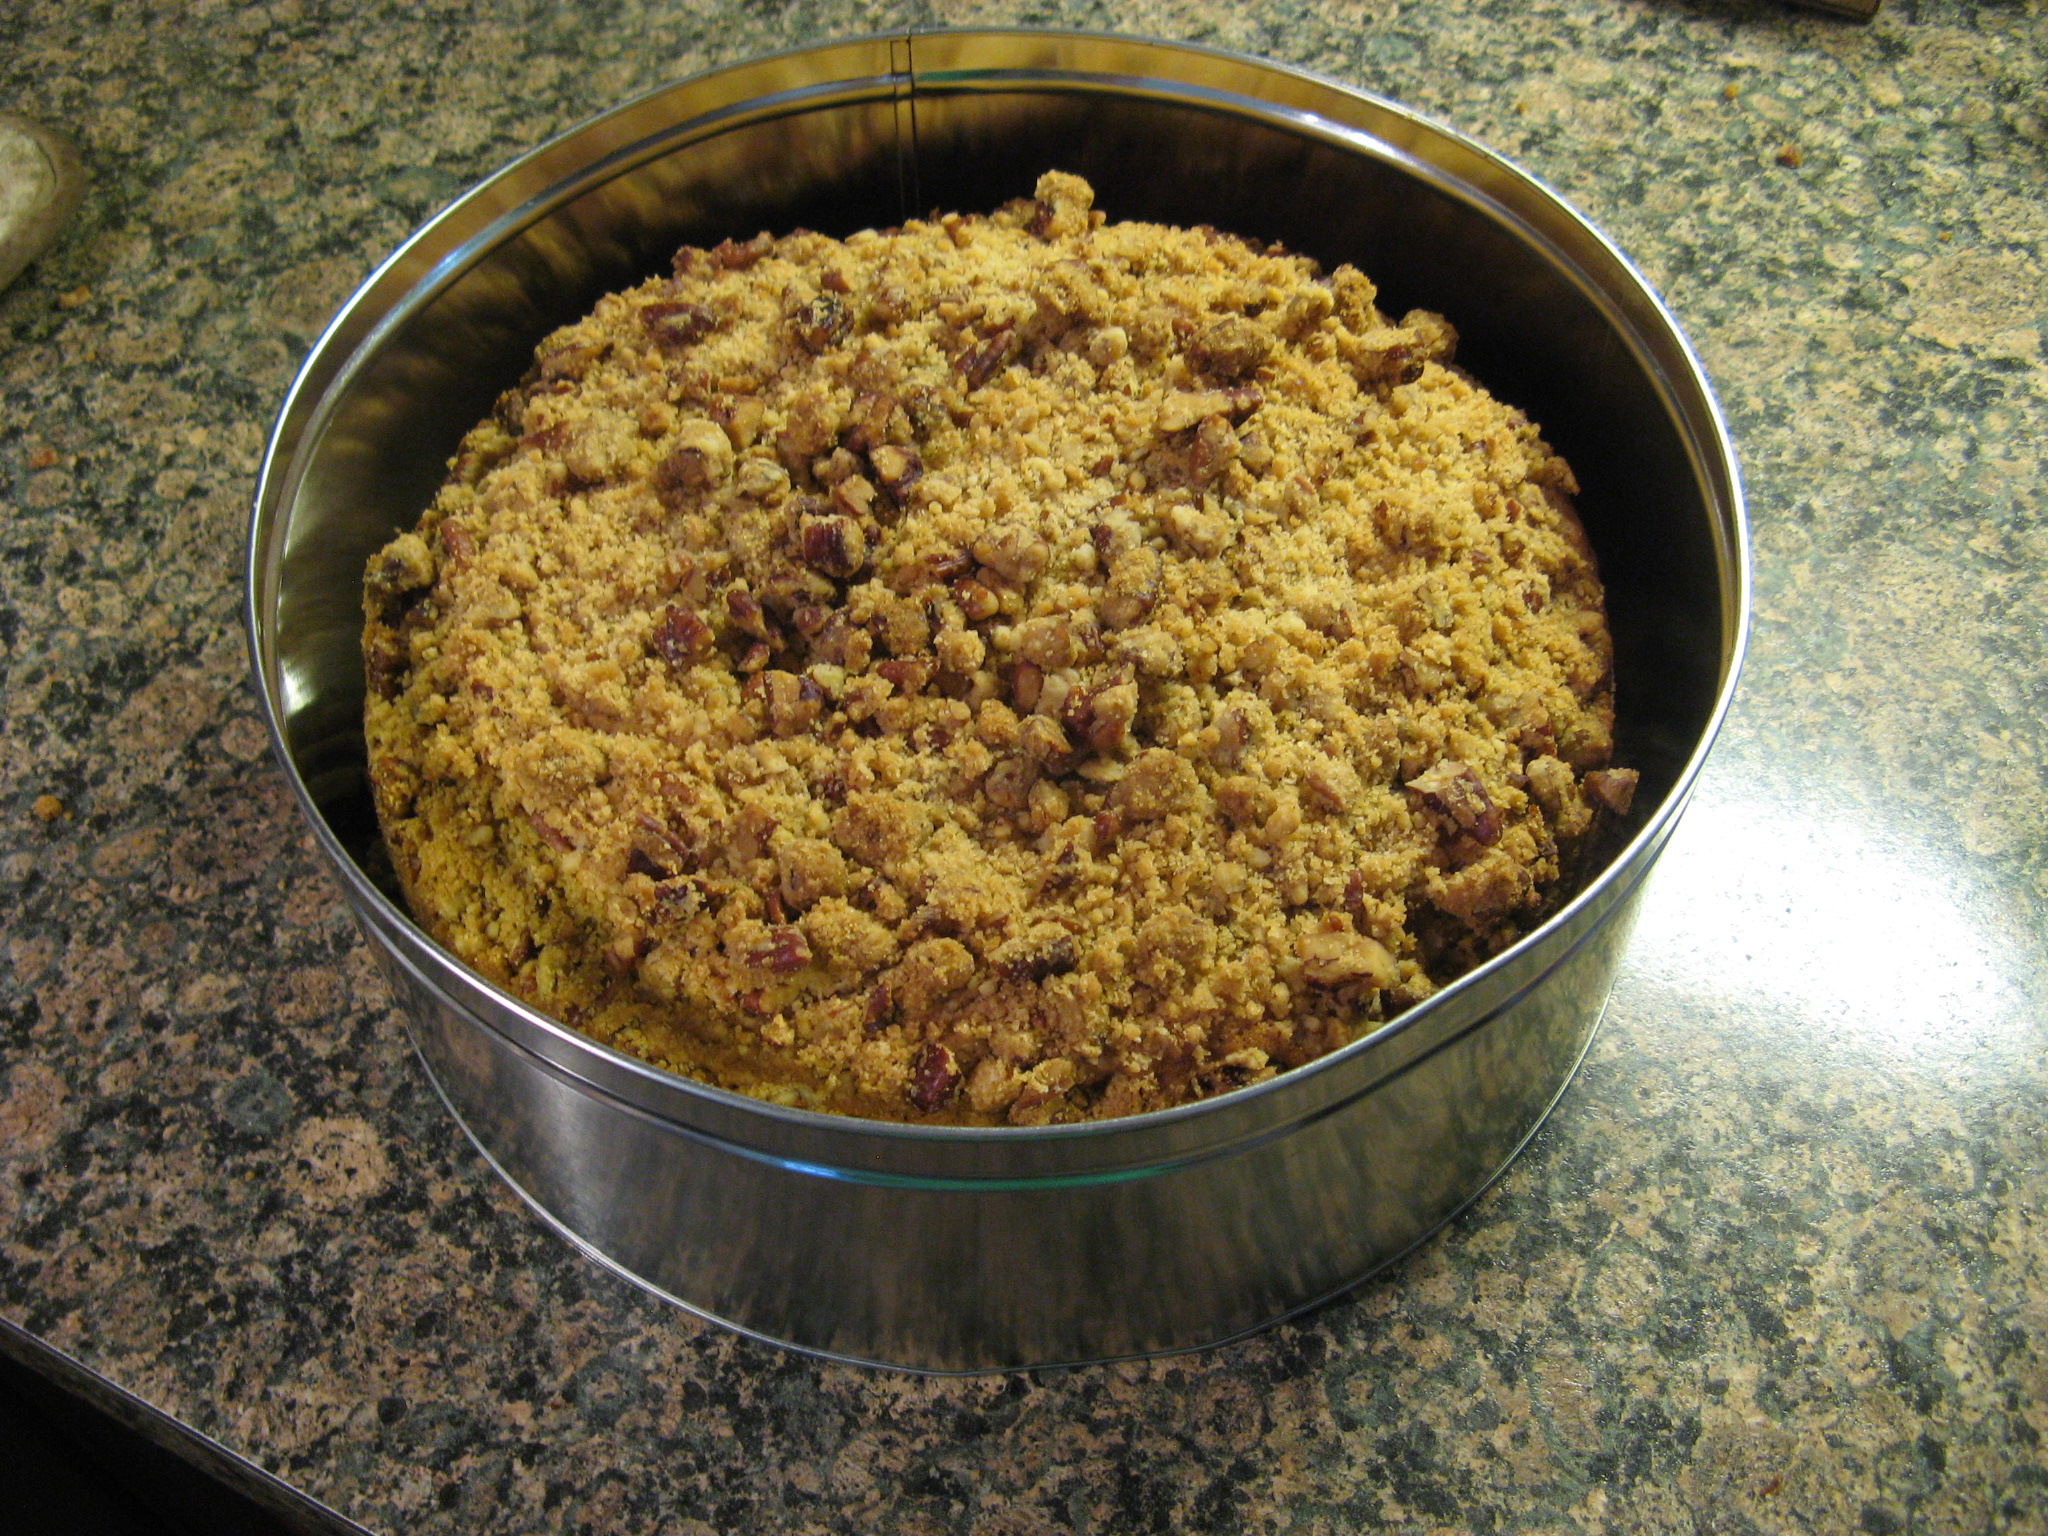
I baked the cake in a preheated 325F oven for 90 minutes, covering the cake with foil for the last 15 minutes so the streusel topping wouldn’t brown too much. It looked amazing when I took it out of the oven.

IMG_1277

I let it cool for a bit before placing it inside of a tin.

IMG_1290

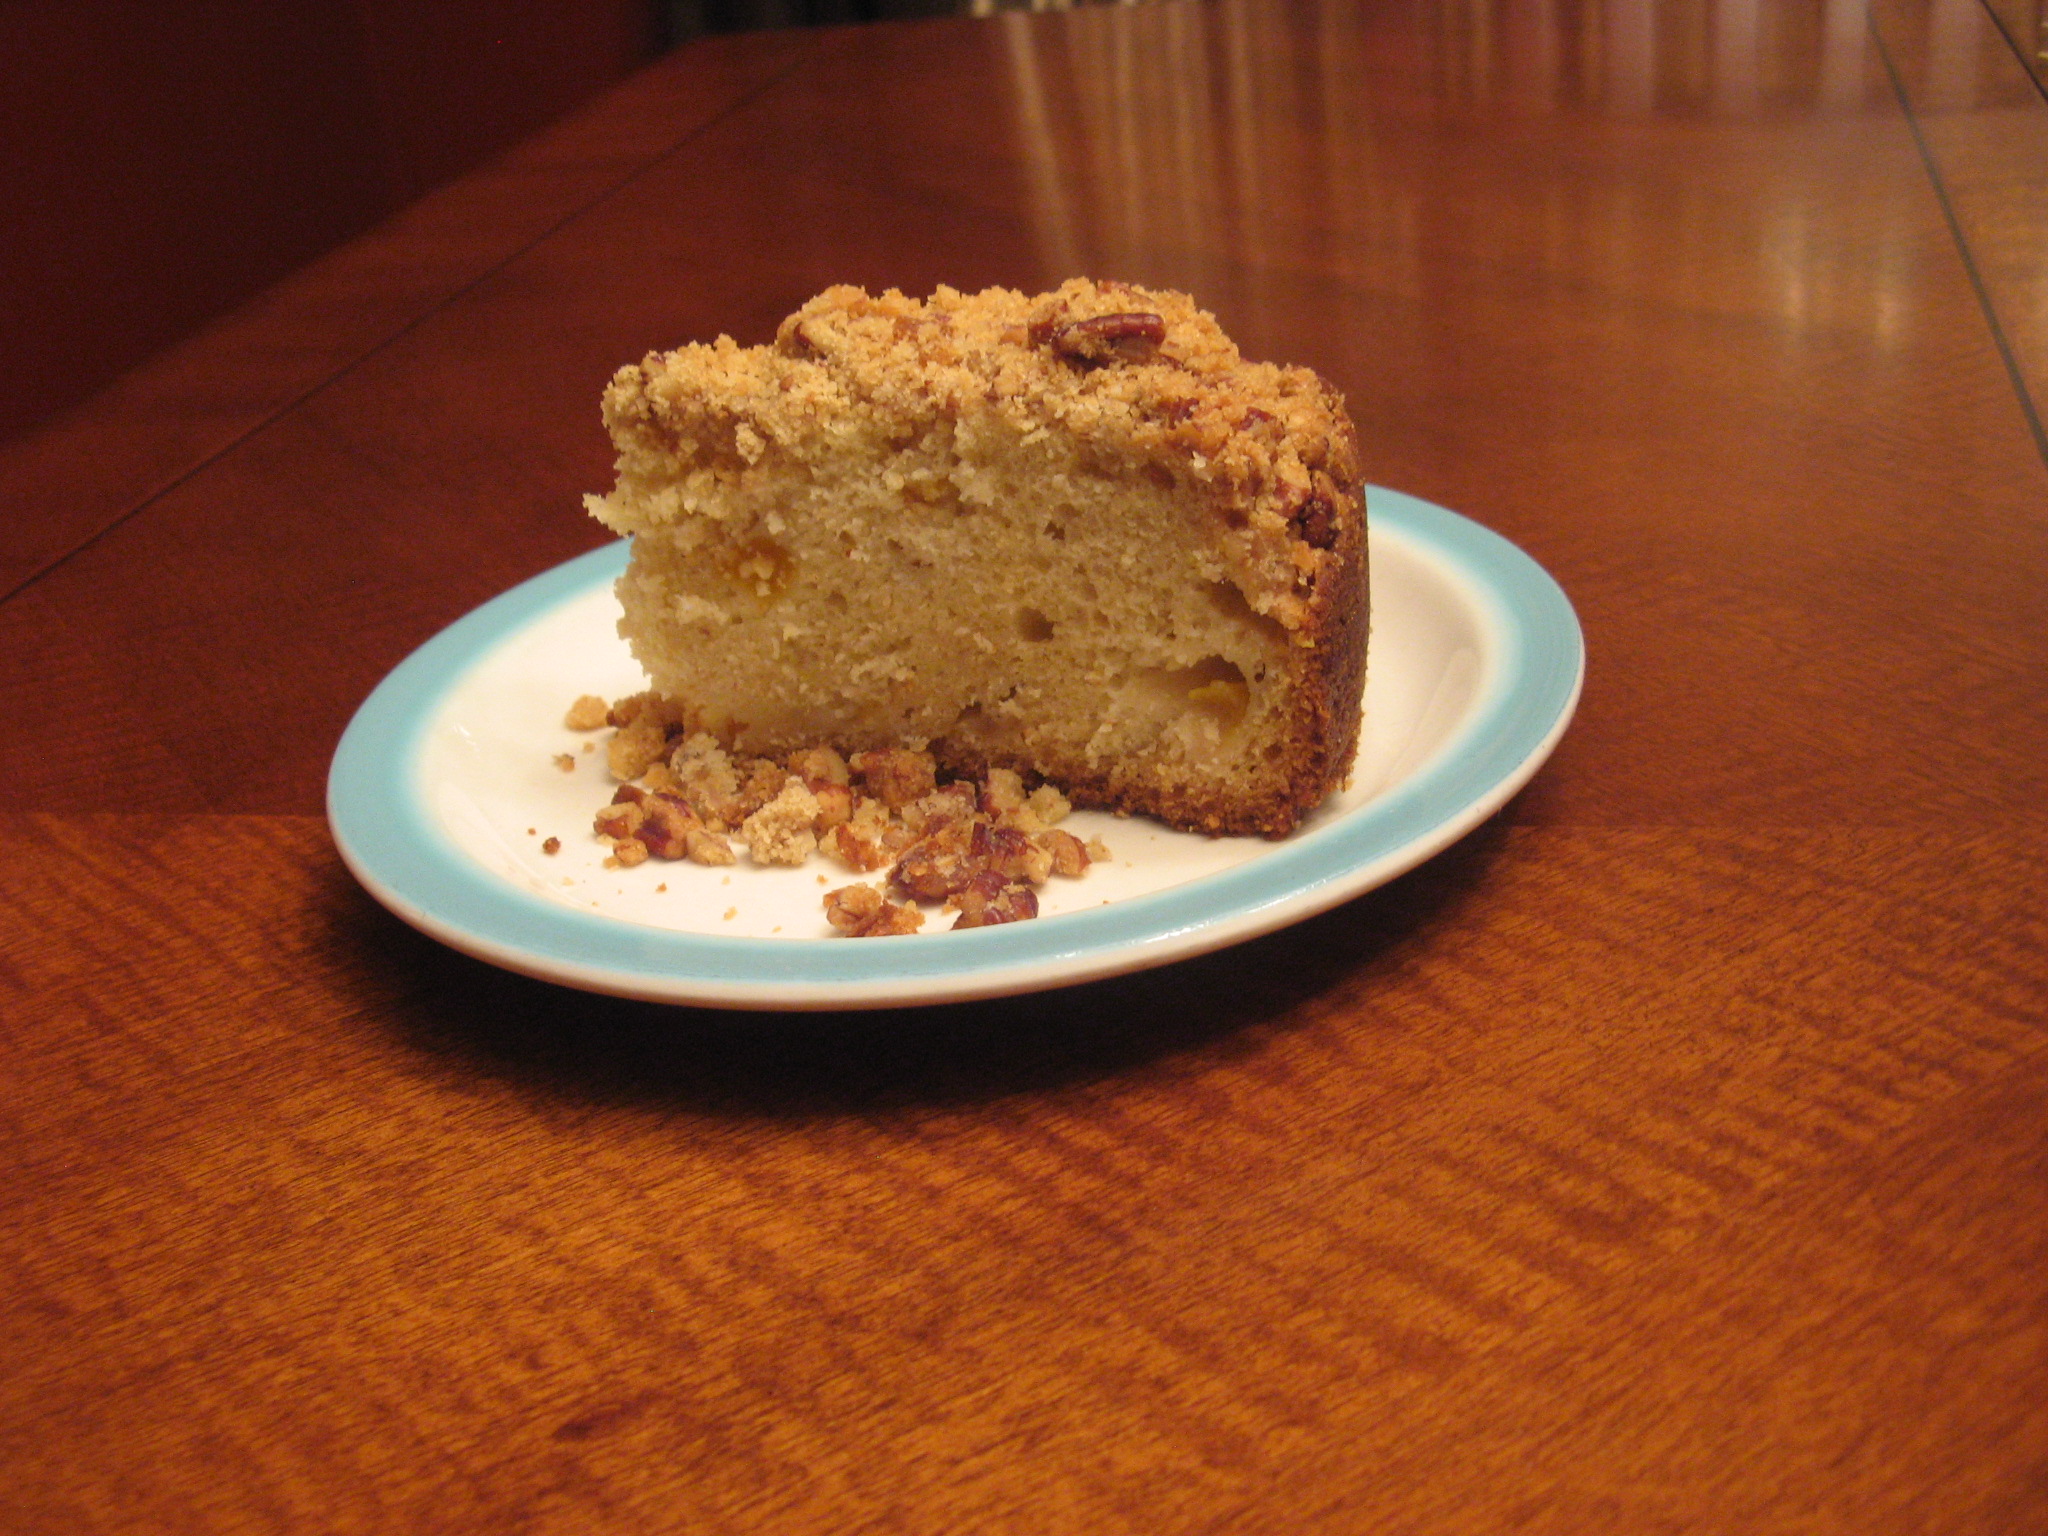
And although it was meant for someone else, I did end up trying a piece and overall it was quite good, but, I think next time I’ll use fresh peaches instead.

IMG_1298

Peach Streusel Cake

Ingredients

Streusel

1/2 cup all-purpose flour

1/4 cup packed light brown sugar

1/4 teaspoon salt

3 tablespoons unsalted butter, softened

1 cup chopped toasted pecans

Batter

2 cups all-purpose flour

1 teaspoon baking powder

1 teaspoon baking soda

1/2 teaspoon salt

1 stick unsalted butter, softened

1 cup sugar

2 large eggs

1 cup sour cream

2 teaspoons vanilla extract

One 10-ounce bag frozen peaches, coarsely chopped

Directions

1. Preheat the oven to 325F and butter flour a 9-inch springform pan.

2. Make the Streusel: In a bowl using your fingers, combine the flour, brown sugar, and salt. Add the butter and mix until smooth. Add the pecans; press the mixture into clumps.

3. Make the Batter: In a bowl, whisk together the flour, baking powder, baking soda and salt. In a large bowl, beat the butter and sugar at medium-high speed until light, 3 minutes. Beat in the eggs one at a time; beat in the sour cream and vanilla. Add the dry ingredients and beat at a low speed until incorporated.

4. Spread two-thirds of the batter in the pan. Fold the peaches into the remaining batter and spoon into the pan. Scatter the streusel crumbs on top. Bake the cake for 1 hour and 30 minutes, or until a toothpick inserted in the center comes out clean; loosely cover the cake foil for the last 15 minutes of baking. Transfer to a rack and cool for 30 minutes them remove the ring and let the cake cool completely before serving.

Banana & Chocolate Cupcakes

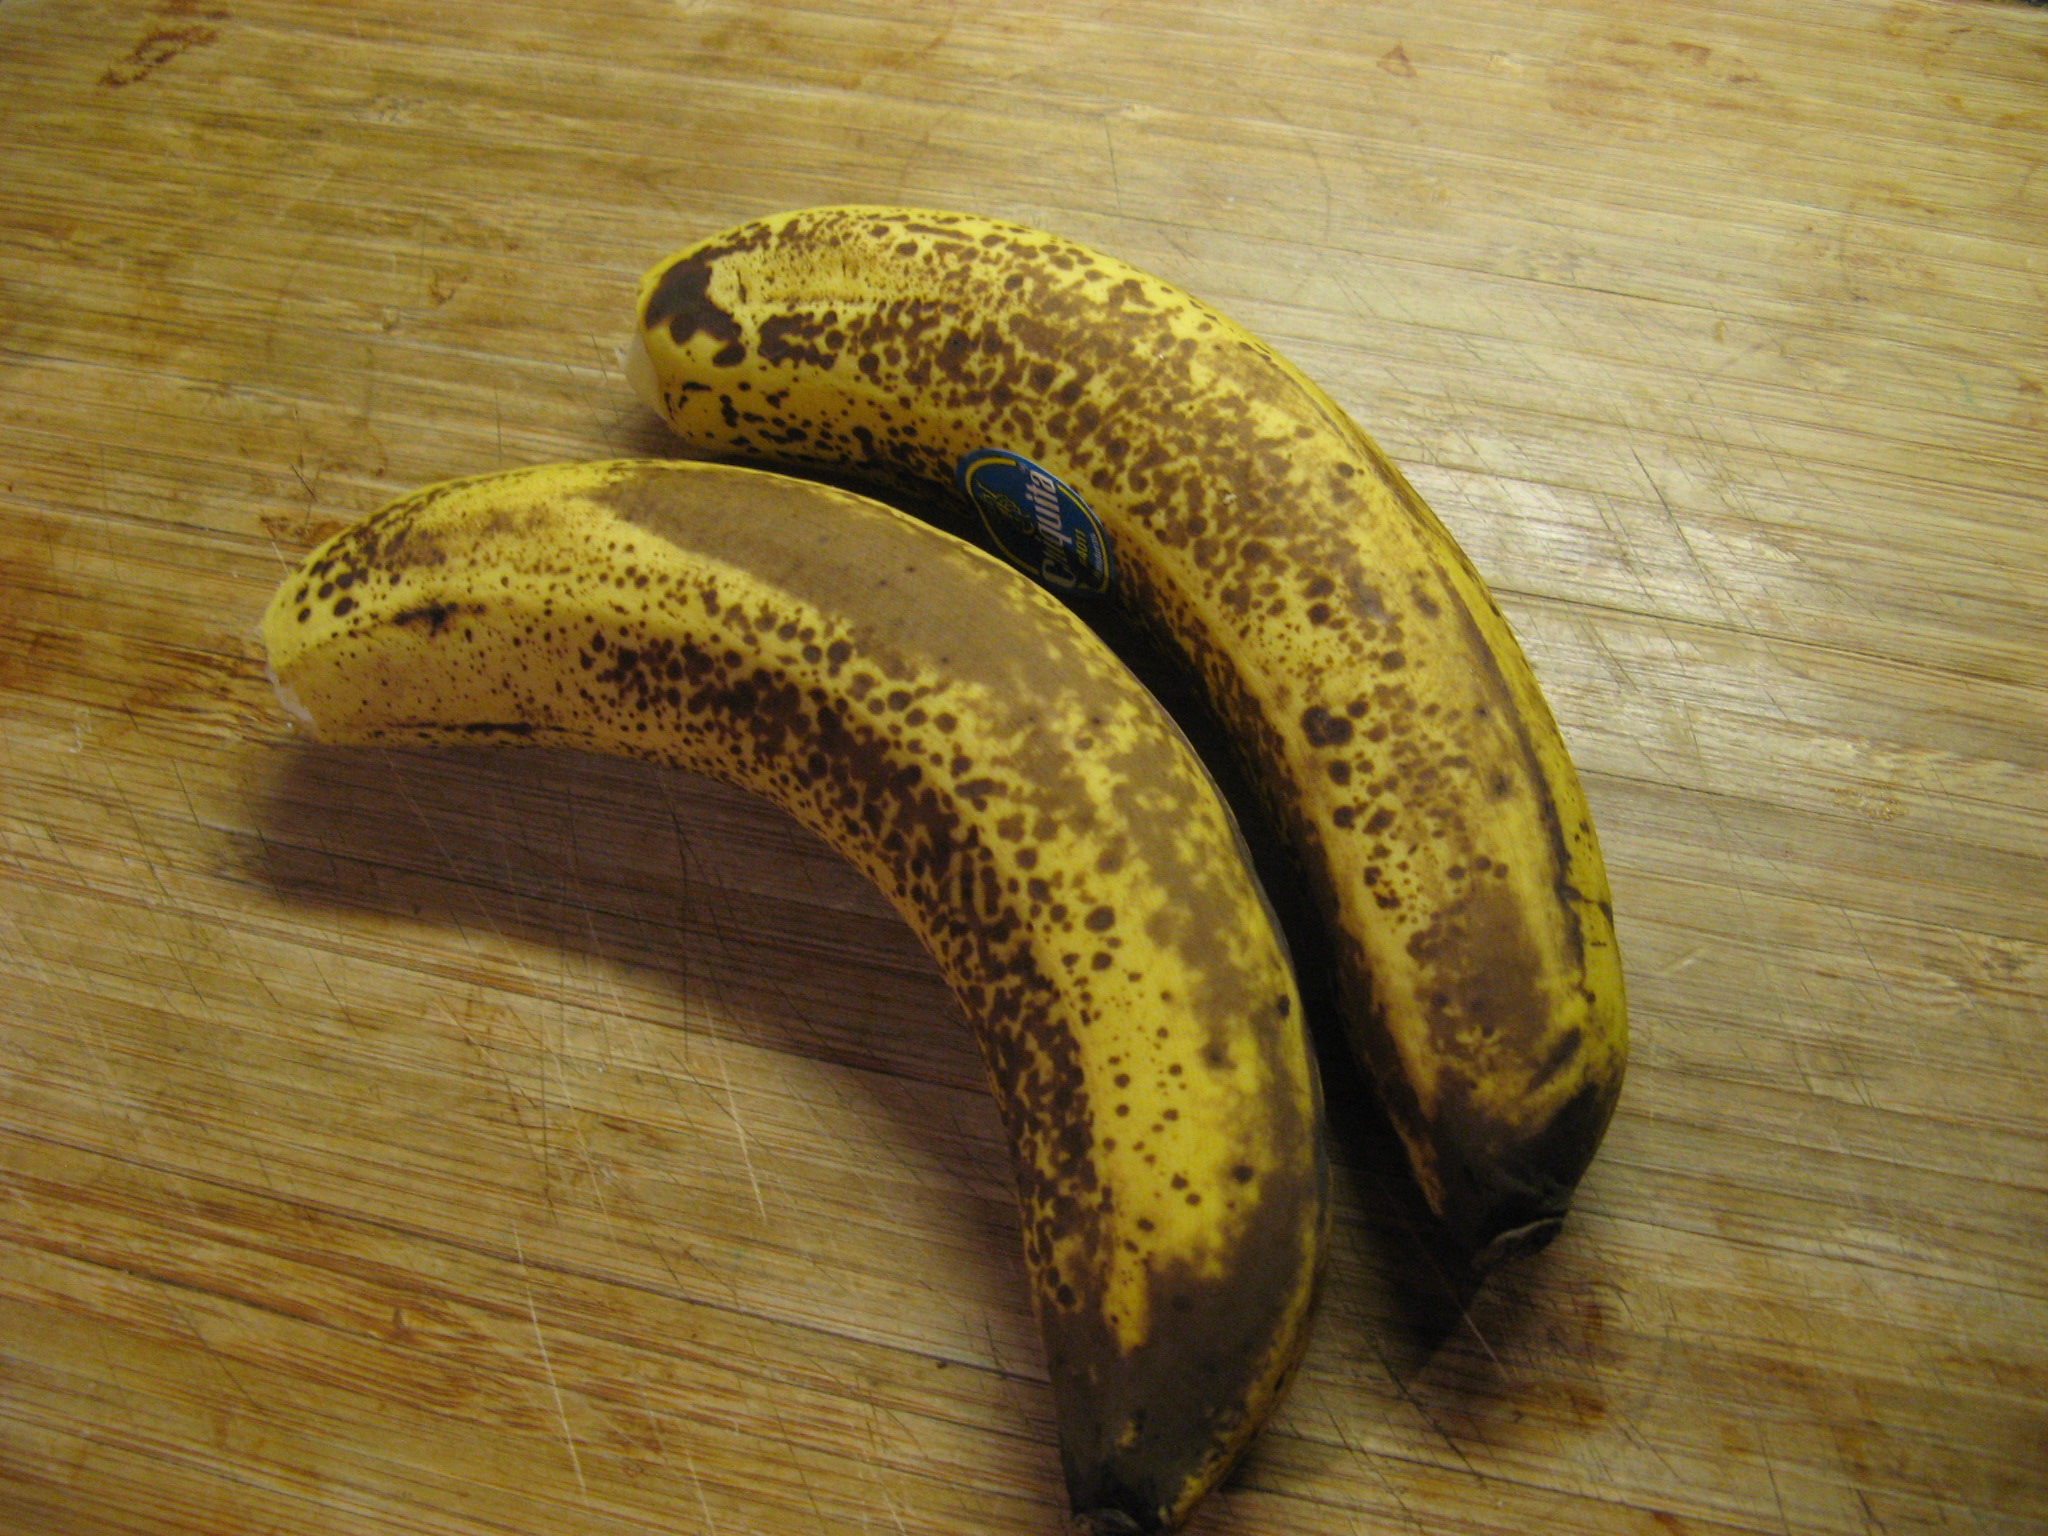
Normally when I have a few over-ripe bananas I tend to make Banana Nut Bread, but, recently when I had a few bananas that were past their prime for eating in my opinion I decided to make some cupcakes with them instead. Following the recipe Gina’s Banana Cupcakes from the Food Network’s website I made some really moist and delicious cupcakes that weren’t overpowering with the flavor of banana.

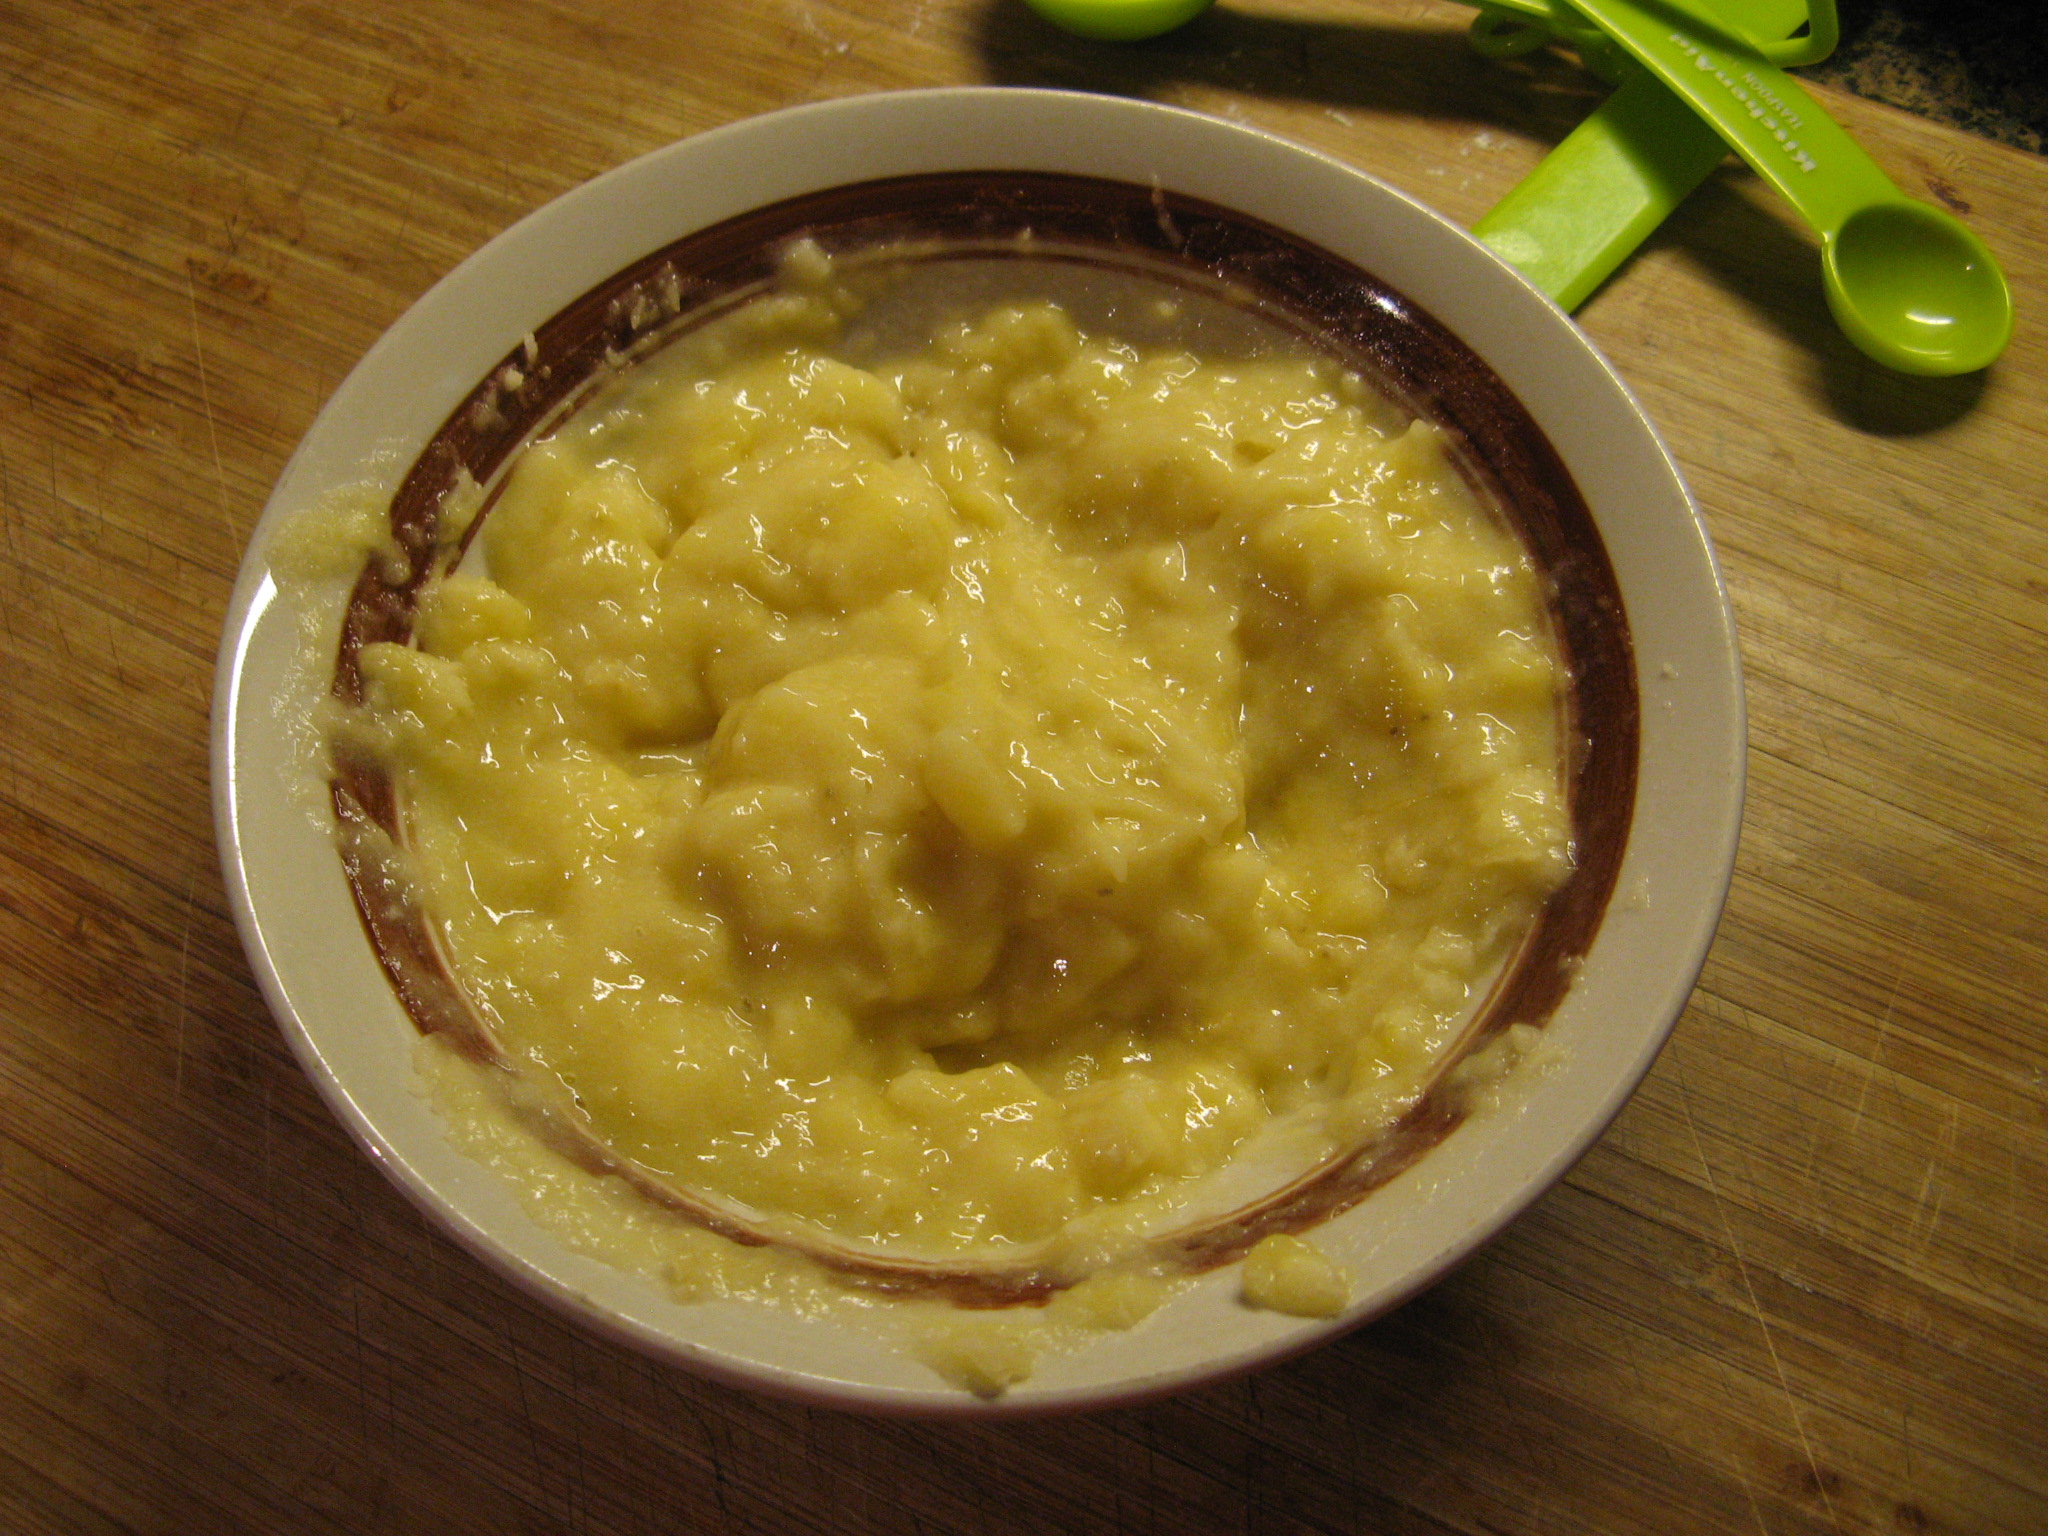
I started off by mashing two very ripe bananas.

IMG_1122 IMG_1128

I then combined my dry ingredients (flour, baking powder, baking soda and salt) and set it aside.

IMG_1144 IMG_1127

To begin making the batter I creamed together butter and sugar.

IMG_1129 IMG_1130

I then added in sour cream and vanilla.

IMG_1132

And then two eggs, which I added in one at a time.

IMG_1134

At this point I added in the dry ingredients to the wet mixture.

IMG_1136

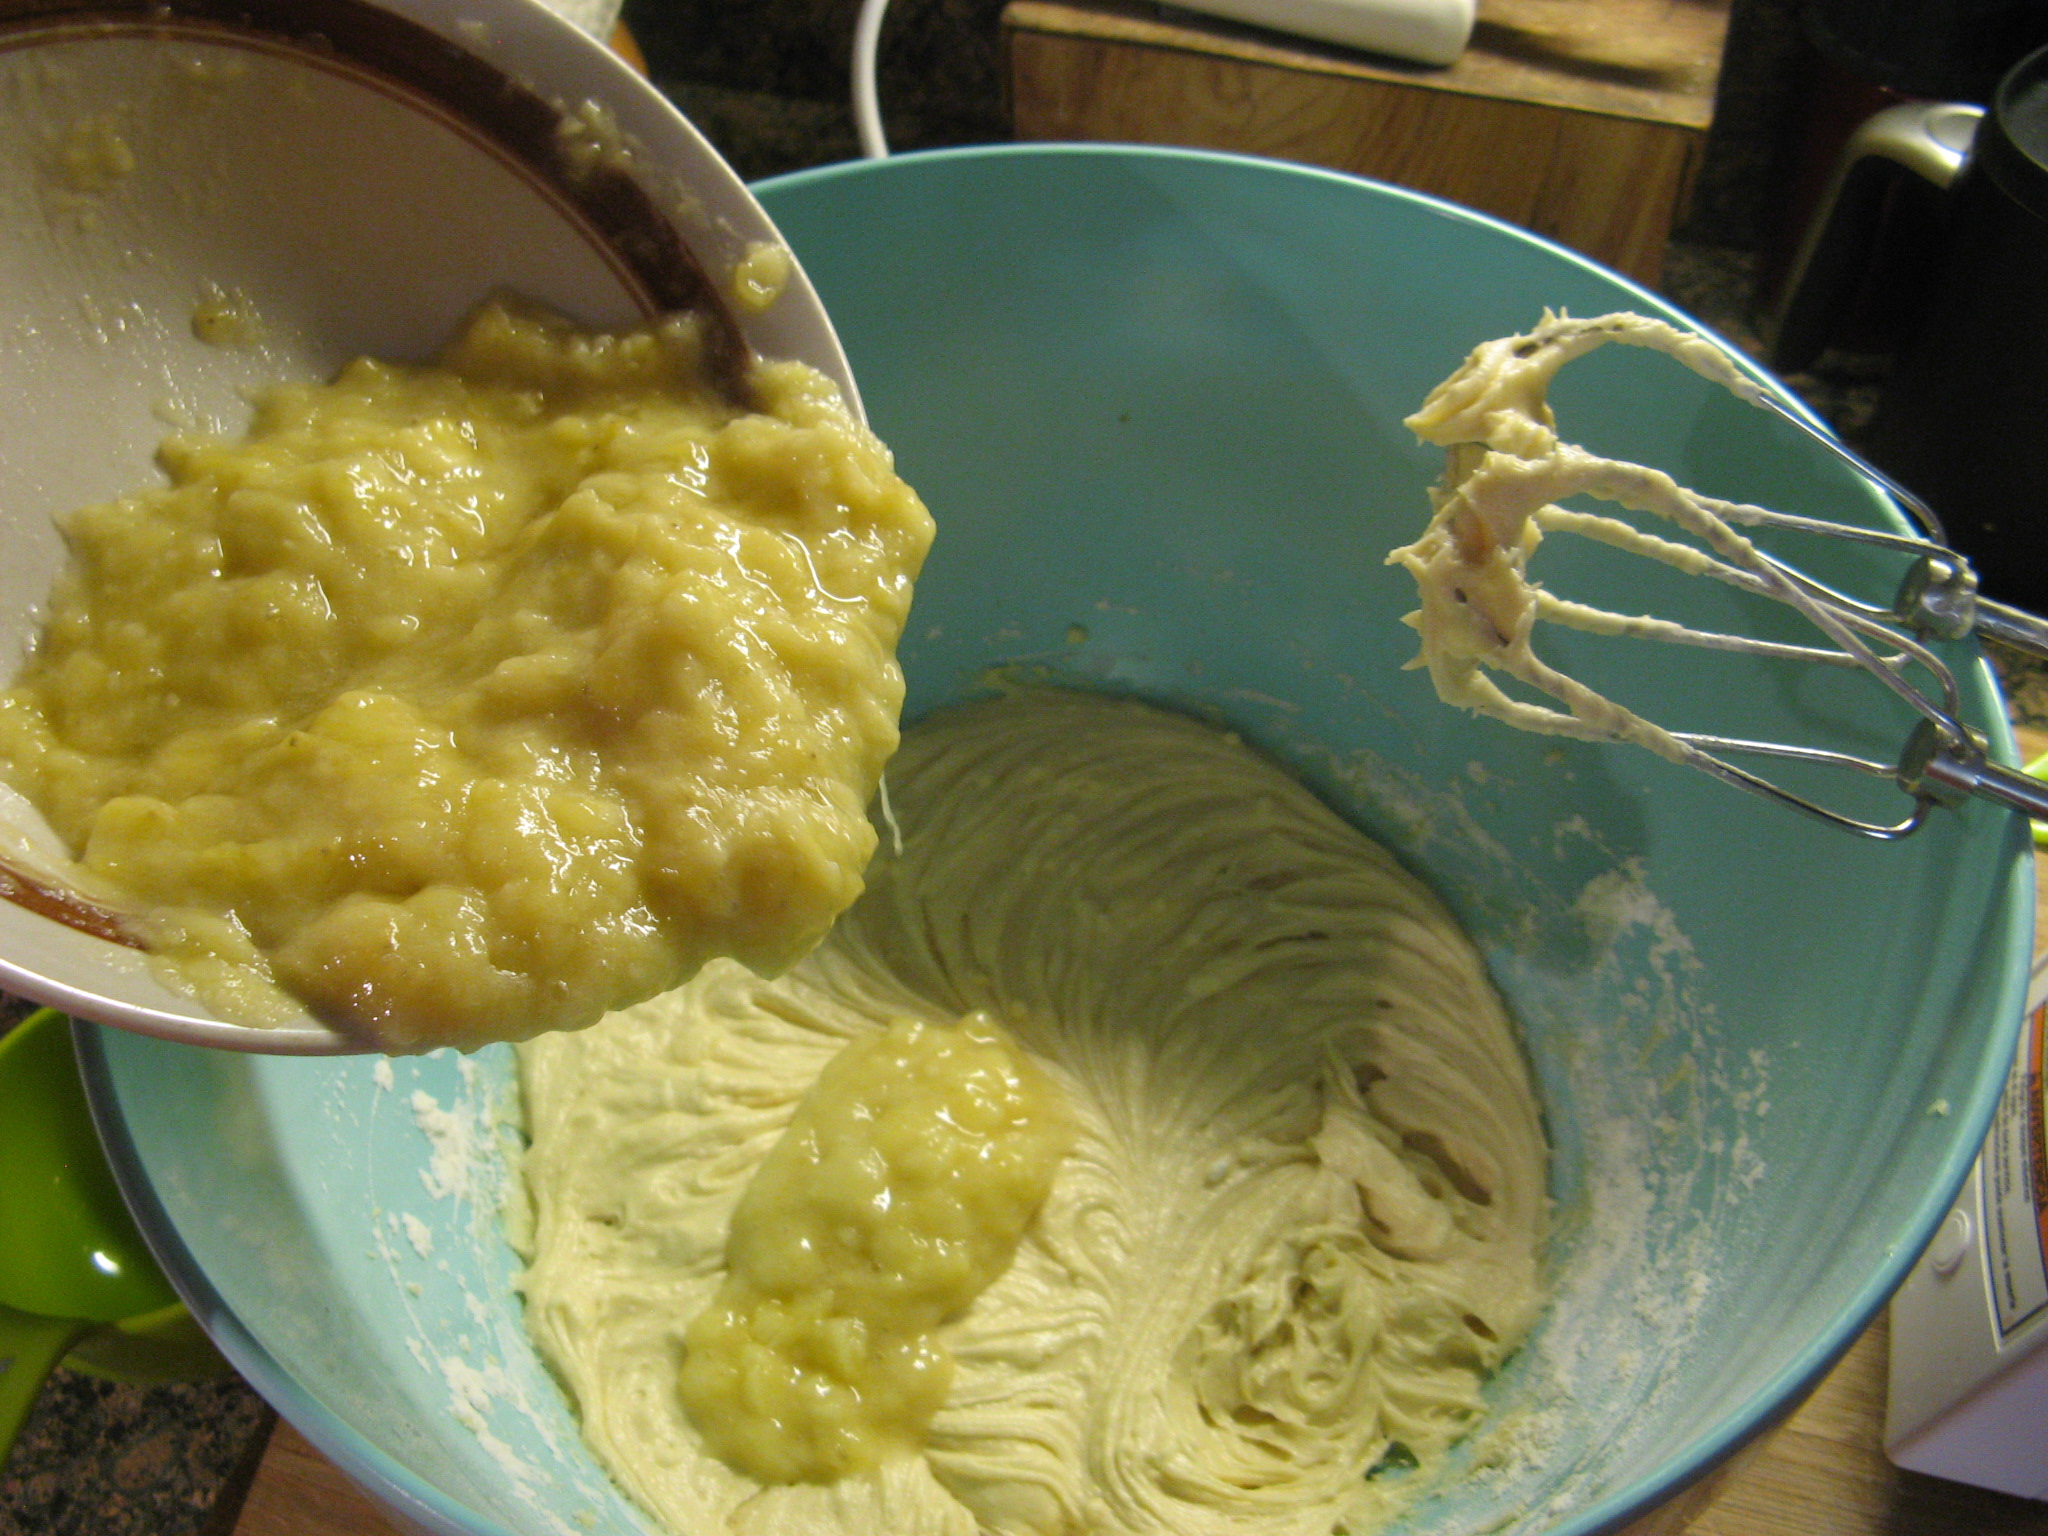
After mixing it well it was time to finally add in the bananas.

IMG_1138

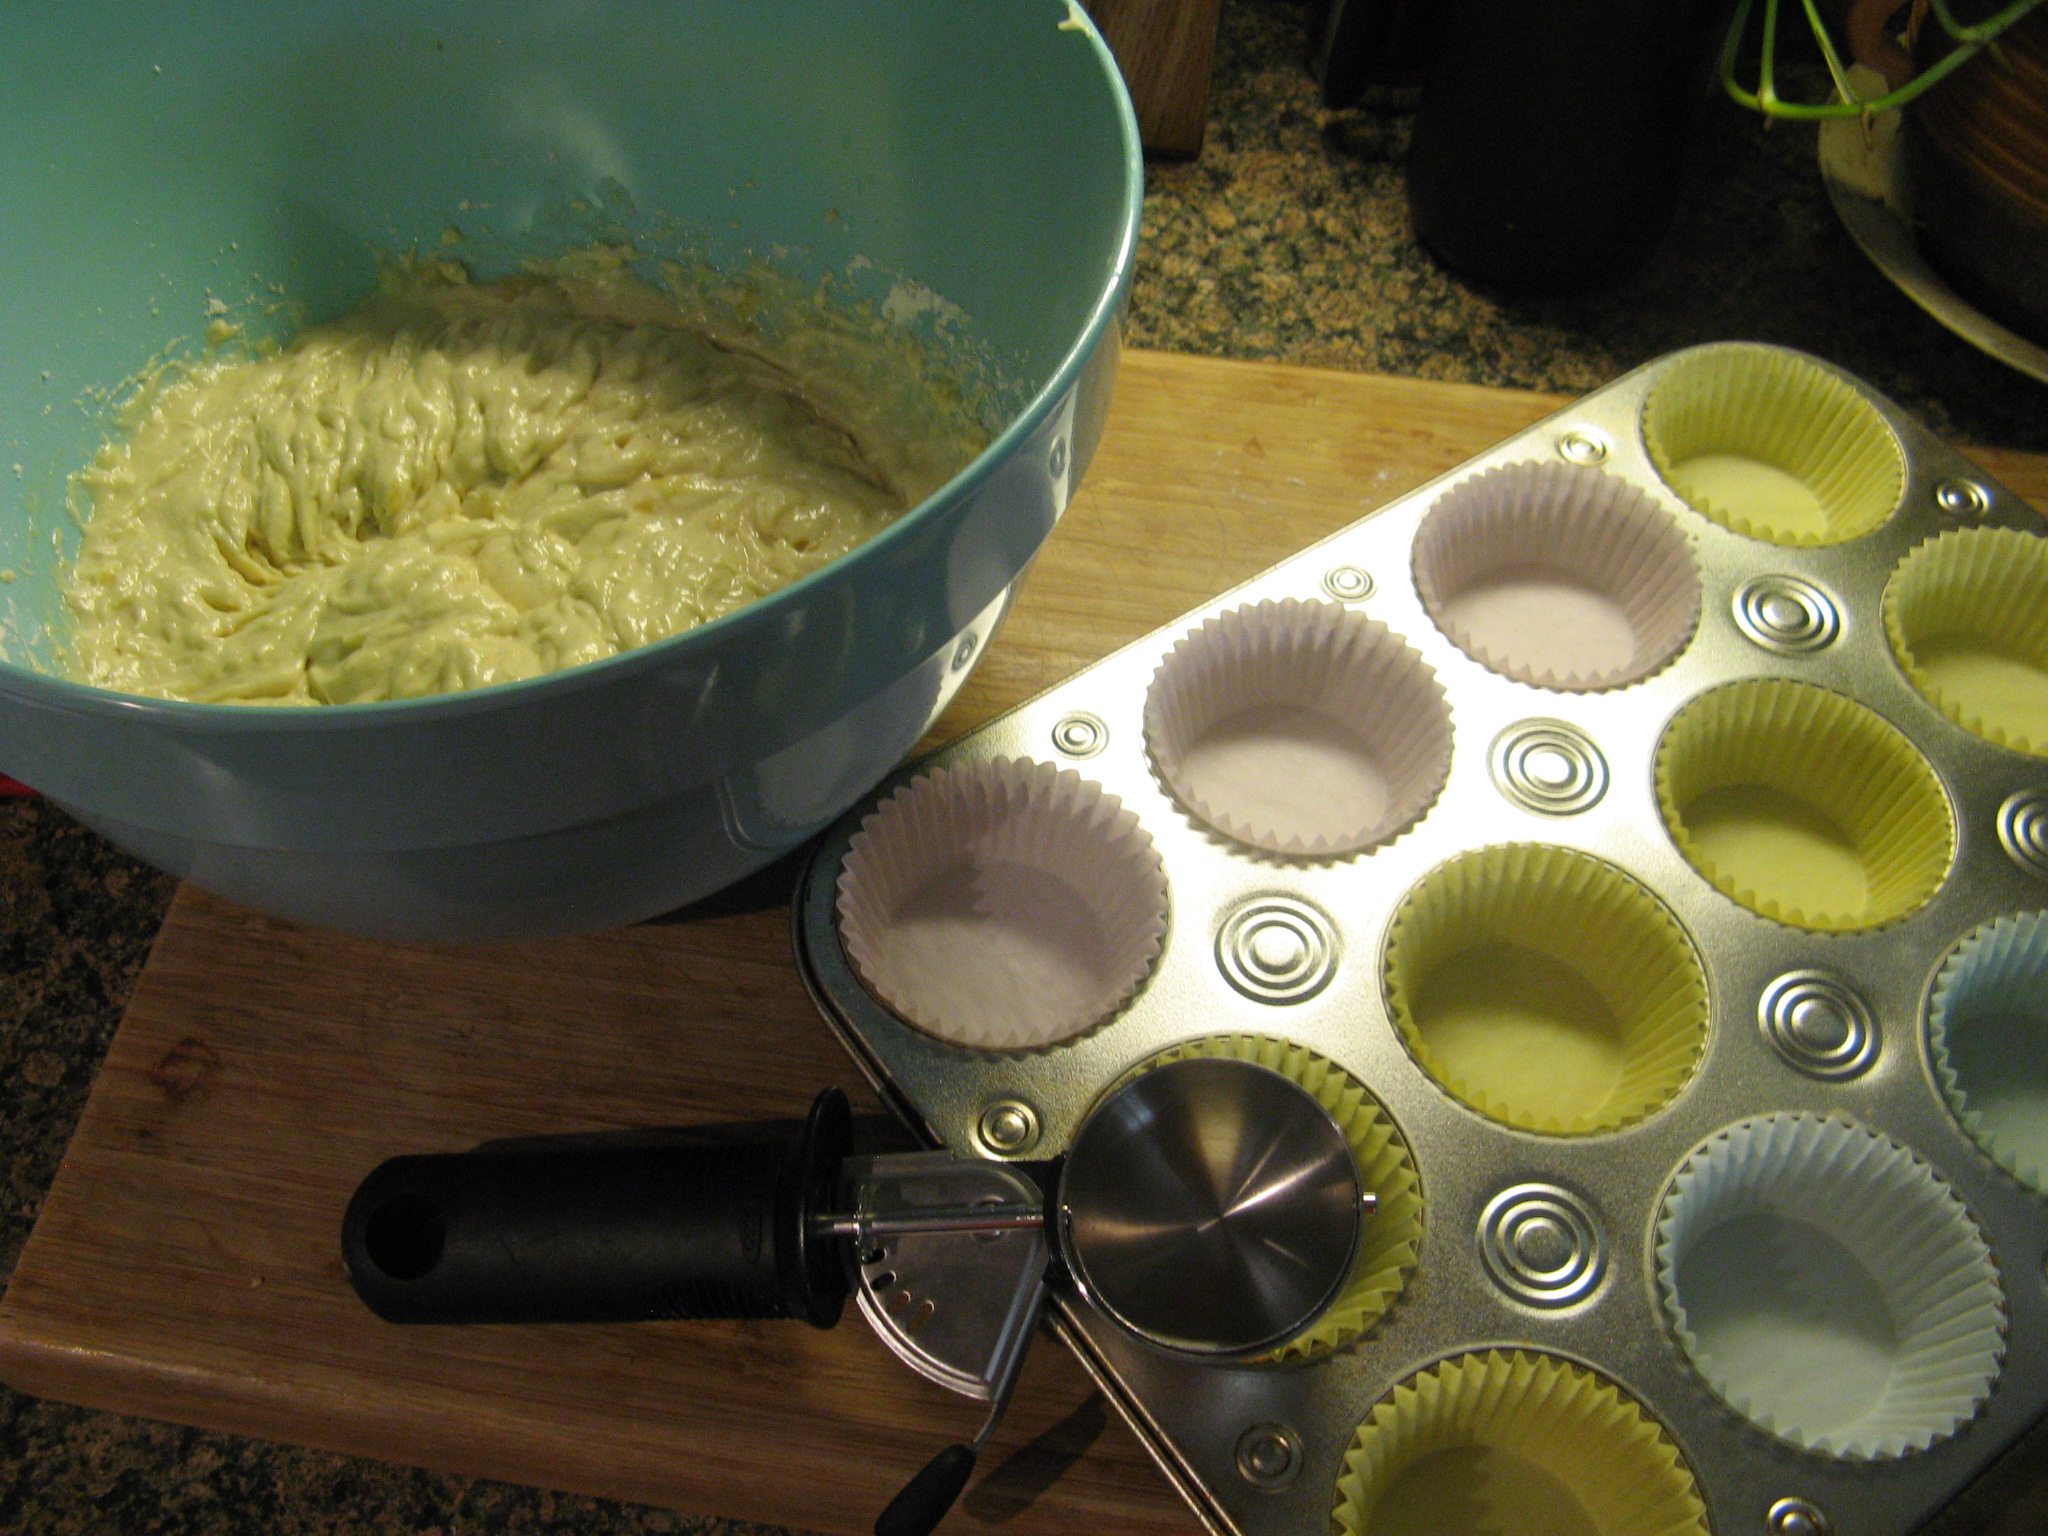
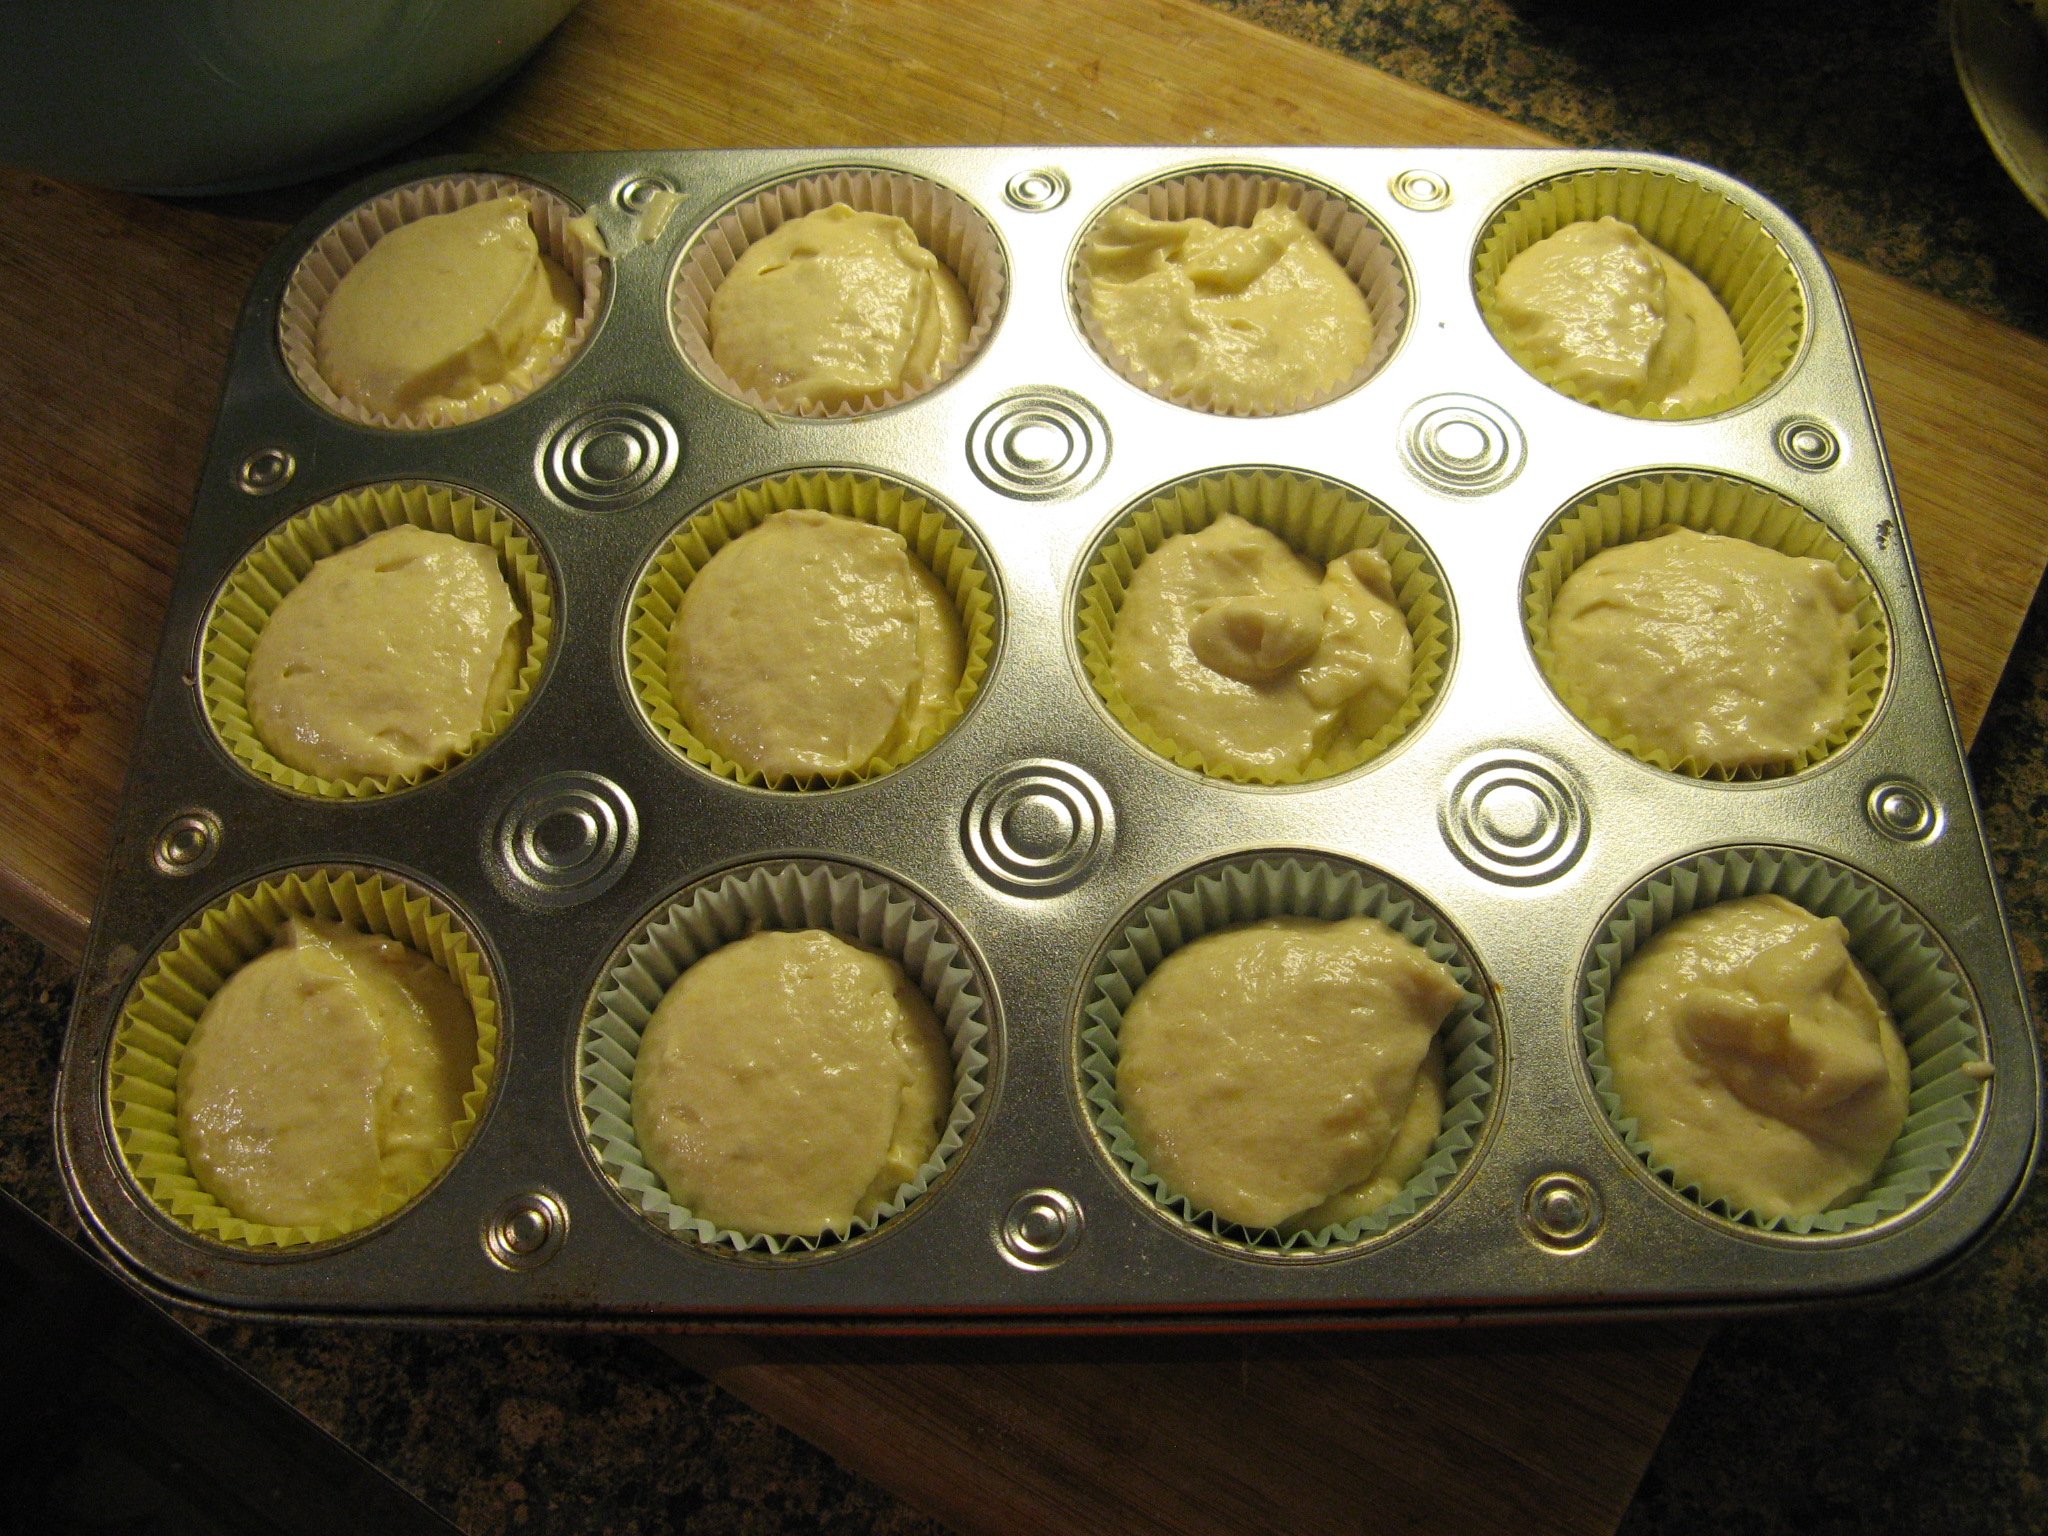
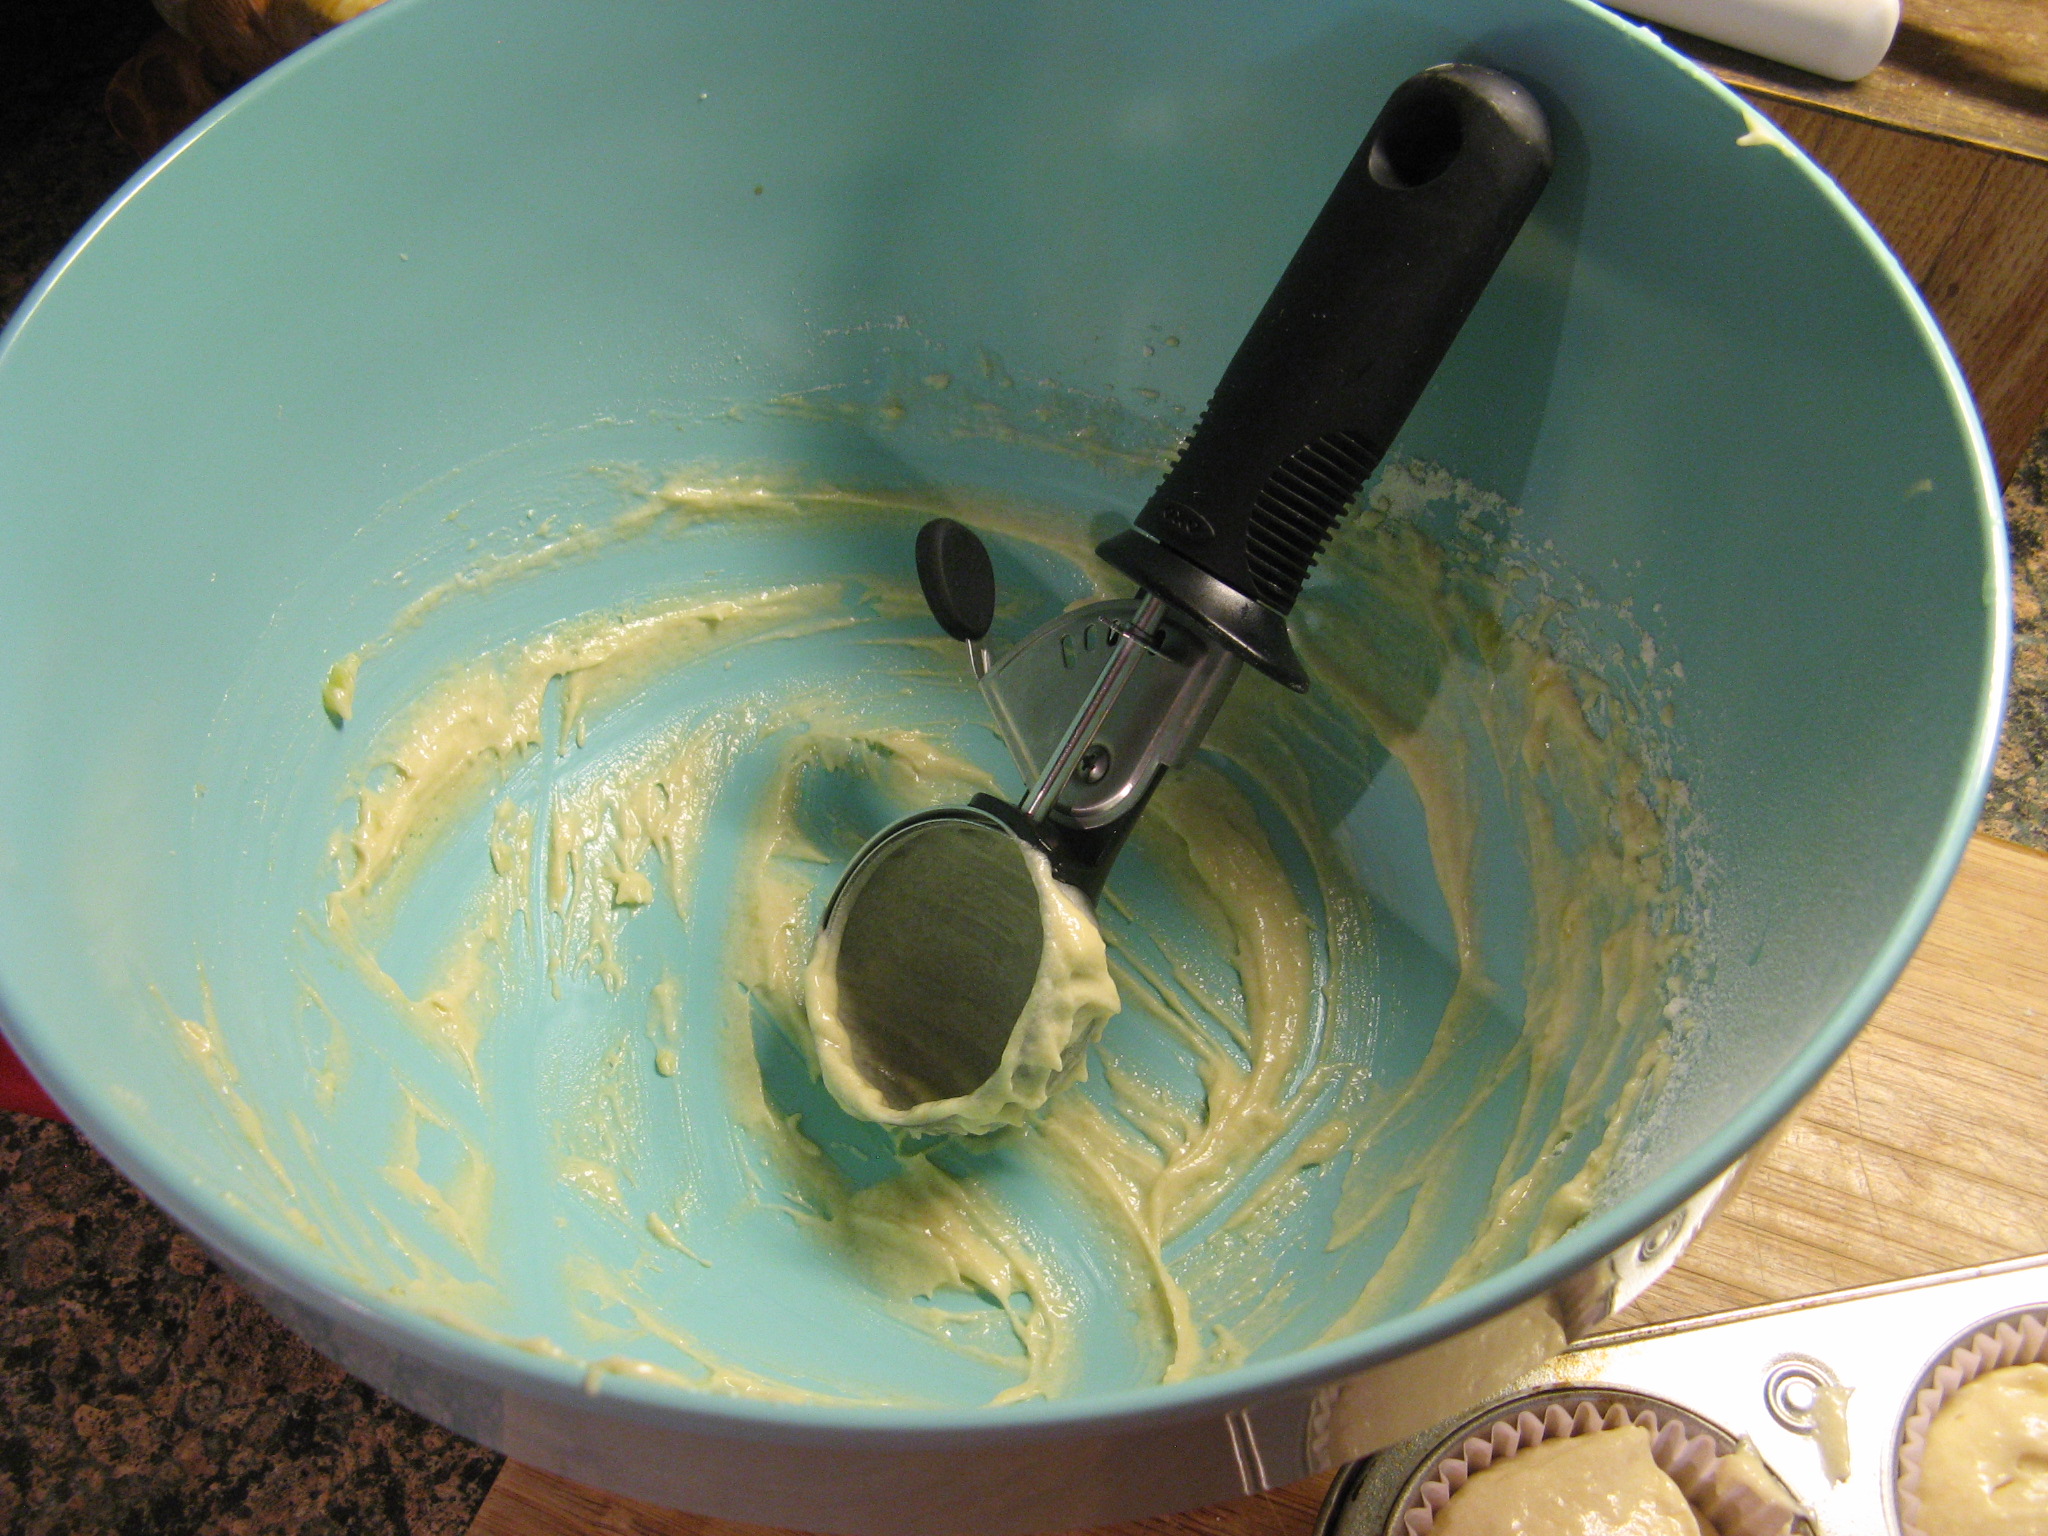
Once the entire banana was incorporated into the mixture I used an ice cream scoop to fill my prepared cupcake pan.

IMG_1140 IMG_1141

The batter was the perfect amount for twelve cupcakes!

IMG_1142

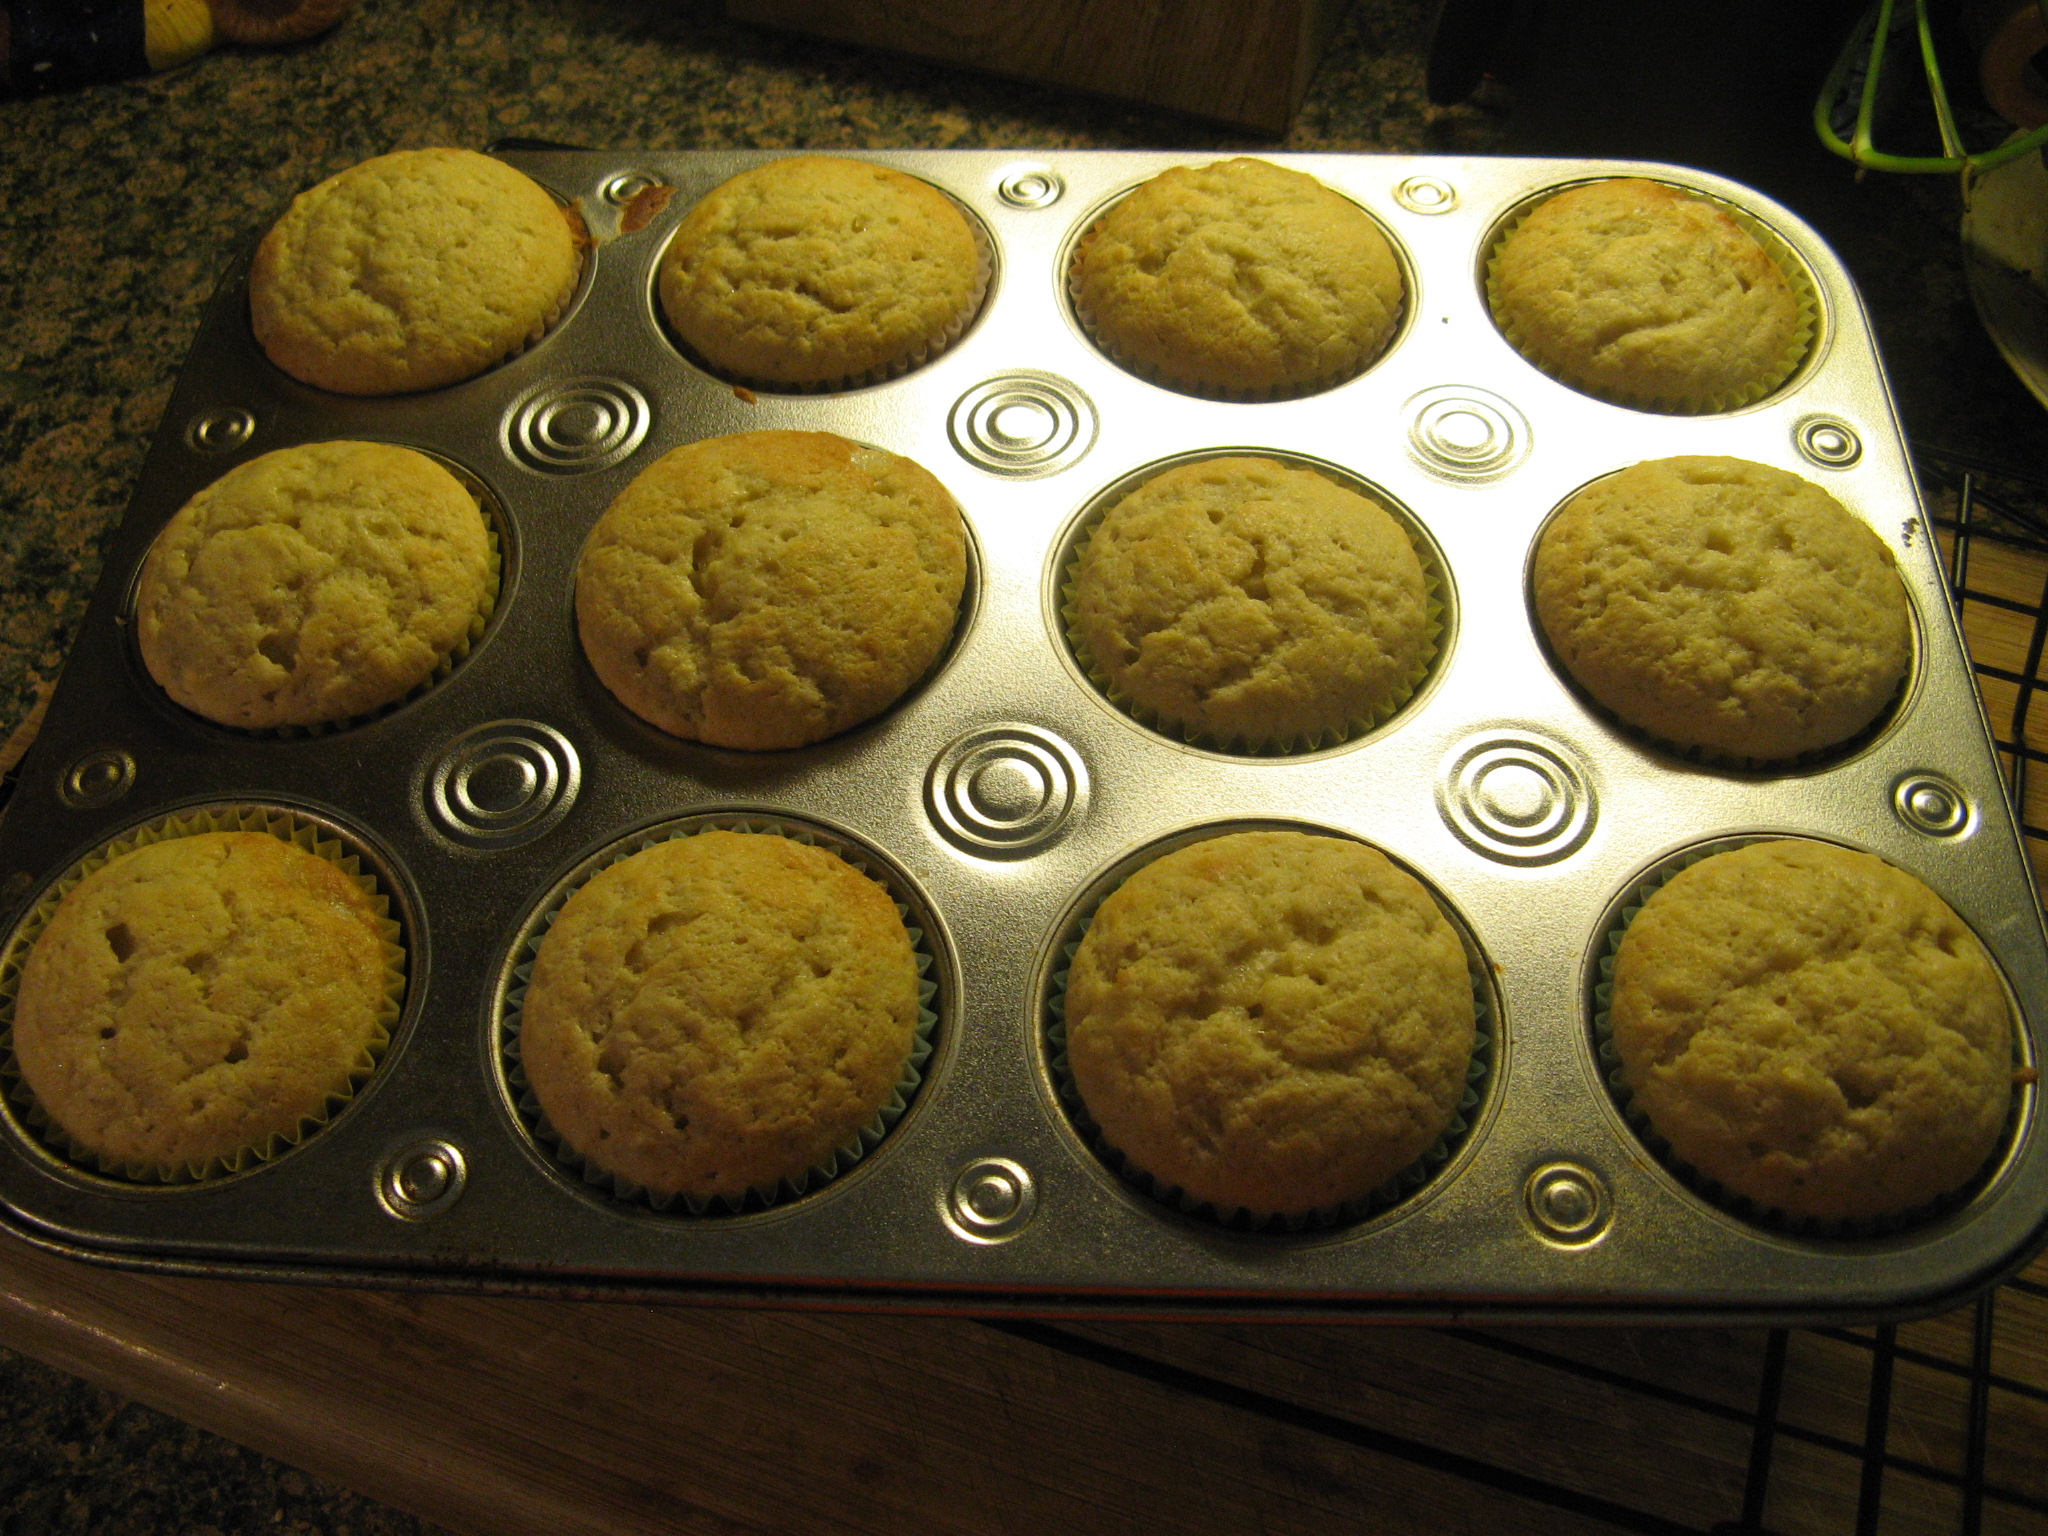
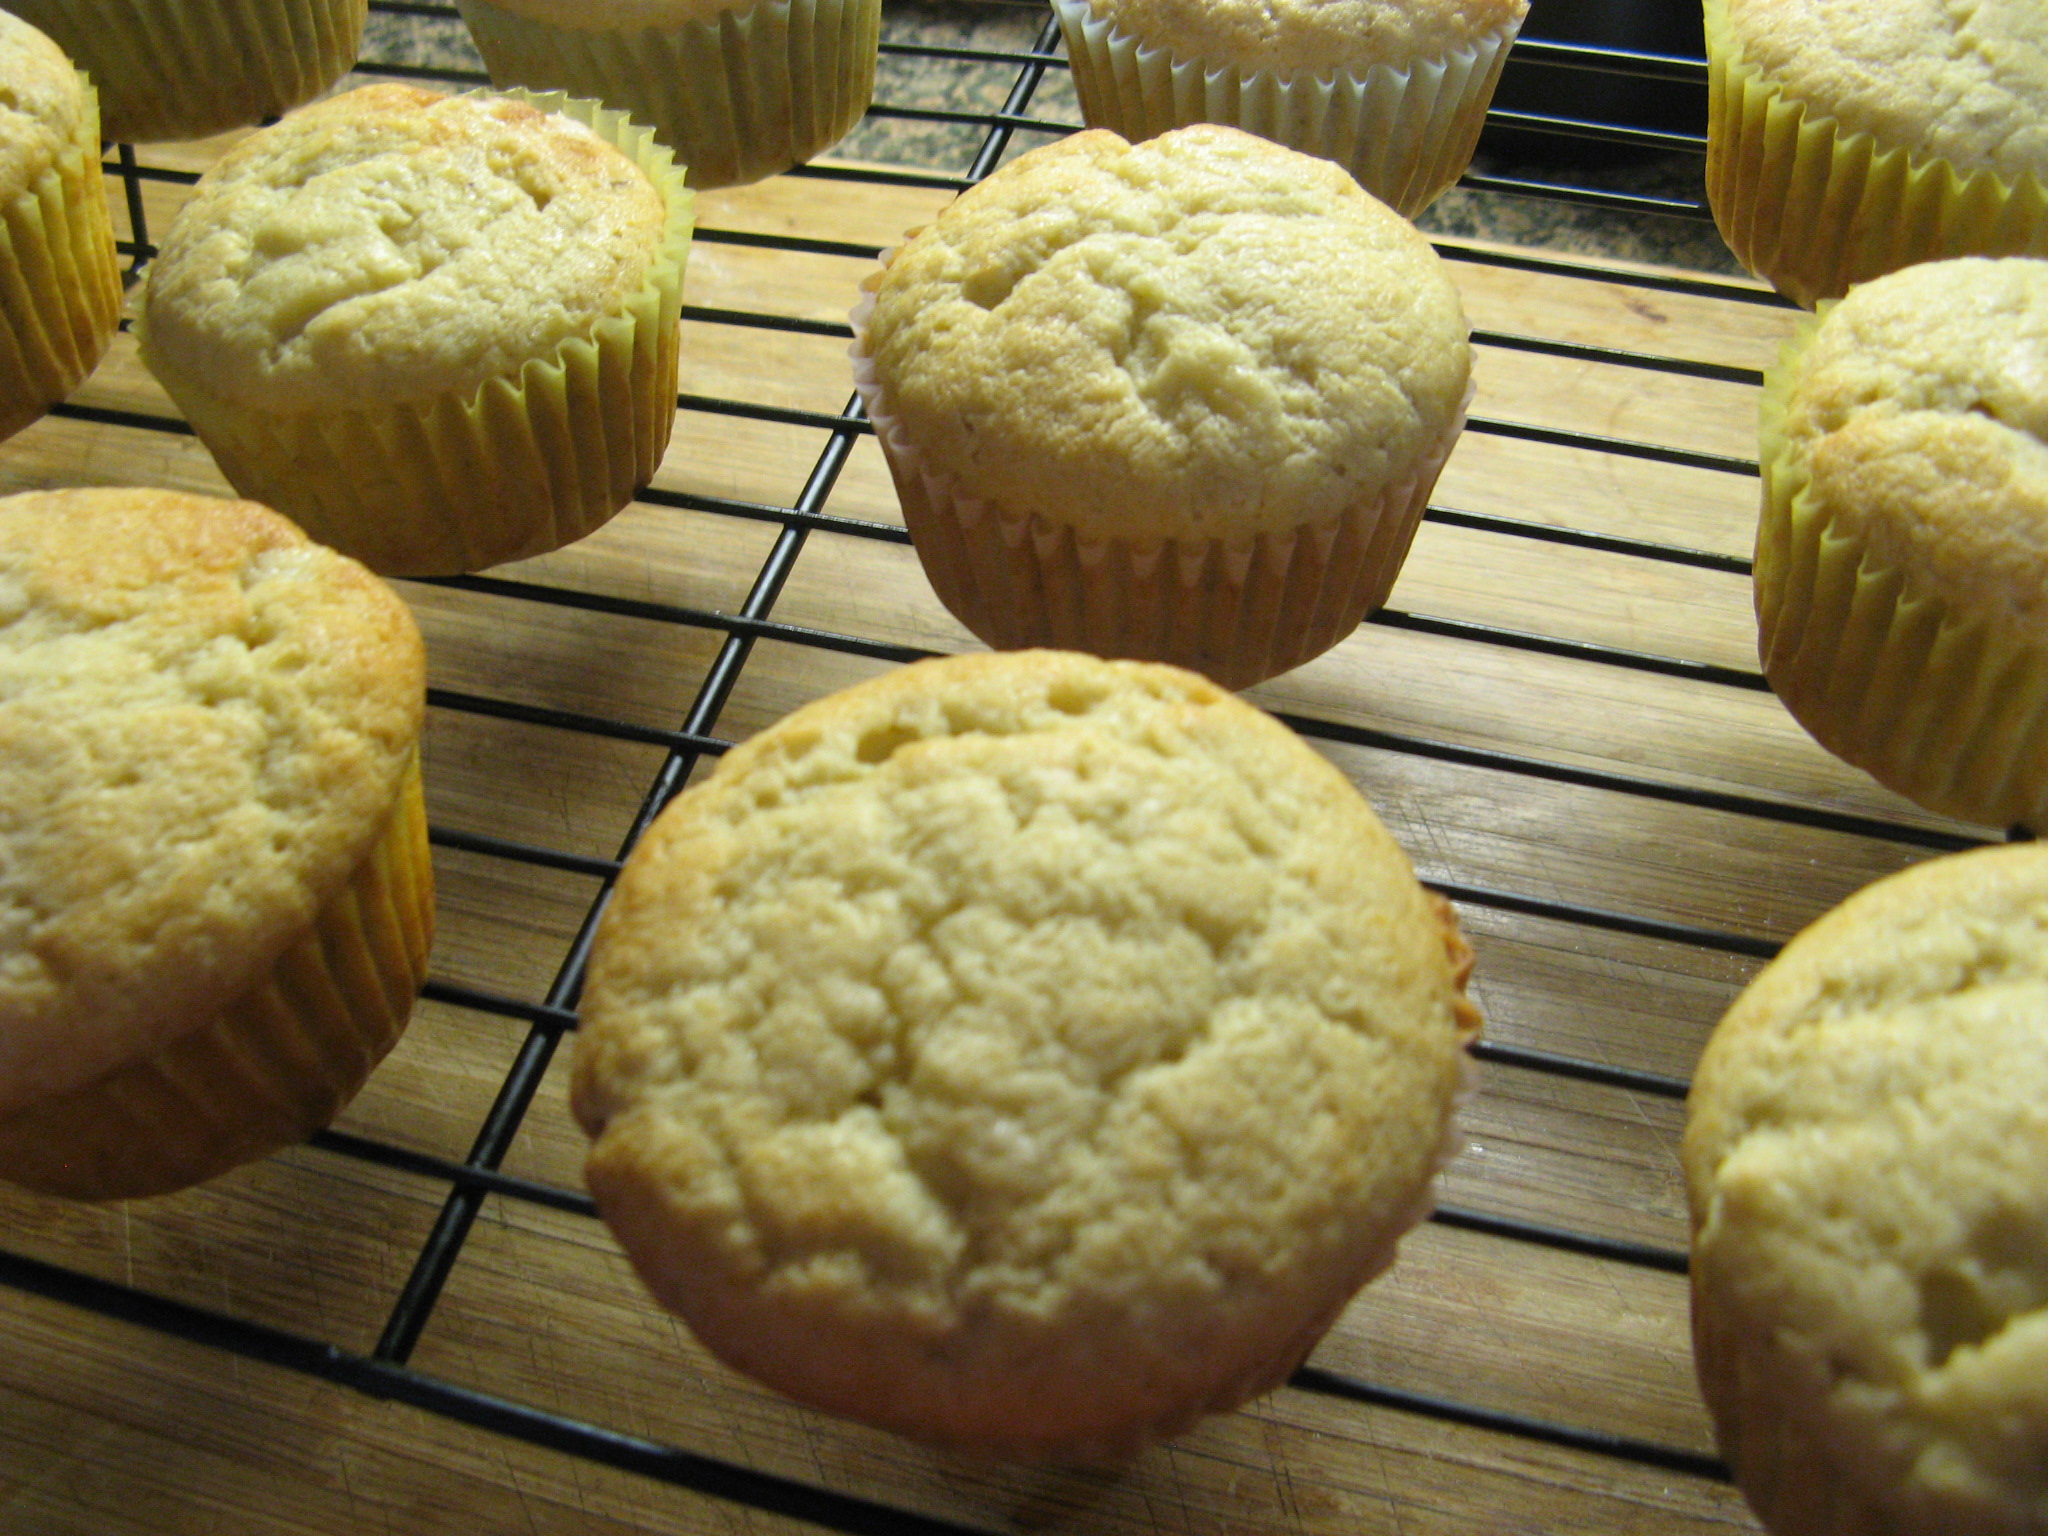
After baking for 18 minutes in a 350 degrees preheated oven they were done and smelled incredible.

IMG_1146

I let them cool for a bit before frosting and since I was running a bit short on time I decided to take a short cut and use store bought chocolate frosting.

IMG_1145 IMG_1151

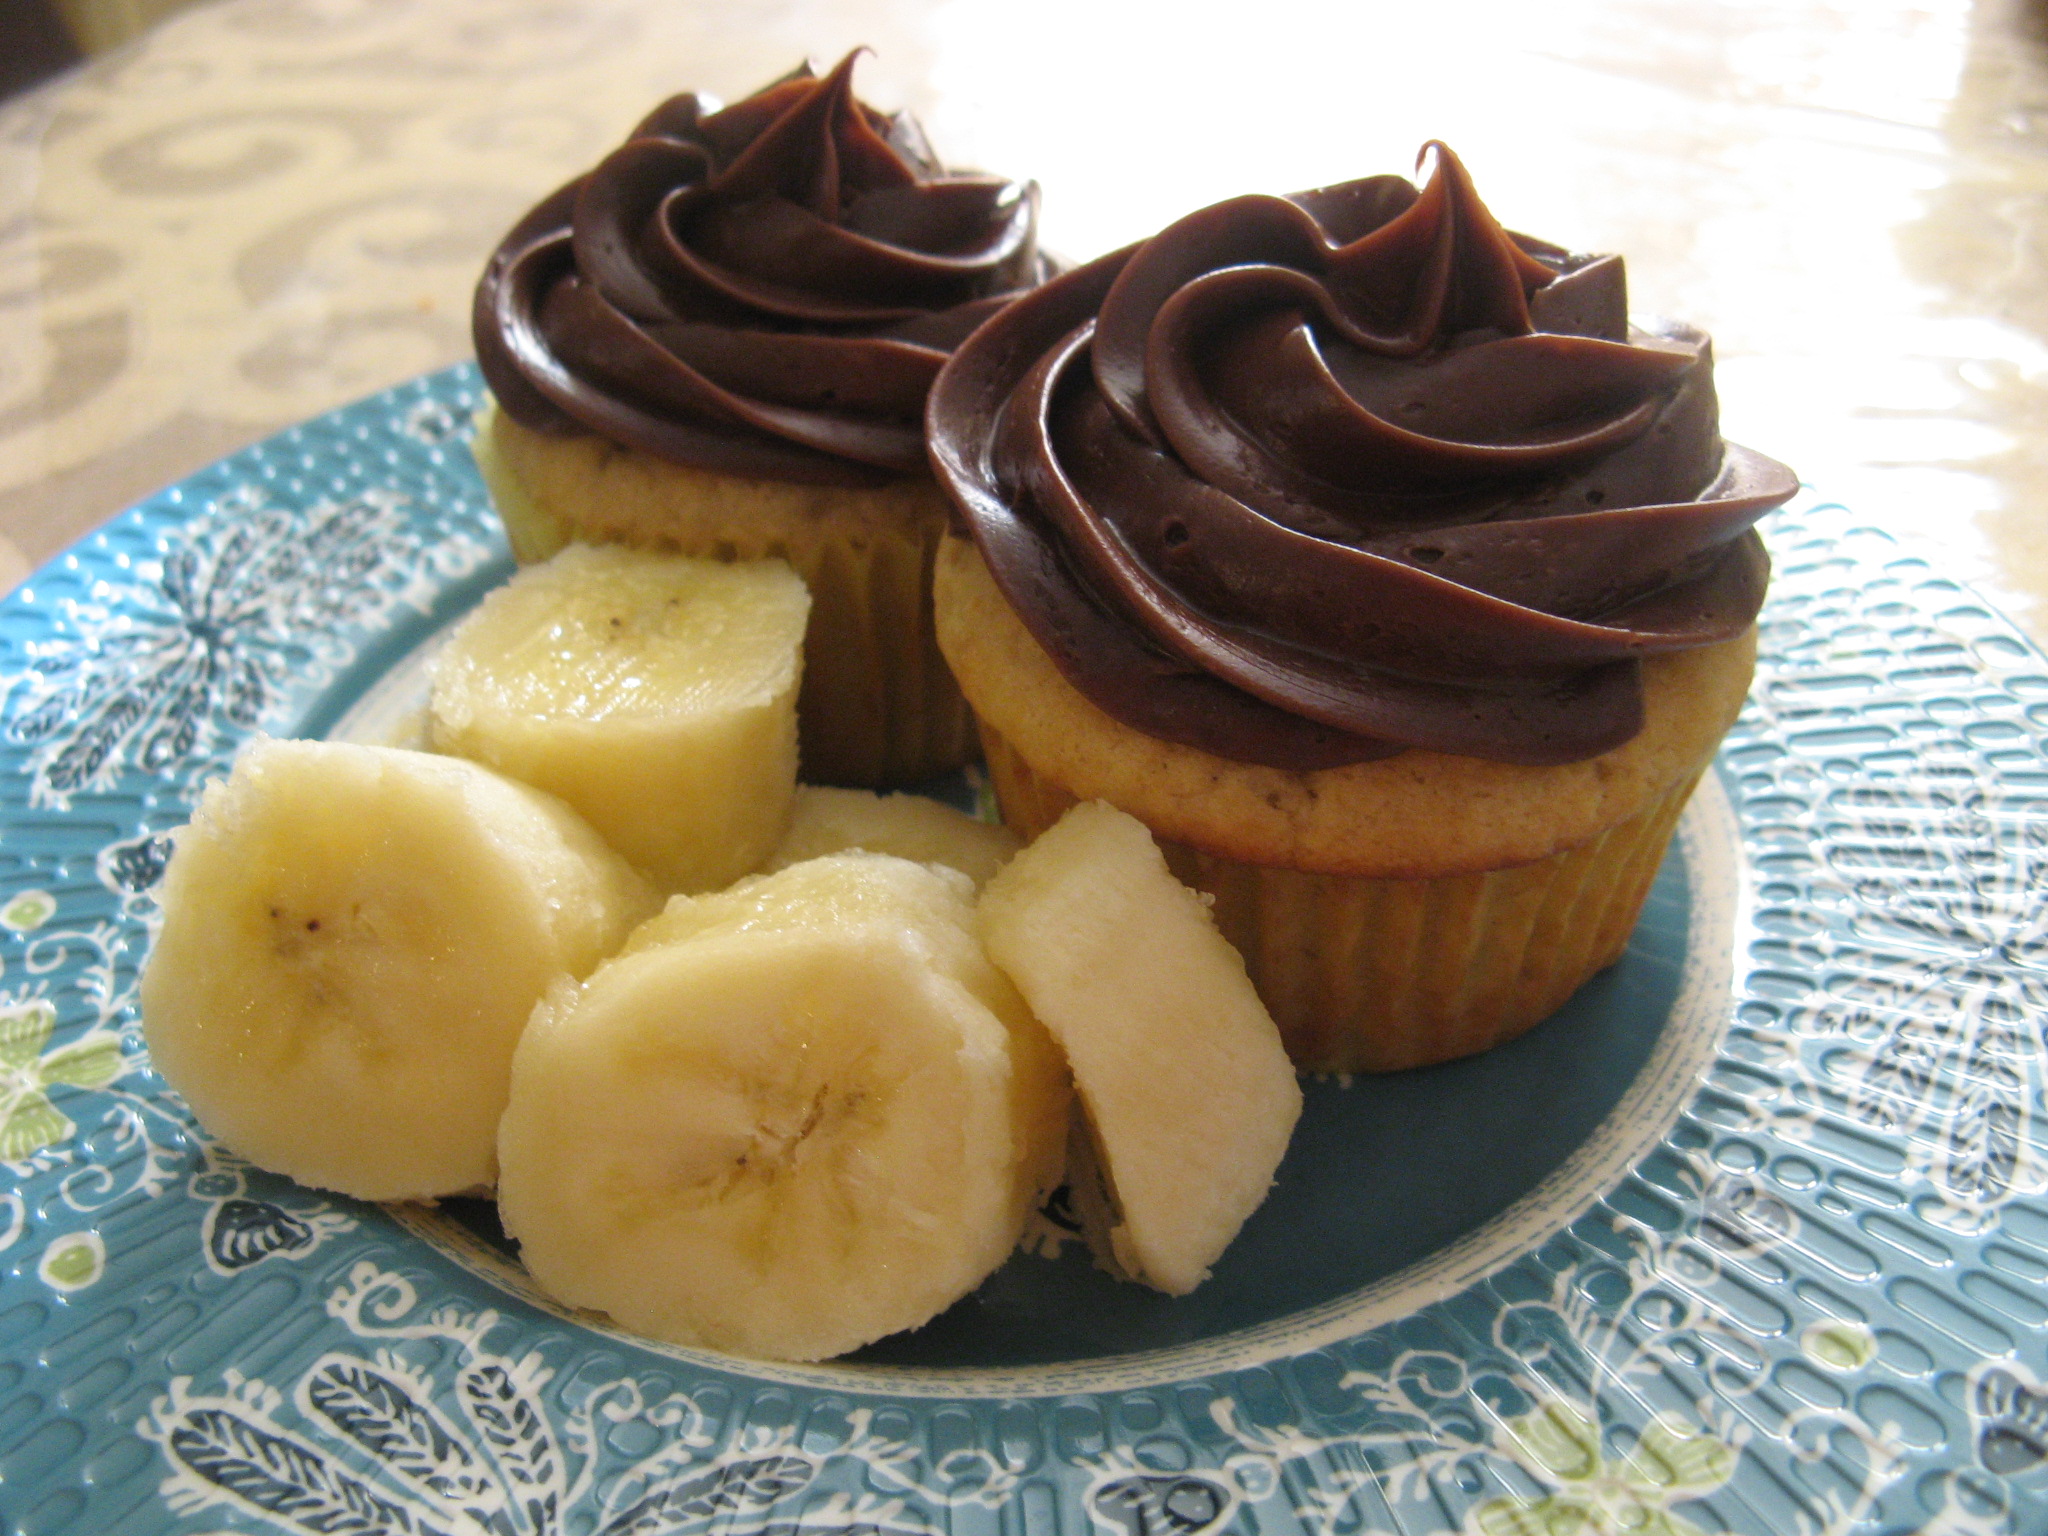
Once they were cooled I frosted them using a piping bag attached with Wilton’s 1M tip to create the 1M Swirl.

IMG_1156

Overall… the cupcakes were absolutely delish!
IMG_1157

Gina’s Banana Cupcakes*

Ingredients

1 cup all-purpose flour

1/2 teaspoon baking powder

1/2 teaspoon baking soda

1/4 teaspoon salt

1 stick (4 ounces) butter, softened

1/2 cup granulated sugar

1/4 cup sour cream

1 1/2 teaspoons vanilla extract

2 large eggs

Directions

Preheat the oven to 350F. Line a 12-cup standard muffin tin with paper cupcake liners.

In a medium bowl, combine the flour, baking powder, baking soda and salt. Set aside.

In a large bowl, add the butter and granulated sugar. Beat with a handheld mixer until combined. Add the sour cream and vanilla. Slowly beat in the eggs, one a time. Incorporate the dry mixture and wet mixture together until thoroughly combined. Add the bananas, being careful not to over mix.

Using an ice cream scoop, fill each cupcake liner three-quarters of the way full. Bake in the oven until the tops turn golden brown and a toothpick inserted in the middle of the cupcake comes out clean, 18 to 20 minutes. Remove the cupcakes from the oven to a wire rack and let cool before frosting.

*The original recipe included 3/4 cup walnuts from the batter which I omitted and was paired with a molasses frosting which I opted to replace with a chocolate frosting.

A Key Lime Cookie Miss

So after baking my Key Lime Pie I had quite a few key limes left over and wanted to put them to good use so I decided to bake some Key Lime Spritz cookies. Unfortunately this was one recipe that didn’t work for me for numerous reasons.

The ingredients were basic enough: butter, sugar, salt, baking powder, an egg, key lime zest and juice, and flour.
IMG_1093
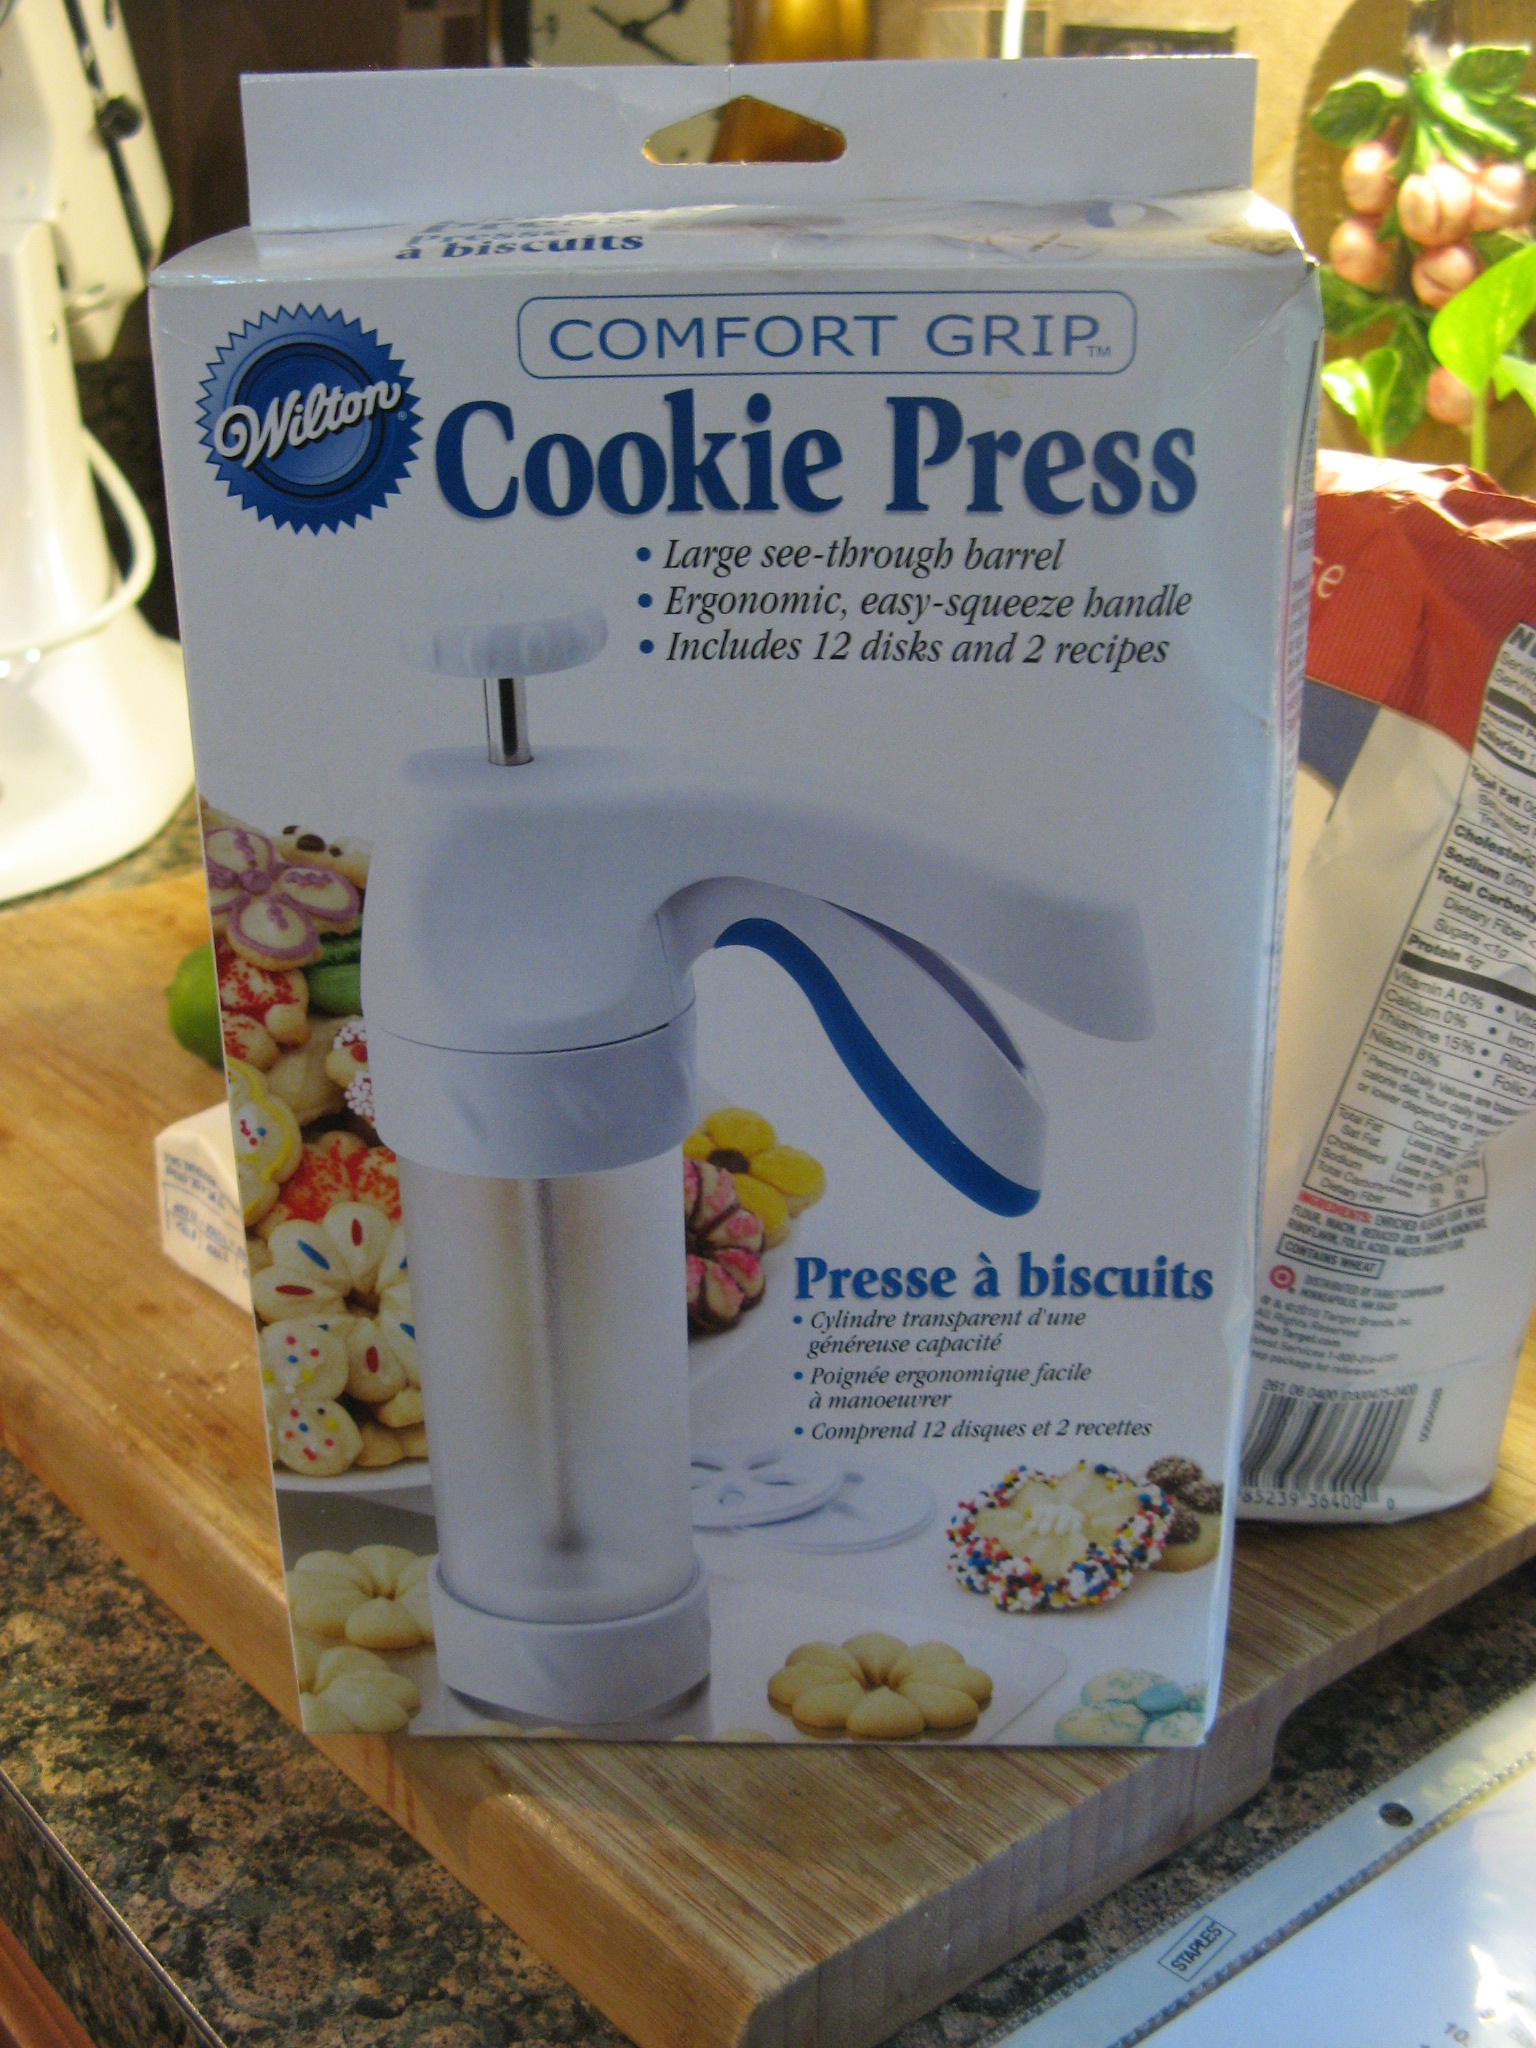
Two things attracted me to the recipe I followed, it sounded simple enough and it gave me an opportunity to use my Wilton Cookie Press.
IMG_1098
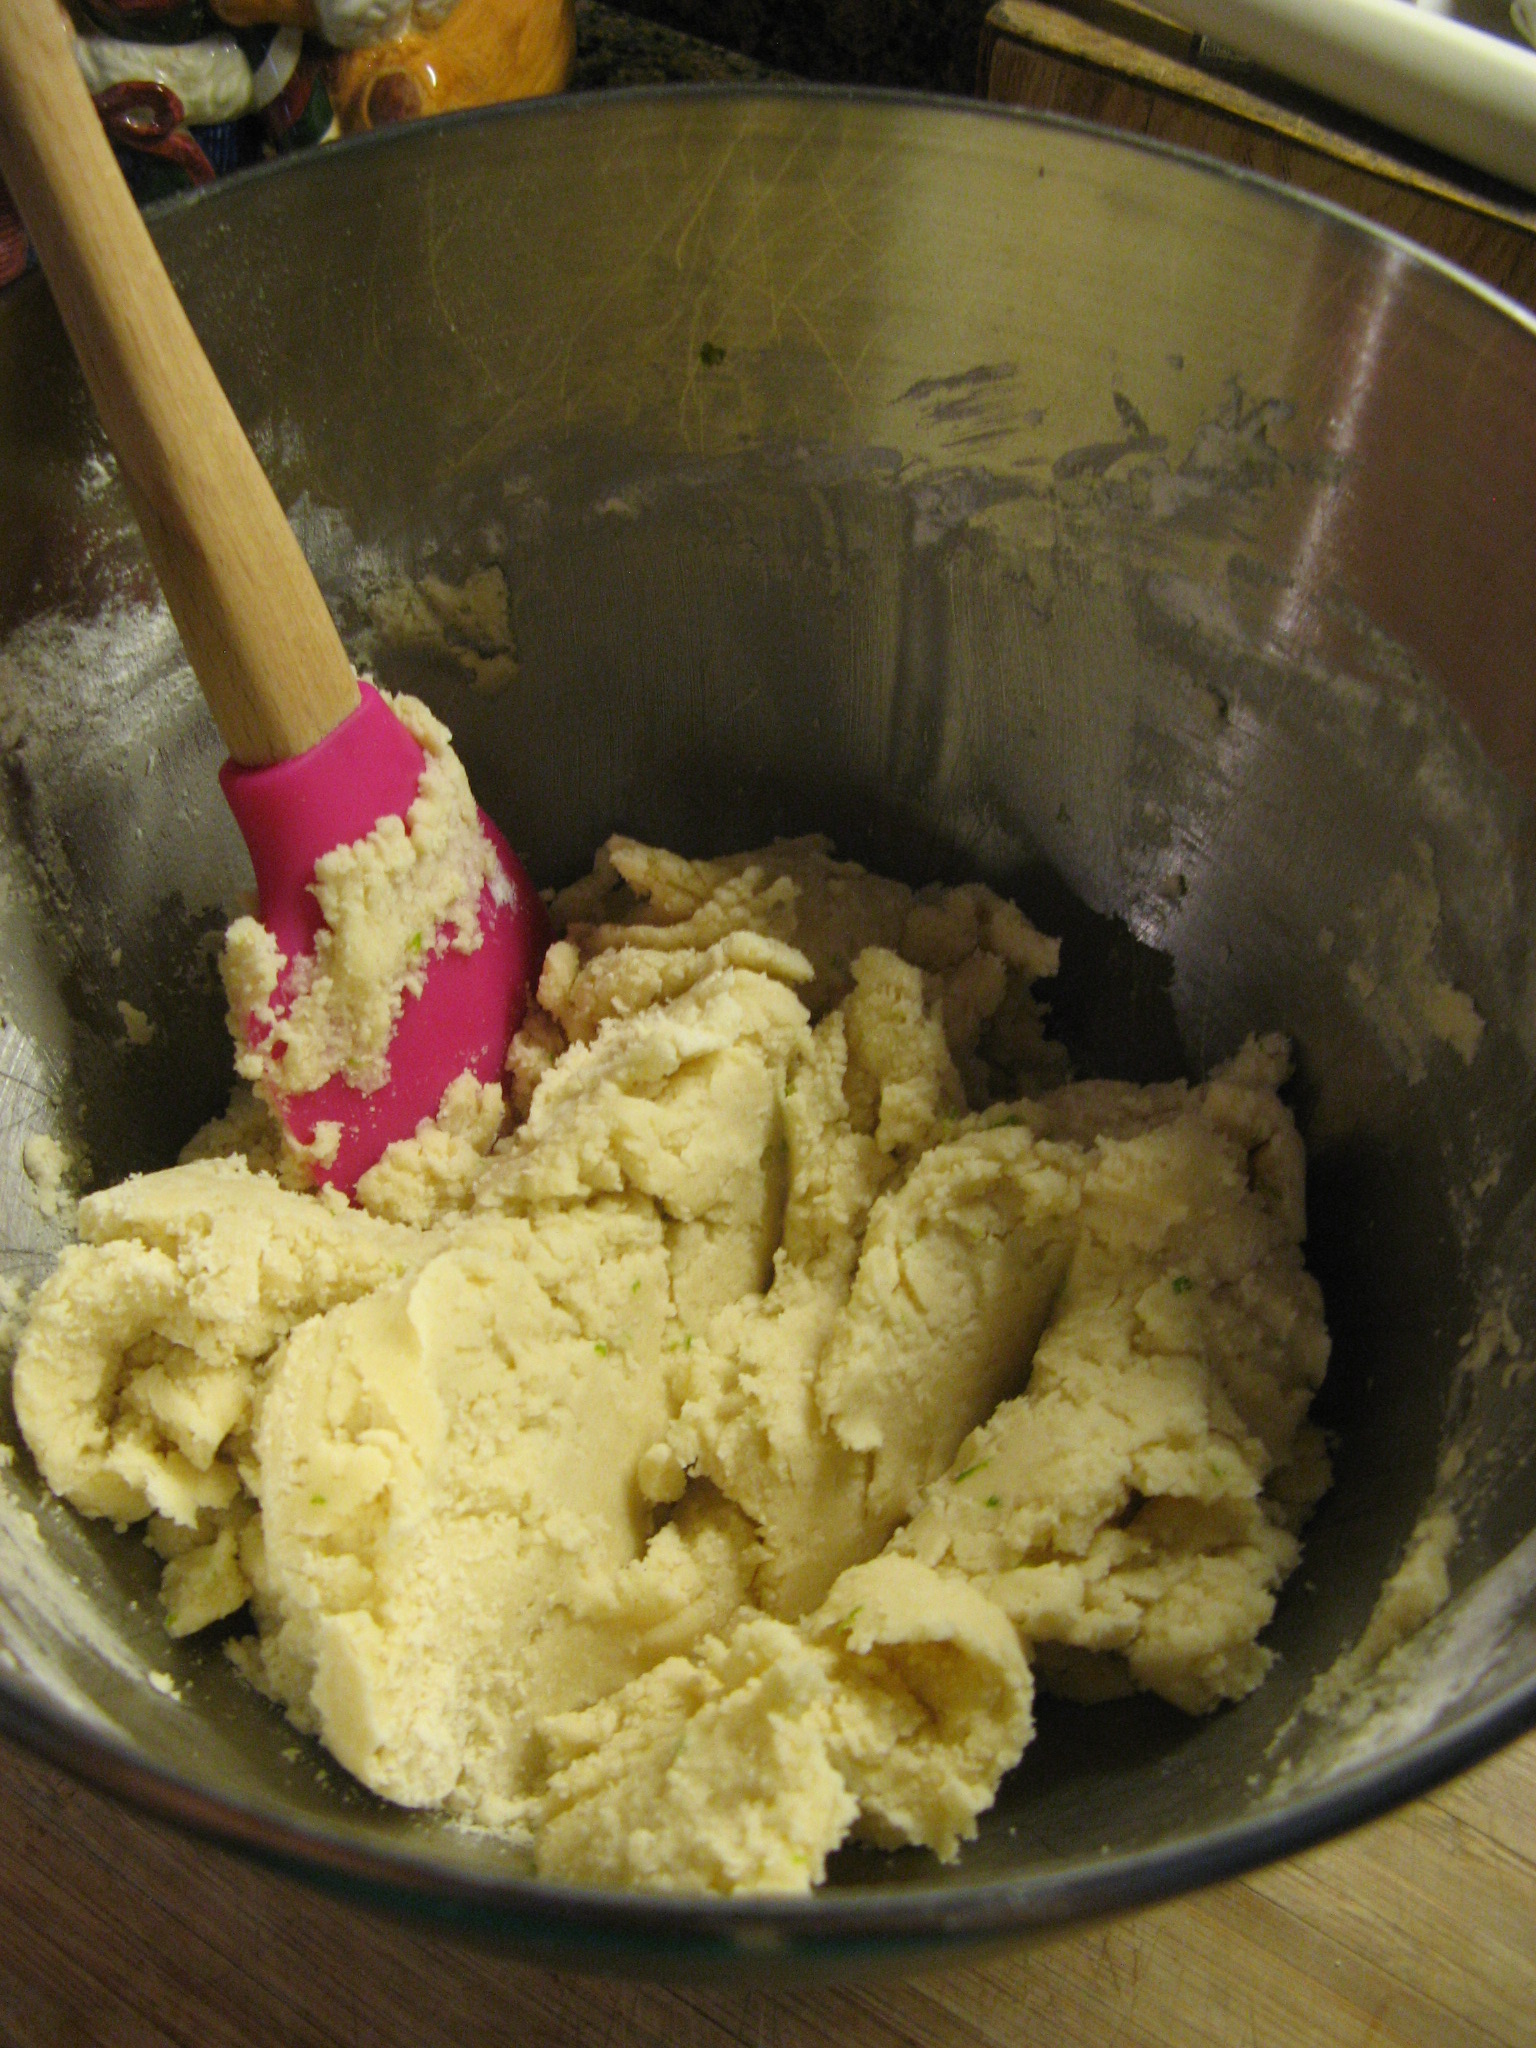
I followed the direction to make the dough…
IMG_1110
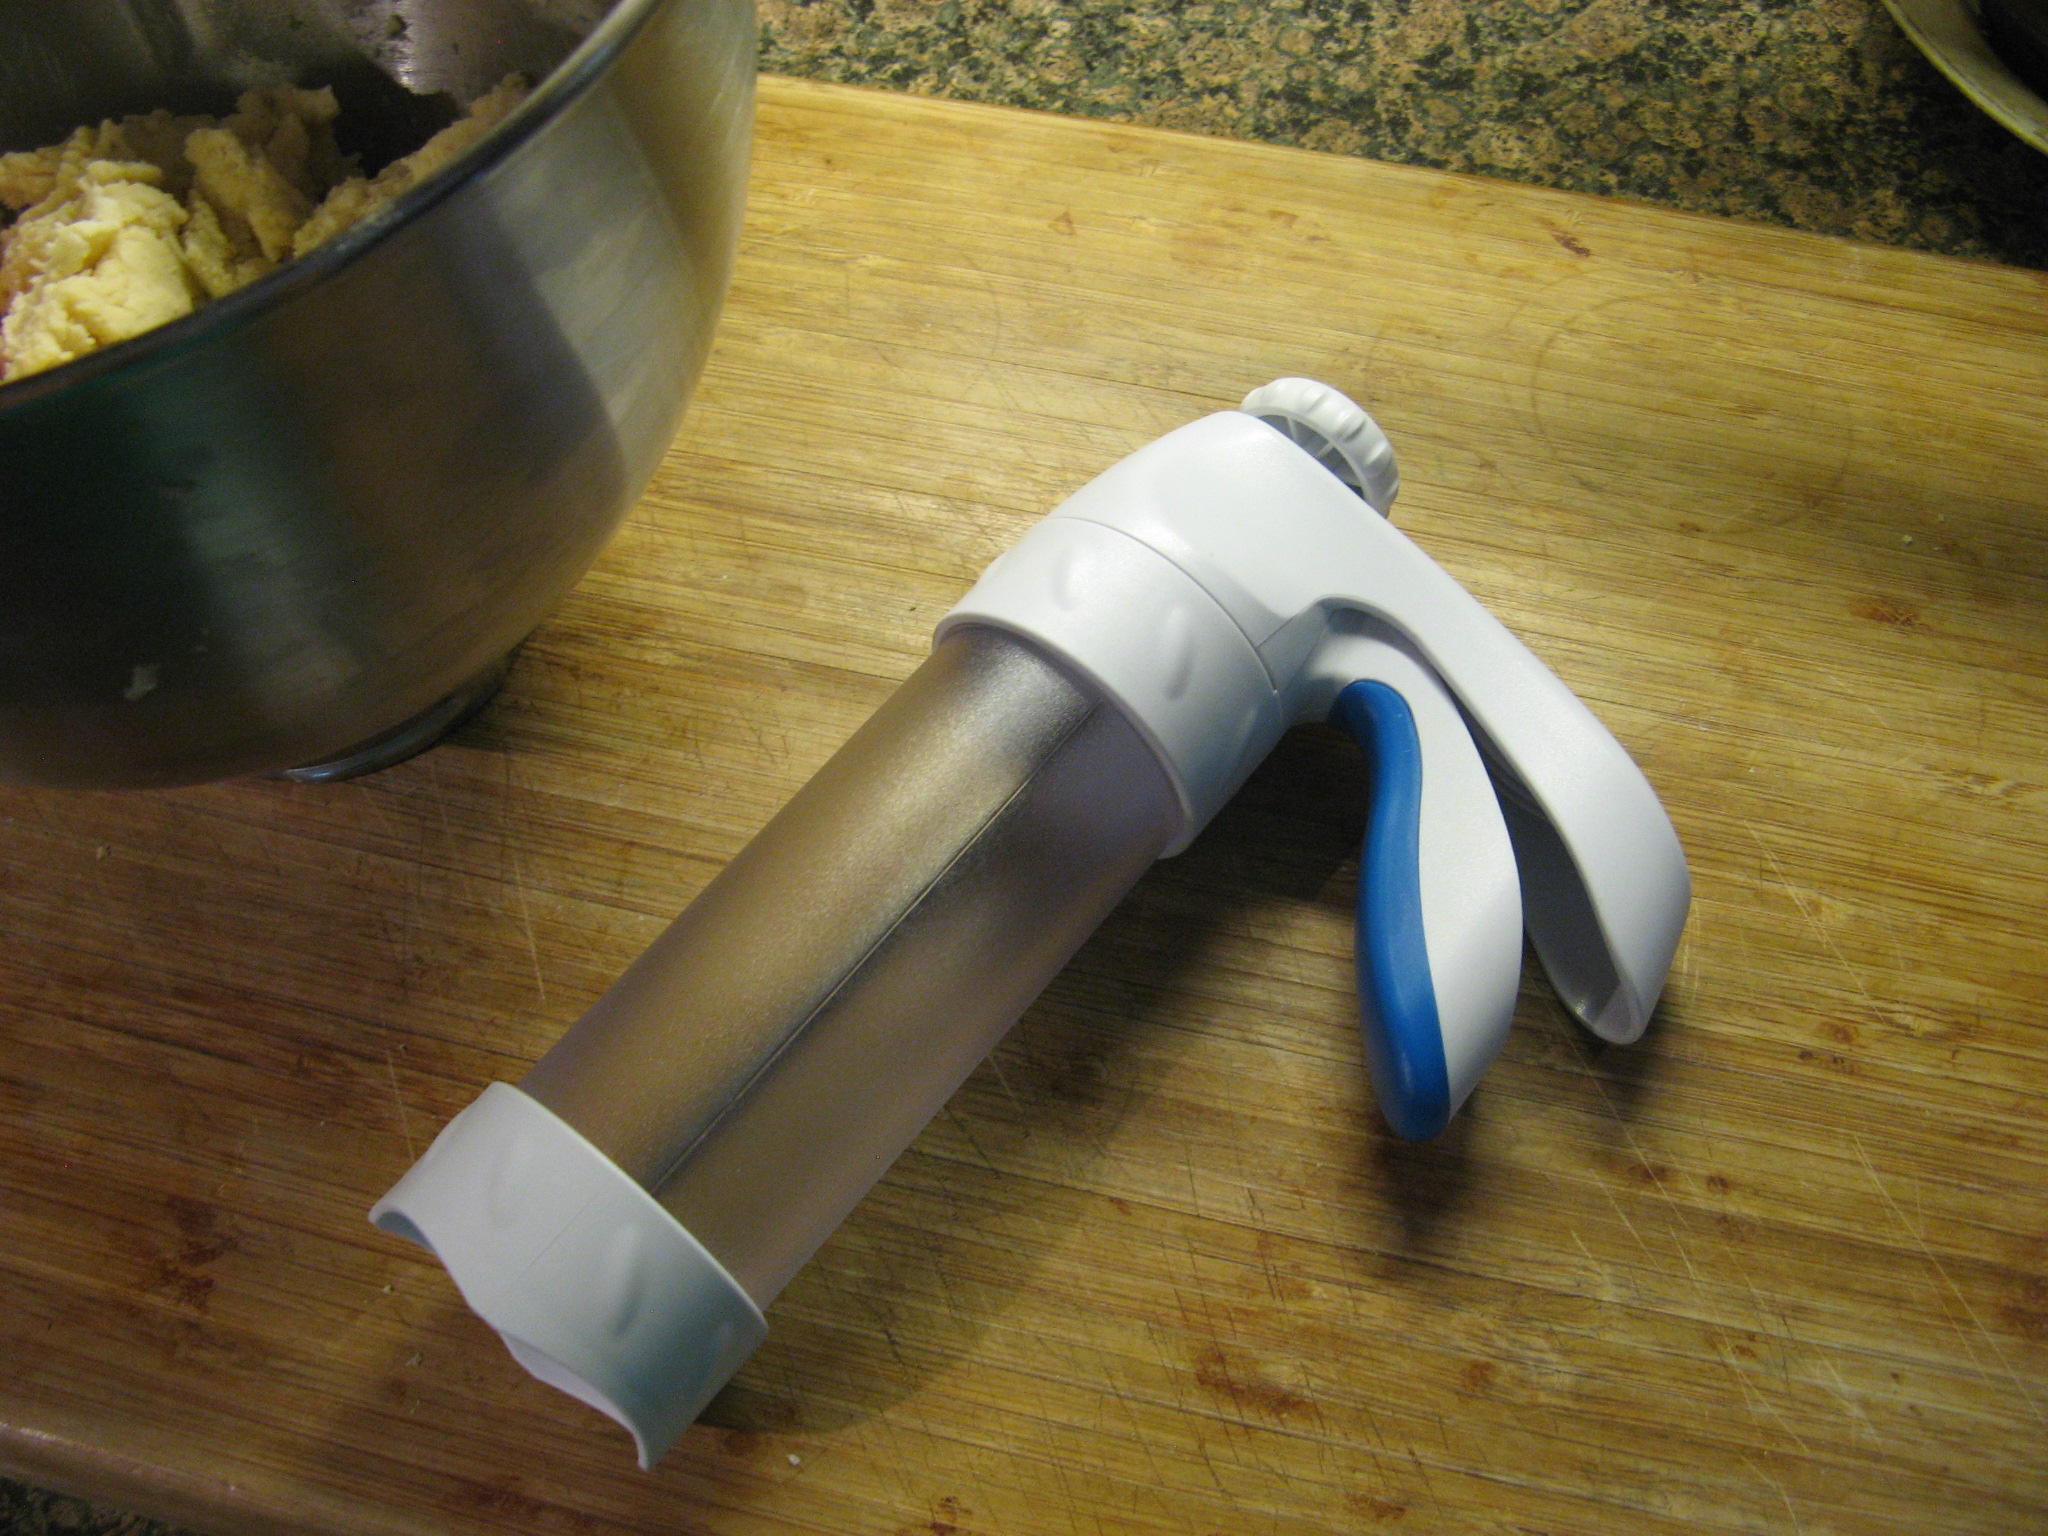
And then it was time to bring out the cookie press – this is where things went downhill.
IMG_1111
I filled my cookie press with the dough and was ready to start pressing out cookies in my selected shape.
IMG_1113
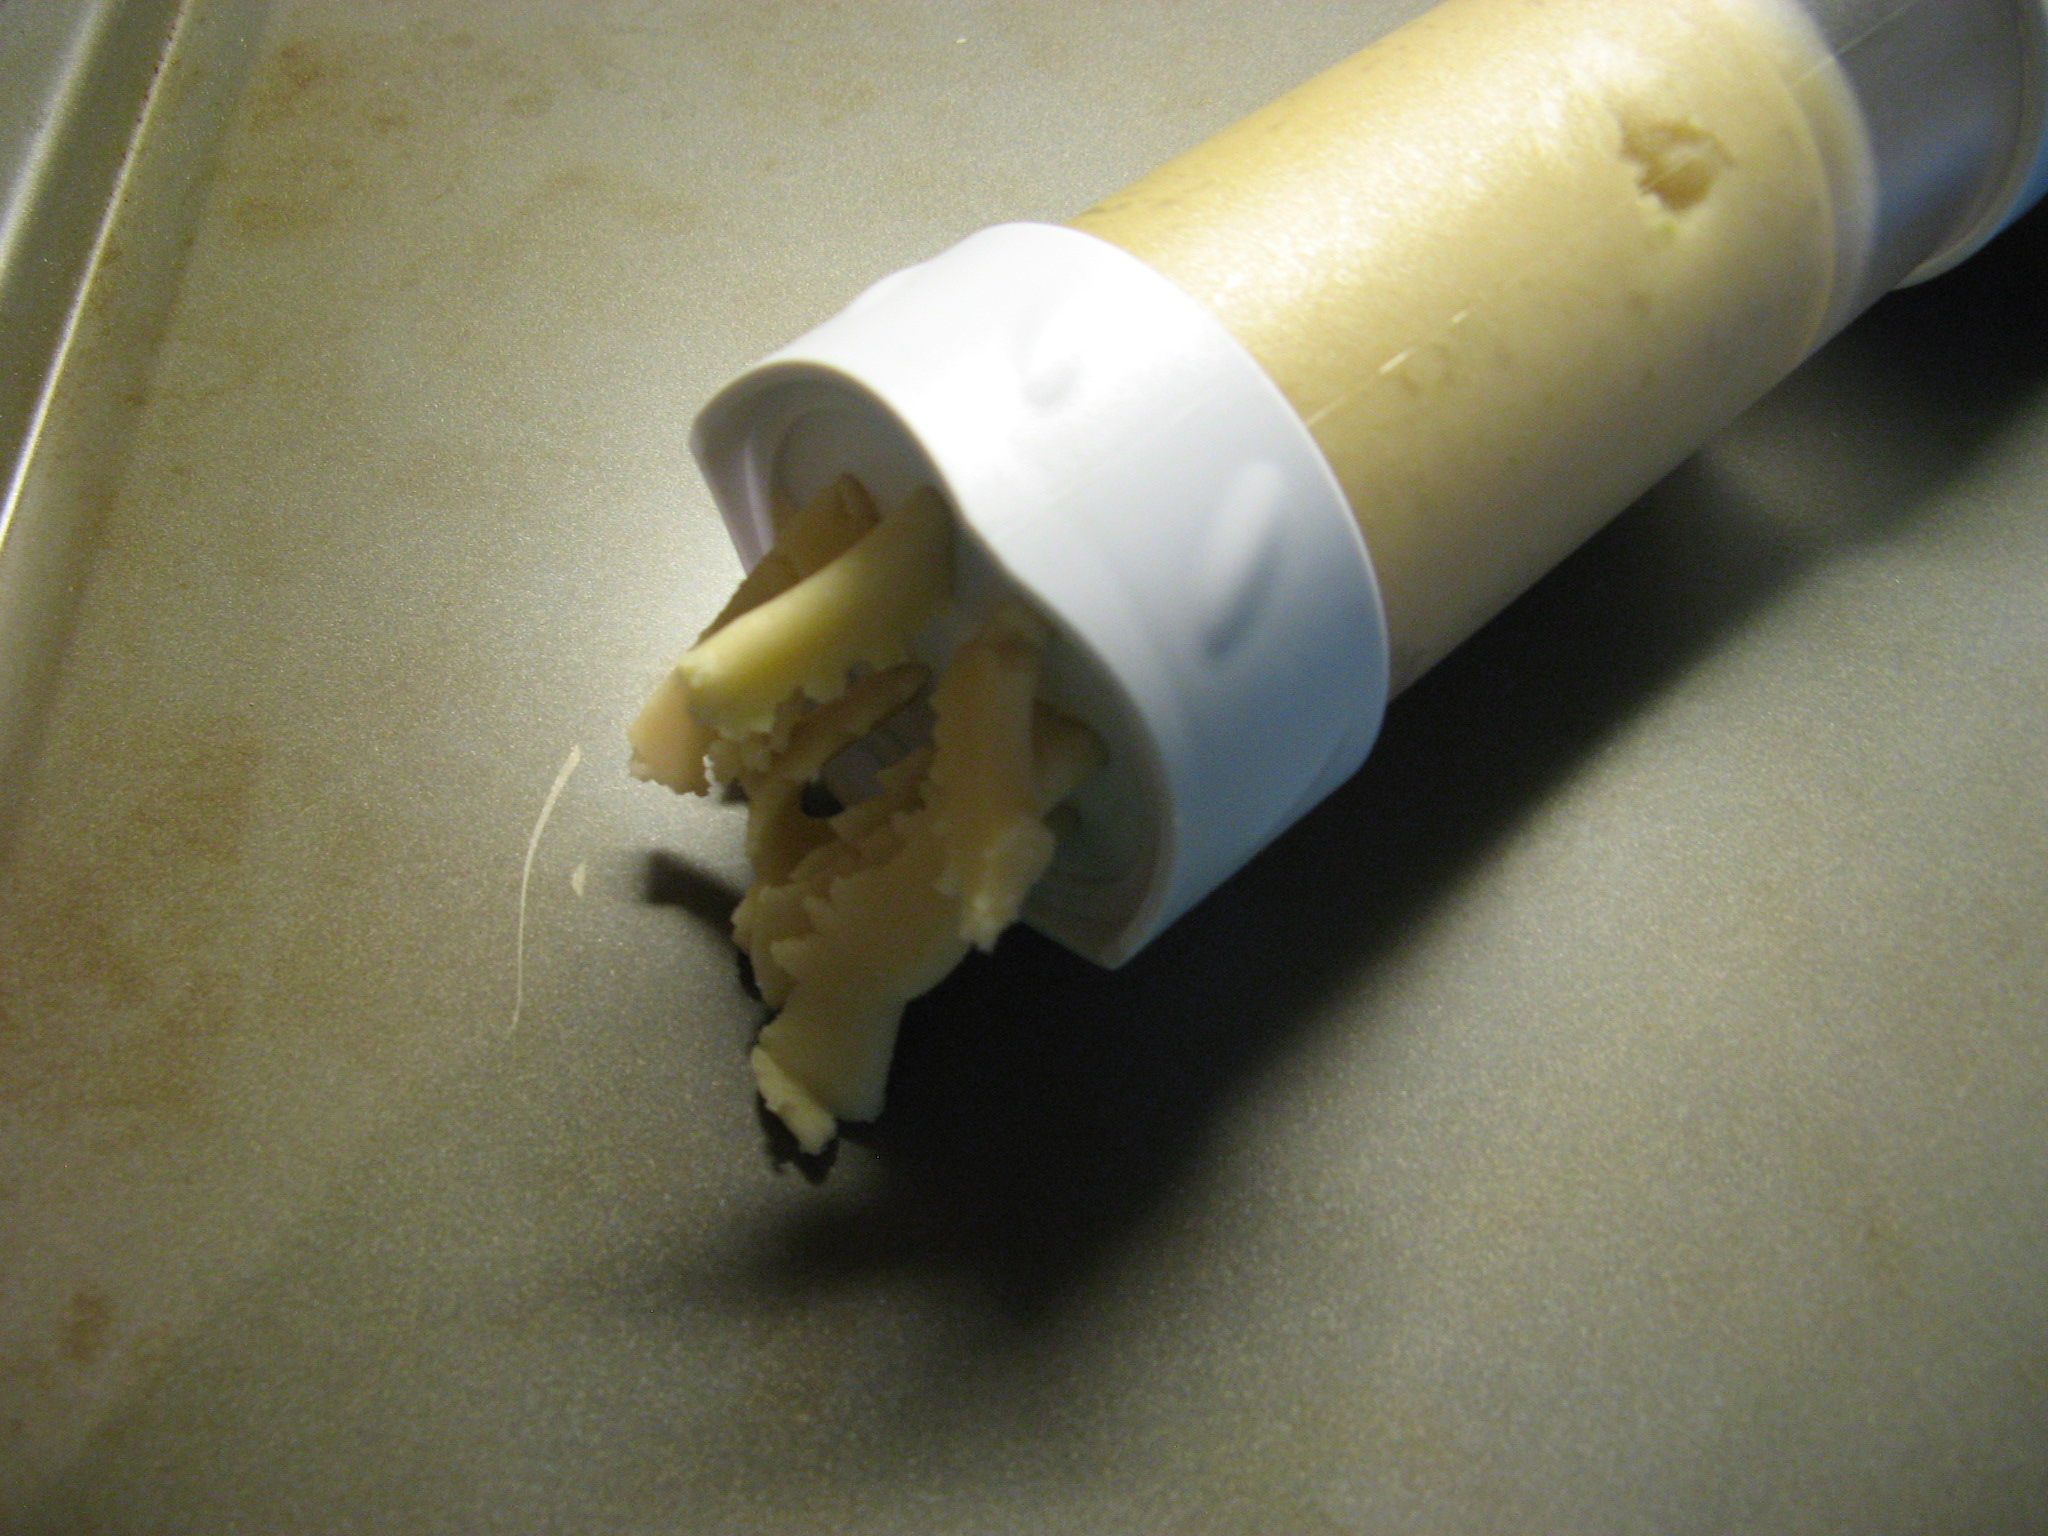
Instead of dropping cookies onto my cookie sheet this is what happened instead.
IMG_1114
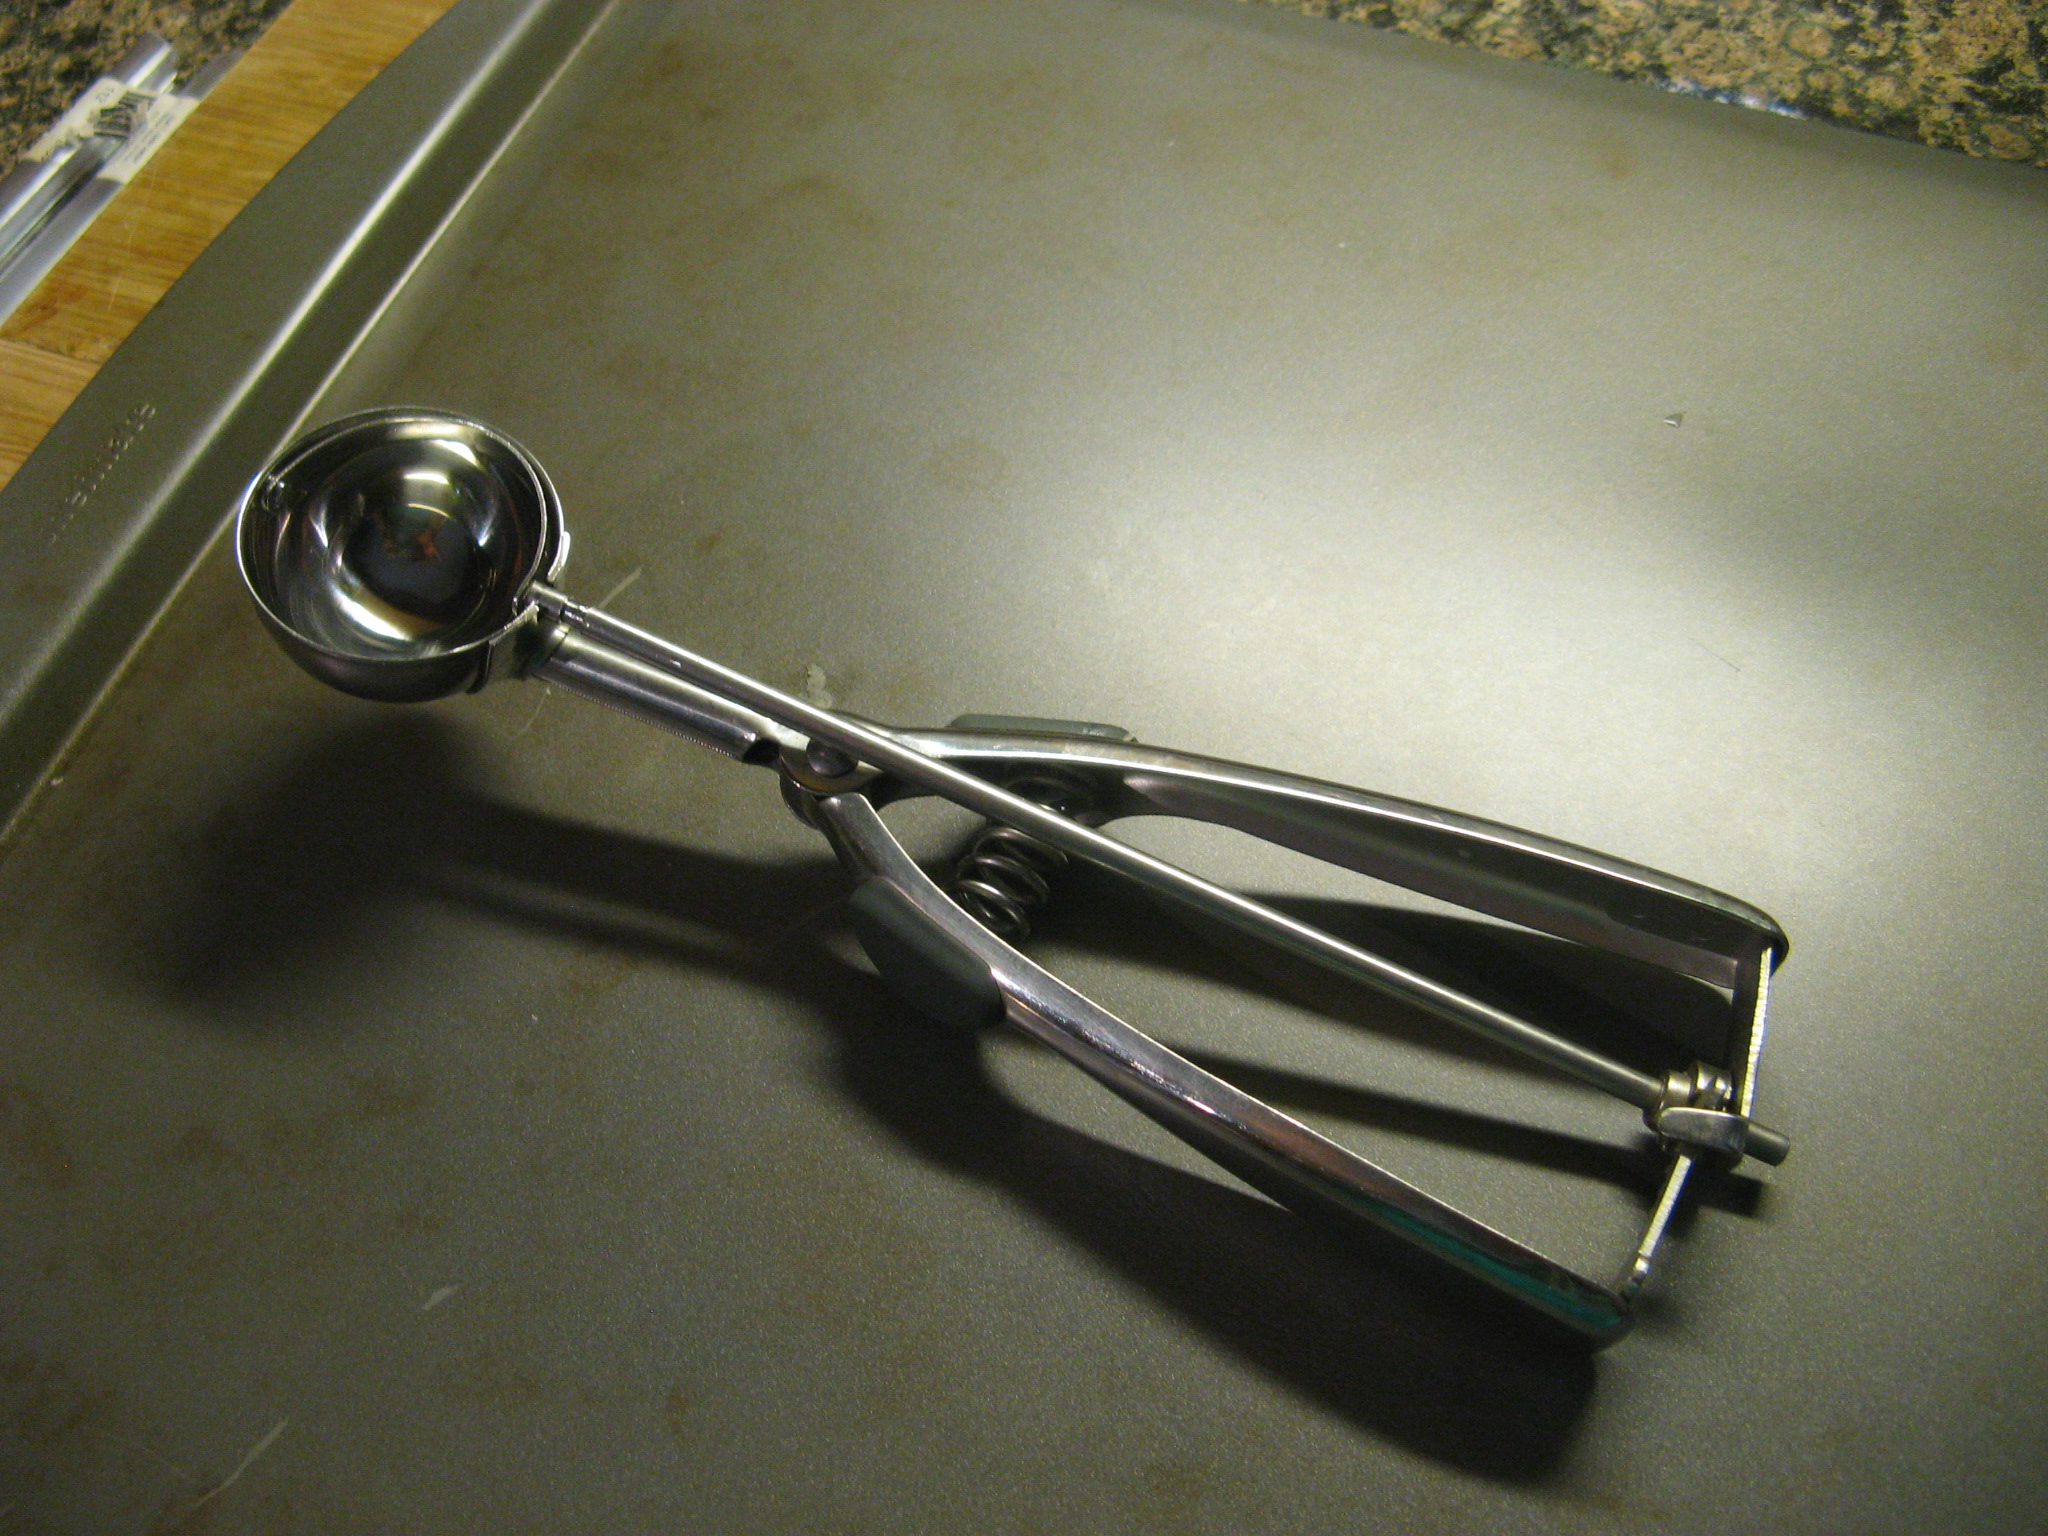
Frustrated after numerous tries I turned to my trusted cookie scoop instead.
IMG_1115
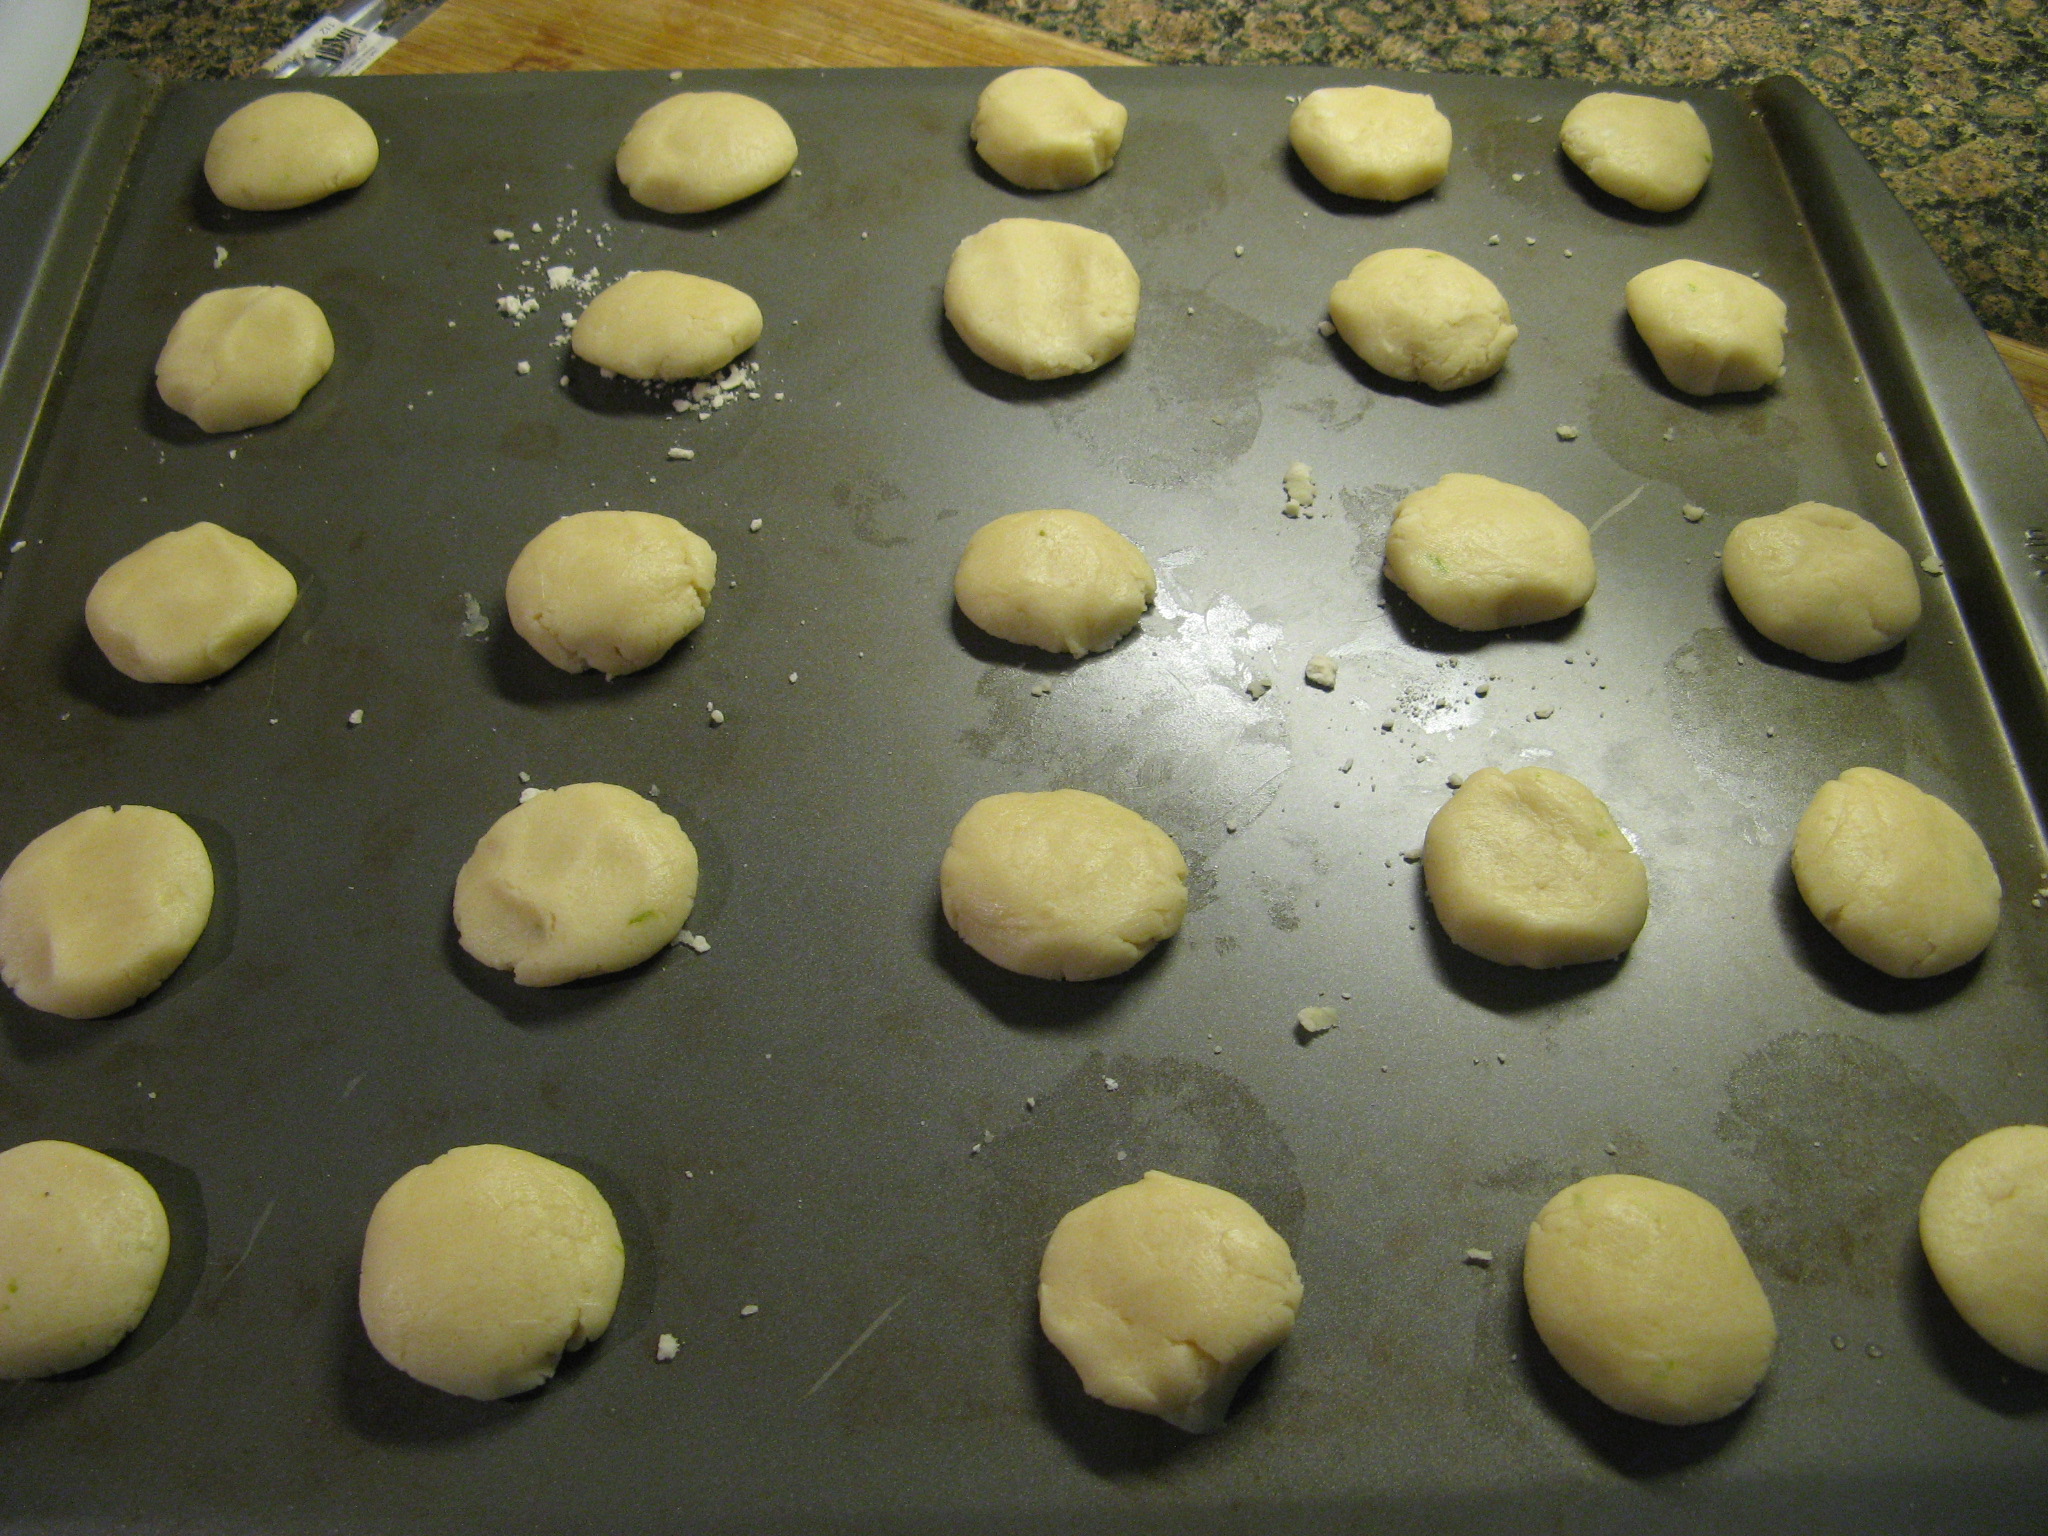
I scooped the dough and pressed it down to make round cookies.
IMG_1117
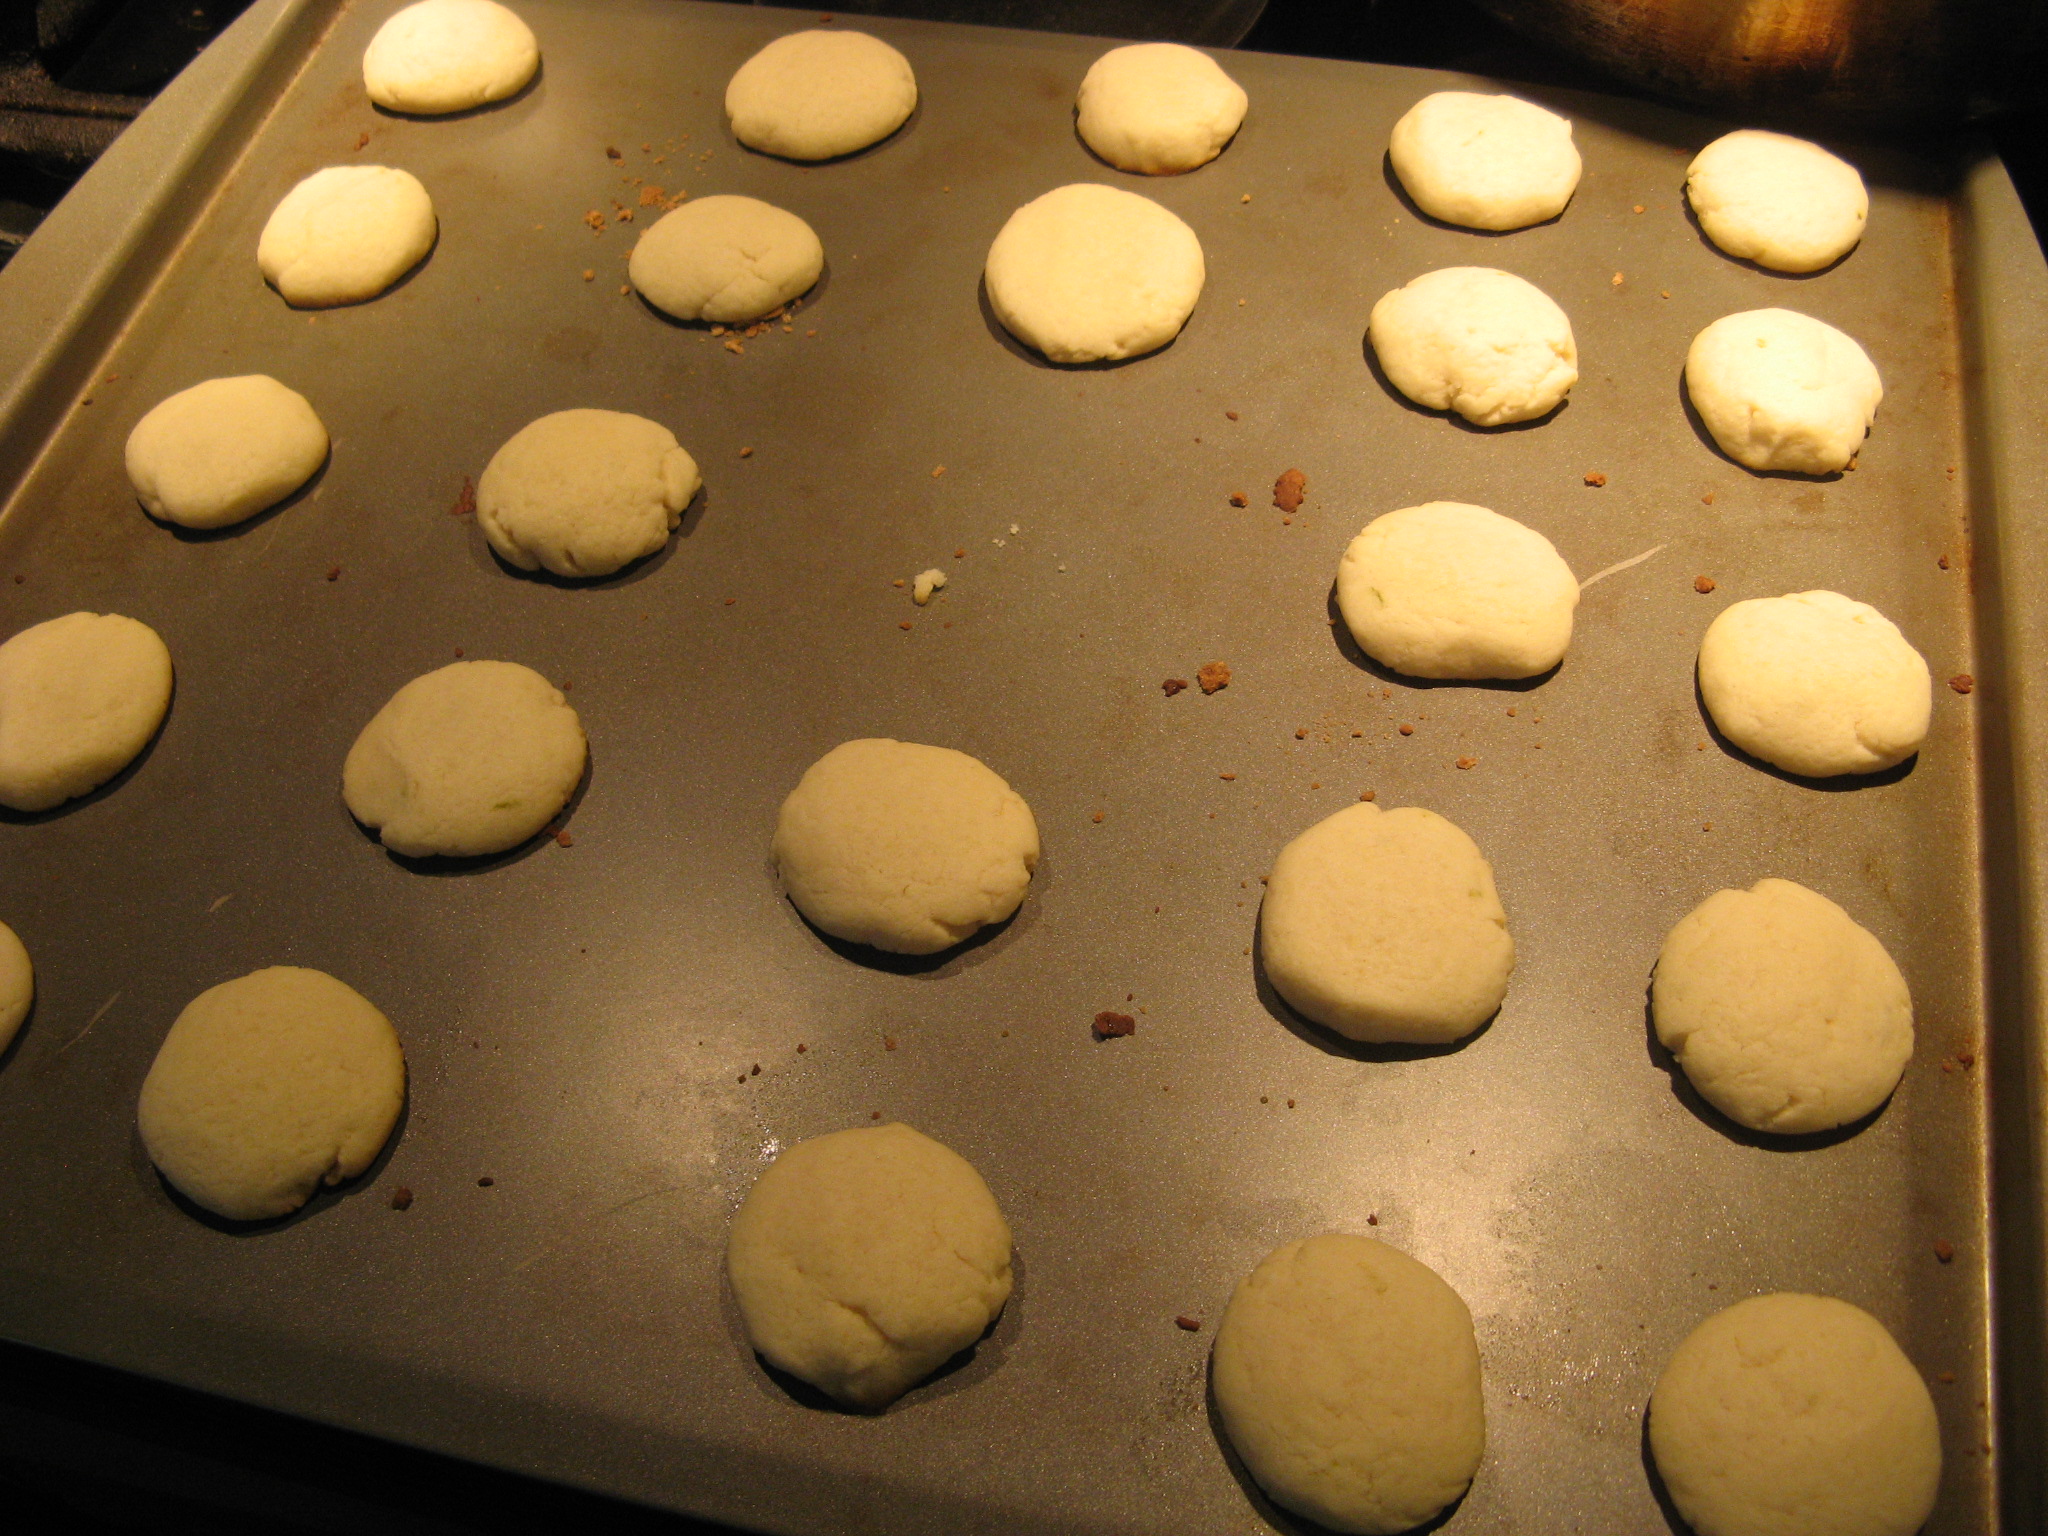
I baked them for about 7 minutes until the cookies looked firm but weren’t browning.
IMG_1118
I didn’t even bother using the rest of the cookie dough… I tried one of the cookies from the first batch and was extremely disappointed. The cookies had no lime flavor whatsoever and the overall taste of it was nothing to rave about. Not sure if it had to do with the recipe itself or just my technique.

Besides the recipe not being all that I was hoping for I was disappointed that my cookie press didn’t work as it should again – yes, this was the second time I had a failed experience using it. At this point I am not sure if I will try for a third time with it. So, has anyone ever had success using a cookie press? And if so, how did you get it to work? Any and all advice is welcome. Thanks!

Freshly Squeezed Key Lime Pie

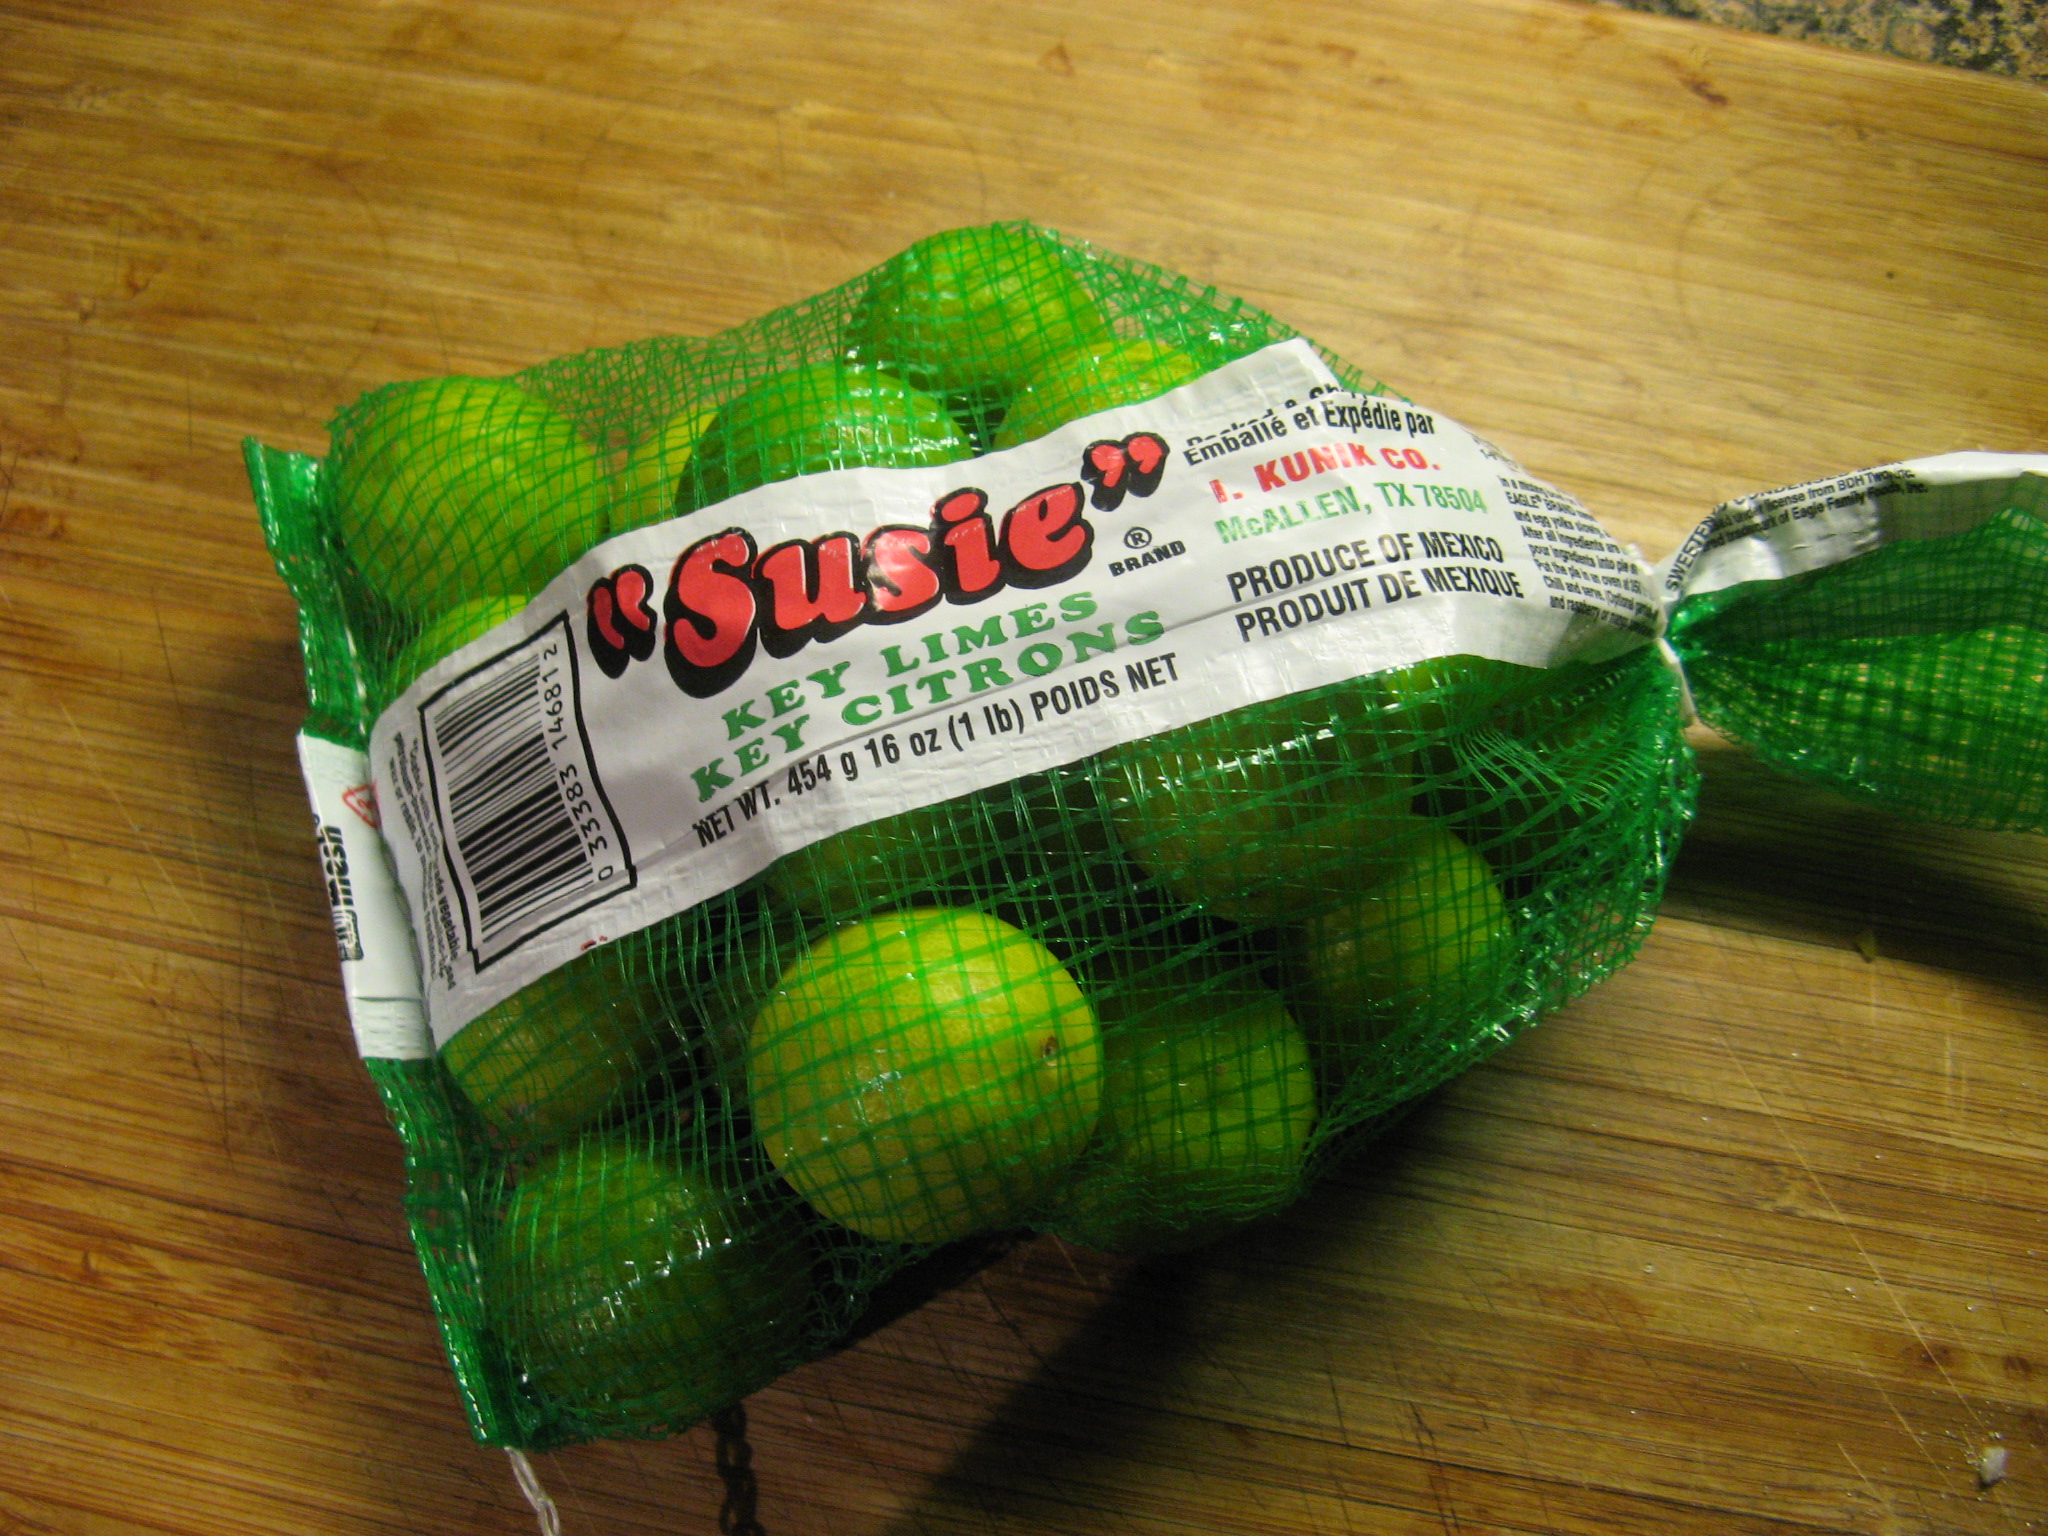
They say you should never go to the supermarket hungry and I think the same should be said when your creative baking juices are running wild. Living in New York it’s extremely rare to see key limes at my local supermarket but during a recent trip I found just that… three lonely bags of key limes and I immediately thought why not make a key lime pie (I should note that prior to this I had only tried it once and didn’t care for it since I couldn’t taste the lime). I put a bag in my shopping cart and then called a friend to see if she knew anything about making one – I wasn’t sure how many limes I needed and wondered whether or not it required any oddball ingredients. She did a quick Google search for me and it turned out that it wasn’t all that difficult and the ingredients were all ones that I already had home – except for the key limes of course.

IMG_1007

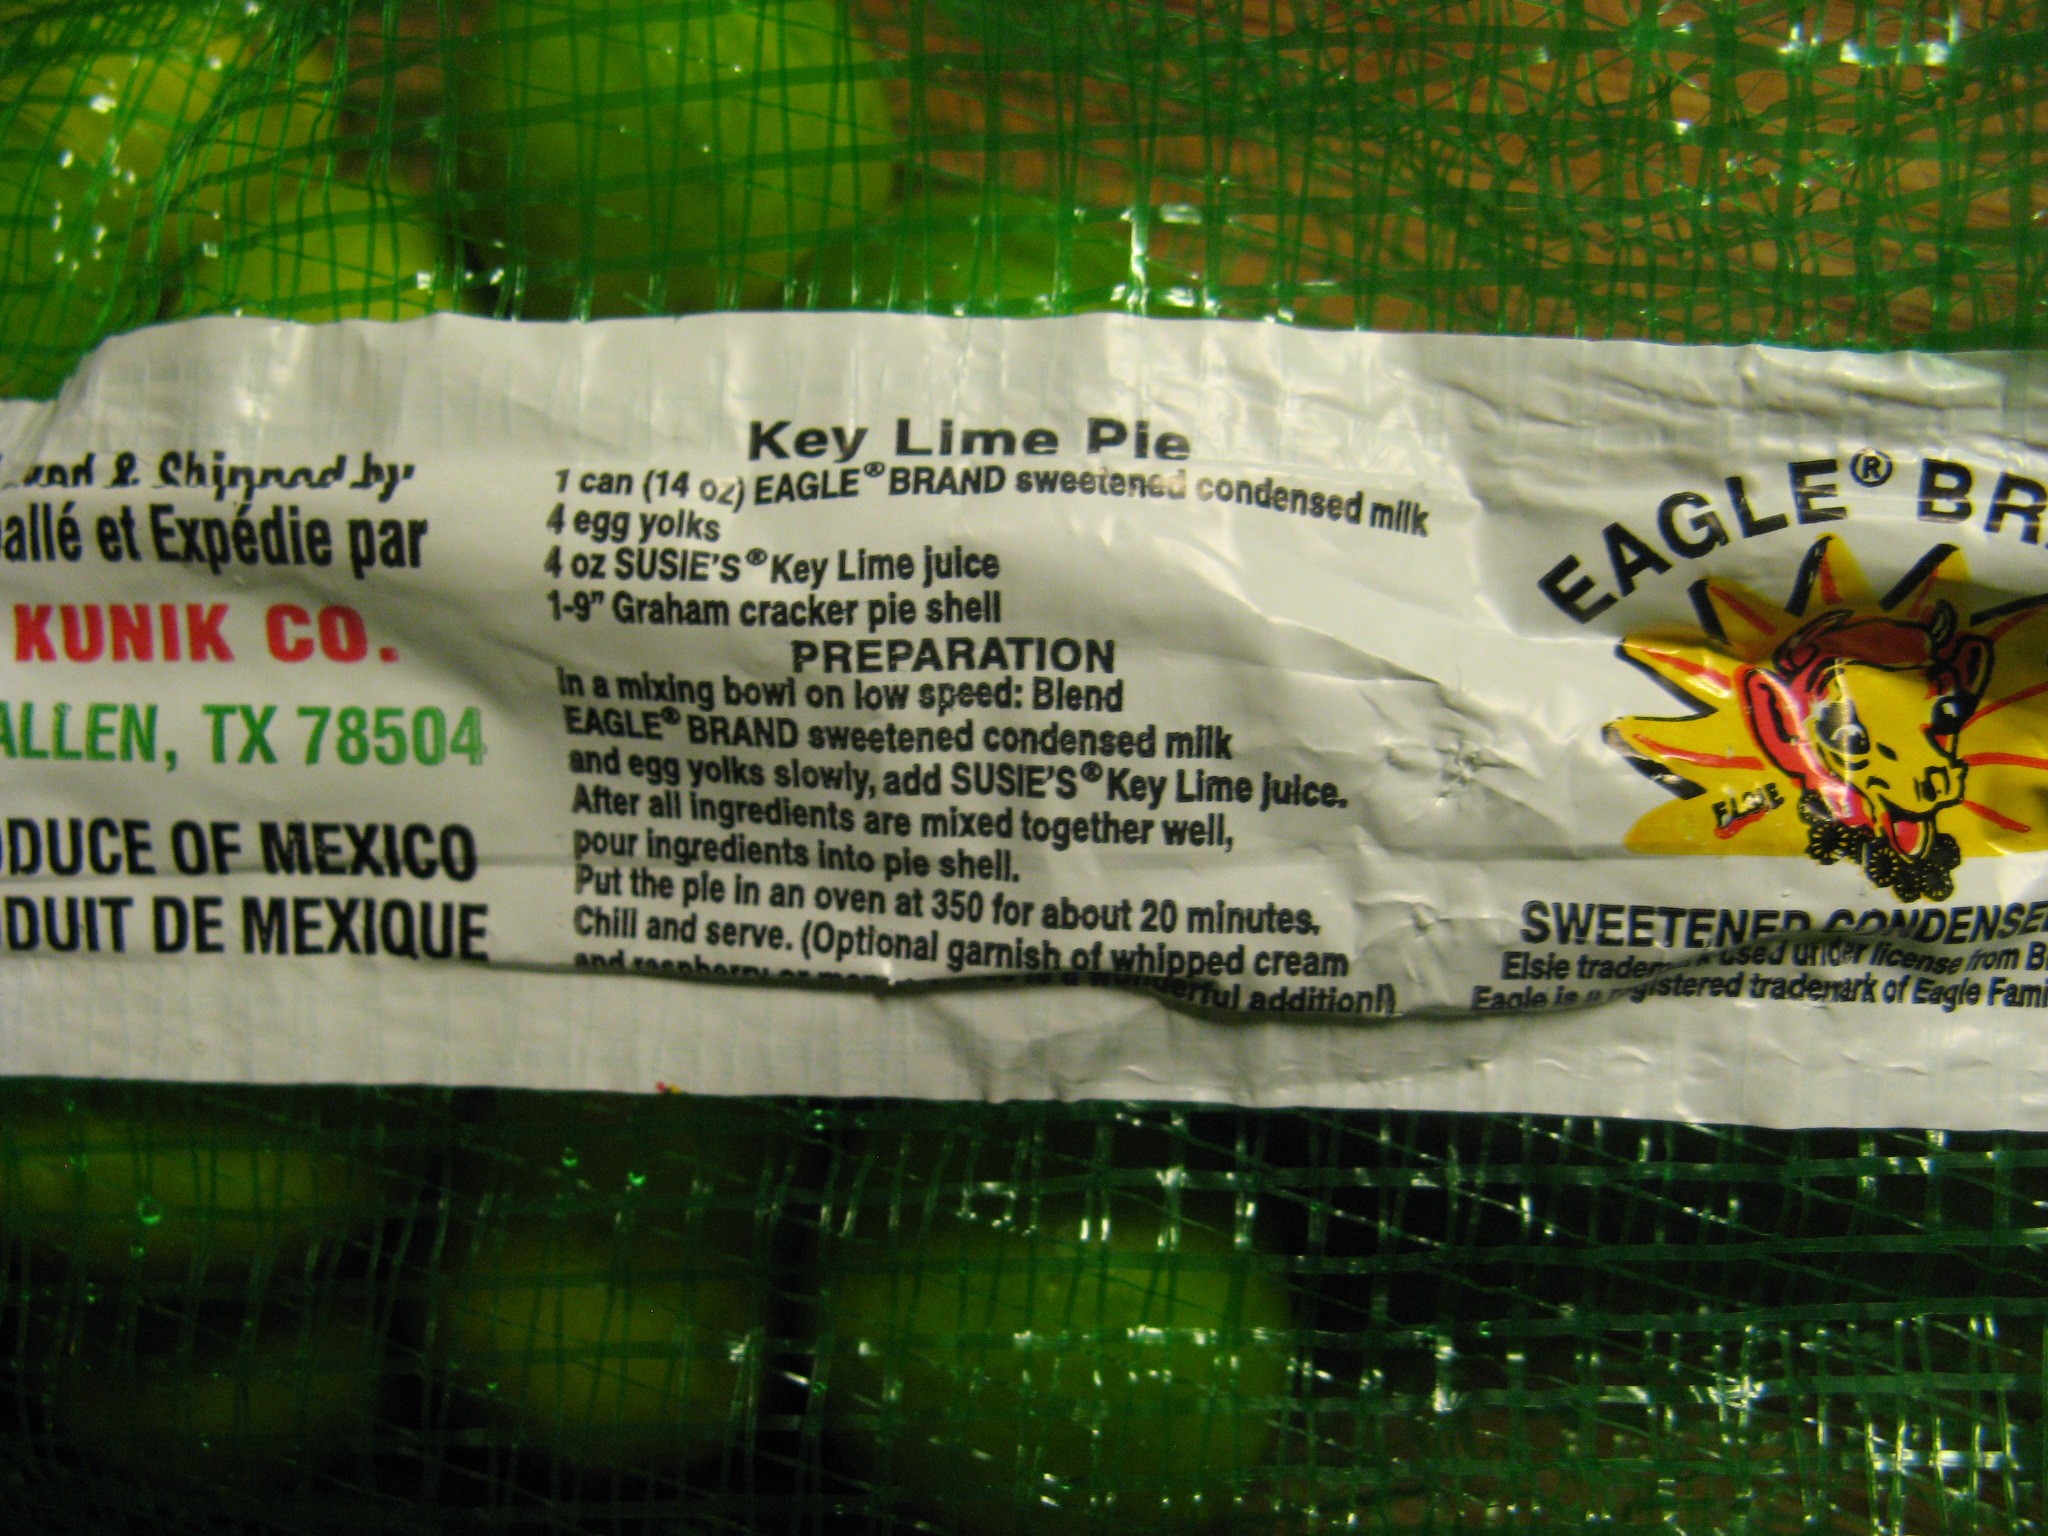
Once I got home I did a few Google searches of my own to find the perfect recipe to follow. I decided on one that I found on the website the Joy of Baking. But then the following morning as I was getting ready to start making the filling I noticed that there was a recipe right on the bag of the key limes so I decided to combine the two of the recipes to make the filling.

IMG_1011

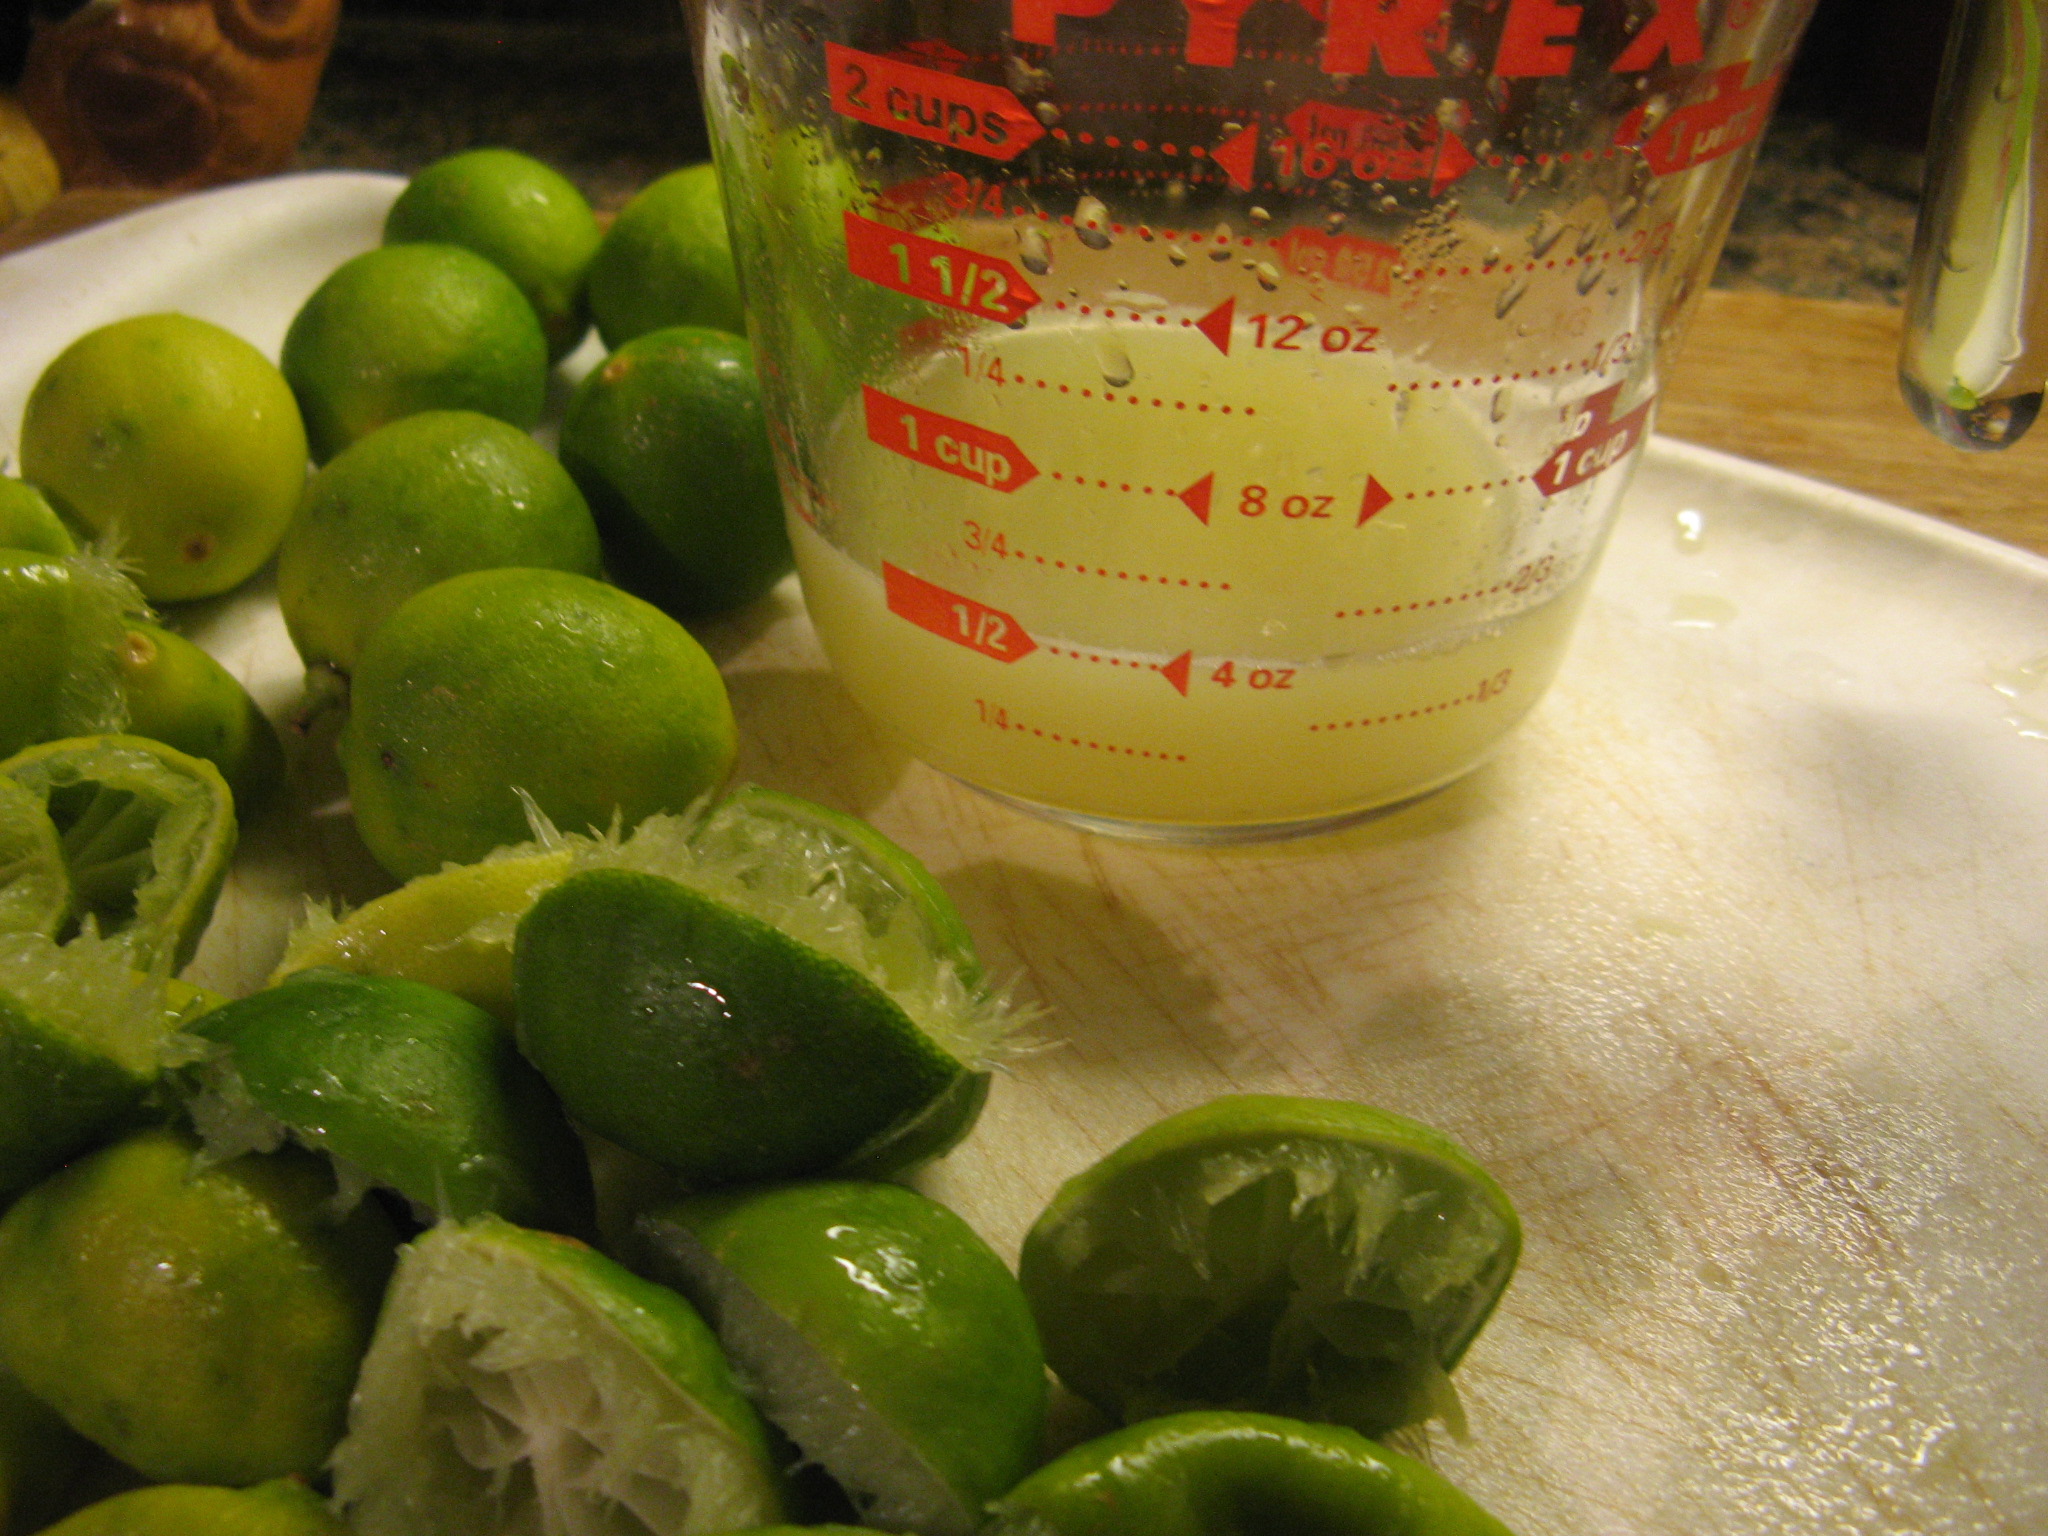
I knew that I needed a 1/2 cup of key lime juice, but, I wasn’t too sure how many limes I would need to squeeze to get that amount. From looking at recipe online I got all different numbers ranging from 12 – 20. I decided to start on the smaller side and opted to start off with slicing and squeezing 10 limes. Prior to slicing the limes rolled them to make sure I would get the most juice out of them.

IMG_1015

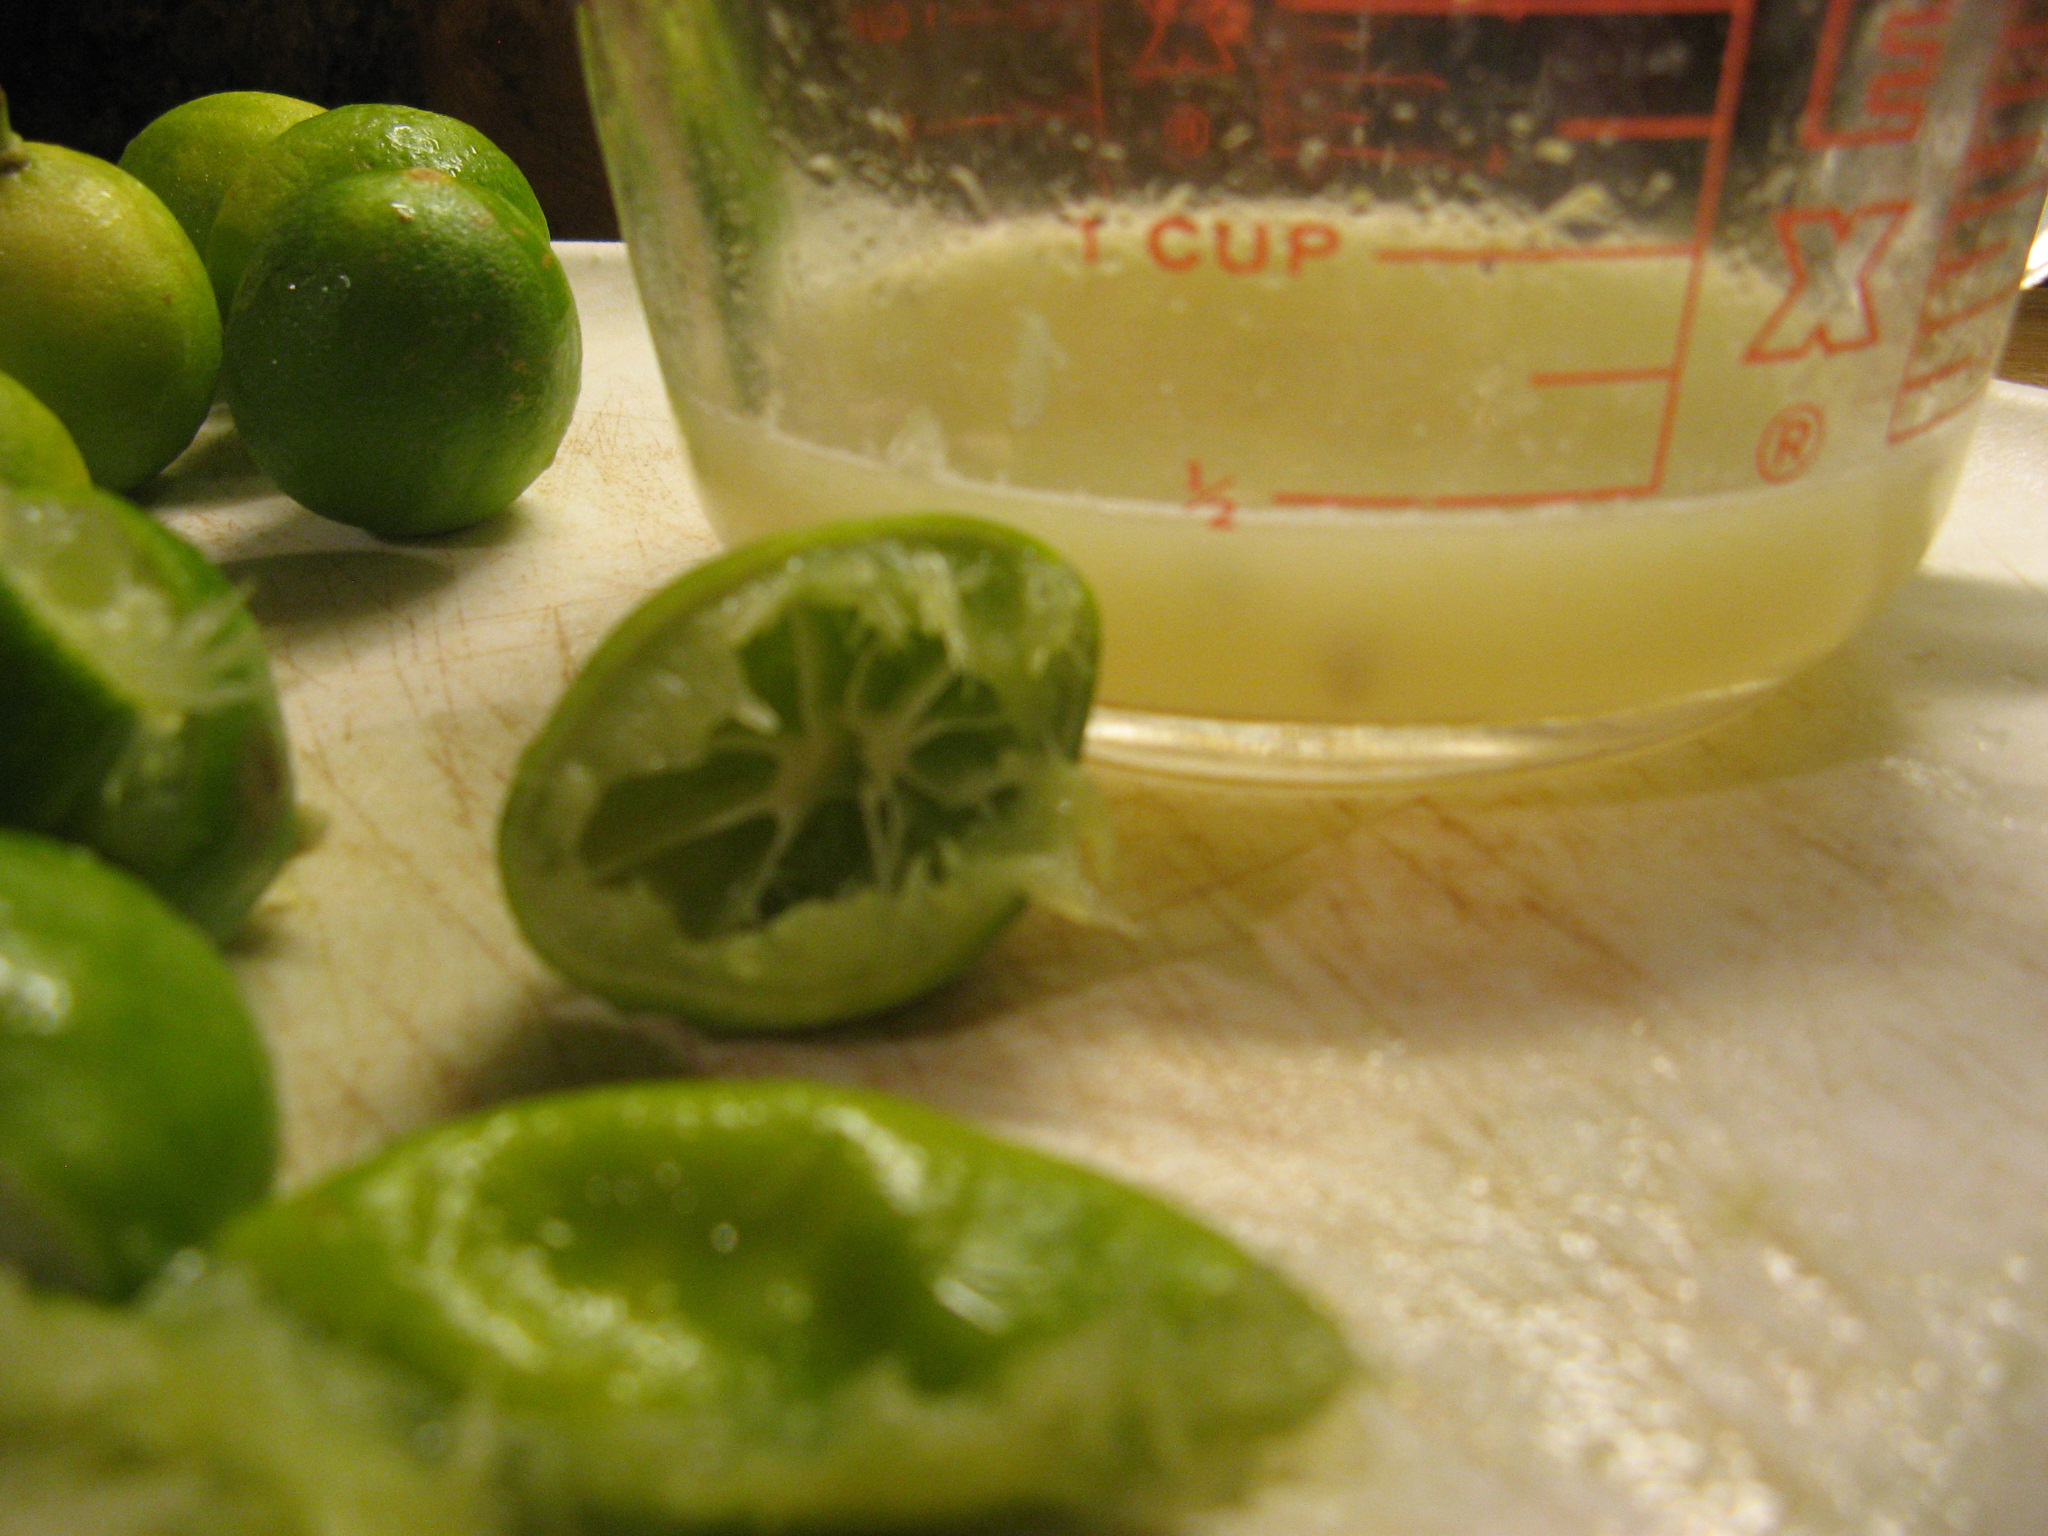
After squeezing the 10 limes I had just about a 1/2 cup of juice.

IMG_1018

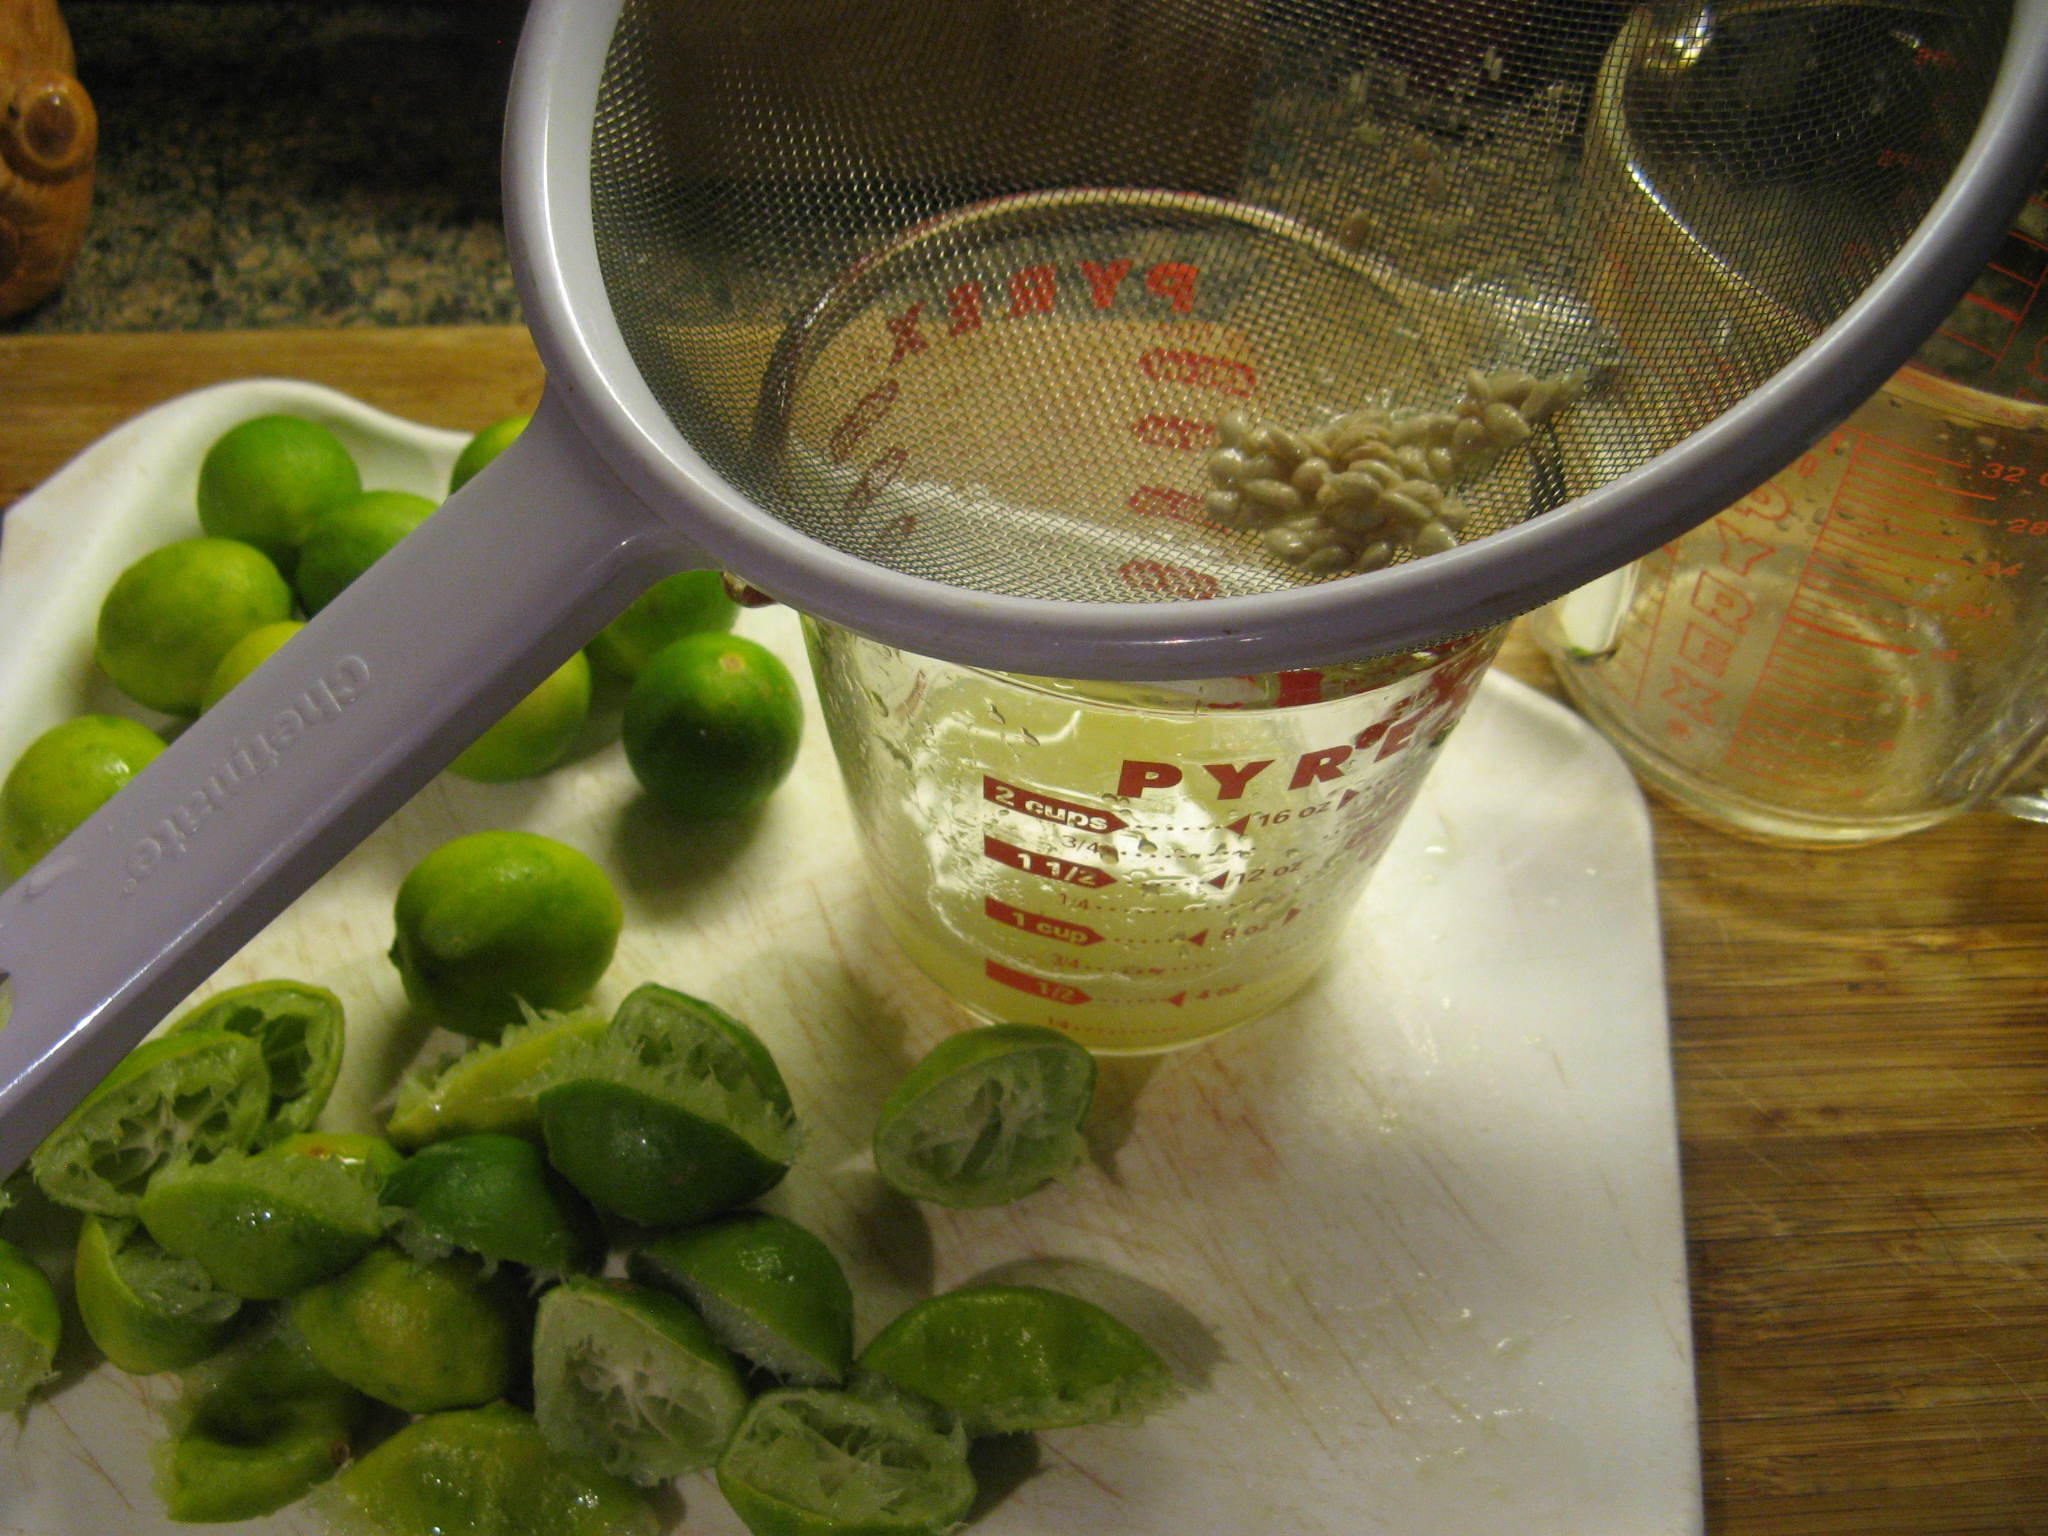
Since I did have pulp and seeds in the juice I strained it using sieve. My sieve also doubles as sifter from time to time. In all honesty they are both one in the same.

IMG_1019

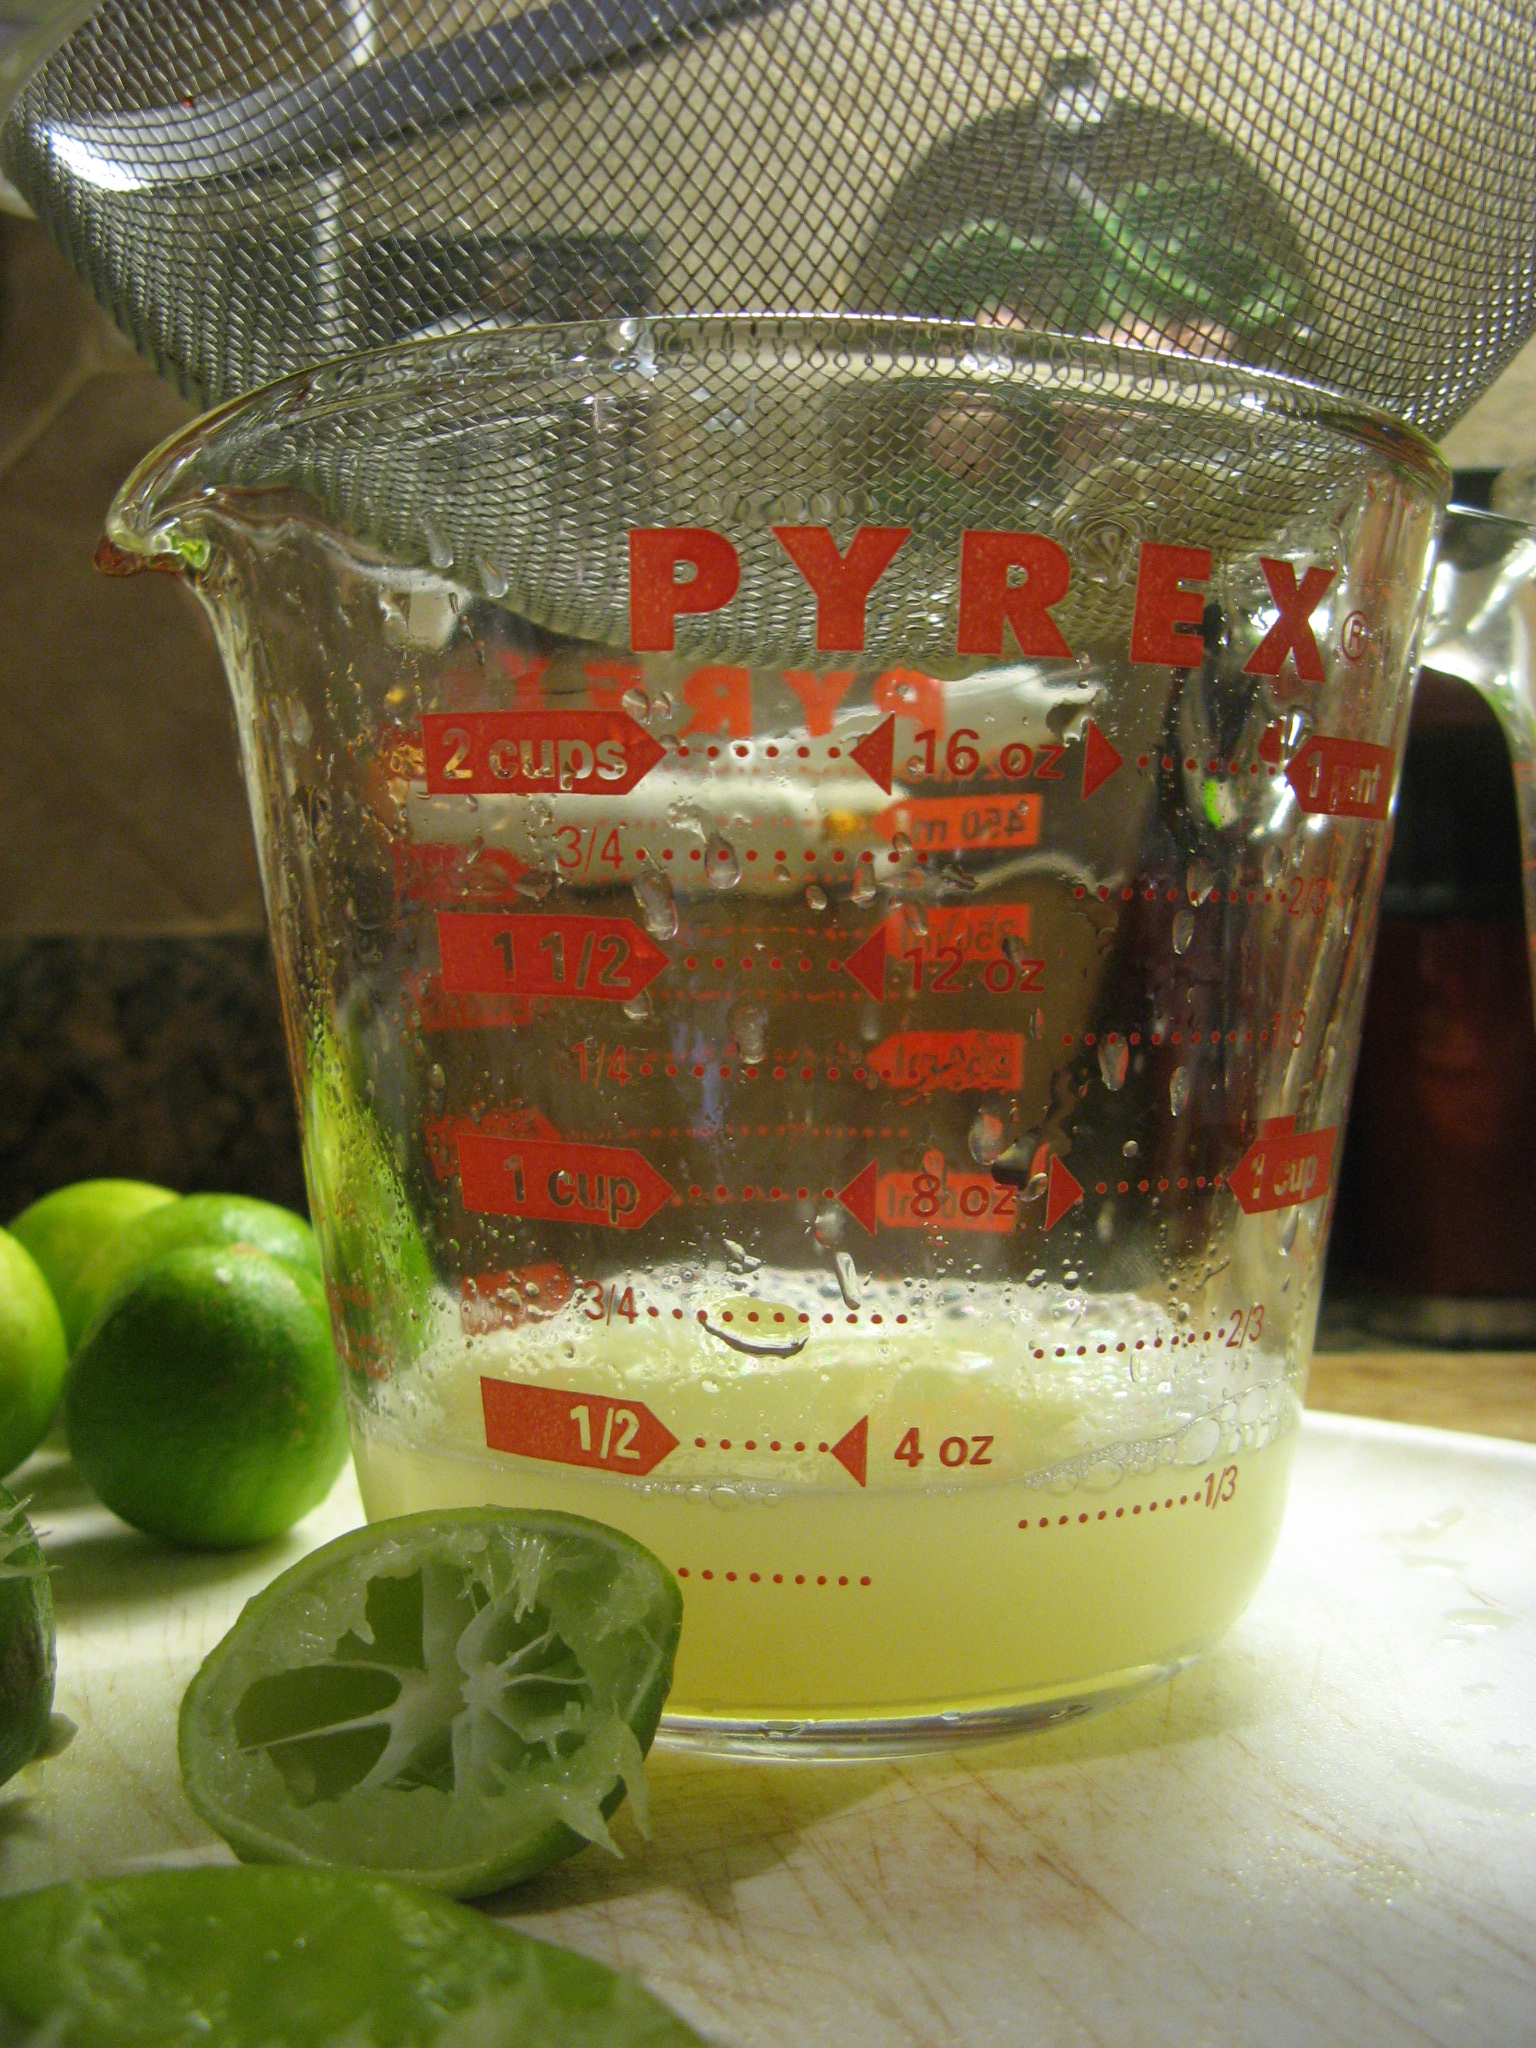
After straining it I was just shy of a 1/2 cup.

IMG_1020

So, I rolled, sliced and squeezed 2 more limes which got me exactly to a 1/2 cup. I wised up this time and squeezed the limes over the sieve so I wouldn’t have to strain out any pulp or seeds.

IMG_1021

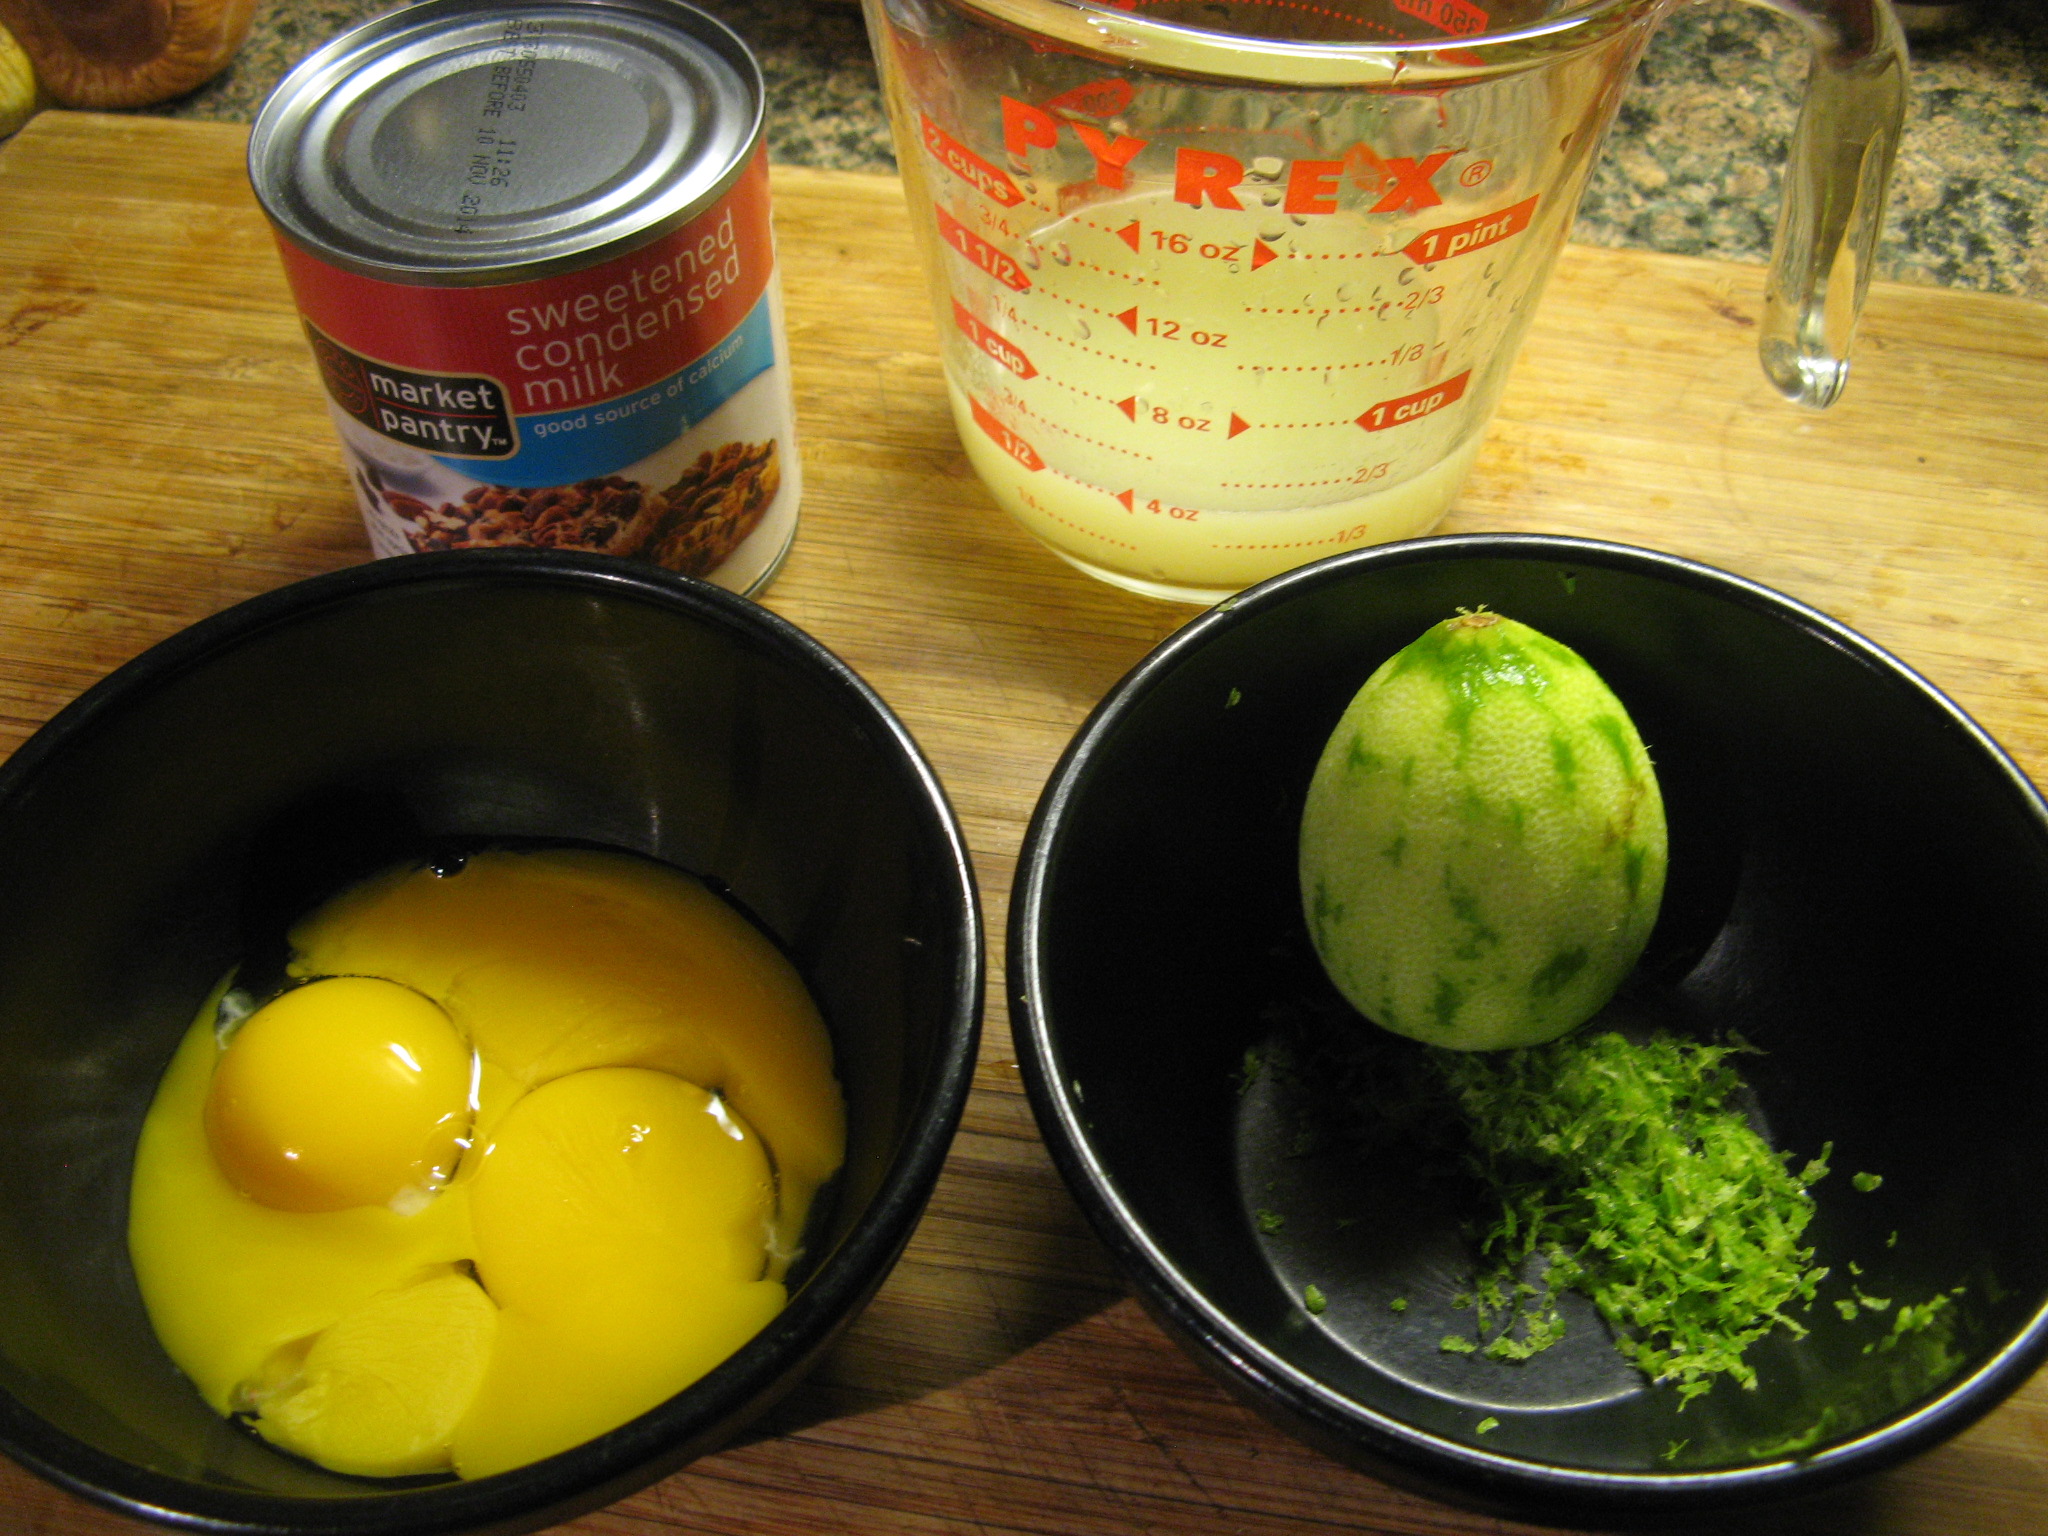
Along with the lime juice I also needed 4 egg yolks, a can of sweetened condensed milk and the zest of one regular lime to make the pie.

IMG_1022

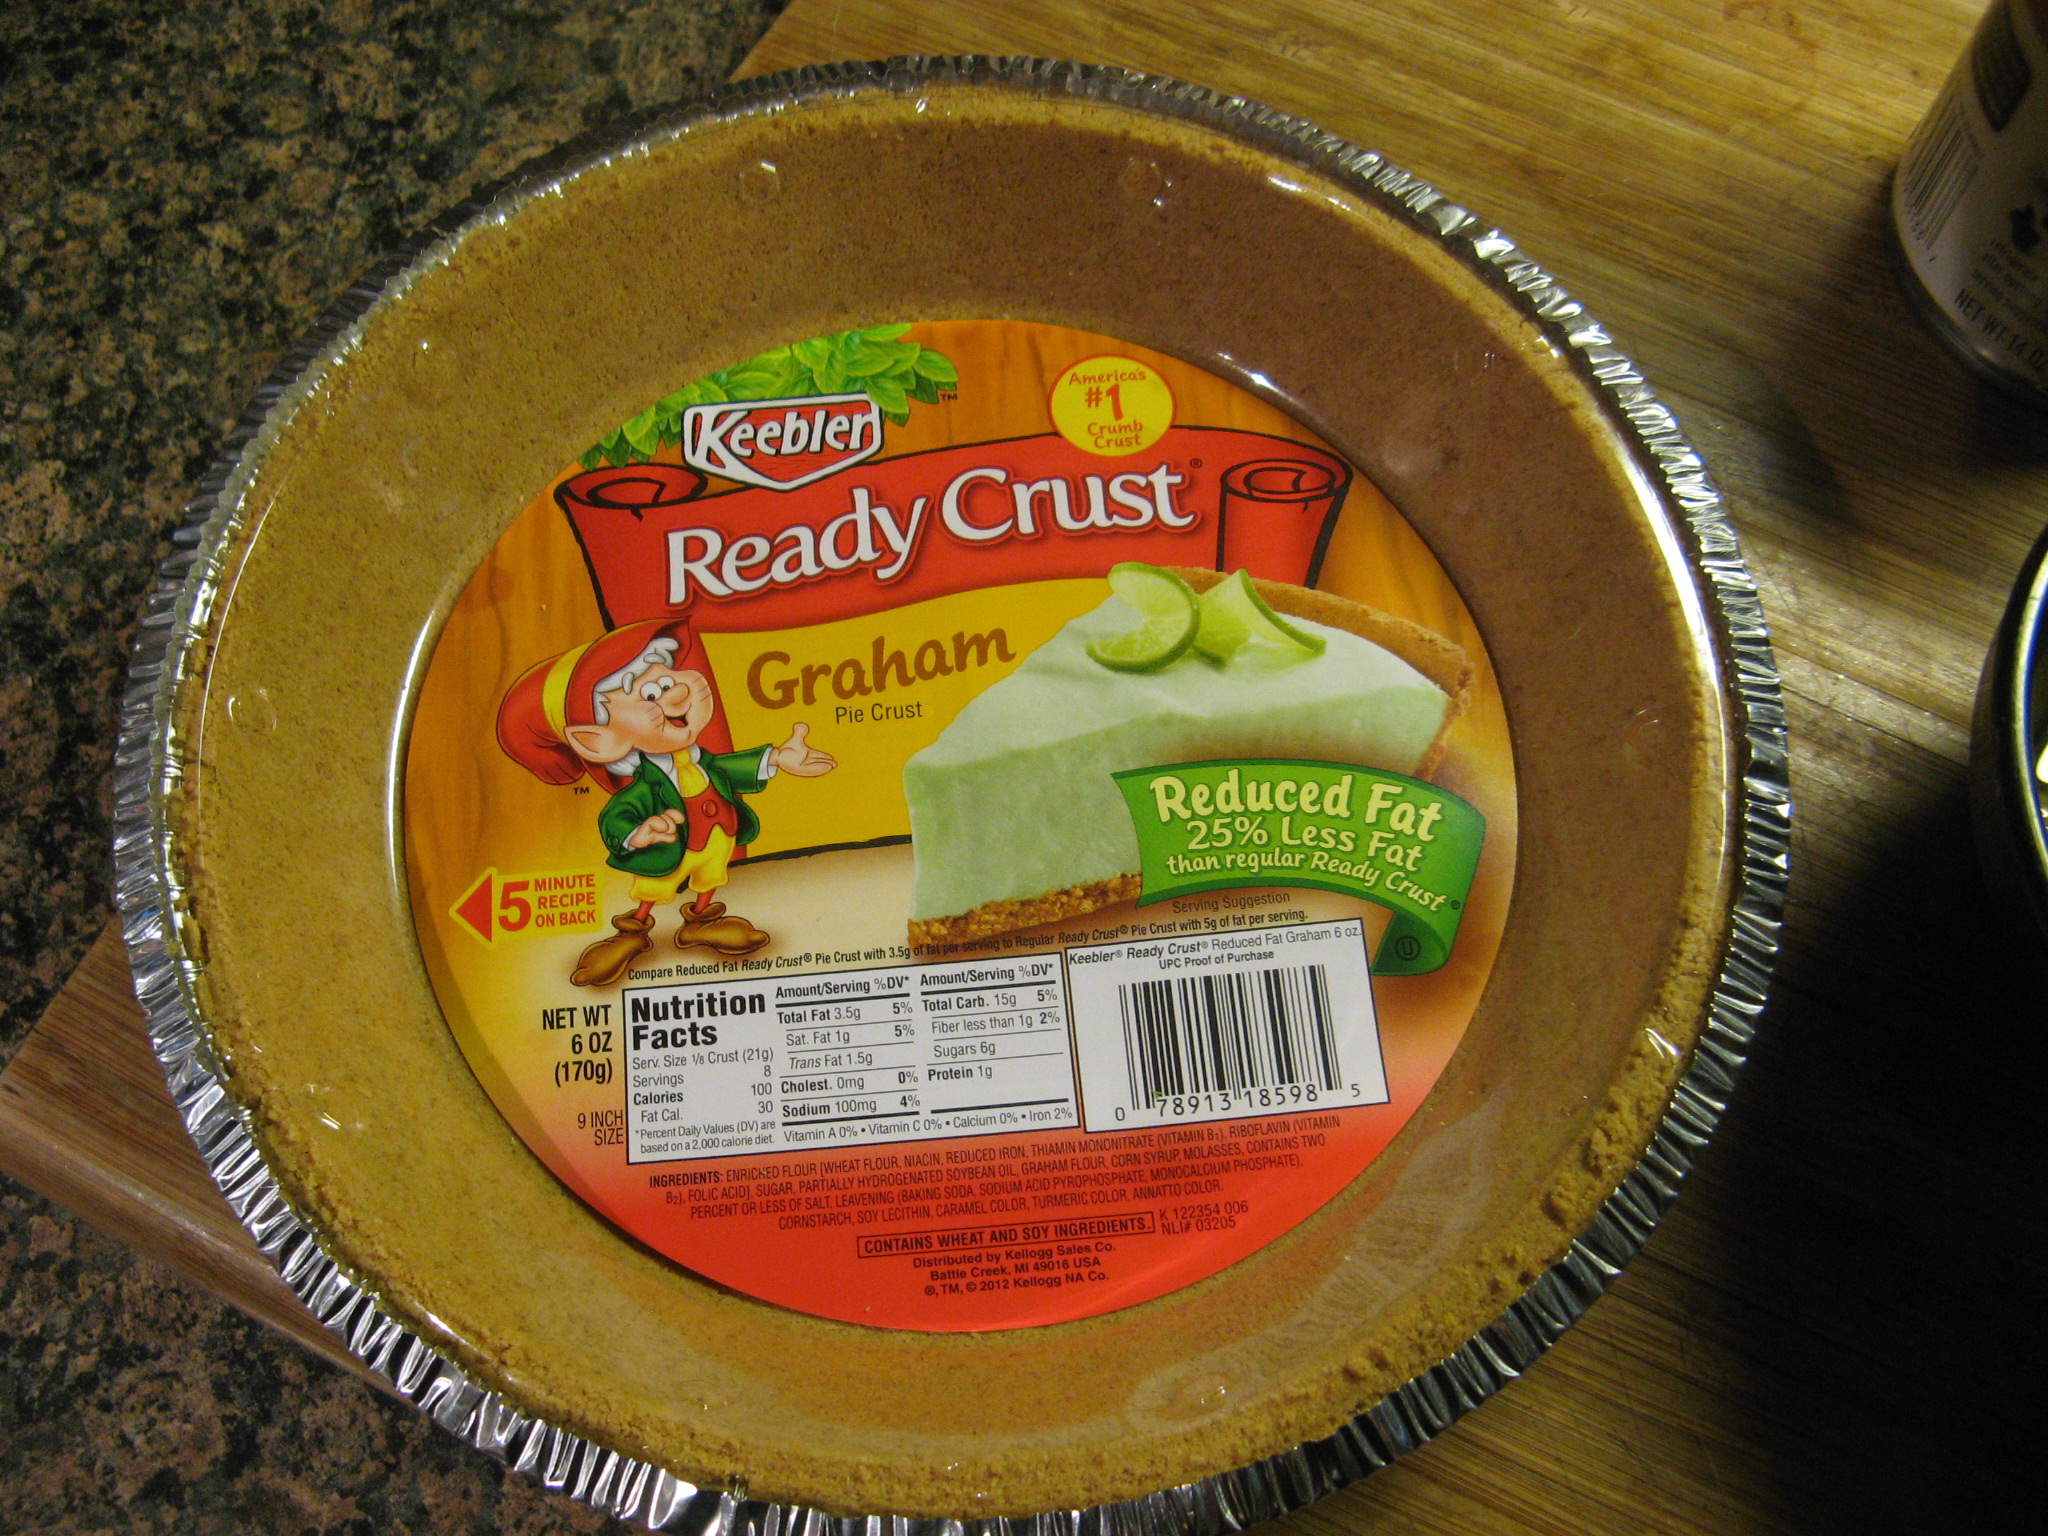
I also needed a pie crust… I cheated and opted to use a Keebler Graham Ready Crust instead of making one myself. I figured squeezing the limes was enough work… LOL!

IMG_1024

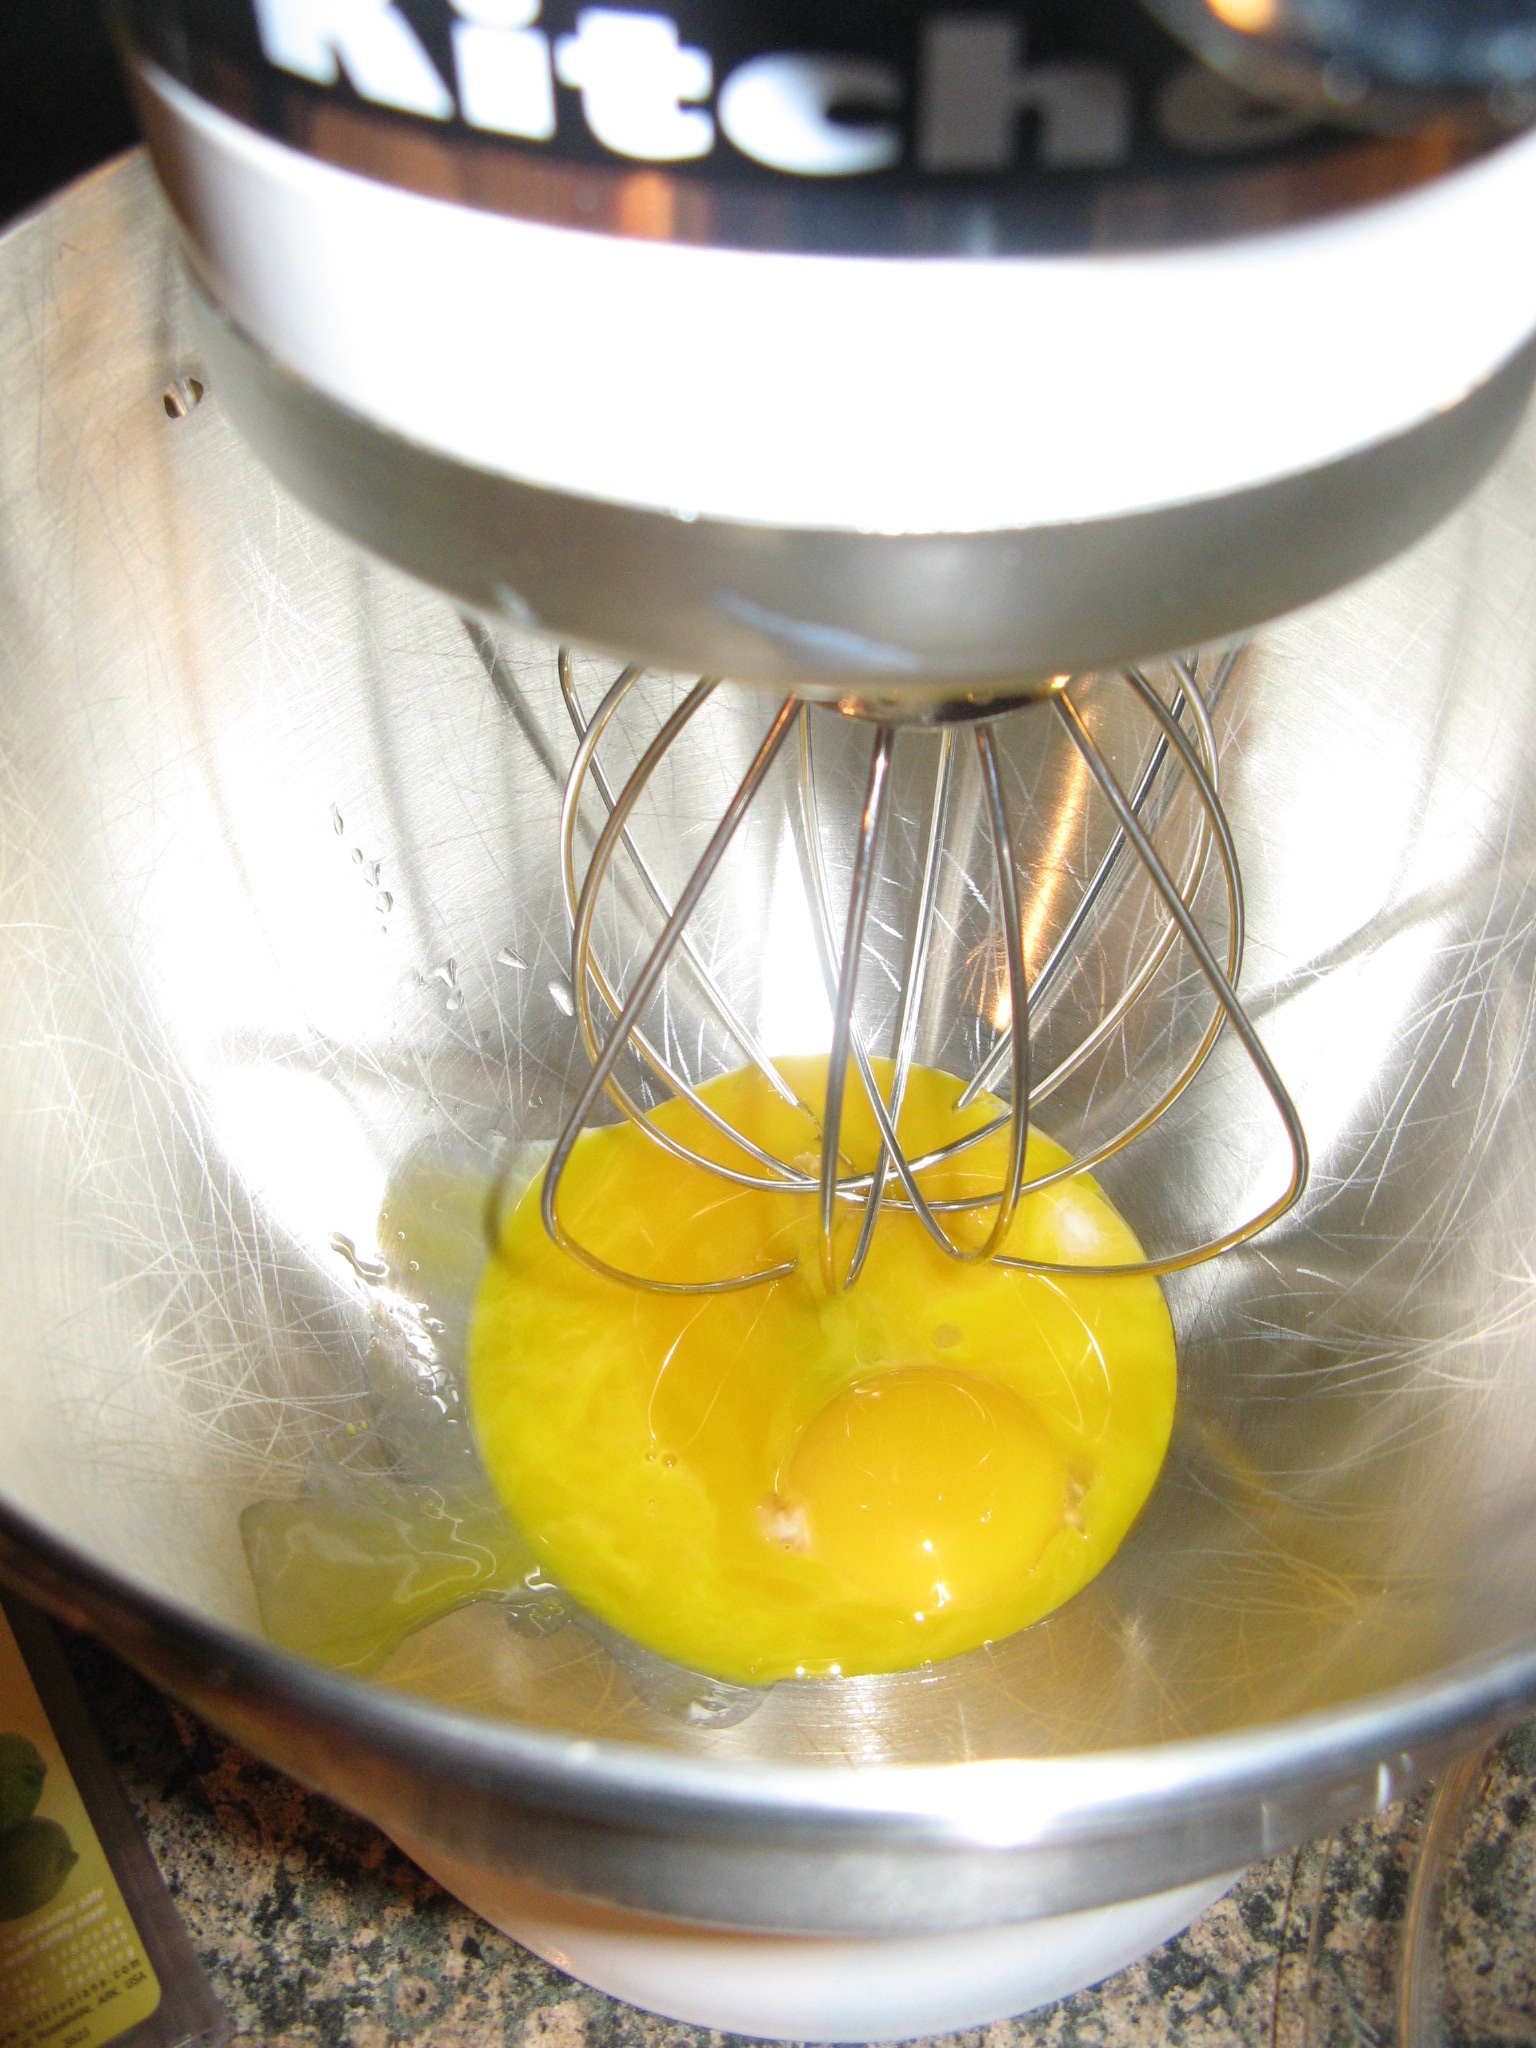
To begin I used the whisk attachment of my stand mixer and whisked together the eggs yolks.

IMG_1025

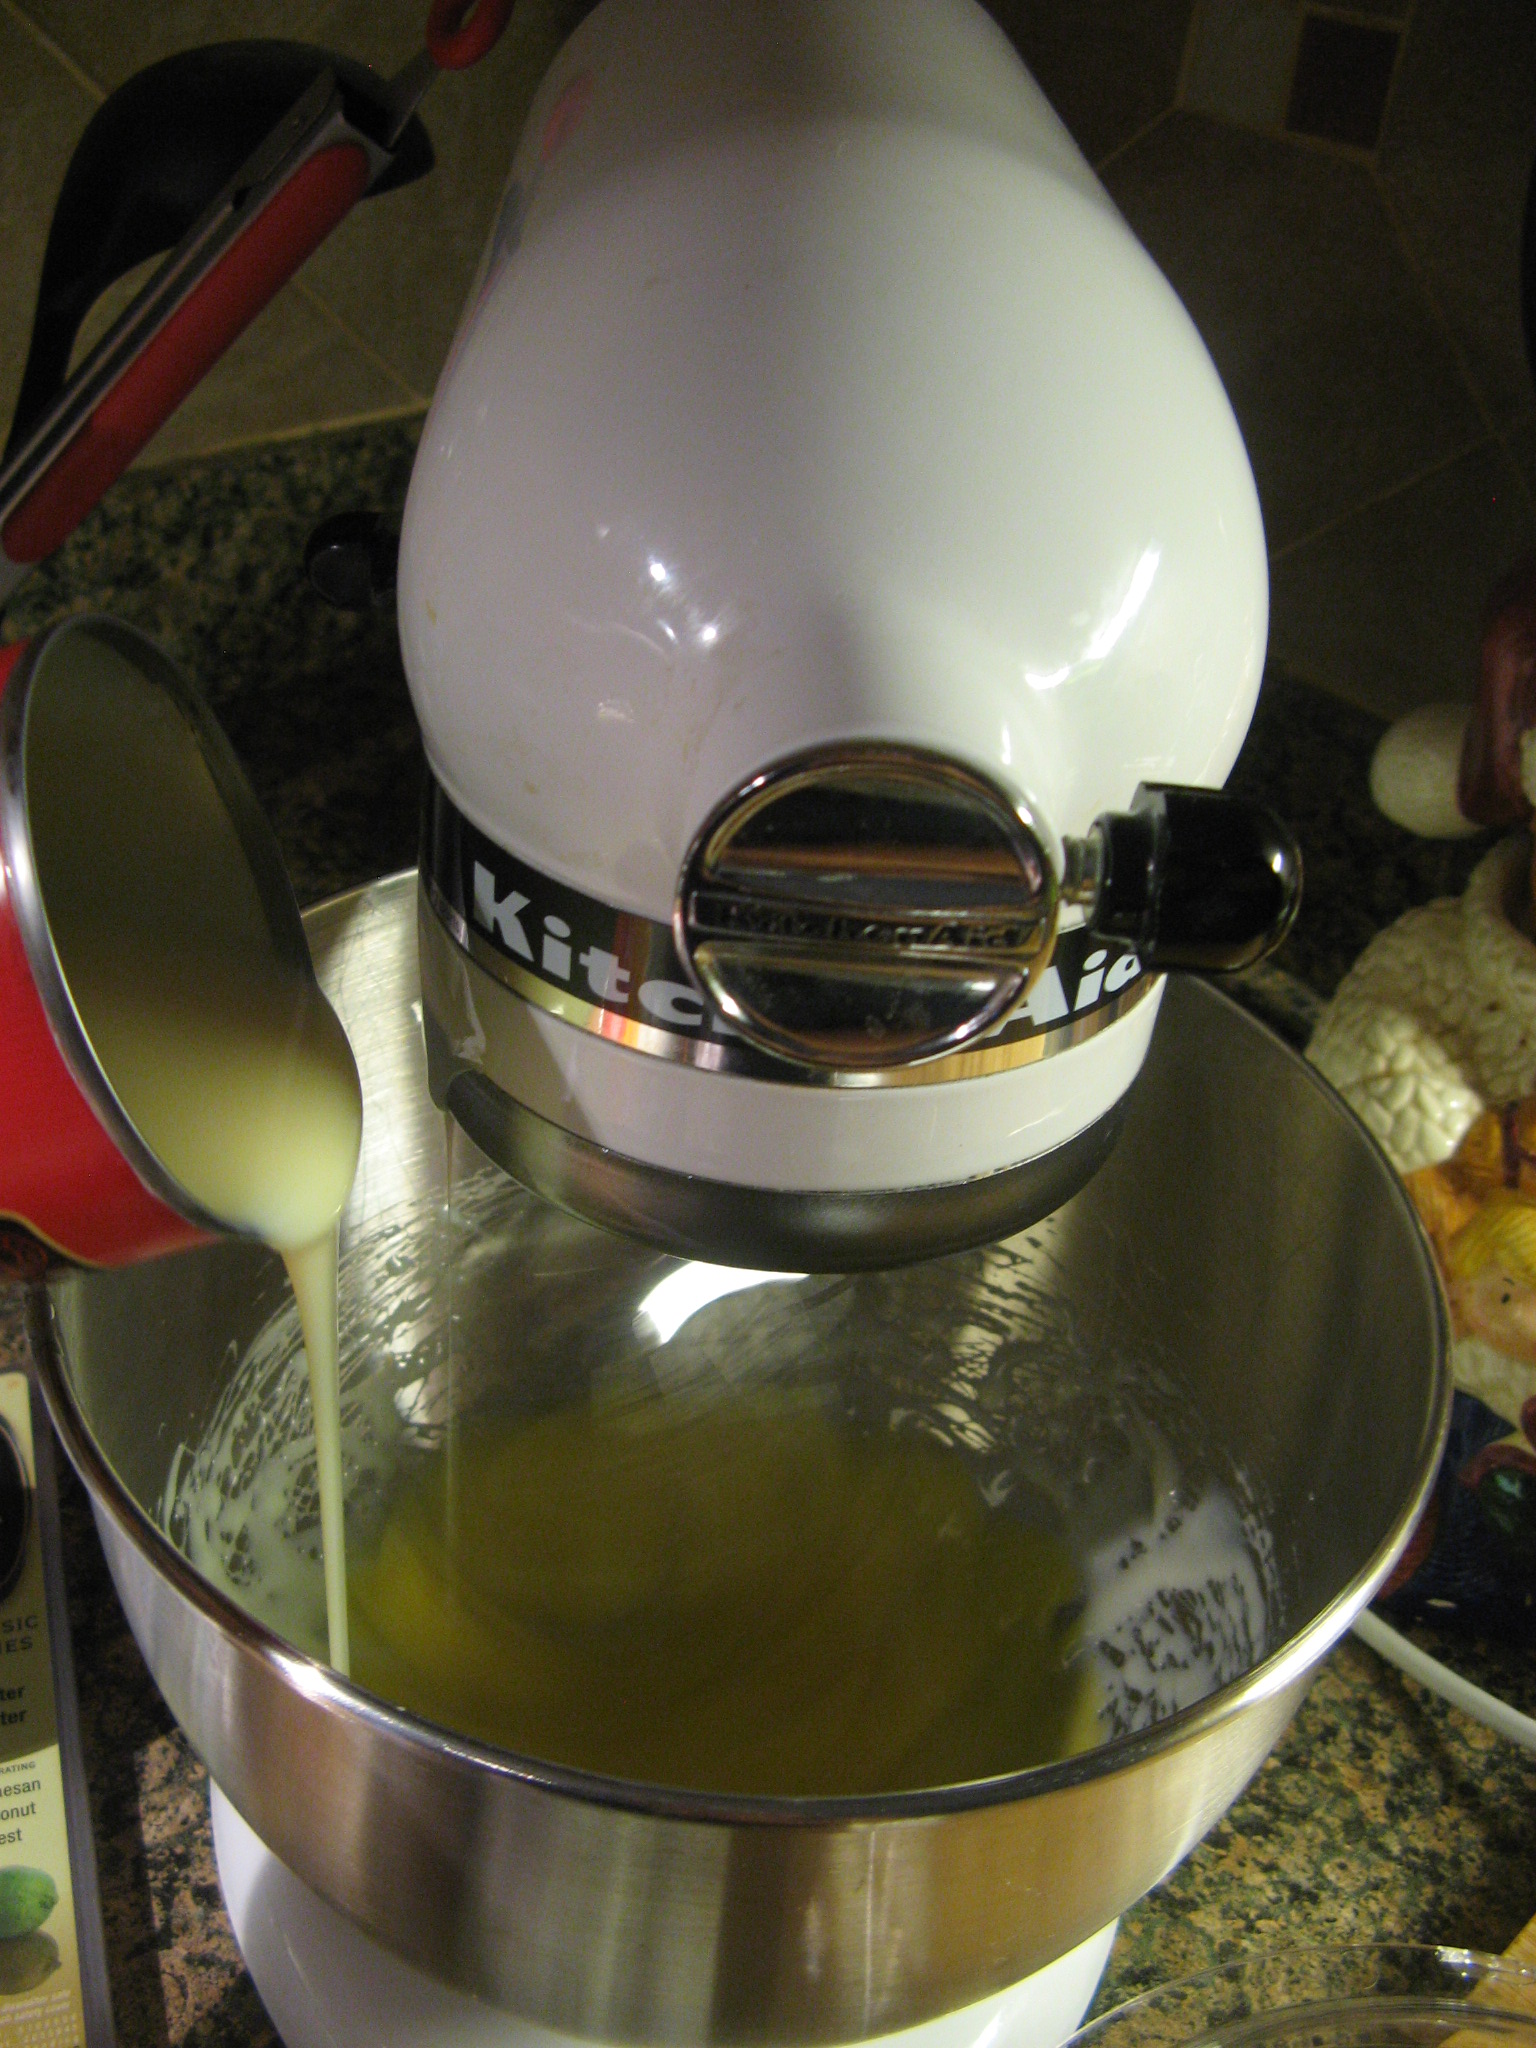
I then slowly added in the sweetened condensed milk.

IMG_1027

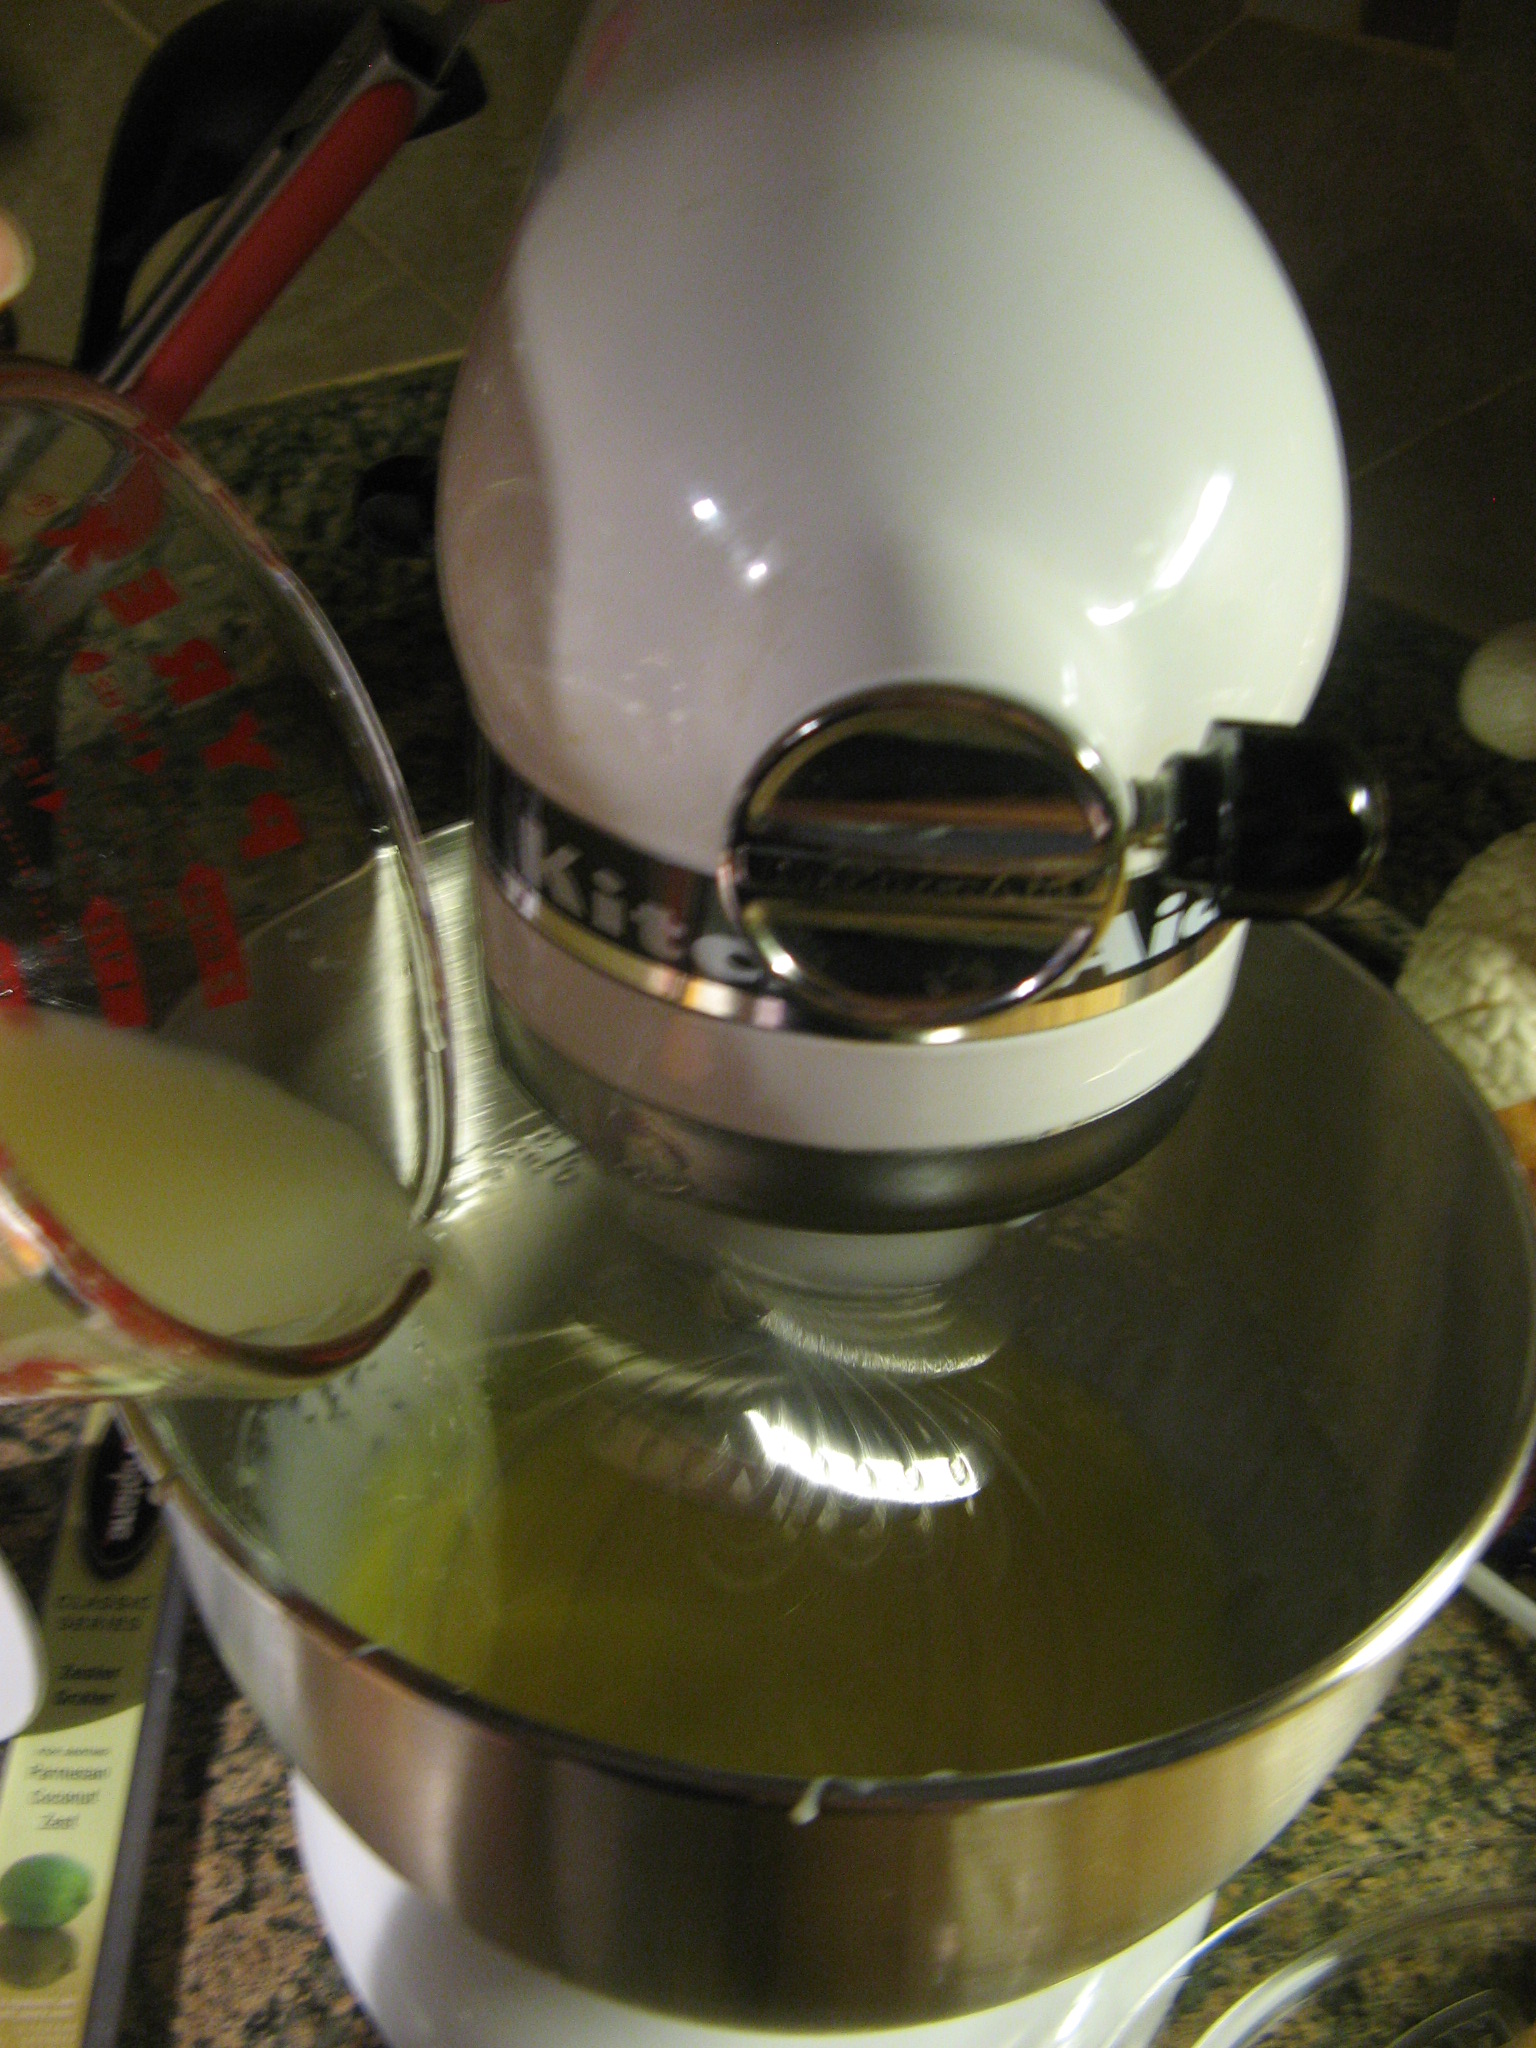
Then the freshly squeezed lime juice.

IMG_1028

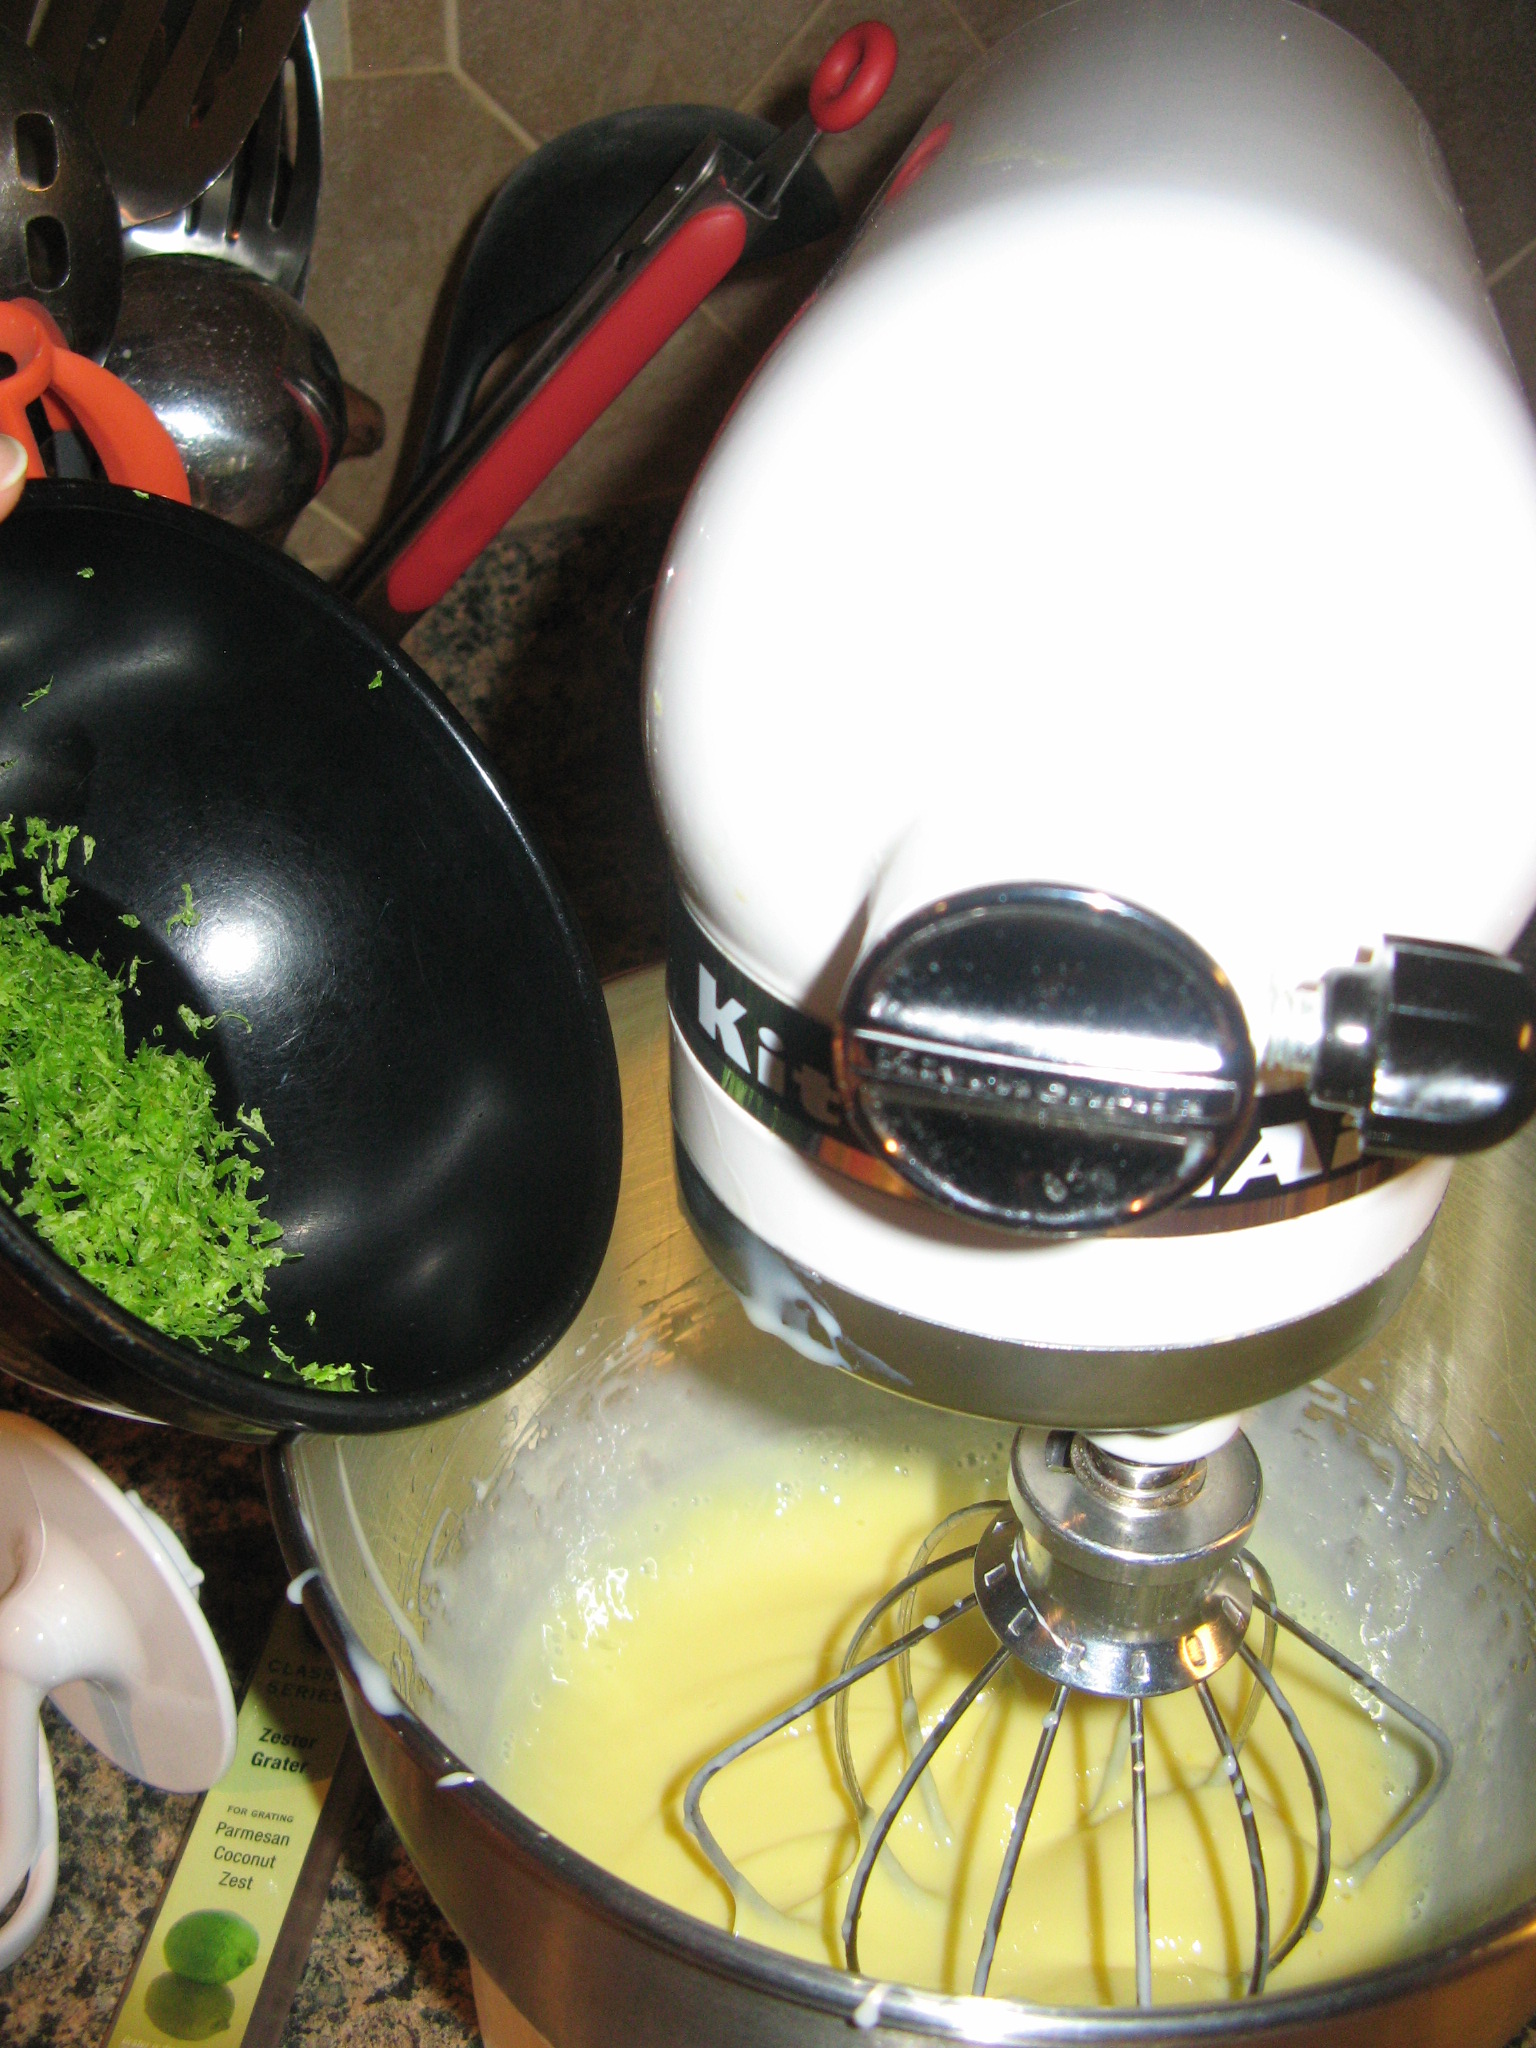
And finally I added in the lime zest.

IMG_1029

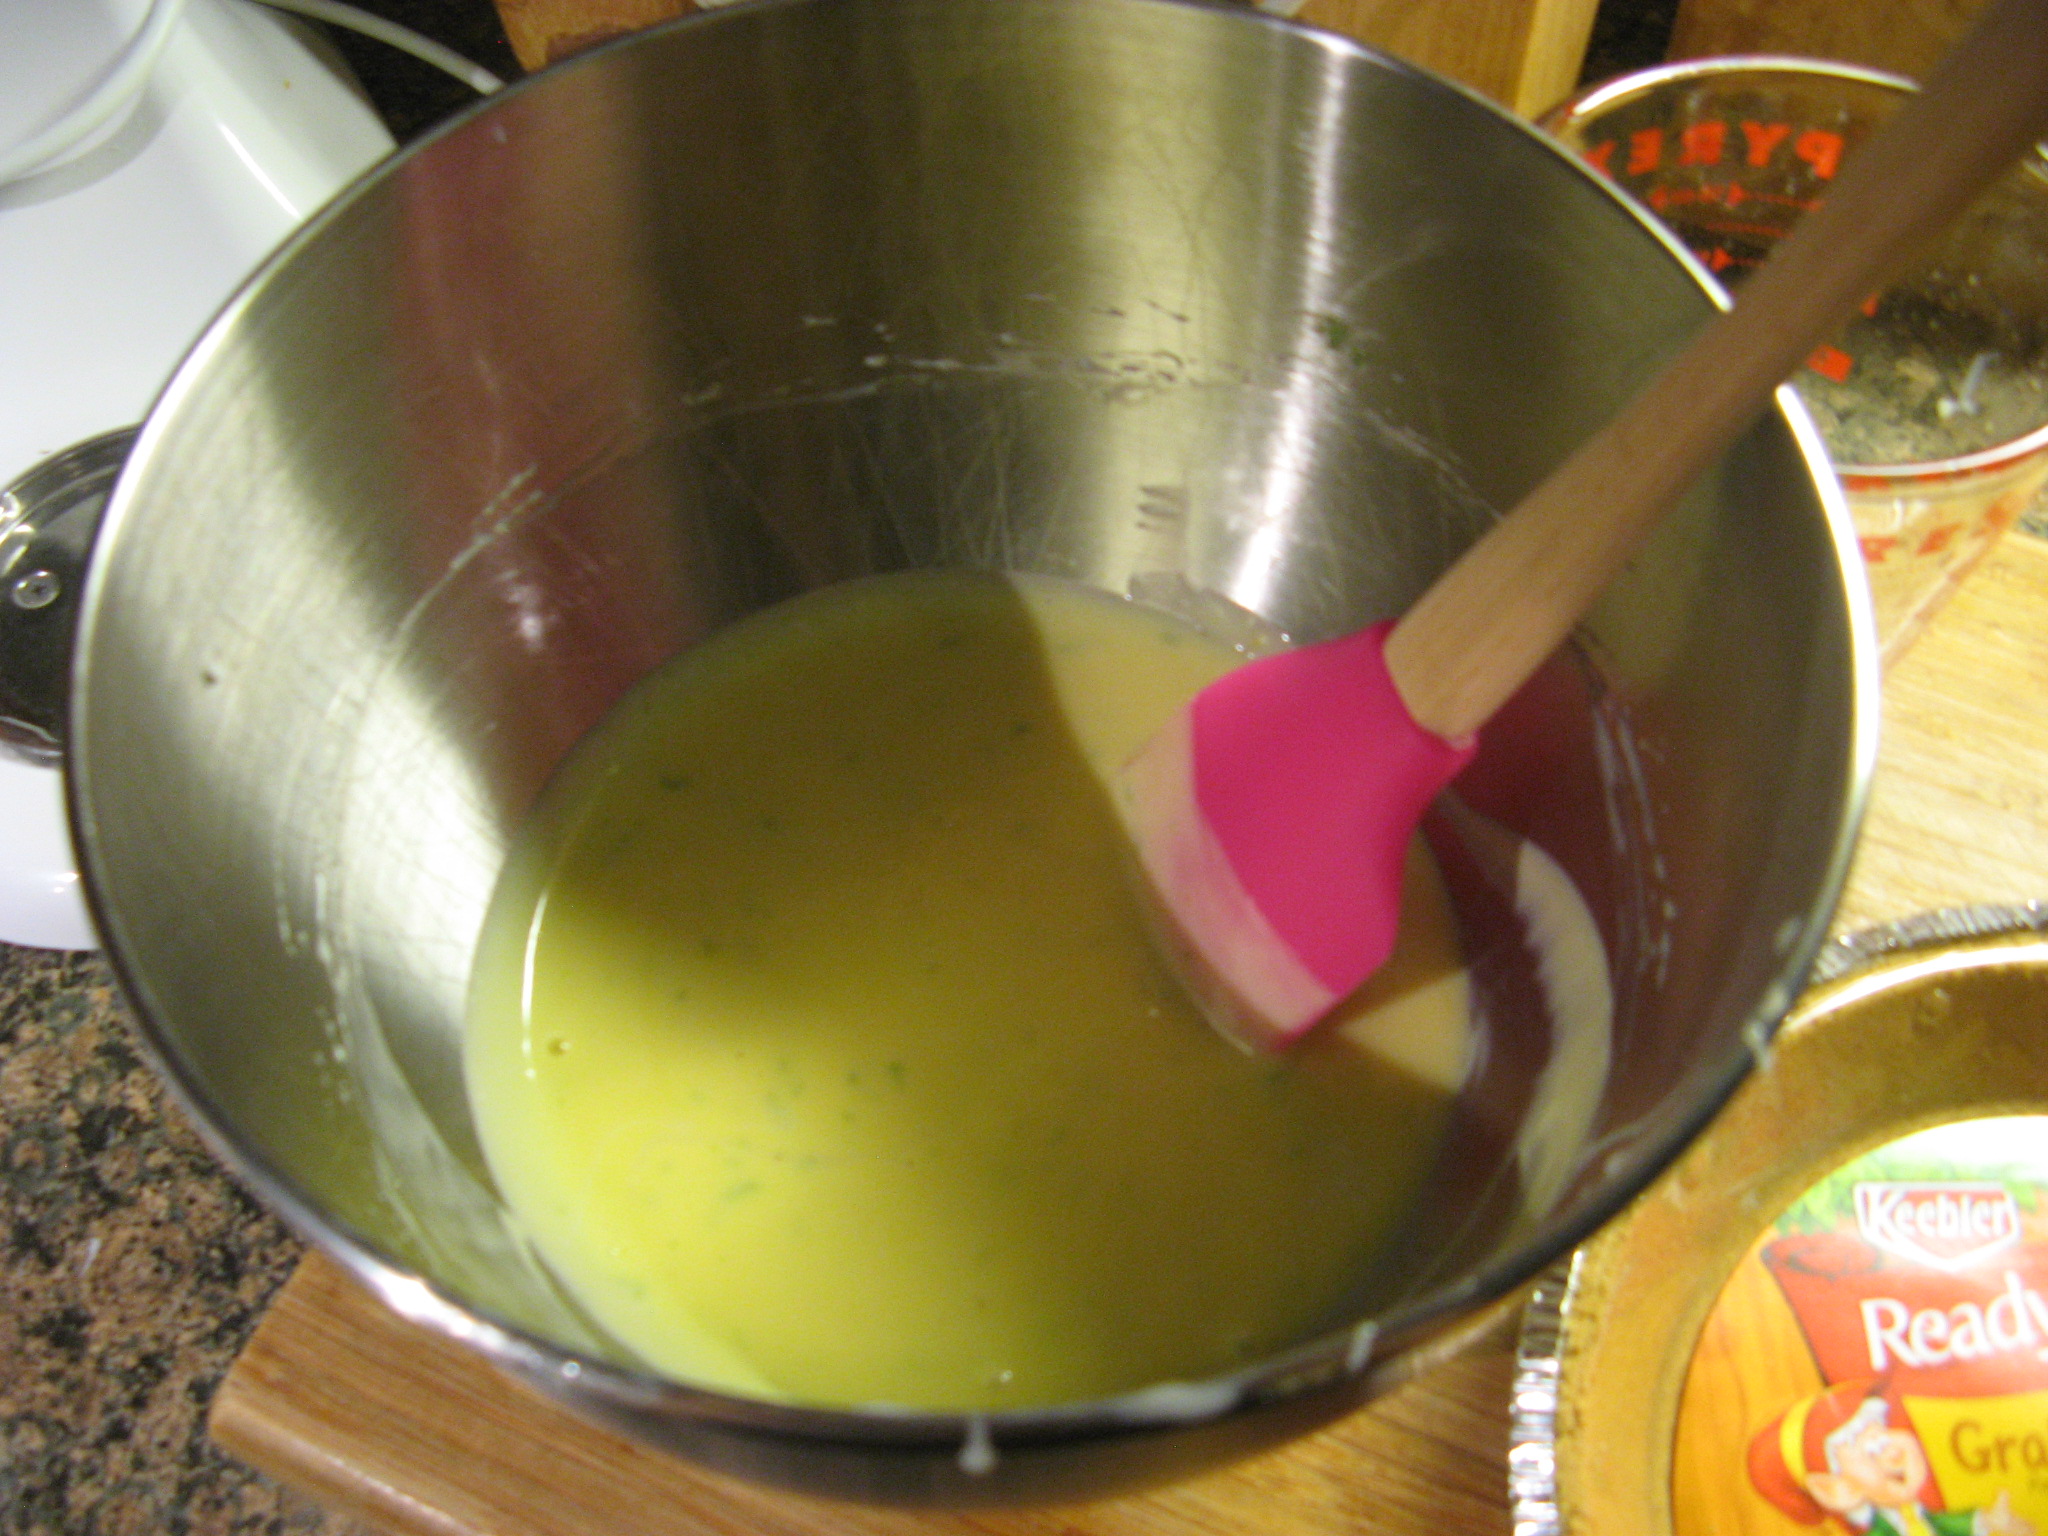
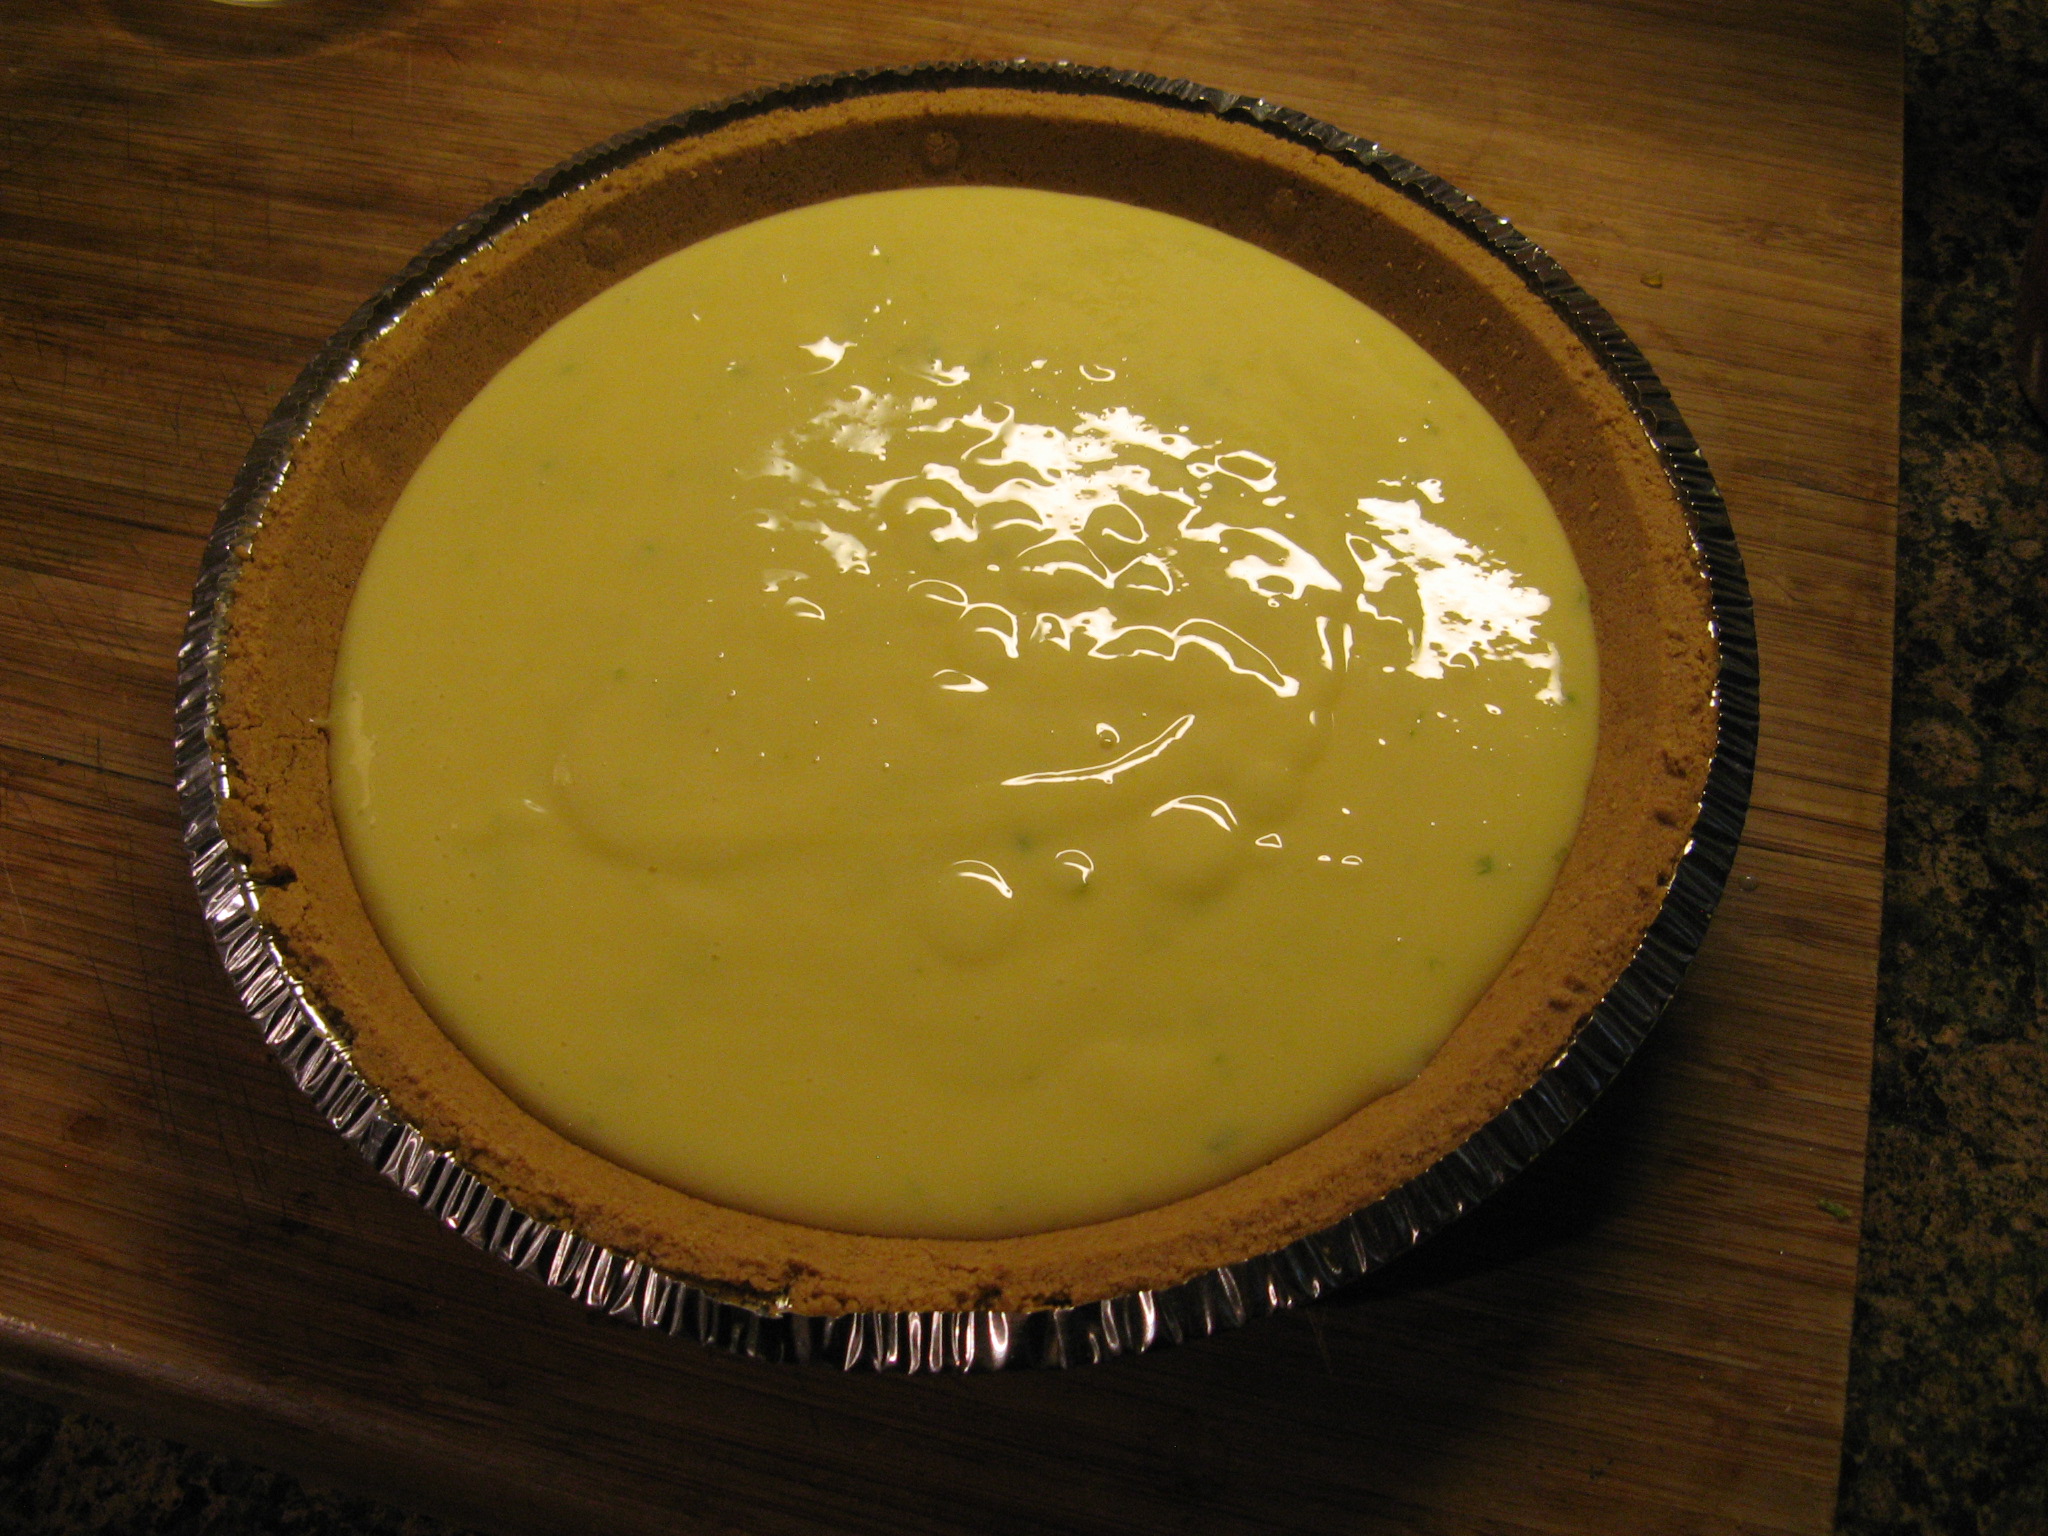
Here’s what the filling looked like prior to being poured into the pie crust.

IMG_1031

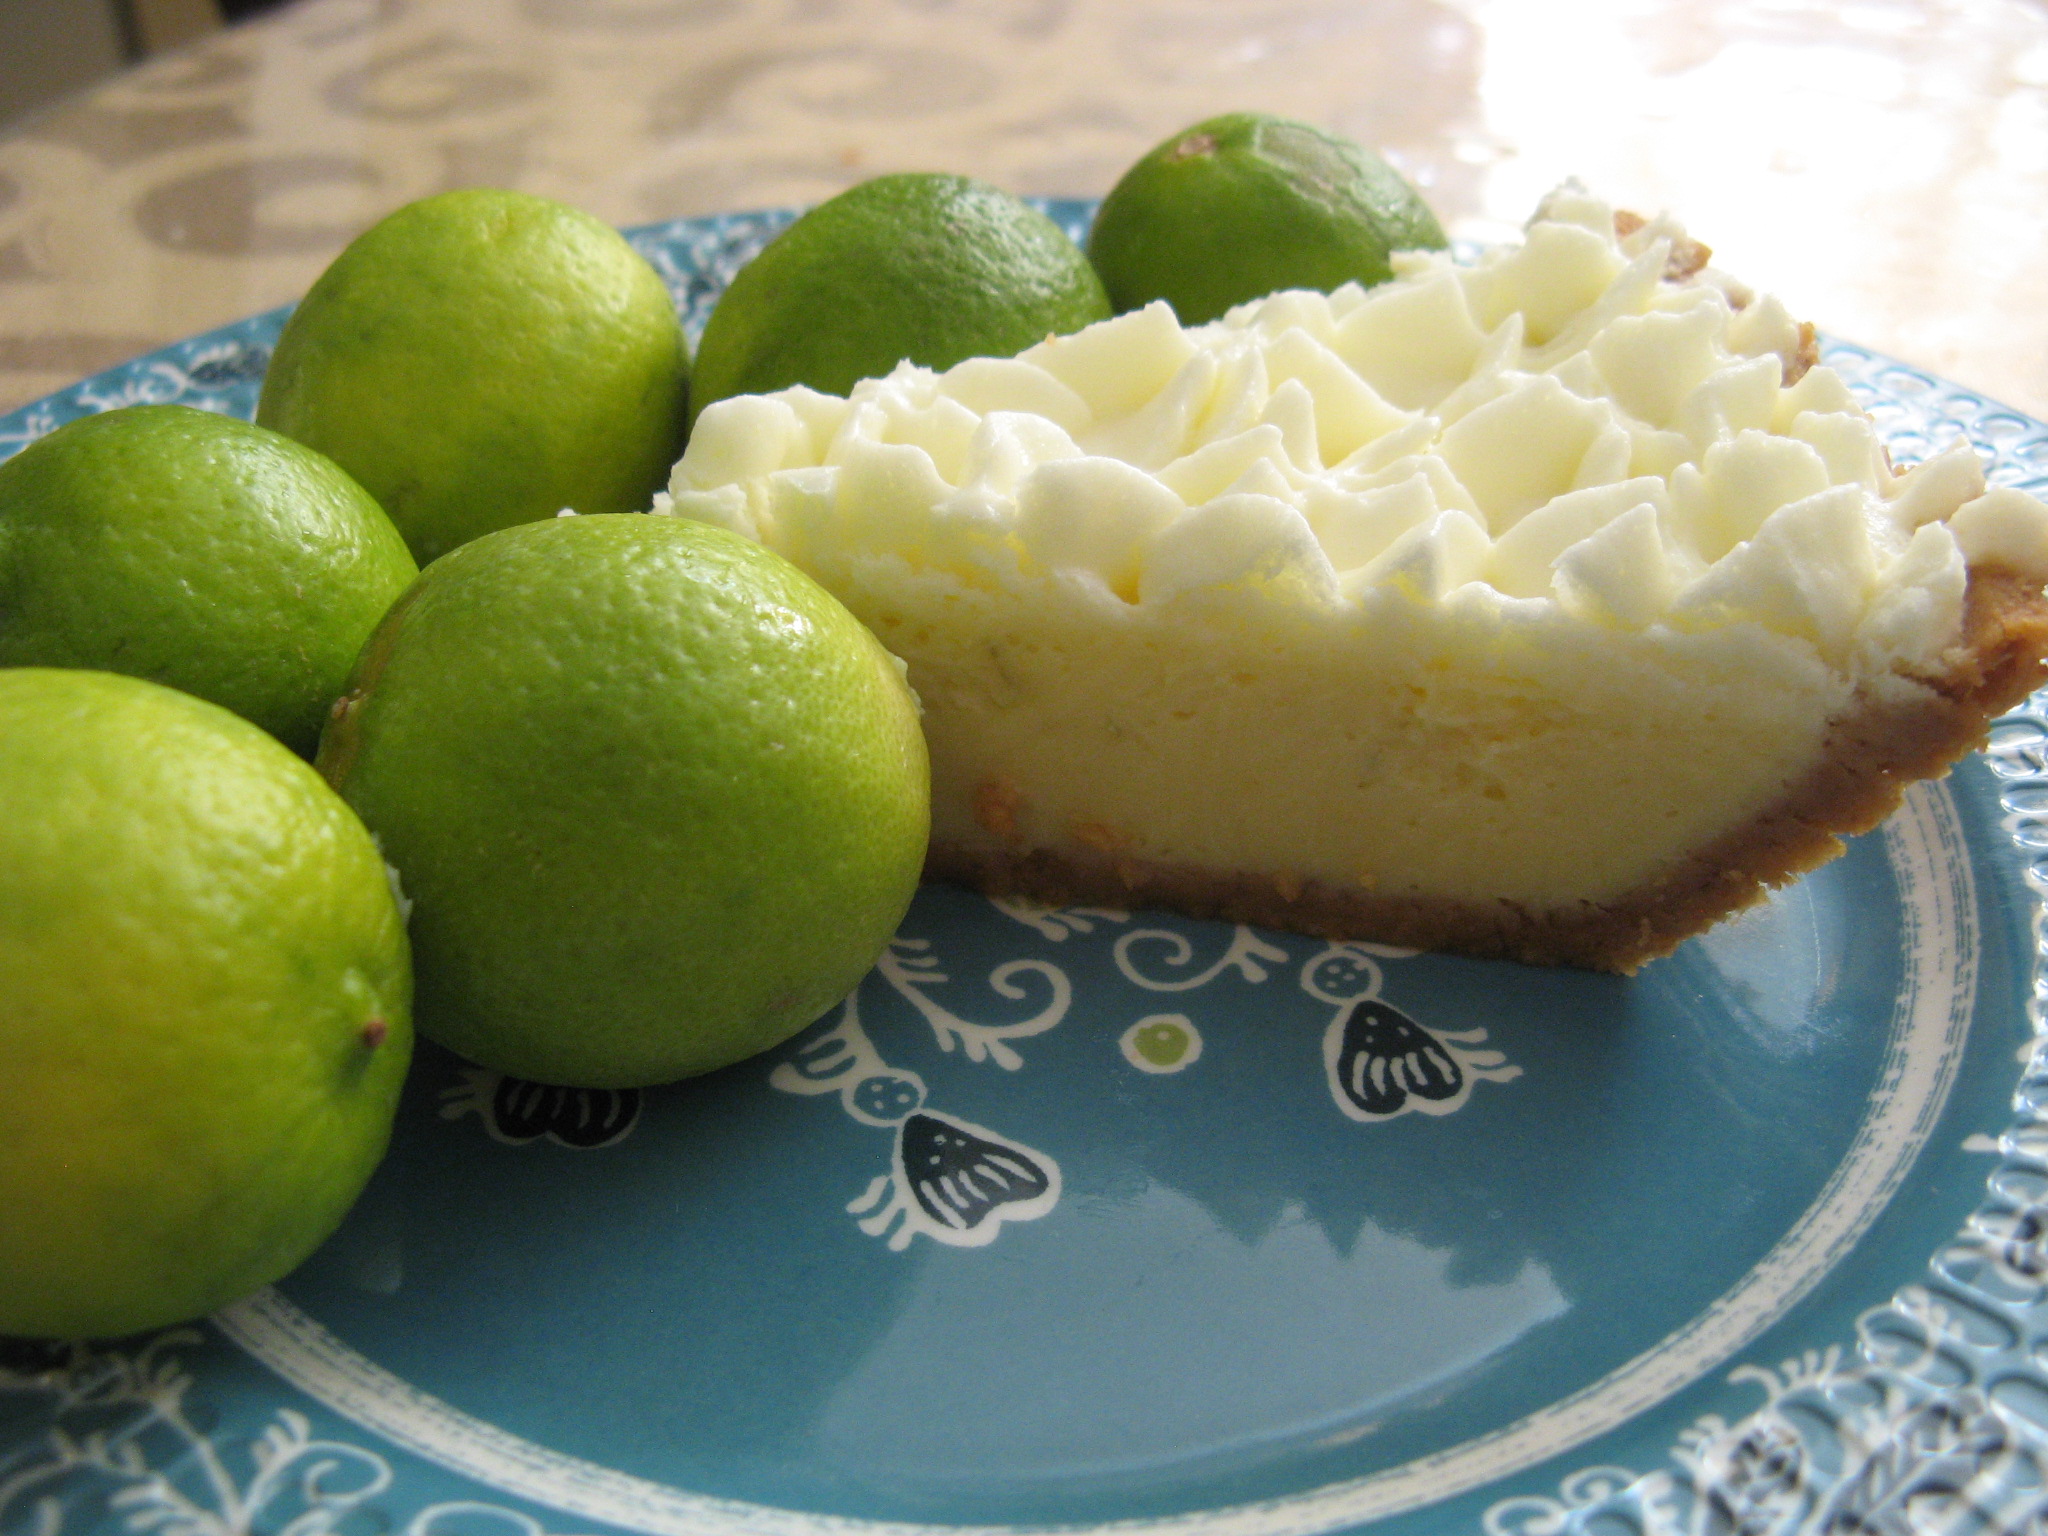
As you can see the filling barely filled the pie crust. Which I didn’t mind since it meant that I wouldn’t have to worry about it overflowing into my oven while it baked and more importantly it meant that there would be enough space for a whipped cream topping!

IMG_1033

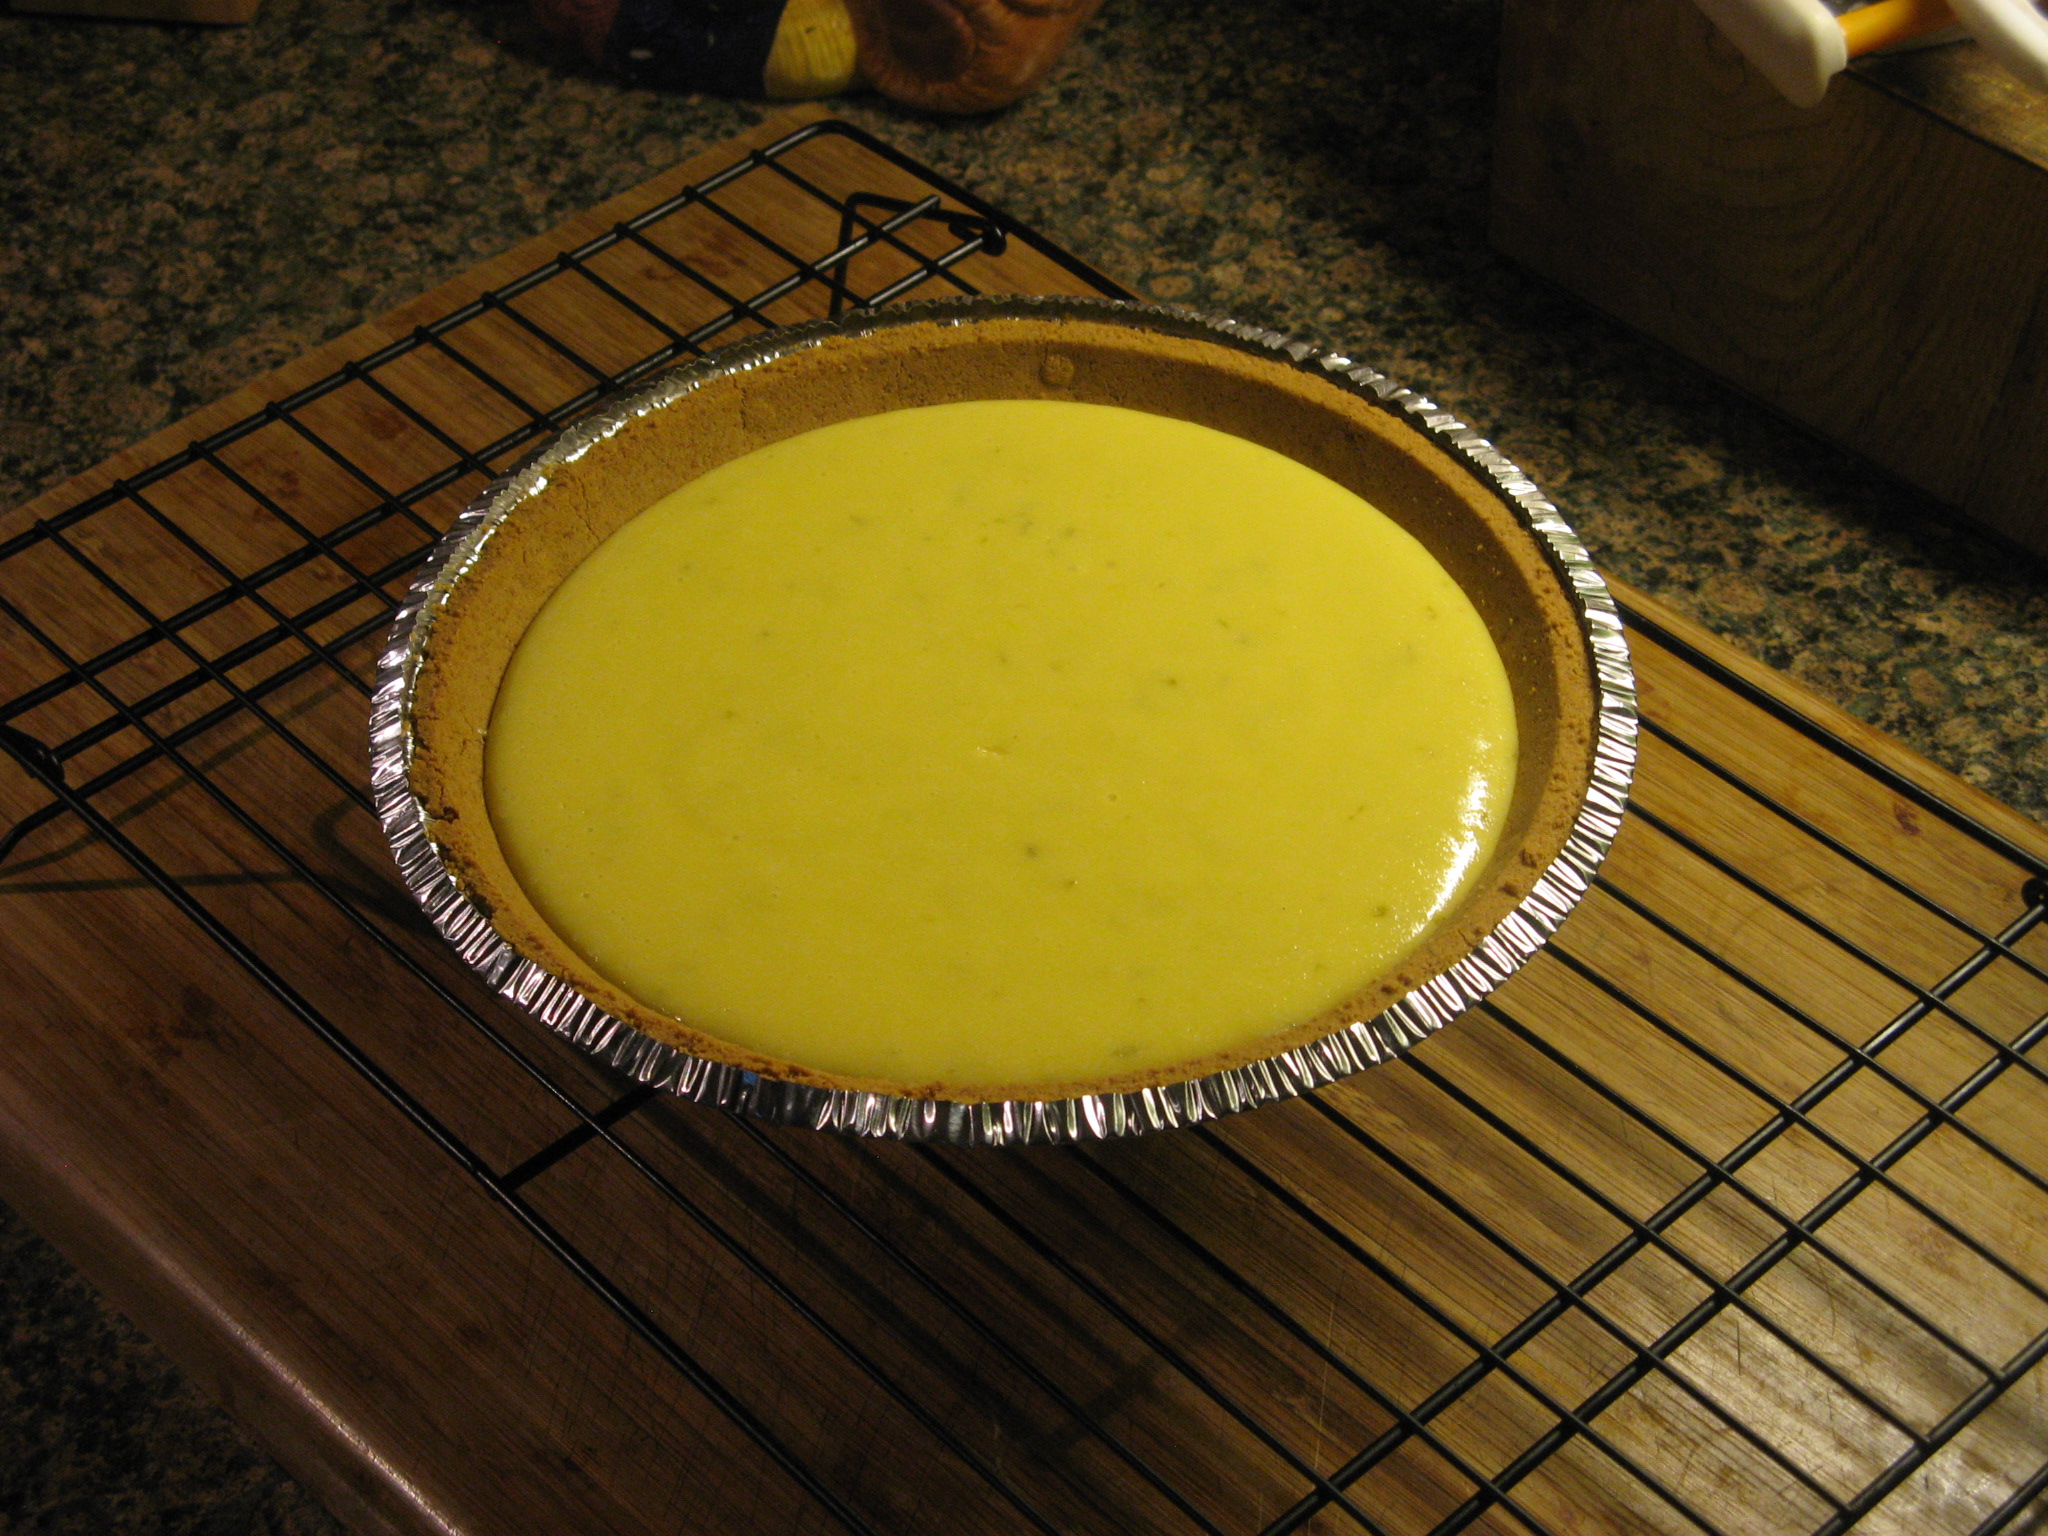
After baking for a mere 15 minutes it was ready to come out of the oven. I let it cool on the wire rack for a bit and then placed it in the refrigerator so it could cool.

IMG_1038

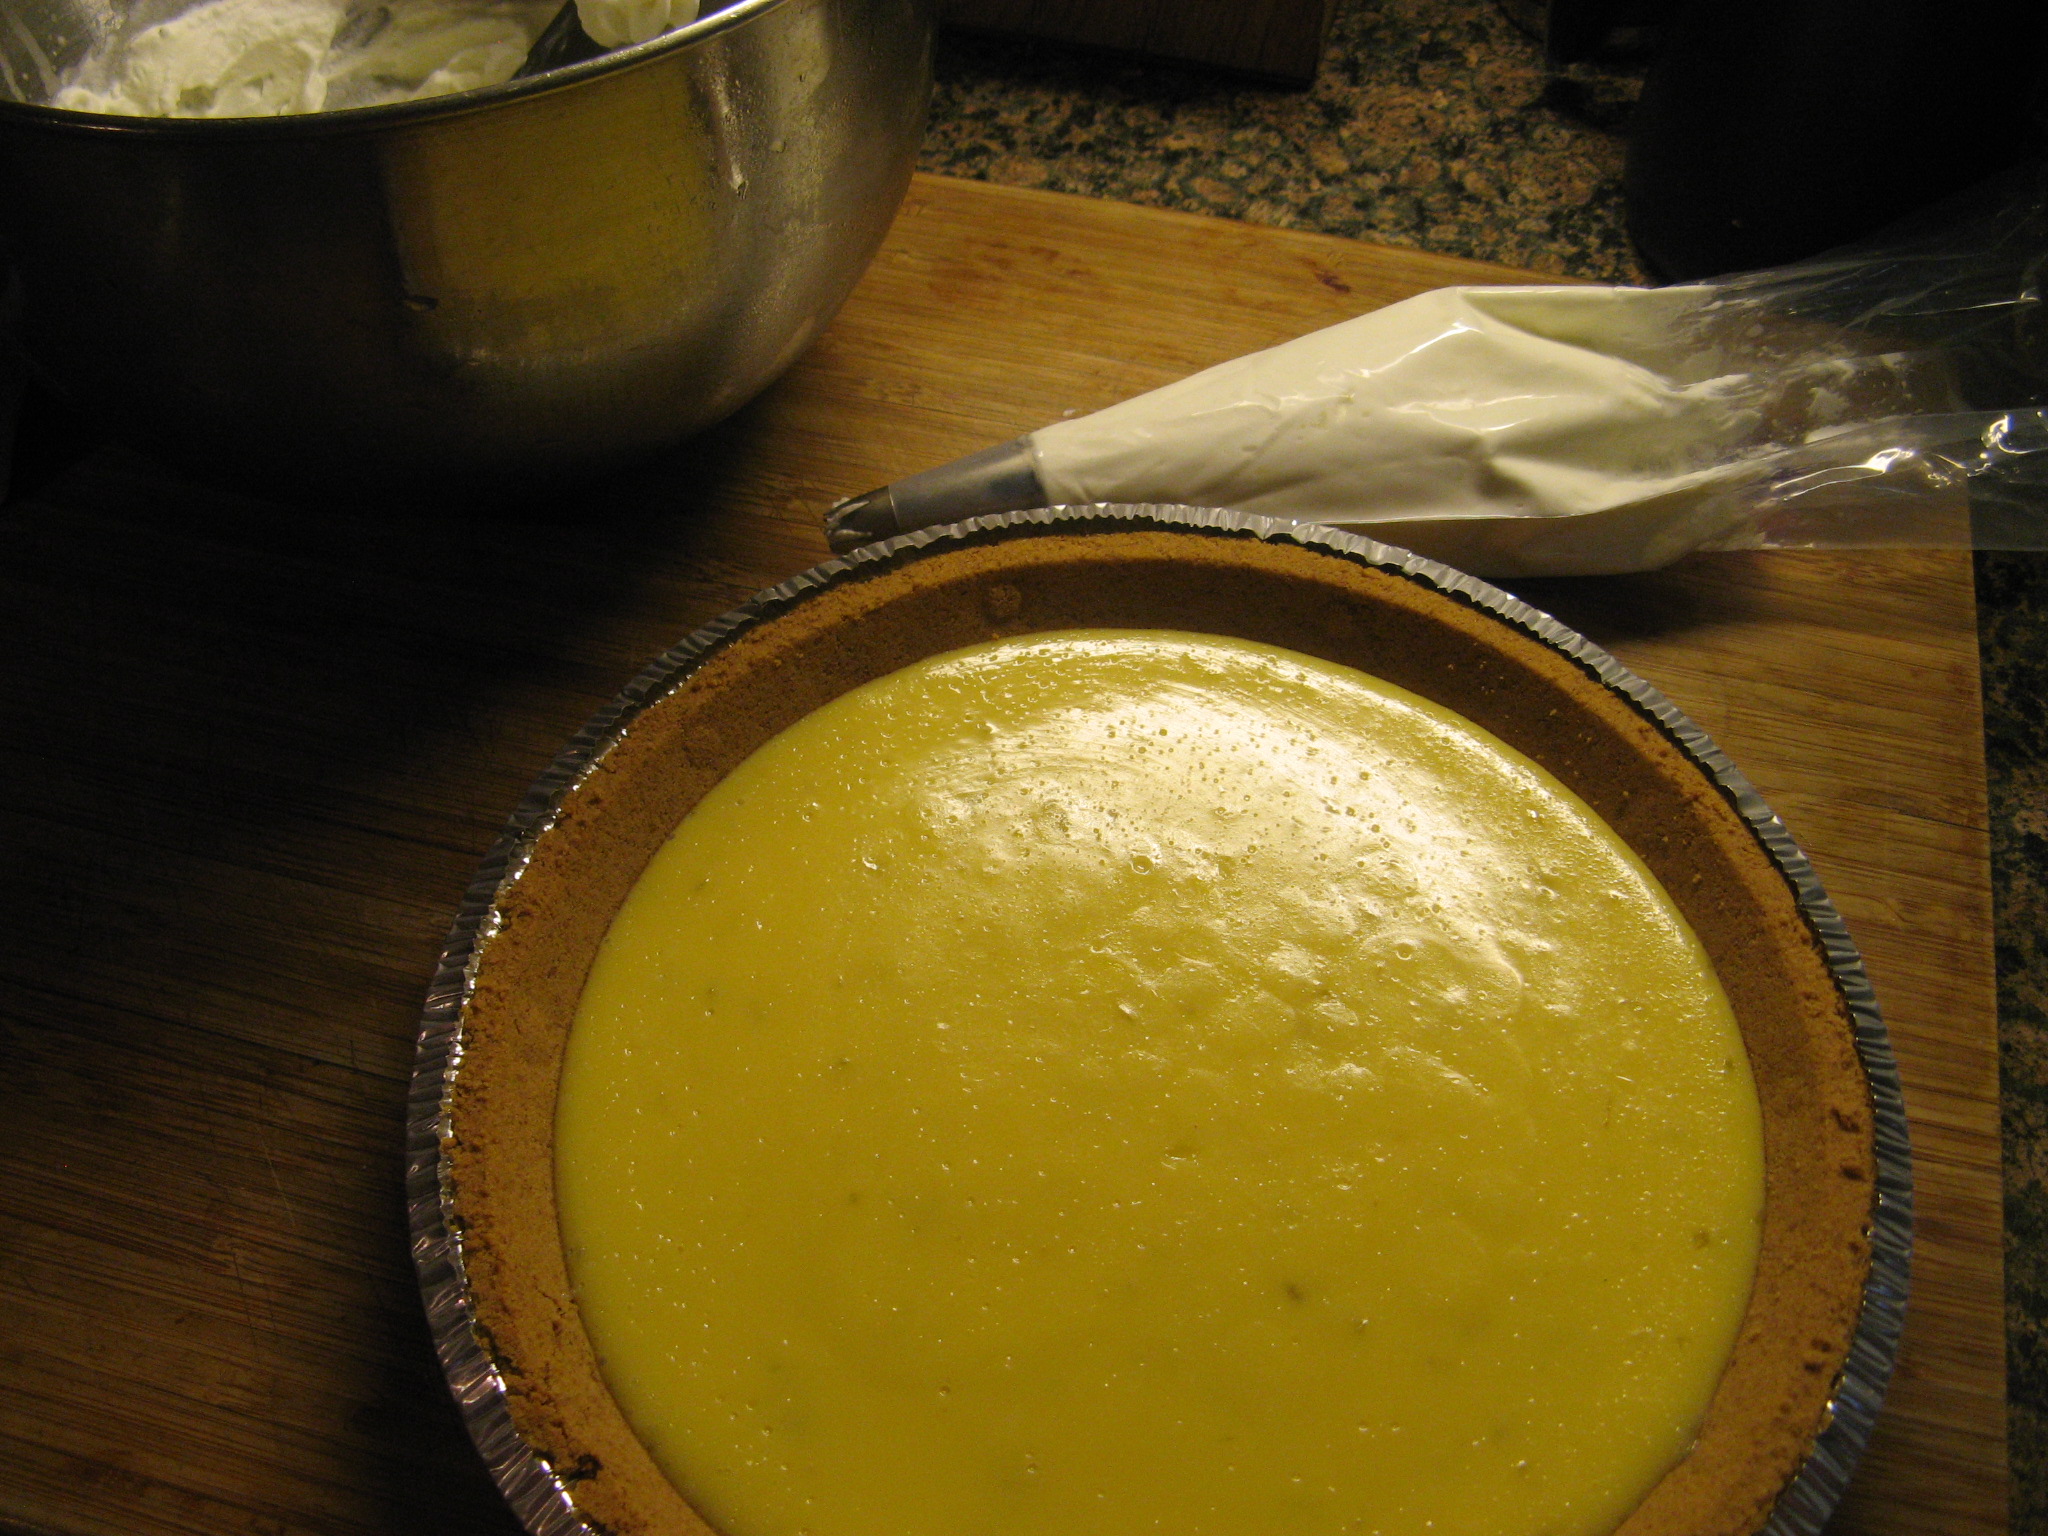
Once it was in the refrigerator for at least two hours I started working on the whipped cream frosting. It’s a basic recipe… one cup of heavy cream and 2 tablespoons of confectioners’ sugar whipped until stiff peaks form.

IMG_1039

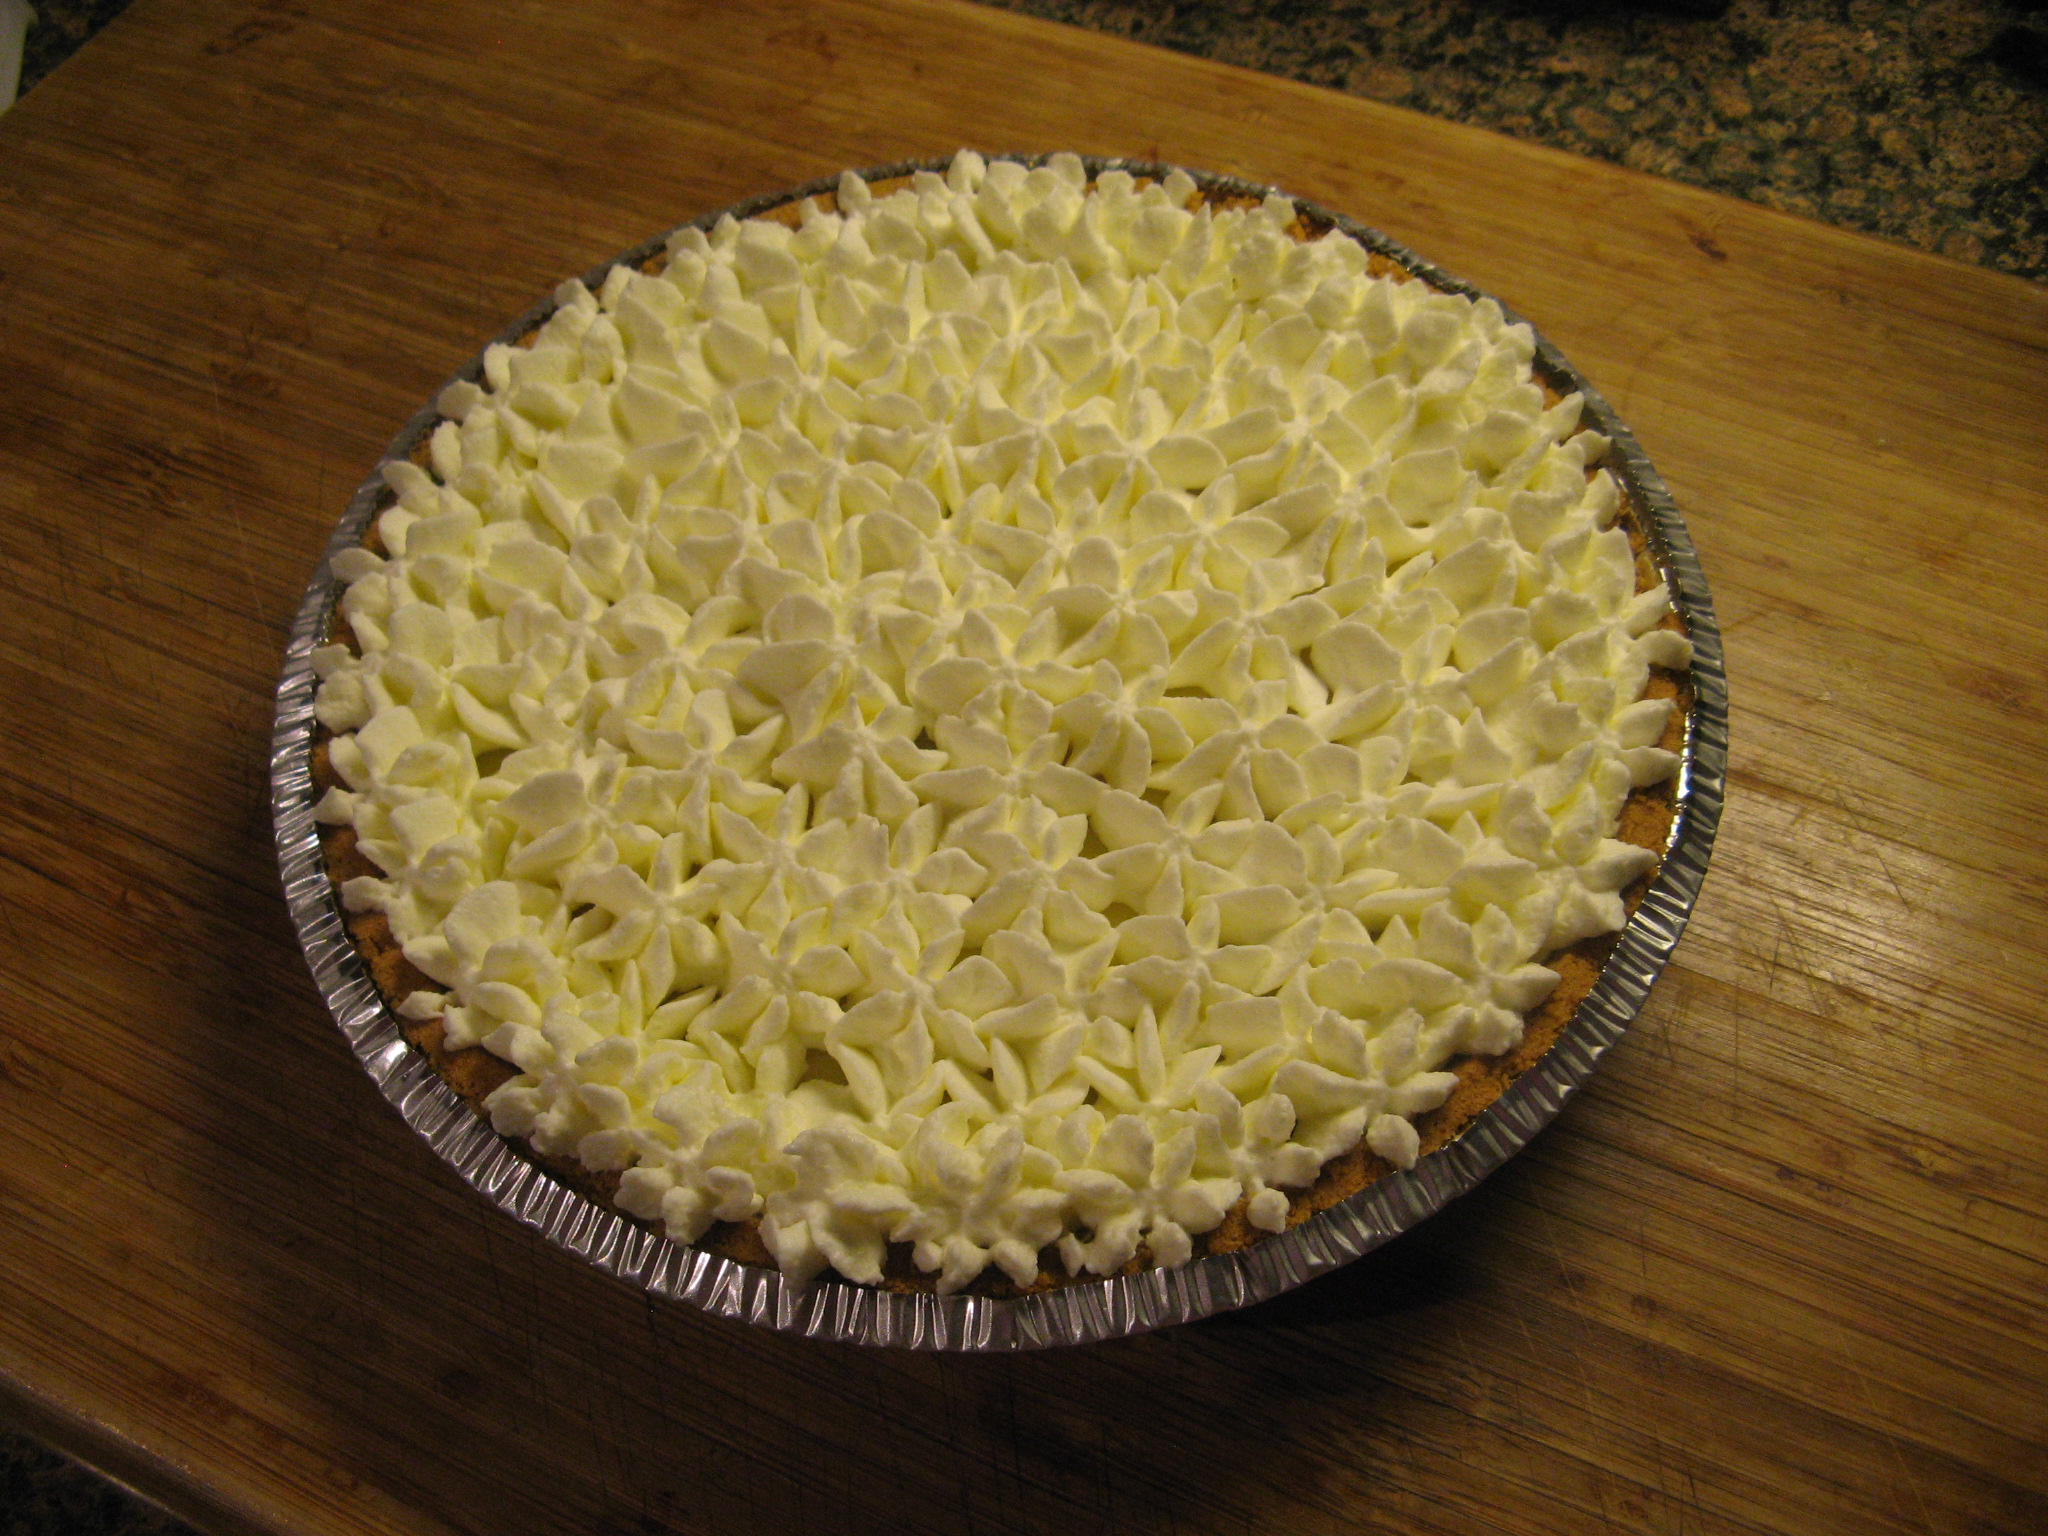
Using my favorite Wilton  tip -1M – (my favorite because I don’t need to use a coupler on the decorating bag for it, it creates a nice sized star for decorating and you can use it to create a nice swirl topping on cupcakes) I decorated the top of the pie with dropped stars. I started by adding stars around the outer perimeter of the pie and then for the second round I placed the stars in between the stars from round one and continued that for the remaining rounds.

IMG_1042 IMG_1058

The pie was delicious… Definitely something I will make again.

IMG_1087

Key Lime Pie*

Ingredients

1 9-inch graham cracker pie shell

1/2 cup key lime juice (approximately 12 key limes)

1 14 oz. can sweetened condensed milk

4 egg yolks

Grated lime zest of one lime

Directions

1) Preheat the oven to 350 degrees

2) Whisk together the four eggs yolks until pale and fluffy

3) Gradually add in the condensed milk and continue mixing until the mixture becomes light and fluffy

4) Add in the lime juice and finally the lime zest.

5) Pour the filling into the graham cracker pie shell and bake for about 20 minutes, or until the filling is set.

6) Let the pie cool completely on a wire rack and then cover and refrigerate for a few hours.

7) Decorate with whipped cream or save for serving and drop heaping spoonfuls of whipped cream on each slice.

*Recipe is a combination of the Key Lime Pie recipes from Joy of Baking and Susie Key Limes.


Whipped Cream

Ingredients

1 cup heavy whipping cream

2 tbsp. confectioners’ sugar

Directions

Using a whisk attachment on an electric mixer beat the cream and sugar until stiff peaks form.

A Quick Multi-Strand Necklace

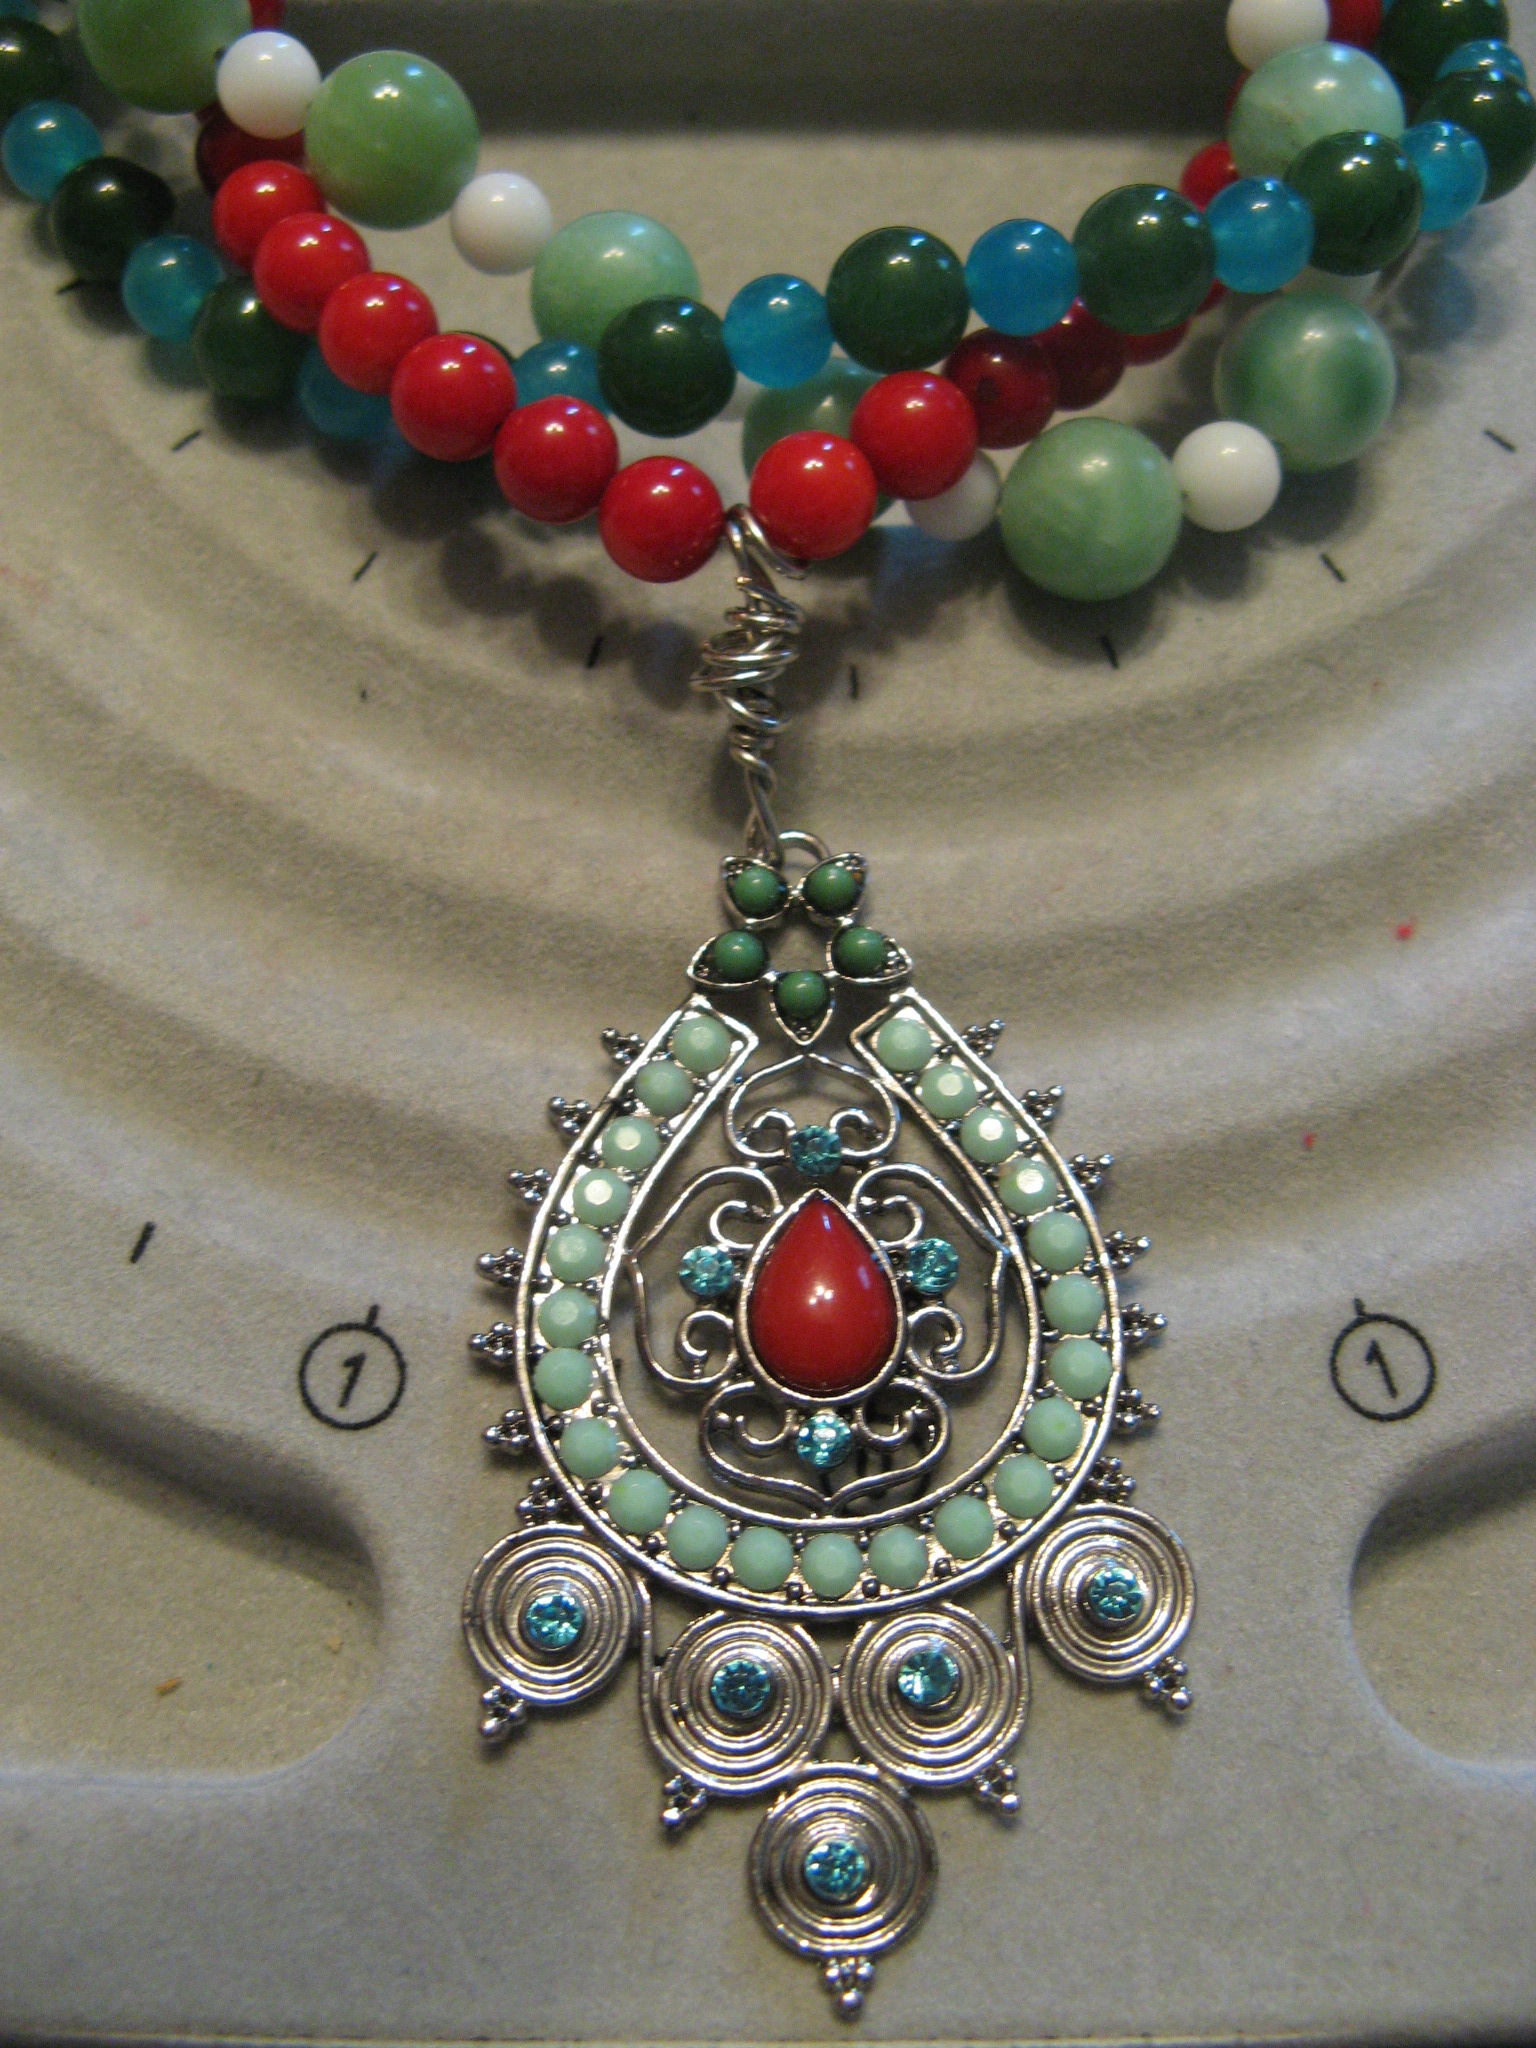
During a shopping trip to my local A.C. Moore I came across this pendant while perusing the jewelry section that immediately caught my eye.

IMG_0577

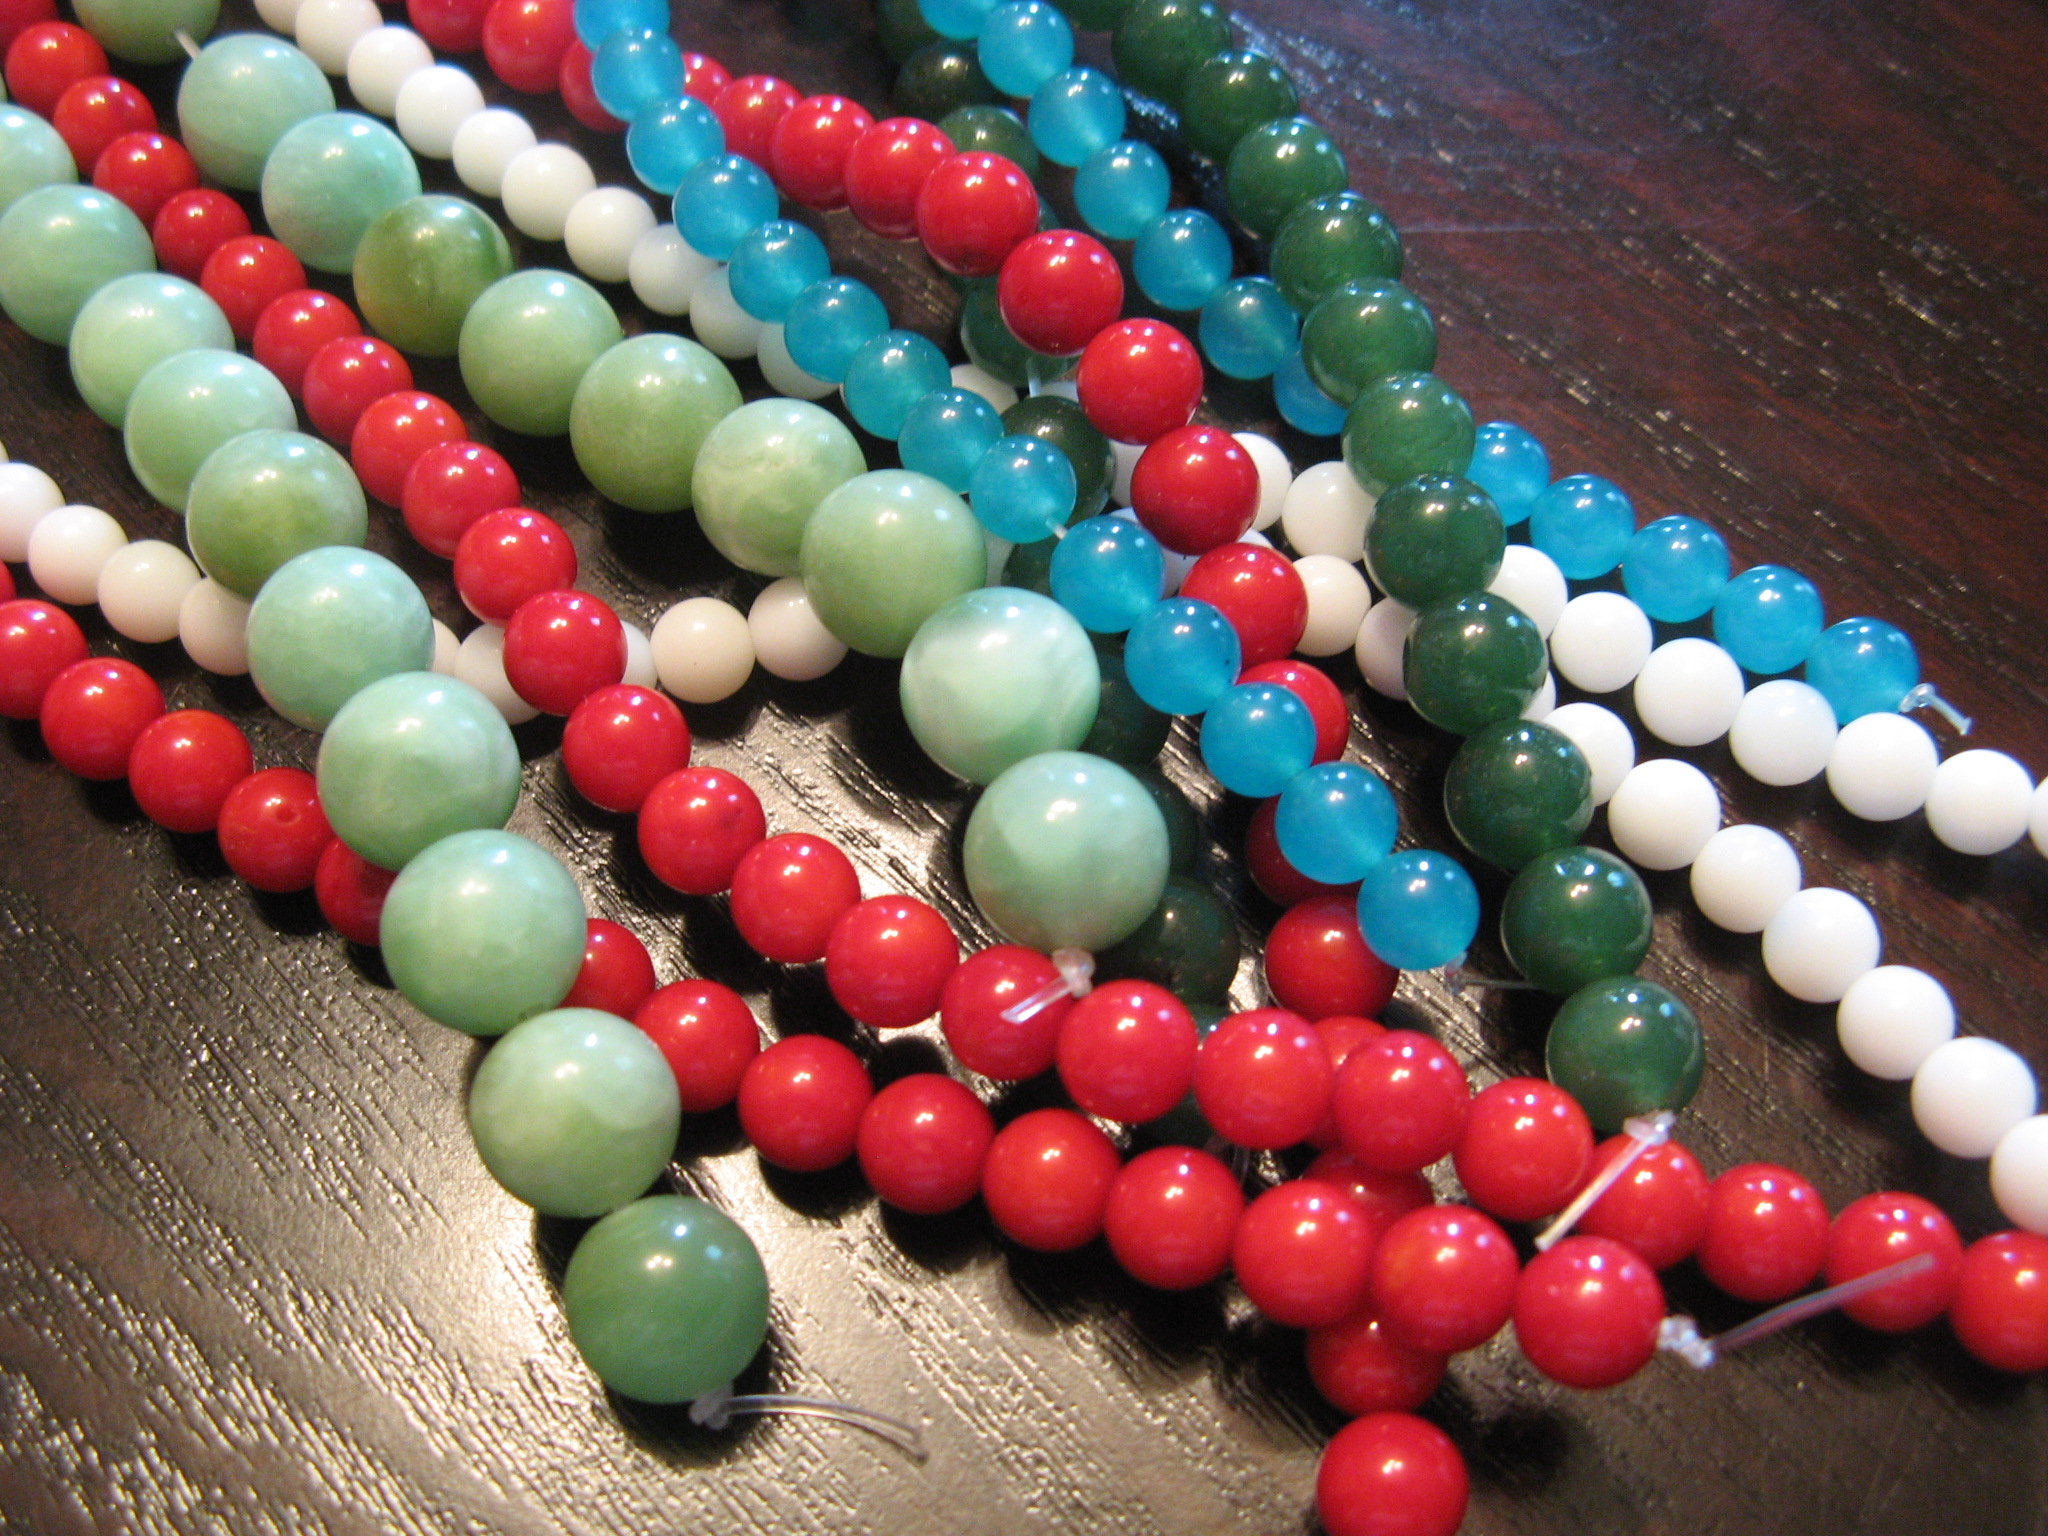
I knew that I wanted to use it as the focal point of a multi-strand necklace. At first I wasn’t sure what type of multi-strand – all chains, a combination of chains and stones or all stones. After attending a bead show and a few trips to A.C. Moore  and Michaels I was able to find strands of stones that perfectly complemented the colors in the pendant.

IMG_0582

I started off by laying out the strands using a multi-strand bead board.

IMG_0610

Once I had them strung on beading wire I haphazardly intertwined the three strands.

IMG_0614

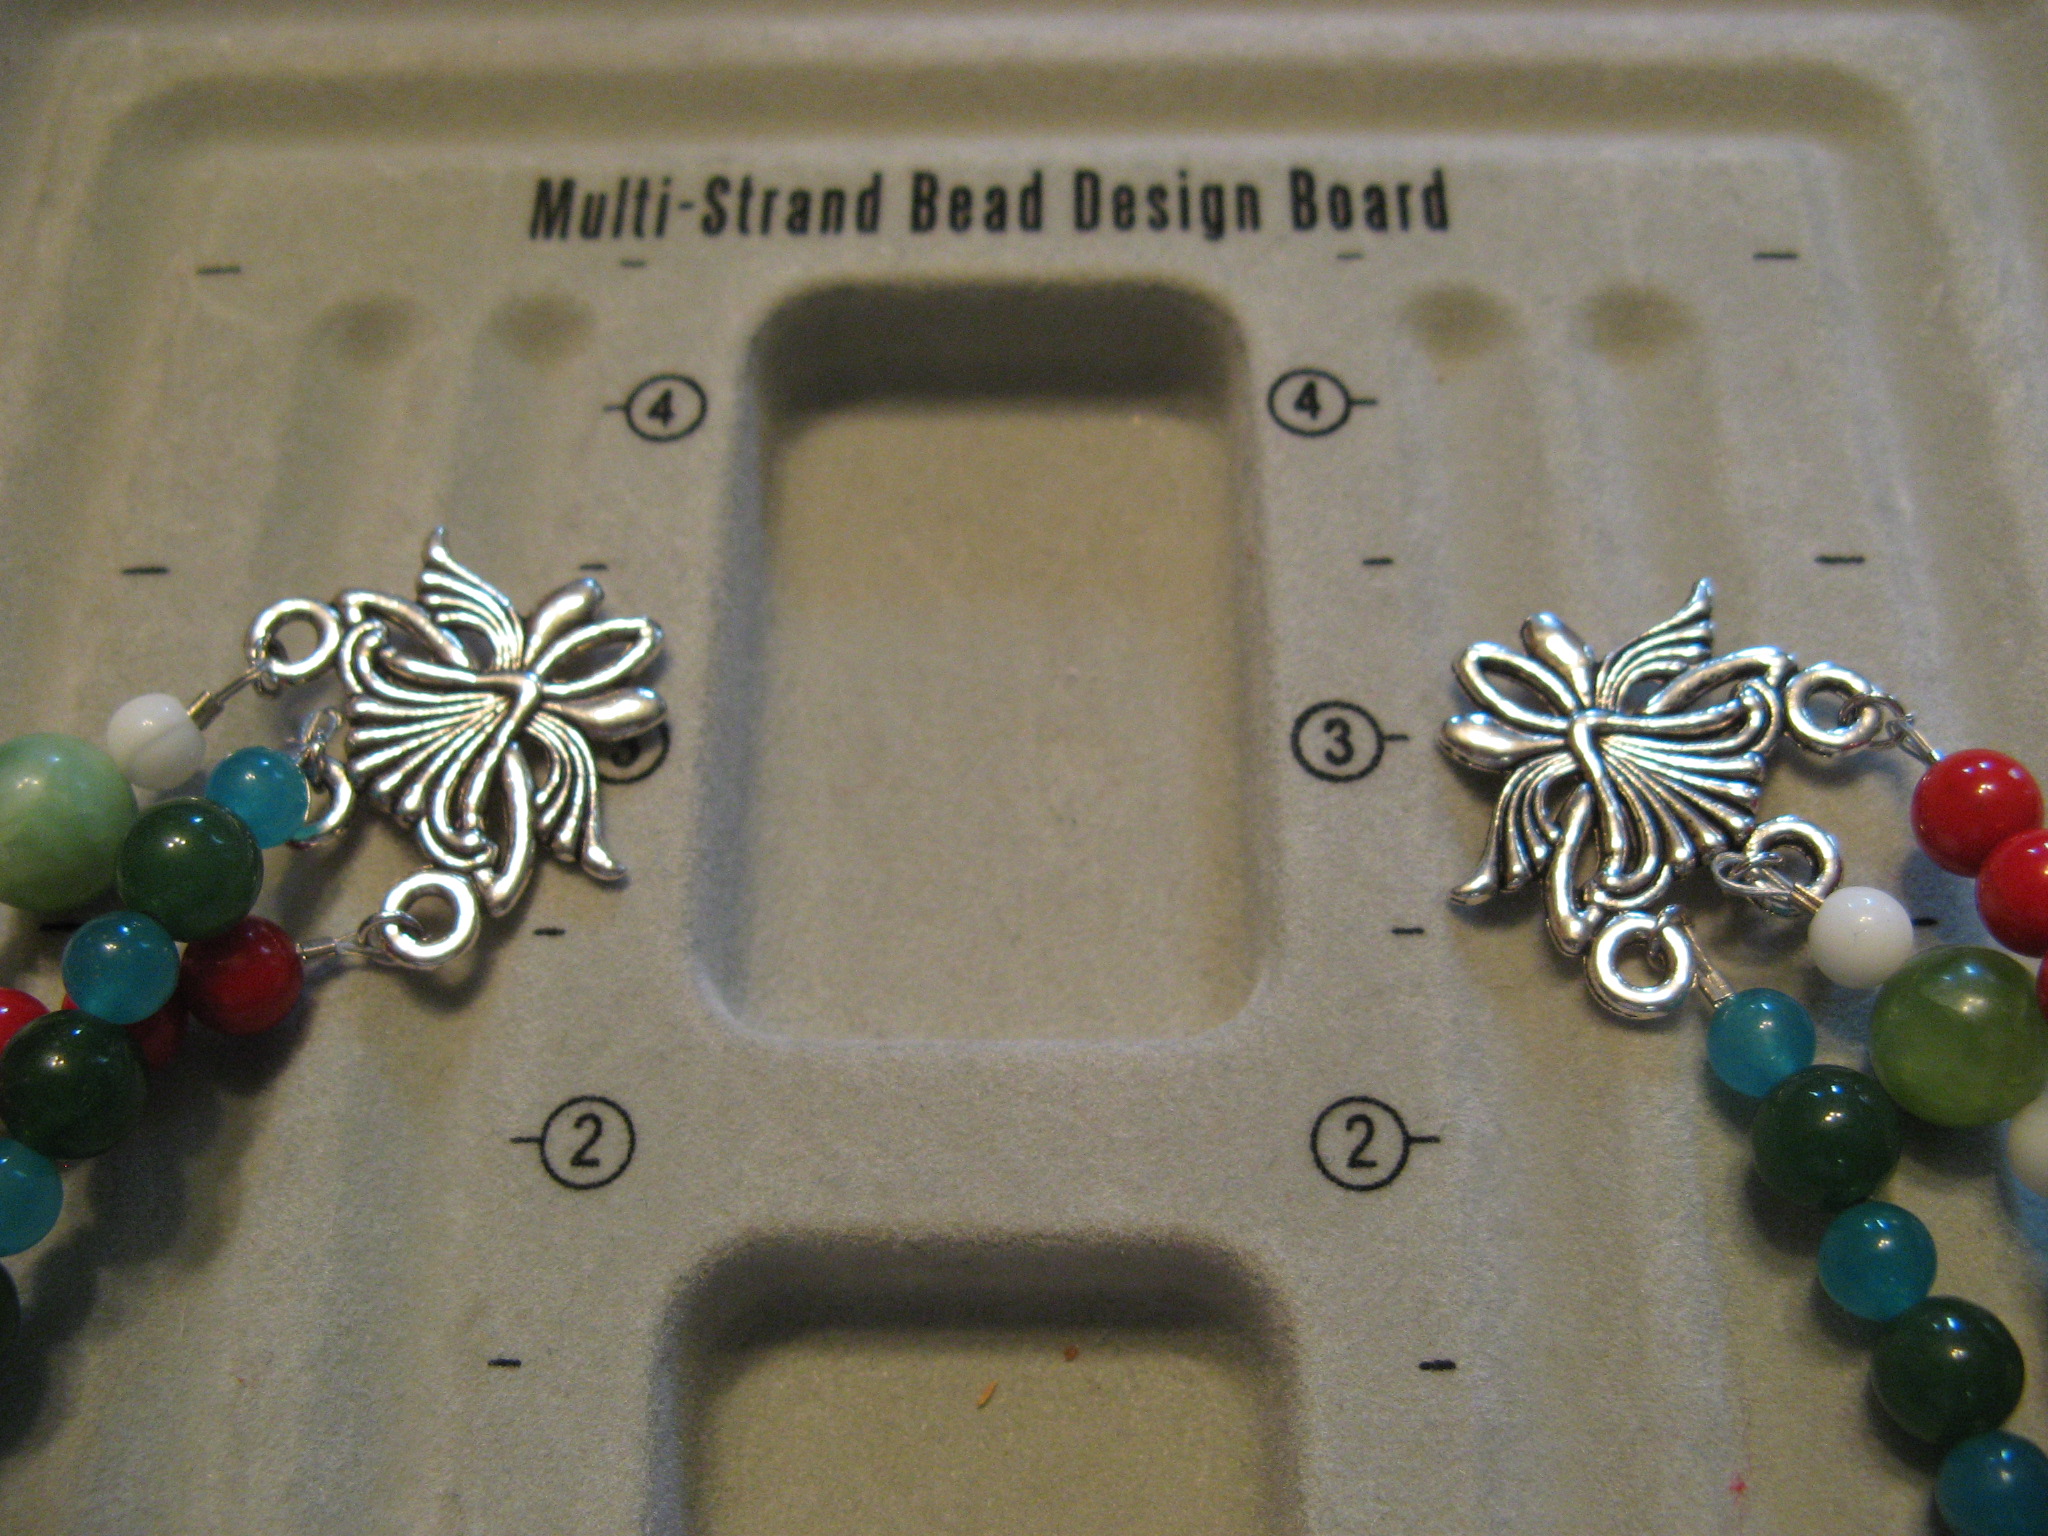
I actually got these three hole end bar links on clearance at Jo-Ann’s (what can I say I’m a craft store junkie) and they ended up being just what I needed for this necklace. It’s not pictured here, but, I attached a toggle using jump rings to the single loop side.

IMG_0616

To attach the pendant to one of the strands I created a messy wire wrapped loop .

IMG_0617

And as simple as that the necklace was done.

IMG_0711

Vanilla Pound Cake

Dinner at a friend’s house last week meant trying out a new recipe for me. I decided to keep it simple and bake a simple Vanilla Pound Cake from Martha Stewart.

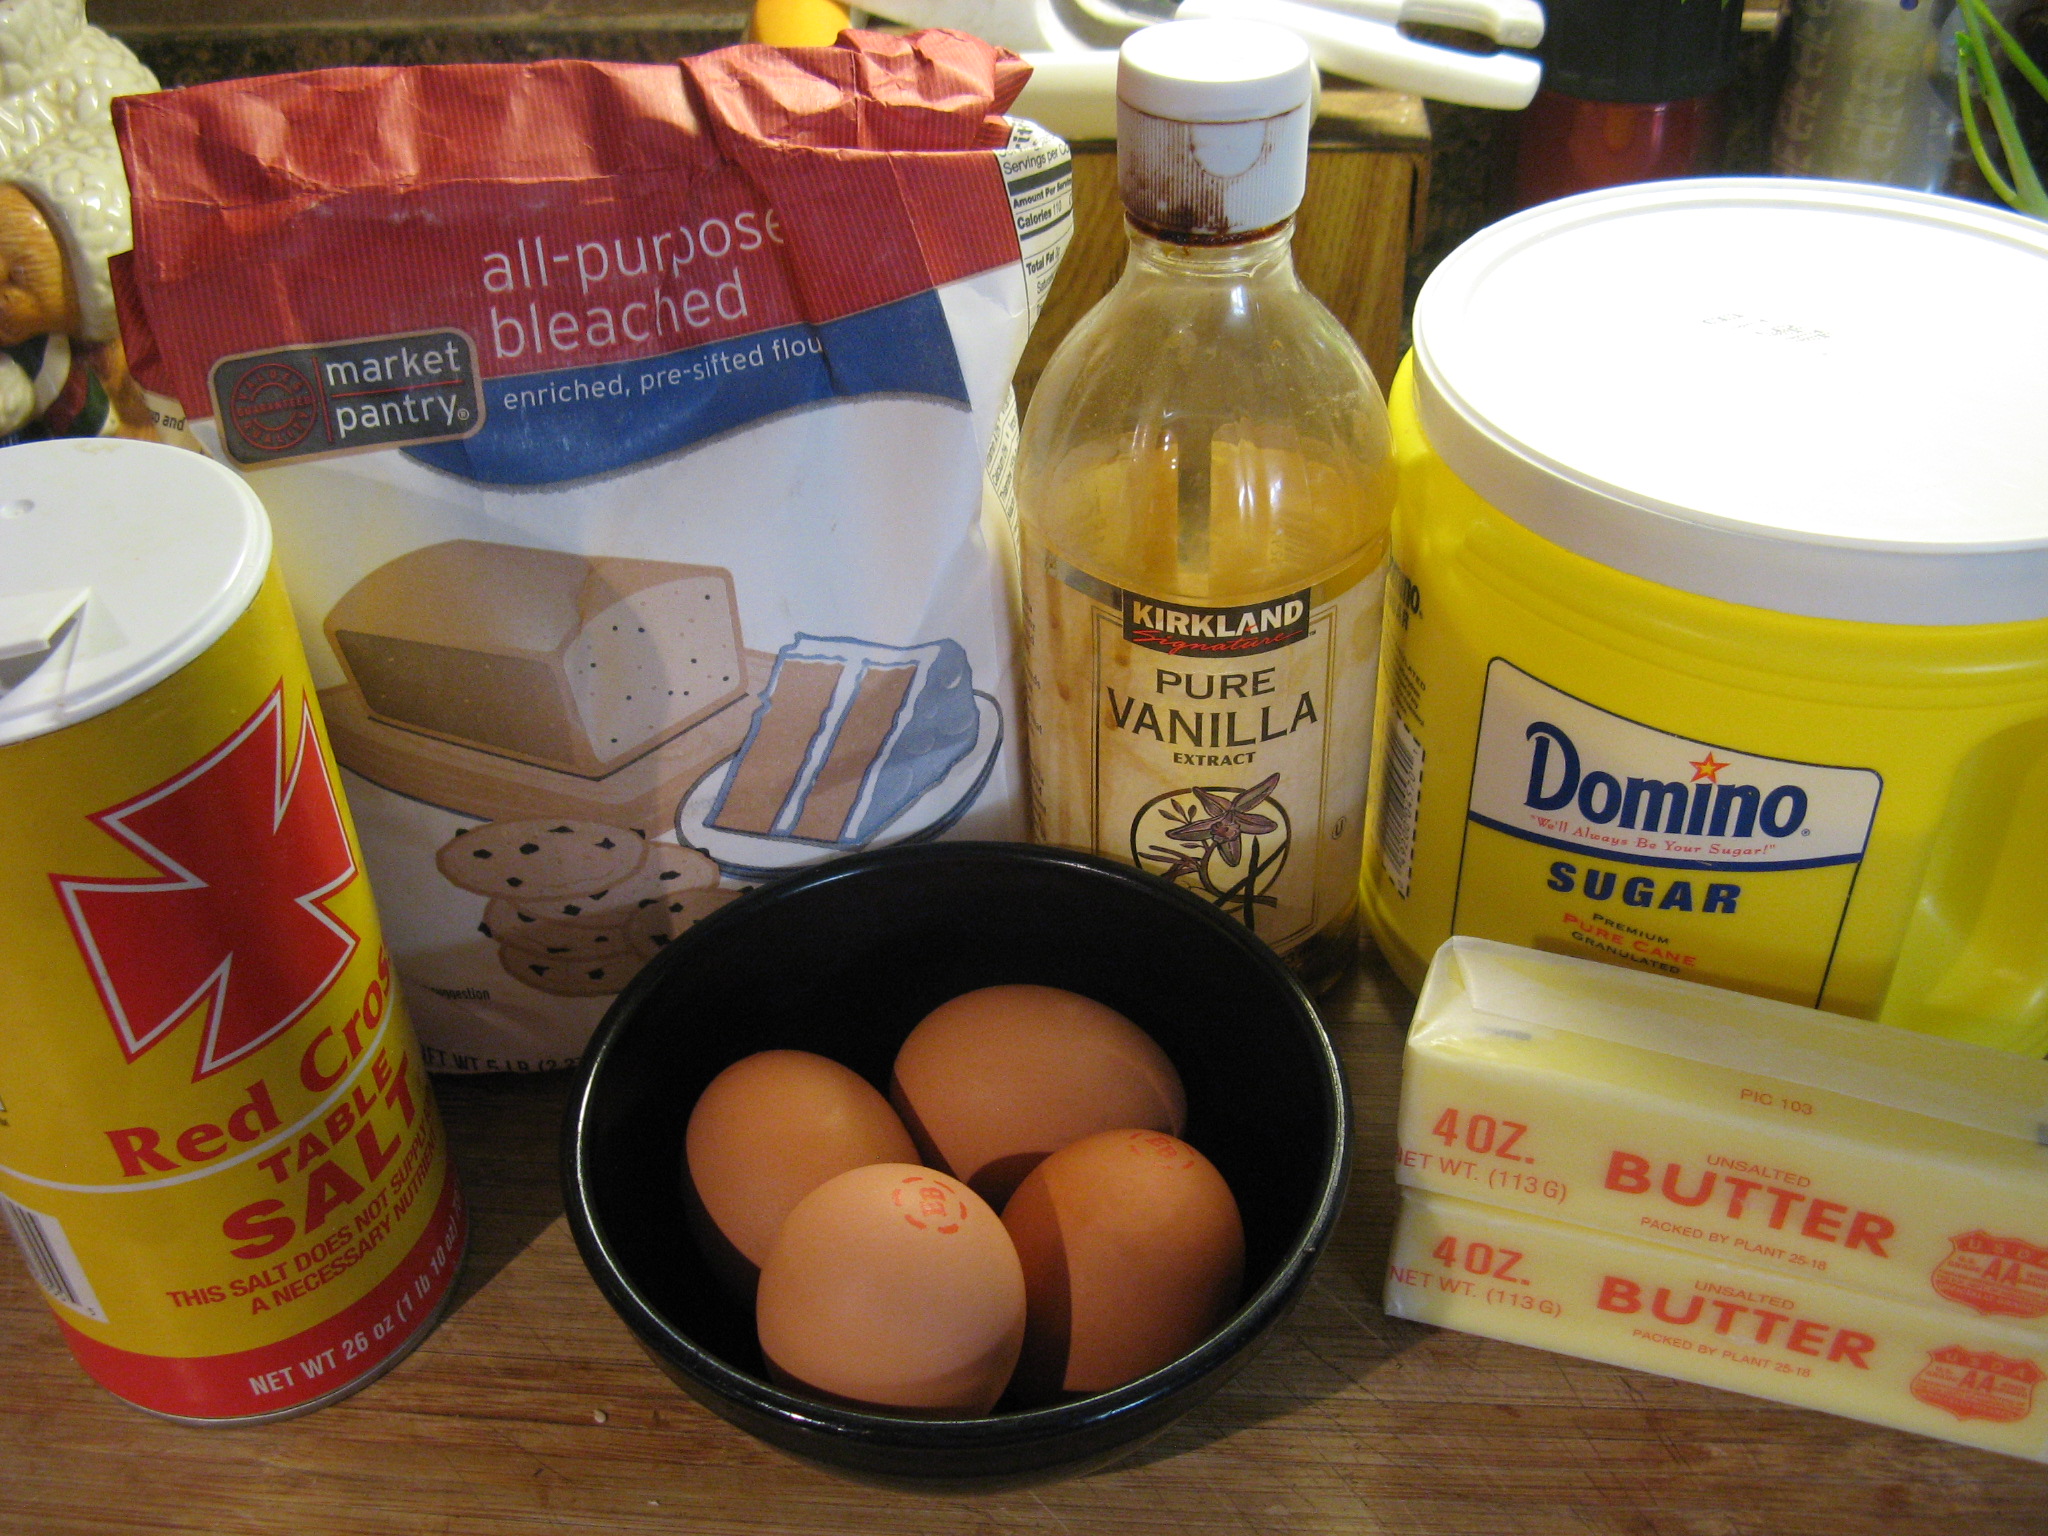
The recipe consisted of ingredients I already had on hand: butter, flour, sugar, eggs, vanilla extract and salt.

IMG_0990

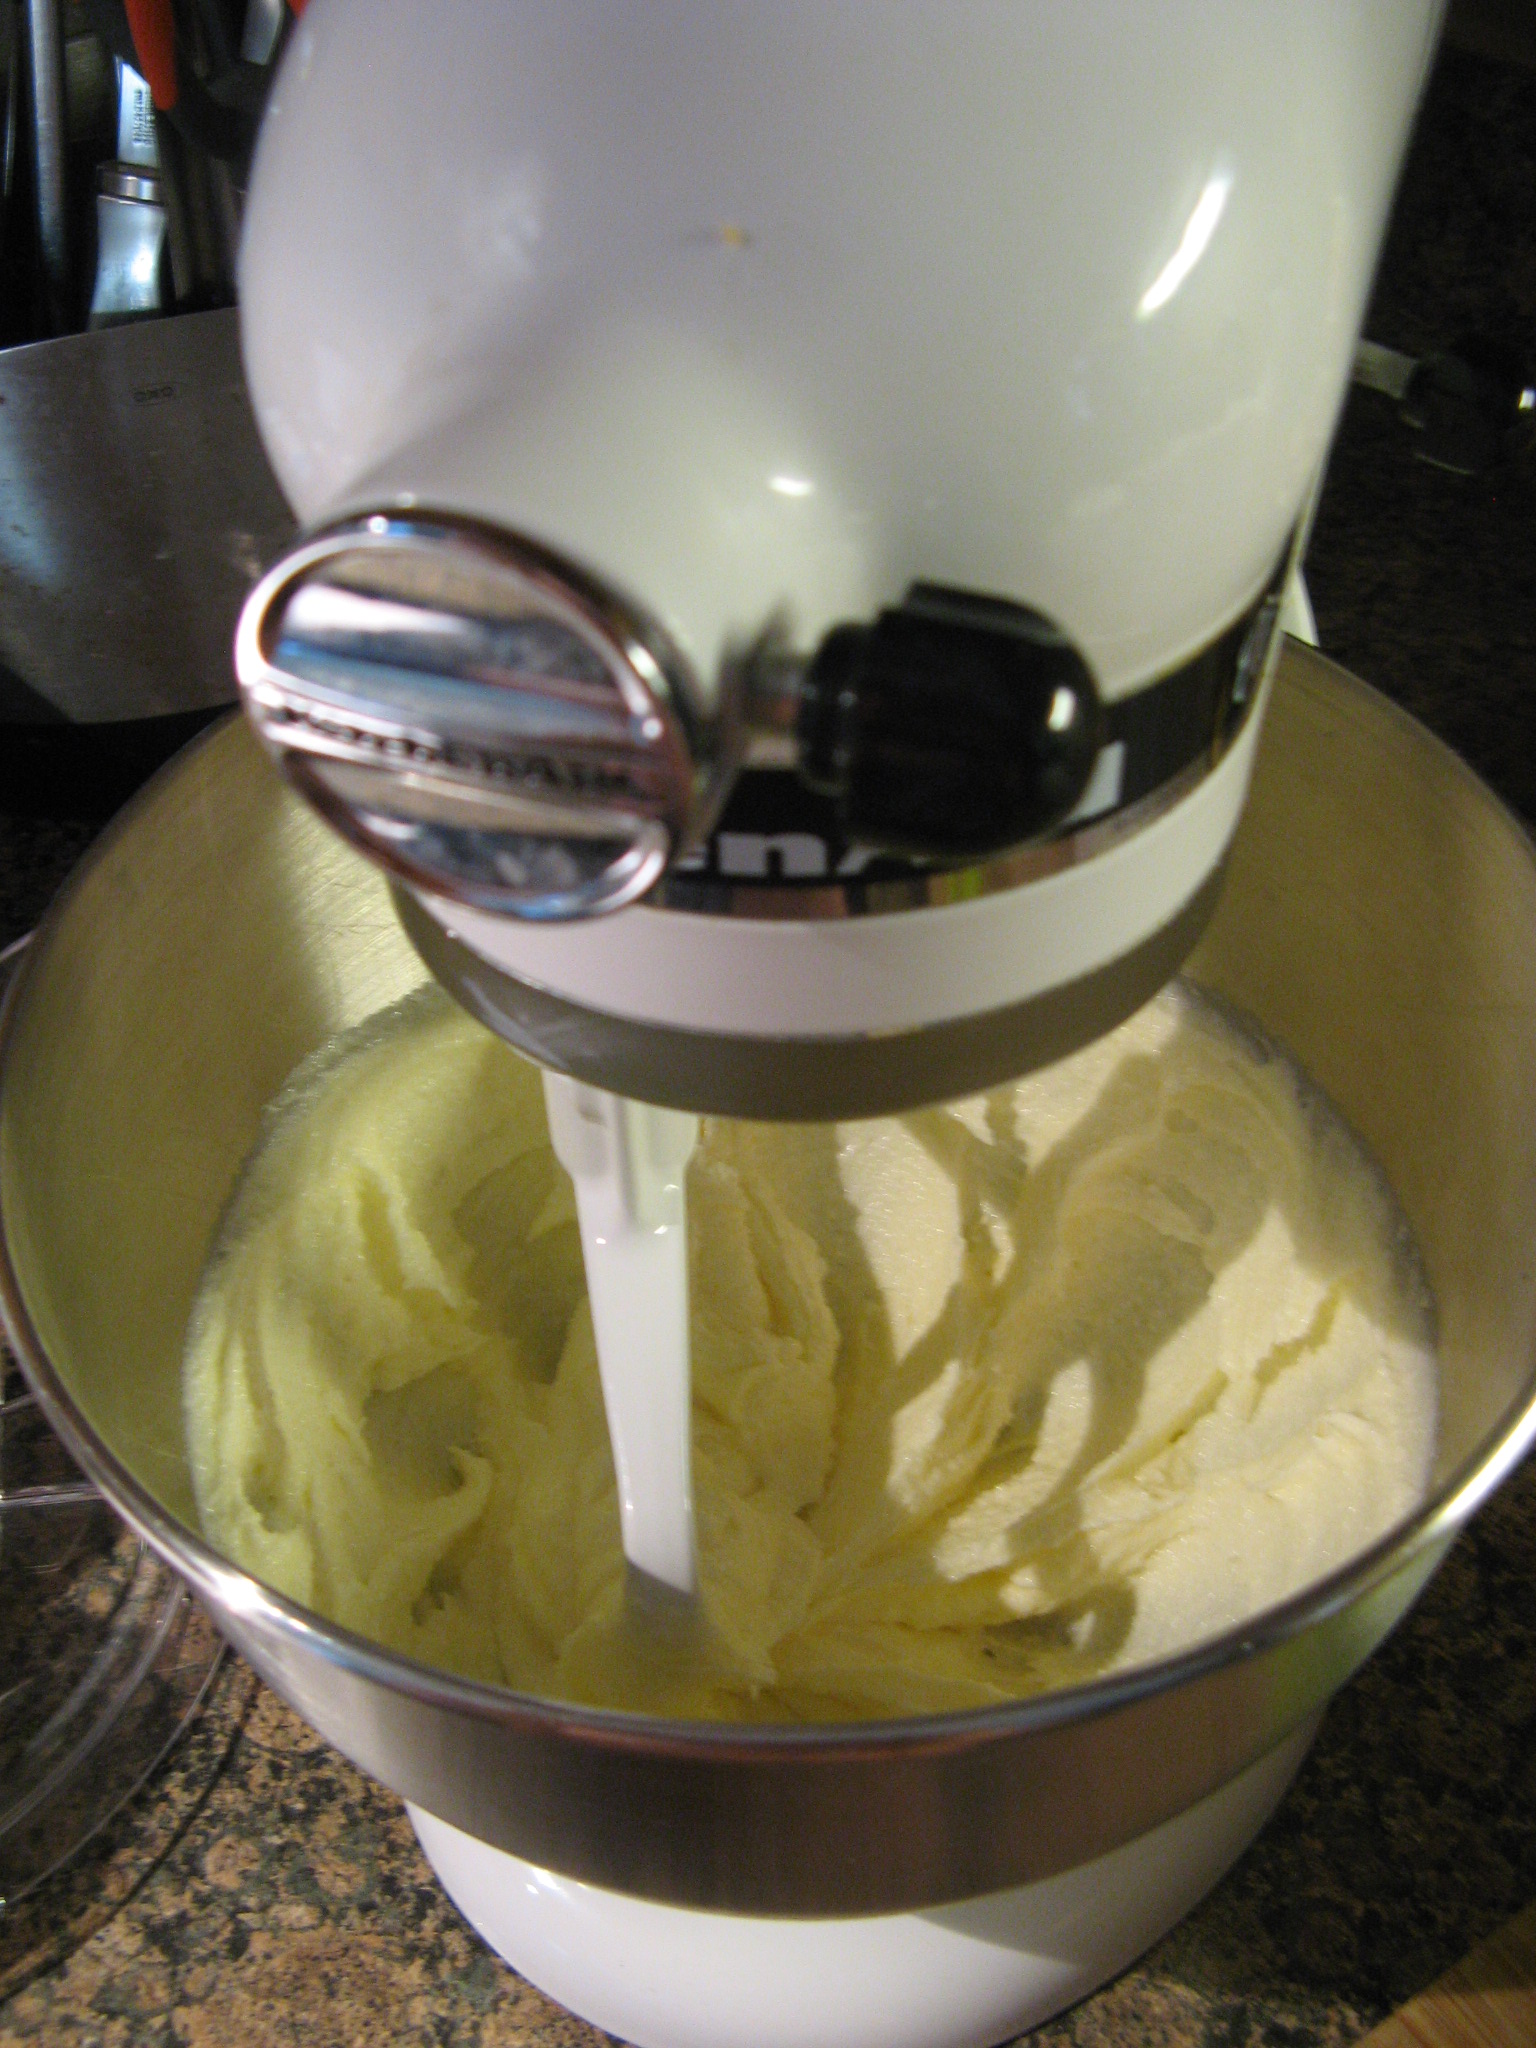
I started by beating the butter and sugar together on a high speed until the mixture was light and fluffy.

IMG_0991

Following that I added in each of the eggs one at a time.

IMG_0992

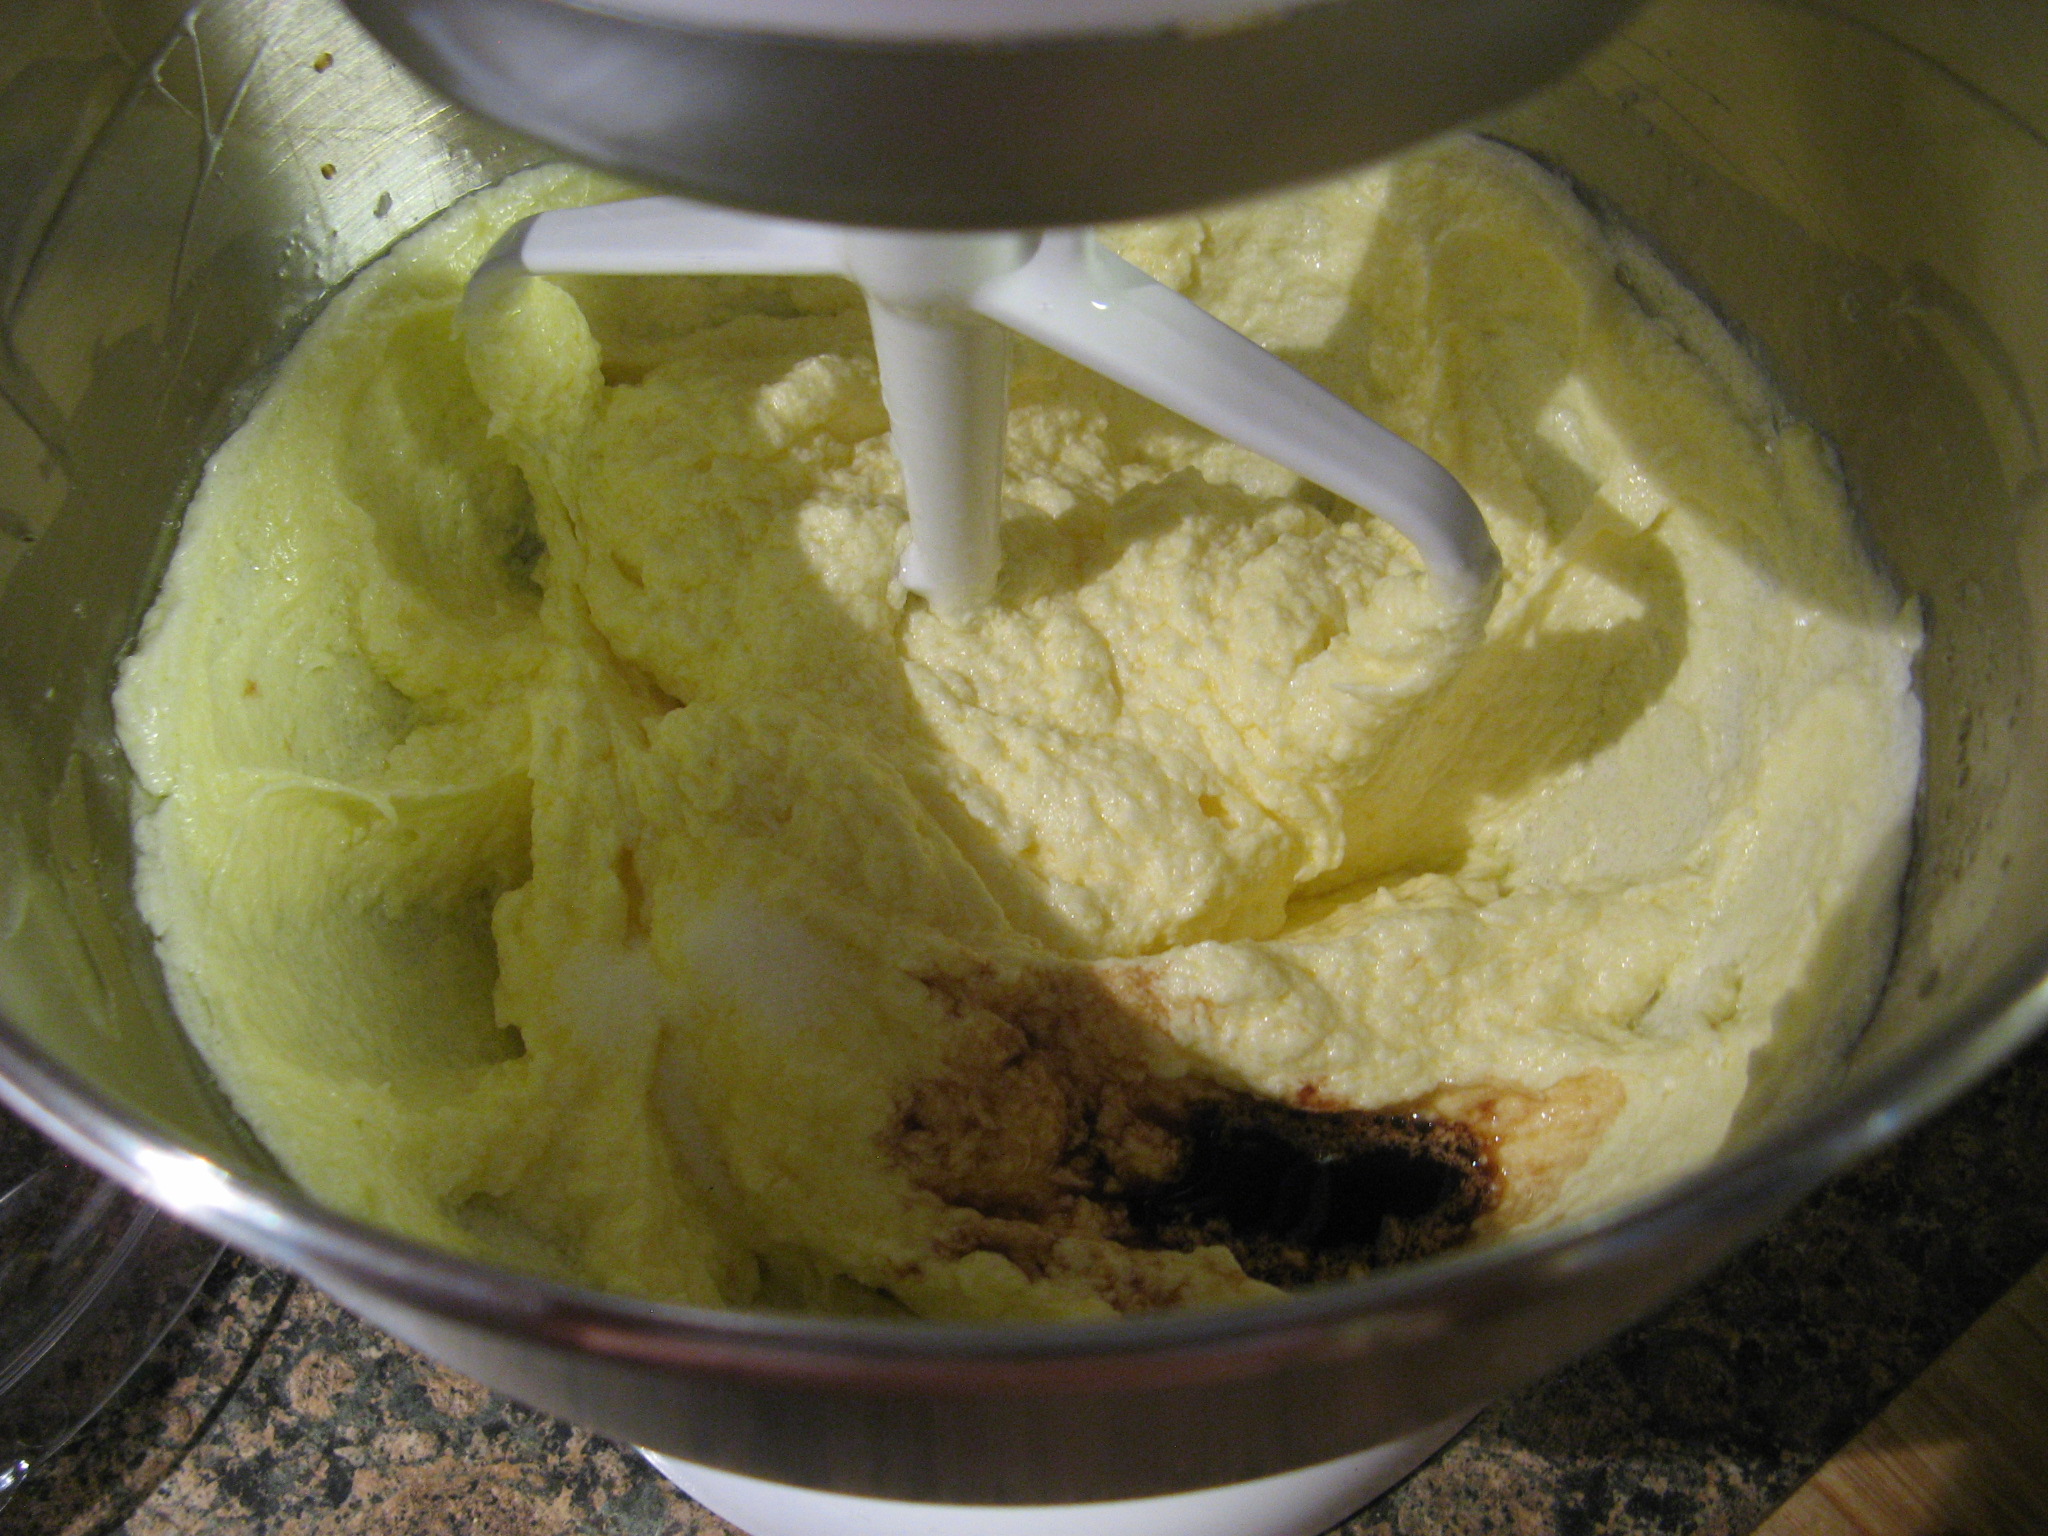
After the four eggs were added and mixed in well I then added in the vanilla extract and salt.

IMG_0993

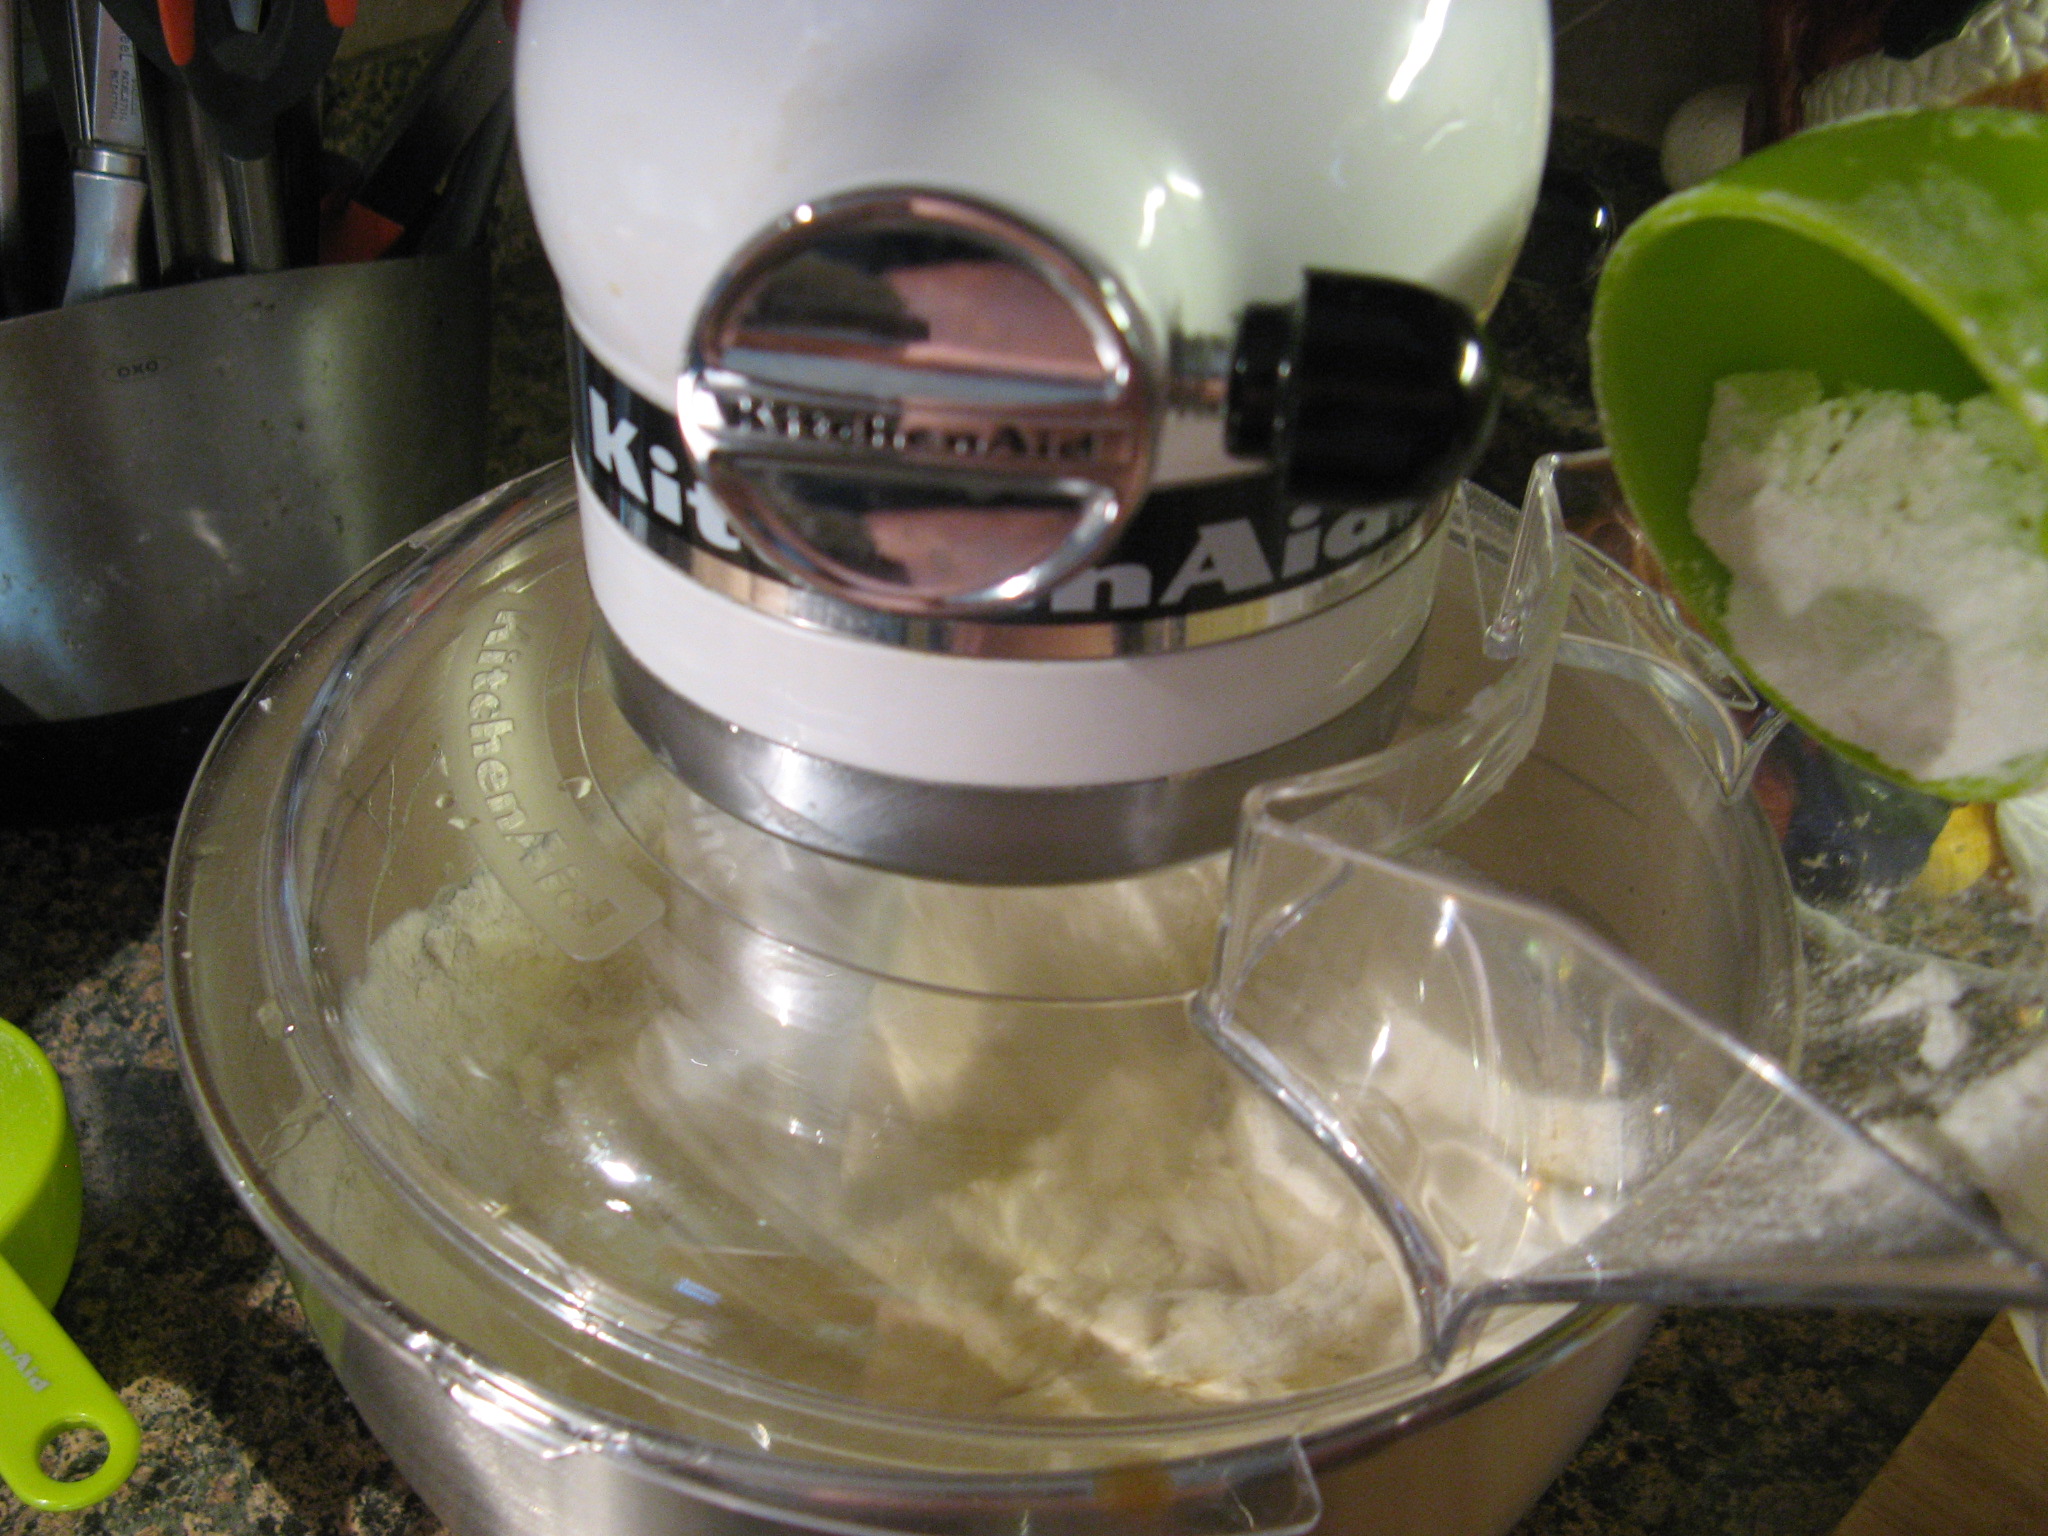
I then switched my mixer to a lower speed and gradually added in the flour until the batter was just coming together.

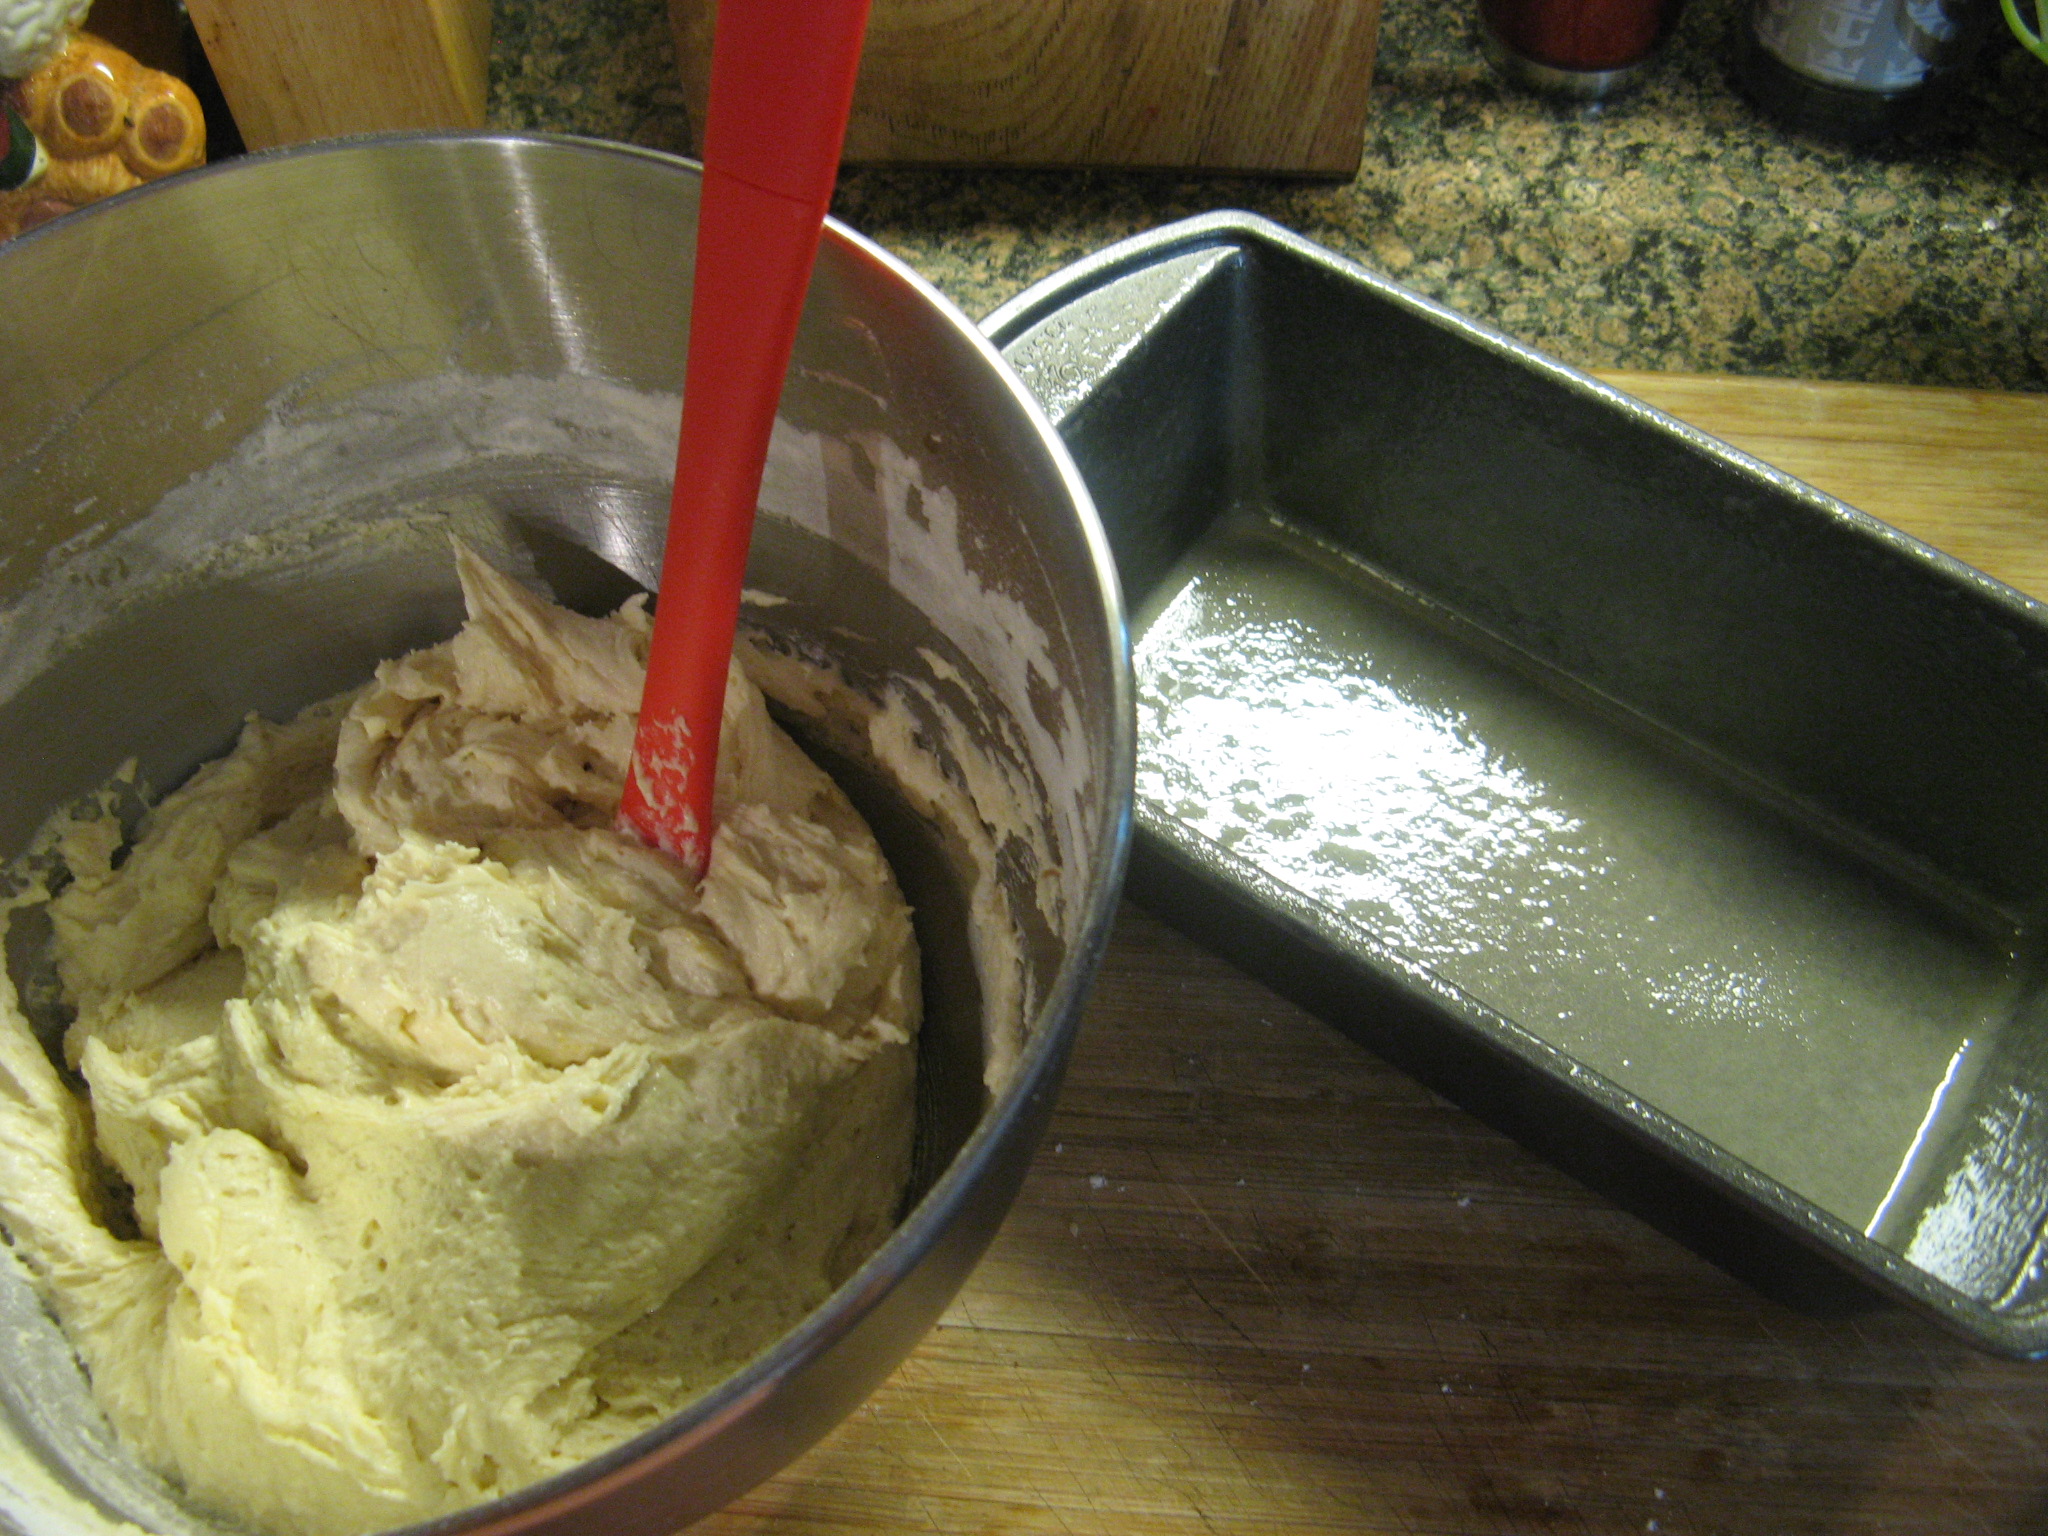
IMG_0994

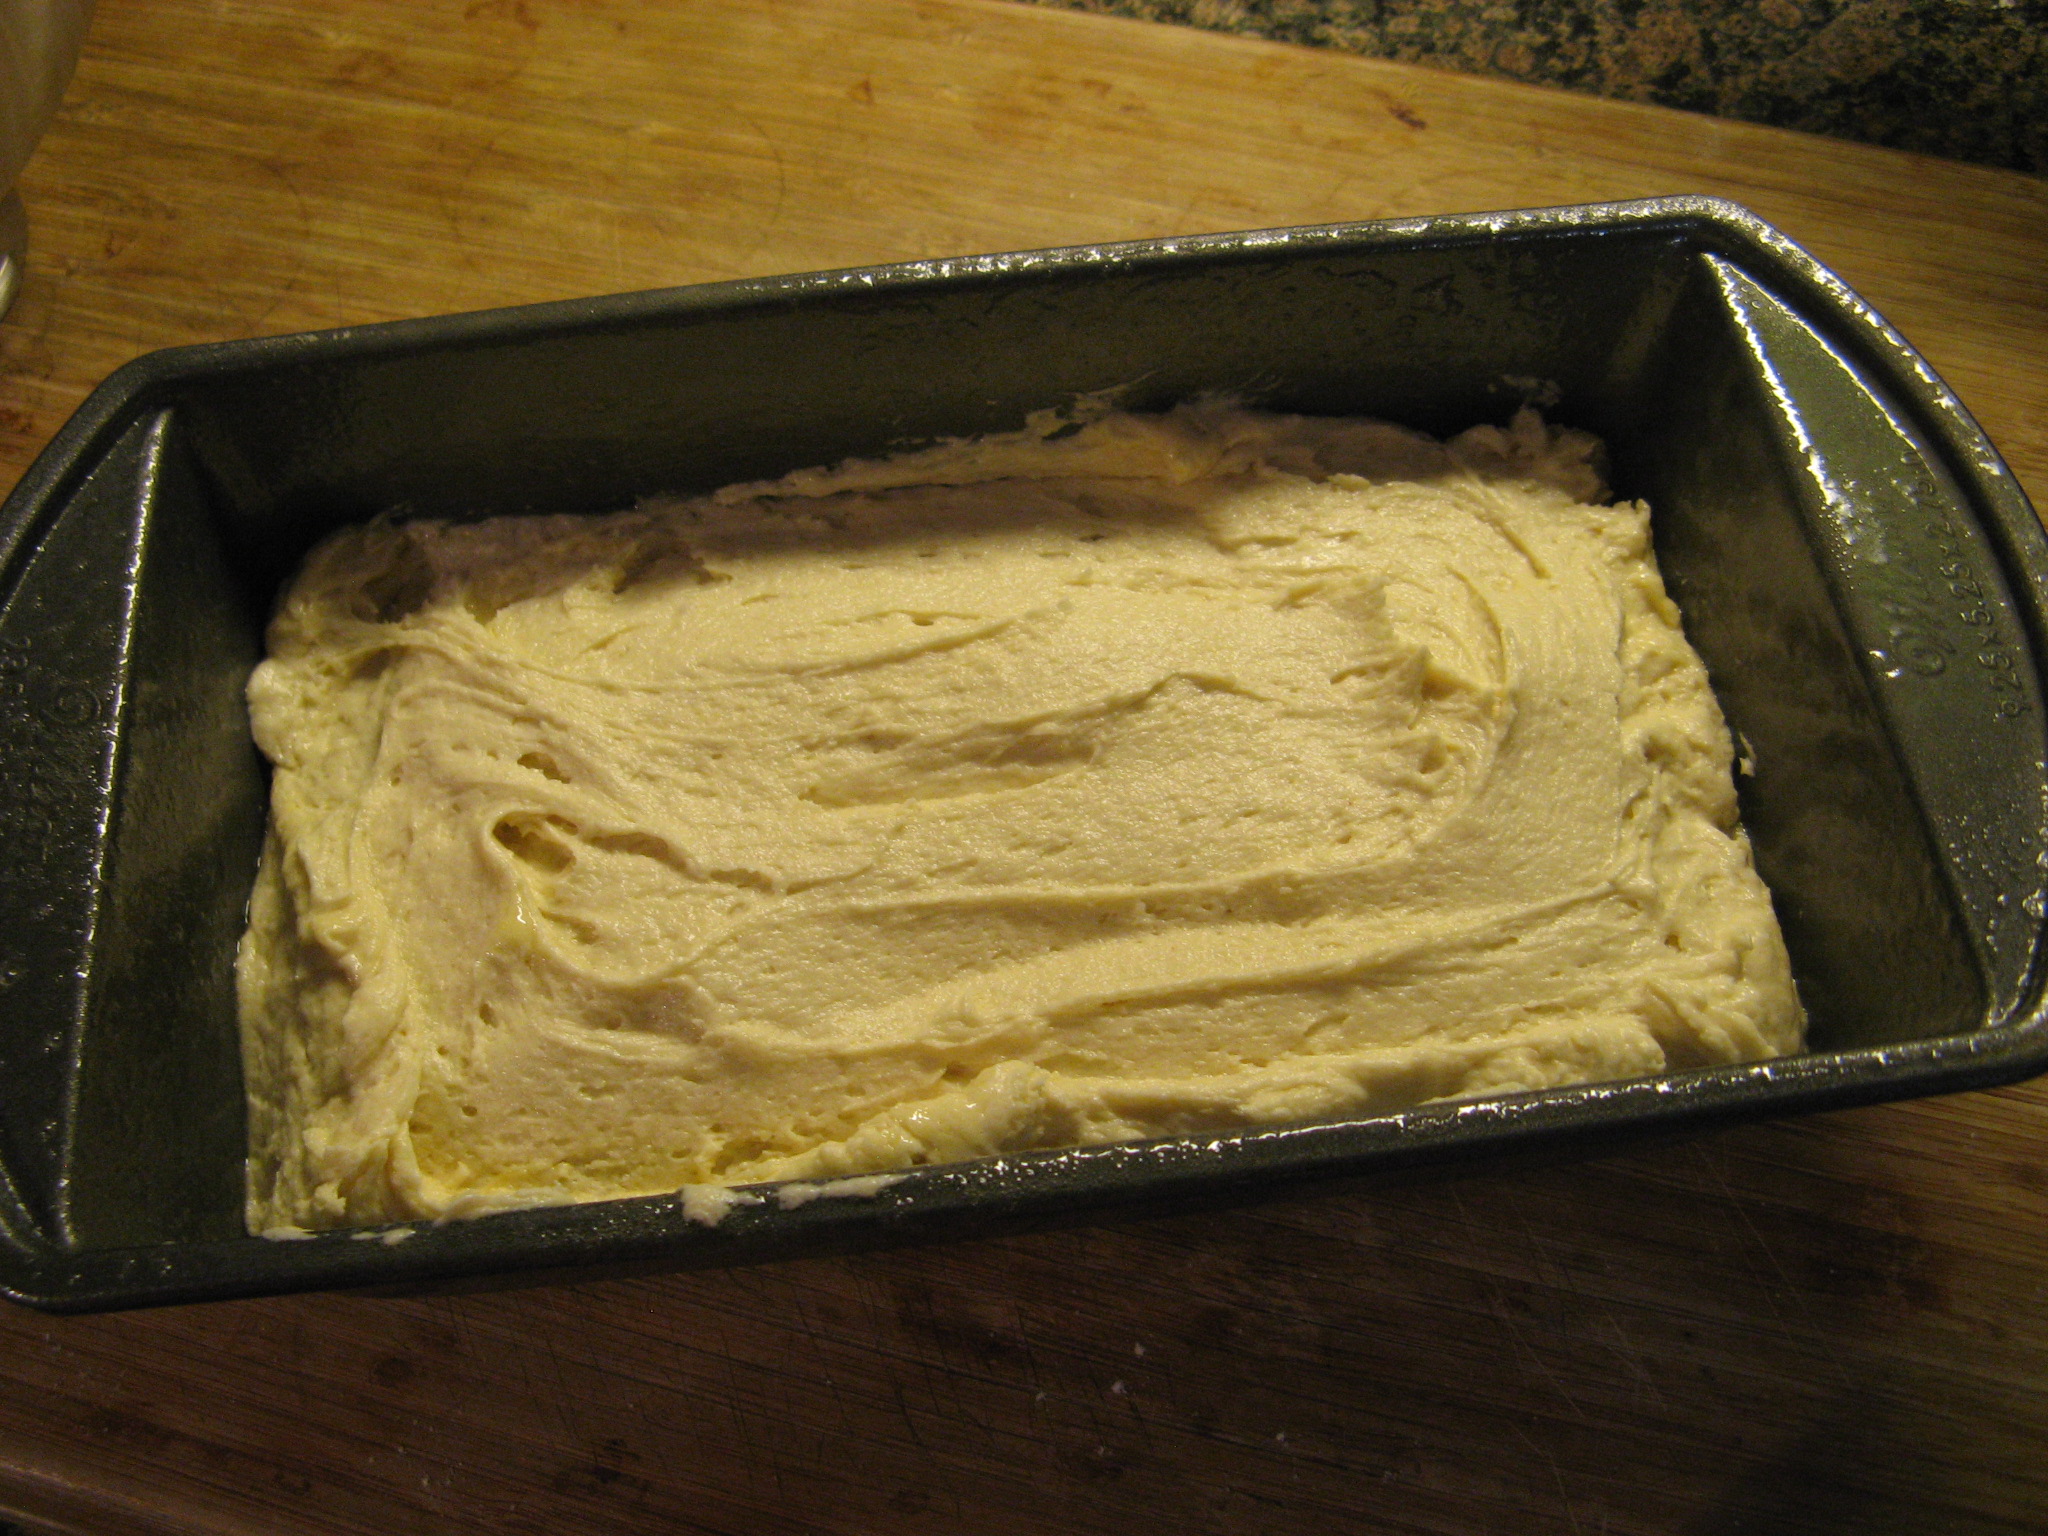
It was then ready to spread into my prepared pan – I sprayed it with baking spray.

IMG_0996 IMG_0997

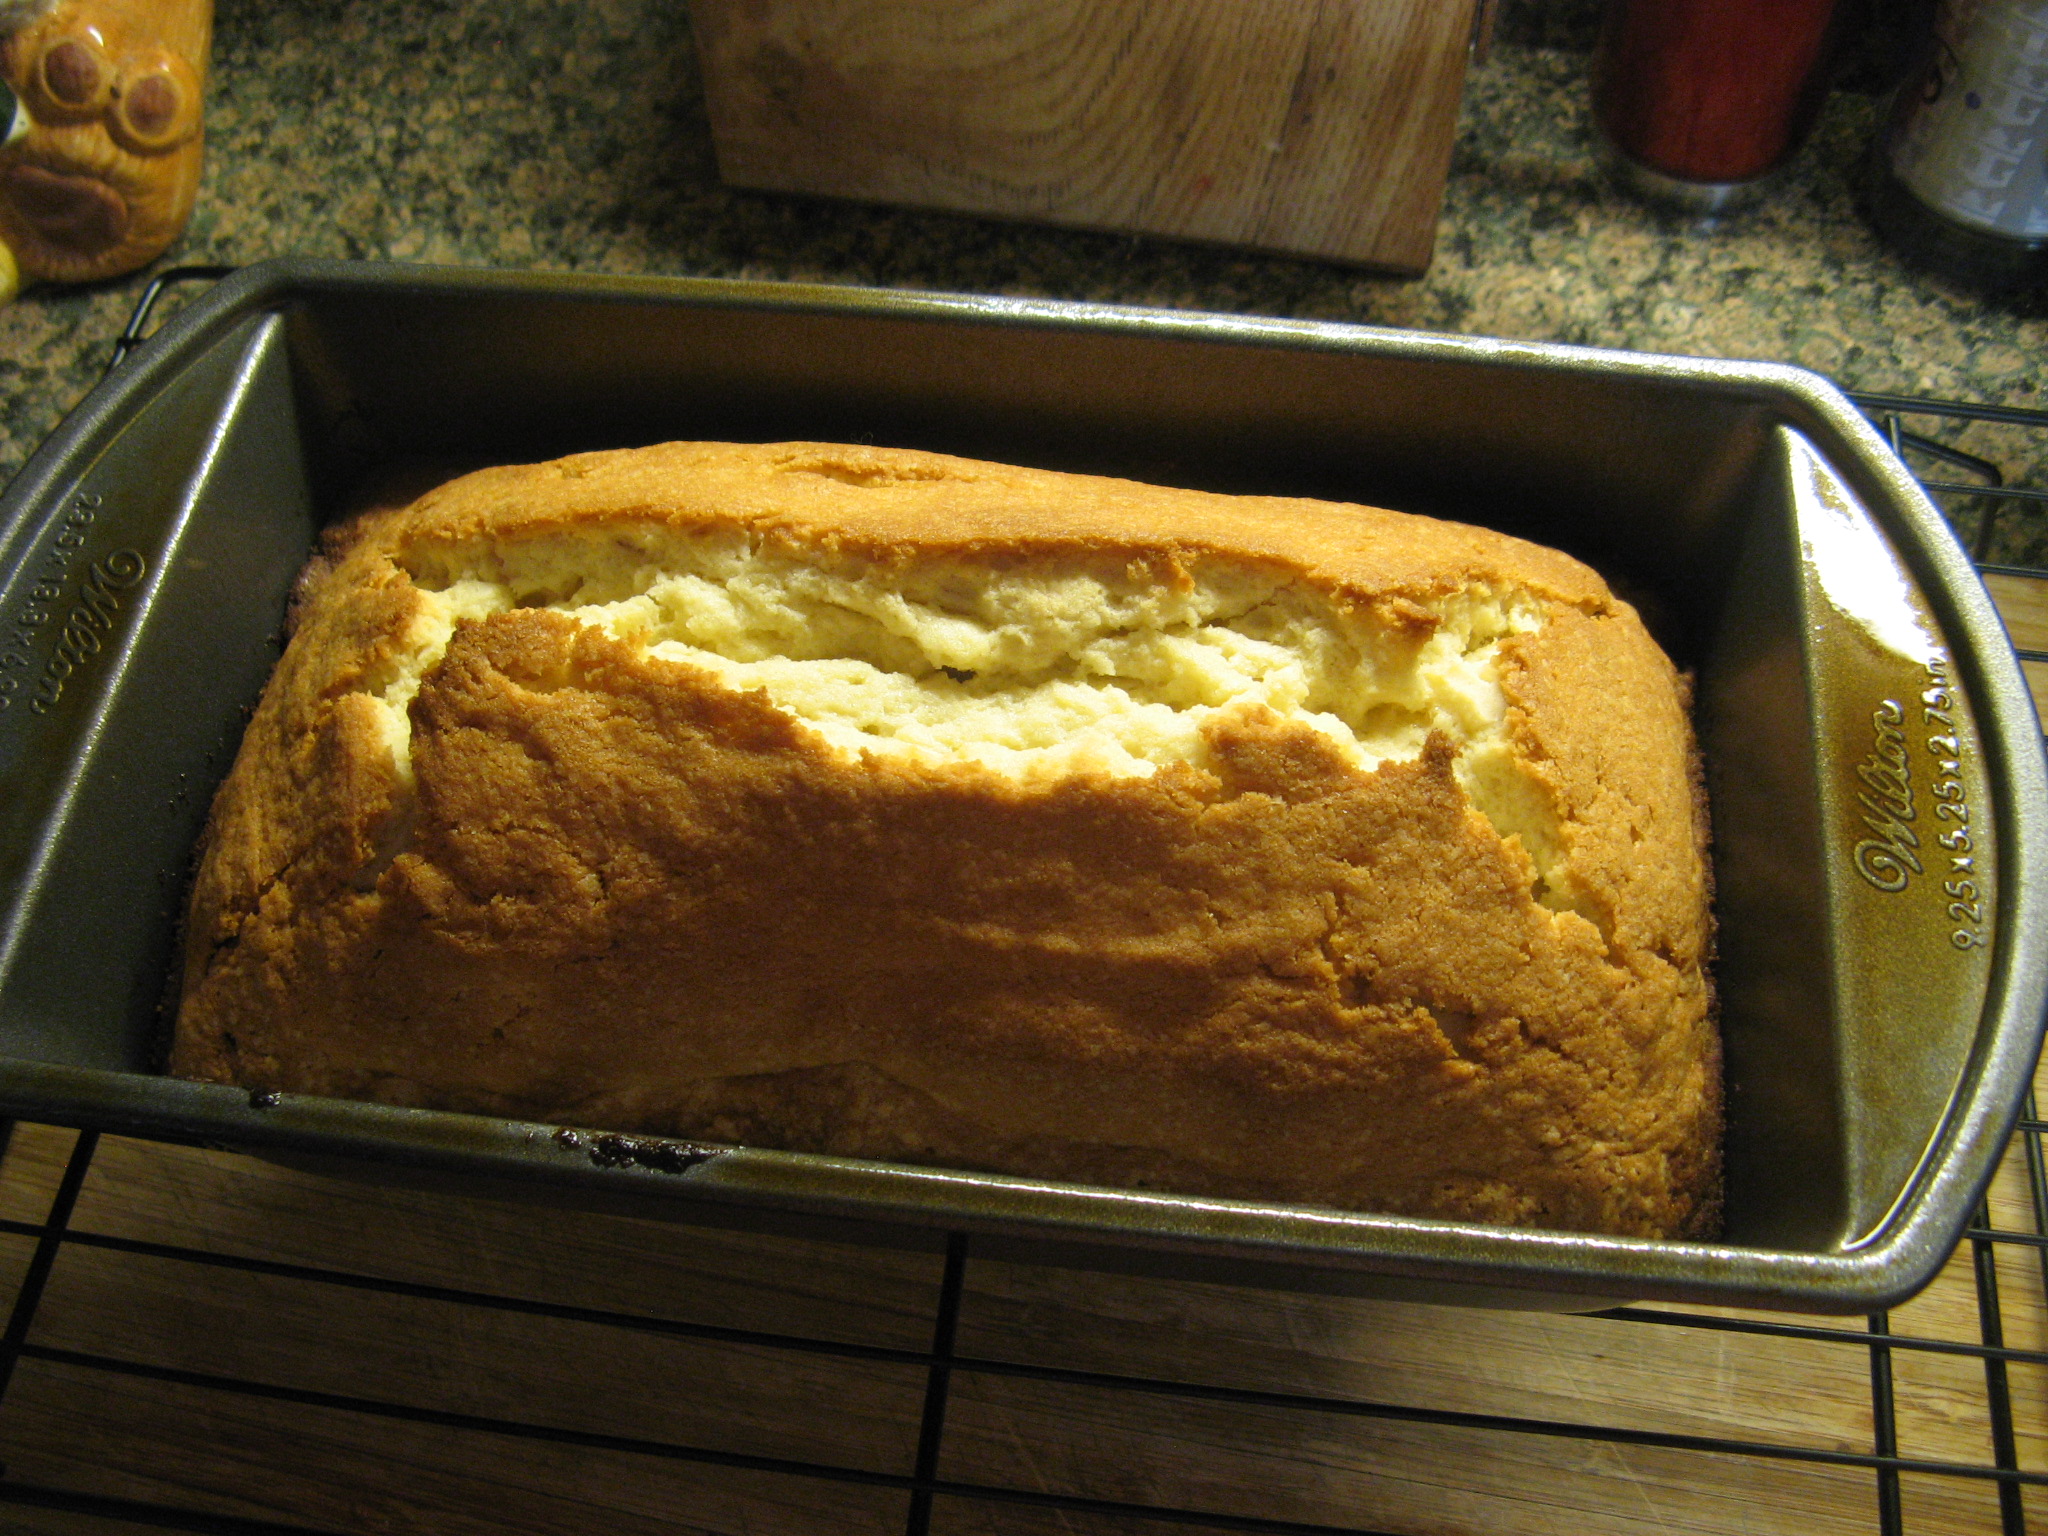
After baking in a 350 degree preheated oven for just shy of an hour it was ready to come out of the oven. I let it cool in the pan on a wire rack for 15 minutes…

IMG_0999

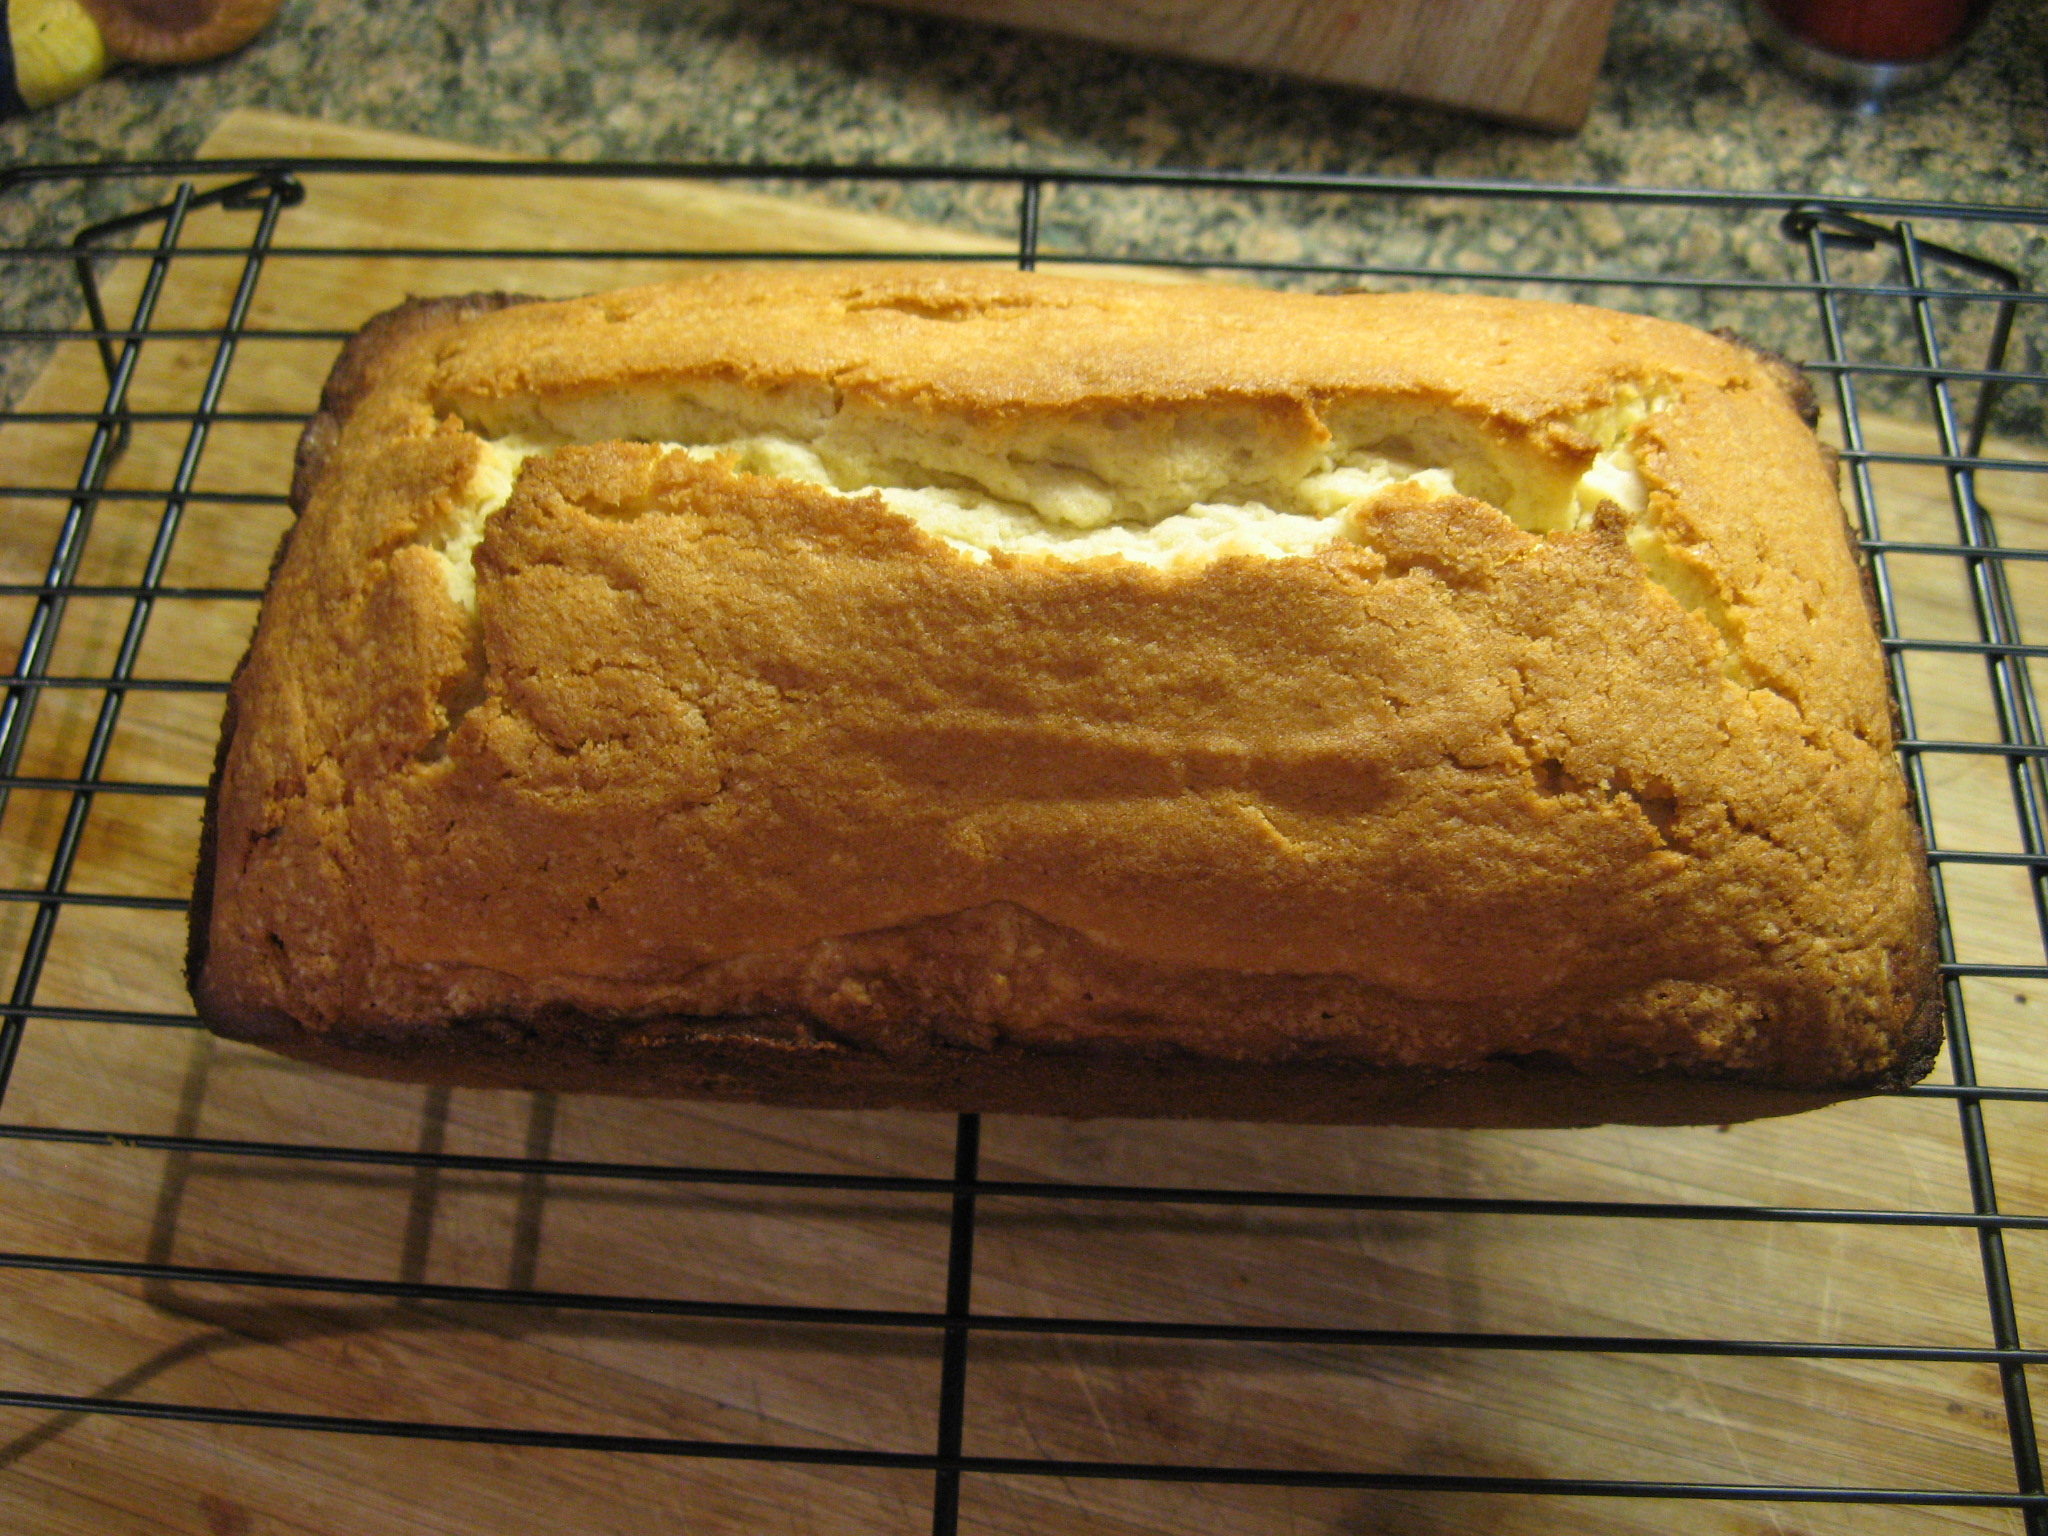
And then removed it from the pan and allowed it to cool completely.

IMG_1000

While the cake looked good I had a feeling that it was going to be on the dry side since the sides were a little dark and since dinner was rescheduled at the last minute I opted to bake another cake and make some tweaks to the directions. First off, the recipe called for a 6-cup loaf pan (8 1/2 inches x 4 1/2 inches) but since I didn’t have that size I just used what I had which was a 9 1/4 inches x 5 1/4 inches pan I had a feeling that this slight disparity in loaf pan size may have had something to do with the baking time and the oven temperature. So, for the second I decided to lower the temperature to 325 degrees and then baked the cake for approximately 50 minutes which was still a little long I found, but, produced a cake that was lighter in color and definitely moister. I definitely think you need the 6-cup loaf pan to make the most of this recipe. Next time I want to bake a simple pound cake I think I will go with Martha Stewart’s Classic Pound Cake recipe. The only reason I didn’t bake it this time was because it produced two cakes as opposed to one… In hindsight though I probably should have just gone with that one since I ended up baking two cakes anyway.

Vanilla Pound Cake

Ingredients

1 cup (2 sticks) unsalted butter, room temperature, plus more for pan

2 cups all-purpose flour (spooned and leveled), plus more for pan

1 cup sugar

4 large eggs

2 teaspoons pure vanilla extract

1/2 teaspoon salt

Directions

1. Preheat oven to 350 degrees. Butter and flour a 6-cup (8 1/2-by-4 1/2-inch) loaf pan; set aside

2. Using an electric mixer on high speed, beat butter and sugar until light and fluffy. Add eggs one at a time, beating well after each addition; add vanilla and salt. With mixer on low, gradually add flour, beating just until combined (do not overmix).

3. Bake until a toothpick inserted in center of cake comes out clean, about 1 hour (tent with aluminum foil if browning too quickly). Let cool in pan 15 minutes. Invert onto a wire rack, and turn upright to cool completely.

Sweetened Ricotta Cheesecake

Unbeknownst to me July 30th was National Cheesecake Day and coincidentally that day (I’m a little behind in my postings!) I decided to try out a Ricotta Cheesecake recipe from Marcela Valladolid that I came across in People magazine. What interested me in the recipe was that instead of using sugar as the sweetener it uses sweetened condensed milk. It was also super simple to follow which is always a plus.

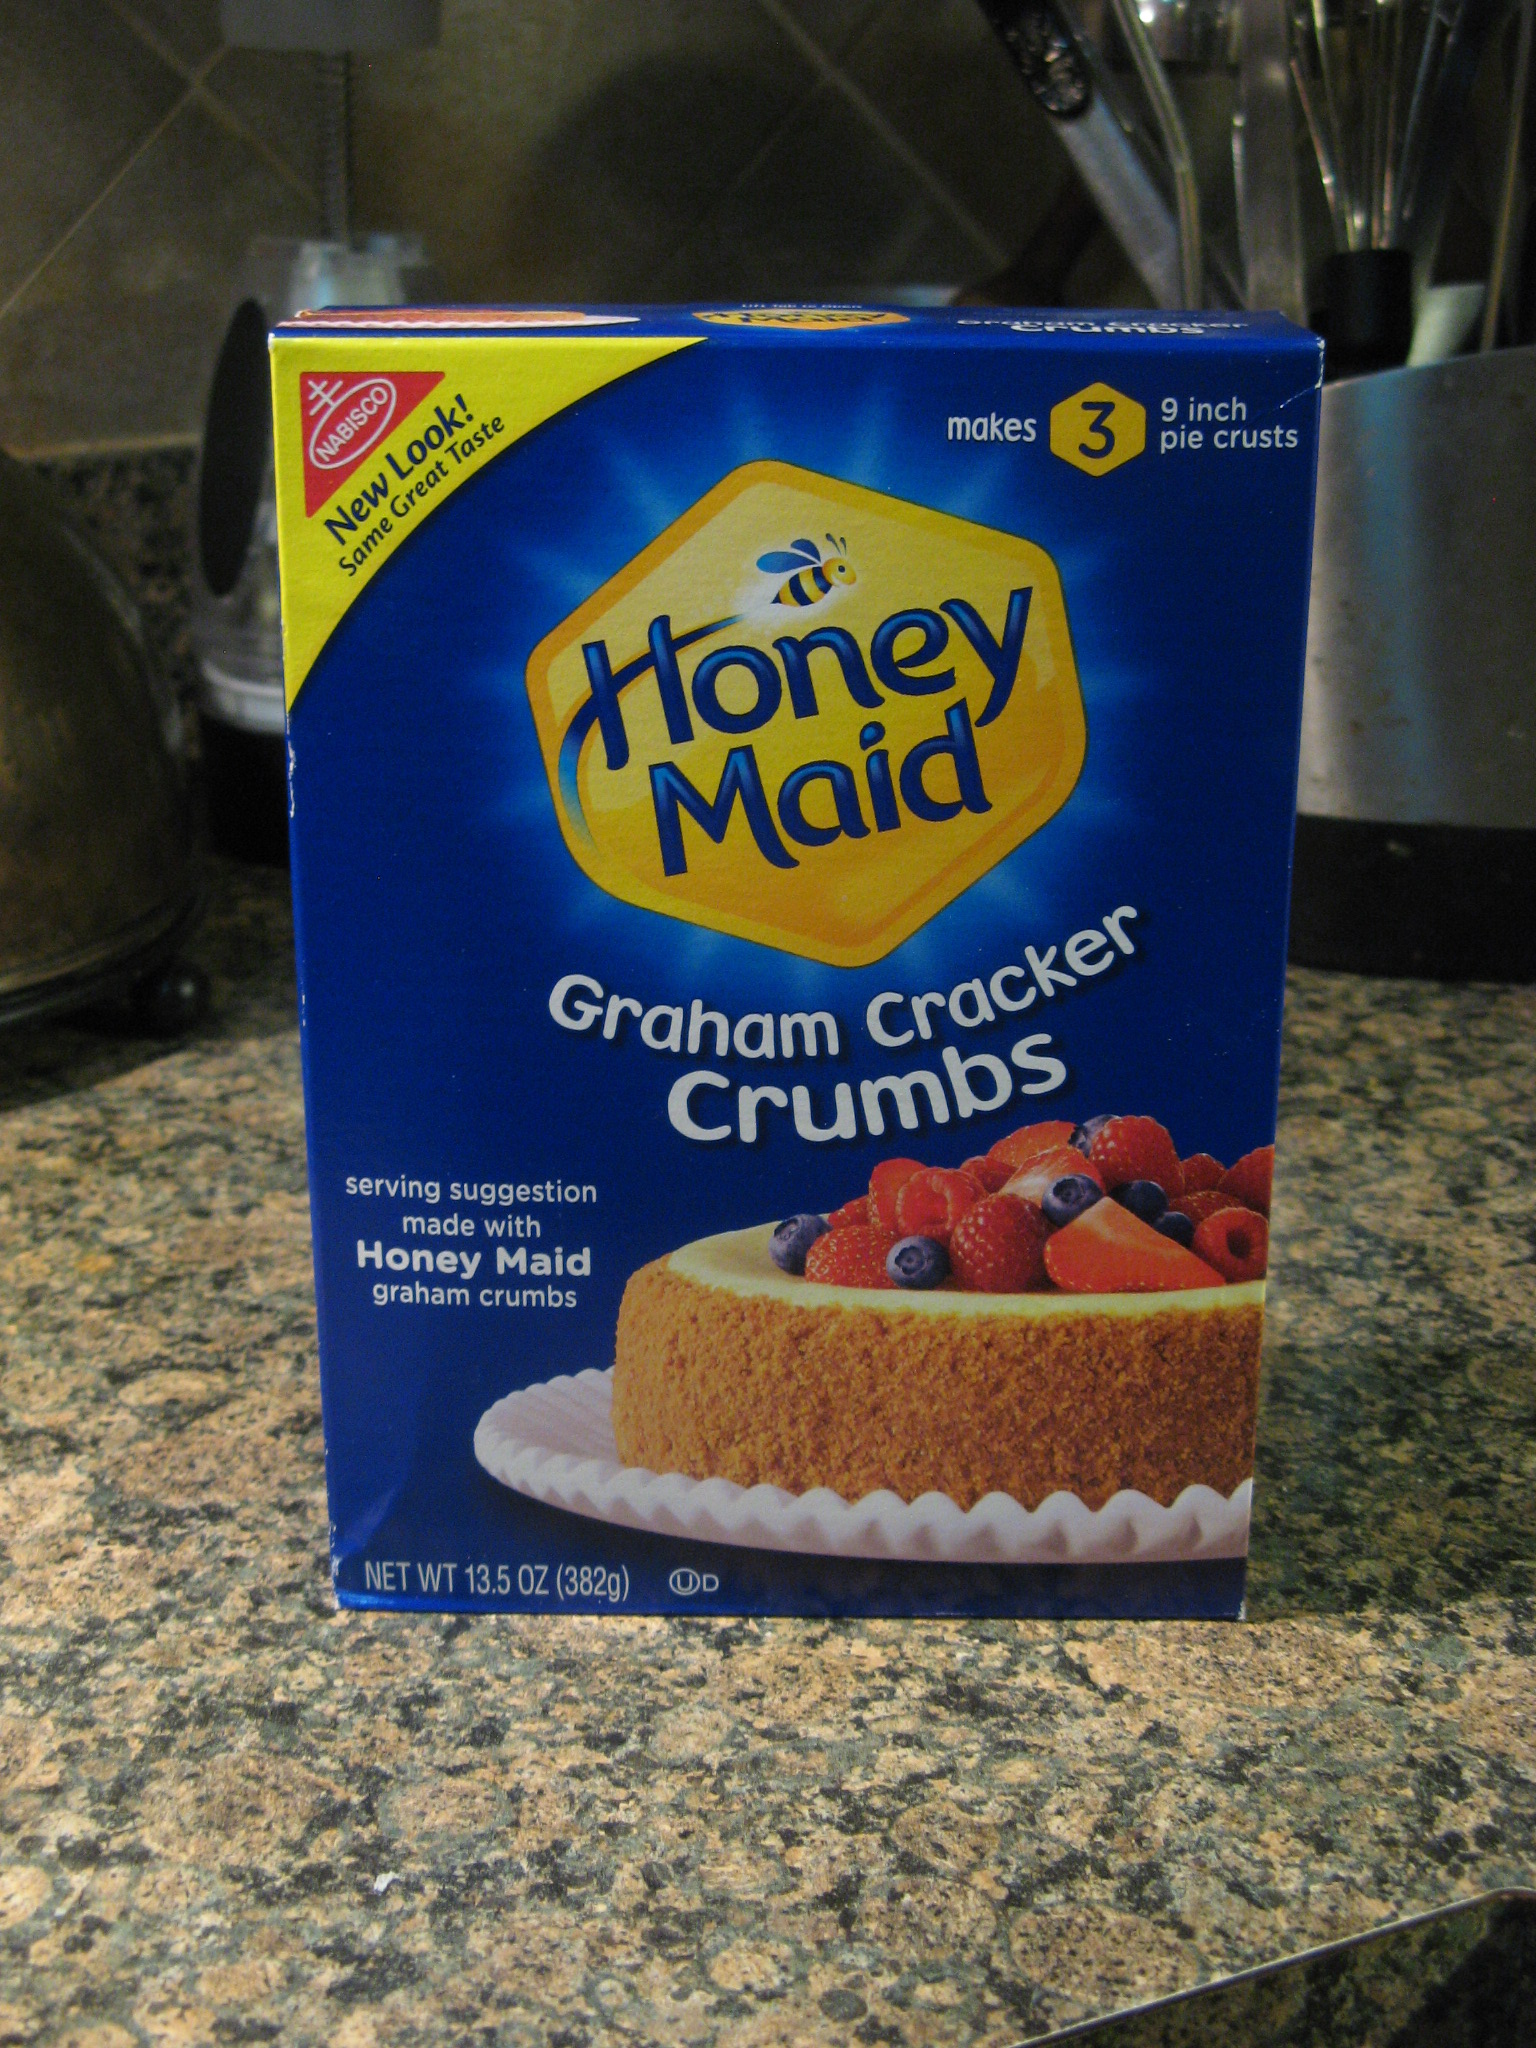
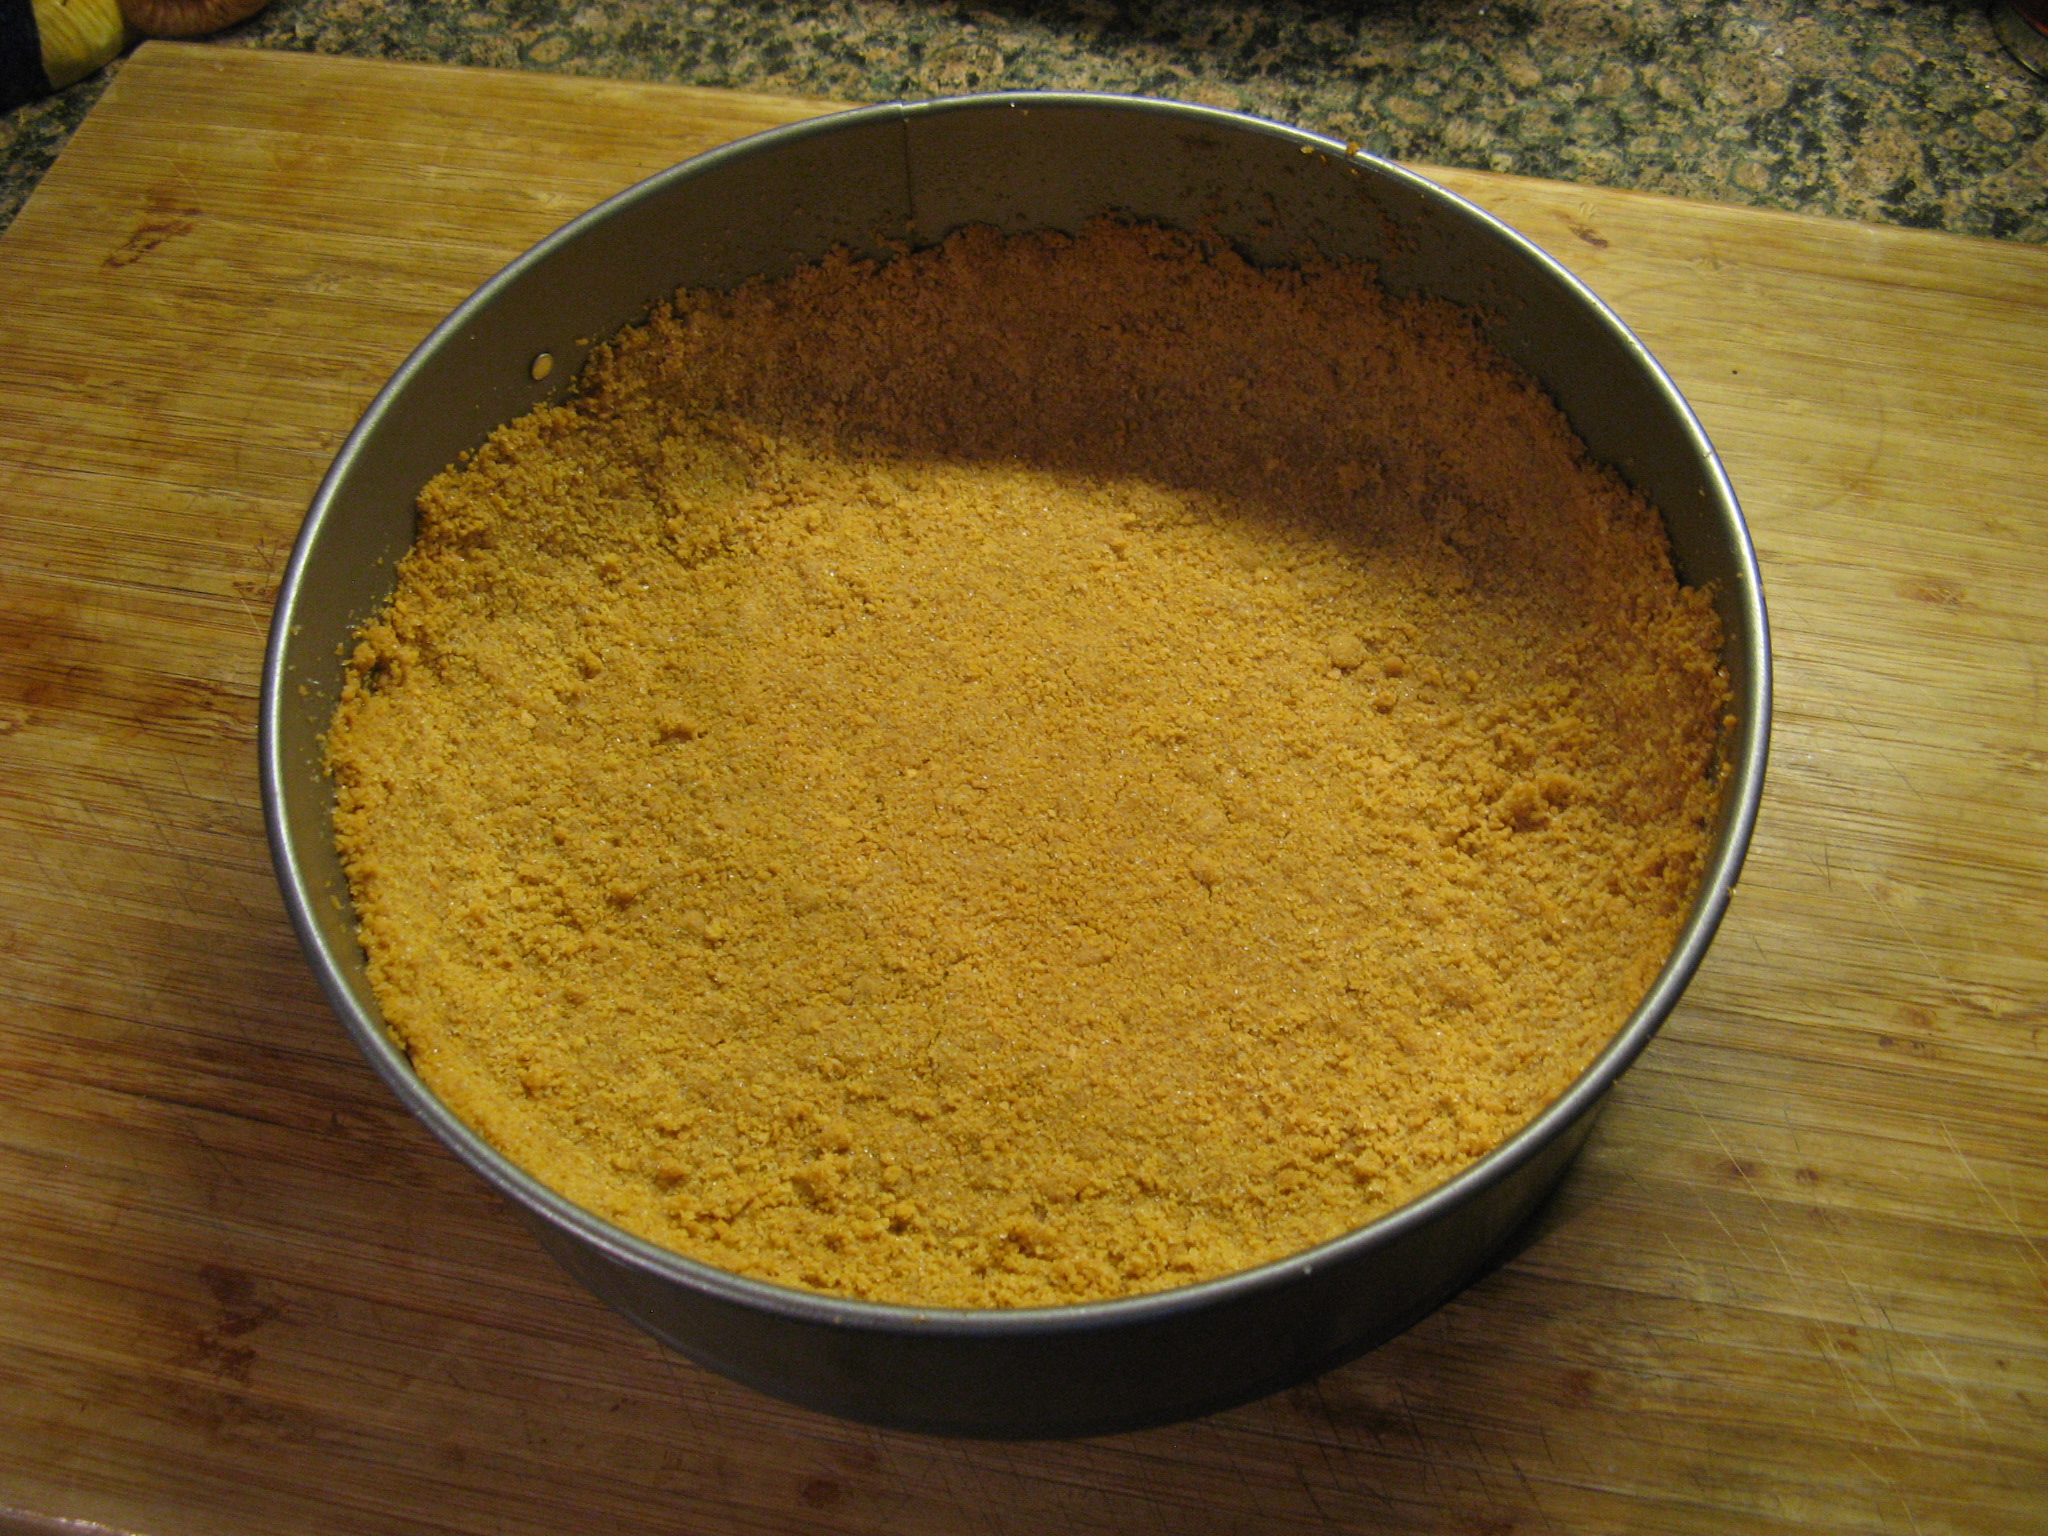
I started off by making the crust. While I know there are traditionalist out there who like to crush their own graham crackers to make their crust – I’ve done it a few times and this recipe actually called for that as well – I am not a big fan of graham crackers so buying a box of them is a waste so I opt to buy them already crushed and ready to use for the specific purpose of making a crust.

IMG_0948
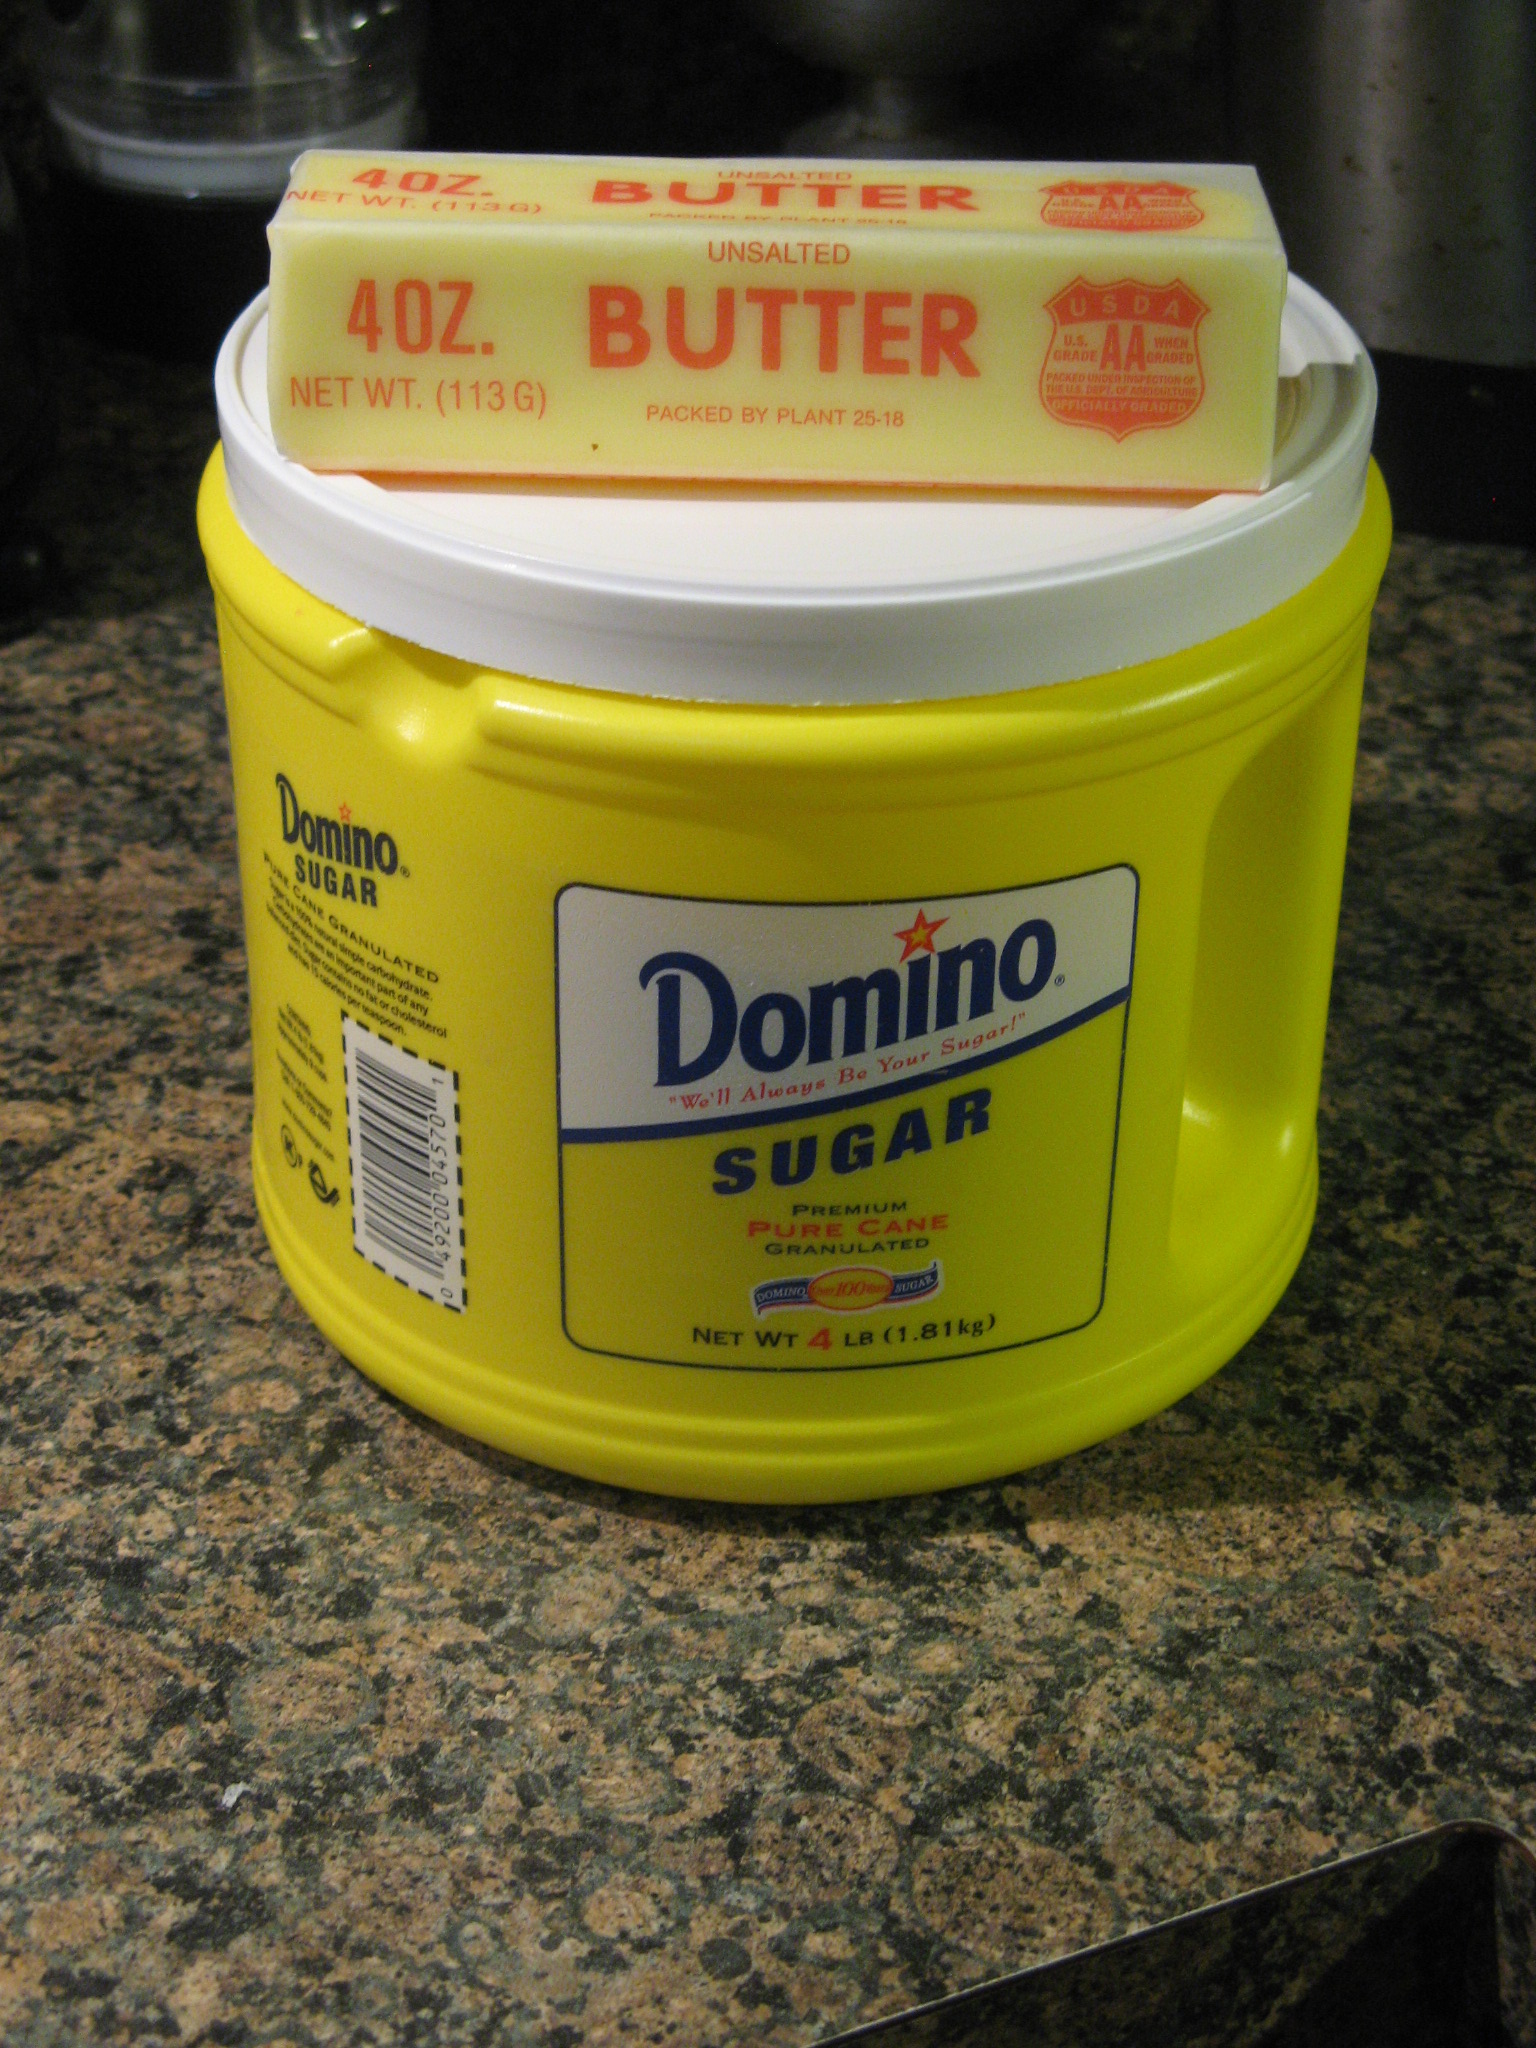
Along with my graham cracker crumbs, I needed butter and sugar from the crust.
IMG_0951
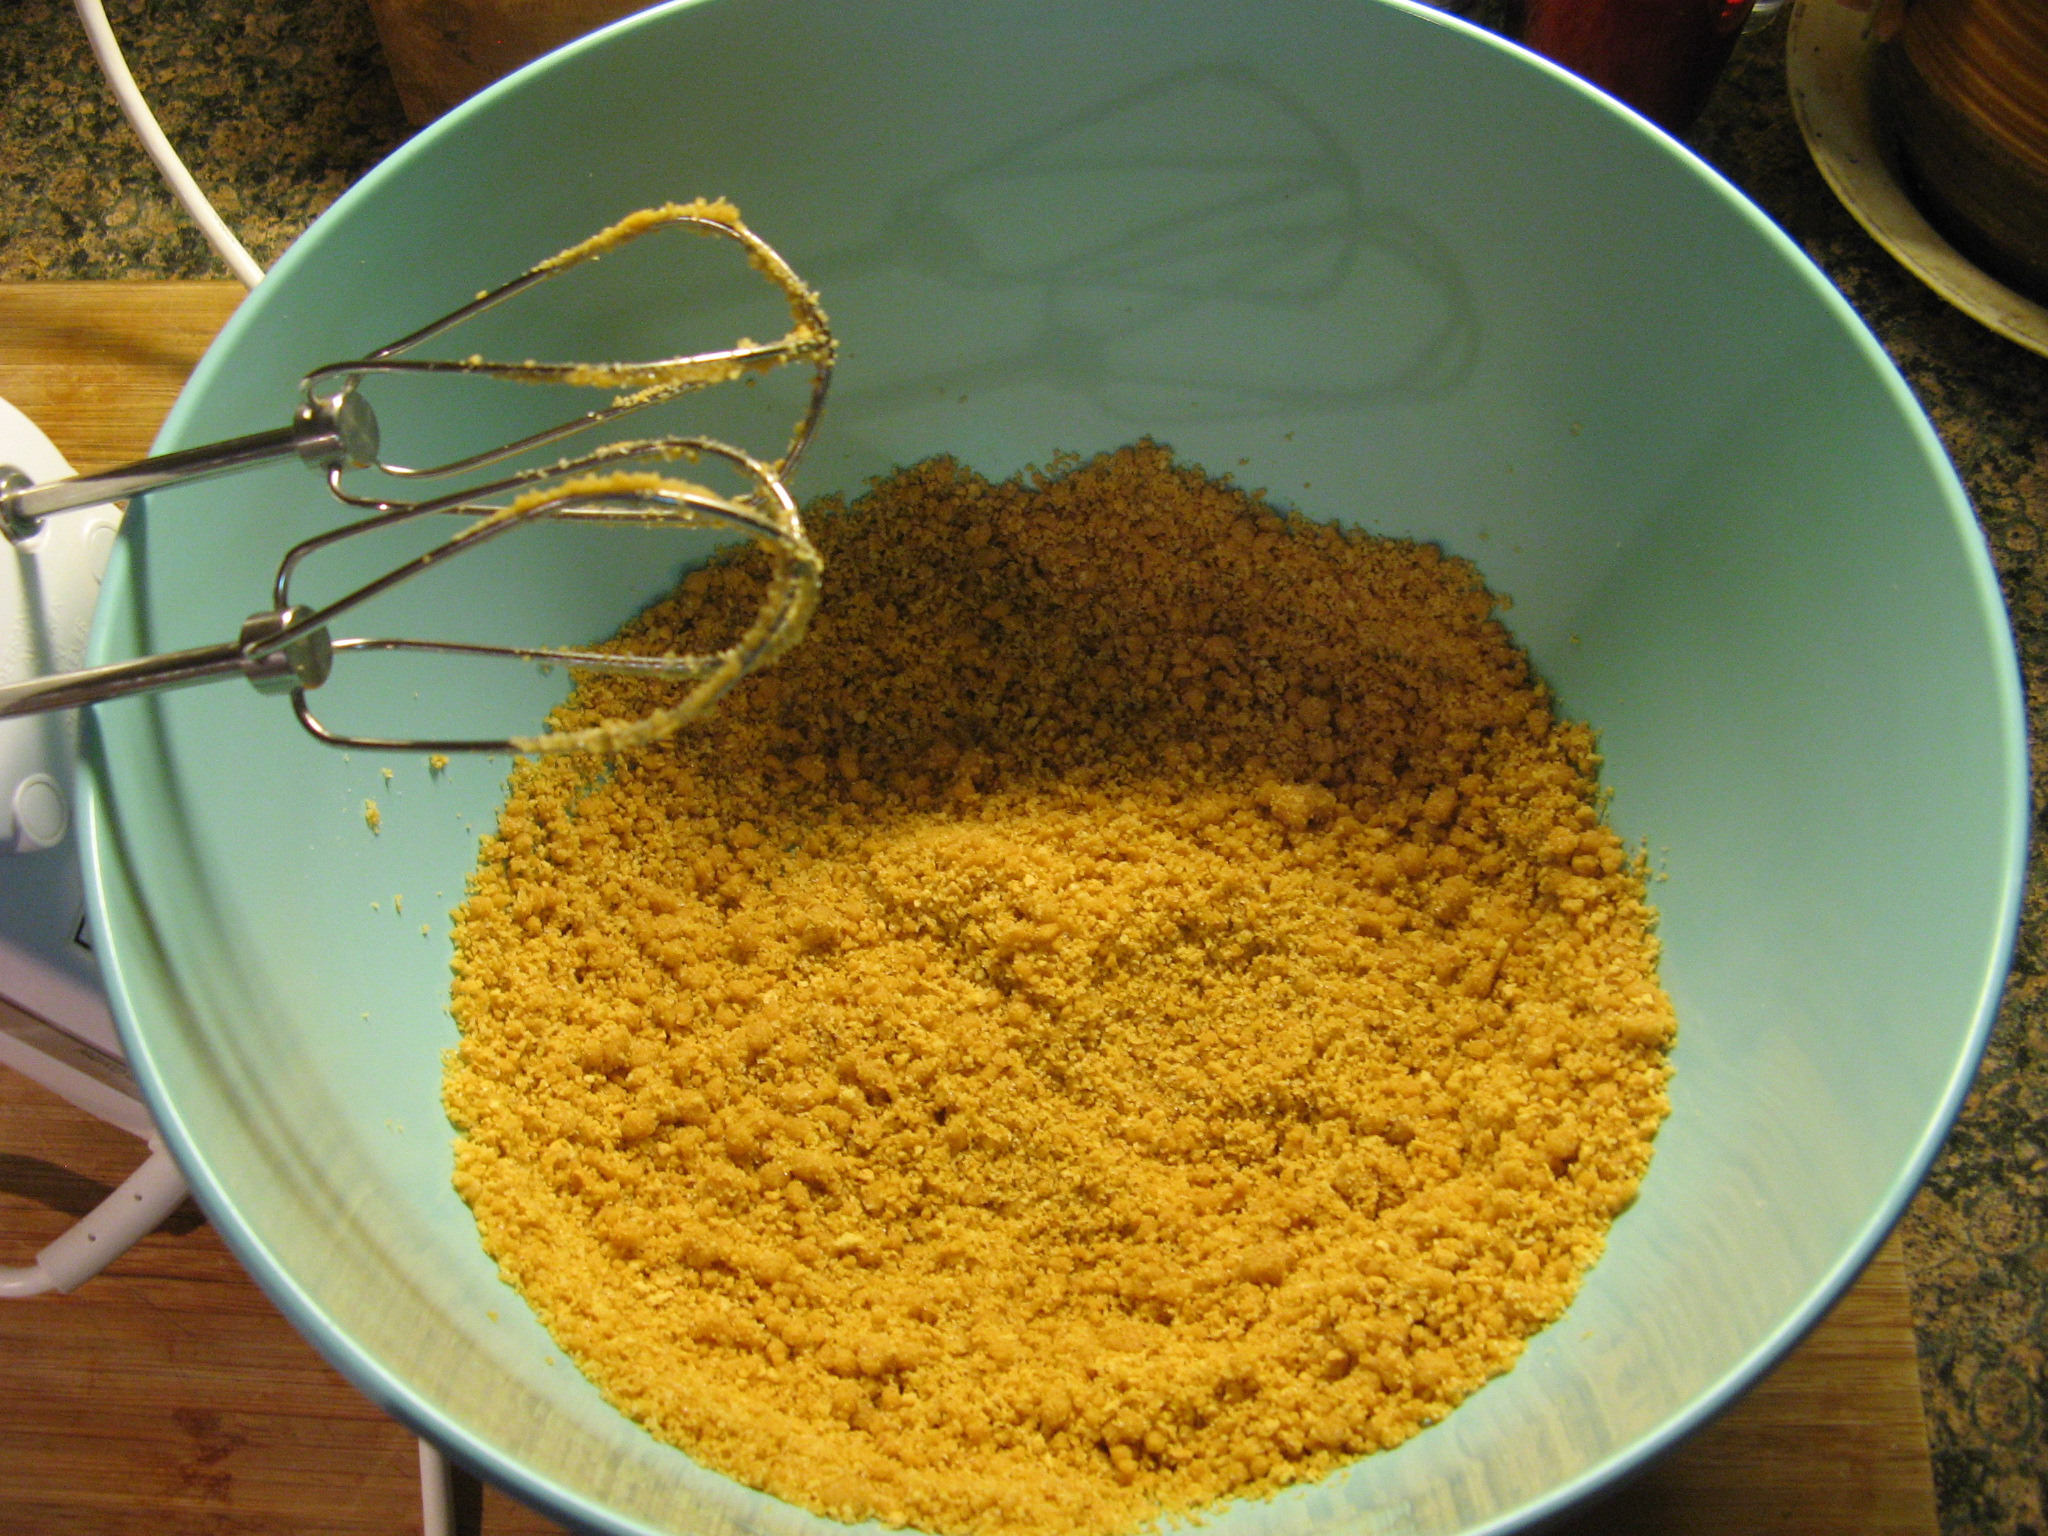
I mixed all of the ingredietns together…
IMG_0952
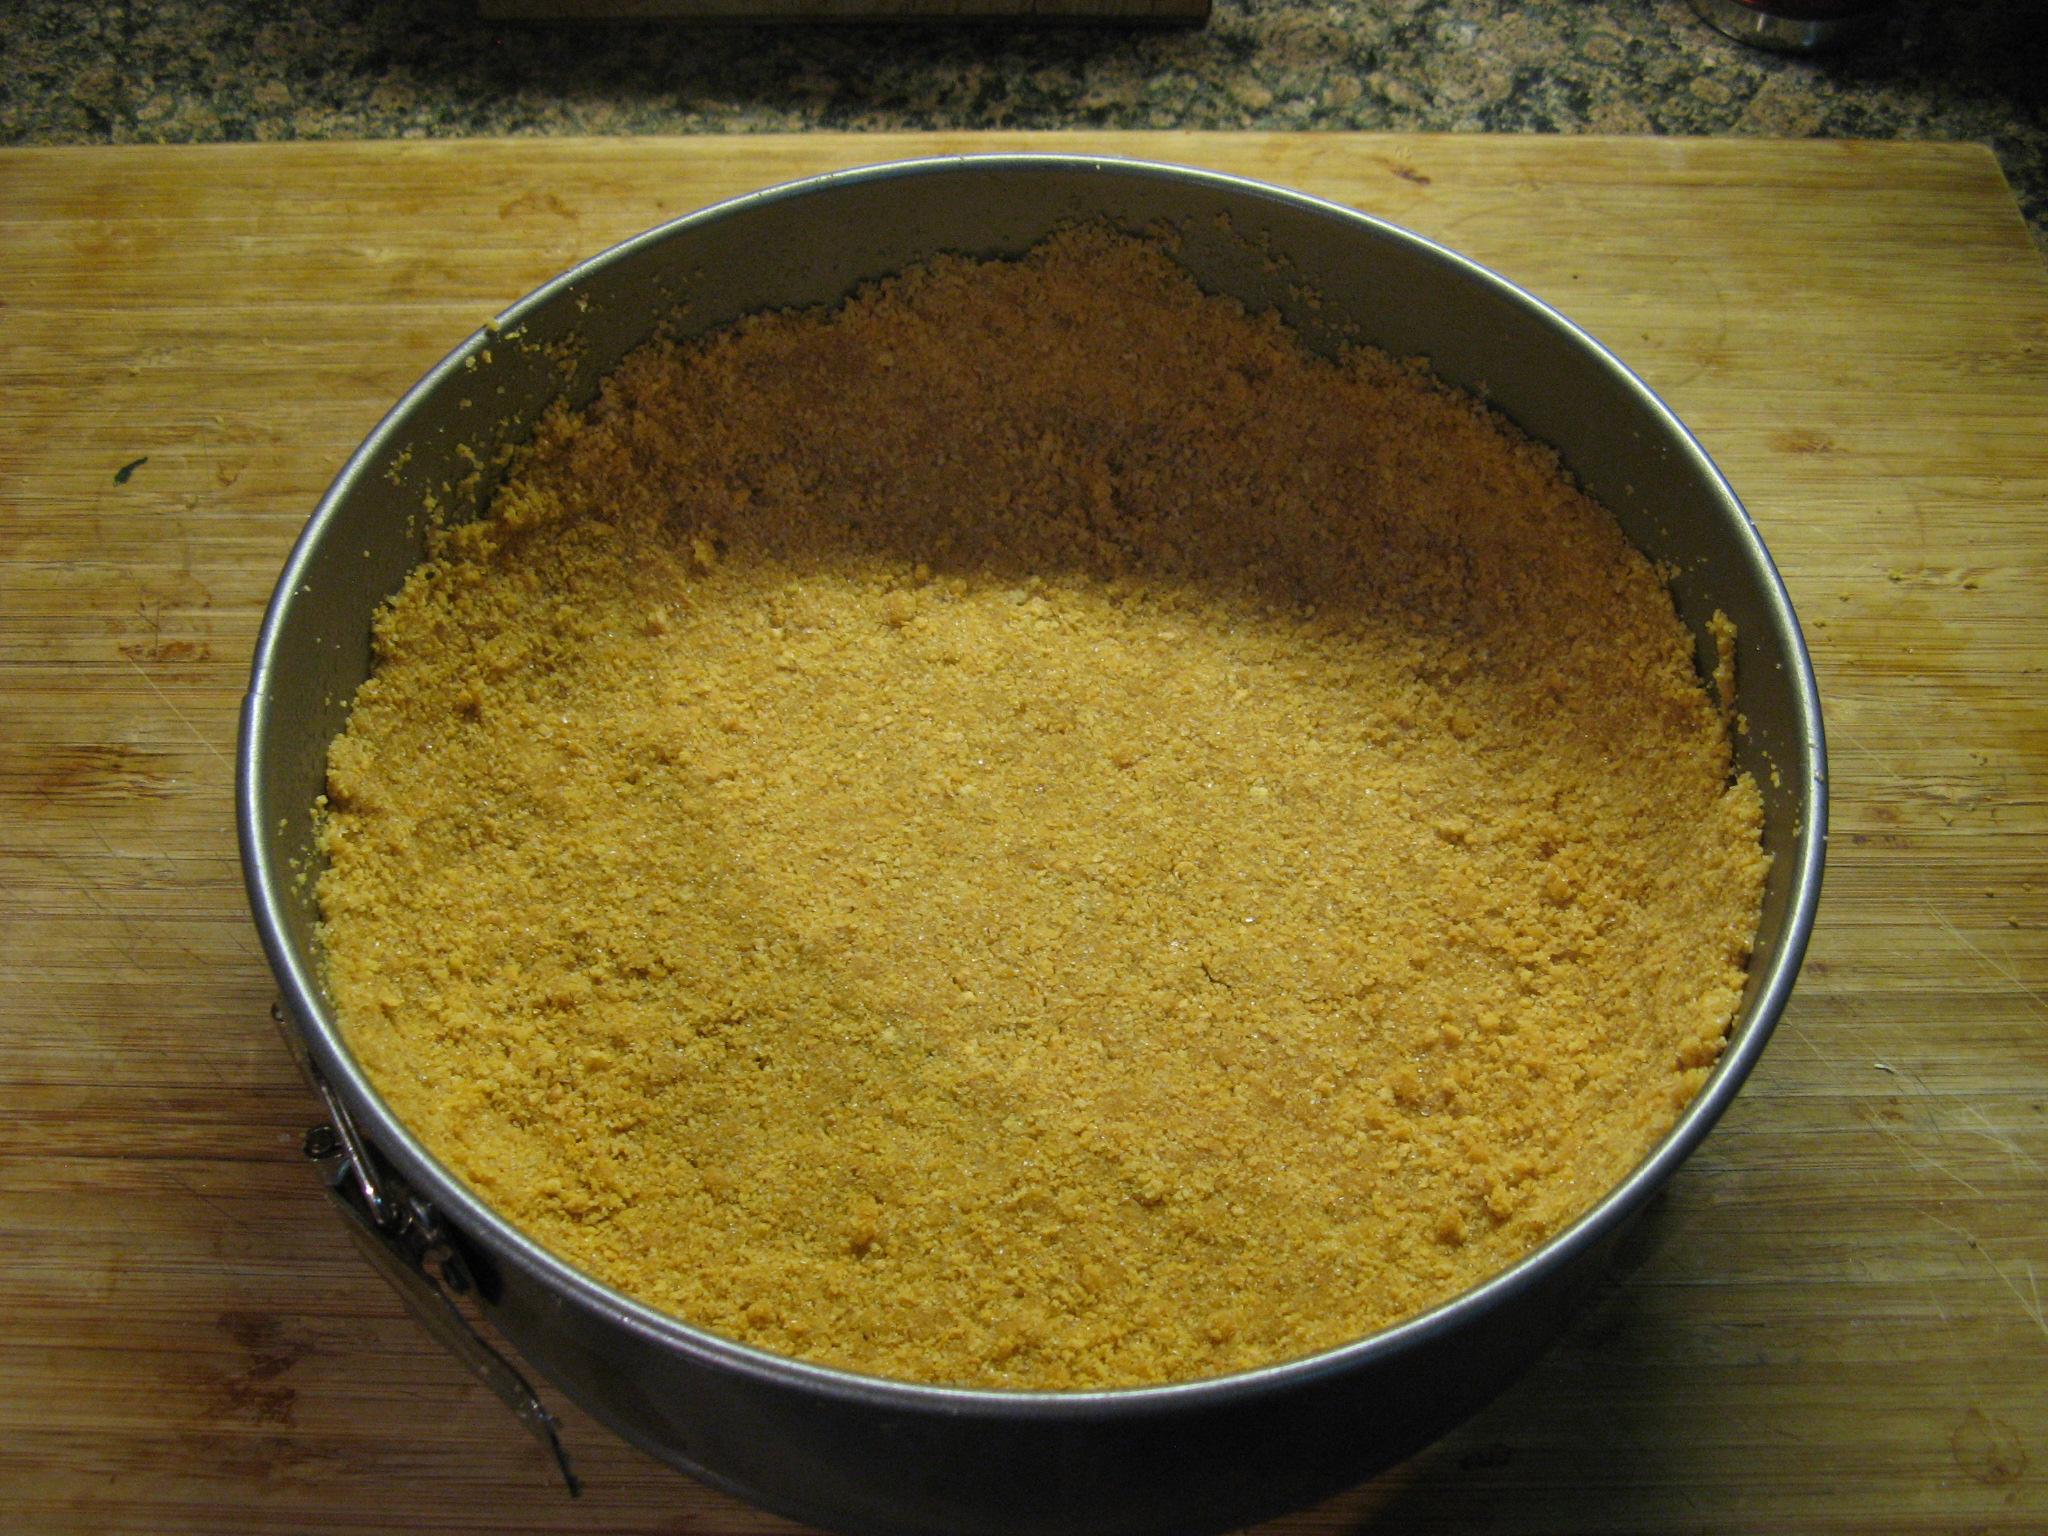
And then pressed the crumbs into the bottom of a 9-inch springform pand and about an inch and a half up the sides.
IMG_0956
After baking for 7 minutes I let the curst cool while I got to working on the cheesecake filling.
IMG_0964
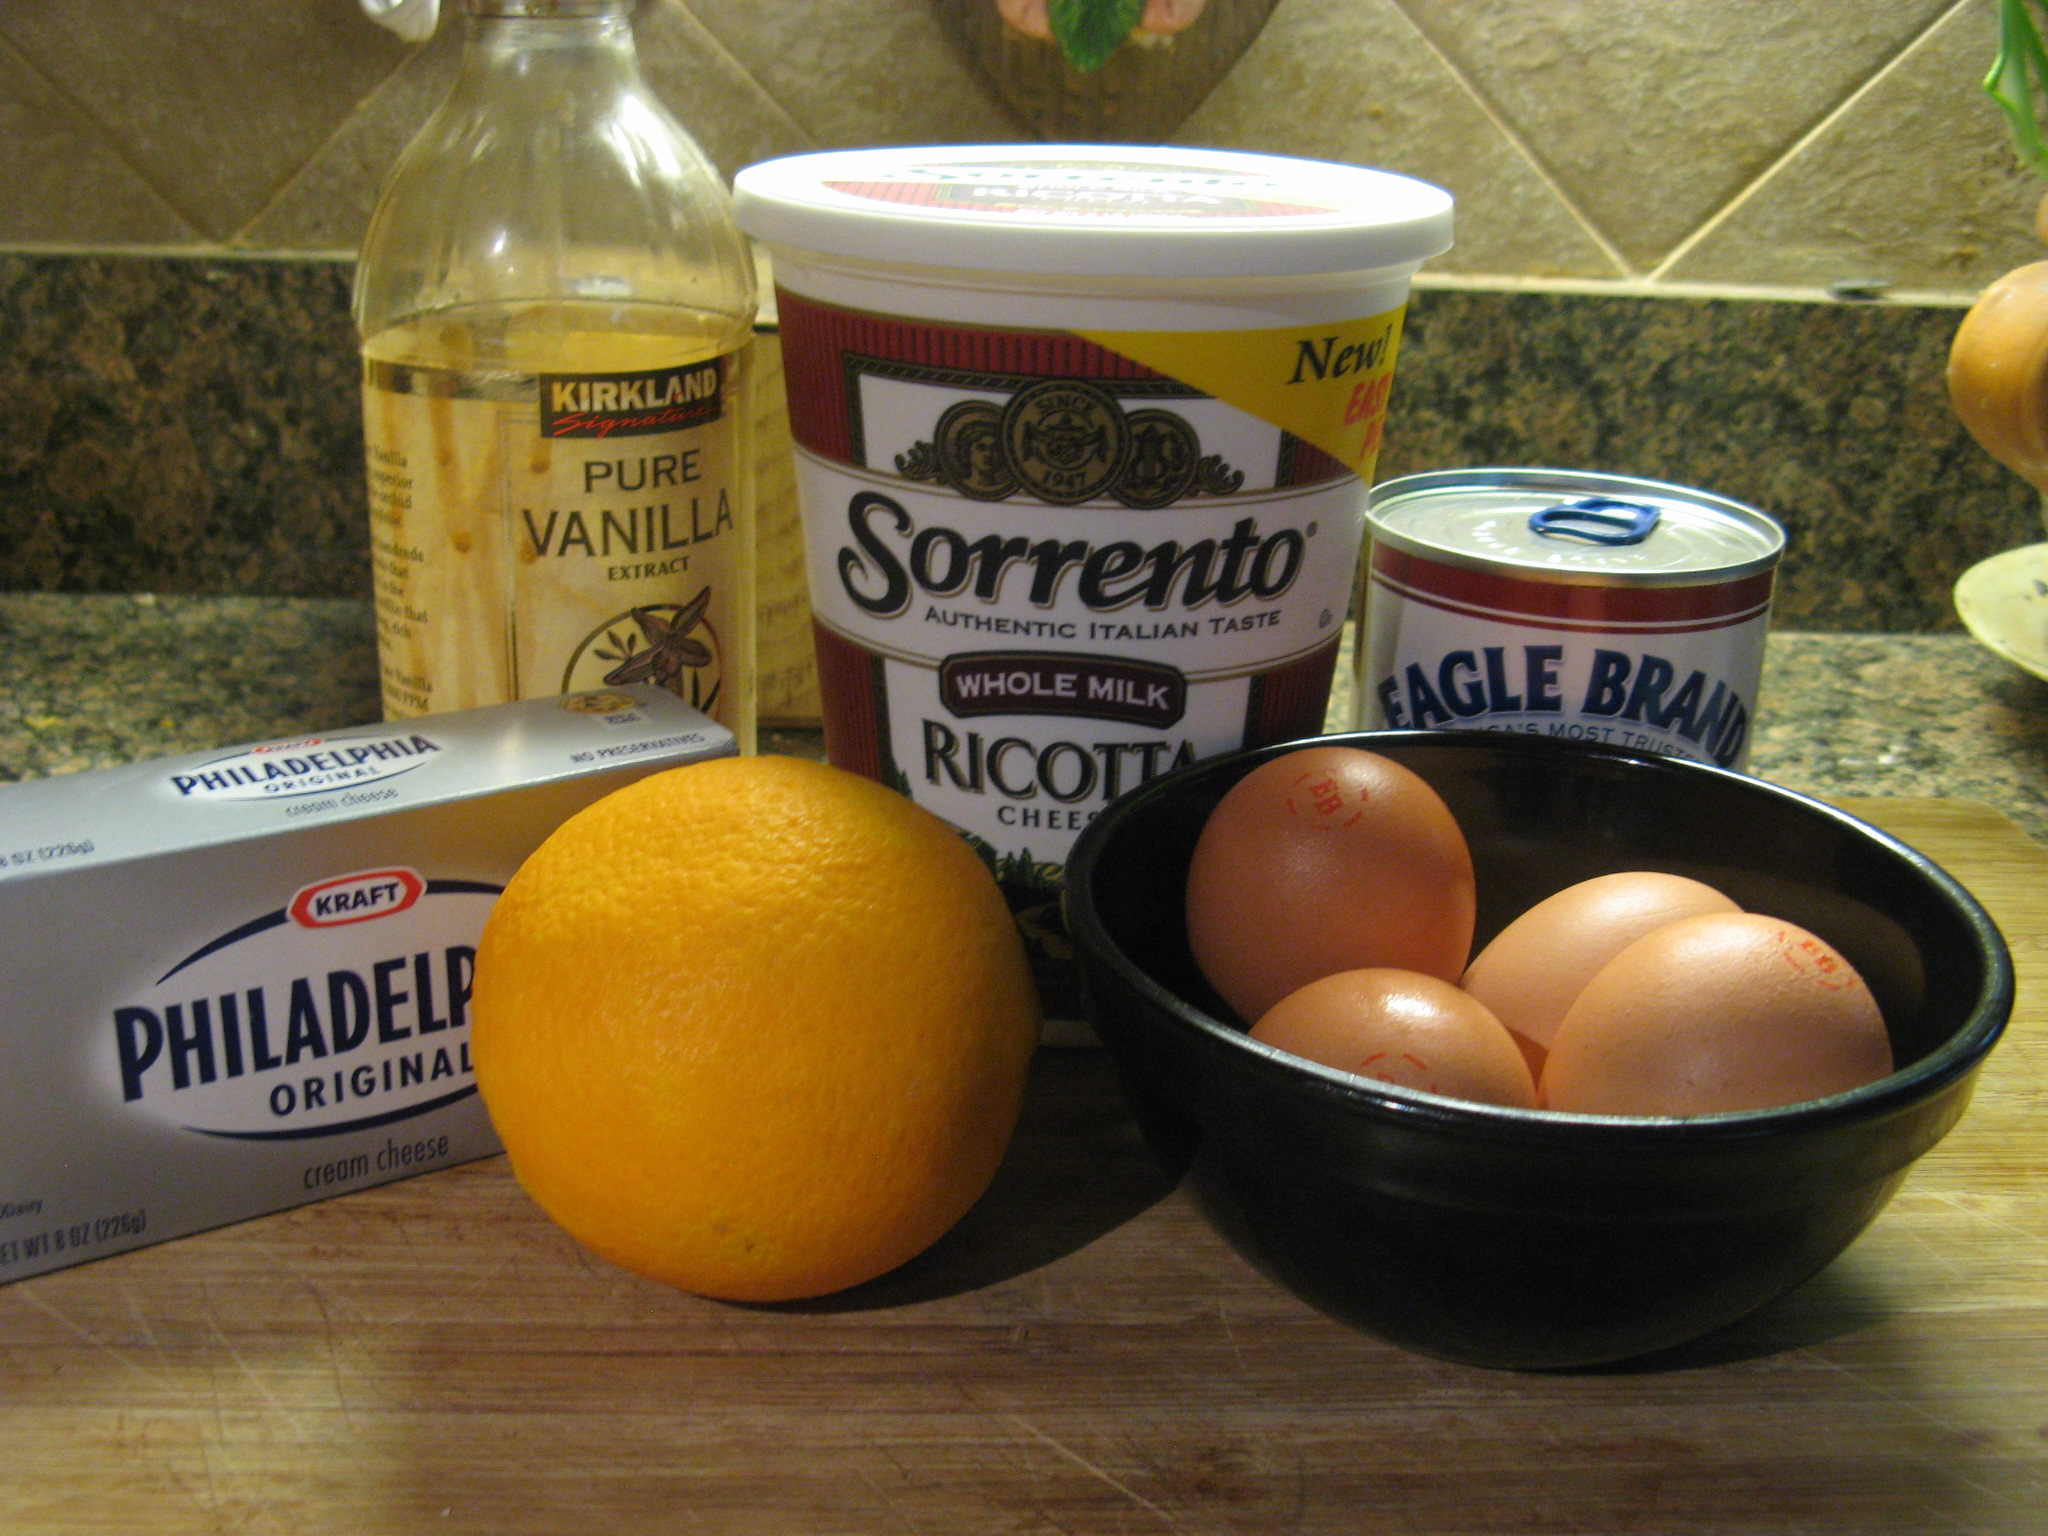
The ingredients were basic: cream cheese, ricotta cheese, sweetened condensed milk, eggs, vanilla extract and orange zest.

IMG_0967

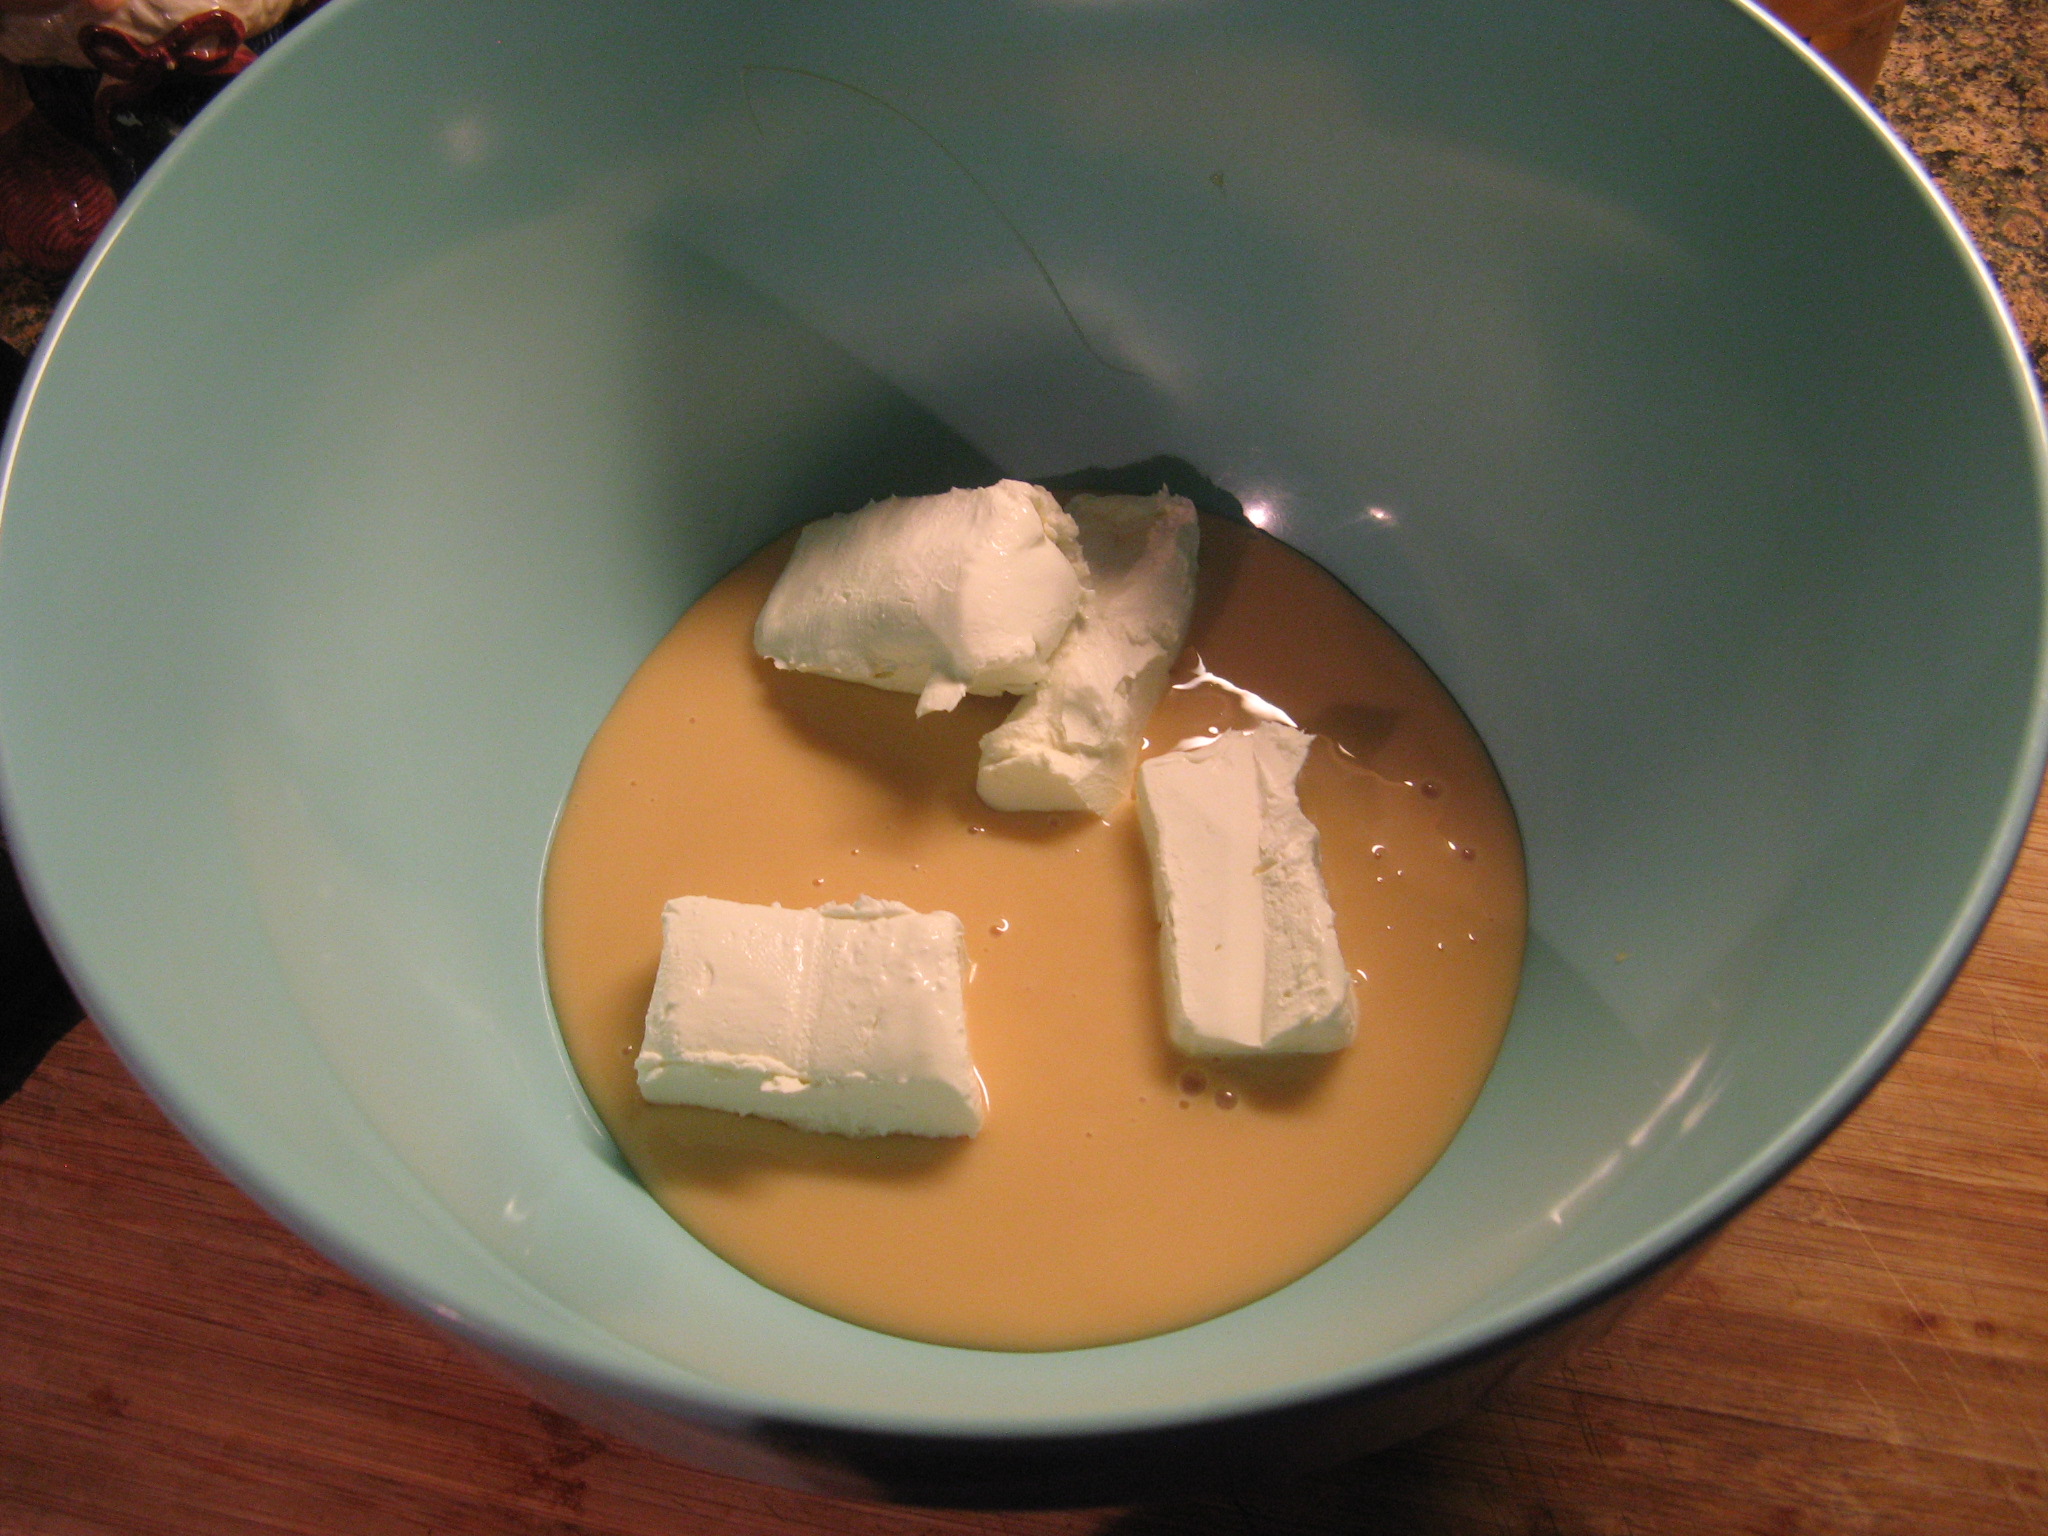
I started by beating together the cream cheese and the sweetened condensed milk.

IMG_0970  IMG_0971

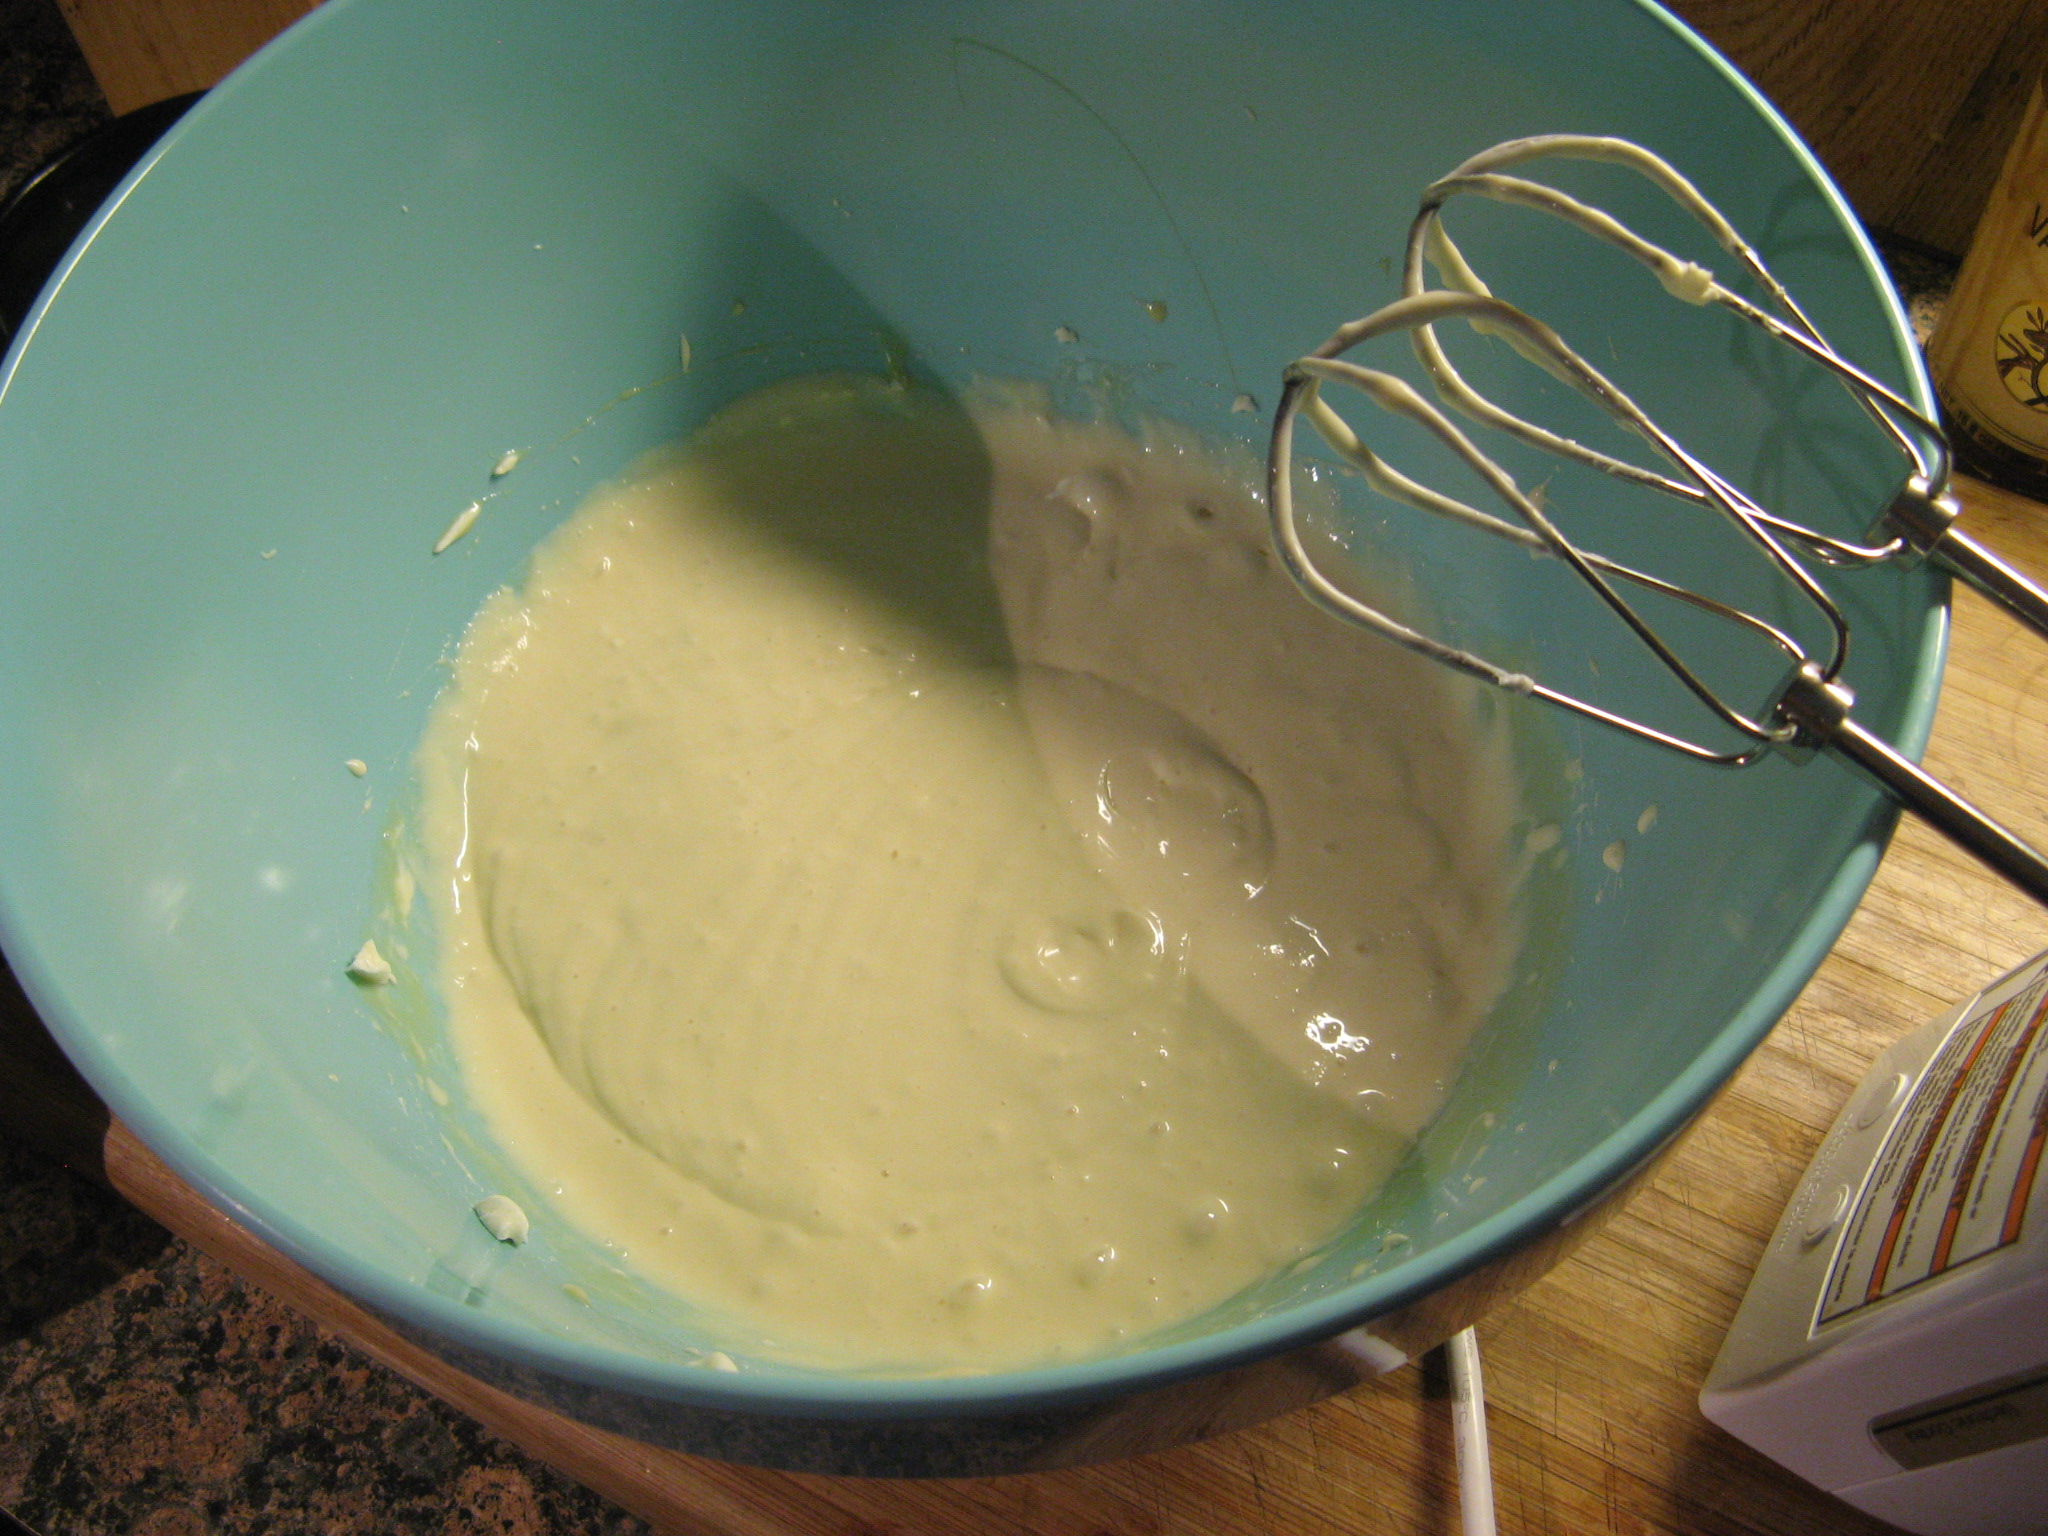
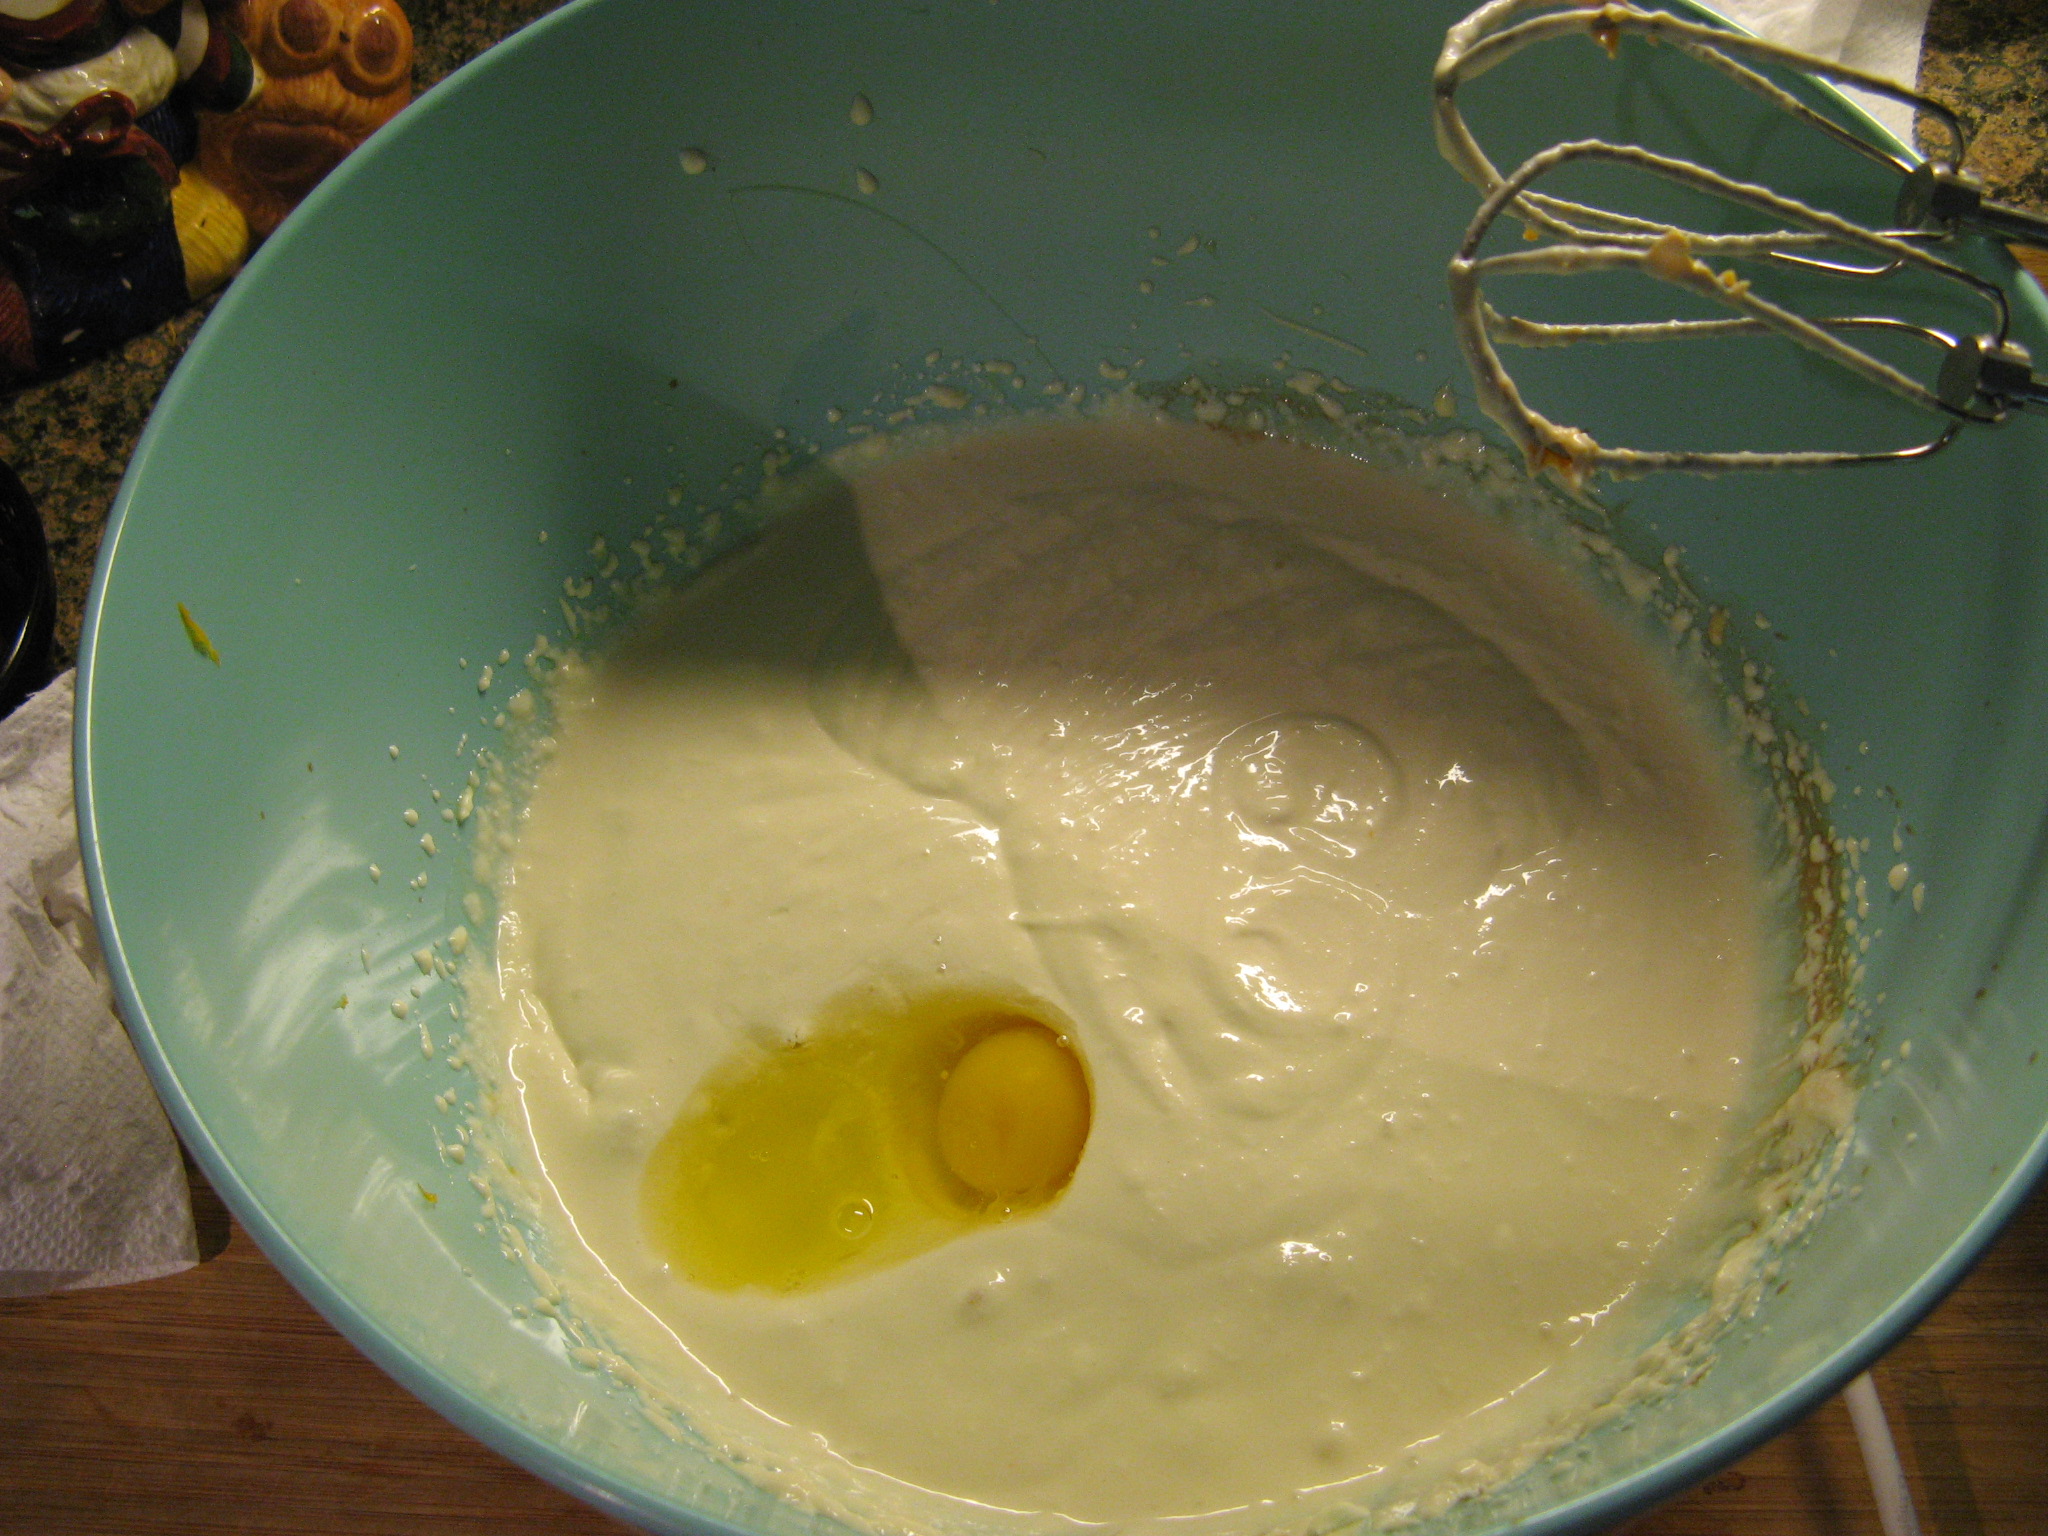
Following that I added in the ricotta cheese, vanilla extract and orange zest.

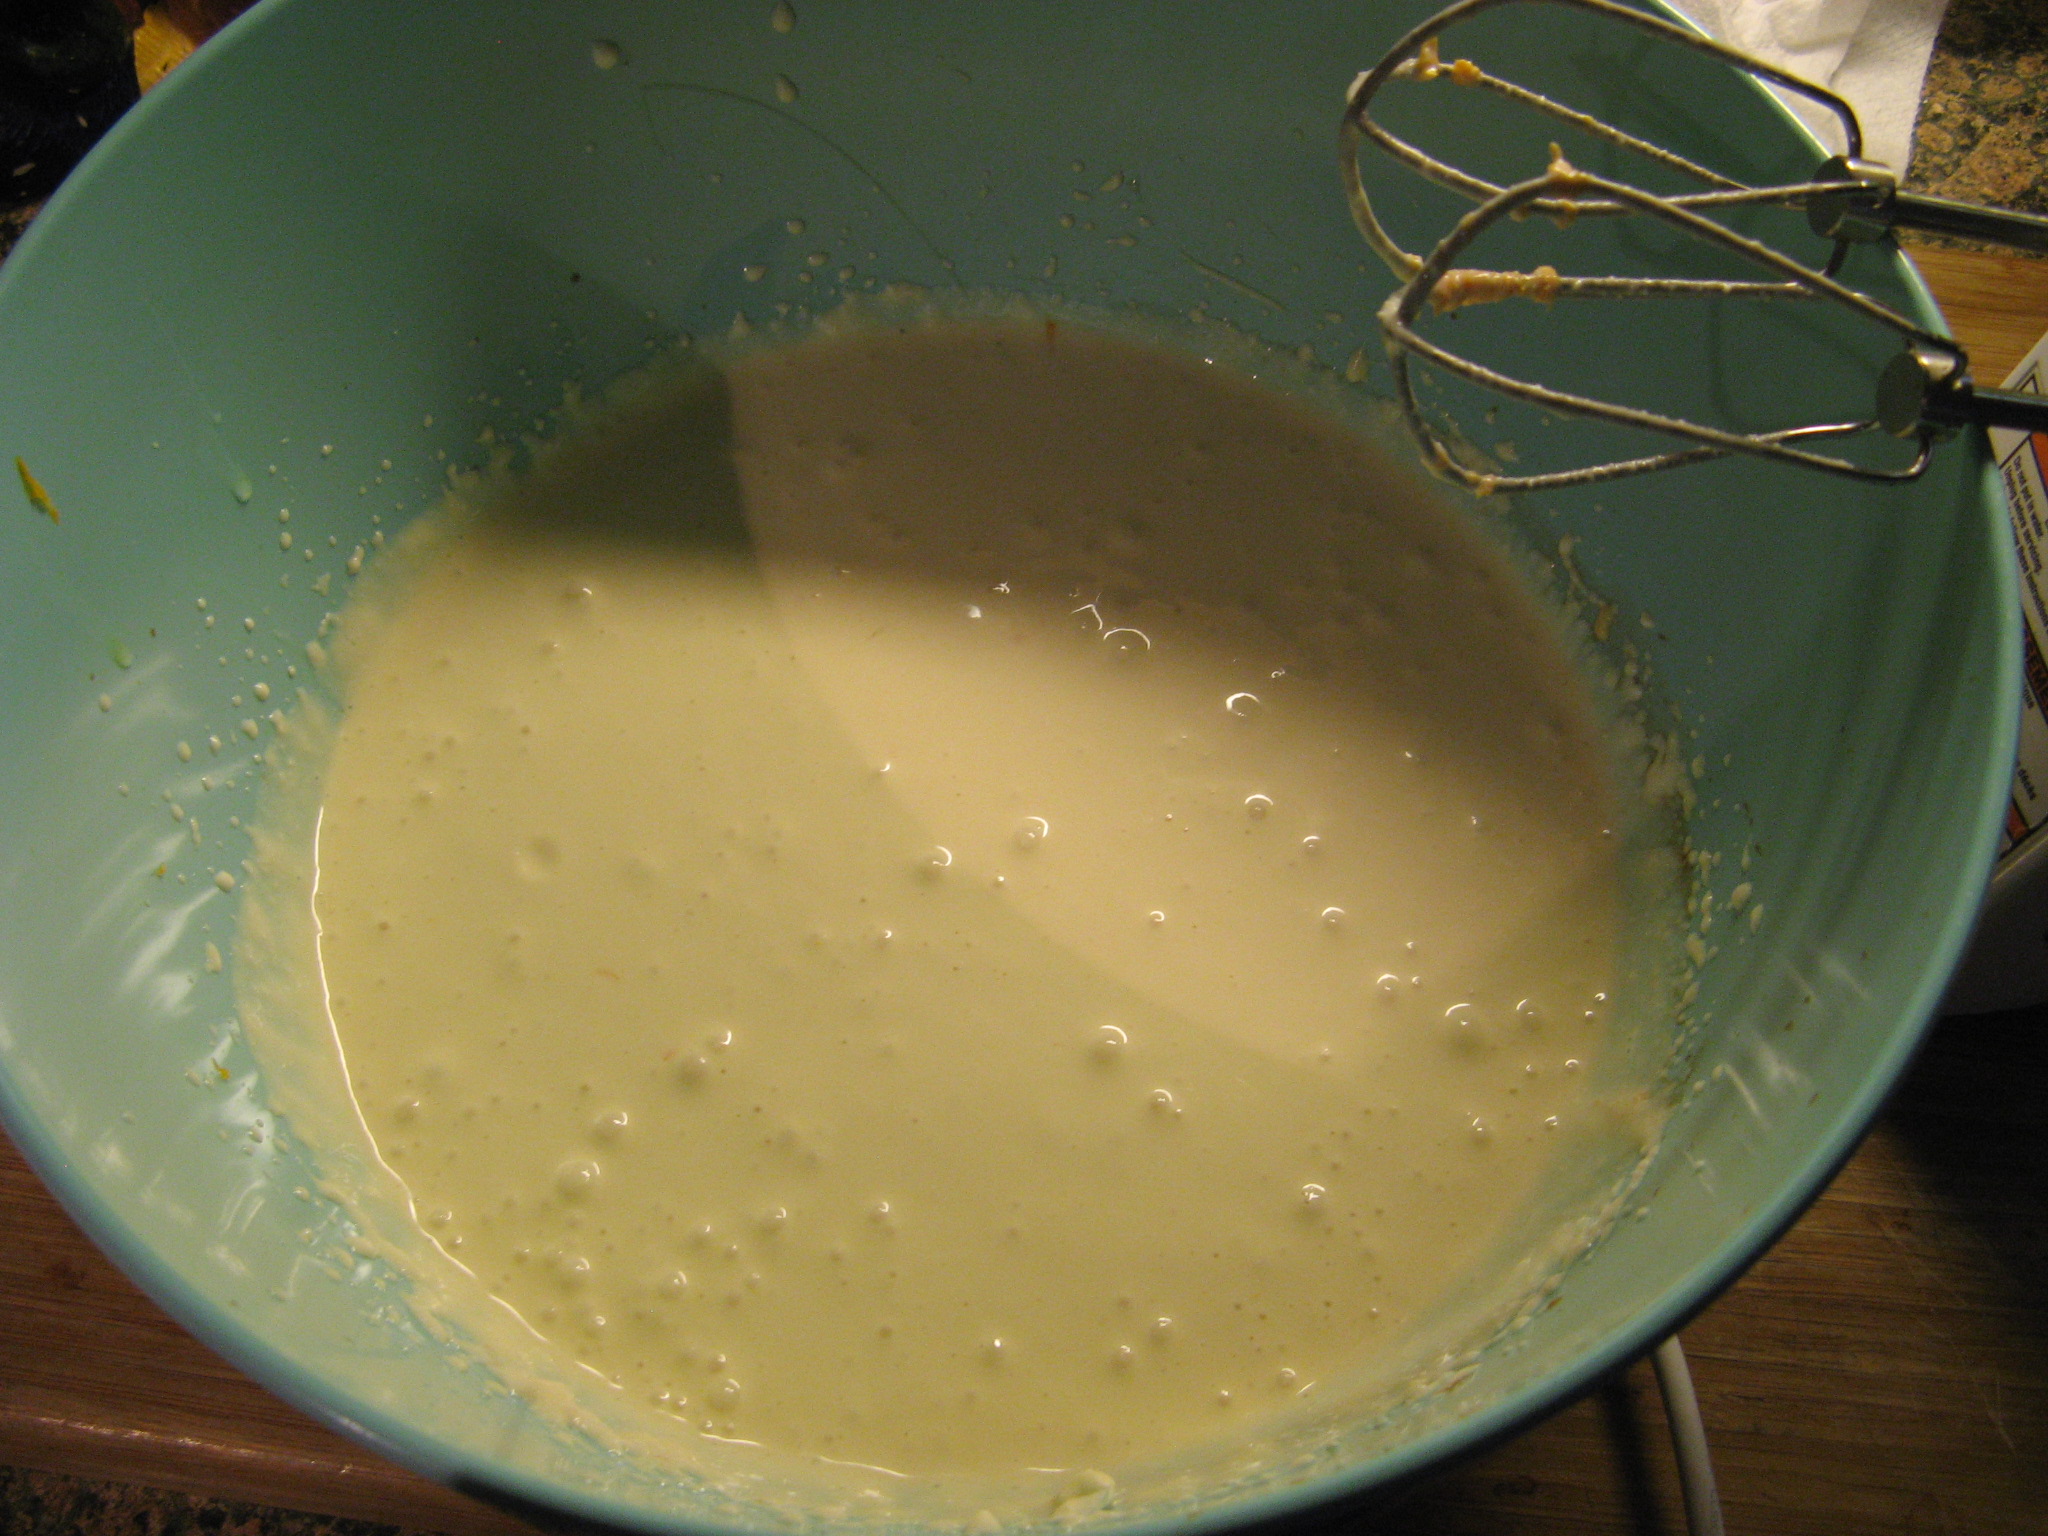
Prior to adding in the eggs I couldn’t resist the temptation of trying the filling and I found it to be awfully sweet and was concerned that the final product would be so as well, but, after adding in each of the four eggs individually the sweetness level of the filling dropped considerably. While I know some people would say it’s not a smart idea to try batter with raw eggs in it I haven’t got sick yet… I’m going to go knock on some wood now!

IMG_0974 IMG_0975
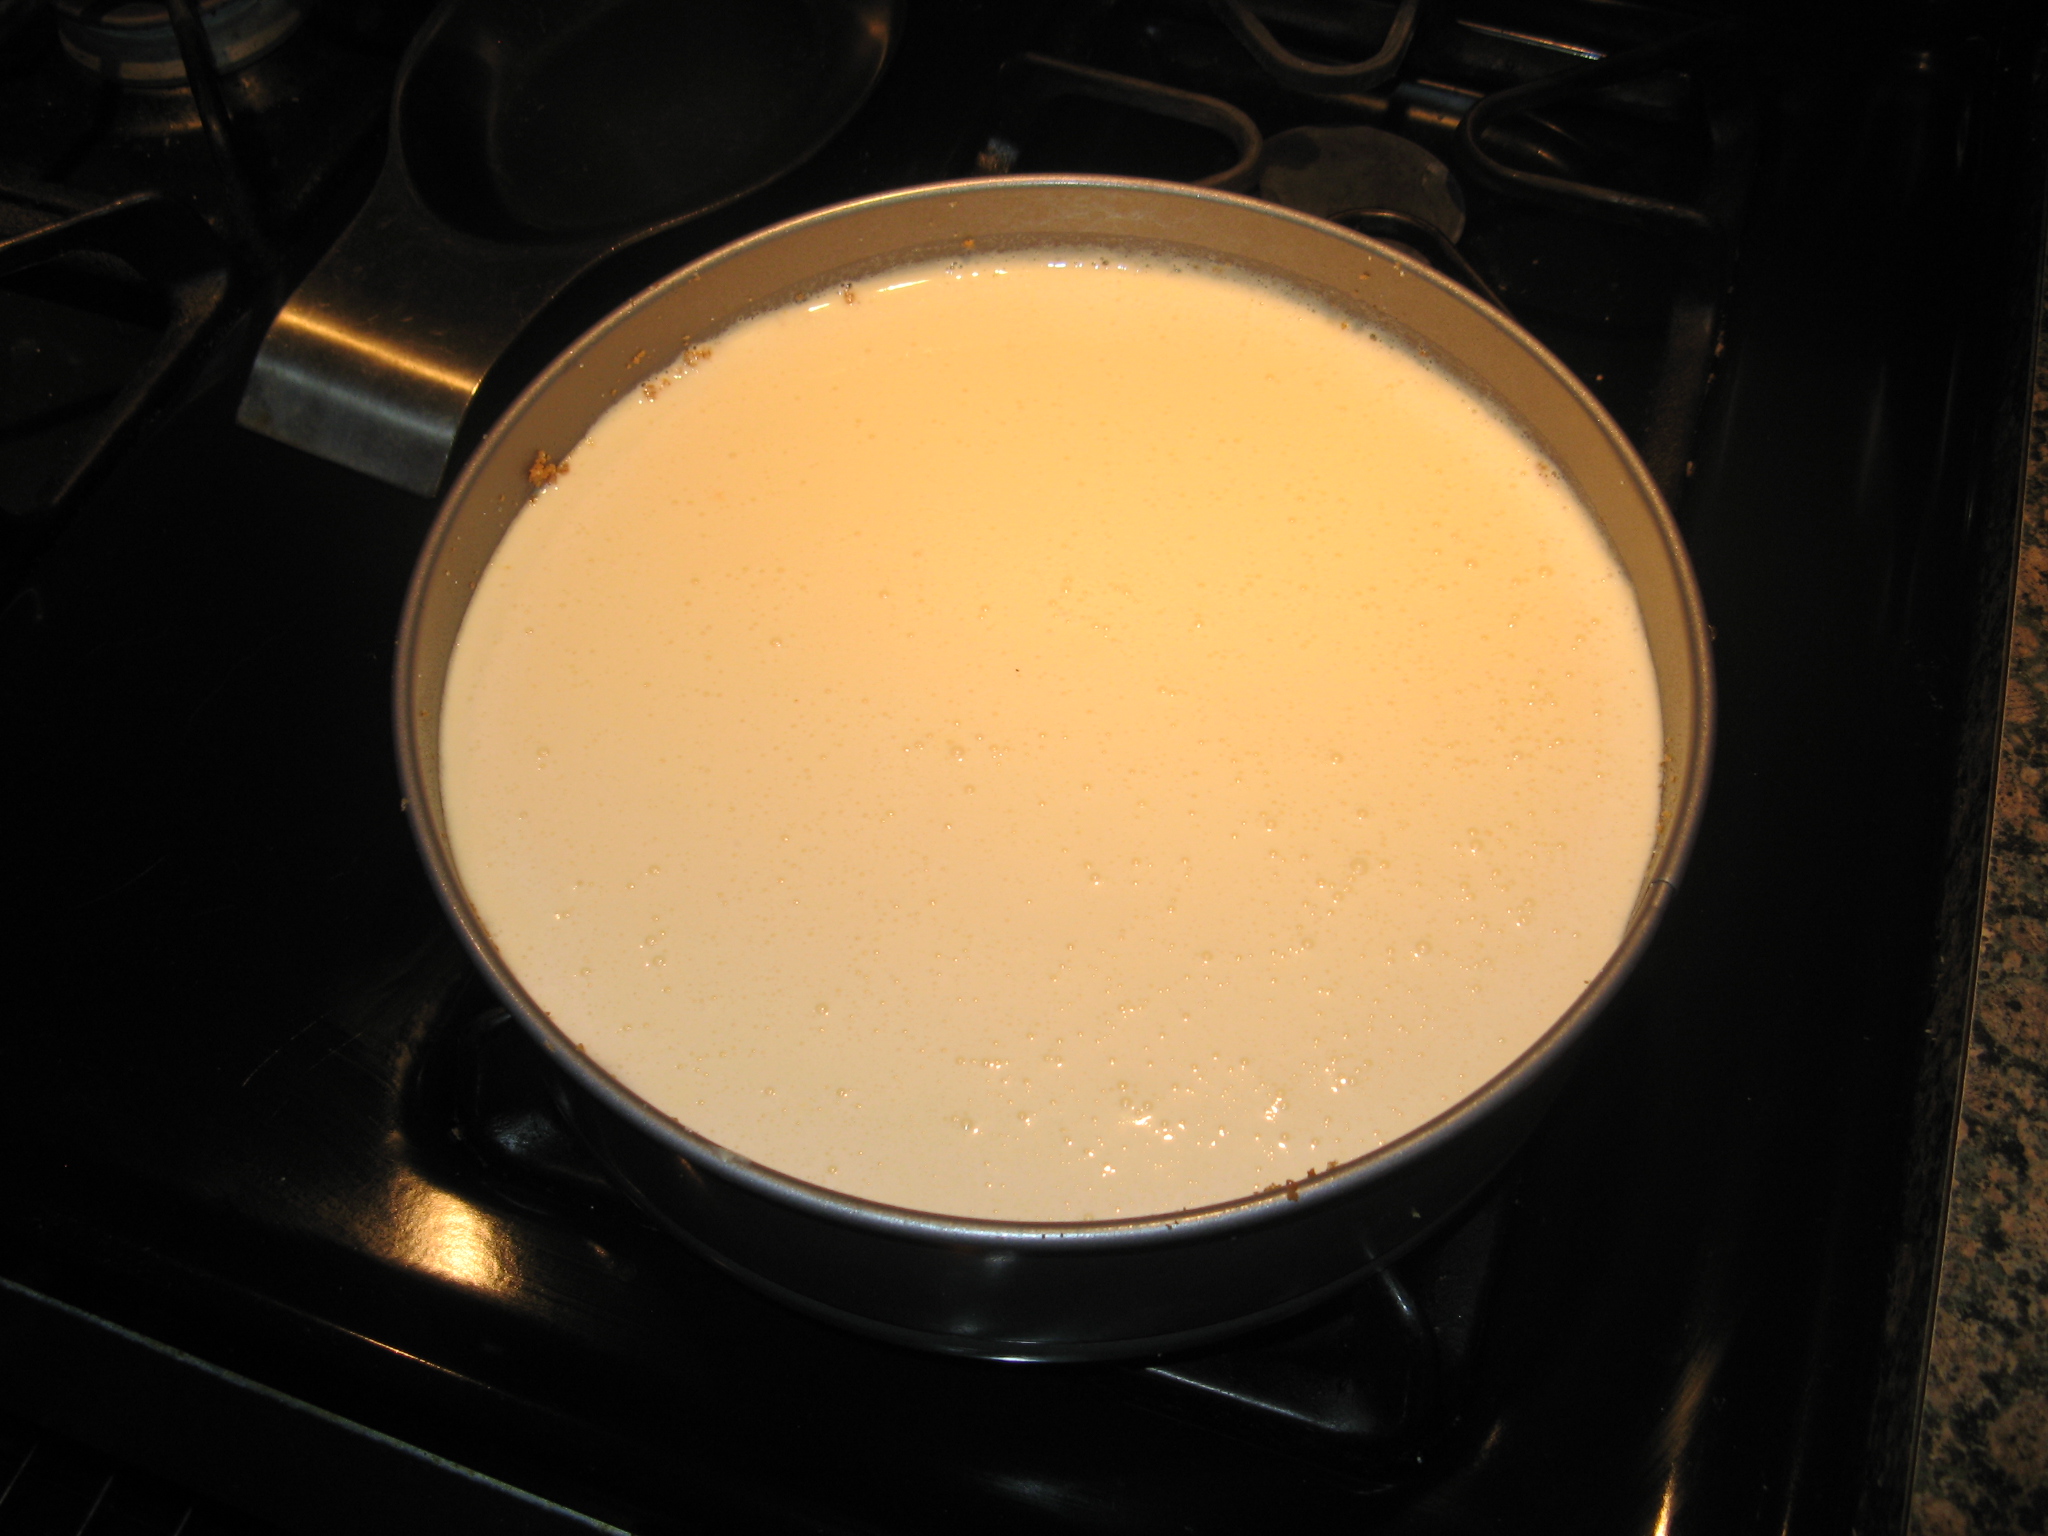
And finally I poured the filling into the cooled crust.
IMG_0978
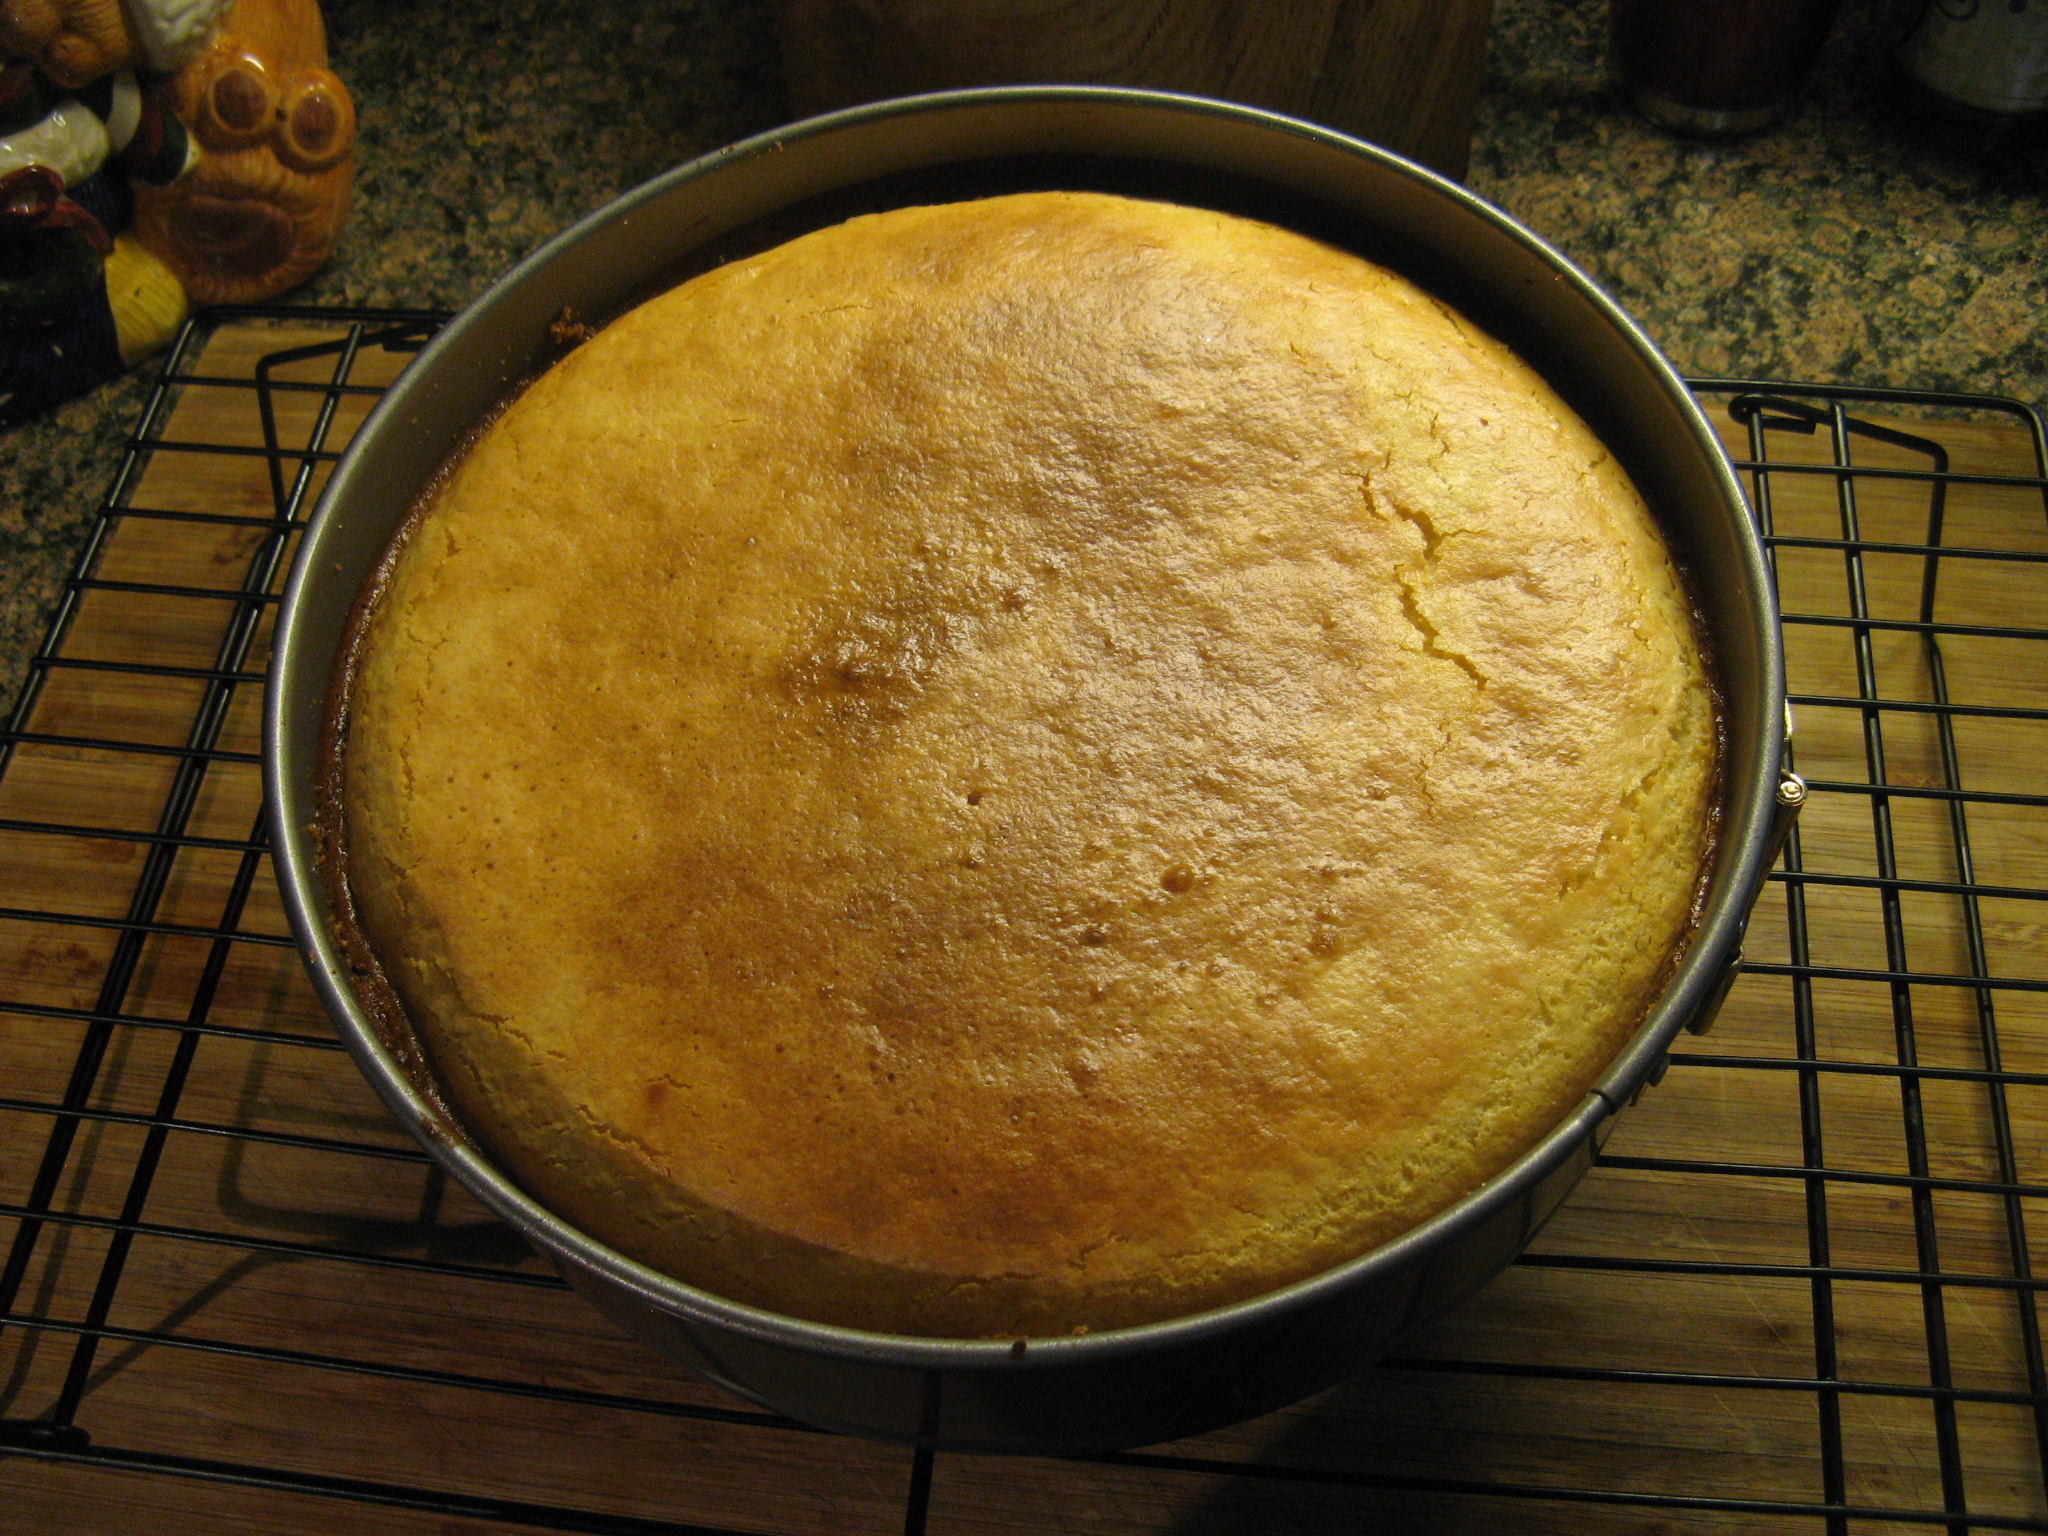
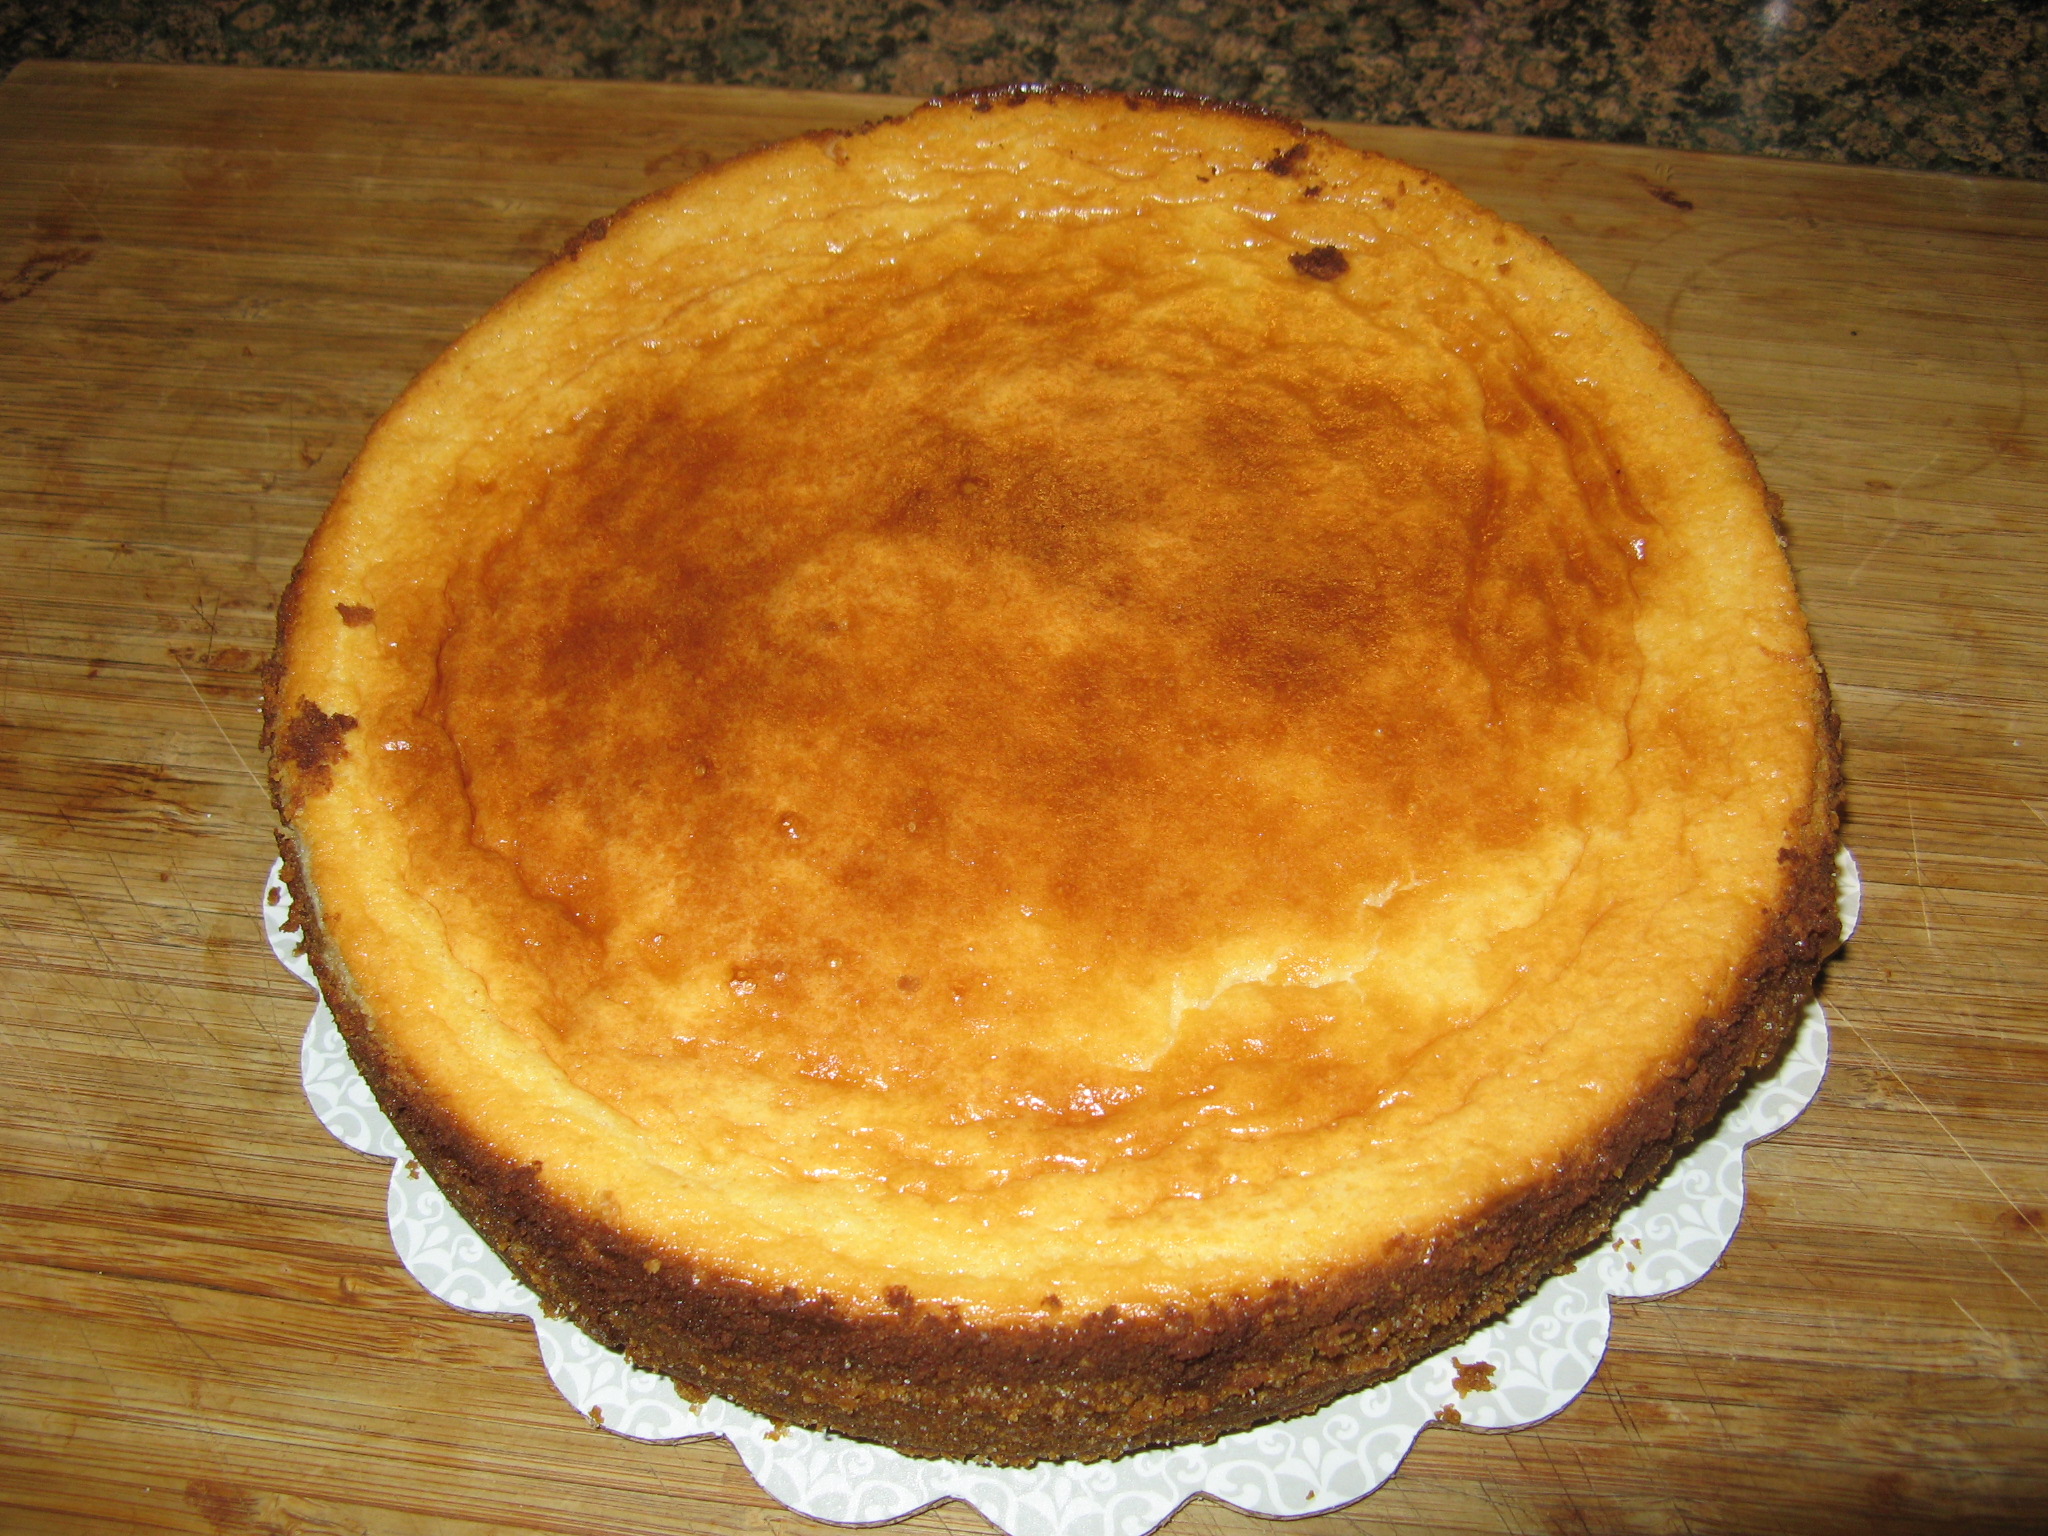
After baking for about 50 minutes in a 350 degrees oven the cheesecake was done and looked perfect – yes, it was a little brown, but, it didn’t crack which I was very happy about!
IMG_0980

I did attempt to make a quick strawberry topping for the cheesecake by heating strawberry jam, sugar and fresh strawberries in a saucepan on the stove, but, it was a completely fail. I believe the jam I used wasn’t the best quality and it produced a horrible flavor. Luckily though the cheesecake was perfect on its own.

IMG_0981

Ricotta Cheesecake

by Marcela Valladolid


18 cinnamon-sugar graham crackers

1/2 cup (1 stick) unsalted butter, melted

8 oz. cream cheese, softened

1 (14 oz.) can condensed milk

15 oz. fresh ricotta or requeson cheese

1 tbsp. vanilla extract

1 tsp. fresh orange zest

4 large eggs


1) Adjust oven rack to middle position. Preheat oven to 350 degrees.

2) Process graham crackers in food processor until finely crumbled. Add butter; process until blended. Pat crumbs over bottom and 1 1/2 inches up sides of a 9-inch springform pan. Place on baking sheet; bake 10 minutes until golden. Cool completely.

3) Beat cream cheese and condensed milk at medium speed in bowl of electric mixer until smooth. Add ricotta, vanilla, and orange zest; beat until smooth. Add eggs 1 at a time, beating well after each addition.

4) Pour mixture into cooled crust. Bake 50 minutes until cheesecake is puffed and golden and a tester inserted 1 inch from center comes out clean. Cool on wire rack for 35 minutes. Cover and chill at least 2 hours. Serve at room temperature.


Bluberry Crumb Cake

I’ve always enjoyed baking, but, it wasn’t until a few years ago that it really became a hobby where I would challenge myself to actually make things from scratch… frostings, pie crusts, pie fillings, cakes and so forth. One of the first things I attempted back then was Barefoot Contessa’s Blueberry Crumb Cake and it instantly became a favorite amongst my friends. It had been a while since I made one but during a recent trip to the supermarket I decided to bake one when I came across some perfectly ripe blueberries in the produce aisle.

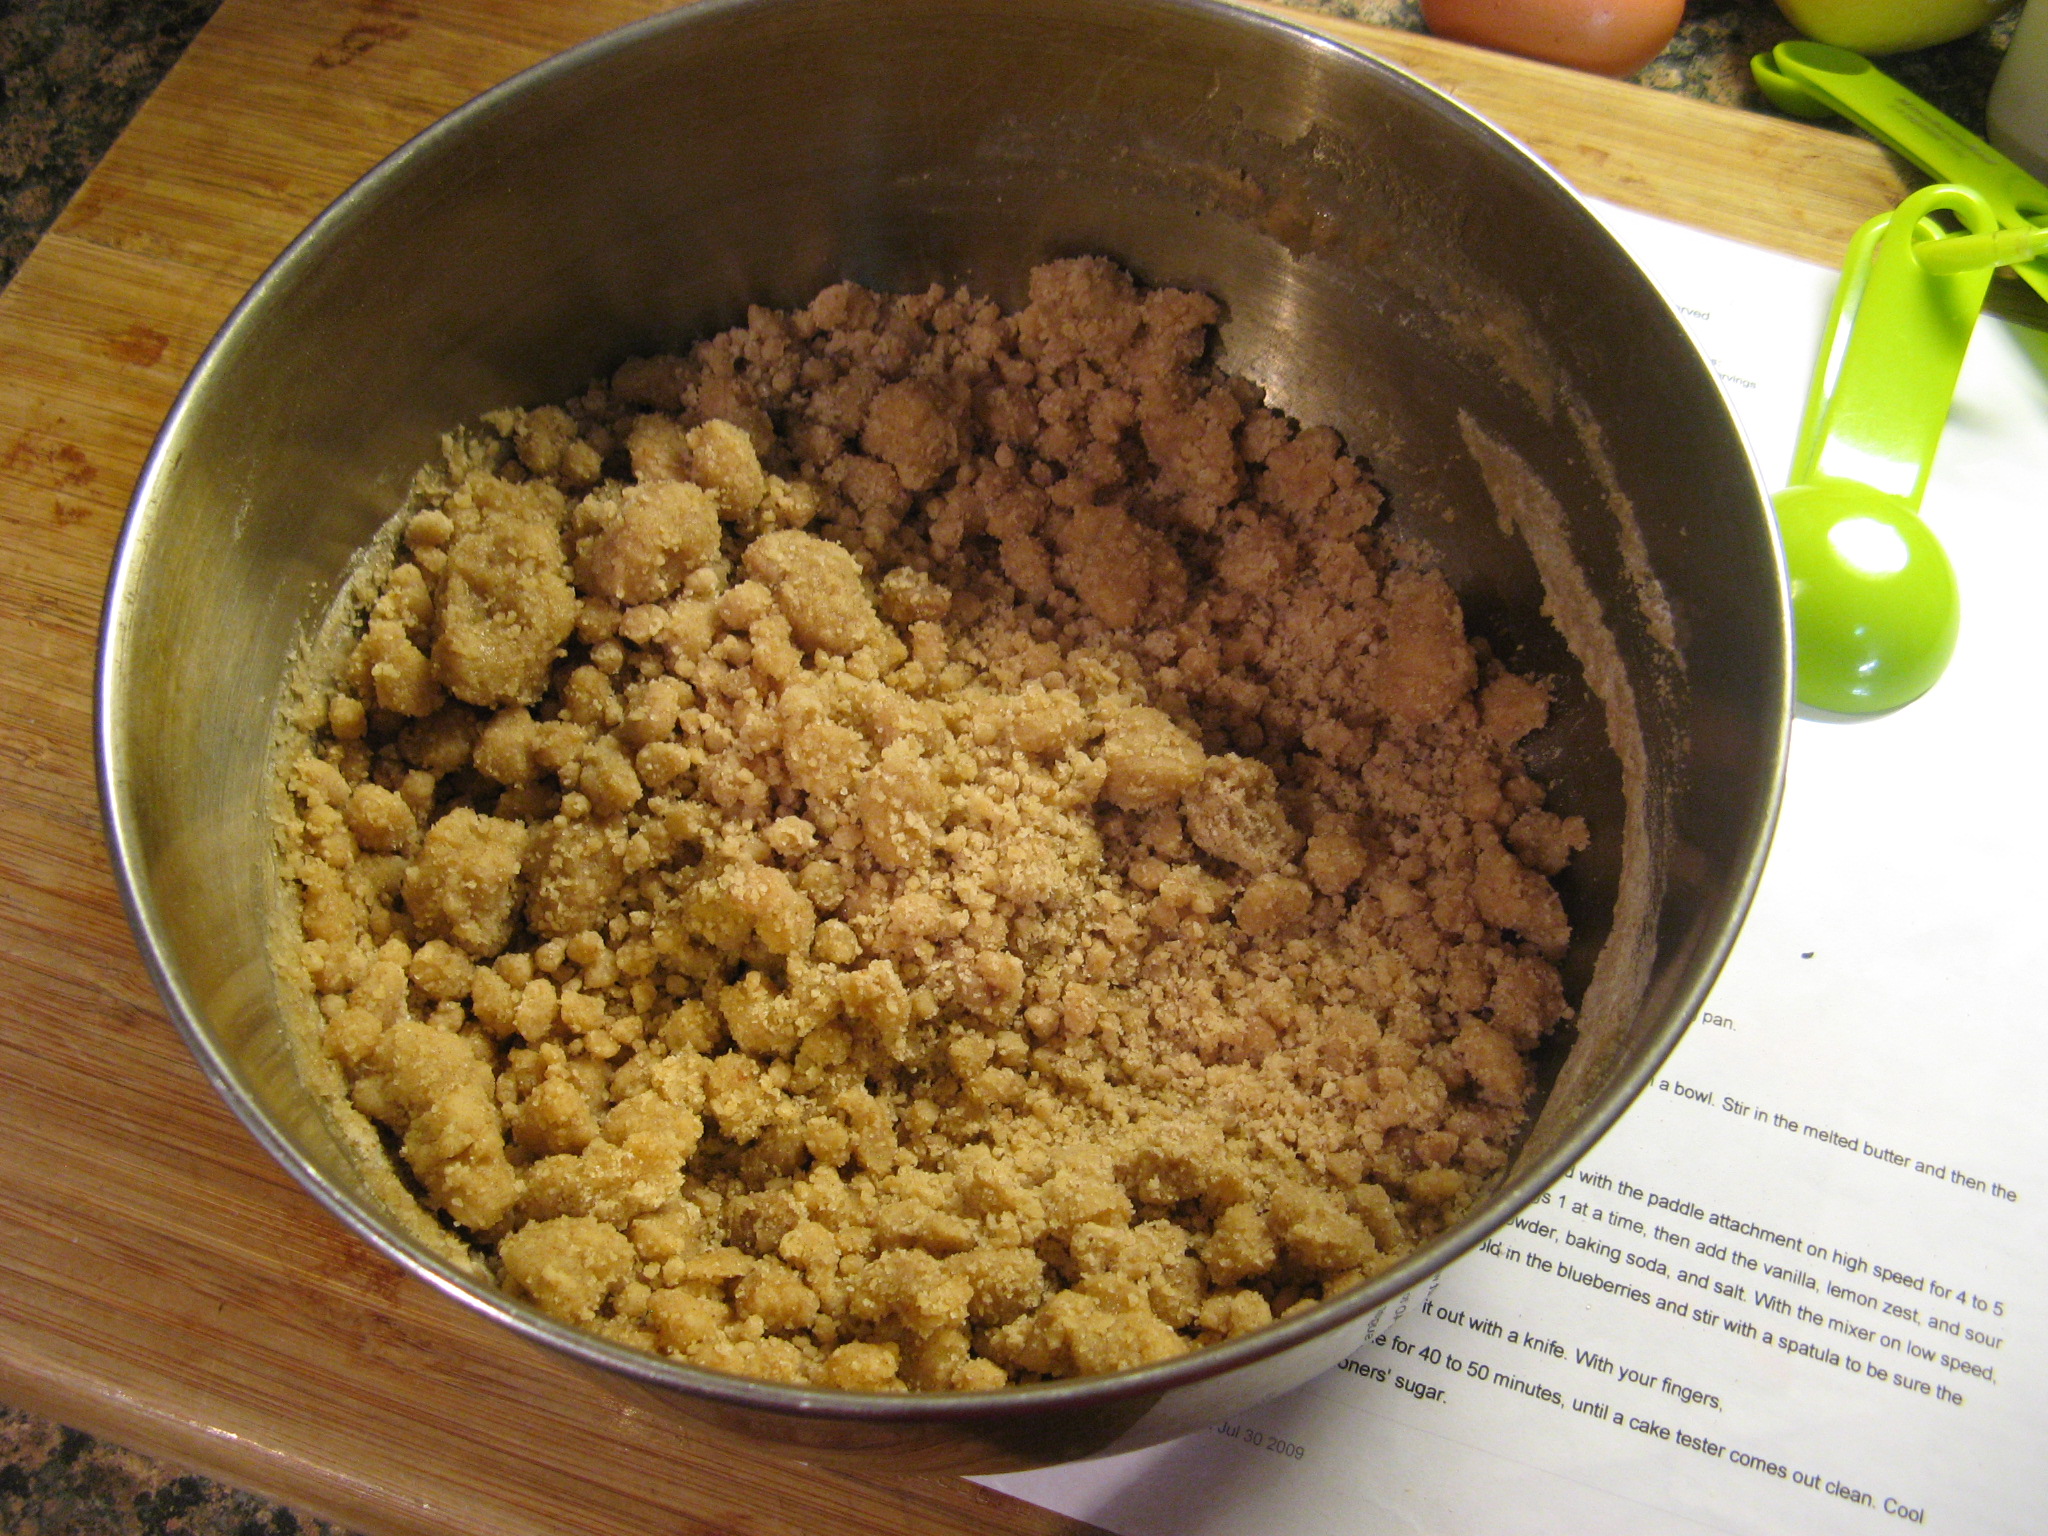
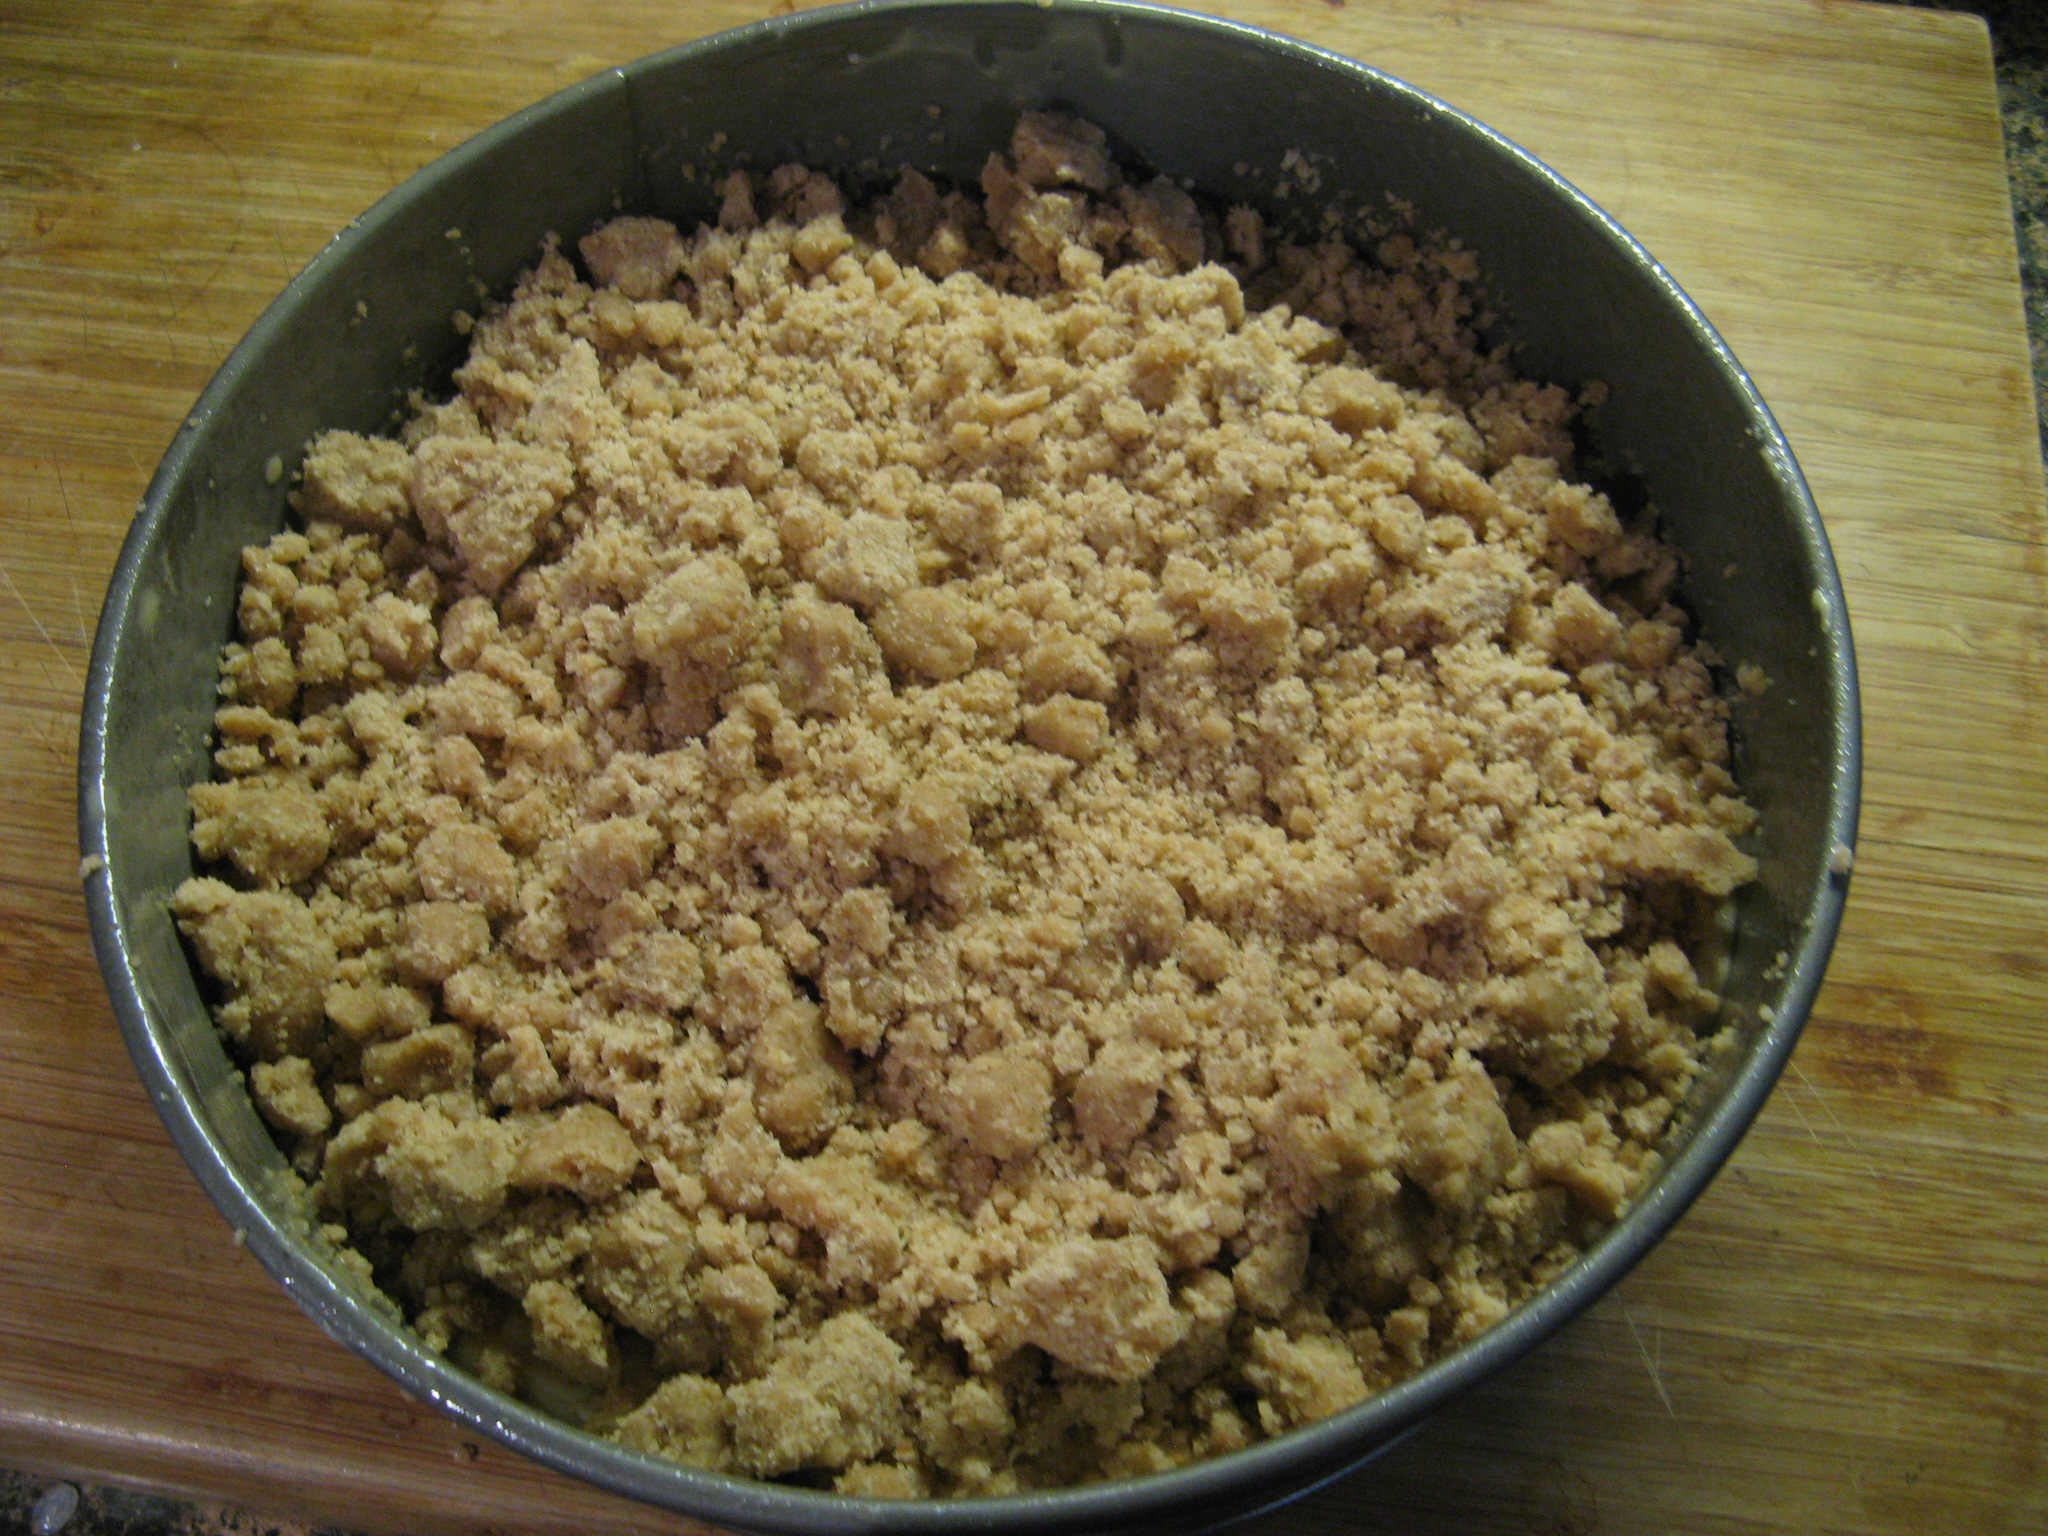
To start, I began by making the crumb topping for the cake. First I combined granulated sugar, brown sugar, cinnamon and nutmeg together and then added in melted butter and lastly flour. Once it was mixed well I set it aside and began working on the cake.
IMG_0888
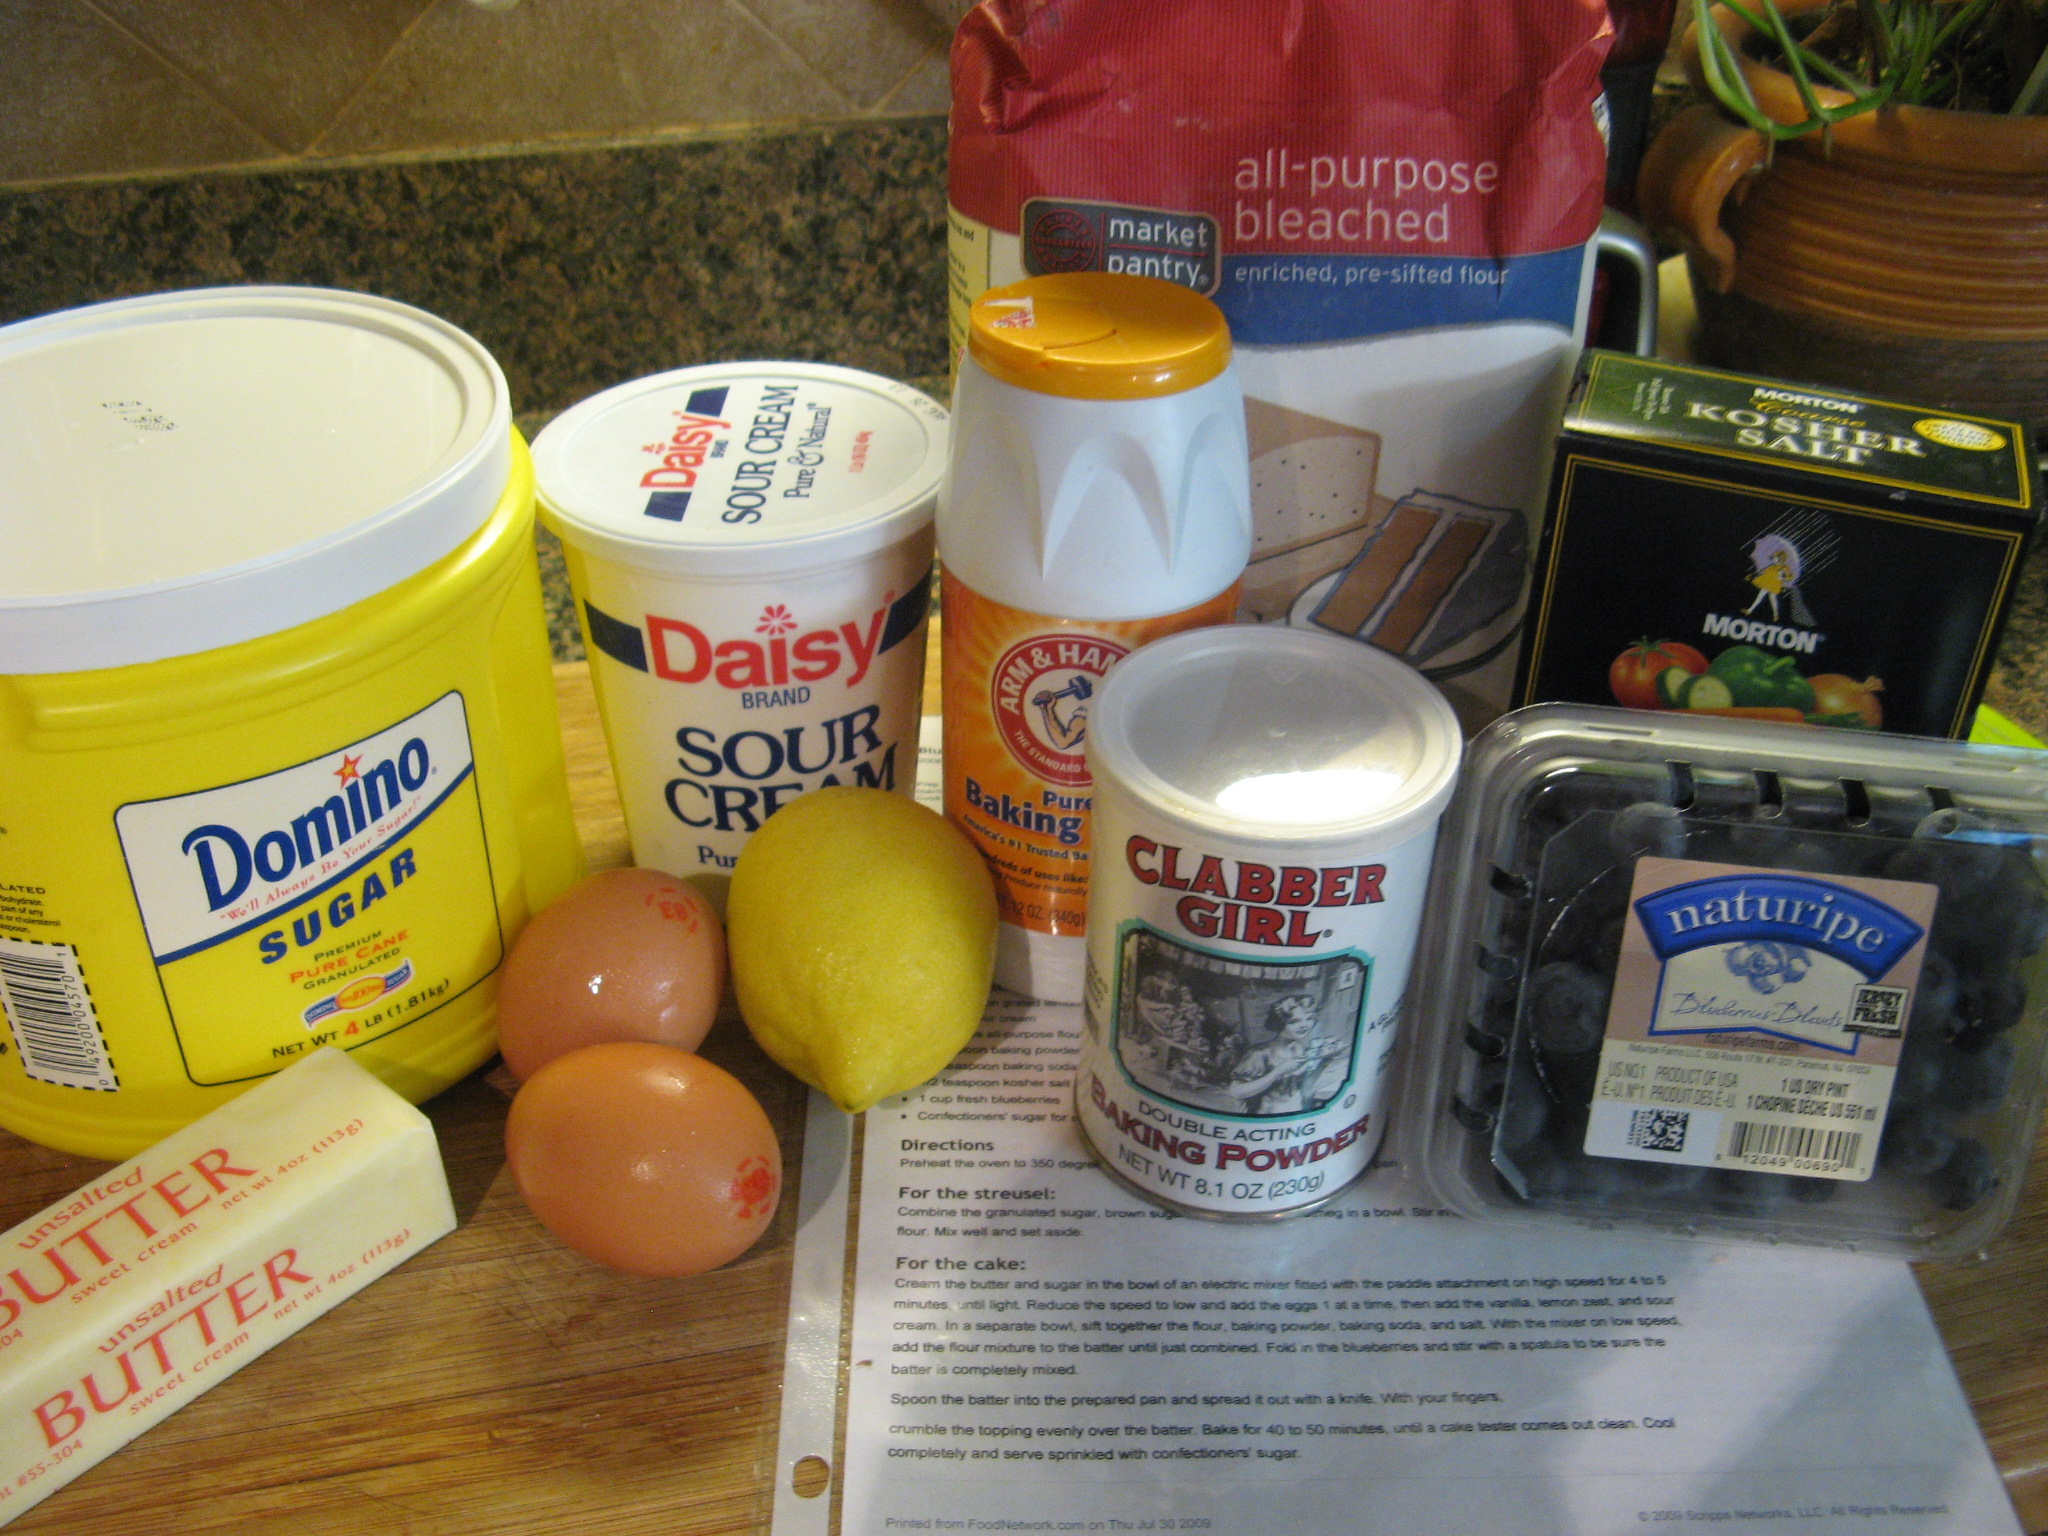
I gathered all of my ingredients together so they would be within arm’s reach.
IMG_0889
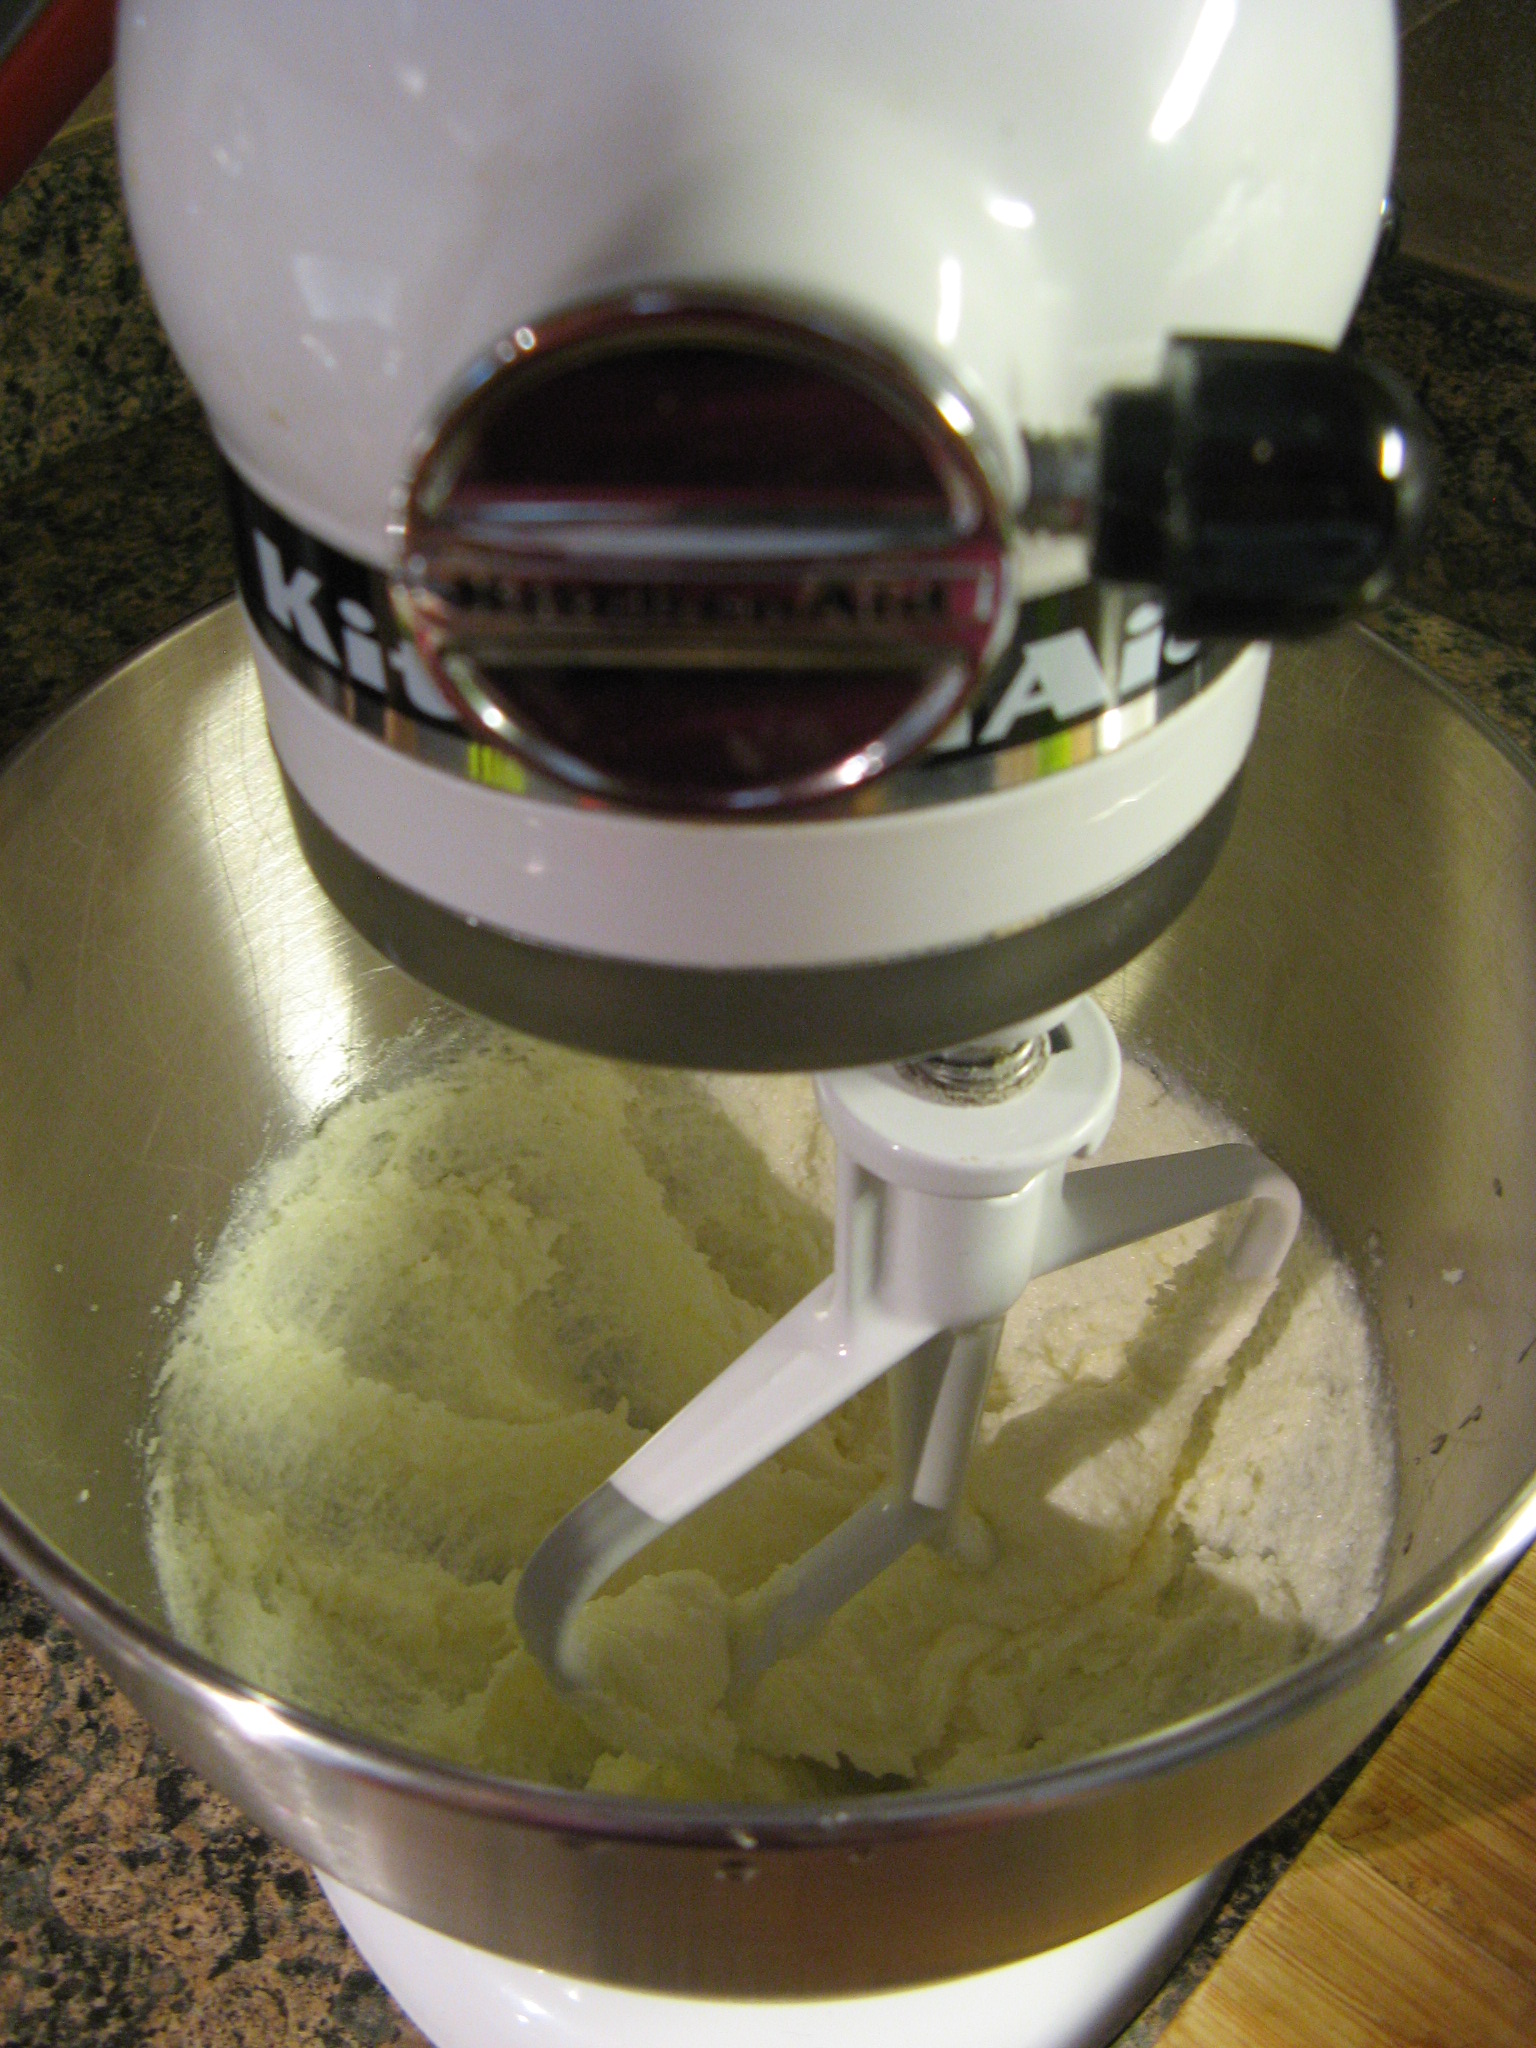
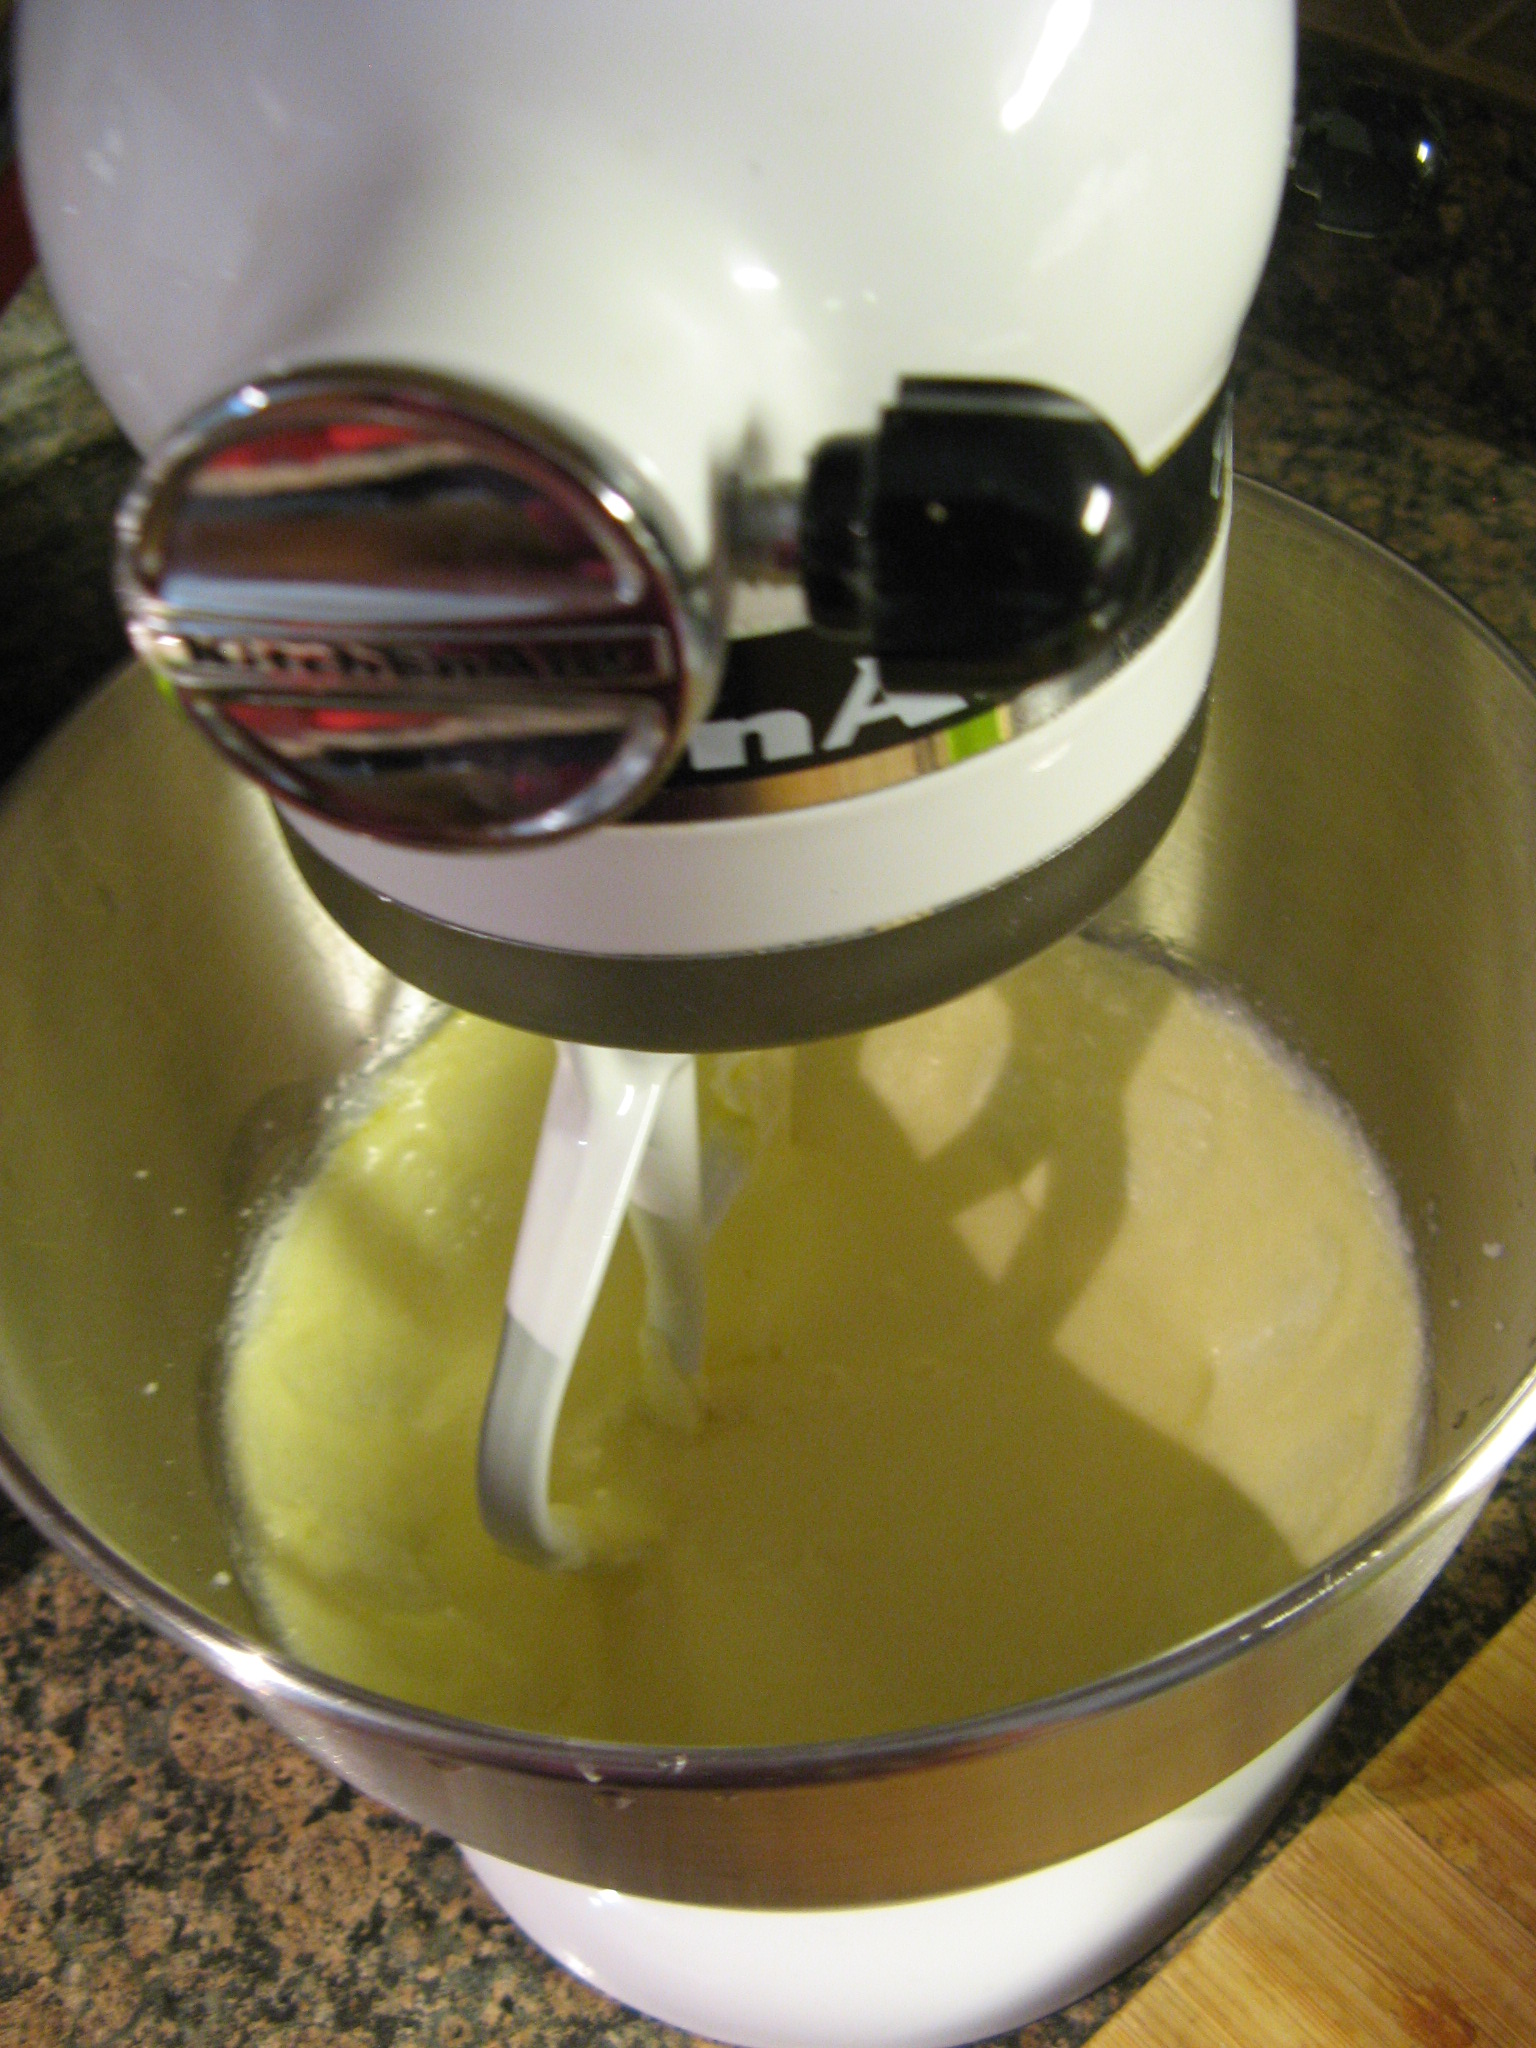
As with most cakes I started by creaming the butter and sugar together.
IMG_0892
I then added in 2 eggs one at a time.
IMG_0894
Following that I added in vanilla extract, lemon zest and sour cream.
IMG_0895
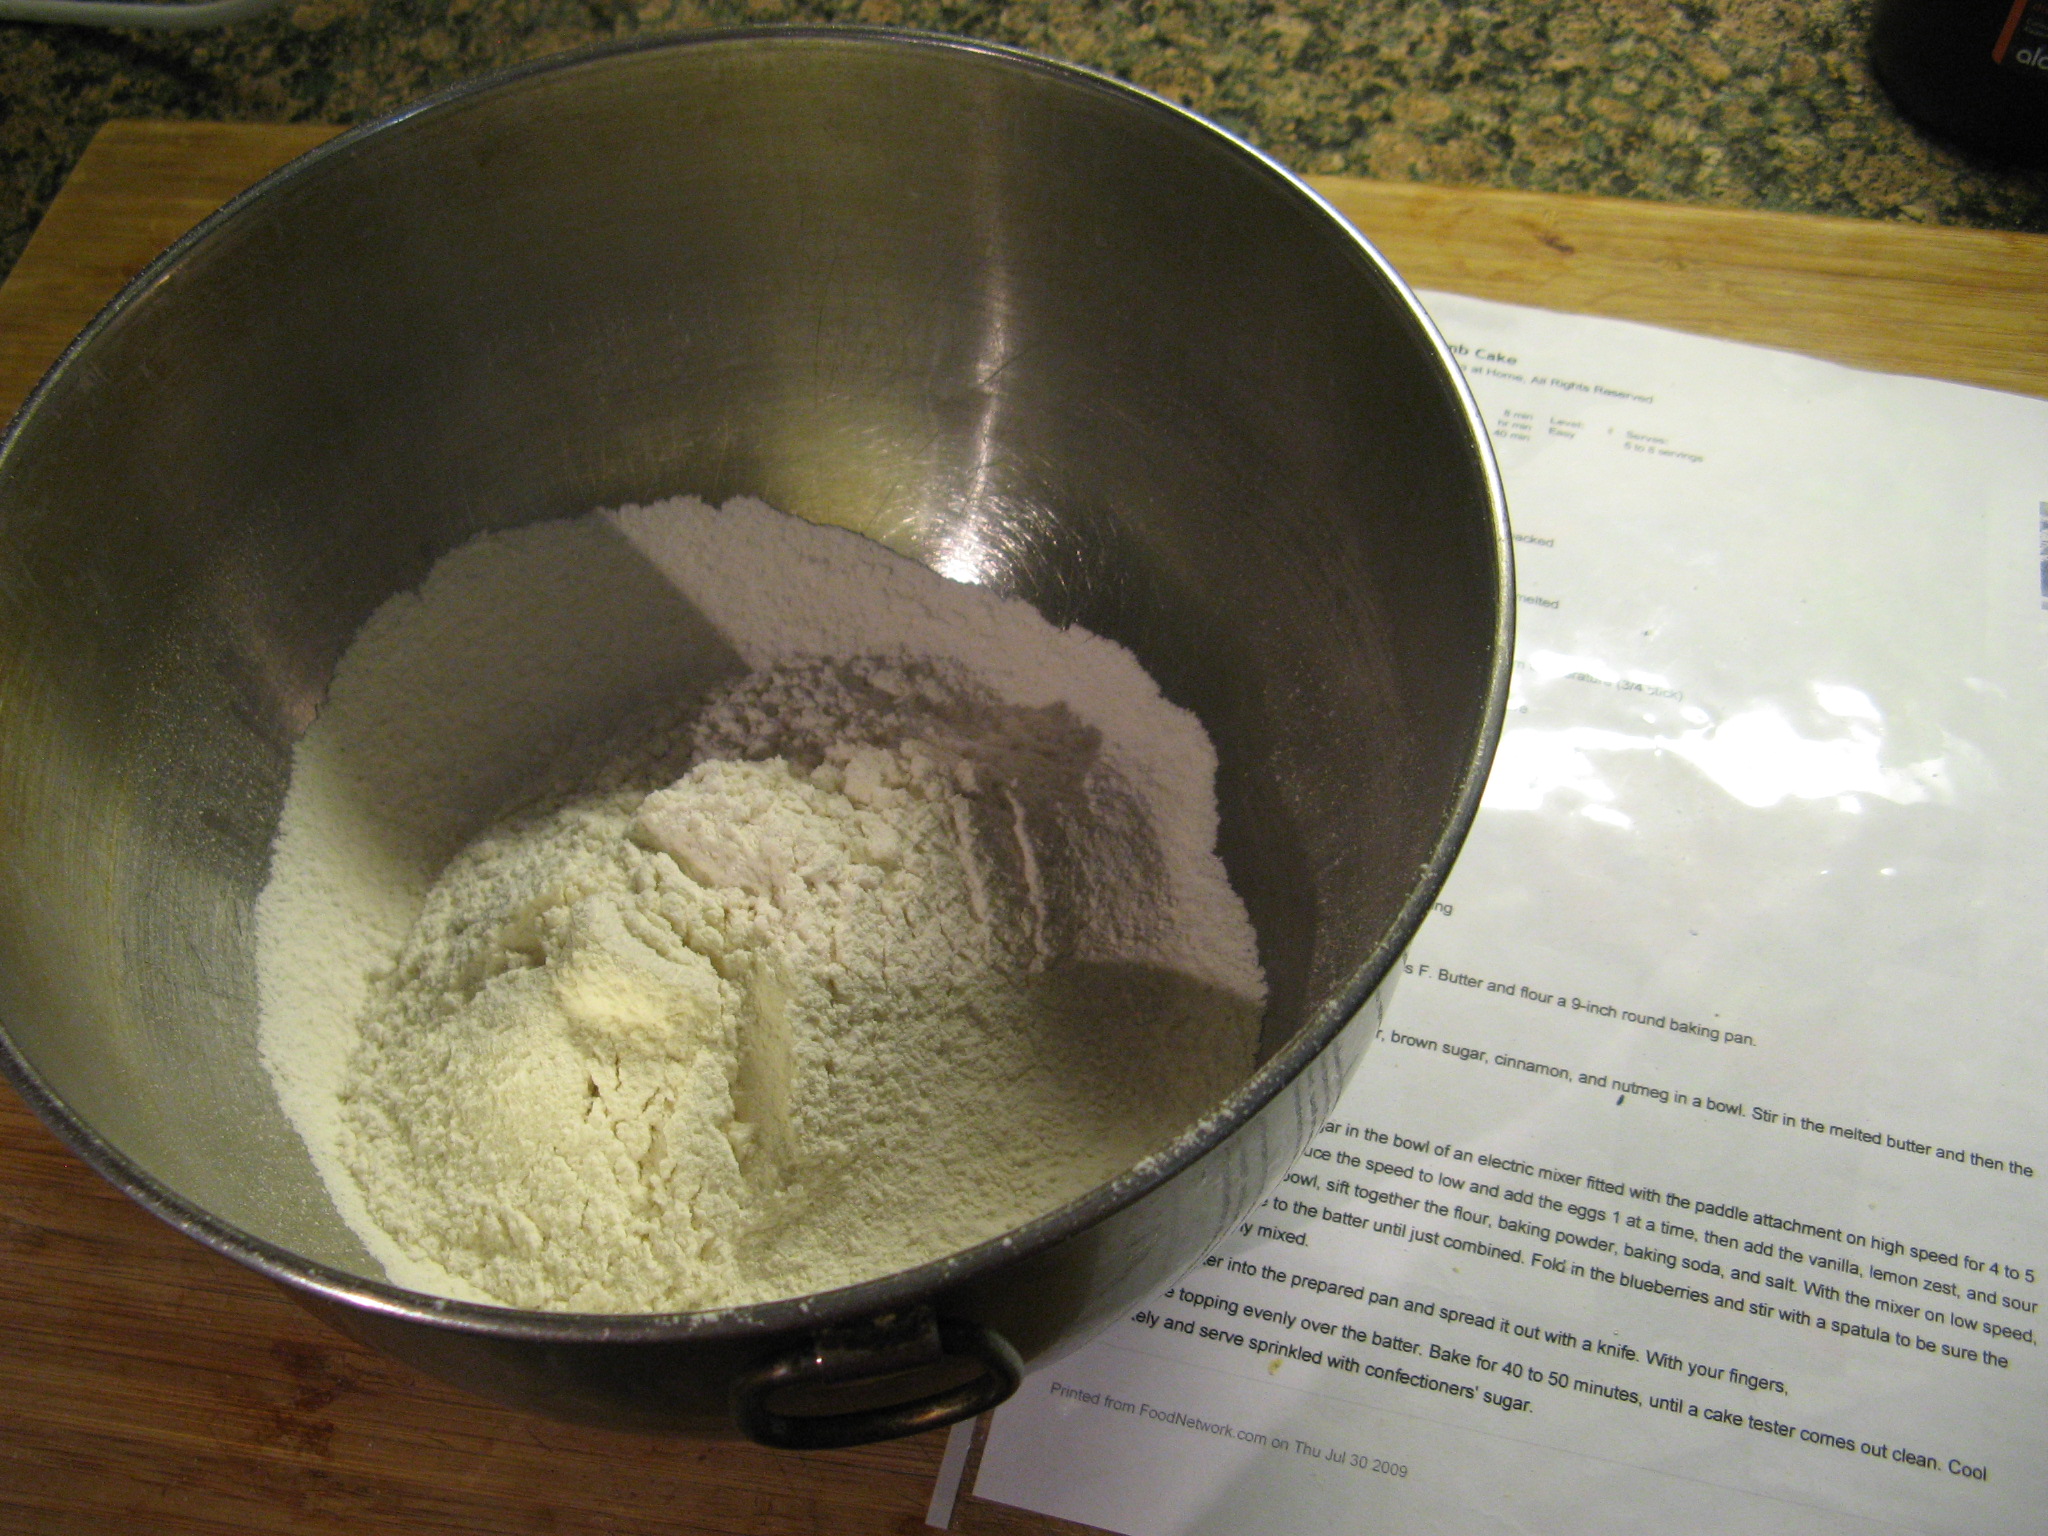
I set the wet mixture aside and sifted together the dry ingredients: flour, baking powder, baking soda & salt.
IMG_0897
I then added the flour mixture to the wet mixture and mixed it until it was just combined.
IMG_0899
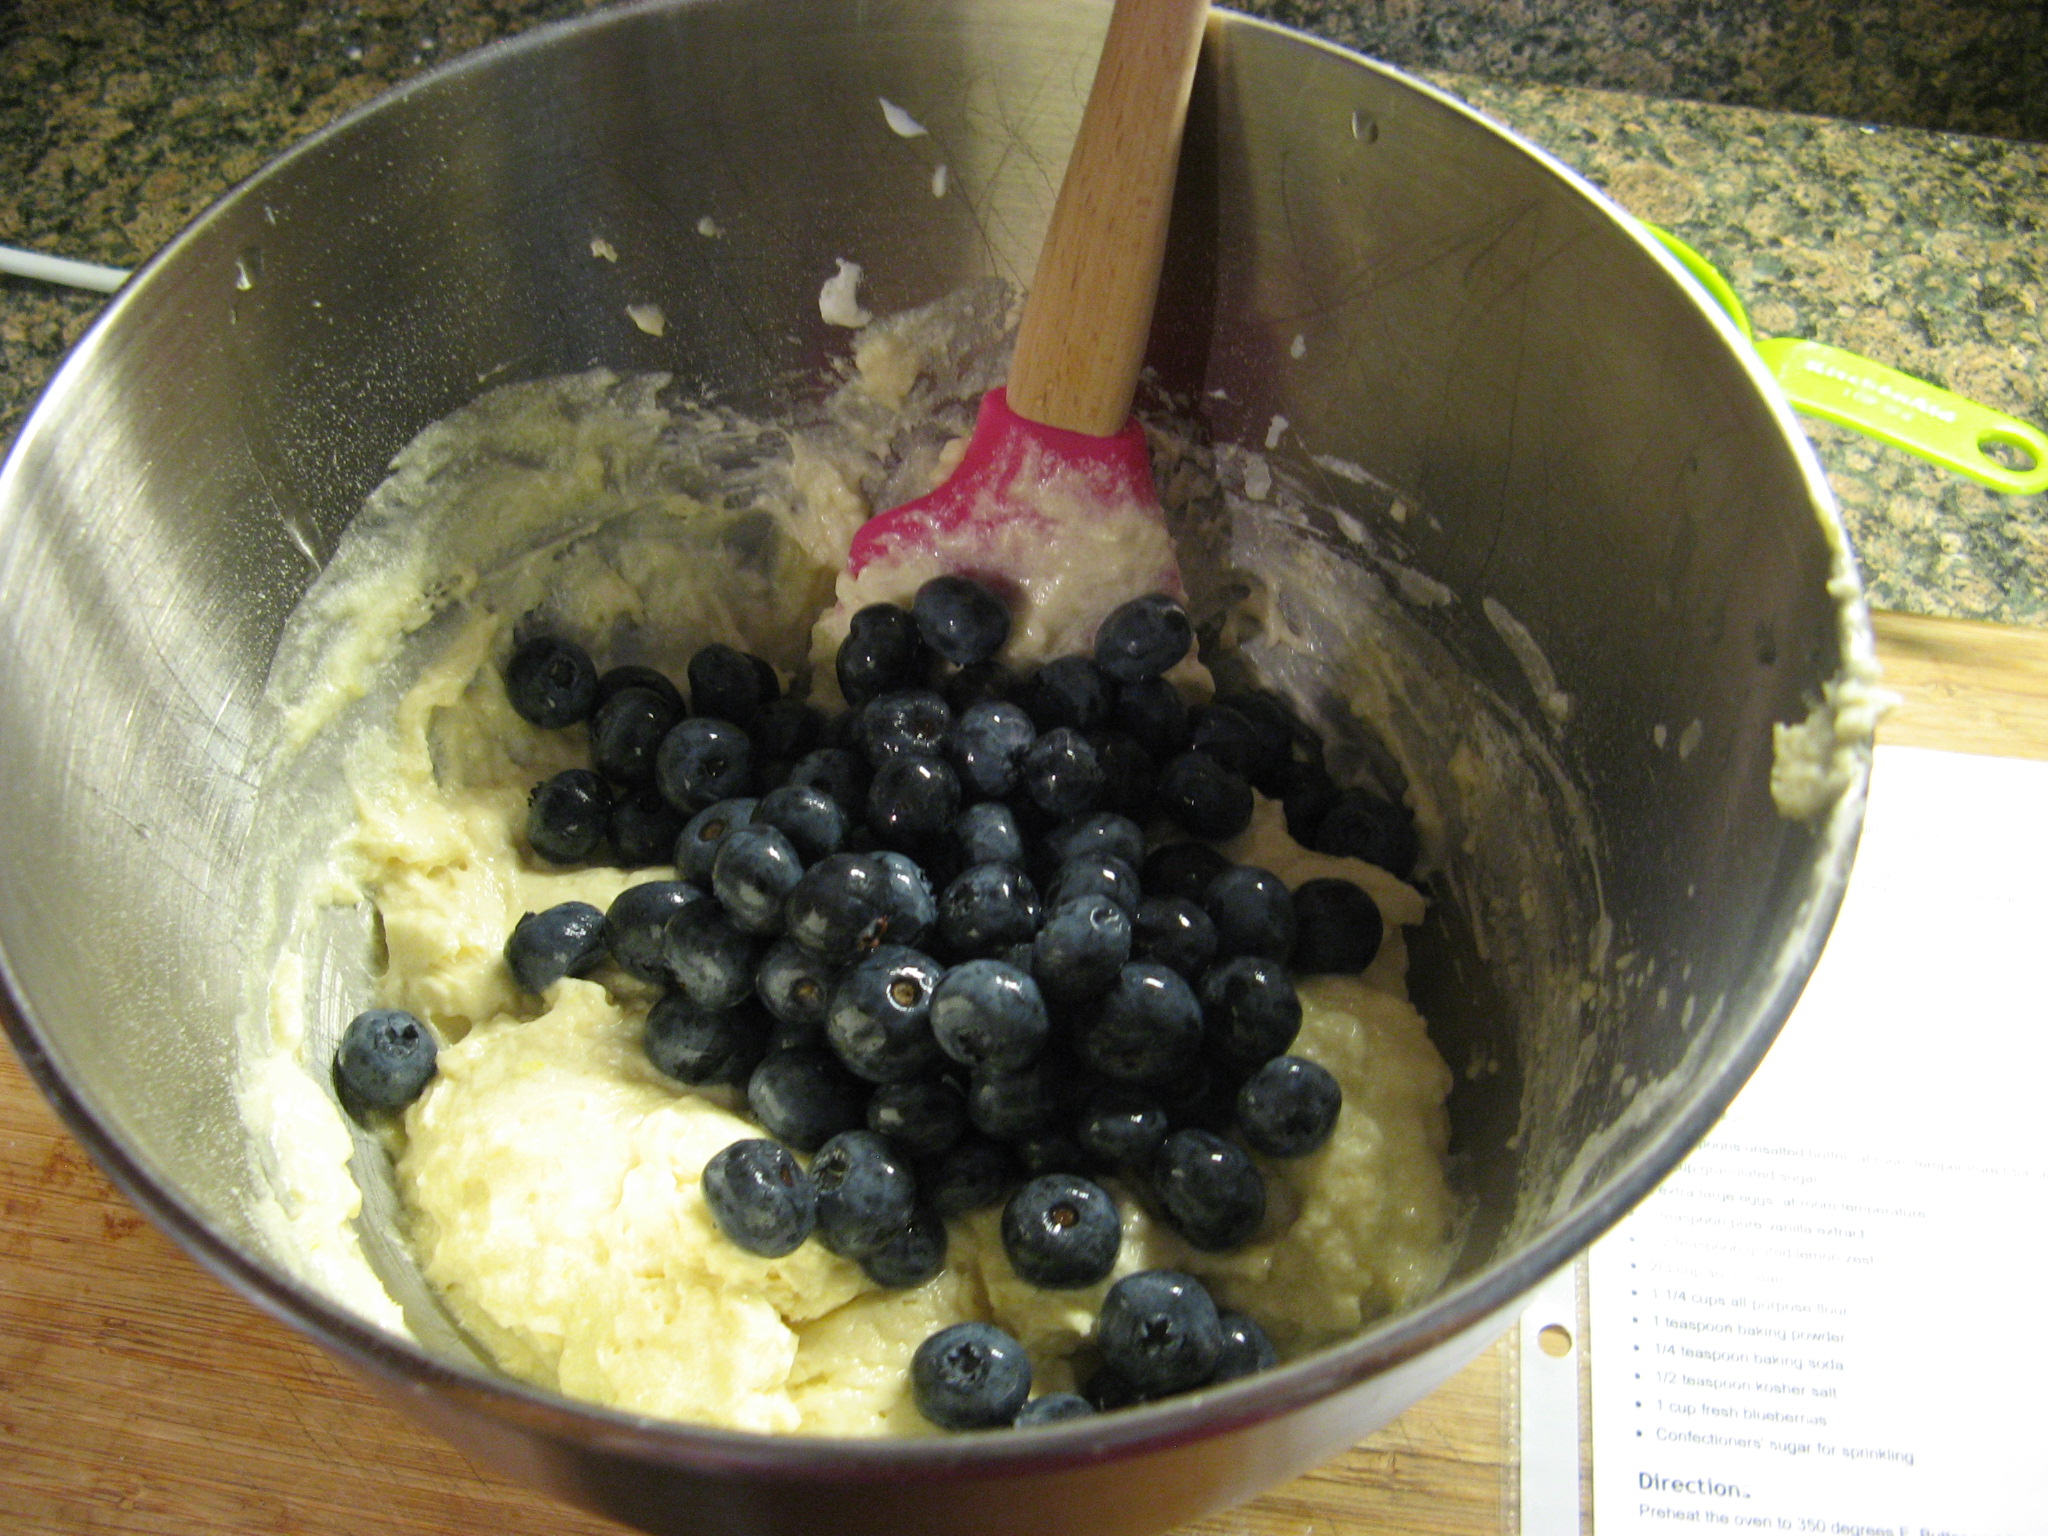
And finally I folded in about a cup of fresh blueberries.
IMG_0900
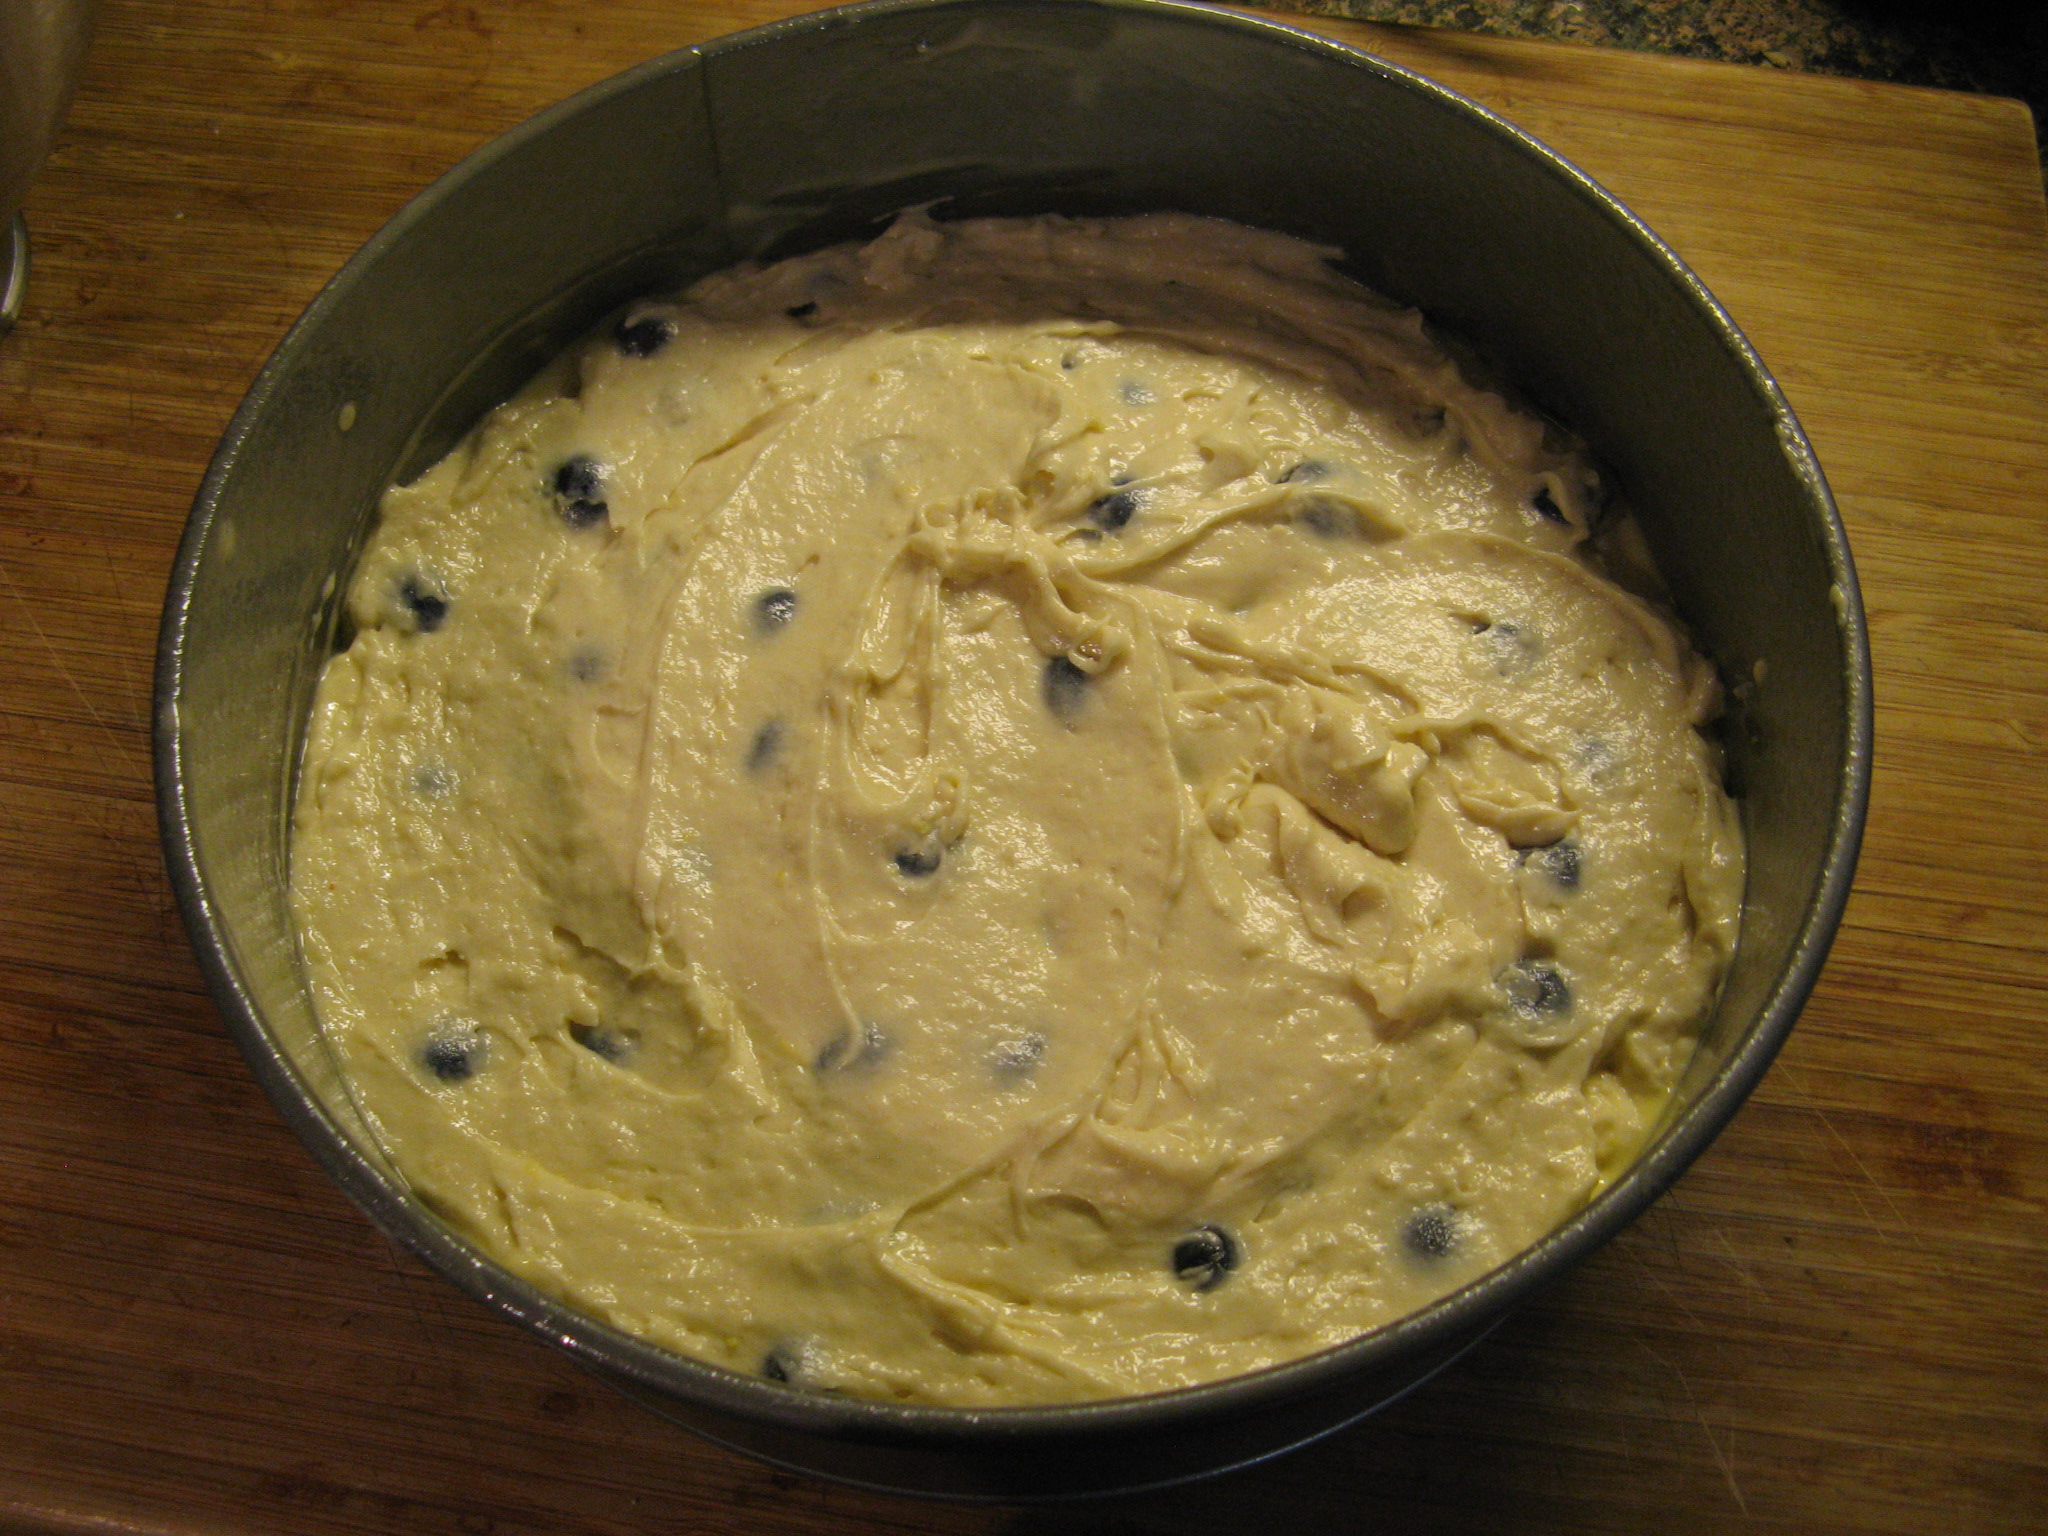
I then spread the batter into my prepared – I sprayed it with baking spray – 9-inch round pan.
IMG_0901
And then it was time to add the crumb topping.
IMG_0902
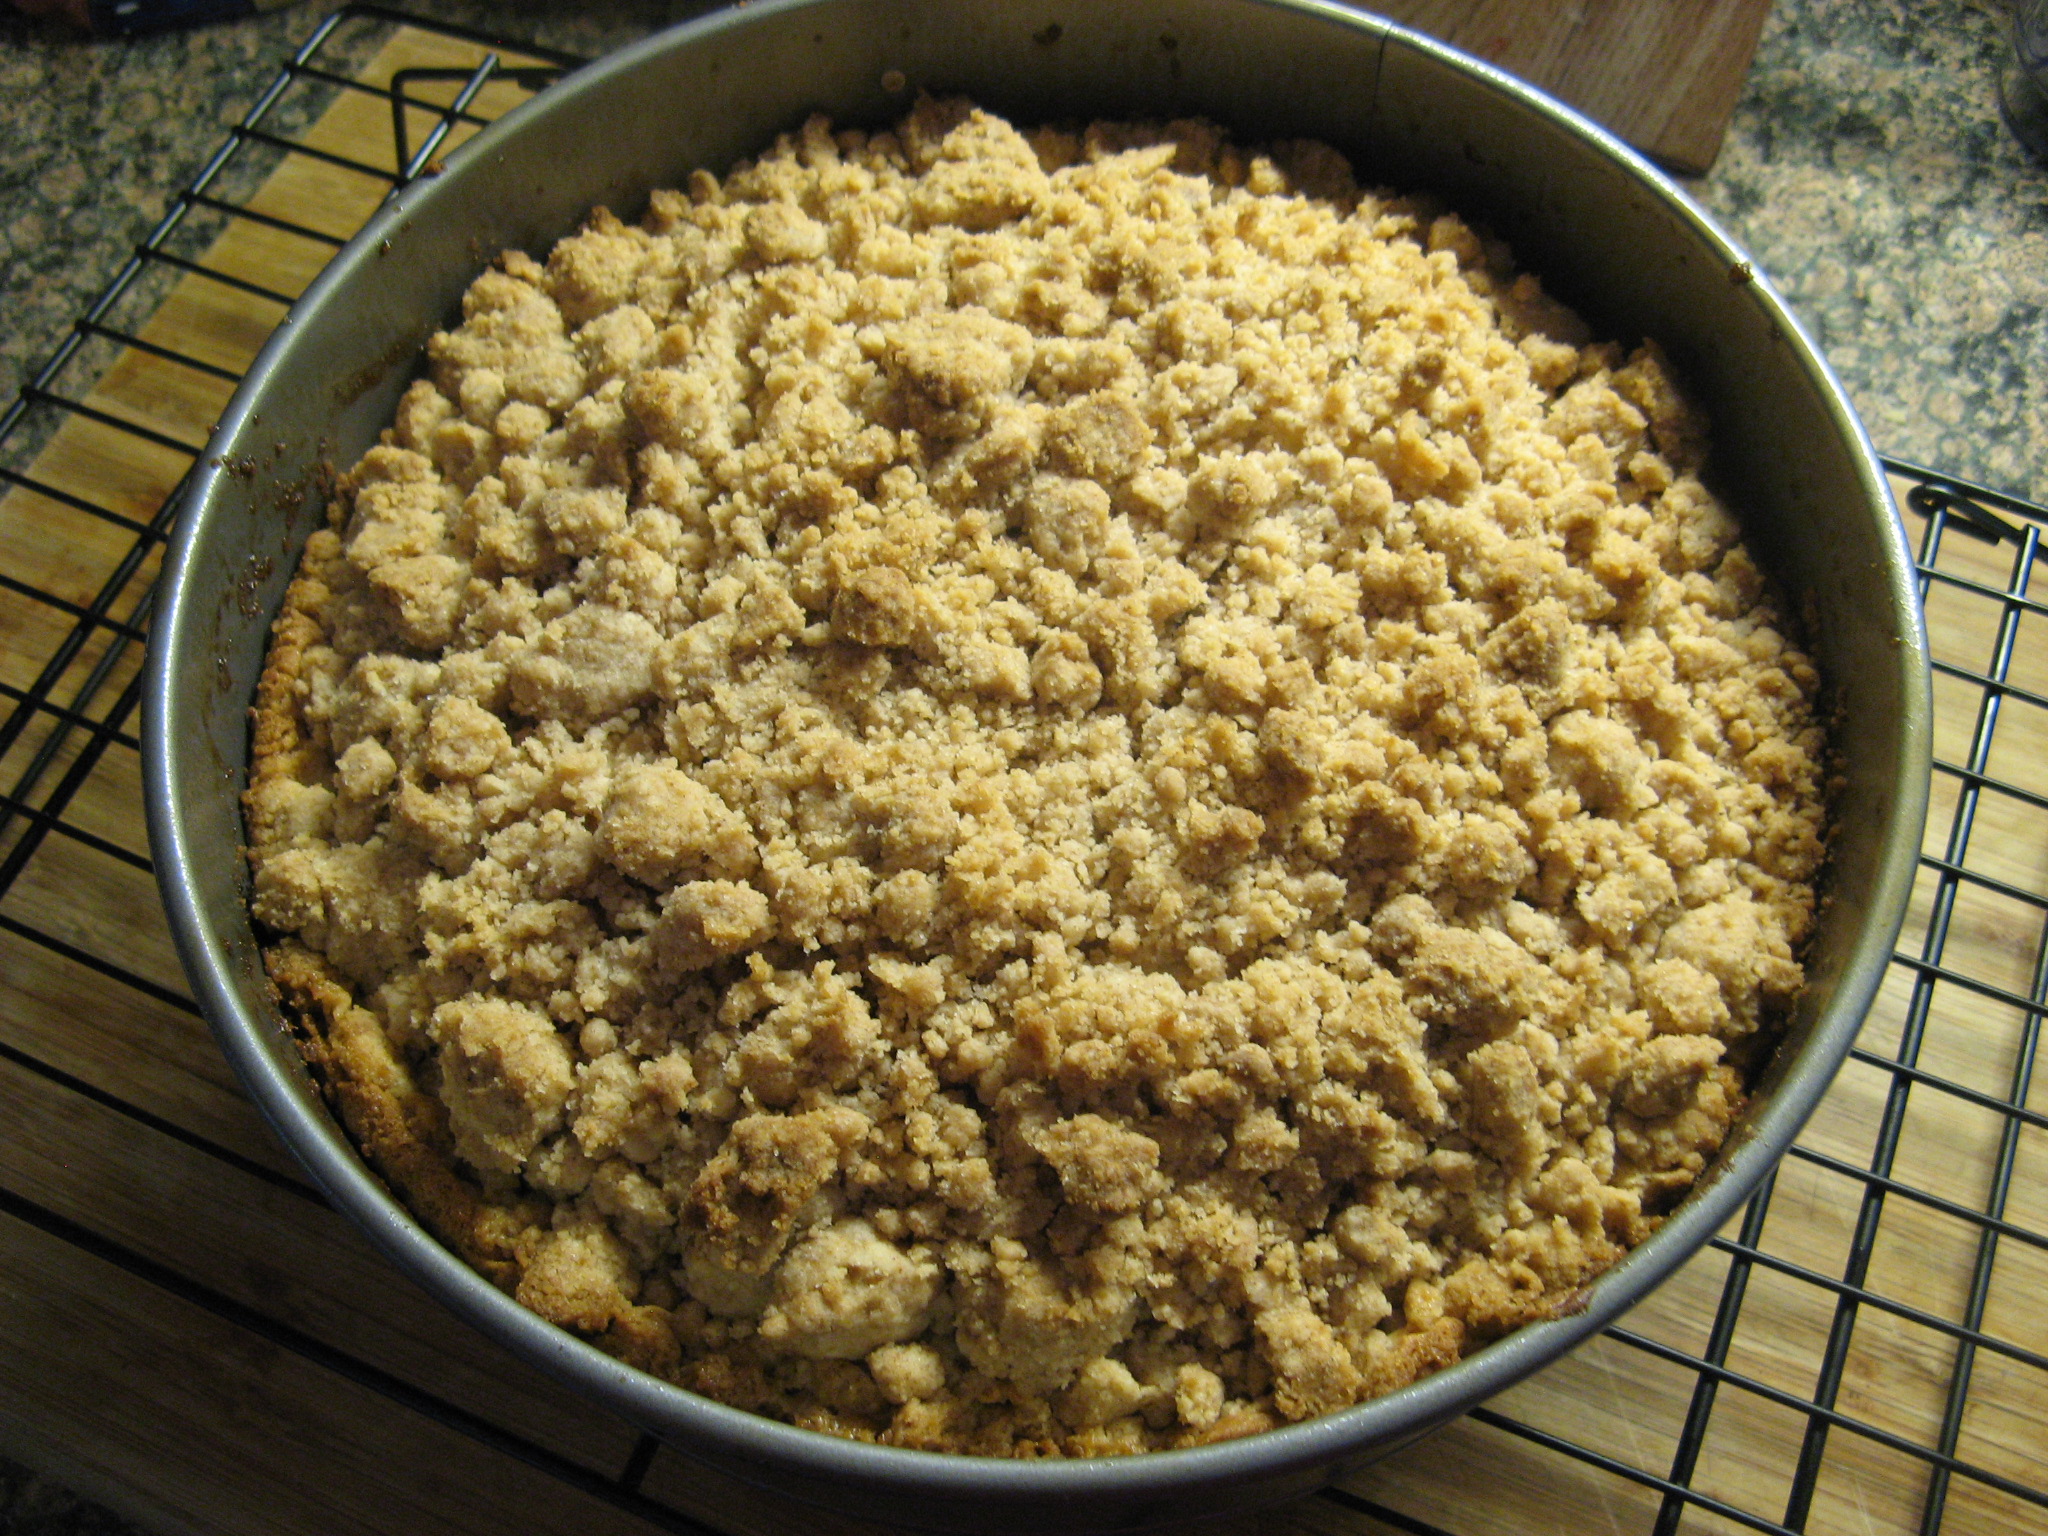
After baking for 45 minutes the cake was ready to come out of the oven. You definitely don’t want to over bake this cake because then the crumb topping will burn and become dry and a bit crunchy.
IMG_0905
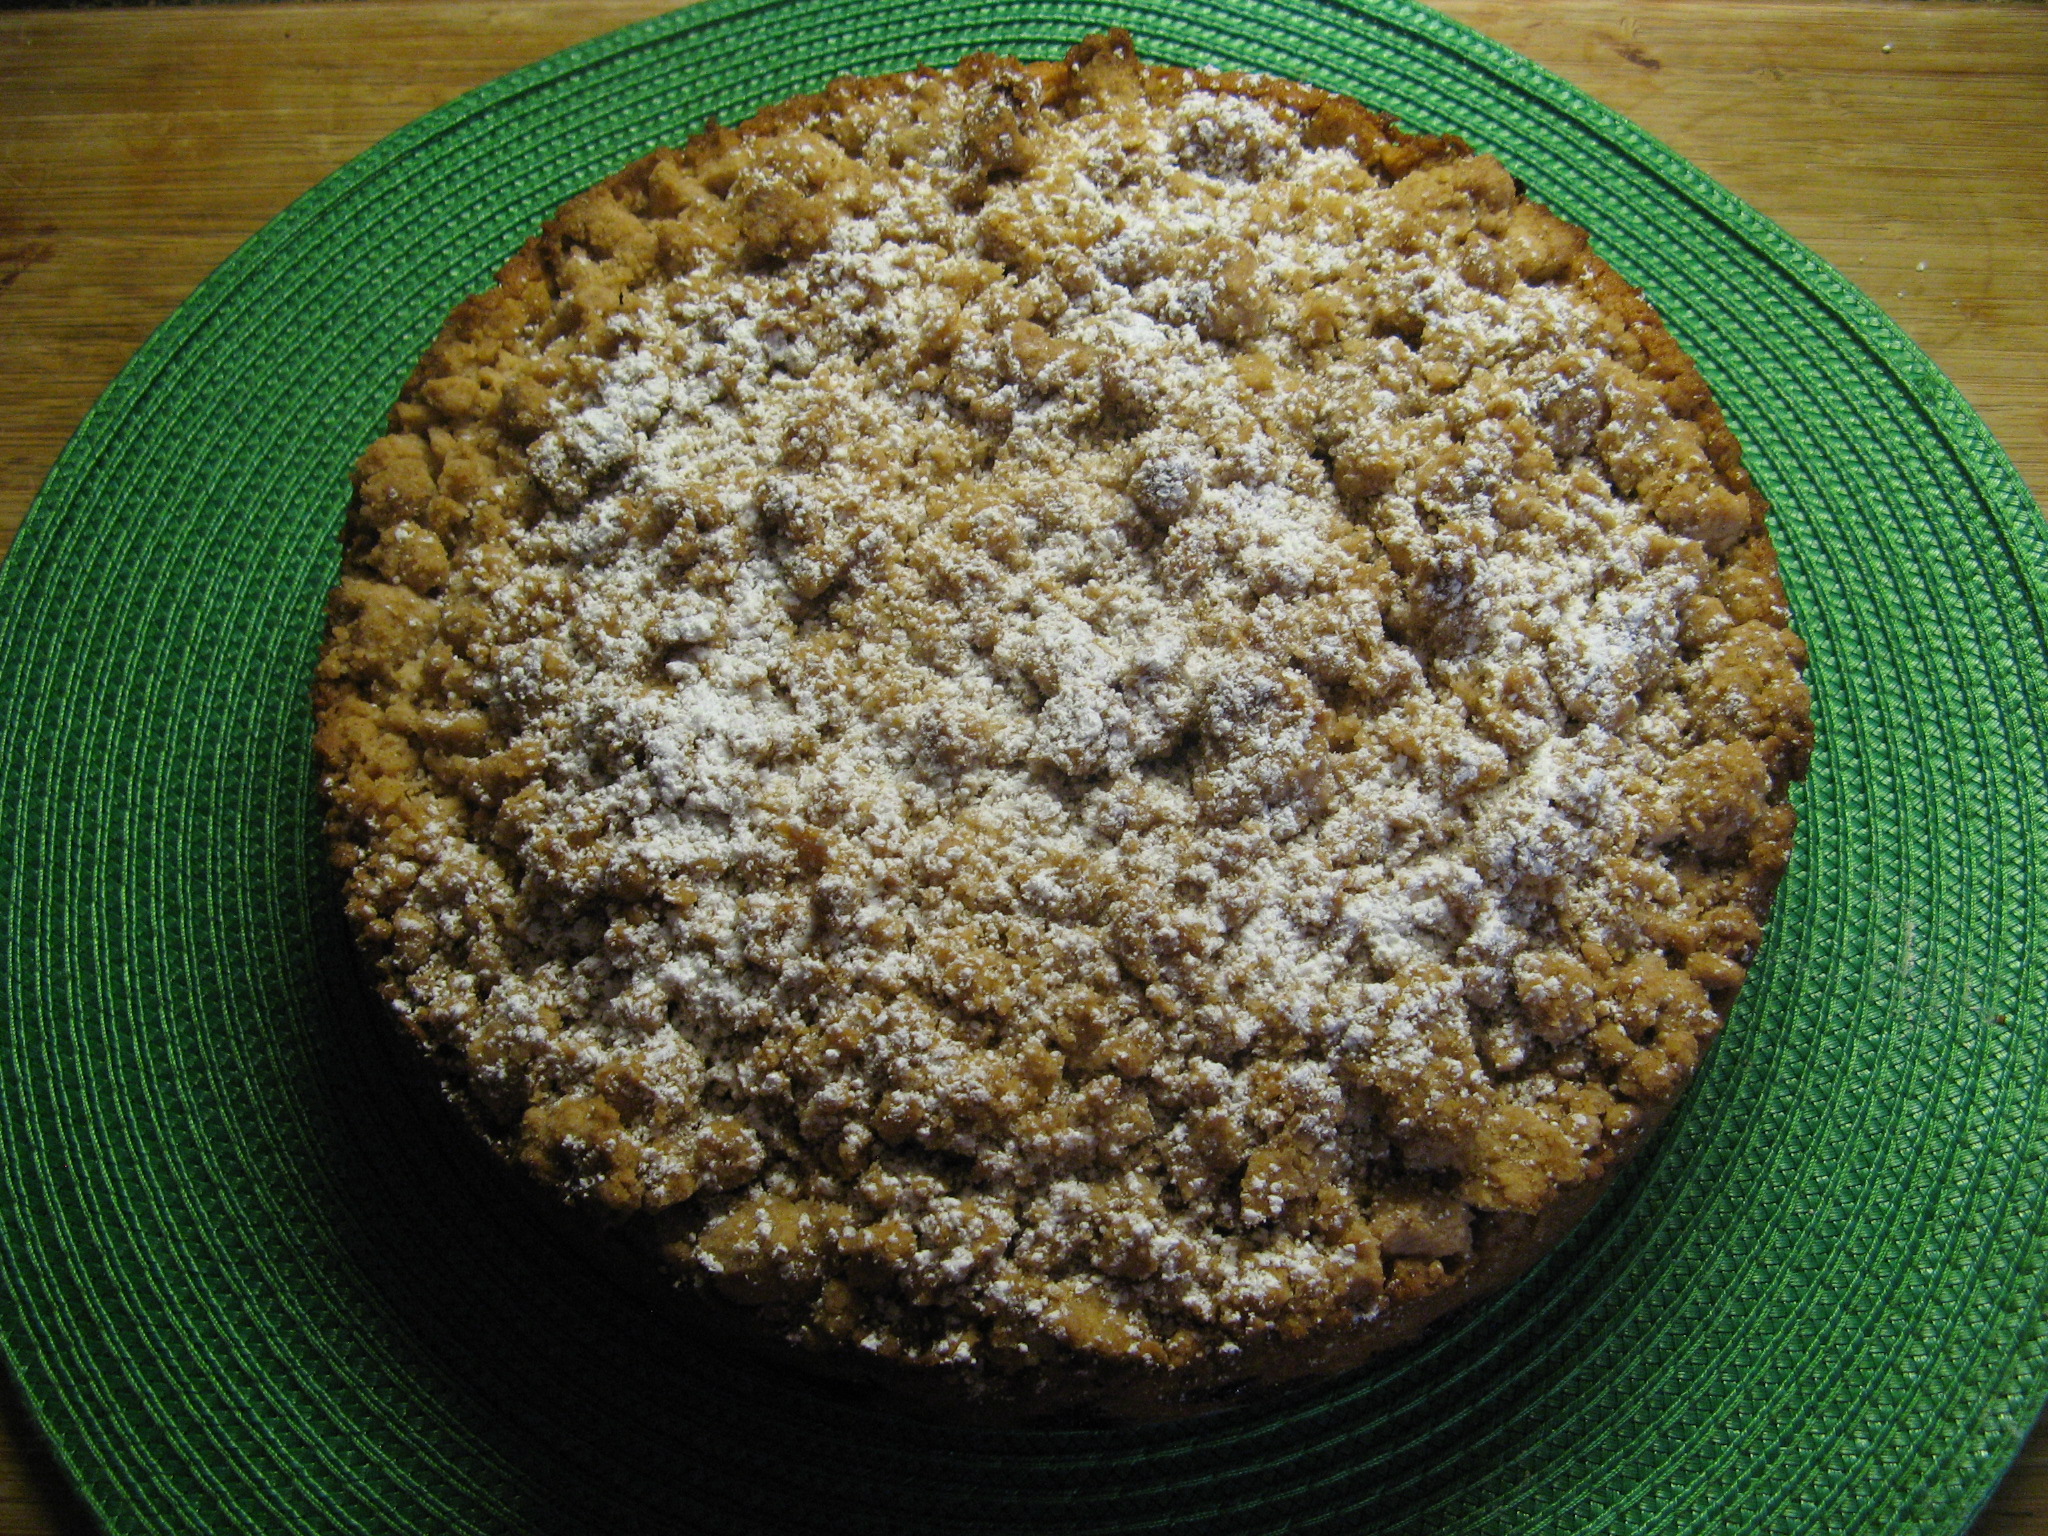
Once the cake was completely cooled I sprinkled it with confectioners’ sugar. You may be tempted not to add the sugar, but believe me, that little touch of sweetness makes such a difference.
IMG_0907
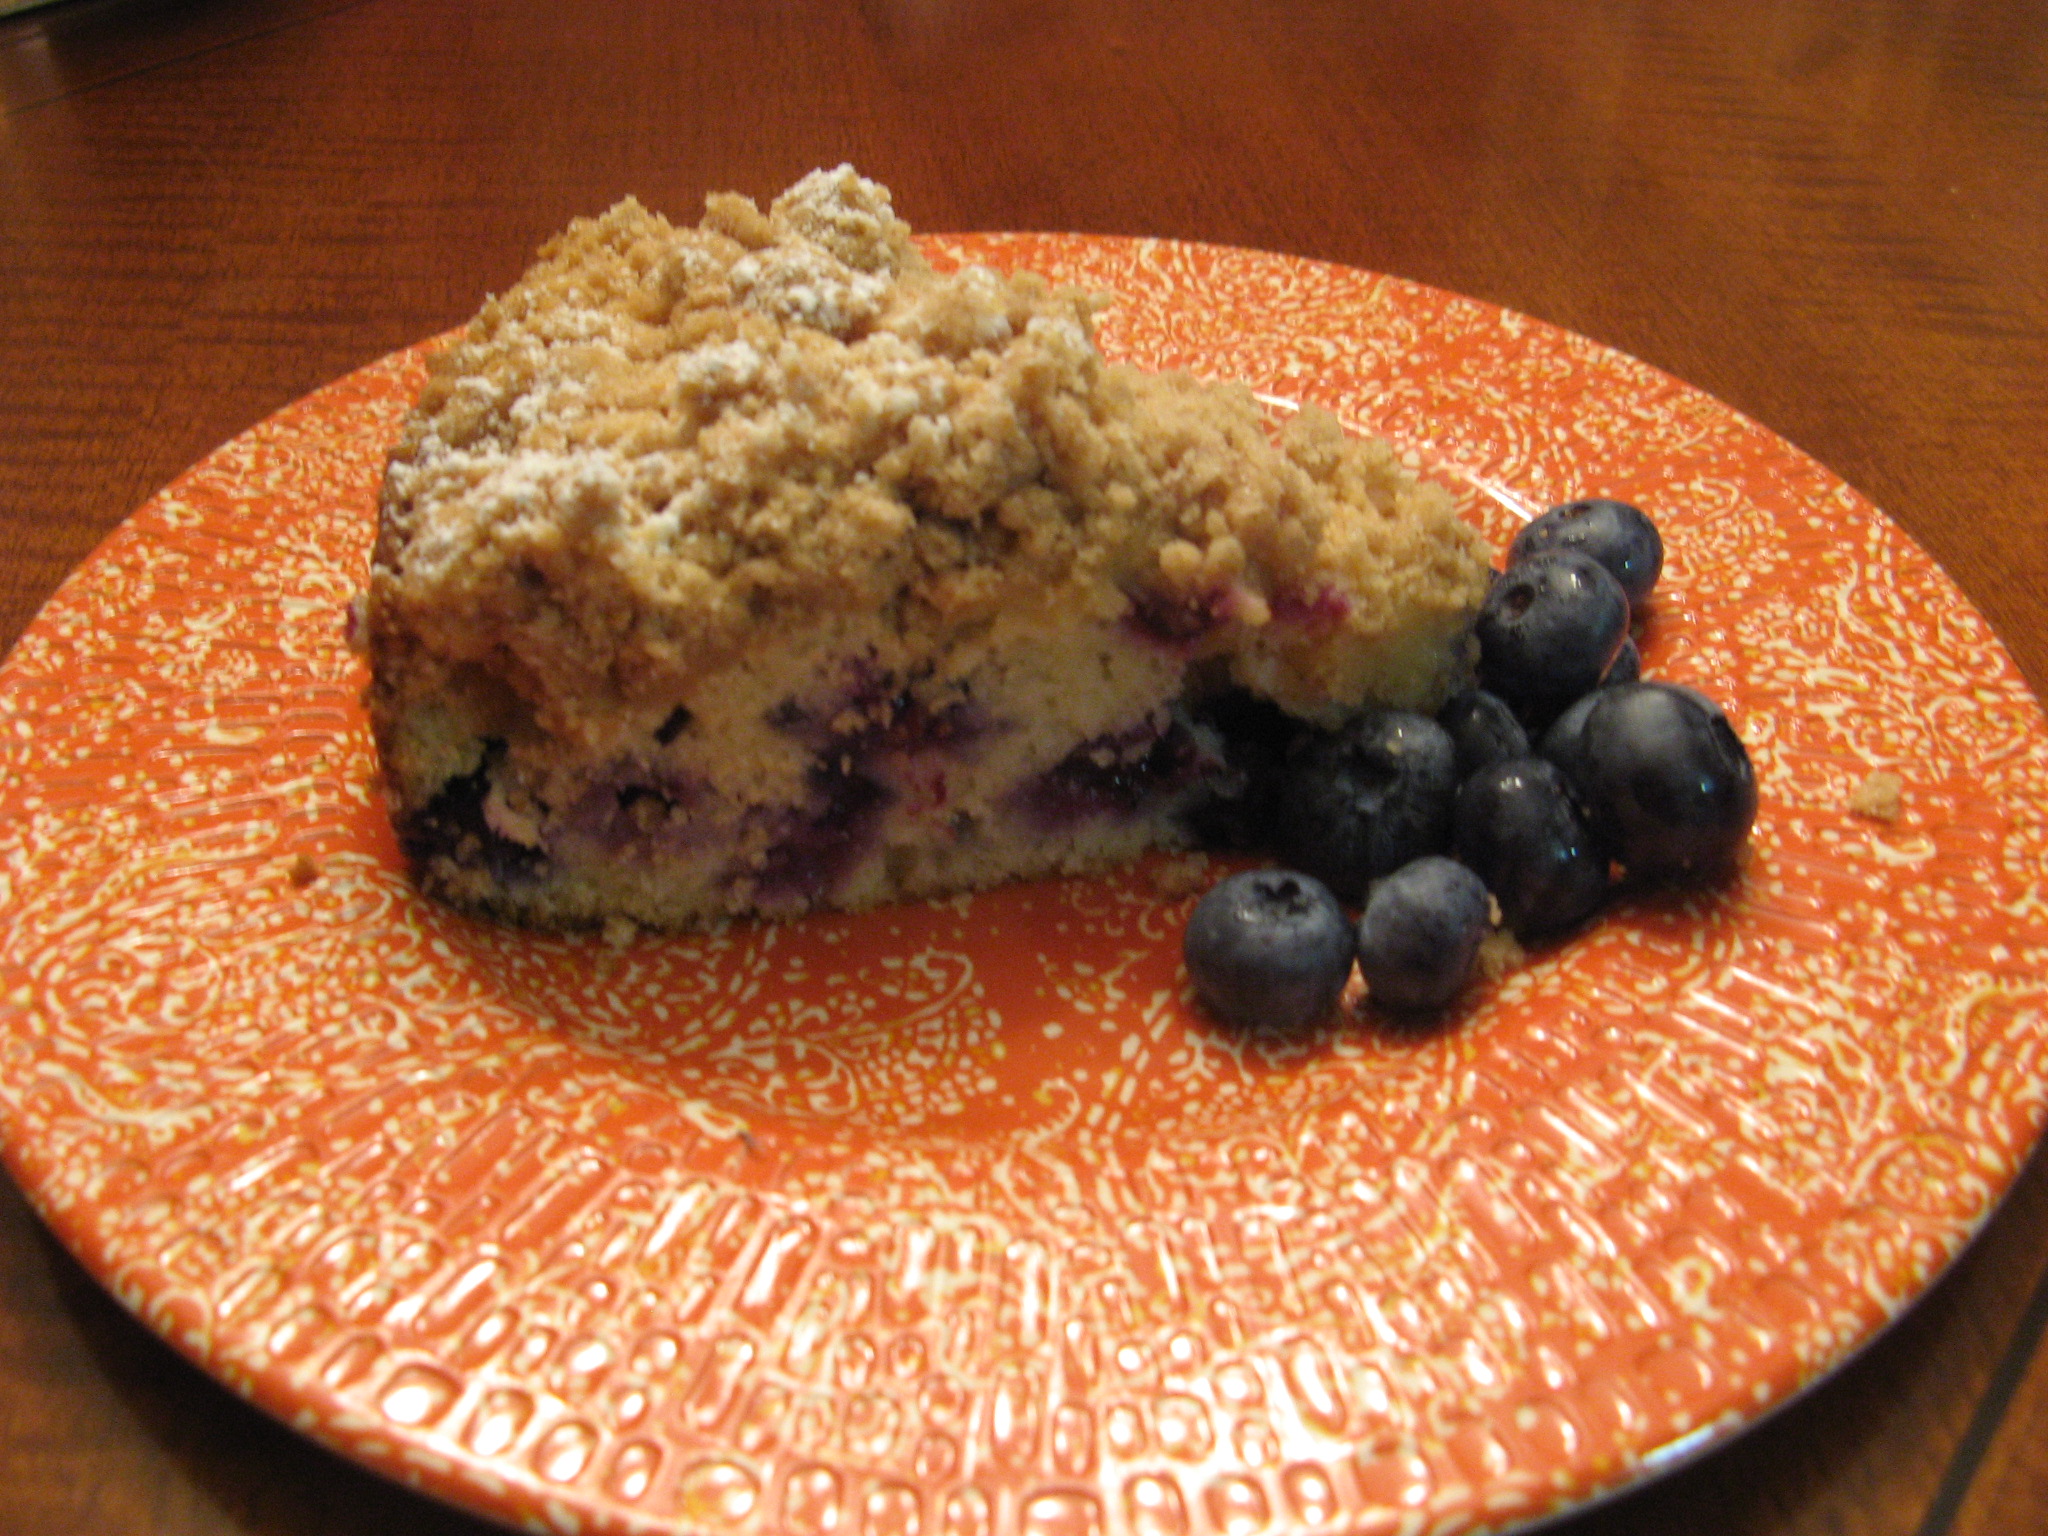
The cake was delicious, so much so that I ended up making another one a few days later.
IMG_0915

Blueberry Crumb Cake

Ingredients

For the streusel:

1/4 cup granulated sugar

1/3 cup light brown sugar, lightly packed

1 teaspoon ground cinnamon

1/8 teaspoon ground nutmeg

1/4 pound (1 stick) unsalted butter, melted

1 1/3 cups all-purpose flour

For the cake:

6 tablespoons unsalted butter, at room temperature (3/4 stick)

3/4 cup granulated sugar

2 extra-large eggs, at room temperature

1 teaspoon pure vanilla extract

1/2 teaspoon grated lemon zest

2/3 cup sour cream

1 1/4 cups all-purpose flour

1 teaspoon baking powder

1/4 teaspoon baking soda

1/2 teaspoon kosher salt

1 cup fresh blueberries

Confectioners’ sugar for sprinkling

Directions

Preheat the oven to 350 degrees F. Butter and flour a 9-inch round baking pan.

For the streusel:

Combine the granulated sugar, brown sugar, cinnamon, and nutmeg in a bowl. Stir in the melted butter and then the flour. Mix well and set aside.

For the cake:

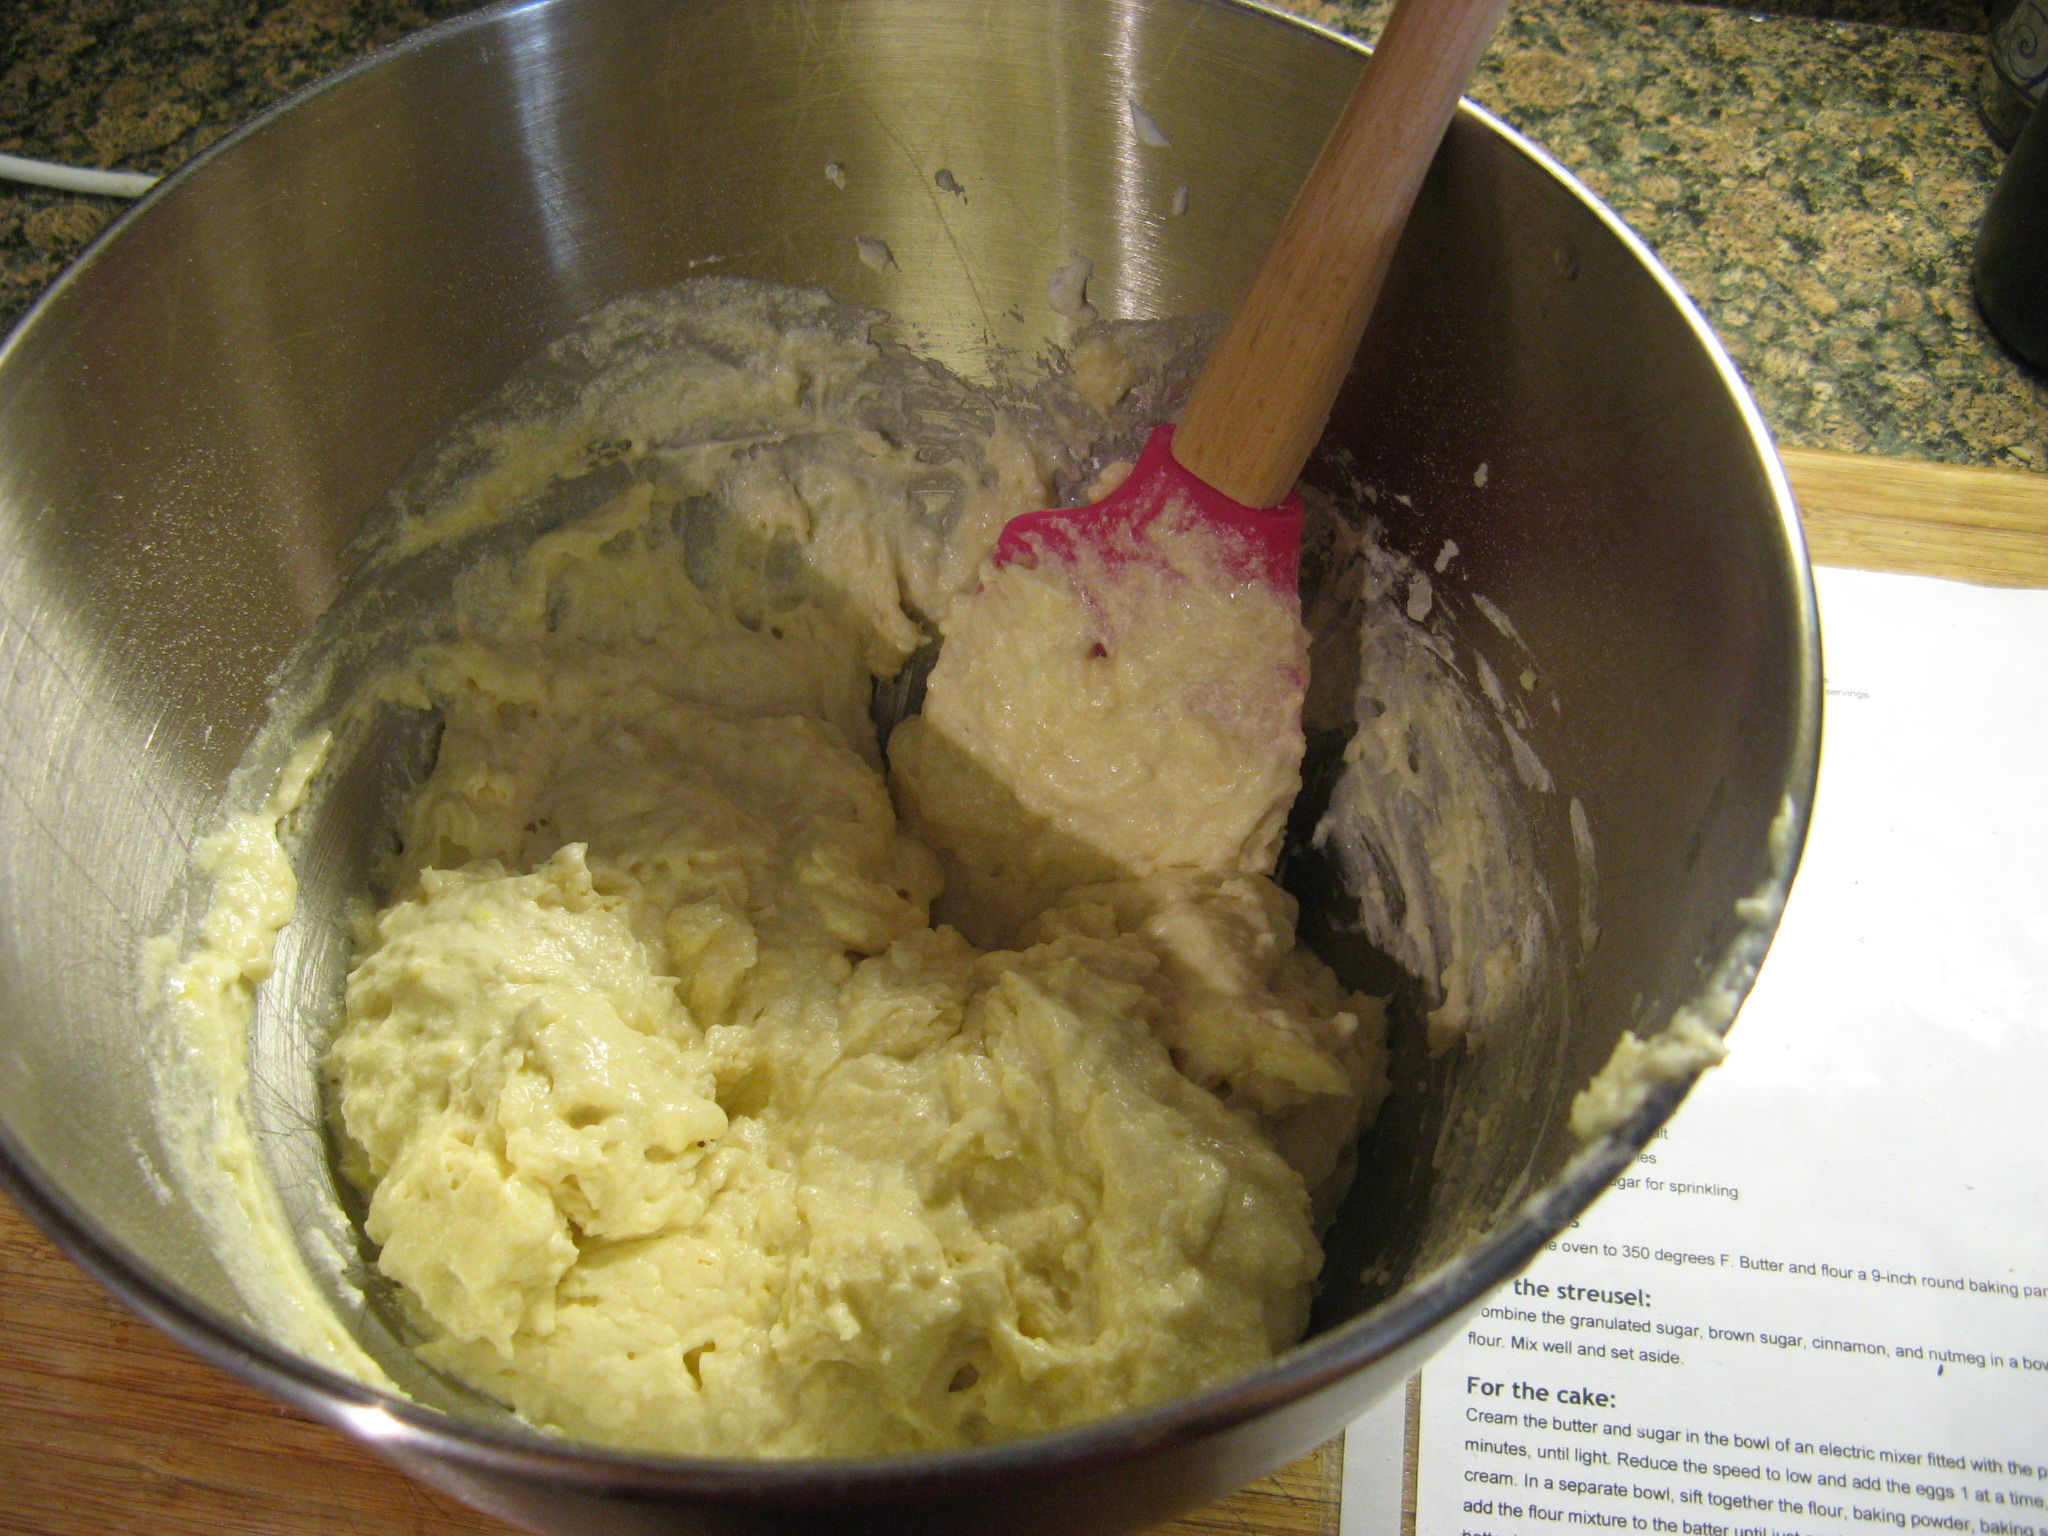
Cream the butter and sugar in the bowl of an electric mixer fitted with the paddle attachment on high speed for 4 to 5 minutes, until light. Reduce the speed to low and add the eggs 1 at a time, then add the vanilla, lemon zest, and sour cream. In a separate bowl, sift together the flour, baking powder, baking soda, and salt. With the mixer on low speed, add the flour mixture to the batter until just combined. Fold in the blueberries and stir with a spatula to be sure the batter is completely mixed.

Spoon the batter into the prepared pan and spread it out with a knife. With your fingers, crumble the topping evenly over the batter. Bake for 40 to 50 minutes, until a cake tester comes out clean. Cool completely and serve sprinkled with confectioners’ sugar.

Shortcut Cupcakes

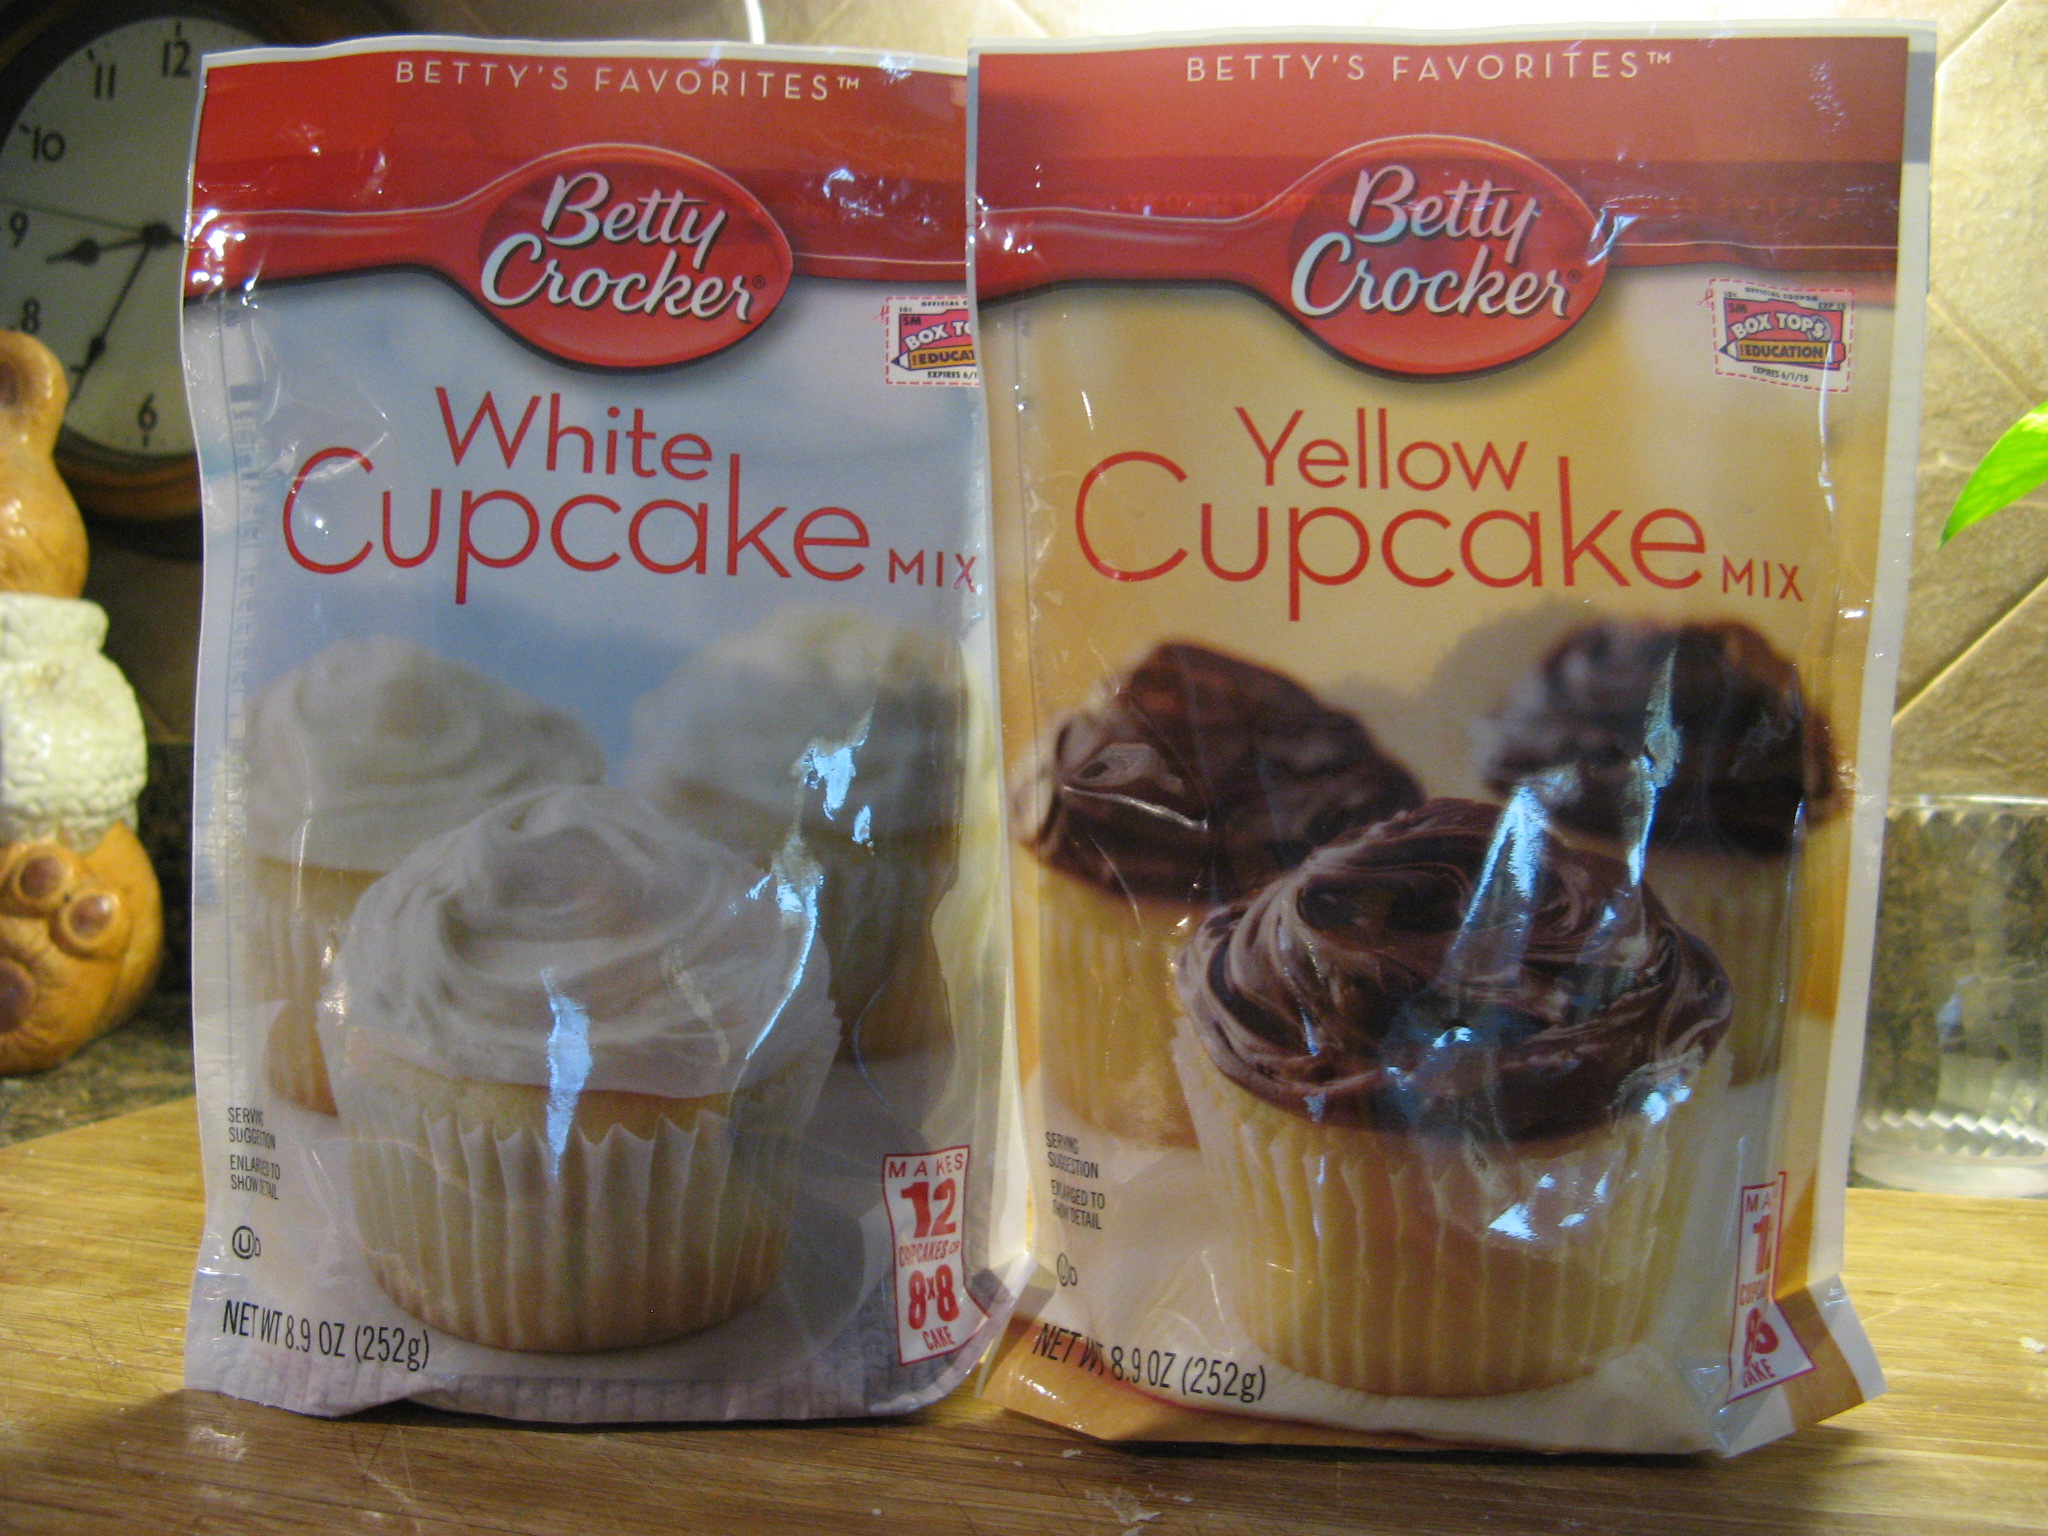
There’s nothing like baked treats made from scratch, but taking a shortcut can create something just as delicious – as was the case when I recently made Strawberry Shortcake Cupcakes and Cinnamon Roll Cupcakes. The shortcut for these cupcakes came in the form of using packaged cupcake mix. I came across these Betty Crocker Cupcake mixes that are perfectly proportioned for 12 cupcakes.

IMG_0835

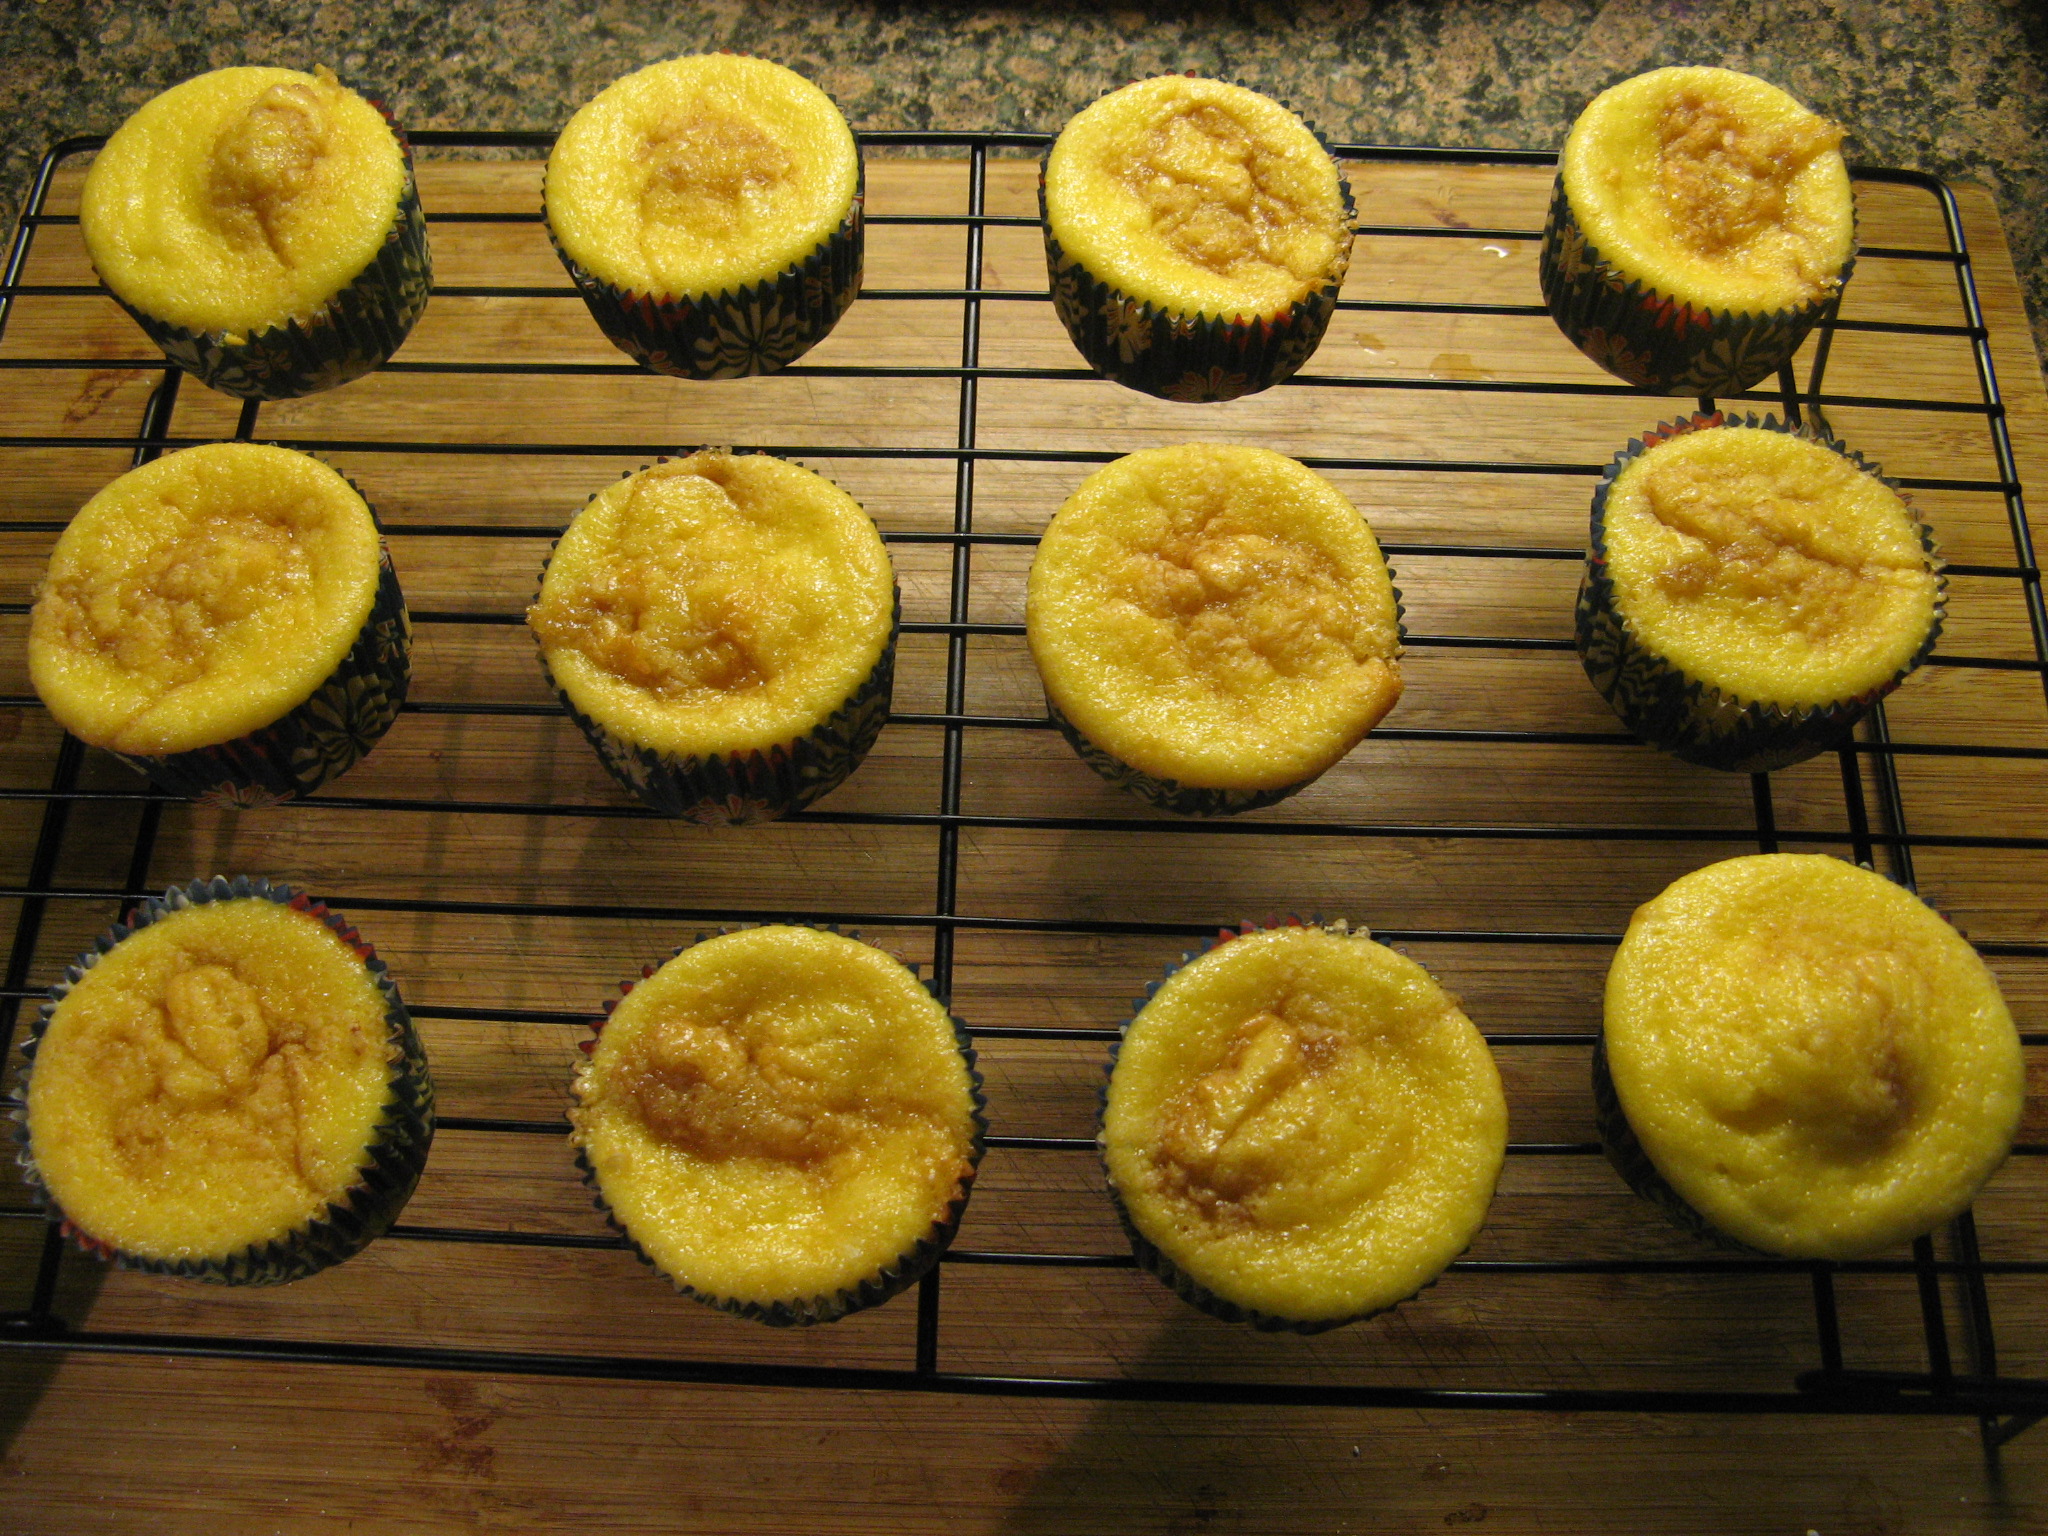
I got the idea for the Cinnamon Roll Cupcakes from a fellow bloggers website – Eat My Shortbread – and while she made hers from scratch I mixed in about 1/2 cup of sour cream to the batter of the yellow cupcake mix. Once I had my batter divided up among my twelve-cup muffin tin I swirled in a mixture of  cinnamon, brown sugar and melted butter. After baking for 15 minutes this was the final product.

IMG_0811

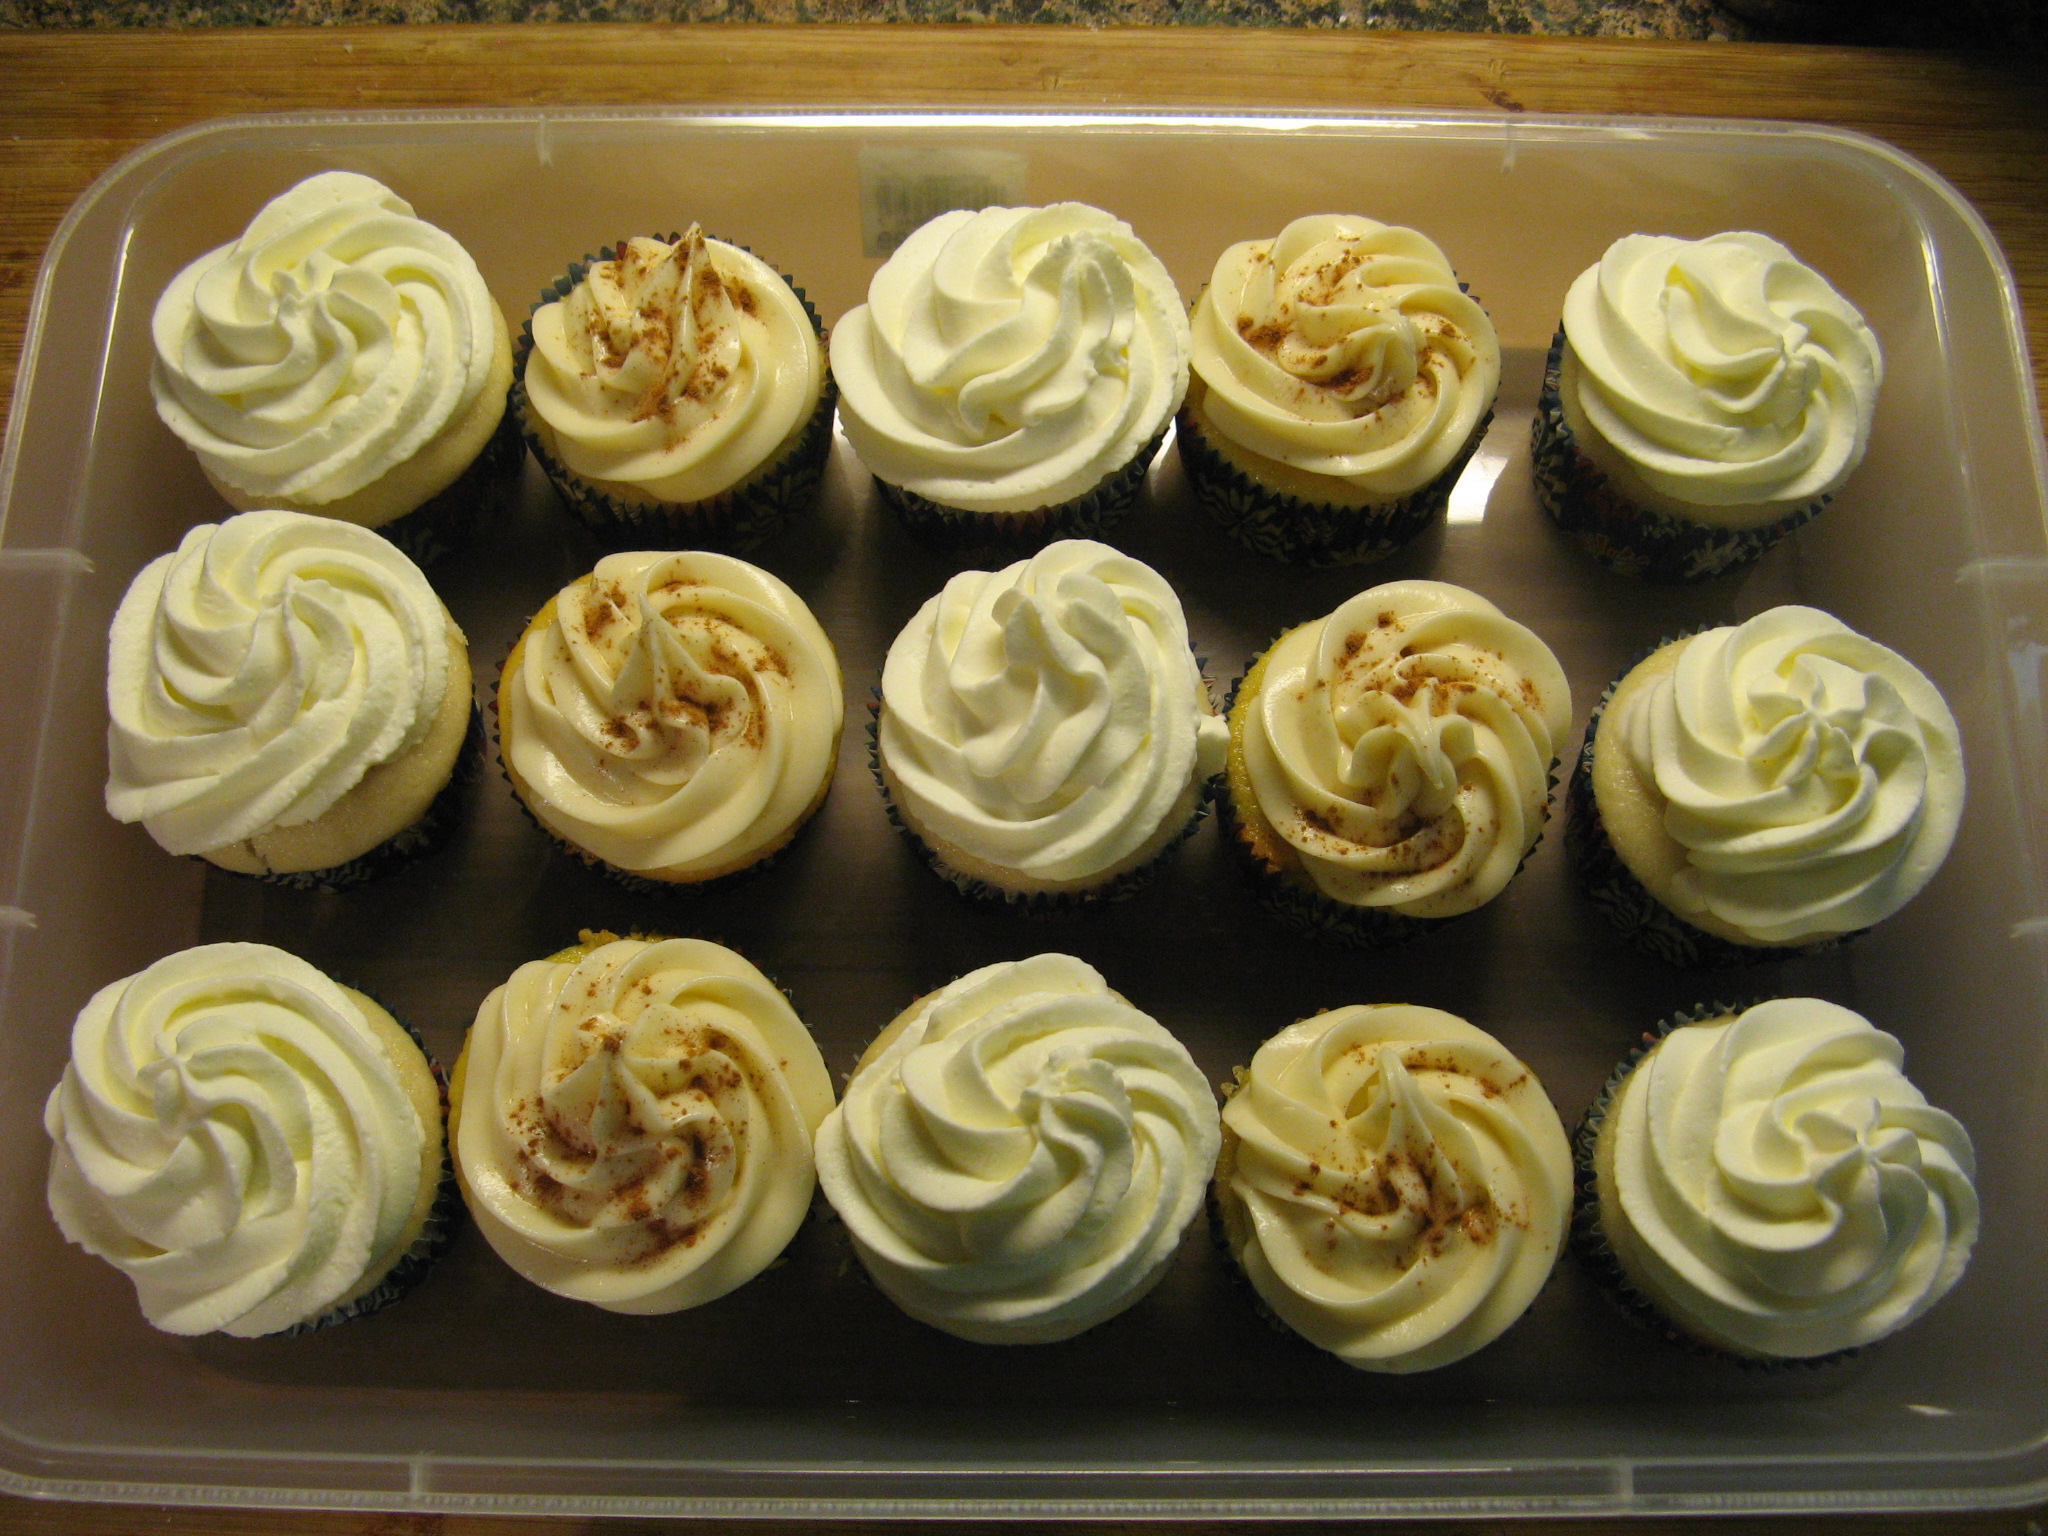
For the frosting, I made a Cream Cheese frosting and piped in on to each of the cupcakes and then sprinkled them with cinnamon.

IMG_0813

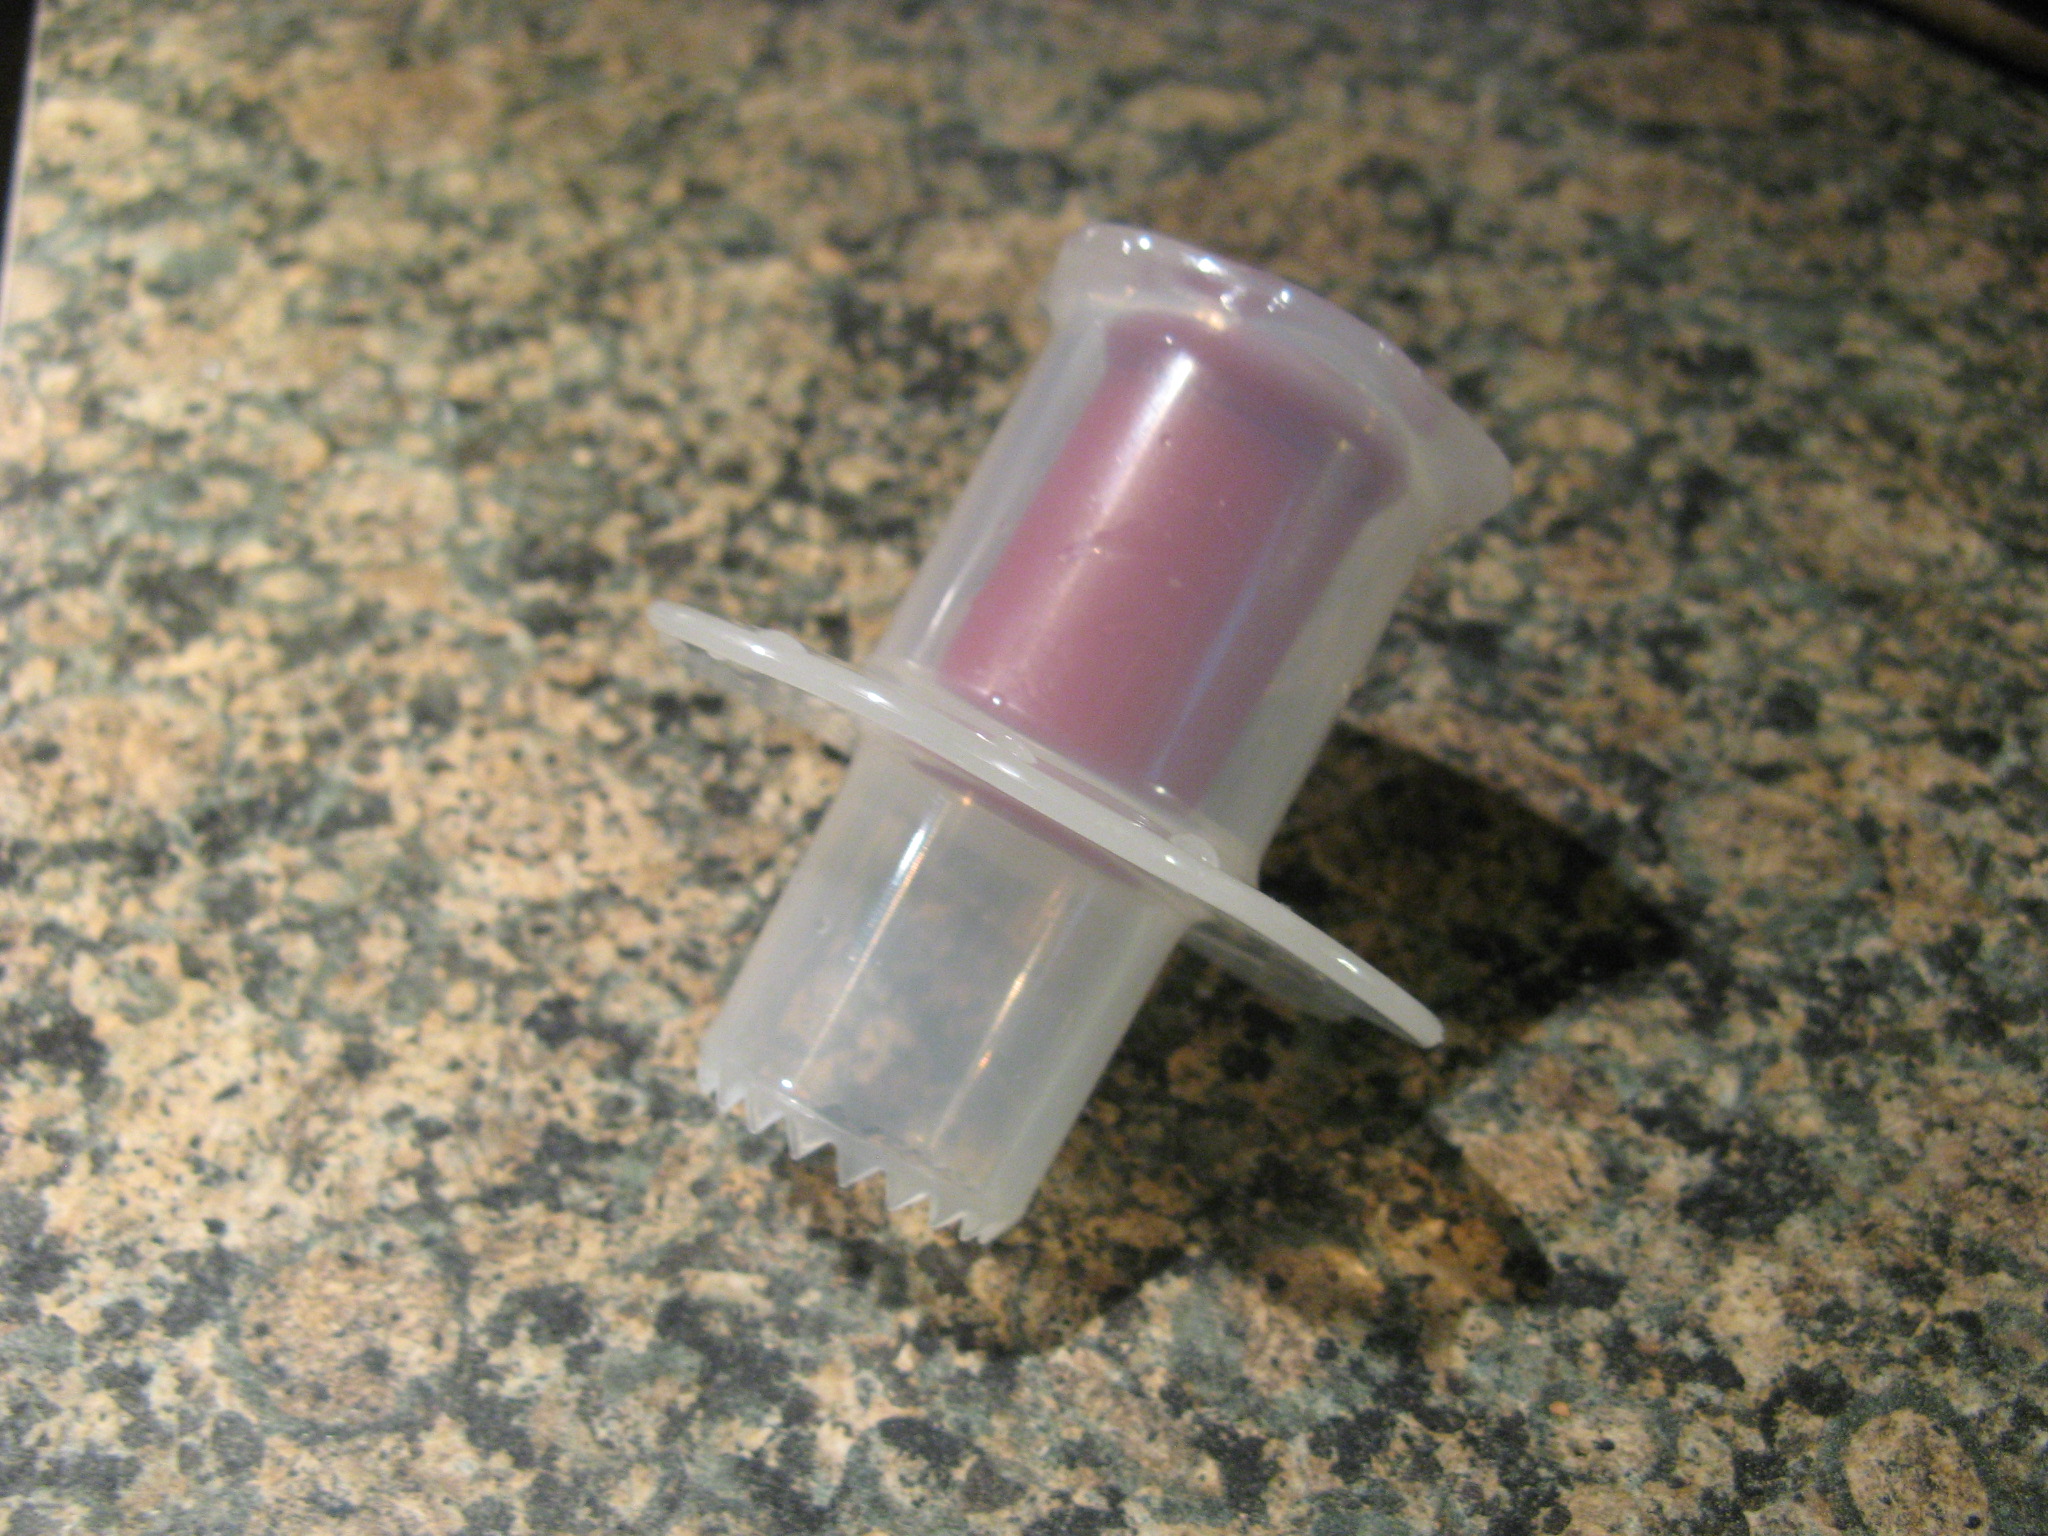
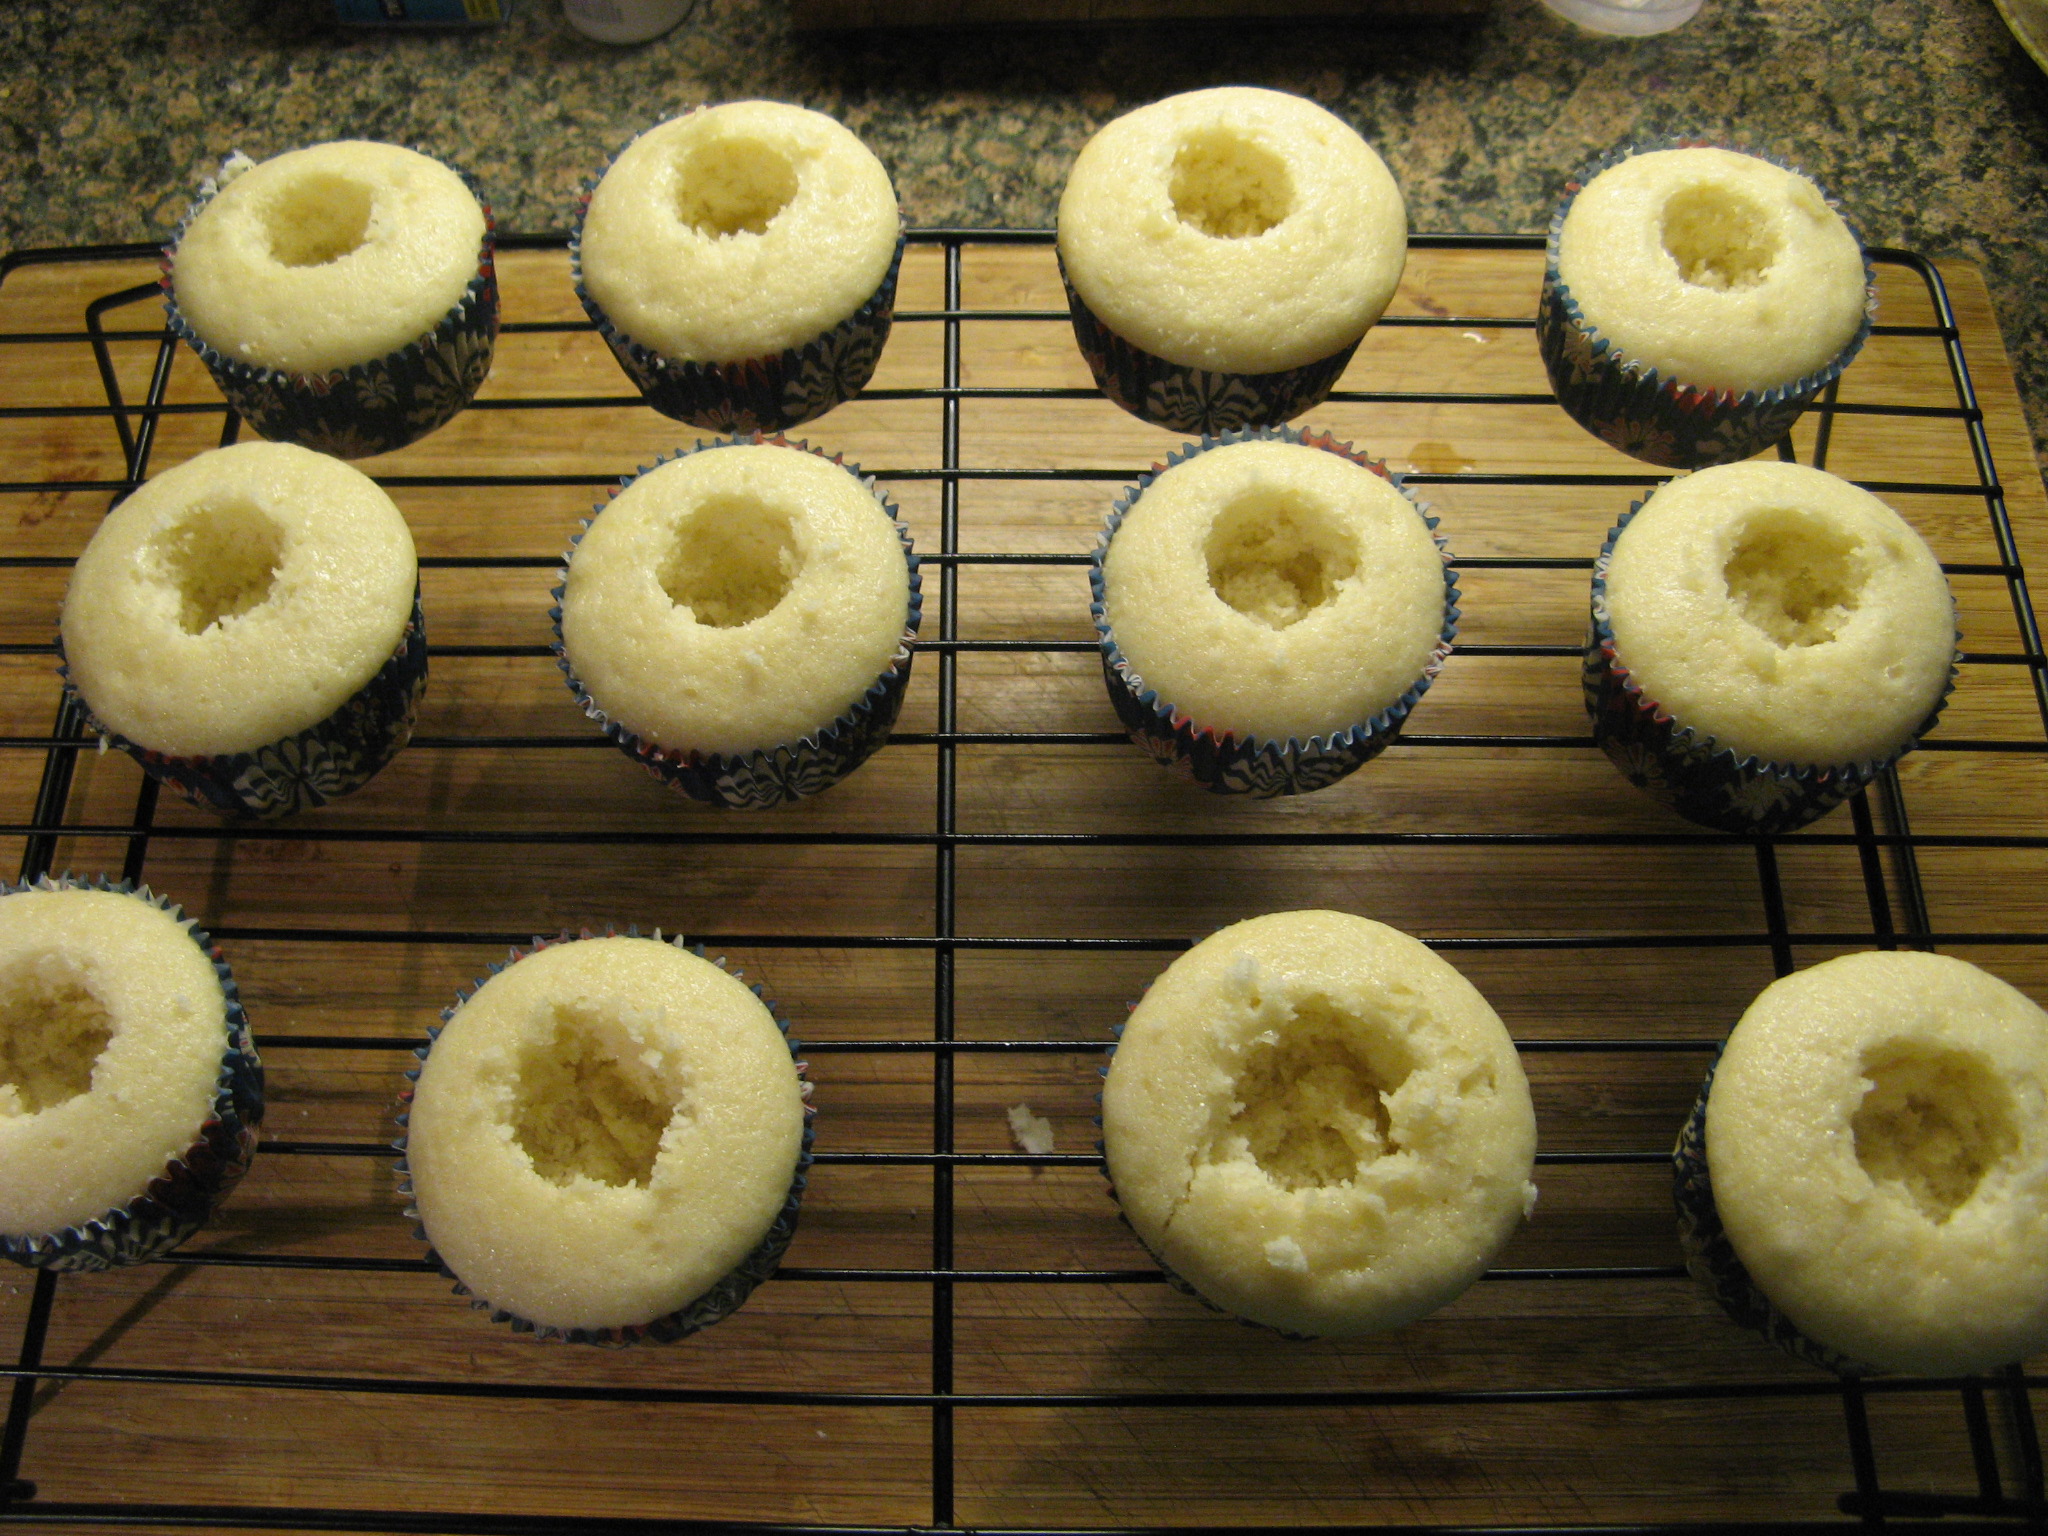
I usually make Strawberry Shortcake as a whole cake but decided to try out my method of making the cake on a smaller scale… i.e. cupcakes. To start I followed the directions to make the cupcakes on the white cupcake package. I then used a cupcake corer to make a hole in each of the cupcakes to fill them.

IMG_0820 IMG_0819

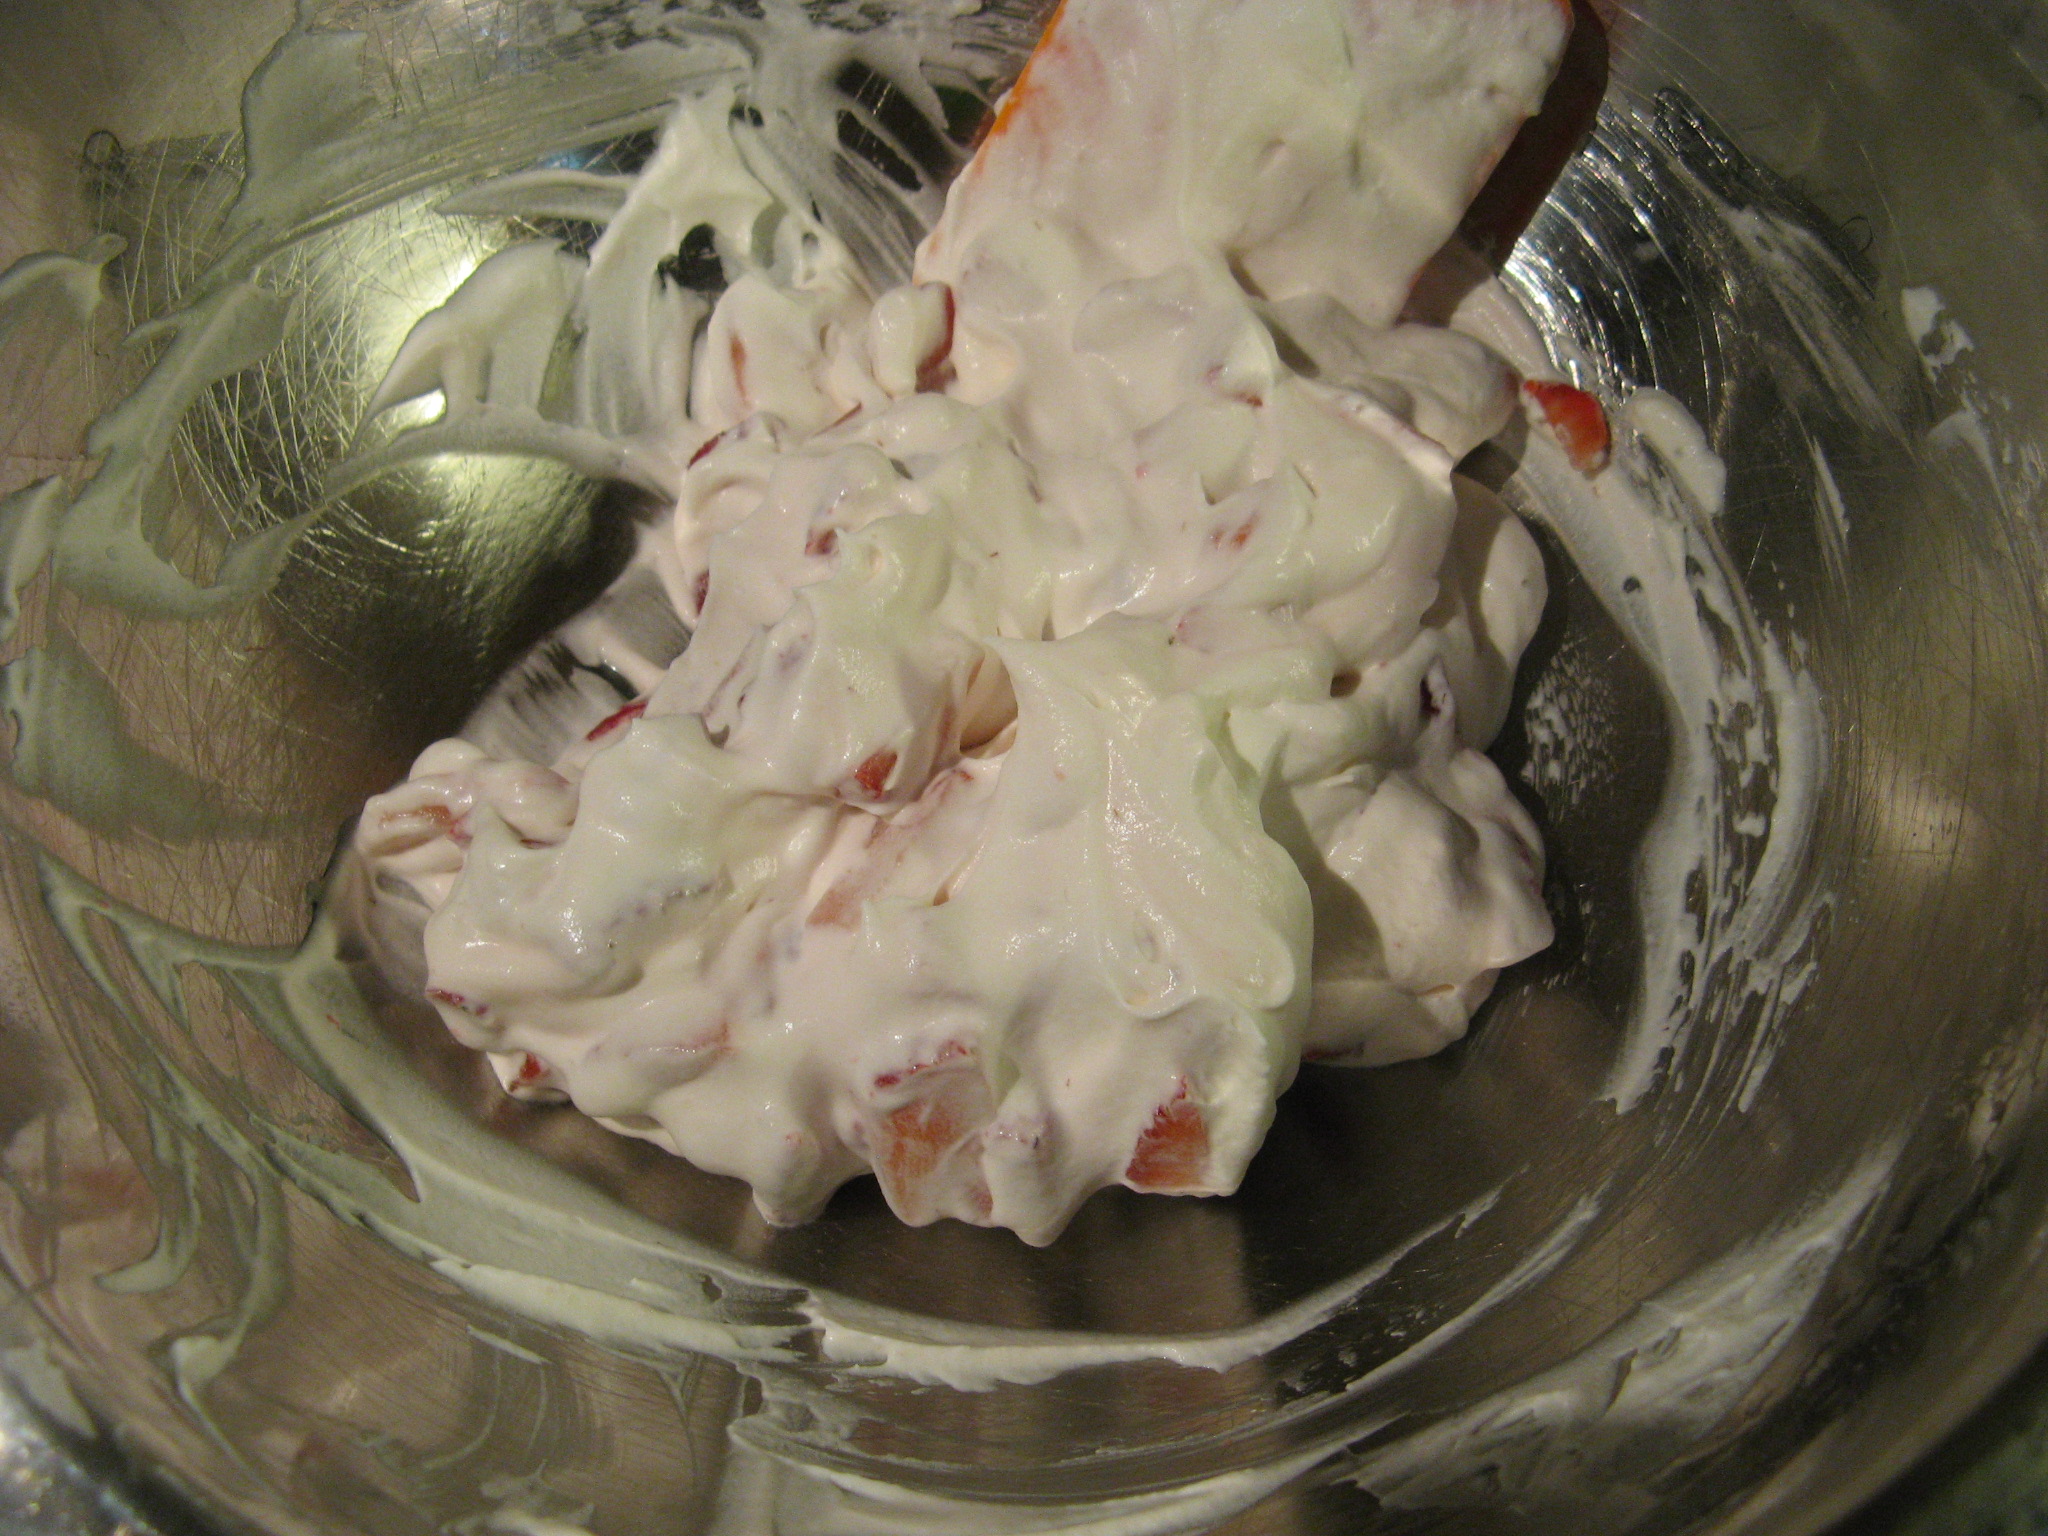
For the filling I made fresh whipped cream and folded in chopped strawberries.

IMG_0821

I then filled each of the cupcakes. I actually made too much of the filling but it definitely didn’t go to waste… It was a nice afternoon snack.

IMG_0822

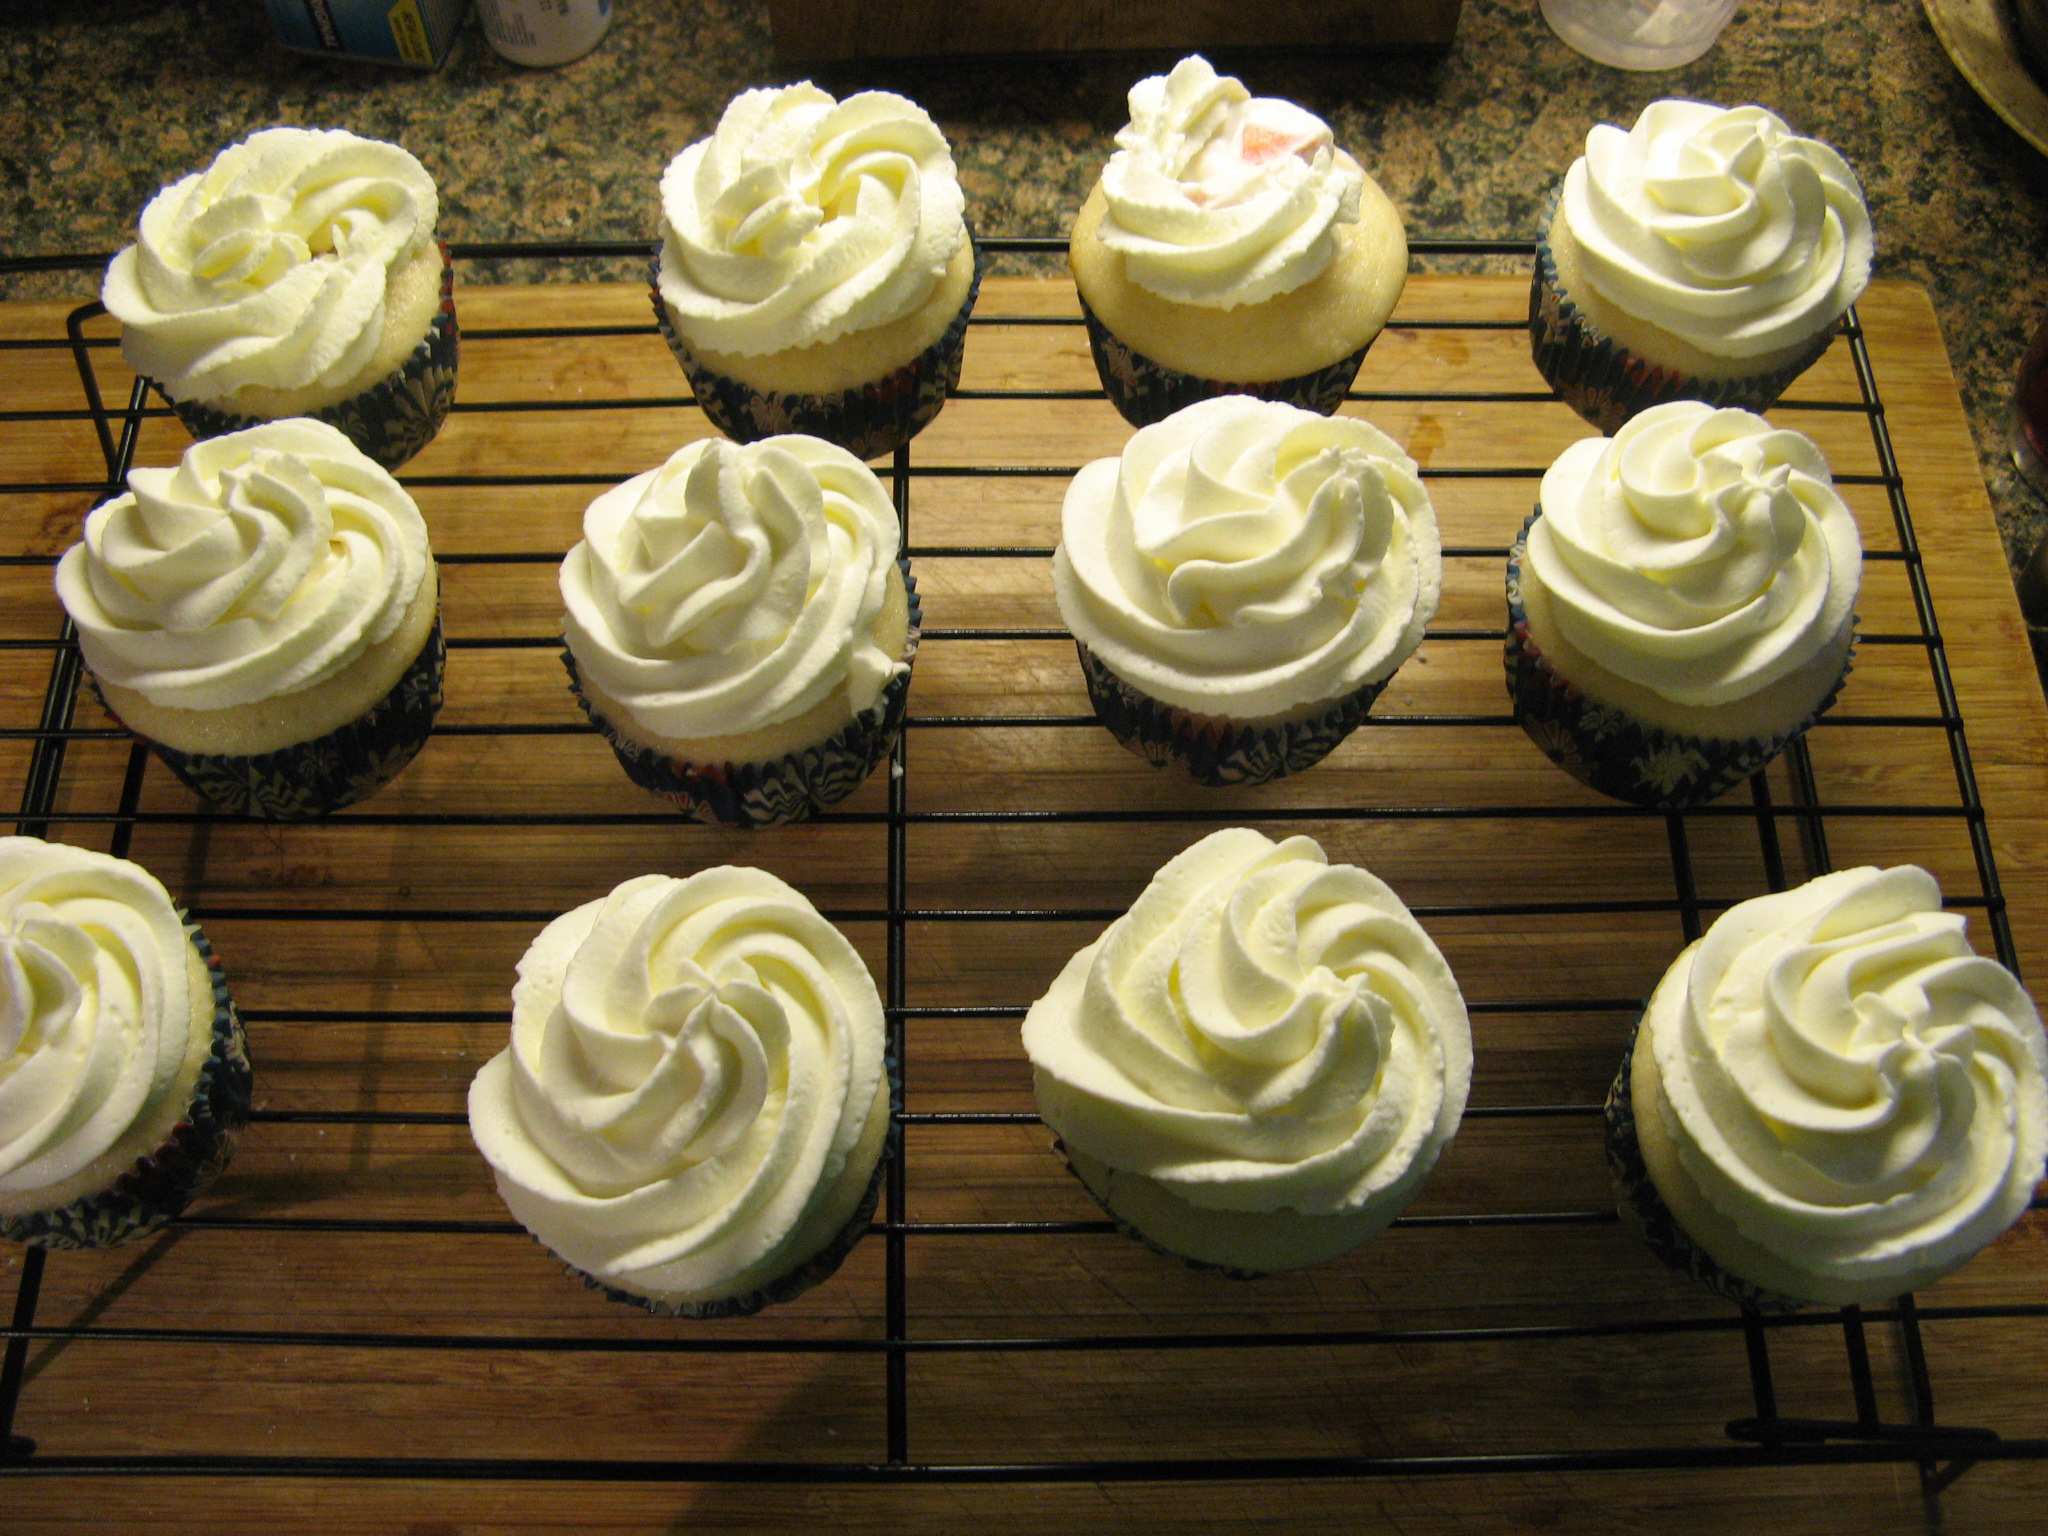
For the frosting I whipped up another batch of whipped cream and piped it on to each of the cupcakes.

IMG_0825

Overall the cupcakes were a hit, especially the Cinnamon Roll ones.

IMG_0832

Cream Cheese Frosting

2 8 ounce packages cream cheese, softened

1 stick unsealed butter

2 cups confectioners’ sugar

1 teaspoon vanilla extract

In a medium bowl cream together the cream cheese and butter until creamy. Mix in the vanilla, then gradually stir in the confectioners’ sugar.

Whipped Cream

1 cup heavy cream, cold

2 tablespoons confectioners’ sugar

Chill a large bowl (stainless steel or glass) and a whisk or mixer beaters for 30 minutes. Combine the heavy cream and sugar in the bowl and whisk or beat at medium speed until cream holds soft peaks. Yields approximately 2 cups.