Happy Cinco De Mayo! In honor of the day I decided to make a Sopapilla Cheesecake and Mexican Wedding Cookies. While it probably would have been more traditional to make Churros or a Tres Leches Cake… I attempted to make Churros in the past and the end result wasn’t all that great and while I have wanted to make a Tres Leches Cake for quite some time, I was already planning on making a Strawberry Shortcake for my dad’s birthday this weekend so I figured one cake per weekend is more than enough. When Sopapilla is made as a dessert it is essentially fried dough with something sweet drizzled on it – a fruit sauce, powdered sugar, cinnamon sugar or honey. I tend to shy away from anything that needs to be fried due to past experiences (i.e. the Churros) so when I came across a cheesecake version I was excited to try it, especially since it sounded super easy and only required six simple ingredients. I actually remember eating something similar to Sopapillas when I was younger – Domplines – which I usually ate with beans. As for the Mexican Wedding Cookies, they are actually known by quite a few different names… Russian Tea Cakes, Italian Wedding Cookies, Butterballs or as they are commonly known as in Spanish Polvorones. Stemming from the Spanish word polvo – meaning powder or dust.
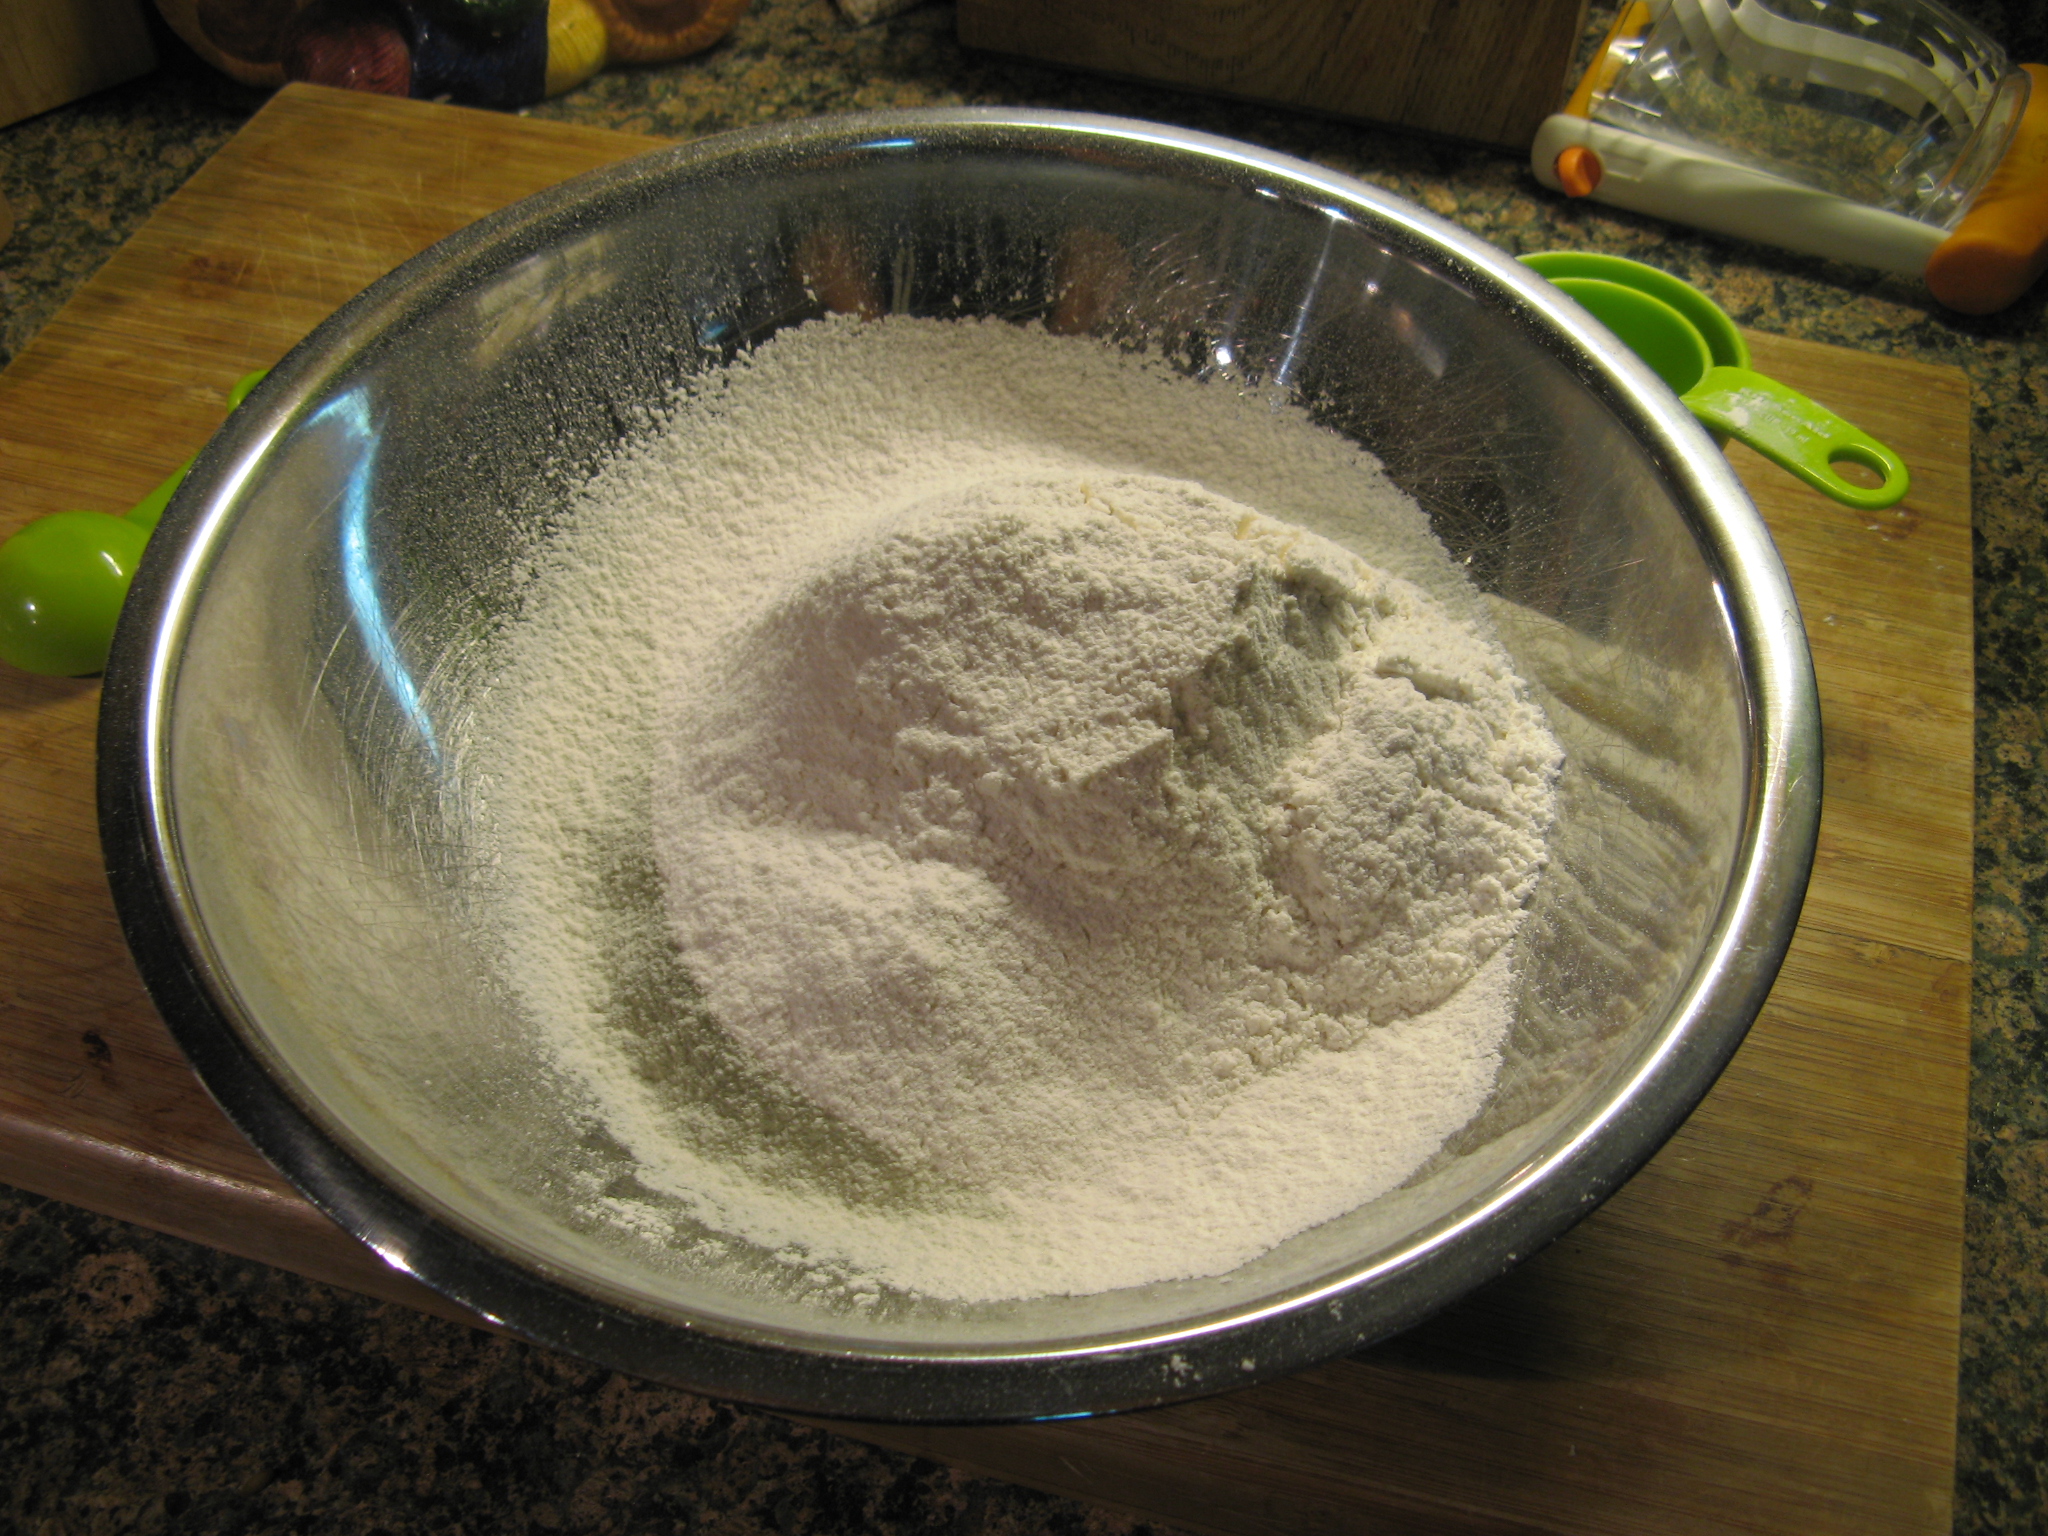
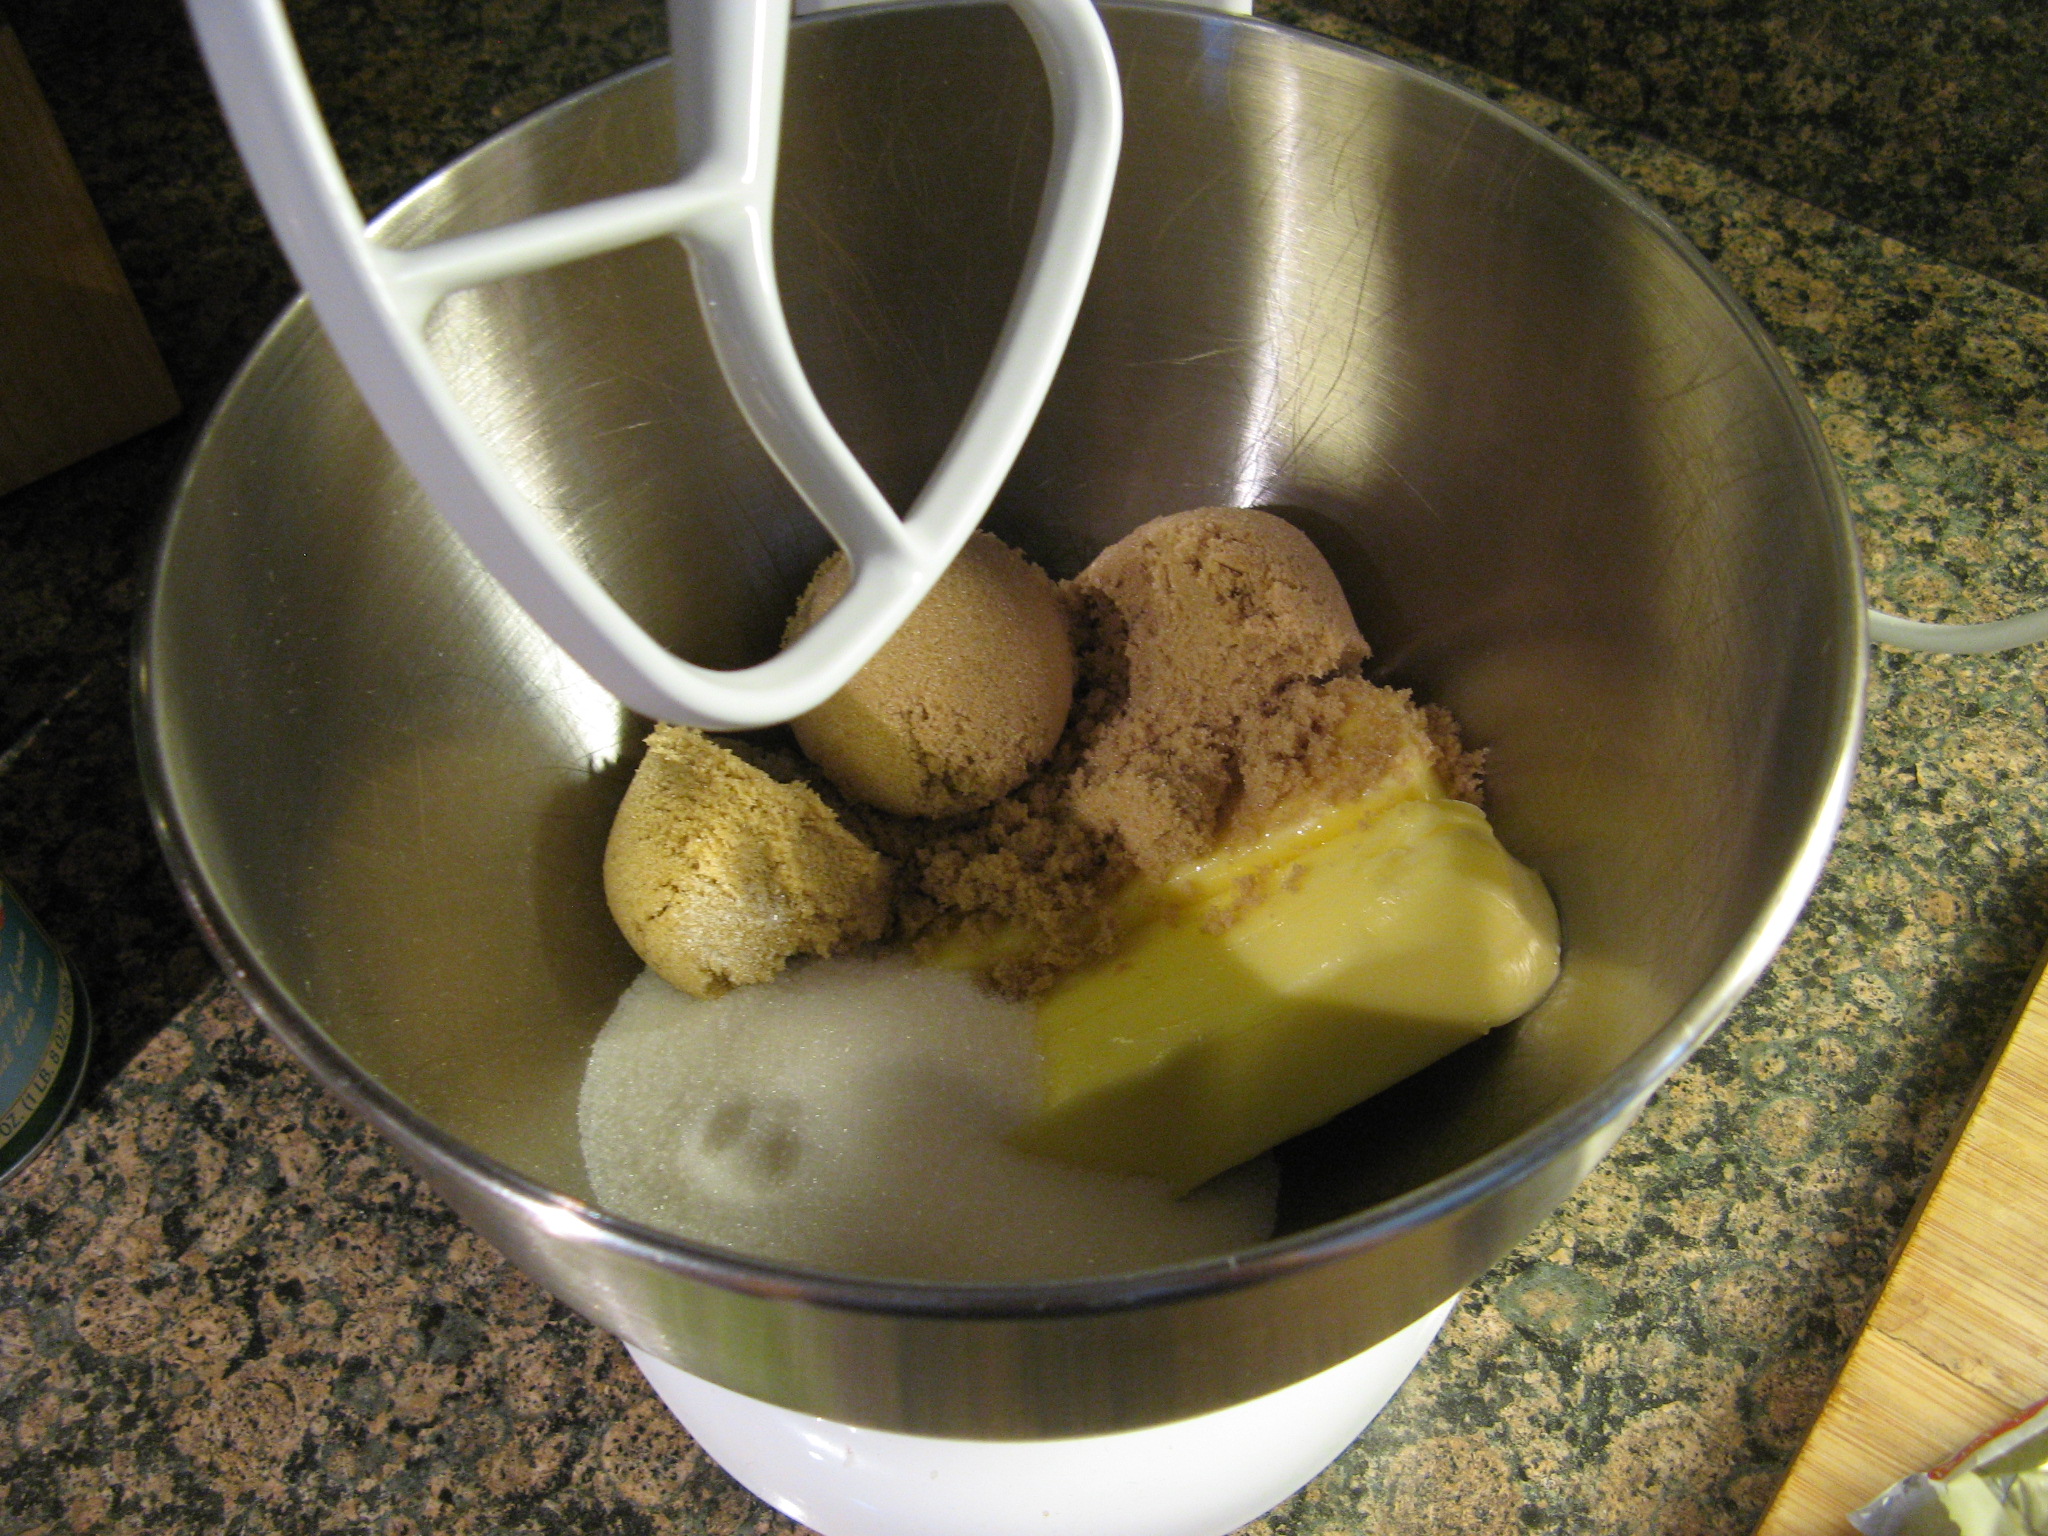
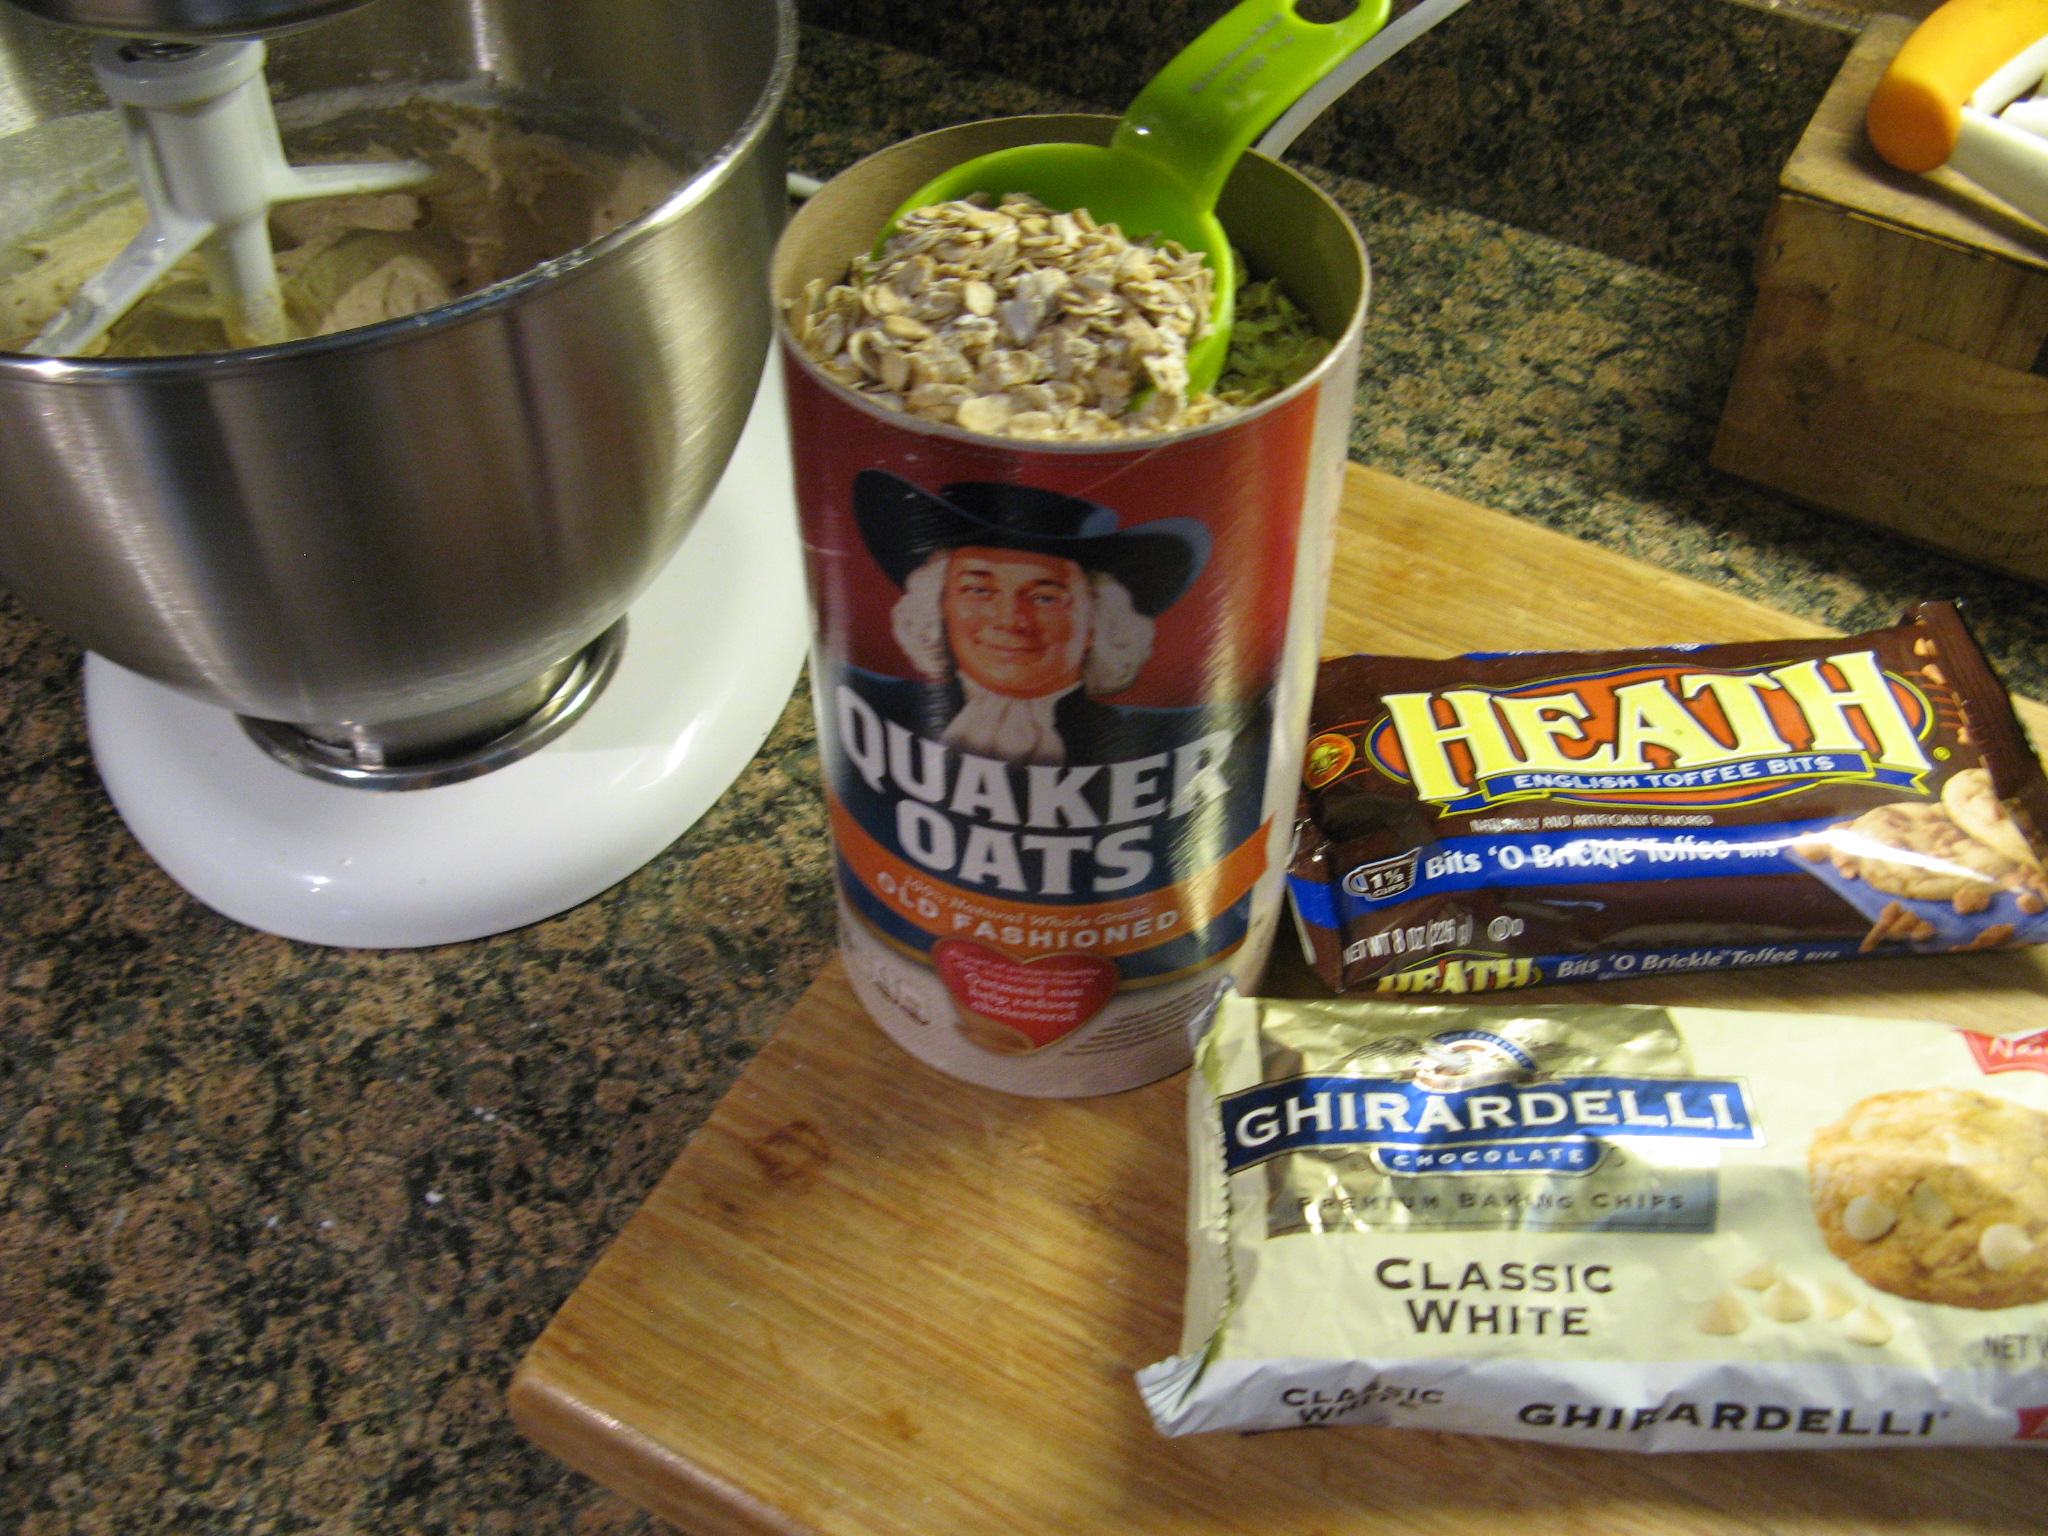
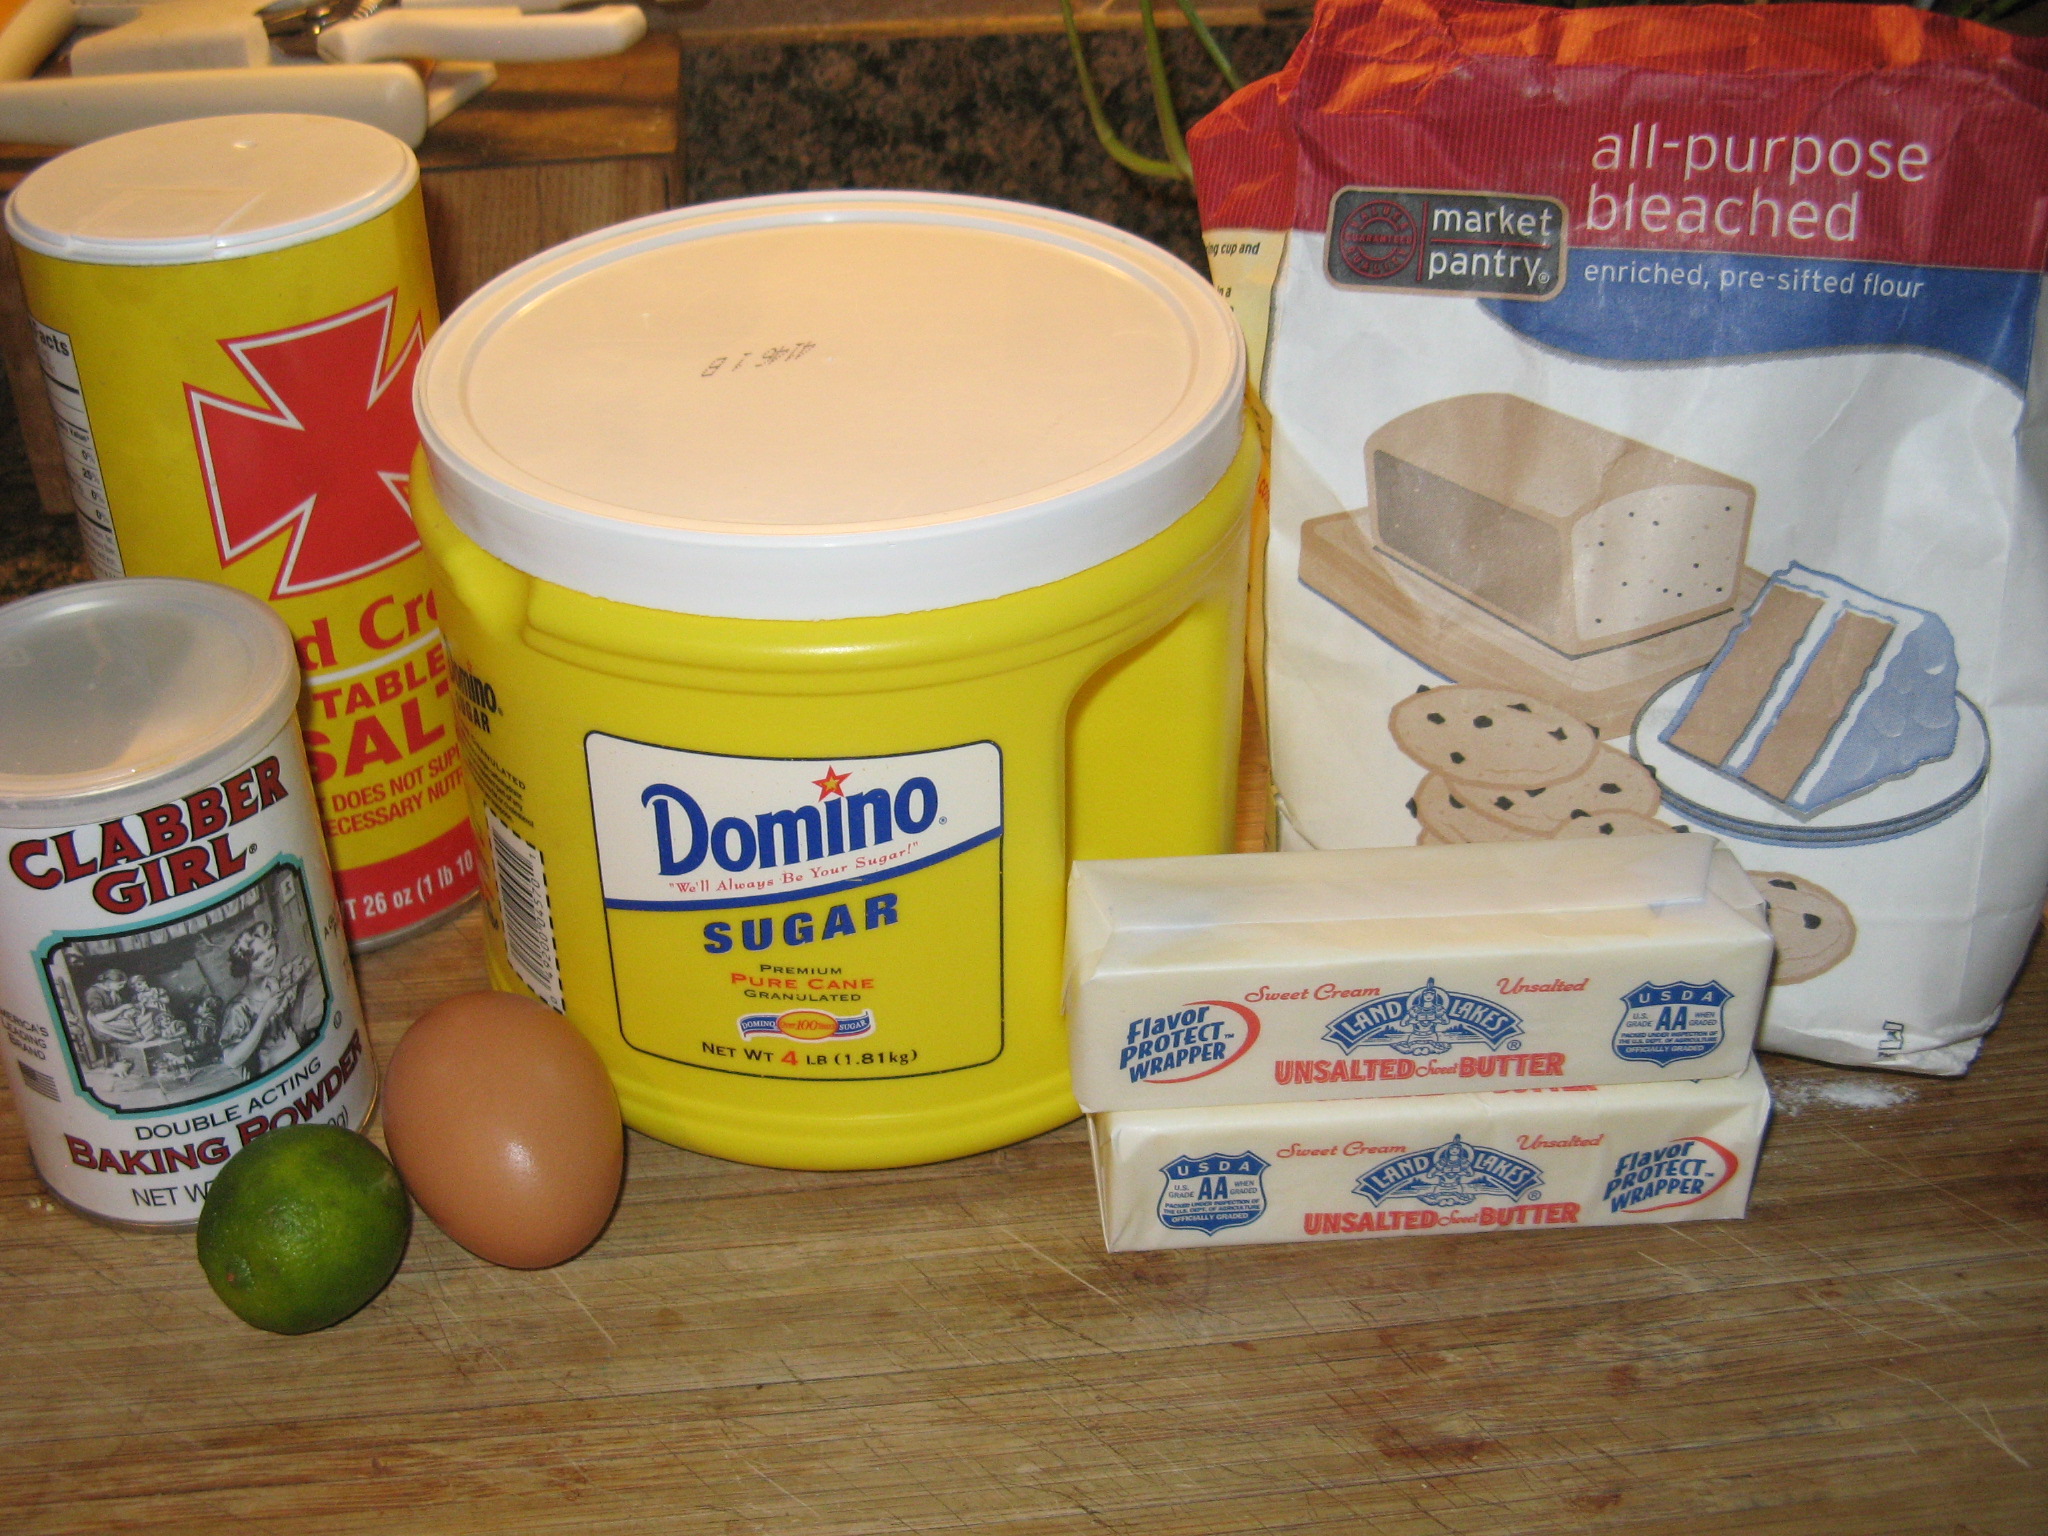
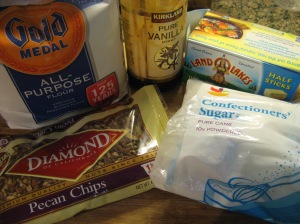
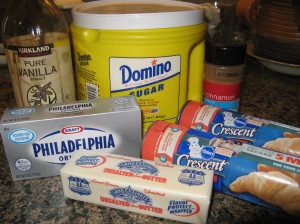
First up were the Mexican Wedding Cookies. I assembled all of my ingredients before I got started: butter, confectioners’ sugar, vanilla extract, flour and pecans.
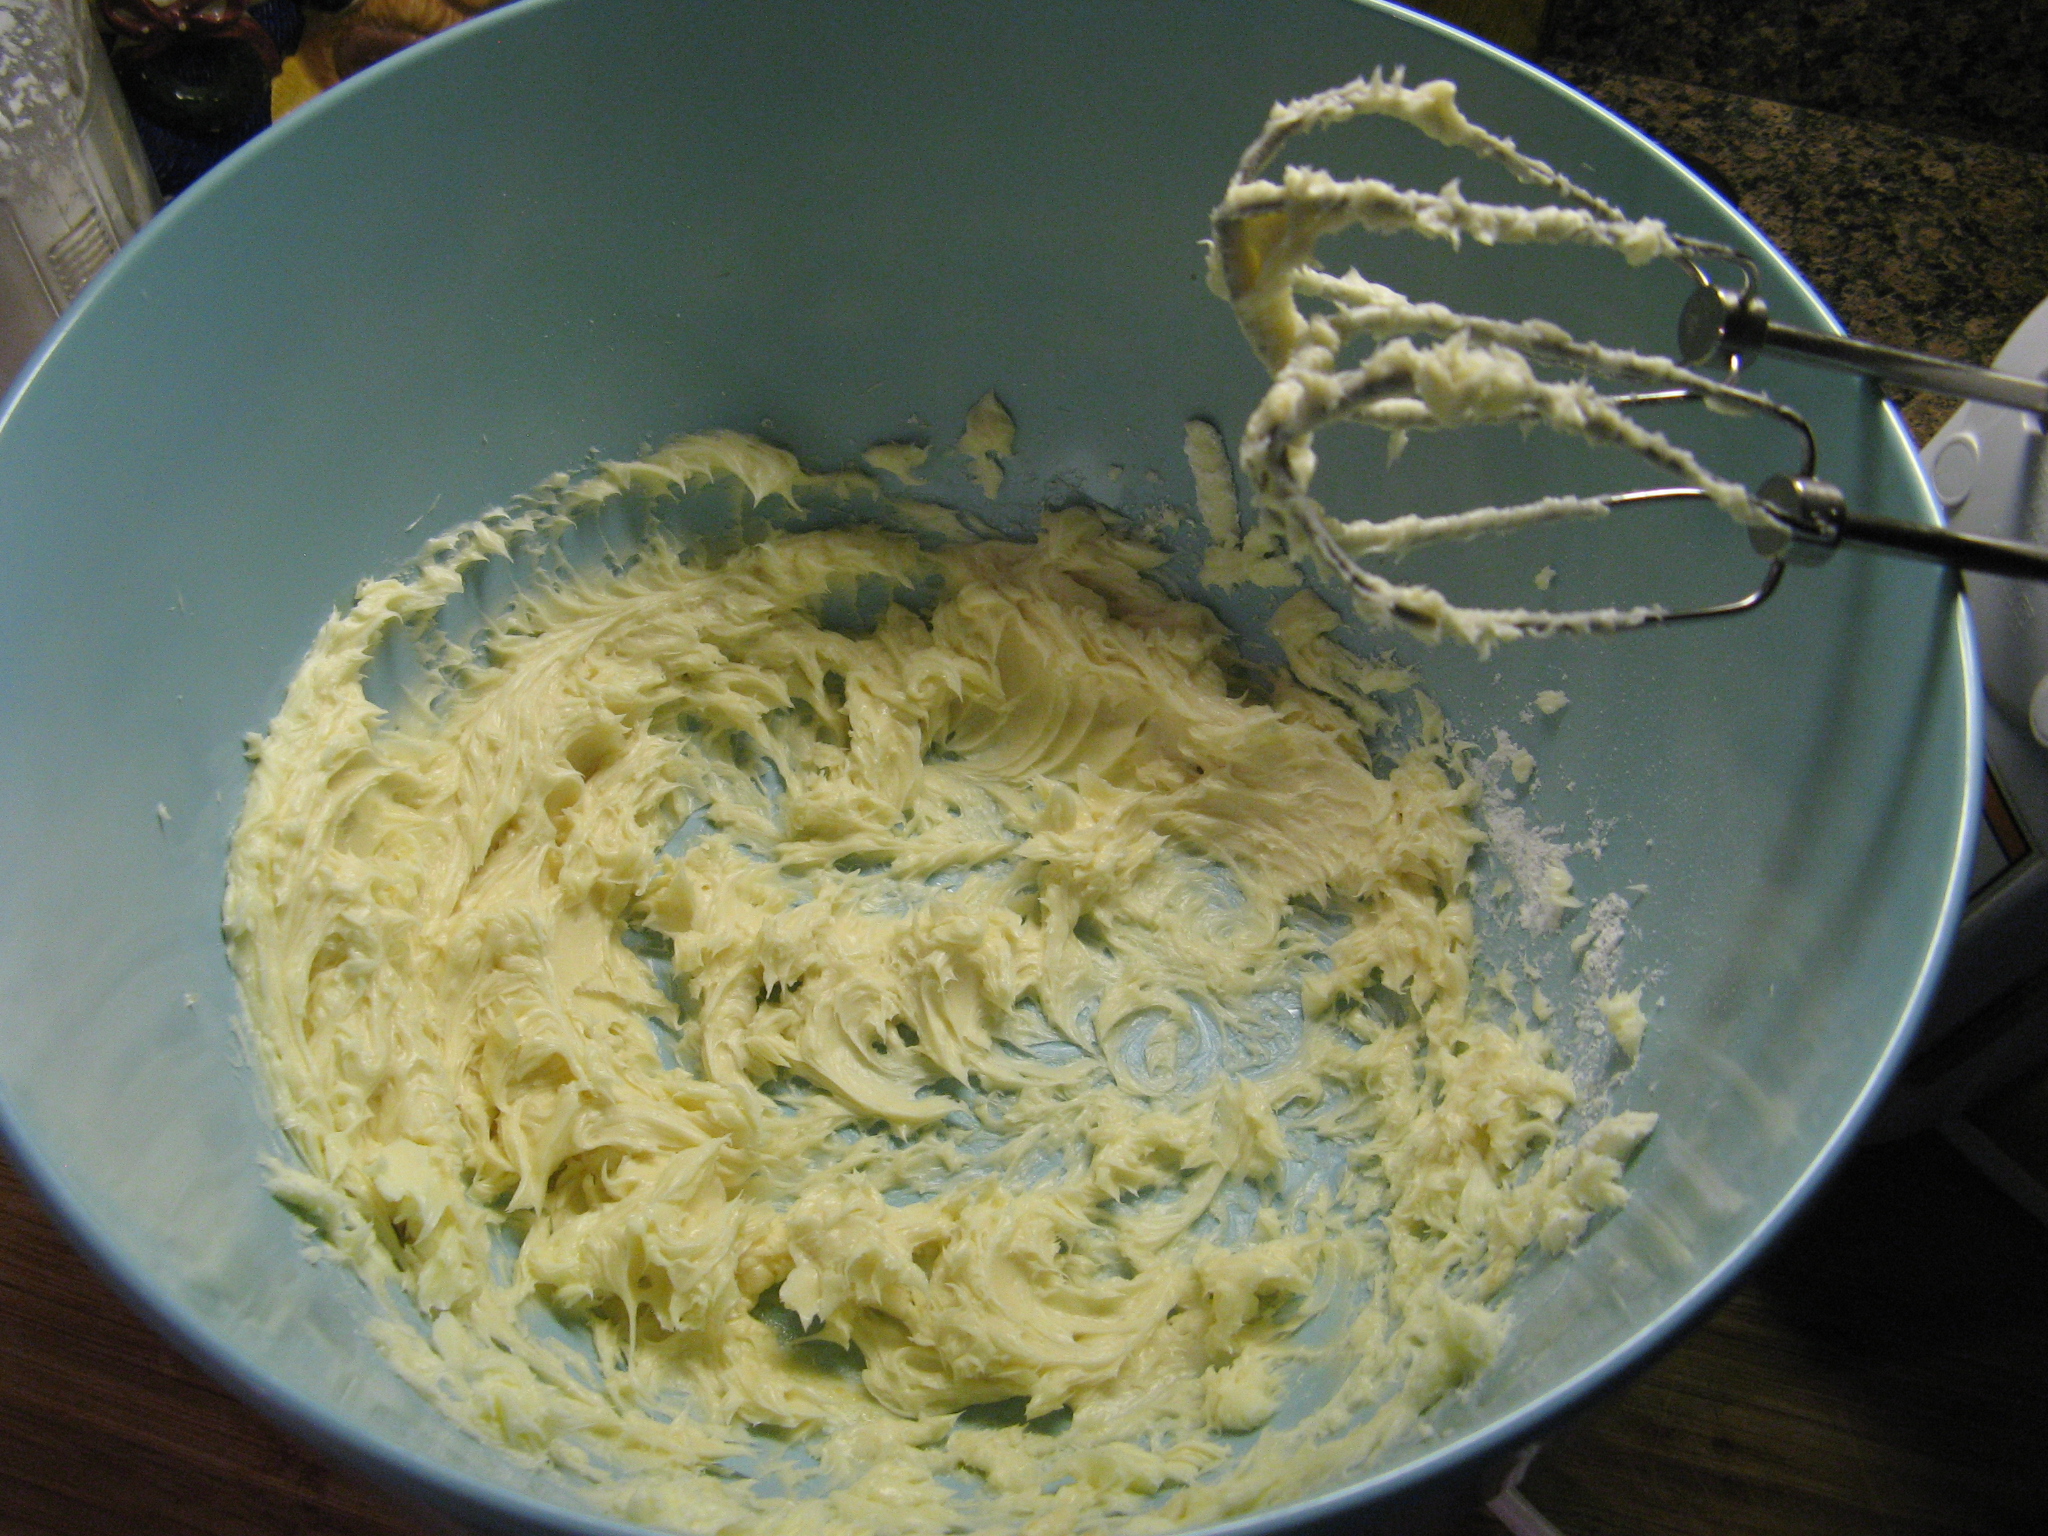
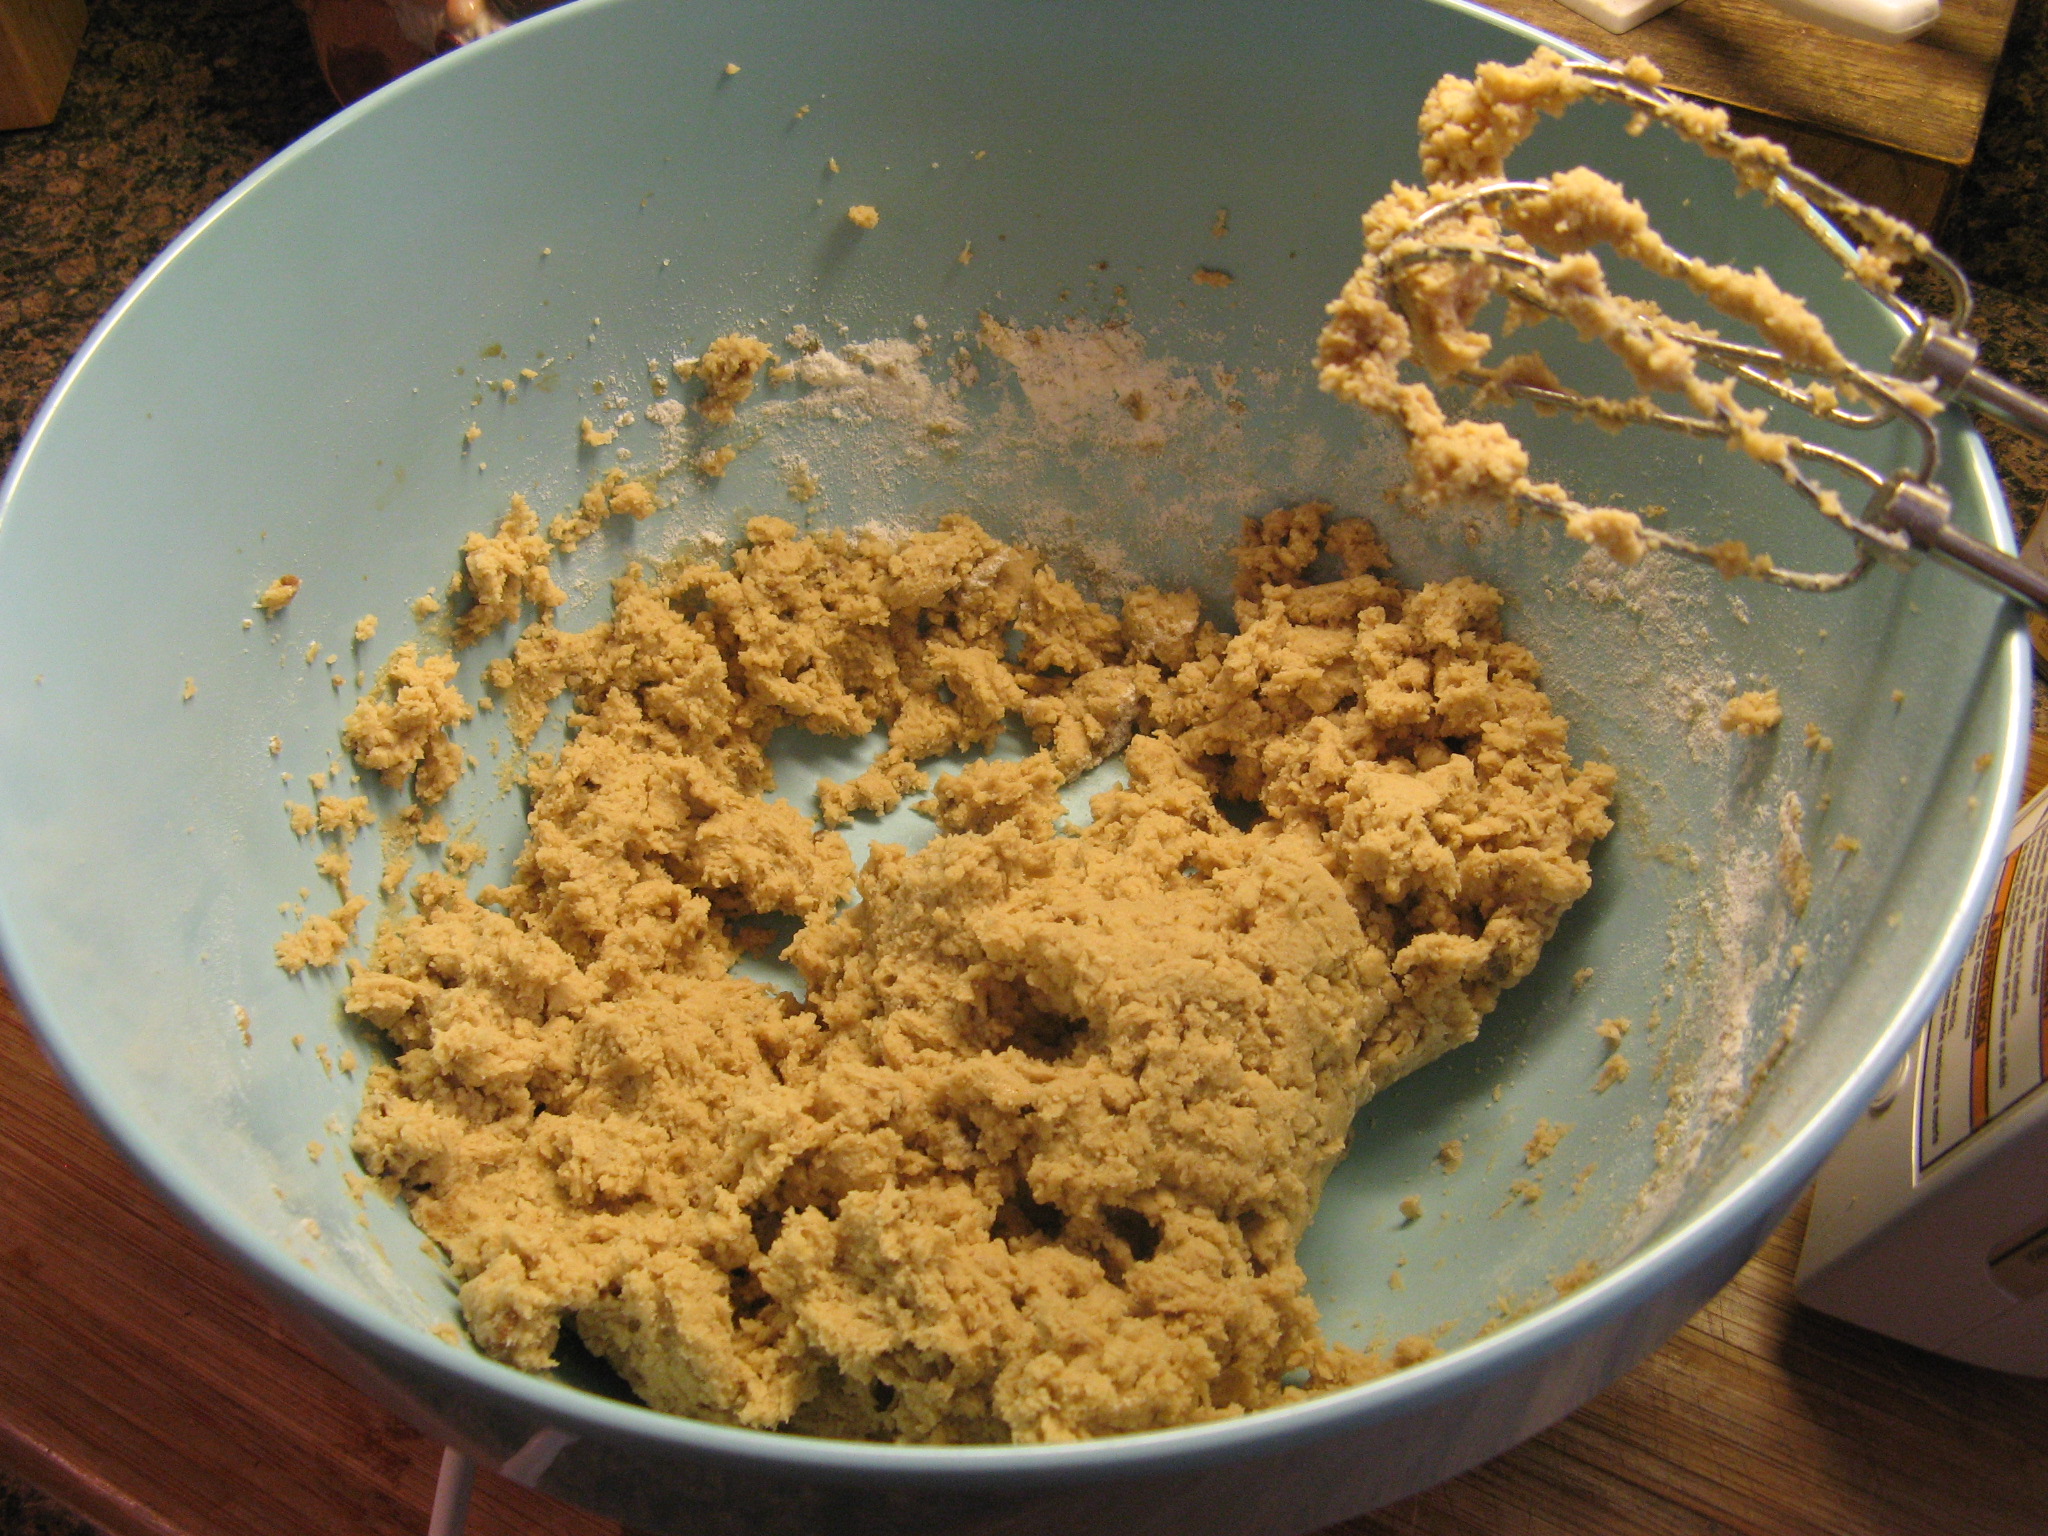
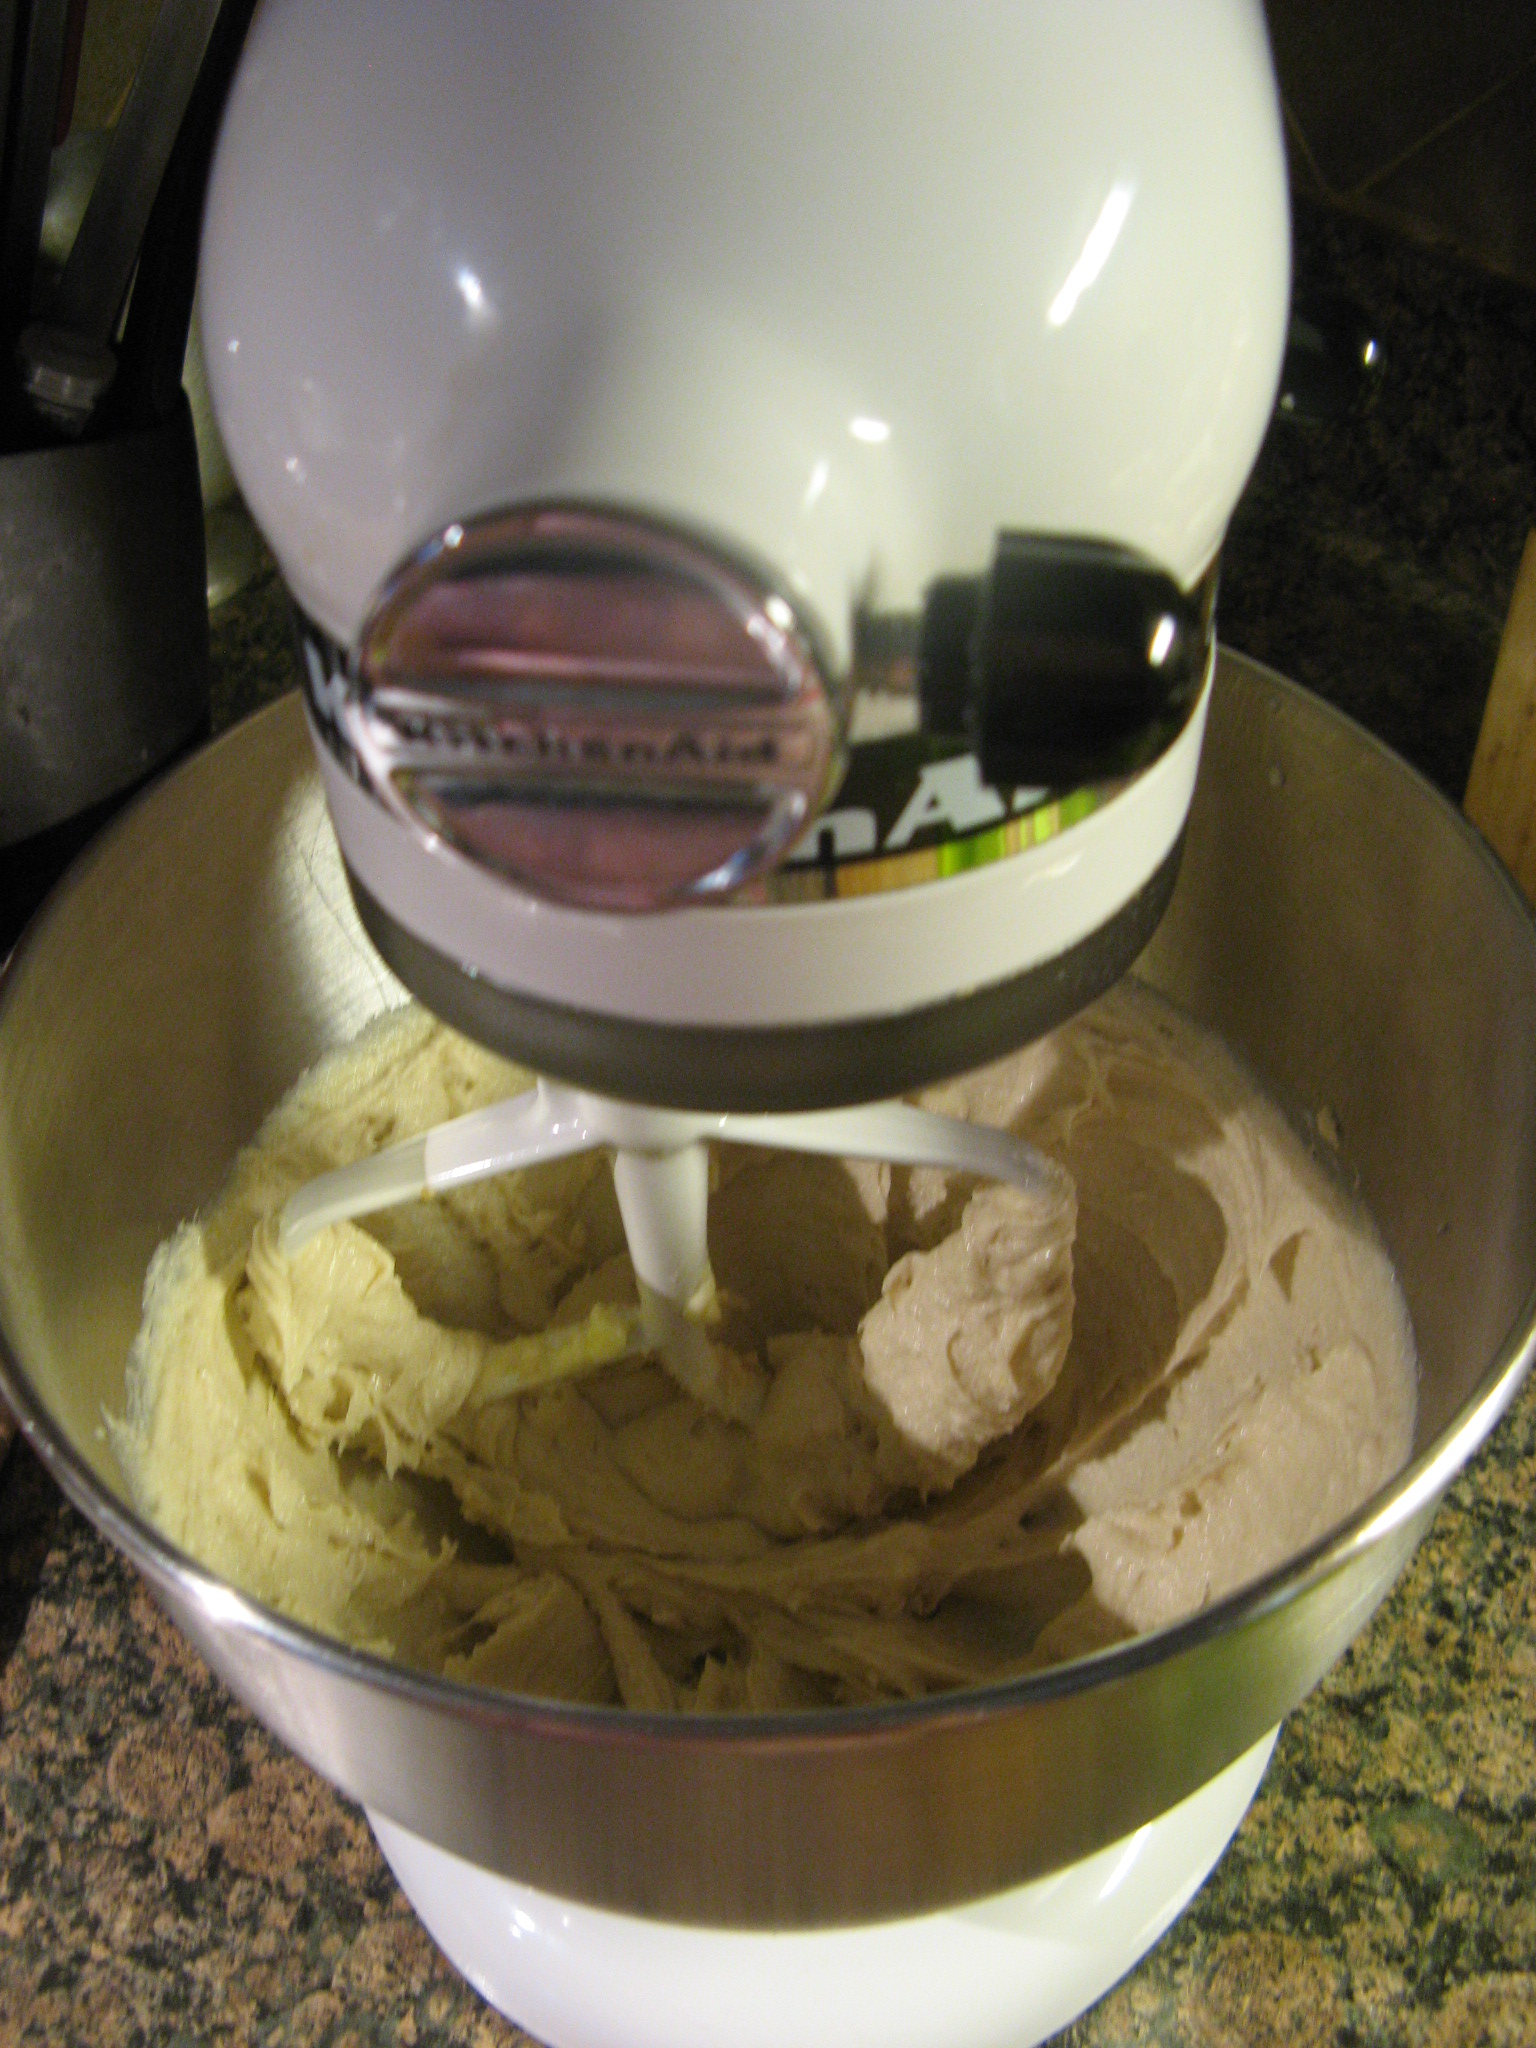
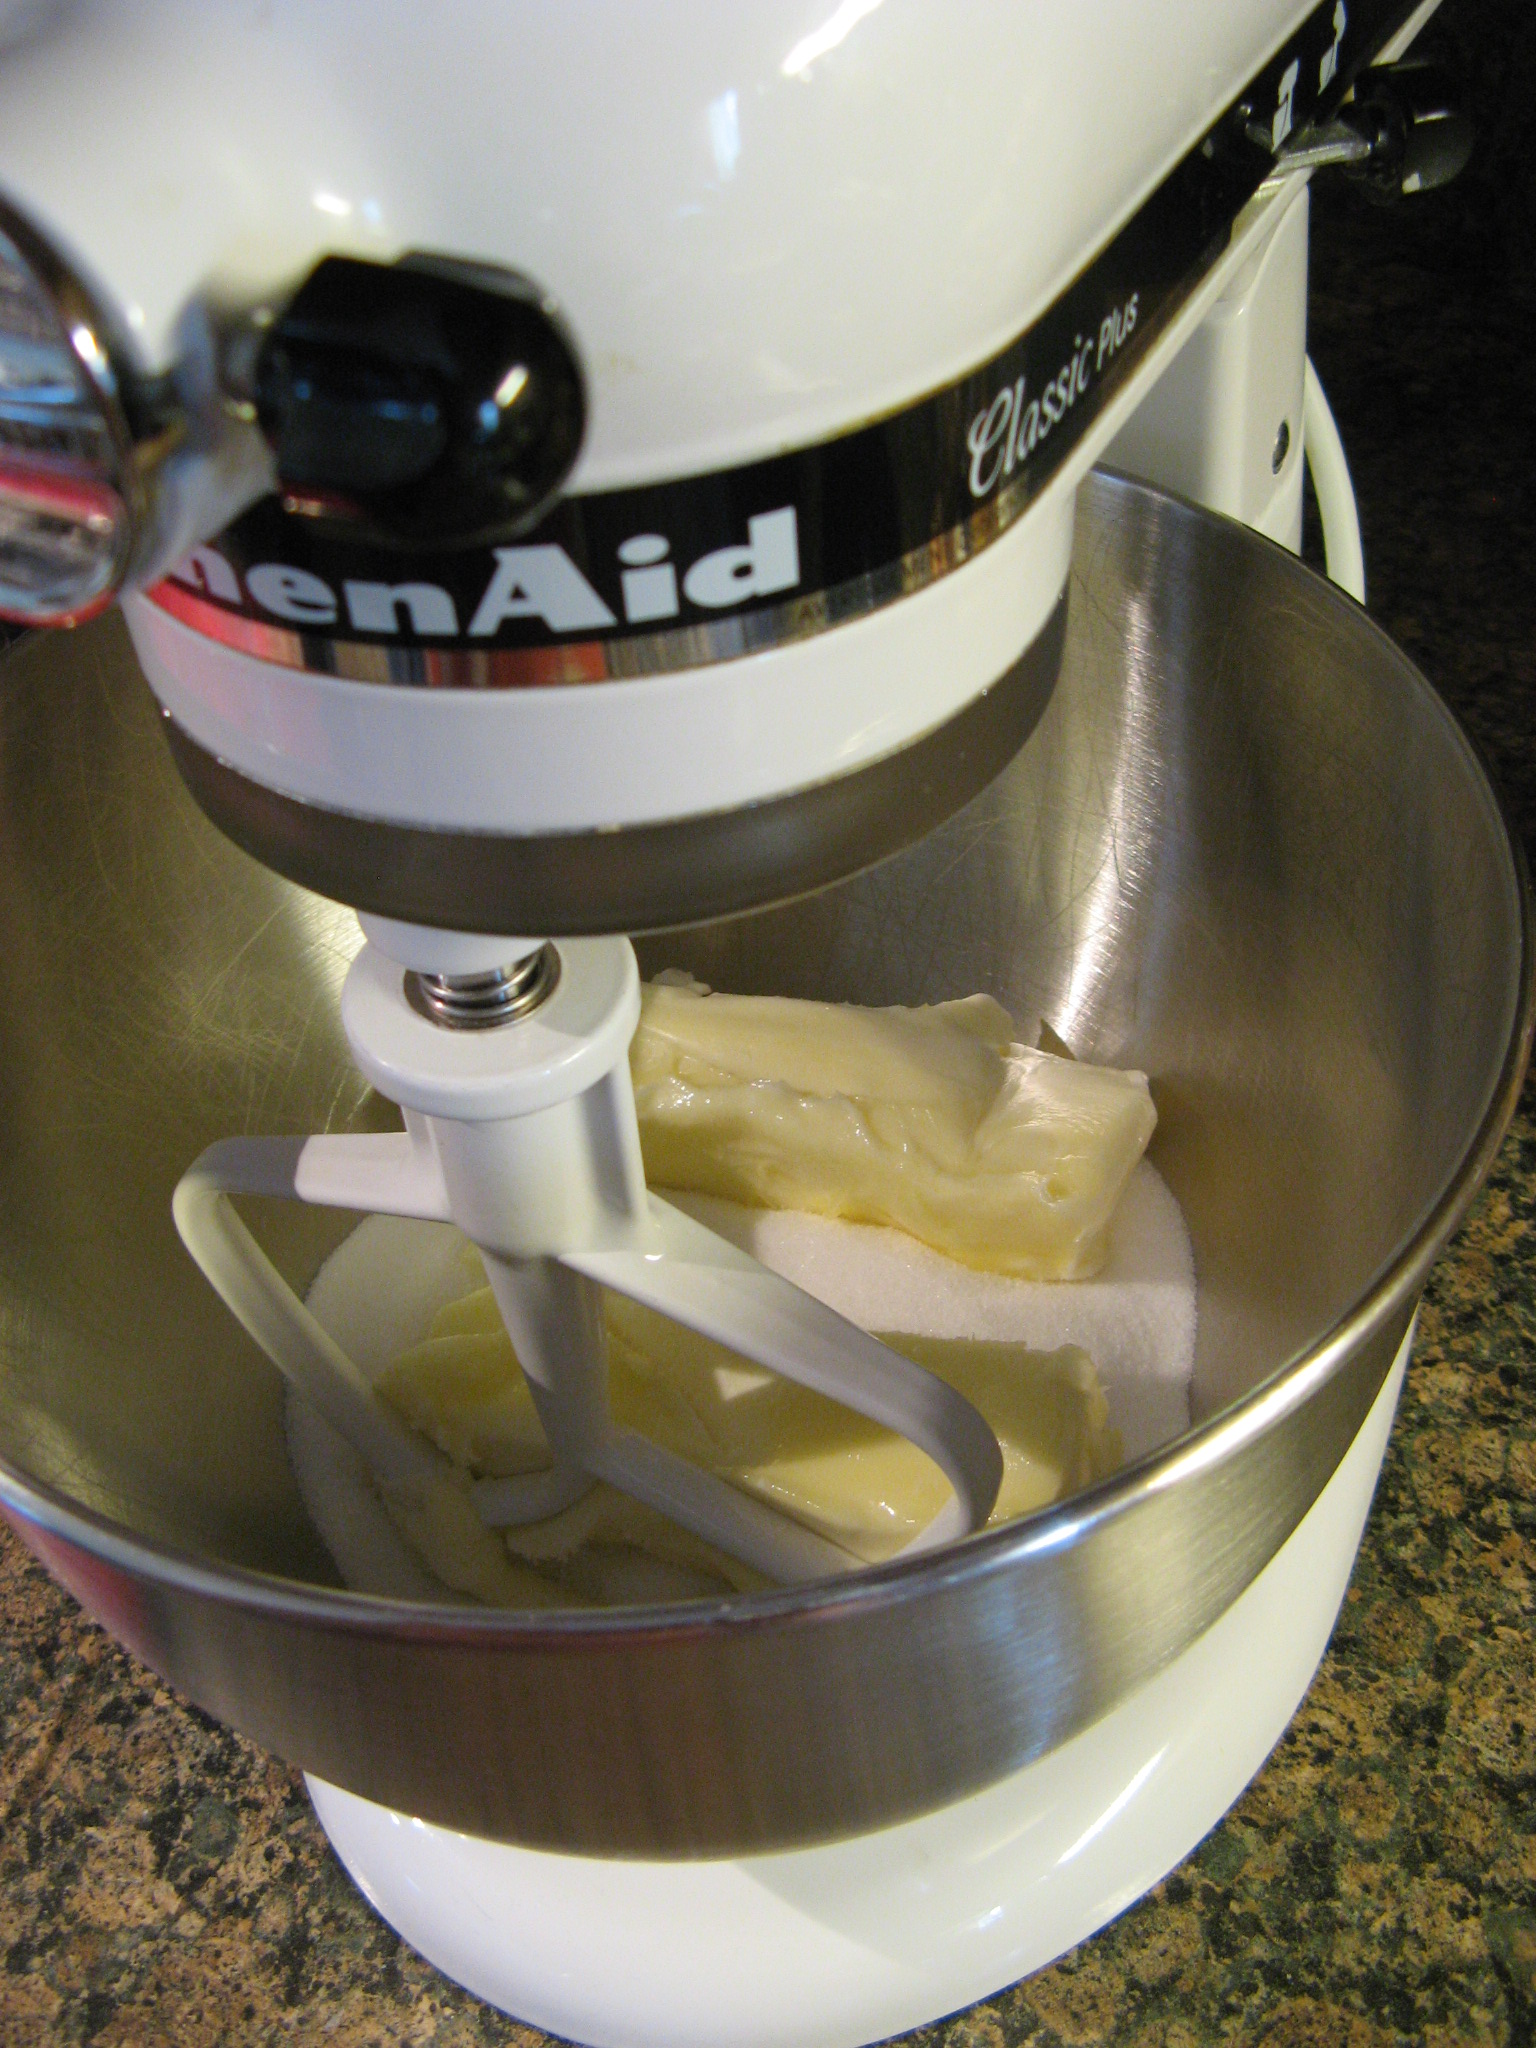
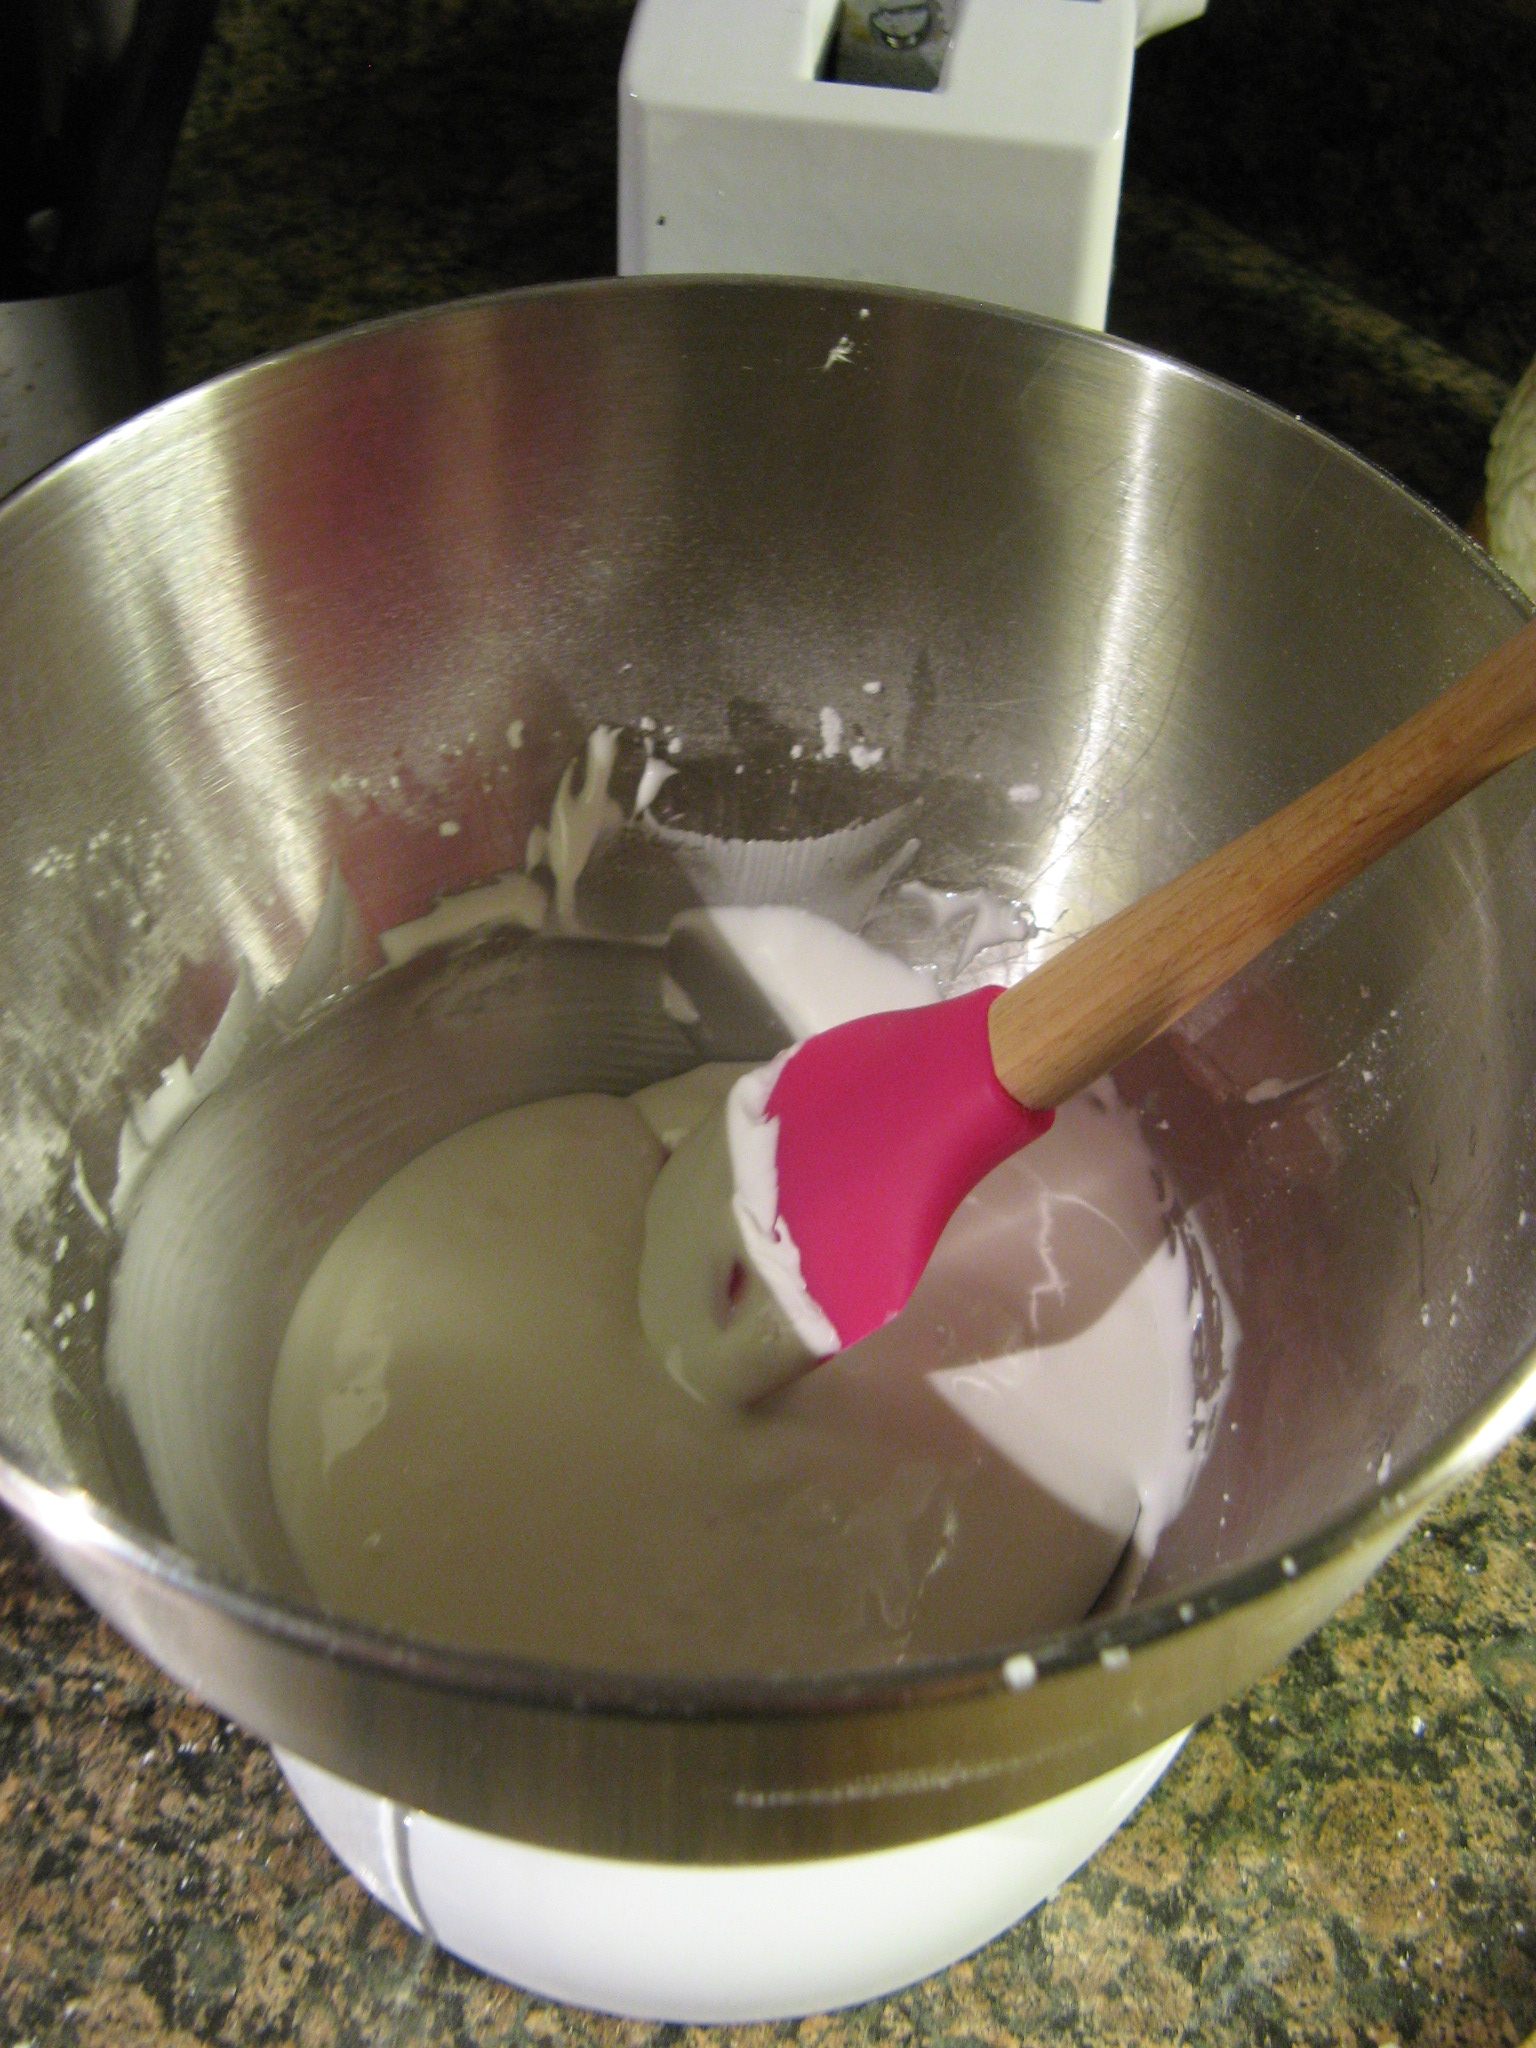
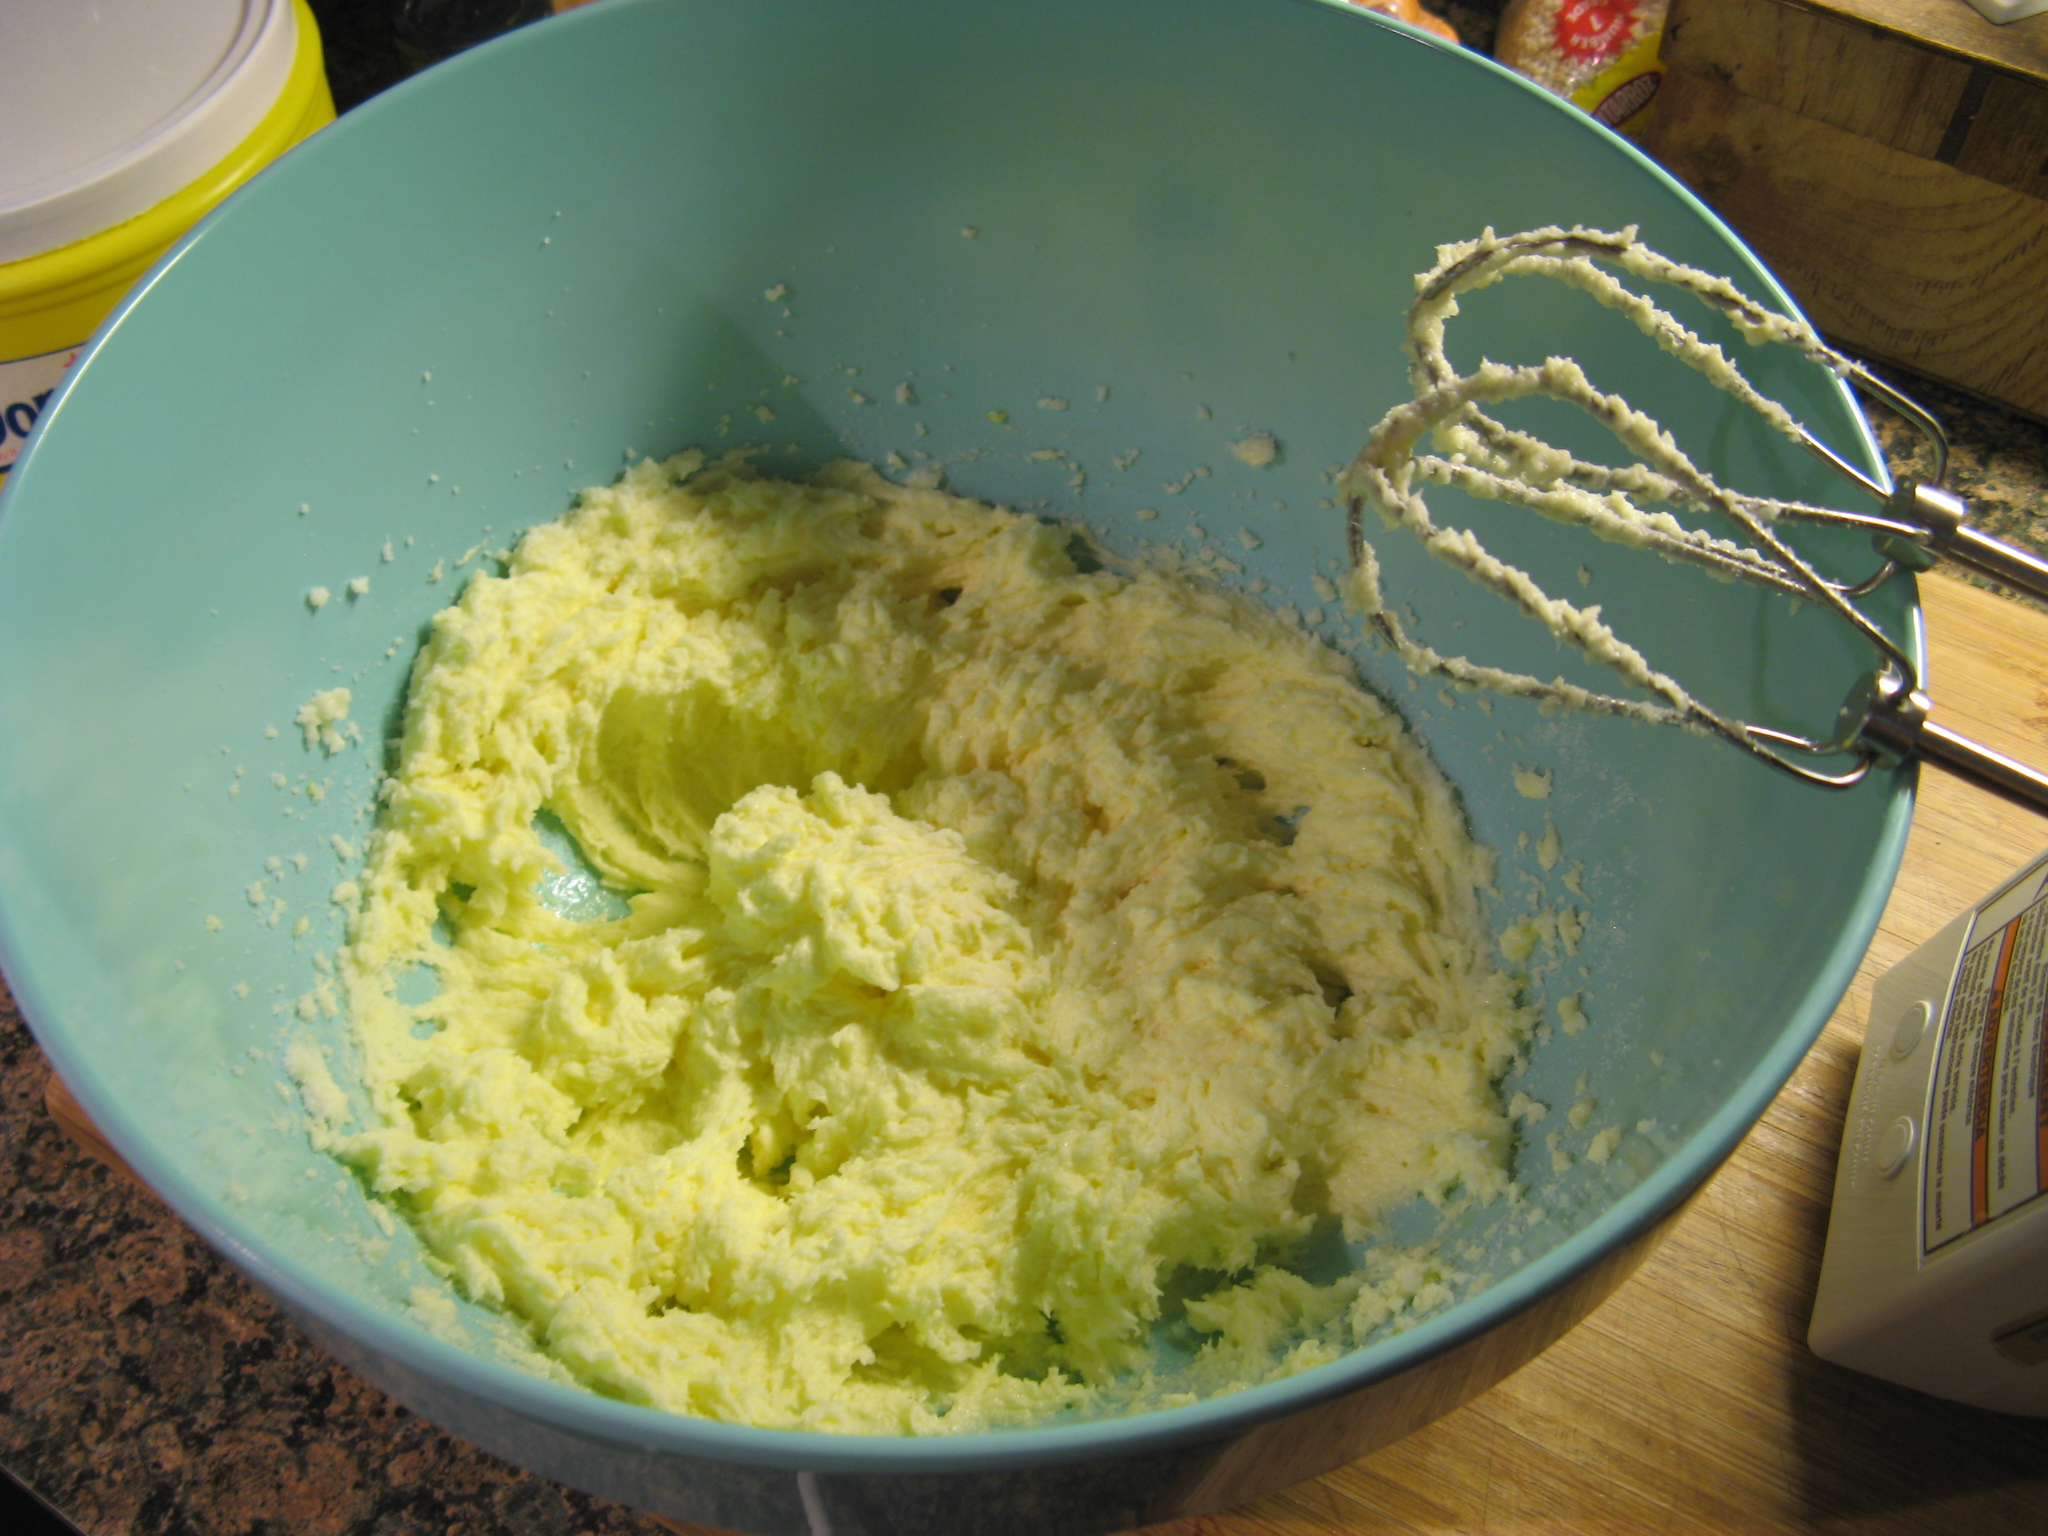
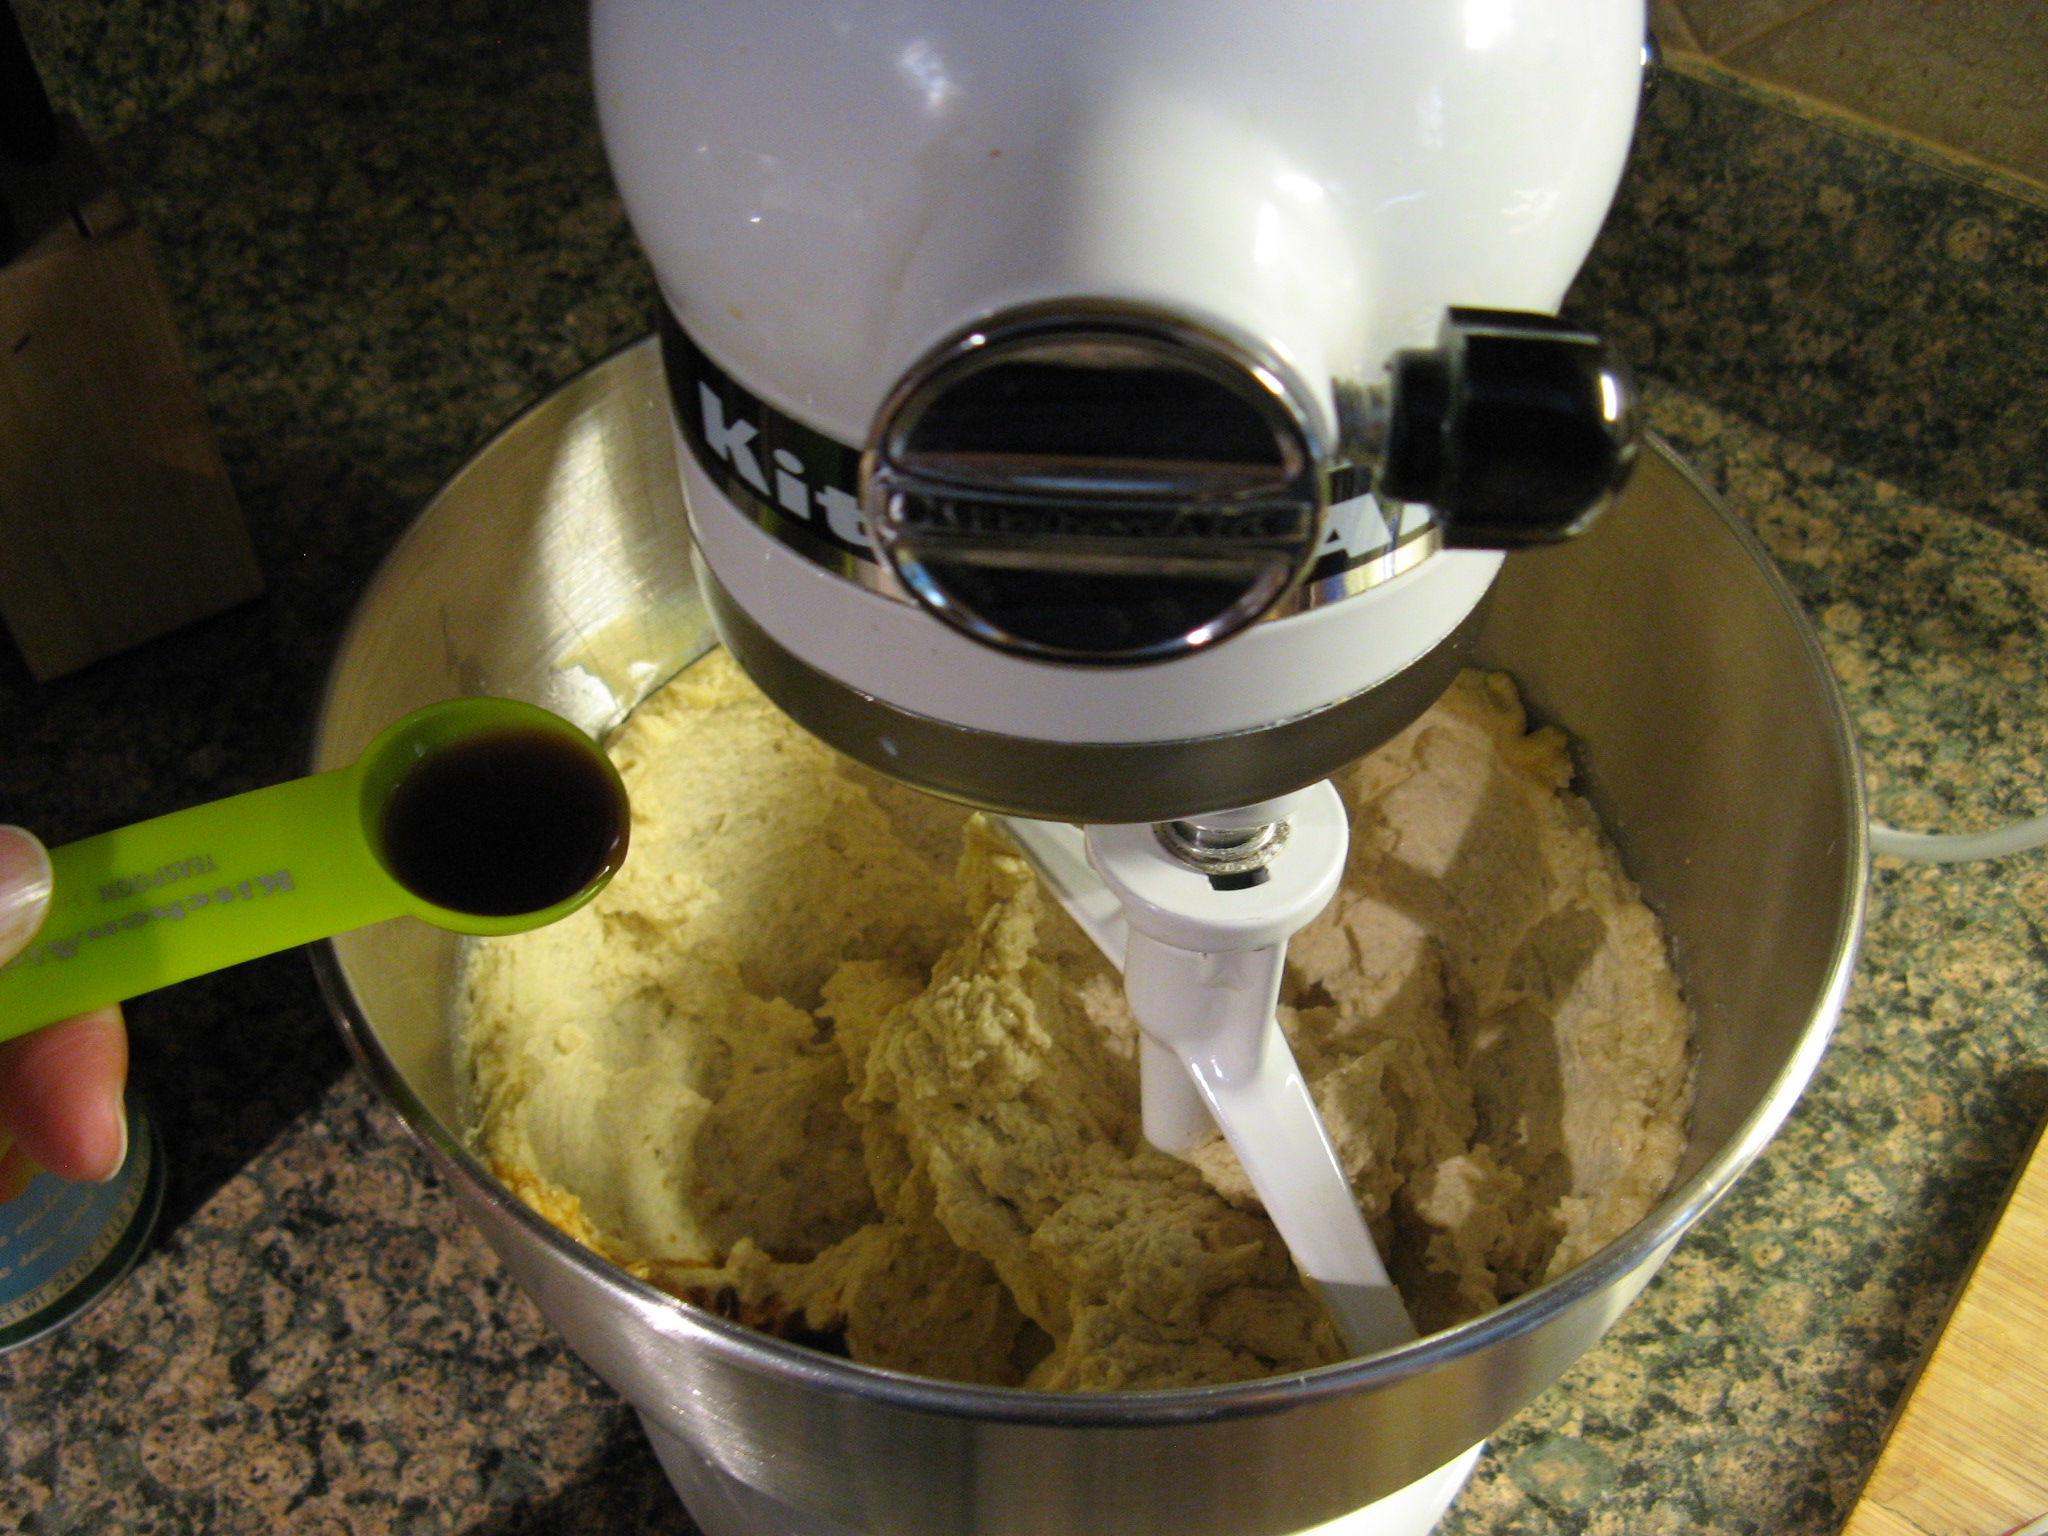
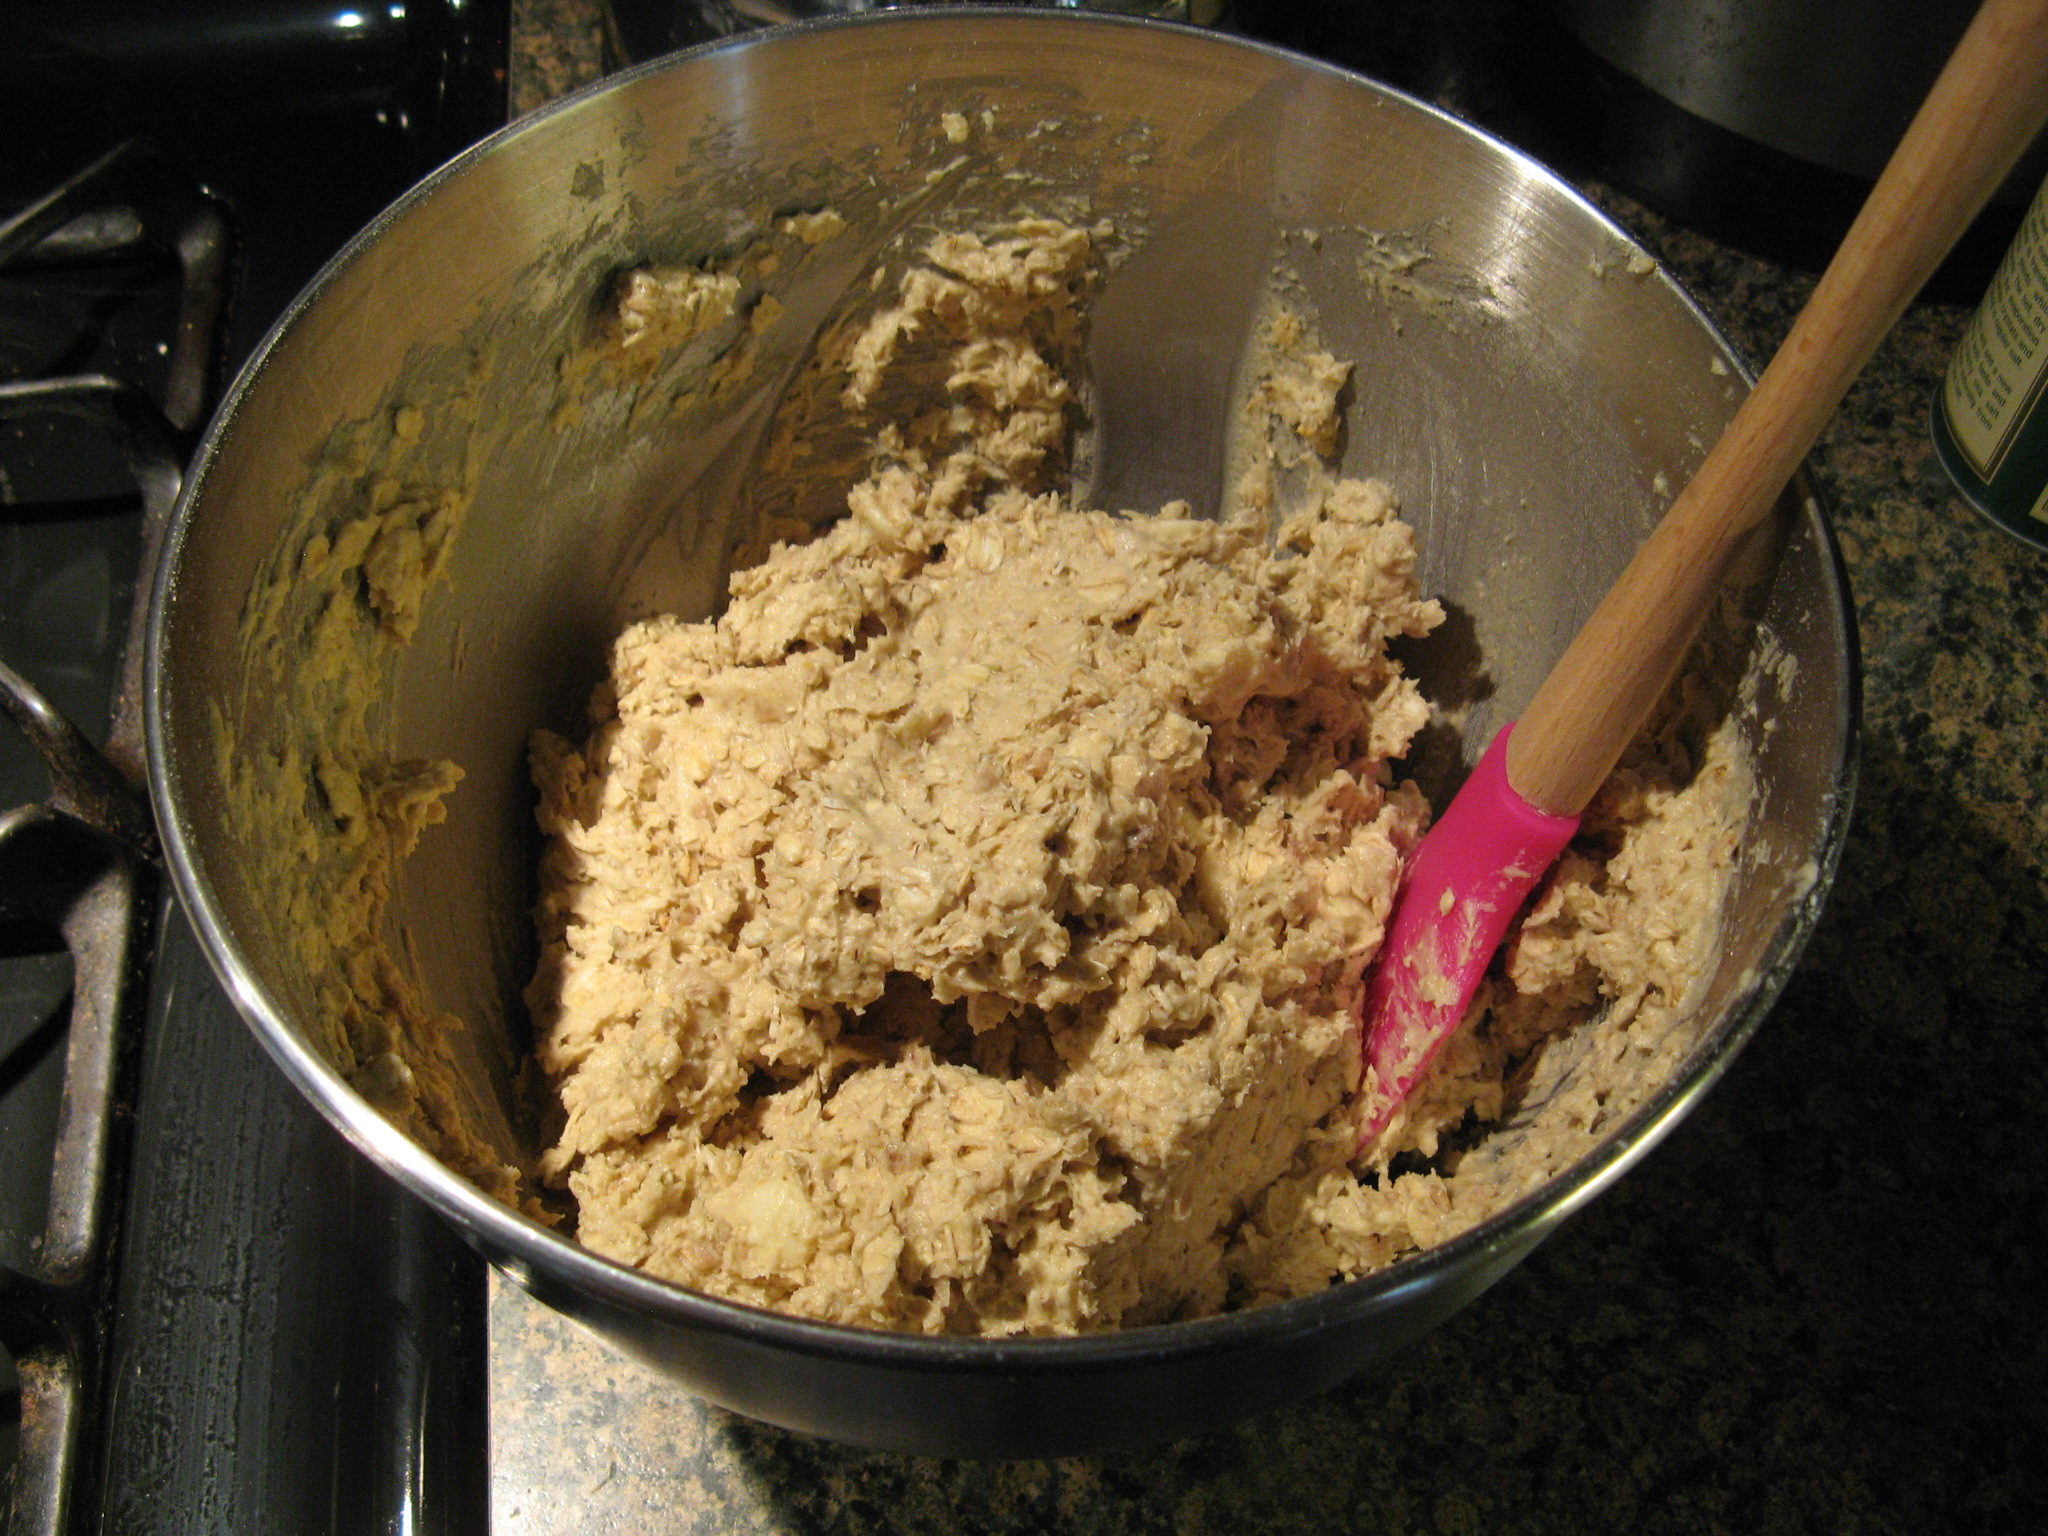
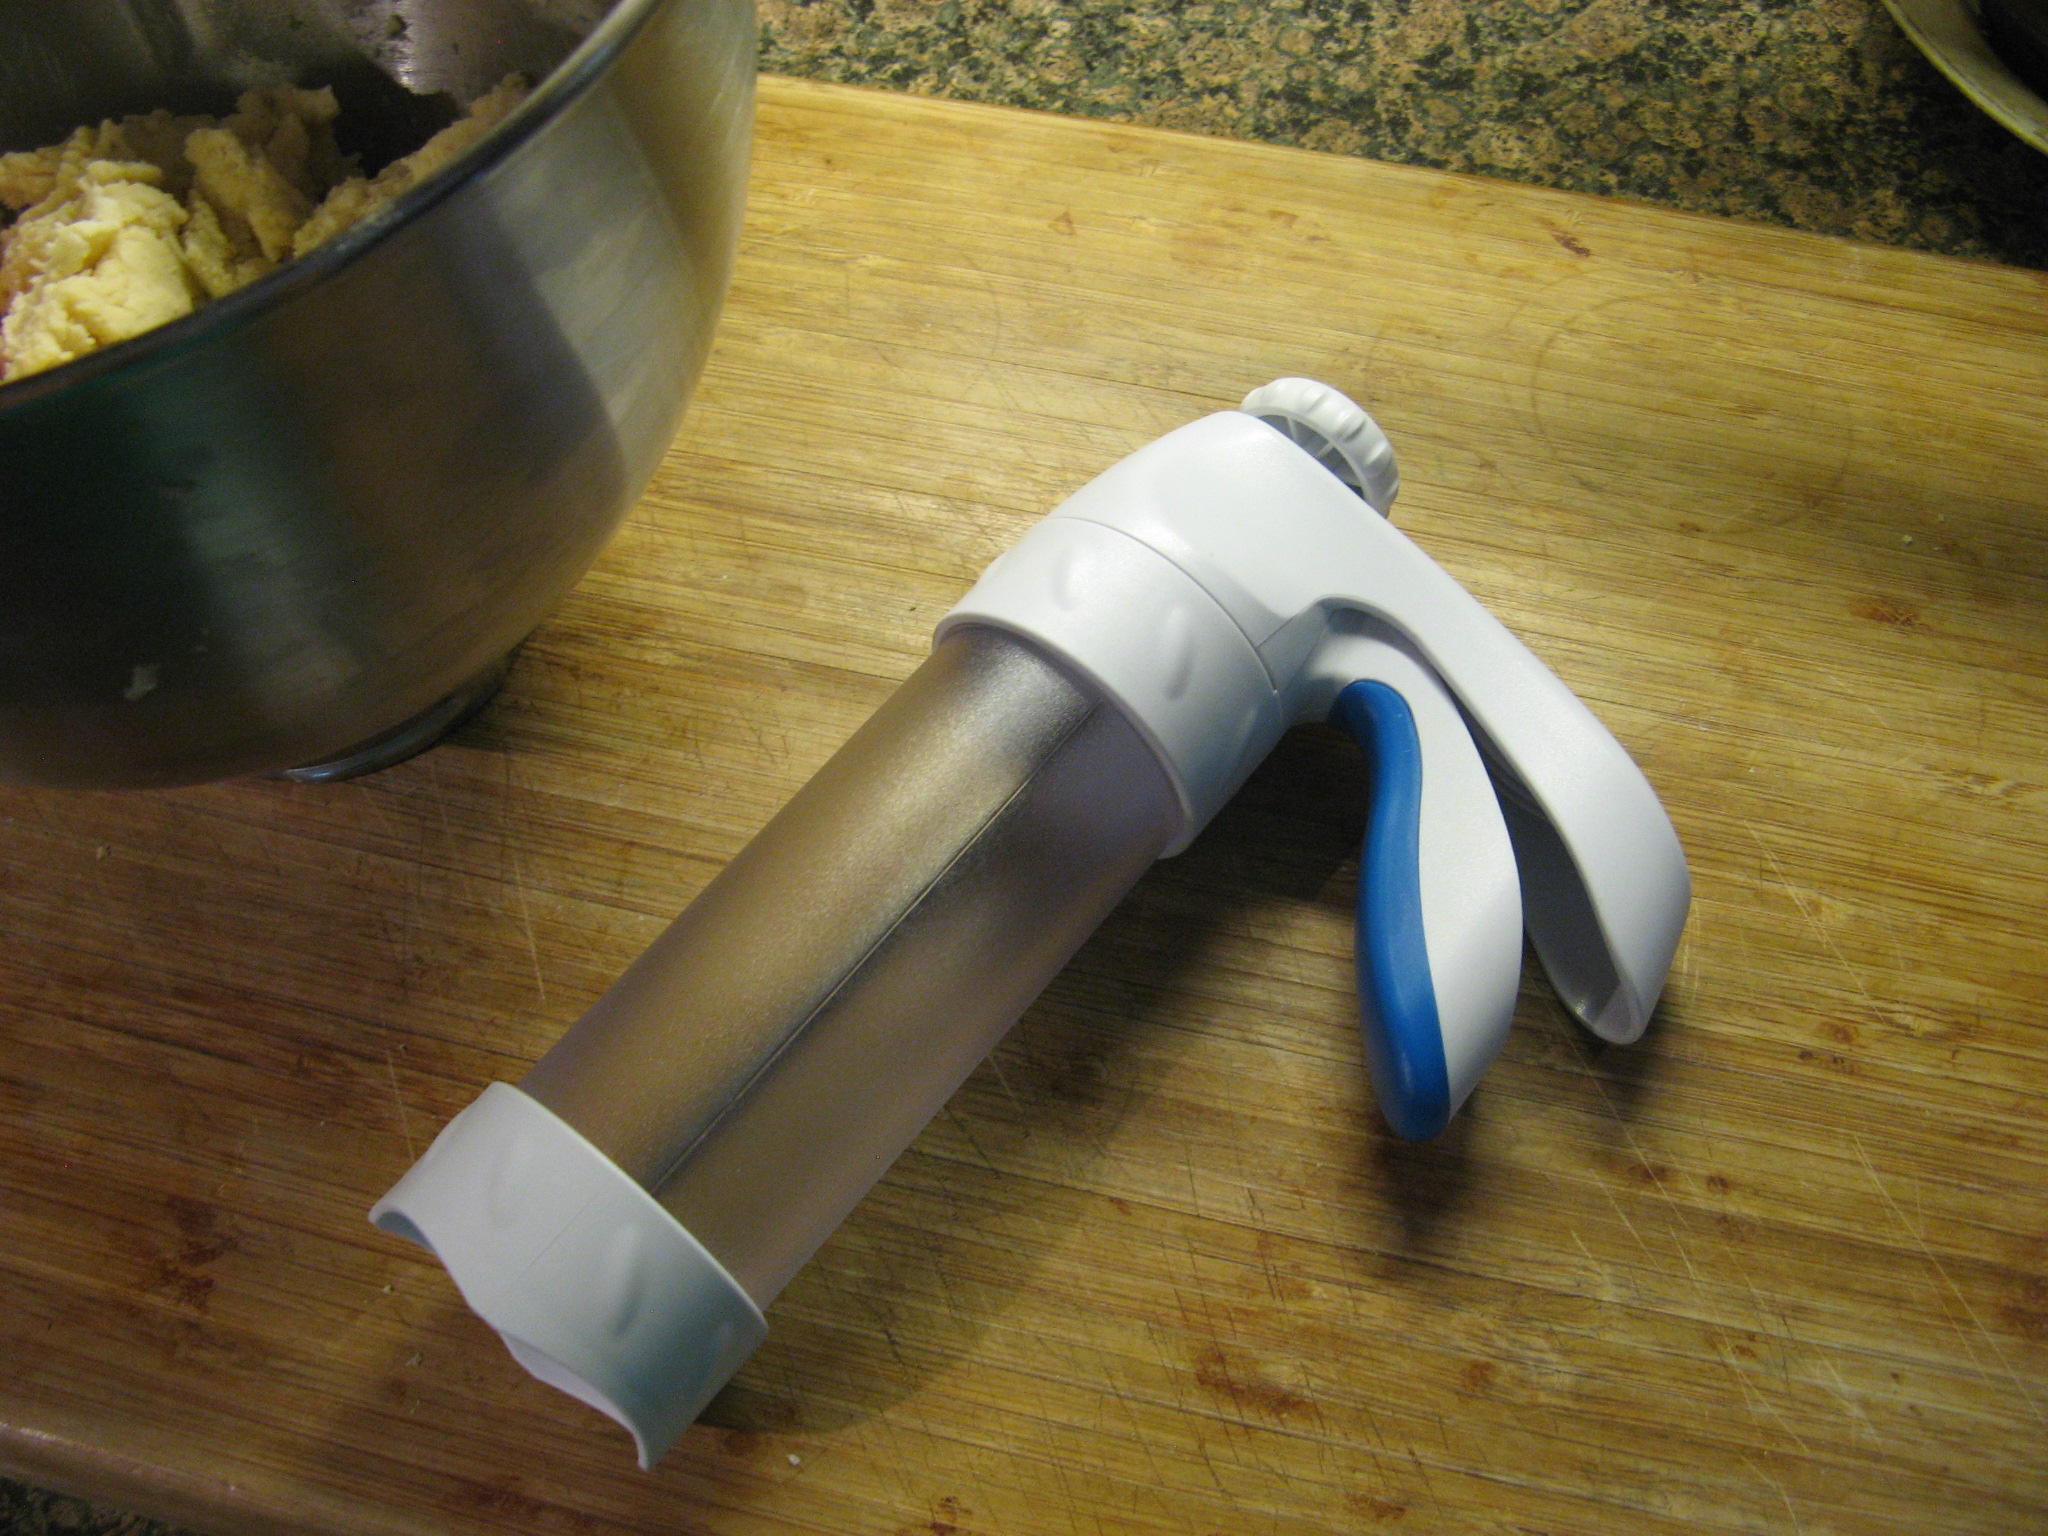
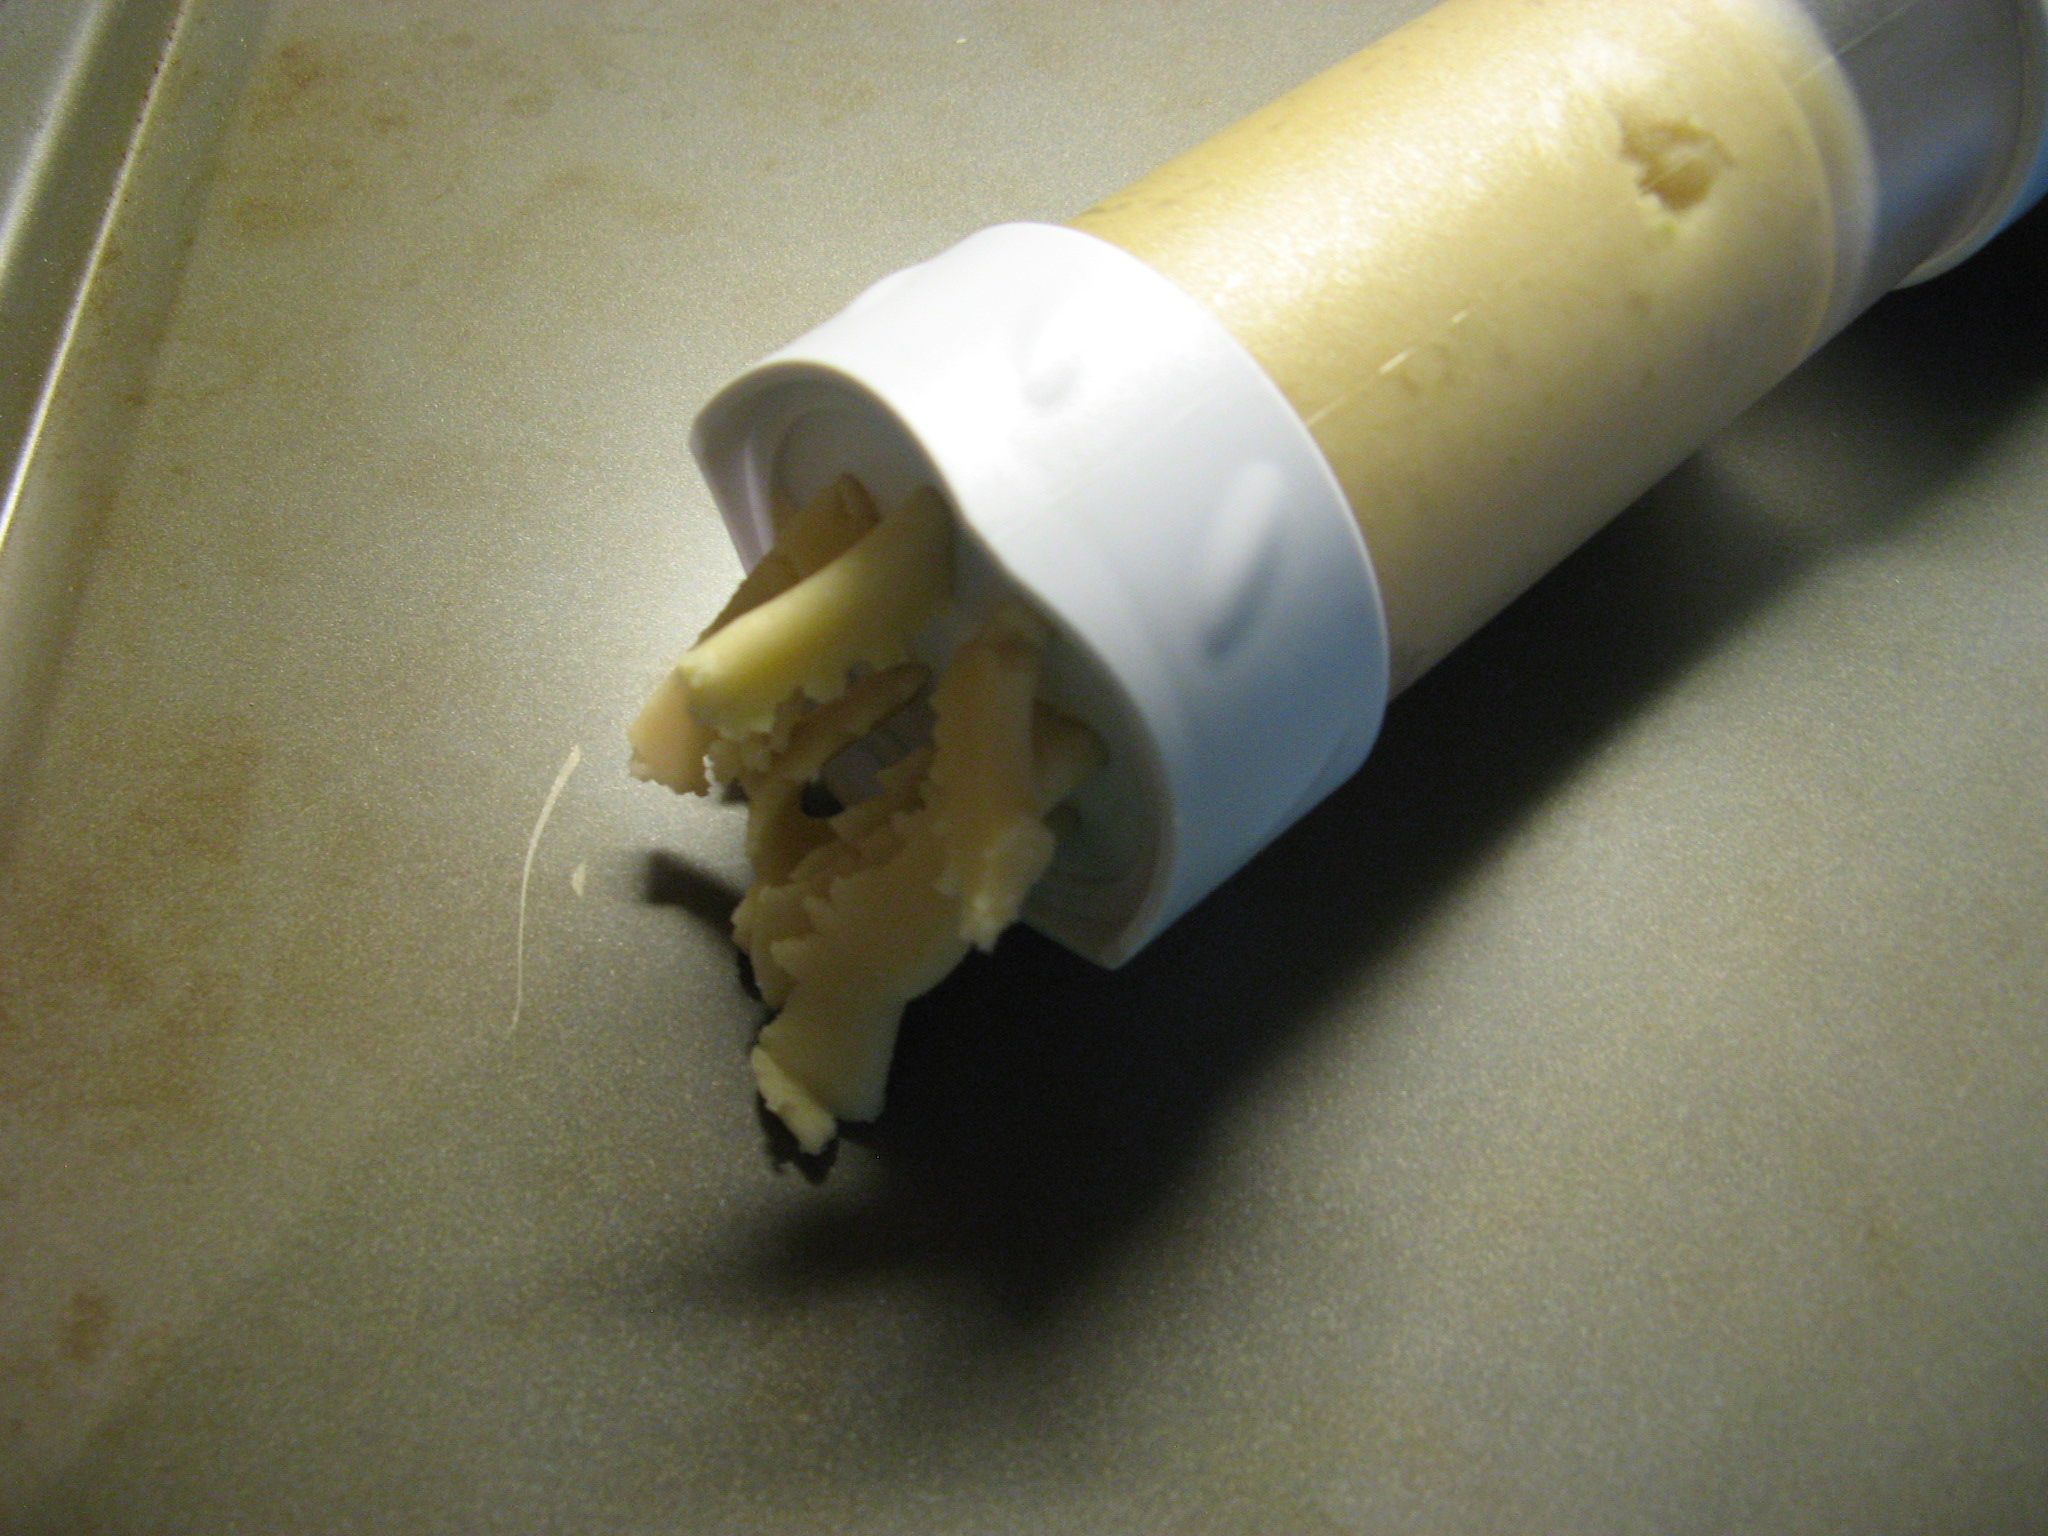
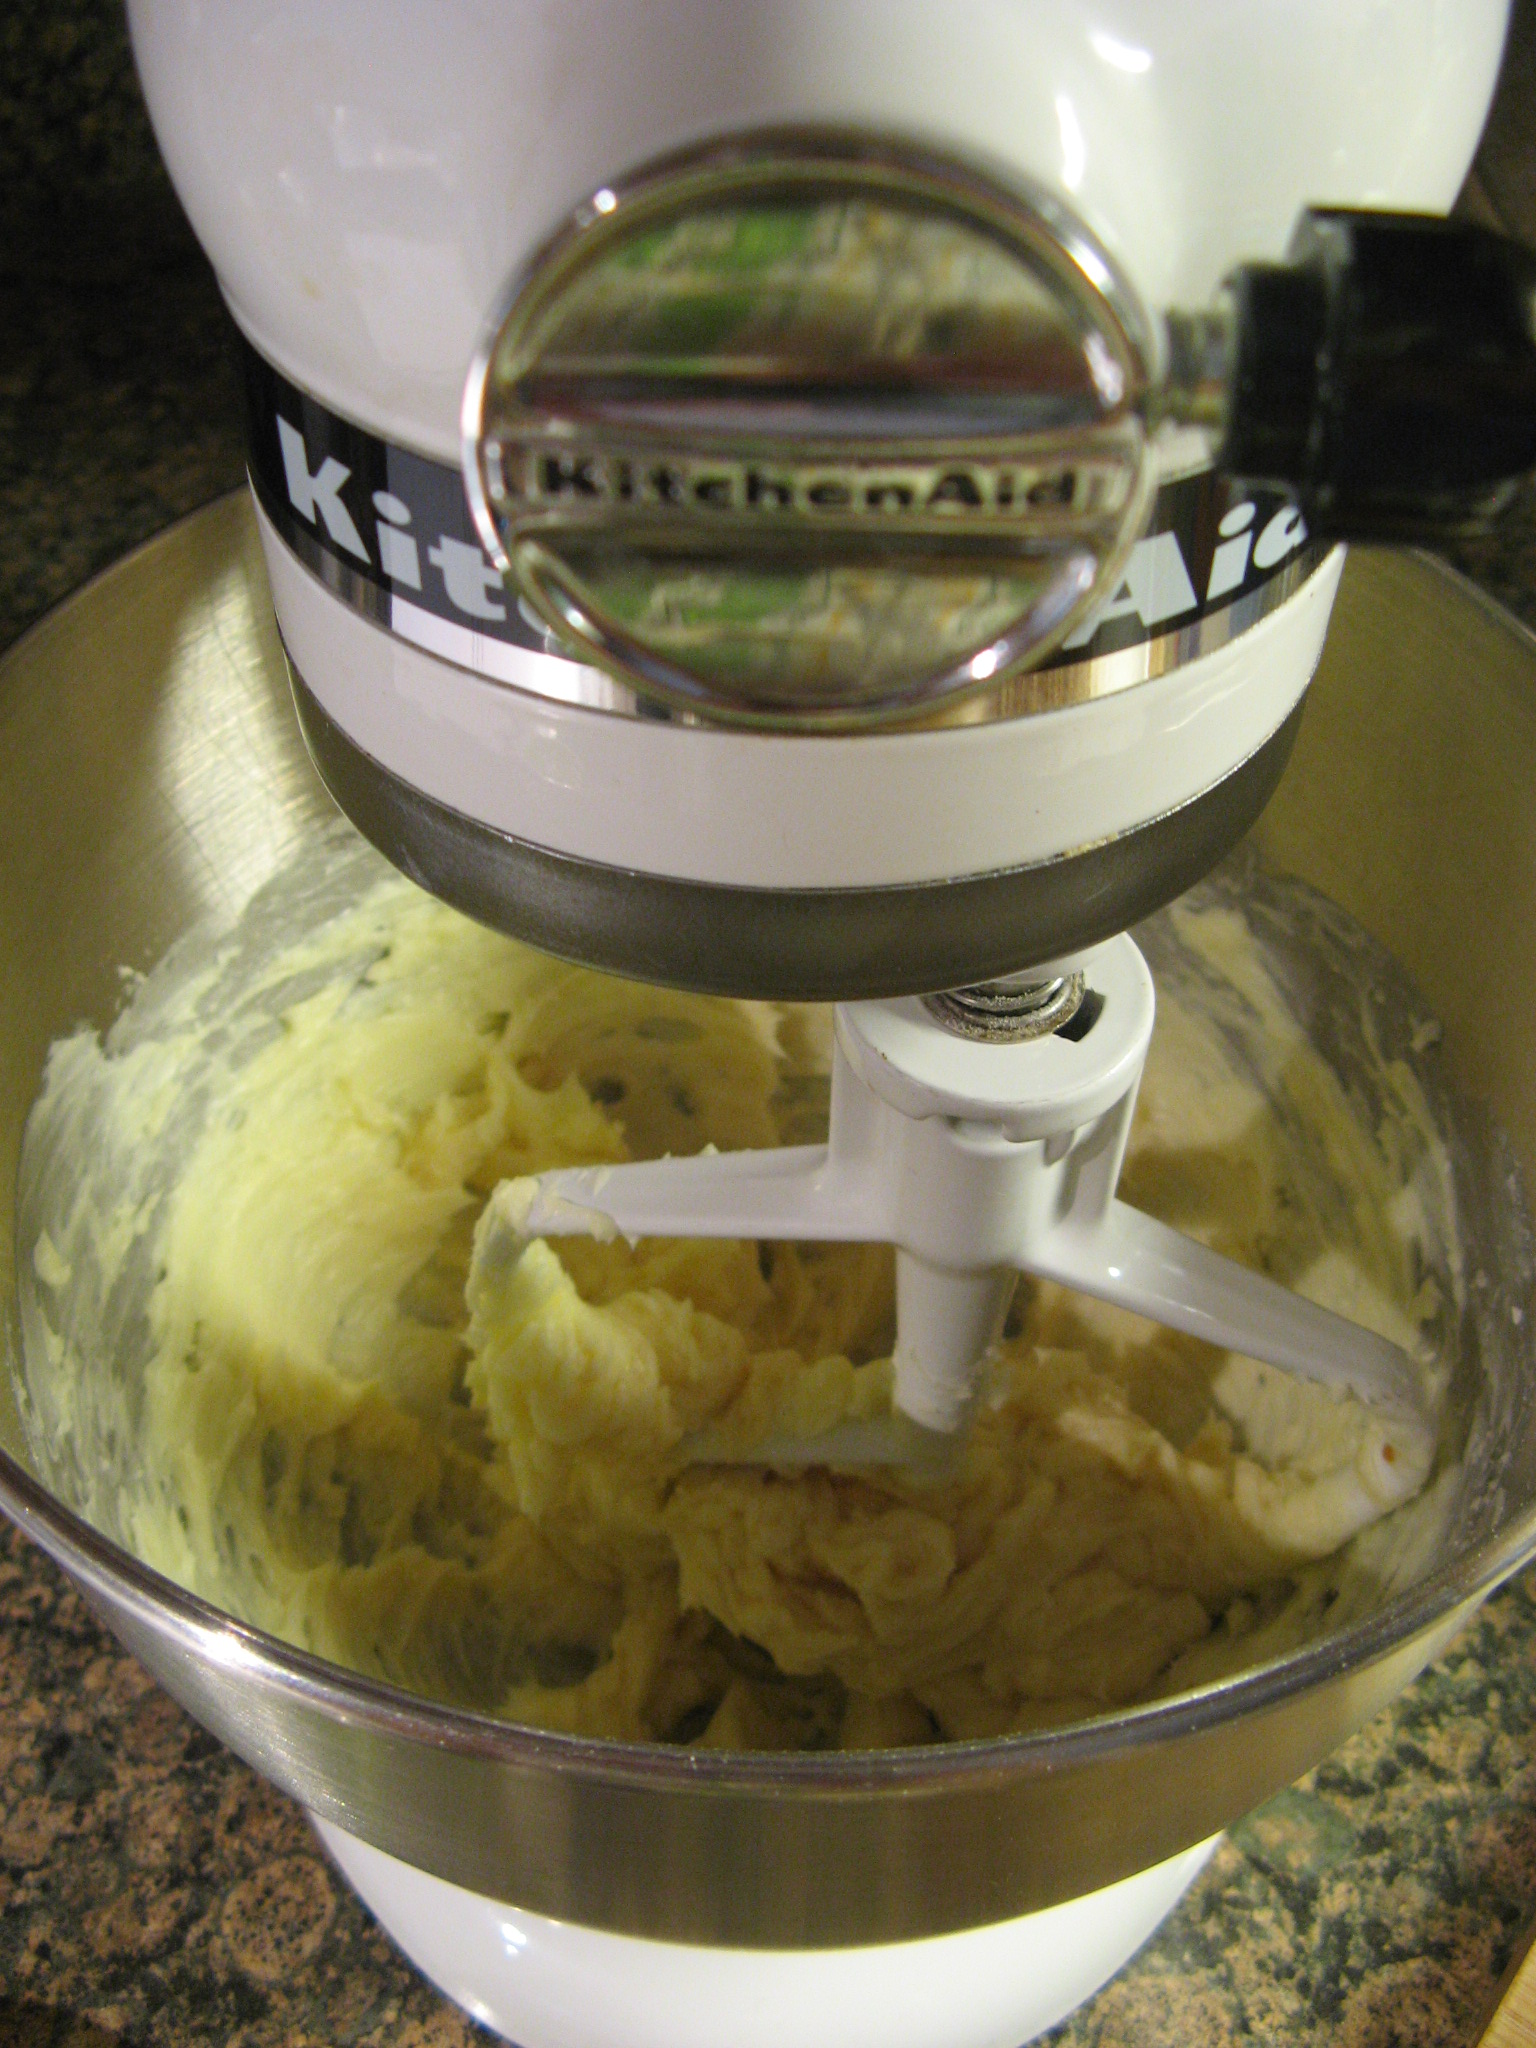
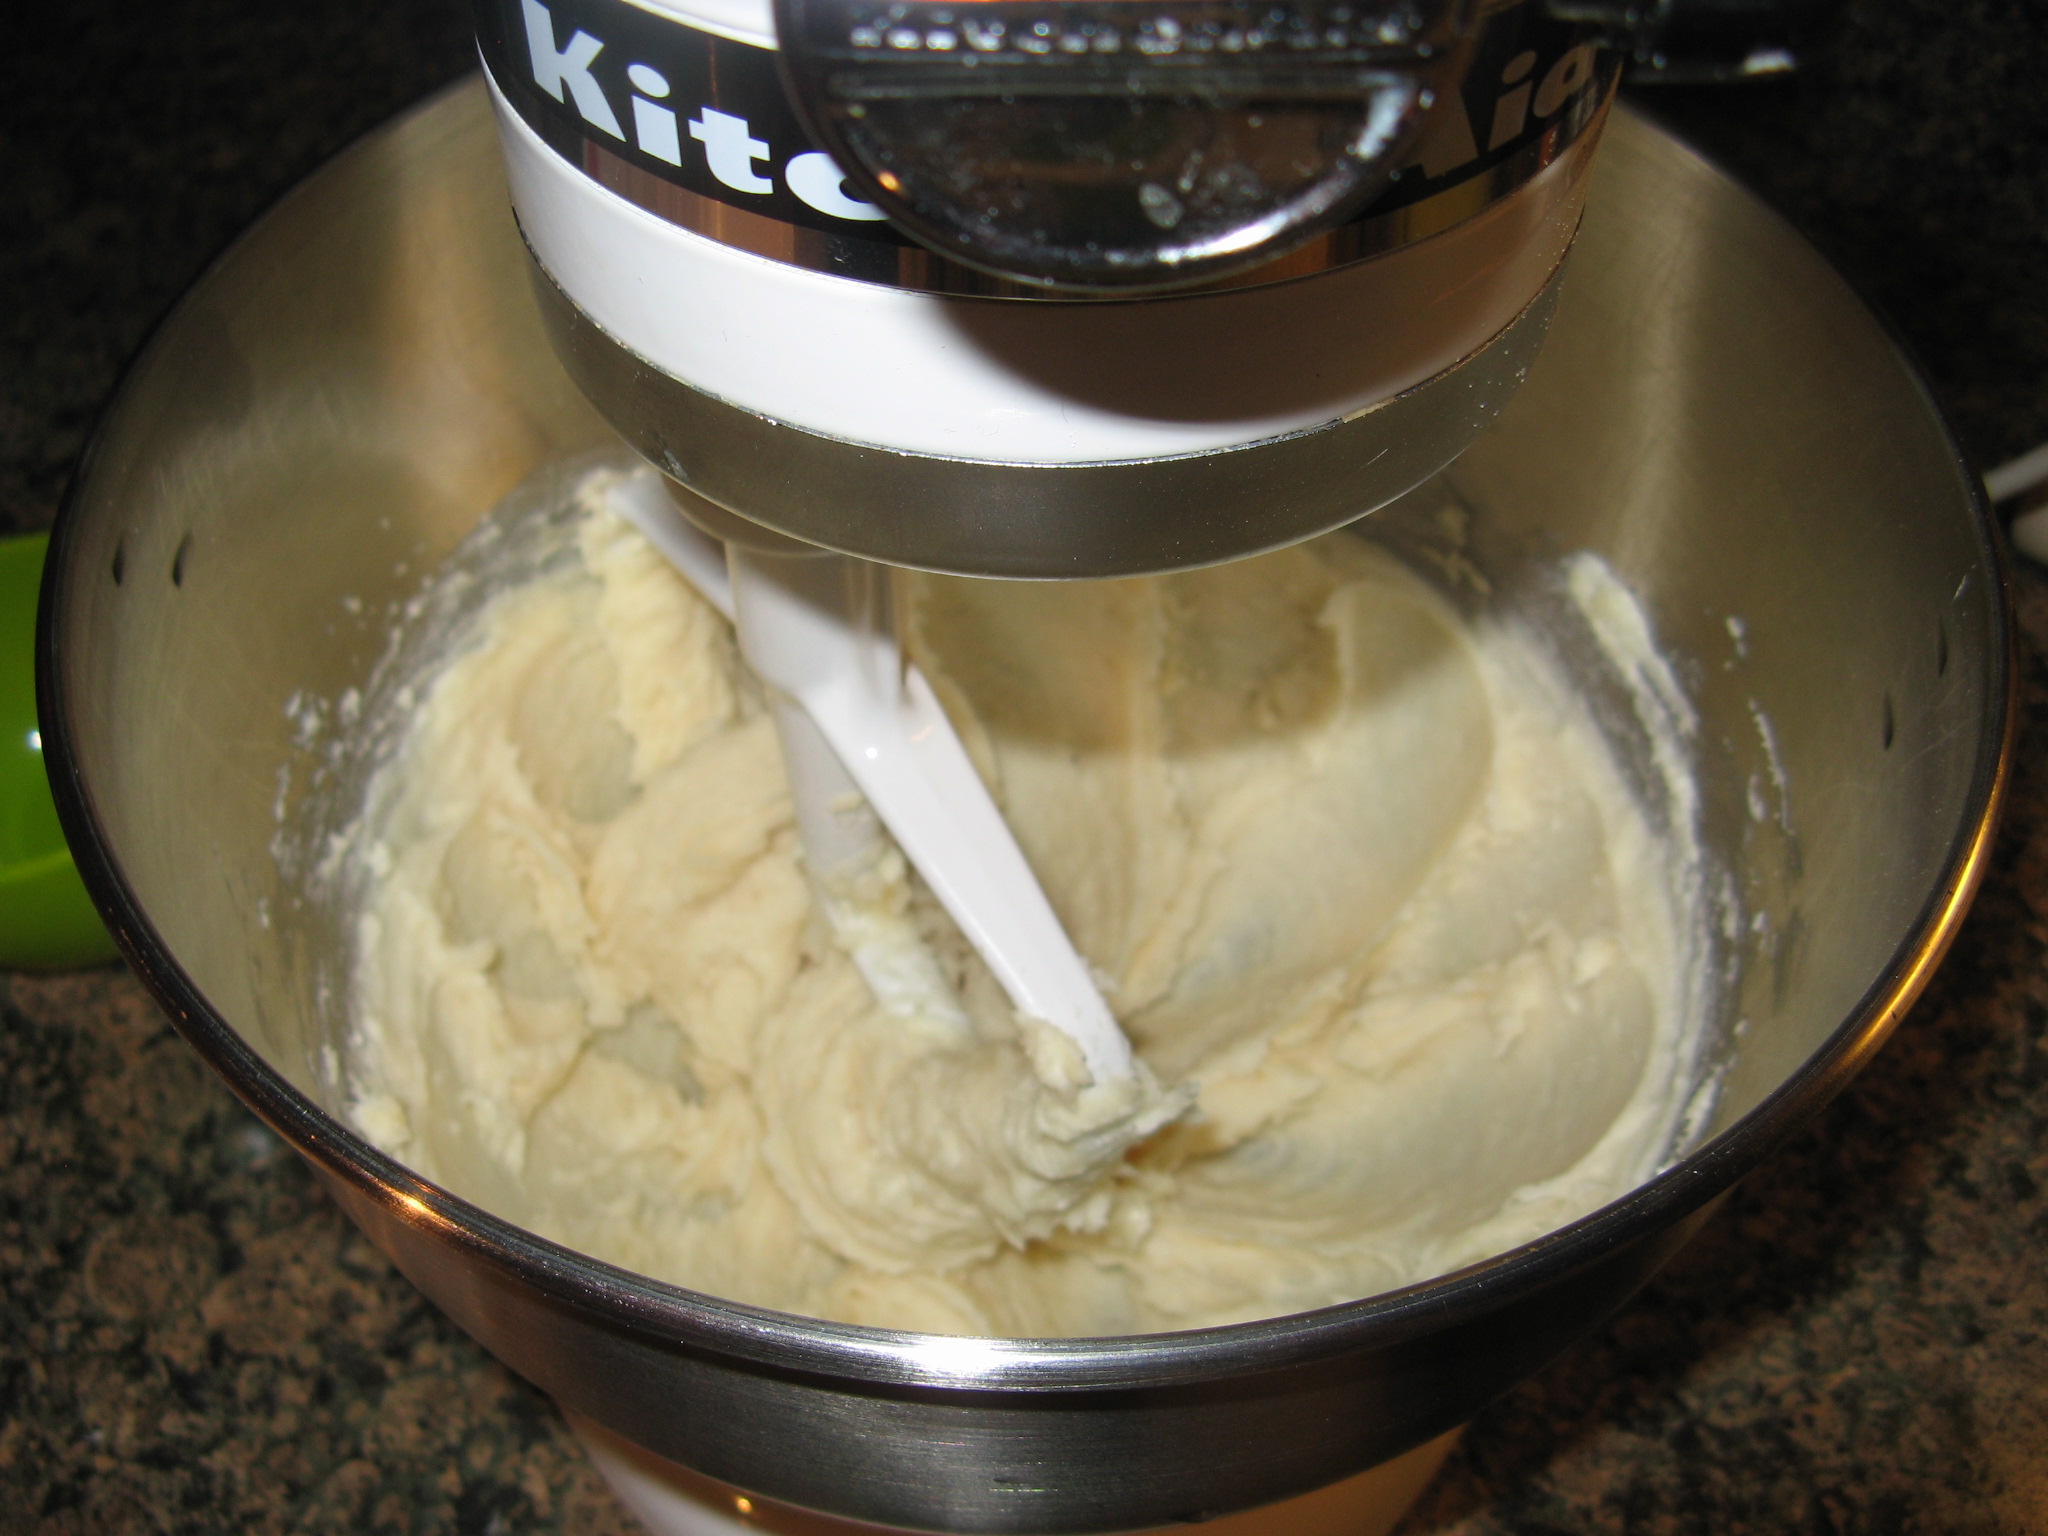
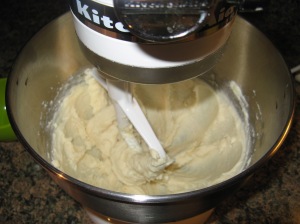
I started by creaming the butter and sugar together and then adding in the vanilla extract.
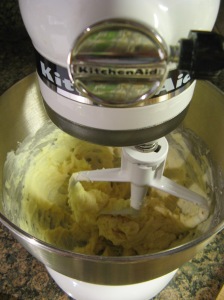
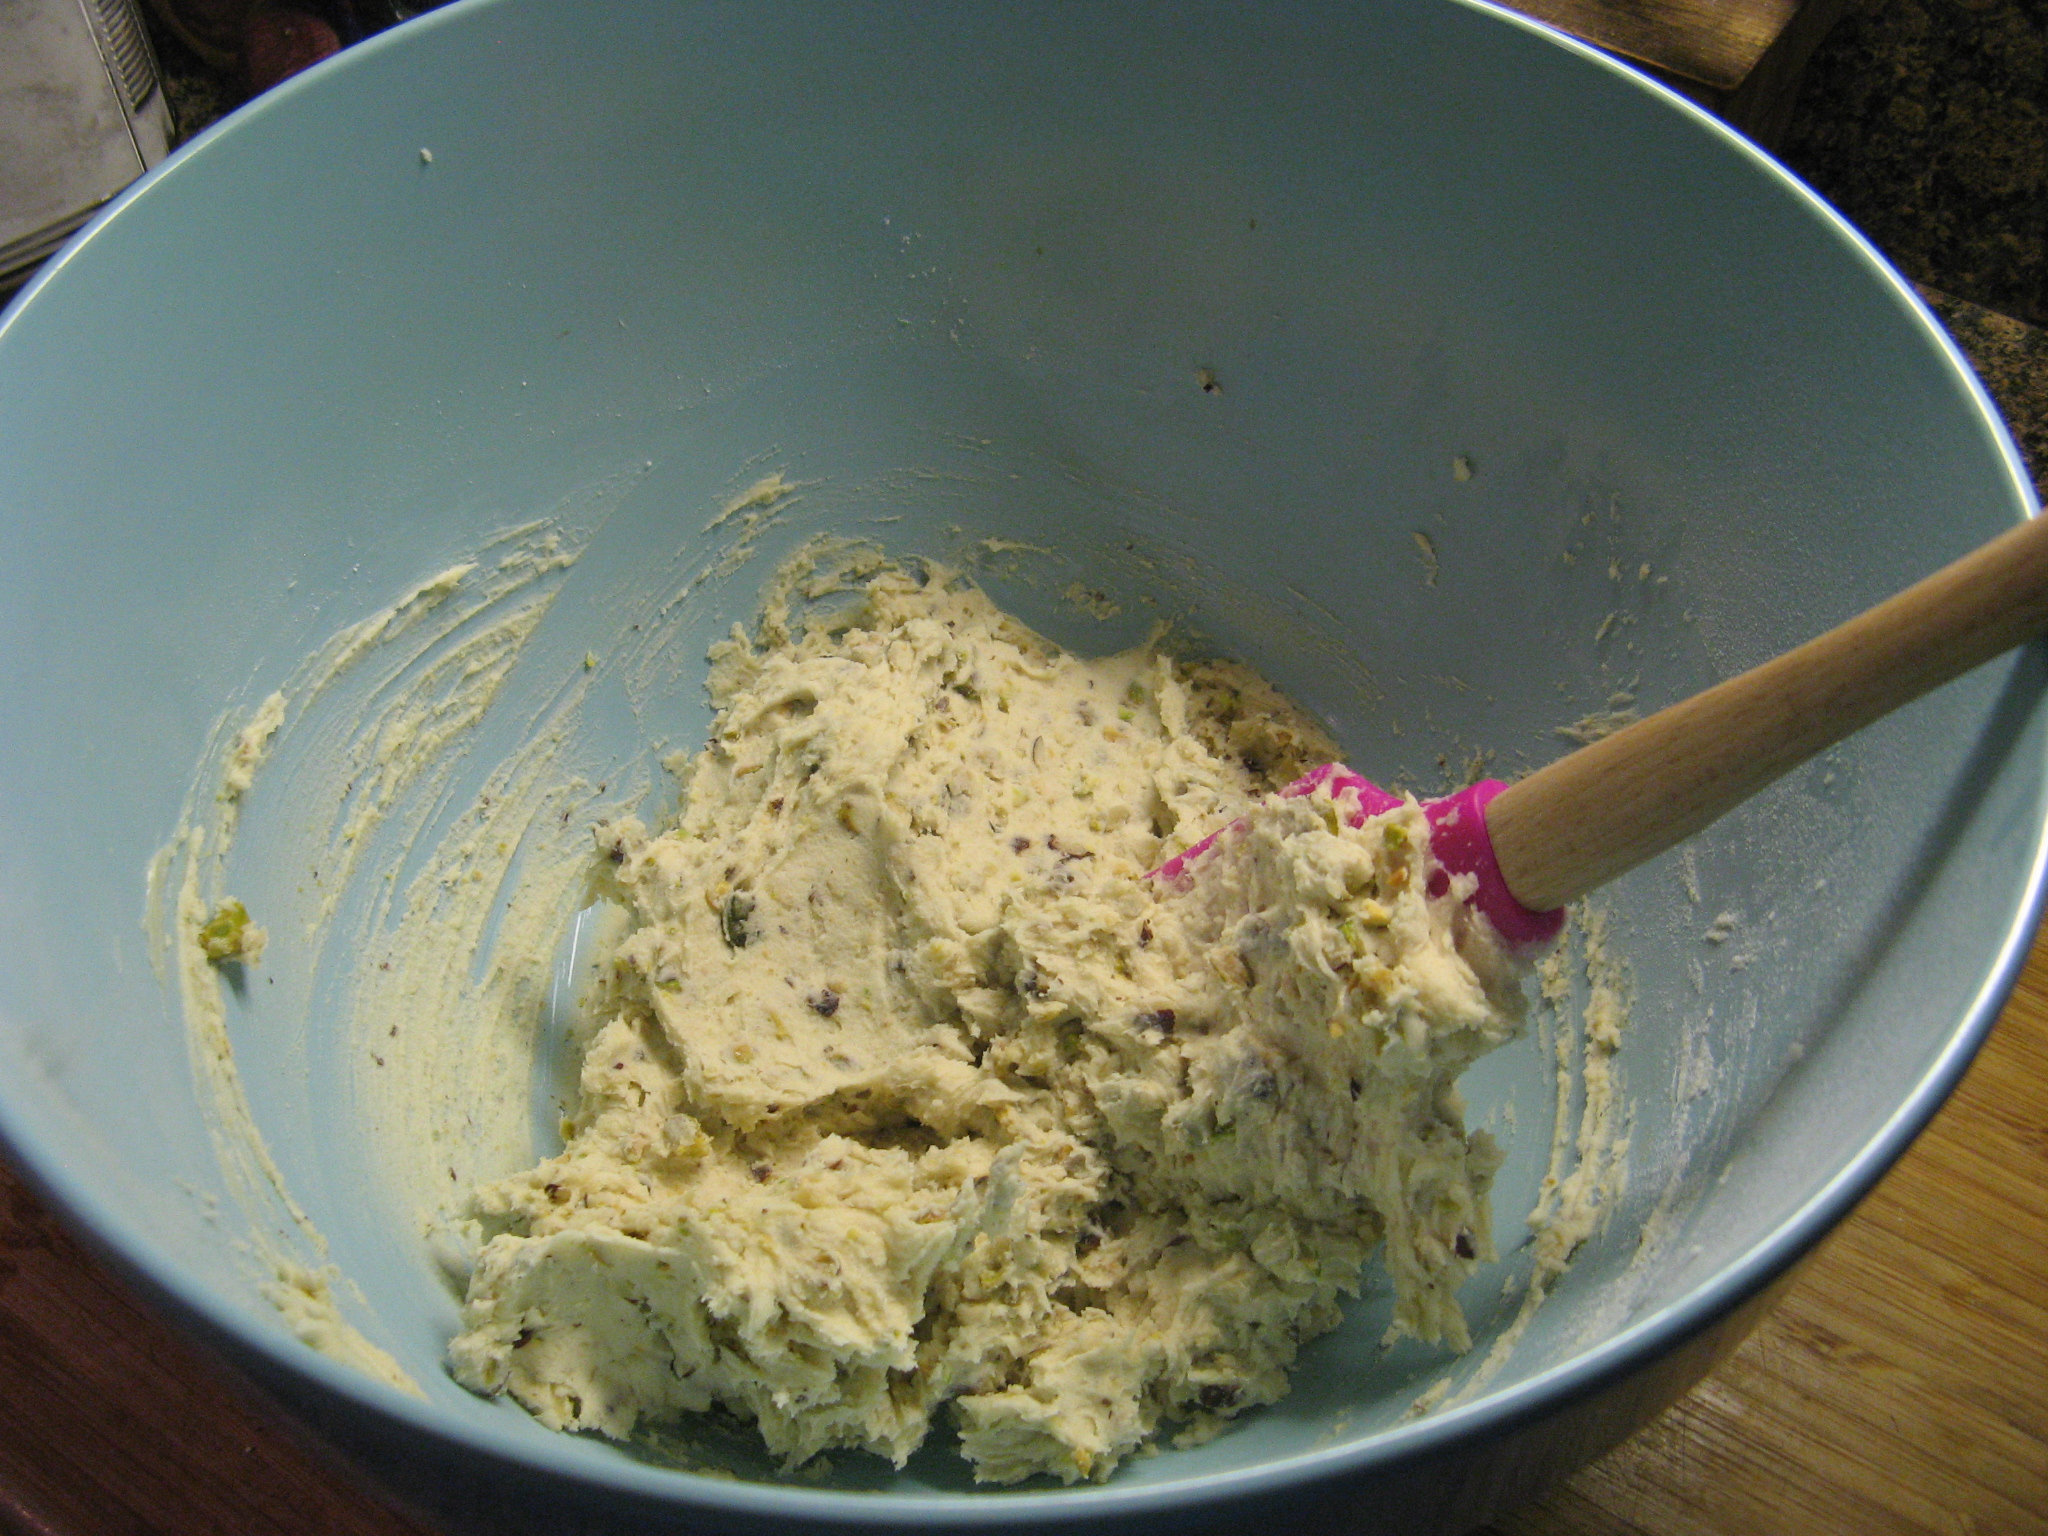
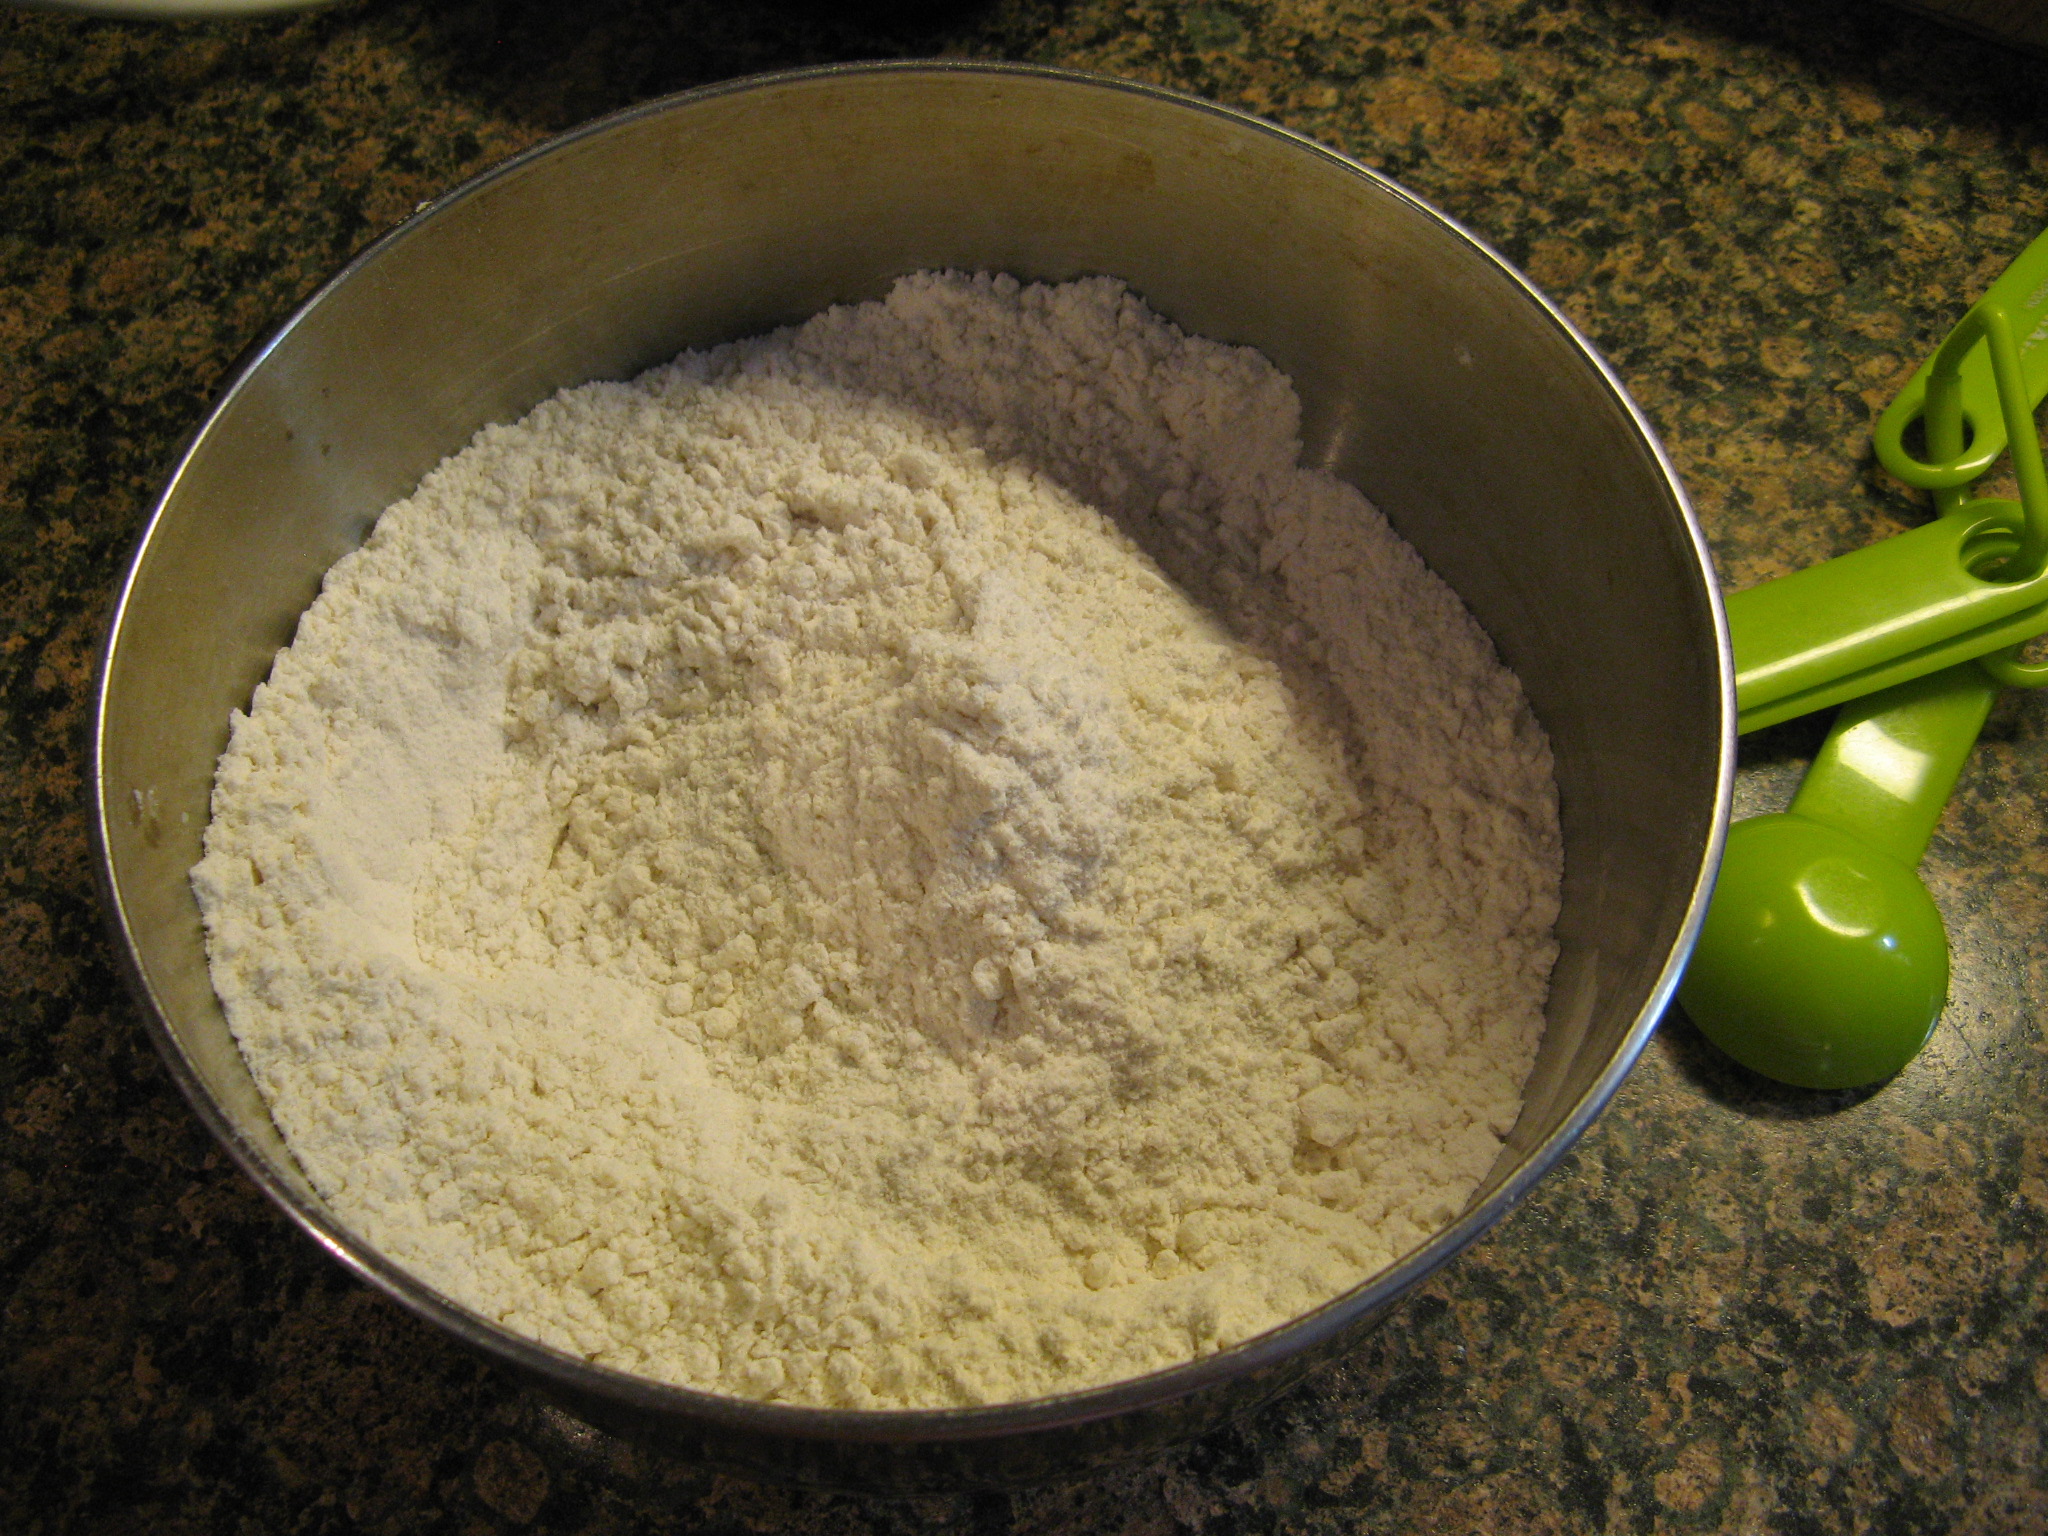
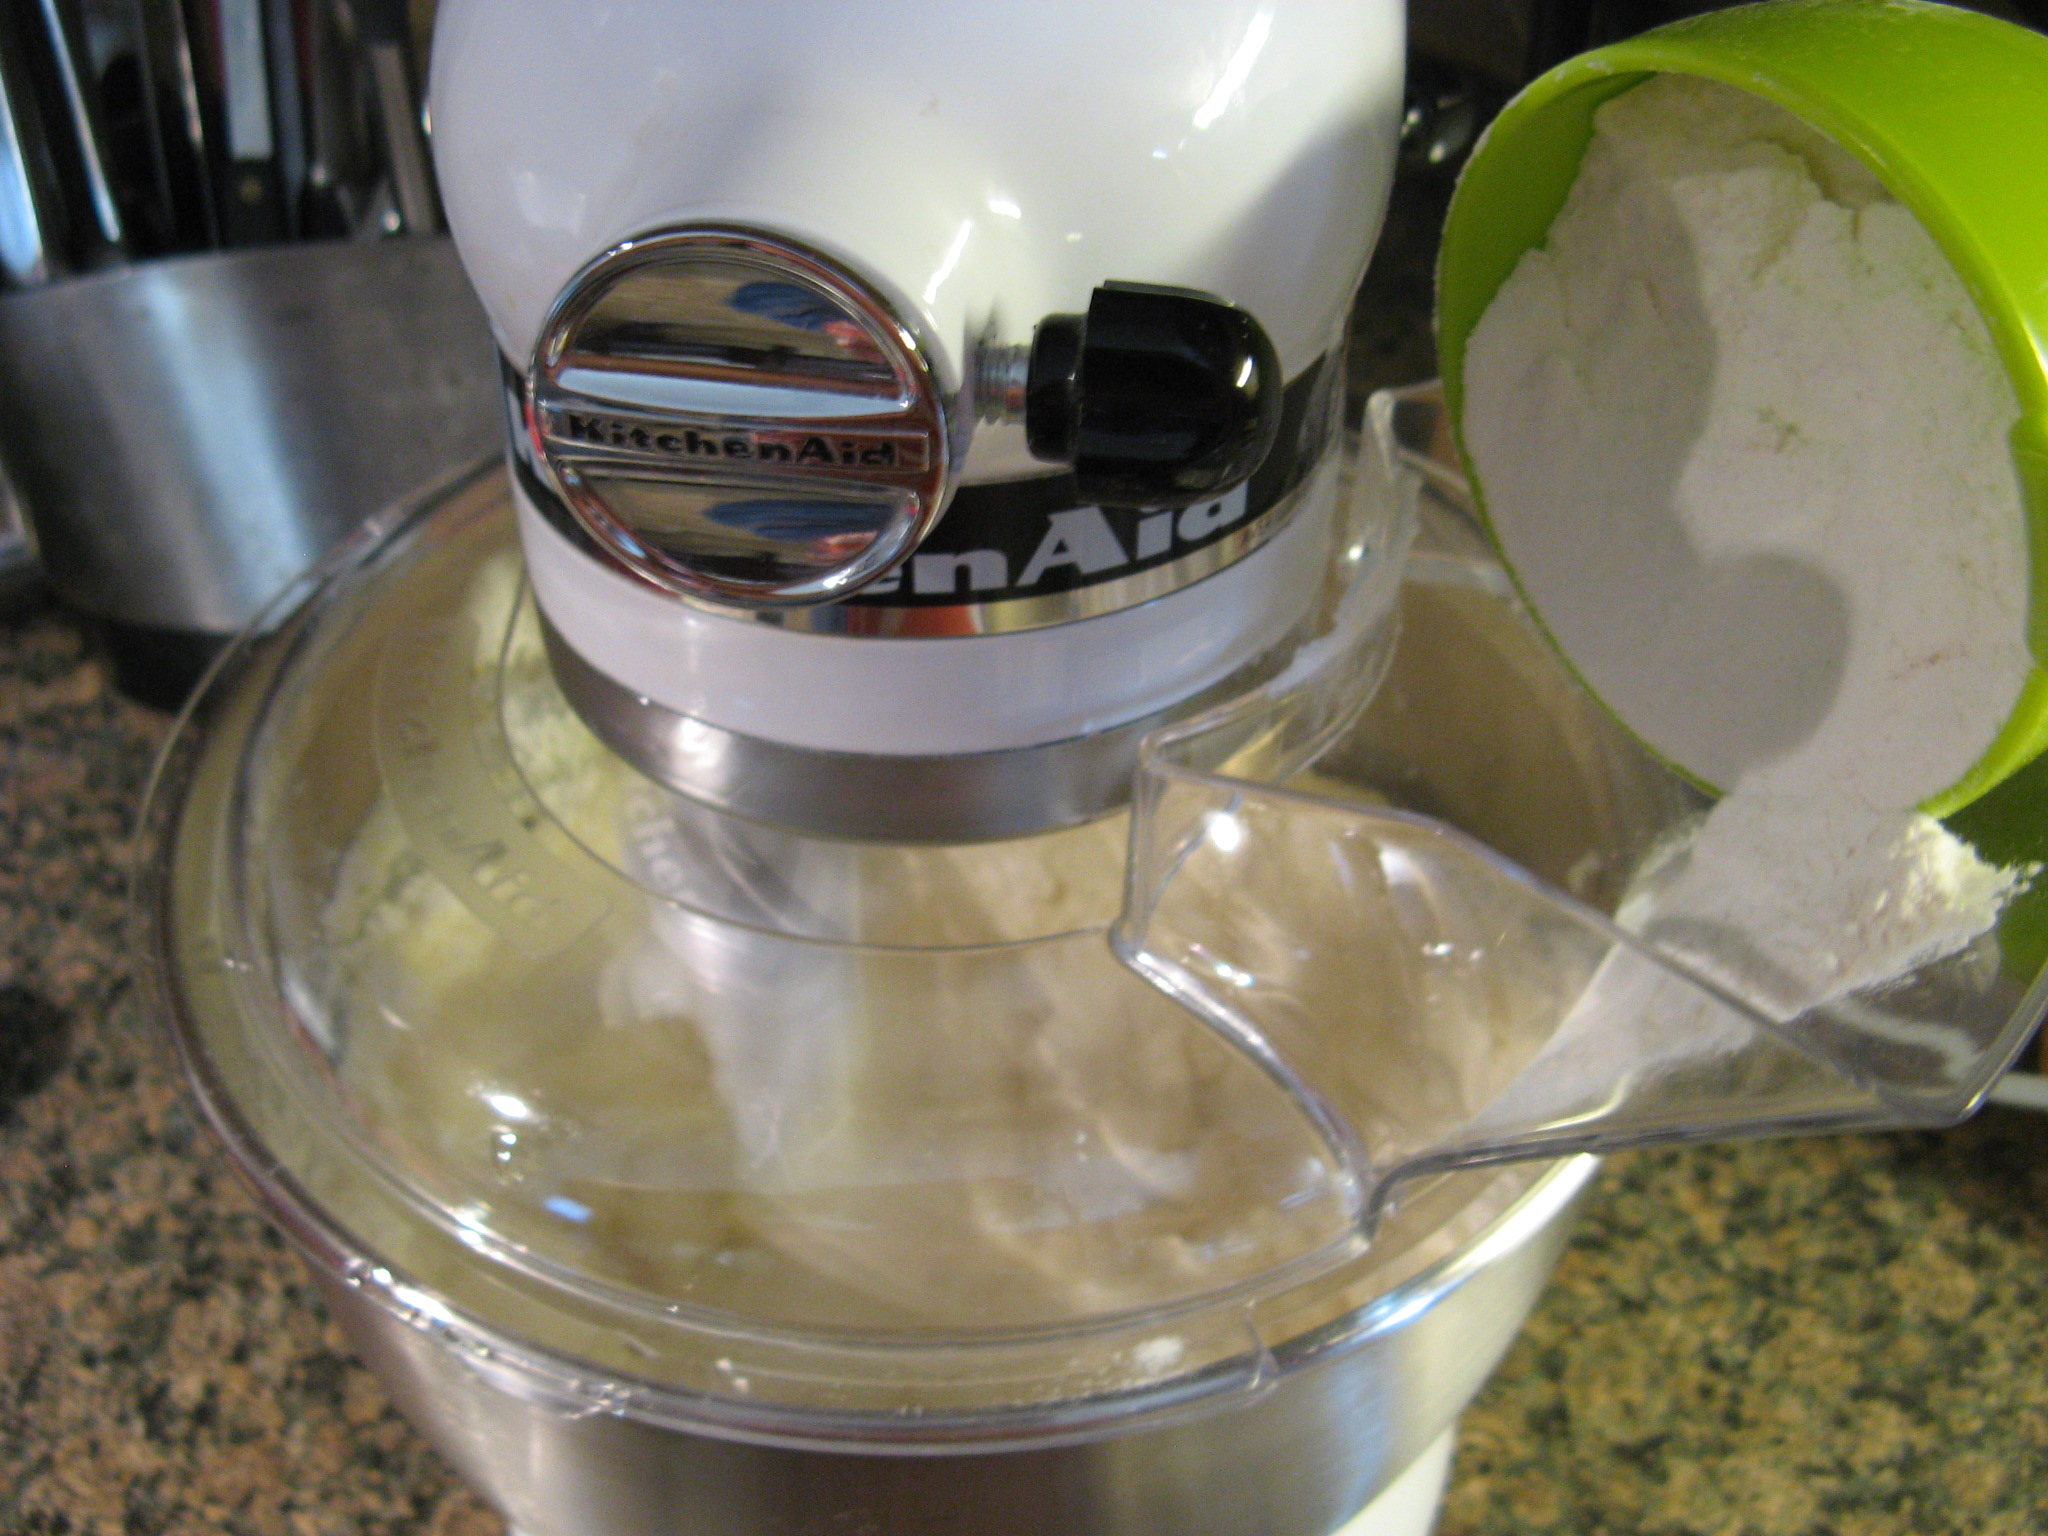
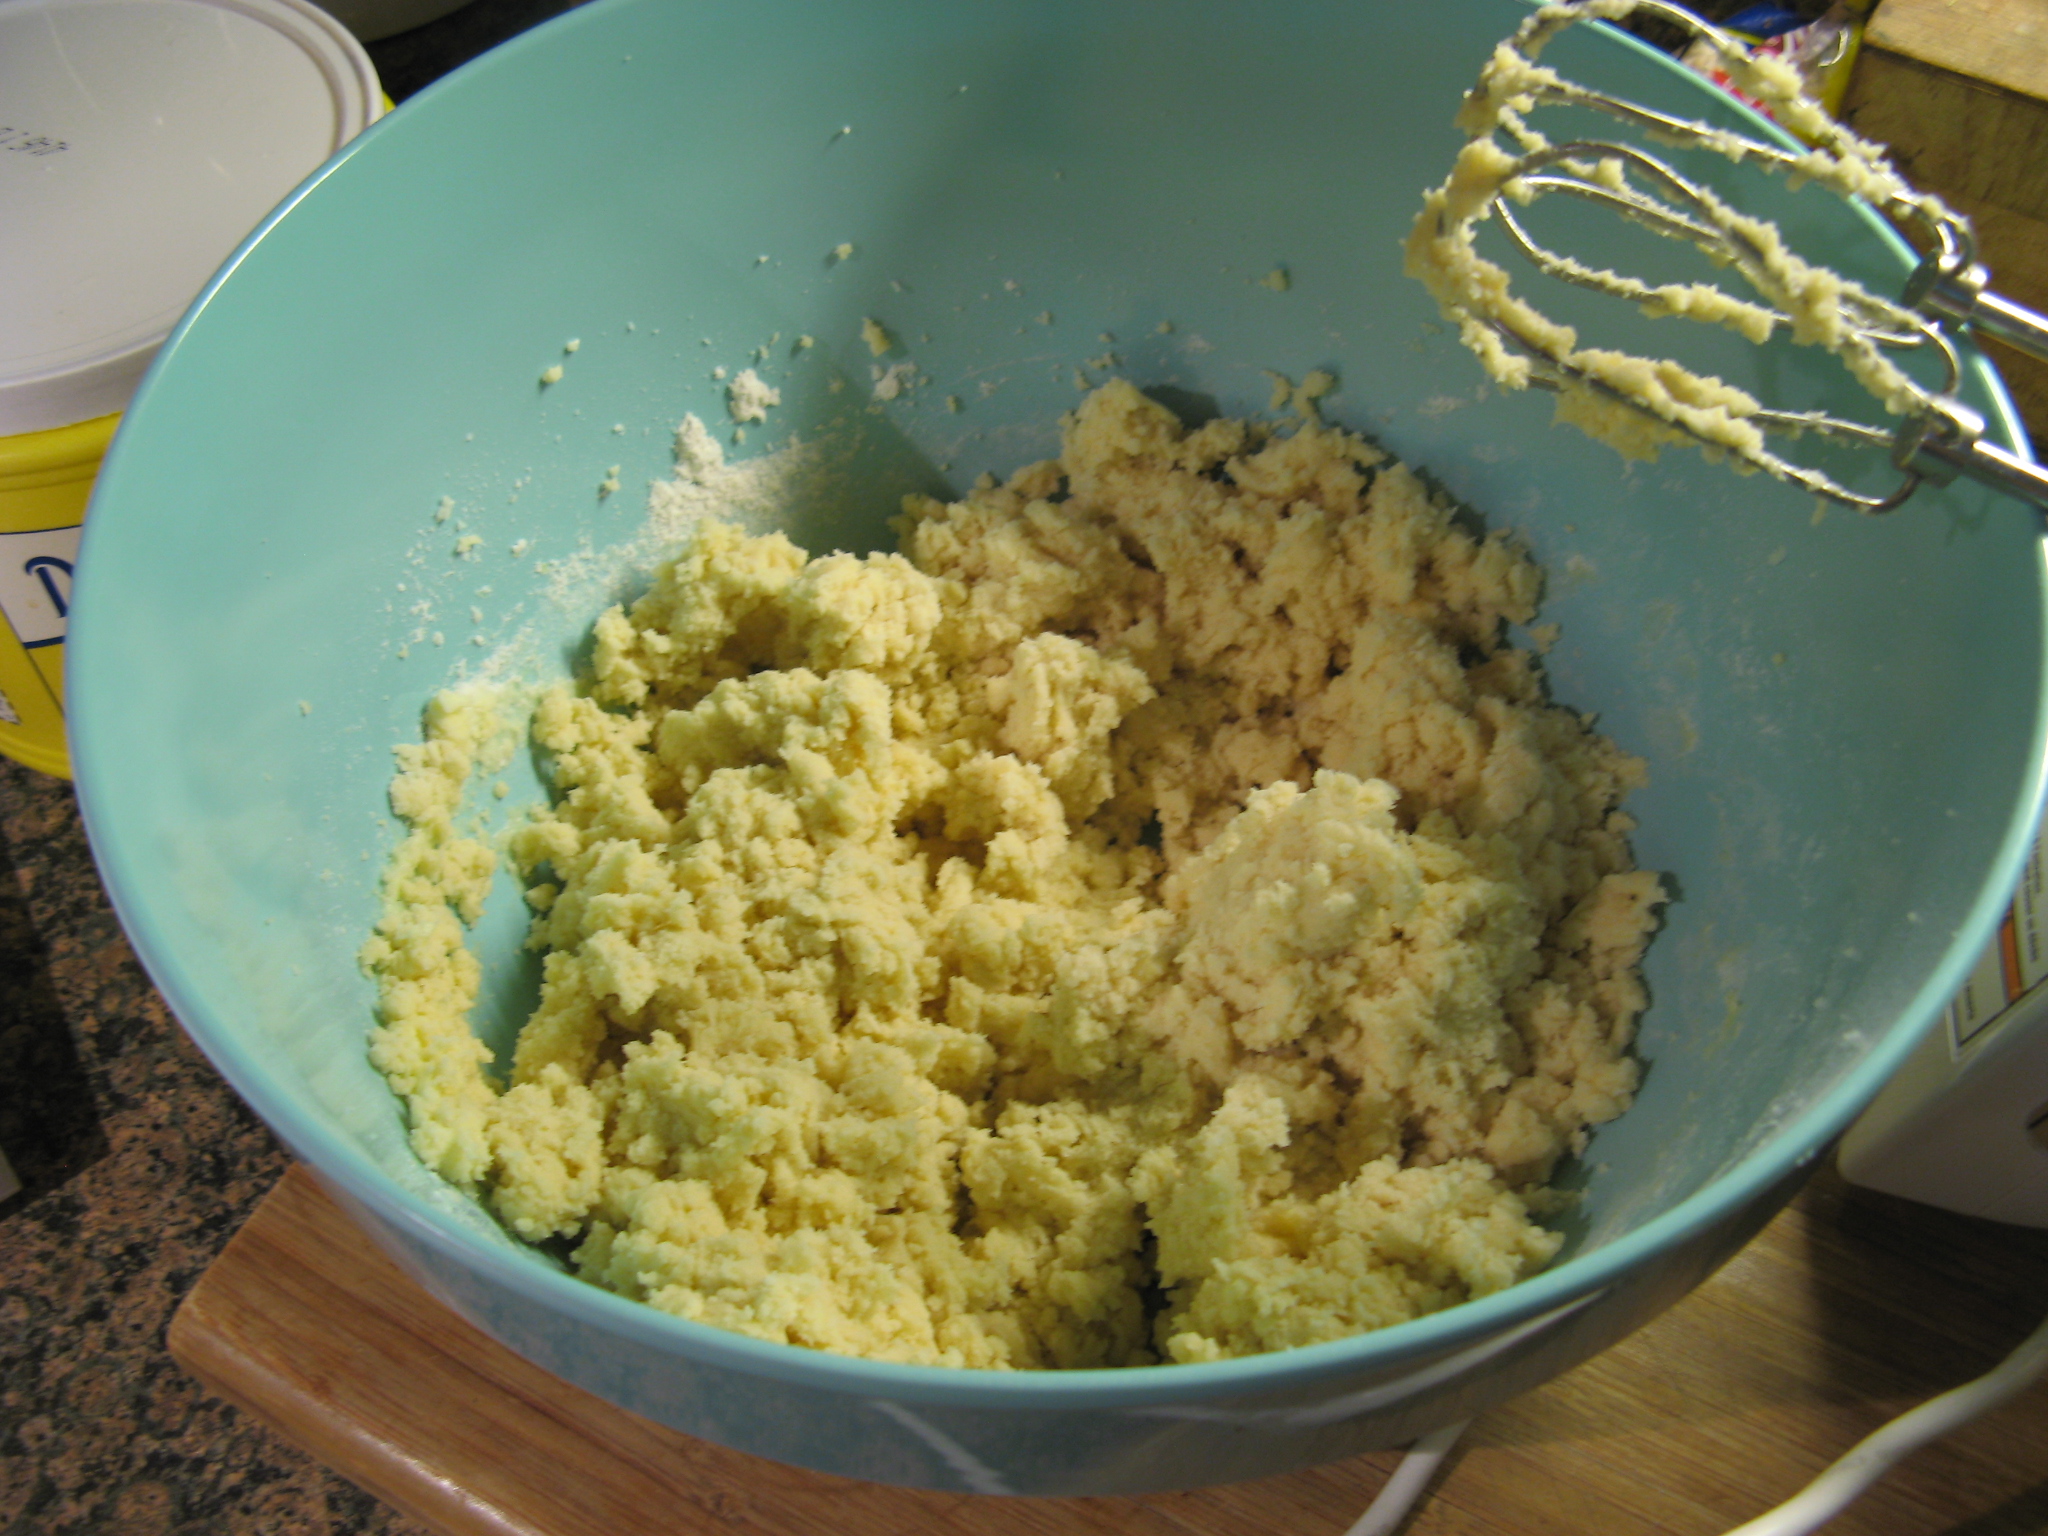
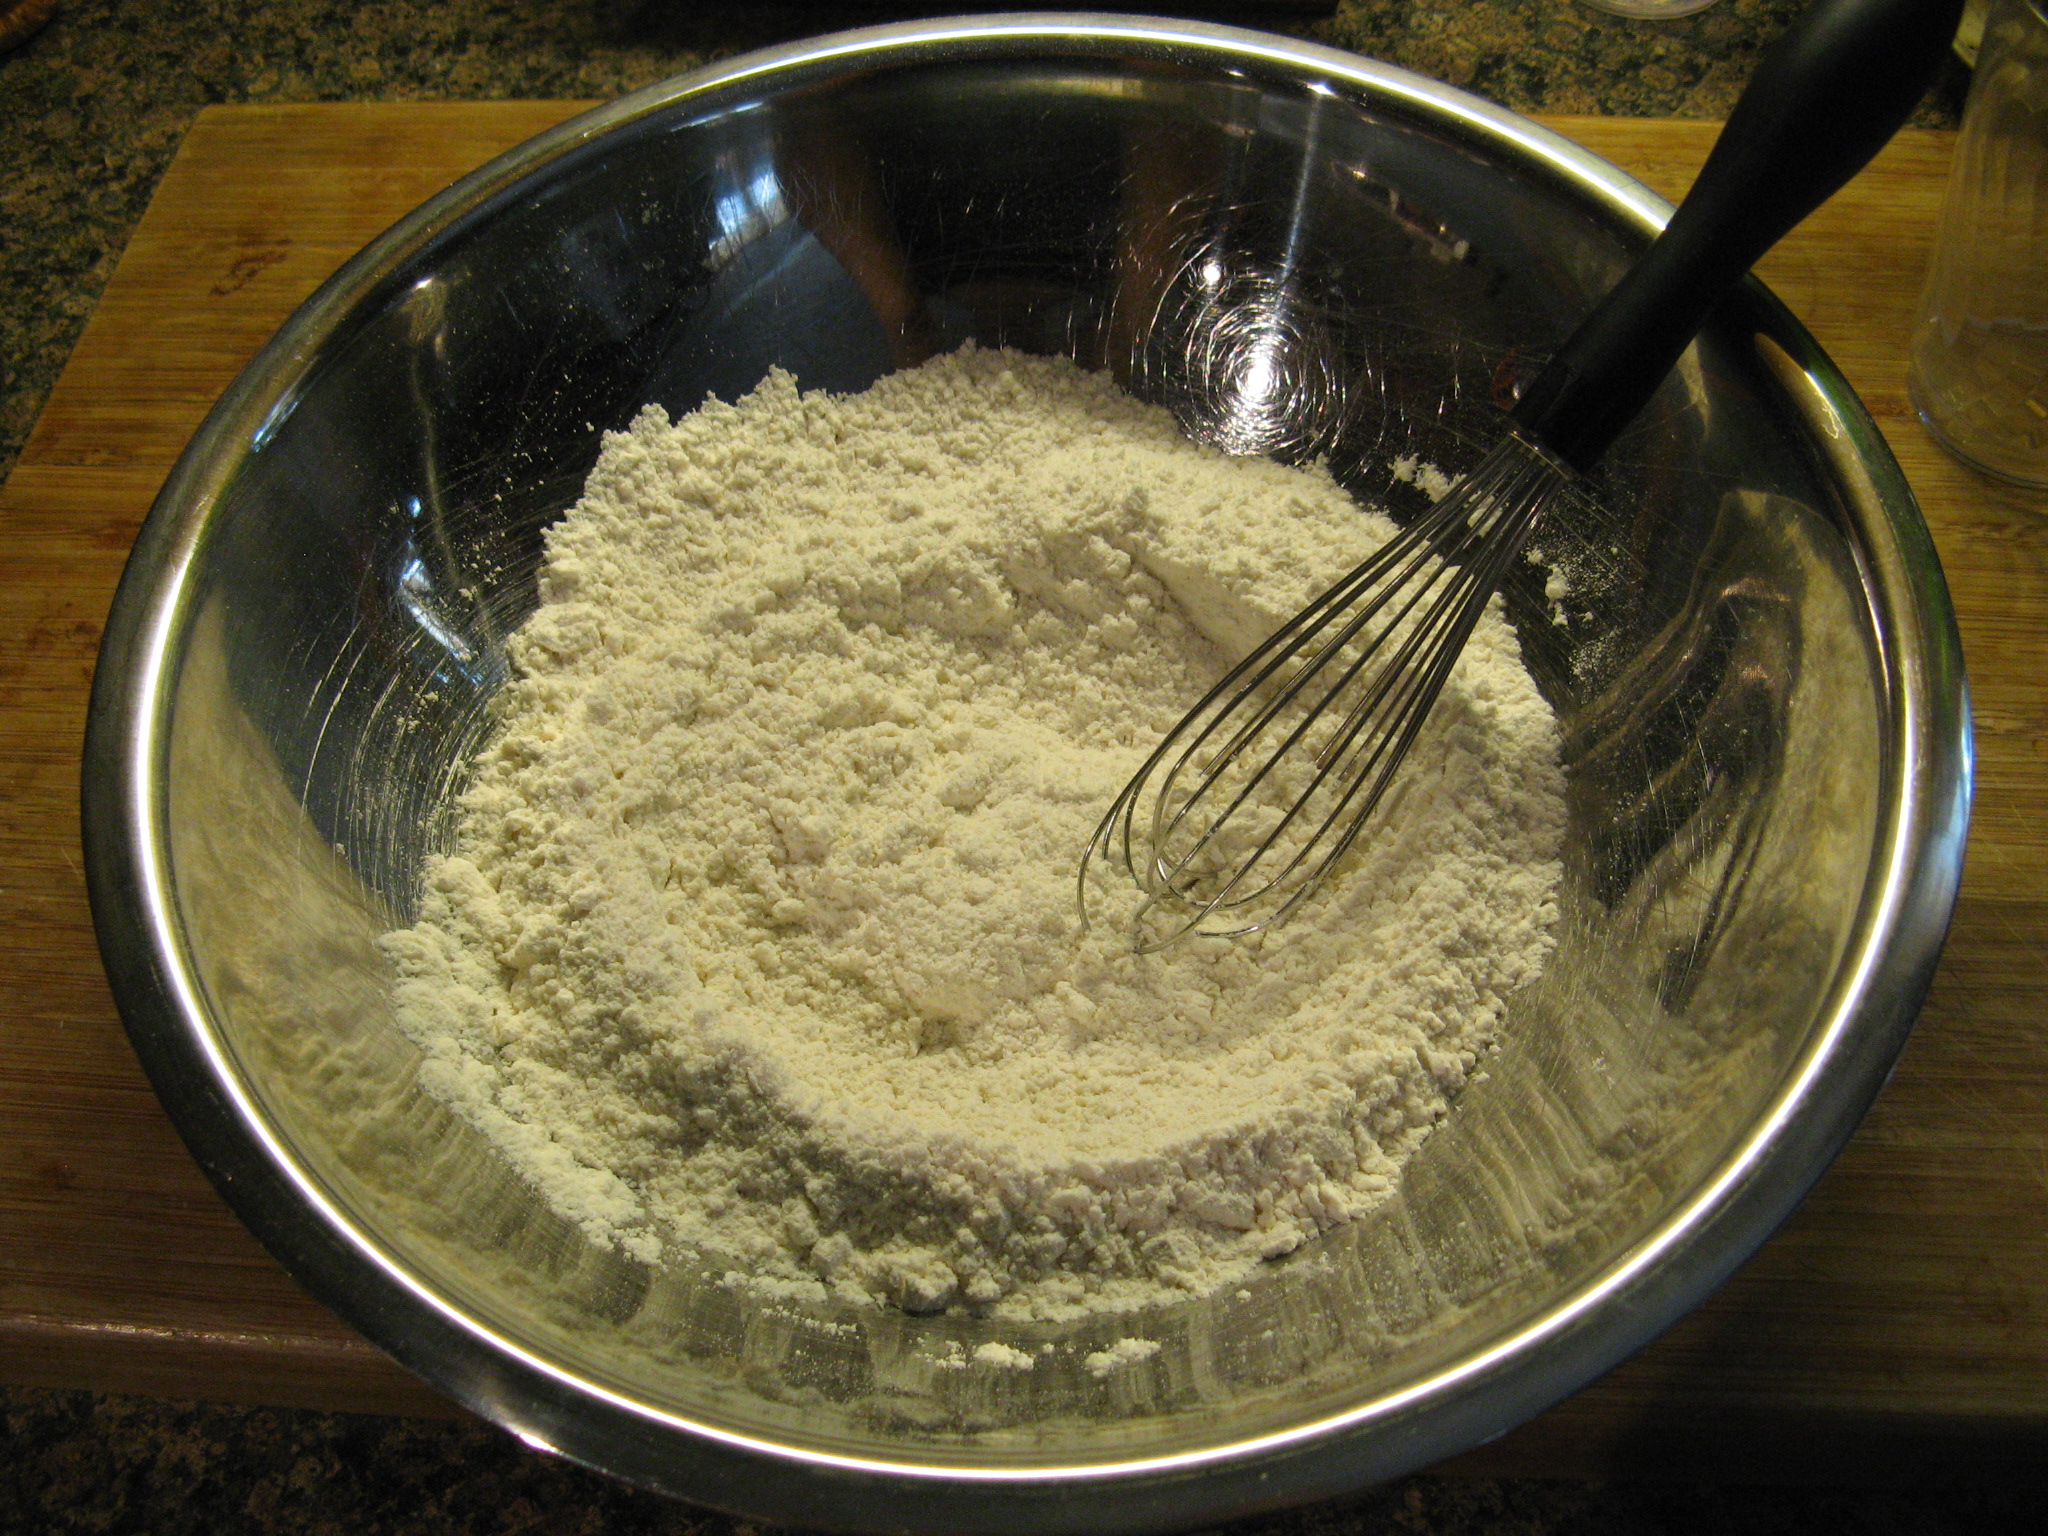
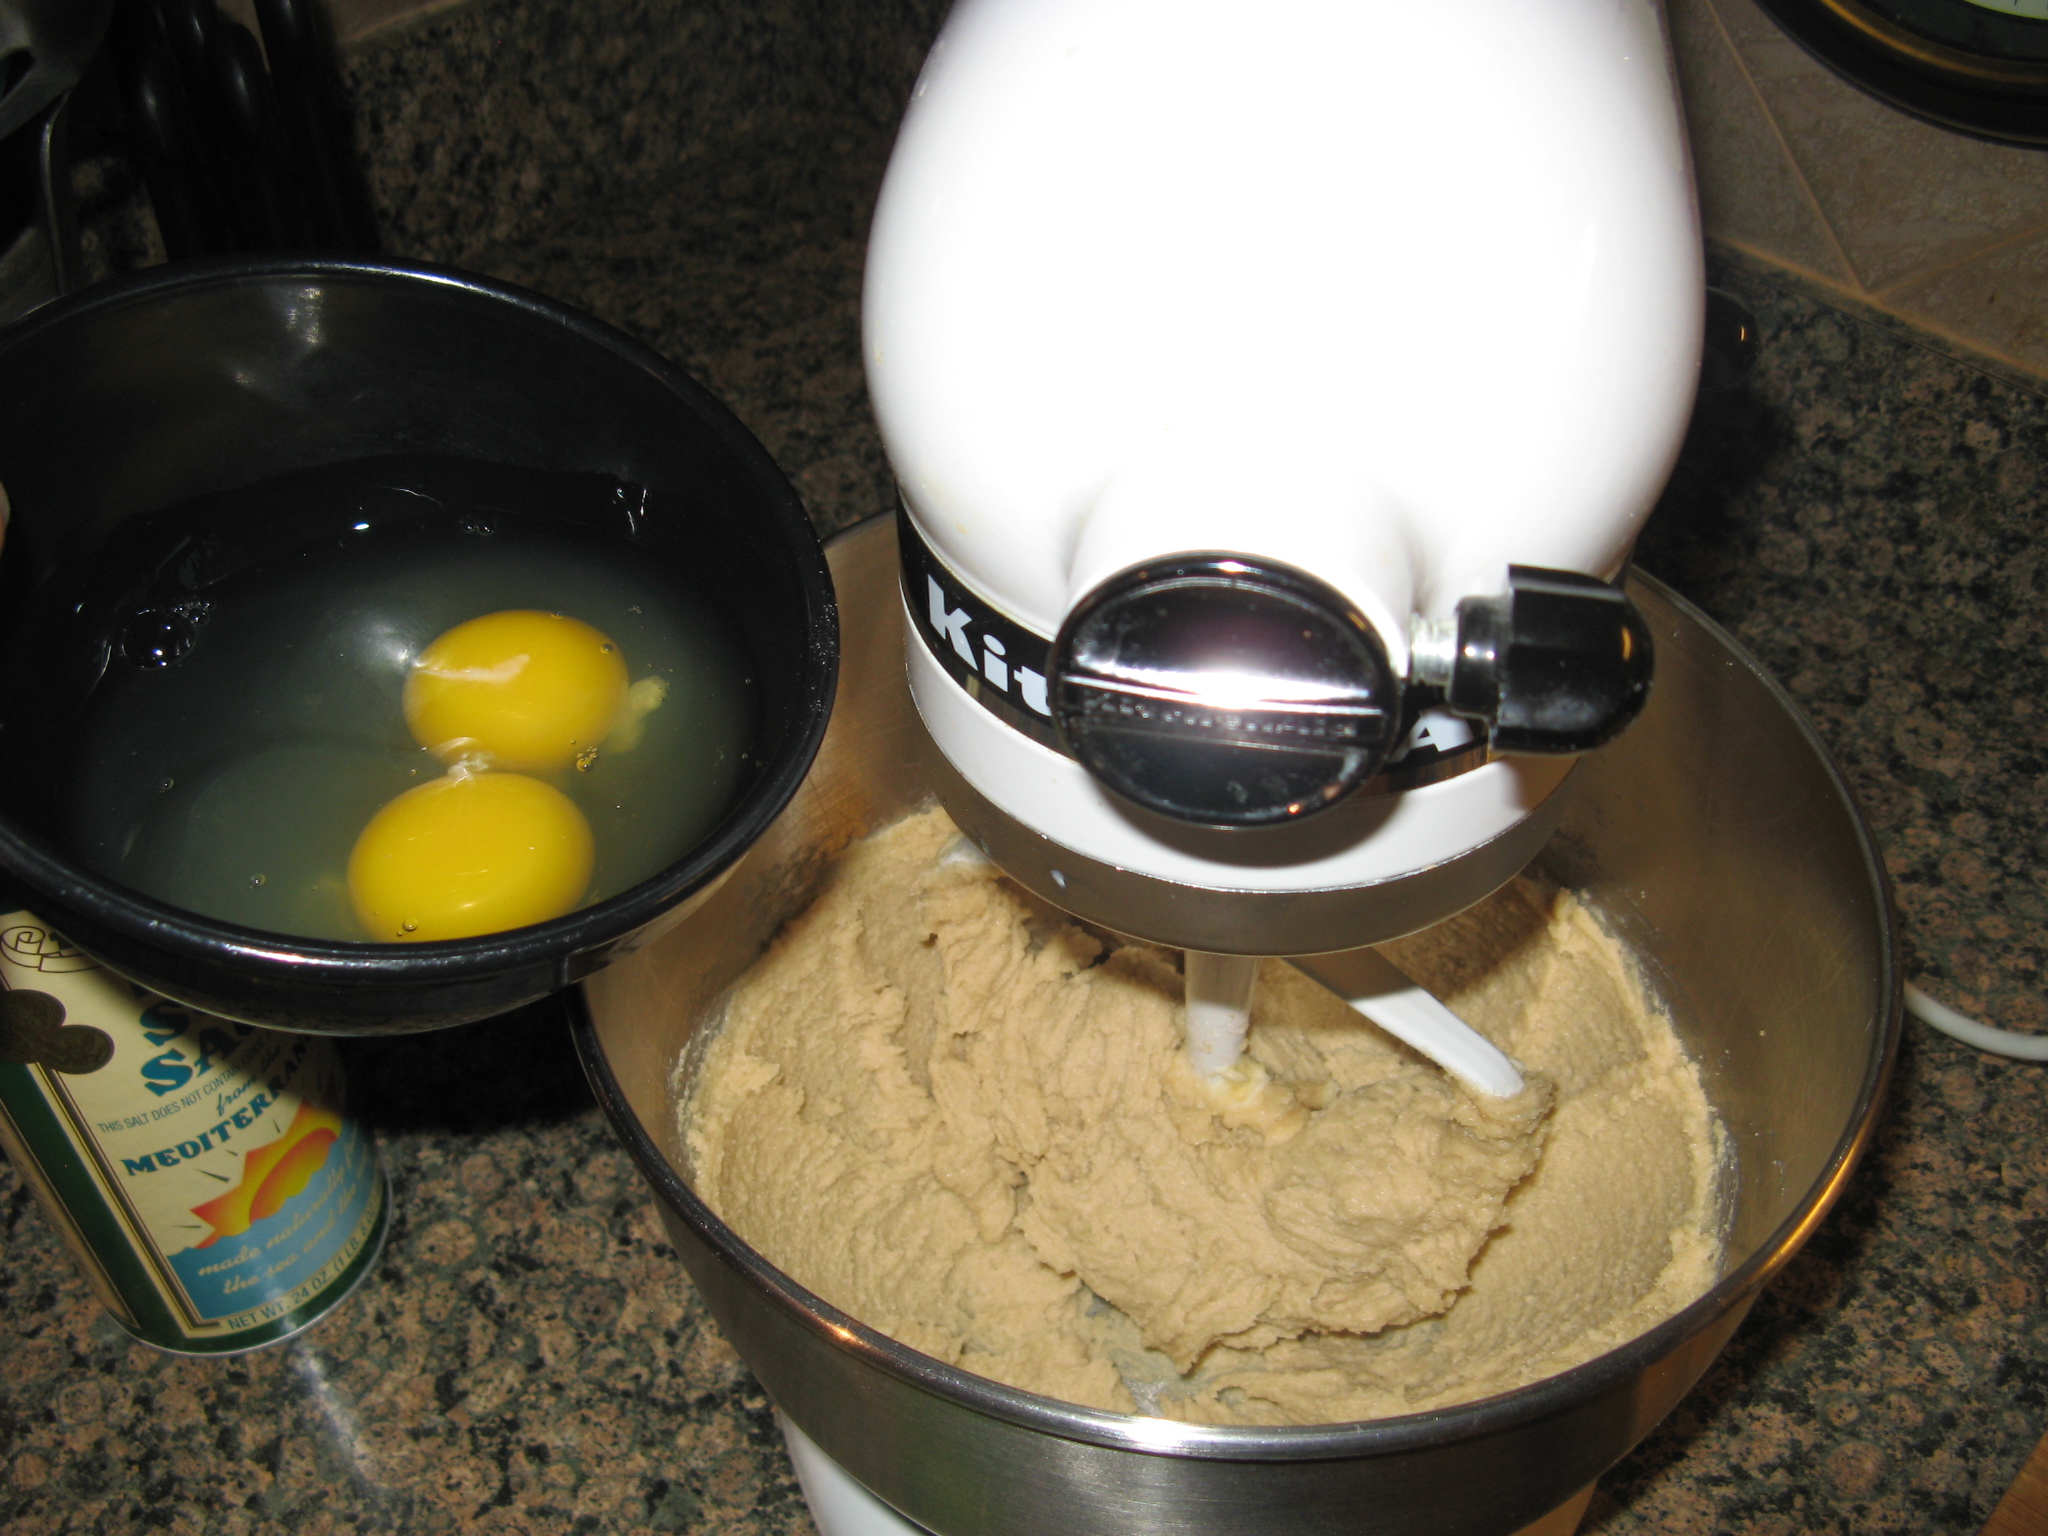
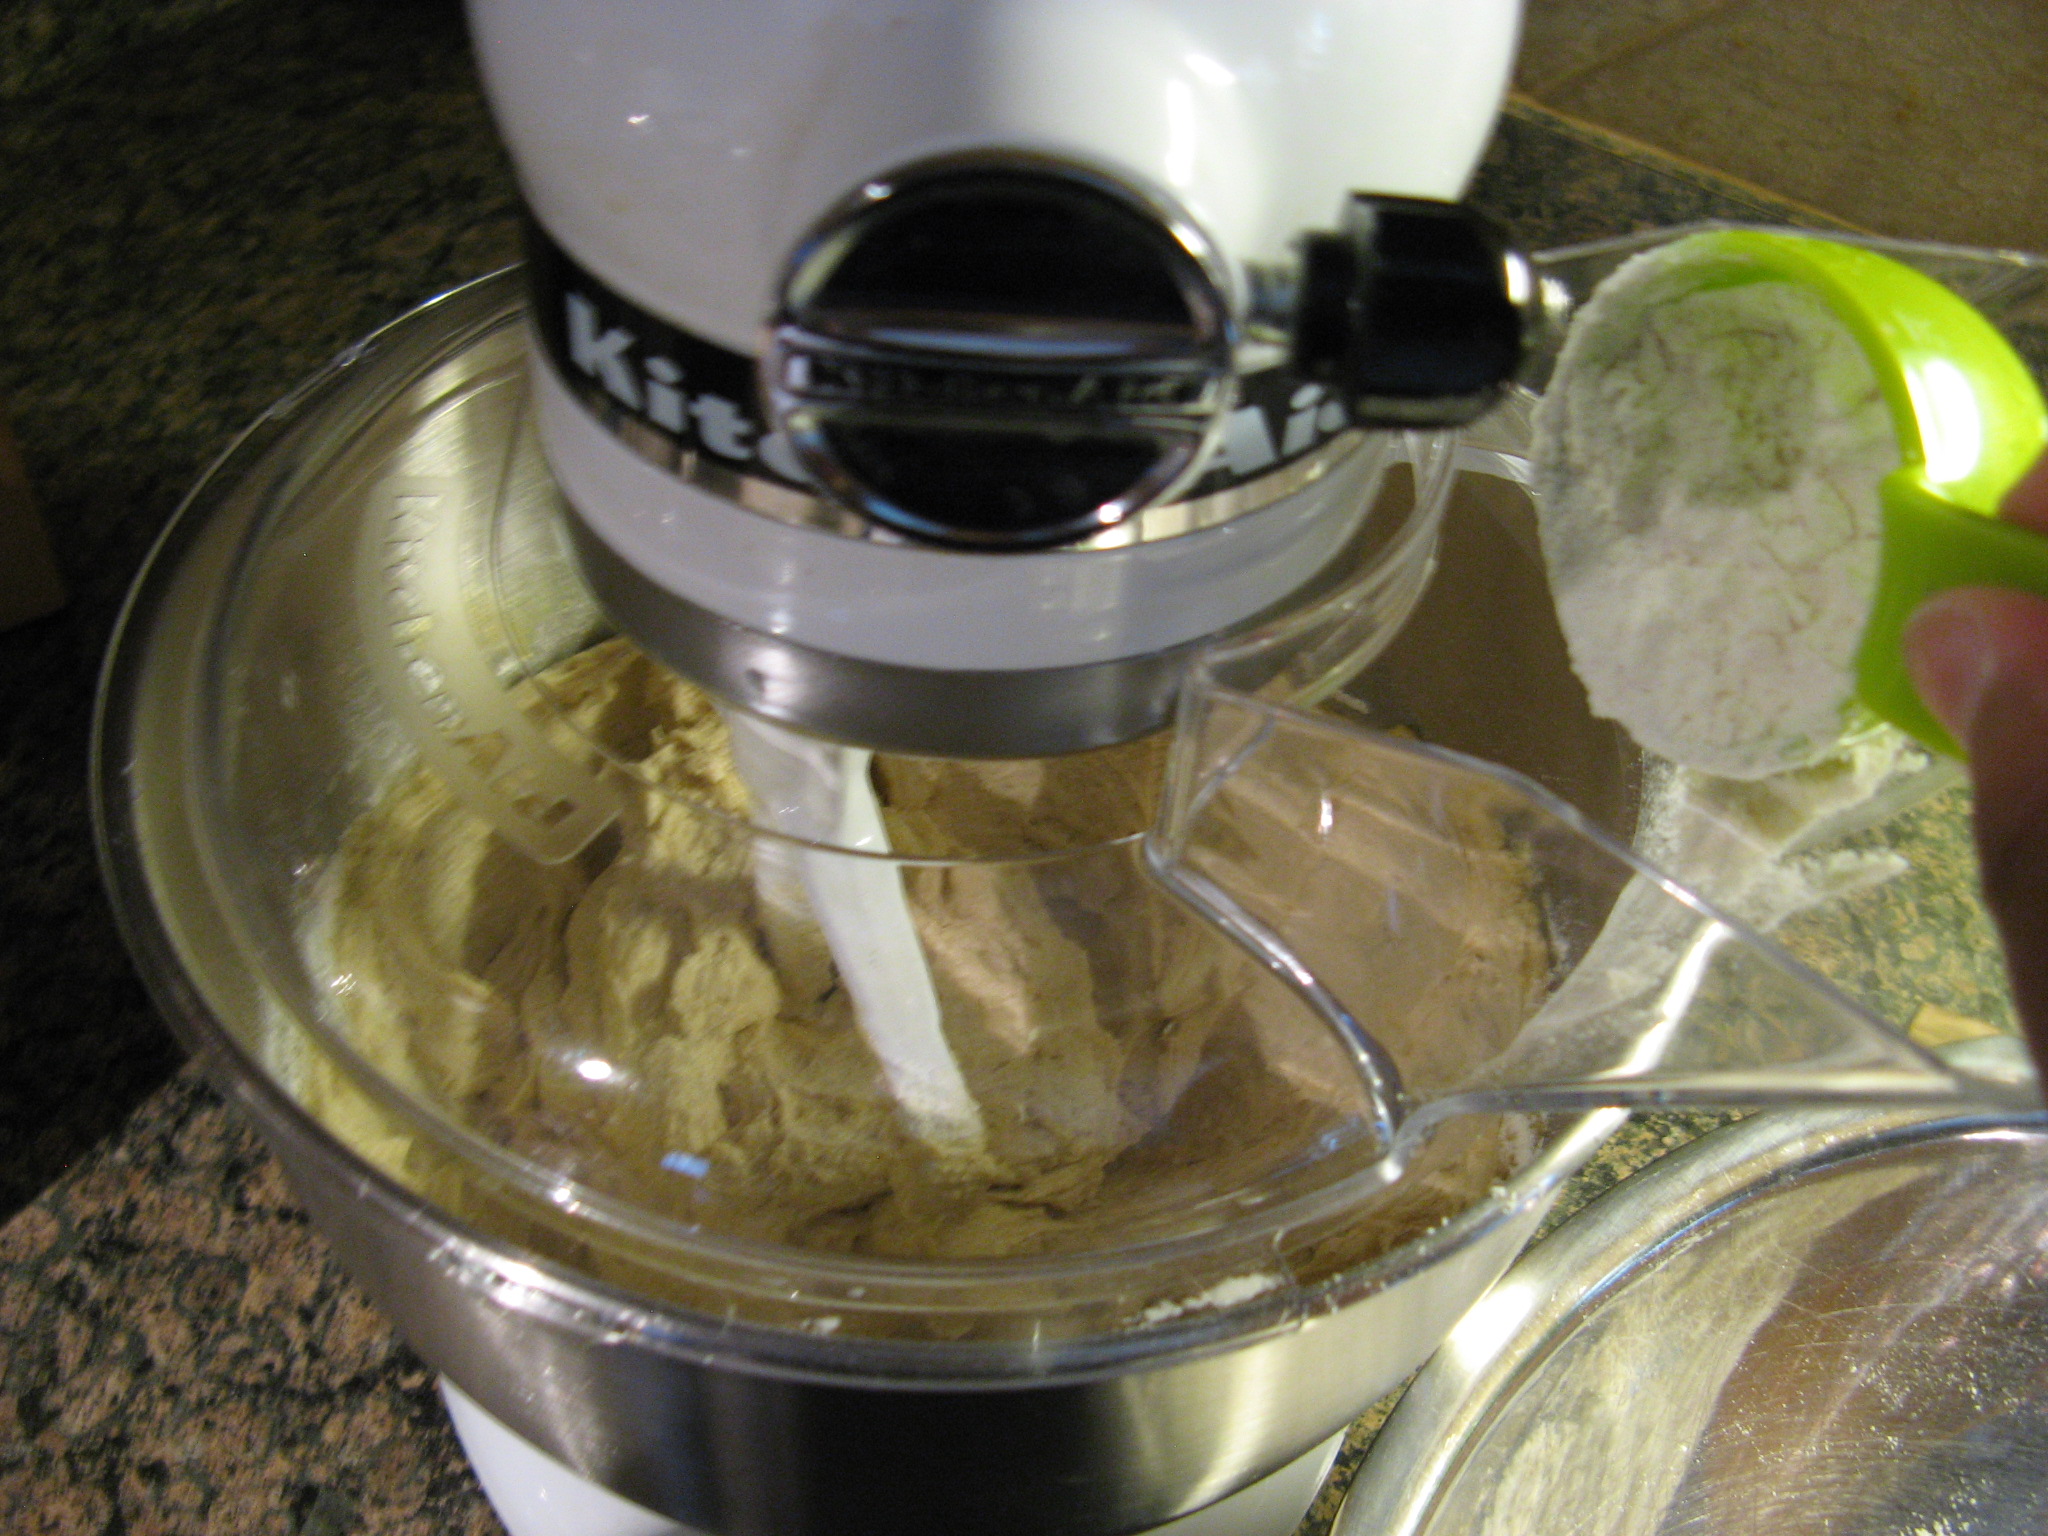
I then added in the flour so the dough for the cookies could really come together.
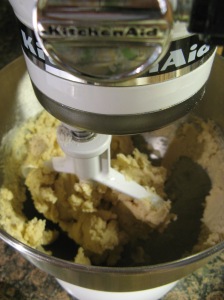
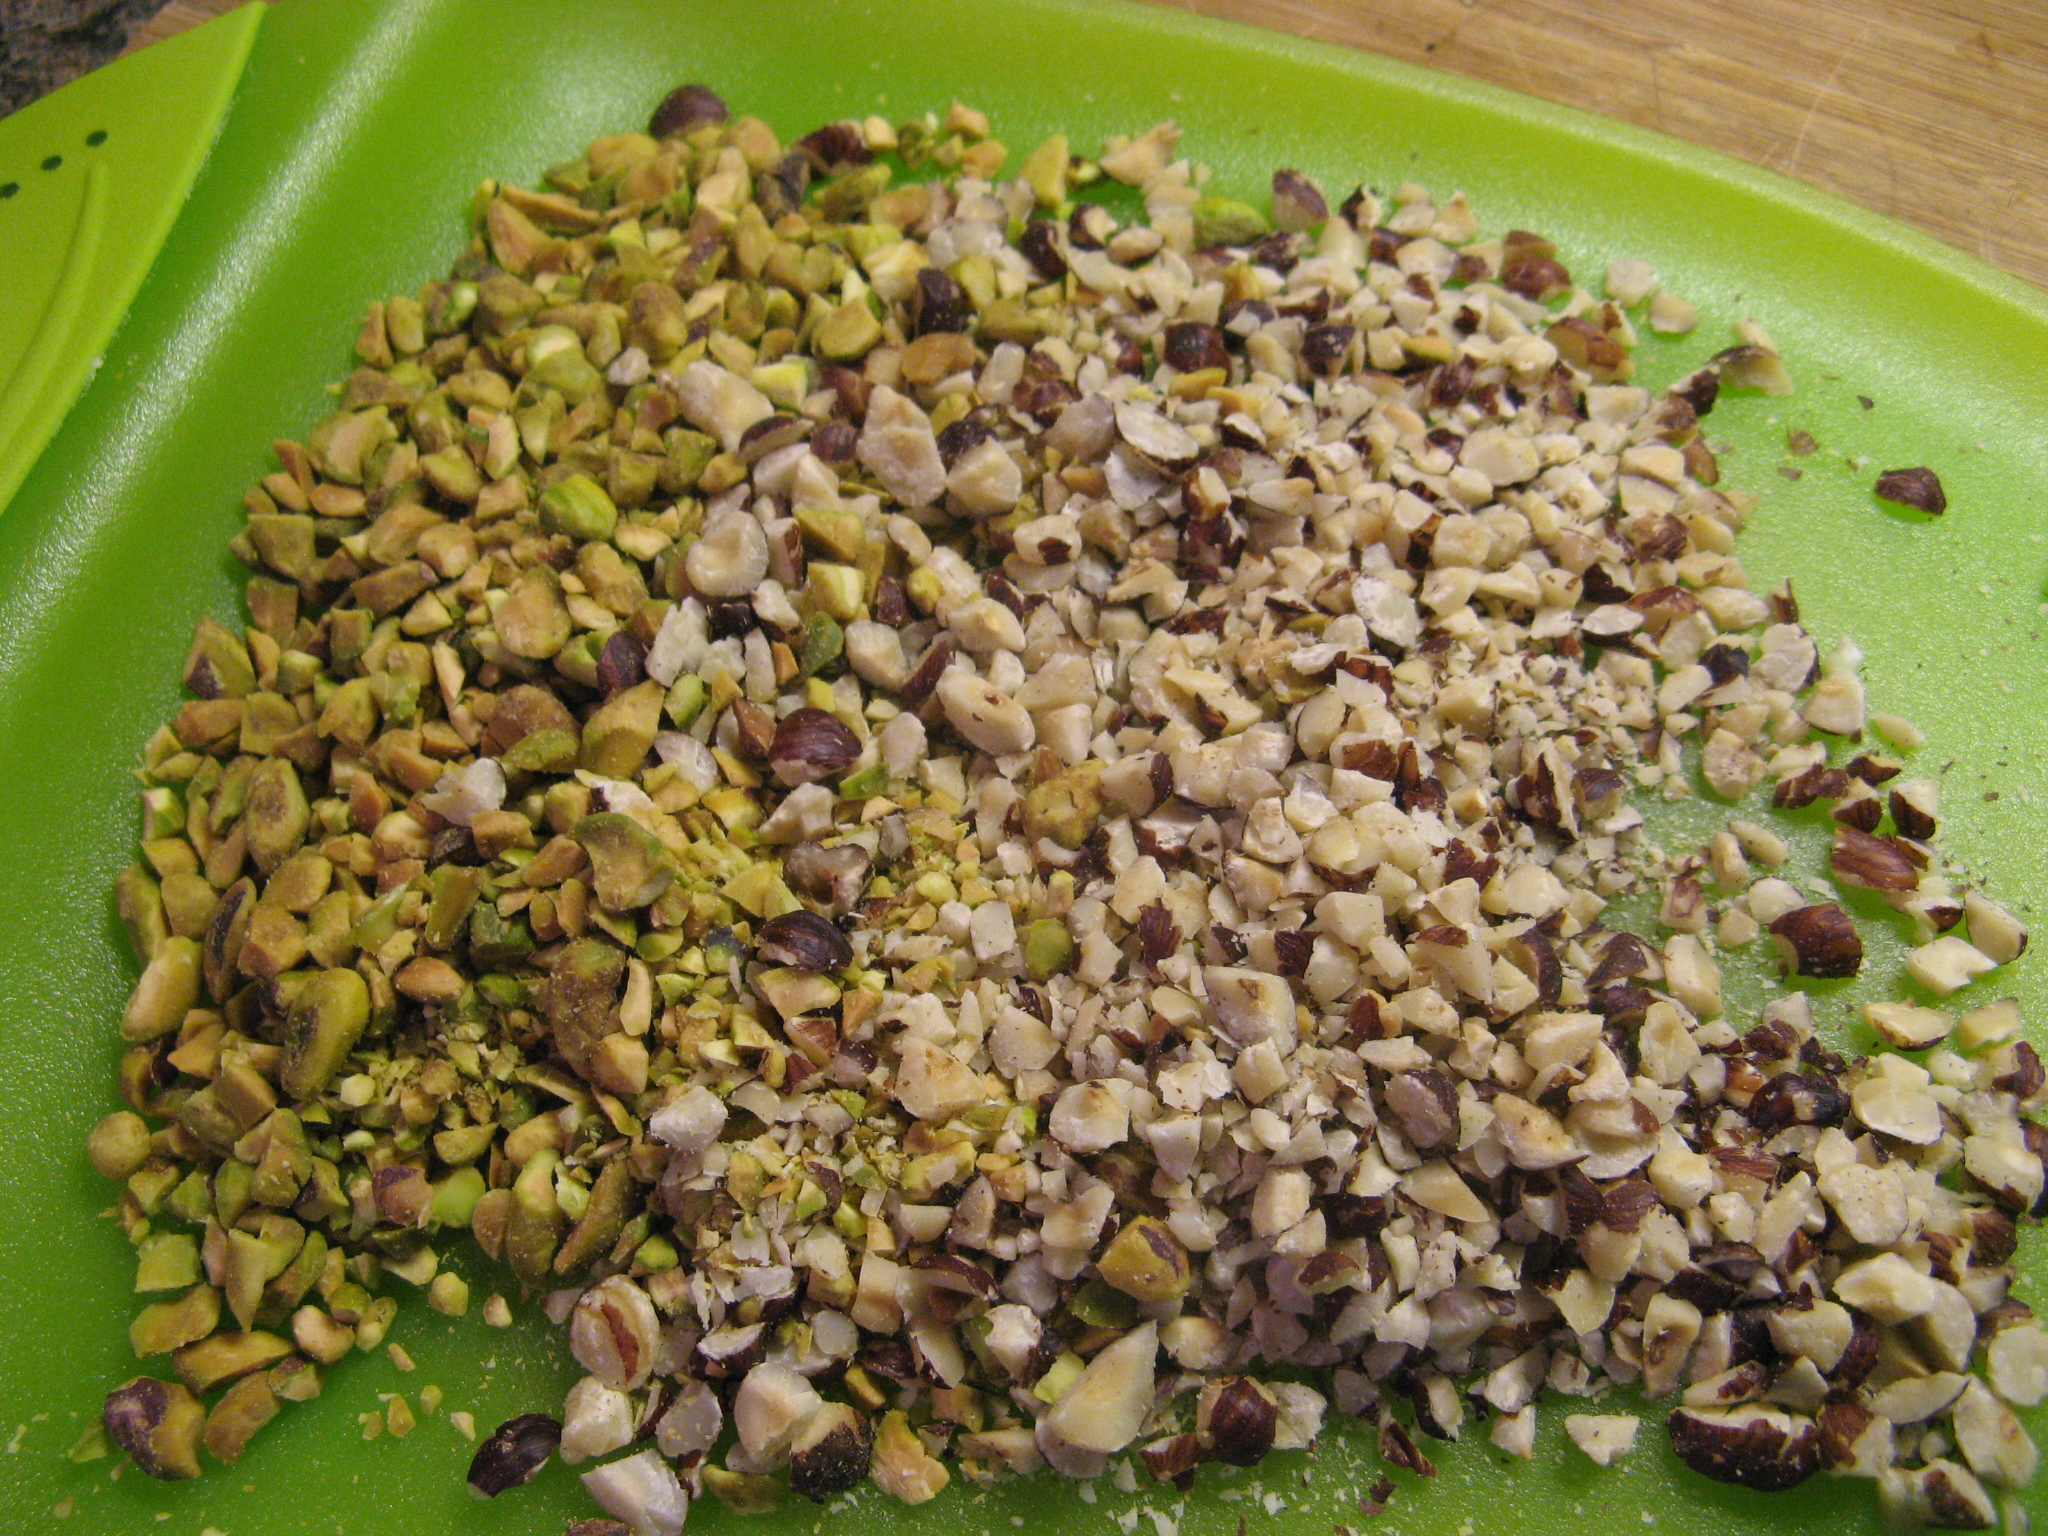
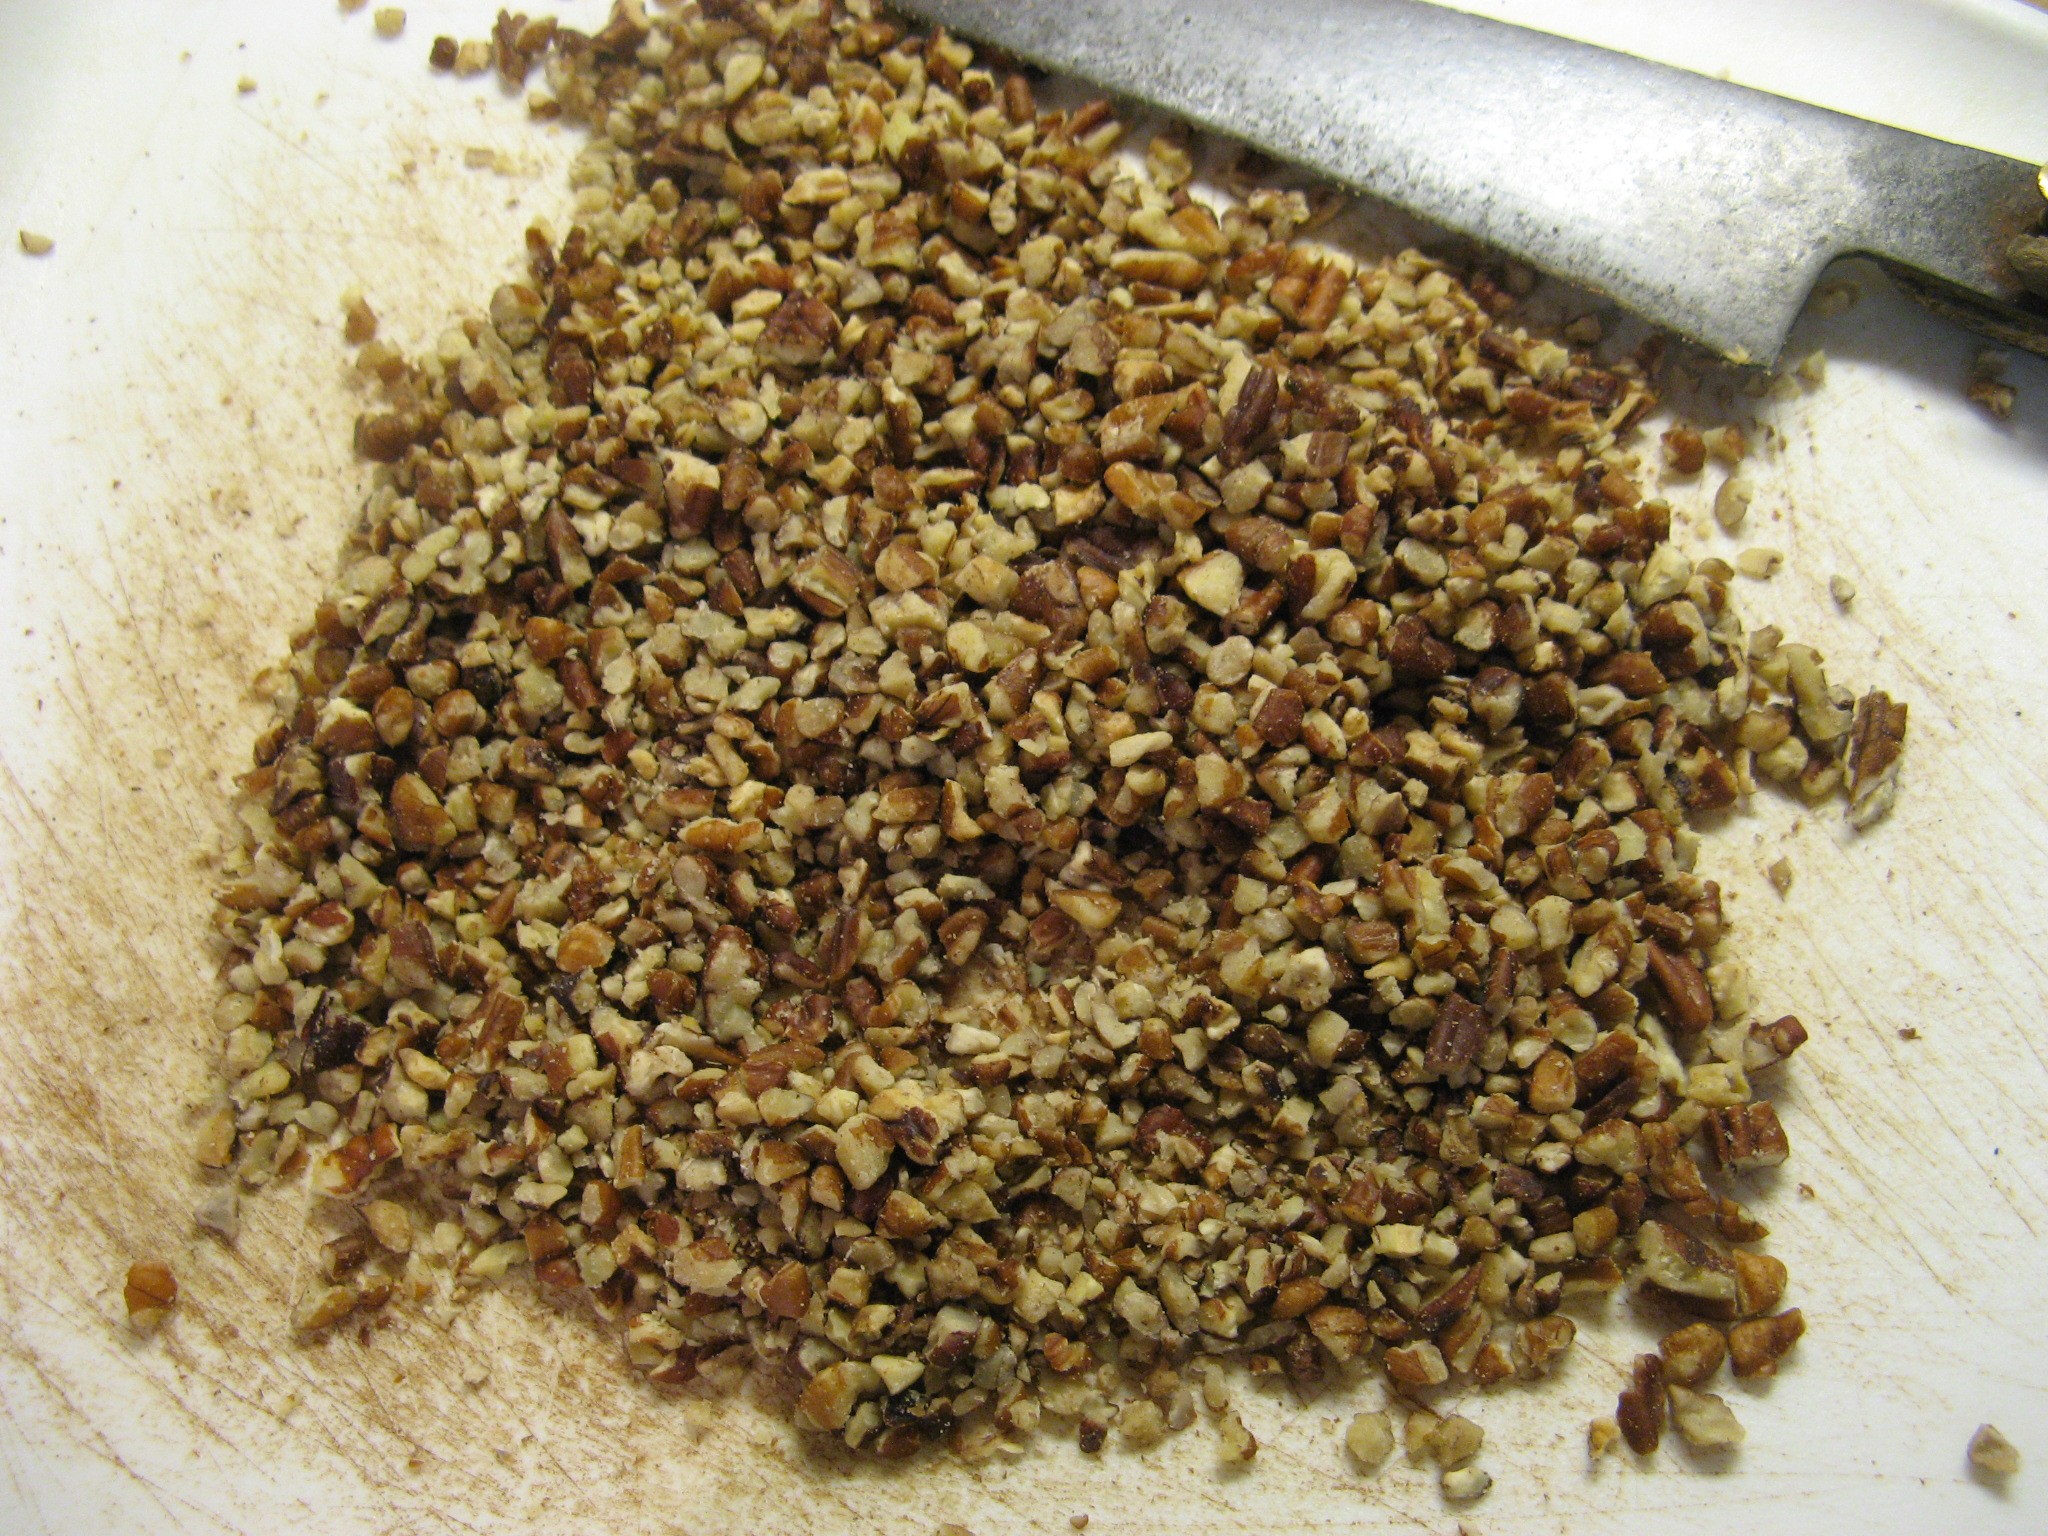
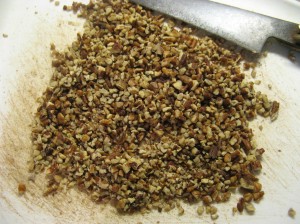
Although I did buy chopped pecans I decided to chop them up a little more to make them a more appropriate size for these bite-sized cookies.
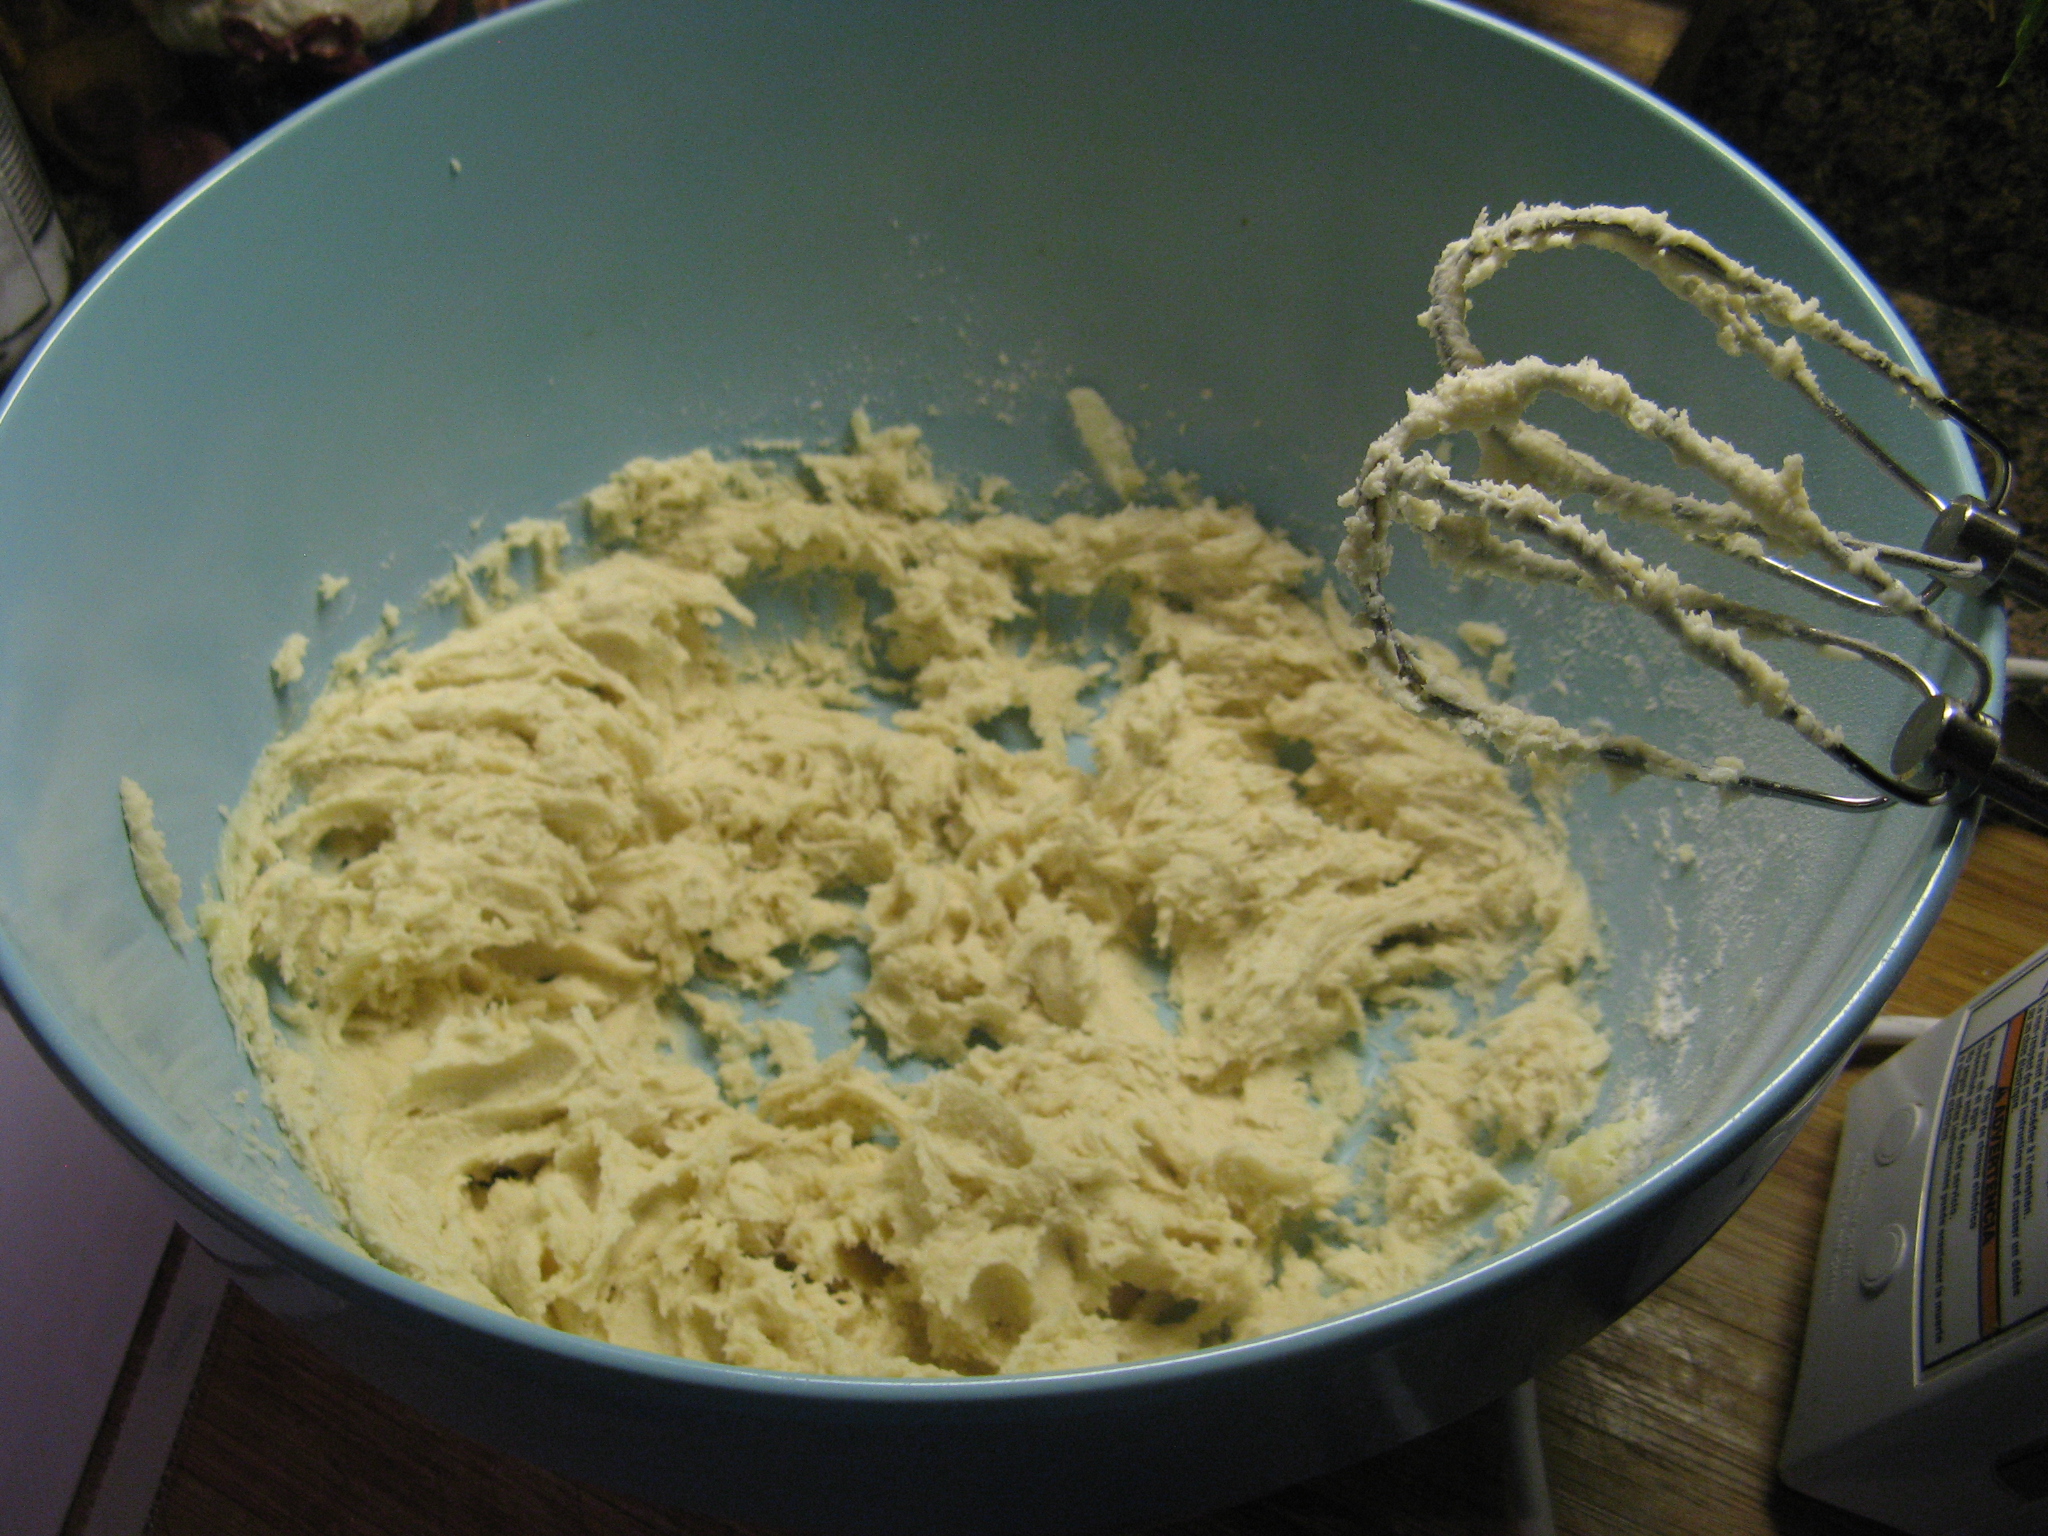
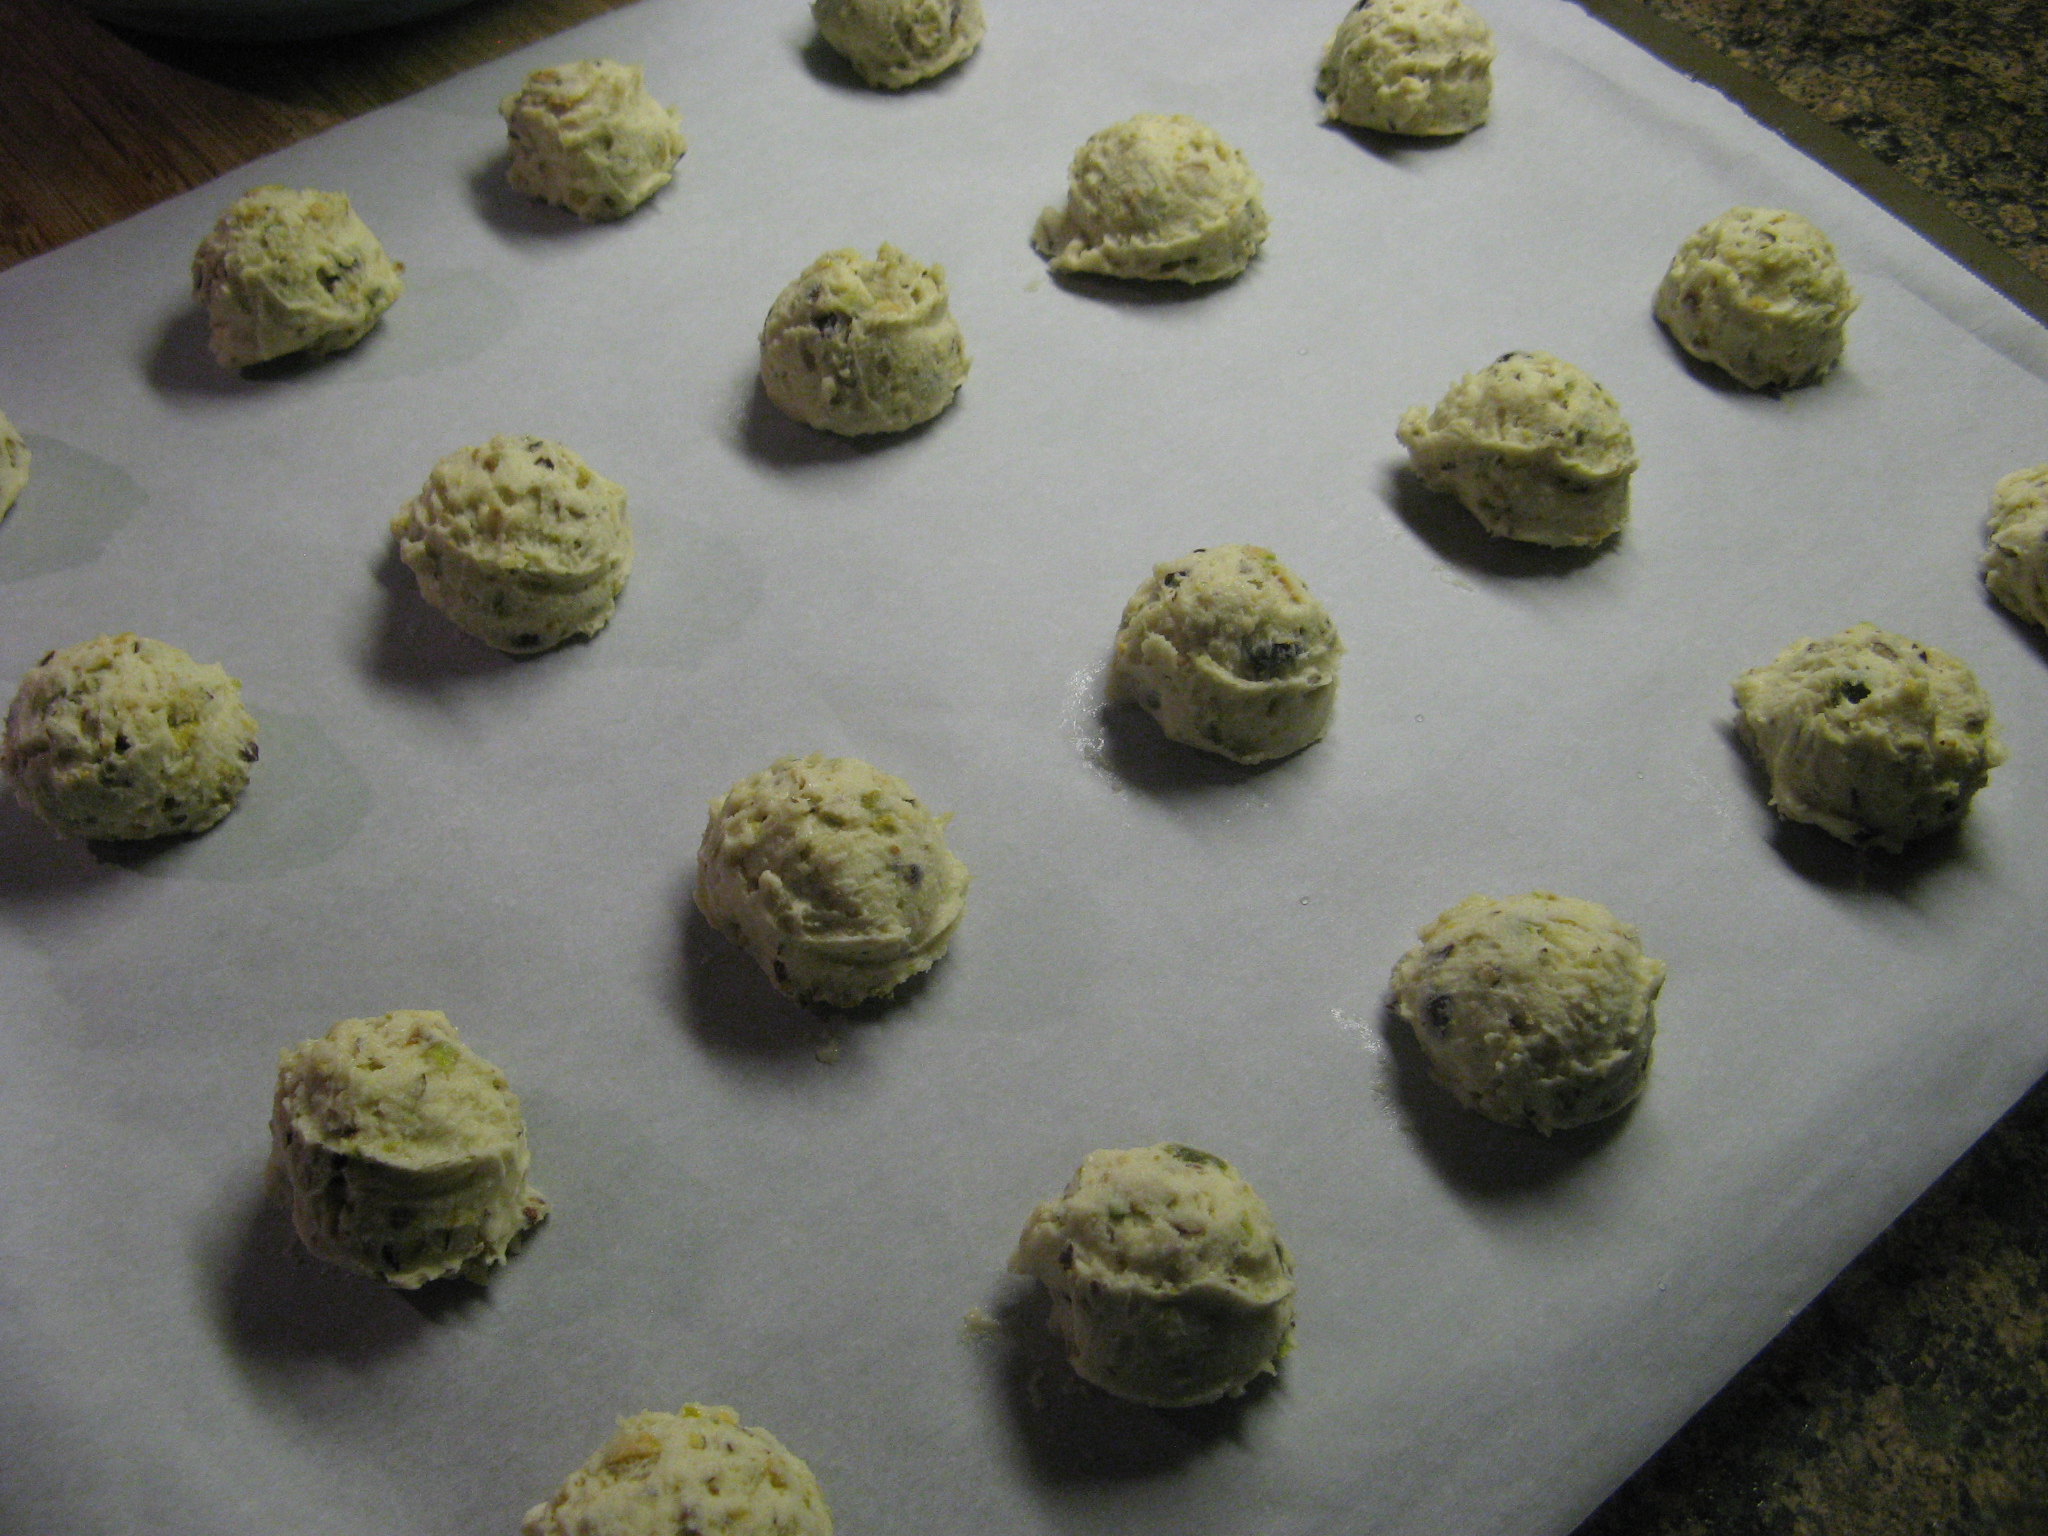
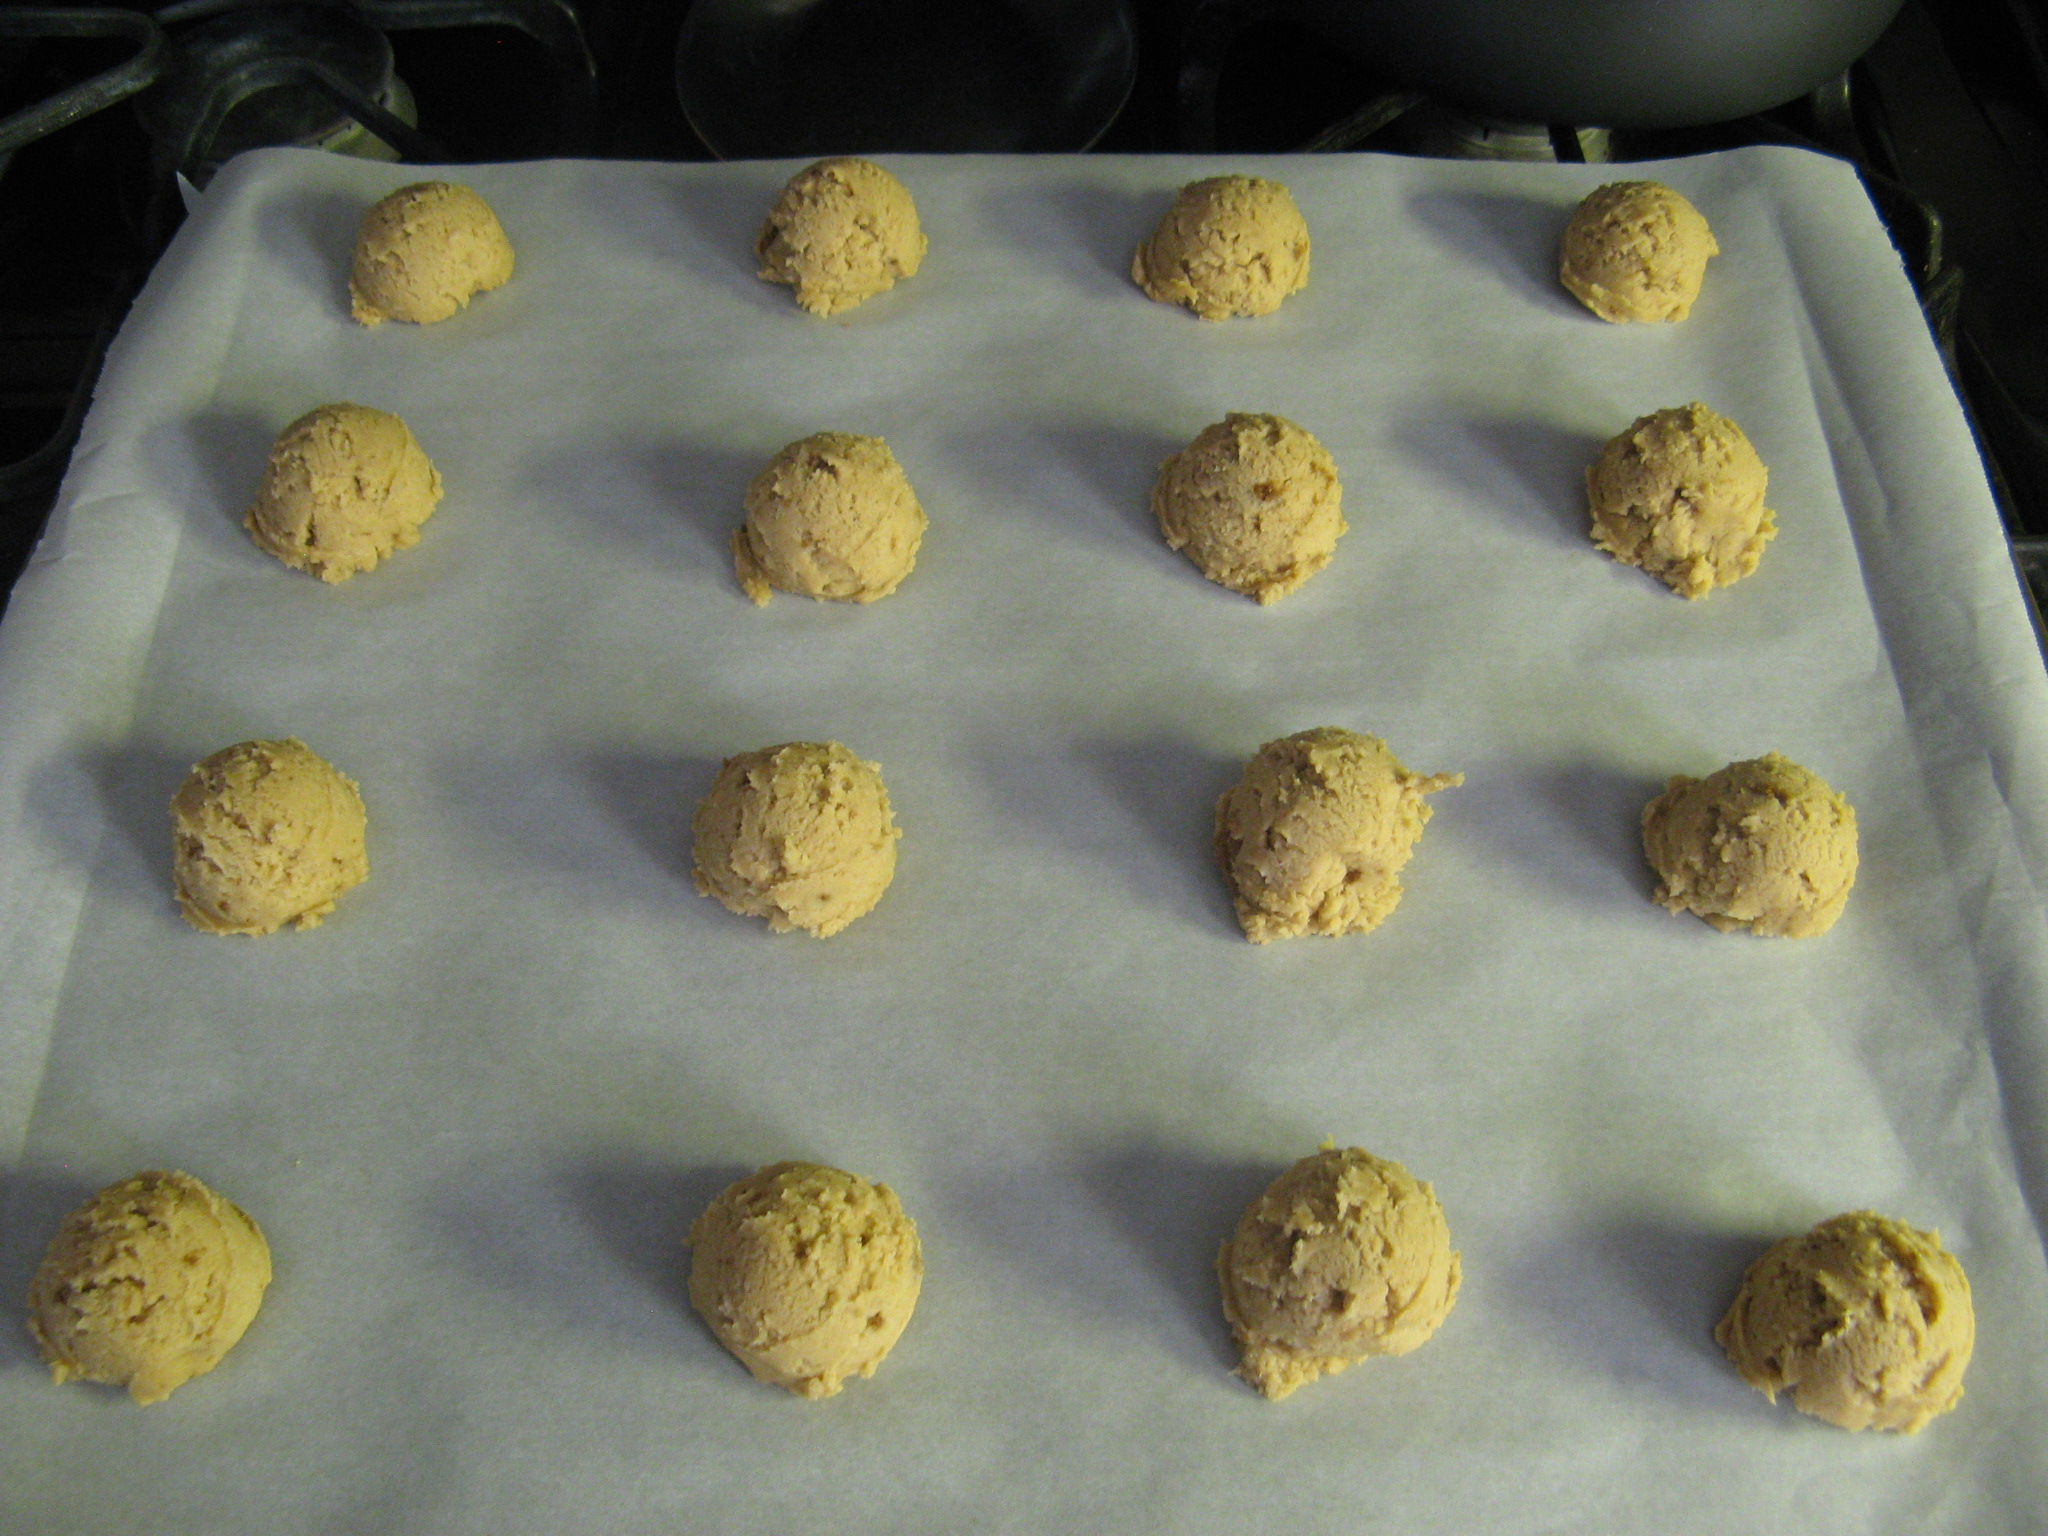
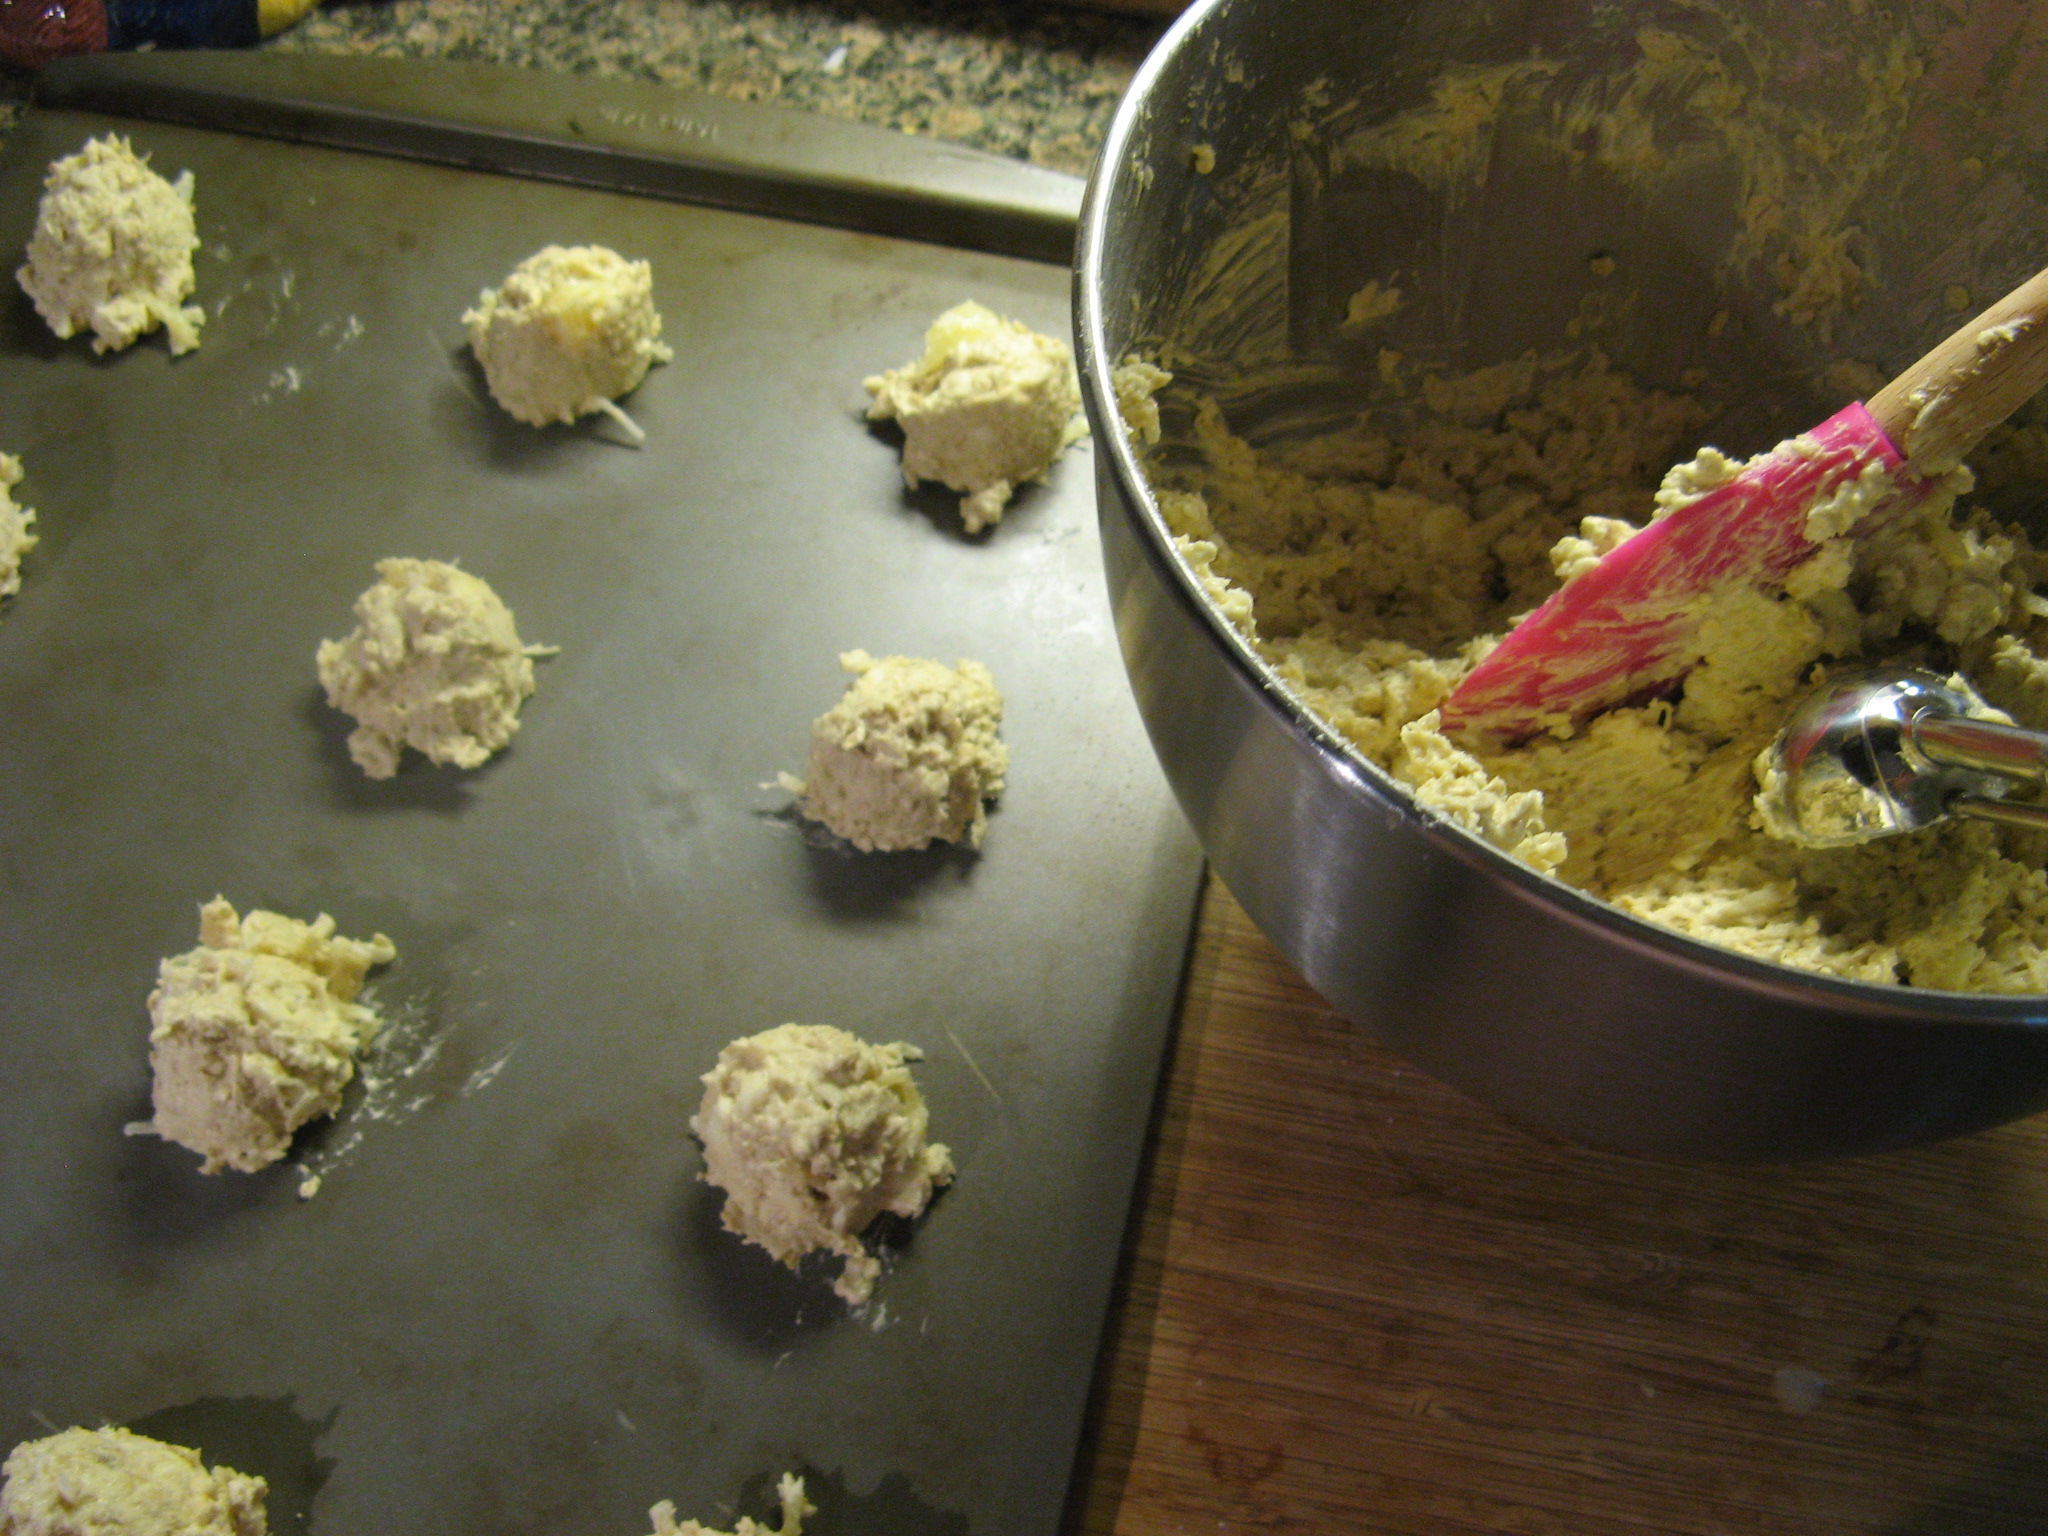
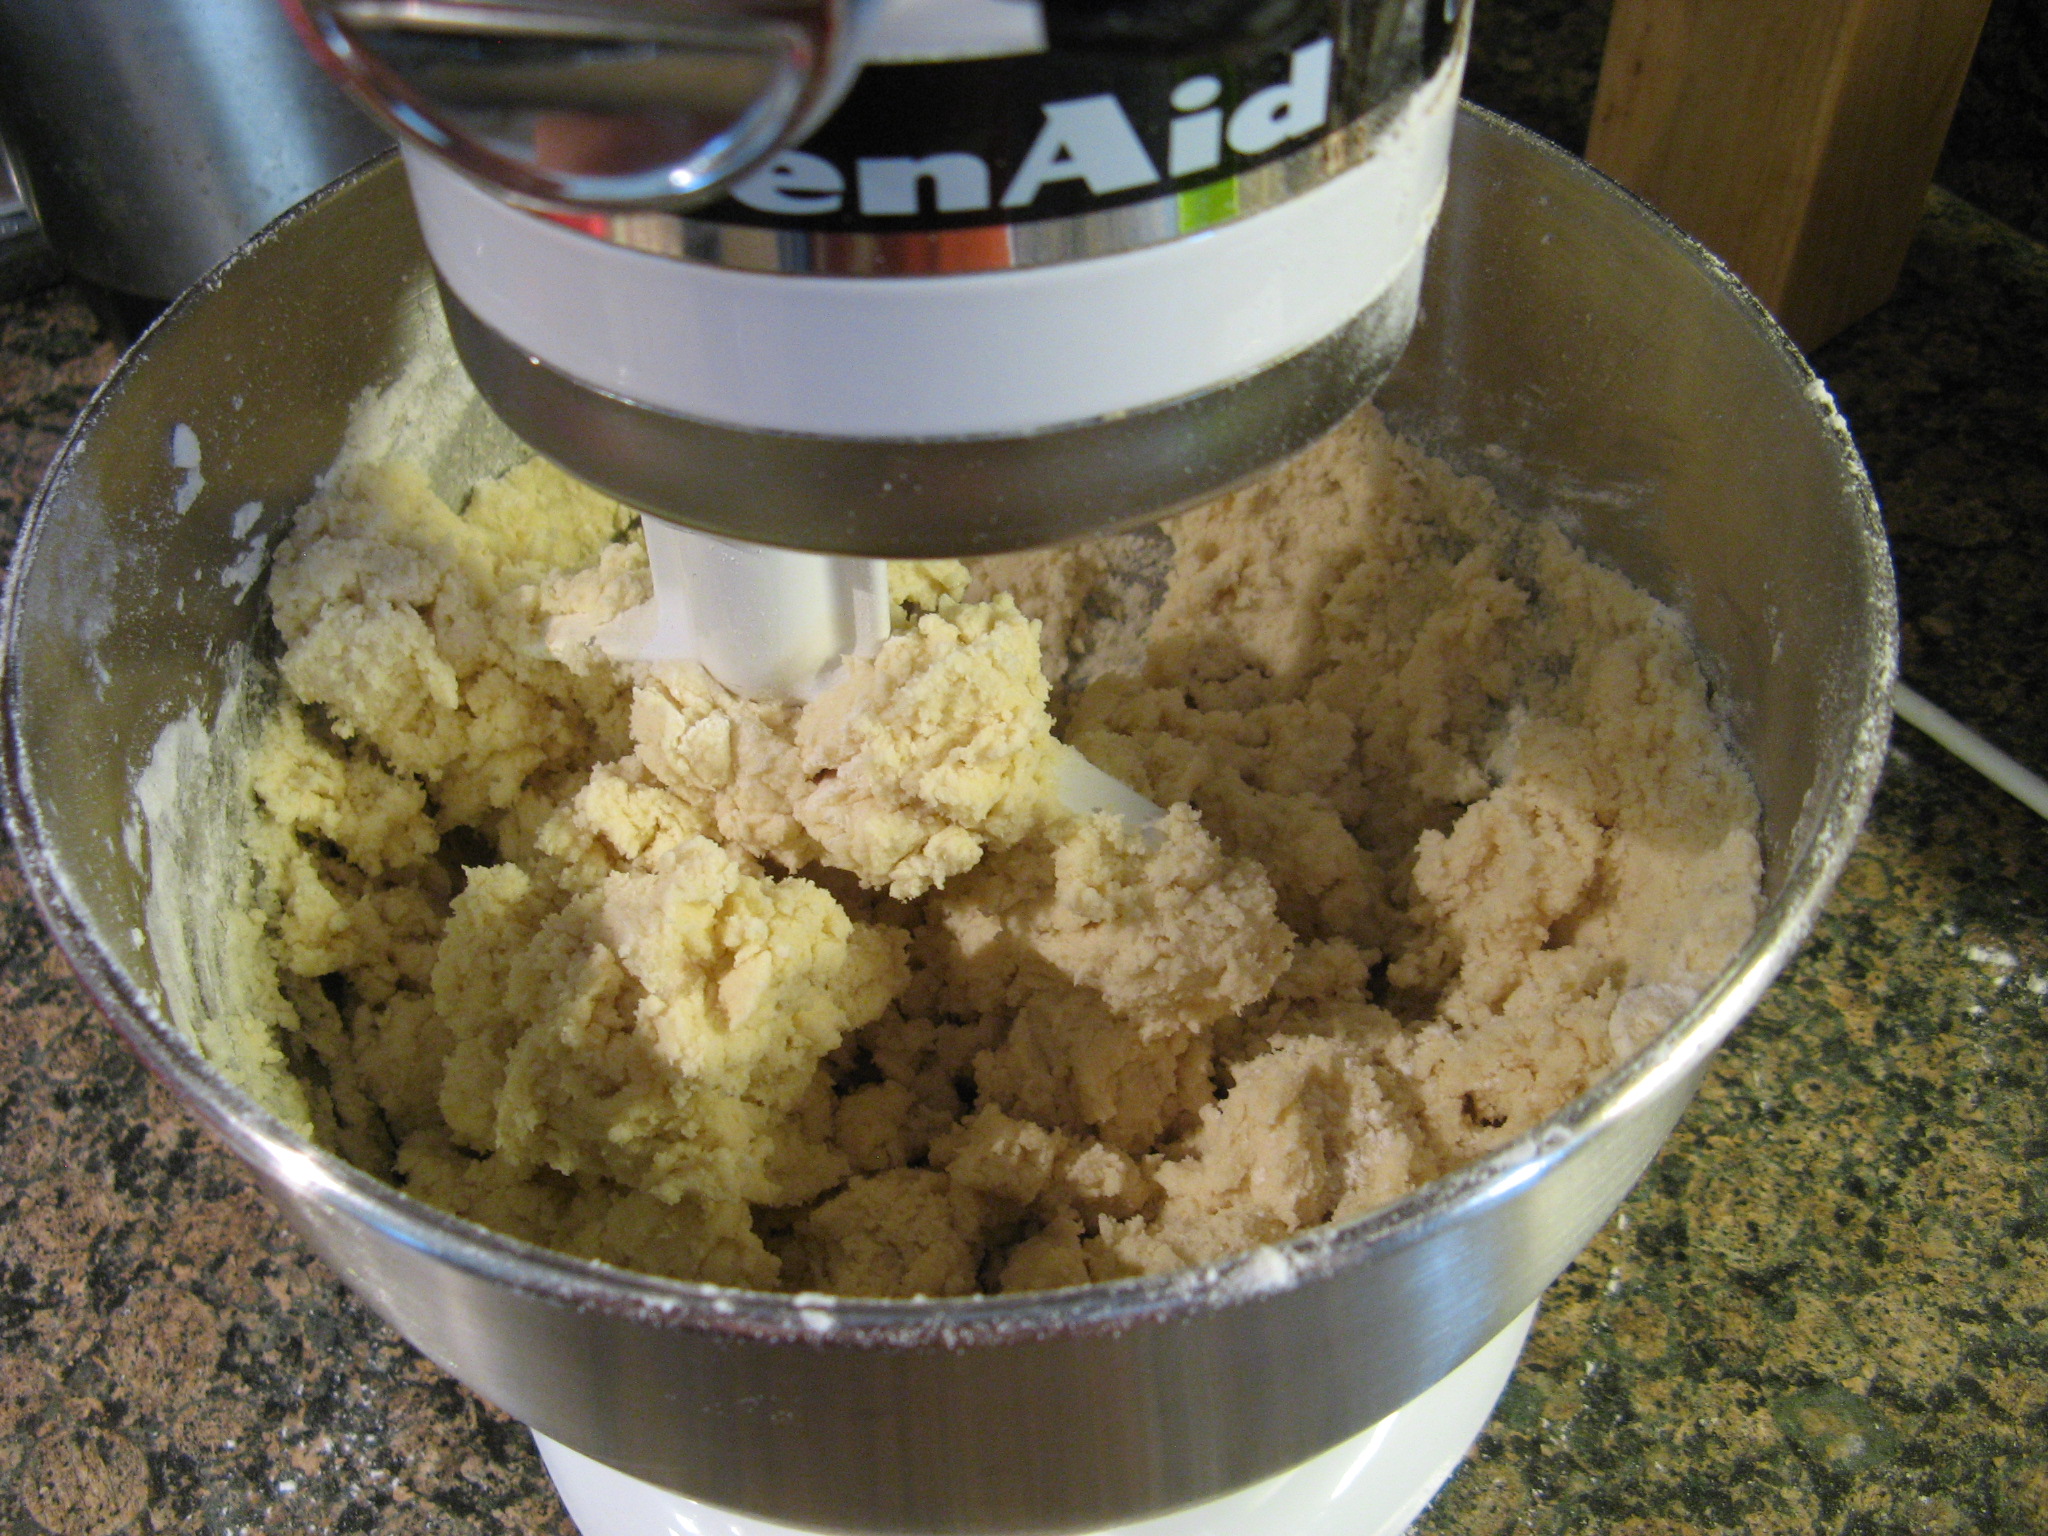
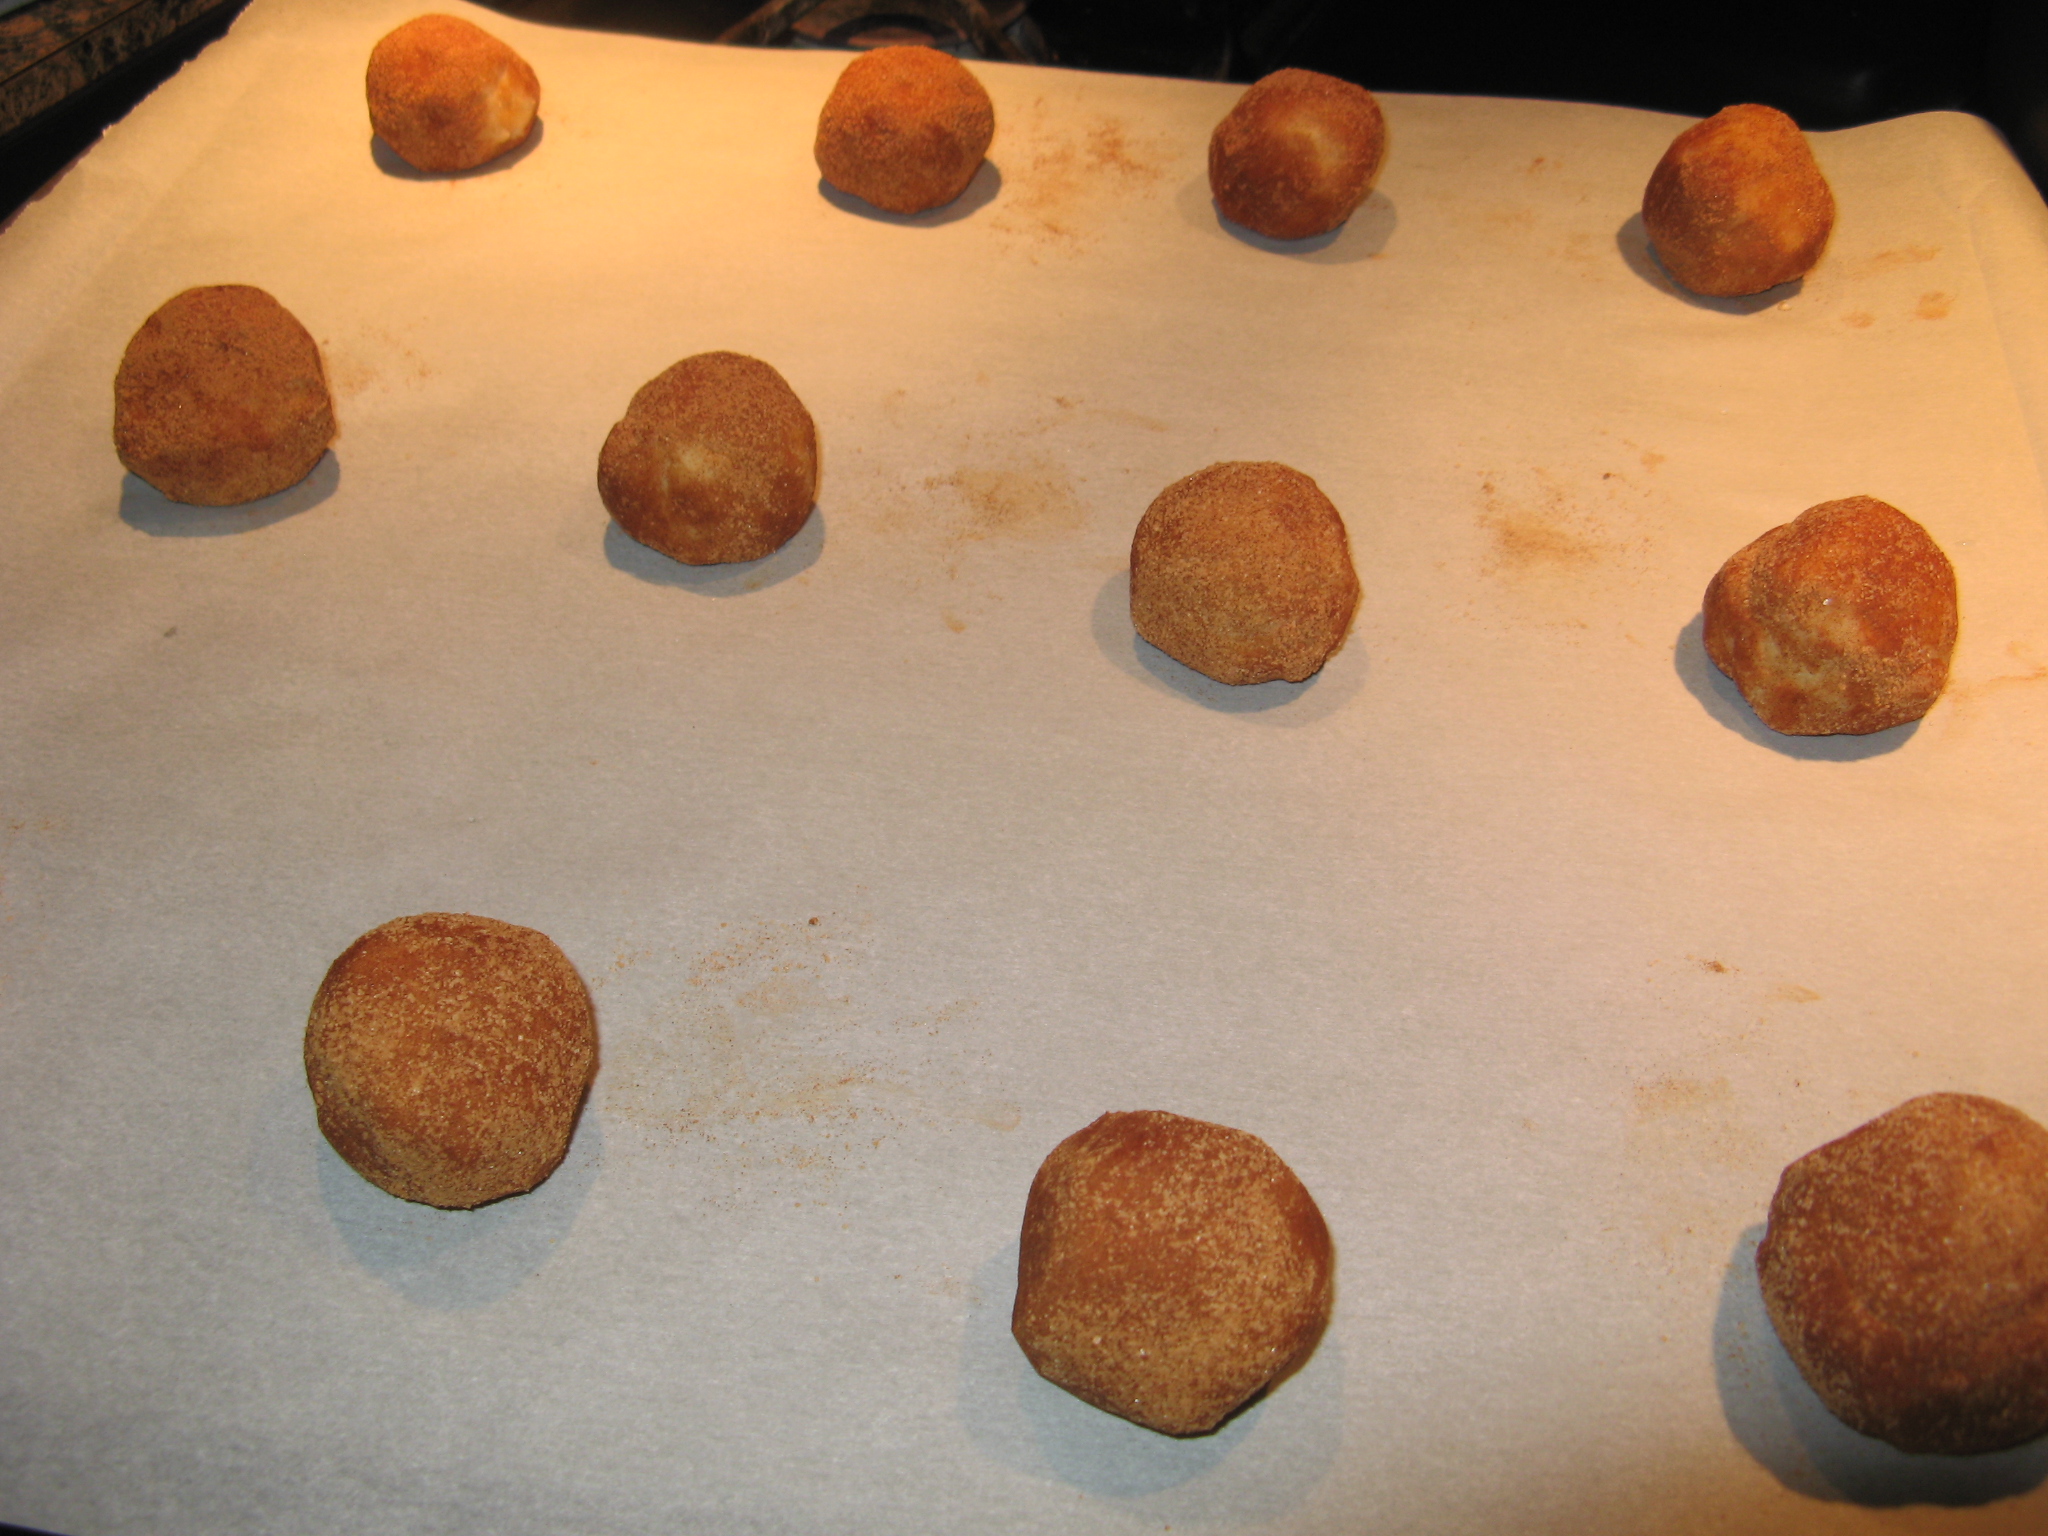
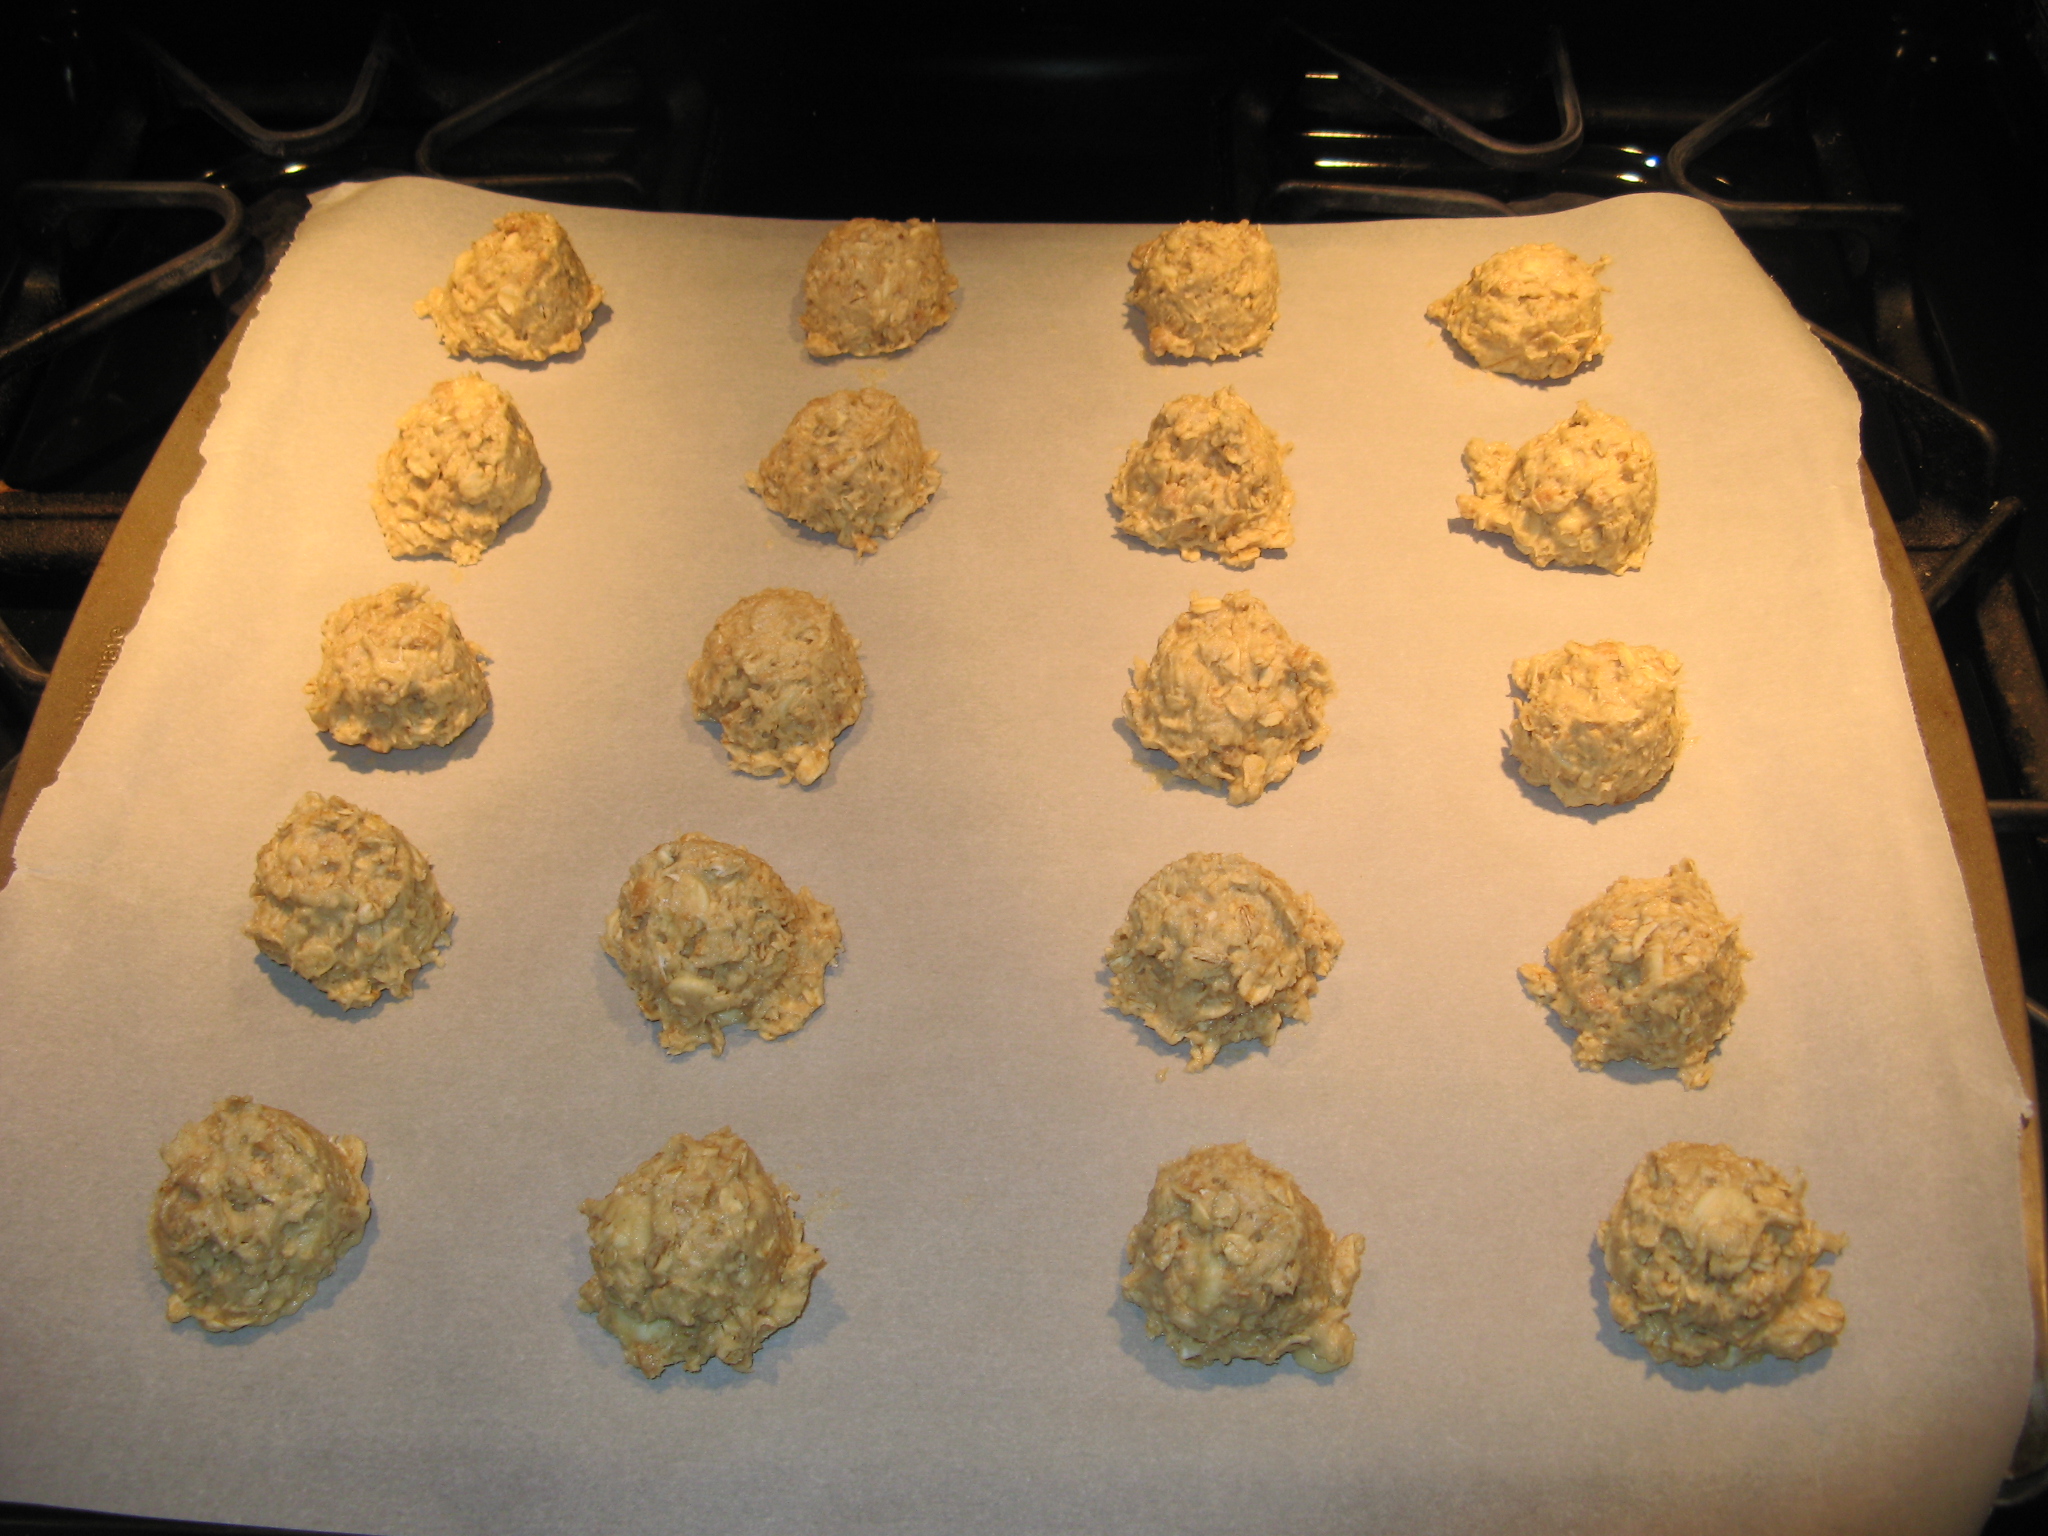
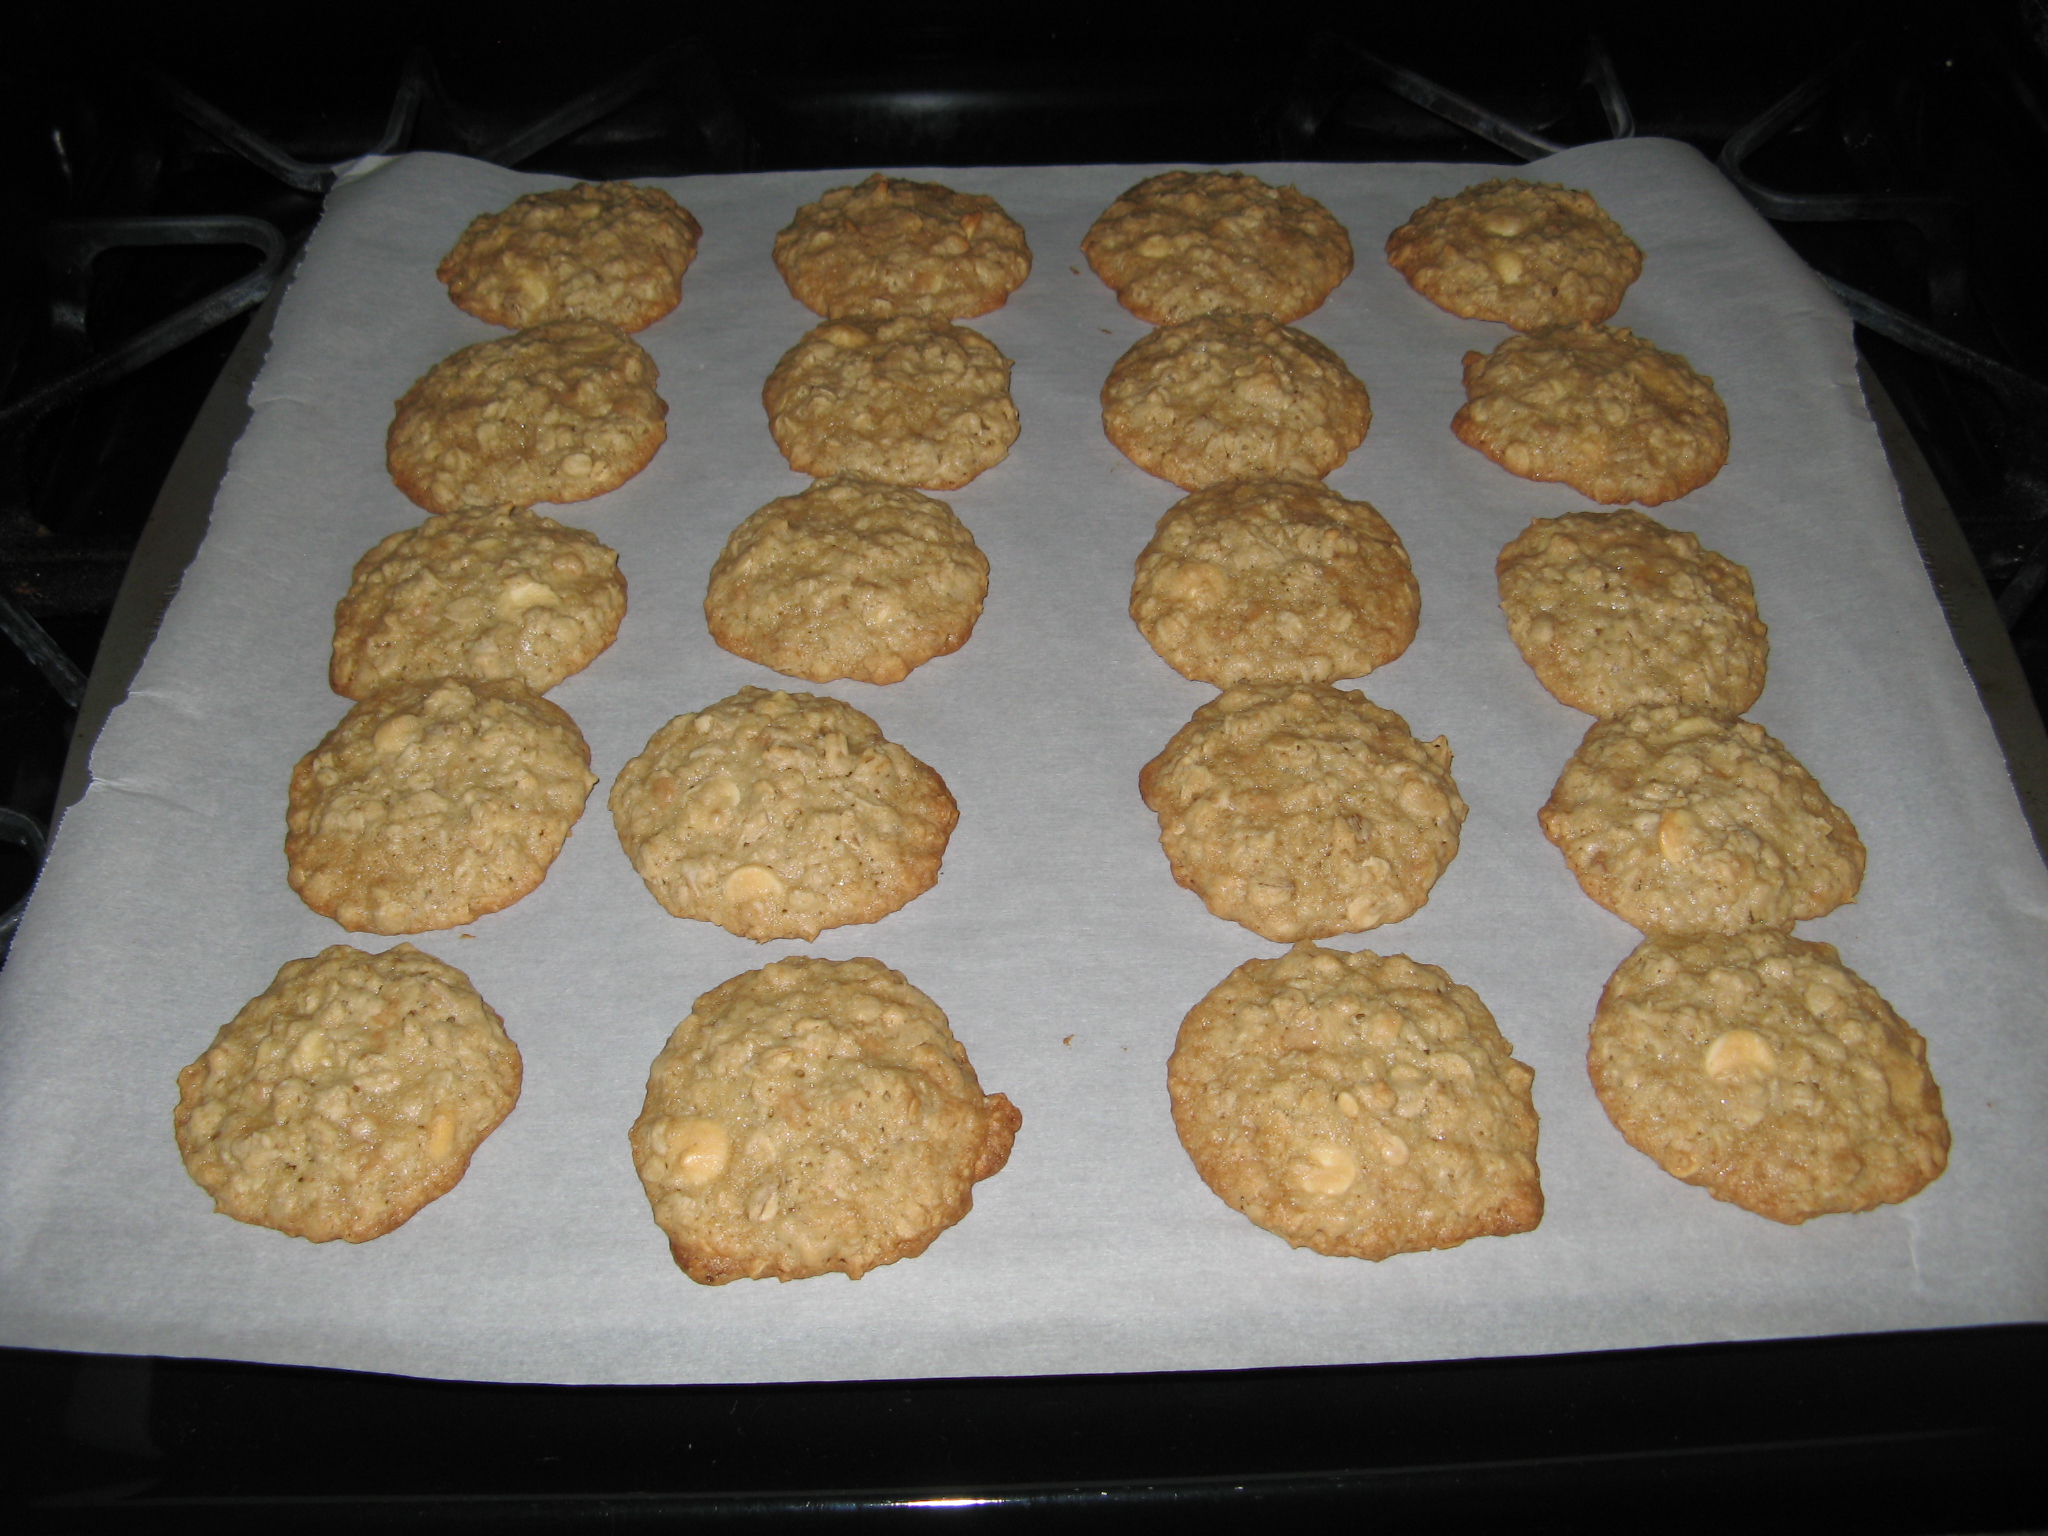
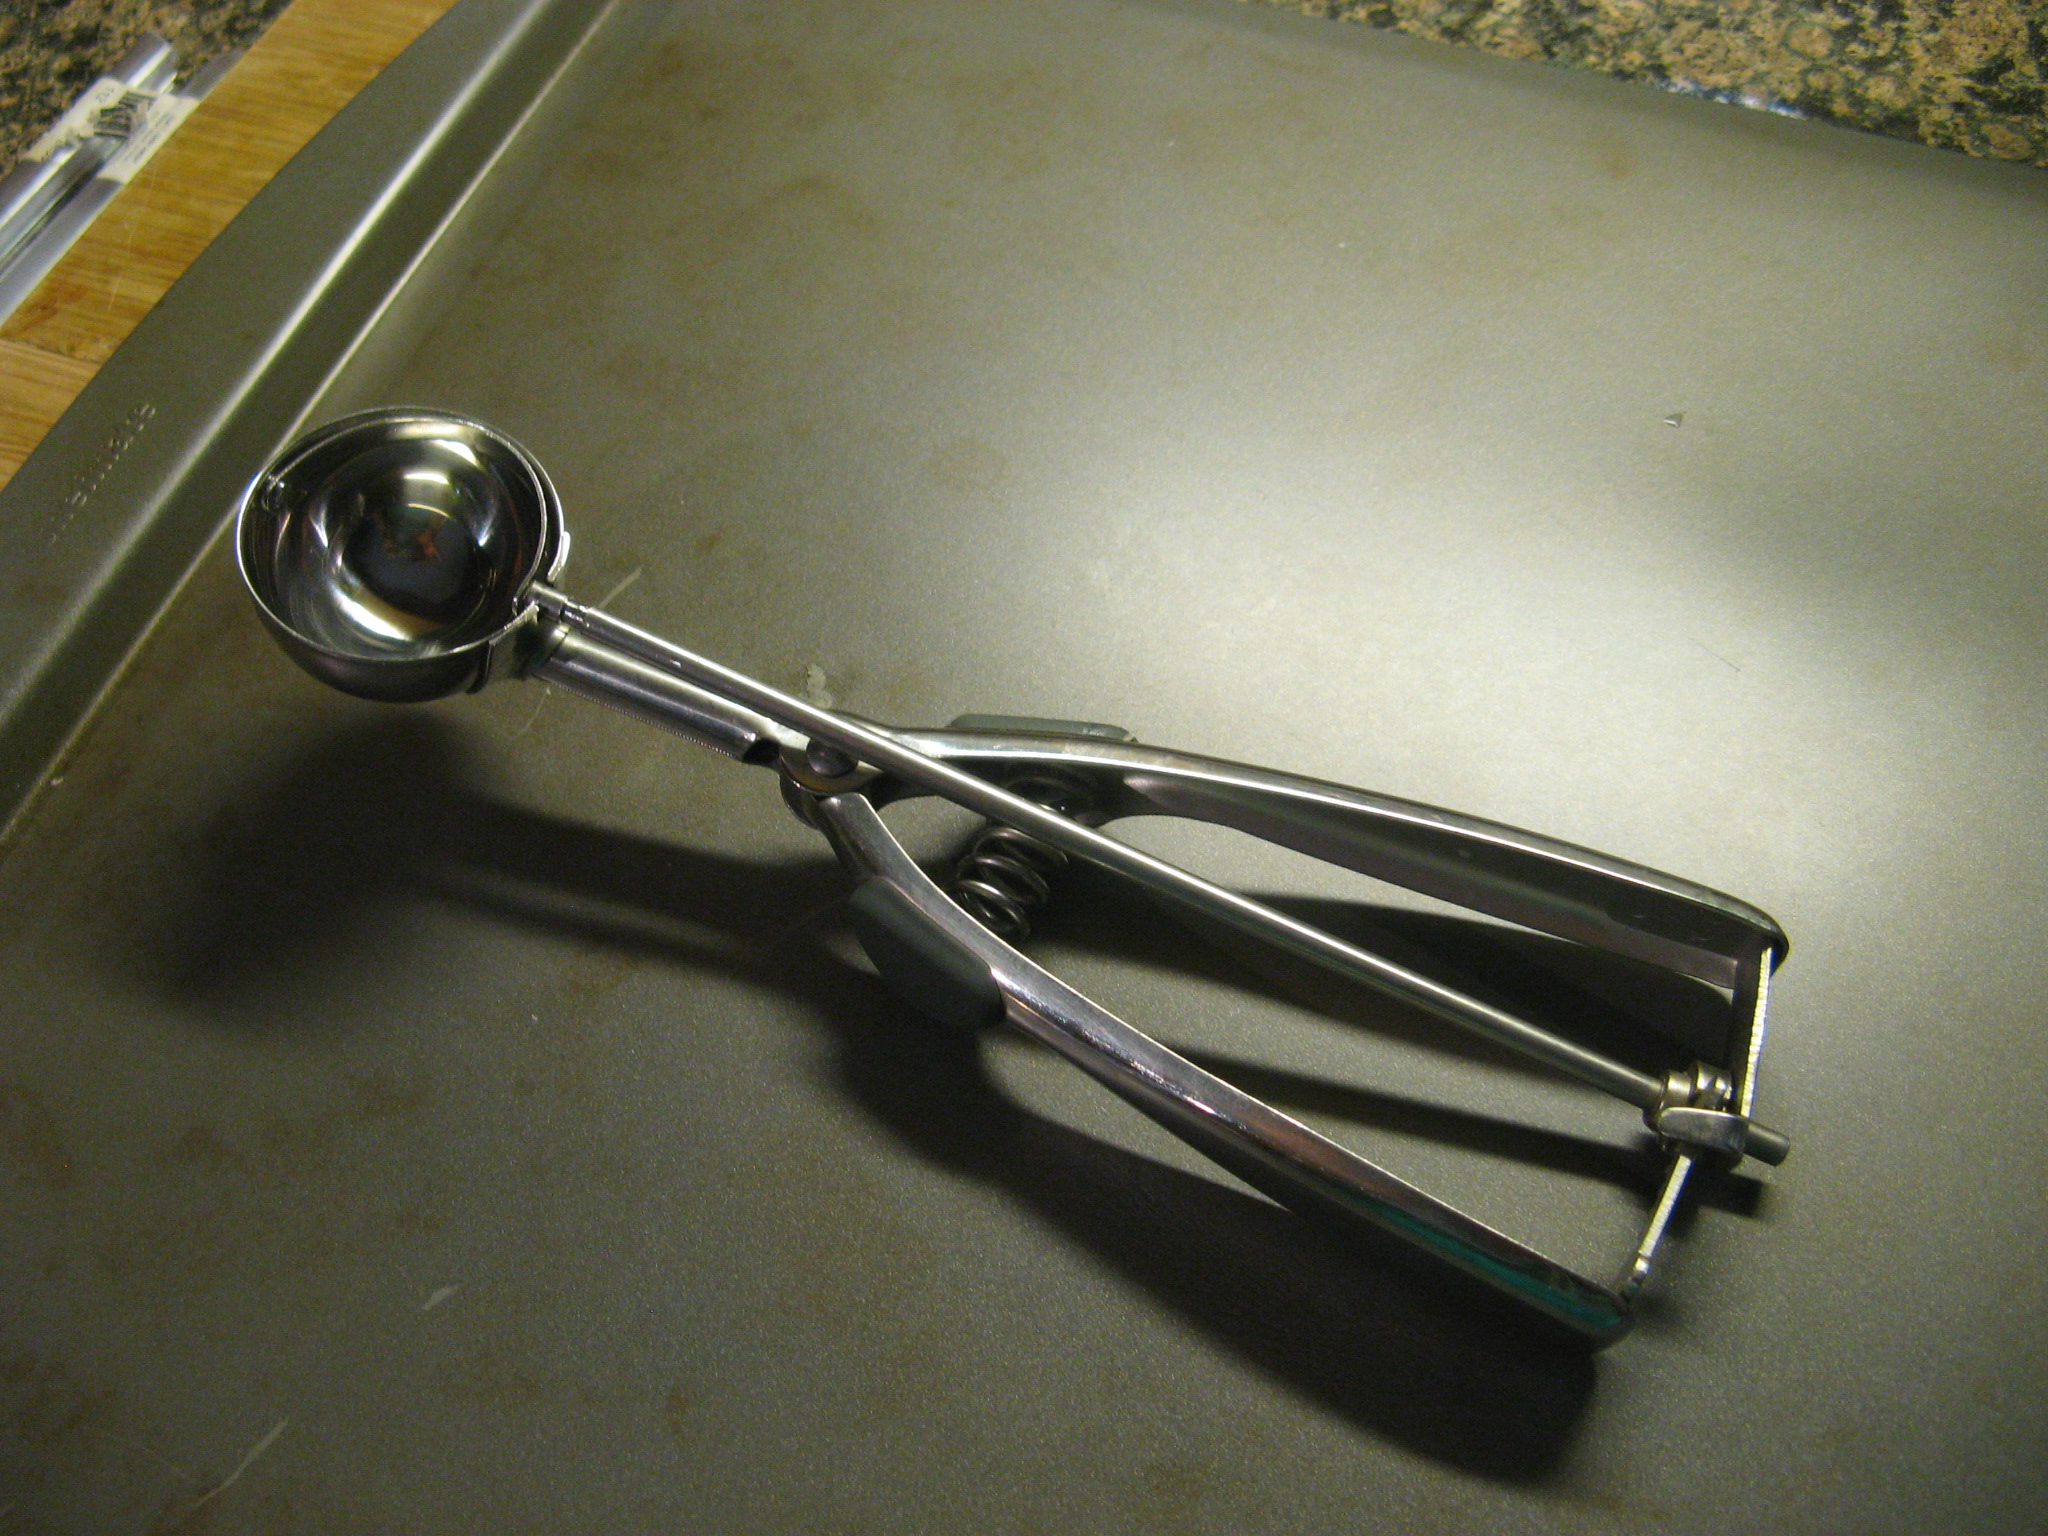
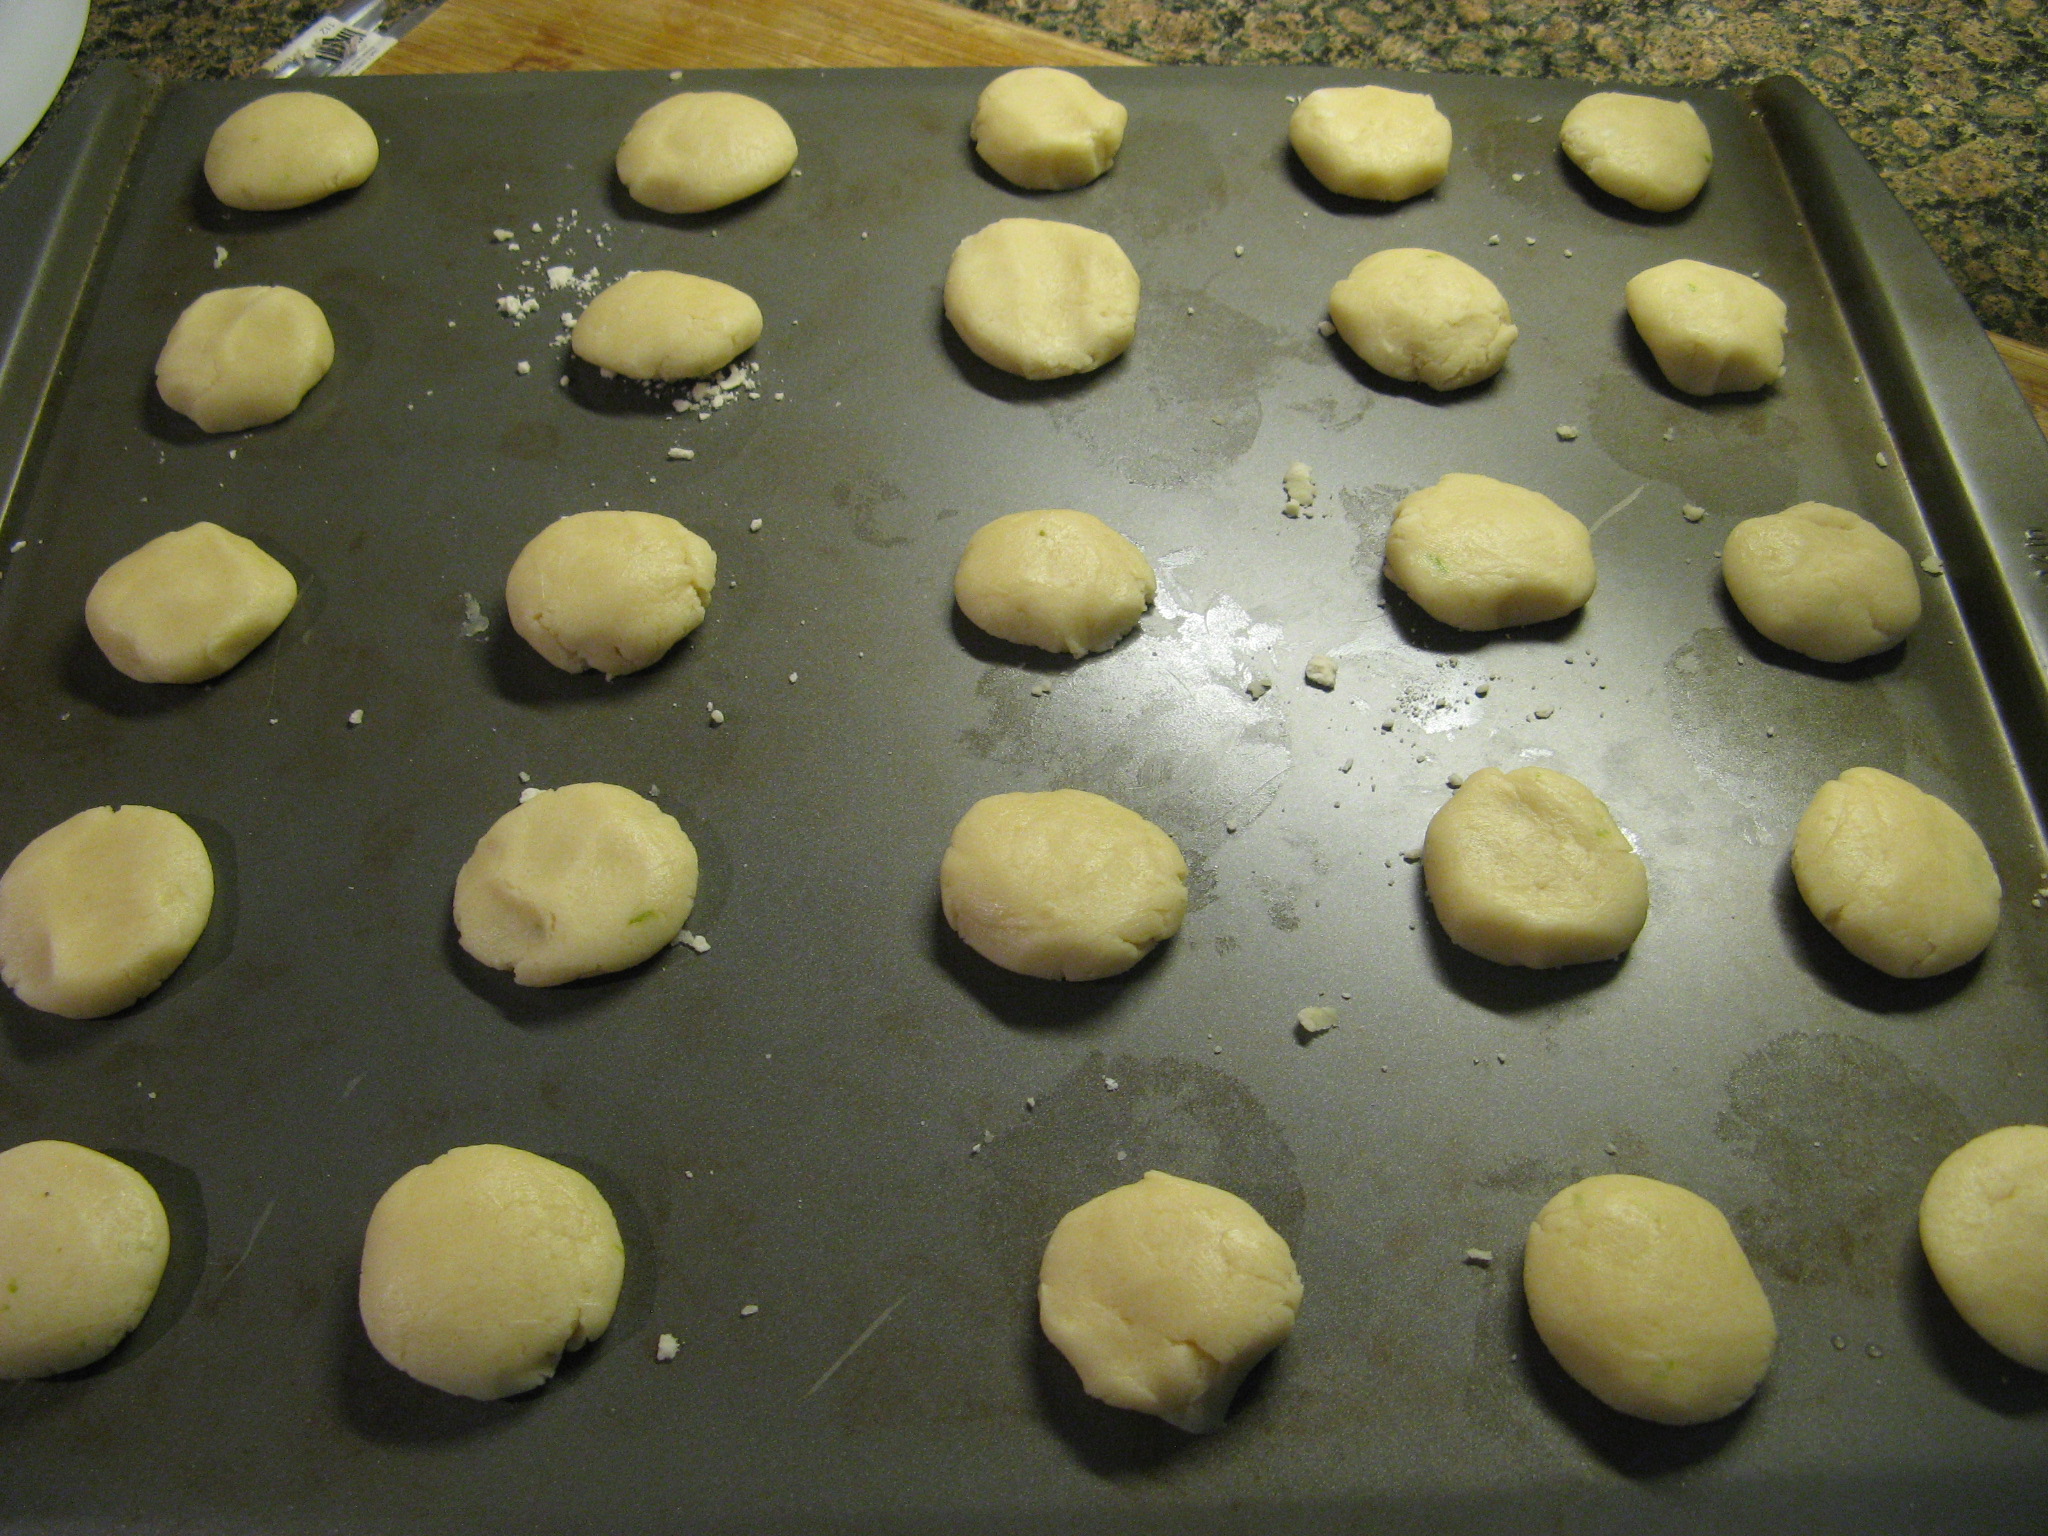
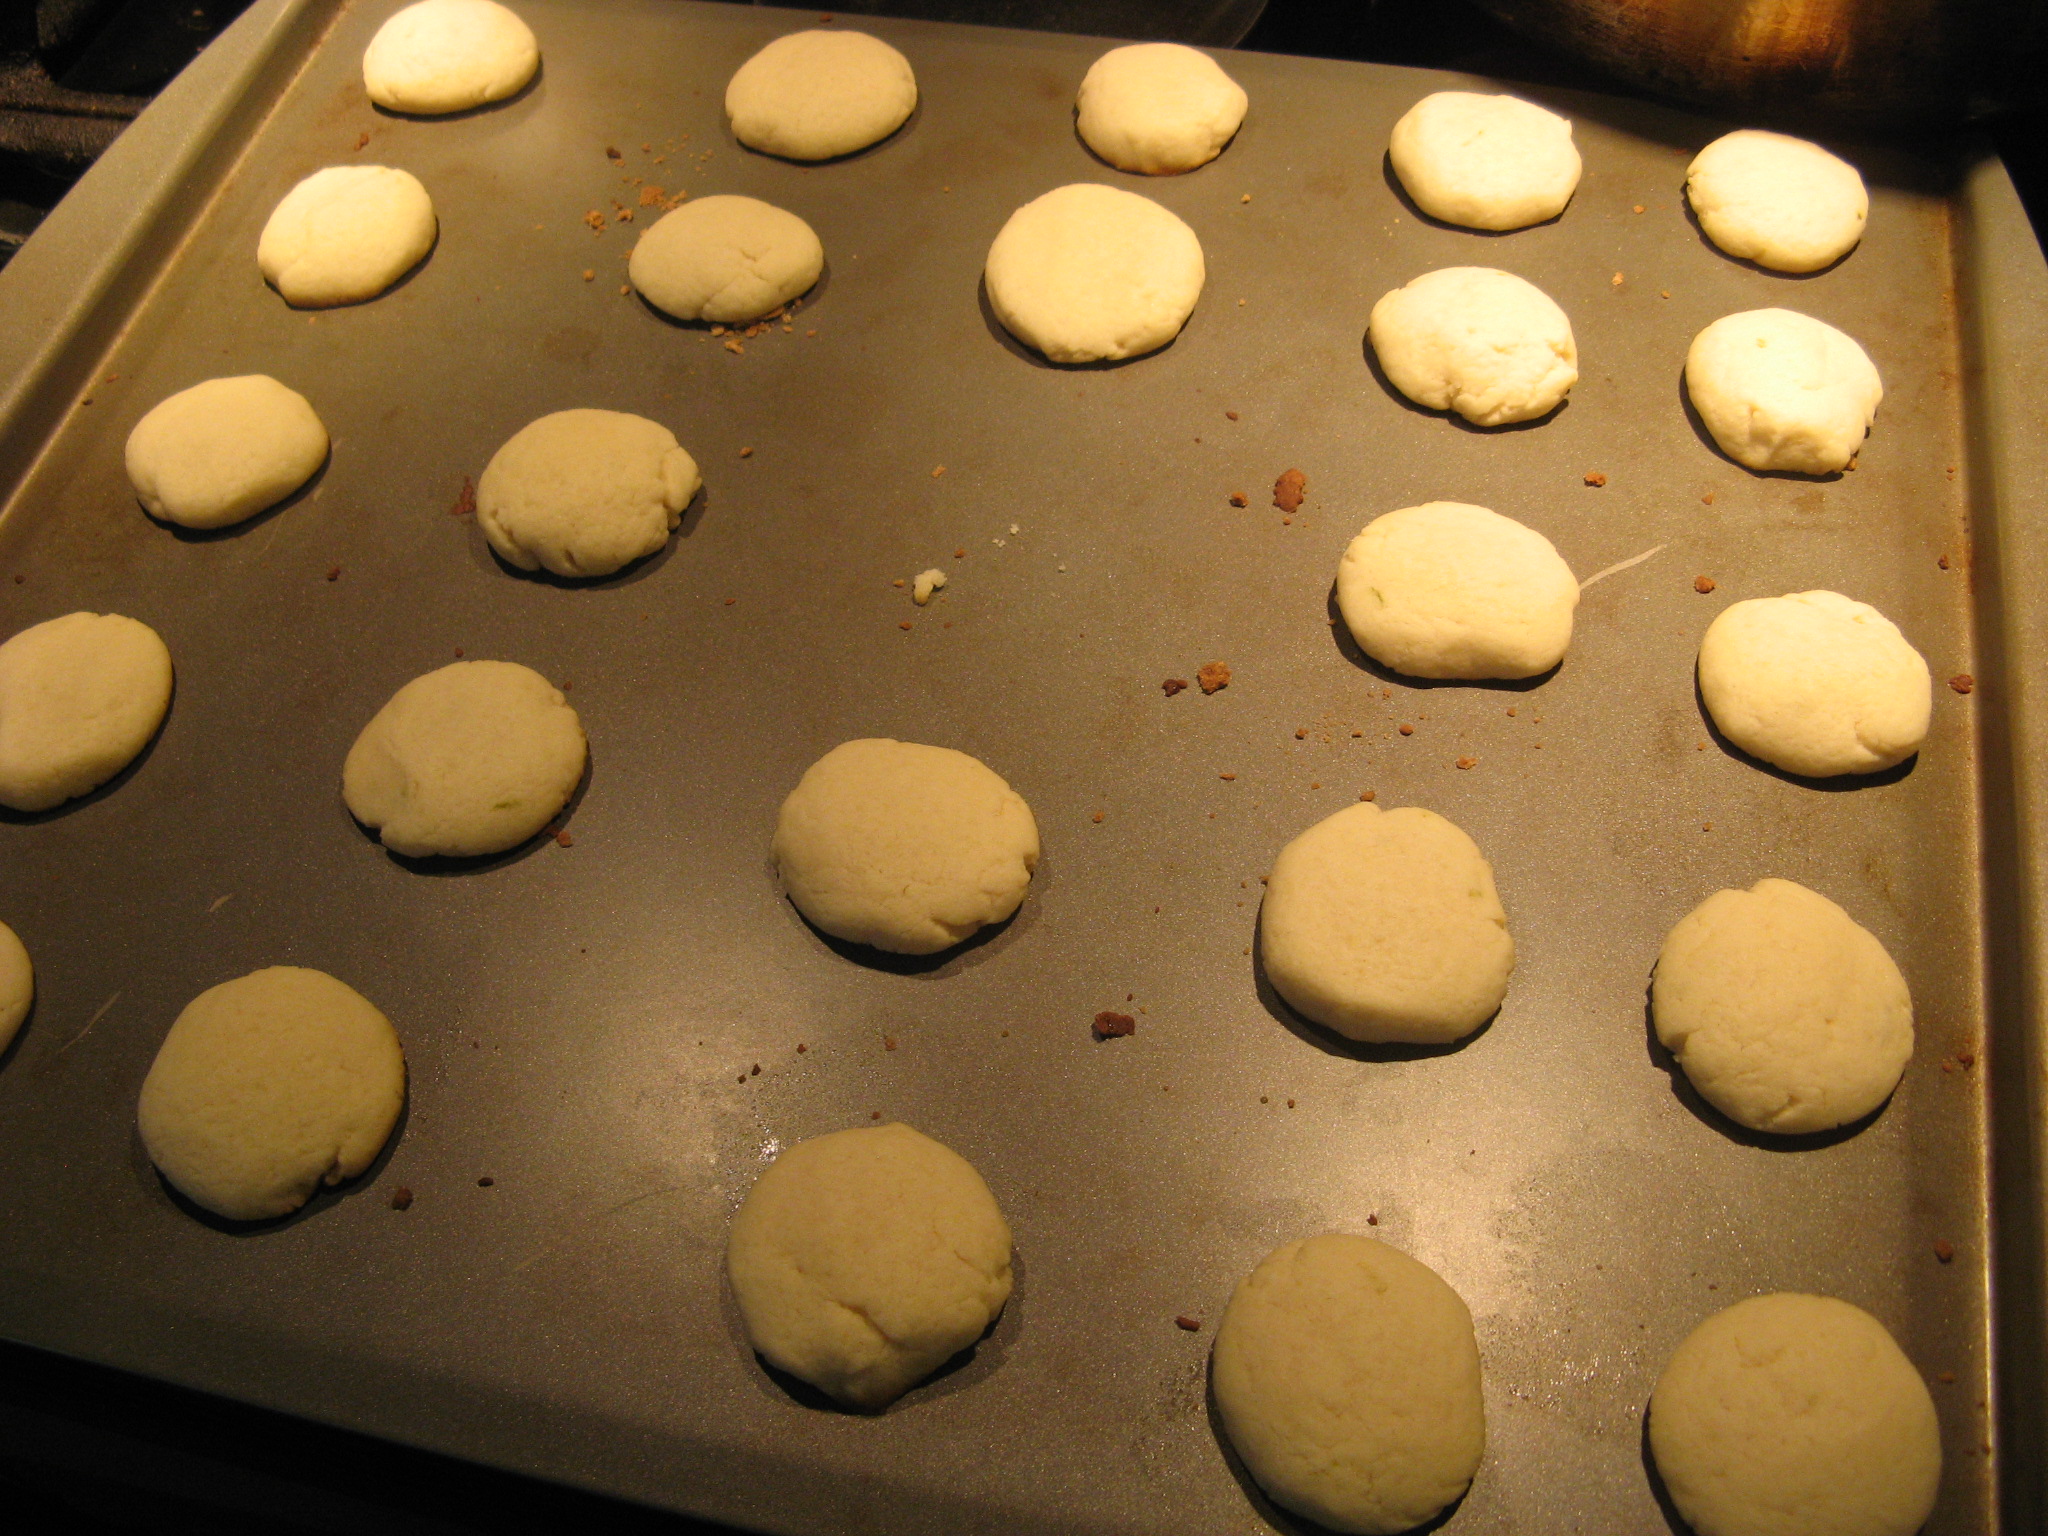
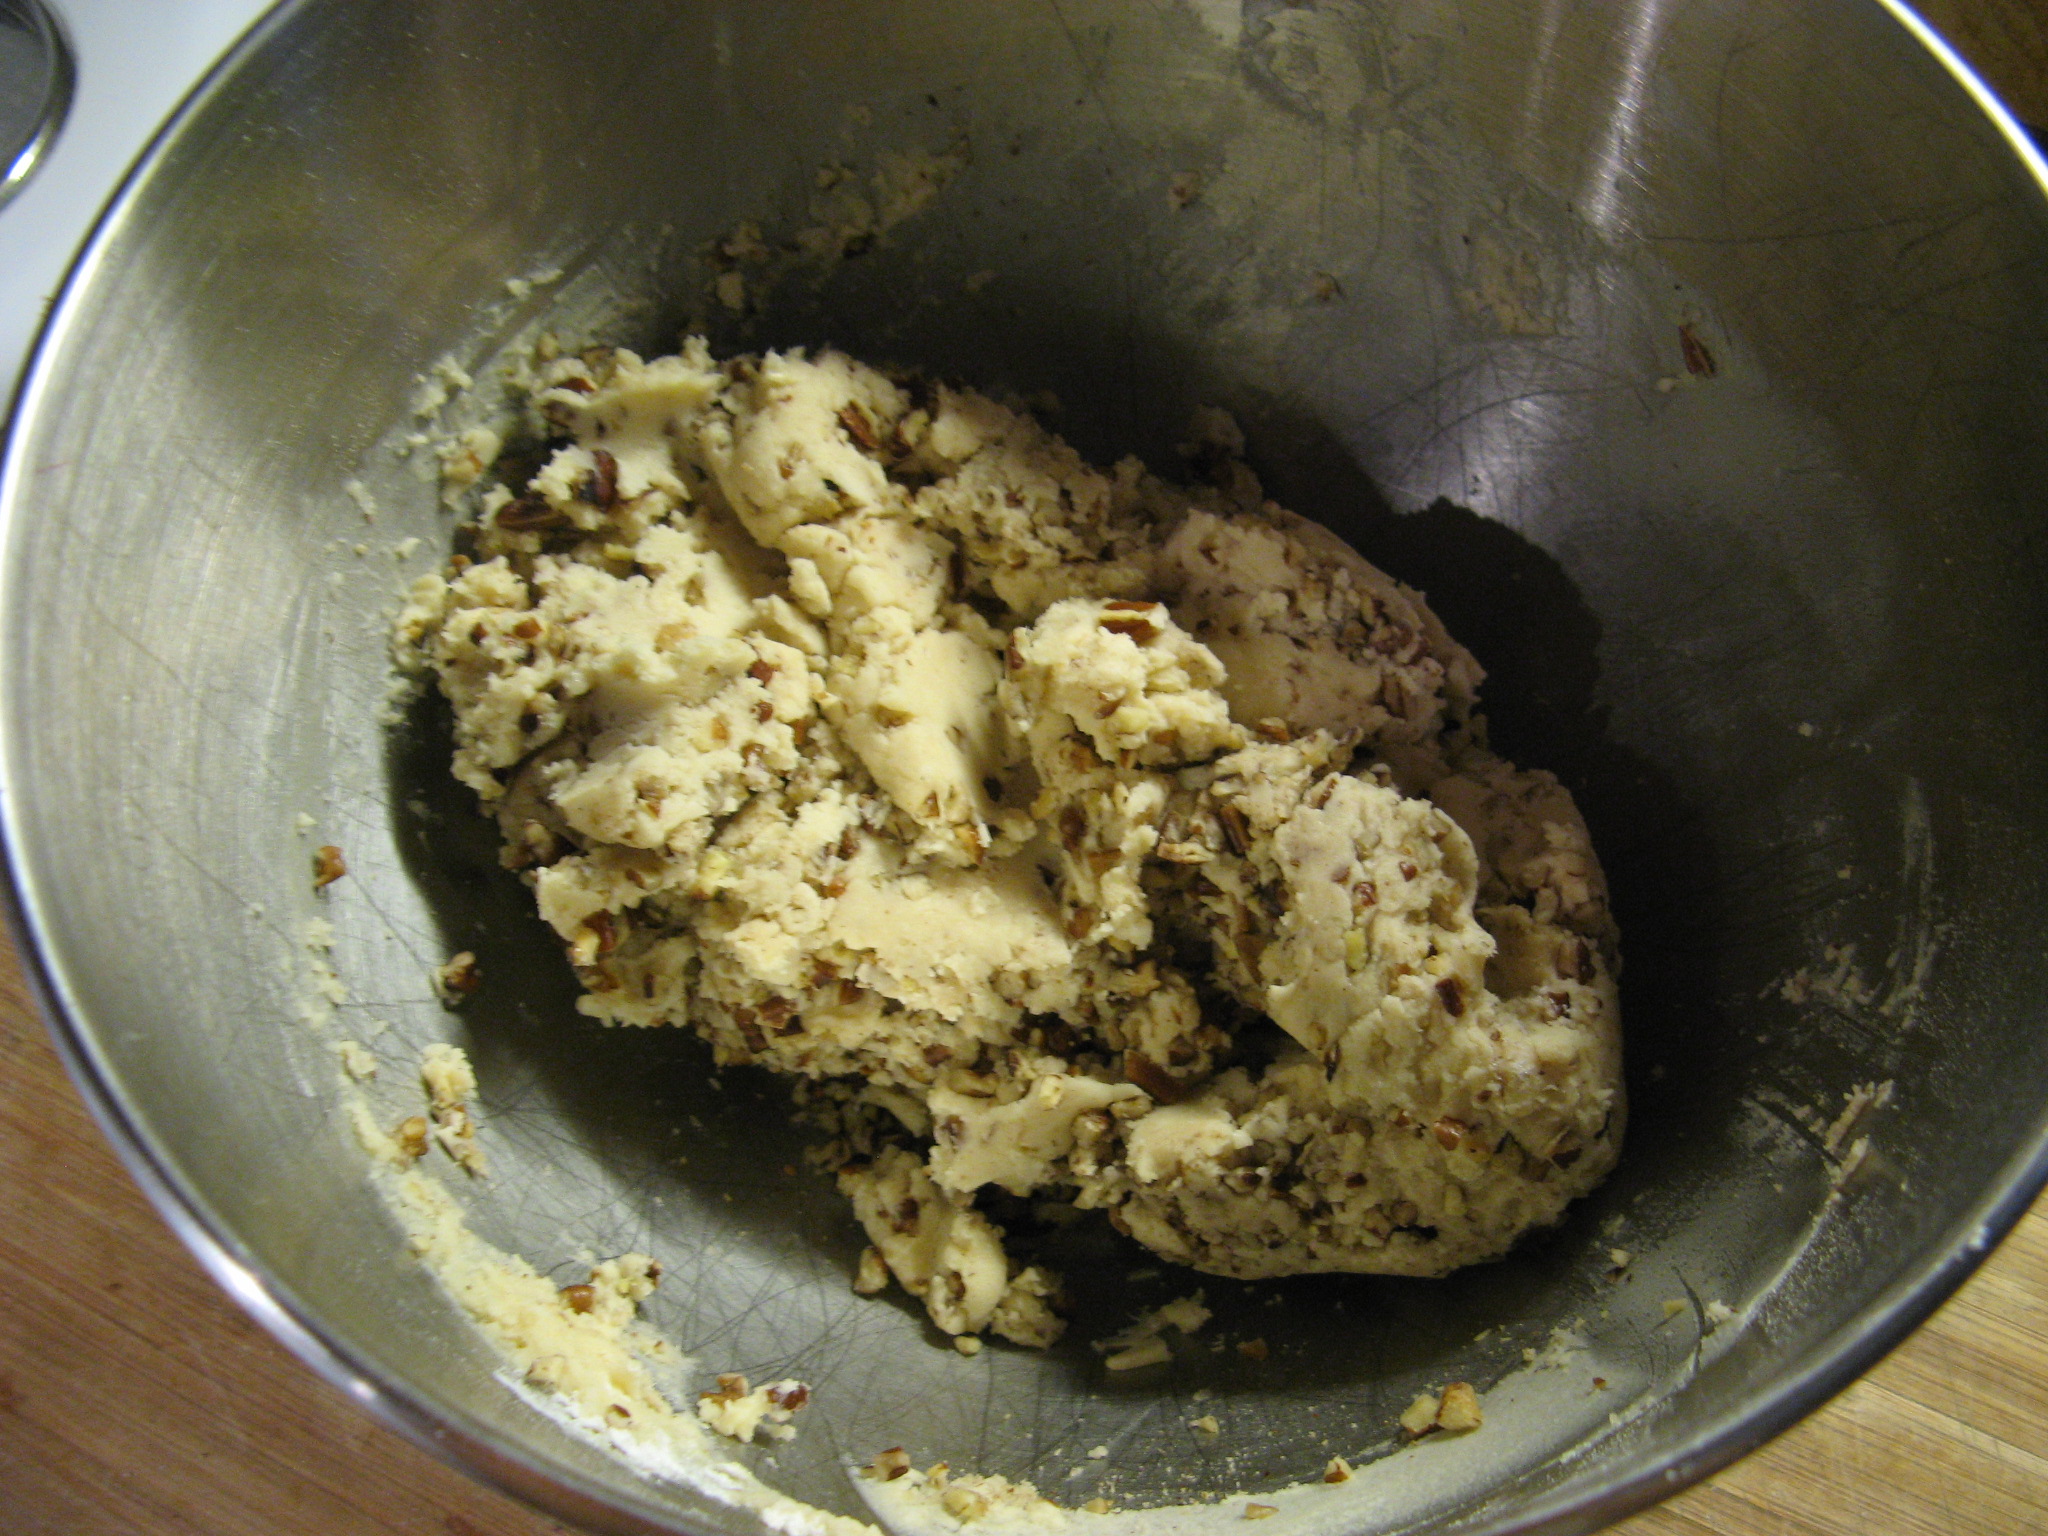
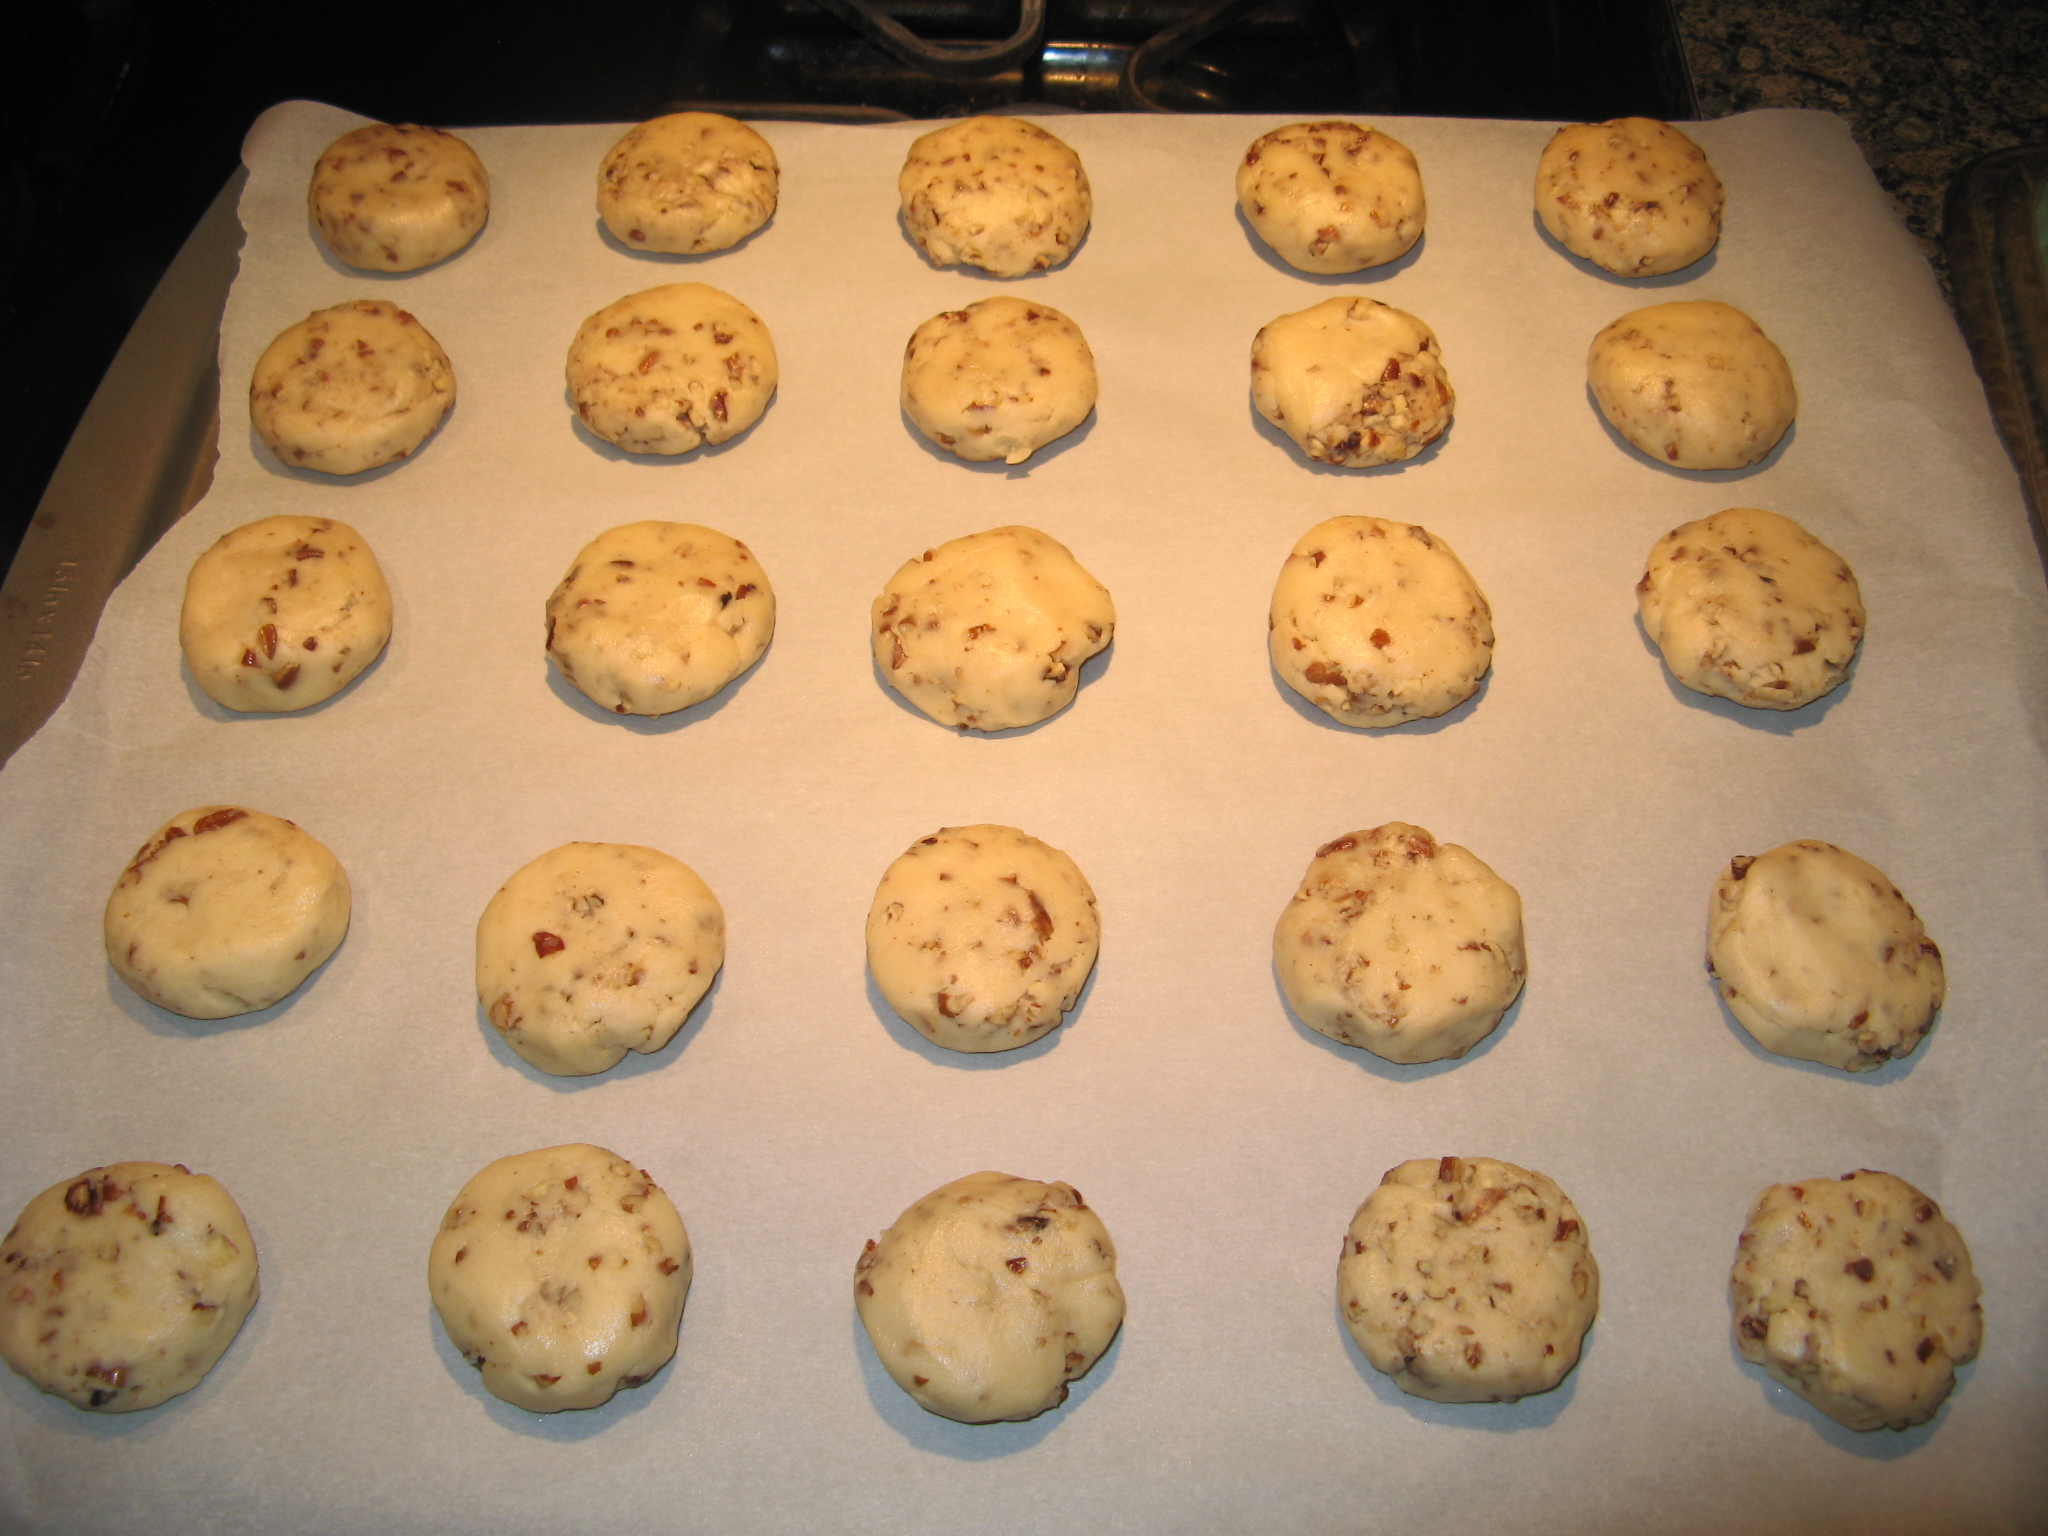
To add in the pecans I folded them in as opposed to mixing them in with the mixer. Now it was time to form the cookies. While these cookies are usually crescent shaped I opted to just form them into small rounds and popped them in a 275 degree F oven for 40 minutes.

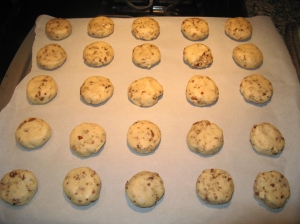
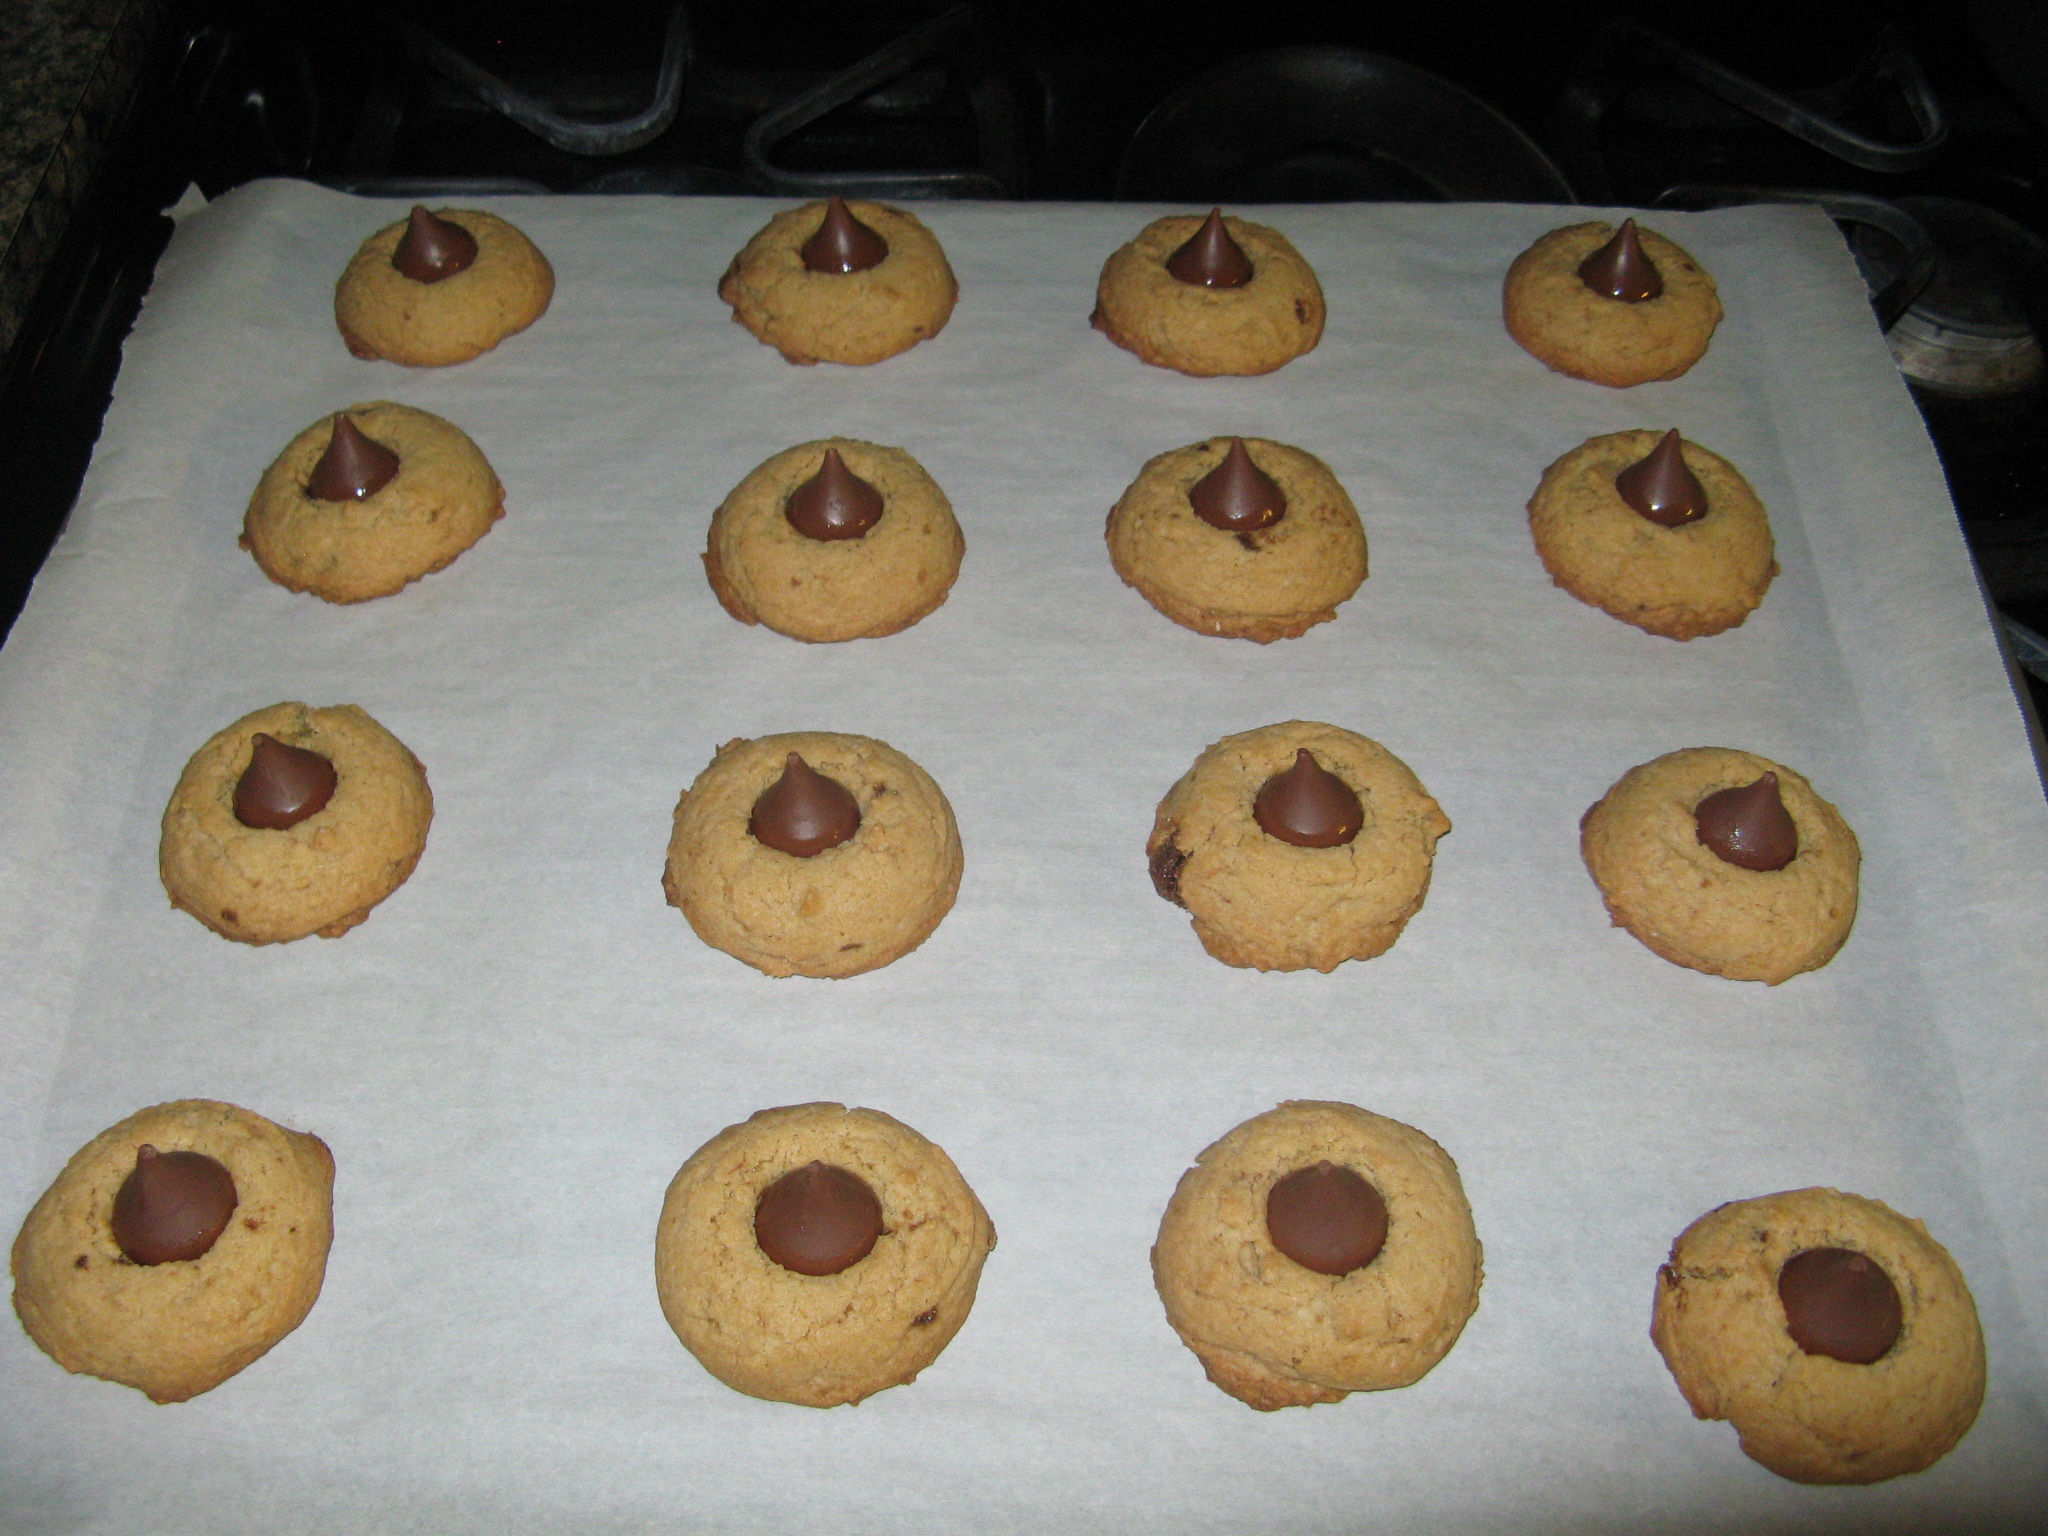
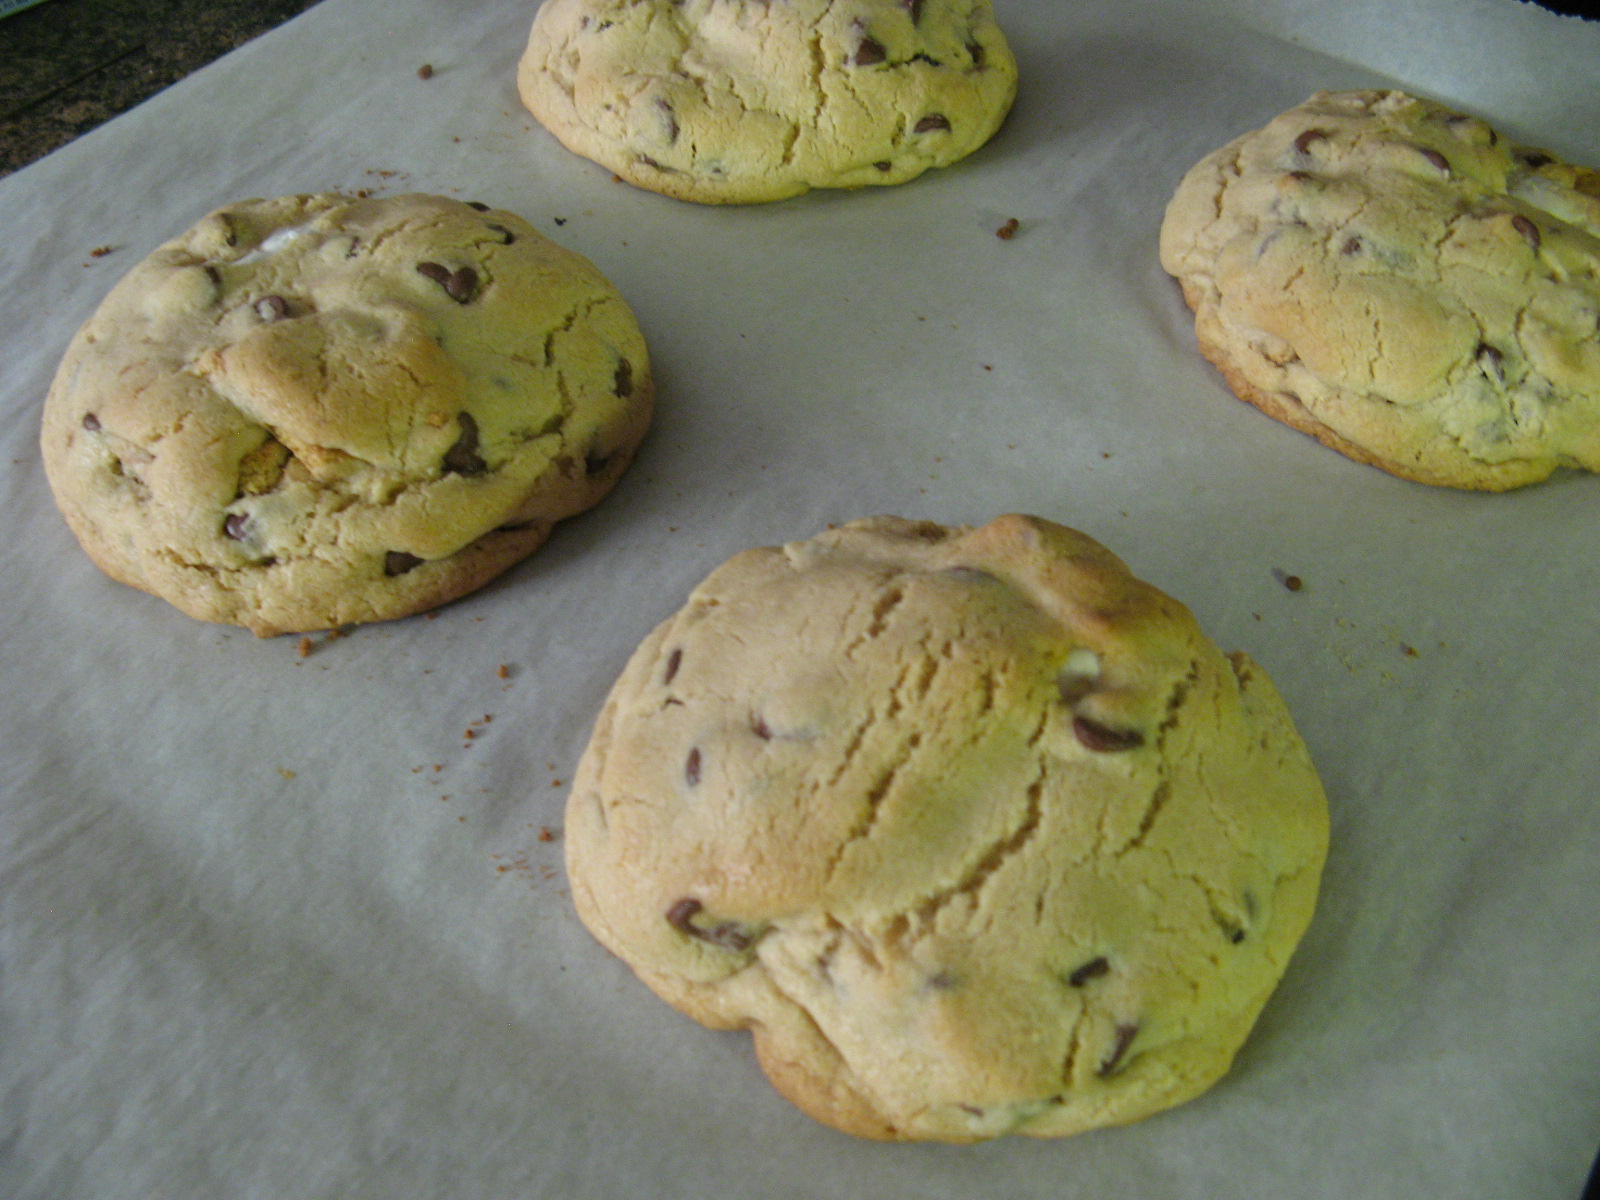
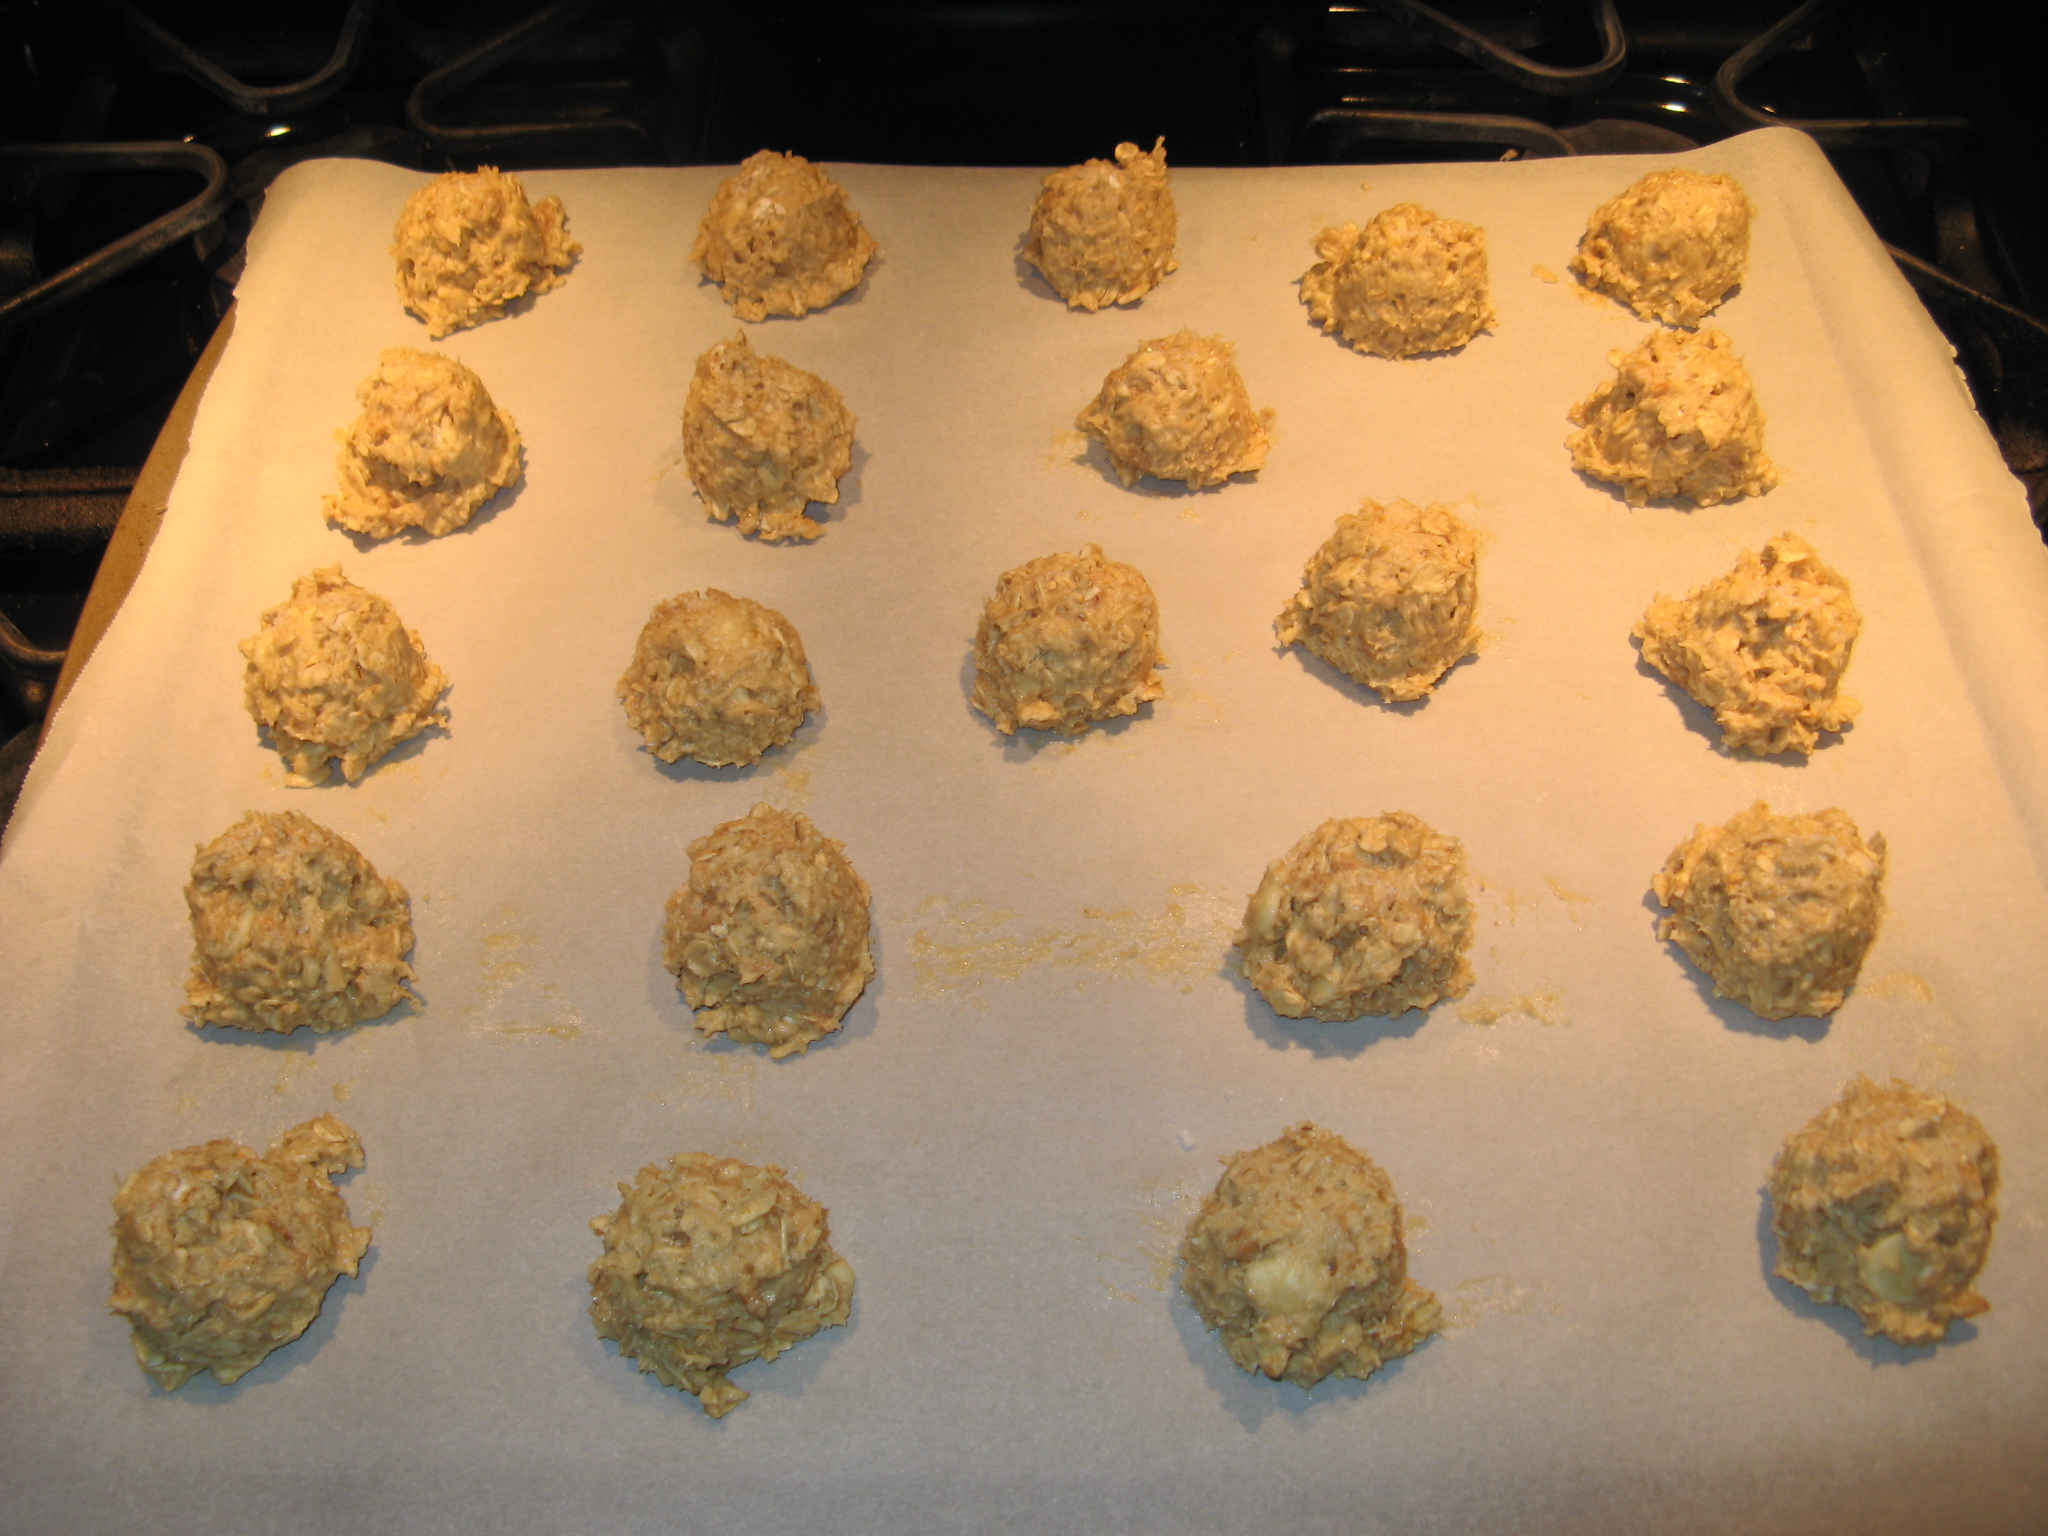
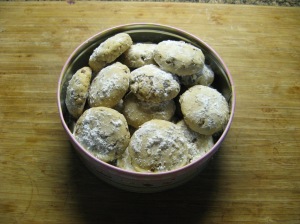
Fresh out of the oven. I must say they didn’t look that much different cooked from when they were raw.

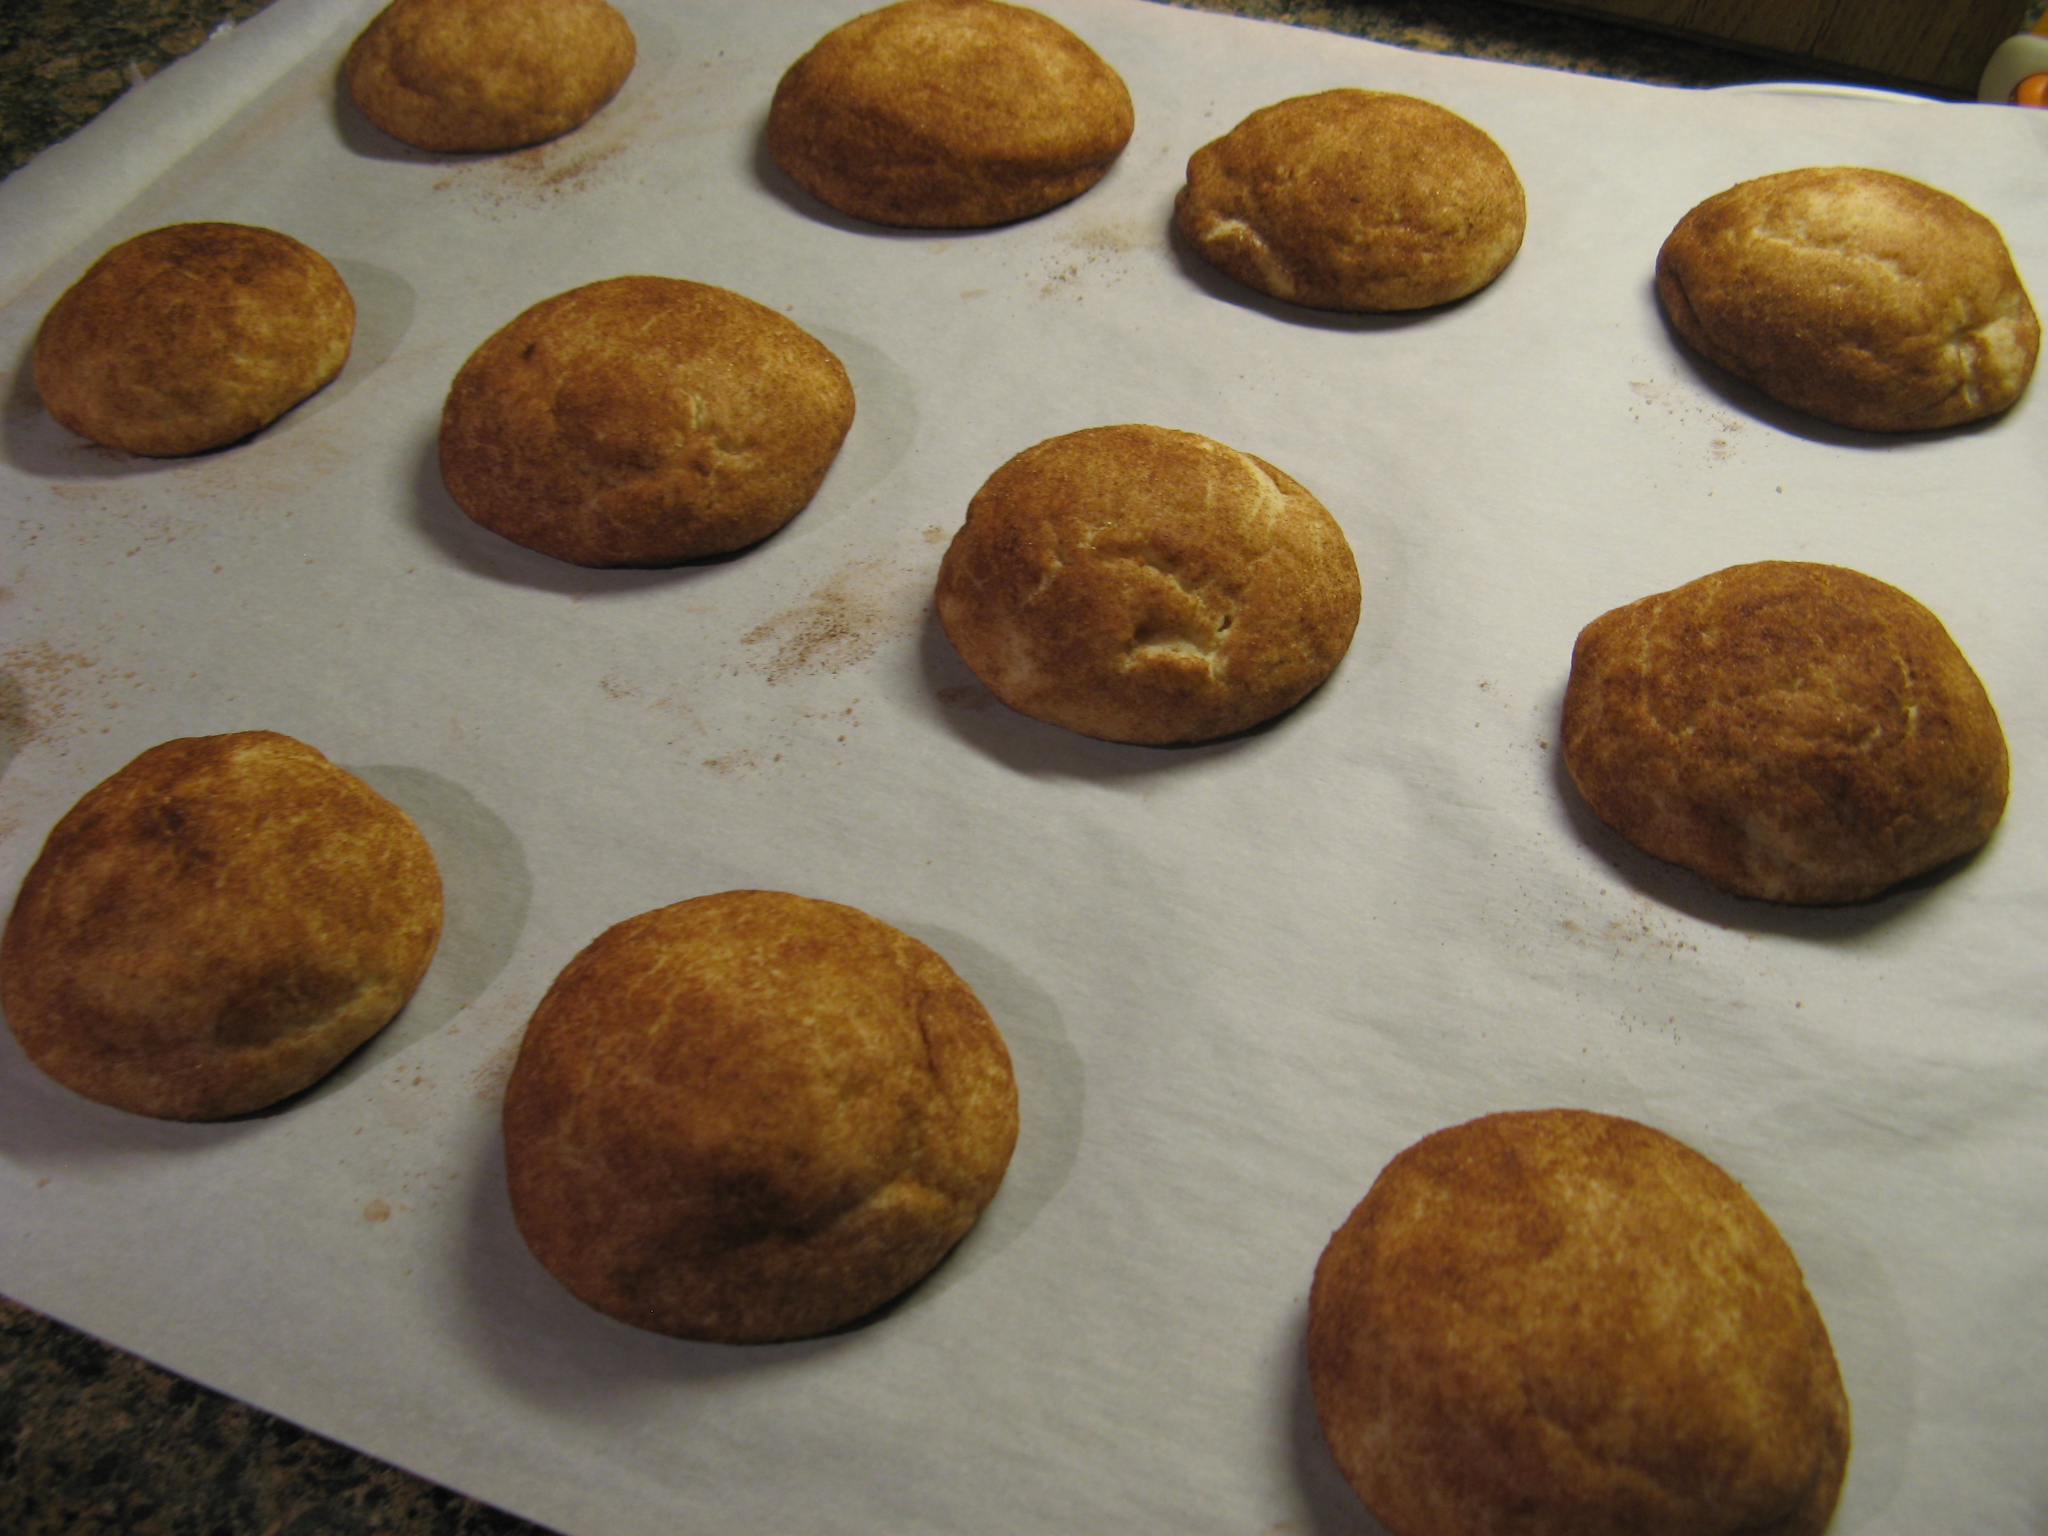
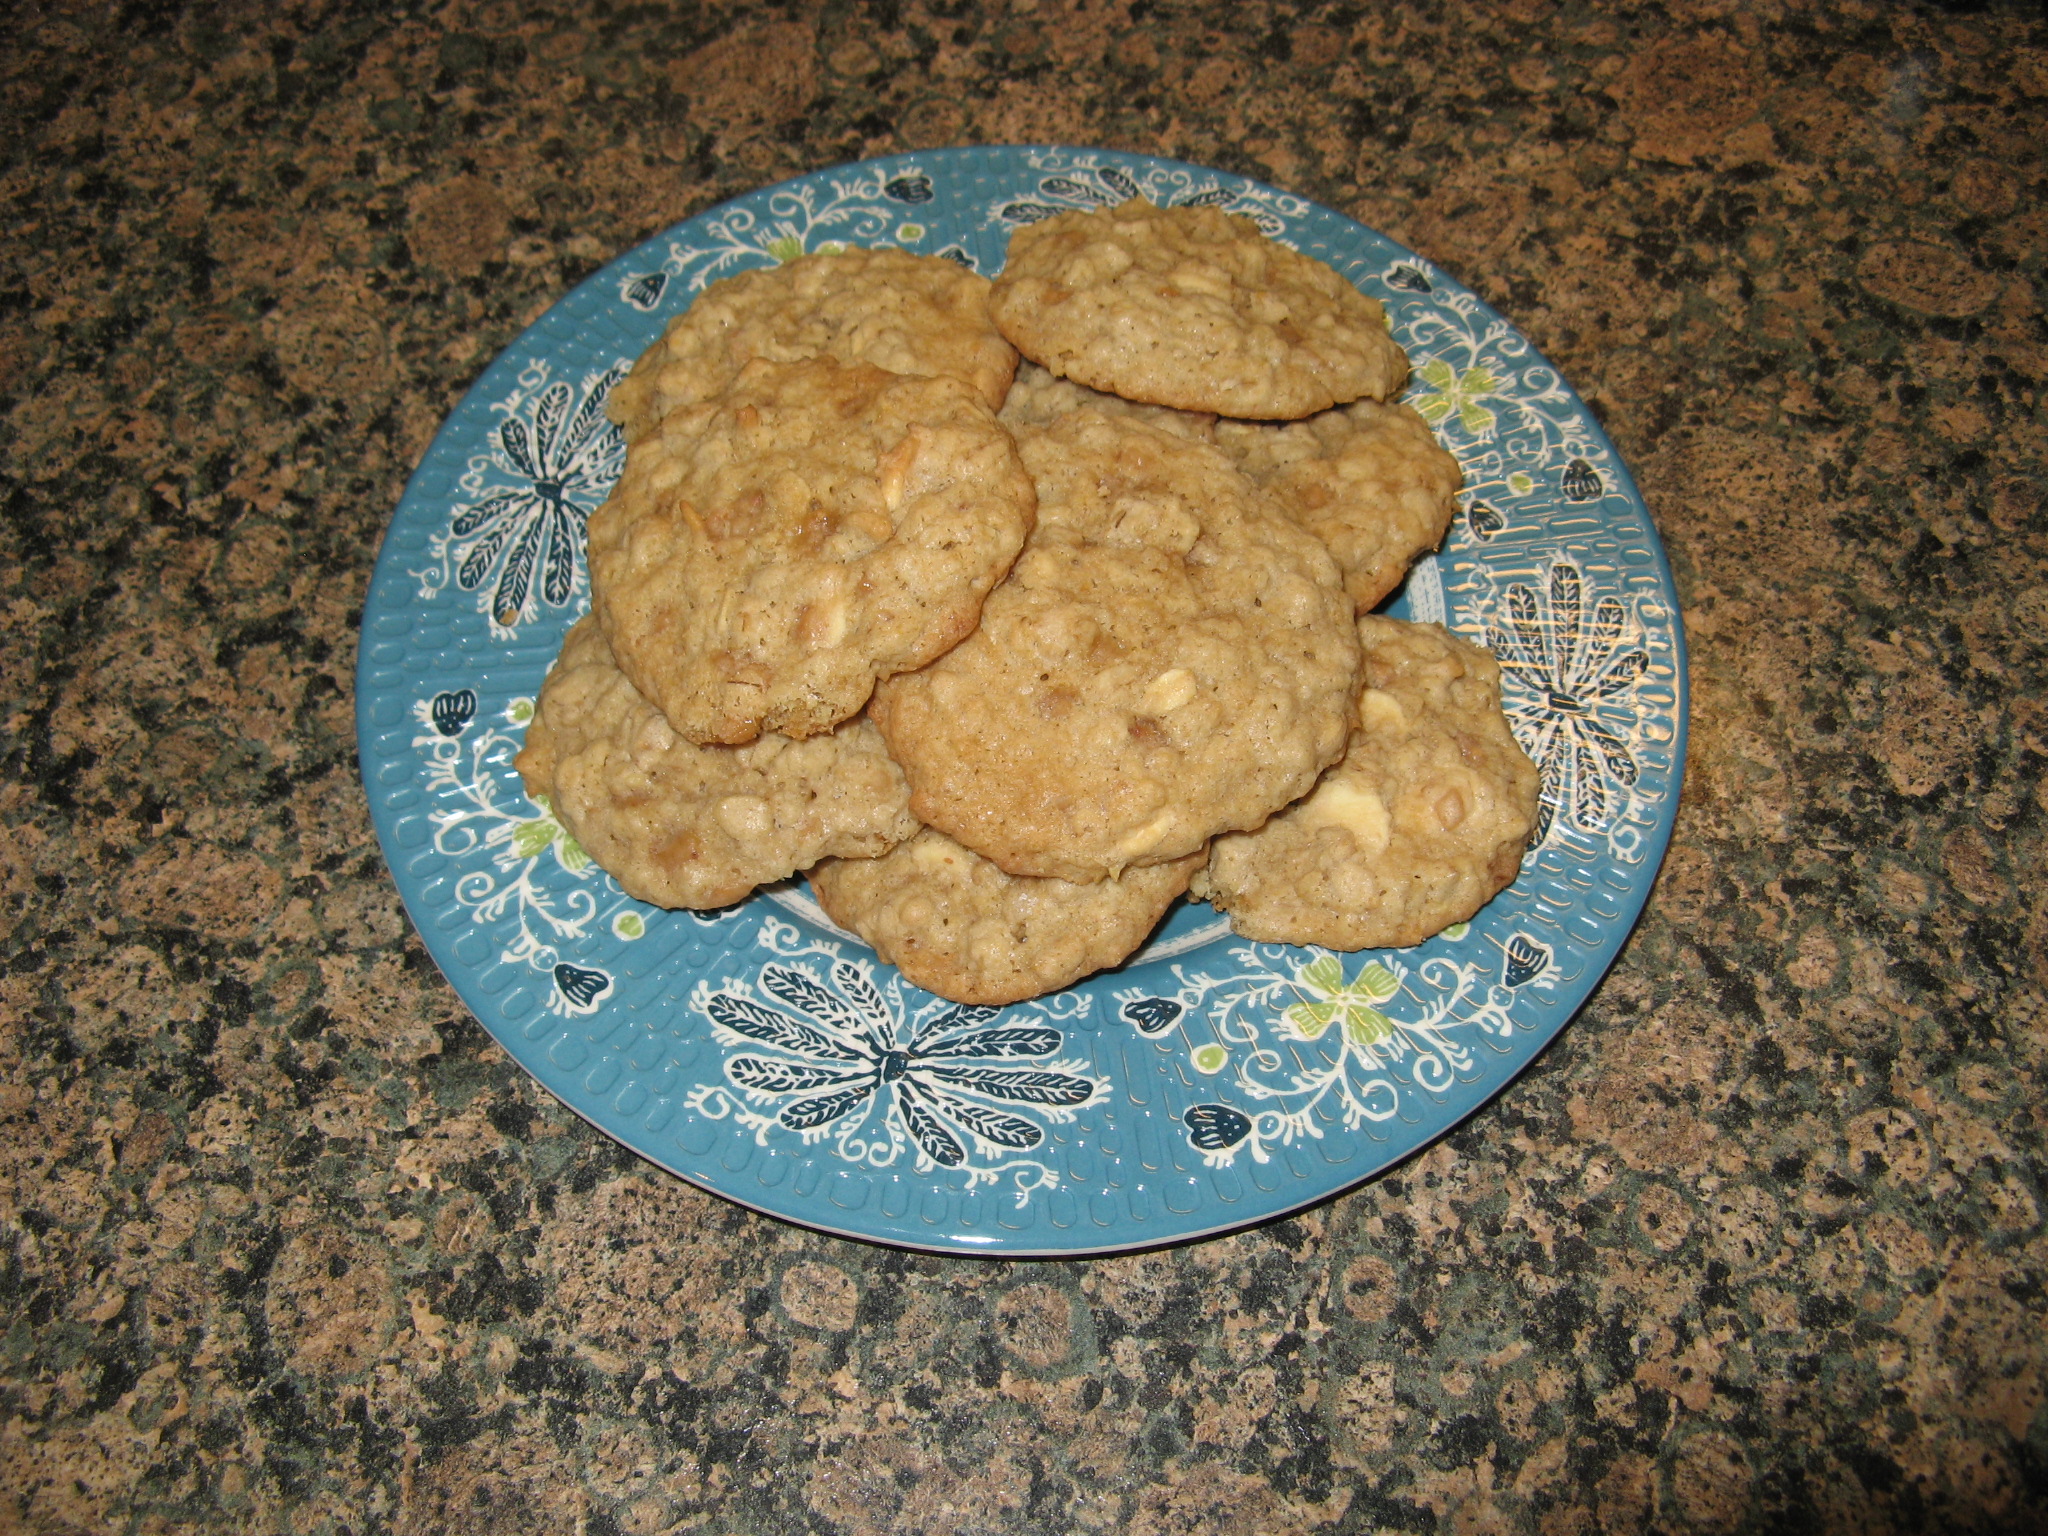
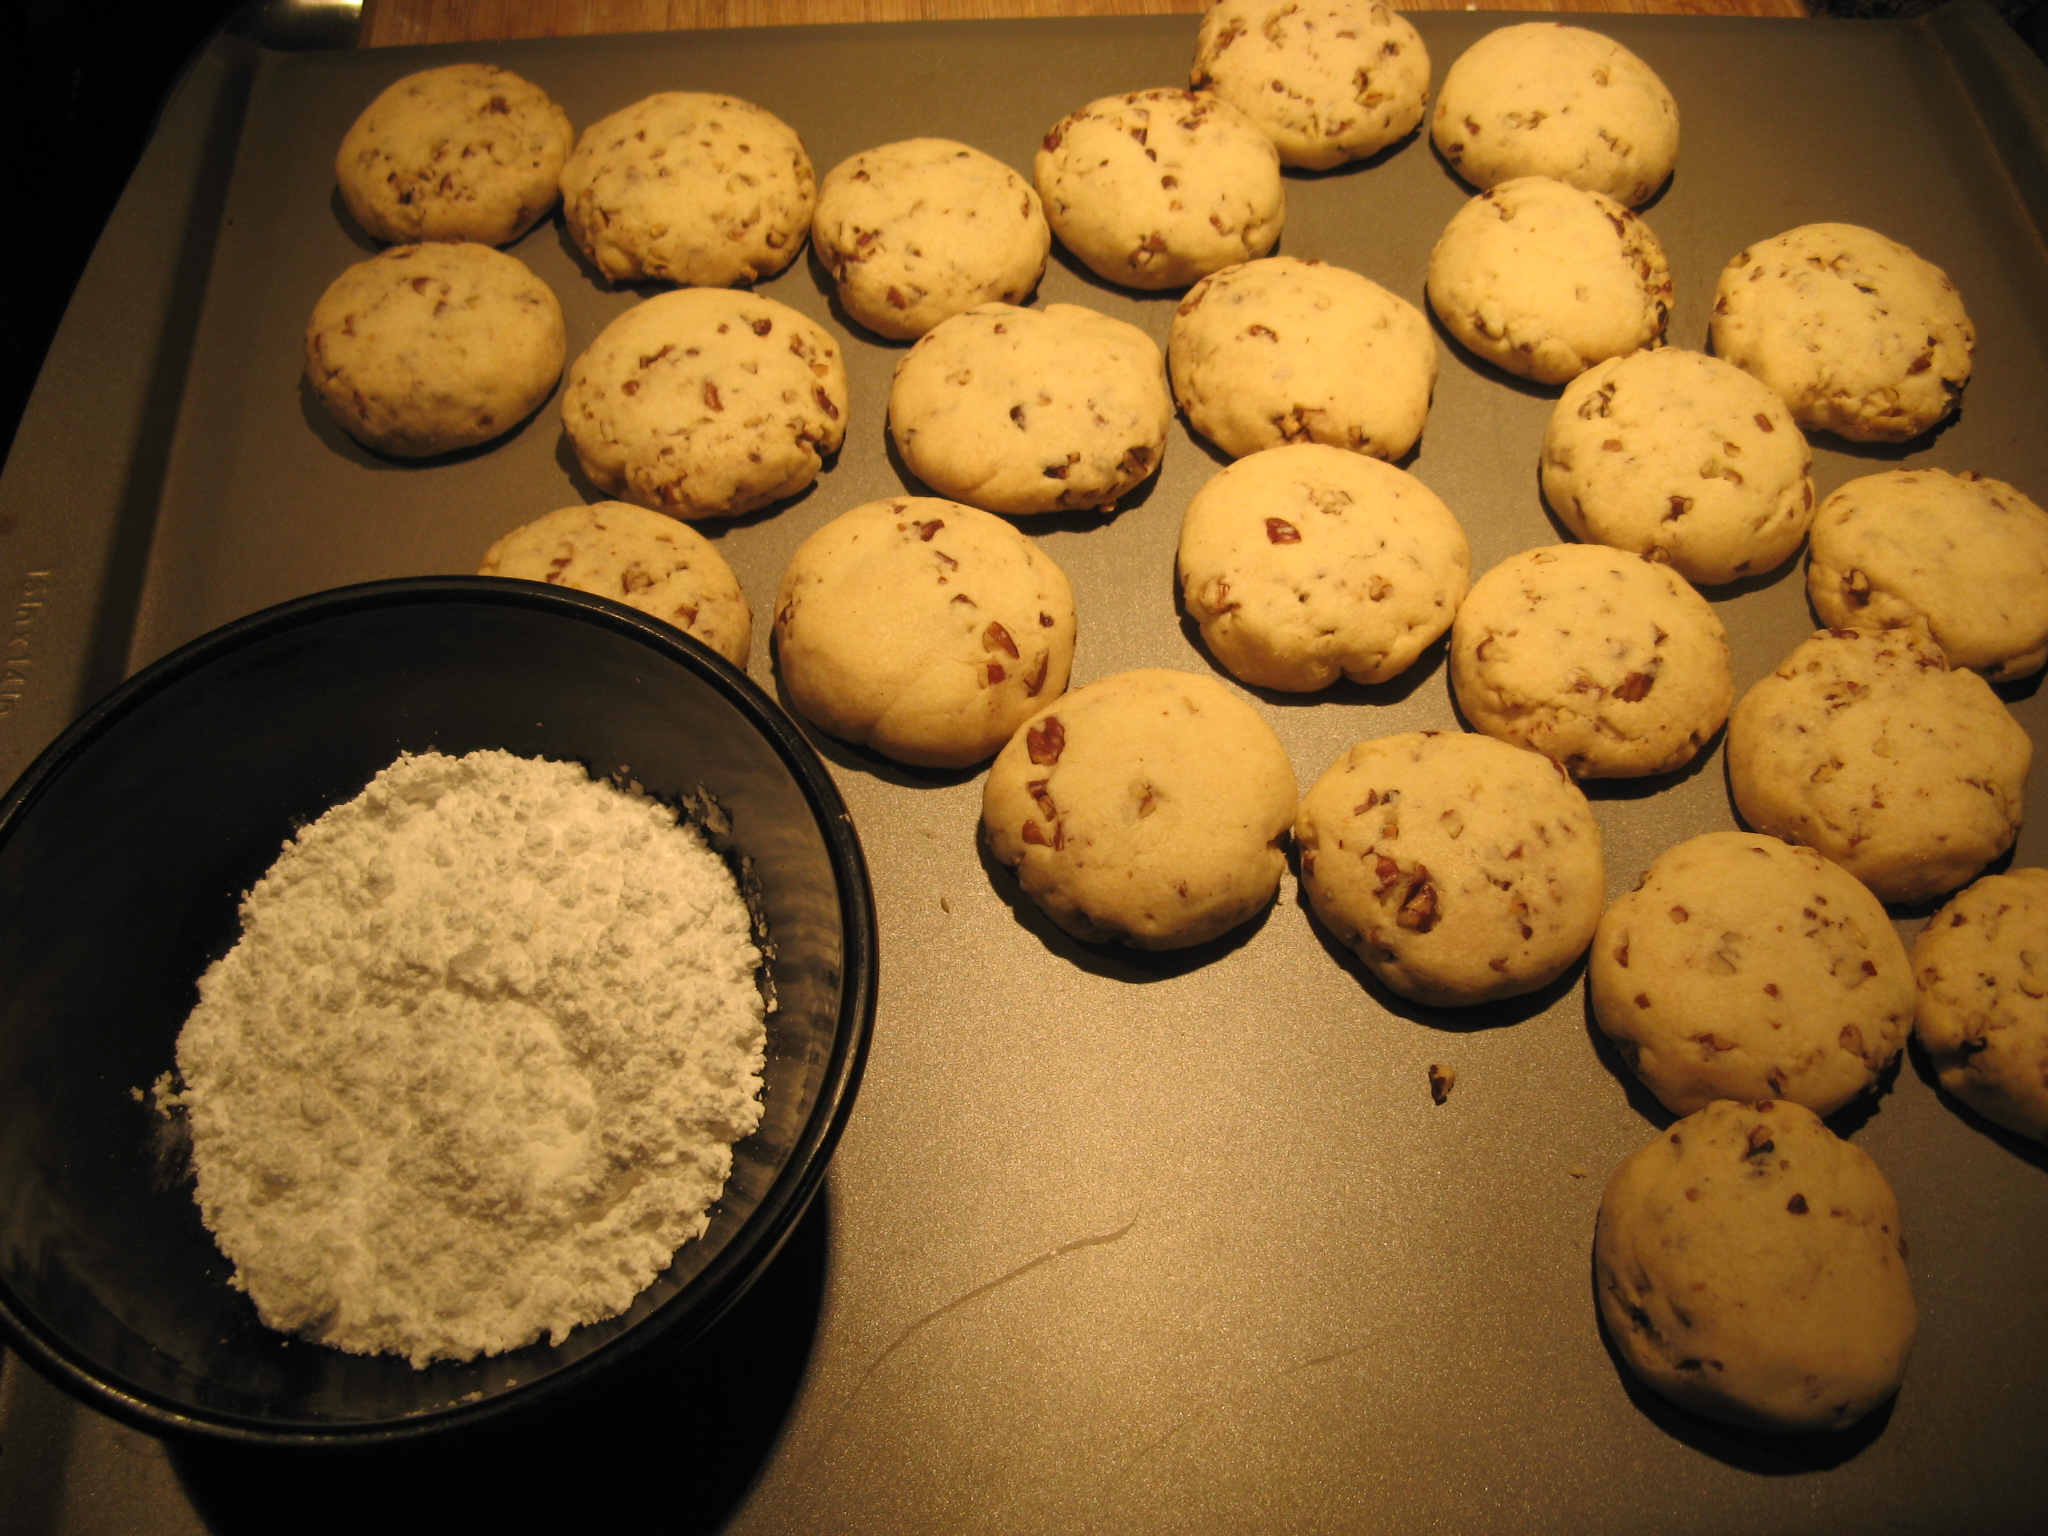
After letting them cool for a few minutes it was time to cover them in confectioners’ sugar.

Once I was done with the cookies it was time to start on the Sopapilla Cheesecake. This by far was one of the simplest things I have ever made. It definitely helped that I didn’t make the dough from scratch but used crescent rolls and the filling was simply made with sugar, cream cheese and vanilla extract.
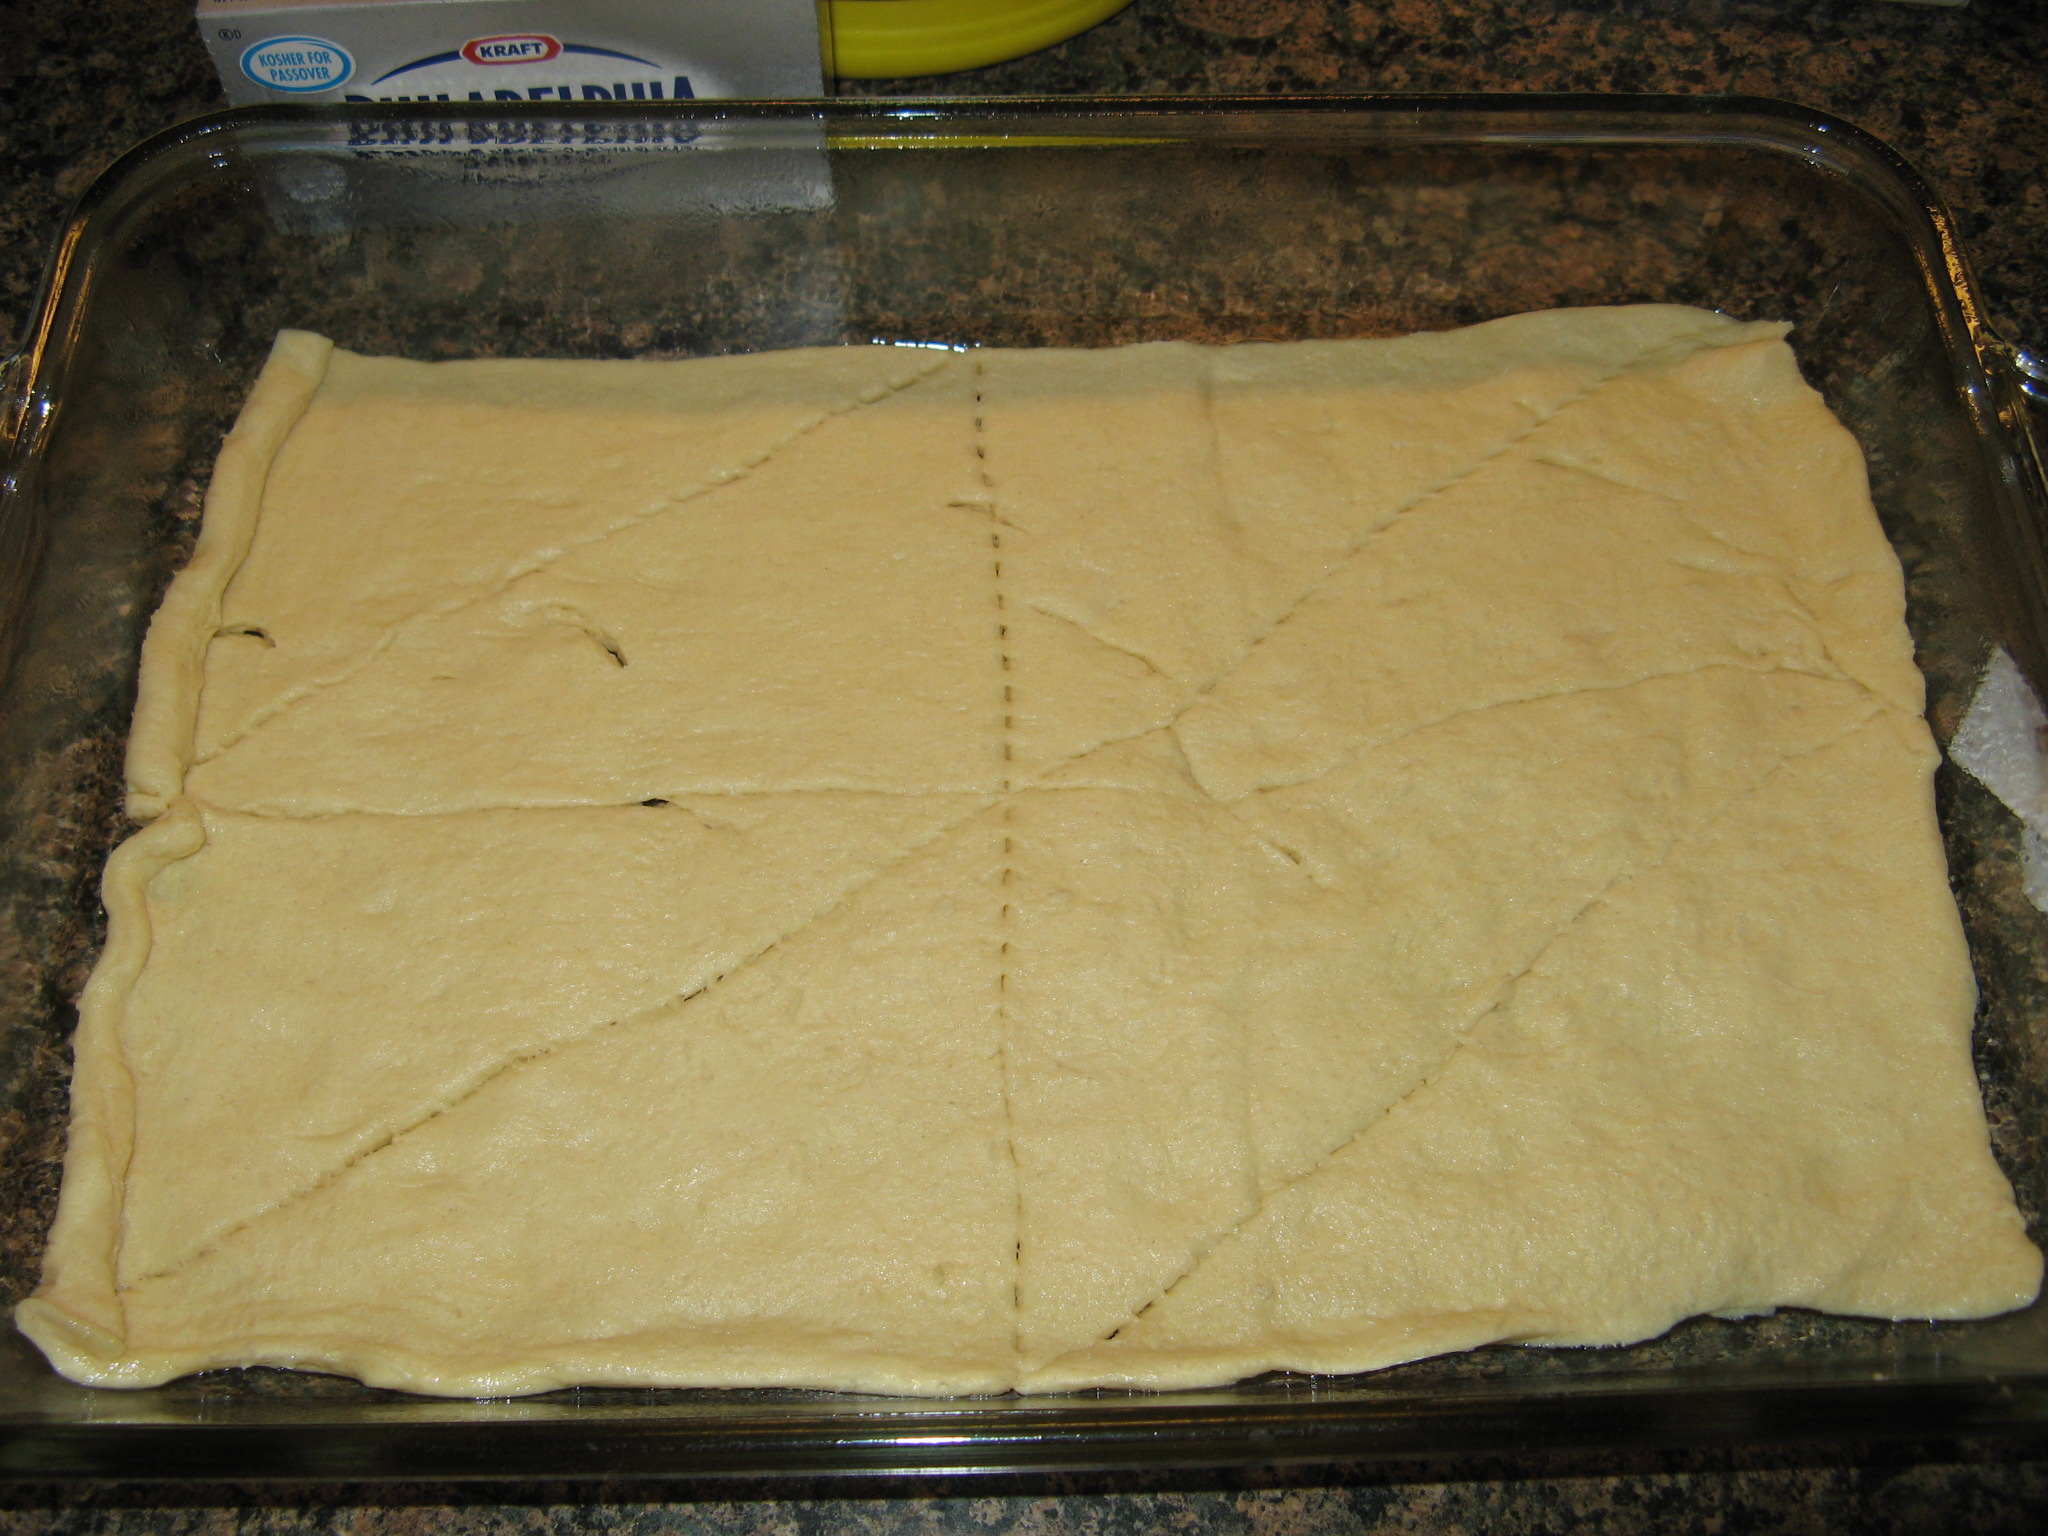
I started off by spraying a 9×13 baking dish with cooking spray and pressing one of the two crescent rolls into it. It was quite comical trying to open the crescent rolls. I have never had a hard time unwrapping them but for some reason both of these packages didn’t want to pop open when I unwrapped them. With one of them I had to actually release the pressure in it by making punctures in it with a knife and then the second one just popped open as I was doing something else.

To make the filling I mixed the cream cheese, sugar and vanilla extract until it was smooth.
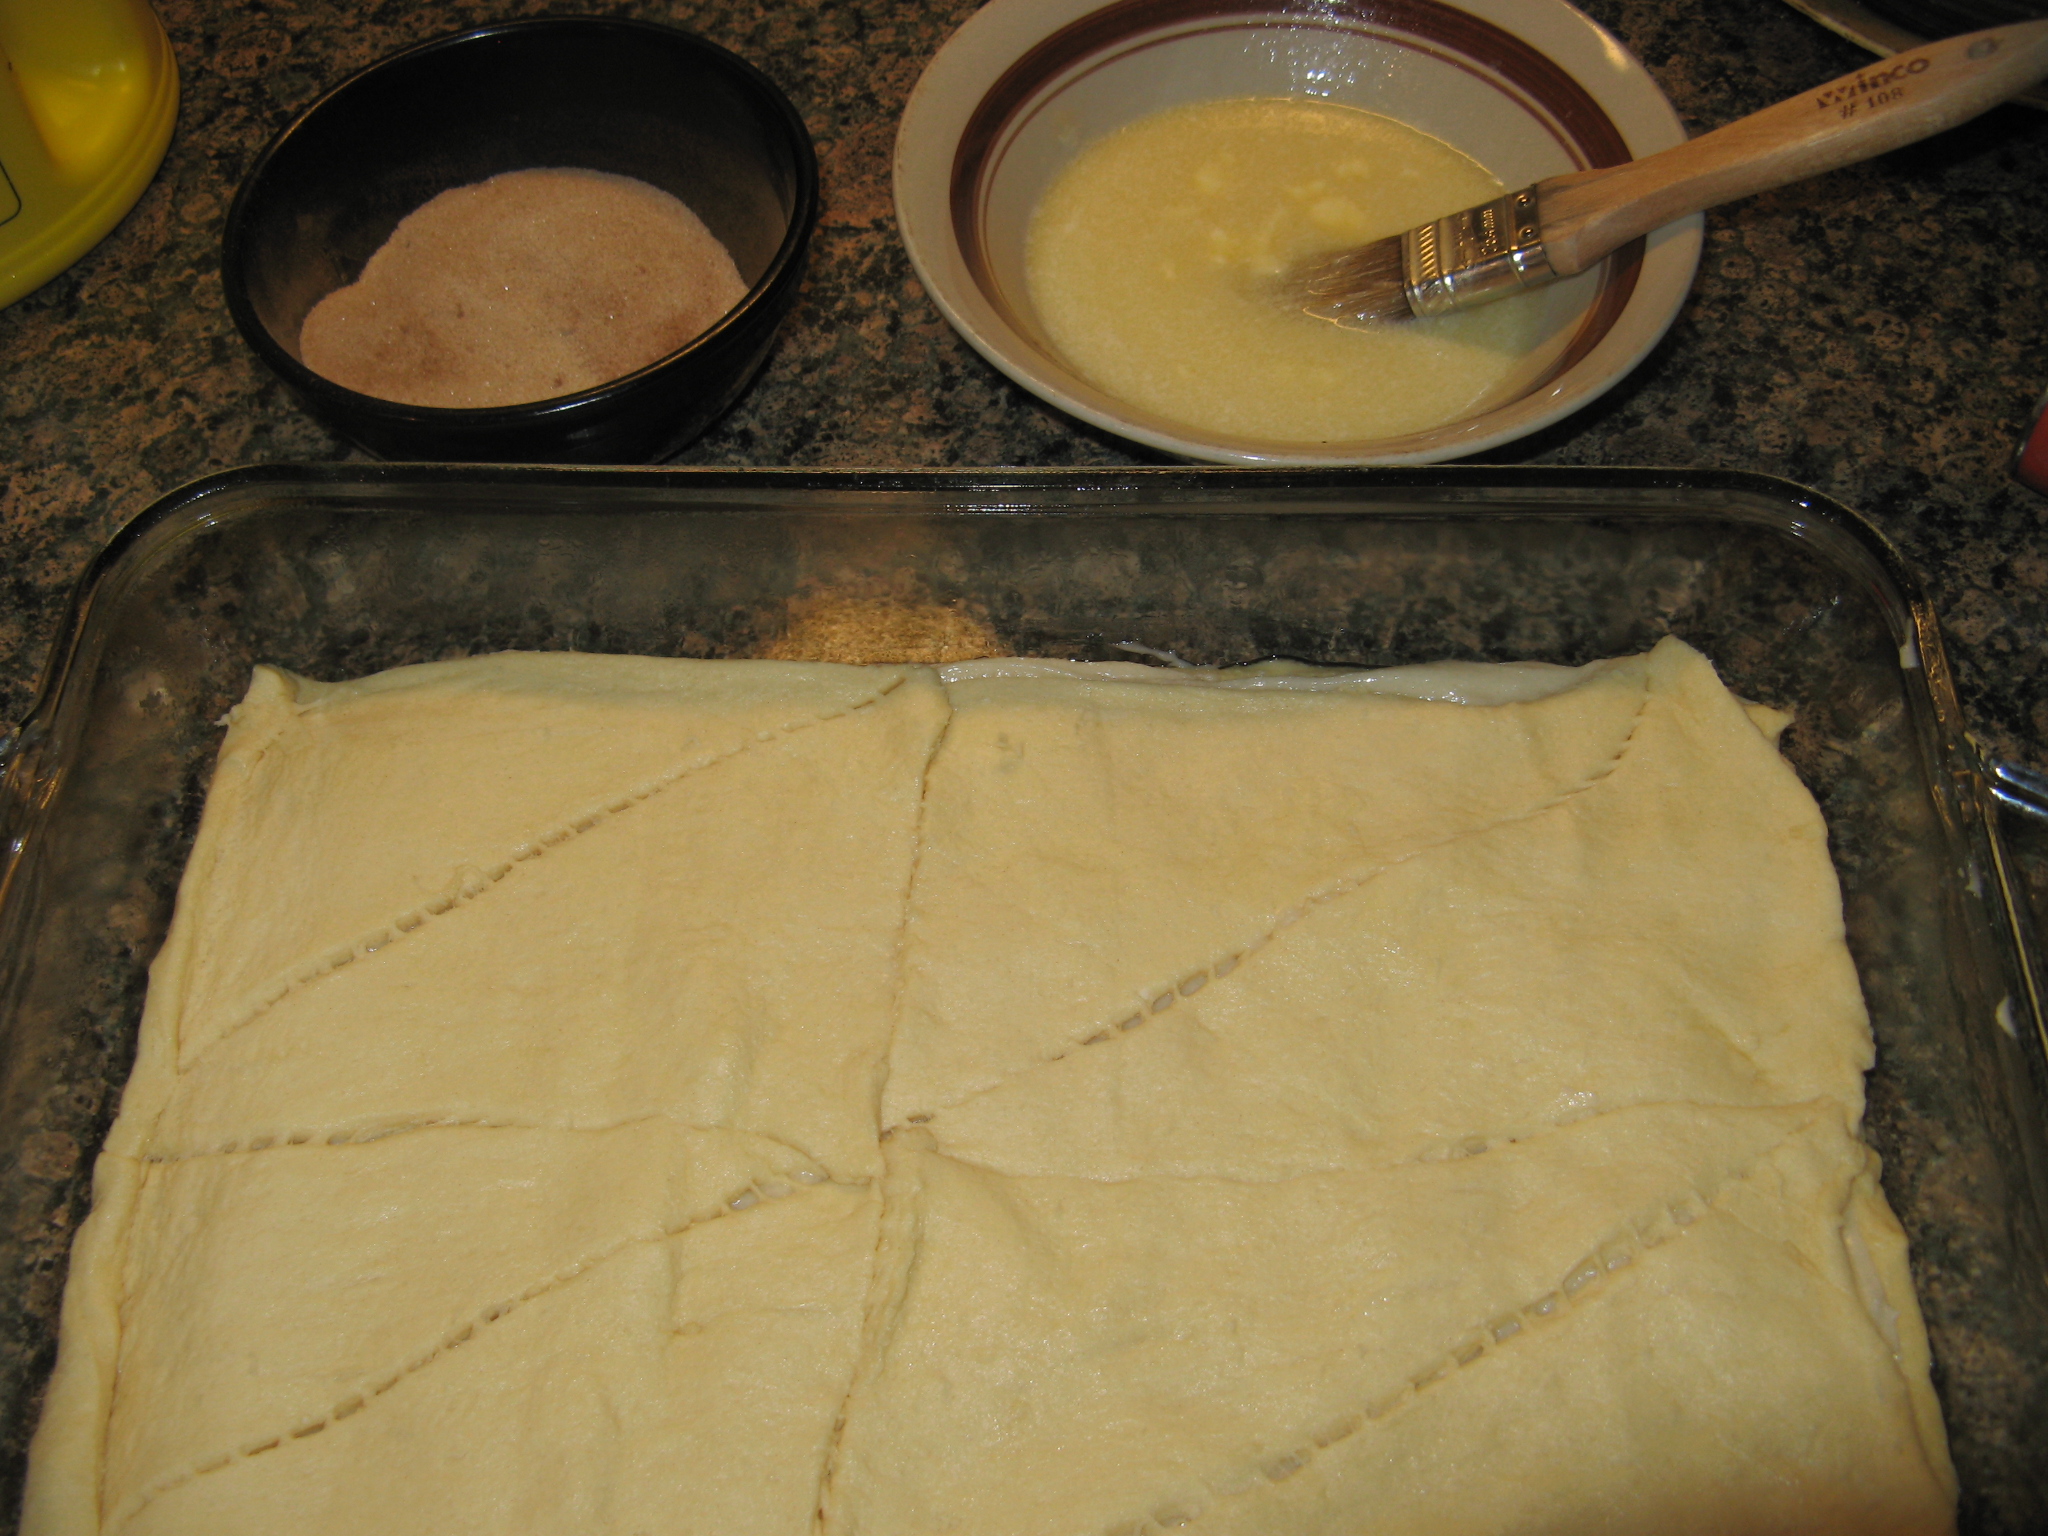
I then spread the filling over the bottom crescent roll and pressed the second crescent roll over it. Now it was time to add the topping.

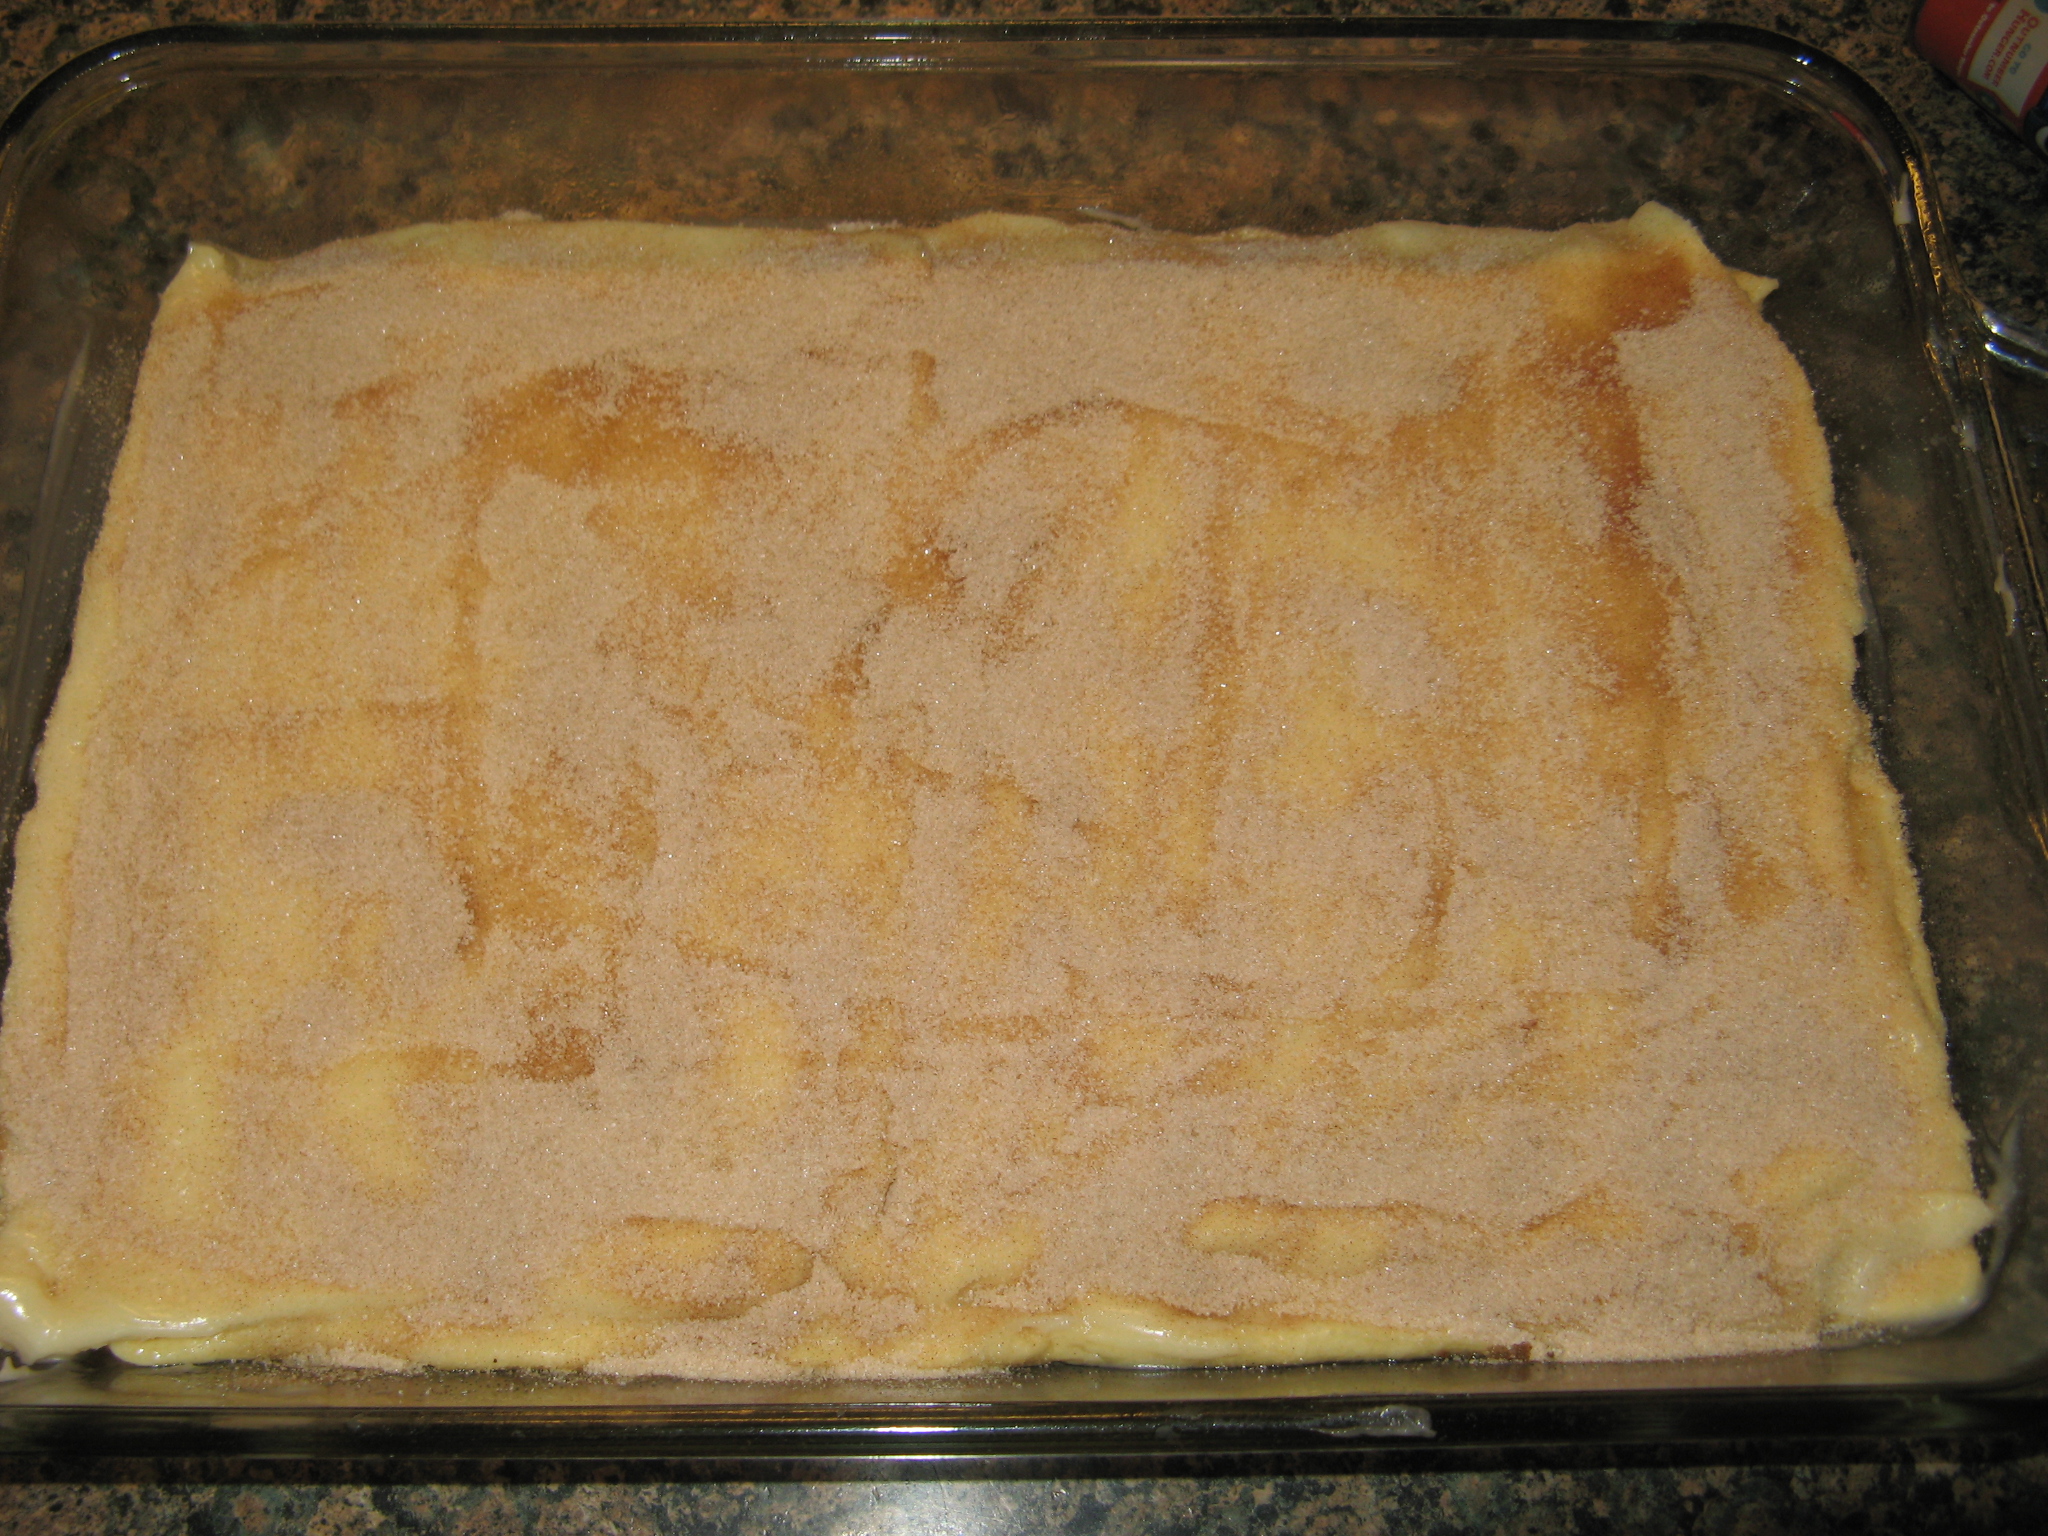
I brushed the top with melted butter and sprinkled the cinnamon sugar evenly over it. I must say that while the recipe called for 1/2 cup of sugar that was too much for my taste and probably only used about 1/4 cup.


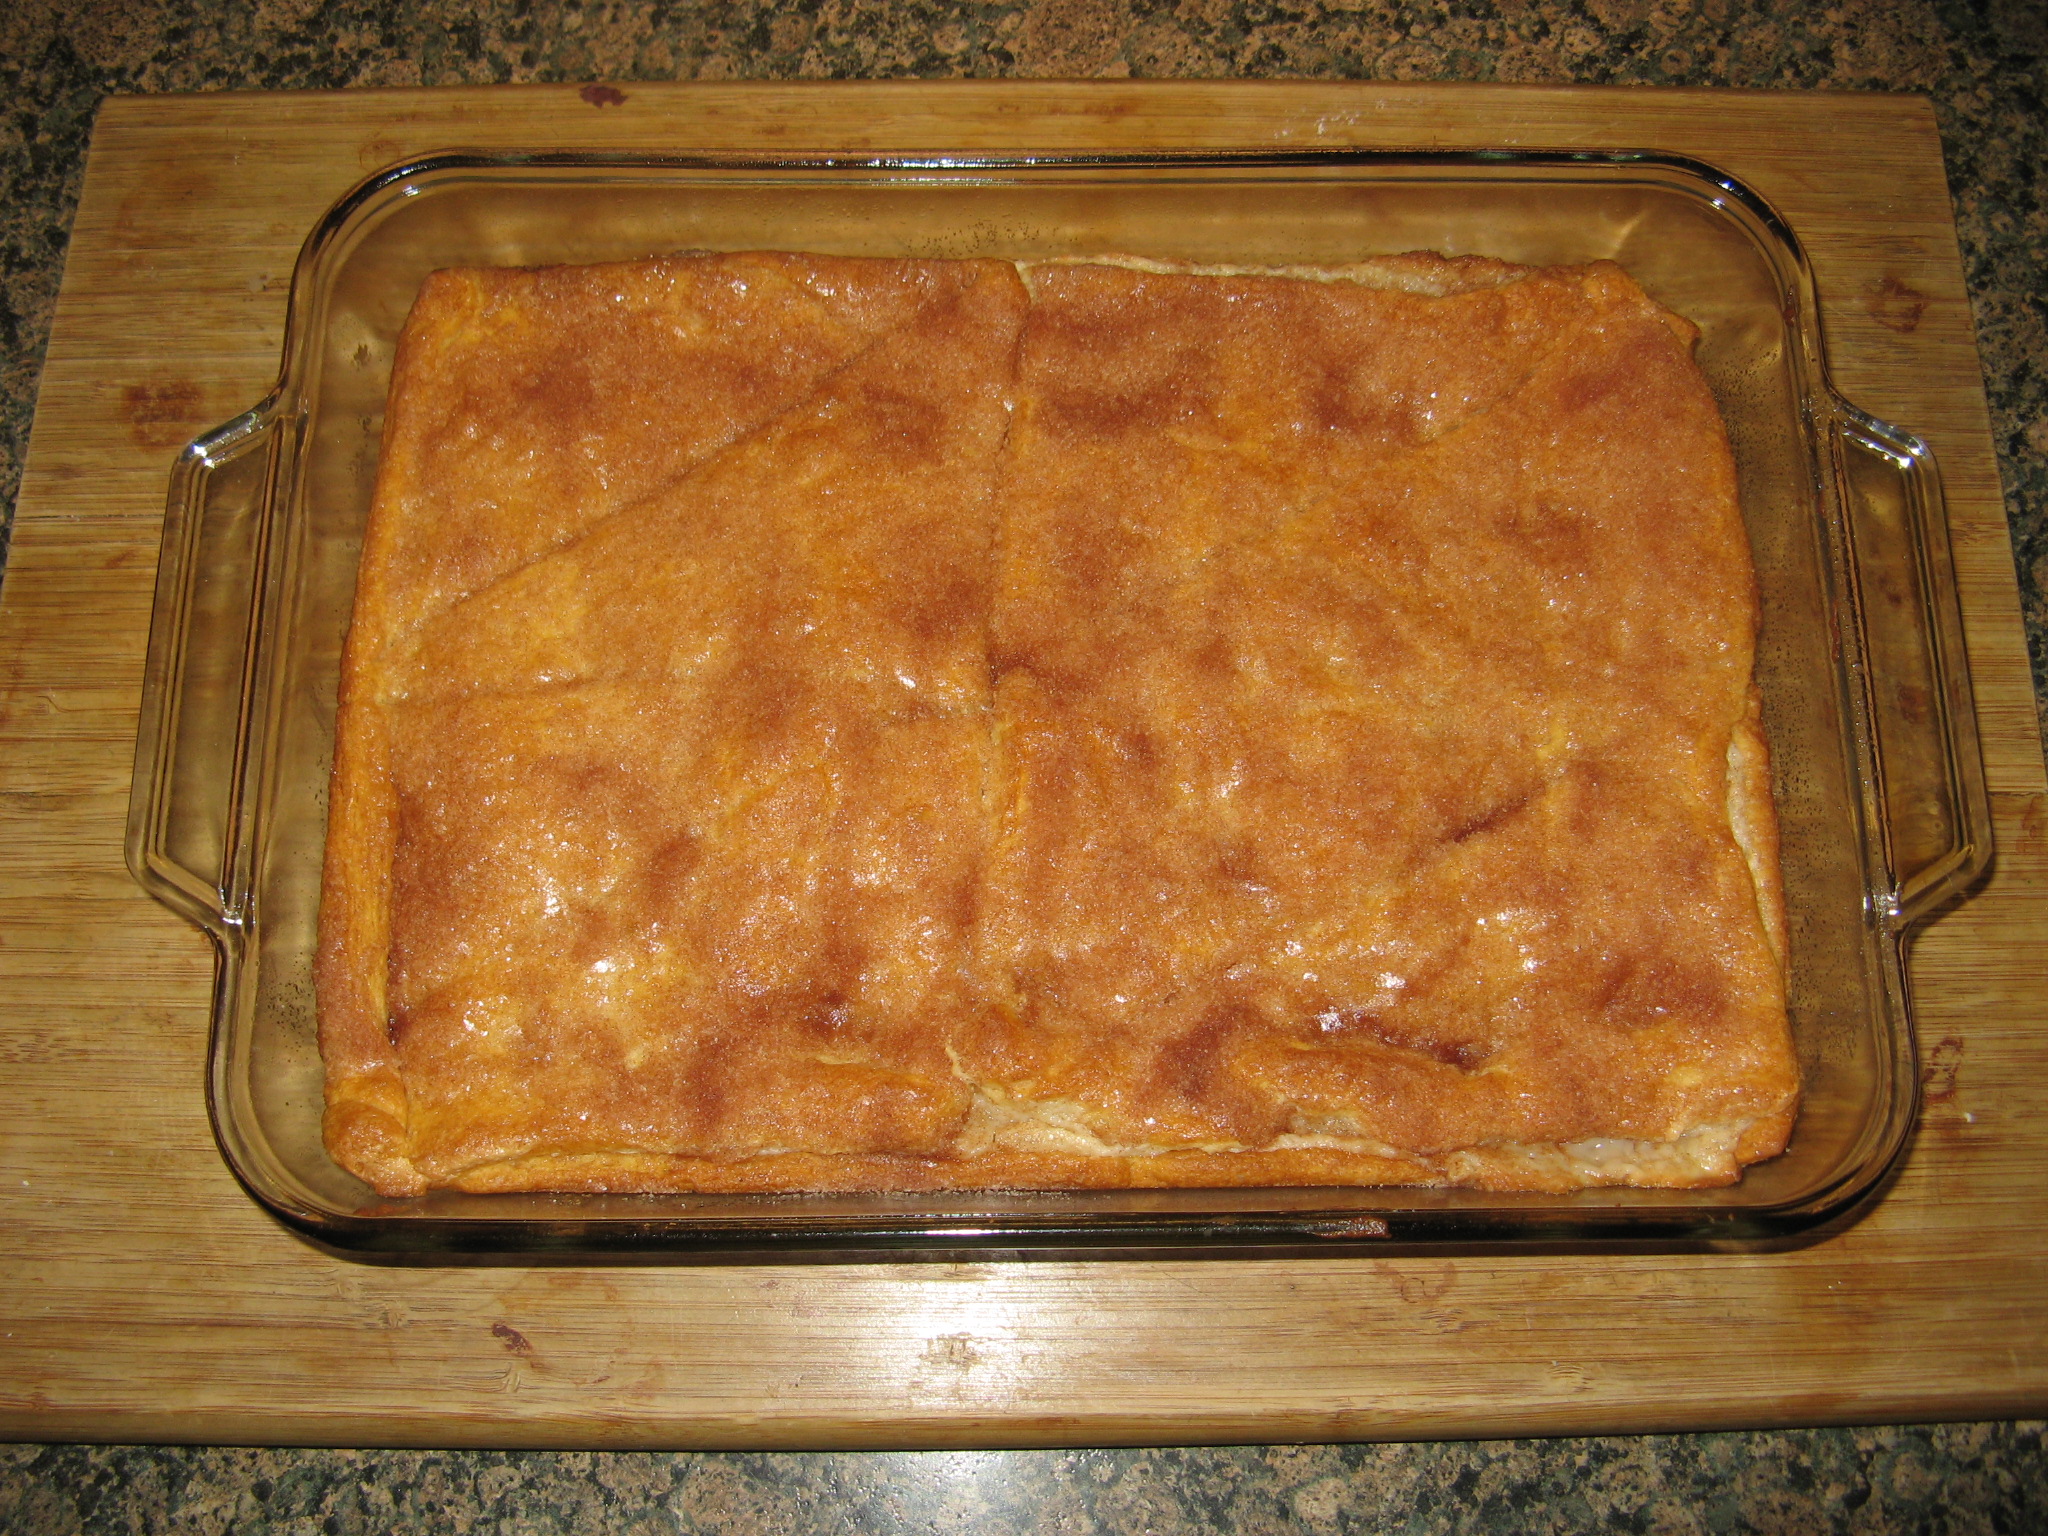
After baking for 30 minutes in a 350 degrees F oven it was time for it to come out of the oven and it looked and smelled DELISH!

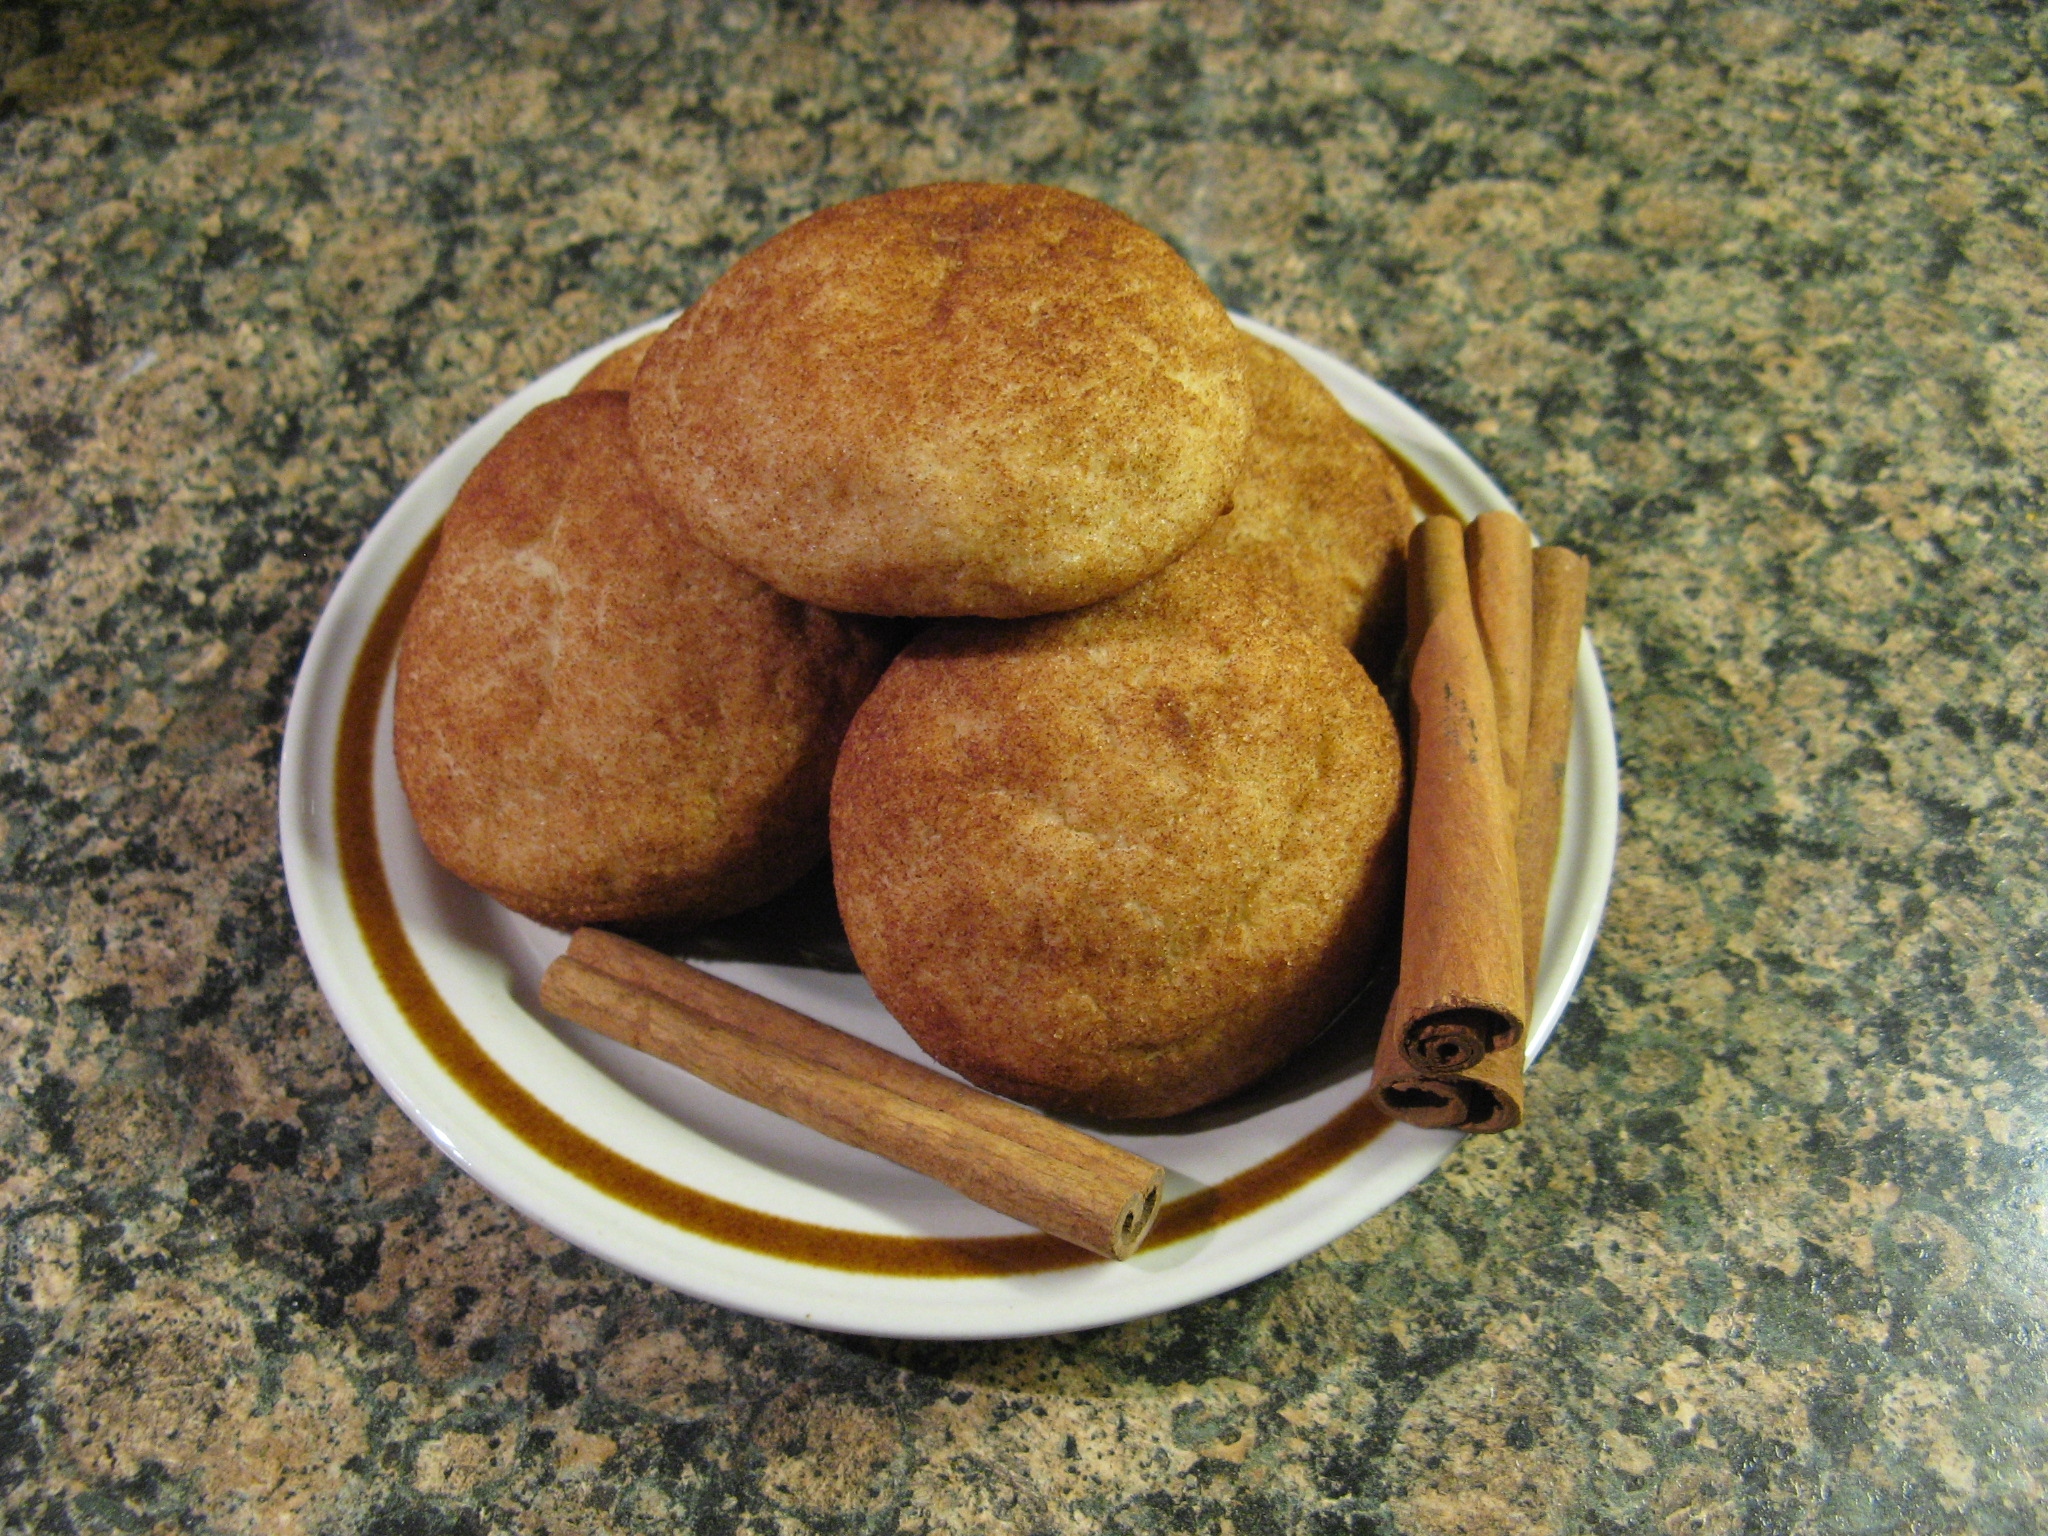
Final verdict… The cookies and cheesecake were declared to be “moreish” by my friends… Definitely a good thing to hear!

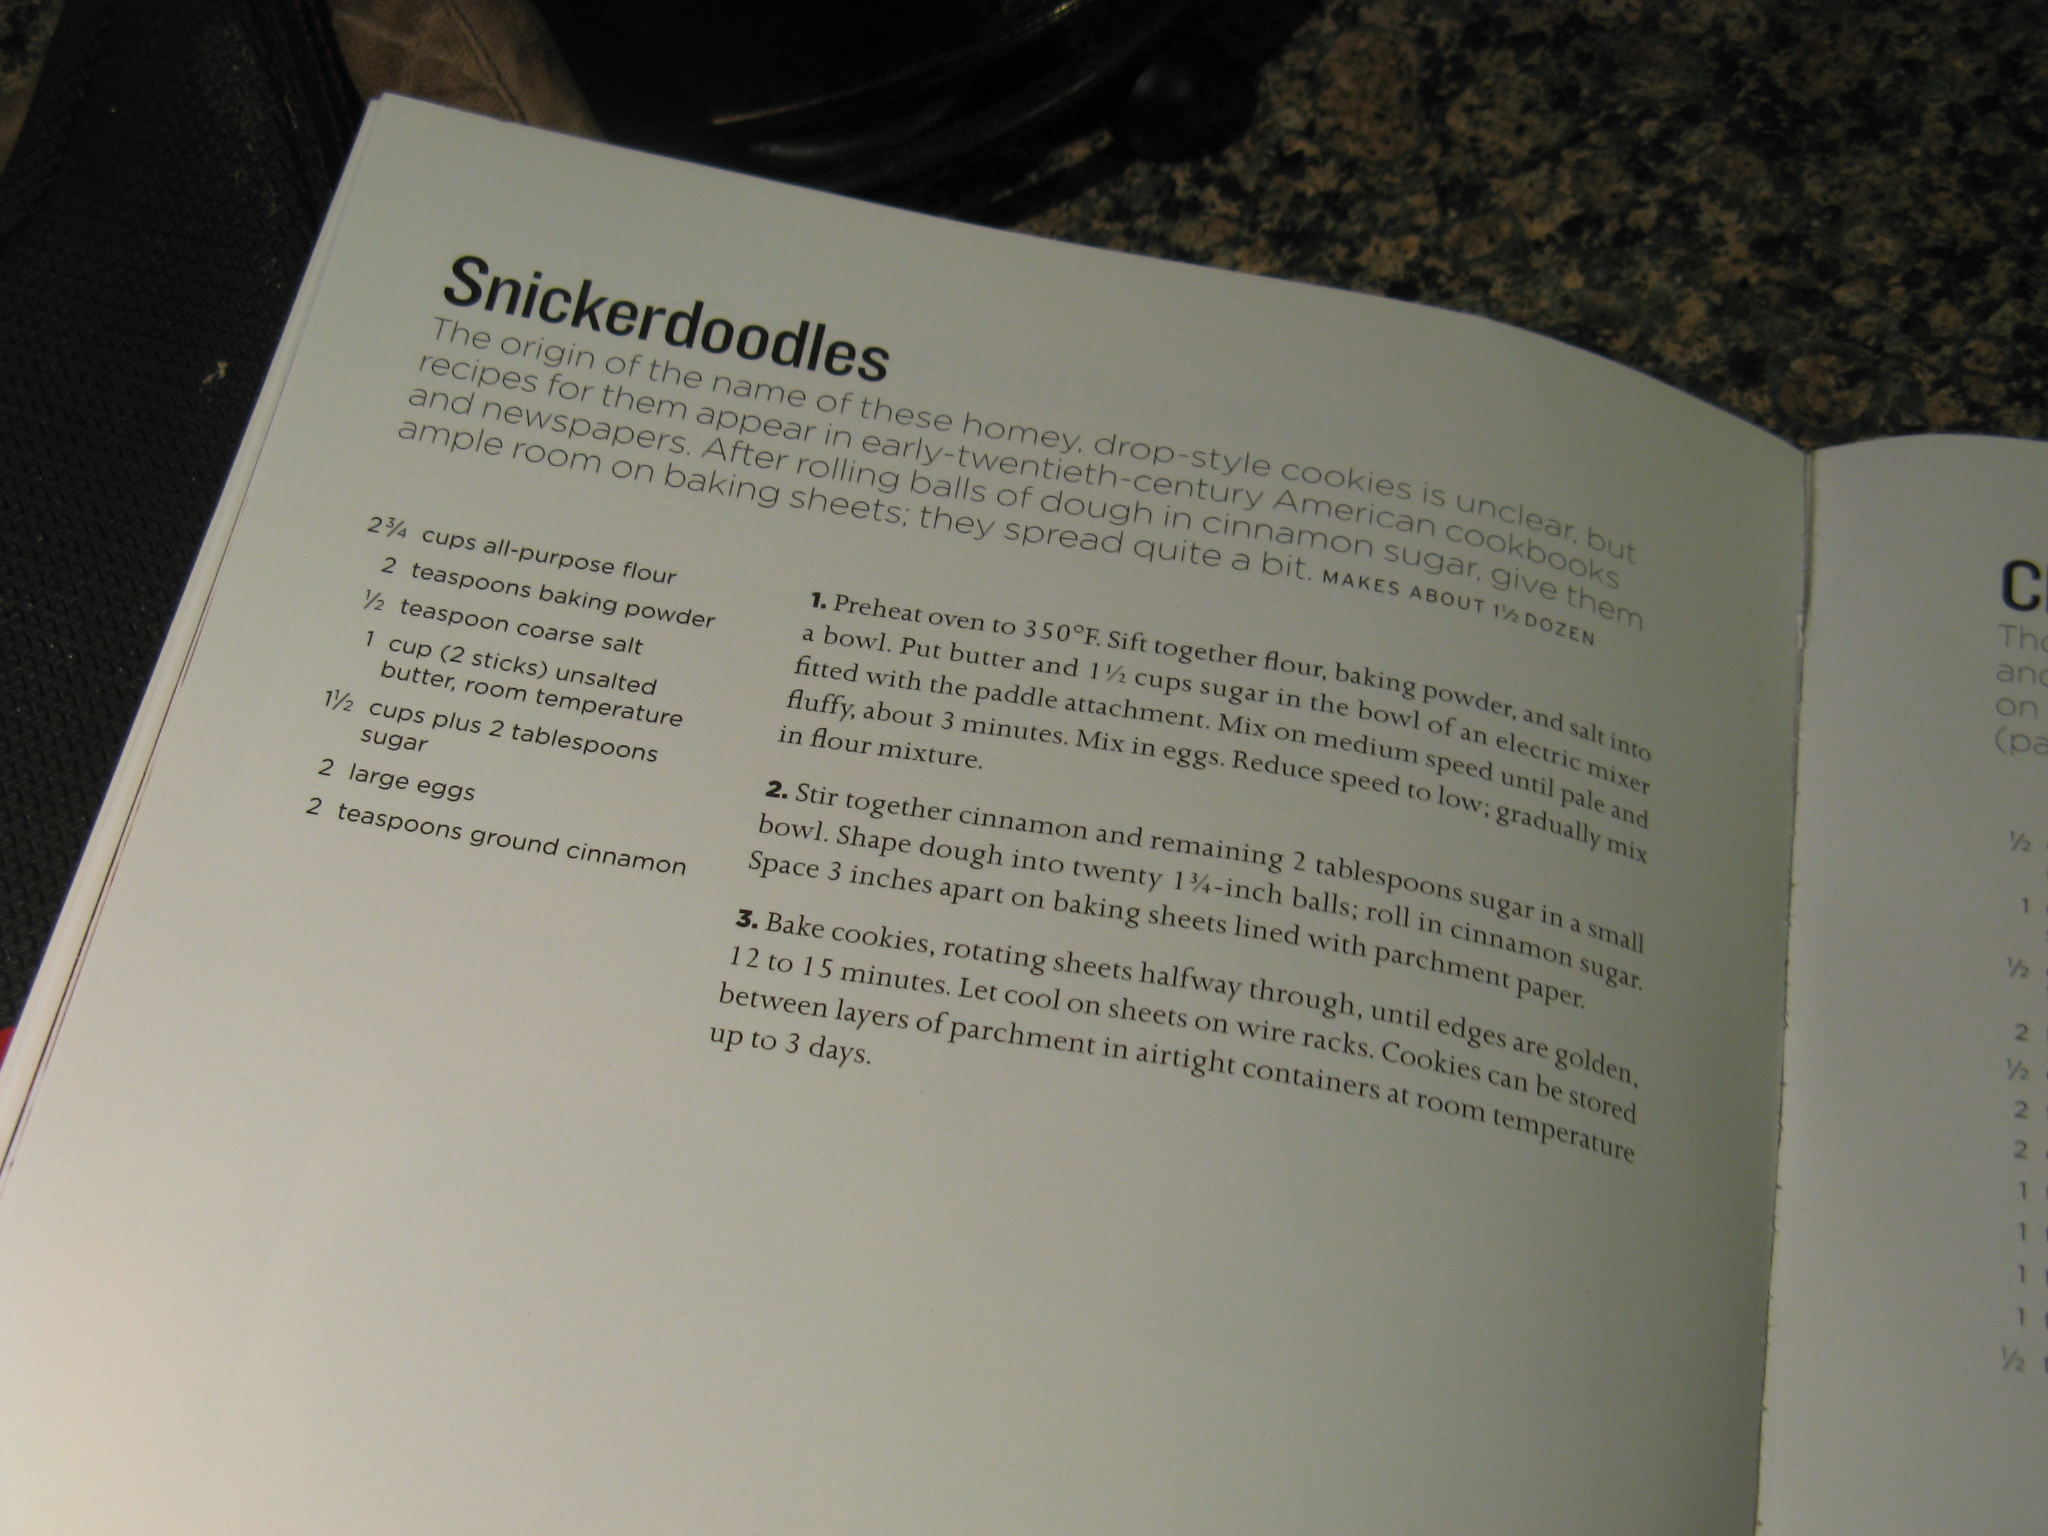
Mexican Wedding Cookies
Courtesy Paula Deen
Ingredients
1 cup unsalted butter, at room temperature
1/2 cup confectioners’ sugar, plus more for coating baked cookies
1 teaspoon vanilla extract
1 3/4 cup all-purpose flour, plus more for dusting hands
1 cup pecans, chopped into very small pieces
Directions
Preheat the oven to 275 degrees F. Line cookie sheets with parchment paper.
Using an electric mixer, cream the butter and sugar at low speed until its smooth. Beat in the vanilla. At low speed gradually add the flour. Mix in the pecans with a spatula. With floured hands, take out about 1 tablespoon of dough and shape into a crescent. Continue to dust hands with flour as you make more cookies. Place onto prepared cookie sheets. Bake for 40 minutes. When cool enough to handle but still warm, roll in additional confectioners’ sugar. Cool on wire racks.
Sopapilla Cheesecake
Courtesy Allrecipes
Ingredients
1 (8 ounce) package cream cheese, softened
1 cup white sugar
1 teaspoon vanilla extract
2 (8 ounce) packaged refrigerated crescent rolls
1/2 cup melted butter
1/2 cup white sugar
1 teaspoon ground sugar
Directions
1. Preheat an oven to 350 degrees F (175 degrees C). Prepare a 9×13 inch baking dish with cooking spray
2. Beat the cream cheese with 1 cup of sugar and the vanilla extract in a bowl until smooth; set aside
3. Unroll the cans of crescent roll dough, and use a rolling pin to shape each sheet into 9×13 rectangles. Press one sheet into the bottom of a 9×13 inch baking dish. Evenly spread the cream cheese mixture into the baking dish, then cover with the remaining piece of crescent dough, and brush with melted butter. Stir together 1/2 cup of sugar with the cinnamon in a small bowl, and sprinkle evenly over the top of the cheesecake.
4. Bake in the preheated oven until the crescent dough has puffed and turned golden brown, about 30 minutes. Allow to cool 10 minutes before serving.