Two Ruffles And A Cowl

While at Jo-Ann’s a while back I came across one of Red Heart’s new ruffle yarns, the Boutique Filigree Yarn, which is quite similar to their Boutique Sashay Yarn I used to create ruffle scarves last year. The main difference between the two is that the Filigree yarn is described as a woven fabric strip while the Sashay yarn is flat out called a yarn. After working with both yarns I can honestly say that I prefer working with the Filigree yarn since I didn’t have to stretch it open to use it like I did with the Sashay yarn. What caught my eye about the yarn was a nice shade of purple – called Imperial – that I thought would be the perfect color for a scarf for a friend who would be celebrating a birthday soon.

Using the Halley’s Comet Scarf pattern – which was included on the inside of the yarn wrapper – I created this scarf in less than 2 hours.

IMG_1570

I liked it so much – thankfully my friend like hers as well – that I went ahead and knitted one for myself in a shade of blue called Tealy.

IMG_1775

And since I was on a roll with knitting I decided to knit up a cowl that I have been wanting to make for quite some time. To create it I followed a pattern that I came across on Ravelry called the Drop Stitch Cowl and used Lion Brand yarn’s Hometown USA in Little Rock Granite. I initially made the cowl following the directions of casting on 47 stitches but once I finished it it was too big so I decided to start over and casted on 33 stitches. While the final product is a tad bit snug to get over my head, I am hoping that it will stretch out over time.

IMG_1780

Lentil and Sausage Soup

Usually my idea of making soup is opening up a can of my favorite one, heating it up on the stove and then enjoying it, but since I have been cooking more I decided to give making soup from scratch a go. It’s always nice knowing exactly what you are eating as opposed to guessing what the vegetable is after it’s been masked by some thick, albeit yummy, chowder or liquid. I decided to start simple and go with a Lentil and Sausage Soup that I found on Allrecipes.

To start, I browned three links of sweet sausage over medium-high heat. I actually began by cooking the links slightly and then slicing them to finish browning them. It’s much easier to slice half cooked sausage as opposed to raw sausage.

IMG_1886

Next I added in one large onion, a celery stalk and a tablespoon of garlic, all chopped.

IMG_1887

After letting that sauté until the vegetables were tender I added in my lentils, 3 shredded carrots, water, chicken broth and diced tomatoes. I actually used diced tomatoes that were seasoned with basil, garlic and oregano which definitely added in some extra flavor.

IMG_1889

And finally I added in all of my spices: garlic powder, parsley, bay leaves, oregano, thyme, basil, salt & black pepper.

IMG_1891

After bringing the soup to a boil I then reduced the heat and let it simmer until the lentils were tender. While the directions said that it would take about 2.5 to 3 hours my soup was done in about an hour.

IMG_1902

It was absolutely delicious and tasted even better the following day for lunch. I doubt I will be giving up those canned soups anytime soon, but, it’s definitely nice to know that making soup from scratch isn’t all that difficult.

IMG_1909

Lentil and Sausage Soup

Ingredients

1/2 lb. sweet Italian sausage

1 large onion, chopped

1 stalk celery, finely chopped

1 tbsp. chopped garlic

1 16 oz. package dry lentils, rinsed

1 cup shredded carrot

8 cups water

2 14.5 oz. cans chicken broth

1 28 oz. can diced tomatoes*

1 tbsp. garlic powder

1 tbsp. chopped fresh parsley**

2 bay leaves

1/2 tsp. dried oregano

1/4 tsp. dried thyme

1/4 tsp. dried basil

1 tbsp. salt, or to taste

1/2 tsp. black pepper

1/2 lb. ditalini pasta (optional – I chose not to add it in)

*I used 2 14.5 oz. cans of diced tomatoes seasoned with garlic, basil & oregano

**I used 1 tsp. dried parsley

Directions

1. Place sausage in a large pot. Cook over medium high heat until evenly brown. Add onion, celery and chopped garlic, and sauté until tender and translucent. Stir in lentils, carrot, water, chicken broth and tomatoes. Season with garlic powder, parsley, bay leaves, oregano, thyme, basil, salt and pepper. Bring to a boil, then reduce heat. Cover, and simmer for 2 1/2 to 3 hours, or until lentils are tender.

2. Stir in pasta, and cook 15 to 20 minutes, or until pasta is tender.

Sweet & Salty Oatmeal Cookies

Not too long ago I went on a Cupcake Tour in NYC and my favorite treat on the tour wasn’t a cupcake – even though all of them were quite good – but a cookie, a Salted Oat Surprise cookie from Milk & Cookies Bakery to be exact. It was the perfect combination of sweet and salty with white chocolate chips, toffee bits and sea salt. Since then I have wanted to try and create a version of the cookie myself since there isn’t a definitive recipe floating around anywhere. I finally got around to it by tweaking my favorite oatmeal cookie recipe.

First up… I whisked together flour, baking soda, and salt together and set it aside.

IMG_1748

Using my stand mixer I creamed together butter, brown sugar and white sugar.

IMG_1752

Next I added in two eggs one at a time, beating well after each addition.

IMG_1754

Then some vanilla extract.

IMG_1756

And then the flour mixture.

IMG_1758

And finally the key ingredients to these cookies… old fashioned oats, white chocolate chips and toffee bits.

IMG_1760 IMG_1763

Once all my ingredients were mixed together well it was time to scoop them out onto my prepared baking sheets (I covered them with parchment paper.) I squeezed two extra cookies onto my second baking sheet so the order was a little wonky but it didn’t alter the baking at all. Before popping them in the oven I sprinkled each cookie with some sea salt to get that salty flavor.

IMG_1765 IMG_1766

The first batch out of the oven after baking for 11 minutes in a 350 degrees preheated oven.

IMG_1768

Final verdict… They didn’t taste exactly like the cookies I had on the tour, but, they were delicious nonetheless!

IMG_1792

Salted Oatmeal Cookies*

Yields: 42 cookies

Ingredients

1 cup butter, softened

1 cup light brown sugar

1/2 cup white sugar

2 eggs

1 teaspoon vanilla extract

1 1/4 cups all-purpose flour

1/2 tsp. baking soda

1 tsp. salt

3 cups old-fashioned oats

1/2 cup white chocolate chips

1/2 cup toffee bits

Sea Salt, for sprinkling on cookies

Directions

Preheat the oven to 350 degrees F and cover baking sheets with parchment paper.

Whisk together the flour, baking soda and salt and set aside.

Cream together the butter, brown sugar and white sugar until smooth. Add in the eggs one at a time, beating well after each addition. Then add in the vanilla extract.

Stir in the flour mixture until just combined and then add in the oats, white chocolate chips and toffee bits.

Using a cookie scoop drop spoonfuls of the dough on to the prepared baking sheets and sprinkle a few flakes of sea salt on each cookie.

Bake for 11 minutes in the preheated oven and allow the cookies to cook for a few minutes on the baking sheet before transferring to a wire rack to cool completely.

*Adapted from the Chewy Chocolate Chip Oatmeal Cookies recipe found on Allrecipes website.

Chicken Cacciatore

I am the first to admit that I much rather bake than cook – I like the exact science of baking as opposed to the freedom of cooking, well freedom to some extent. I always get paranoid while I am cooking that I added too much salt or not enough salt or for that matter too much or too little of any spice. But lately I have been cooking pretty much every day – It’s not like I wasn’t eating before, just someone else was doing the cooking – and I must admit I am not as intimated by it as I was before. I mean I’m really good at reading directions and following a recipe so cooking shouldn’t have been that daunting to me, but for some reason it was. Since I have this newfound semi-confidence and it sort of fits into the theme of my blog I have decided to post about some of my culinary creations – albeit not completely original. Up first, a Chicken Cacciatore that was super simple to make in part because I used McCormick’s Recipe Inspirations to make it. If you haven’t tried these or seen them in the supermarket they are definitely worth the search and try. All of the spices for your recipe are pre-measured and the remaining ingredients you will need are clearly marked and the directions are super simple to follow. It’s sort of like cheating but not really.

IMG_1716 IMG_1712

First step was to get all of my vegetables prepped. I chopped one onion and sliced a green bell pepper into strips. The recipe also called for thinly sliced mushrooms which are easily found at any supermarket.

IMG_1710

Next I prepped my chicken breast by first cutting it into cubes (they are not exactly cubes), then coating it with a flour, salt & pepper mixture and finally browning it.

IMG_1711 IMG_1717 IMG_1720

After removing the chicken from the skillet I put in all of the vegetables cooking them on medium heat until they were tender.

IMG_1721

Once the vegetables were tender I added in all of the spices (minced garlic, marjoram leaves, oregano leaves, crushed rosemary leaves and thyme), a can of diced tomatoes and a can of tomato sauce.

IMG_1729

After bringing it to a boil I returned my chicken to the skillet.

IMG_1730

I cooked it until it was heated through and until I was sure the chicken was fully cooked.

IMG_1731

It went perfectly with rice and while I am sure I will make this again I think I will use less thyme than suggested. Its one spice that when dried has a stronger flavor than when fresh.

Chicken Cacciatore

Prep Time: 15 Minutes

Cook Time: 20 Minutes

Servings: 6

Ingredients

1/2 tsp. coarse ground black pepper

1 tsp. minced garlic

1 tsp. marjoram leaves

1/2 tsp. oregano leaves

1/2 tsp. crushed rosemary leaves

1/2 tsp. thyme leaves

1/4 cup flour

1 tsp. salt

1 lb. boneless skinless chicken breasts cut into 1-inch cubes

3 tbsp. olive oil, divided

1 pkg. (8oz.) mushrooms, thinly sliced

1 medium onion, coarsely chopped (1 cup)

1 medium green bell pepper, cut into thin strips (1 cup)

1 can (14 1/2 oz.) diced tomatoes, undrained

1 can (8 oz.) tomato sauce

Directions

1. Mix flour, salt and pepper in shall dish. Coat chicken evenly with flour mixture.

2. Heat 2 tbsp. of the oil in a large skillet on medium-high heat. Add chicken; cook and stir 5 minutes or until lightly browned. Remove chicken from skillet. Heat remaining 1 tbsp. oil in skillet. Add mushrooms, onions and bell peppers; cook and stir 5 minutes on medium heat or until tender.

3. Stir in remaining ingredients and spices. Bring to boil, stirring frequently. Return chicken to skillet. Reduce heat to low; cover and simmer 5 minutes or until chicken is heated through. Serve over cooked or rise, if desired.

Banana Chocolate Chip & Nut Muffins

So once again I had a few bananas that were a tad over-ripe and while I had a few ideas as to what I wanted to make I settled on some muffins. I figured I had to have a recipe somewhere for something so basic and then I came across a 50 Muffin booklet I ripped out of an issue of Food Network magazine last year. The recipe was simple and I had all of the ingredients on hand so I got to baking.

Up first I mixed together my dry ingredients: flour, walnuts, baking powder, salt and baking soda. I also added some chocolate chips which weren’t part of the original recipe.

IMG_1638

Secondly I mixed together brown sugar, melted butter, mashed banana, sour cream and eggs.

IMG_1639

I then folded the wet mixture into the flour mixture.

IMG_1640

Since it was fall I decided to use up the last of my pumpkin decorated cupcake liners. I was concerned since they seemed as though they had lost their shape….

IMG_1641

But once I filled them with the muffing batter they were just fine. While the recipe said it only yielded twelve muffins I had some extra batter to squeeze out two extra muffins. I filled the empty compartments of the muffin tin with water so the two muffins would bake evenly but recently read that it’s not necessary.

IMG_1645

I baked them for about twenty minutes in a 350 degree pre-heated oven. After letting them sit in the pan for a few minutes I then transferred them to a wire rack so they could cool completely.

IMG_1651

While these muffins did taste good I wasn’t too thrilled about them so I doubt I will be baking up another batch of them anytime soon. I am thinking the next time I have some bananas past their prime I might make a Banana Cream Pie.

IMG_1671

Banana Chocolate Chip & Nut Muffins

Ingredients

2 cups flour

1/2 cup chopped nuts (I used walnuts)

1/2 cup semi-sweet chocolate chips*

1 tsp. baking powder

1/2 tsp. salt

1/4 tsp. baking soda

3/4 cup brown sugar

1 stick unsalted butter, melted

1/2 cup mashed banana

1/2 cup sour cream

2 eggs

*The original recipe didn’t include chocolate chips

Directions

Preheat the oven to 350 degrees.

Mix the flour, chopped nuts, chocolate chips, baking powder, salt and baking soda in a bowl and set aside. In another bowl whisk together the brown sugar, butter, banana, sour cream and 2 eggs and then fold it into the flour mixture. Divide among 12 prepared muffin cups and bake 20 to 25 minutes.

Baked Cinnamon Sugar Apple Doughnuts

There are a few great things about going apple picking… The scenery, the apples (of course) and the freshly made apple cider doughnuts. The doughnuts are amazing but unfortunately they don’t stay fresh very long. By the following day they are quite hard. Hoping to get that yummy goodness at home I decided to bake my own Apple Doughnuts by tweaking the recipe for the Pumpkin Doughnuts that I made last month that.

The scenery…

IMG_1529

To begin I whisked together flour, baking powder, cinnamon, salt and baking soda and set it aside.

IMG_1647

I then peeled and cored three apples – I used the Golden Delicious apples I got while picking – and pureed them in a food processor. While the original pumpkin recipe called for 1 cup of pumpkin puree I decided to use only 1/2 cup of the fresh apple puree (it was essentially applesauce) since it wasn’t as thick as the pumpkin puree and I didn’t want my batter to be too watery.

IMG_1653 IMG_1655

To continue with the batter I mixed the apples with sugar, brown sugar, oil, an egg and vanilla extract and then added in the dry ingredients.

IMG_1656

It was then time to fill up my doughnut pans. I filled in each doughnut crevice with a 1/4 cup of the batter.

IMG_1659

I baked them for about thirteen minutes in a 350 degree preheated oven and they were done to perfection. I recently bought a second doughnut pan so I wouldn’t have to wait for my first batch of doughnuts to cool in the pan before using it again.

IMG_1663

And finally I melted 3 tbsp. of butter in one bowl and combined 1/2 cup of sugar and 1 tsp. of cinnamon in another bowl so I could coat the doughnuts in cinnamon sugar. I dipped each doughnut in the butter and then in the cinnamon sugar.

IMG_1665

Final verdict… They were delicious! Doughnuts have quickly become one of my favorite things to bake!

IMG_1667

Baked Cinnamon Sugar Apple Doughnuts

Ingredients

1/2 cup canola oil

1 3/4 cups all-purpose flour

1 tsp. baking powder

1/2 tsp. cinnamon

1/2 tsp. fine salt

1/4 tsp. baking soda

1/2 cup fresh applesauce

3/4 cup granulated sugar

1/4 cup light brown sugar

1 large egg

1 tsp. pure vanilla extract

Cinnamon Sugar Topping

3 tbsp. melted butter

1/2 cup granulated sugar

1 tsp. cinnamon

Directions

1. Heat oven to 350° F. Spray two 6-compartment doughnut pans with baking spray. Whisk together the flour, baking powder, cinnamon, salt, and baking soda in a medium bowl; set aside.

2. Peel, core & puree three apples. Whisk the pureed apples with the granulated sugar, brown sugar, oil, egg, and vanilla. Add the dry ingredients and mix until just combined (do not over mix).

3. Spoon 1/4 cup batter into each compartment of the prepared pans. Bake until the doughnuts are golden brown and spring back lightly when touched, 12 to 14 minutes. Let cool in the pans for 15 minutes.

4. Combine the sugar and cinnamon for the topping in a shallow bowl. Dip each doughnut into the melted butter and then into the cinnamon sugar mixture. Place each doughnut on a wire rack to cool completely.

Comfort Desserts

It’s been about a month since I last posted and it’s not for the lack of baking, beading or knitting. I did a bunch of baking for a friend’s birthday earlier this month but stuck to treats that were among his favorite and ones that I have blogged about before- my newly discovered pumpkin doughnuts, mini chocolate-chip cheesecakes and a strawberry shortcake birthday cake. As for knitting, I recently completed two scarves which I plan to post about soon – a ruffle scarf for a friend and a cowl neck for myself. I liked the ruffle scarf so much I am planning on making one for myself. And finally beading, after about a four month hiatus I finally picked up some beading needles and started making jewelry again. But in between all of that I did try out two recipes for what I like to call comfort desserts – a pound cake and a rice pudding. I know rice pudding is not most people’s cup of tea when it comes to desserts, but it has been a favorite of mine for quite some time. Both of these recipes are super easy to follow and turn out some delicious treats.

Grandma’s Pound Cake

Prep Time: 15 Minutes

Total Time: 1 hour 15 Minutes

Servings: 12

Ingredients:

2 cups flour

1 tbsp. baking powder

1 8 oz. pkg. cream cheese, softened

1 cup (2 sticks) butter, softened

2 cups sugar

1 tsp. vanilla

6 eggs

Directions:

Heat oven to 350ºF.

Mix flour and baking powder; set aside. Beat cream cheese, butter, sugar and vanilla in large bowl with mixer until blended. Add eggs, 1 at a time, beating after each until blended. Gradually beat in flour mixture on low speed until blended.

Pour into 12-cup fluted tube or 10-inch tube pan sprayed with cooking spray.

Bake 1 hour or until toothpick inserted near center comes out clean. Cool in pan 10 min. Loosen cake from sides of pan with knife. Invert cake onto wire rack; gently remove pan. Cool cake completely.

IMG_1510

Arborio Rice Pudding

Prep Time: 5 Minutes

Total Time: 40 Minutes

Servings: 4

Ingredients:

1 cup water

pinch of salt

1/2 tbsp. butter

1/2 cup Arborio rice

2 cups whole milk

4 tbsp. sugar

1 tsp. vanilla extract

Few dashes ground cinnamon

Whipped cream, for serving

Directions:

Bring water, salt, and butter to a boil in a medium saucepan. Add the rice, return to a boil, and then reduce the heat to the lowest setting. Shake the pan occasionally and cook until rice has absorbed the water but it still al dente, about 15 minutes.

Bring milk, sugar, vanilla, and a few dashes of cinnamon to a simmer in a separate saucepan. Add the cooked rice and cook at a simmer over medium-low heat until rice absorbs most of the milk and mixture starts to get thick and silky, about 10 to 15 minutes.

Transfer pudding to a large bowl and cool to room temperature. Place in refrigerator until cool and set. Serve with whipped cream and a dash more cinnamon.

IMG_1578

Enjoy!

Pumpkin Doughtnuts

I recently purchased a Wilton Doughnut Pan and had every intention of making cinnamon doughnuts to try it out but then some other recipes got in the way of that and I kept putting the doughnuts on the back-burner. But then last week I made Tortellini with Pumpkin Alfredo Sauce (which was super simple and quite delicious) and I had leftover canned pumpkin and it was only a day or two before that I had come across a recipe for Pumpkin Doughnuts in the recent issue (October 2013) of Real Simple magazine… It was pretty much kismet. I scratched the cinnamon doughnuts and opted for the pumpkin doughnuts instead.

The pan and the leftover canned pumpkin…

IMG_1394 IMG_1385

To begin I whisked all of my dry ingredients together: flour, baking powder, baking soda, salt and a pinch of cinnamon, nutmeg, ginger and ground cloves. (The recipe actually called for pumpkin pie spice which I didn’t have on hand, hence me using cinnamon, nutmeg, ginger and ground cloves.)

IMG_1386

In another bowl I whisked together pumpkin, granulated sugar, brown sugar, oil, egg and vanilla extract.

IMG_1389

Next up I mixed the dry ingredients into the pumpkin mixture.

IMG_1392 IMG_1393

Then it was time to scoop it into my prepared doughnut pan.

IMG_1396

Per the directions I scooped a 1/4 of a cup of the batter into each doughnut crevice.

IMG_1399

I then baked them in a 350 degree preheated oven for 13 minutes.

IMG_1400

After letting them cool in the pan for 15 minutes I prepped my second batch of doughnuts to be baked. I ran a little short on batter so as you can see one of the crevices was barely filled.

IMG_1403 IMG_1405

That small doughnut ended up being my tester and I was quite pleased with how they came out. I let the remaining 11 doughnuts cool properly before trying another one.

IMG_1407

The doughnuts were a hit among my friends and I already received requests to make them again!

IMG_1416

Pumpkin Doughnuts*

Makes 12

Ingredients

1/2 cup canola oil, plus more for the pans

1 3/4 cups all-purpose flour, spooned and leveled

1 teaspoon baking powder

1/2 teaspoon pumpkin pie spice

1/2 teaspoon fine salt

1/4 teaspoon baking soda

1 cup pure pumpkin puree

3/4 cup granulated sugar

1/4 cup packed light brown sugar

1 large egg

1 teaspoon pure vanilla extract

Directions

1. Heat oven to 350° F. Lightly oil two 6-compartment doughnut pans* (or use 1 pan and bake in batches). Whisk together the flour, baking powder, pumpkin pie spice, salt, and baking soda in a medium bowl; set aside.

2. In a separate bowl, whisk together the pumpkin puree, granulated sugar, brown sugar, oil, egg, and vanilla. Add the dry ingredients and mix until just combined (do not overmix).

3. Spoon ¼ cup batter into each compartment of the prepared pans. Bake until the doughnuts are golden brown and spring back lightly when touched, 12 to 14 minutes. Let cool in the pans for 15 minutes, then transfer to a wire rack to cool completely.

*The original recipe included a Sour Cream Icing which I opted not to put on the doughnuts.

A Quintessential Fall Birthday Cake

A good friend recently celebrated a birthday and a few days prior to it I asked her what kind of cake she would like me to bake for her and she responded with an apple cake. The only apple cake I could recall making was an Apple Walnut Cake that really wasn’t what I would consider to be a birthday cake. So, after a few texts back and forth we settled on an apple cake with walnuts with a cinnamon cream cheese frosting. While her birthday technically falls in the summer according to the calendar it’s unofficially in the fall since it is after Labor Day, hence this cake being the quintessential fall birthday cake. Since I haven’t mastered creating my own recipes I did a few internet searches to find a recipe for the cake and frosting. After coming up empty handed I decided to follow the recipe for my favorite carrot cake and substitute grated apples in lieu of the carrots and for the frosting, I made my favorite cream cheese frosting and added in ground cinnamon in small increments until I reached my desired flavor.

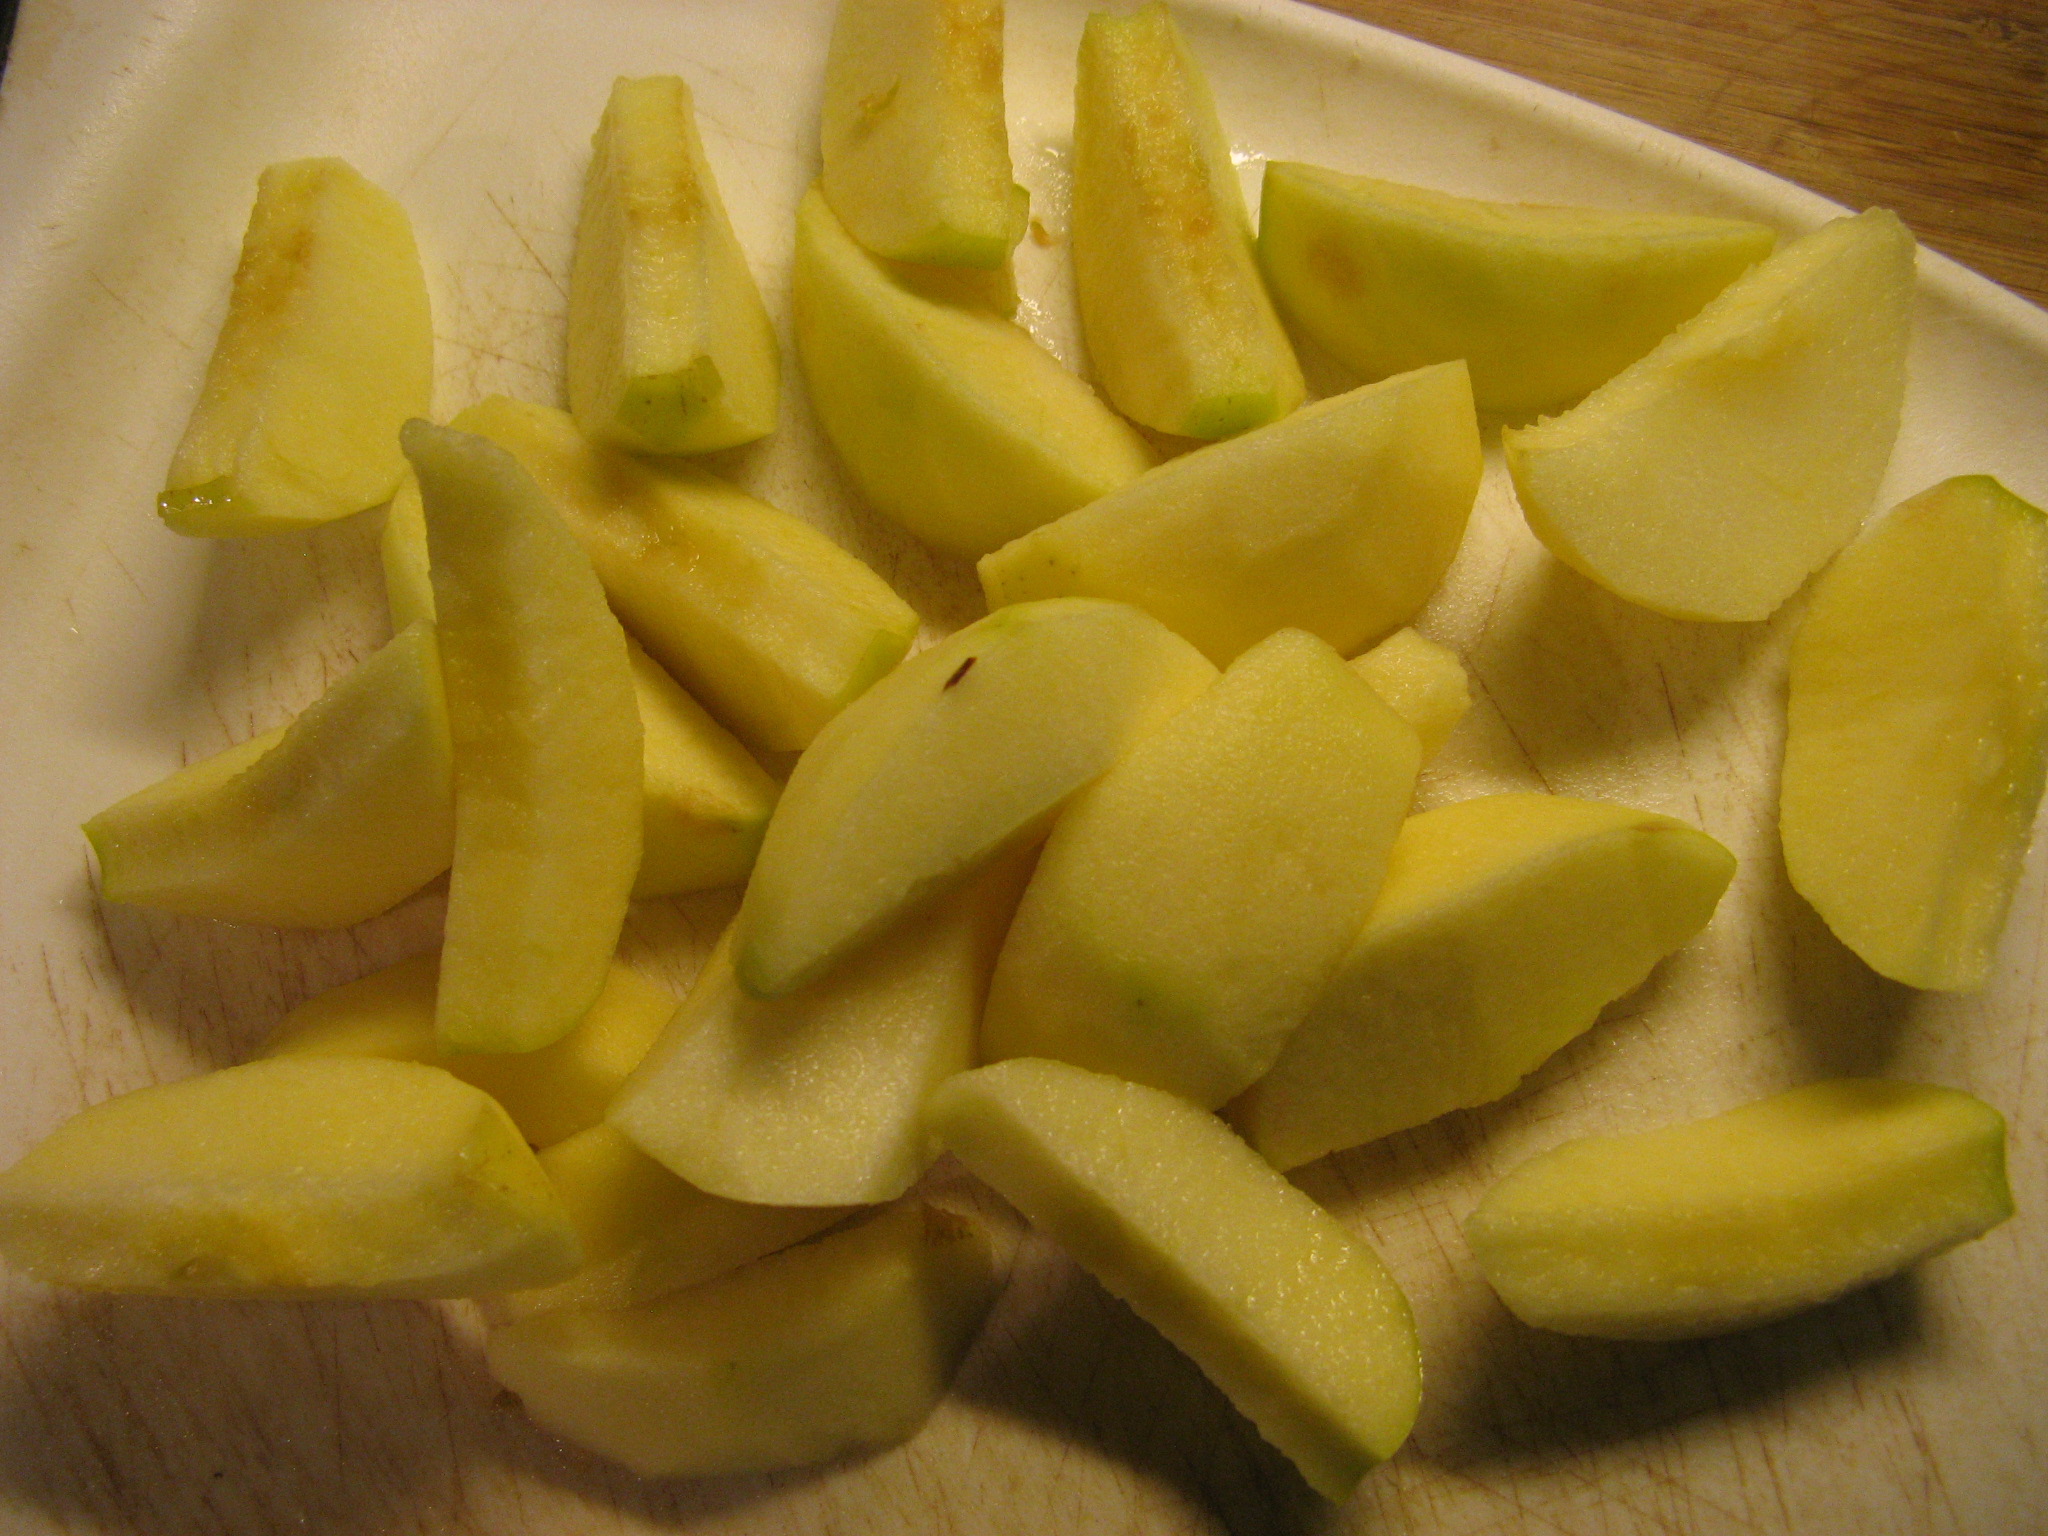
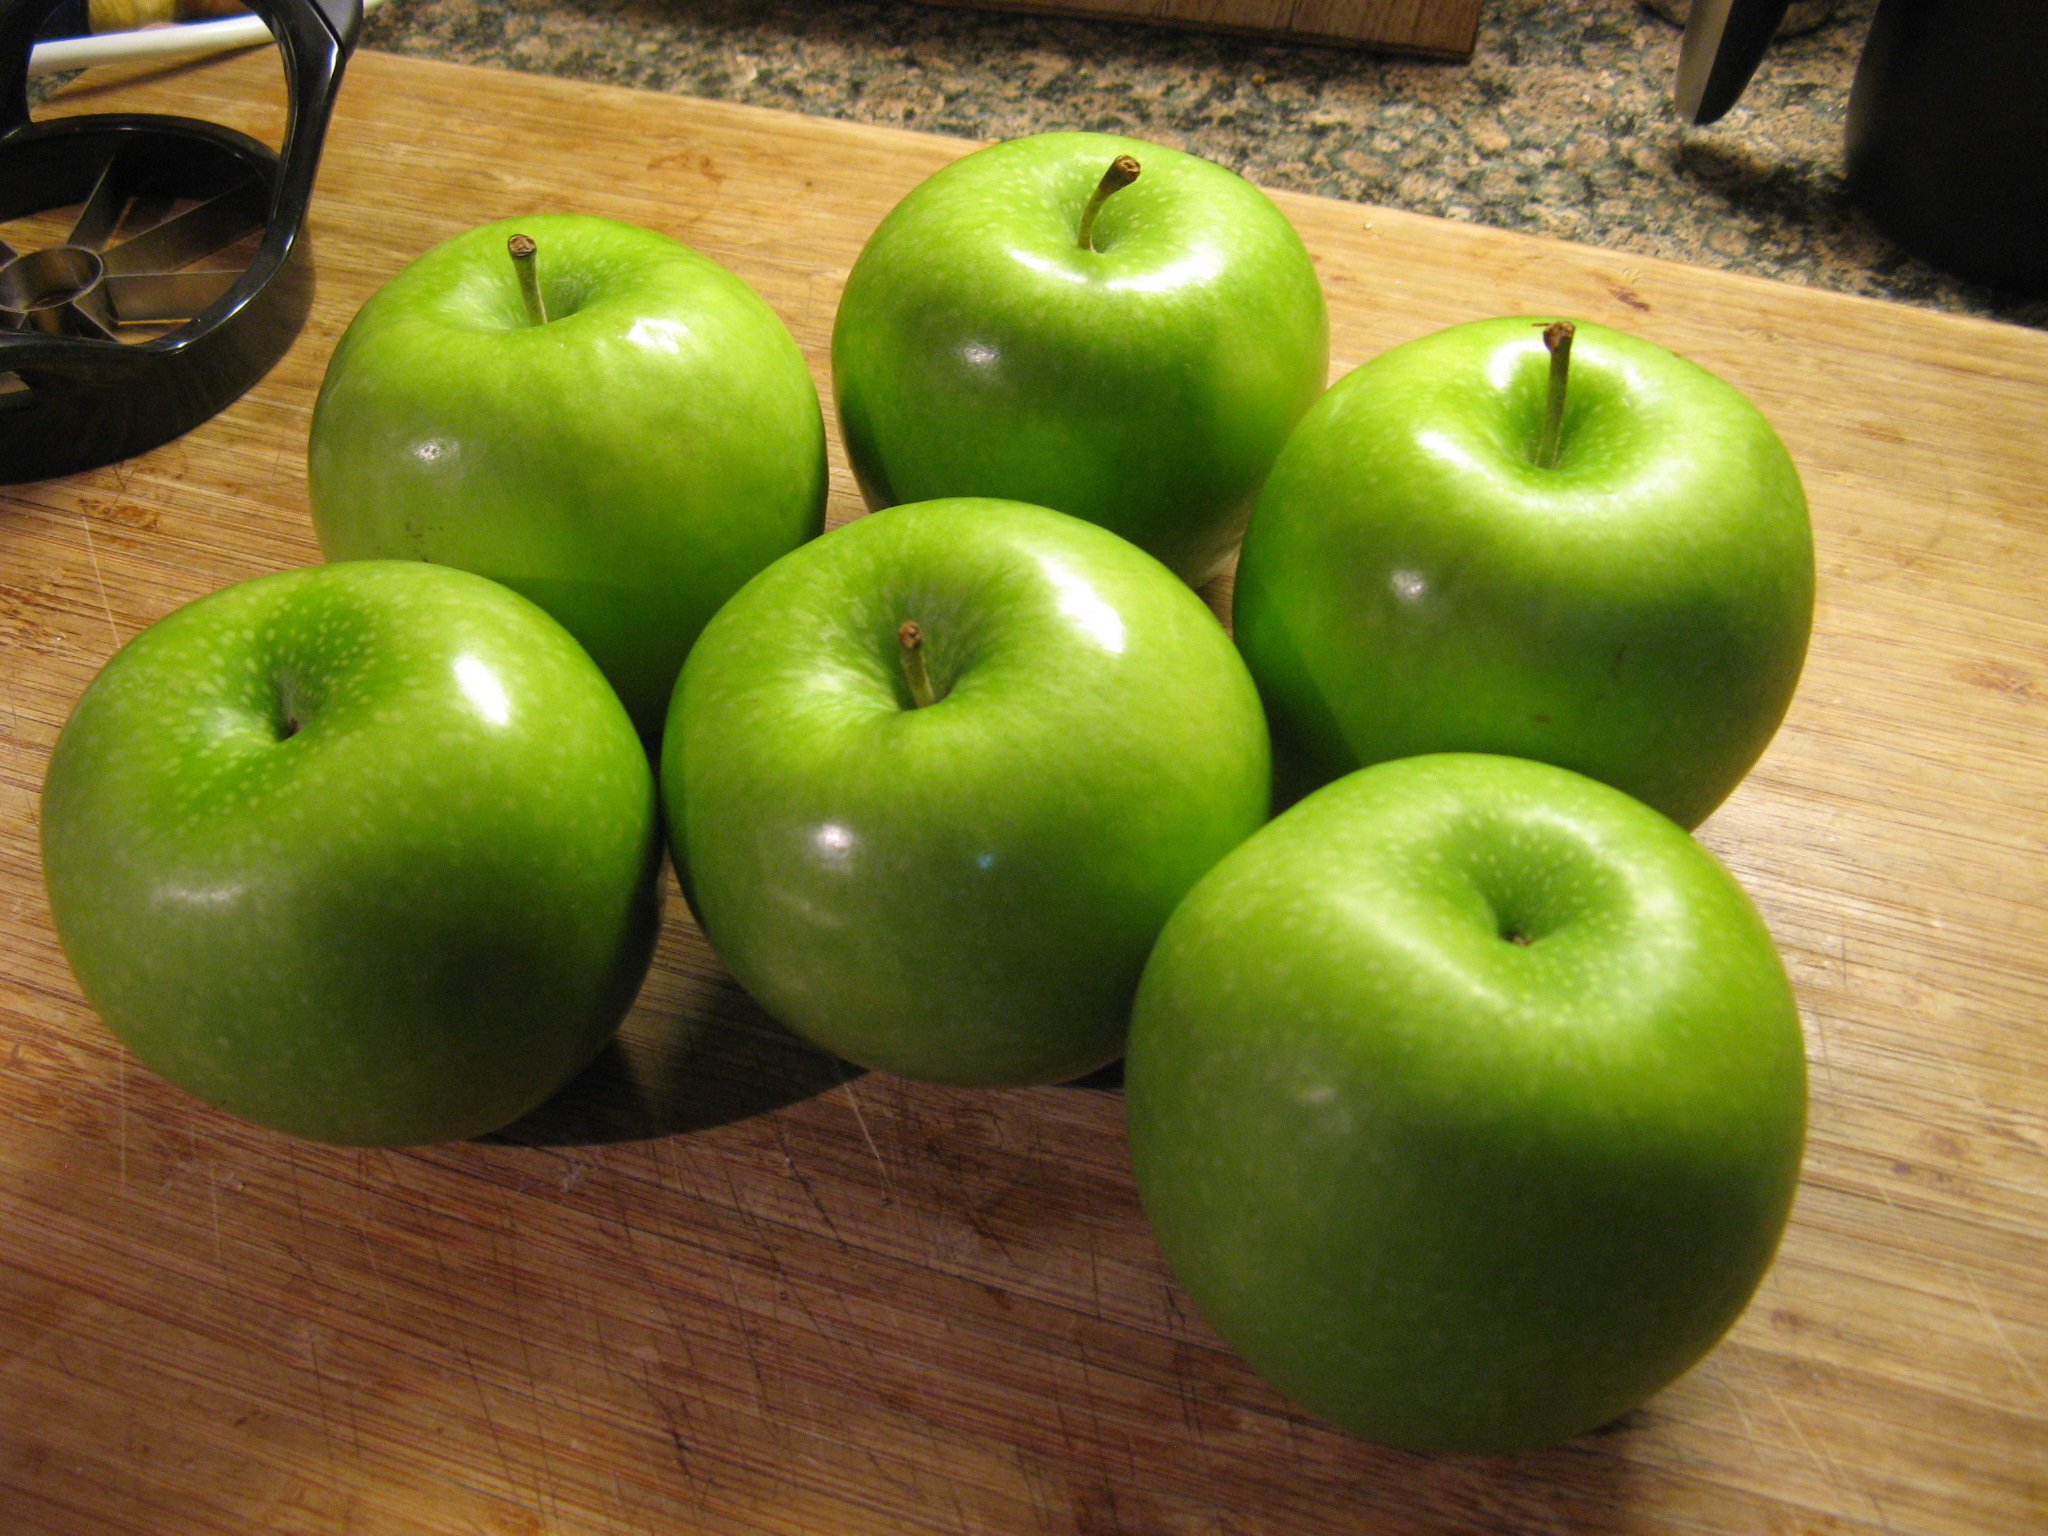
To begin I prepped my Granny Smith Apples…

IMG_1301

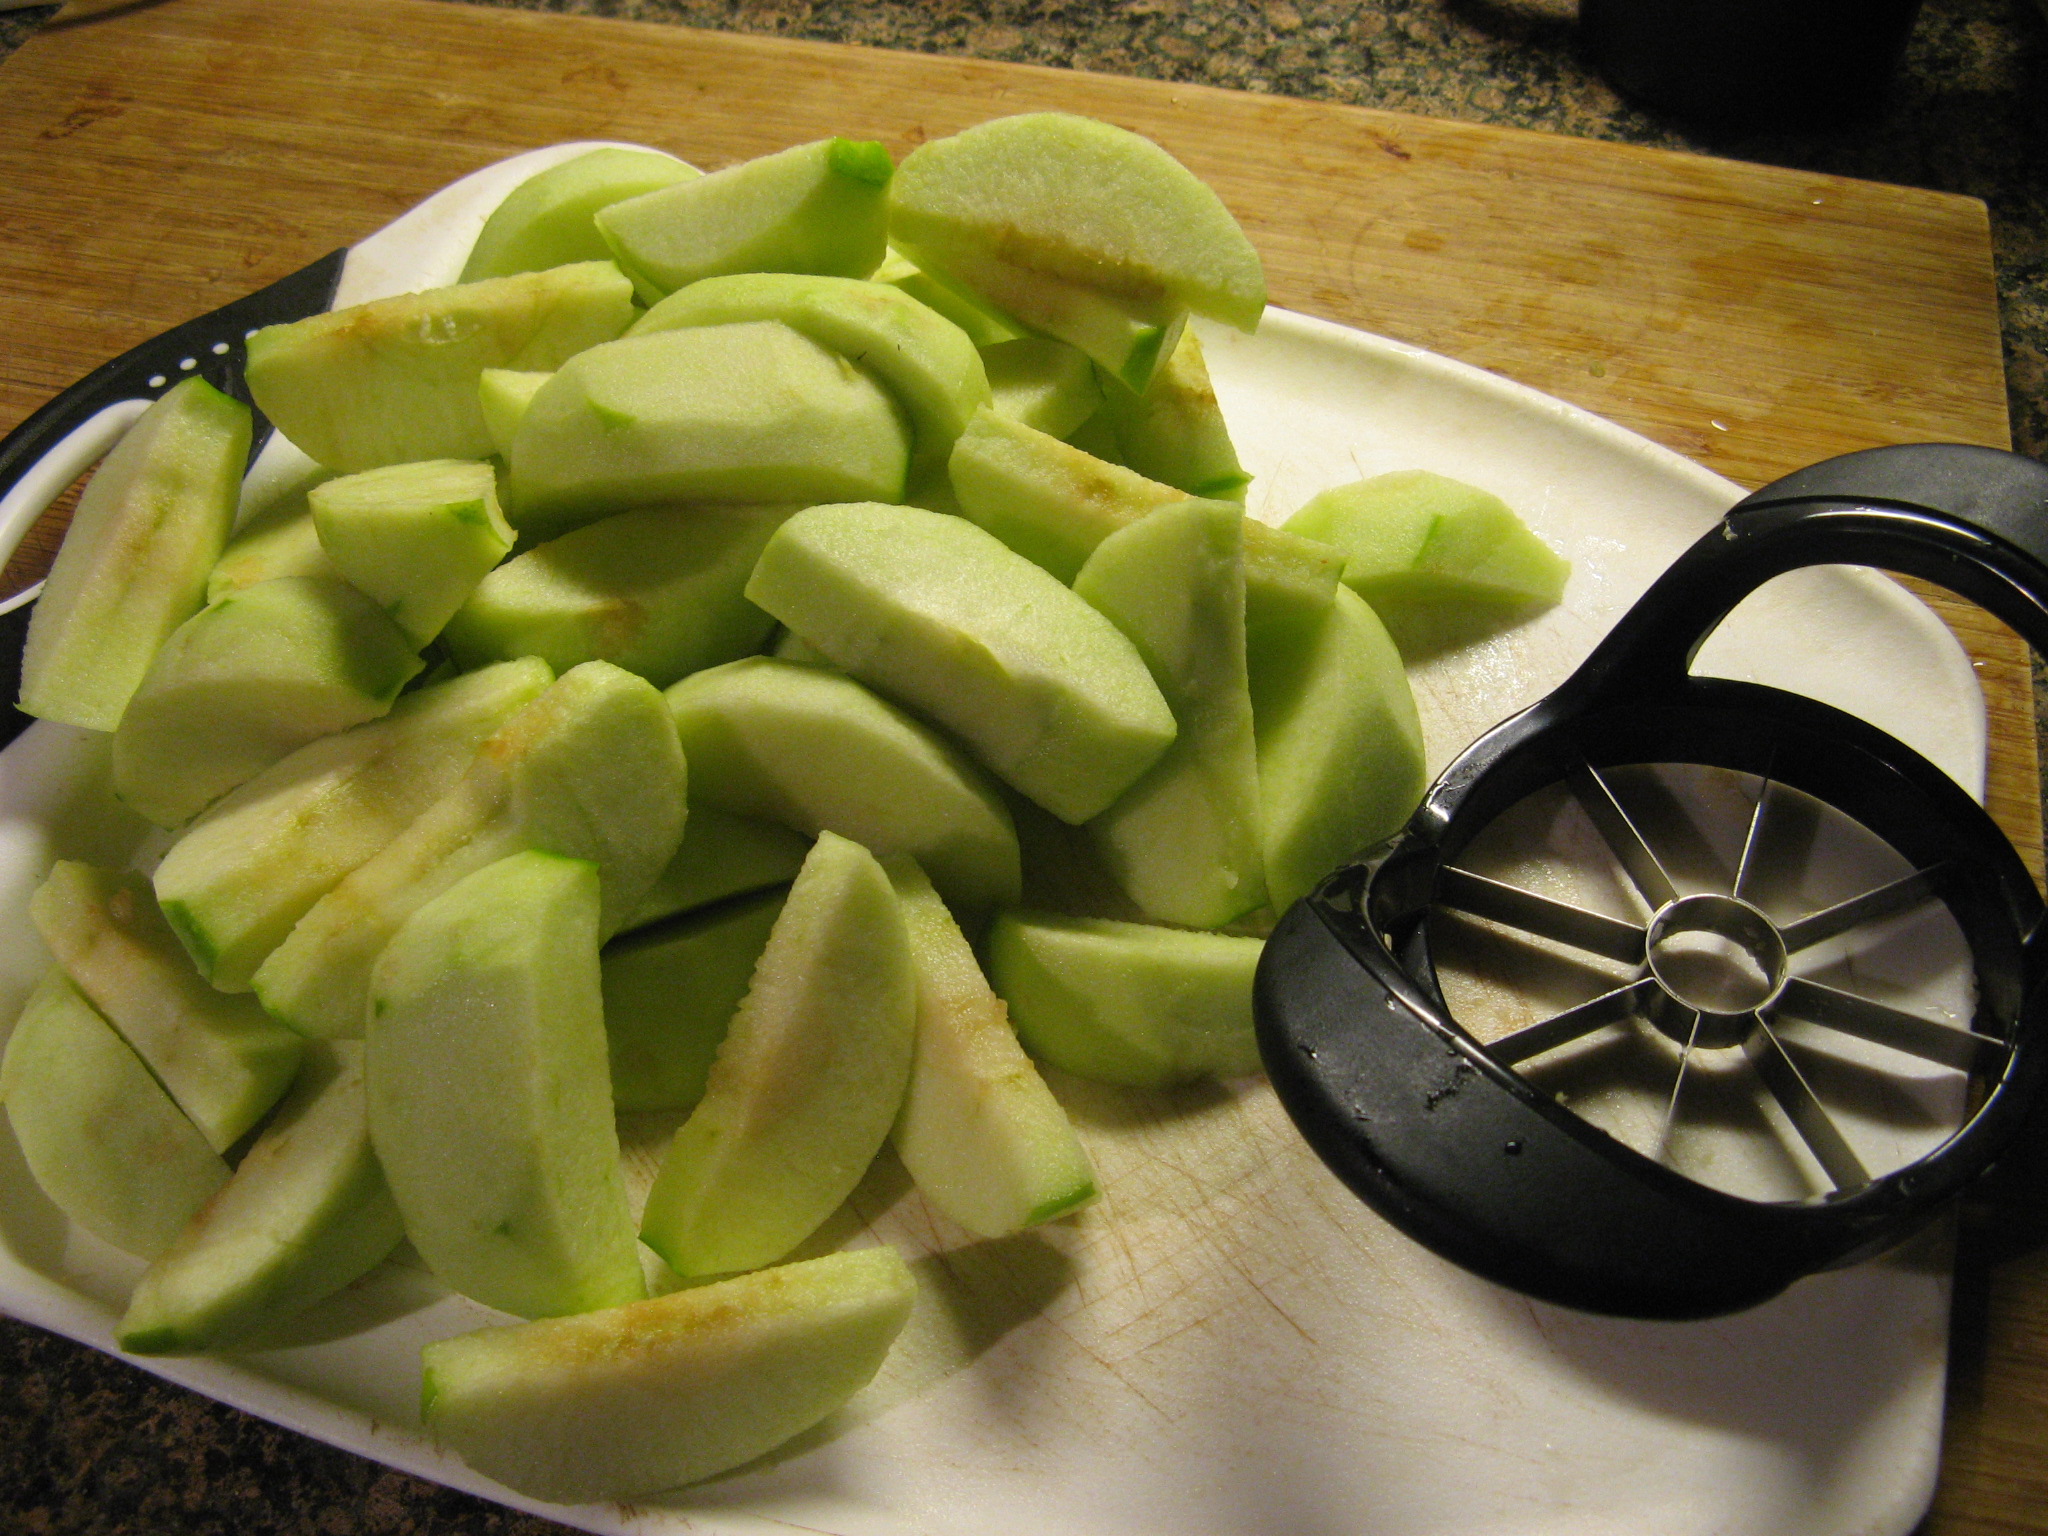
First I peeled them…

IMG_1303

Then cored and sliced them using an apple divider…

IMG_1305

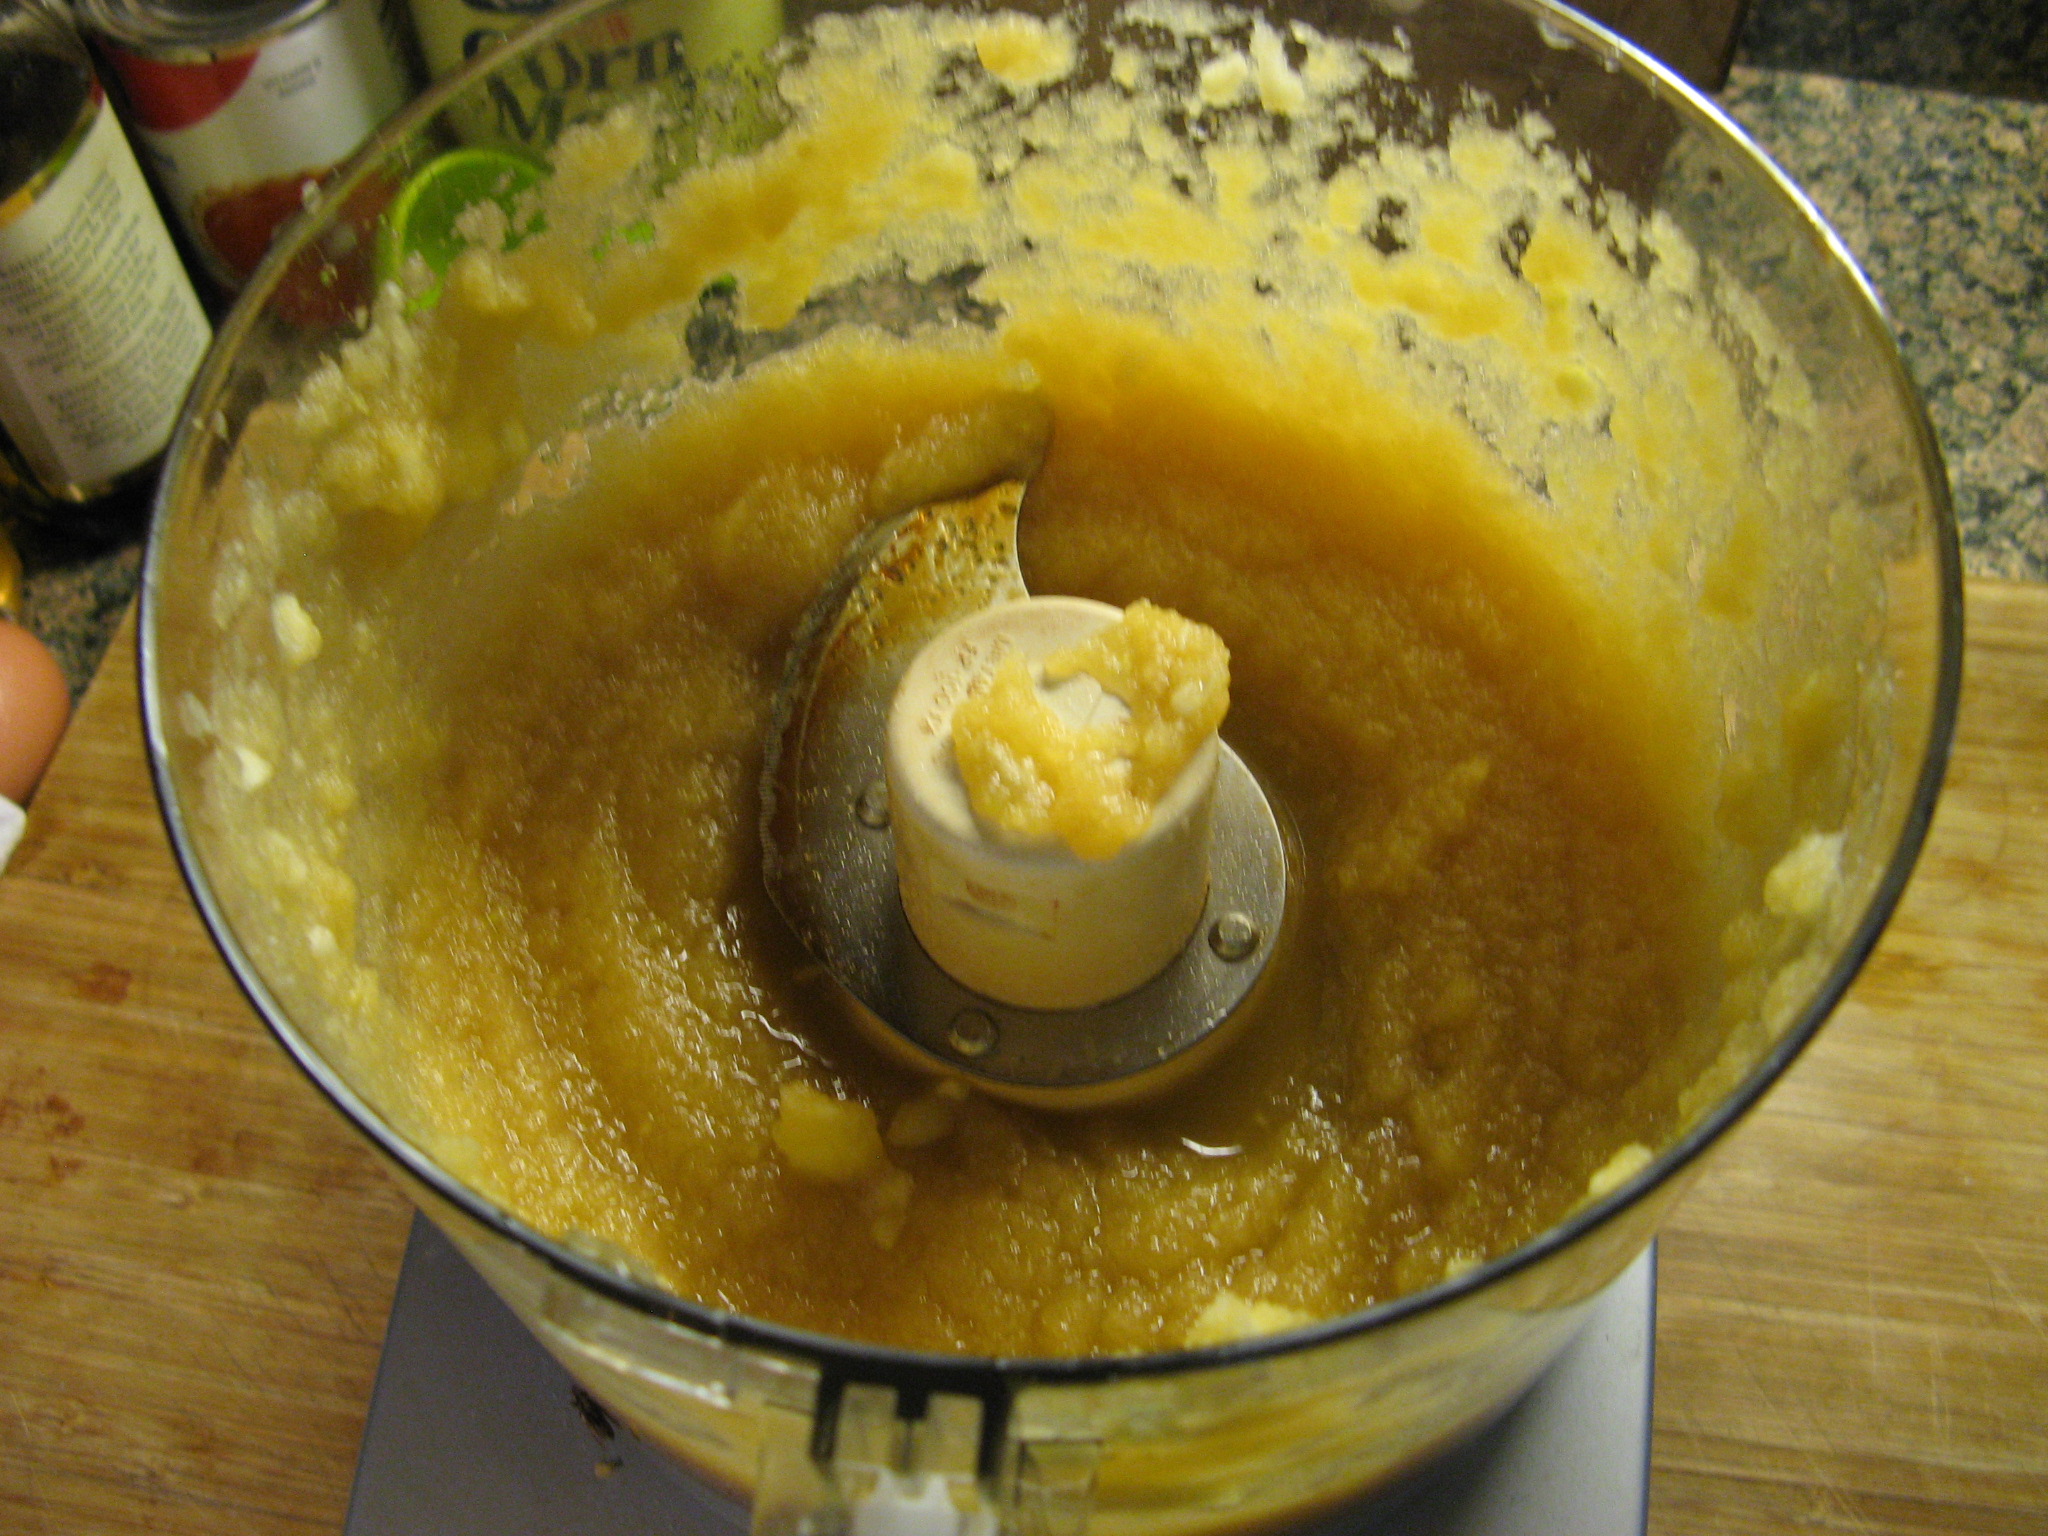
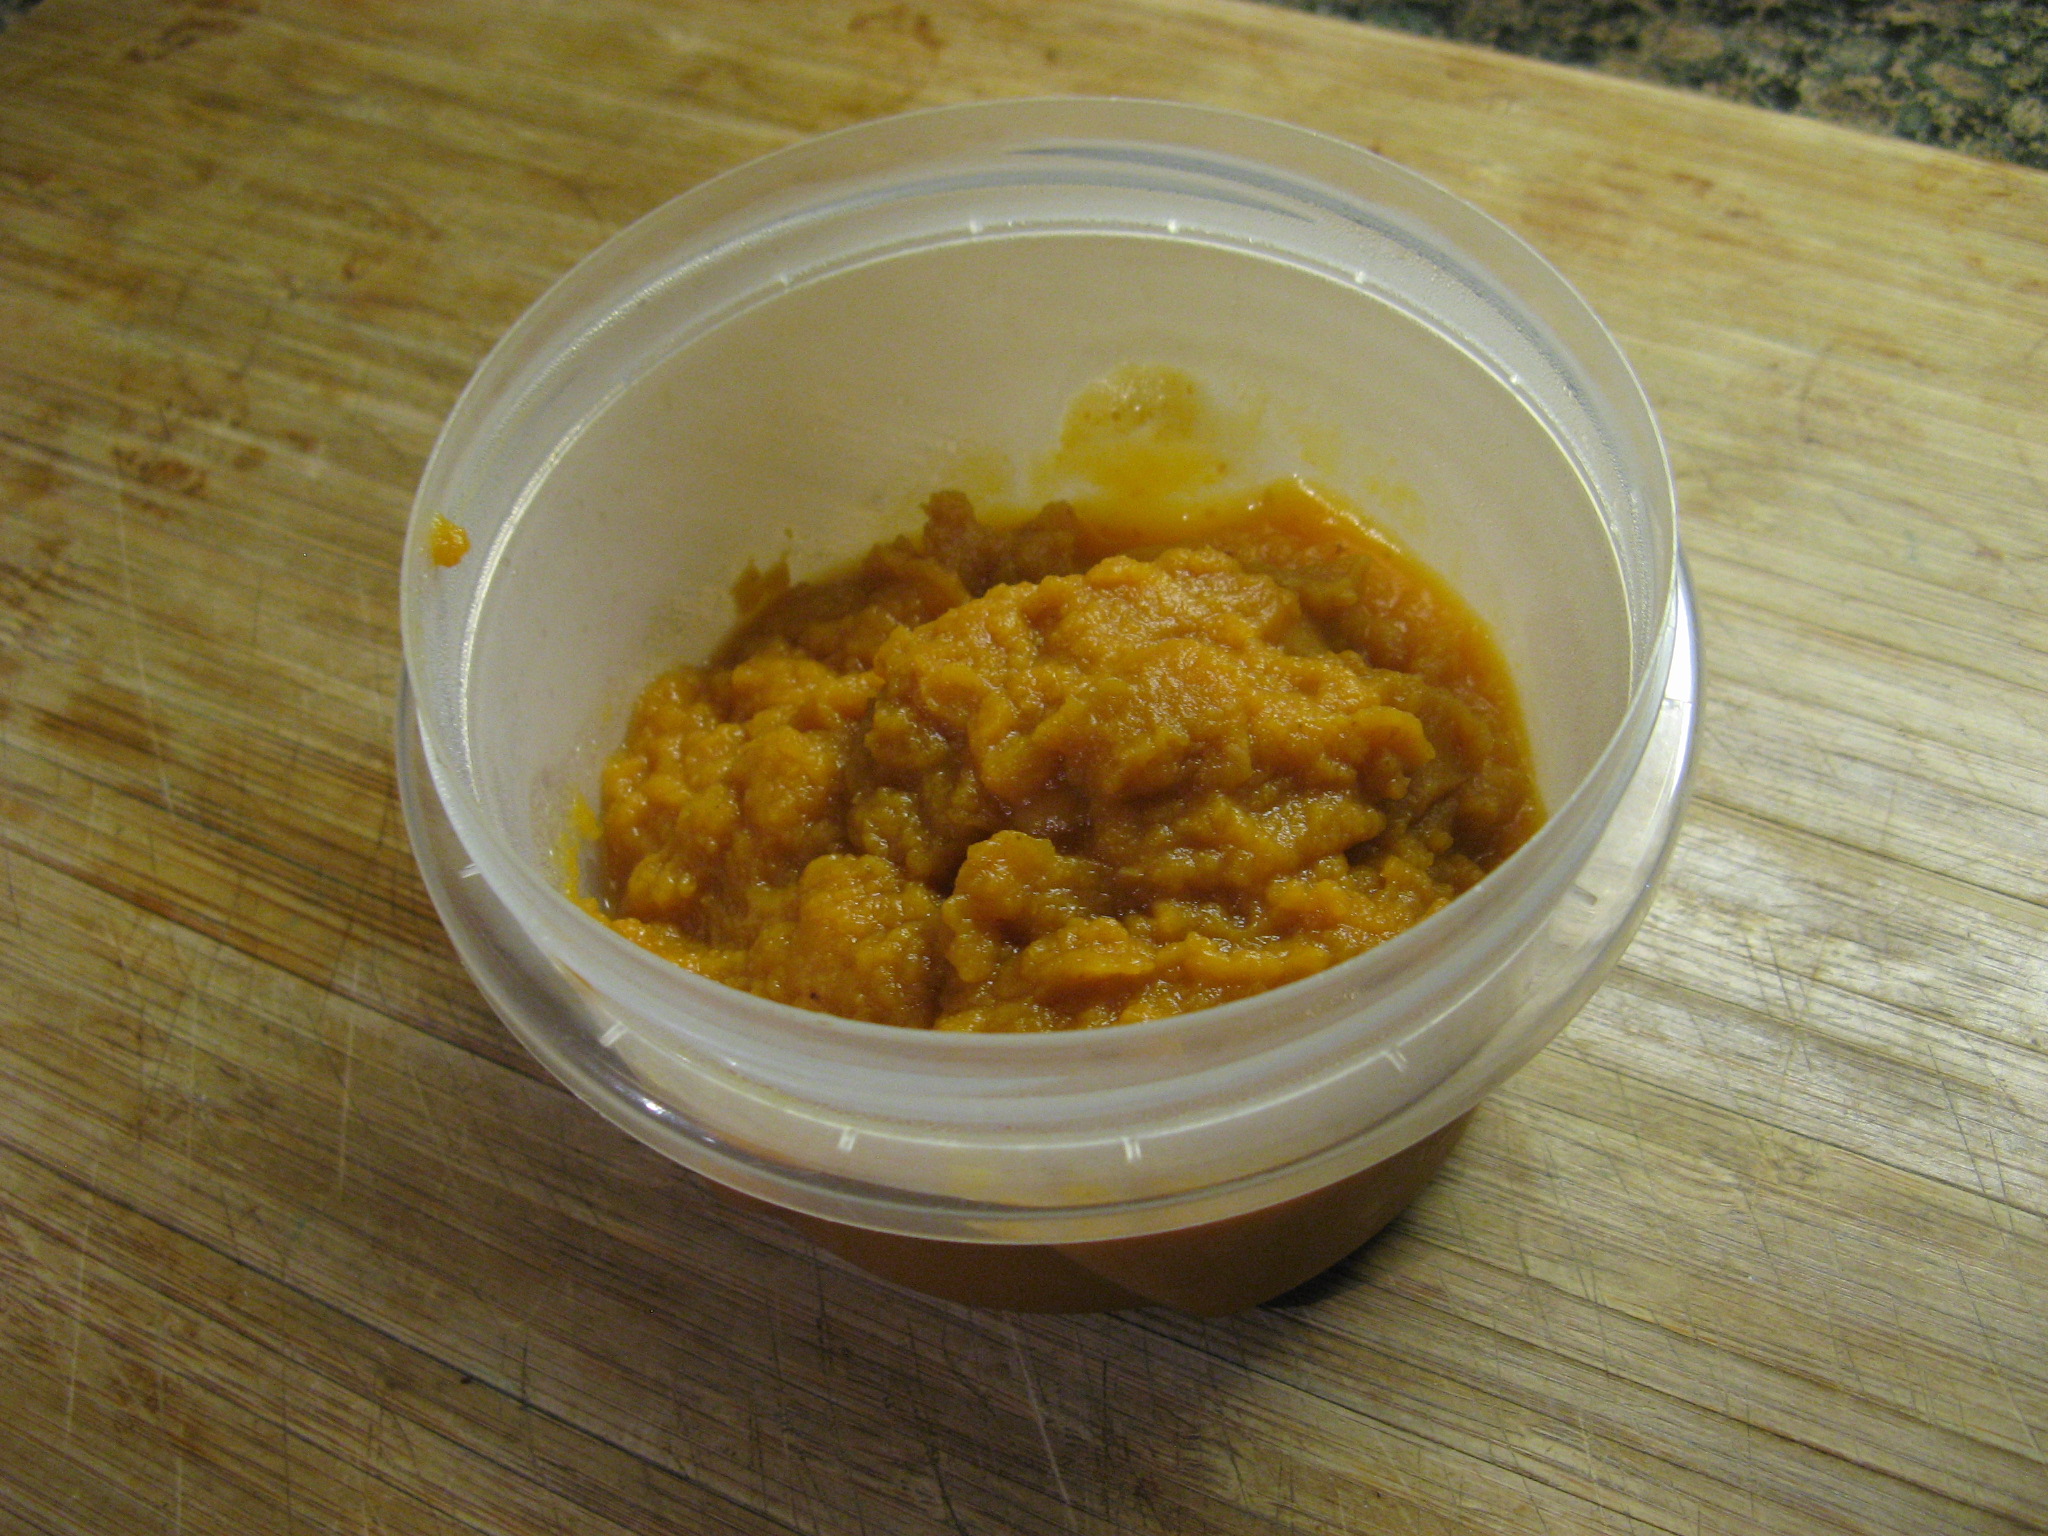
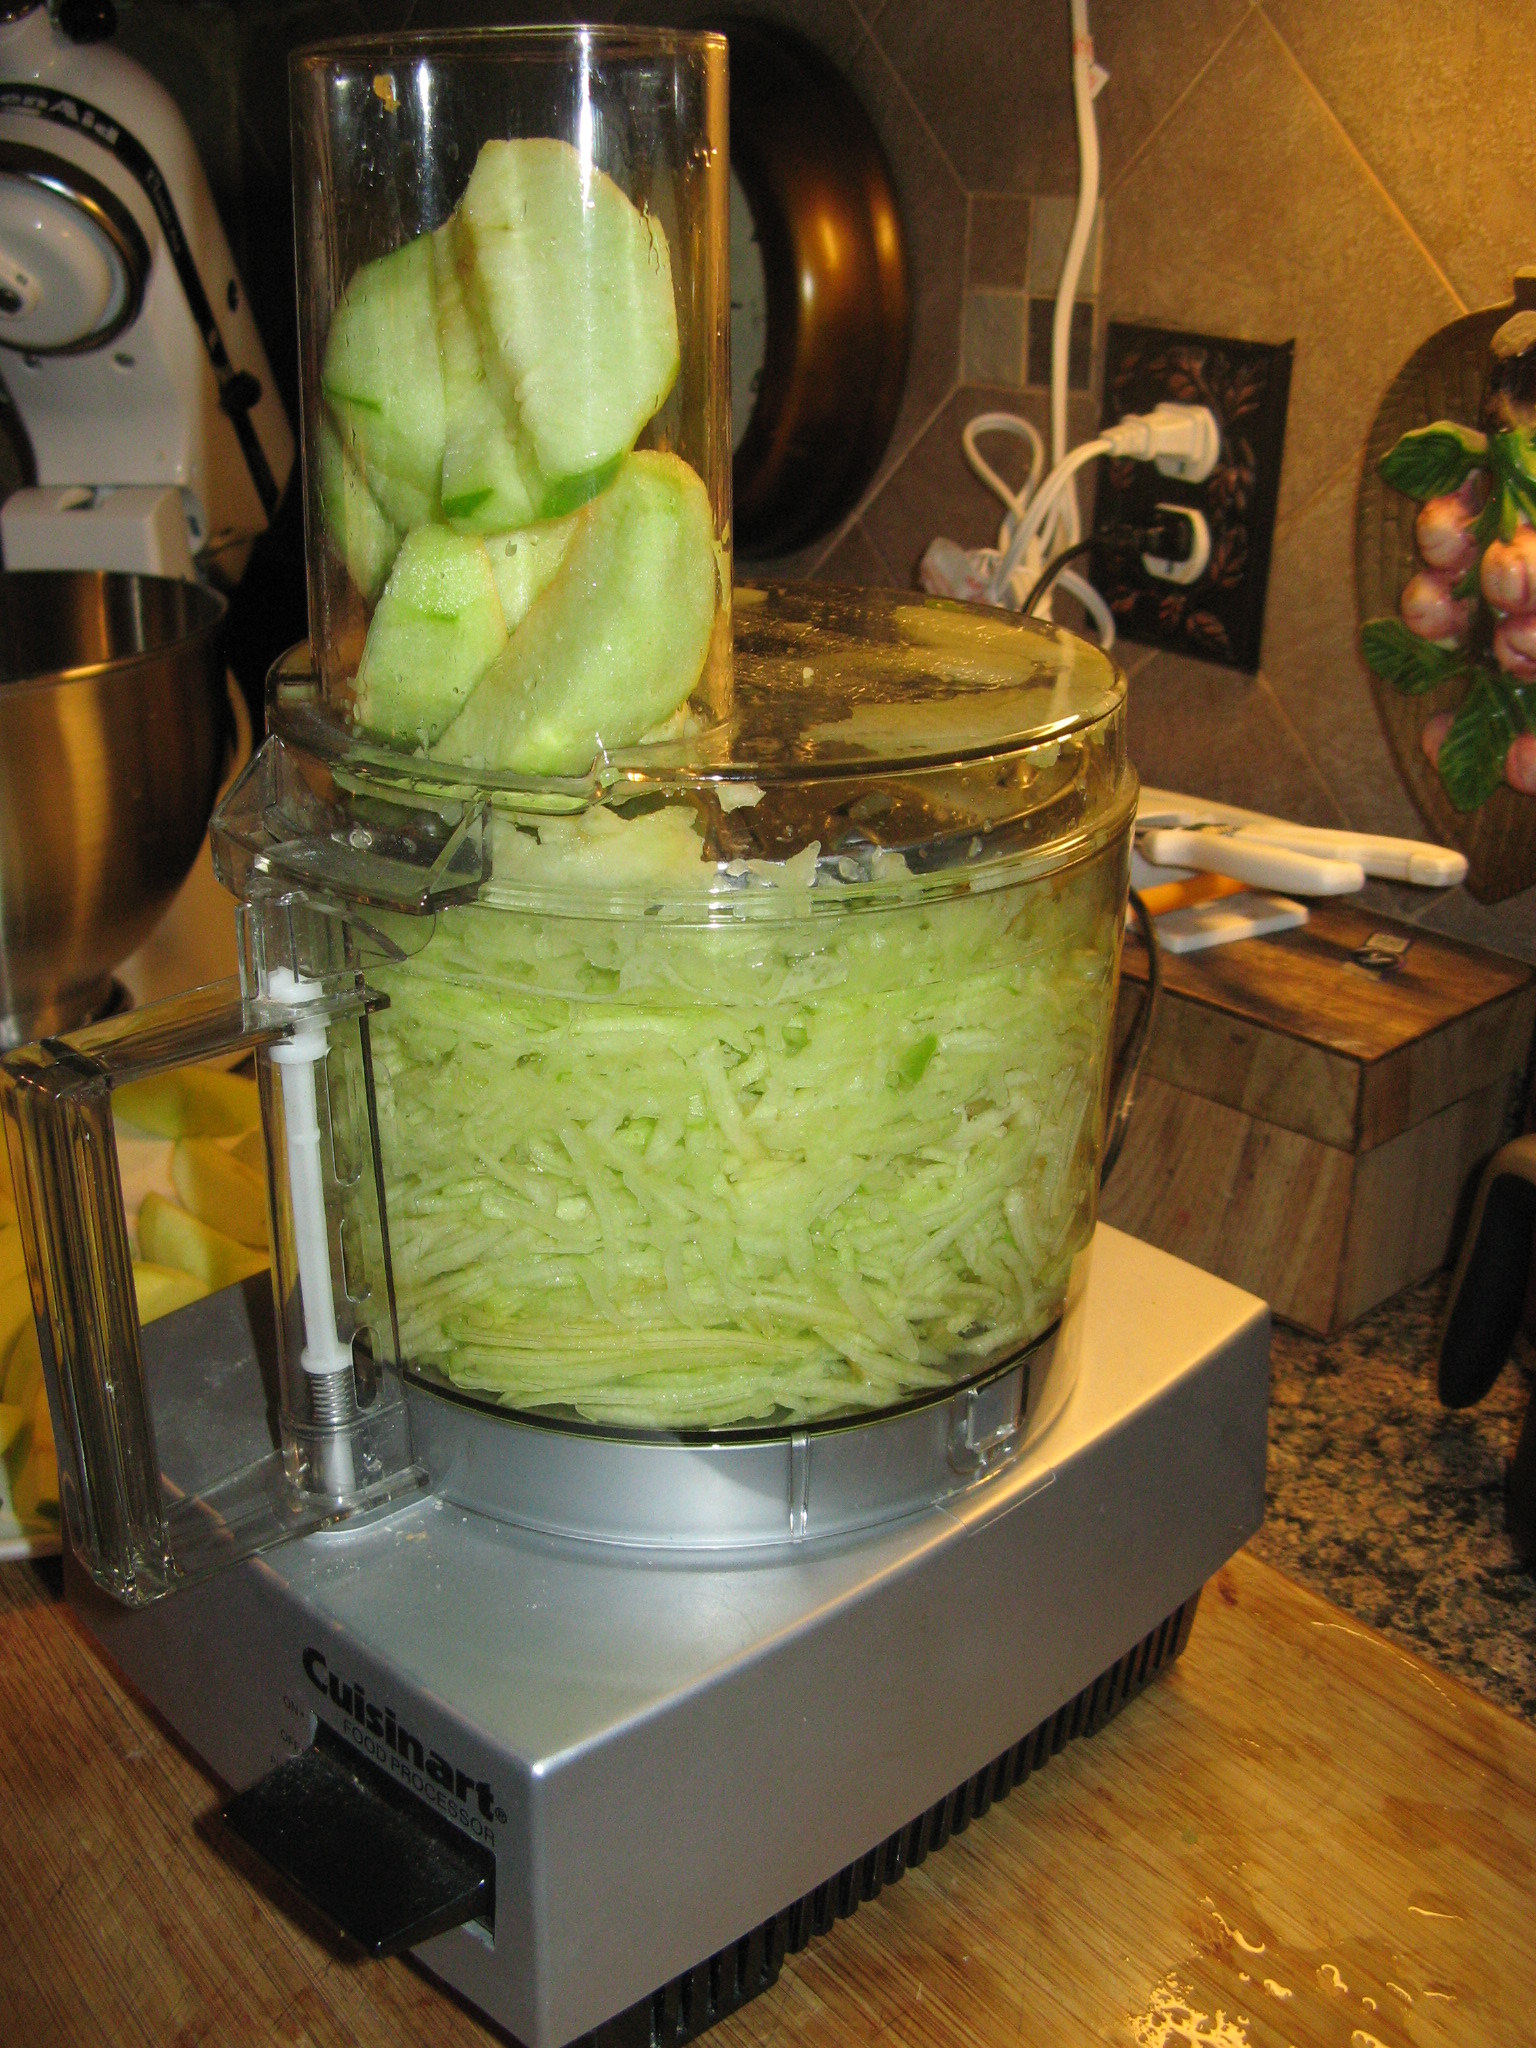
And finally grated them using a food processor.

IMG_1308

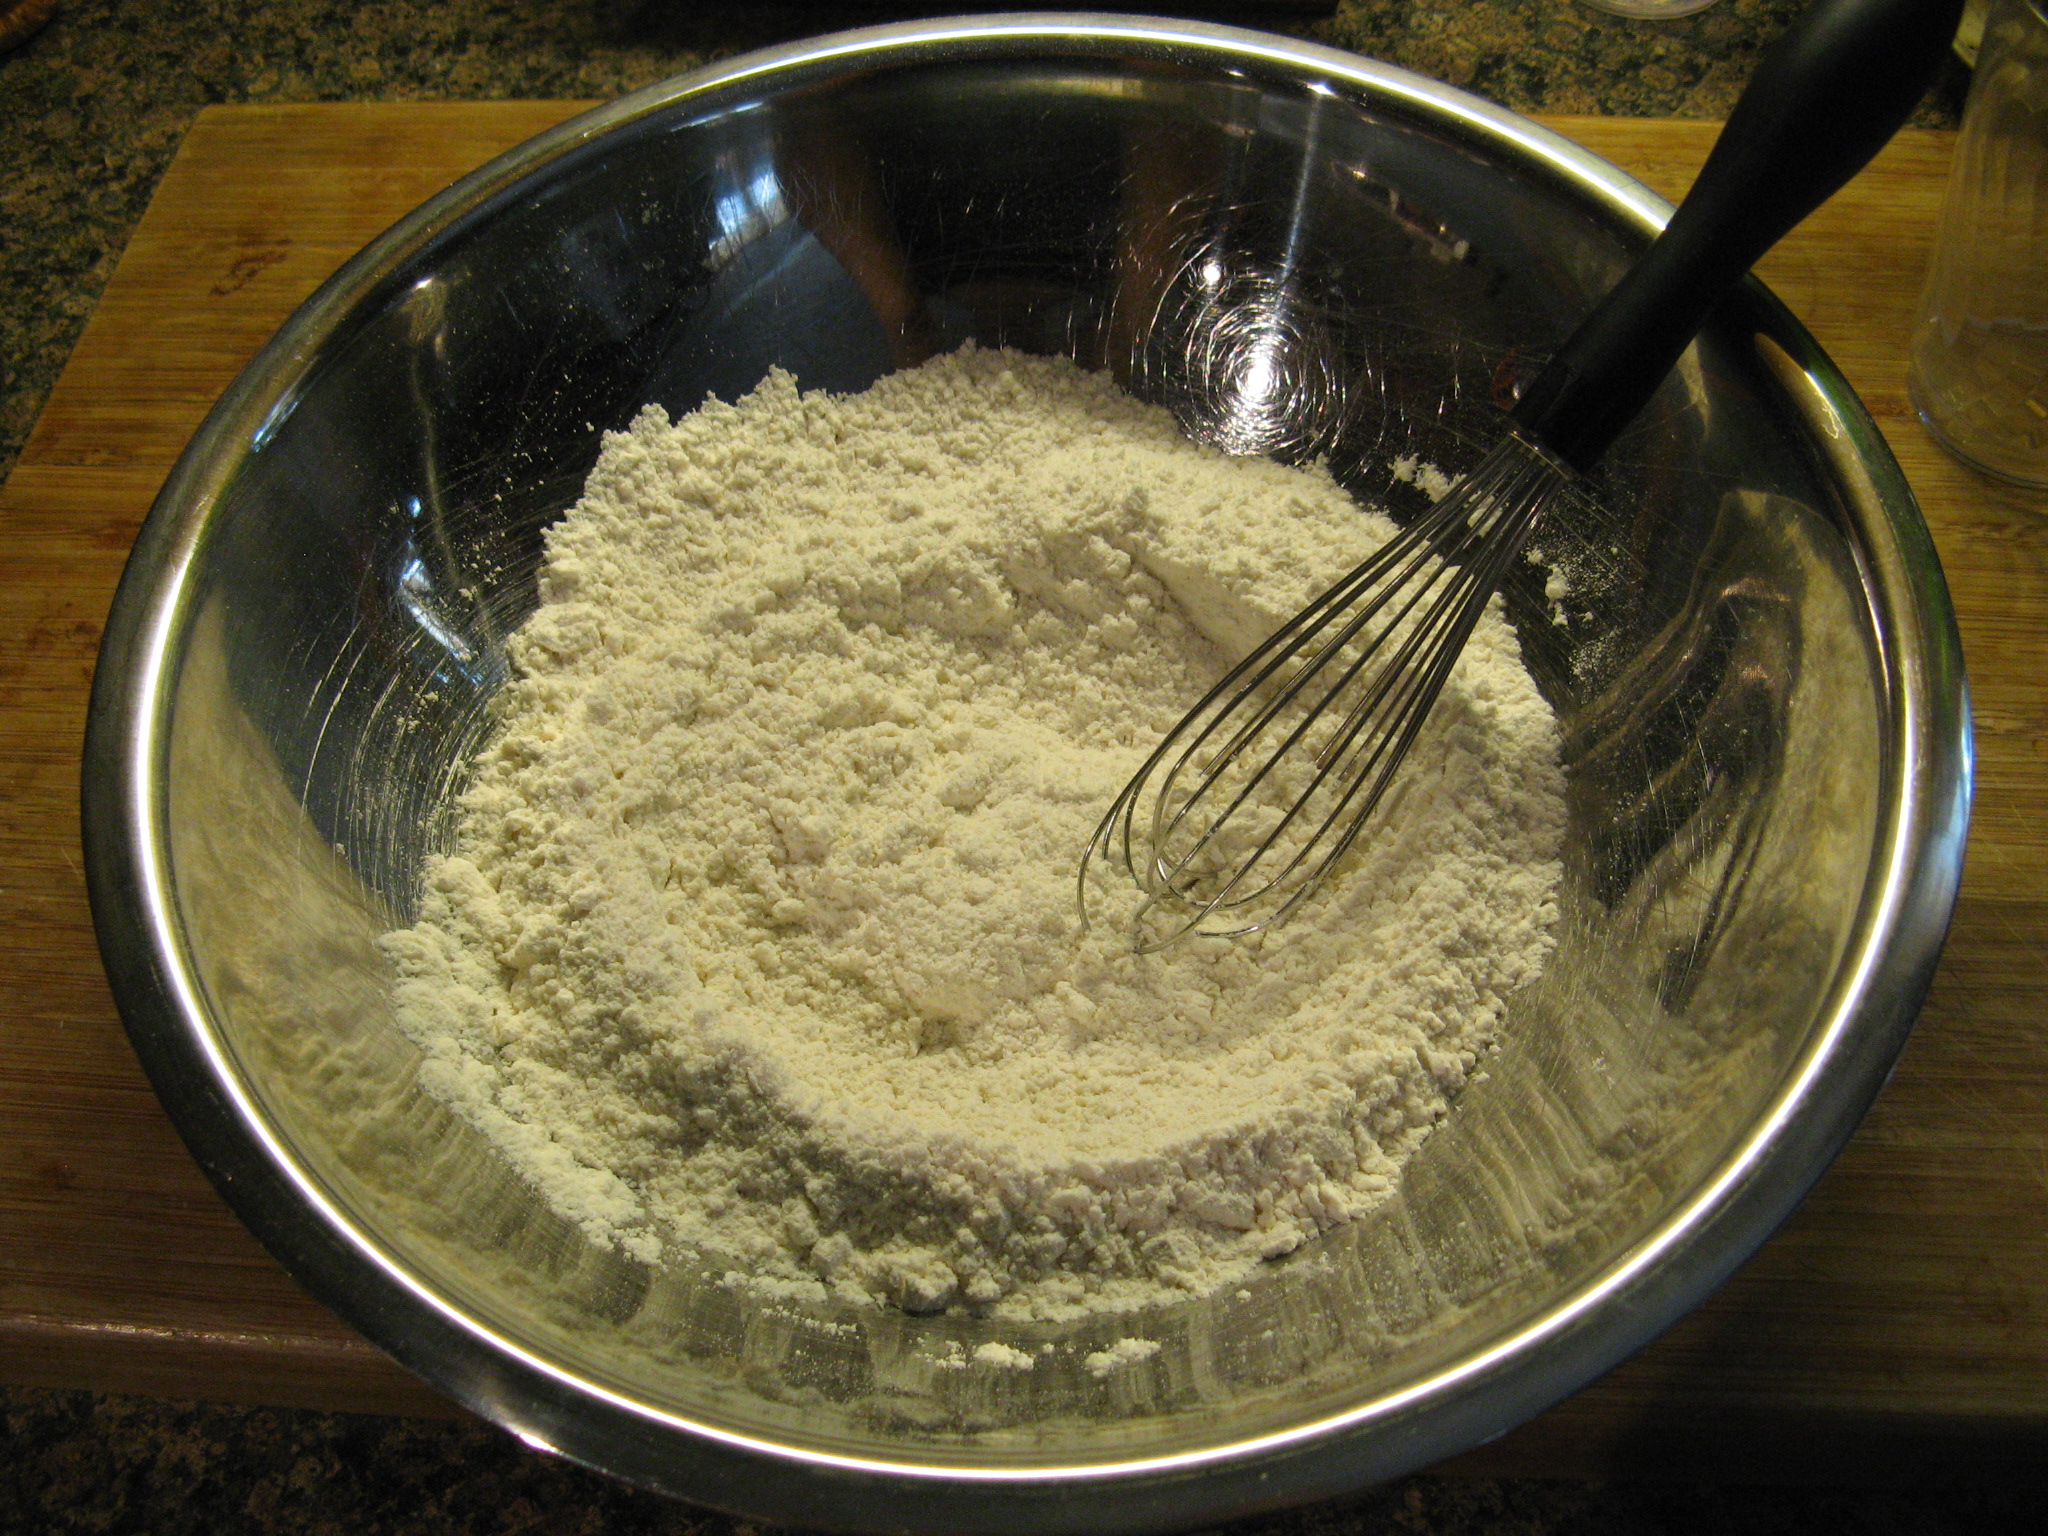
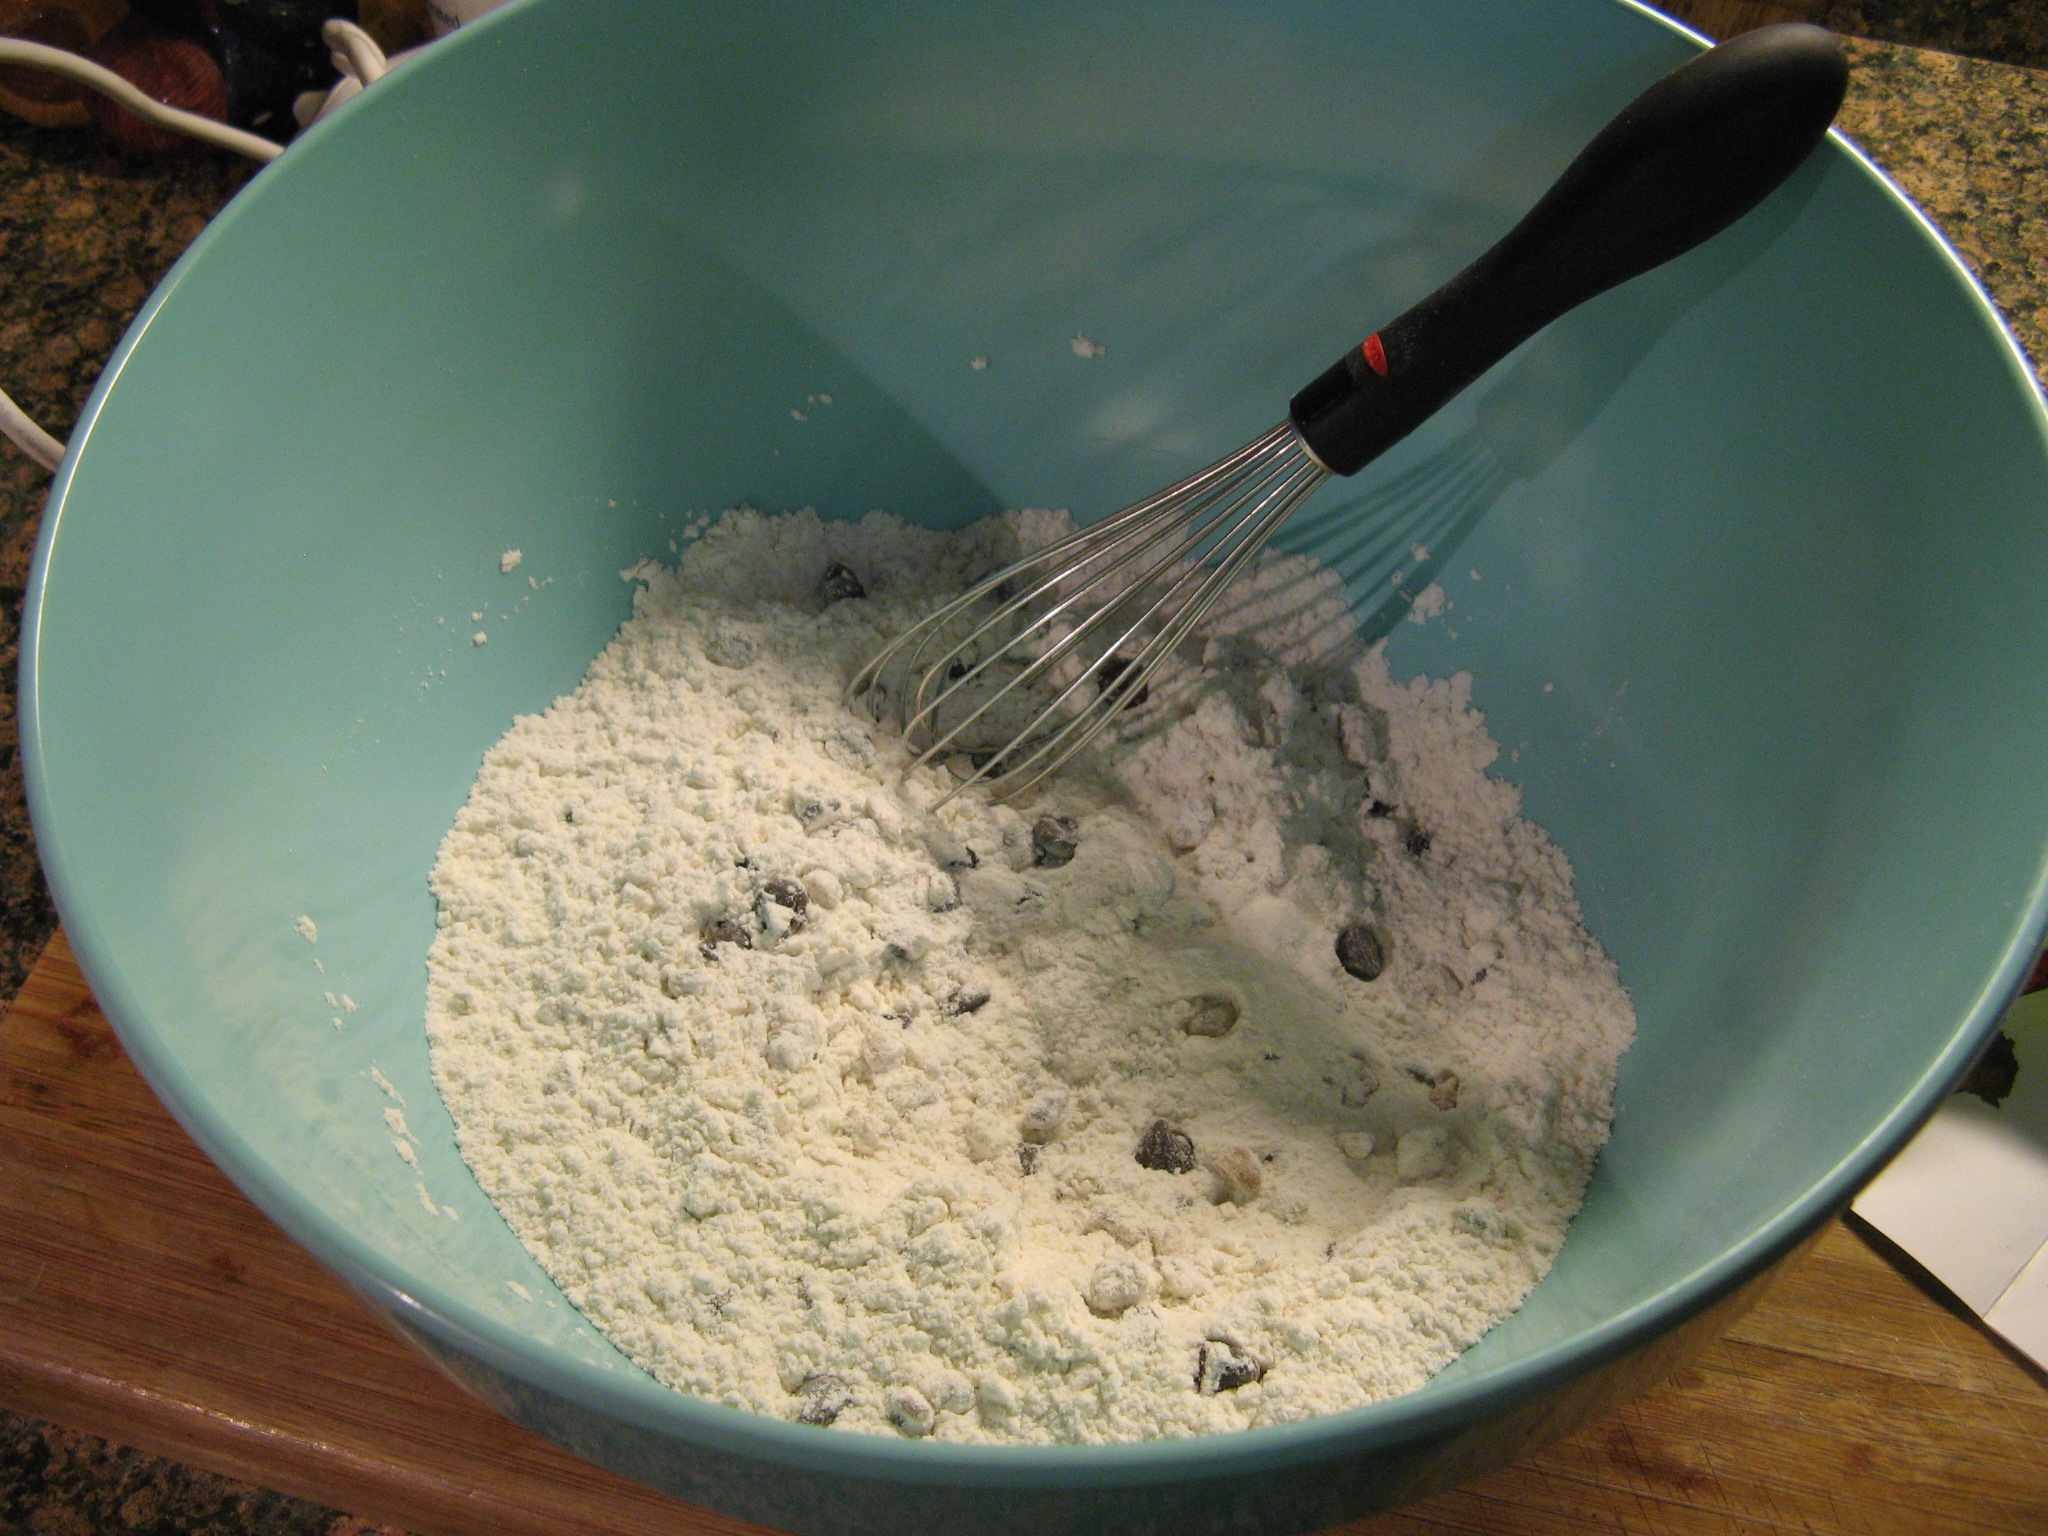
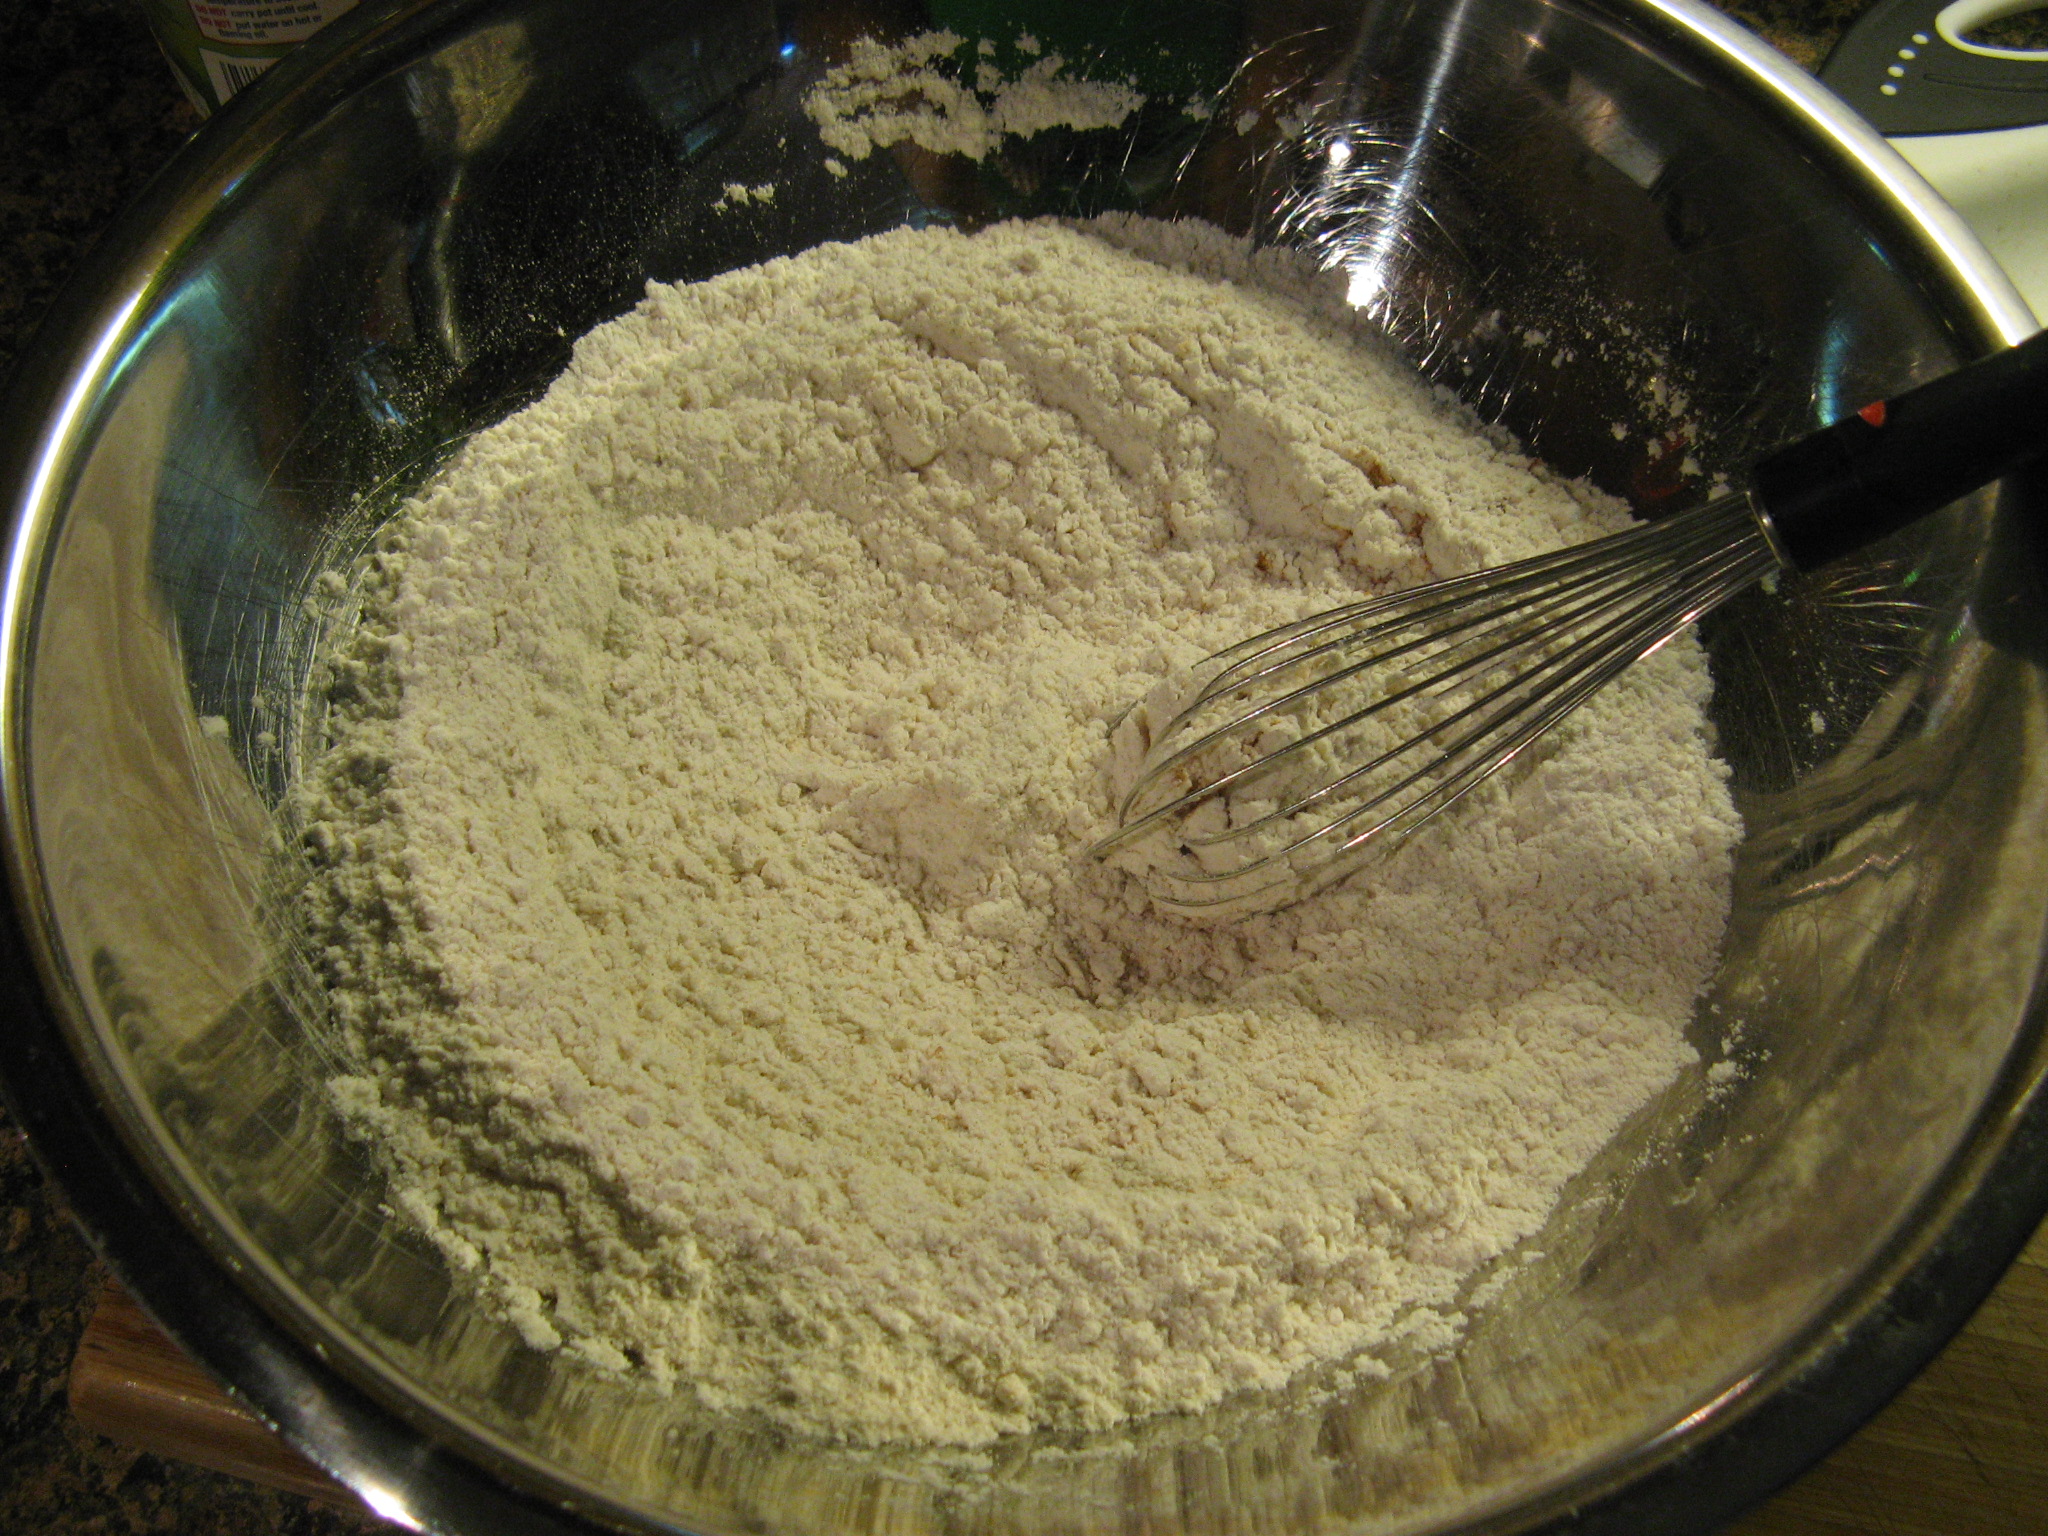
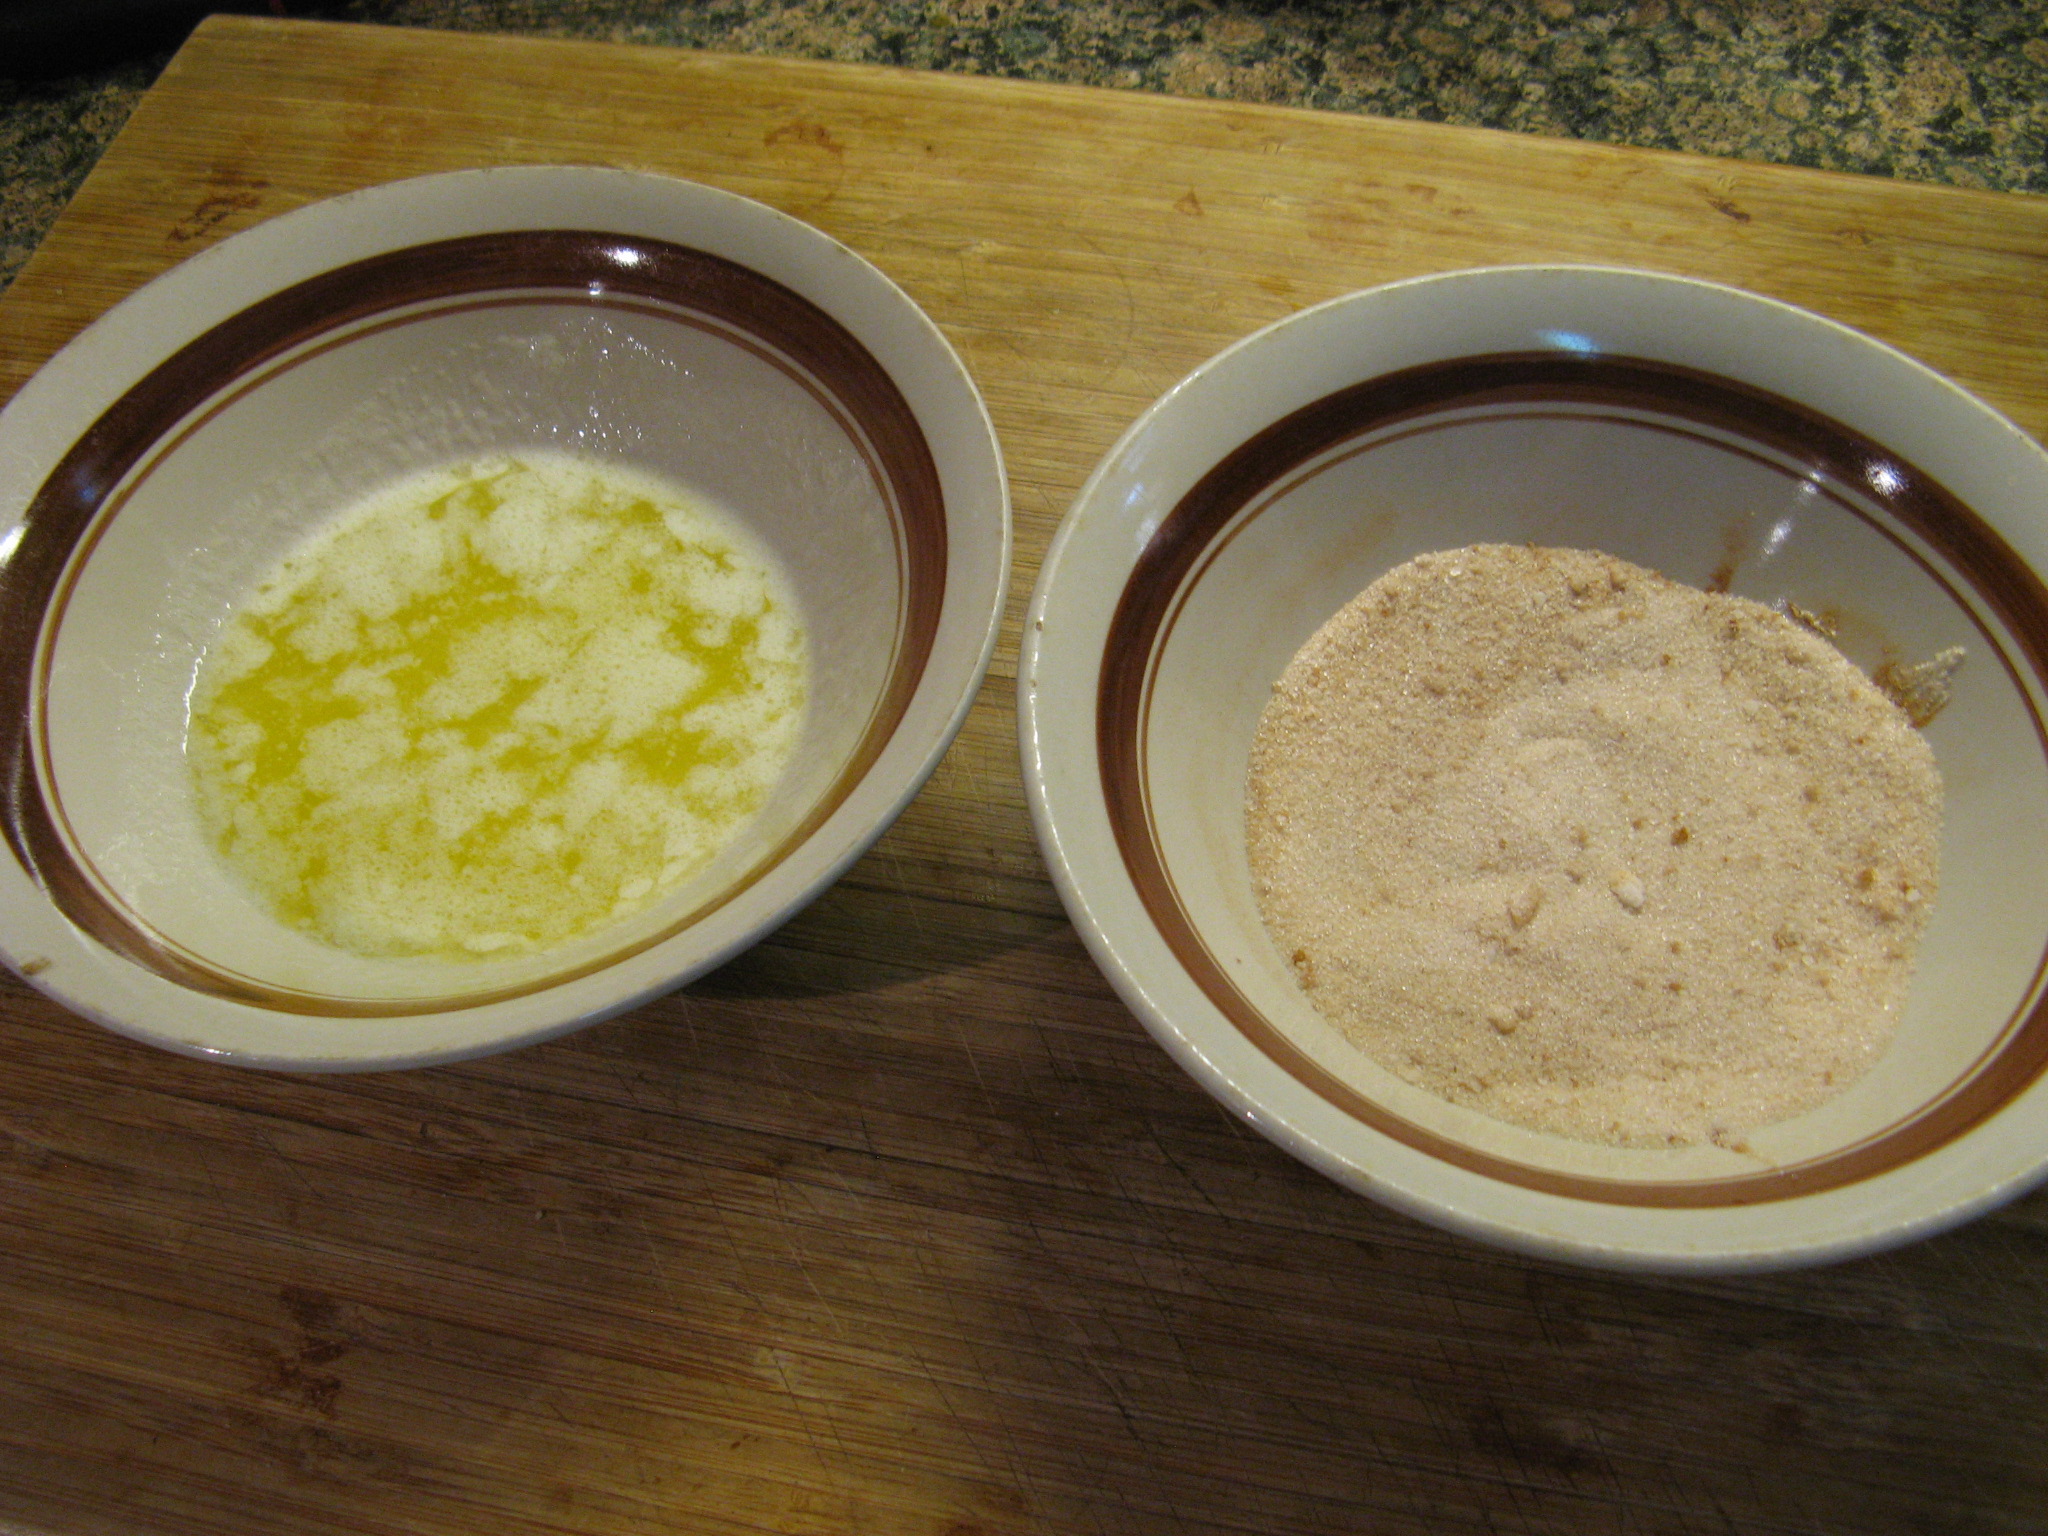
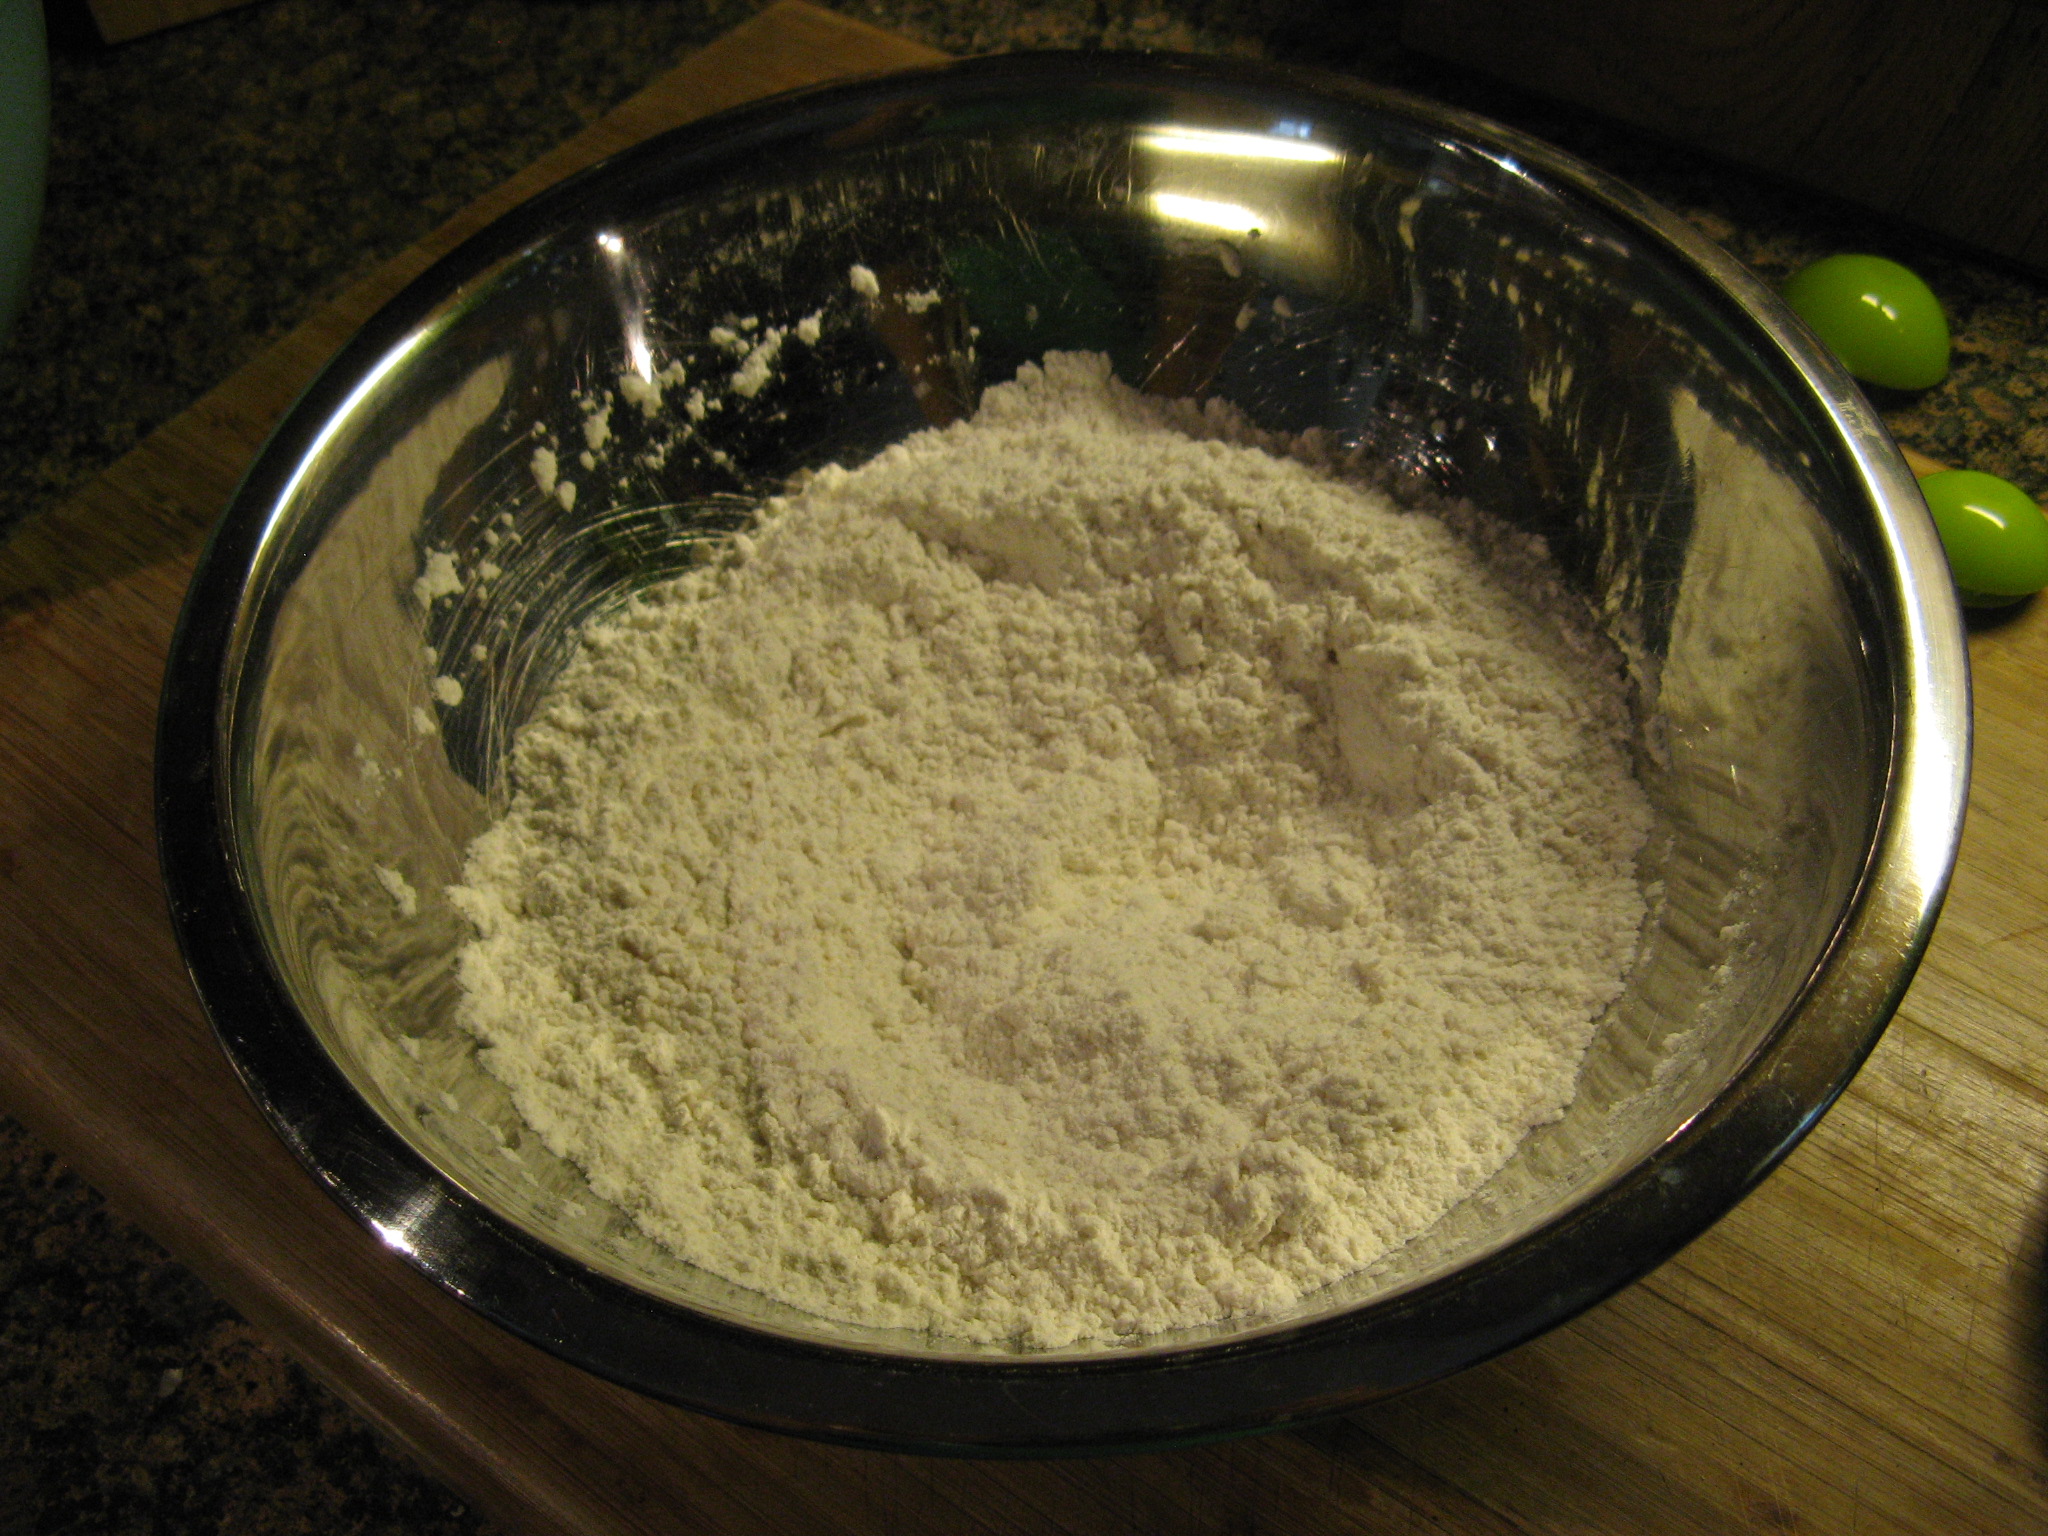
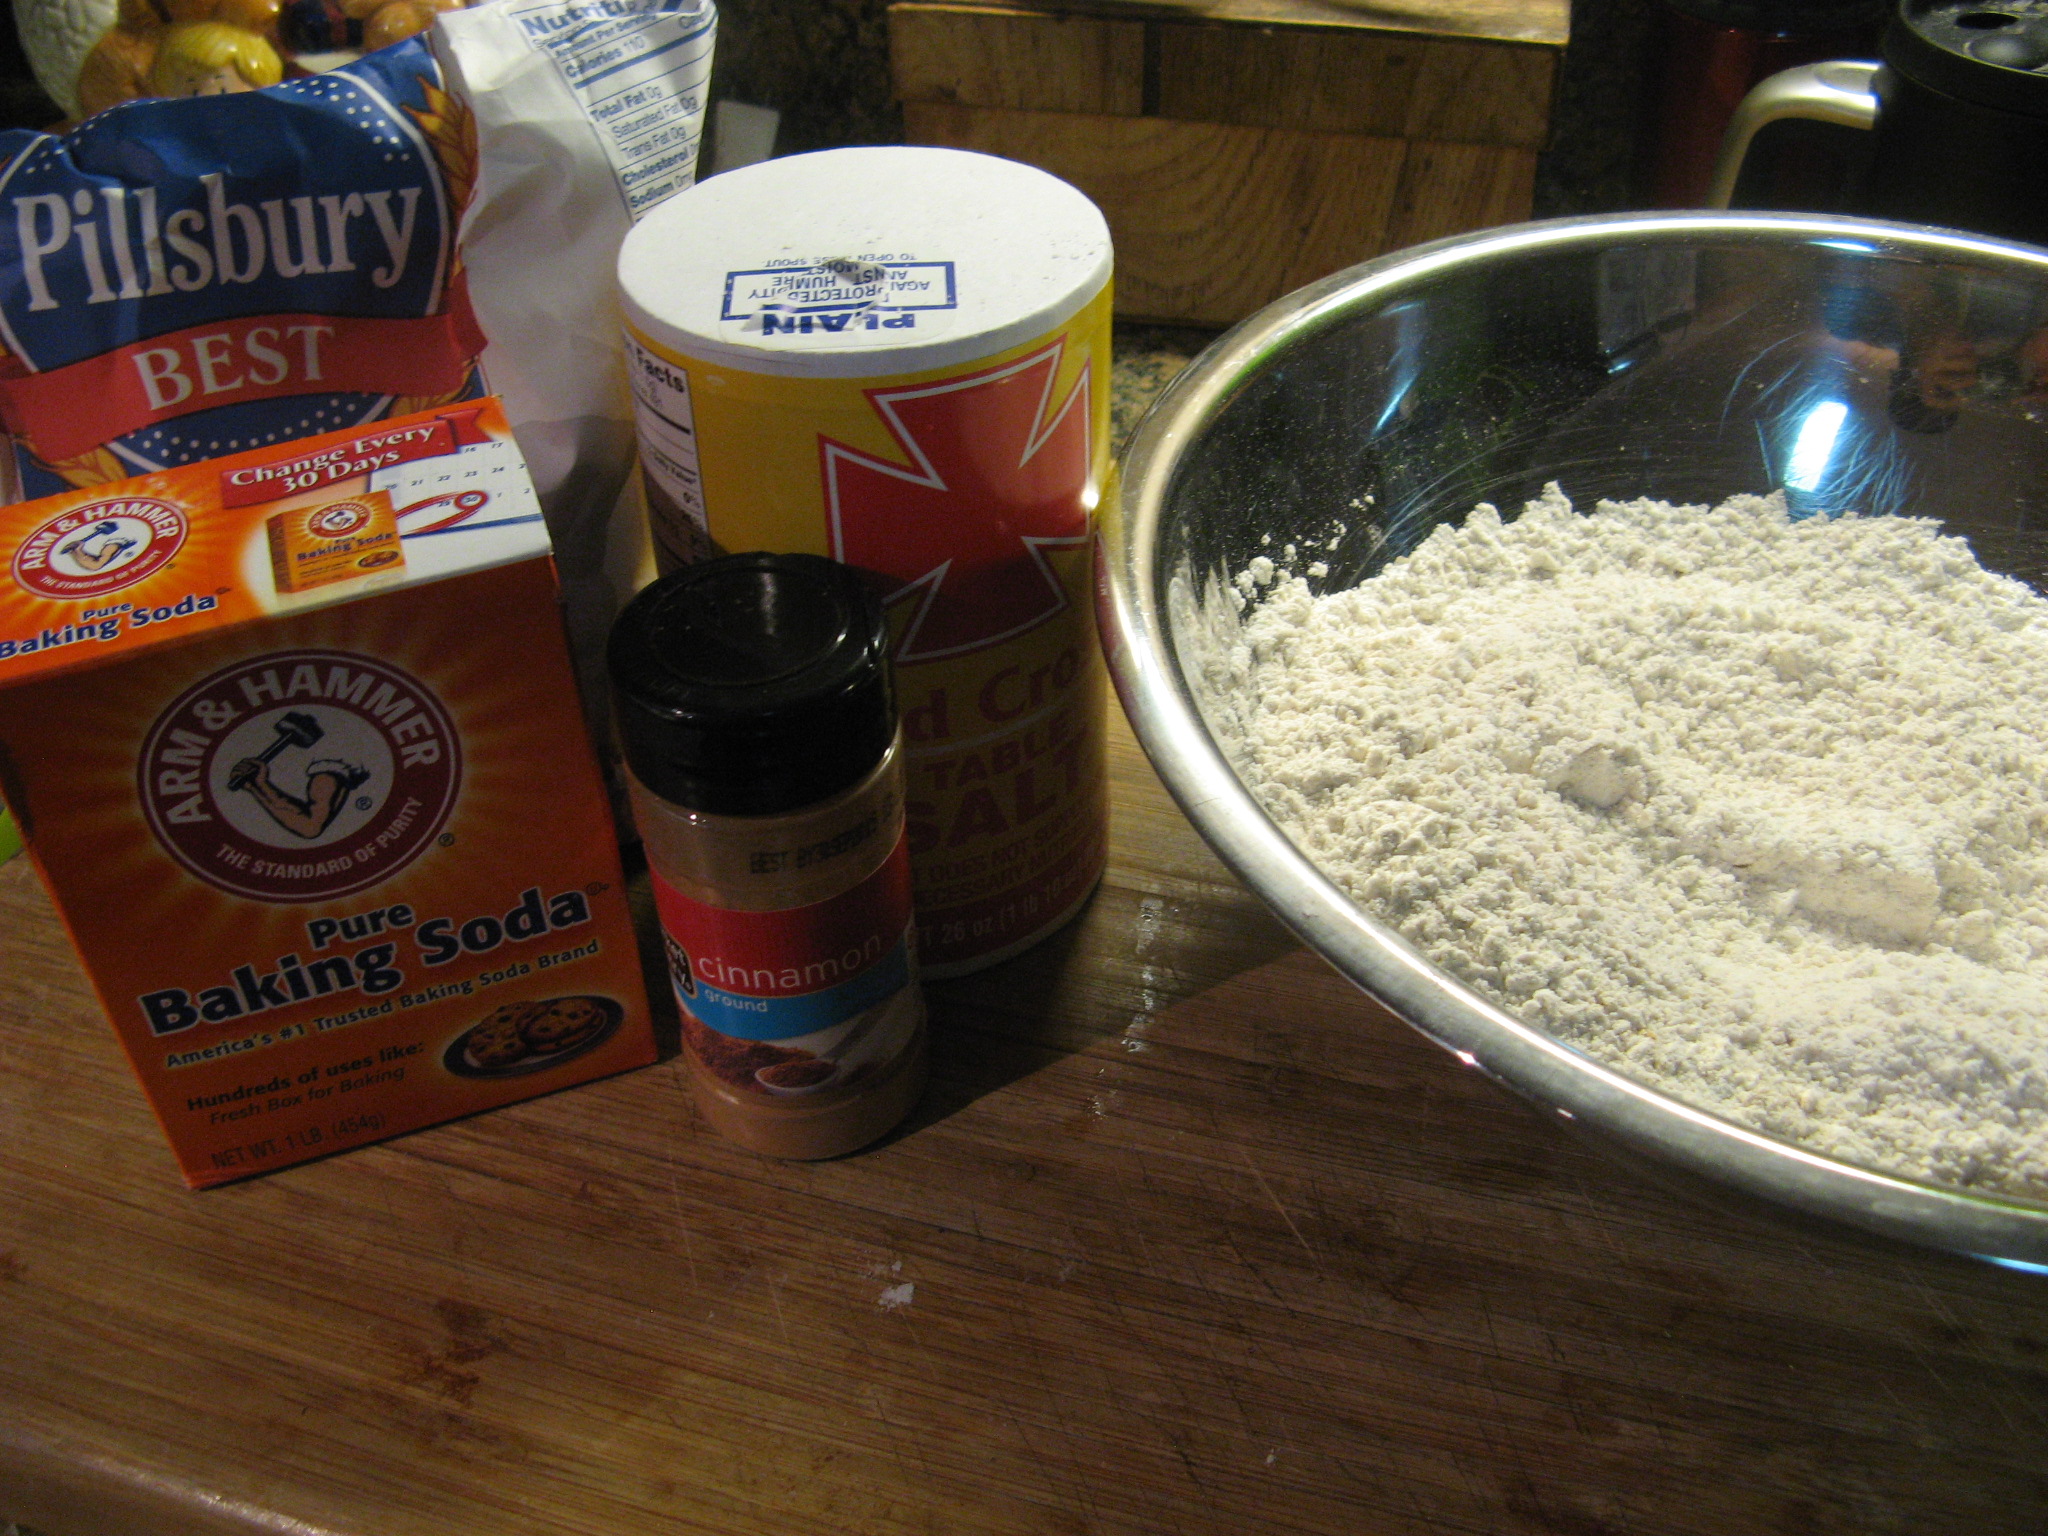
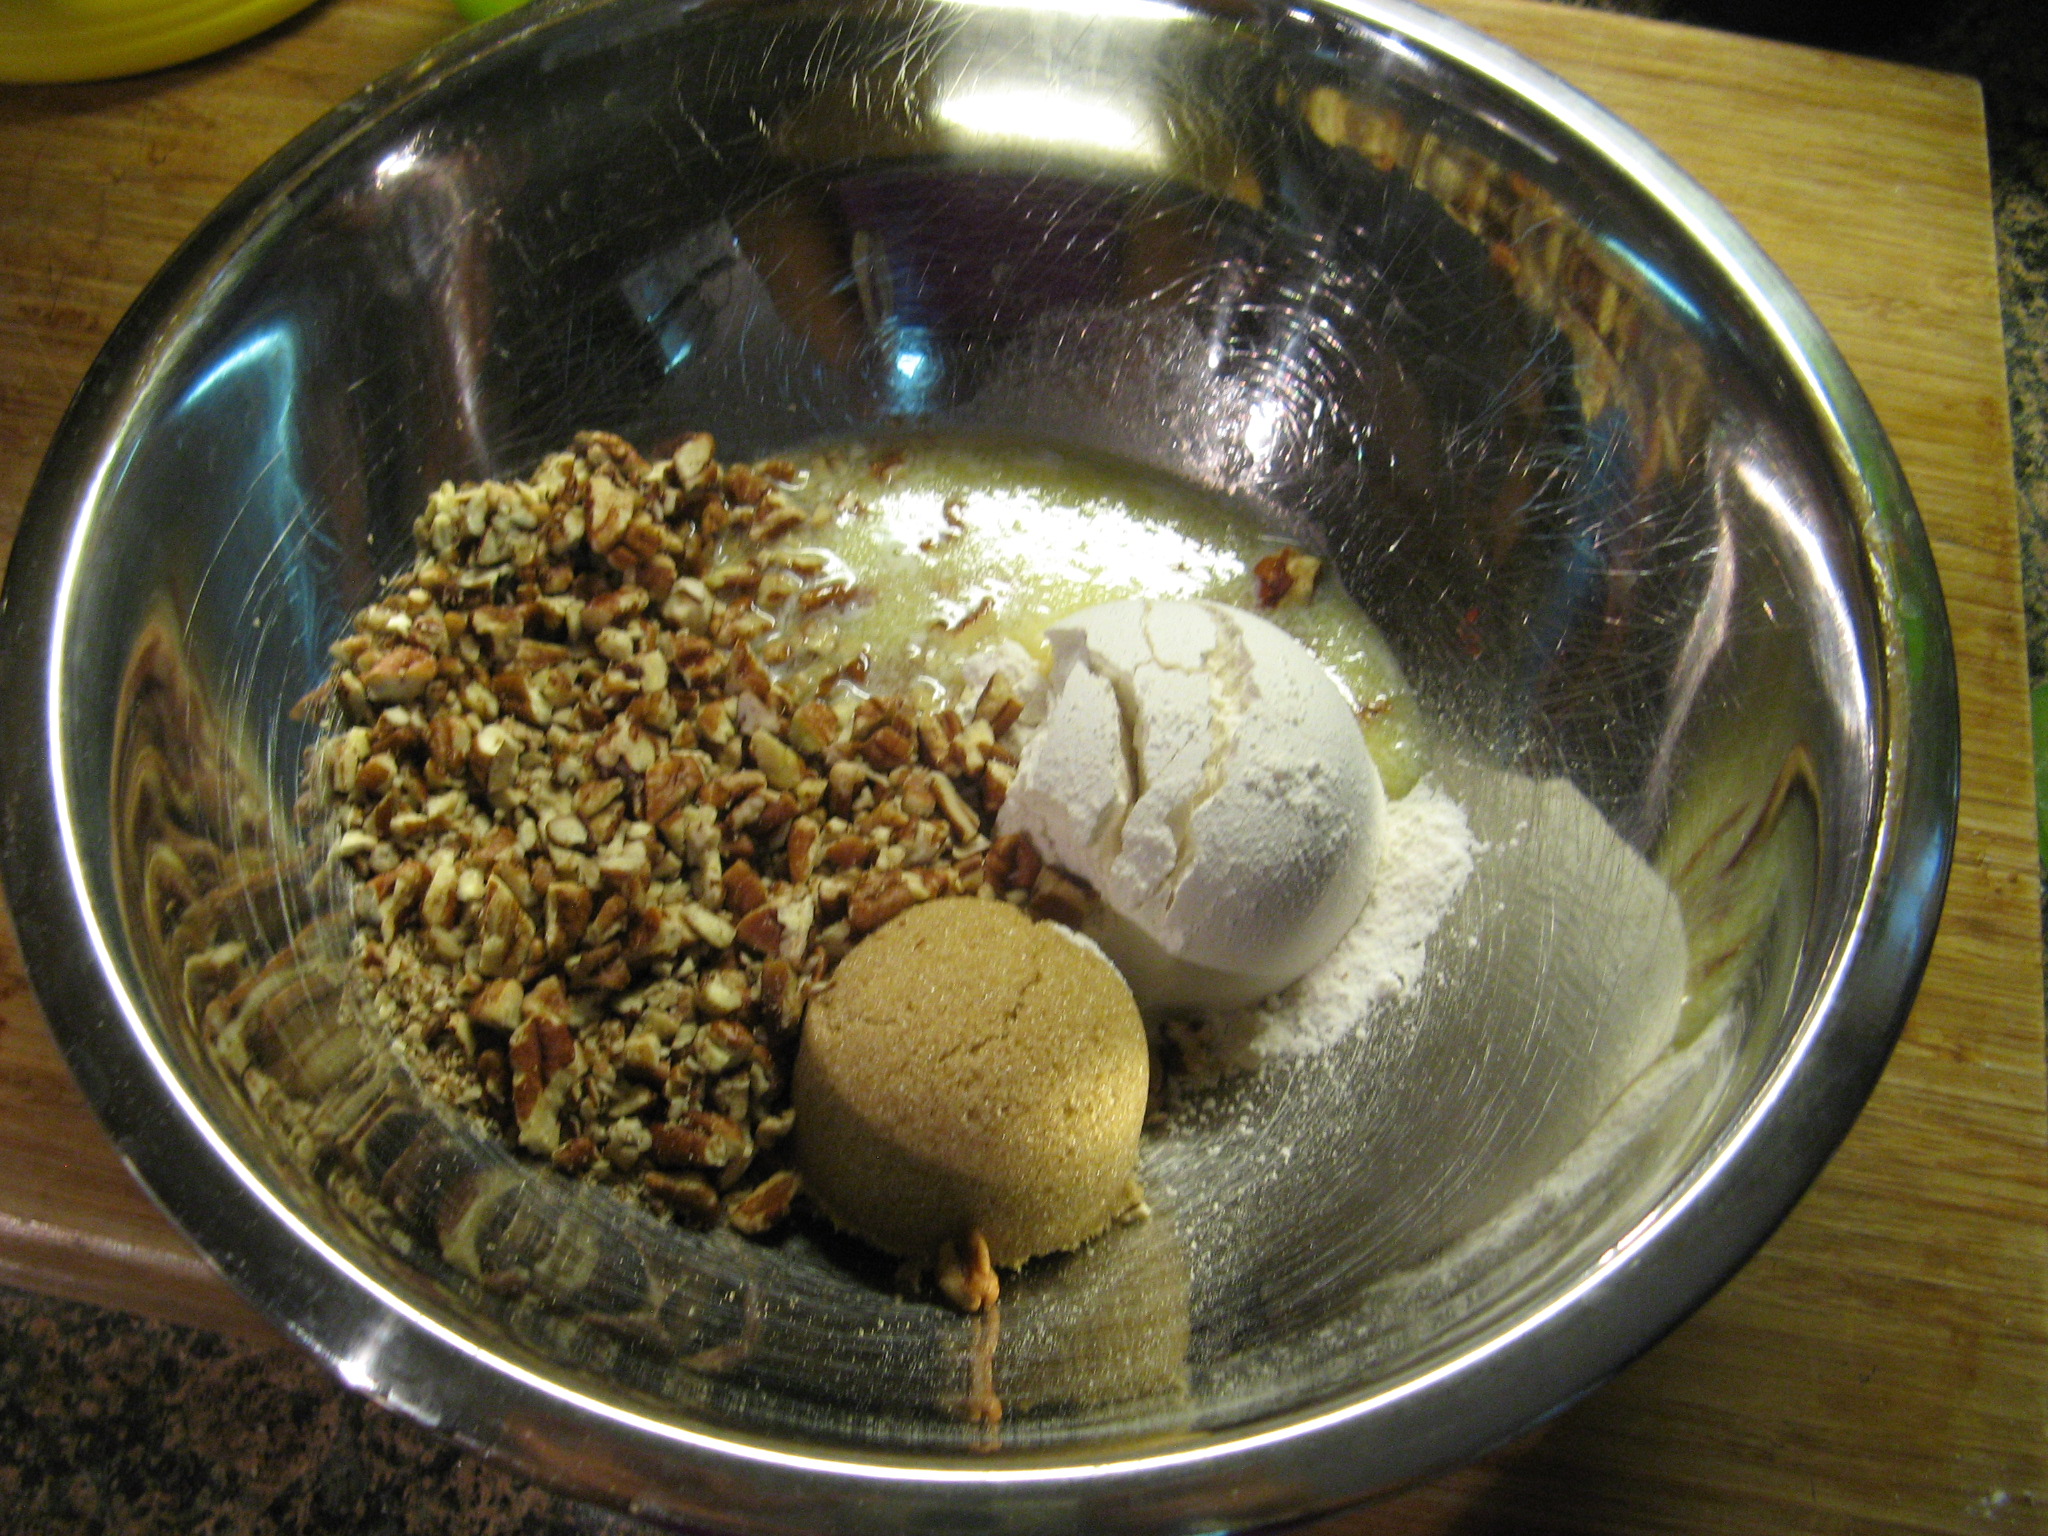
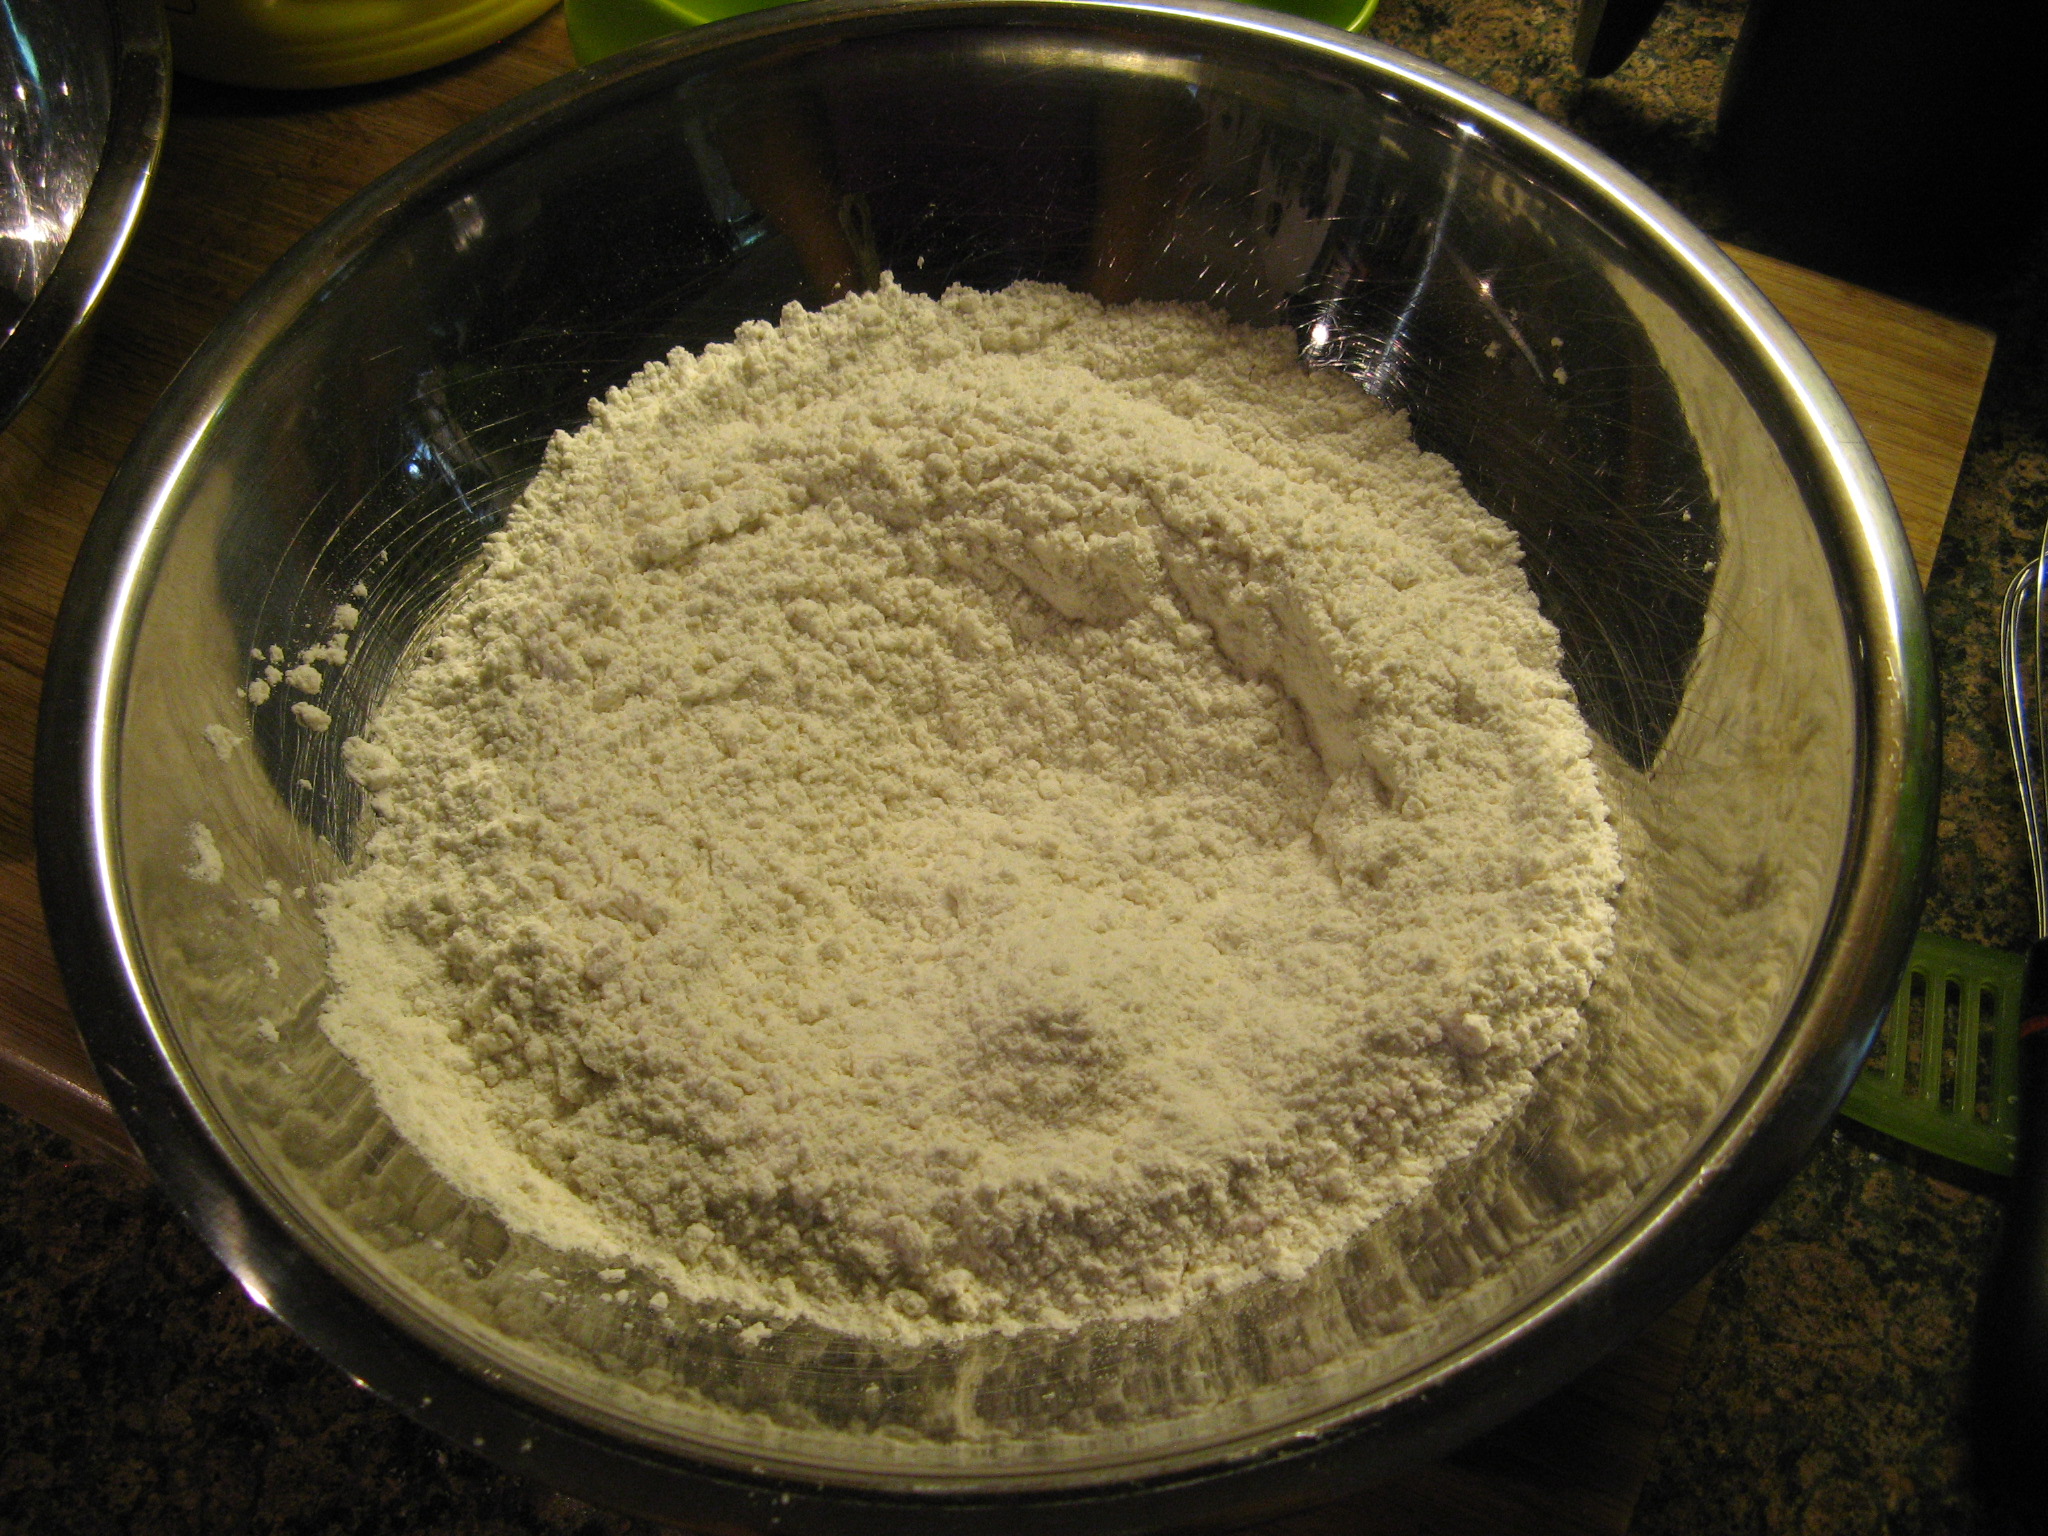
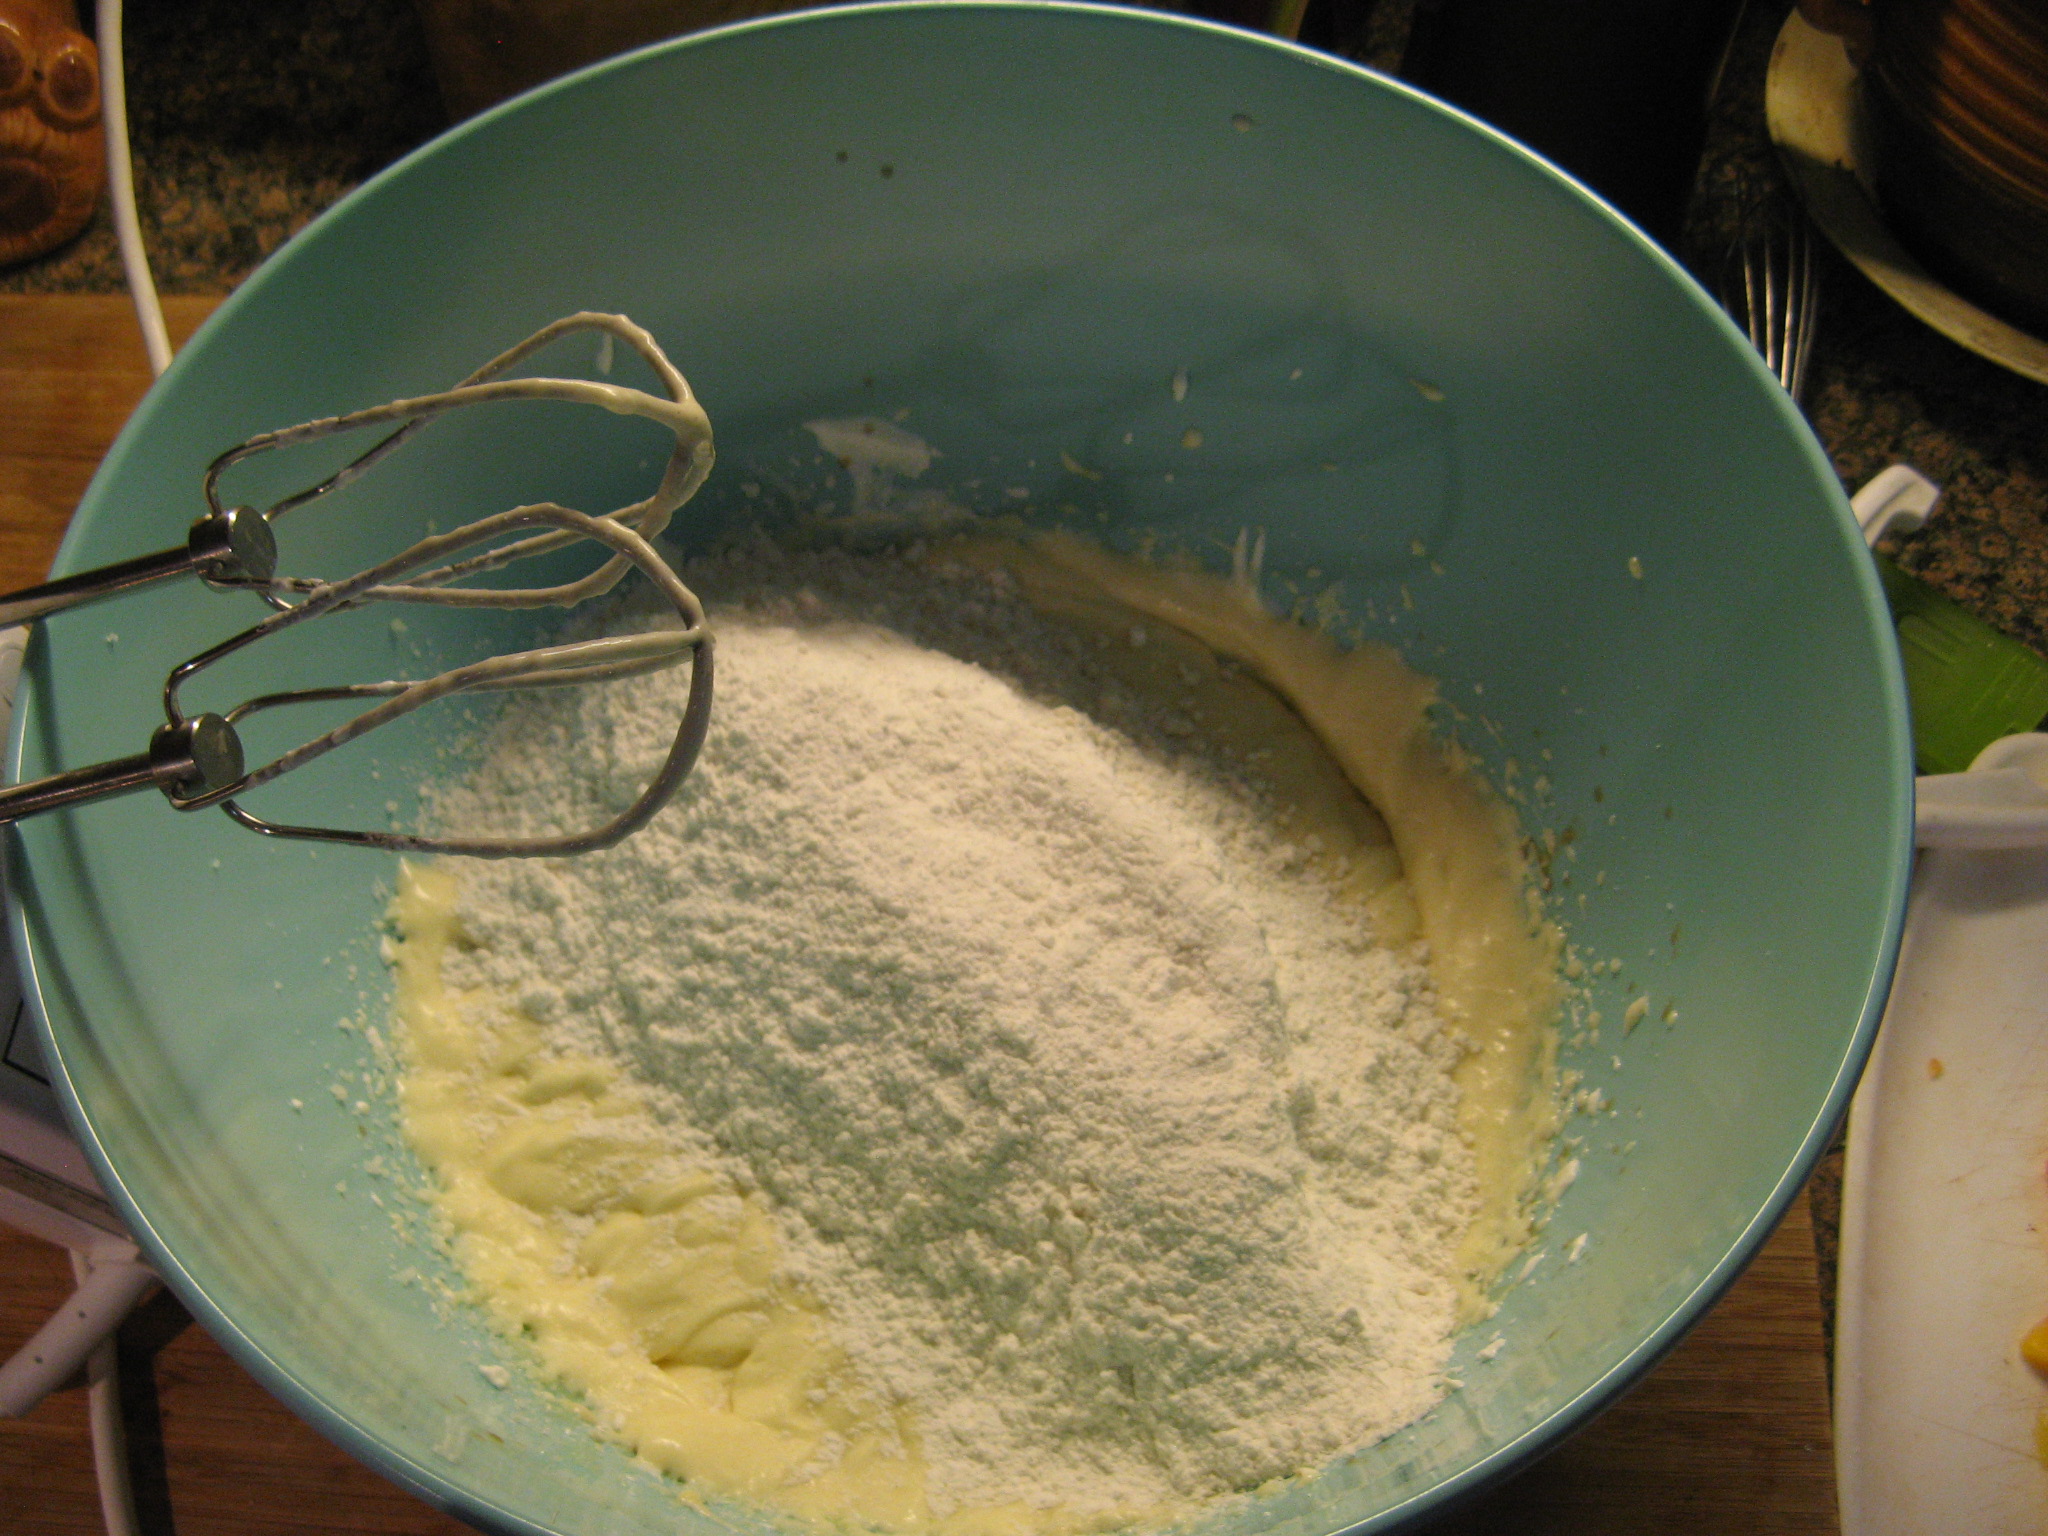
I started the batter by combining the dry ingredients and setting it aside.

IMG_1313

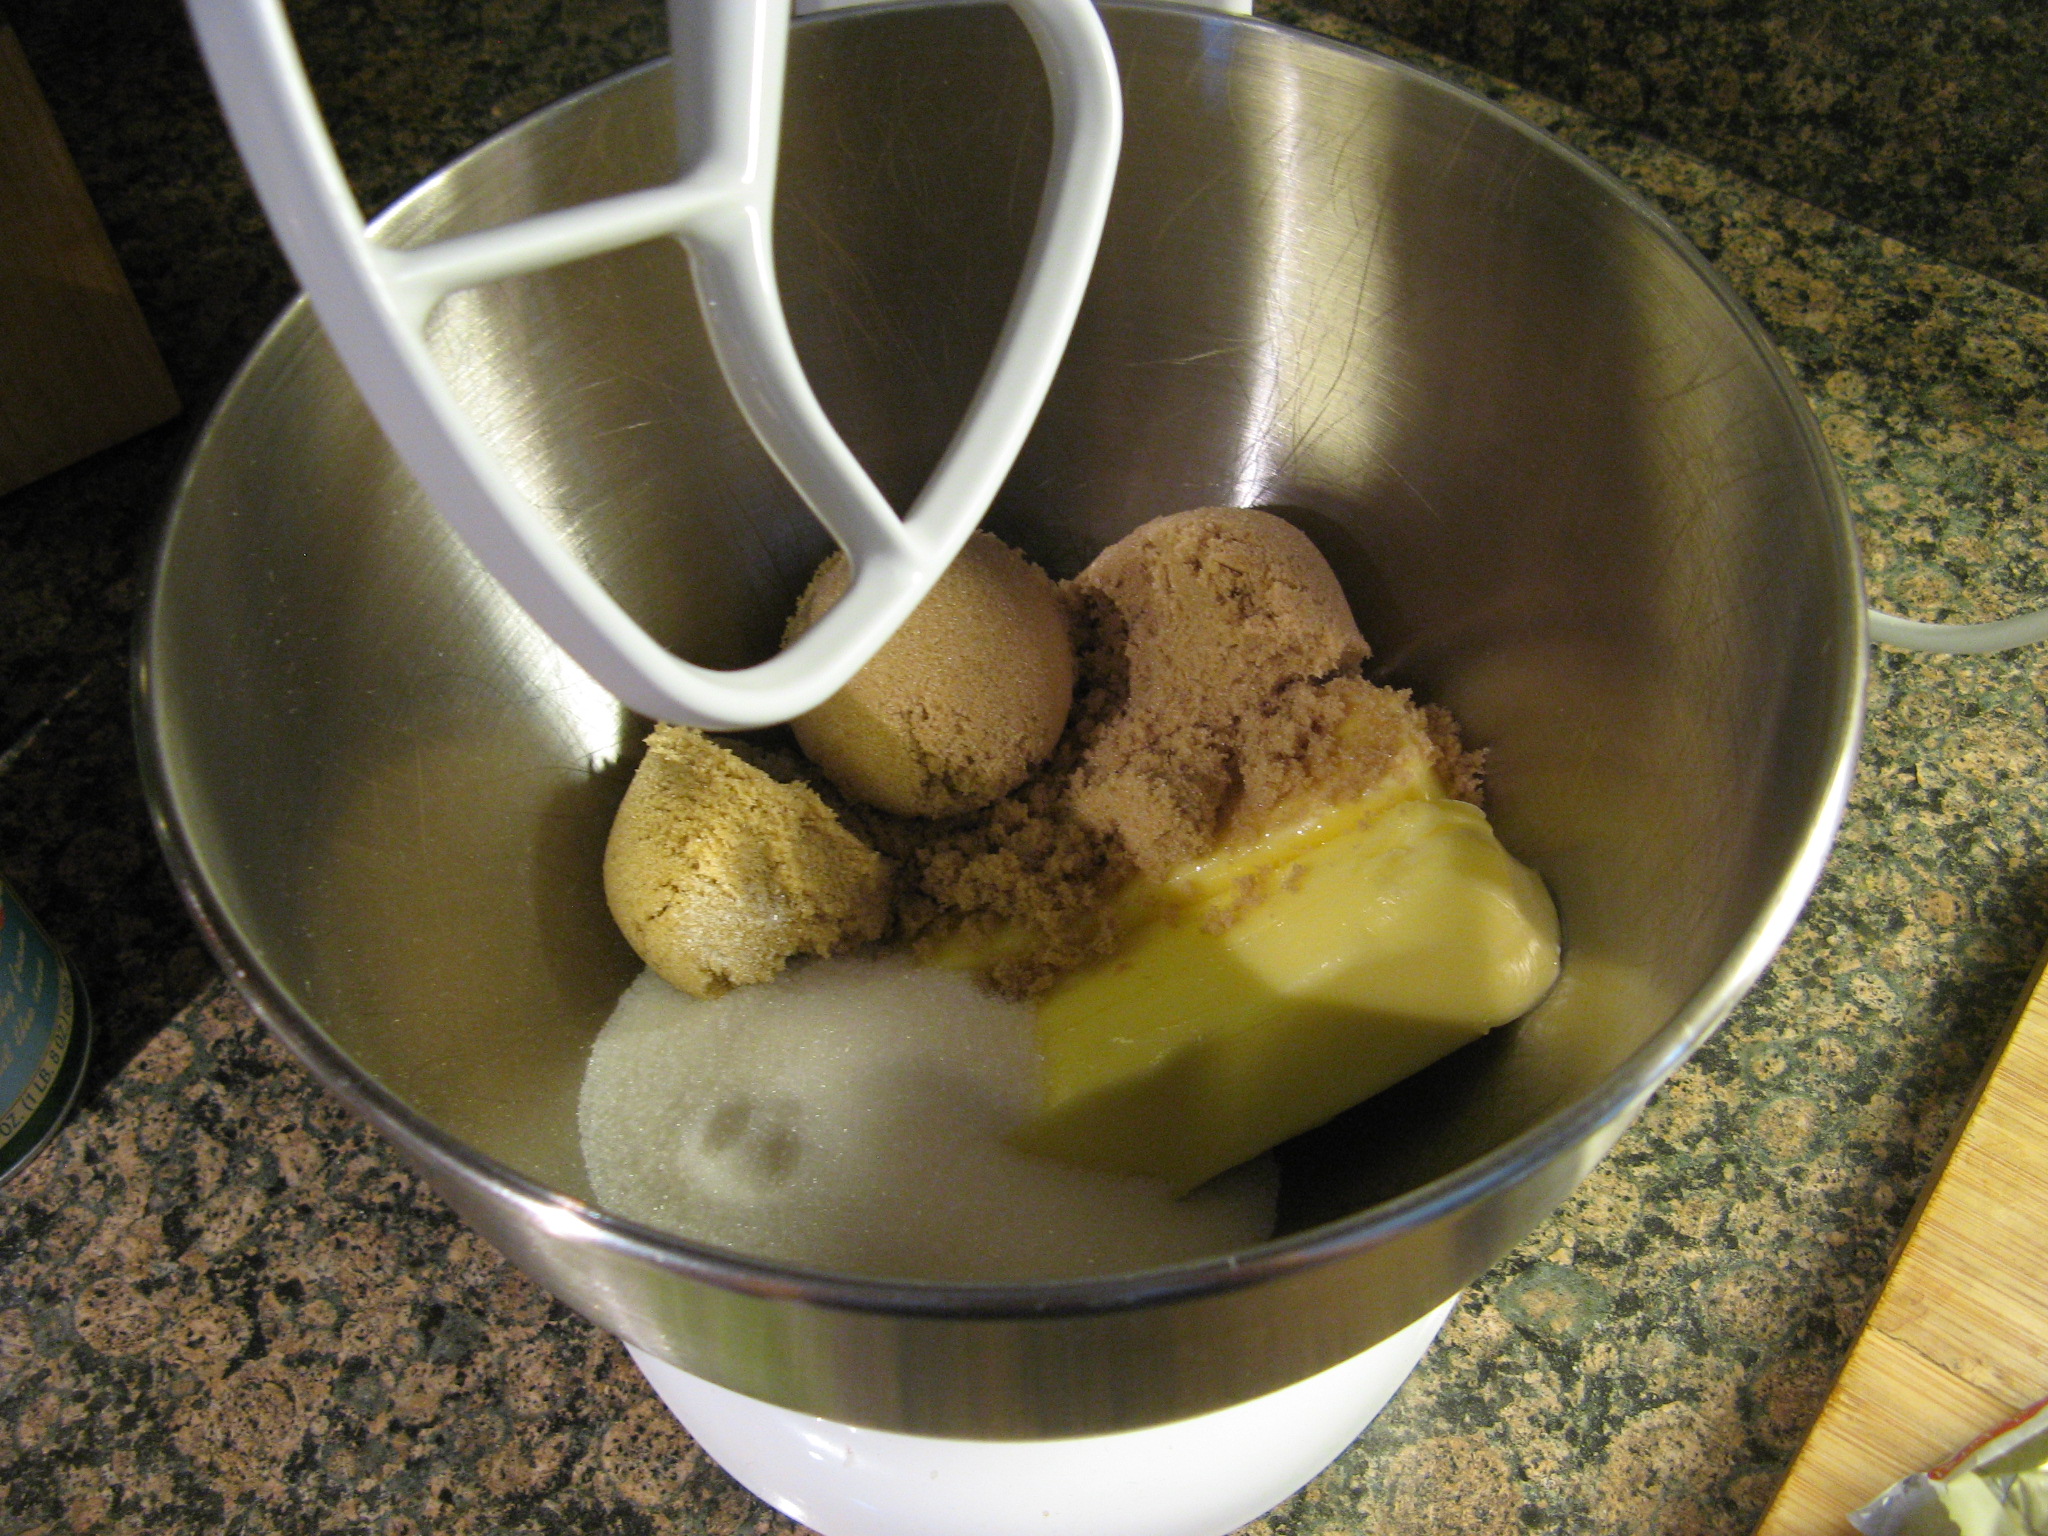
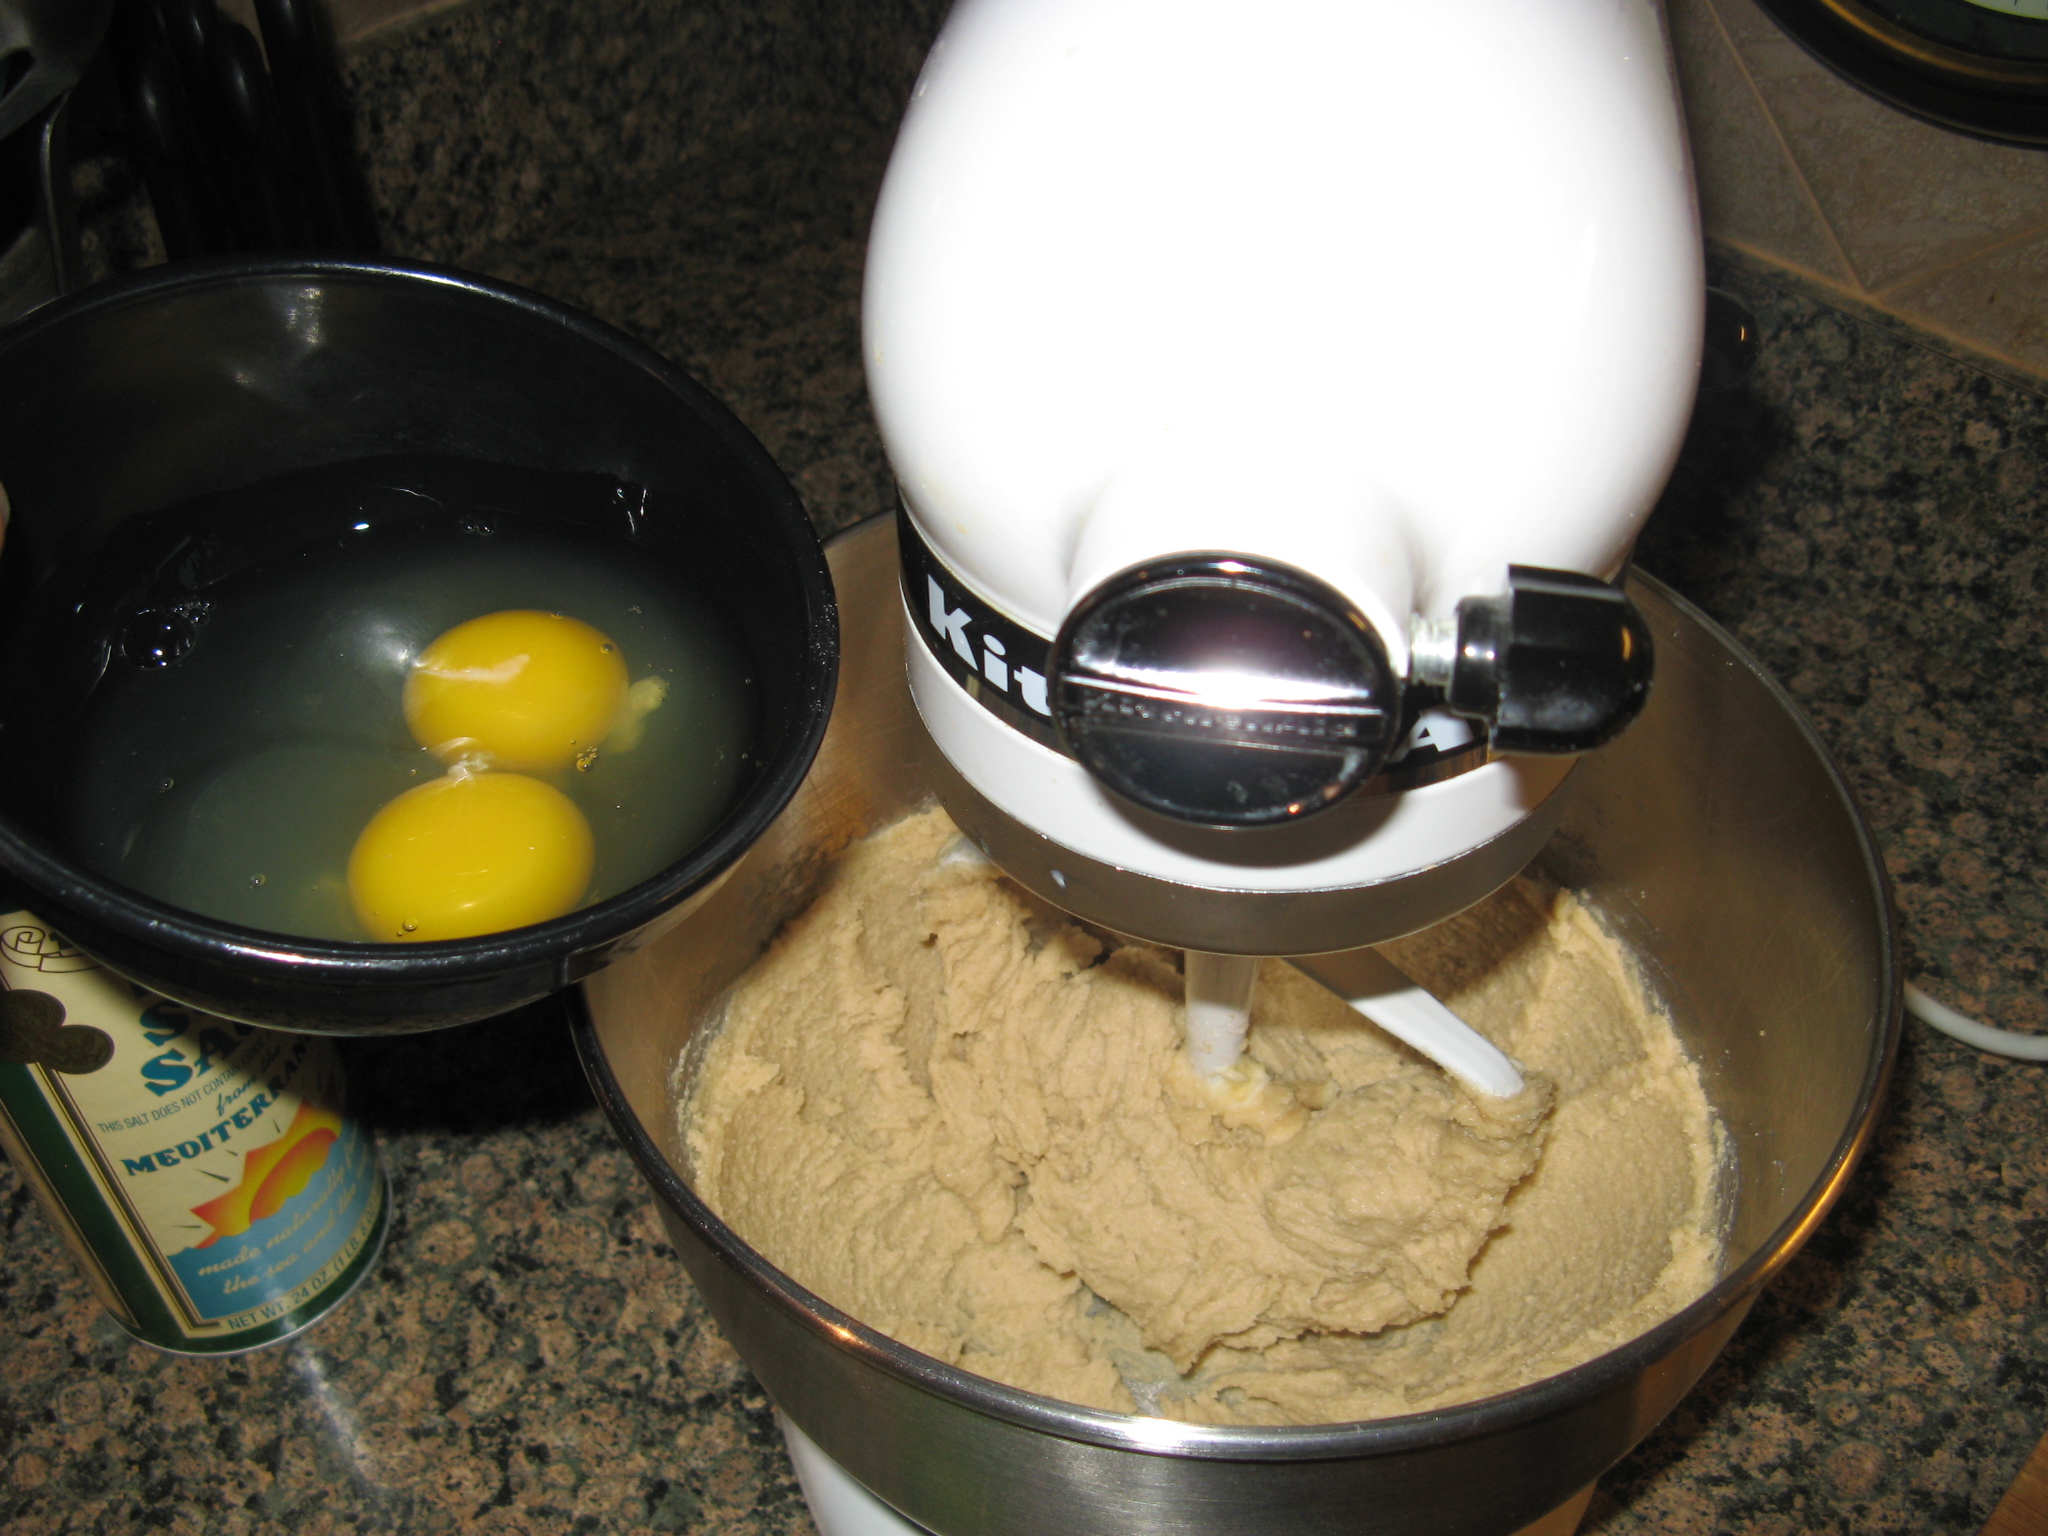
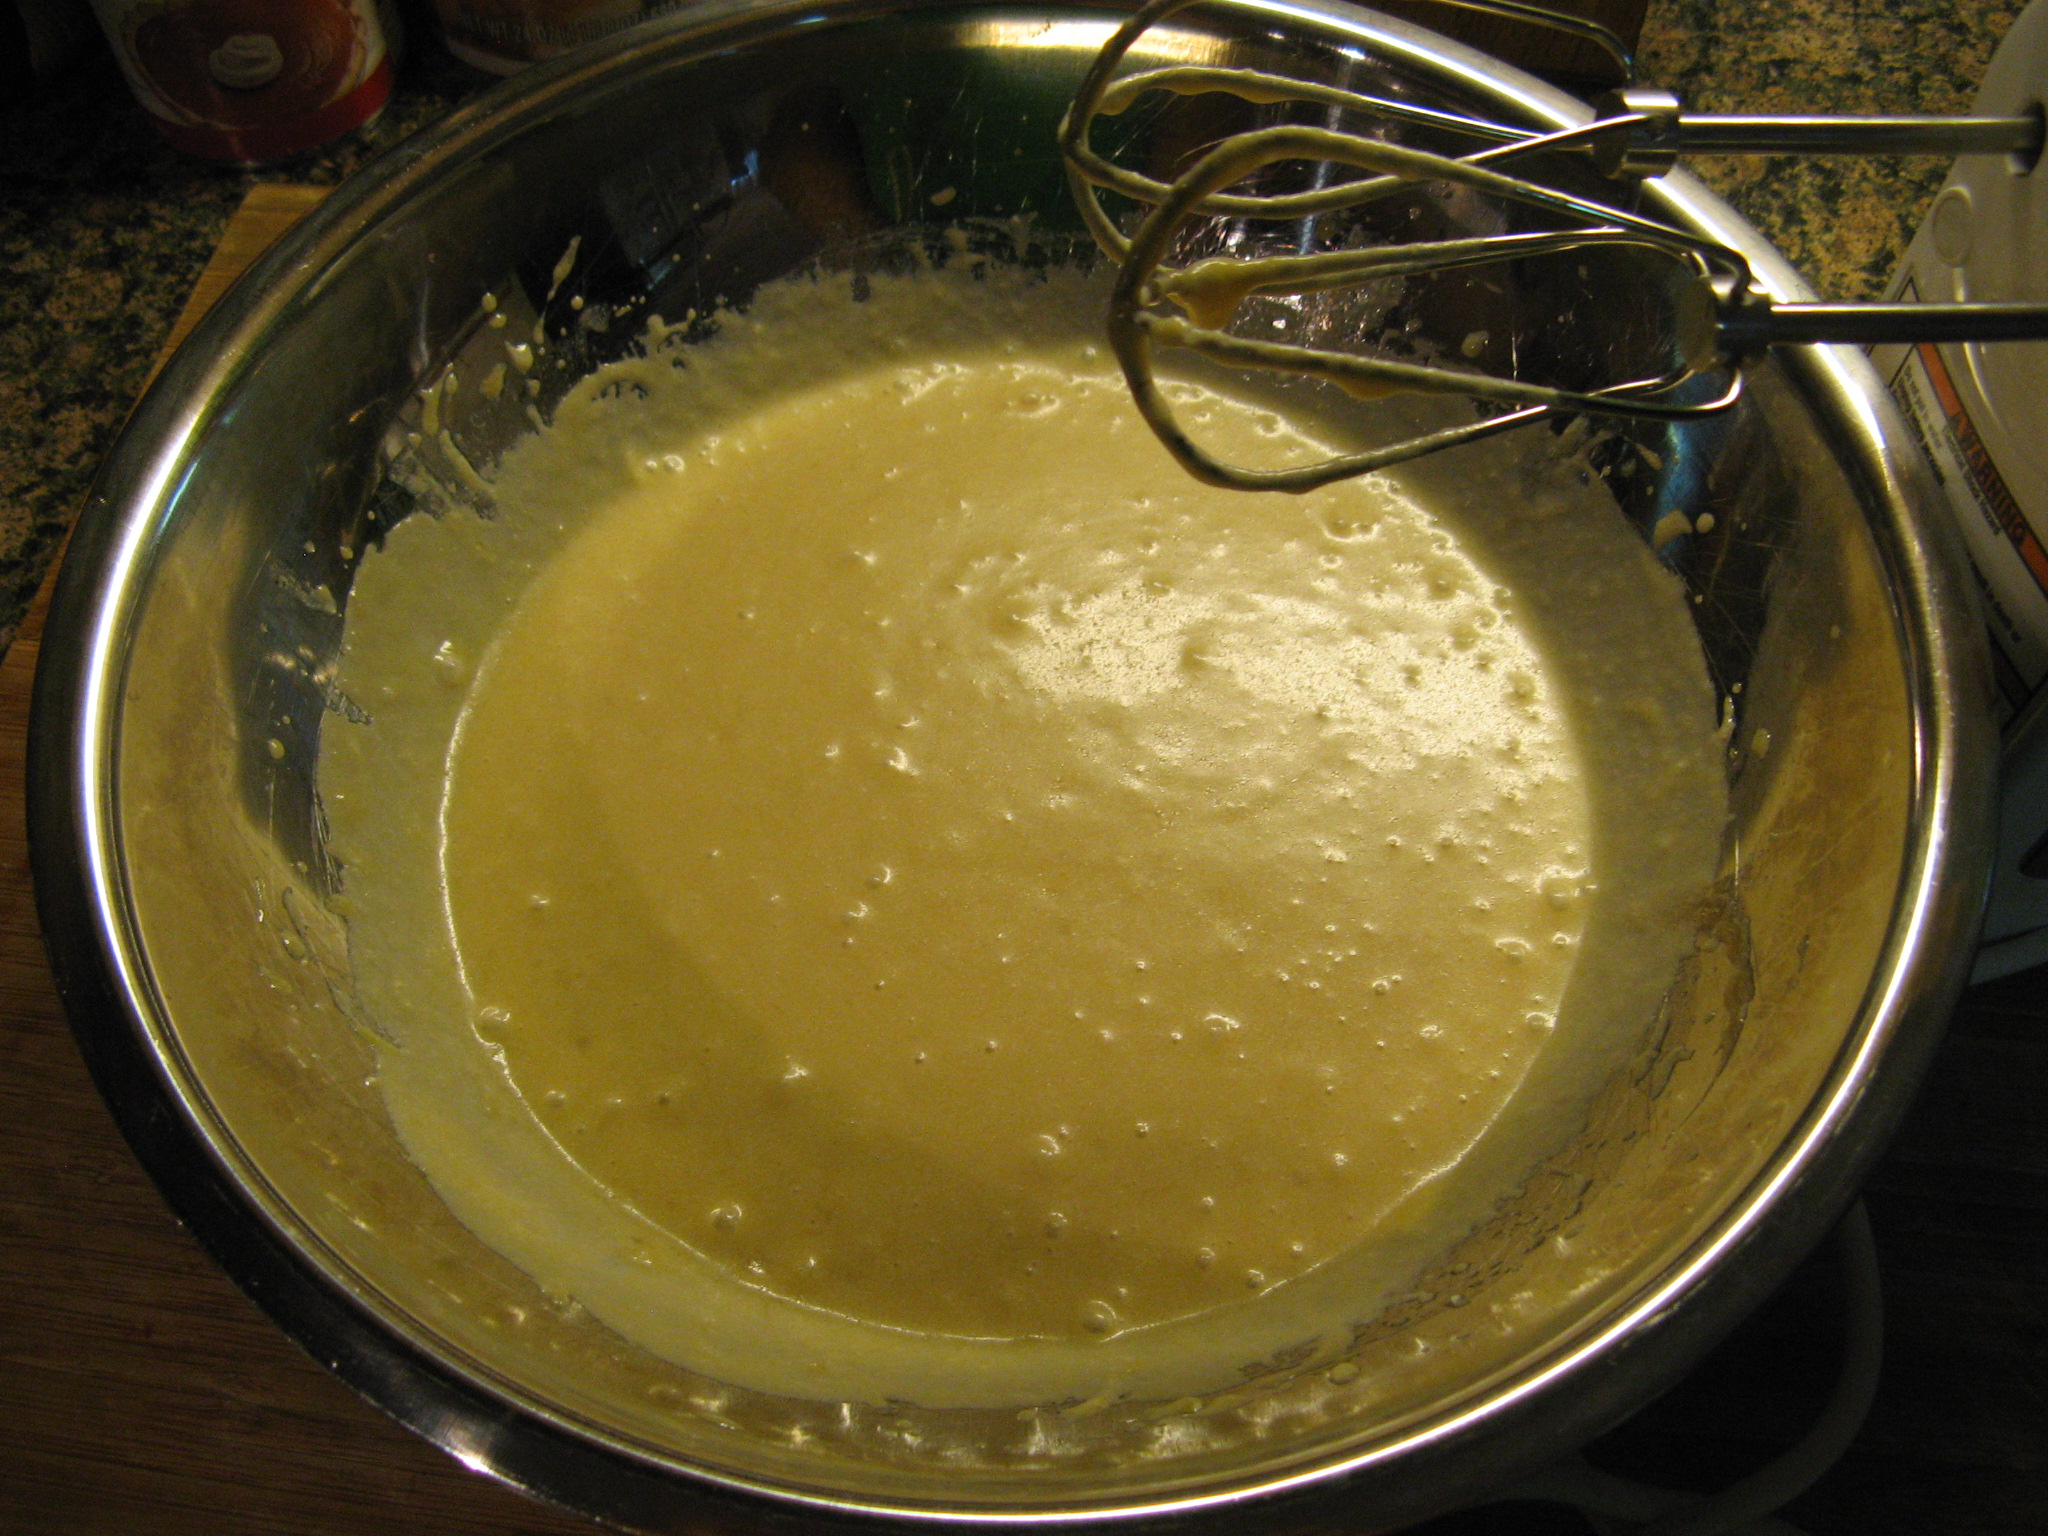
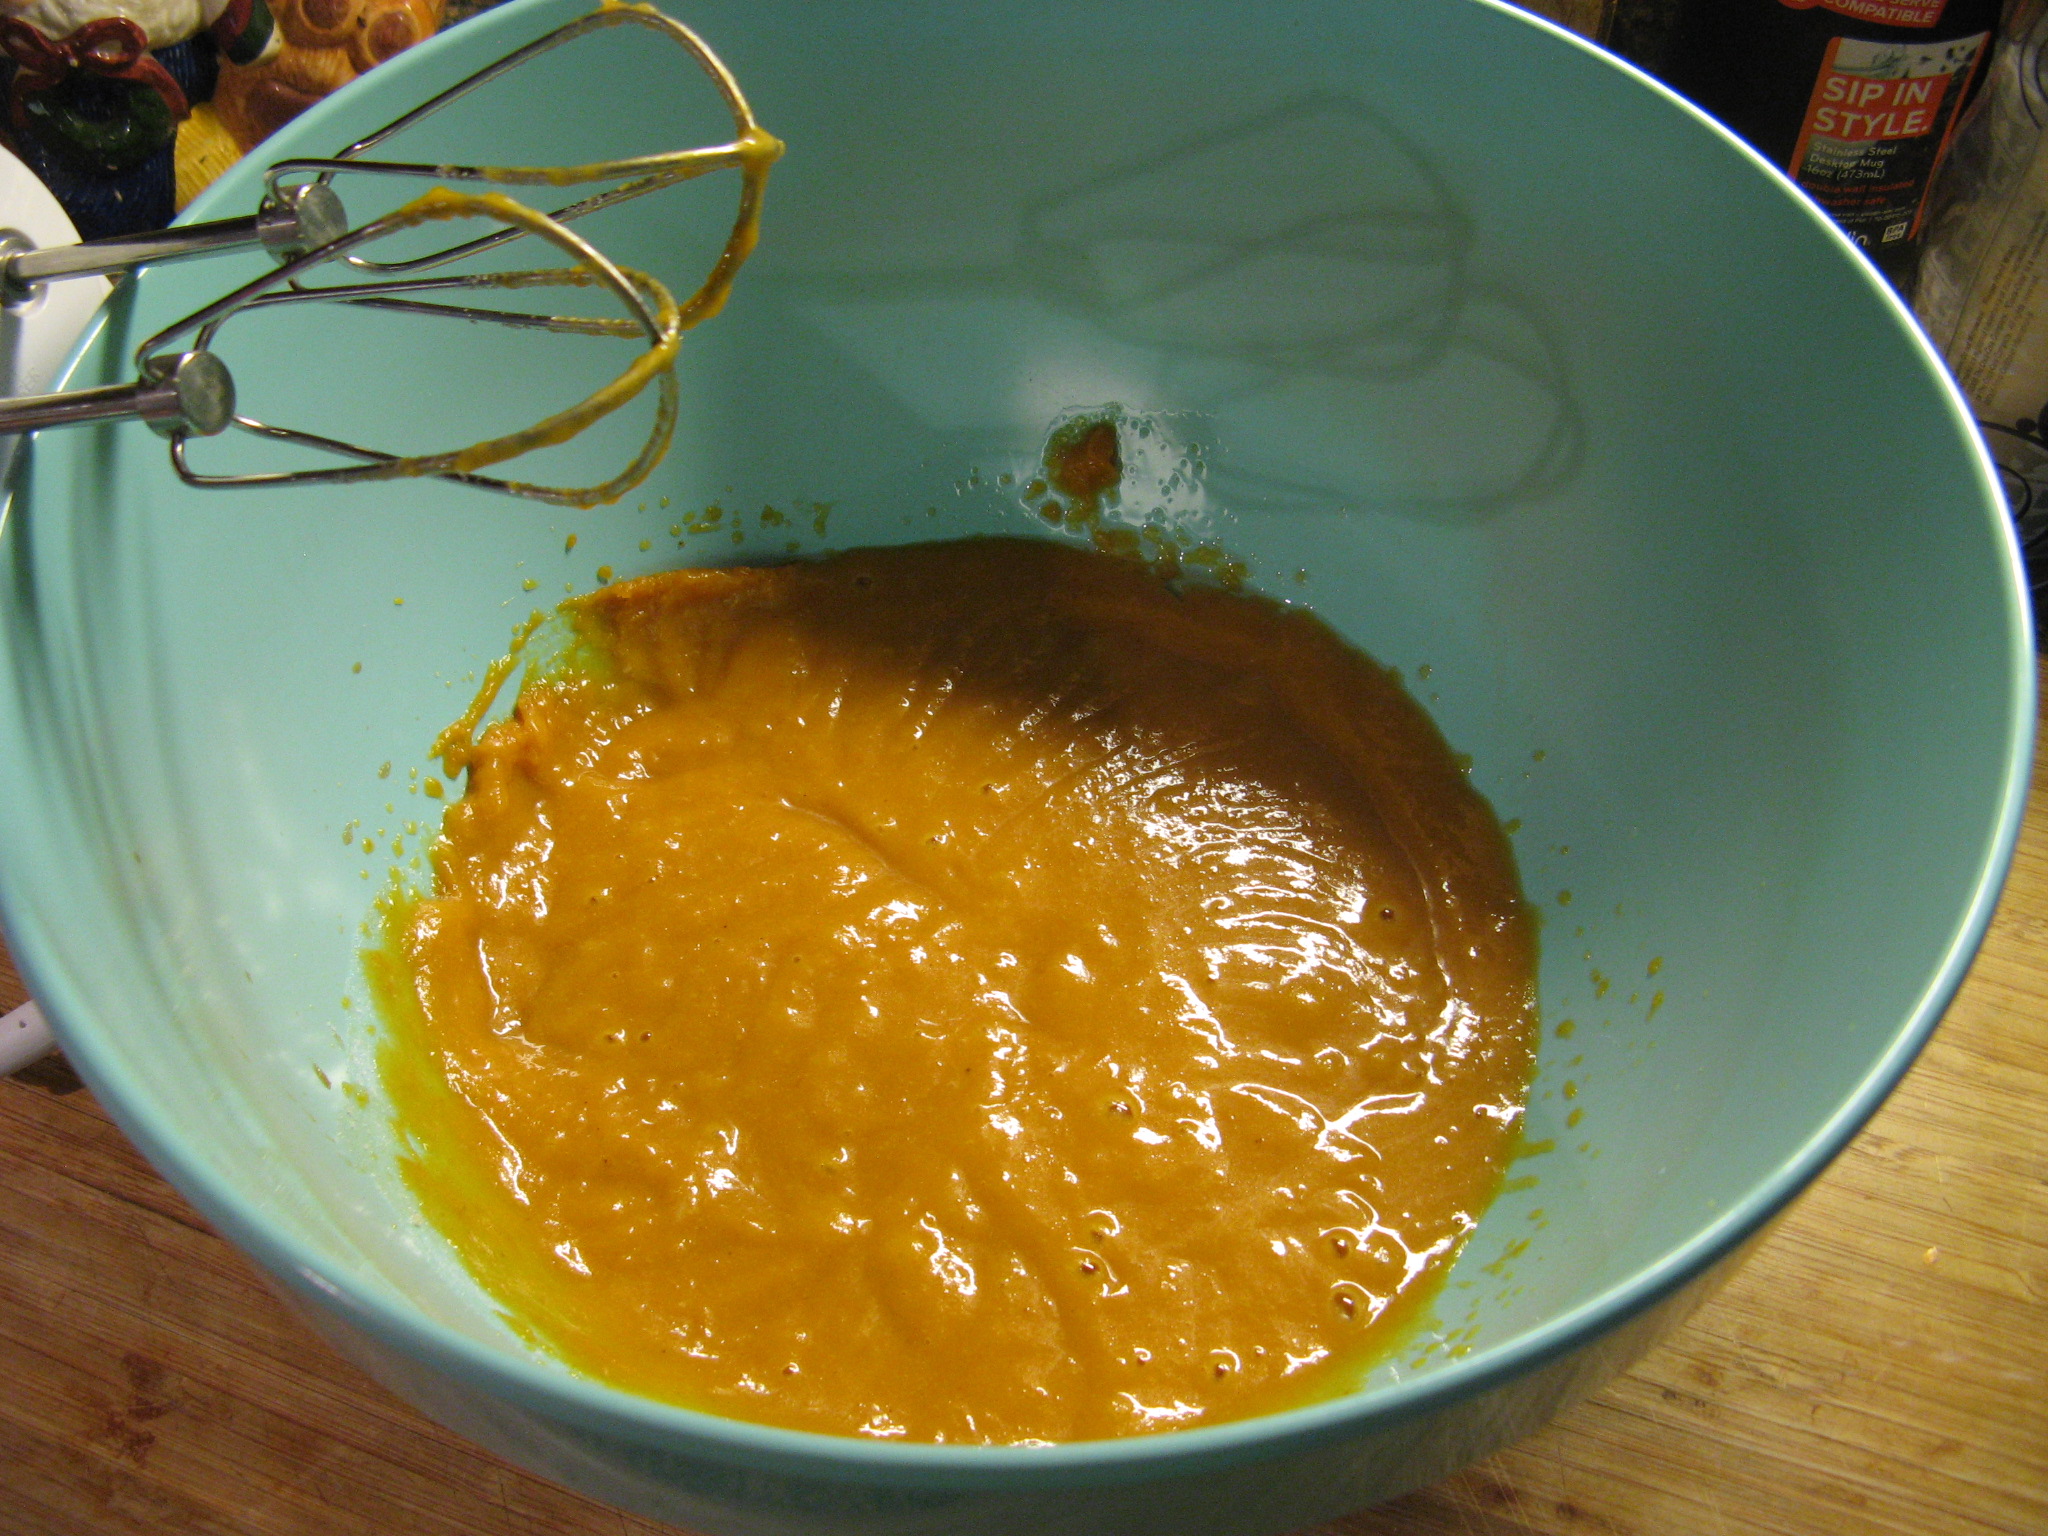
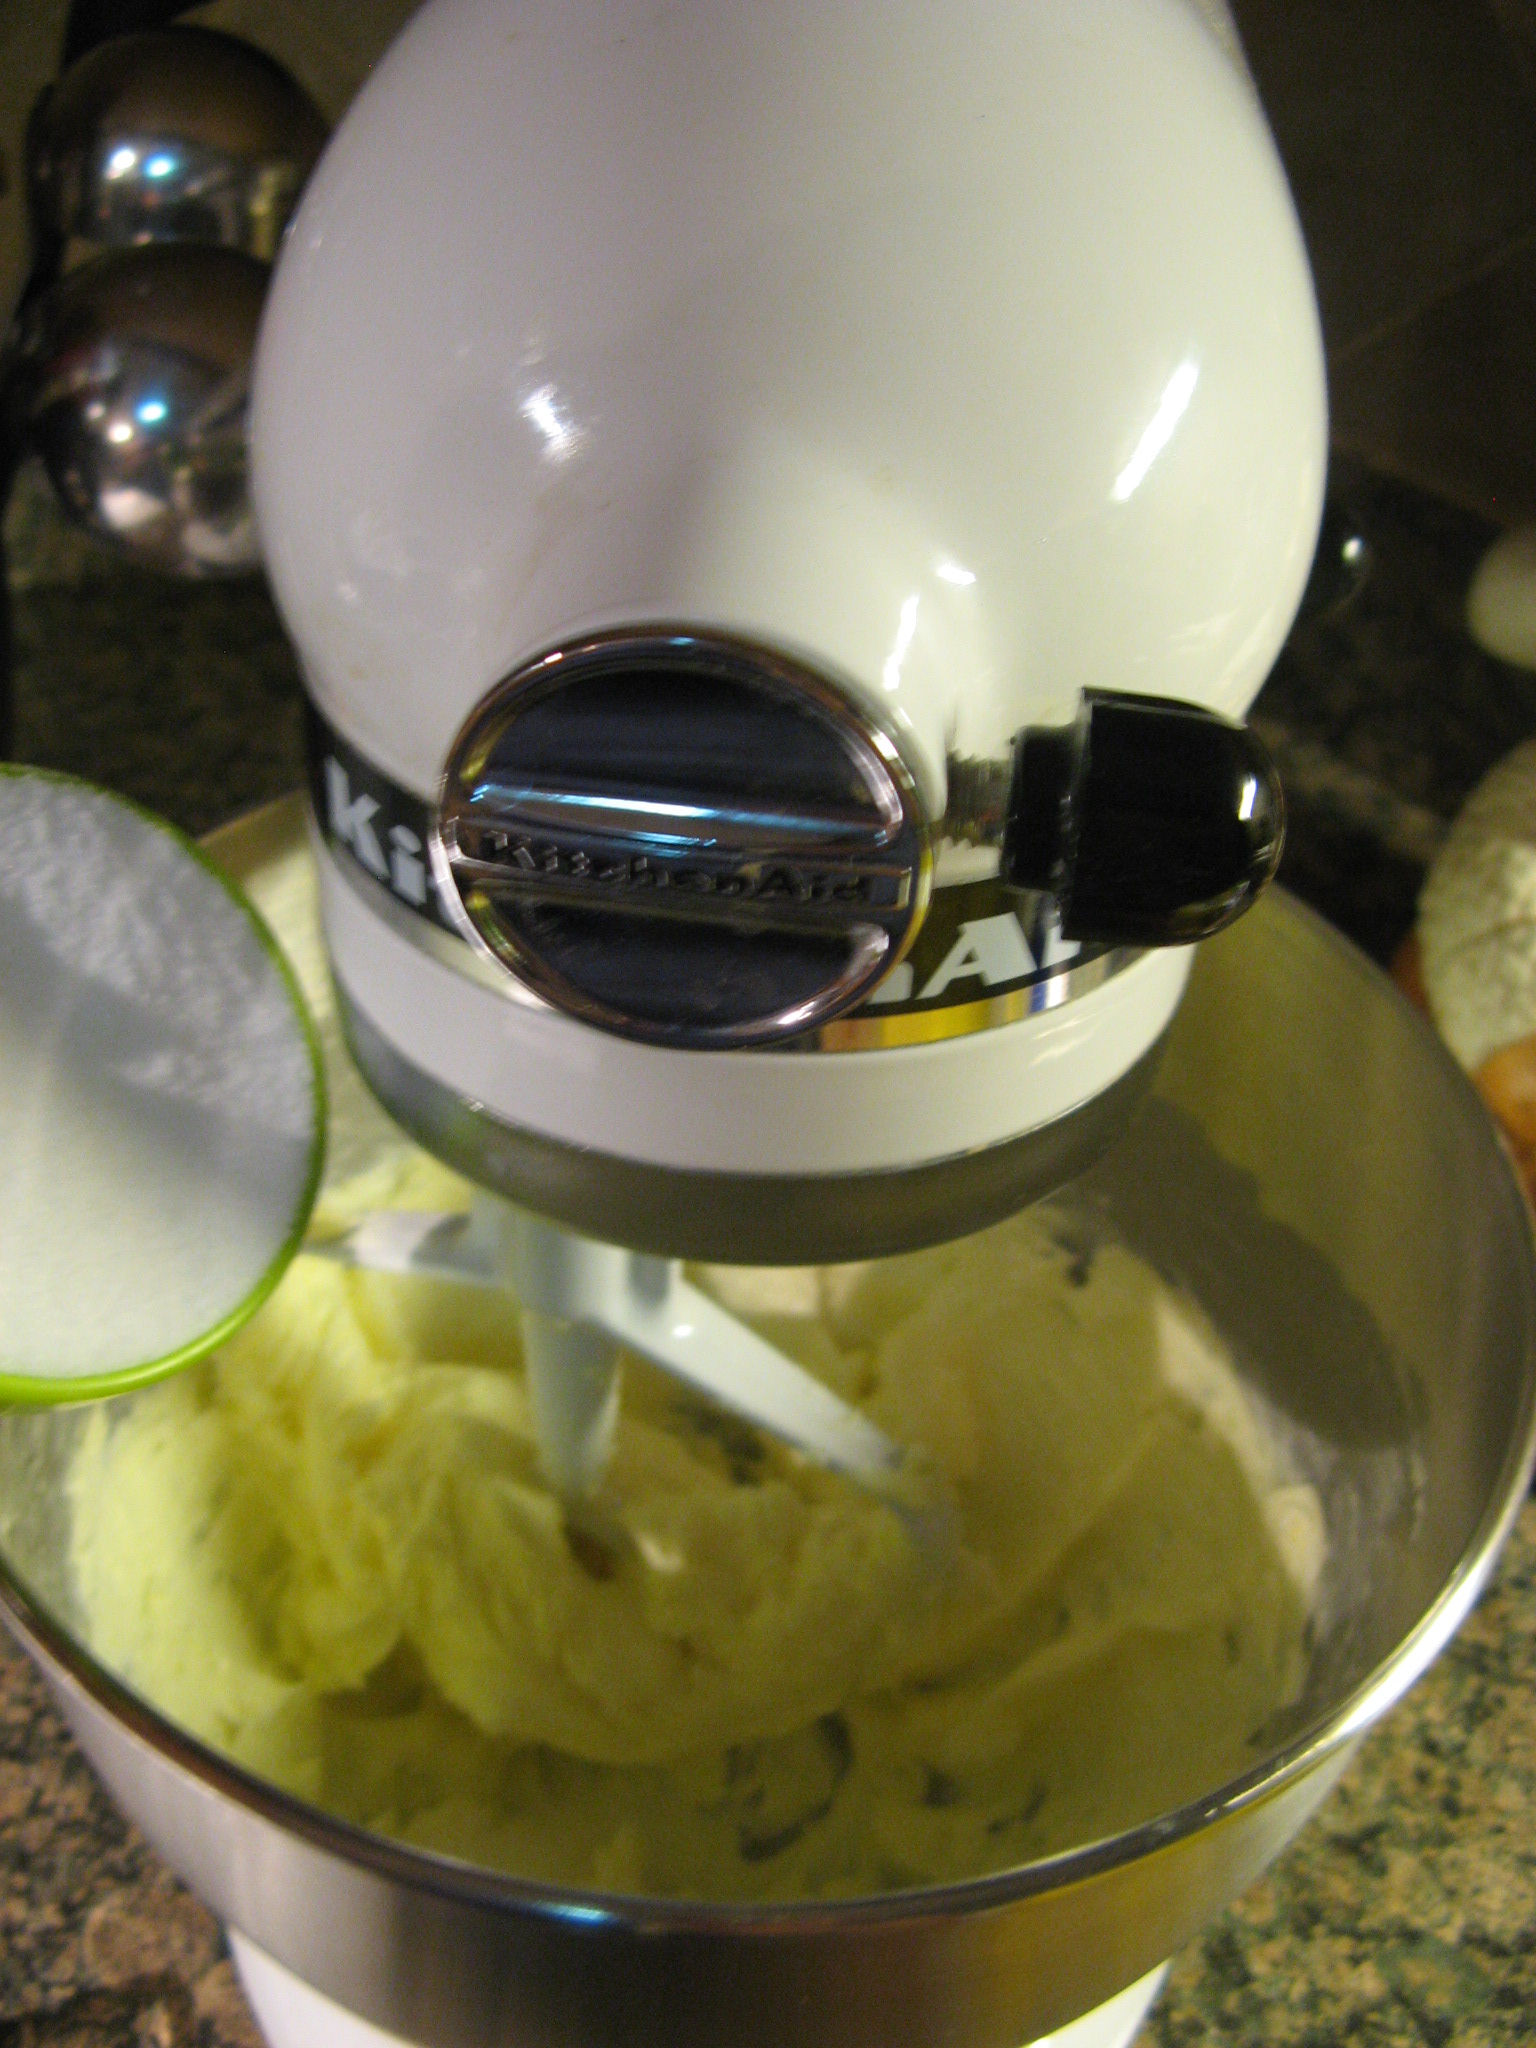
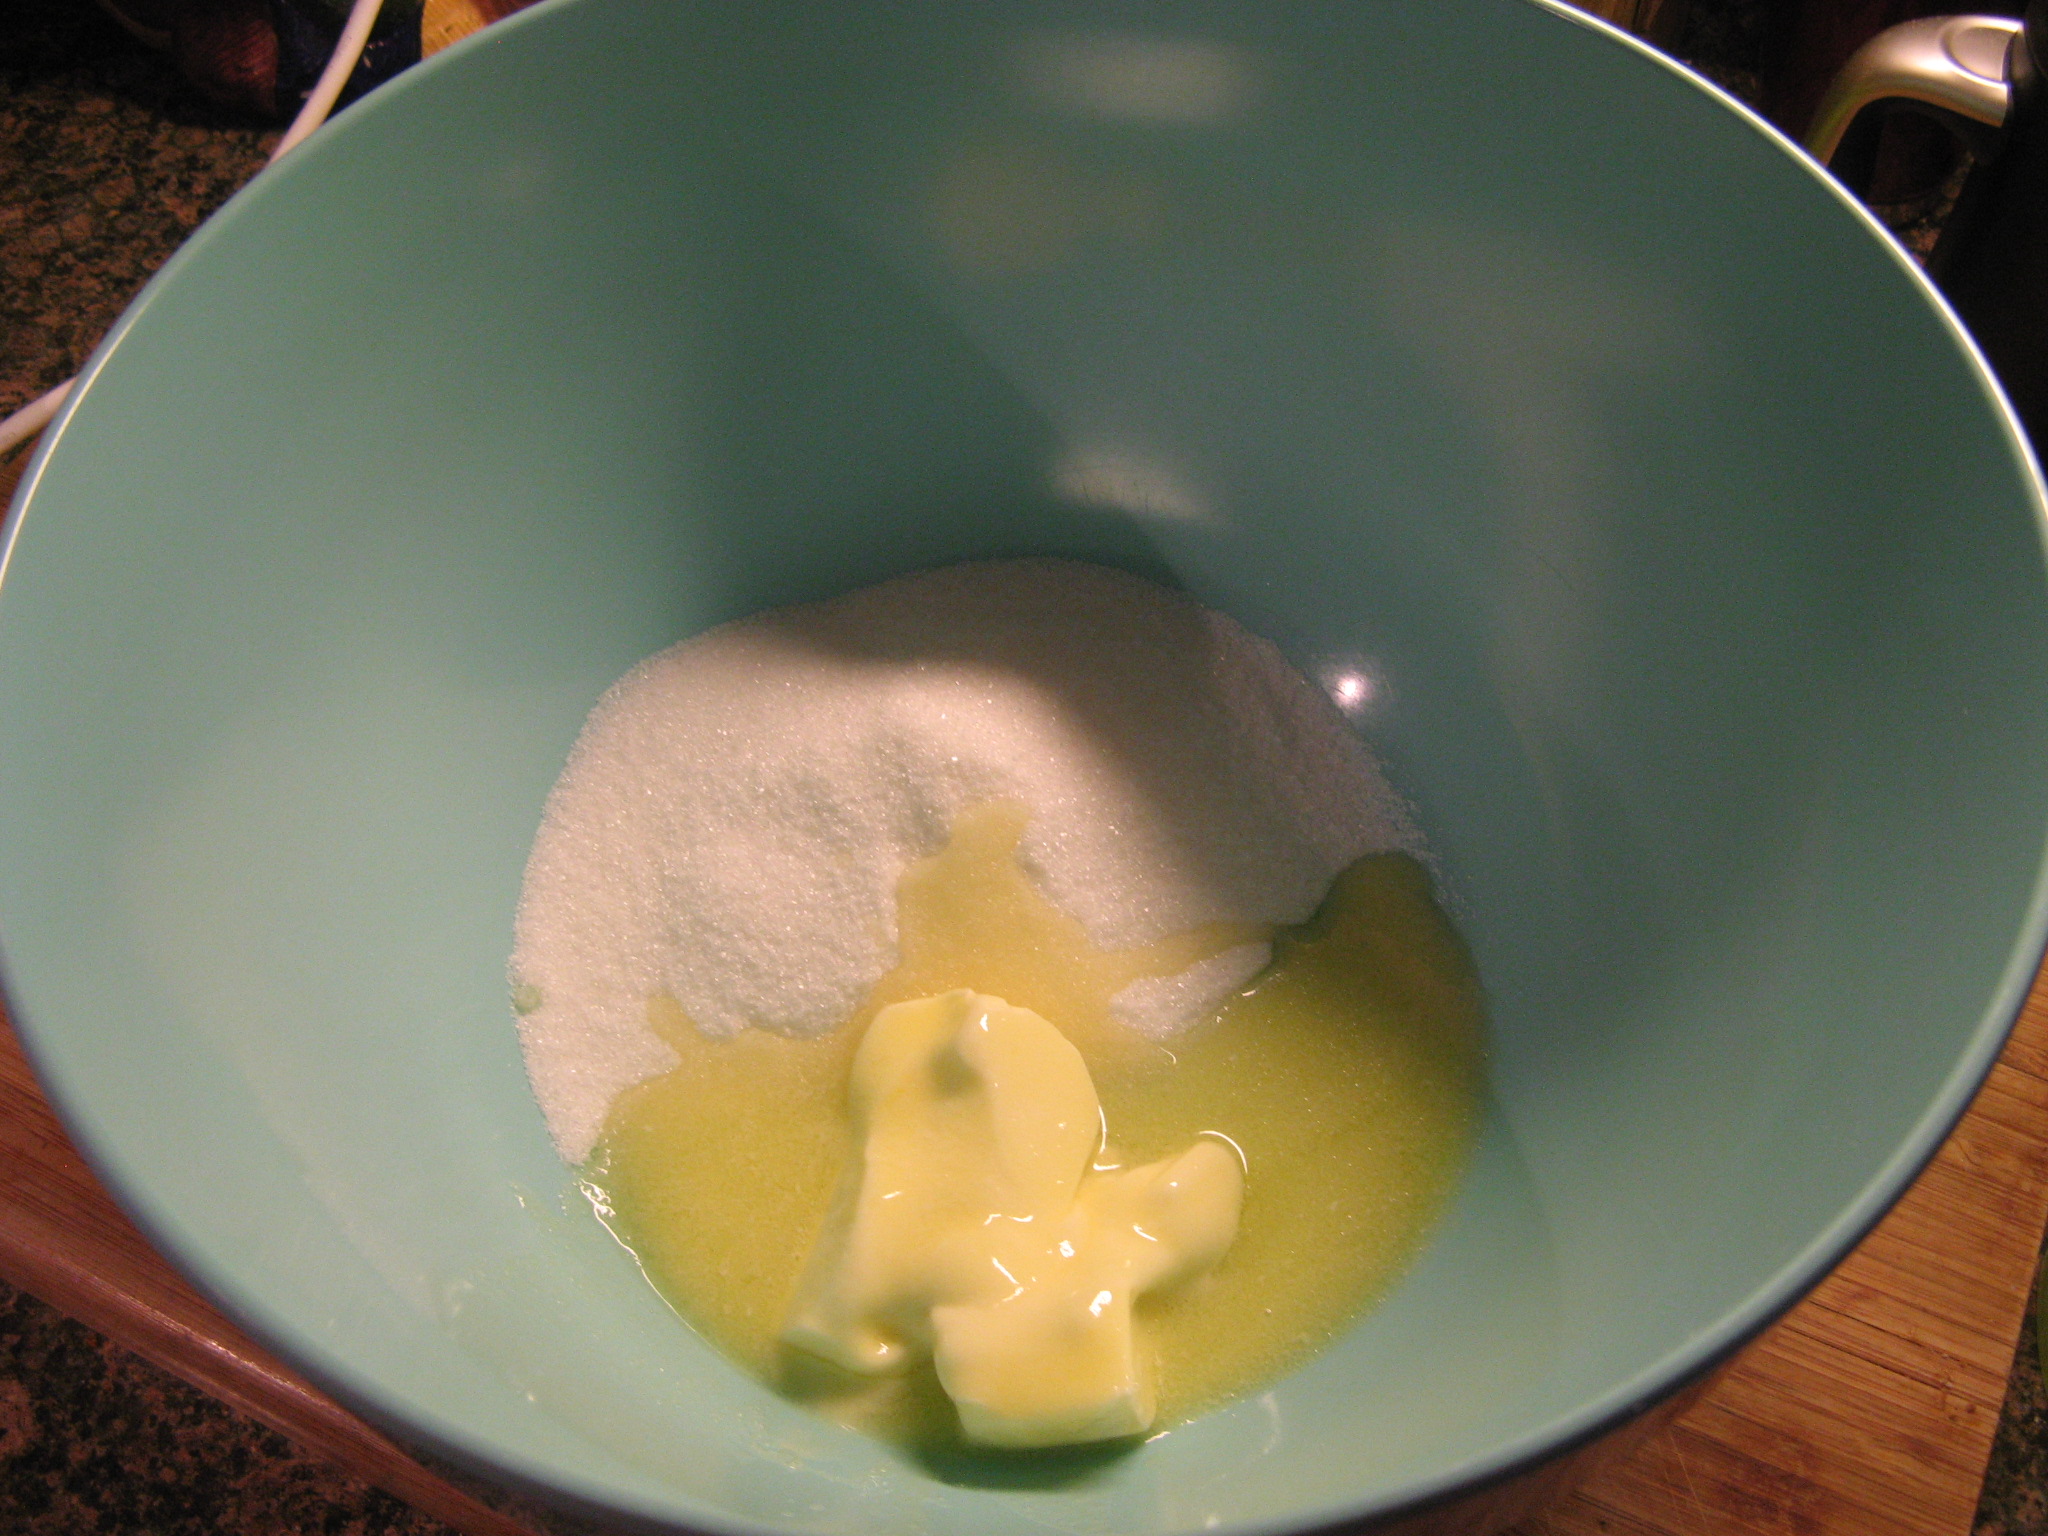
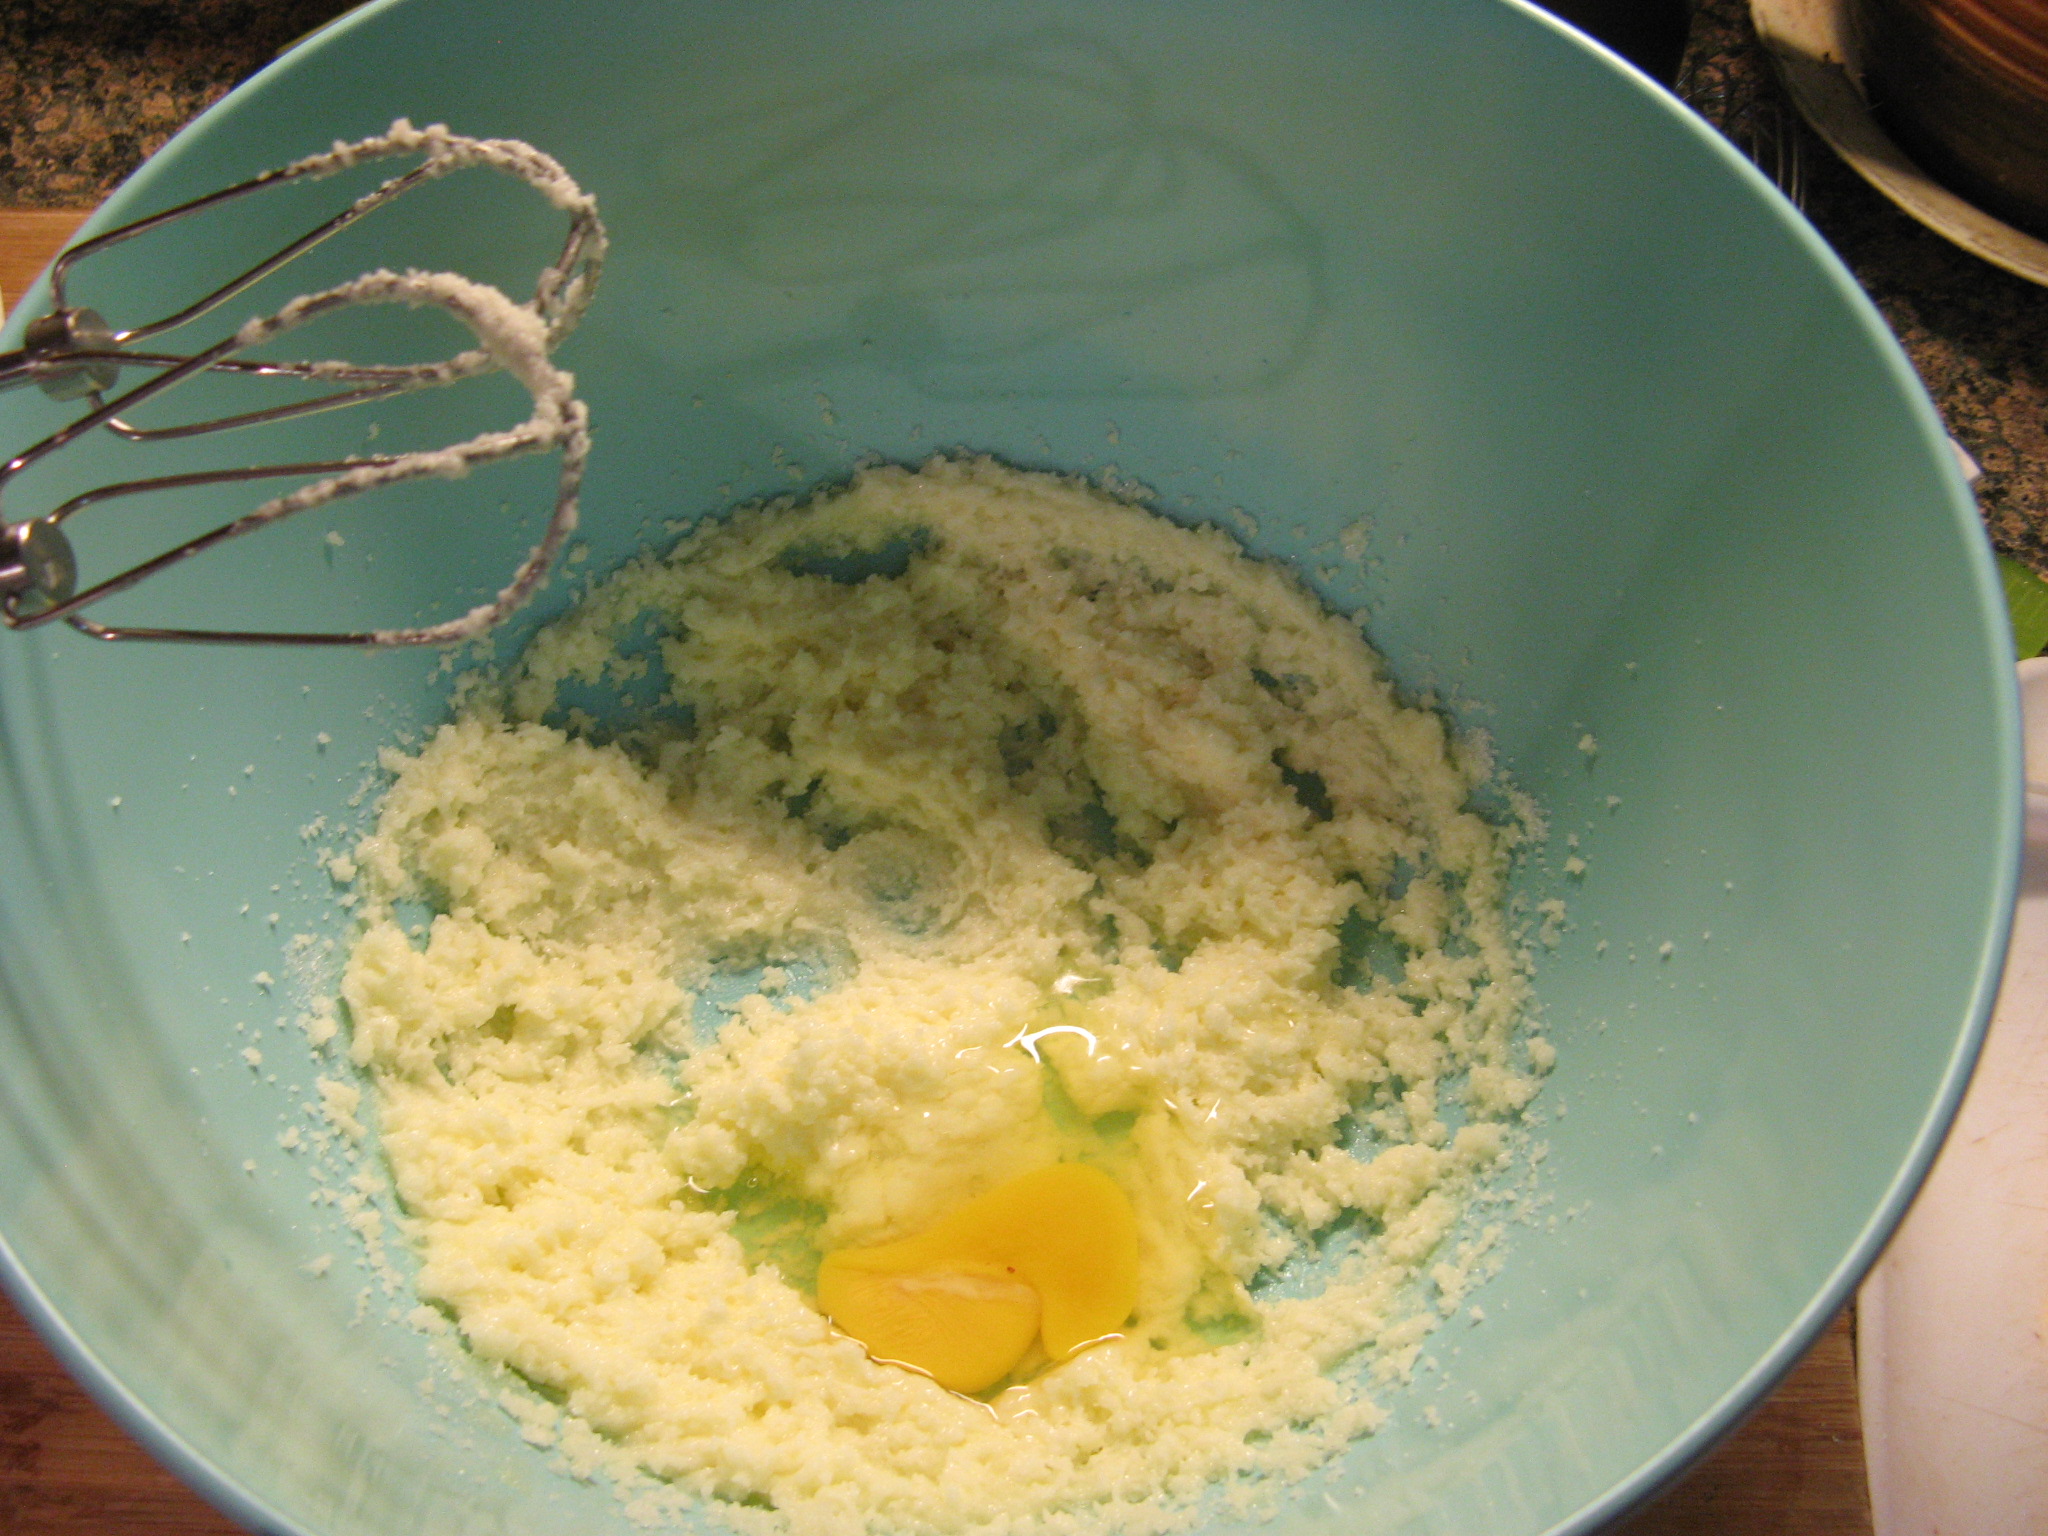
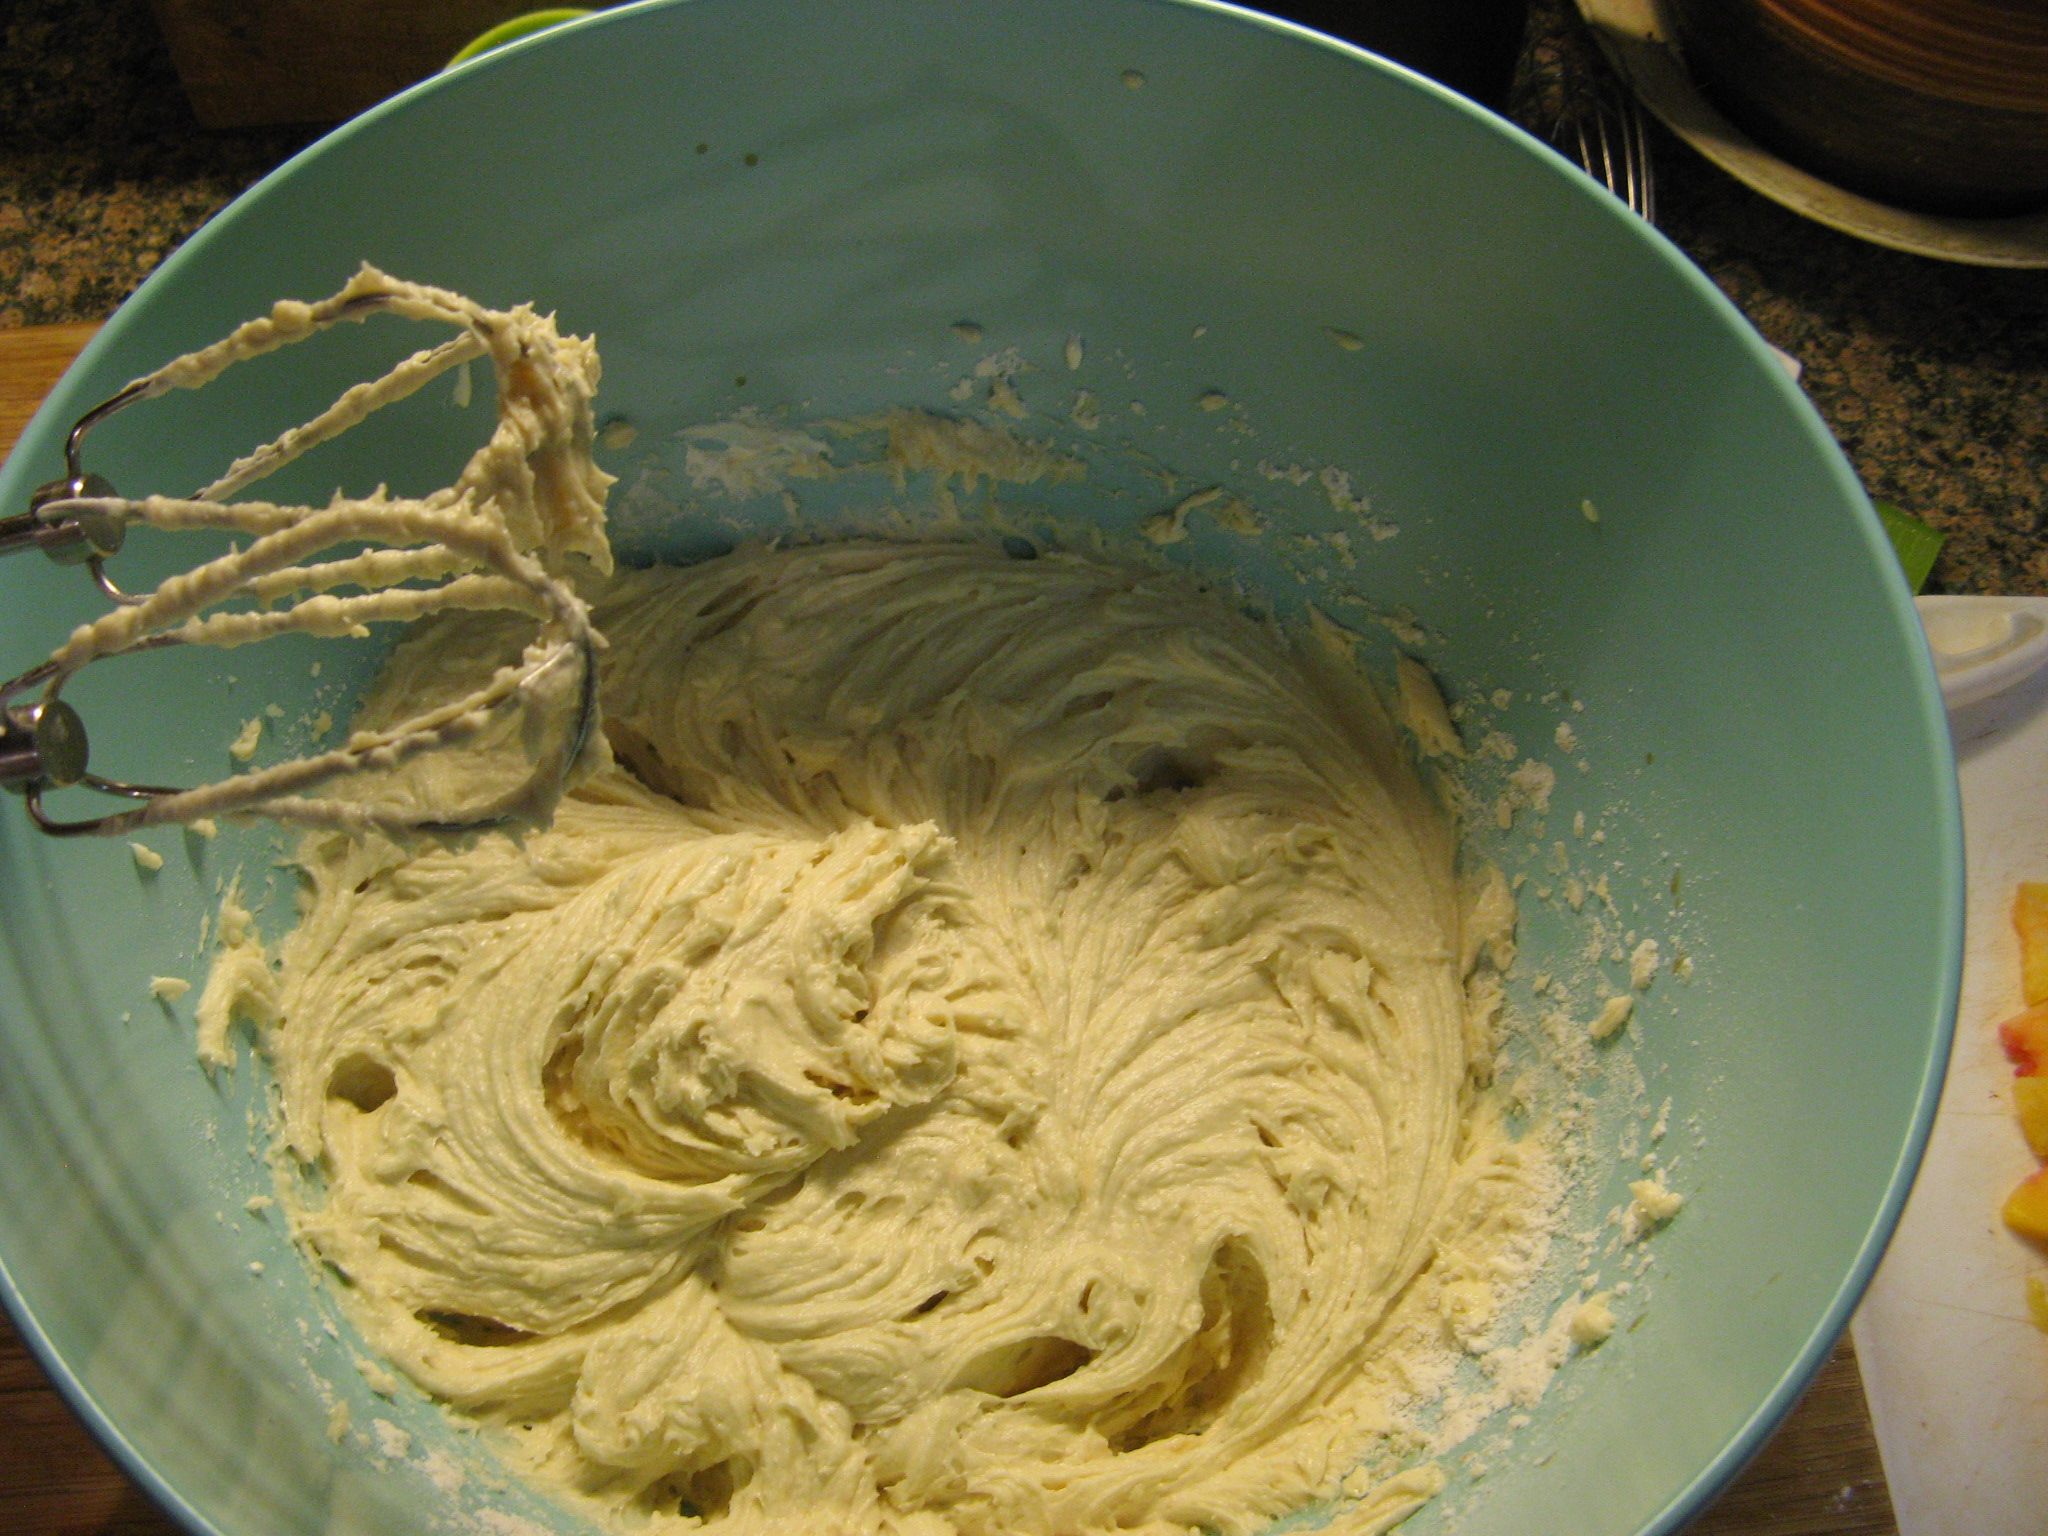
I then creamed butter and sugar together.

IMG_1316

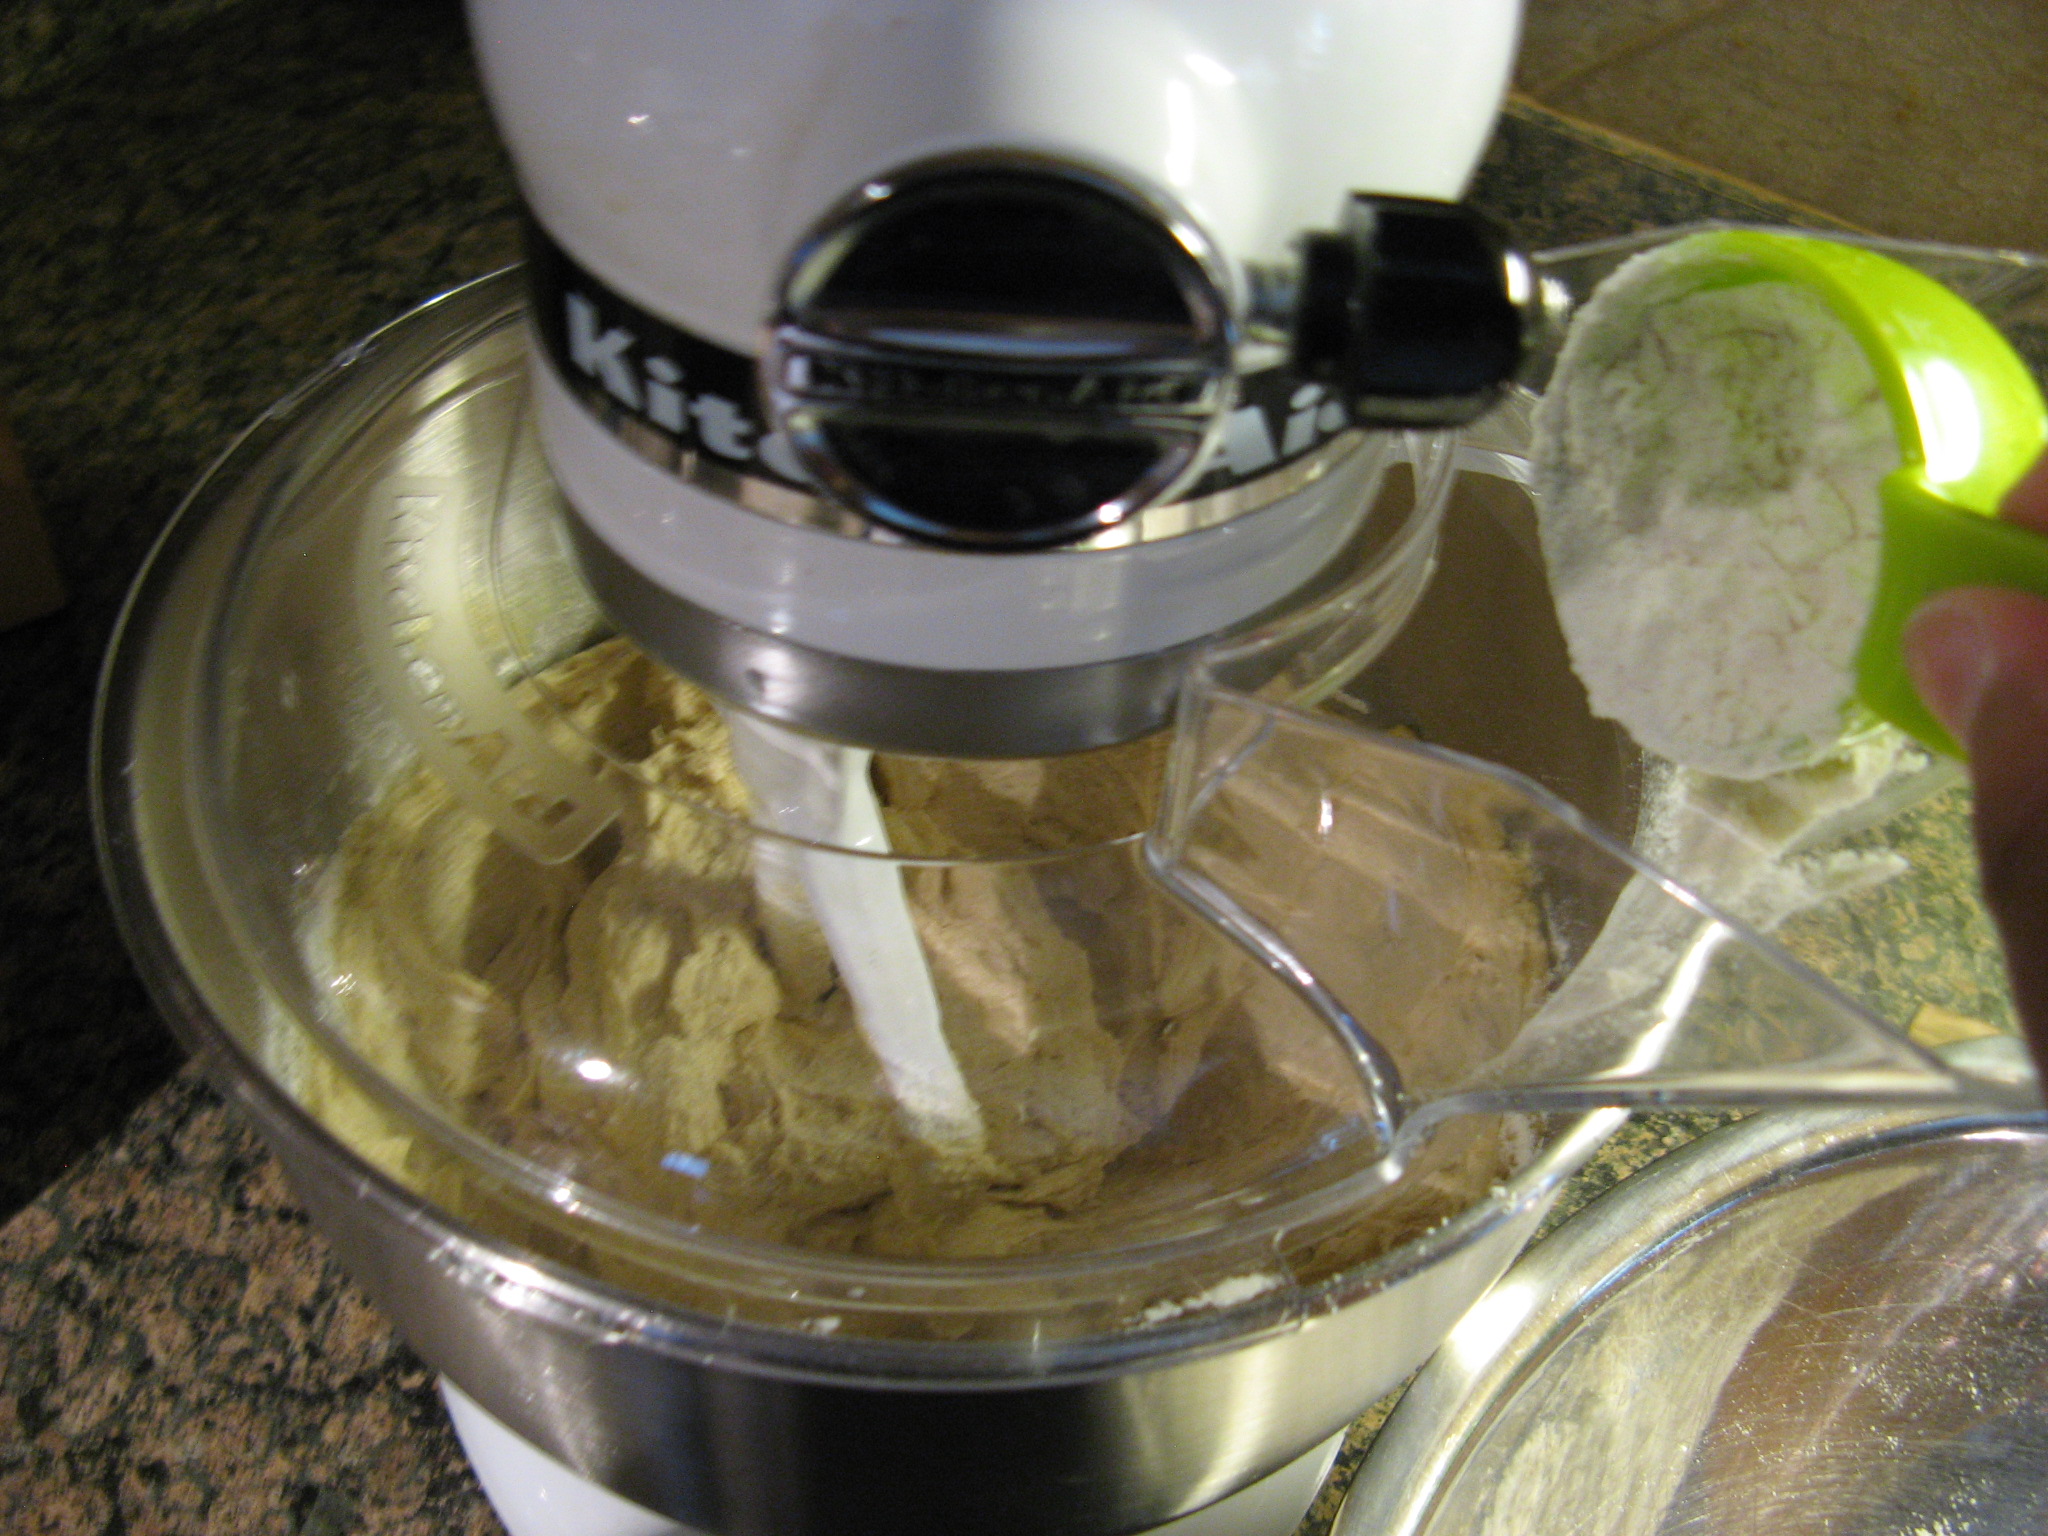
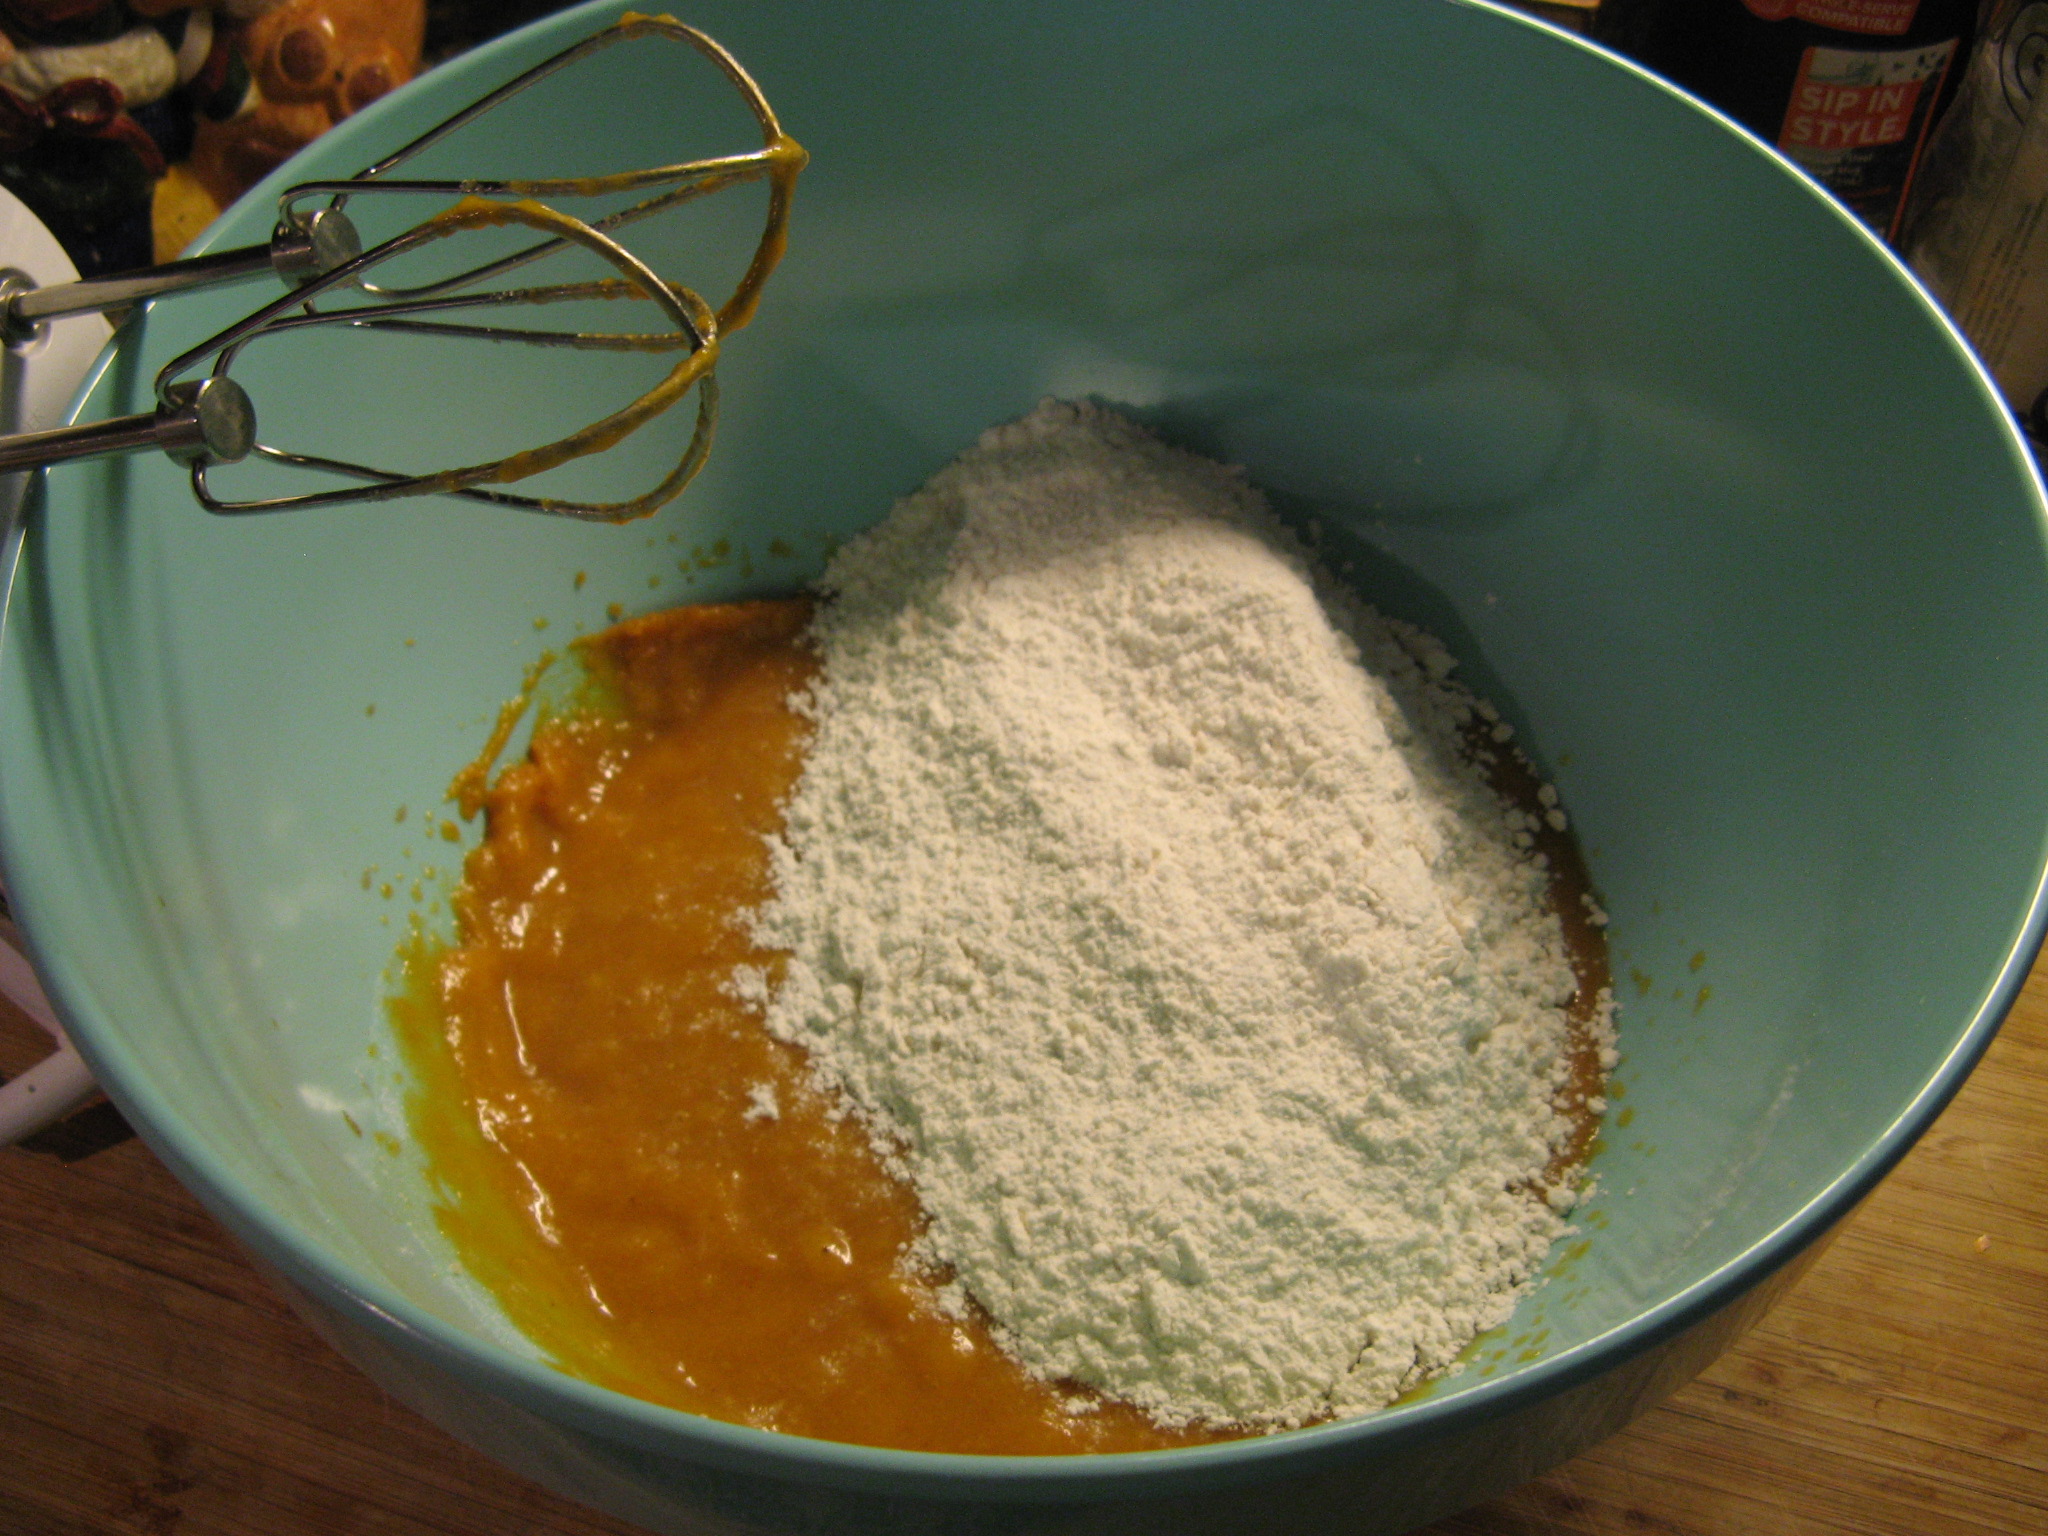
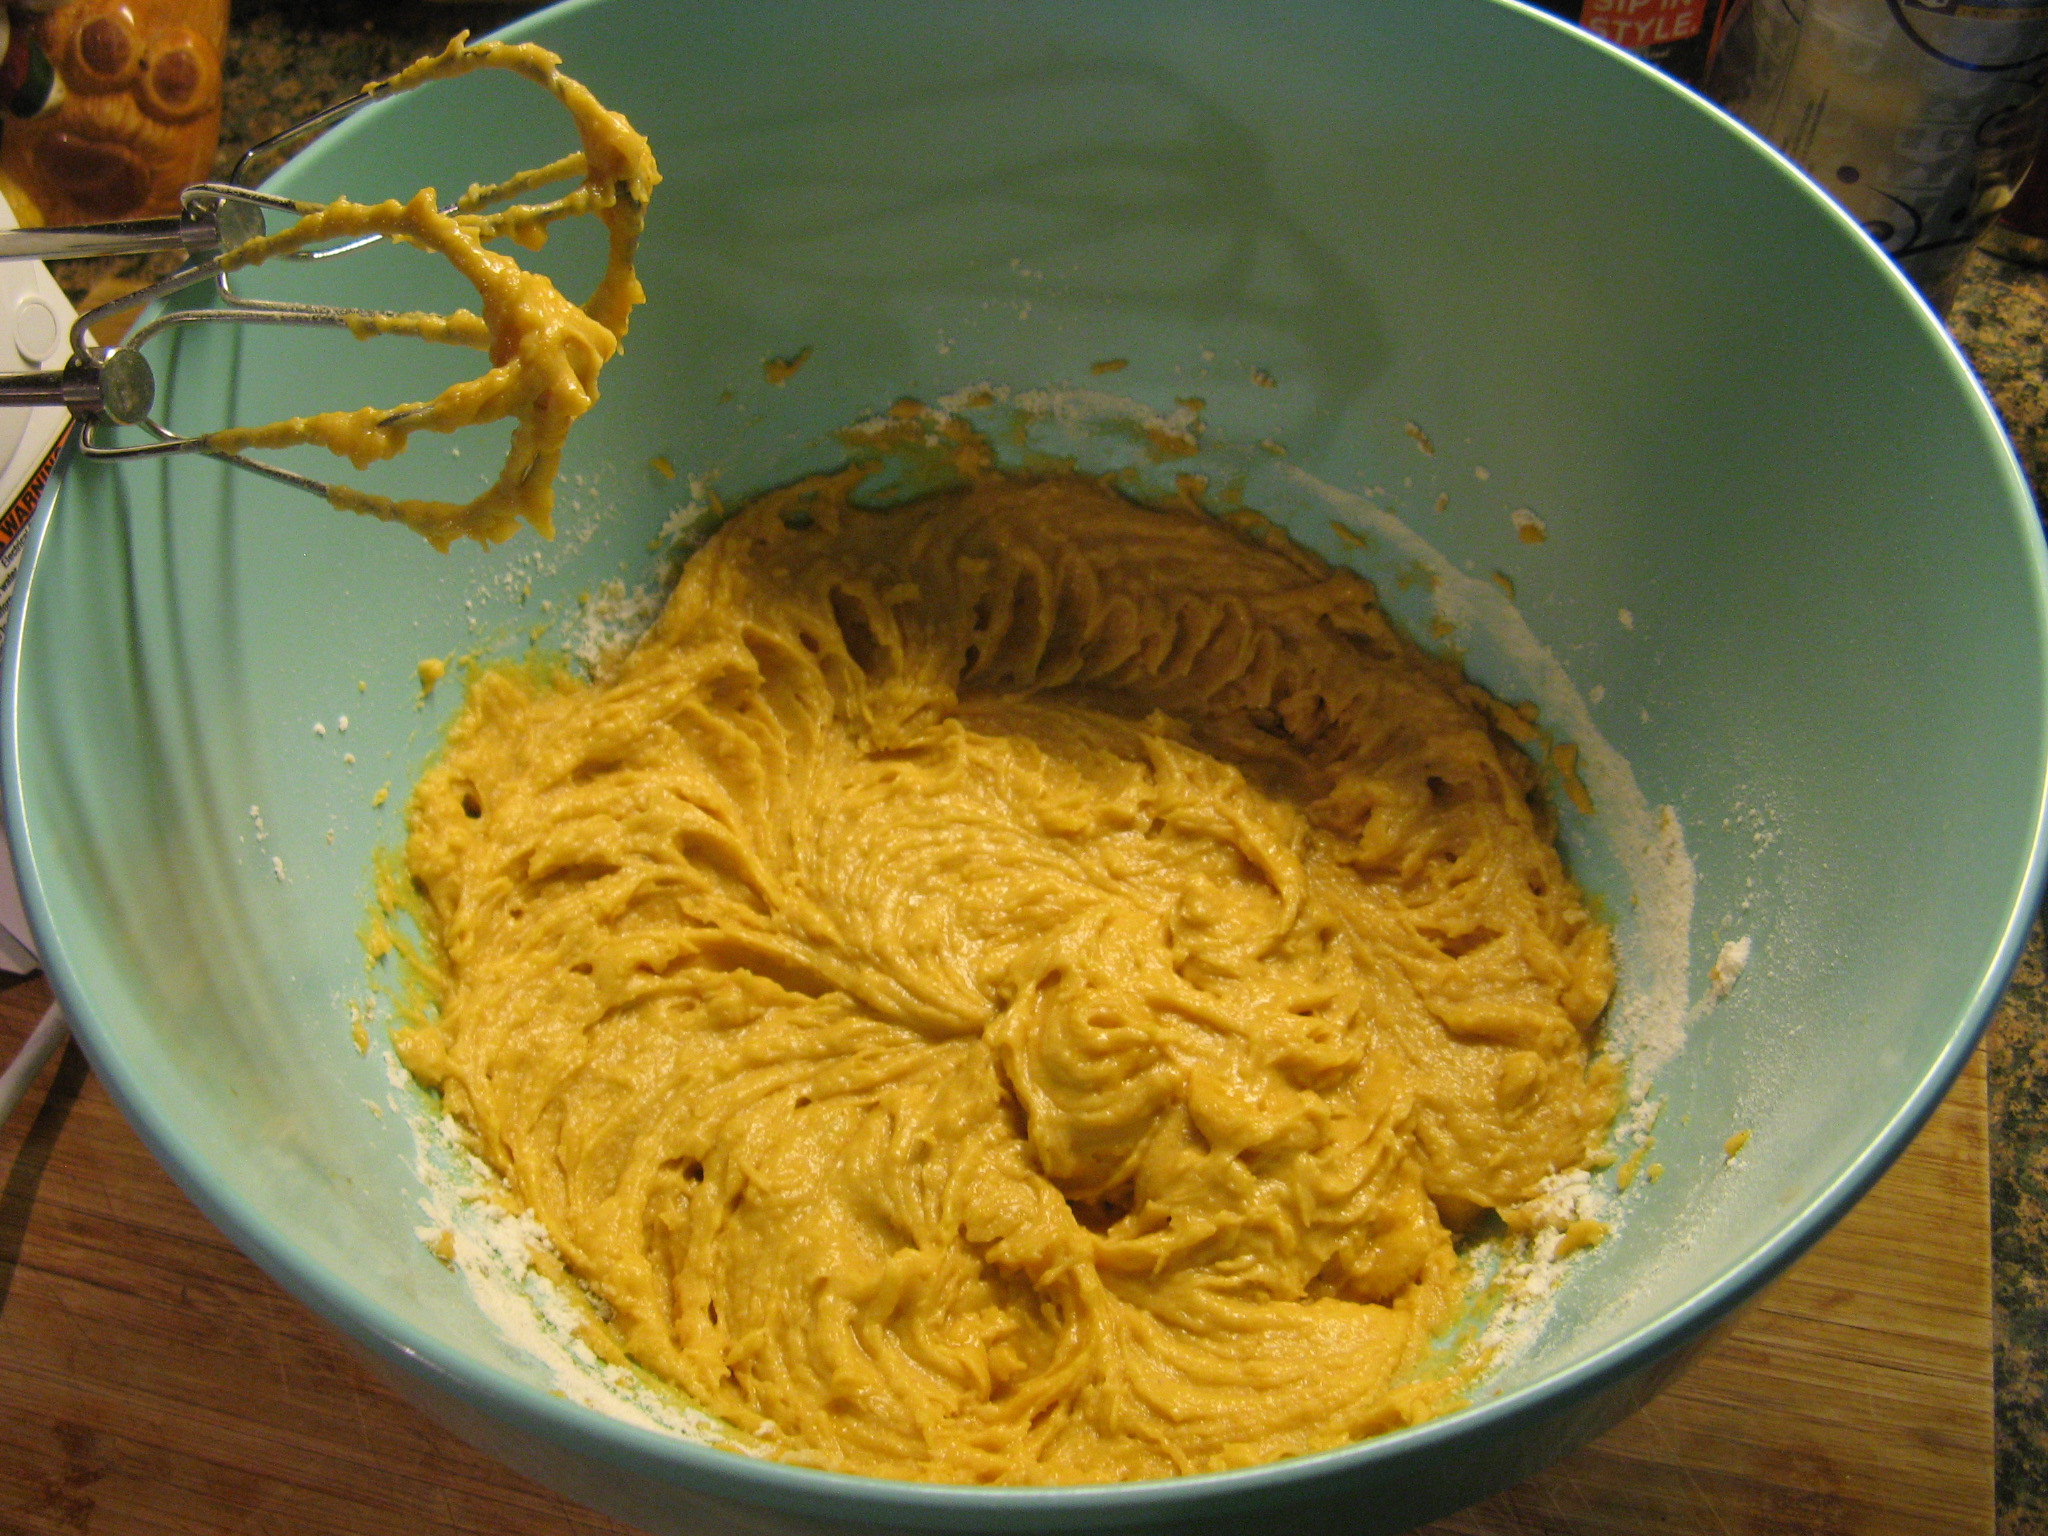
Once the butter and sugar were mixed together well I added in the eggs and dry ingredients by alternating between the two.

IMG_1318

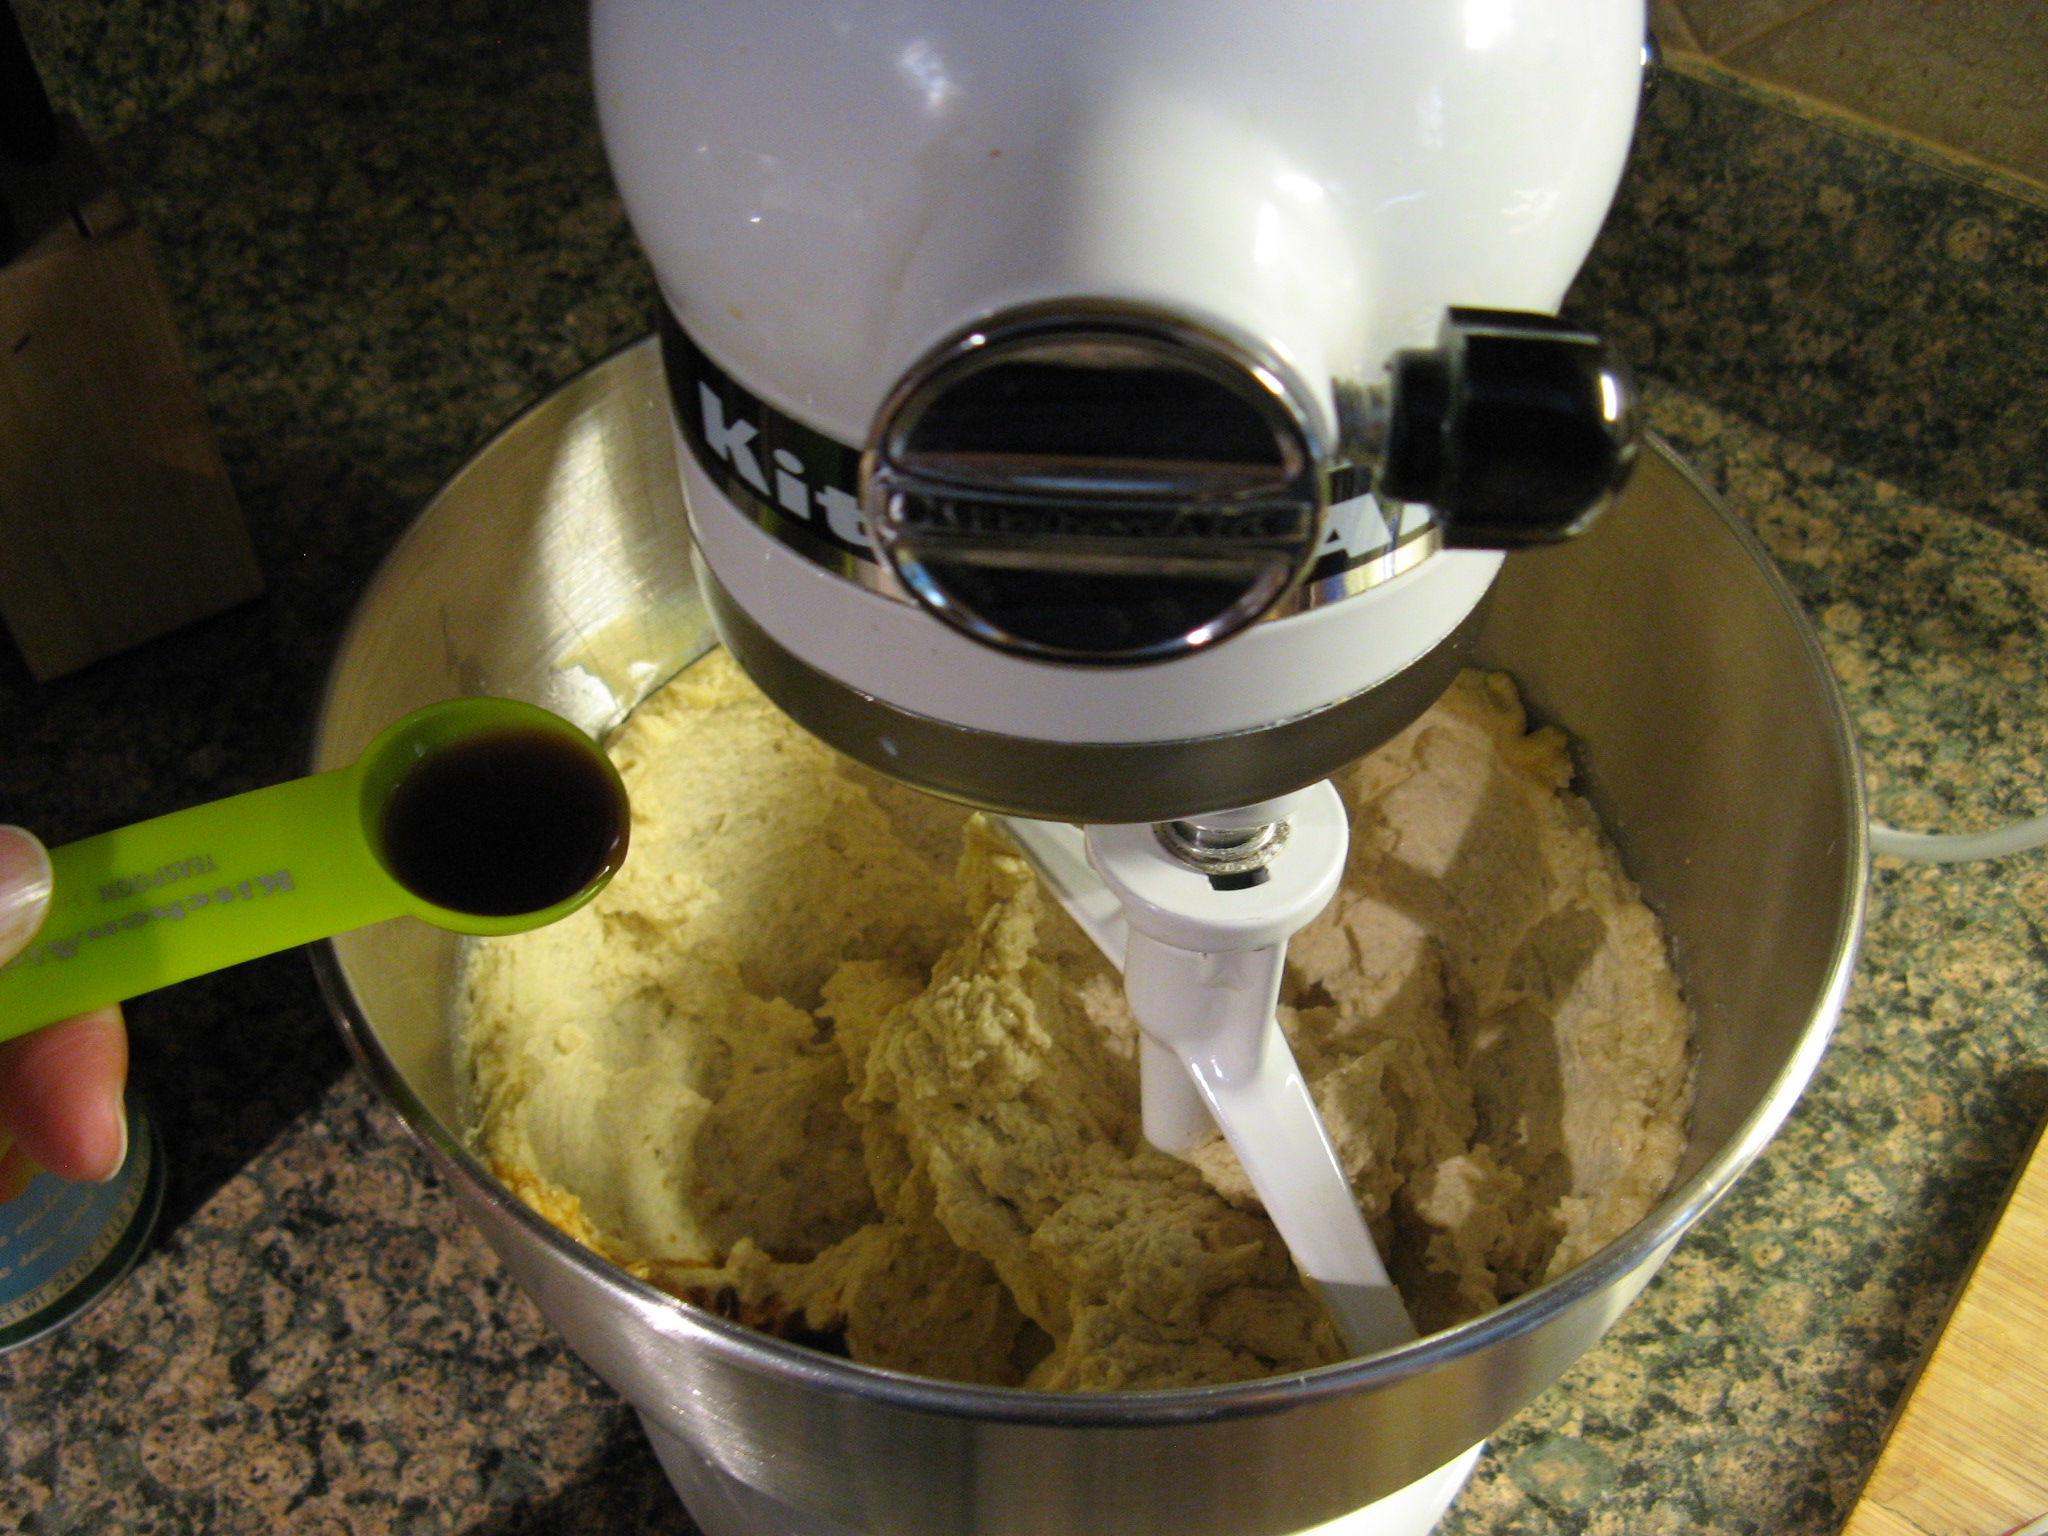
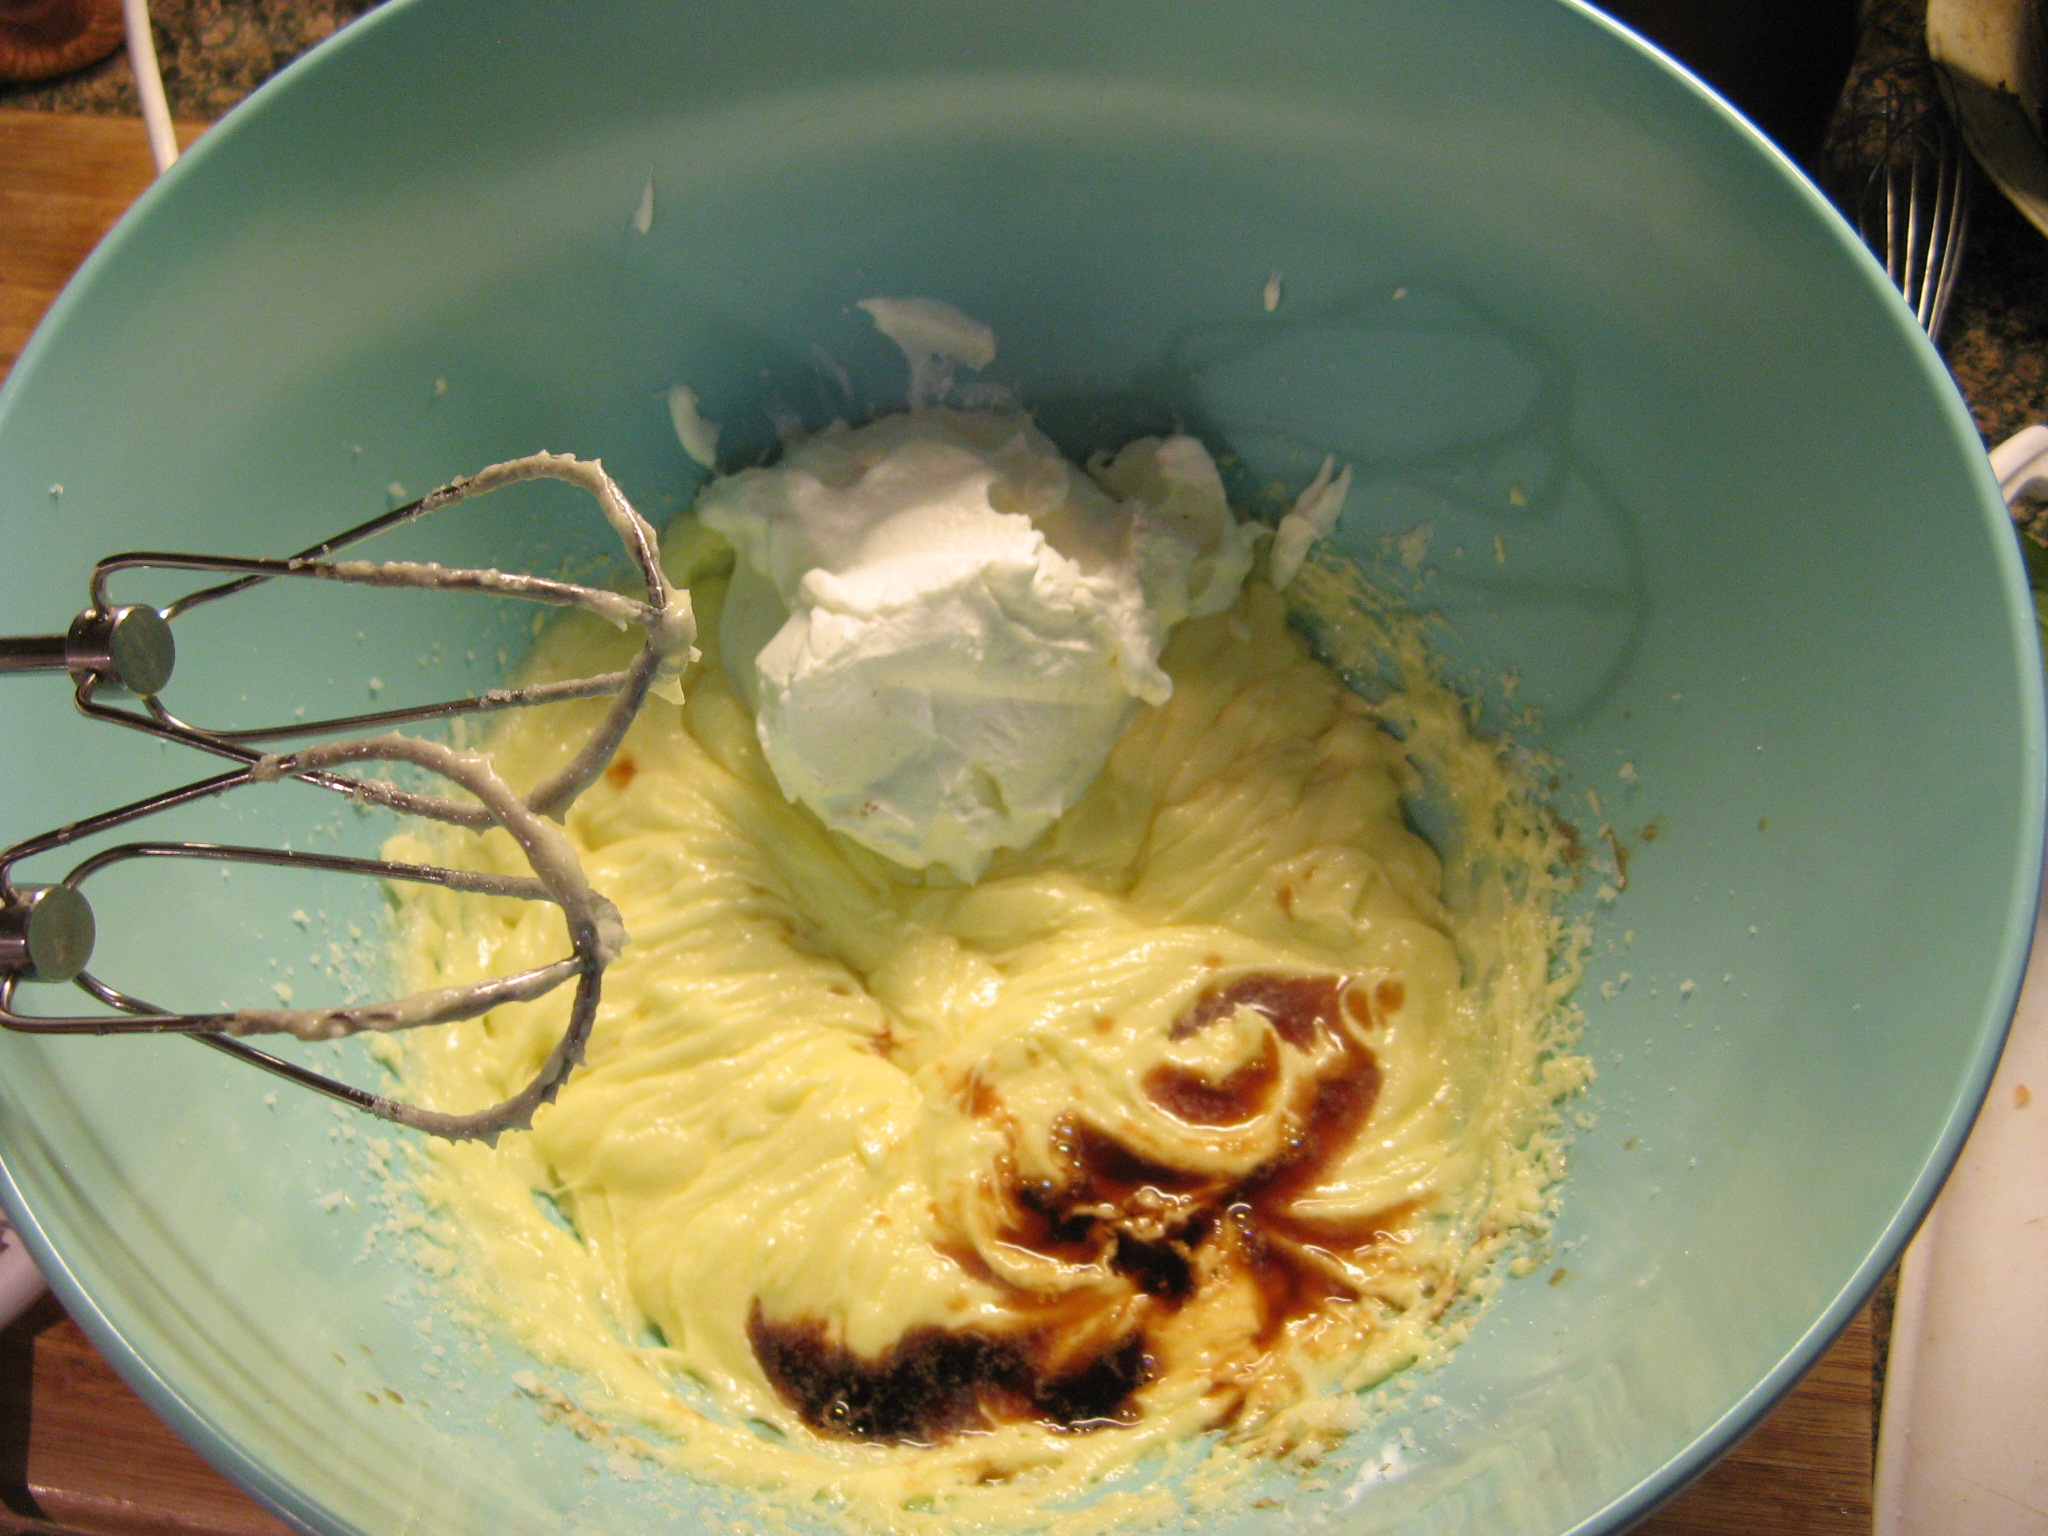
And them some vanilla extract.

IMG_1322

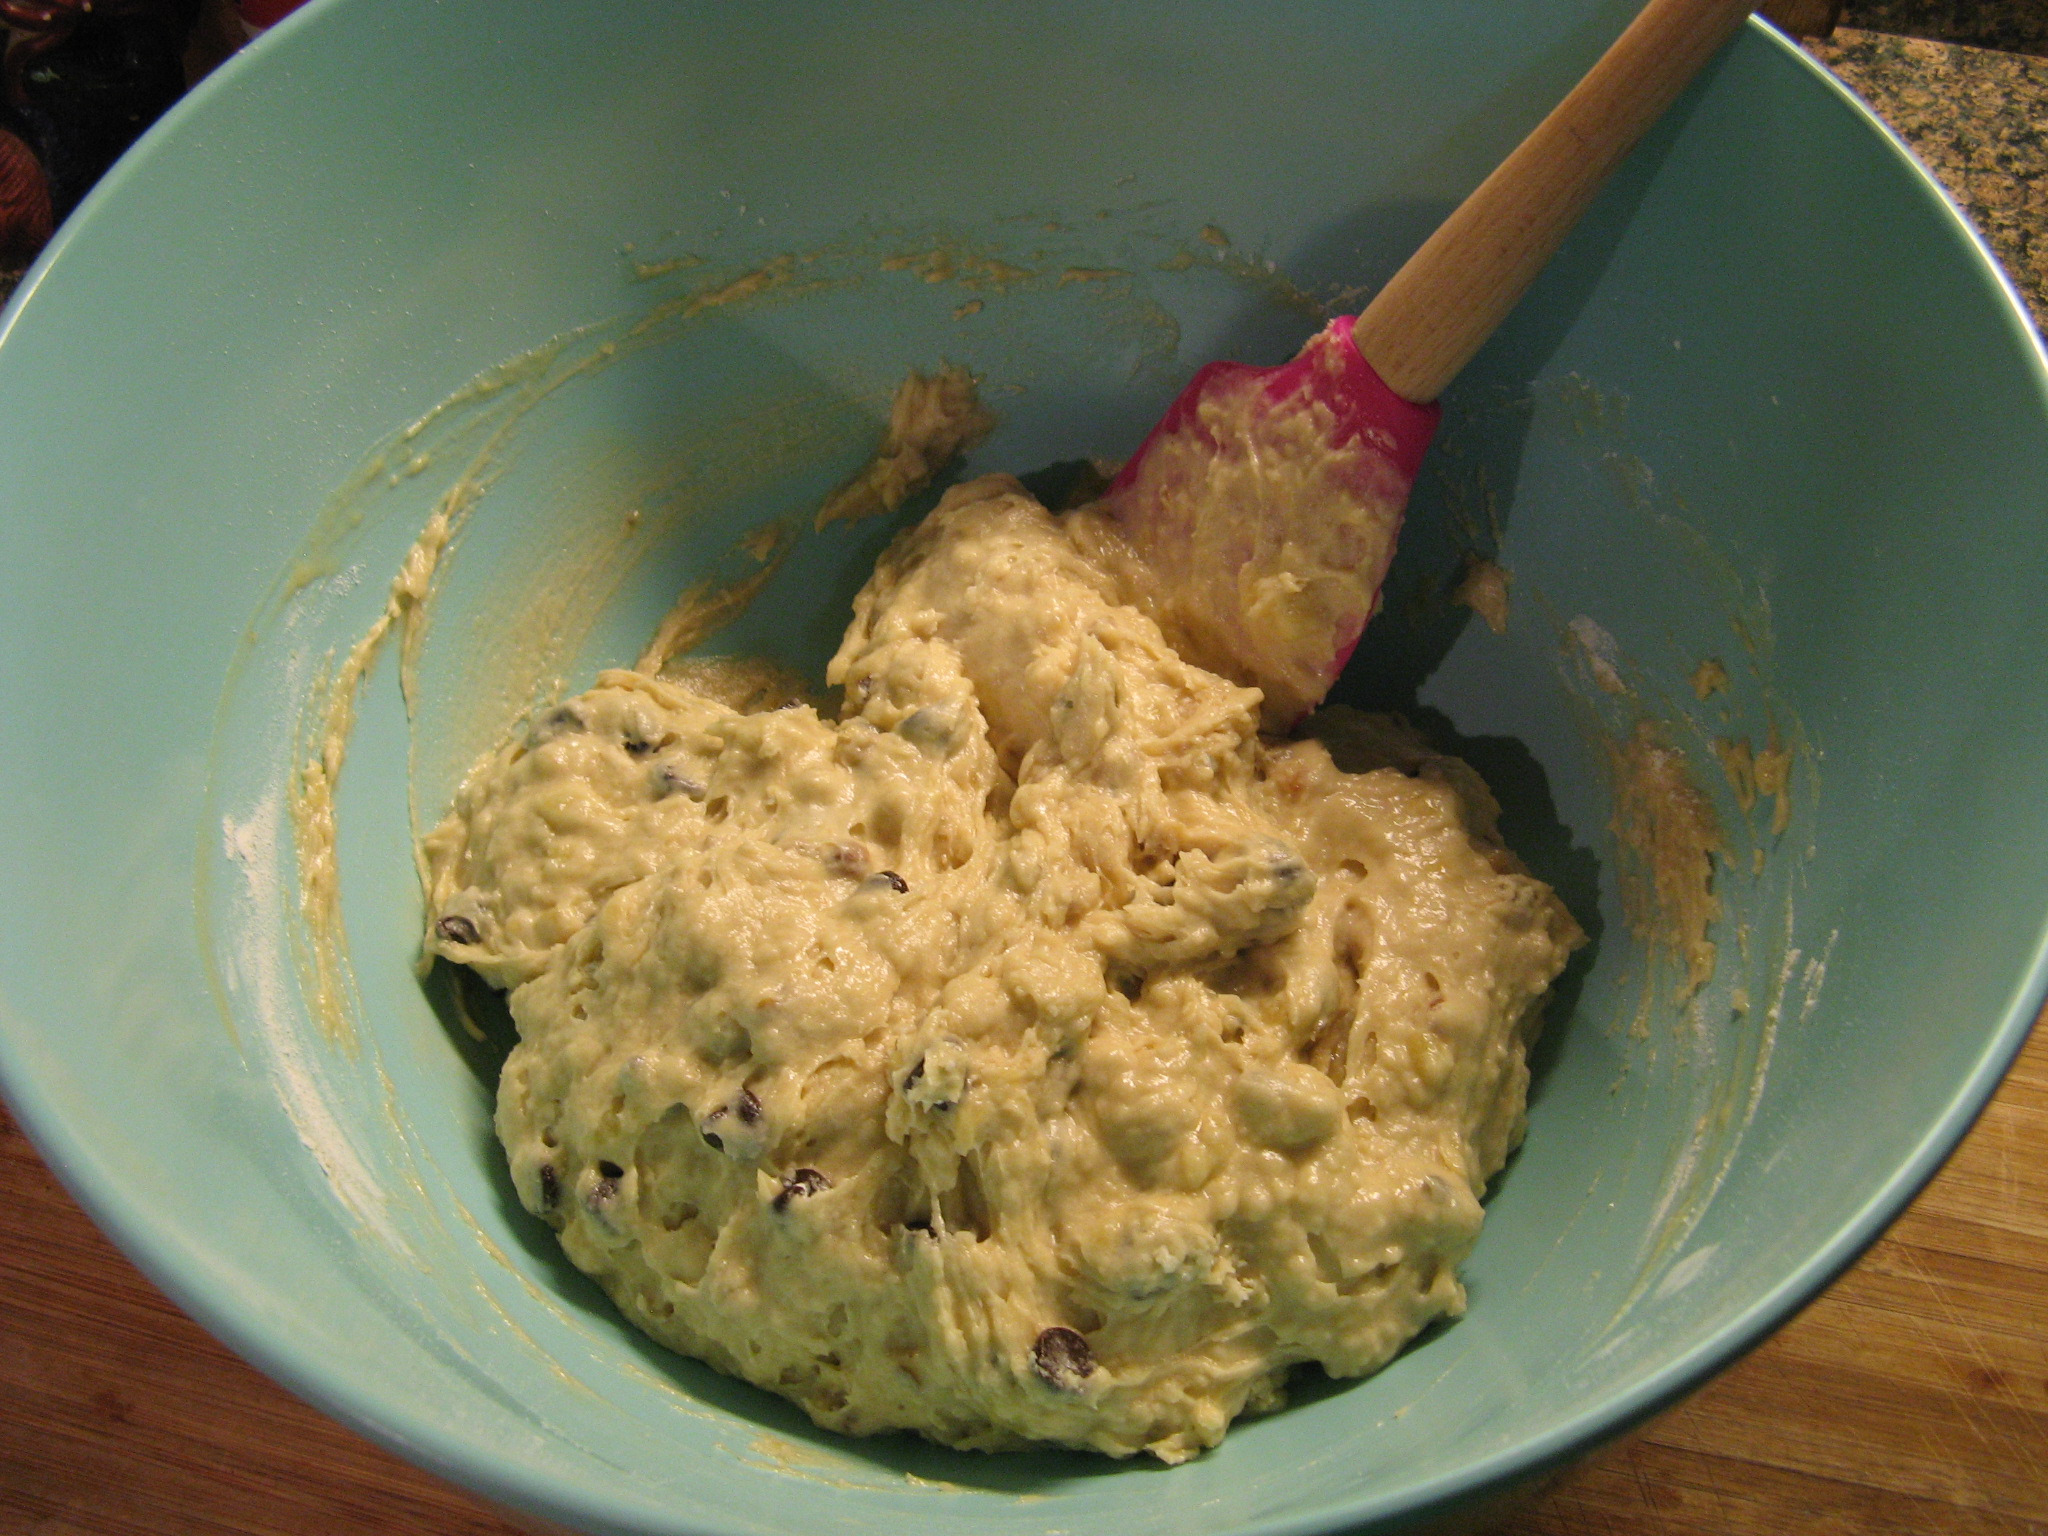
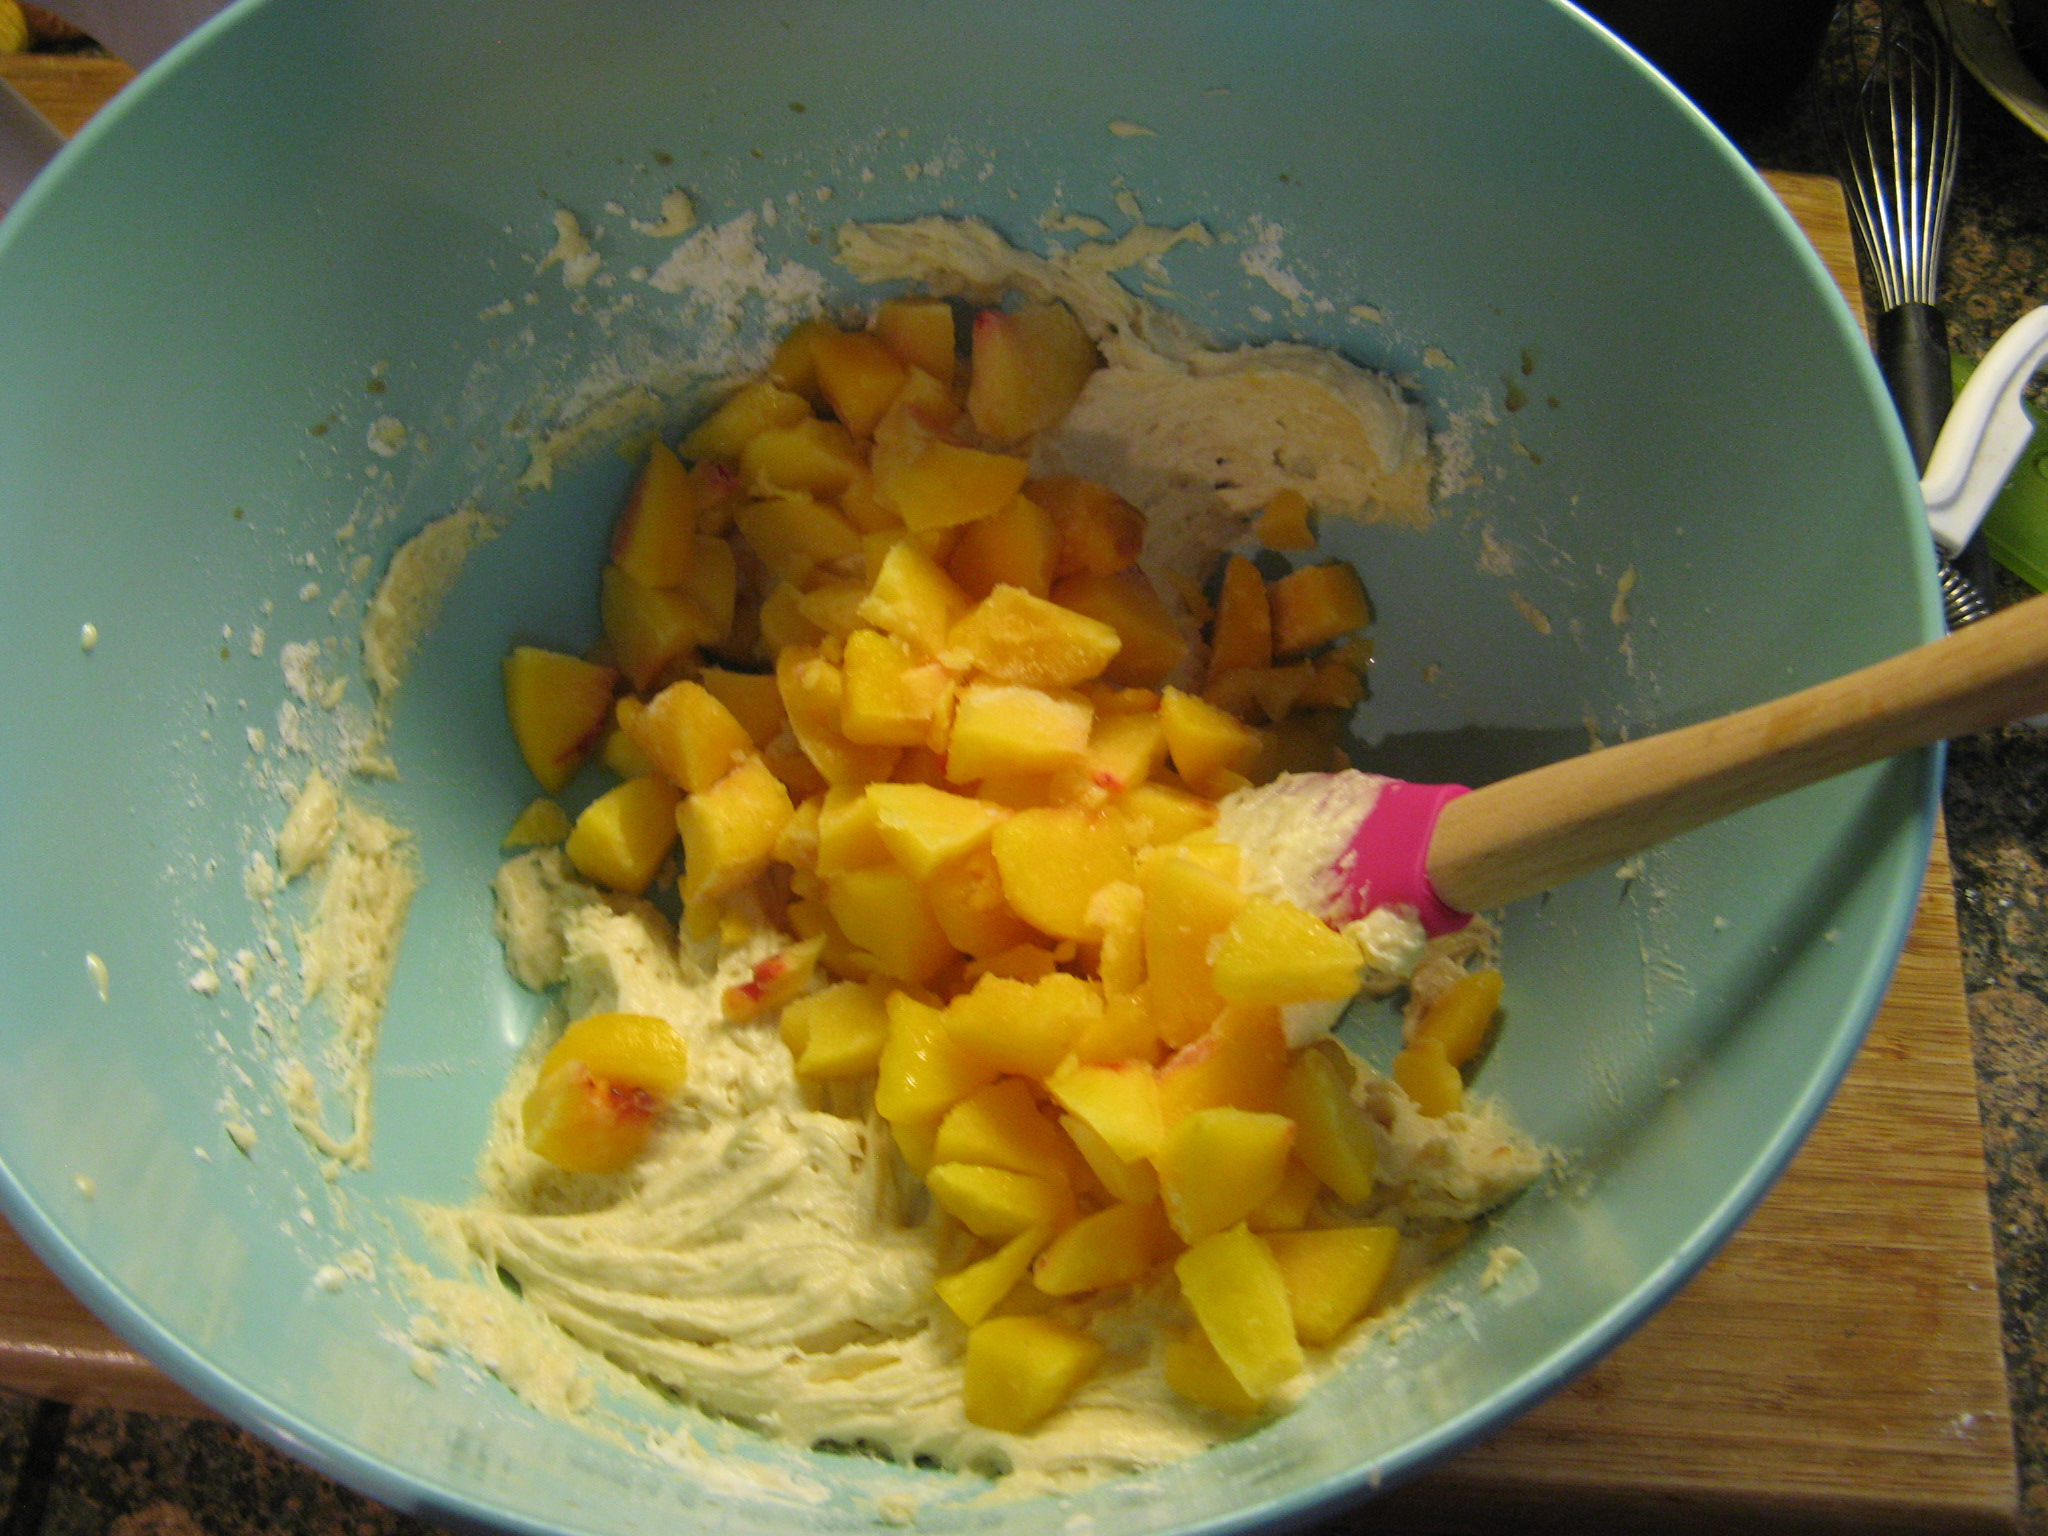
It was then time to add in the grated apples.

IMG_1323

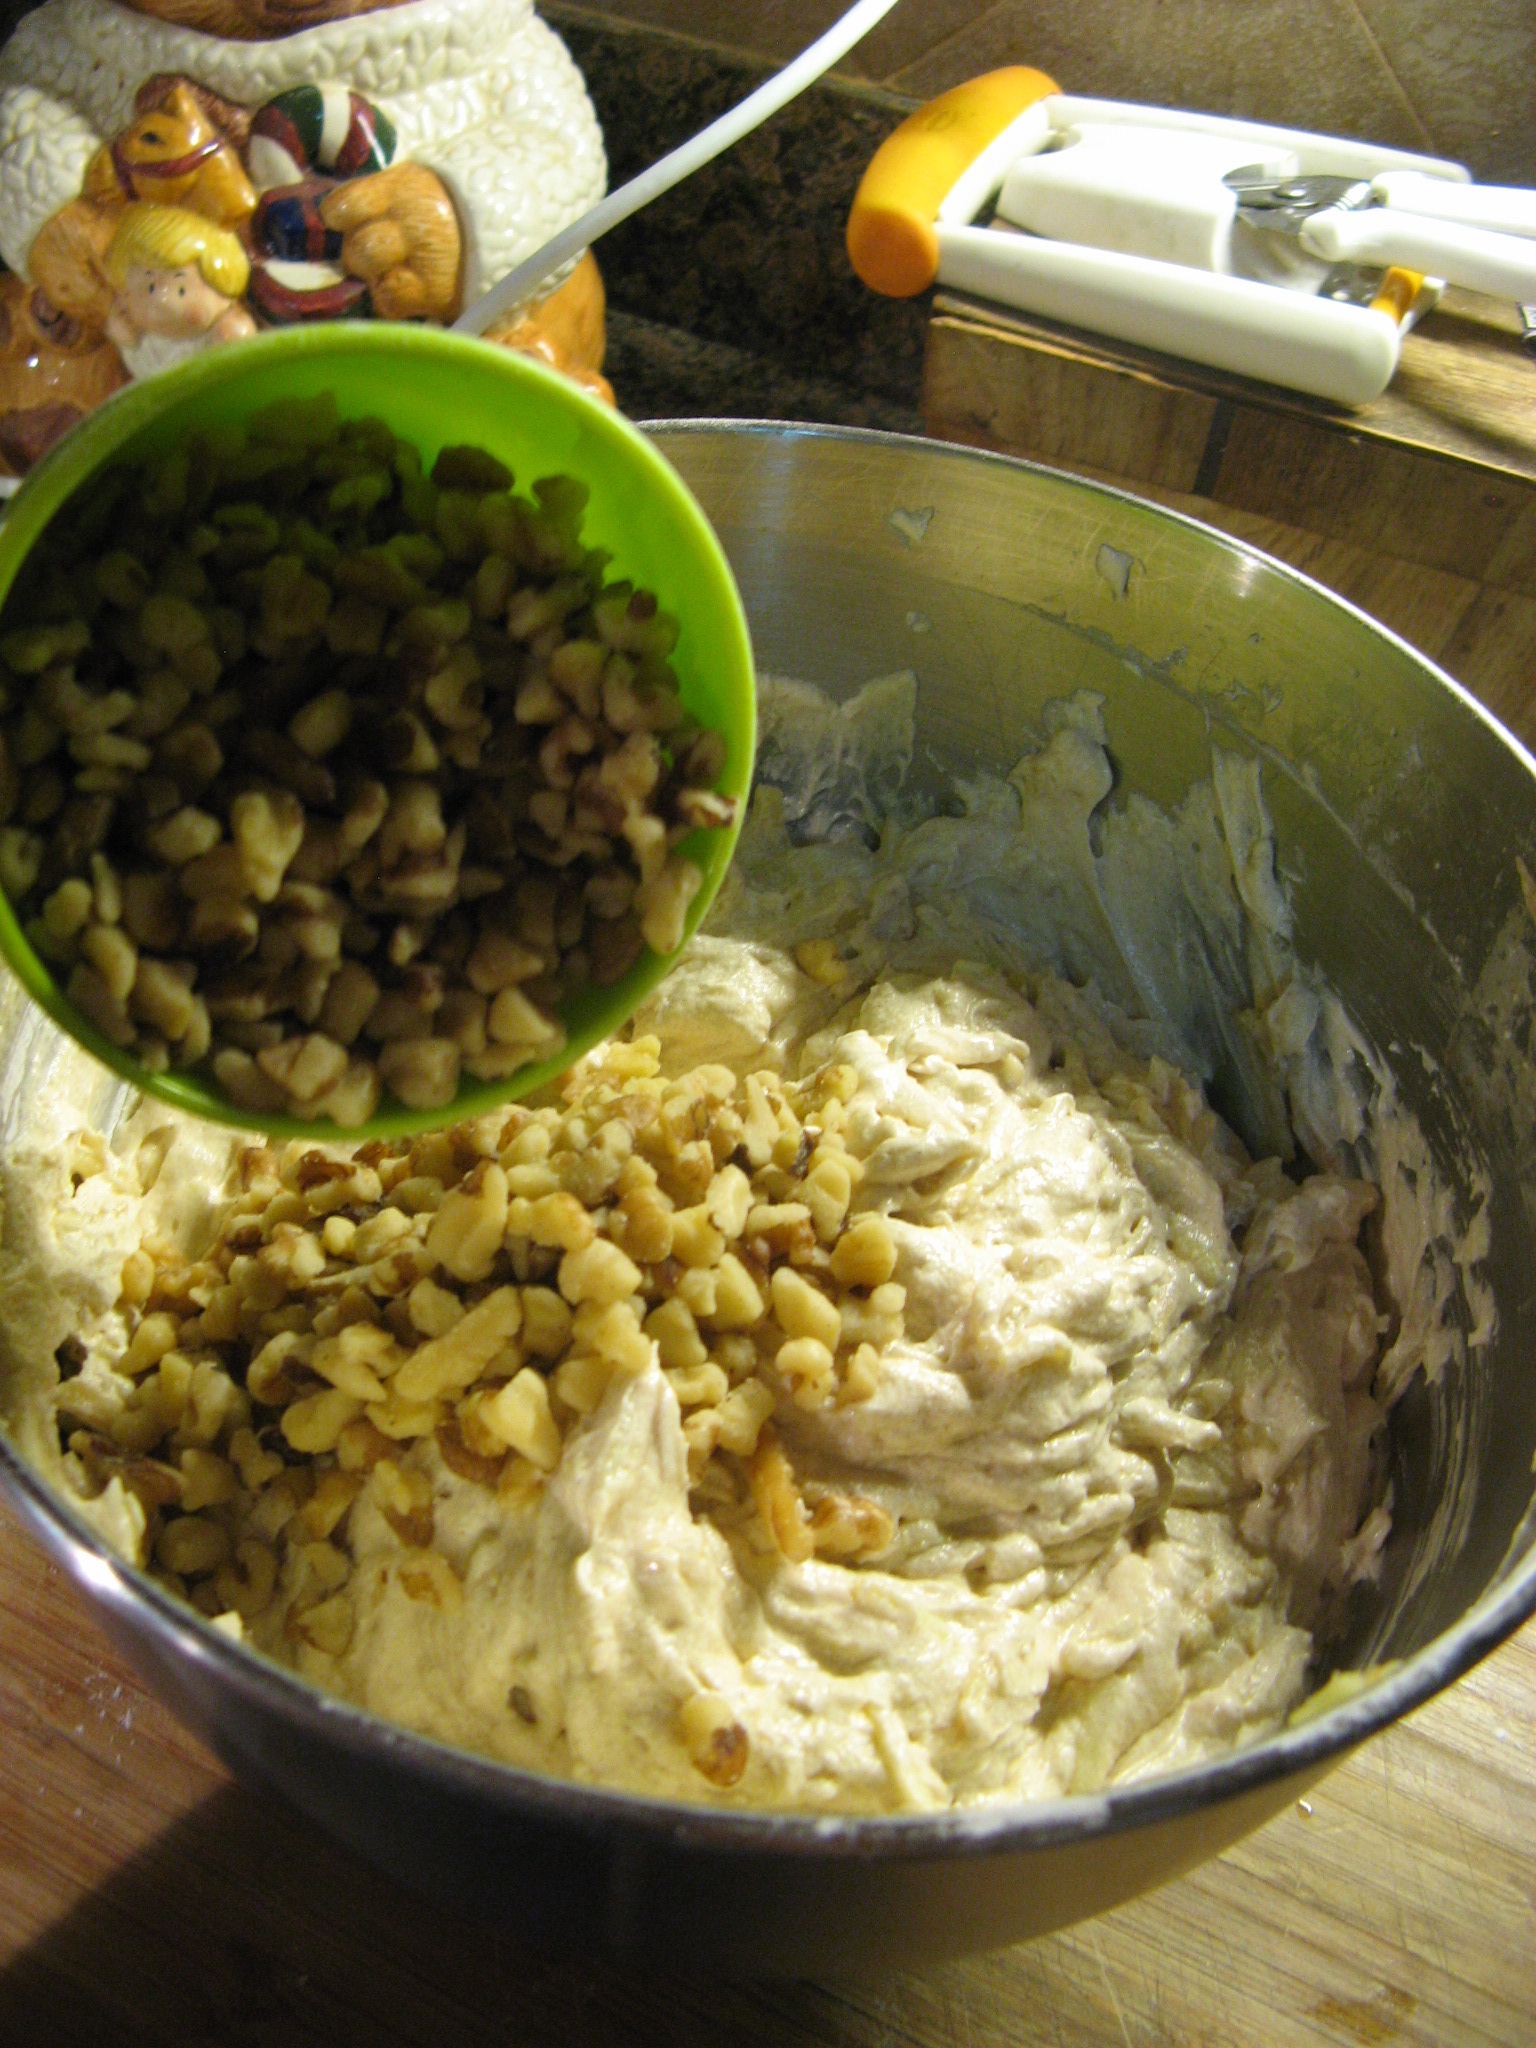
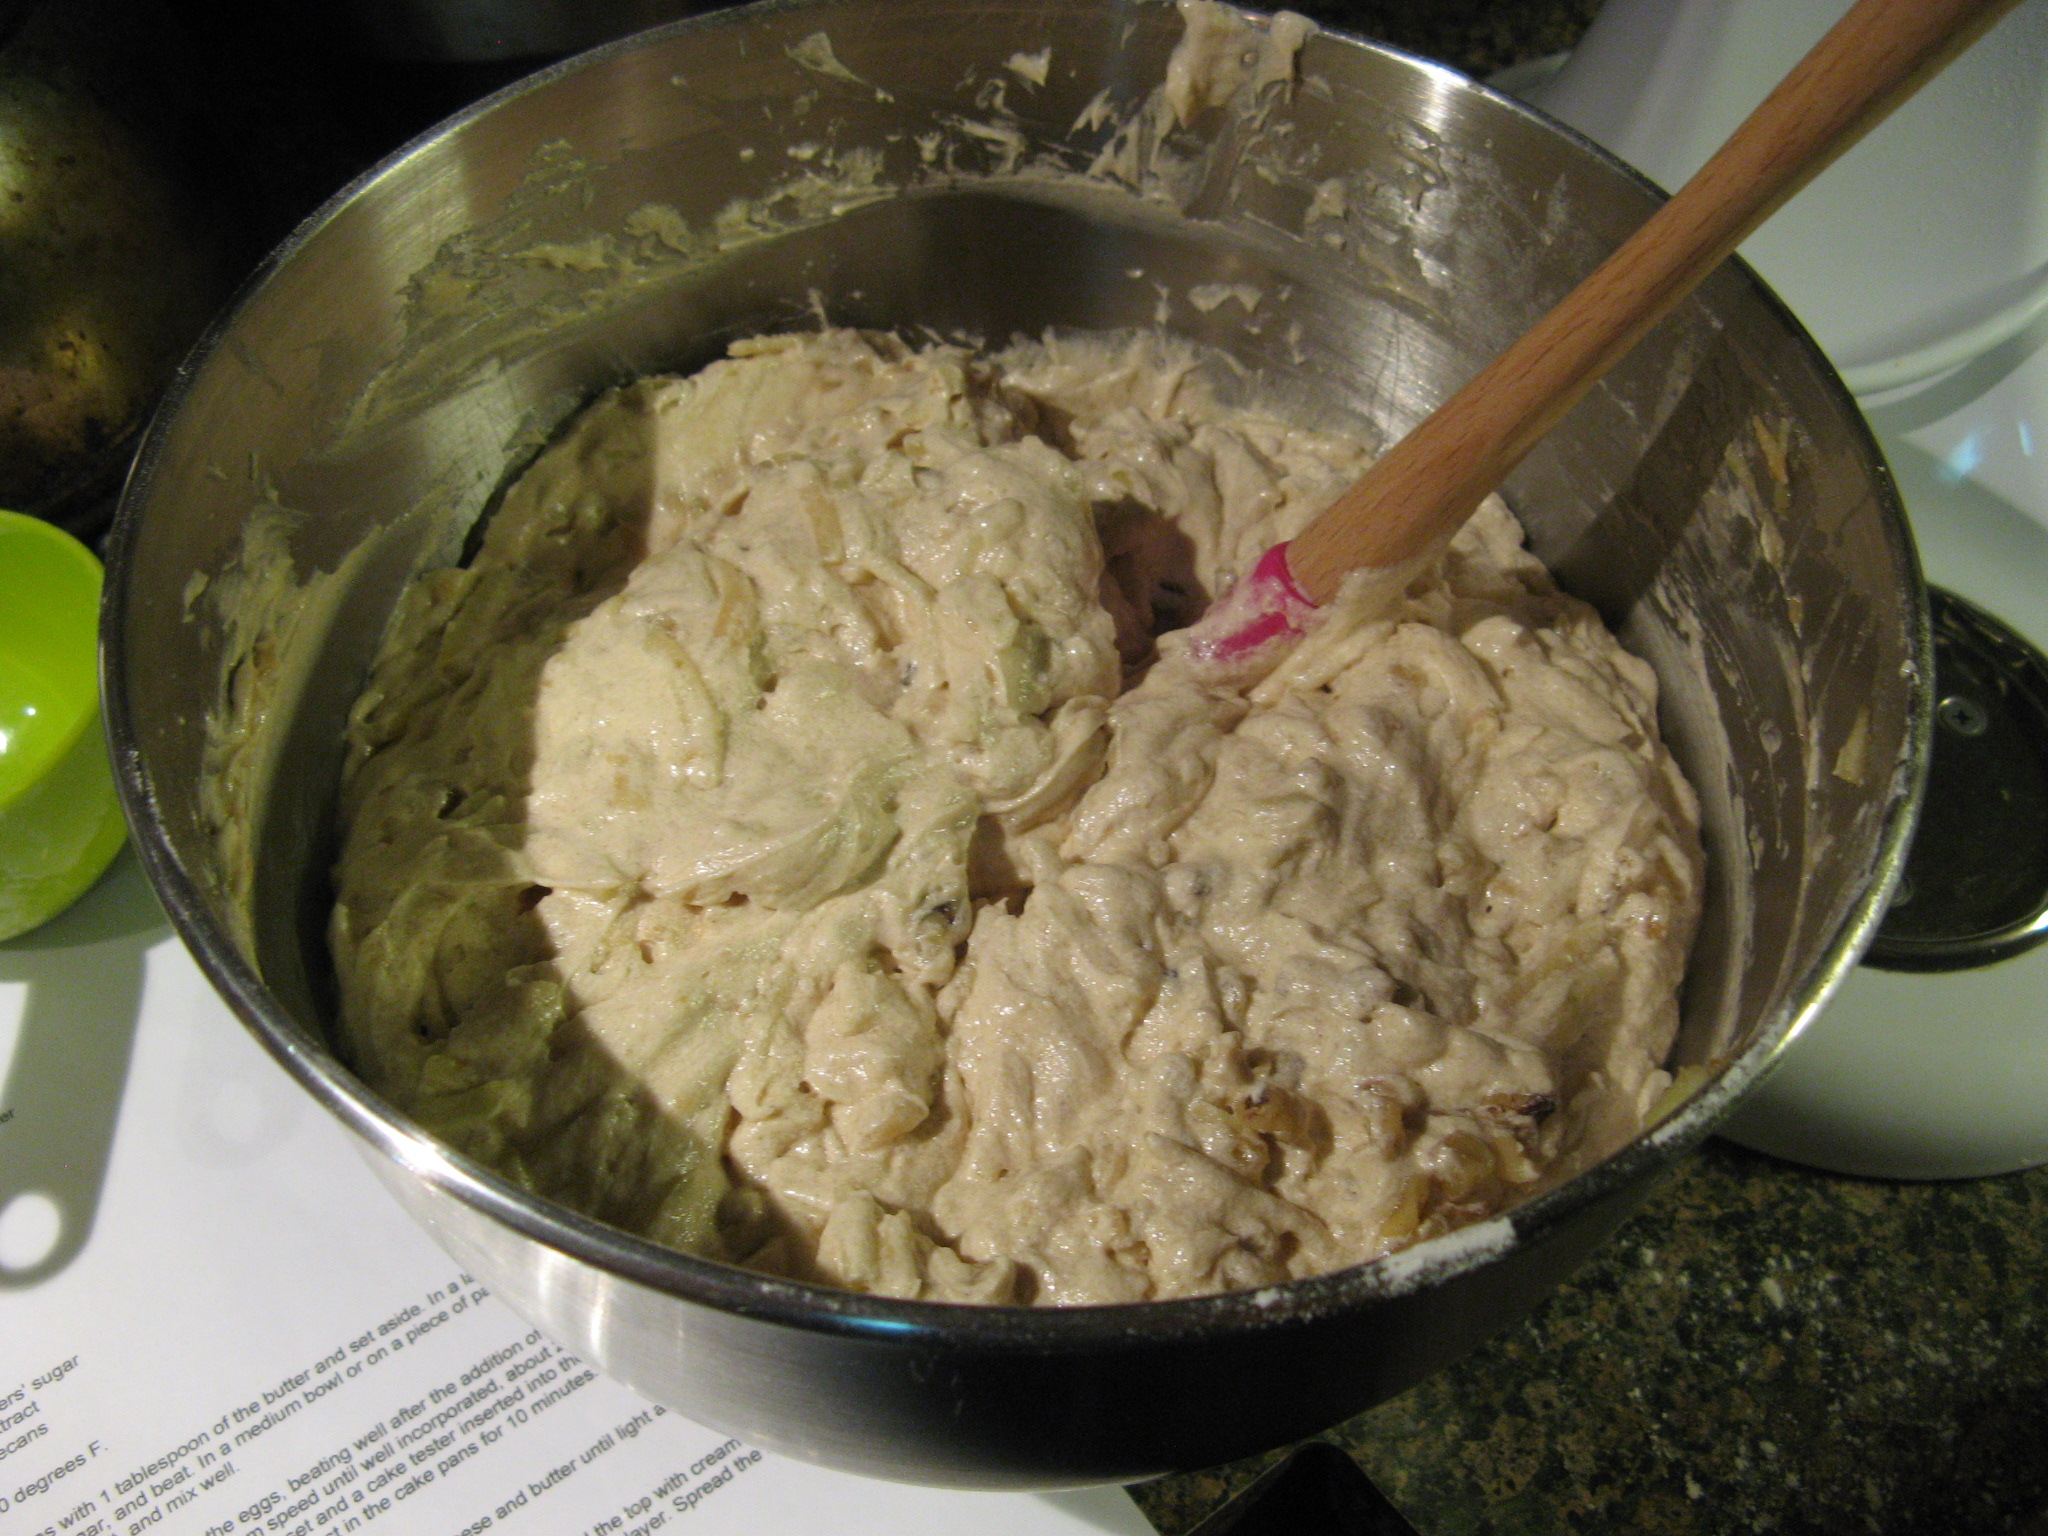
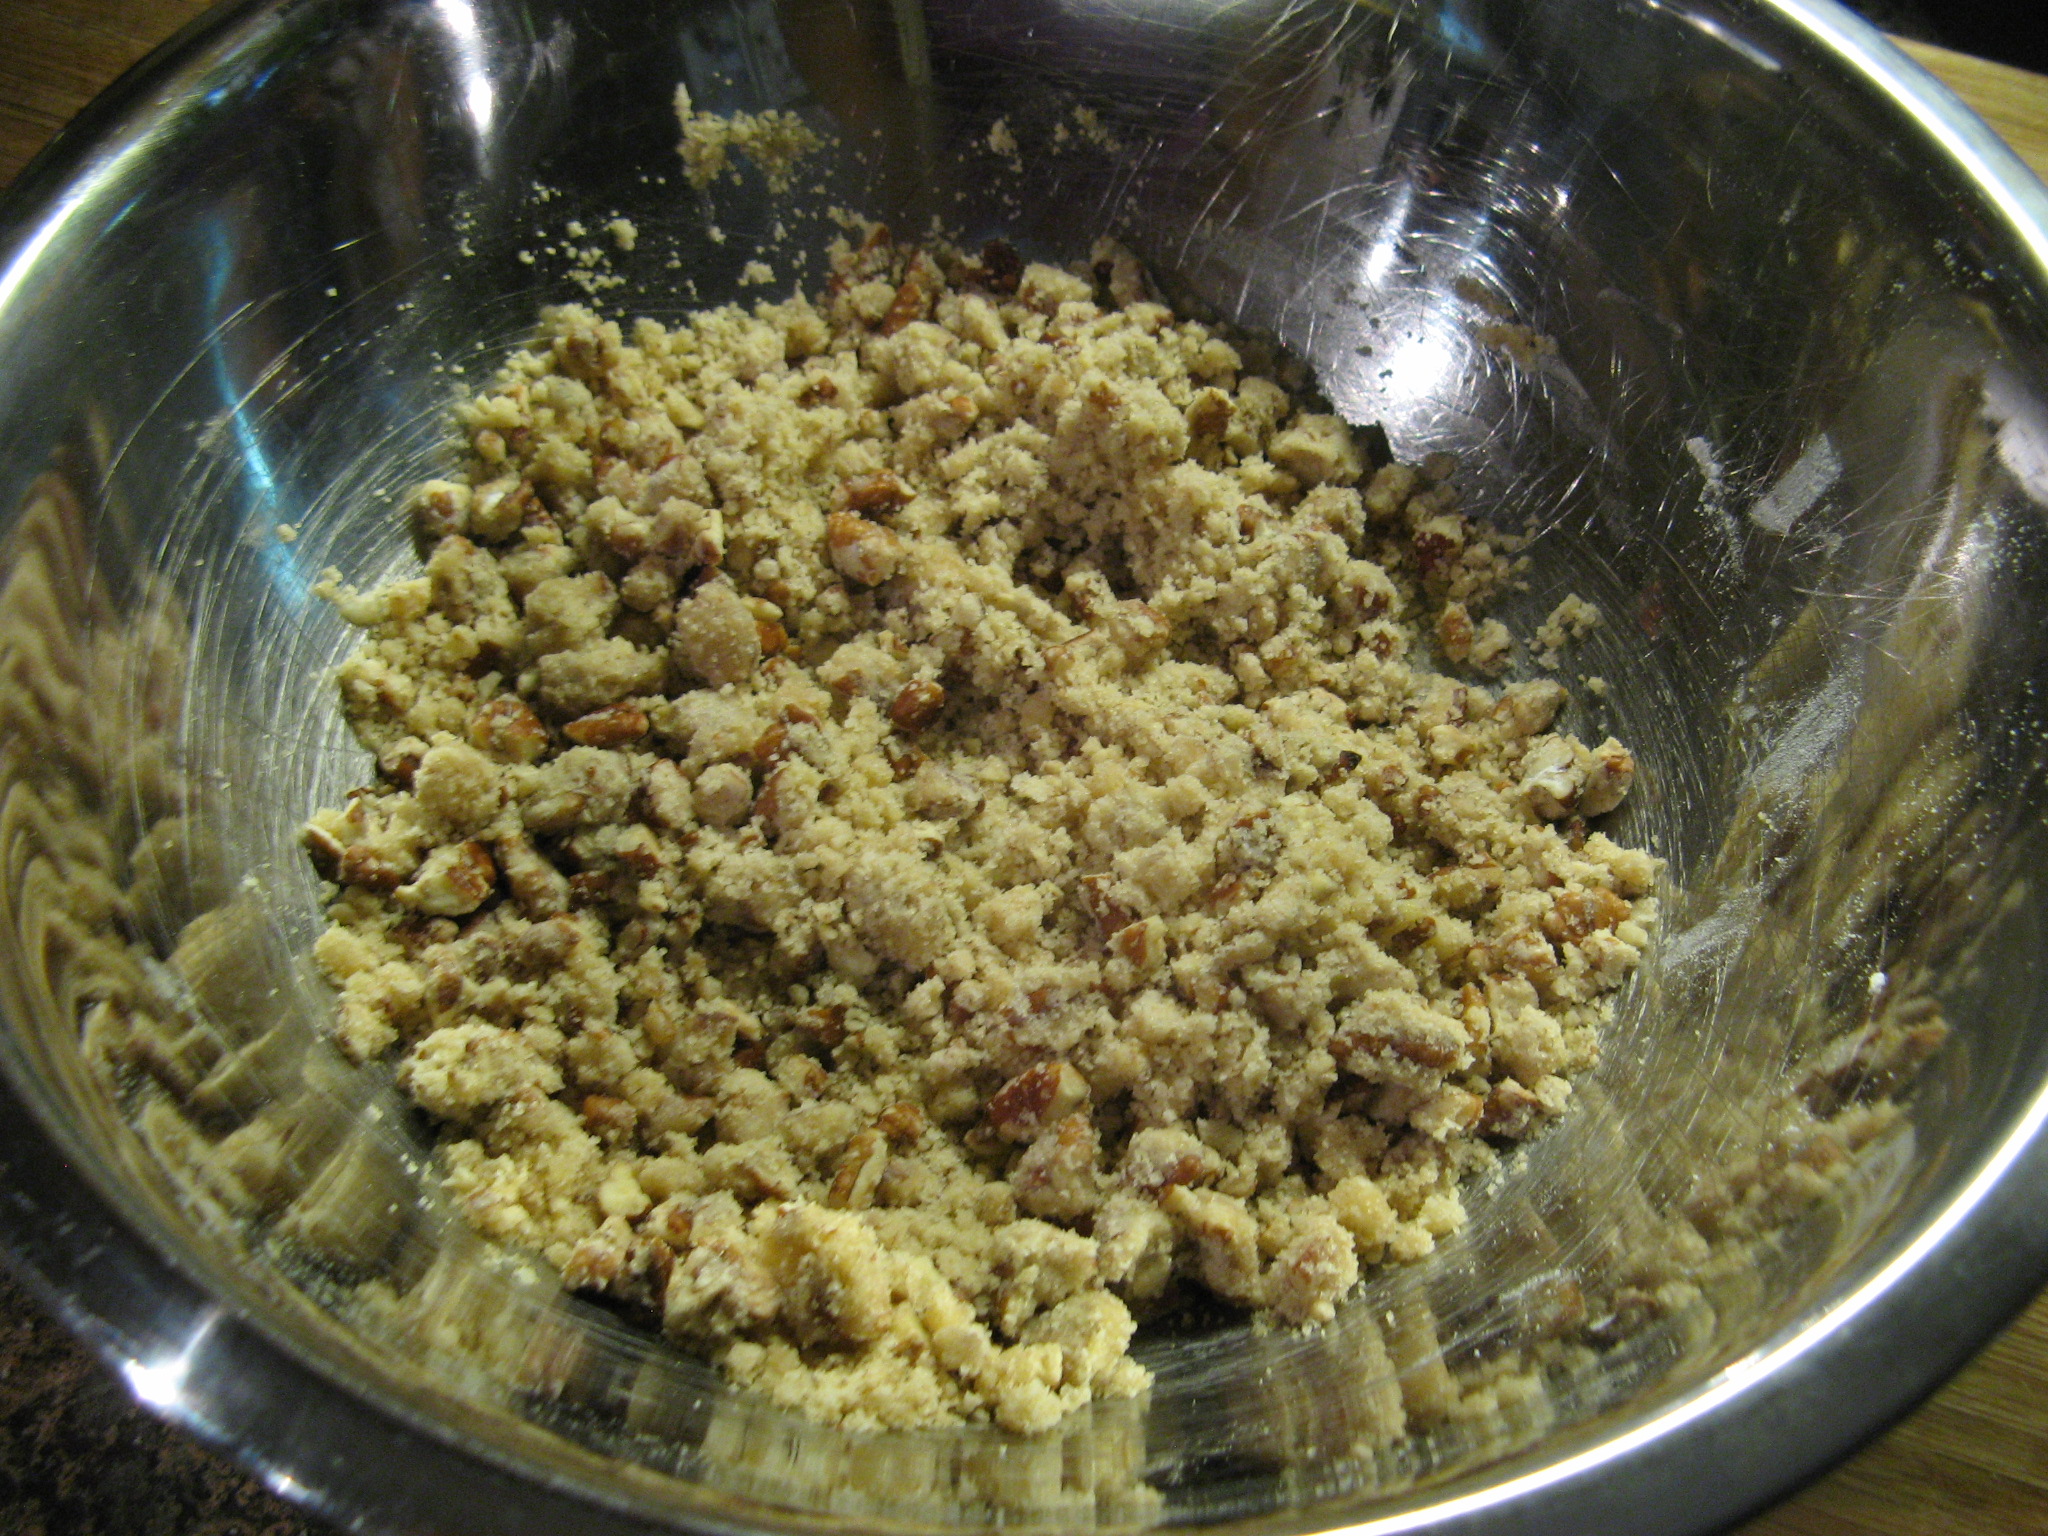
And finally I folded in some chopped walnuts.

IMG_1325

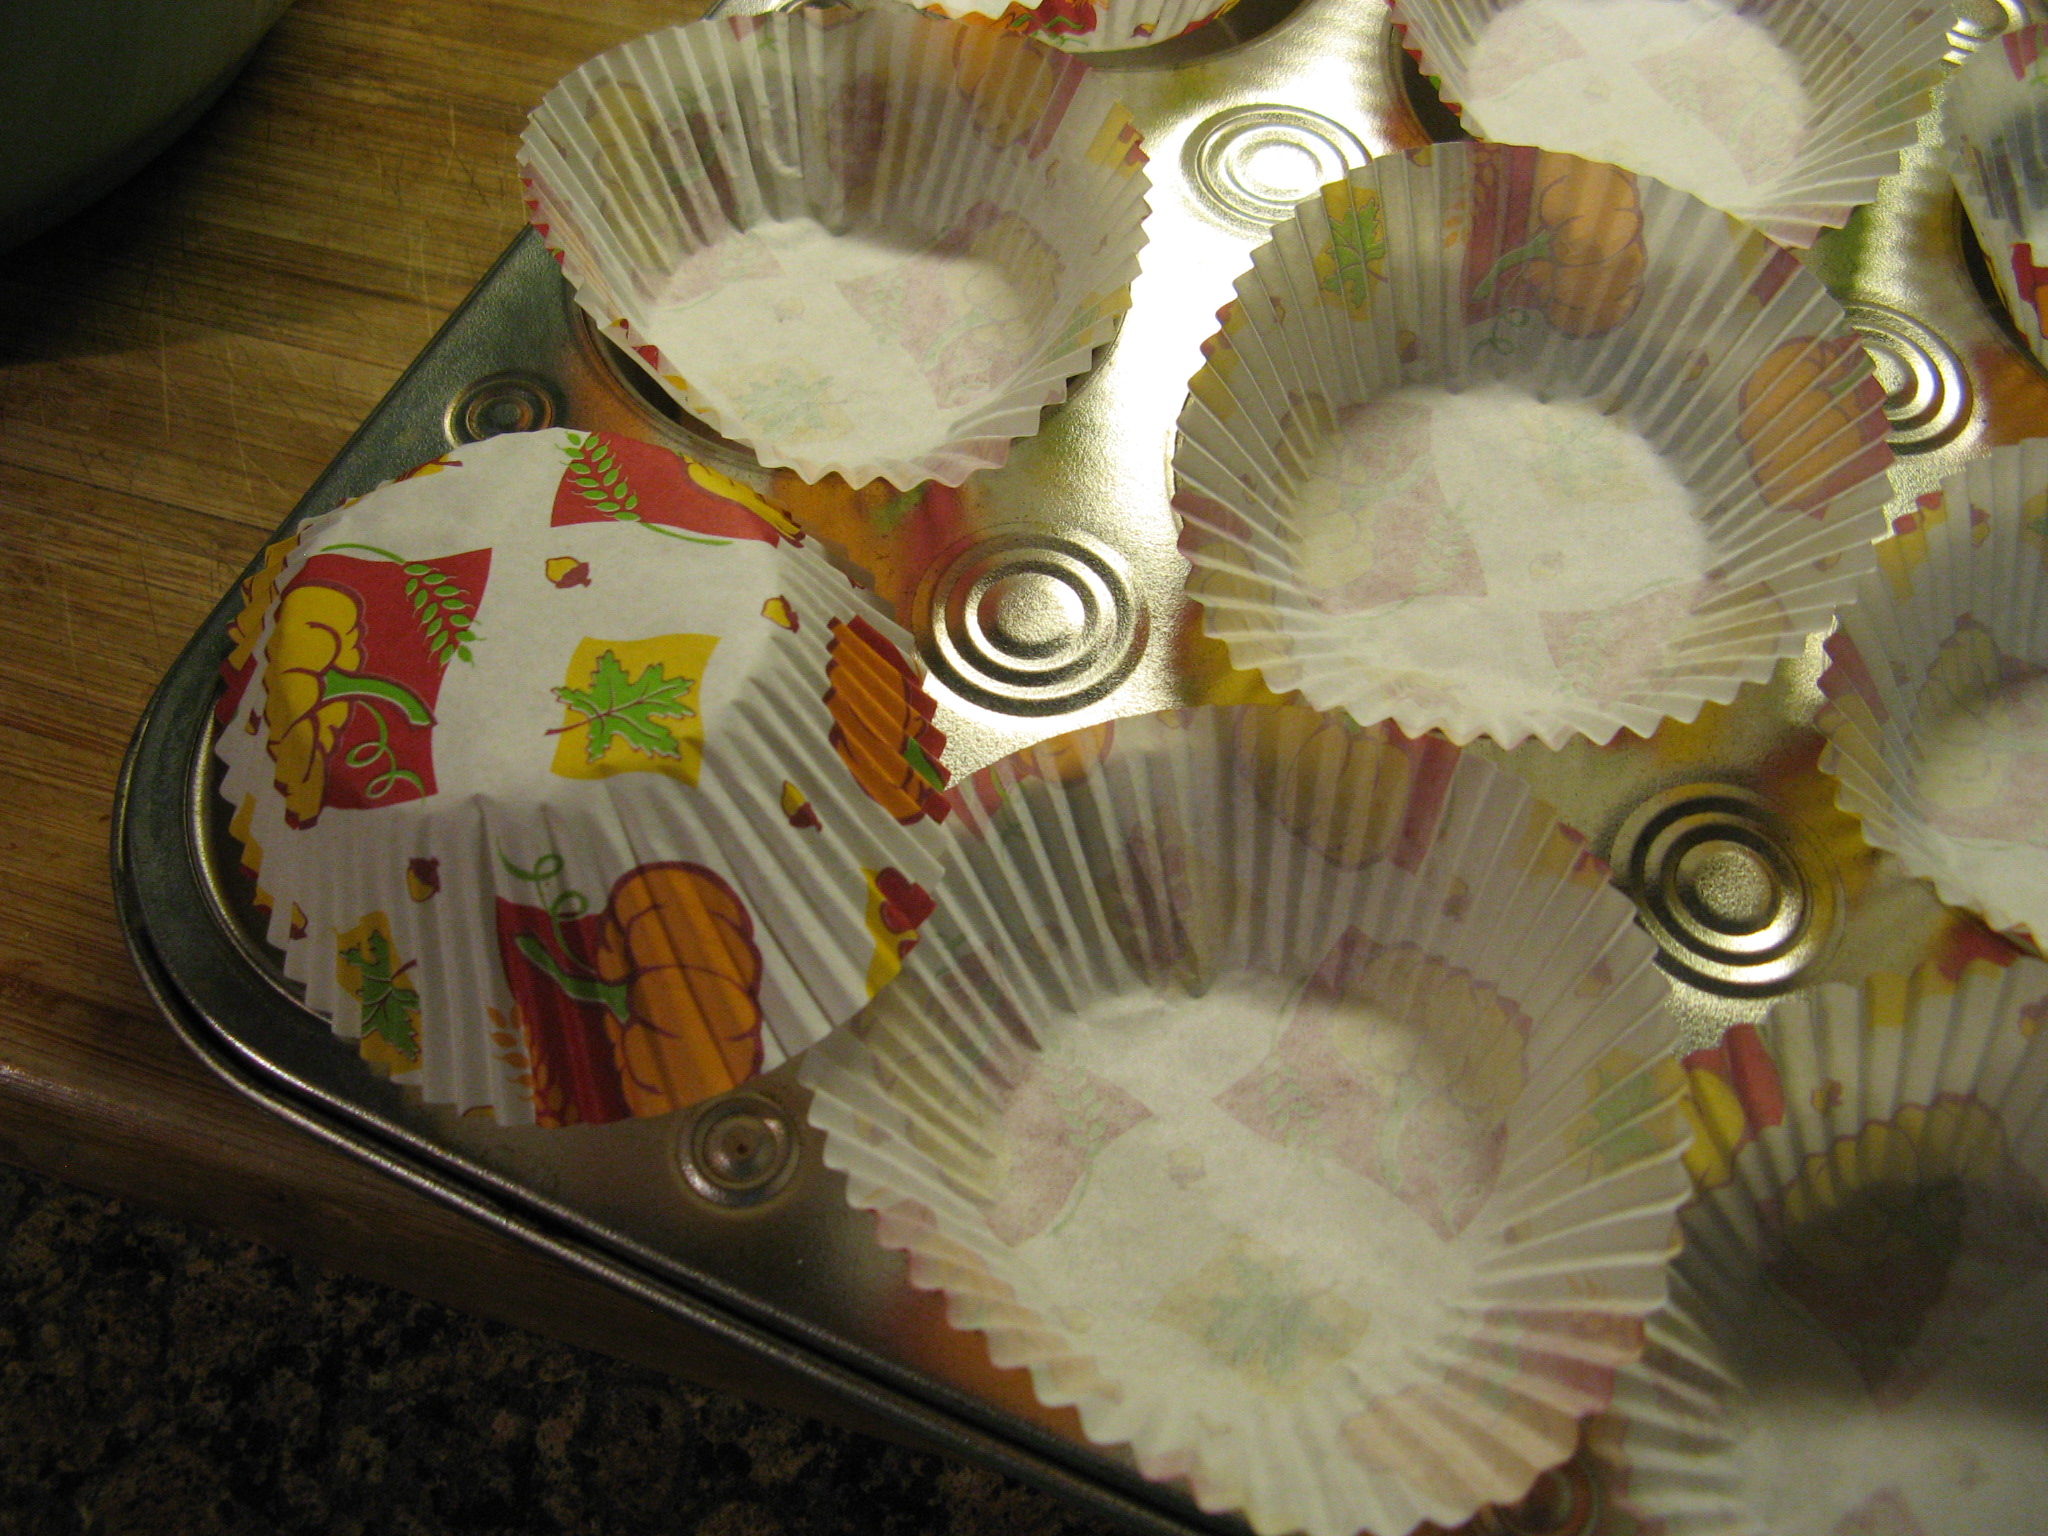
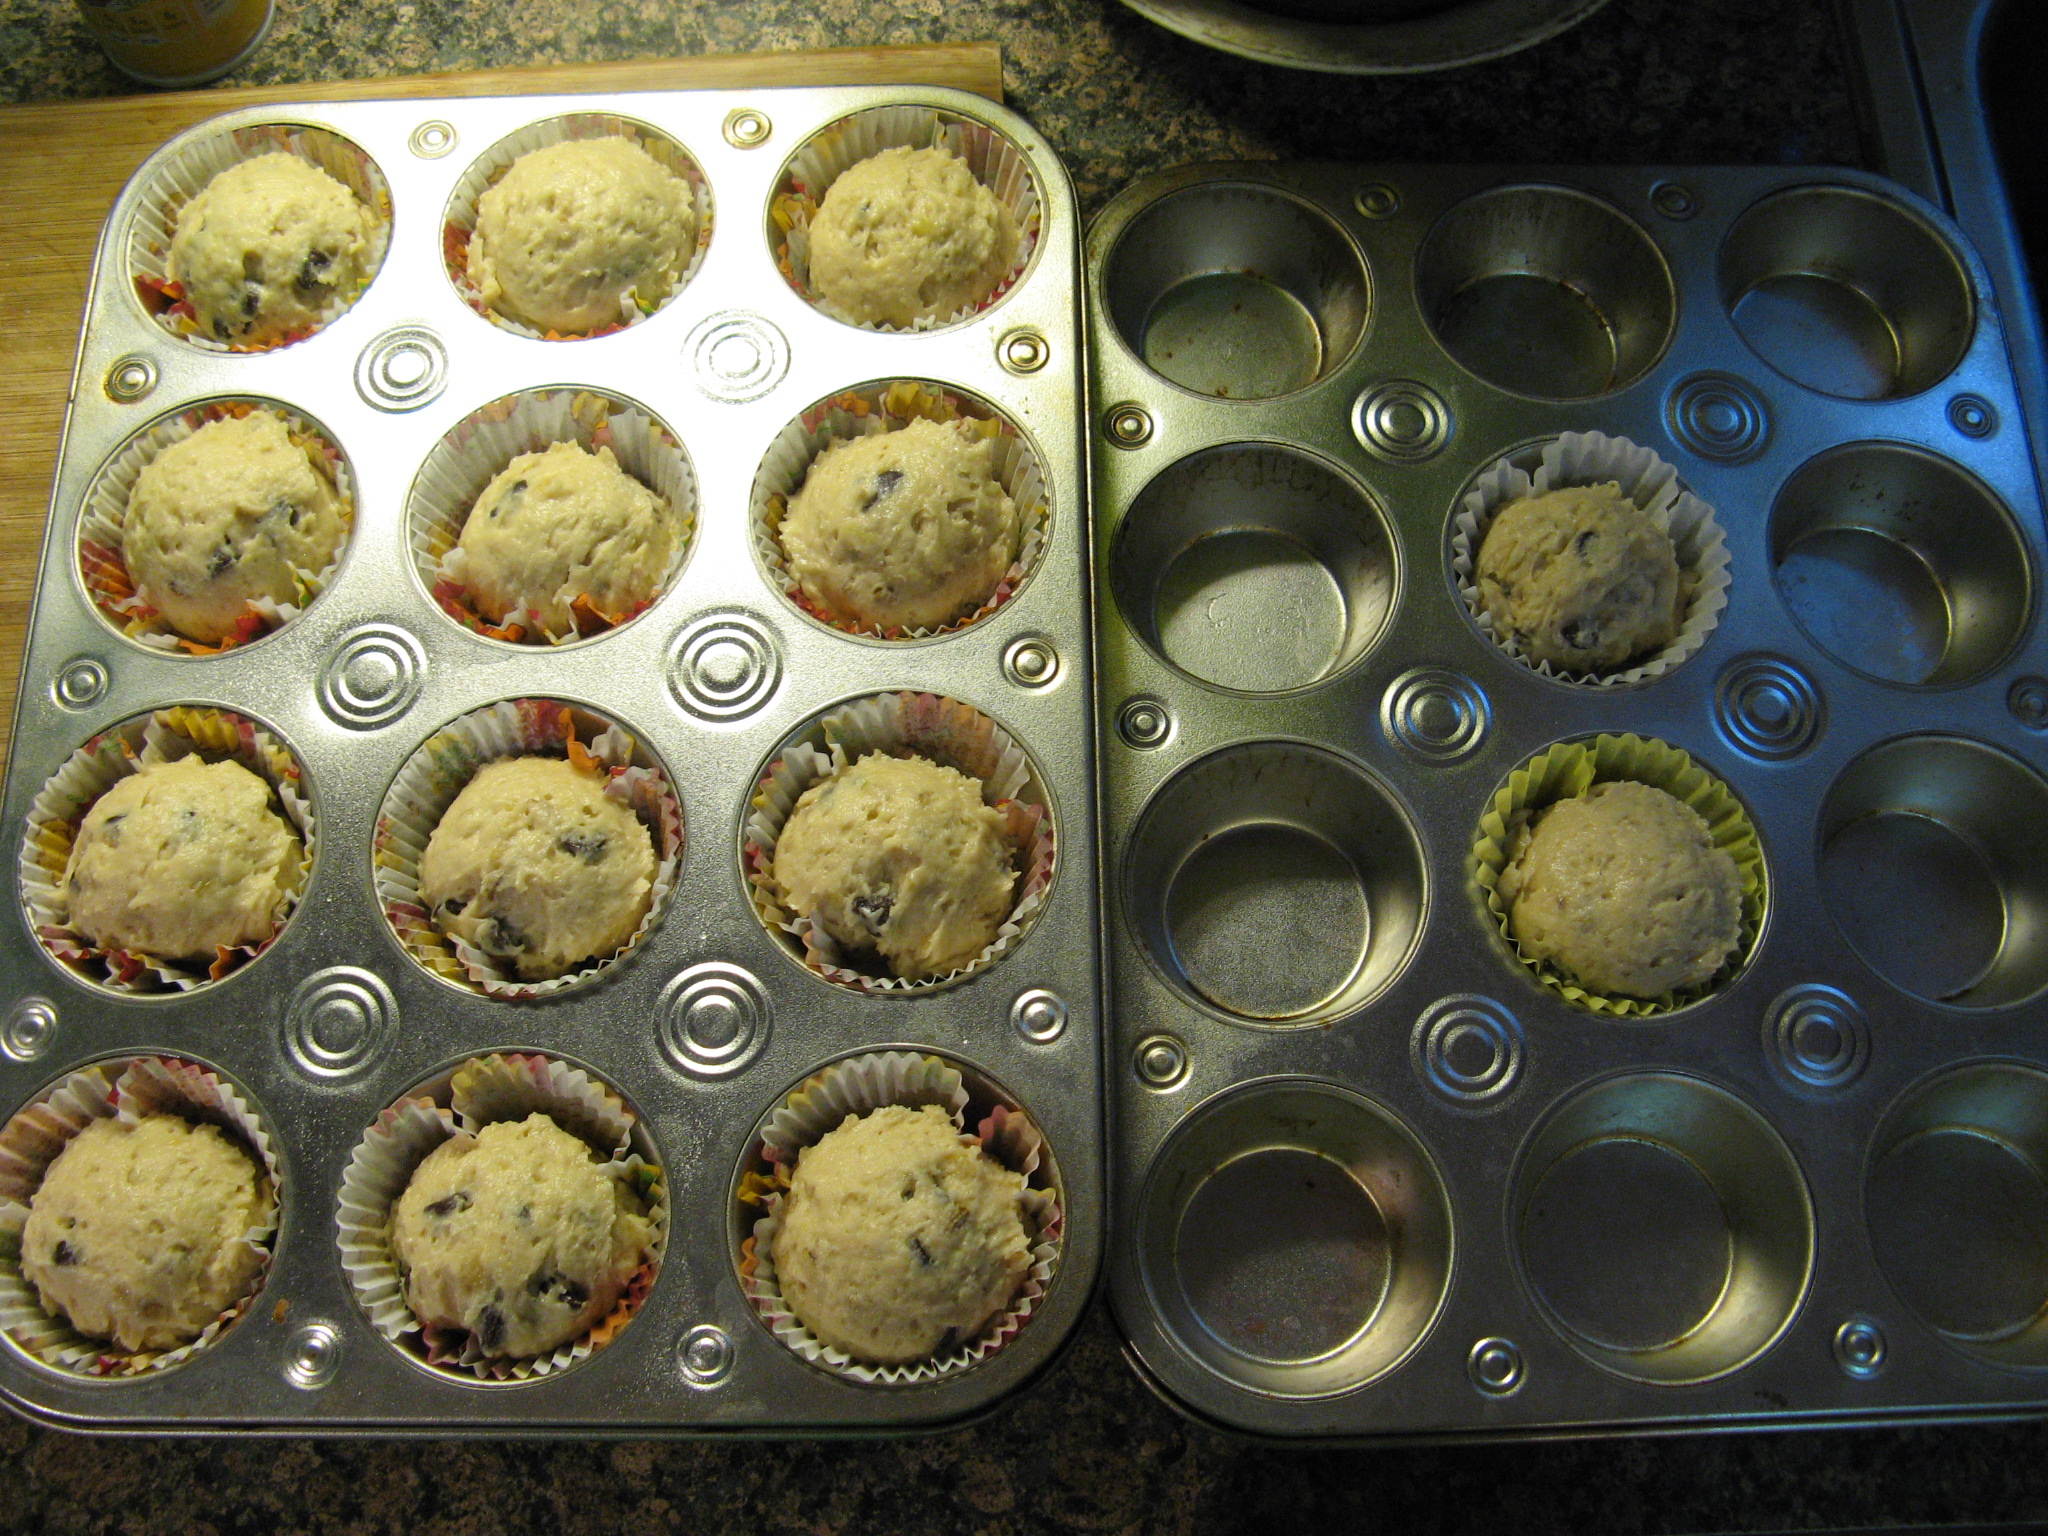
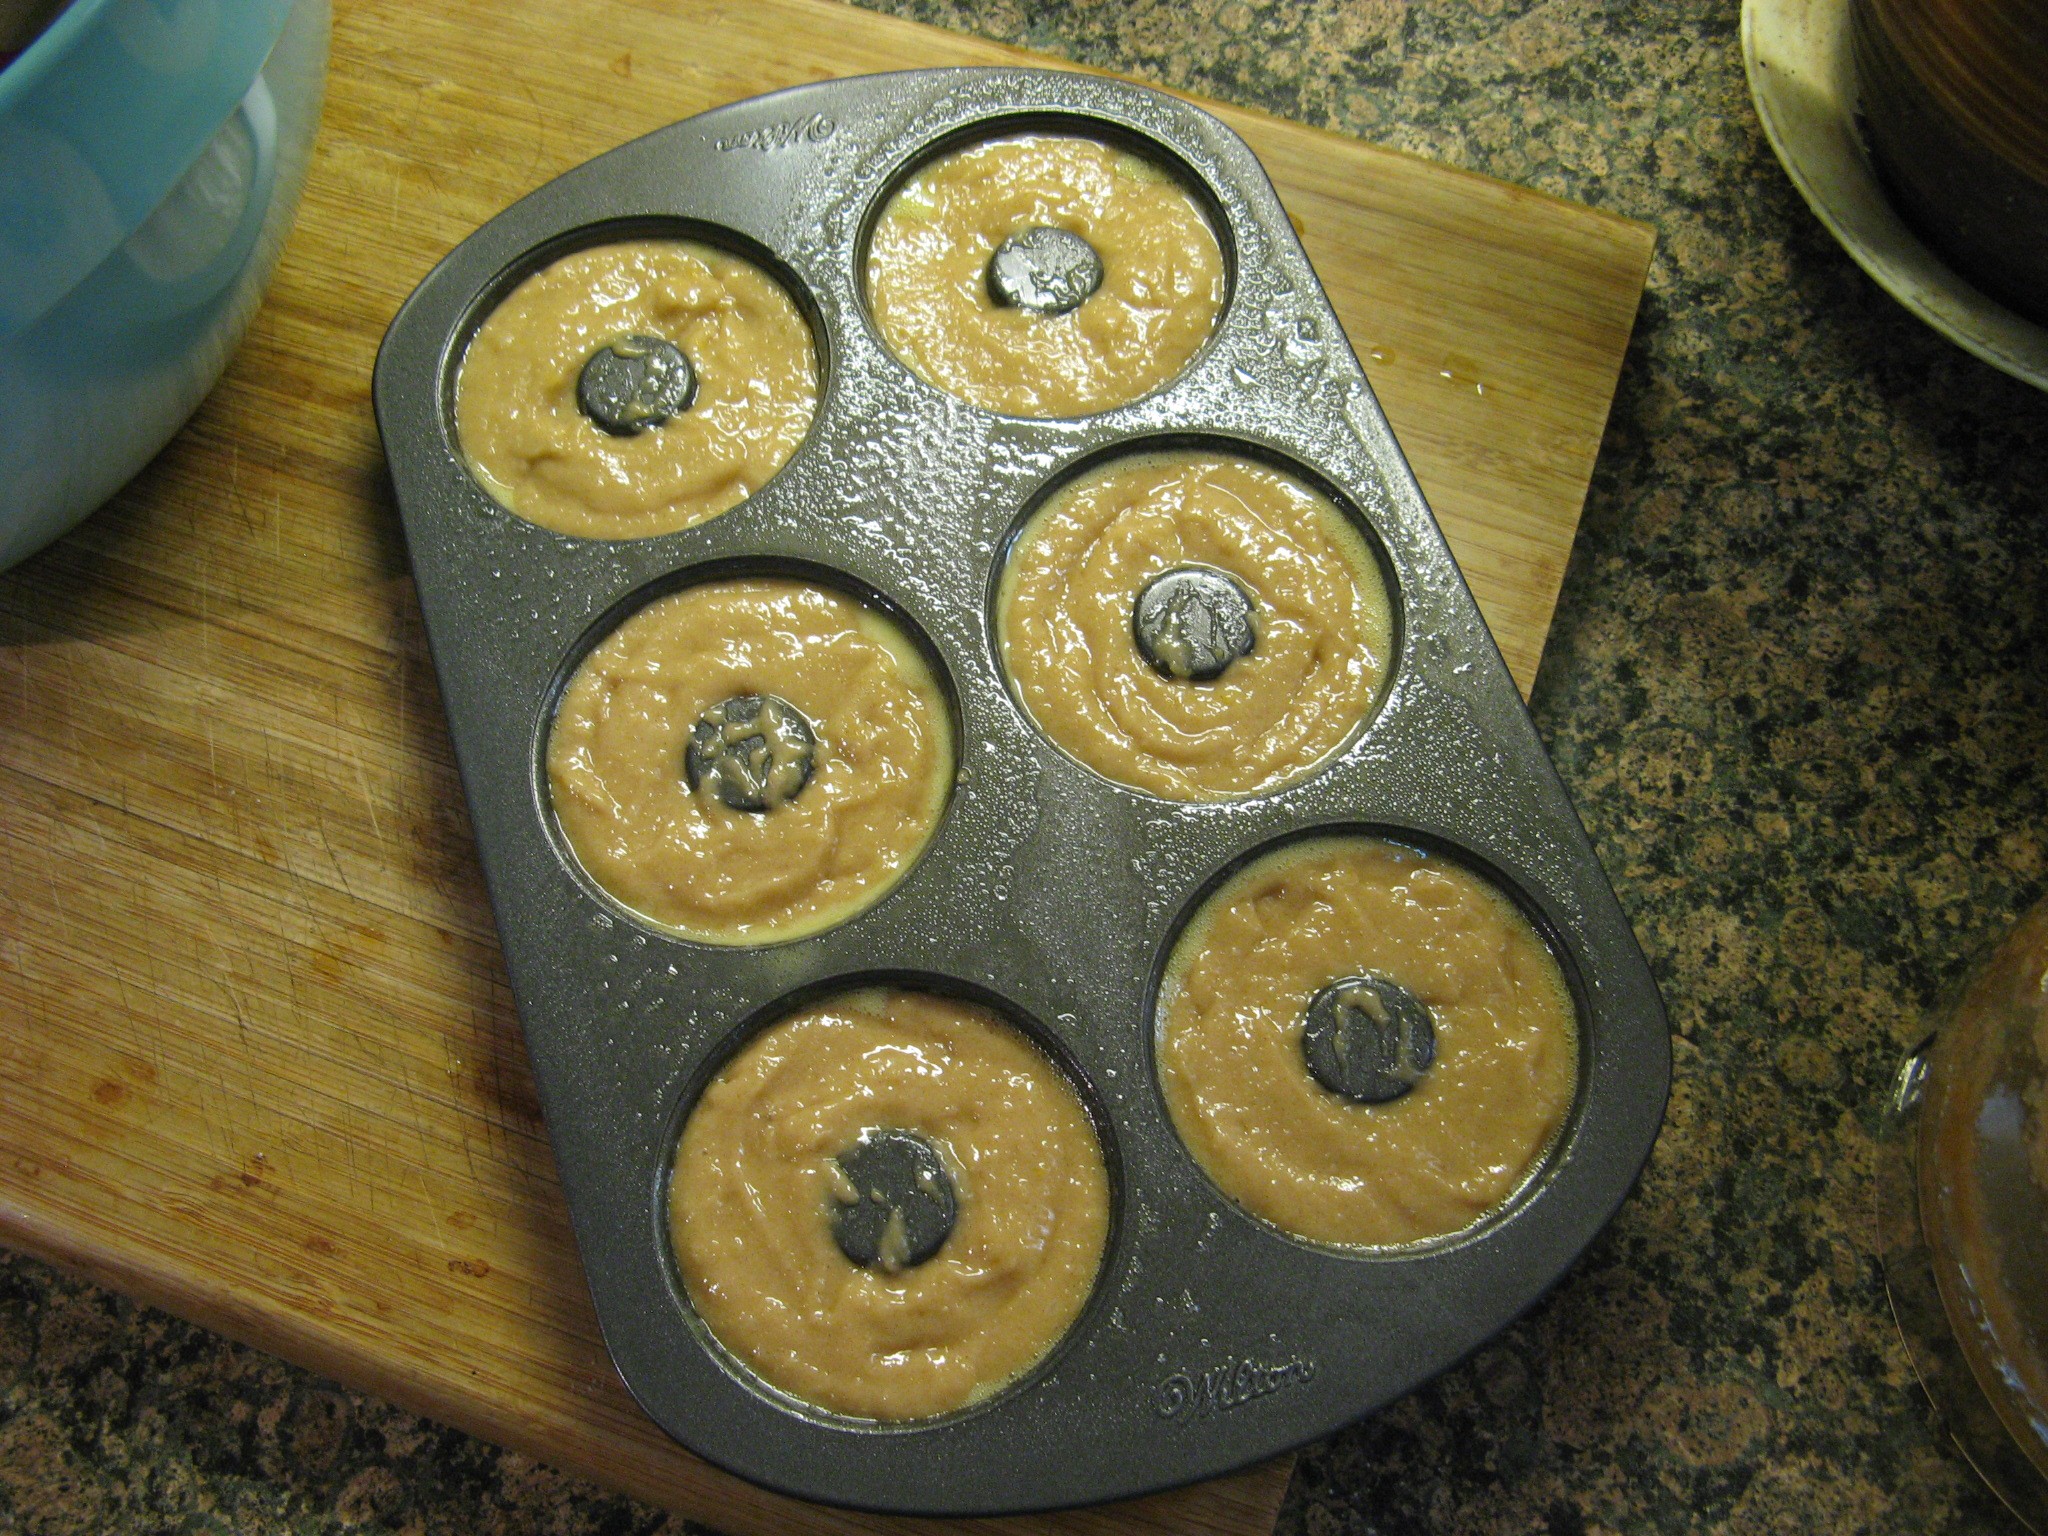
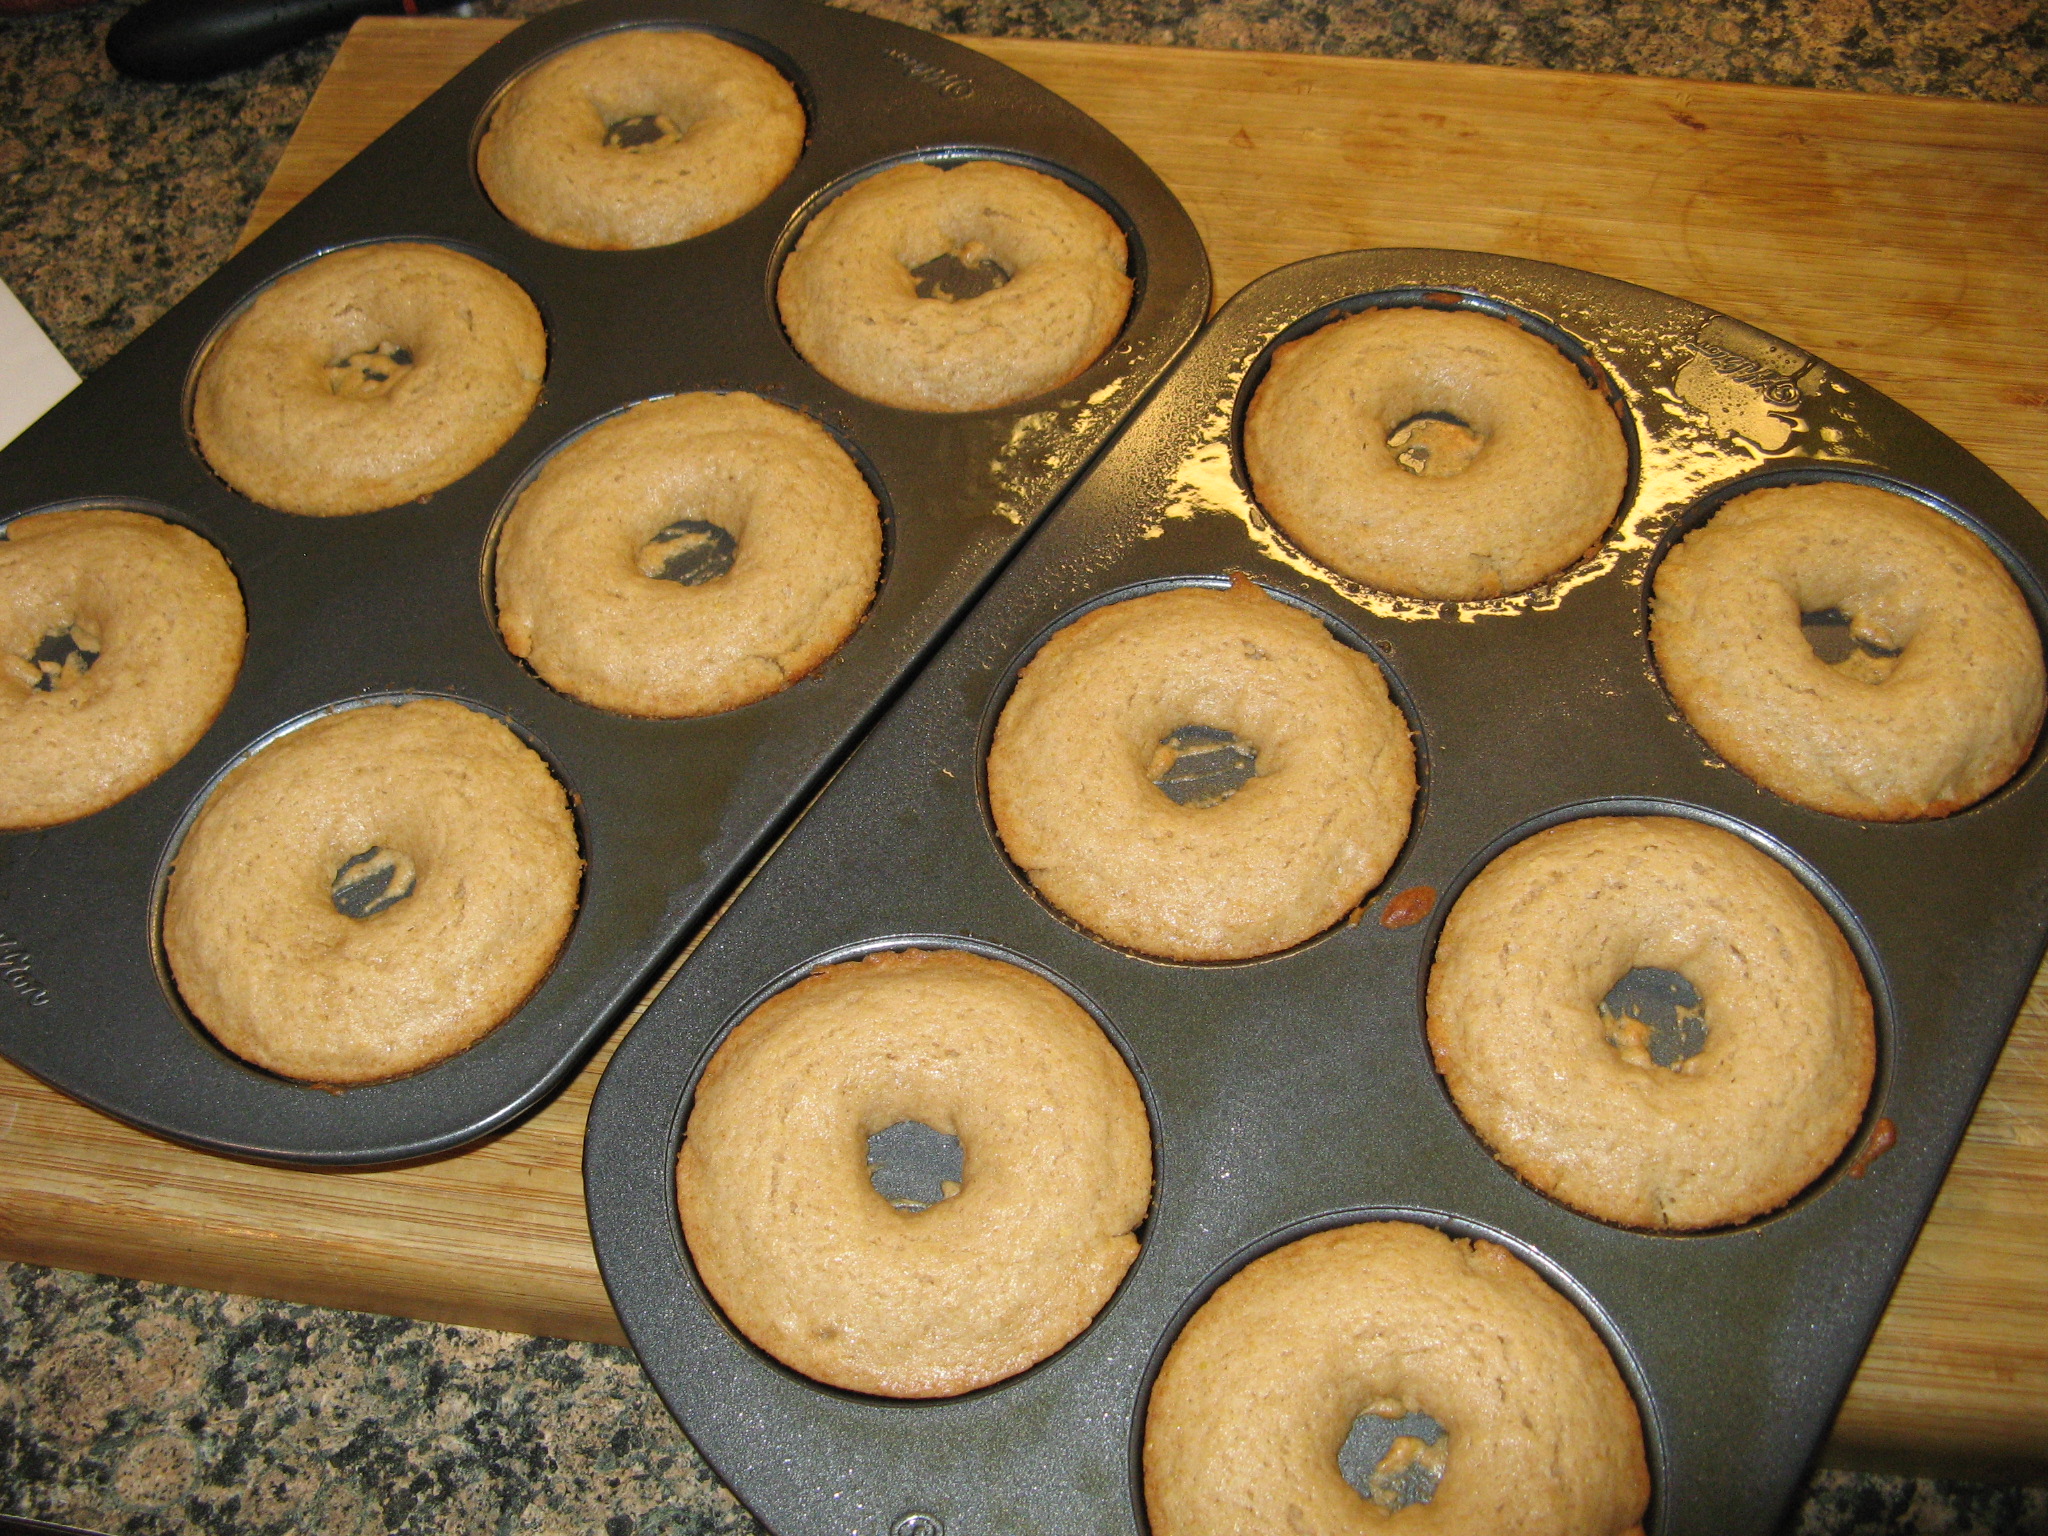
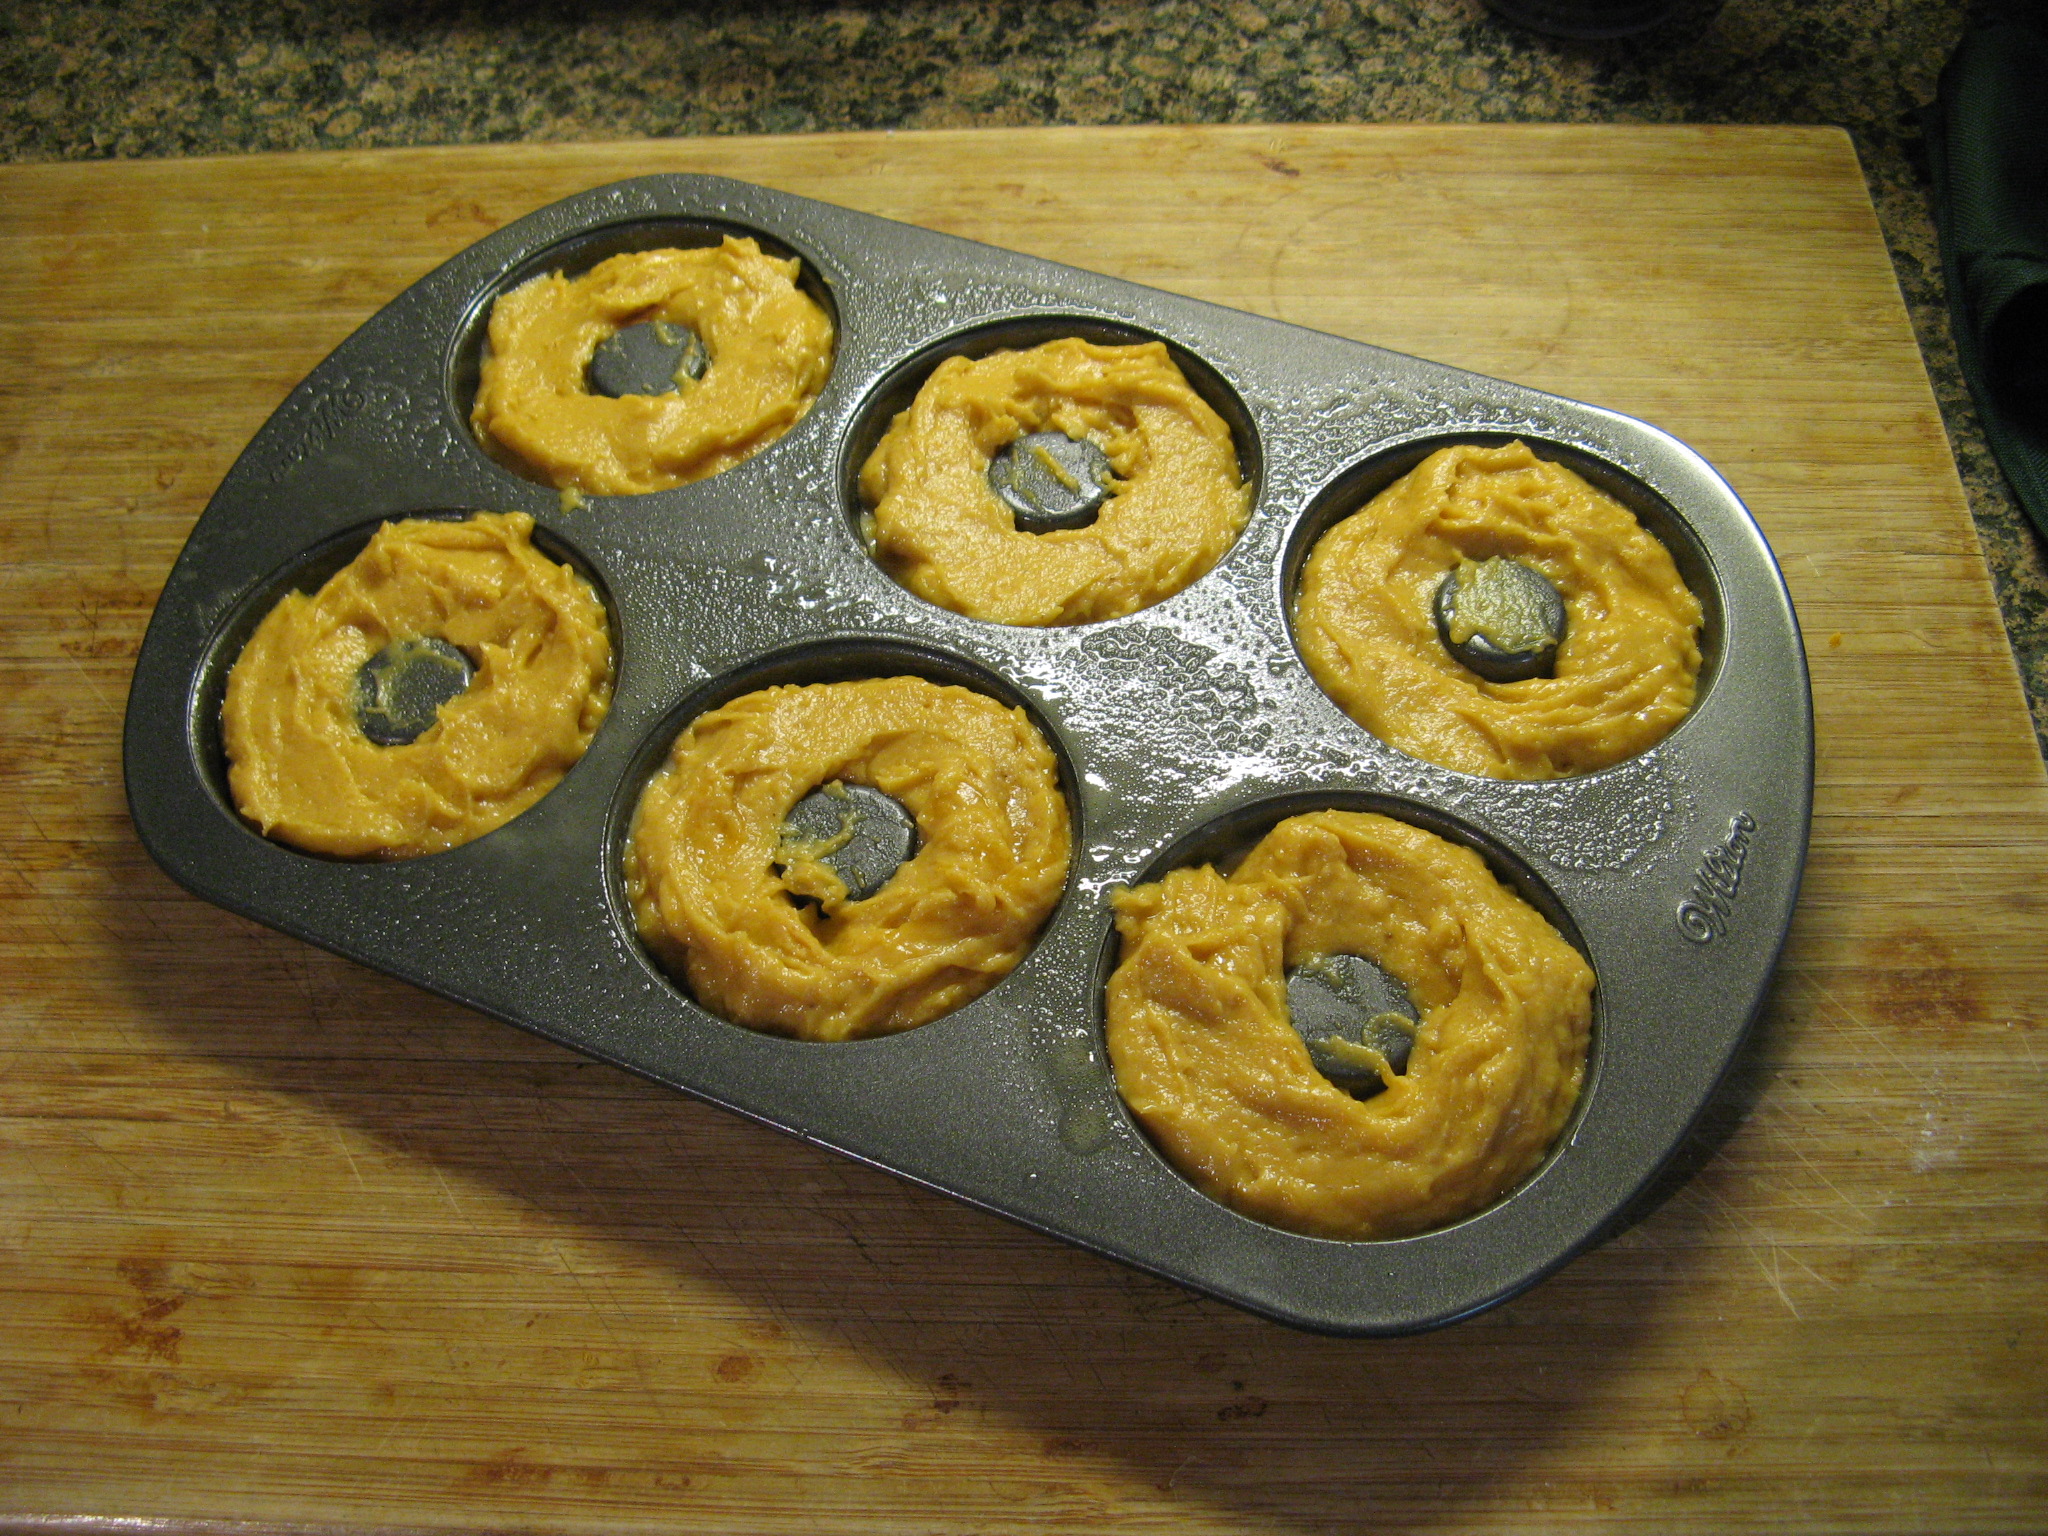
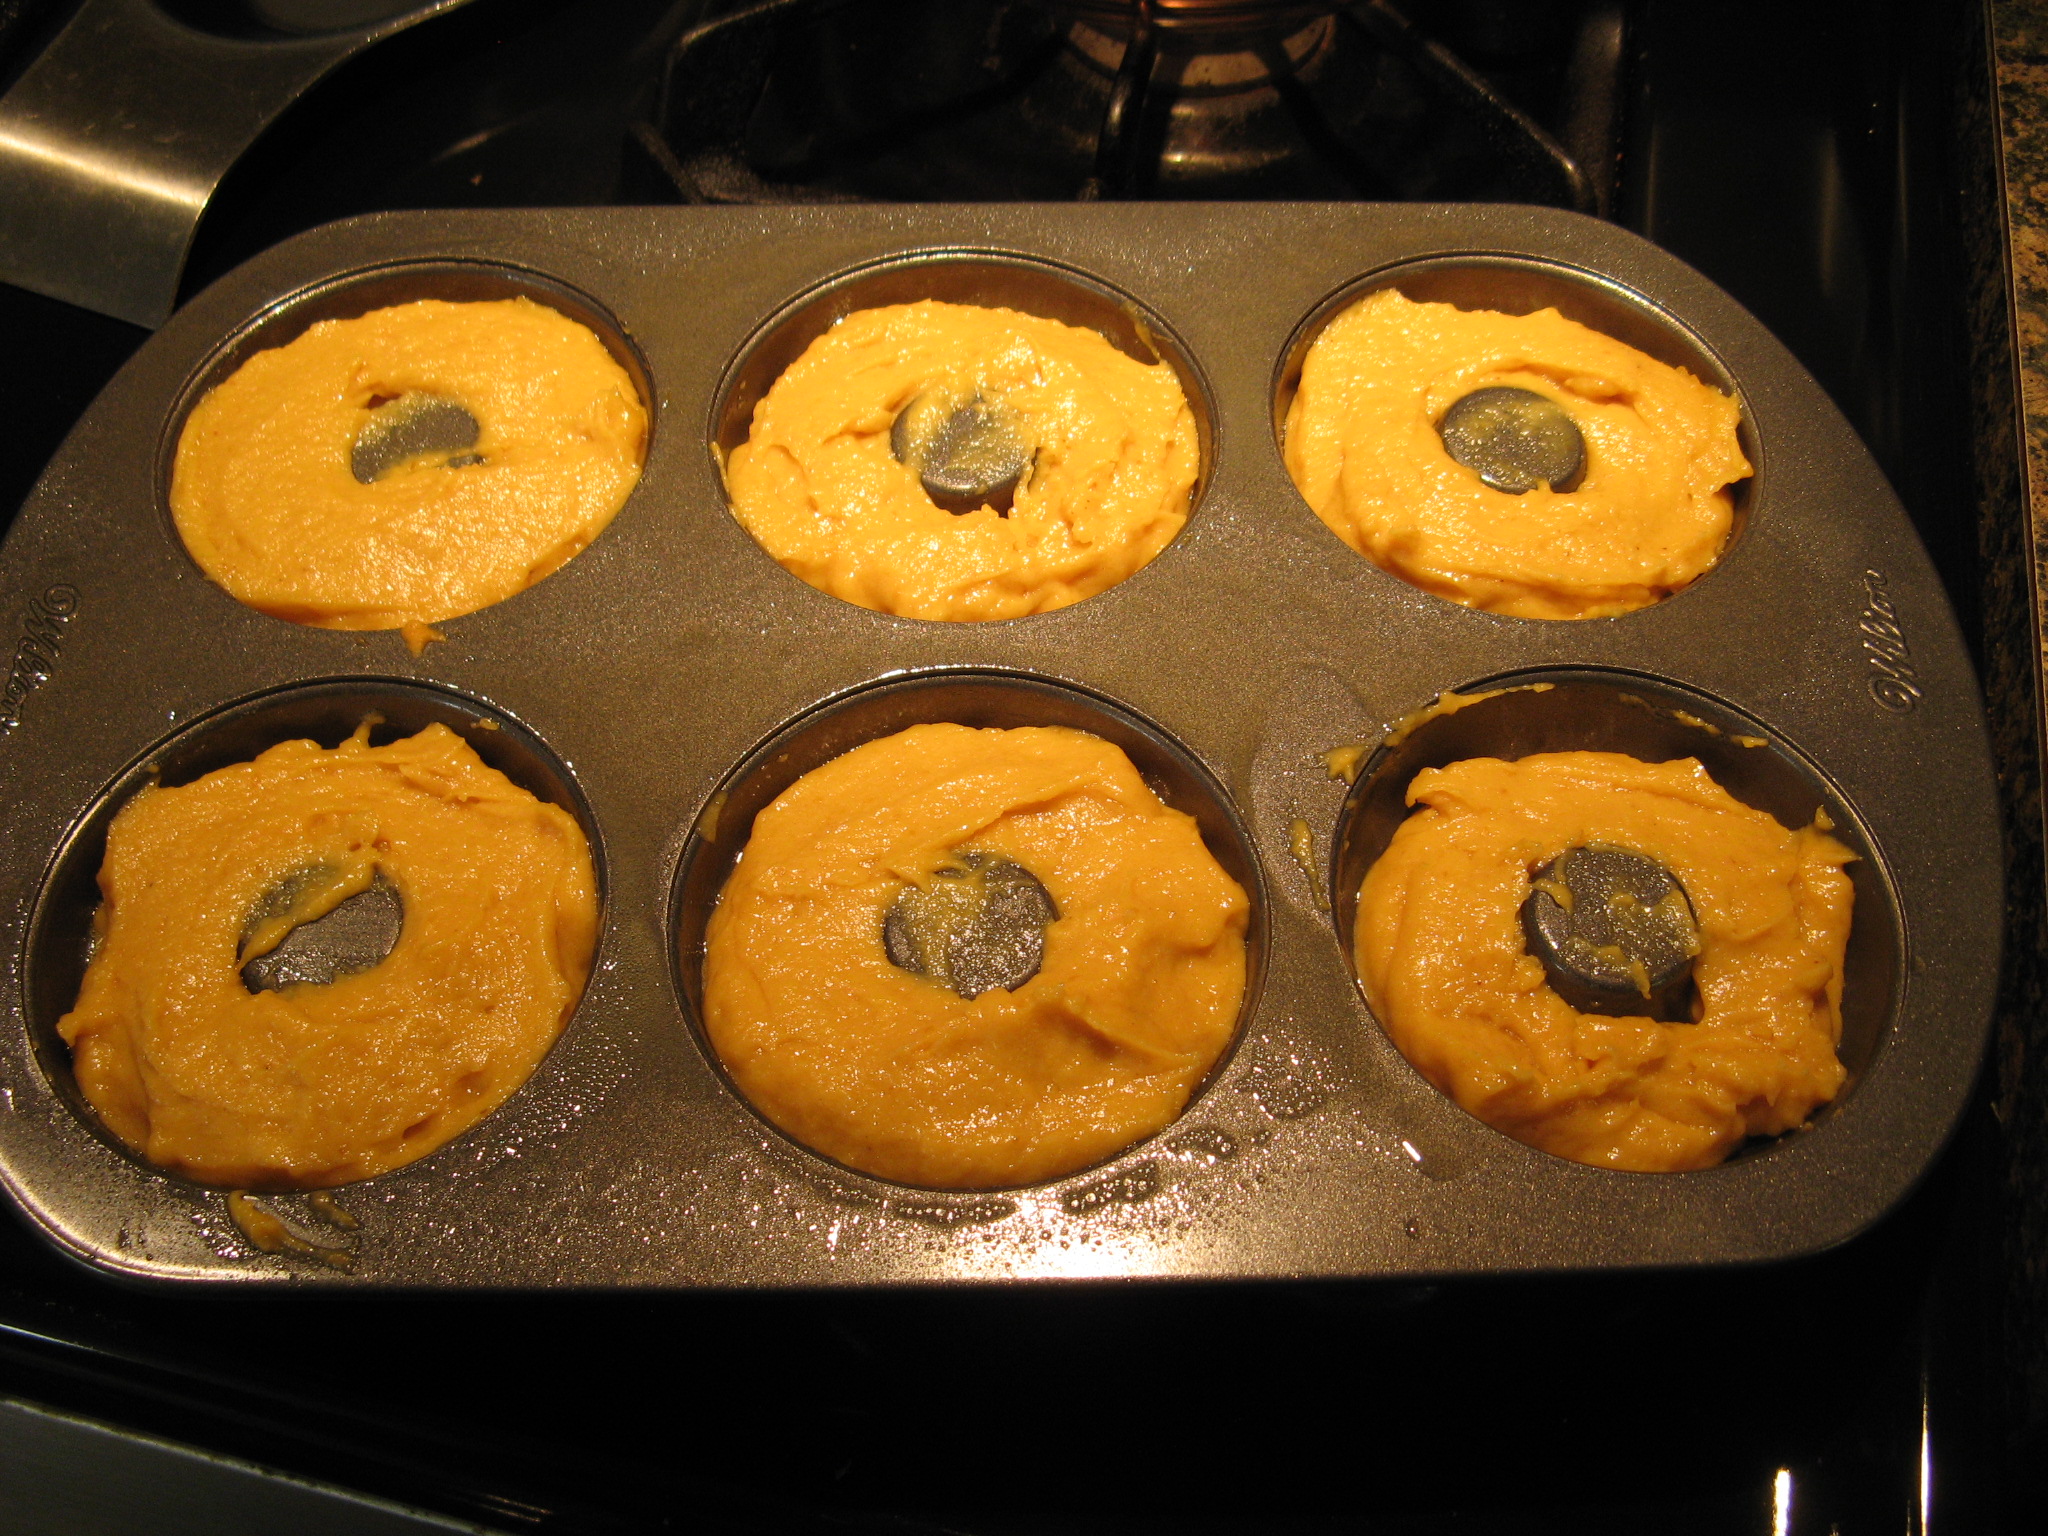
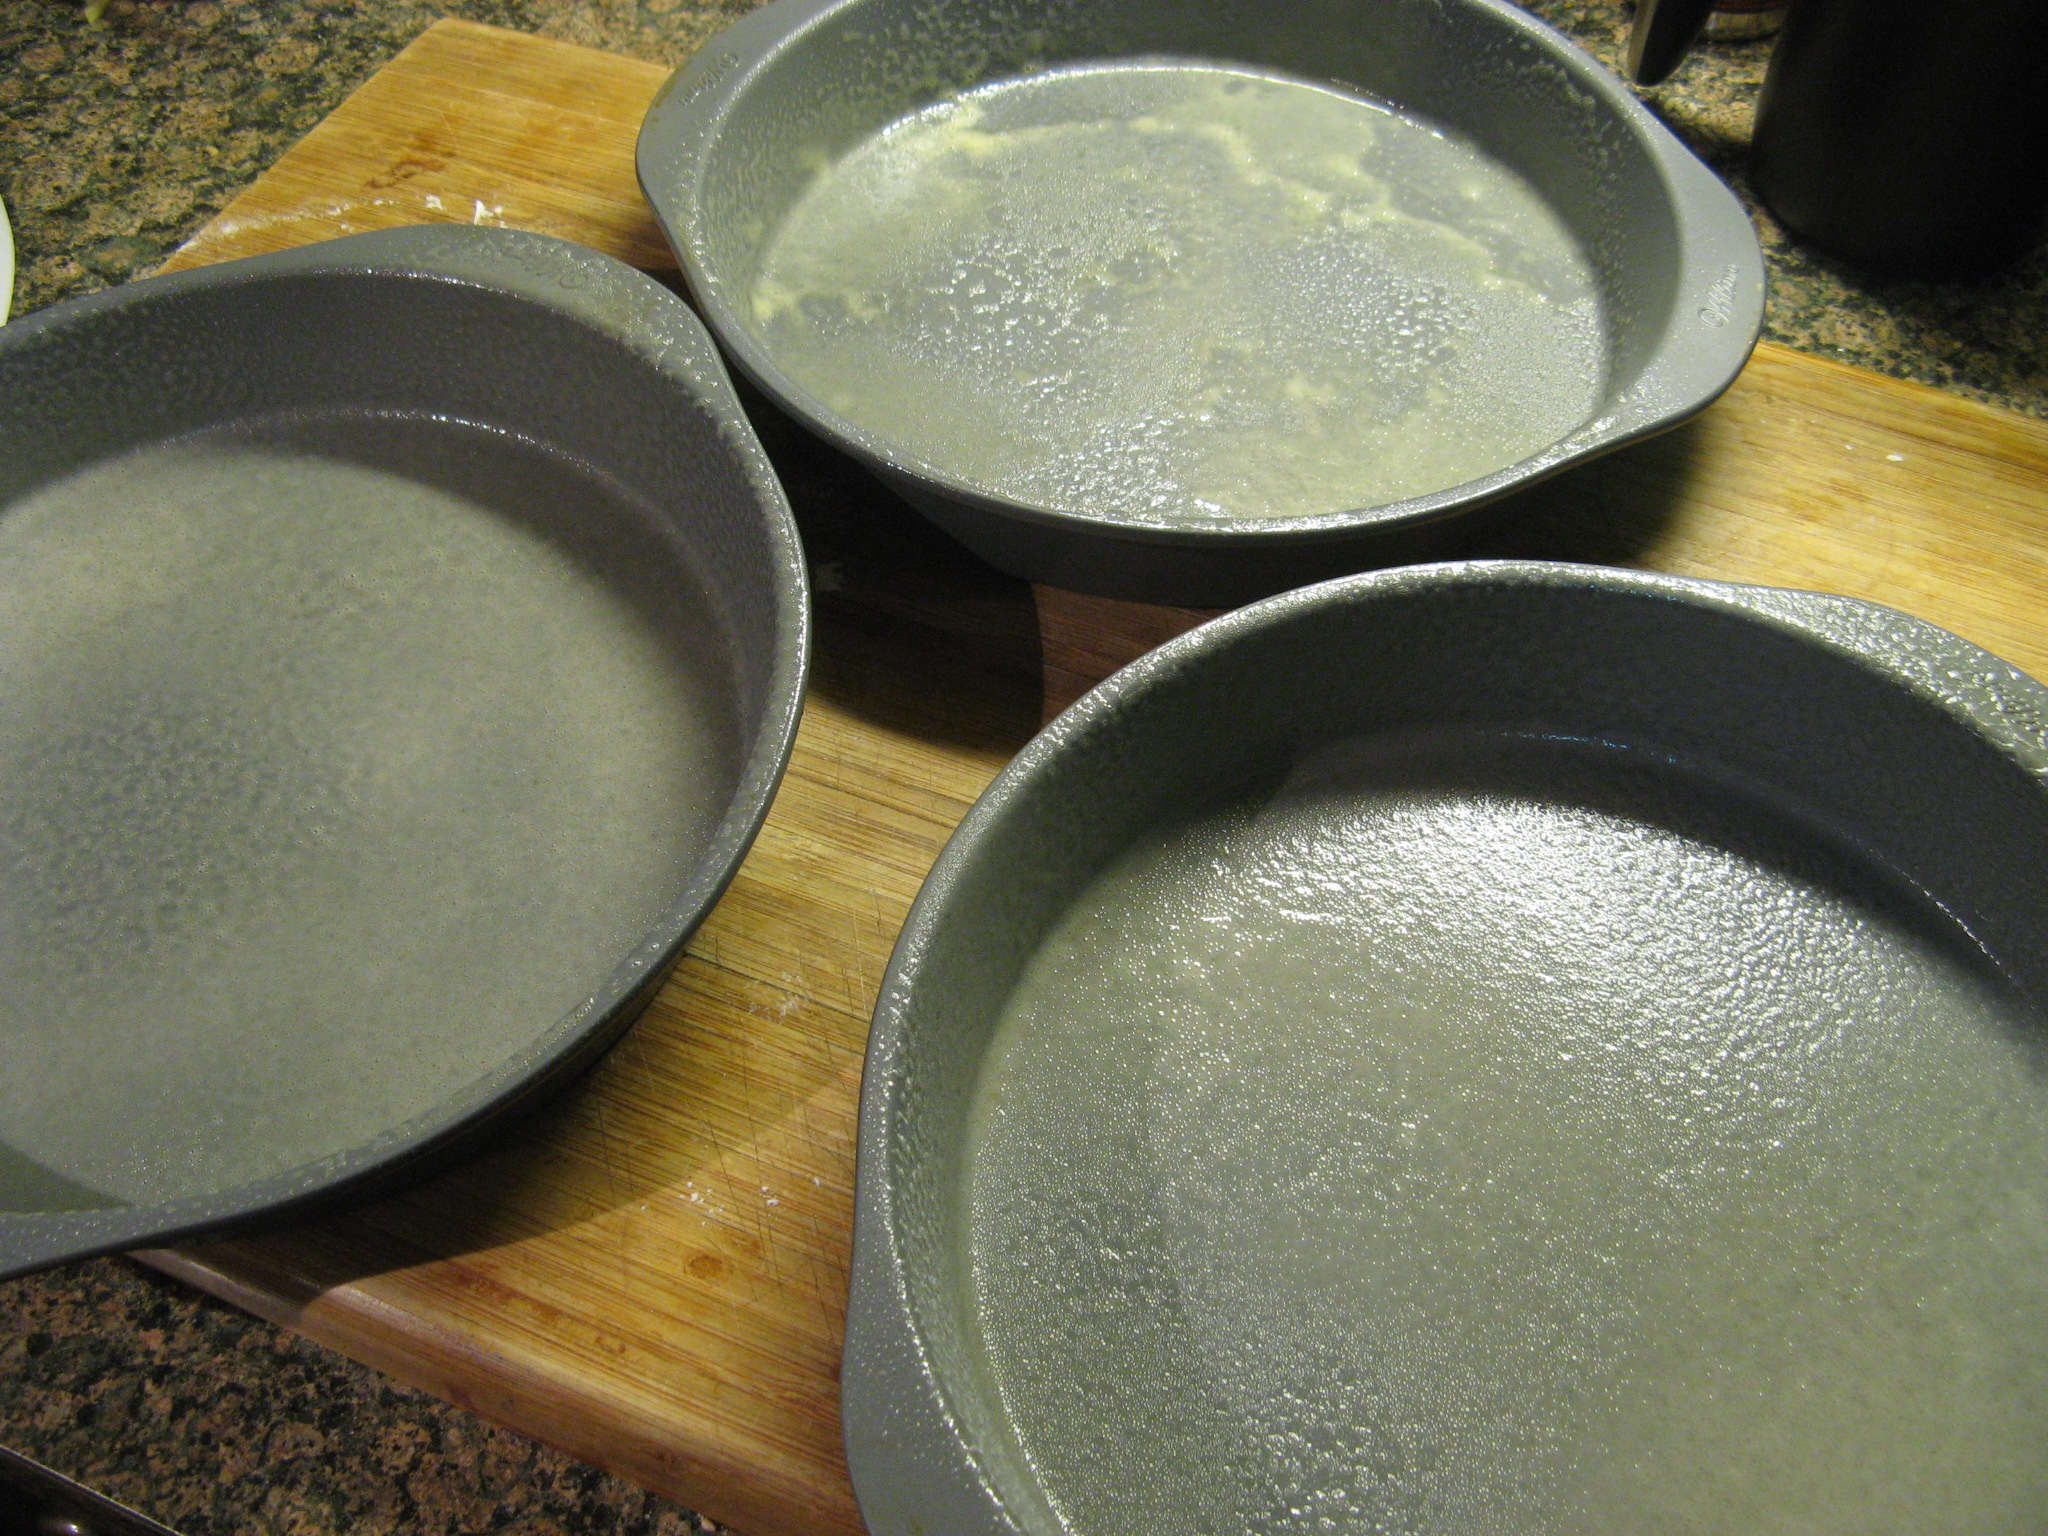
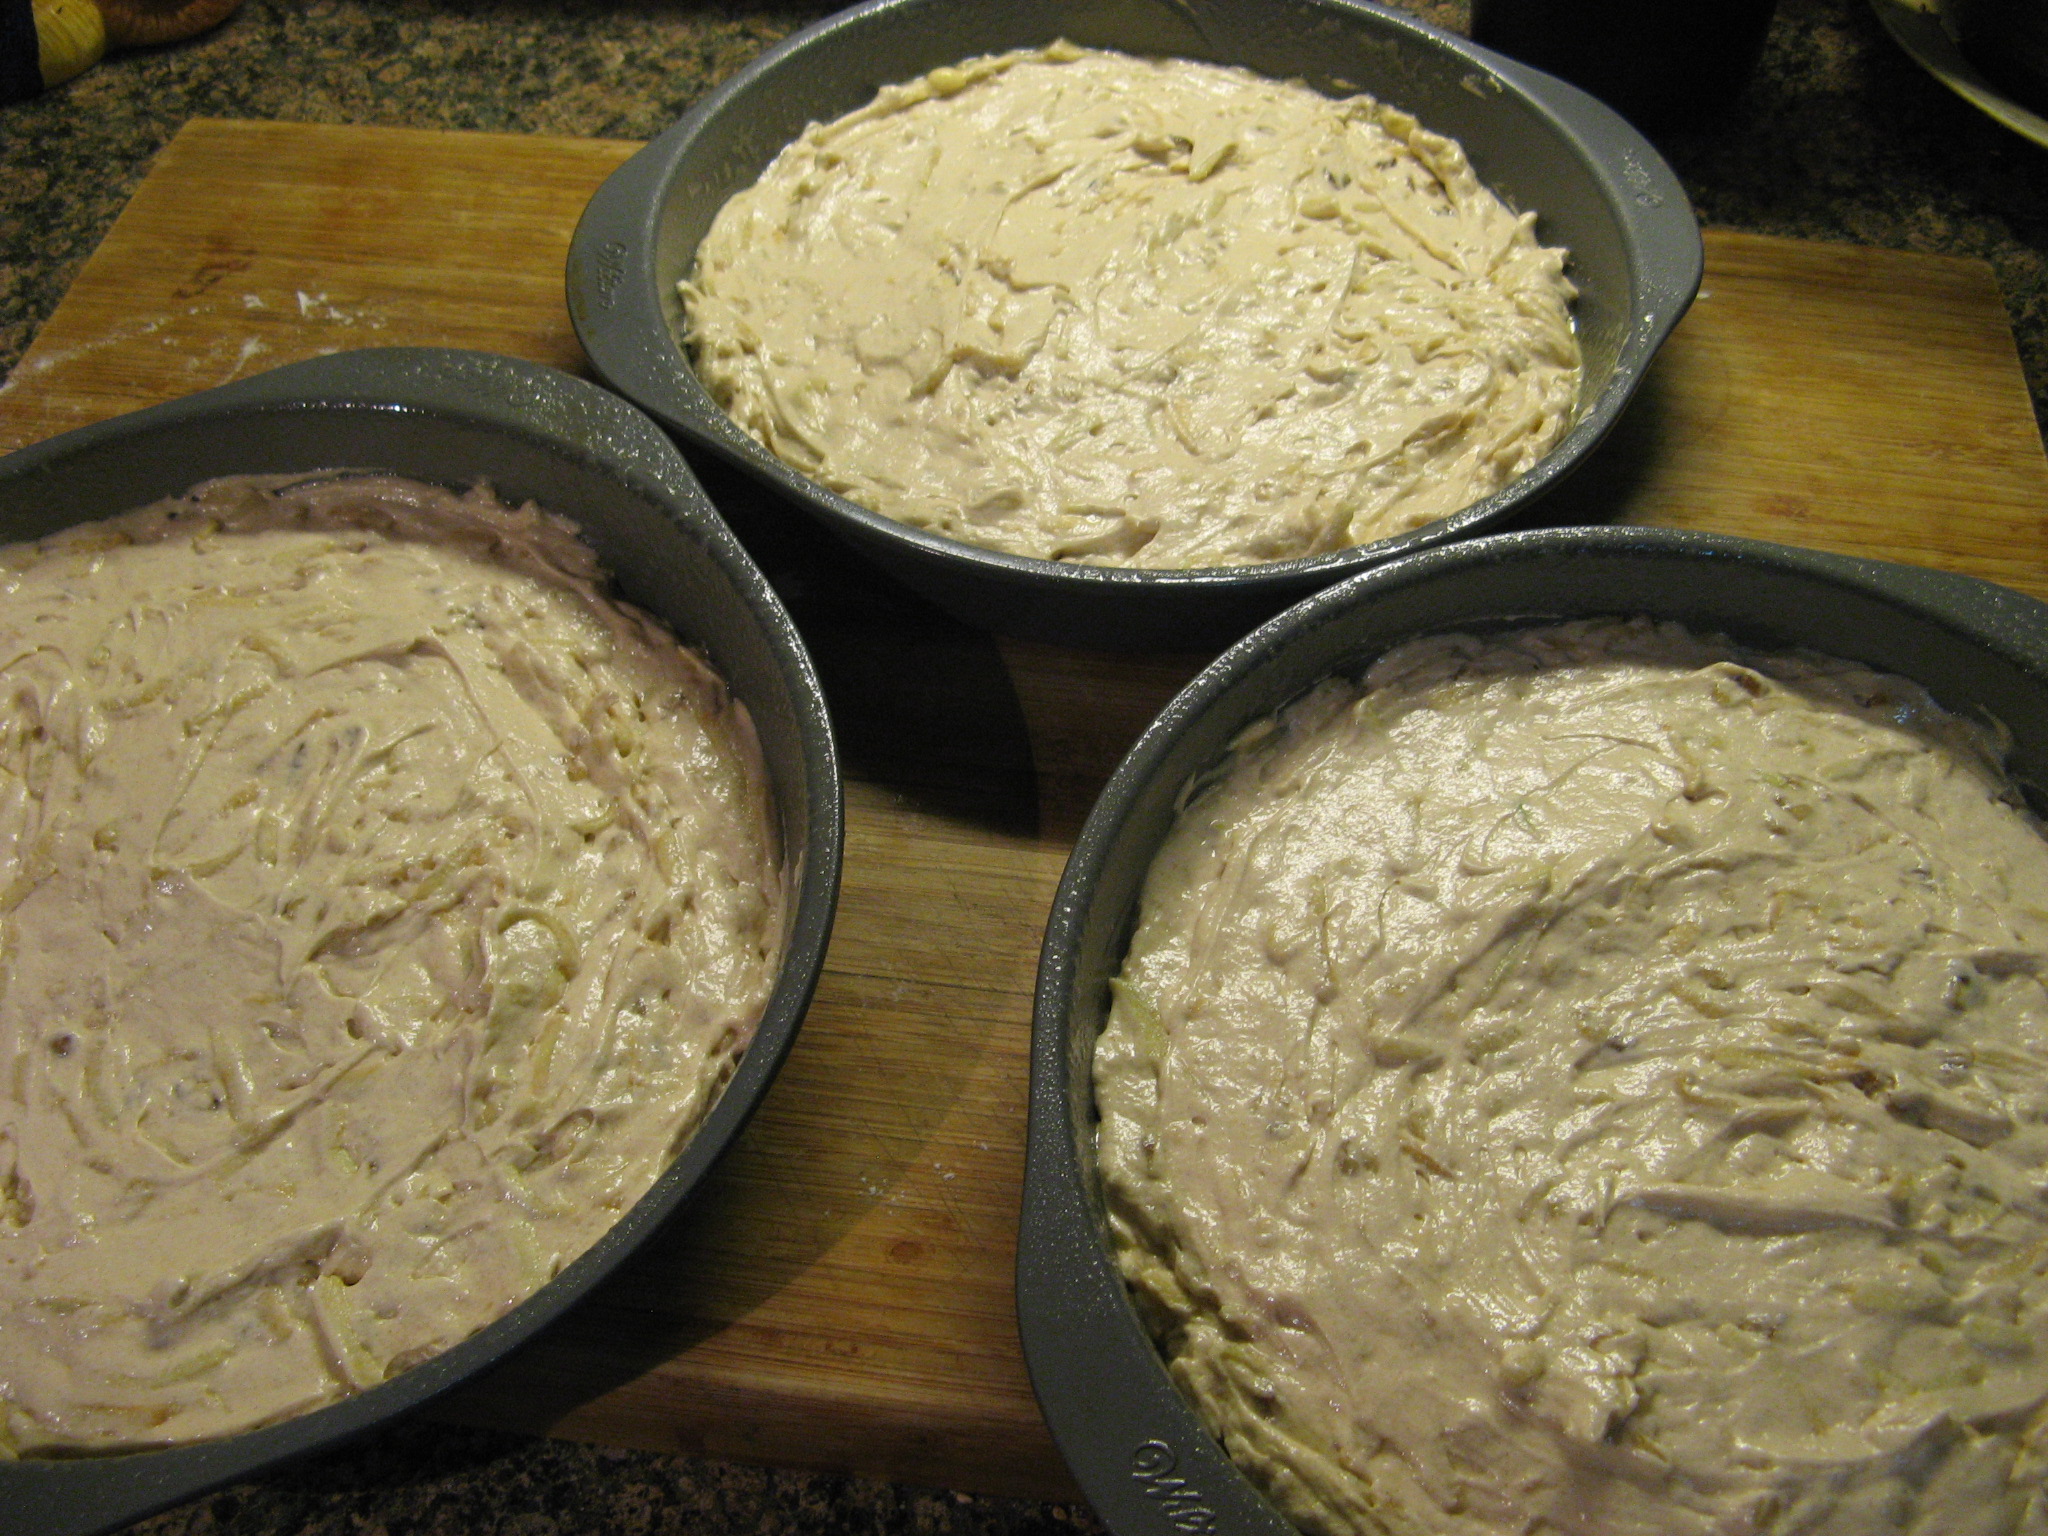
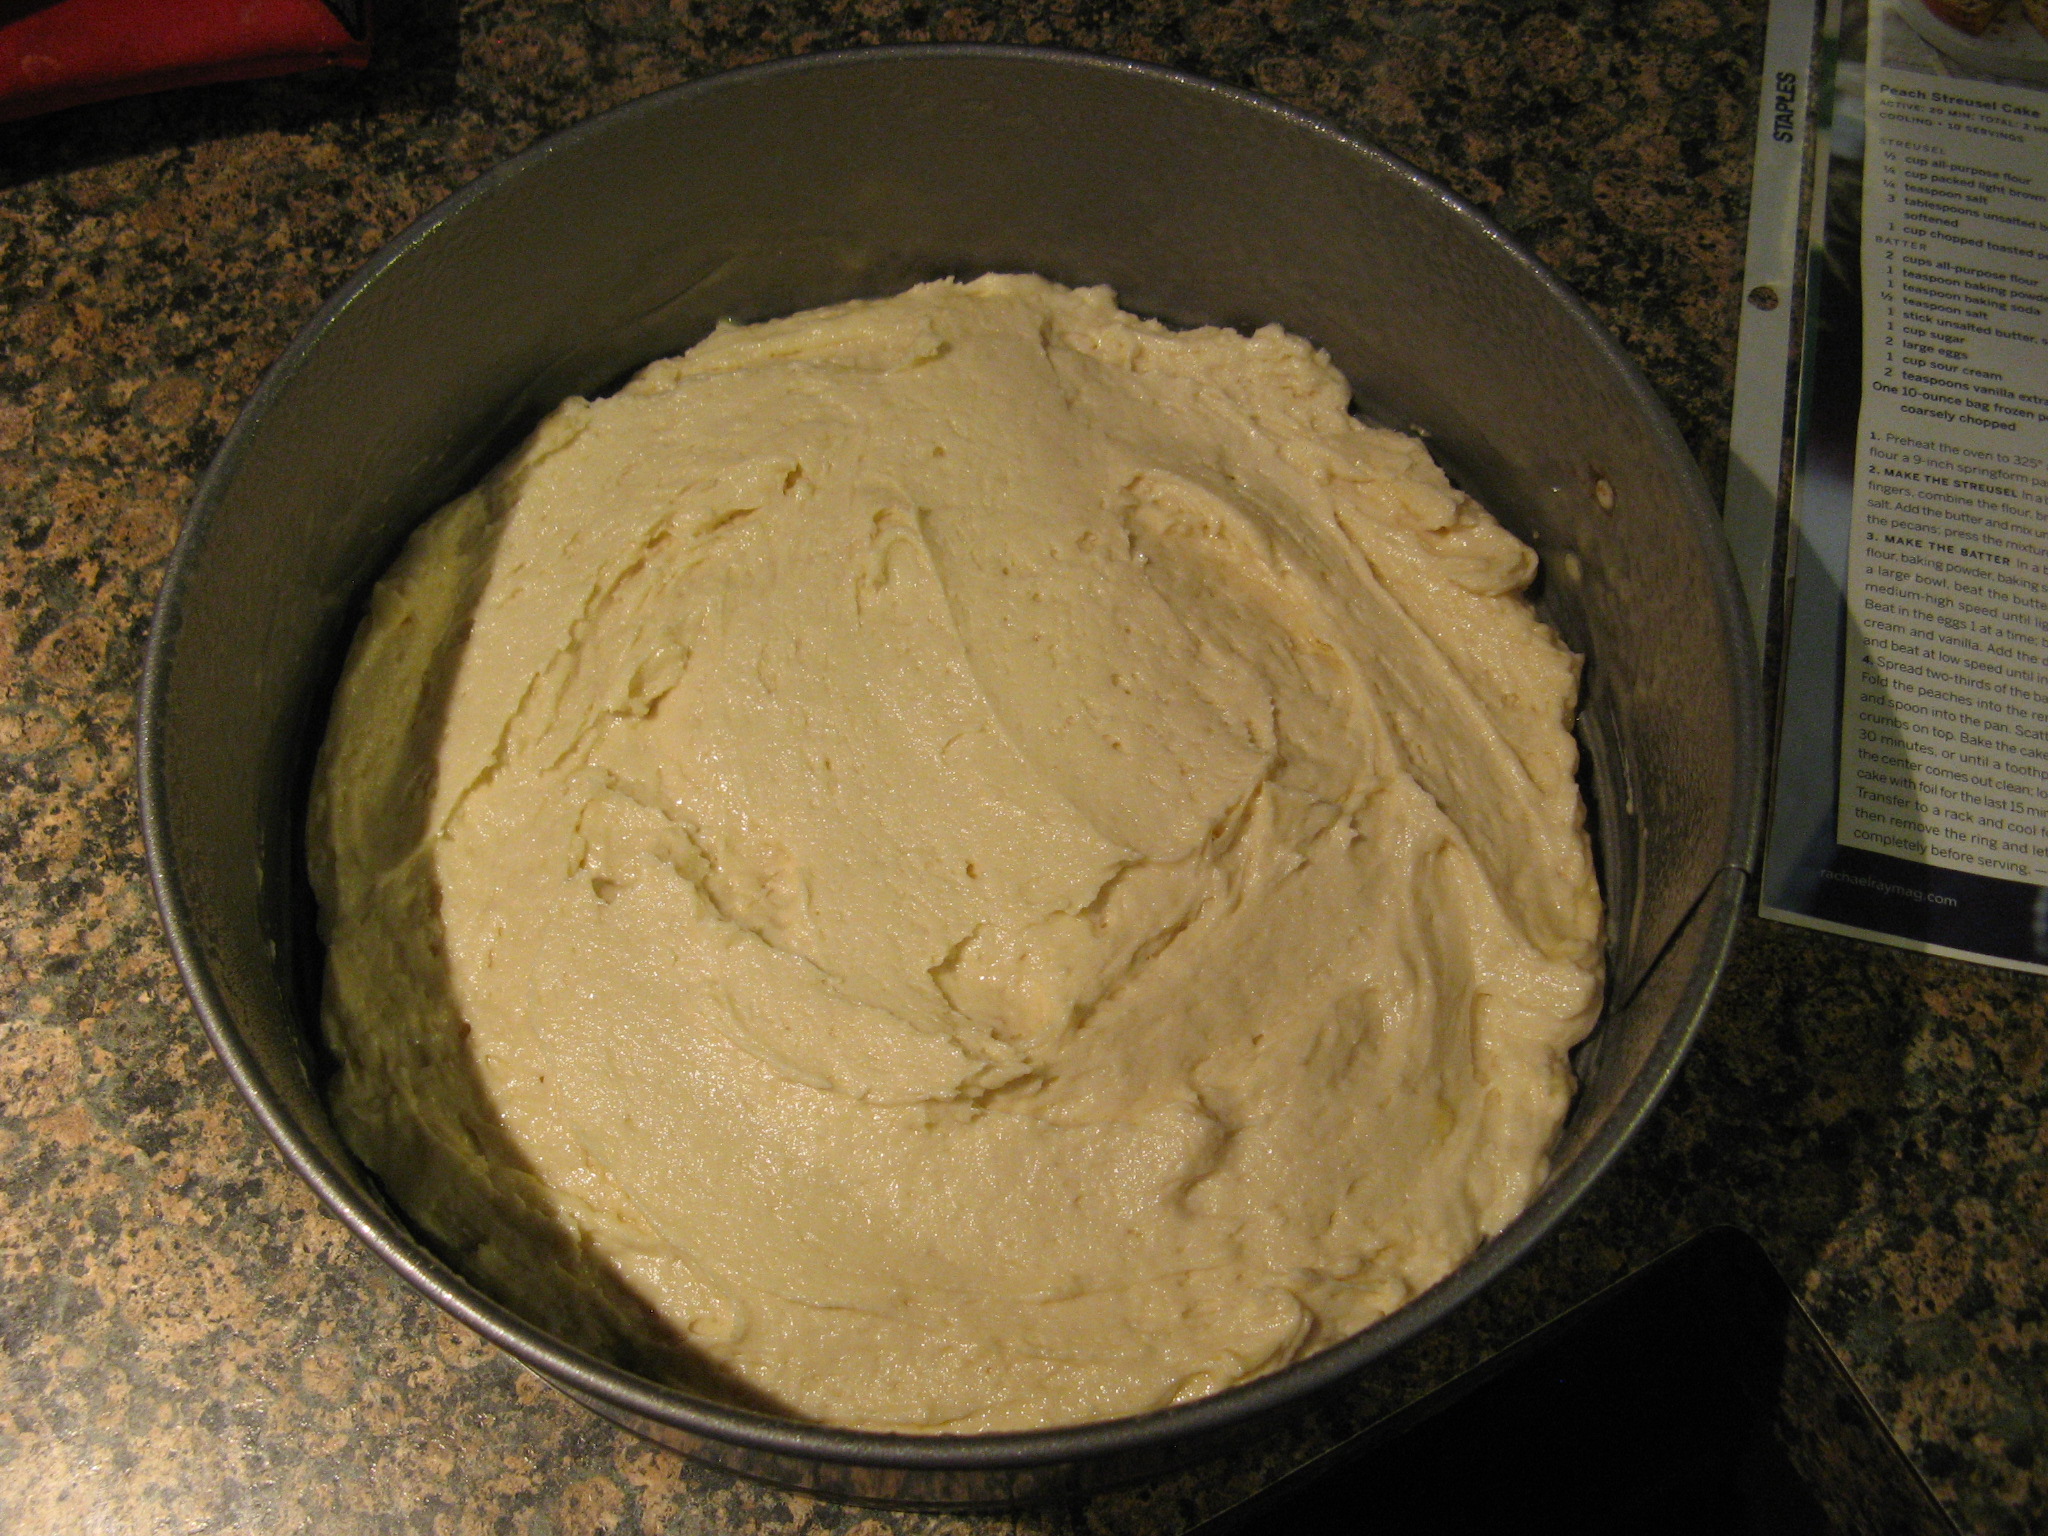
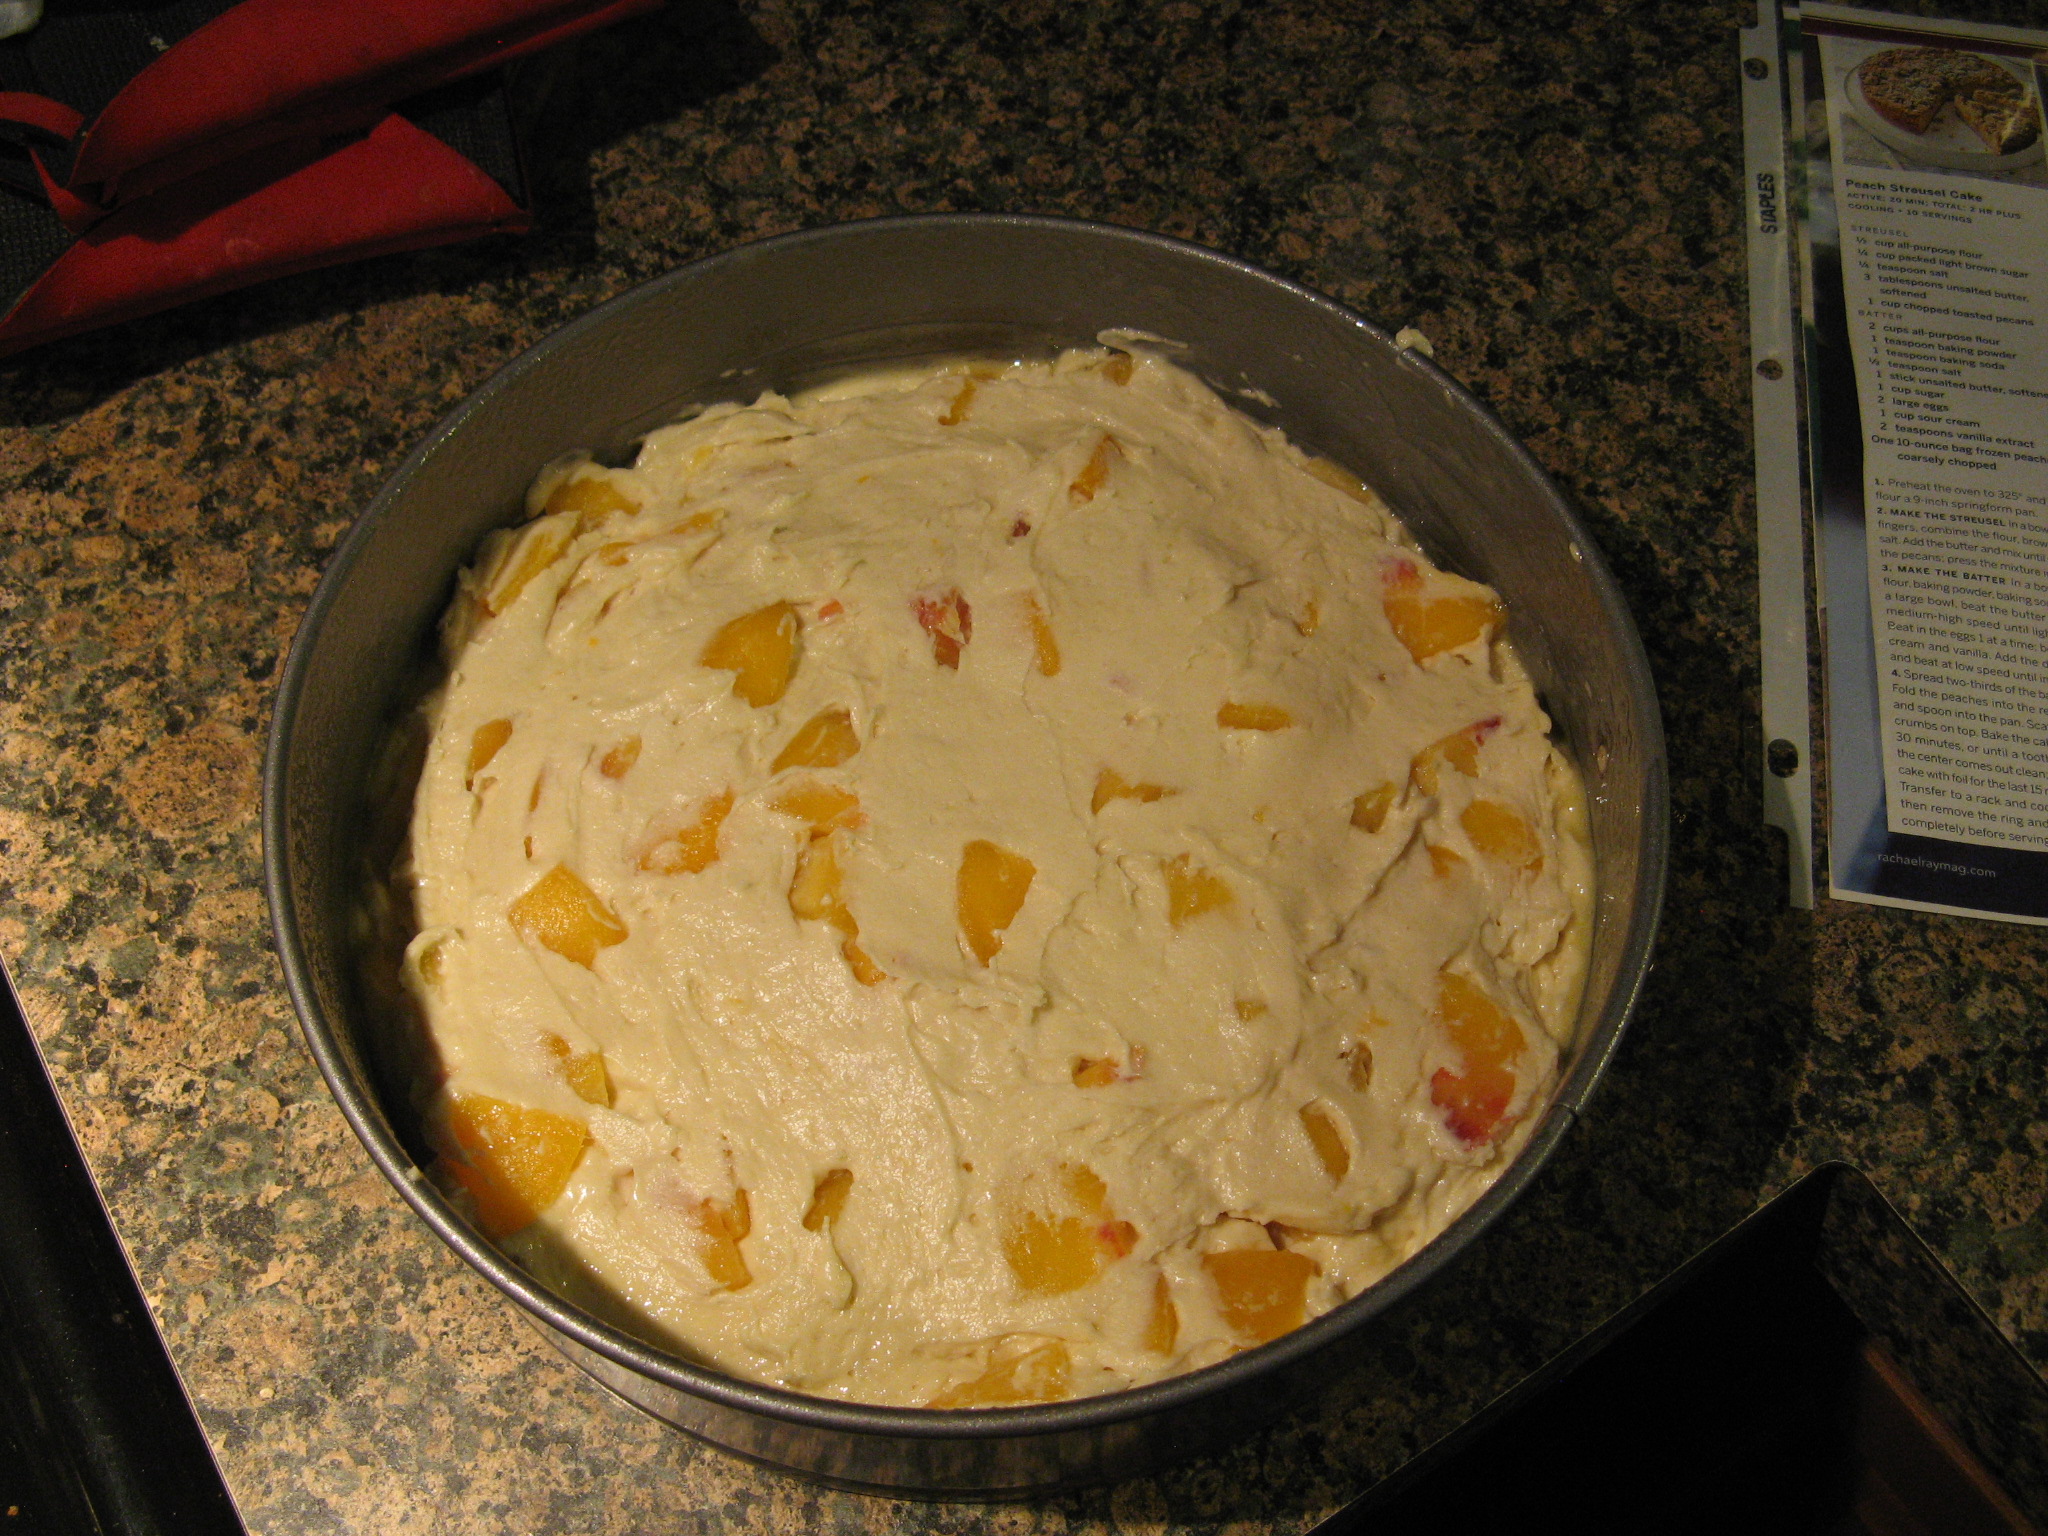
Once the walnuts were incorporated well into the batter it was time to divvy it up among my prepared pans.

IMG_1326 IMG_1327

Once divided I popped them into a 350 degrees oven.

IMG_1328

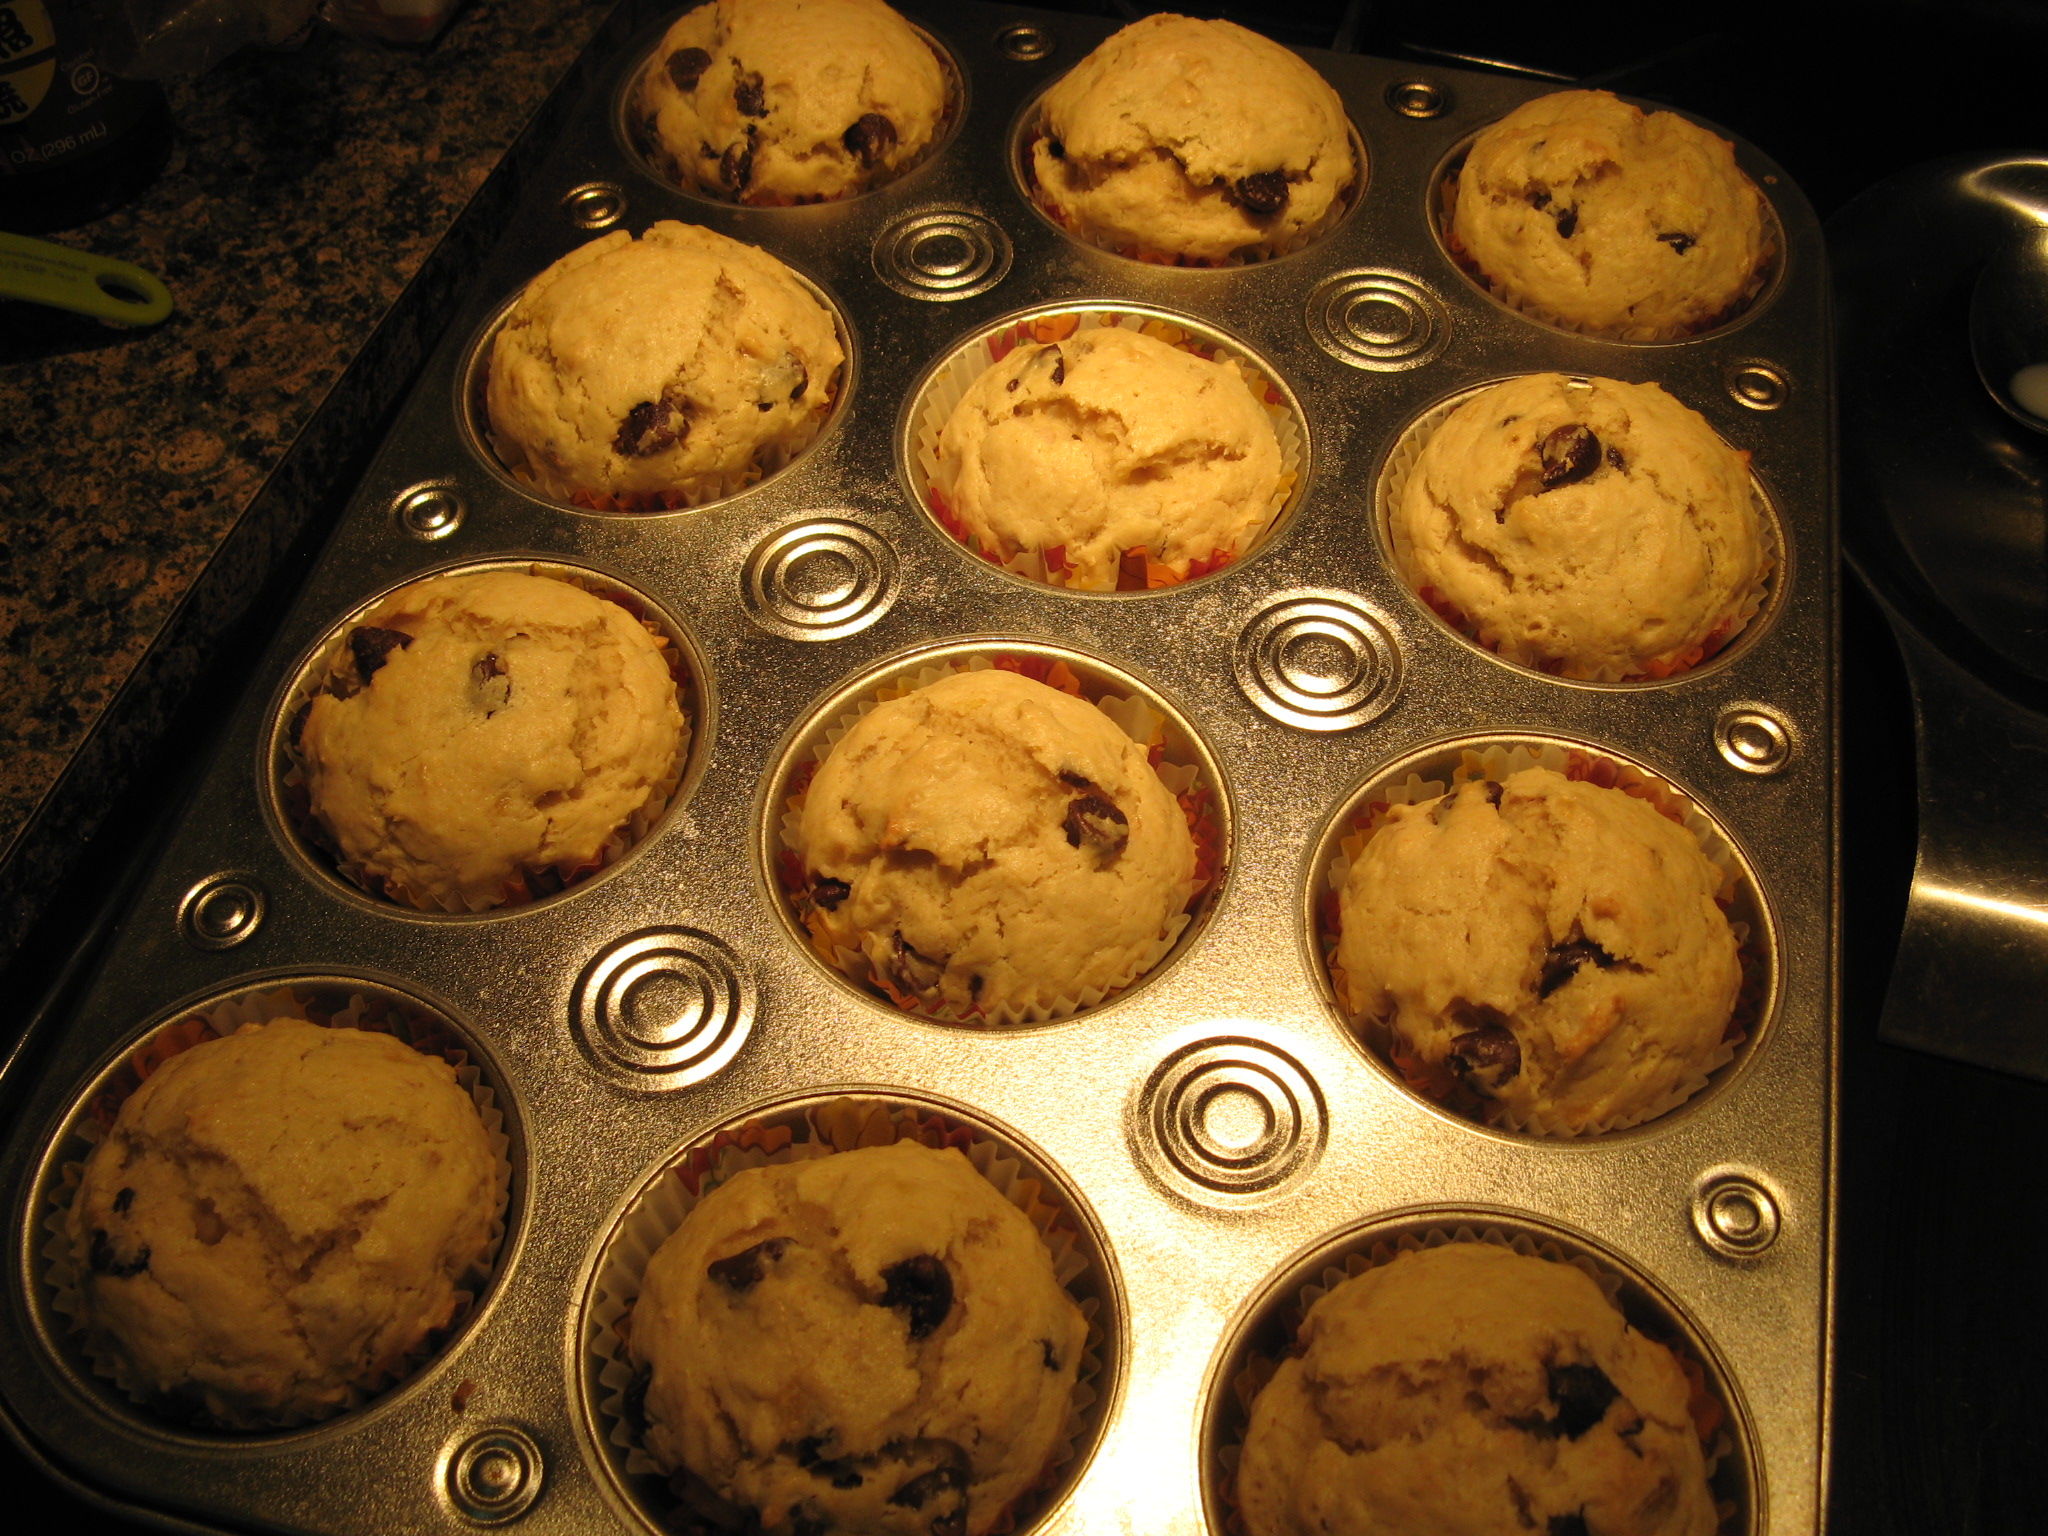
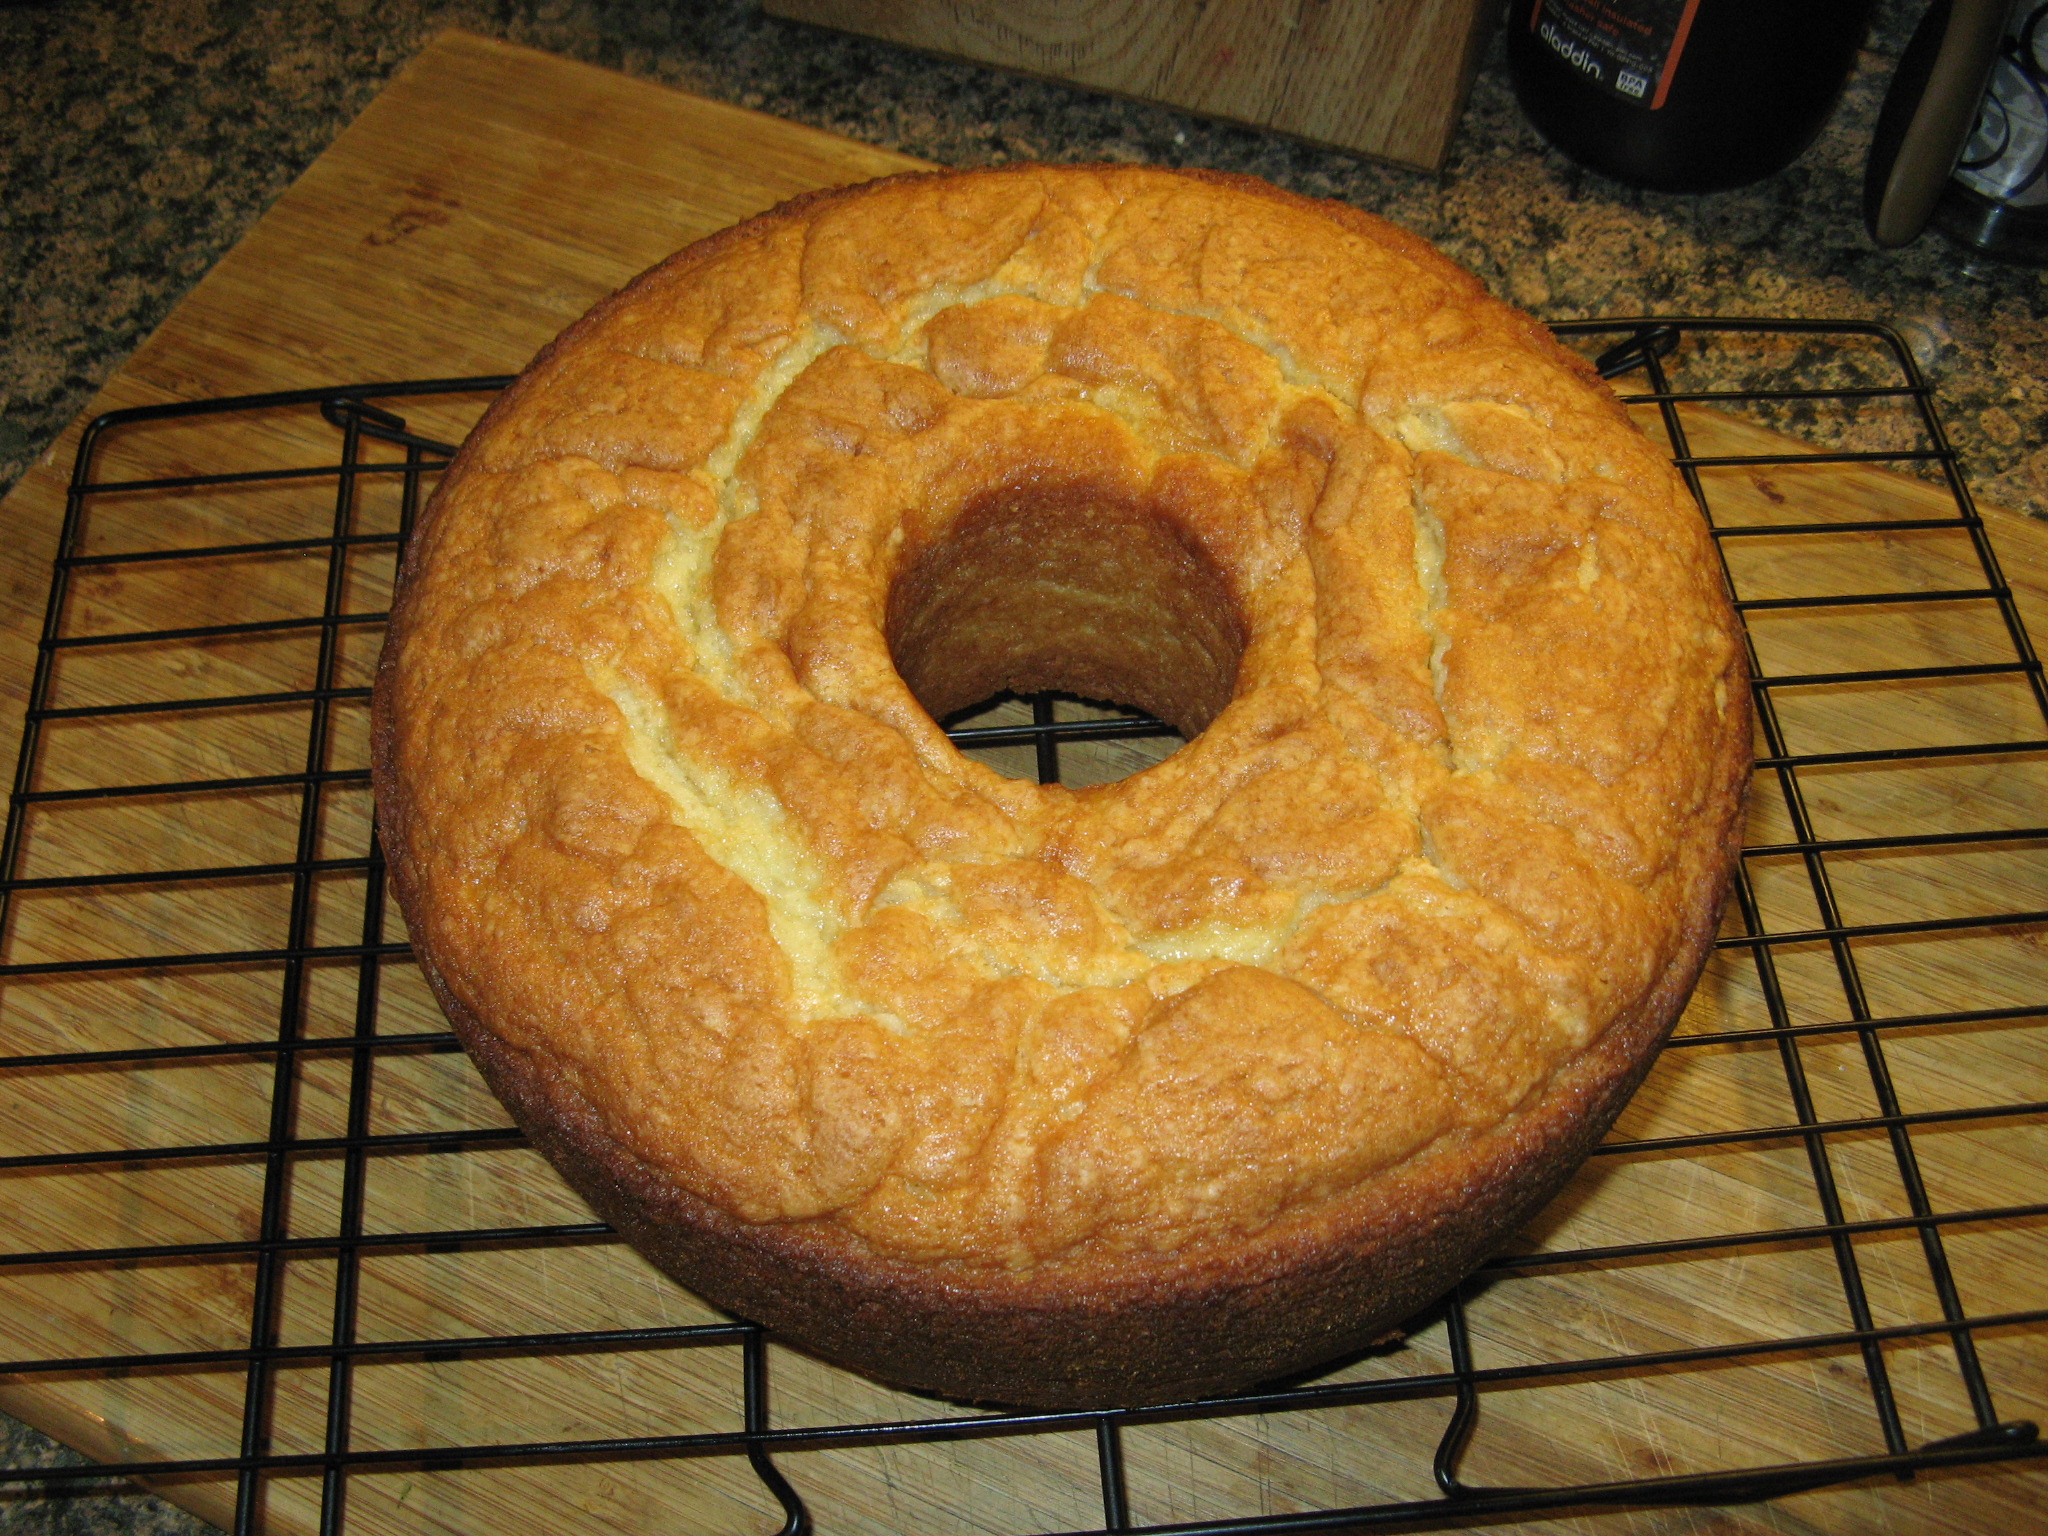
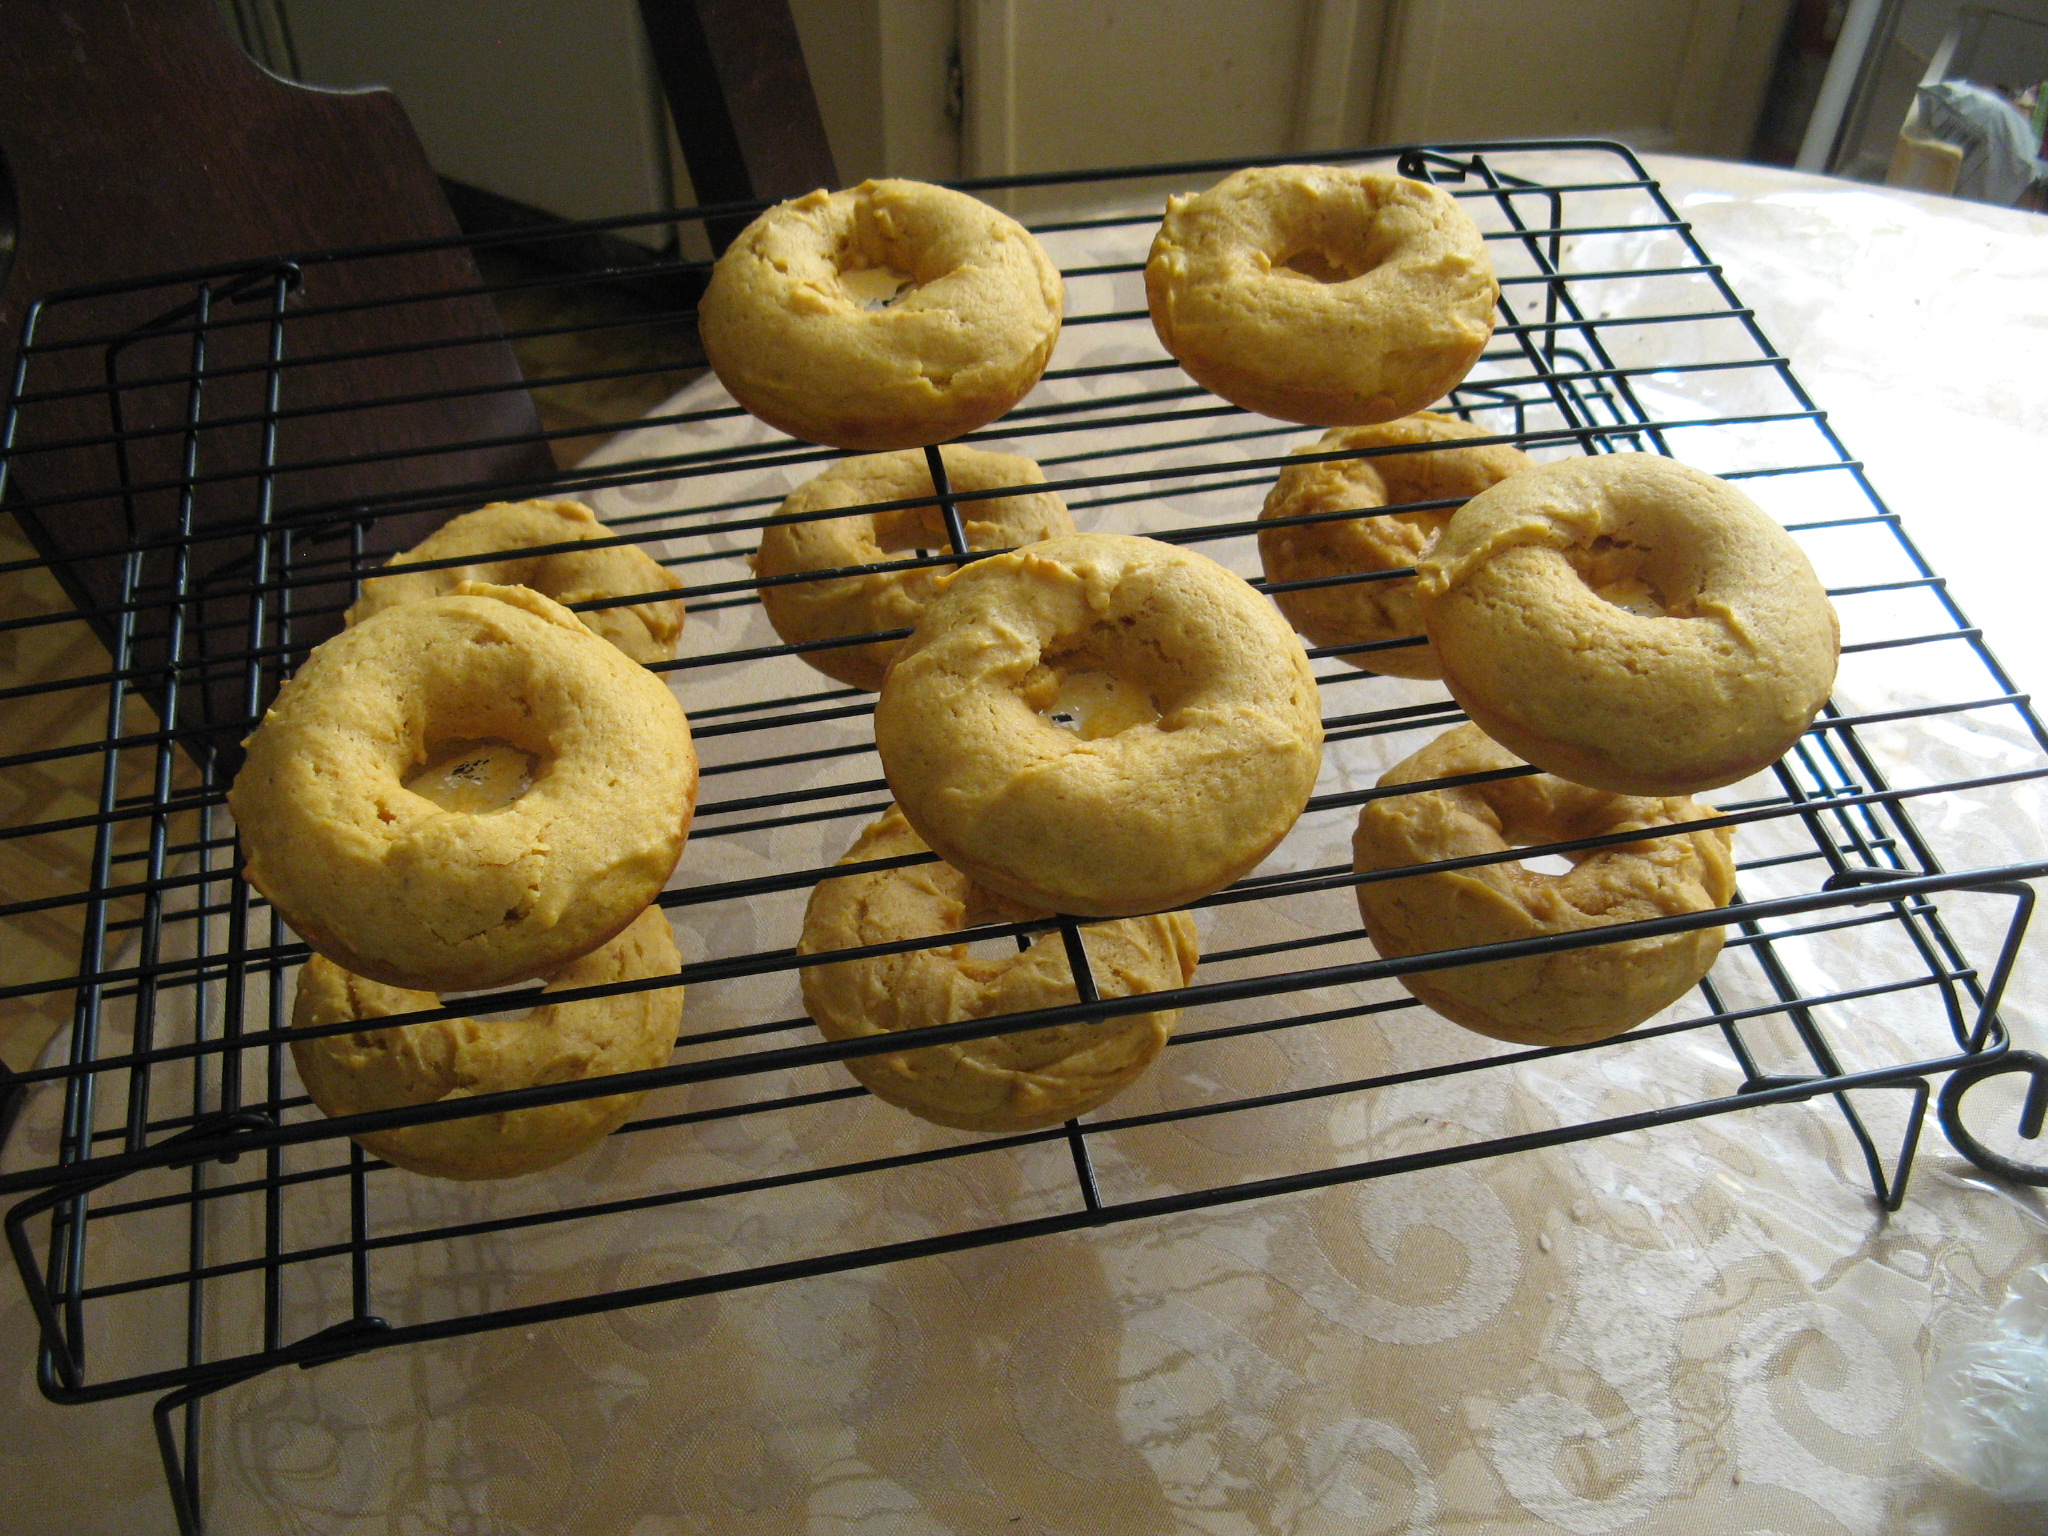
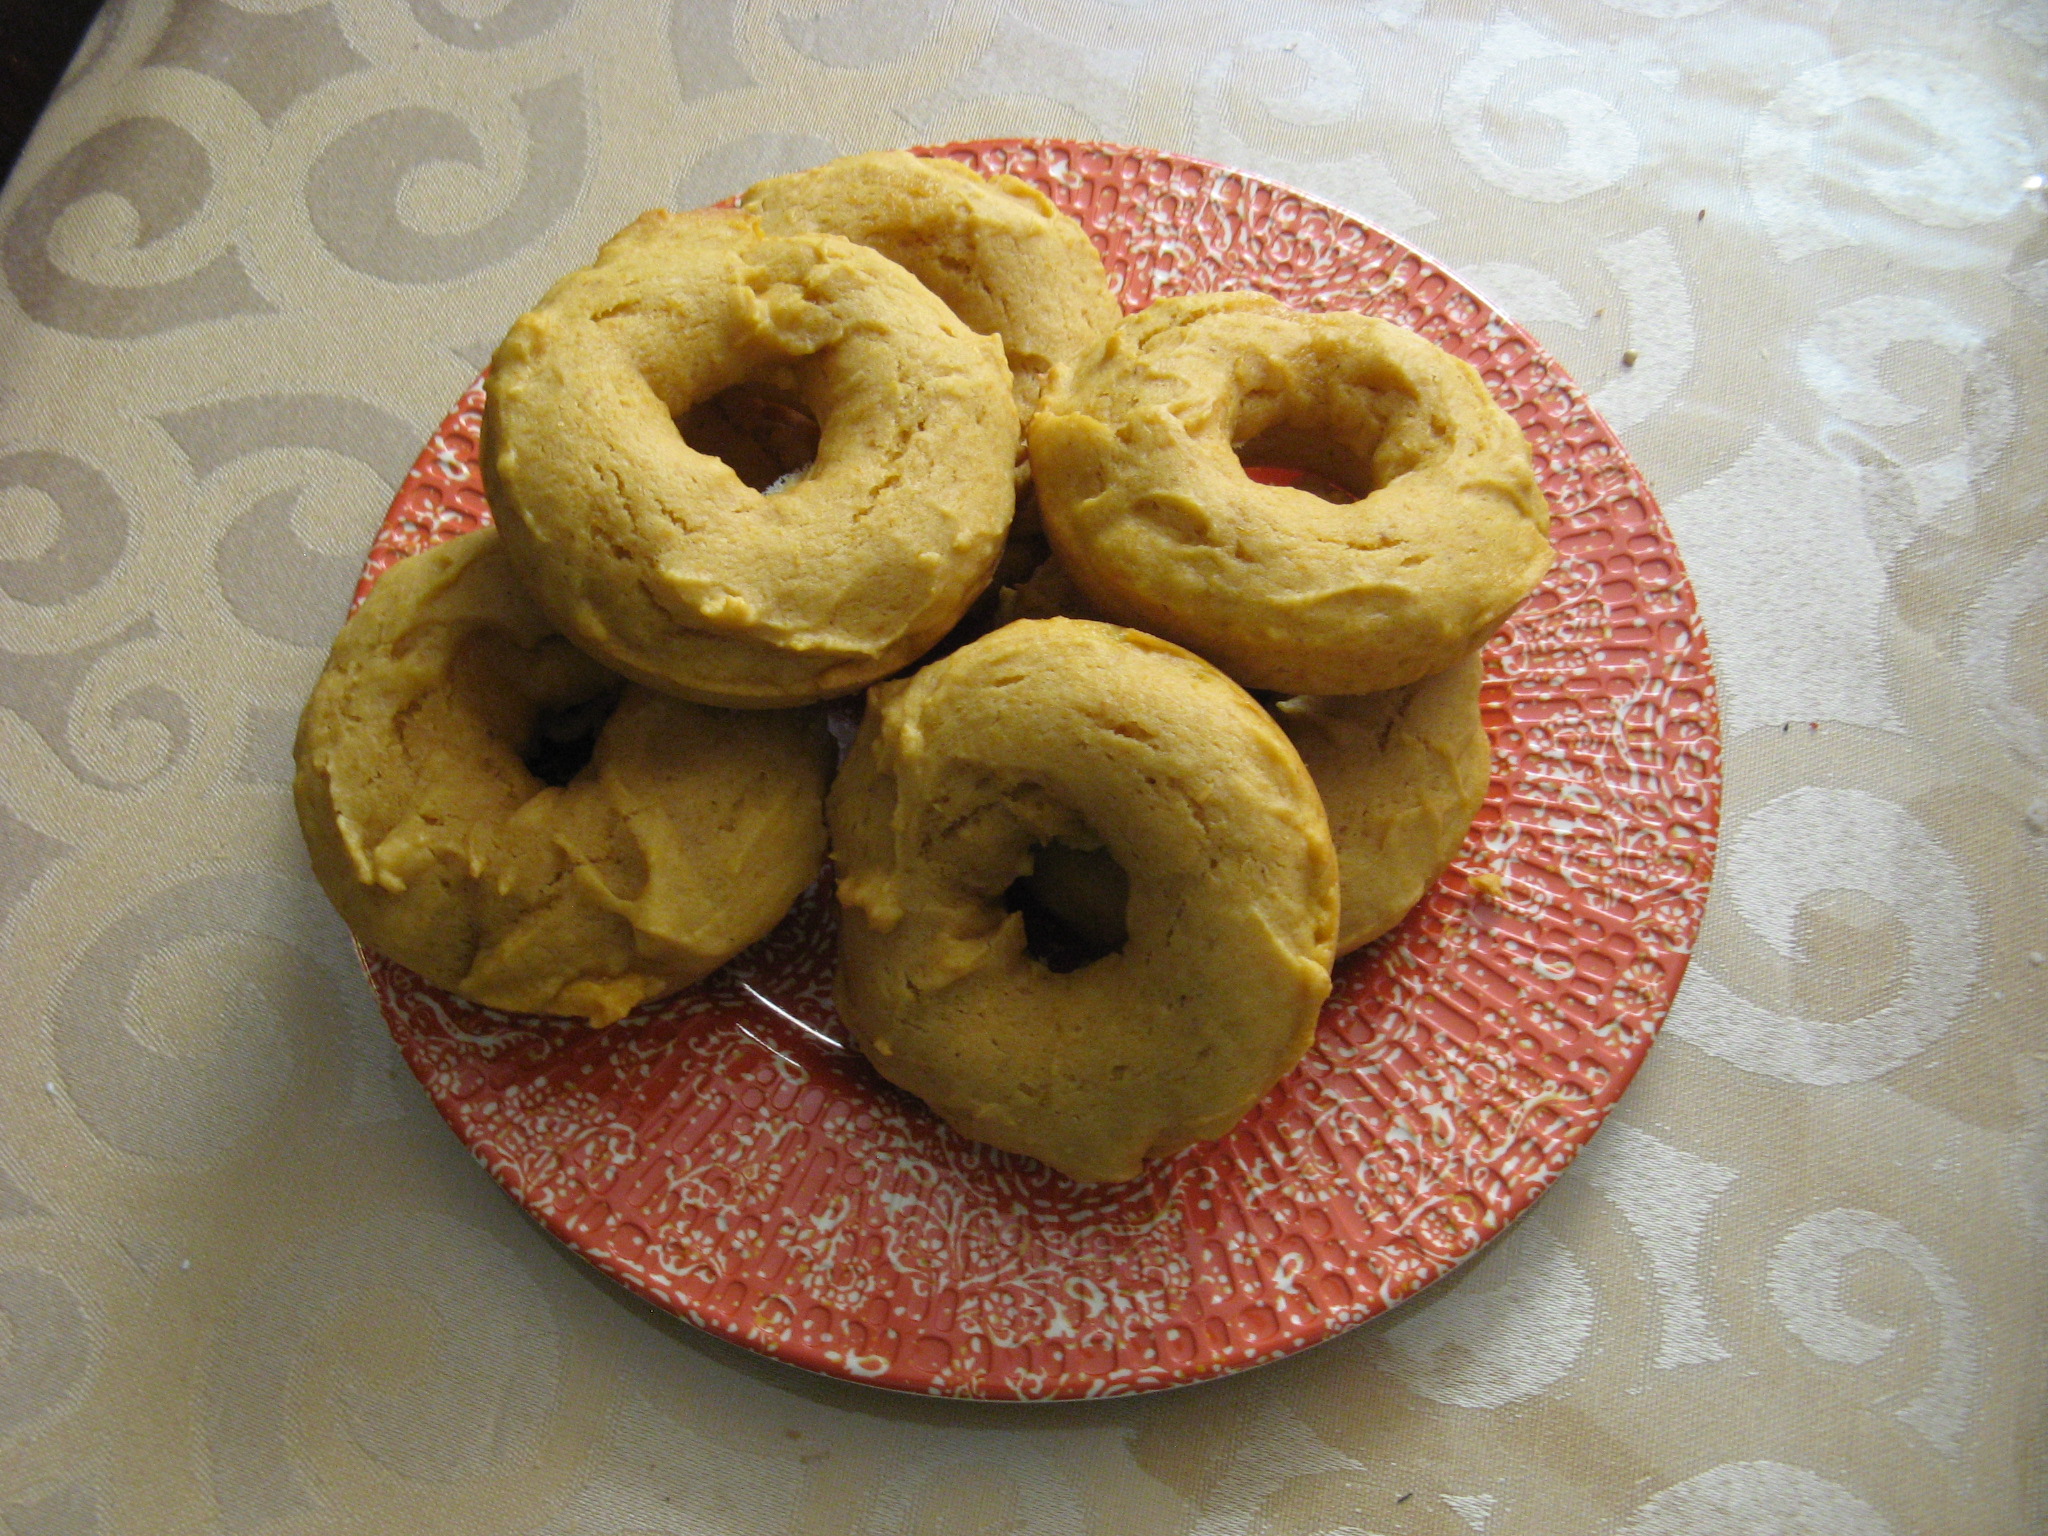
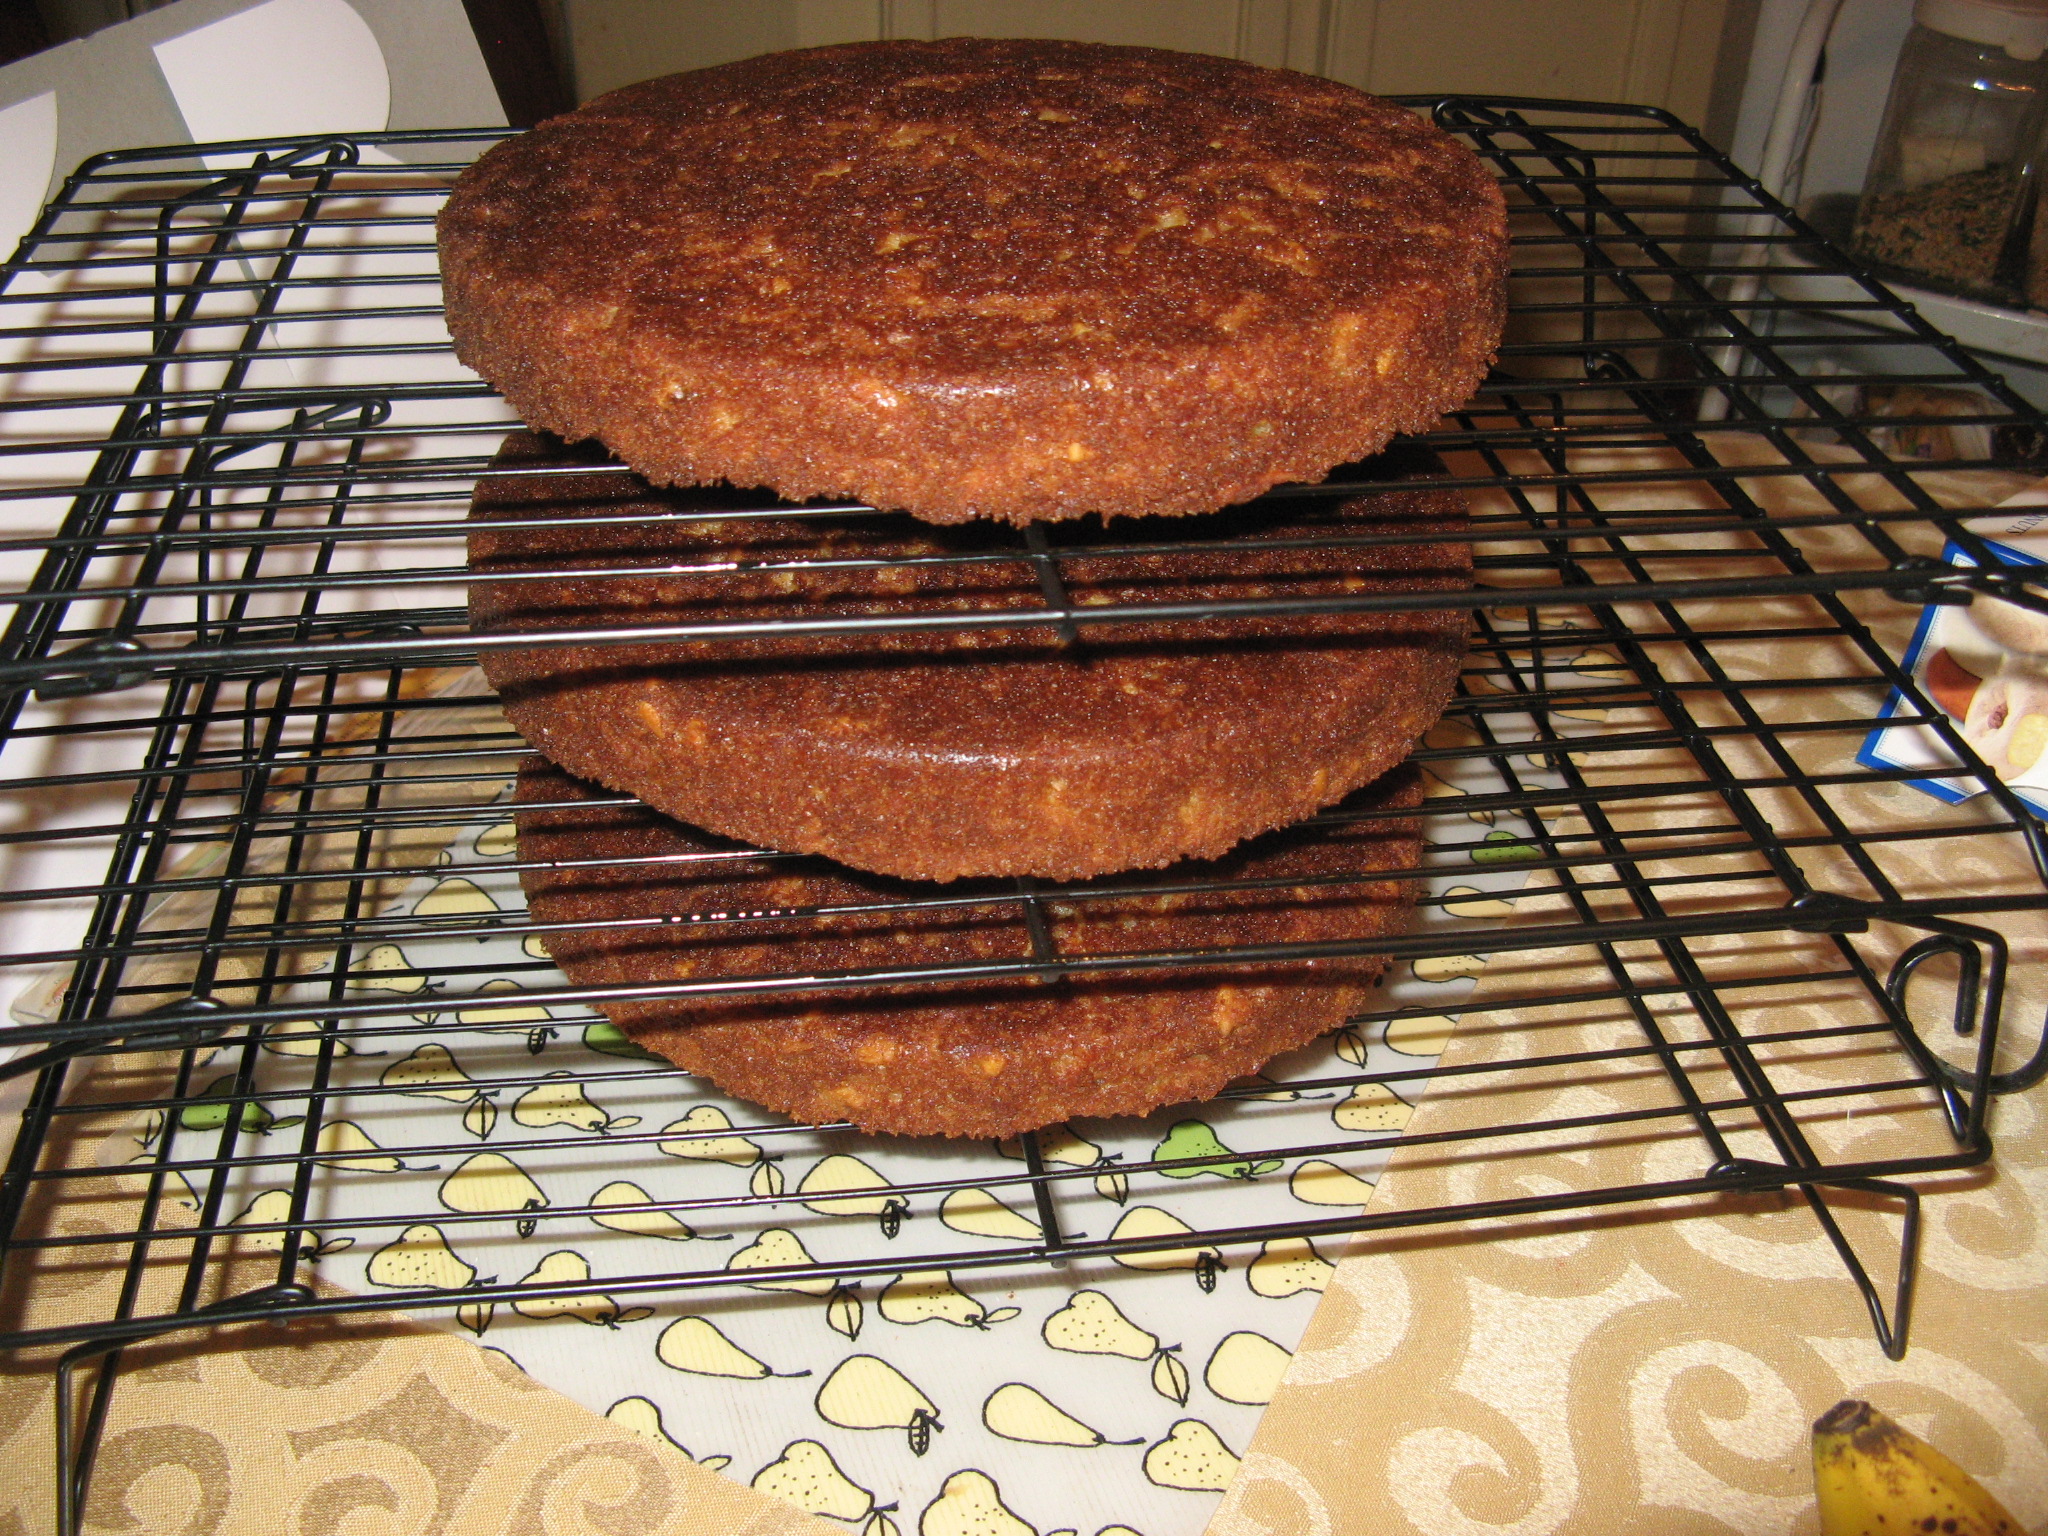
After baking for 25 minutes the cakes were done.

IMG_1331

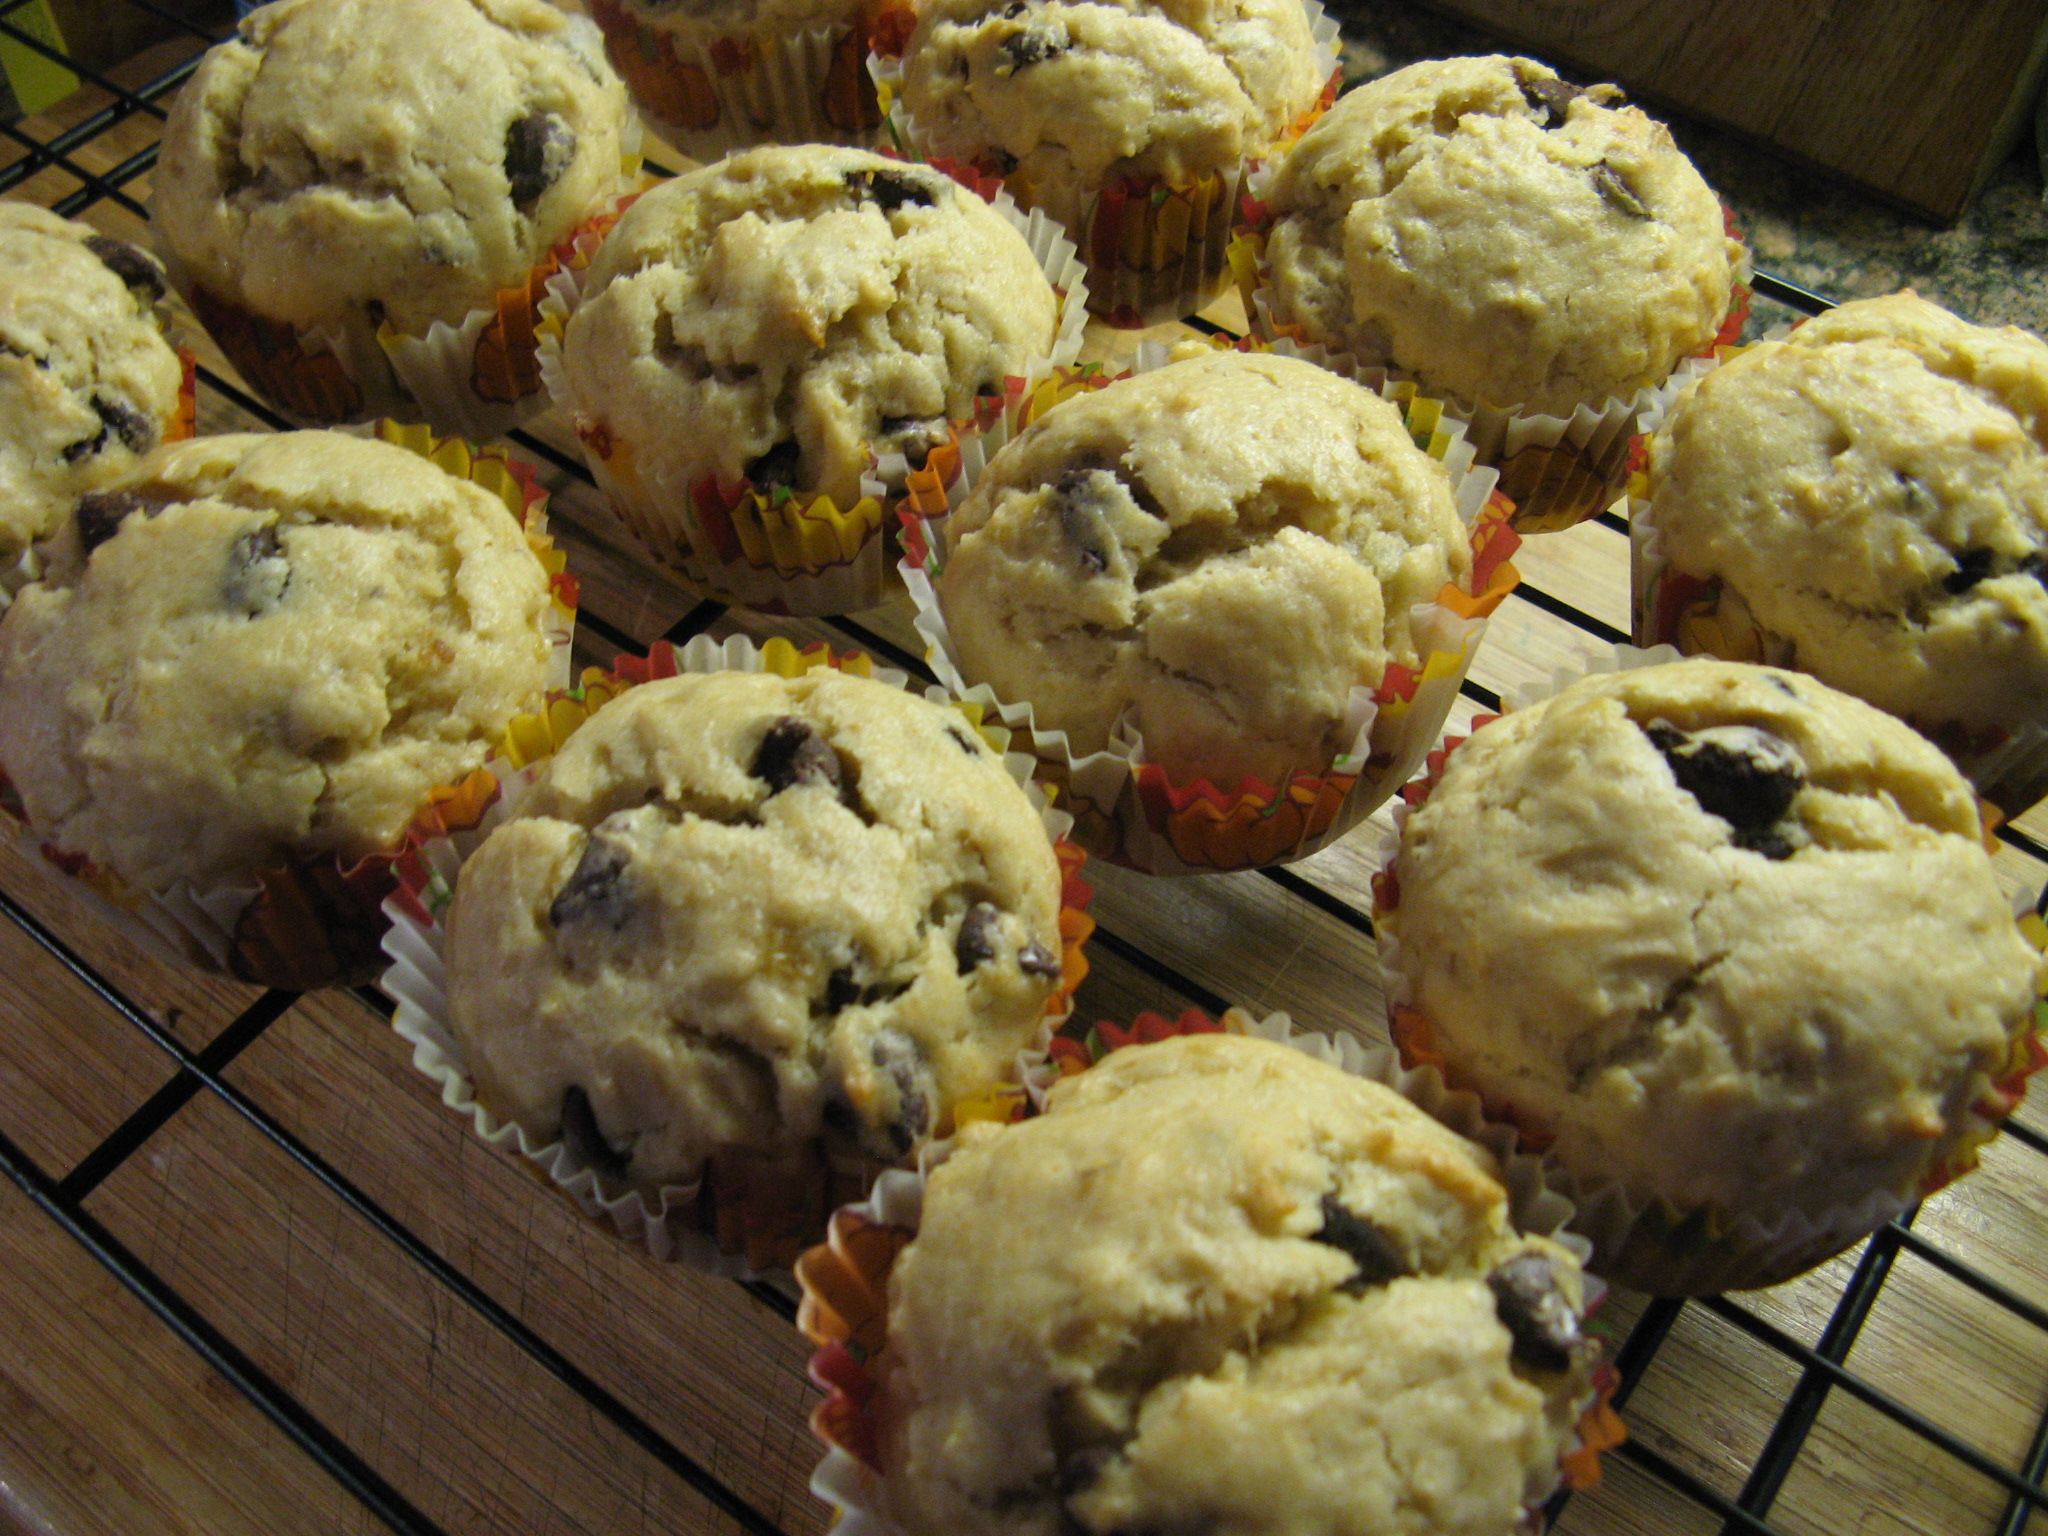
I let them cool for a bit in the pans and then inverted them onto cooling racks to let them cool completely.

IMG_1332

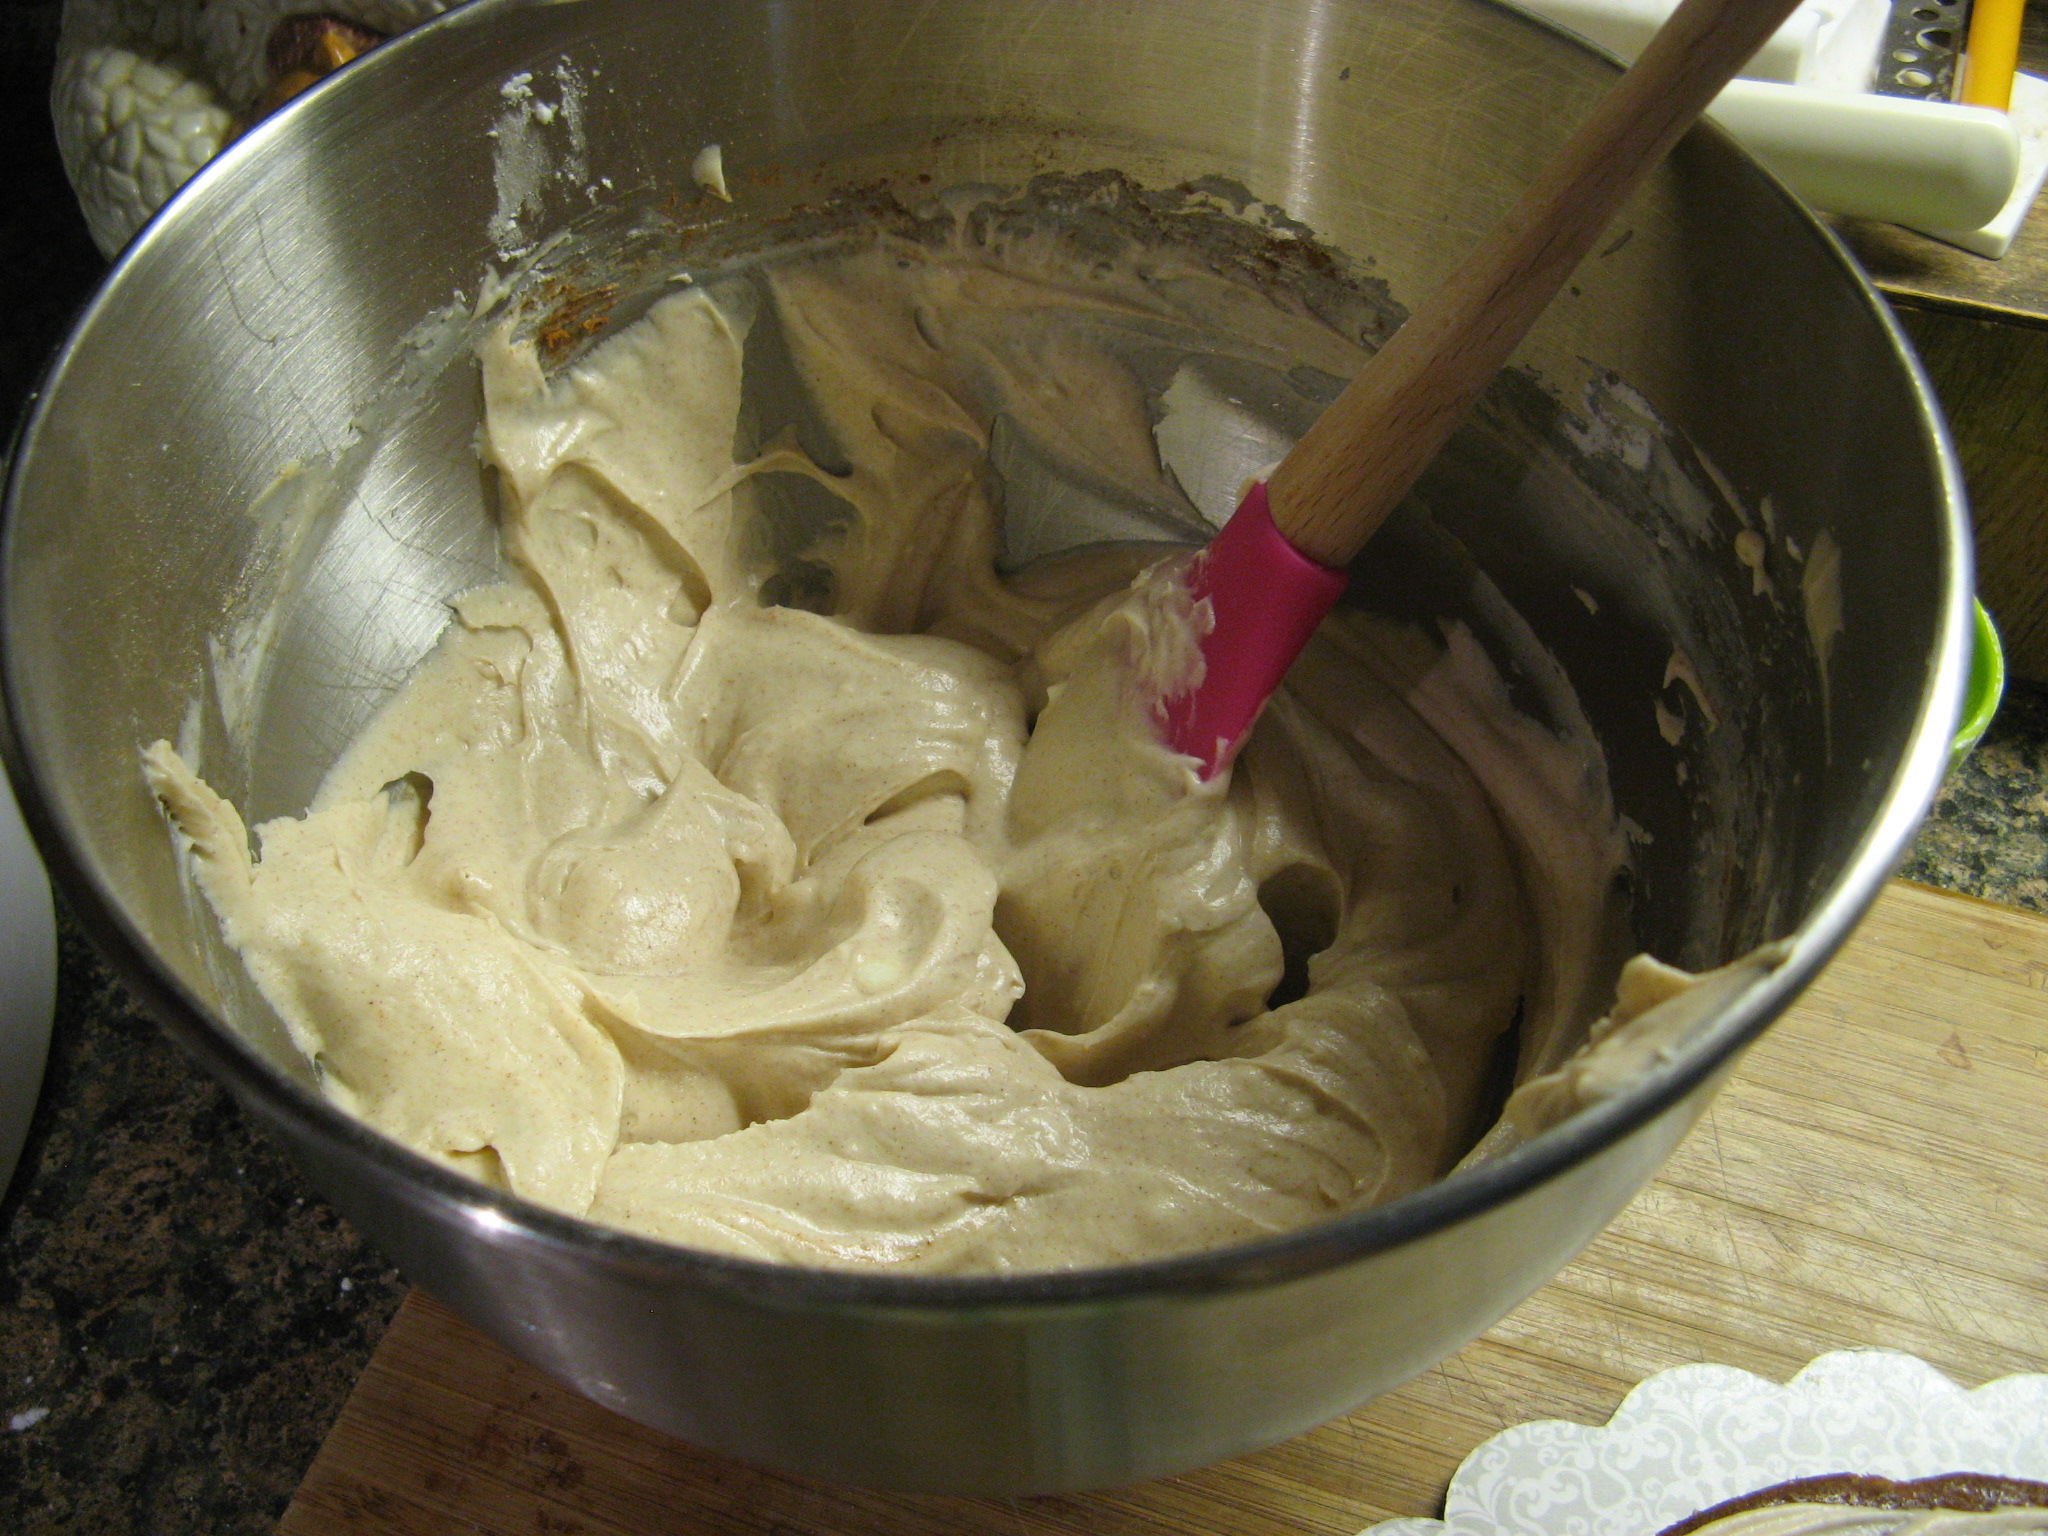
After the cakes cooled completely I made the Cinnamon Cream Cheese Frosting by combing cream cheese, butter, confectioners’ sugar, vanilla extract and of course cinnamon.

IMG_1333

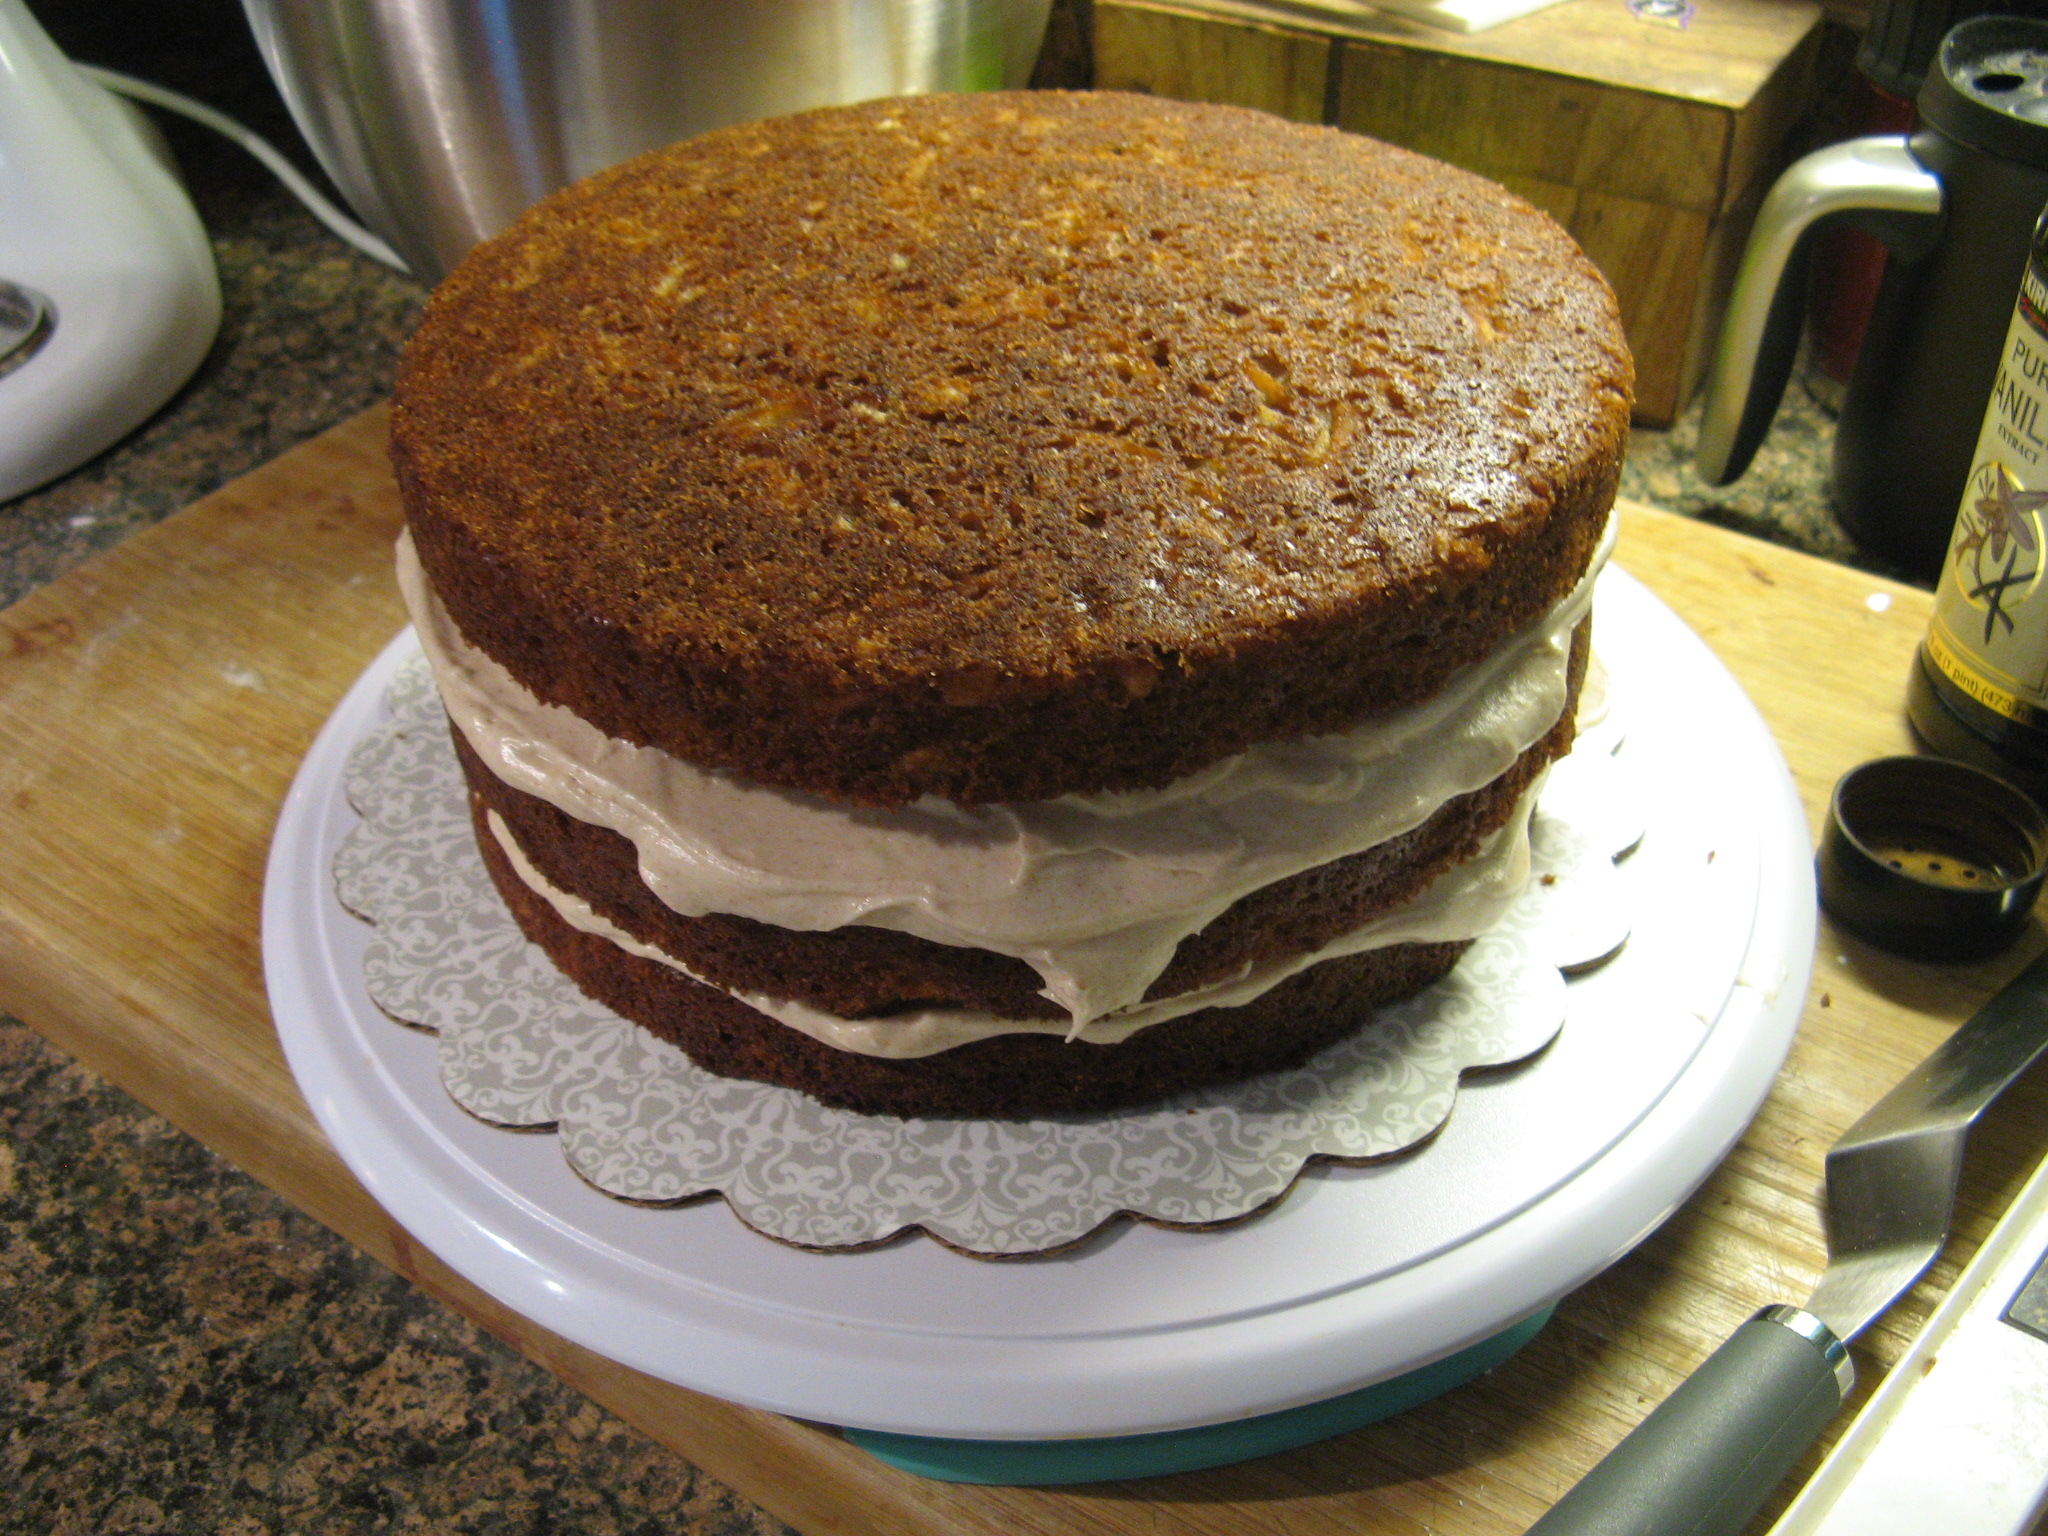
I spread frosting between each of the layers…

IMG_1336

And then crumb coated the cake and refrigerated it for a bit while I made another batch of frosting to finish covering the cake and for decorating.

IMG_1337

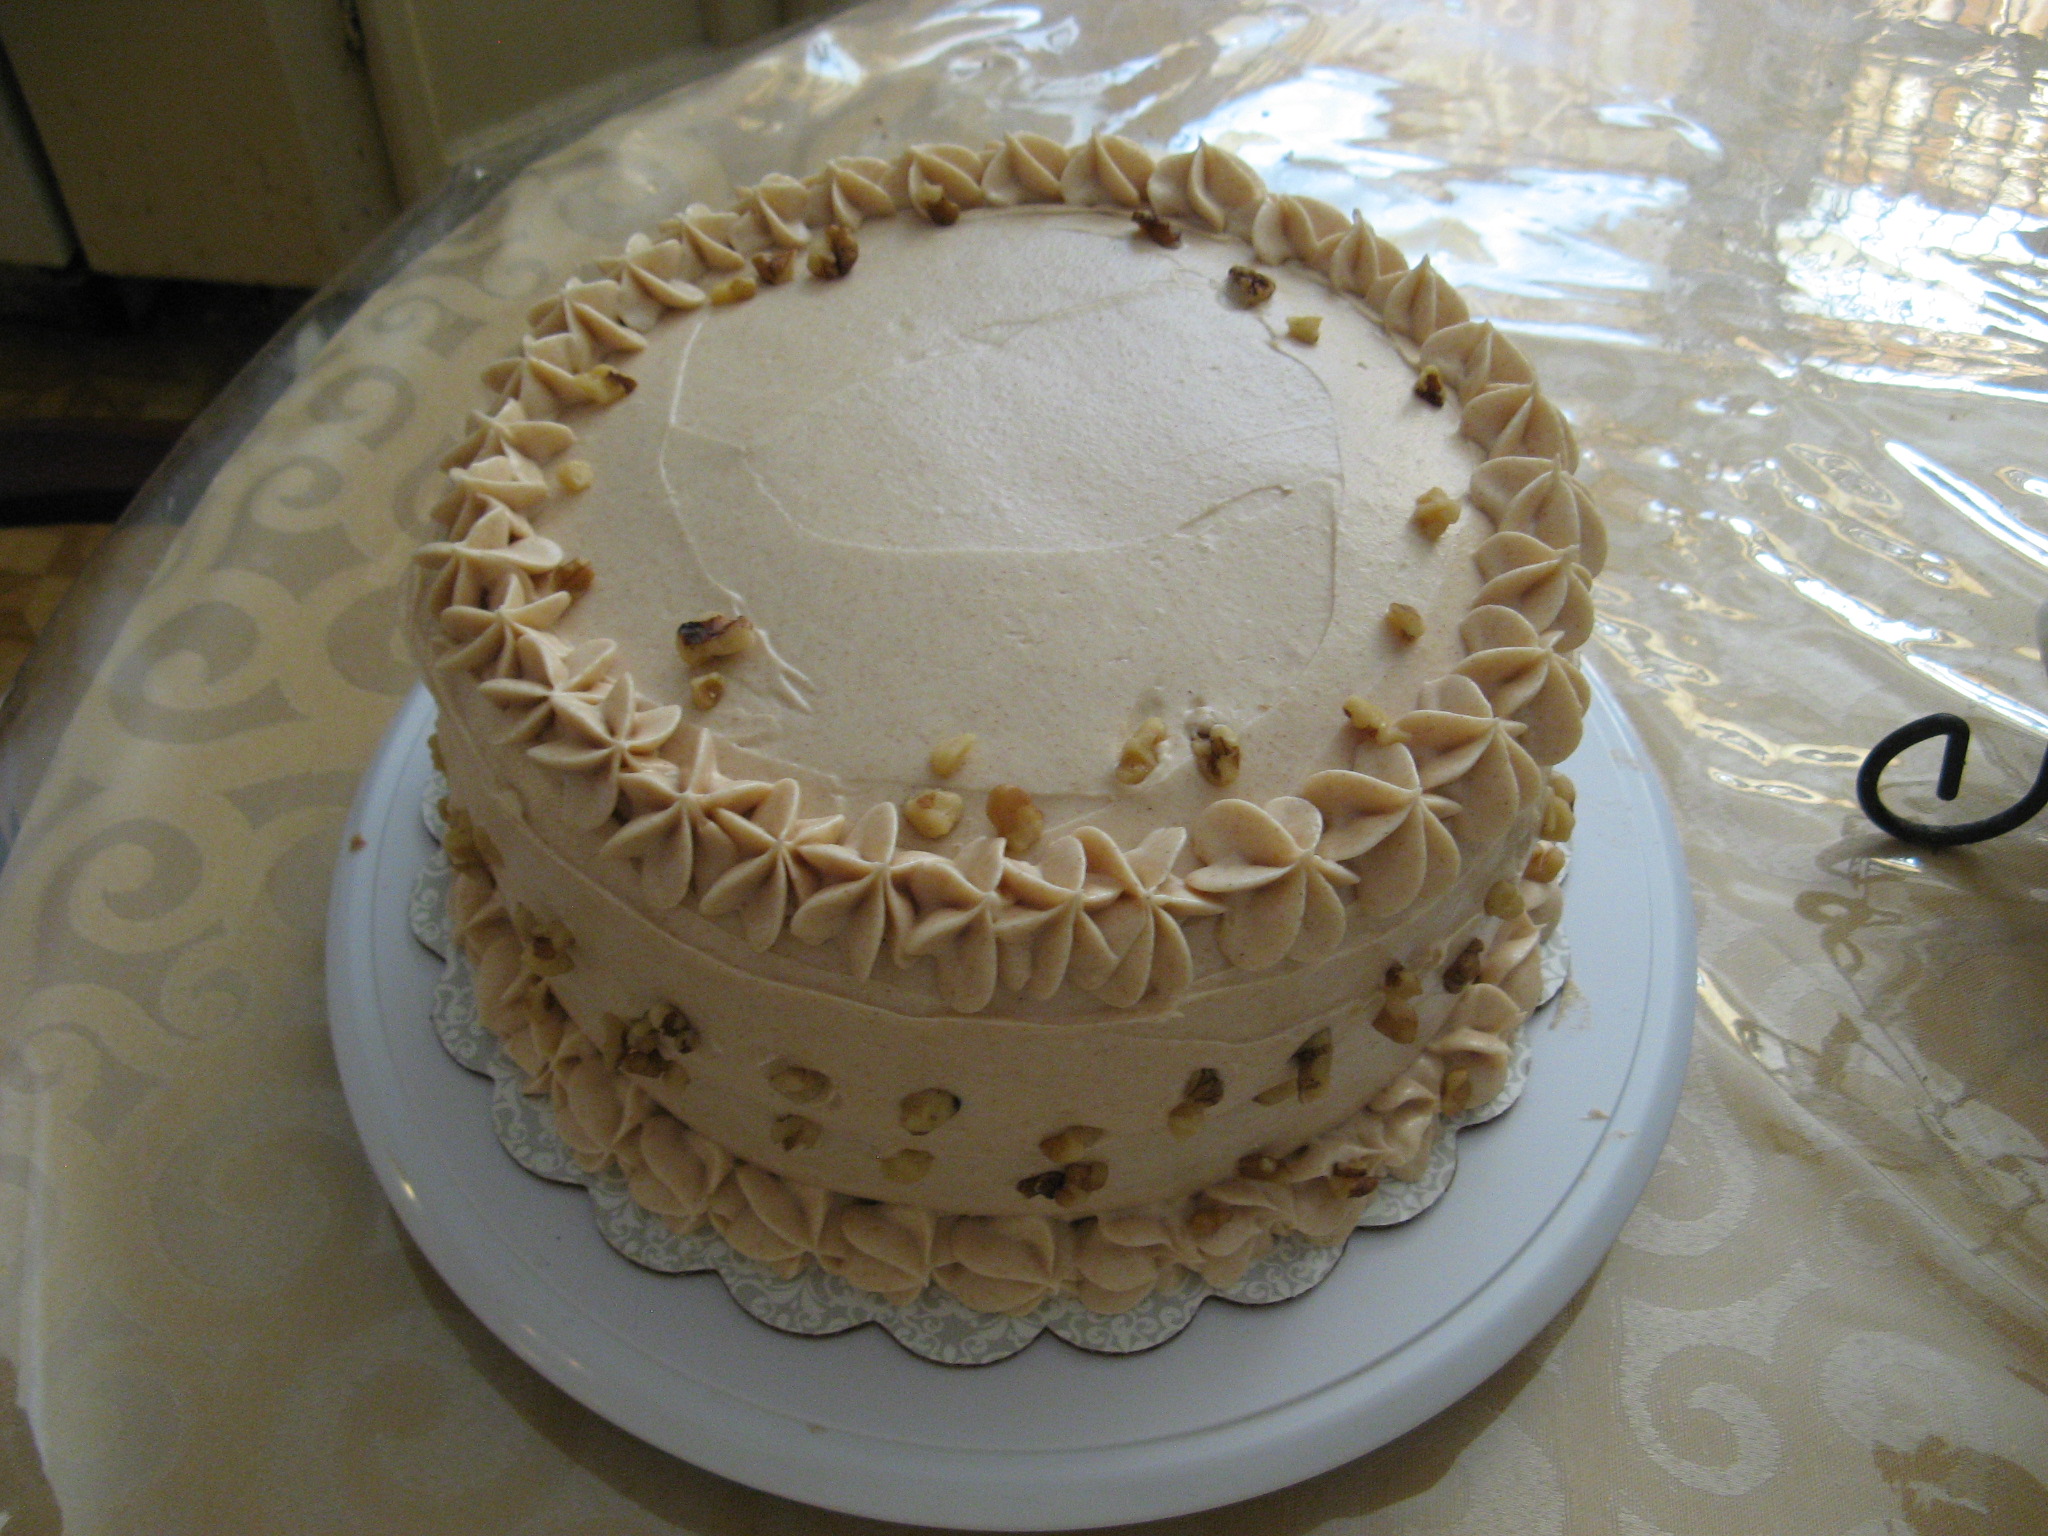
After about twenty minutes in the fridge I finished frosting it…

IMG_1339

And then I added some decorations and scattered some walnuts along the sides of the cake prior to writing a birthday message on it.

IMG_1343

Final verdict: It was a hit… Definitely something I’ll make again!

Apple Walnut Cake
(Adapted from Gigi’s Carrot Cake)
Ingredients
3 sticks unsalted butter
2 cups granulated sugar
2 cups all-purpose flour
2 teaspoons baking soda
2 teaspoons ground cinnamon
1 teaspoon salt
4 large eggs
1 teaspoon pure vanilla extract
3 cups grated apples (I used Granny Smith apples)
1 cup chopped walnuts
Directions
Preheat the oven to 350 degrees F.
Spray 3 (9-inch) cake pans with baking spray and set aside. In a large bowl, cream the butter with an electric mixer. Add the sugar, and beat. In a medium bowl combine the flour, baking soda, cinnamon, and salt and mix well.
Add the dry ingredients, alternating with the eggs, beating well after each addition. Add the vanilla extract and mix. Add the apples and beat on medium speed until well incorporated, about 2 minutes. Fold in the walnuts. Divide the batter between the 3 cake pans and bake until set and a cake tester inserted into the middle comes out clean, 25 to 30 minutes. Remove from the oven and let rest in the cake pans for 10 minutes. Invert onto wire racks, remove from the pans, and let cool.
Cinnamon Cream Cheese Frosting
Ingredients
2 8-oz packages cream cheese, softened
1 stick butter, softened
2 cups sifted confectioners’ sugar
1 teaspoon vanilla extract
1 teaspoon ground cinnamon
Directions
In a medium bowl cream together the cream cheese and butter until creamy. Add in the vanilla extract and then gradually add in the confectioners sugar. And finally mix in the ground cinnamon.

Peach Streusel Cake

I tend to rip recipes out of magazines and file them away for quite some time before actually trying them. I recently made a turkey meatloaf following a recipe from a 2008 issue of a magazine. I wish I had made it sooner… It was quite good. So, when I was looking to make a cake to give as an anniversary treat for a friends’ parents I turned to a Peach Streusel Cake recipe that I had ripped out from a 2011 issue of Food & Wine magazine.

I started the cake by making the streusel. I combined flour, light brown sugar, salt, butter and pecans in a bowl…

IMG_1256

And mixed it together with my fingers to form small clumps with the mixture and then set it aside.

IMG_1258

Next up I whisked together flour, baking powder, baking soda and salt in a bowl and set this aside as well.

IMG_1255

In a separate bowl I began making the batter for the cake by beating together butter and sugar.

IMG_1259

I then added in two eggs one at a time.

IMG_1264

And then sour cream and vanilla extract.

IMG_1266

Once all of the wet ingredients were combined well I added in the dry ingredients.

IMG_1268

Once the wet and dry ingredients were mixed together it was time to pour it into my prepared pan.

IMG_1269 IMG_1270

I started by spreading two-thirds of the batter into the pan.

IMG_1272

I then folded in chopped frozen peaches into the remaining batter. I had to go to about 4 different places to find frozen peaches. Each supermarket I went to had strawberries, blueberries and other frozen berries but no peaches. I ended up finding them at my local Target. It’s always the last place you check that has what you want.

IMG_1273

I then spread this batter on top of the non-peach batter already in the pan.

IMG_1275

And finally I spread the streusel topping on top.

IMG_1276

I baked the cake in a preheated 325F oven for 90 minutes, covering the cake with foil for the last 15 minutes so the streusel topping wouldn’t brown too much. It looked amazing when I took it out of the oven.

IMG_1277

I let it cool for a bit before placing it inside of a tin.

IMG_1290

And although it was meant for someone else, I did end up trying a piece and overall it was quite good, but, I think next time I’ll use fresh peaches instead.

IMG_1298

Peach Streusel Cake

Ingredients

Streusel

1/2 cup all-purpose flour

1/4 cup packed light brown sugar

1/4 teaspoon salt

3 tablespoons unsalted butter, softened

1 cup chopped toasted pecans

Batter

2 cups all-purpose flour

1 teaspoon baking powder

1 teaspoon baking soda

1/2 teaspoon salt

1 stick unsalted butter, softened

1 cup sugar

2 large eggs

1 cup sour cream

2 teaspoons vanilla extract

One 10-ounce bag frozen peaches, coarsely chopped

Directions

1. Preheat the oven to 325F and butter flour a 9-inch springform pan.

2. Make the Streusel: In a bowl using your fingers, combine the flour, brown sugar, and salt. Add the butter and mix until smooth. Add the pecans; press the mixture into clumps.

3. Make the Batter: In a bowl, whisk together the flour, baking powder, baking soda and salt. In a large bowl, beat the butter and sugar at medium-high speed until light, 3 minutes. Beat in the eggs one at a time; beat in the sour cream and vanilla. Add the dry ingredients and beat at a low speed until incorporated.

4. Spread two-thirds of the batter in the pan. Fold the peaches into the remaining batter and spoon into the pan. Scatter the streusel crumbs on top. Bake the cake for 1 hour and 30 minutes, or until a toothpick inserted in the center comes out clean; loosely cover the cake foil for the last 15 minutes of baking. Transfer to a rack and cool for 30 minutes them remove the ring and let the cake cool completely before serving.