Candy Corn Inspired Ombre Cake

Not all Halloween treats have to be spooky ones. This ombre cake is simple to make with 2 tubs of vanilla frosting, a box of white cake mix, yellow and orange food colors, your favorite cake filling and is inspired by a candy that is synonymous with Fall… Candy Corn. There’s nothing spooky about that.

IMG_9529

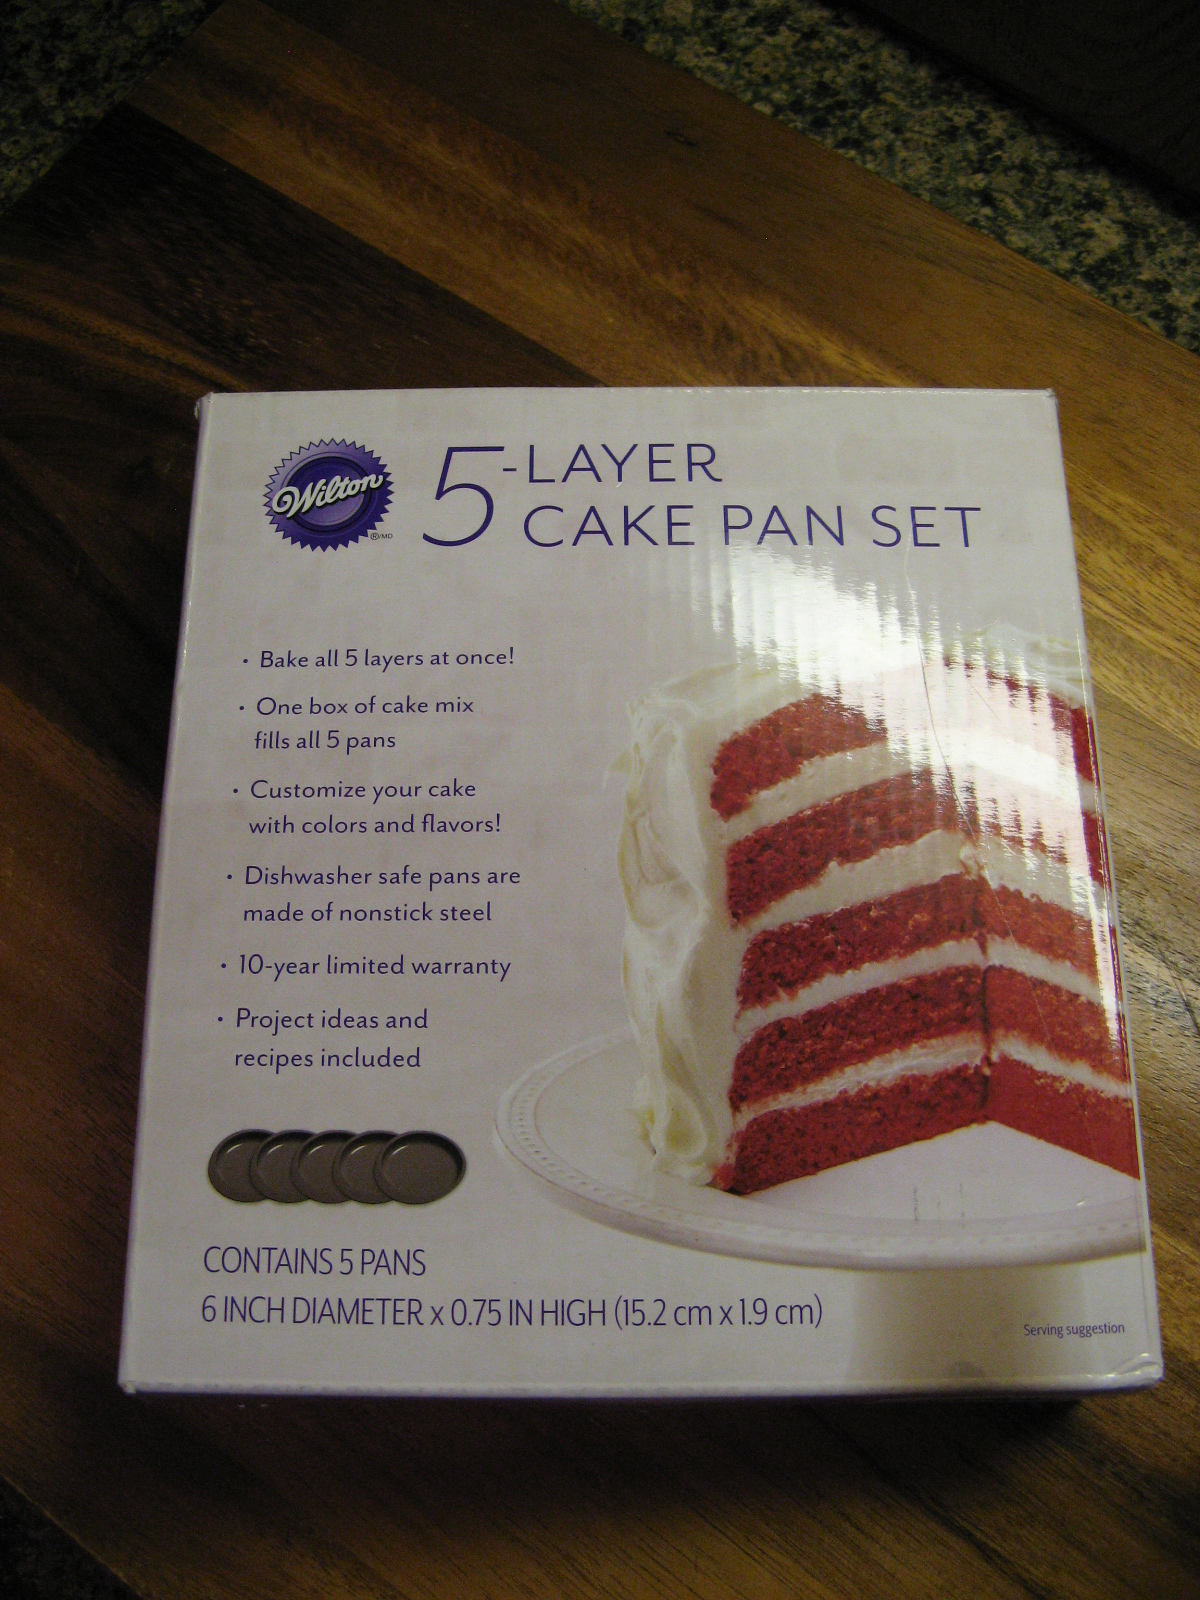
I used my Wilton 5-layer pan set to make this cake since I wanted the inside of the cake to emulate a piece of candy corn as well. But, there’s no need to get that precise. You could simply bake a two-layer, three-layer or a one-layer cake and let the frosting on the outside speak for itself.

IMG_9493

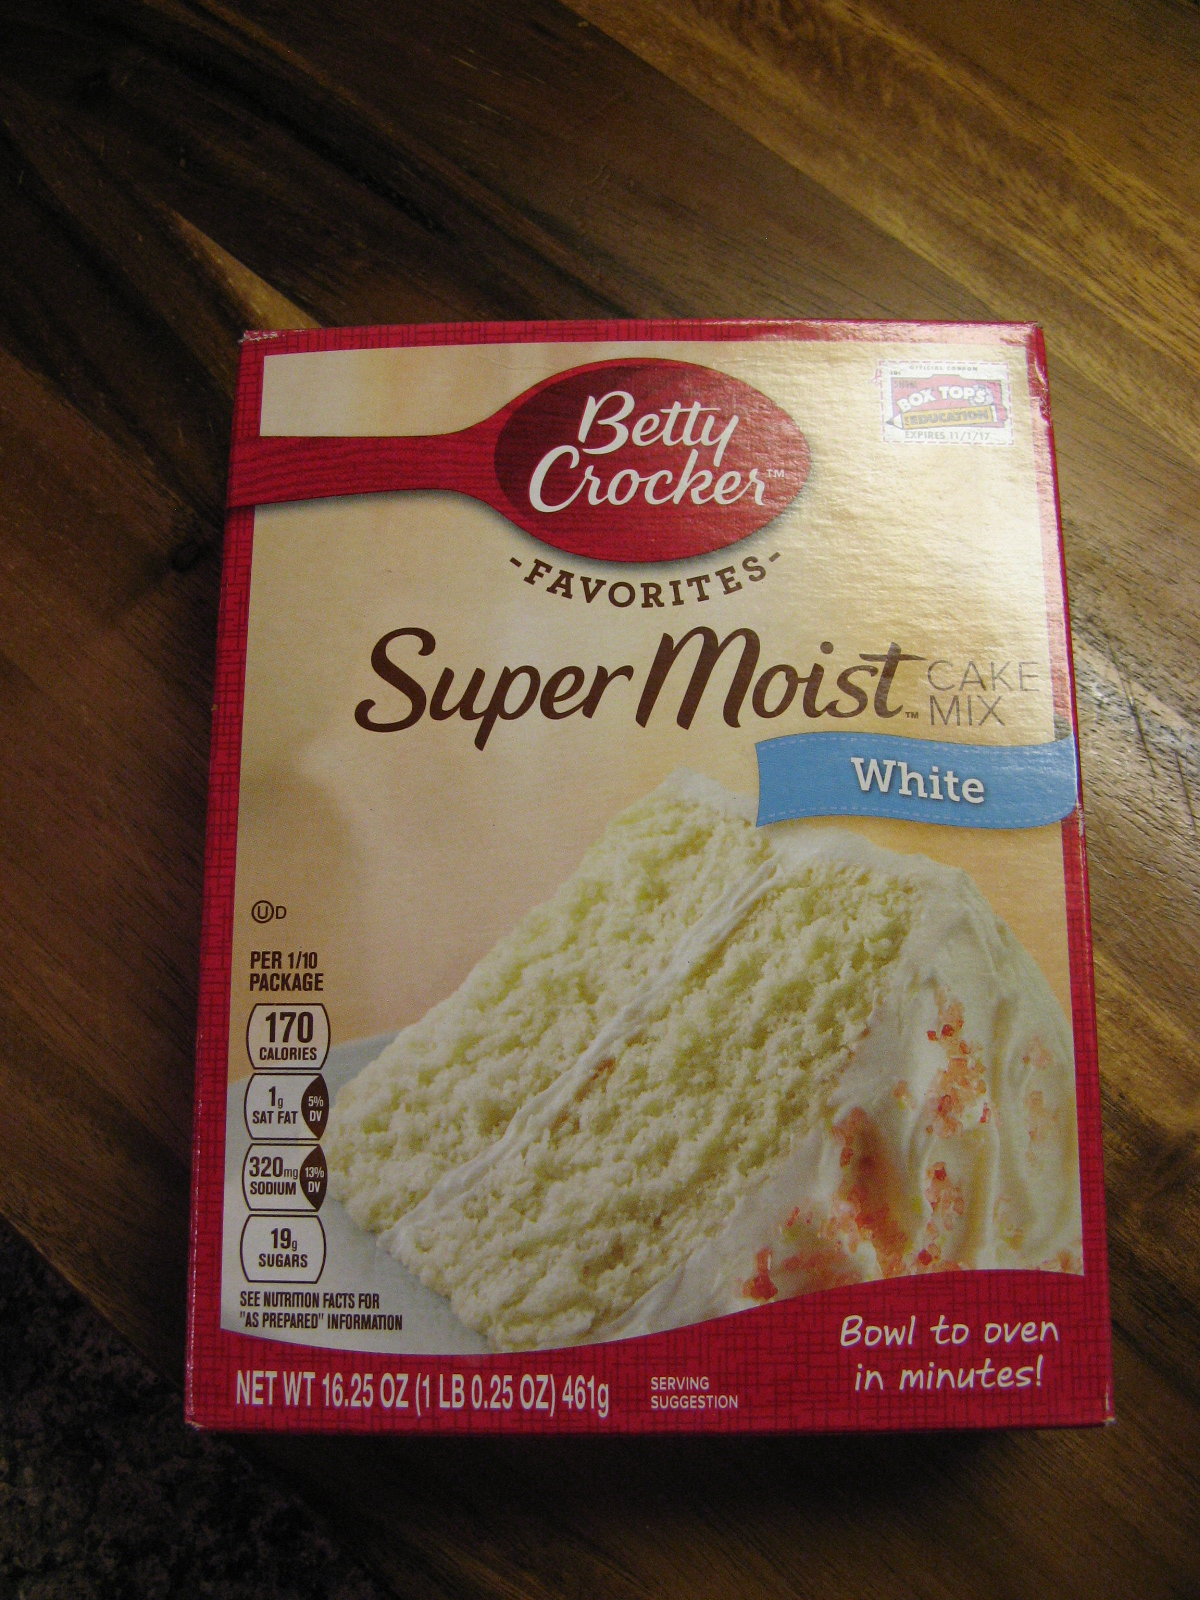
Since I was planning on tinting the cake batter I opted to use a box of Betty Crocker White cake mix. Betty Crocker is my go-to cake mix when I am not in the mood or just don’t have the time to make a cake from scratch.

IMG_9494

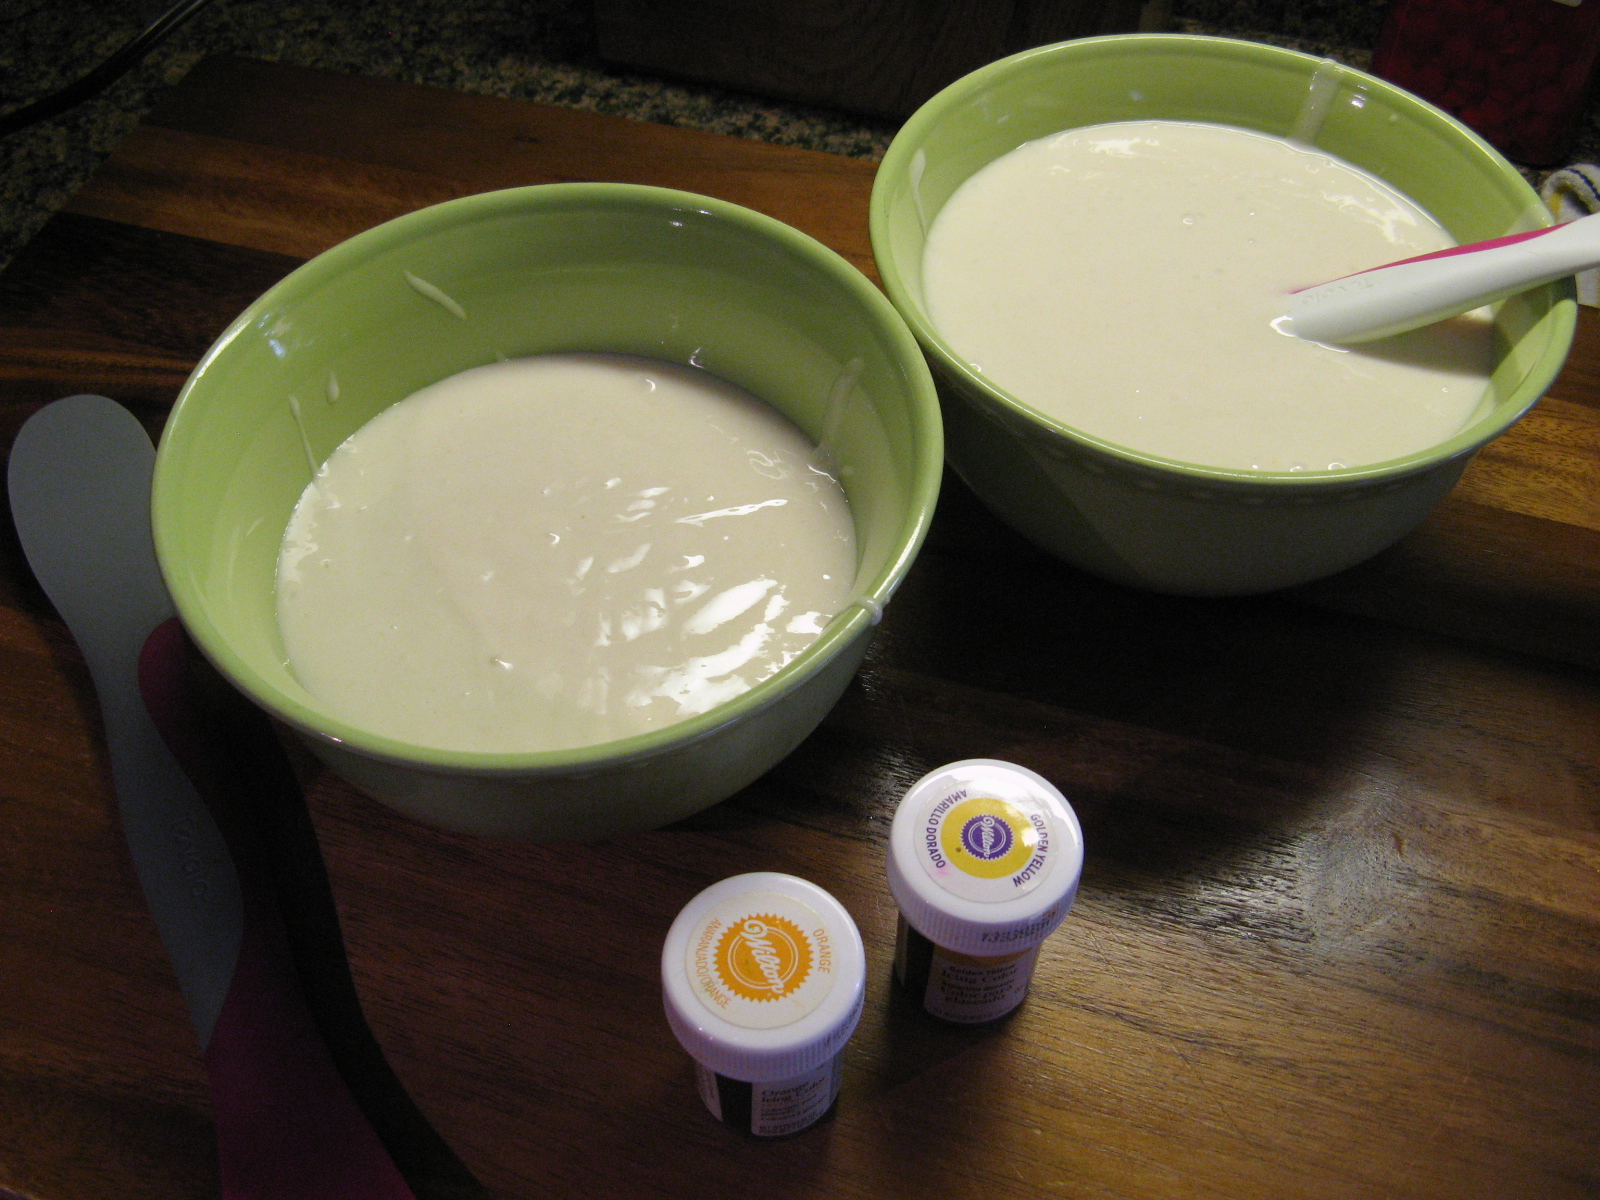
After mixing the batter per the directions on the box I divided the batter to tint it. From making quite a few cakes in the past I knew that the batter yielded about 4 cups so each pan would have just shy of a cup of batter. Since the top layer of the cake was going to be white I immediately poured that batter into one of the prepared pans (I sprayed it with baking spray) and then divvied up the rest of the batter to tint – about 3 cups for the orange layers and 1 cup for the yellow layer.

IMG_9497

Following that I poured the yellow batter (the bottom layer) in the prepared pan and divided the orange batter (the middle layers) among the three remaining pans.

IMG_9501

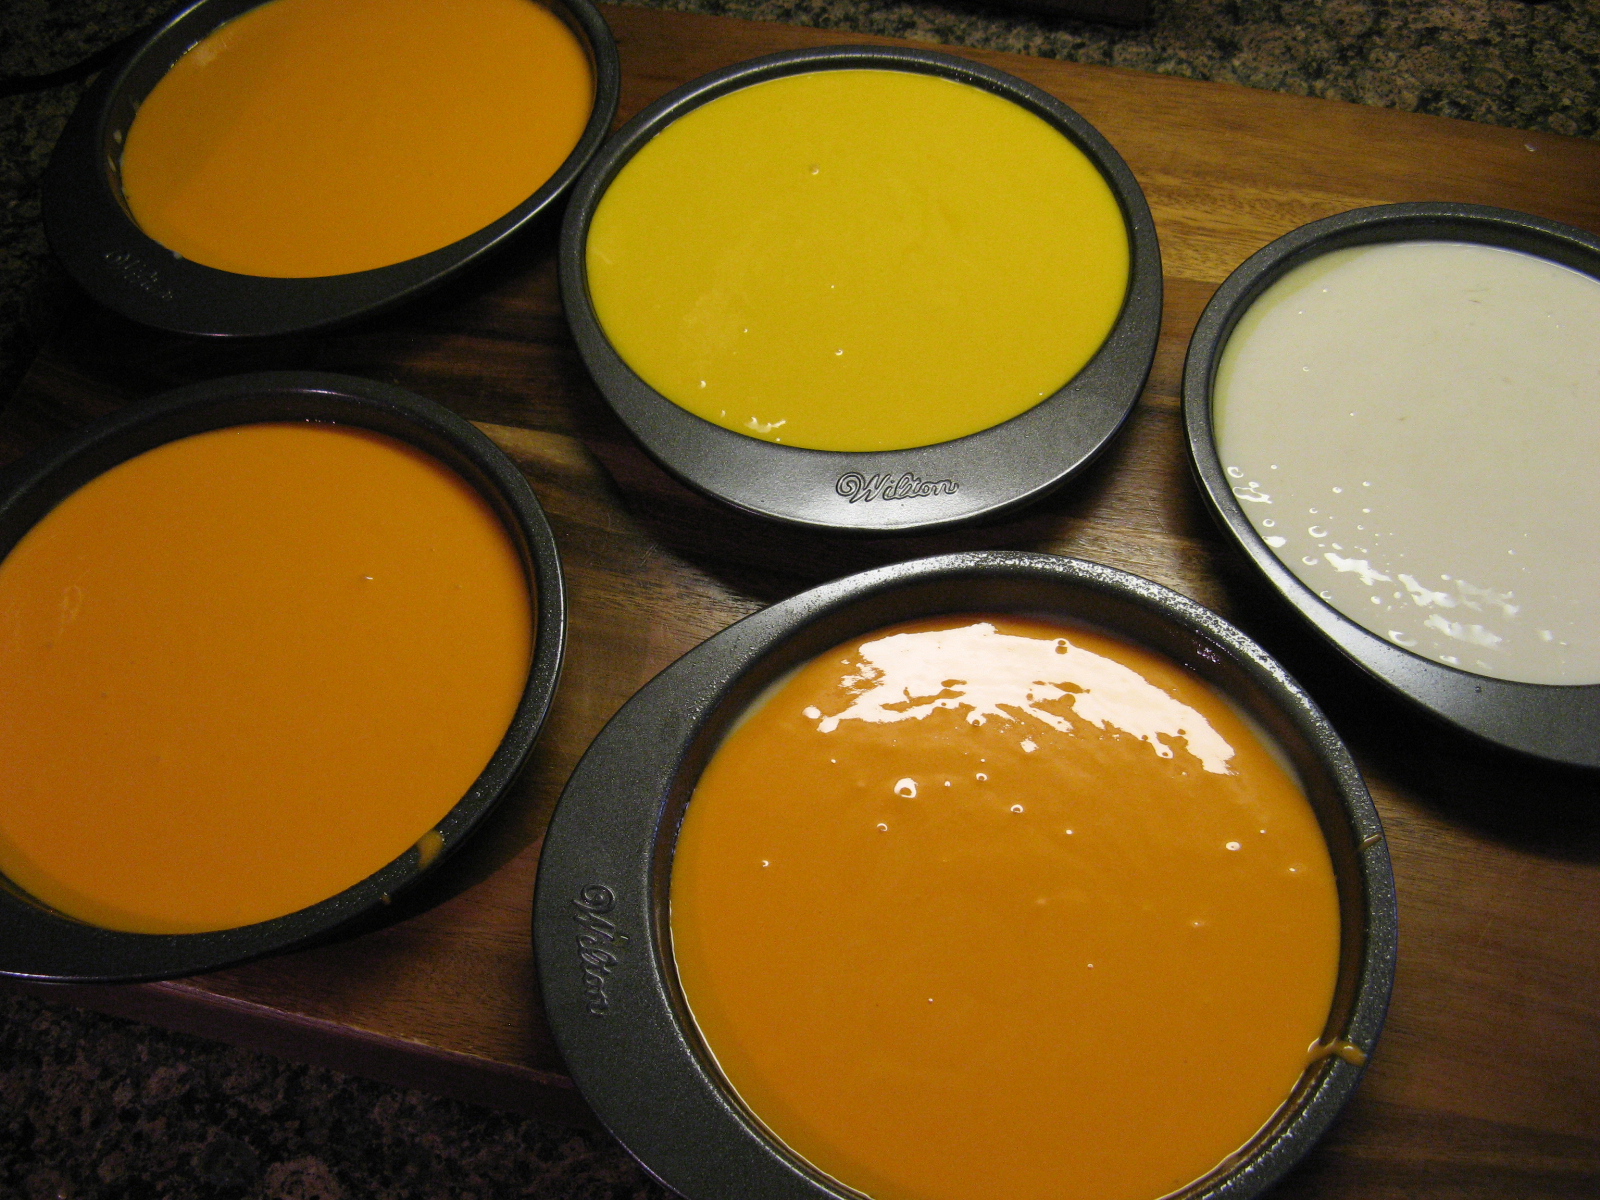
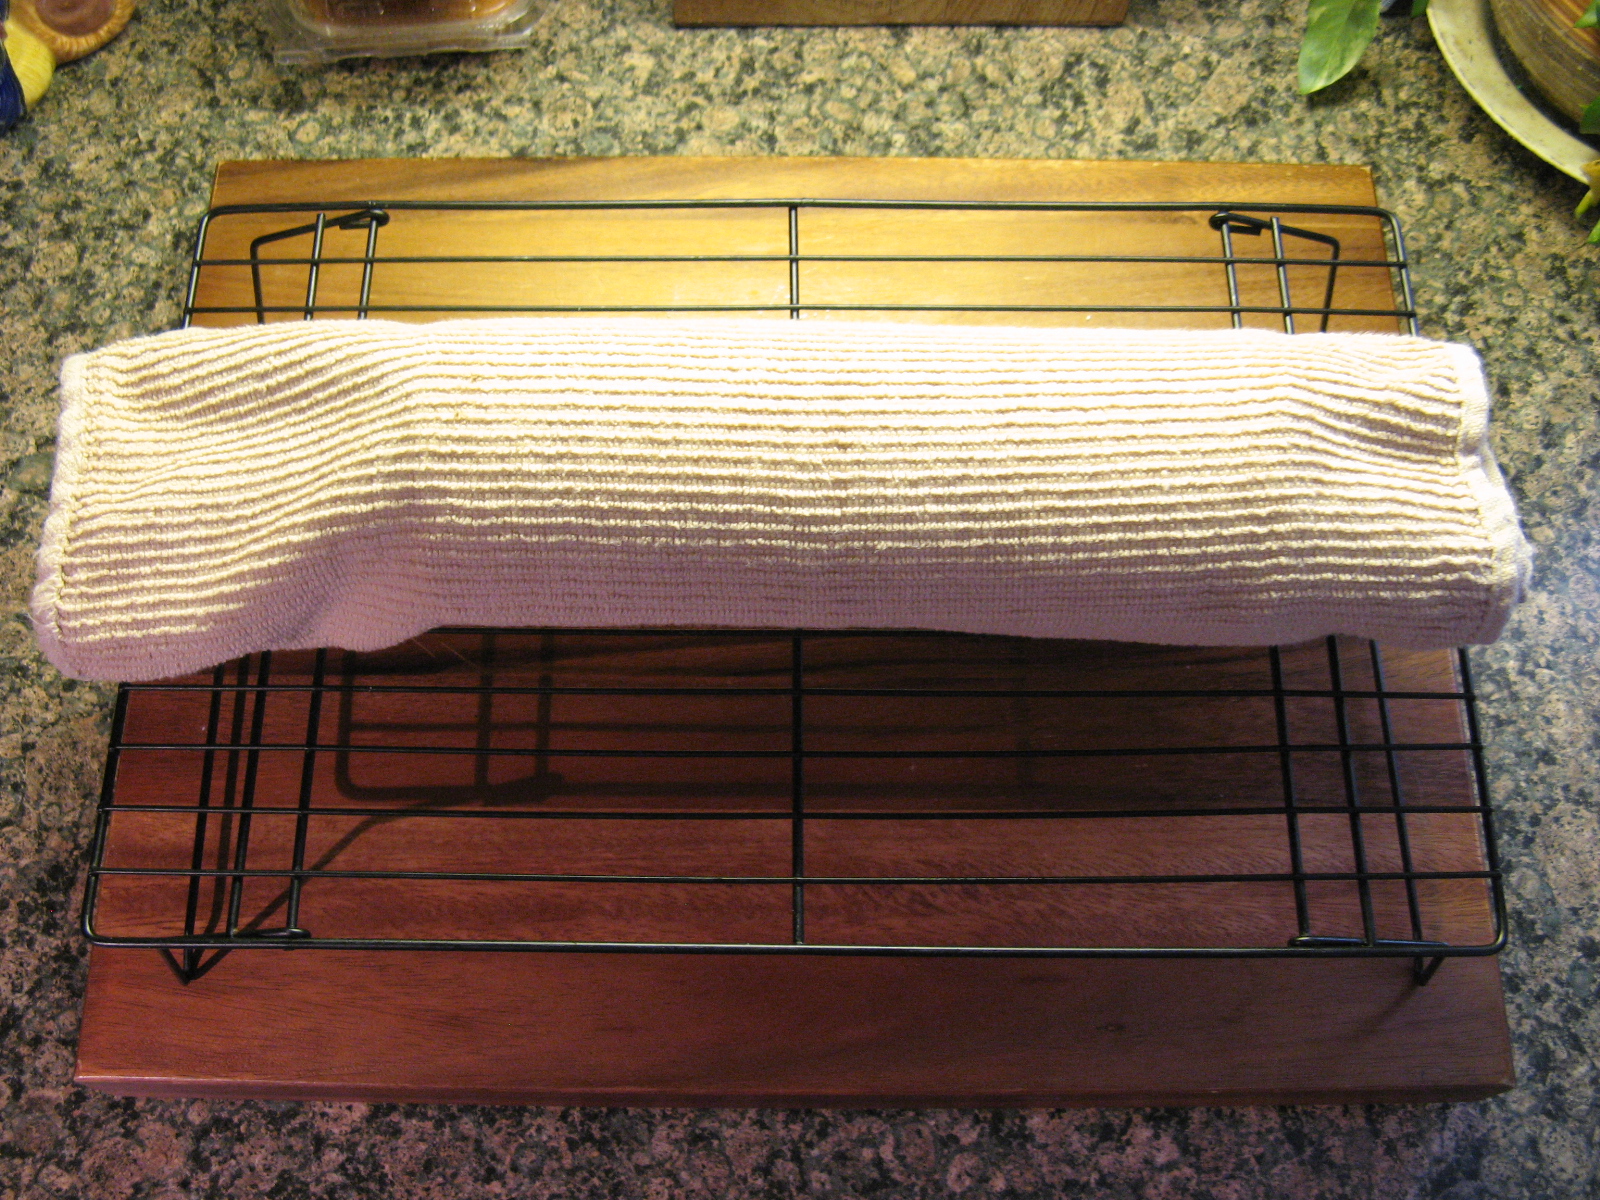
I then placed all of the pans on a rack in my 350 F preheated oven for about 15 minutes and after letting the cakes cool in the pans for 10 minutes I transferred them to a wire rack to cool completely. Once they cooled, I did a little torting to make sure the layers would sit evenly on top of one another…

IMG_9506

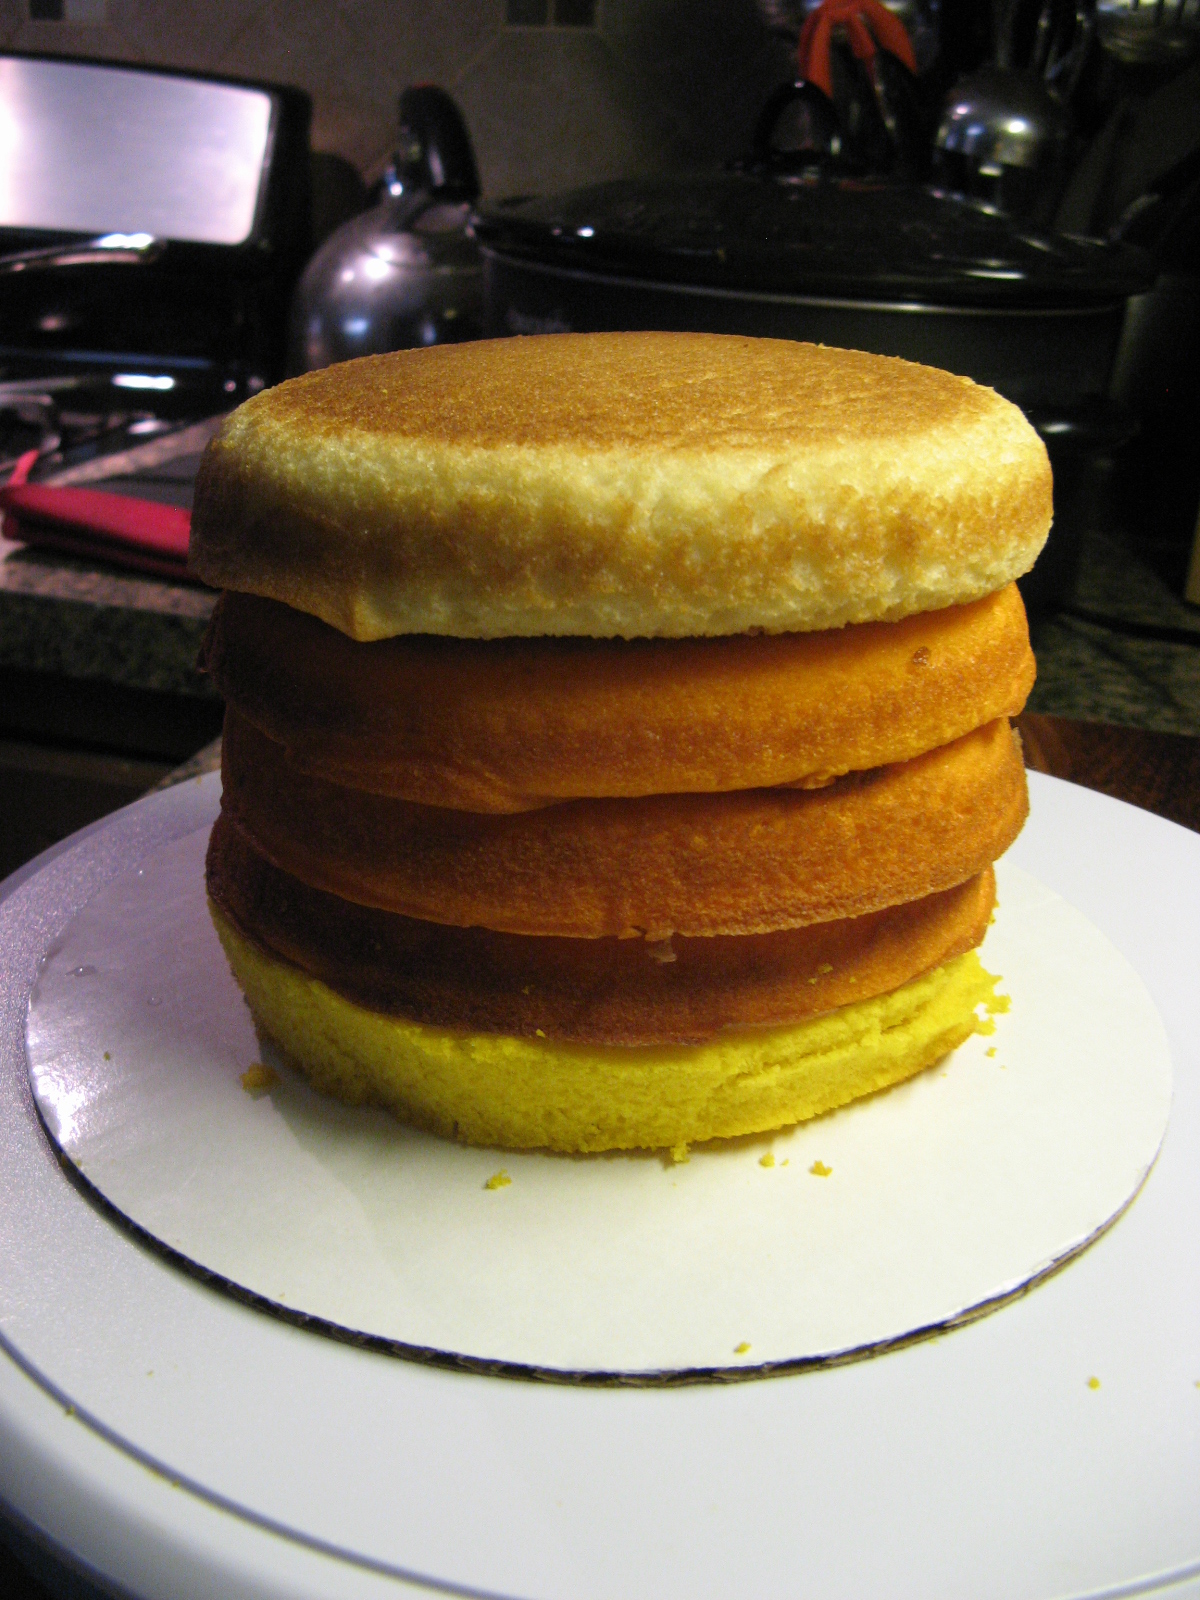
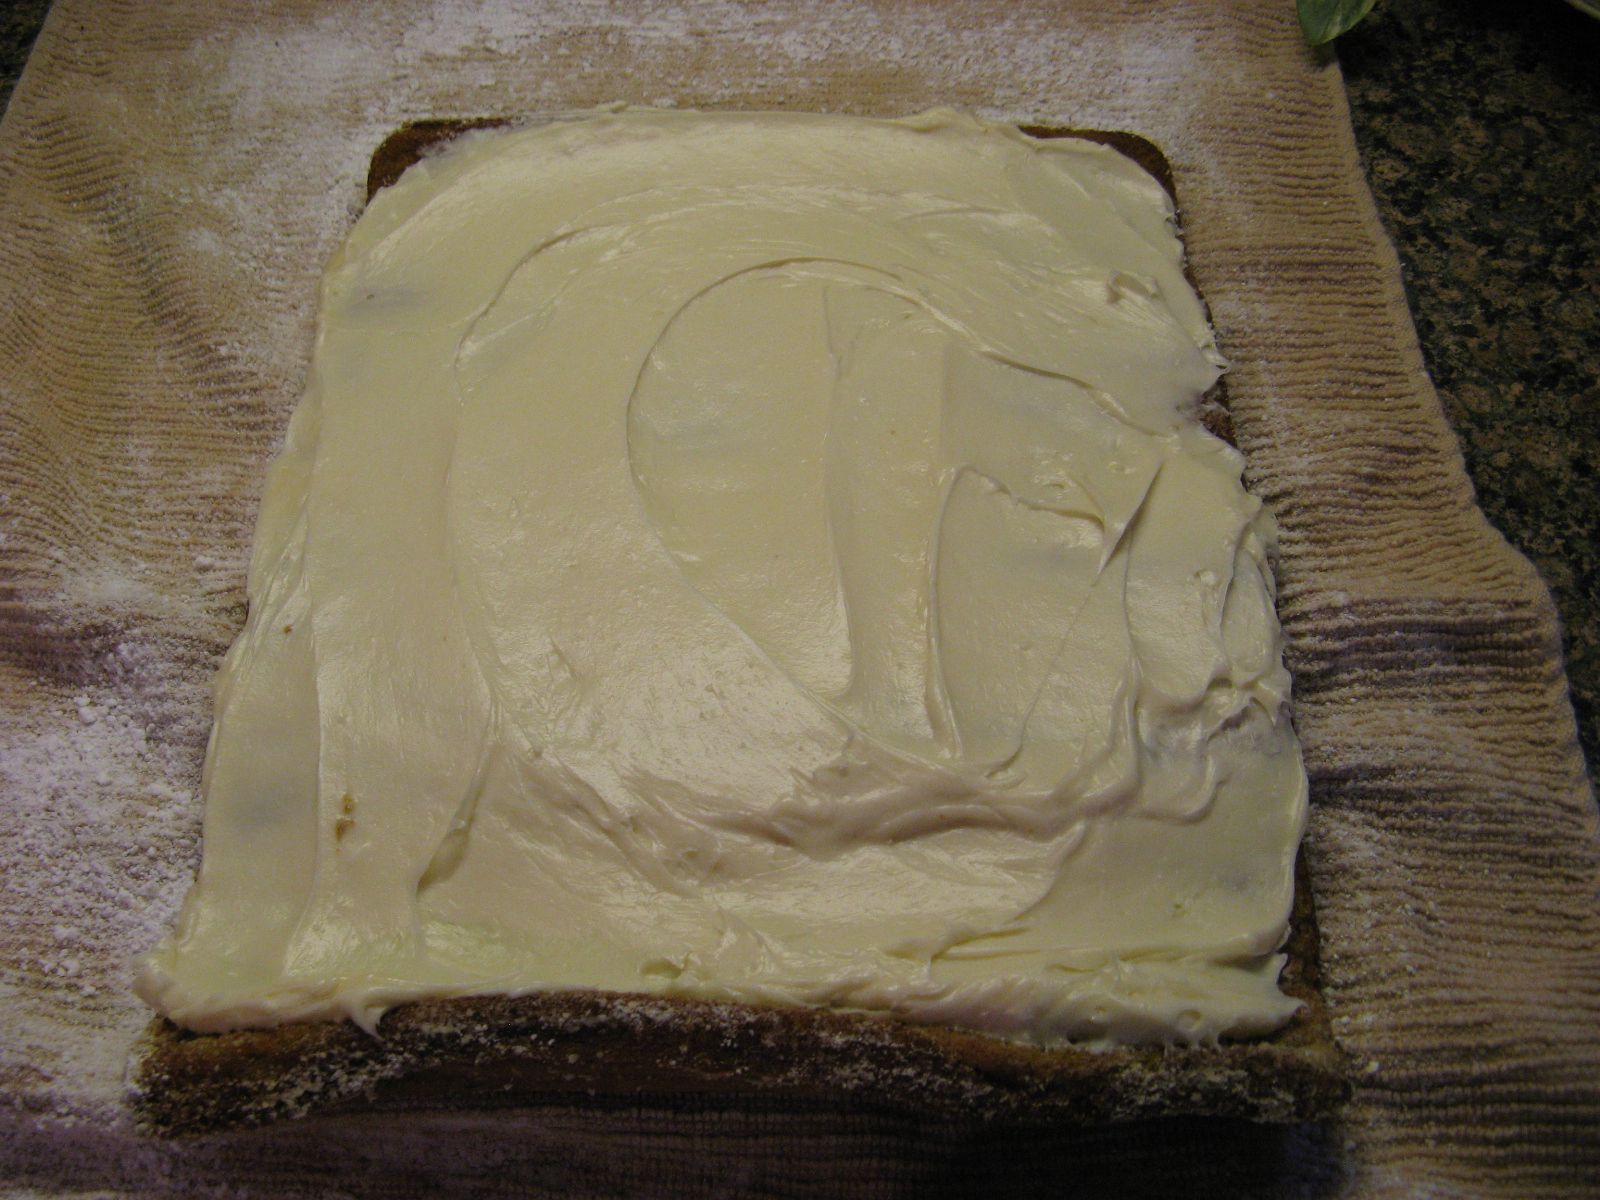
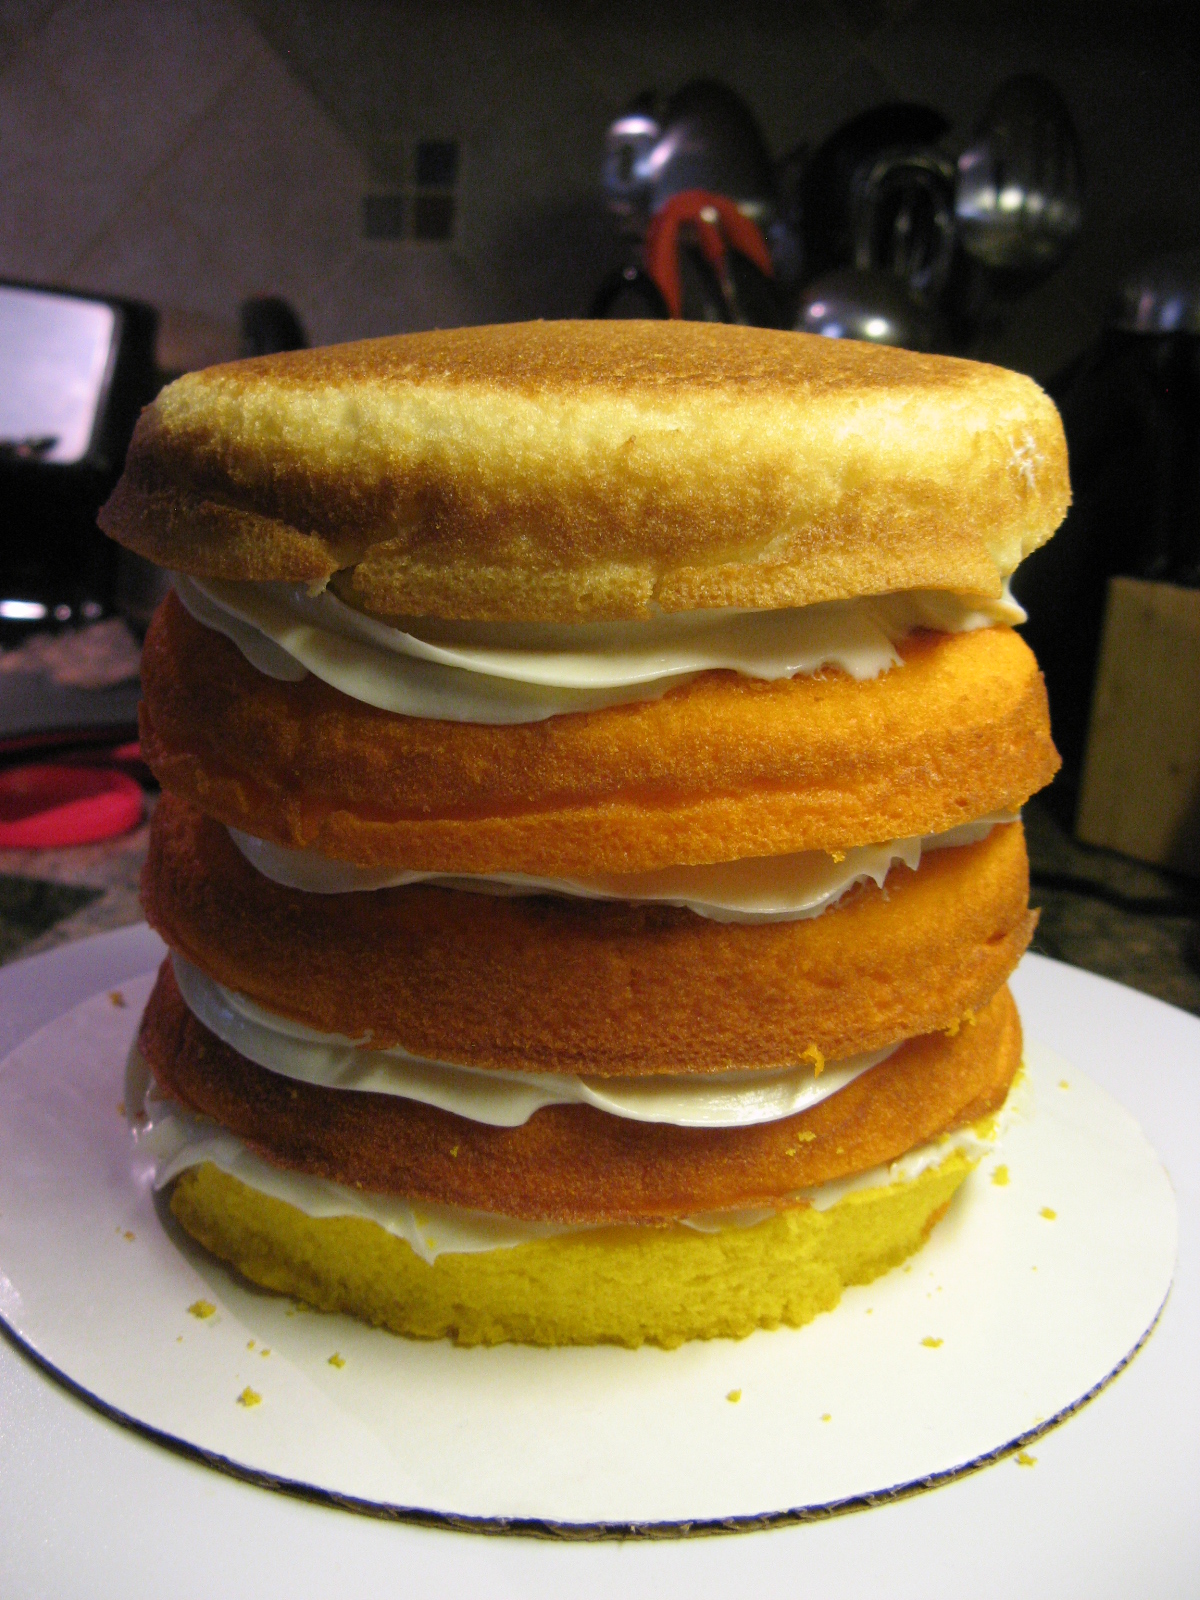
It was then time to fill the layers – I opted to fill them with a quick vanilla mousse recipe that uses two ingredients: 2 cups of heavy cream and Jell-O vanilla pudding mix.

IMG_9509

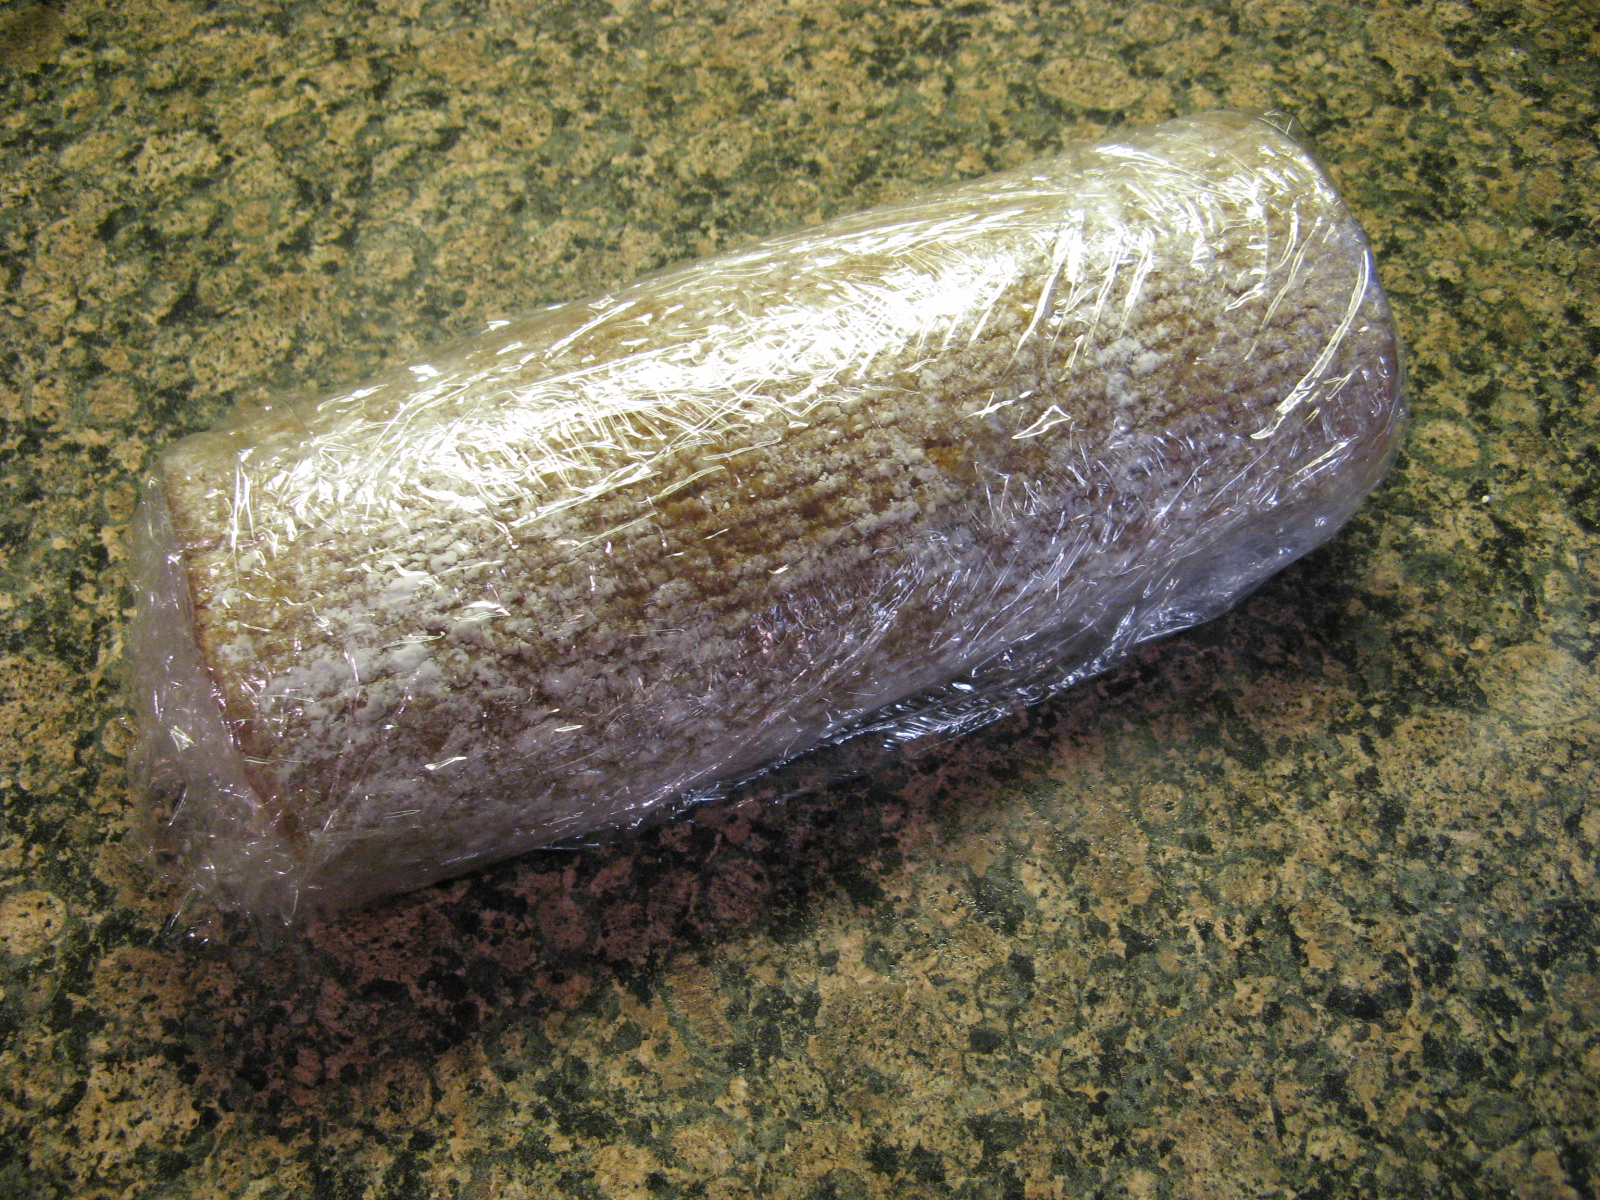
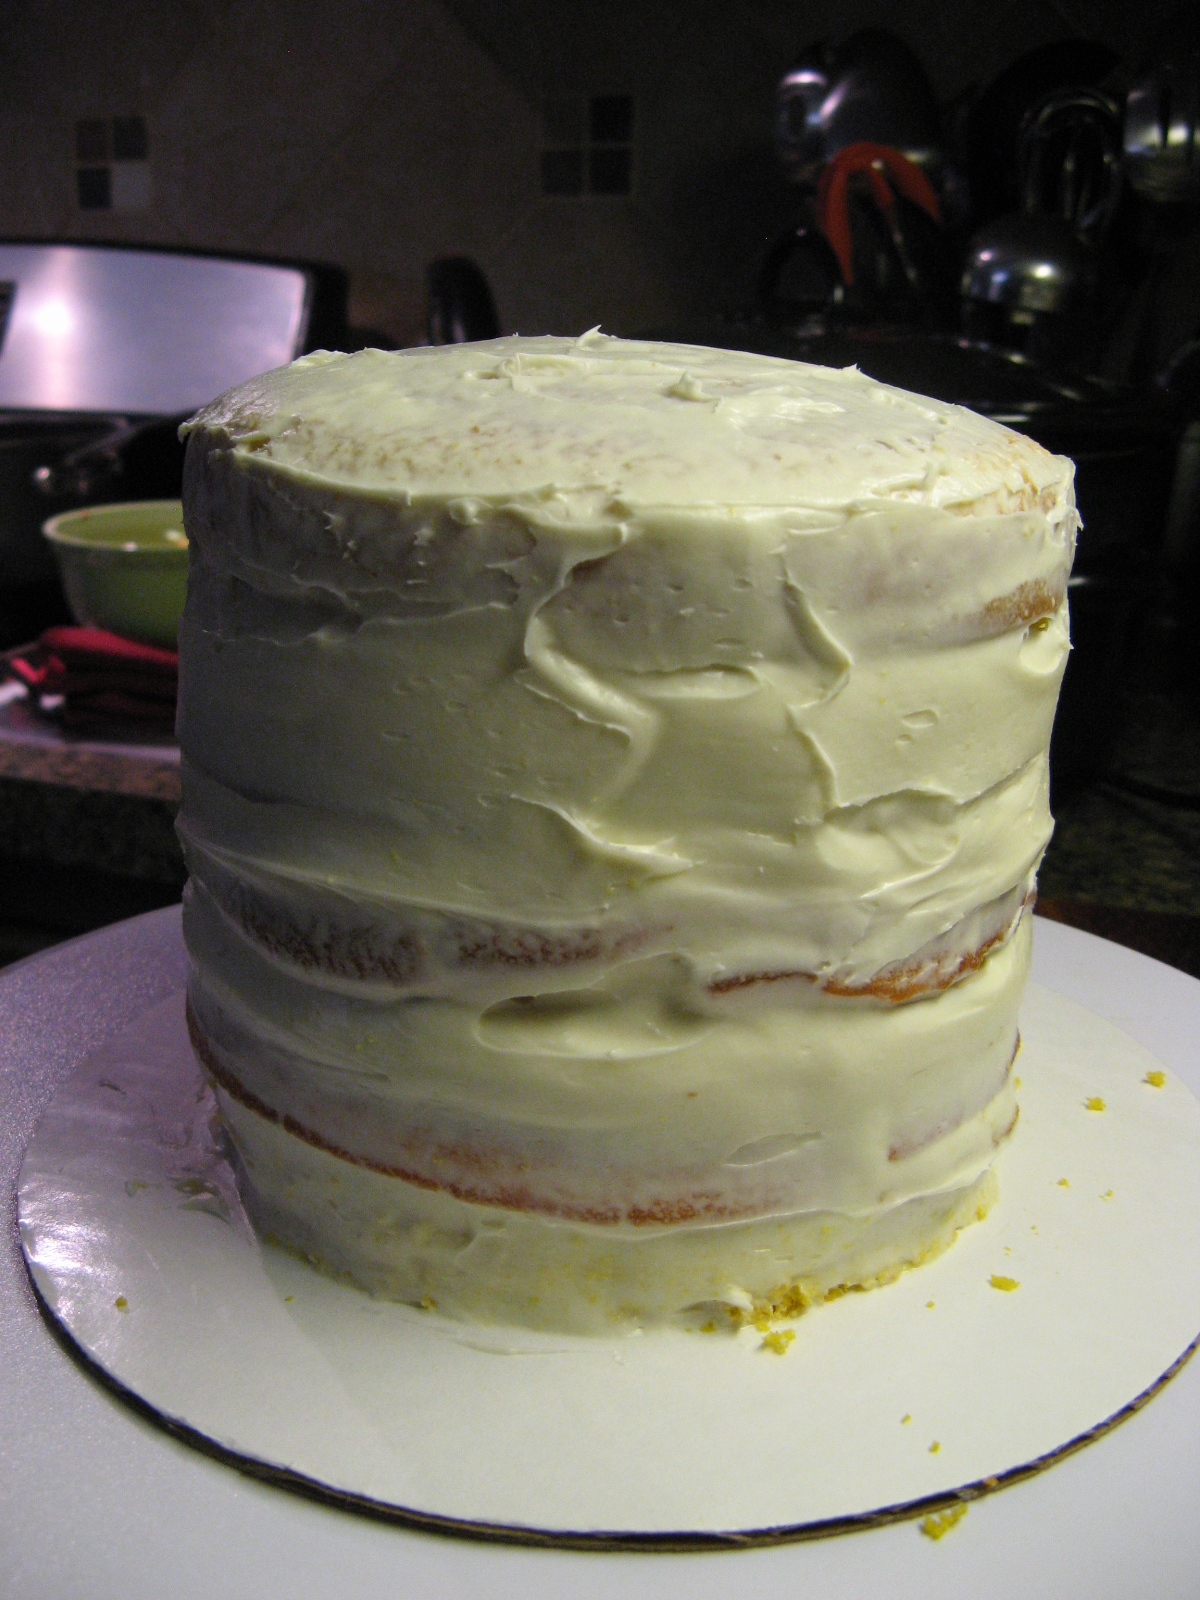
And then I crumb coated the cake with vanilla frosting and placed it in the refrigerator for about 20 minutes.

IMG_9510

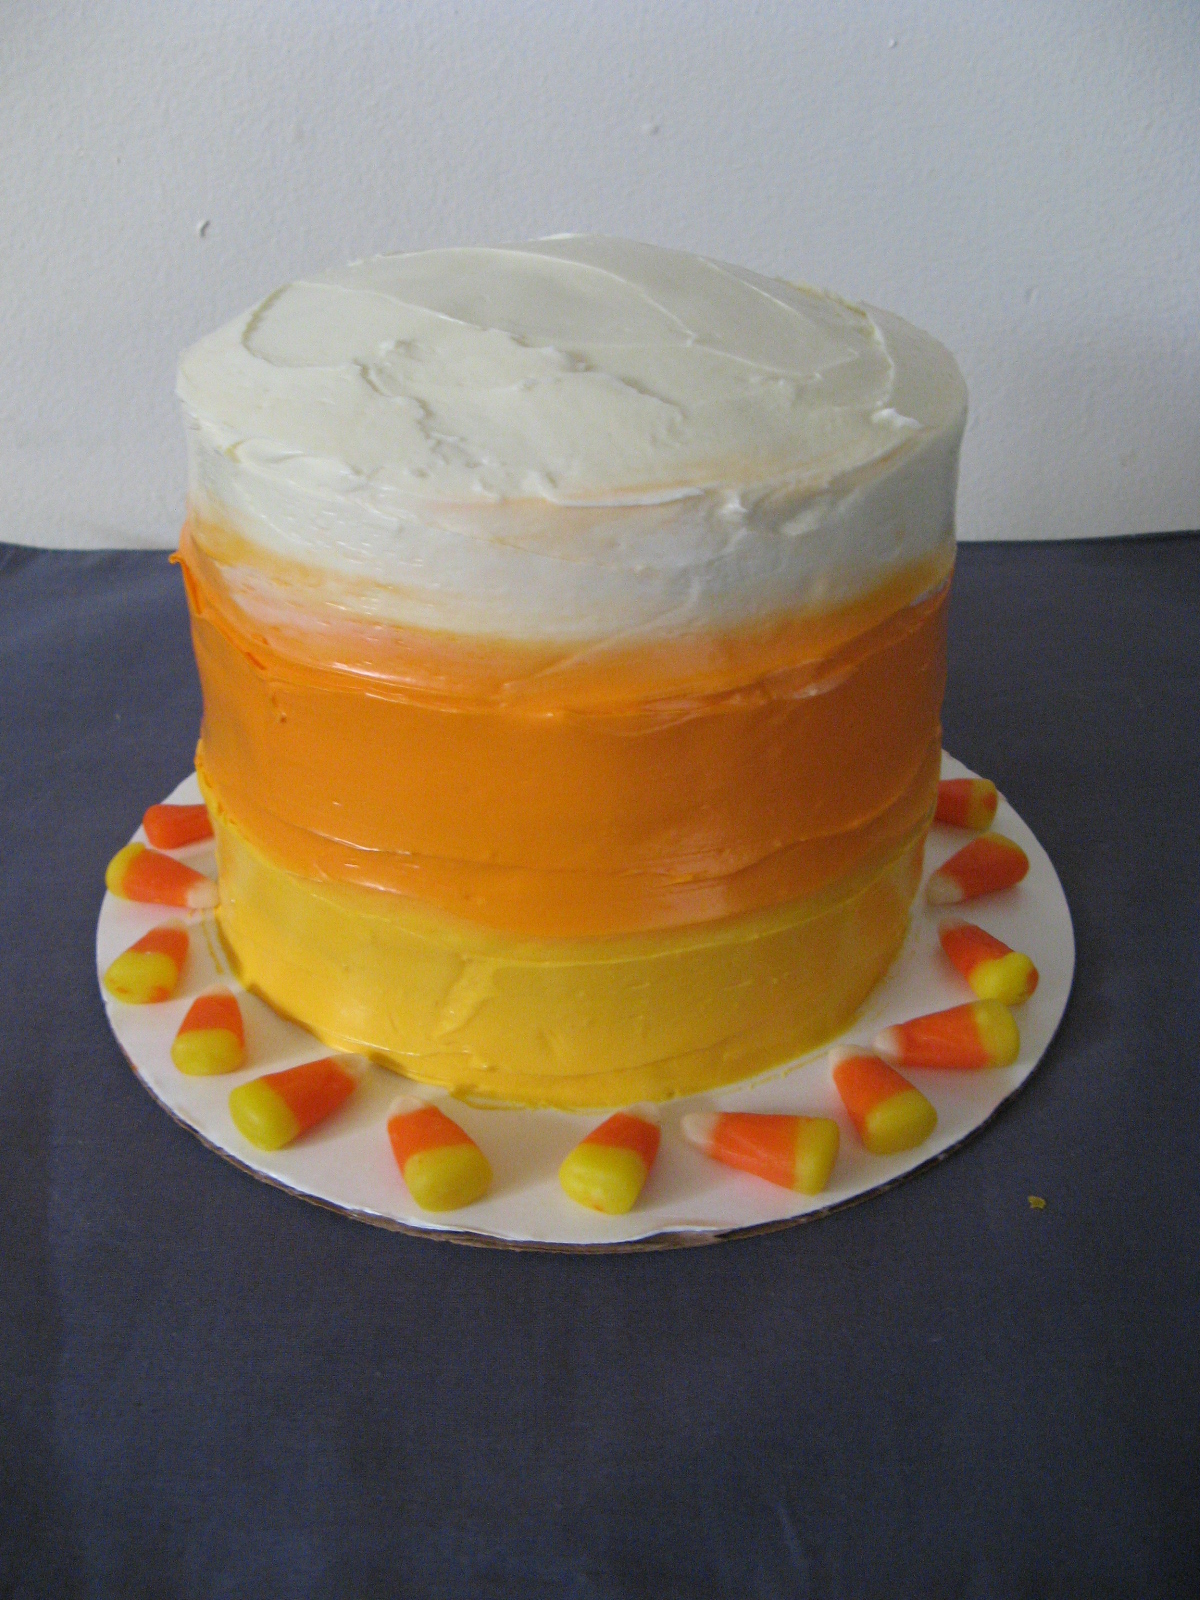
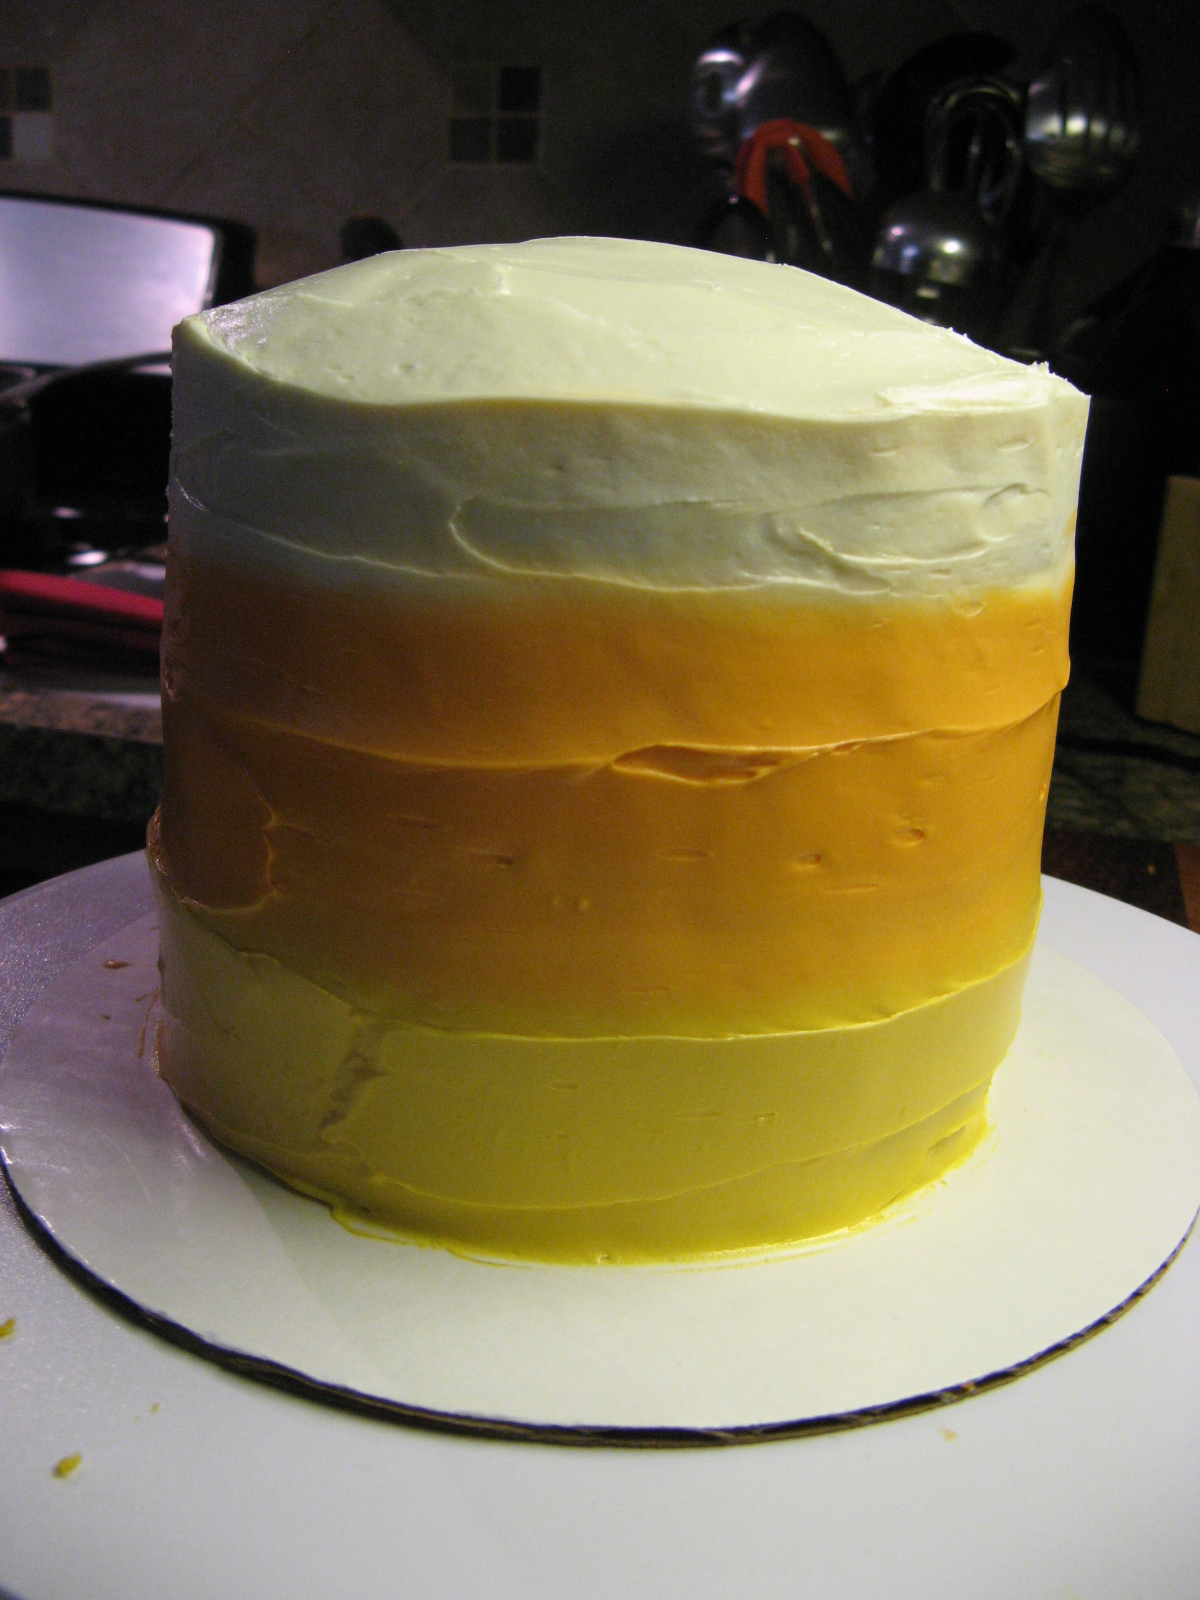
Then it was time to create the candy corn ombre effect on the outside of the cake. I tinted about a cup and a half of the vanilla frosting with the yellow food color and frosted that along the bottom of the cake…

IMG_9511

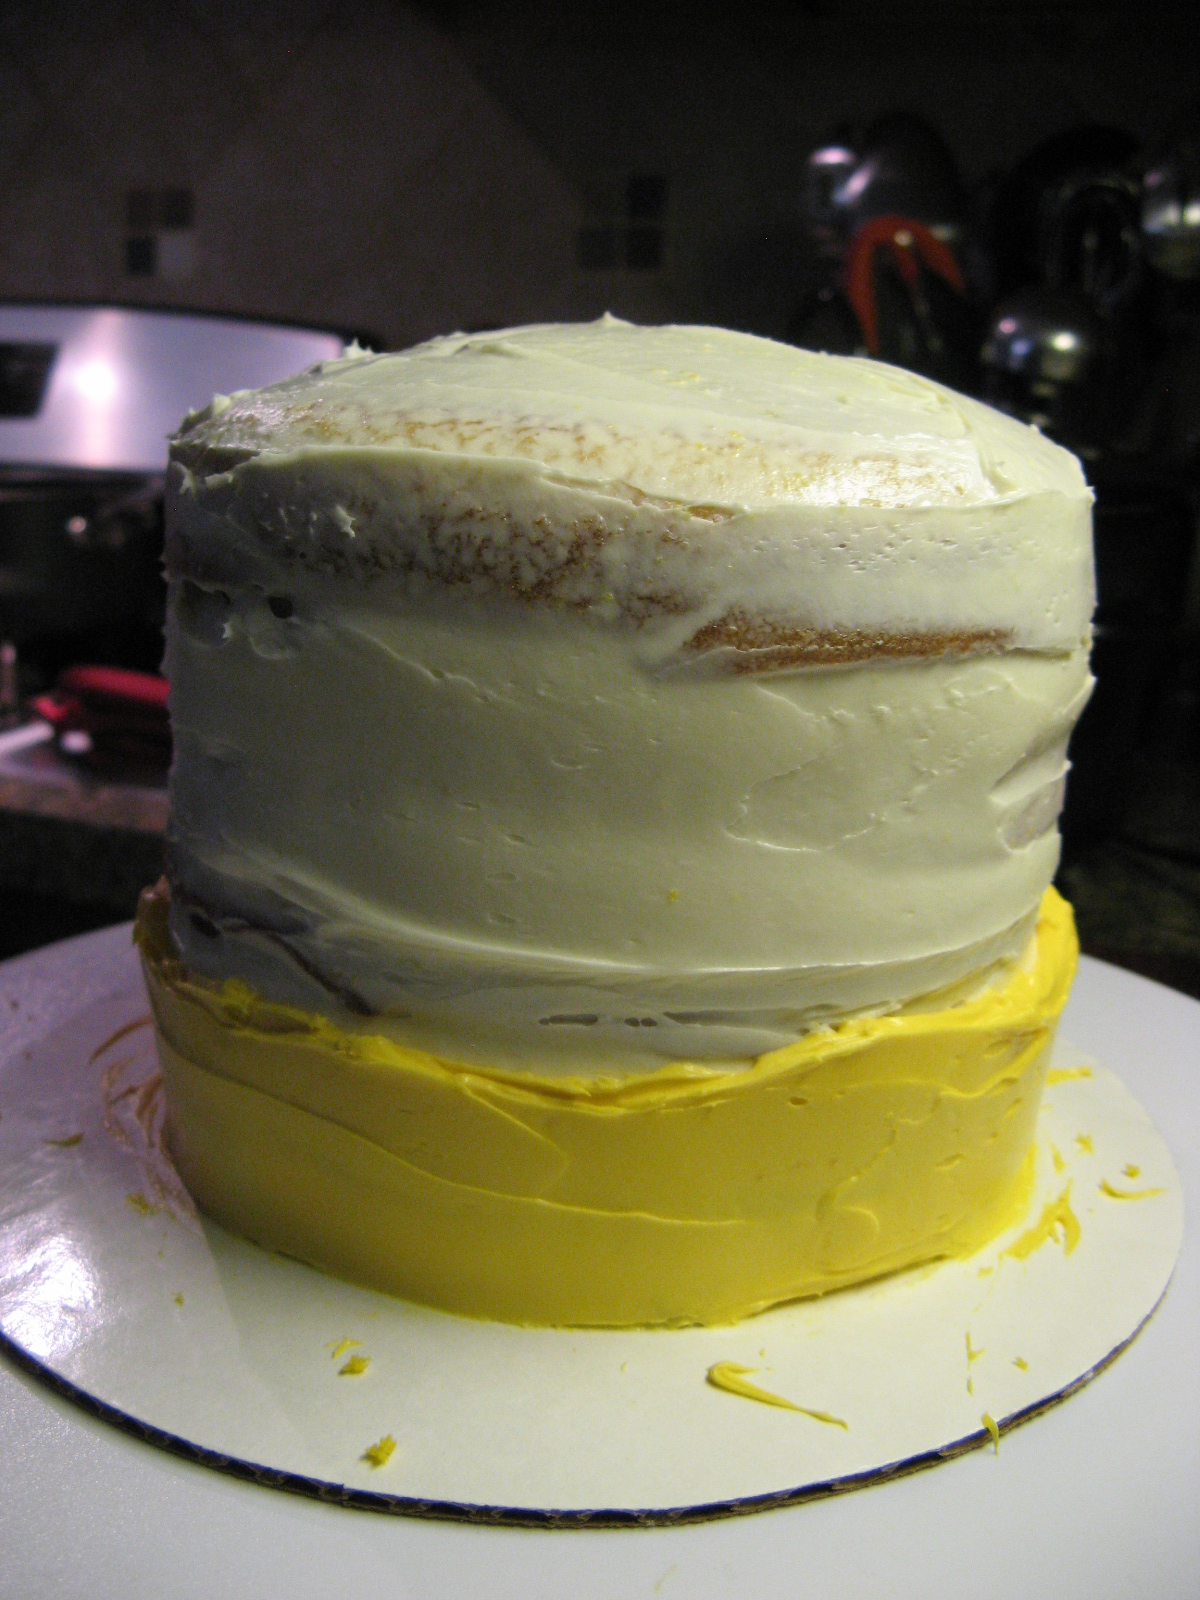
Next I tinted about two and a half cups of the vanilla frosting with the orange food color and spread that along the middle of the cake and finally I used the vanilla frosting untinted to frost the remaining portion of the side of the cake as well as the top of the cake. To create the ombre effect, I smoothed the sides of the cake with a long icing spatula.

IMG_9512

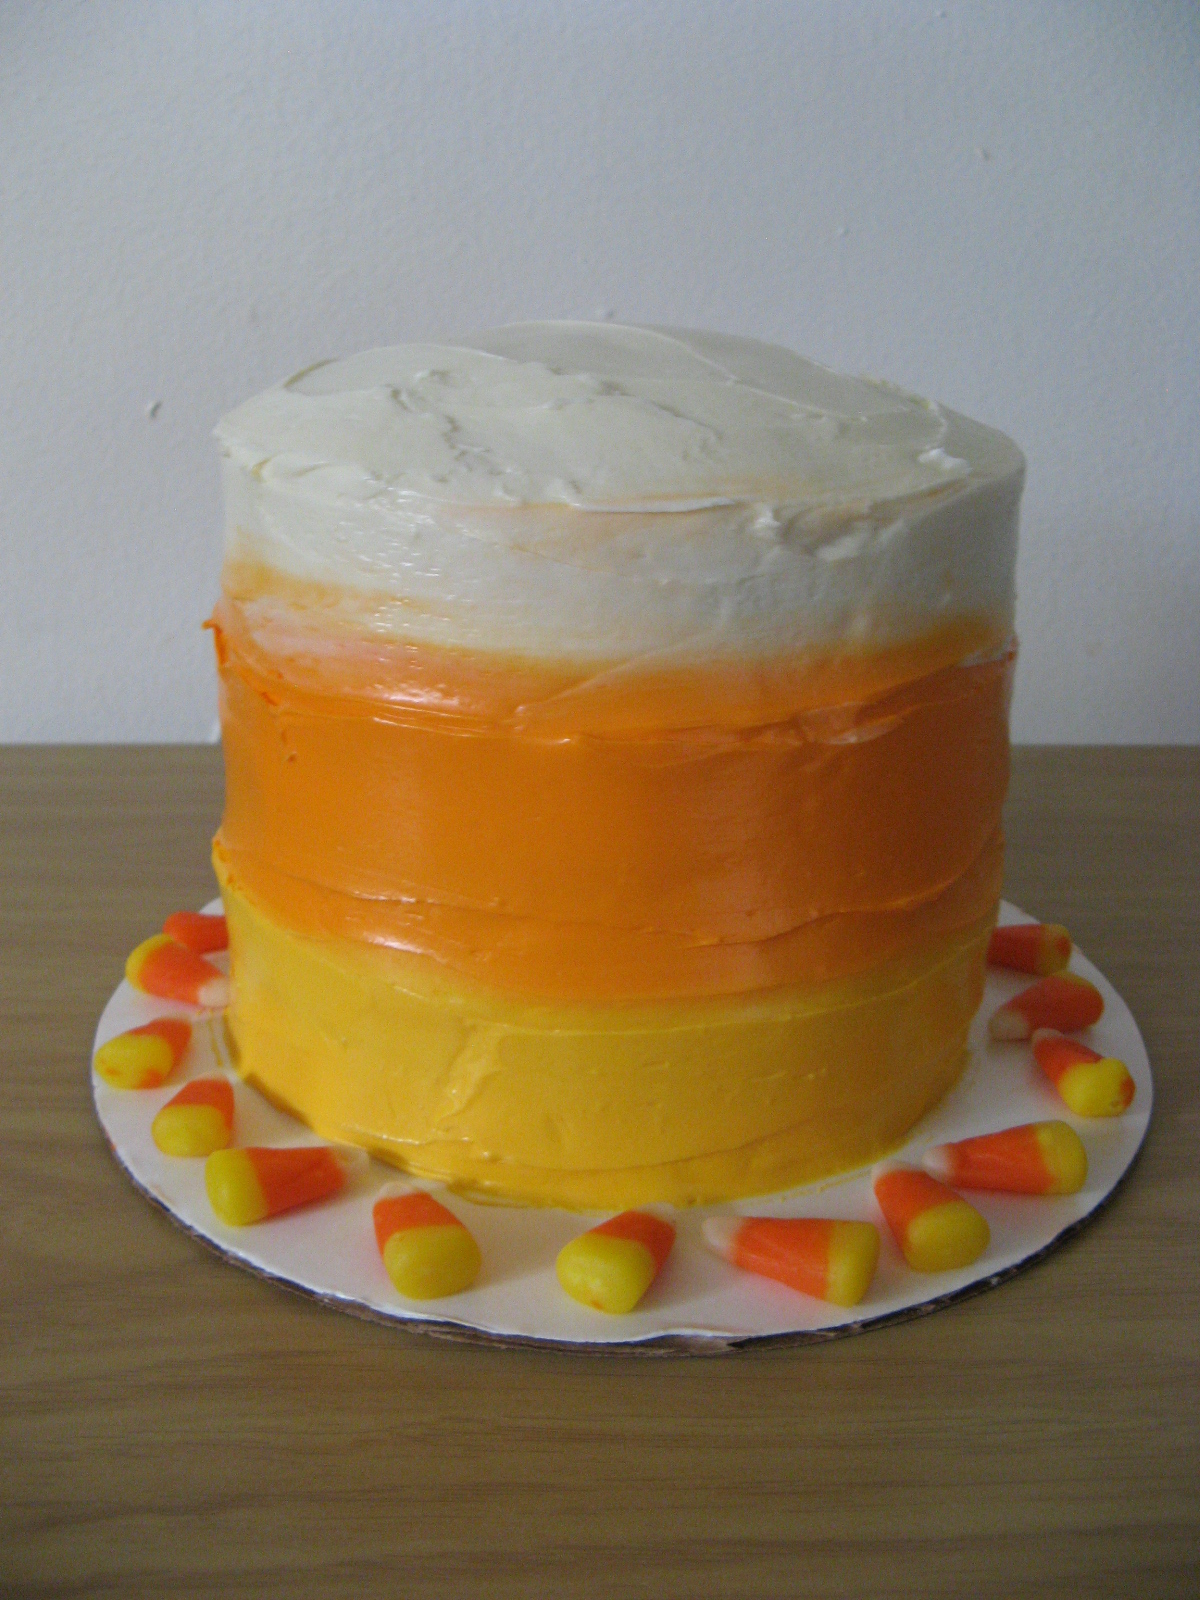
And for presentation some candy corns around the base of cake…

IMG_9532

And here’s a peek inside…

IMG_9558

And there you have it, a super cute and super simple unspooky Halloween treat!

Baked Onion Rings

I do my best to avoid frying anything; not because of health reasons but because I hate having to clean up oil splatter and inevitably I always end up with an oil stain on my shirt no matter what efforts I take to avoid it. So, whenever I can make one of my favorite foods that normally has to be fried baked I’m all for it – thank heaven for my doughnut pan! Today’s not fried but baked recipe I would like to share with you is Onion Rings!

To begin I sliced a small sweet onion and separated the rings. You can use any sweet onion to make these: Vidalia, Walla Walla, etc… Random fact, sweet onions have a lower sulfur content than other onions so you are less likely to cry when slicing them. I know this from experience! When I cook and am using onions they are always the last thing I cut so I can ensure I won’t end up slicing my finger while cutting other things because I am trying to control my onion crying fit.

IMG_9145

Next I combined panko bread crumbs with olive oil, salt and pepper and baked it on a rimmed baking sheet until they were golden brown. I then transferred them to a shallow bowl. I also put flour and two lightly beaten eggs in shallow bowls as well and was then ready to prep my onion rings for baking.

IMG_9148

I dipped the onion rings in the flour, then the eggs and finally in the bread crumb mixture and placed them on a baking sheet that I rubbed with olive oil. Once the sheet was full I baked the rings in a pre-heated 450 F oven for 12 minutes, flipping the rings once.

IMG_9151

Right out of the oven….

IMG_9153

After letting them cool for a few minutes I enjoyed them with a side of ranch dress – thank-you Johnny Rockets for introducing me to that winning combination! In case you are wondering, baking the rings still gives the crumb coating that crunch you are familiar with when frying them, but, I also think it makes the onion itself tender and sweeter!

IMG_9179

Baked Onion Rings

Ingredients:

1 1/2 cups panko bread crumbs

1/4 cup olive oil

1/2 teaspoon salt

1/4 teaspoon black pepper

1/3 cup all-purpose flour

2 large eggs, lightly beaten

1 small sweet onion, sliced and rings separated

Directions:

Preheat the oven to 450 F. In a small bowl combine the bread crumbs, 2 tablespoons of the olive oil, salt, and black pepper. Transfer the crumbs to a rimmed baking sheet and bake until golden brown, 3 to 5 minutes, tossing once. Transfer the crumbs to a shallow bowl. In two other shallow bowls place the flour and eggs.

Rub the remaining oil on 2 rimmed baking sheets. Dip the onion rings in the flour first, then the eggs (allowing any excess to drip off) and finally in the bread crumb mixture. Bake on the prepared baking sheets for 12 to 14 minutes, turning once.

Serve with your favorite dipping sauce; my go-to for onion rings is ranch dressing.

Recipe from Real Simple

Knitting Update – Entrelac Scarf is Done!

You may recall that about two months ago I posted about an Entrelac scarf I was working on. Well, I am happy to say that I have finally finished it and am very happy with the final outcome. I really love how the colors change throughout the scarf and the overall diamond pattern that Entrelac produces. While I would love to make something larger using the pattern I think I am cool with a scarf for now. While I finally did get the hang of working Entrelac it did take quite a few tries to get the scarf going and there were a few hiccups along the way that I was fortunately able to correct before I got too far along. Besides, I have a few other projects I want to work on before adding anything else to my knitting/crocheting to-do list. Here’s a link to where you can find the pattern as well as a YouTube Video link that will help you get started: Freckles and Purls
IMG_9405 IMG_9423
Which leads me to what is currently on my knitting needles… A shrug. Granted right now it doesn’t look like much but once I get all 40 plus inches knitted and do some stitching I am completely sure it will look like a shrug. Hopefully!
IMG_9417
I did sneak in a quick project between the scarf and shrug… These cute coffee mug coasters that I was able to crochet in less than two hours with yarn that I already had in my yarn stash. I found the pattern on a fellow blogger’s website, Repeat Crafter Me.
IMG_9305  IMG_9313
Stay tuned to find out if my shrug ends up looking like a shrug!

1 Can of Pumpkin, 2 Recipes, 1 Day

My apologies to anyone who is not a fan of pumpkin as this is my second pumpkin post this week and third in a month! For those of you who can’t get enough of pumpkin read on and for those of who you could do without another pumpkin recipe just scroll down and look at the yummy pictures. Oh, as a warning there will be at least one more pumpkin recipe coming soon.

For most pumpkin recipes a full can of pure pumpkin is not necessary so you’re left with a cup or two remaining. What do you do? You can put it in a Tupperware and hope you remember to use it before it goes rancid. Or, the best solution obviously would be to use it up right away. Sometimes that’s easier said than done depending on what recipes you have on hand and/or what you’re in the mood for. But, if you don’t mind enjoying some pumpkin in the morning and then again at dinnertime I have just the recipes to use up that one can of pumpkin in a day! Pumpkin French Toast and Pumpkin Risotto. Both of which require a bit of time and the risotto some patience so they are best suited for those times you have extra time and patience on your hands.

I began the day by making the Pumpkin French Toast. I came across this recipe on People magazine’s website and it comes from fellow blogger Sally McKenney Quinn of Sally’s Baking Addiction. I began by whisking together milk and eggs in a bowl and then whisked in the pumpkin, maple syrup, vanilla extract, cinnamon and pumpkin pie spice. Once it was well combined I transferred the mixture to a shallow bowl. After slicing day old challah bread into fairly thick slices I dipped them into the mixture, a few seconds on each side, and then cooked them on a skillet that I heated on medium heat and greased with butter. I enjoyed them topped with butter and more maple syrup and it was an absolutely delicious breakfast.

IMG_9285

Later in the day I used up the rest of the pumpkin by making Pumpkin Risotto. I came across this recipe on People as well, but, in their magazine as opposed to their website. I began by doing a little prep work… I measured out 1 cup of Arborio rice & pumpkin, chopped a small yellow onion, minced 1 garlic clove and chopped fresh sage.

IMG_9331

After bringing 5 cups of vegetable broth to a gentle boil in a medium saucepan I let it simmer while I sautéed the onions in olive oil in a large skillet. Once the onions were soft I added in the garlic and cooked it for about a minute and then added in the rice and 1 cup of the warmed broth. I reduced the heat of the skillet from medium to medium low so the mixture could simmer while I stirred it often. Once the broth had been mostly absorbed I added in another cup of broth and continued stirring until once again it was almost absorbed. I continued doing this until I finished the broth and the rice was tender. I will say that even without the pumpkin the risotto tasted delicious at this point, so if you’re not really a fan of pumpkin don’t add it and you’ll have a delicious basic risotto. Once the rice was tender I stirred in the pumpkin, salt and nutmeg. I also seasoned it with pepper and continued stirring it until it was hot and then finally topped it with the chopped sage.

IMG_9335

Pumpkin French Toast

Ingredients:

3 large eggs

1 cup whole milk

1/2 cup pumpkin puree

1/4 cup maple syrup

1 teaspoon vanilla extract

1/2 teaspoon ground cinnamon

1/2 teaspoon pumpkin pie spice

1 Challah bread, sliced into 8 slices

Directions:

Heat a skillet over medium heat.

In a large bowl whisk together the eggs and milk. Once combined, add in the pumpkin, maple syrup, vanilla extract, ground cinnamon and pumpkin spice. Continue mixing until well combined and then transfer to a shallow dish.

Grease the skillet.

Take one slice of the challah bread and dip it into the mixture and let sit for a few seconds, flip the bread and let soak for a few more seconds. Transfer to the prepared skillet and let cook until golden brown on each side. Repeat with each slice.

Best served warm with butter, maple syrup, regular syrup, confectioners’ sugar or your favorite topping.

Recipe can be found here.

Pumpkin Risotto

Ingredients:

5 cups vegetable broth

3 tablespoons olive oil

1 small yellow onion, finely chopped

1 clove garlic, minced

1 cup Arborio rice

1 cup canned pure pumpkin

1 teaspoon kosher salt

1/8 teaspoon nutmeg

1/2 tablespoon chopped fresh sage

Freshly ground black pepper

Directions:

In a medium saucepan over medium-low heat bring the broth to a gentle boil and let simmer while preparing the recipe.

Heat a large skillet over medium-high heat and add olive oil. Reduce the heat to medium and sauté onions for about 3 to 4 minutes, until soft. Add the garlic and cook for addition minute, until fragrant. Stir in the rice and 1 cup of the heated broth and reduce the heat so the mixture simmers. Stir often, until most of the liquid has been absorbed. Repeat with an additional cup of broth and continue stirring. Repeat this step until the rice is tender, about 20-30 minutes.

Stir in the pumpkin, salt and nutmeg. Season with the pepper and stir the risotto until hot. Top with the sage and serve.

Recipe can be found in Chloe Coscarelli’s book Chloe’s Vegan Italian Kitchen

Pumpkin Roll

A few weeks ago I brought you Pumpkin Custards and this week I am bringing you a Pumpkin Roll. I’ve seen recipes for jelly rolls and such but was always intimidated to try them because I just wasn’t sure how the whole rolling and unrolling of the cake would work out for me, but thankfully I gave it a try with this Pumpkin Roll because it was quite delicious – the combination of pumpkin cake and cream cheese frosting is right up there with the combination of peanut butter and chocolate.

I began by making the batter… In a small bowl I whisked together the dry ingredients (flour, baking powder, baking soda, cinnamon, nutmeg, ginger and kosher salt). In the bowl of my stand mixer I beat sugar and eggs until they were thick and then added in pure pumpkin and finally stirred in the flour mixture. Once it was all combined I spread it onto a parchment lined jelly roll pan; I sprayed the pan itself and the parchment paper with baking spray.

IMG_9238

After baking it in a preheated 375 F oven for about 12 minutes, I immediately removed the cake from the pan and placed it on a clean kitchen towel that I dusted with confectioners’ sugar. I then rolled the cake and towel together starting with the narrow end. It is crucial to dust the towel with the sugar to ensure it won’t stick and will easily unroll. Following that I placed it on a wire rack to cool completely.

IMG_9243

I let it cool for about 2 hours and then unrolled it and spread a cream cheese filling over the cake.

IMG_9246

After rolling it up again I wrapped it in plastic wrap and refrigerated it for about an hour so it could set.

IMG_9247

After unwrapping it I dusted it with confectioners’ sugar and immediately enjoyed a slice.

IMG_9251

Pumpkin Roll

Ingredients:

Cake:

3/4 cup all-purpose flour

1/2 teaspoon baking powder

1/2 teaspoon baking soda

1 teaspoon cinnamon

1/2 teaspoon nutmeg

1/4 teaspoon ginger

1/2 teaspoon kosher salt

3 large eggs

1 cup granulated sugar

2/3 cup pure pumpkin

Confectioners’ sugar

Filling:

1 8oz. package cream cheese, at room temperature

1 cup sifted confectioners’ sugar

6 tablespoons unsalted butter, at room temperature

1 teaspoon vanilla extract

Directions:

Preheat oven to 375 F. Spray a 15 x 10 inch jelly roll pan with baking spray and line it with parchment paper. Spray the parchment paper with baking spray as well. Alternatively you could also use flour and butter instead of baking spray. Sprinkle a cotton kitchen towel with confectioners’ sugar.

In a small bowl whisk together the flour, baking powder, baking soda, cinnamon, nutmeg, ginger and kosher salt. Beat the eggs and granulated sugar in a large mixing bowl until thick and then add in the pumpkin. Stir in the flour mixture. Spread the batter evenly into the prepared jelly roll pan.

Bake for 12 – 14 minutes, until the top of the cake springs back when touched. Immediately remove the cake from pan and turn it onto the prepared kitchen towel. If the parchment paper sticks to the cake, carefully remove it. Roll the cake and the towel together starting with the narrower end. Cool on a wire rack.

To make the filling, beat the cream cheese, confectioners’ sugar, butter and vanilla extract with a mixer until smooth.

Once cooled, carefully unroll the cake and spread the cream cheese mixture over the cake. Reroll the cake – without the towel – and wrap in plastic wrap and refrigerate for at least an hour so the cake can set. When ready to serve, sprinkle the cake with confectioners’ sugar.

Recipe slightly modified from Libby’s Pumpkin Roll

A Quick & Easy Bolognese

As the temperatures begin to drop our need and desire for hearty and comforting dishes begins to rise. There’s nothing like coming in from the cold with a nice hot bowl of soup waiting for you. That’s my usual go-to after a morning of shoveling, but let’s not talk about snow so early in the season. We haven’t even had our first frost yet! And just as comforting as soup is pasta and today I have a recipe for you for a quick and easy Bolognese. I came across it in a recent issue of Food Network Magazine where they coined it Weeknight Bolognese. I’m calling it quick and easy because I was able to make twice in one day without breaking a sweat. Why did I make it twice in one day you may be wondering? Well, it’s not because it was so delicious I finished it one sitting – don’t get me wrong, it was delicious – but, it was because I made a MAJOR snafu! If you didn’t know I am more of baker than a cook. The cooking thing is still fairly new to me and I have a lot to learn, like you shouldn’t substitute cooking wine for a dry red wine in any recipe. That’s why I made this recipe twice. The first time I used cooking wine in lieu of dry red wine and it was atrocious and incredibly salty. At first I couldn’t figure out what I had done wrong, but, a quick Google search let me know. I believe I may have made this mistake once before with another recipe but, it’s not coming to me right now. At least I know for future cooking endeavors!

So, on my second go around I had a delicious dinner to eat and with the temps a little cooler in the evening it was quite comforting.

IMG_9197

A Quick and Easy Bolognese

  • Servings: 4 to 5
  • Print

Ingredients:

2 tablespoons olive oil

1 pound lean ground beef*

4 garlic cloves, minced

1 tablespoon dried oregano

1/4 teaspoon crushed red pepper flakes

1 1/4 cups dry red wine**

1 28-ounce can of crushed tomatoes

2 tablespoons tomato paste

Kosher salt and black pepper

3/4 pound dried pasta, such as orecchiette or small shells

1/4 teaspoon ground nutmeg

1/4 cup chopped fresh basil leaves

1/4 cup heavy cream

1/2 cup freshly grated Parmesan cheese, plus extra for serving

*I used a 93% / 7% split

** I used Merlot

Directions:

Heat the olive oil in a large skillet over medium-high heat. Add the ground beef and cook, crumbling the meat with a wooden spoon until the meat has lost its pink color and has begun to brown. Add in the garlic, oregano, and red pepper flakes. Pour in 1 cup of the red wine, the crushed tomatoes, tomato paste, 2 teaspoons of salt and 1 teaspoon of black pepper, stirring until combined. Bring to a boil, then lower the heat and let simmer for 10 minutes.

Bring a large pot of water to boil and cook the pasta according to the package directions.

While the pasta is cooking finish the sauce by adding in the nutmeg, basil, cream and the remaining 1/4 cup of wine and continue simmering for 8 to 10 minutes, stirring occasionally until thickened.

When the pasta is cooked, drain and pour into a large serving bowl and top with the sauce and 1/2 cup of the Parmesan and toss well. Serve hot with extra Parmesan on top.

Recipe from Food Network