Two Ruffles And A Cowl

While at Jo-Ann’s a while back I came across one of Red Heart’s new ruffle yarns, the Boutique Filigree Yarn, which is quite similar to their Boutique Sashay Yarn I used to create ruffle scarves last year. The main difference between the two is that the Filigree yarn is described as a woven fabric strip while the Sashay yarn is flat out called a yarn. After working with both yarns I can honestly say that I prefer working with the Filigree yarn since I didn’t have to stretch it open to use it like I did with the Sashay yarn. What caught my eye about the yarn was a nice shade of purple – called Imperial – that I thought would be the perfect color for a scarf for a friend who would be celebrating a birthday soon.

Using the Halley’s Comet Scarf pattern – which was included on the inside of the yarn wrapper – I created this scarf in less than 2 hours.

IMG_1570

I liked it so much – thankfully my friend like hers as well – that I went ahead and knitted one for myself in a shade of blue called Tealy.

IMG_1775

And since I was on a roll with knitting I decided to knit up a cowl that I have been wanting to make for quite some time. To create it I followed a pattern that I came across on Ravelry called the Drop Stitch Cowl and used Lion Brand yarn’s Hometown USA in Little Rock Granite. I initially made the cowl following the directions of casting on 47 stitches but once I finished it it was too big so I decided to start over and casted on 33 stitches. While the final product is a tad bit snug to get over my head, I am hoping that it will stretch out over time.

IMG_1780

A Blanket, a Runner and a Scarf

I recently completed a few crocheting/knitting projects – one was sitting on my needles a little longer than I had hoped, one came together rather quickly and another was semi-done but just waiting to be sewn together.

Up first a baby blanket that was a cinch to make. This is actually the third baby blanket I’ve completed this year – I previously made a Violet V-Stitch Baby Blanket and a Baby Blue Basketweave Blanket. Every time I make one I try to find a completely different pattern to follow and for this one I opted to use the Spring Ripple Baby Throw pattern from the Lion Brand Yarn website. At first I wasn’t seeing the ripple pattern come through but midway through it became clearer. I’m really happy with how this blanket came out and I loved the yarn I used – Loops & Threads Snuggly Wuggly in Doodle Dots. It wasn’t too heavy or too light which is perfect since the baby it’s meant for is due in late spring.

IMG_0026 IMG_0108

And next a crochet project that I actually started late last year… the Crochet Shapes Table Runner, once again a pattern from the Lion Brand Yarn website. I liked this pattern even before I knew how to crochet because of the different motifs it consisted of. I had crocheted all the motifs but needed to stitch them together, unfortunately I got sidetracked with other projects before doing so. I ended up putting the motifs away but it was always in the back of my mind that I needed to finish it and I recently found the time to do so.

The table runner consists of six motifs: Octagon Star, Granny Stitch Hexagon, Circle in the Square, Octagon, Six Petal Flower & Flower Center Circular.

Motifs

And when all of these pieces are stitched together you have a unique and customized table runner.

IMG_0392

Finally, a scarf that I began when a fellow blogger, For The Knit Of It, ran a knit-a-long back in March. The pattern chosen was the Bosc Pattern from Robin Ulrich. And yes, Bosc as in pears. If you look closely at the scarf you can actually see the curves of pears in the pattern. I loved the pattern and was excited to work on it, but, getting it started was such a task. Just getting to this point – the first 10 rows of the pattern – took me about 10 tries.

IMG_9769

The reason… the pattern consisted of numerous yarn overs and I kept missing them and would ultimately have to start over. (Knitting is not as forgiving as crocheting.) To combat that I actually typed of the pattern and then marked where the yarn overs would be so I wouldn’t keep missing them. Once I did that working on the pattern was a piece of cake. Unfortunately for myself it wasn’t the type of pattern that I could mindlessly work on while watching television so it took me a lot longer to complete it than I had hoped. I am happy though that I didn’t give up on it and am looking forward to wearing it next winter.

IMG_0355 IMG_0369

Baby Blue Basketweave Blanket

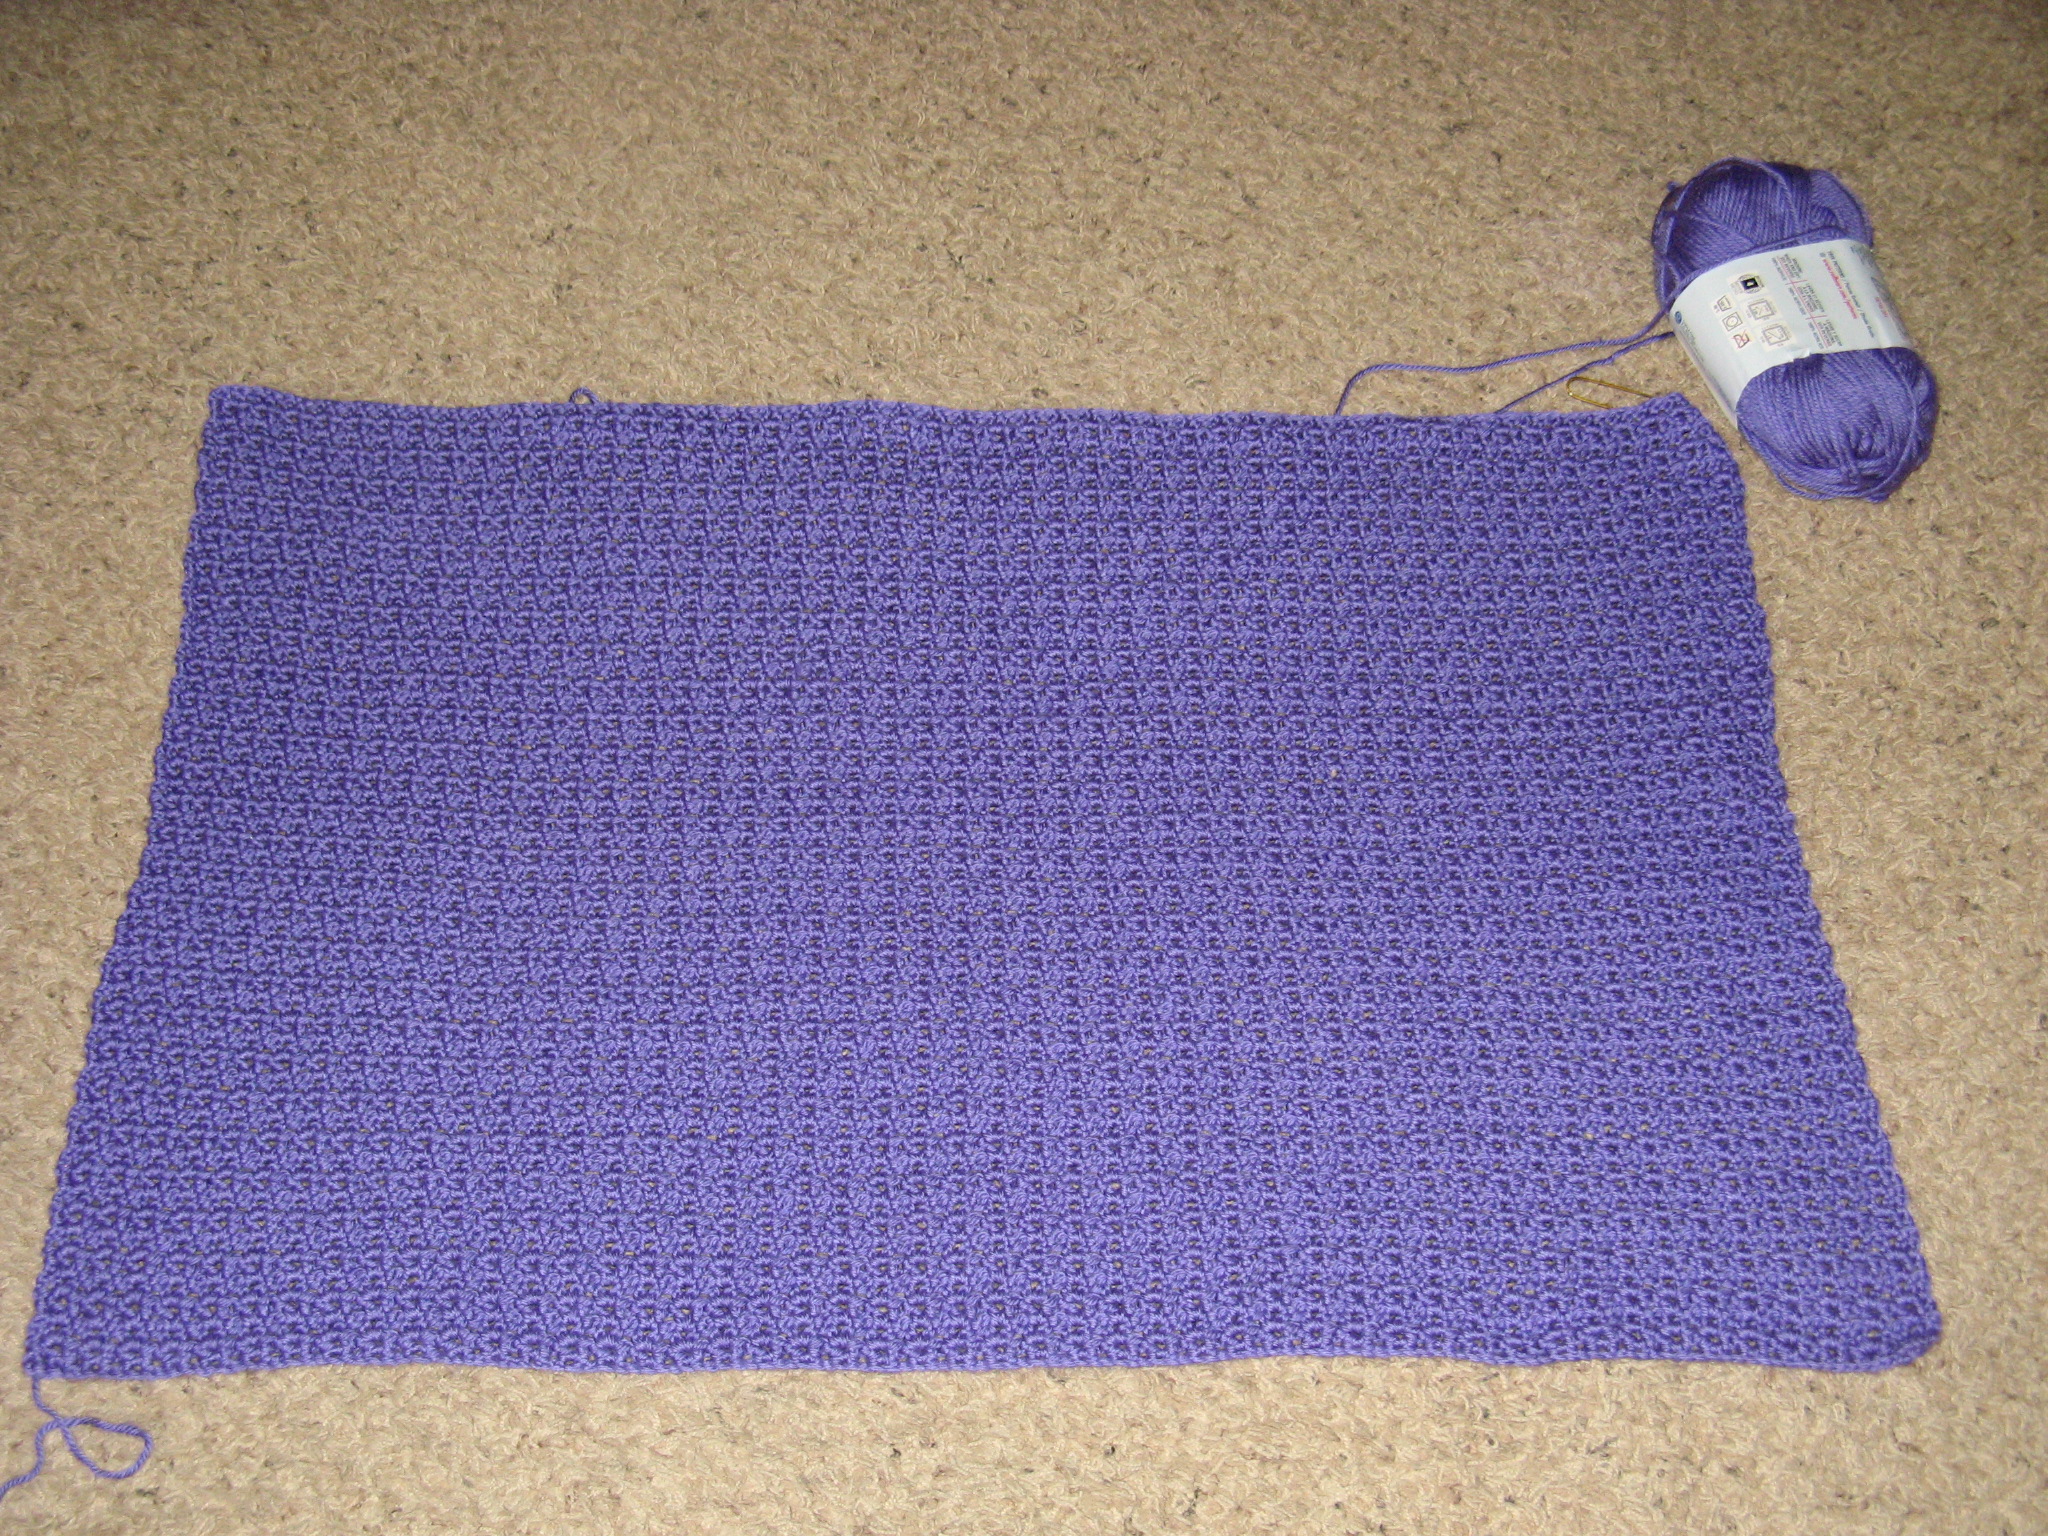
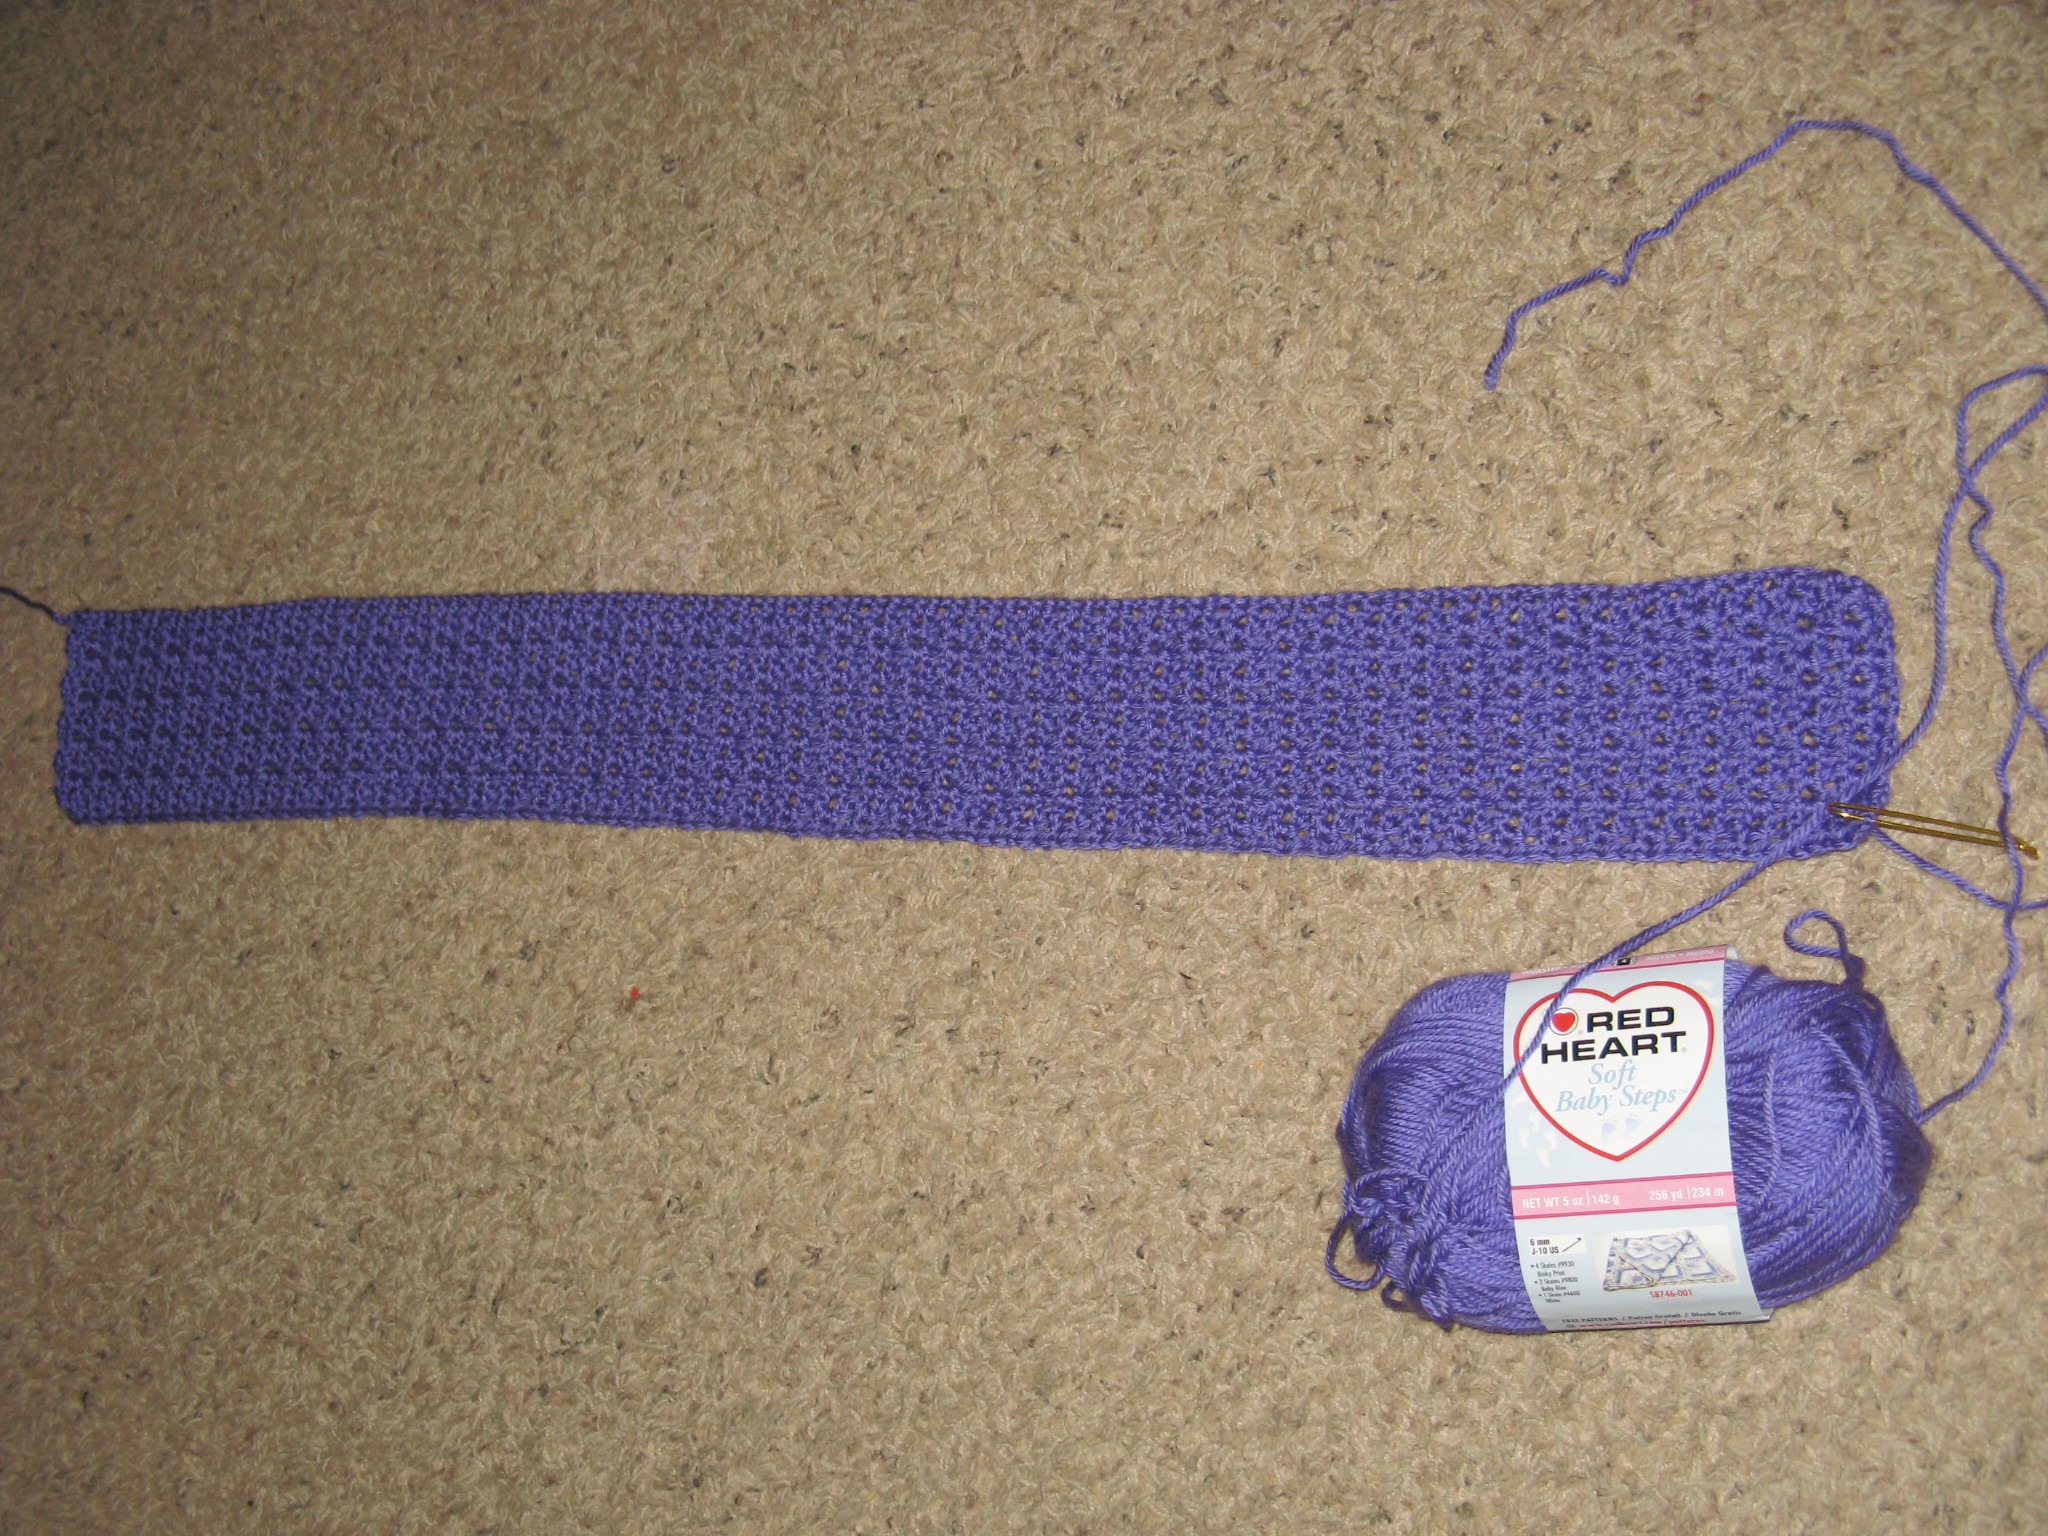
I started this blanket a few weeks ago after I finished the Violet V-Stitch Baby Blanket. I should say though that I started this blanket quite a few times before I got it right. From the get-go I ran into stumbling blocks to get it done.

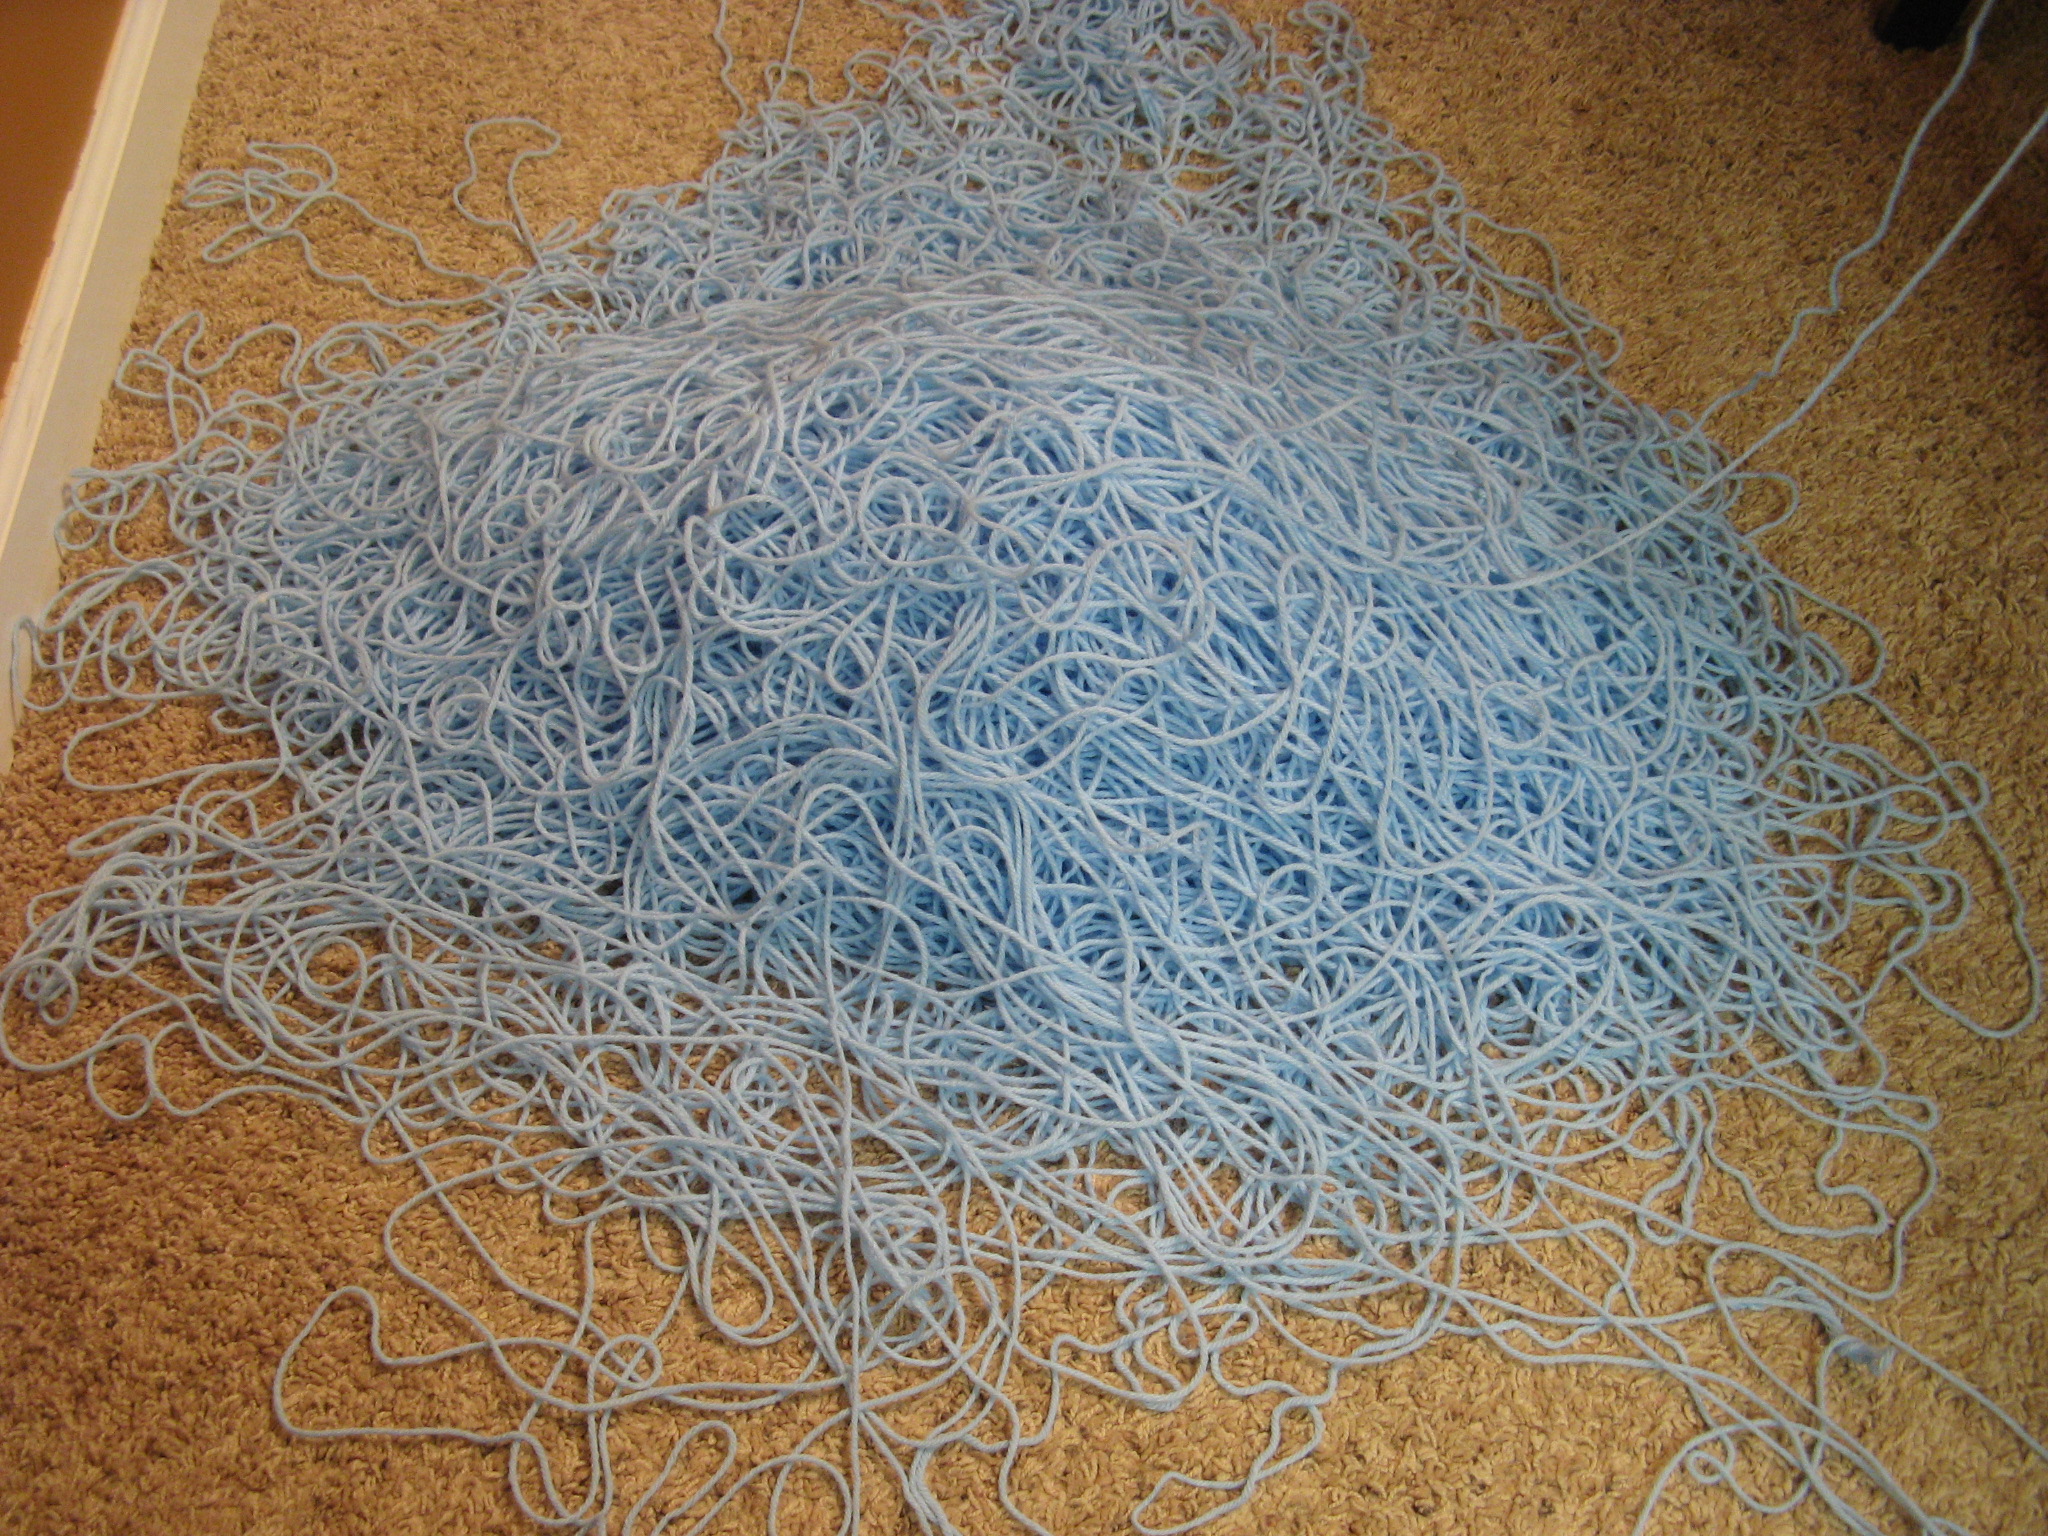
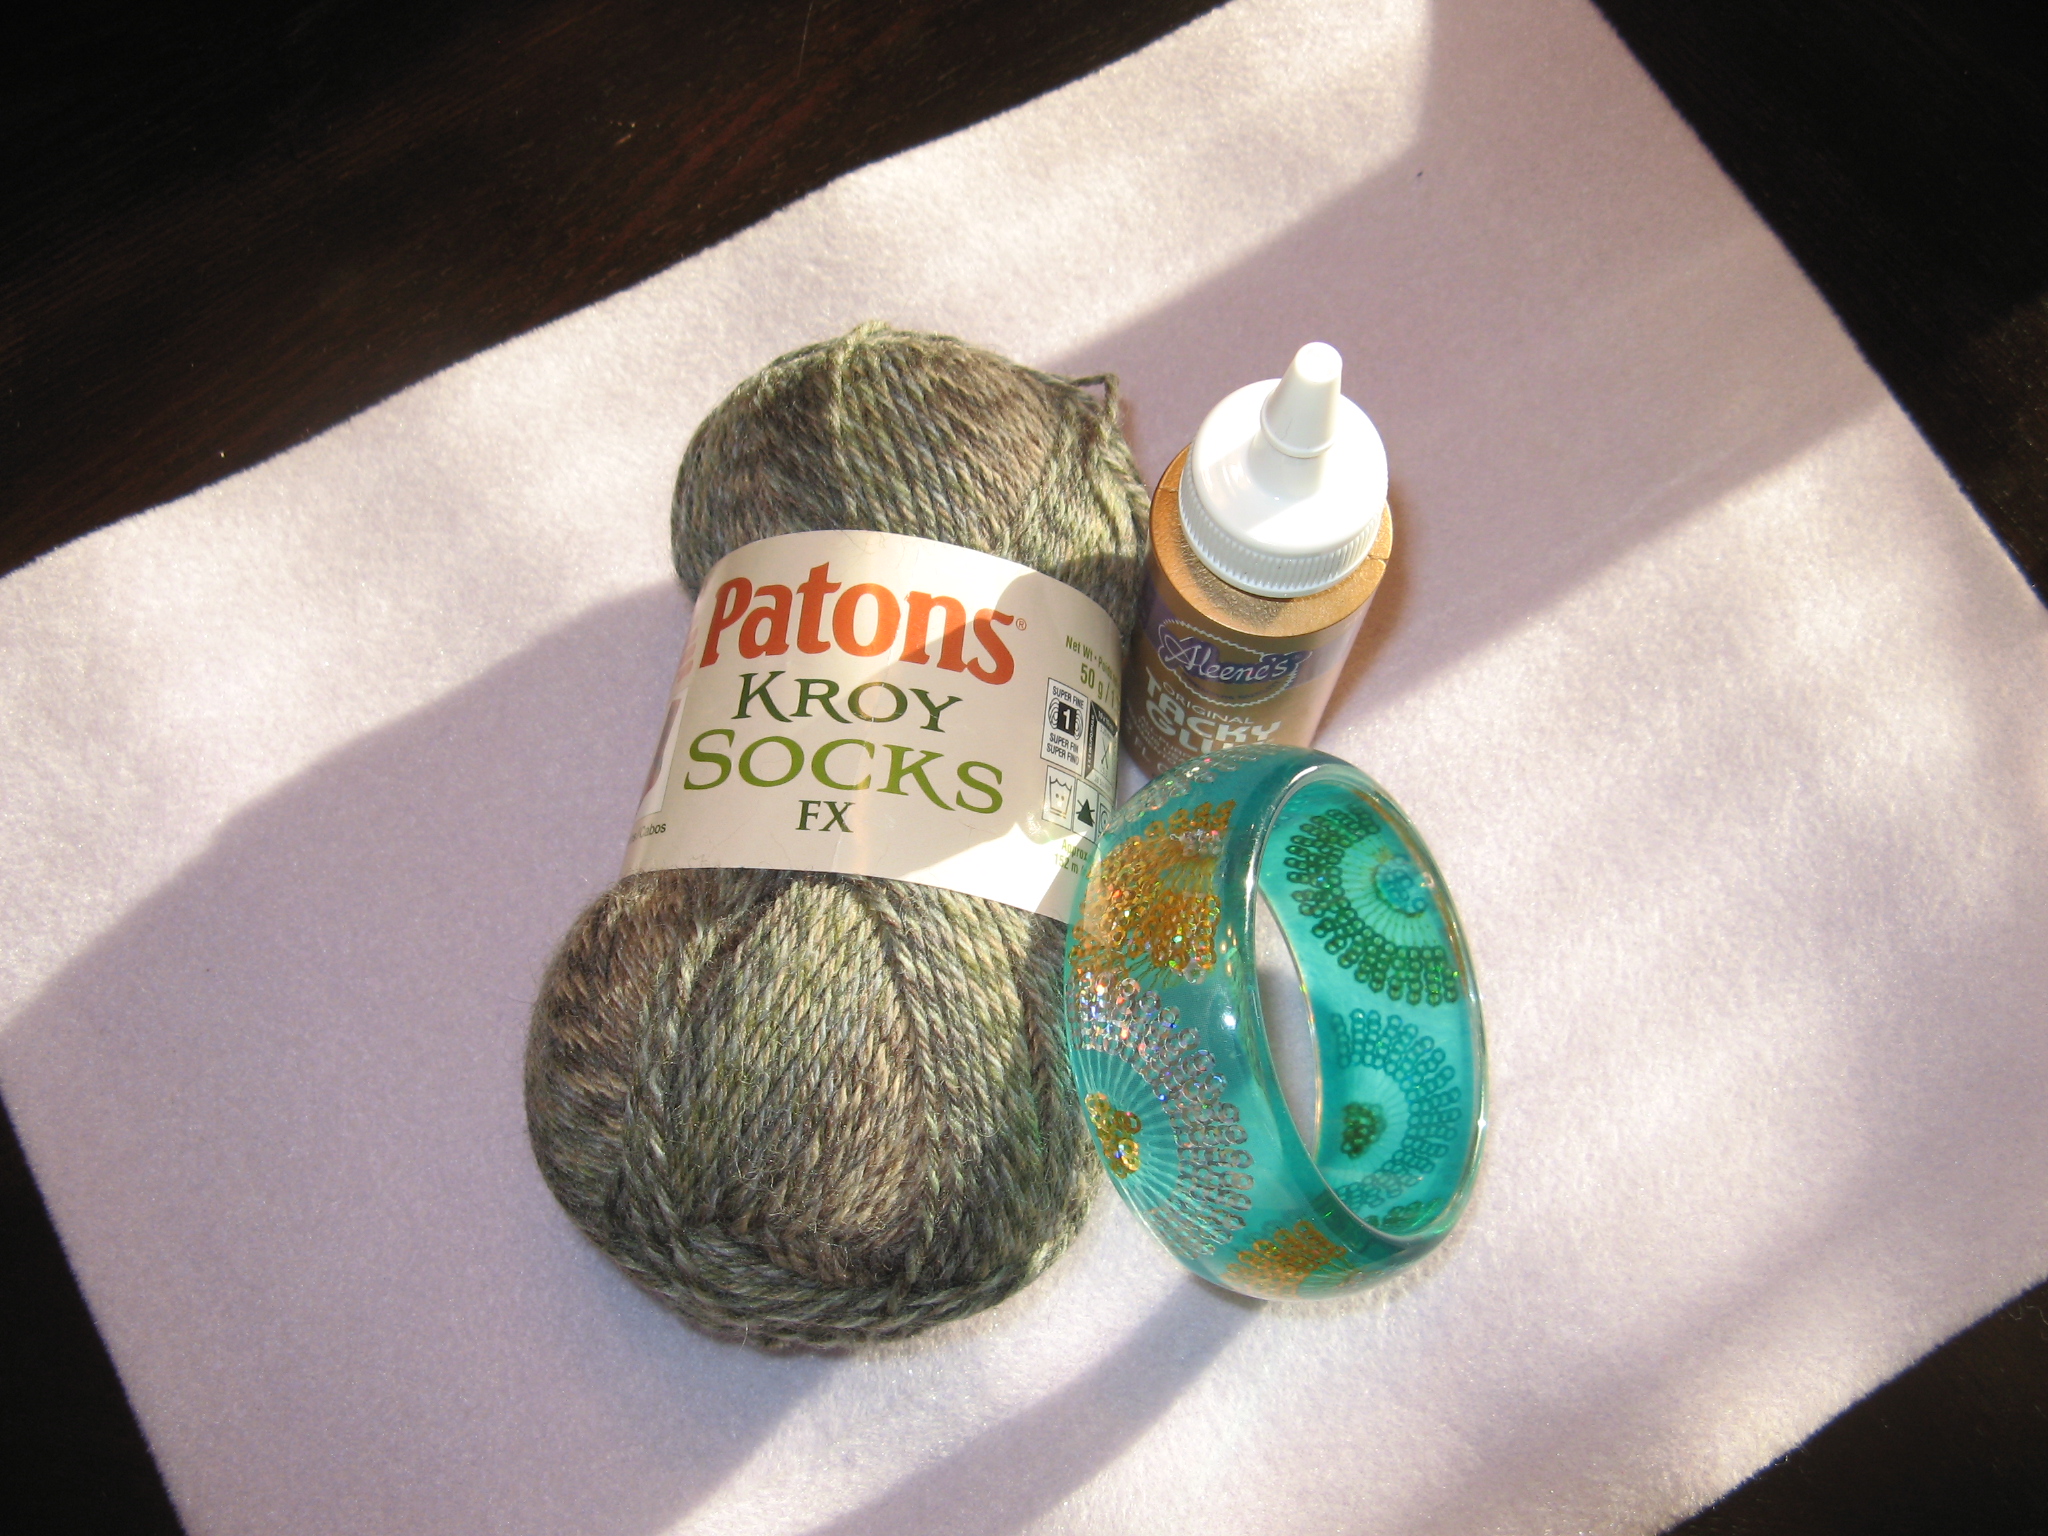
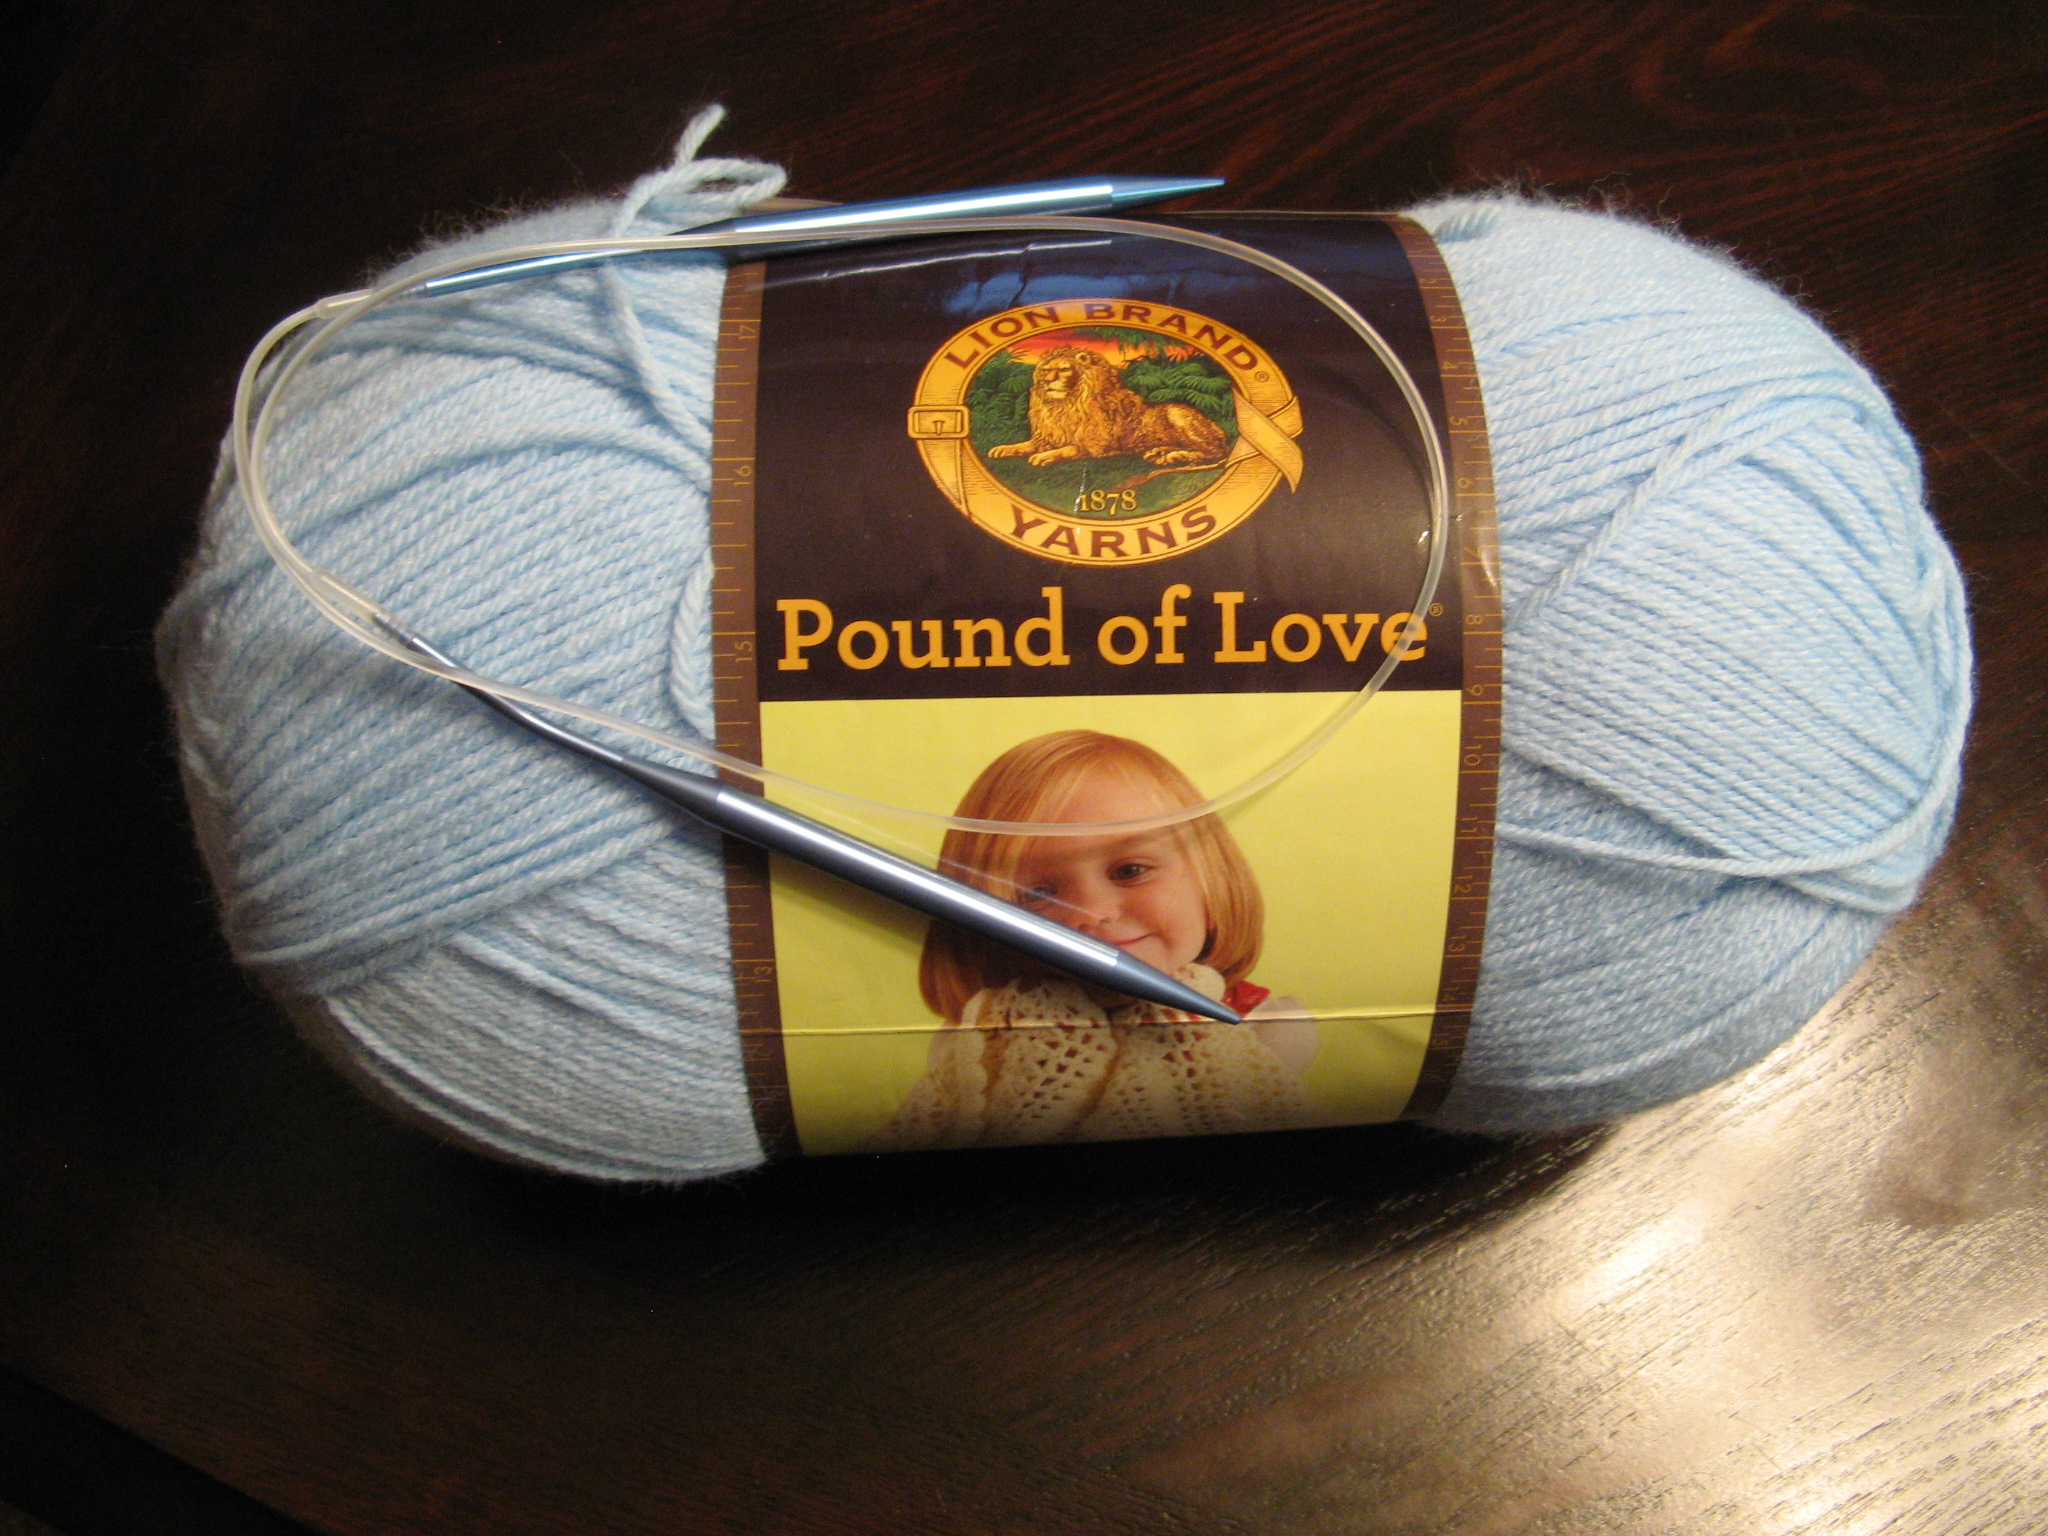
To make this blanket I used Lion Brand Pound of Love Yarn and size 10.5 circular knitting needles  . The pattern I was planning on using called for two strands of the yarn to be held together so I decided to take this huge skein of yarn
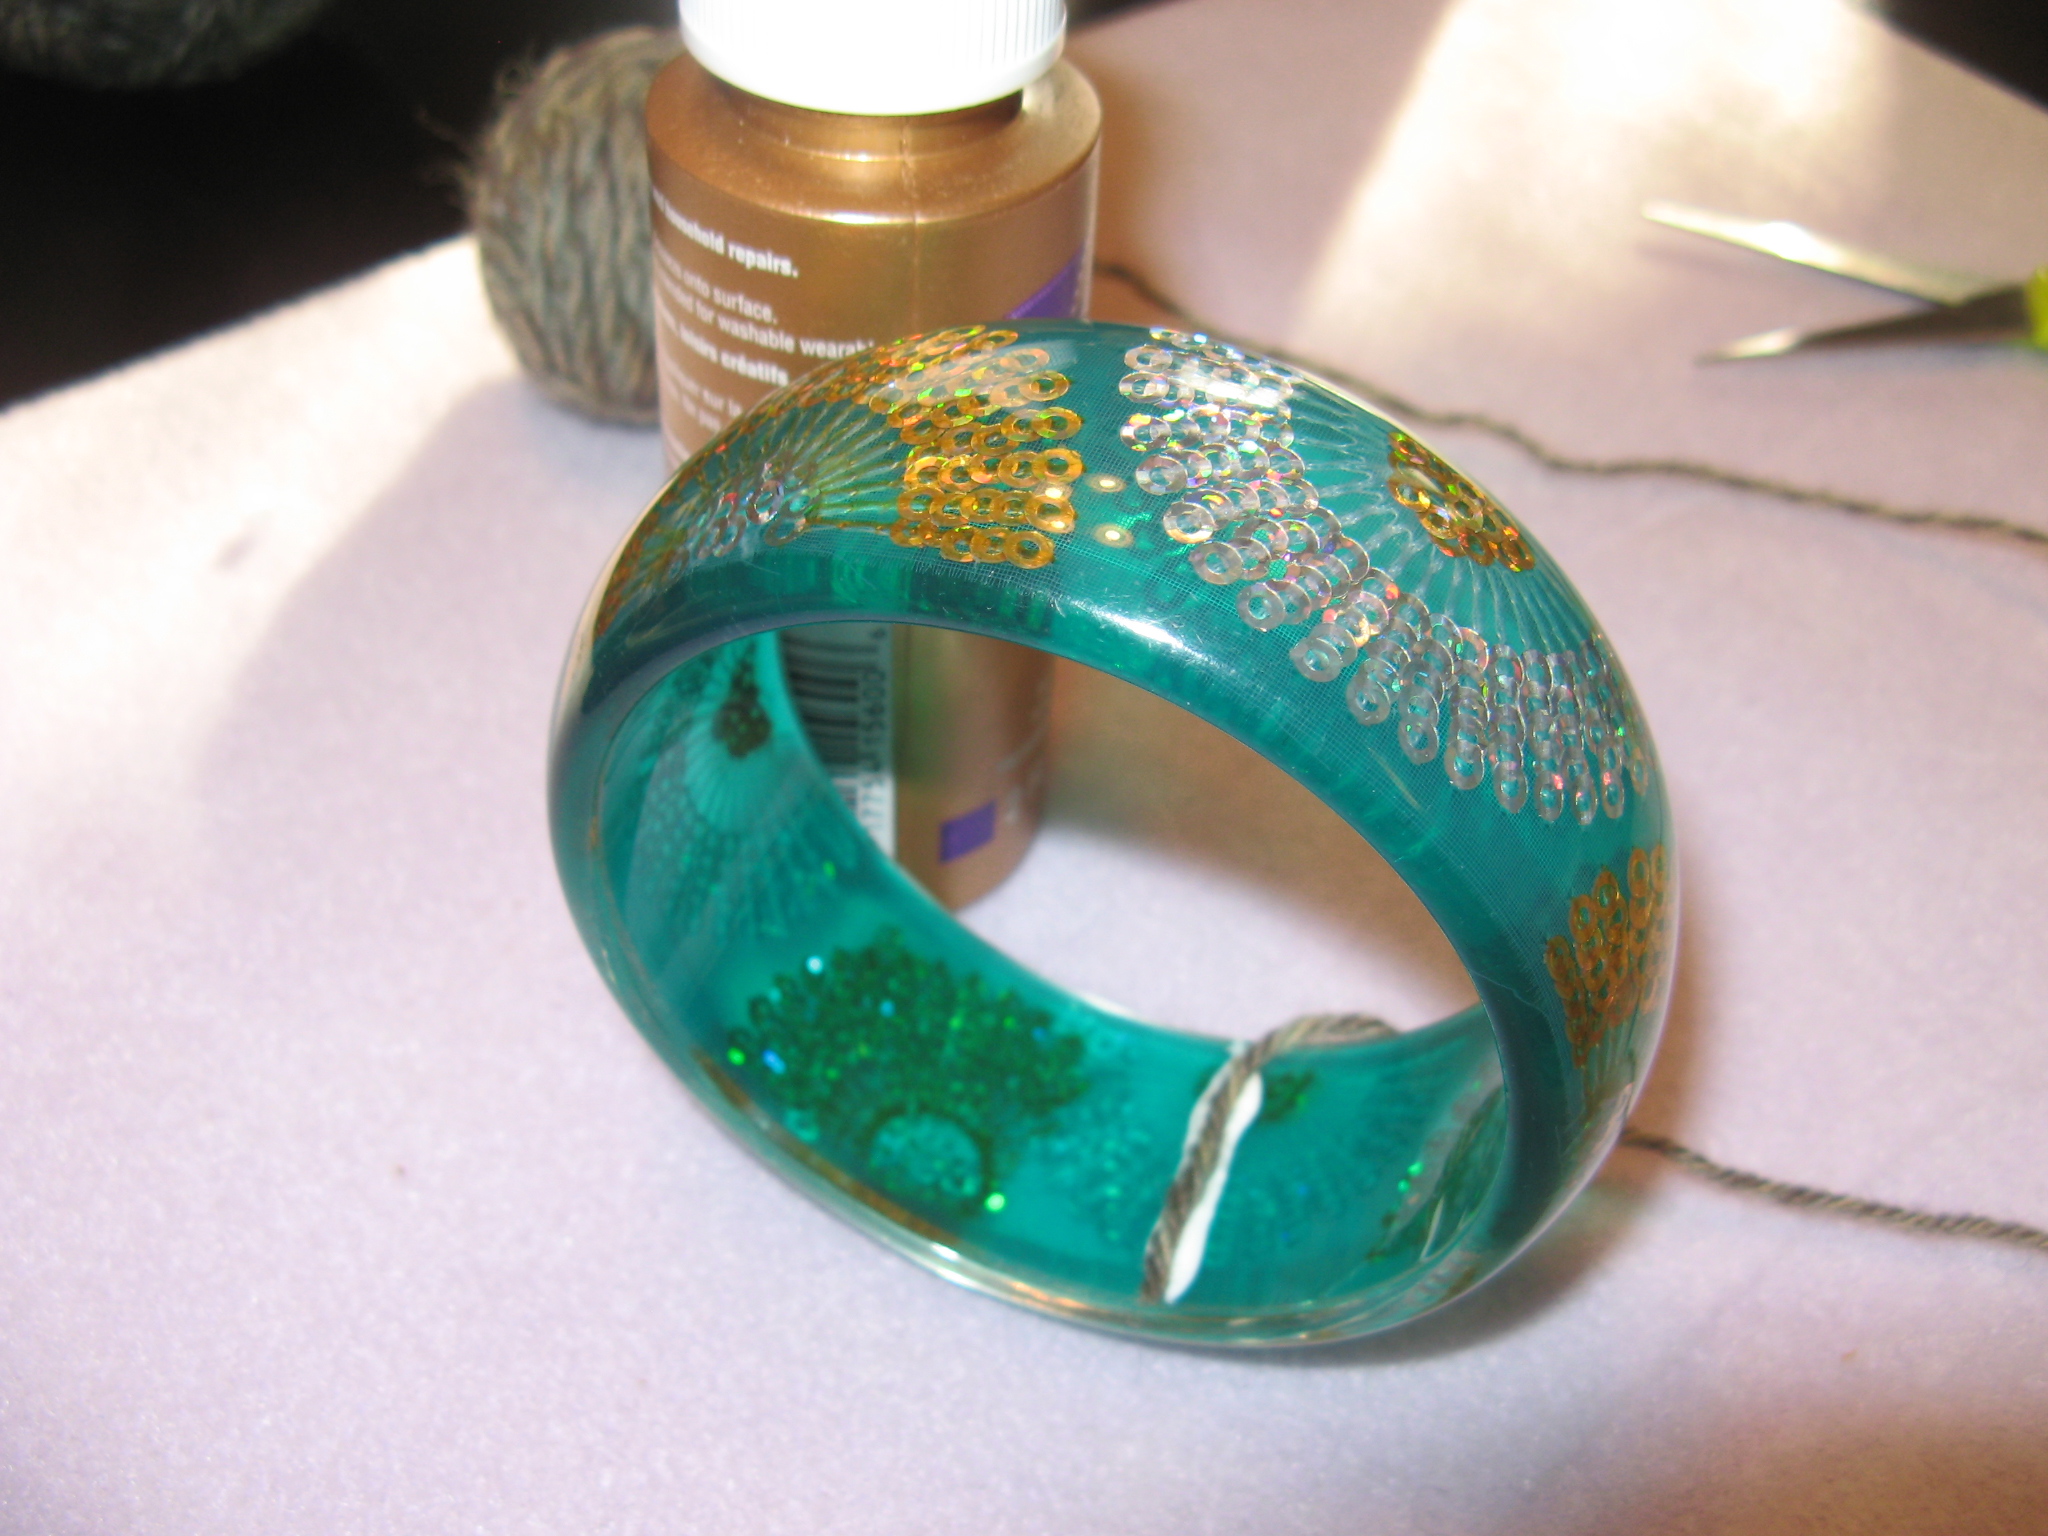
IMG_9392

and unwind it

IMG_9398

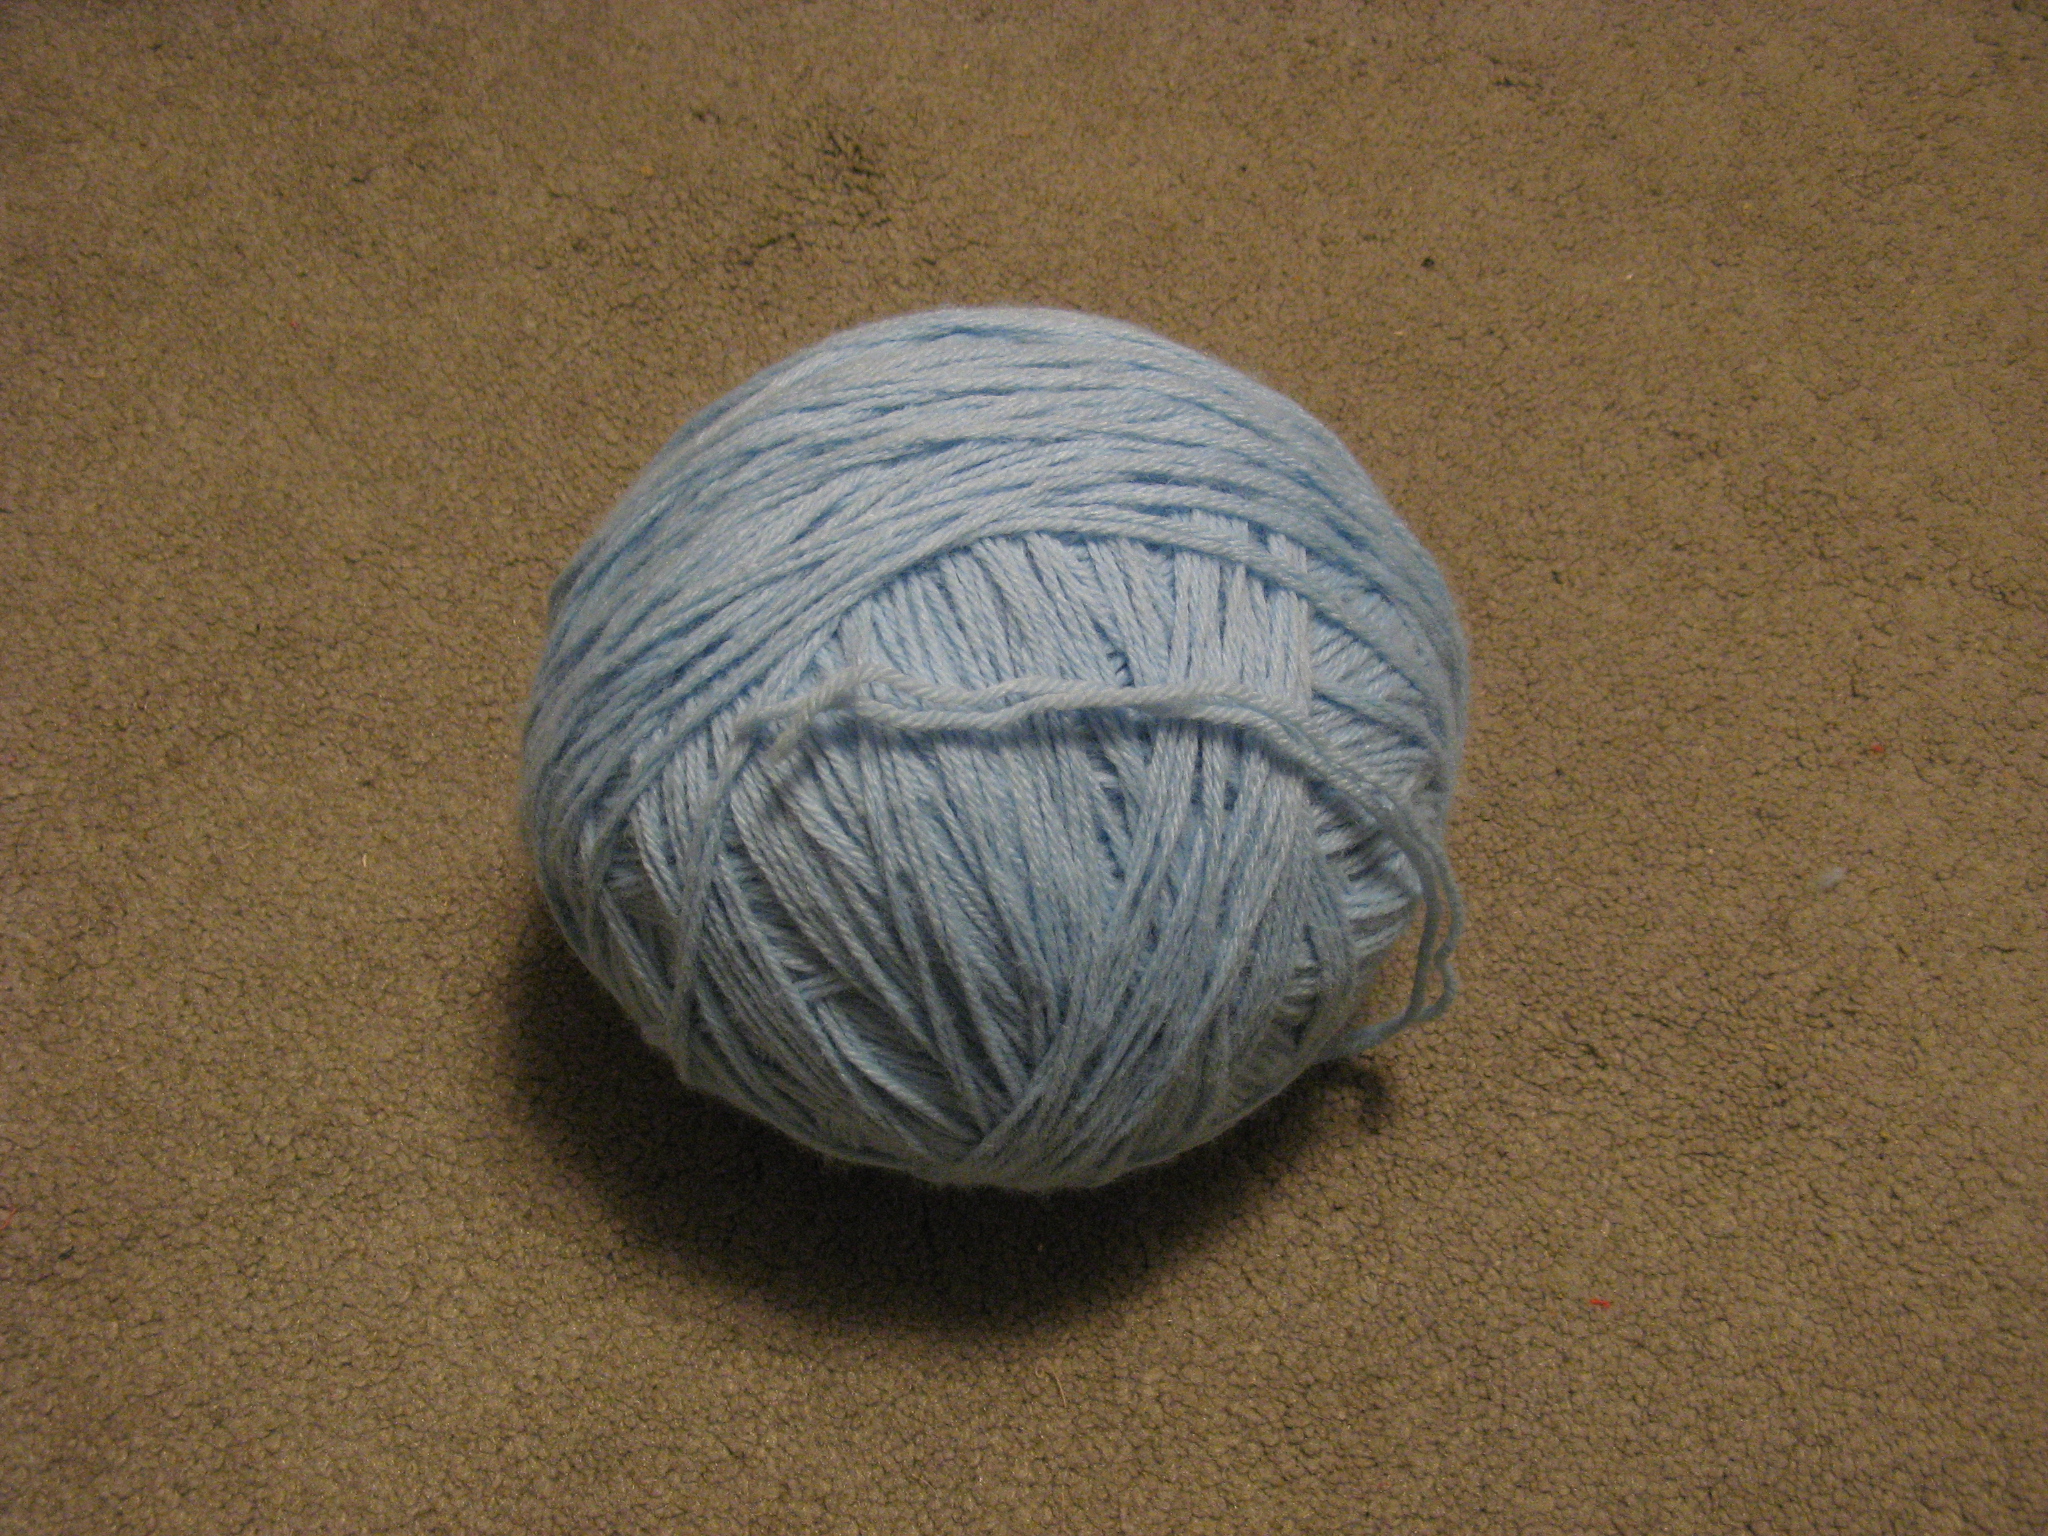
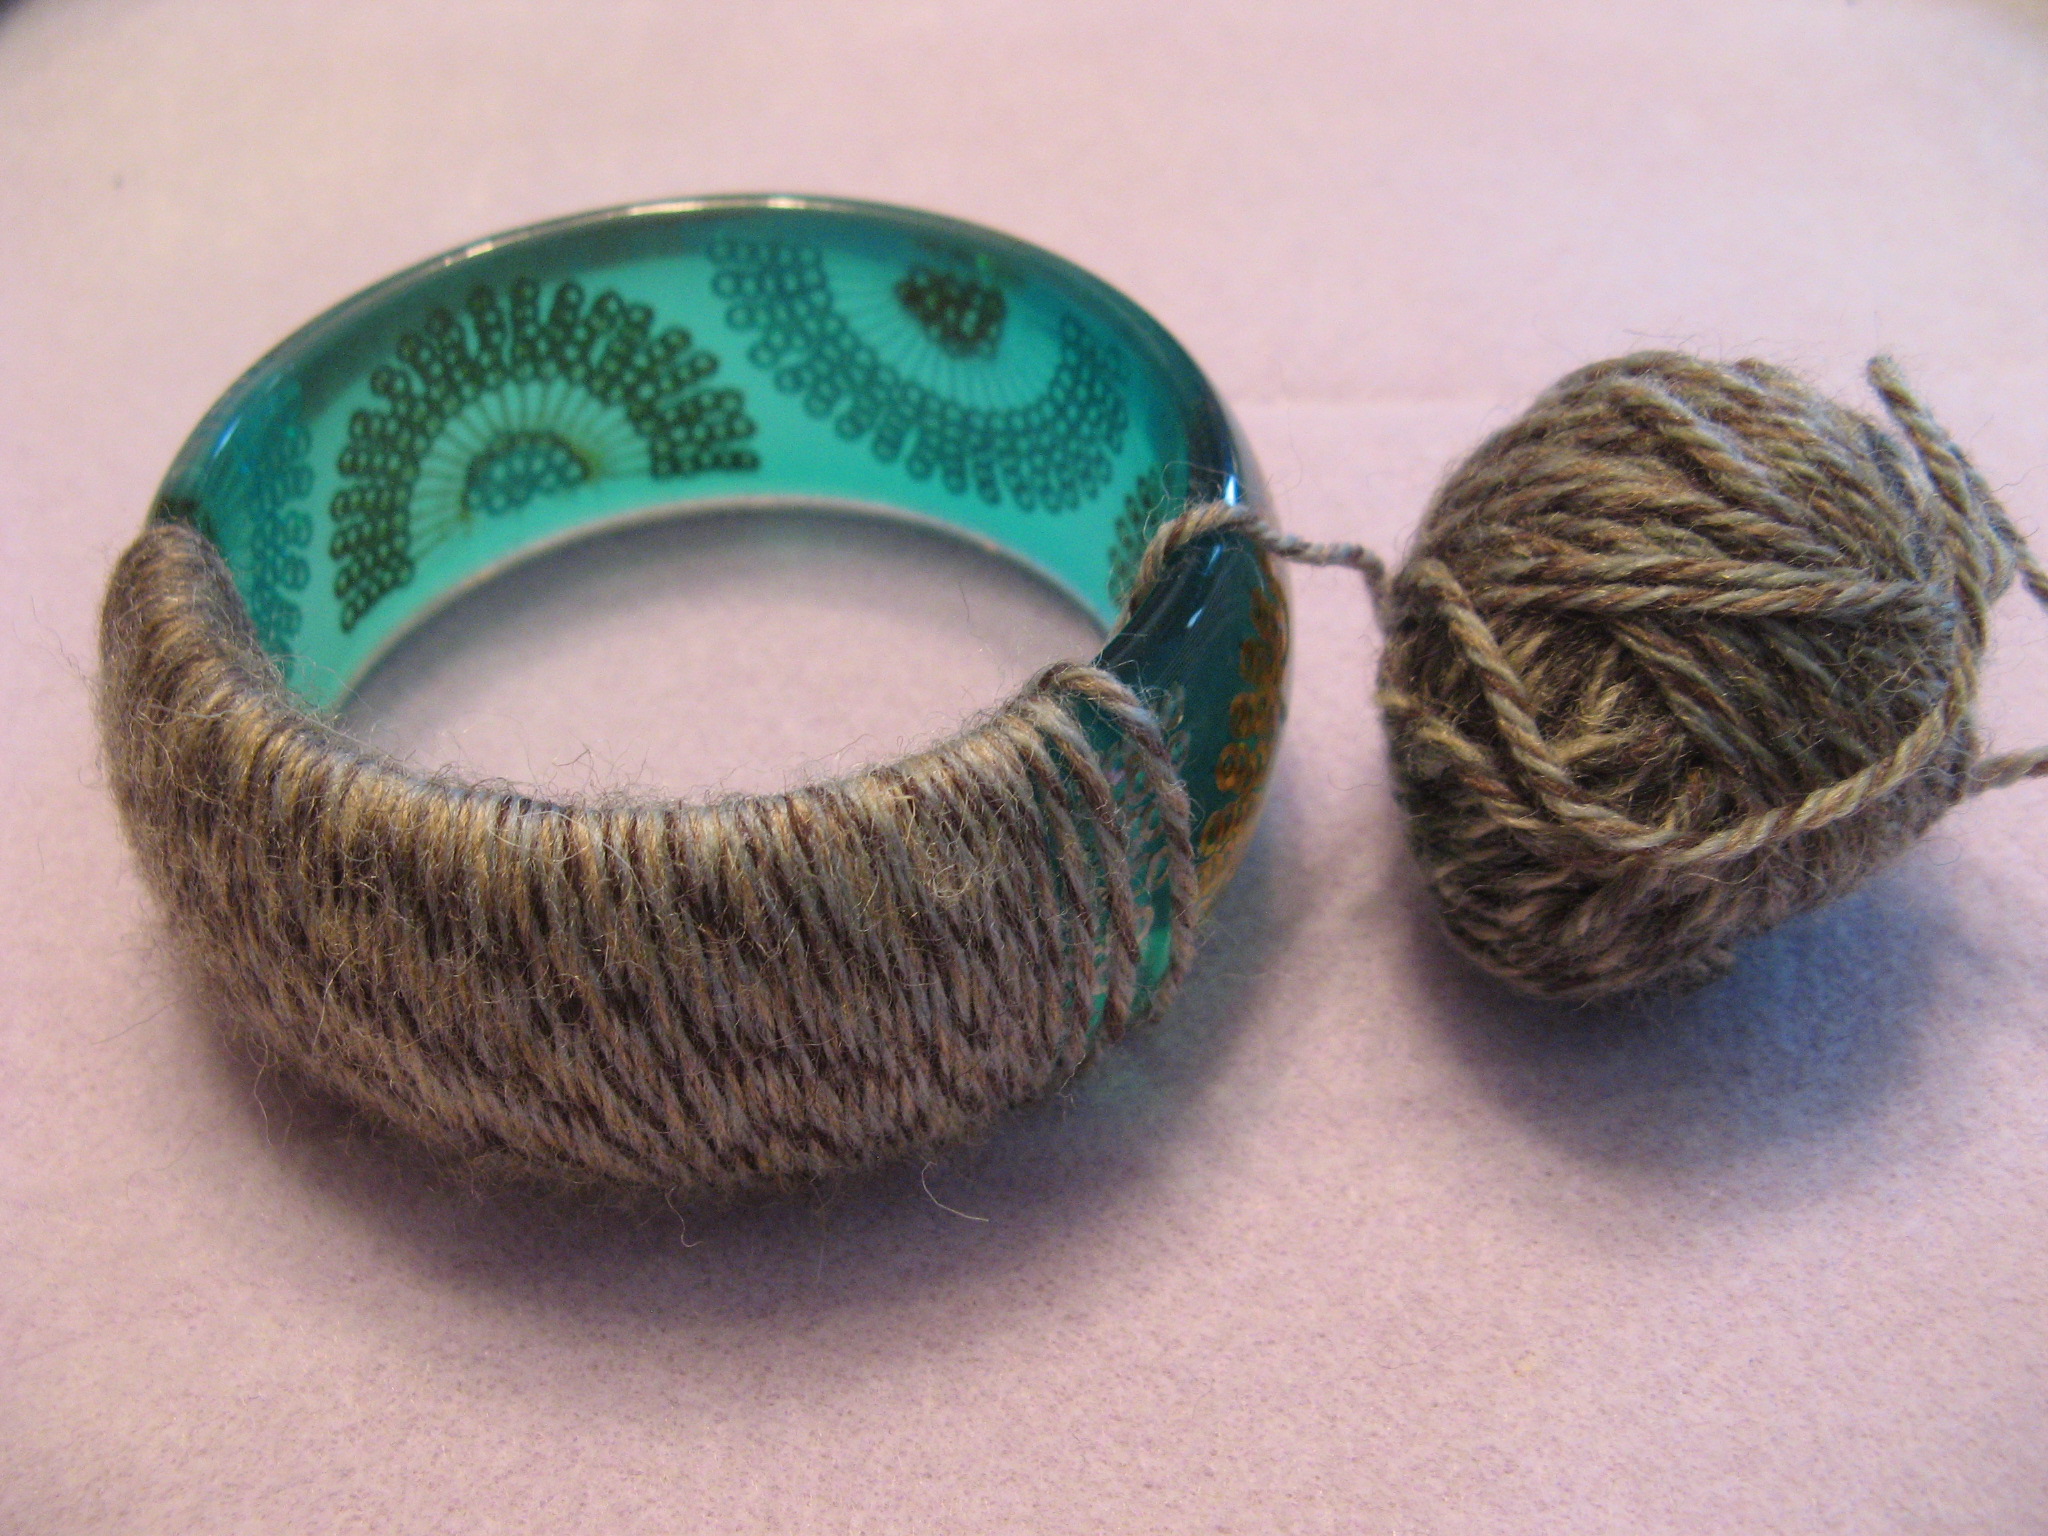
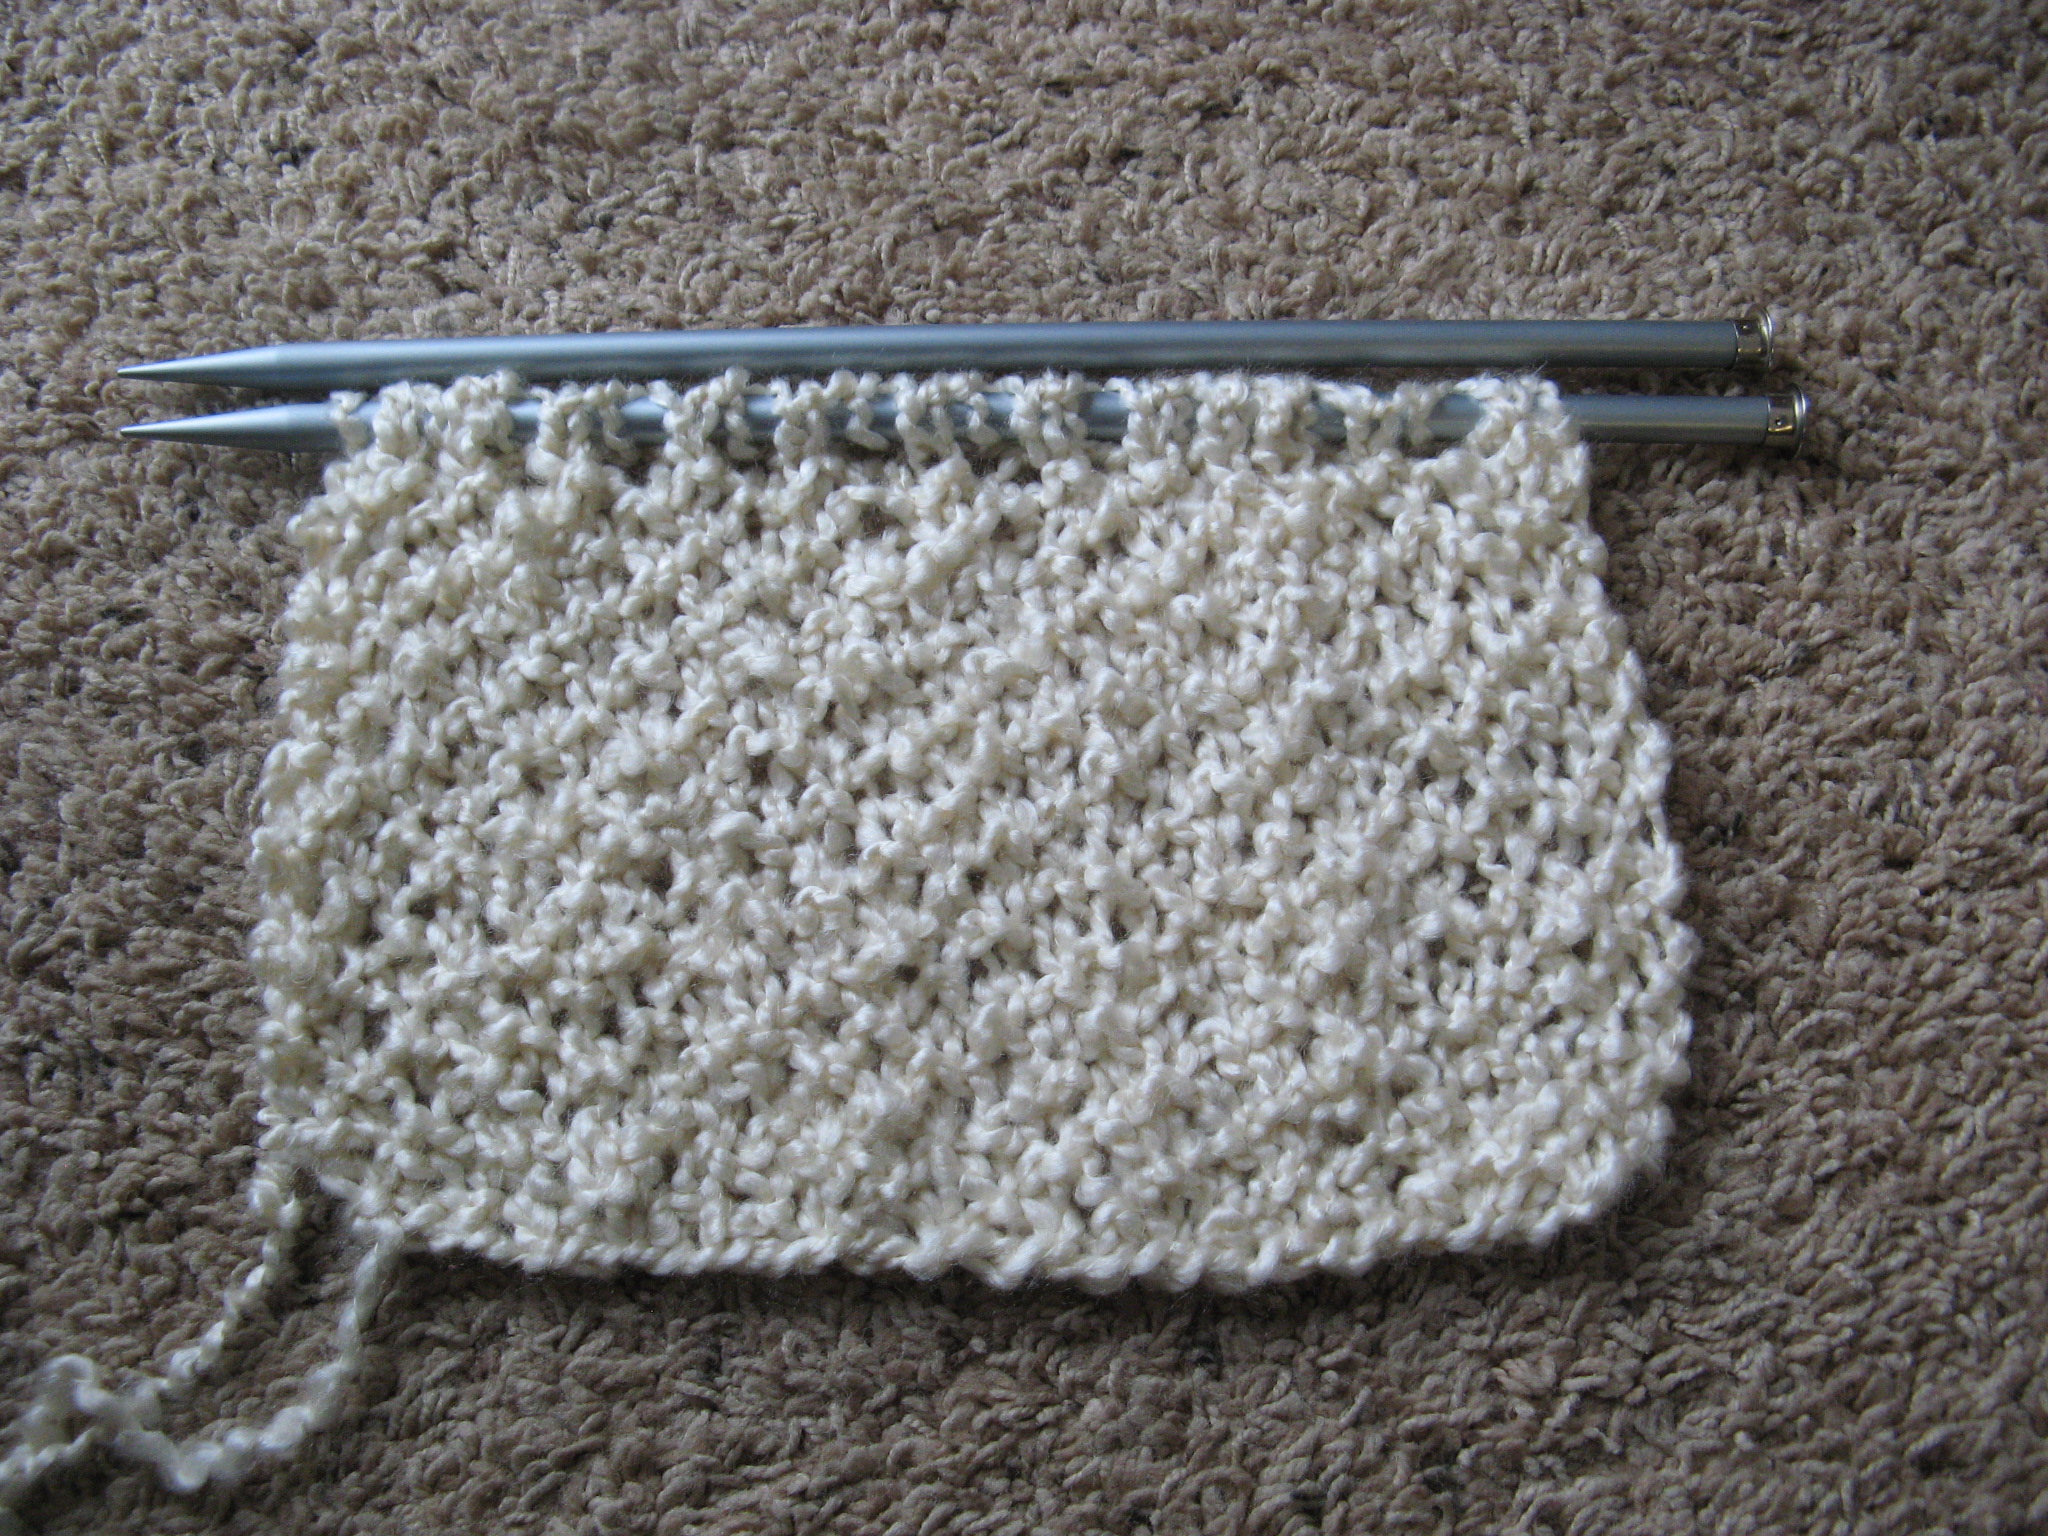
and then wound it up into a ball – which was no easy task since I ran into a few tangles along the way. Once I got to this point I was happy and ready to begin knitting. But, my joy was short-lived.

IMG_9416

The pattern I initially wanted to follow is called the Seed Stitch Baby Blanket from the Lion Brand Yarn website. Unfortunately I had a hard time following the seed stitch* pattern on circular knitting needles. So, I had to scratch that idea and look for a new pattern. I opted to go with a basketweave pattern since I had made a blanket following the pattern once before with the same yarn. The pattern I semi-followed is the baby blanket from the Simply Perfect Baby Set** also from the Lion Brand Yarn website. I knew I had to make modifications to the pattern though to get the blanket to be a decent size; when I made this before I ended up following the pattern exactly and ended up with a fairly small blanket (approximately 18 in x 24 in). To make the blanket larger I ended up knitting four mini blankets and stitching them together.  I didn’t want to do that this time so I decided to modify the original pattern.

So, the original pattern called for casting on 88 stitches, but I opted for 90 stitches and added the two additional stitches to the side border of the blanket. All was going fine until I realized that somewhere along the line I had added on an extra stitch, so I was working with 91 stitches as opposed to 90, and unfortunately knitting isn’t as forgiving as crocheting. It’s possible to hide a stitch while crocheting with no one being the wiser but when you are knitting it’s not so easy. (If anyone has figured out how to do so please share!) So, I had to start over.

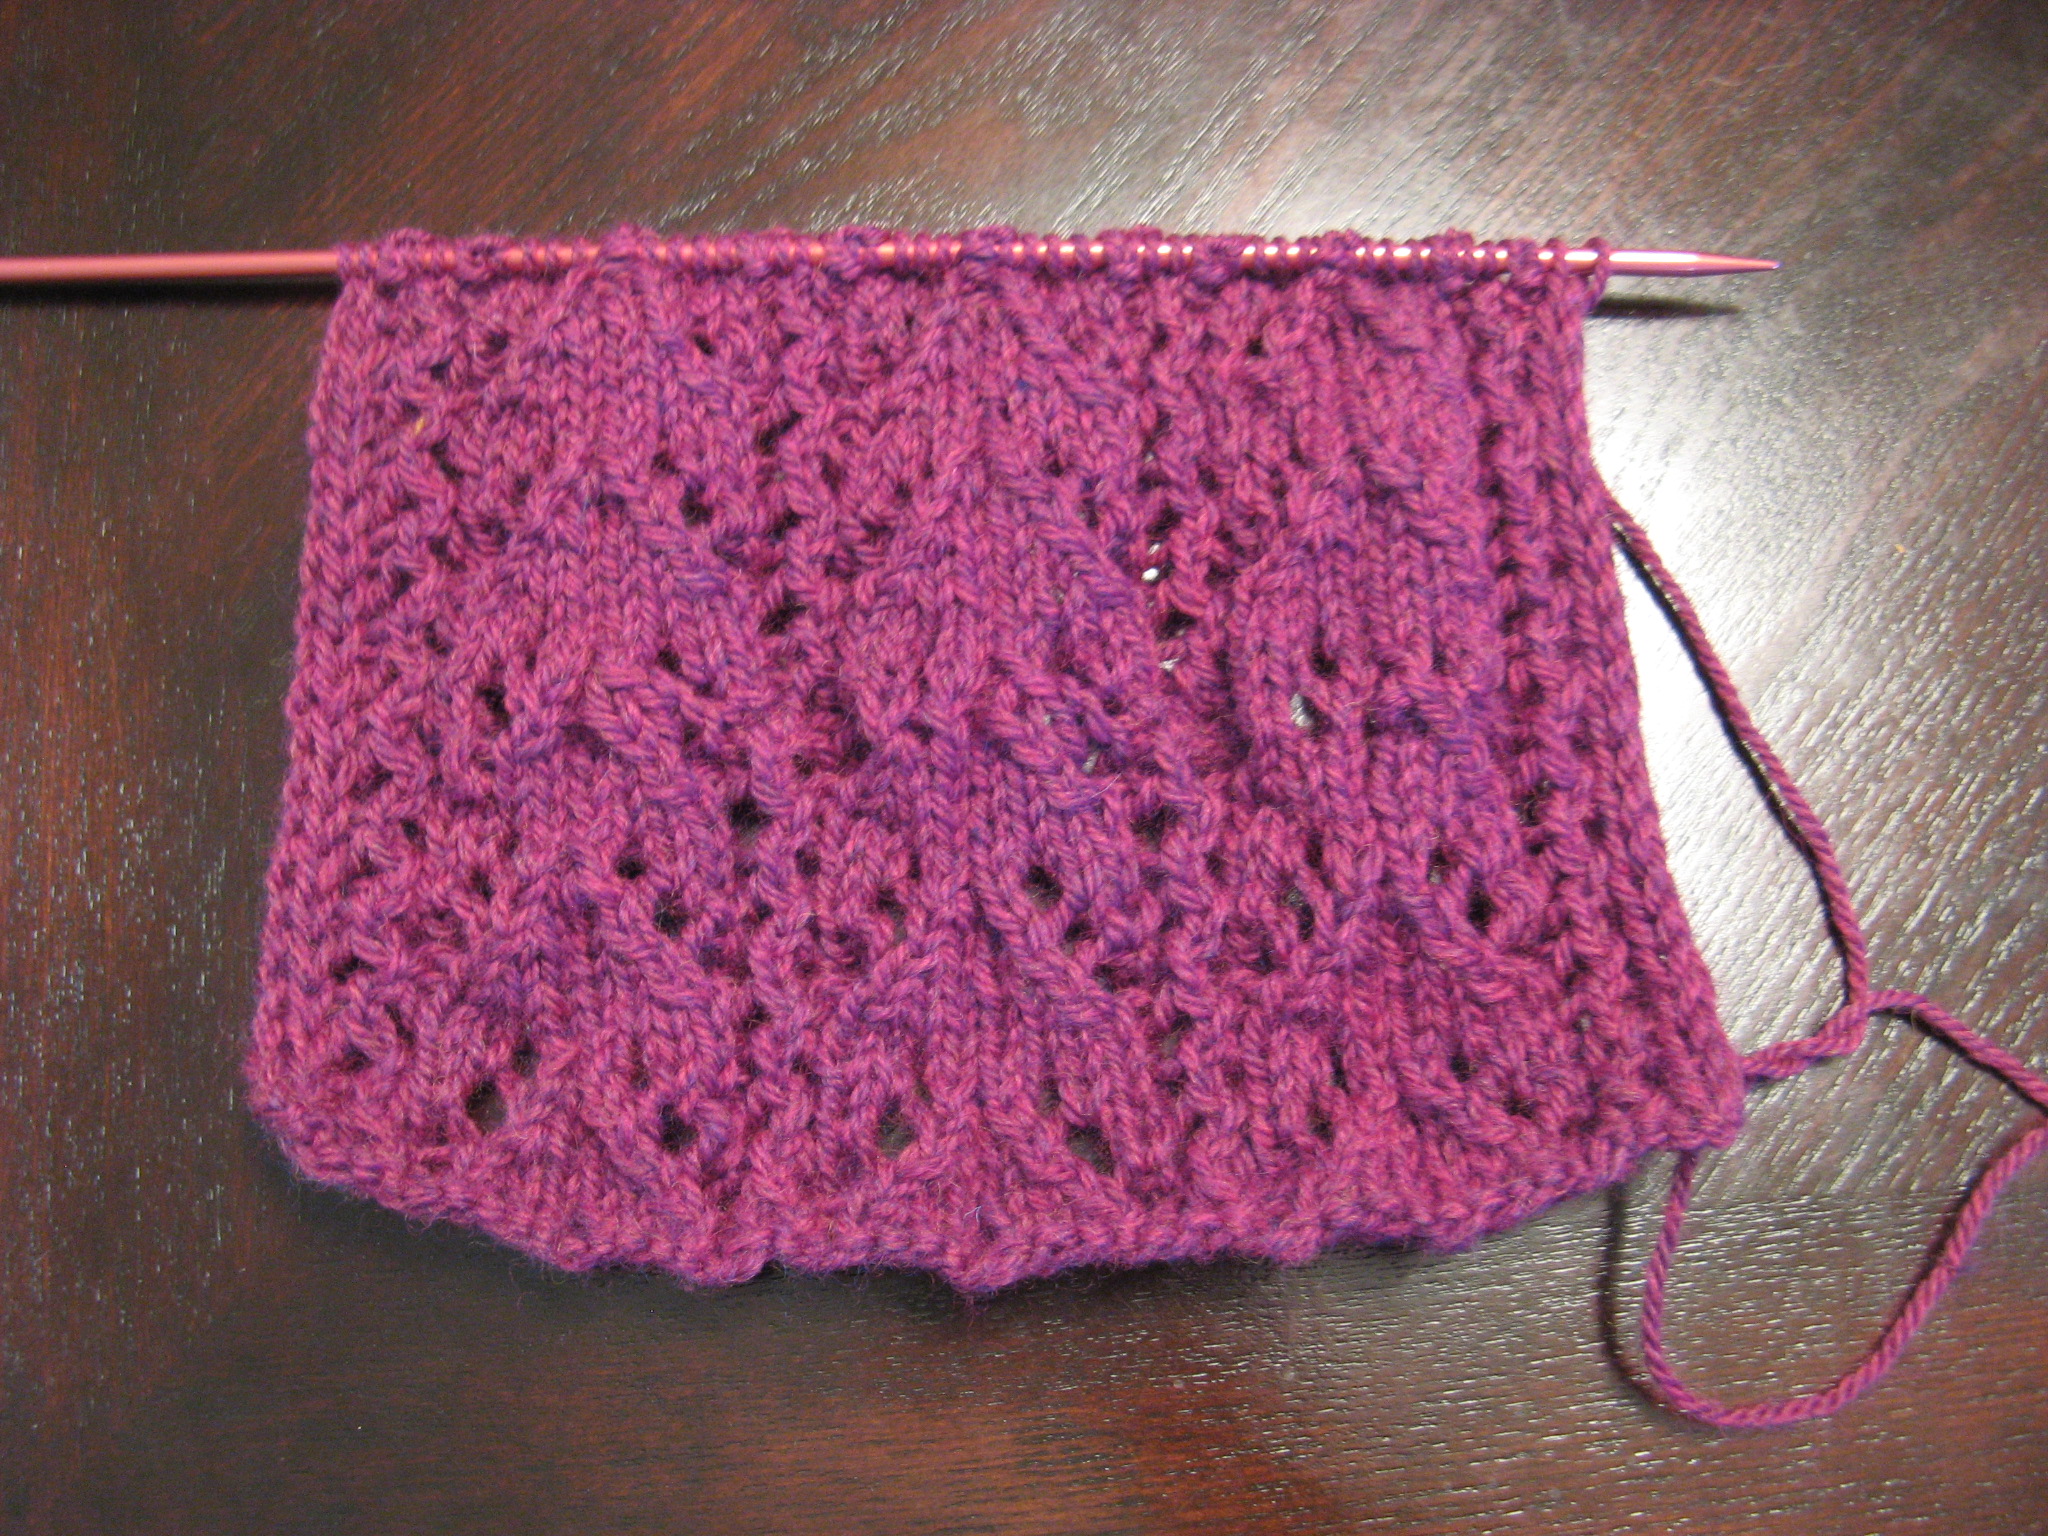
On my second go at it I noticed that my rows for the basketweave weren’t as wide as I remembered them to be from the first time I made the blanket and I immediately realized it was because I was working in intervals of six rows as opposed to twelve rows. So, I started again.

But, a few rows into the pattern I decided that it looked better with the smaller intervals so I took what I had done thus far off the needles and decided to start AGAIN! I also noticed that the blanket wasn’t going to be very wide so I opted to cast on 100 stitches instead of my original 90.

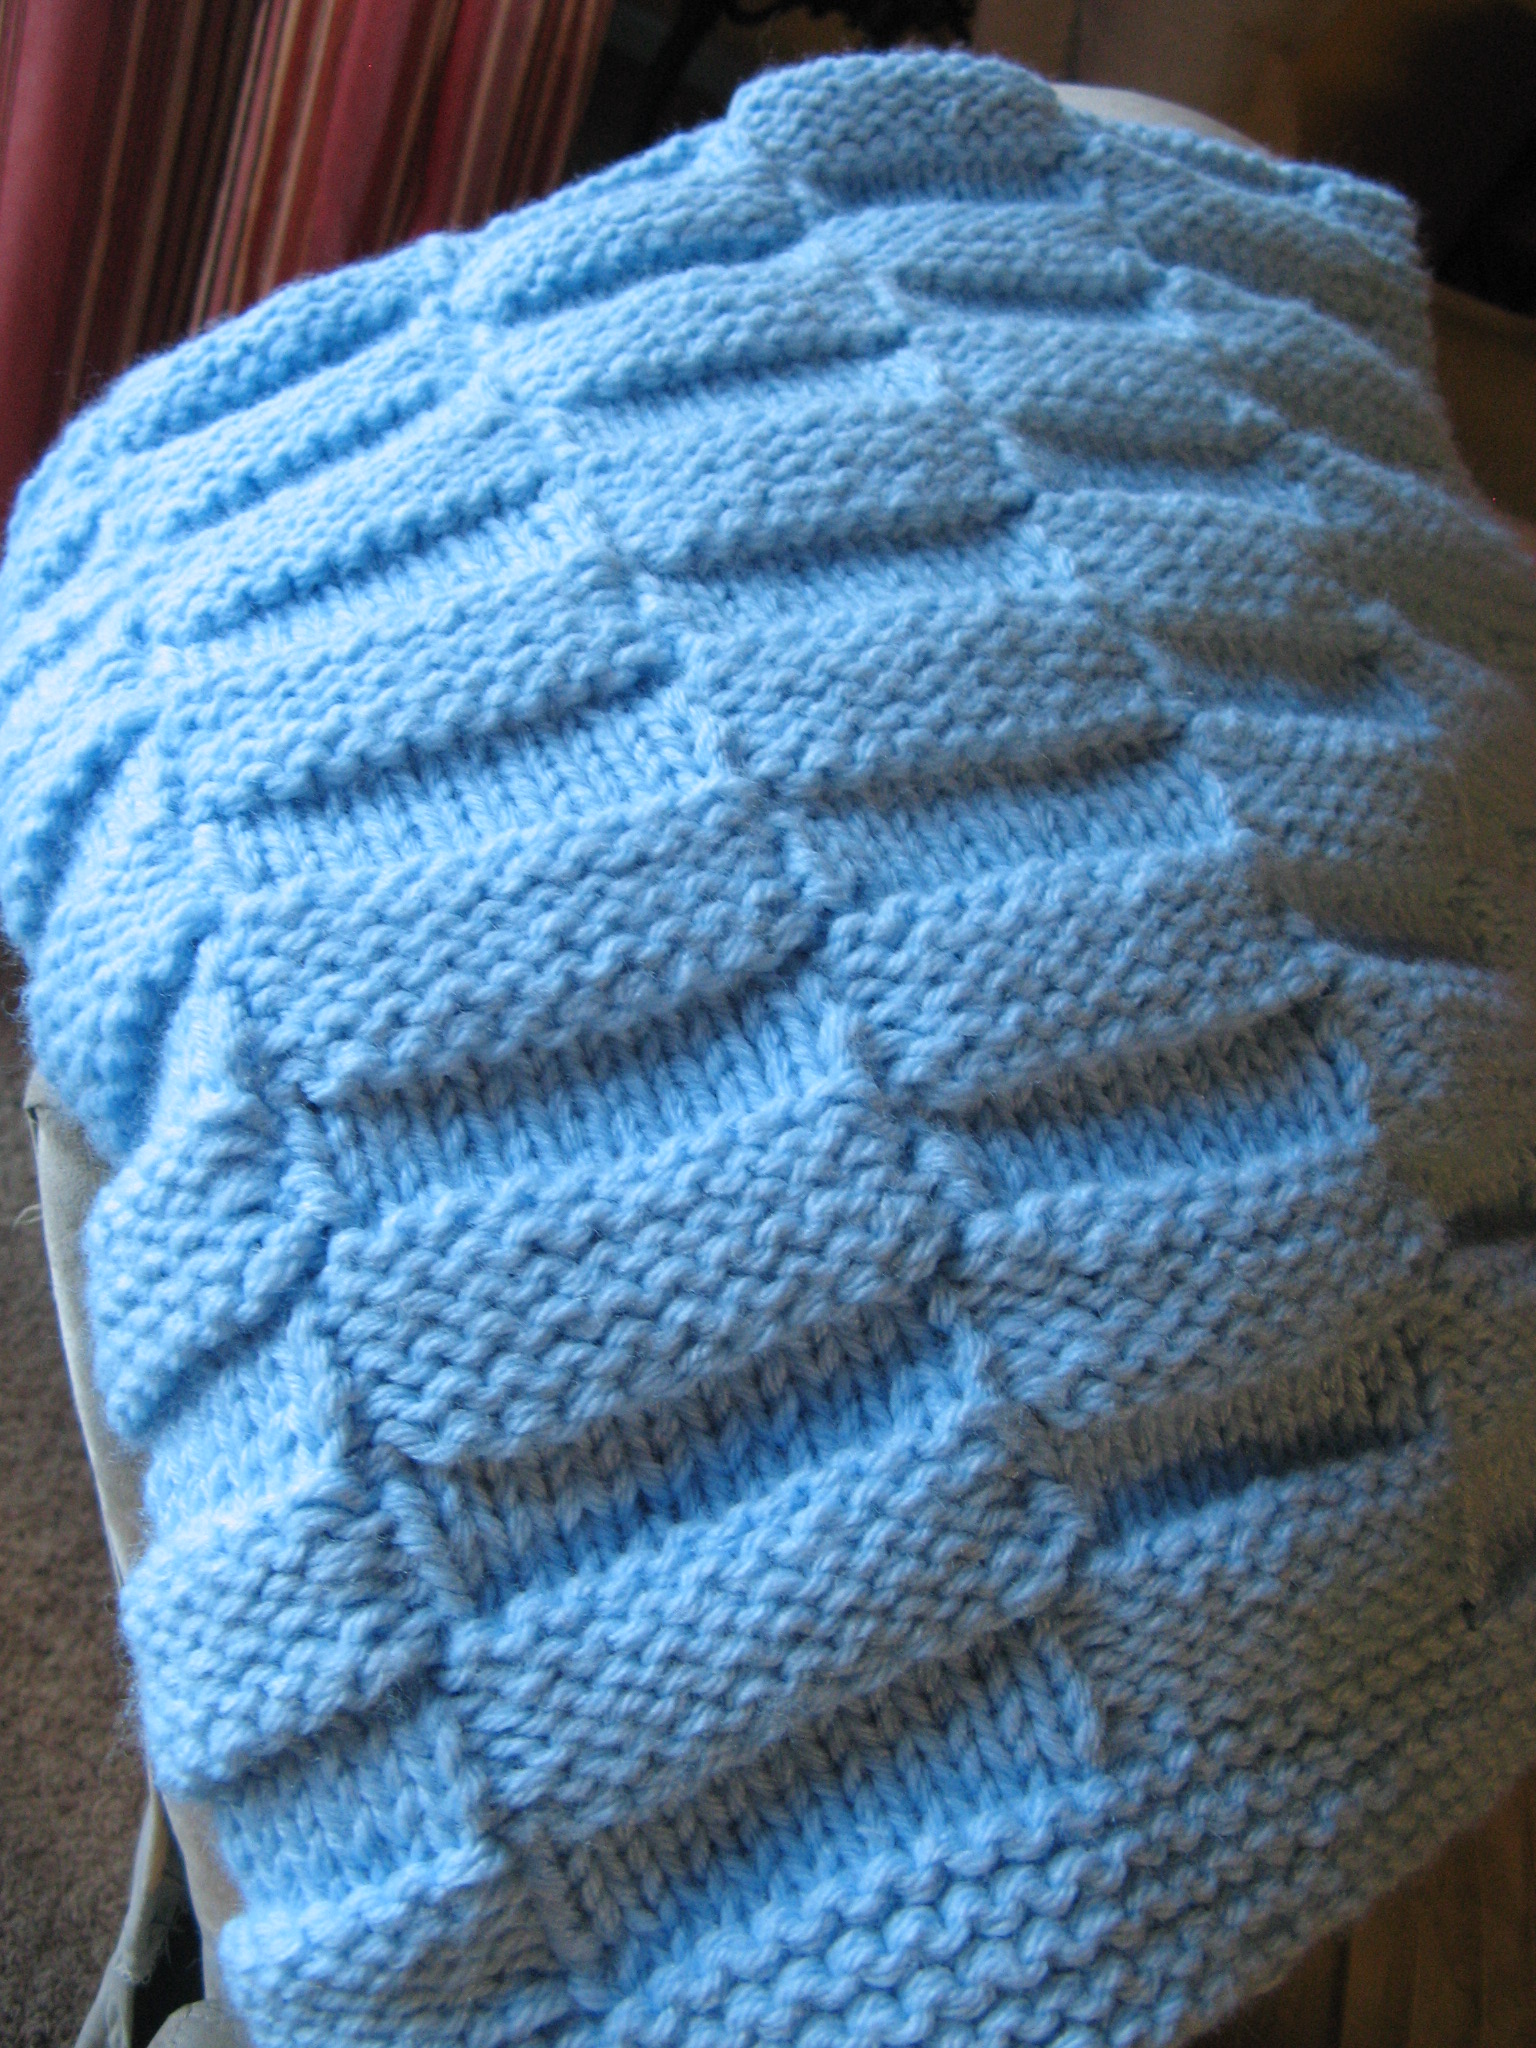
I figured at this point I was good to go, but, I had one more hiccup to overcome. With the original pattern the basketweave is created using an even number of blocks in the rows, but, when I added the additional ten stitches the basketweave pattern was now going to be created over an odd number, nine to be exact. I should note that that didn’t even cross my mind when I decided to add the additional ten stitches; it was only when I finished my first row and wanted to follow the pattern that I realized it wasn’t going to work. Thankfully the solution came to me quickly. Essentially with basketweave you are knitting the purl stitches and purling the knit stitches as you go along to create the illusion of the weave – basically a version of seed stitch. So I just needed to do that as I went along and I was good to go. From that point on the blanket was a cinch to make. Sometimes the most simplest things are the most difficult to make.

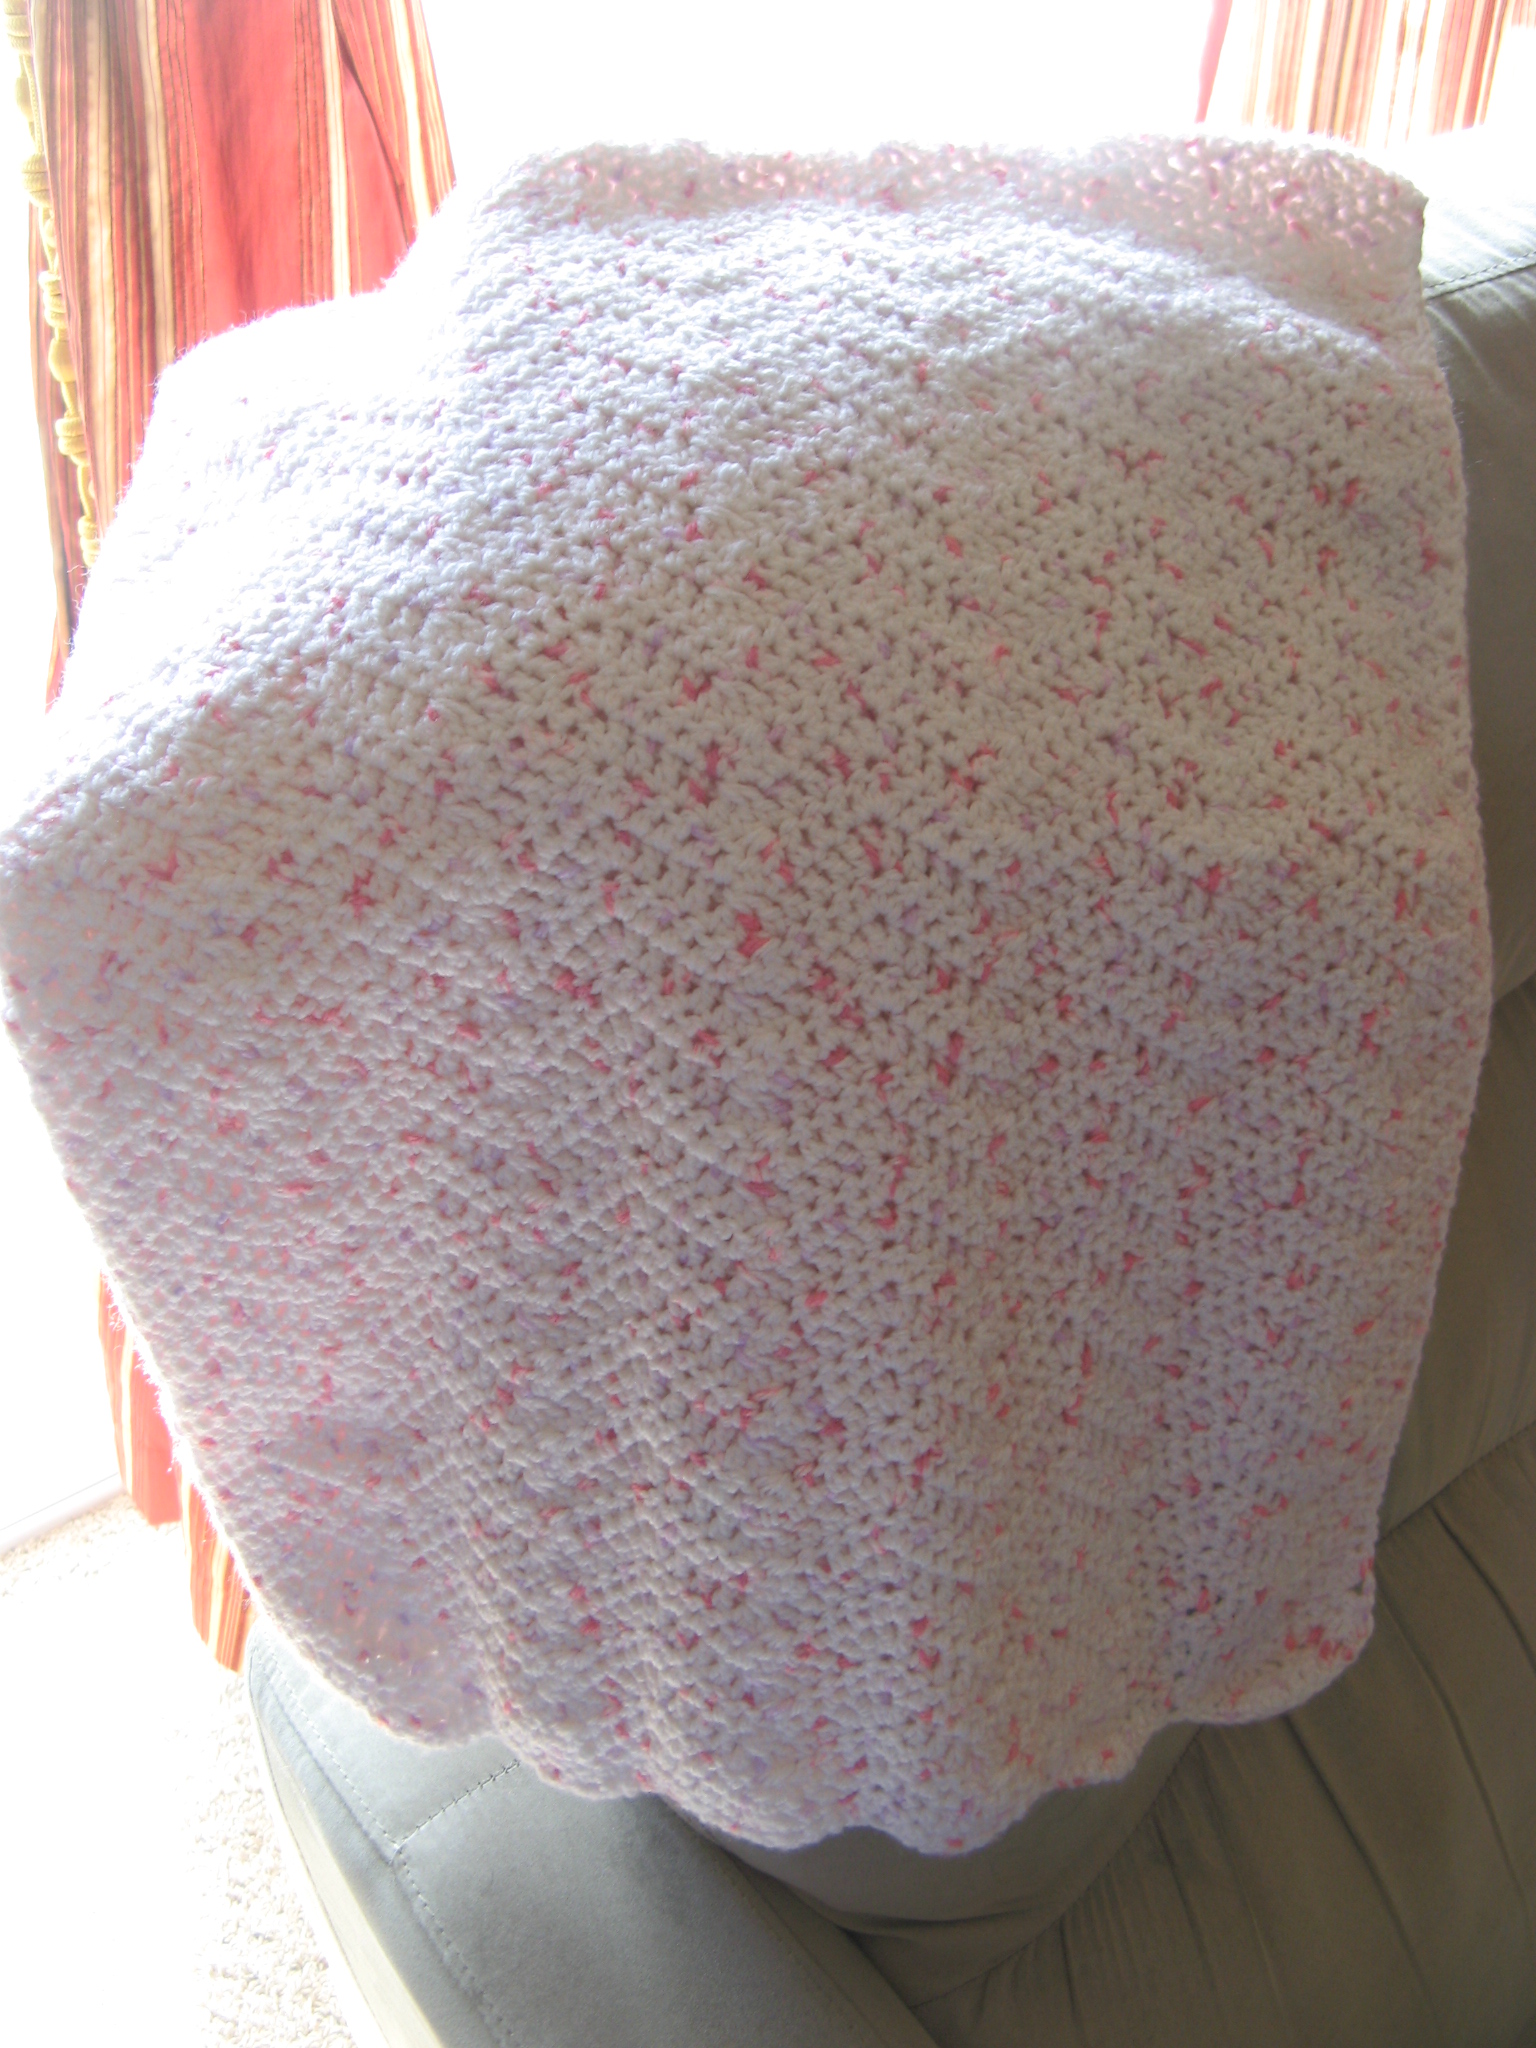
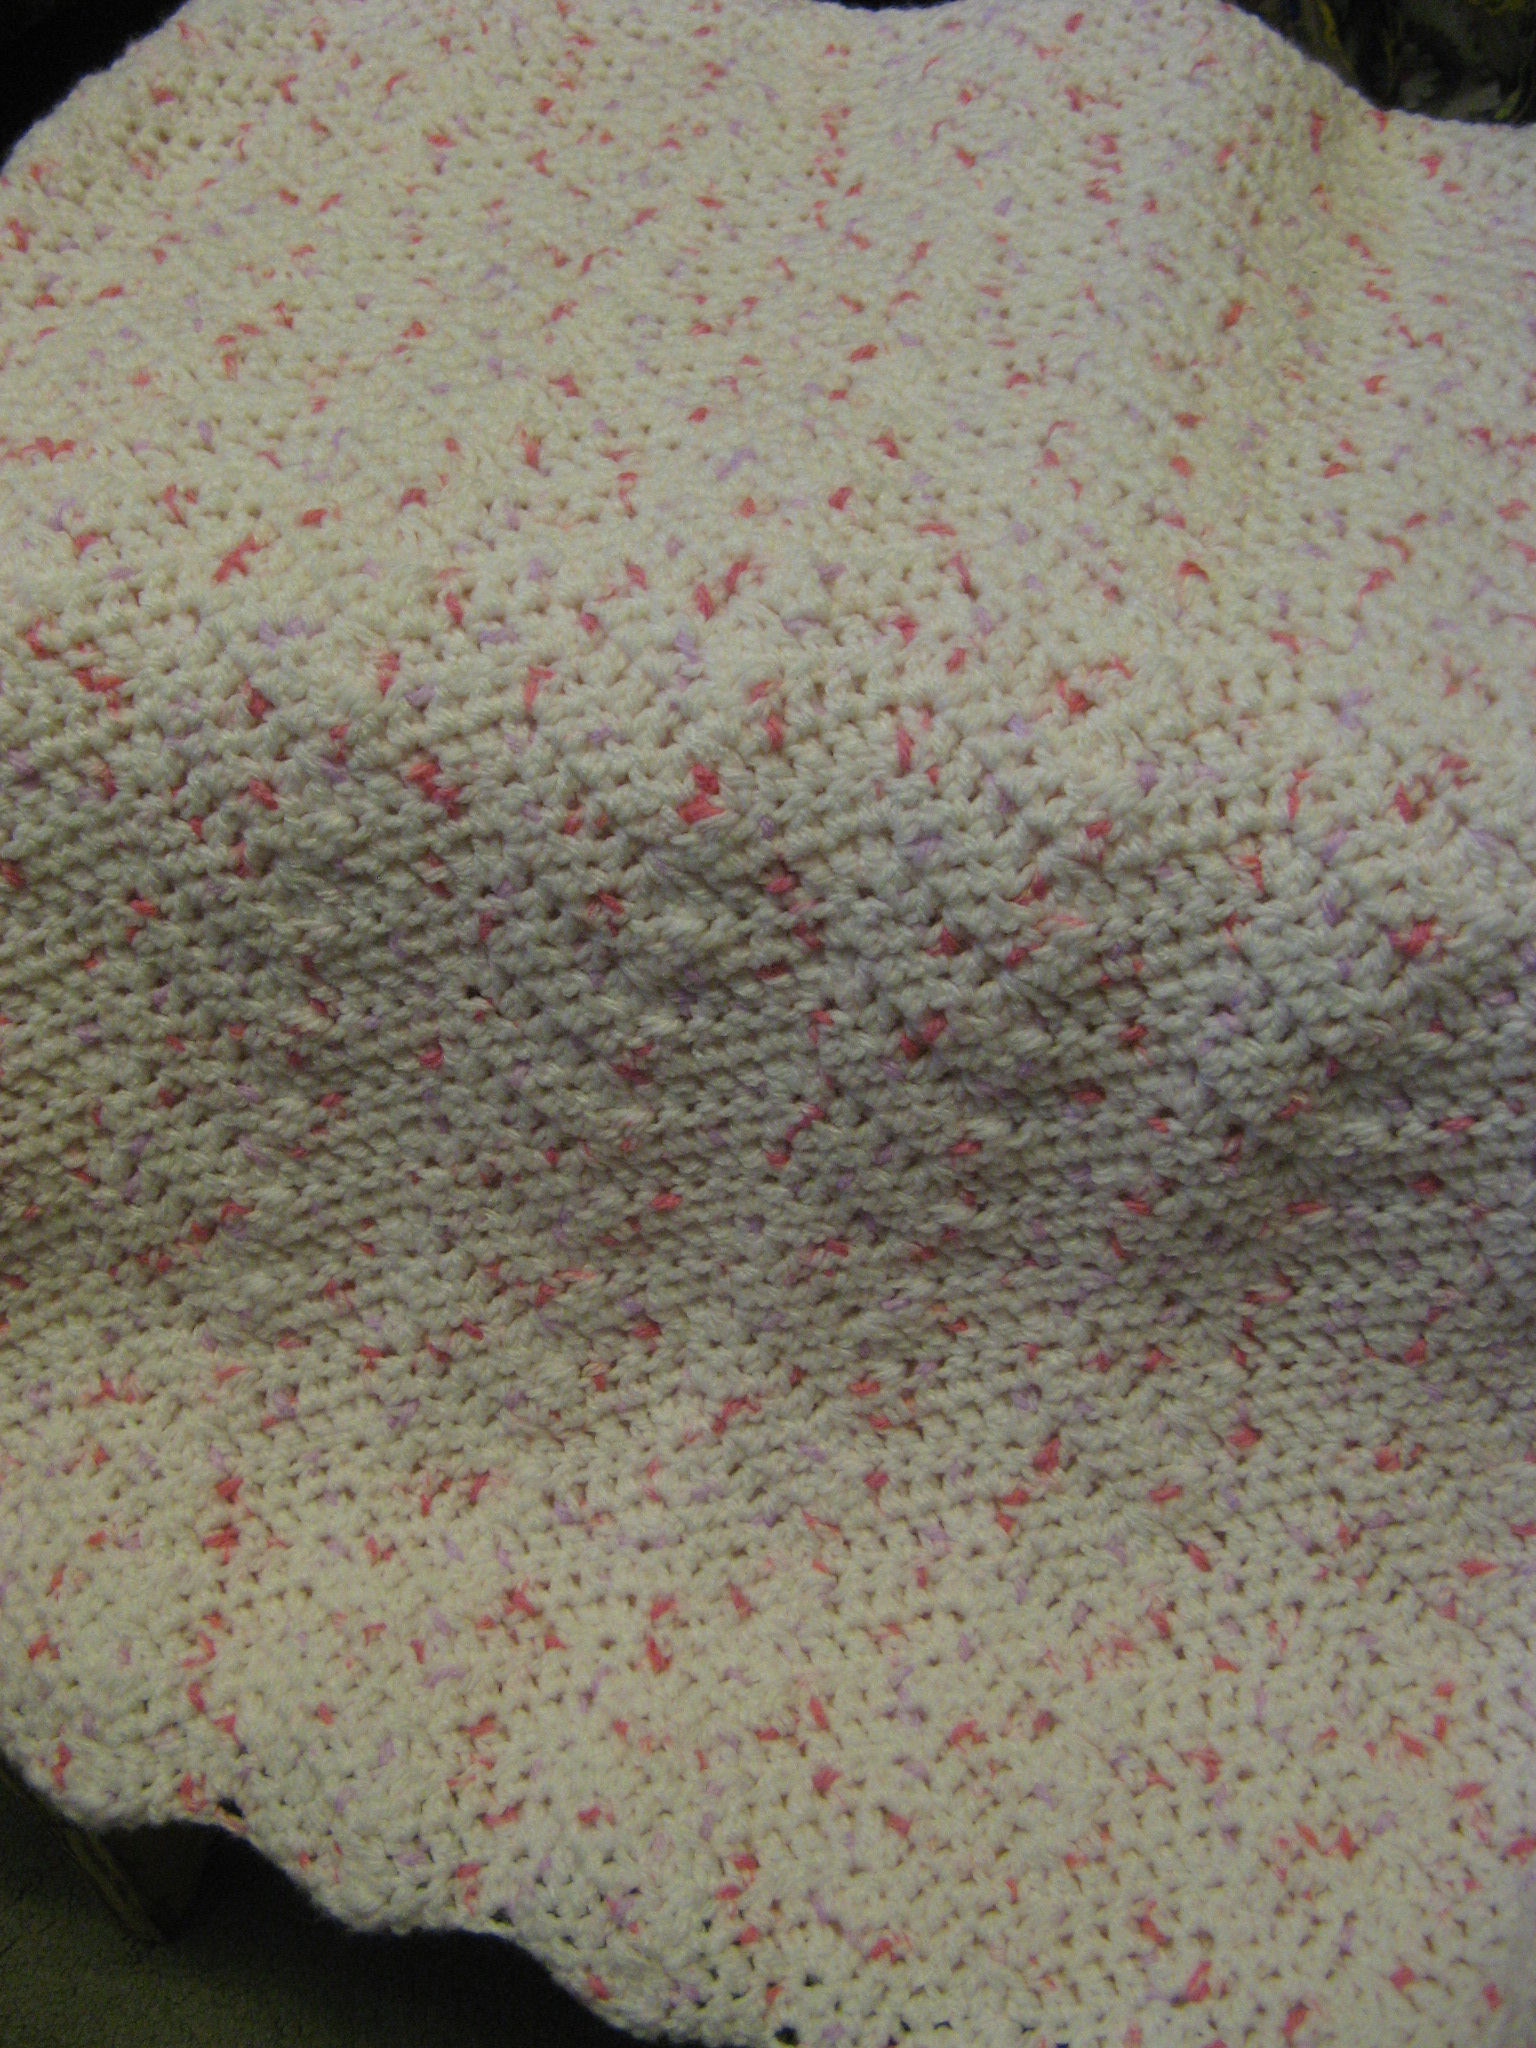
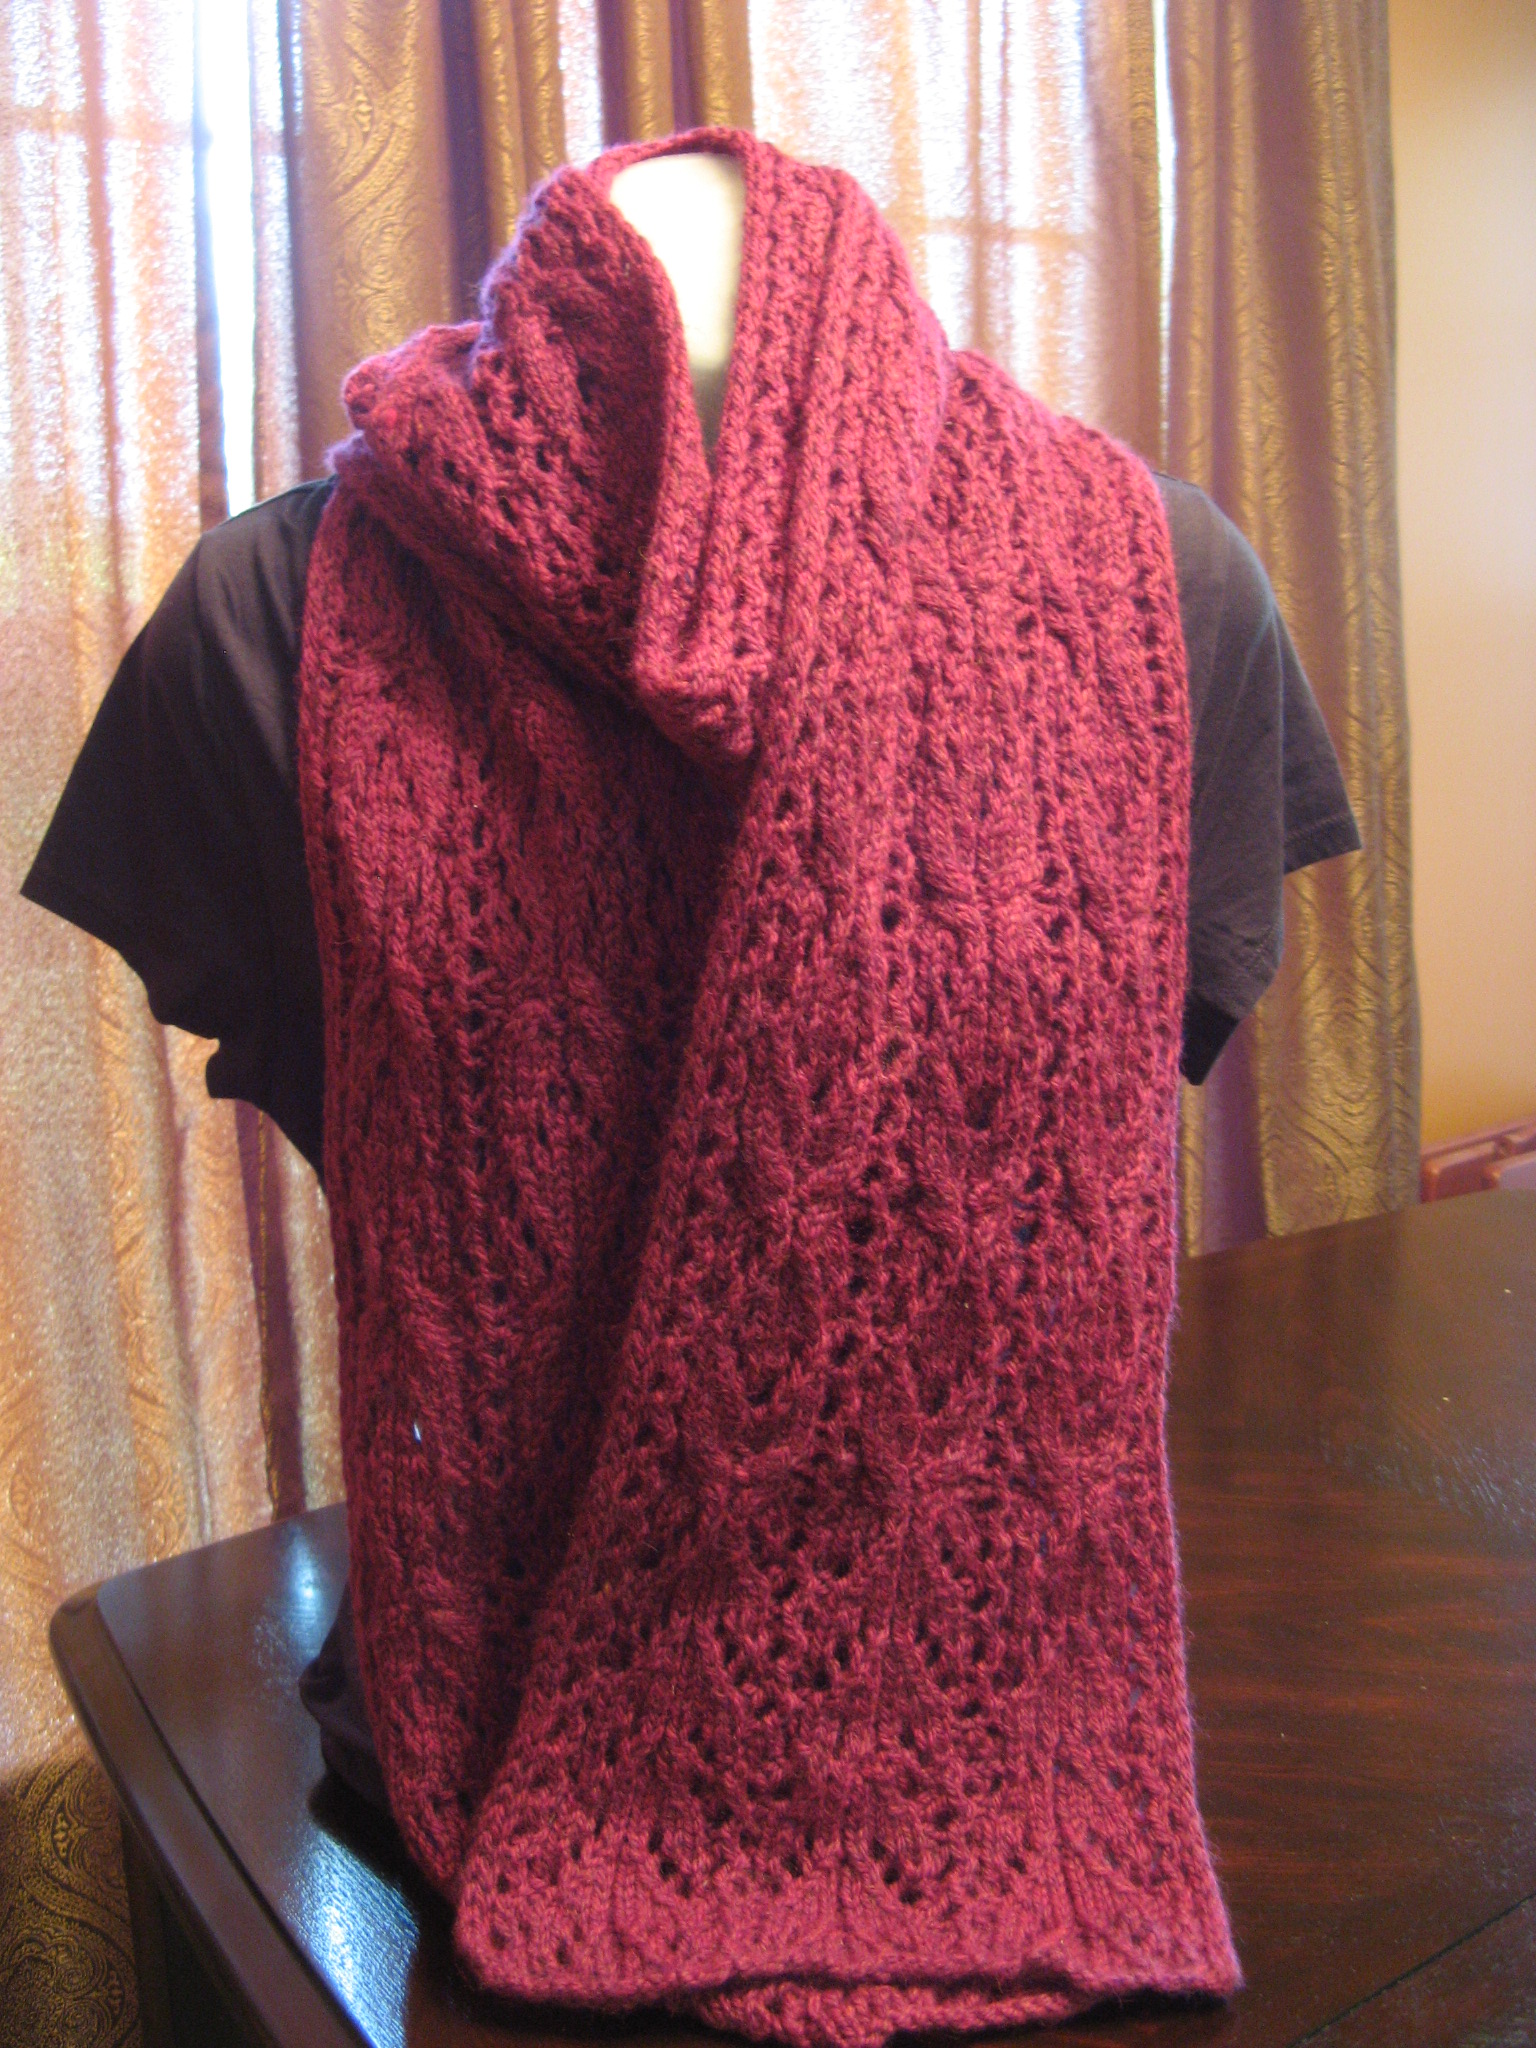
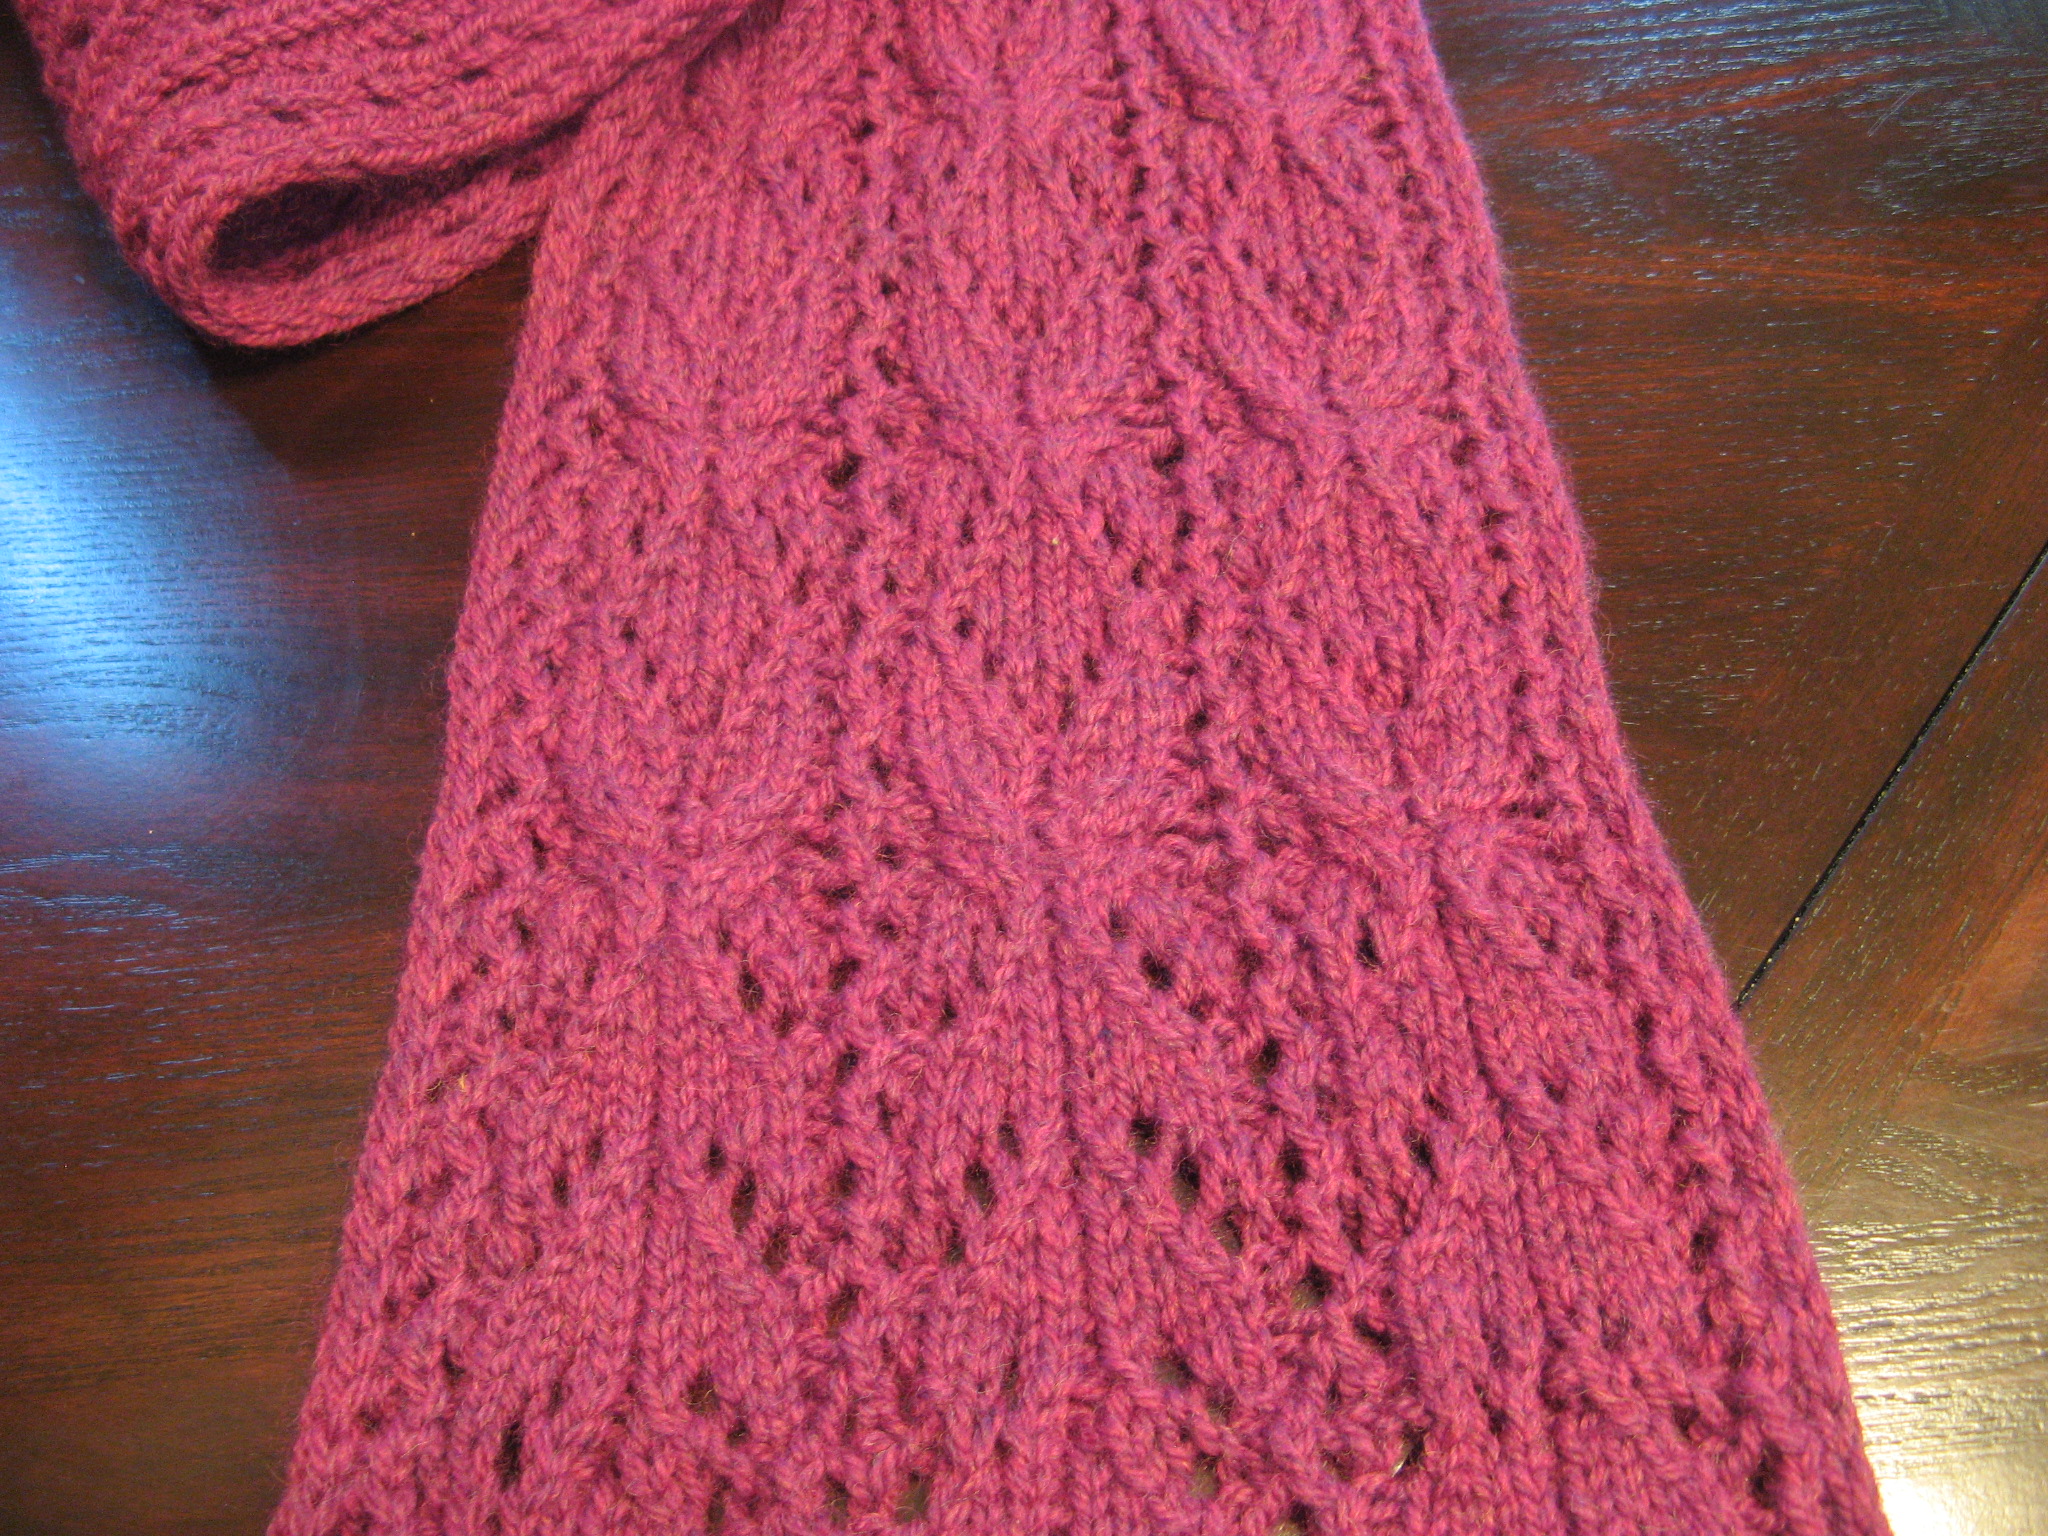
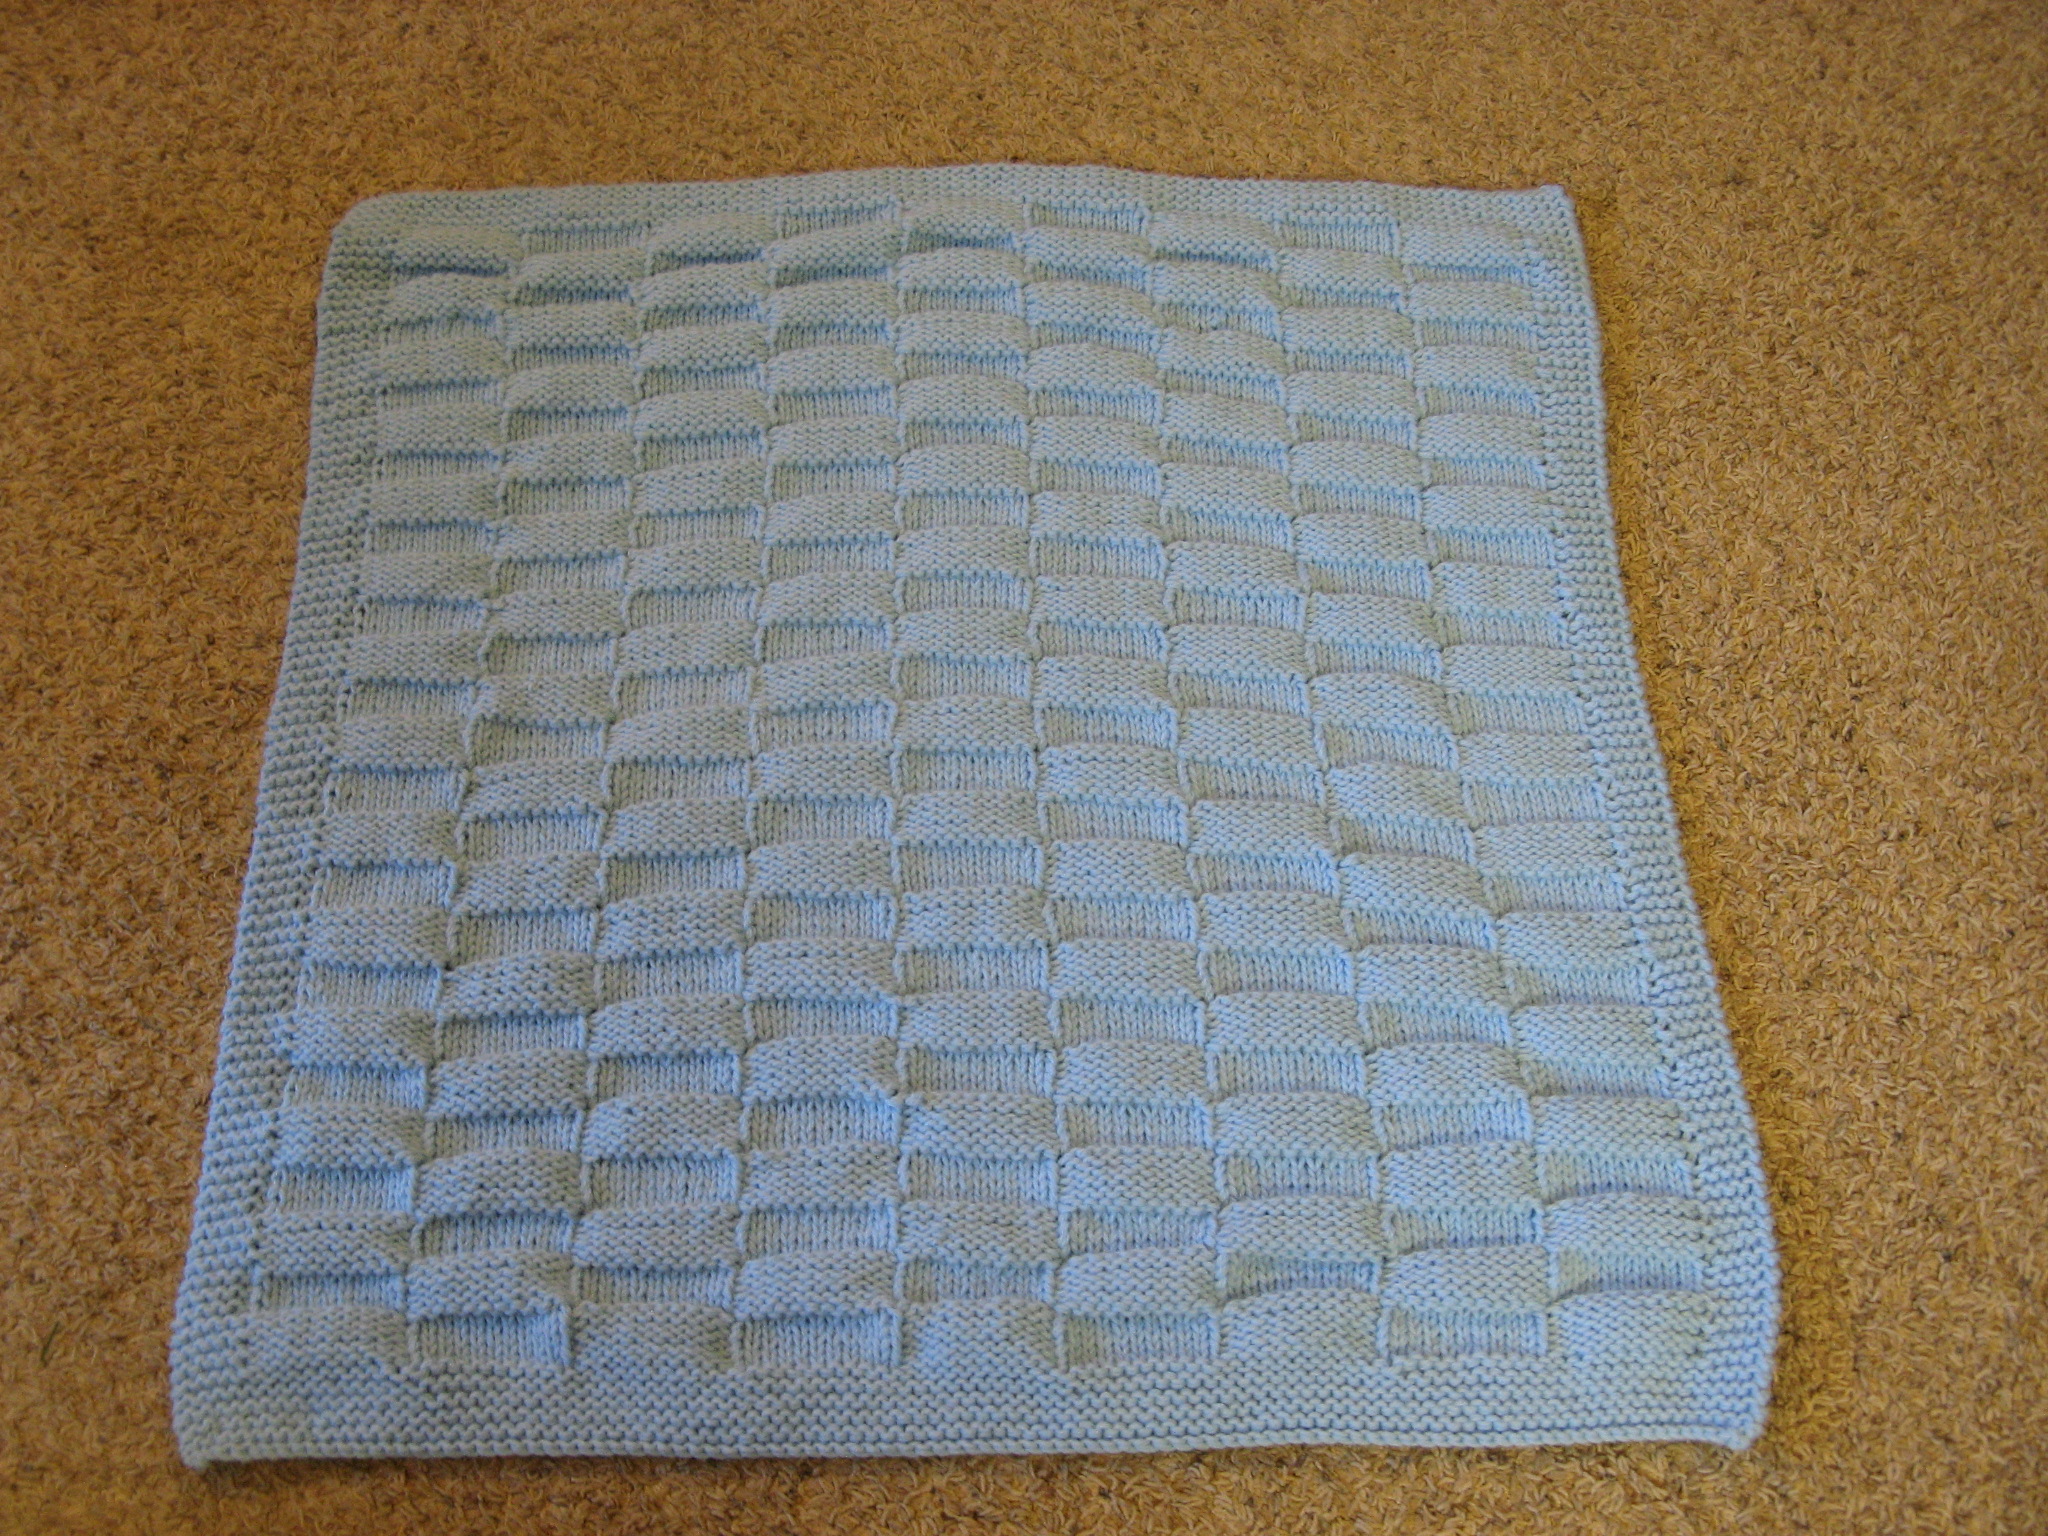
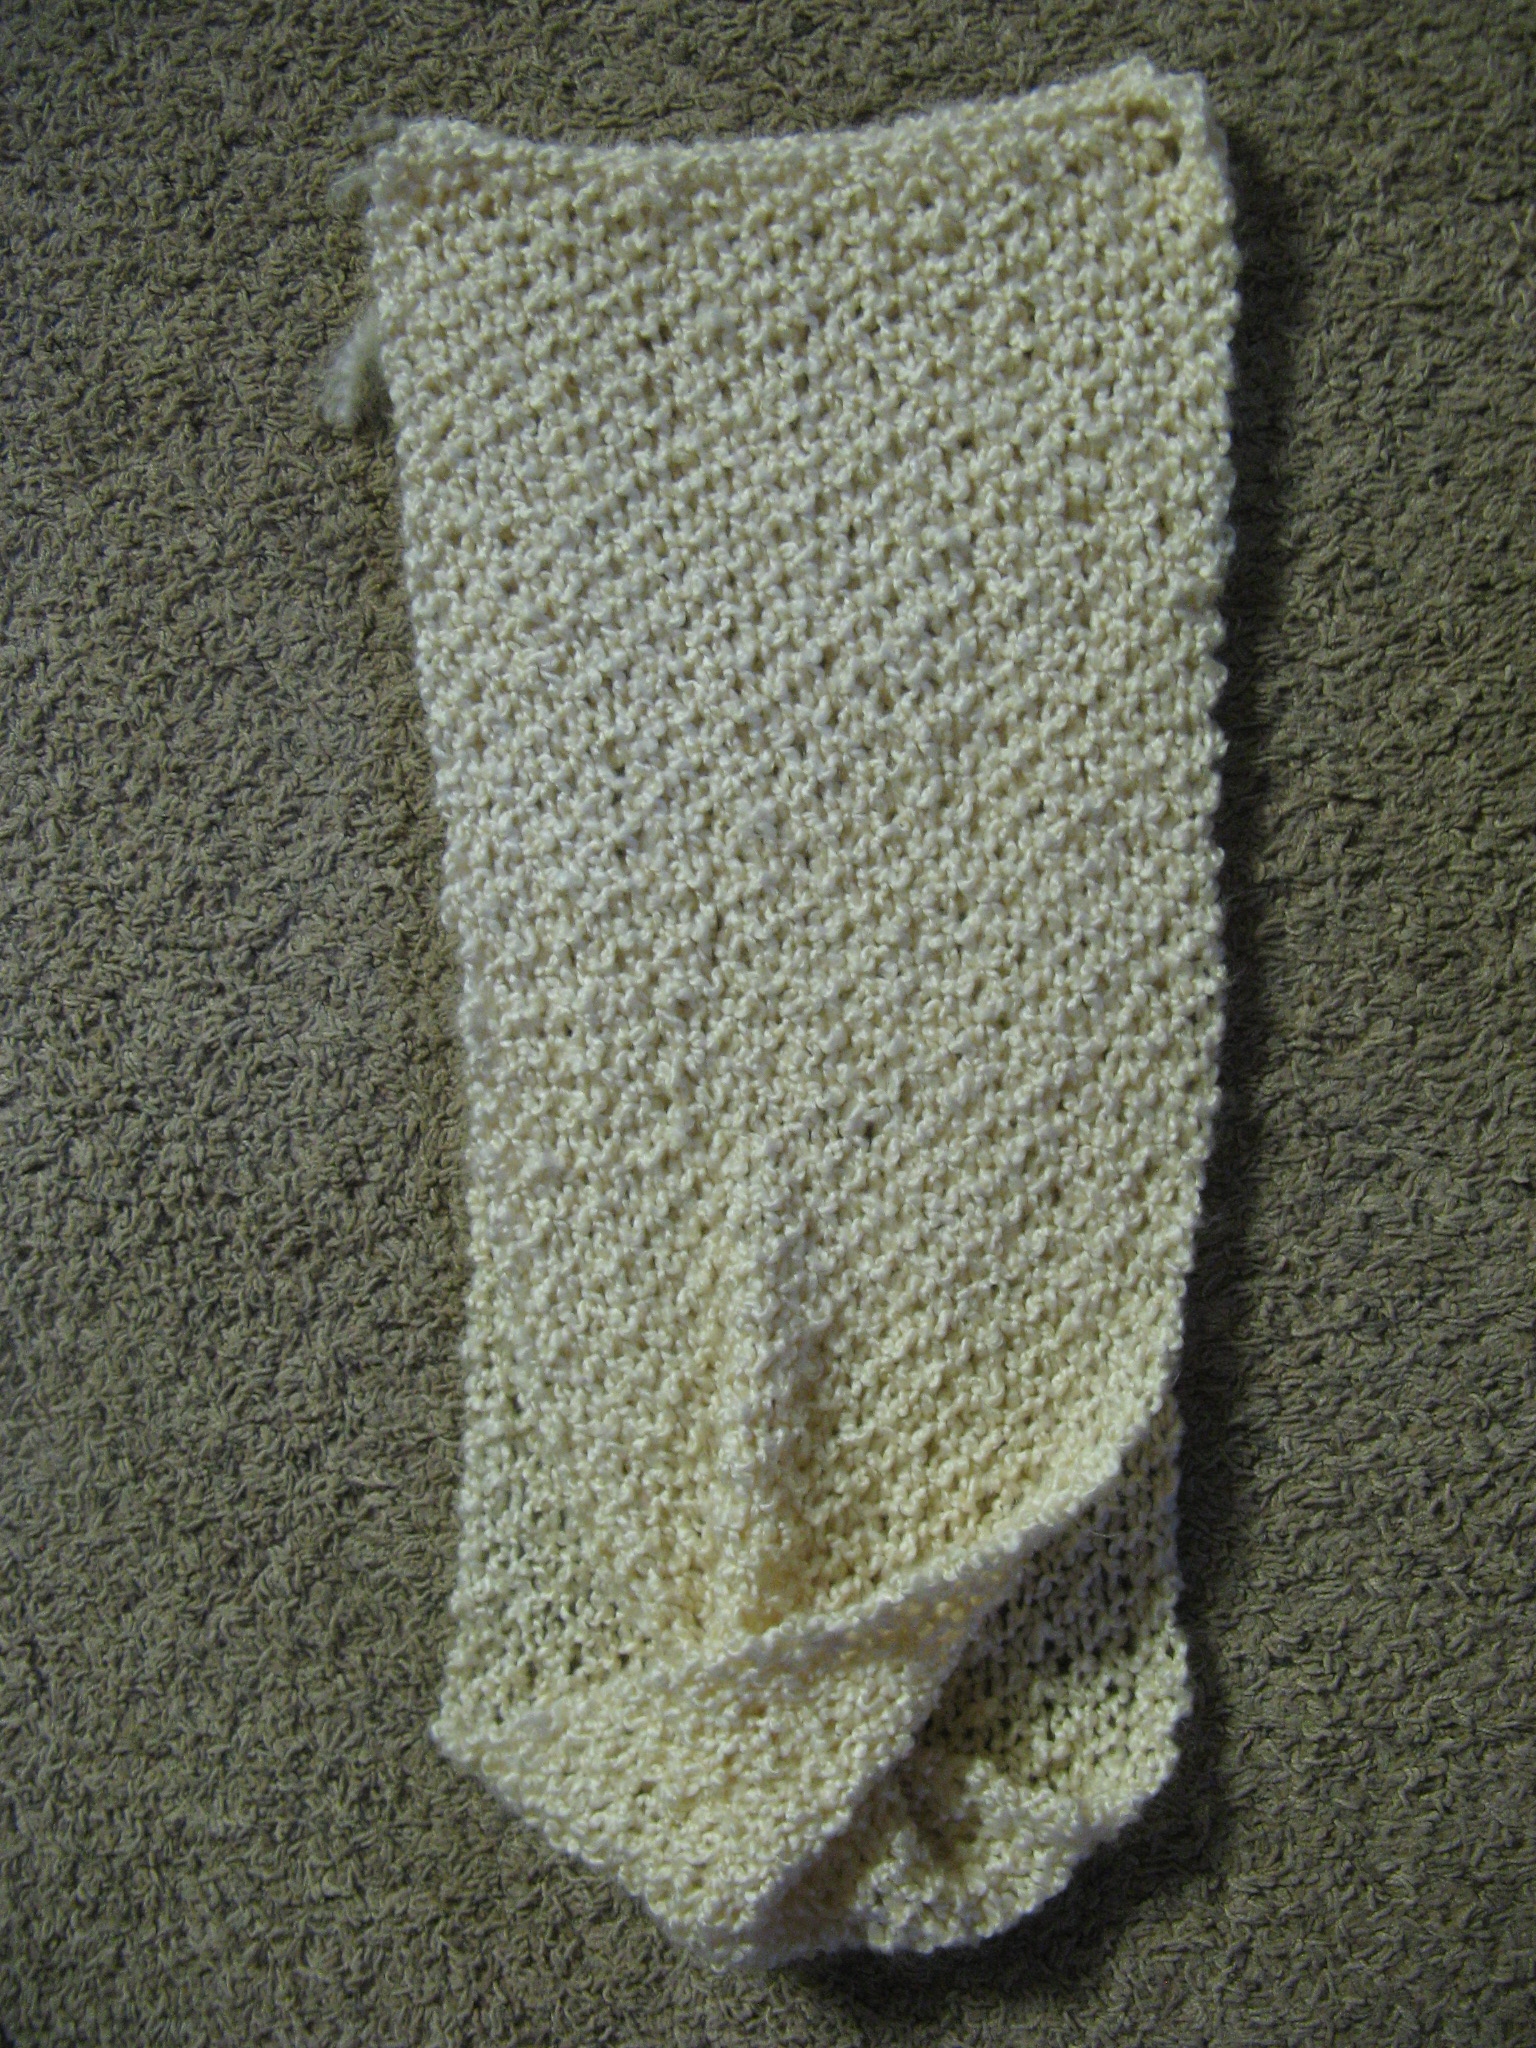
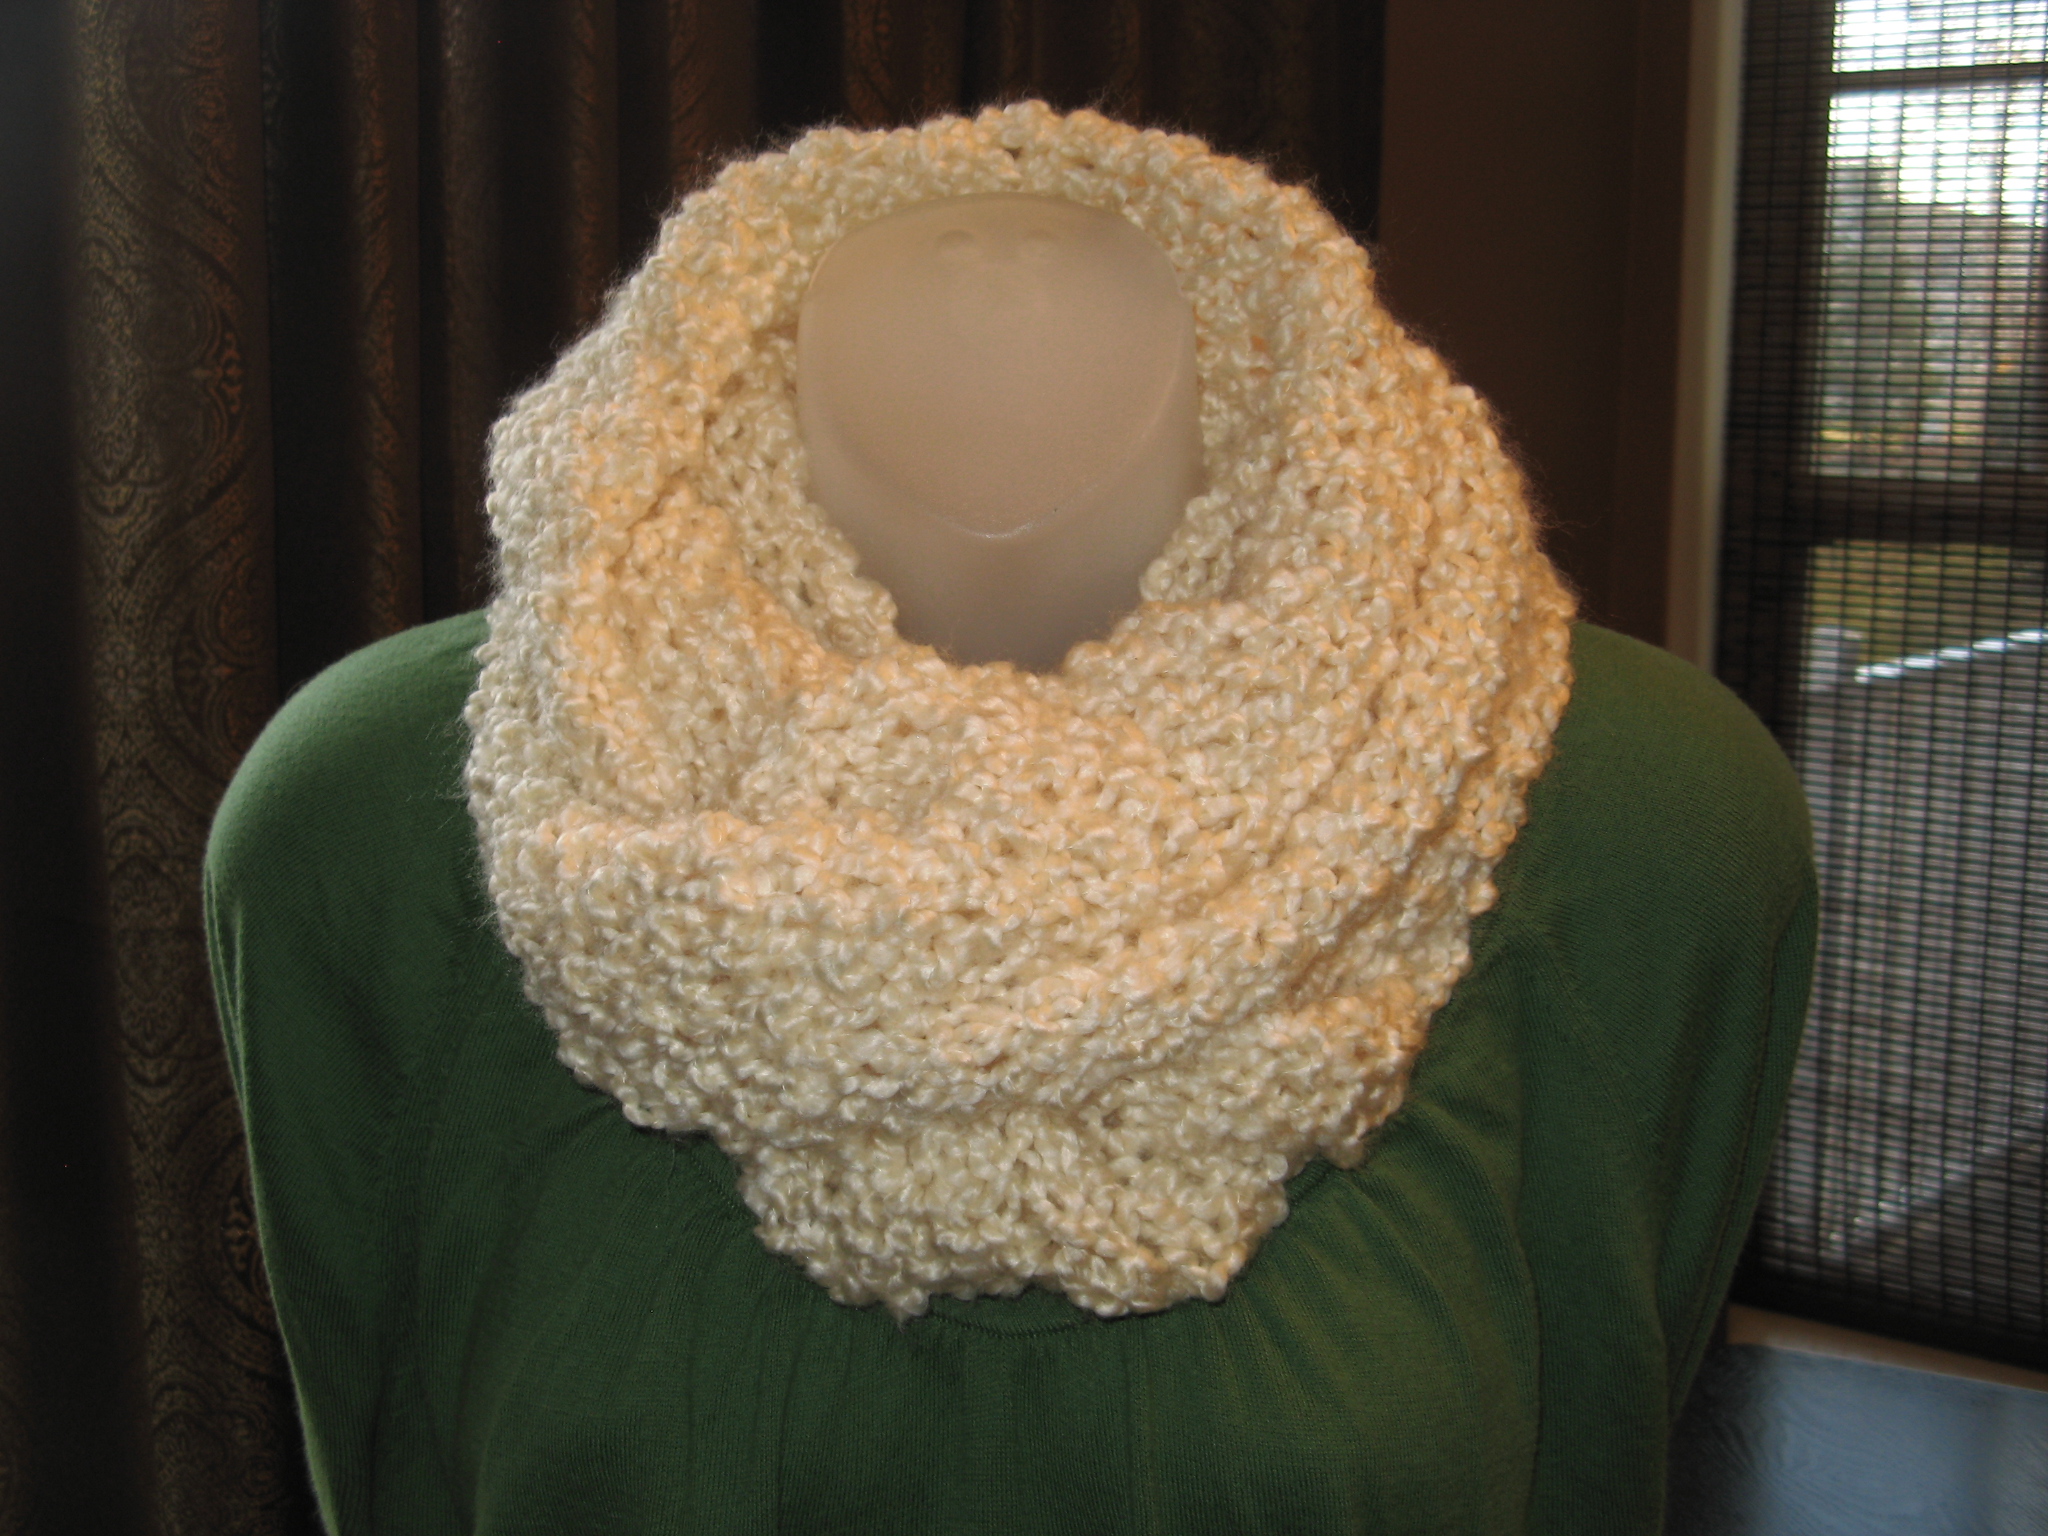
And here’s the final product that measures approximately 29.5 in x 31.5 in.

IMG_9676 IMG_9691

Here’s the pattern I ultimately used:

Basketweave Blanket:

Cast on 100 stitches

Knit 10 rows

Row 1: Knit 5, *knit 10, purl 10; repeat from * to last 5 stitches, knit last 5 stitches

Row 2: Knit 5, *purl 10, knit 10; repeat from * to last 5 stitches, knit last 5 stitches

Rows 3, 5: Repeat Row 1

Rows 4, 6: Repeat Row 2

Row 7: Knit 5, *purl 10, knit 10; repeat from * to last 5 stitches, knit last 5 stitches

Row 8: Knit 5, *knit 10, purl 10; repeat from * to last 5 stitches, knit last 5 stitches

Rows 9, 11: Repeat Row 7 Rows 10, 12:

Repeat Row 8 Repeat Rows 1-12 twelve more times

Repeat Rows 1-6 one time

Knit 10 rows

Bind off


*Seed Stitch (over an even number of stitches)

Courtesy Lion Brand Yarn

Row 1: *K1, P1; repeat from * across

Row 2: P the knit stitches, and K the purl stitches

Repeat Row 2 for Seed Stitch


**Simply Perfect Baby Set Blanket

Courtesy Lion Brand Yarn

Cast on 88 stitches

Knit 10 rows

Begin working in pattern stitch as follows:

Row 1: knit 4, *knit 10, purl 10; repeat from * to last 4 stitches, knit last 4 stitches

Rows 2-12: Repeat row 1 Row 13: knit 4, *purl 10, knit 10; repeat from * to last 4 stitches, knit last 4 stitches

Rows 14-24: Repeat row 2 Repeat rows 1-24 five more times

Knit 10 rows

Bind off

Two Bracelets and a Ring

I decided to take a break from my knitting projects last week to work on some jewelry pieces that I have wanted to get done. In all honesty my arms and wrists needed a break from all of the shoveling I did from when I was snowed-in.

Up first was something super simple… Yarn Wrapped Bangle. I got the idea from a craft email I receive every day from Martha Stewart’s website. All I needed to complete this project was yarn (you can also use ribbon), tacky glue and a plastic bangle. It doesn’t matter the color or pattern of the bangle since you will be covering it up. The one I used had sequins on the inside and only cost $2… You can’t beat that!

IMG_9460

To start off I wound a few yards of yarn into small ball and glued one end to the inside of the bangle. I let the glue dry completely and then started wrapping the yarn tightly around the bangle. Every so often I stopped to make sure there weren’t any spaces between the yarn and around the midway point I added some glue to secure the yarn in place.

IMG_9466 IMG_9478

It didn’t take long before I had a completely new bangle.

IMG_9482

After that was done I moved on to a Cabochon and Seed Bead Ring. I got the idea for this piece from the February 2013 issue of Bead & Button Magazine in an article called Ring Tones. I used two different color size 15 seed beads, an oval cabochon, an adjustable ring and prestiffened felt for my beading foundation. I was able to find the ring and felt at my local Michael’s store and I ordered an assortment of cabochons from Fire Mountain Gems (www.firemountaingems.com) for under $3 so I have plenty more to use if I want to make more rings or pendants and such. As for the size 15 seed beads, I had one of the colors and then took advantage of a sale at Beada Beada (www.beadabeada.com) and ordered an assortment of colors that I normally wouldn’t pick just to have a nice assortment for future projects.

IMG_9472

To start off I cut a piece of the felt to fit into the bezel of the ring. While the directions called for using two or more pieces of foundation I opted to use only one piece since the ring I was using had a very shallow well.

IMG_9474

Next up, I glued the cabochon to the center of the felt. After it completely dried I began to stitch the seed beads around the cabochon using the beaded backstitch. I started with a round of yellow and then added a second round of yellow on top of that round so that those seed beads would come up the sides of the cabochon. I then stitched two rounds of turquoise seed beads around the yellow.

IMG_9488

It wasn’t long before I was done and my embroidered piece was ready to be adhered to the ring. While I did have jewelry glue (which I used to glue the cabochon onto the felt) I opted to use Krazy Glue to adhere the entire piece to the ring so I could be sure it would stay put.

IMG_9492

I was really happy with how it came out and I can’t wait to wear it. And now that I know how to embroider on felt I am looking forward to making other pieces of jewelry.

IMG_9502

And finally the last piece I made was a bracelet that I also came across in the February 2013 issue of Bead & Button Magazine called Crystal Bridges. The bracelet is made with 12mm bugle beads, 4mm pearls, 4mm bicone crystals, 3mm fringe drops, size 11 & size 15 seed beads, 4x1mm daisy spacers and a two-strand slide clasp. While the article did have suggested colors for the bracelet I opted to go a different route and made my bracelet in shades of blue. I had Swarovski Crystal bicones in my beading stash that I wanted to use so I based my other colors off of them.

IMG_9513

To start I created the base of the bracelet by using the crossweave technique to add the bugles and pearls. On a comfortable length of Fireline I threaded a size #12 beading needle onto each end and then centered a bugle bead onto the thread. Then with each of the needles I picked up a pearl and with one of the needles a bugle bead and then crossed the other needle through it. In total I added 32 bugles for the bracelet to be approximately 7 1/2 inches. Just to note, if the size needs to be adjusted the number of bugles beads on the base must be an even number for the top embellishment to work.

IMG_9515

Following that I added the top embellishment. I once again used the crossweave technique to add the pearls, size 15 seeds beads, bicones   and daisy spacers.

IMG_9516 IMG_9519

Once that was done it was time to add the clasp. This was a little backwards to me since I am accustomed to adding a clasp to piece of jewelry only once it’s completely done. Once again I used the crossweave technique to add size 15 seed beads and a bicone crystal to attach the clasp to the bracelet. In all honesty the bracelet could be worn like this and you could forgo the side embellishment, but, if you want more of a unique piece I think it’s necessary to keep going – which is what I did.

IMG_9530

To add the side embellishment – which consists of the size 11 & 15 seed beads and the fringe beads – I worked in a simple bead weaving technique.   To start I added one size 11 seeds between each of the pearls.

IMG_9531 IMG_9534

I then added five size 15 seed beads by stitching my thread through the size 11 seed beads I had just added, which basically left the size 15   seed beads arching around the pearls. I was concerned at this point because the size 15 seed beads weren’t sitting flat. I kept playing with the thread   by pulling it snug and then loosening it in an attempt to have them fall flat, but, it didn’t work. Luckily the final step rectified the problem.

IMG_9535

Finally, I added the fringe drop beads by sewing through the three middle size 15 seed beads from the five I added in the previous step.   Basically the fringe drops sat next to the size 11 seed beads. I ended my thread and my bracelet was ready to wear. Unfortunately I’ll   have to wait a while to wear it since the colors are more for Spring/Summer.

IMG_9549 IMG_9550

Violet V-Stitch Baby Blanket

After two weeks of crocheting I completed the baby blanket I’ve been working on. I followed a simple V-Stitch pattern and ended up with a blanket that measures 34×39 inches. A little bigger than what the pattern I followed suggested it would be (33×36 inches) but I also used a different kind of yarn (Red Heart Soft Baby Steps yarn as opposed to Lion Brand Babysoft yarn) and added a different border to it. When it comes to blankets I don’t think it hurts for it to be a little bigger as long as it’s proportionately correct.

The pattern called for adding a border around the perimeter of the blanket. I was a little unsure of how to do it from reading the directions, but, as I suspected once I started I immediately got the hang of it. To do so I first worked single crochets around the outside edge of the blanket and then in the second round added the decorative border by working into those single crochets. The pattern called for creating a picot edge. I decided to check out videos on YouTube to see how to make them and after a few attempts I couldn’t get the hang of them myself so I decided to go a different route and added a scalloped edge instead. To create the scalloped edge I worked a half-double crochet, double crochet, treble crochet, double crochet, half-double crochet into every third single crochet.

IMG_9371

And here’s the final product…

IMG_9389

Next up… Another baby blanket – a Seed Stitch Baby Blanket – which I am sure will take me a little longer to make since I will be knitting it on circular knitting needles.

IMG_9392

This is the pattern that I used as a basis for creating the blanket.

V-Stitch Baby Throw Pattern

Courtesy: Lion Brand (www.lionbrand.com)

Throw

Ch 148

Row 1: (dc, ch1, dc) in 5th ch from hook (V-St made) *sk next 2 ch, V-st in next ch; rep from * across to last 2 ch, sk next ch, dc in last ch – 48 V-sts at the end of this row

Row 2 – 78: Ch 3, turn, V-st in ch-1 sp of each V-st across, dc in top of turning ch. Do no fasten off.

Finishing

Border

Rnd 1: Do not turn, work sc evenly spaced around entire outside edge of Throw, working 3 sc in each corner st; join with sl st in first sc.

Rnd 2: *Ch 2, sl st in 2nd ch from hook (picot made), sk next sc, sl st in next 2 sc; rep from * around.

Note: As you near the end of Rnd 2, count your remaining sts. If necessary, you can sl st in 1 or in 3 sc (instead of 2 sc), in order to end the rnd evenly.

Fasten off and weave in ends.

Abbreviations:

ch – chain

dc – double crochet

sk – skip

st – stitch

sp – space

sc – single crochet

sl – slip

…Beading and Crocheting/Knitting Update #1

It’s been a week since I started tackling my project to-do list and so far so good. The blanket I started last week is coming along nicely. I just started working with my third skein of yarn and have about twenty inches of the blanket completed (according to the pattern directions it’s supposed to be thirty-six inches). I’m thinking that I am going to need another skein of yarn to complete the border around the blanket – thankfully this yarn doesn’t have a dye lot number. I was on the fence as to whether I was going to add the border because the directions sounded a little confusing, but, I am sure once I start it will make more sense.

IMG_9282

Something that wasn’t on my to-do list but I received a request for was a few ruffle scarves. Luckily these only take me a few hours to make so I had no trouble knitting them up.

IMG_9275

It wasn’t all about crocheting and knitting this week. I also tested out a vanilla cake recipe for a Minnie Mouse cake that I am making this weekend. Unfortunately I wasn’t too pleased with it so I’ll be sticking with a box cake to ensure that it comes out well. I also needed to brush up on my cake decorating skills for this cake so I was busy doing that as well. Coming up next week… hopefully a completed blanket and pictures of the Minnie Mouse cake.

It’s Time To get Beading and Crocheting/Knitting

I’ve been piling up yarn for the past month or so for knitting and crocheting projects and I finally decided it was time to start working on them. On my plate I have two baby blankets, a cardigan and a scarf to make. I definitely have to get the blankets done, but, there is the possibility that the cardigan and scarf will end up sitting on the back burner once I am done with the blankets. I tend to push big projects that are for myself further and further down my to-do list as other things come up, especially if they are quick and easy.

IMG_9255

First up a baby blanket using Red Heart Soft Baby Steps Yarn in Light Grape.

IMG_9261

While I thought it was going to take a while to work this blanket up, after a few hours of crocheting I am happy with my progress and am looking forward to the finished product.

IMG_9269

I also have some beading projects that I am eager to get done as well. In a recent issue of Bead & Button magazine there were a few pieces that piqued my interest. While going through my own collection of beads to pick out colors I realized that I wasn’t too happy with the colors I had so I decided to take advantage of a sale at a beading website and stocked up on some different colors of size 15 beads. I also added some bugle beads, tila beads and cabochons to my collection.

IMG_9247

Stay tuned to see what I create!

The Runaround Knit Cowl

It’s my first project of the New Year and it’s a simple and versatile one! It’s called The Runaround Cowl and I came across it on a Lion Brand Yarn Facebook post. Originally it came from a blog known as Smashed Peas and Carrots and can be found here: Smashed Peas and Carrots: The Runaround Cowl

As for supplies, all you need is one skein of Lion Brand Homespun Yarn and Size 15 knitting needles. While Homespun yarn does come in an array of colors I am not too fond of the heather and striping colors so I chose to stick with something neutral – Cream.

IMG_9209

At first I was a bit unsure of how the end product was going to look. I started and wasn’t too happy with how it was working up and it took some getting used to working with the yarn. Sometimes my tension is a bit too tight and that can make working with this yarn a little frustrating.

IMG_9216

Unfortunately once I got on a roll I somehow ended up with an extra stitch and instead of trying to correct the problem I opted to just start over. This is one of the reasons I prefer crocheting over knitting, it’s much easier to correct any errors. The second time around I was much happier with how it was looking and after a few hours of knitting I reached my desired length of 55 inches – I decided to make mine a few inches longer than the directions said. I will also note that while the directions state to bind off in pattern I decided to bind off by knitting my last row, I just find it easier to do that and I figured it wouldn’t alter the look of the cowl since I was going to stitch the two ends together.

I then weaved in the ends of my yarn, created a twist and stitched the ends together. And voila I had a new cowl! Once the weather gets a little warmer I’m sure this will become one of my go-to scarves.

IMG_9220 IMG_9234 IMG_9236

Runaround Cowl

Courtesy: www.smashedpeasandcarrots.blogspot.com

Cast of 25 stitches

Row 1: *K1 P1, Repeat from * across, K1

Continue with this pattern until cowl measures 50 inches or your desired length.

Bind off loosely in pattern.

Weave in tails.

Sew short ends together with a yarn needle making sure that you have made one twist in the cowl before sewing ends.