I’ve posted quite a few loaf cakes this year. They are just so easy to make, and you get so much so flavor without having to do too much, i.e. decorate. And most of them are perfect for any time of the day… As a treat for breakfast, a snack in the middle of the day or for dessert in the evening. Today’s Orange Pistachio Loaf Cake is no exception to any of this. The citrus flavor of this loaf cake makes it perfect for the warmer months ahead when you want something sweet but not too heavy. And you don’t have to whip out your hand or stand mixer to make it. Simply whisk the dry ingredients together in one bowl, the wet ingredients in another and then whisk both together before folding in the pistachio nuts. That was a bit out a mouthful, but rest assured this cake is easy to make.

And once the cake is baked and cooled it’s time to make the glaze. Previously, I would skip adding glazes to my baked items. Whenever a recipe included it, I just assumed that it would add too much sweetness, but I have come around and realized that what it really does is enhance the flavor, well sometimes. For this cake I decided to add an orange glaze and top it with chopped pistachios to really kick up the overall flavor of the cake.

Orange Pistachio Loaf Cake
Ingredients:
For the loaf cake:
2 cups flour
1 teaspoon baking powder
1/2 teaspoon baking soda
1/2 teaspoon salt
1/2 cup freshly squeezed orange juice (2-3 navel oranges)
1/4 cup vegetable oil
1/2 cup sour cream
2 large eggs
1 teaspoon vanilla extract
Zest of 1 orange
1 cup sugar
1/2 cup chopped pistachios
For the glaze:
1/2 cup confectioners’ sugar
1 teaspoon orange zest
1 – 2 tablespoons fresh squeezed orange juice
2 – 3 tablespoons chopped pistachios
Directions:
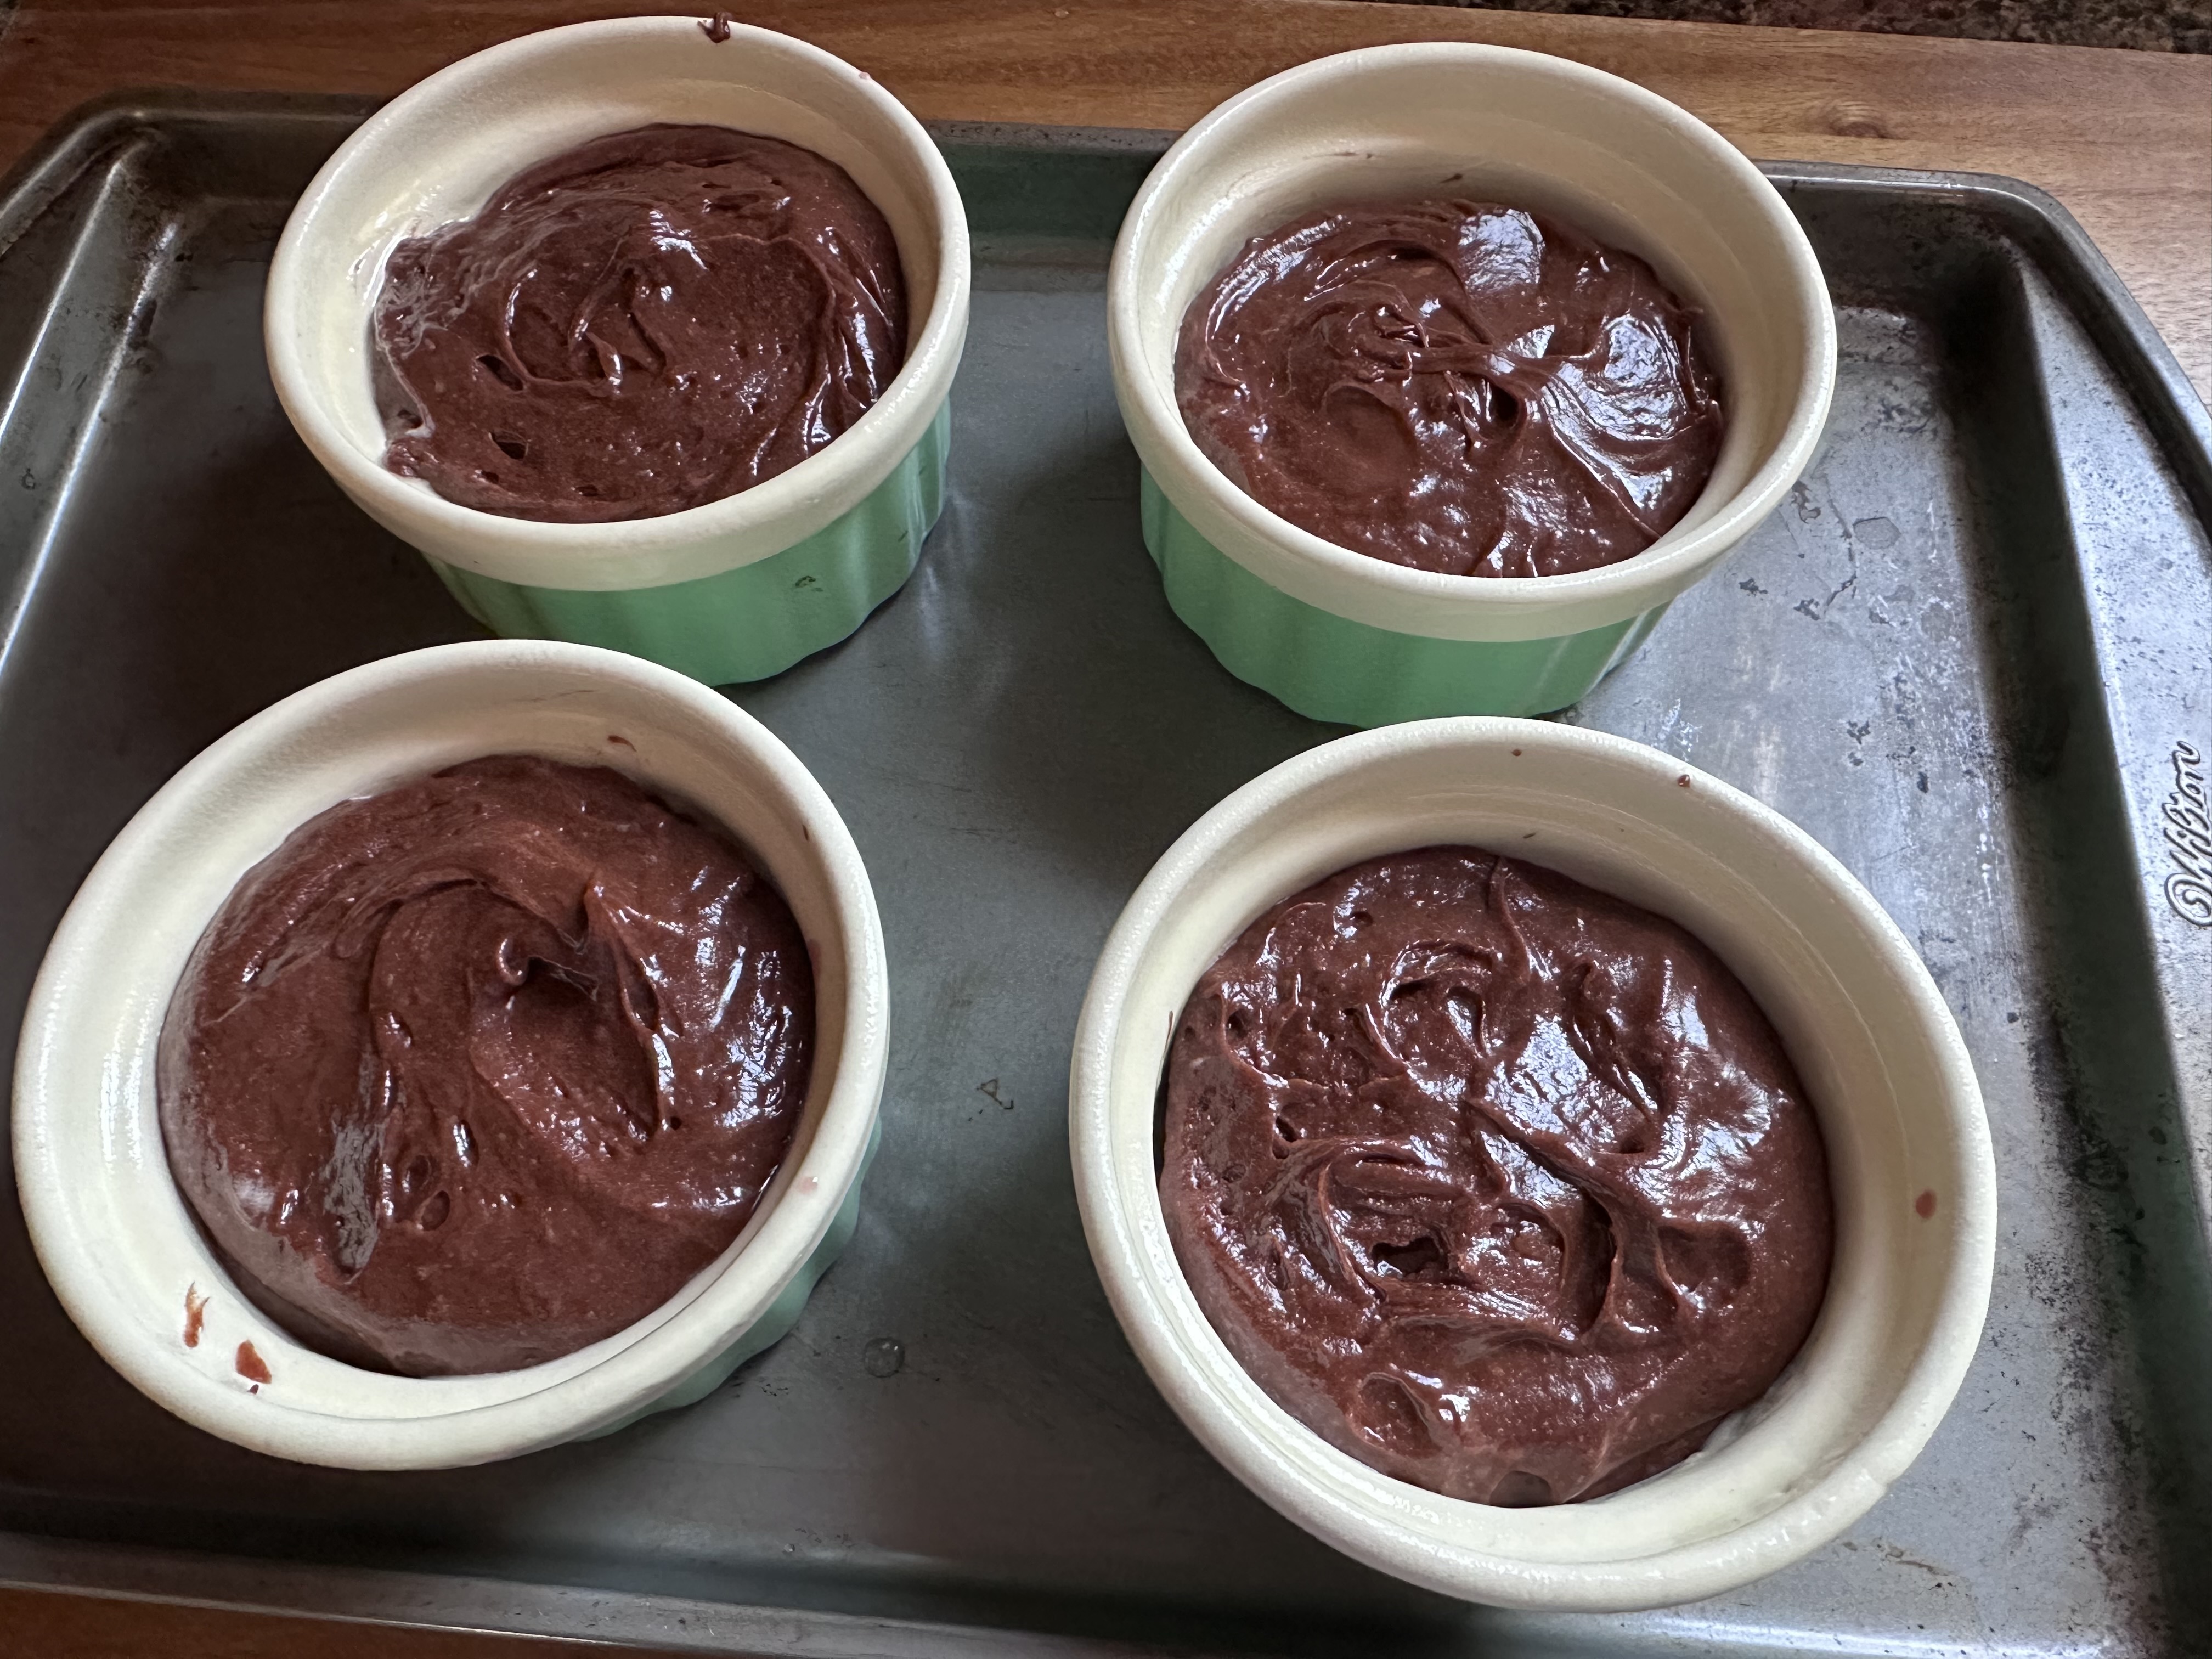
Preheat oven to 350 F. Spray a 9 x 5 – inch loaf pan with baking spray and set aside.
In a medium bowl, whisk together the flour, baking powder, baking soda and salt. Set aside.
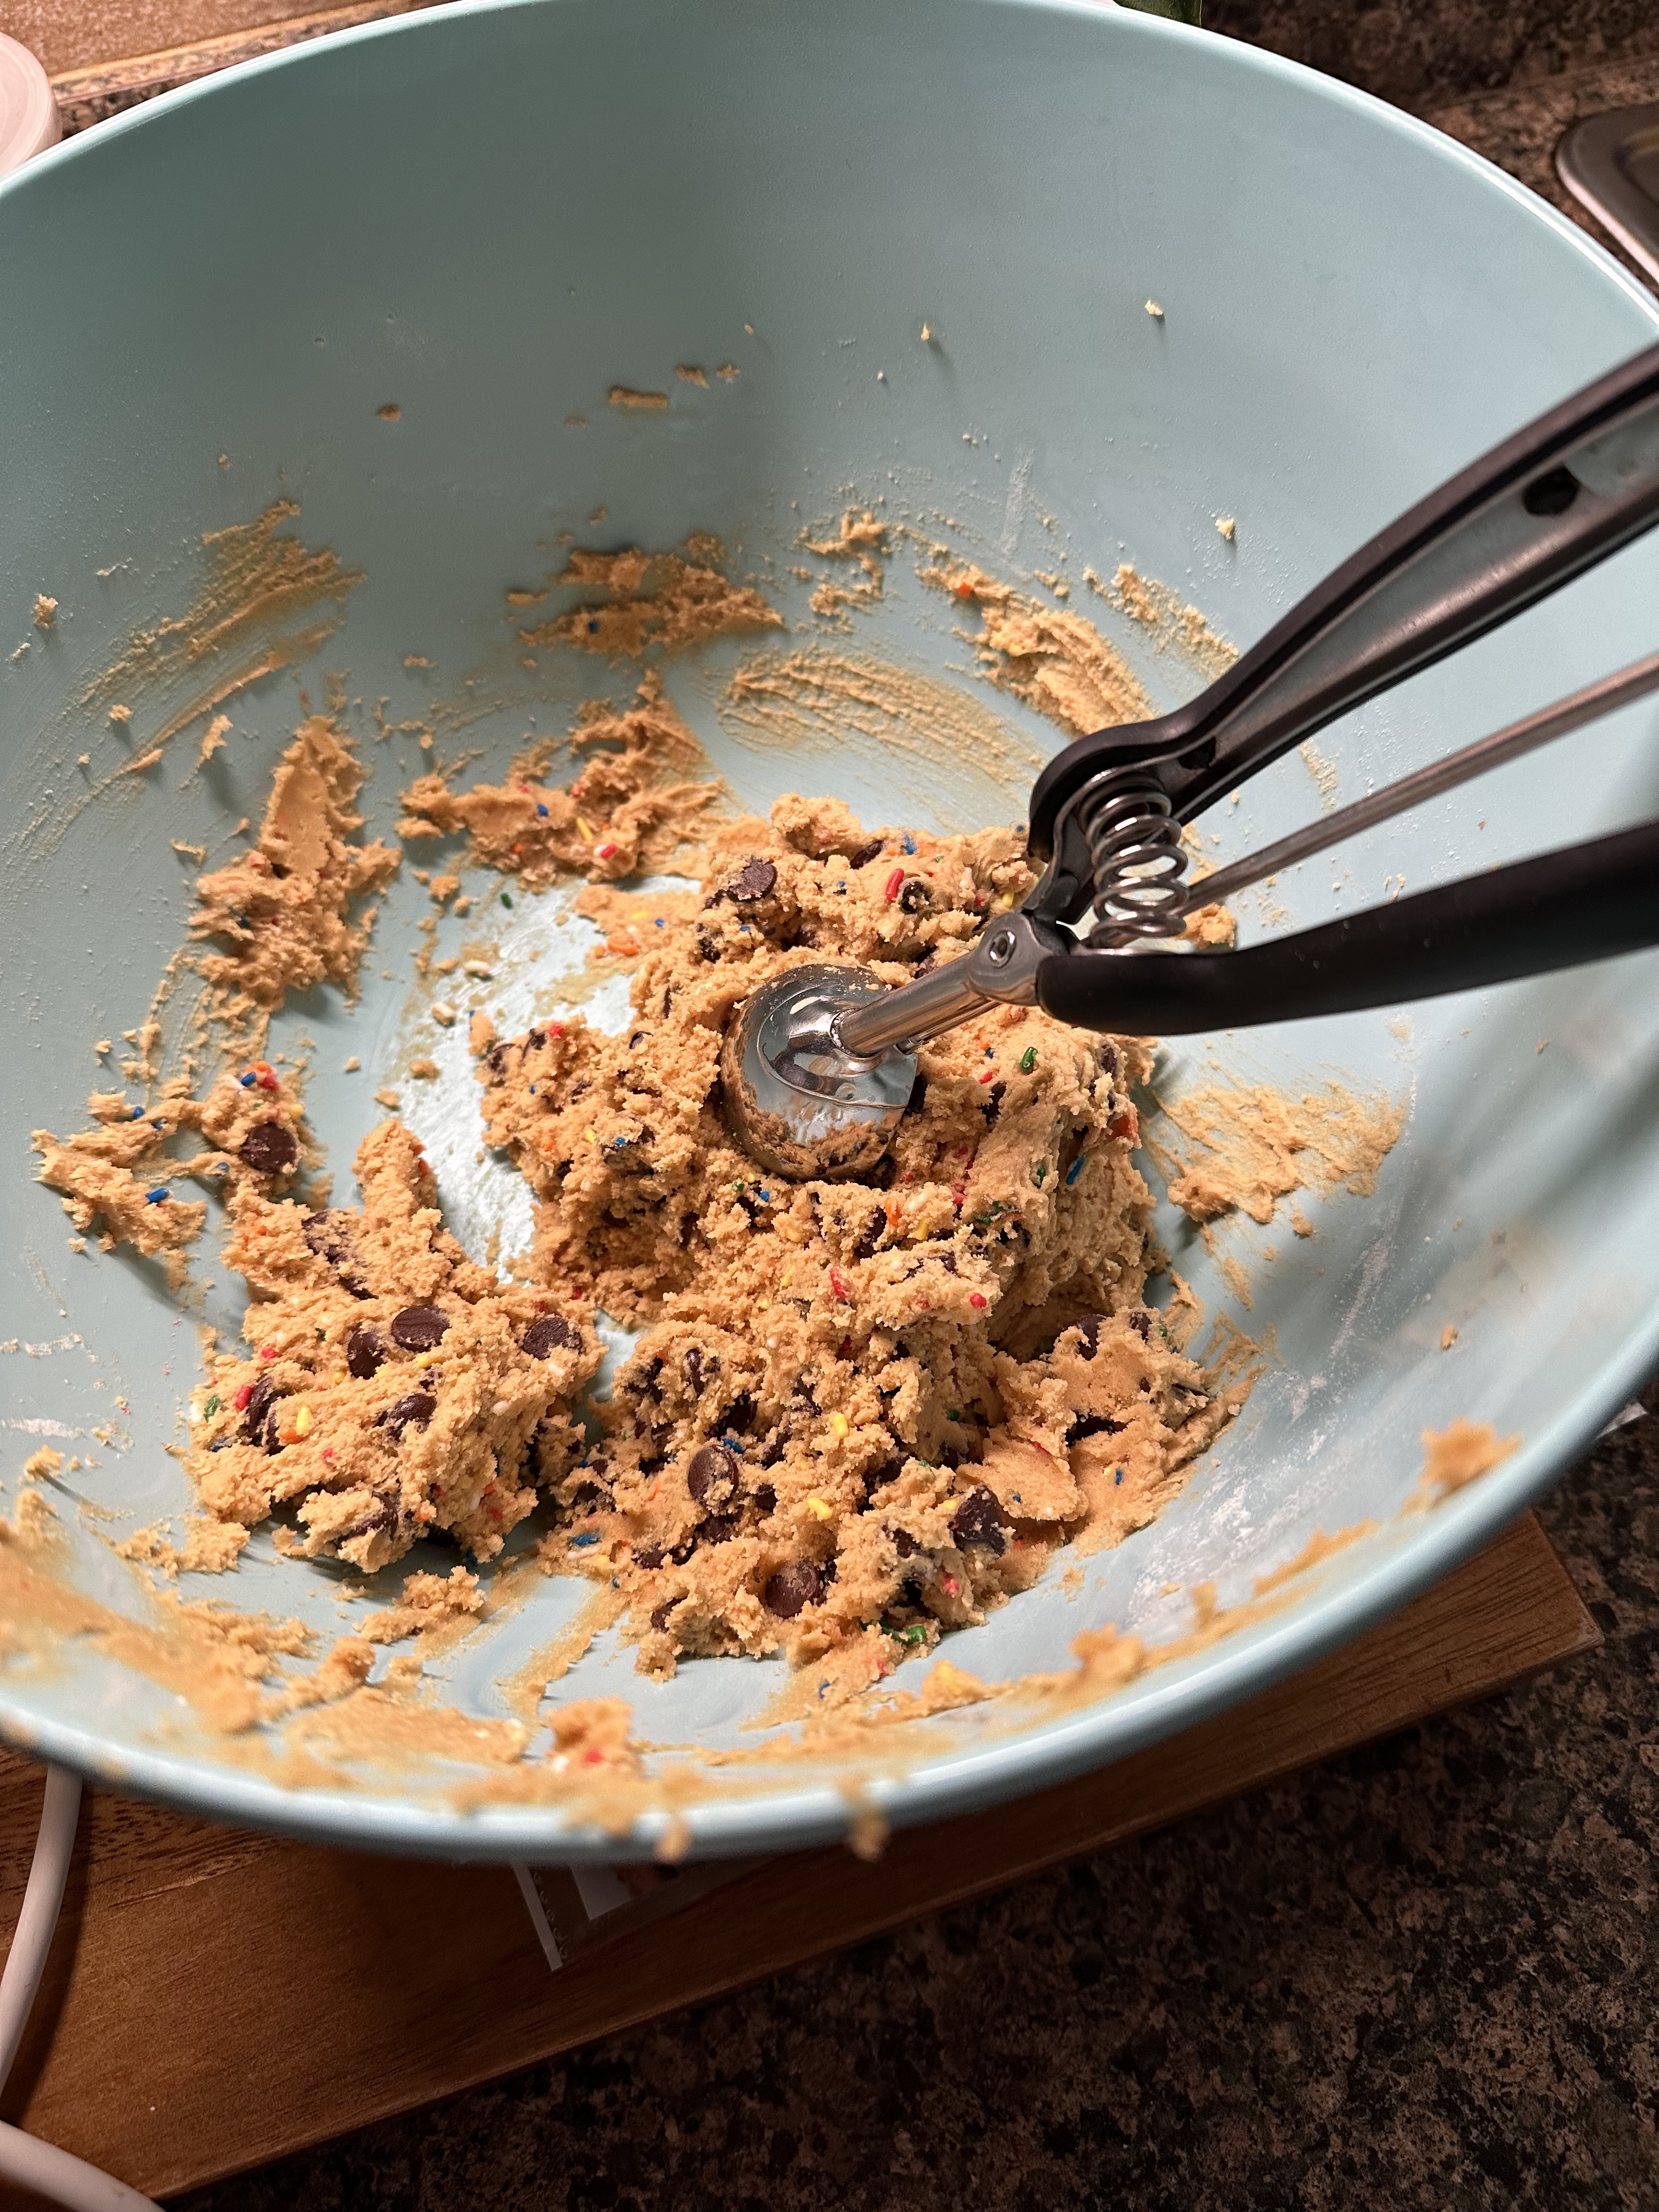
In a different medium bowl whisk together the orange juice, vegetable oil, sour cream, eggs, vanilla extract and zest until combined and then whisk in the sugar until well combined. Add in the dry ingredient and whisk together until just combined. Finally fold in the chopped pistachios.
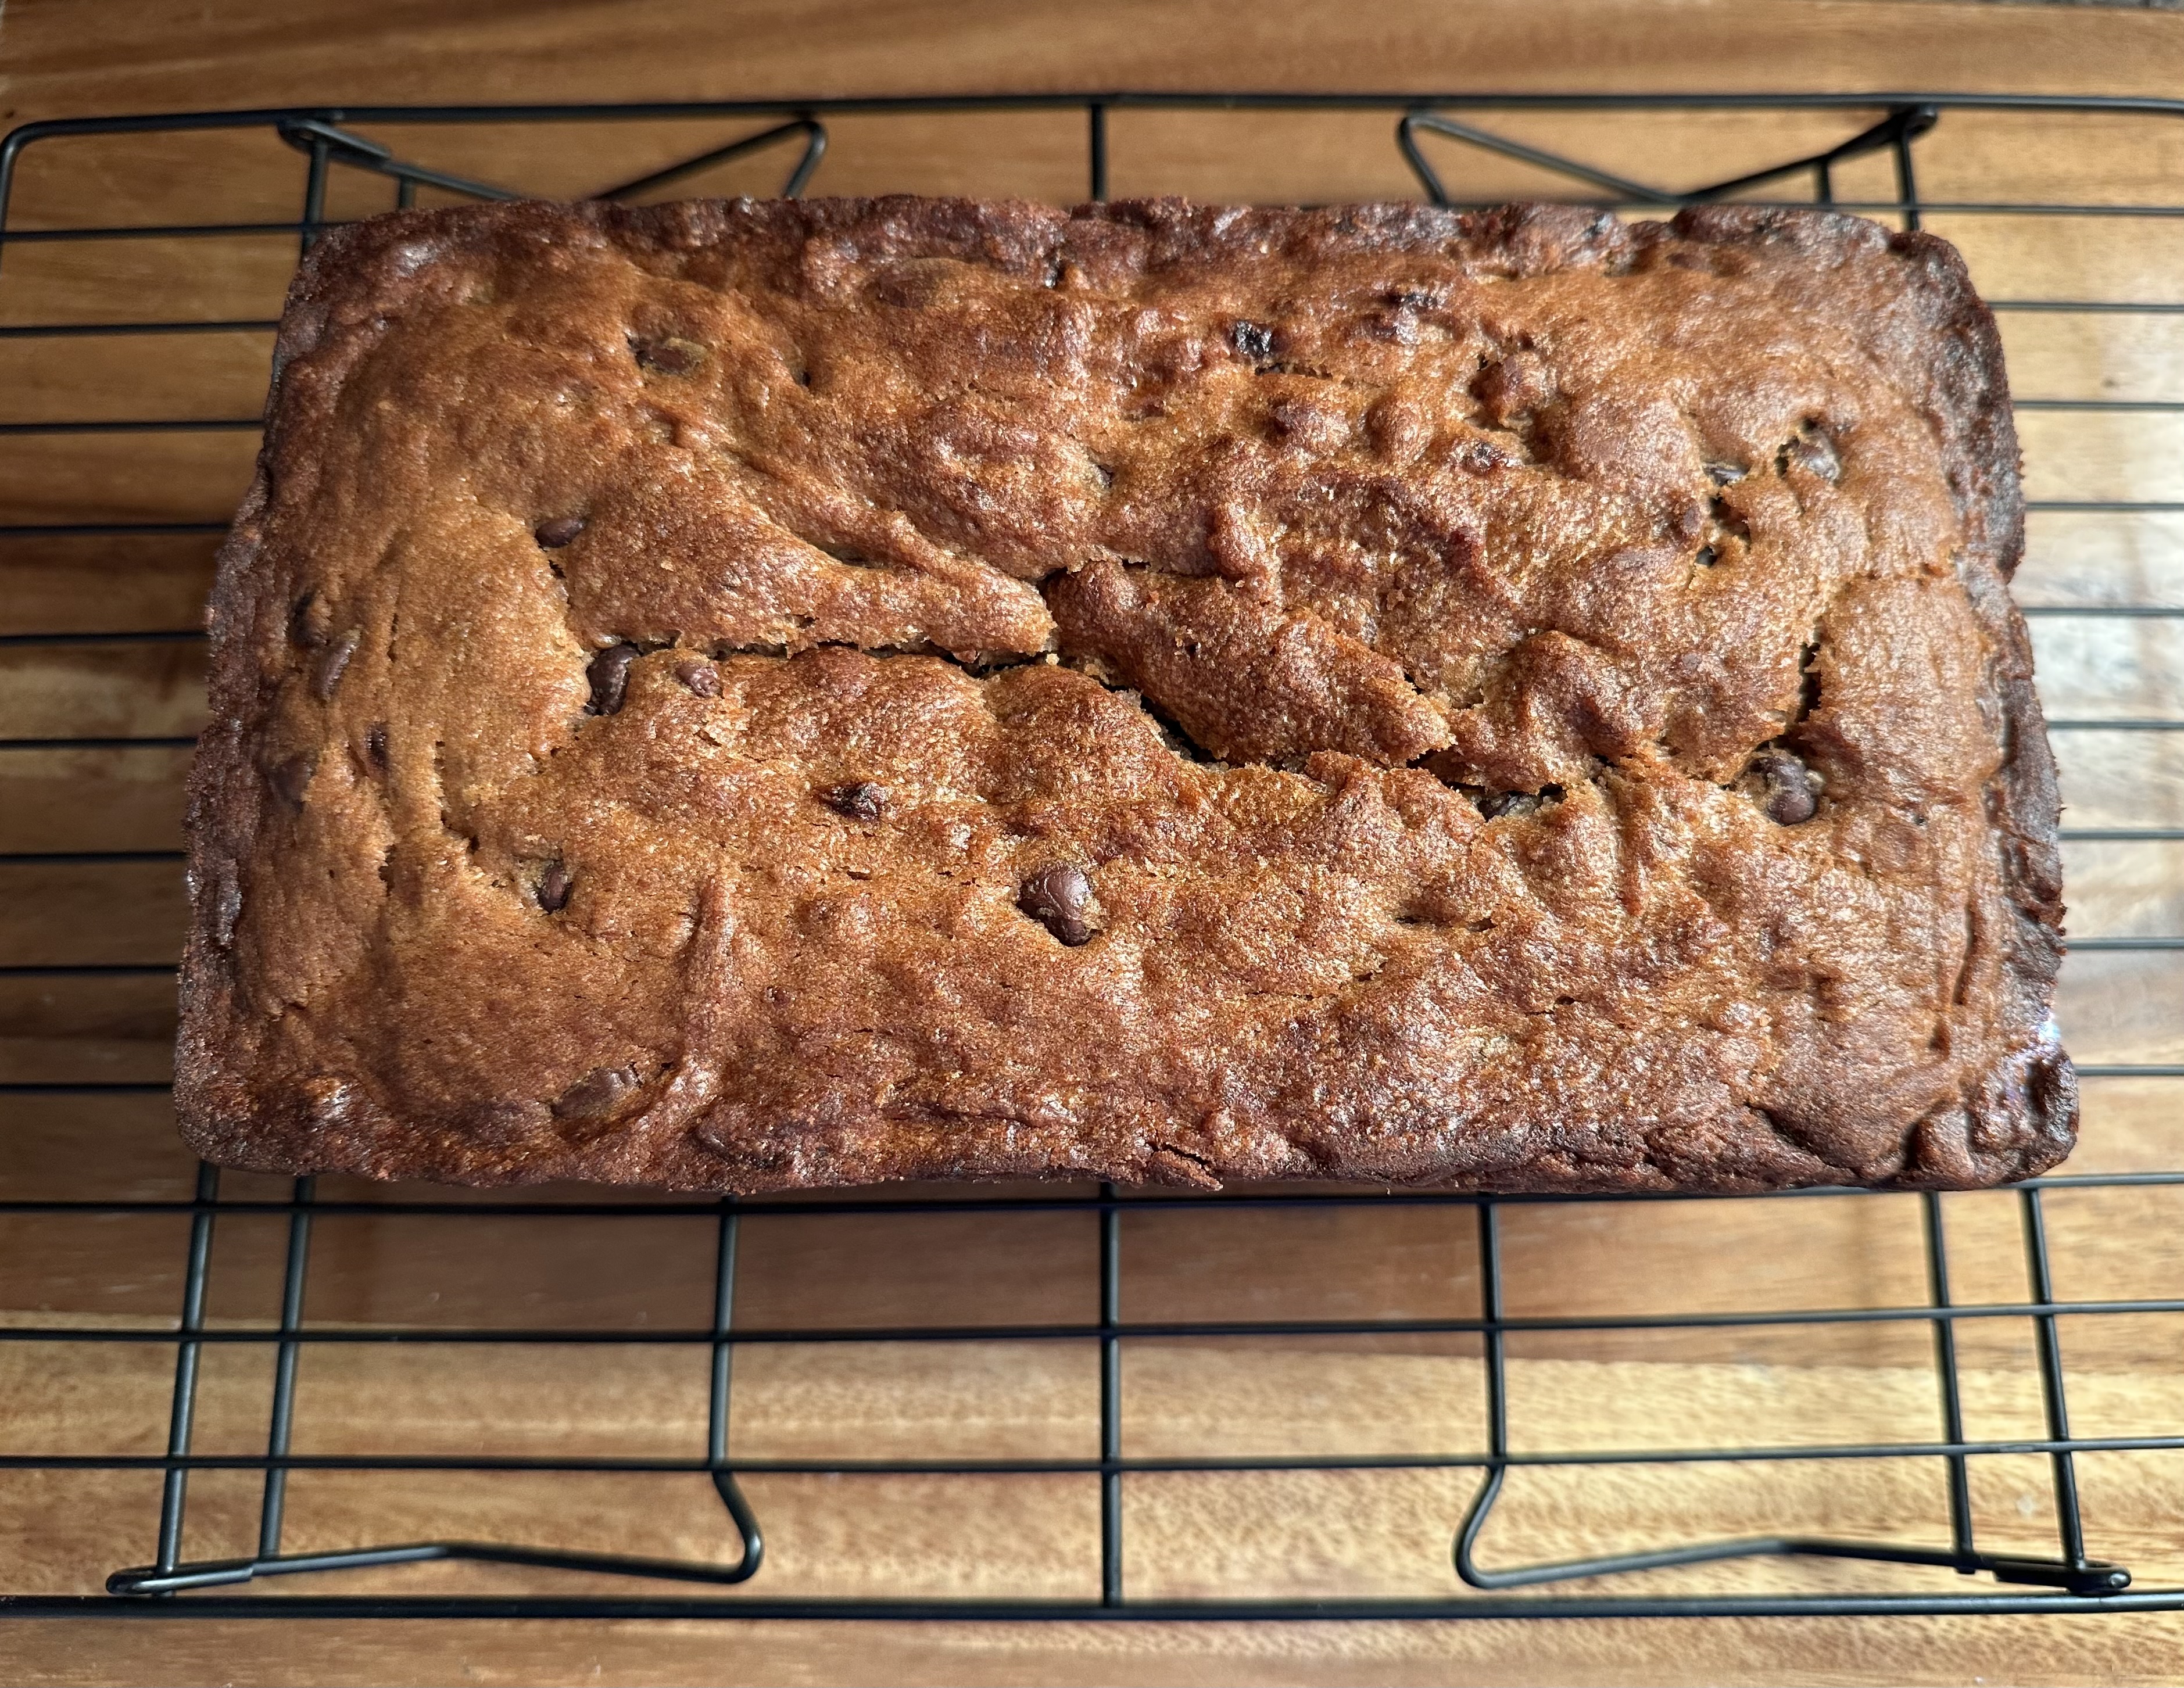
Transfer the batter to the prepared loaf pan and bake for 45-55 minutes, or until a cake tester inserted in the center comes out clean.
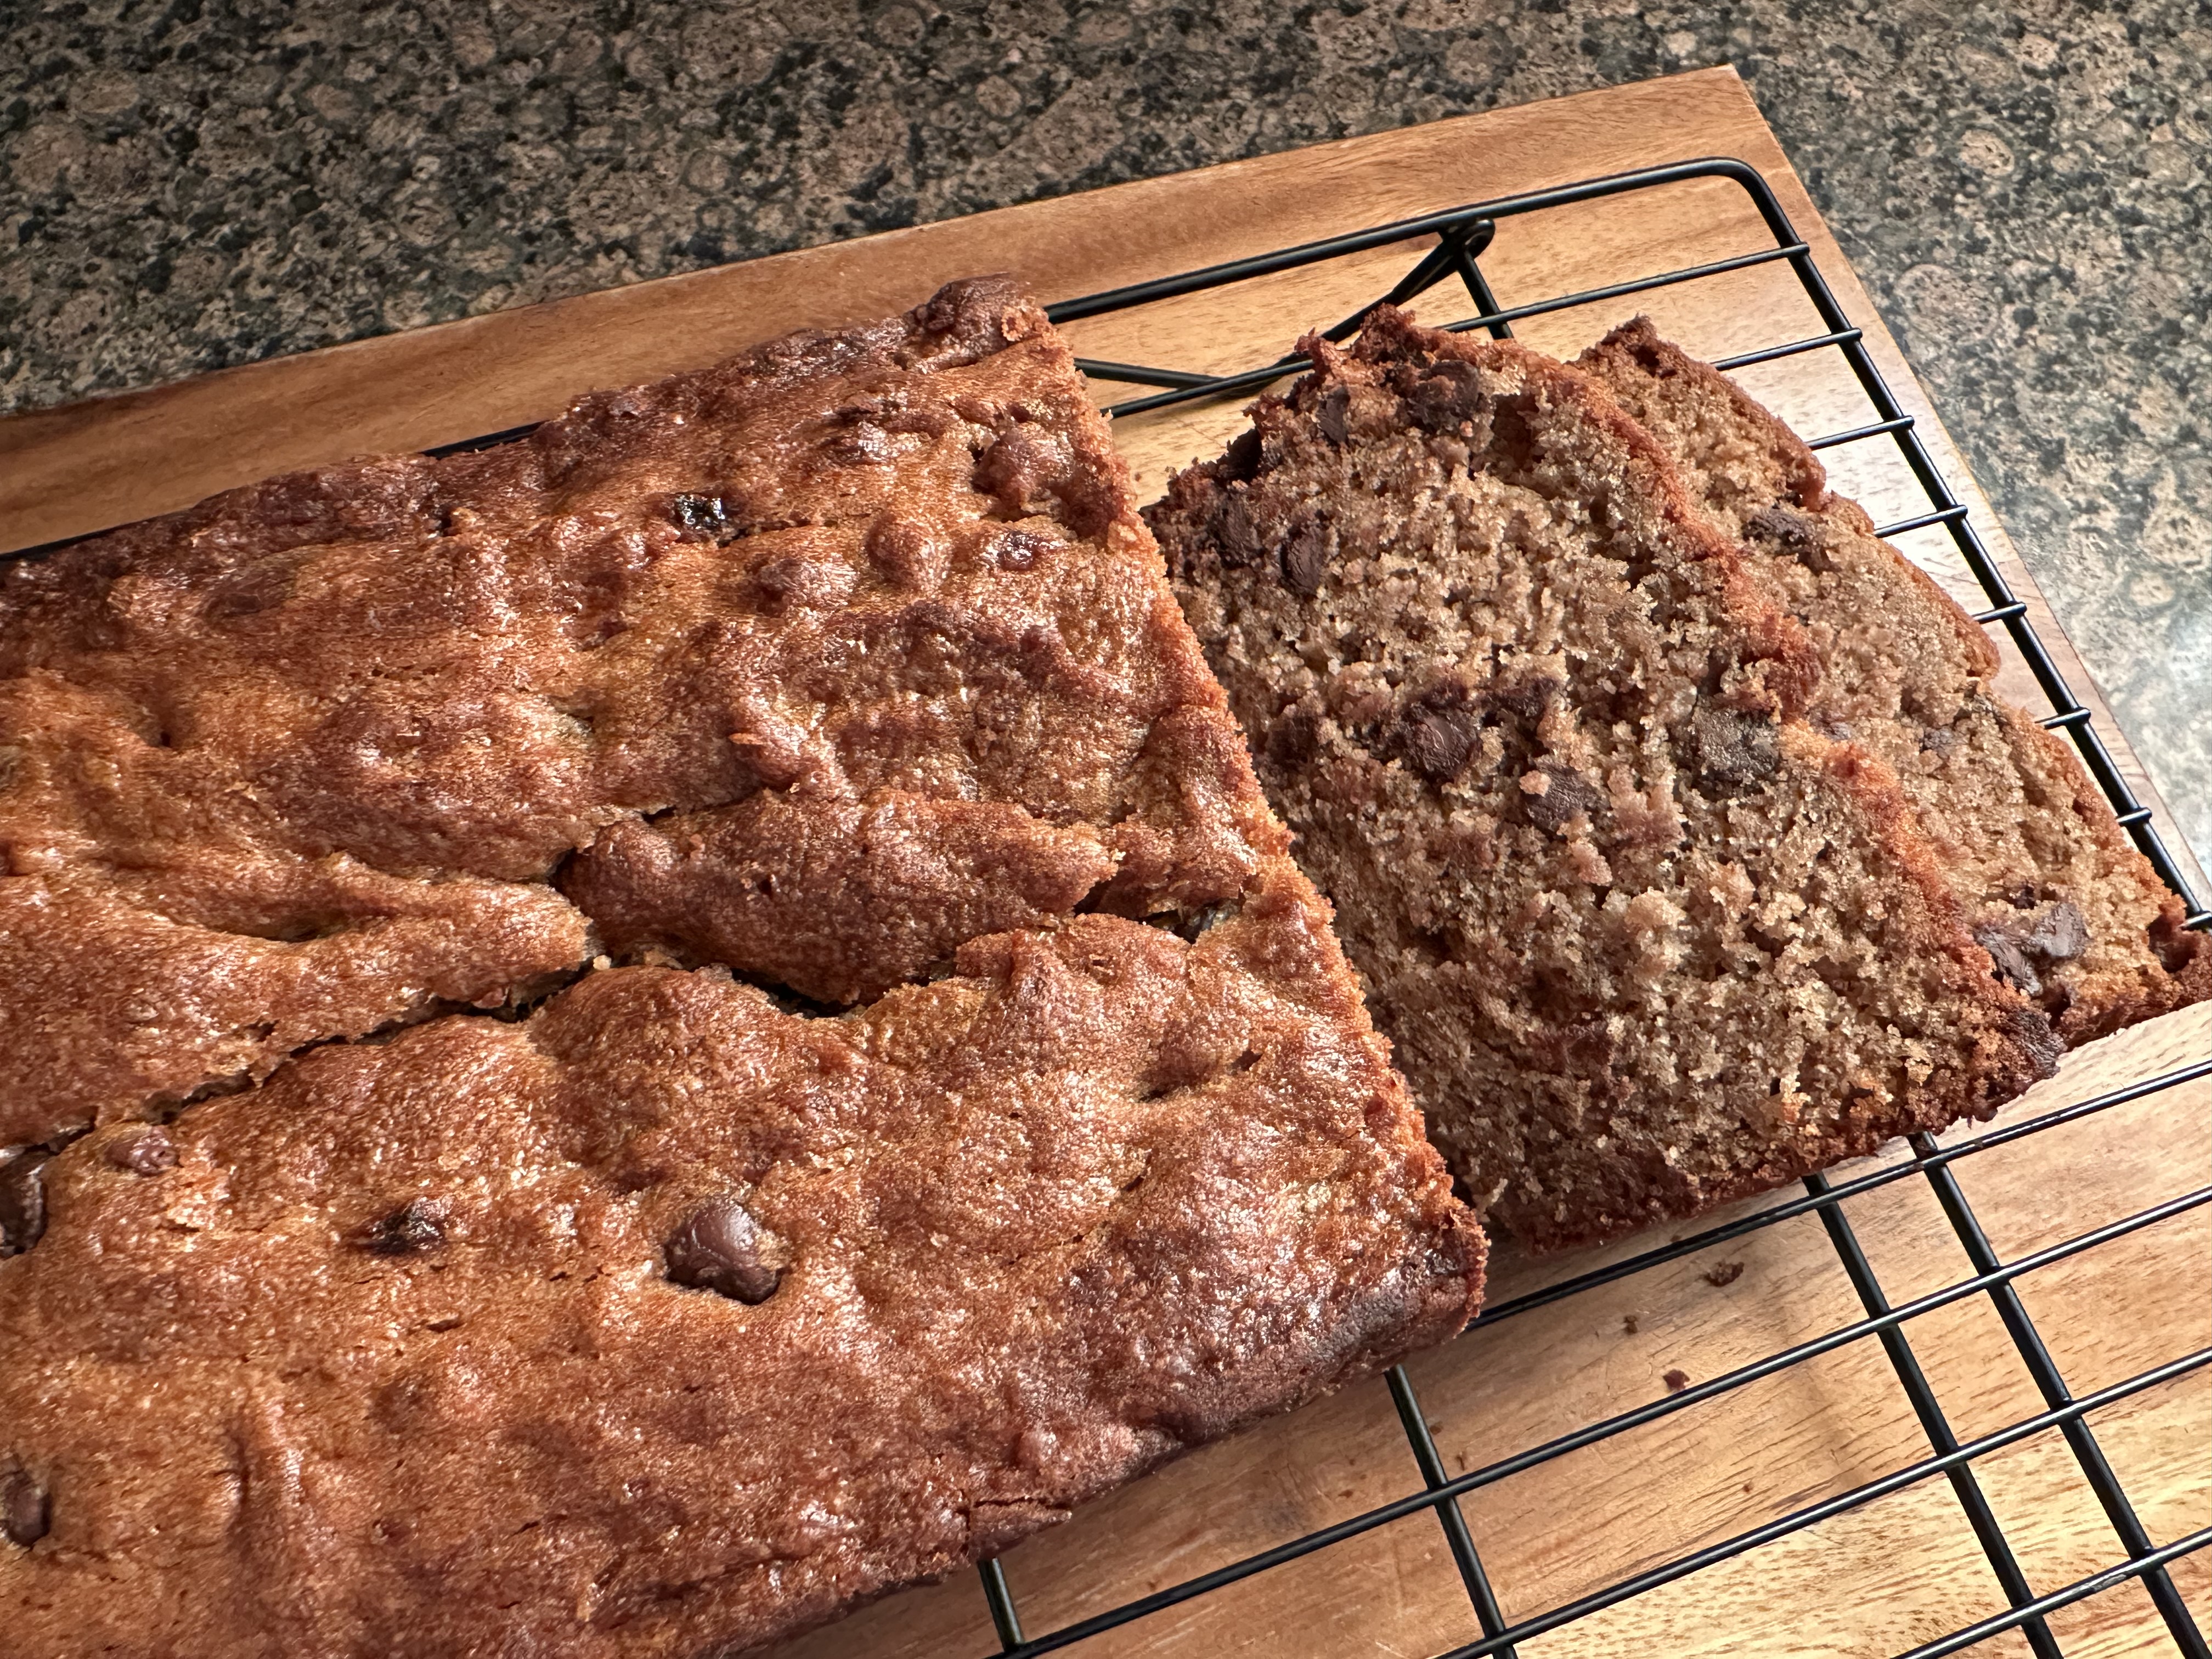
Cool in the pan for 10 minutes before removing and cooling completely on a wire rack.
Once the loaf is cool prep the glaze. In a small bowl whisk together the confectioners’ sugar, orange zest and orange juice. Start with a tablespoon of orange juice and add more as needed. The glaze should be pourable but thick. For an easier clean-up, line a rimmed baking sheet with wax paper and place the wire rack with the loaf cake on top of the wax paper. Drizzle the glaze on top of the cake then sprinkle the chopped pistachios on top. To set the glaze quickly, place the cake in the refrigerator for 15-20 minutes.
Slice and enjoy!
Store cake in an airtight container at room temperature.
Recipe first appeared on Bead Yarn & Spatula.