Slow Cooker Sunday: Corn & Bean Enchilada Bake

You may have noticed that I haven’t been posting as many Slow Cooker Sunday recipes. It’s for a few reasons, one of them, I am running low on recipes. Quite a few of the recipes I have shared have been from this cookbook. While I haven’t tried them all, there are some dessert recipes I would like to try, I have tried those that sounded most appealing to me. Another reason, a lot of the recipes I come across are usually for 6- 10 servings, great if you are cooking for 2 or more people, but, since I cook for just myself that’s way too many leftovers. Don’t get me wrong, I love leftovers (especially since it means I don’t have to cook everyday),but, after eating the same thing for lunch & dinner after two or three days it just doesn’t taste the same by the 5th or 6th time eating it. And yes, I could start working on creating my own recipes, but, I am more comfortable creating recipes for stovetop and oven cooking. So, I did some research and came across the answer, a slow cooker cookbook with recipes geared towards 2 people. No more leftovers for days and days and days.

There’s a little bit of everything in this cookbook. A section on poultry, beef, breakfast, desserts and even seafood. Although, I always avoid making seafood in my slow cooker. I feel like since seafood cooks fast enough there’s no reason to slow cook it. Also, seafood odors can linger and cooking it in a slow cooker for hours on end may not be that delightful. So, I am geared with a new cookbook and ready to start using my smaller slow cooker to whip up some delicious meals that won’t be lasting me days on end.

First up, I made a Corn and Bean Enchilada Bake.

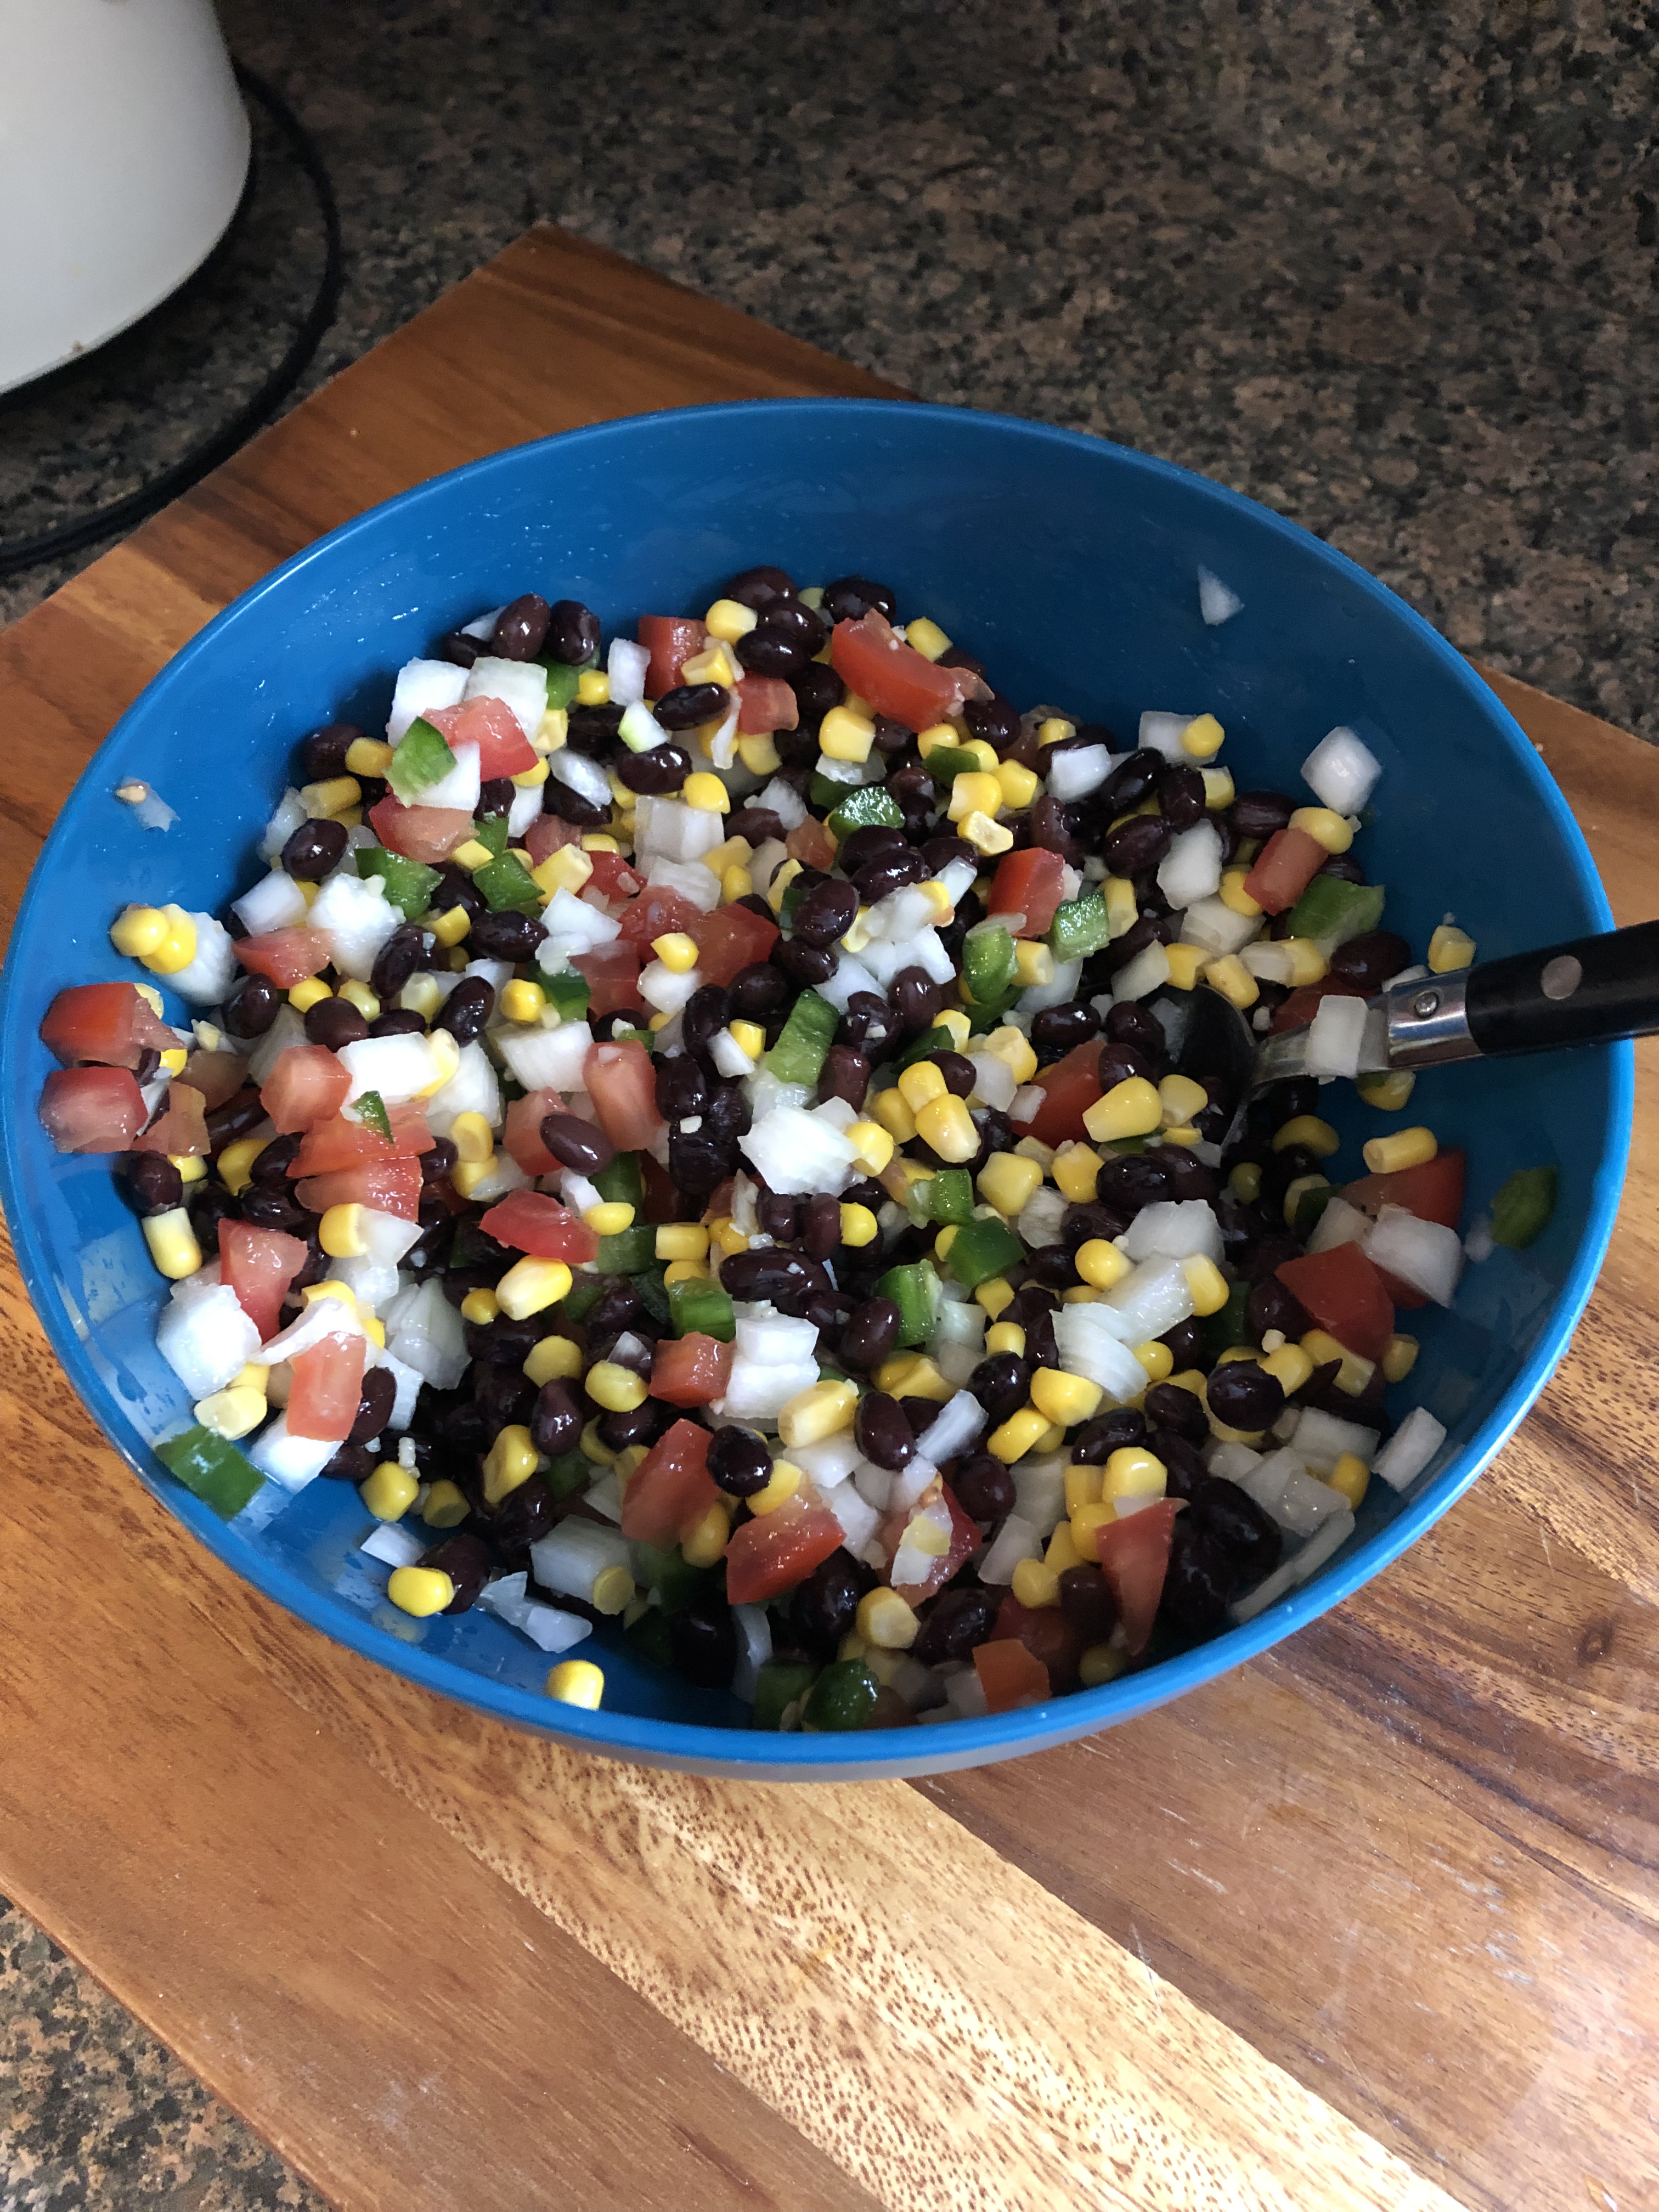
In a medium bowl I combined a chopped tomato, chopped onion, minced garlic, a minced jalapeno pepper, a can of black beans and corn.

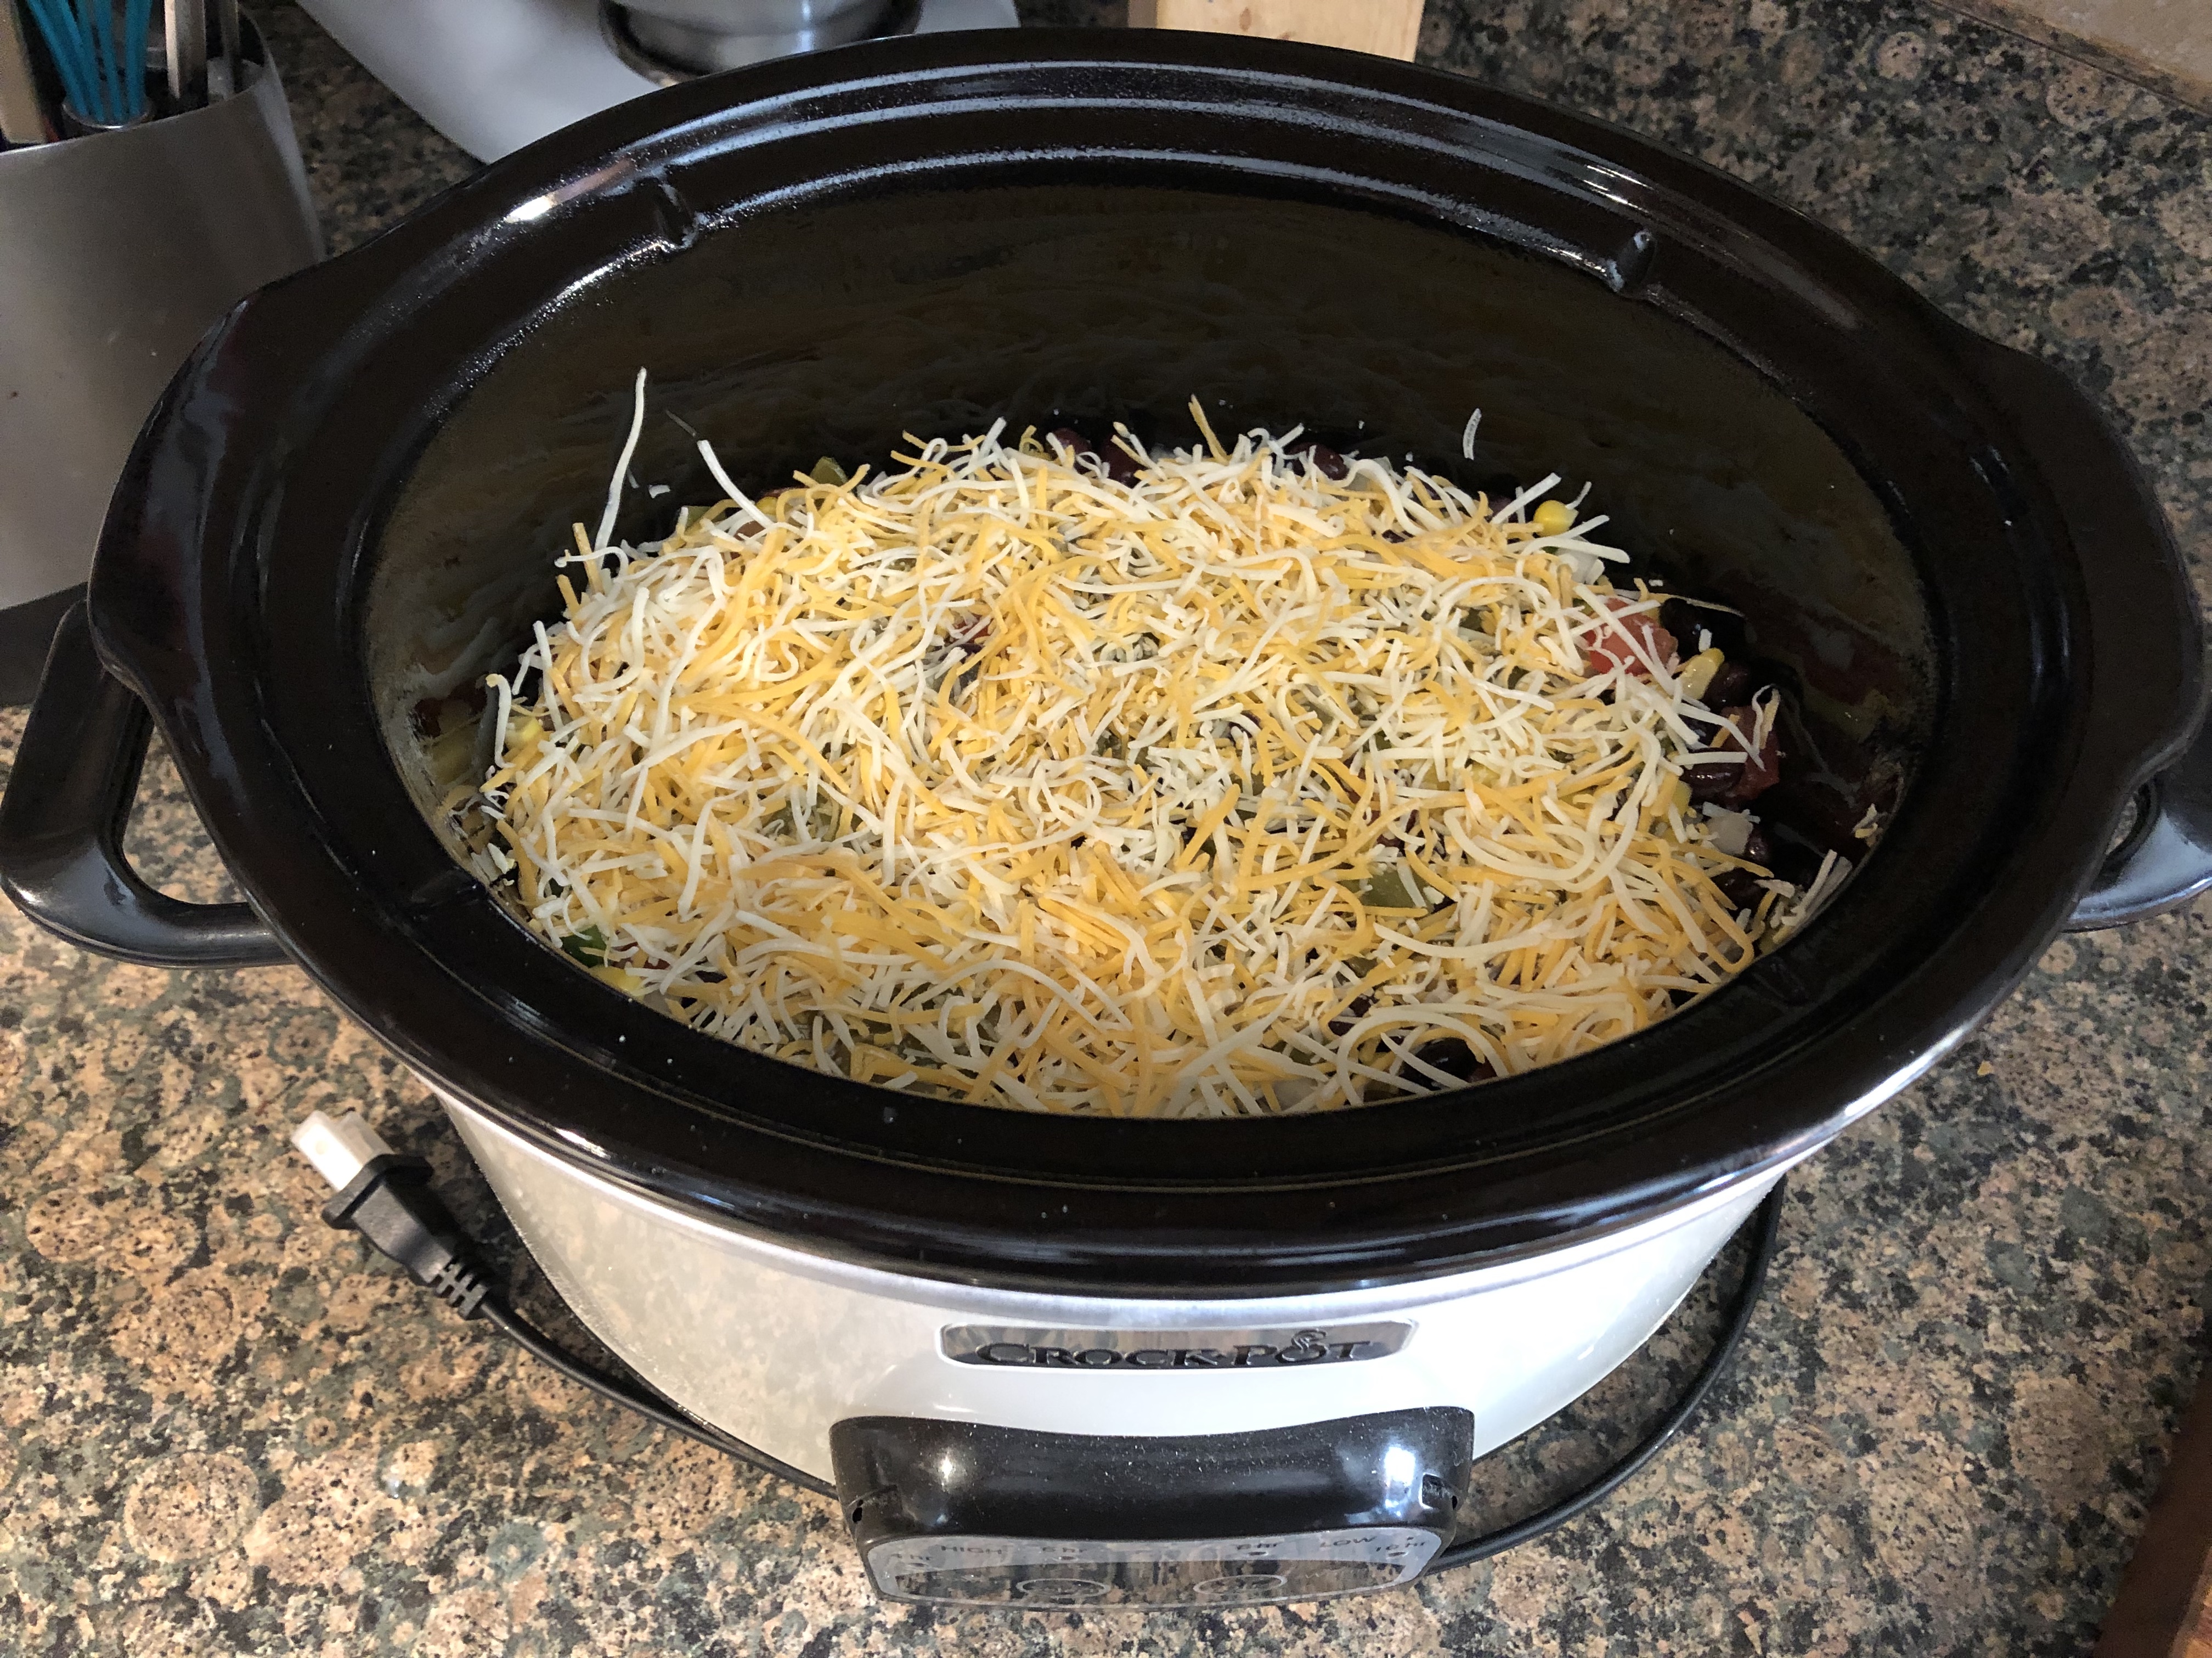
After spraying the insert of my slow cooker with cooking spray I layered the ingredients for the enchilada.

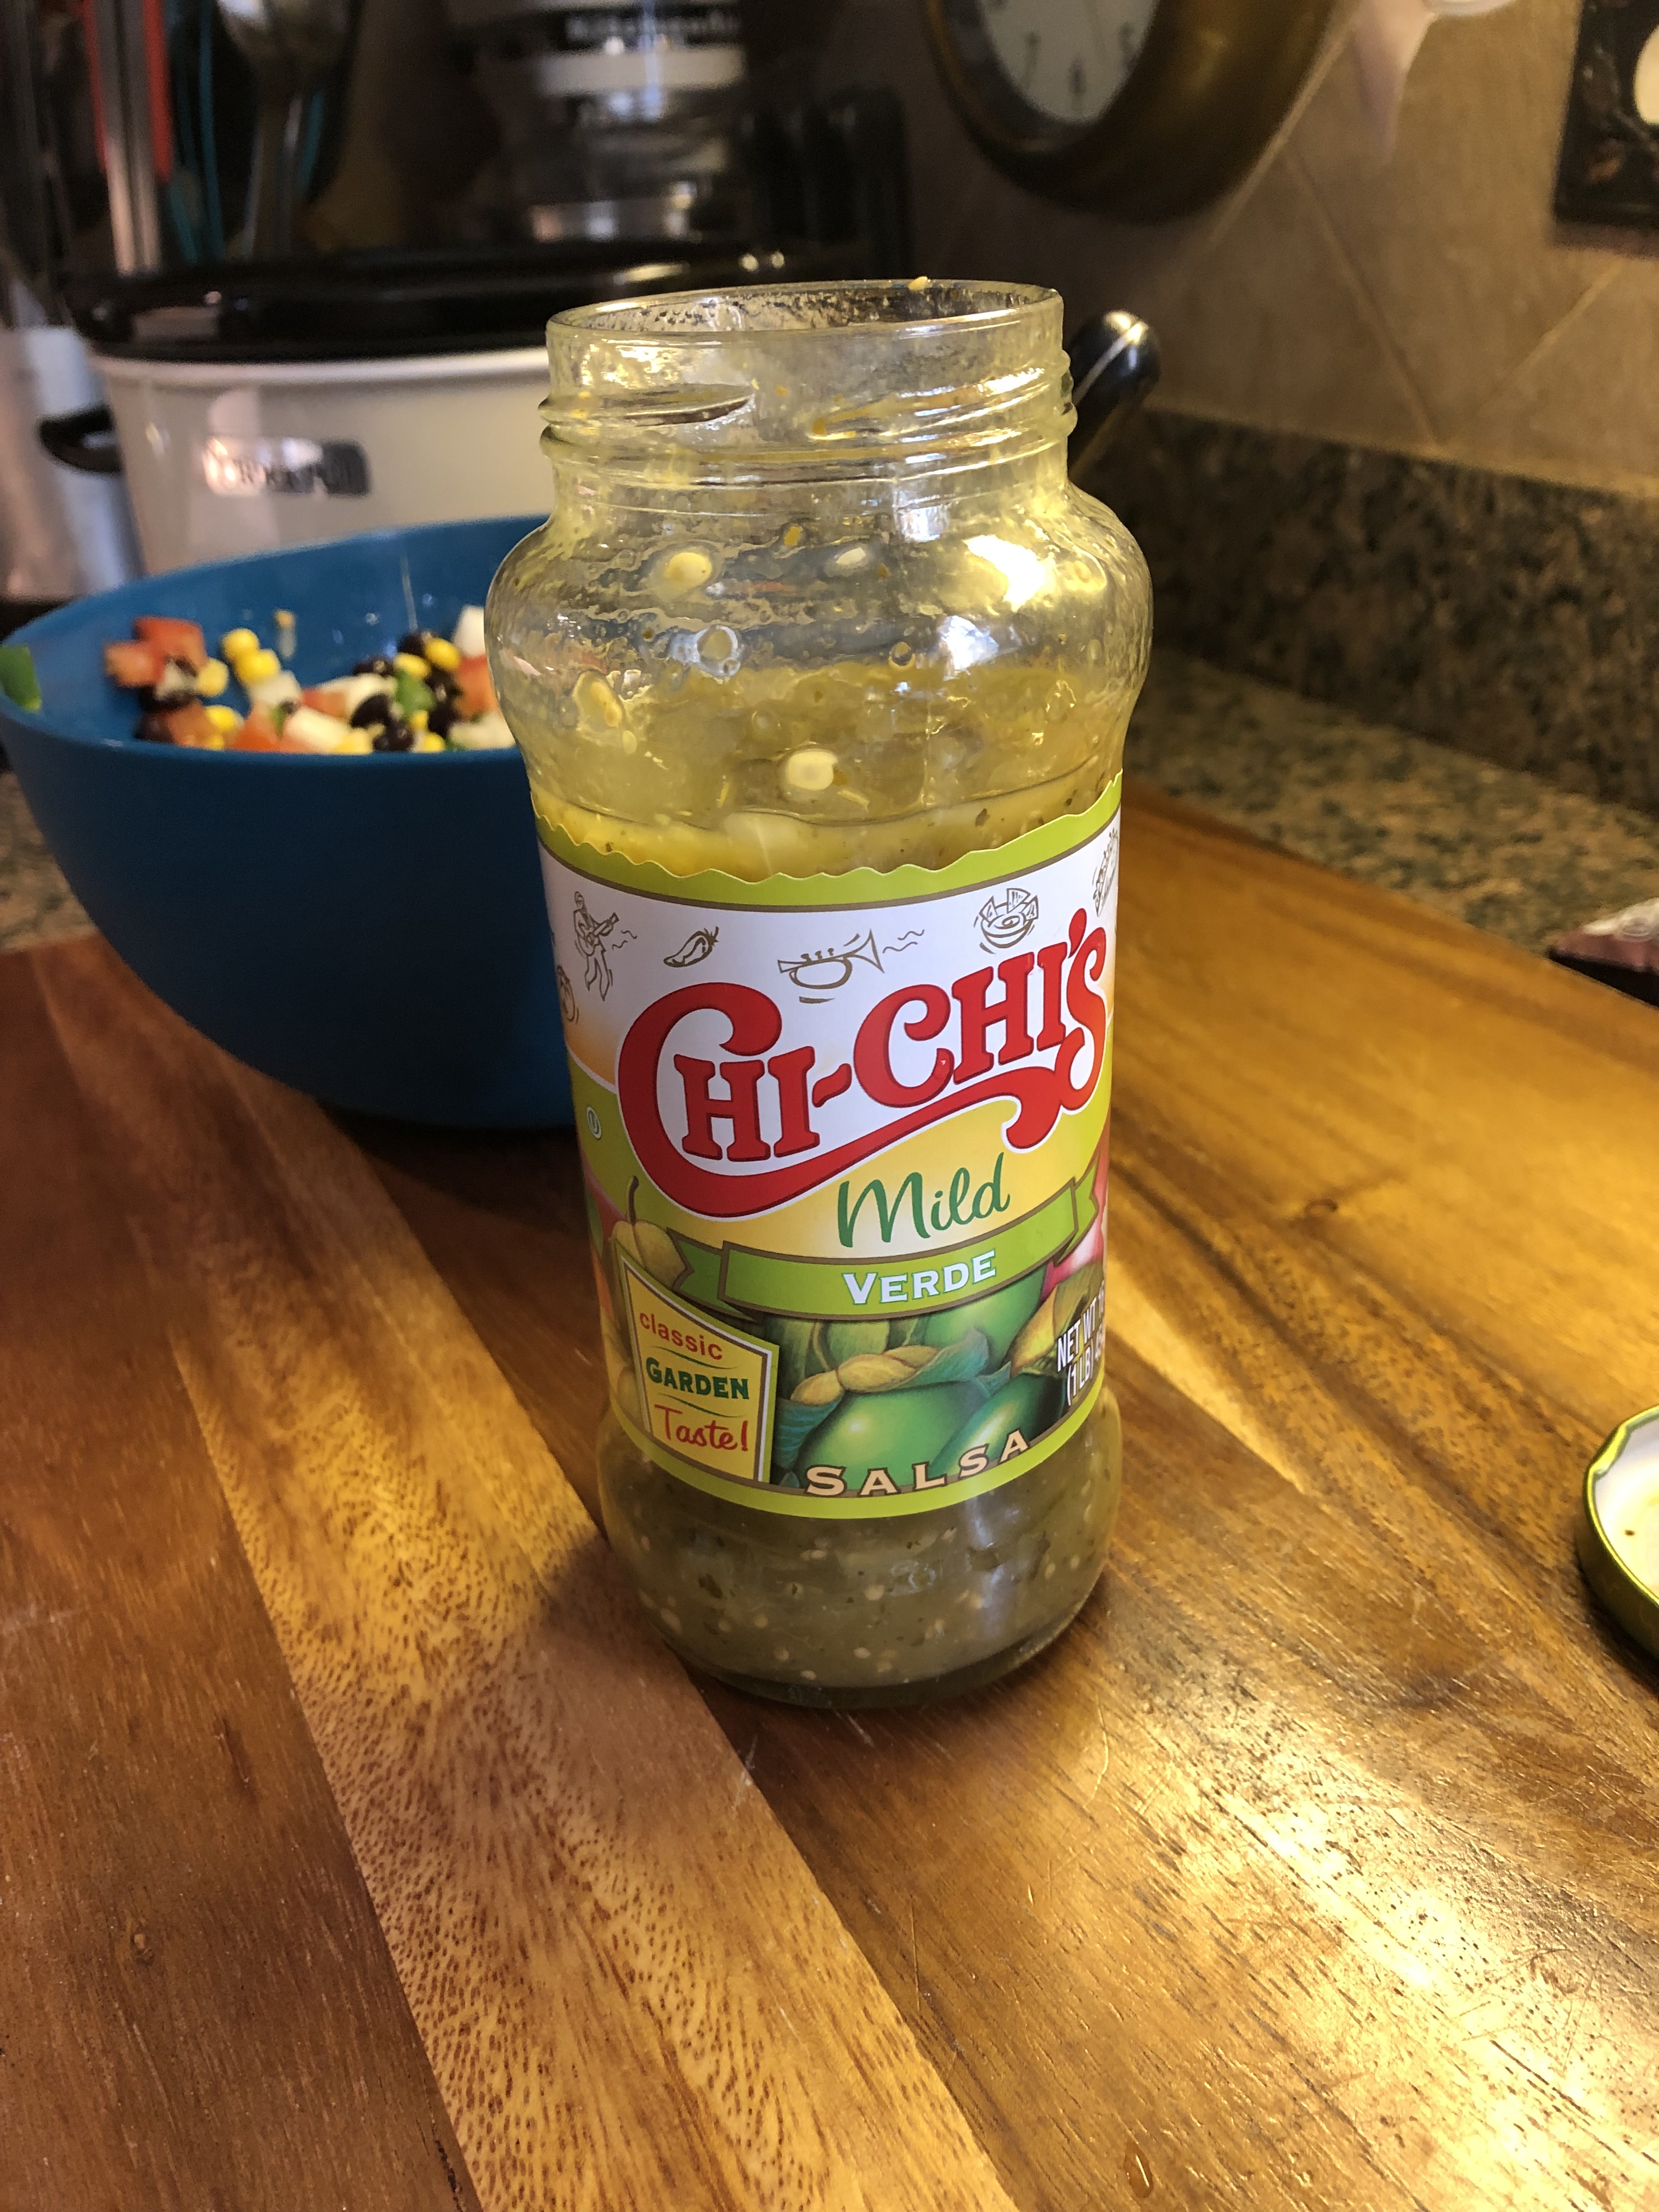
I poured salsa verde in the bottom of the slow cooker. While the cookbook does include a recipe for homemade salsa verde I decided to go the easier route and used store bought. I then topped the salsa with 3 corn tortillas, overlapping them. I poured half of the bean mixture over the tortillas and topped it with more salsa verde and finally shredded cheese. I repeated the layers once more and then covered the slow cooker and set it to cook on low for 6 hours.

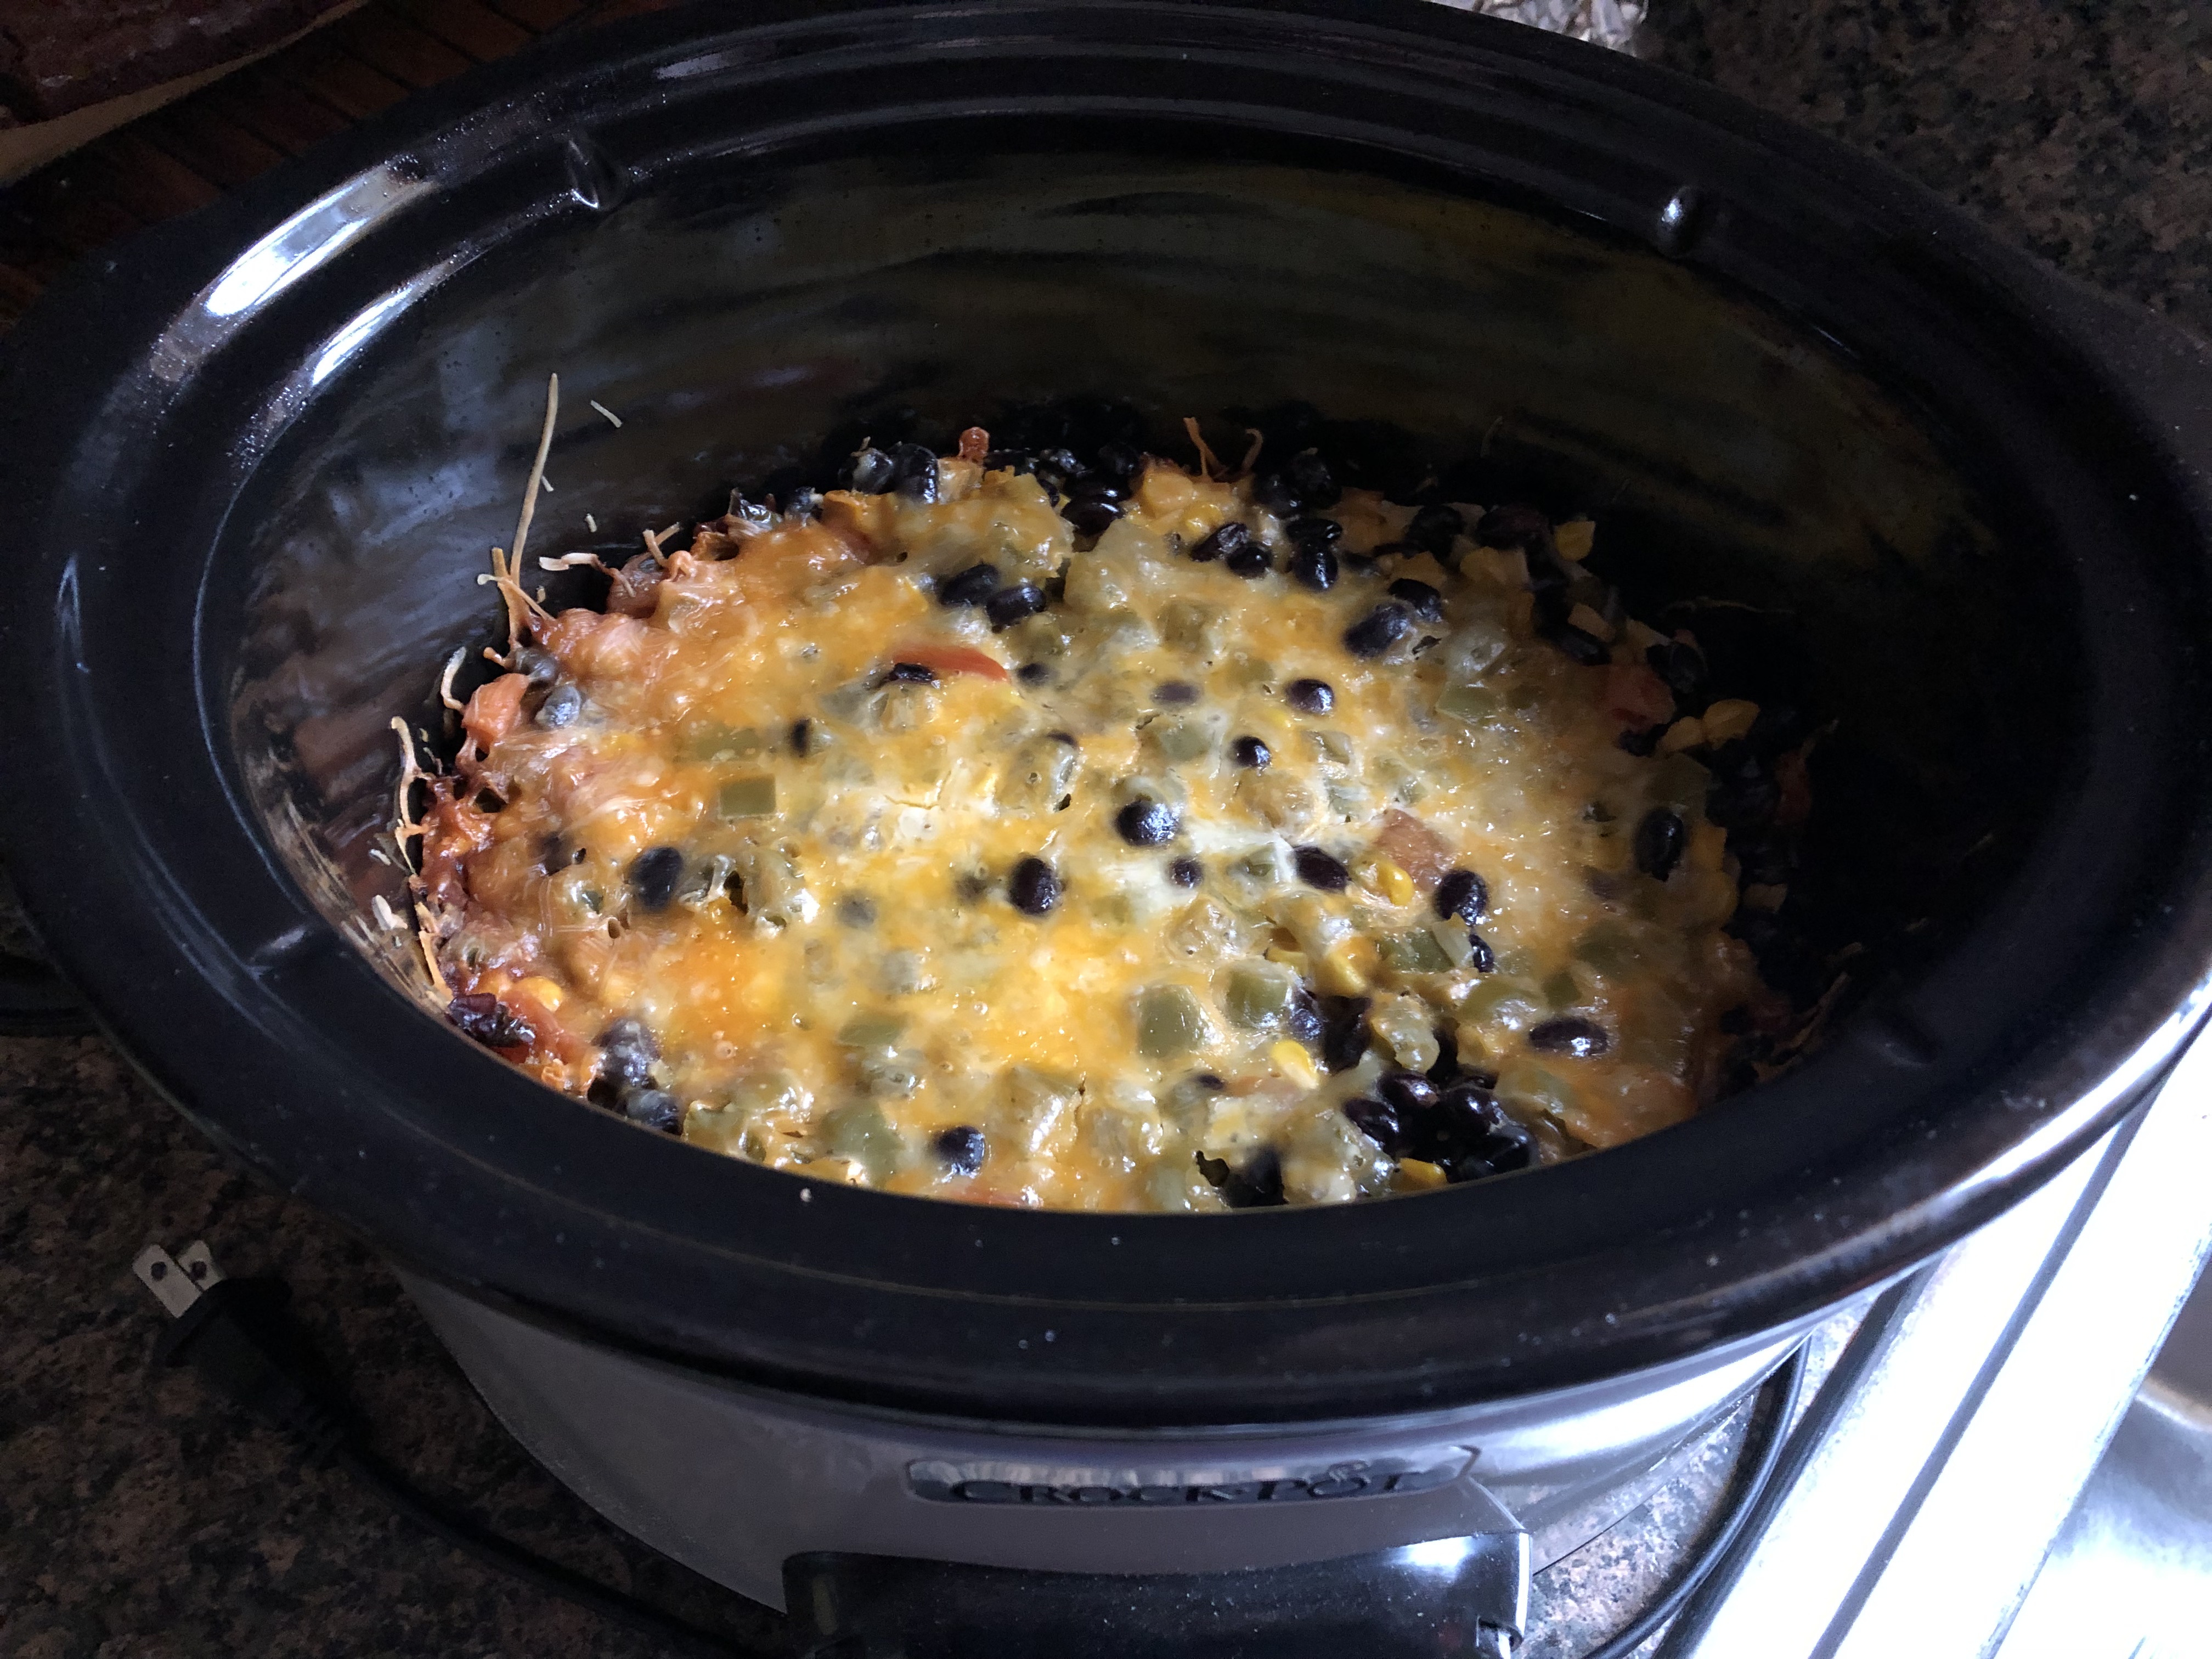
After the six hours the cheese had melted and the tortillas were soft. And I had the perfect sized meal for 2 lunches and 1 dinner.

Corn and Bean Enchilada Bake

Ingredients:

1 yellow onion, chopped

1 jalapeno pepper, minced

1 large tomato, seeded and chopped

3 garlic cloves, minced

1 14oz. can black beans, drained and rinsed

1 8.5oz. can yellow sweet corn

1 1/4 cups salsa verde

6 corn tortillas, taco style

2/3 cup Mexican blend shredded cheese


Directions:

In a medium bowl combine the first 6 ingredients.

Spray the insert of a slow cooker with cooking spray.

Pour 1/3 cup of salsa verde in the bottom of the slow cooker.

Place three of the tortillas in the slow cooker overlapping them. Pour half of the bean mixture over the tortillas and the top with half of the remaining salsa and half of the cheese. Repeat the layers, ending with the cheese.

Cover and cook on low for 6 hours.

Recipe from The Complete Slow Cooking for Two Cookbook


The Sofa

Who knew that a simple piece of furniture could change your perspective?

The same sofa sectional had been in my living room for as long as I could remember. My parents brought it to the house from their apartment in the Bronx when they purchased the house in the late 1970’s; so that should give you some idea of old it was. It was old school as well… covered in plastic that was cracking and dreadful to sit on in the dead of summer and had a gold paisley pattern on it. I’m not 100% sure why my parents never changed it. My Mom has a tendency of not wanting to let go of things. When she ended up in a nursing home due to a stroke and my Dad was in the hospital for a second time I thoroughly cleaned up their bedroom to make room for the hospital bed he would ultimately need. And boy, were there a lot of things to get rid of. In this living room with said sectional there are also wood paneled walls, also there for as long as I can remember. Probably before my parents bought the house, so it’s not the nice modern ones you see nowadays. I long dreamed of taking down the paneling, painting the walls a bright white (something completely opposite of the dark paneled walls), ripping up the carpets to expose the original hardwood floors and of course getting rid of the sectional.

After my Dad passed away I remember sitting on that sectional and wondering what life would be like now alone in the house. Making changes to the living room was the furthest thing from my mind. I think I found comfort in the familiarity. Seeing it the same allowed for memories to easily flood my thoughts. I could easily remember sitting on that couch eating my dinner – the dinner my Dad put aside for me in a tupperware that I only needed to pop in the microwave to heat up after arriving home from work in the city – and talking to him about my day. Little by little though I did make some changes. I moved my Dad’s recliner to the perfect corner so there would be more space in the living room. I moved the rocking chair to what I still refer to as my parents’ bedroom even though my Mom hasn’t been in the house in five years and my Dad passed away three years ago. And eventually I removed two pieces of the sectional. Removed sounds a lot nicer than I threw them out, which is what I really did do. I don’t really recall what prompted me to do it. It was time I guess. Of course I took a picture so that I won’t have to think too hard to remember what it used to look like.

The one piece I held on to was the curved middle piece. For two reasons, Lucky, my dog, liked to go under the sofa and I still needed a place for people to sit when they came over. Granted it was a small piece, but, it was something. I had visions in my mind of what I wanted the remodeled living room to look like. I was thinking light aqua walls, whitewashing the accent brick wall, hardwood floors and some patterned curtains. Oh, and I had a vision of a grey couch with studding. I stuck up color swatches on the wall to get ideas for the right shade of aqua and I ordered curtain swatches to match them to my chosen wall color. And then recently something changed. We spend a lot time living our lives with a vision of a future that may or may never come. We think to ourselves, oh, when this happens then I’ll do x y and z. But, what if that thing never happens. What if we never meet the right person, never get our dream job and desired salary, or whatever else it is that we are waiting for? Are we supposed to give up on the dreams we hope would follow? Absolutely not. We should find a way to make anything and everything happen that will make us happy. So, there I was waiting for the perfect salary to have enough money to do everything I wanted all at once. But, I realized that what I wanted was to be able to sit in my living room now and watch television, read a book, crochet/knit, etc. So, I decided I would buy a new sofa, nothing expensive. But, something to hold me over until I could get what I really wanted. I decided on my favorite color, navy blue.

I did some research online and then went to the store armed with a tape measure to measure the space between the sofa and the floor. I was hoping to find something that Lucky would still be able to sneak under. He’s 17 and as silly as it sounds I didn’t want him to feel slighted by the new piece of furniture. That I was somehow displacing him from the home he has known since he was few months old. I almost picked a different sofa that would have afforded him the space to go underneath, but, in the end stuck to the one I liked and wanted. That evening I decided that since my new sofa wouldn’t be delivered for another week and a half that I would throw out that final curved piece on the next garbage day to get Lucky used to the idea of not going underneath the new one. Dogs can really take over your life. I also decided that I would breathe new life into my Dad’s old recliner with a new cover. I wasn’t sure if recliner covers existed but a quick internet search let me know otherwise. So, I removed that final piece of the sectional, vacuumed the rug and ordered a grey cover for the recliner in anticipation of my new sofa. And I began to think, maybe I should change my vision and make this new sofa the focal point of it. So, gone were the ideas of aqua walls and in place of it a nice shade of green (although lately I am starting to lean towards a shade of white) which would go nicely with the brick accent wall that I now wouldn’t have to whitewash. I am still holding on to some cool patterned curtains though – I recently ordered a new assortment of fabric swatches to go with this new color scheme. And I am still planning on exposing those hardwood floors that I am sure will have to be stained because of the accident or two (or more) that Lucky has had.

And then the day arrived… My new sofa came. It fit into its designated space perfectly and I was in awe of how it changed the whole look of my living room, even with its old curtains and paneled walls. Later that day the recliner cover arrived and I couldn’t wait to put it on and was once again happy at how it completely changed the look of the room as well. The following day I went out and purchased a new lamp. A silver base with a white scale pleat shade to replace the gold base lamp with an almond color shade. I also purchased new picture frames for a few of the pictures that hang on the wall.

As I sit in my living room now I am happy with the space I have created. And while I have lived in this home for many years (we’ll just say 30 plus), and have lived in it alone for 3, it’s finally beginning to feel like my own, all thanks to a sofa.

Slow Cooker Sunday: Cream of Vegetable Soup

When I set out to make this soup I intended it to be a creamy potato soup, but, thanks to the addition of one too many carrots (and some other vegetables) and switching up the recipe I was following a bit this ultimately became a delicious Cream of Vegetable Soup.

In my slow cooker I combined cubed red potatoes, a chopped onion, sliced carrots, sliced celery with chicken broth. I set it to cook on low for 8 hours, until the vegetables were tender.

And then, using my immersion blender I blended all of the ingredients together to create a creamy vegetable soup and then stirred in about 1/4 cup of heavy cream and seasoned it with salt and pepper.

Slow Cooker Cream of Vegetable Soup

Ingredients:

6 red-skinned potatoes, peeled and cubed

1 yellow onion, chopped

4 carrots, peeled and sliced

2 celery ribs, sliced

5 cups low-sodium chicken broth

1/4 cup heavy cream

Salt& Pepper


Directions:

Combine all the vegetables and chicken broth in the slow cooker. Cover and set to cook on low for 8 hours, until the vegetables are tender.

Using an immersion blender, blend all of the ingredients to your desired consistency. Stir in the heavy cream and season with salt and pepper. If you don’t have an immersion blender, you can blend the soup a little at a time in a food processor or regular blender.

Spring Themed Palette Knife Painted Cake – Tutorial

Happy First Day of Spring! To celebrate I decided to try my hand at a Palette Knife Painted Cake. Using a spatula and buttercream frosting you basically paint a picture, design, flowers onto the sides of a cake. It’s definitely a lot more forgiving that piping a design on a cake and cake easily be fixed with a little more buttercream and some extra strokes of your spatula.

I used a yellow box cake mix to bake a two layer 6-inch cake. While the cake was cooling I whipped up a batch of my go-to Fluffy-Vanilla Frosting from Martha Stewart. I reserved about 3/4 cup of the frosting and then applied a thin crumb coat to the cake and then refrigerated the cake for about 30 minutes. While the cake was in the refrigerator I tinted the reserved 3/4 cup yellow and tinted the remaining frosting teal, for the background of the cake.

I then applied a generous amount of frosting to the cake and smoothed it as much as possible. I wanted a fairly thick layer of frosting around the cake for the next steps.

Next, using the tines of a fork I created a basket weave pattern around the cake. To begin, I placed the tines of a fork at the base of the cake and dragged them upwards about 1-inch. You don’t want to press so deeply that you are touching the cake though, hence, having a thick coat of frosting on the cake. Then, holding the tines horizontally above the first set of lines on the left I dragged the fork to the right stopping when I reached the last line from the bottom set of lines. I repeated this pattern up the side of the cake until I reached the top. I then started the next row with a set of horizontal lines, and then vertical and so forth. Continuing the alternating pattern until the entire cake was covered.

I then reserved about a tablespoon of the teal frosting and then tinted the remaining frosting green by adding in green gel food coloring. Using a tapered spatula and starting at the base of the cake I began dragging the tip of the spatula through the buttercream to create stems. Making sure not to press too deep as to touch the cake, but, going deep enough to create a channel. I passed the spatula through a few times to make sure it was deep enough making sure to wipe the spatula between each pass. I did this around the cake and even added in a few smaller channels between the larger stems.

To paint these channels, I picked up a small dollop of the green frosting and then using my fingers I round the frosting onto the tip of spatula so it was smooth. Next, I simply dragged the frosting through the channels. I repeated this step – making sure to wipe the spatula between each pass – until all of my stems were painted with frosting. At this point I placed the cake in the refrigerator for about an hour.

After the hour, I removed the cake from the refrigerator. Using the reserved yellow buttercream I painted flowers onto the cake. Using a rounded spatula I picked up a small dollop of yellow frosting and once again smoothed it with my fingers. I then pressed the dollop onto the cake and pulled the spatula away to create a petal. I continued doing this around the cake. I’ll admit, my petal didn’t come out exactly as I had hoped. This step actually reminded me of the pulled dot design on a cake. I actually wondered afterwards if it would have been easier to create the petals using that technique, although then the cake wouldn’t completely be a palette knife painted cake then.

I got the idea for this cake from The Cake Blog, for more detailed instructions click here .


Meyer Lemon Shaker Pie

A pie for Pi Day! To celebrate Pi Day this year I am bringing you a Meyer Lemon Shaker Pie. Meyer lemons are a tad sweeter than your traditional lemons. They are a cross between regular lemons and mandarins and tend to be smaller, rounder and smoother than traditional lemons. They also have a deep yellow / orange hue to them.

I began by thinly slicing the lemons, removing the pits.

I then combined the sliced lemons with sugar and salt and set it aside.

In a medium bowl I whisked together 4 large eggs with vanilla extract and then combined that with the lemons. I opted to use refrigerated store-bought pie dough. After letting it come to room temperature I rolled it out about and extra 1/2-inch and then pressed it into a pie dish that I greased with butter. I brushed the crust with a beaten egg yolk and then poured the lemon mixture into the crust.

Next, I rolled out the other half of my pie crust approximately an extra 1/2 inch and then placed it on top of my pie. I attempted to do a decorate crust my crimping the ends. I am not a great pie maker so I was happy with the way this crust looked when I was done. I did my best not to rush through it and I was very happy that I was able to cut slits in the pie that were four individual slits as opposed to four slits that I over sliced and turned into 2. It’s happened. I am telling you, baking pies knocks me off-kilter and I end up doing something wrong. Practice makes perfect though. My plan at this point was to freeze the pie for an hour prior to baking. But, I found out the hard way (when I went to go put the pie in the freezer) that my freezer wasn’t wide enough for me to get the dish in. UGH! So, I ended up refrigerating the pie overnight instead. On a side note, when it comes time for me to purchase a new refrigerator I will be going to the store with a bag of pie dishes and cookie sheets to make sure I get a freezer part that I will be able to fit things in. Not being able to get certain dishes and pans in my freezer can be maddening at times. I didn’t find it to be such an annoyance until I decided to freeze my cookie dough back in December and I was only able to fit one cookie sheet in there from the 10+ that I own. It definitely slowed down my flow of getting things done! Anyhoo…

After refrigerating the pie overnight I baked it the following morning… I was pleased with the golden brown color of the crust and that my decorative edge didn’t fall apart completely while the pie was baking.

I let the pie cool for a bit and then sliced into it… The filling was jammy as it’s supposed to be, but, I found it incredibly sweet. I tried taking a few bites, but, it was just too much for me. If I make this again I will definitely cut back on the amount of sugar I used per the directions (2 cups). While I was scooping the sugar out to combine with the lemons in the back of my mind I was already thinking “this is way too much sugar,” but since other recipes I saw called for that much I followed along.

While the recipe I followed didn’t call for the lemons and sugar to macerate for 24 hours, I found that many recipes called for this step in order to break down the rind and pith of the lemons to eliminate any bitterness.  If I were to make this recipe again I would definitely do that as well as cut back on some of the sugar. While the pie did have a nice taste to it and the bitterness from the rind and pith wasn’t strong, as I mentioned, the sweetness was just too much for me. So, here is what I would do. I would slice the lemons and combine them with the sugar (probably only a cup and a quarter to a cup and a half) and salt in a large bowl. Cover and refrigerate for 24 hours, stirring occasionally. The following day I would then continue with the recipe, whisking together the eggs and vanilla and then combining that with the lemons. And instead of freezing / refrigerating the pie before baking, I would omit this step and go ahead and bake the pie

Meyer Lemon Shaker Pie

Ingredients:

4 to 7 small to medium Meyer lemons

2 cups sugar

1 teaspoon salt

4 large eggs

1 teaspoon vanilla extract

1 store-bought pie crust or homemade


To finish the pie:

1 large egg separated, white and yolk whisked separately

2 teaspoons sugar


Directions:

Thinly slice the lemons, removing any seeds. You will need 2 cups of sliced lemons. Combine the lemon slices with the sugar and salt and set aside to allow the lemon to macerate. Whisk the 4 eggs and vanilla extract together in a separate bowl.

Lightly grease a 9-inch pie dish. Roll out half of the dough to fit in the dish with a 1-inch overhang. Brush the dough with the beaten egg yolk.

Combine the sliced lemons and egg mixture and then spread into the prepared pie crust.

Roll out the other half of the dough. If using store bought dough, roll it out approximately a 1/2 inch more and then place on top of the dough in the pie dish. Trim off any excess dough and pinch the bottom and top crust together and crimp or seal the edges with your finger or fork.

Cut 4 slits on the top and brush with the beaten egg white and sprinkle the sugar on top. Chill in the freezer for 1 hour or in the refrigerator overnight.

Preheat the oven to 450 F. Bake the pie on the lowest rack of the oven for 15 minutes. Lower the temperature of the oven to 375 F and move the pie to the center rack and bake for another 30 minutes. If the edges of the pie begin to brown too quickly, cover with a pie cover or strips of aluminum foil.

Let the pie cool for at least 30 minutes before slicing and enjoying.

Recipe from The Kitchn

Crocheted Tote Bag

You may recall a little over a month ago I posted about having trouble mastering (really just figuring out) the Magic Ring in Crochet. I was making a bunch of hexagons – which by the way has been put on hold as I haven’t been able to get 4 skeins of the shade of green I want from any of my local craft stores, seems like I will have to order it online – and the starting point was to make a magic ring and it just wasn’t working out for me. So, I ended up bypassing this step and in lieu of it made a short chain and joined it with a slip stitch to get my hexagons going. Well, fast forward a week or two and once again I was faced with a pattern that required a magic ring as the starting point. The thing is though, I couldn’t crochet a chain and join it with a slip stitch as this project was for a tote bag and a small hole in the bottom of a tote bag could prove disastrous for any small items in the bag. So, I had to bite the bullet and figure this out once and for all. It’s really not as serious as it sounds to be honest, but, the thing is with crocheting (and knitting) the more stitches and techniques you learn the more items you are able to make and the easier it is.

So, I attempted the magic ring once again and guess what… I actually got it. And, I figured out why I was having issues with it before, the yarn I was using was too thin. Not for the project, but for me to figure out how to make the magic circle. Maybe I wasn’t holding the yarn with enough tension or something, but, I just couldn’t get it before. The yarn I used this time was Lion Brand Wool-Ease Thick & Quick Yarn. A super bulky yarn that comes in an array of colors and one that I have used quite a few times before to make scarves and blankets.

After all this set-up, you may be wondering what exactly it is that I made. Well, I did mention it was a tote and below is a picture of said tote. The pattern is from Two of Wands and is called The Red Hook Afternoon Shoulder Bag. You can purchase the pattern on her blog or purchase a kit on Lion Brand’s website. Initially I was thinking of using a more muted color but, when I went to buy the yarn I was drawn to this raisin color. While I haven’t actually used my tote yet, I am thinking it might be perfect for carrying around yarn projects as I am working on them. Or, for carrying around the plethora of magazines I get every month (and week) that I never seem to have time to fully read. I’ll admit while I was working on this I was unsure at times if I was getting it right… Especially in the beginning when I was increasing each round (and may have missed or added a stitch or two), but, once I got about midway through the project I knew that it was turning out okay. And it sounds silly, but, once I completed the opening for the handle I was quite pleased (and excited). I think it’s the idea of learning new steps, it opens your mind to creating other projects and seeing things differently. All of sudden I understood how to make a button-hole if a pattern called for it.

It’s the perfect size for me to carry around yarn projects, a book, magazines, etc…

Now I just need to stitch together the rectangle I finished three years ago so it can resemble a cardigan that I can actually wear. Oh yeah, and get those final 4 skeins of green yarn so I can finish my new Christmas Tree Skirt before Christmas this year!


Meyer Lemon Poppy Seed Muffins

With 2 bags of Meyer Lemons I have made my fair share of desserts. I made the scones I posted last week, a pie which I will be sharing with you on Pi Day (3/14) and these Lemon Poppy Seed Muffins I am sharing with you today. I was planning on making these muffins prior to the scones but I didn’t have any poppy seeds, well, guess what. I have way more than enough now. I honestly thought I would be able to purchase a small bag of them like I did for sesame seeds, but, at my usual supermarket poppy seeds are only available in containers like spices. So, because it was a better value I purchased the larger container. I guess I will be making a lemon poppy seed cake one of these days.

What was nice about these muffins is that they require only one large bowl to make the batter. I began by creaming together butter, eggs and sugar, then added in lemon juice and zest and finally the dry ingredients – baking powder, salt and poppy seeds. I opted to bake them in a 6 – cup muffin tin, but, you could bake them in a 12-cup cupcake tin instead. You will just need to keep an eye on them because the baking time will differ. These tasted good and were a nice treat for breakfast, but, next time I think I will bake them at 350 F instead. I found that baking them at 375 F allowed for the outside of the muffin to overbake a little while the inside finished baking.

Meyer Lemon Poppy Seed Muffins

Ingredients:

1/2 cup unsalted butter, at room temperature

2 eggs

3/4 cup sugar

3 tablespoons meyer lemon juice

1 teaspoon meyer lemon zest

1 1/2 cups flour

1 1/2 teaspoons baking powder

3/4 teaspoon salt

1 tablespoon poppy seed

*If you cannot find Meyer Lemons, you can use regular lemons

Directions:

Preheat the oven to 350 F. Line a 6-cup muffin tin with liners.

In a large bowl cream together the butter, eggs and sugar using a hand mixer or stand mixer on medium speed. Add in the lemon zest and juice and continue mixing until well combined. Add in the flour, baking powder, salt and poppy seeds and stir together until just combined, being careful not to over-mix.

Divide the batter among the prepared muffin tin.

Bake for 20-25 minutes, or until a cake tester inserted in the middle comes out clean.

Enjoy warm or at room temperature. Store left-over muffins in an air-tight container for 2 to 3 days.

Recipe from Miss in the Kitchen

Slow Cooker Sunday: Spinach Lasagna Roll-Ups

I’ve made quite a few pasta dishes in my slow cooker, but, I think this Spinach Lasagna Roll-Up dish is the best pasta dish I have made in my slow cooker.

To begin, I boiled a 1lb. box of lasagna noodles until they were barely al dente, about 10 minutes. I rinsed them under cool water and set them aside. I then made the filling by combining ricotta cheese, shredded mozzarella, grated parmesan, Italian seasoning, eggs, and chopped spinach. For the spinach I used a 10oz. package of frozen chopped spinach that I thawed overnight and then squeezed the excess water out of.

Next, I poured about 12oz. (1 1/2 cups) of marinara sauce in the bottom of my slow cooker, reserving the remaining marinara sauce. I then laid out a few of the lasagna noodles and cut them in half crosswise and spread a tablespoon of the ricotta mixture across each half. I then rolled them and placed them seam-side down in my slow cooker. I continued this process until I was out of ricotta mixture. I only had about 2 or 3 lasagna noodles remaining. Once the bottom of my slow cooker was filled with the roll-ups, I spread a little sauce on the noodles before placing the remaining roll-ups on top to prevent them from sticking together while cooking.

Finally, I poured an entire jar of marinara sauce over all of the roll-ups and set my slow cooker to cook on high for 3 hours.

After the 3 hours, I poured the remaining 12 oz. of sauce over the roll-ups and left it on high for a few more minutes so the sauce could warm up.

I then carefully removed the roll-ups using a large spoon and transferred them to a dish. Unfortunately this picture doesn’t make them look all that appetizing (I was losing the sunlight), but trust me it was good. Next time I might add some mushrooms to the mixture as well and also, plan on serving this when I am having people over. This made a fair amount and I was eating left-overs for a week (lunch & dinner). Definitely got tired of it by Wednesday… LOL!

Slow Cooker Spinach Lasagna Roll-Ups

Ingredients:

1 pound lasagna noodles (not no-boil)

1 16oz. container ricotta cheese*

2 cups shredded mozzarella cheese

1/2 cup grated parmesan cheese

1 tablespoon Italian seasoning

2 large eggs

1 10oz. package frozen chopped spinach, thawed and excess water squeezed out

2 24oz. jars marinara sauce

*I used whole milk ricotta


Directions:

In a large pot of salted boiling water cook the lasagna noodles per the package directions until barely al dente, drain and set aside.

In a large bowl combine the ricotta, mozzarella, parmesan, Italian seasoning, eggs and spinach. Stir until well combined.

Pour half a jar of marinara sauce into the bottom of a slow cooker, spreading the sauce evenly. Set the remaining sauce aside.

Cut each of the lasagna noodles in half crosswise and spread a tablespoon of the ricotta mixture across each half. Roll the noodle up and place seam-side down in the slow cooker. Repeat with the remaining noodles and ricotta mixture. Spread a little sauce over the noodles when layering them on top of one another.

Pour 1 jar of sauce over the roll-ups and cover the slow cooker and set to cook on high for 3 hours. Pour the reserved half jar of sauce into the slow cooker and allow to hear through before serving.

Recipe from Slow Cooker Family Favorites

Key Lime Pie Thumbprints

Thumbprint cookies… A versatile cookie that traditionally has a shortbread base and an indent in the center filled with jam, chocolate, dulce de leche, or for today’s cookie, a key lime chocolate filling. Don’t worry its white chocolate, not semi or milk chocolate. I definitely don’t think these cookies would be as appetizing if key lime juice was mixed in with either of those chocolates. Somehow I think the key lime flavor would be lost. Now, as a filling for a truffle I think it would be perfect. I may have had one or two of those before so I am speaking from experience.

img_1266

I have a friend who has all of a sudden fallen in love with Key Lime Pie. I’ve been making it for a few years now but all of a sudden when I made it last year it was like he was eating it for the first time. And when I asked some friends what cookies they wanted for Christmas last year (just over a month ago sounds so much better to say this early in the year) he suggested rugelach and a key lime pie. Which got me thinking of a key lime pie cookie since I wasn’t in the mood to make a pie (which I ultimately ended up making anyway.) So, I initially made the Key Lime Crinkles that were part of Cookie Palooza. While they were delicious, they lacked the key lime filling he enjoys so I knew I would have to try these thumbprints instead and I am happy to say that these were a hit with everyone who tried them. A cookie that will definitely be in my cookie rotation. Thanks to the graham cracker crumbs in the base of the cookie this is almost like enjoying a piece of key lime pie, but, in a bite size grab and go form. And while the key lime flavor is apparent in the filling I could imagine adding another tablespoon or so would kick it up even more.

img_1271

Key Lime Pie Thumbprints

  • Servings: 40 cookies
  • Print

Ingredients:

Cookies:

1 cup unsalted butter, at room temperature

1/3 cup sugar

1/3 cup light brown sugar

1 teaspoon vanilla extract

1 large egg yolk

2 cups flour

1/2 cup graham cracker crumbs (4 graham crackers)

2 teaspoons cornstarch

1/2 teaspoon salt


Filling:

1 cup white chocolate chips

1/2 cup sweetened condensed milk

3 tablespoons key lime juice

2 teaspoons lime zest (1 lime)


Directions:

Line cookie sheets with parchment paper.

Combine the butter and sugars in a large bowl and beat on medium speed until creamy.

Switch the mixer to low and add in the egg yolk and vanilla extract and continue mixing until well combined, scraping the sides of the bowl as necessary.

In a separate bowl which together the flour, graham cracker crumbs, cornstarch and salt.

Gradually add the flour mixture to the butter mixture, mixing until the ingredients are incorporated. Scraping the sides of the bowl as necessary.

Scoop 2 teaspoons of the dough and roll into a smooth ball and place on the prepared cookie sheets about an inch apart. (Using a standard cookie scoop I scooped the dough and then divided the dough in half to get the 2 teaspoon amount)

Using the back of a rounded teaspoon gently press an indent in the center of each ball. I have tried using my thumb for this step, but, have found that a teaspoon produces a much better circular shape.

Chill the dough in the freezer for at least 30 minutes. Freezing the dough prevents the cookie from spreading too much while baking giving you more room for your filling.

Preheat the oven to 350 F.

Bake the cookies for 10-11 minutes. Immediately after removing the cookie from the oven press the teaspoon into the indent once again to redefine it. Let the cookies cool completely on the sheets before filling them.

To make the filling… Combine the chocolate chips, condensed milk and key lime juice in a small saucepan and cook over medium-low heat. Stir frequently until the chocolate chips have melted and the ingredients are well combined. Stir in the lime zest and continue stirring until the mixture begins to boil. Reduce the heat to low and using a teaspoon spoon the filling into the cookies.

Allow the filling to cool and set before serving. When storing the cookies, keep in mind that the filling may remain a bit tacky. Store in an airtight container at room temperature.

Recipe from Sugar Spun Run

Meyer Lemon Scones

I recently purchased 2 bags of Meyer Lemons to make a pie which I will be sharing with you in a couple of weeks in honor of Pi Day. I was pretty sure I only needed 1 bag of the lemons since each bag had about 6 each, but, I wanted to be sure I had enough in case of any mishaps and I figured I could always make something else with the extra ones. Initially I was thinking of making muffins, which I may still do, but quickly realized that most lemon muffins include poppy seeds, which I didn’t have. Then I came across a recipe for scones and for some reason I always thought that scones were difficult and time-consuming to make but the recipe I opted to try was the complete opposite.

Unfortunately I did not take any pictures of the prep work that went into making these scones. I was cooking/baking about three or four other things so my counter was a mess and I was trying to make sure I didn’t overcook or burn anything. What was nice about this recipe was that it only required two bowls to mix all of the ingredients and it came together quickly. After stirring together my dry ingredients (flour, sugar, salt, baking soda and baking powder) I added in diced cold butter. Here’s a tip, if you want to ensure your butter is cold enough and incorporates into the flour well, freeze it for a few minutes and instead of dicing it grate it in to the flour mixture. I then used a combination of a pastry cutter and my hands (actually just one hand, I ended up with a pretty bad cut on one of my fingers when I was cleaning lemon zest off my Microplane Grater) to work the butter in and get the mixture into the consistency of small peas. In a measuring cup I whisked together the heavy cream, an egg yolk and lemon zest and then added this to the flour mixture and stirred it until the dough formed. I then transferred the dough to a baking sheet, formed it into a circle and then cut it using a pizza cutter into four equal pieces. I separated the pieces so they weren’t touching and then brushed them with heavy cream. While the scones were baking, I whisked together a glaze of confectioners’ sugar, heavy cream and lemon juice to pour on them right out of the oven. I was never one to add glazes to my baked goods, I always thought doing so would make them super sweet. But, I have come around and realized that all glazes are not super sweet and sometimes can add another level of flavor to things. Like the cardamom glaze on the Rum-Raisin Apple Bundt Cake I posted a few months ago… YUM!

These scones were delicious and made for a nice breakfast treat. Maybe next time I will add some blueberries. Blueberries and lemon go together like peanut butter and chocolate!

Meyer Lemon Scones

Ingredients:

For the Scones:

1 1/4 cups flour

1/4 cup sugar

1/4 teaspoon salt

1/4 teaspoon baking soda

4 tablespoon unsalted butter, cold and diced

1/3 cup + 2 tablespoons heavy cream, plus more for brushing

1 large egg yolk

Zest of 2 Meyer lemons


For the Glaze:

1/3 cup Confectioners’ sugar

1 teaspoon heavy cream

2 teaspoons freshly squeezed Meyer lemon juice

Directions:

Preheat the oven to 400 F.

In a large bowl whisk together the flour, sugar, salt, baking soda and baking powder. Add the butter and using your preferred method (knives, pastry cutter or hands) work the butter into the flour mixture until the consistency is smaller than peas.

In a measuring cup whisk together the heavy cream, egg yolk and lemon zest and then pour over the flour mixture. Stir the mixture until a shaggy dough forms and everything is incorporated, being careful not to overmix the dough.

Transfer the dough to a small cookie sheet and form it into a circle.

Using a knife (or pizza cutter) cut the circle into 4 equal pieces. Separate the pieces a bit so they are not touching and brush the pieces with heavy cream.

Whisk together the ingredients for the glaze in a small bowl and set aside.

Bake the scones for 13-15 minutes in the preheated oven, or until a cake tester inserted in the middle comes out clean and the edges of the scones are beginning to brown.

Drizzle the glaze on the scones immediately after removing them from the oven. Enjoy warm.

To store, place the scones in an airtight container at room temperature for 1-2 days.

Recipe from Dessert for Two