Pumpkin Roll

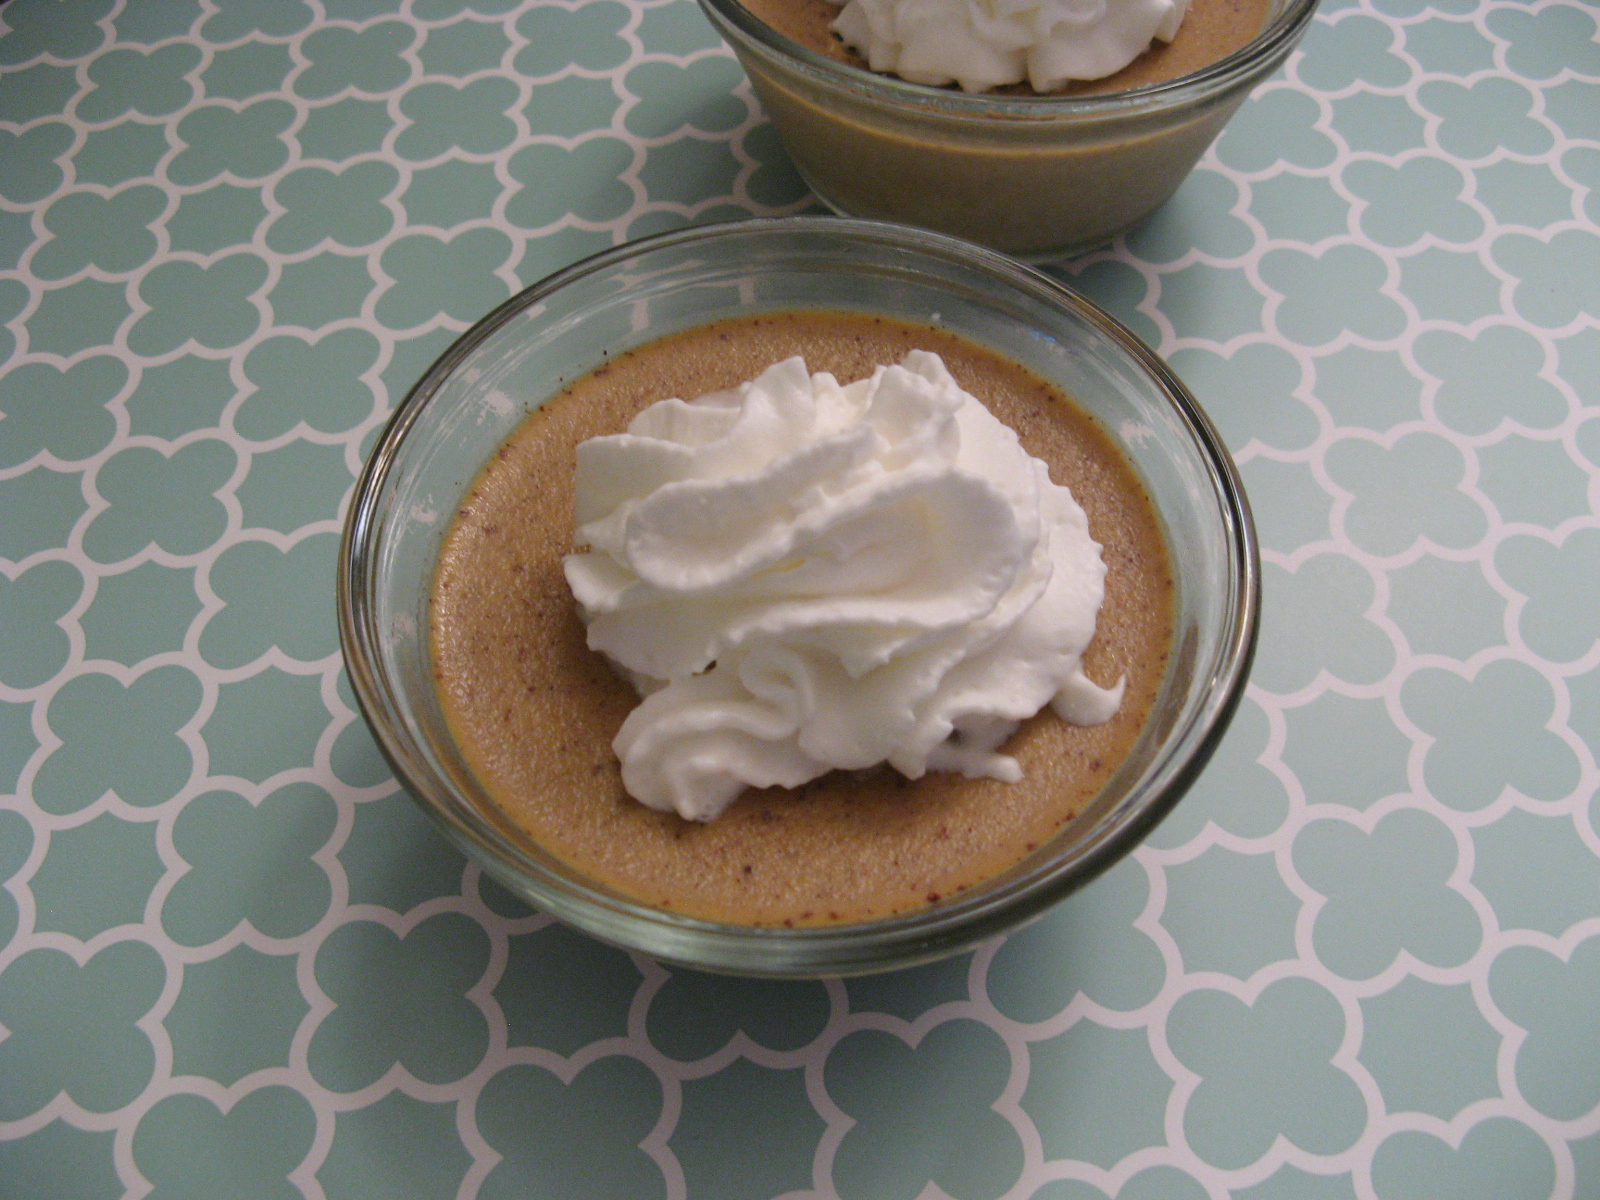
A few weeks ago I brought you Pumpkin Custards and this week I am bringing you a Pumpkin Roll. I’ve seen recipes for jelly rolls and such but was always intimidated to try them because I just wasn’t sure how the whole rolling and unrolling of the cake would work out for me, but thankfully I gave it a try with this Pumpkin Roll because it was quite delicious – the combination of pumpkin cake and cream cheese frosting is right up there with the combination of peanut butter and chocolate.

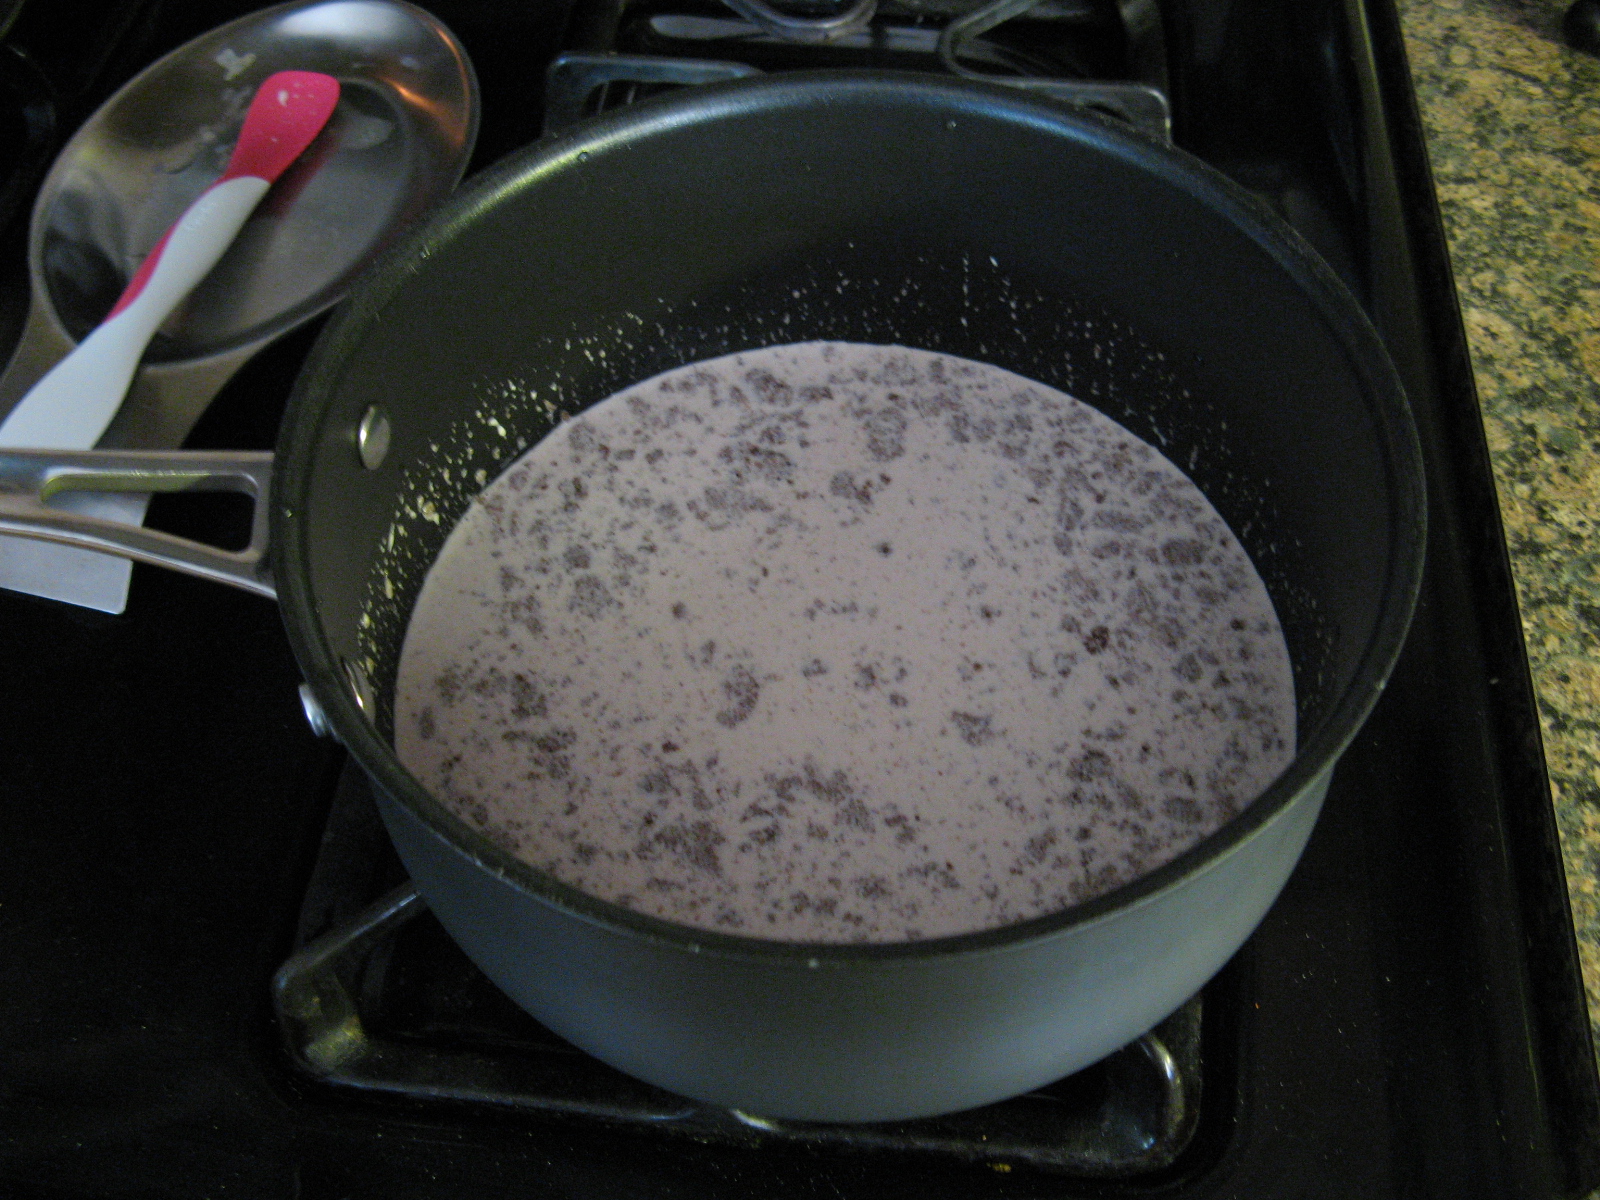
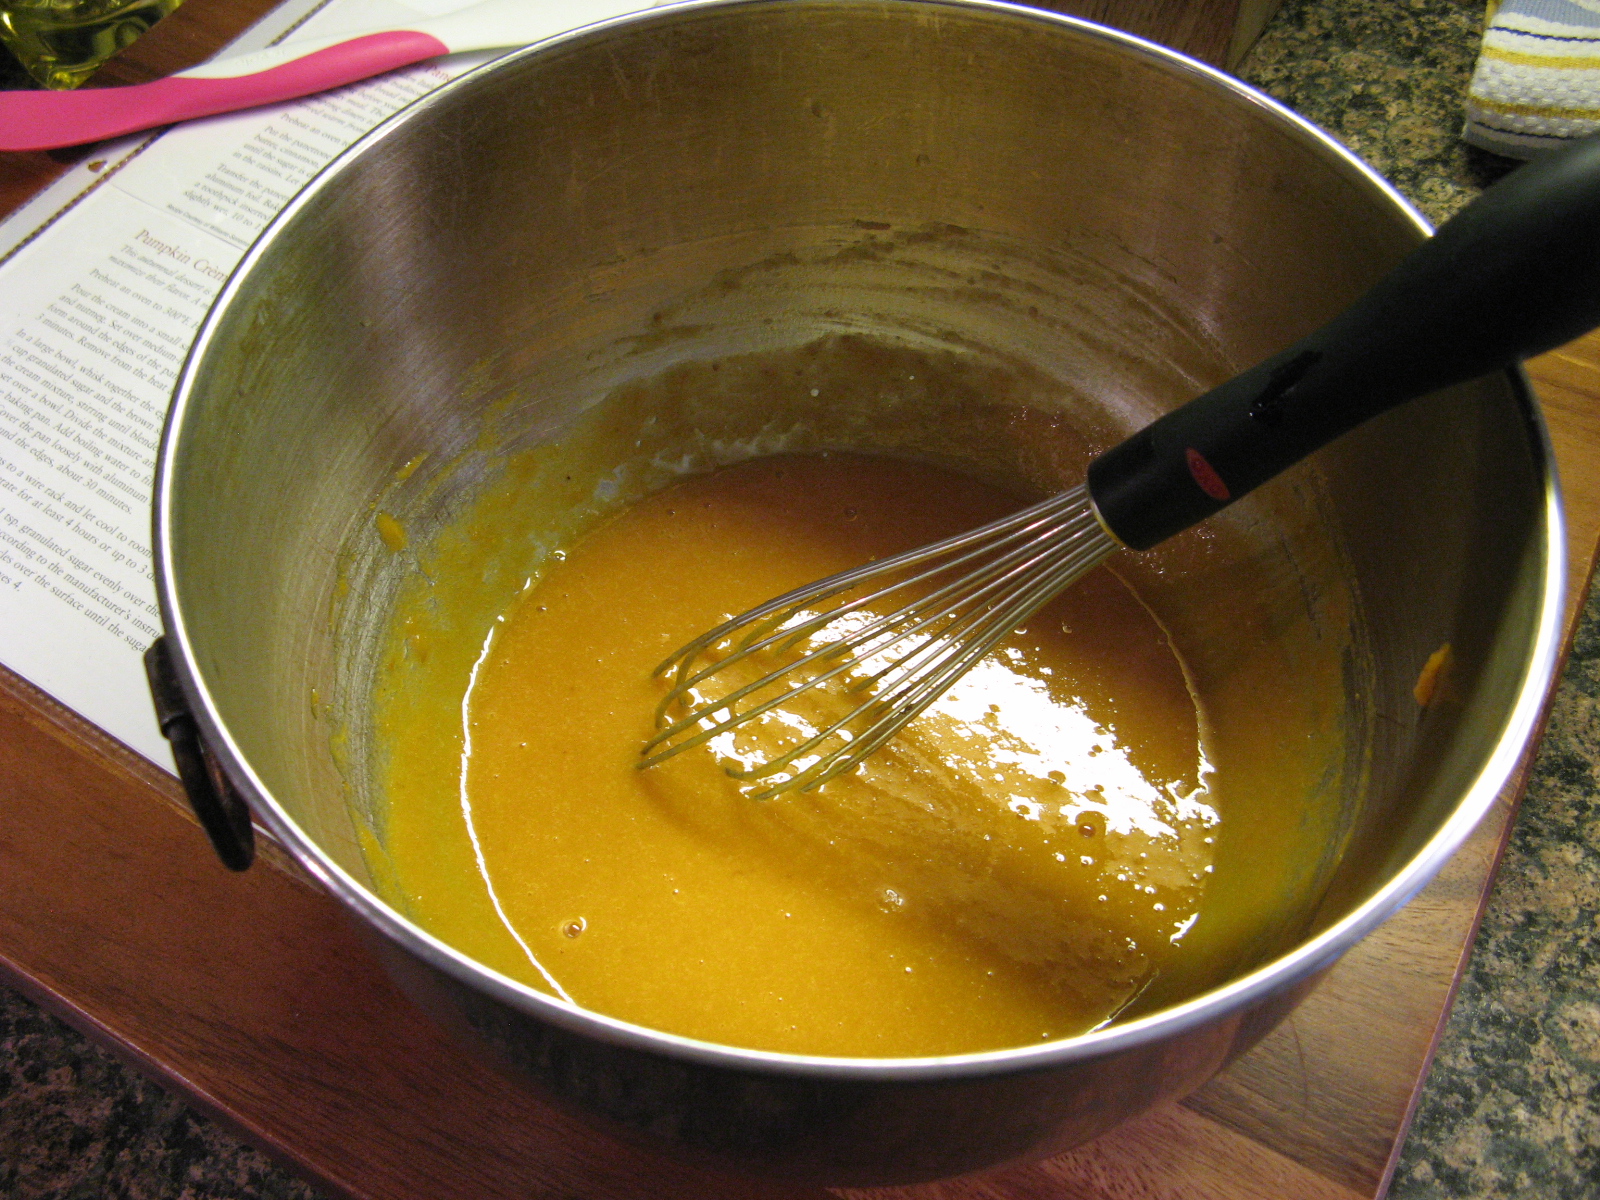
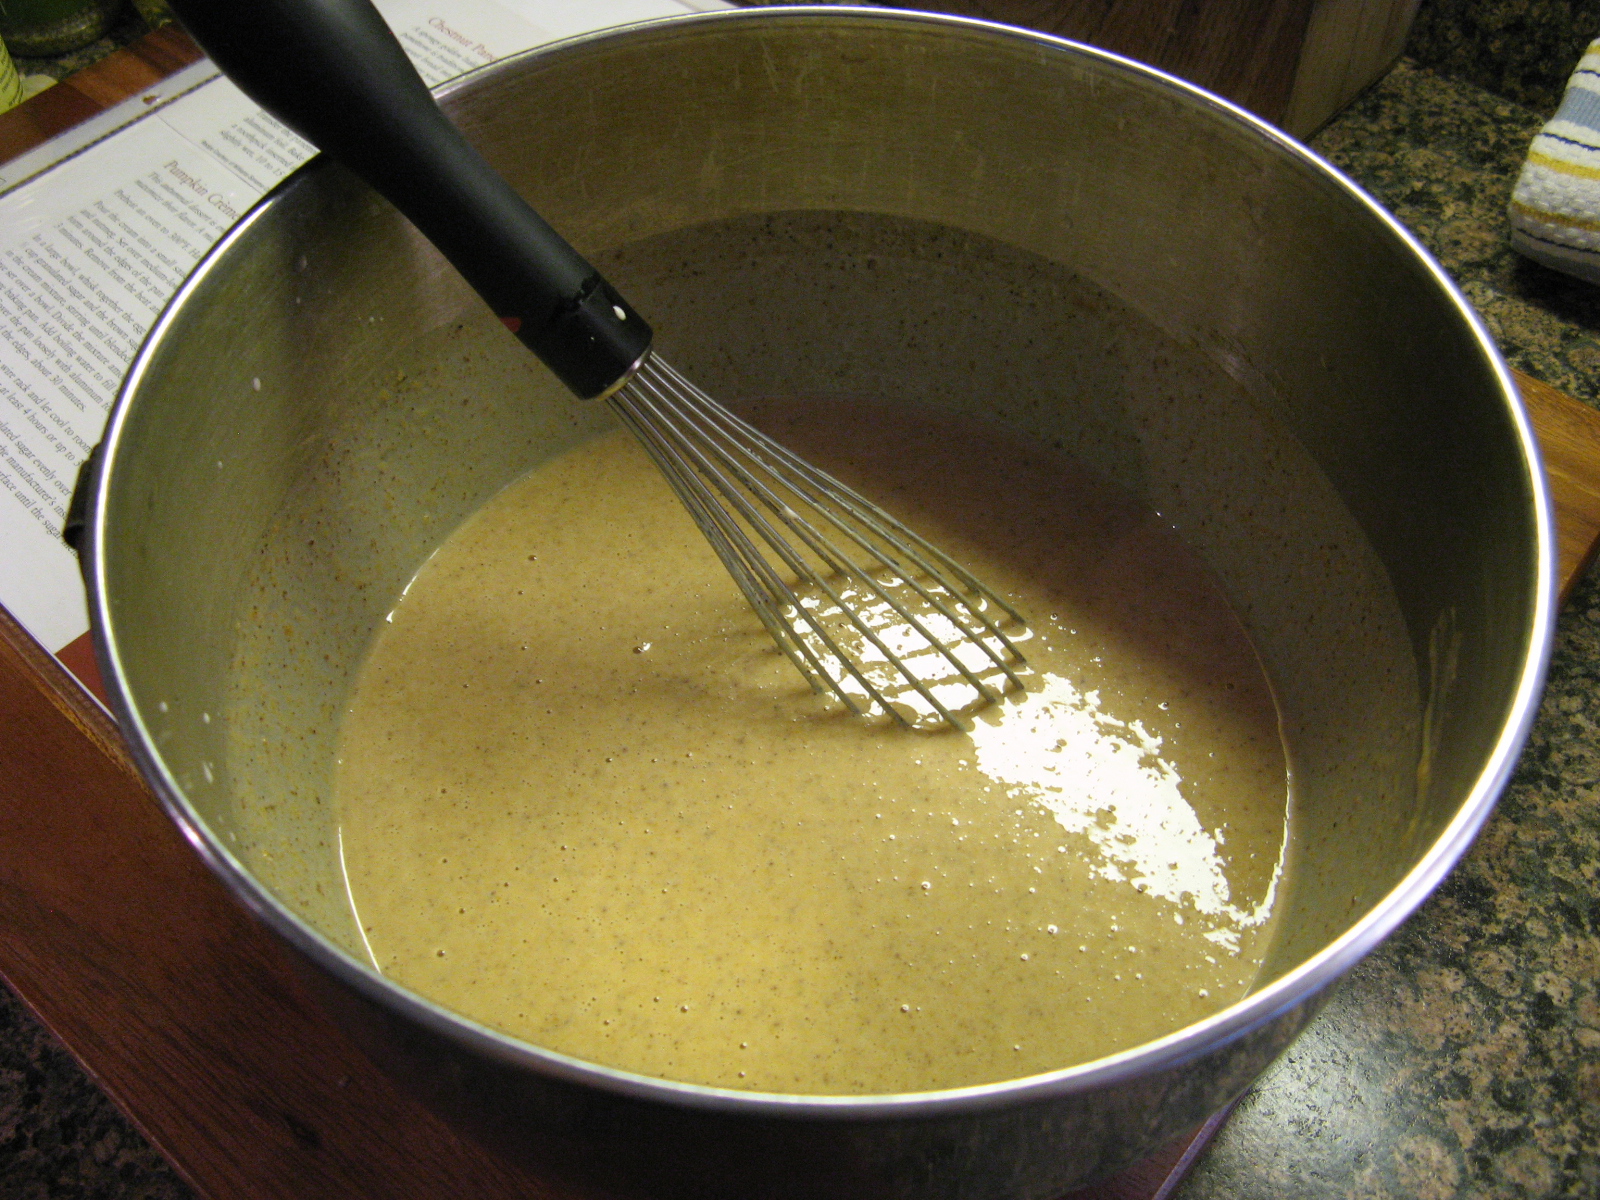
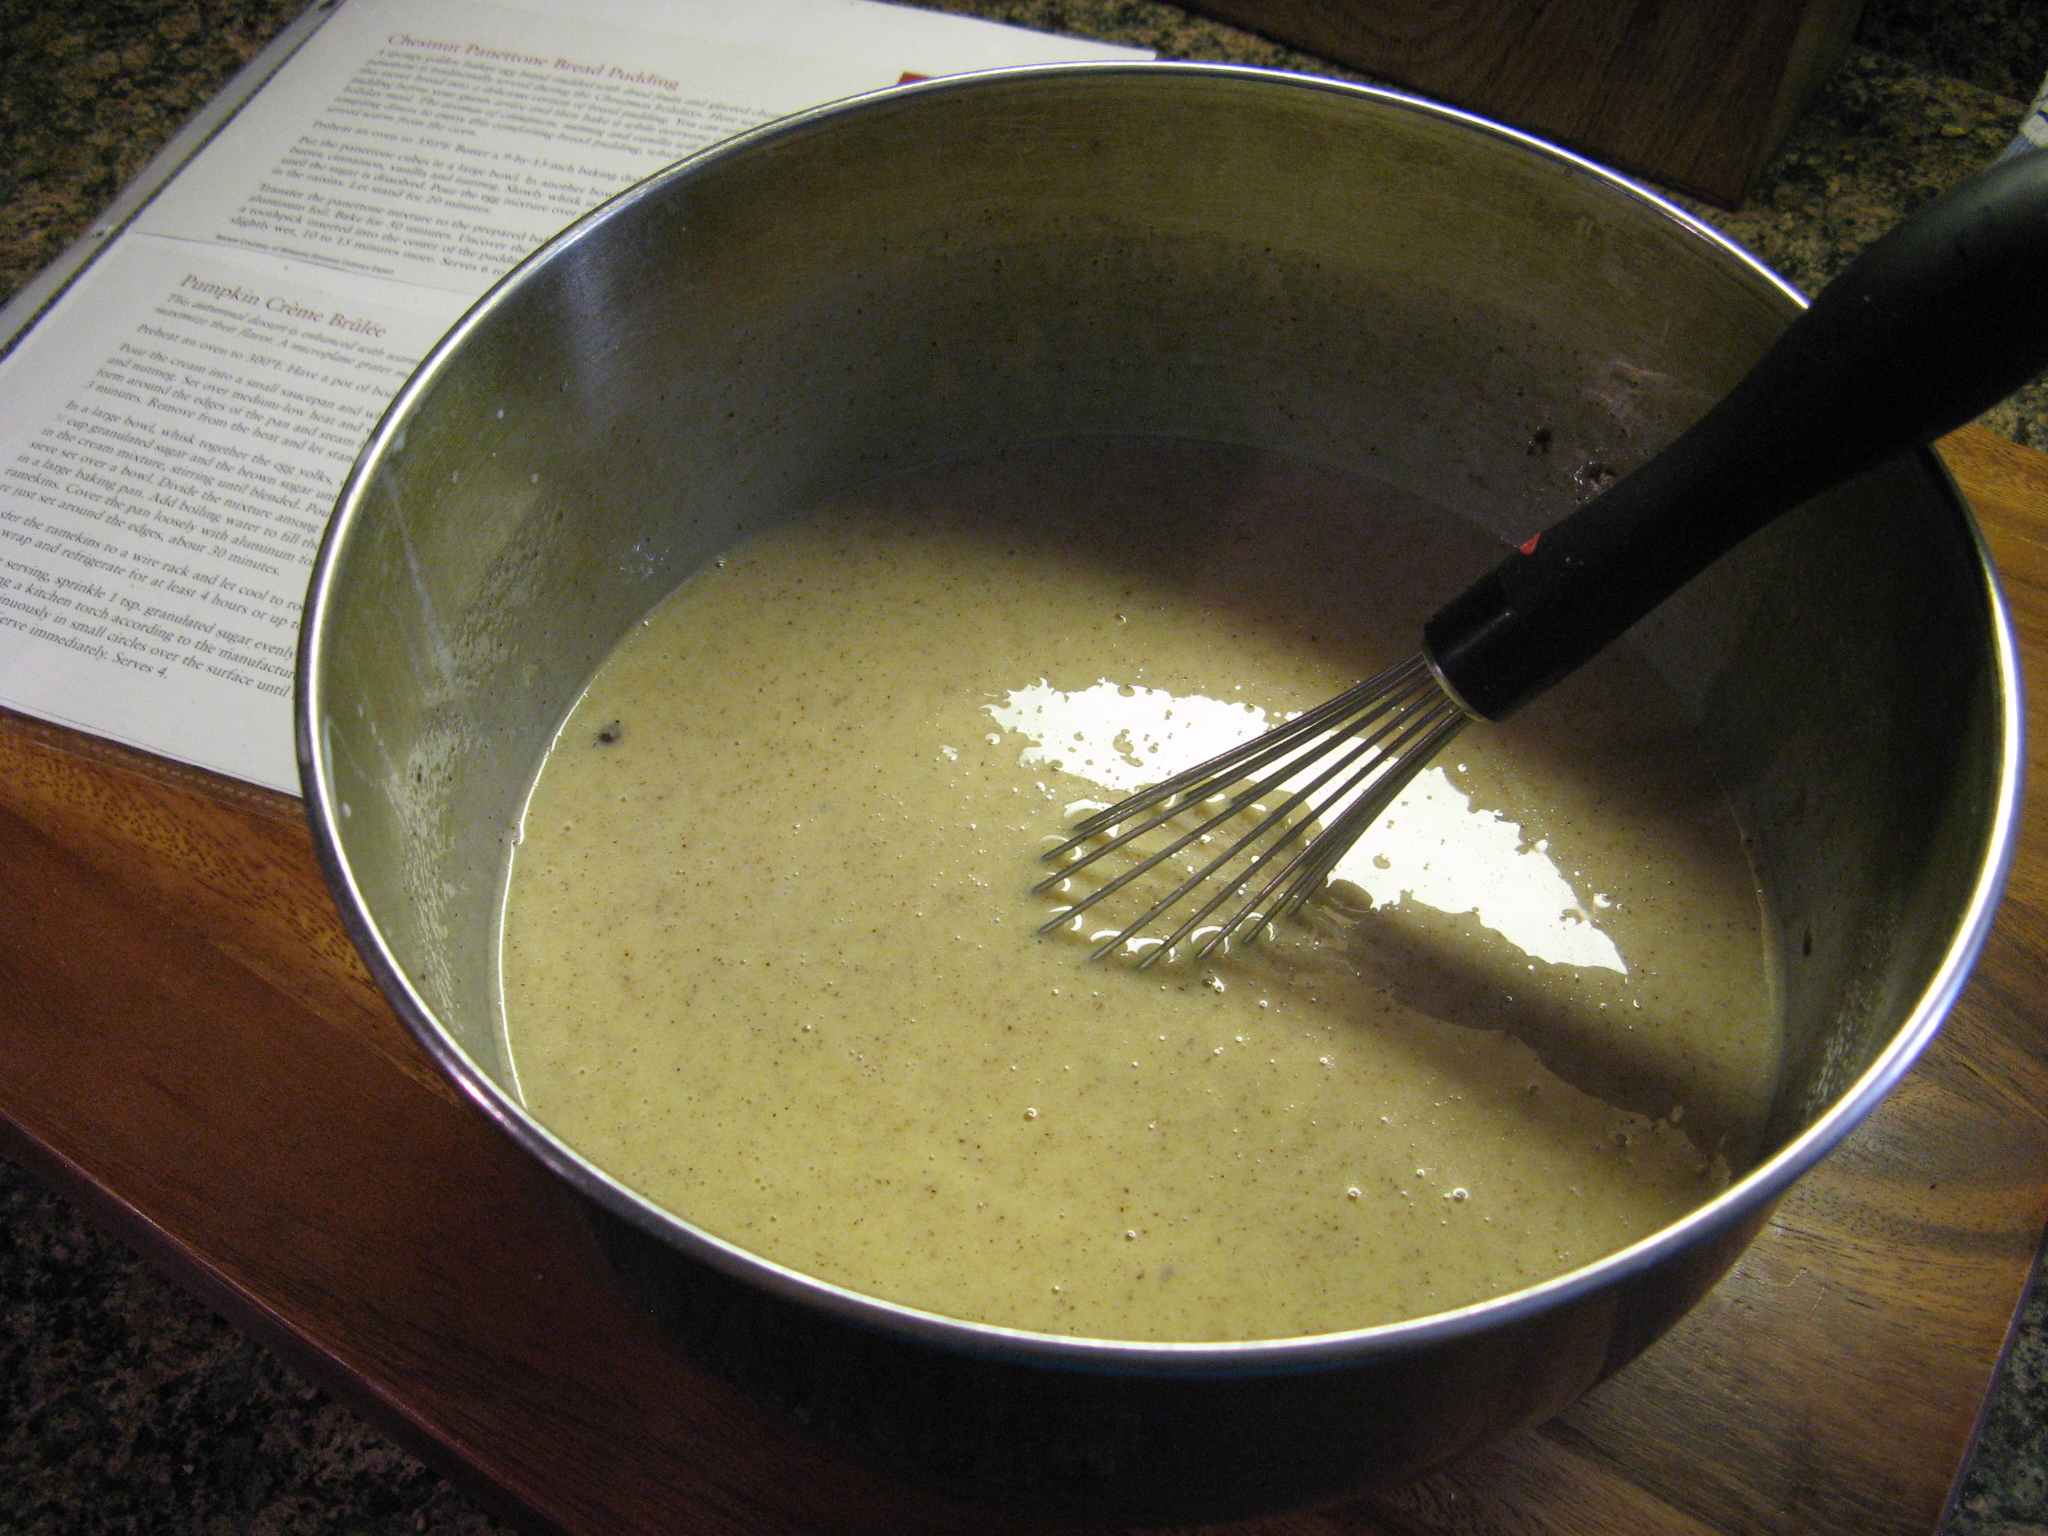
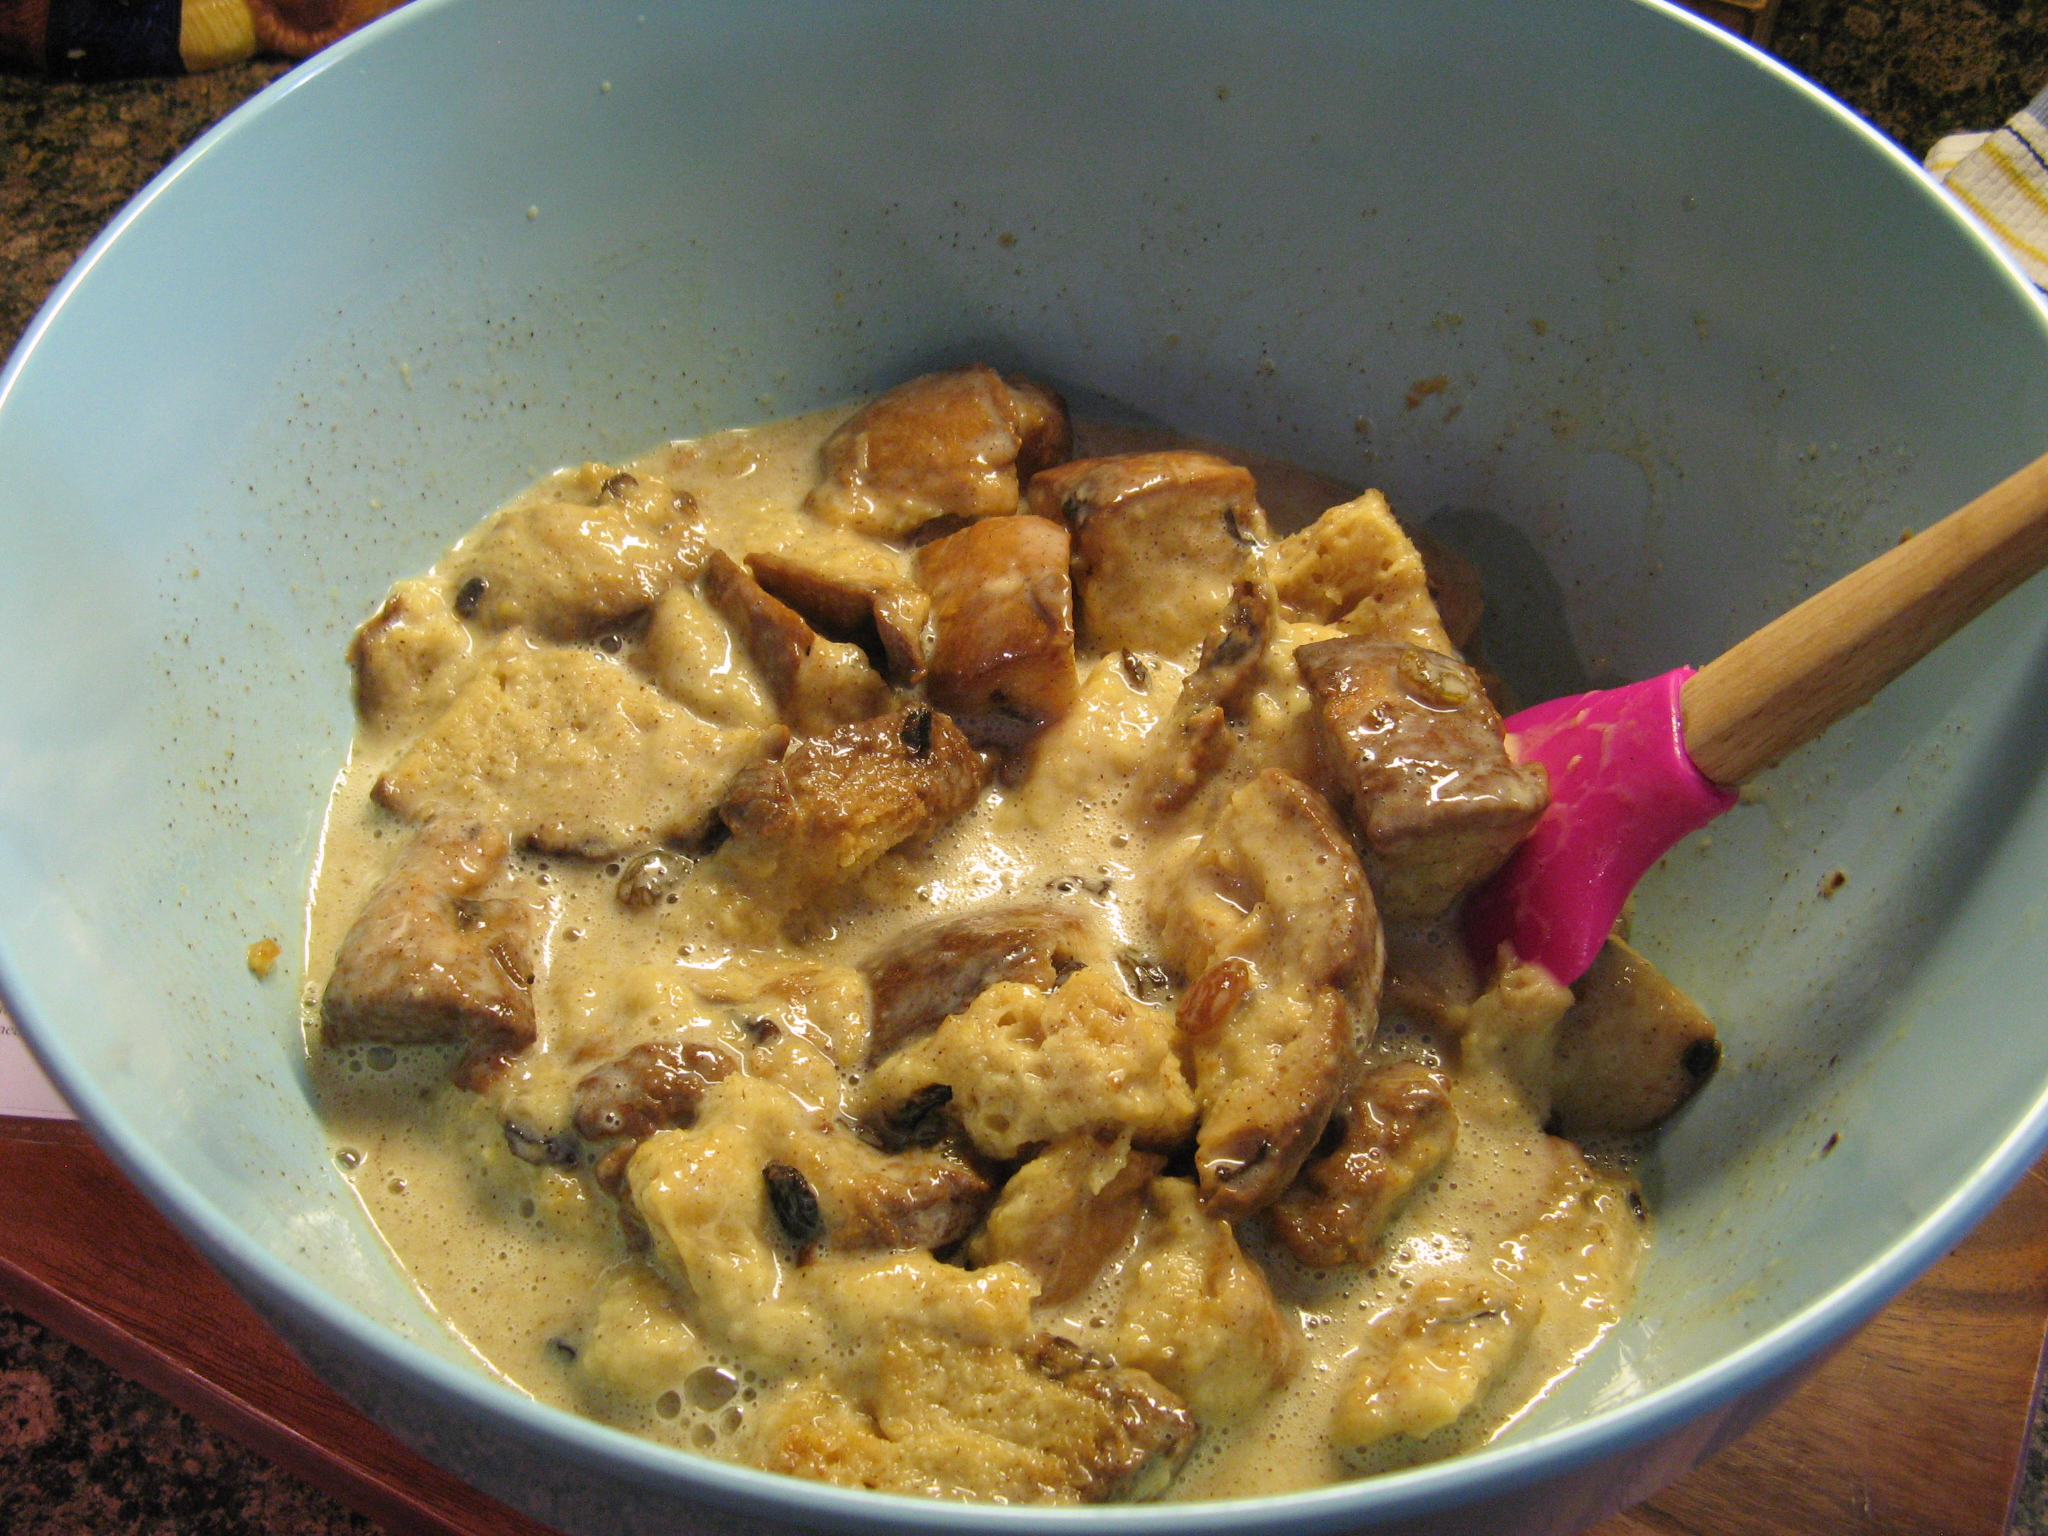
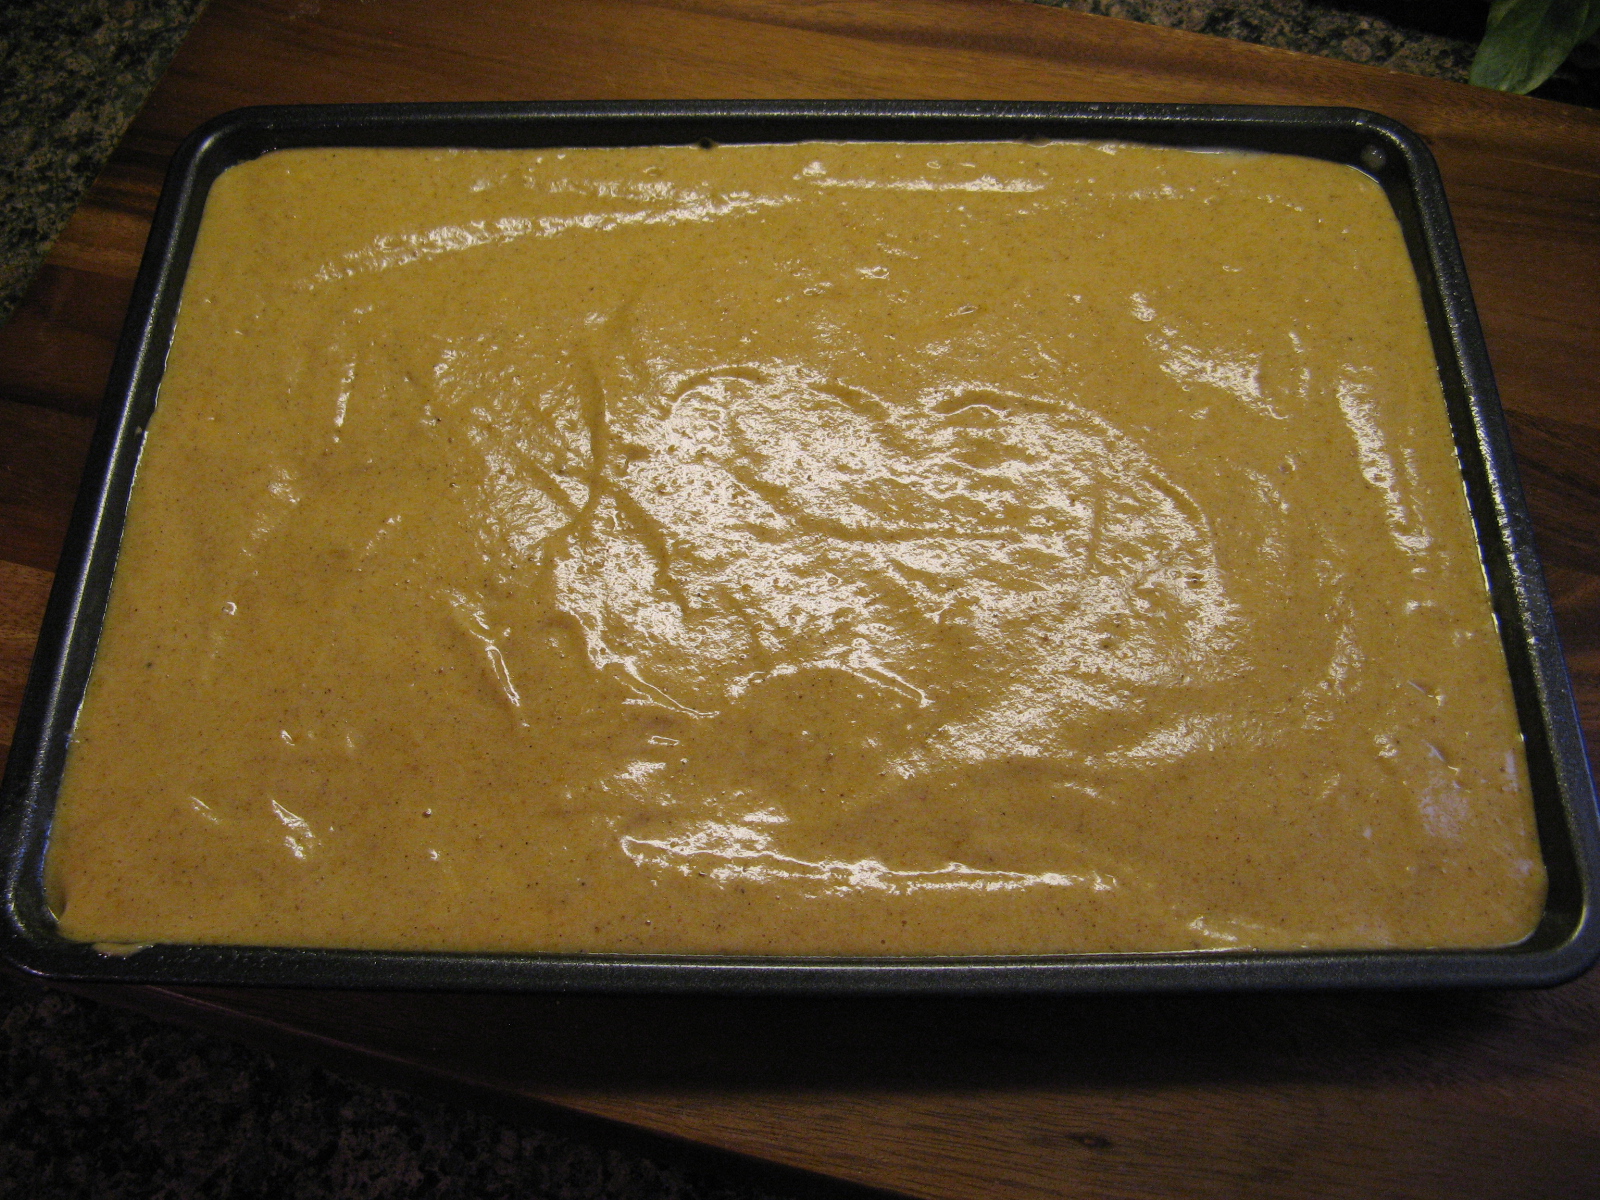
I began by making the batter… In a small bowl I whisked together the dry ingredients (flour, baking powder, baking soda, cinnamon, nutmeg, ginger and kosher salt). In the bowl of my stand mixer I beat sugar and eggs until they were thick and then added in pure pumpkin and finally stirred in the flour mixture. Once it was all combined I spread it onto a parchment lined jelly roll pan; I sprayed the pan itself and the parchment paper with baking spray.

IMG_9238

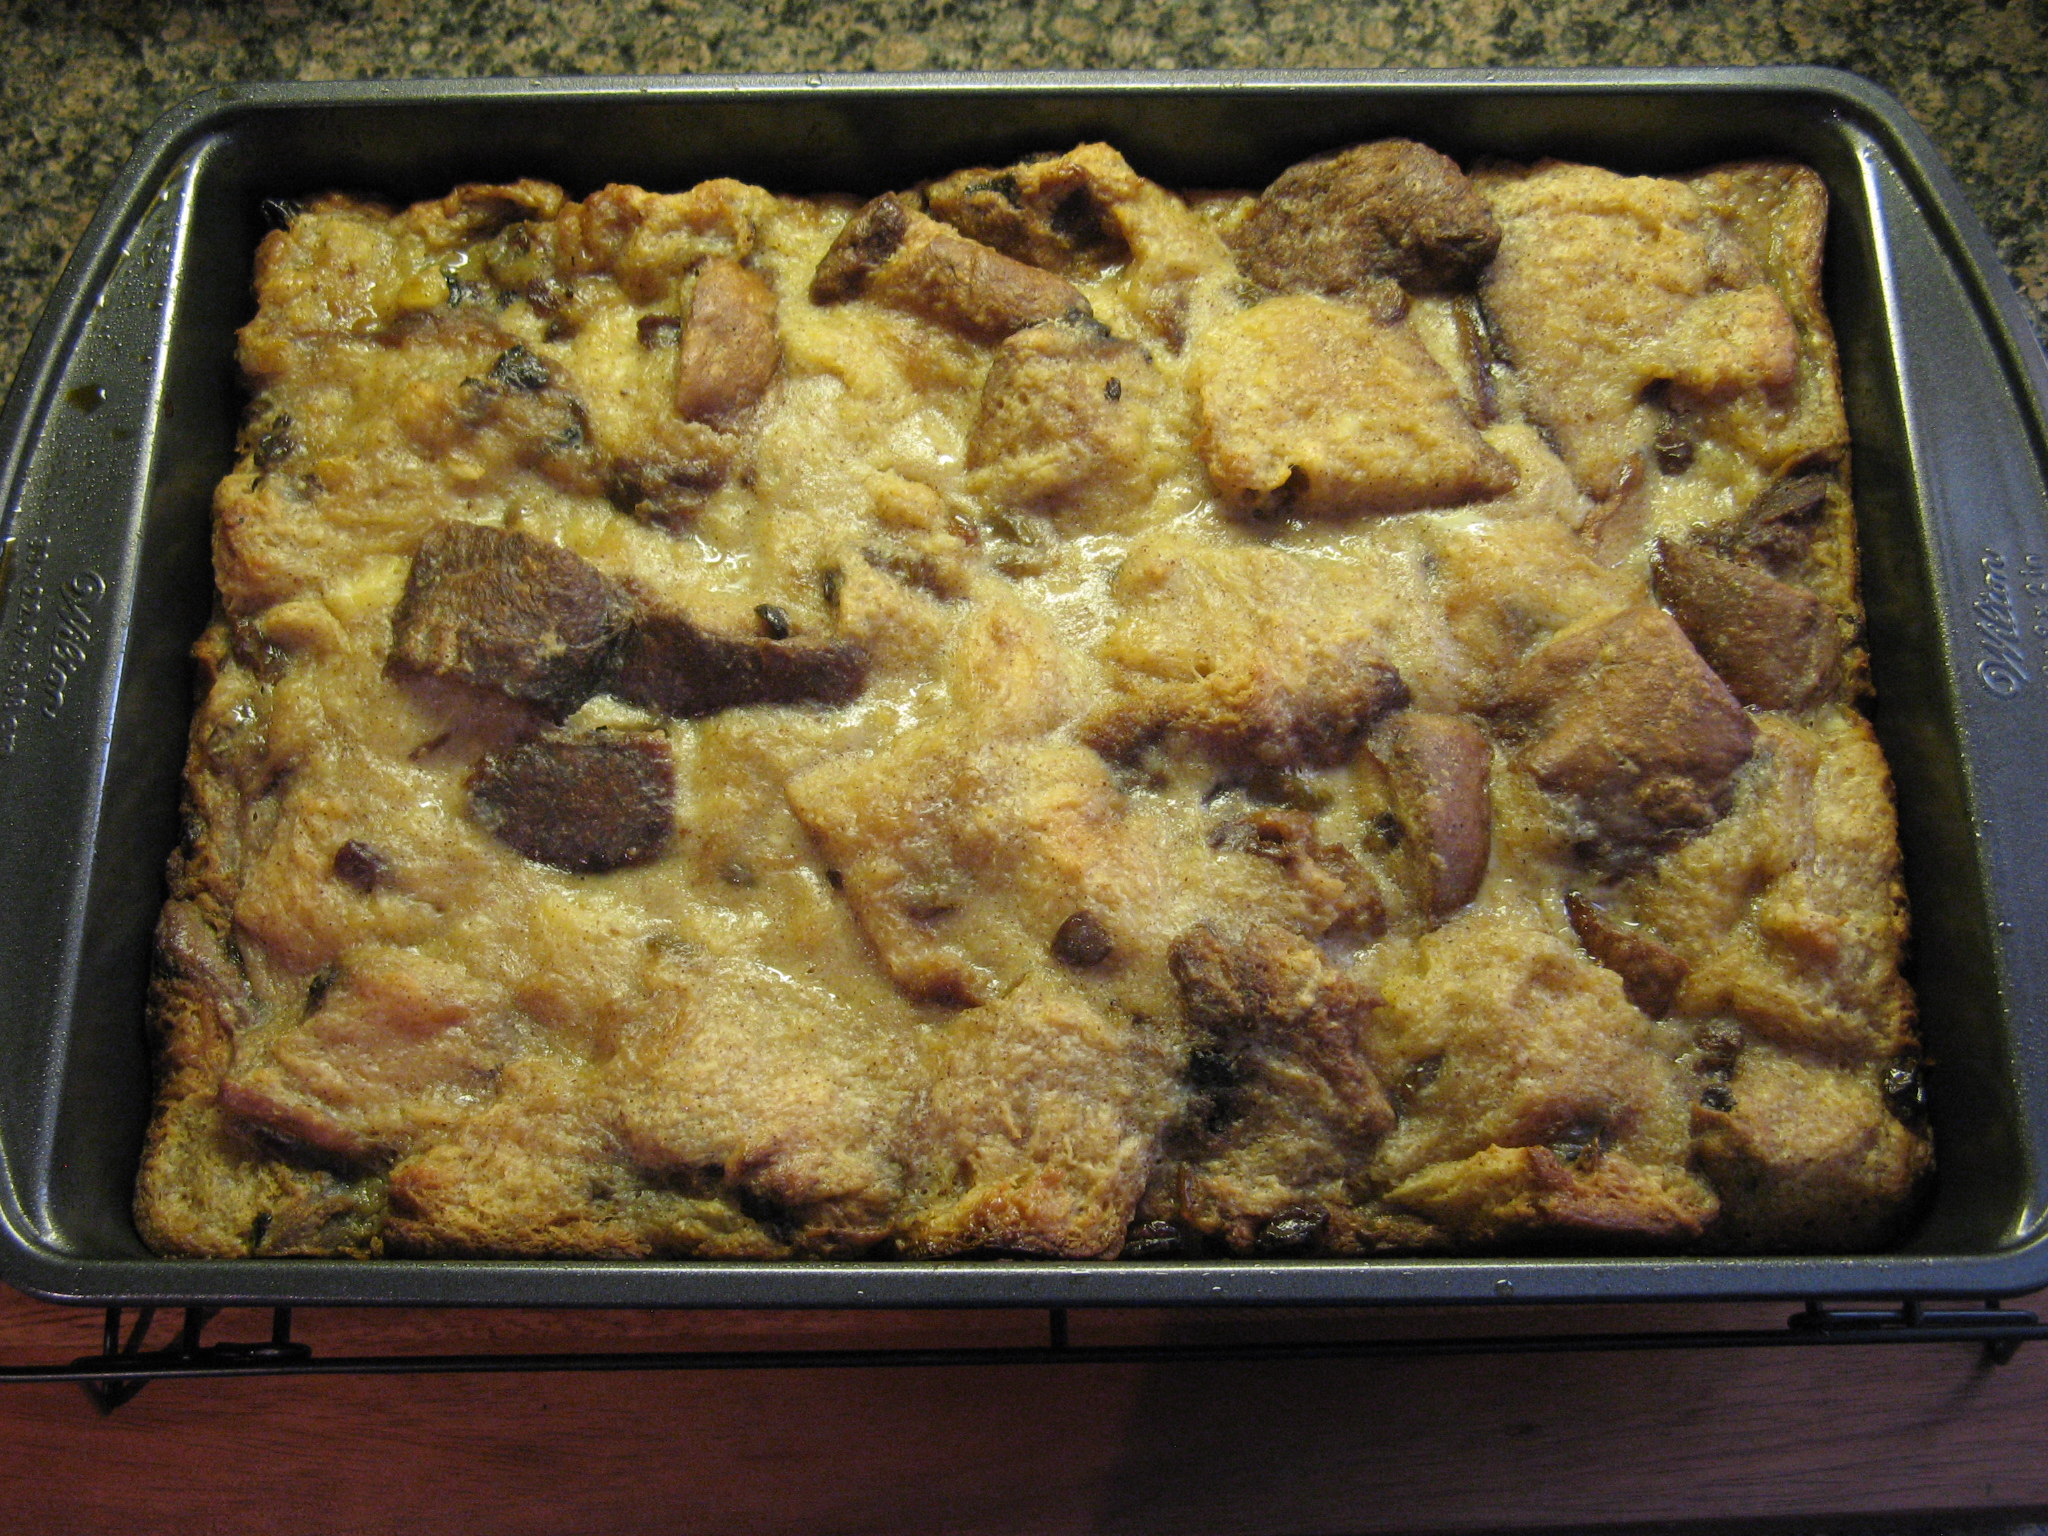
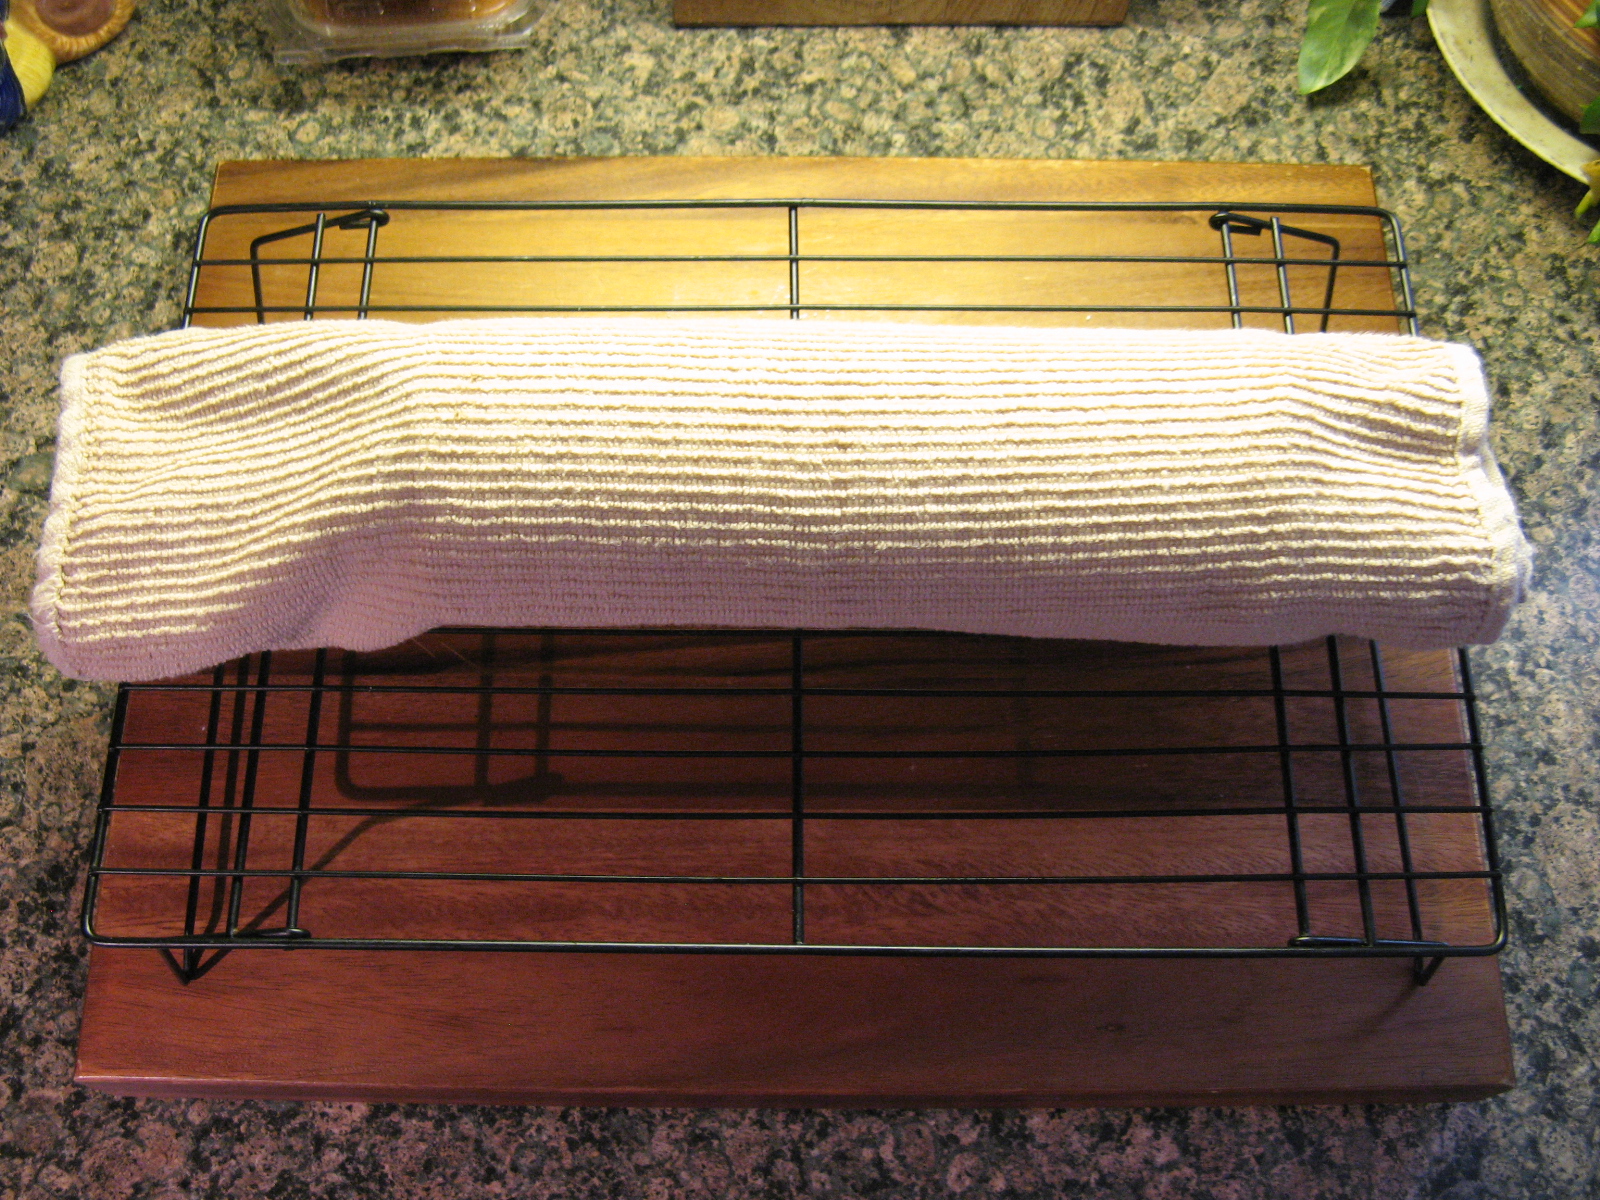
After baking it in a preheated 375 F oven for about 12 minutes, I immediately removed the cake from the pan and placed it on a clean kitchen towel that I dusted with confectioners’ sugar. I then rolled the cake and towel together starting with the narrow end. It is crucial to dust the towel with the sugar to ensure it won’t stick and will easily unroll. Following that I placed it on a wire rack to cool completely.

IMG_9243

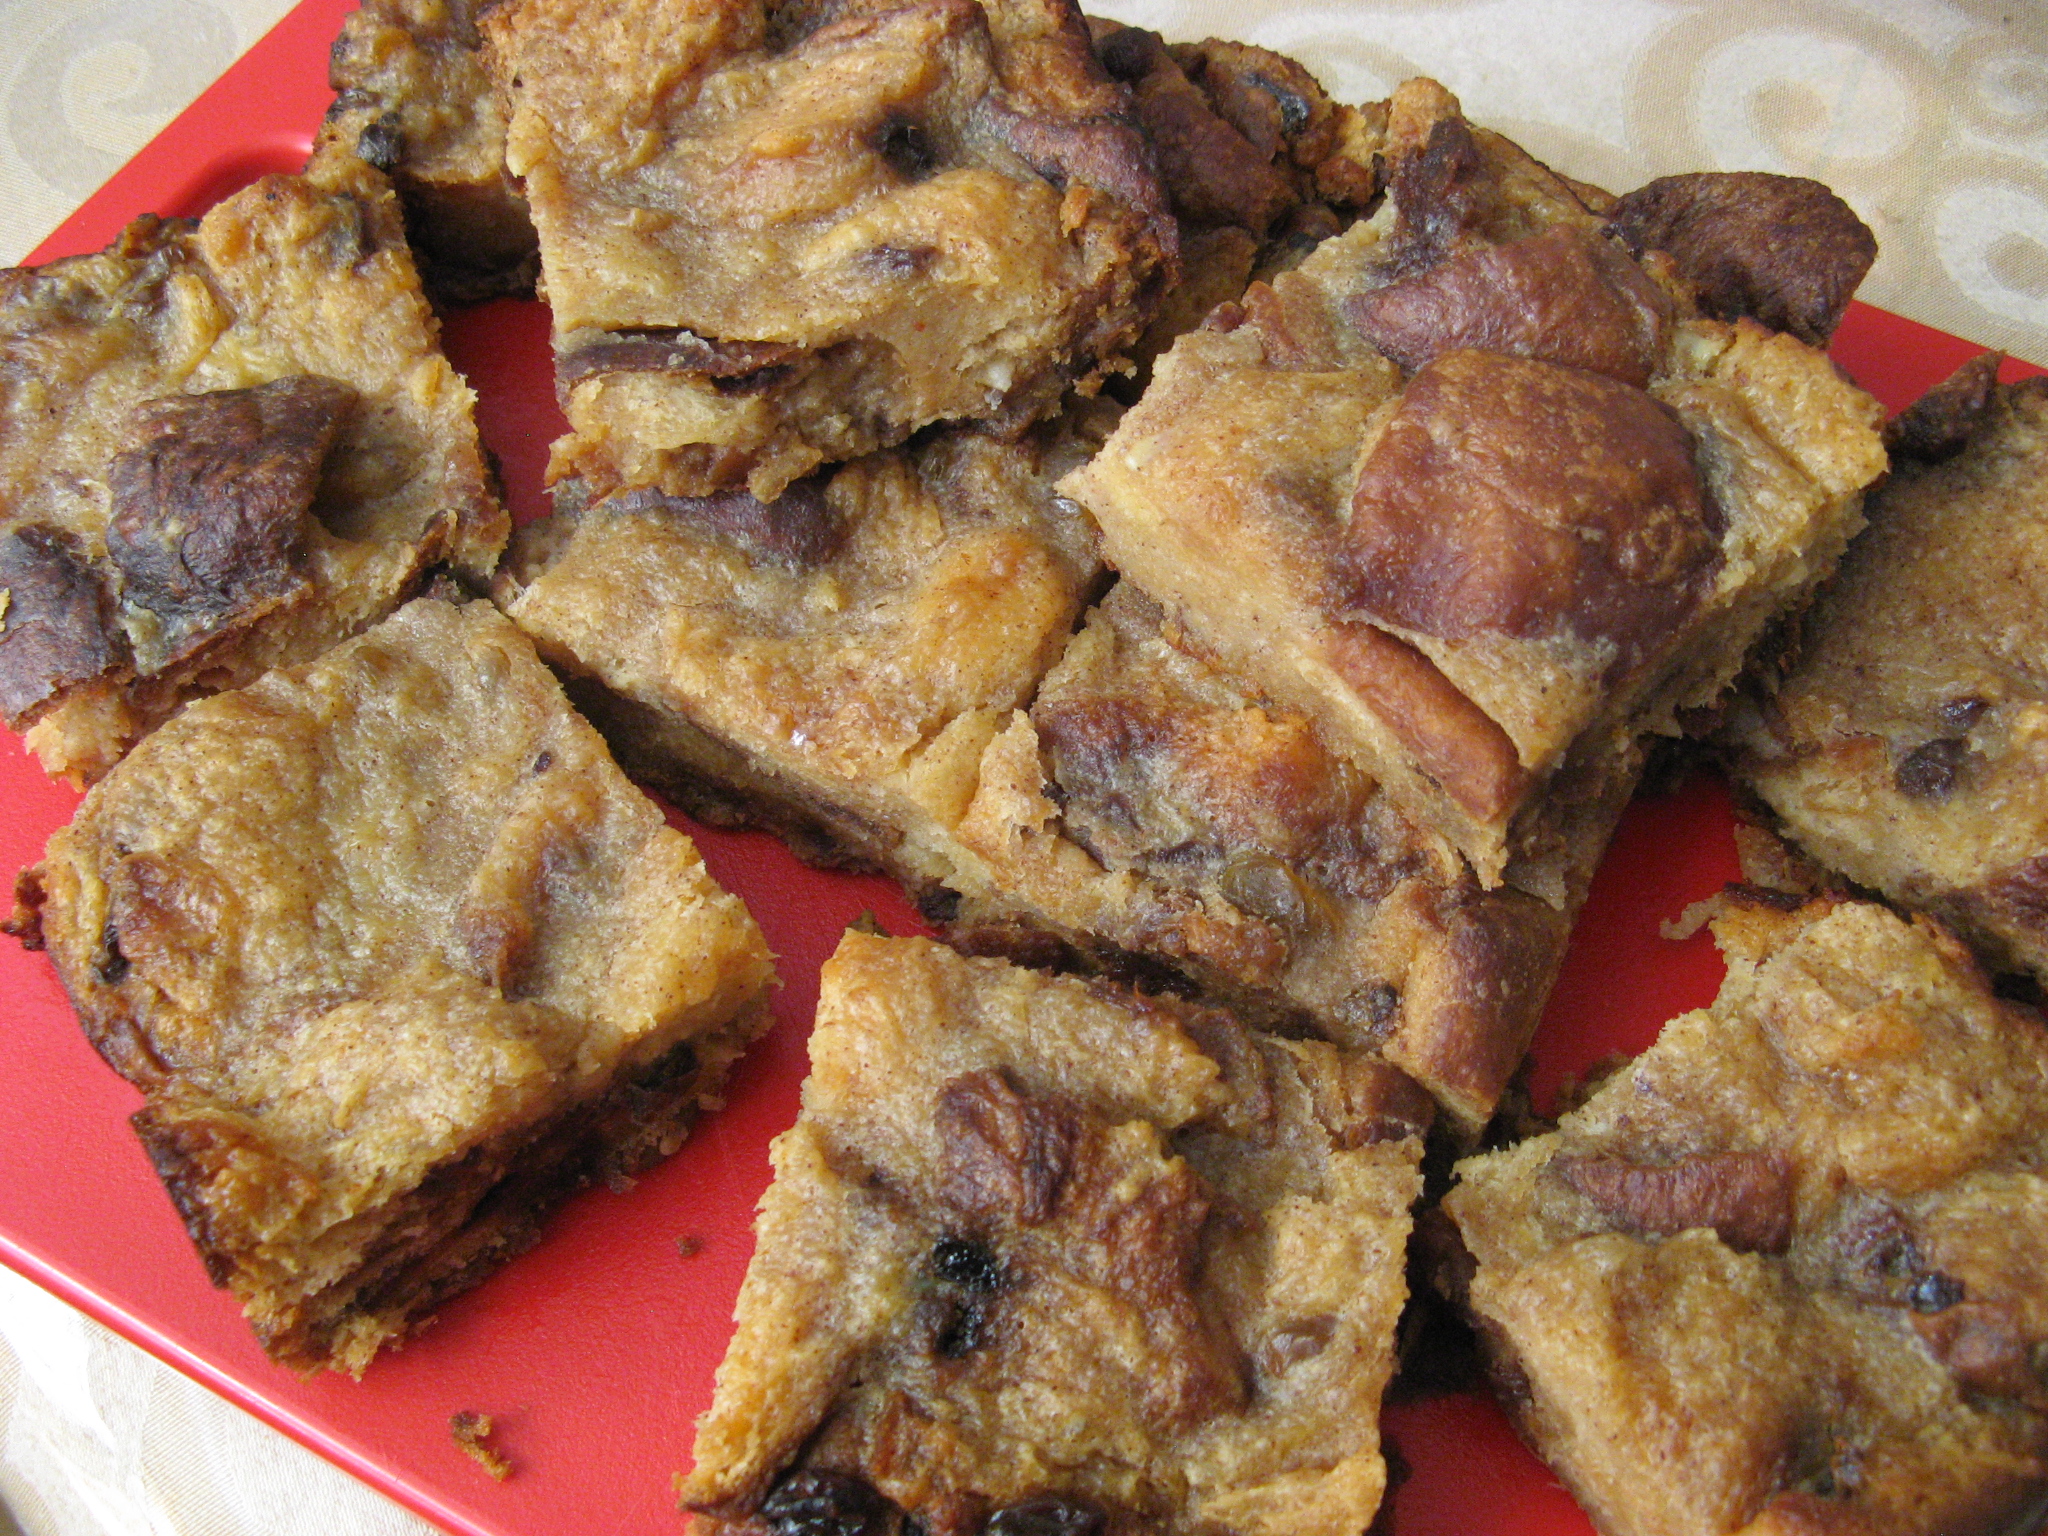
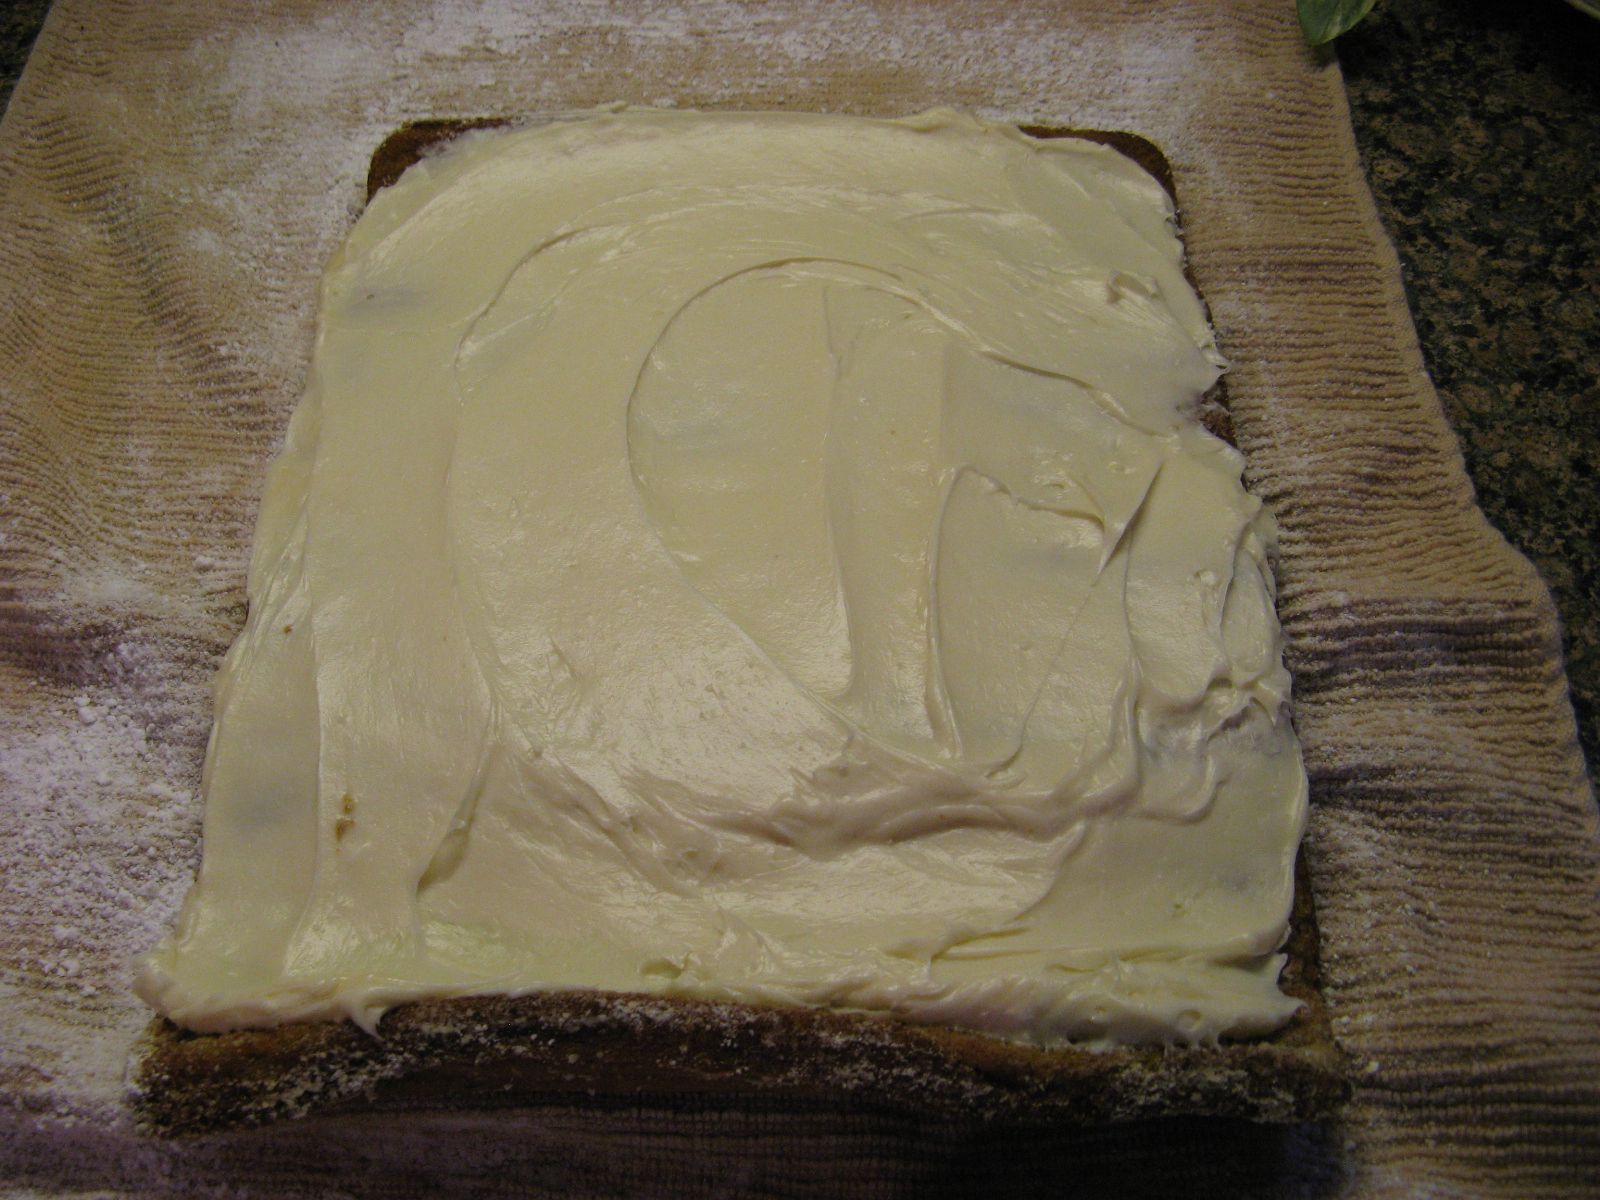
I let it cool for about 2 hours and then unrolled it and spread a cream cheese filling over the cake.

IMG_9246

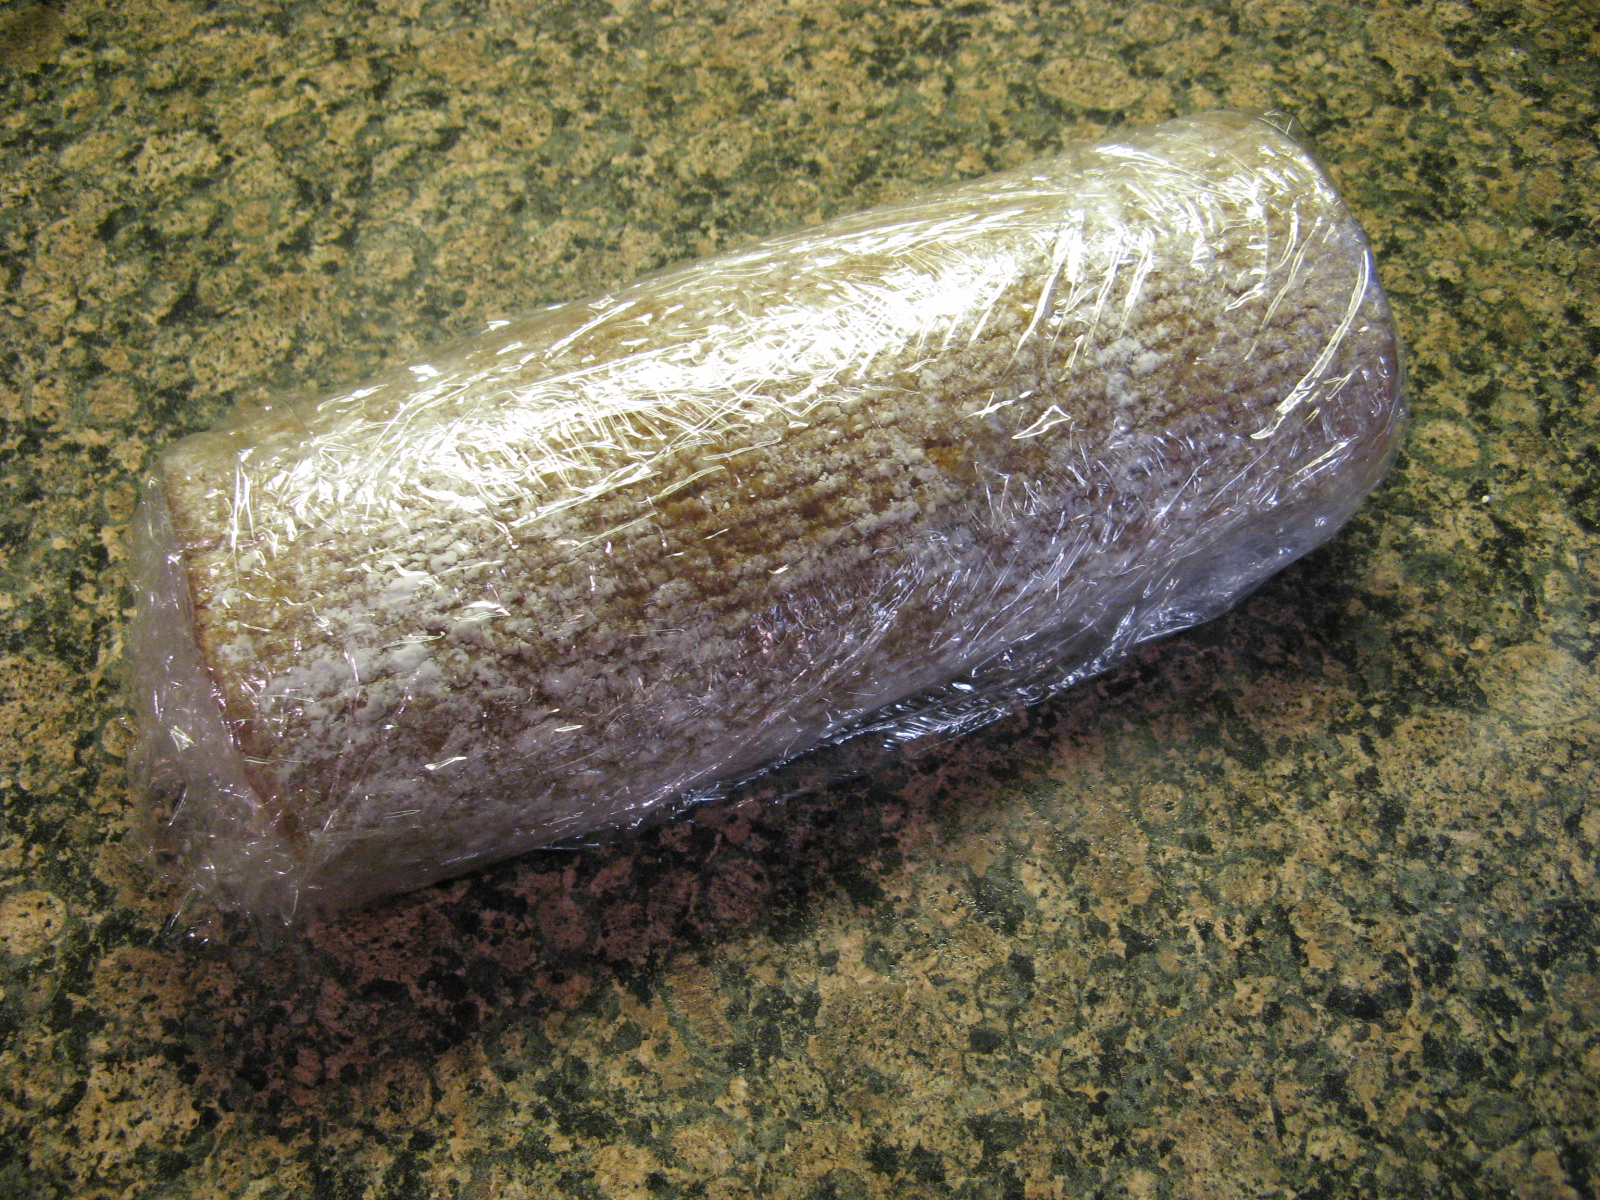
After rolling it up again I wrapped it in plastic wrap and refrigerated it for about an hour so it could set.

IMG_9247

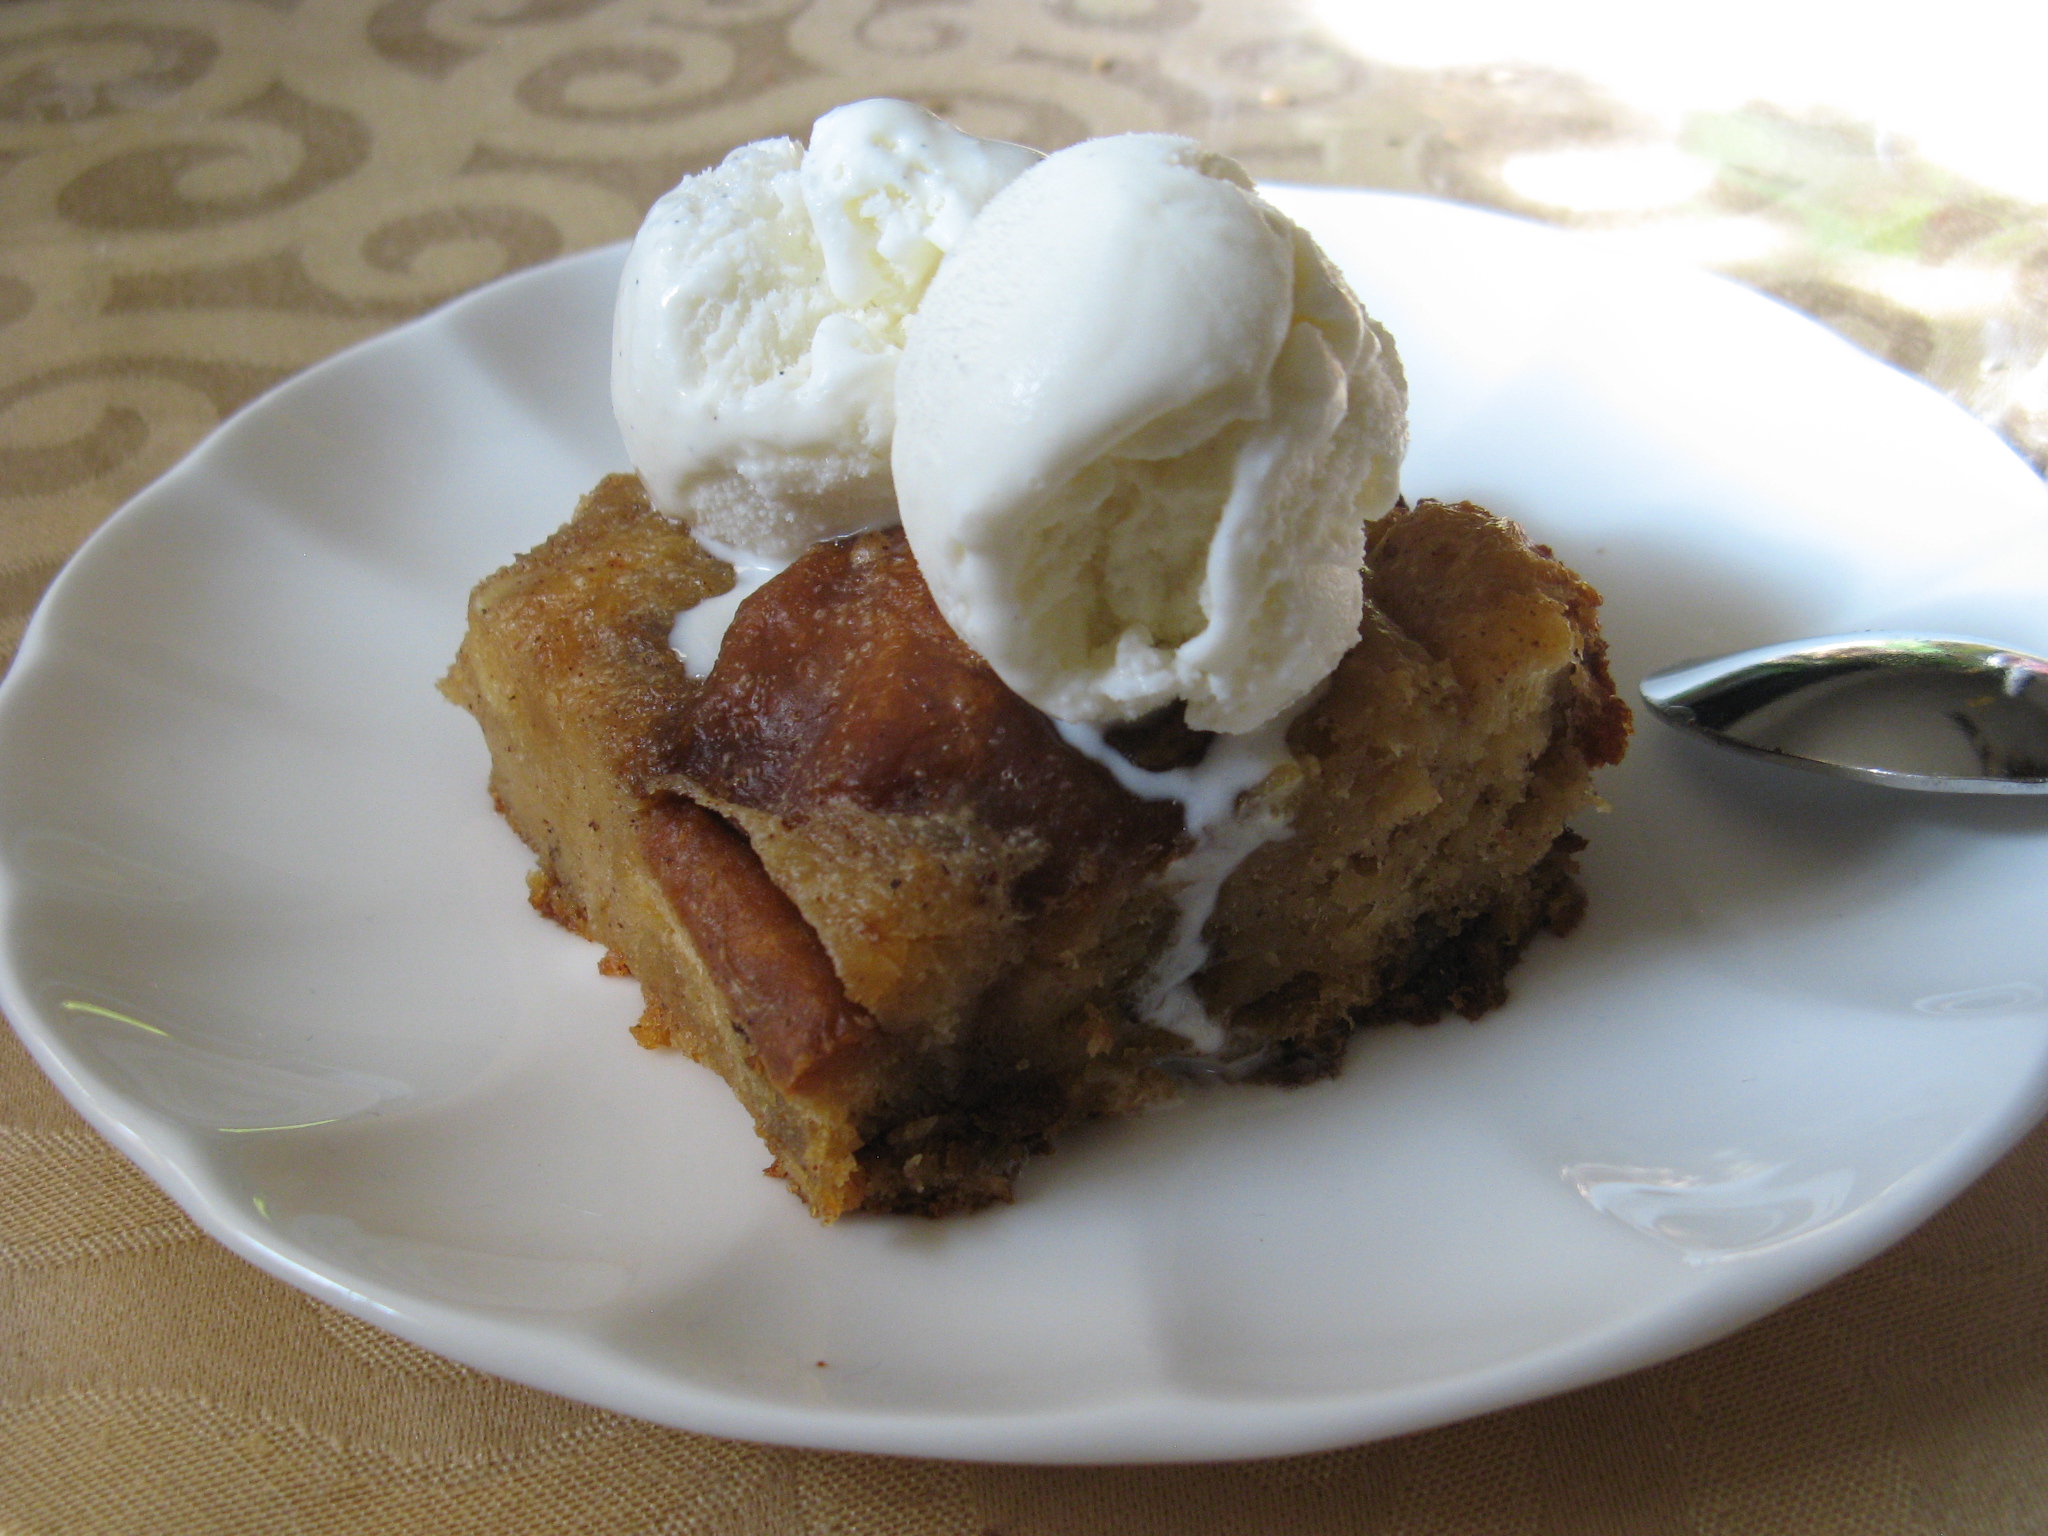
After unwrapping it I dusted it with confectioners’ sugar and immediately enjoyed a slice.

IMG_9251

Pumpkin Roll

Ingredients:

Cake:

3/4 cup all-purpose flour

1/2 teaspoon baking powder

1/2 teaspoon baking soda

1 teaspoon cinnamon

1/2 teaspoon nutmeg

1/4 teaspoon ginger

1/2 teaspoon kosher salt

3 large eggs

1 cup granulated sugar

2/3 cup pure pumpkin

Confectioners’ sugar

Filling:

1 8oz. package cream cheese, at room temperature

1 cup sifted confectioners’ sugar

6 tablespoons unsalted butter, at room temperature

1 teaspoon vanilla extract

Directions:

Preheat oven to 375 F. Spray a 15 x 10 inch jelly roll pan with baking spray and line it with parchment paper. Spray the parchment paper with baking spray as well. Alternatively you could also use flour and butter instead of baking spray. Sprinkle a cotton kitchen towel with confectioners’ sugar.

In a small bowl whisk together the flour, baking powder, baking soda, cinnamon, nutmeg, ginger and kosher salt. Beat the eggs and granulated sugar in a large mixing bowl until thick and then add in the pumpkin. Stir in the flour mixture. Spread the batter evenly into the prepared jelly roll pan.

Bake for 12 – 14 minutes, until the top of the cake springs back when touched. Immediately remove the cake from pan and turn it onto the prepared kitchen towel. If the parchment paper sticks to the cake, carefully remove it. Roll the cake and the towel together starting with the narrower end. Cool on a wire rack.

To make the filling, beat the cream cheese, confectioners’ sugar, butter and vanilla extract with a mixer until smooth.

Once cooled, carefully unroll the cake and spread the cream cheese mixture over the cake. Reroll the cake – without the towel – and wrap in plastic wrap and refrigerate for at least an hour so the cake can set. When ready to serve, sprinkle the cake with confectioners’ sugar.

Recipe slightly modified from Libby’s Pumpkin Roll

A Quick & Easy Bolognese

As the temperatures begin to drop our need and desire for hearty and comforting dishes begins to rise. There’s nothing like coming in from the cold with a nice hot bowl of soup waiting for you. That’s my usual go-to after a morning of shoveling, but let’s not talk about snow so early in the season. We haven’t even had our first frost yet! And just as comforting as soup is pasta and today I have a recipe for you for a quick and easy Bolognese. I came across it in a recent issue of Food Network Magazine where they coined it Weeknight Bolognese. I’m calling it quick and easy because I was able to make twice in one day without breaking a sweat. Why did I make it twice in one day you may be wondering? Well, it’s not because it was so delicious I finished it one sitting – don’t get me wrong, it was delicious – but, it was because I made a MAJOR snafu! If you didn’t know I am more of baker than a cook. The cooking thing is still fairly new to me and I have a lot to learn, like you shouldn’t substitute cooking wine for a dry red wine in any recipe. That’s why I made this recipe twice. The first time I used cooking wine in lieu of dry red wine and it was atrocious and incredibly salty. At first I couldn’t figure out what I had done wrong, but, a quick Google search let me know. I believe I may have made this mistake once before with another recipe but, it’s not coming to me right now. At least I know for future cooking endeavors!

So, on my second go around I had a delicious dinner to eat and with the temps a little cooler in the evening it was quite comforting.

IMG_9197

A Quick and Easy Bolognese

  • Servings: 4 to 5
  • Print

Ingredients:

2 tablespoons olive oil

1 pound lean ground beef*

4 garlic cloves, minced

1 tablespoon dried oregano

1/4 teaspoon crushed red pepper flakes

1 1/4 cups dry red wine**

1 28-ounce can of crushed tomatoes

2 tablespoons tomato paste

Kosher salt and black pepper

3/4 pound dried pasta, such as orecchiette or small shells

1/4 teaspoon ground nutmeg

1/4 cup chopped fresh basil leaves

1/4 cup heavy cream

1/2 cup freshly grated Parmesan cheese, plus extra for serving

*I used a 93% / 7% split

** I used Merlot

Directions:

Heat the olive oil in a large skillet over medium-high heat. Add the ground beef and cook, crumbling the meat with a wooden spoon until the meat has lost its pink color and has begun to brown. Add in the garlic, oregano, and red pepper flakes. Pour in 1 cup of the red wine, the crushed tomatoes, tomato paste, 2 teaspoons of salt and 1 teaspoon of black pepper, stirring until combined. Bring to a boil, then lower the heat and let simmer for 10 minutes.

Bring a large pot of water to boil and cook the pasta according to the package directions.

While the pasta is cooking finish the sauce by adding in the nutmeg, basil, cream and the remaining 1/4 cup of wine and continue simmering for 8 to 10 minutes, stirring occasionally until thickened.

When the pasta is cooked, drain and pour into a large serving bowl and top with the sauce and 1/2 cup of the Parmesan and toss well. Serve hot with extra Parmesan on top.

Recipe from Food Network

Pumpkin Custards

It’s officially Fall and you know what that means… Bring on the Pumpkin treats! Can I just say it really is amazing (and a bit insane) how pumpkin and pumpkin spice flavor can be found in almost everything! Now, don’t get me wrong, I love pumpkin spice flavor but, I just don’t think I need to have it in everything. Have you seen these Pumpkin Spice Flavored Candy Corn? I’m totally cool with the traditional flavor of candy corn so I really don’t see the need for it being spruced or spiced up with additional flavoring. If anyone has tried them though please let me know how they taste in the comment section below… LOL! There are a few pumpkin flavored items I couldn’t resist trying though… Chobani Flip Yogurt, M&M’s and Pepperidge Farm Milano Cookies. All of which were quite tasty in my book. I also purchased some Pumpkin Spice Morsels from Nestle that I can’t wait to bake into cookies. Which leads me to my first pumpkin baked treat of the season… Pumpkin Custards.

To begin to I whisked together heavy cream along with cinnamon, allspice, ginger and nutmeg in a medium saucepan and heated it over medium-low heat and warmed the mixture until it began to bubble along the edges and steam. I then removed it from the heat and let it stand for 15 minutes.

IMG_9188

While the cream mixture was cooling, in a large bowl I blended together egg yolks, vanilla extract, salt, pumpkin puree, granulated sugar and light brown sugar until it was smooth.

IMG_9186

Slowly I poured the cream mixture into the egg mixture, and stirred it until it was blended. You don’t want to put the cream into the eggs too quickly because you don’t want to end up with scrambled eggs!

IMG_9189

After straining the mixture through a fine mesh sieve I divided it among 4 ramekins which I placed in a baking pan and filled the pan with boiling water about halfway up the sides of the ramekins. After covering the pan with aluminum foil I baked it in a preheated 300 F oven for about a half hour – until the edges of the custards began to set.

IMG_9193

Once I removed them from the oven I transferred the custards to a wire rack to cool to room temperature. I had a bit of a mishap in transferring them. My wire rack somehow slipped and I ended up losing two of the custards. Thankfully the ramekins didn’t break, but, I was left with a quite a mess to clean-up since the custards hadn’t completely set and ended up splattering everywhere.

After they had cooled I covered them and placed them in the refrigerator and later that evening it was time to enjoy my first pumpkin treat – well, first pumpkin treat that I personally baked – for the season with a topping of whipped cream!

IMG_9224

Pumpkin Custards

Ingredients:

1 1/2 cups heavy cream

1 1/2 teaspoon cinnamon

3/4 teaspoon allspice

1/8 teaspoon ginger

3/4 teaspoon nutmeg

5 egg yolks

1/2 teaspoon vanilla extract

Pinch of salt

6 tablespoons pumpkin puree

1/3 cup granulated sugar

1 tablespoon light brown sugar

Directions:

Preheat the oven to 300 F and boil a pot of water.

Pour the cream into a small saucepan and whisk in the cinnamon, allspice, ginger and nutmeg. Heat over medium-low heat and the warm the mixture until bubbles form around the edges and steam begins to rise. Remove from the heat and let stand for 15 minutes.

In a large bowl blend together the egg yolks, vanilla extract, salt, pumpkin puree, granulated sugar and light brown sugar.  Slowly pour in the cream mixture, stirring until blended. Pour the mixture through a fine-mesh sieve set over a large bowl. Divide the mixture among four 8 fluid-ounce ramekins and place them in a baking dish. Pour the hot water into the pan about halfway up the sides of the ramekins. Cover the pan loosely with aluminum foil and bake for about 30 minutes, until the custards are just set around the edges.

Transfer the ramekins to a wire rack to cool to room temperature, then cover with plastic wrap and refrigerate for at least 4 hours or up to 3 days.

From Williams-Sonoma

Panettone Bread Pudding

Customarily bread pudding is made with day old (or even older) stale bread… I think this where some people get turned off from eating or even trying it. The idea that something has to go “old” to be turned into something delicious is a bit of an oxymoron. Well, if this is what your apprehension is to trying or making bread pudding today I have a recipe for you that uses panettone, an Italian sweet bread along the lines of a fruit cake, but, definitely not as a dense. And since the holidays – yes, I said the “H” word in September – are just around the corner you’ll be seeing those lovely boxes of panettone everywhere soon enough.

To begin I cubed a 2lb. round panettone and spread it on a baking sheet and lightly toasted it in a 350 F oven for 10 minutes. Once cooled I put the cubes in a large bowl.

IMG_8770

In a medium bowl I whisked together eggs, sugar, melted butter, cinnamon, nutmeg, and vanilla extract. I then slowly whisked in warmed heavy cream – you don’t want to add the heavy cream too quickly as you may end up with scrambled eggs – and continued whisking the mixture until the sugar had dissolved.

IMG_8771

I poured the egg mixture over the cubed panettone along with some golden raisins.

IMG_8772

After folding all of the ingredients together, making sure that the panettone had soaked in the egg mixture well, I let the mixture stand for 20 minutes.

IMG_8773

Next, I transferred the mixture to a buttered 9 x 13 inch baking dish and baked it in the oven for 30 minutes, covered with aluminum foil. After removing the aluminum foil I baked it for another 10 minutes. After removing it from the oven I let it cool completely on a wire rack.

IMG_8781

Once cooled I transferred it to a cutting board and cut some pretty healthy pieces.

IMG_8803

And while this bread pudding it delicious on its own due to the deliciousness of the panettone itself and the addition of extra raisins, cinnamon and nutmeg it’s even better when warmed and topped with a scoop or two of vanilla ice cream!

IMG_8817

Panettone Bread Pudding

Ingredients:

2 lb. round panettone, cut into cubes and lightly toasted

6 eggs

2/3 cup granulated sugar

1 stick unsalted butter, melted

1 1/2 teaspoon ground cinnamon

1/8 teaspoon ground nutmeg

1 tablespoon vanilla extract

2 cups heavy cream, warmed

1/2 cup golden raisins

Directions:

Preheat an oven to 350 F and butter (you can also use a cooking spray) a 9 x 13 inch baking dish.

After the panettone cubes have cooled place them in a large bowl. In a medium sized bowl whisk together the eggs, sugar, butter, cinnamon, nutmeg and vanilla extract. Slowly whisk in the heavy cream, whisking until the sugar has completely dissolved. Pour the mixture over the panettone cubes, and then add in the raisins. Fold all of the ingredients together and let stand for 20 minutes.

Transfer the panettone mixture to the prepared baking dish and cover with aluminum foil and bake for 30 minutes. Remove the foil and bake for another 10 -15 minutes; until a toothpick inserted in the center of the pudding comes out clean but is still slightly wet.

Recipe is from a Williams-Sonoma Class

Mixed Berry Galette

The unofficial end of summer is upon us… Labor Day. While the day temps feel like summer the drop in the evening temps definitely signal the arrival of Fall is imminent, kids are heading back to school and everywhere you look there is something flavored pumpkin. I am not complaining though… Fall is by far my favorite of the four seasons. I love the crispness in the air, apple picking, the leaves changing colors and the return of scarf season. If you didn’t know, I love scarves!!! But before all that fun begins I have one last summer themed dessert… A Mixed Berry Galette. While you can get berries – blueberries, blackberries, strawberries, etc. – anytime of the year, summer is when they are at their peak.

Just look at how vibrant and delicious these berries look…

IMG_9105

While you could make your dough from scratch, I opted to go the easier and quicker route by using a puff pastry sheet. After thawing the sheet out I rolled it on a lightly floured surface into a 12-inch square. I then transferred it to a parchment lined cookie sheet and placed it the refrigerator for about 20 minutes.

IMG_9107

Following that I put my berries – which I tossed with corn starch, sugar and salt – in a small mound in the center of the sheet and folded the edges around it. I brushed the edges with an egg wash – an egg beaten with a teaspoon of water – and sprinkled granulated sugar on it.

IMG_9110

After refrigerating it for 15 minutes I the baked it in a 400 F preheated oven for 30 minutes – until the puff pastry was golden brown and the berries were bubbling. Unfortunately my galette opened up a bit while baking.

IMG_9115

That didn’t affect the taste though; once it cooled I cut myself a piece and was quite pleased with how something so quick and simple could turn into something so delicious!

Mixed Berry Galette

Ingredients:

1 frozen puff pastry sheet, thawed

All-purpose flour, for dusting

1 large egg, for brushing the pastry

3 cups mixed berries – strawberries, blueberries, blackberries

1/4 cup cornstarch

1/2 cup granulated sugar*, plus more for sprinkling the puff pastry

1/4 teaspoon salt

*If you would like your galette on the sweeter side add a tablespoon or two more sugar.

Directions:

Preheat the oven to 400 F. Line a rimmed baking sheet with parchment paper. Roll out the puff pastry into a 12-inch square on a lightly floured surface. Transfer the sheet to the prepared baking sheet and refrigerate for 15 minutes.

Make the filling by tossing the berries with the cornstarch, sugar and salt.

Place the fruit in the center of the puff pastry in a small mound and fold the edges of the sheet over the fruit, overlapping the sheet as you fold.

Brush the pastry with an egg wash – the egg lightly beaten with a teaspoon of water – and then sprinkle with granulated sugar. Refrigerate for about 20 minutes, until firm.

Bake until the edges are golden brown and the fruit is bubbling, about 30 – 35 minutes.

Coconut Cinnamon Popsicles

Whenever I go to Target I can never stick to the items that are on my list. Somehow, someway other things creep into my shopping cart. I’m sure I’m not alone in this. I just can’t resist walking down random aisles to see what’s available; my favorite though is passing by the end caps to see what items are on clearance. You never know when you can pick up a nice dish, a colorful shower curtain or a cute notebook at a ridiculously low price. That’s how I found the ice pop molds I used to create the Coconut Cinnamon Popsicles I am sharing with you today. I randomly saw them sitting on an end cap for more than 50% off so I figured why not… The deal was too good to pass up and I really liked how the molds sat on the base. Not your typical ice pop mold!
IMG_8989
These ice pops couldn’t be more simpler. In a large bowl I combined cream of coconut, coconut milk, vanilla extract, cinnamon and shredded coconut and mixed them together with my hand mixer until everything was well combined. I then transferred the mixture to a measuring cup to make pouring it into the molds easier (and less messy!) Once that was done I placed them in the freezer overnight so they could harden.
IMG_8985
And the next day I had a delicious (and cold – which is imperative for these final dog days of summer) coconut treat that had a hint of cinnamon! I can’t wait to try out some other flavor combinations with these nifty ice pop molds!
IMG_9015

Coconut Cinnamon Popsicles

Ingredients:

1 13.5 oz. can of coconut milk

1 15oz. can of cream of coconut

1 teaspoon vanilla extract

1/2 teaspoon cinnamon

1/2 cup sweetened shredded coconut

Directions:

Combine all ingredients in a large bowl and mix together with a hand mixer until well blended. Transfer the mixture to a measuring cup and pour into ice pop molds.

Freeze until solid, 3-4 hours, preferably overnight

A little DIYing and Knitting

How has your summer been going? Have you knocked off many things on your never-ending to-do list or DIY list? I’ve been able to do a little crafting for items that have been on my list or jumped to the top of my never ending list overnight.

As a blogger I sometimes have a hard time taking photographs… Meaning, the background is never what I want. I always find myself moving things around my counter or on my kitchen table to get the right shot. During these warmer months I am fortunate that I can head out into my backyard and take pictures on my picnic table without too much worry of obstructions in the background… Grass isn’t bad as background I think. It’s especially difficult when I take pictures of some of my jewelry pieces or yarn projects… I have to wait until the light is just right (which is still usually in my kitchen) and set up a snack table with a white foam board as a backdrop to get the “right” shot. But, sometimes you want a little more color and personality than just a plain white board and I personally think that the white background isn’t always complementary. So, I did a little DIYing and created some backdrops myself. Now I know that you can purchase more sophisticated and professional looking one’s online, but, I wasn’t 100% sure what I wanted and I am one who believes that if I can do something myself instead of paying someone else to do it then I might as well do it. Also, I just love creating things. It’s one of the ways I learn new things and get ideas for other things.

So, one day while I was at my local Jo-Ann’s I picked up project paper in two different patterns – quatrefoil and chrysanthemum – and decided to give this DIY project a go. I began by cutting a piece of the decorative paper bigger than my foam board. After covering my work surface with newspaper I sprayed the foam board with adhesive spray and carefully placed the paper on top of it, smoothing out any bumps. After letting the glue dry overnight, the following day I folded the excess paper around the edges and taped them to the back. To ensure that I would get smooth corners I cut the paper on an angle there before folding it over.

Backdrop Collage

And now I have two colorful and decorative backdrops than I can use for an array of things!

IMG_9009

Next up… Flower Crowns. Last year I went to the Renaissance Faire in upstate New York – I had wanted to go for years. I truthfully had no idea what to expect, all I knew was that the description made it sound like fun, and it was. So much so that I went again this year. While there last year I was tempted to buy a flower crown, not sure what stopped me. Oh yeah, I know, the fact that I would never wear it. I won’t even put a hat on my head when it’s freezing cold outside! This year my friends daughters were coming along for the fun; although only the eldest one ended up going. So I decided to make them flower crowns to wear!

Supplies needed are silk flowers, floral wire and tape, wire shears and a hot glue gun.

IMG_8531

After measuring the girls’ heads with the floral wire I wrapped the ends with the tape and began gluing flowers to it.

IMG_8703

And it wasn’t long before I had completed both flower crowns.

IMG_8707 IMG_8714

And finally, my knitting project, which at the moment is a WIP – a work in progress. I finally taught myself Entrelac and I am quite excited about it (Hmmm… maybe I need to get out more!) Anyhoo… It’s been on my to-do list for years and I just never got around to it, but, I made it a point to hunker down this summer and learn. And thanks to YouTube the pattern didn’t seem as confusing as I initially thought. Oh, and I am sure you may be wondering… Entrelac is an interlace knitting pattern that creates a textured diamond pattern.

IMG_9005

Here’s a close-up shot of it… While it may look as though it’s different strips of yarn woven together it’s the complete opposite, the entire scarf is knitted in one piece with a series of triangles and squares. It sort of reminds me of a basketweave pattern, but, on an angle. Using yarn such as this one – Lion Brand’s Amazing – really helps one to appreciate the pattern because of the color variations.

IMG_9006

And that’s been my summer thus far on a crafting perspective!


Deep-Dish Margherita Pizza

While I am partial to a thin and crispy crust when it comes to my pizza, once in a blue moon I want something with a little more bite to it, especially when it sounds super simple to make. A while back I came across a recipe for a deep-dish pepperoni pizza using a cake pan, and with these hot and humid days upon us the last thing I really want to do is make something complicated for dinner so this was right up my alley. I do my best to avoid using my oven when it’s too hot, but, this pizza was an exception since the total oven time was less than twenty-five minutes and prep time was just under ten minutes since I opted to make a Deep-Dish Margherita instead.

IMG_8996

To make things even easier for myself I used store-bought refrigerated pizza dough that I brought to room temperature prior to using. While the dough was “warming” I made the pizza sauce by combining whole peeled tomatoes (crushed by hand), olive oil, grated garlic, crushed red pepper and salt. I set this aside so the flavors could marinate and then thinly sliced some fresh mozzarella. Meanwhile, I preheated my oven to 475 F with an inverted cookie sheet on the bottom shelf and brushed the bottom and sides of a 9-inch cake pan with olive oil.

Once the dough was ready I stretched it into the cake pan, placed it on top of the inverted cookie sheet and baked it in the oven for about 10 minutes, until it was puffy and just starting to brown. After removing it from the oven I topped it with the sauce leaving about a 1/2 inch border. I then topped it with the fresh mozzarella and placed it back in the oven – on top of the cookie sheet again – and baked it for another 10 minutes. When I removed it from the oven I was a little scared that something had gone wrong. My pizza was completely puffed up, but, I allowed it to sit for a few minutes and thankfully it deflated and looked “normal.”

IMG_8997

And I’ll admit it’s not the best looking pizza, but, it was delicious! This may be my go to pizza sauce next time I make pizza!

Deep-Dish Margherita Pizza

Ingredients:

1 pound refrigerate pizza dough, at room temperature

1 14.5 oz. can whole peeled tomatoes, crushed by hand

2 tablespoons olive oil, plus an additional 2 tablespoons to brush the pan

2 garlic cloves, grated

1/4 teaspoon crushed red pepper

1 teaspoon salt

4 ounces fresh mozzarella, thinly sliced

Directions:

On the bottom oven rack place an inverted cookie sheet and preheat the oven to 475 F. Brush the bottom and sides of a 9-inch cake pan with 2 tablespoons of olive oil. Press the dough into the pan and bake for 10 minutes, until puffy and lightly golden.

Combine the tomatoes, remaining olive oil, garlic, crushed red pepper and salt in a large bowl and allow the flavors to marinate for a few minutes.

After removing the pizza crust from the oven, top with the sauce*, leaving a 1/2 inch border, and top with the fresh mozzarella. Return to the oven for another 10 minutes, until the cheese is bubbling.

Let the pizza cool for 5 minutes before slicing.

*You will have extra sauce.

Modified from here and here

Hibiscus Sorbet

A few weeks ago I picked up some dried hibiscus flowers and at the time I wasn’t sure what I would make with them. I thought maybe I could steep them and incorporate the flavor into cupcakes or something, but, when the temps and humidity began to rise I decided that a cold treat was in order instead… hence Hibiscus Sorbet.

IMG_8747

After creating the base for the sorbet, which is basically making hibiscus tea, I refrigerated the mixture overnight and then added in a tablespoon each of lemon and lime juice before churning it in my ice cream maker for about 20 minutes. I then transferred the sorbet to an airtight container and froze it for a few hours so it could harden.

And while it did firm up it was still on the softer side which made it very easy to scoop out and enjoy! Overall, it was tasty. I will say the flavor is not for everyone though. It sort of reminded me of some the lavender treats I have made. Maybe there is something about dried flowers and the flavor they give off. I researched a little to see if hibiscus and lavender were somehow related but I couldn’t come up with anything; I did come across recipes that incorporated the two flavors though. So maybe they somehow complement each other which may be the reason why they tasted similar to me.

Hibiscus Sorbet

Ingredients:

2 cups water

1 cup dried hibiscus flowers

1 cup sugar

1 tablespoon lemon juice

1 tablespoon lime juice

Directions:

Bring water to a boil in a small saucepan. Stir in the hibiscus flowers and remove from the heat and let steep for 15 minutes.

Pour the hibiscus steeped water through a fine mesh sieve into a bowl, pressing on the flowers. Discard the flowers and return the water to the saucepan along with the sugar and a pinch of salt and bring to a boil, stirring until the sugar is dissolved. Transfer the mixture to a bowl and let cool to room temperature. Once it does, cover and refrigerate overnight.

The following day, stir in the lemon and lime juice and churn in an ice cream maker. Transfer the sorbet to an airtight container and freeze until it hardens, at least 2 hours.

Modified from Epicurious

http://www.beadyarnspatula.com

S’mores Brownies

I hope you are all having a wonderful summer thus far! Today I have a treat for you that is perfect for these summer days, a spin on a favorite campfire treat… S’mores Brownies.

IMG_8701

I began by spraying a 9 x 13 inch pan with cooking spray and lining it with graham crackers.

IMG_8646

Next, I made my brownie batter and poured it right over the graham crackers…

IMG_8652

And then baked it in a pre-heated 325 F oven for 40 minutes, until a cake tester inserted in the middle came out almost clean.

IMG_8653

I then switched my oven to the broiler setting and topped the brownie with mini marshmallows, chocolate chips and crushed graham crackers and placed it back in the oven for just about a minute until the marshmallows began to brown.

IMG_8664

I let the brownie cool on a wire rack and then transferred it to a cutting board to slice it. The key is to make sure the brownies have completely cooled before slicing into them, if you slice them too soon you will have a marshmallow mess as they will still be warm and gooey and the brownies will fall apart as they won’t have had enough time to set. I speak from experience on the latter.

IMG_8687

These brownies were perfect! The texture was spot-on… Not cakelike or too dense. And while you may think that the addition of the marshmallows and chocolate chips on top would make them too sweet, the opposite is true, it enhanced the flavor of the chocolate in the brownies. And let’s not forget the graham crackers on the bottom, they incorporated nicely into the brownie and while you may think they would get crispier when baked they actually provided a soft base to the brownies, sort of like a built-in plate. Overall, all of these flavors and textures worked together perfectly; just like your regular S’mores does.

IMG_8690


S’mores Brownies

Makes 12 Brownies

 Ingredients:

10 graham crackers

3 cups mini marshmallows

2 cups semi-sweet chocolate chips, plus an additional 1/2 cup for the topping

1 stick unsalted butter

3/4 cup granulated sugar

3/4 cup light brown sugar

4 eggs

1 teaspoon vanilla extract

1 cup flour

1/2 teaspoon salt

Directions:

Preheat the oven to 325 F. Spray a 9 x 13 inch pan with cooking spray and line it with graham crackers.

In a medium saucepan melt 2 cups of the chocolate chips with the stick of butter over low heat, stirring frequently.

Once the chocolate chips and butter have melted remove from the heat and whisk in the granulate sugar and light brown sugar, cool slightly.

Whisk in the eggs, one at a time and then the vanilla extract.

Stir in the flour and salt and pour the batter over the graham crackers.

Bake for 40 – 45 minutes, until a tester inserted in the middle come out almost clean.

Remove the pan from the oven and set the oven to the broiler setting. Top the brownie with the mini marshmallows, and the remaining chocolate chips and graham crackers – crush the graham crackers. Place the pan back in the oven for 30 – 60 seconds, until the marshmallows begin to brown. Remove from the oven and transfer to a wire rack to cool completely. Once cooled transfer the brownie to a cutting board and slice into 12 pieces.