Slow Cooker Sunday: Moroccan Spiced Butternut Squash and Beef Stew

For this week’s Slow Cooker Sunday meal I’m bringing you a dish with flavors from North Africa, specifically Morocco. Spices are used extensively in Moroccan food… Hence bringing together a multitude of wonderful flavors. So, it’s no surprise that this week’s Moroccan Spiced Butternut Squash and Beef Stew is full of flavor.

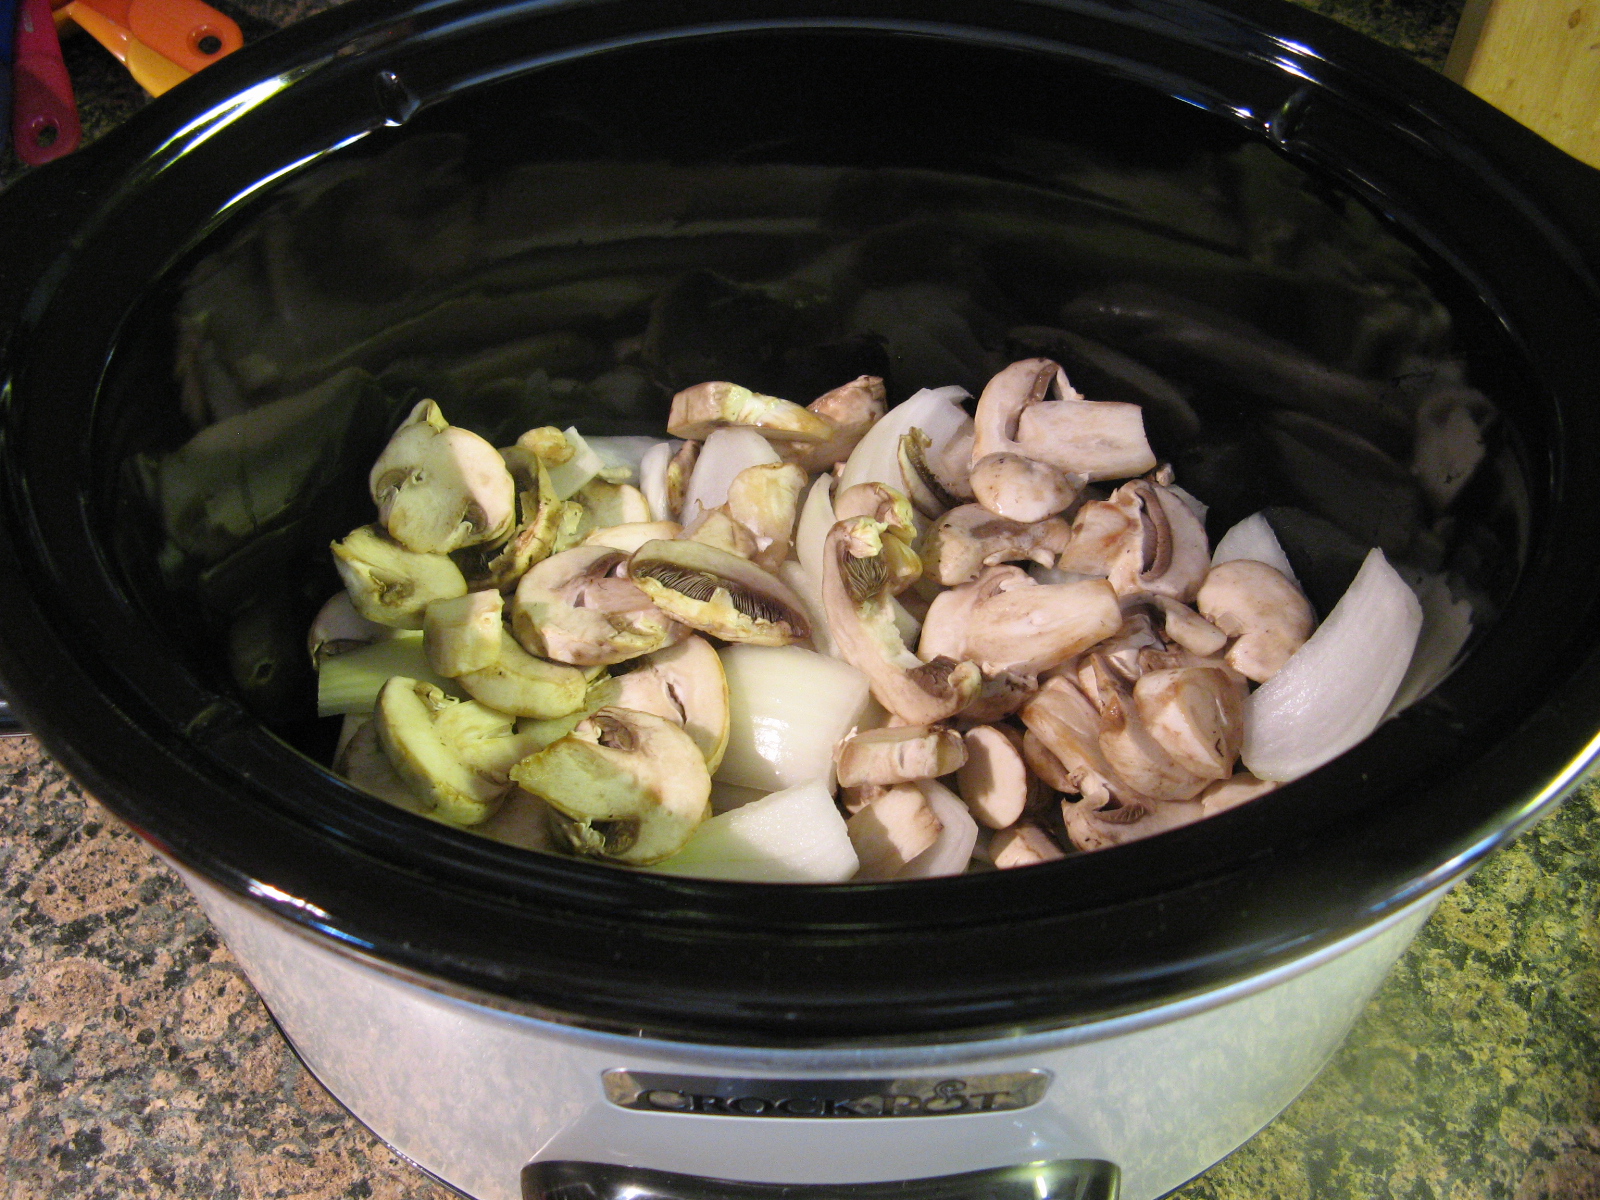
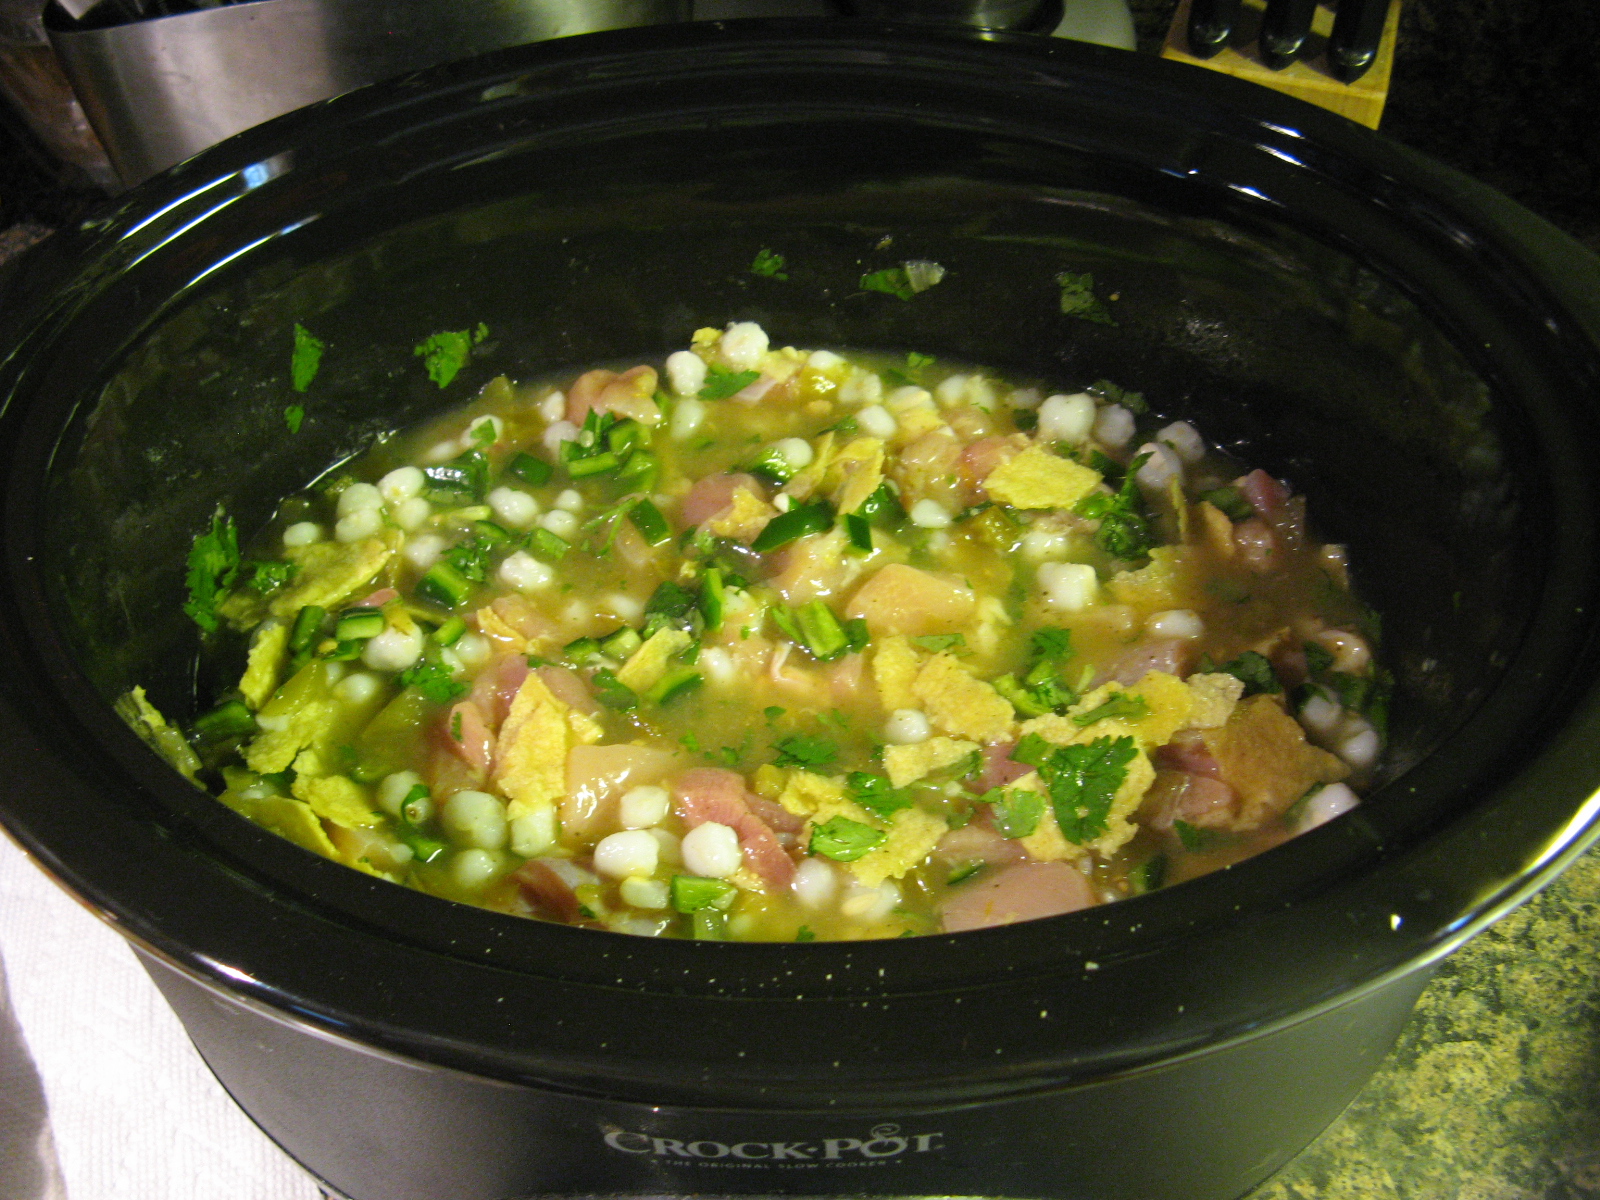
To begin I placed 2lbs. of cubed beef chuck in the bottom of my slow cooker.

IMG_9864

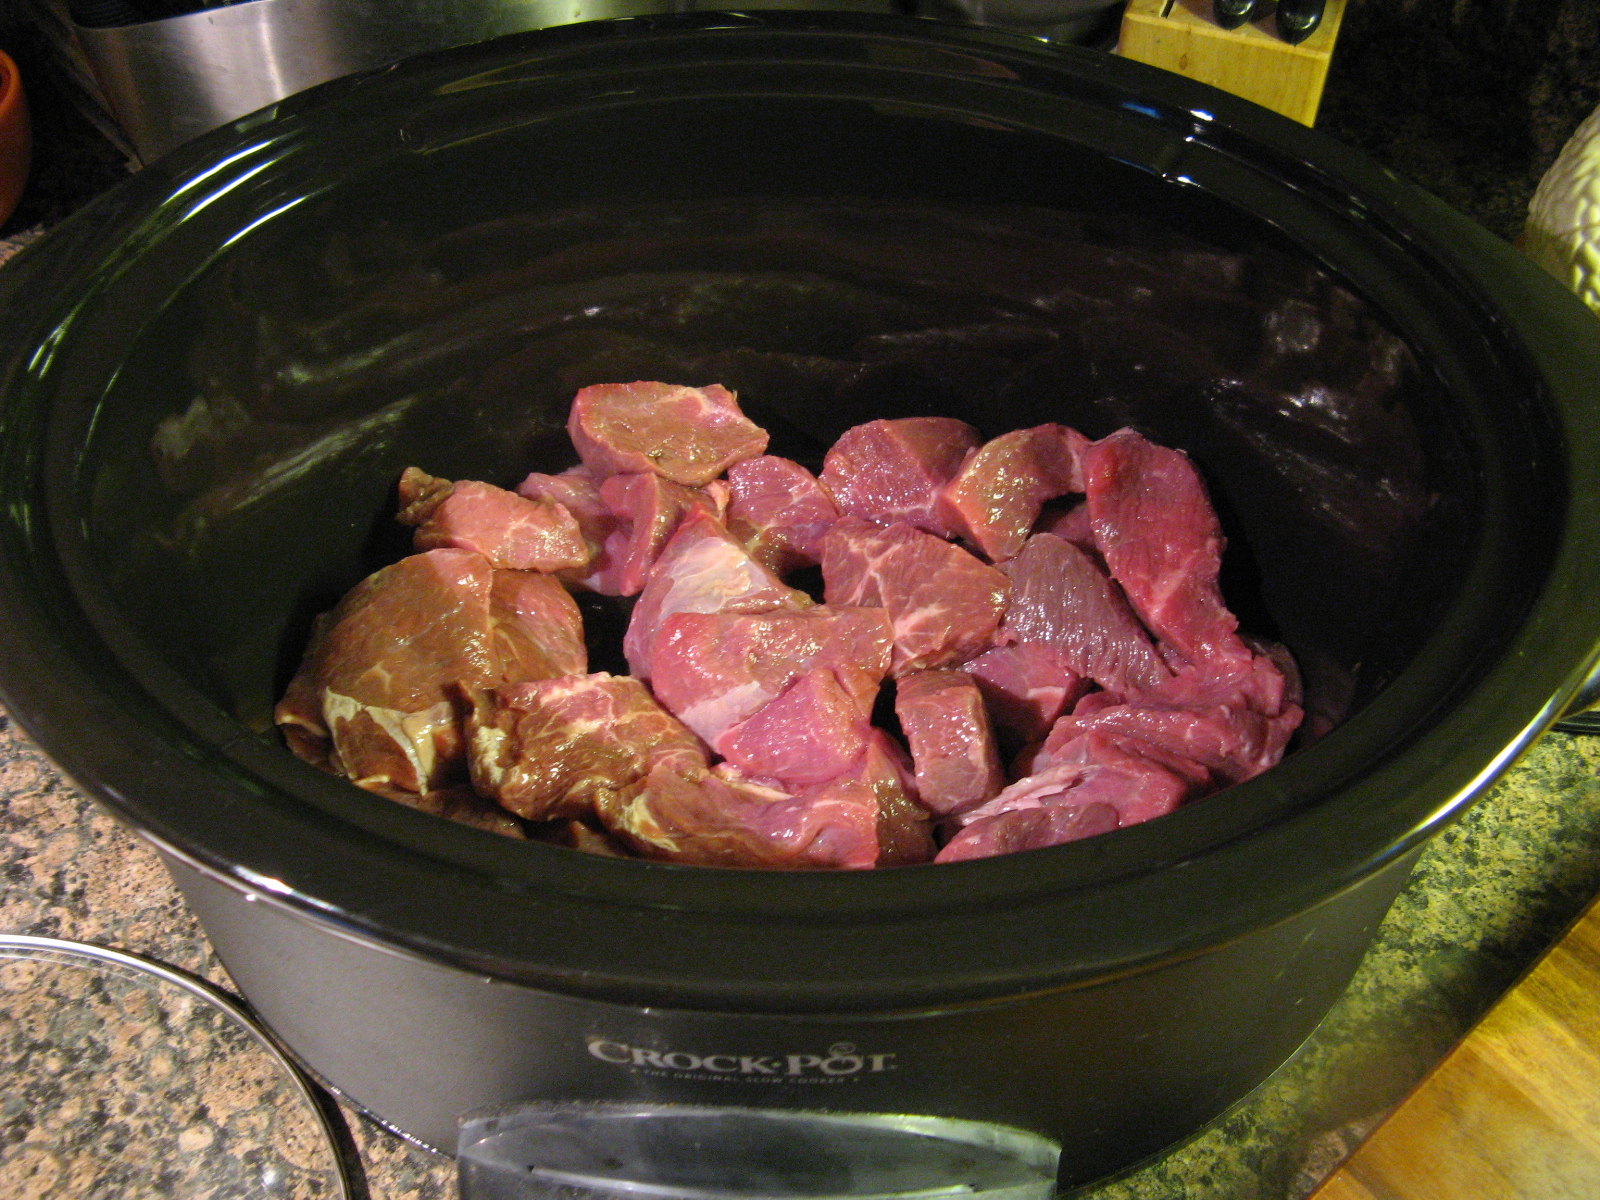
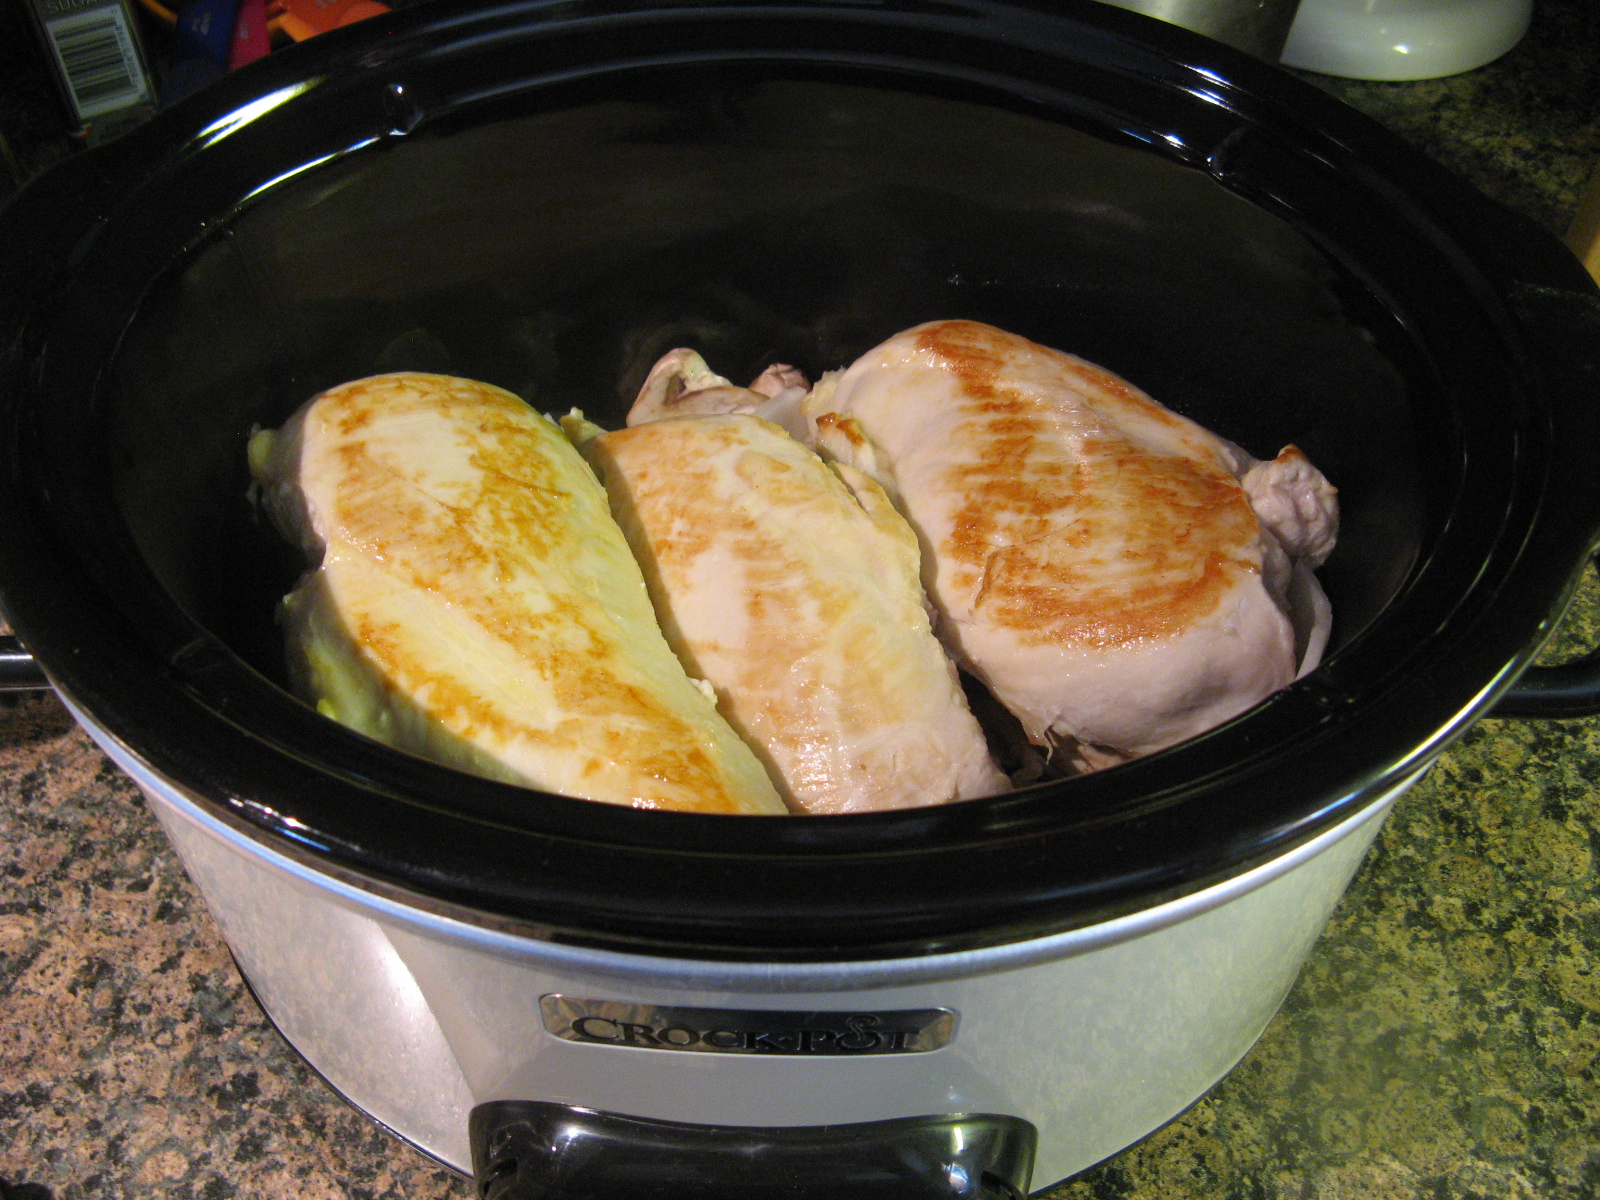
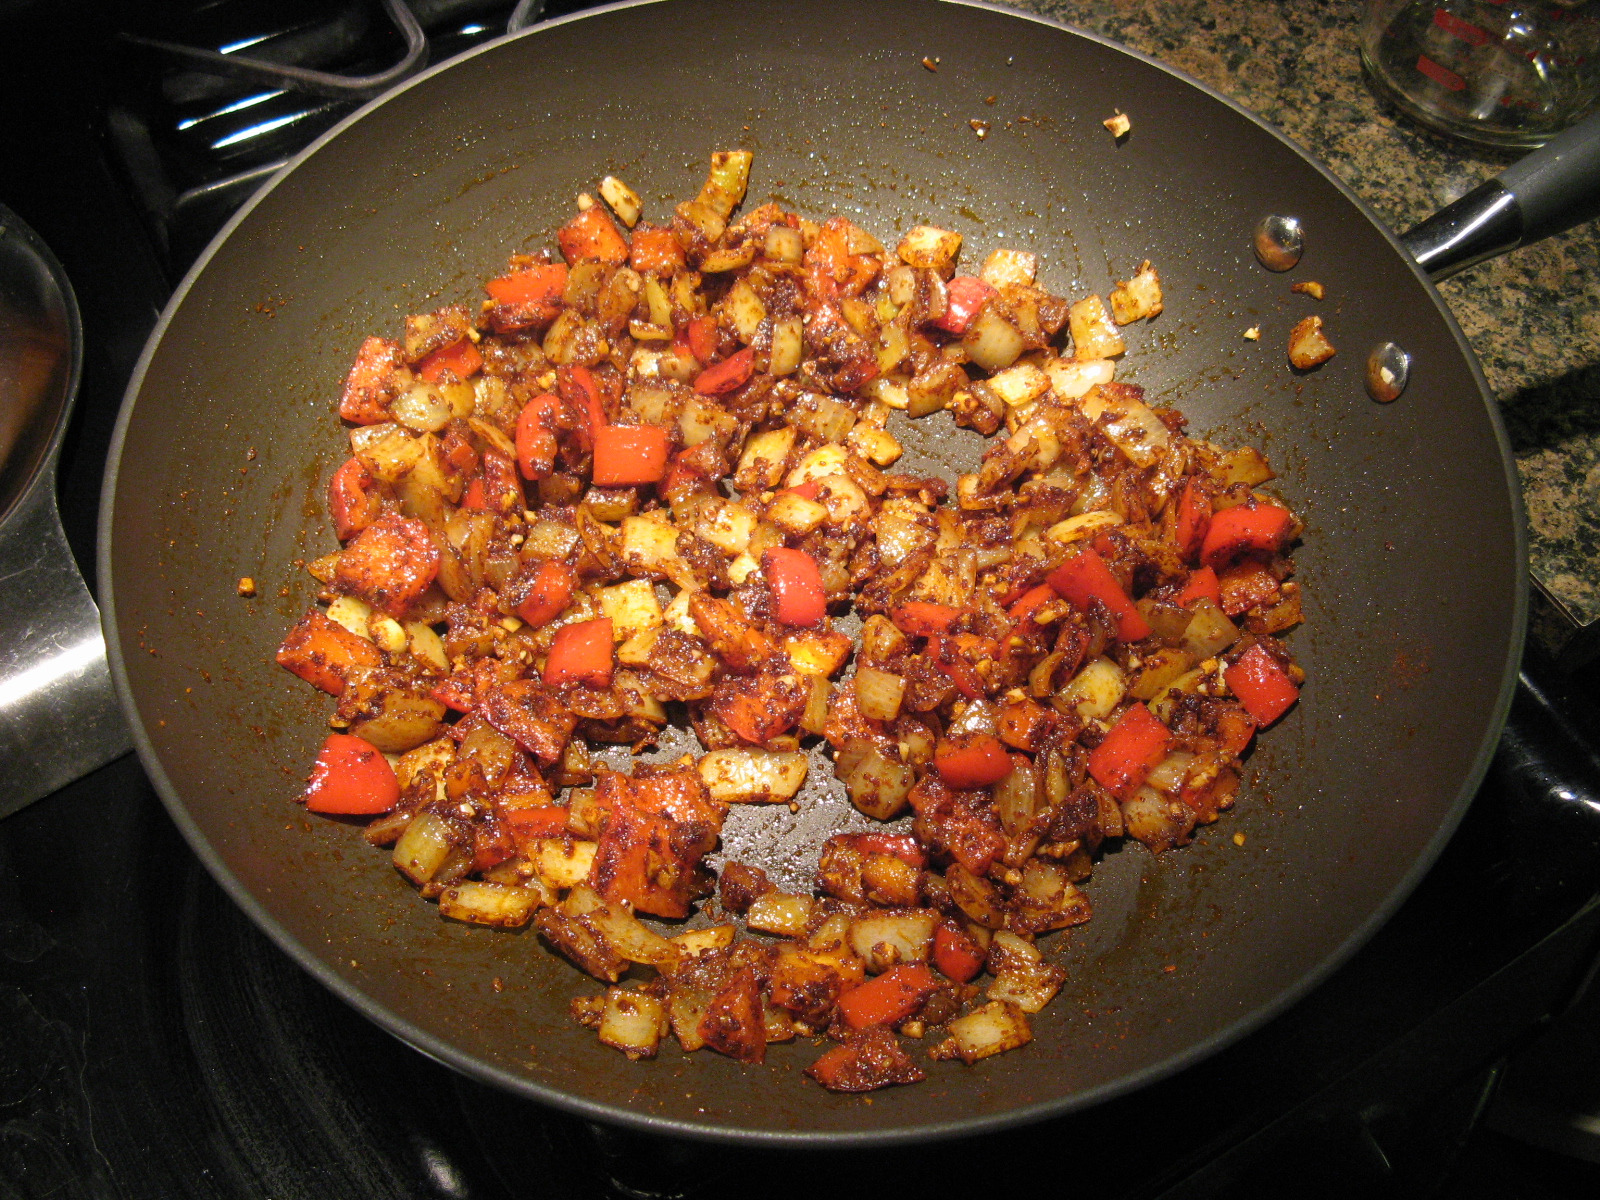
After mixing together ground ginger, turmeric, paprika, cinnamon, salt and pepper in a small bowl, I sprinkled it over the beef and tossed it to coat the meat.

IMG_9865

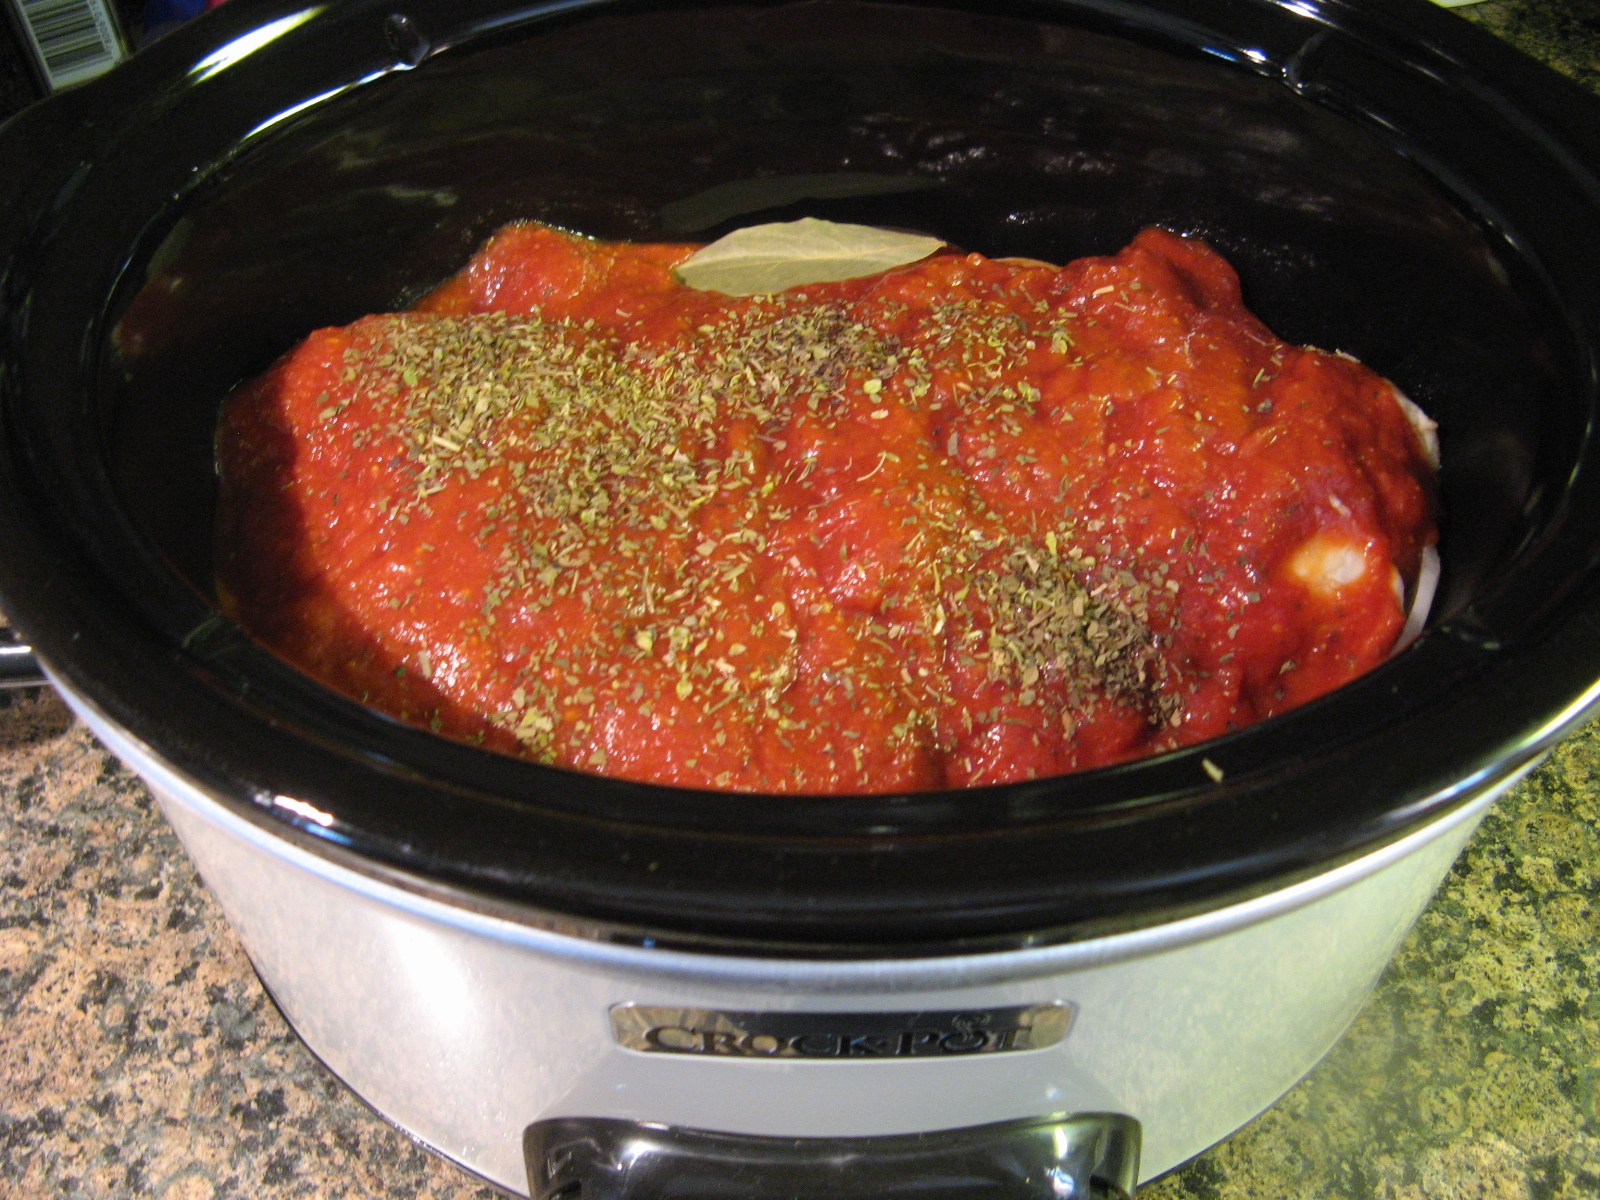
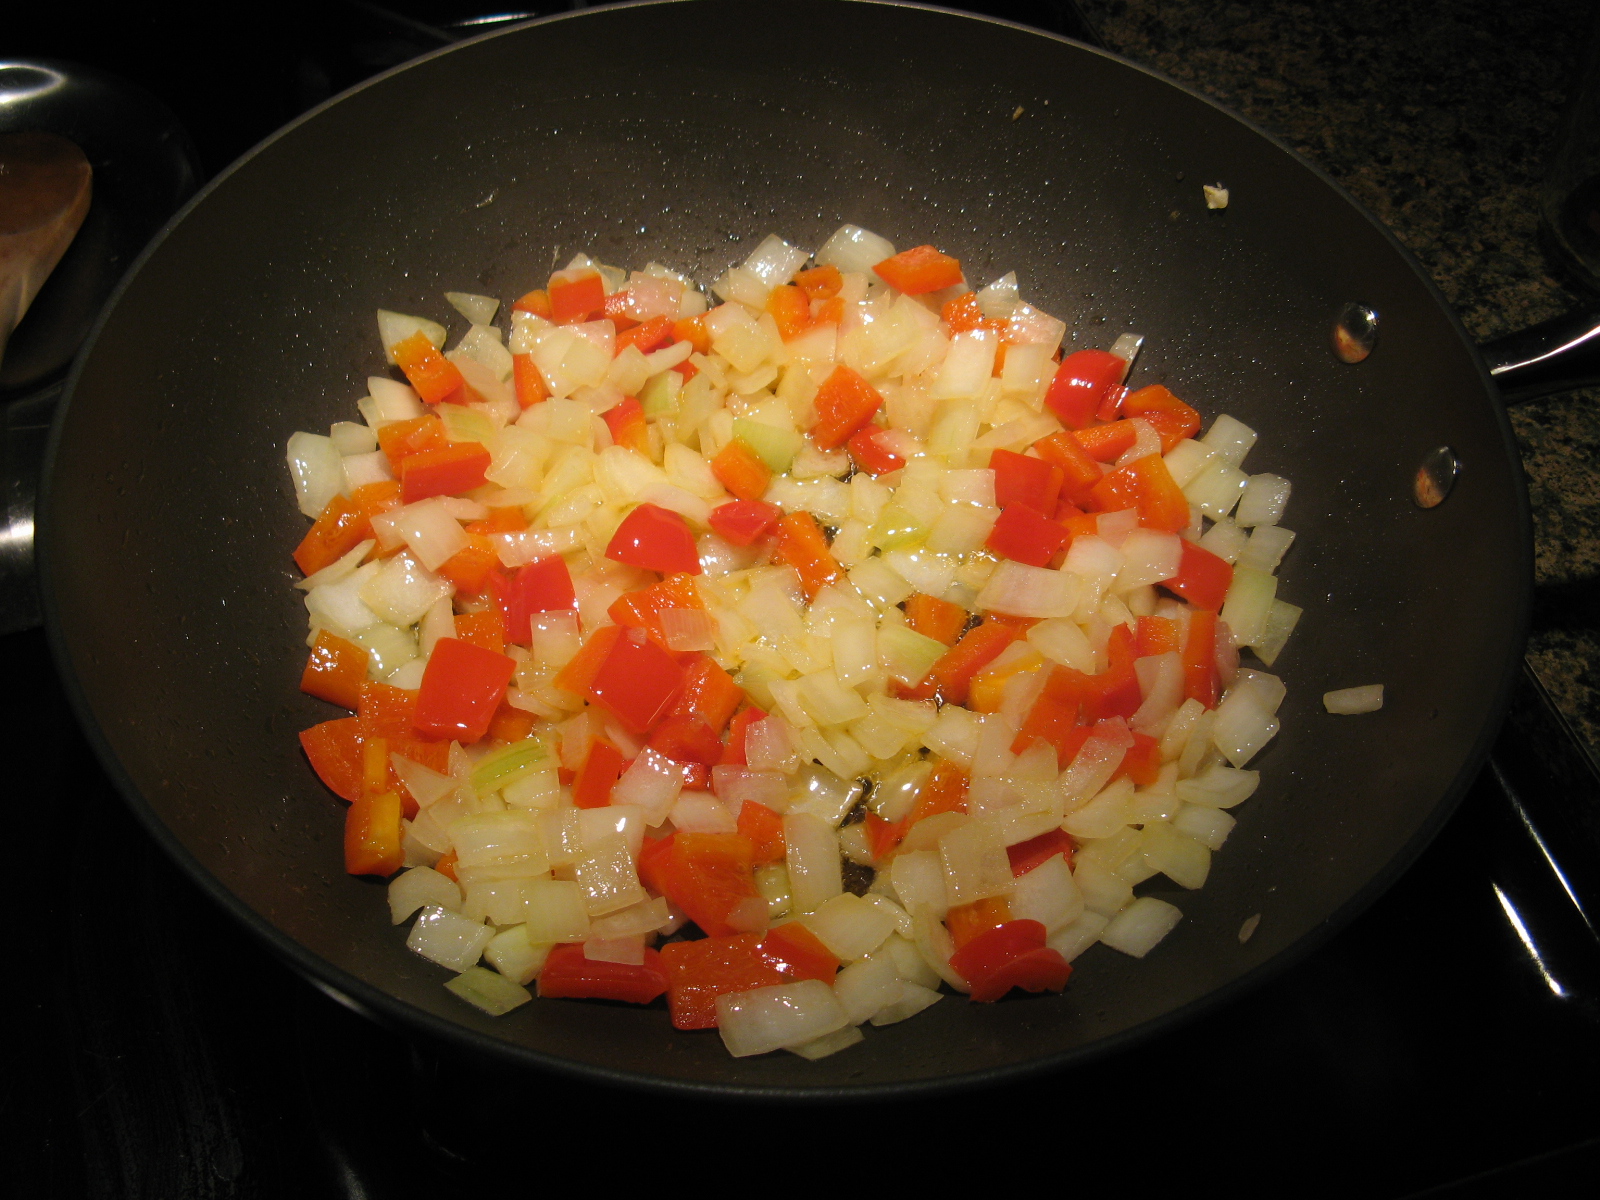
Next I added in a small diced onion and a can of peeled whole tomatoes (with the liquid) and crushed the tomatoes with my hands.

IMG_9868

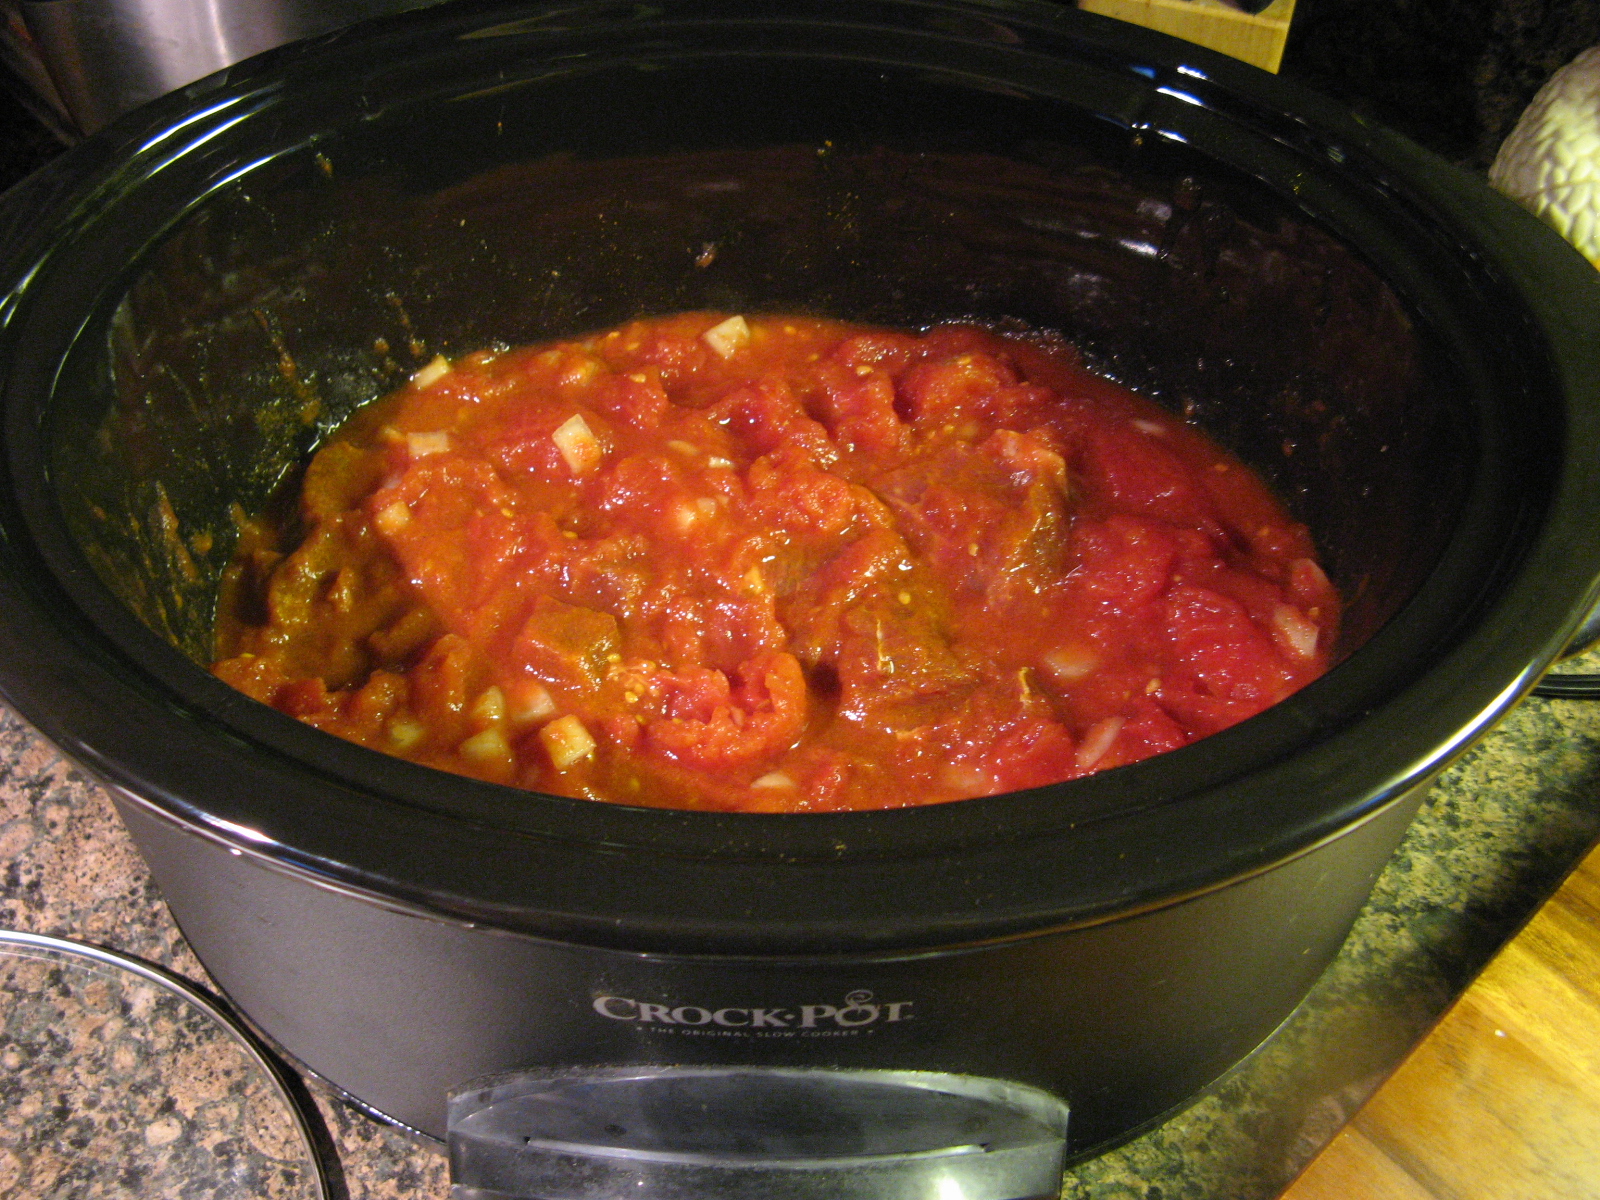
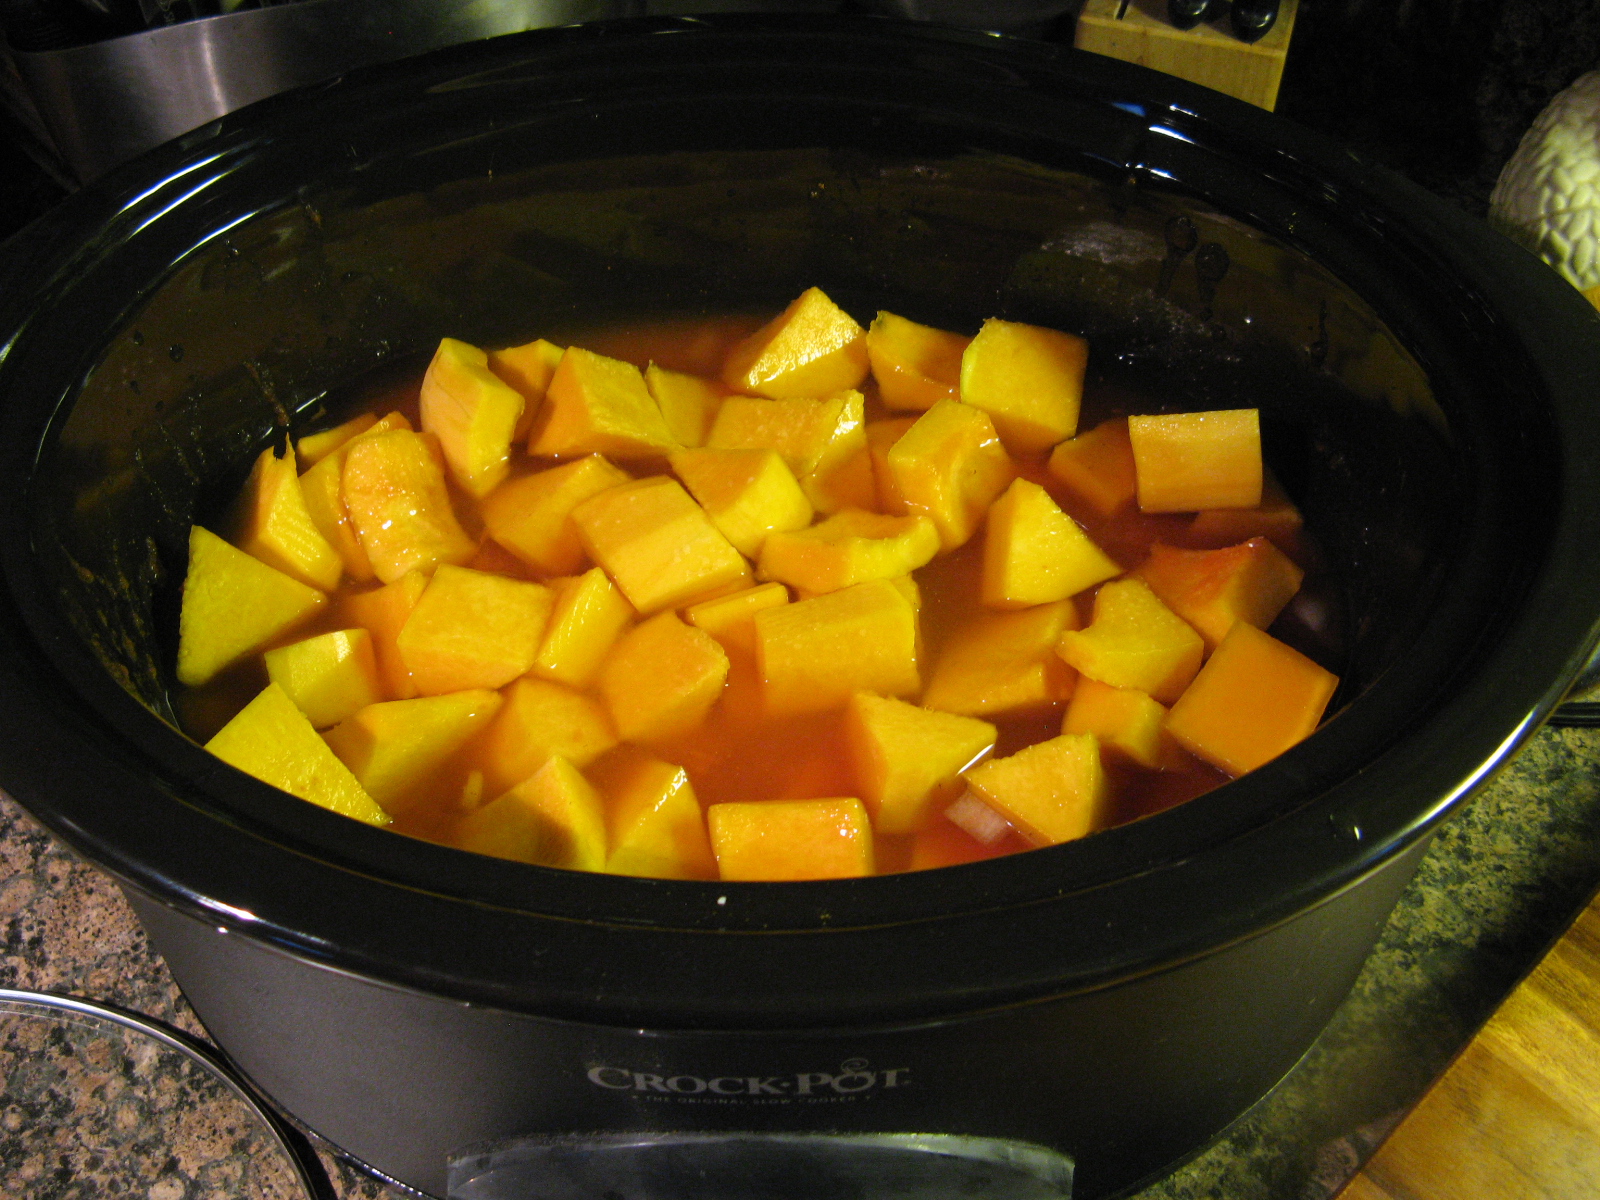
And finally I put butternut squash chunks on top of everything and sprinkled salt over it and added water. If you cannot find fresh butternut squash use frozen instead.

IMG_9869

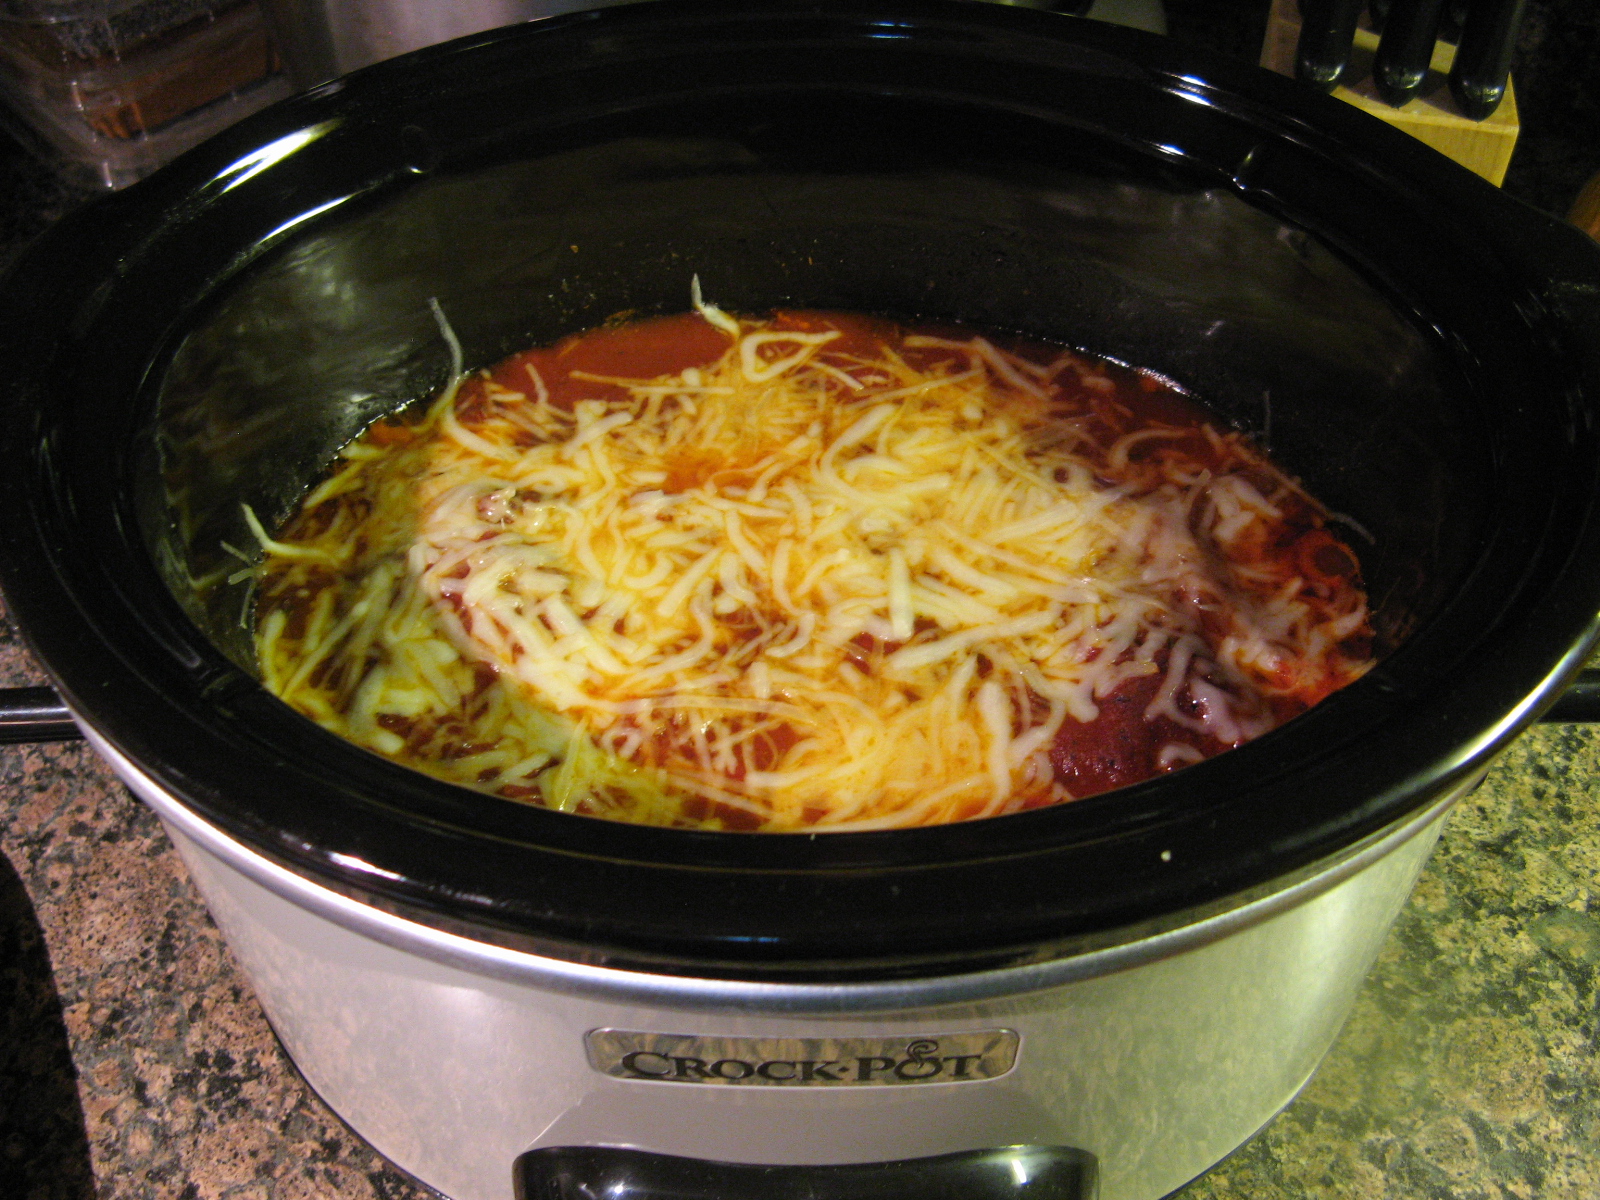
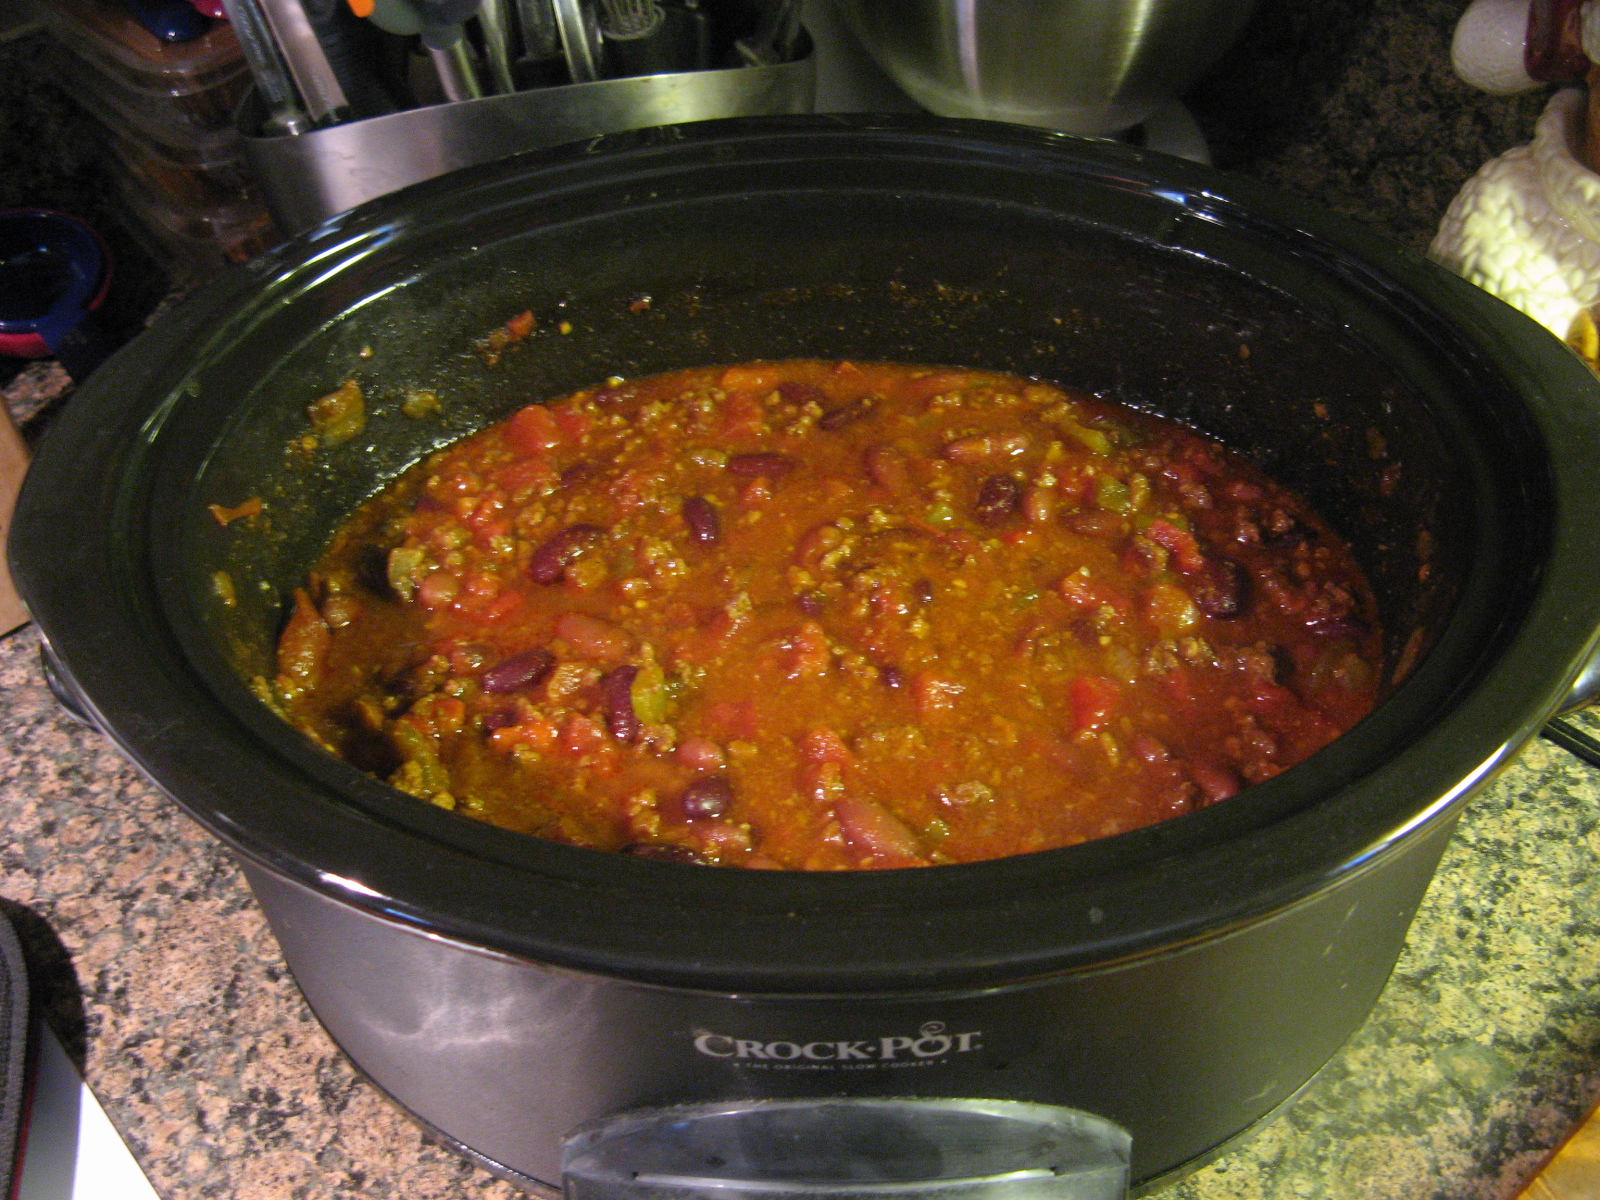
I cooked it on low for 7 hours and the aroma was amazing when I uncovered it.

IMG_9887

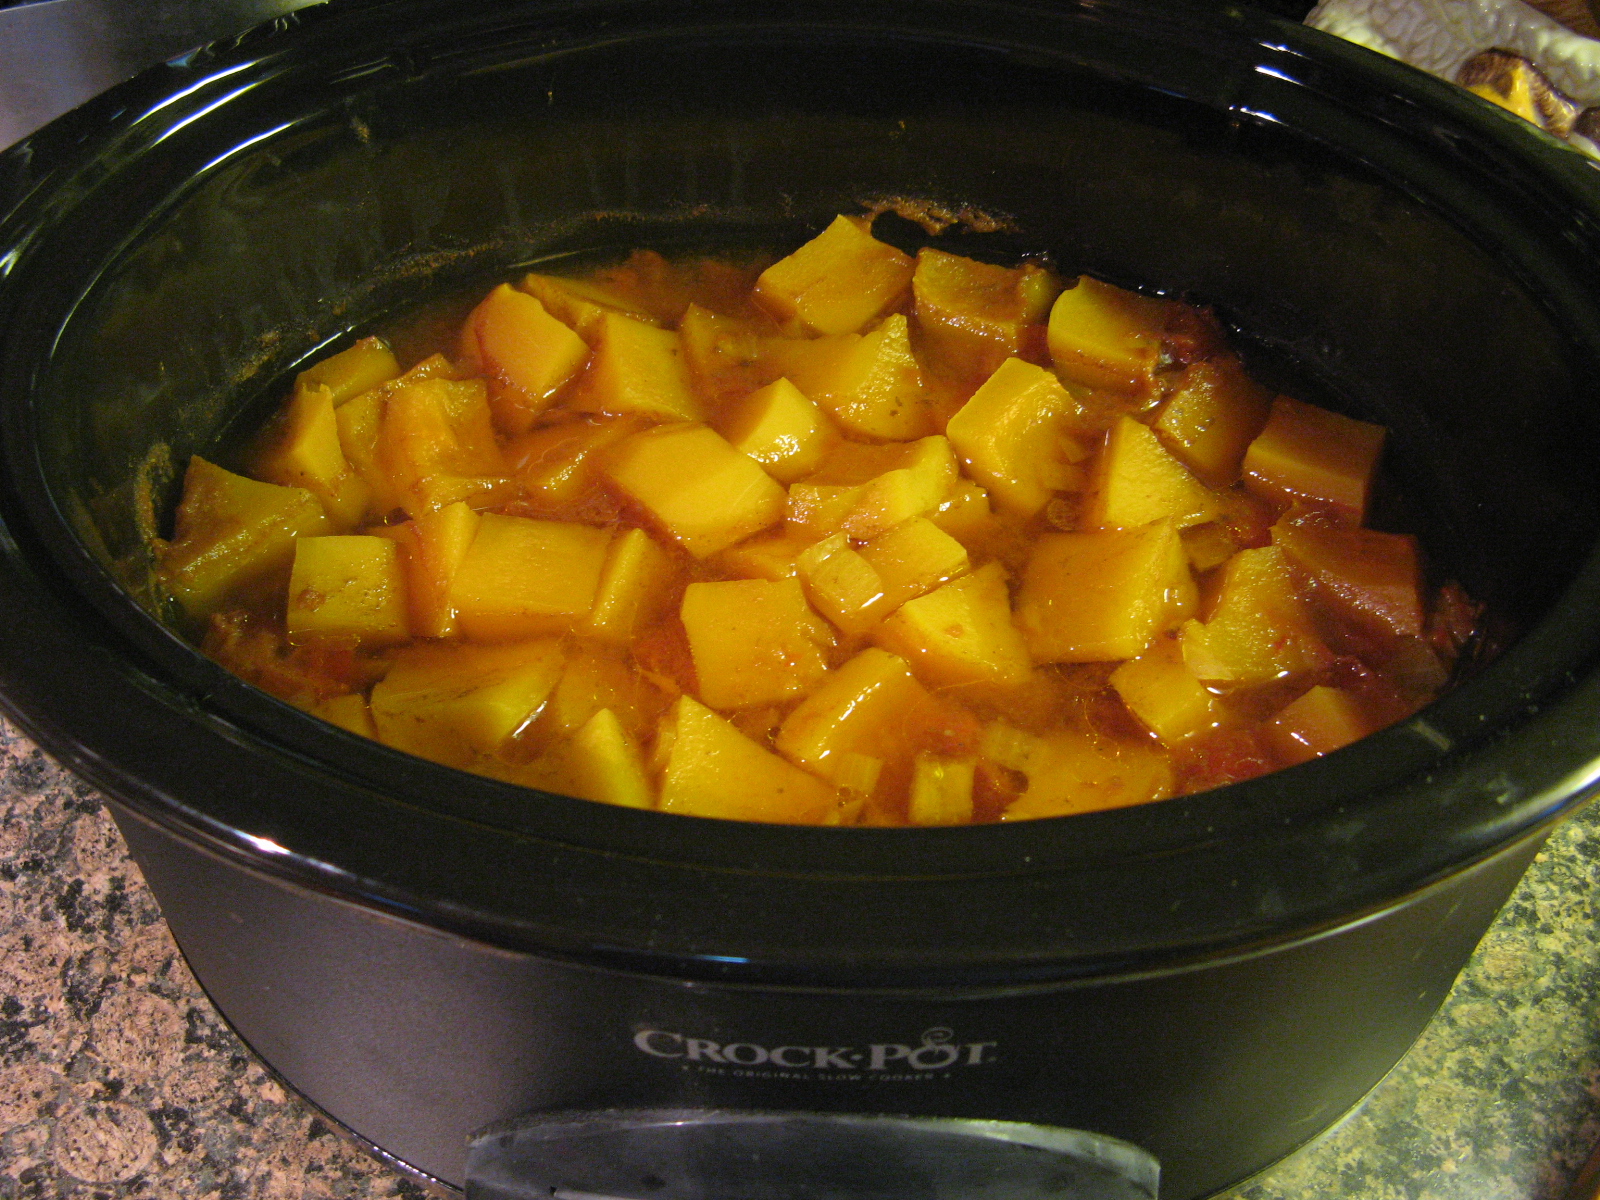
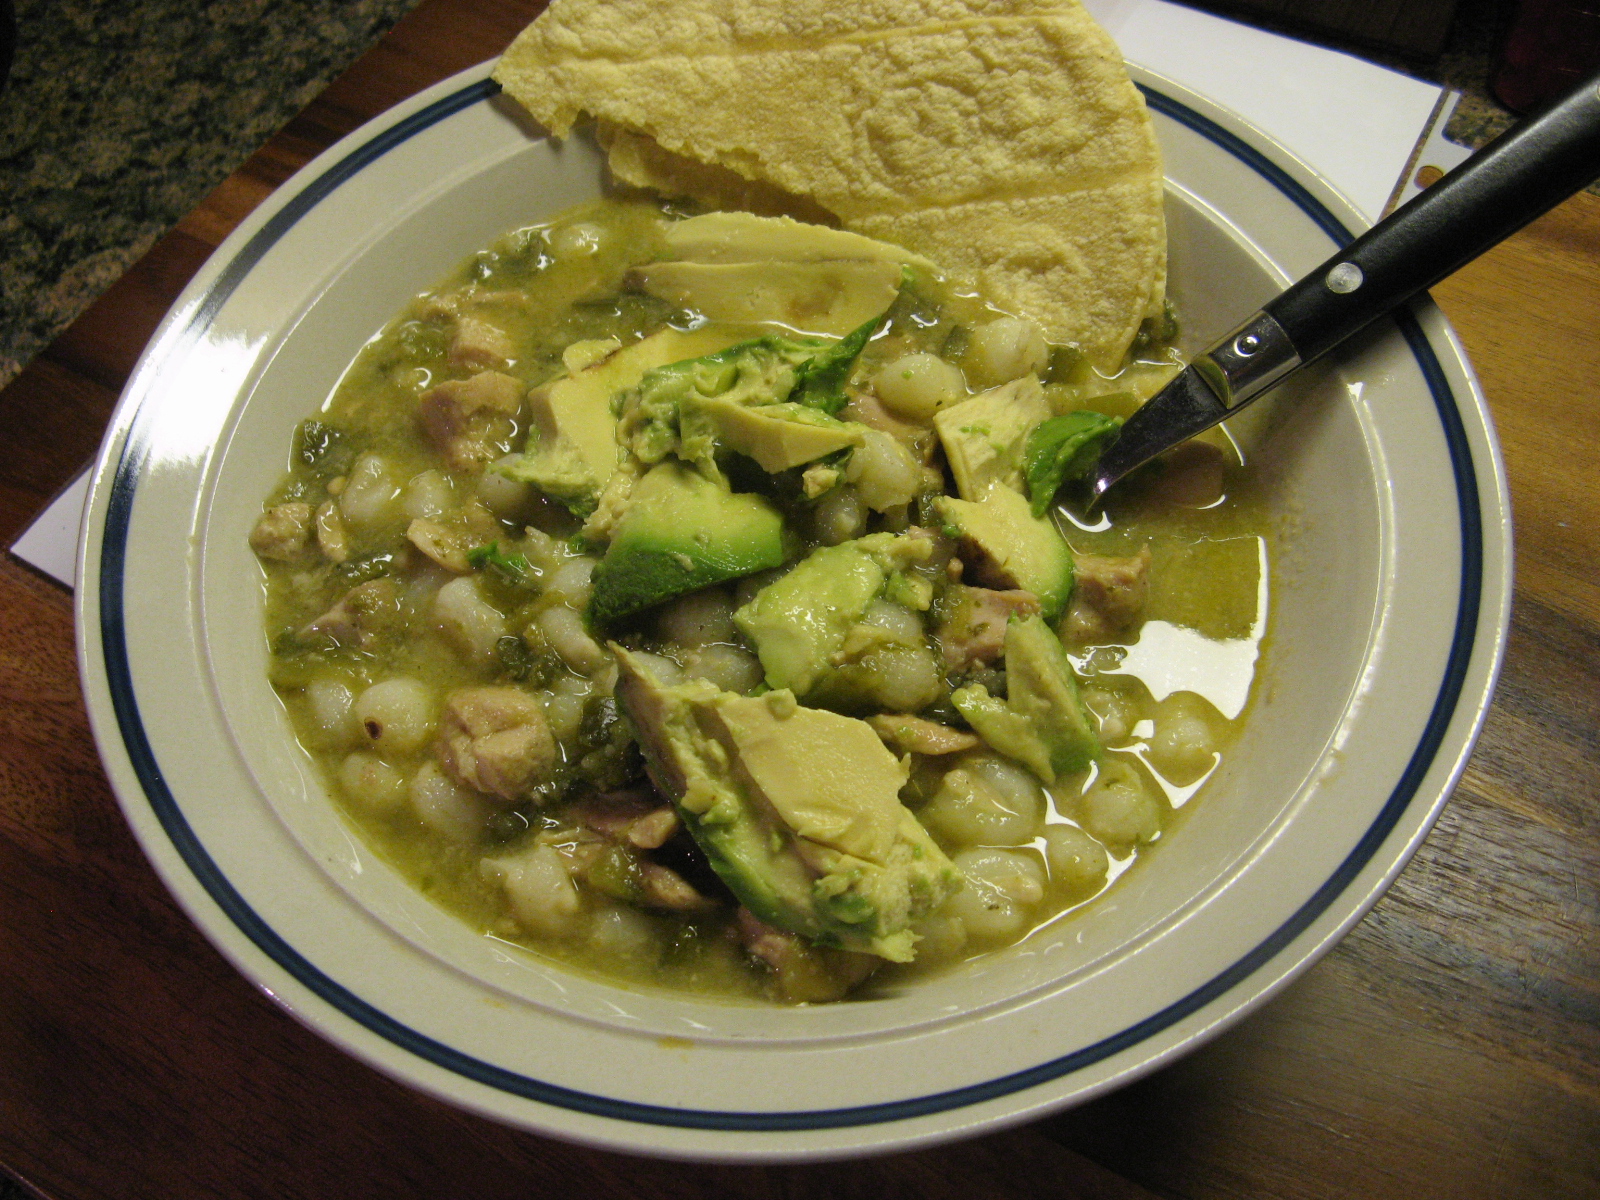
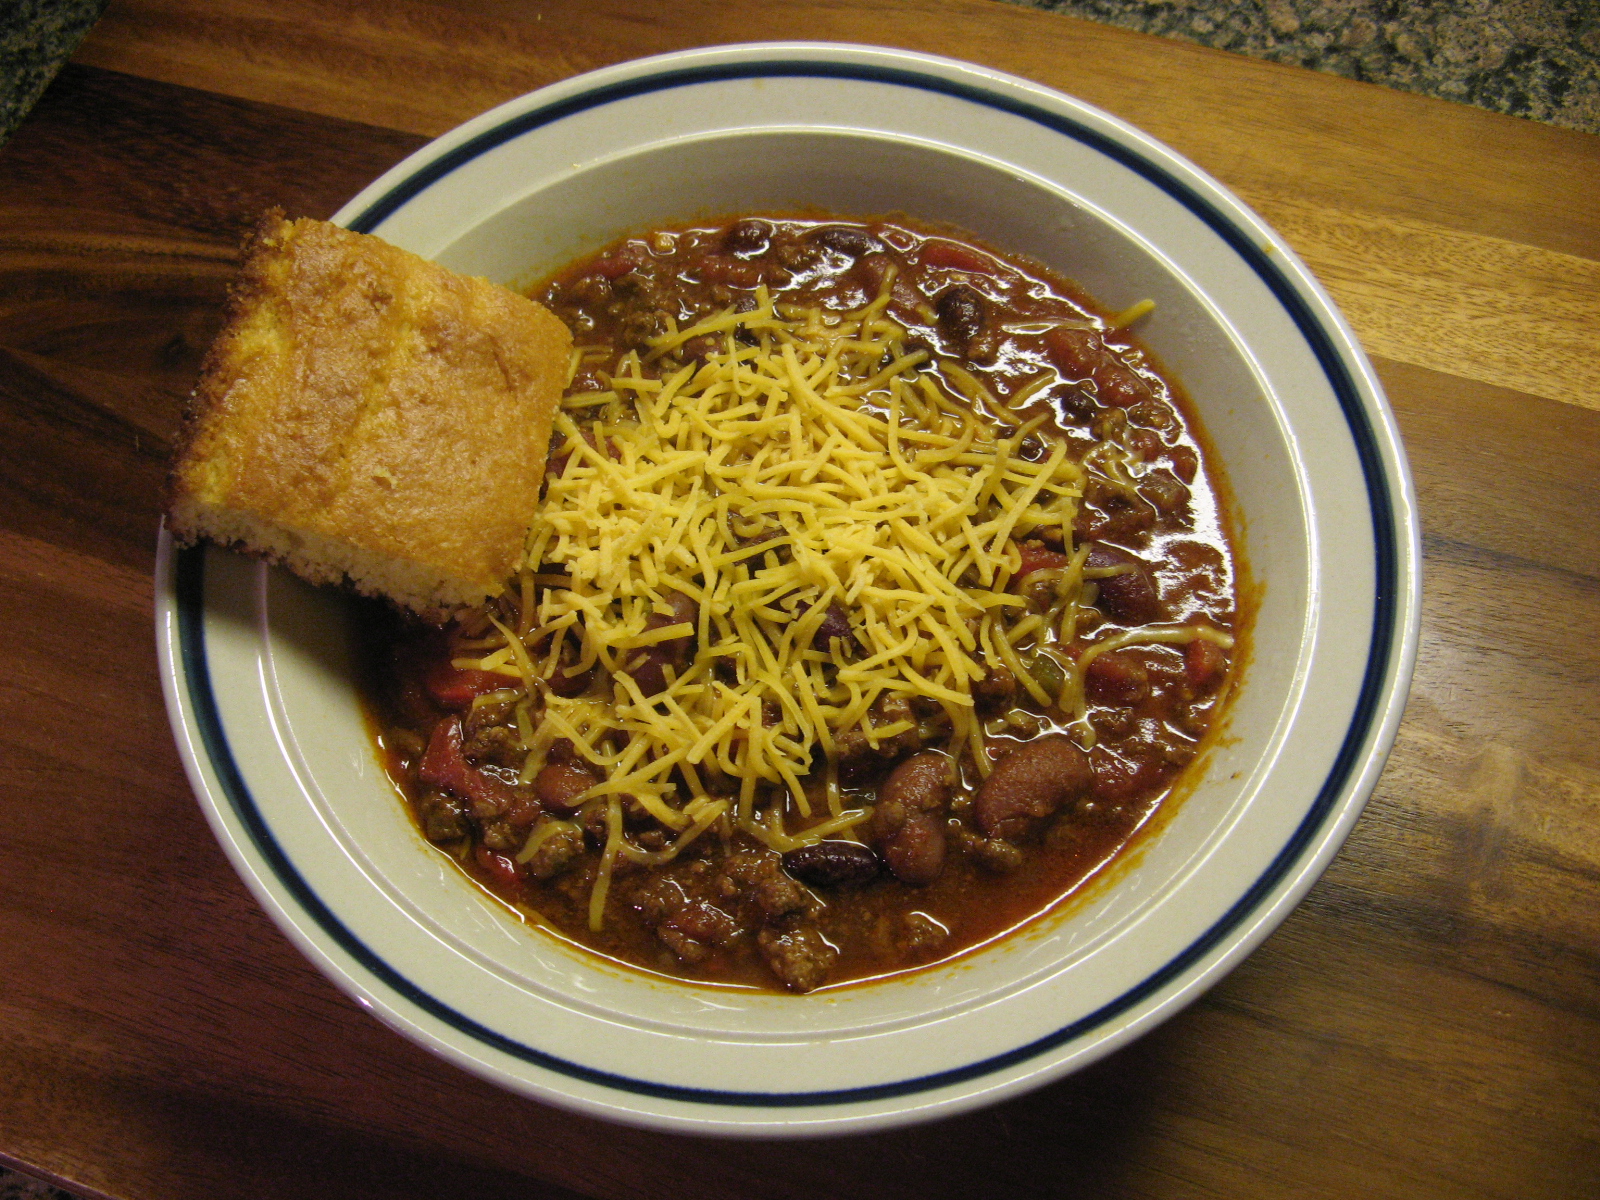
I served it over white rice and while it was delicious the first day it was even more so the following day as the flavors continued to develop.

IMG_9890


Slow Cooker Moroccan Spiced Butternut Squash and Beef Stew

Ingredients:

2 teaspoons ground ginger

2 teaspoons ground turmeric

1 1/2 teaspoons sweet paprika

1/4 teaspoon ground cinnamon

1 tablespoon and 1 teaspoon Kosher salt, divided

1 teaspoon black pepper

2 pounds beef chuck, cut into 1 1/2 inch cubes

1 small onion, diced

1 28oz. can peeled whole tomatoes (with liquid)

1 butternut squash (about 2lbs.) peeled and cut unto 1 1/2 cubes


Directions:

Place the beef in the slow cooker.

In a small bowl mix together the ginger, turmeric, paprika, cinnamon, 1 tablespoon salt, and black pepper. Sprinkle over the beef and toss to coat well.

Add the onion and tomatoes with their liquid and crush the tomatoes with your hand.

Place the butternut squash chunks on top and sprinkle with remaining teaspoon of salt and 1 1/2 cups water.

Cover and cook on low for about 7 hours, until the beef is tender. Serve over rice.


From Food Network Magazine, October 2015. Reynolds Slow-Cooker Favorites

Vanilla Spritz Cookies

How is your holiday baking going? I’ve been squeezing it in while trying to finish up Christmas cards, Christmas shopping and Christmas gift crafting (i.e. knitting and crocheting.) I think I am on track to get it all done; if not there will be some late nights in my near future.

Today I am bringing you super simple and delicious Vanilla Spritz Cookies. So customarily when you make spritz cookies you pipe them through a cookie press, well, I tried that once and the results were horrible. So for these cookies I decided to pipe them using a pastry bag and a large star tip instead and the end result was great!

IMG_0069

To make the dough I began by beating butter in my stand mixer on medium speed for 30 seconds. Next I added in sugar and baking powder. Once those ingredients were well combined I added in an egg and vanilla bean paste. And finally flour.

IMG_0064

Next I transferred the dough to a pastry bag fitted with a large star tip and made simple piped drop cookies which I then sprinkled with festive colored sugar and sprinkles. Now, I went simple and just did simple drop cookies, but, you could get creative and pipe wreaths or different swirl designs.

IMG_0067

After baking them in a 375 F preheated oven for 8 minutes I removed them from the oven and transferred them to a wire rack to cool completely. Now, these cookies are of the dangerous variety… On the smaller side and super yummy. Which means you could grab a decent handful and munch away on them absentmindedly. But, since it’s the Holidays it’s okay!

IMG_0068


Vanilla Spritz Cookies

  • Servings: 72 cookies
  • Print

***Please note that I halved the recipe. Below is the original recipe with the original measurements. If you would like to make a smaller batch of cookies, i.e. 36, follow the measurements in the parenthesis. To get the 2 tablespoons of egg, whisk the egg and then measure it out. You might be tempted to use the entire egg, but, that would make the dough to watery and prevent you from being able to pipe or form the dough.


Ingredients:

1 1/2 cups unsalted butter, softened (3/4 cup / 12 tablespoons)

1 cup granulated sugar (1/2 cup)

1 teaspoon baking powder (1/2 teaspoons)

1 egg (2 tablespoons)

1 tablespoon vanilla bean paste* (1/2 tablespoon)

3 1/2 cups all-purpose flour (1 3/4 cup)

Sprinkles and Sugar Crystals to decorate

*If you do not have vanilla bean paste you can use an equal amount of vanilla extract

Directions:

Preheat the oven to 375 F. Line cookie sheets with parchment paper.

In a large bowl beat butter with a mixer on medium speed for 30 seconds. Add the sugar and baking powder, continue beating until well combined then add in the egg and vanilla bean paste. And finally the flour. Scrape the sides of the bowl as necessary during the mixing.

Transfer the dough to a pastry bag fitted with a large star tip and pipe drop cookies onto prepared cookies sheets. Sprinkle the cookies with decorative sugar and/or sprinkles.

Bake for 7-8 minutes, until the edges are firm but just beginning to brown. Remove from the oven and transfer the cookies to a wire rack to cool completely.


Recipe slightly modified from Better Homes & Gardens 100 Best Cookies Magazine

Chocolate Crinkles

The Christmas Cookie fun continues with today’s Chocolate Crinkles. Now, I know the cookie recipes I’ve posted earlier – Rosemary and Pine Nut Cookies and Orange Scented Elephant Ears – aren’t your traditional holiday cookie recipes, but, these are definitely in line with what you see around the holidays. I’ve seen recipes for these cookies for quite some time, I probably have 1 or 2 saved in my recipe binder, but, it wasn’t until I was flipping through a Christmas Cookie recipe magazine recently that I finally decided to try them out and I wish I had tried them sooner. They are a cinch to make and delicious… Chocolatey without being overpowering.

I started off by melting unsweetened chocolate, shortening and butter over low heat in a medium saucepan.

IMG_0025

After letting the chocolate mixture cool for a few minutes I continued making the dough for the cookies by mixing together eggs, sugar, baking powder, baking soda and salt.

IMG_0026

Once that was well mixed I then added in the melted chocolate and vanilla extract and finally flour and unsweetened cocoa powder.

IMG_0027

It wasn’t long before the dough had come together. To make sure all of the ingredients had incorporated I gave the dough a few good folds using a spatula.

IMG_0028

Using a cookie scoop I scooped up the dough and shaped it into a ball and then rolled it in granulated sugar and then confectioners’ sugar. I then placed them on a parchment lined cookie sheet.

IMG_0029

To give some of the cookies a festive touch I sprinkled them with red, green and white sprinkles.

IMG_0031

After baking them in a 350 F preheated oven for 8 minutes, I let them cool on the pan for a few minutes before transferring them to a wire rack to cool completely. While the recipe says to bake them for 8-10 minutes, I always like to bake my cookies on the lower end of the time span to ensure that I don’t end up with cookies that are like rocks. Letting them sit on the hot pan for a few minutes allows them to cook and set for a few more minutes. At first I thought I may have removed these cookies from the oven too soon, but, as they continued to cool on the wire rack they firmed up more and the texture of the cookie was spot-on. A little crisp on the outside and completely soft on the inside!

IMG_0036


Chocolate Crinkles

Ingredients:

4 oz. unsweetened chocolate, chopped

1/2 cup shortening

1/4 cup unsalted butter

3 eggs, lightly beaten

1 3/4 cup granulated sugar

2 teaspoons baking powder

1/4 teaspoon baking soda

1/4 teaspoon salt

2 teaspoons vanilla extract

1 1/3 cups all-purpose flour

1/3 cup unsweetened cocoa powder


For Rolling Dough:

1/4 cup granulated sugar

2/3 cup confectioners’ sugar


Directions:

Preheat oven to 350 F and line cookie sheets with parchment paper.

Over low heat in a medium saucepan melt the chocolate, shortening and butter. Let cool.

In a large bowl combine eggs, granulated sugar, baking powder, baking soda and salt. Stir in the melted chocolate and vanilla extract. And then stir in the flour and cocoa powder.

Using a cookie scoop, scoop out dough and shape into balls and roll the ball in the granulated sugar and then the confectioners’ sugar. Place 2 inches apart on the prepared cookie sheets. Bake 8 to 10 minutes or just until edges are set and the cracks appear slightly moist. Cool on the sheet for 2 minutes and then transfer to a wire rack to cool completely.

Recipe from Better Homes & Gardens 100 Best Cookies Magazine

Slow Cooker Sunday: Chicken Parmesan

Normally when I make Chicken Parmesan it’s because I have leftover breaded cutlets from the night before. I don’t know why, but, it just never crosses my mind to make Chicken Parmesan the same day I am frying up the breaded cutlets. Maybe it’s so I can have something different the following night… leftovers are good but they are even better when you can spruce them up into something different. For today’s Slow Cooker Sunday I am bringing you Chicken Parmesan that’s lacking the breading but definitely healthier without it and also because there’s no frying involved and you get some veggies in the mix – mushrooms and onions.

To begin I placed the mushrooms and onions in the bottom of my slow cooker.

IMG_9806

Next, I placed chicken breasts that I lightly browned on both sides over the vegetables.

IMG_9807

Following that I poured a jar of pasta sauce over the chicken. You can use your favorite pasta sauce; I used my favorite Francesco Rinaldi Three Cheese Sauce. I then sprinkled dried basil and oregano over it and placed a bay leaf in as well.

IMG_9808

After cooking it on low for about 7 hours I removed the cover and sprinkled it with parmesan and mozzarella cheeses and left it uncovered for about 15 minutes, until the cheeses were melted.

IMG_9822

Meanwhile I cooked spaghetti which I served with the chicken.

IMG_9823

Overall this was a nice alternative to the traditional chicken parmesan and definitely one that I will make again.


Chicken Parmesan

Ingredients:

8 ounces mushrooms, sliced

1 medium yellow onion, cut into thin wedges

1 tablespoon olive oil

3 to 4 boneless skinless chicken breasts

1 jar (24 – 26 oz.) pasta sauce

1/2 teaspoon dried basil

1/4 teaspoon dried oregano

1 bay leaf

1/2 cup shredded mozzarella cheese

1/4 cup grated Parmesan cheese

Hot cooked spaghetti


Directions:

Place the mushrooms and cuts onions in the bottom of a 3 1/2 to 4 quart slow cooker.

Heat oil in a large skillet over medium-high heat and lightly brown the chicken on both sides. Place the chicken on top of the mushrooms and onions. Pour the pasta over the chicken, add the bay leaf and sprinkle the basil and oregano over the sauce. Cover and cook on low 6 to 7 hours or on high 3 to 4 hours.

Uncover, remove the bay leaf and sprinkle with the cheeses and leave uncovered on low for an additional 15 to 30 minutes, until the cheeses have melted. Serve over spaghetti.

From the book Crock Pot: The Original Slow Cooker Best Loved Slow Cooker Recipes

Orange Scented Elephant Ears

Whether you call them Palmiers or Elephant Ears, one thing is certain they are super simple to make and delish! Truthfully anyone can make these cookies, even those of you who swear you cannot bake. All you need is frozen puff pastry, sugar, and in this case orange zest.

To begin thaw out a sheet of frozen puff pastry. While the puff pastry is thawing take a tablespoon of orange zest and combine it with a 1/3 cup of granulated sugar.

IMG_9809

Once the puff pastry is ready, lay a large piece of plastic wrap on your counter and roll the puff pastry out on it into a rectangle, sprinkle it evenly with sugar on the top and bottom as you go.

IMG_9810

Then pour melted butter in the middle of the puff pastry and spread it around using an offset spatula. Then sprinkle the orange zested sugar over the butter.

IMG_9811

Next, cut the puff pastry in half crosswise and roll the shorter end towards the middle.

IMG_9812

Do the same with the opposite end and pinch the two rolls together. Wrap them in plastic wrap for about an hour until firm. Once they are firm place them on a cutting board, seam side down, and cut them into 1/2 inch thick slices and place them on a parchment lined cookie sheet.

IMG_9816

Bake them in a 425 F preheated oven for about 12 minutes. Flip them when you have about 3 or 4 minutes left to the baking to ensure that they brown nicely on both sides. Once out of the oven transfer them to a wire rack to cool completely.

IMG_9818

So, yes, these may take a little time to make with the thawing and refrigerating, but, they are completely doable and look quite fancy.


Orange Scented Elephant Ears

  • Servings: 22 cookies
  • Print

Ingredients:

2/3 cup granulated sugar

1 tablespoon orange zest

1 sheet frozen puff pastry, thawed

2 tablespoons butter, melted


Directions:

Put 1/3 cup of the sugar in a small bowl with the orange zest and stir until blended, set aside.

Arrange a large piece of plastic wrap on a flat surface. Roll out the puff pastry on the plastic wrap into a 10 x 15-inch rectangle. Sprinkle both sides with the remaining 1/3 cup of sugar to prevent sticking – you won’t use the entire amount. Pour the melted butter into the center of the rectangle and using an offset spatula spread the butter evenly. Sprinkle the reserved orange zested sugar evenly over the butter.

Cut the dough in half crosswise (you’ll have two 10 x 7 1/2-inch rectangles.) Starting with one of the shorter ends, roll the puff pastry towards the center. Repeat with the opposite edge until the 2 rolls meet. Pinch the rolls so they stick together. Repeat with the other piece of dough. Wrap the rolls in the plastic wrap and refrigerate for about an hour until firm.

Preheat the oven to 425 F and line two cookie sheets with parchment paper.

Once firm, place the rolls on a cutting board, seam side down, and slice them into 1/2 inch thick slices. Arrange them on the prepared cookie sheets about 1 1/2-inches apart. Bake until golden brown, about 12-14 minutes. Turn over and bake for an additional 1 to 2 minutes until golden brown. Keep an eye on them because I baked them for a total of 12 minutes and ended up flipping them at about 9 minutes.

Transfer to a cooling rack to cool completely. Serve immediately or cover and store at room temperature for up to 2 days.

Recipe from Fine Cooking

Slow Cooker Sunday: Chicken and Hominy Stew

Hey Everyone! For this week’s Slow Cooker Sunday I am bringing you a stew that those of you who are sensitive to spiciness may find too spicy and those of you on the other end of the spectrum will say “Where’s the spice?” I’m on the latter side of that statement. I truthfully didn’t think the stew had any kick to it but others who tried it did, but, not so much that they weren’t able to enjoy it. So, what is this stew? Well, it’s a Chicken and Hominy Stew.

Once again, this is another of my favorite types of slow cooker meals… Just chop, drain then add to the slow cooker and let the machine work its magic. After cutting boneless skinless chicken thighs into approximately 1-inch pieces I placed them in the bottom of my slow cooker. Next I added in 2 seeded and chopped poblano chile peppers, half a bunch of cilantro that I roughly chopped and two cans of hominy that I rinsed and drained. If you are wondering what exactly is hominy check out this link.

IMG_9710

I then added in my liquids… low-sodium chicken broth and a jar of mild salsa verde.

IMG_9711

And finally I added in two corn tortillas that I tore into small pieces. I then covered it and set it to cook on low for 7 hours. Now, if you have a programmable slow cooker you need not worry about your start time, but, if you have a slow cooker like mine – I have one that has a 4 and 6 hour cook setting for high and a 8 and 10 hour cook setting for low, and a separate warm setting – make sure you take note of your start time. You don’t want to “overcook” the soup and end up with chicken that’s on the verge of shredding. You want a bit of bite to this soup since it is a stew.

IMG_9713

And after 7 hours it was time to enjoy a bowl. I topped it with some chopped avocado and enjoyed it with an extra corn tortilla on the side. Overall there’s not one thing about this stew I would change. The flavors all worked well together and like I said earlier I definitely didn’t feel like it was too spicy, it was just right!

IMG_9717

Slow Cooker Chicken and Hominy Stew

Ingredients:

1 1/2 pounds boneless skinless chicken thighs, cut into 1-inch pieces

2 15-ounce cans hominy, drained and rinsed

2 poblano chile peppers, seeded and chopped

1/2 bunch fresh cilantro, roughly chopped

2 cups low-sodium chicken broth

1 16-ounce jar salsa verde

1/2 teaspoon kosher salt

2 6-inch corn tortilla

Kosher salt

Options for topping:

sour cream

avocado, diced

cilantro, chopped

romaine lettuce heart, shredded

corn tortillas, warmed

Directions:

Add the chicken, hominy, peppers and cilantro to the slow cooker. Add the broth, salsa verde and salt and stir to combine. Next, tear the 2 corn tortillas into small pieces and add to the slow cooker. Give everything a good stir, cover and cook on low for 7 hours.

If serving with the tortillas, warm them according to the package directions. Top each serving of the stew with your favorite topping and enjoy. Serve with the warmed tortillas on the side.

*Please note I use a 5 1/2-quart slow cooker.

Recipe modified from The Food Network

Rosemary and Pine Nut Cookies

December has rolled in, and you know what means… The Holidays are in full force! Everywhere you look there is red and green, Christmas trees, Snowmen, Poinsettias and Dessert! Specifically cookies. There is something about this time of year that makes all of kinds of cookies come out of the woodwork. Okay, maybe that’s not a great way of saying it, but, you catch my drift. Desserts go into overdrive this time of the year. Not that I am complaining though. I do my part and join in on the fun and add to that dessert pile. So, be on the lookout for some new cookie recipes hitting my blog over the next few weeks. The recipes are ones that I have had for quite some time – did I ever mention that I am bit of a recipe hoarder, thankfully they are all nicely organized – but I have never tried making. Well, as they say there’s no time like the present. No pun intended.

Now, you know how they say “Don’t knock it till you try it,” well, I definitely think these cookies could fall into that category. They are a buttery and crisp Rosemary and Pine Nut Cookie. Yes, you read that correctly… Rosemary in a sweet and buttery cookie. Rosemary is not just a wonderful and flavorful herb to add your meats, it can be used in baking and with the right amount it’s not overpowering but instead a welcomed addition. I may have to look for a few more baking recipes that incorporate it. Especially since I have a lovely rosemary plant growing in my kitchen. I originally planted it outside over the summer and since it was growing so well I decided to repot it and bring it indoors.

IMG_9720

For these cookies the key to using the Rosemary is making sure that you chop it first and then combine it with sugar in the bowl of a food processor and pulse it until the rosemary is finely chopped. You definitely don’t want to take a bite of any cookie and get a nice whole piece of rosemary in it. That would definitely be overpowering.

IMG_9721

Once that is done you beat it with butter until it’s fluffy and then add in vanilla extract and eggs. Next add in toasted pine nuts that have been finely chopped in a food processor and finally a mixture of flour, baking soda and salt. Once the dough comes together dump it on a sheet of plastic wrap…

IMG_9722

And form it into a log and wrap it up. I then placed it in the refrigerator for two hours so it could firm up. Once it was slightly firm I removed it from the refrigerator to shape it a little better and then placed in back in the refrigerator.

IMG_9725

After the two hours I sliced the dough into discs about 1/4 inch thick. Unfortunately I didn’t really form my log correctly so my cookies were not perfectly round. I pressed a few toasted pine nuts onto the cookies and baked them in a 350 F preheated oven for 10 minutes.

IMG_9730

I let them cool on the pan for 10 minutes and then transferred them to a wire rack so they could cool completely.

IMG_9734

And I must say these are one of the best cookies I’ve ever had! The butter, pine nuts and rosemary work so well together. And they tasted even better the second day. The flavors only get stronger but in a good way!


Rosemary and Pine Nut Cookies

  • Servings: 30 cookies
  • Print

Ingredients:

1 1/2 cups all-purpose flour

1/2 teaspoon baking soda

1/4 teaspoon salt

3/4 cup granulated sugar

1 1/2 teaspoons fresh rosemary, chopped

3/4 cup unsalted butter, softened

1 large egg

1/2 teaspoon vanilla extract

1/2 cup pine nuts, toasted*


*To toast the pine nuts spread them on a baking sheet and bake them in a 350 F preheated oven for about 5-7 minutes.


Directions:

In a medium bowl combine the flour, baking soda and salt until well blended, set aside.

In a food processor pulse the sugar and rosemary until well combined and the rosemary is finally chopped. Transfer to a stand mixer. Put all but 2 tablespoons of the pine nuts in the food processor and process until finely chopped.

Add the butter to the rosemary mixture and beat on medium speed until light and fluffy. Reduce the speed to low and add in the egg and vanilla extract, beat until combined. Add the chopped pine nuts and then the flour mixture and mix until the dough absorbs the flour and become to come together. Turn the dough out onto a large piece of plastic wrap and form it into a log about 2 inches thick and 11 inches long. Wrap and refrigerate until firm, 1 to 2 hours. If the dough is too soft to form a log, refrigerate for about 30 minutes, remove from the refrigerator form it and then place it back in the refrigerator.

Once firm cut the dough into discs between 1/4 and 1/2 inch thick and place on parchment lined cookie sheets. Sprinkle the cookies with the whole pine nuts, lightly pressing them into the dough. Bake in a 350 F preheated oven for 10 to 12 minutes. Let cool on the sheet for 10 minutes then transfer to a wire rack to cool completely.

Recipe from Fine Cooking

Slow Cooker Sunday: Chili

There are so many types of chili’s… Southwestern, White Bean, Three Bean, Vegetarian, Turkey, Chicken…. etc, etc, etc. Either way you make it the end result is pretty much the same… It’s delicious! For today’s Slow Cooker Sunday series I’m bringing you a classic chili, well, classic in my book. You know, ground beef, red kidney beans, some onions, cumin, garlic and so forth.

To begin, I sautéed 2 chopped onions and 1 chopped pepper in oil until they were softened.

IMG_9662

Once they were softened I added in chopped garlic, chili powder and cumin.

IMG_9664

And finally I added in ground beef along with salt. I broke the meat up with a wooden spoon and cooked it until it was no longer pink.

IMG_9665

Next, I added the meat into the slow cooker along with diced tomatoes, tomato sauce and kidney beans. After stirring everything to combine it I covered it and cooked it on low for 8 hours.

IMG_9666

And after those 8 hours once the chili thickened and all the flavors blended together I stirred in some chopped green chilies.

IMG_9667

To serve it, I topped it with shredded cheddar cheese and a piece of cornbread that I made with a quick and easy mix from Jiffy.

IMG_9676

What’s best about this chili is the leftovers… It tasted even better the following day!

Easy Slow Cooker Chili

Ingredients:

3 tablespoons vegetable oil

2 medium yellow onions, medium dice

1 red bell pepper, medium dice

6 medium garlic cloves, finely chopped

1/4 cup chili powder*

1 tablespoon ground cumin

2 pounds lean ground beef**

1 1/2 teaspoons kosher salt

1 (28-ounce) can diced tomatoes***

1 (14-ounce) can tomato sauce***

2 (15-ounce) can red kidney beans, drained and rinsed

1 (4.5-ounce) can chopped green chilies

Directions:

Heat the oil in a large sauté pan over medium heat until shimmering. Add the onions and bell pepper, season with salt and cook until the vegetables are tender, stirring occasionally, about 8 minutes.

Add the garlic, chili powder, and cumin. Stirring to coat the vegetables and cook until fragrant, about 1 minute. Add the ground beef and the measured salt, breaking the meat into small pieces with a wooden spoon. Cook until the meat is no longer pink.

Transfer the mixture to the slow cooker, add the diced tomatoes and their juices, tomato sauce and beans, stir well to combine. Cover and cook about 8 hours on low or 6 hours on high.

Stir in the chopped green chilies. Season with addition salt if needed and serve with your favorite toppings.

*Yes, it sounds like a lot but don’t worry the meat absorbs it and it will not be overpowering

** I used 80% lean  / 20% fat

*** For the diced tomatoes I used two 14.5-ounce cans of diced tomatoes and for the tomato sauce I used two 8-ounce cans of no-salt added tomato sauce.

****Please note I use a 5 1/2 quart slow-cooker.

Recipe from Chowhound

Thanksgiving Desserts

Hope you all had a wonderful Thanksgiving filled with delicious food and joyous times with loved ones. This year I spent the day at a friend’s house enjoying said delicious food and joyous times – although I did cook a turkey the following day. At this point though I am kind of turkeyed out! I didn’t go empty handed to the Thanksgiving celebration though; I brought the dessert… three pies, a cheesecake and a chocolate cake. What can I say, I love to bake!

Among the pies was a Pumpkin Pie that I decorated using Fall themed pie cutters. Then there was a Sweet Potato Pie 

that I decorated with a leaf border. I made this pie because I had never tried Sweet Potatoe Pie and was curious as to what all the fuss was about. It was good, but, I am partial to pumpking. And finally an Apple Pie that I gave a nice twisted pie crust design to.

IMG_9940

For the Cheesecake I stuck to a recipe that was a hit and topped it with sugared cranberred. The cranberries were so good that I ended up eating the leftovers like they were candy.

IMG_9938

And finally, the Chocolate Cake. The cake had a pumpkin spice mousse filling – it was super simple to make and delish thanks to a box of Jell-O Pumpkin Spice Pudding mix – and frosted it with chocolate frosting. And to give it a Fall theme I topped it with white chocolate leaves in seasonal colors.

IMG_9928

Maple Walnut Cheesecake

You can pretty much find cheesecake in any flavor these days. Have you ever been to the Cheesecake Factory? Looking at their endless list of options can make you cross-eyed. While there is nothing wrong with the classic, whether you like yours made with ricotta cheese or cream cheese, sometimes you want a cheesecake with an extra hint of flavor and something a little different. Hence me trying out a recipe for a Maple Walnut Cheesecake. Those flavors just seem synonymous with the Fall season and with Thanksgiving just a few days away this may be a good option for you to serve for those guests who are just not into Apple or Pumpkin Pie.

I began by making the crust. I pulsed a sleeve of graham crackers – 9 crackers – in my food processor until they were crushed. I then added in walnuts and brown sugar and continued pulsing the mixture until it was finely ground. Finally I added in melted butter, salt and nutmeg and continued pulsing the mixture until it was combined. Following that I pressed it into the bottom and about an inch up the side of a 9-inch springform pan that I wrapped with aluminum foil. I then baked it in the middle rack of a preheated 350 F oven. On the lower rack of the oven I placed a roasting rack filled halfway with water. Once the crust was light golden, about 10 minutes, I transferred the crust to a wire rack to cool. Once it was cool it was time to make the filling…

IMG_9287

To make the filling I began by creaming together 4 8 oz. packages of room temperature cream cheese in my stand mixer until it was smooth. I then added in maple syrup and granulated sugar. Following that 4 eggs, one at a time. And finally flour, heavy cream, lemon juice and vanilla extract. The original recipe called for maple extract, but, since the recipe only called for a quarter of a teaspoon I didn’t want to buy an ingredient that I was certain I wouldn’t use again anytime soon, if ever.

IMG_9288

Once the filling was ready I poured it into the cooled crust and then placed the cheesecake in the oven directly over the roasting pan with water.

IMG_9290

After baking for about an hour I transferred the cheesecake to a wire rack to cool to room temperature. I knew it was ready because it was set around the edges but slightly jiggly in the middle. After it cooled I covered it with aluminum foil and refrigerated it overnight.

IMG_9292

The following day before removing the springform ring I let the cheesecake sit at room temperature for an hour and then ran a knife along the edges. The ring came off without incident (i.e. no sides of the cheesecake were ripped). I couldn’t wait to enjoy a slice and while the cheesecake was perfectly creamy it didn’t have much of a maple flavor in my opinion. I’m not sure if that’s because I didn’t use the maple extract or because it is meant to be more of a subtle flavor as opposed to one that overpowers the cheesecake. One thing that did stand out was the walnuts in the graham cracker crust; it added a nice nutty flavor.

IMG_9345

Maple Walnut Cheesecake

Ingredients:

For the Crust:

1 sleeve graham crackers, 9 crackers

3/4 cup walnut pieces

1/3 cup light brown sugar

4 tablespoons unsalted butter, melted

Pinch of nutmeg

Pinch of Kosher salt

For the Filling:

4 8-ounce packages cream cheese, at room temperature

3/4 cup pure maple syrup

1/2 cup granulated sugar

4 large eggs

3 tablespoons all-purpose flour

1/2 cup heavy cream

1 tablespoon lemon juice

1/4 teaspoon maple extract*

*I opted to use vanilla extract

Directions:

Fill a roasting pan halfway with water and set on a rack in the lower third of the oven, position another rack in the middle of the oven and preheat the oven to 350 F. Wrap the bottom of a 9-inch springform pan with aluminum foil.

To make the crust; pulse the graham crackers in a food processor a few times until crushes. Add in the walnut and brown sugar and continue pulsing until finely ground. Add in the melted butter, nutmeg and salt and pulse to combine. Press into the bottom and about 1-inch up the side of the prepared springform pan. Bake until the crust is lightly golden, about 10 minutes. Transfer to a wire rack to cool completely.

To make the filling; beat the cream cheese in a stand mixer with the paddle attachment on medium speed until smooth, about 1 minute. Add the maple syrup and granulated sugar and beat until smooth, about 2 minutes. Add the eggs, one at a time, beating after each one. Increase the speed to medium high and beat in the flour, heavy cream and lemon juice and extract until the filling is smooth and silky, about 1 minute.

Pour the filling into the cooled crust and transfer the cheesecake to the oven directly over the water bath. Bake until golden and set around the edges and slightly jiggly in the middle, about 60 -70 minutes. Transfer to a wire rack and let cool to room temperature, then cover and refrigerate until cold and set, at least 5 hours or overnight. Let the cheesecake sit at room temperature for 20 minutes, then run a knife around the edges and remove the springform ring.

Recipe from the Food Network