A Red Velvet Valentine Heart

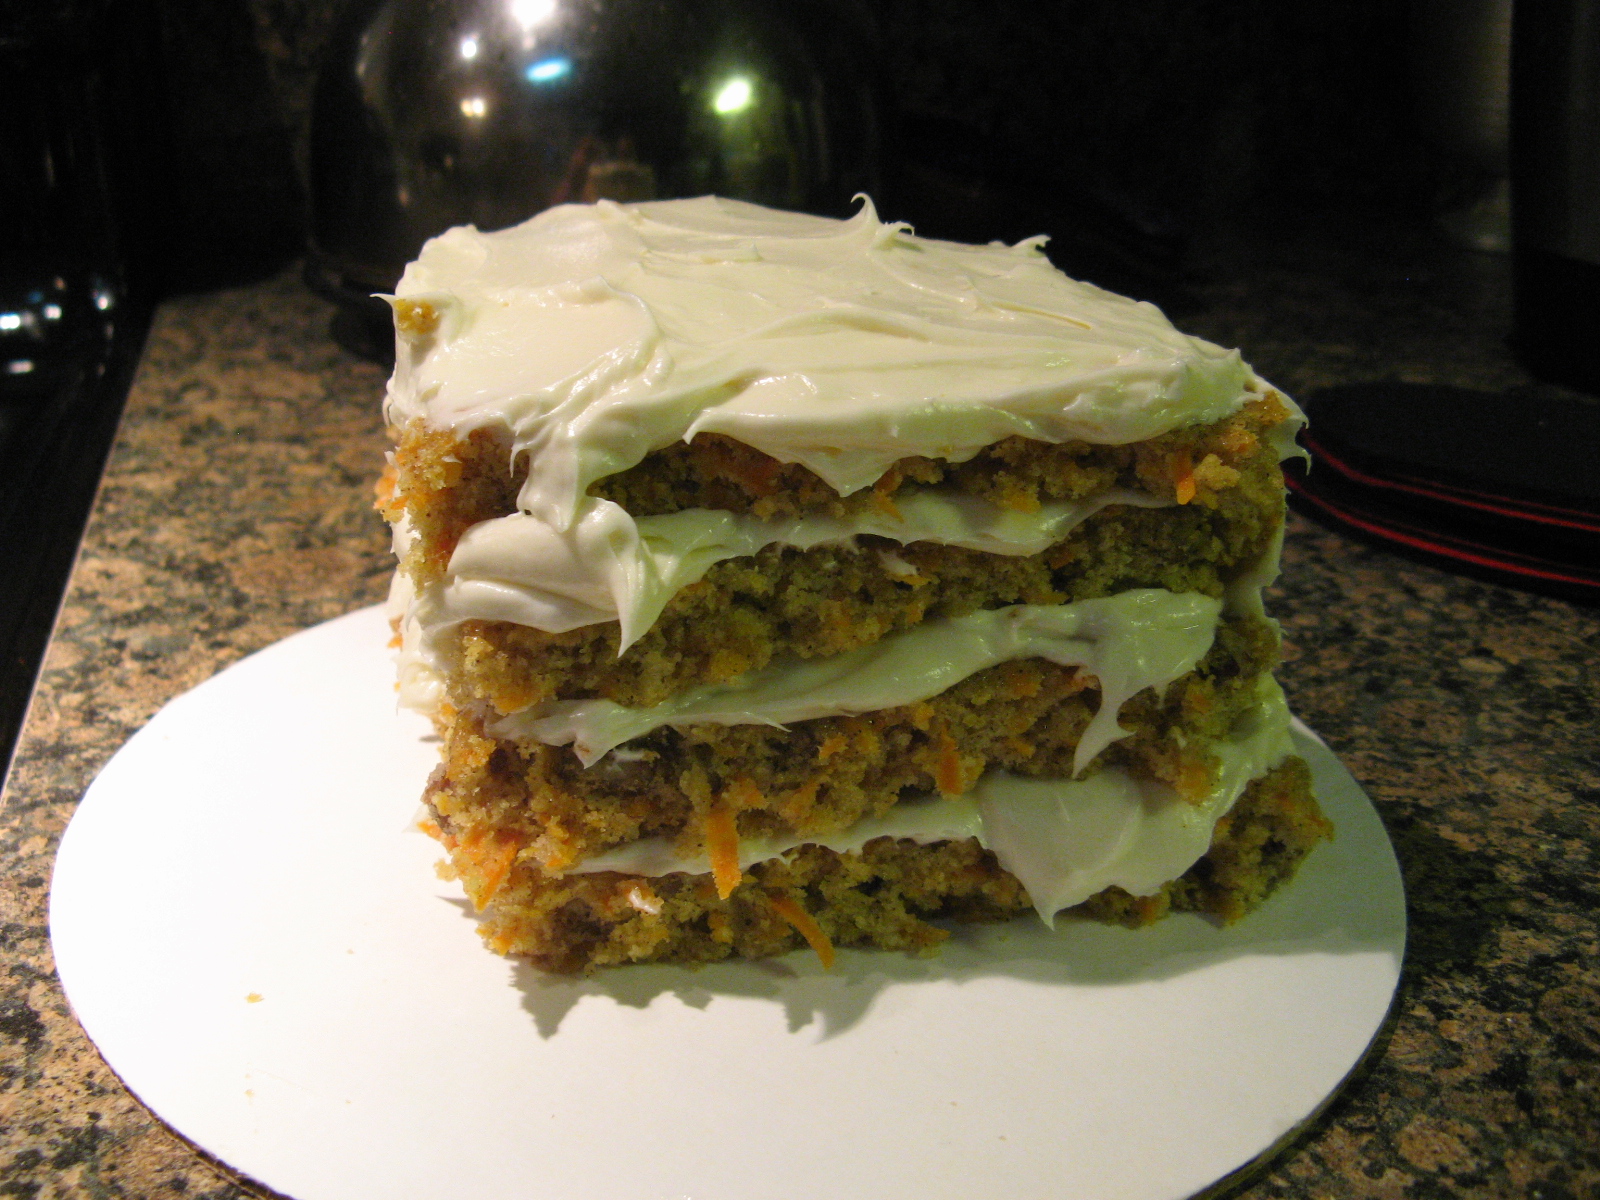
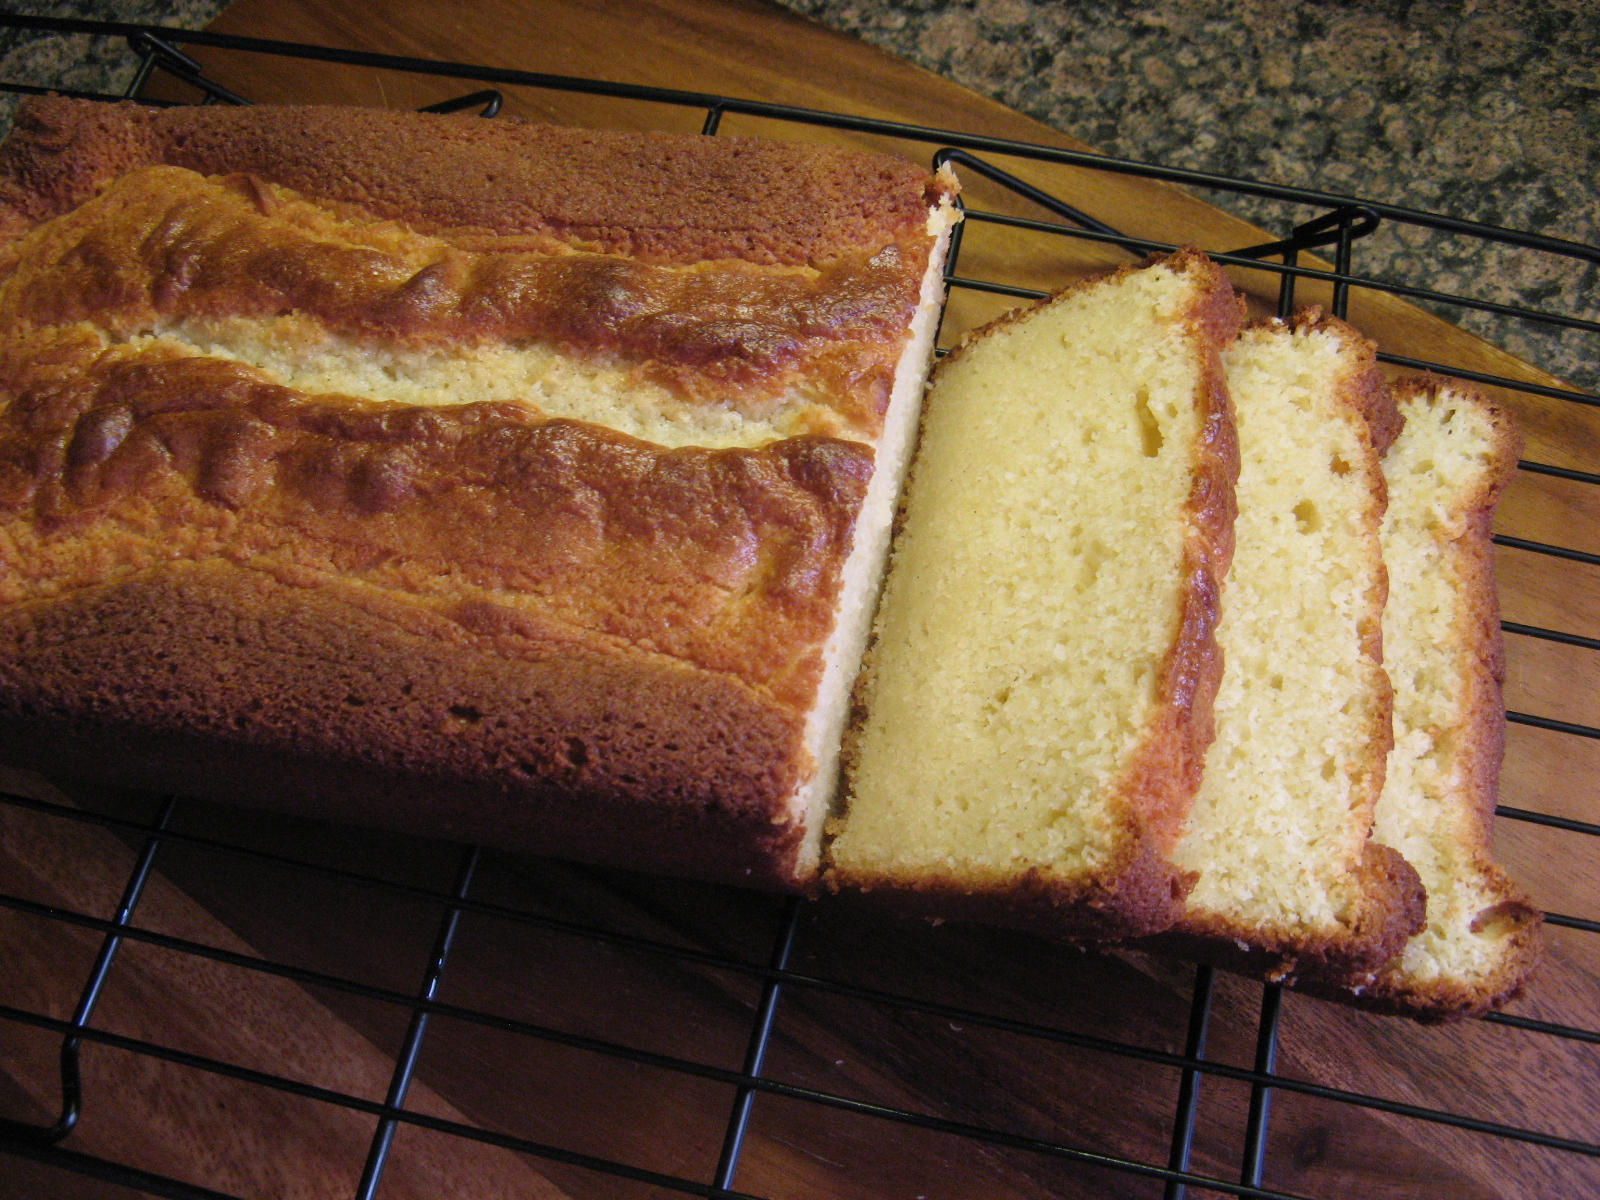
In honor of Valentine’s Day tomorrow I decided to bake up a red velvet cake heart and decorate it with cream cheese frosting. I just can’t stand when red velvet (or carrot cake for that matter) are frosted with buttercream or vanilla frosting. The flavors just don’t go well together in my opinion. So, what are your plans for Valentine’s Day? Or will you be celebrating Singletine’s Day? Or Galentine’s Day? Which is actually today!

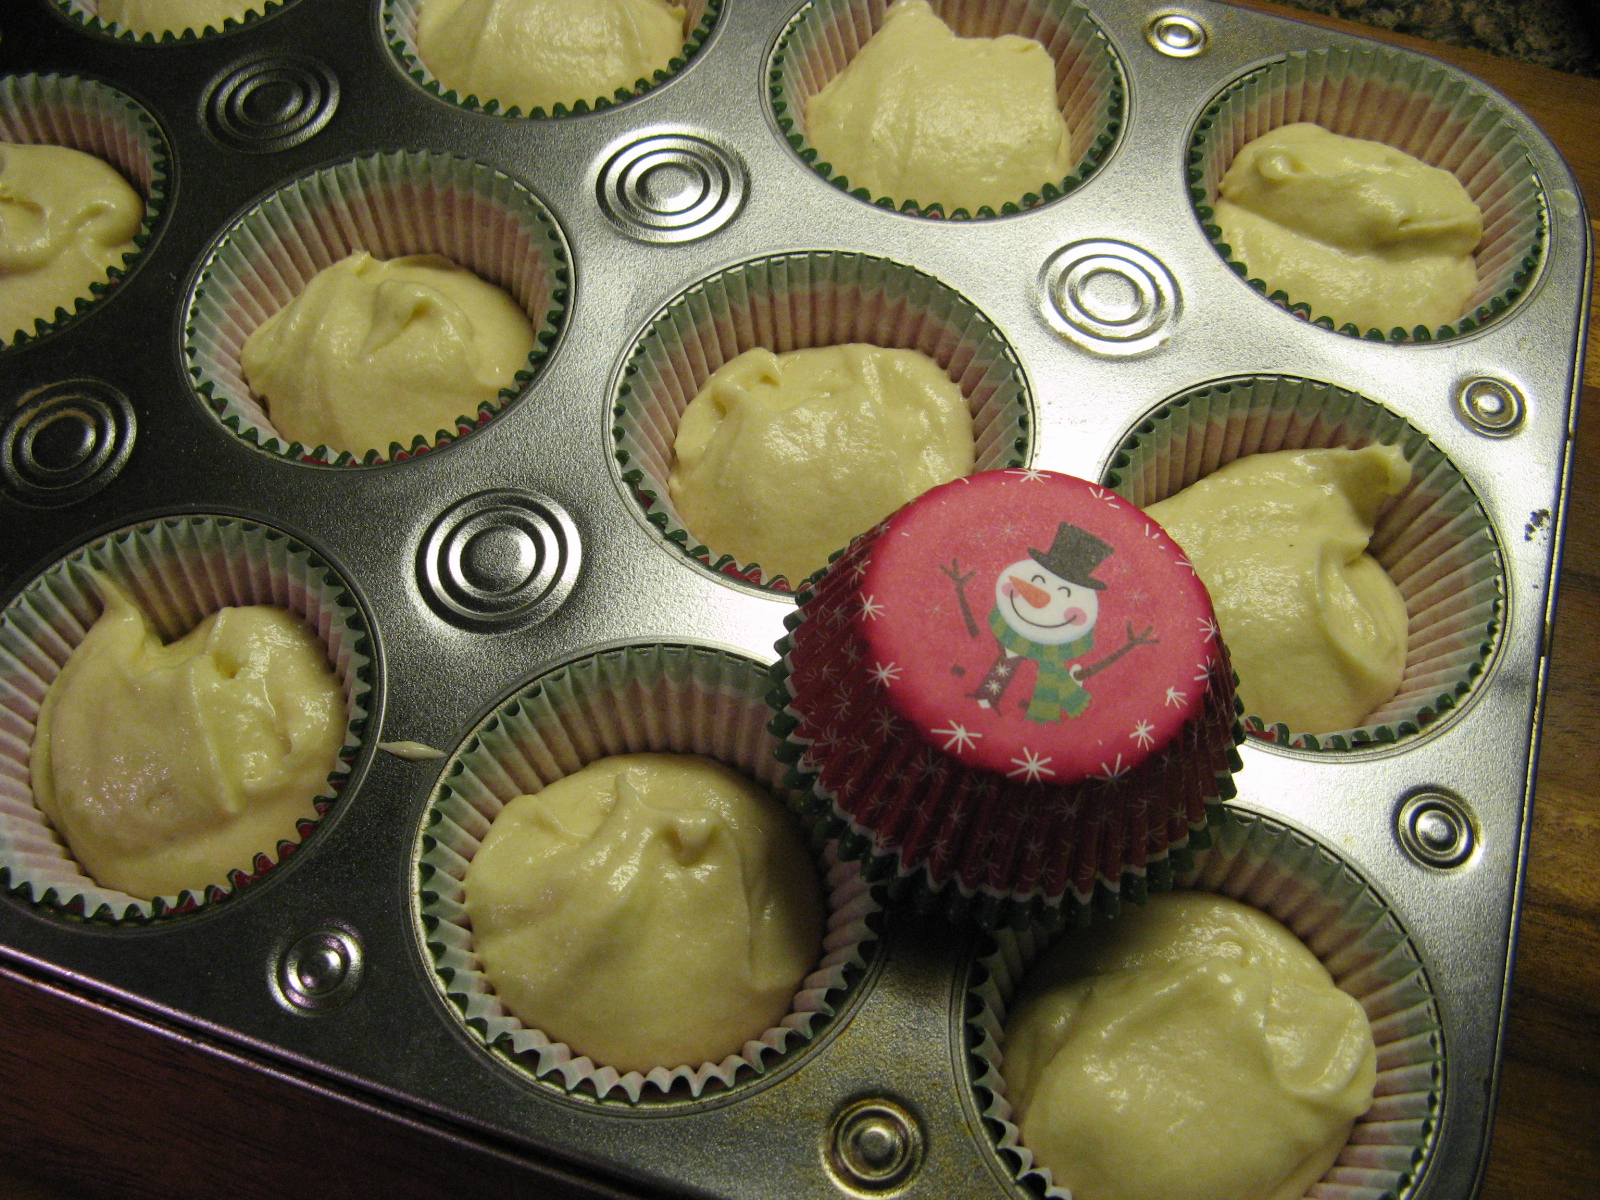
For the cake I used a recipe that I came across on another blog that was for 12 cupcakes. In one bowl I combined all of my dry ingredients – flour, sugar, baking soda, baking powder, unsweetened cocoa powder and salt. And in a smaller bowl I whisked together buttermilk, vegetable oil, vanilla extract, an egg, vinegar and red food coloring. I didn’t have buttermilk so I made my own by combining a 1/2 cup of milk with 1/2 tablespoon of lemon juice (you could use vinegar in lieu of the lemon juice). I stirred the two together and let it sit at room temperature until it was slightly thickened. You may also see some curdling on the top as well. Ever since I learned I could make my own buttermilk I have opted to do that as opposed to buying it. Inevitably I always end up throwing out most of the buttermilk since I have nothing else to use it for.

img_0437

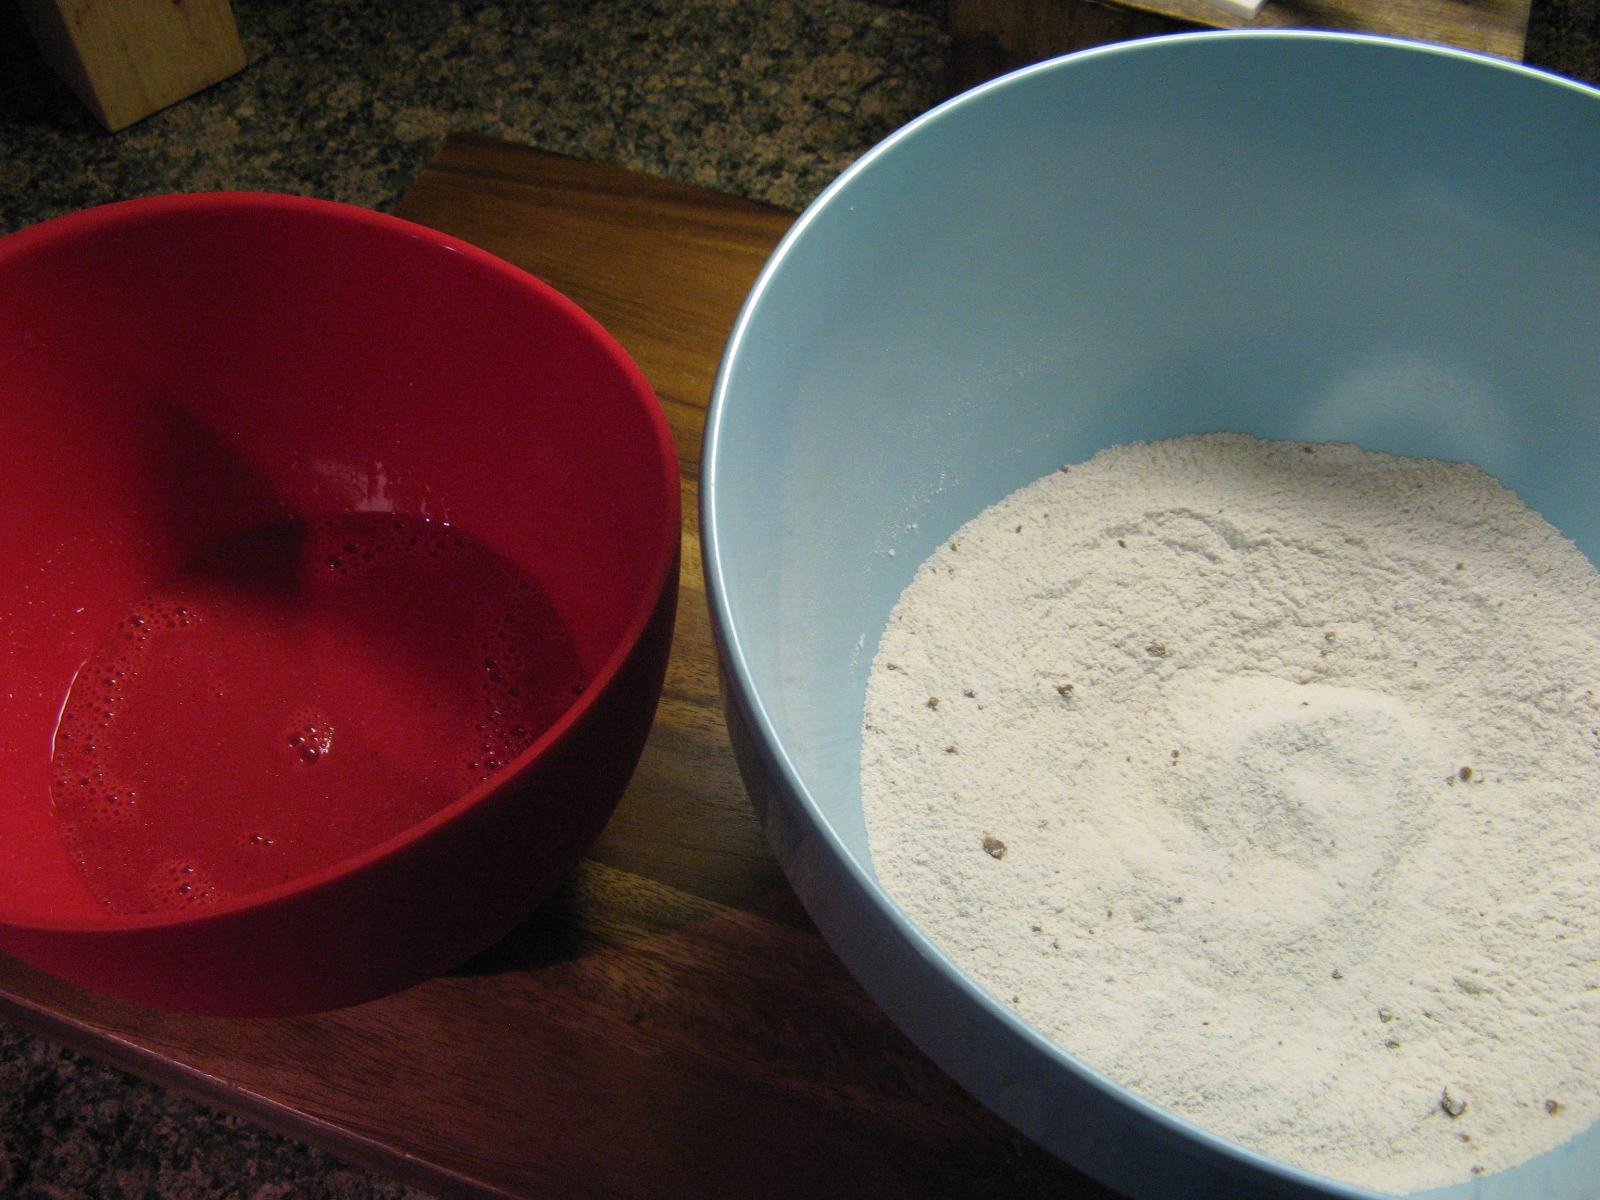
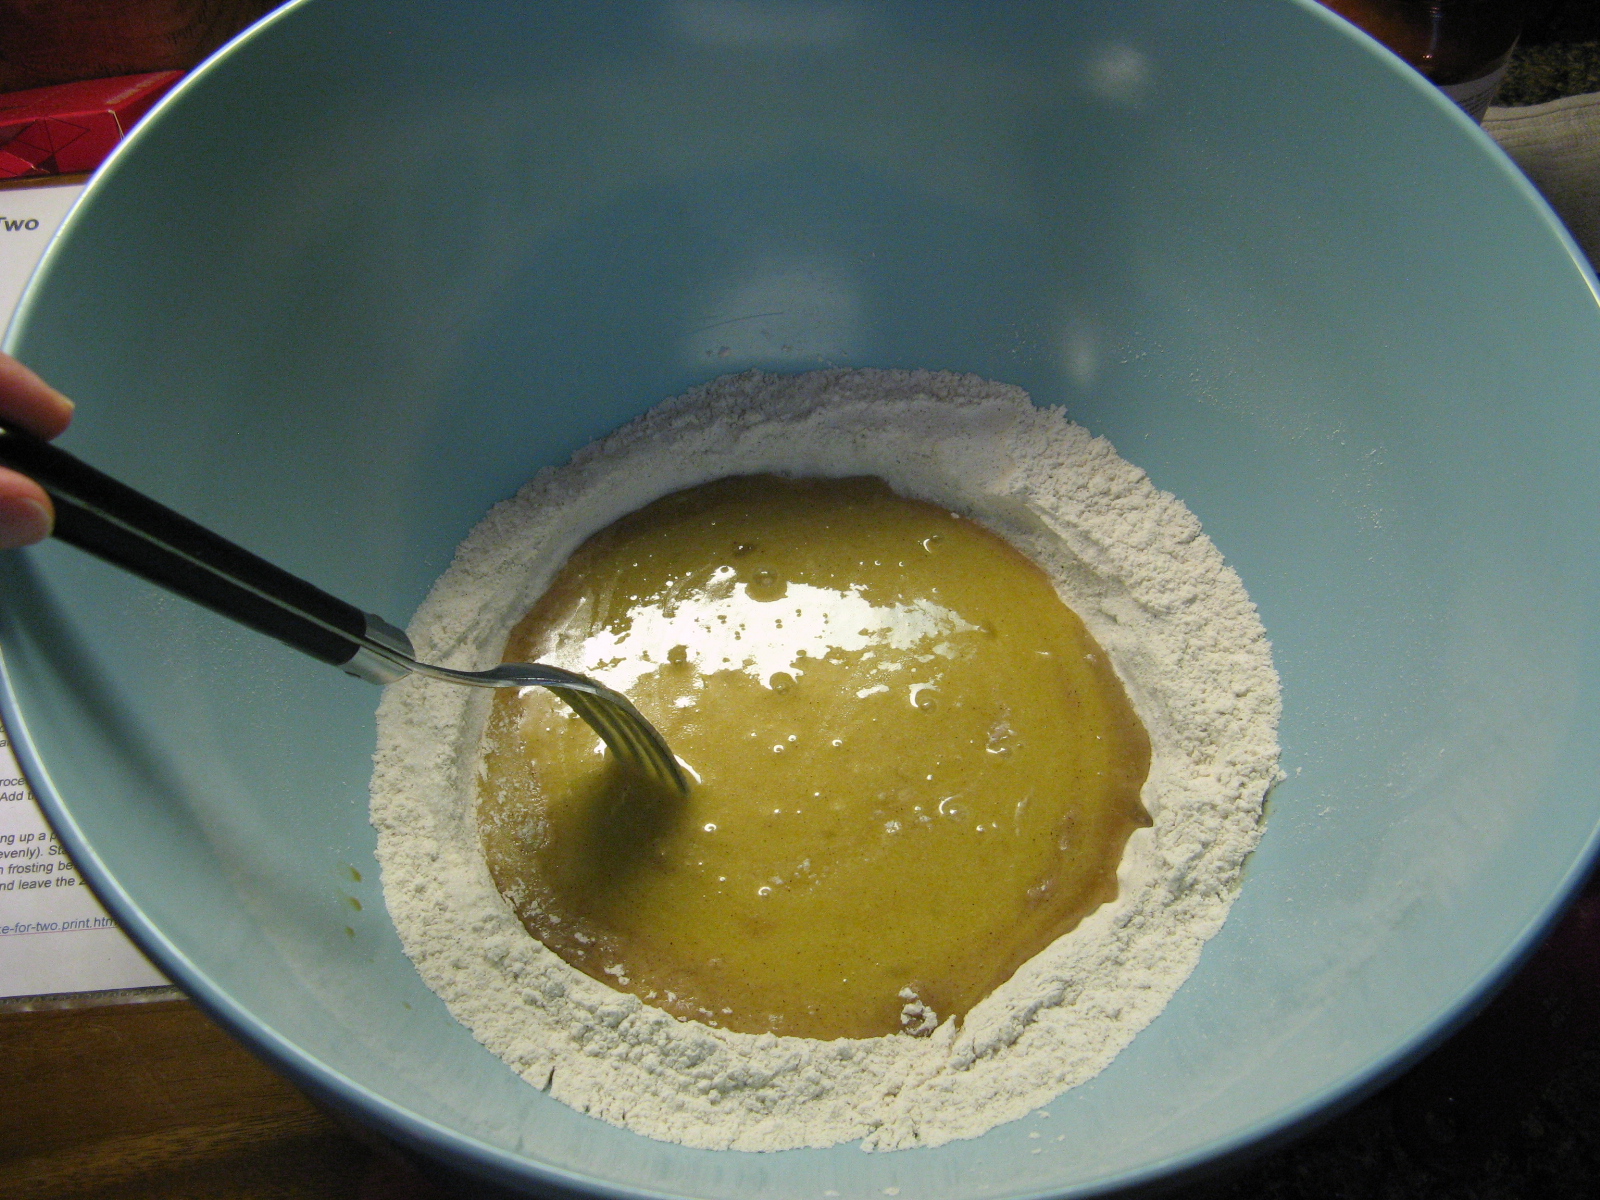
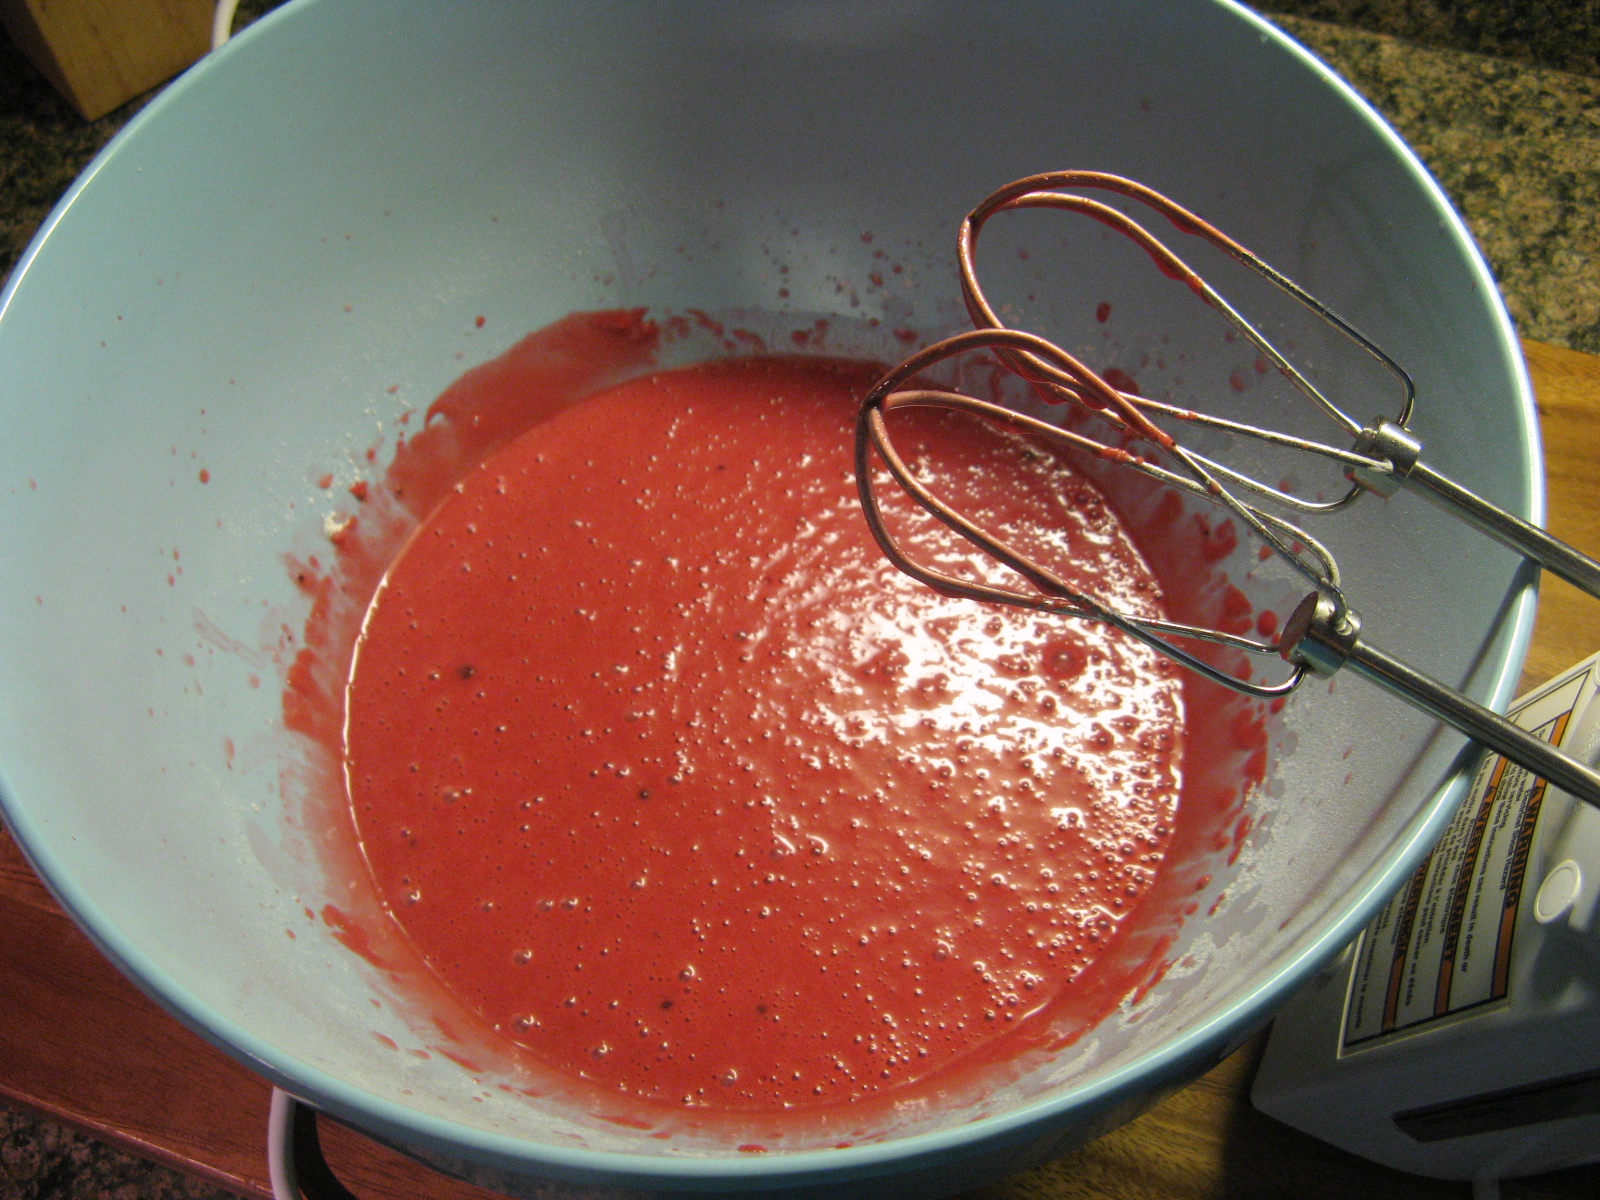
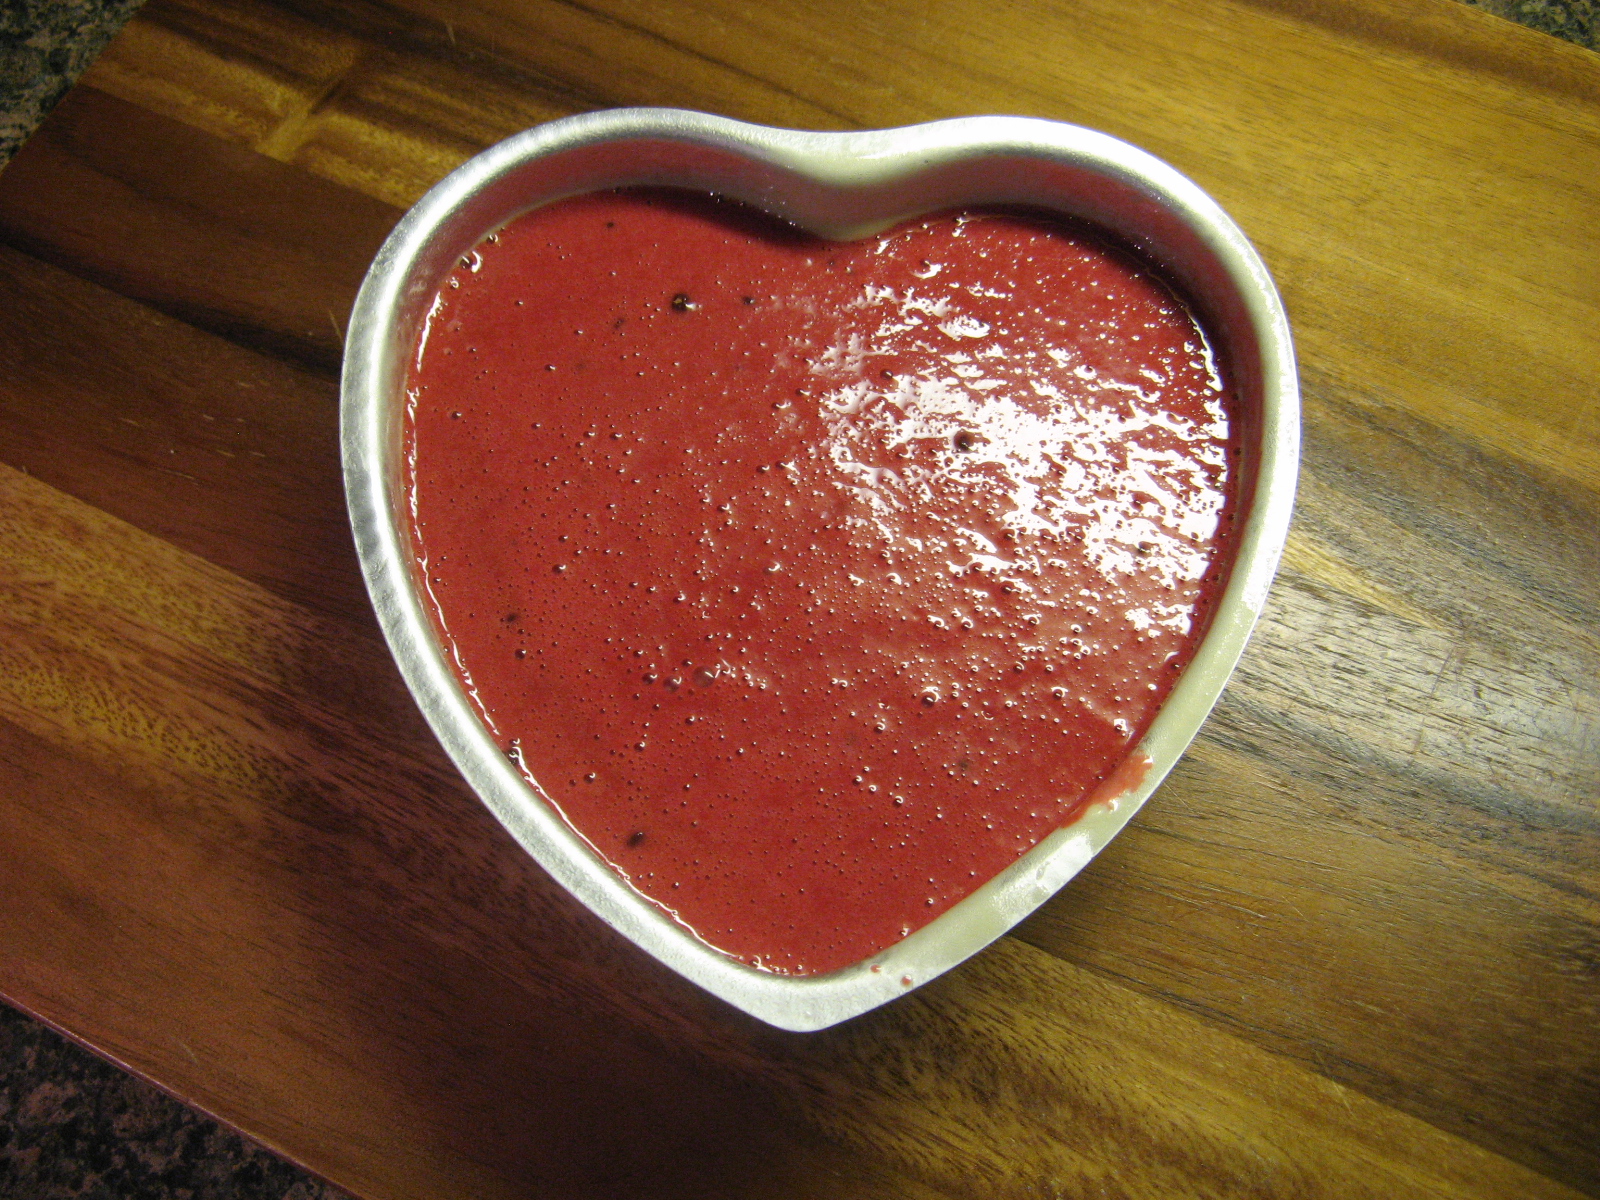
Next, I added the wet ingredients to the dry ingredients and beat them until they were well combined. And then slowly added in hot water – I boiled the water and then let it cool a bit.

img_0439

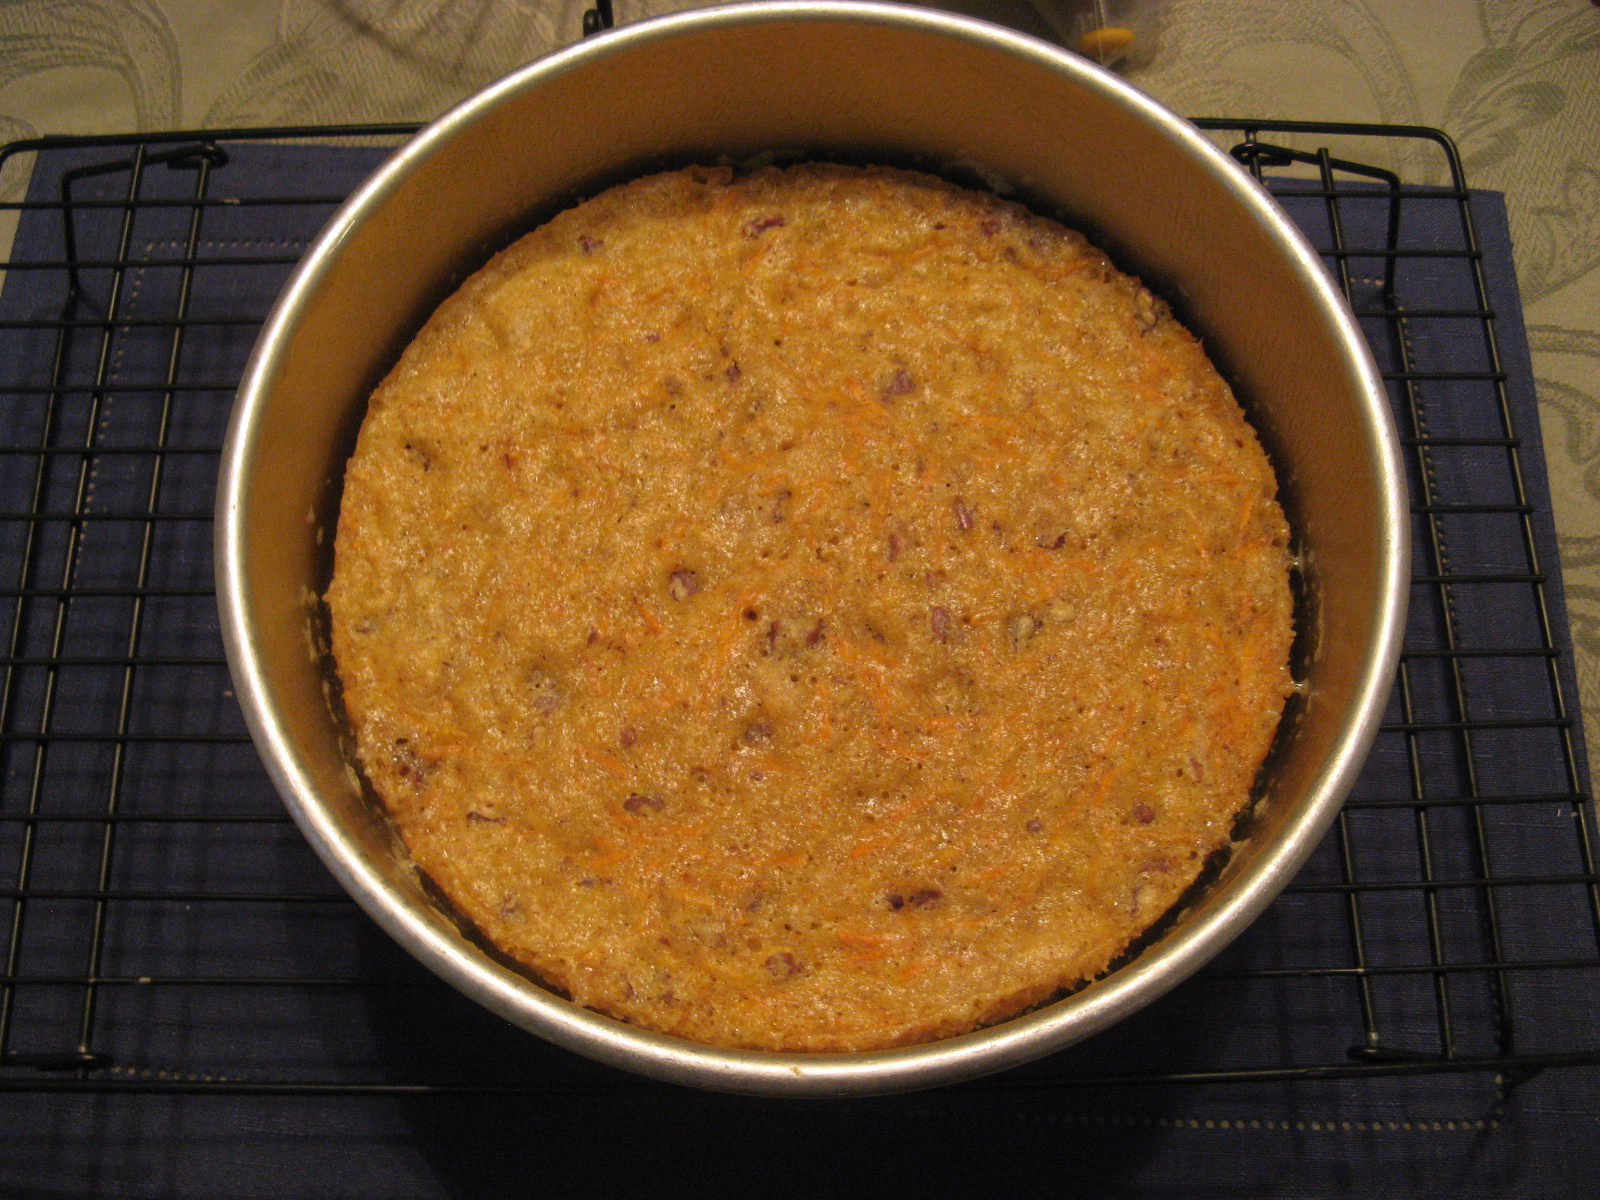
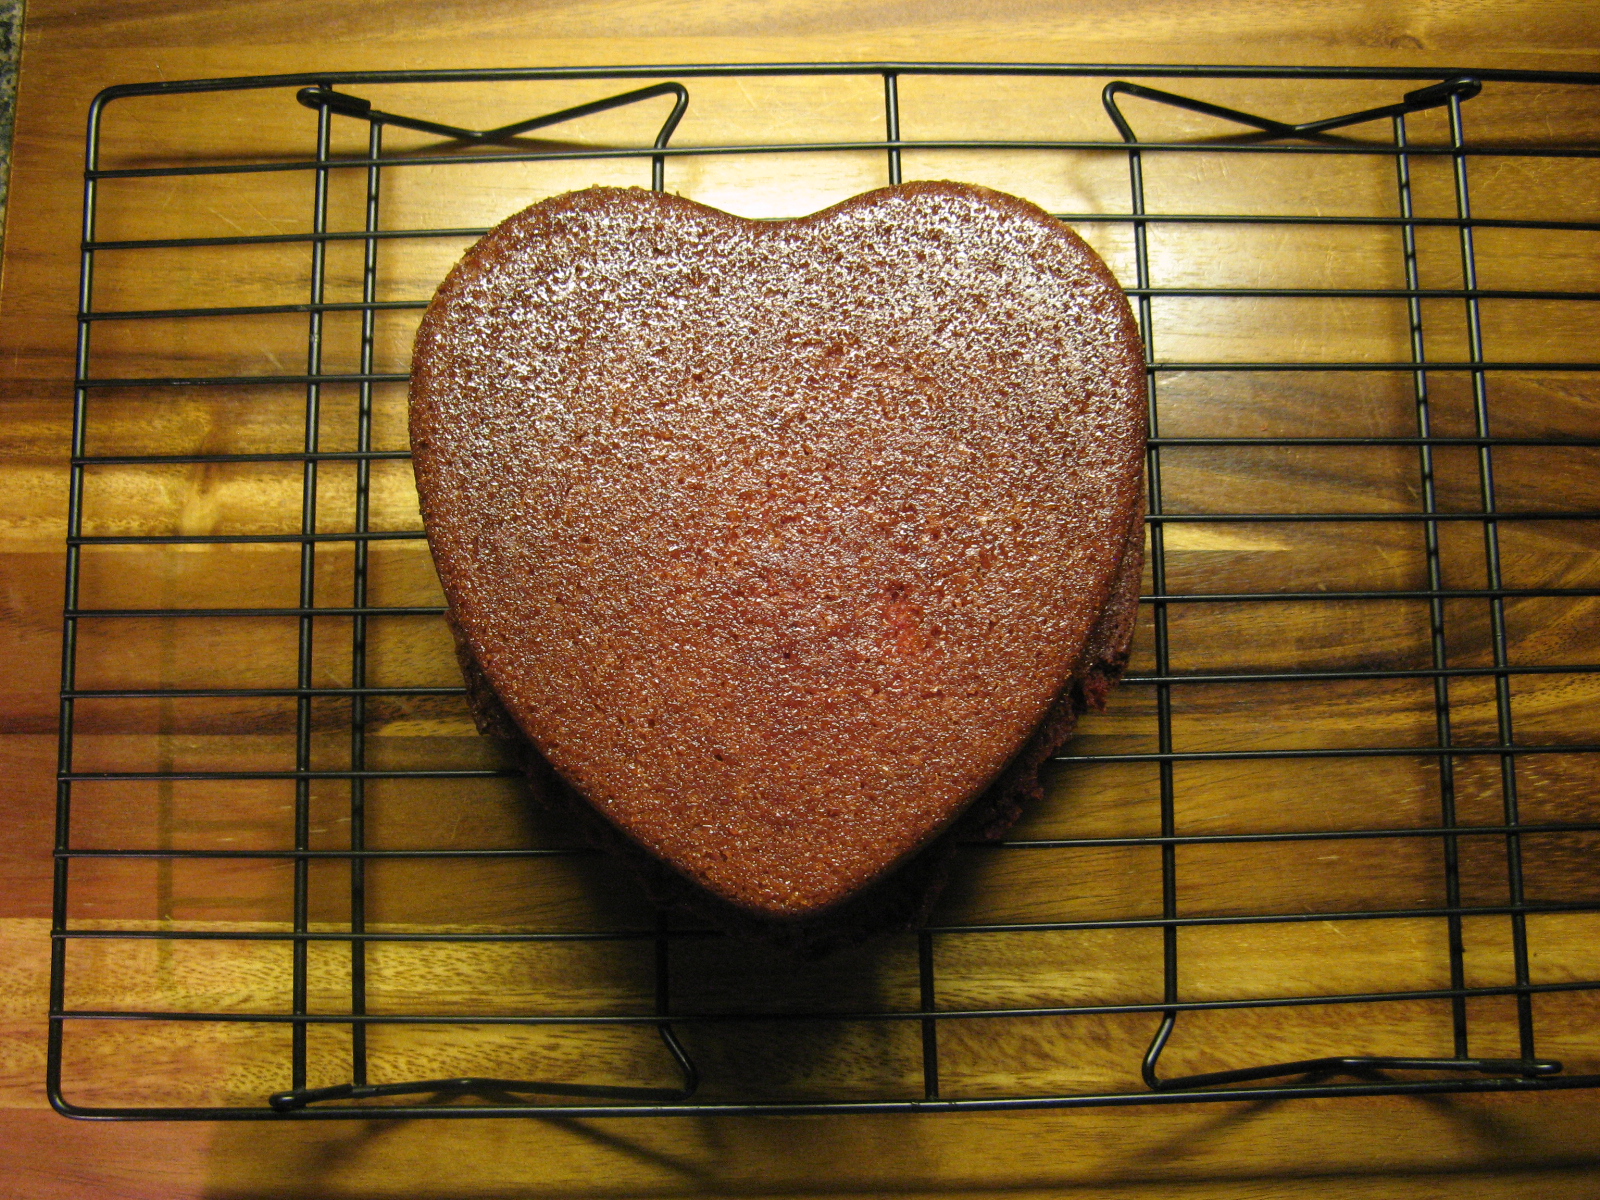
And finally, I poured the batter into my prepared 6-inch heart pan (I sprayed it with baking spray) and baked it in a 350 F oven for about 40 minutes. Now, if you plan on using a 6-inch heart pan like I did, don’t make the same mistake I did. I poured all of the batter into the pan. I probably should have only poured in enough to fill half or 3/4 of the pan, but, it was slightly more than 3/4. So, what happened, it overflowed when I baked it. Thankfully I had the premonition that it would so I placed aluminum foil on the rack beforehand so I didn’t have a huge mess in my oven.

img_0440

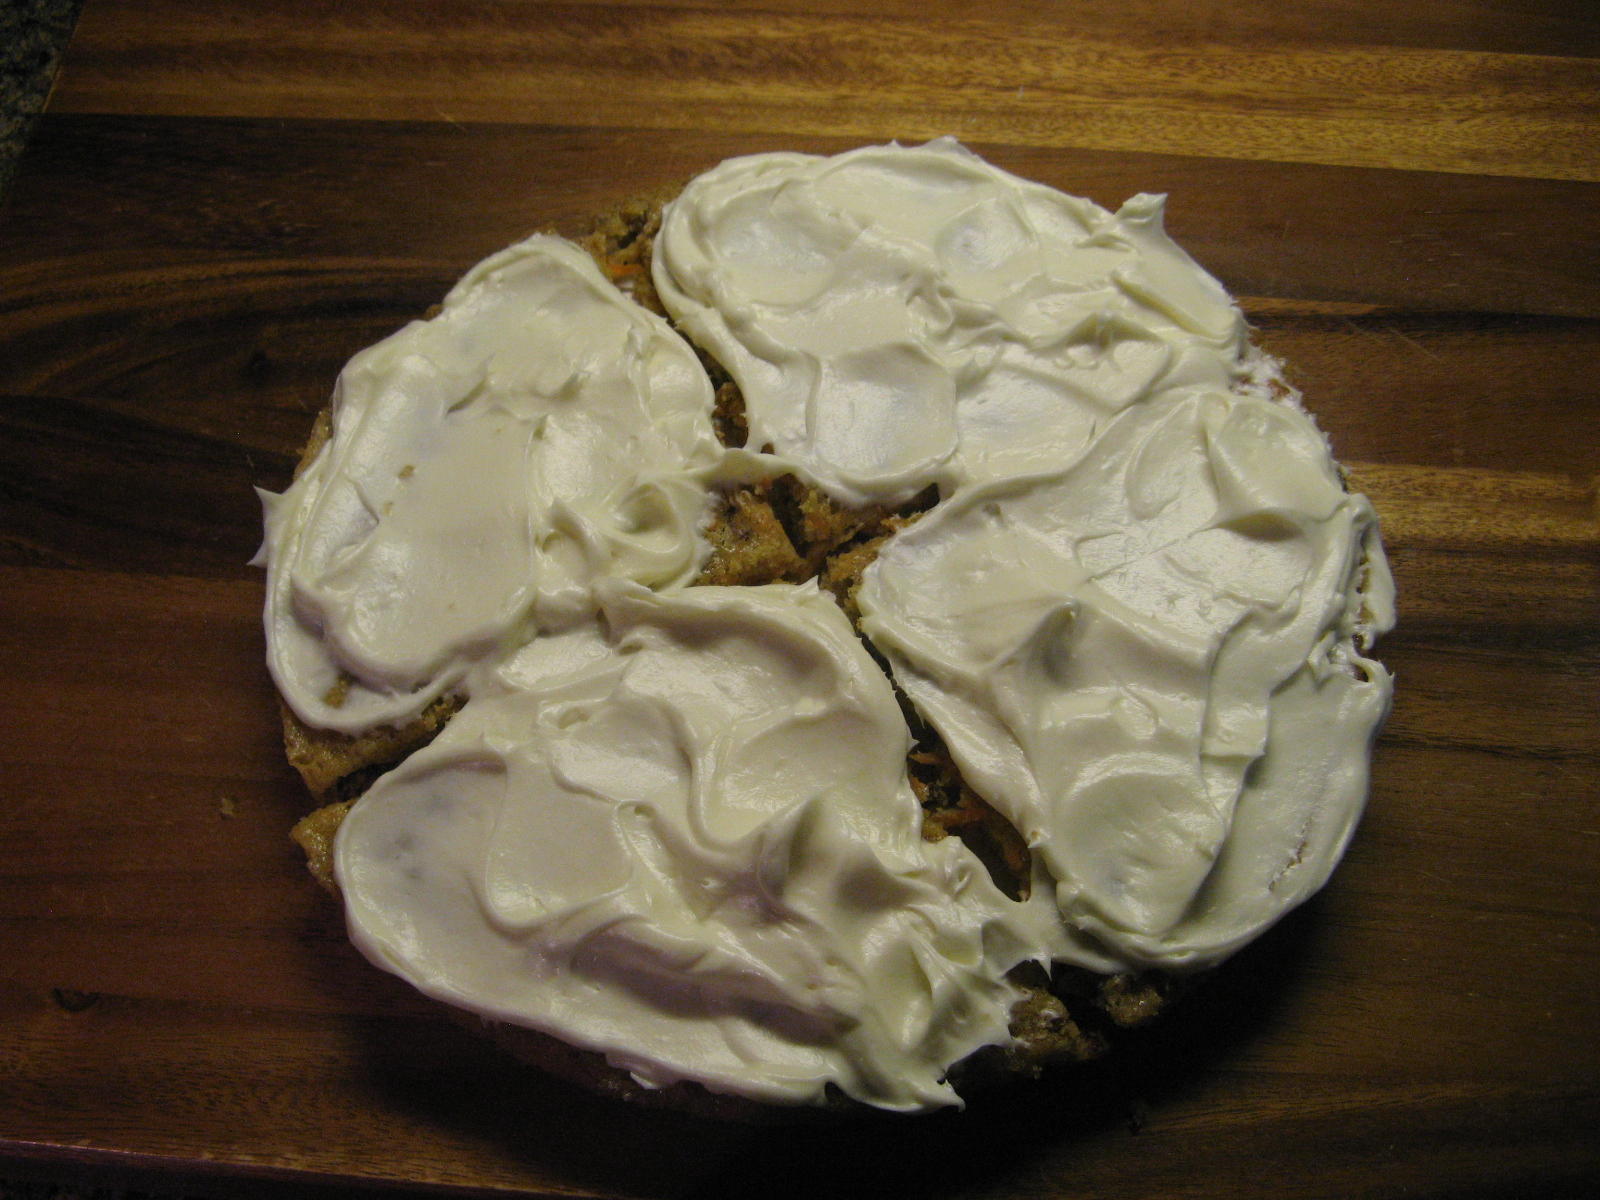
It wasn’t all that bad though, after letting the cake cool I was able to torte the cake. I just used the cut side as the bottom of the cake.

img_0442

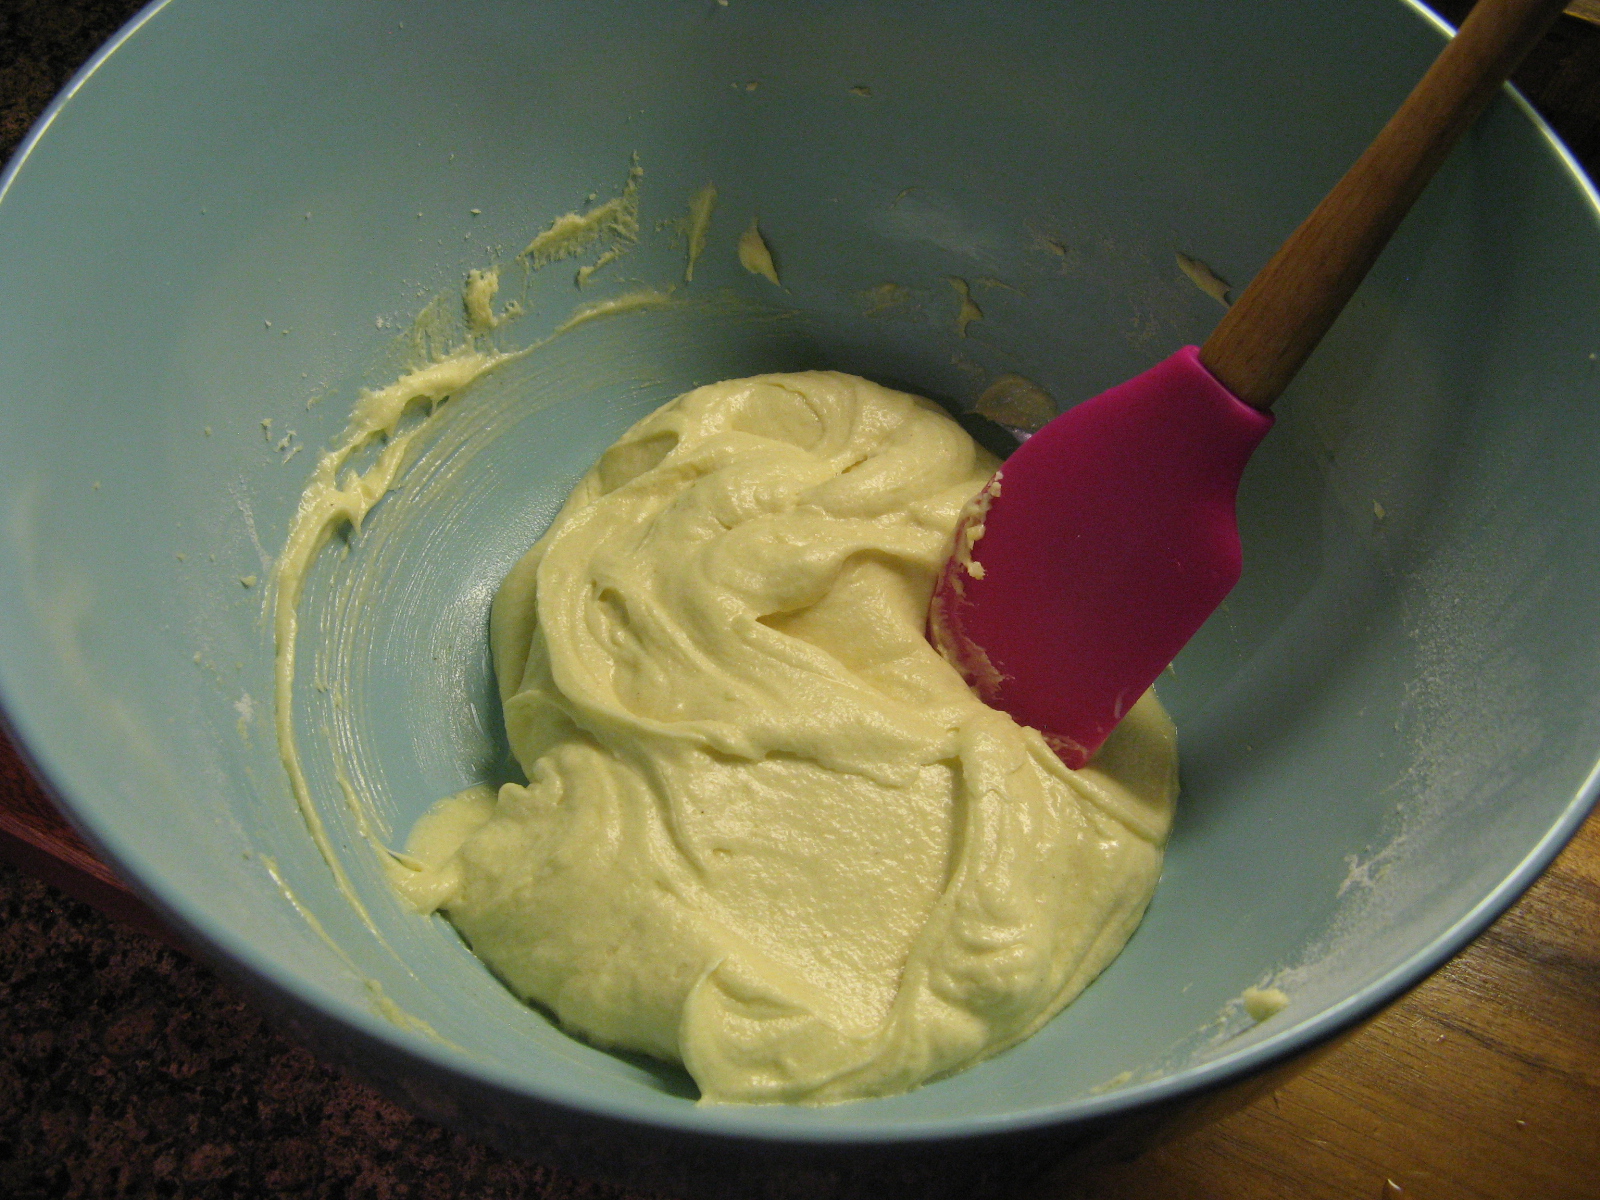
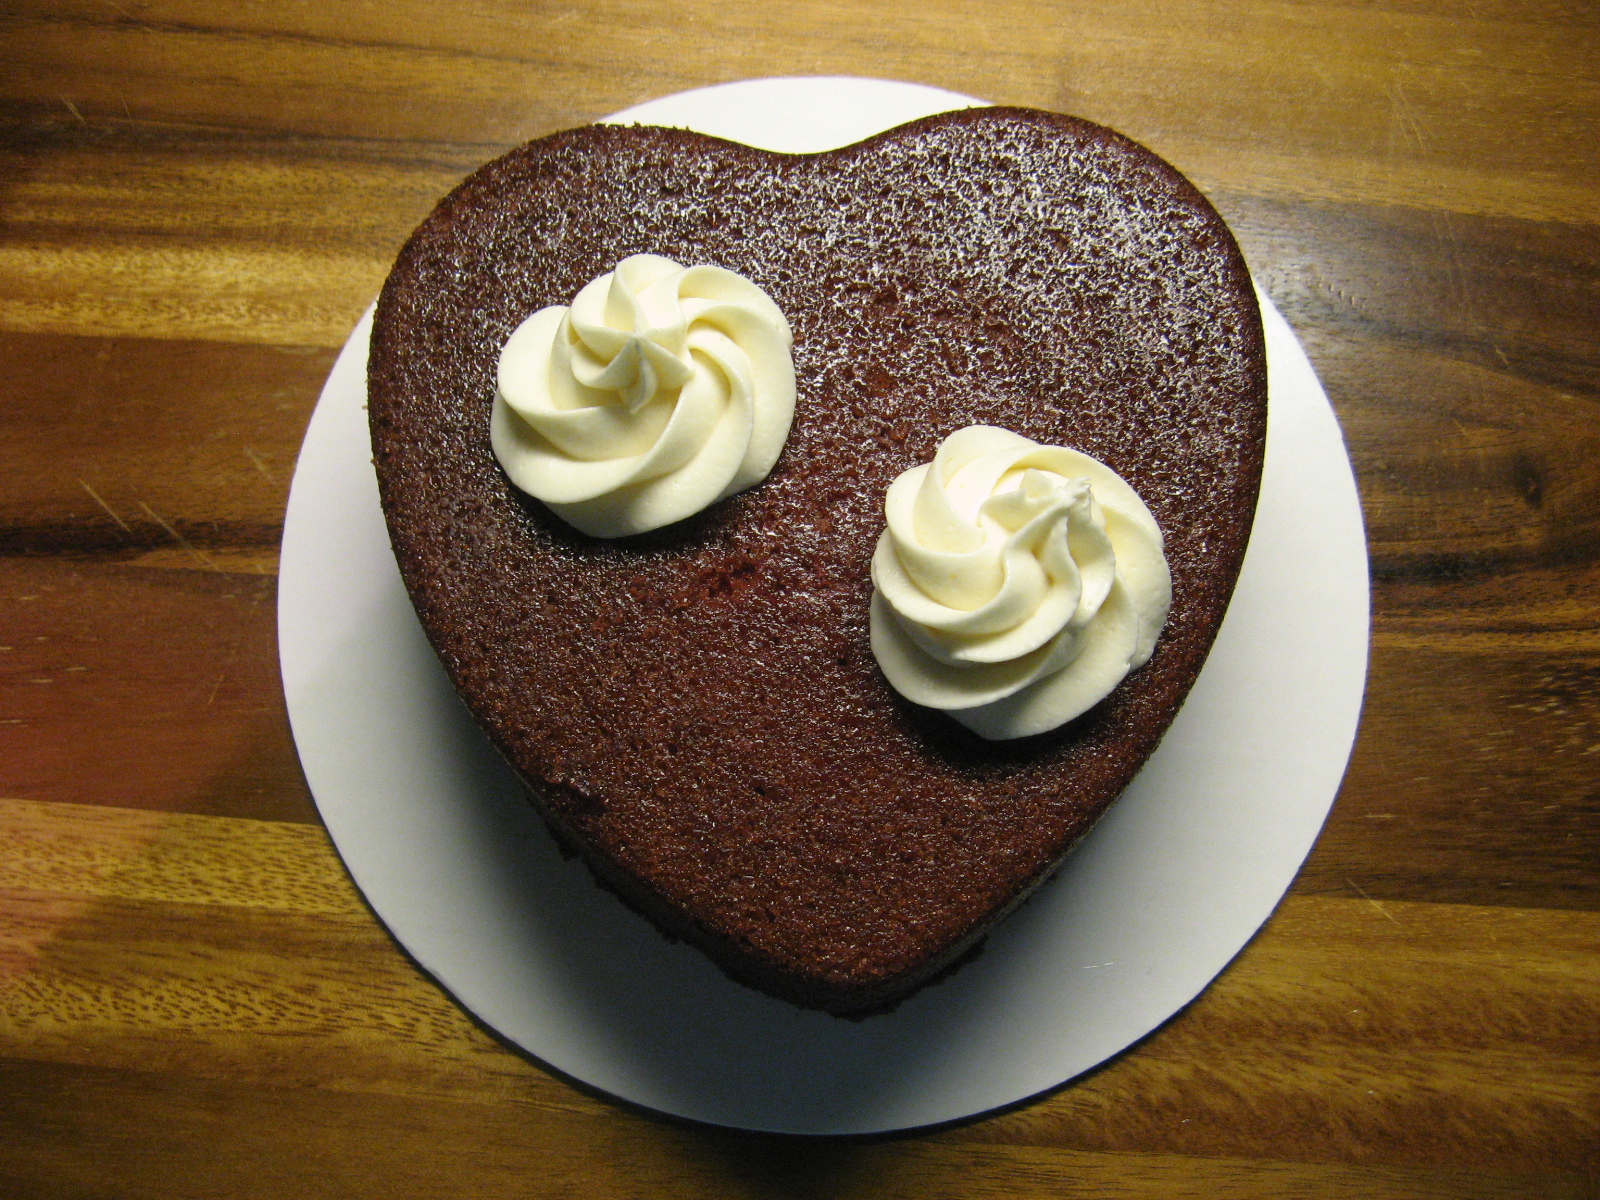
And then it was time to decorate. I made cream cheese frosting and let it firm up a bit in the fridge before decorating with it. I began by make two large rosettes on the cake using a Wilton 1M tip…

img_0443

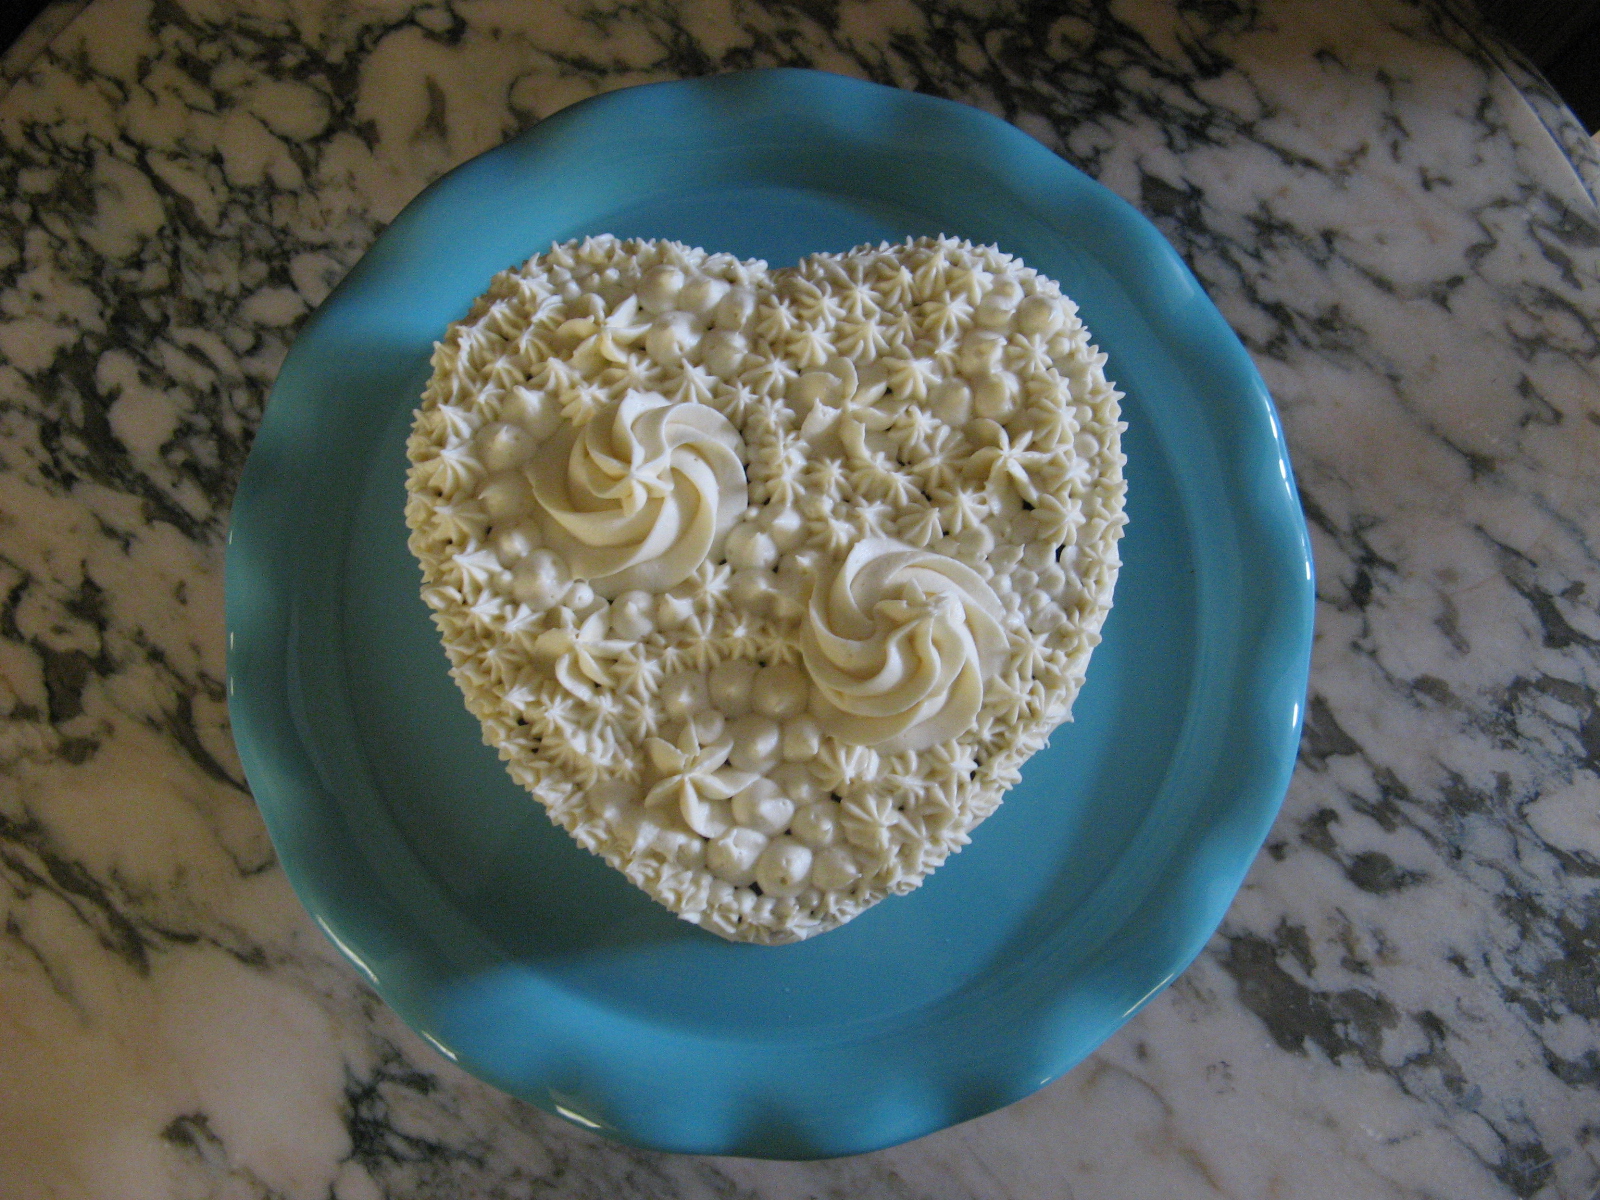
And soon enough, using various sizes and shapes of decorating tips, my heart was completely decorated.

img_0452

So, however you will be celebrating, or if you’re not celebrating at all, I hope you have a wonderful day.


Red Velvet Cake

Ingredients:

1 1/4 cups all-purpose flour

1 cup sugar

1 1/8 teaspoons baking soda

1/4 teaspoon baking powder

2 teaspoons unsweetened cocoa powder

1/2 teaspoon salt

1/2 cup buttermilk

1/4 cup vegetable oil

1 teaspoon vanilla extract

1 large egg

1 teaspoon white vinegar

2 teaspoons red food coloring

1/2 cup hot water

Directions:

Preheat oven to 350 F and prepare your desired pan. This recipe was originally for 12-14 cupcakes, but, can be easily used for a single layer 6-inch or 8-inch cake.

In a large bowl combine the dry ingredients – flour, sugar, baking soda, baking powder, cocoa powder and salt, set aside.

In a medium bowl whisk together the buttermilk, vegetable oil, vanilla extract, egg, vinegar and red food coloring.

Add the wet ingredients to the dry ingredients, and using a hand mixer beat until well combined.

Slowly add the hot water to the batter and mix on low speed until well combined. Scrape the sides of the bowl as needed.

If using a cupcake pan, bake for about 15 – 17 minutes. If using a cake pan, bake for 30 – 40 minutes. Until a cake tested comes out clean.

Remove the pan from the oven and let cool for 2 minutes and then remove to a cooling rack to finish cooling.

Recipe from The Cake Blog

Cream Cheese Frosting

Ingredients:

1 8-oz. package cream cheese, at room temperature

1/2 cup unsalted butter, at room temperature

3 cups confectioners’ sugar

1 1/2 teaspoons vanilla extract

Directions:

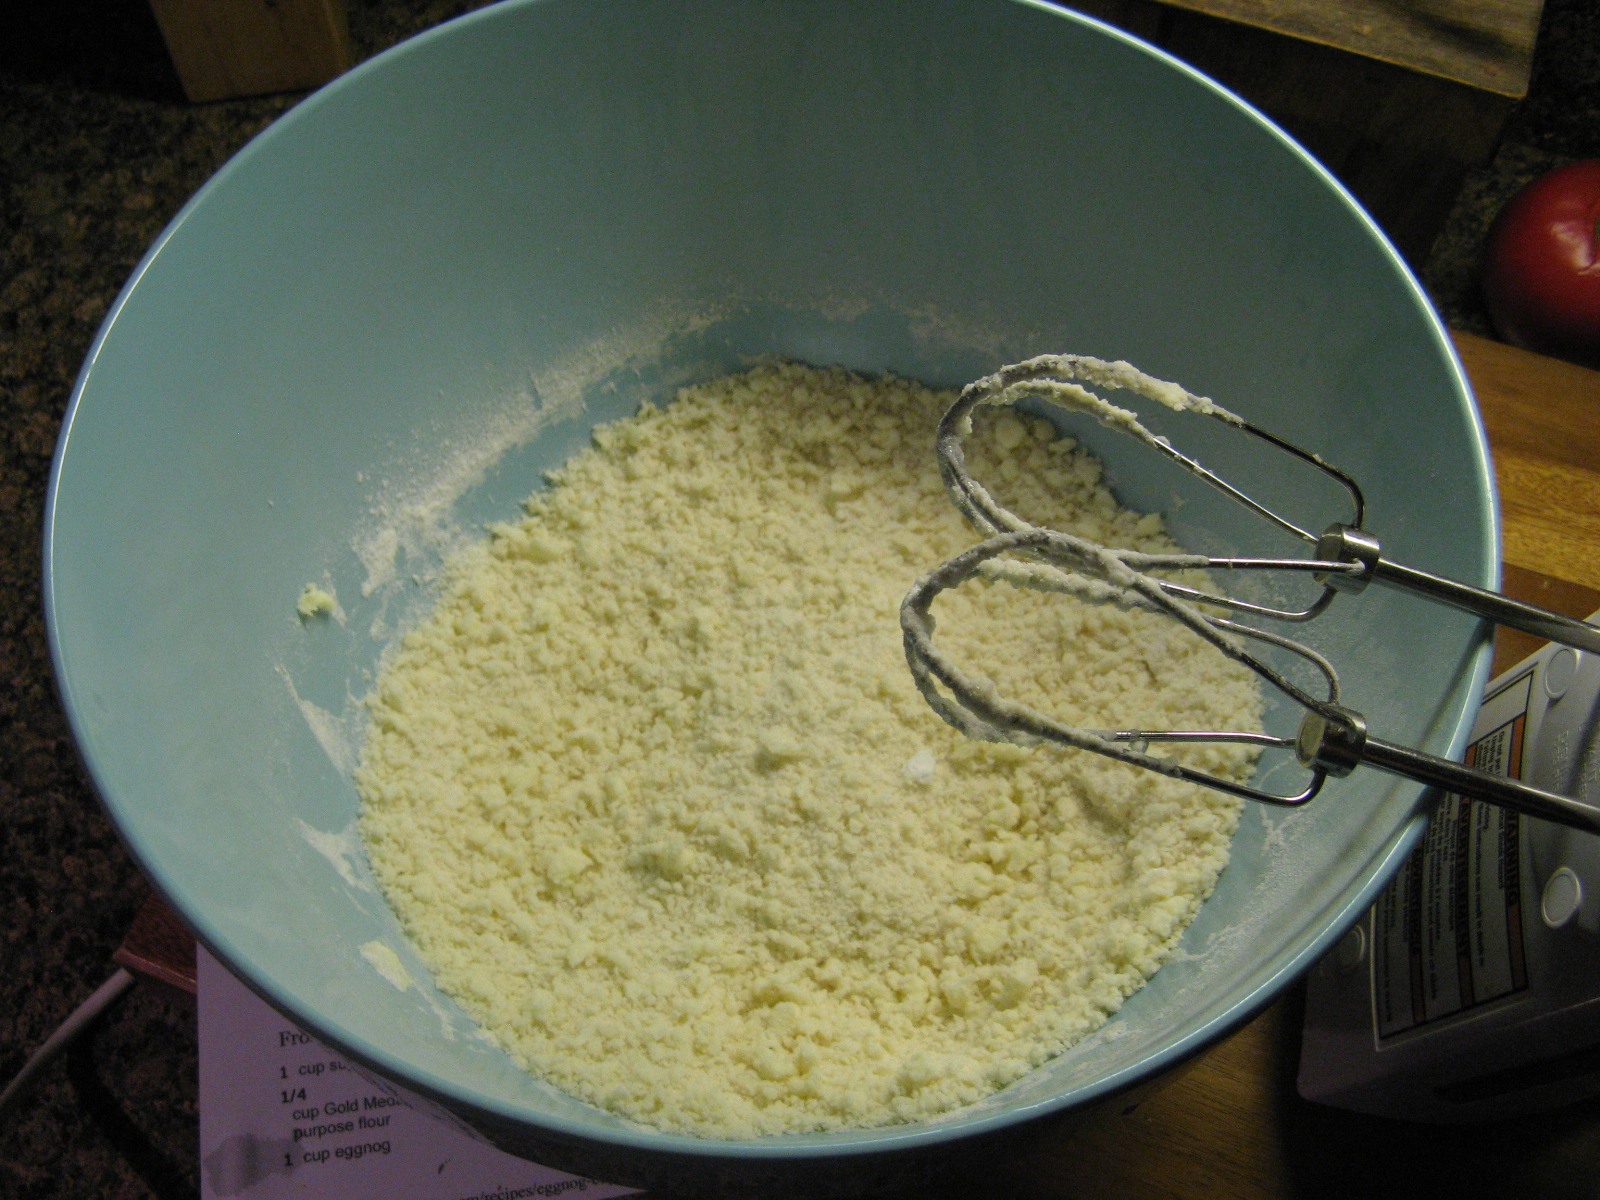
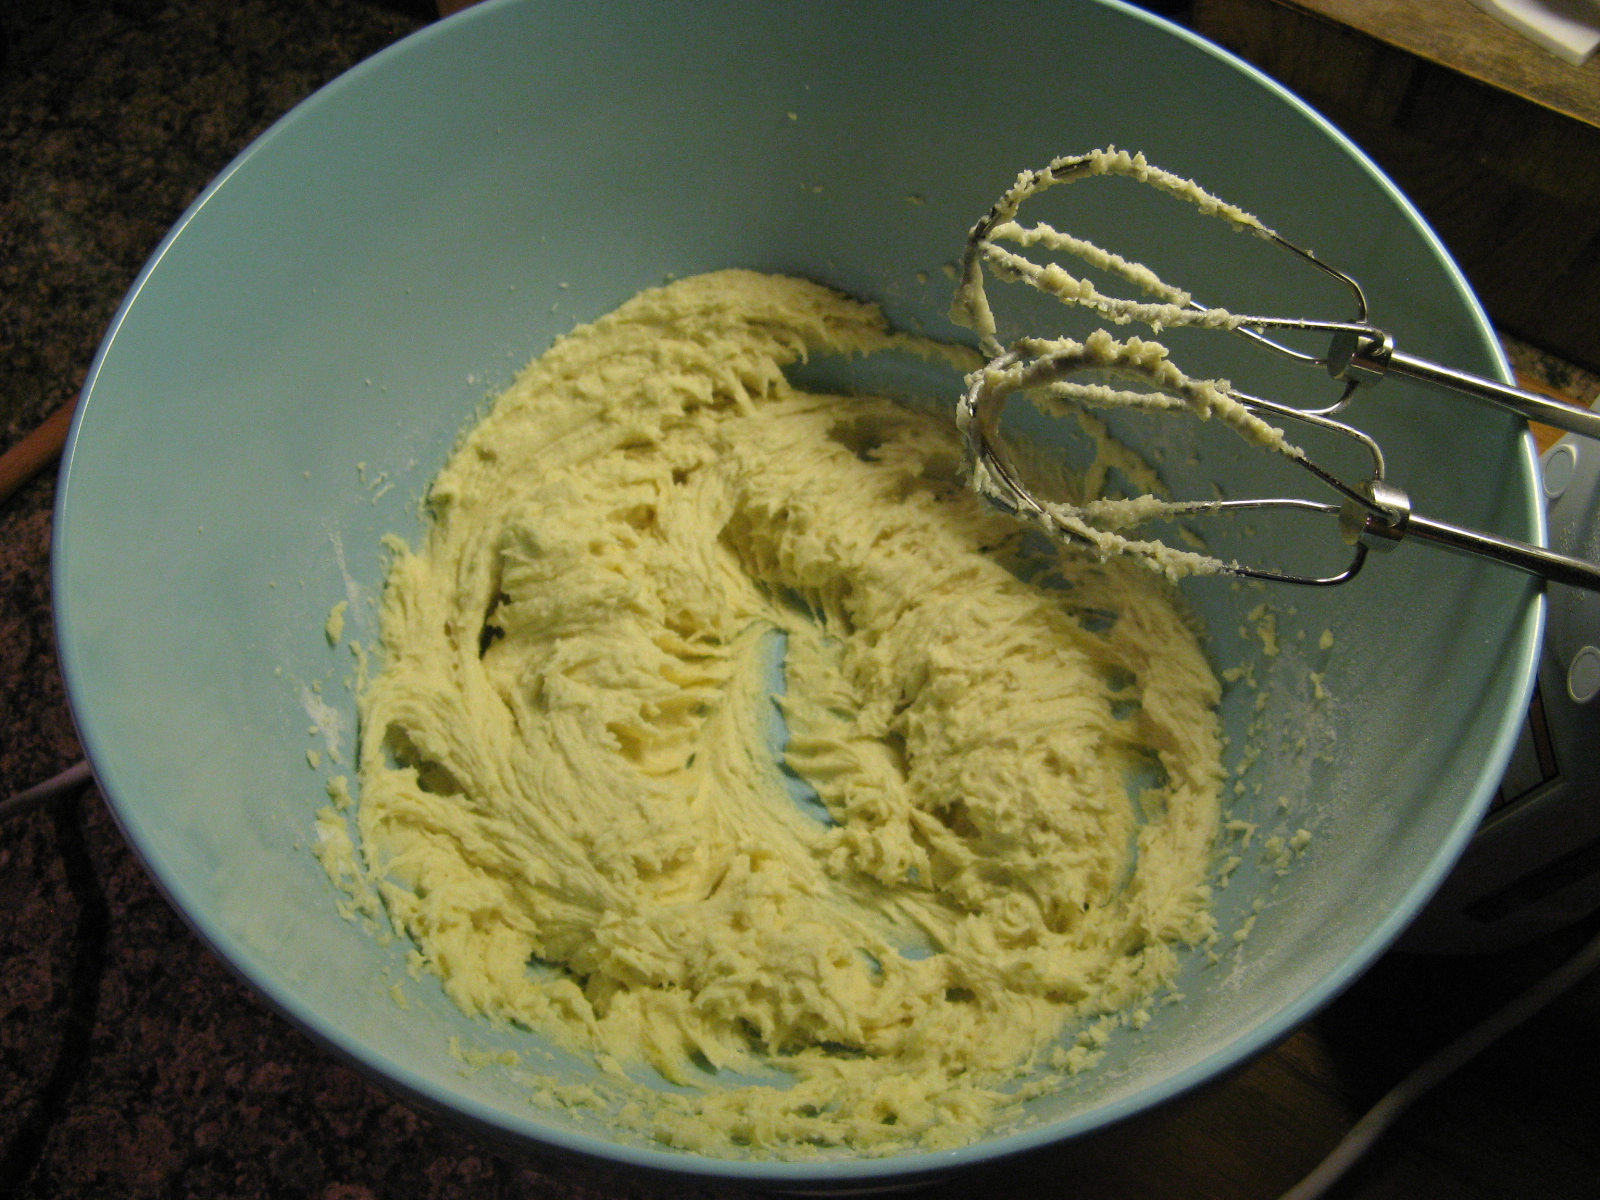
Combine the cream cheese and butter in a bowl and beat until smooth.

Gradually add in the confectioners’ sugar and continue beating until smooth.

Add in the vanilla extract and beat until well incorporated.

Slow Cooker Sunday: Vegetarian Chili

For today’s Slow Cooker Sunday dish I bring you one that is great for all you vegetarians who like a little kick to your dishes and also for you meat lovers who want the heartiness of your typical beef chili but want to take a break from the meat… A Slow Cooker Vegetarian Chili that has butternut squash, beans and corn as its main ingredients.

To begin I diced a red bell pepper and yellow onion. I opted to go the easy route and bought the butternut squash already chopped. You really don’t want your butternut squash to be chopped too small as it will break apart while in the slow cooker.

img_0254

Next, I added the diced vegetables along with kidney beans, vegetable broth, corn, fire roasted diced tomatoes, garlic and the following spices; cumin, chili powder, smoked paprika, oregano, salt and pepper. I also added in two minced chipotle peppers in adobo. If you want to turn down the heat on this dish you can omit the chipotle peppers.

img_0257

I set my slow cooker to low for 8 hours. Truthfully this chili was probably done closer to 7 hours, but, I didn’t mind the texture of the veggies due to the extra cooking time.

img_0258

Can I just say I love butternut squash and how sweet it gets once cooked. In this dish the sweetness was a perfect balance to the heat!


Slow Cooker Vegetarian Chili

Ingredients:

1 medium yellow onion, diced

1 red pepper, diced

14 oz. can fire roasted diced tomatoes

14 oz. kidney beans, drain and rinsed

4 cups (2 lbs.) butternut squash, peel and diced

2 cups low sodium vegetable or chicken broth

1 cup corn, fresh or frozen

3 garlic cloves, minced

2 chipotle pepper in adobo, minced (remove the seeds to lower the heat)

2 tablespoons cumin

1 tablespoon chili powder

1 tablespoon smoked paprika

1 teaspoon oregano

salt and pepper to taste

Directions:

Place all ingredients in the bowl of a 5 -to- 6 quart slow cooker and cook on low for 7 to 8 hours or on high for 4 hours.

Recipe from The Lemon Bowl

Happy Blogiversary and a Trolls Inspired Cake

It’s my 5 year Blogiversary and I am celebrating with a Trolls inspired cake. Okay, not really. But, it truly is the 5-year anniversary of Bead Yarn & Spatula. Boy, where does the time go? And I’ll be honest I wish my blog was further along and had more exposure than it currently does but I know I am part to blame for that. I definitely need to be more consistent with the posting. Hopefully this year I’ll be better with that. As for the Trolls inspired cake, I really did create one. But, it was for a friend’s daughter’s Birthday.

This cake was a three day process. And can I say I am always apprehensive to work with fondant because you just don’t know what’s going to happen. It’s not as consistent as buttercream that’s for sure. But, it does make for a beautiful cake and is worth the extra work. On the first day, which only took about a half hour or so I created the rainbow that was going to sit on top of the cake. I made it a few days early to ensure that the fondant would harden and hold the arch shape. I rolled each color of the fondant about the same width and stuck them together by brushing the fondant with a little water, not too much as I didn’t want the colors to run. I used a 2-inch round cookie cutter as my base for the first arch and continued from there with the other colors. Once the rainbow was complete I stuck toothpicks into the bottom of it so I would be able to stick it on to the cake.

img_0367img_0371

The night before I was to cover the cakes with fondant I baked them. I don’t like baking my cakes too early because I want them to still be fresh when they are cut into. The bottom portion of this two-tier cake was a three-layer chocolate cake with a chocolate mousse filling and chocolate frosting. While the top portion was a yellow cake that I filled and frosted with chocolate frosting. After letting the cakes cool overnight I frosted and filled them the following morning and then placed them in the refrigerator so they could settle.

That afternoon I removed both cakes from the refrigerator and let them come to room temperature. You don’t want to place fondant on a cold cake because fondant is at room temperature and if you place it on a cold cake you will end up with a bunch of air bubbles; that can be quickly remedied with a pin but, why go through that if need not be.

For the bottom tier of the cake I covered it with yellow fondant and then with neon colored fondant I cut out flower designs to adhere to the cake. And to cover up any fondant imperfections along the bottom of the cake I opted for a half circle design around it in pink fondant…

img_0373

Which matched the top tier of the cake that I decorated to mimic the headband that the Poppy troll wears in her hair.

img_0374

I placed both of the tiers back in the fridge until the following afternoon when I completed the top tier of the cake by placing the rainbow on top of it and used marshmallows to mimic clouds. They stuck together and to the cake with just a few drops of water. That’s also how I stuck all the flowers and such to the cake. Once again though with not too much water so the colors don’t begin to run.

img_0375

And this cake wasn’t complete until a few trolls were placed on it. Of course Poppy and Branch, the main characters from the Trolls movie and a few of their friends. And if you haven’t seen the movie I highly suggest you do so. The message behind it is good for all ages to learn or to be reminded of.

img_0389

And there you have it… My 5-year anniversary post and an adorable – if I do so say myself – Trolls inspired cake. The Birthday Girl loved it and that’s really all that matters to be honest!


Carrot Cake For Two…

Or dessert for One for two days! I love carrot cake, but, truth be told it’s a lot of work to make for just me alone to eat. Okay, it’s really not a lot of work; it’s a lot of cake for me alone. But, I recently came across a recipe for carrot cake that resulted in two perfect-sized slices of cake, which would be great as a dessert for two or in my case dessert for one for two days… Yum! Who doesn’t love a delicious dessert two days in a row?

To make the batter I began by whisking together flour, baking powder, salt, cinnamon and nutmeg in a medium bowl. I then created a well in the center of the flour mixture and added in eggs and sugar and mixed the two together. Next I added in oil and vanilla extract and continued mixing it with a fork.

img_0153

I then incorporated the flour mixture and egg mixture and folded in shredded carrots and pecans to the batter. Once the batter was well combined I transferred it to a 9-inch round pan that I sprayed with baking spray.

img_0154

After baking the cake in a 350 F preheated oven for about 25 minutes I removed it from the oven and allowed the cake to cool in the pan on a wire rack for about 20 minutes.

img_0158

After the 20 minutes, I removed the cake from the pan and allowed it to cool completely on the wire rack. Once it was completely cooled I cut the cake into 4 equal parts and frosted the top of each piece with cream cheese frosting.

img_0164

I then stacked the four pieces and frosted the back curve of the cake.

img_0167

After refrigerating the cake for half an hour I then sliced it in half and was left with 2 perfect sized slices of cakes.

img_0173


Carrot Cake For Two

Ingredients:

For the Cake:

2/3 cup all-purpose flour

1 teaspoon baking powder

1/2 teaspoon ground cinnamon

1/4 teaspoon Kosher salt

Pinch freshly grated nutmeg

1/2 cup granulated sugar

1 large egg, at room temperature

1/4 cup vegetable oil

1/2 teaspoon pure vanilla extract

5 ounces carrots (about 3 small), finely grated (about 1 cup)

1/4 cup pecans


For the Frosting:

8 ounces cream cheese, at room temperature

1 stick unsalted butter, at room temperature

3/4 cup confectioners’ sugar

1/2 teaspoon pure vanilla extract


Directions:

For The Cake:

Preheat the oven to 350 F. Spray a 9 -by- 2 inch round cake pan with baking spray.

Whisk together the dry ingredients – flour, baking powder, cinnamon, salt and nutmeg – in a medium bowl. Make a well in the center of the flour mixture. Working within the well, use a fork to mix together the eggs and sugar until well combined. Add the oil and vanilla to egg mixture and continue mixing with a fork until well combined once again. Stir the wet and dry ingredients together with the fork until just combined. Fold in the carrots and pecans.

Transfer the batter to the prepared pan and bake for 20 to 25 minutes, until a cake tester comes out clean. Let the cake cool in the pan for 20 minutes on a wire rack. Turn out the cake and let it cool on the wire rack for about an hour until completely cool.

For The Frosting:

Using a handheld mixer or stand mixer on medium, beat together the butter and cream cheese. Slowly add the confectioners’ sugar and continue beating until well incorporated. Finally add in the vanilla extract.

To Assemble the Cake:

Cue the cake into 4 equal wedges. Frost the top of each wedge with about 3 tablespoons of frosting. Stack the wedges on top of each other and with the remaining frosting frost the back curve of the cake, and leave the 2 sides of the cake open. Refrigerate for about 30 minutes, then cut the cake wedge in half and serve.

Recipe from The Food Network

Slow Cooker Sunday: Kielbasa and White Bean Cassoulet

So, what exactly is a cassoulet you might be thinking? Well, it’s a slow-cooked dish from the south of France that usually contains meat, pork skin and white beans. This cassoulet has 2 out of those 3 things… Pork skin is the only thing missing.

In the bowl of my slow cooker I combined dry Northern beans, beef kielbasa that I sliced into 1-inch pieces, chicken broth, diced tomatoes, onion, garlic, thyme and salt and set it to cook on low for 8 hours…

img_0208

But, after checking on it after 7 hours I decided that my cassoulet was done as I didn’t want my beans to turn into mush.

img_0217

To go along with this hearty soup I toasted 8 1/2-inch buttered baguette slices that I then cubed…

img_0219

And then topped my cassoulet with.

img_0220

Yum… This is the perfect dish for these cold winter days.


Slow Cooker Kielbasa and White Bean Cassoulet

Ingredients:

1 1/2 cup dried white beans, Northern or Navy Beans

1 pound kielbasa, cut into 1-inch pieces

3 cups low-sodium chicken broth

1 15-ounce can diced tomatoes with juice

1 medium yellow onion, finely chopped

2 cloves garlic, finely chopped

2 teaspoons fresh thyme leaves, chopped

Kosher salt and black pepper

8 1/2-inch slices of baguette, buttered and toasted, cut into cubes

Directions:

Combine the beans, kielbasa, broth, tomatoes, onion, garlic, thyme and 1/2 teaspoon salt in a 4 -to- 6 quart slow cooker.

Cover and cook on low for 7 to 8 hours, until the beans are tender and creamy (check the beans after 7 hours) or on high for 5 hours. Season with salt and pepper.

Serve topped with the baguette cubes.

Recipe from Real Simple Magazine

Ricotta Pound Cake

Hey Everyone! So, I took a bit of a break from blogging, but, not from baking and crafting. If you follow me on Instagram or if you look down on the right hand side of this page you can see what I was up to during the holidays. How has the New Year been treating you? Hopefully good thus far. And for those of you who make resolutions, how’s it going? I may have mentioned this before, but, I don’t make resolutions. The way I see it, every day is a good day to set a goal or to make a change. So, for my first post of the New Year I bring you a Ricotta Pound Cake. Yeah, I know not too exciting, but, definitely a yummy treat nonetheless. It came about because I had about 2 cups of ricotta cheese in my fridge that was about to expire and I didn’t want to throw out.

This was a quick and easy pound cake to make. In one bowl I sifted together the dry ingredients (flour, baking powder and salt) and in the bowl of my stand mixer I creamed together the ricotta, butter, sugar, eggs and vanilla bean paste before incorporating the flour mixture into the mix. I then poured the batter into a 9-inch loaf pan that I sprayed with baking spray and baked it in a preheated oven for about 50 minutes.

And after letting it cool on a wire rack…

img_0351

It was time to slice it and enjoy! This cake is definitely good for any time of the day… If you’re not into your typical breakfast foods it’s a nice accompaniment to your morning coffee or tea, as an afternoon snack or for dessert after dinner.

img_0353


Ricotta Pound Cake

Ingredients:

1 1/2 cups cake flour

2 1/2 teaspoons baking powder

1 teaspoon kosher salt

3/4 cup unsalted butter, at room temperature

1 1/2 cups whole milk ricotta

1 1/2 cups granulated sugar

3 large eggs

2 teaspoons pure vanilla extract*

*I used vanilla bean paste

Directions:

Preheat the oven to 350 F. Prep a 9-inch loaf pan by spraying it with baking spray or by greasing and flouring it.

Sift the flour, baking powder and salt in a medium bowl.

In the bowl of a standing mixer, or in large bowl to using a hand mixer, cream together the butter, ricotta and the sugar. Add the eggs, one at a time, incorporating each egg before adding the next one. Add the vanilla.

On low speed, gradually add in the flour mixture. Once added, mix the batter for 30 seconds.

Pour the batter into the prepared pan and smooth the batter.

Bake the cake on the center rack for 15 minutes, then lower the heat to 325 F and bake for an additional 25-60 minutes. It will all depend on how wet the ricotta cheese is. The cake will be done when it springs back from touch and has slightly pulled away from the pan sides and a cake tested come out clean.

Cool the cake inside the pan for 15 minutes, before removing and letting it cool completely on wire rack before slicing.

Recipe from Epicurious

Eggnog Cupcakes with a Cinnamon Buttercream Frosting

So, what have you been baking this Holiday season? Cookies? Cupcakes? Cakes? All three? I haven’t baked a cake yet, but, I have baked my fair share of cookies. Did you catch any of my Cookie Palooza recipes last week? There were some good ones in there. Today though I am bringing you a cupcake that encompasses a few flavors of the season… Eggnog and Cinnamon in an Eggnog Cupcake with a Cinnamon Buttercream Frosting. I highly suggest you use an eggnog that you like as opposed to any old one you happen to come across at the supermarket and don’t worry if you don’t like eggnog these cupcakes are not overpowering with the flavor.

To make the cupcakes I began by stirring together all the dry ingredients in one bowl – flour, sugar, nutmeg, baking powder, baking soda and salt. In another, using my hand mixer I beat room temperature butter until it was creamy. I then added in all of the flour mixture and continues beat the mixture until it resembled crumble topping.

img_0238

Next I added in two eggs and continued beating…

img_0239

And finally I added in the eggnog and mixed it on low speed until the batter was silky and smooth (kind of a funny way to explain cupcake batter).

img_0240

Next I divided the batter evenly among my 12-cavity cupcake pan (about 1/4 cup in each cavity) and of course I used holiday inspired cupcake liners…

img_0242

I baked them in a 350 F pre-heated oven for about 25 minutes and then transferred them to a wire rack to cool completely. Once cooled, I topped them off with homemade Cinnamon Buttercream Frosting. This frosting is so good I could just eat it out of the bowl. I had to refrain from too many taste tests since I needed enough to frost the cupcakes!

img_0252


Eggnog Cupcakes

Ingredients:

1 1/4 cups all-purpose flour

1 cup sugar

1/2 teaspoon freshly grated nutmeg

1/2 teaspoon baking powder

1/4 teaspoon baking soda

1/4 teaspoon salt

1/2 cup butter, room temperature

2 eggs

1/2 cup eggnog

Directions:

Preheat oven to 350 F. Line a 12-cup cupcake pan with cupcake liners.

In a medium bowl stir together all of the ingredients except the butter, eggs and eggnog and set aside.

In a large bowl beat the butter with a hand mixer on medium speed until creamy. Add all of the flour mixture and continue beating until it mixture resembles a crumble topping. Add the eggs and beat for an additional minute; the batter should be light in color and a bit fluffy. Scrape the sides of the bowl as necessary. Finally, beat in the eggnog gently until just combined and the batter is silky and smooth. Divide the batter evenly among the cupcake pan (about 1/4 cup each cavity).

Bake for 25 to 28 minutes or until the tops of the cupcakes spring back when lightly touched in the center and a cake taster comes out clean. Transfer to a wire rack and cool completely before frosting.

Recipe from Betty Crocker


Cinnamon Buttercream Frosting

Enough for 24 Cupcakes*

Ingredients:

1 cup (2 sticks) butter, at room temperature

1 teaspoon pure vanilla extract

1 tablespoon ground cinnamon

4 cups (1 lb. box) confectioners’ sugar

3 tablespoons milk or heavy cream

*I opted to divide the recipe in half and had enough frosting to frost 10 cupcakes using a 1M Wilton Tip Swirl

Directions:

Using a handheld mixer or stand mixer, beat the butter and vanilla extract on medium speed until light and fluffy.

Stir the cinnamon into the confectioners’ sugar, gradually add this to the butter mixture. Beating well after each addition and scraping the sides of the bowl as necessary. Add milk (or heavy cream) and continue beating until the frosting is light and fluffy. If you find that the frosting is a bit thick and heavy to spread add more milk/heavy cream to thin it down.

Recipe from McCormick

Cookie Palooza: Chocolate-Mint Thumbprints

I hope you have enjoyed my Cookie Palooza and that one of these cookie recipes will be one that you try or has inspired you to create something totally your own. On this final day of Cookie Palooza I bring you a cookie with a flavor of the season, peppermint. A Chocolate-Mint Thumbprint to be precise. And don’t worry, the peppermint flavor isn’t overpowering as some peppermint-flavored things are.

After sifting flour and cocoa powder together in a medium bowl, I creamed butter and confectioners’ sugar together in a large bowl and then added in vanilla extract and salt. Once the butter mixture was well blended I added in the flour mixture and continued mixing using my handheld mixer on low speed until the dough formed. I chilled the dough for about 40 minutes until it was firm enough to roll into balls, but, not so cold that I would have to “defrost” it once out of the fridge.

img_0214

I rolled teaspoonfuls of the dough into balls and placed them on a parchment lined cookie sheet. Next, I pressed straight down the middle of each ball with a floured finger – you could also use the end of a wooden spoon – almost to the cookie sheet to make a deep well. After baking the cookies in a 350 F preheated oven for about 8 minutes, I redefined the indentations with the end of a wooden spoon. I let the cookies cool for a few minutes on the cookie sheet so they could set and then transferred them to a wire rack to cool completely.

img_0224

Once the cookies were completely cooled I made the filling. I created my own double-boiler by bringing a pot of water to a simmer and then placed semisweet chocolate chips and unsalted butter in a heat proof bowl and set it over the simmering water. I began stirring the mixture with a rubber spatula and after a few minutes, before the mixture was completed melted, I removed it from the simmering water and continued stirring the mixture until it melted and then stirred in peppermint mixture. I let the mixture cool for about a half hour – until it was warm and slightly thickened…

img_0225

And then transferred it to a decorator bottle. You could also transfer the chocolate to a decorator bag with a small tip attached or a resealable bag with a small portion of the corned snipped off. I then piped the chocolate into the wells of the cookies.

img_0227

I’ll be the first to admit that my thumbprints came out a bit wonky looking, but, that didn’t detract from how yummy they were with just the right balance of chocolate and peppermint.


Chocolate-Mint Thumbprints

Ingredients:

For the Cookies:

1 cup plus 2 1/2 tablespoons flour

1/4 cup Dutch processed cocoa powder

3/4 cup (6 oz.) unsalted butter, at room temperature

1/2 cup confectioners’ sugar, sifted

1 1/2 teaspoon vanilla extract

1/4 teaspoon table salt

For the Mint-Filling:

3/4 cup semi-sweet chocolate chips

3 tablespoons unsalted butter, cut into 6 pieces

1/4 teaspoon pure peppermint extract

Directions:

For the Cookies:

Sift the flour and cocoa powder together into a medium bowl. Using a handheld mixer (or stand mixer with the paddle attachment) cream the butter and confectioners’ sugar on medium speed until light and fluffy. Add the vanilla extract and salt, continue beating until smooth. Add the flour mixture and beat on low speed until the dough comes together. Chill the dough in the refrigerator until the dough is firm enough to roll into balls, about 40 to 60 minutes.

Preheat the oven to 350 F and line two cookie sheets with parchment paper.

Roll heaping teaspoonfuls of dough into balls and place them on the parchment paper about 2-inches apart. With a lightly floured thumb or fingertip (or the end of thick-handled wooden spoon), press straight down into the middle of each ball, almost to the cookie sheet, to make a deep well.

Bake for 8 to 9 minutes. Gently redefine the wells using the end of a wooden spoon. Let the cookies cool for a few minutes on the cookie sheet and transfer them to a wire rack to cool completely.

For the Filling:

Put the chocolate and butter in heatproof bowl over a pot of simmering water. Stir with a heatproof spatula until the chocolate is almost melted. Remove from the heat and continue stirring until melted and smooth. Stir in the peppermint extract. Let cool for about 30 to 40 minutes, until the mixture is slightly warmer than room temperature and it has begun to thicken. Spoon the filling into a pastry bag fitted with a small plain tip or into a resealable bag with a corner snipped off and pipe the filling into the center of each cookie. Let the filling set completely before storing.

Recipe from Fine Cooking

Cookie Palooza: Cannoli Wafer Sandwich Cookies

For today’s Cookie Palooza recipe I bring you a cookie you don’t have to bake! What could be better than that? No flour to measure, no oven to turn on… Anyone can make this cookie. So, what is it? It’s a Cannoli Wafer Sandwich Cookie! And let me just tell you that I brought these cookies to a friend’s house and they were a hit with everyone.

So, here’s what you need for these cookies; vanilla wafers, whole-milk ricotta, confectioners’ sugar, sugar, vanilla extract, white candy coating and miniature semi-sweet chocolate chips.

I began by making the cannoli filling by mixing whole-milk ricotta with confectioners’ sugar, sugar and vanilla extract.

img_0189

Next, I spread a teaspoon of the filling on the bottom half of the vanilla wafers and then topped them with another wafer.

img_0190

Once I had used up all of the cookies in the box….

img_0191

I dipped each of the sandwich cookies halfway into melted white candy coating – I used White Wilton Candy Melts. I dipped about five cookies at a time and then sprinkled mini chocolate chips on them. You don’t want the candy coating to set too much or the chocolate chips won’t stick to the cookies. Once I dipped all of the cookies I placed the cookies in the refrigerator for a few minutes so the candy coating could set.

img_0192

And finally, I dusted the cookies with confectioners’ sugar. How simple is that!?!?

img_0193

While these cookies are delicious and you might be tempted to save a few for the following day, they are best eaten the same day they are assembled.

Cannoli Wafer Sandwich Cookies

Ingredients:

1 cup whole-milk ricotta cheese

1/4 cup confectioners’ sugar, plus additional for dusting the cookies

1 tablespoon granulated sugar

1/4 teaspoon vanilla extract

1 package (12 oz.) vanilla wafers

12 oz. white candy coating, melted

1/2 cup miniature semi-sweet chocolate chips

Directions:

In a small bowl mix together the ricotta cheese, confectioners’ sugar, granulated sugar and vanilla extract until well blended.

Spread 1 scant teaspoon filling on half of the vanilla wafers and then top with the other half of the cookies.

Dip each of the sandwich cookies halfway into the melted candy coating and place on wax paper. Sprinkle with chocolate chips and let the cookies stand until set, about 10 minutes. Alternatively you can place the cookies in the refrigerator for a few minutes to speed up the process.

Refrigerate the cookies until serving. Dust with confectioners’ sugar prior to serving.

Recipe from Taste of Home

Cookie Palooza: Chocolate Walnut Crinkles

On this third day of Cookie Palooza I bring you a cookie that I have made before… a chocolate crinkle cookie. This version though is a bit simpler to make and it has walnuts. I love walnuts in cookies and brownies.

To make the dough for the cookies I started by toasting the walnuts and melting unsweetened chocolate and butter together. Once the walnuts and chocolate mixture cooled I added it to a large bowl with flour, sugar, eggs, Dutch processed cocoa powder, baking powder and salt. Using a handheld mixer I beat the ingredients until they were combined.

img_0229

Using a cookie scoop I scooped the dough and rolled it into a ball and then rolled it in confectioners’ sugar before placing them on a parchment lined baking sheet.

img_0234

I baked them in a preheated 300 F oven for about 15 minutes. After removing them from the oven I let them cool for a few minutes before transferring them to a wire rack to cool completely.

img_0237

While these cookies were good, I will say this… They are on the sweeter side so they are definitely meant for those who have a super sweet tooth!

img_0246

Chocolate Walnut Crinkles

Ingredients:

2oz. unsweetened chocolate, chopped

2 tablespoons unsalted butter

1 cup flour

1 cup sugar

1/2 cup finely chopped walnuts, toasted*

2 large eggs

1 tablespoon Dutch process cocoa powder

1 1/2 teaspoons baking powder

1/2 teaspoon salt

Confectioners’ sugar, for rolling

*To toast the walnuts, I placed them on a cookie sheet and baked them in a 350 F oven for about 8 minutes.

Directions:

Position racks in the oven in the top and bottom thirds of the oven; preheat to 300 F.

Place the chocolate and butter in a small microwave safe bowl, microwaving on high for 30 second intervals, stirring after each 30 seconds, until melted. Let cool.

Scrape the melted chocolate into a large bowl and add in the flour, sugar, walnuts, eggs, cocoa powder, baking powder and salt. Using an electric handheld mixer, blend on medium speed until well blended.

Using a small cookie scoop (or about 2 teaspoons), scoop the dough and roll in confectioners’ sugar and place on a parchment lined cookie sheet.

Bake until crackly on top and soft in the middle, rotating the sheets and reversing from the top to bottom racks halfway through baking, about 15 minutes. Let the cookies rest for a few minutes before transferring them to a wire rack to cool completely.

Recipe from Rachael Ray