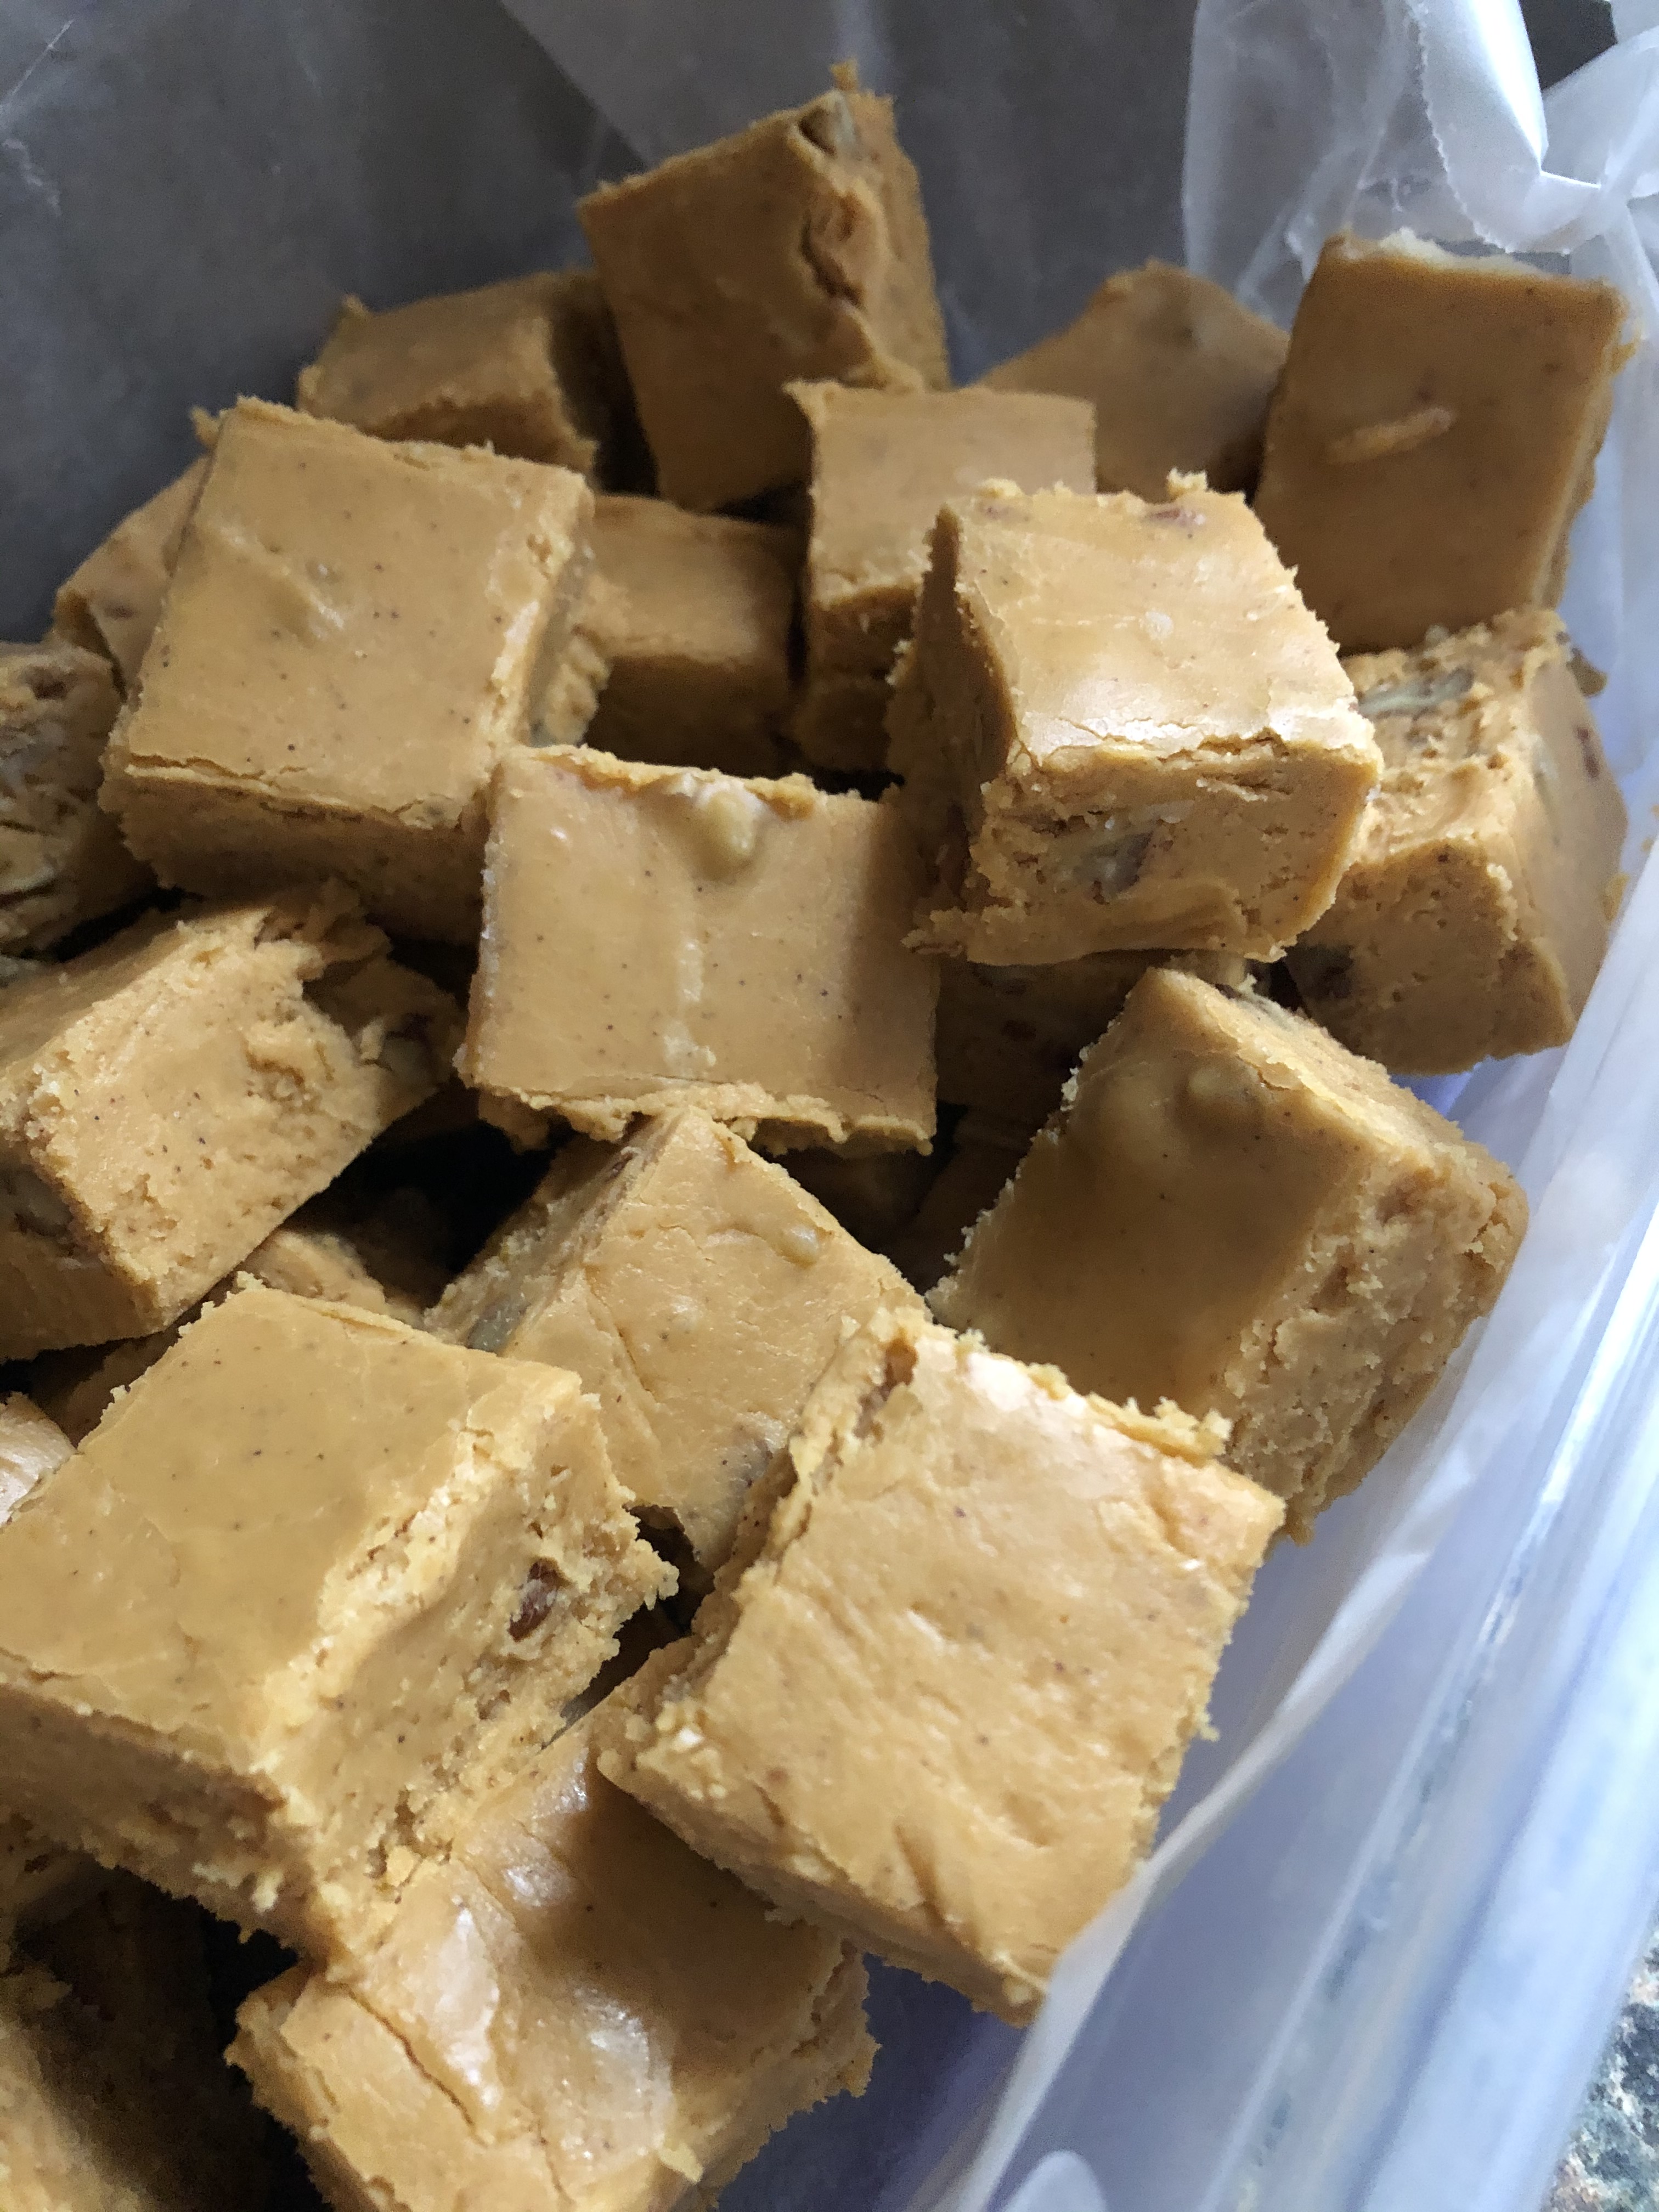
While I was hoping to bring you pumpkin recipes right up until Thanksgiving, sadly I think this may be my last pumpkin recipe for the season. I’ve unfortunately tired out all of the people in quarantine circle with pumpkin treats. Today’s cookies and the Butterscotch Pumpkin Fudge from last week I actually sent to a friend out of state for her birthday and my friends near me didn’t want any part in trying some of the extras. Oh well! It was a good run and who knows maybe I’ll sneak in one more. So, for my possible last pumpkin recipe of 2020 I bring you Pumpkin Sugar Cookies. A nice twist on the traditional sugar cookie.
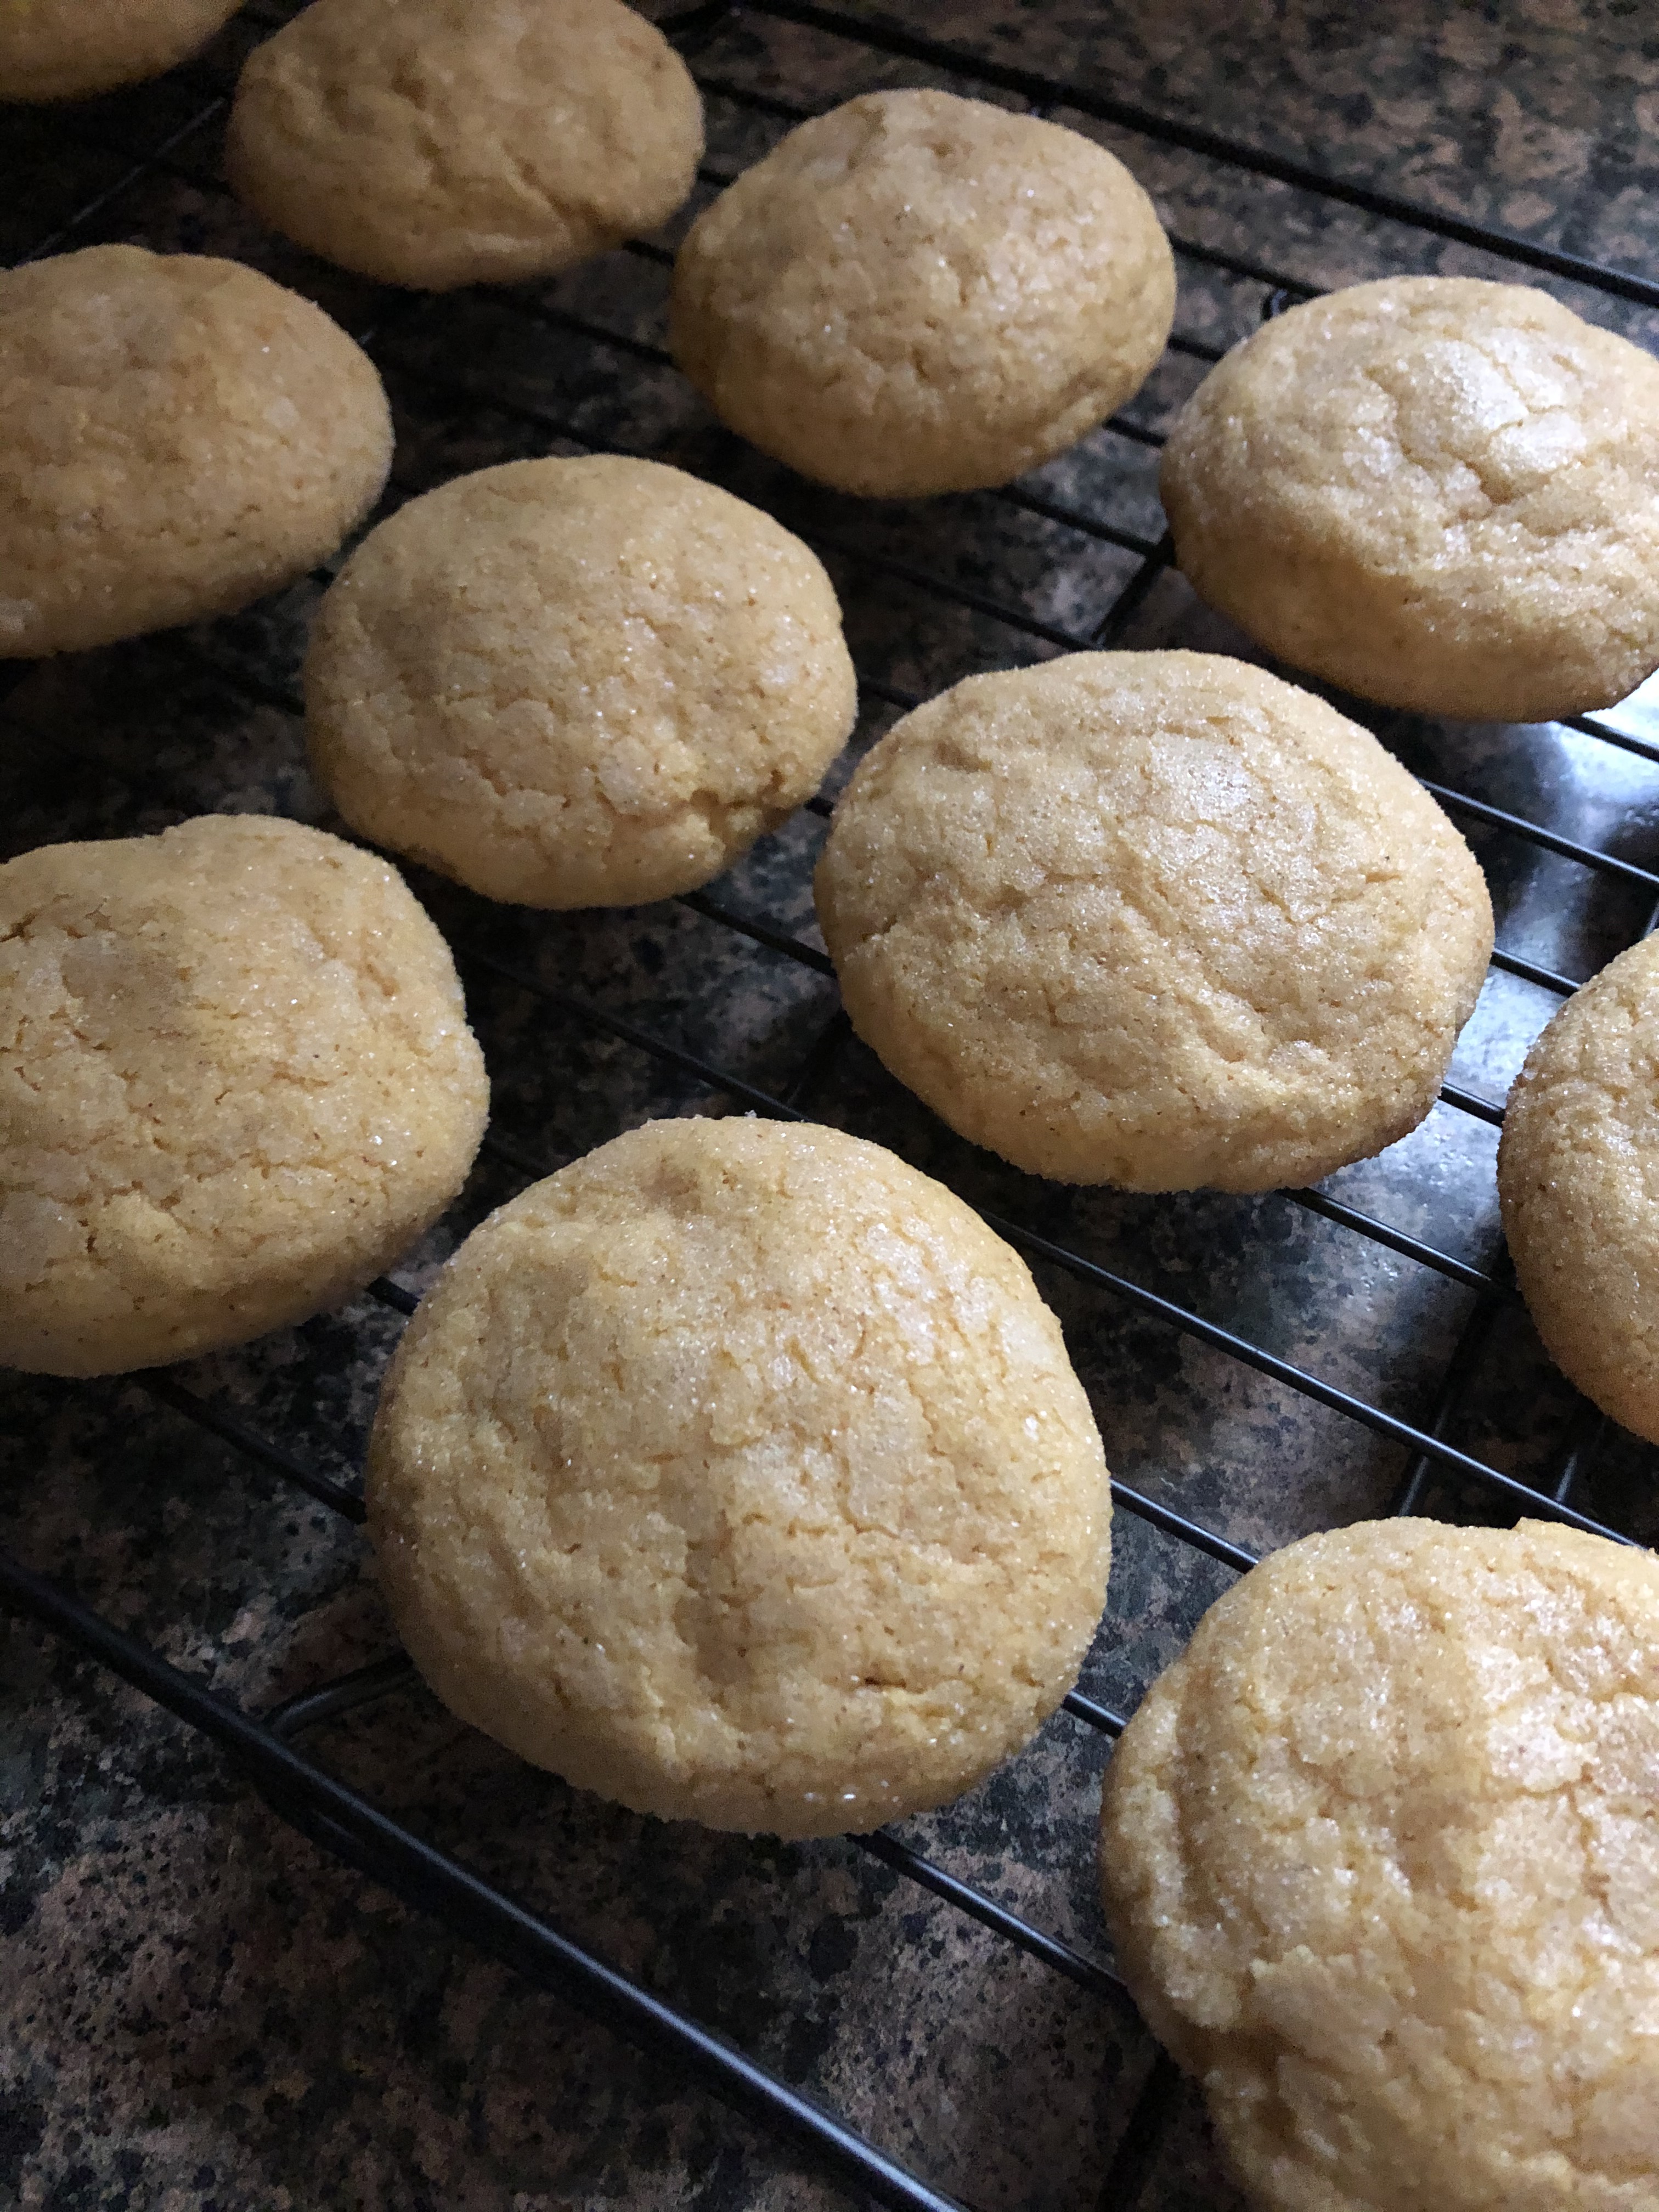
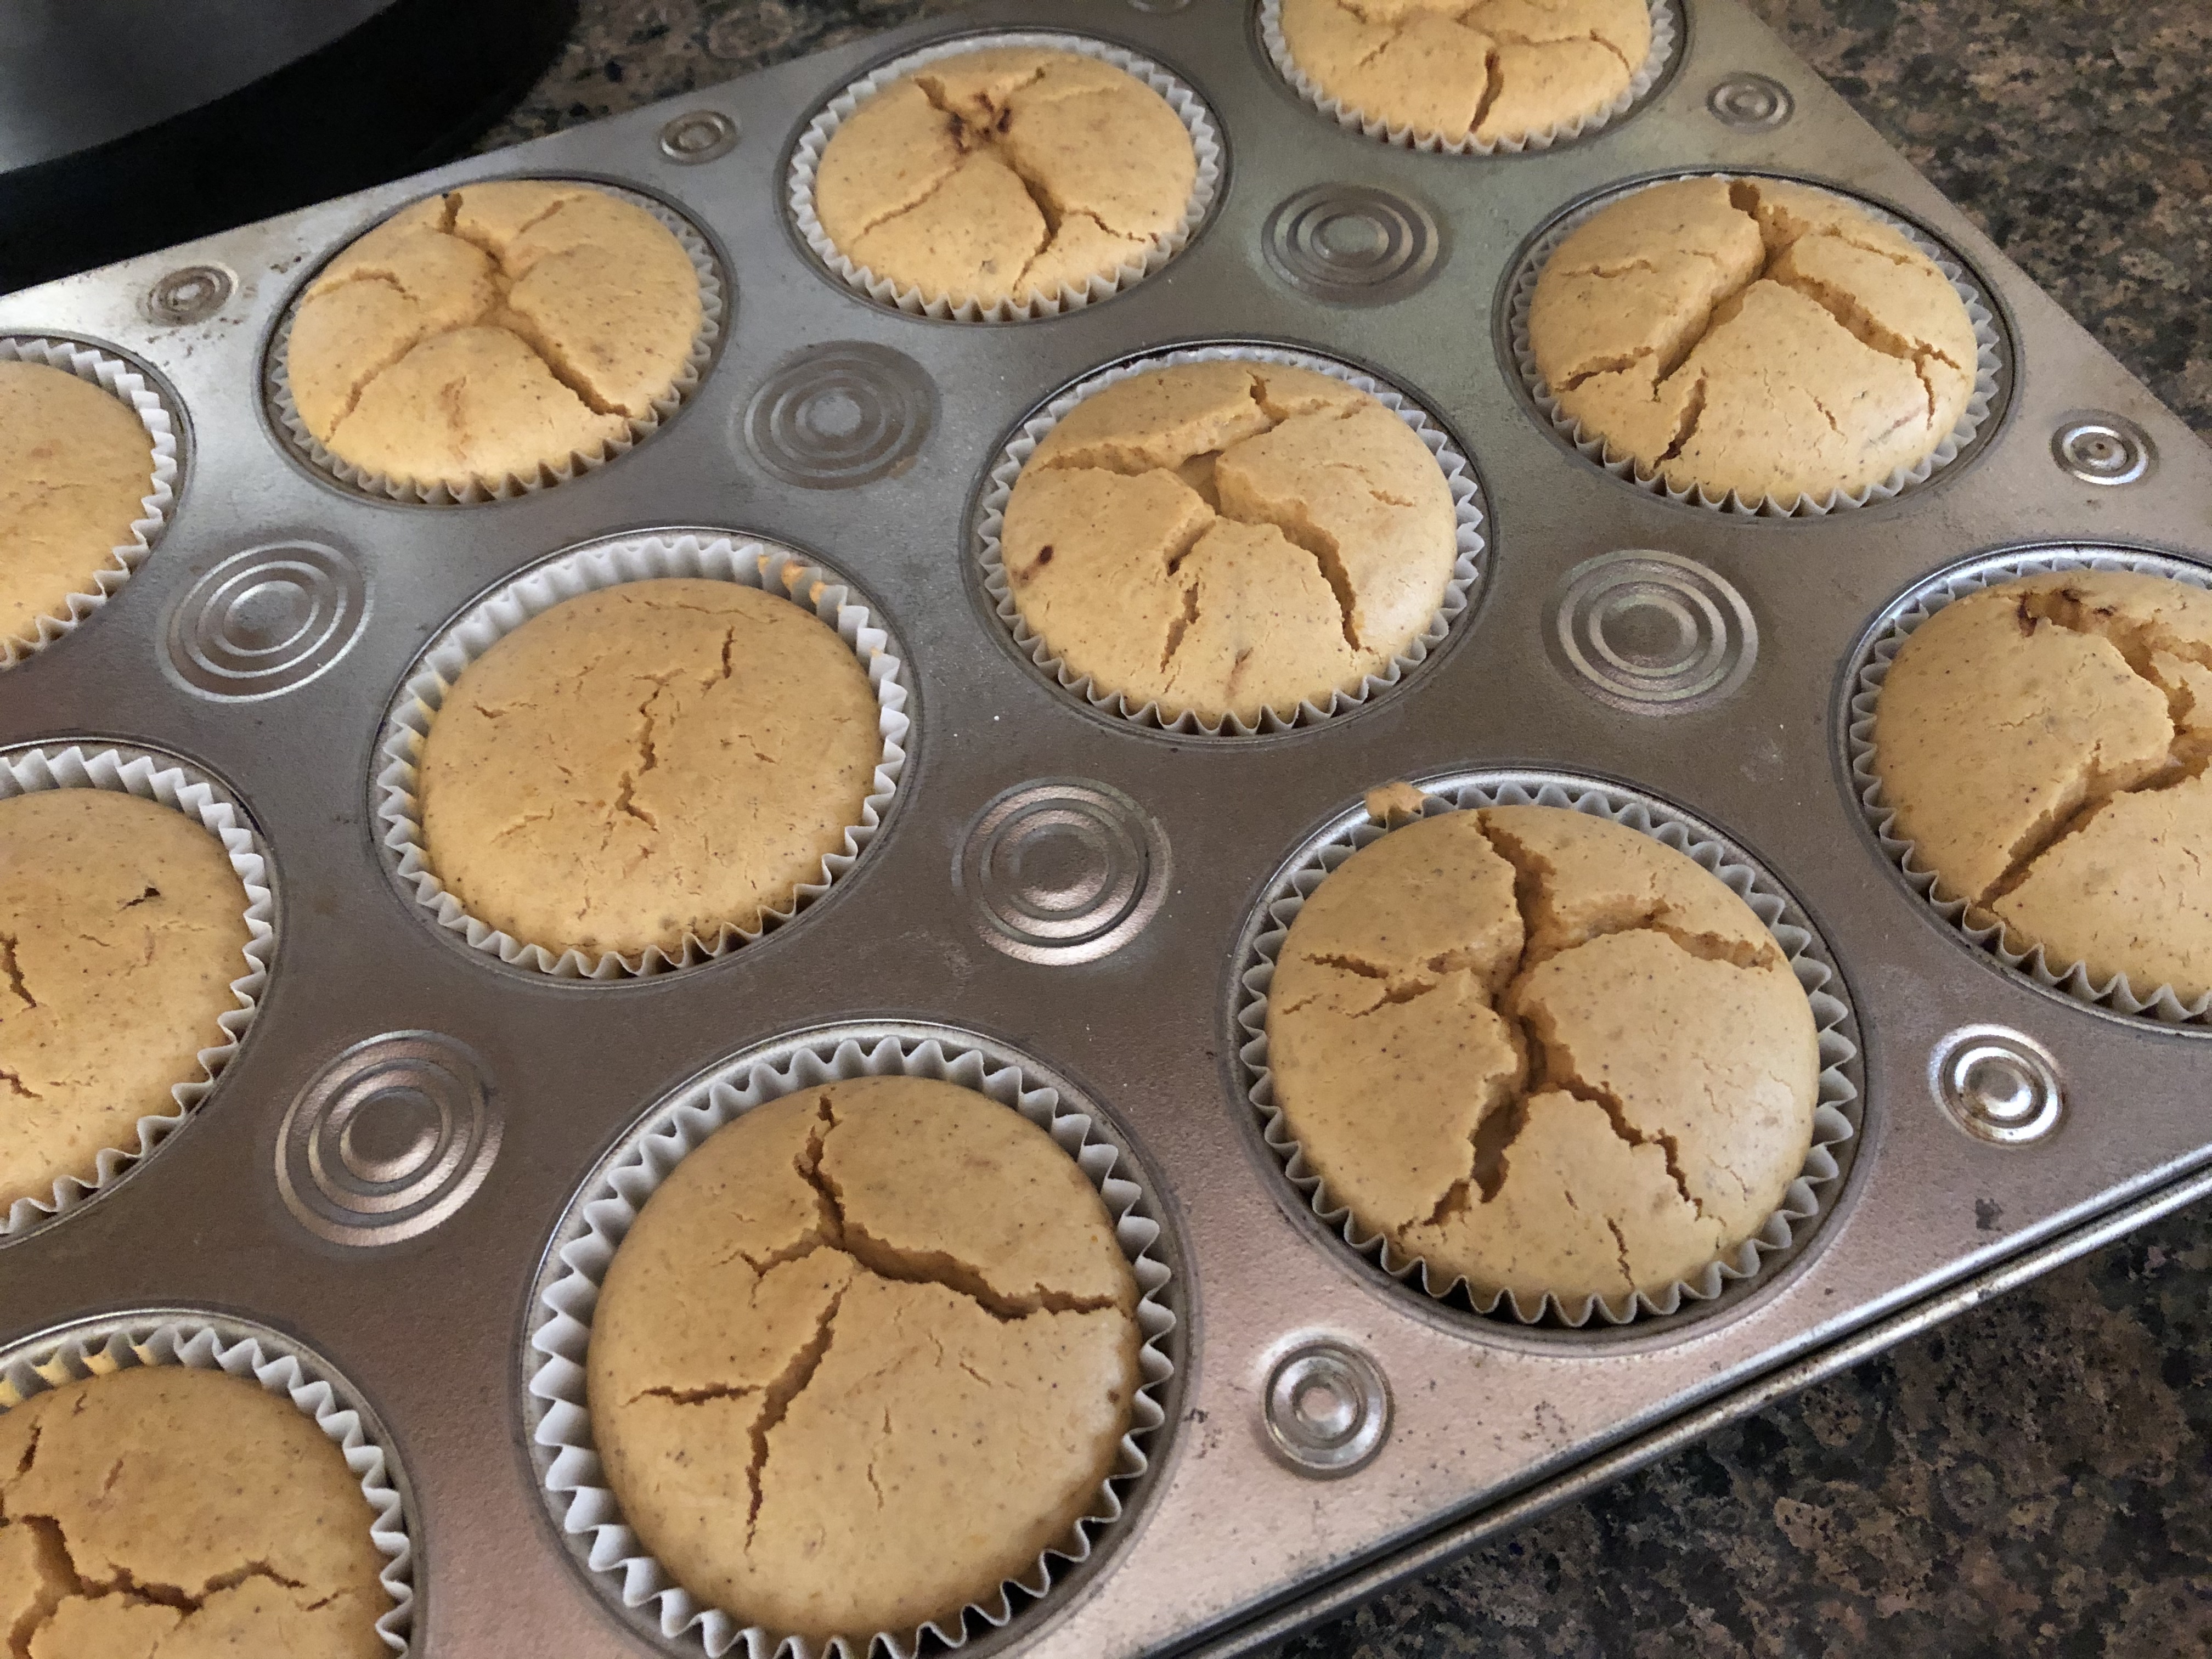
I was a bit skeptical about these cookies when I saw the recipe. Mainly because they seemed to easy to be good, but I was wrong. They came together super quick and only required a short time in the refrigerator to chill the dough before scooping it and rolling it in sugar before baking. And yes, they are slightly orange thanks to the addition of pumpkin puree in the dough, but you know you are getting authentic pumpkin flavor here and not just pumpkin pie spice.
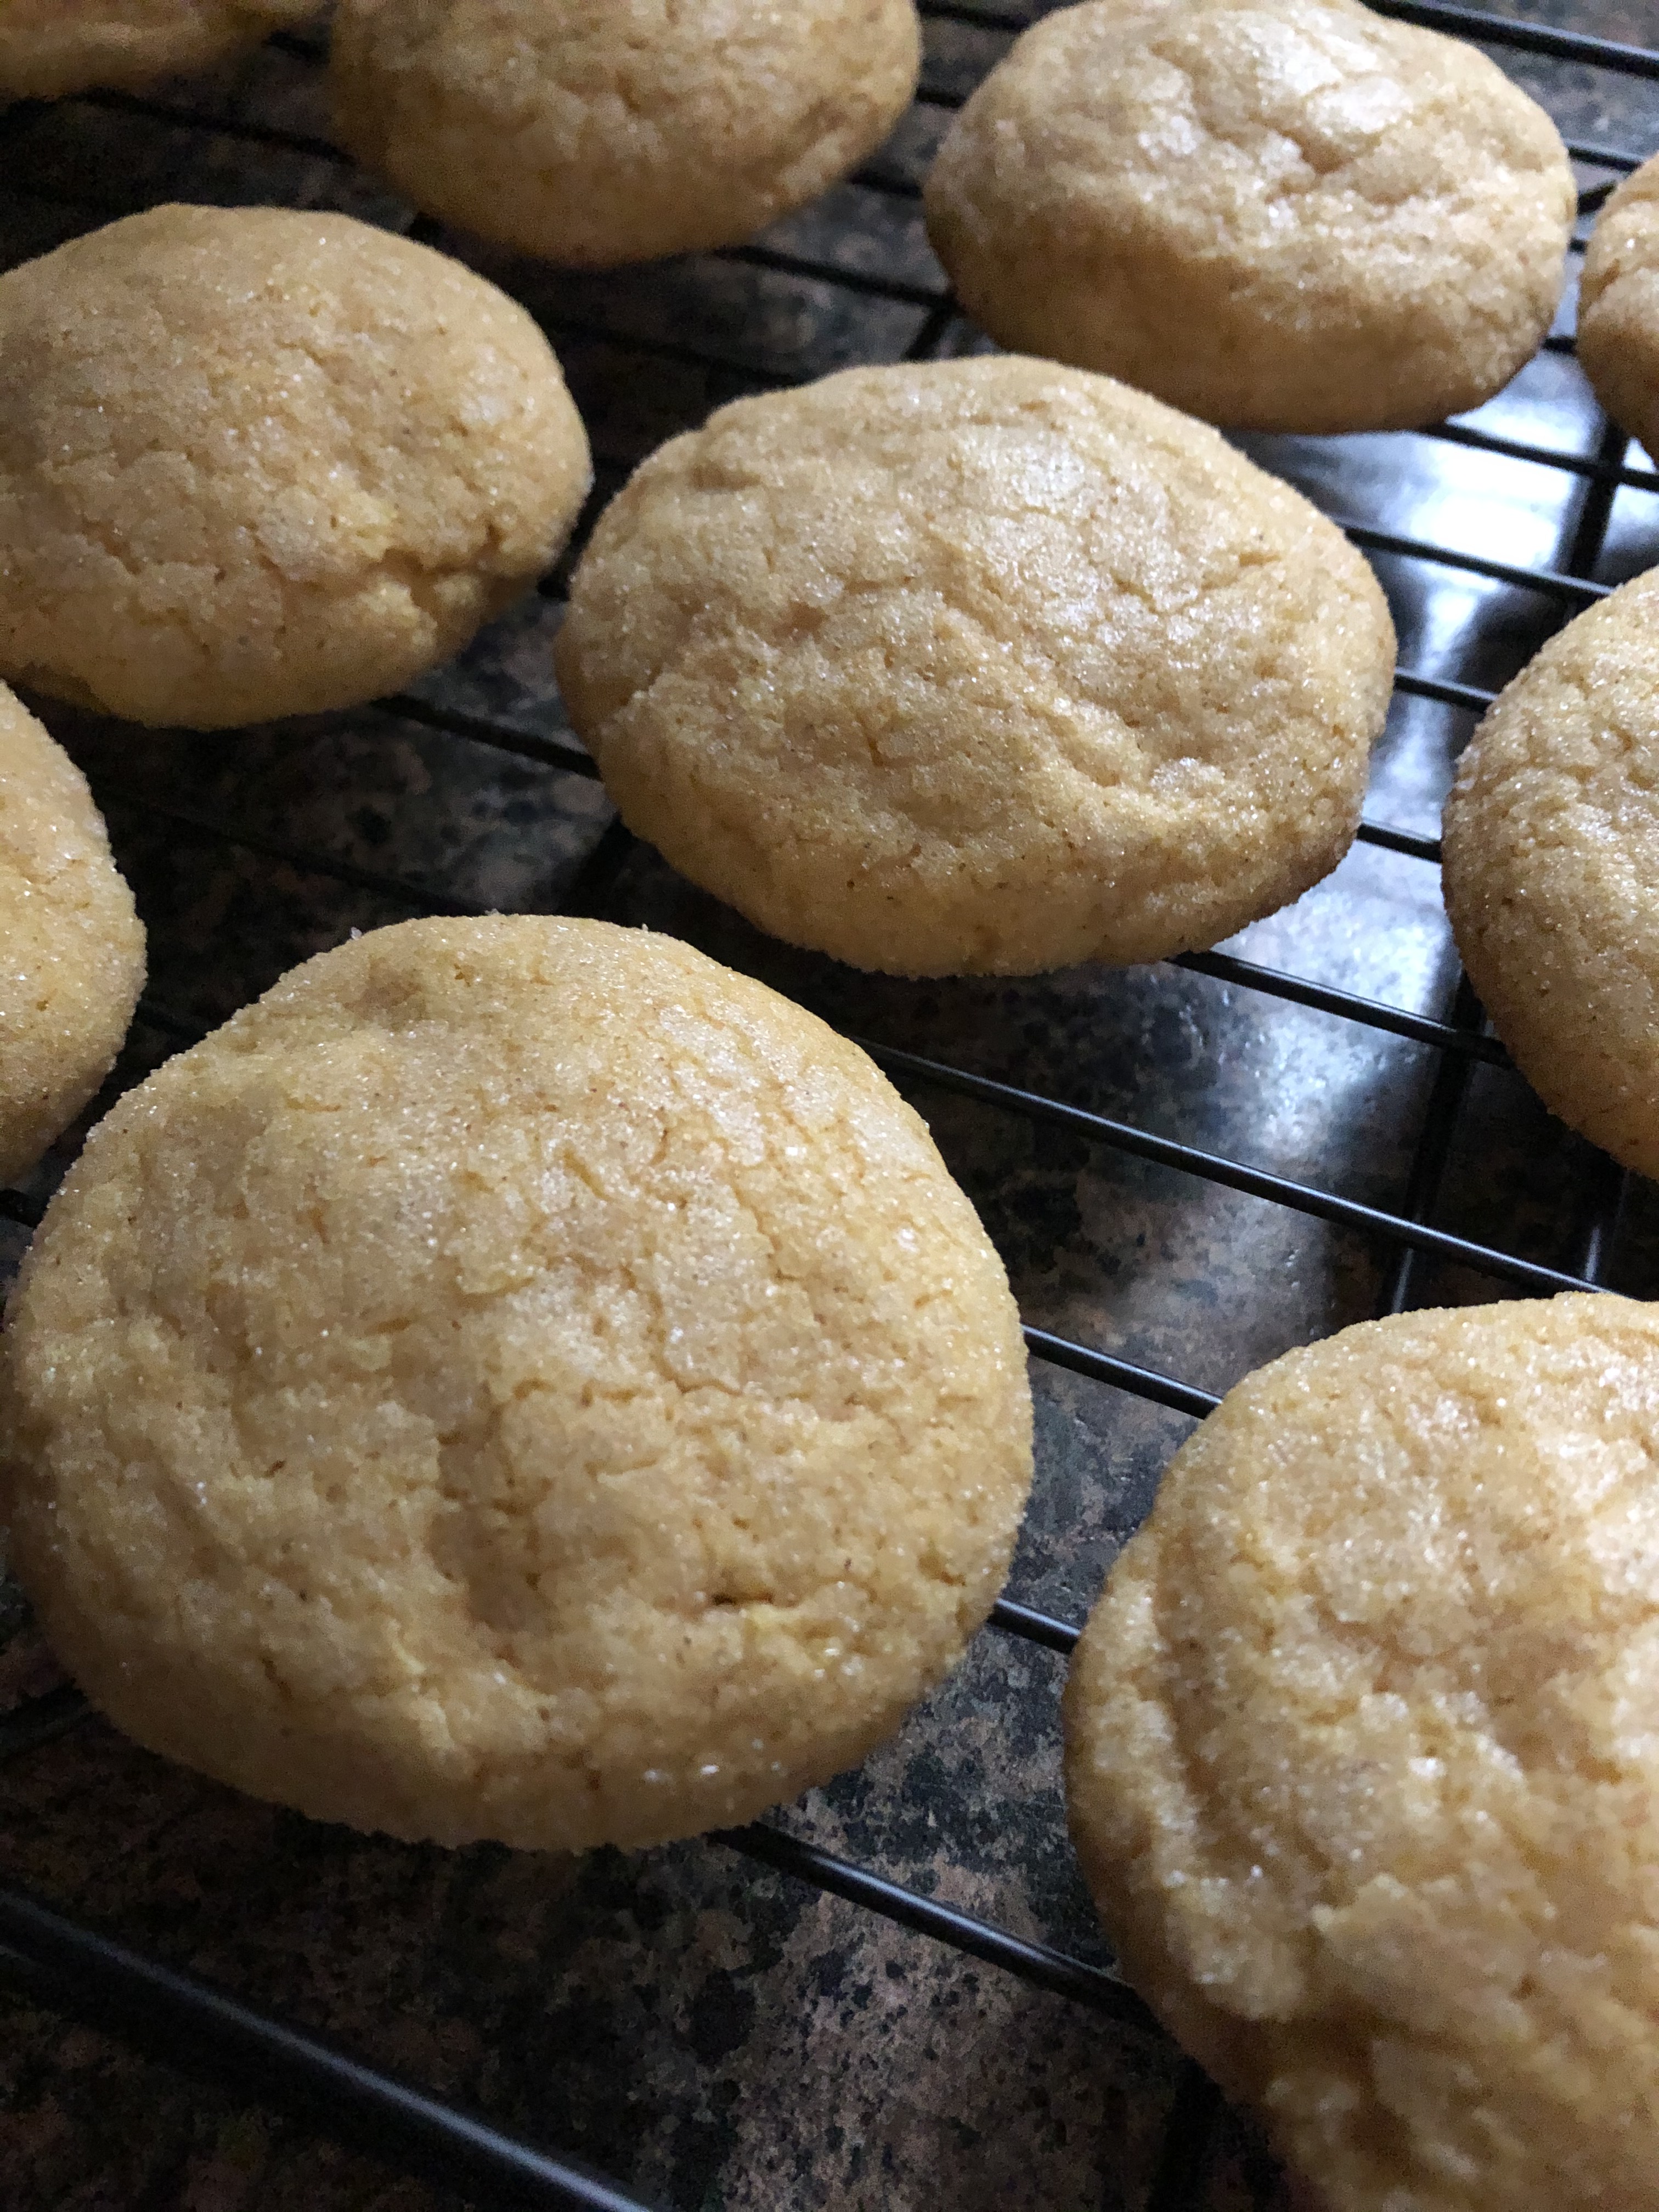
Pumpkin Sugar Cookies
Ingredients:
1 1/2 cups sugar, plus more for rolling
2 1/2 cups flour
1/2 teaspoon baking powder
1/2 teaspoon salt
1/2 teaspoon cinnamon
14 tablespoons unsalted butter, at room temperature
2 teaspoons vanilla extract
1 egg yolk
1/2 cup pumpkin puree
Directions:
In a medium bowl whisk together the flour, baking powder, salt and cinnamon. Set aside.
In a large bowl combine the butter and sugar and beat with a hand mixer on medium speed until light and fluffy. Add in the yolk, then vanilla extract and finally pumpkin. Continue mixing until the ingredients are well combined.
With the mixer on low, slowly add the flour to the butter mixture and continue mixing until the two mixtures are well combined. Refrigerate the dough for 20* minutes.
While the dough is in the refrigerator preheat the oven to 350 F and line two baking sheets with parchment paper. Add sugar to a small bowl.
Once the dough has chilled, use a cookie scoop to scoop the dough. Roll into a smooth ball and then roll in the sugar before placing on the prepared cookies sheets. Place the cookies 2-inches apart and flatten slightly before placing in the oven for 15 minutes.
Let the cookies cool on the pan for two minutes before transferring to a wire rack to cool completely.
Store in an airtight container.
Recipe from Wine and Glue