Today’s Cookie Palooza Cookie is a Red Velvet Blossom Cookie. A fun festive twist on the traditional Peanut Butter Blossom Cookie. We all know that cookie, the peanut butter one that has a Hershey Kiss pressed into the center of it and marries that wonderful flavor combination of peanut butter and chocolate… YUM!
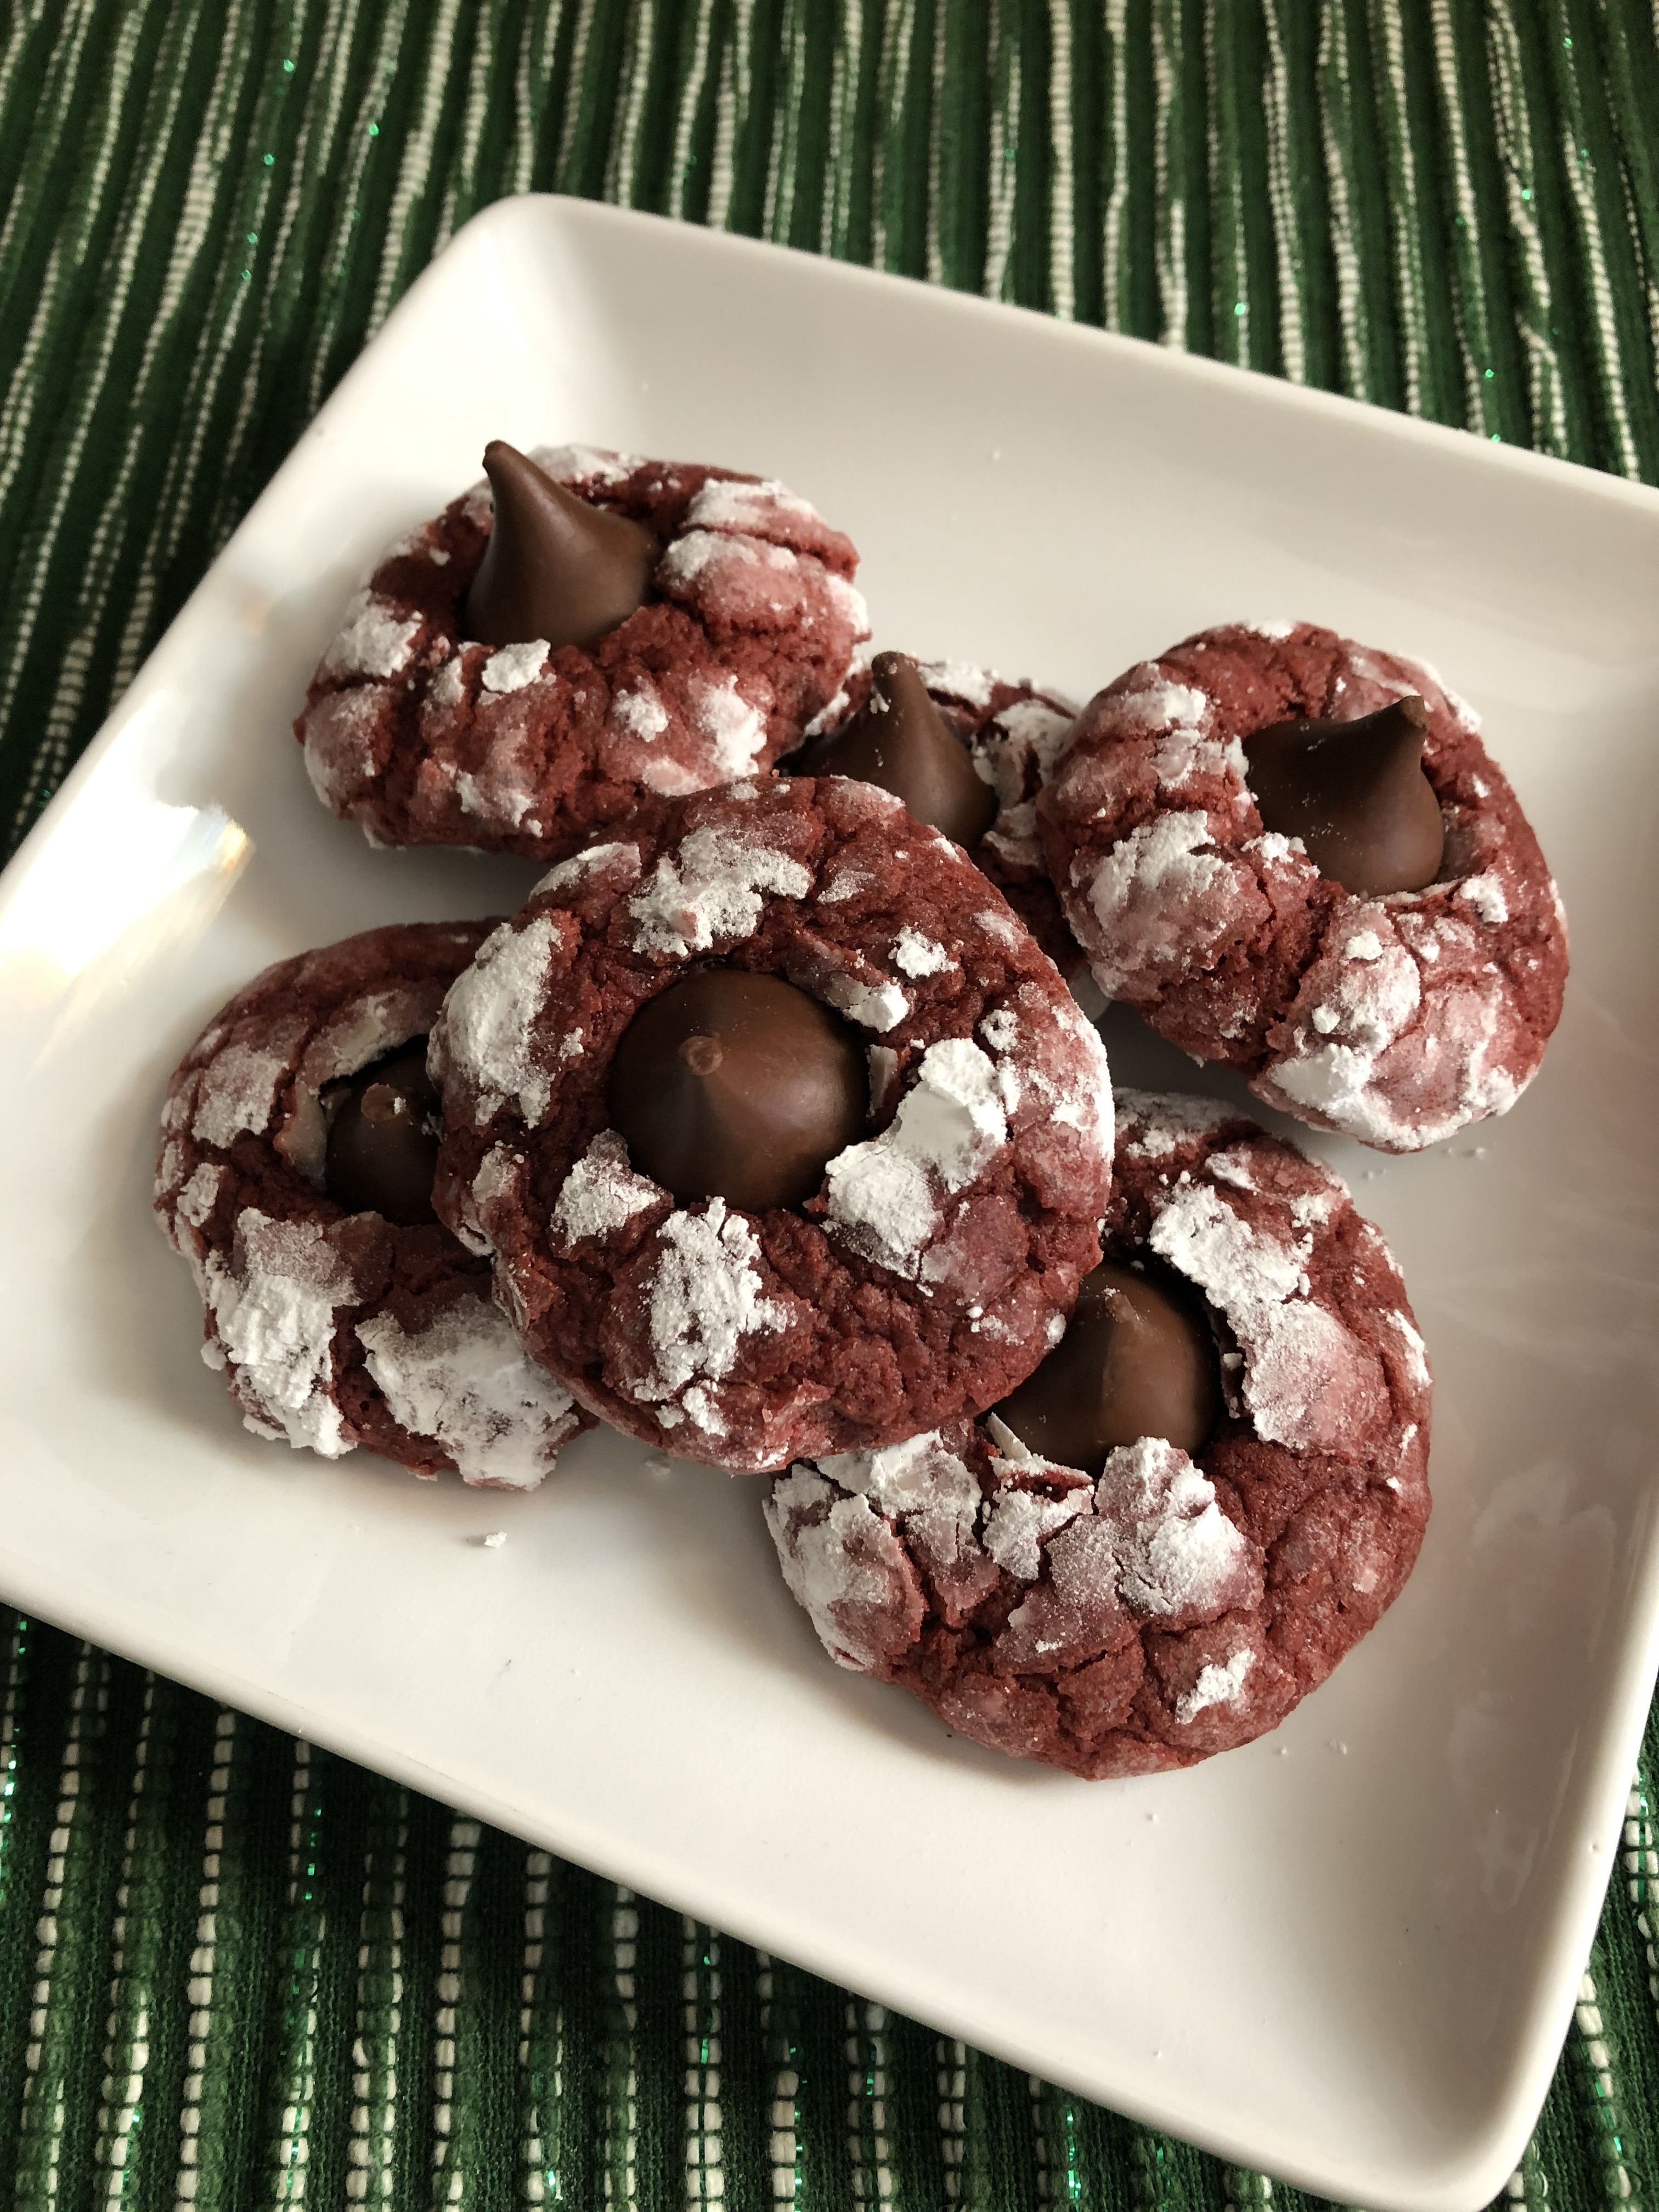
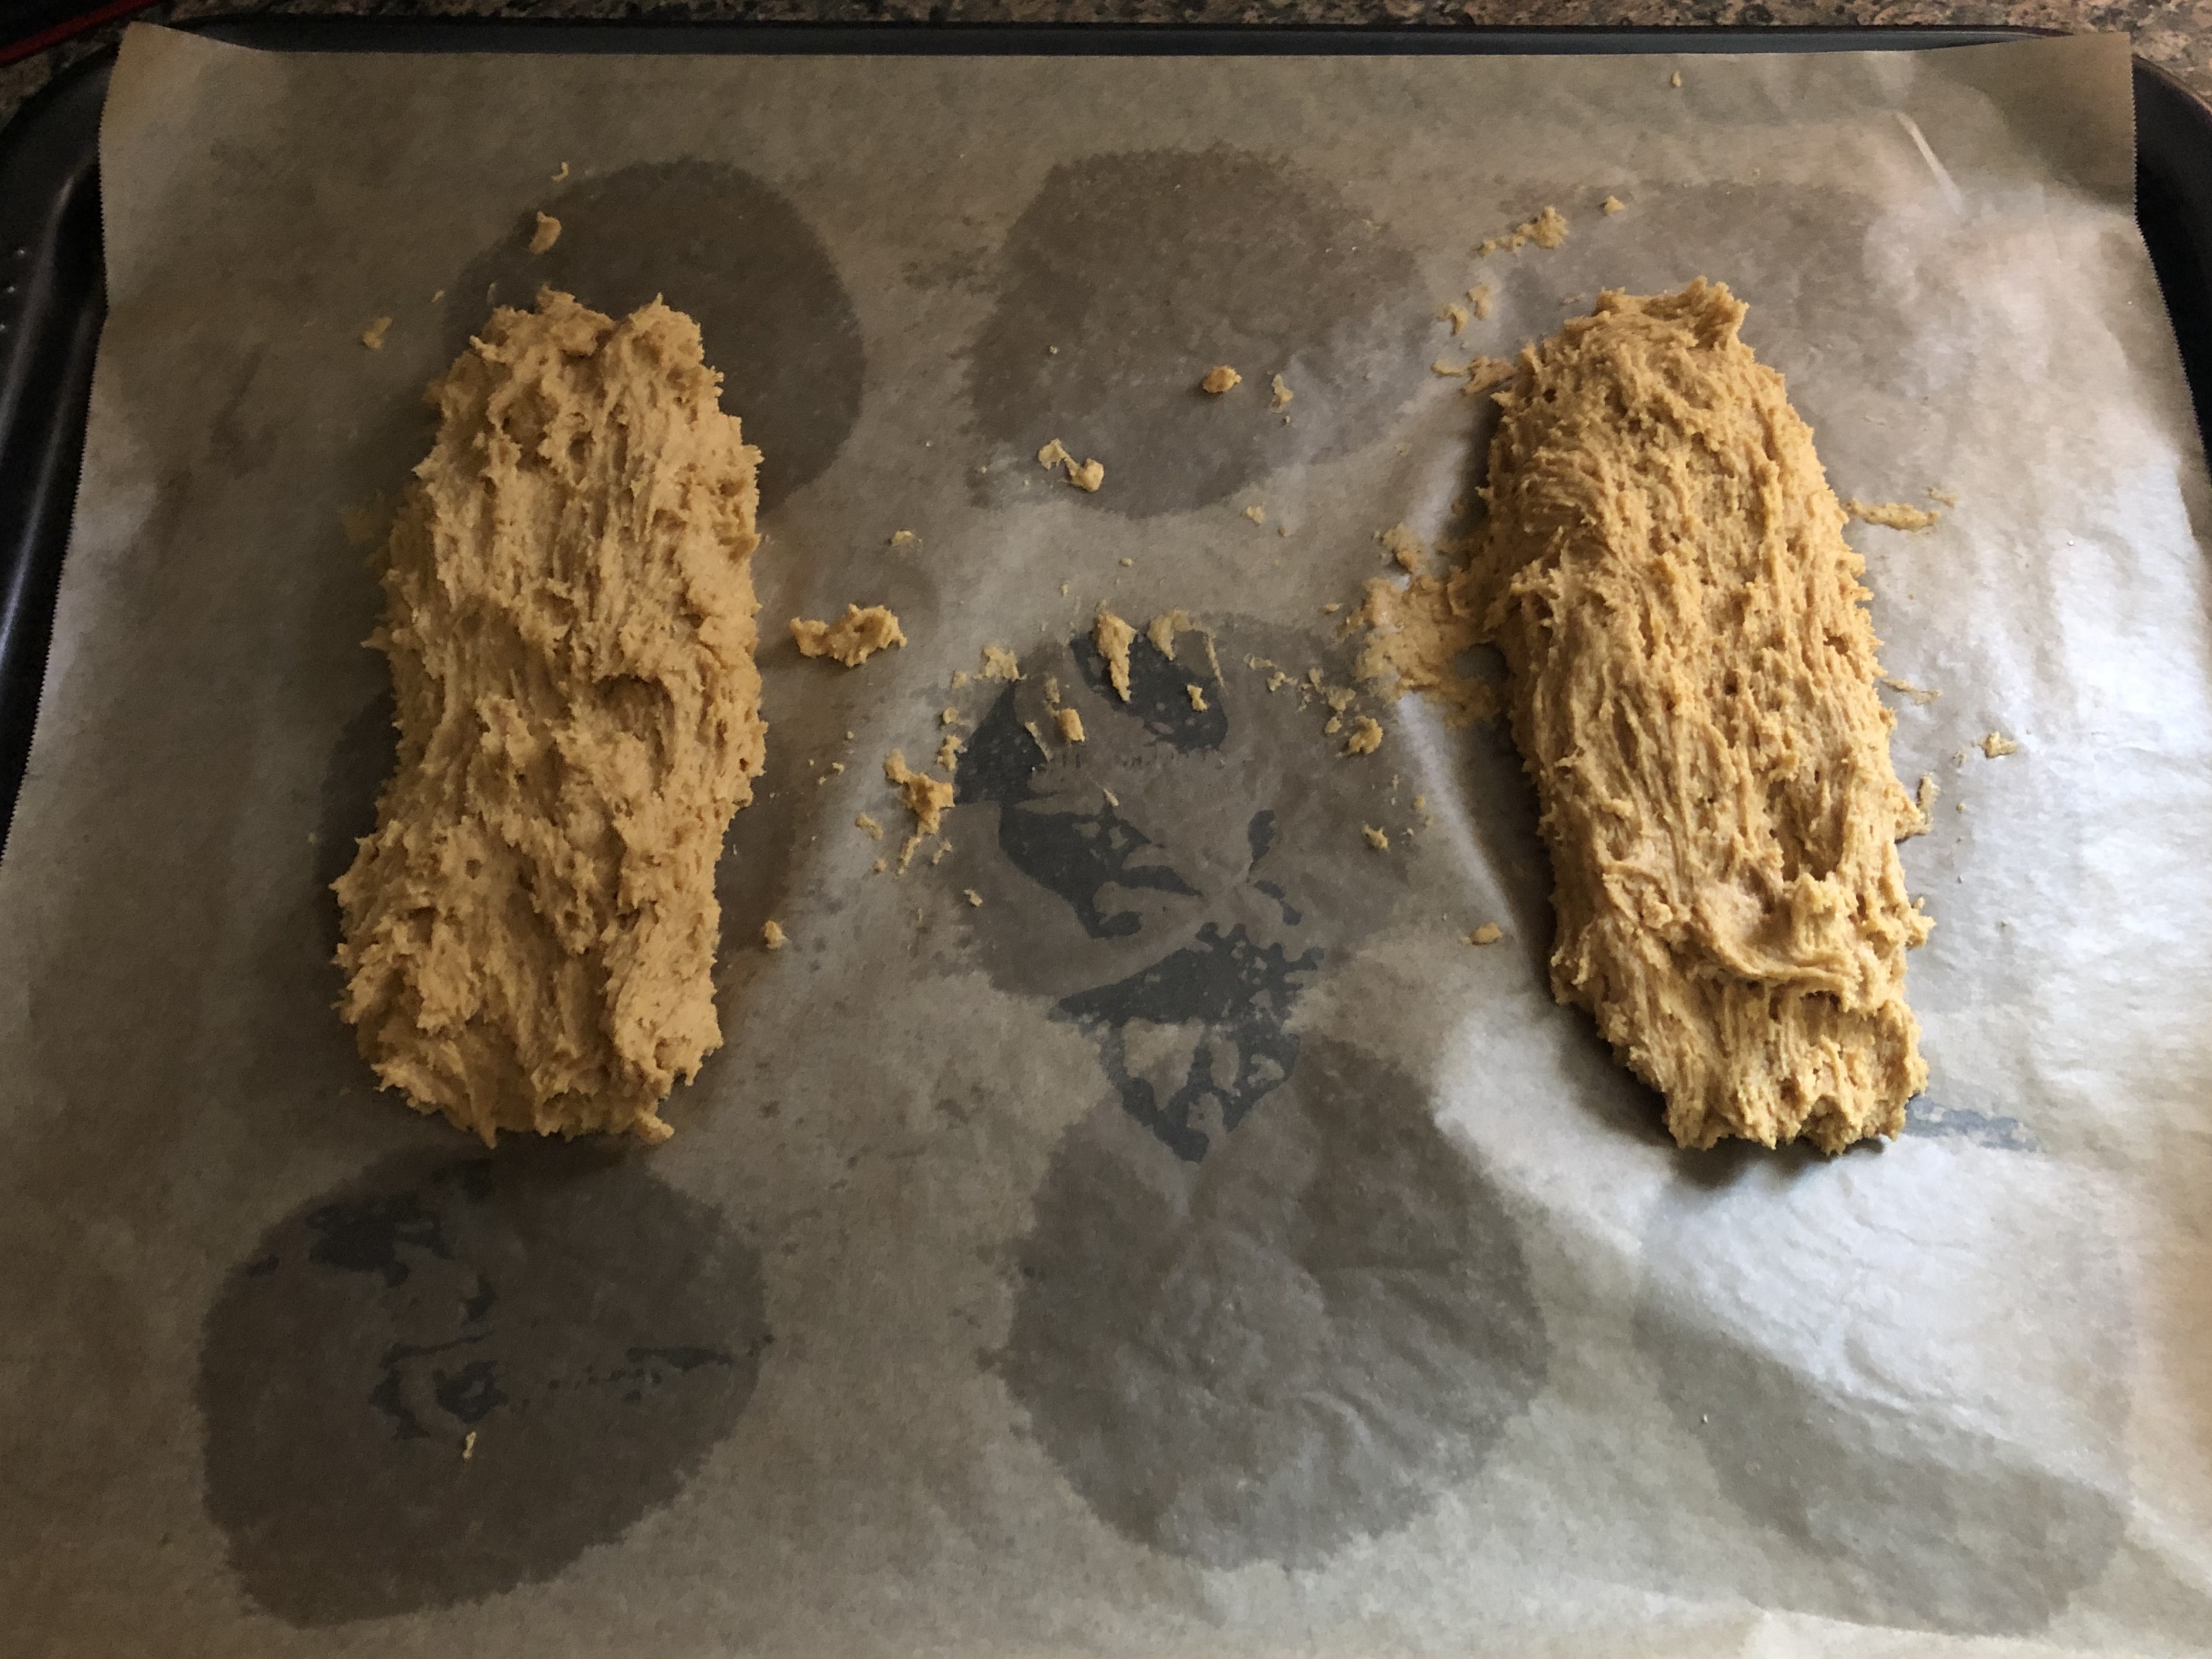
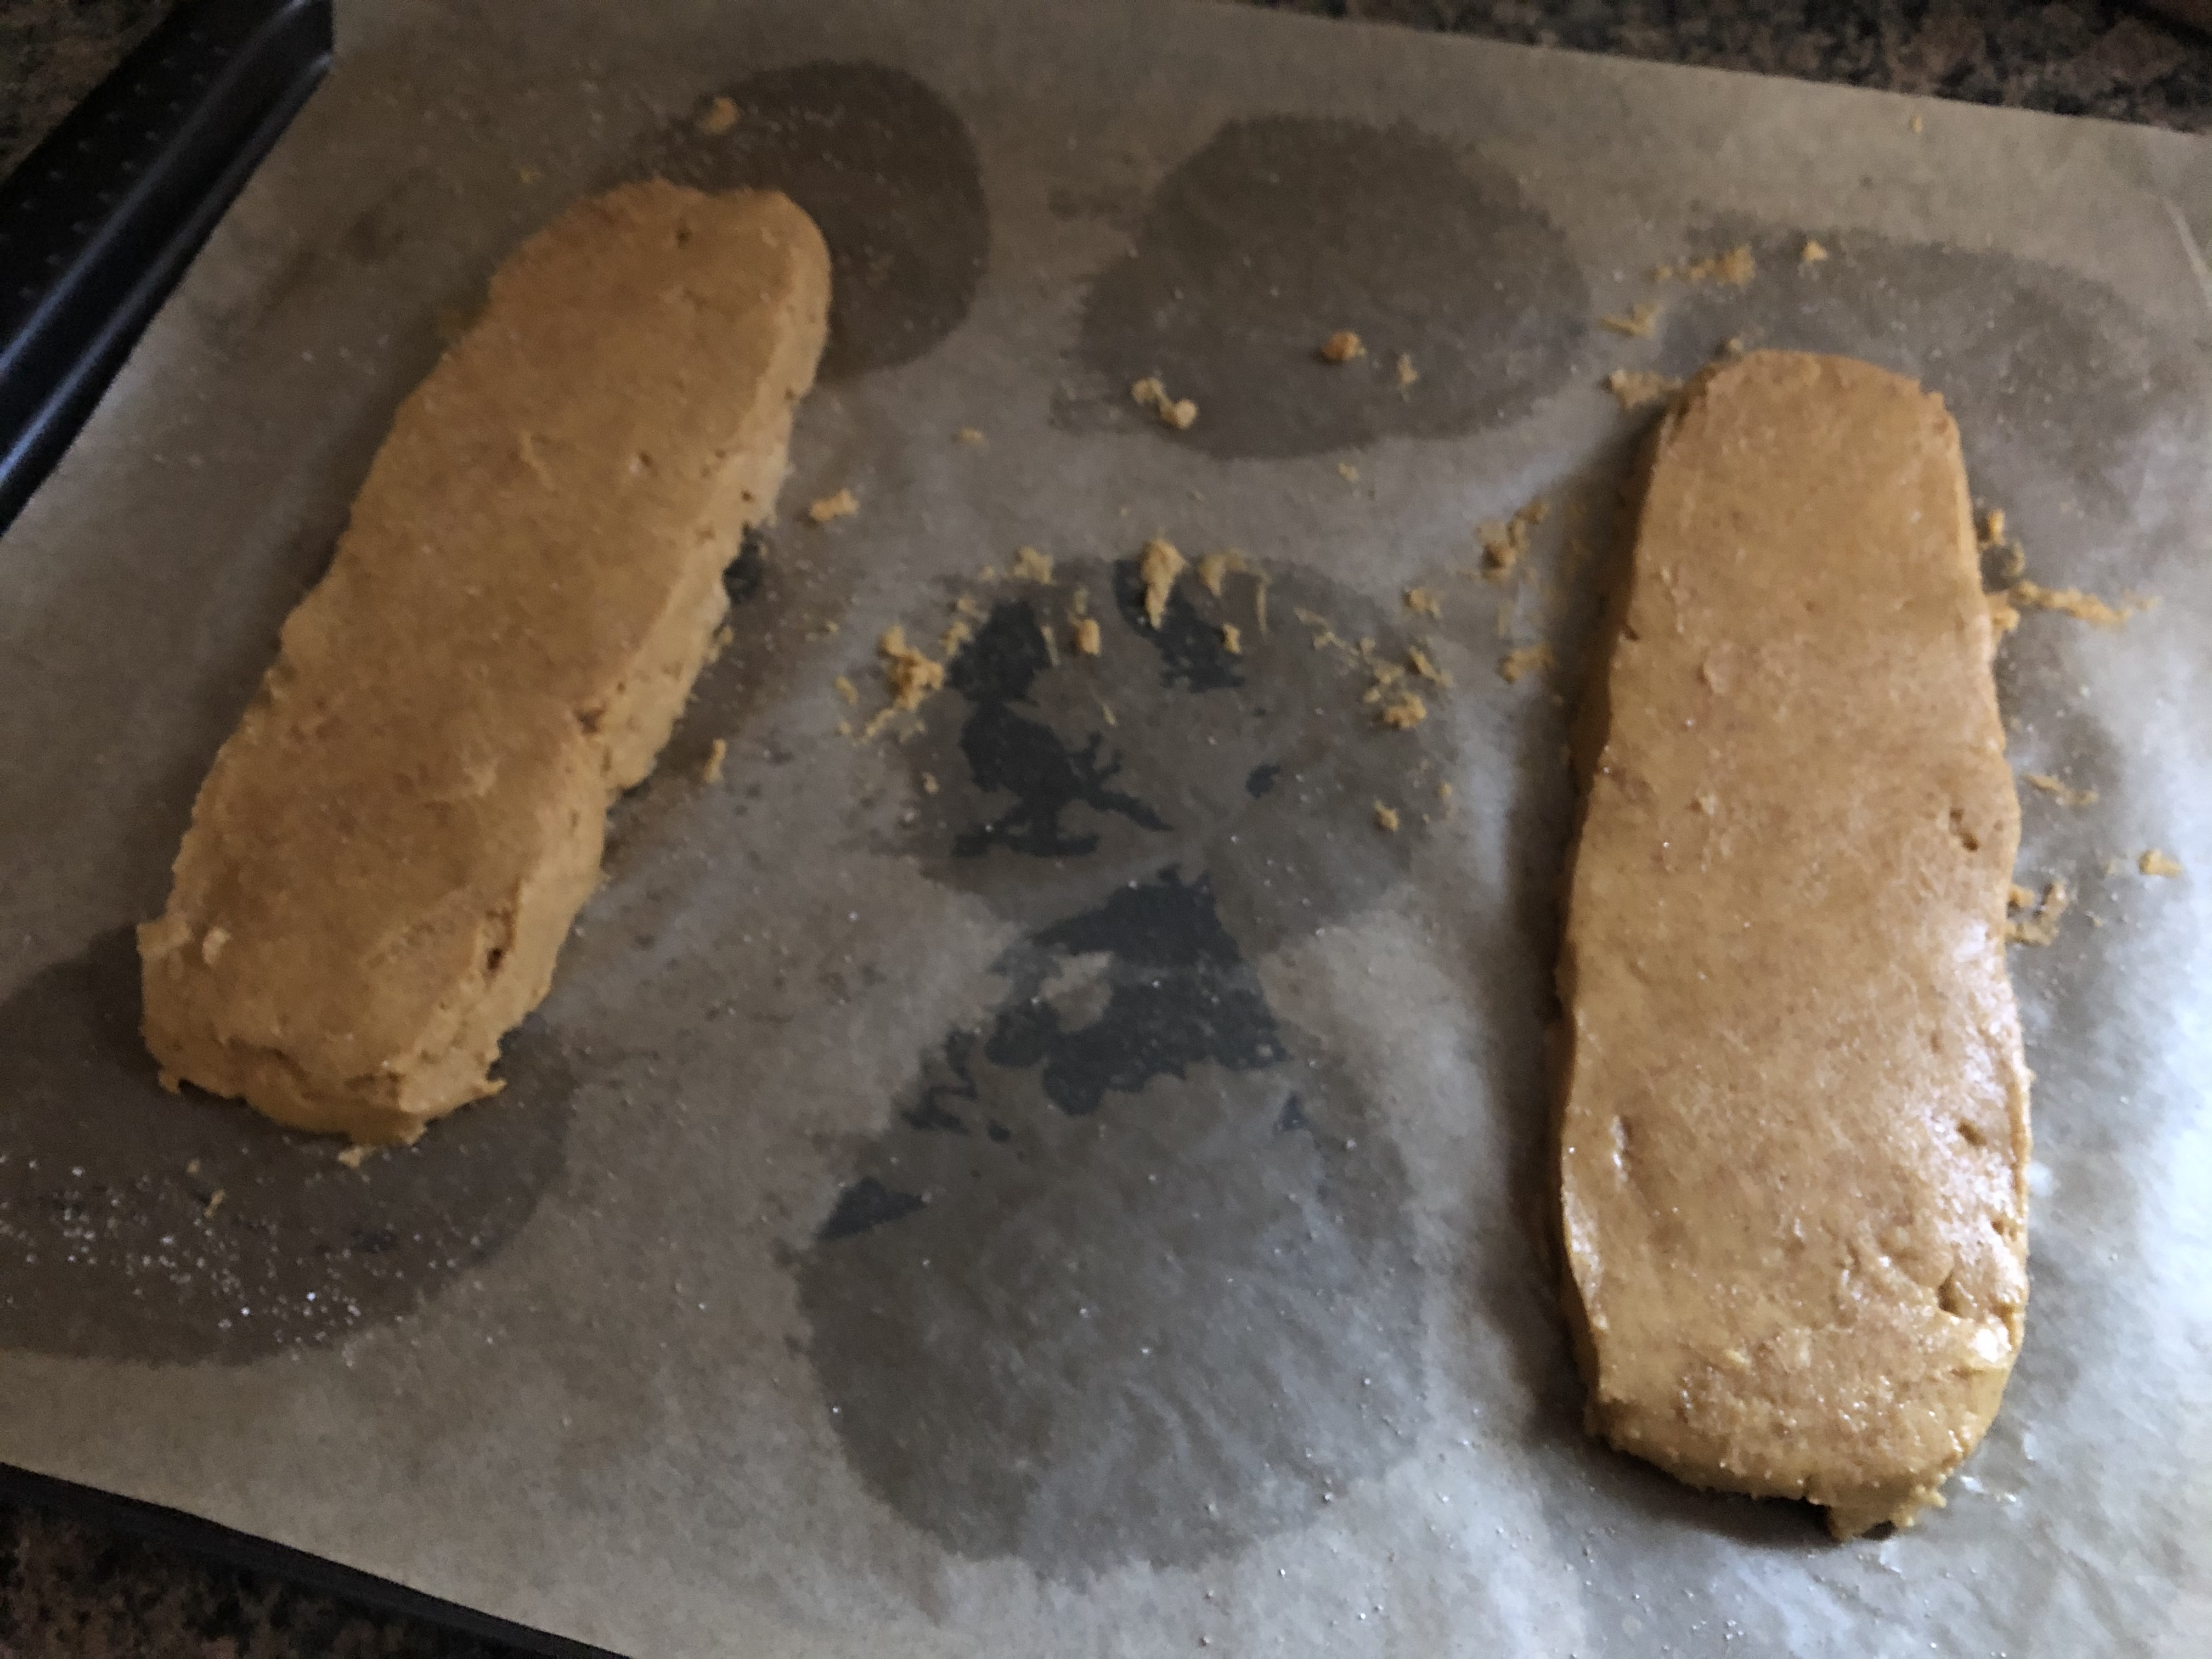
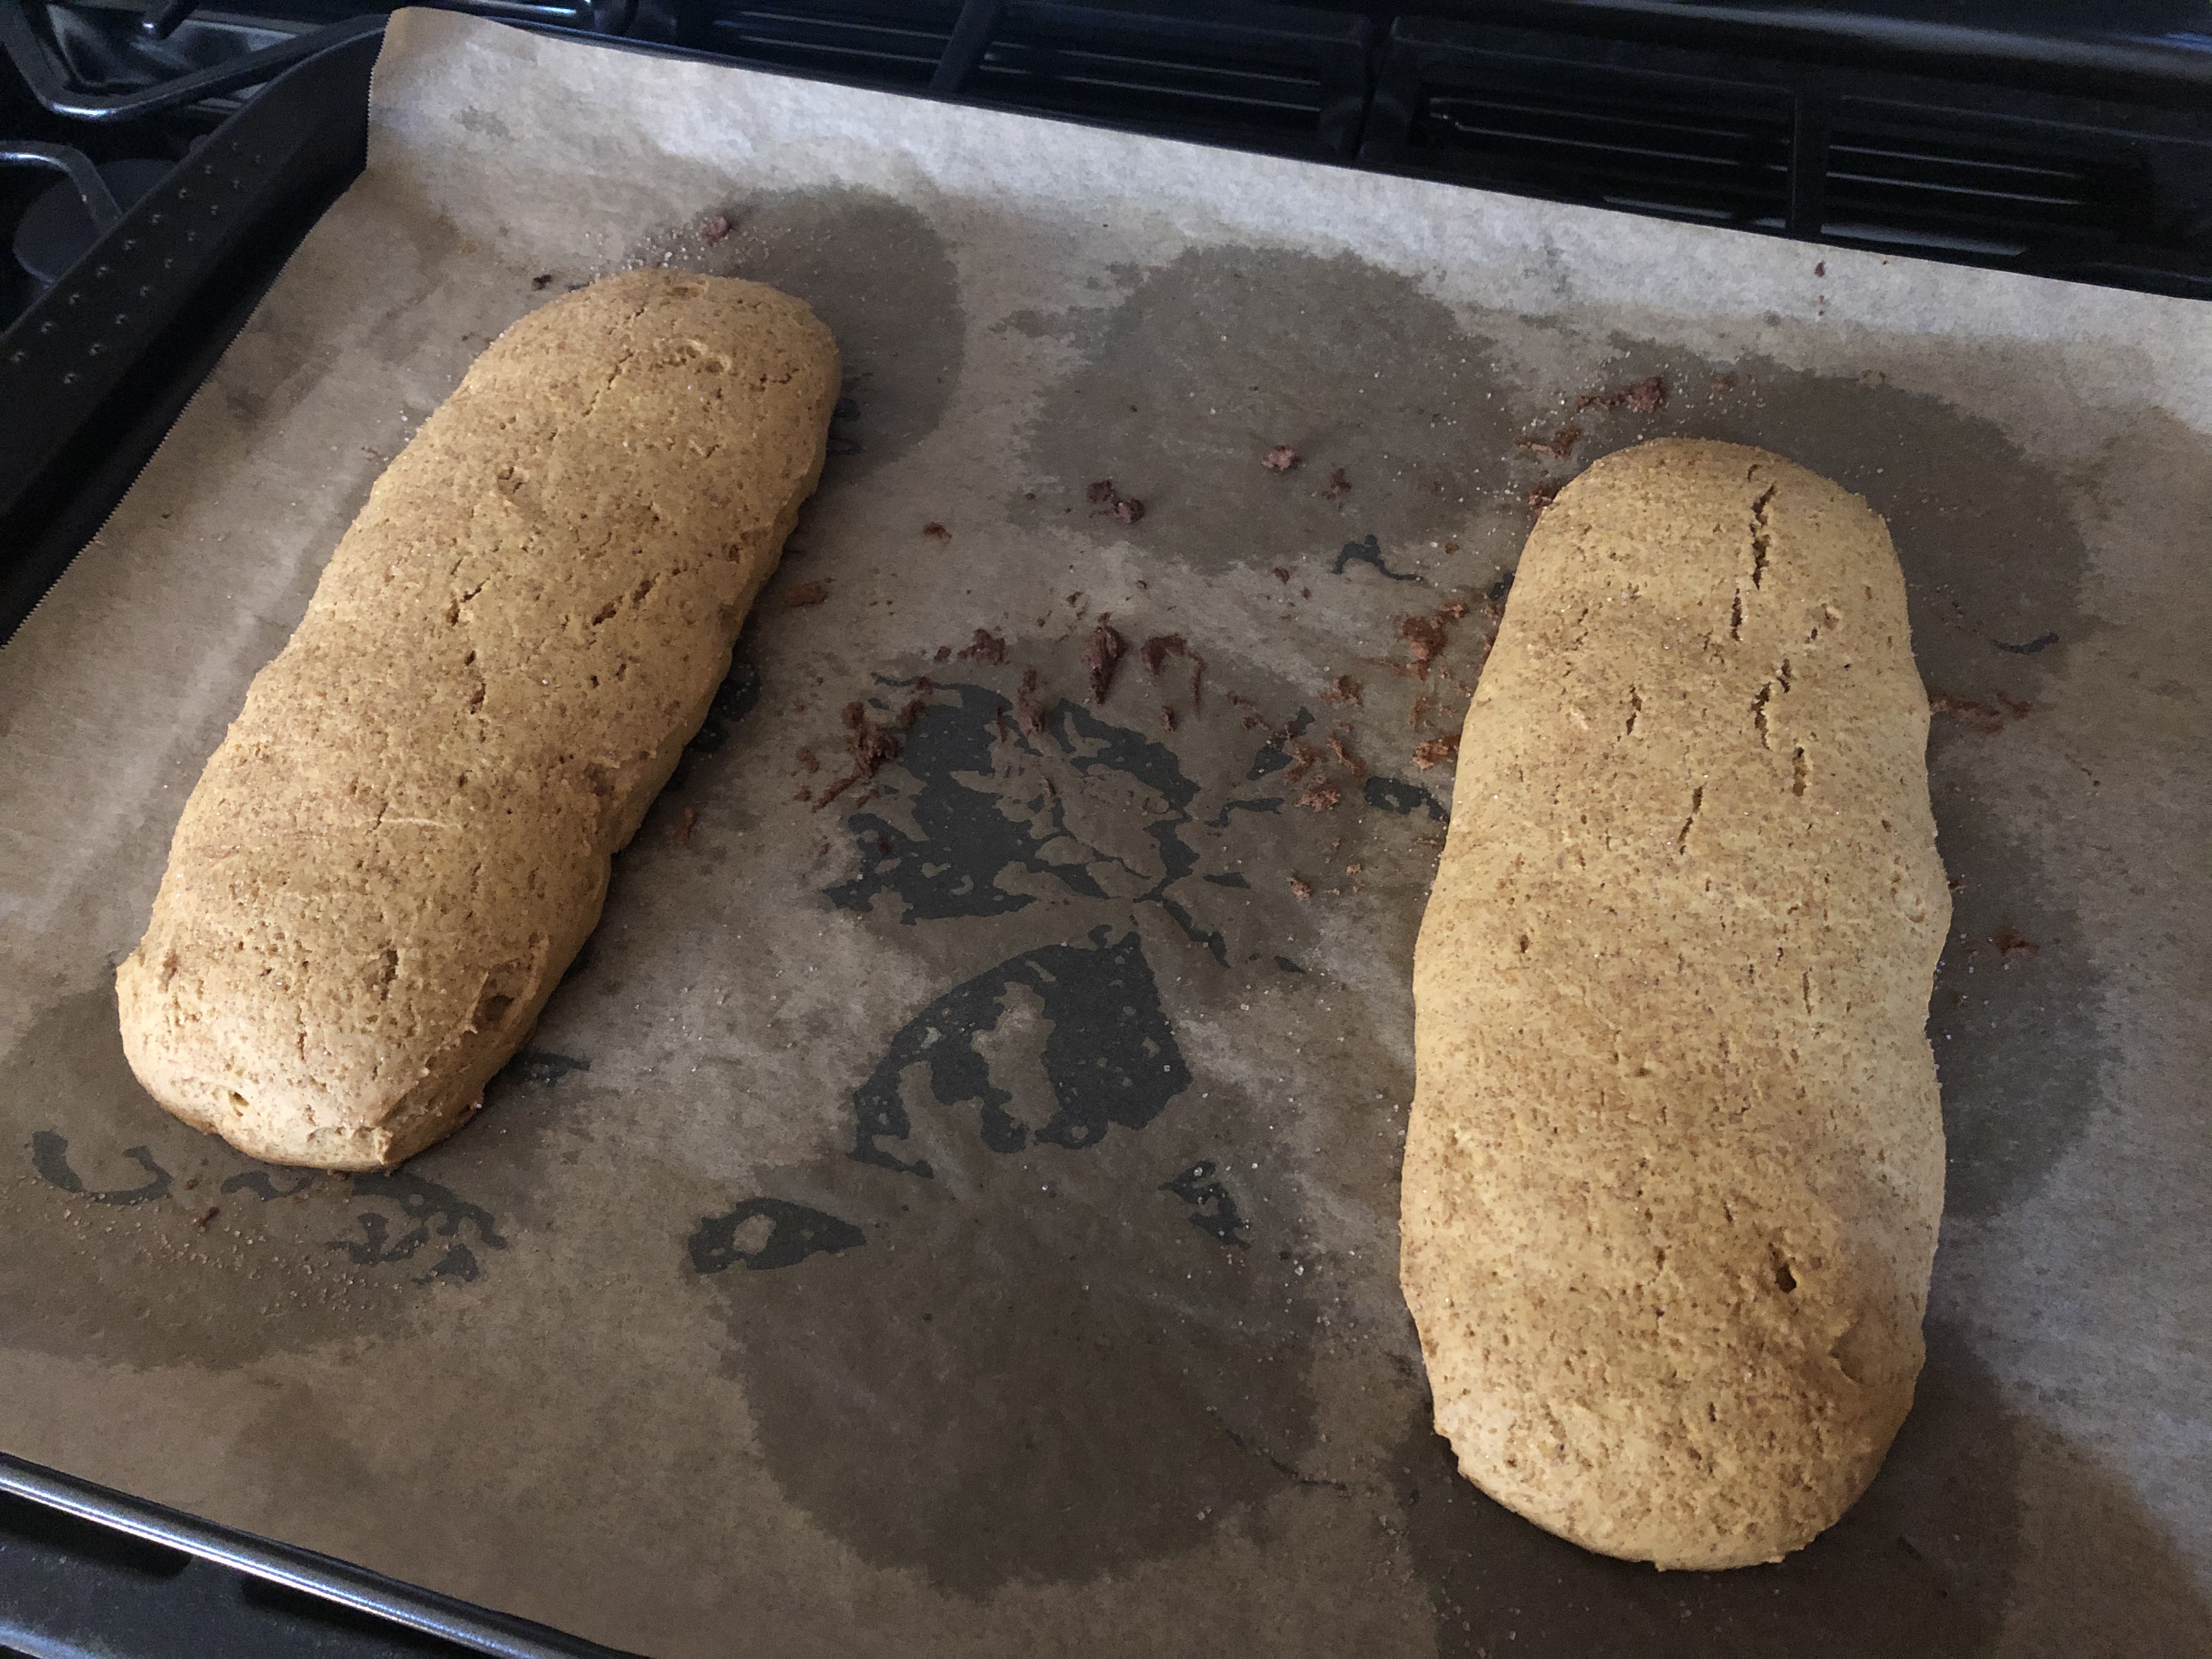
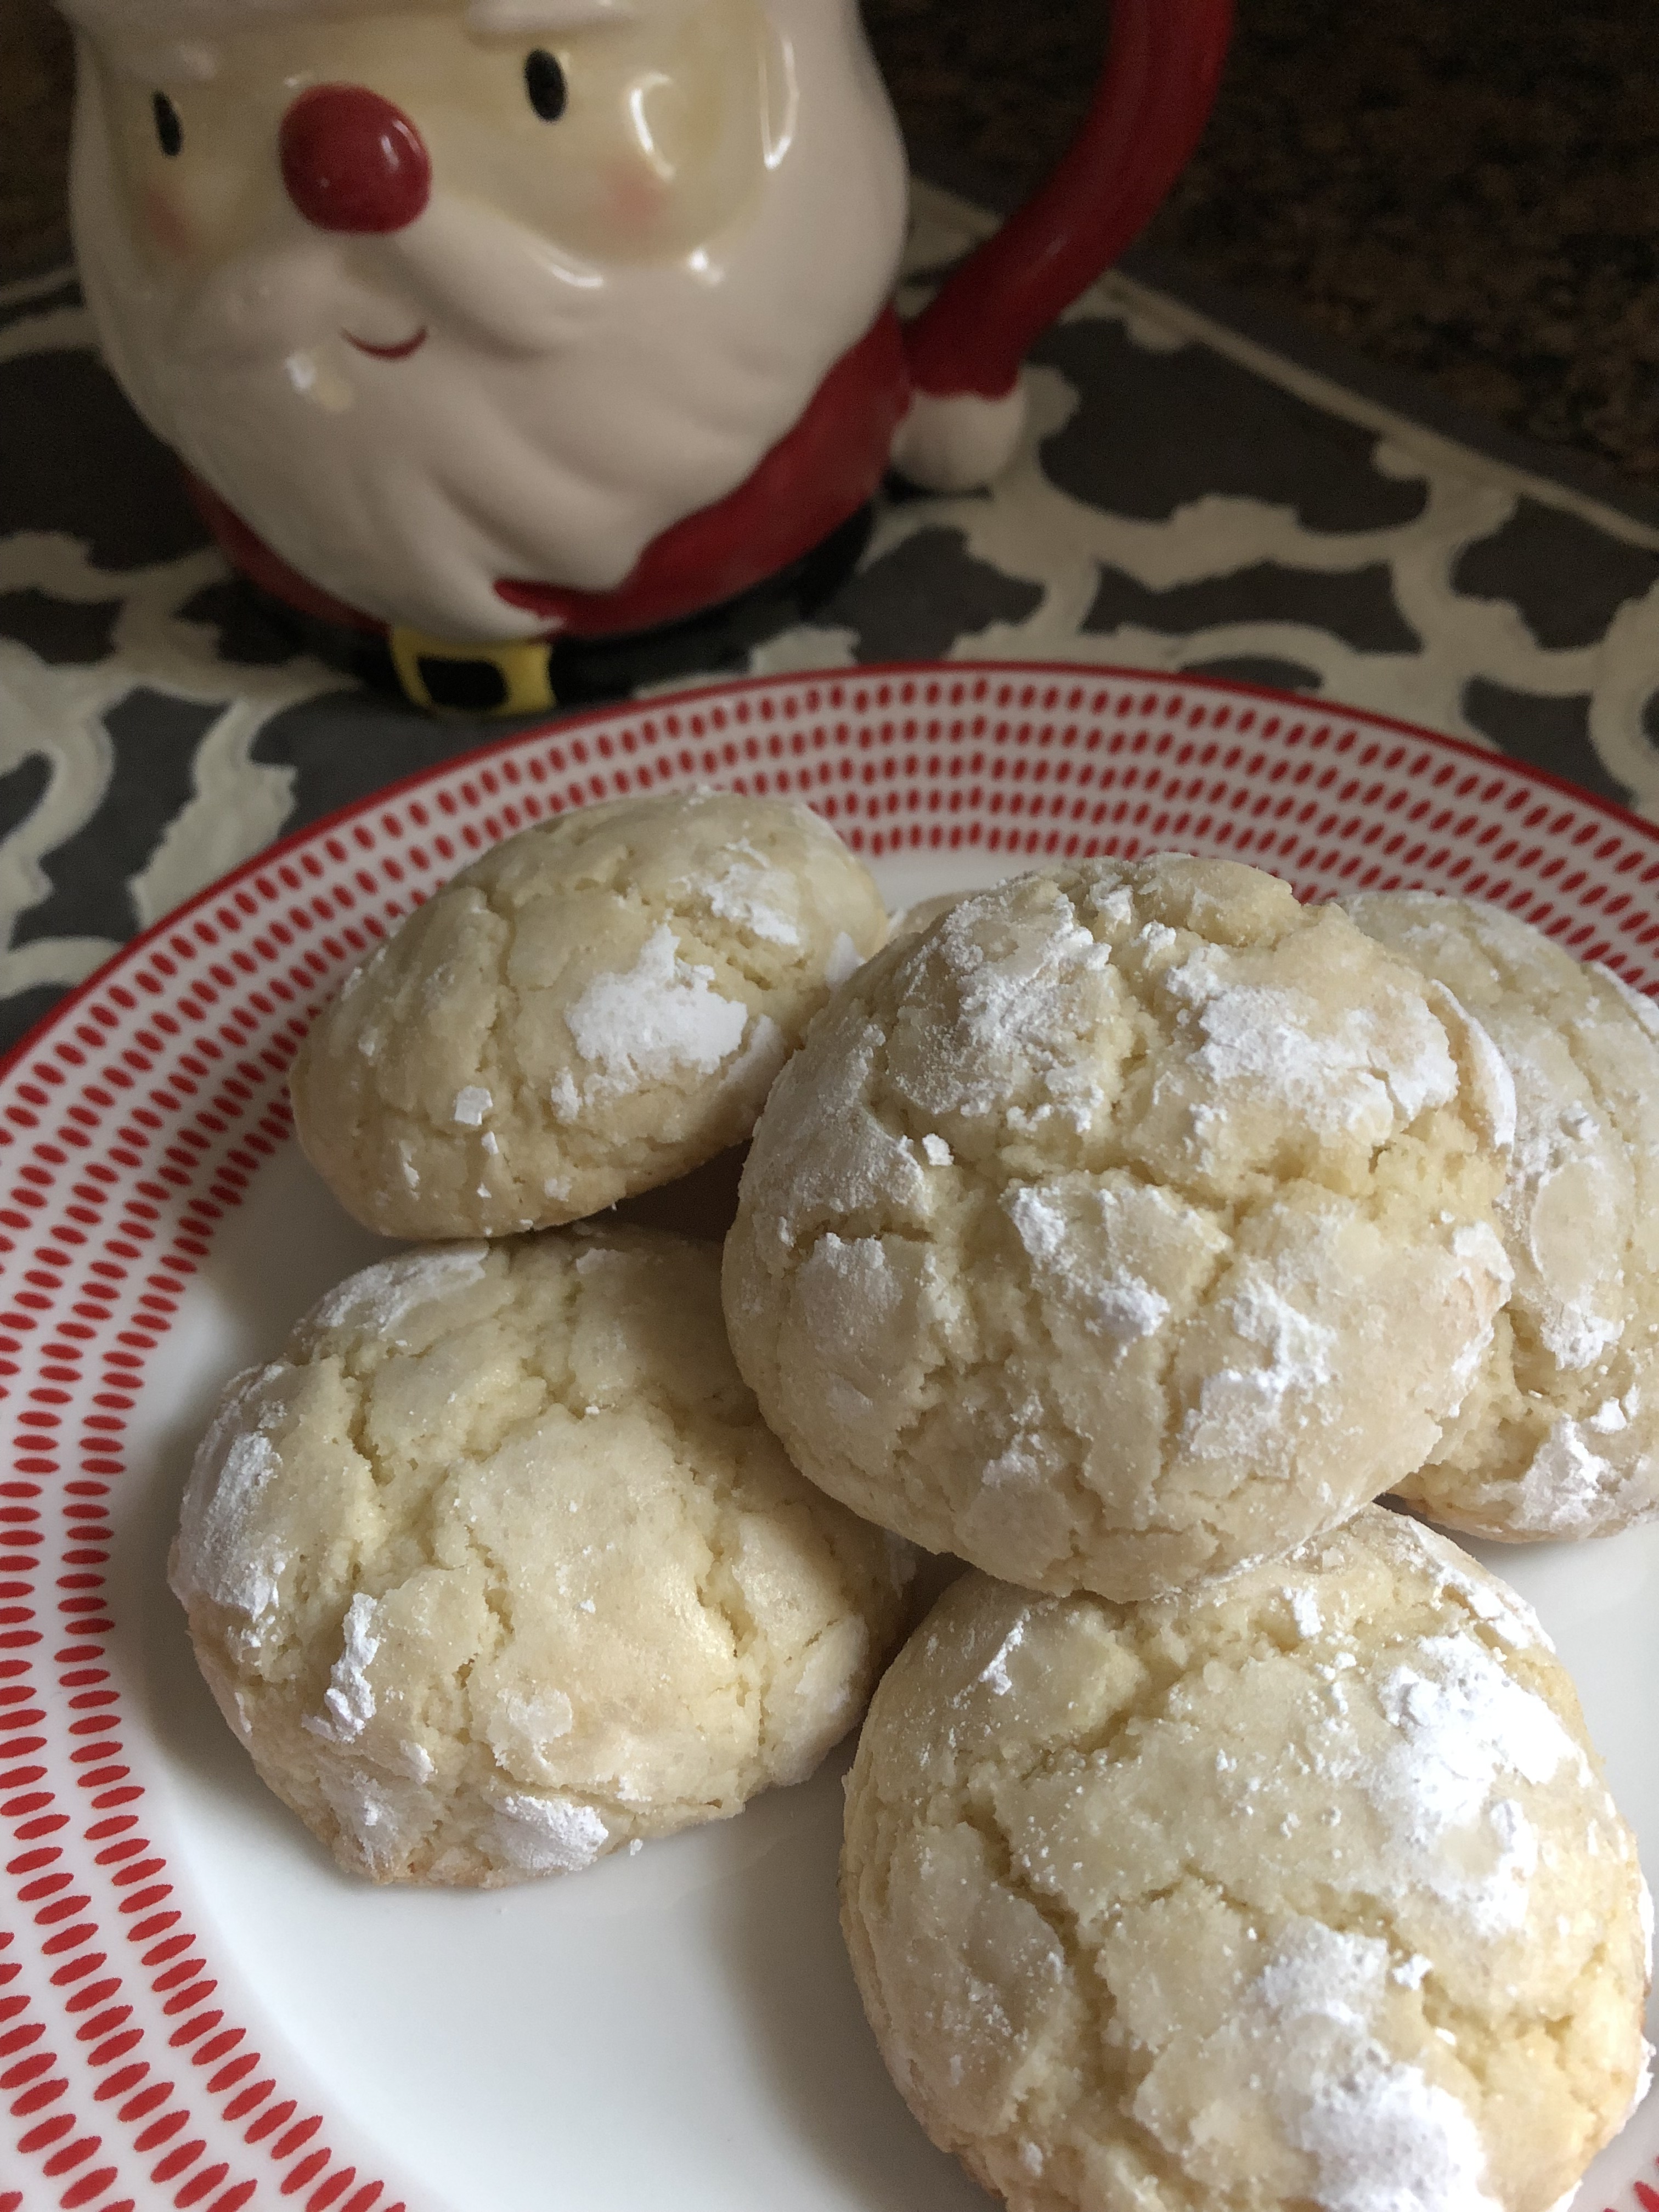
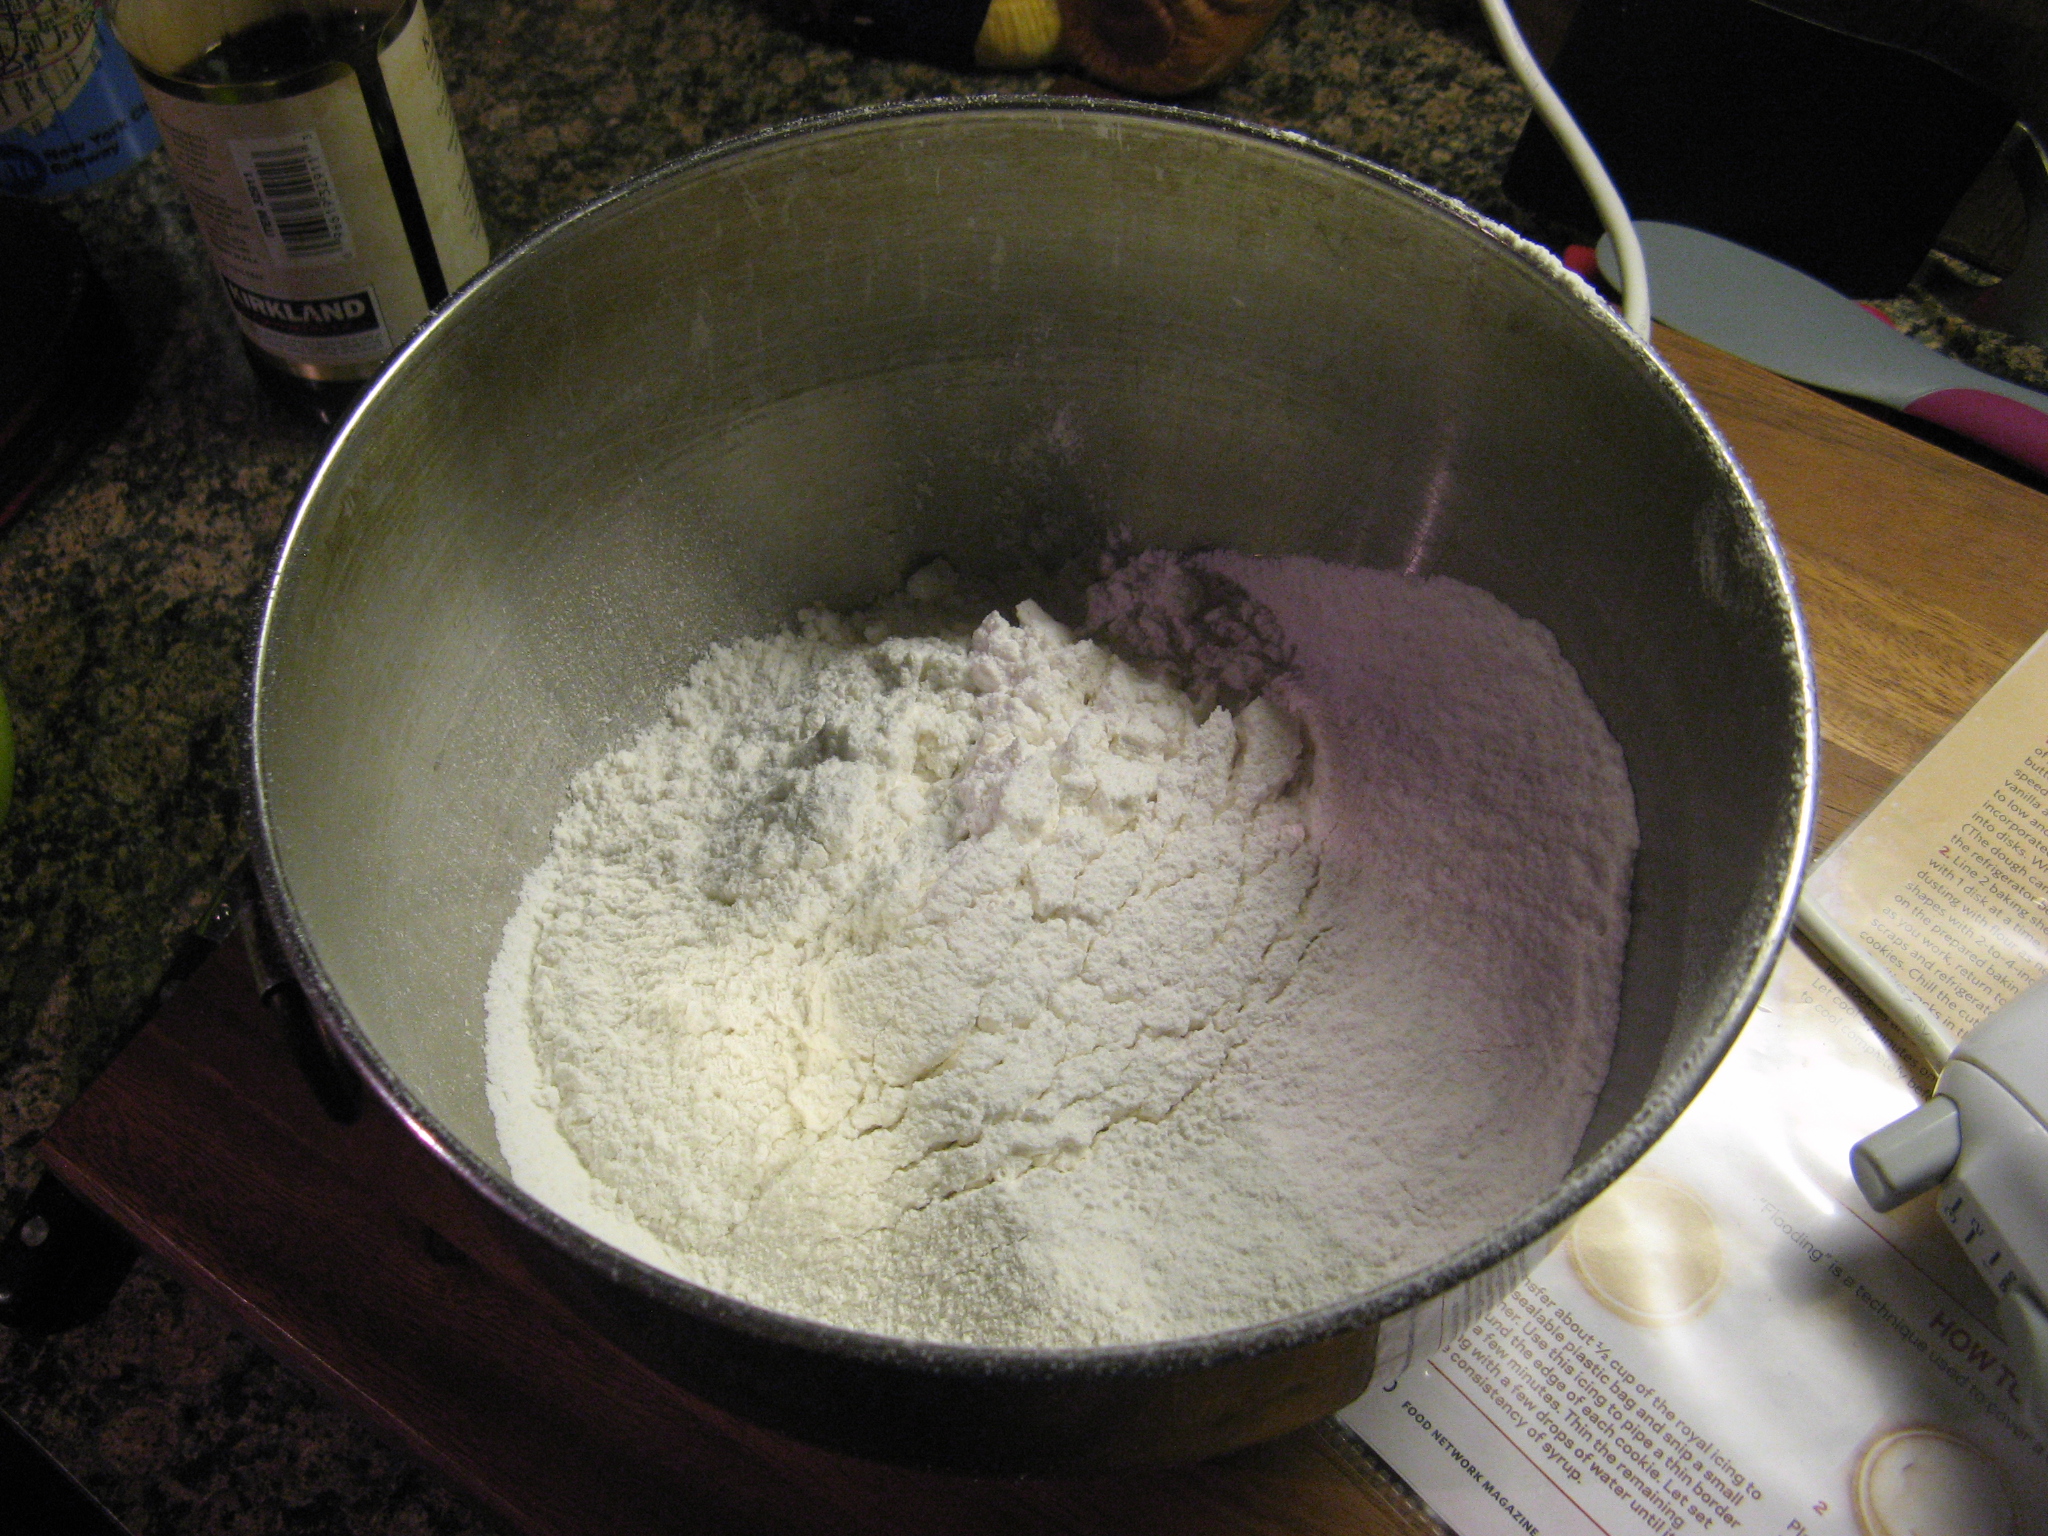
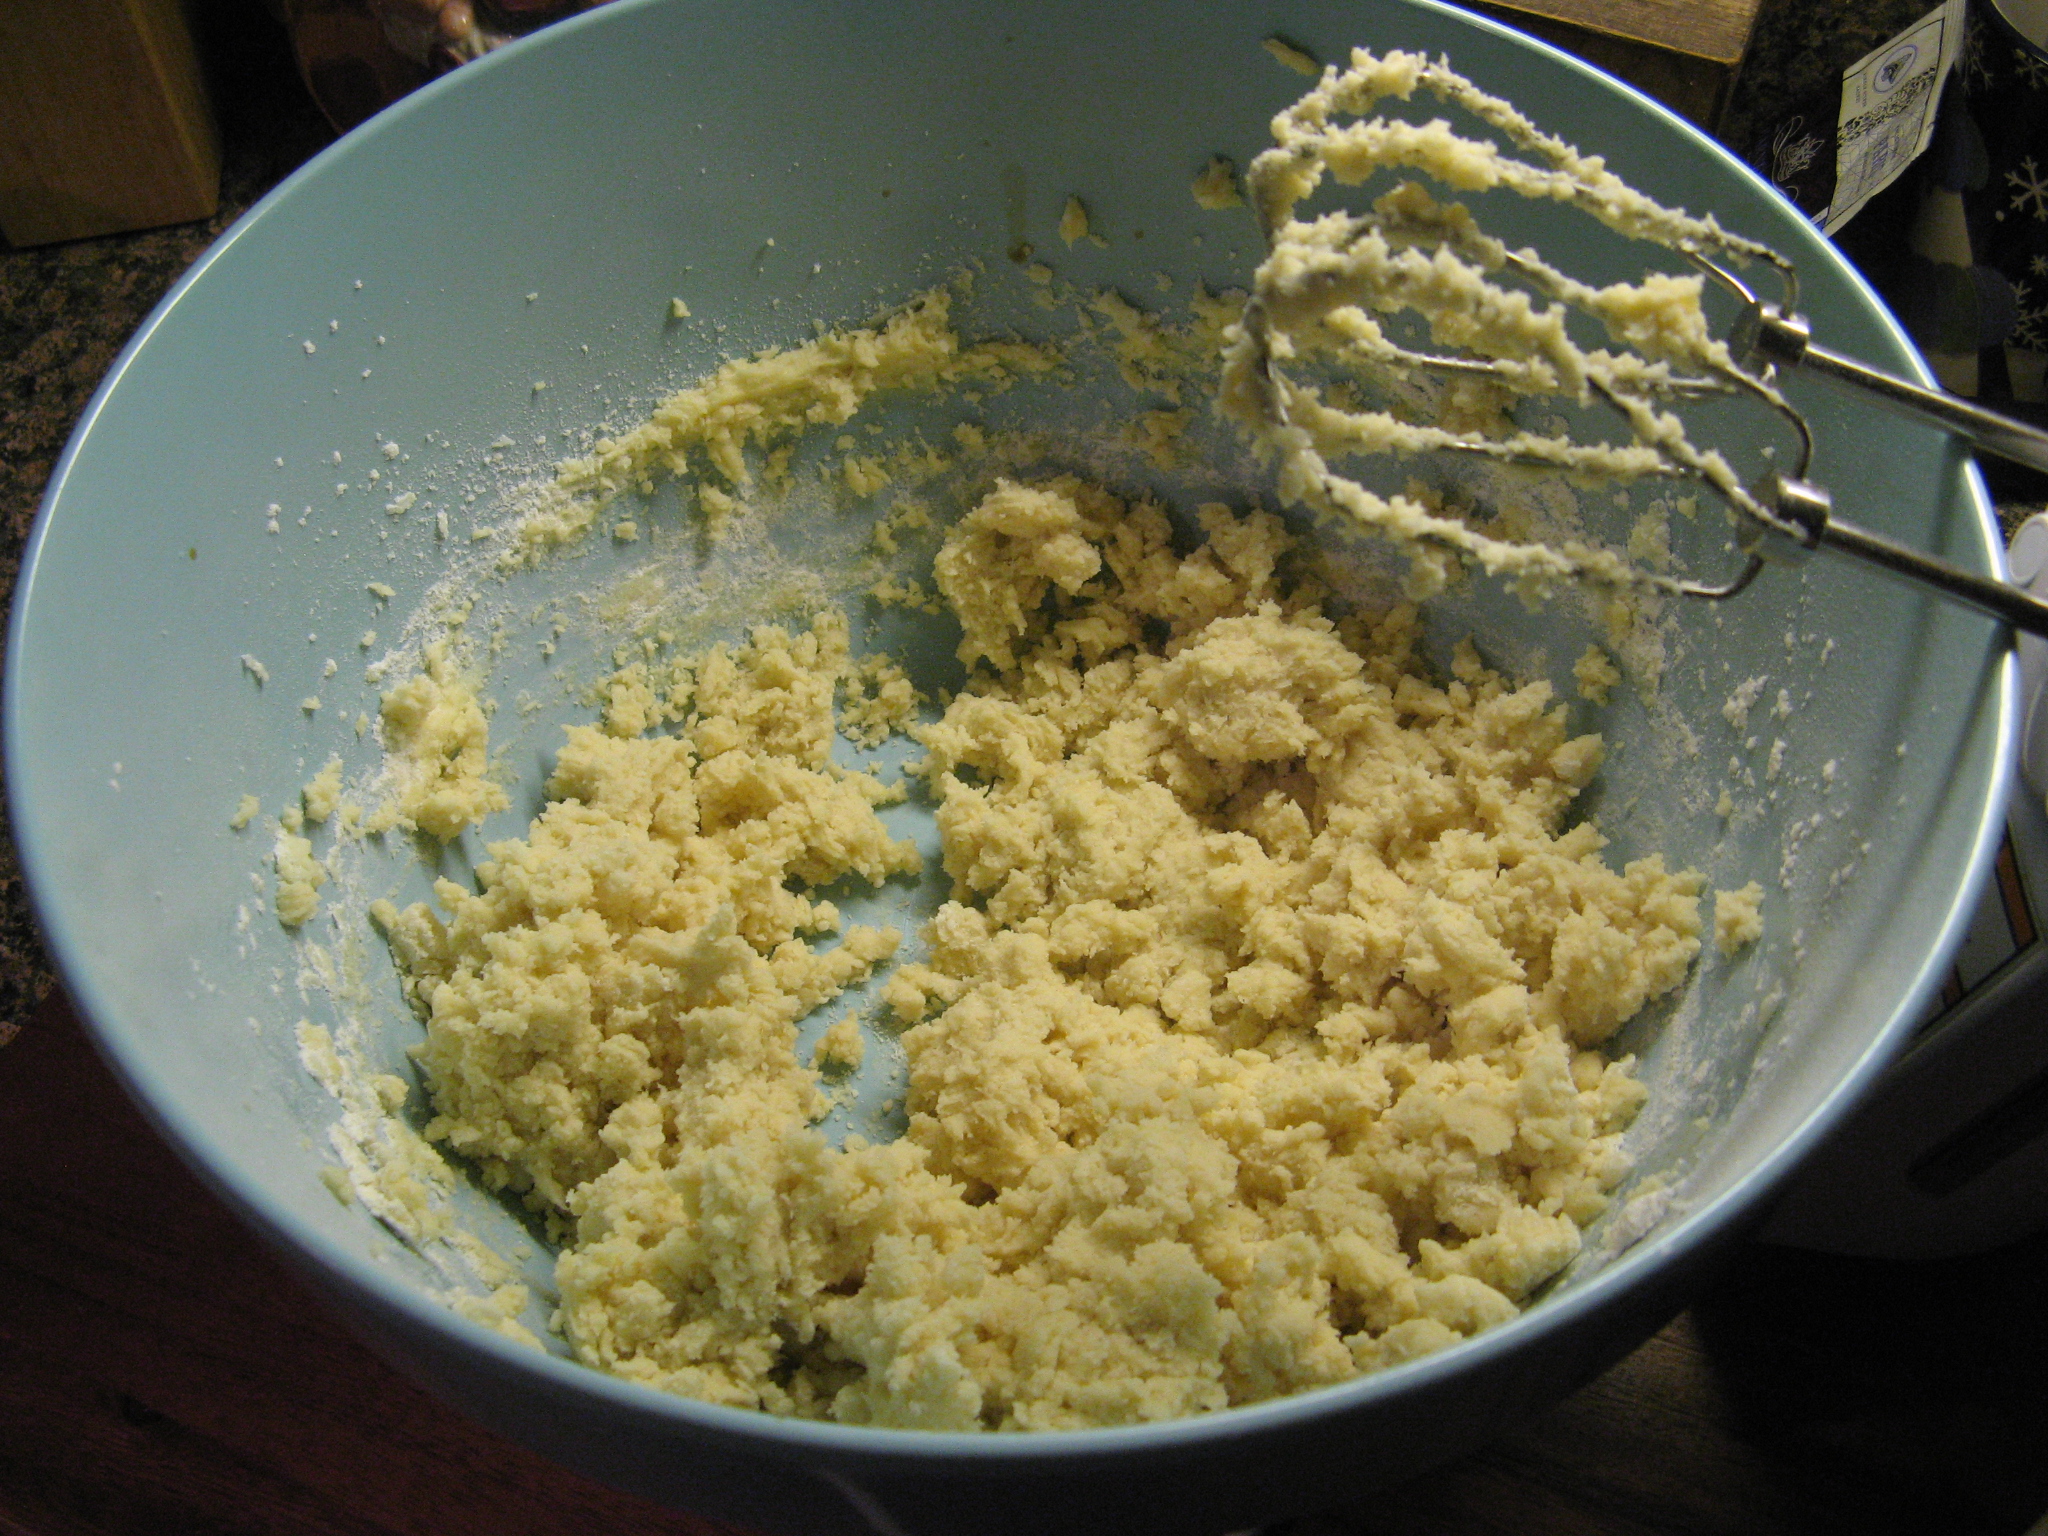
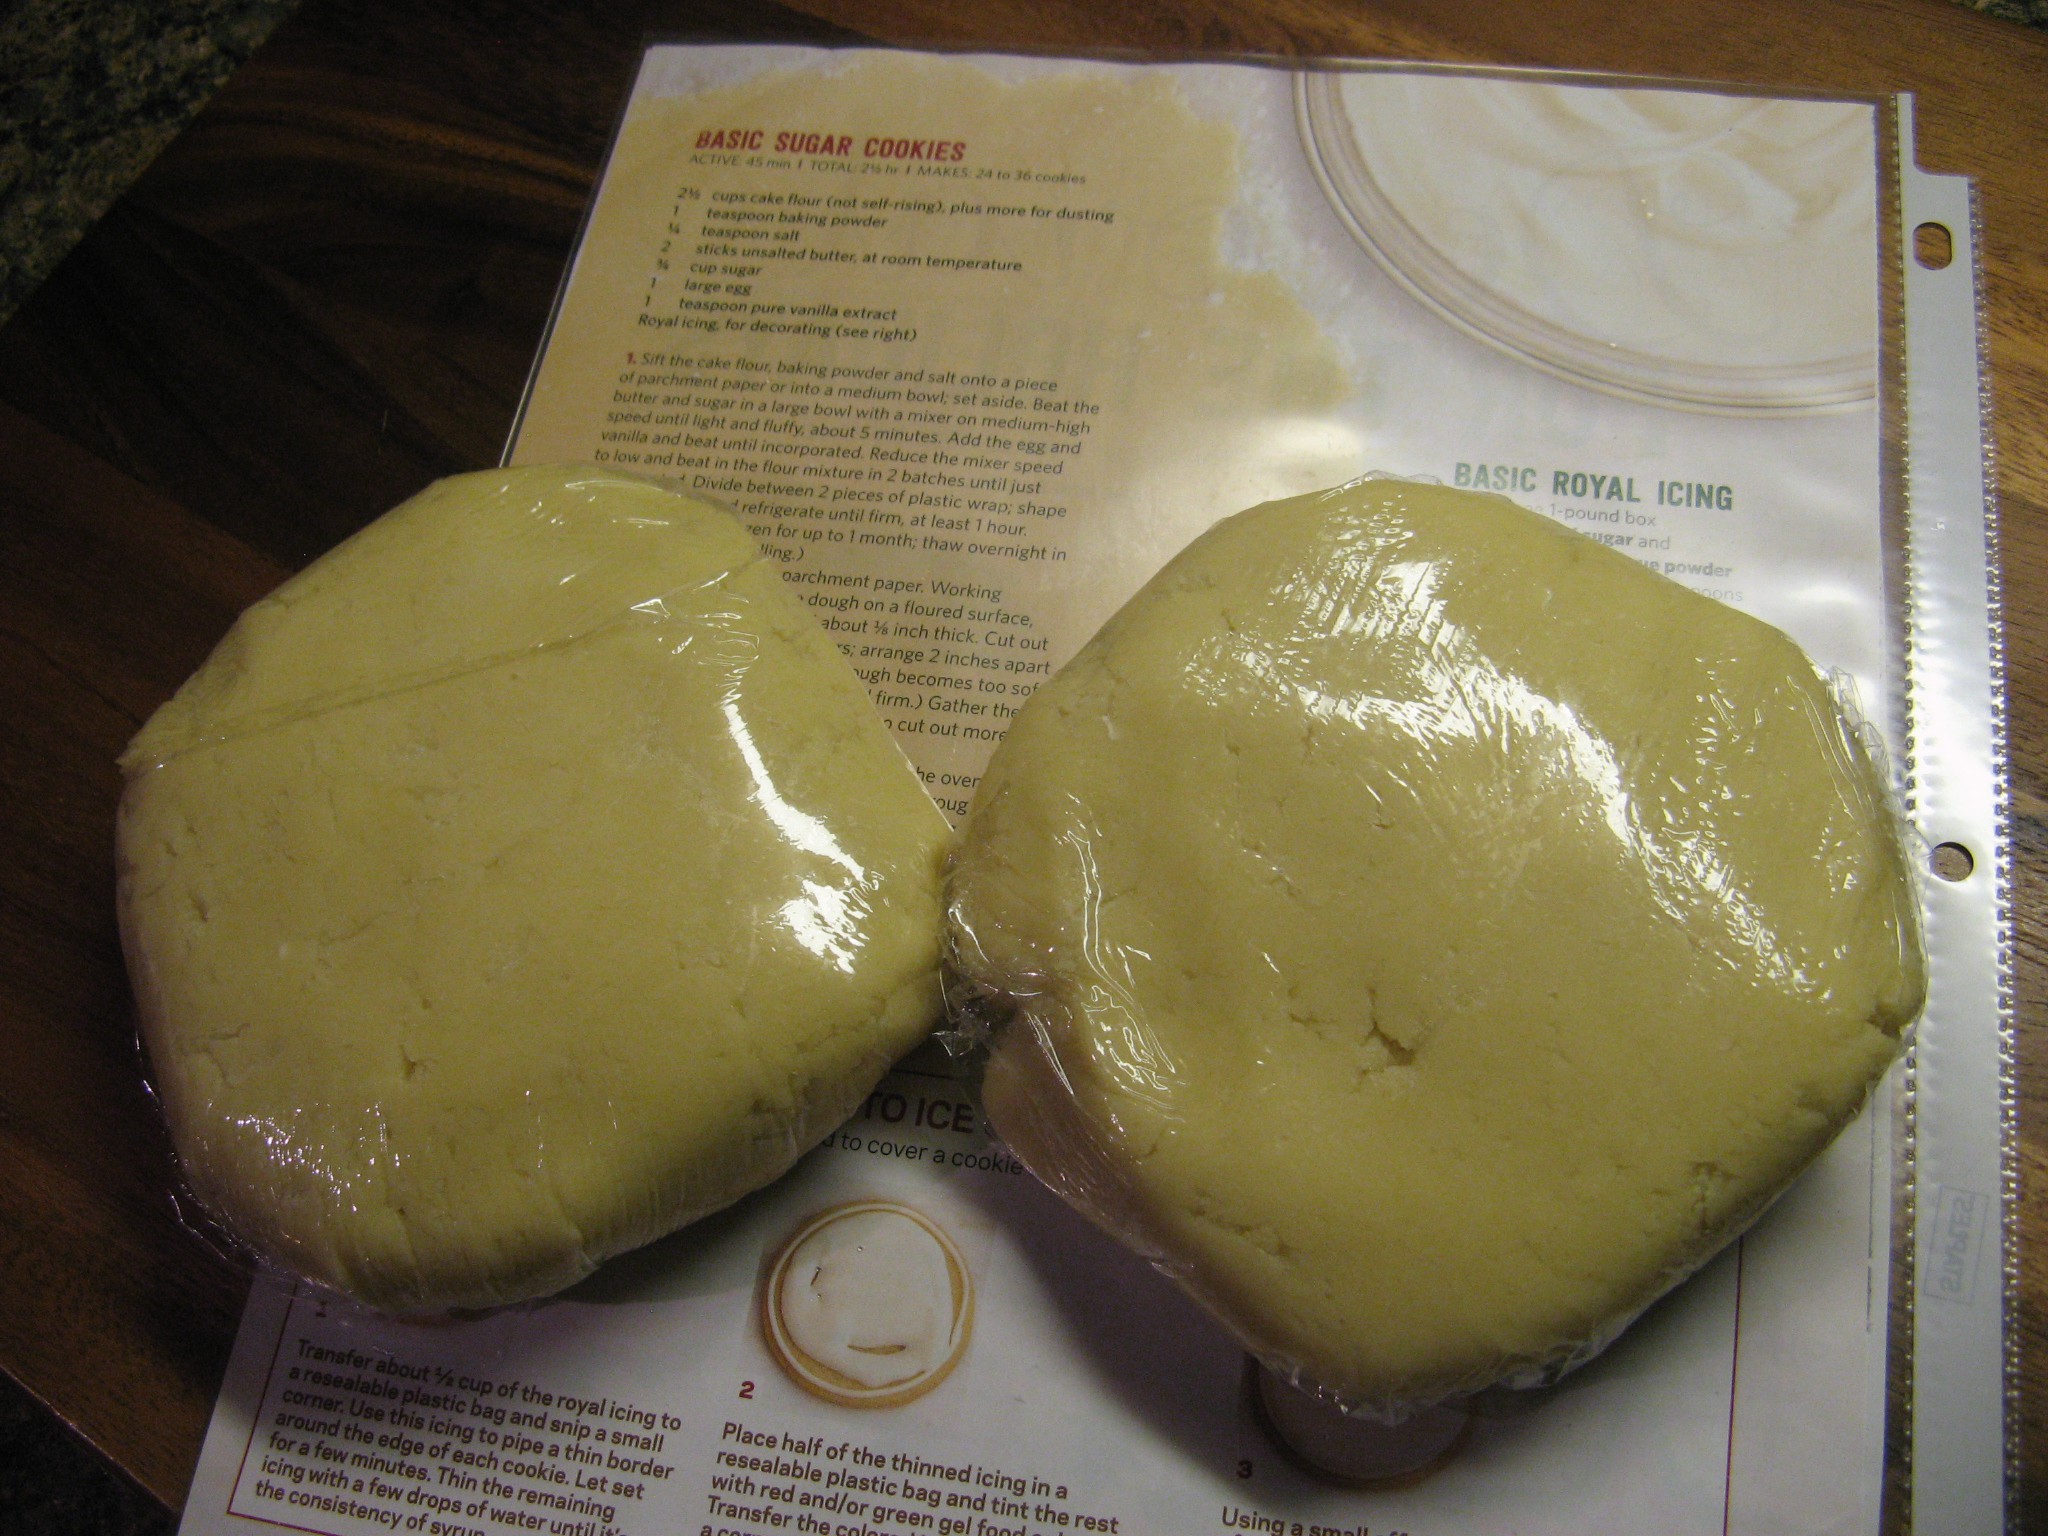
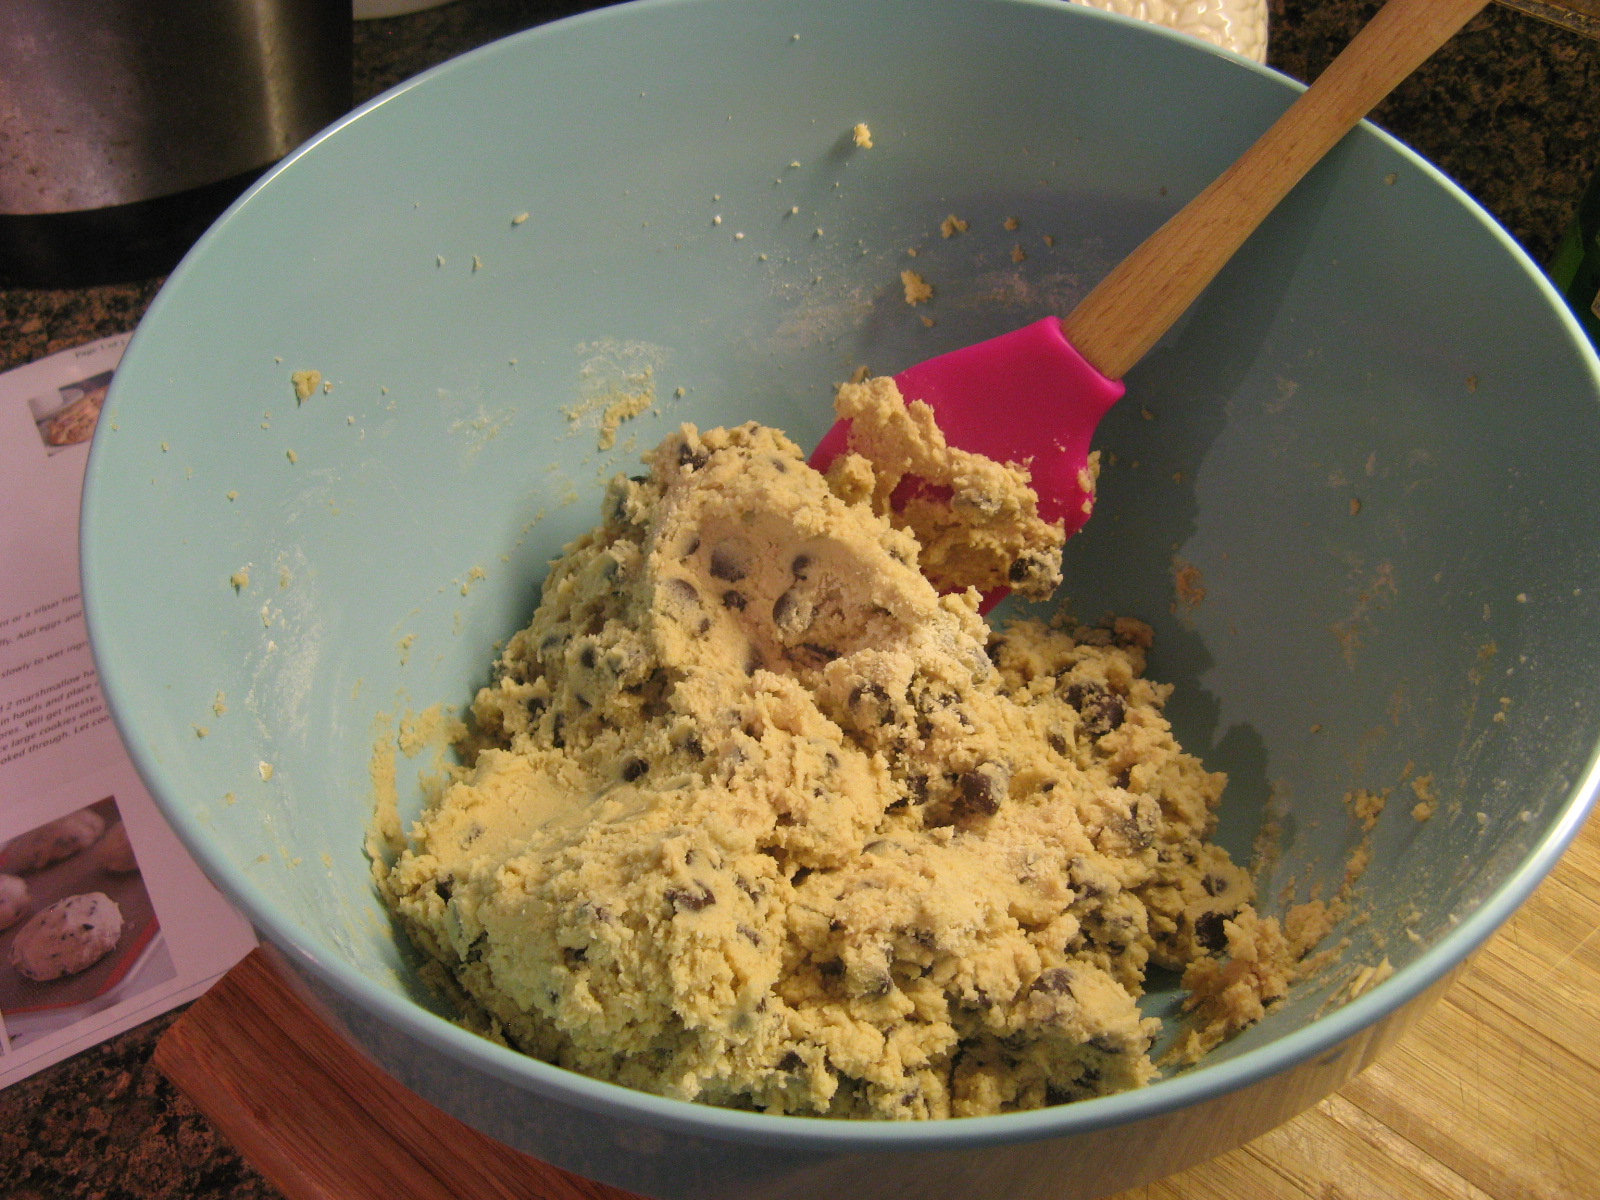
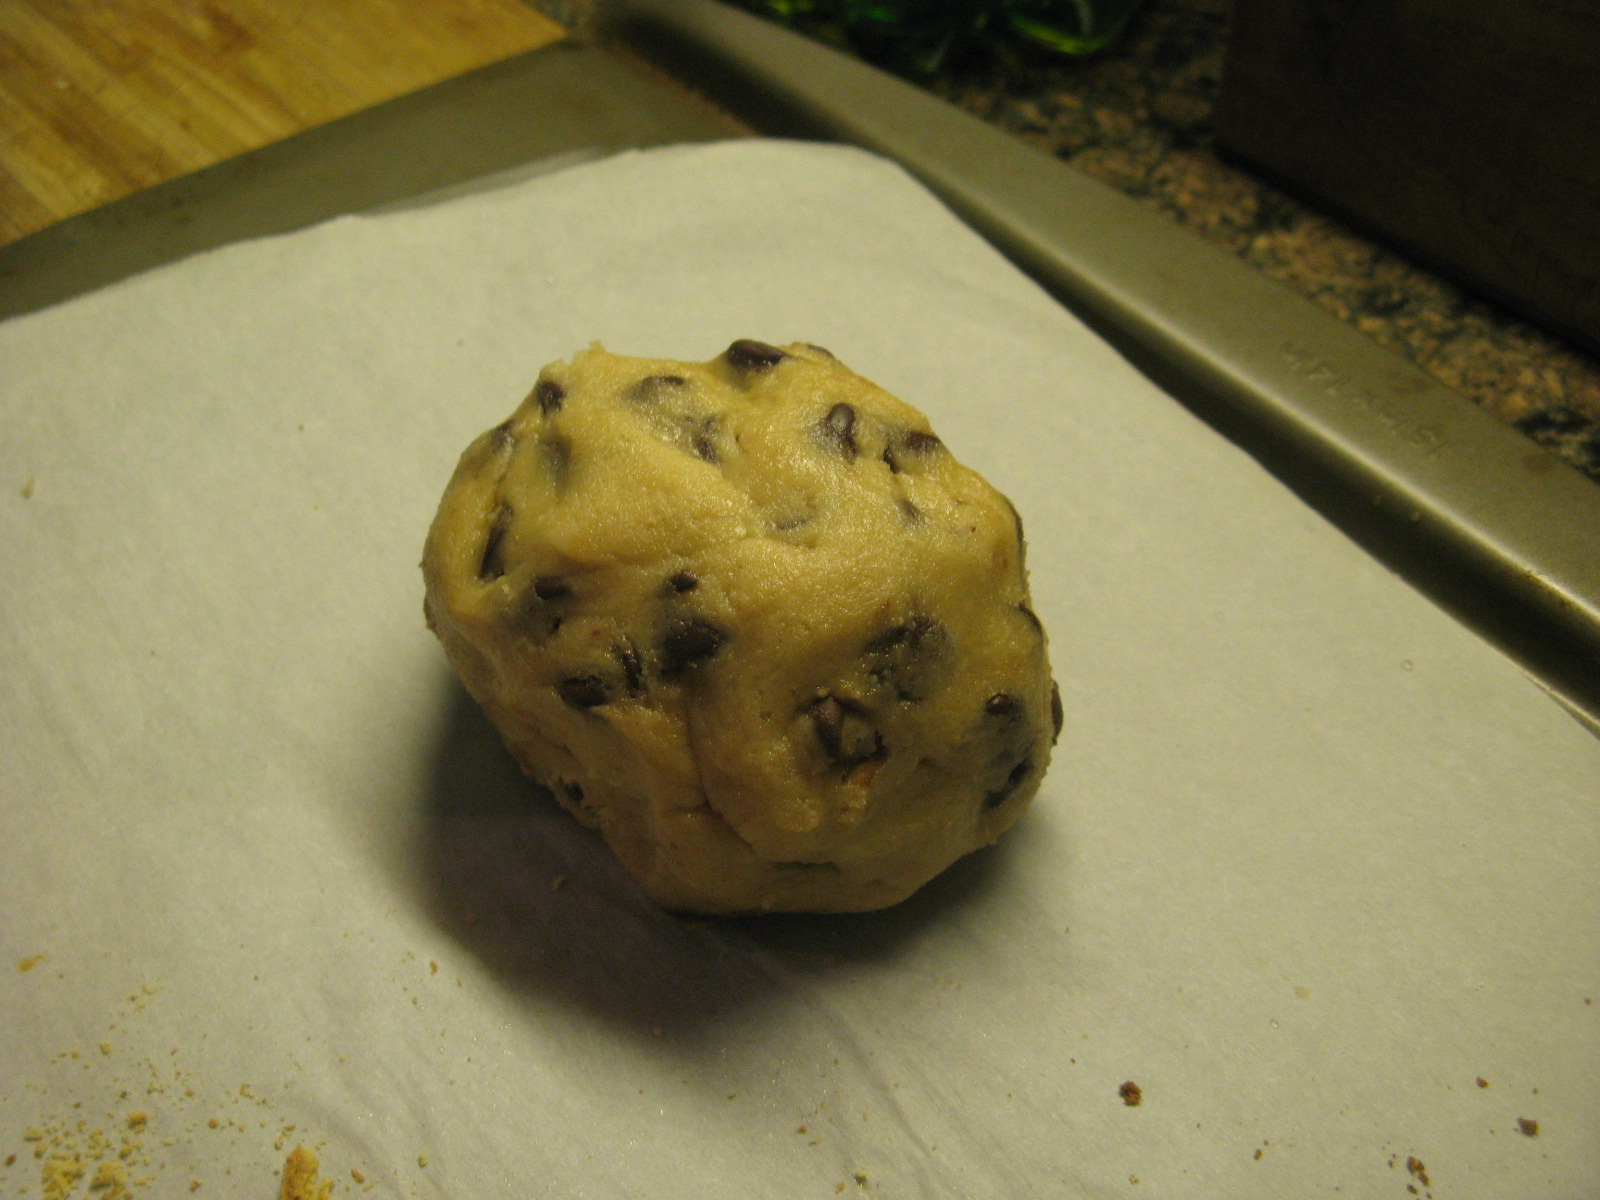
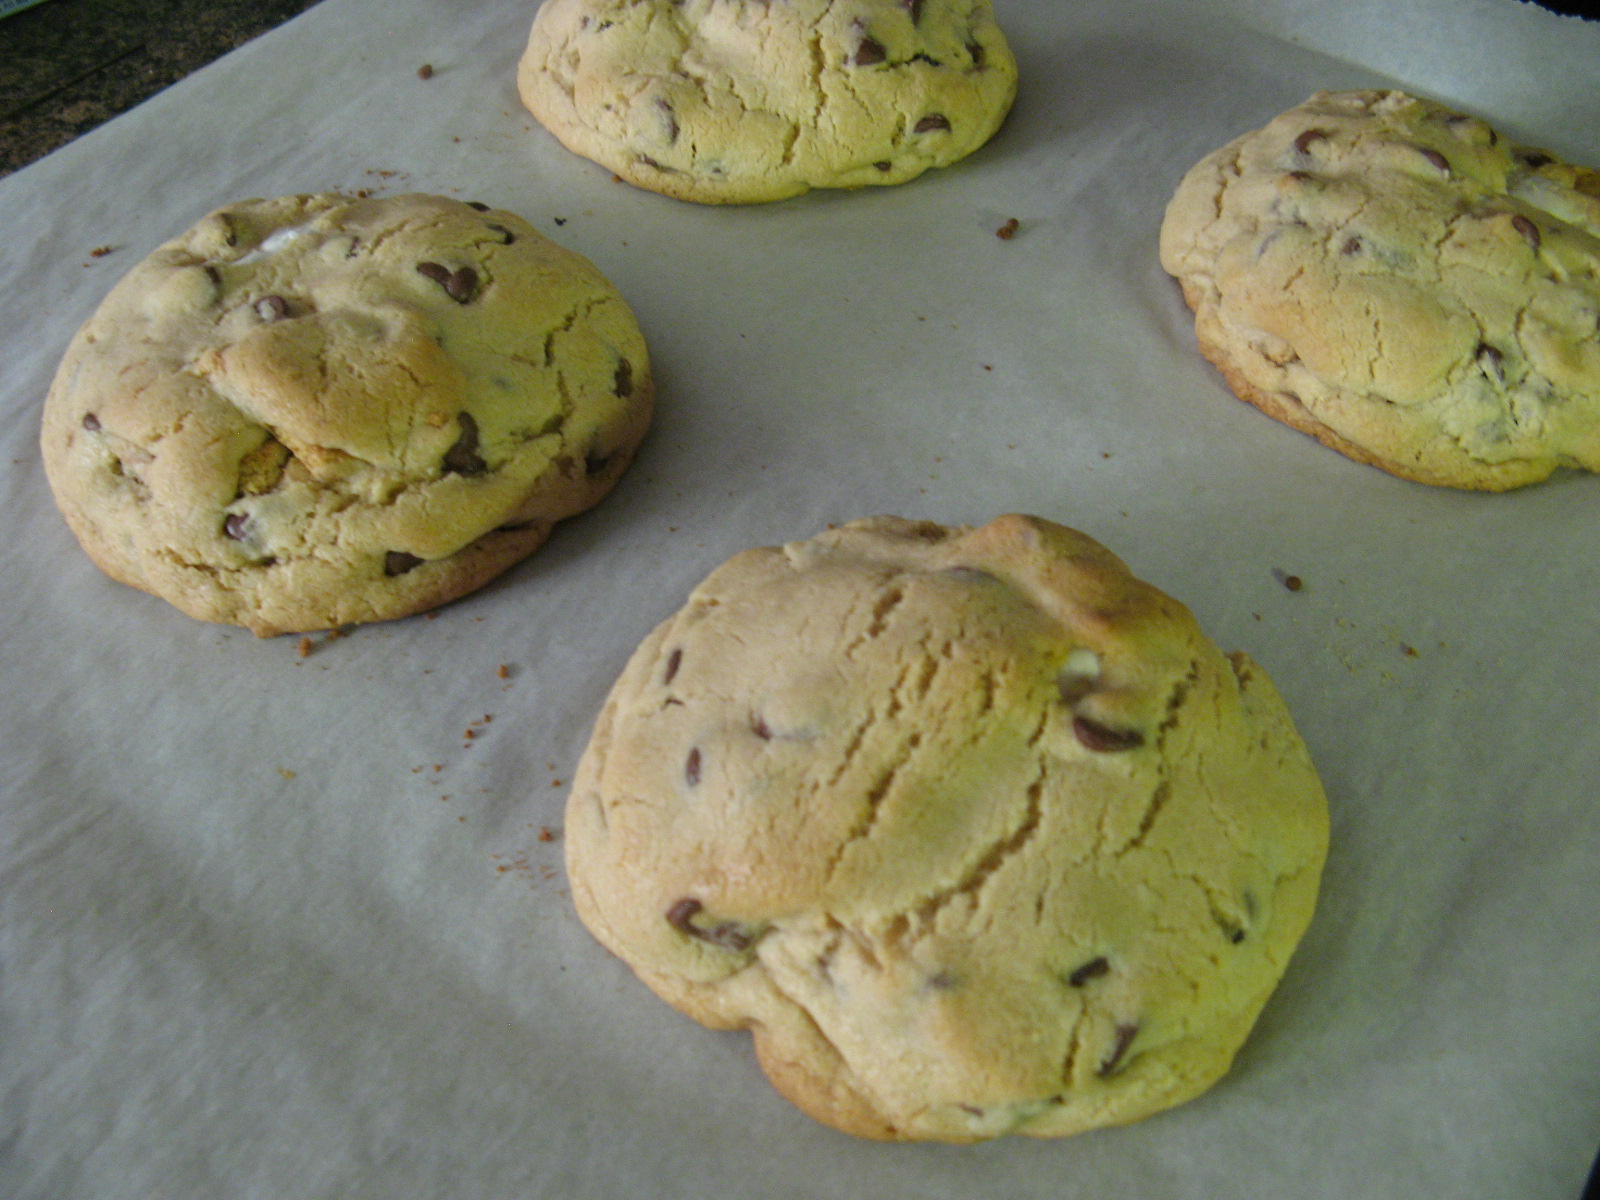
I began by prepping the dough for the cookies. In one bowl I whisked together my dry ingredients and set them aside. In another bowl I added in my wet ingredients and beat them until they were well combined. And finally I added in the flour mixture and beat the two together until they were incorporated. At this point the dough was too soft to handle so I covered and refrigerated it for a few hours. Once the dough was firm enough I added about half a cup of confectioners’ sugar to a small bowl and rolled 1-inch shaped balls (I used a cookie scoop to measure the dough) in the sugar before placing them on a cookie sheet I lined with parchment paper. Rolling the cookies in the sugar will give them a nice crinkle effect (another popular cookie around the Holiday’s) and this is reminiscent of a traditional blossom cookie that is rolled in granulated sugar prior to baking. I then baked the cookies in a 350 preheated oven for 9 minutes. While the cookies were in the oven I unwrapped the Hershey Kisses to place in the center of each of them. You need to press these into the cookies while they are still warm before the cookie set so it’s best to have them ready for when the cookies come out of the oven. They might melt a little at the bottom but as the cookie cools the Kisses will firm up again.
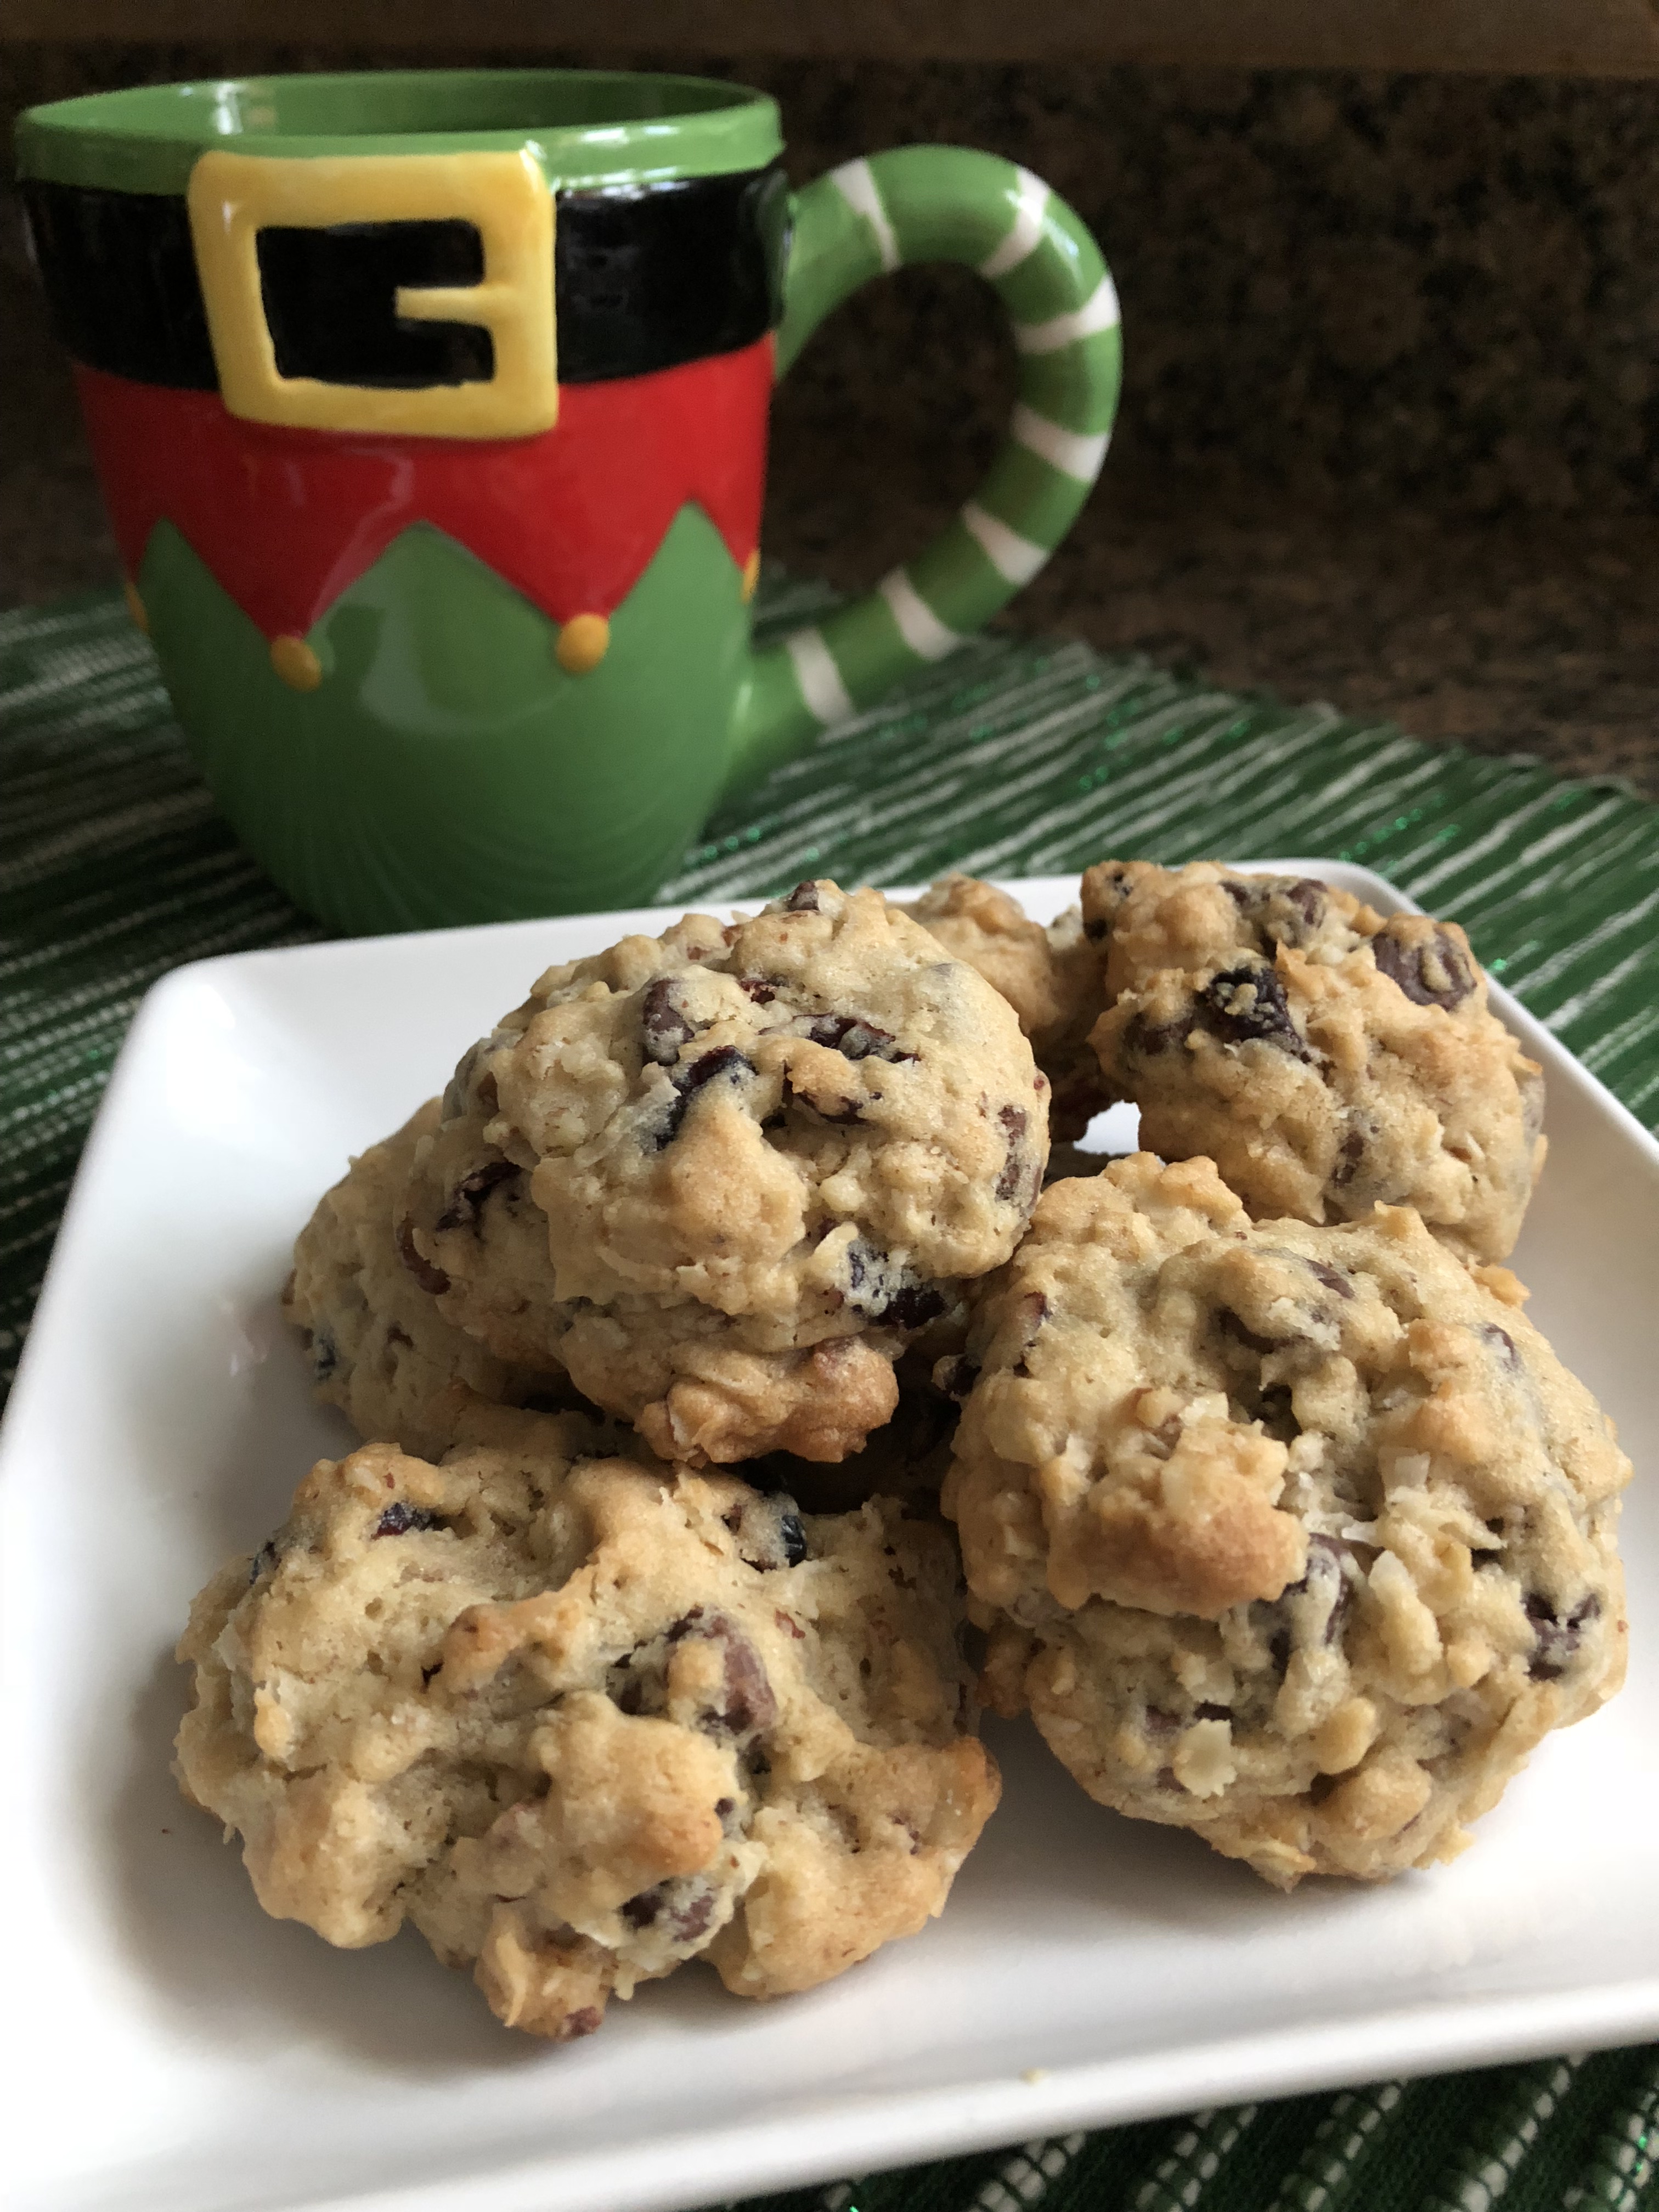
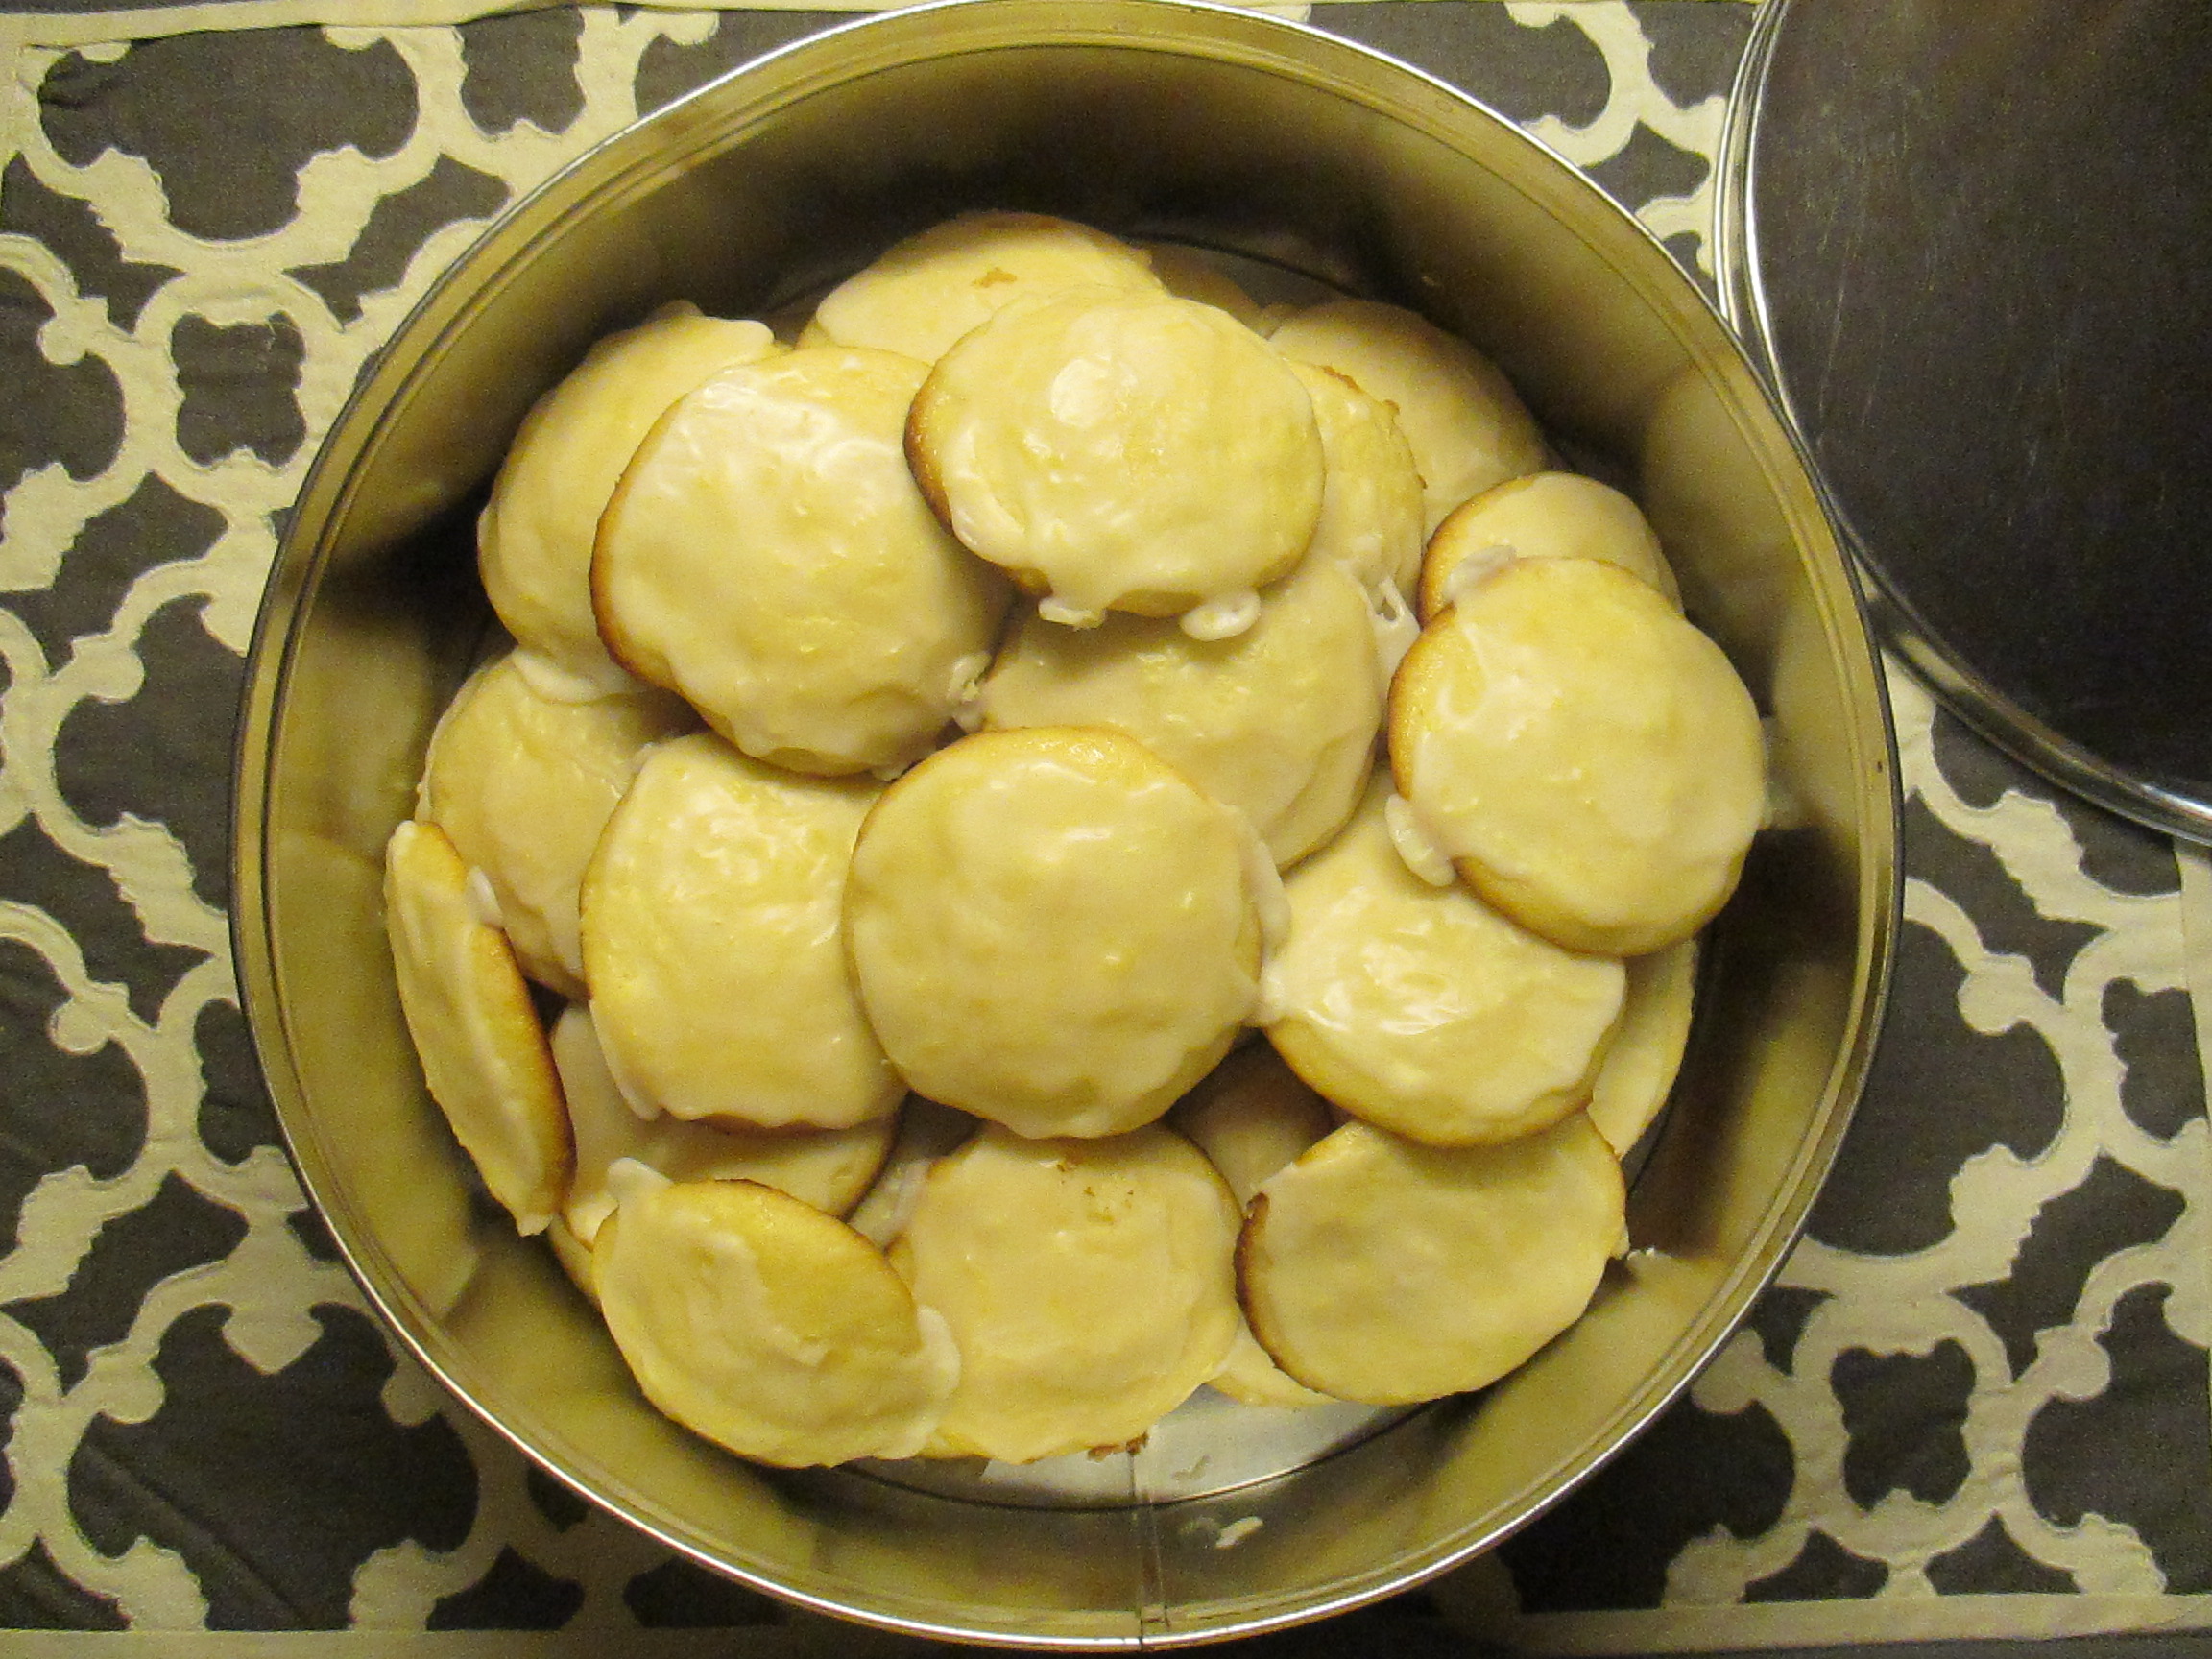
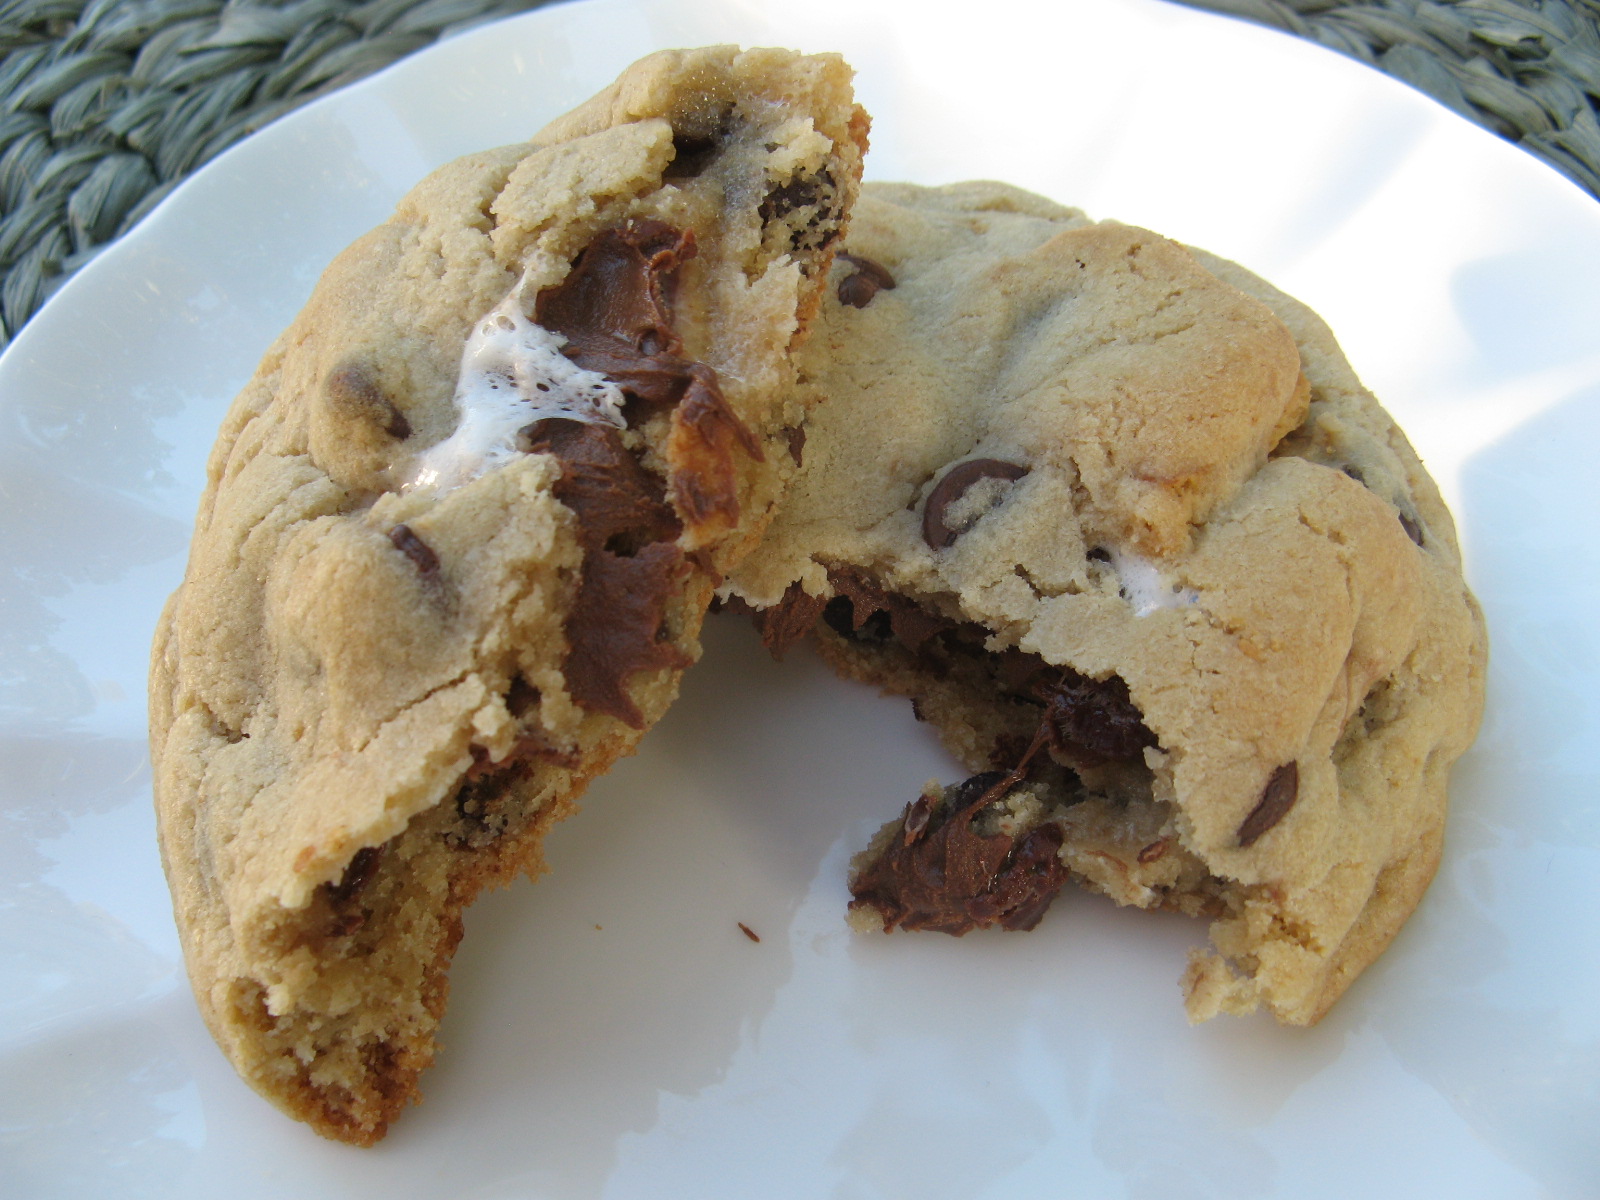
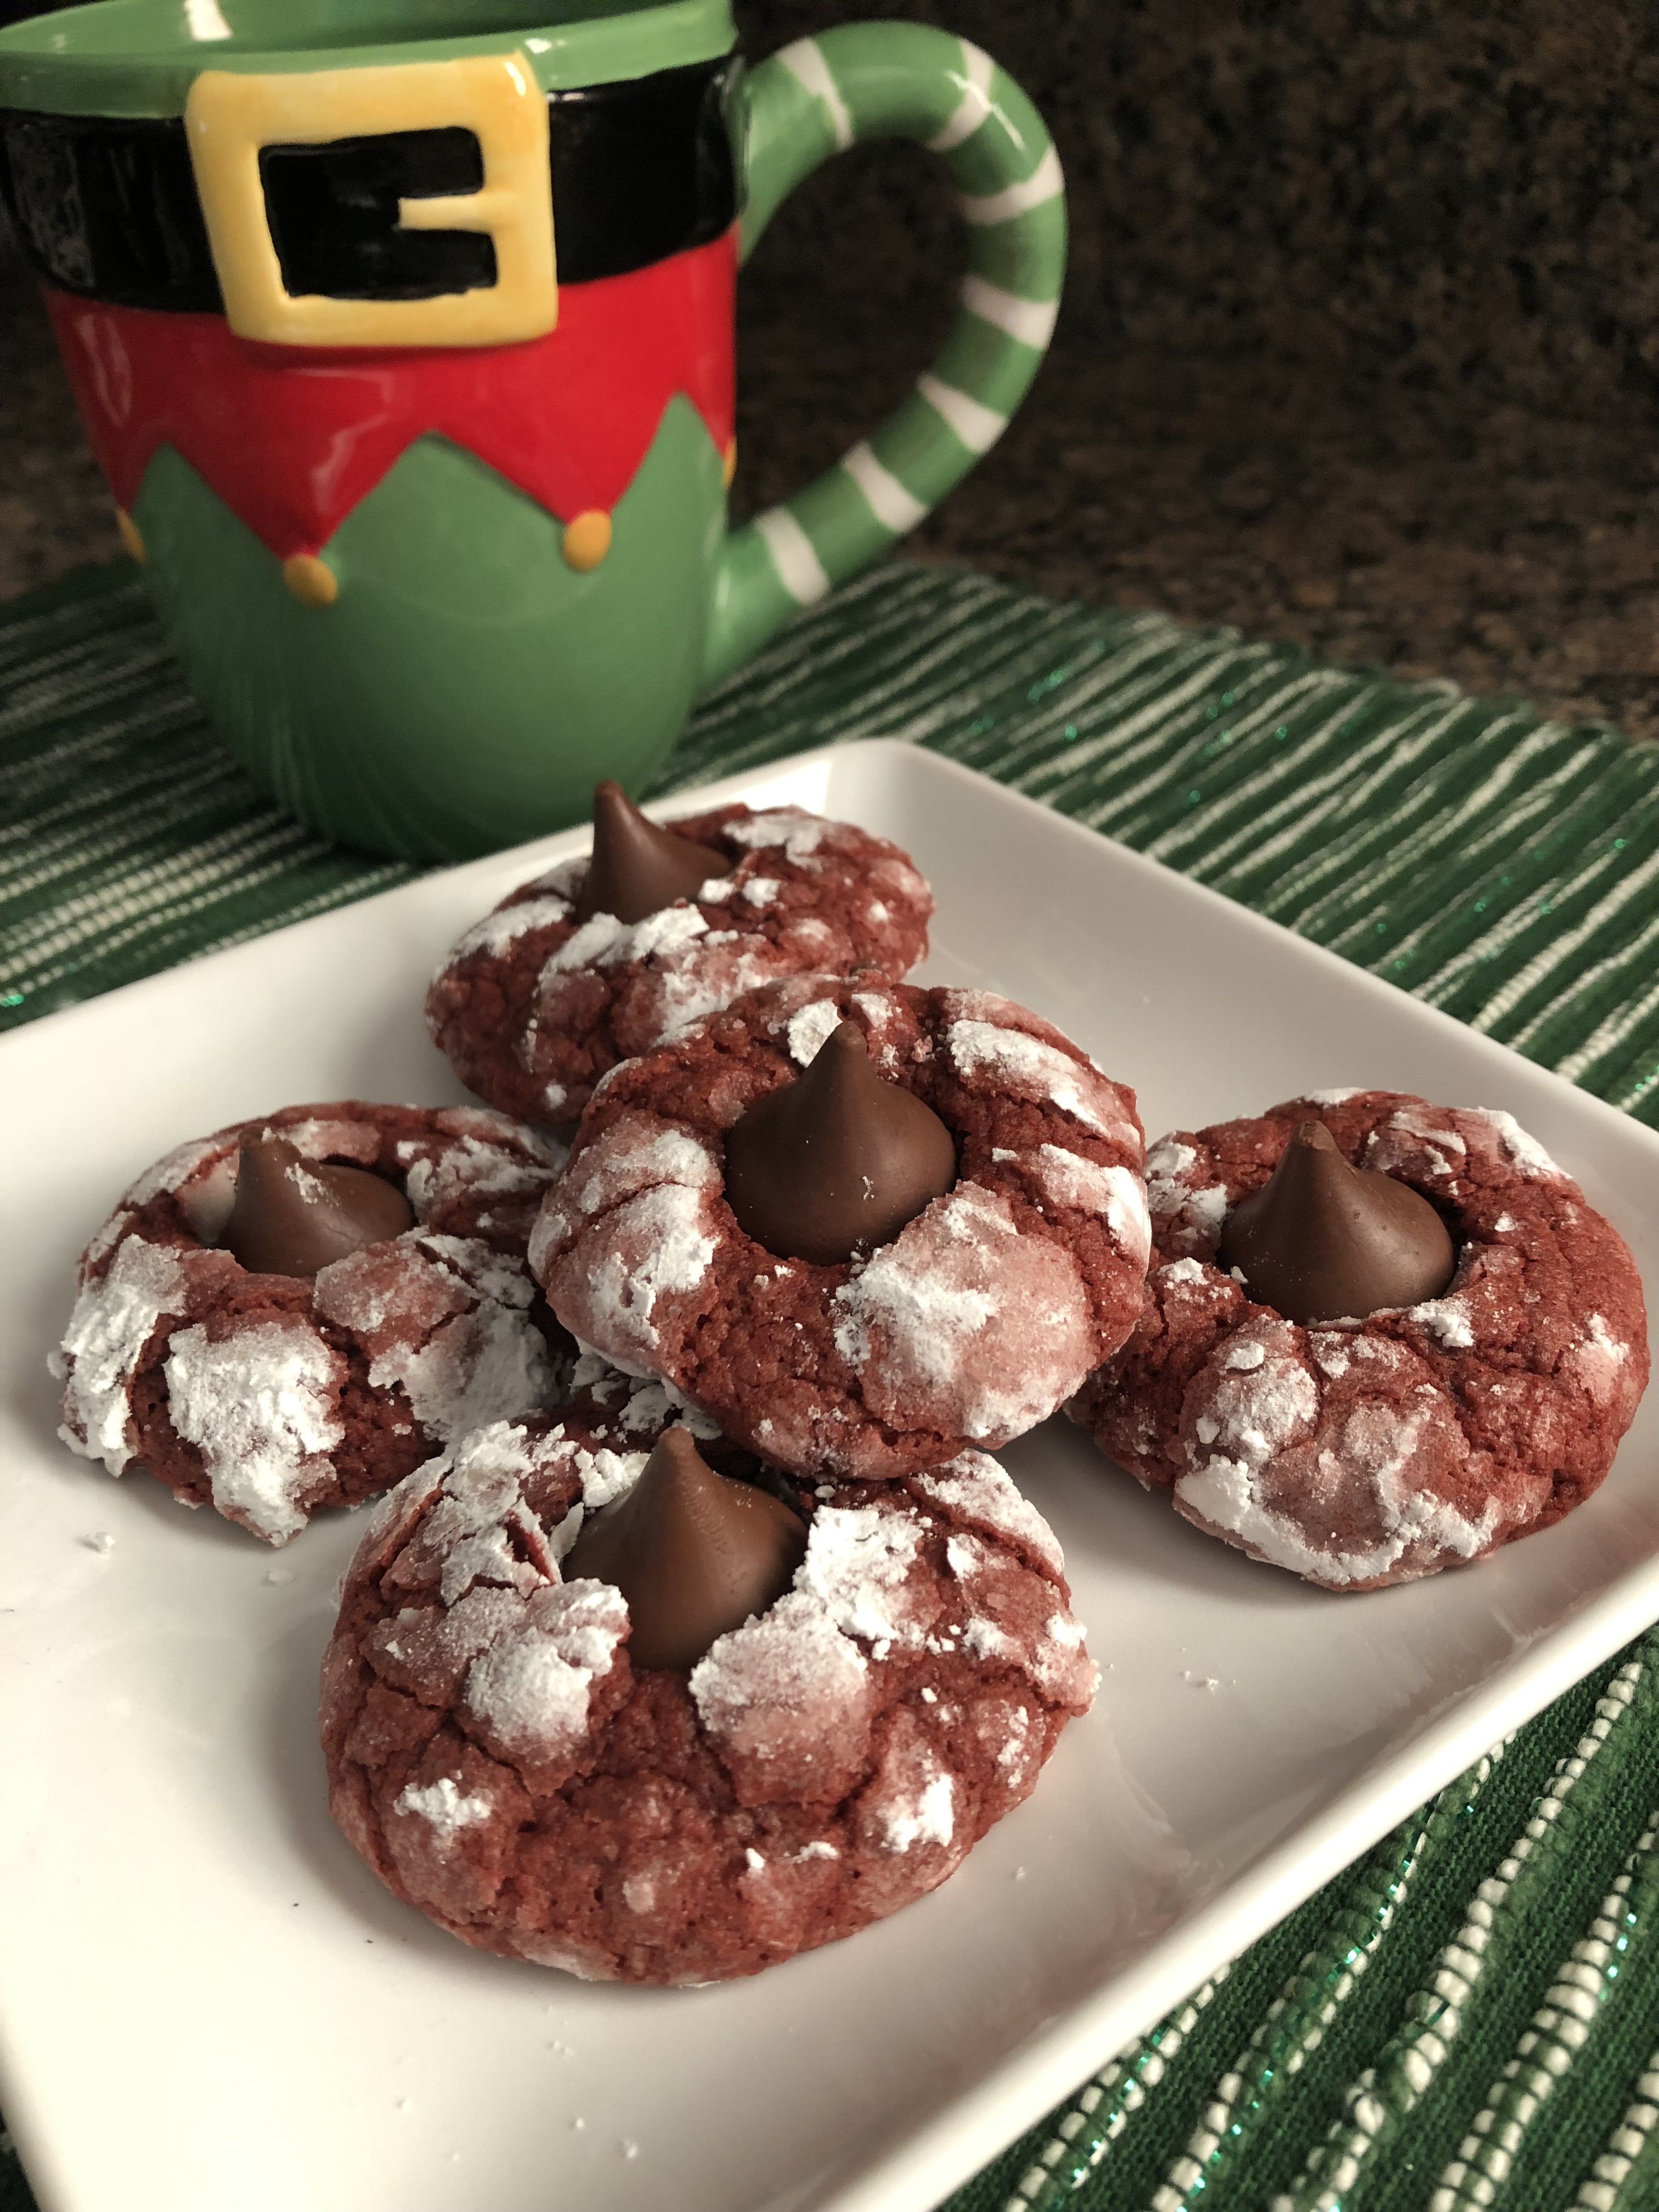
And once they cool they are a delicious cookie to enjoy with a cup of hot chocolate. Or pack up in a festive tin to give as a gift, or bring along to a Holiday cookie swap or party.
If you are feeling really festive and ambitious you could easily divide the dough in half and tint one half red and the other half green for Red & Green Velvet Blossom Cookies.
Red Velvet Blossom Cookies
Ingredients:
1 3/4 cups flour
1/3 cup unsweetened cocoa powder
1 1/2 teaspoons baking powder
1/2 cup unsalted butter, at room temperature
3/4 cup light brown sugar
1/2 cup sugar
1/2 teaspoon salt
2 large eggs
2 teaspoons vanilla extract
1/2 teaspoon red gel food coloring
1/2 cup confectioners’ sugar, more as needed
Milk Chocolate Hershey Kisses
Directions:
In a medium bowl whisk together the flour, cocoa powder and baking powder and set aside.
Using a handheld mixer, combine the butter, both sugars, and salt in a large bowl and beat on medium speed until creamy. Add in the eggs, vanilla extract and food coloring and continue beating until the ingredients are well combined. Add in the flour and beat on low speed until mixed in. Cover and refrigerate until firm, at least two hours.
Preheat the oven to 350 F and line two cookie sheets with parchment paper. Place confectioners’ sugar in a small bowl. Unwrap the Hershey Kisses and set aside,
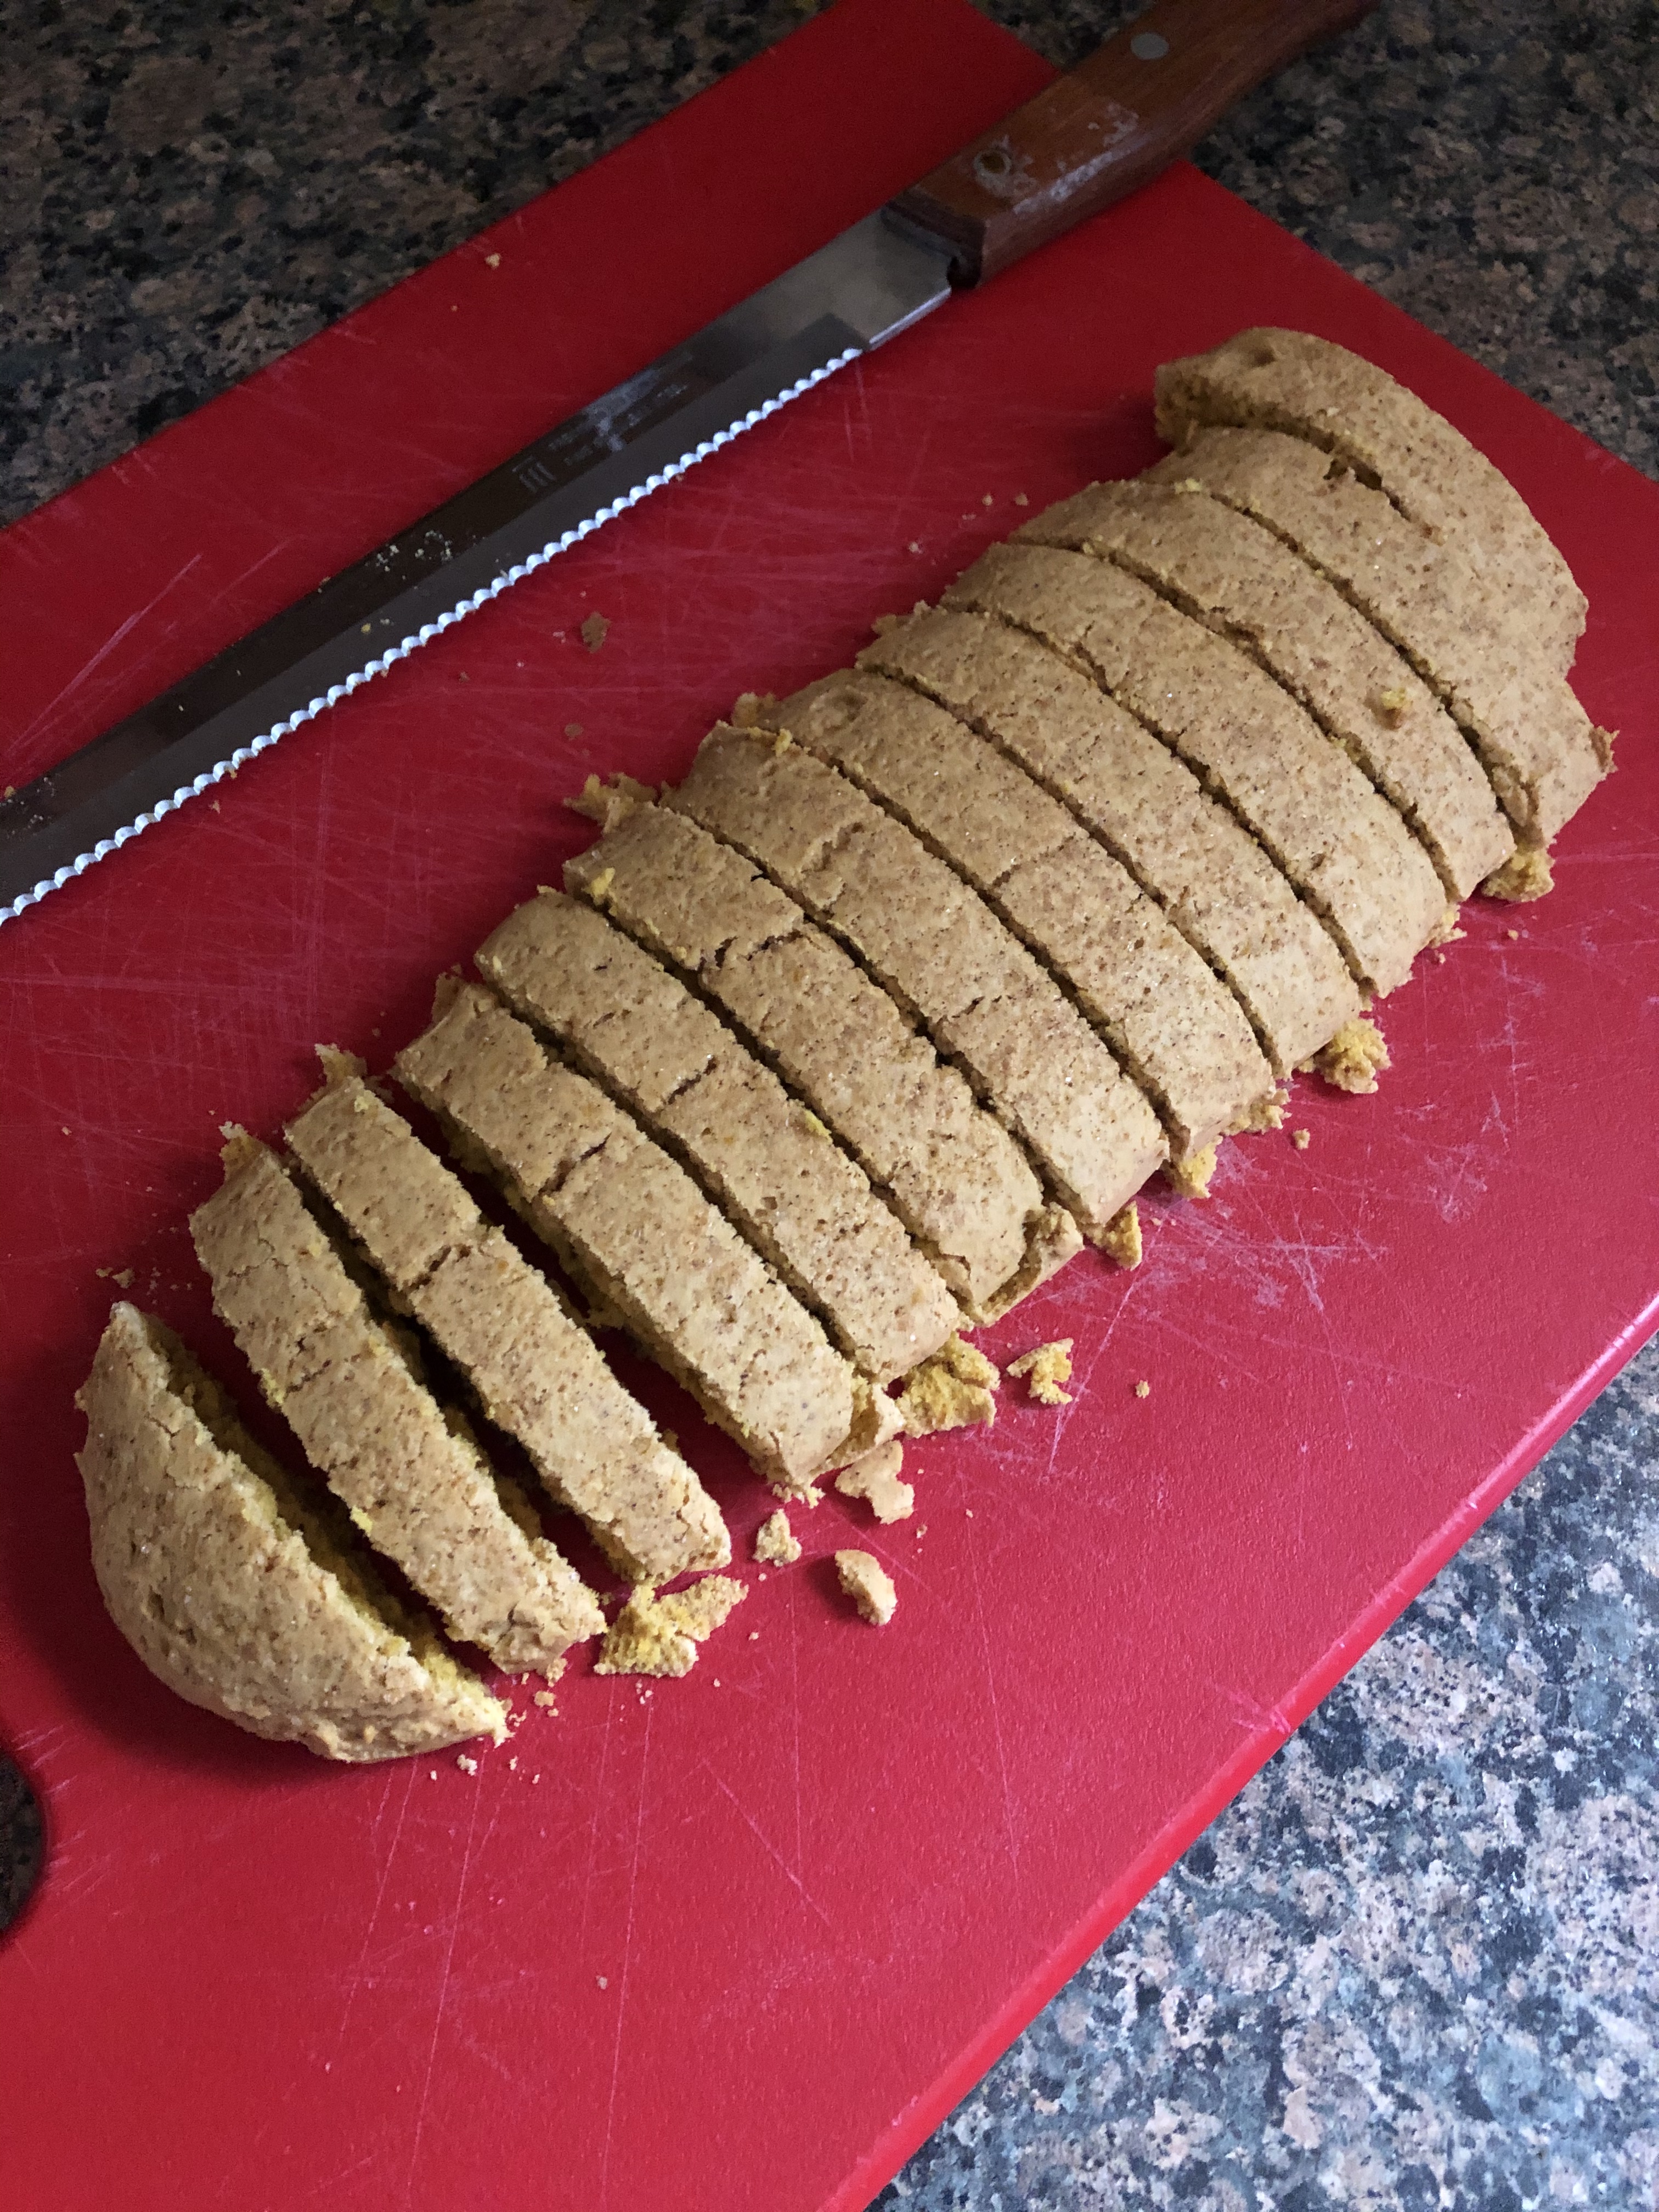
Using a cookie scoop shape the dough into 1-inch balls. Roll in the confectioners’ sugar and then place on the prepared cookie sheets about 2 inches apart. Bake in the preheated oven for 9 to 10 minutes, untilt the edges of the cookies are set. Remove from the oven and immediately place an unwrapped Hershey Kiss in the center of each cookie and then transfer to a wire rack to cool completely.
Recipe from Land O Lakes