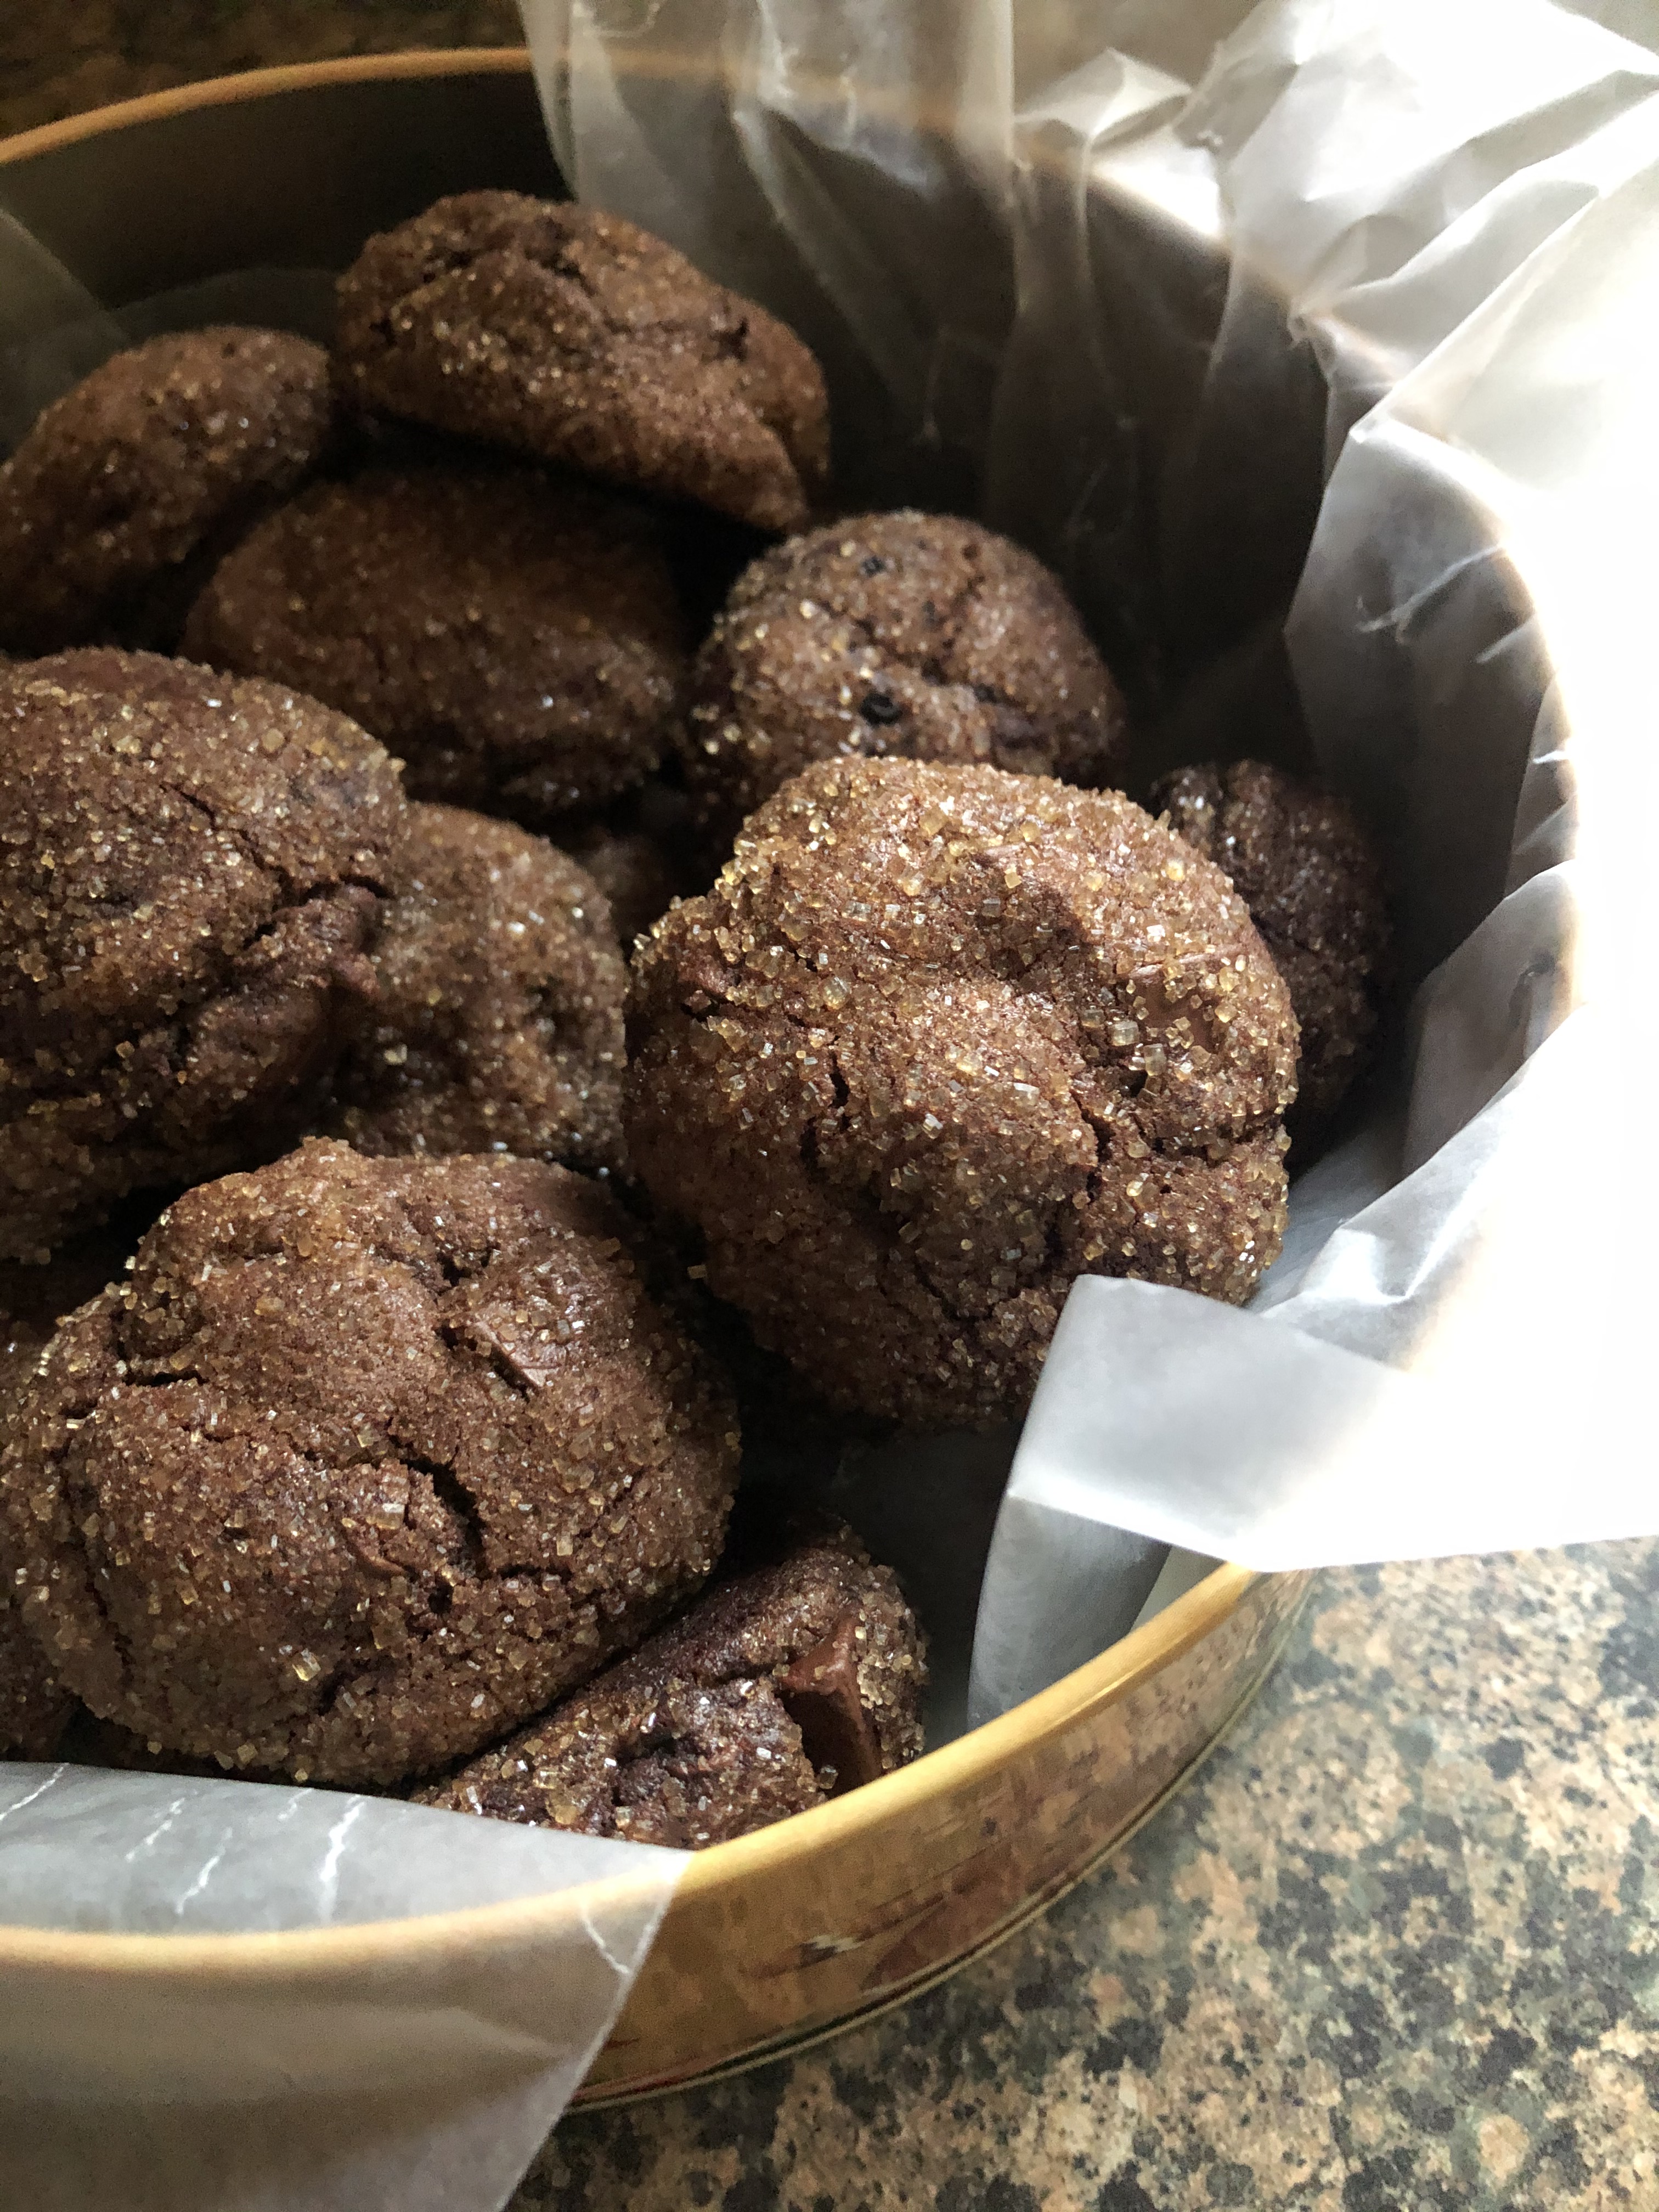
While peppermint gets all the glory during this time of the year there are other flavors and ingredients that are reminiscent of the season. Cranberries for one. While the sweetened dried ones and the canned jellied version can be found in your supermarket year-round, it’s this time of the year when those fresh tart berries pop up in your grocery section. And while most nuts are popular around this time due to gift baskets, those roasted chestnuts and so forth it’s pecans that really make the rounds thanks to Pecan Pie. So, I decided to combine the two – cranberries and pecans – for today’s Cookie Palooza cookie with a Cranberry Pecan Cookie that also has some chocolate in it.

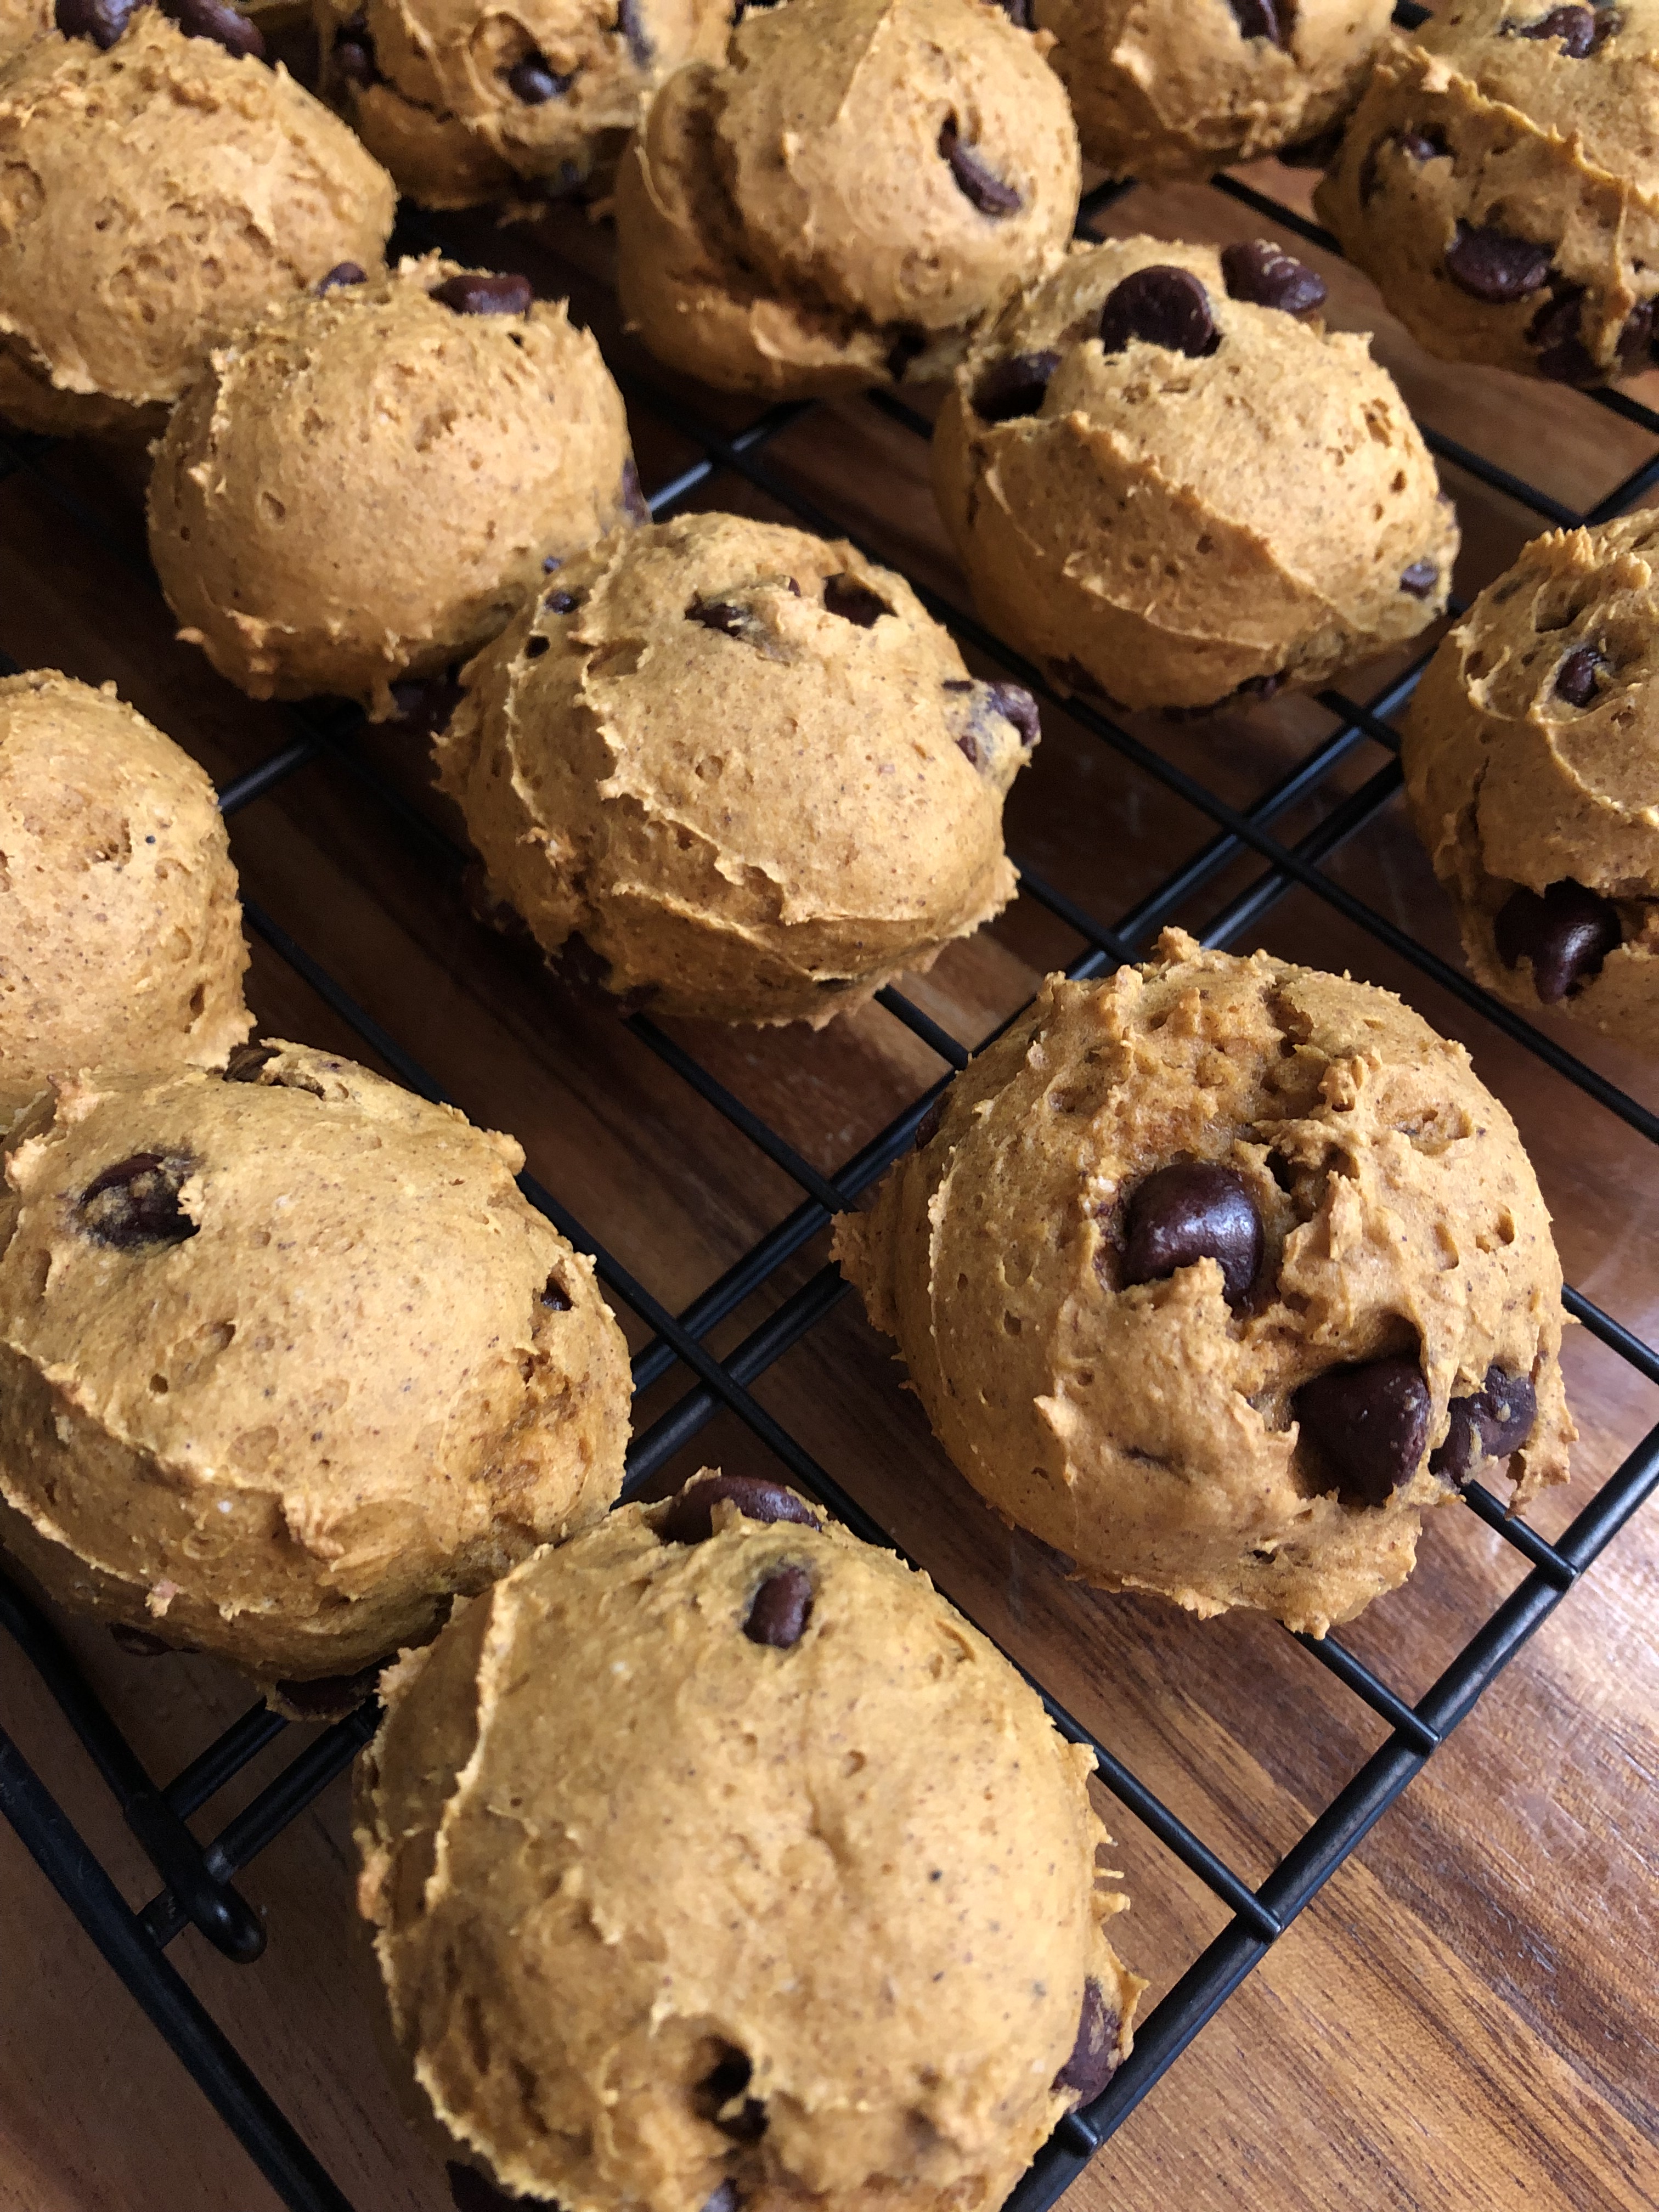
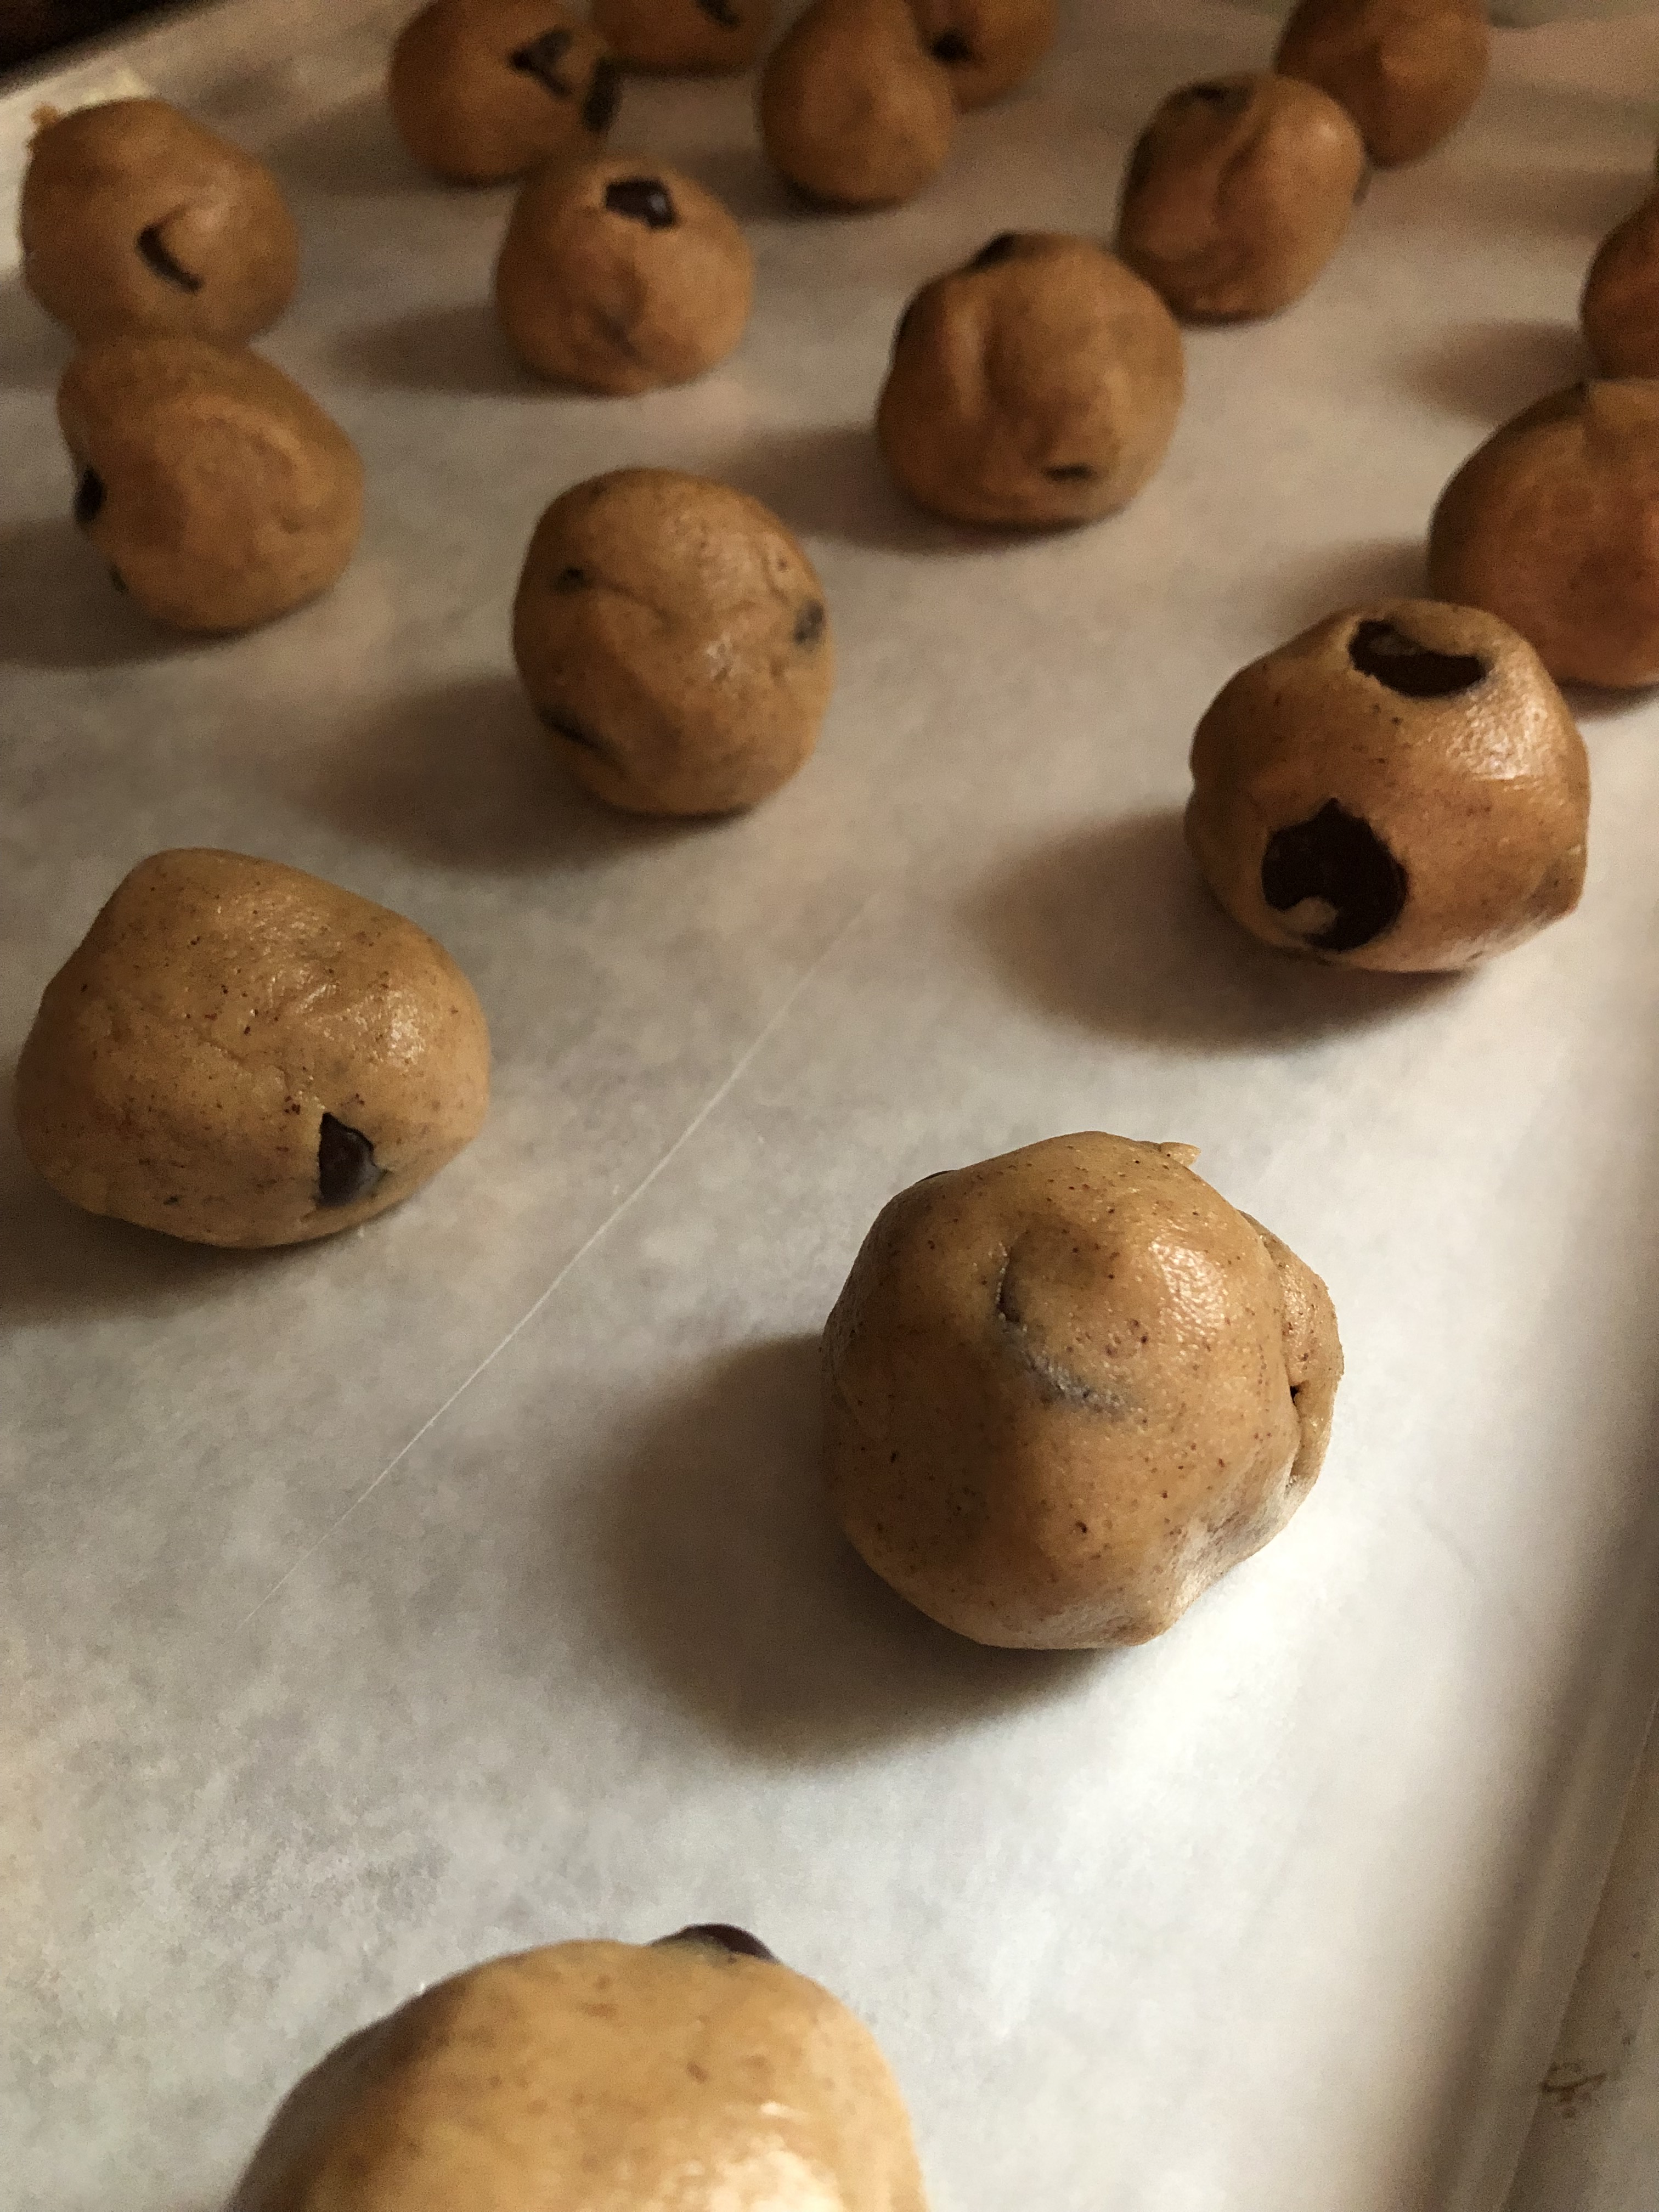
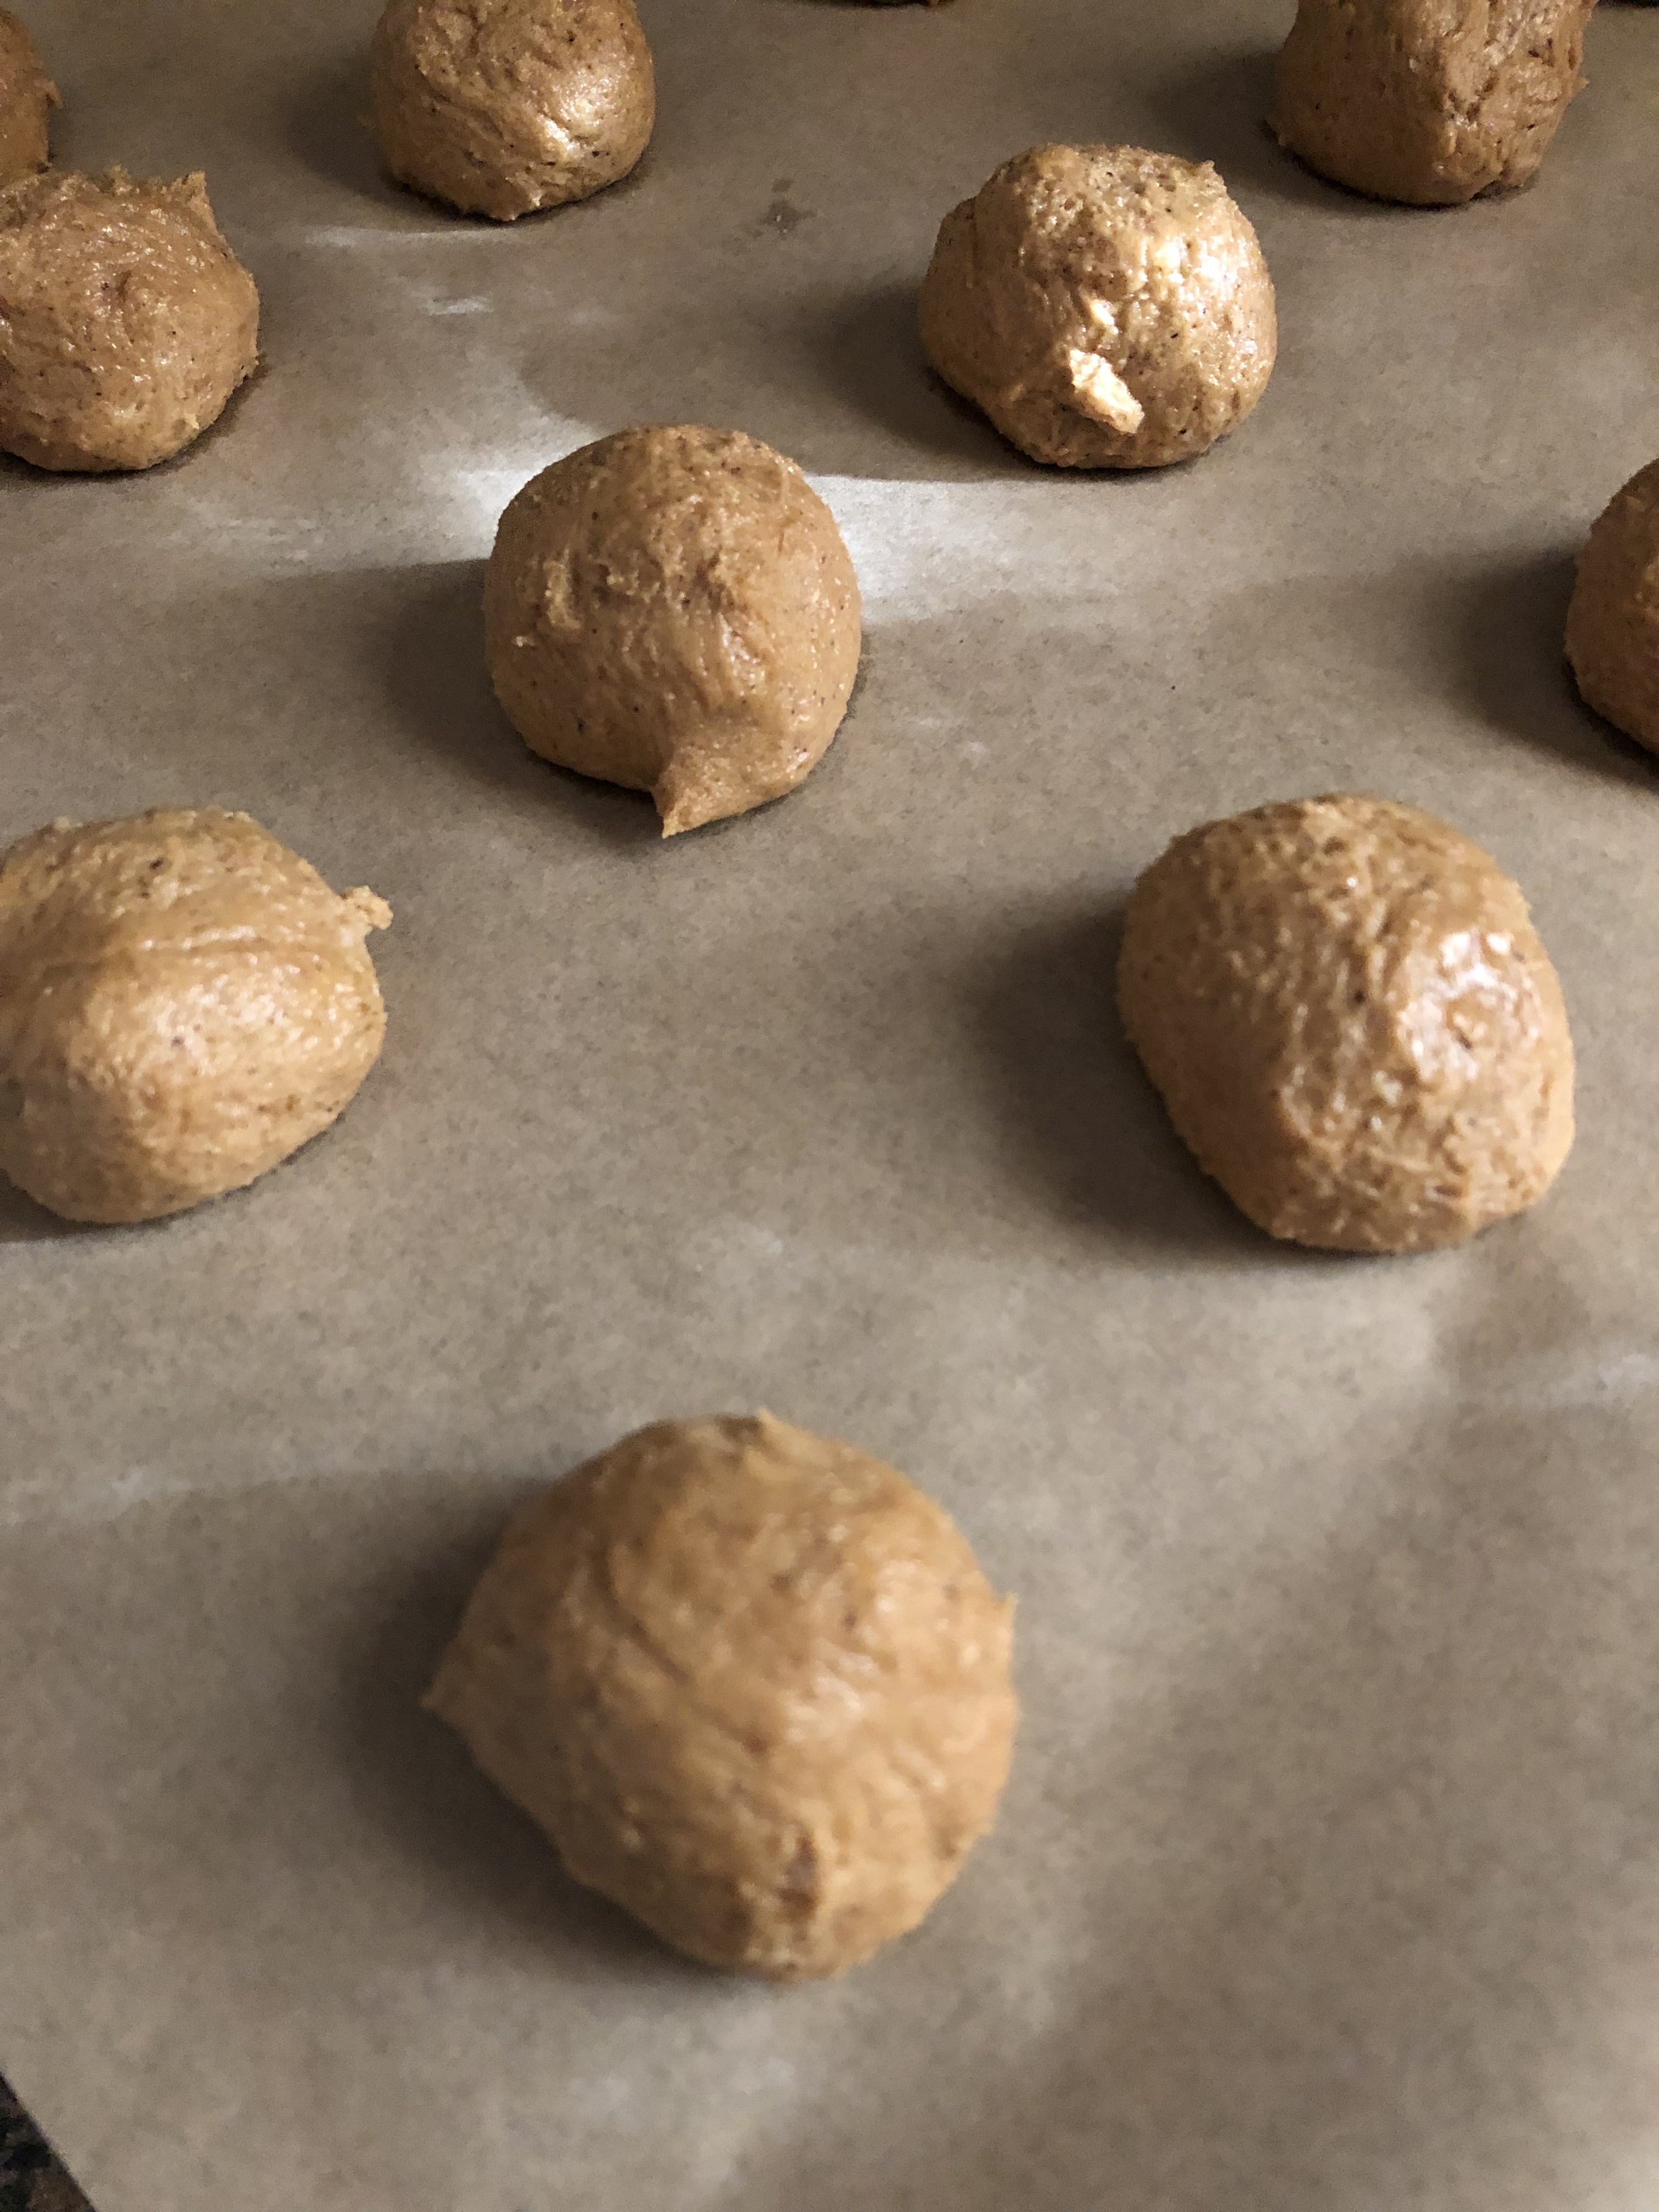
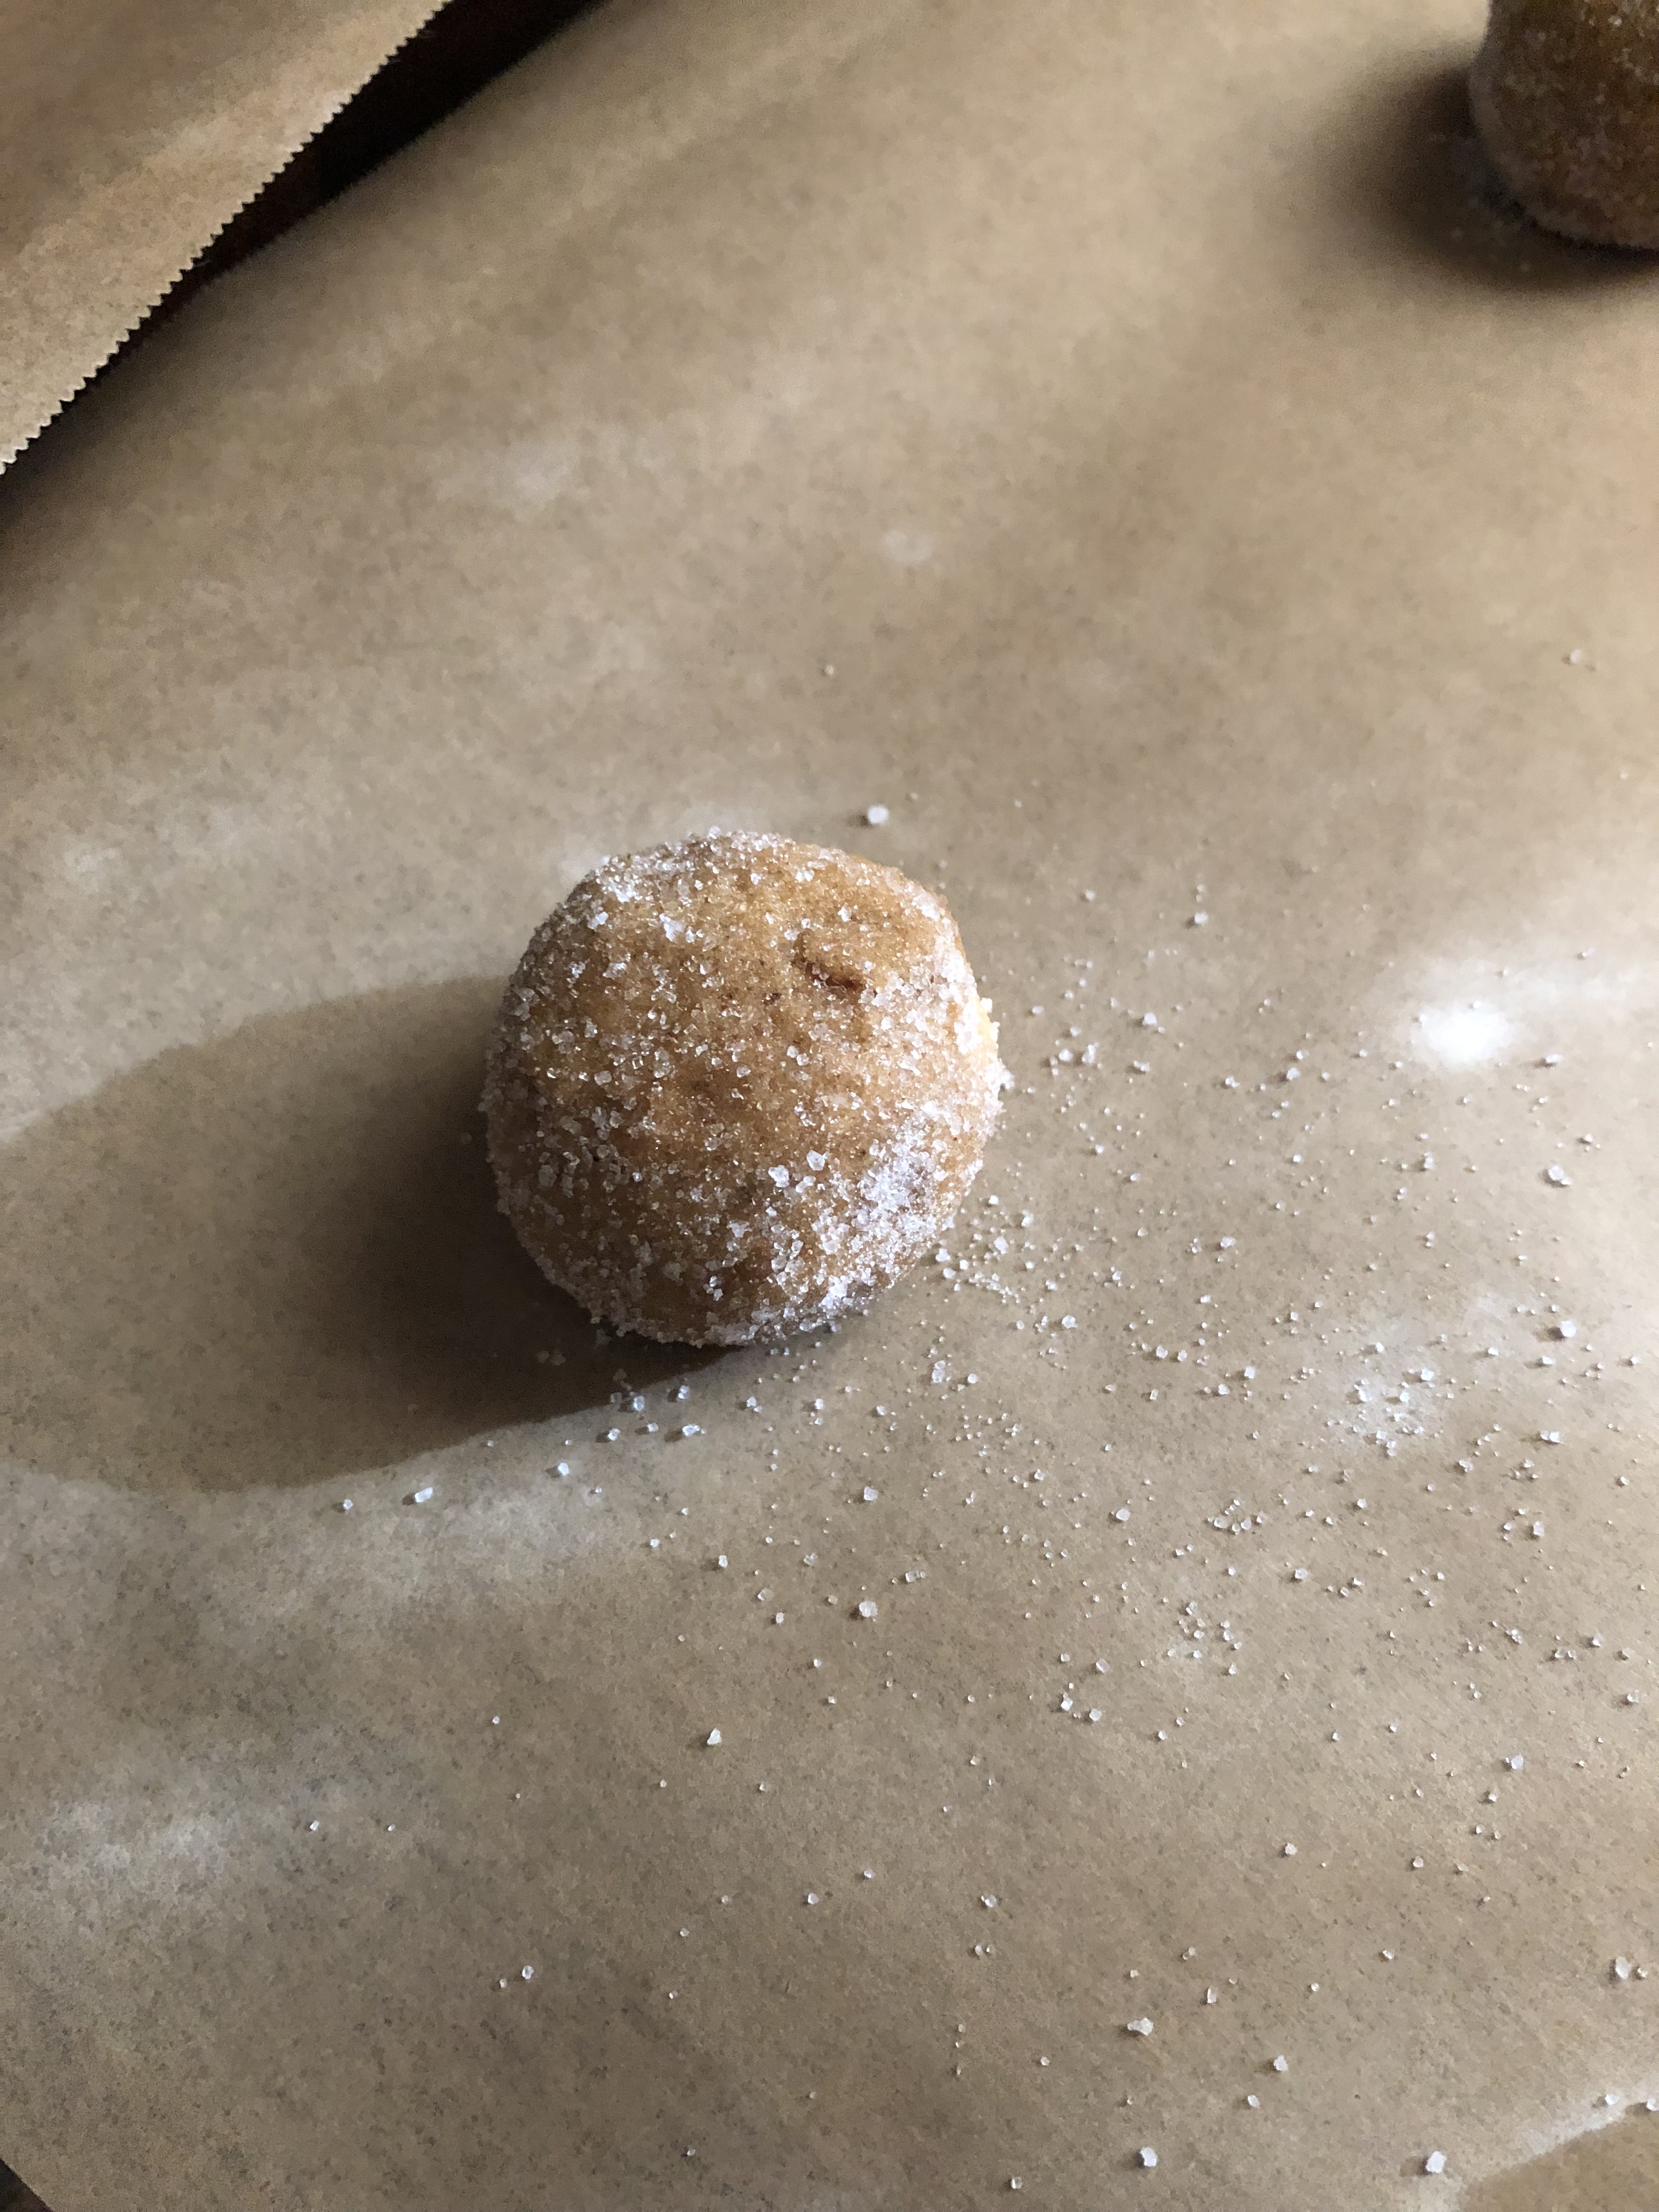
These cookies are pretty straightforward to make. Start off by creaming together the butter and sugars, add the eggs and then the vanilla extract. Whisk the dry ingredients separately and then add it to the butter mixture and finally stir in the add-ins; the dried cranberries, chopped pecans and chocolate chips. If you like your cookies to be a little nuttier feel free to add in more pecans. And one thing I have started doing is refrigerating my cookie dough before scooping and baking. I didn’t want to struggle to scoop my dough, so I refrigerated it for only 30 minutes. Enough to get it chilled, but still soft enough to easily scoop with a cookie scoop.

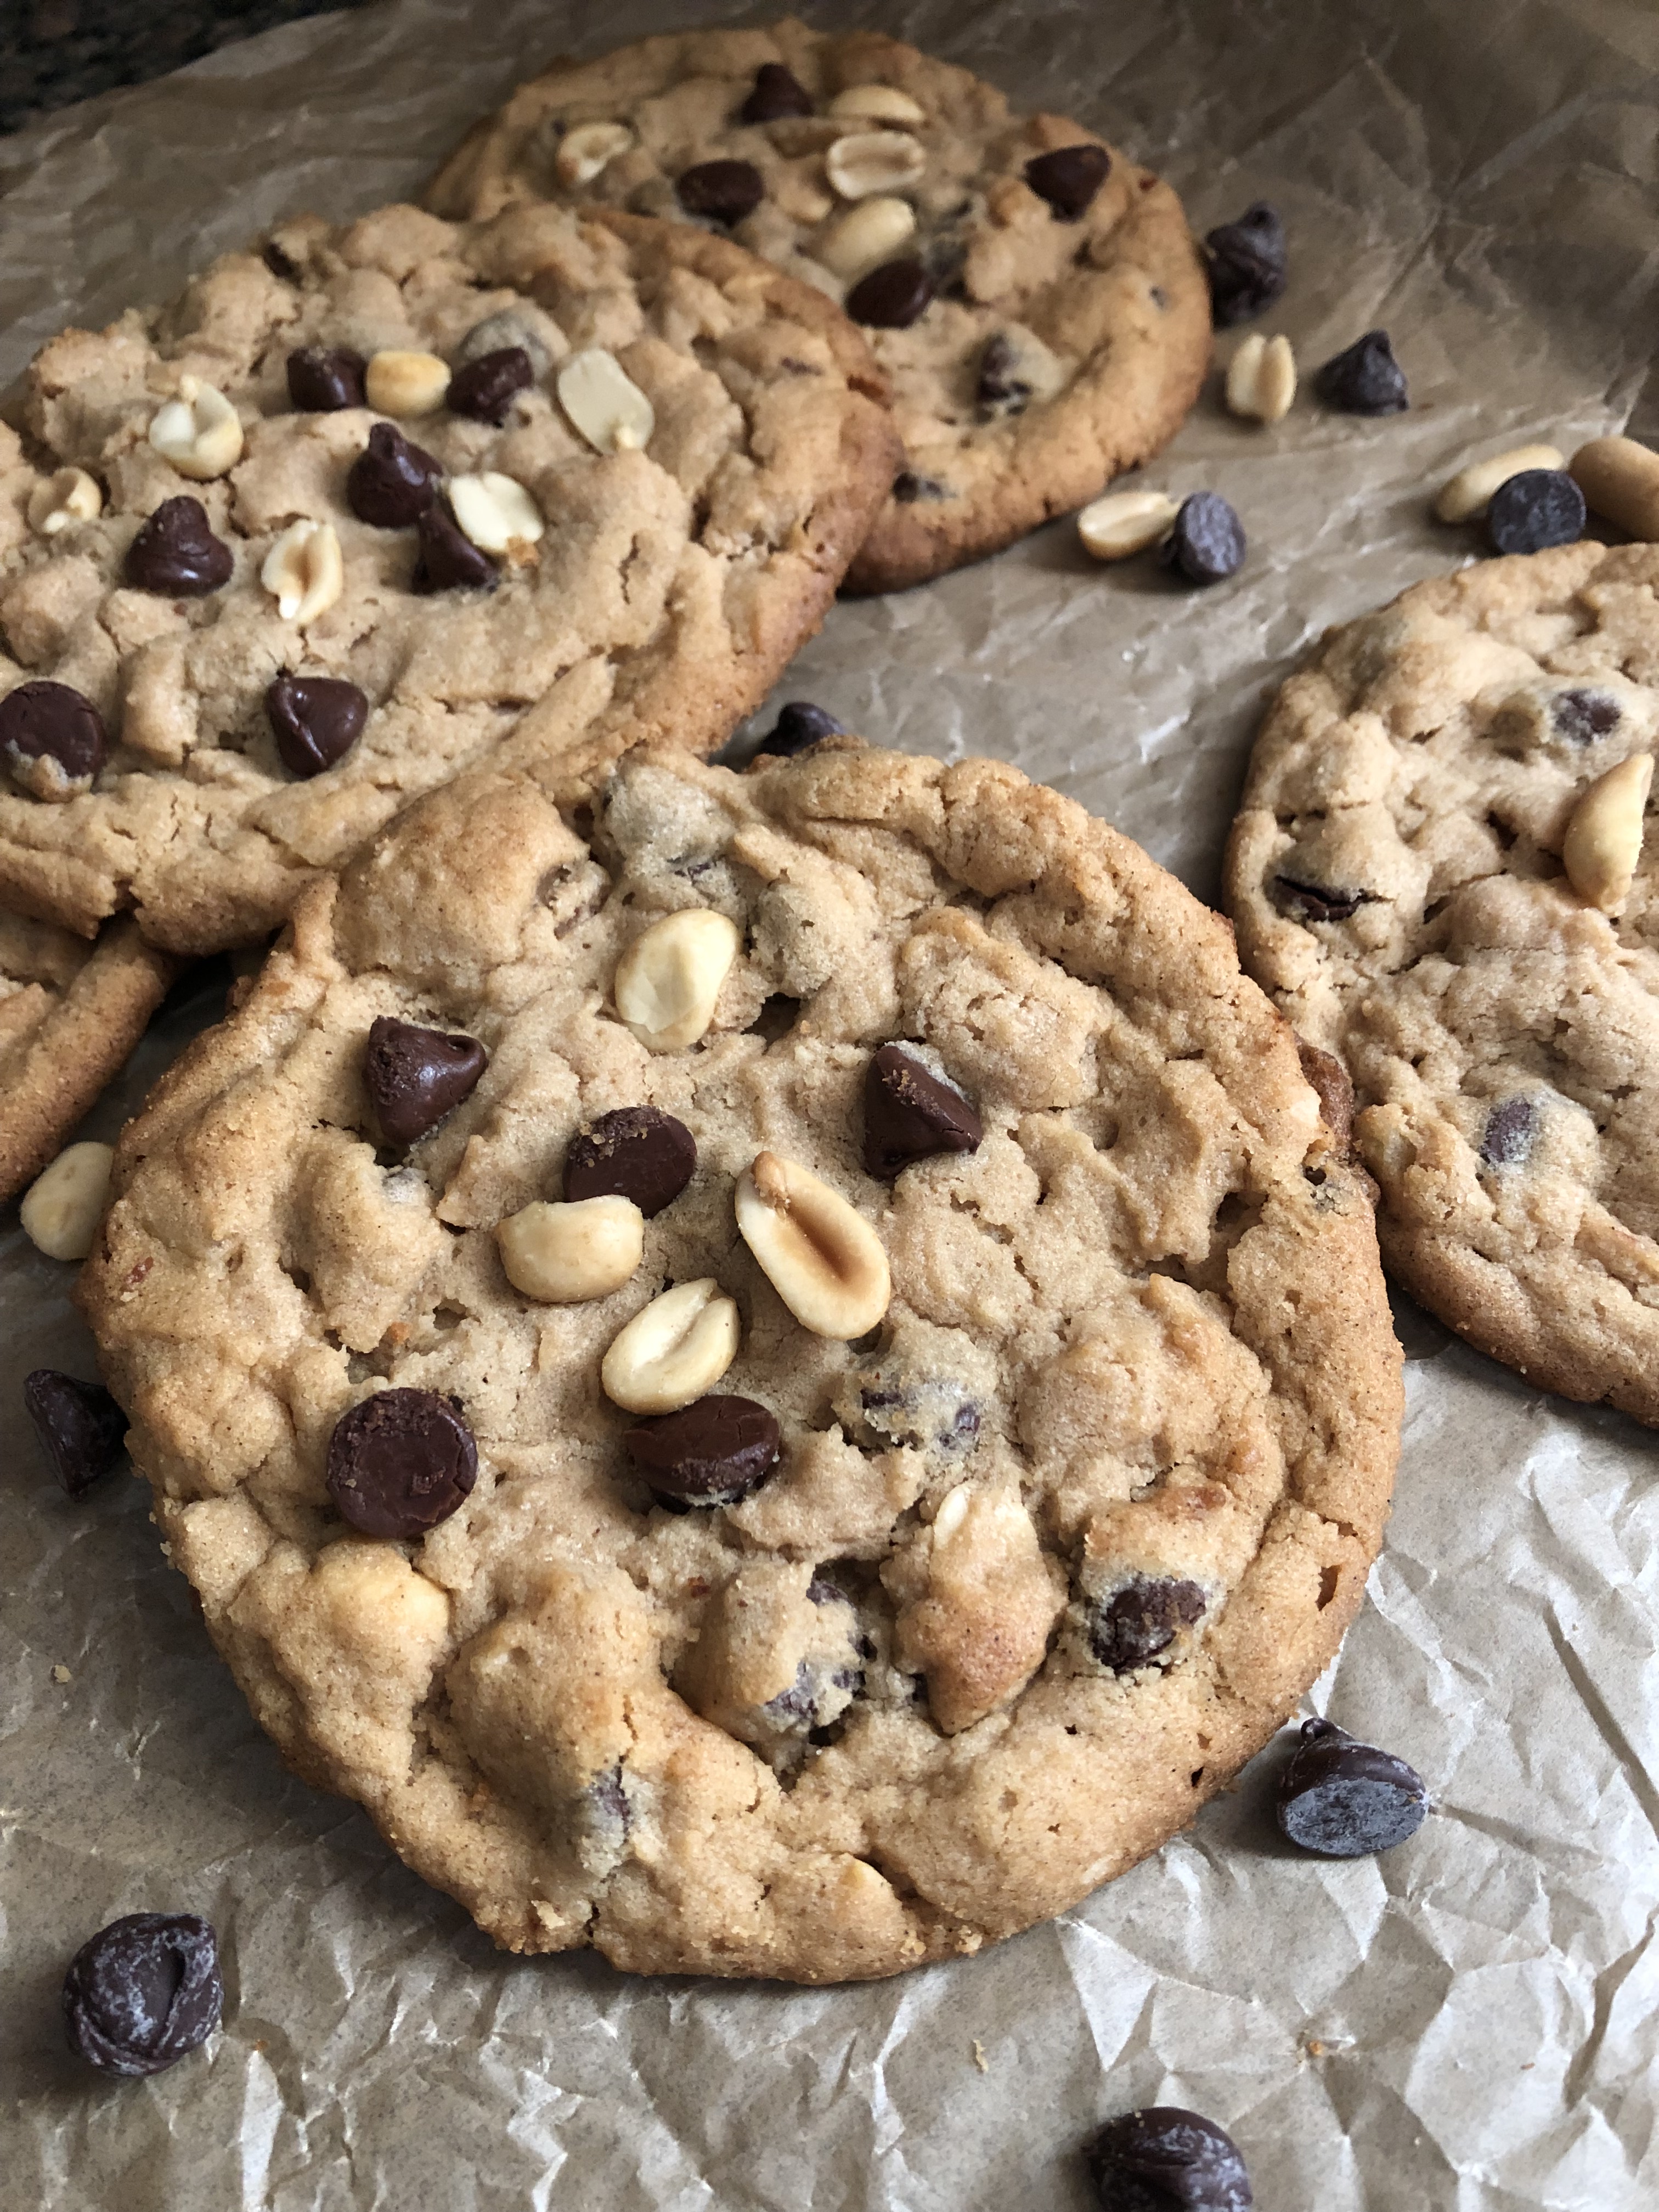
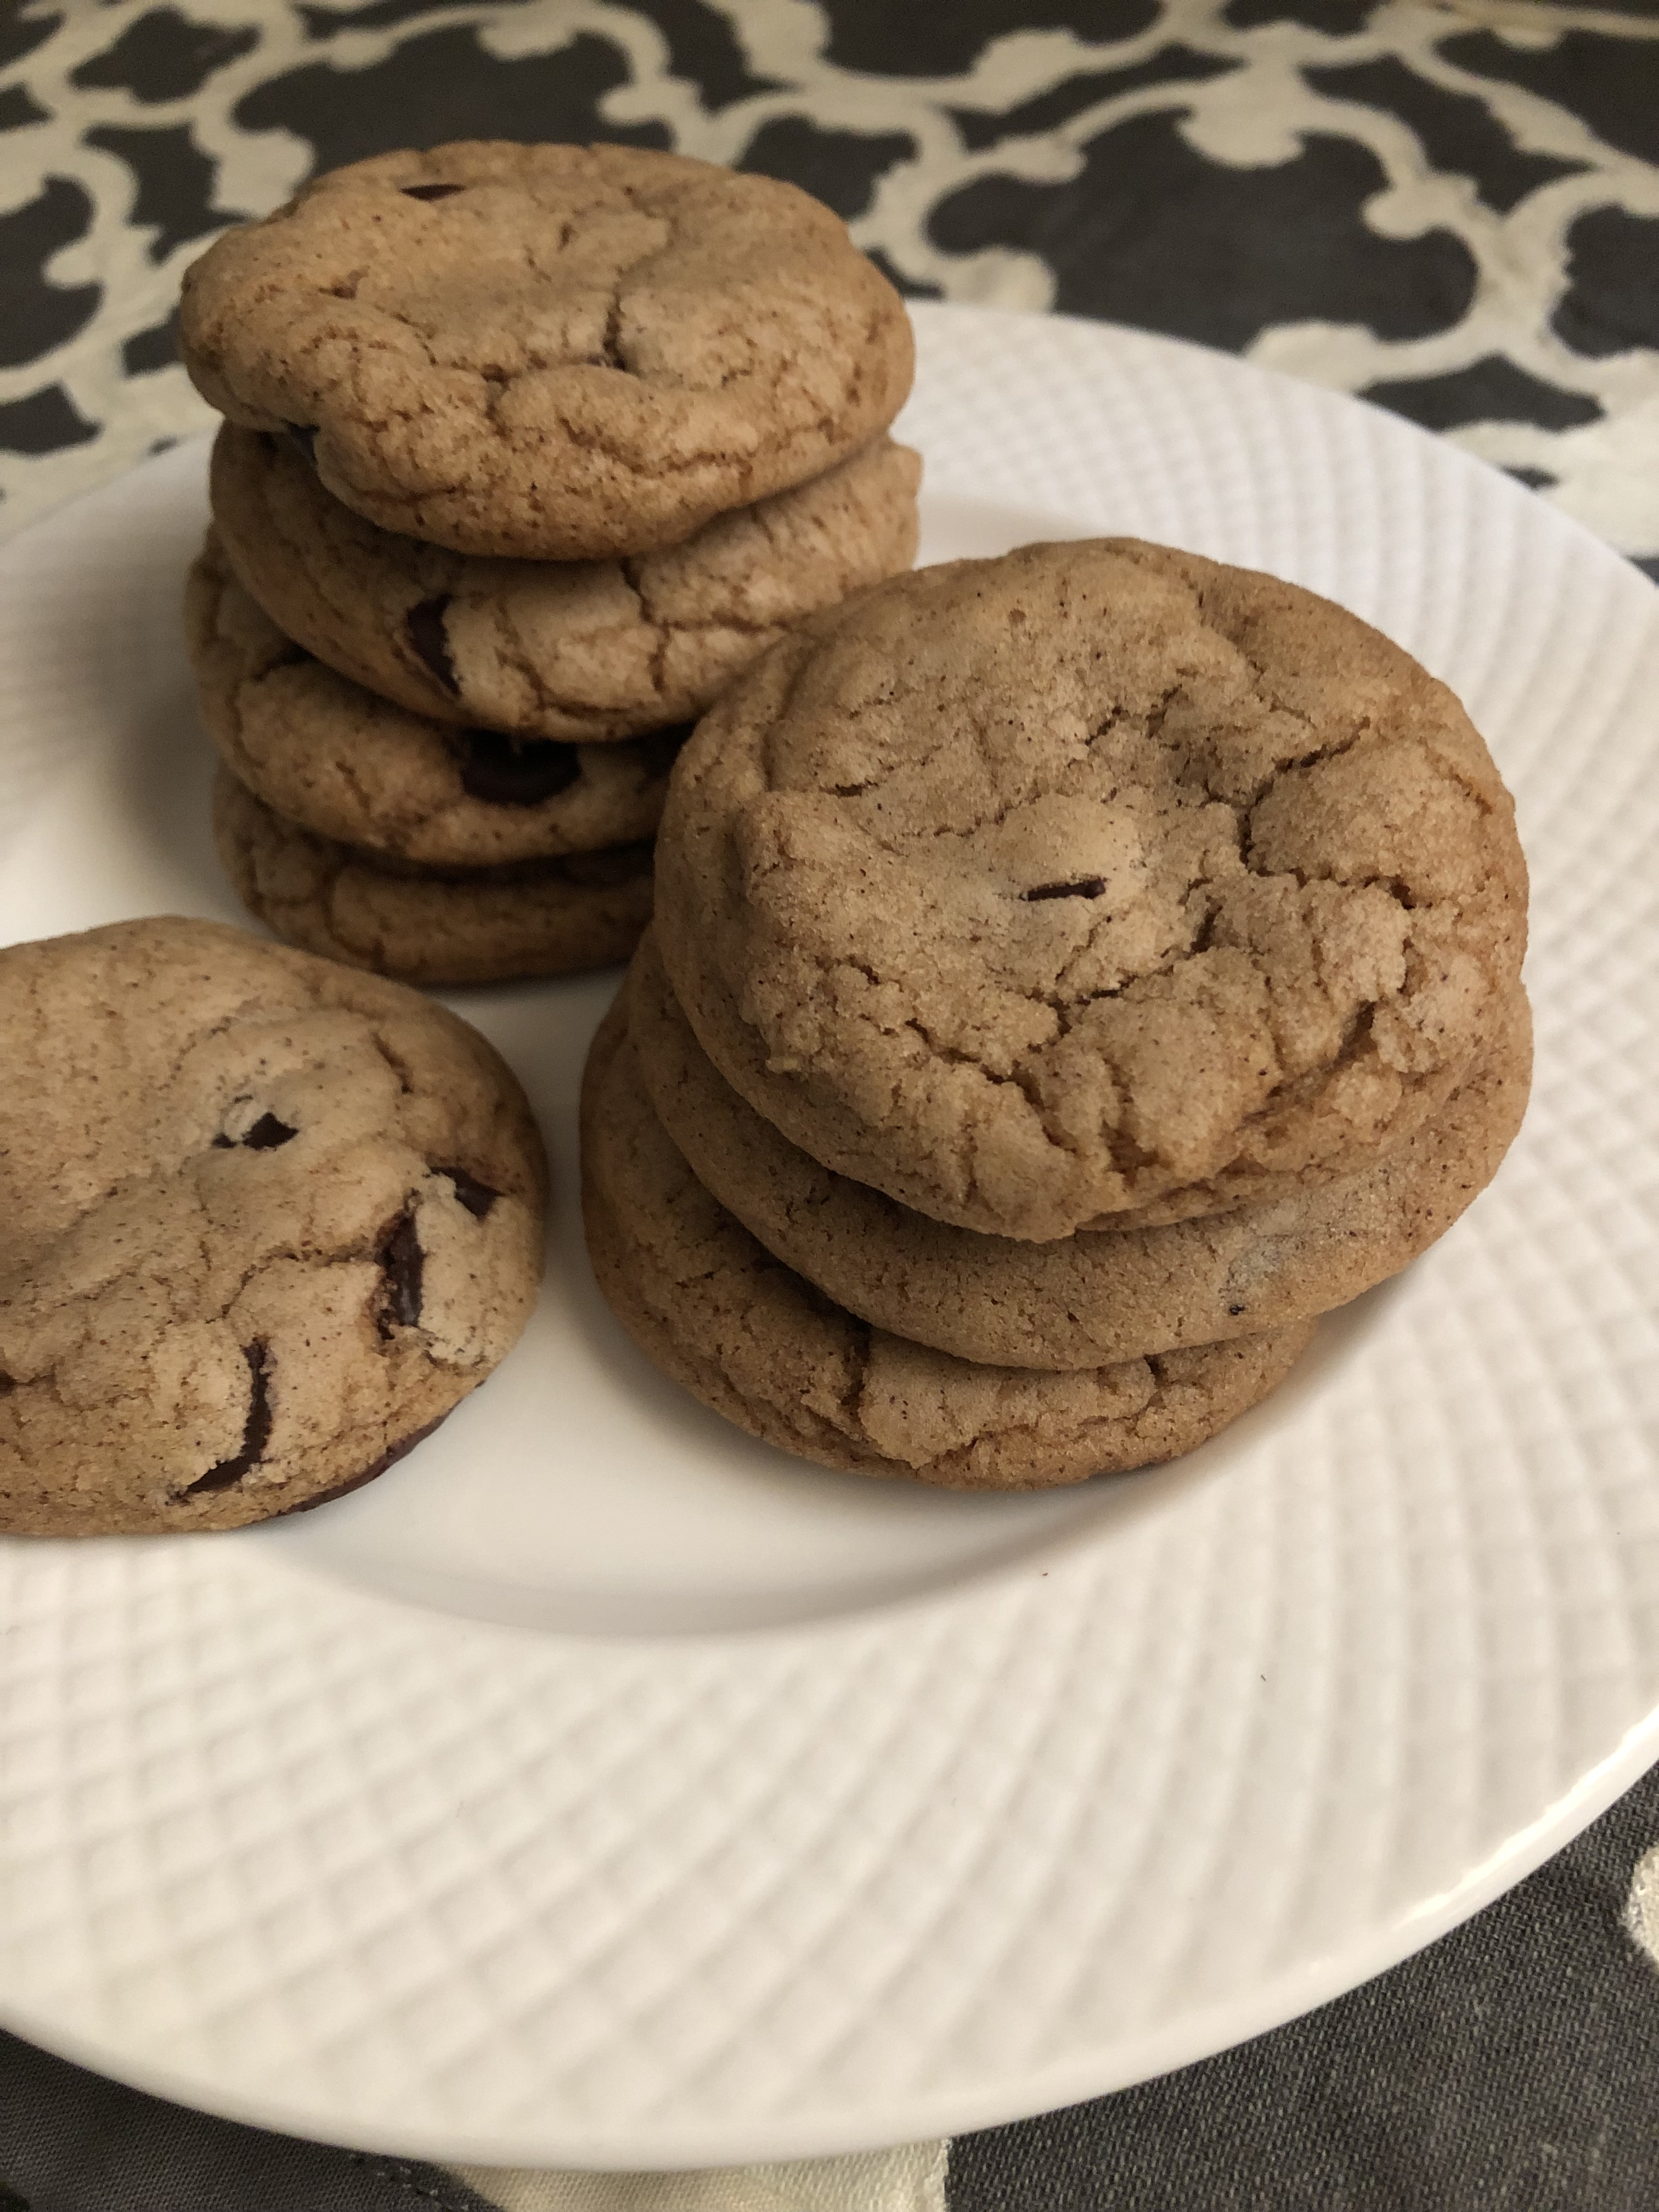
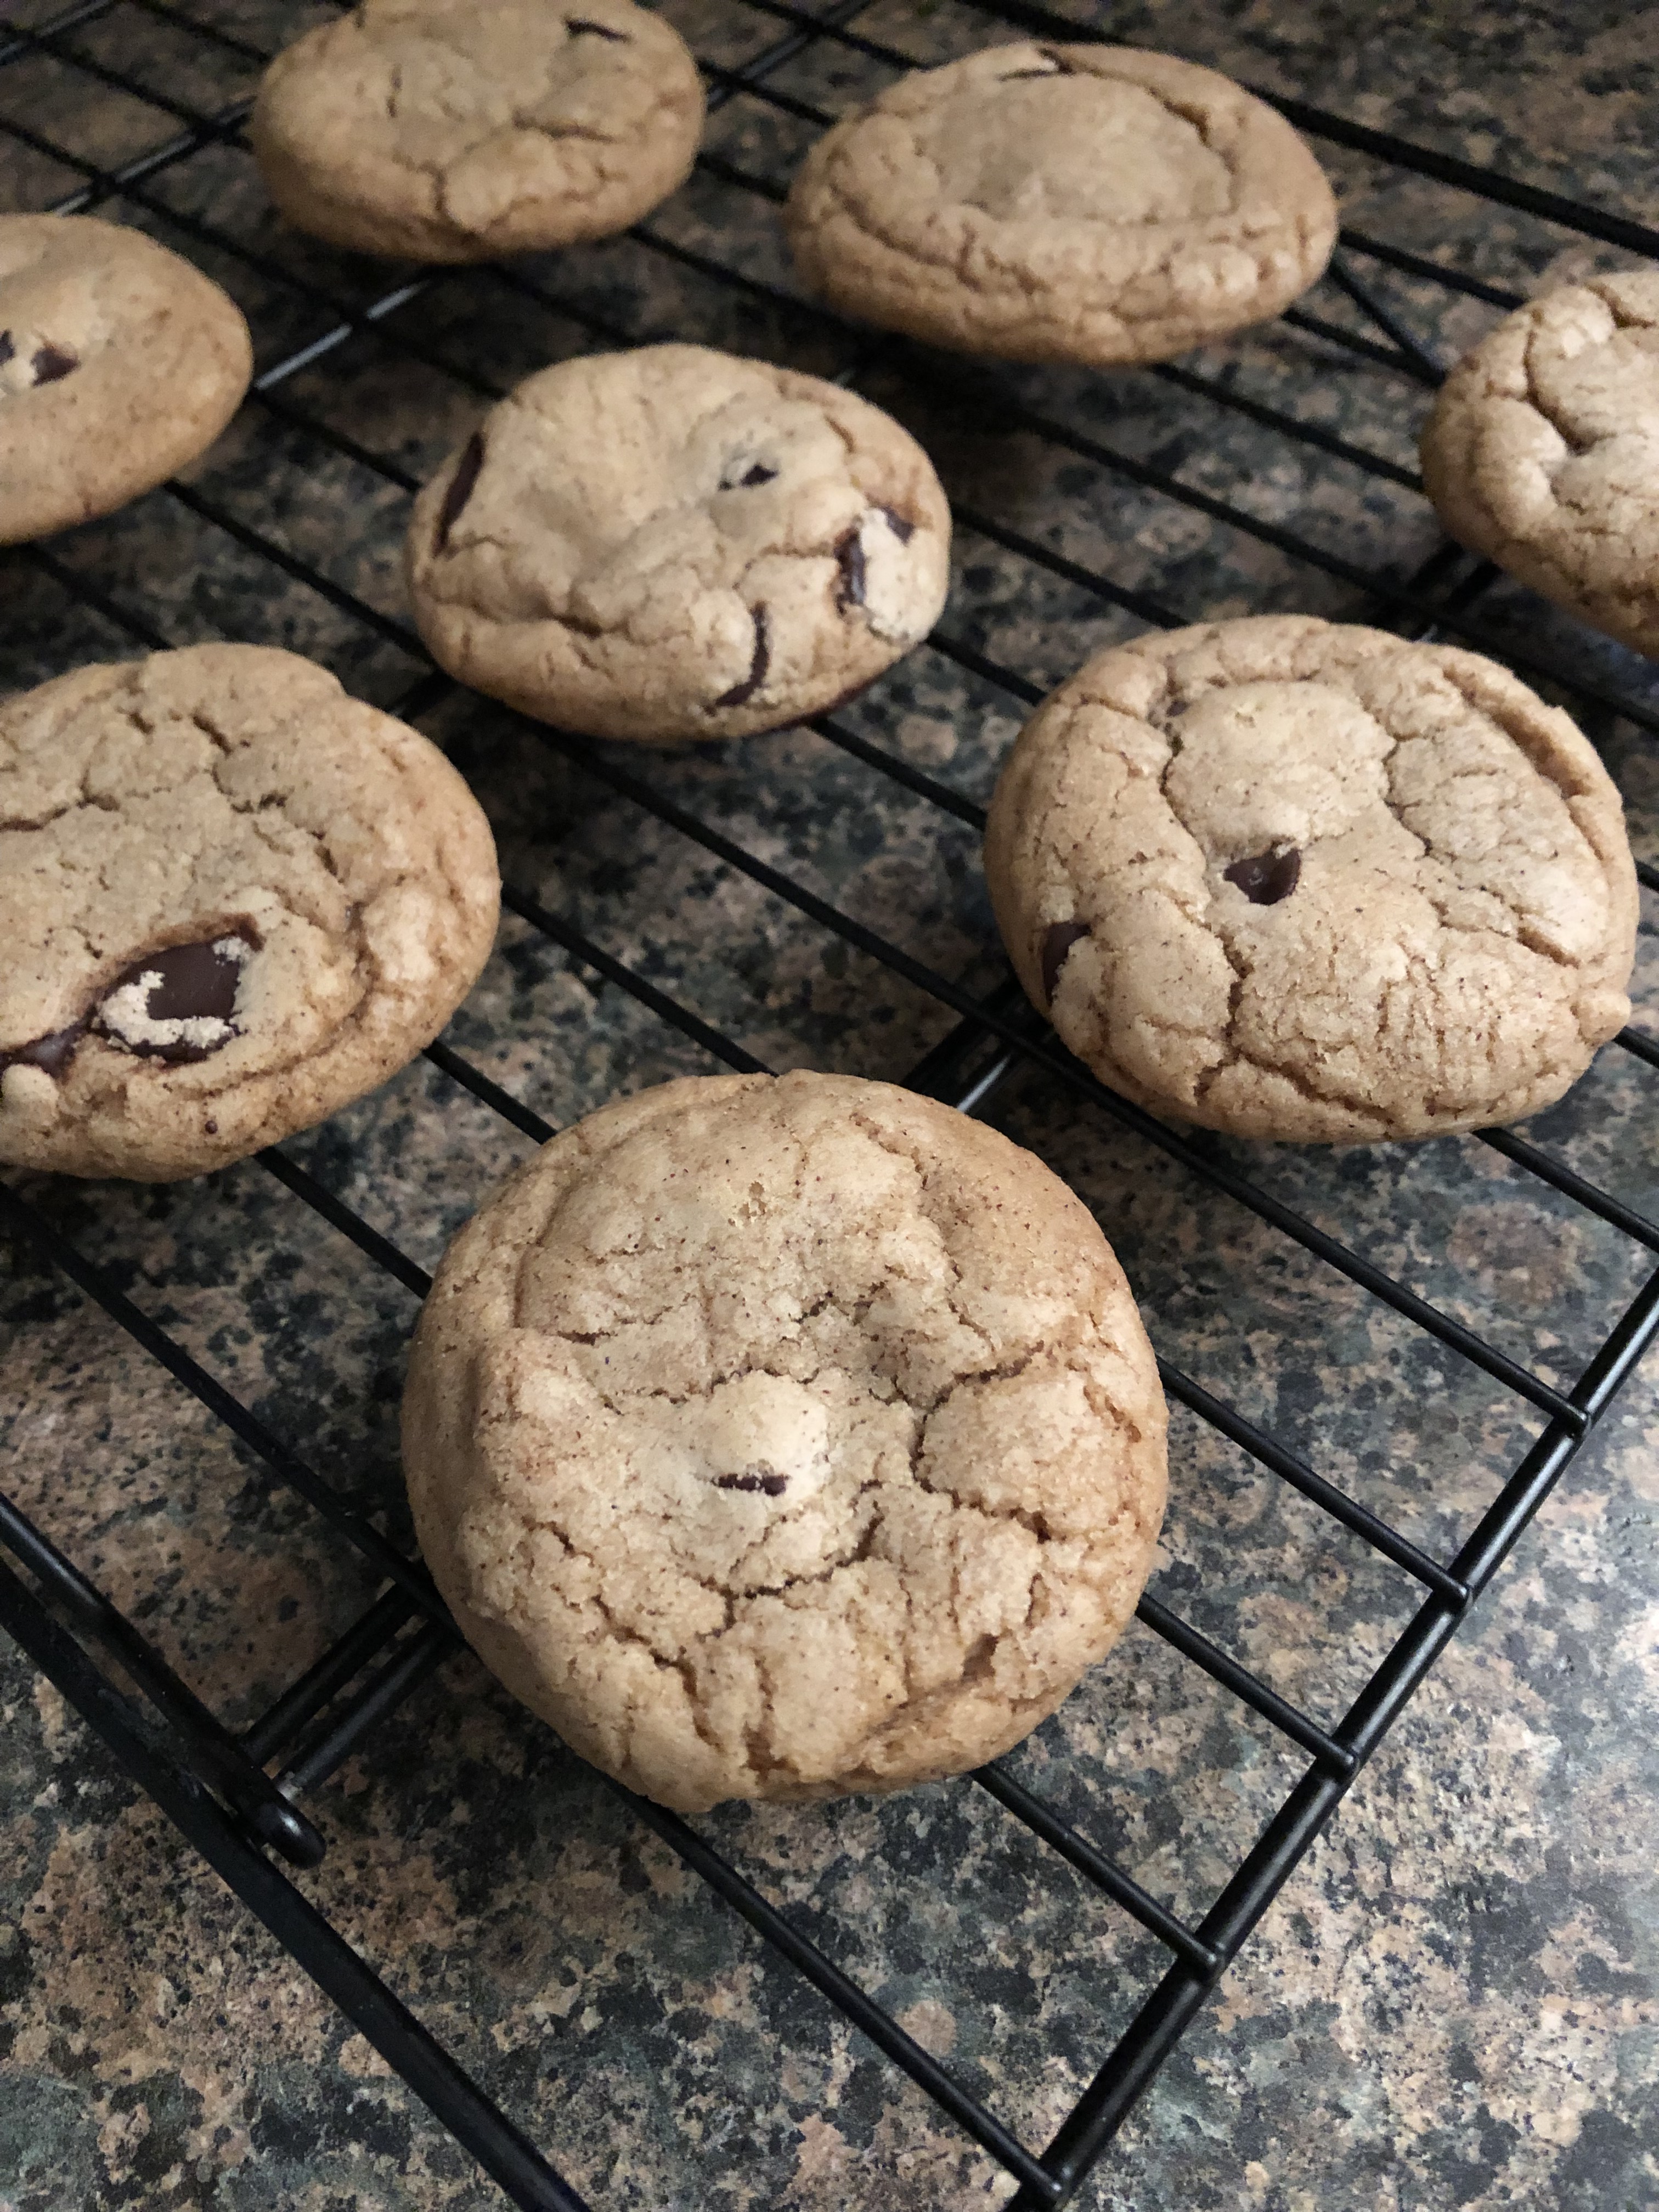
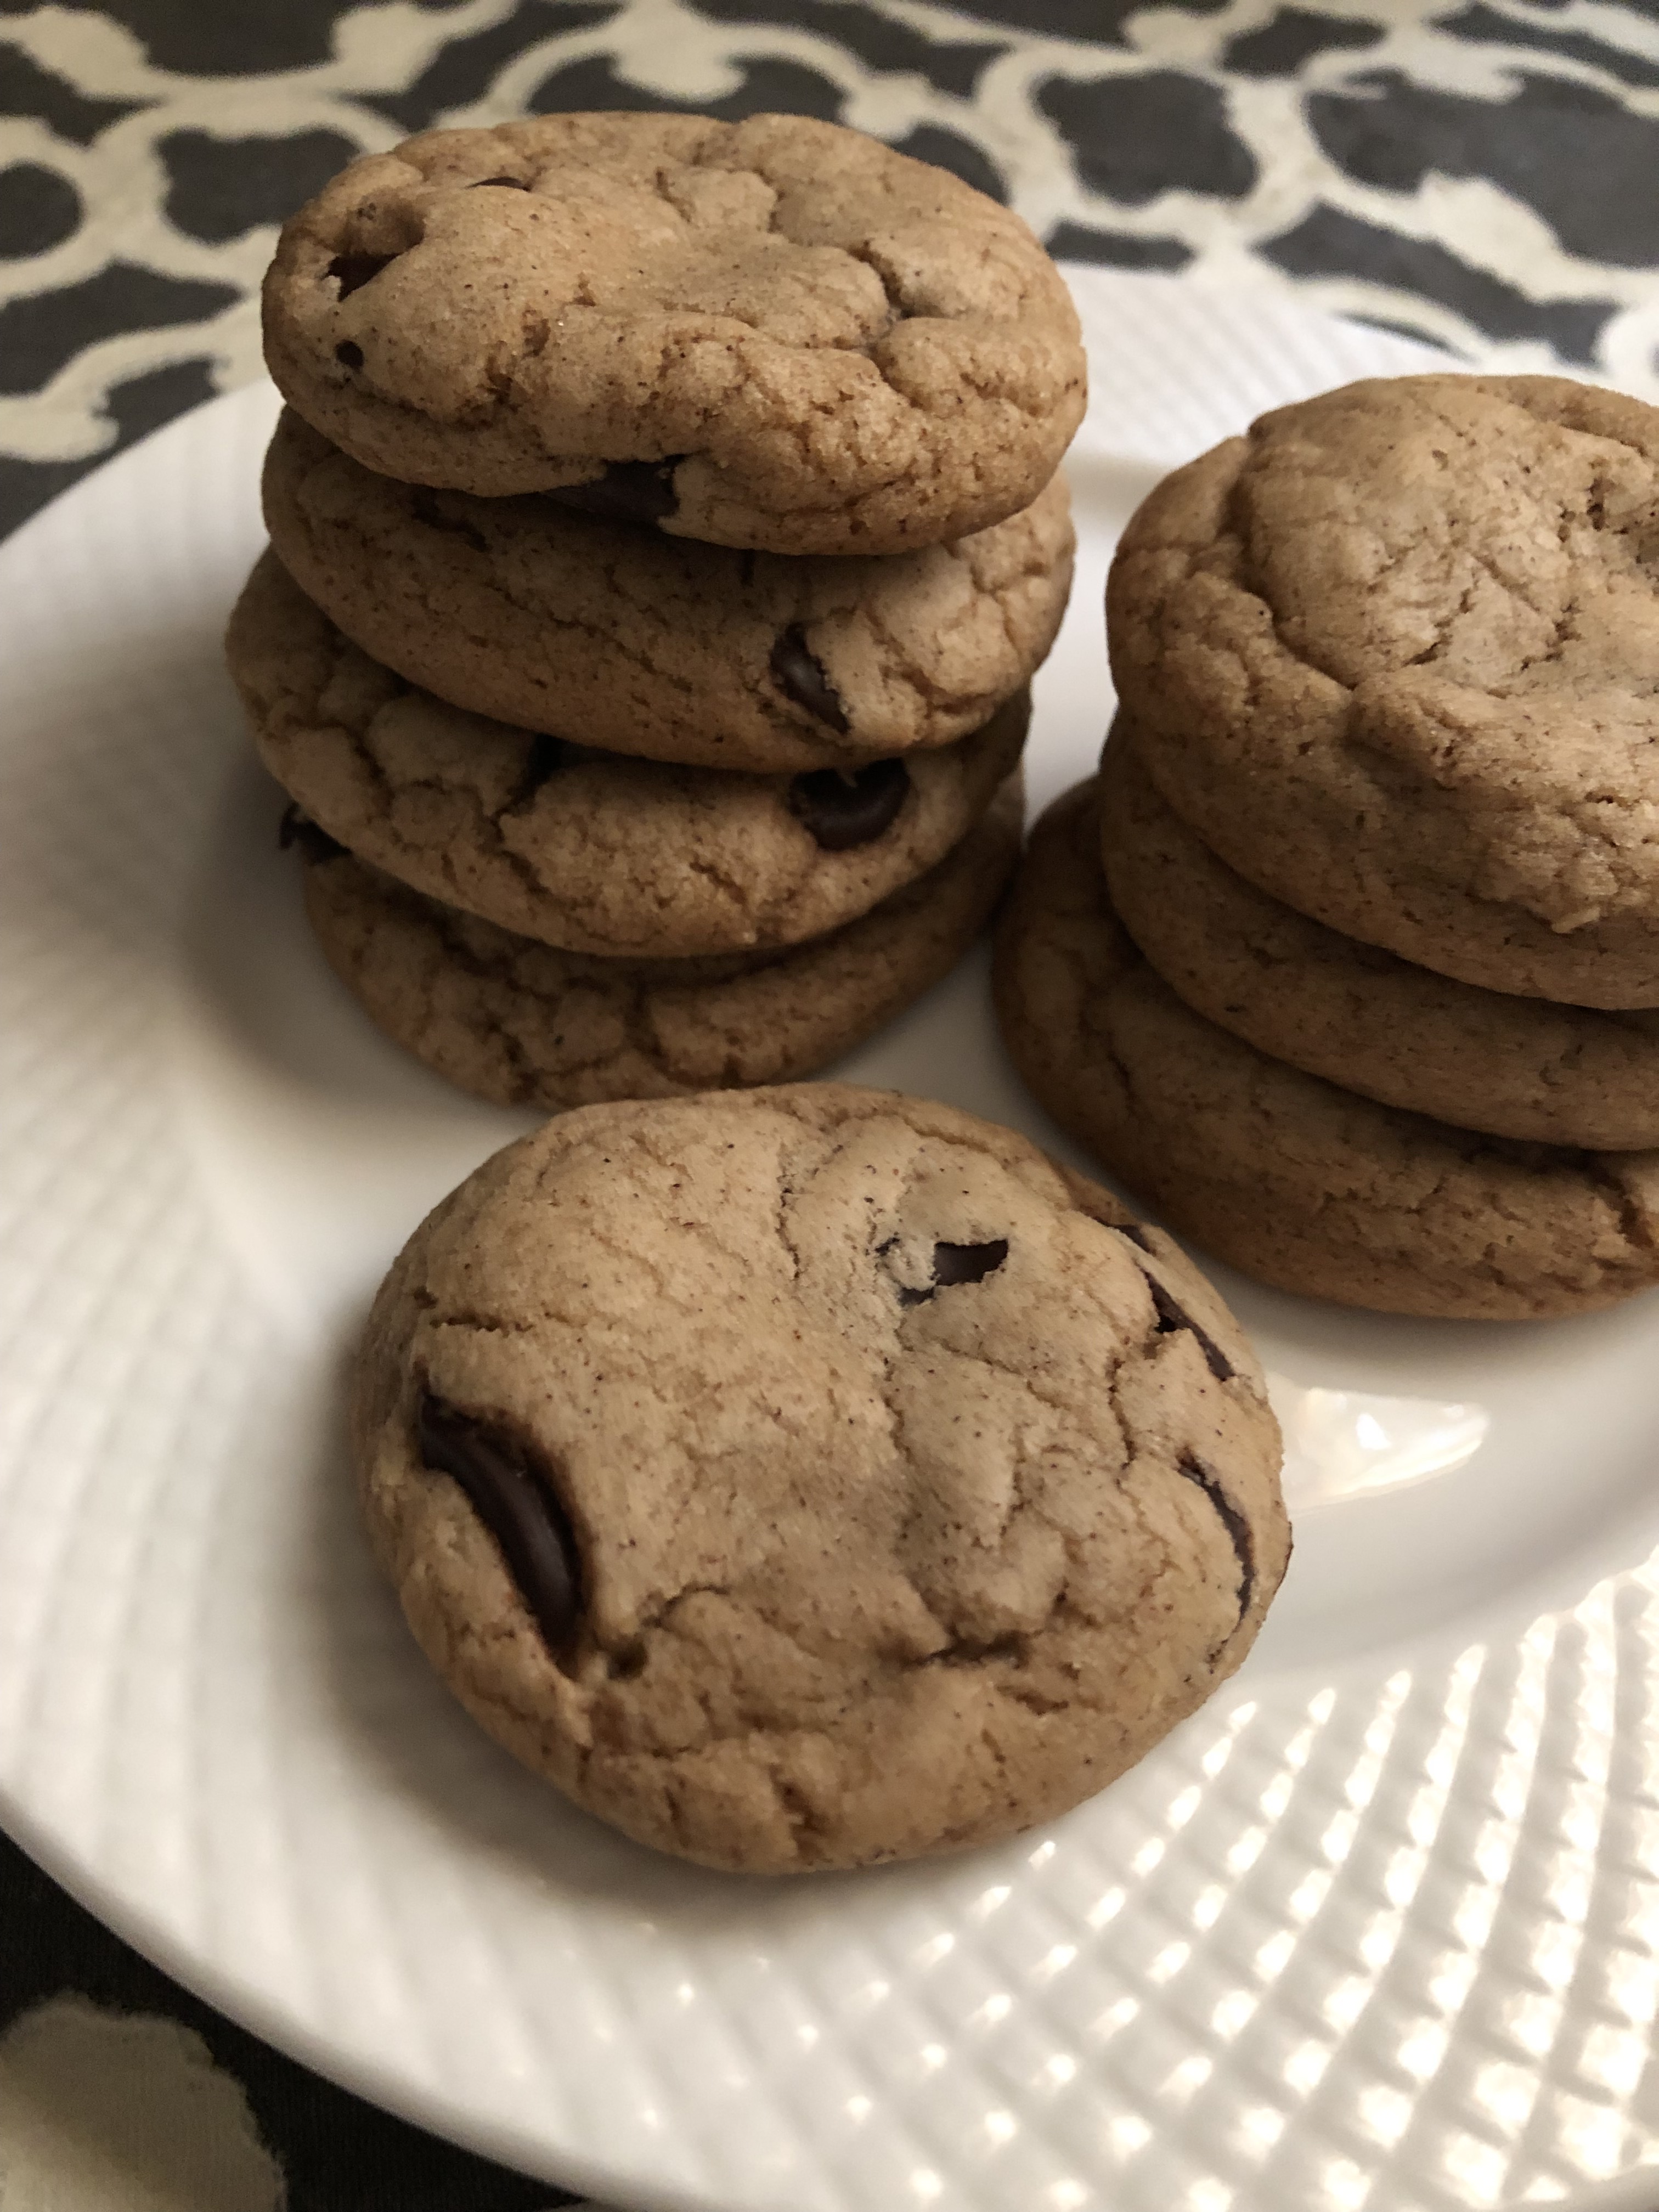
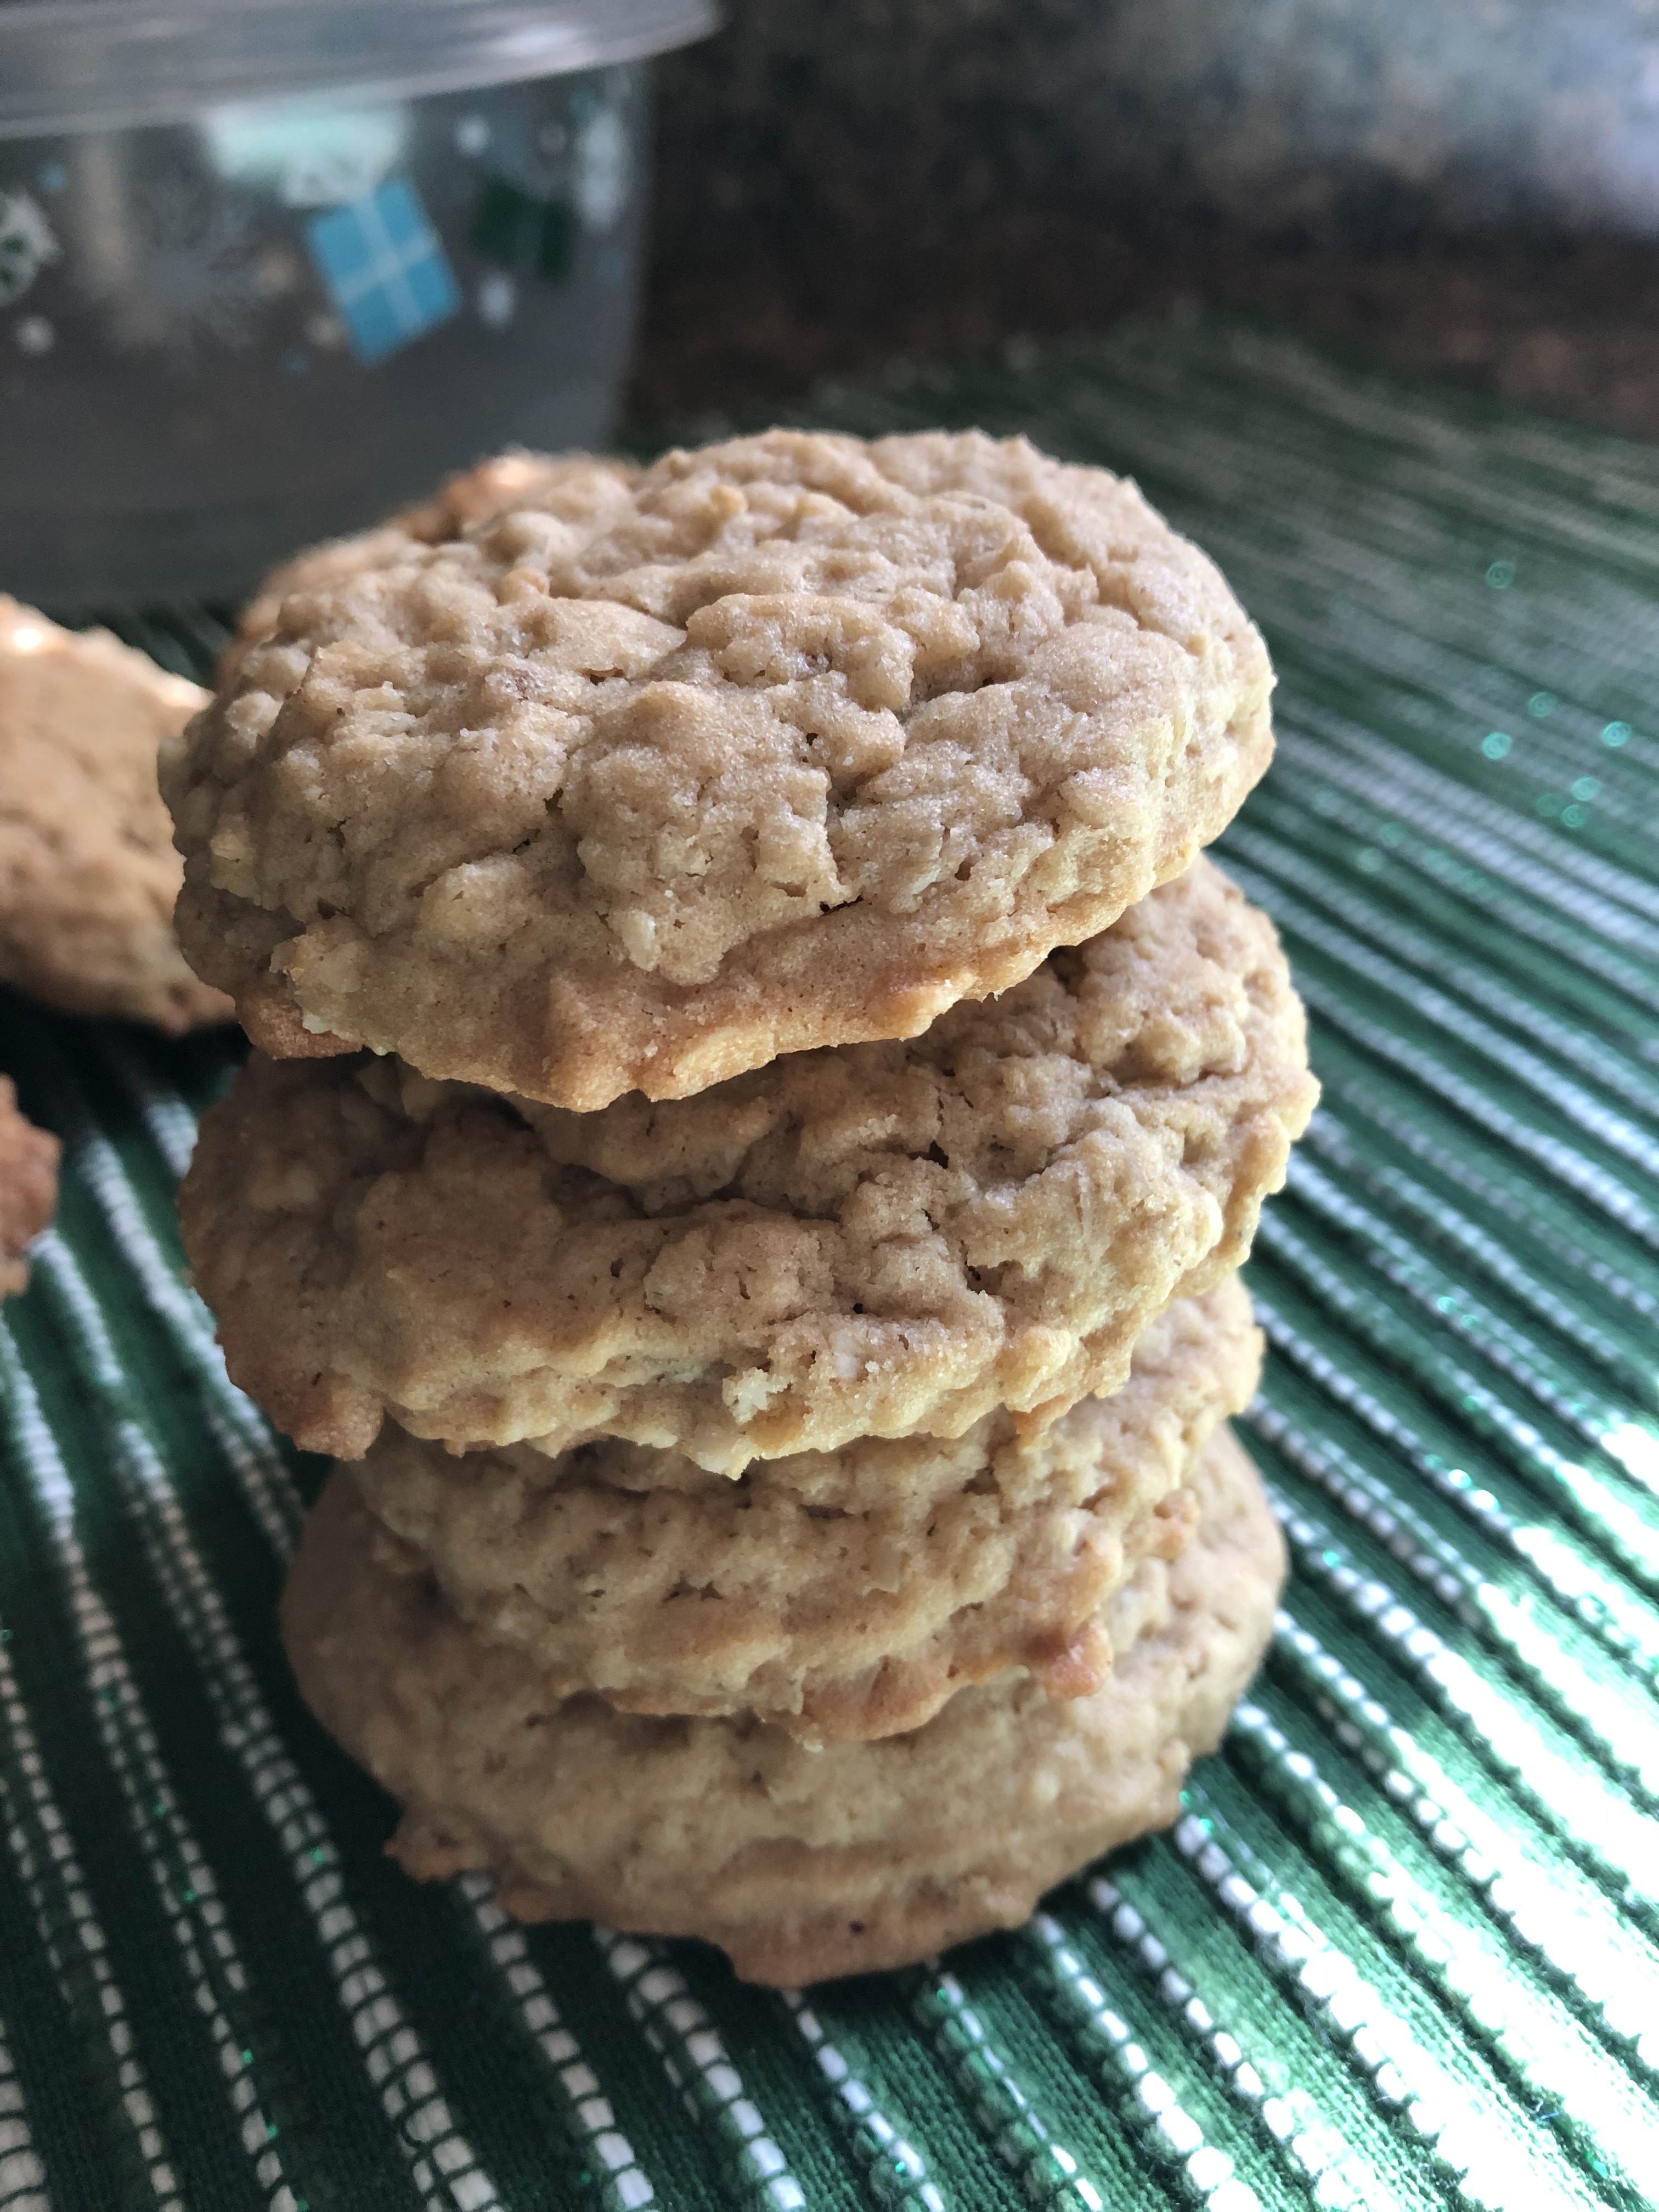
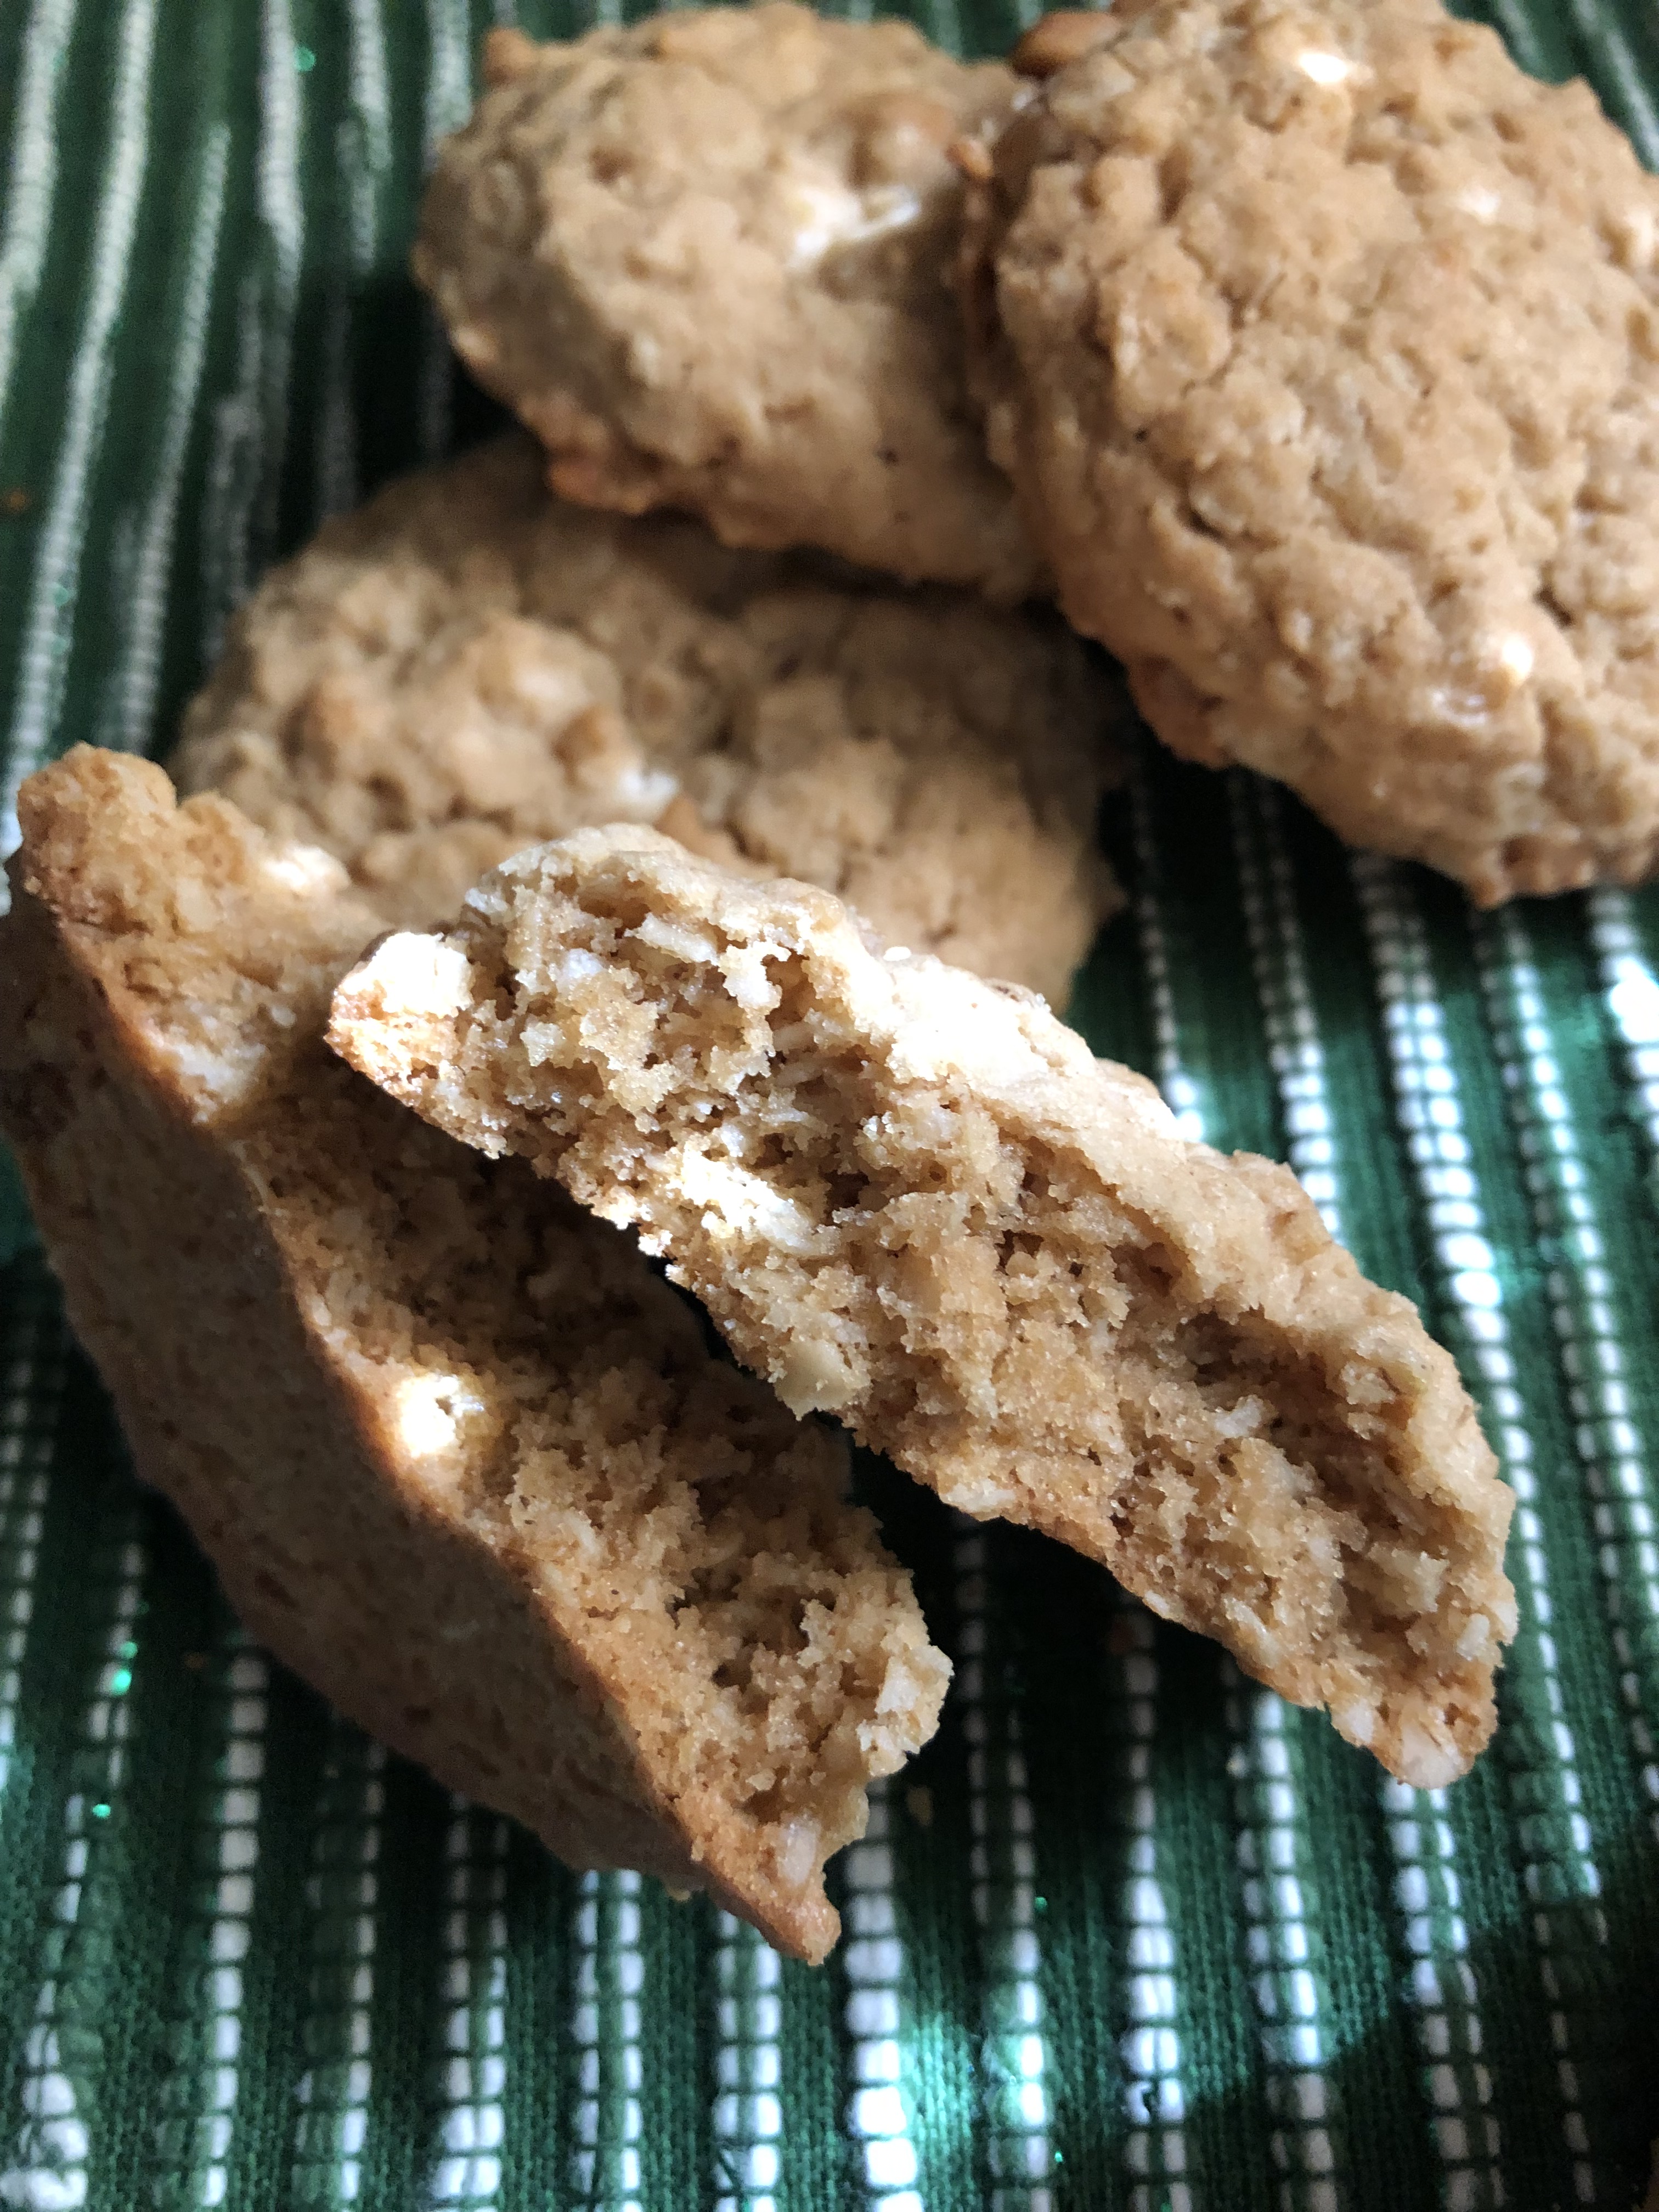
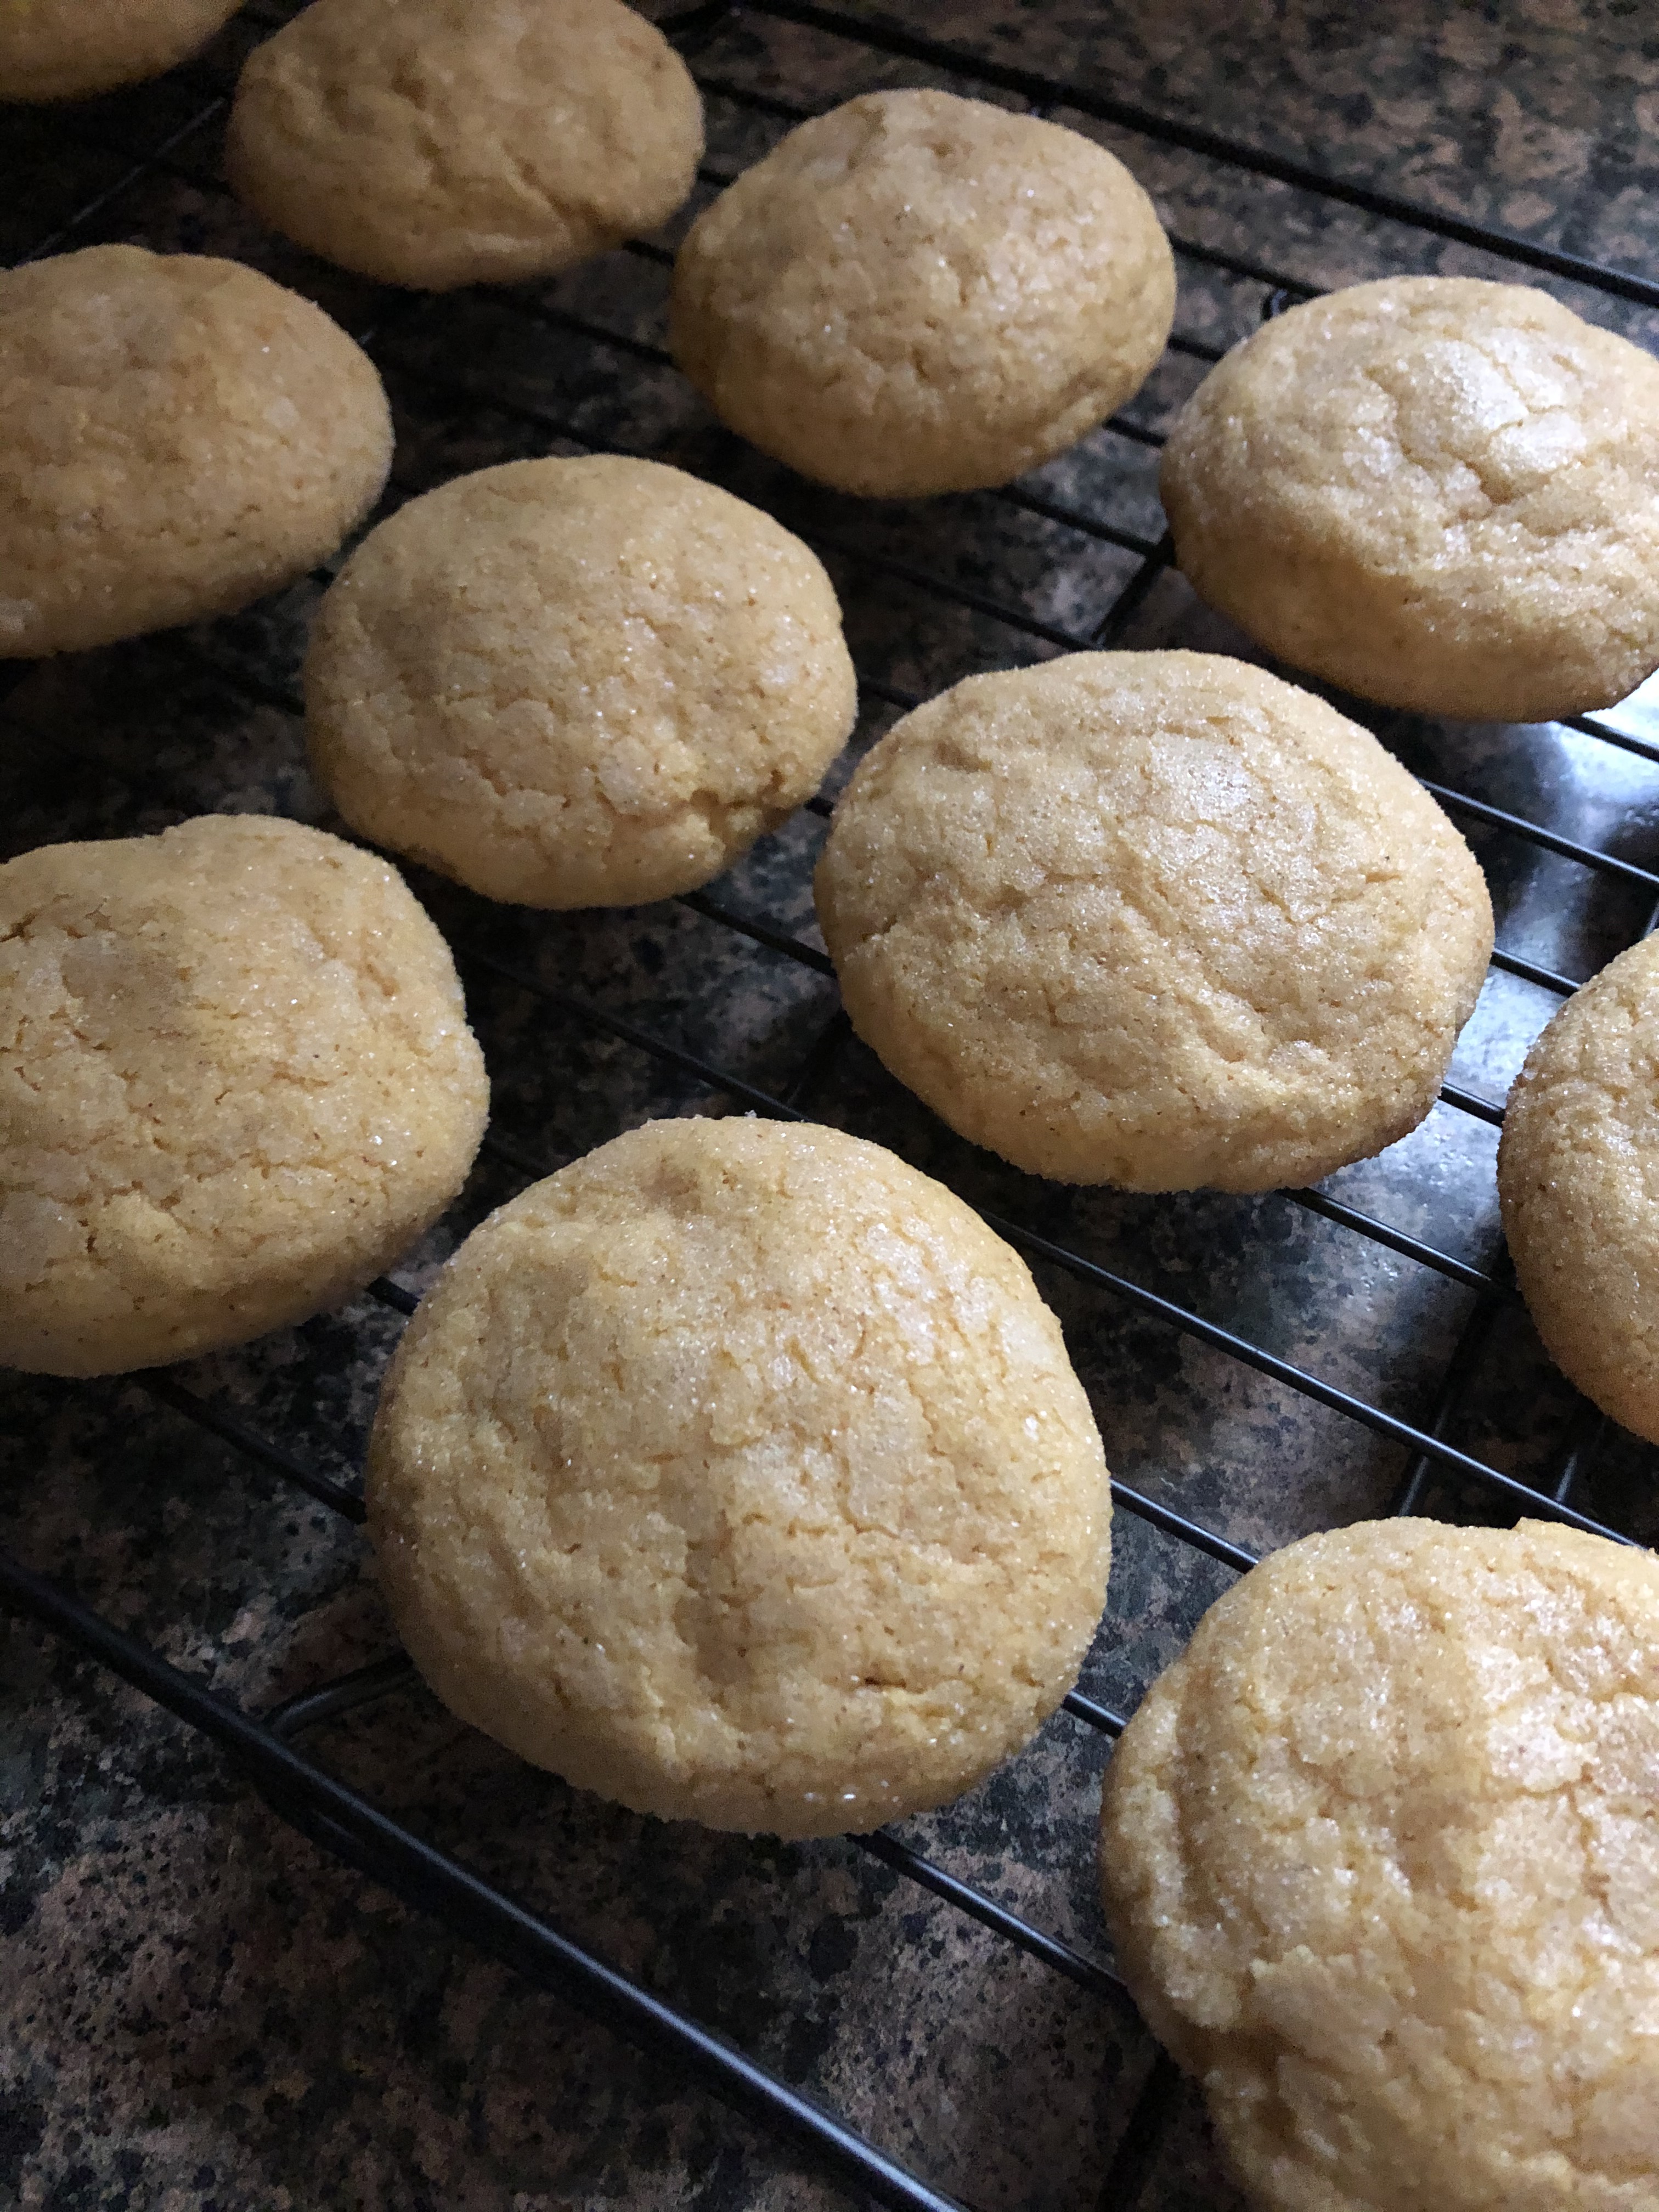
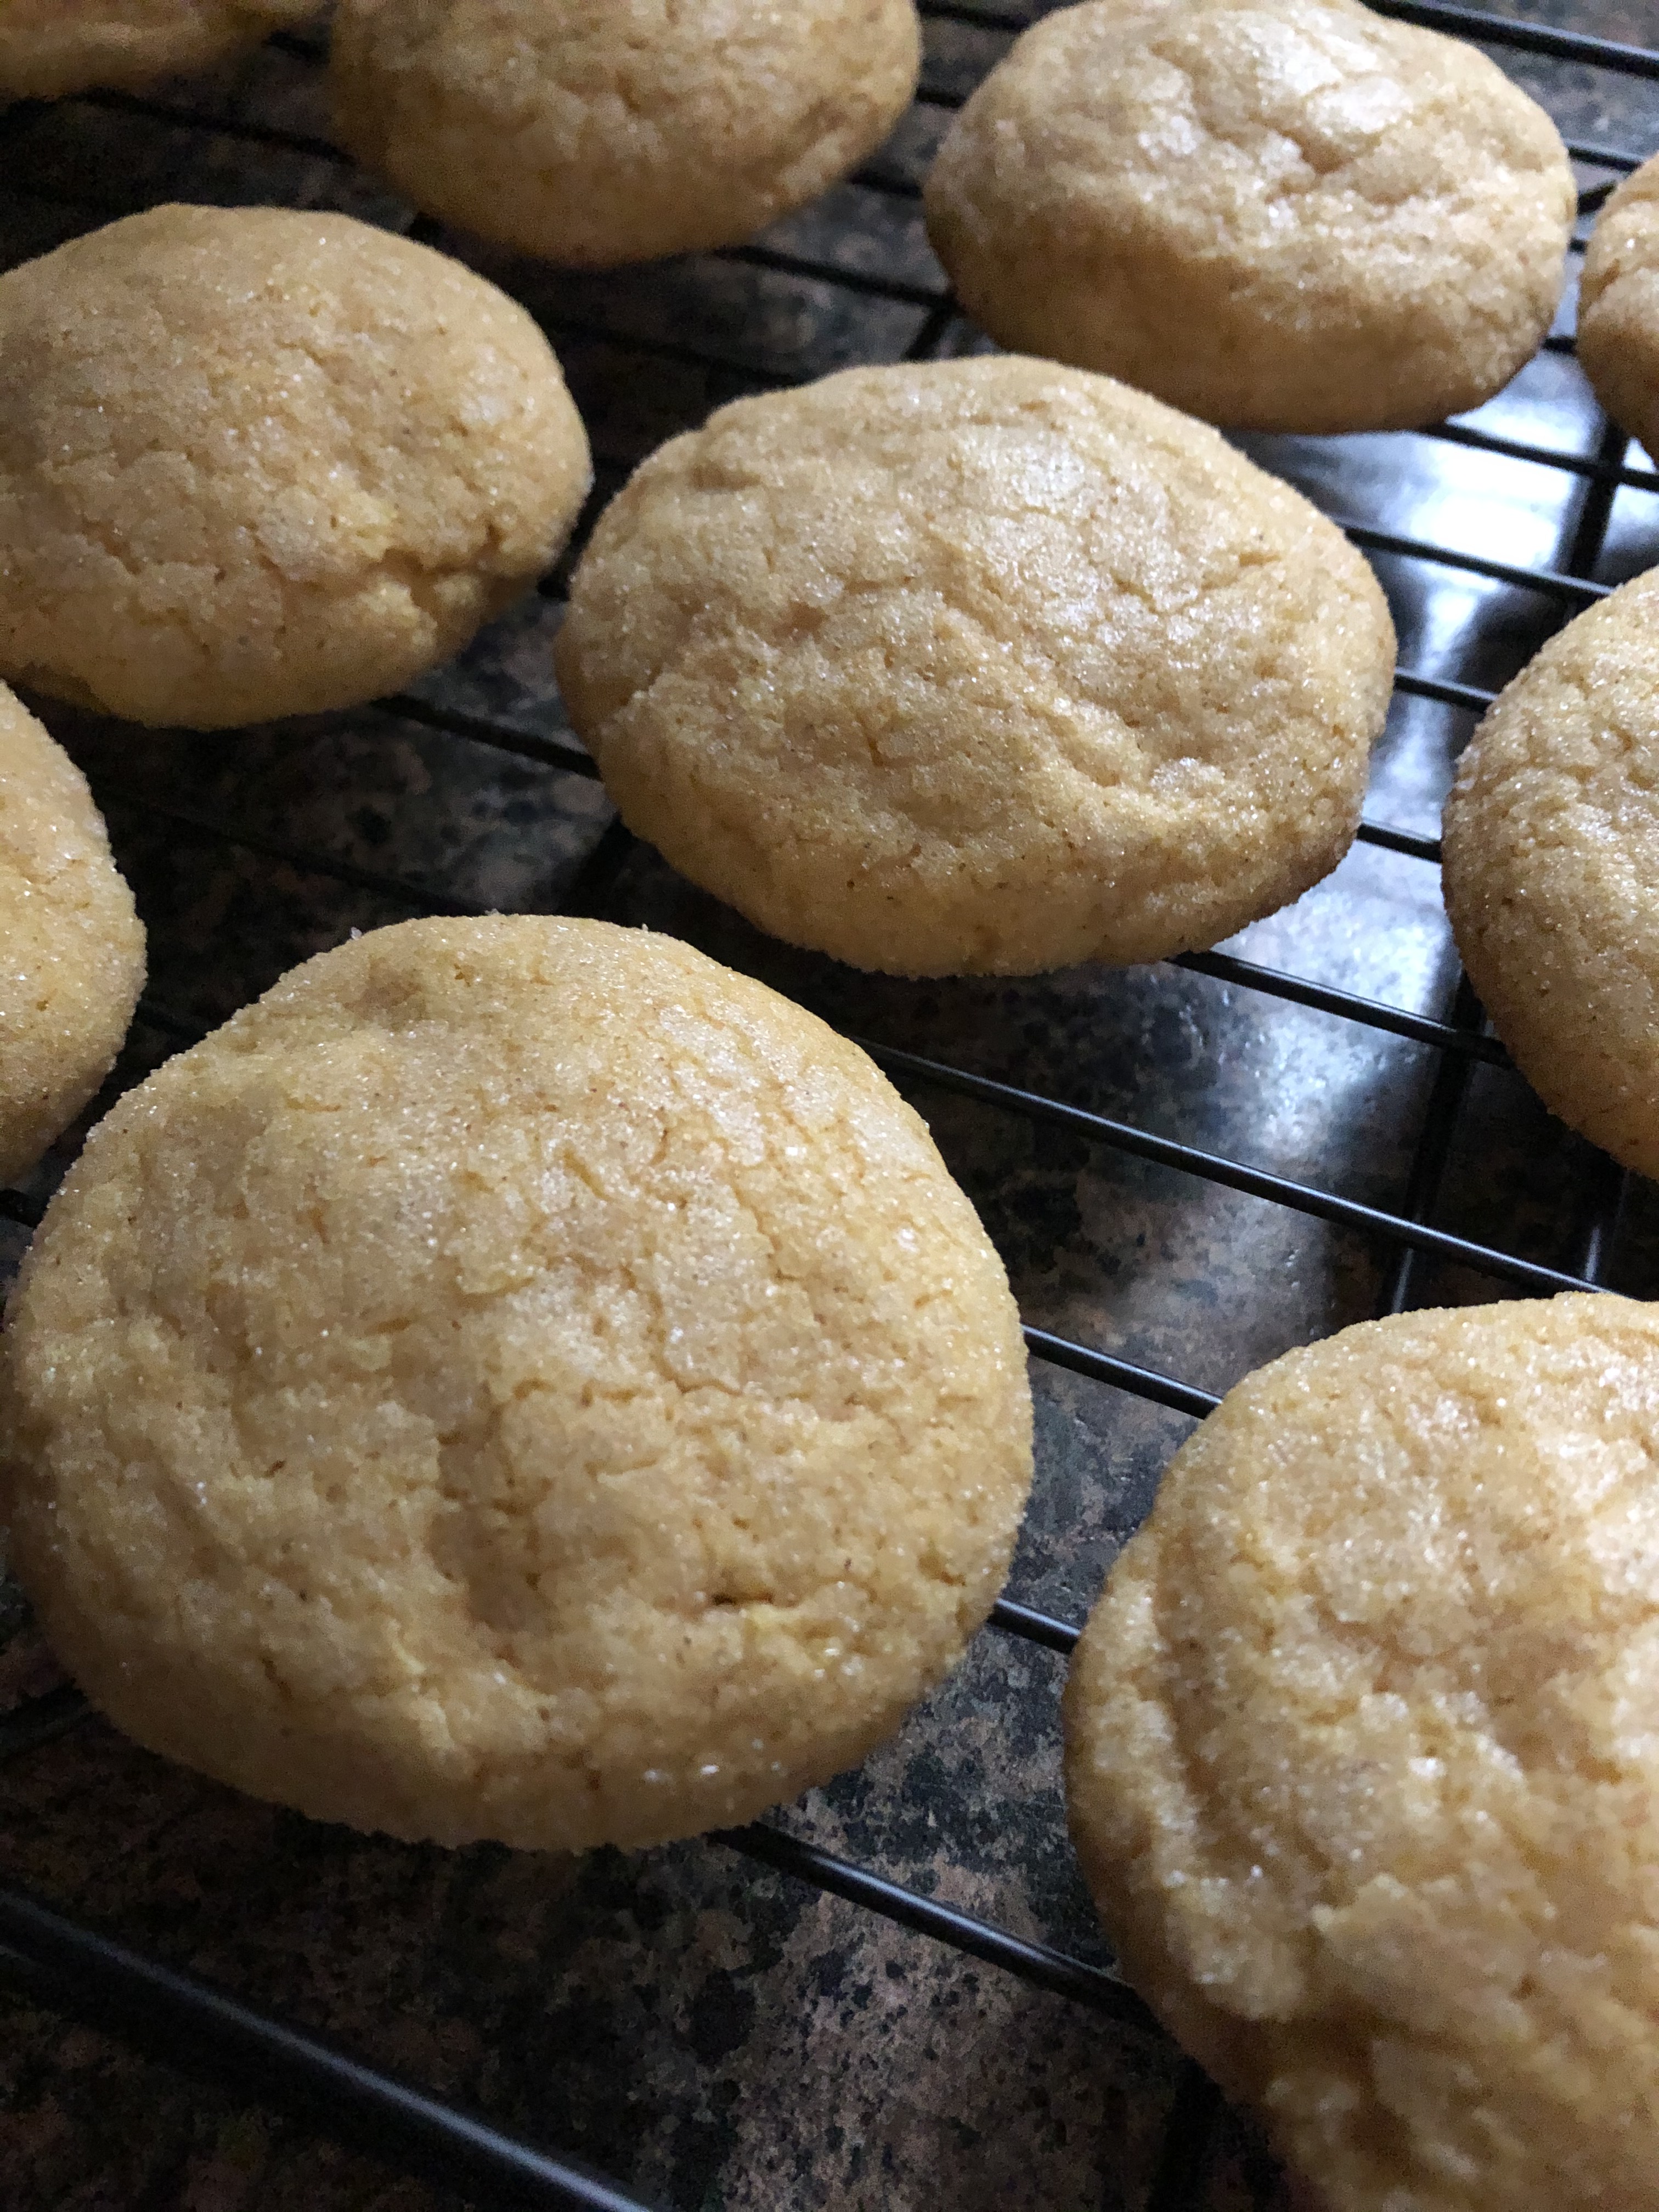
These cookies are perfectly chocolaty, just the right amount of crunch thanks to the pecans and have a little tangy sweetness to them thanks to the cranberries. The perfection addition to any cookie platter this holiday season!

Cranberry Pecan Cookies
Ingredients:
2 sticks unsalted butter, at room temperature
3/4 cup sugar
3/4 cup light brown sugar
2 large eggs
2 teaspoons vanilla extract
2 cups flour
1/2 cup unsweetened cocoa powder
1 teaspoon baking soda
1/2 teaspoon salt
1 cup semi-sweet chocolate chips
1 cup chopped pecans, toasted
1 cup dried cranberries
Directions:
Preheat oven to 350 F. Line 2 baking sheets with parchment paper.
In a medium bowl whisk together the flour, cocoa powder, baking soda and salt. Set aside.
In a large bowl cream together the butter and both sugars with a hand mixer on medium speed until light and fluffy. Add the eggs 1 at a time and then the vanilla extract.
With the mixer on low add in the flour mixture and beat until just combined.
Add the chocolate chips, pecans and cranberries and beat until combined.
Refrigerate the dough for 30 minutes.
Use a cookie scoop to scoop the dough 2 inches apart on the prepared baking sheets.
Bake in the preheated oven for 13-15 minutes, until the cookies are set.
Transfer to a wire rack to cool completely.
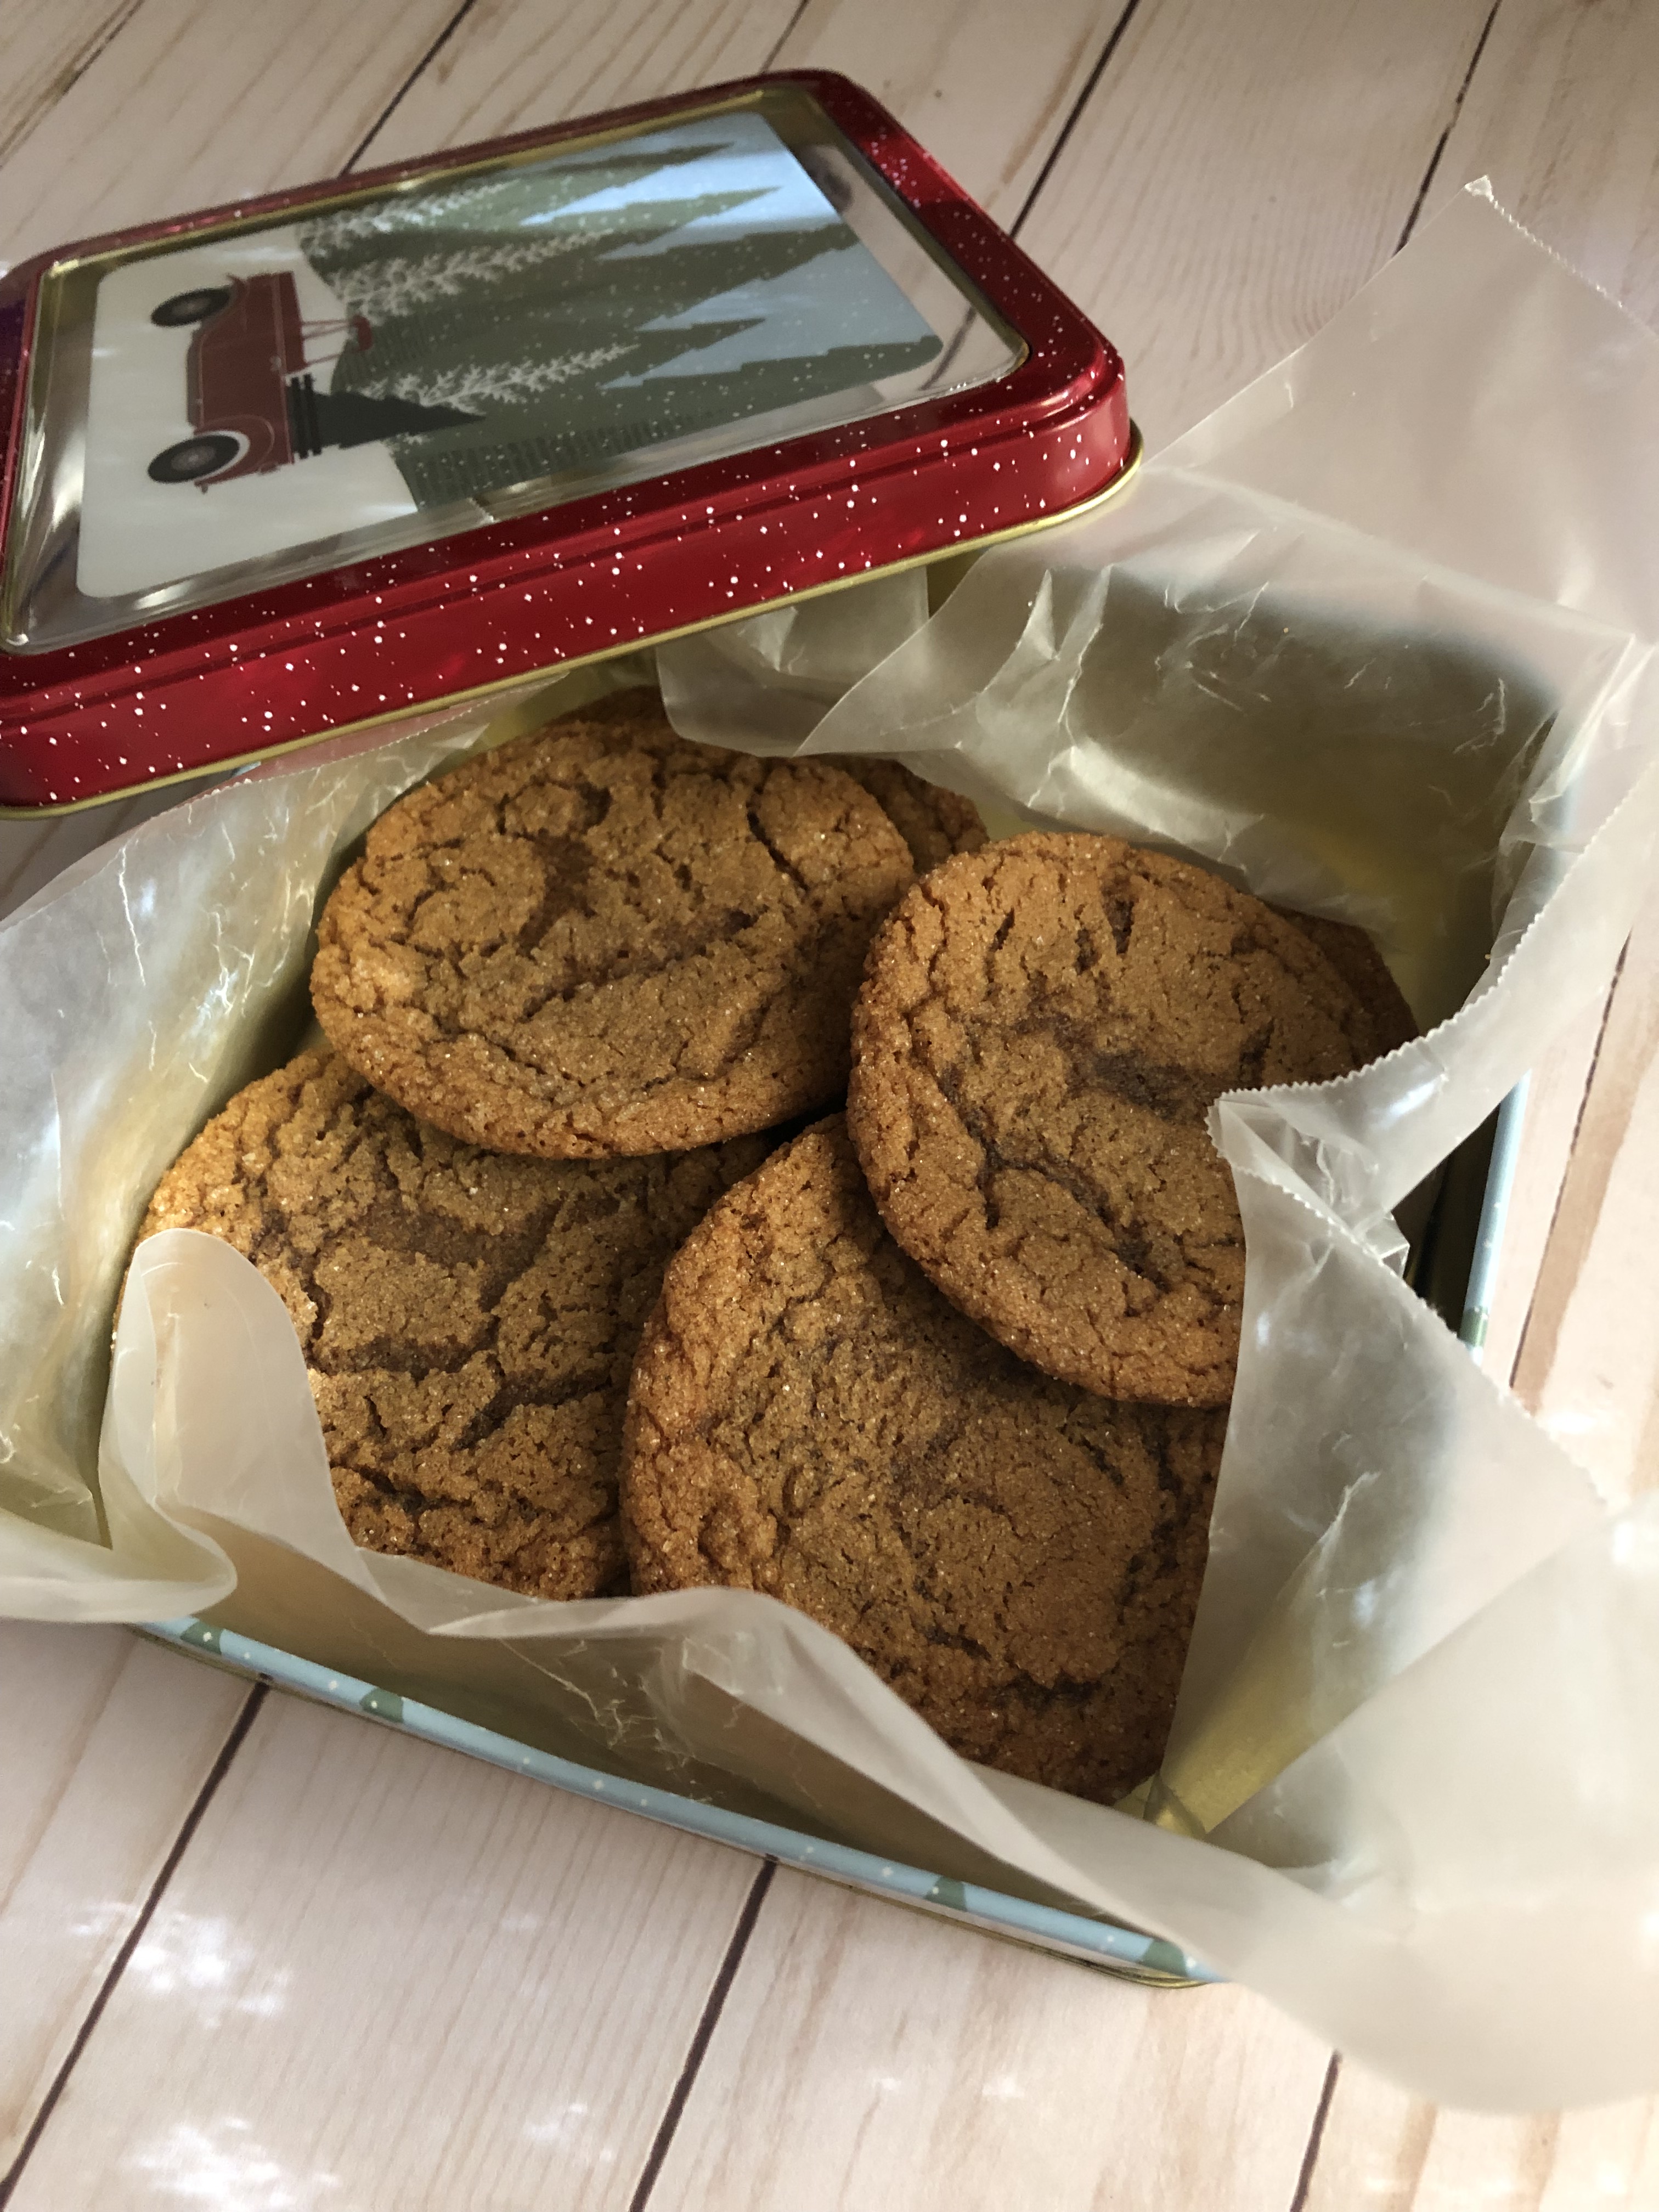
Store in an airtight container.
Recipe first appeared on Bead Yarn Spatula