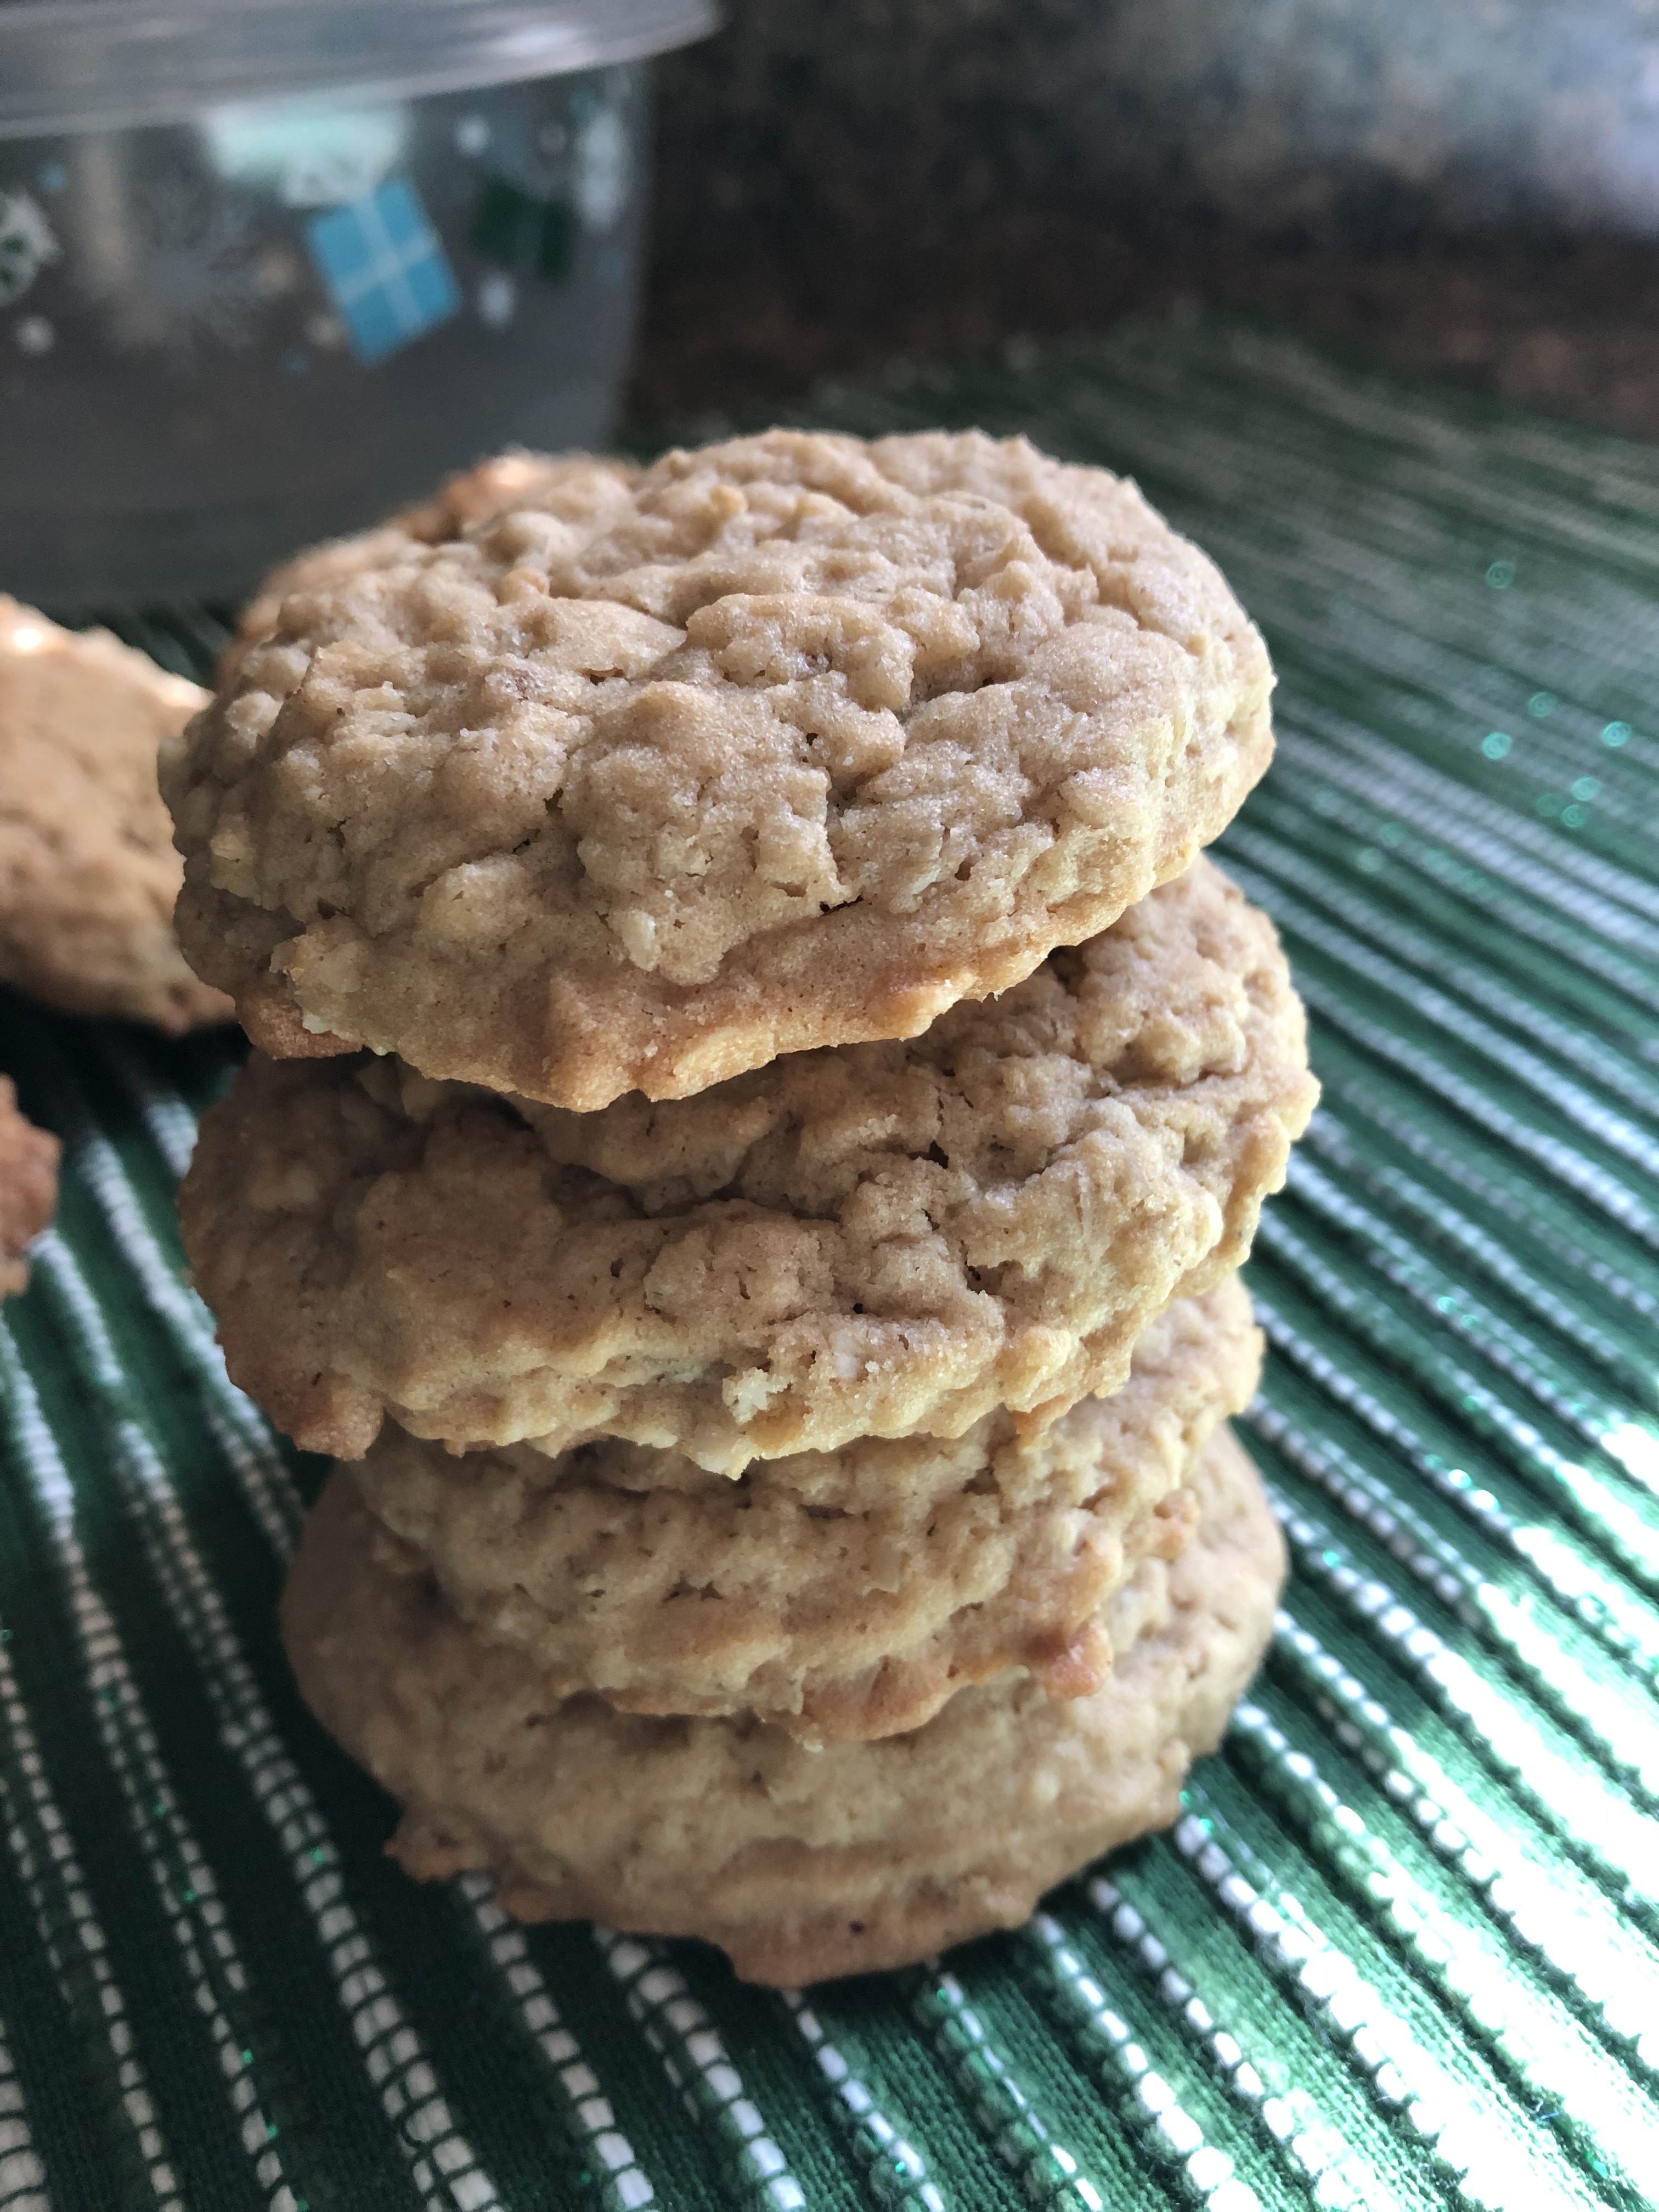
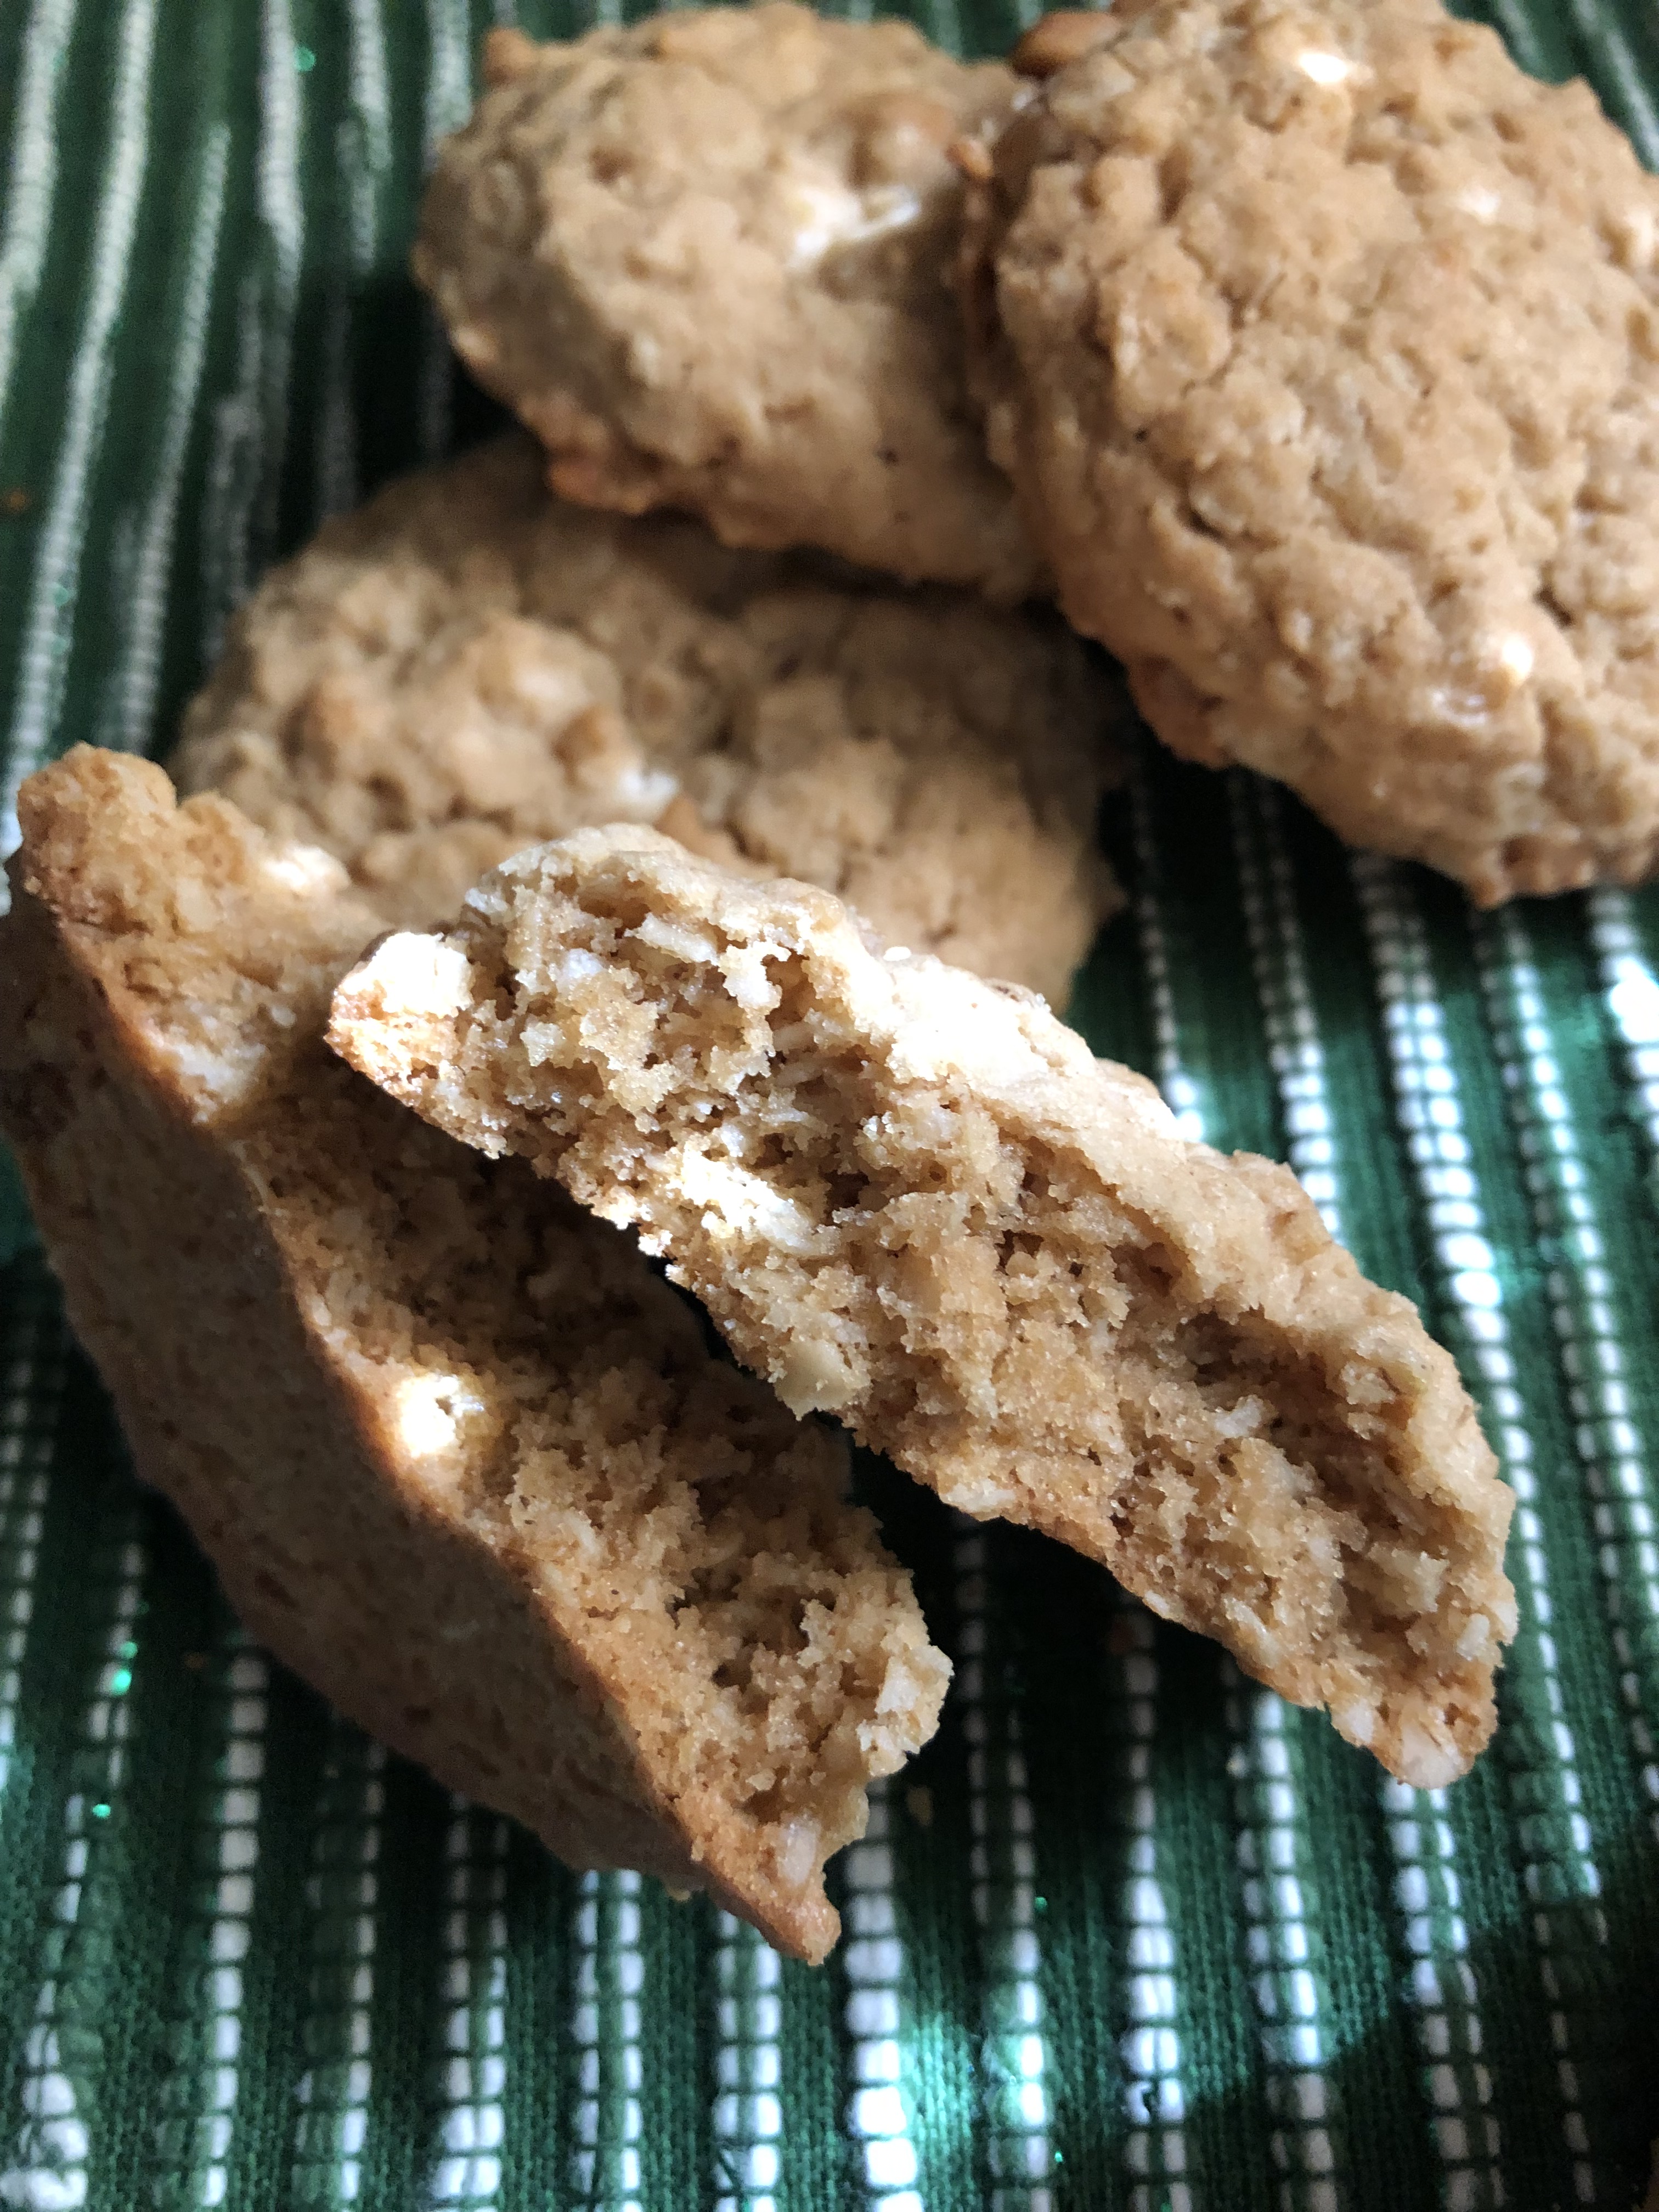
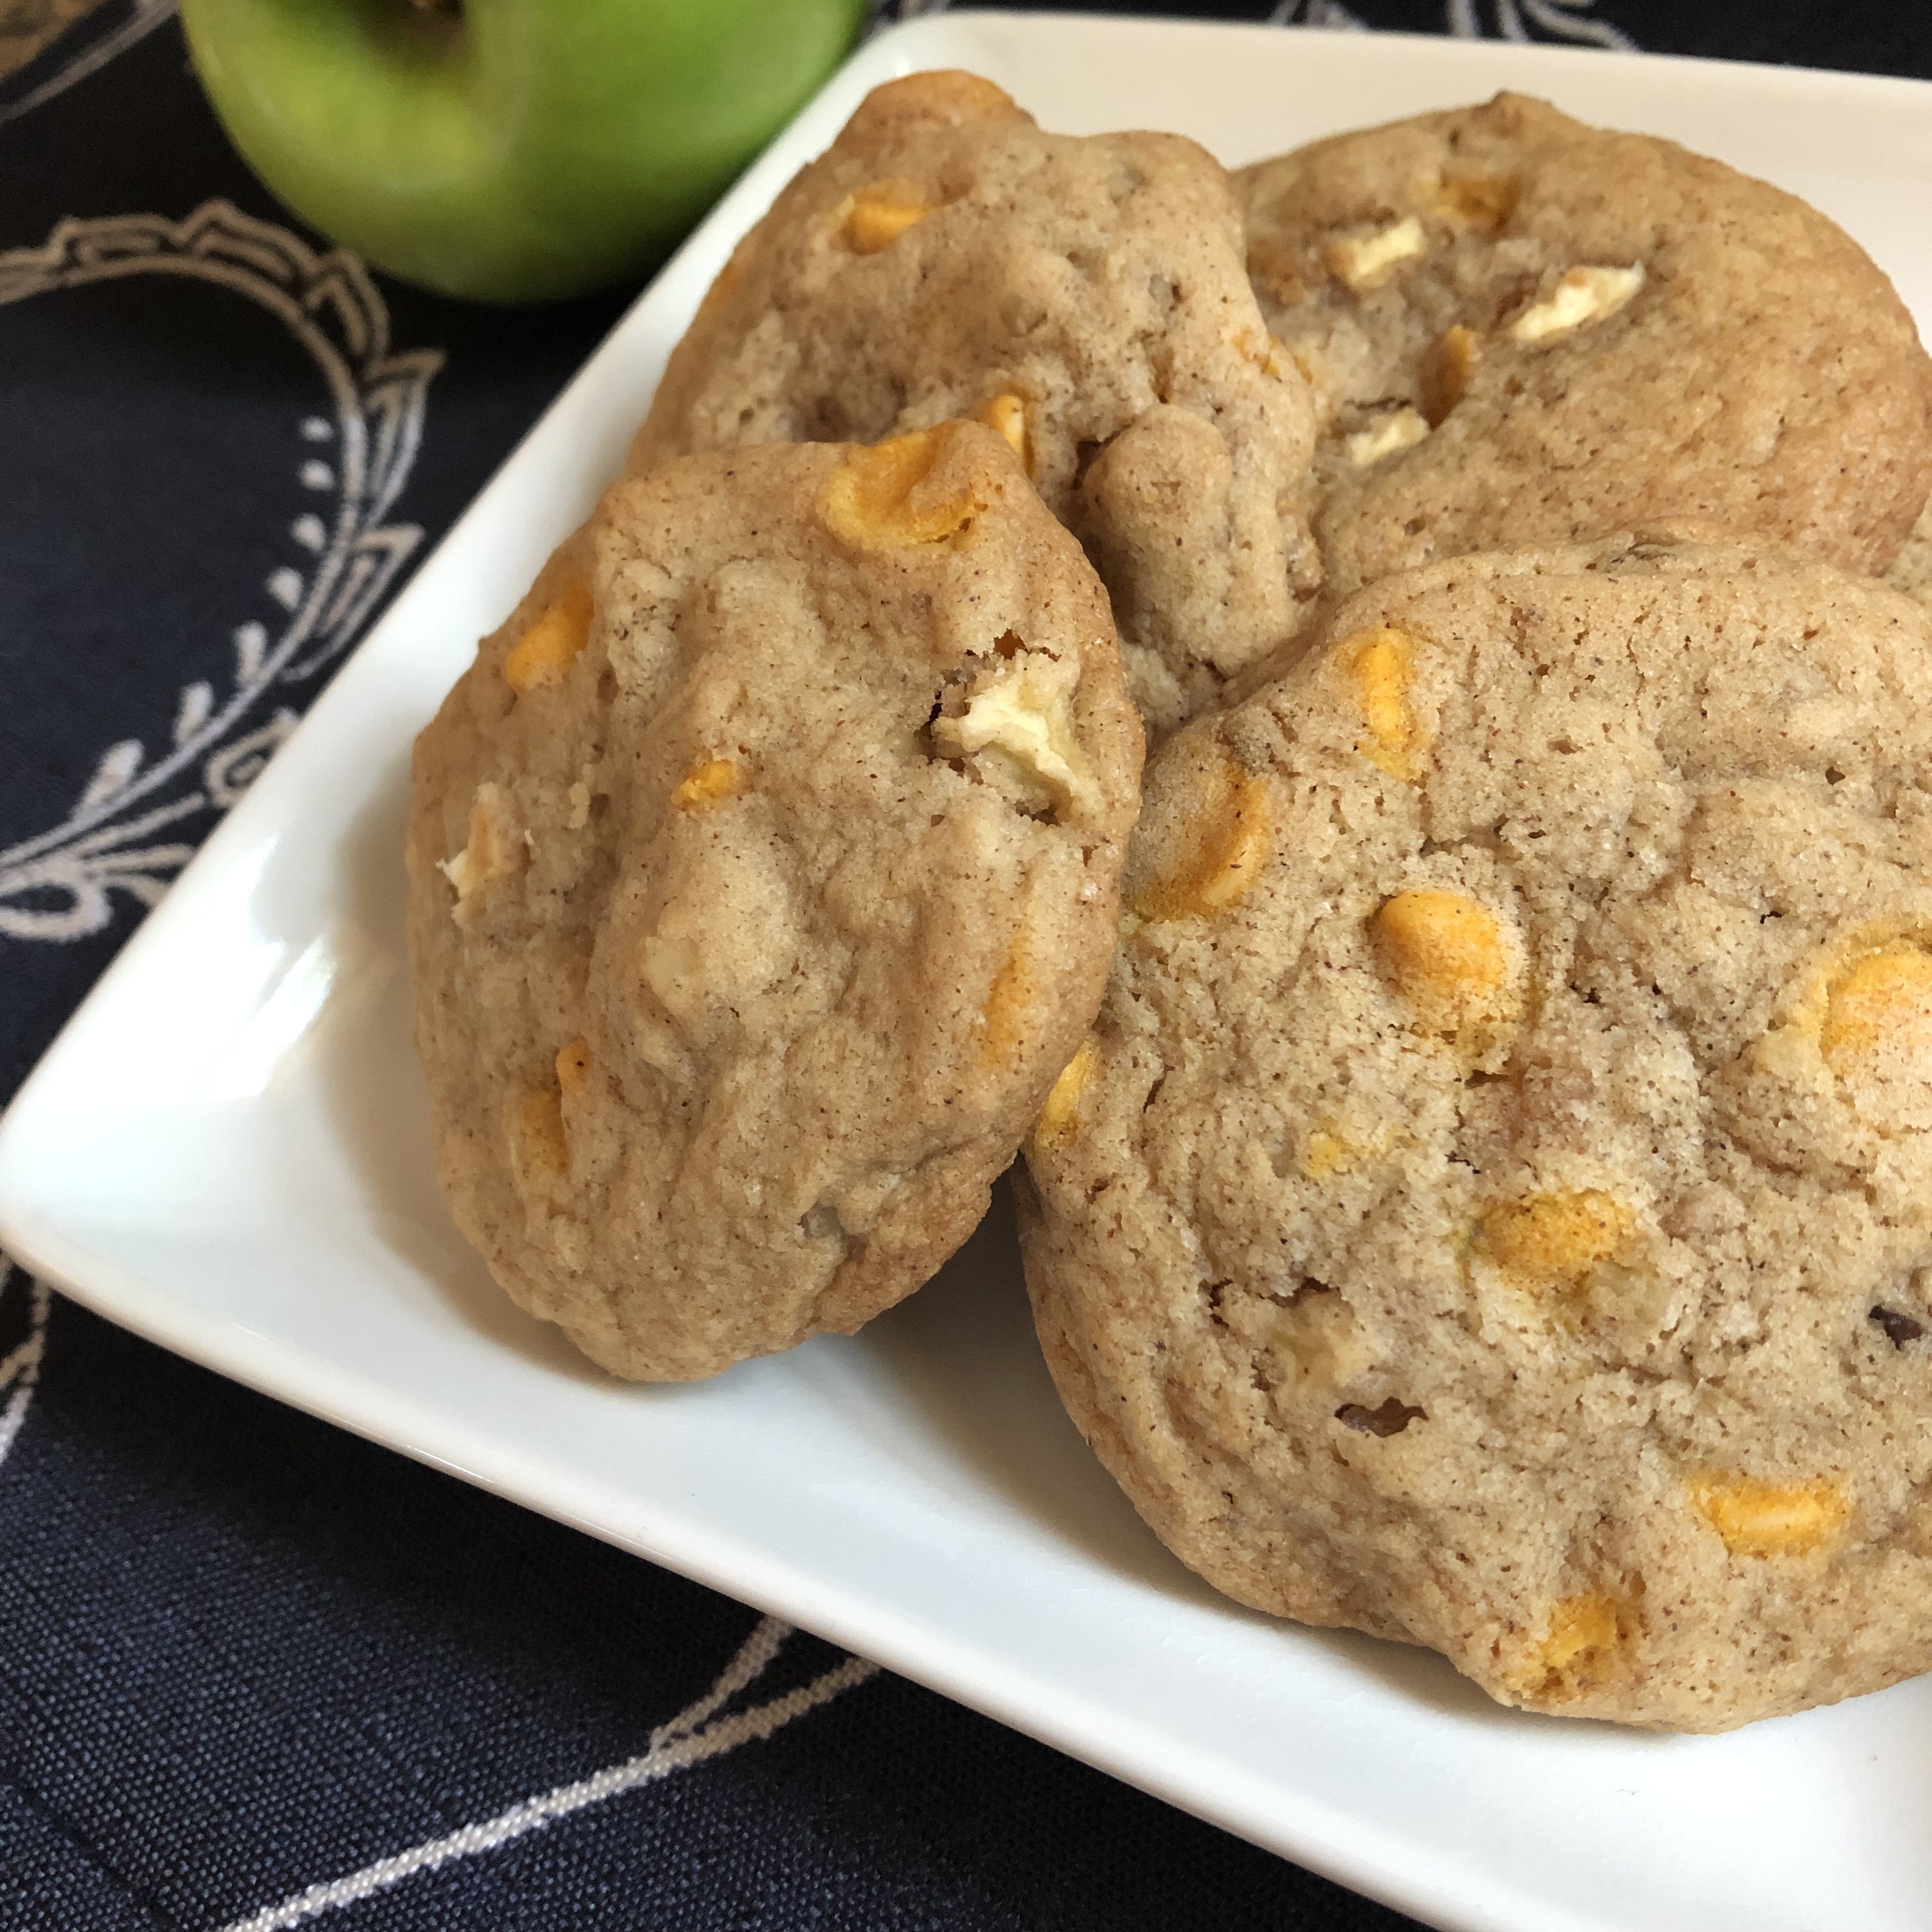
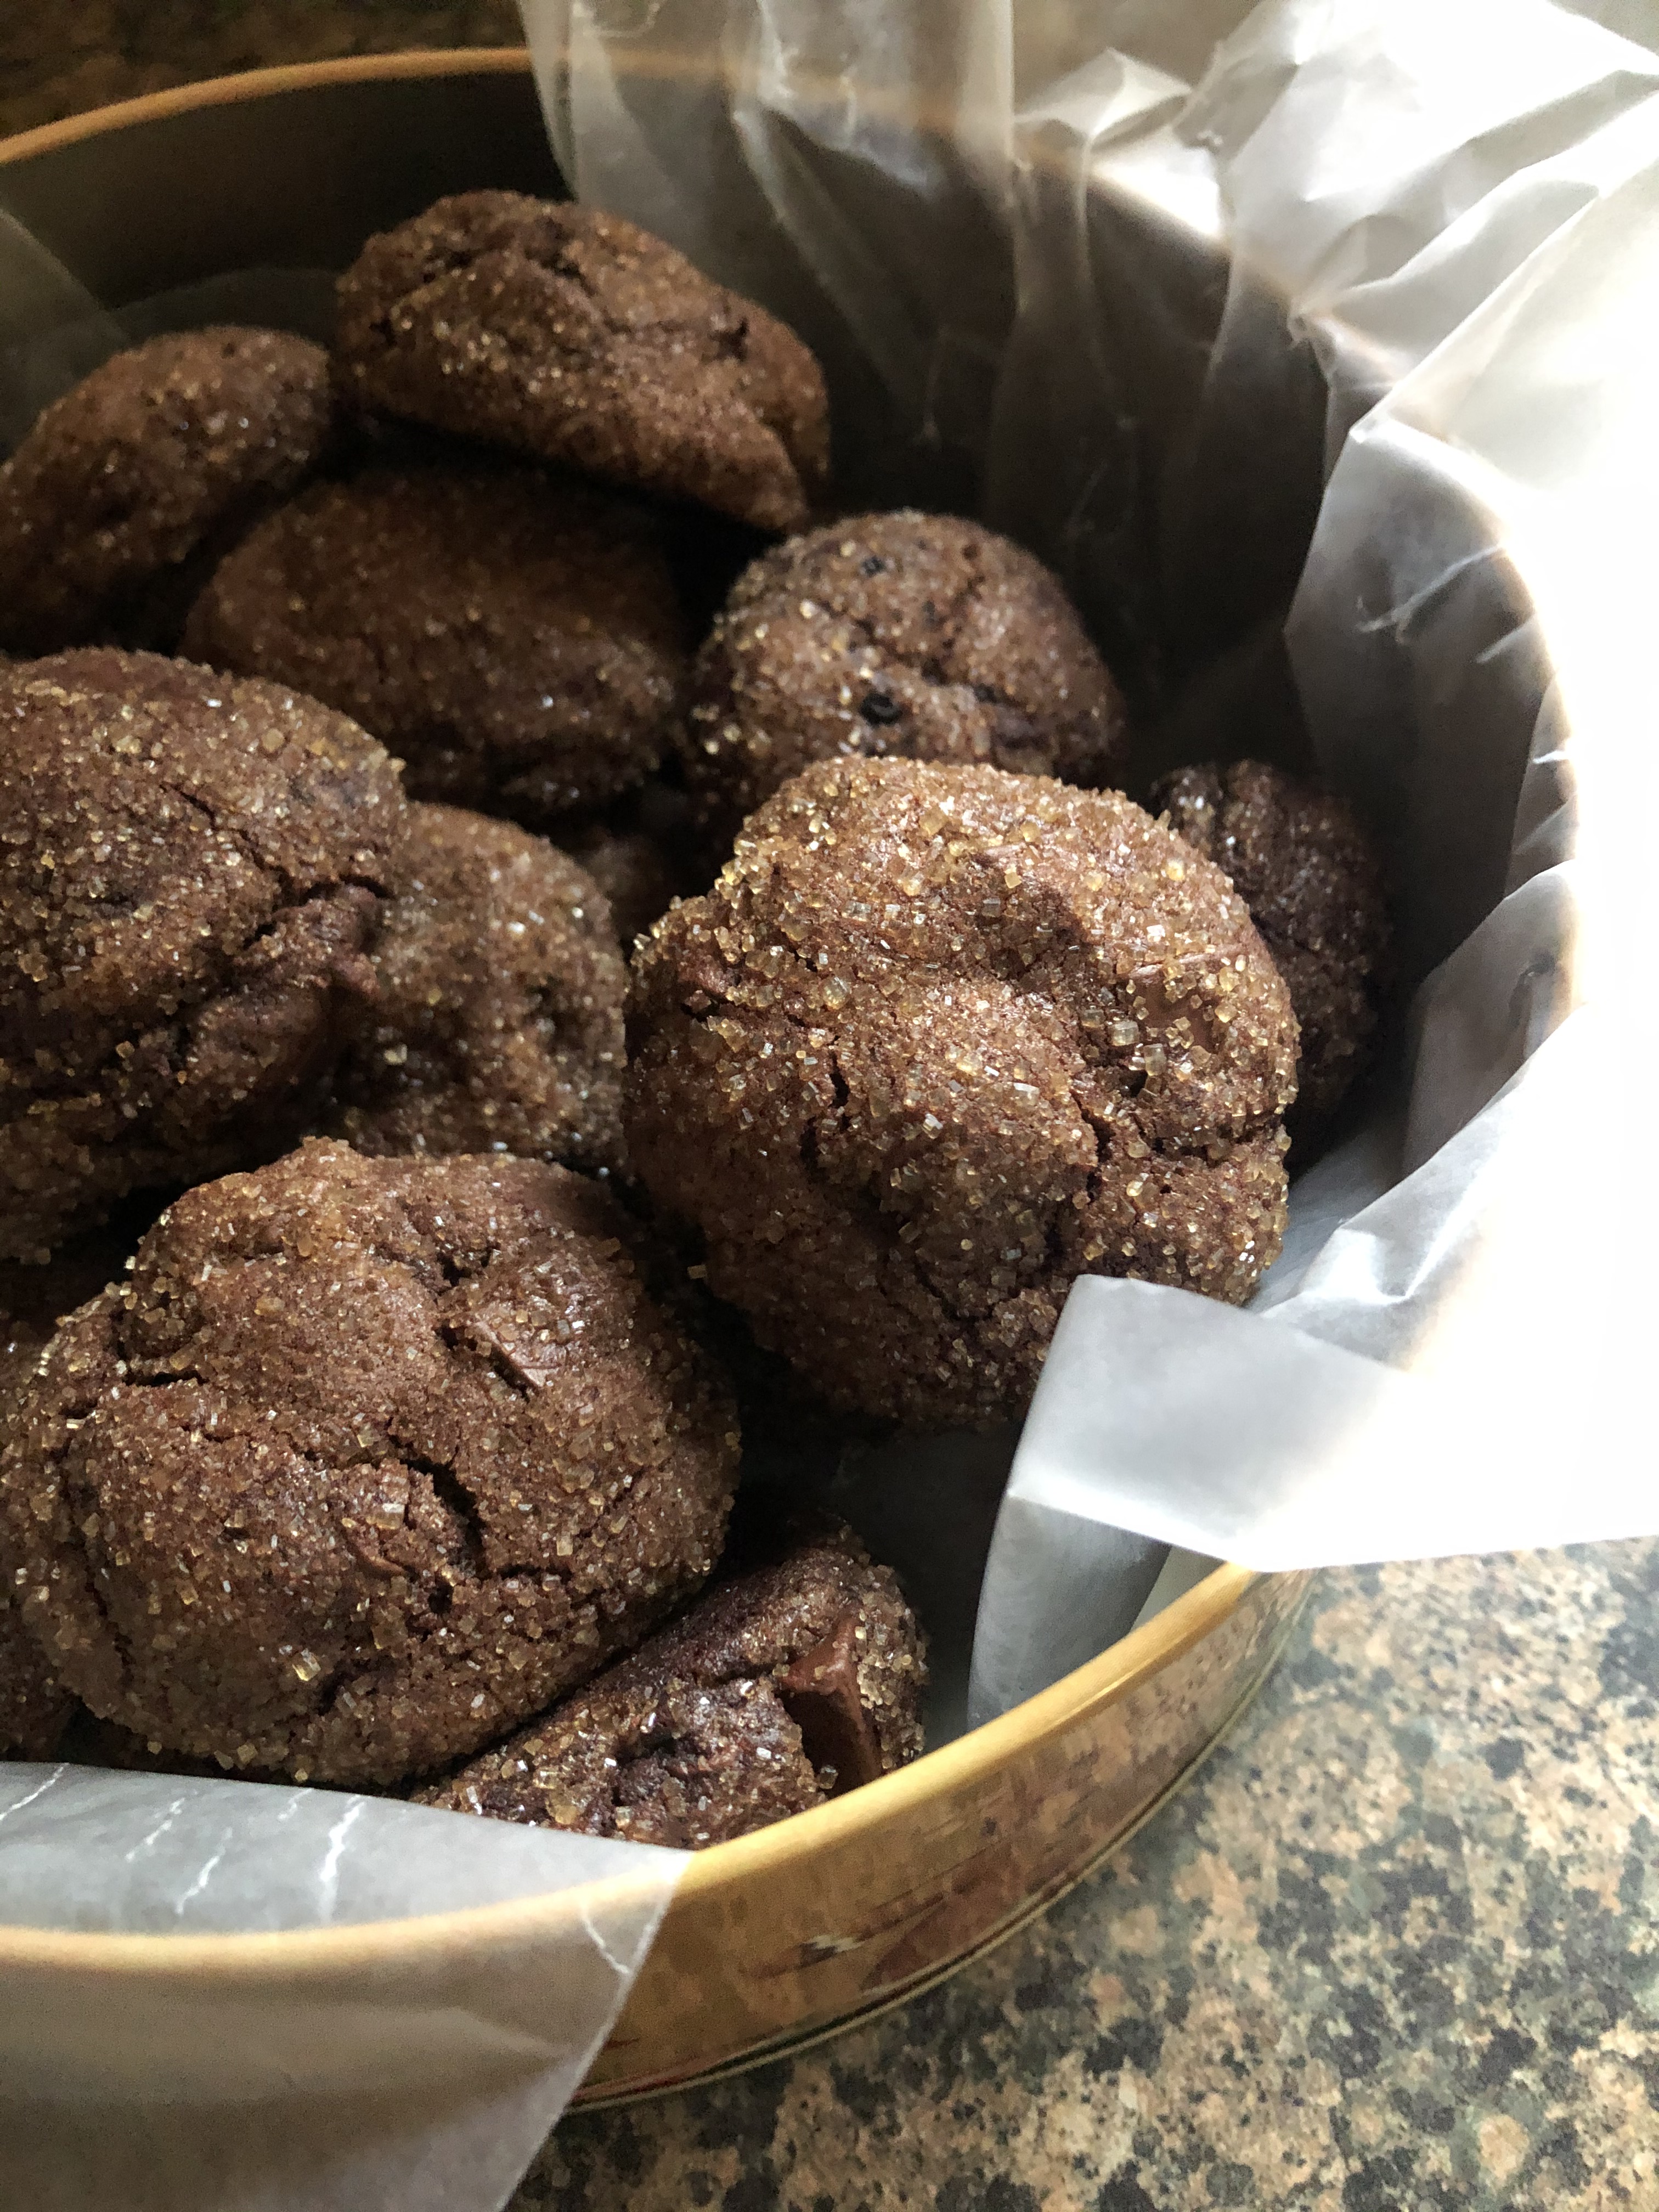
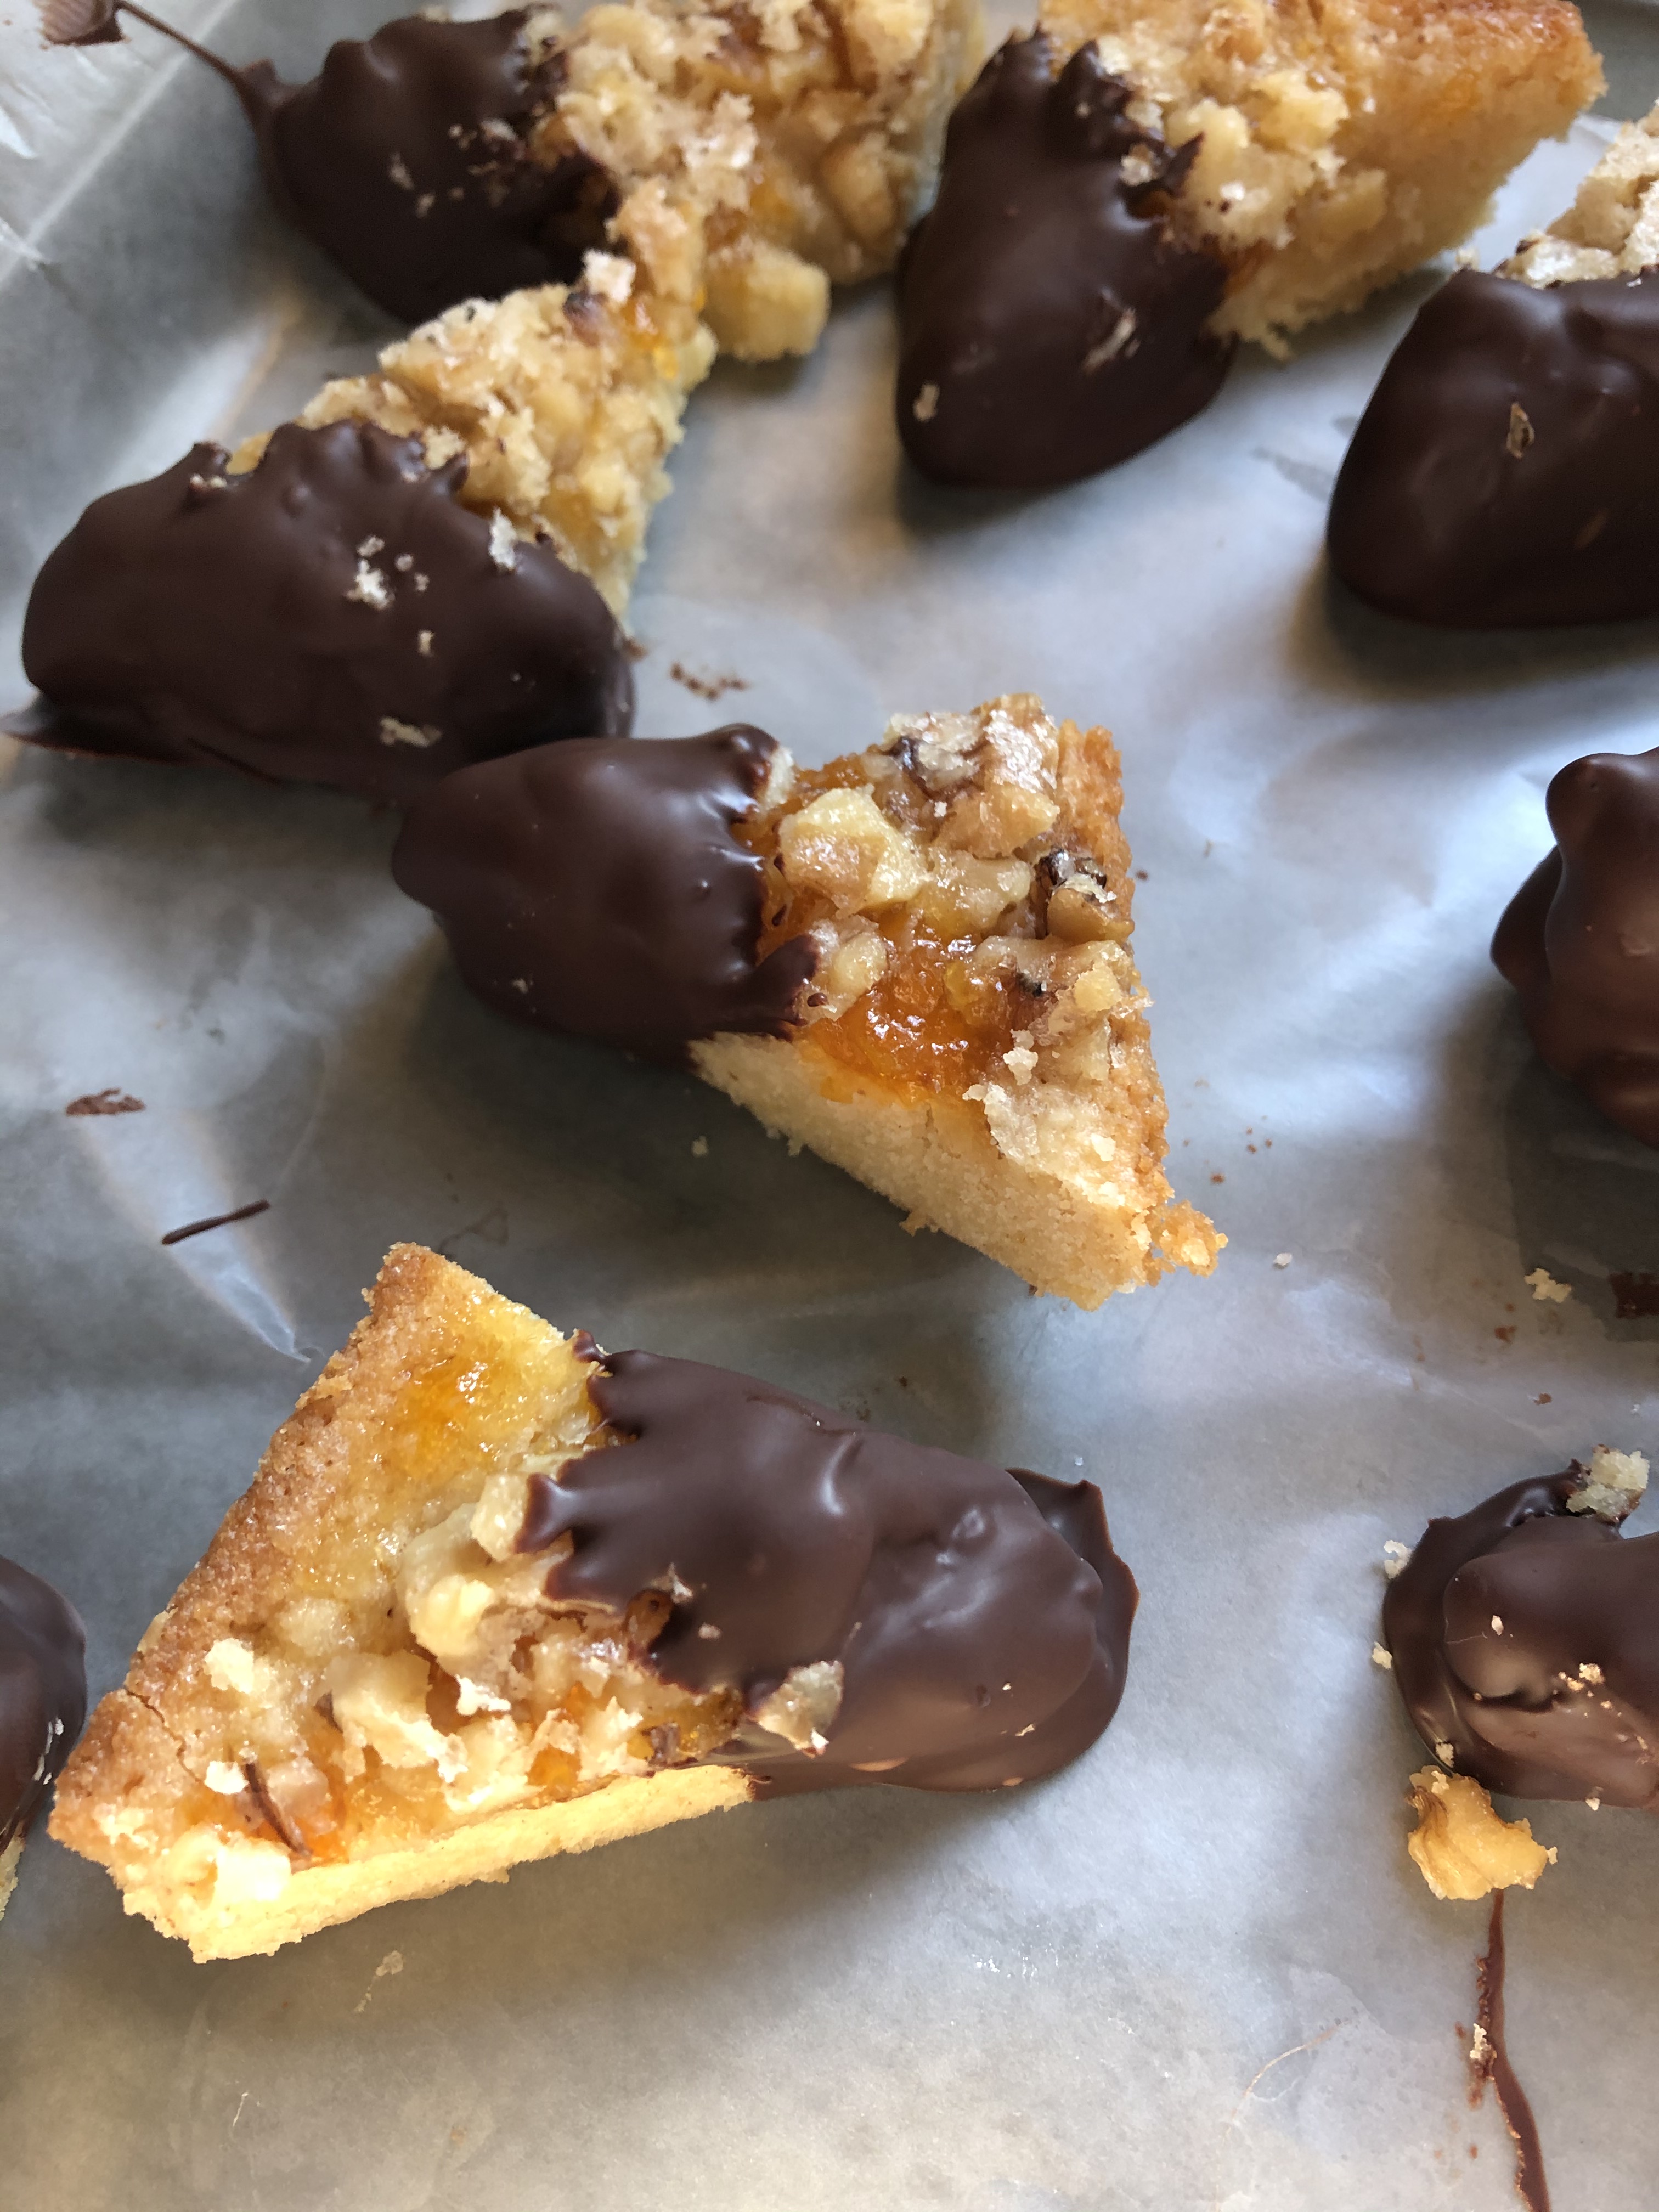
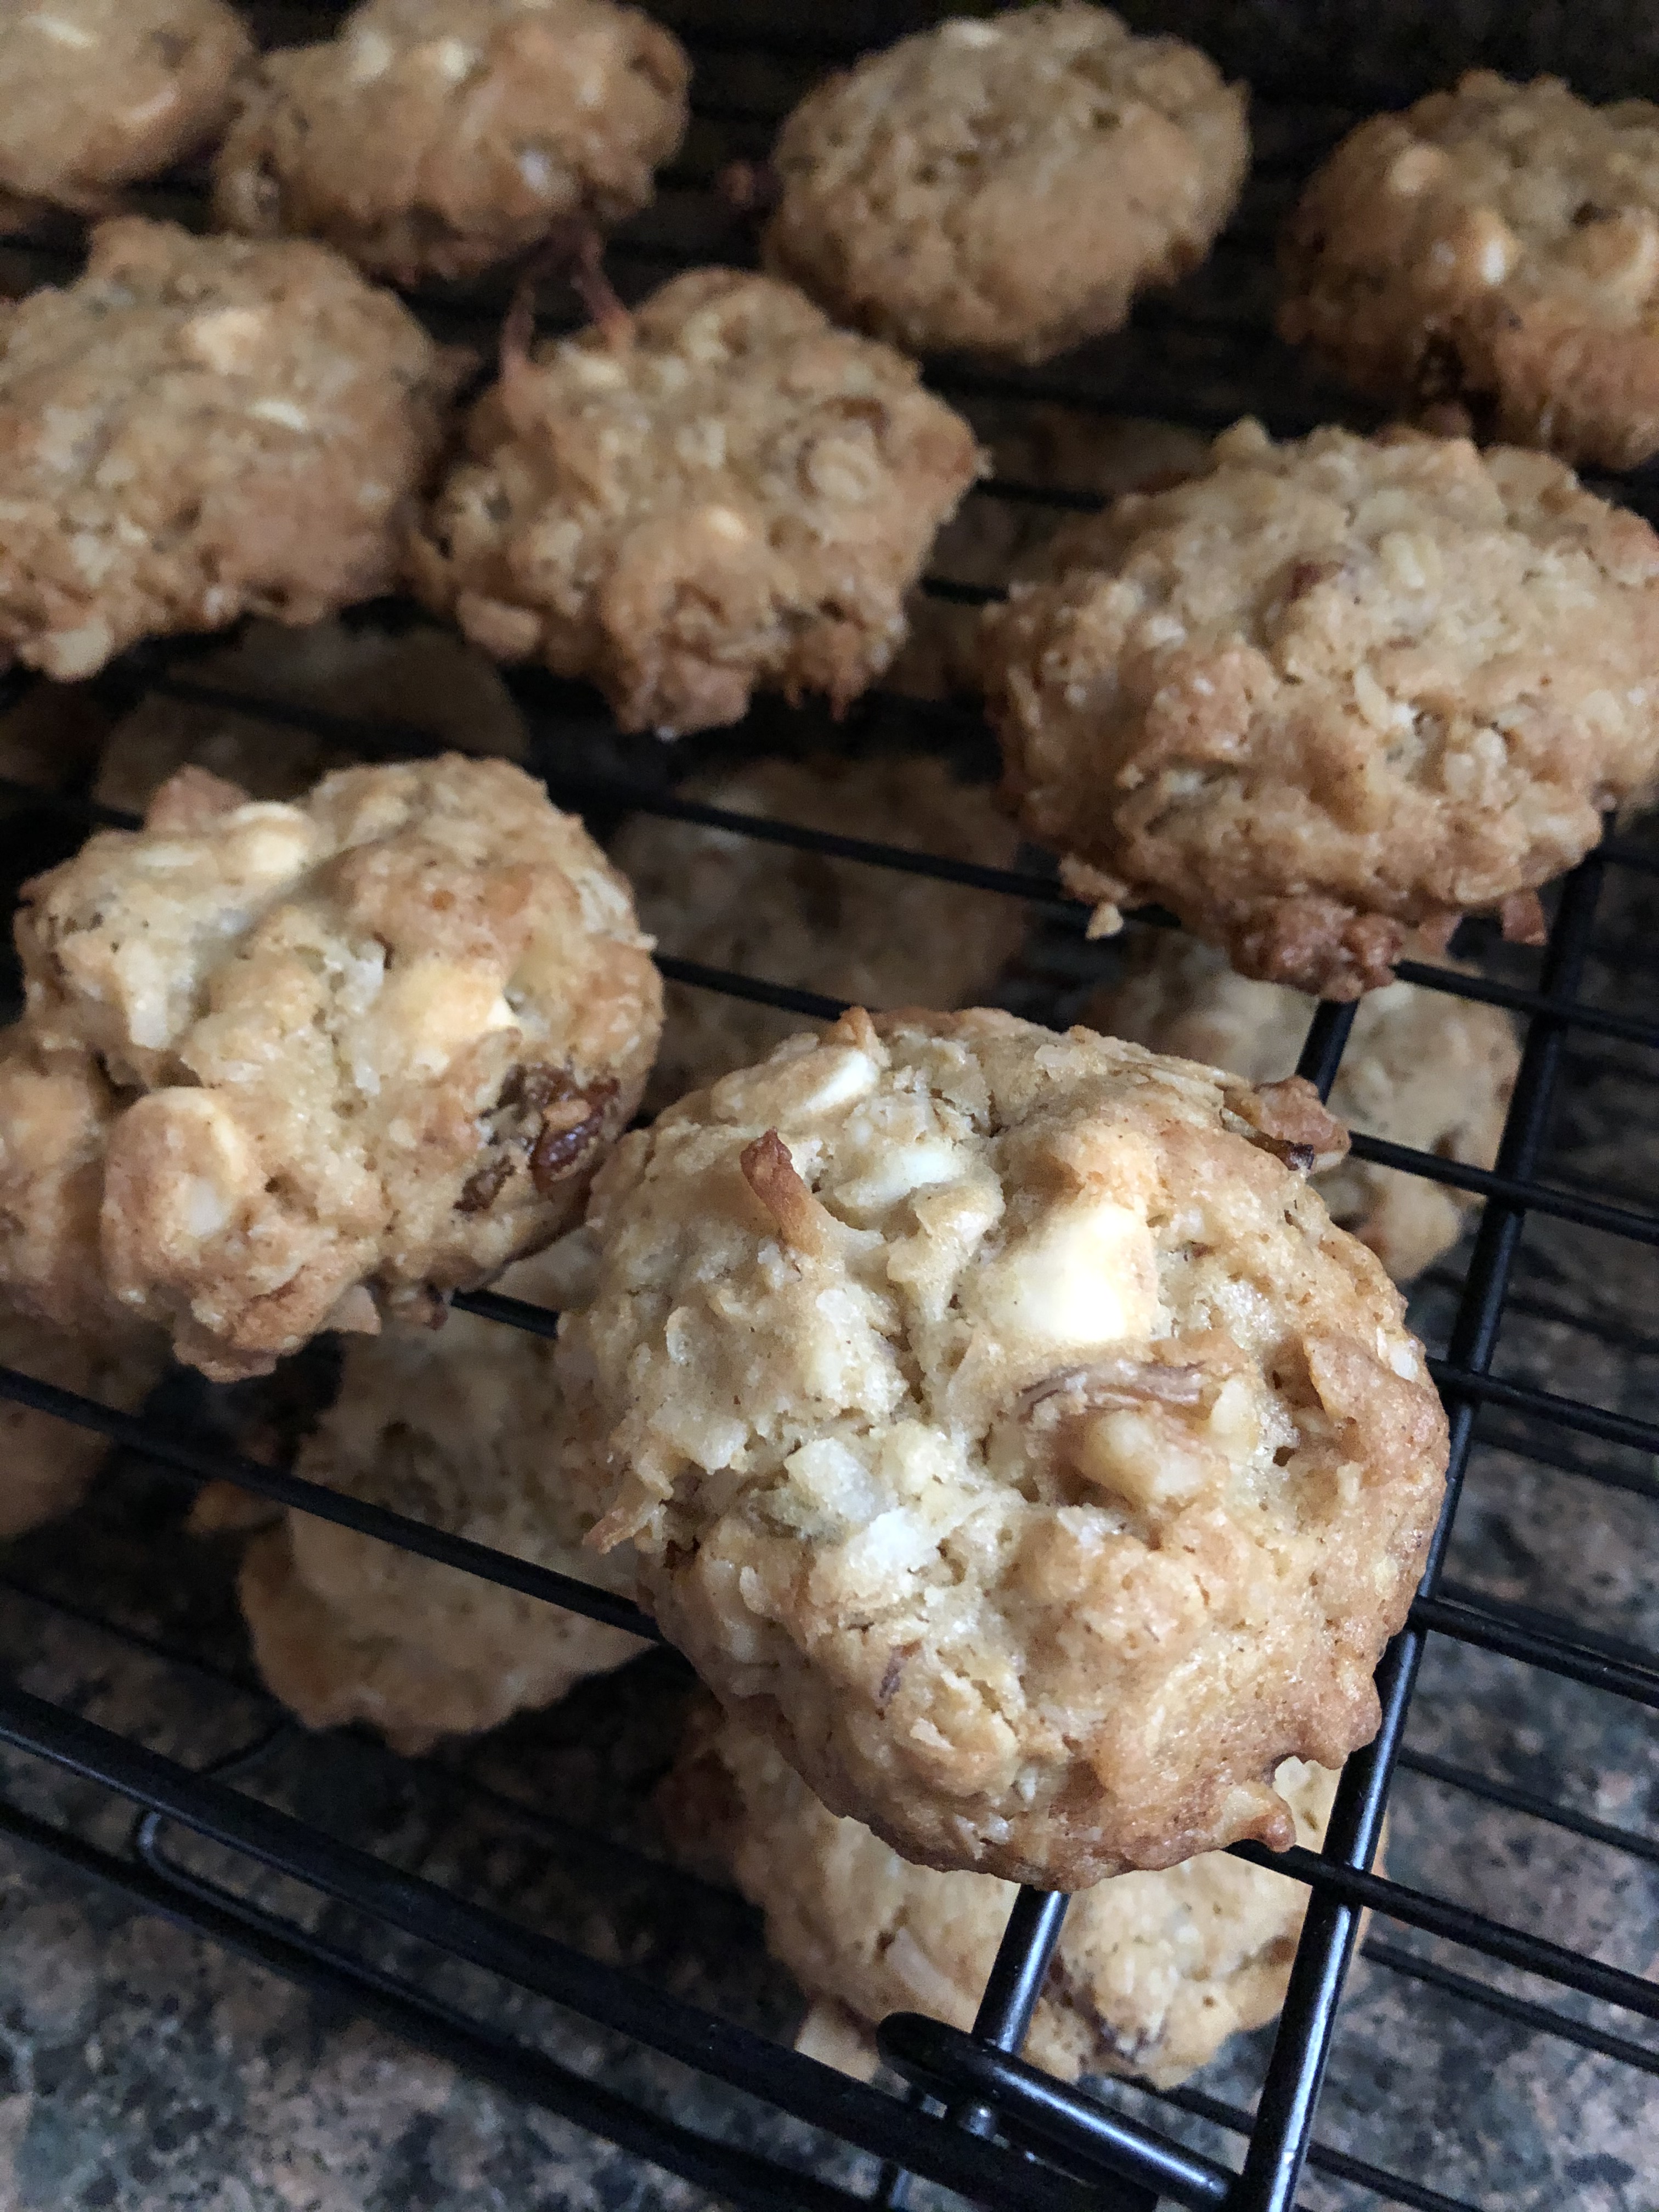
On this fourth day of Cookie Palooza I am bringing you a variation on the classic chocolate chip cookie. Now, I must say chocolate chip cookies are one of those baked goods that once you find your favorite recipe it becomes your go-to. I personally have two or three of them. A traditional chocolate chip cookie recipe and then two others that produce a nice twist on the classic. Today I am bringing you a version that some might say is nowhere near what a chocolate chip cookie should be… A Browned Butter Spice Cookie.
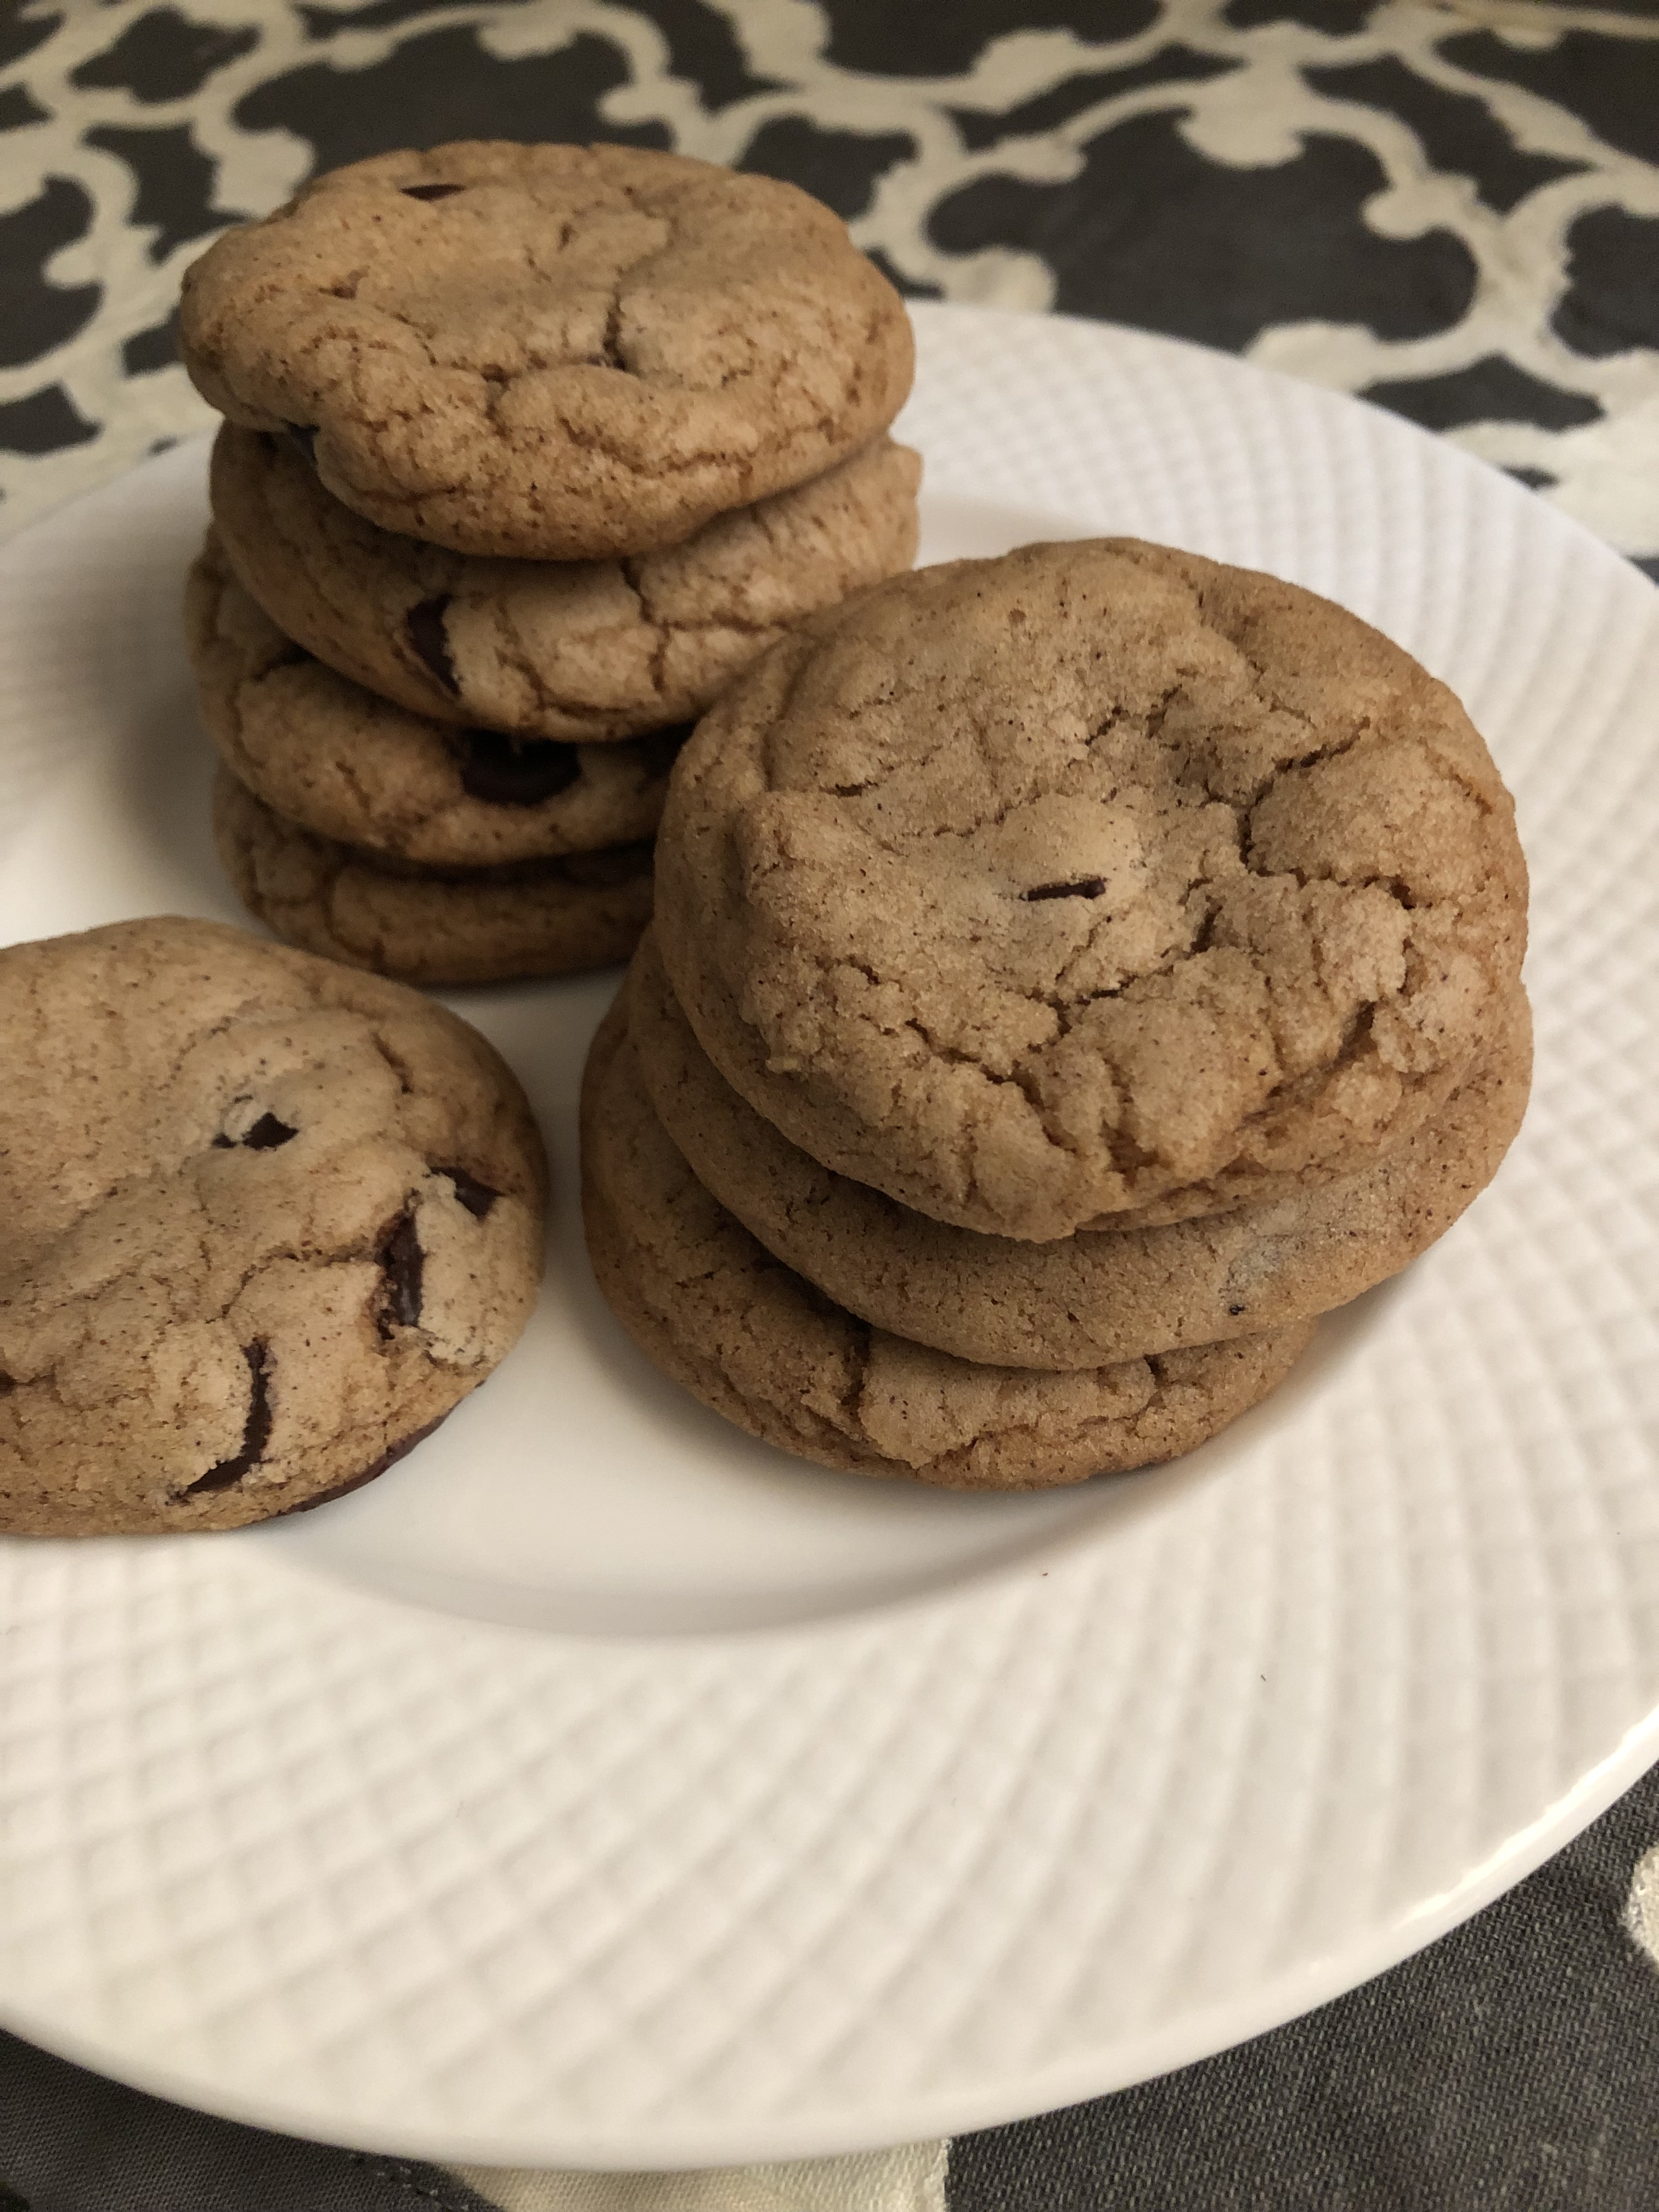
Let’s talk about the flavors that go into this cookie. First, browned butter. To make browned butter you are cooking butter just beyond its melting point. This produces a nutty flavor that is just not possible to get by using softened butter. A word to the wise though, it’s best to cook the butter on medium-low heat and with a cover on your saucepan. Melted butter can pop and shoot-up pretty high and make quite the mess. Along with cinnamon, ginger and nutmeg there’s also a splash of spiced rum that really ups the ante for the spice in these cookies. If you don’t have spiced rum you could sub it with vanilla extract or regular rum and just add a little extra of each of the spices. Finally, dark chocolate chips. The dark chocolate is a nice balance to the spice in these cookies. Semi-sweet would just be too sweet and the flavors wouldn’t work well together.
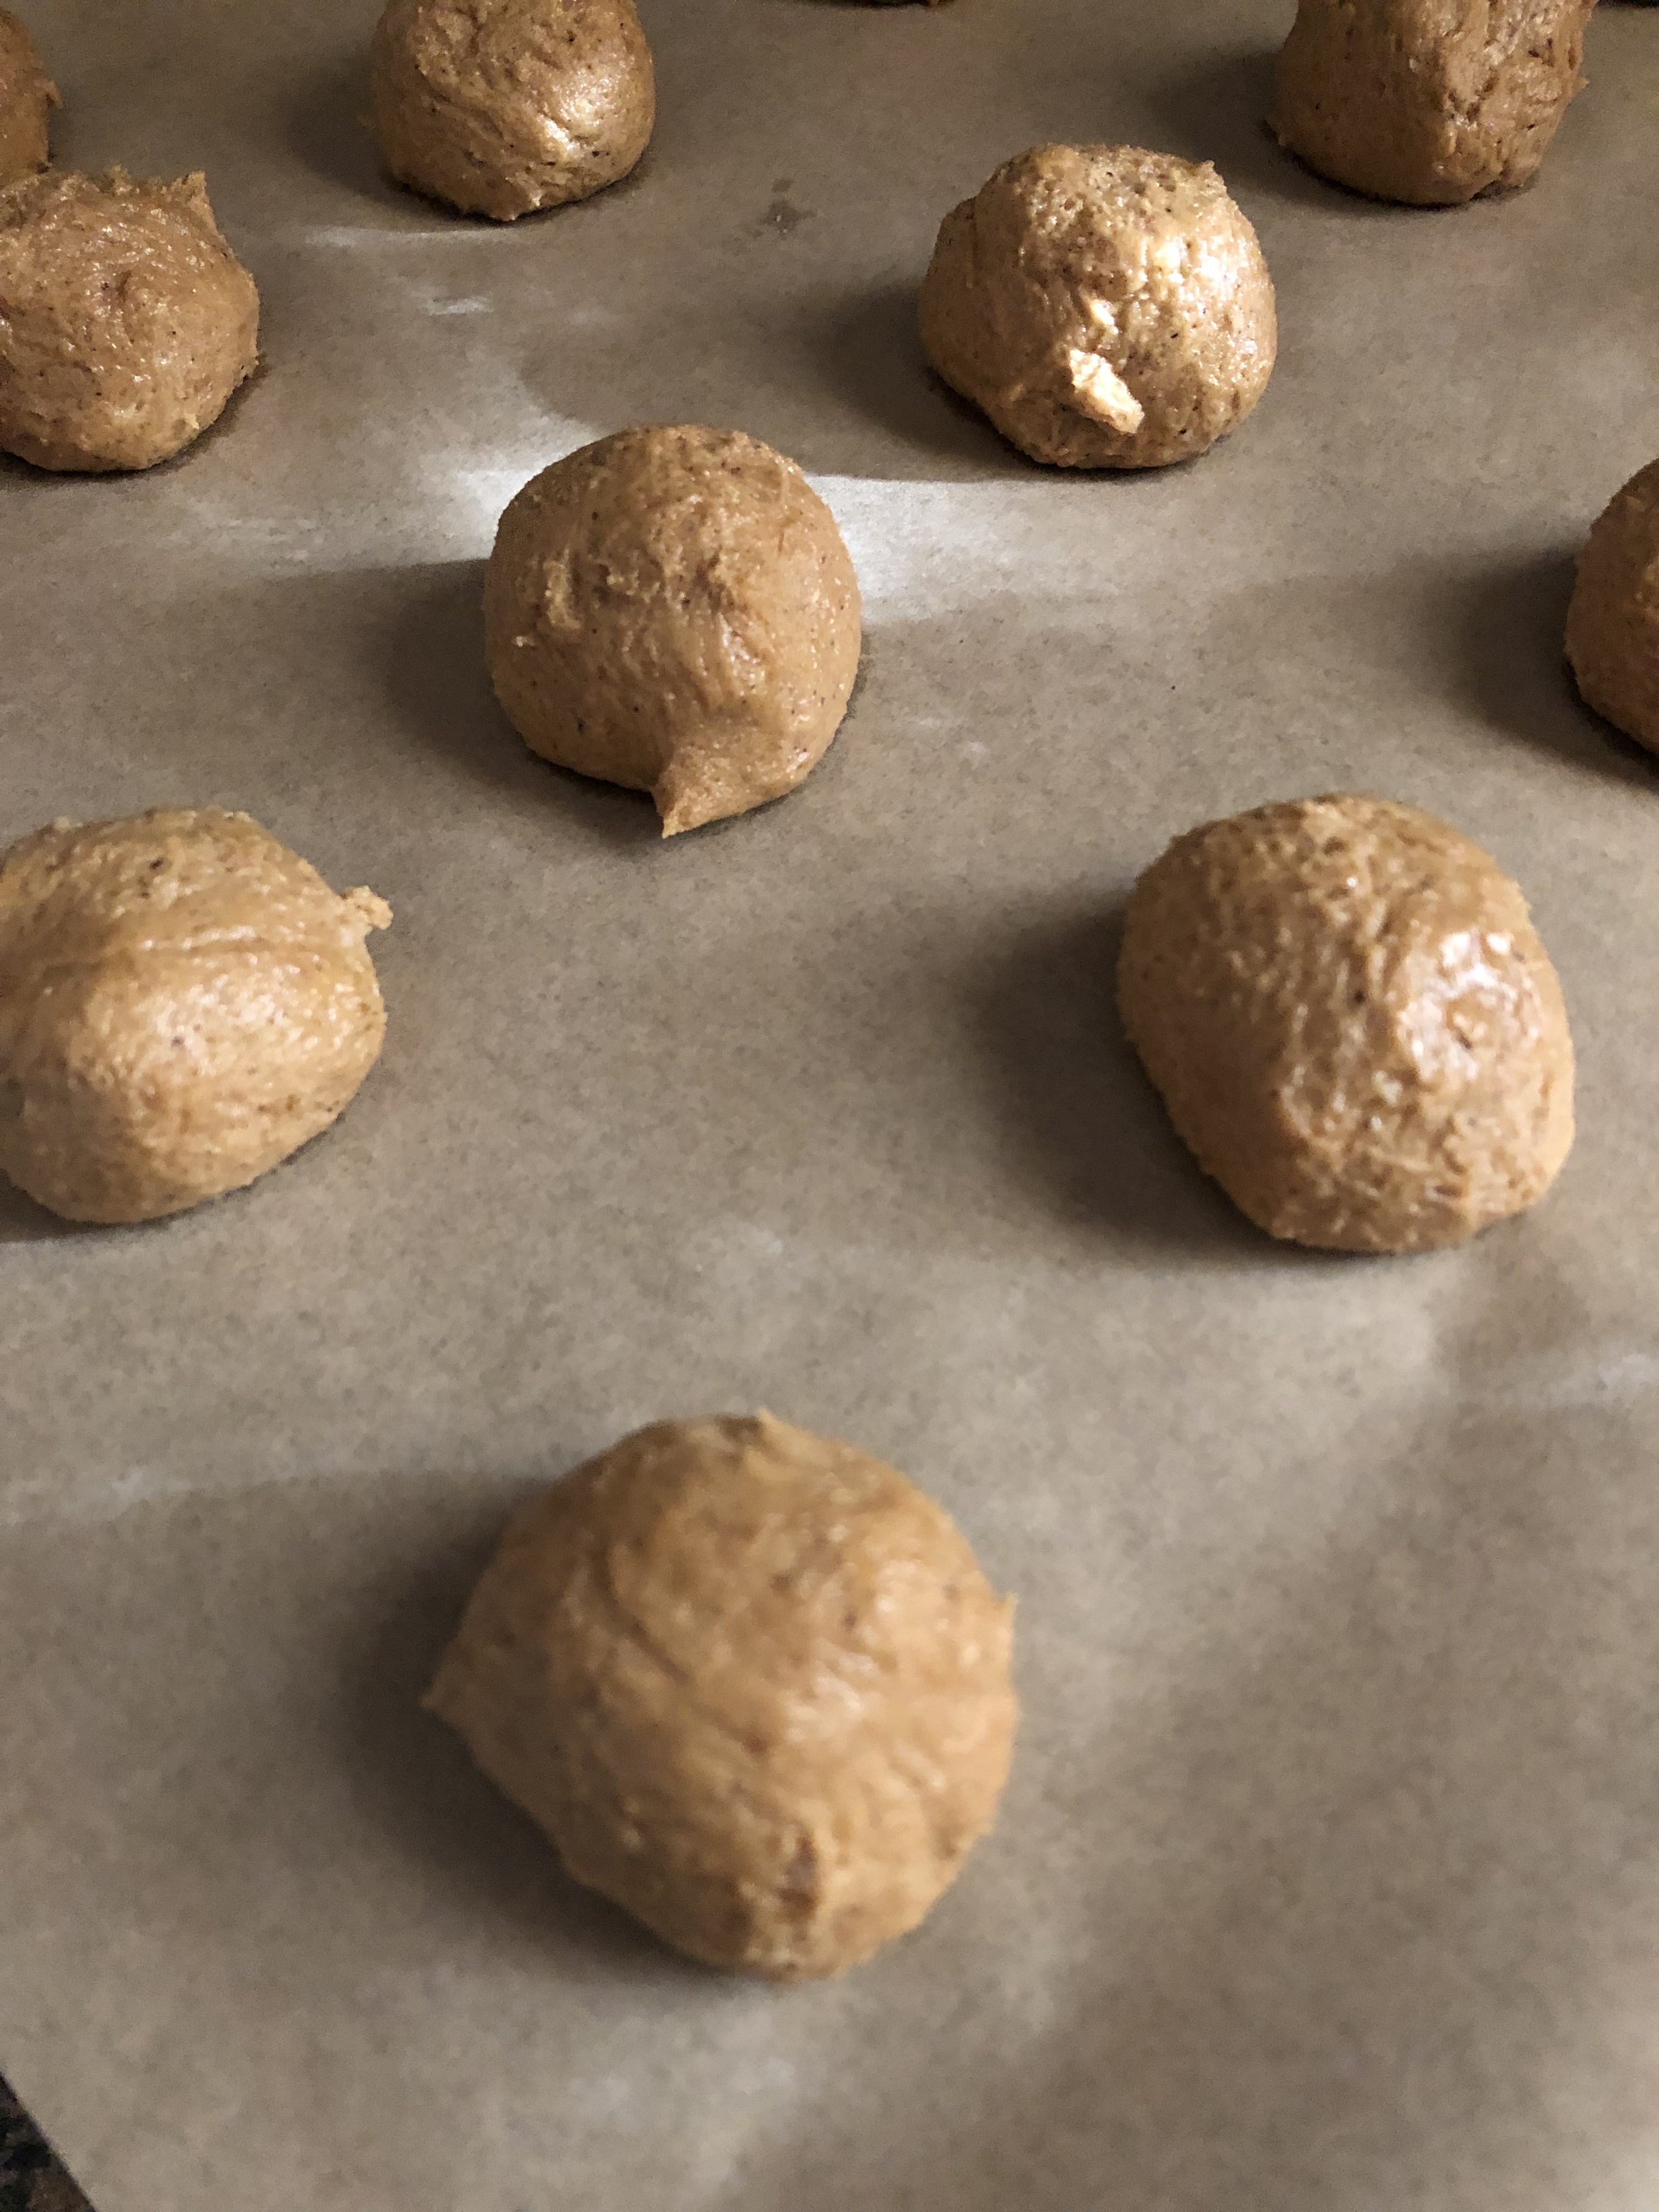
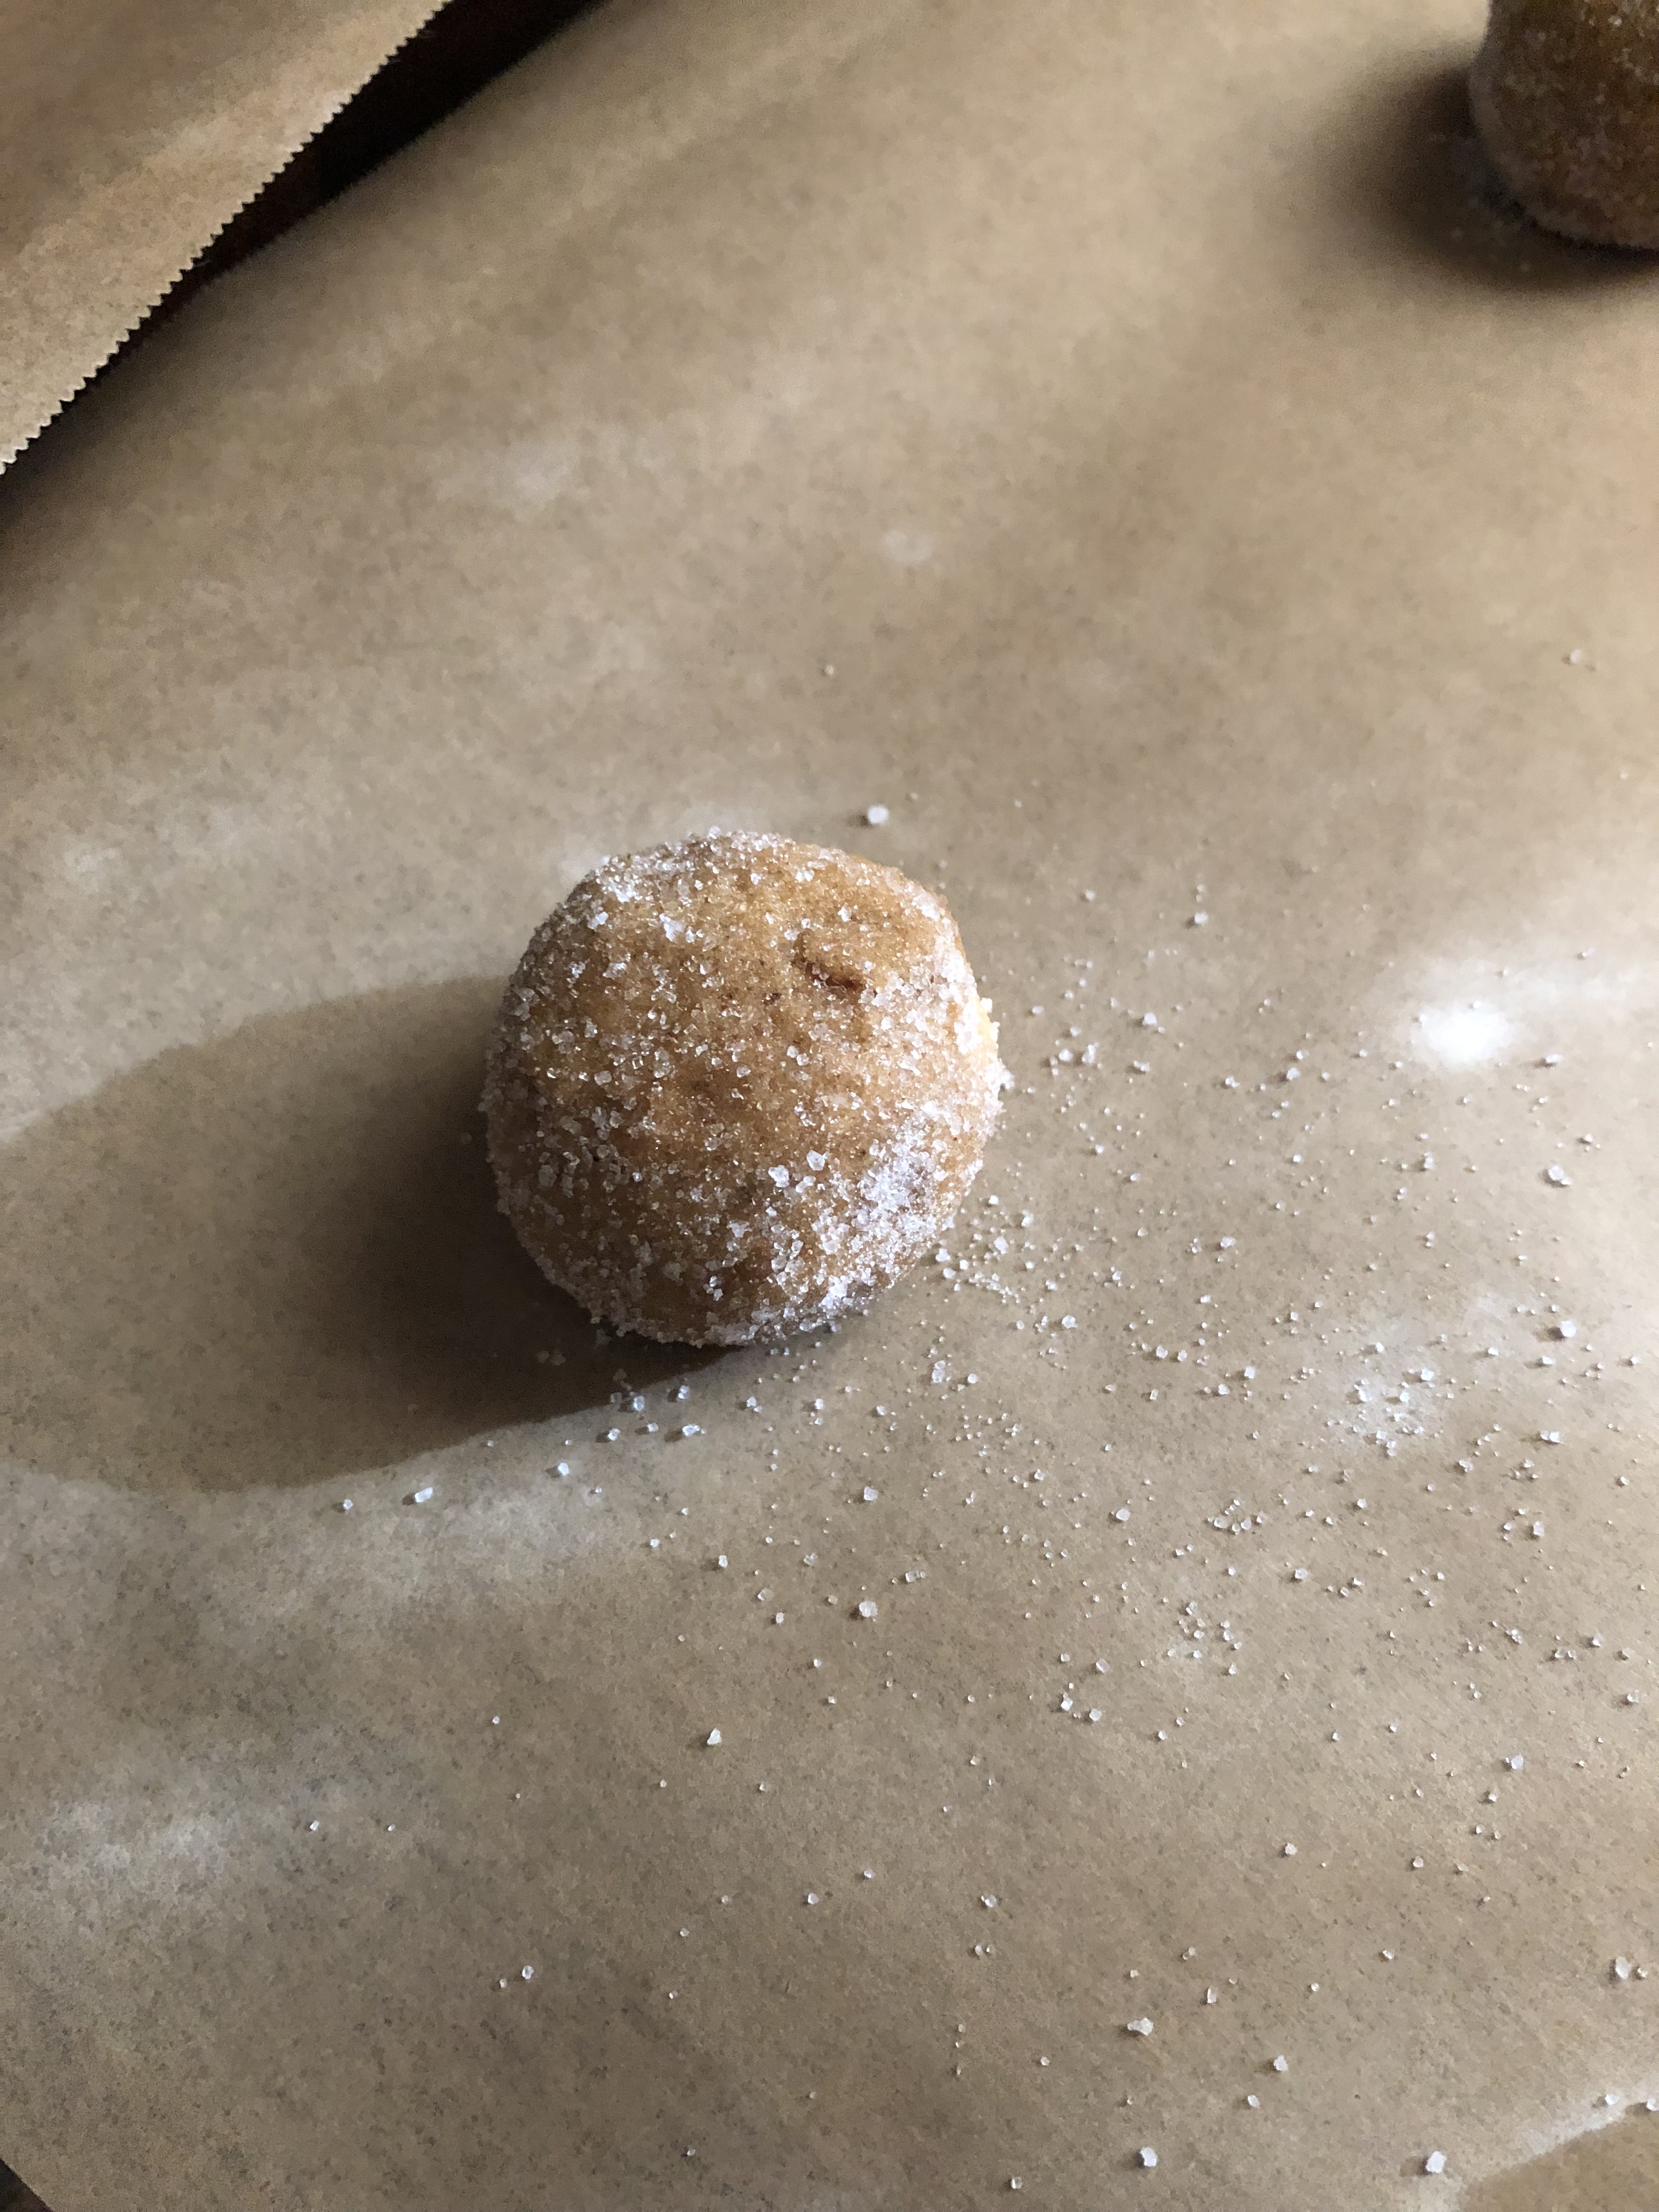
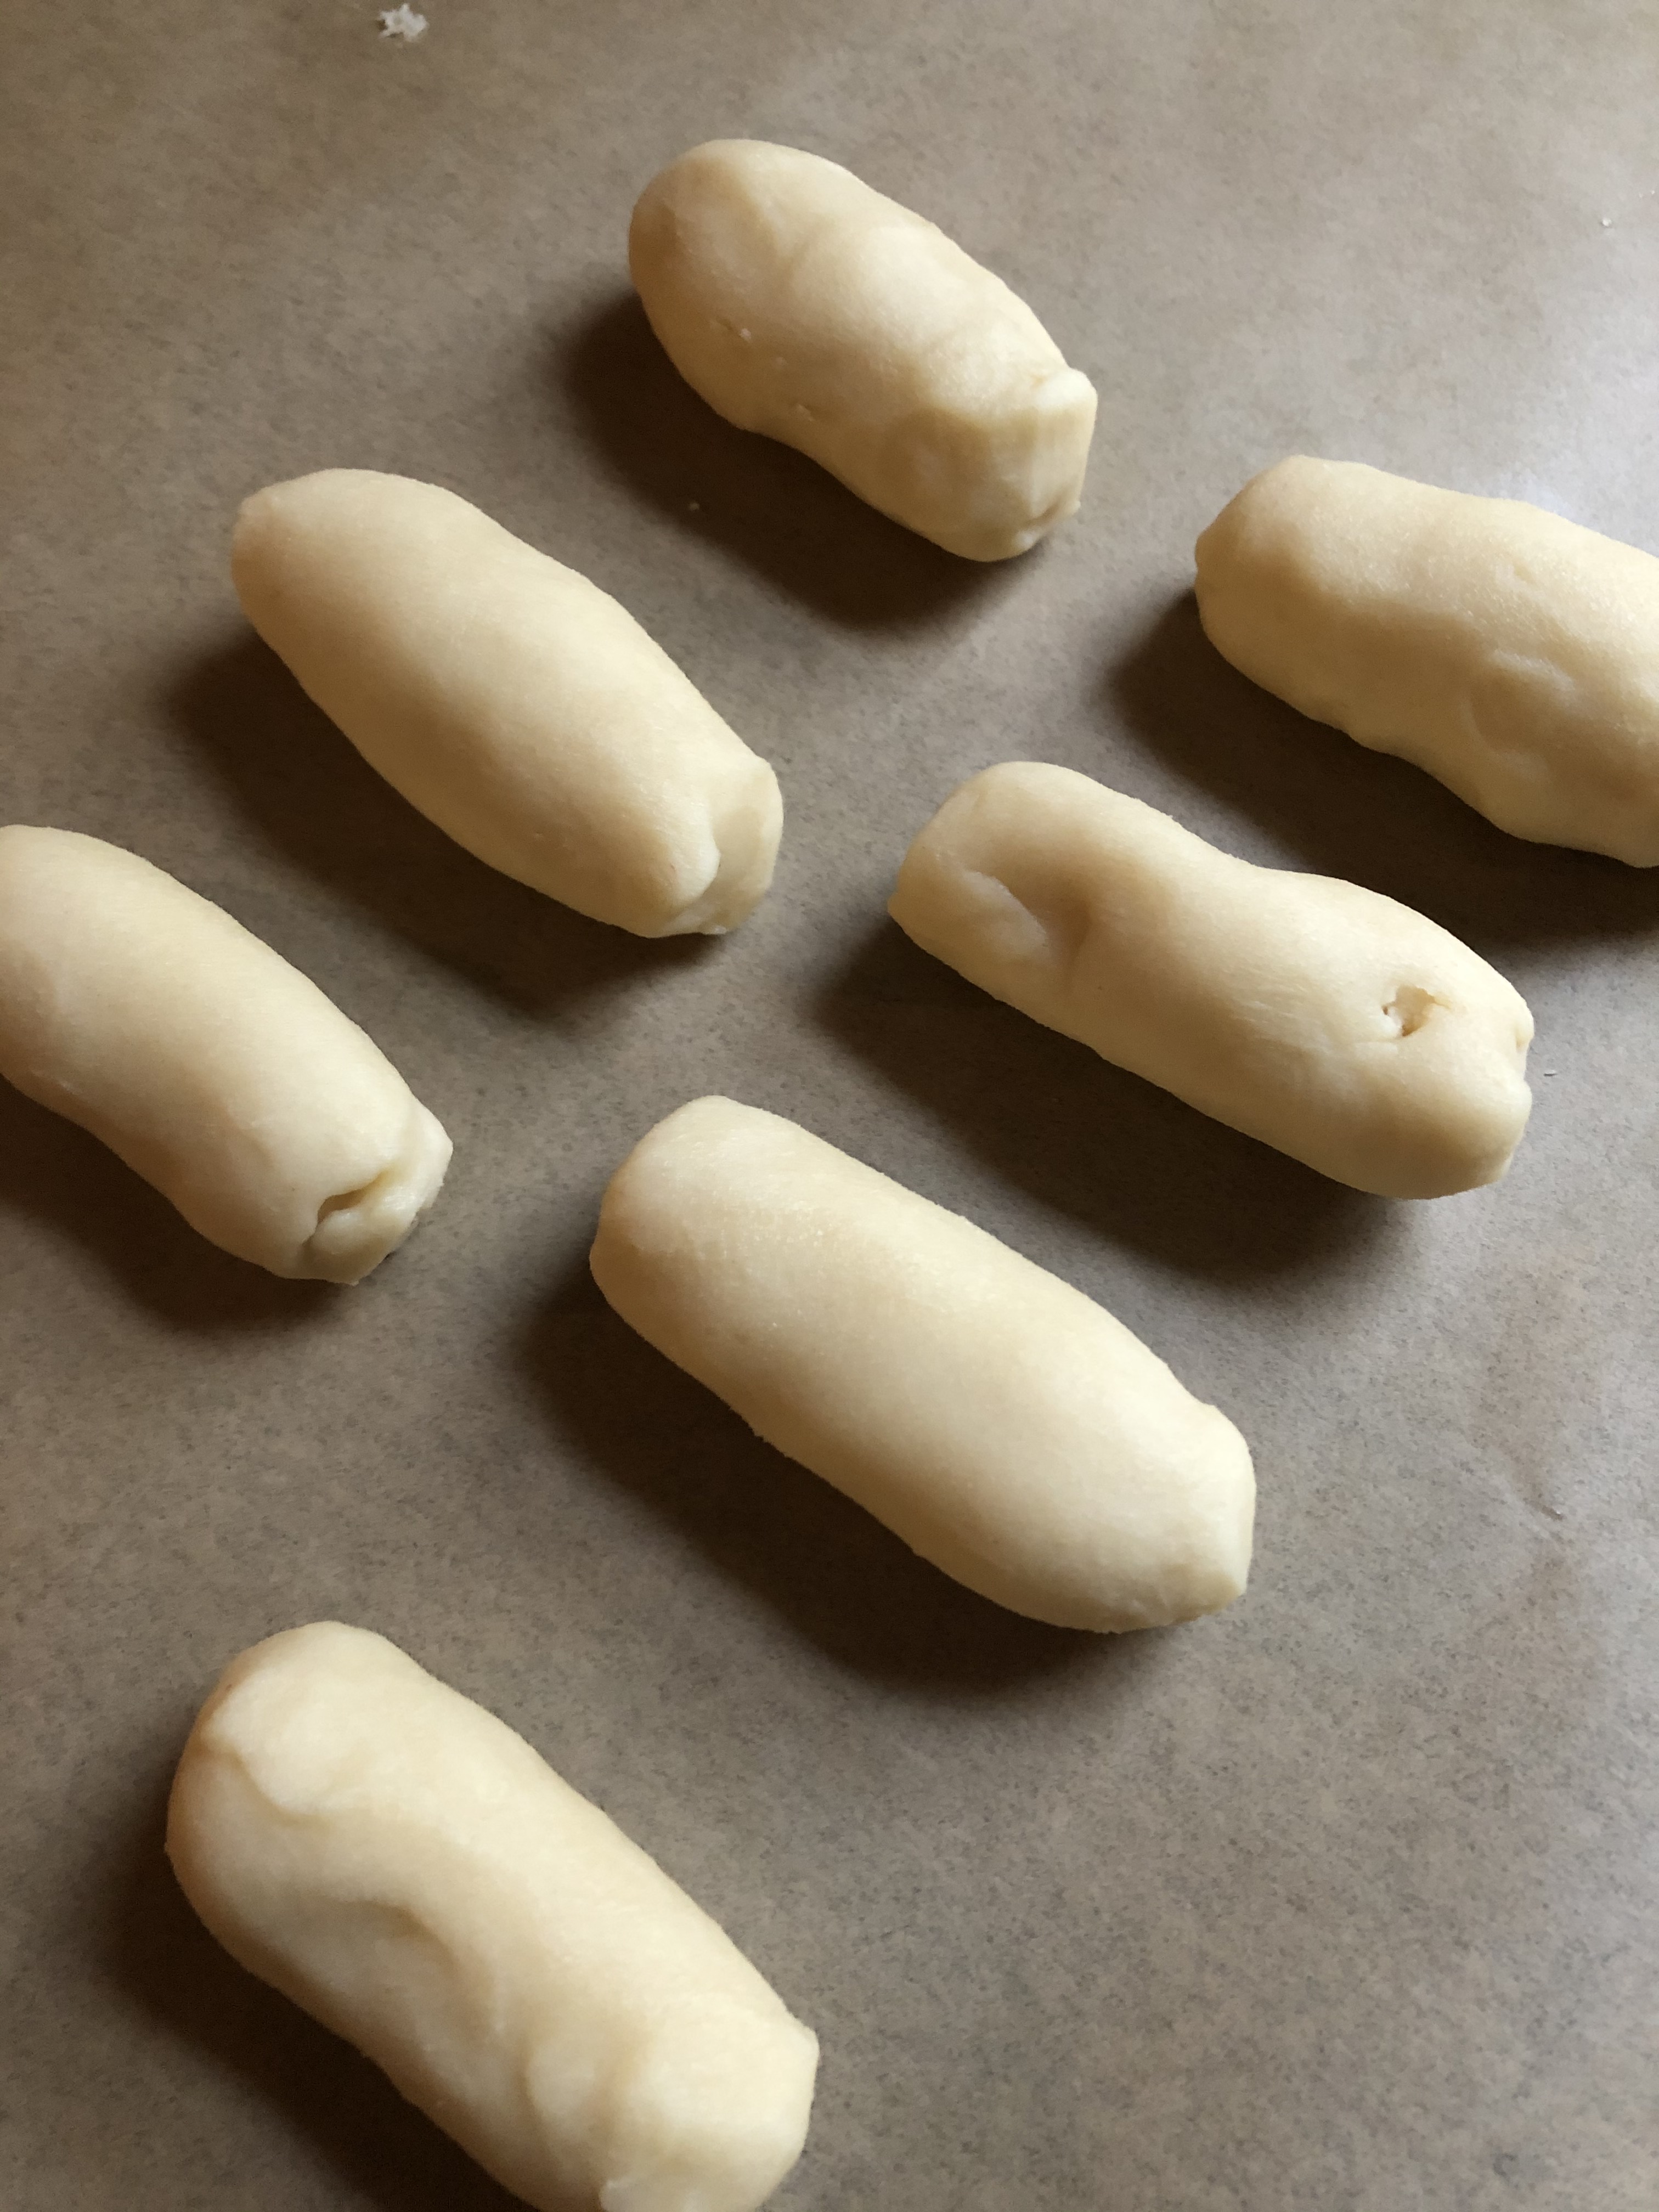
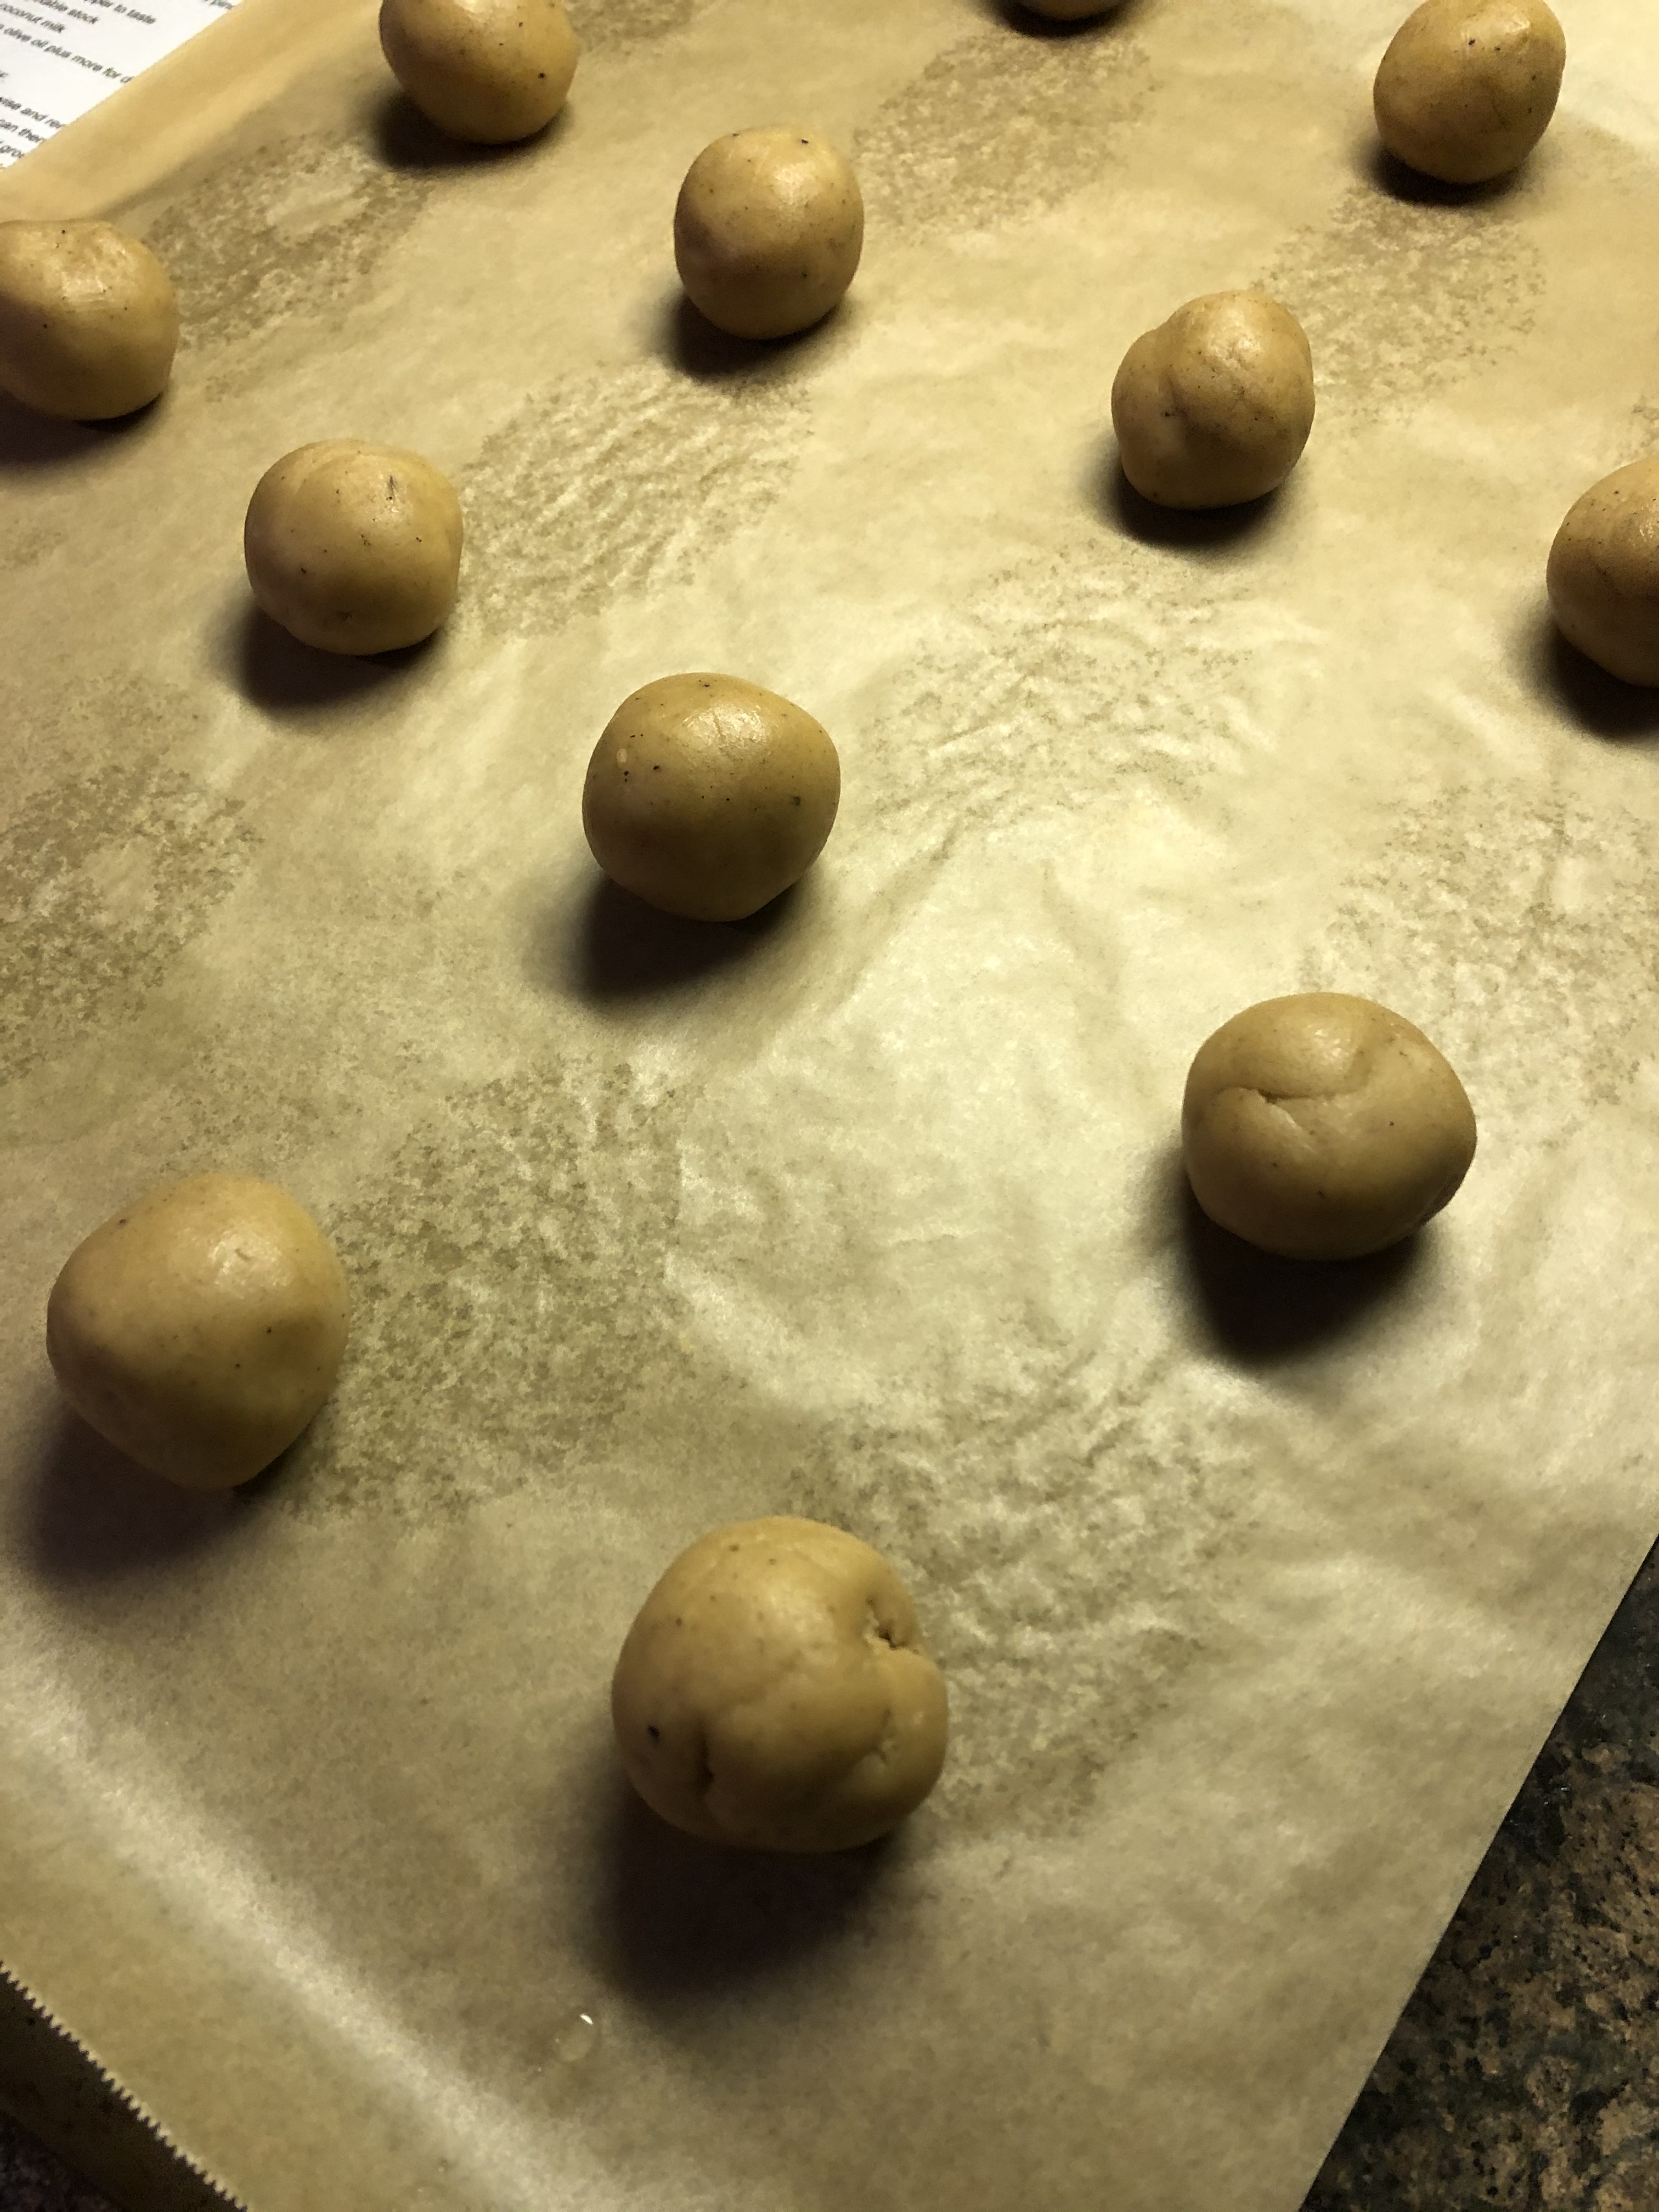
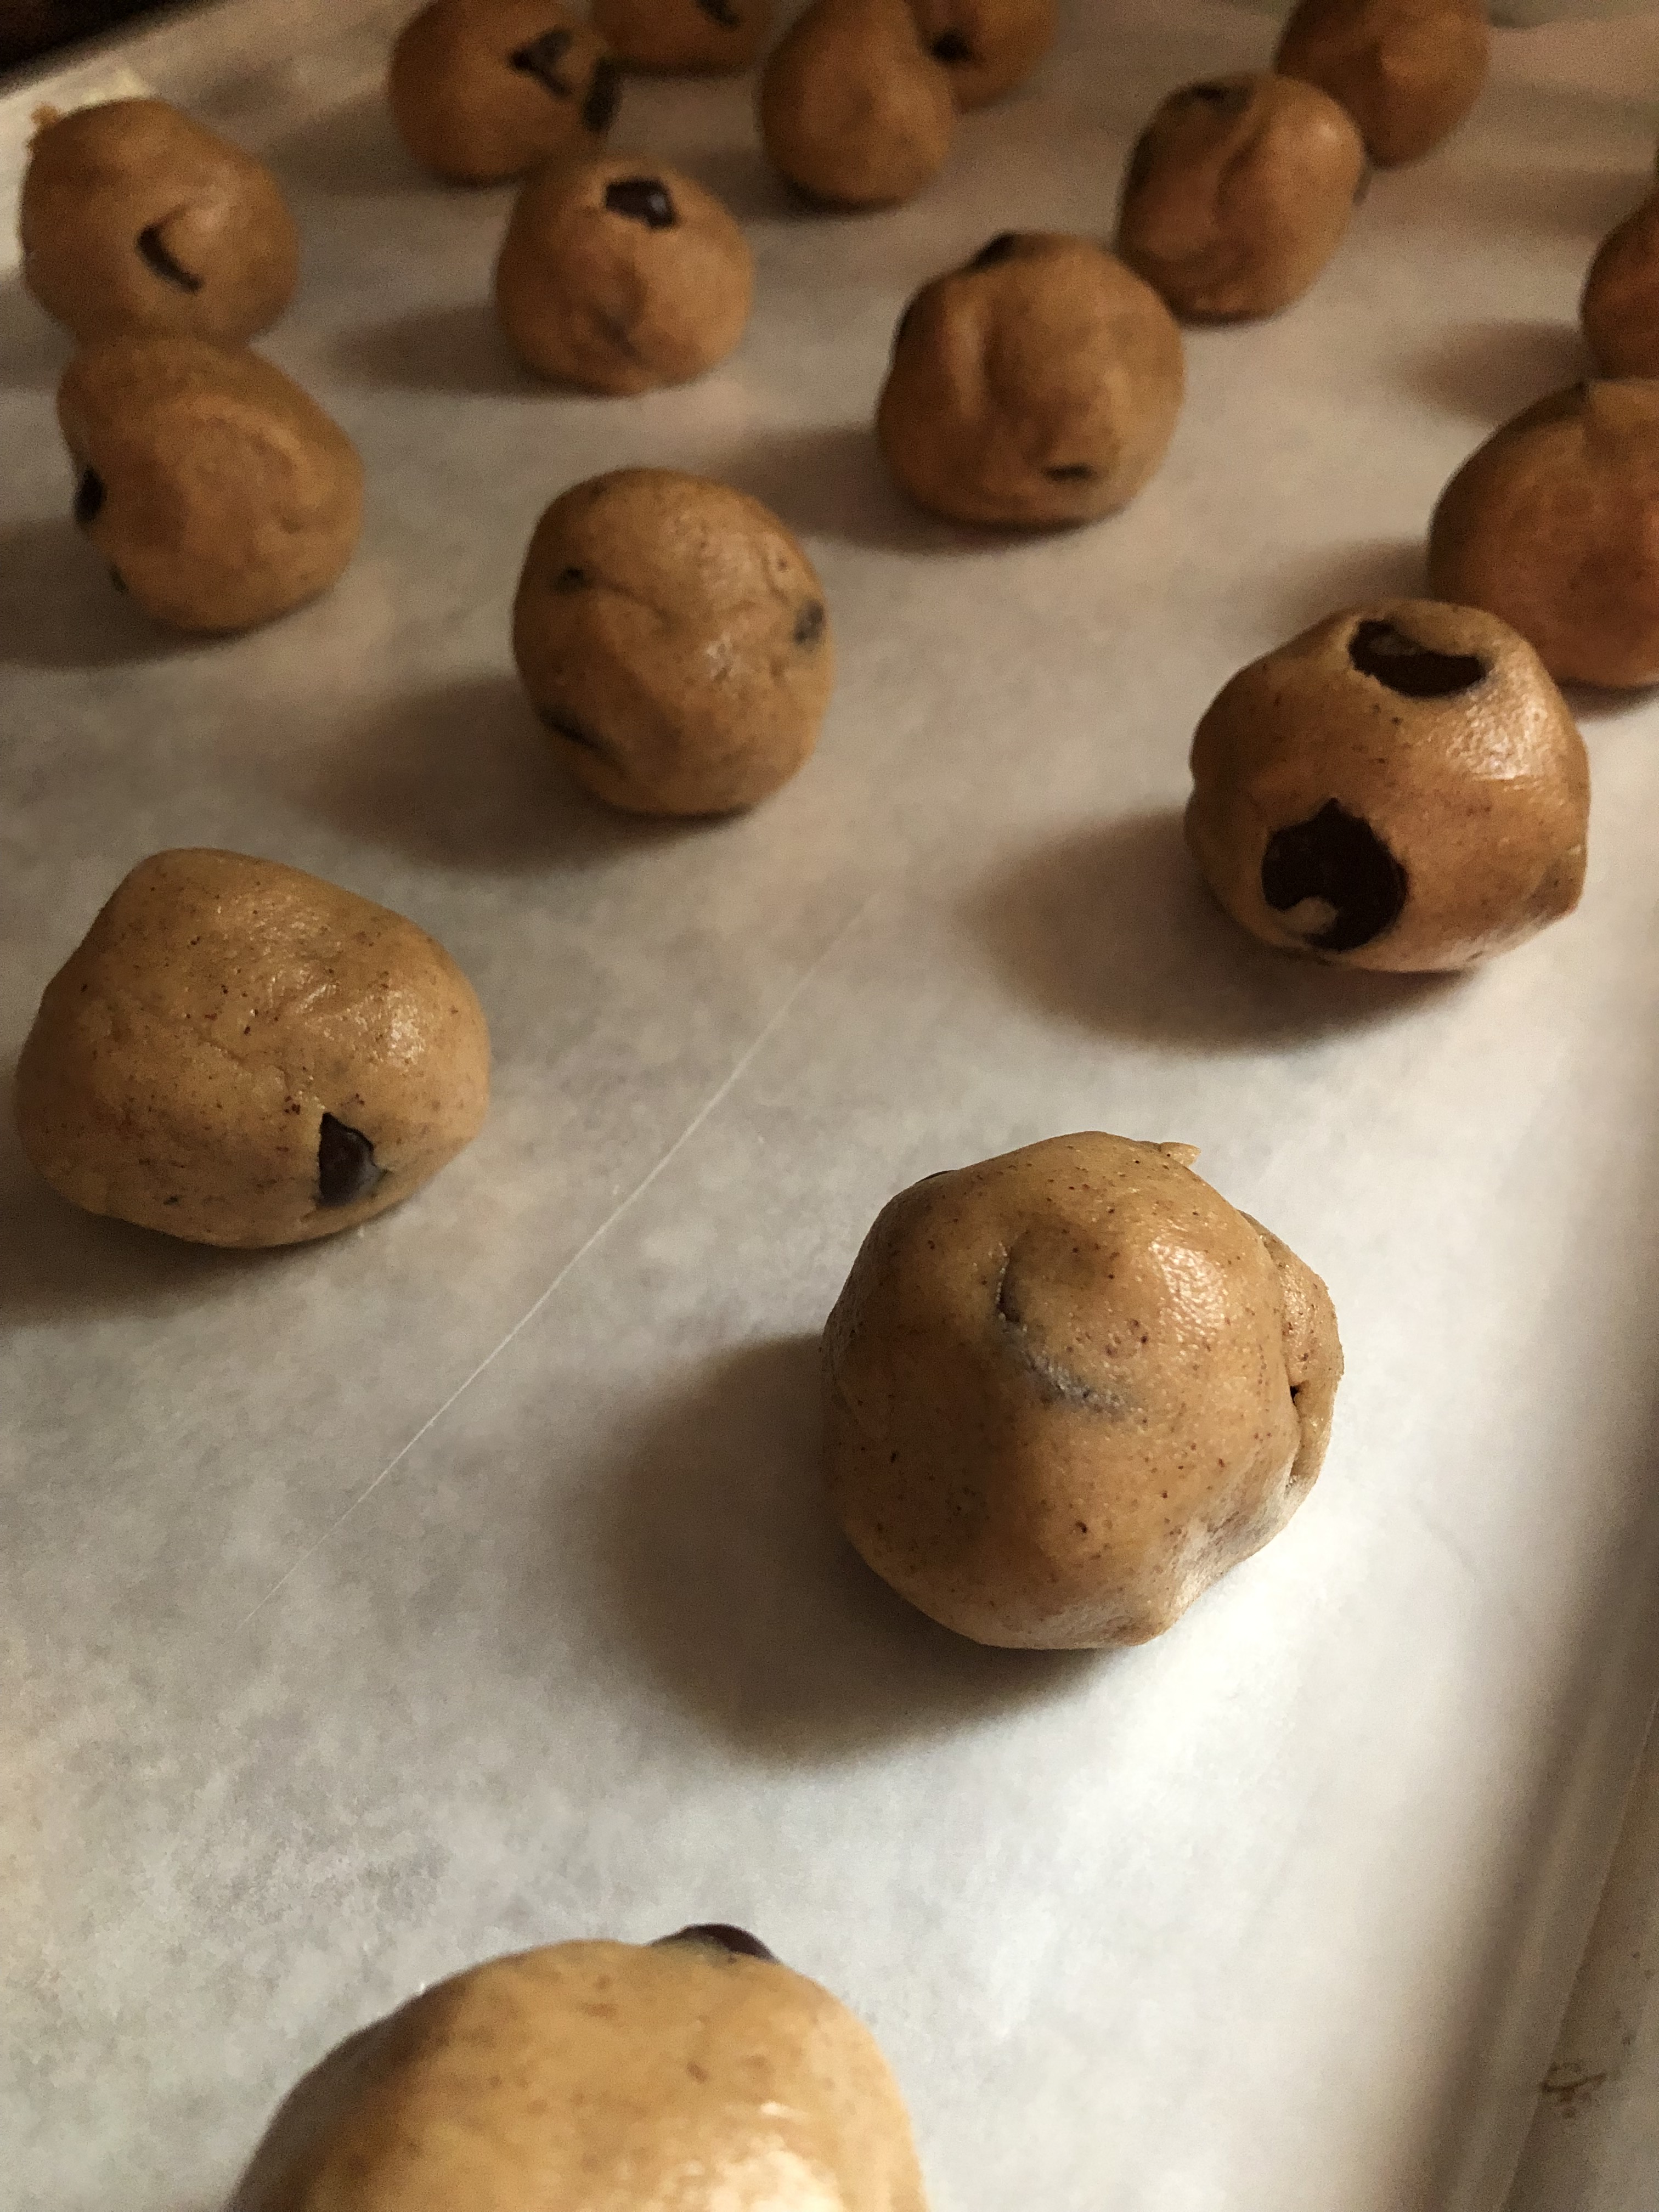
As with the Gingersnaps from yesterday, the cookie dough for these cookies needed to be refrigerated prior to baking. I did the same thing again though. I rolled the dough into balls and then refrigerated them as opposed to refrigerating the entire bowl of cookie dough.
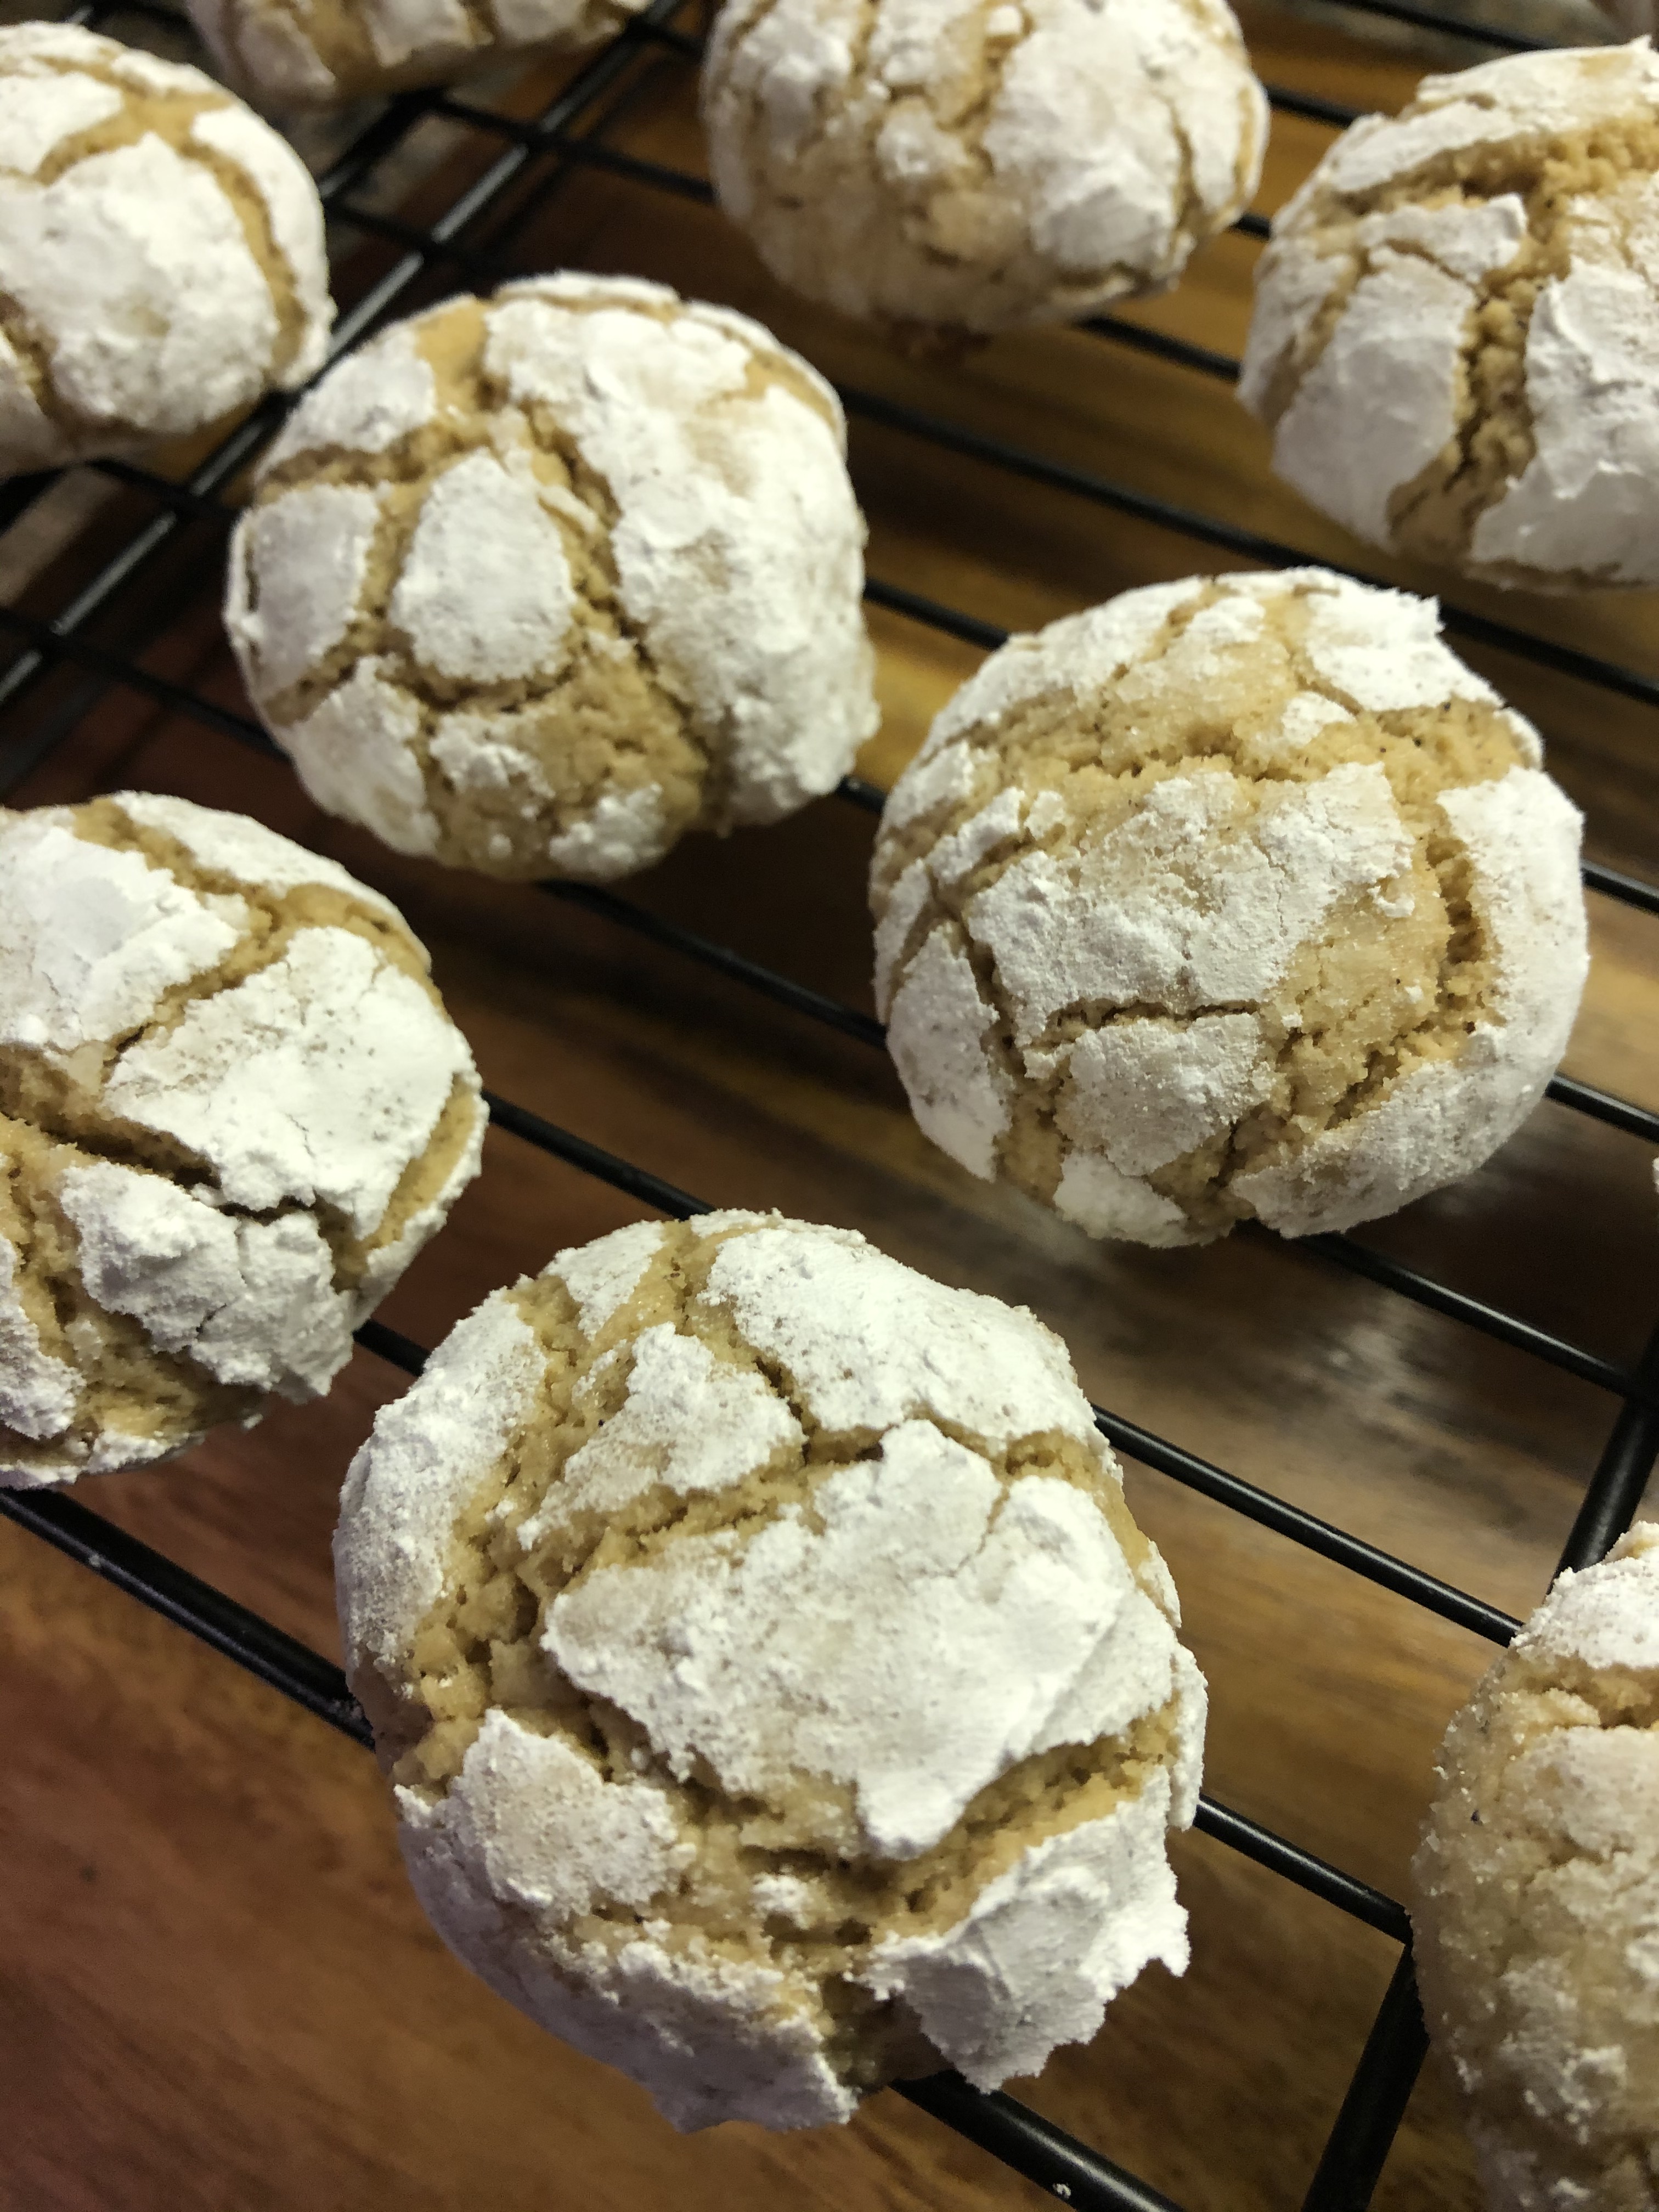
I then baked them in a 350 F preheated oven and then transferred them to a wire rack to cool completely.
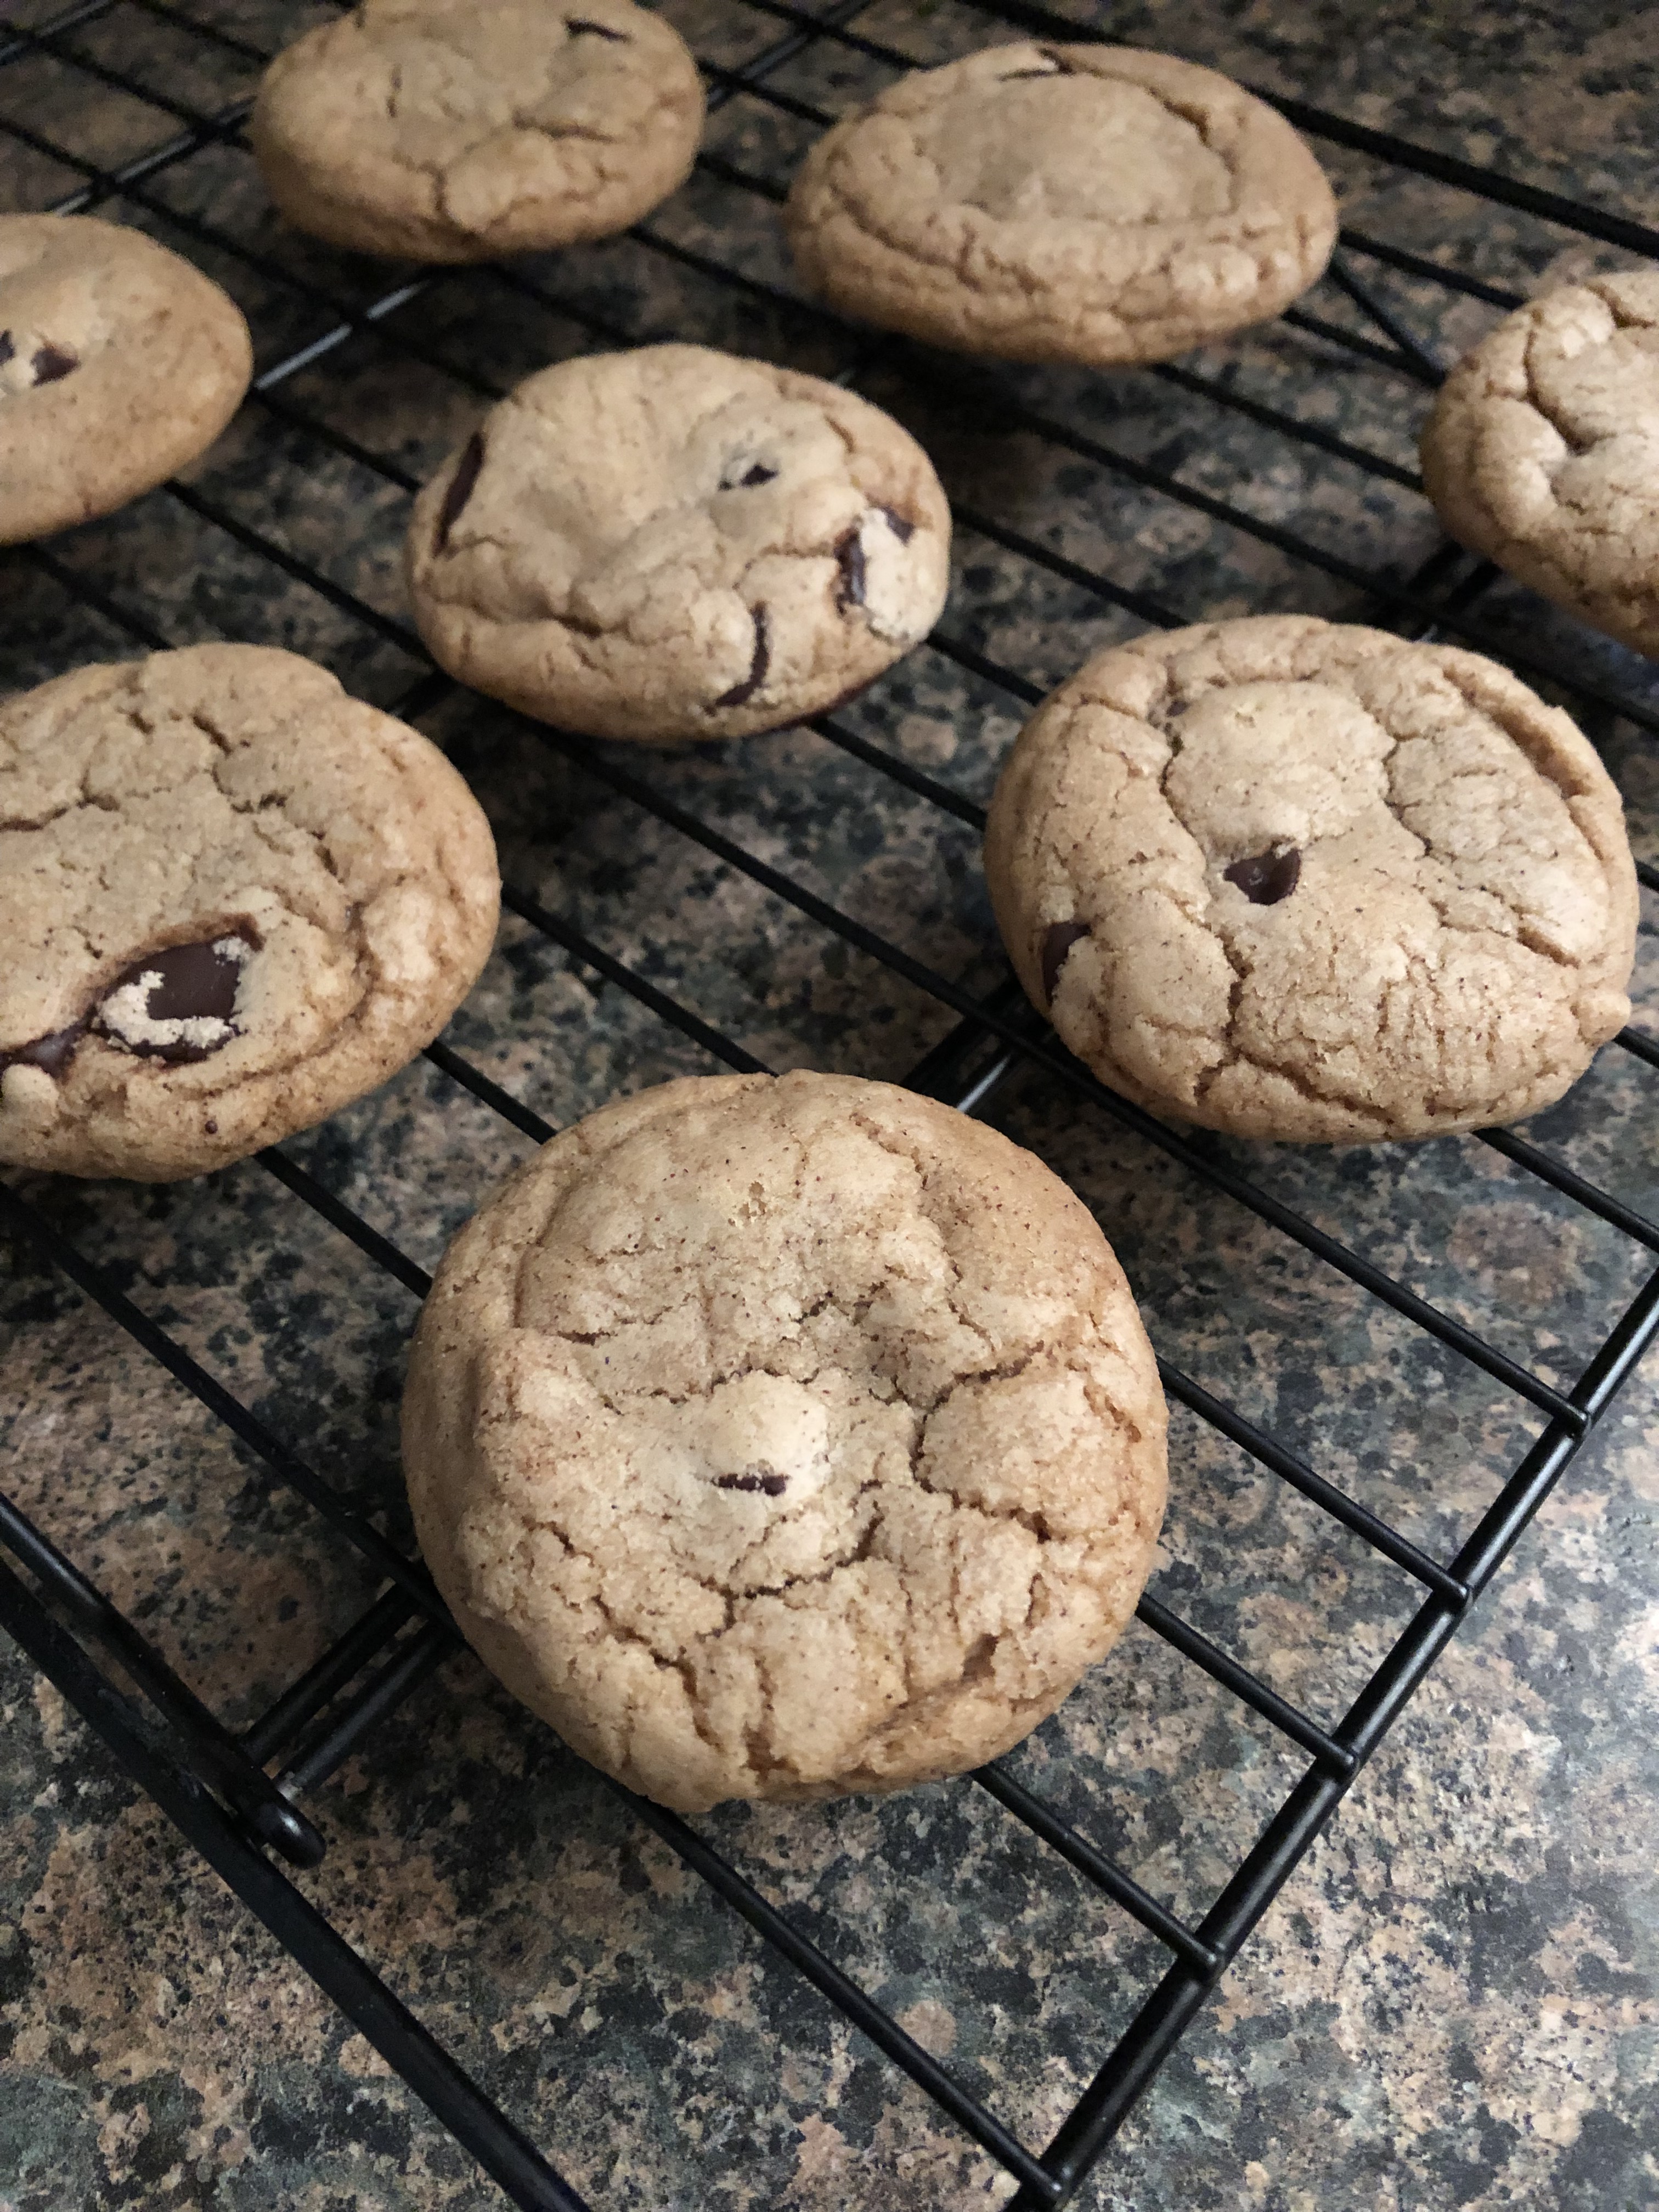
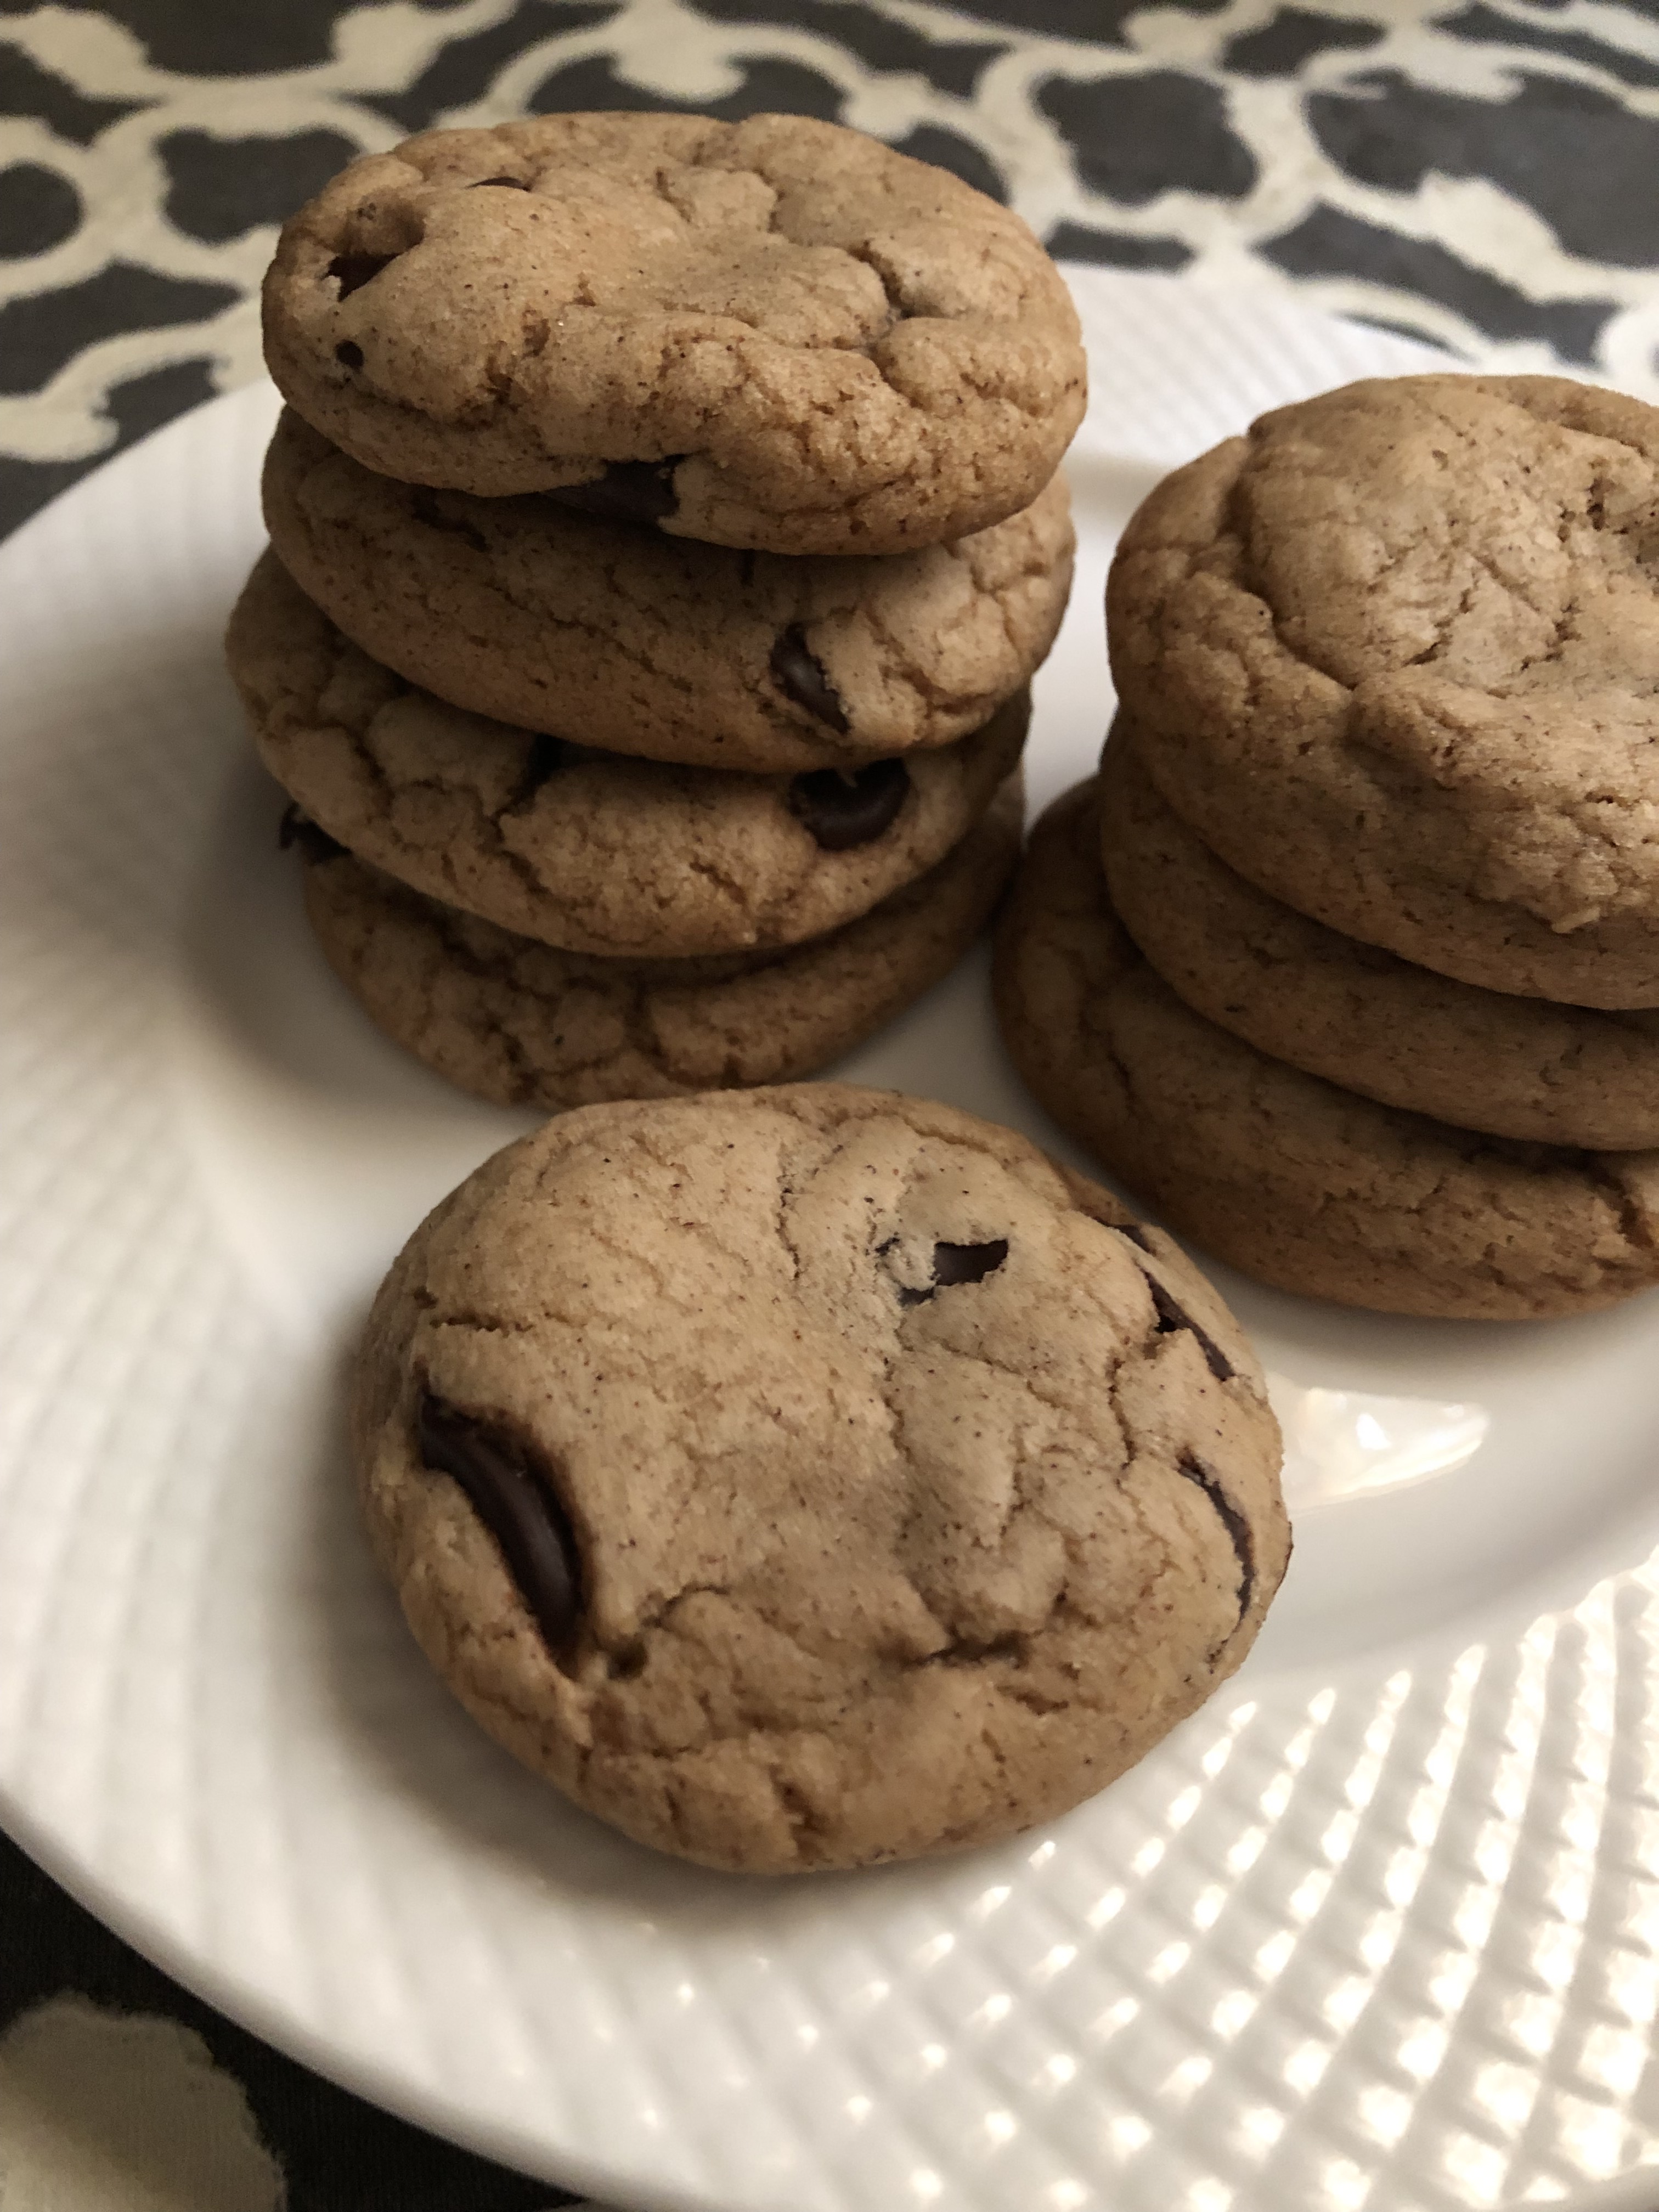
The end result… A cookie with a nice balance of spice and sweetness.
Browned Butter Spice Cookies
Ingredients:
1 stick unsalted butter, cubed
1 cup light brown sugar
1 large egg
1 tablespoon spiced rum
1 1/4 cups flour
1 1/2 teaspoons cinnamon
1/2 teaspoon baking soda
1/4 teaspoon salt
1/4 teaspoon ground ginger
1/4 teaspoon ground nutmeg
1/2 cup dark chocolate chips
Directions:
Place butter in small saucepan and cover medium heat until golden brown, about 5-7 minutes. Let cool for a few minutes.
In a medium bowl whisk together the flour, cinnamon, baking soda, salt, ginger and nutmeg. Set aside.
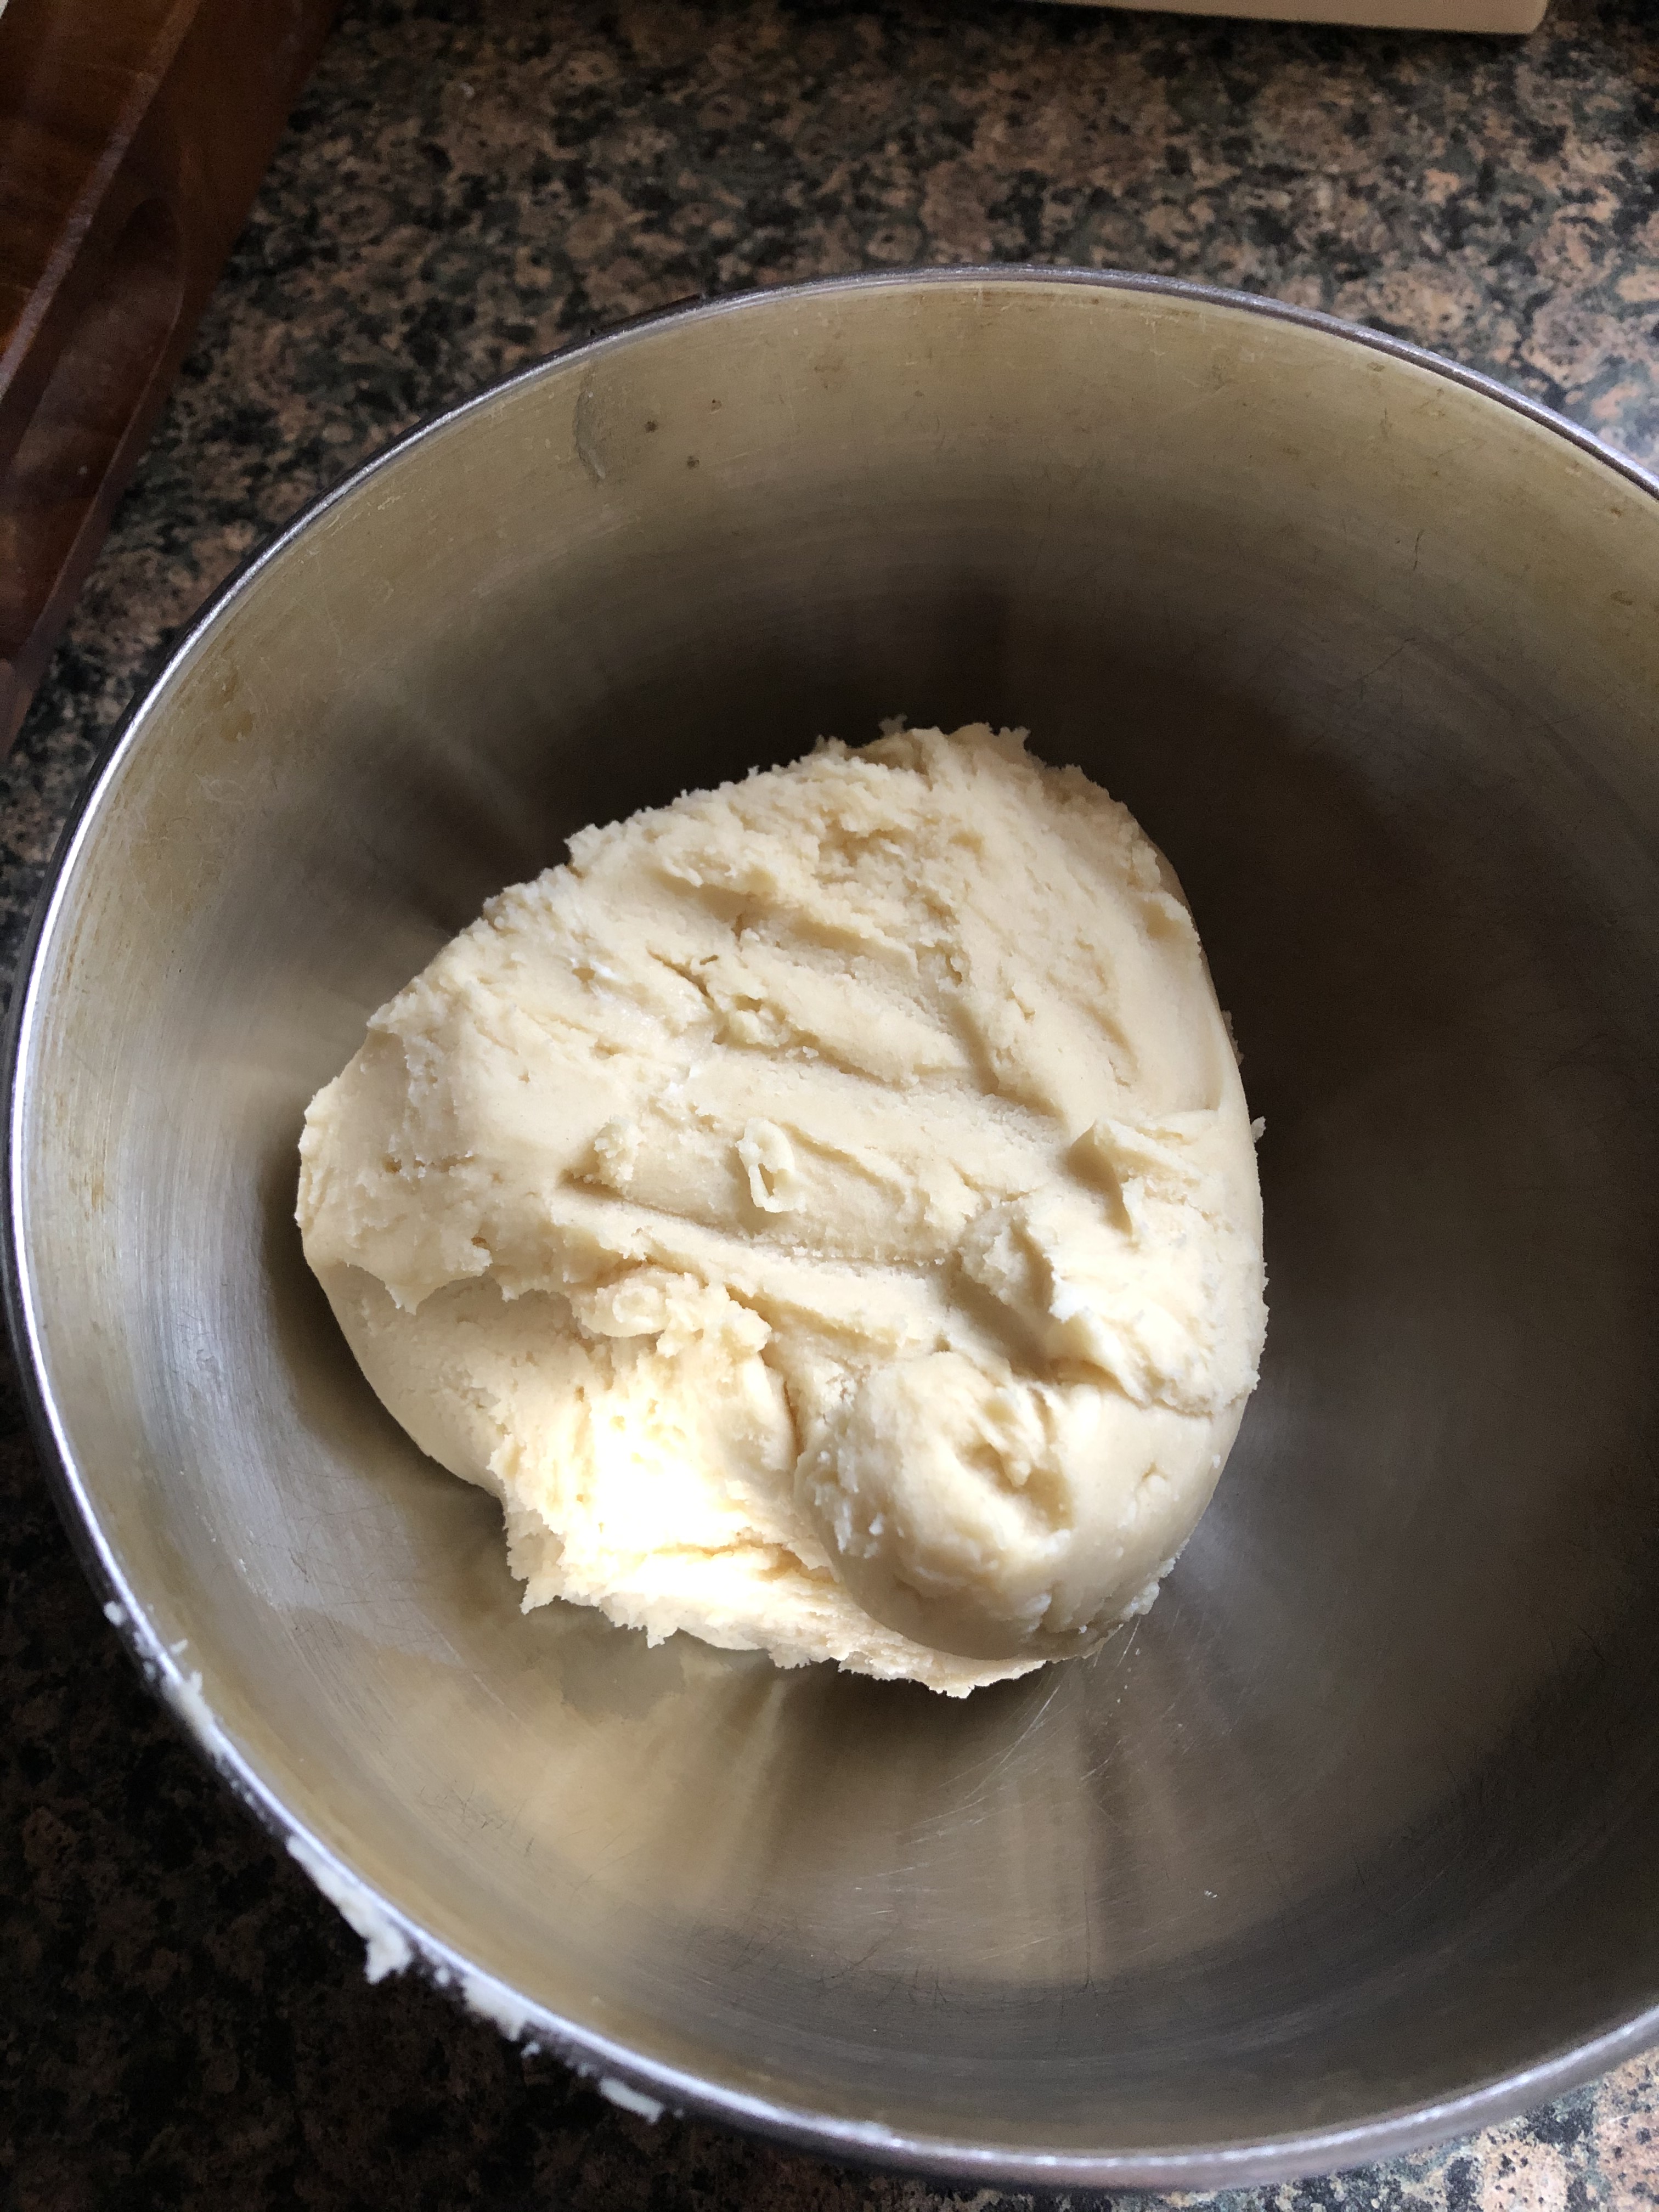
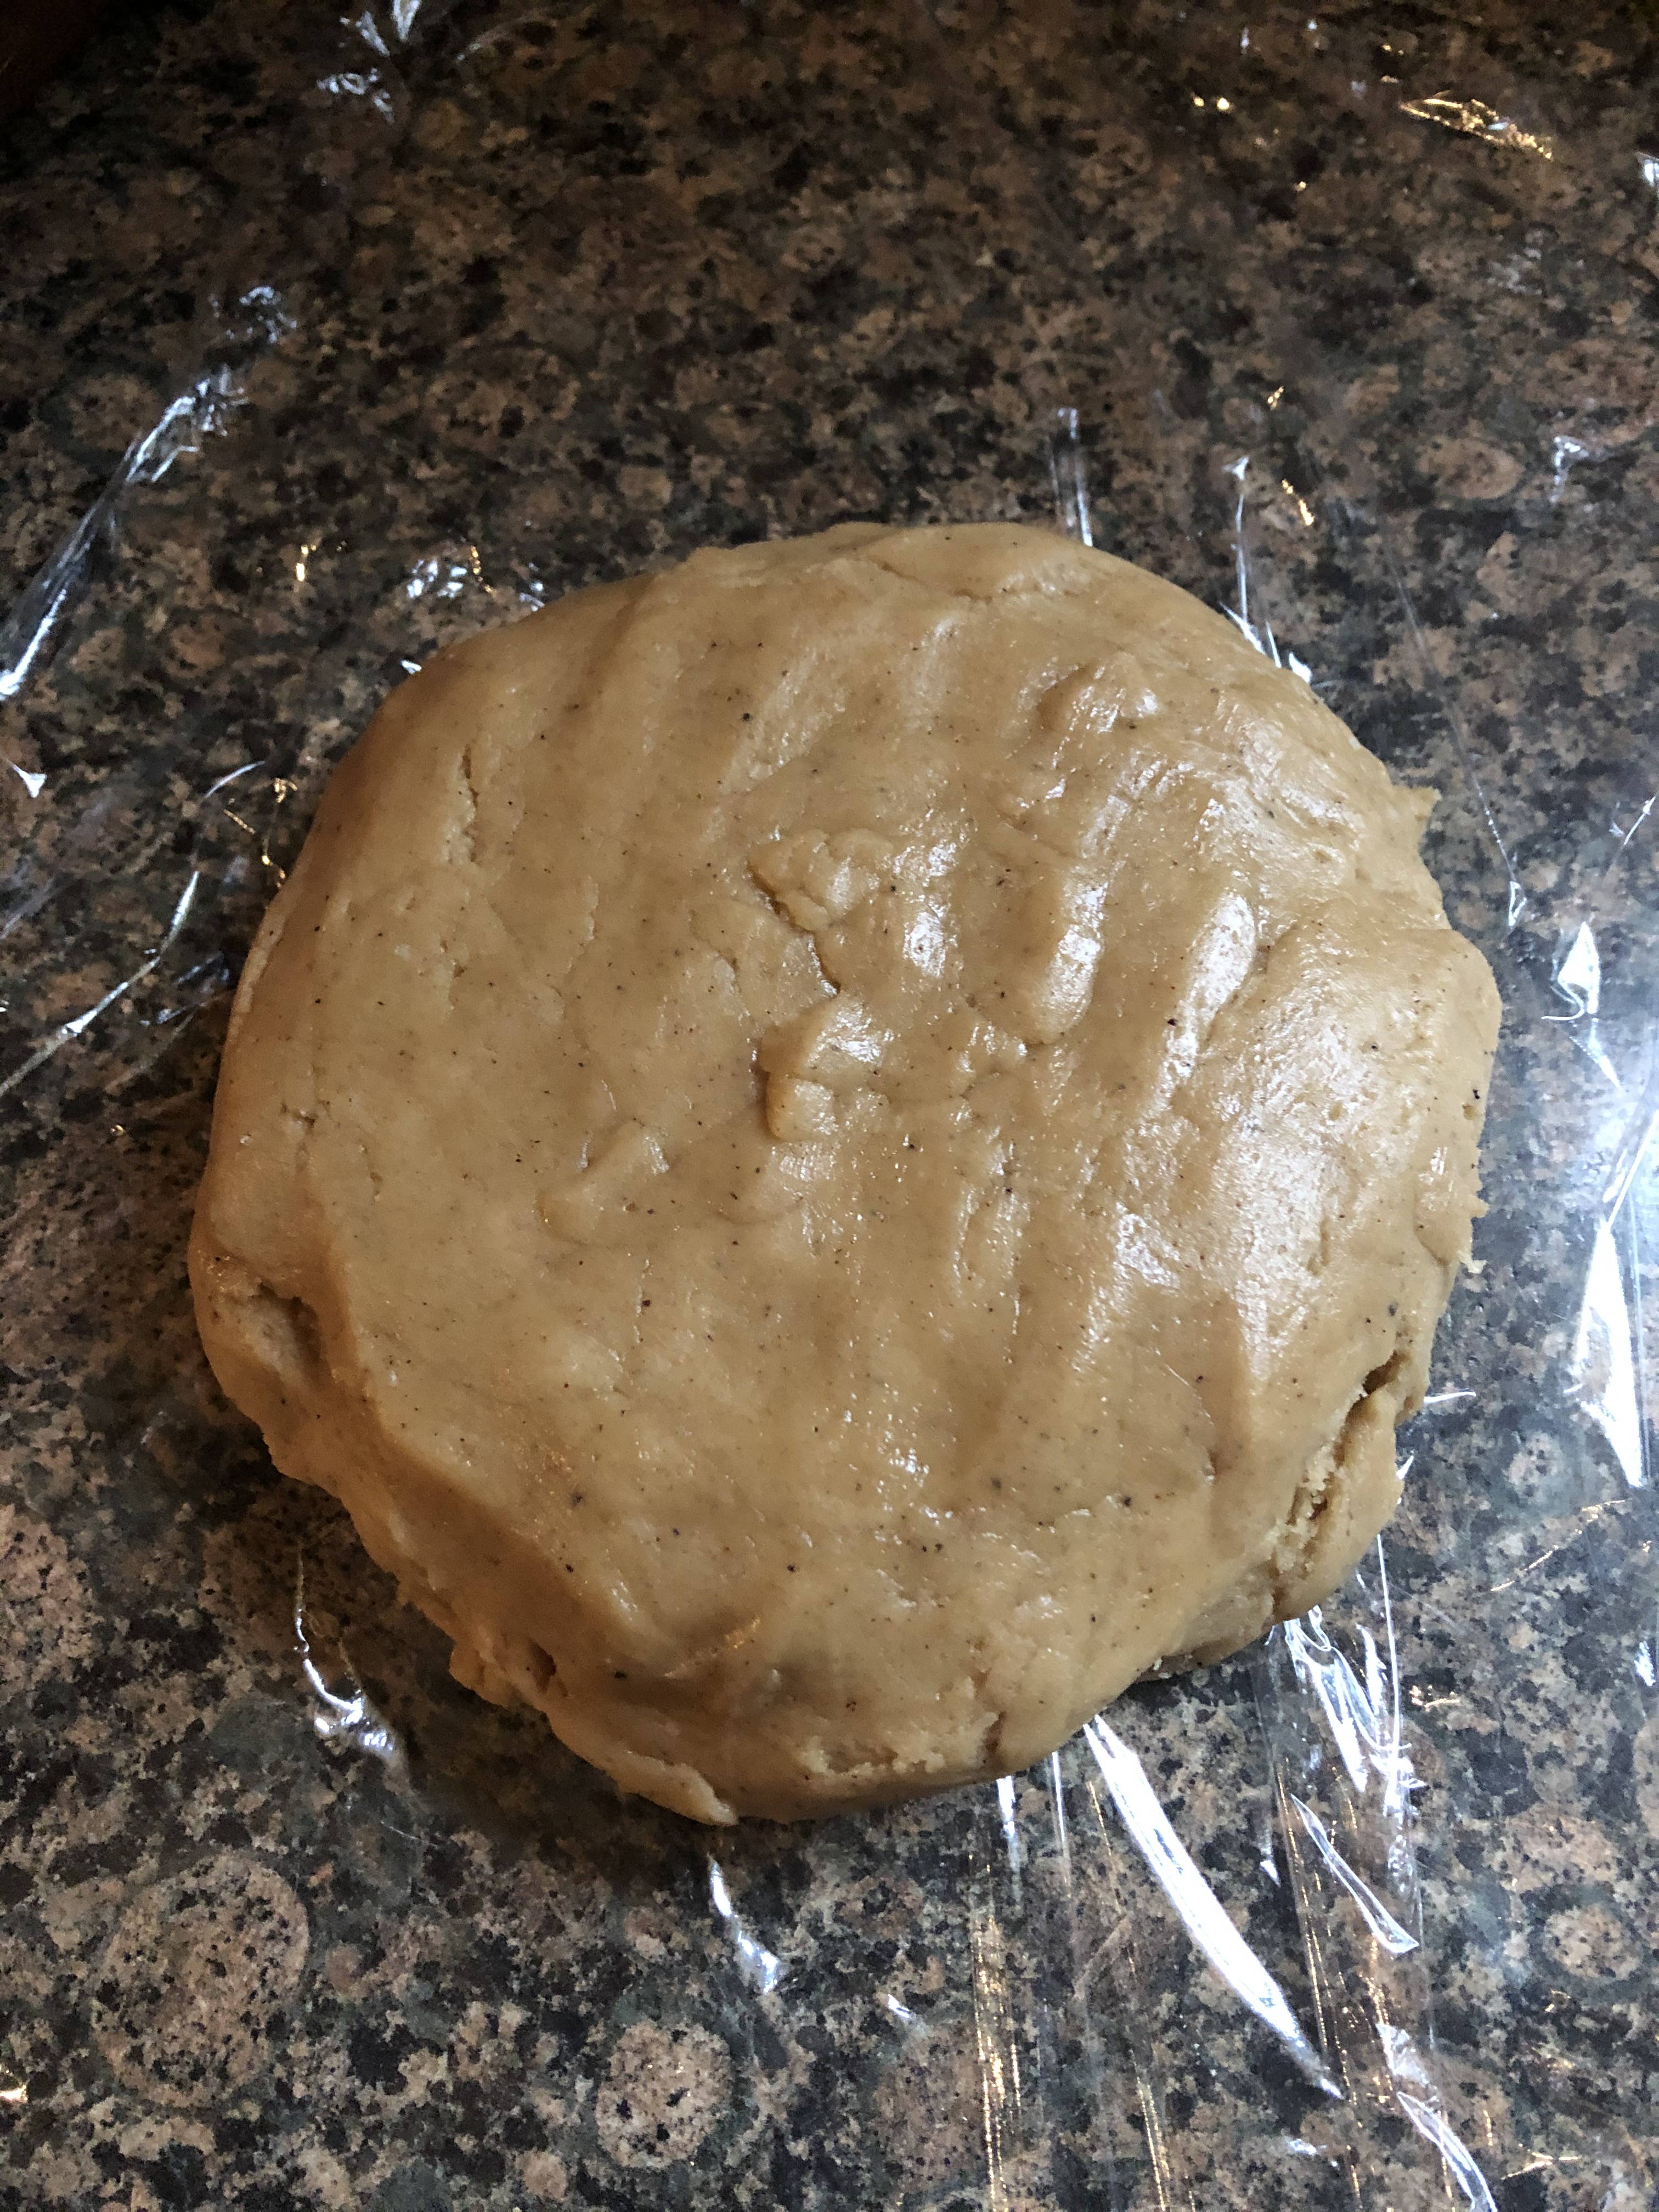
Add cooled butter to a large bowl along with the brown sugar. Beat with a hand mixer on medium speed until blended. Add the egg and then the spiced rum. With the mixer on low, gradually add in the flour mixture until combined. Stir in the chocolate chips.
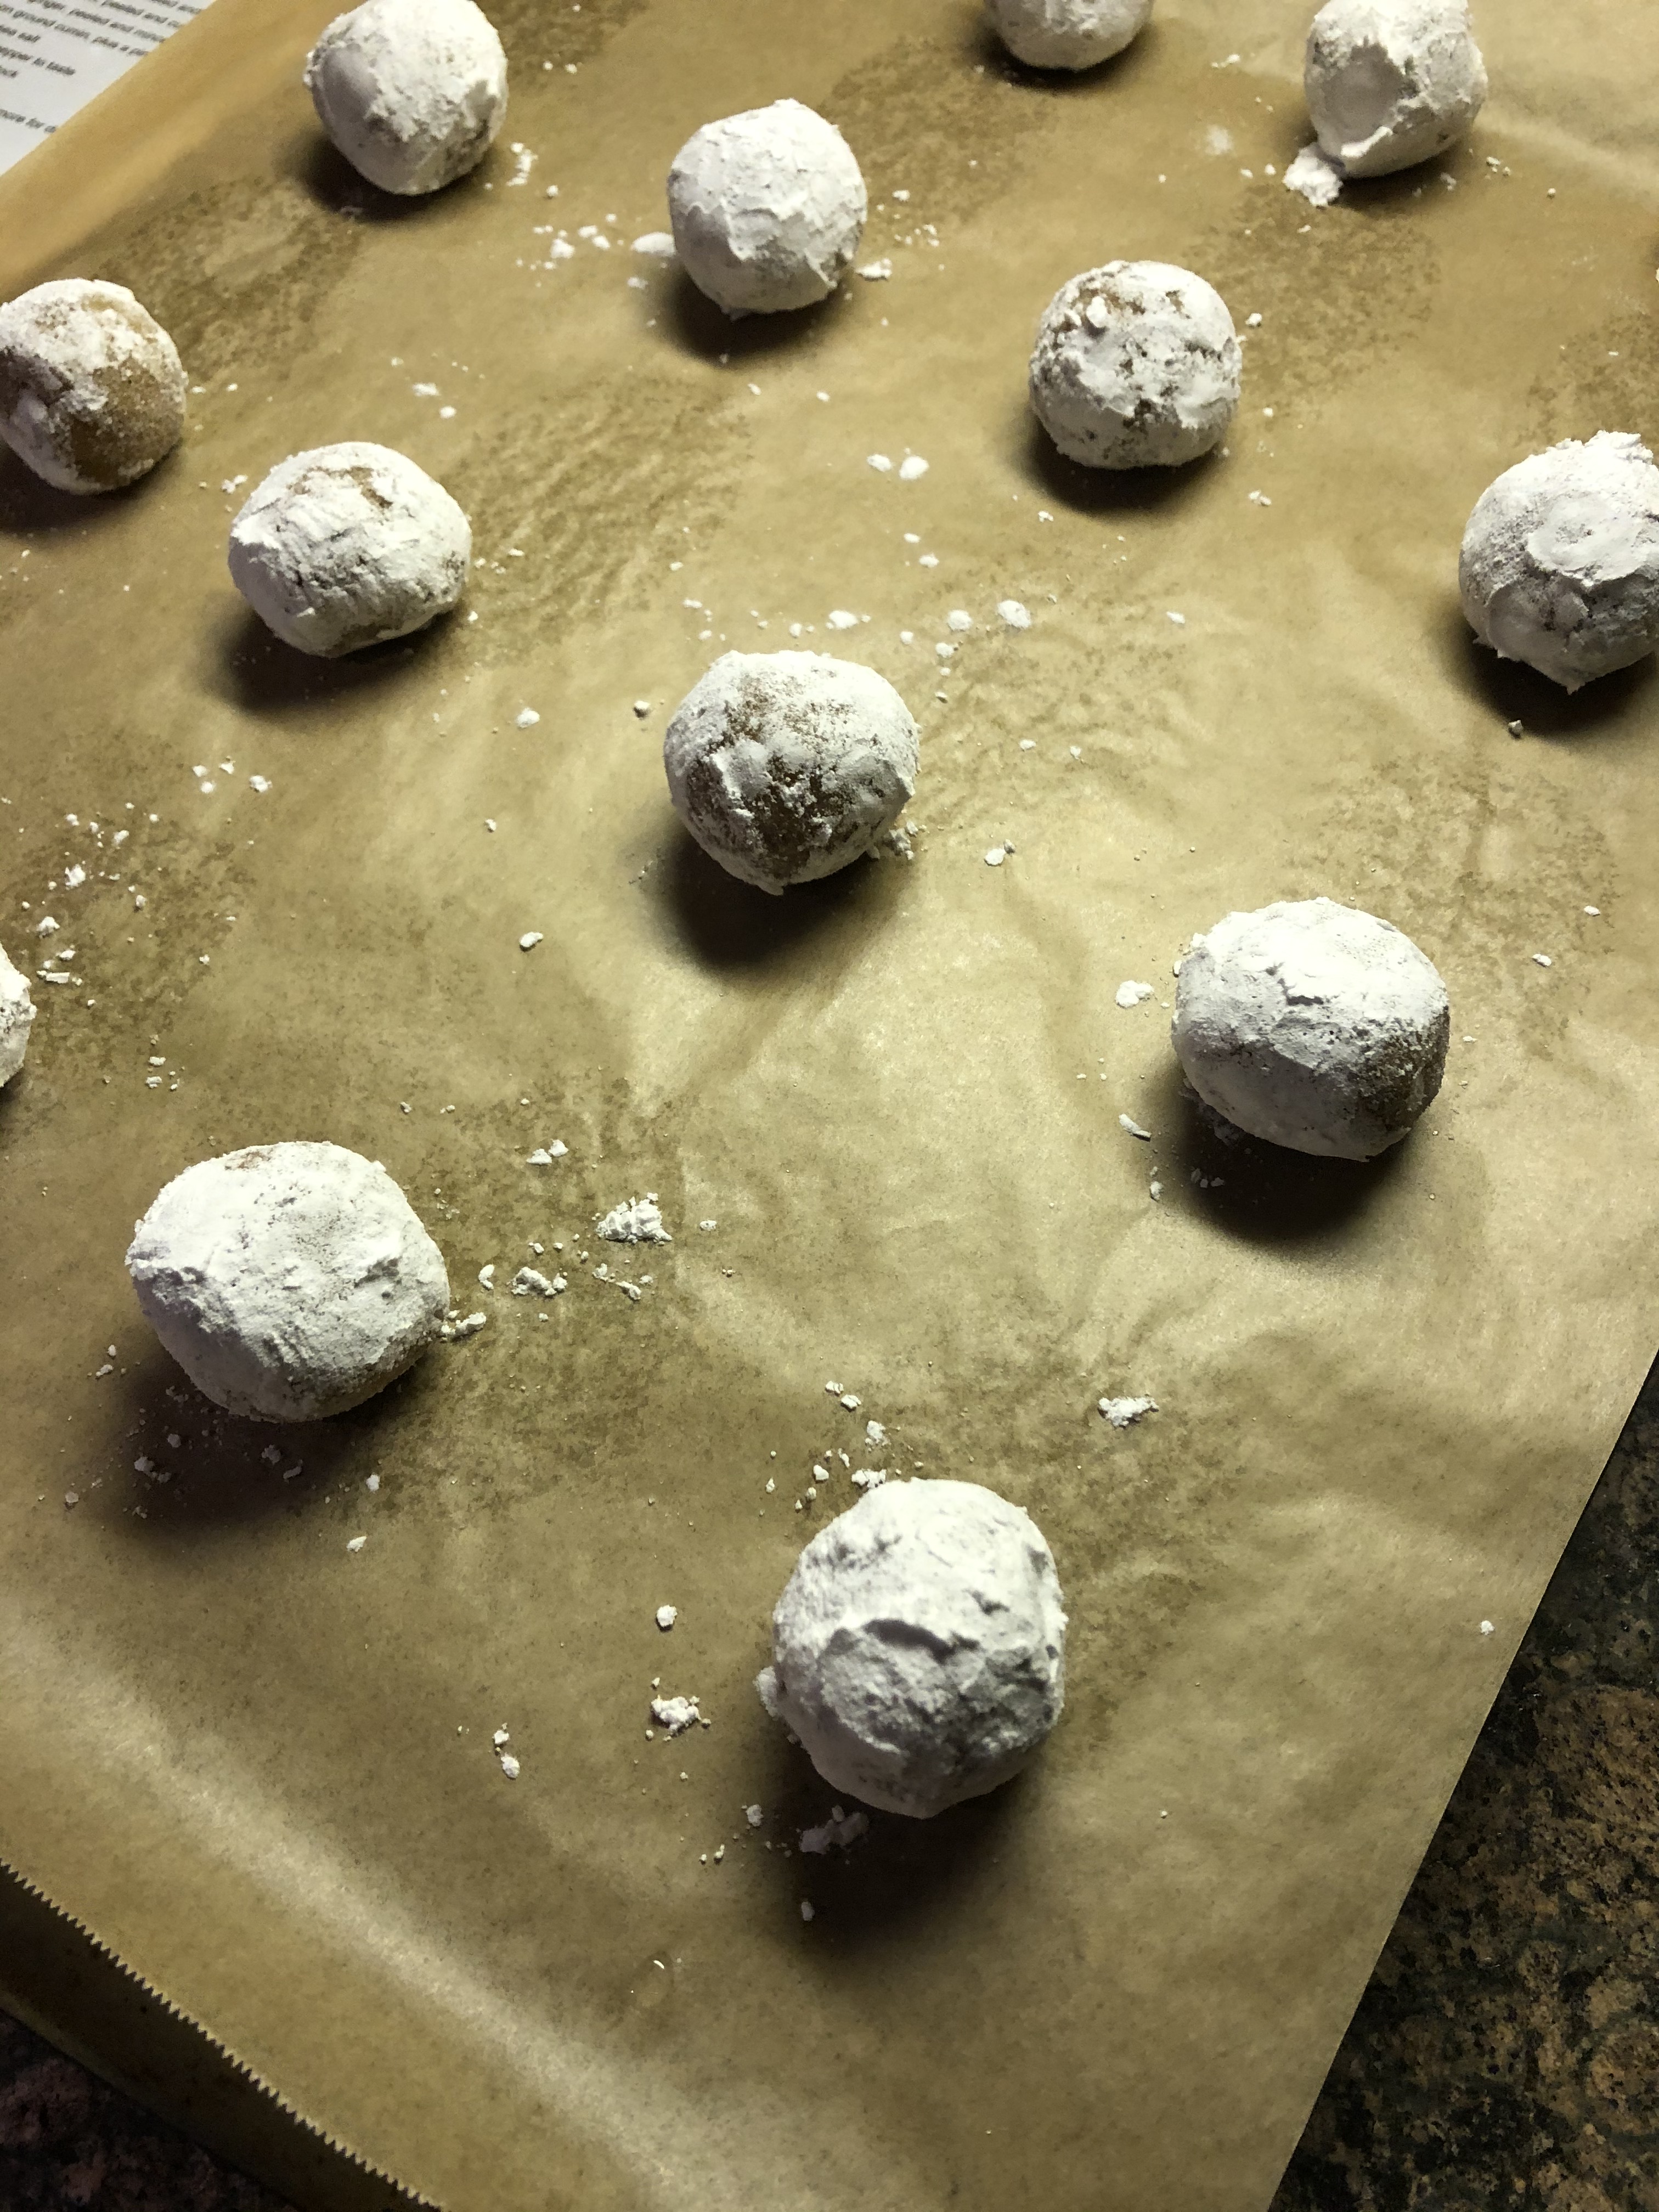
Line a baking sheet with waxed paper. Drop dough by rounded tablespoonfuls onto the prepared baking sheet. Cover with plastic wrap and refrigerate for at least 30 minutes.
Preheat oven to 350 F.
Line a baking sheet with parchment paper and placed refrigerated dough 2 inches apart. Baked for 10-12 minutes. Until cookies are set and bottoms are beginning to brown. Transfer to a wire rack to cool complete.
Store in an airtight container.
Recipe from Taste of Home