Orange Cardamom Madeleines

With the holiday’s just around the corner I have been going through some cookbooks and a few old magazines looking for cookie recipes to share with you during my Cookiepalooza week right after Thanksgiving. I was really hoping to create a few cookie recipes myself, but time is getting away from me and I am much better at creating cake recipes than cookie ones. In my search for recipes I flipped through an old Martha Stewart cookie cookbook and I came across a recipe for some interesting Madeleines… Orange Cardamom Madeleines. And I’ll admit cardamom is not the spice that everyone has in their pantry. It can be a bit pricey, but, it’s worth the money if you like the taste and a little goes a long way. The first time I bought it was to make Kheer, Indian Rice Pudding, and I have had it in my pantry ever since. Not the same bottle of course.

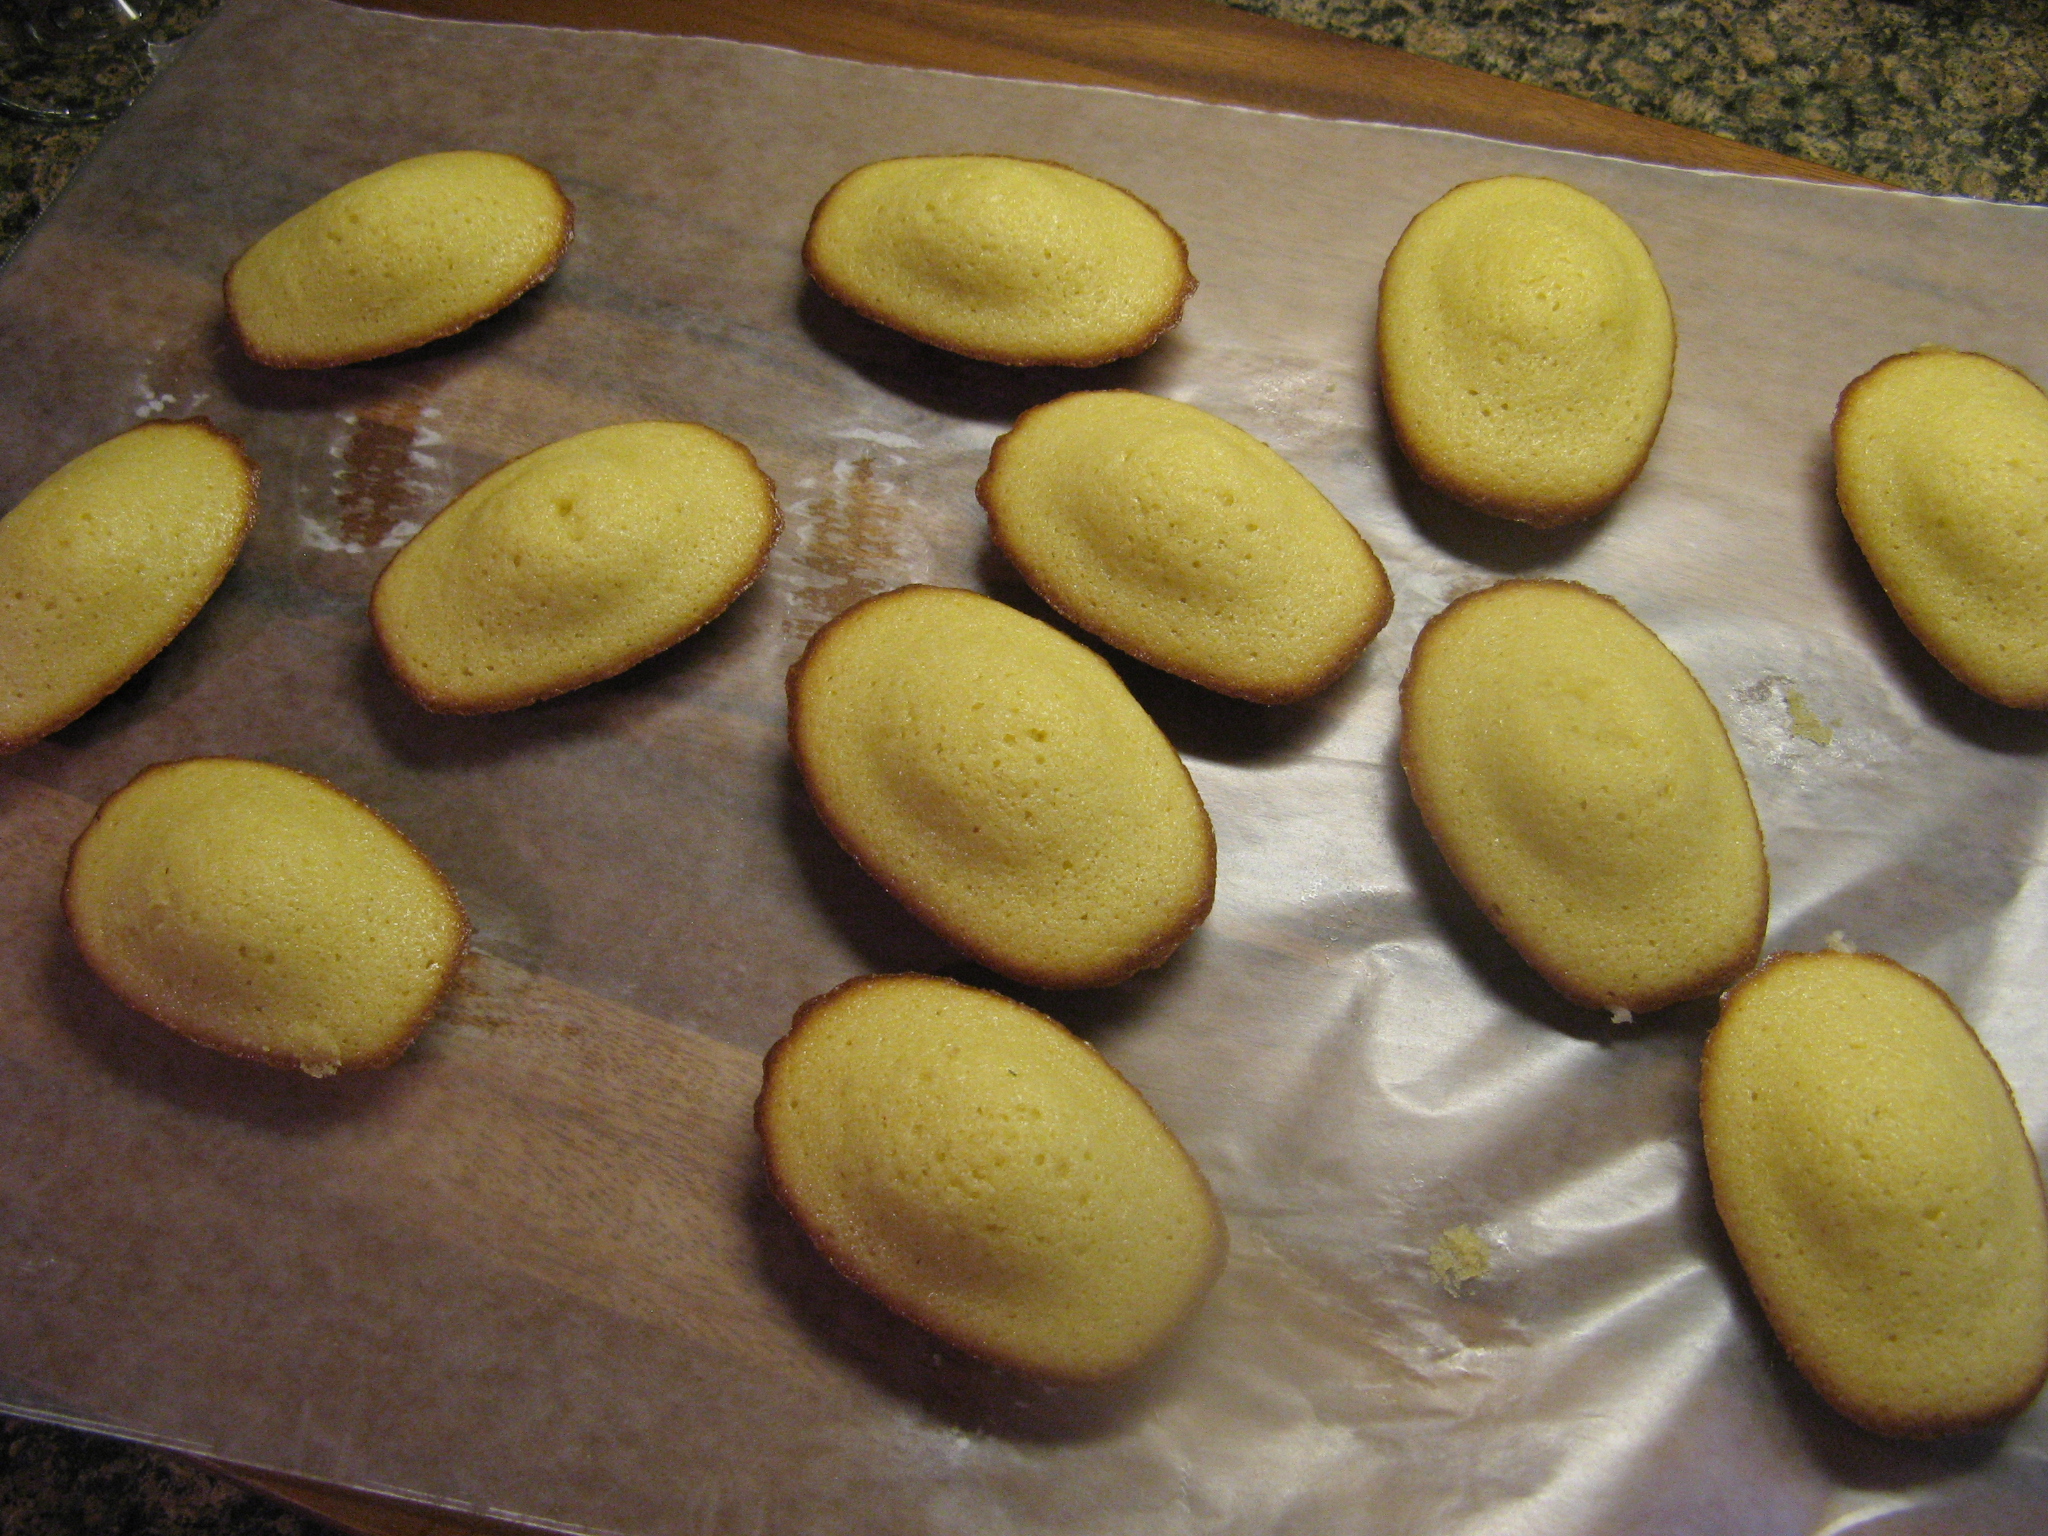
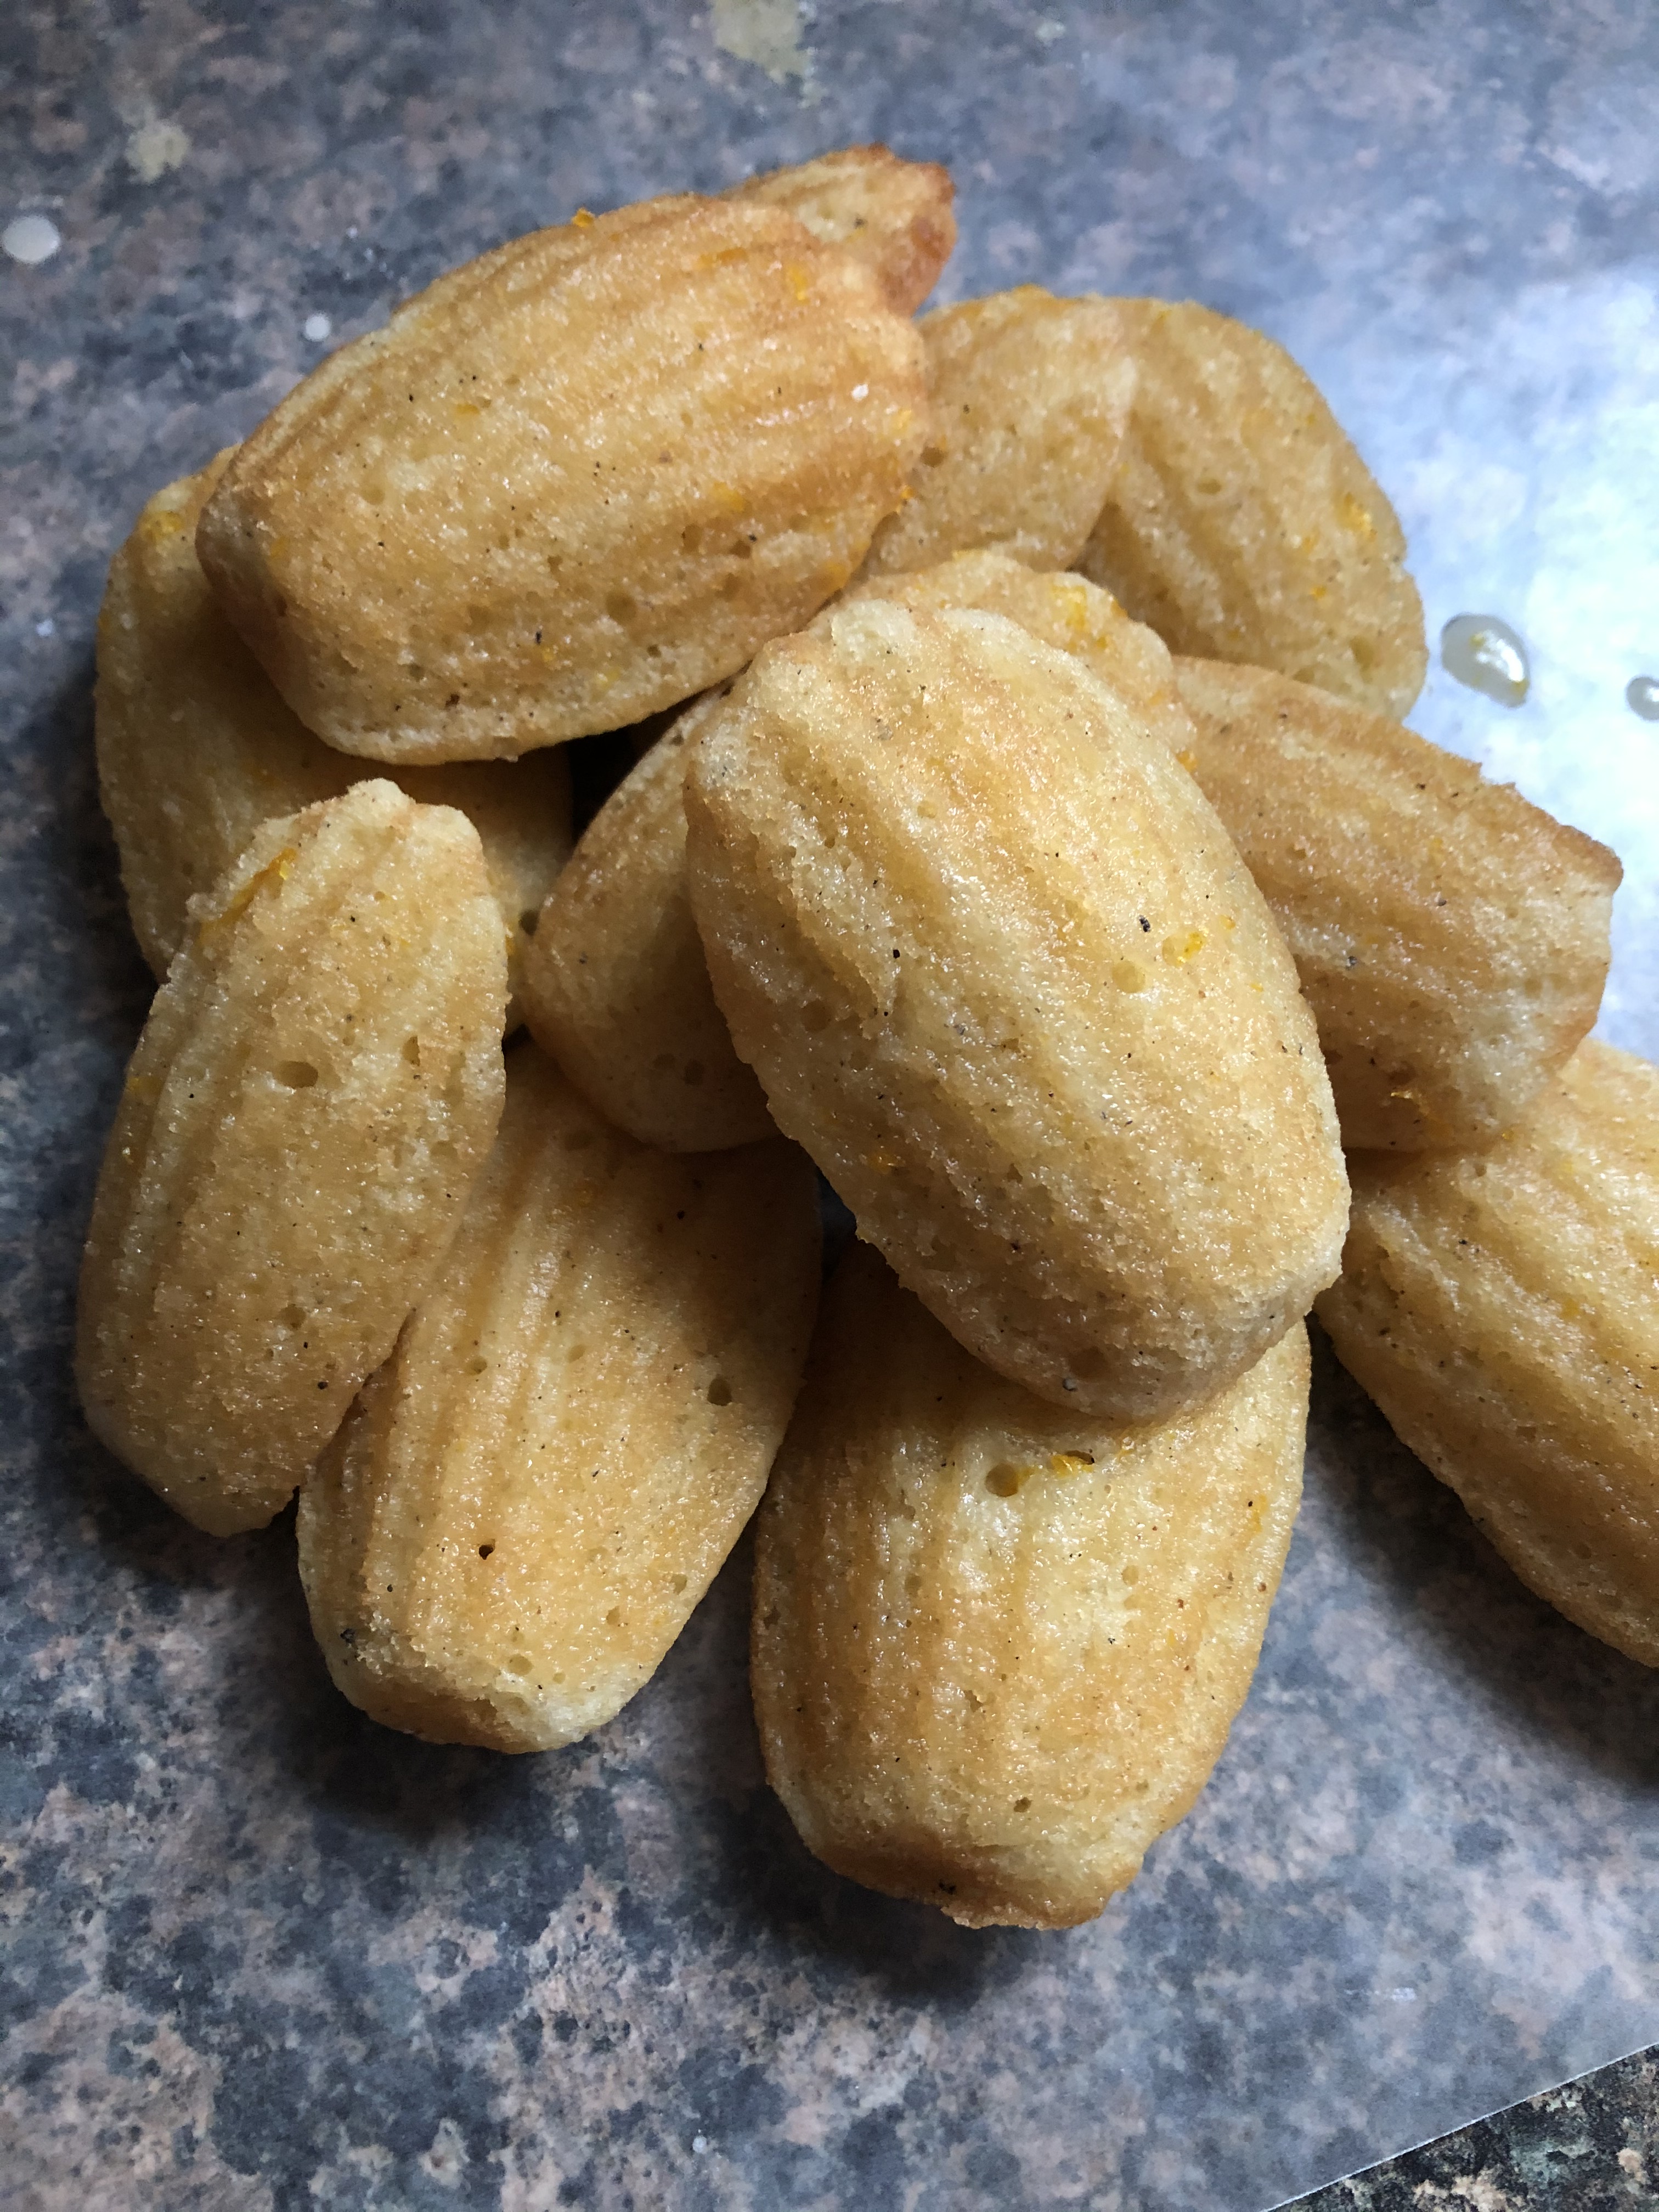
Initially when I made these I wasn’t planning on adding the orange glaze to them. I am not a big fan of glazes. Ultimately, I decided to glaze half of them and I learned that orange and cardamom go together very well. The unglazed cookies had a stronger cardamom flavor, which was fine with me, but the hint of orange from the glaze took them up a notch. My only complaint though was that the glaze was absorbed by the Madeleines as opposed to coating them. So, when you look at them you couldn’t really tell that they had a glaze, whereas the picture accompanying the recipe showed the Madeleines which a thick glaze similar to an iced cookie. Oh well… the important thing is that they were delicious!

Orange Cardamom Madeleines

Ingredients:

For the Madeleines:

4 tablespoons unsalted butter, plus more for the pans

1 tablespoon honey

1 teaspoon vanilla extract

3/4 cup flour

1 teaspoon baking powder

3/4 teaspoons ground cardamom

1/4 teaspoon salt

1/4 cup sugar

2 large eggs


For the Glaze:

3/4 cup confectioners’ sugar

1 teaspoon orange zest

2 tablespoons freshly squeezed orange juice


Directions:

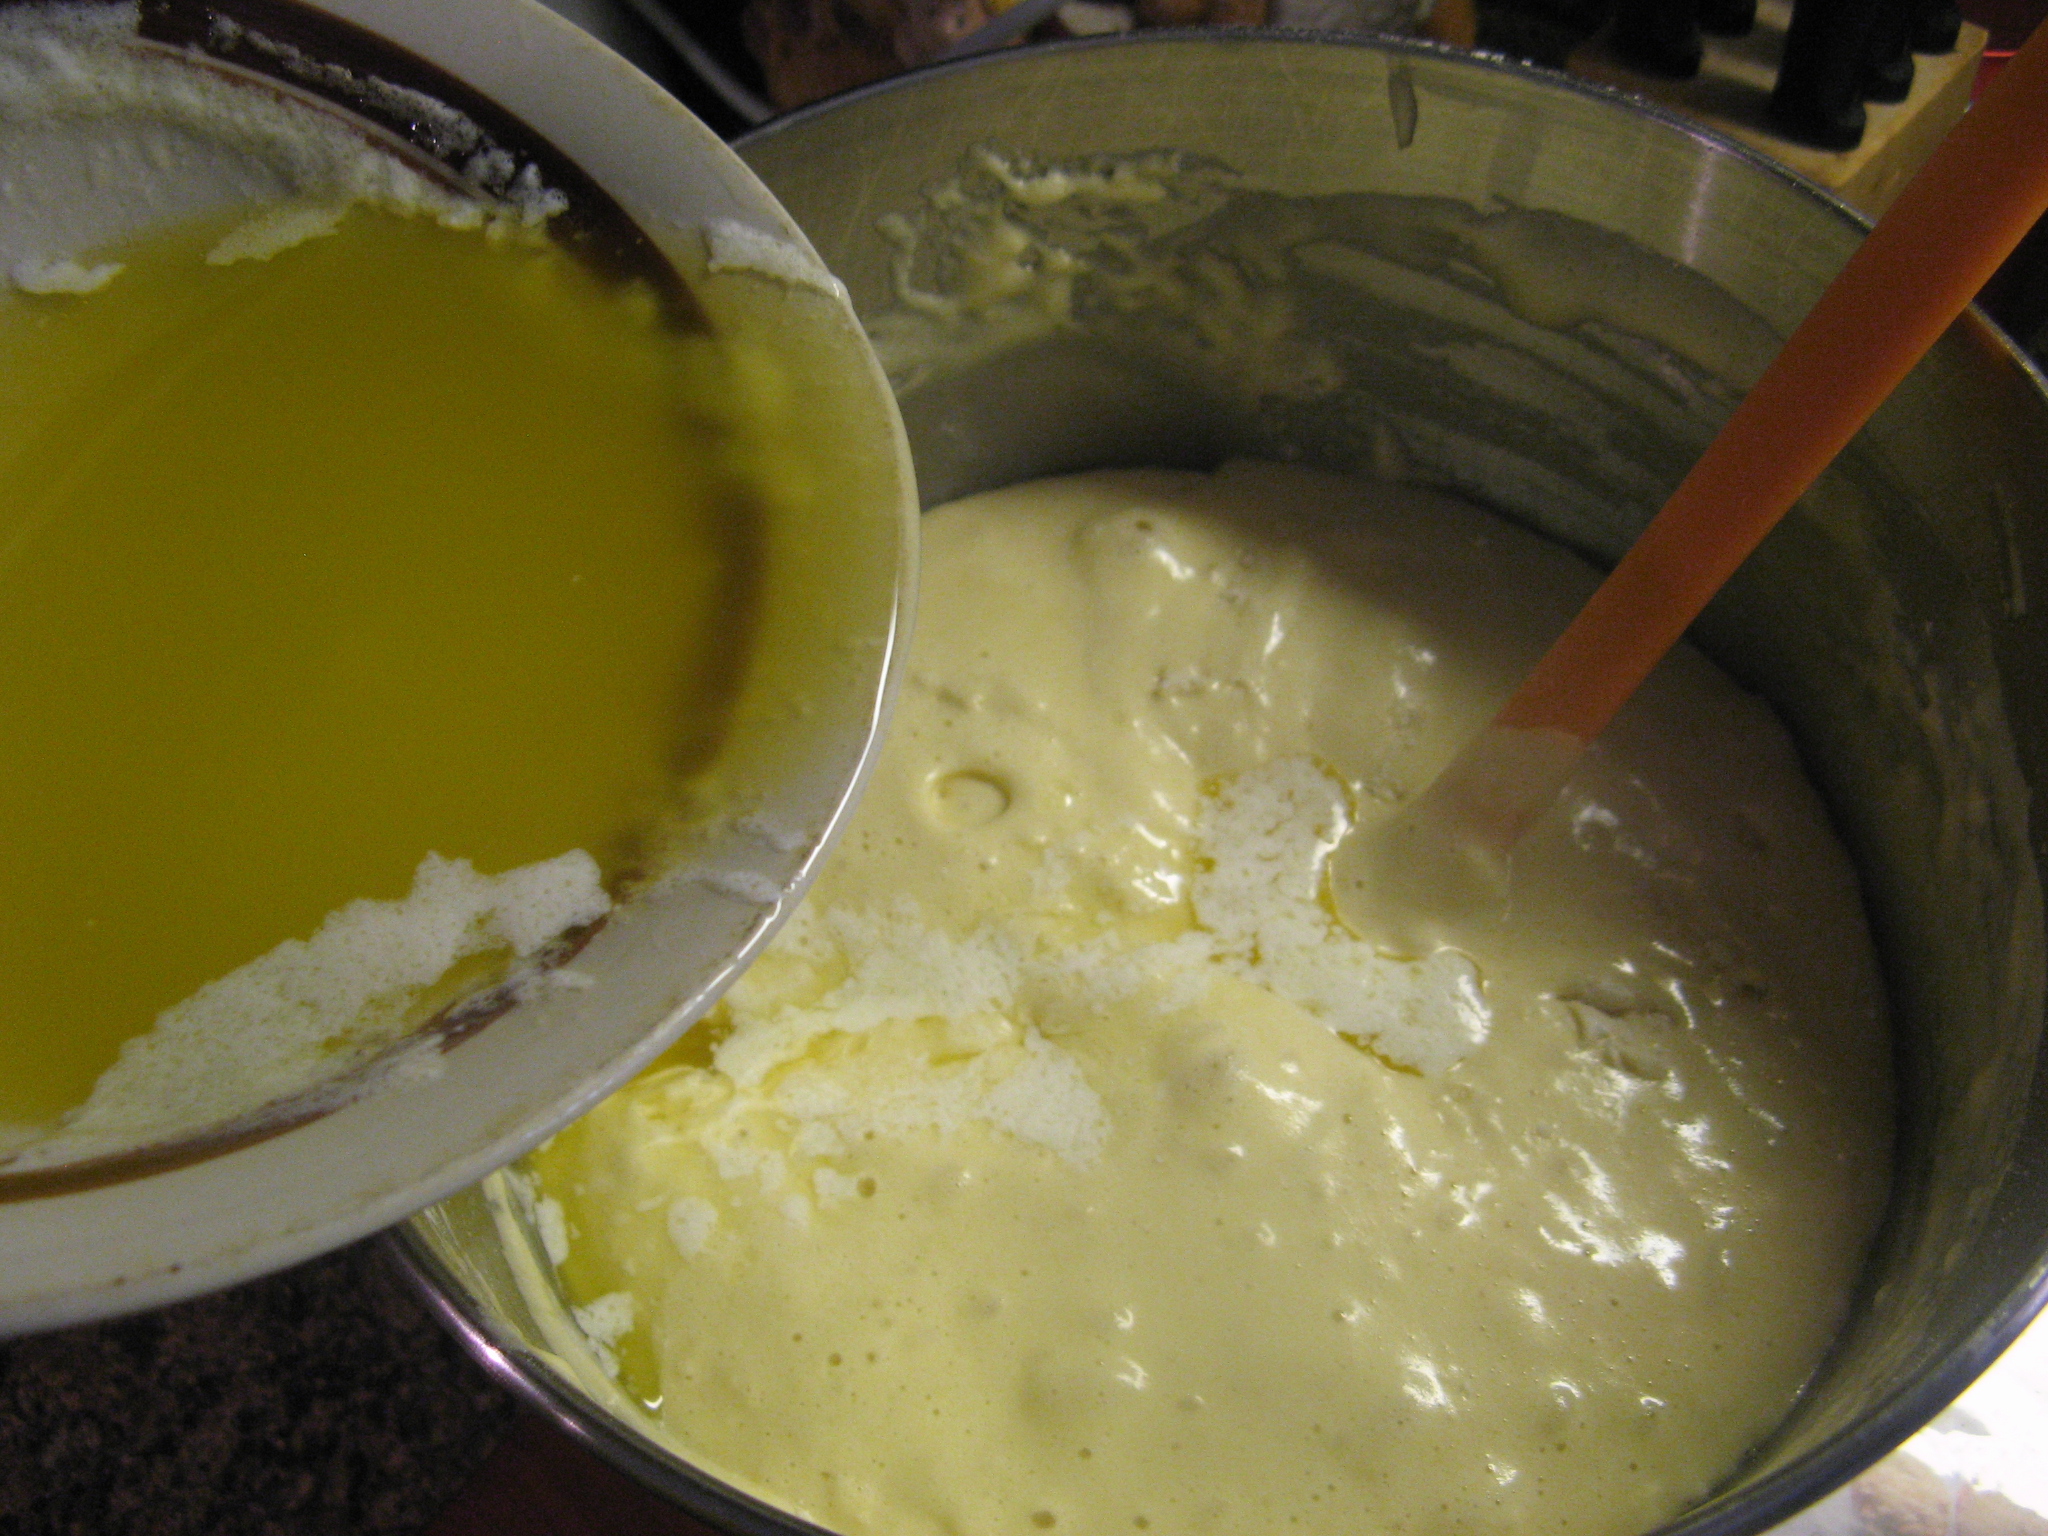
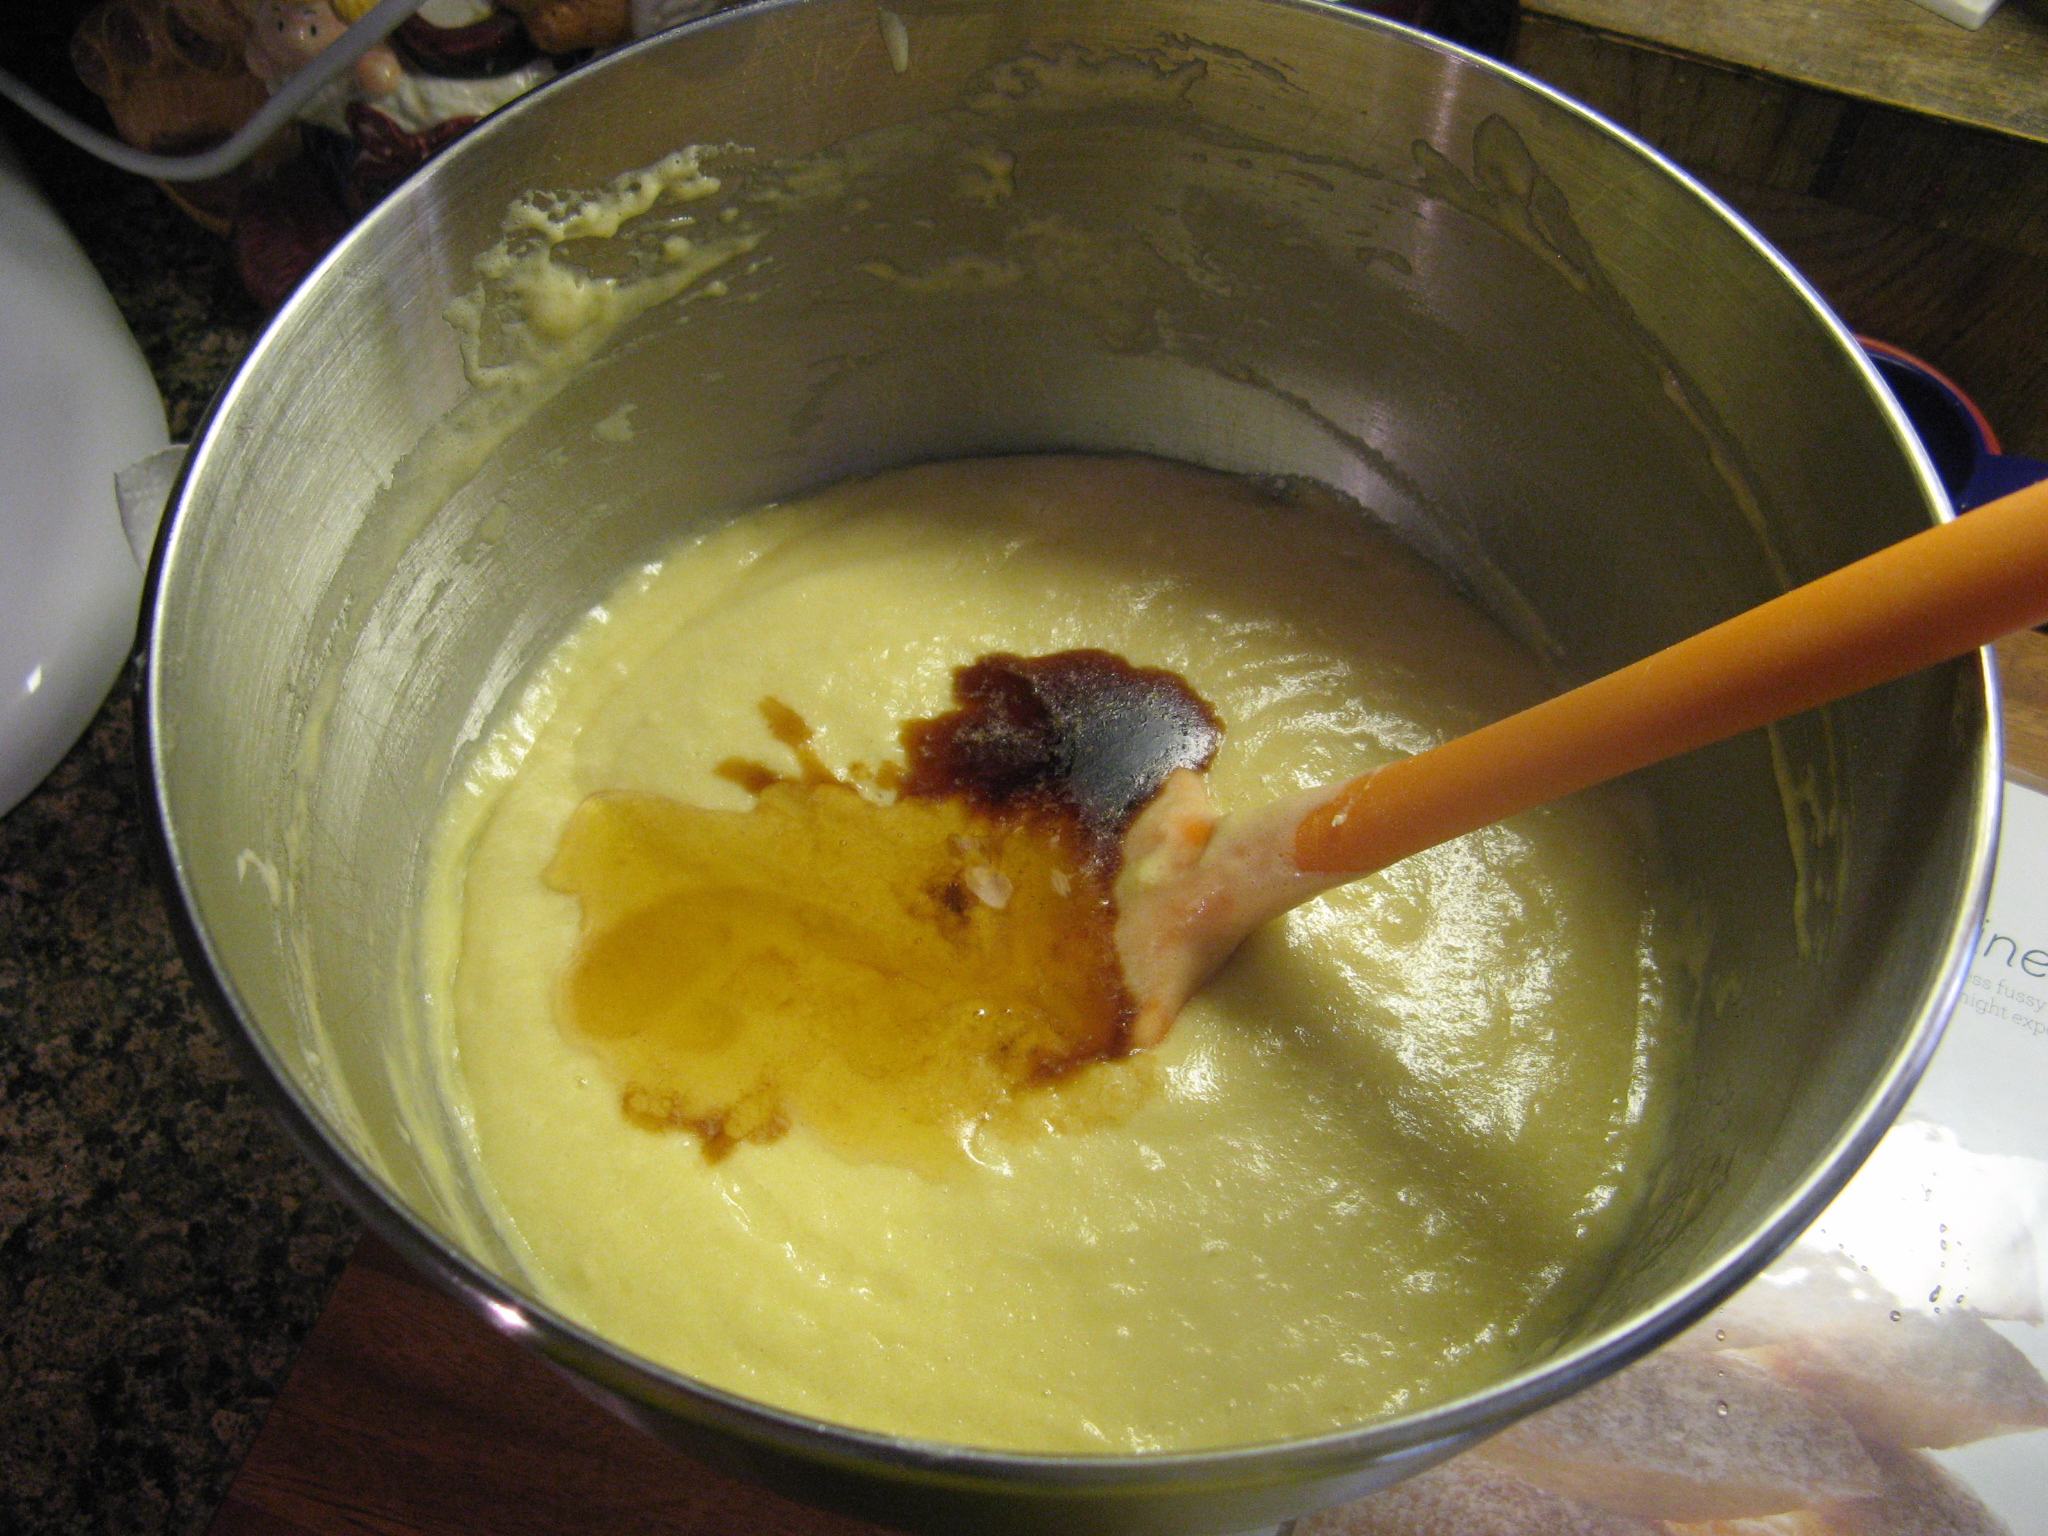
Melt the butter in a small saucepan over low heat. Remove from the heat and stir in the honey and vanilla extract. Let cool for 10 minutes.

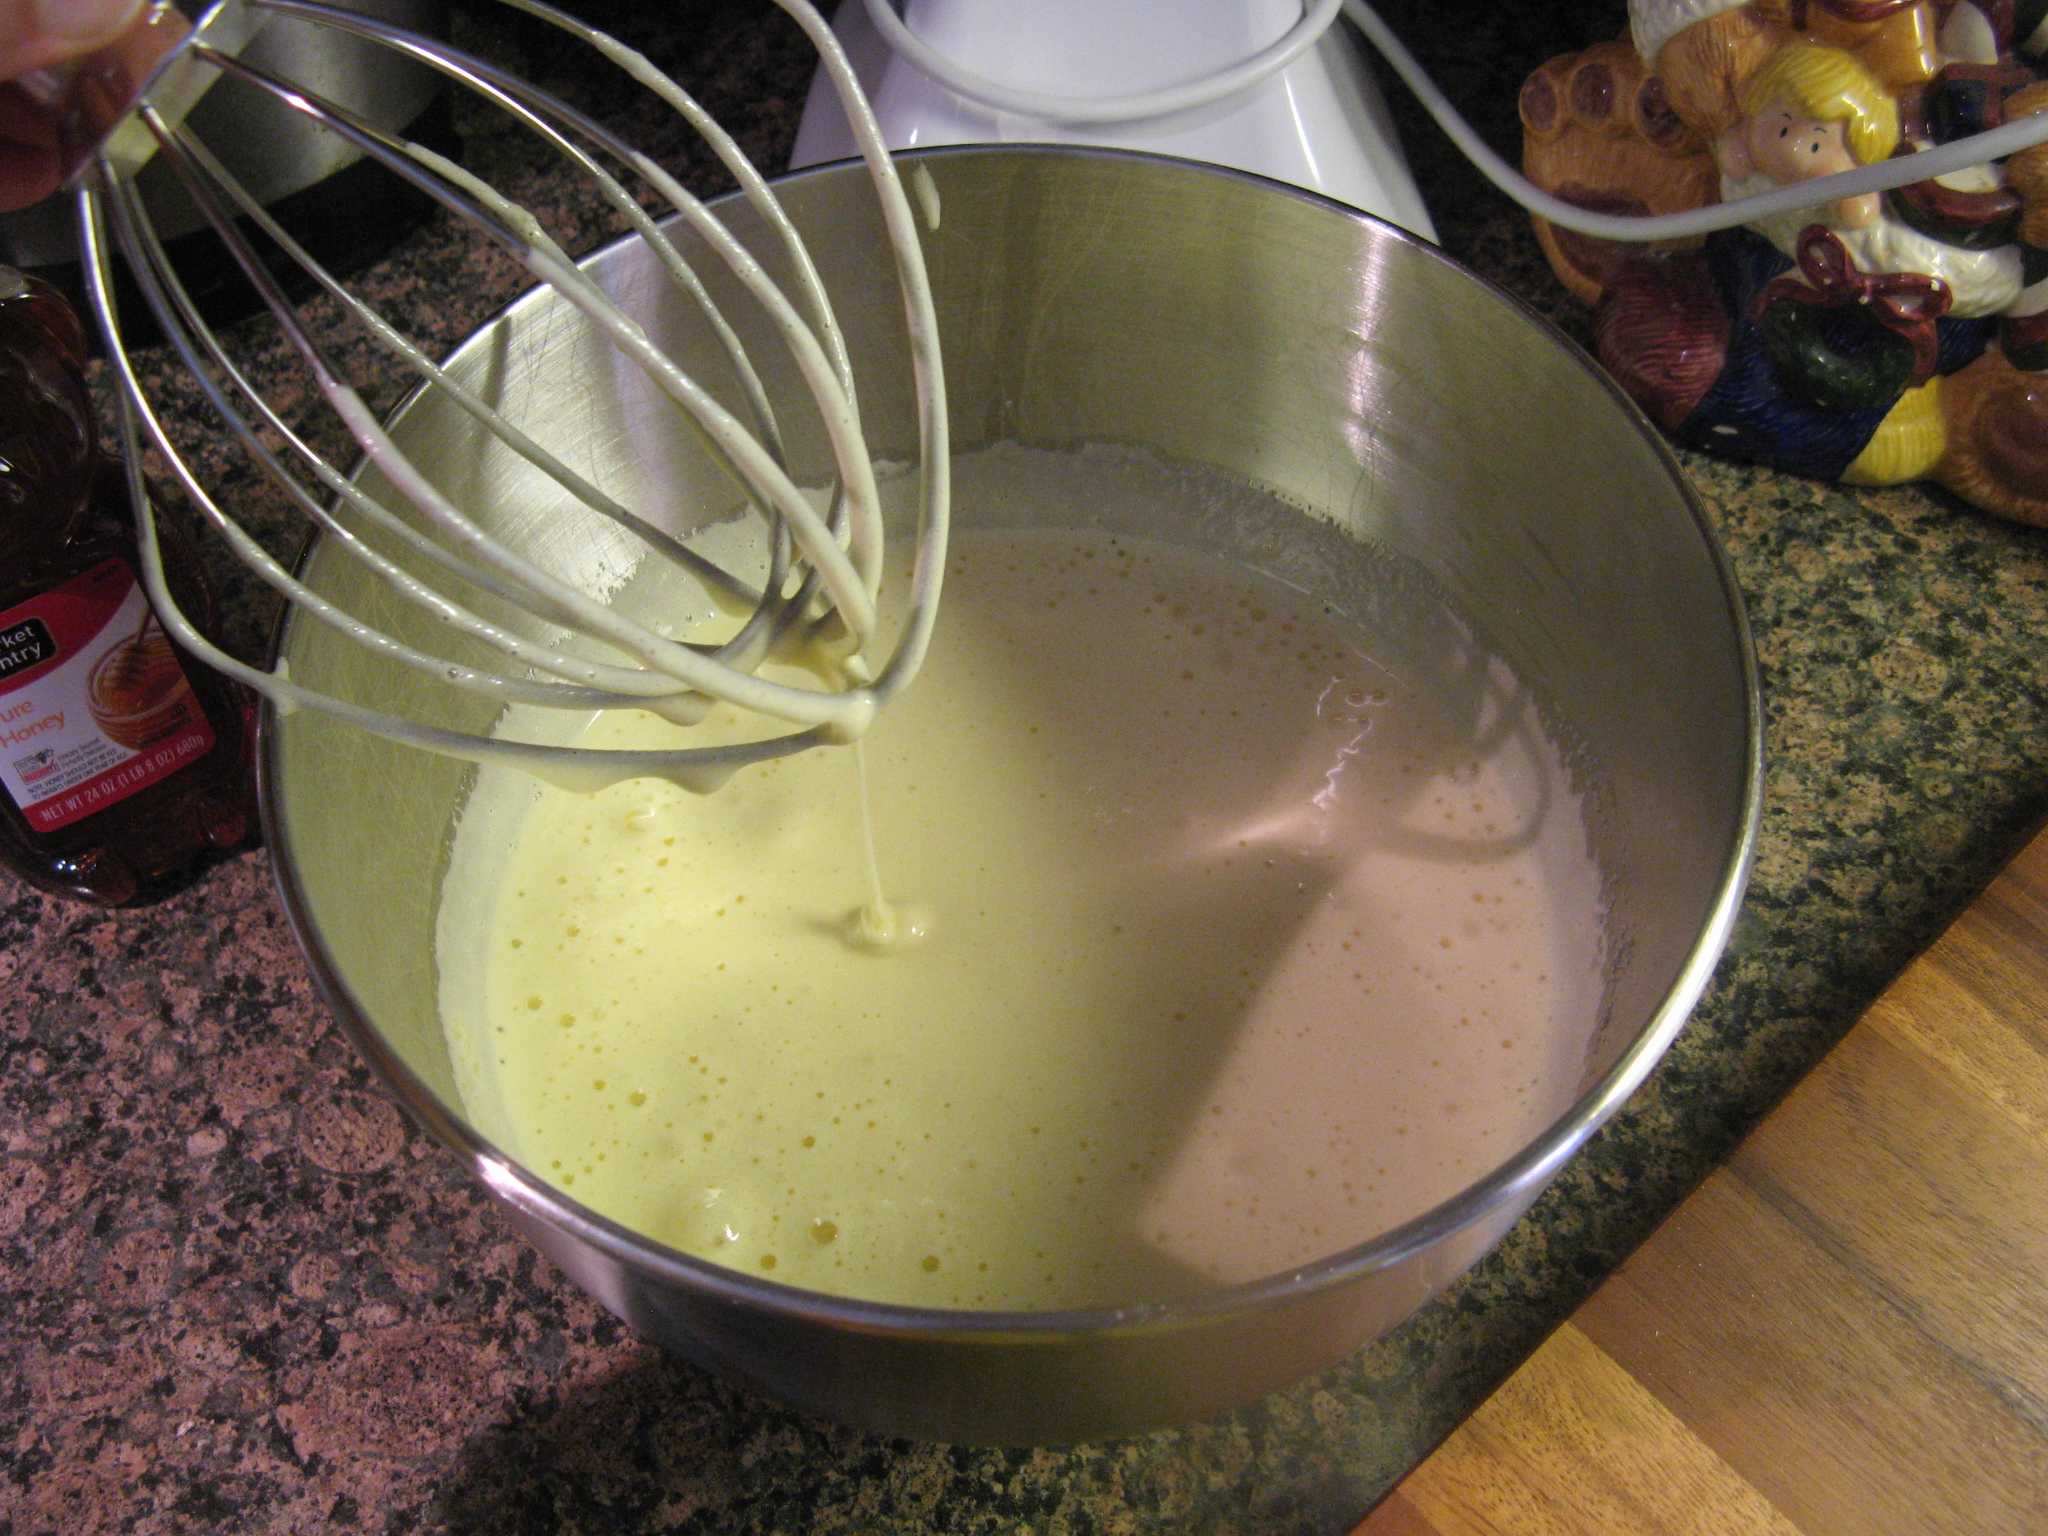
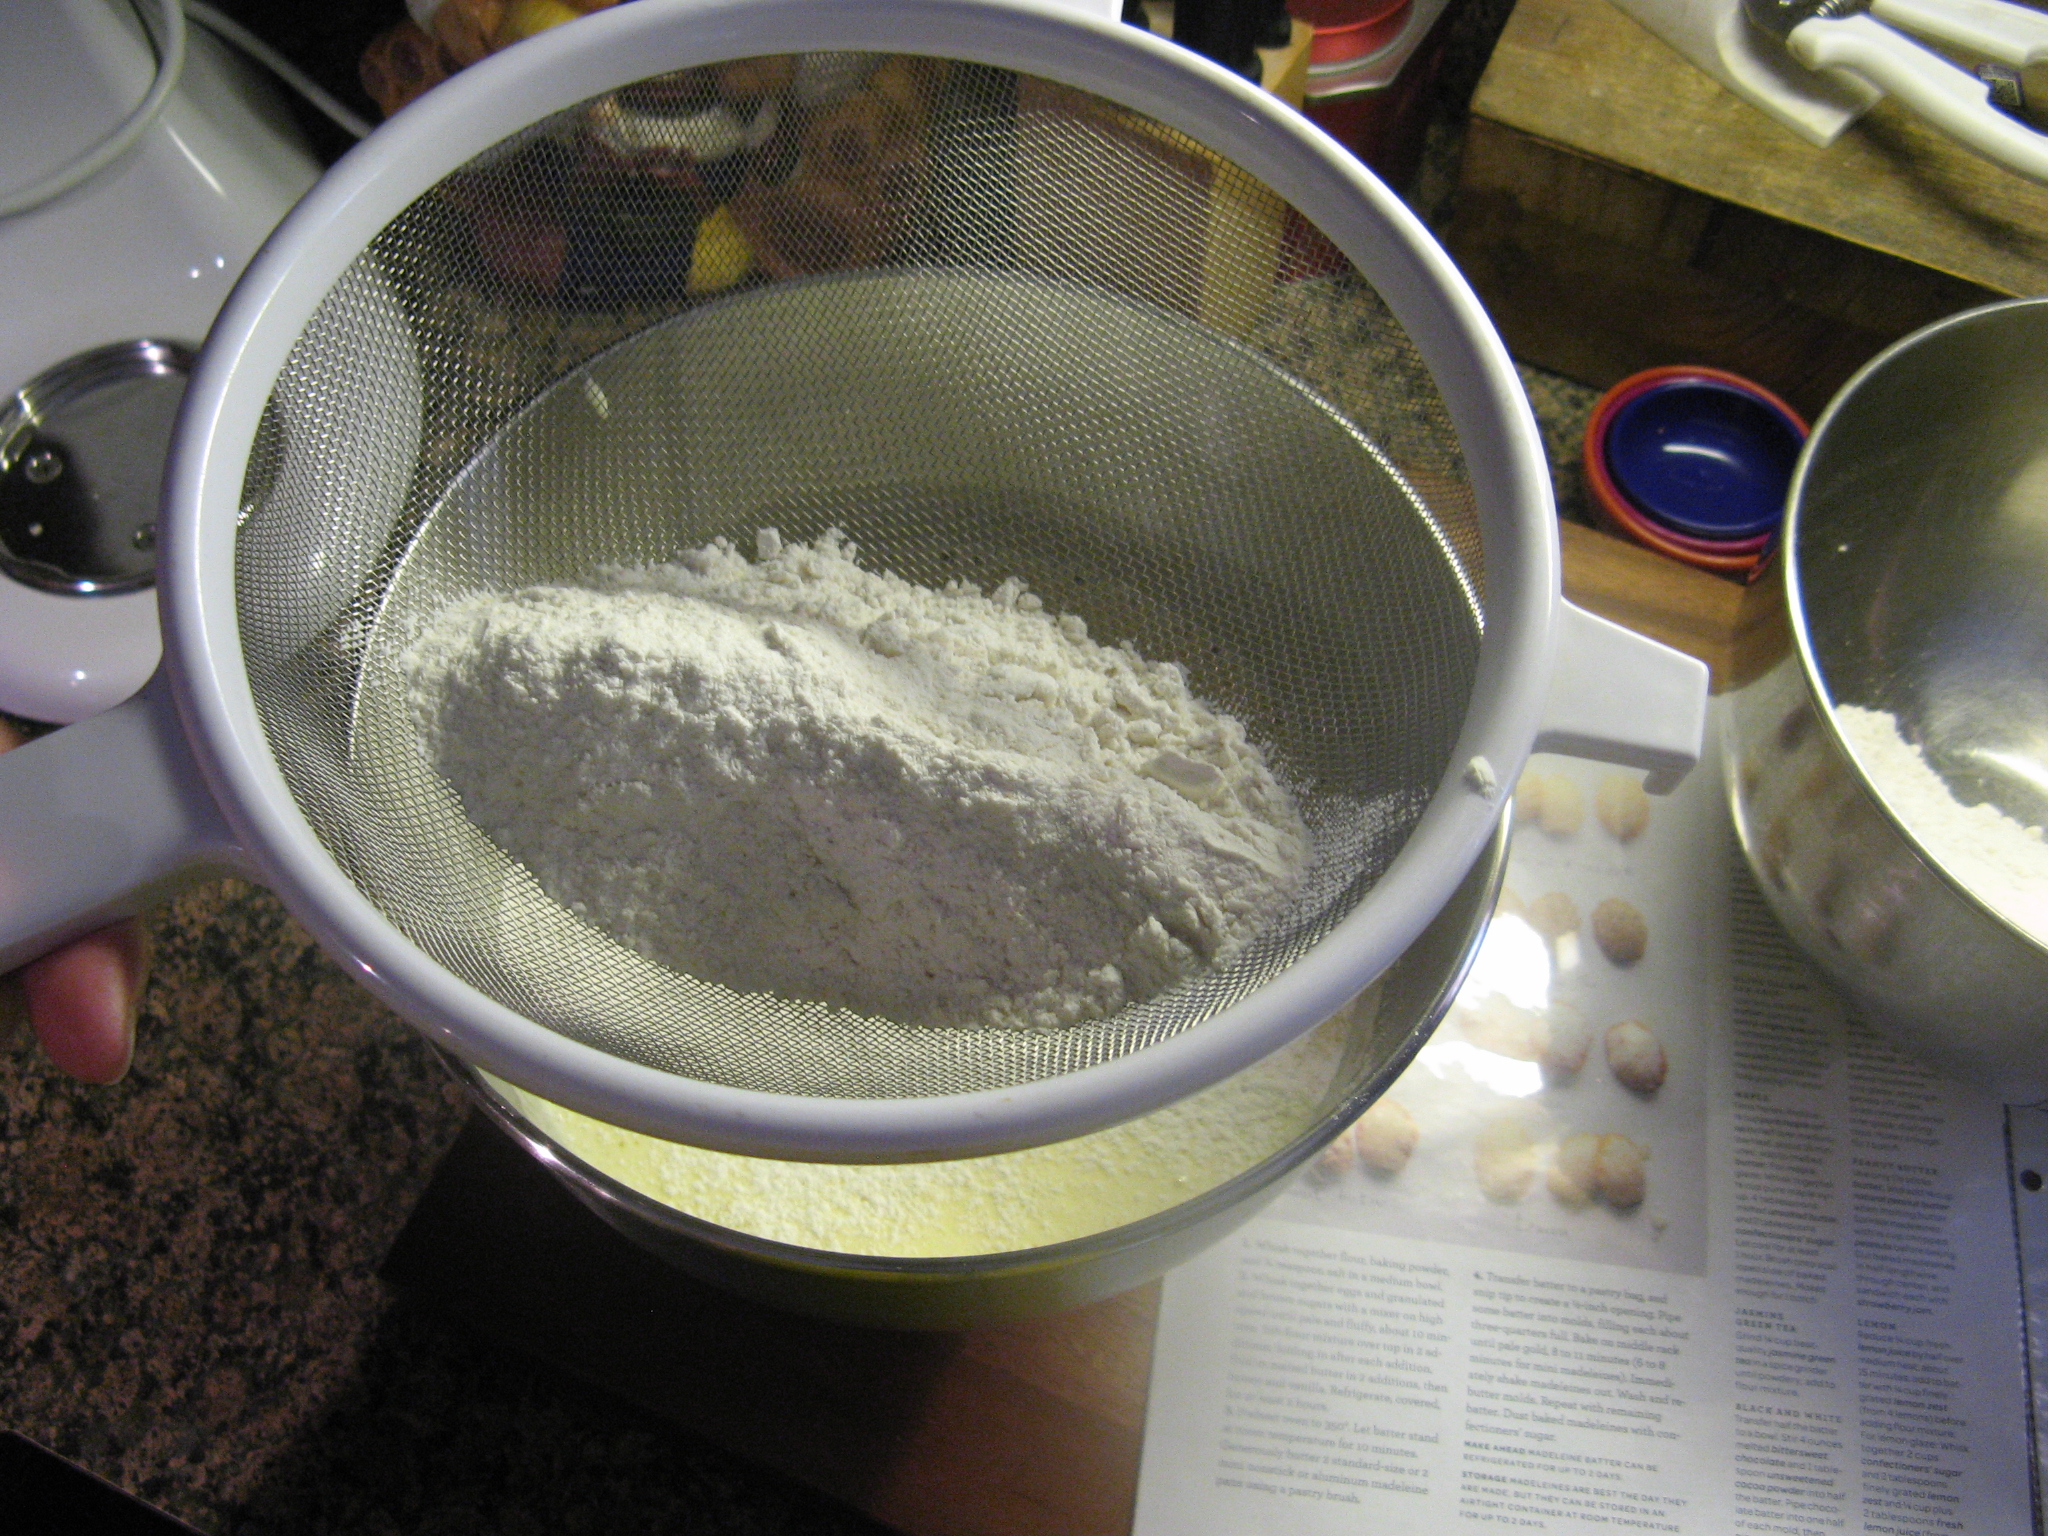
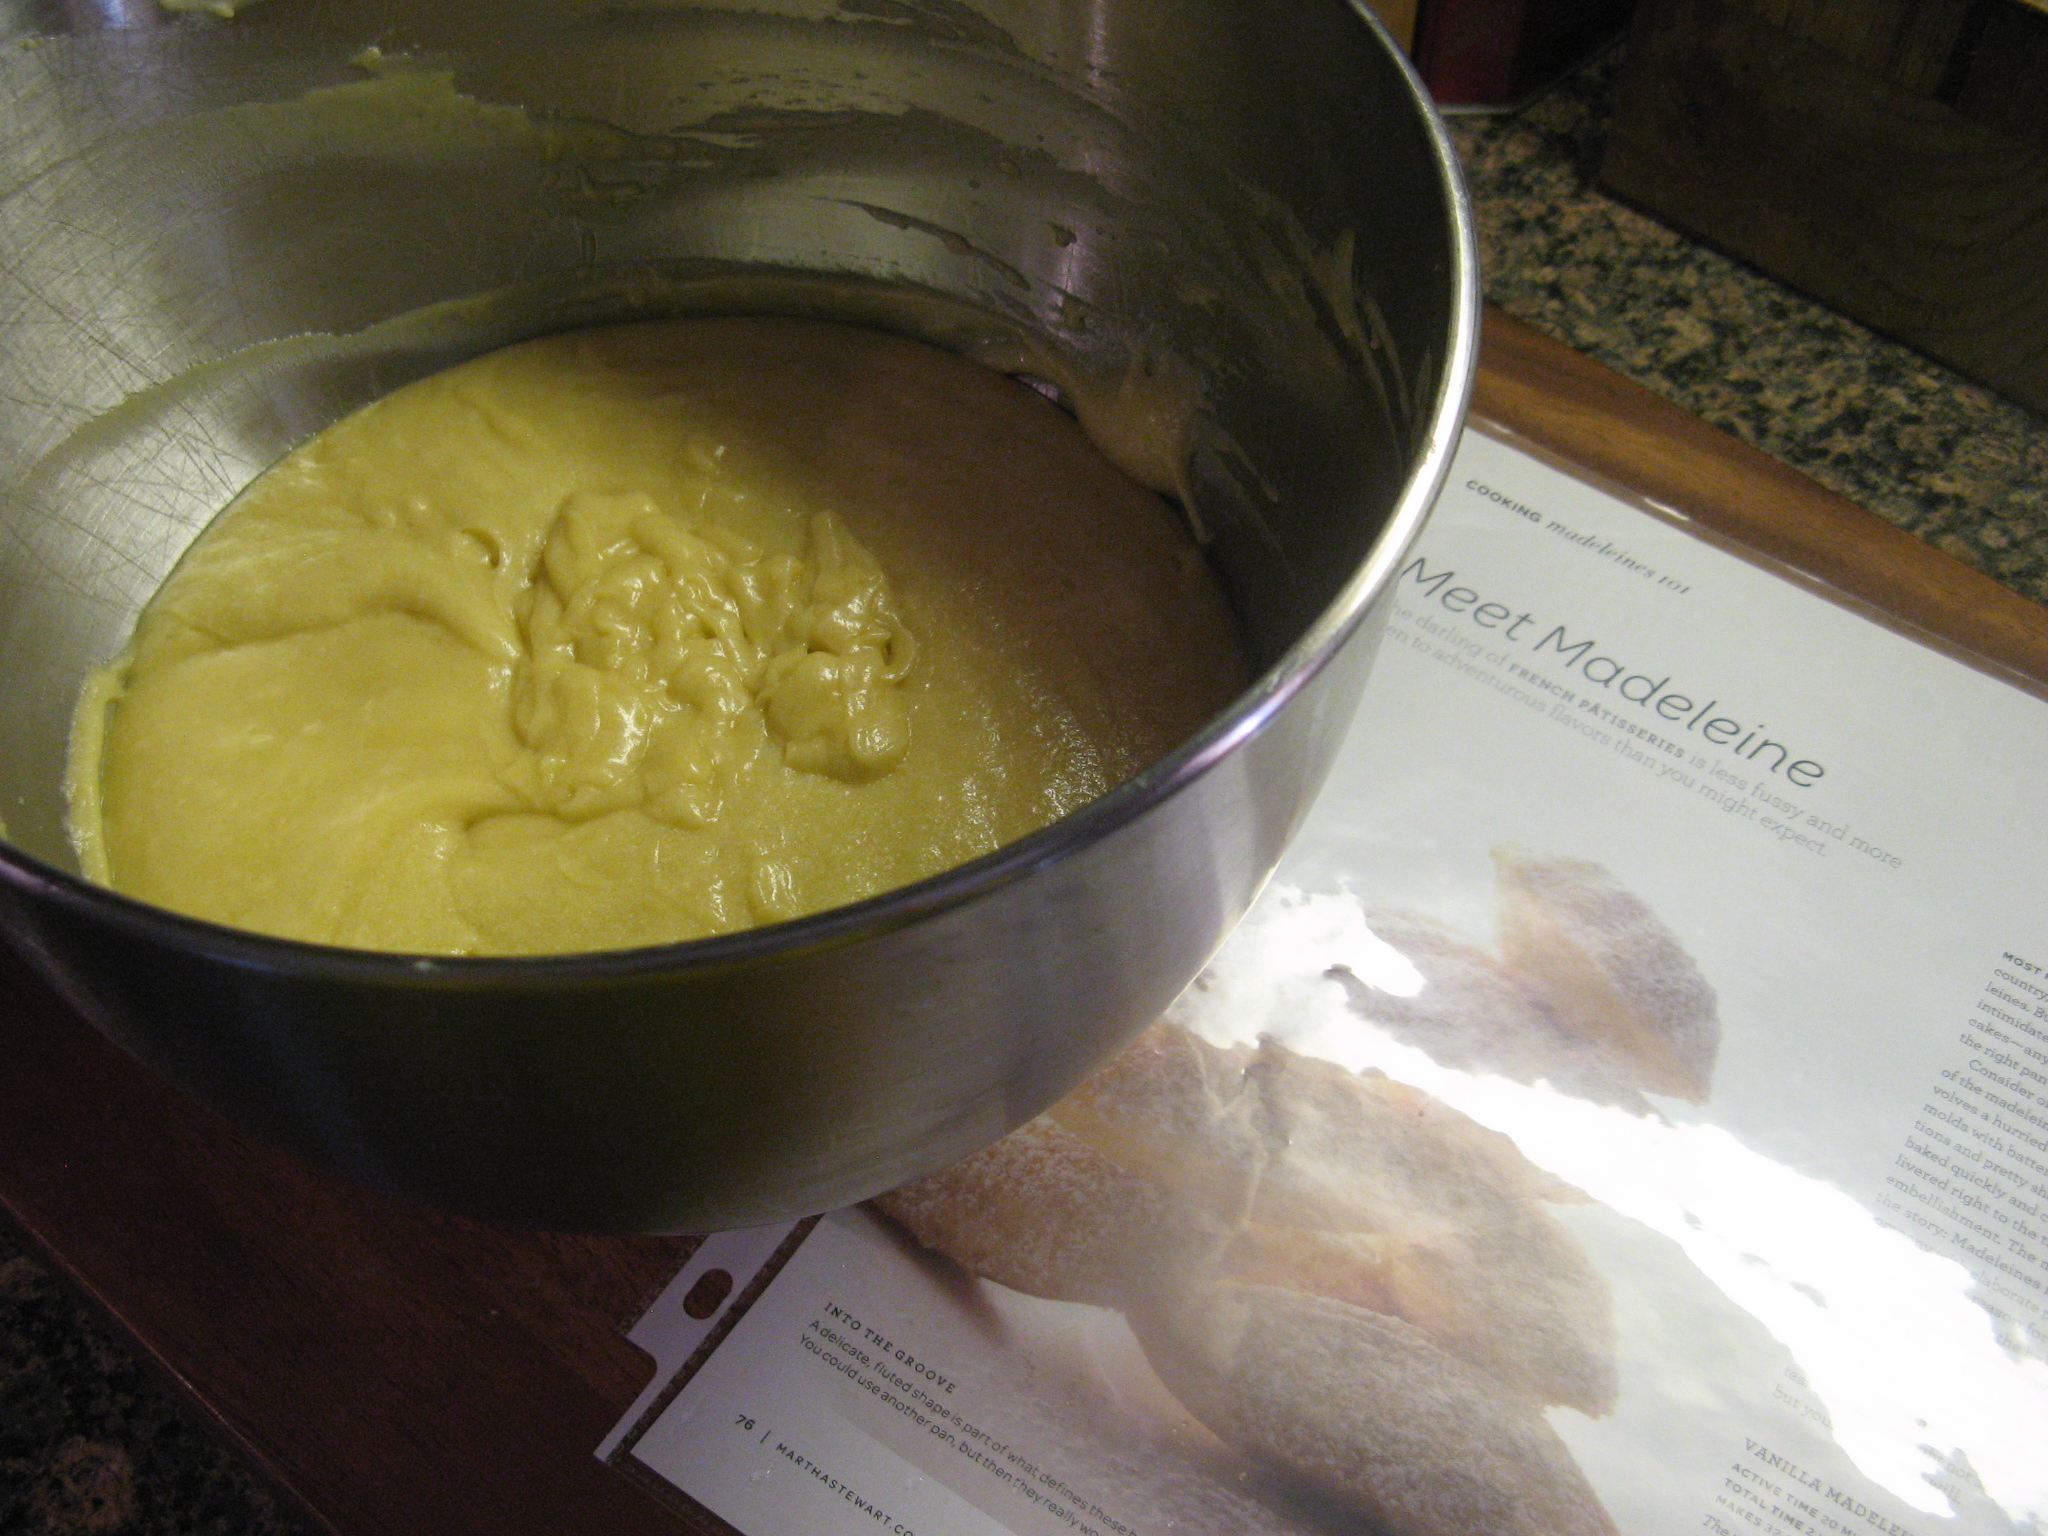
In a medium bowl whisk together the flour, baking powder, cardamom and salt. In a large bowl stir together the eggs and sugar. Fold the flour mixture into the egg mixture until combined. Add the butter mixture and continue folding until combined. Cover the bowl with plastic wrap and refrigerate for 30 minutes.

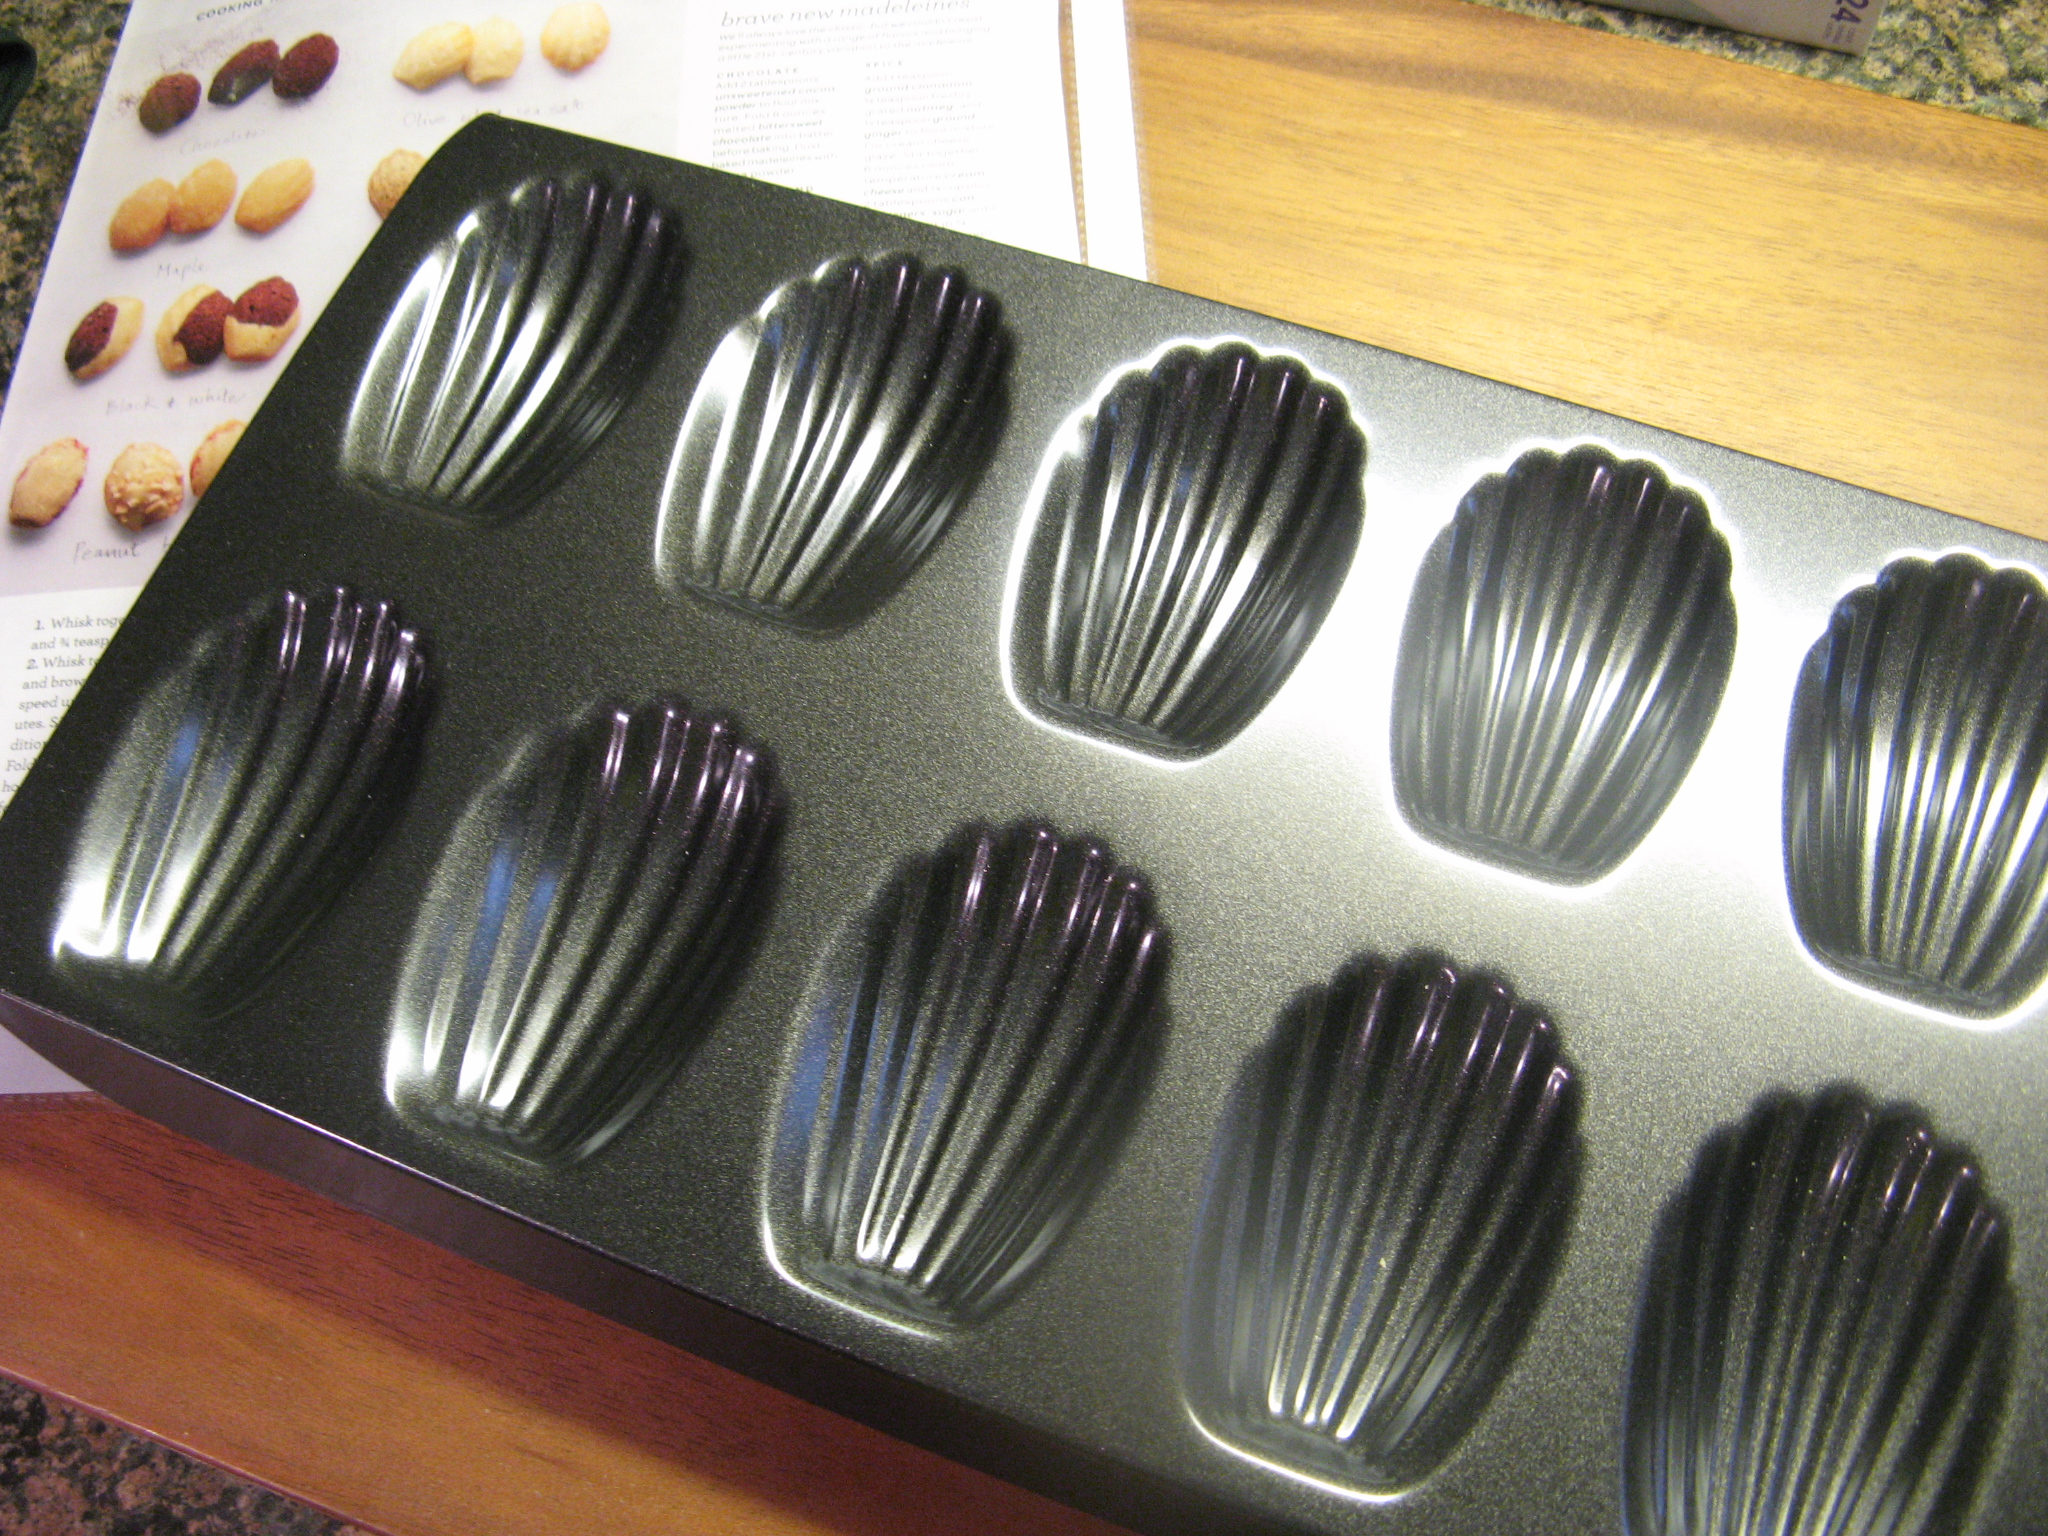
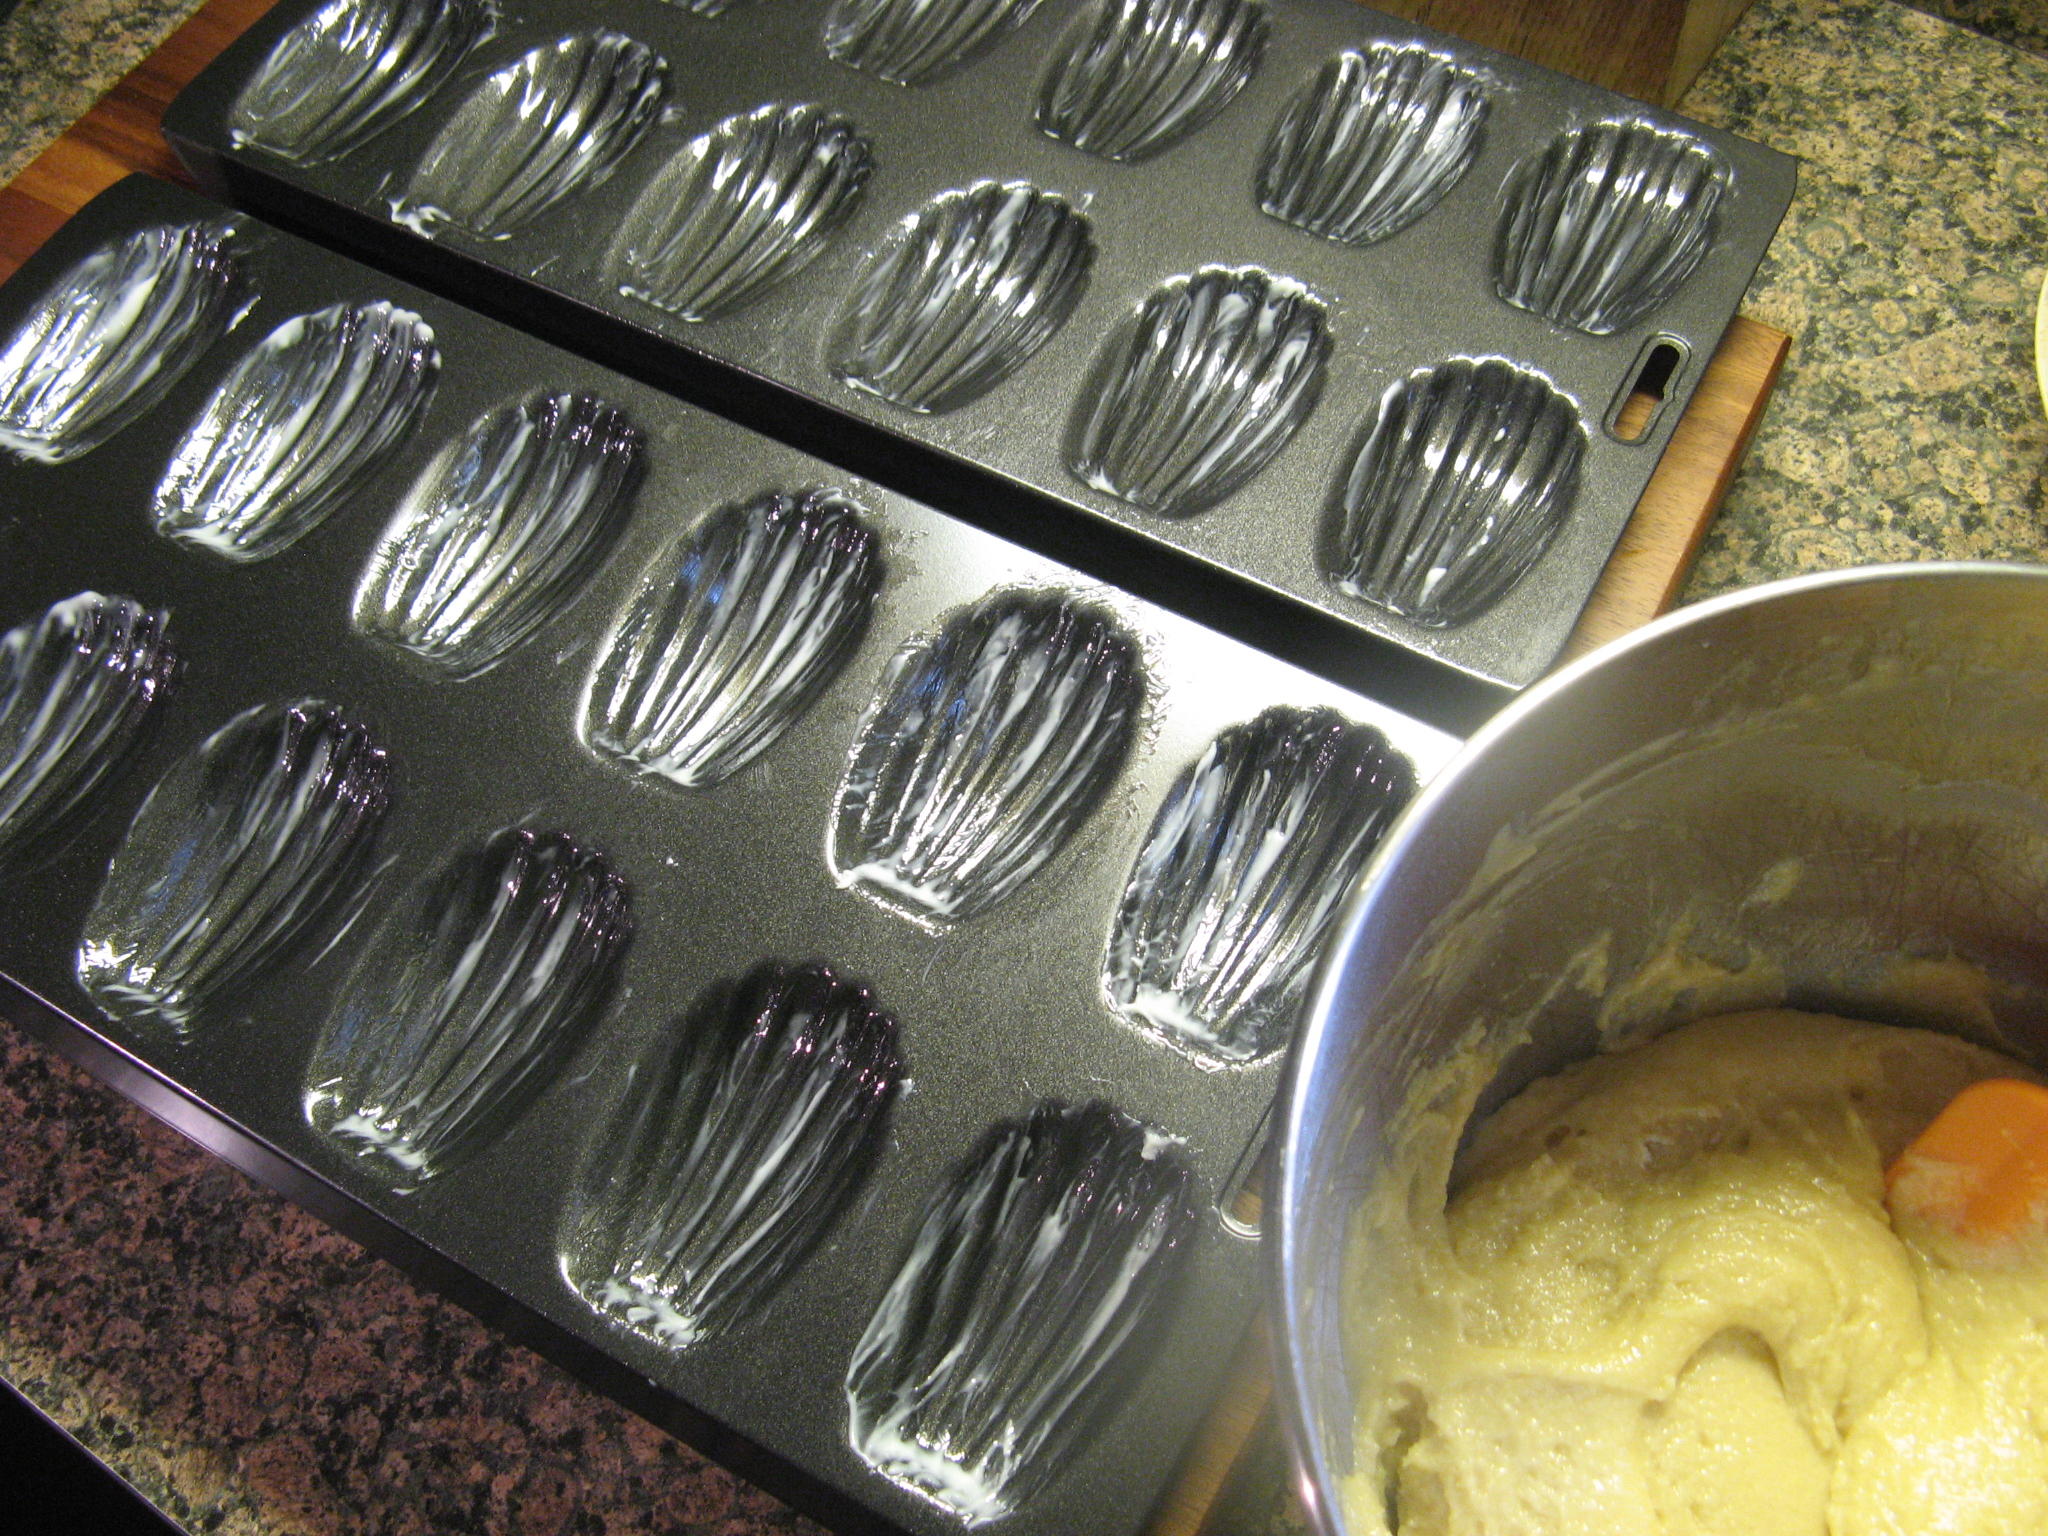
Preheat the oven to 325 F. Brush molds of Madeleine pan with the additional butter.

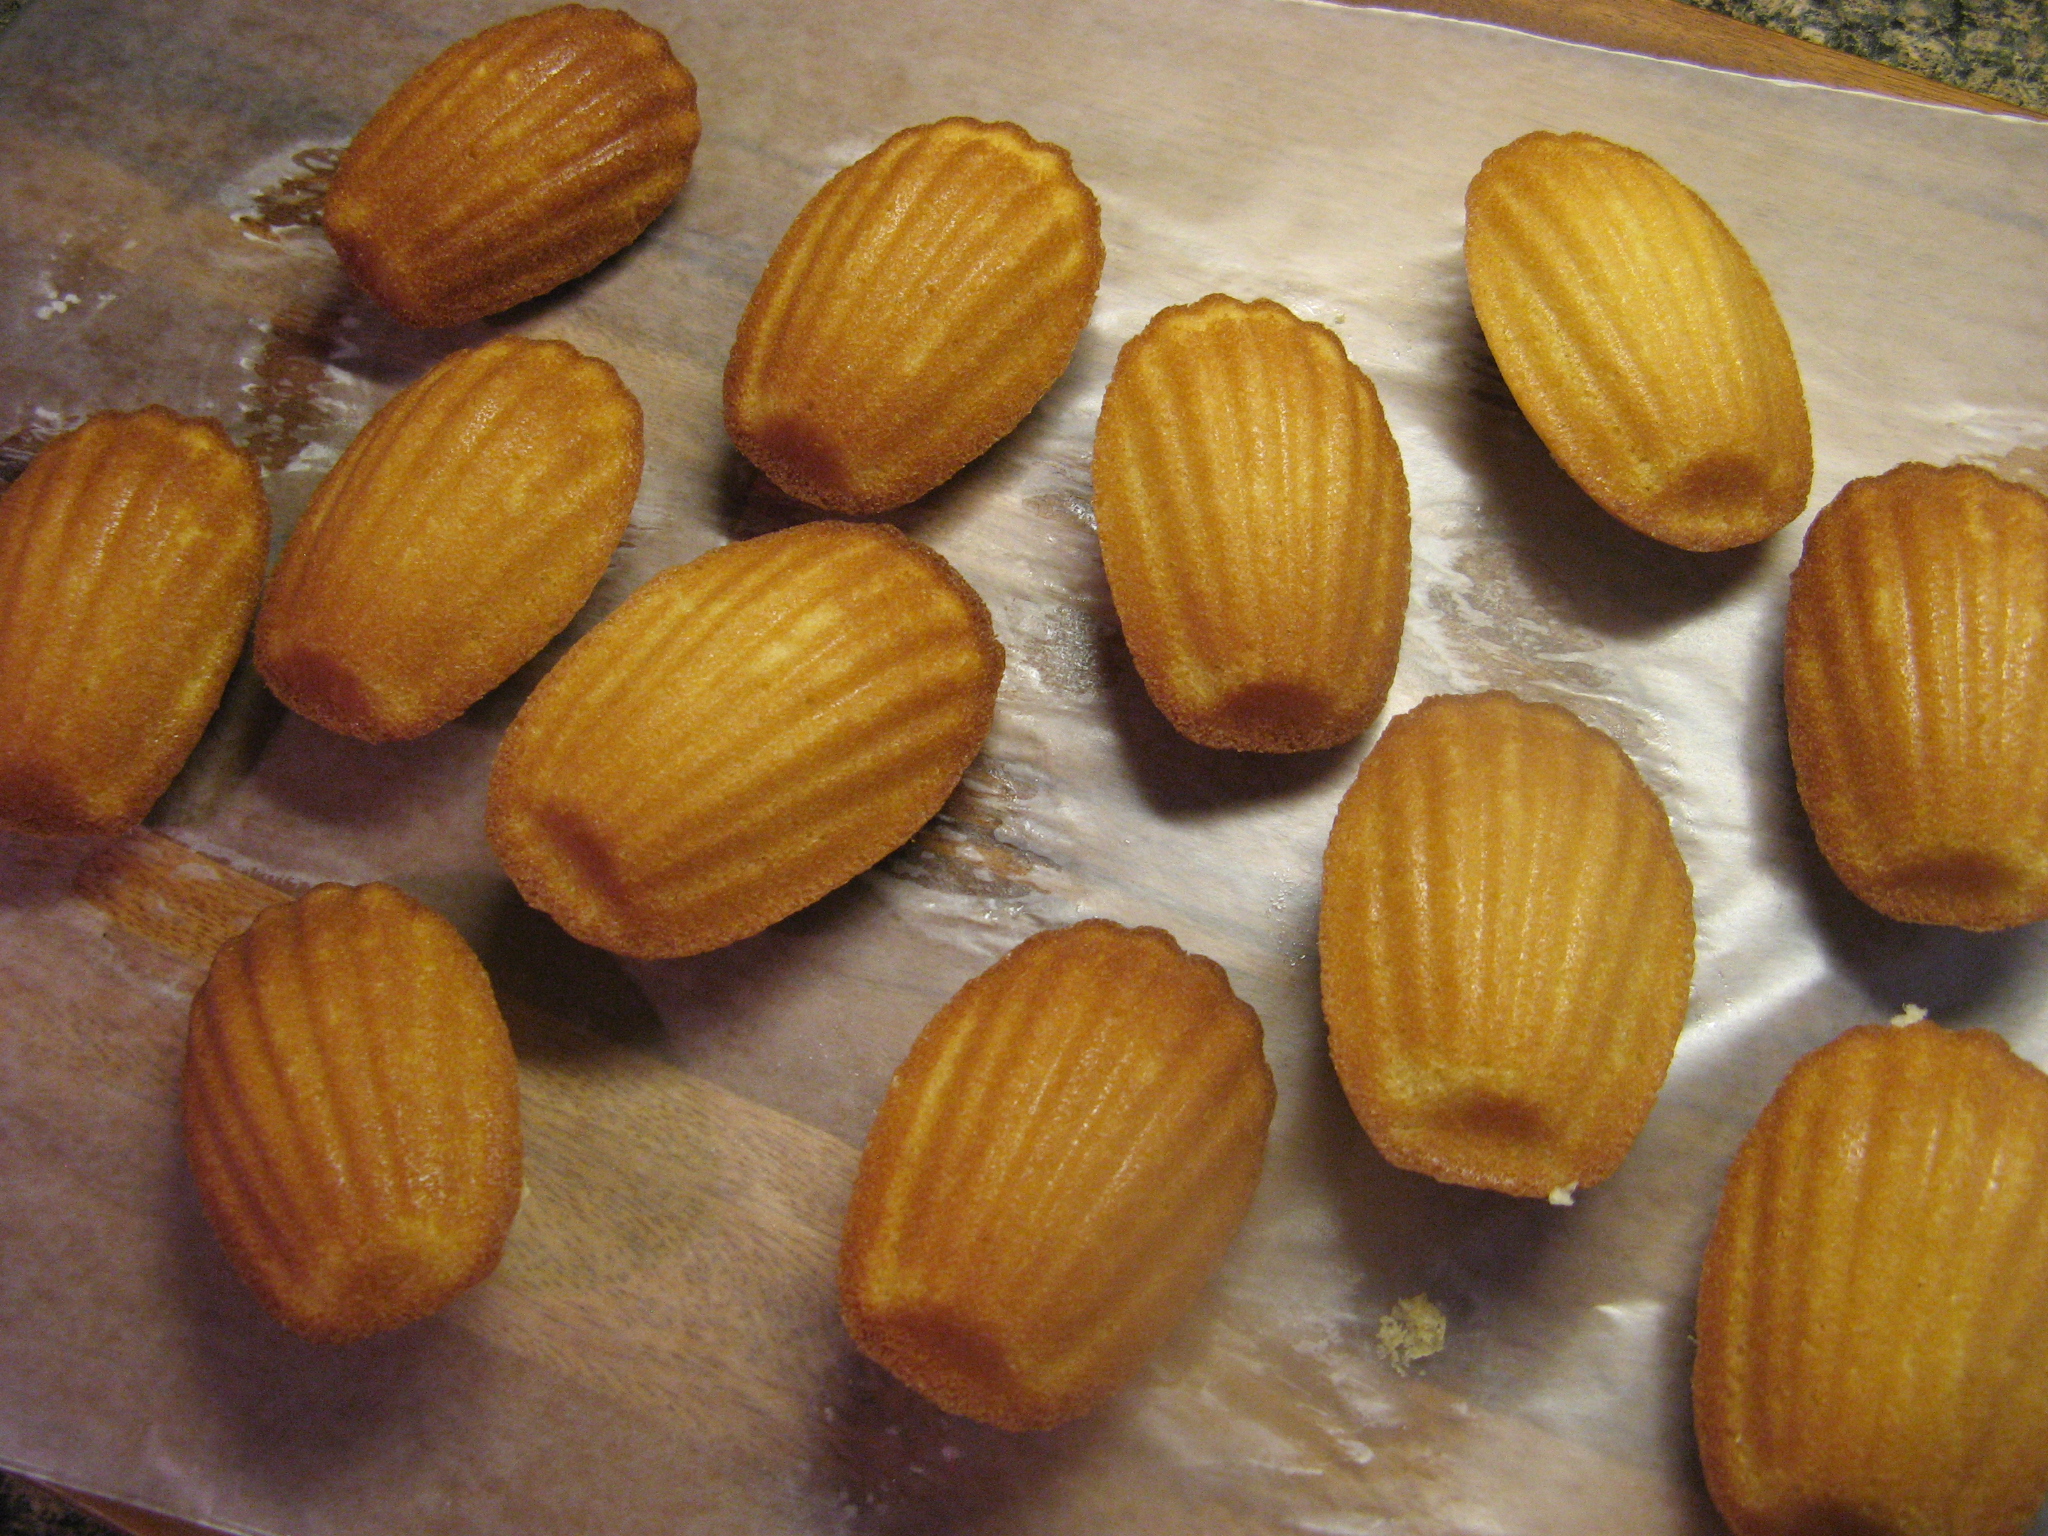
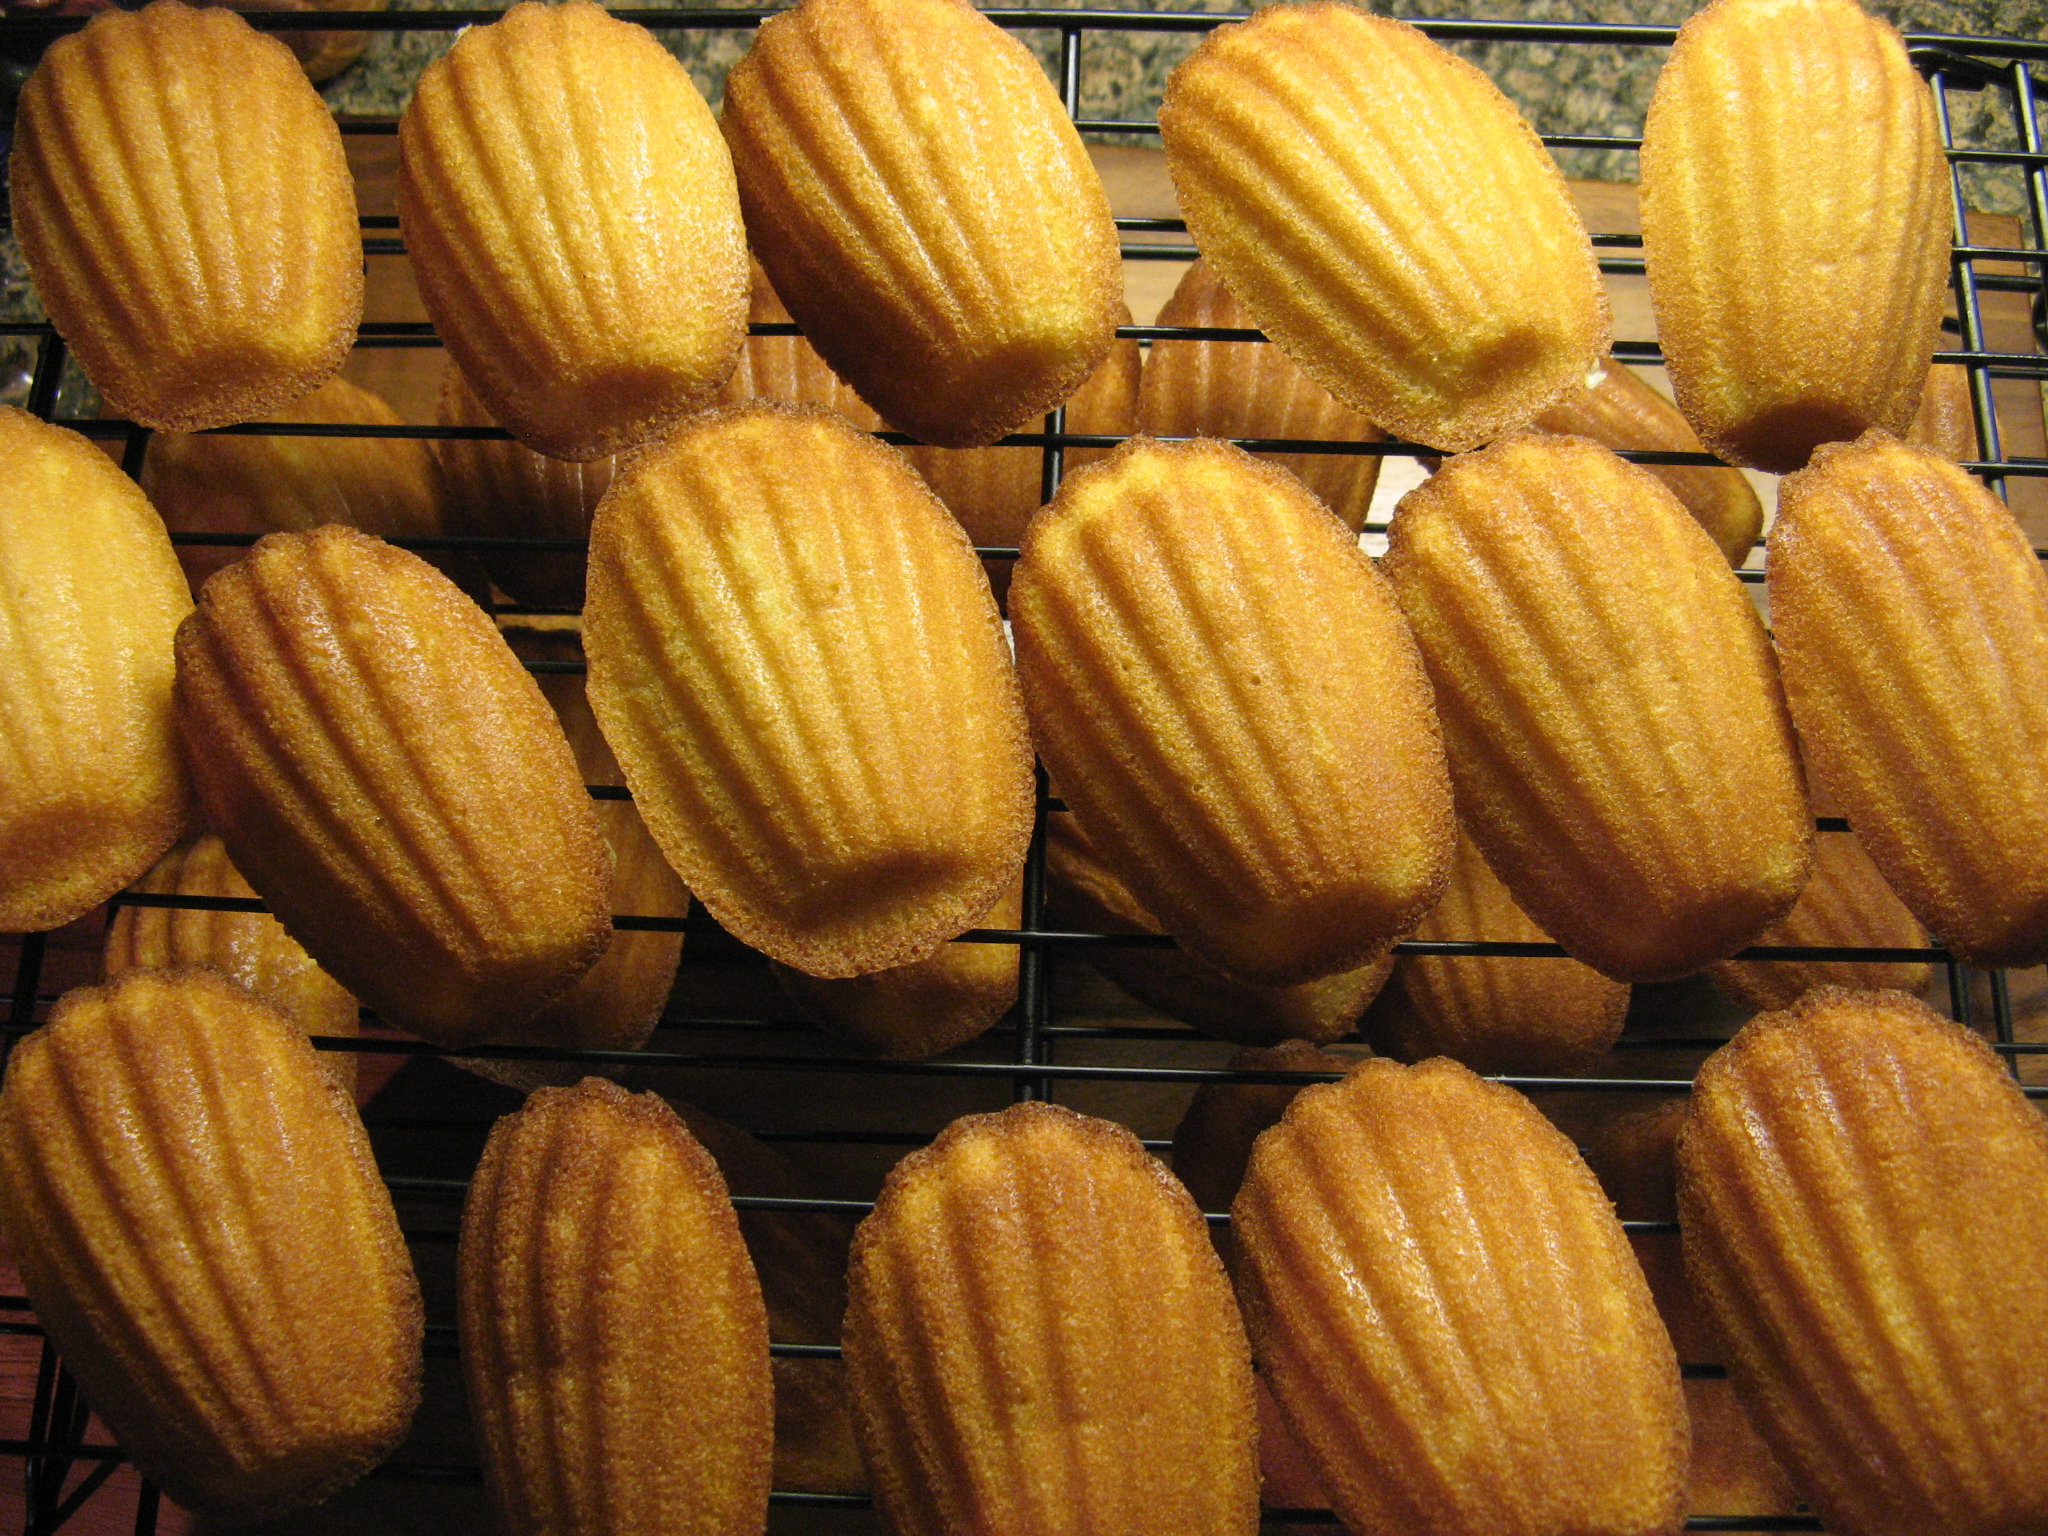
Transfer the batter to a piping bag and fill each crevice of the pan about halfway. Bake in the preheated oven for 7 to 8 minutes, or until the cookies are puffed and the edges are golden brown.  Transfer to a wire rack to cool slightly. Unmold the cookies onto a wire rack and let cool completely.

To make the glaze, combine the confectioners’ sugar, orange zest, and orange juice in a medium bowl and stir together until the glaze is smooth and thick. Using a small pastry brush, coat the ridged sides of the Madeleines with the glaze. Let stand for 15 minutes.

Cookies can be stored in an airtight container at room temperature for 3 days.

Recipe from Martha Stewart’s Cookies cookbook

Pumpkin Spice Madeleines

One day while brainstorming for pumpkin dessert ideas I thought to myself that Pumpkin Spice Madeleines would be a nice treat. Then a few days later while I was at Starbucks ordering my usual Venti Black Tea Lemonade Sweetened guess what I saw next to the register… Pumpkin Spice Madeleines. I didn’t purchase them as I am partial to their regular madeleines and since I was planning on making a version myself I didn’t want their flavor to cloud my judgment as to how mine should taste.

Originally I was planning on tweaking the recipe I used for Vanilla Madeleines to make a Pumpkin Spice version, but then I came across a recipe that required less ingredients and less time. Both are always a plus. Although I did have my doubts. Especially since the ingredient list did differ greatly in the basics – the amount of eggs, oil vs. butter, the amount of flour and so forth. Thankfully those doubts were futile, these madeleines were a hit! An 8 year old who initially make a yucky face when I told her what they were enjoyed them. And the day after I made them I got a request for more. And I recently made a third batch. So, what do they taste like? Well, I’ll say this, if you like pumpkin bread you’ll love these madeleines. They are made with actual pumpkin purée as well as the spices that make up the notorious pumpkin spice flavor – cinnamon, ginger, nutmeg and cloves.

Pumpkin Spice Madeleines

  • Servings: 24 Madeleines
  • Print

Ingredients:

3/4 cup pumpkin purée

2 eggs

3/4 cups sugar

1/2 cup vegetable oil

1 cup flour

1 teaspoon baking powder

1/2 teaspoon baking soda

1/4 teaspoon salt

1 teaspoon cinnamon

1/4 teaspoon ginger

1/8 teaspoon nutmeg

1/8 teaspoon cloves

Confectioners’ sugar, for dusting

Directions:

Preheat the oven to 350 F. Spray your Madeleine pans with cooking spray or grease with butter or oil.

In a large bowl, use a hand mixer to beat together the pumpkin, eggs, sugar and oil until smooth. In a medium bowl combine the remaining dry ingredients, except for the confectioners’ sugar, and whisk together.

With the mixer on low speed add half of the flour mixture and mix until just combined. Add the remaining flour mixture and mix until smooth.

Spoon a tablespoonful of the batter into each cavity of the madeleine pan. Bake for 10 to 12 minutes, until they are puffed up and a cake tester inserted into the middle of one comes out clean. Let cool for a few minutes in the pan and the transfer to a wire rack to cool completely and then dust with confectioners’ sugar.

*If you only have 1 madeleine pan wipe it clean after the first batch and then re-grease it before filling the cavities with the remaining batter.

Recipe from The Yellow Table

Vanilla Madeleines

I really can’t remember the first time I had a Madeleine but I do know that when I tried it I instantly loved it. What held me back from making them was not having the proper pan. But, before I go any further you may be wondering, what exactly is a Madeleine? Well, it’s the size of a cookie, but in actuality it’s a cake, a small cake that originated in France. What really sets this sponge cake apart and lets you know that you are eating the real deal is its shape – shell-like reminiscent of a scallop. To obtain that required shape you need a Madeleine pan, they can be a bit pricey considering you won’t use all that often, but luckily I was able to find two of them at a great price at my local Home Goods. This meant I could finally make Madeleines and also try out another recipe for Chocolate Dipped Bear Paws – but those are for another day.

IMG_6497

In the bowl of my stand mixer I whisked together six eggs with granulated and brown sugar on high until it was pale and fluffy – just shy of ten minutes.

IMG_6489

While the eggs were mixing, I combined flour, baking powder and salt in a bowl and then sifted it in two additions over the egg mixture, folding it in after each addition.

IMG_6490

Next, I folded in two sticks of melted butter, once again in two additions, folding it in after each one.

IMG_6491

And finally I folded in honey and vanilla extract.

IMG_6492

After covering the batter with aluminum foil I refrigerated it for at least two hours.

IMG_6496

After a few hours I removed the batter from the refrigerator and let it stand at room temperature for ten minutes. Meanwhile I preheated the oven to 350 F and prepared my Madeleine pans by buttering them, while most people use a pastry brush to butter their pans I am partial to using a simple sheet of paper towel so that I can be sure to get into all the nooks and crevices of the pan.

IMG_6499

I then filled a pastry bag with the batter and snipped the end so I could fill the molds about three-quarters full. I actually filled one of the molds with water and determined how much exactly was three-quarters so I wouldn’t overfill the molds – I tend to do that sometimes, especially when making donuts!

IMG_6500

I baked them in the oven for about ten minutes and per the instructions shook them of the pan out as soon as they were out of the oven. I’m happy to say that on my first try I was successful in getting the traditional bump on the back of the cake and also the scalloped design was clearly distinct on the front!

IMG_6501 IMG_6502

I ended up making thirty-five Madeleines which was the perfect amount for keeping some and sharing. Overall they were hit with everyone who tried them. The texture was spot on – not too dense or light and airy – and the vanilla flavor was just right.  Definitely something I will be making again.

IMG_6510

Vanilla Madeleines

Makes 32-36 (or 160 mini)

Ingredients:

2 cups all-purpose flour

1 teaspoon baking powder

Coarse salt

6 large eggs, room temperature

1 cup granulated sugar

2 tablespoons packed light-brown sugar

2 sticks unsalted butter, melted, plus more, softened, for pans

1 tablespoon plus 1 teaspoon honey

3/4 teaspoon pure vanilla extract

Directions:

1. Whisk together flour, baking powder, and 3/4 teaspoon salt in a medium bowl.

2. Whisk together eggs and granulated and brown sugars with a mixer on high speed until pale and fluffy, about 10 minutes. Sift flour mixture over top in 2 additions, folding in after each addition. Fold in melted butter in 2 additions, then honey and vanilla. Refrigerate, covered, for at least 2 hours.

3. Preheat the oven to 350 F. Let batter stand at room temperature for 10 minutes. Generously butter 2 standard-size or 2 mini nonstick or aluminum Madeleine pans using a pastry brush (or your preferred method!)

4. Transfer batter to a pastry bag, and snip tip to create a 1/2-inch opening. Pipe batter into molds, filling each about three-quarters full. Bake on a middle rack until pale gold, 8 to 11 minutes (6 to 8 minutes for mini Madeleines.) Immediately shake Madeleines out. Wash and re-butter molds. Repeat with remaining batter.

Make Ahead: Madeleine batter can be refrigerated for up to 2 days.

Storage: Madeleines are best the day they are made. But they can be stored in an airtight container at room temperature for up to 2 days.

%d bloggers like this: