Pumpkin Chocolate Brownies

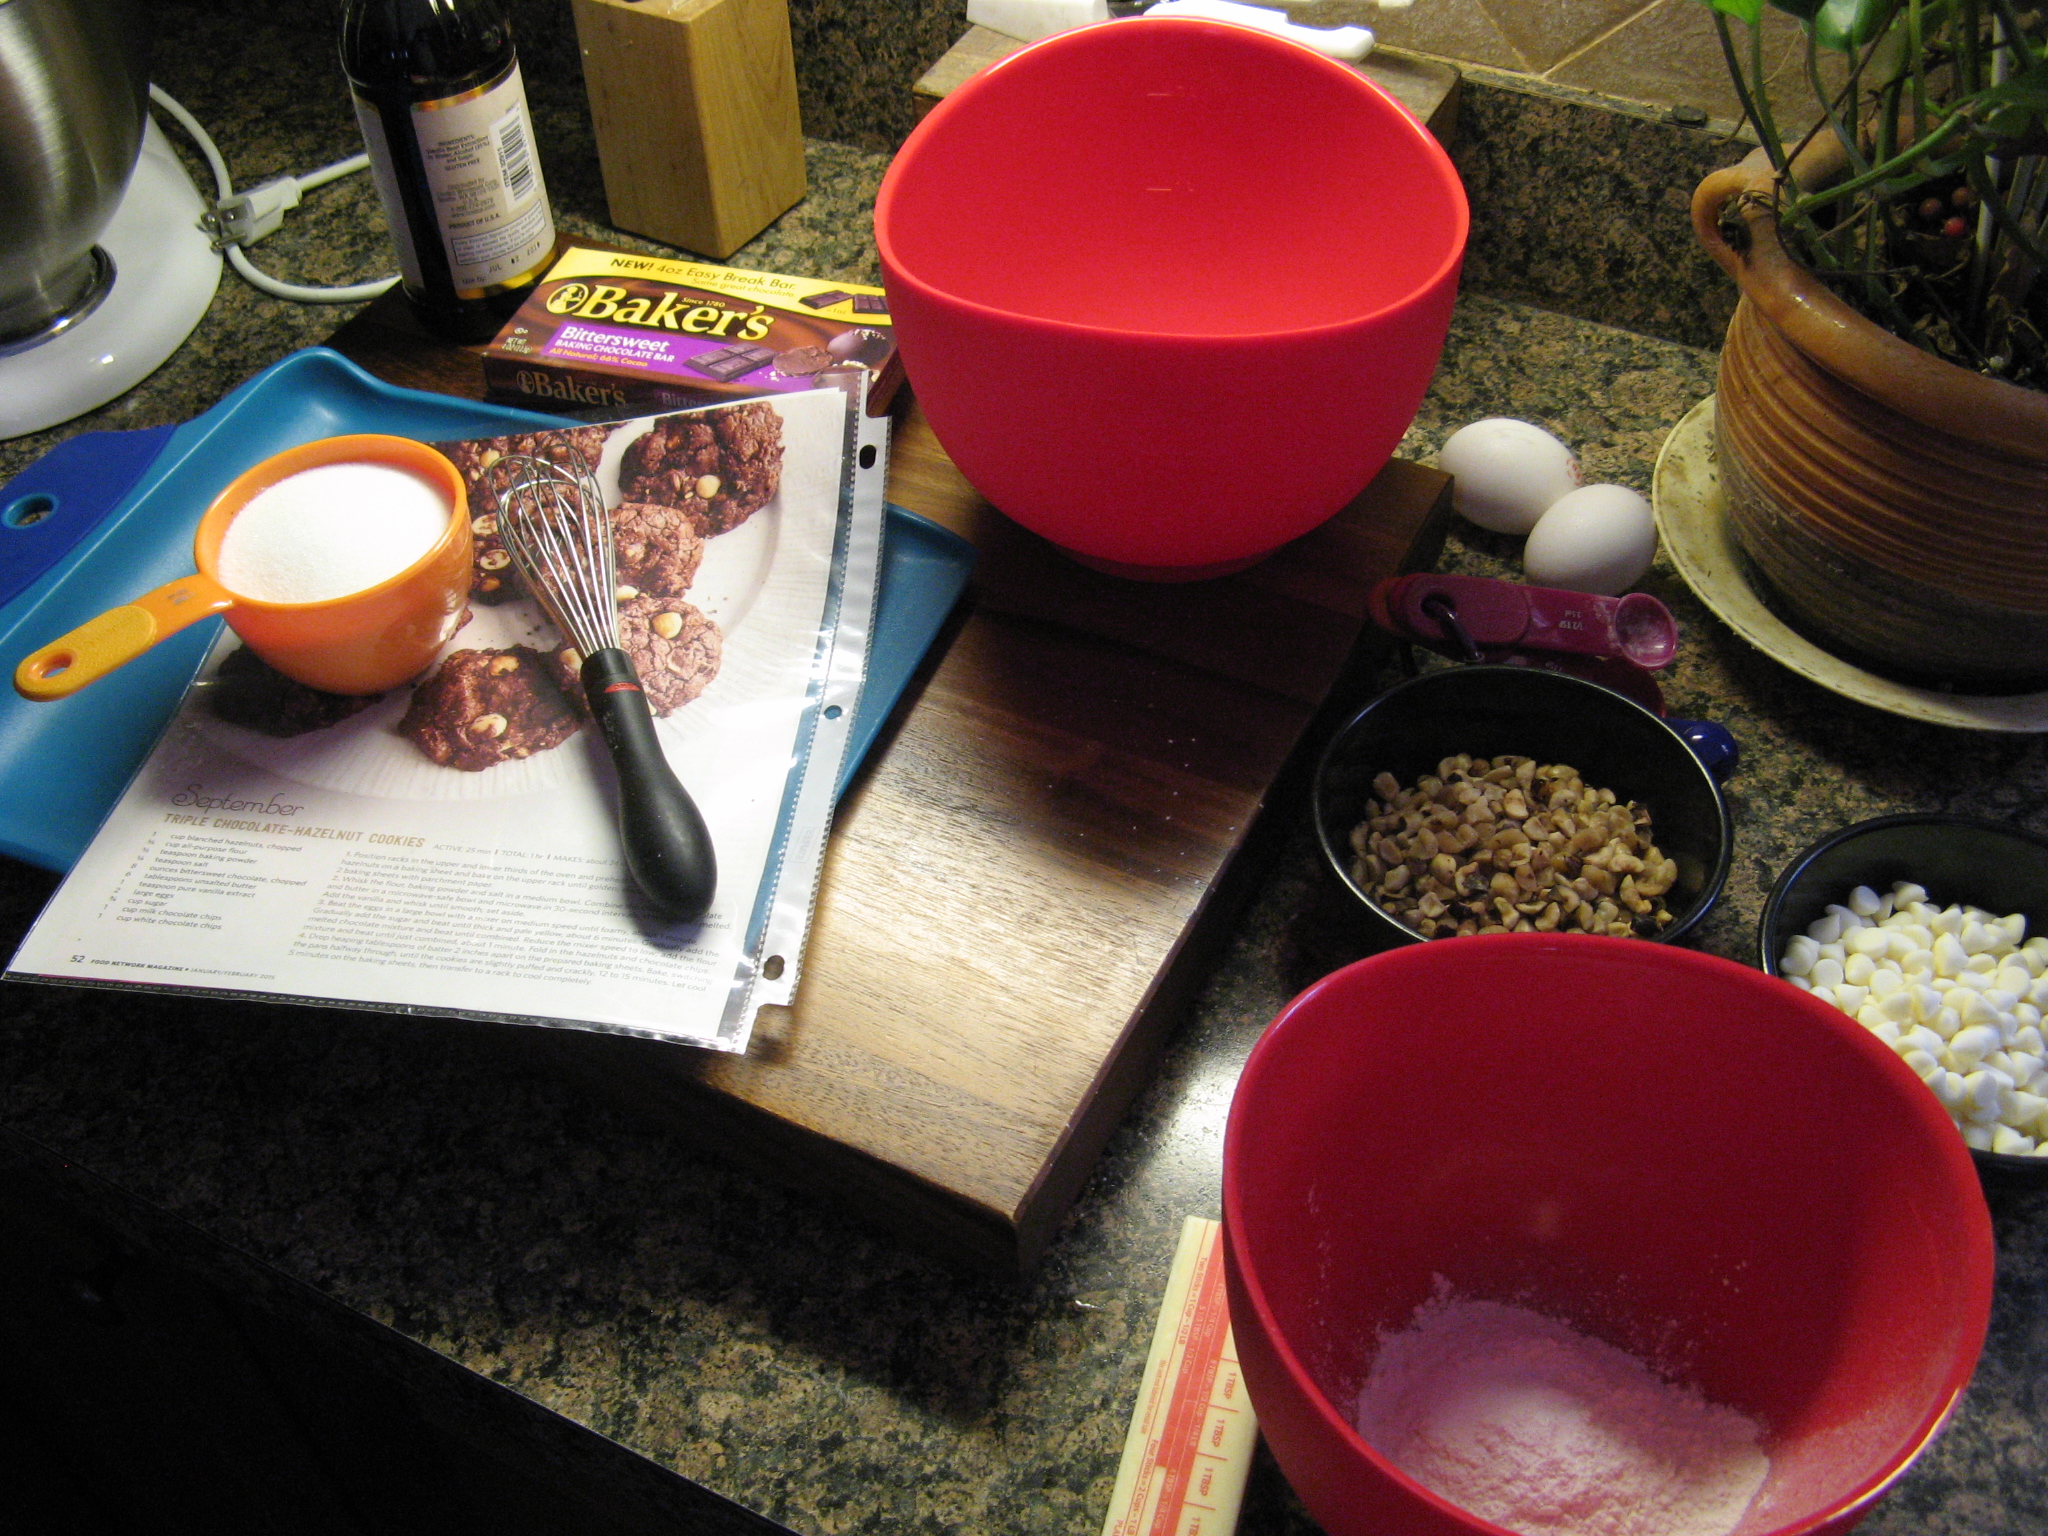
I came across this brownie recipe in a recent issue of People magazine. At first it sounded great, but, then I started to make them and I began to question them due to the vast amount of ingredients.

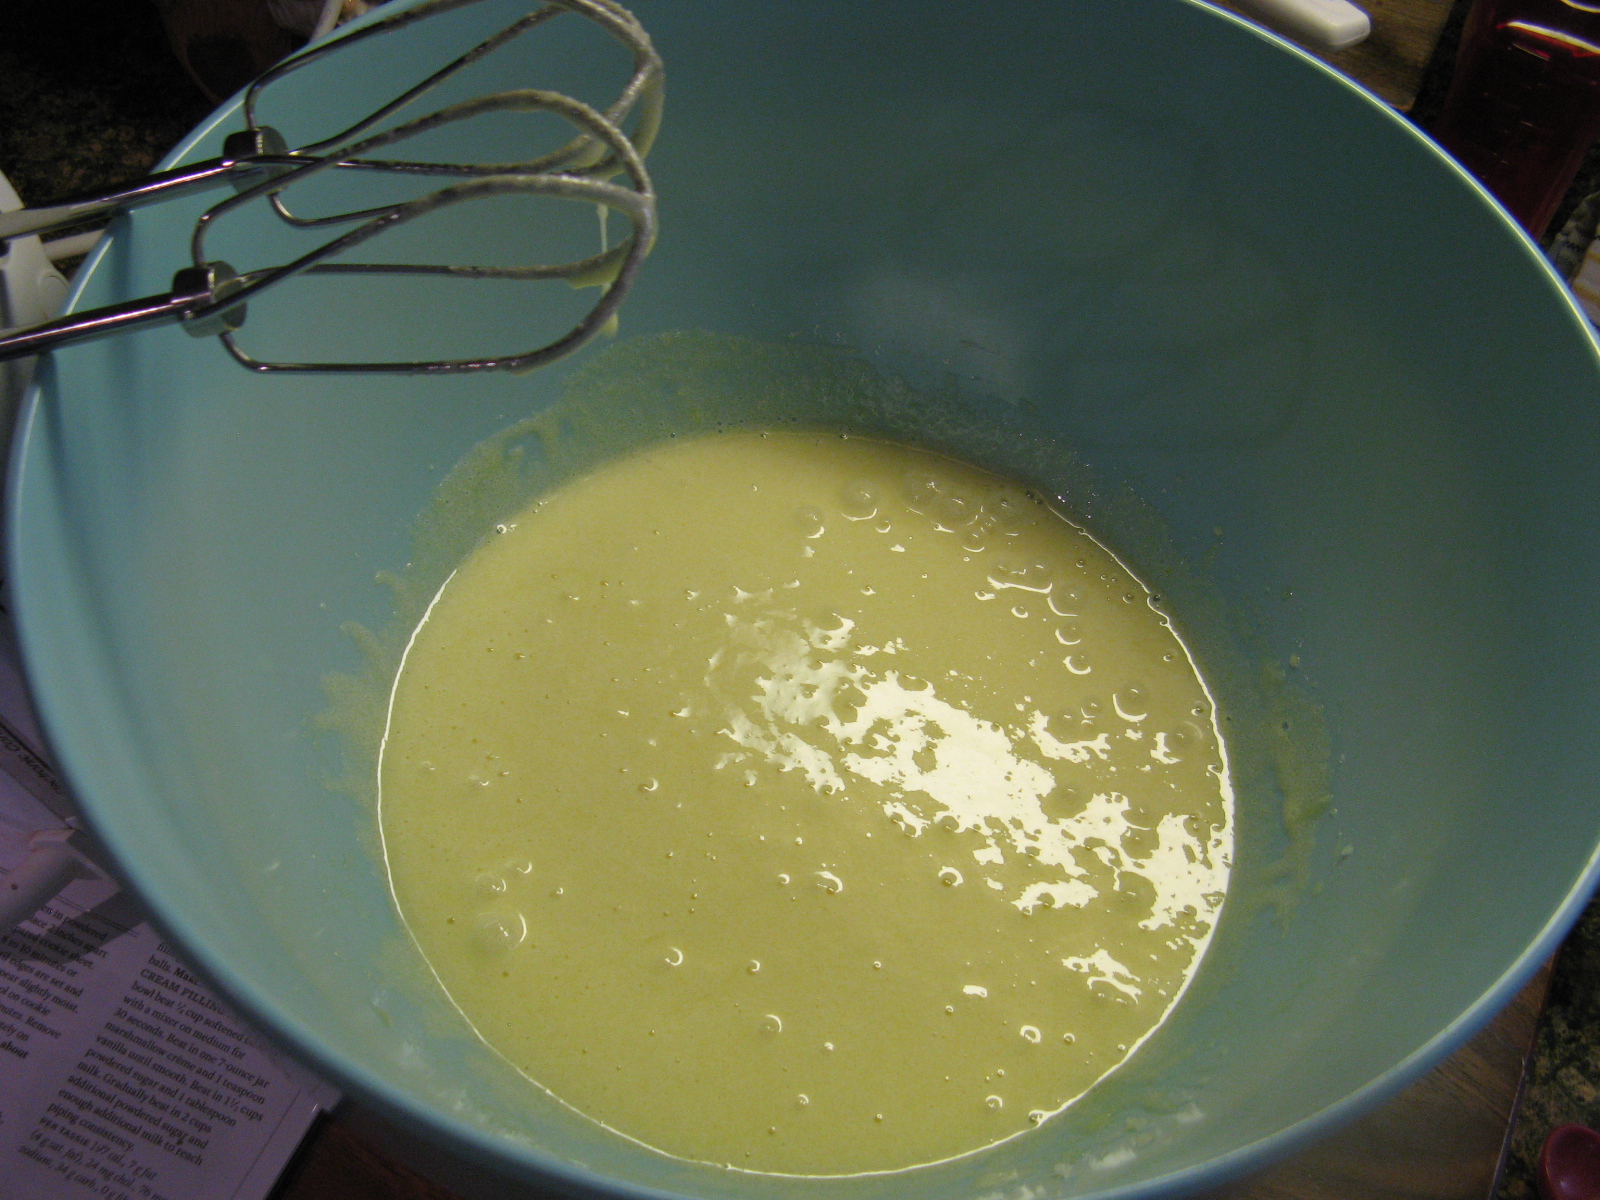
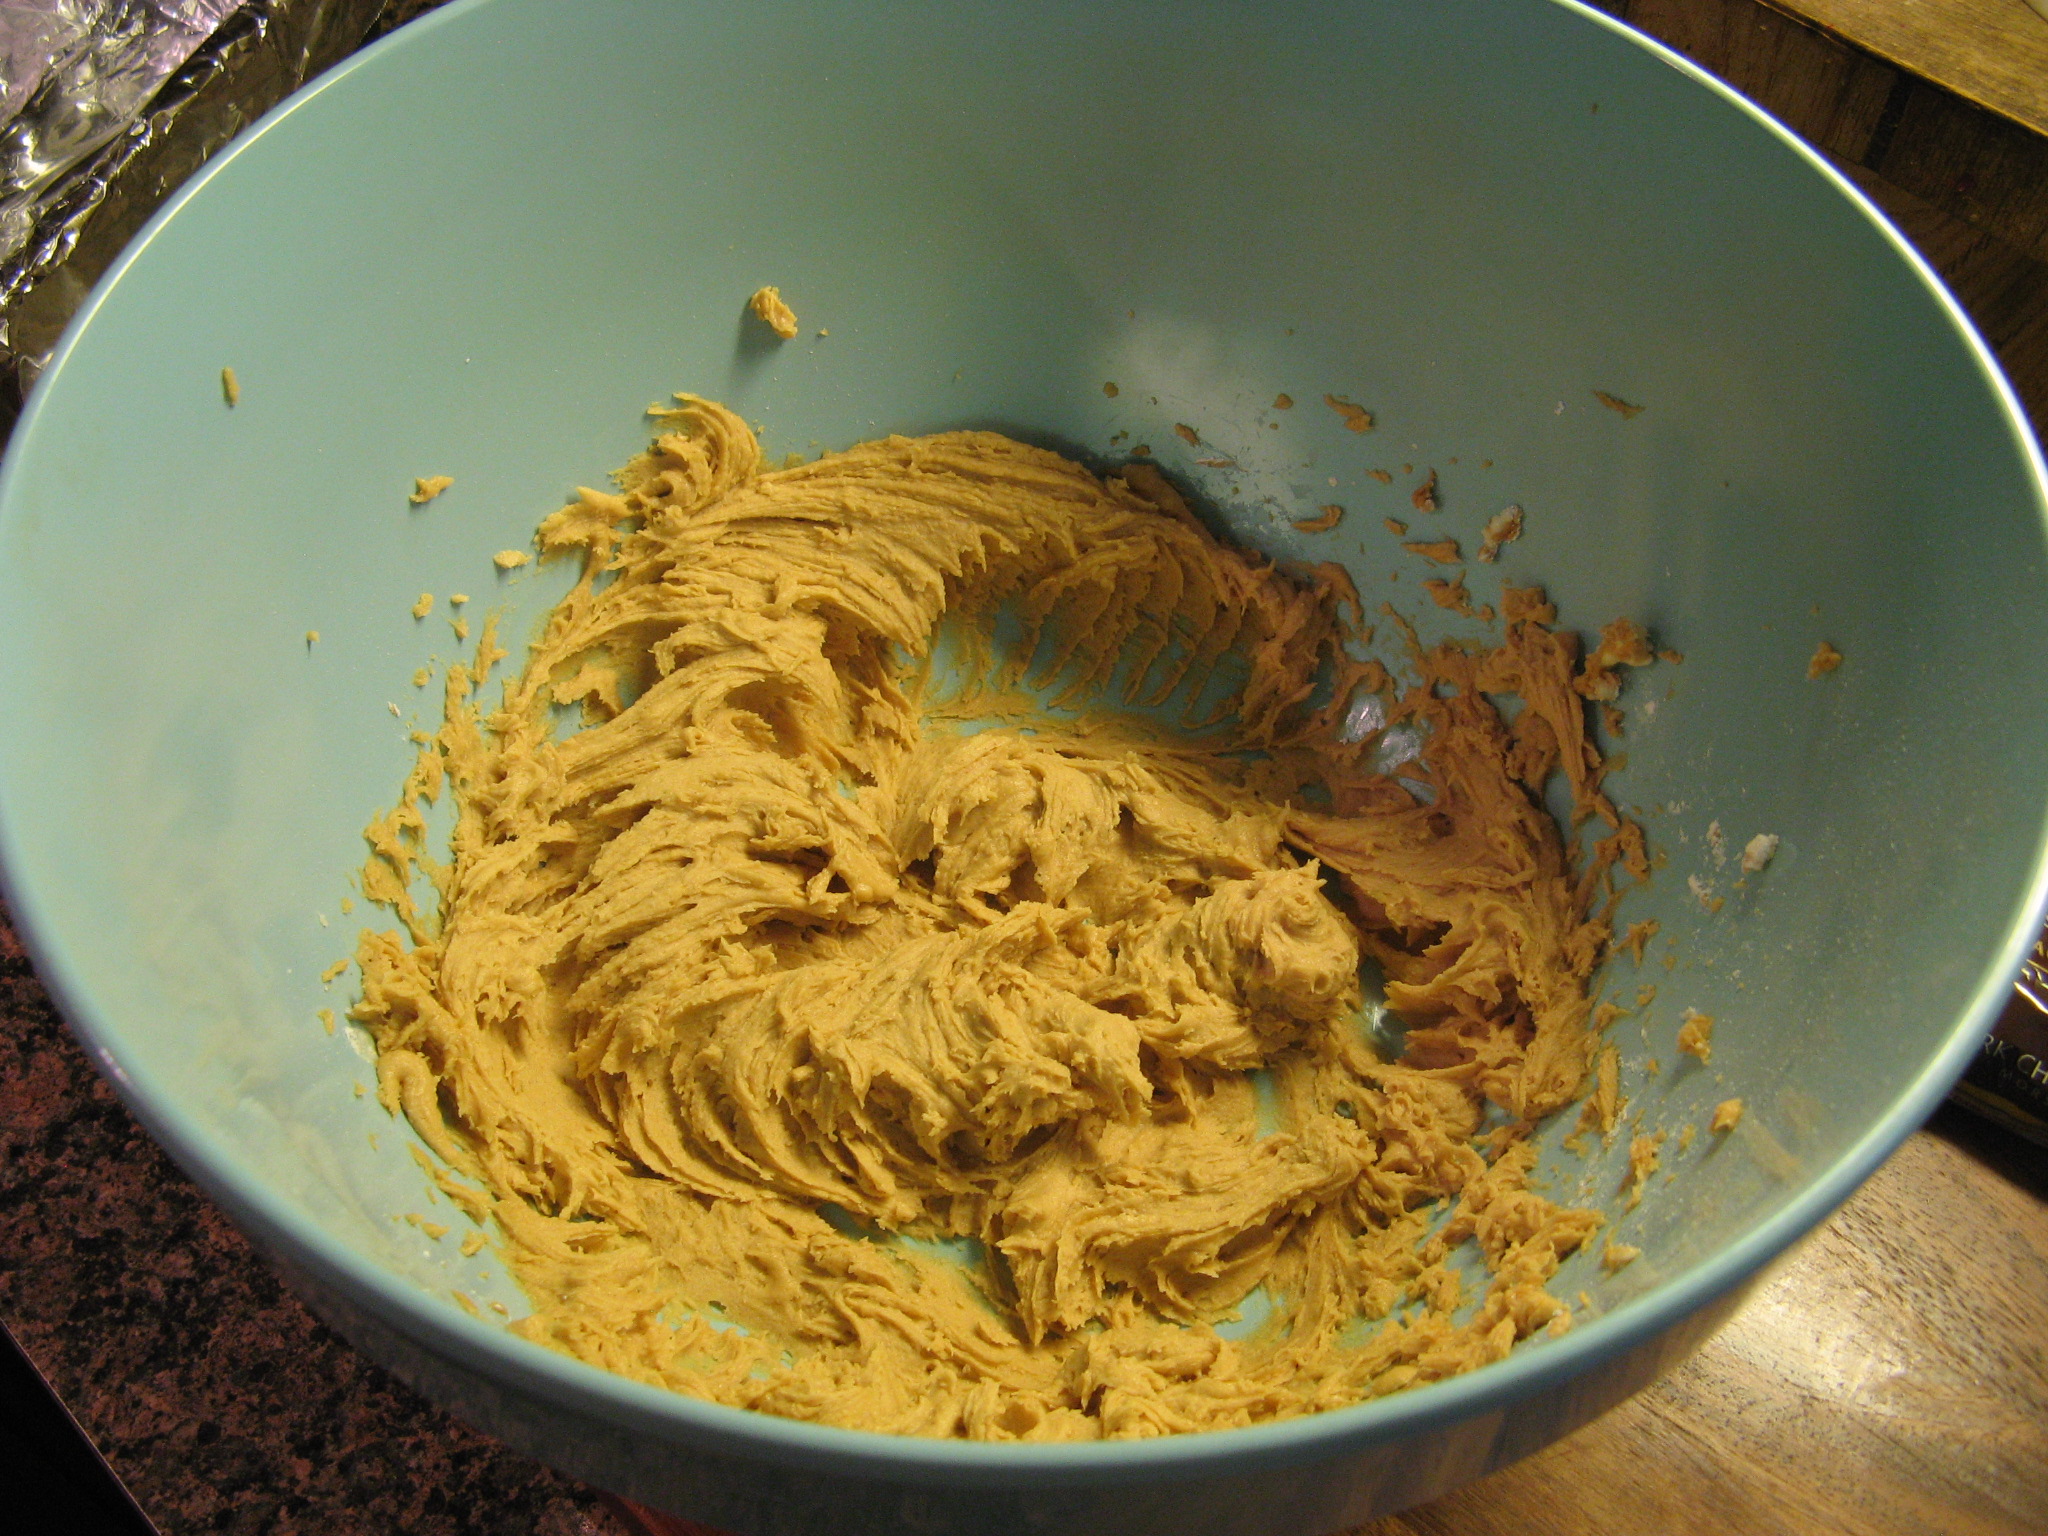
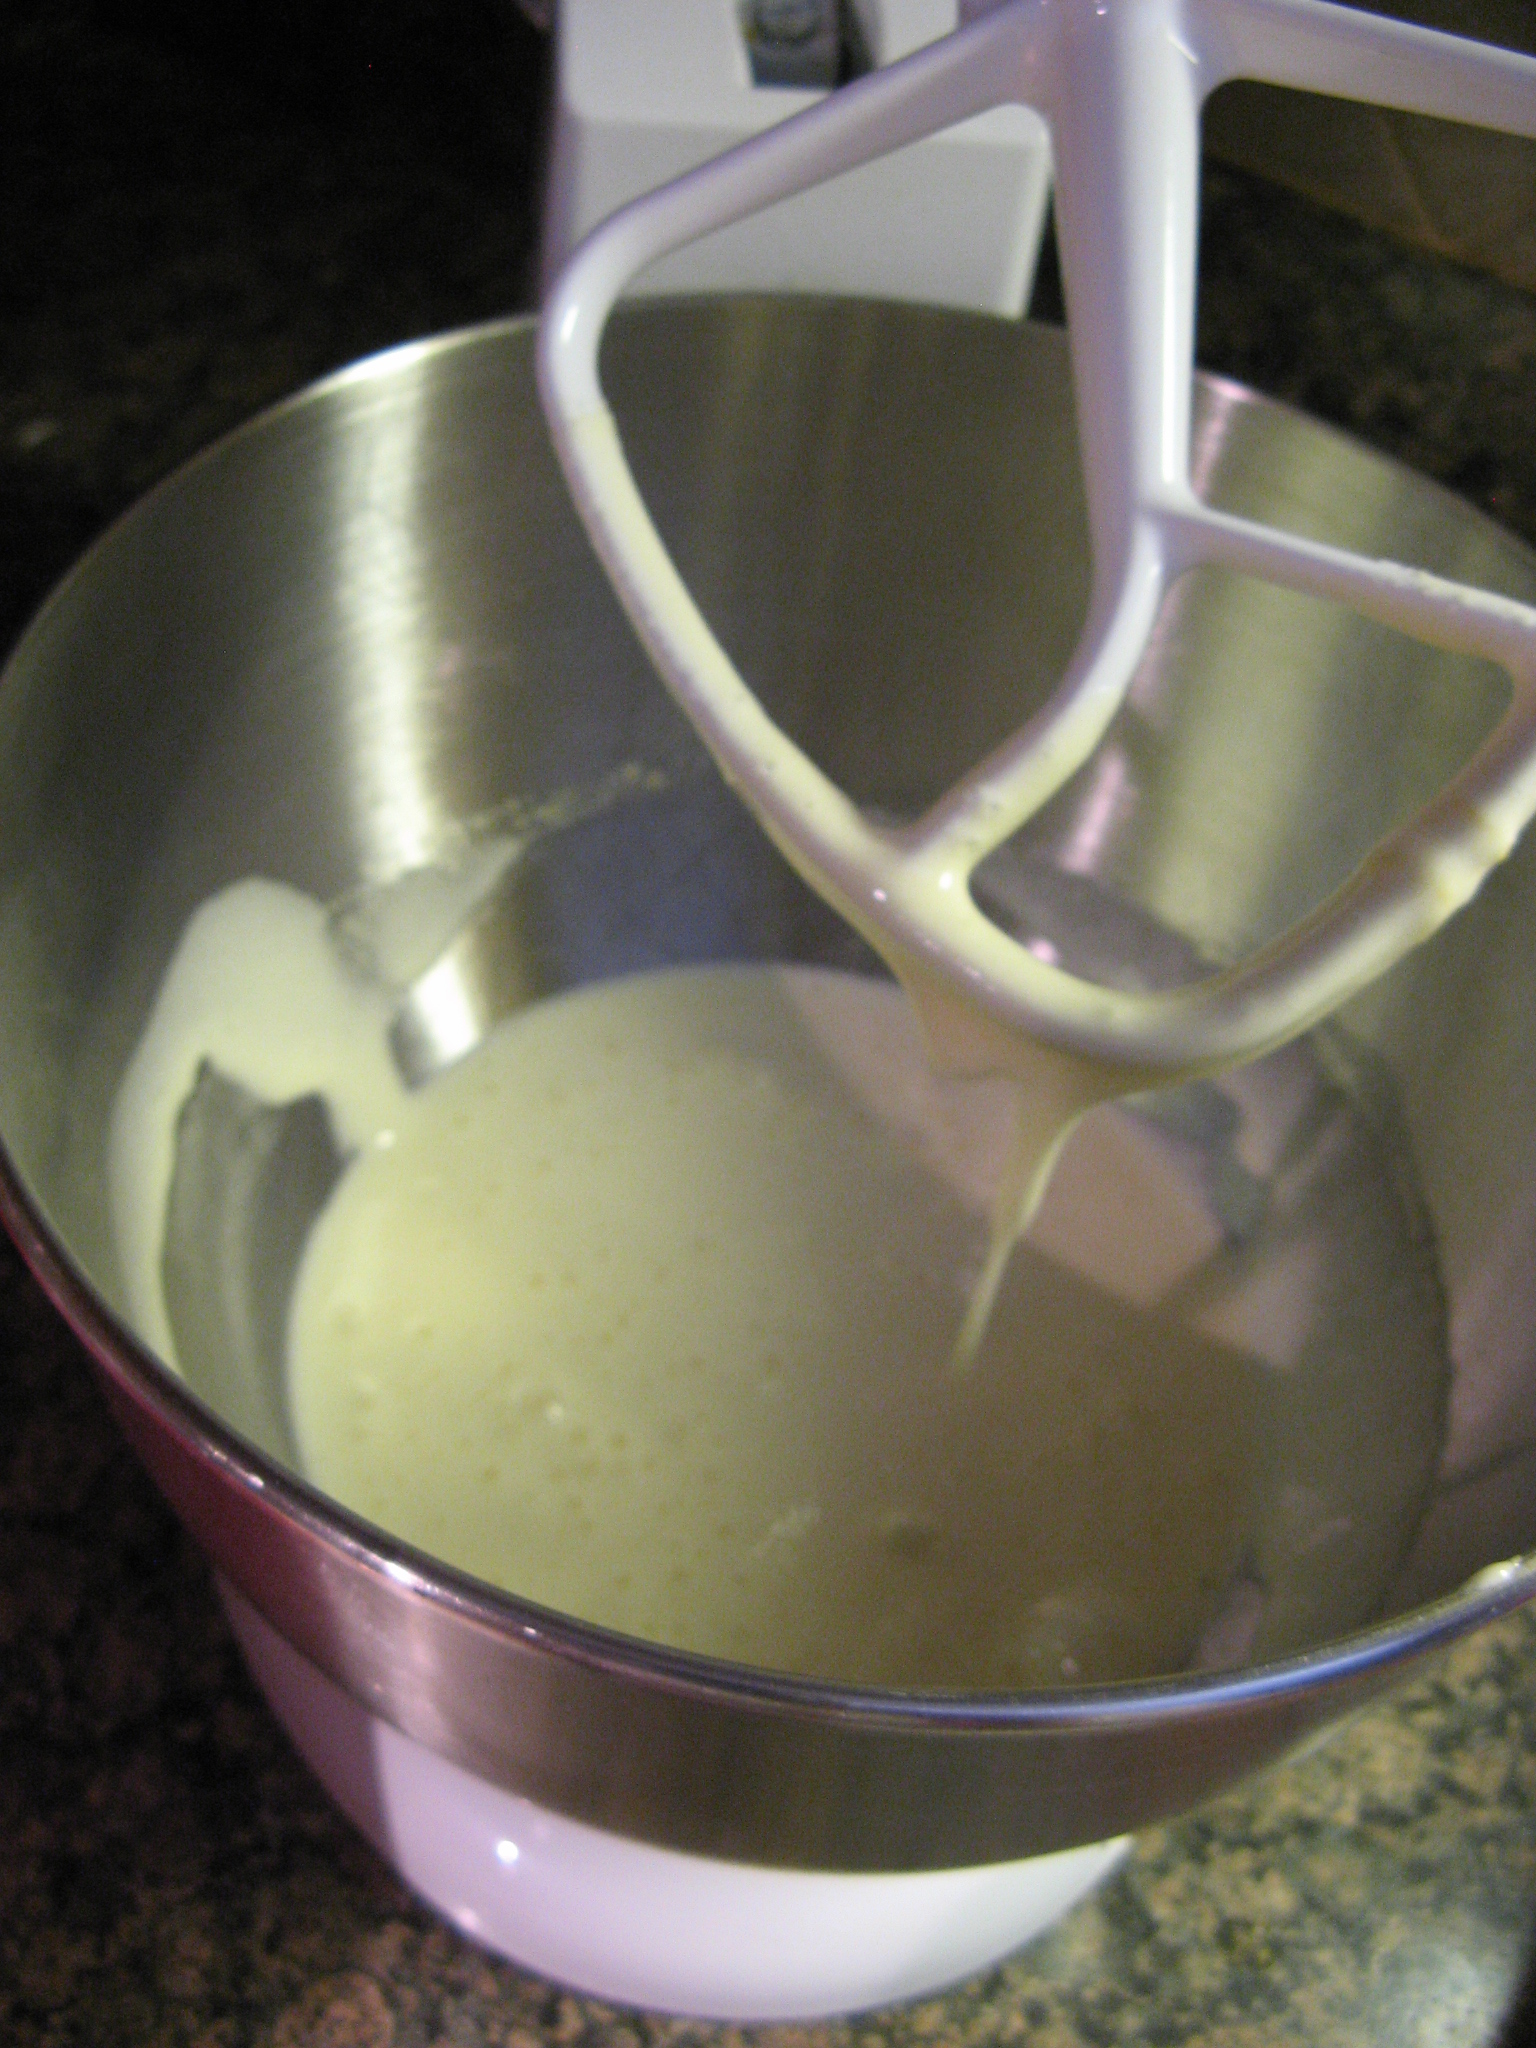
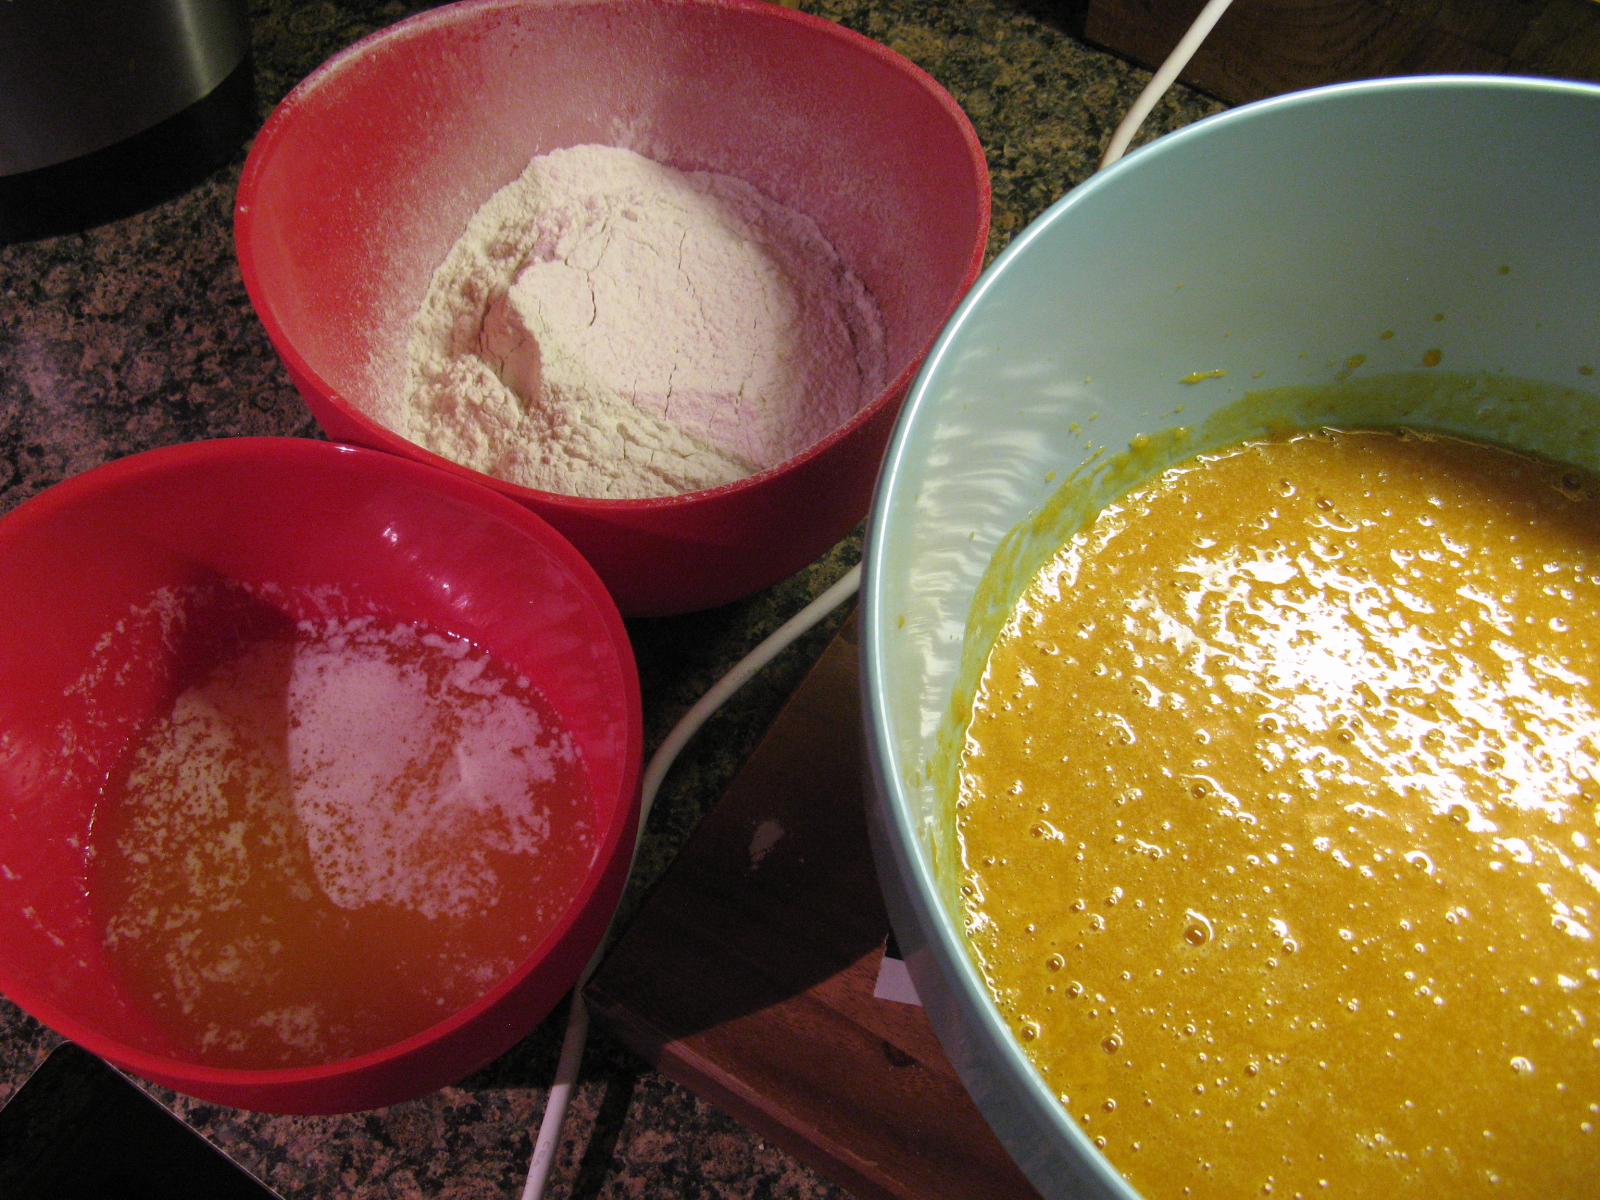
In one bowl I sifted together flour, cinnamon, ginger, nutmeg and salt. In another bowl I combined 9 eggs, 2 1/2 cups of pumpkin puree and 4 1/3 cups of sugar. And finally, in another bowl I melted 1 2/3 cups of unsalted butter. YIKES! I’ve made brownies from scratch before and usually they require about 4 eggs or so and definitely not that much sugar. Oh, and if you didn’t know 1 2/3 cups of butter is roughly 27 tablespoons! So, I had my doubts, but I plowed ahead.

 img_0357

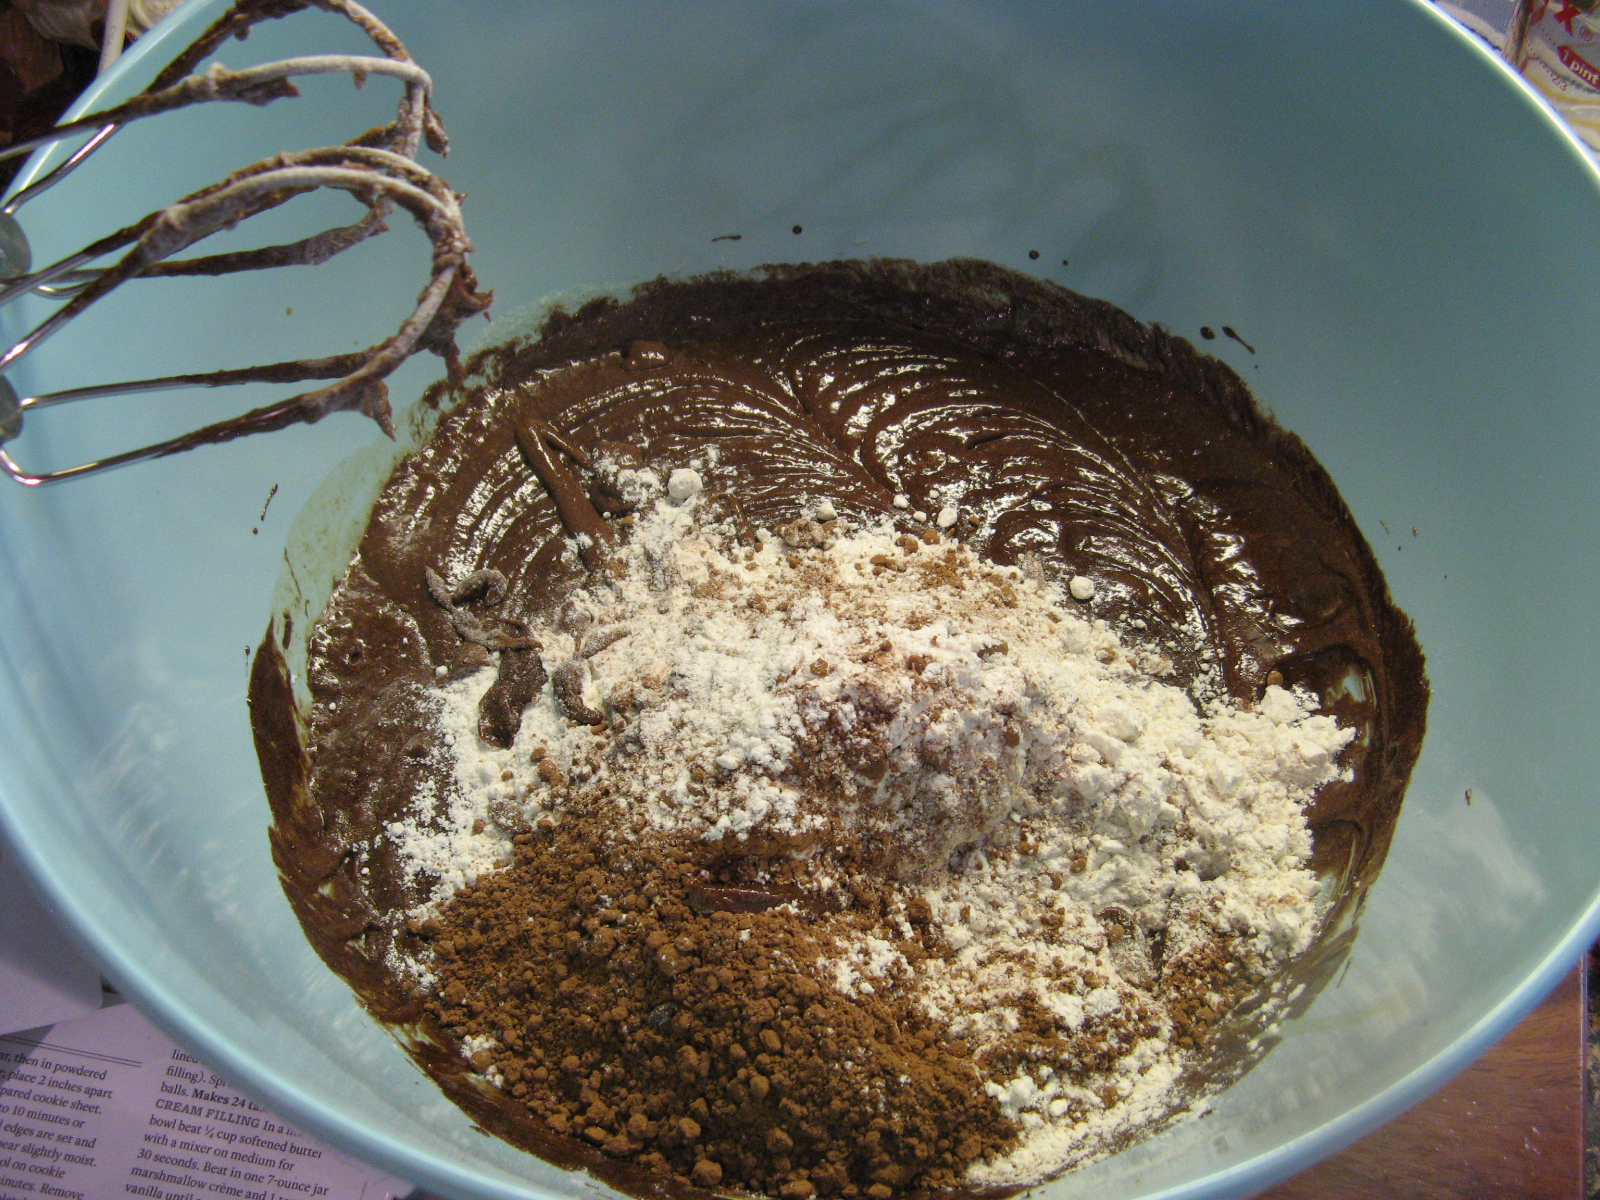
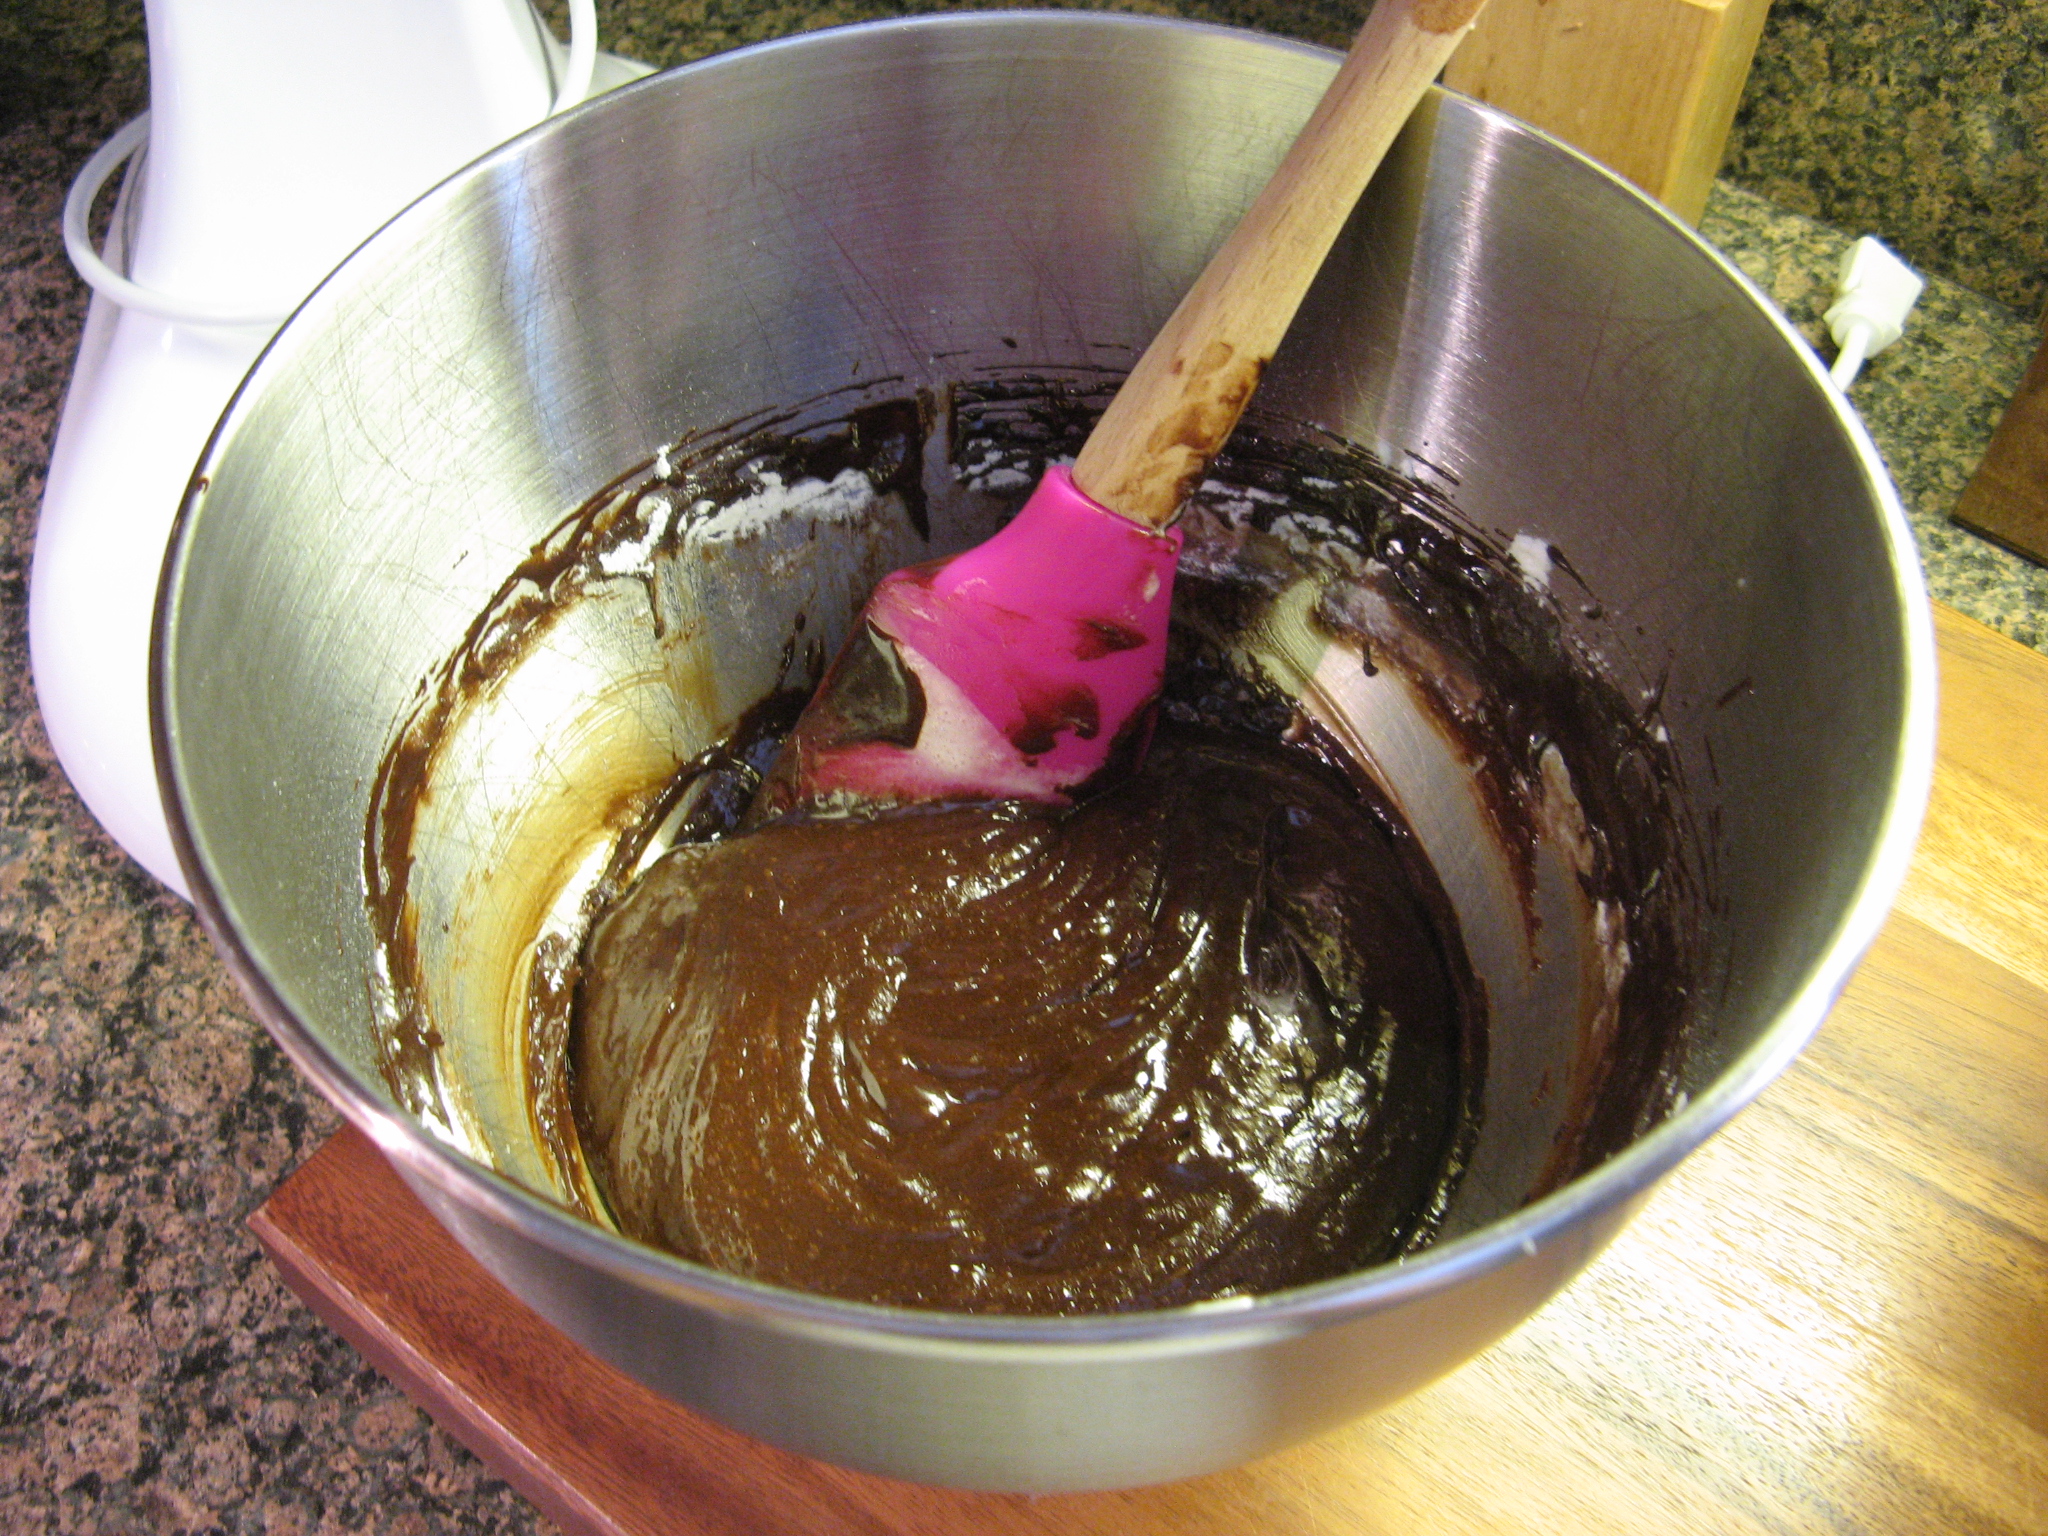
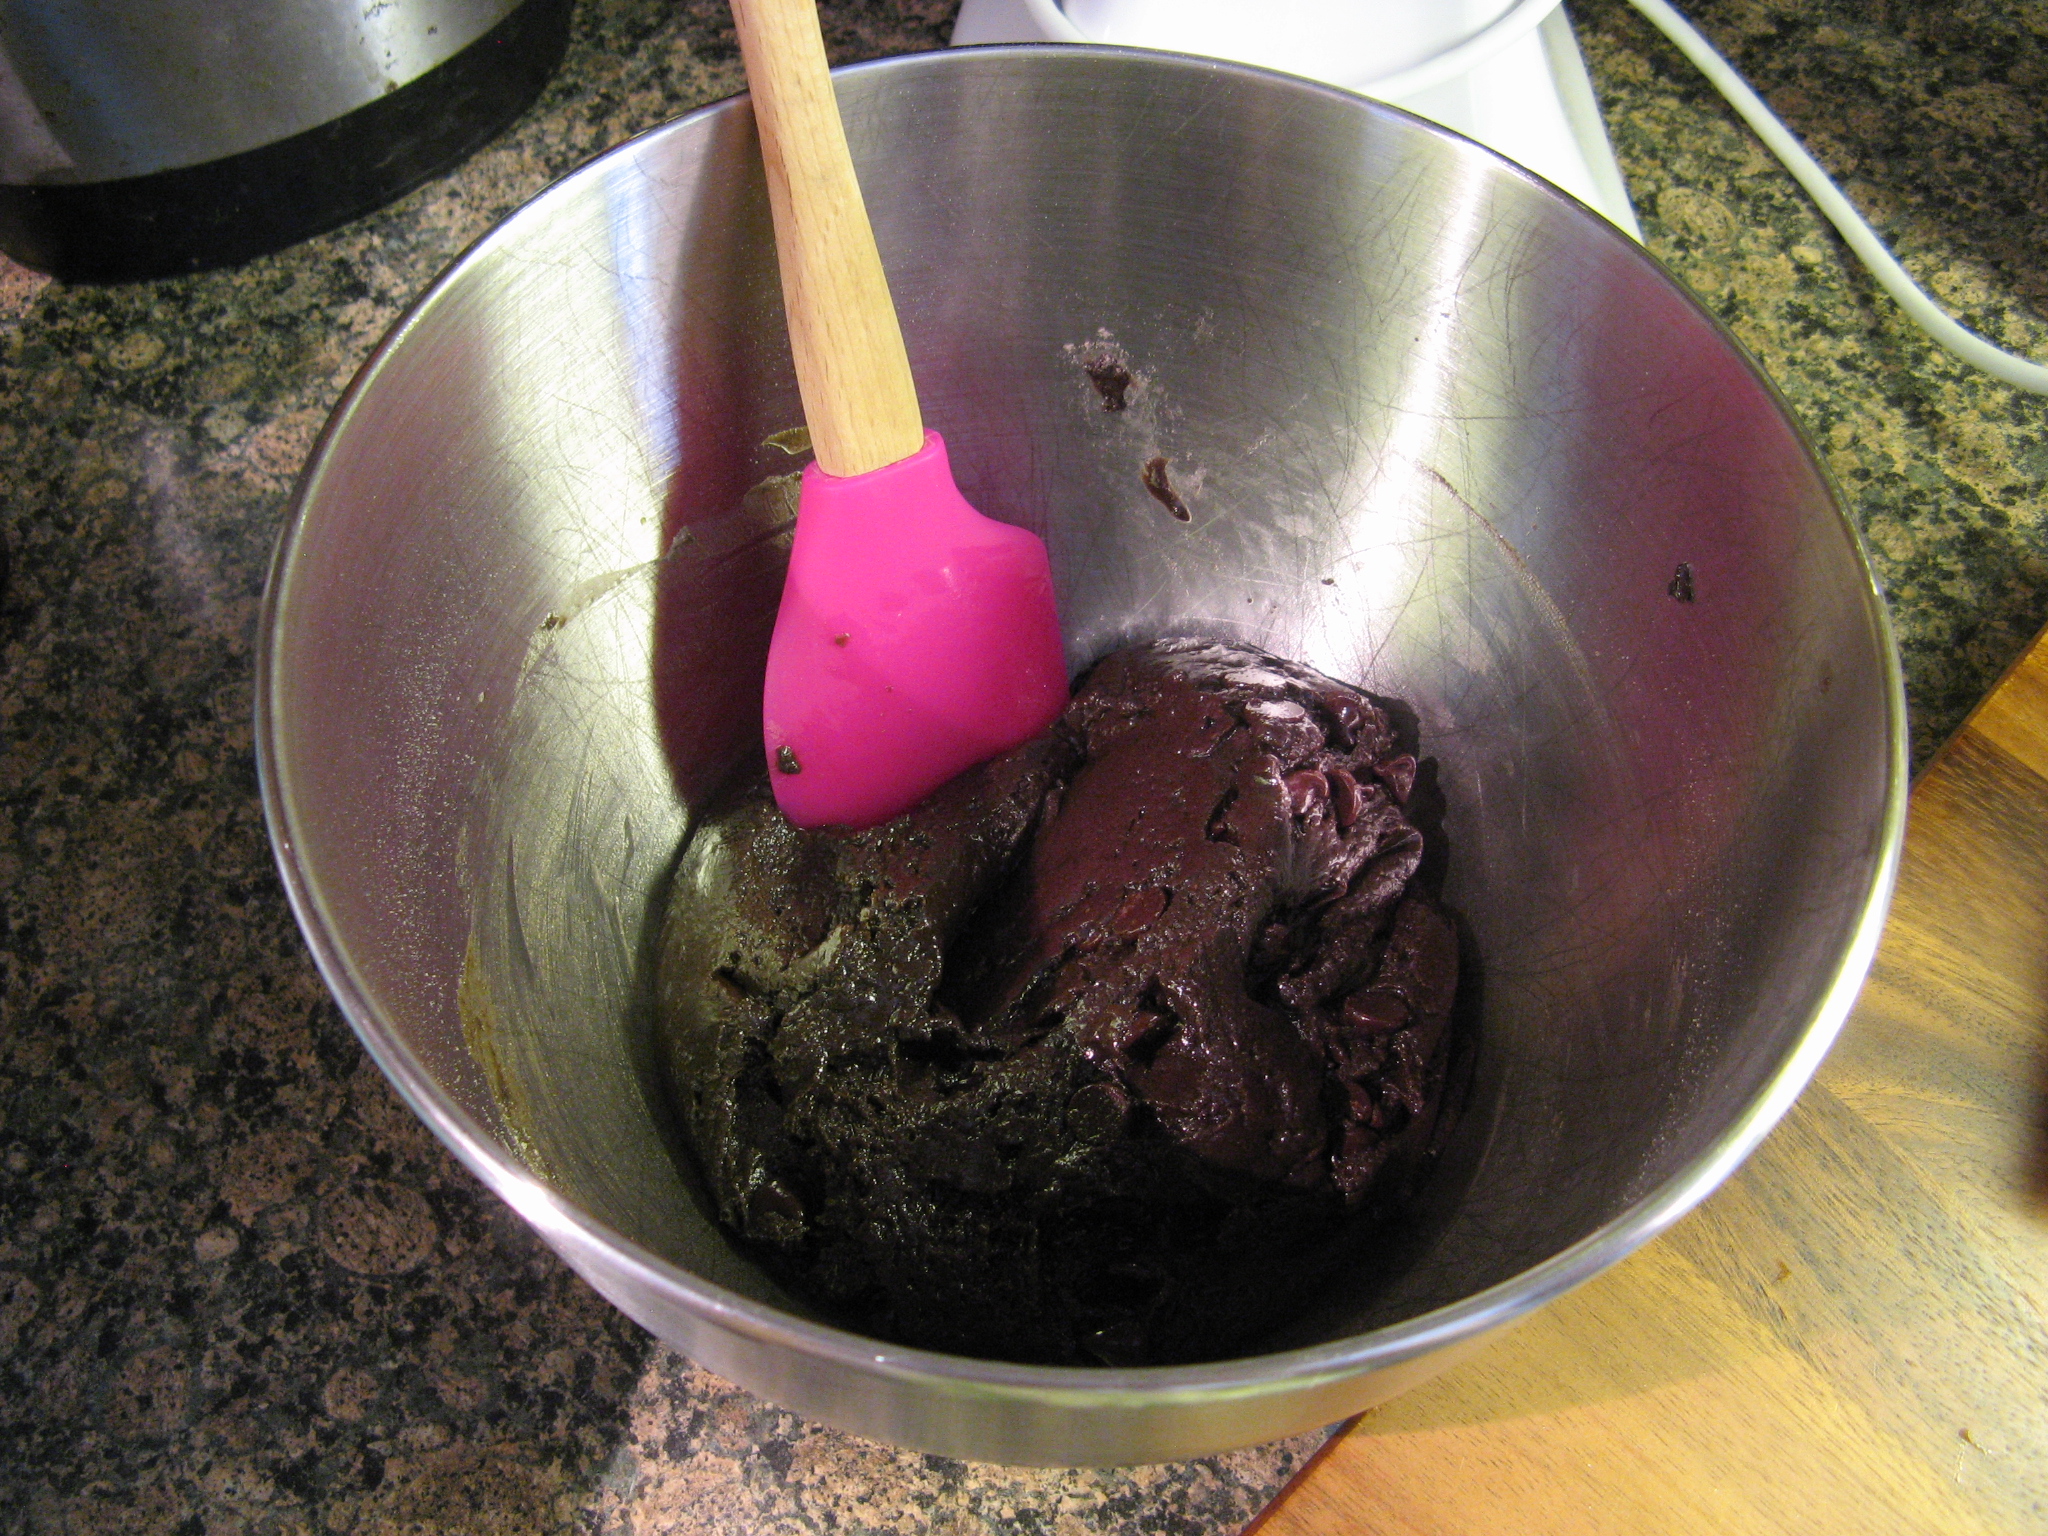
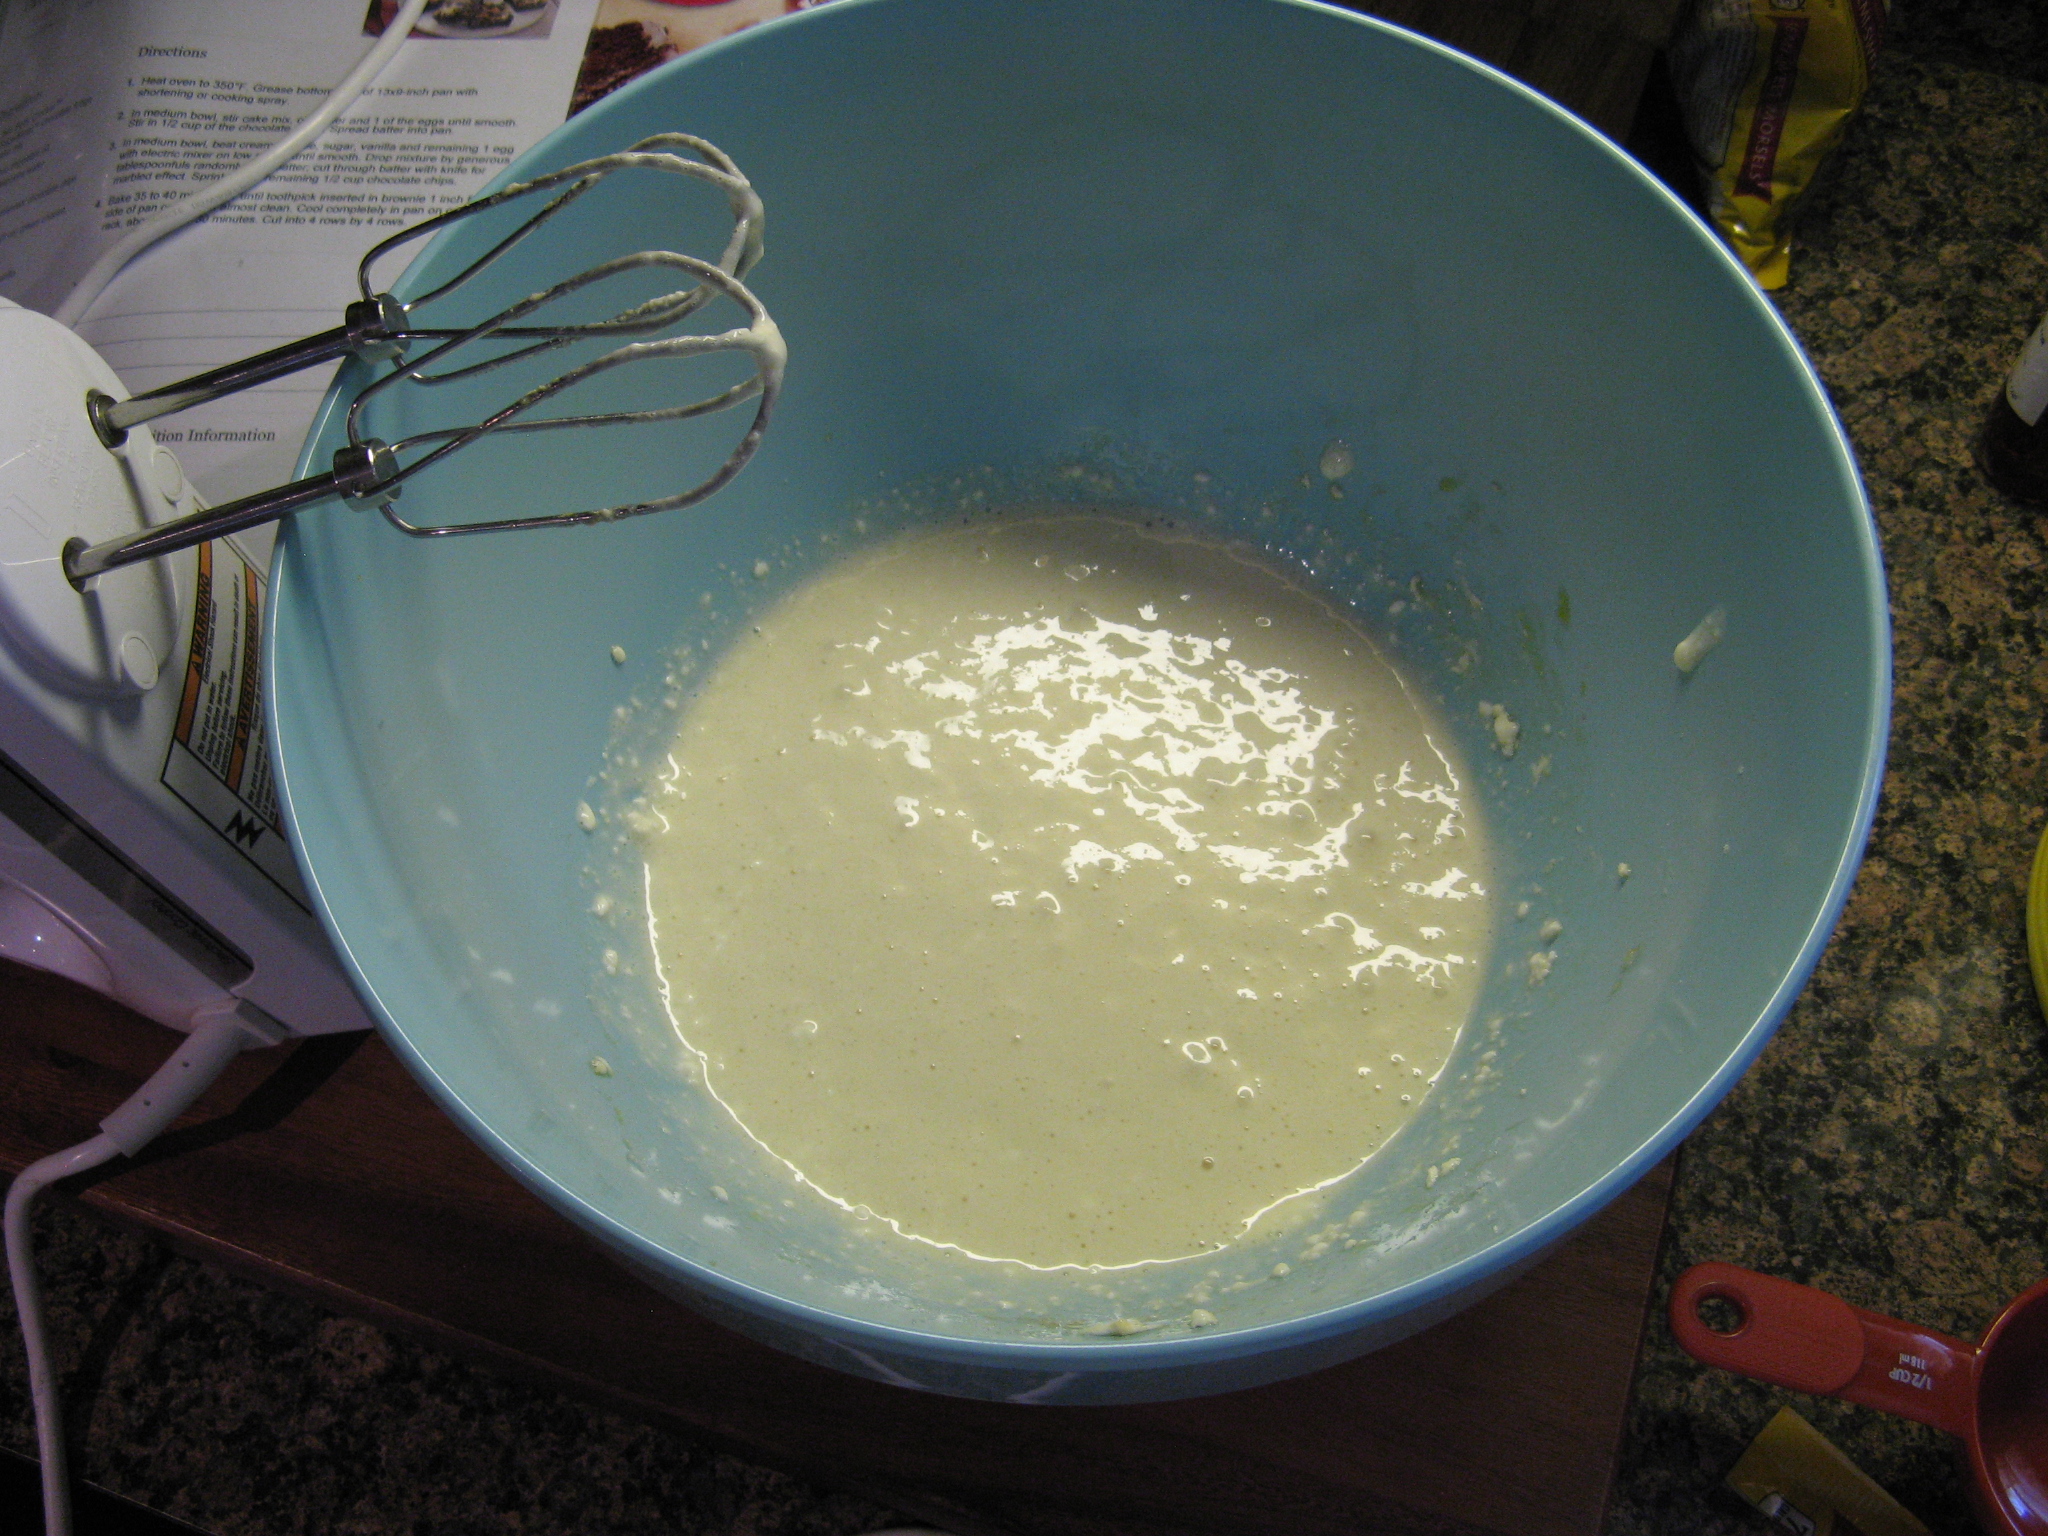
To combine these three I continued to beat the pumpkin mixture on low while slowly adding in the melted butter and then gradually added in the flour until the mixture was completely blended.

 img_0358

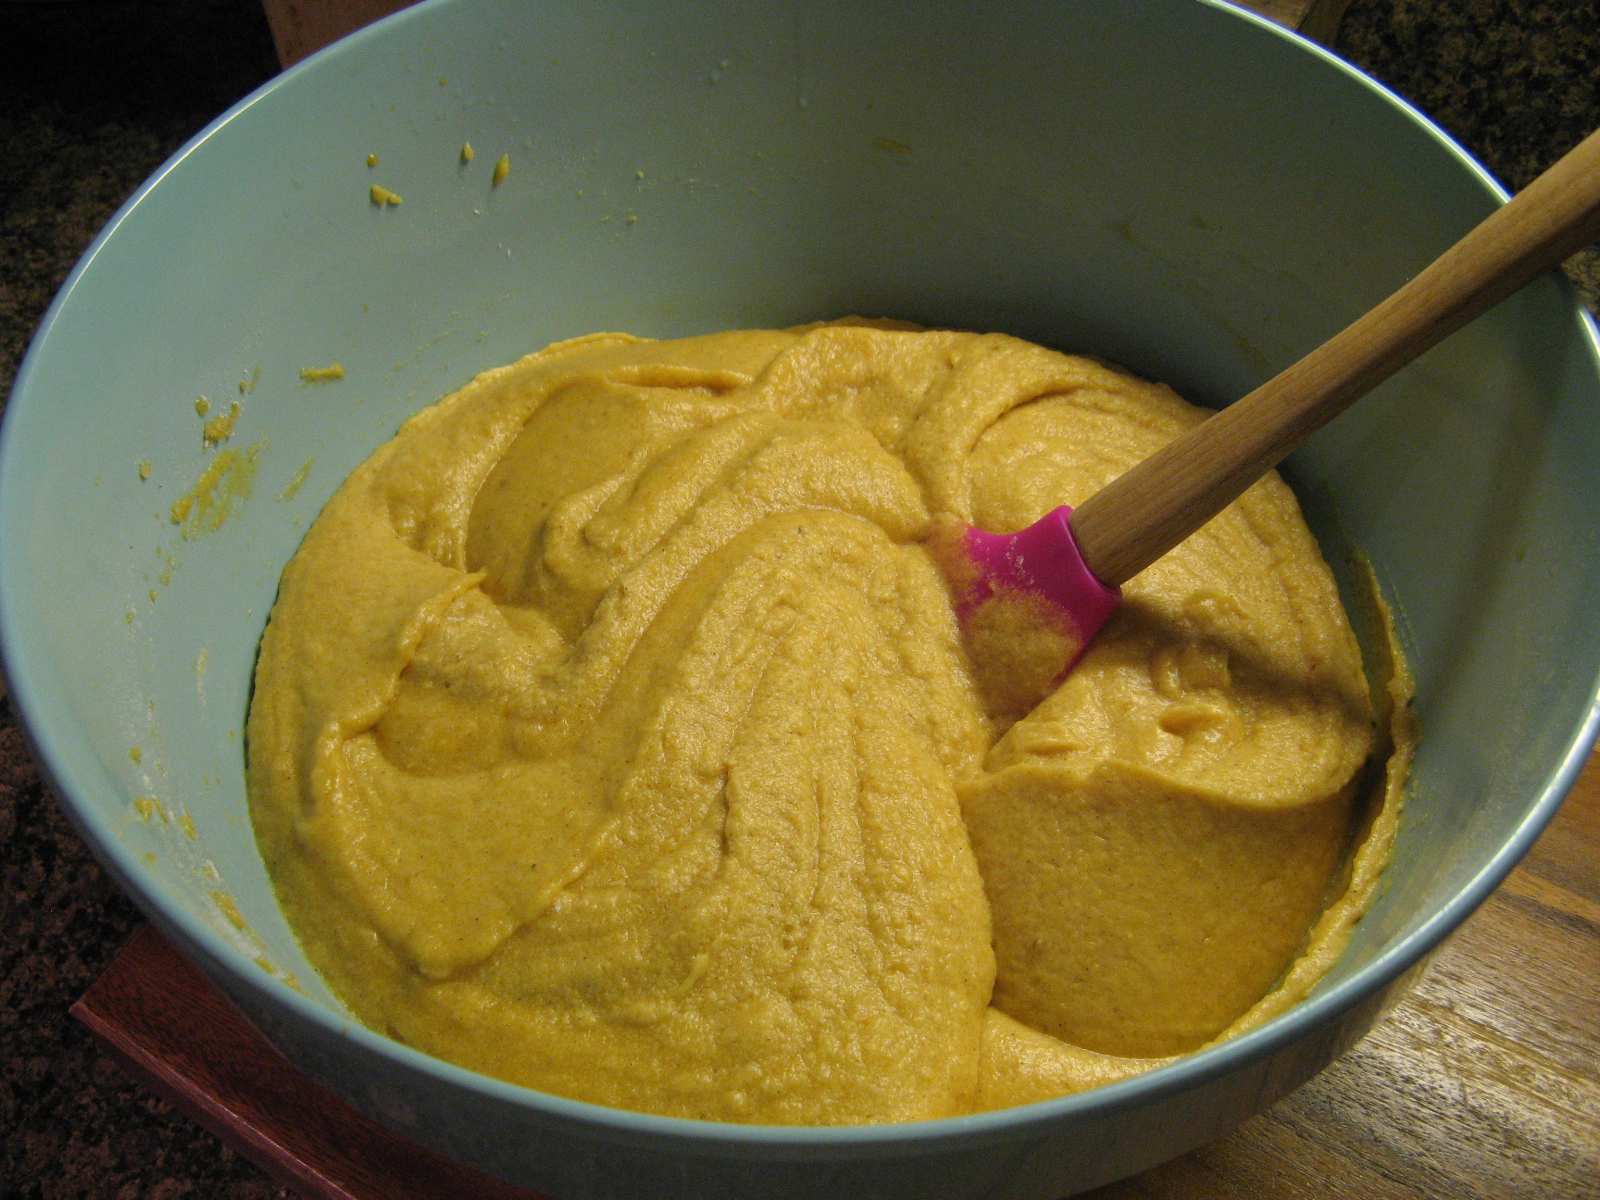
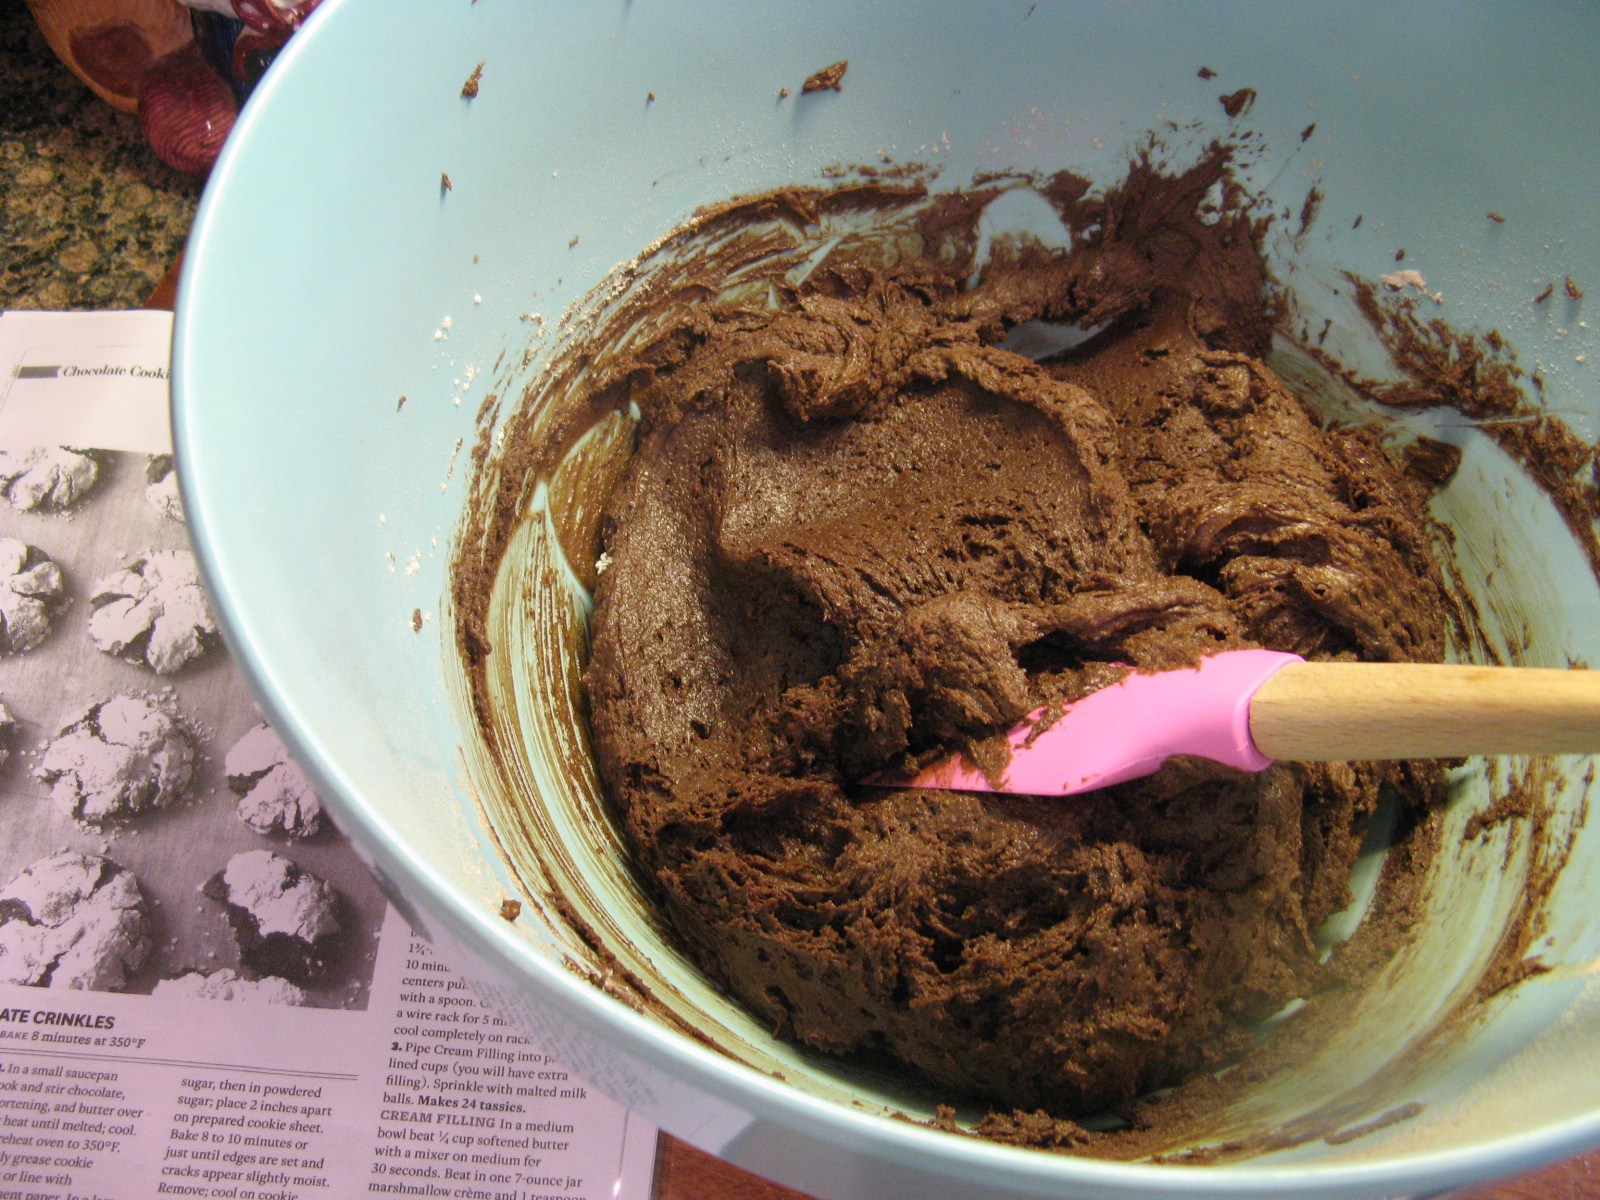
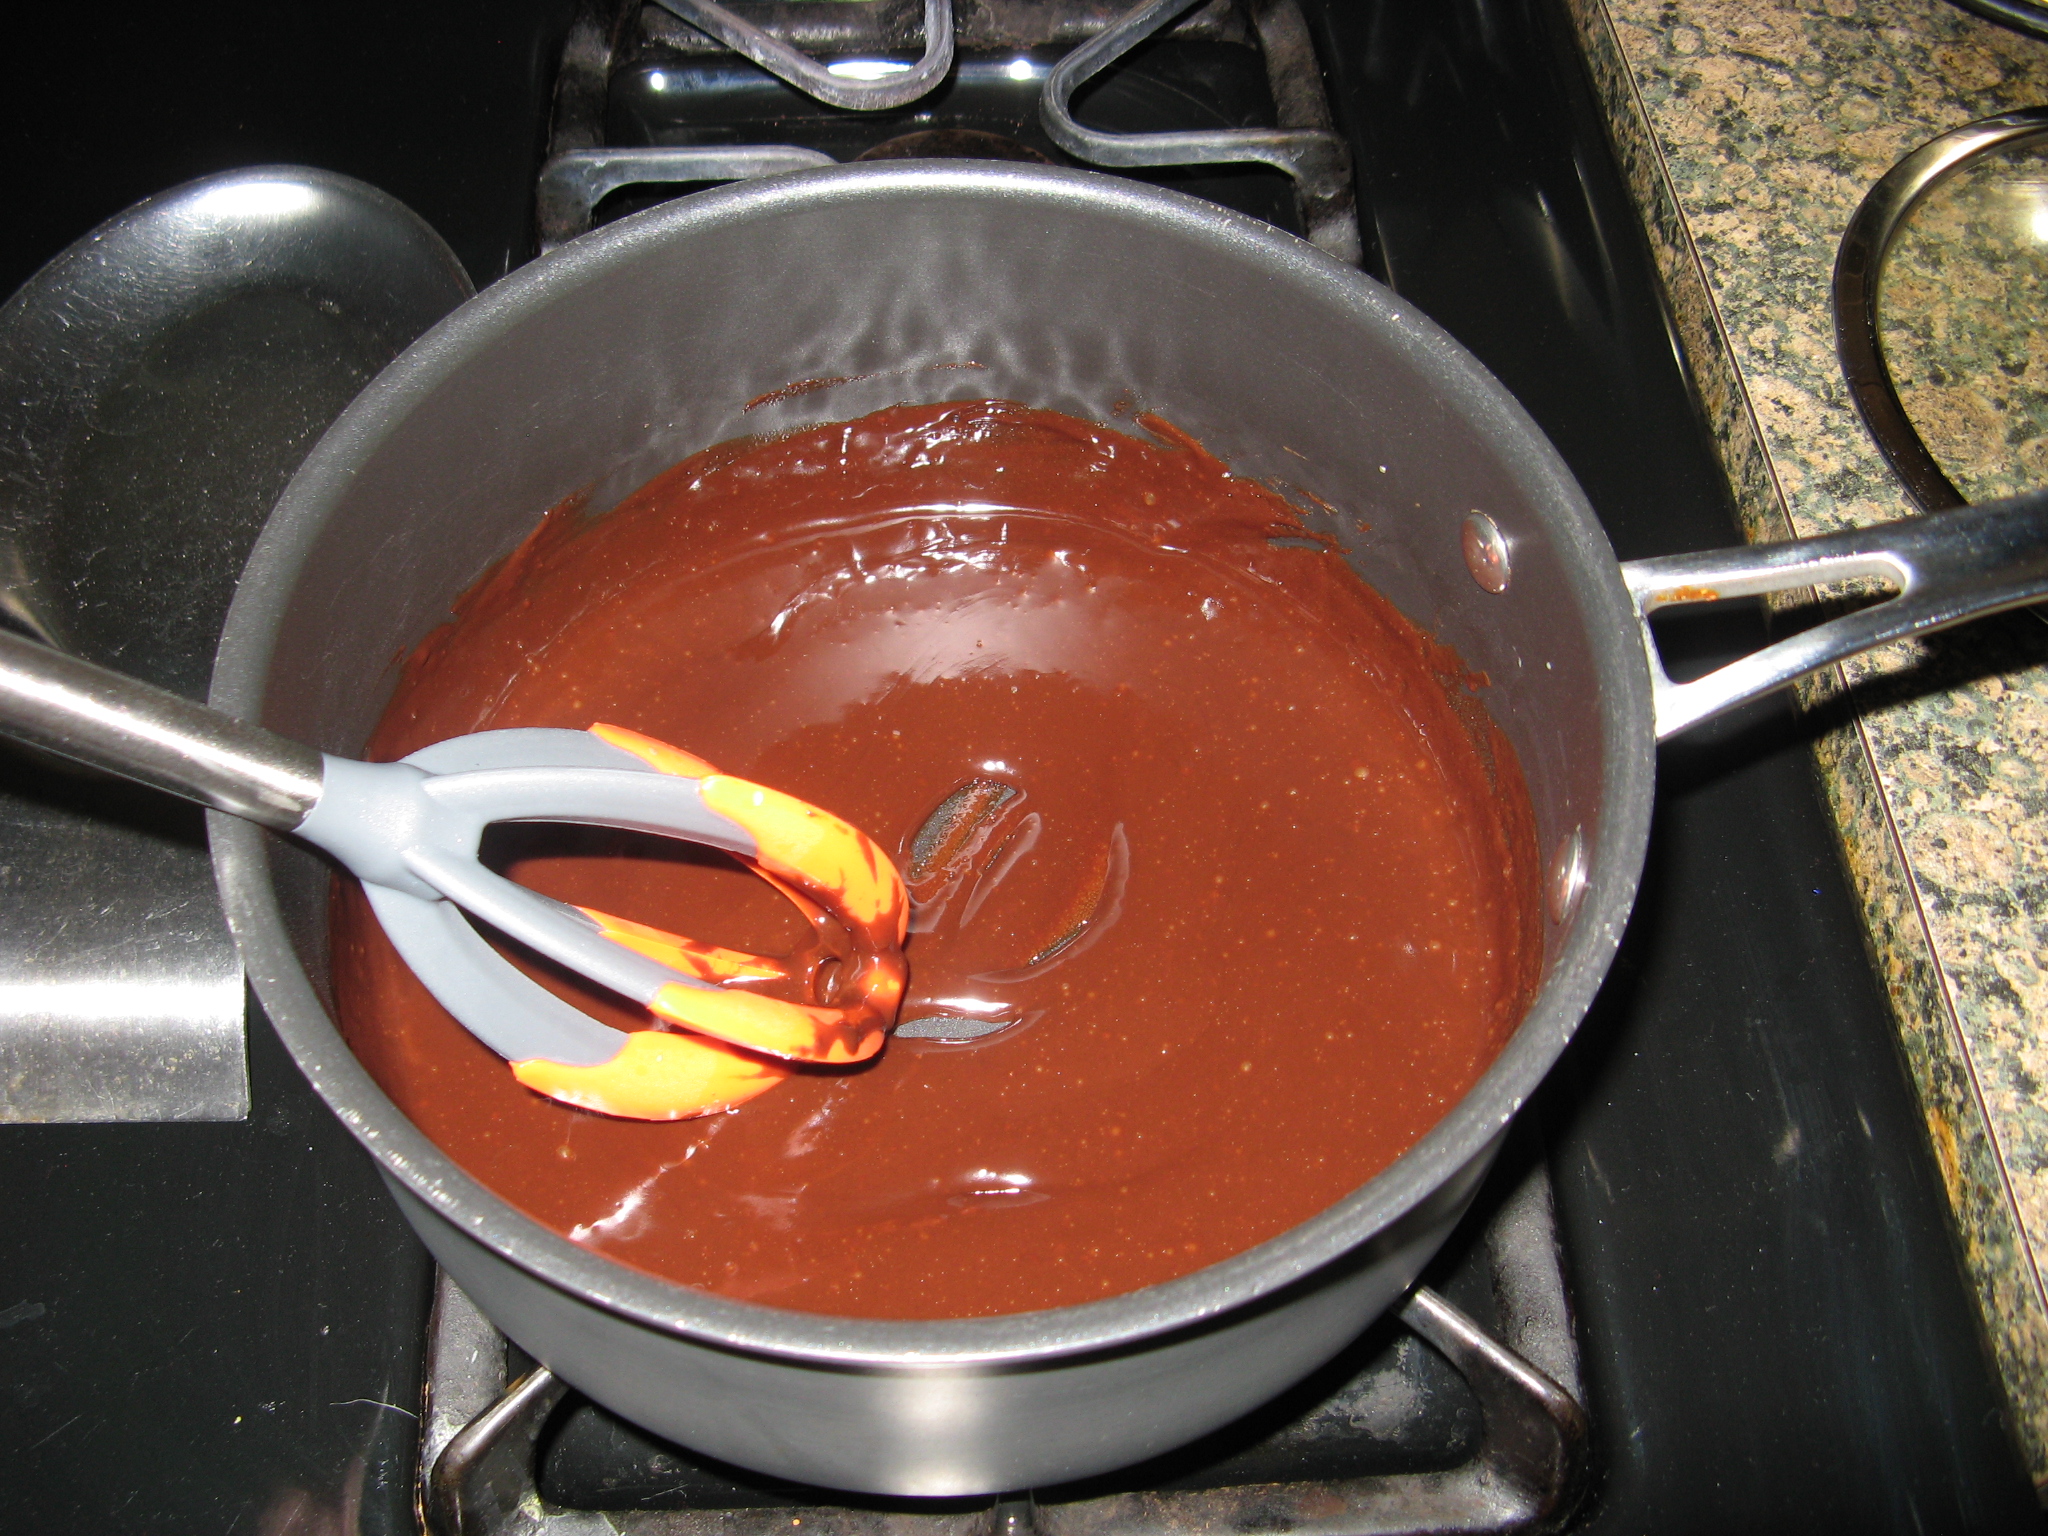
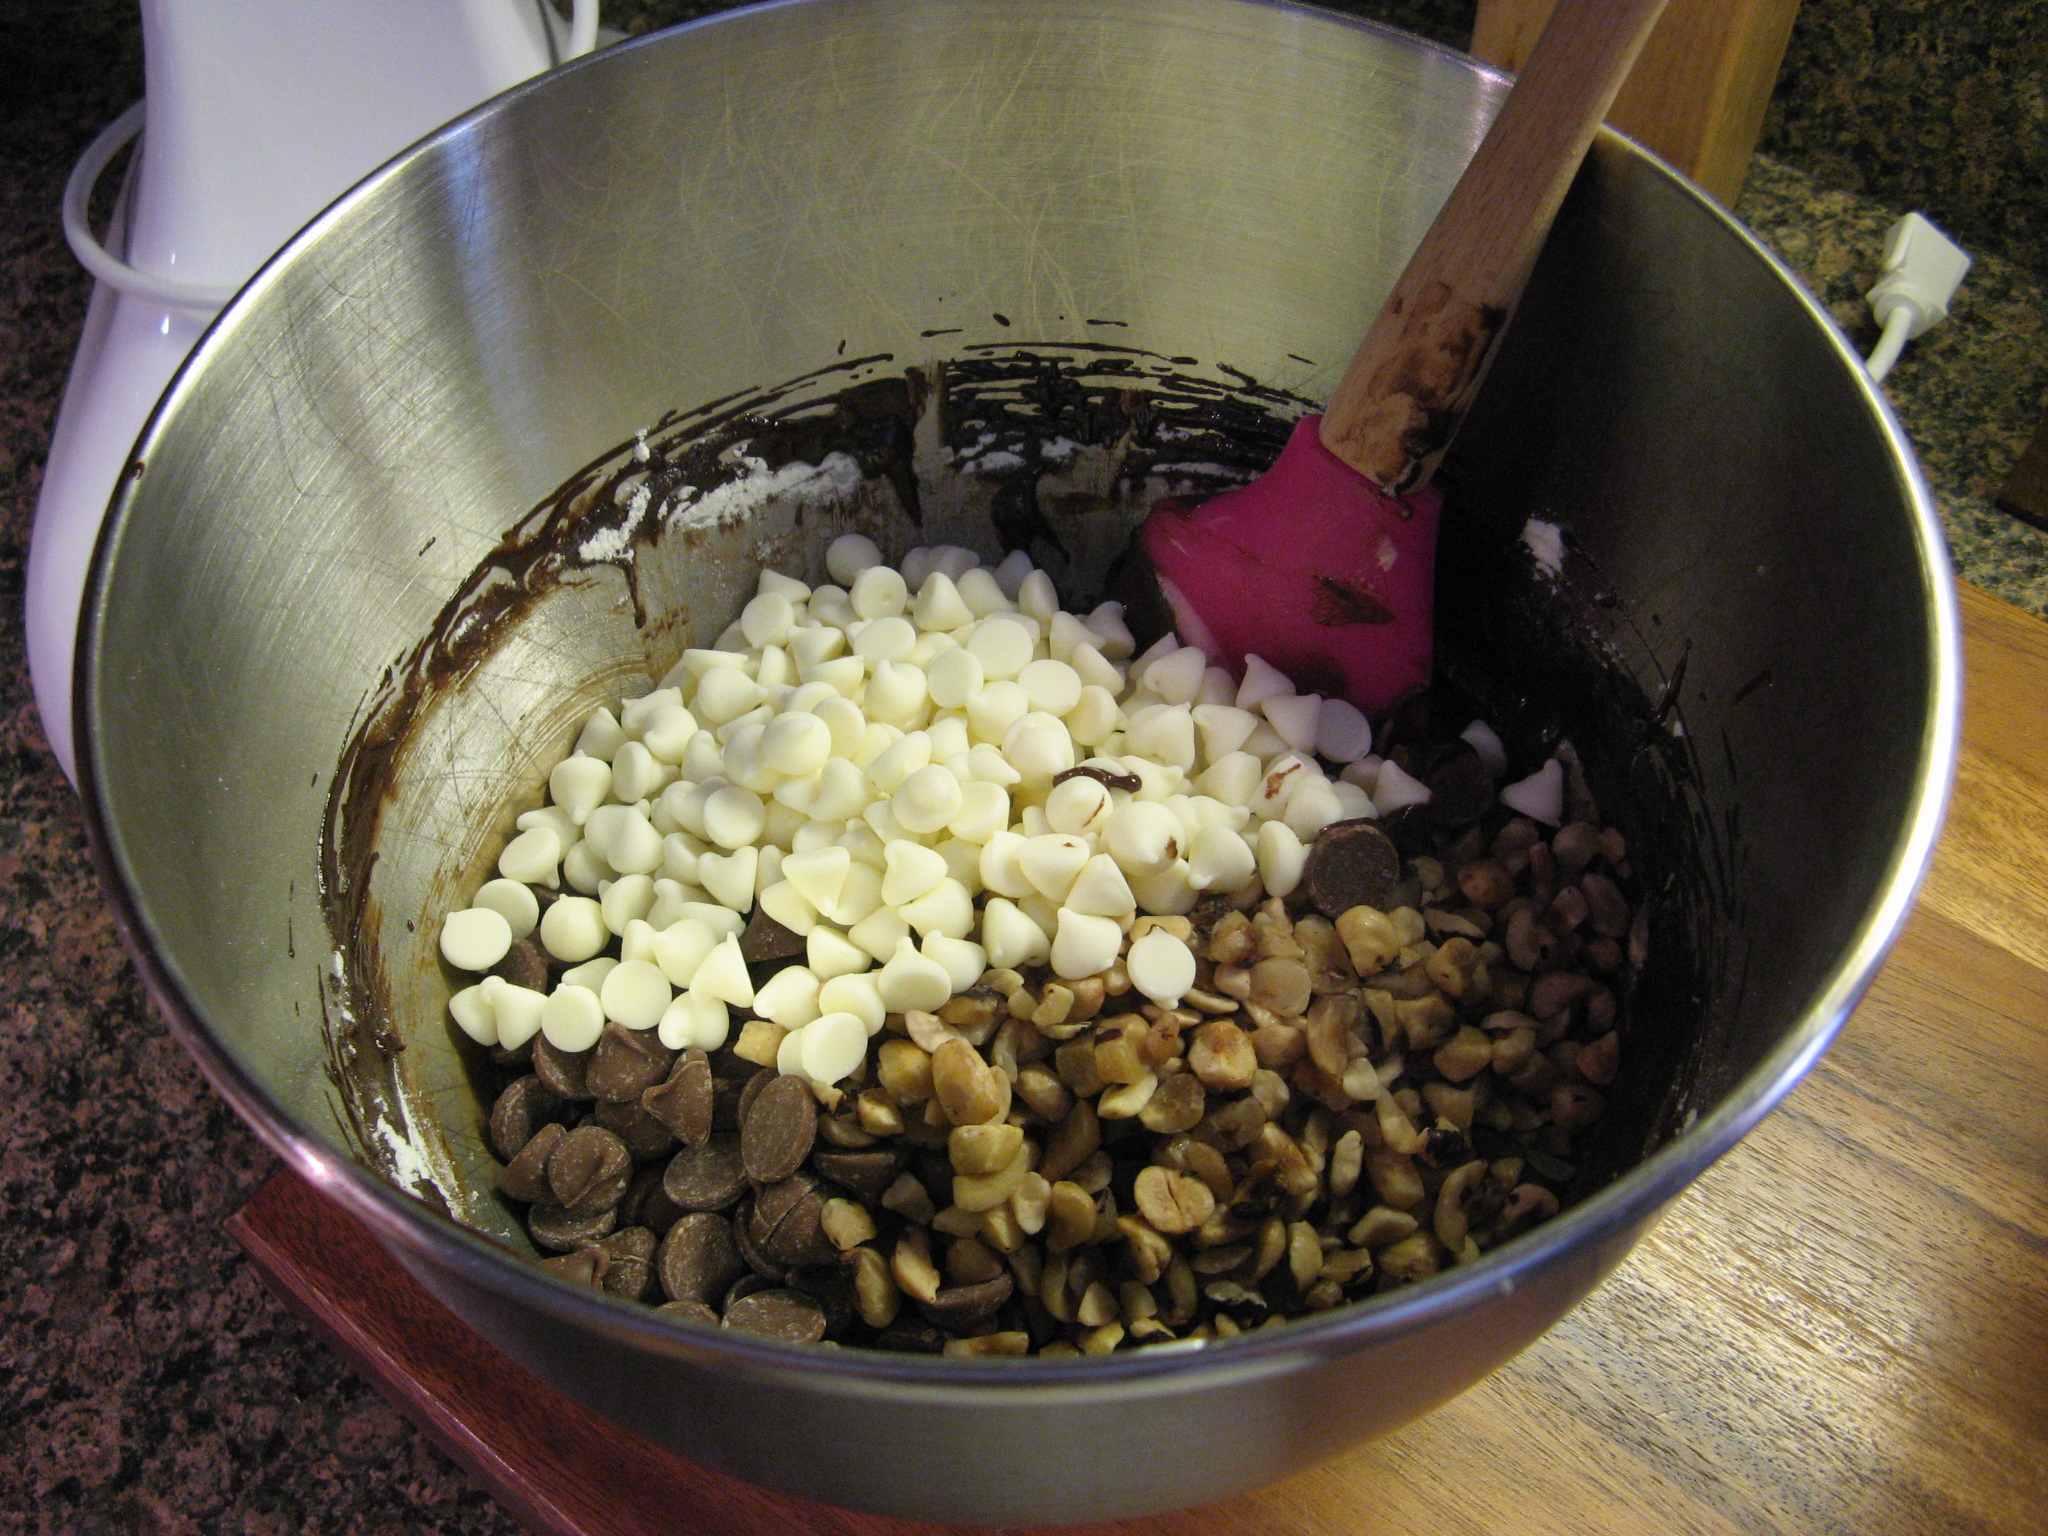
And finally I stirred in 1 1/2 cups of semi-sweet chocolate chips.

img_0359 

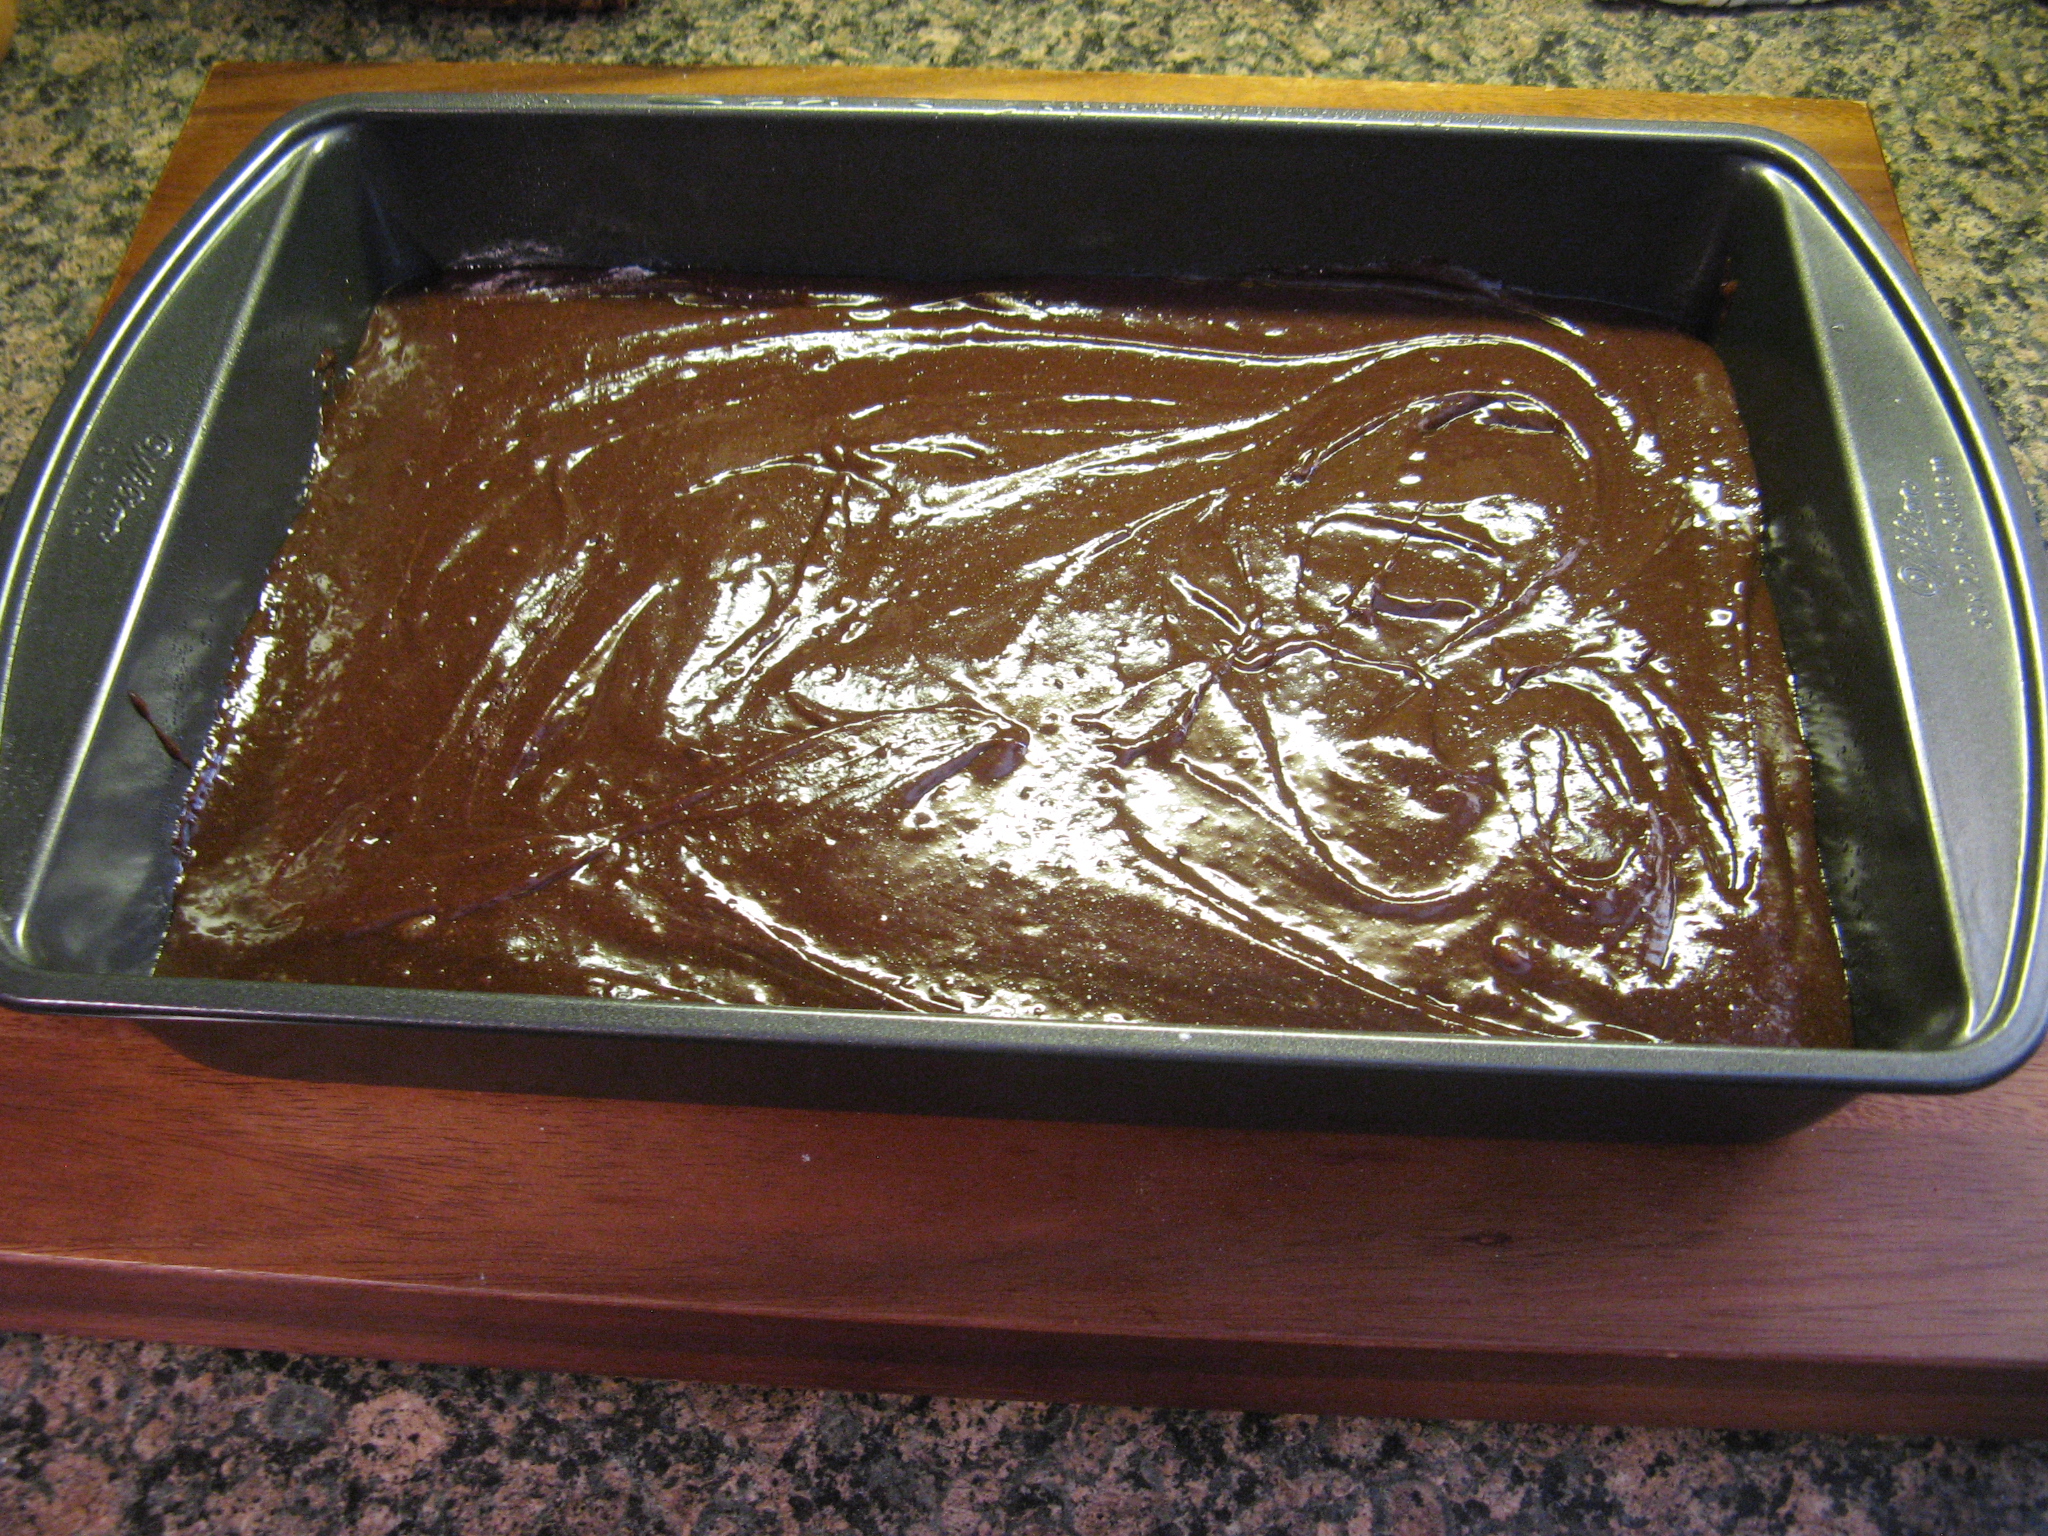
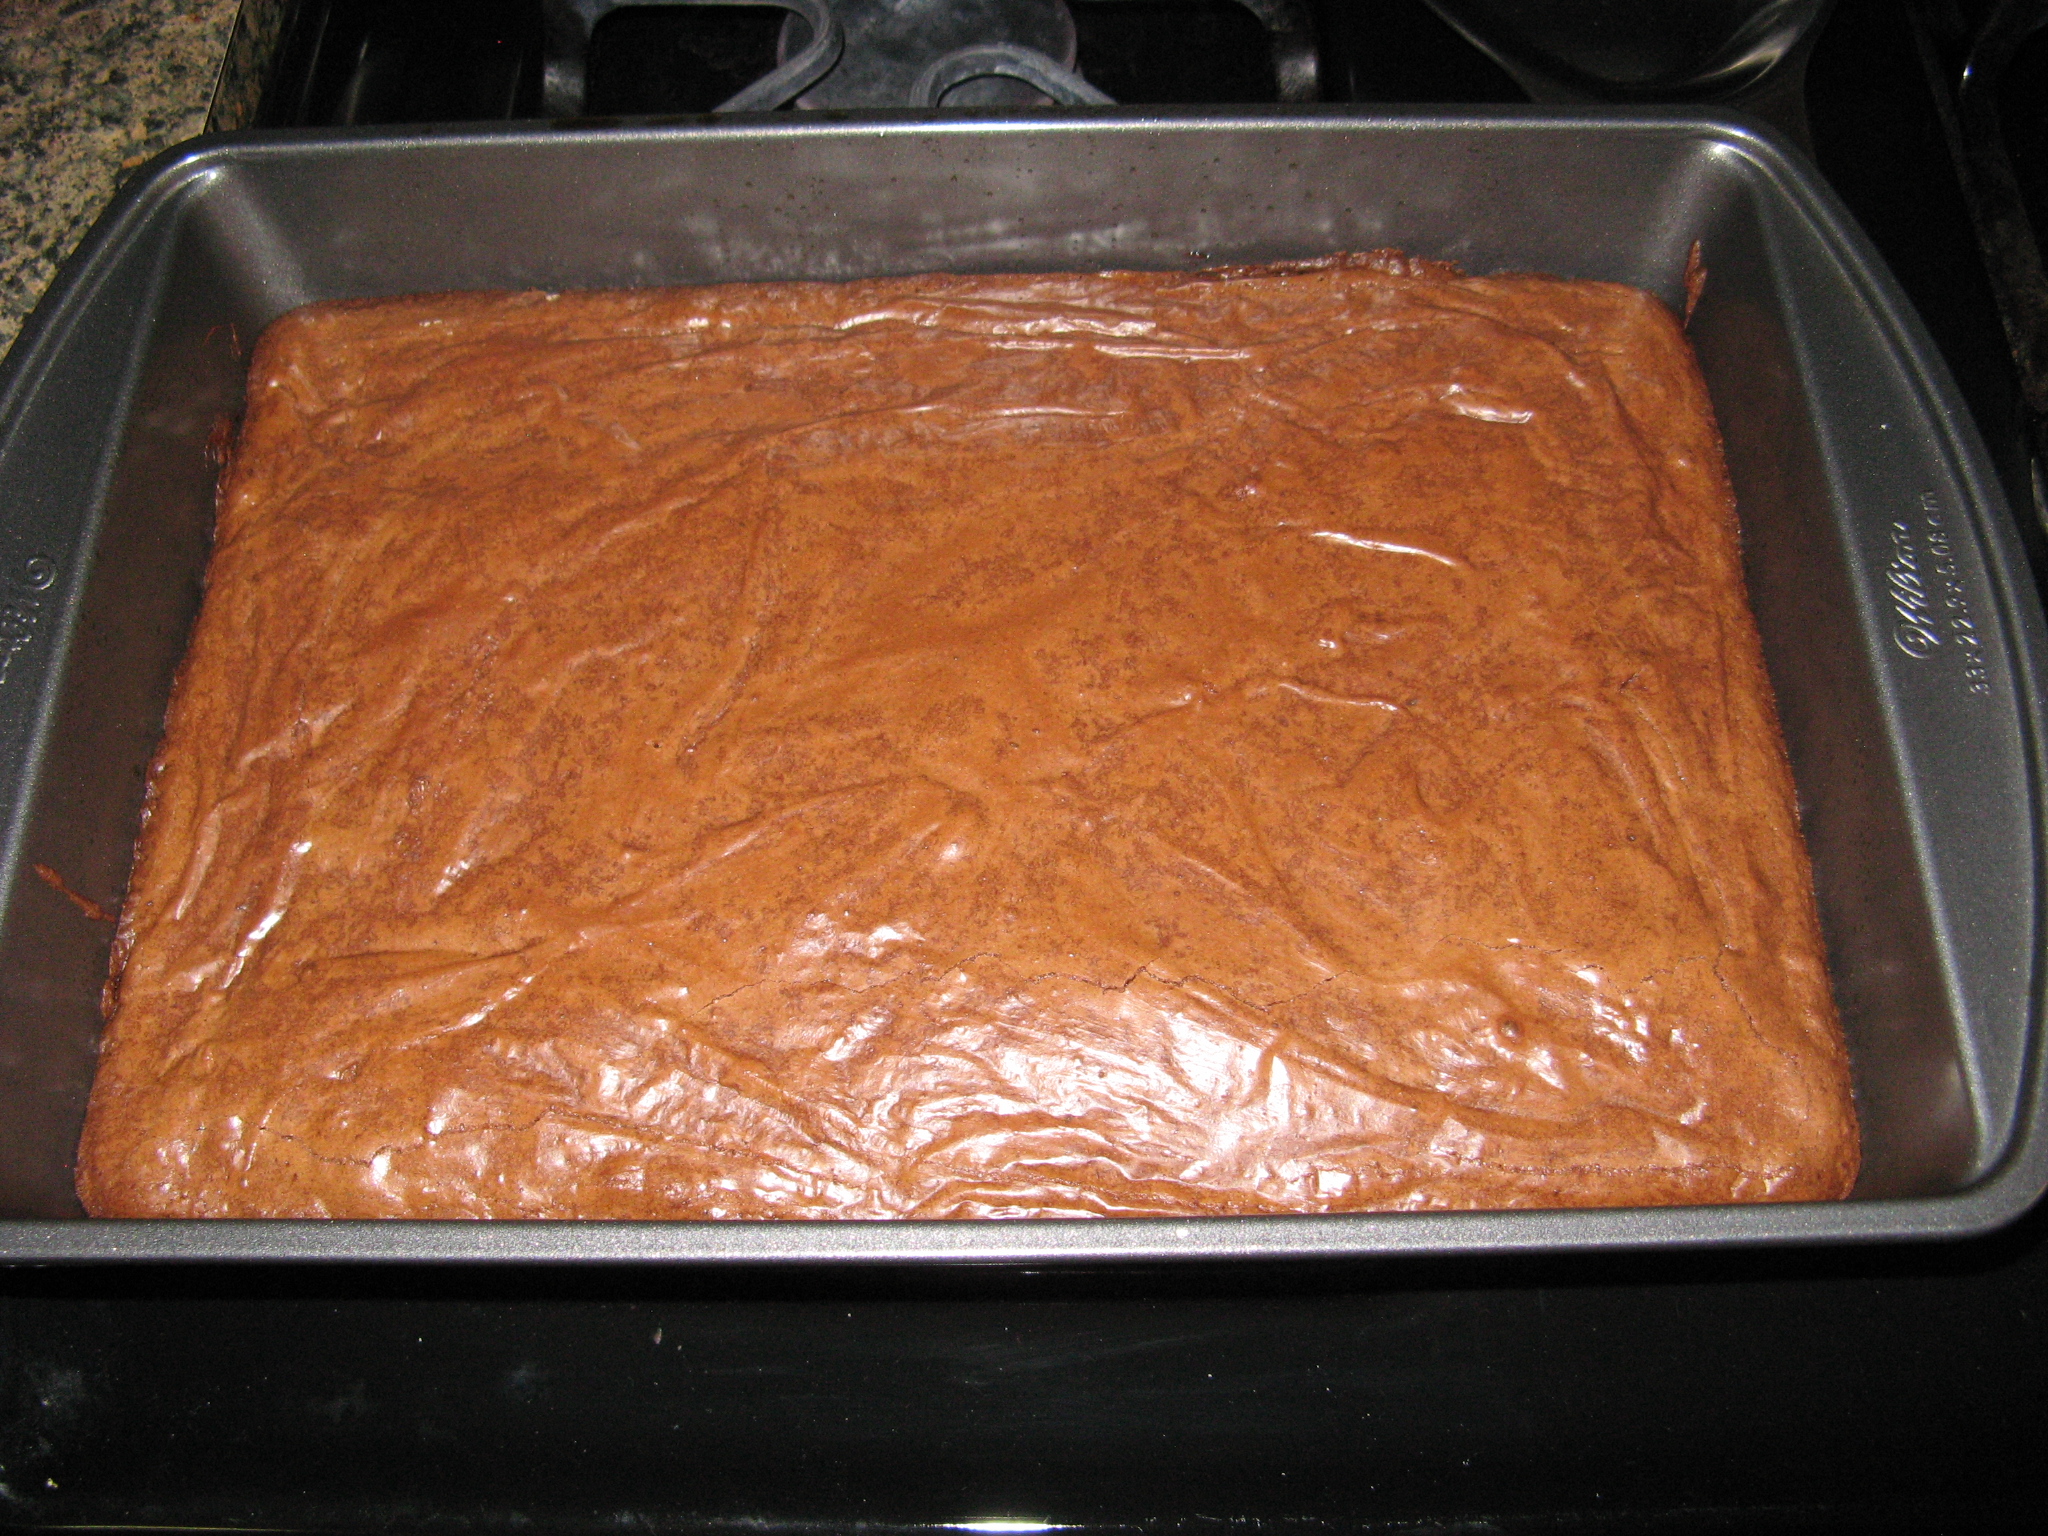
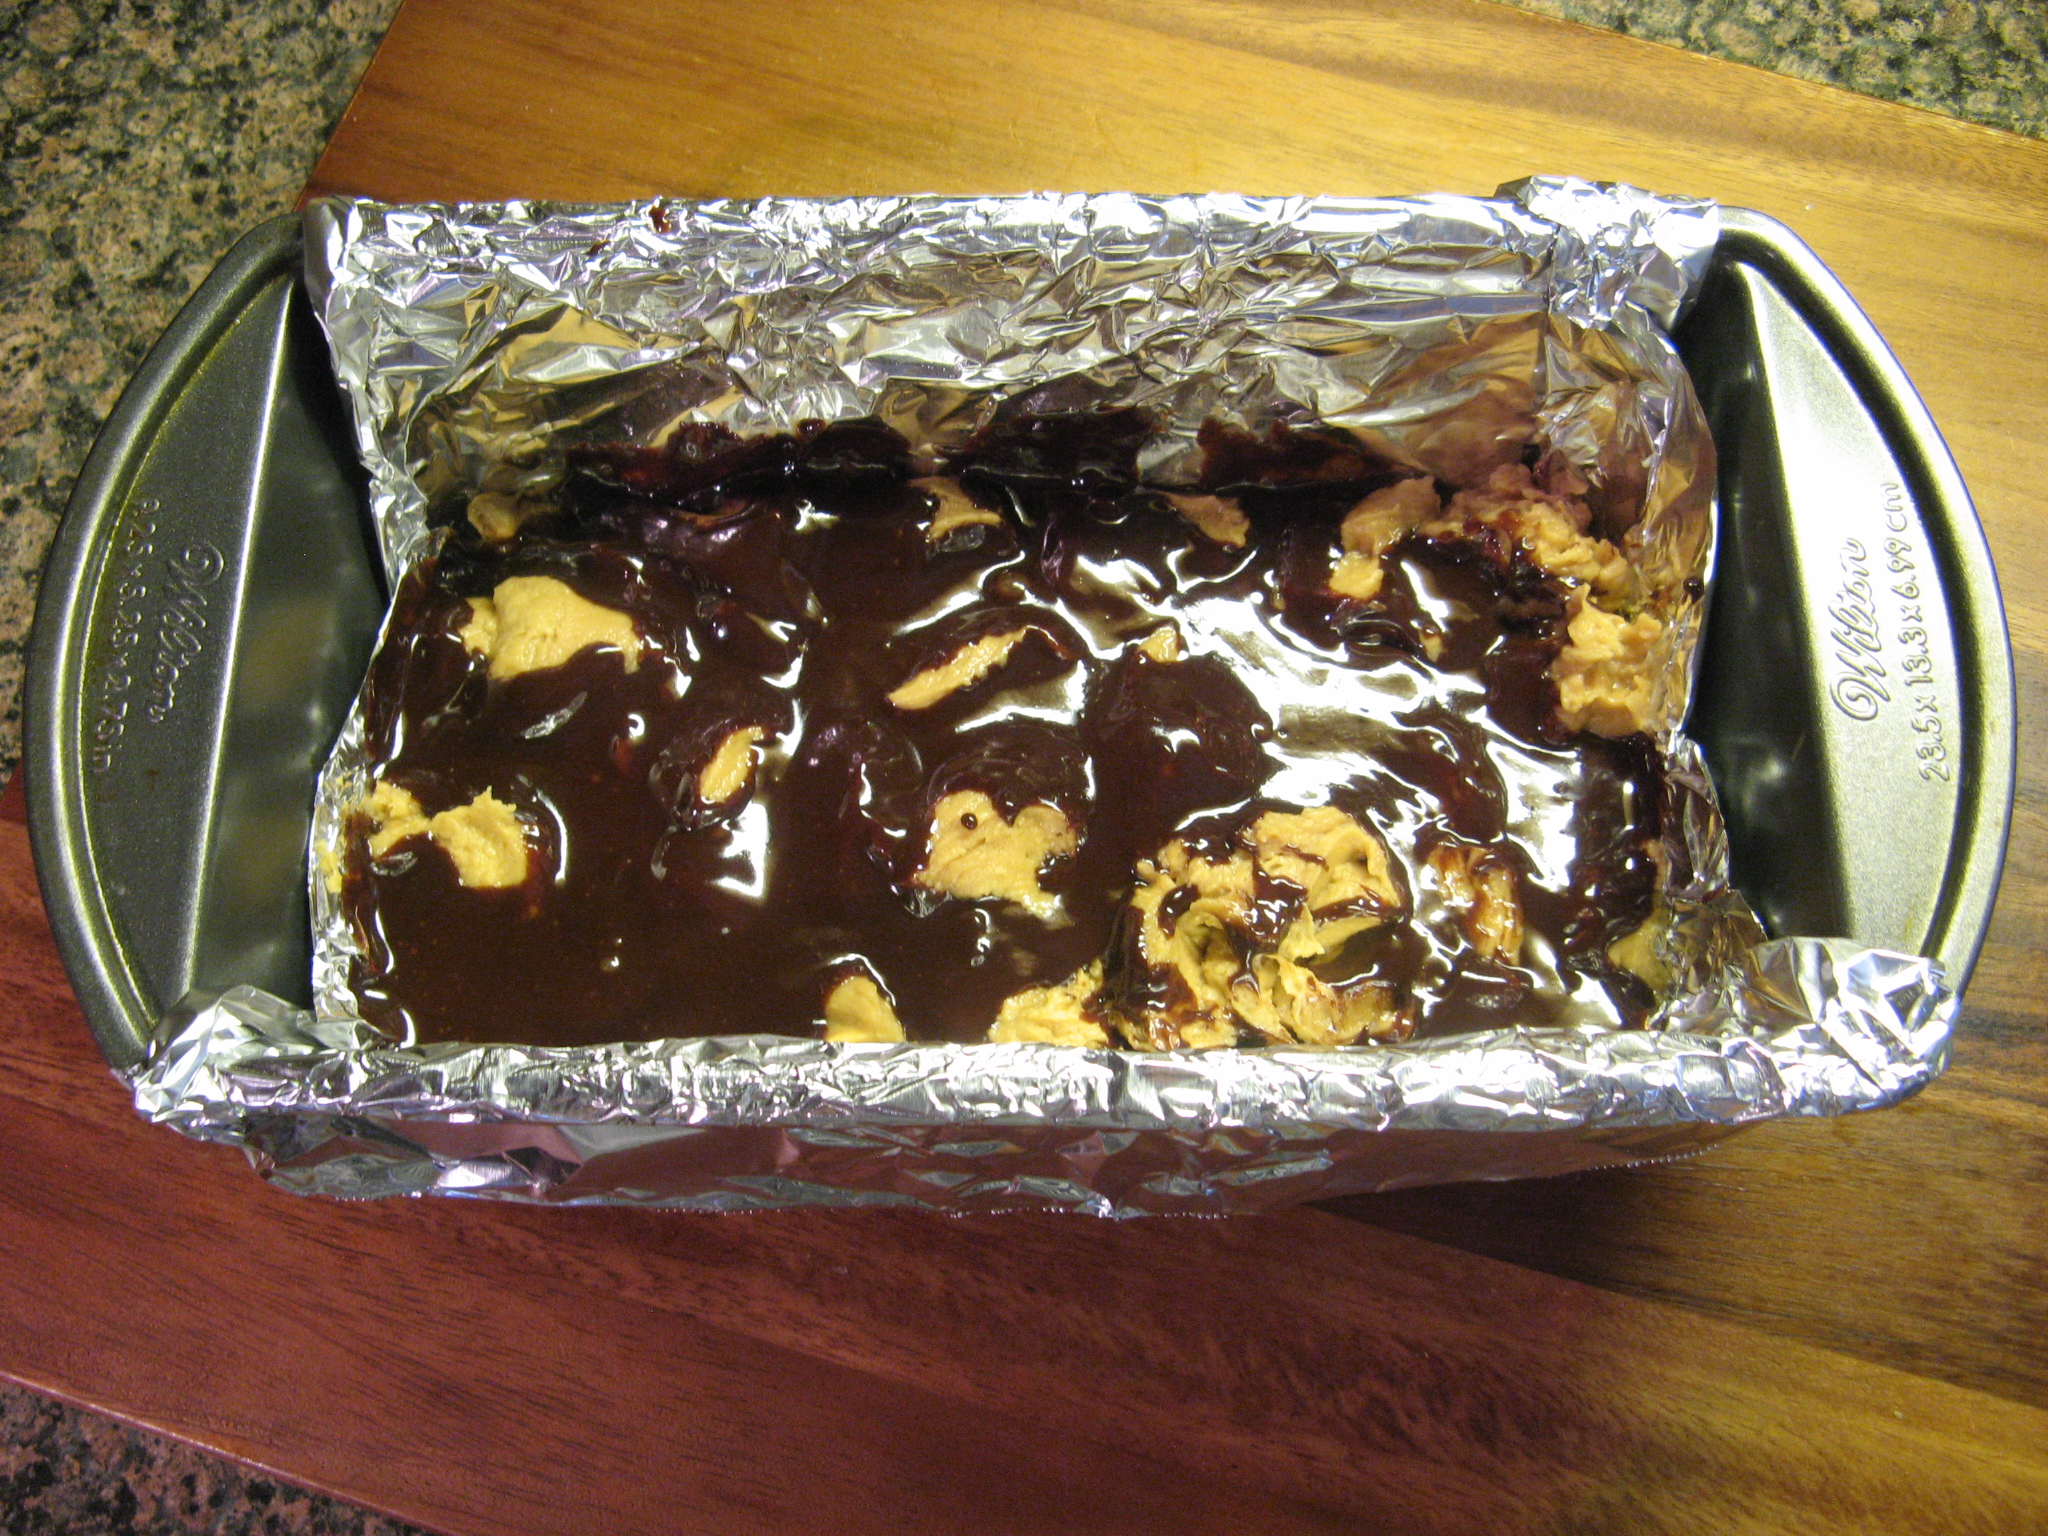
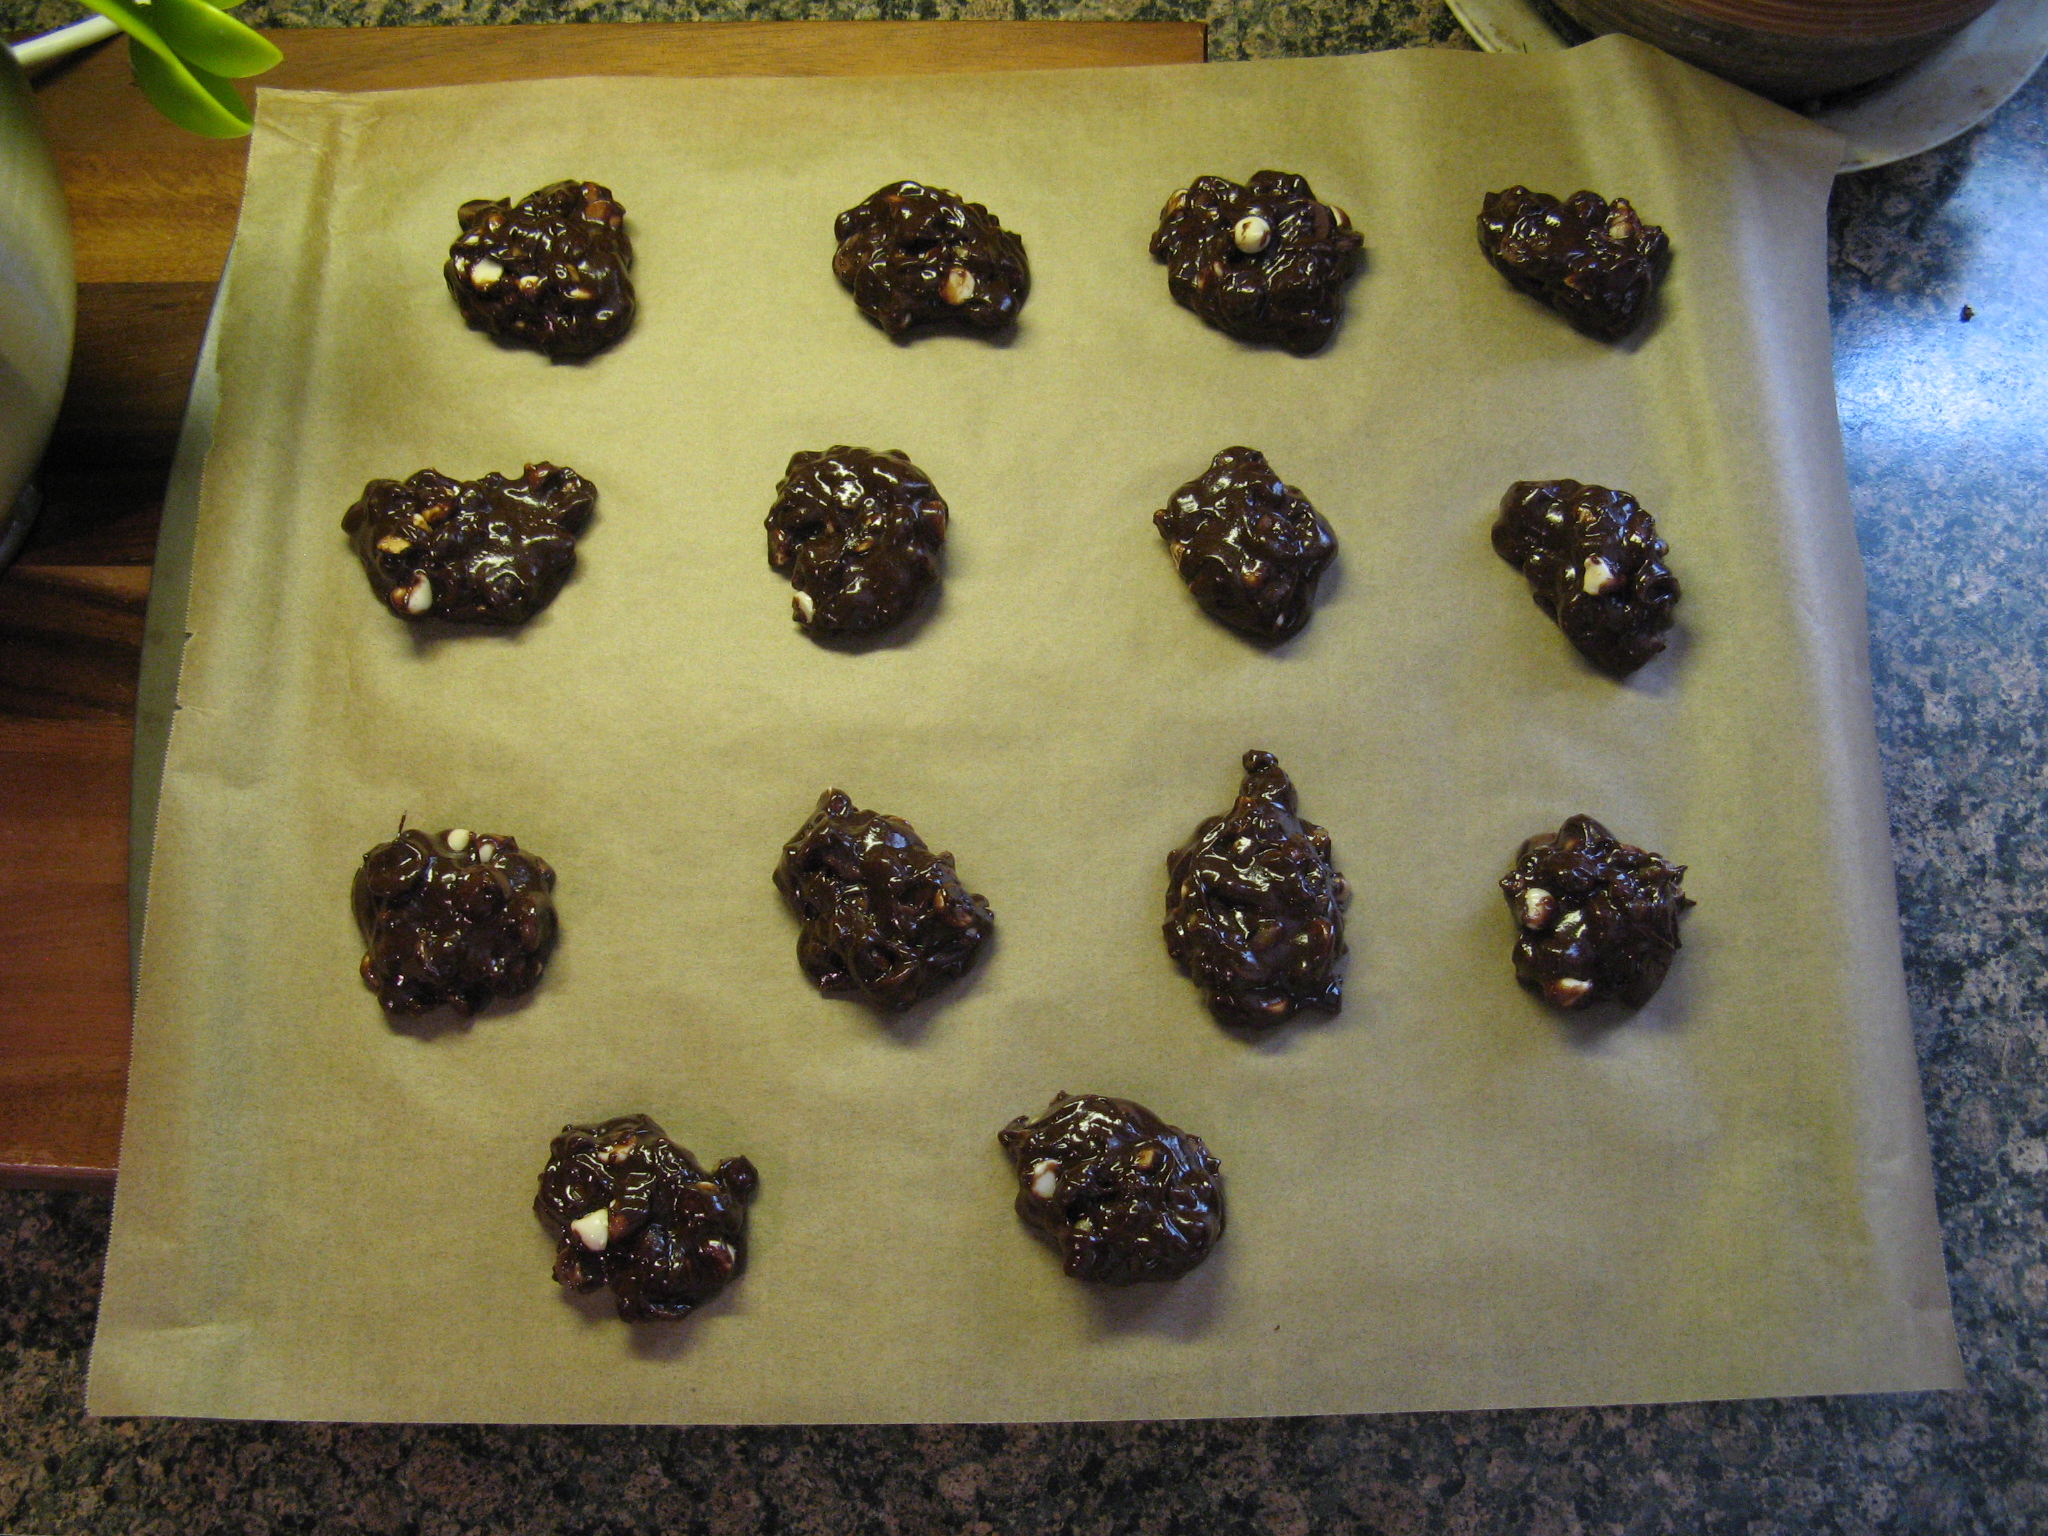
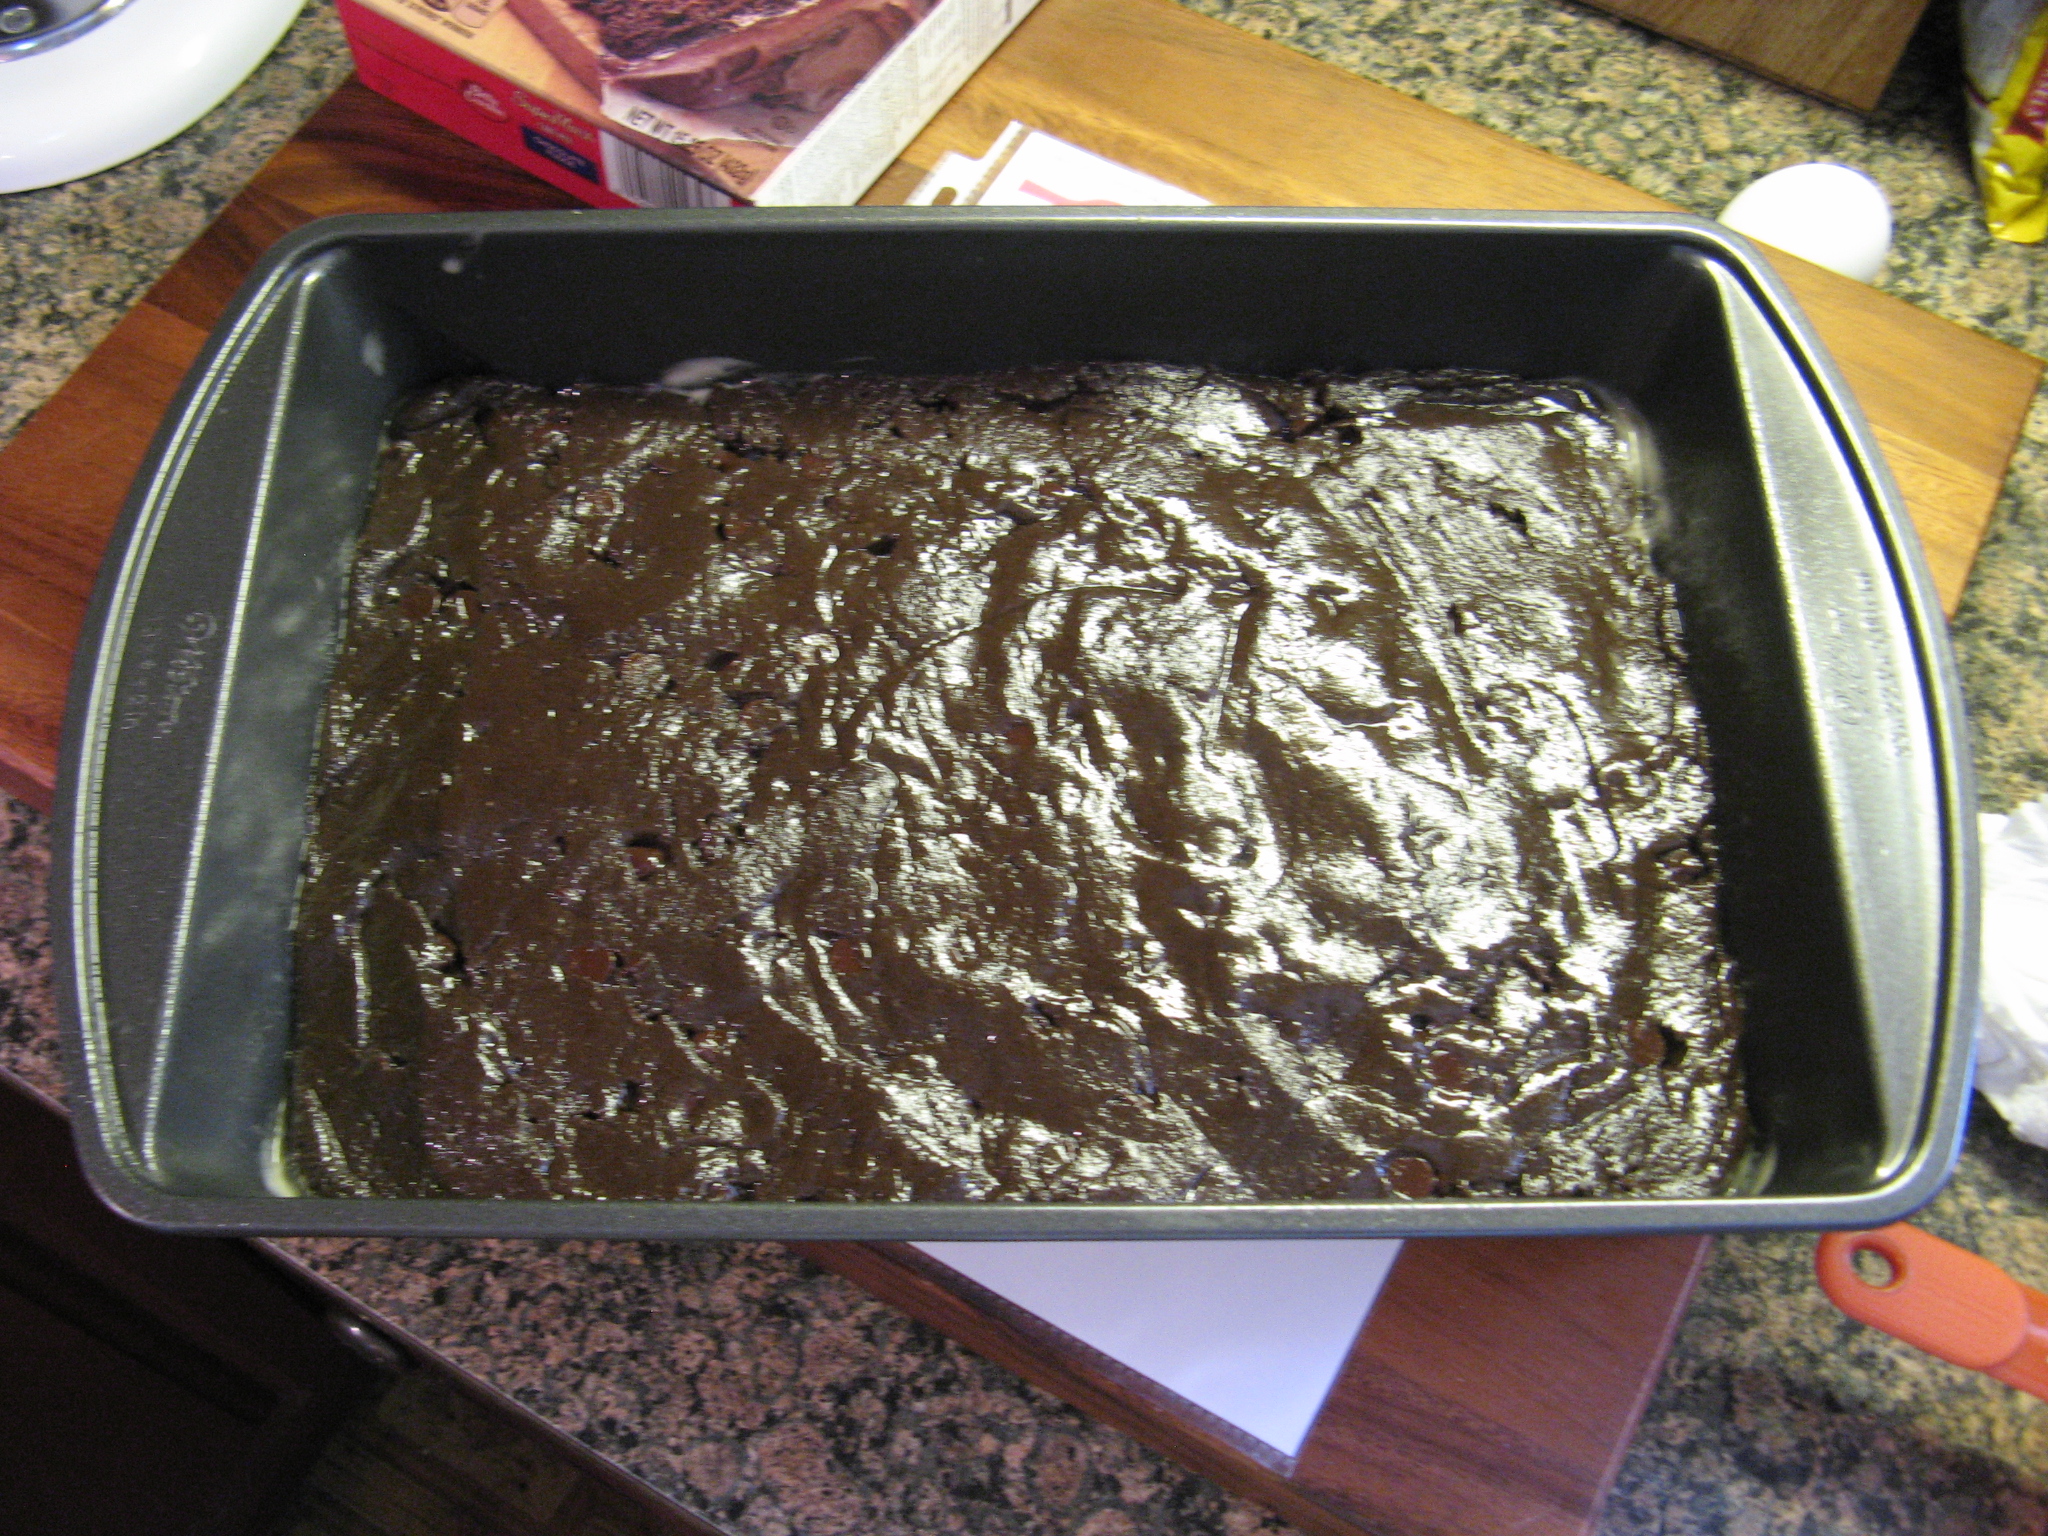
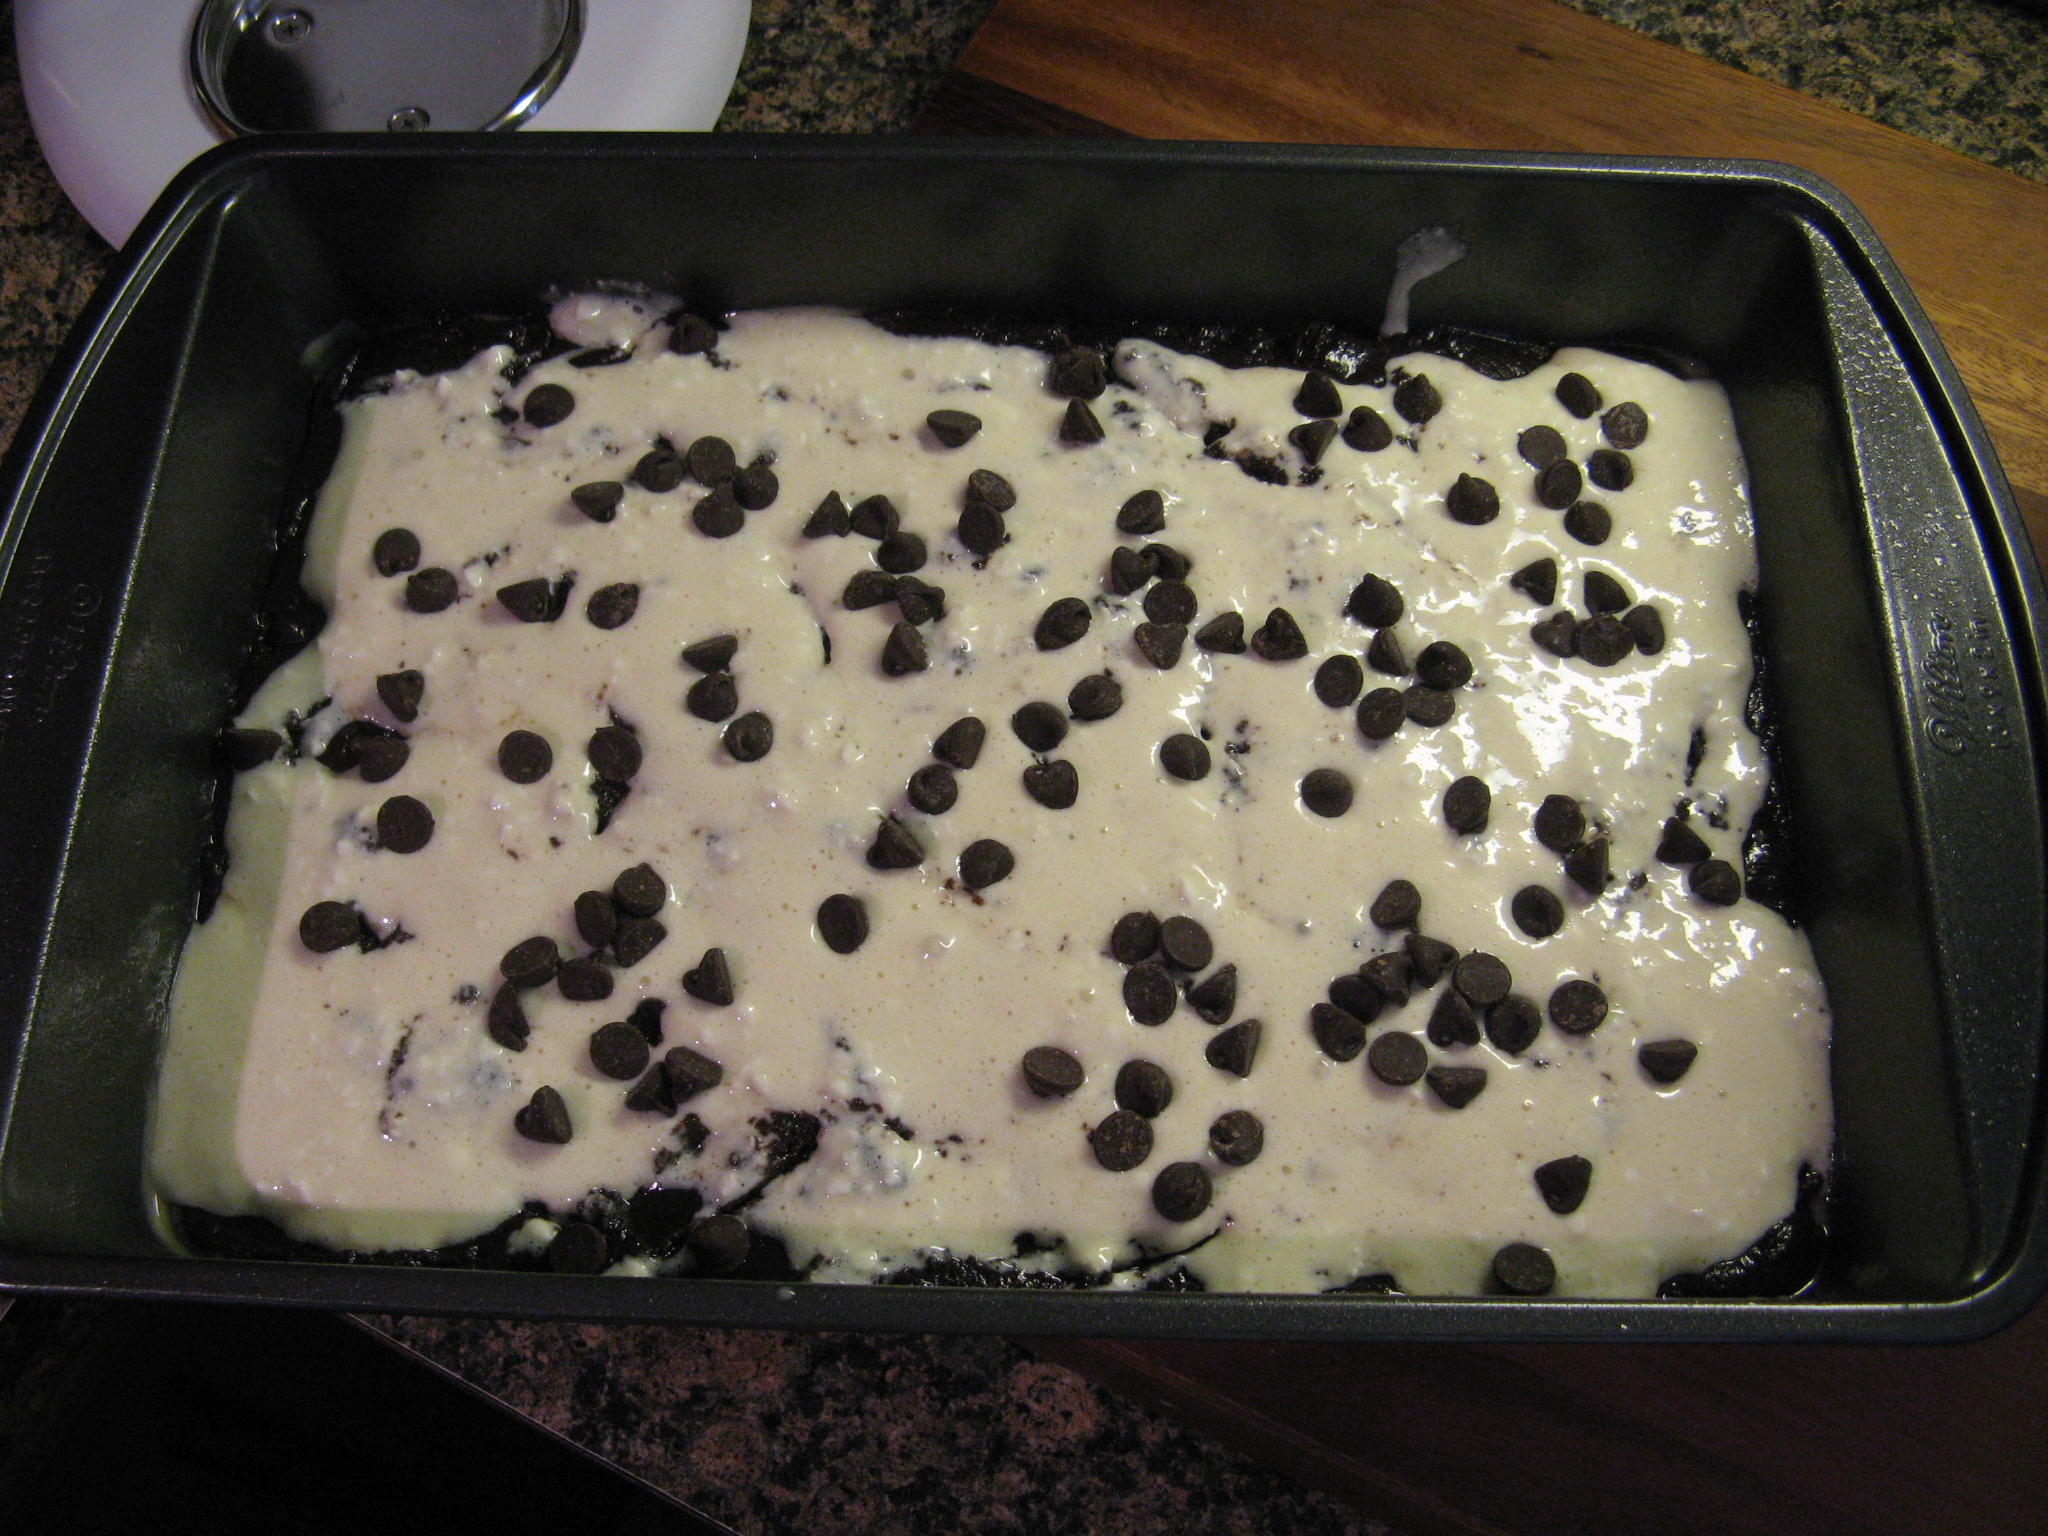
Next, I spread the batter into a greased 12 x 18 – inch rimmed baking sheet.

 img_0361

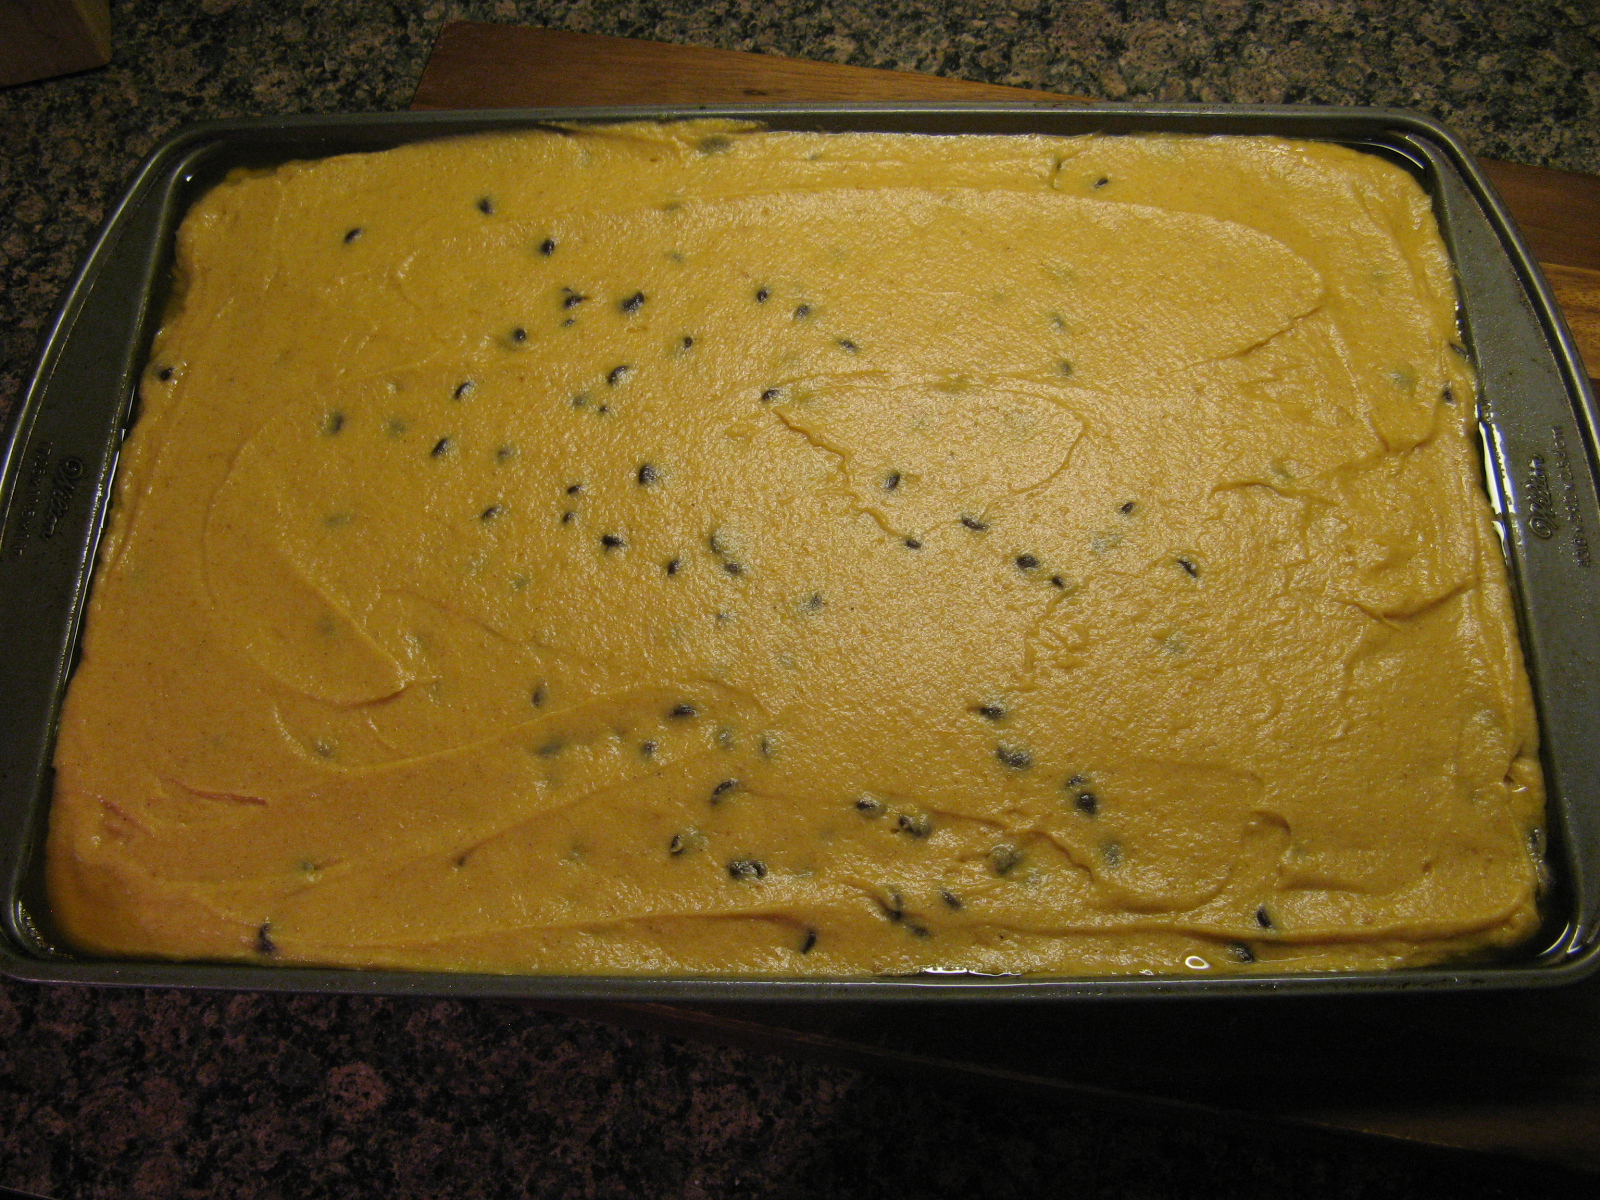
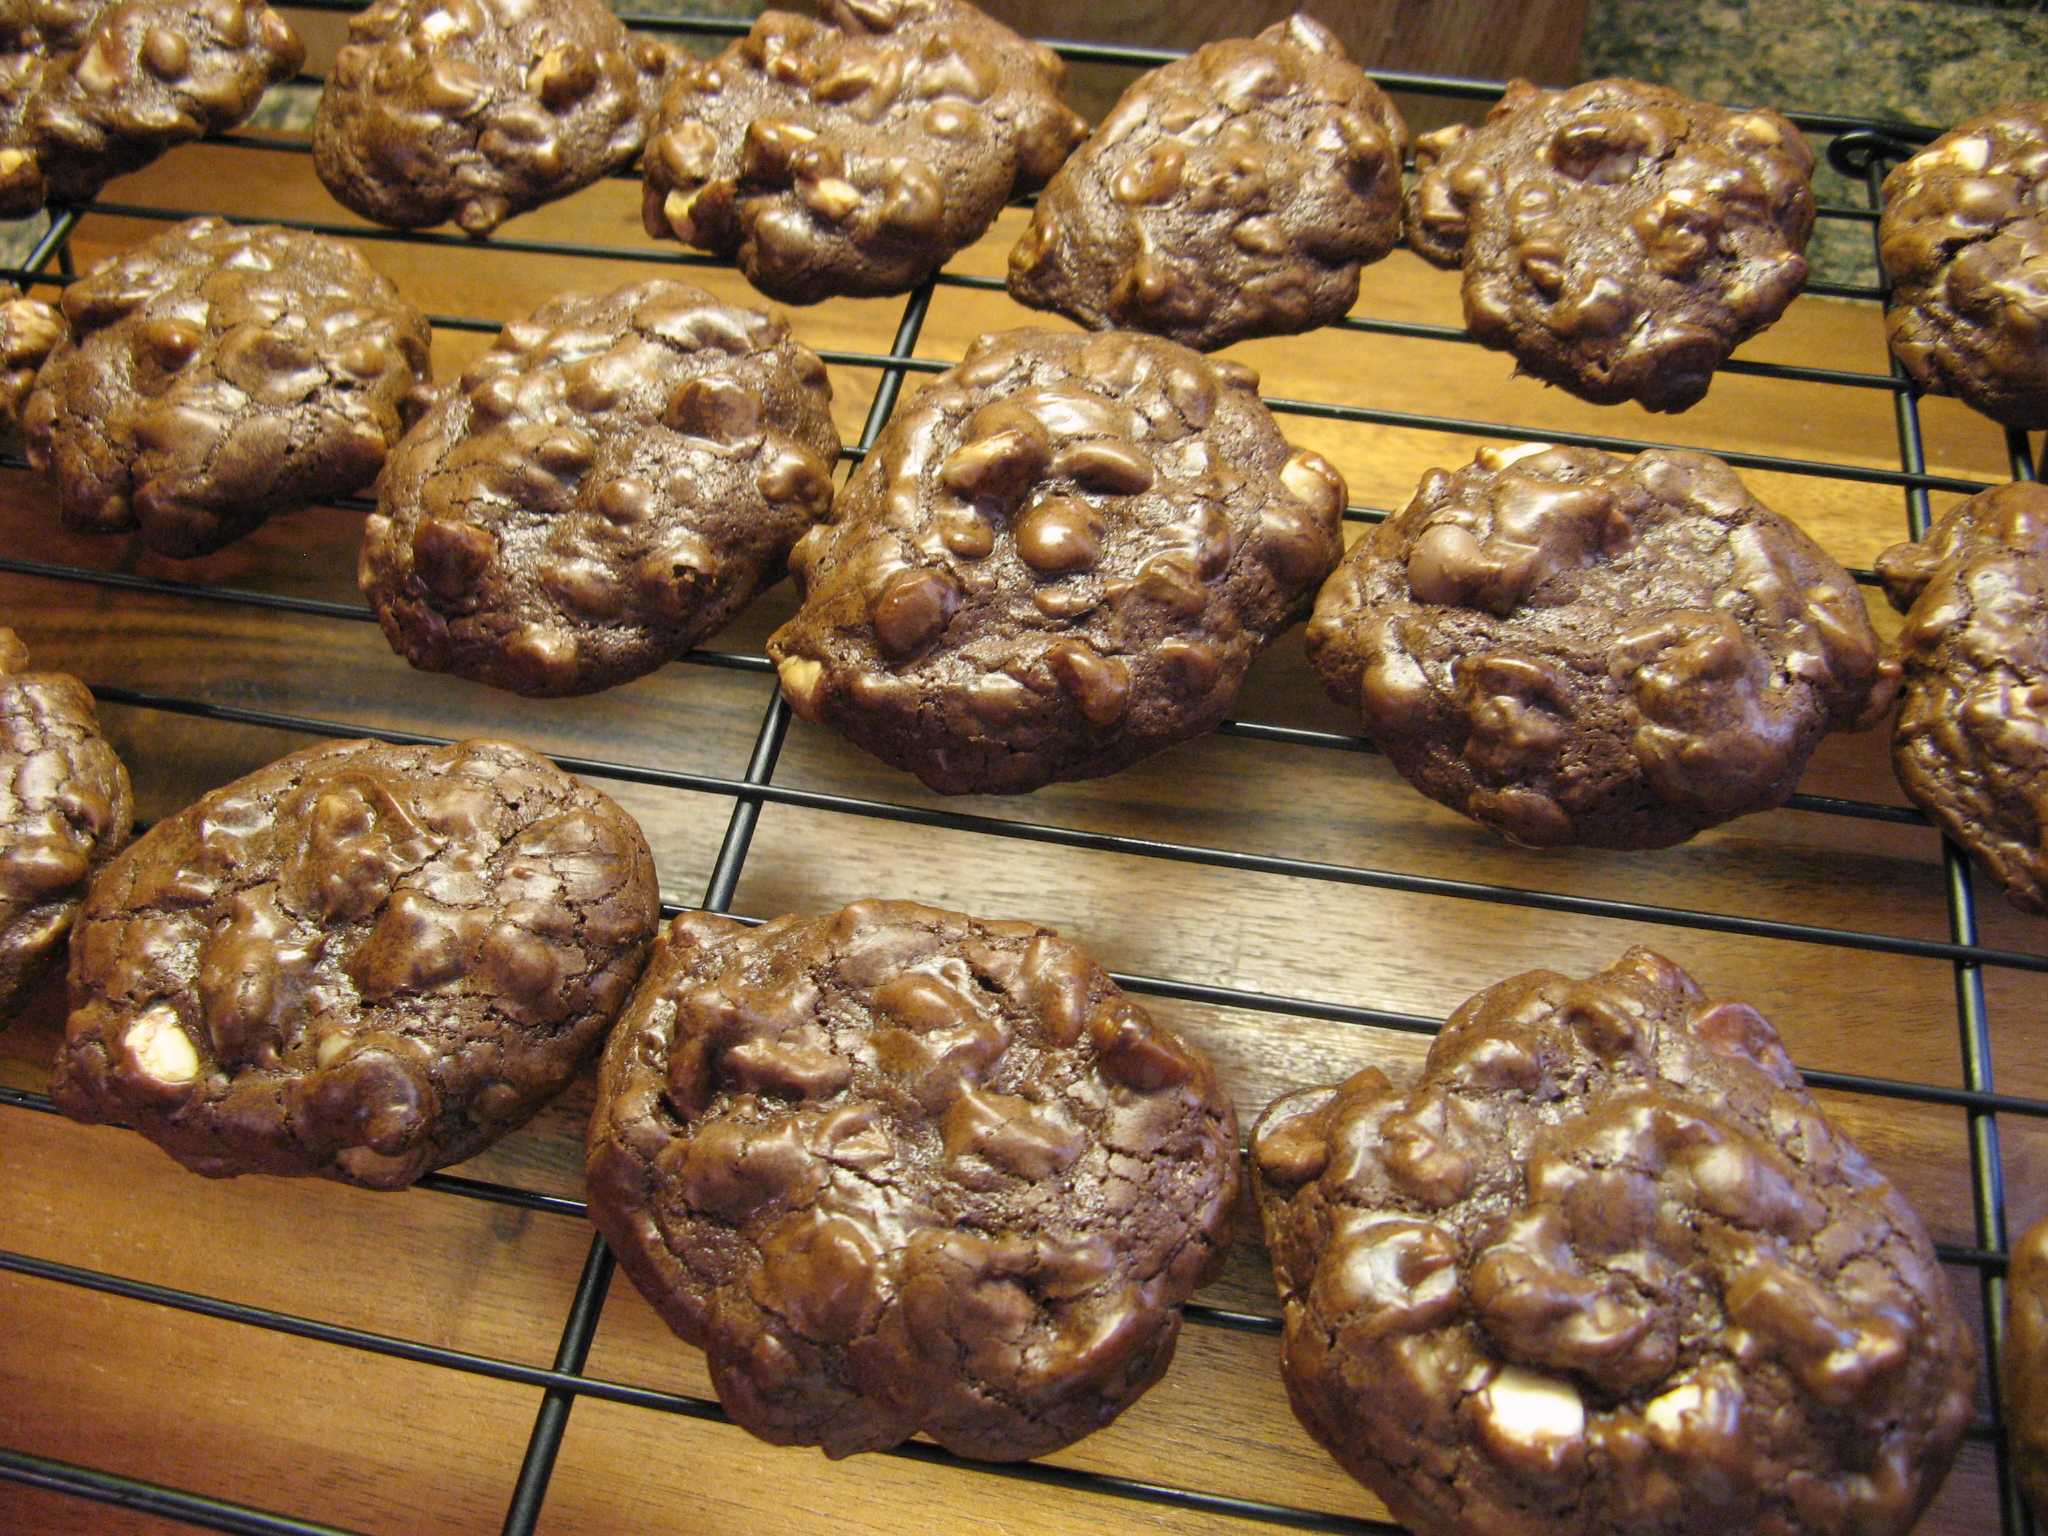
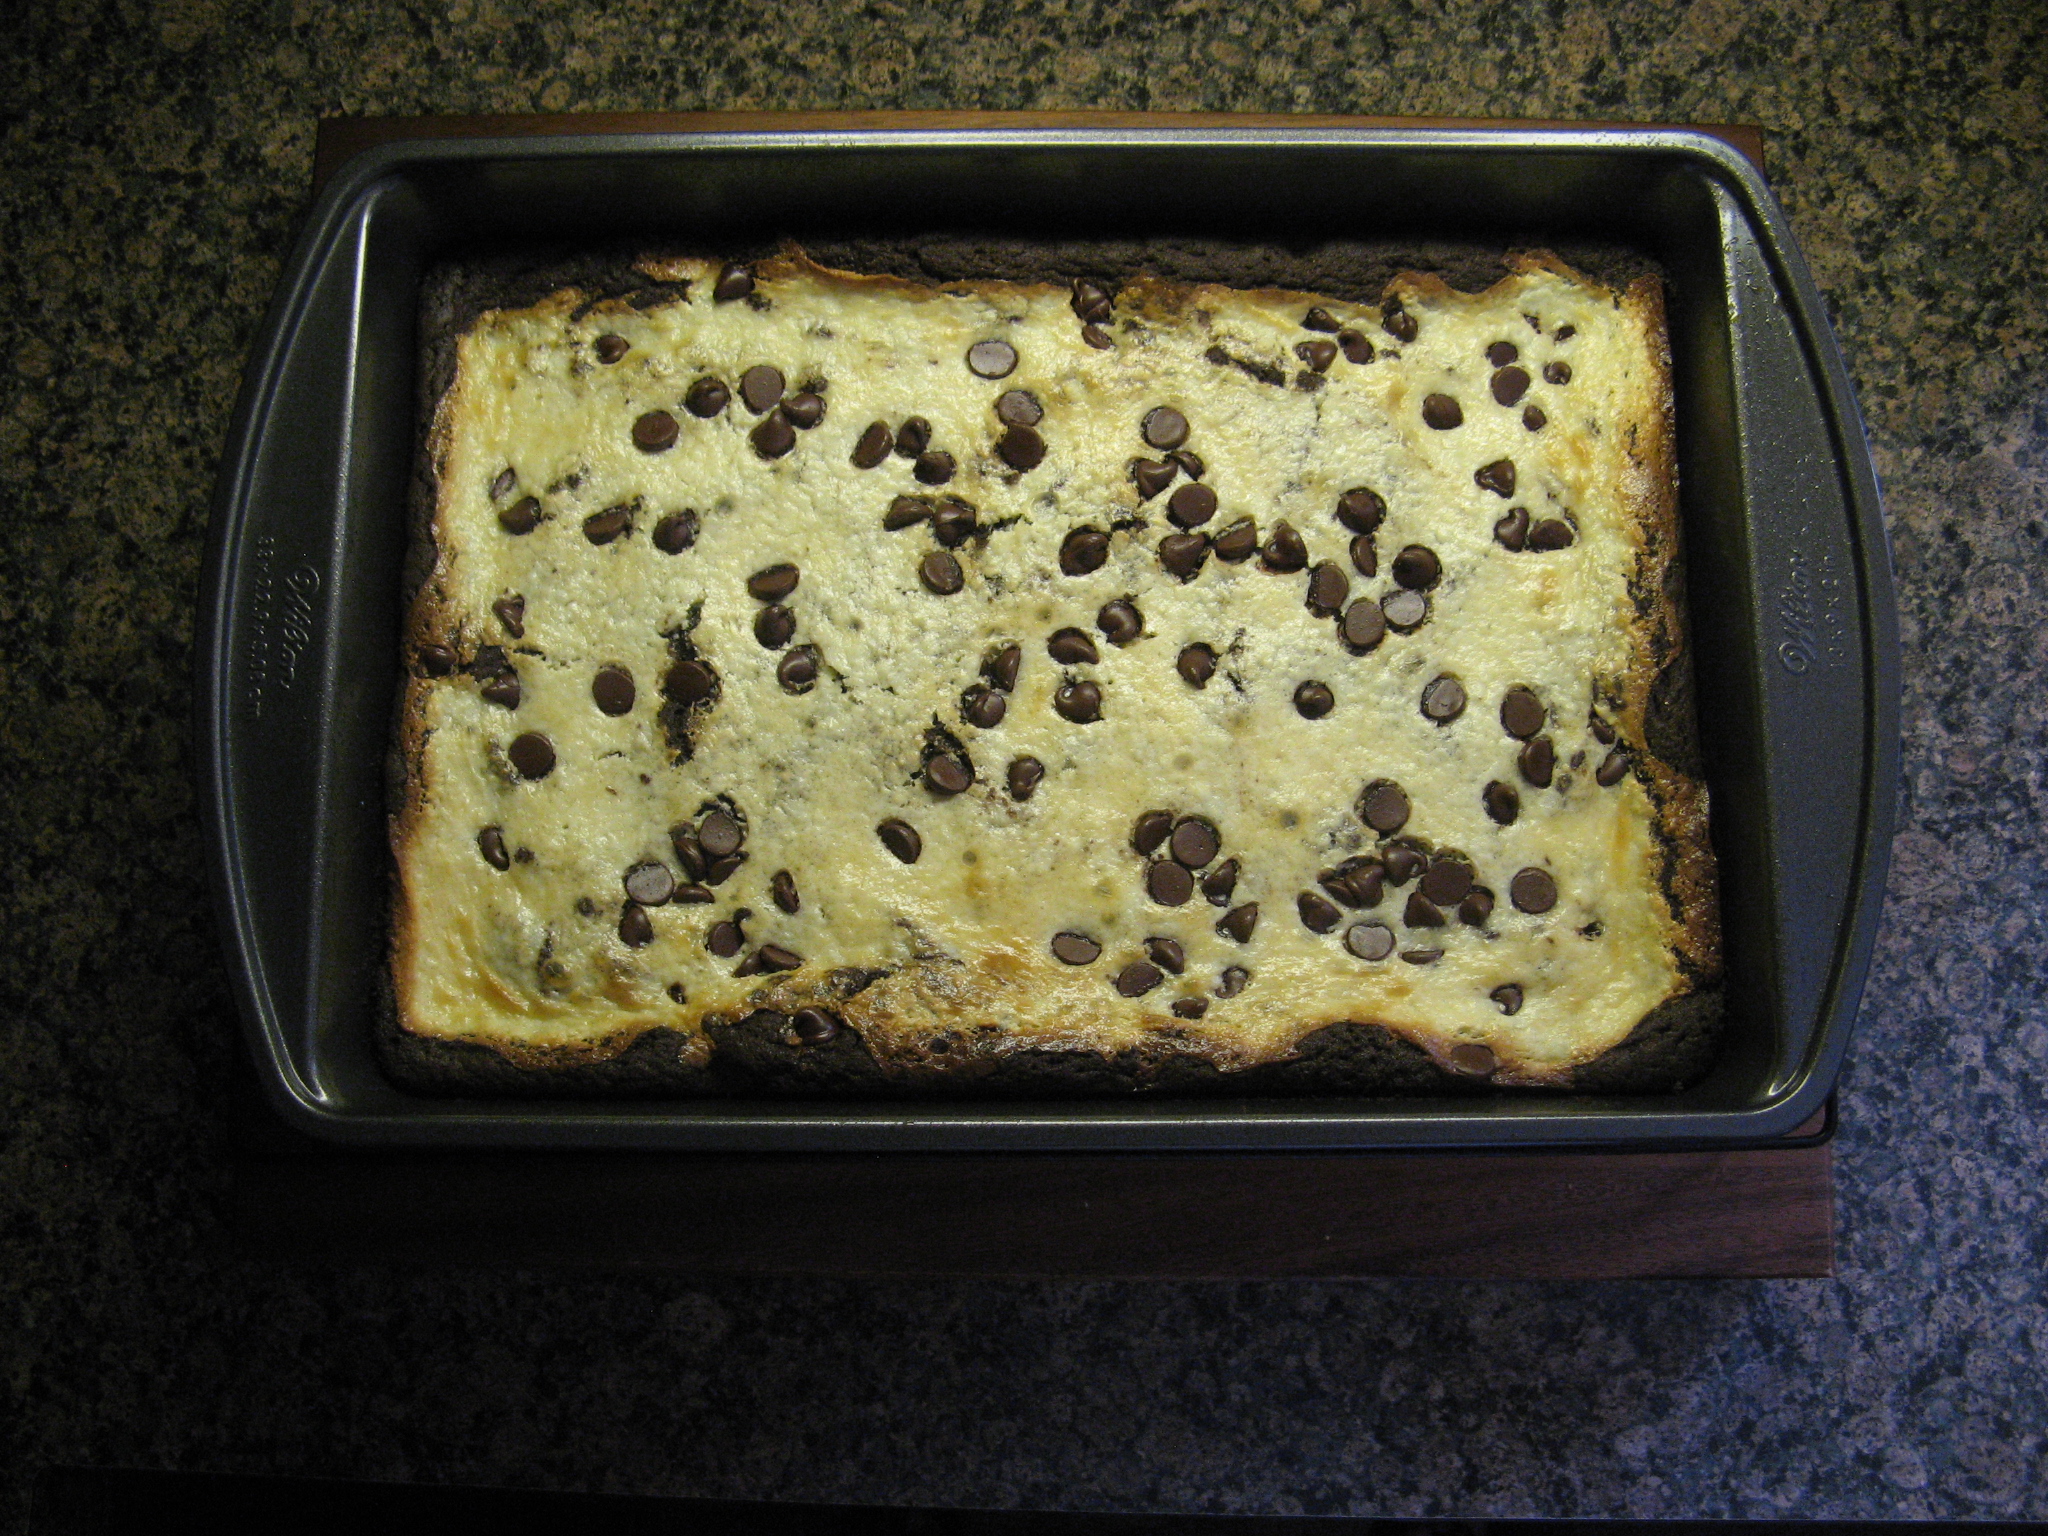
And baked it for about 45 minutes, until cake tester came out clean from the center.

 img_0363

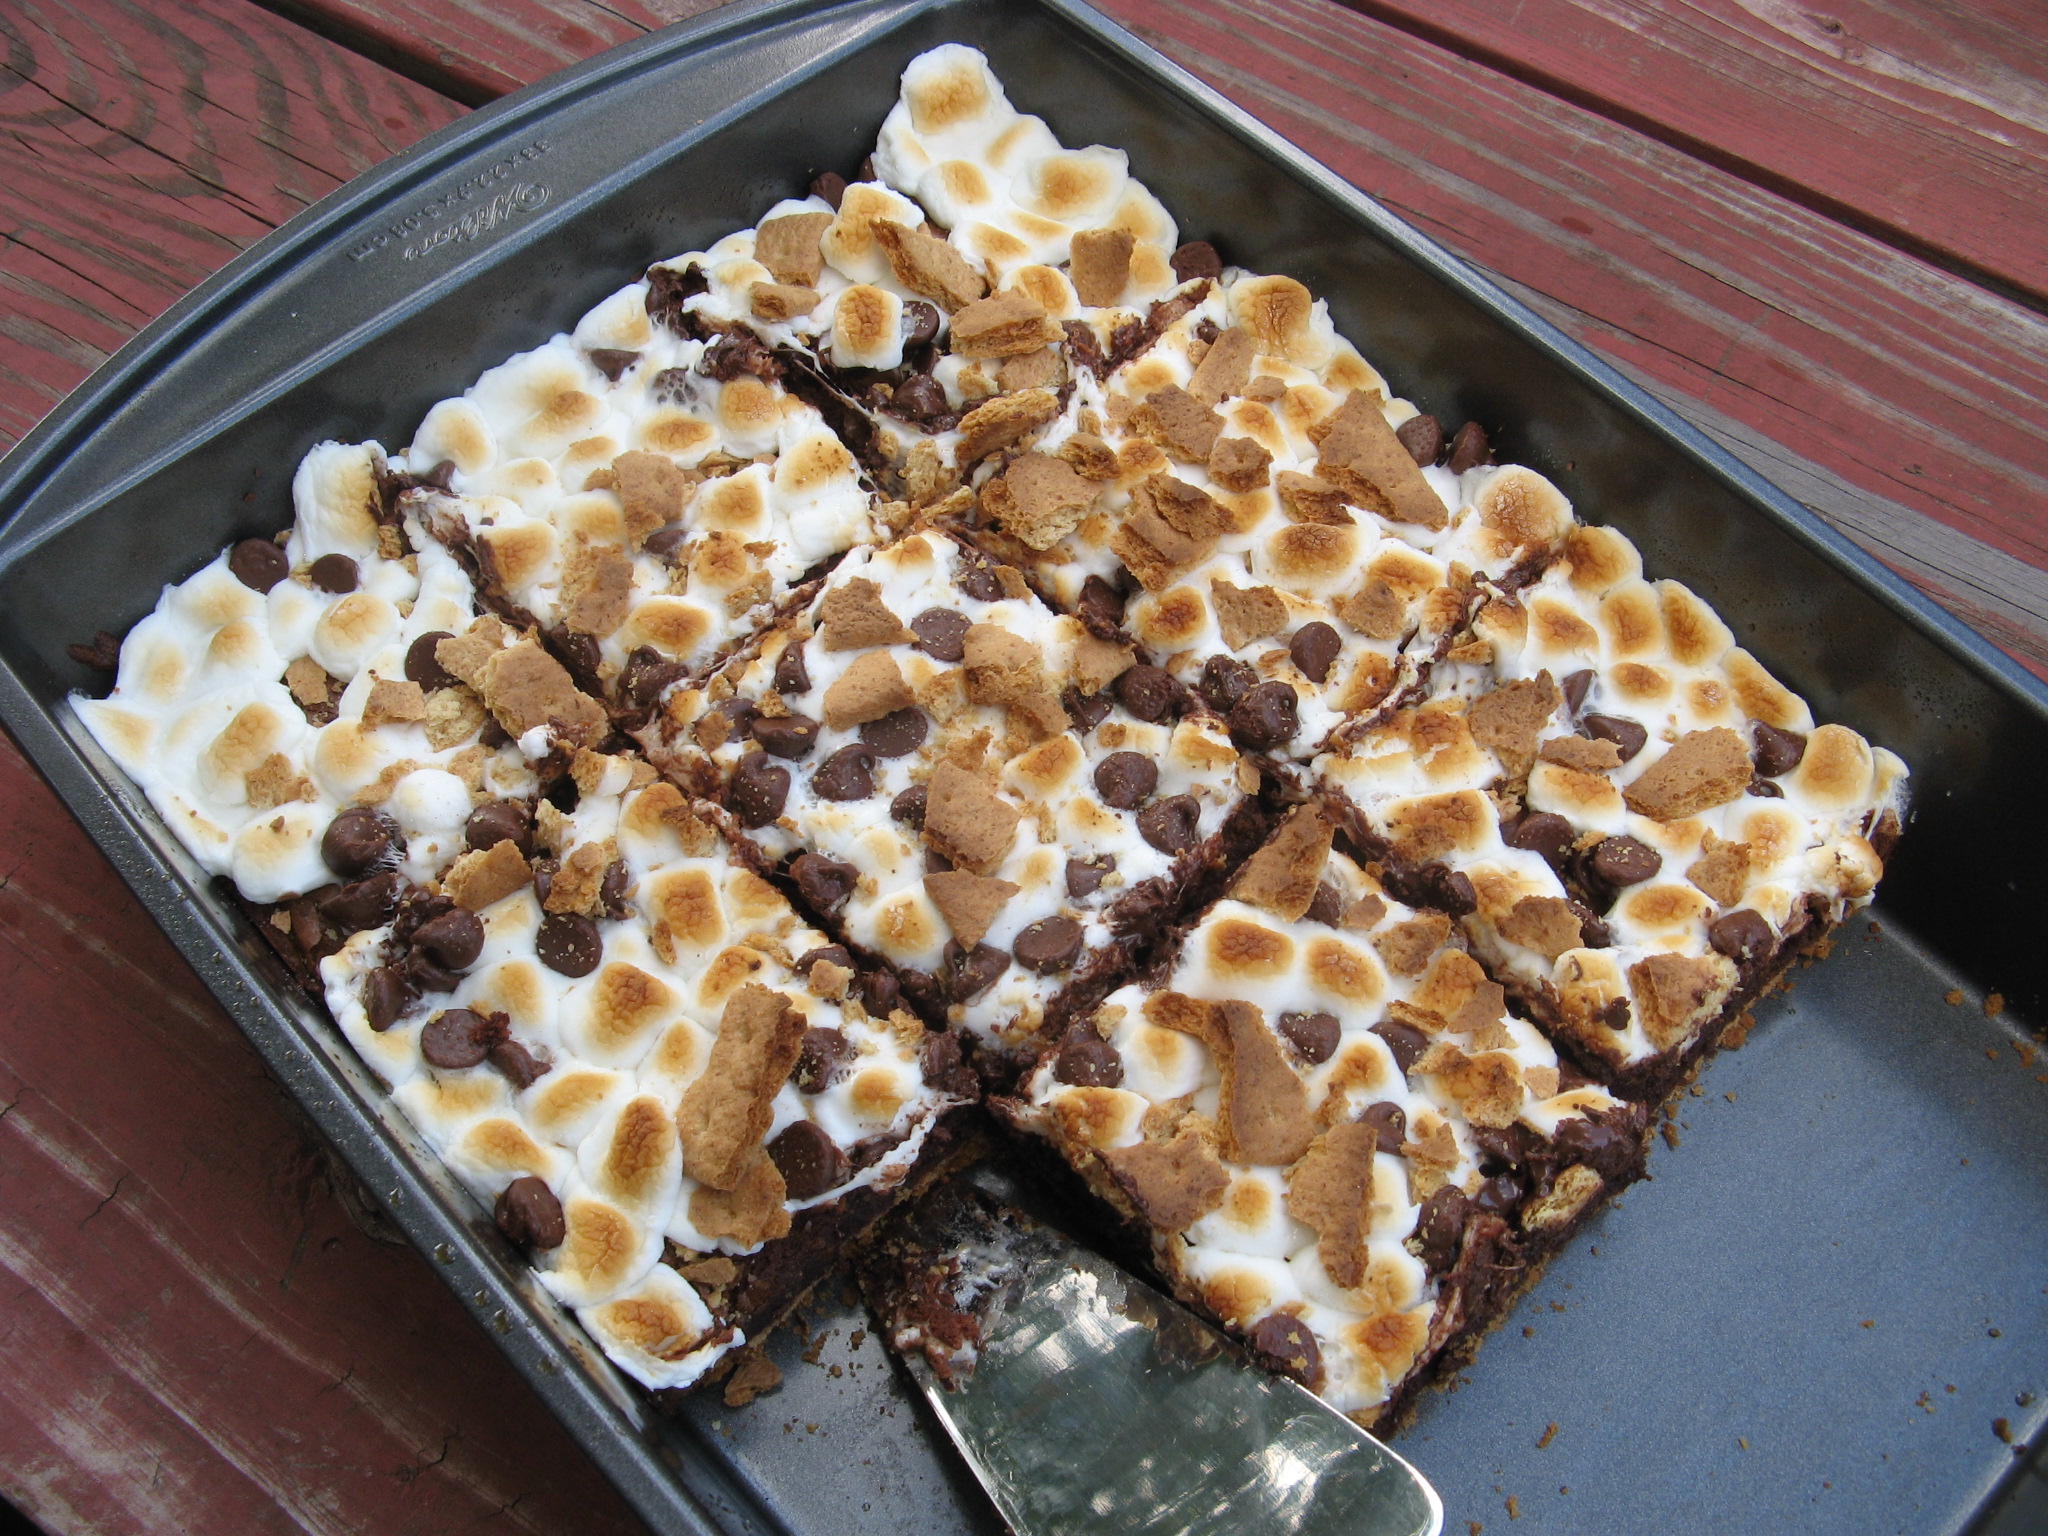
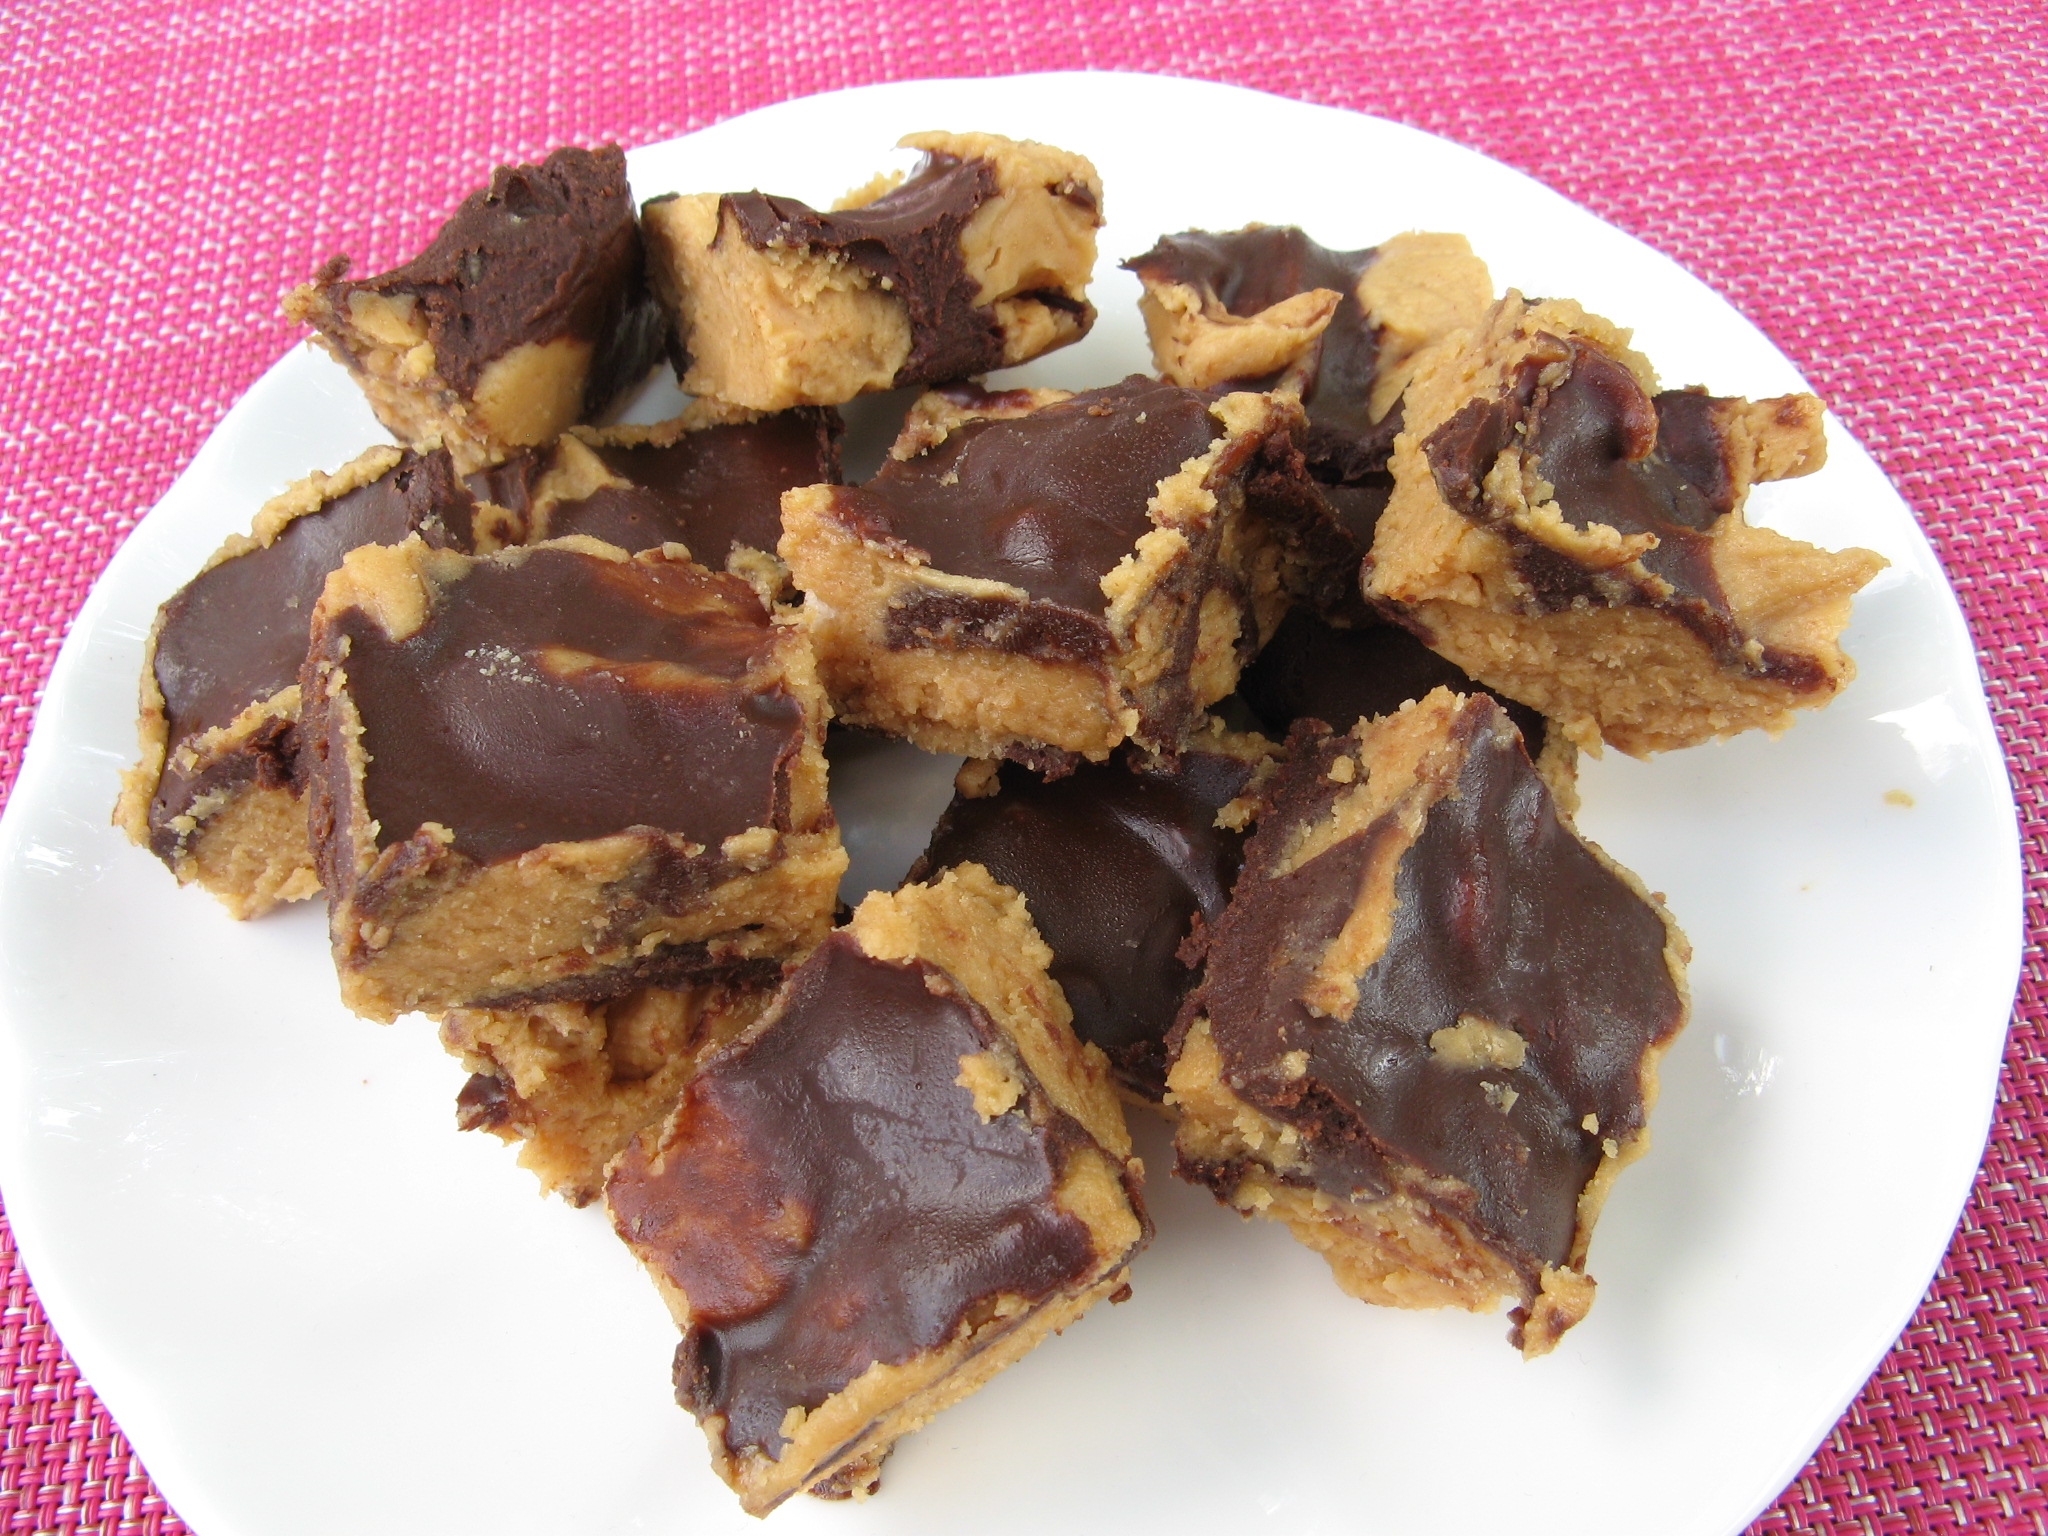
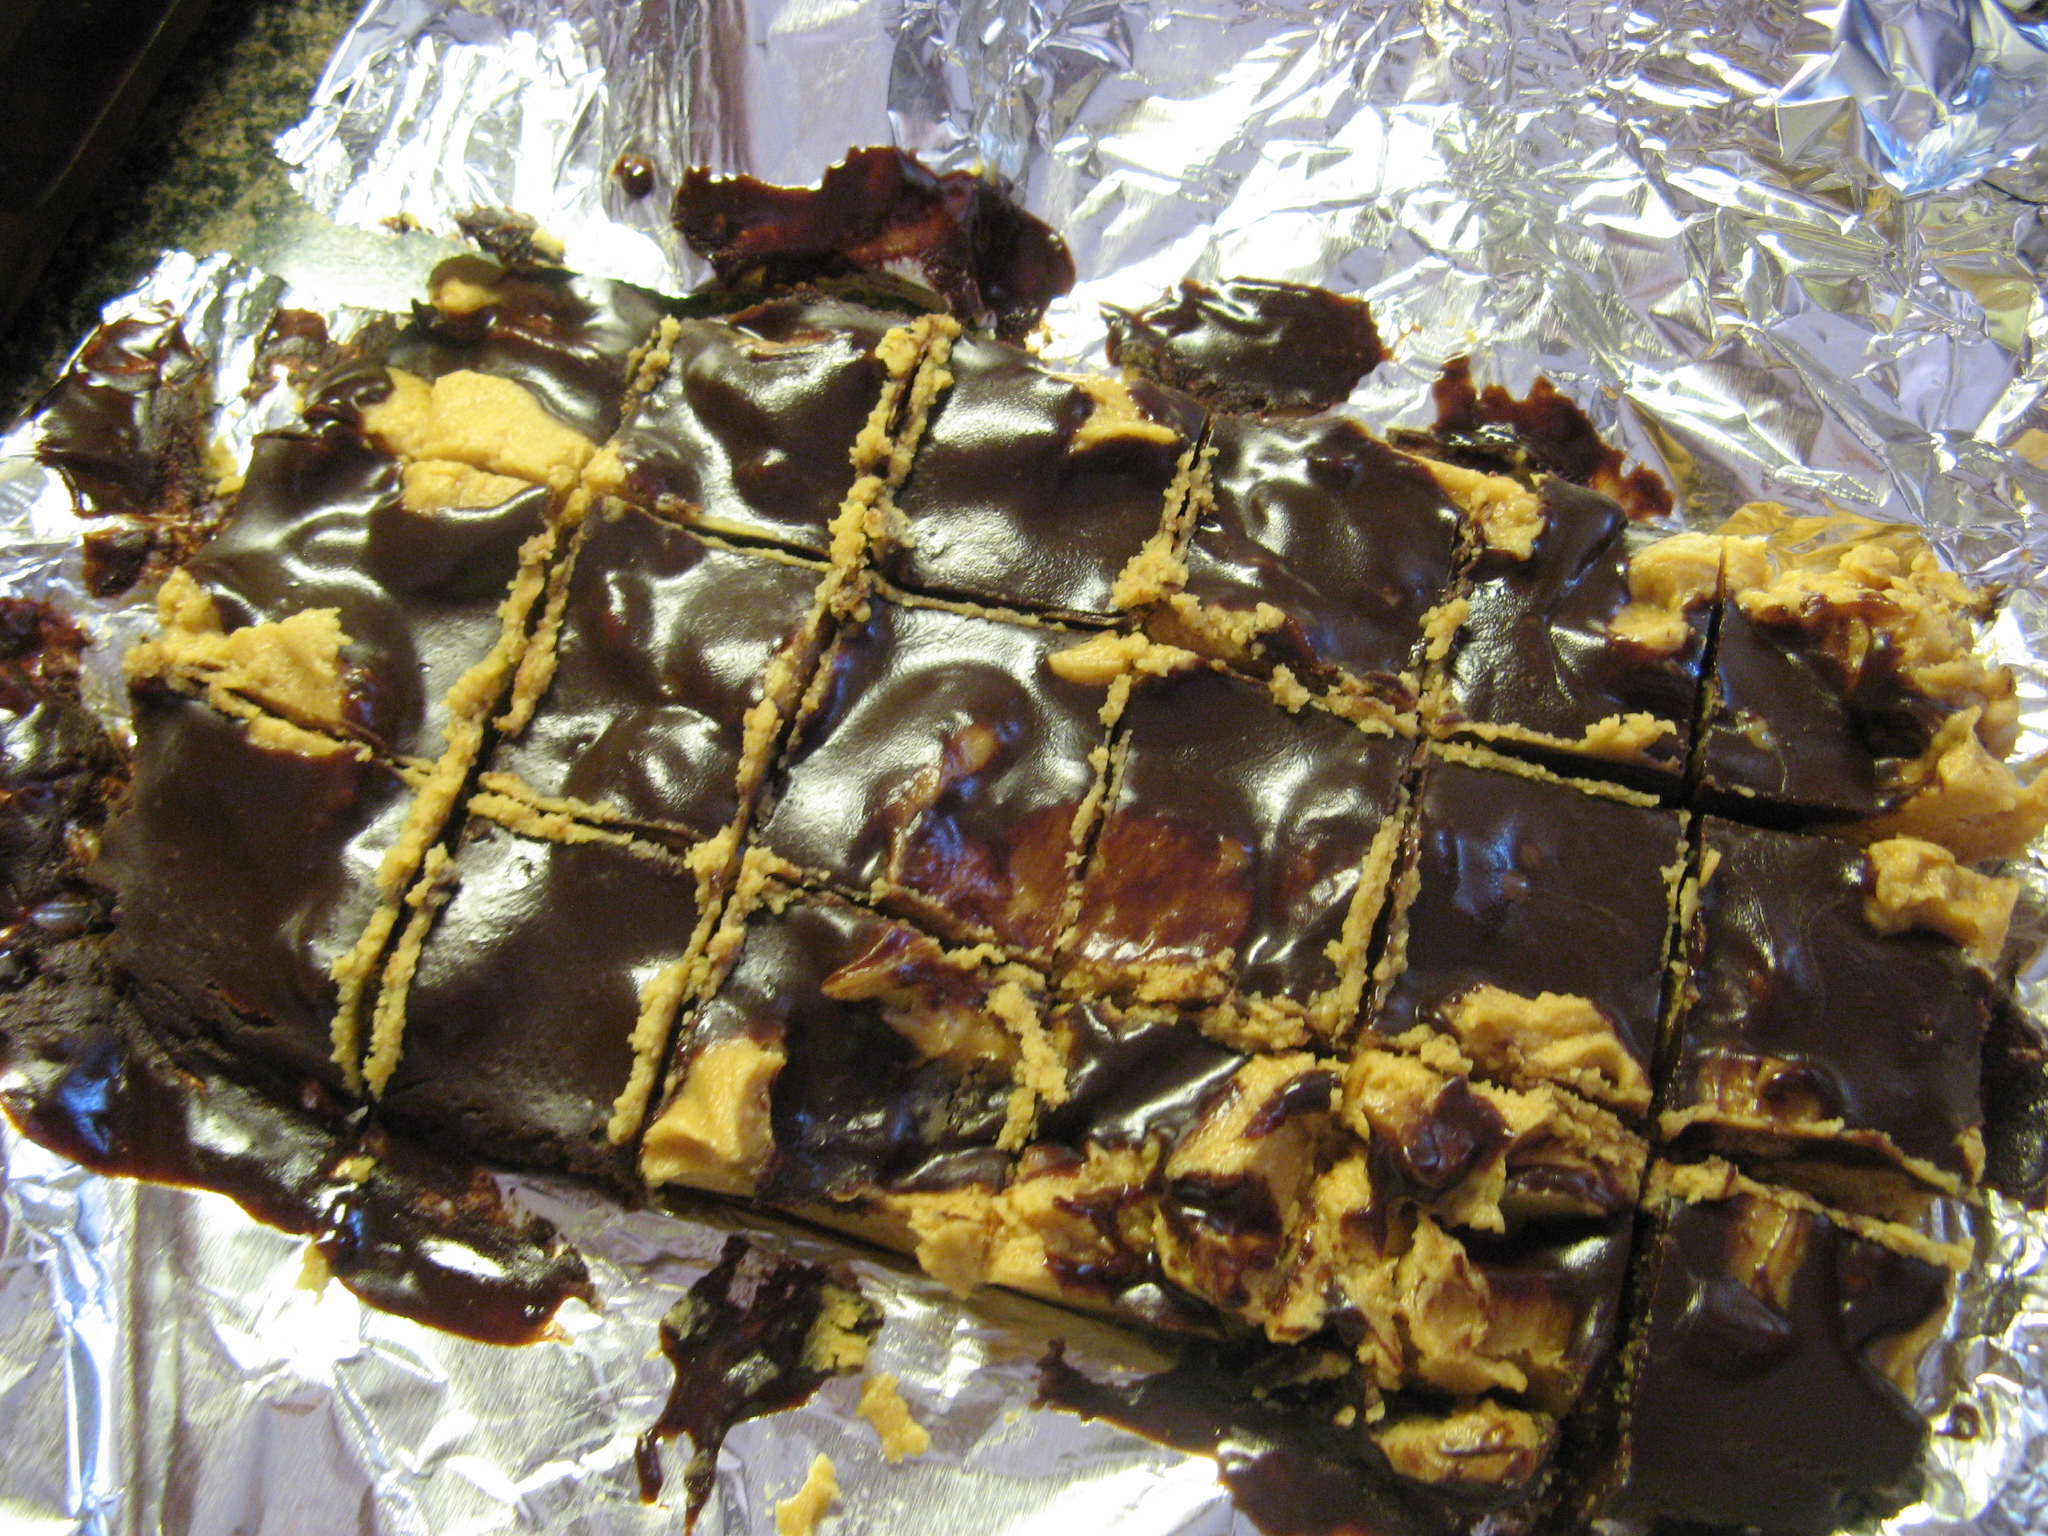
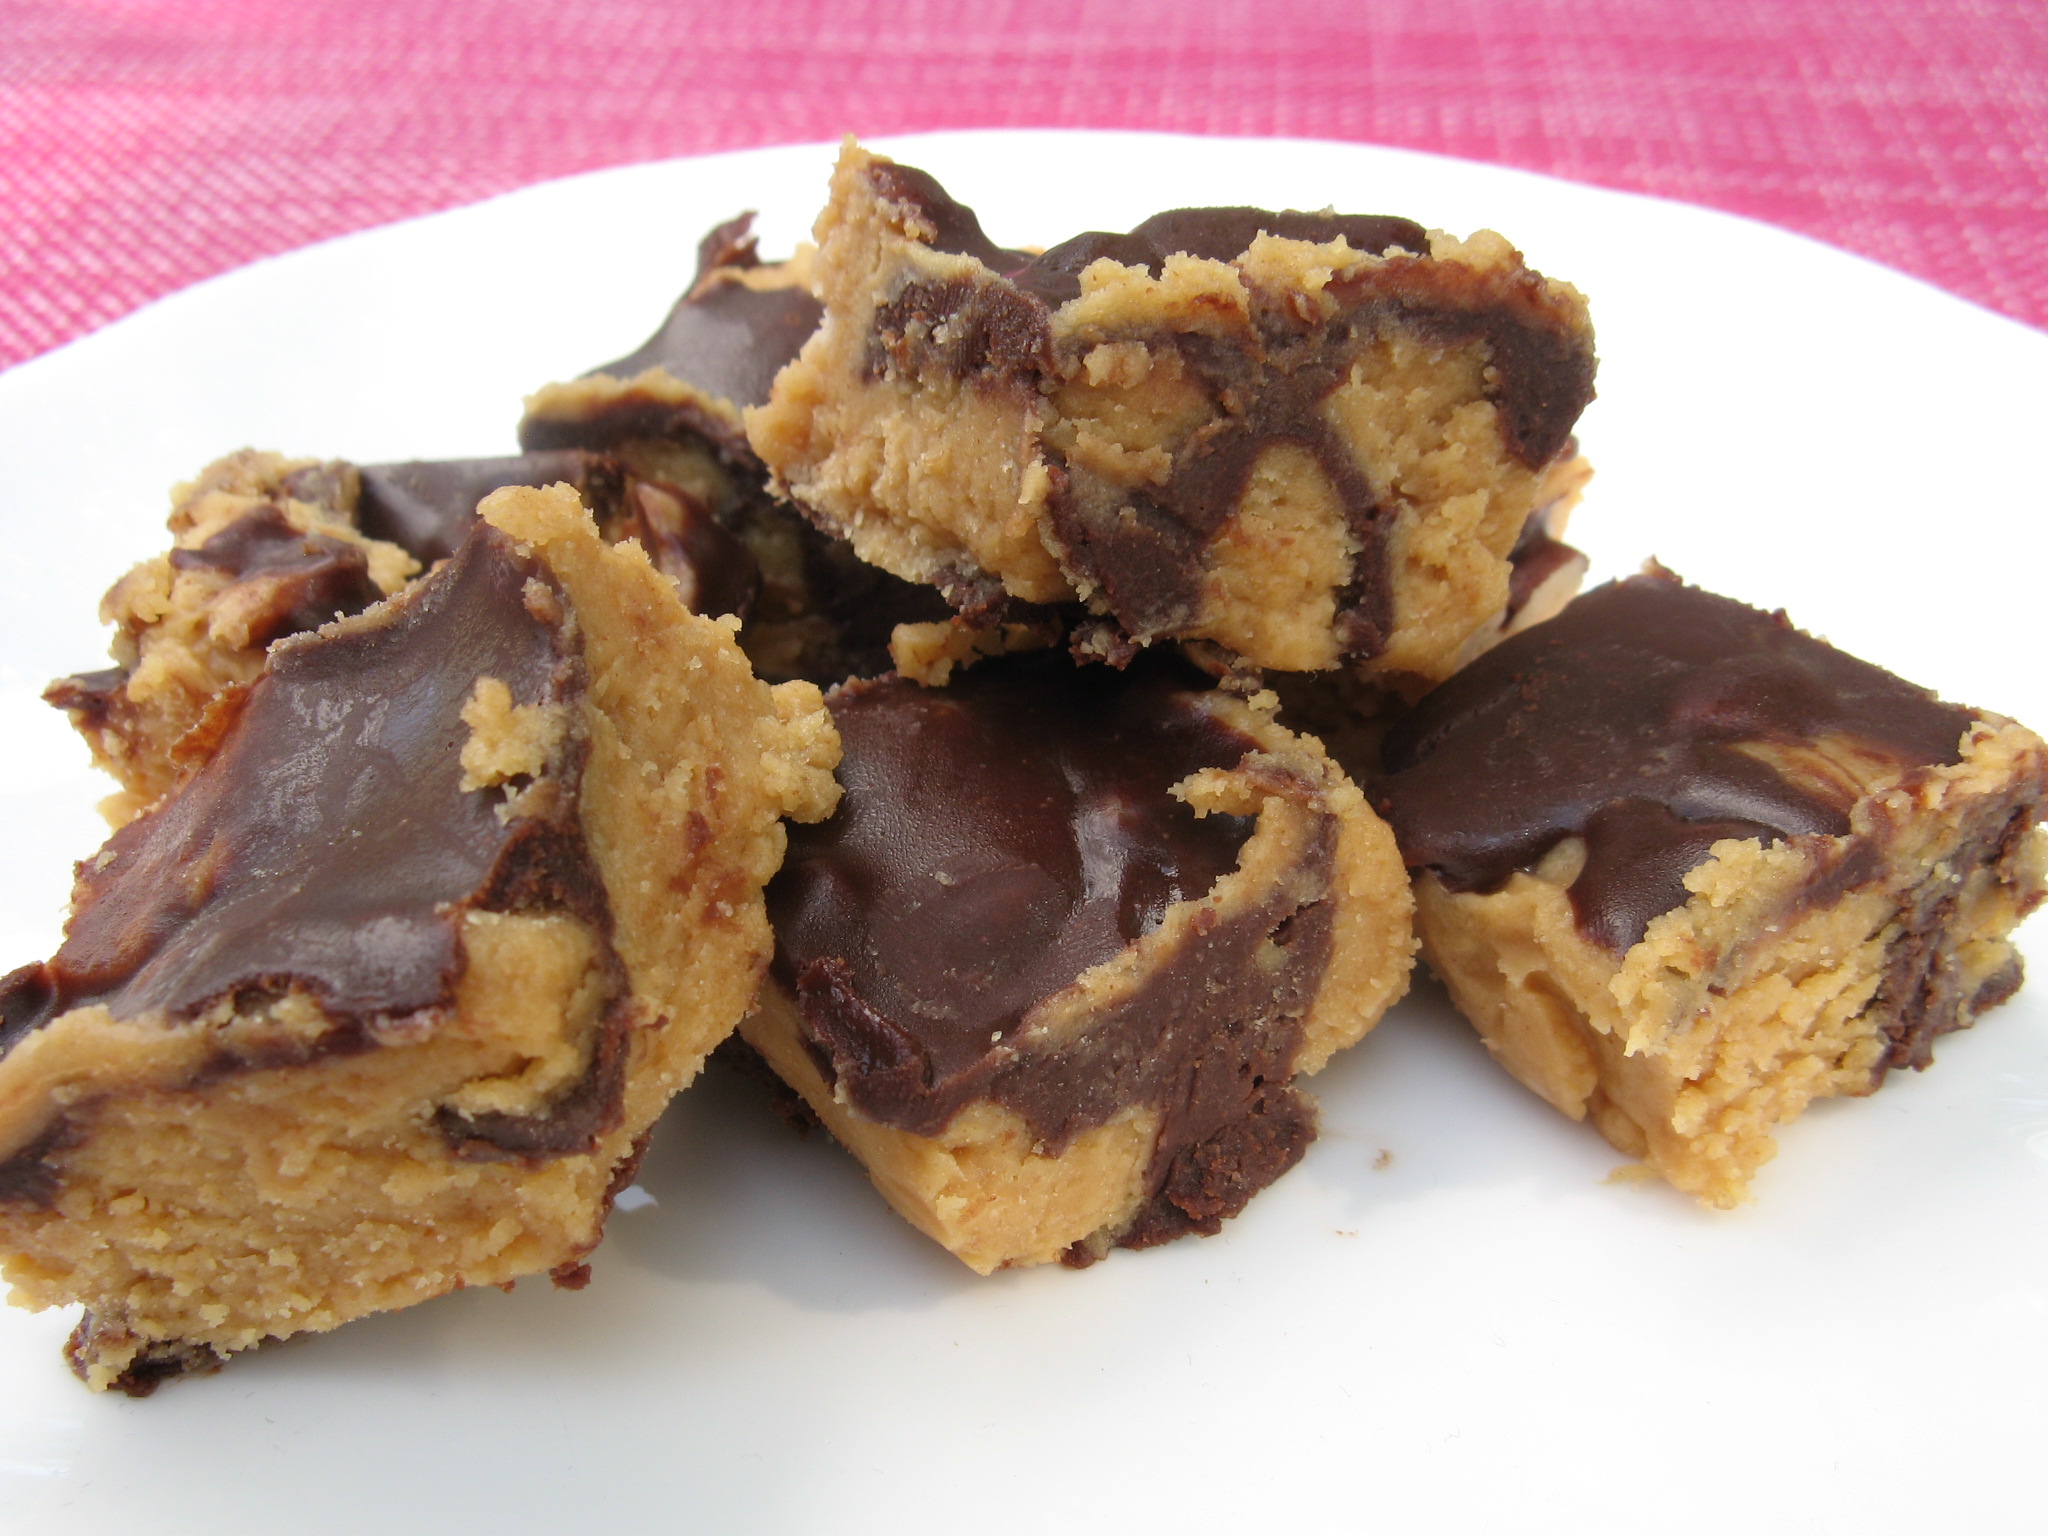
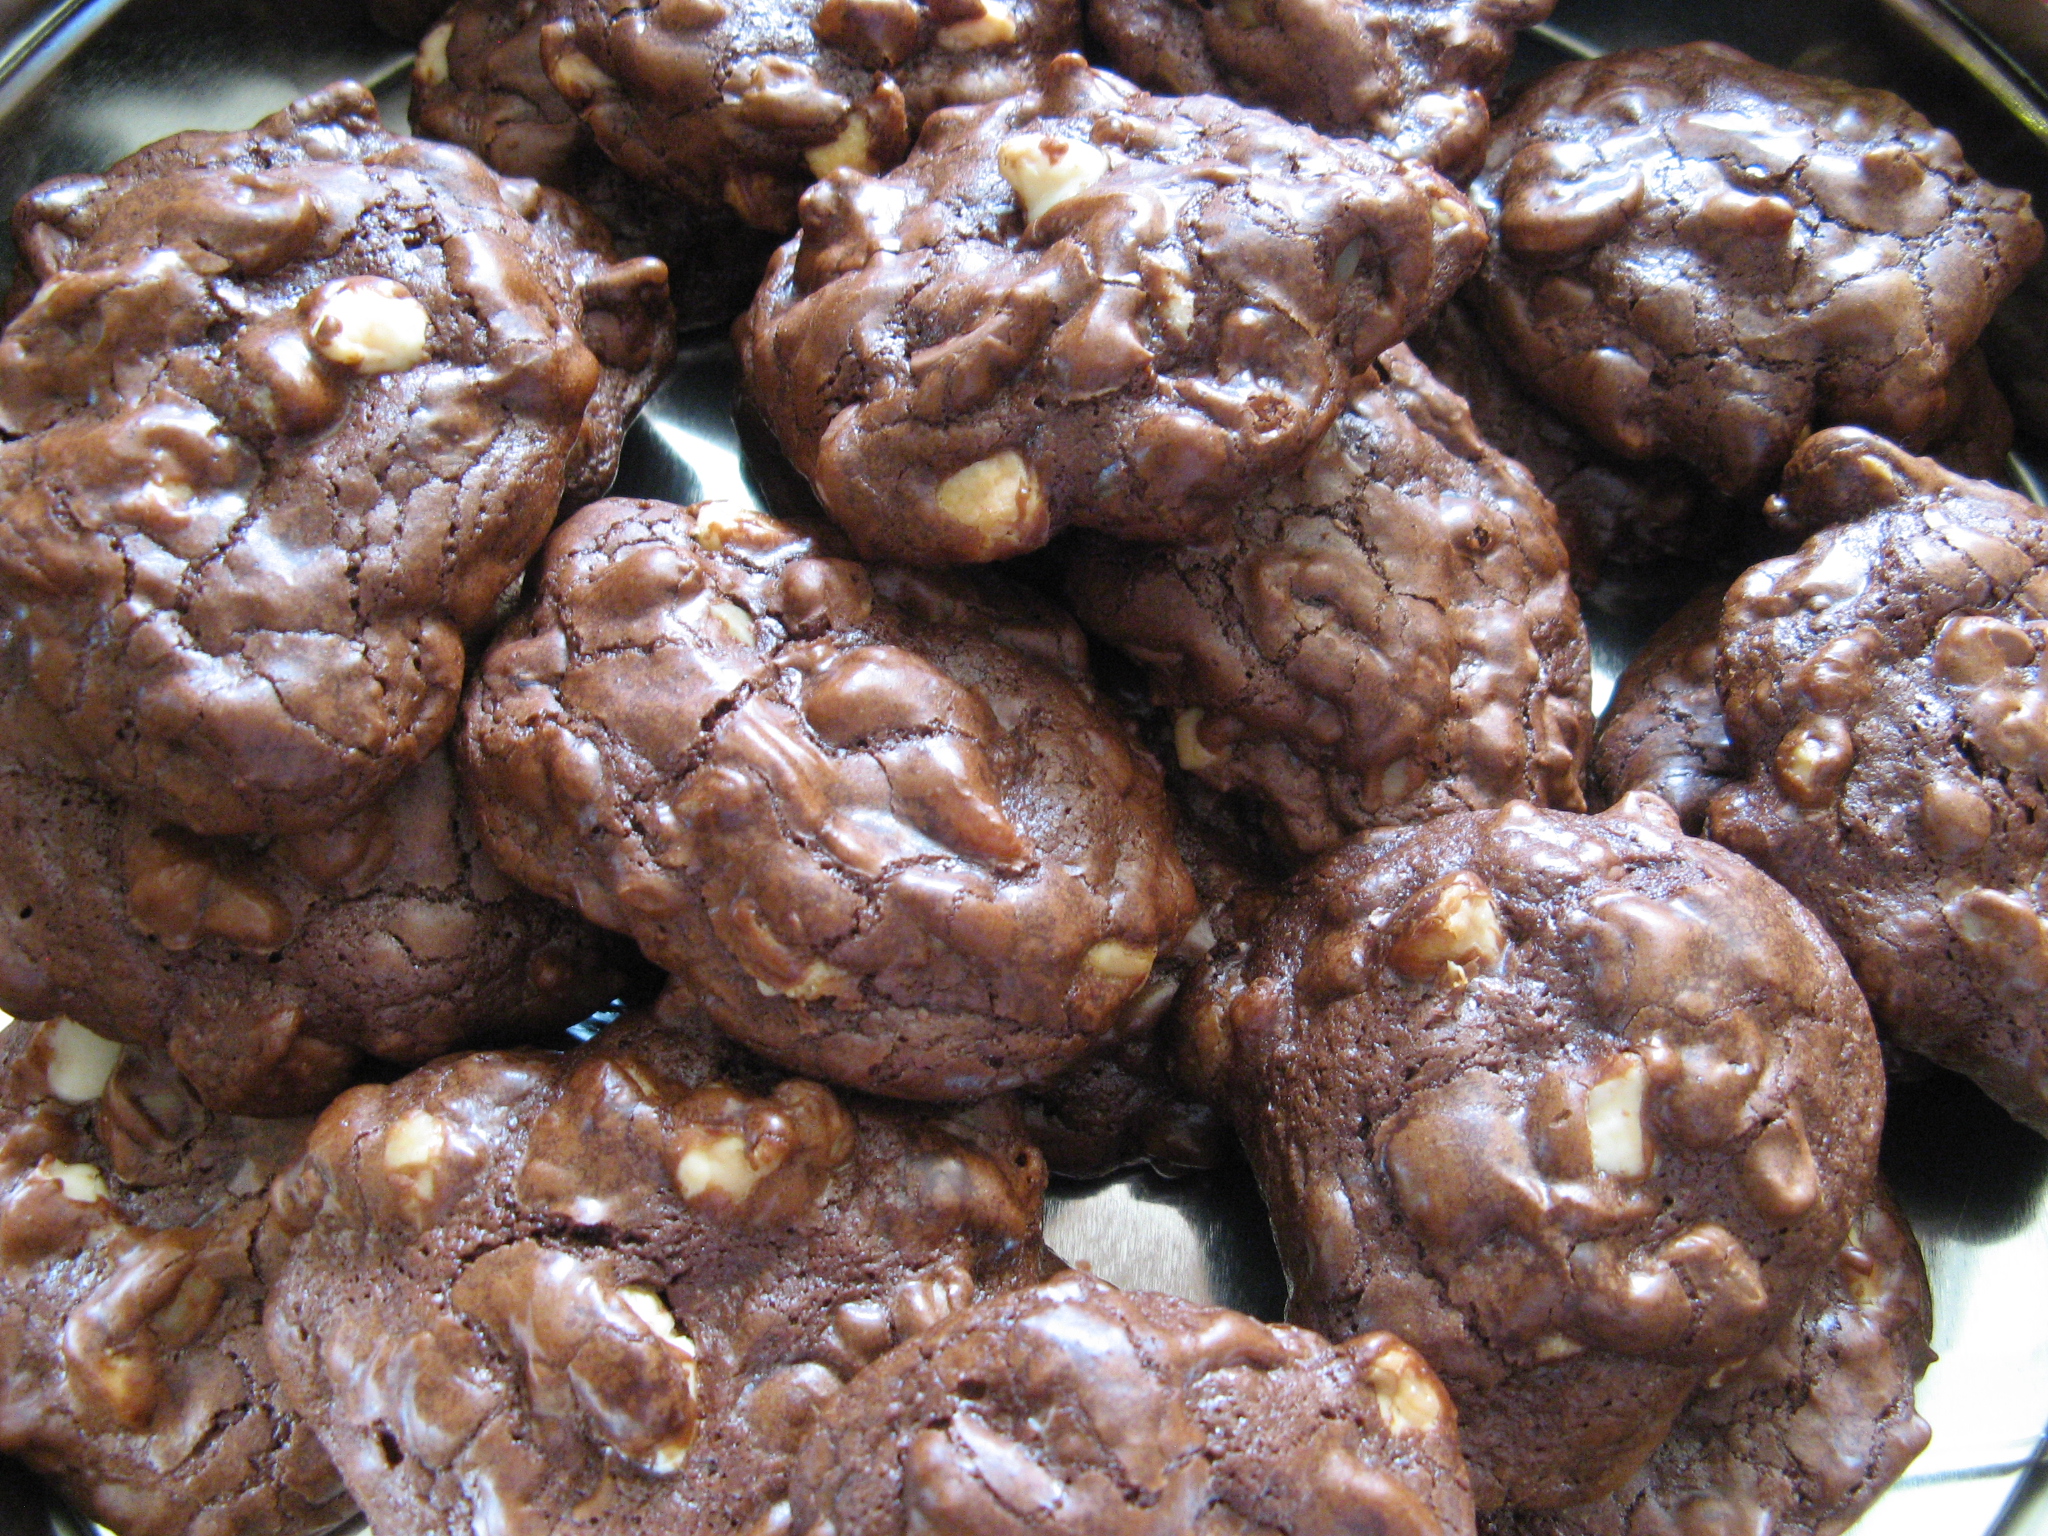
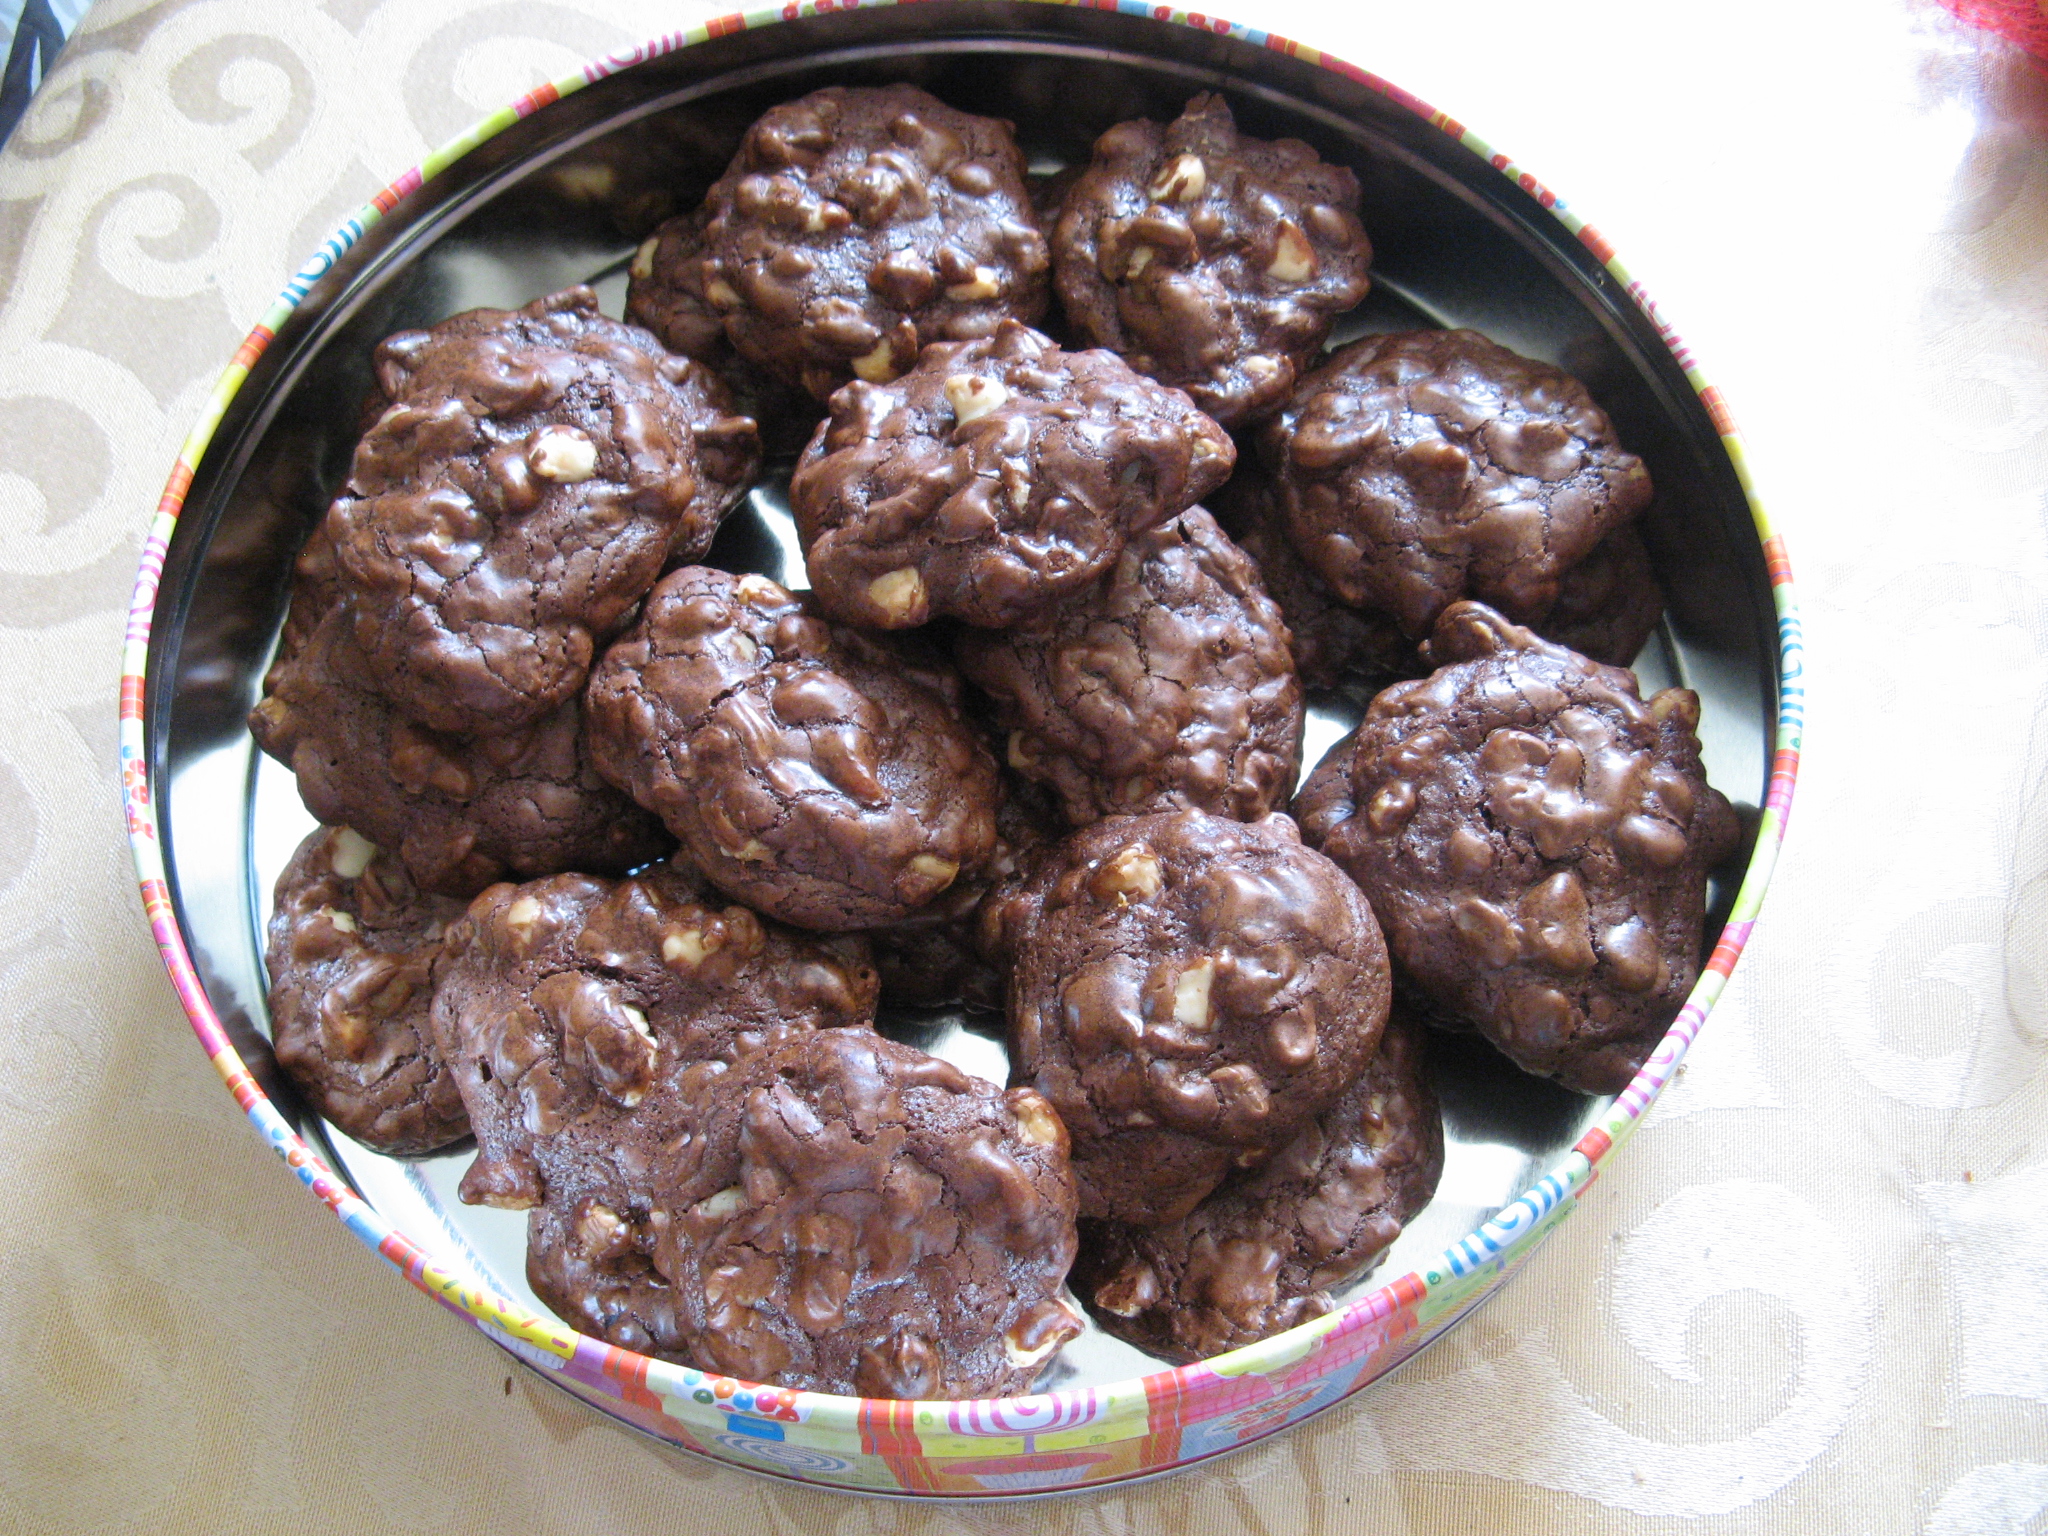
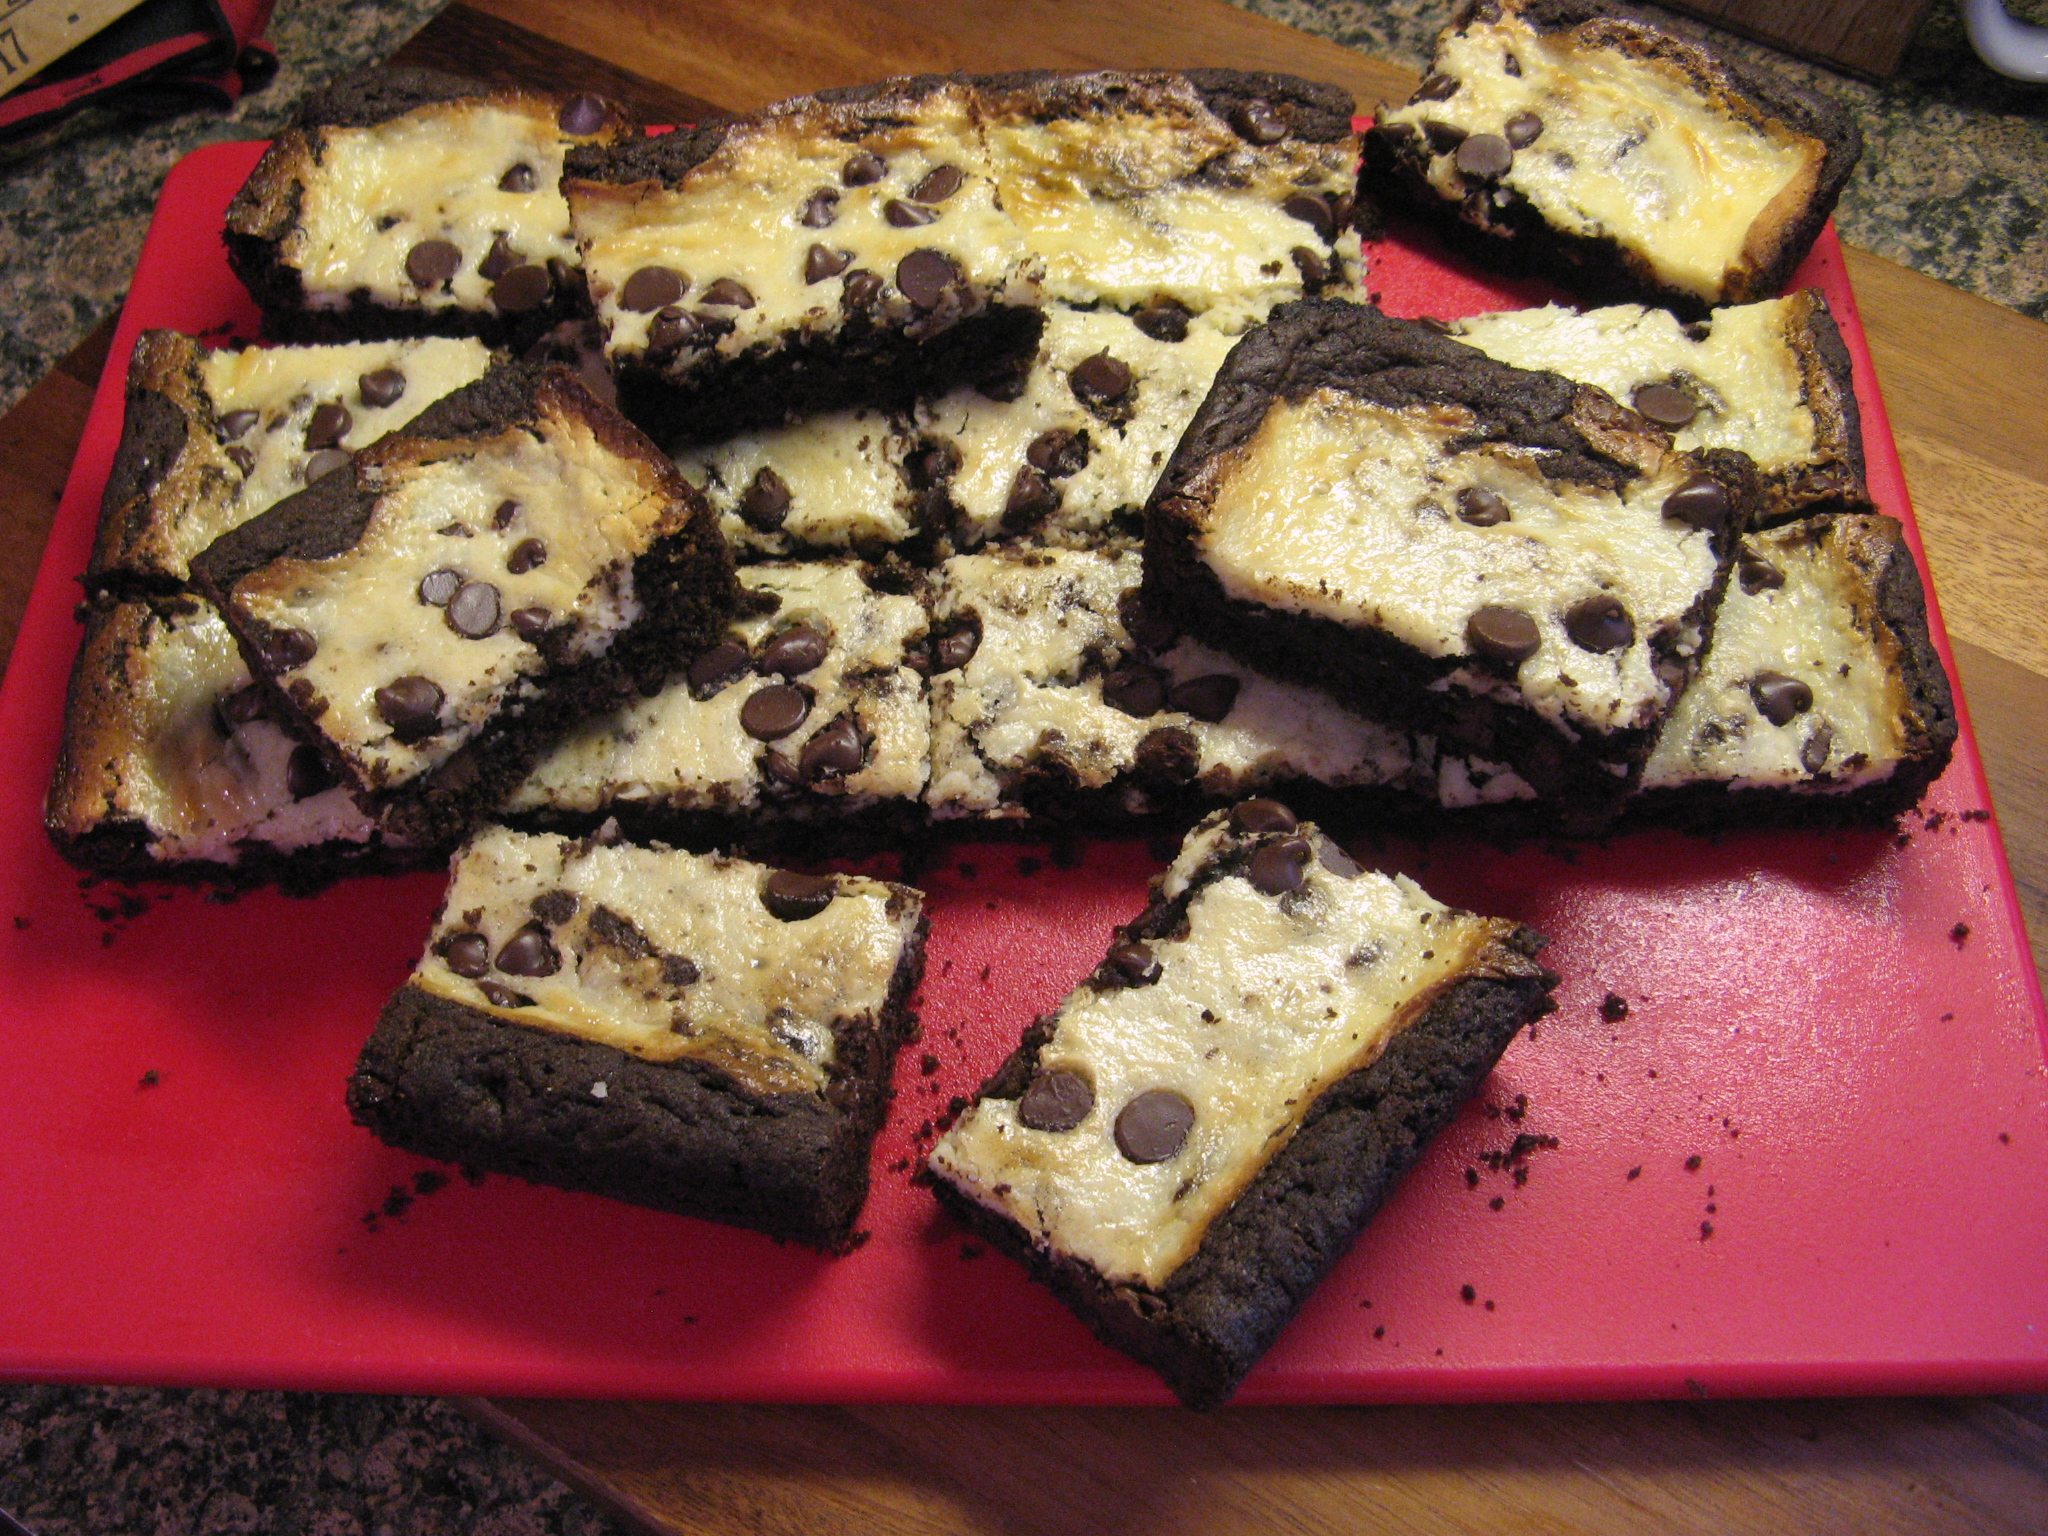
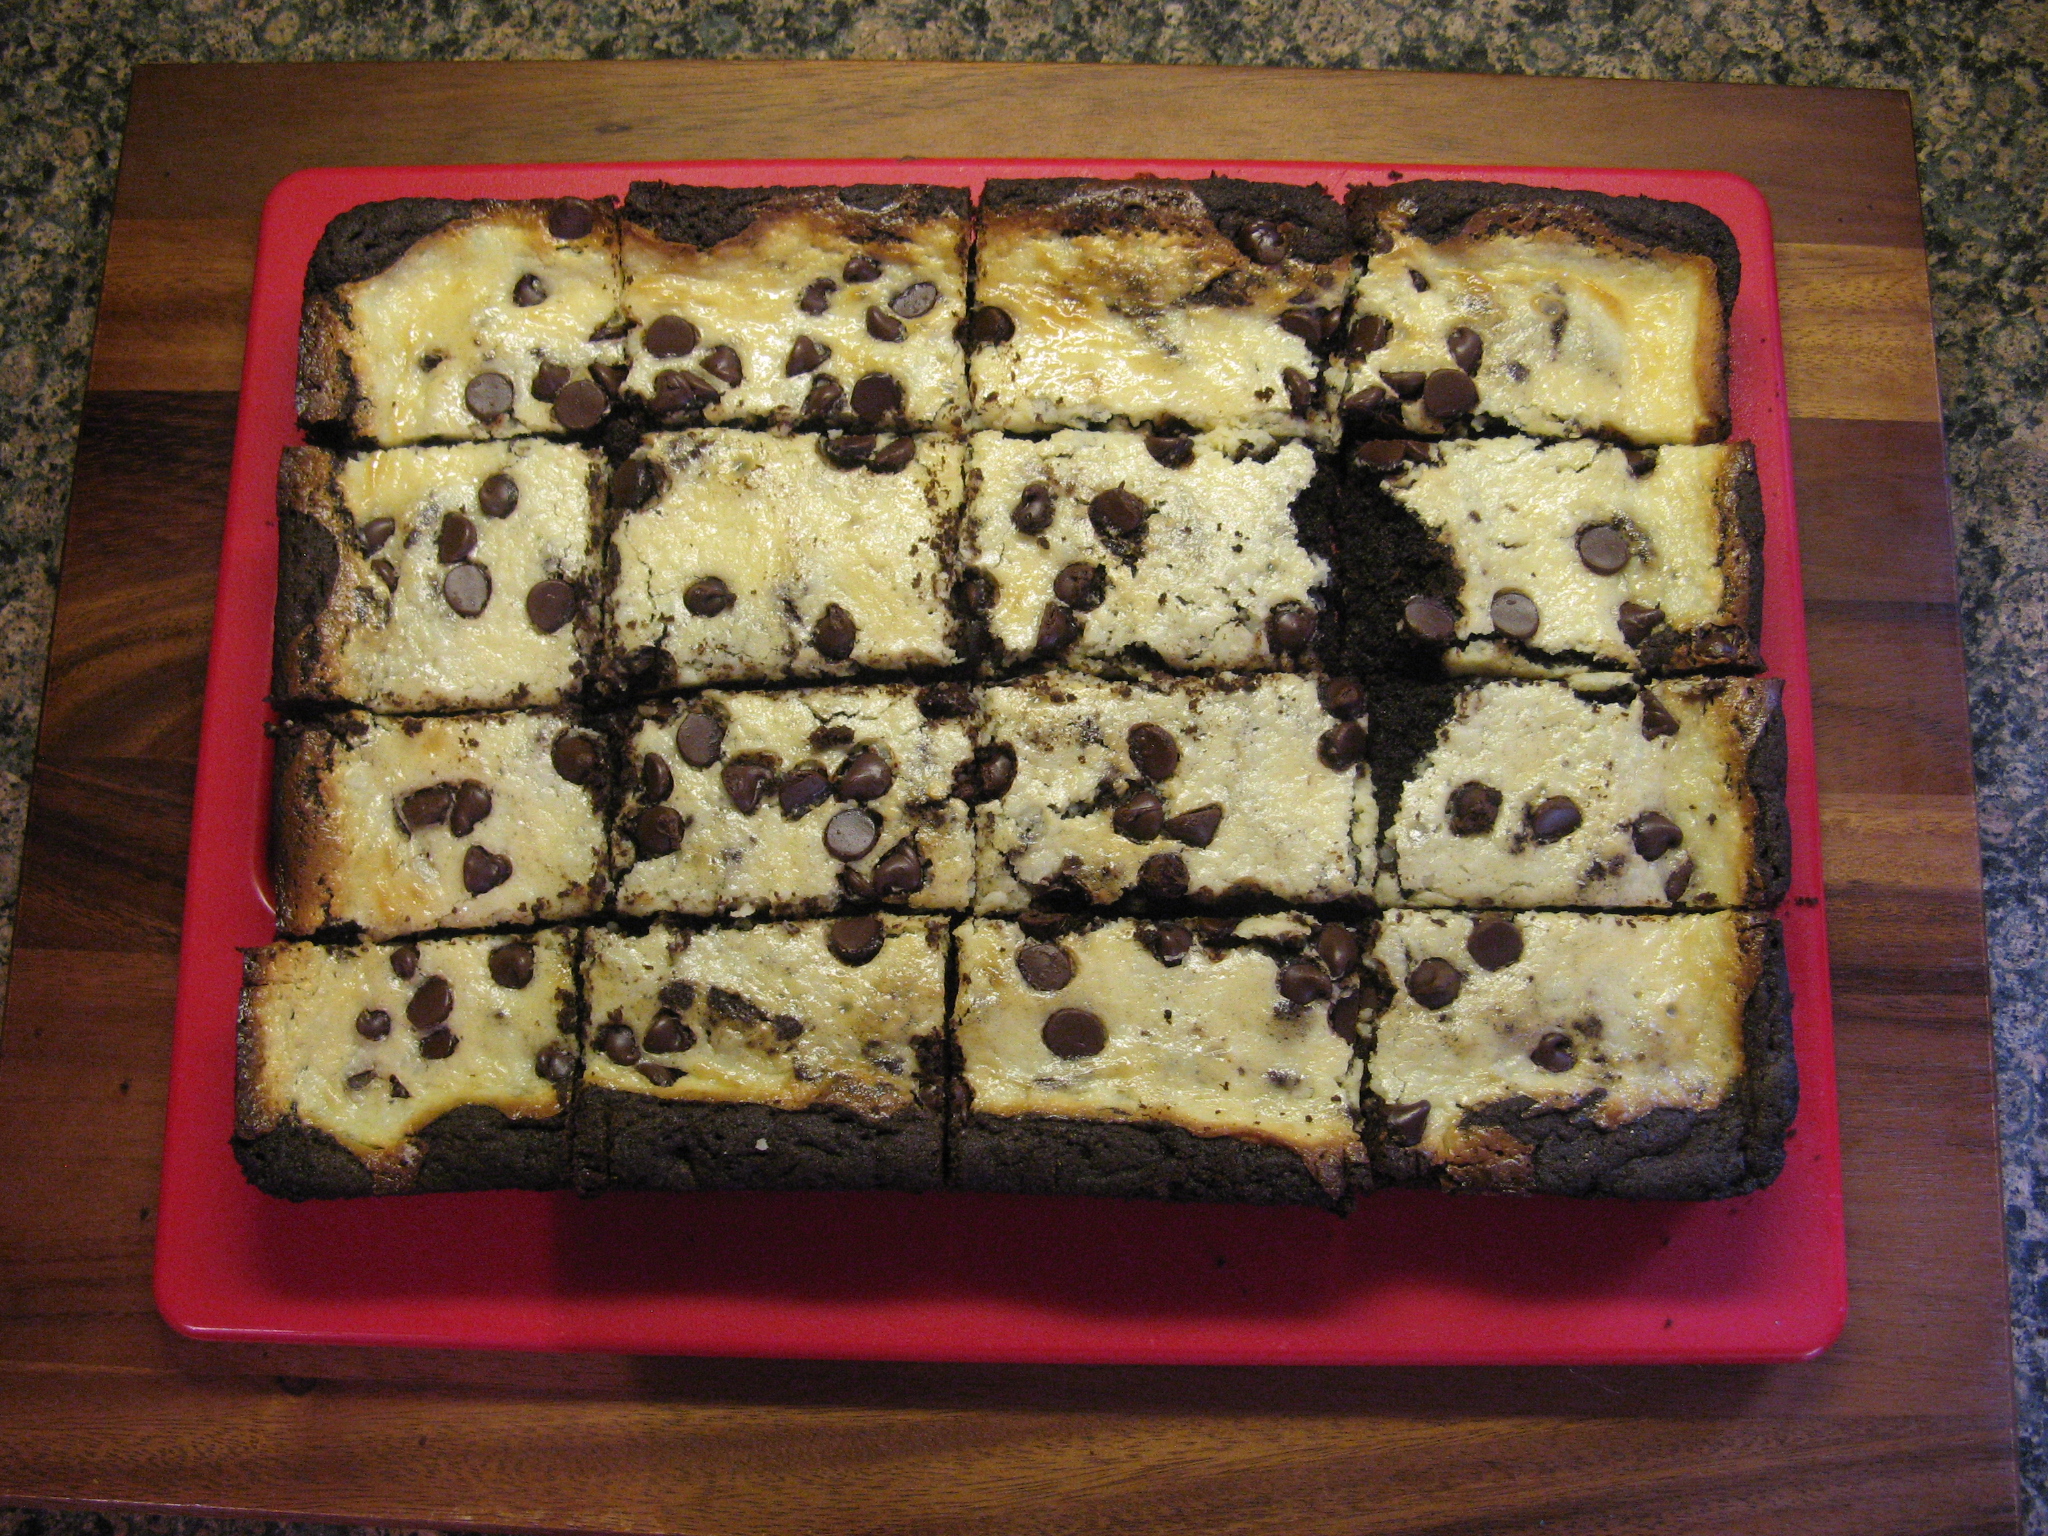
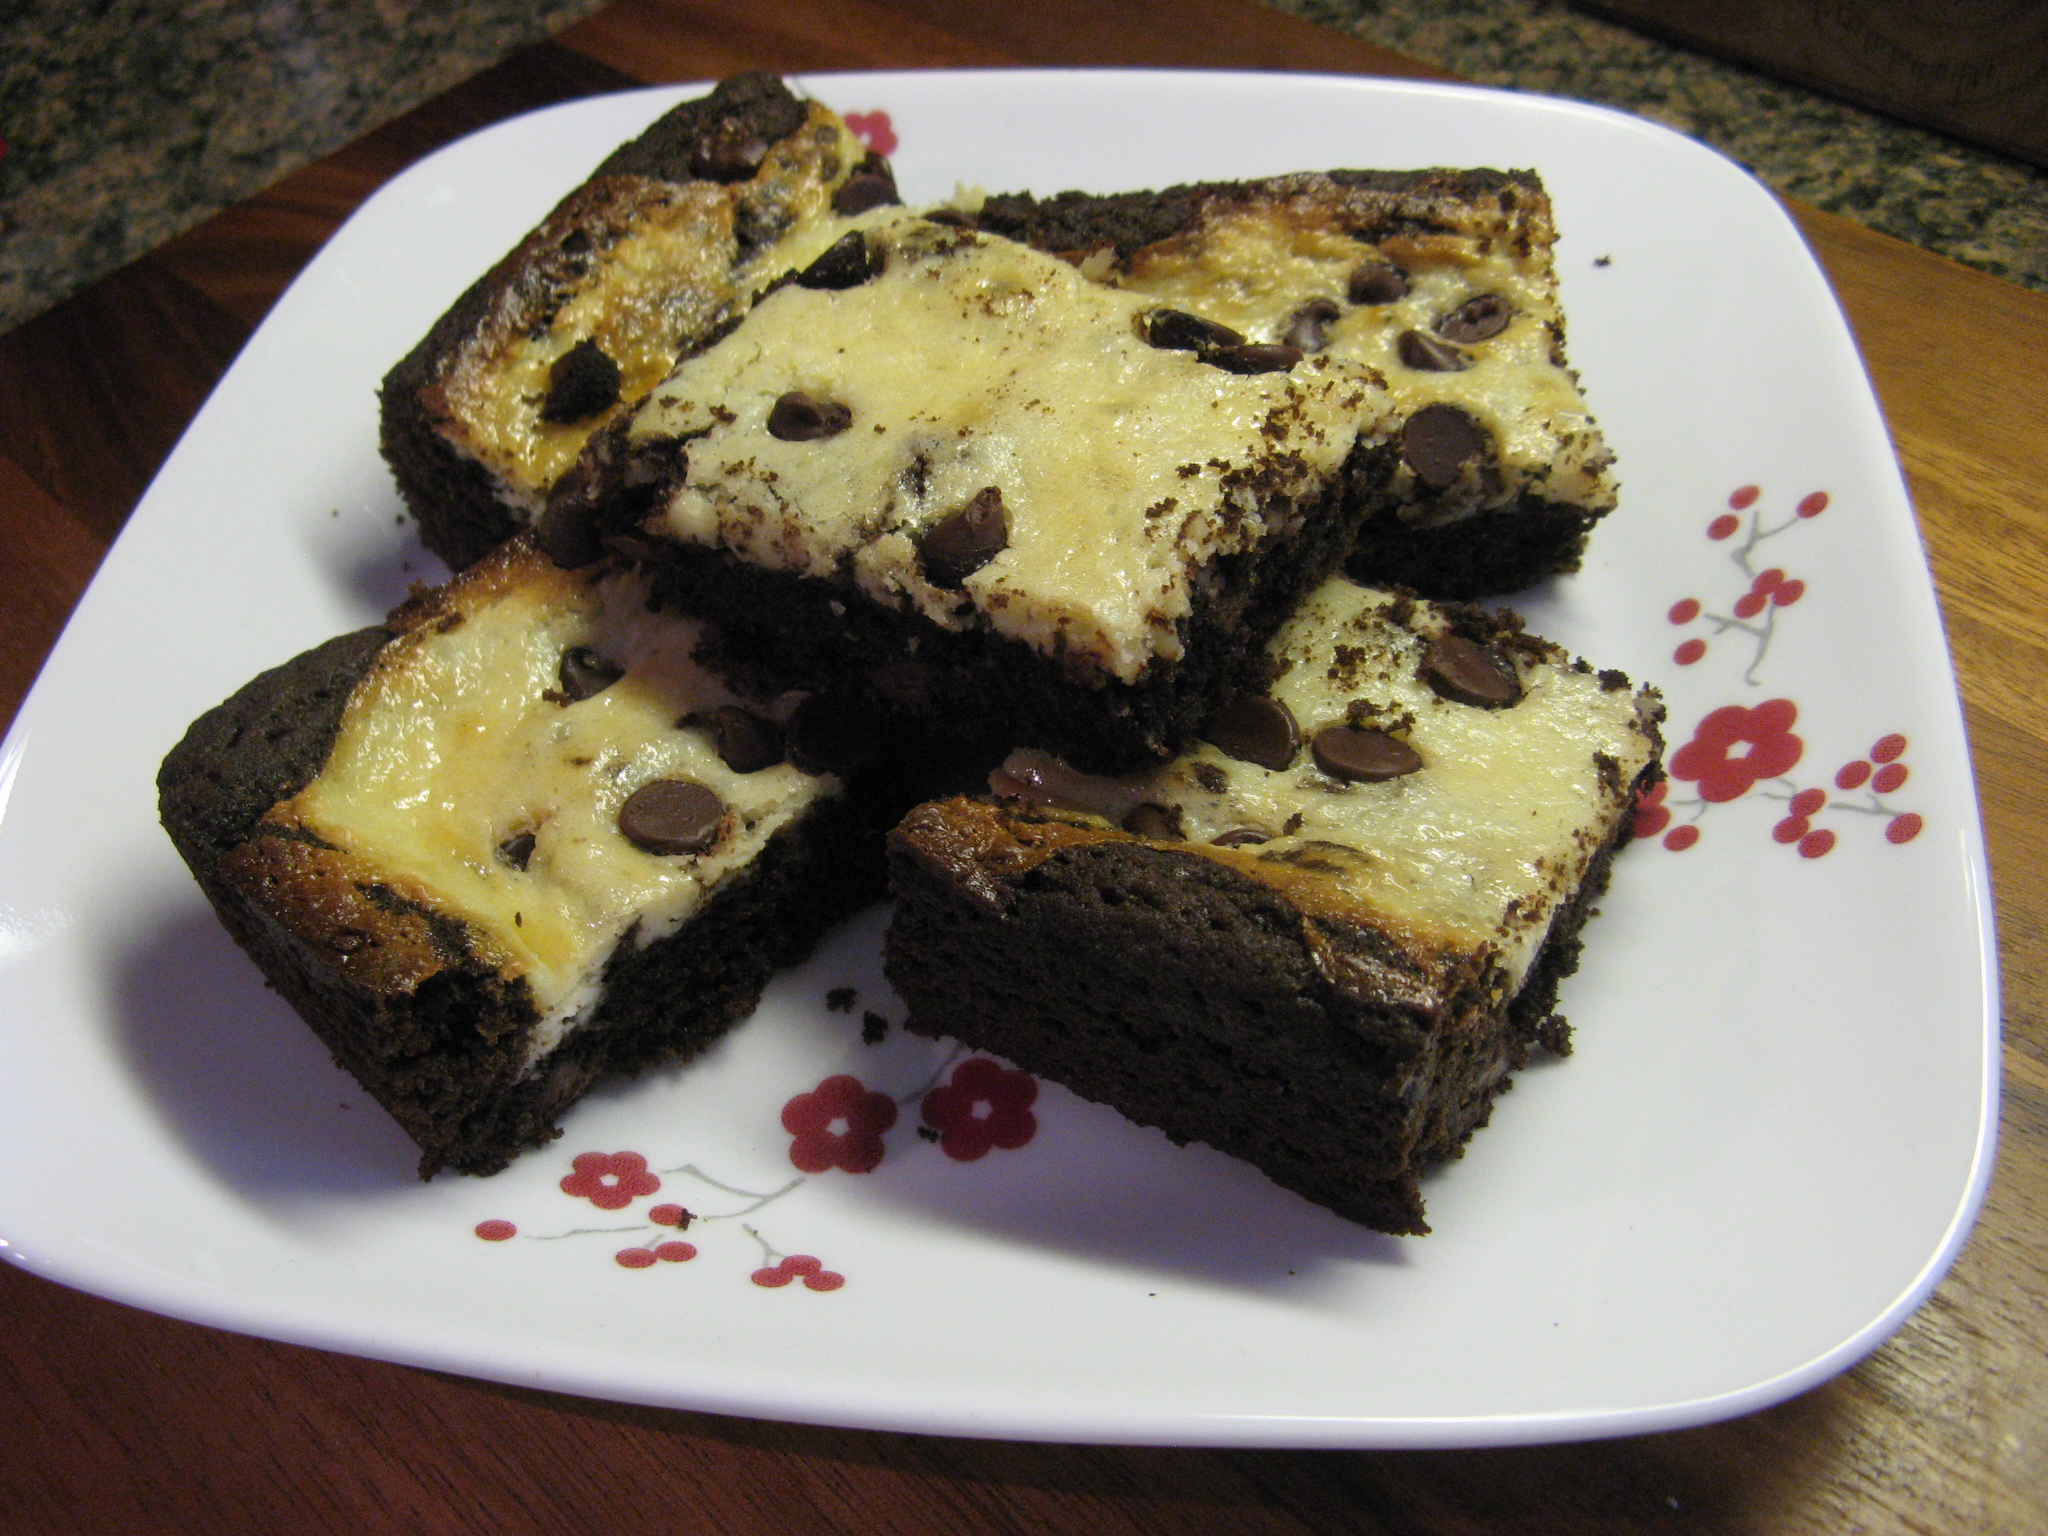
And after letting them cool completely I went to slice them and problems quickly arose. While they did appear to be completely cooked for some reason when I went to slice them they seemed to be undercooked in the middle. Granted, if I had left them in the oven longer the edges would have really burned. So while it appeared that I would have been able to slice these into 20 healthy-sized brownies I really only ended up with 12. While they did taste good the verdict is out as to whether or not I will make them again. I actually brought them to a friend’s house and we jokingly coined them “The $50 Brownies” because of the amount of ingredients… LOL!

 img_0368


Pumpkin Chocolate Brownies

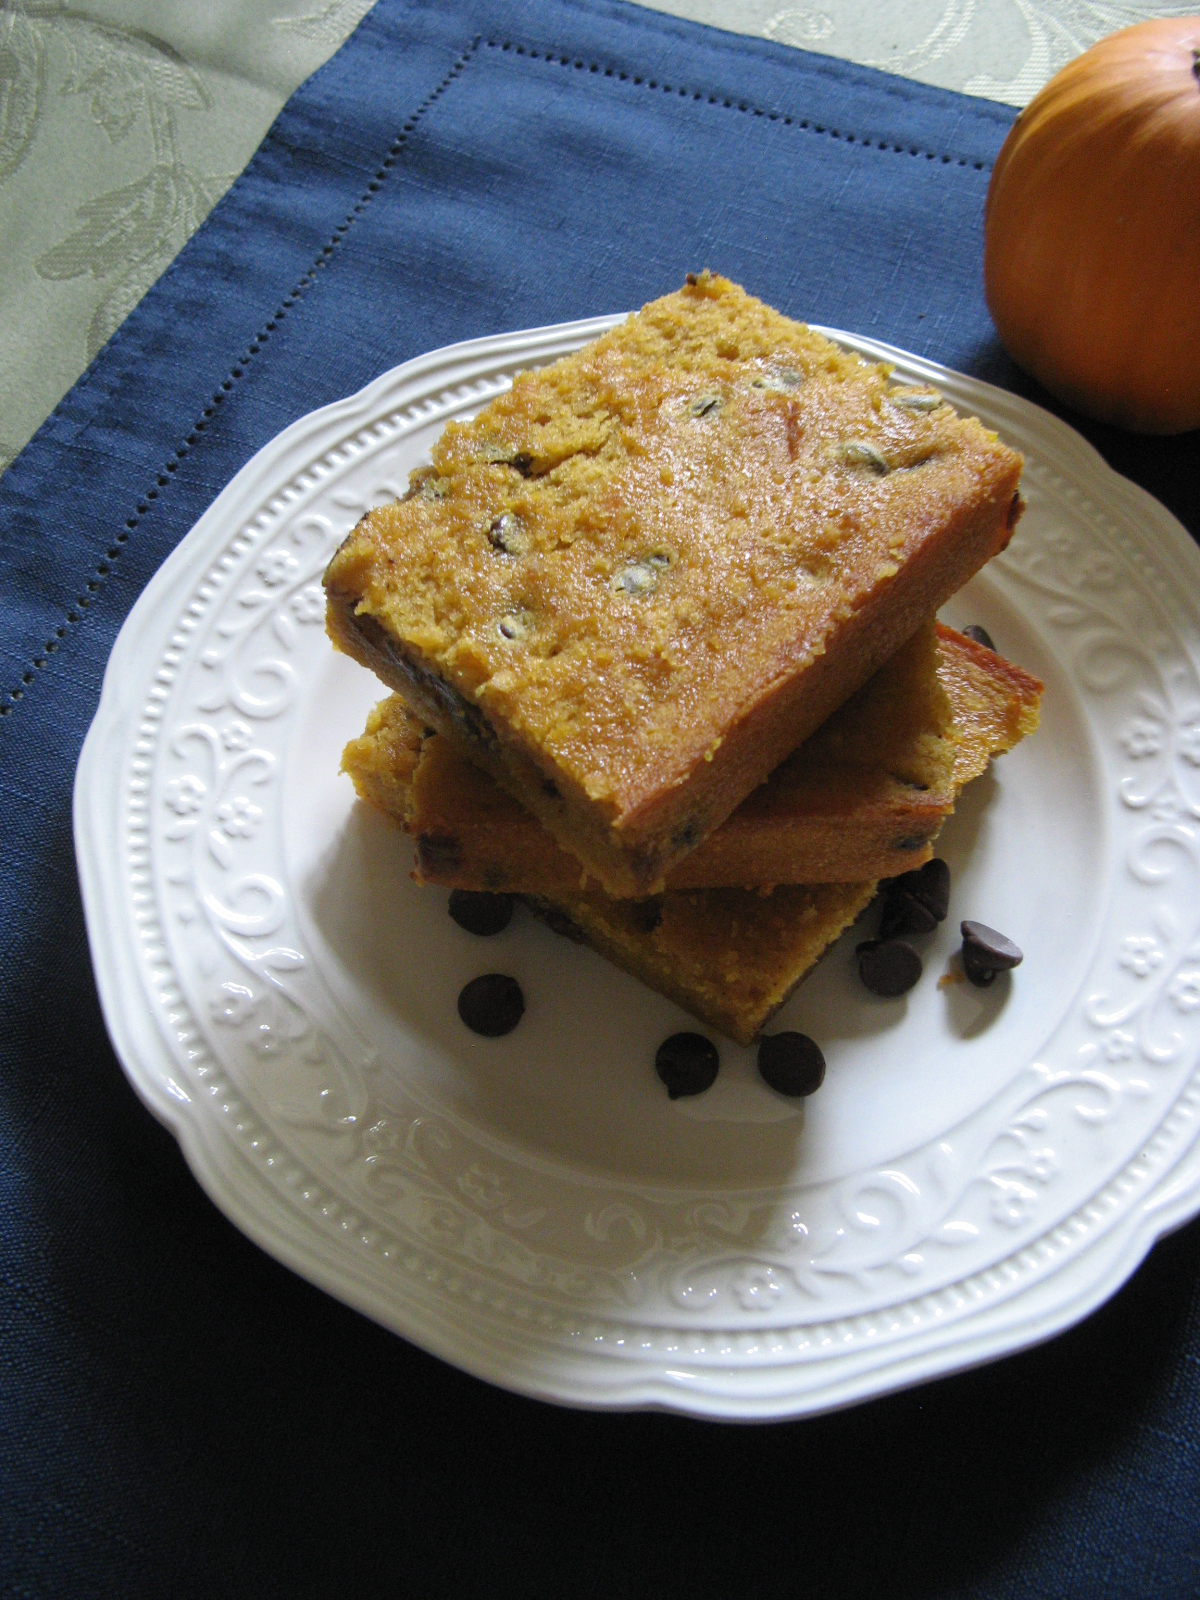
Ingredients:

2 1/4 cups flour

1 1/4 teaspoon cinnamon

1/8 teaspoon ginger

1/4 teaspoon nutmeg

1/4 teaspoon salt

9 large eggs

2 1/2 cups pumpkin puree

4 1/3 cups sugar

1 2/3 cups unsalted butter, melted

1 1/2 cups semi-sweet chocolate chips


Directions:

Preheat oven to 350 F. Grease an 18 x 12 inch rimmed baking sheet.

In a medium bowl sift together the flour, cinnamon, ginger, nutmeg and salt.

In a large bowl, using an electric mixer, beat together the eggs and the pumpkin puree on medium speed until well combined. Add the sugar and continue beating until all ingredients are well combined.

With the mixer running, slowly add the melted butter to the pumpkin mixture. Gradually add in the flour mixture until fully incorporated, scraping the sides of the bowl as necessary. Stir in the chocolate chips.

Spread the batter into the prepared baking sheet and bake for about 45 minutes, until a cake tester or toothpick inserted in the center comes out clean.

Cool completely and then slice.

Recipe from Buddy Valastio People Magazine


Mocha Chocolate Icebox Cake

The unofficial end of the summer is upon us! A bittersweet time… the lazy days of summer are coming to an end, kids go back to school (yay for crazy morning traffic – that being said in my most unenthusiastic and sarcastic voice) and temperatures begin to drop. Granted, that last fact is a welcome change to me. Fall is upon us! If you didn’t know, it’s my favorite season! There’s pumpkin everything (I’m actually eating a Chobani Flip Pumpkin yogurt as I write this), apple picking, the crisp air in the morning, the leaves changing color and so many other wonderful things. It also leads us to my other favorite time of the year… The Holiday Season! You know, that time between Thanksgiving and Three Kings Day. Well, that’s what I personally consider the Holiday Season to be, I know for some it ends with the New Year. But, before we get to all that and our ovens working overtime baking wonderful holiday treats, I have a dessert for you that’s perfect for any BBQ’s you’ll be heading to this holiday weekend and for any of those random 90+days that are sure to come… An icebox cake, more specifically a Mocha Chocolate Icebox Cake.

I first saw this recipe on Food Network’s Instagram feed. It’s from Ina Garten aka “The Barefoot Contessa” and I knew I had to make it. And then a few weeks later it was featured in their magazine. Its super simple, only requires 1 bowl for mixing and you have don’t have to bake it. You assemble it and let it set overnight in your fridge – hence icebox cake.

In a large bowl combine heavy cream, mascarpone, sugar, Kahlua, cocoa powder, espresso powder & vanilla extract. Using a hand mixer, mix on low speed until combined and slowly raise the speed until stiff peaks form. Before using this mocha cream of course I had to try it and it tasted similar to the cream used in Tiramisu… Delish!

IMG_0234

Once the cream is made it was time to assemble the cake. I arranged a layer of thin & crispy chocolate chip cookies flat in an 8-inch springform pan. I used Tate’s cookies, which are famous for their thin & crispy texture. If you can’t find Tate’s or you just don’t feel like ordering them, you can try Chips Ahoy’s new Thins Chocolate Chip Cookie. So, after arranging the first layer of cookies, I spread about a fifth of the cream evenly over the cookies. Next, another layer of cookies and then the cream. I continued this layering pattern until I had 5 layers of each, ending with the cream. I then smoothed the top, covered it with plastic wrap and refrigerated it overnight.

IMG_0235

IMG_0240

The following day to unmold the cake I ran a sharp knife along the sides and then removed the ring and topped the cake with chocolate shavings.

IMG_0264

Delicious is an understatement for how good this cake is! The cookies soften due to the cream, but, are left with enough texture that you don’t feel like you’re eating mushy cookies… Which would be gross! And the combination of the mocha cream and the chocolate chip cookies is just perfect!

IMG_0266


Mocha Chocolate Icebox Cake

Ingredients:

2 cups heavy cream, cold

12 ounces mascarpone cheese

1/2 cup sugar

1/4 cup Kahlua liqueur

2 tablespoons unsweetened cocoa powder

1 teaspoon instant espresso powder

1 teaspoon pure vanilla extract

24 ounces thin & crispy chocolate chip cookies, about 35

Shaved semi-sweet chocolate, for garnish


Directions:

In a large bowl combine the heavy cream, mascarpone, sugar, Kahlua, cocoa powder, espresso powder & vanilla extract. Using a hand mixer mix on low speed until all ingredients are combined, gradually increase the speed until firm peaks form.

To assemble to the cake, arrange the chocolate chip cookies flat in an 8-inch springform pan, breaking the cookies as necessary to completely cover the bottom of the pan. Spread a fifth of the mocha cream evenly over the cookies. Place another layer of cookies lying flat and then another fifth of mocha cream. Continue this layer pattern until there are 5 layers of each, ending with the mocha cream. Cover with plastic wrap and refrigerate overnight.

To unmold, run a sharp knife along the edges and remover the ring. Sprinkle with shaved chocolate and serve cold.

Recipe from Food Network


Malted S’mores Ice Cream

Happy National S’mores Day! In honor of the day I am sharing with you a Malted S’mores Ice Cream recipe that I came across in a recent issue of Everyday with Rachael Ray magazine. And best of all… you don’t need an ice cream maker to make it.

To begin, I softened a pint of vanilla ice cream by letting it sit uncovered on my kitchen counter for a few minutes. Meanwhile, I roasted (in actuality lightly toasted, but we gotta go with roasted since this is a s’mores ice  cream) 1/2 cup of mini marshmallows in a 425 F preheated oven by spreading them on parchment lined baking sheet and popping them in for a minute or two. Don’t worry if they stick together while roasting, once they cool just pull them apart.

Once the ice cream is softened, mix it along with a 1/4 cup of malted milk power. Once the two were well blended I folded in the cooled marshmallows and 3 crumbled graham crackers. I used cinnamon graham crackers, but, I am sure that honey graham crackers would be just as good. Once all of the ingredients are incorporated transfer the ice cream to a metal loaf pan (or any other freezer safe container) and freeze until firm, at least an hour.

And you may be wondering, “How is this s’mores ice cream without chocolate?” No need to worry, the chocolate comes in the form of chocolate syrup as a topping. Add as little or as much as you like!

IMG_0216

And there you have it… A quick, easy and delicious way to enjoy your own version of a s’more on this National S’mores Day or any other day!


Malted S'mores Ice Cream

Ingredients:

1 pint vanilla ice cream, softened

1/4 cup malted milk powder

1/2 cup mini marshmallows

3 graham crackers, crumbled

Chocolate syrup, for topping

Directions:

Pre-heat oven to 425 F. On a parchment lined baking sheet spread marshmallows and bake until golden, 1 to 2 minutes.  Let cool.

In a large bowl mix softened ice cream with the malted milk powder.

Using a rubber spatula gently fold in the graham cracker crumbles and marshmallows.

Transfer to a freezer-safe containers and freeze until firm, at least an hour.

Serve topped with chocolate syrup.


Recipe from Rachael Ray Magazine

A Sweet Way to Ring in the New Year… Chocolate and Strawberries!

Happy New Year! So, how did you ring in the year? Asleep? Out and about? Or like me, surrounded by family and friends? In my case, the friends actually fall under the family category, so I should say I rang it in with family. Either way, I hope it was an enjoyable time and a great kick off to the new year ahead. And how about those resolutions? Did you make any? I may have mentioned it before, but, I don’t make resolutions. I think it’s great for those people who do so, but, I don’t think you need a new year to make a new start. Every day you wake up is an opportunity to do something different and better for yourself and those around you. I sound like self-help guru or something… LOL! But, it’s true. Every day we have a choice as to how we are going to lead our day and we can make the decisions that are best for us or the ones that are not so great. But, it’s up to each of us to make those decisions. So, maybe that’s my resolution, to live the best day possible each and every day. And trust me I know from experience that it’s not always easy, but, you always have to try and find the silver lining because if you don’t you may always wonder, “Why me?” And now on to the Chocolate and Strawberries!

So, I always want to make something different and delicious as a sweet treat for New Year’s Eve and I was pondering attempting to make macarons, but, I quickly decided against it. I think that’s best left for when it’s just a random day and if they don’t come out well I don’t have to scramble to make something else in their place. So I opted for cupcakes. Something that is foolproof and always a crowd favorite. And these were cupcakes that I wanted to make for a month or two now. I came across the recipe when I was flipping through an old holiday magazine for cookie recipe ideas – remember I am a bit of a recipe hoarder! They are a super simple mocha chip cupcake with a chocolate sour cream frosting. The coffee in the cupcake offsets the chocolate from the chocolate chips in it and the sour cream adds a nice tang to the frosting so overall this isn’t an overly sweet or chocolatey cupcake. And to make it festive I sprayed a few using an edible gold shimmer spray and topped the others with strawberries.

IMG_0246

And since I had leftover strawberries and half a bag of chocolate chips left it was the perfect set-up for some chocolate covered strawberries. I simply melted the chocolate chips in the microwave in minute intervals and then dipped the strawberries in it and then placed them on a wax-paper covered cookie sheet and placed them in the refrigerator until set. Once they were set I drizzled more melted chocolate over them. These were a HIT and barely made it to midnight!

IMG_0243

So, stay tuned in 2016 for more sweet treats, slow cooker meals, beaded jewelry and yarn projects!


Mocha Chip Cupcakes

  • Servings: 12 cupcakes
  • Print

Ingredients:

1 cup all-purpose flour

1/2 teaspoon baking soda

1/4 teaspoon salt

1/2 cup unsalted butter, room temperature

1 cup sugar

2 large eggs

1 1/2 teaspoon vanilla extract

3 ounces unsweetened chocolate, melted and cooled slightly

2 teaspoons instant espresso powder, dissolved in 1/2 cup cool water

2/3 cup semi-sweet chocolate chips


Directions:

Preheat the oven to 350 F and line a 12 standard cup muffin tin with paper liners.

Sift the flour, baking soda, and salt together in a bowl and set aside.

In a large bowl beat the butter on medium speed until smooth, 30 to 60 seconds. While the mixer is running, slowly poor in the sugar, scraping the sides of the bowl as necessary, with the mixer on medium-high speed beet until the mixture is light and fluffy, 2 to 3 minutes. Beat in the eggs, one at a time, on medium speed. Beat until the batter is smooth and scraping the bowl as necessary. Add the vanilla and the melted chocolate and beat until smooth and blended. With the mixer on low speed add the flour mixture in three parts, alternating with the dissolved espresso powder. Finally stir in the chocolate chips by hand.

Divide the batter among the prepared muffin tin and bake 20 to 22 minutes, until the cupcakes spring back when gently pressed in the center.

Let the cupcakes cool in the tin for 5 minutes on a wire rack and then remove them allowing them to cool completely on the wire rack.

Recipe from Fine Cooking


Chocolate Sour Cream Frosting

  • Servings: 1 1/4 cups
  • Print

Ingredients:

1 tablespoon unsalted butter, at room temperature

1/3 cup sour cream

3/4 teaspoon vanilla extract

pinch of salt

1 1/2 cups confectioners’ sugar, spooned and leveled

2 ounces unsweetened chocolate, melted and cooled slightly

milk, if necessary

Directions:

In a medium bowl whisk butter, sour cream, vanilla extract and salt to blend. Gradually whisk in the sugar until smooth. Add the chocolate and beat it in with the whisk until the frosting is smooth and creamy. The frosting must be thick and spreadable; if it’s too thick thin it with a drops of milk. If it’s too thin, chill it briefly, stirring occasionally until thickened.

Recipe from Fine Cooking

Chocolate Crinkles

The Christmas Cookie fun continues with today’s Chocolate Crinkles. Now, I know the cookie recipes I’ve posted earlier – Rosemary and Pine Nut Cookies and Orange Scented Elephant Ears – aren’t your traditional holiday cookie recipes, but, these are definitely in line with what you see around the holidays. I’ve seen recipes for these cookies for quite some time, I probably have 1 or 2 saved in my recipe binder, but, it wasn’t until I was flipping through a Christmas Cookie recipe magazine recently that I finally decided to try them out and I wish I had tried them sooner. They are a cinch to make and delicious… Chocolatey without being overpowering.

I started off by melting unsweetened chocolate, shortening and butter over low heat in a medium saucepan.

IMG_0025

After letting the chocolate mixture cool for a few minutes I continued making the dough for the cookies by mixing together eggs, sugar, baking powder, baking soda and salt.

IMG_0026

Once that was well mixed I then added in the melted chocolate and vanilla extract and finally flour and unsweetened cocoa powder.

IMG_0027

It wasn’t long before the dough had come together. To make sure all of the ingredients had incorporated I gave the dough a few good folds using a spatula.

IMG_0028

Using a cookie scoop I scooped up the dough and shaped it into a ball and then rolled it in granulated sugar and then confectioners’ sugar. I then placed them on a parchment lined cookie sheet.

IMG_0029

To give some of the cookies a festive touch I sprinkled them with red, green and white sprinkles.

IMG_0031

After baking them in a 350 F preheated oven for 8 minutes, I let them cool on the pan for a few minutes before transferring them to a wire rack to cool completely. While the recipe says to bake them for 8-10 minutes, I always like to bake my cookies on the lower end of the time span to ensure that I don’t end up with cookies that are like rocks. Letting them sit on the hot pan for a few minutes allows them to cook and set for a few more minutes. At first I thought I may have removed these cookies from the oven too soon, but, as they continued to cool on the wire rack they firmed up more and the texture of the cookie was spot-on. A little crisp on the outside and completely soft on the inside!

IMG_0036


Chocolate Crinkles

Ingredients:

4 oz. unsweetened chocolate, chopped

1/2 cup shortening

1/4 cup unsalted butter

3 eggs, lightly beaten

1 3/4 cup granulated sugar

2 teaspoons baking powder

1/4 teaspoon baking soda

1/4 teaspoon salt

2 teaspoons vanilla extract

1 1/3 cups all-purpose flour

1/3 cup unsweetened cocoa powder


For Rolling Dough:

1/4 cup granulated sugar

2/3 cup confectioners’ sugar


Directions:

Preheat oven to 350 F and line cookie sheets with parchment paper.

Over low heat in a medium saucepan melt the chocolate, shortening and butter. Let cool.

In a large bowl combine eggs, granulated sugar, baking powder, baking soda and salt. Stir in the melted chocolate and vanilla extract. And then stir in the flour and cocoa powder.

Using a cookie scoop, scoop out dough and shape into balls and roll the ball in the granulated sugar and then the confectioners’ sugar. Place 2 inches apart on the prepared cookie sheets. Bake 8 to 10 minutes or just until edges are set and the cracks appear slightly moist. Cool on the sheet for 2 minutes and then transfer to a wire rack to cool completely.

Recipe from Better Homes & Gardens 100 Best Cookies Magazine

S’mores Brownies

I hope you are all having a wonderful summer thus far! Today I have a treat for you that is perfect for these summer days, a spin on a favorite campfire treat… S’mores Brownies.

IMG_8701

I began by spraying a 9 x 13 inch pan with cooking spray and lining it with graham crackers.

IMG_8646

Next, I made my brownie batter and poured it right over the graham crackers…

IMG_8652

And then baked it in a pre-heated 325 F oven for 40 minutes, until a cake tester inserted in the middle came out almost clean.

IMG_8653

I then switched my oven to the broiler setting and topped the brownie with mini marshmallows, chocolate chips and crushed graham crackers and placed it back in the oven for just about a minute until the marshmallows began to brown.

IMG_8664

I let the brownie cool on a wire rack and then transferred it to a cutting board to slice it. The key is to make sure the brownies have completely cooled before slicing into them, if you slice them too soon you will have a marshmallow mess as they will still be warm and gooey and the brownies will fall apart as they won’t have had enough time to set. I speak from experience on the latter.

IMG_8687

These brownies were perfect! The texture was spot-on… Not cakelike or too dense. And while you may think that the addition of the marshmallows and chocolate chips on top would make them too sweet, the opposite is true, it enhanced the flavor of the chocolate in the brownies. And let’s not forget the graham crackers on the bottom, they incorporated nicely into the brownie and while you may think they would get crispier when baked they actually provided a soft base to the brownies, sort of like a built-in plate. Overall, all of these flavors and textures worked together perfectly; just like your regular S’mores does.

IMG_8690


S’mores Brownies

Makes 12 Brownies

 Ingredients:

10 graham crackers

3 cups mini marshmallows

2 cups semi-sweet chocolate chips, plus an additional 1/2 cup for the topping

1 stick unsalted butter

3/4 cup granulated sugar

3/4 cup light brown sugar

4 eggs

1 teaspoon vanilla extract

1 cup flour

1/2 teaspoon salt

Directions:

Preheat the oven to 325 F. Spray a 9 x 13 inch pan with cooking spray and line it with graham crackers.

In a medium saucepan melt 2 cups of the chocolate chips with the stick of butter over low heat, stirring frequently.

Once the chocolate chips and butter have melted remove from the heat and whisk in the granulate sugar and light brown sugar, cool slightly.

Whisk in the eggs, one at a time and then the vanilla extract.

Stir in the flour and salt and pour the batter over the graham crackers.

Bake for 40 – 45 minutes, until a tester inserted in the middle come out almost clean.

Remove the pan from the oven and set the oven to the broiler setting. Top the brownie with the mini marshmallows, and the remaining chocolate chips and graham crackers – crush the graham crackers. Place the pan back in the oven for 30 – 60 seconds, until the marshmallows begin to brown. Remove from the oven and transfer to a wire rack to cool completely. Once cooled transfer the brownie to a cutting board and slice into 12 pieces.


Peanut Butter & Dark Chocolate Fudge

Peanut Butter & Chocolate… One of my favorite combinations, so when I saw a quick and simple recipe for a marble fudge combining the two in a recent issue of Rachael Ray Magazine, I knew I had to try it.

IMG_8486

In a large bowl I beat peanut butter along with confectioners’ sugar, cream cheese, butter and vanilla extract…

IMG_8421

And then dropped the mixture by teaspoonfuls into a foil-lined loaf pan.

IMG_8423

In a medium saucepan I melted dark chocolate chips along with heavy cream.

IMG_8425

I then poured the melted chocolate mixture over the peanut butter mixture and placed it in the refrigerator for a few hours so it could firm up.

IMG_8427

After about fours I removed it from the refrigerator and lifted the fudge out of the pan and sliced it into 18 pieces. Since the peanut butter was still a bit soft I place it in the freezer for about fifteen minutes, enjoyed a piece and then put it back in the refrigerator.

IMG_8447

While this fudge didn’t disappoint in the flavor department I was bit upset about how quickly it would soften/melt once out of the refrigerator for a few minutes. That only meant I had to enjoy this sweet treat immediately after taking one out of the refrigerator!

IMG_8470

Check out some of my previous blog posts with this delicious flavor combination: Peanut Butter & Chocolate Marbled Cookies, Peanut Butter Cupcakes with Chocolate Frosting and Peanut Butter Cup Ice Cream.

Marbled Fudge

Ingredients:

1/2 cup peanut butter

1 cup confectioners’ sugar

2 oz. cream cheese, softened

3 tbsp. unsalted butter, softened

1/2 tsp. pure vanilla extract

2/3 cup dark chocolate chips

1/3 cup heavy cream

Directions:

1. Line a loaf pan with aluminum foil

2. In a large bowl beat together the peanut butter, sugar, cream cheese, butter and vanilla extract until well combined. Drop by teaspoonful into prepared loaf pan.

3. In a medium saucepan melt the chocolate with the heavy cream over medium heat, whisking until smooth. Pour it over the peanut butter mixture and refrigerate for at least four hours.

4. Remove from refrigerator and lift the fudge out of the pan and slice into 18 1-inch squares. If you find the fudge is still soft place in the freezer for a few minutes. Keep refrigerated.

Mint Chocolate Chip Ice Cream

Happy National Ice Cream Day!!! While I can pretty much eat ice cream any time of the year – frigid temperatures do not deter me from enjoying this creamy treat – summer is the ideal time to enjoy it. Which makes July the perfect month to celebrate National Ice Cream Month and the third Sunday of the month National Ice Cream Day!

I love texture when it comes to most things, i.e. nuts in brownies, sprinkles on cupcakes (and ice cream of course), so it’s no surprise that while I do enjoy plain old vanilla and chocolate ice cream I am partial to those flavors that have some sort of bite to them. Hence me making Mint Chocolate Chip Ice Cream. Well, the other reason for me making this particular flavor… Once the weather gets warmer mint grows wild around my yard. Usually I ignore it and let it grow as it is a good deterrent with squirrels digging holes everywhere in search of food, but this year I got the idea to make mint chocolate chip ice cream with it.

IMG_8302

After collecting and rinsing 2 cups of fresh mint leaves…

IMG_8248

I combined them along with whole milk, sugar, cream and salt in a saucepan and simmered the mixture over medium heat, stirring it occasionally until the sugar dissolved. I then removed the pan from the heat and let the mixture steep for 30 minutes.

IMG_8252

Following that I strained the mixture and returned it to the saucepan and heated it on medium-low heat

IMG_8253

I took a cup of the warmed milk and slowly added it to a bowl with whisked egg yolks; while adding the milk I whisked the mixture constantly to temper the eggs. If tempering is not done properly you can end up with scrambled eggs.

IMG_8254

Once the eggs where tempered I added them to the remaining milk mixture on the stove and stirred the combined mixture constantly to form a custard.

IMG_8257

Following that I strained the custard through a sieve into a medium-sized bowl. After letting the custard cool for a few minutes I covered it and refrigerated it overnight. I was a bit concerned when I saw that my custard was yellow – I feared that my ice cream was going to be this color. Green & white are cool for mint ice cream, but yellow not so much!

IMG_8258

The following day I transferred the mixture to the bowl of my ice cream maker and once it started to firm up I added in chopped semi-sweet chocolate to the ice cream.

IMG_8261

And finally I transferred the ice cream to an airtight container to place it in the freezer so the ice cream could firm up.

IMG_8263

Final outcome… Well, thankfully it didn’t end up being yellow! The flavor is definitely different than store bought mint chocolate chip ice cream. It has more of an earthy flavor and doesn’t have the aftertaste that I find with some store bought ice creams. Also, since the base was custard and not a liquid like I normally make for ice cream it was definitely much creamier and reminded me of ice cream that you sometimes get from “old-time” ice cream shops. I definitely want to try to make this again, but, I think I would use less mint leaves and sugar and instead of making custard I would steep the leaves in milk similarly like when I made Lavender Vanilla Ice Cream.

IMG_8297

Mint Chocolate Chip Ice Cream

Ingredients:

2 cups fresh mint

1 cup whole milk

1 cup sugar

2 cups heavy cream

Pinch of table salt

6 large egg yolks

4 ounces semi-sweet chocolate, finely chopped

Directions:

1. Combine the mint, milk, sugar, cream and salt in a medium saucepan. Bring to a simmer over medium heat and cook, stirring occasionally, until the sugar is dissolved, 3 to 5 minutes. Remove from heat and let steep for 30 minutes.

2. Strain the milk mixture through a sieve into a large bowl, pressing to extract as much liquid as possible; discard the mint. Return the milk mixture to the saucepan and place medium-low heat.

3. Set the sieve over a medium bowl. In a large bowl, whisk the egg yolks. Slowly add 1 cup of the warm milk mixture to the egg yolks, whisking constantly, until combined. Return to the saucepan with the remaining milk mixture and cook, stirring constantly, until the mixture thickens to custard and coats the back of a spoon, 10 to 12 minutes.

4. Remove the custard from heat and strain. Let sit until slightly cool, about 10 minutes. Refrigerate, covered, until cold, at least 3 hours and up to overnight.

5. Transfer the custard to an ice cream maker and freeze according to manufacturer’s directions. Fold in the chocolate. Transfer the ice cream to an airtight container and freeze until firm, at least 4 hours and up to 4 days.

Triple Chocolate-Hazelnut Cookies

There are many perks to living on Long Island – being readily close to a beach (although I am not a beach person per se I more so enjoy going to a nearby marina and watching the water, it’s quite calming,) I can be in NYC in about an hour and I can also visit some great wineries an hour in the opposite direction. A group of friends and I make it a point at least once a year – especially when the weather starts to get warmer – to visit the wineries. Although it’s not always the Long Island ones, Hudson Valley also has some great ones that are within driving distance as well. We usually do a potluck of sorts in terms of bringing things to eat and I usually volunteer to bring dessert. Last weekend we had our wine outing and I decided to make a batch of Triple Chocolate-Hazelnut Cookies. These could also be coined “Death by Chocolate Cookies.” They are incredible chocolaty thanks to the three chocolates used: Bittersweet (the base of the cookie which prevents it from being overly sweet), white and milk chocolate.

IMG_7720

My weekdays are usually split into three parts: Errands in the morning, midday, errands in the afternoon. I was squeezing baking these cookies into that midday part so I was pretty focused on getting my measurements for my ingredients ready prior to mixing. Not to say that I am usually a scatter brain baker, but, I usually assemble my ingredients together and then measure as I go along.

IMG_7697

I began by melting chopped bittersweet chocolate with unsalted butter in the microwave in 30-second intervals. You may be tempted to up the time for melting chocolate, but, it really is important to do so in shorter increments and whisking the chocolate between each of the intervals. By upping the time you may end up scorching the chocolate… I speak from experience. Once the chocolate and butter were melted I added in vanilla extract and whisked the mixture until it was smooth.

IMG_7701

Next, I beat two large eggs on medium speed with my stand mixer until they were foamy. Following that I gradually added in sugar until the mixture was thick and pale yellow.

IMG_7703

I then added in the melted chocolate mixture and then a flour mixture (flour, baking powder and salt) and continued mixing until it was just combined.

IMG_7704

And finally I folded in the hazelnuts (which I had blanched & toasted) and white and milk chocolate chips.

IMG_7705

My batter was then ready…

IMG_7707

I dropped the batter by tablespoonful onto parchment lined baking sheets. One thing I did notice was that as the batter sat it became thicker so next time I make these cookies I’ll let the batter sit for a few minutes before dropping them onto the cookie sheets.

IMG_7710

I baked the cookies in a preheated 350 F oven for about 12 minutes and then let them cool on the sheet for a few minutes before transferring them to a wire rack to cool completely.

IMG_7714

After they were cooled I packed them up for the following day’s adventure.

IMG_7722

Overall, these cookies are winning recipe that I will be making again. As for the wine tasting, it was a great day as always. Some of the wine we tried was good, some, I don’t ever need to try again, but what makes the day great is being with wonderful friends and enjoying views like these!

IMG_7726 IMG_7749

And seeing cute signs like this…

IMG_7741

Triple Chocolate-Hazelnut Cookies

Makes: 24 Cookies

Ingredients:

1 cup blanched hazelnuts, chopped

1/3 cup all-purpose flour

1/2 teaspoon baking powder

1/4 teaspoon salt

8 ounces bittersweet chocolate, chopped

6 tablespoons unsalted butter

1 teaspoon pure vanilla extract

2 large eggs

3/4 cup sugar

1 cup milk chocolate chips

1 cup white chocolate chips

Directions:

1. Preheat the oven to 350 F. Spread the hazelnuts on a baking sheet and baked then until golden, about 7 minutes. Line 2 cookie sheets with parchment paper.

2. Whisk the flour, baking powder and salt in a medium bowl and set aside. Combine the bittersweet chocolate and butter in a microwave-safe bowl and microwave in 30-second intervals, whisking, until melted. Add the vanilla and continue whisking until smooth, set aside.

3. Beat the eggs in a large with a mixer on medium speed until foamy, about 1 minute. Gradually add the sugar and continue beating until thick and pale yellow, about 6 minutes. Gradually add the melted chocolate mixture and beat until combined. Reduce the mixer to speed to low and add the flour mixture and beat until just combined. Fold in the hazelnuts and chocolate chips.

4. Drop the batter by tablespoonful 2 inches apart on the prepared baking sheets. Bake until the cookies are slightly puffed and crackly, 12 to 15 minutes. Let cool 5 minutes on the sheets, and then transfer to a wire rack to cool completely.

Cheesecake Brownies

Brownies… They are probably the one thing I don’t bake too much of. I’m not really sure why that is since I do like them, especially when they have walnuts in them. Yum! I tend to like that crunchy texture in my deserts… walnuts in brownies or loaf cakes, sprinkles on cupcakes and ice cream and so forth. As I am thinking about it I think the major turn-off I have with brownies is having to slice them once they are cooled. They always tend to fall apart on me and I never end up with the amount the recipe says I’ll have; 12 somehow becomes 8 or 9. But, with this recipe not only did I end up with some delicious brownies, but, I also was able to cut them into 16 equal brownies as the recipe called for.

IMG_7300

In the bowl of my stand mixer I combined a box of Chocolate Fudge cake mix, oil, water and an egg and using the stir setting I mixed the ingredients until they were smooth. I then added in a 1/2 cup of chocolate chips and continued mixing until they were well incorporated.

IMG_7284

I then spread the mixture into a 13 x 9 inch pan that I sprayed with baking spray.

IMG_7285

Using a hand mixer – these are the times that I wish I had a second bowl for my stand mixer – I combined cream cheese, sugar, vanilla extract and an egg and beat the ingredients until they were smooth.

IMG_7287

After spreading the cream cheese mixture over the chocolate mixture I sprinkled chocolate chips over it.

IMG_7288

Once it was done baking – 35 minutes in a 350 F preheated oven – I let the brownies cool completely in the pan over a wire a rack.

IMG_7298

After some careful maneuvering – flipping and sliding – I placed the brownies on a large cutting board so I could cut them.

IMG_7311

And then it was time to enjoy them! Overall this recipe is a keeper. While the brownies are made using a cake mix they definitely tasted like they were made from scratch – i.e. flour, cocoa powder, etc. And the chocolate chips added to the brownie batter offer a nice texture and extra dose of chocolate in each bite. These brownies actually reminded me of the Mini Chocolate-Chip Cheesecakes I posted about a few years ago and continues to be a treat I make over and over again as it is a hit amongst many of my friends. And I am sure these brownies will become something I make quite a few more times.

IMG_7318

Cheesecake Brownies

Yield: 16 servings

Ingredients:

1 box Chocolate Fudge Cake Mix (Betty Crocker SuperMoist)

3/4 cup vegetable oil

2 tablespoons water

2 eggs

1 cup semisweet chocolate chips

1 8oz. package cream cheese, softened

1/4 cup sugar

1/2 teaspoon vanilla extract

Directions:

1. Preheat oven to 350 F. Prep a 13 x 9-inch pan by spraying the bottom with baking spray.

2. In a medium bowl, stir the cake mix, oil, water and 1 of the eggs until smooth. Stir in 1/2 cup of the chocolate chips. Spread batter into prepared pan.

3. In a medium bowl, beat the cream cheese, sugar, vanilla extract and remaining 1 egg with an electric mixer until smooth. Spread the mixture over the batter and sprinkle with the remaining 1/2 cup chocolate chips.

4. Bake 35 to 40 minutes or until a toothpick inserted in brownie 1 inch from the side of the pan comes out almost clean. Cool completely in pan on a wire rack, about 1 hour 30 minutes. Cut into 4 rows by 4 rows.