Peppermint Bark Molten Lava Cakes

Creating and making your own recipes is like conducting a science experiment. Until you take that first bite you wonder if you got the proportions of the ingredients correct, will the flavors work together and is it even edible. These thoughts and more swirled around my head while making today’s Peppermint Bark Molten Lava Cakes.  

I got the idea after having a package of Ghirardelli Peppermint Bark Squares left-over from last Christmas. I say left-over because I normally buy a few packages to enjoy around the holidays since they are a seasonal treat. I bought one too many though because I couldn’t bring myself to open the last package I had because I had my fill of the square by then. I figured there had to be something I could incorporate them into. At first, I thought cookies, but around the same time I was working on the recipe for these Raspberry Molten Lava Cakes and thought that maybe I could use them to make a peppermint lava cake that would be perfect for the holidays.

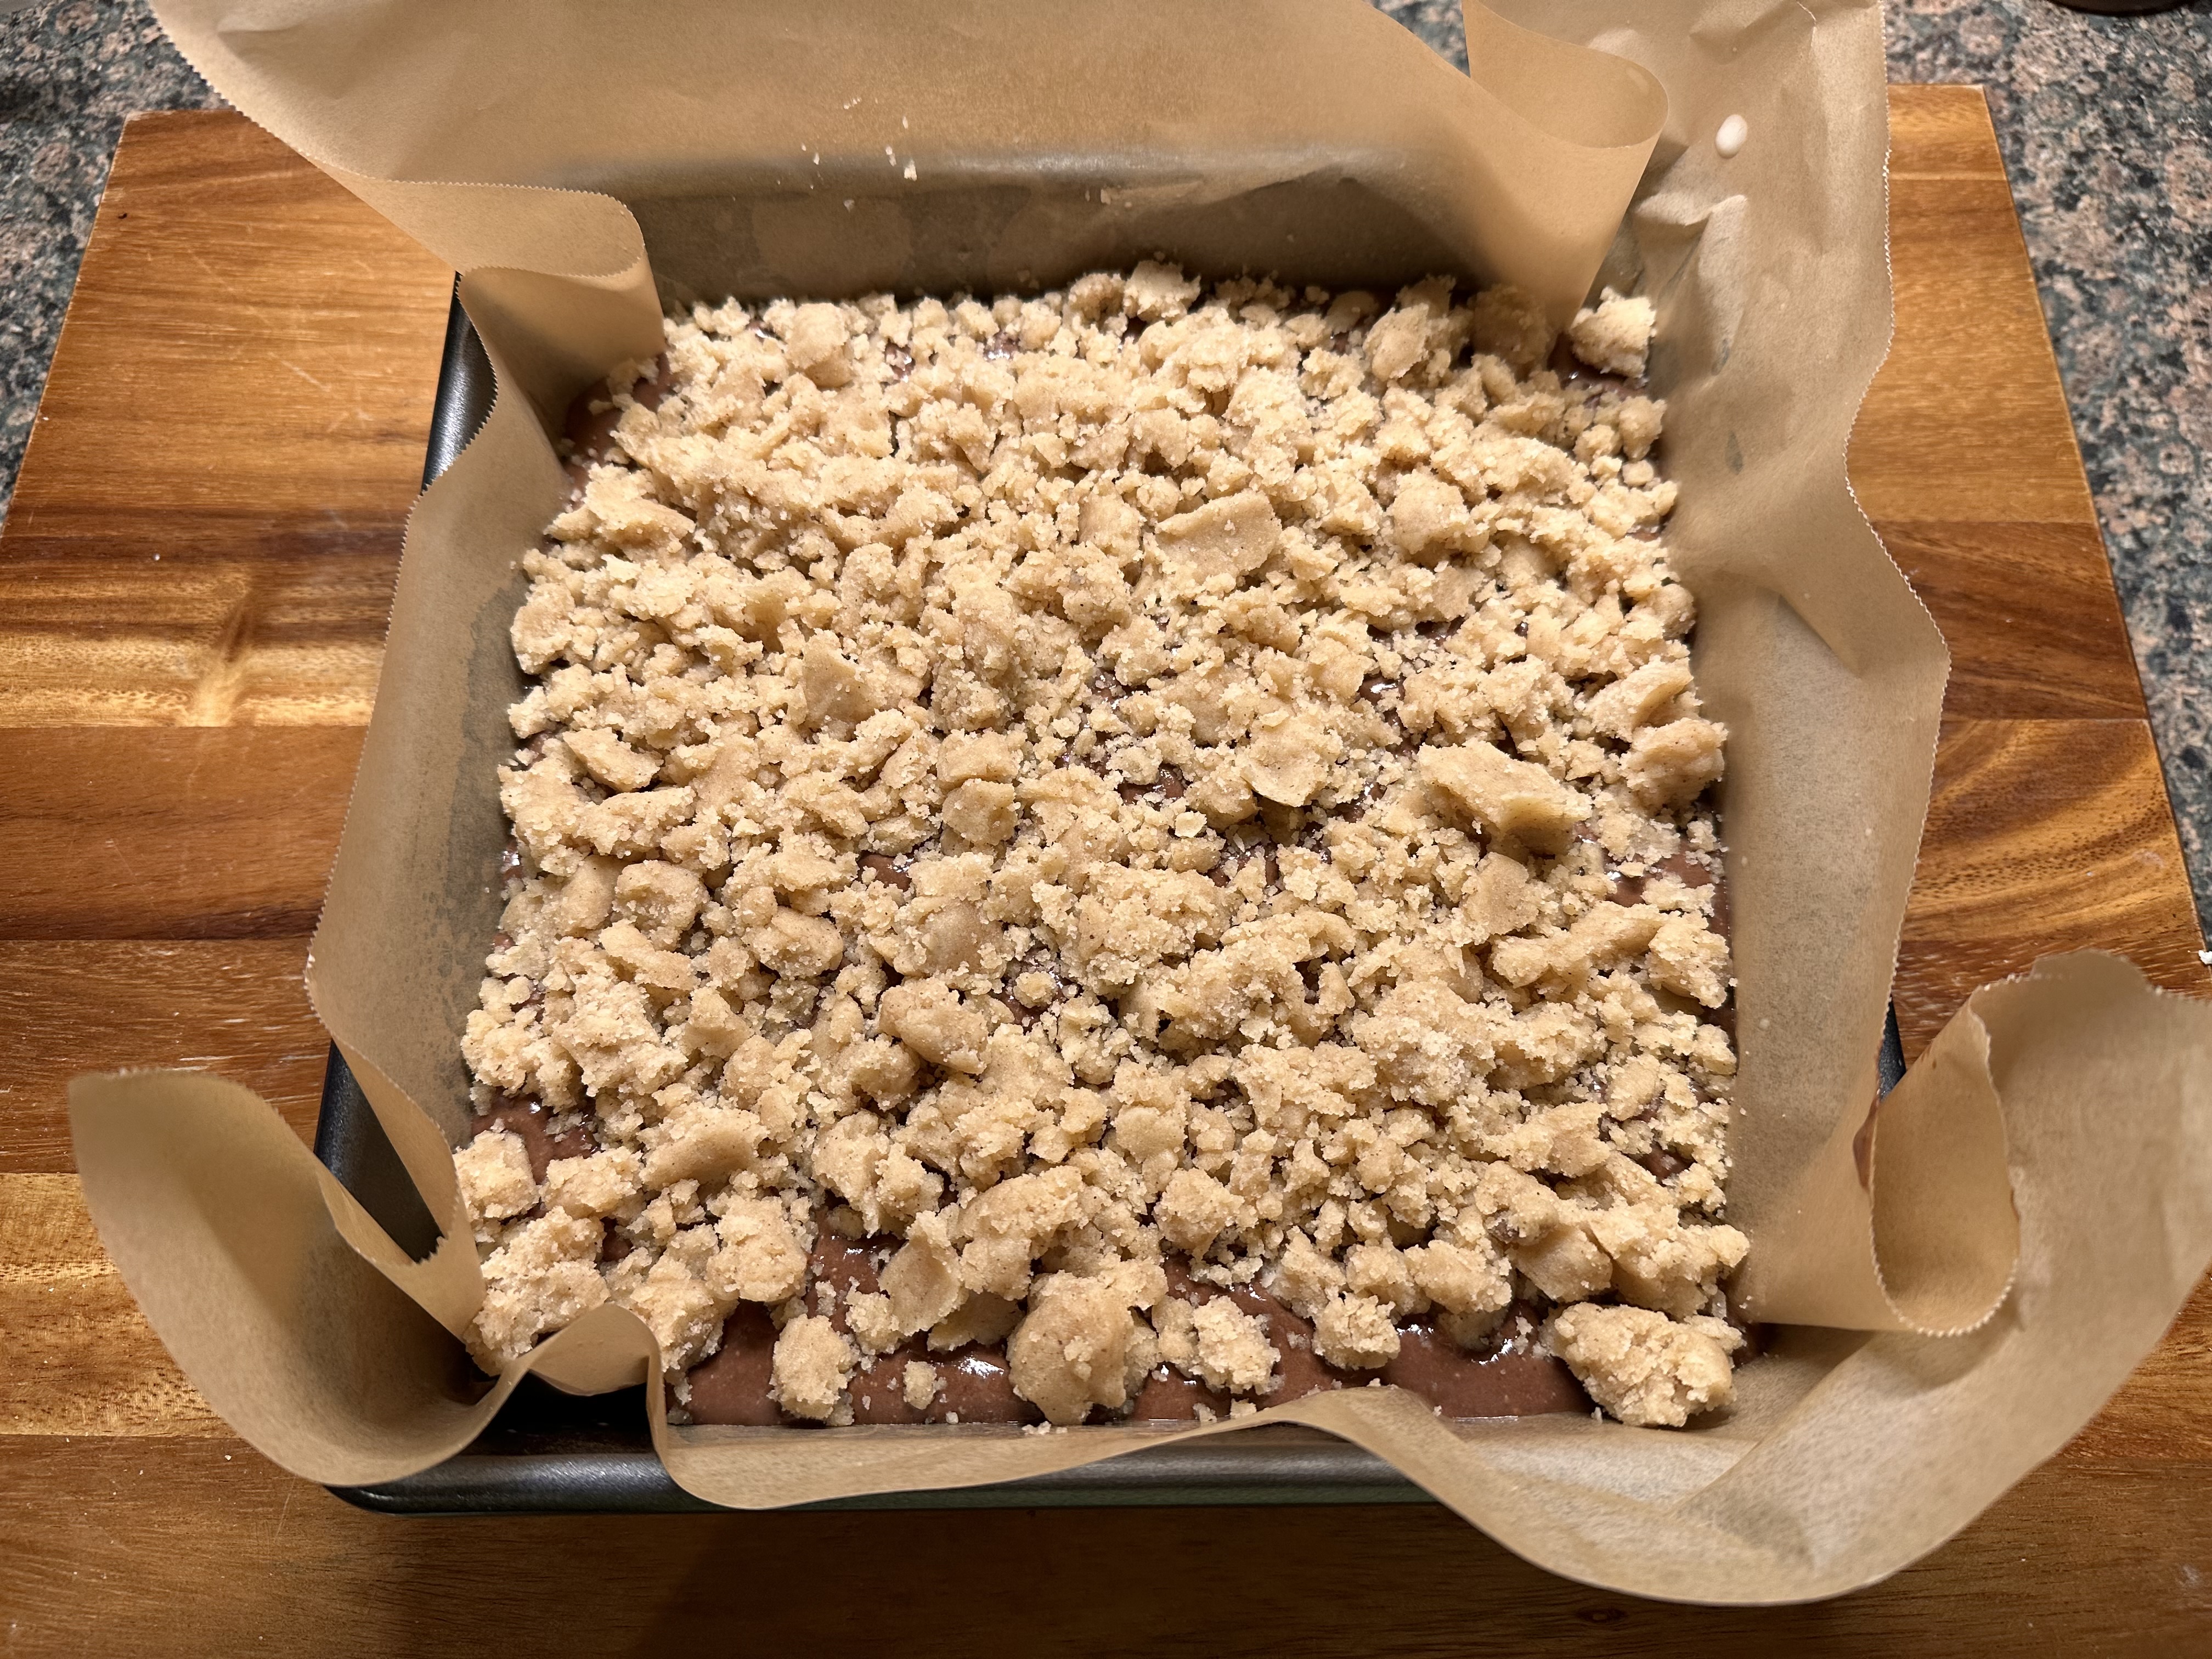
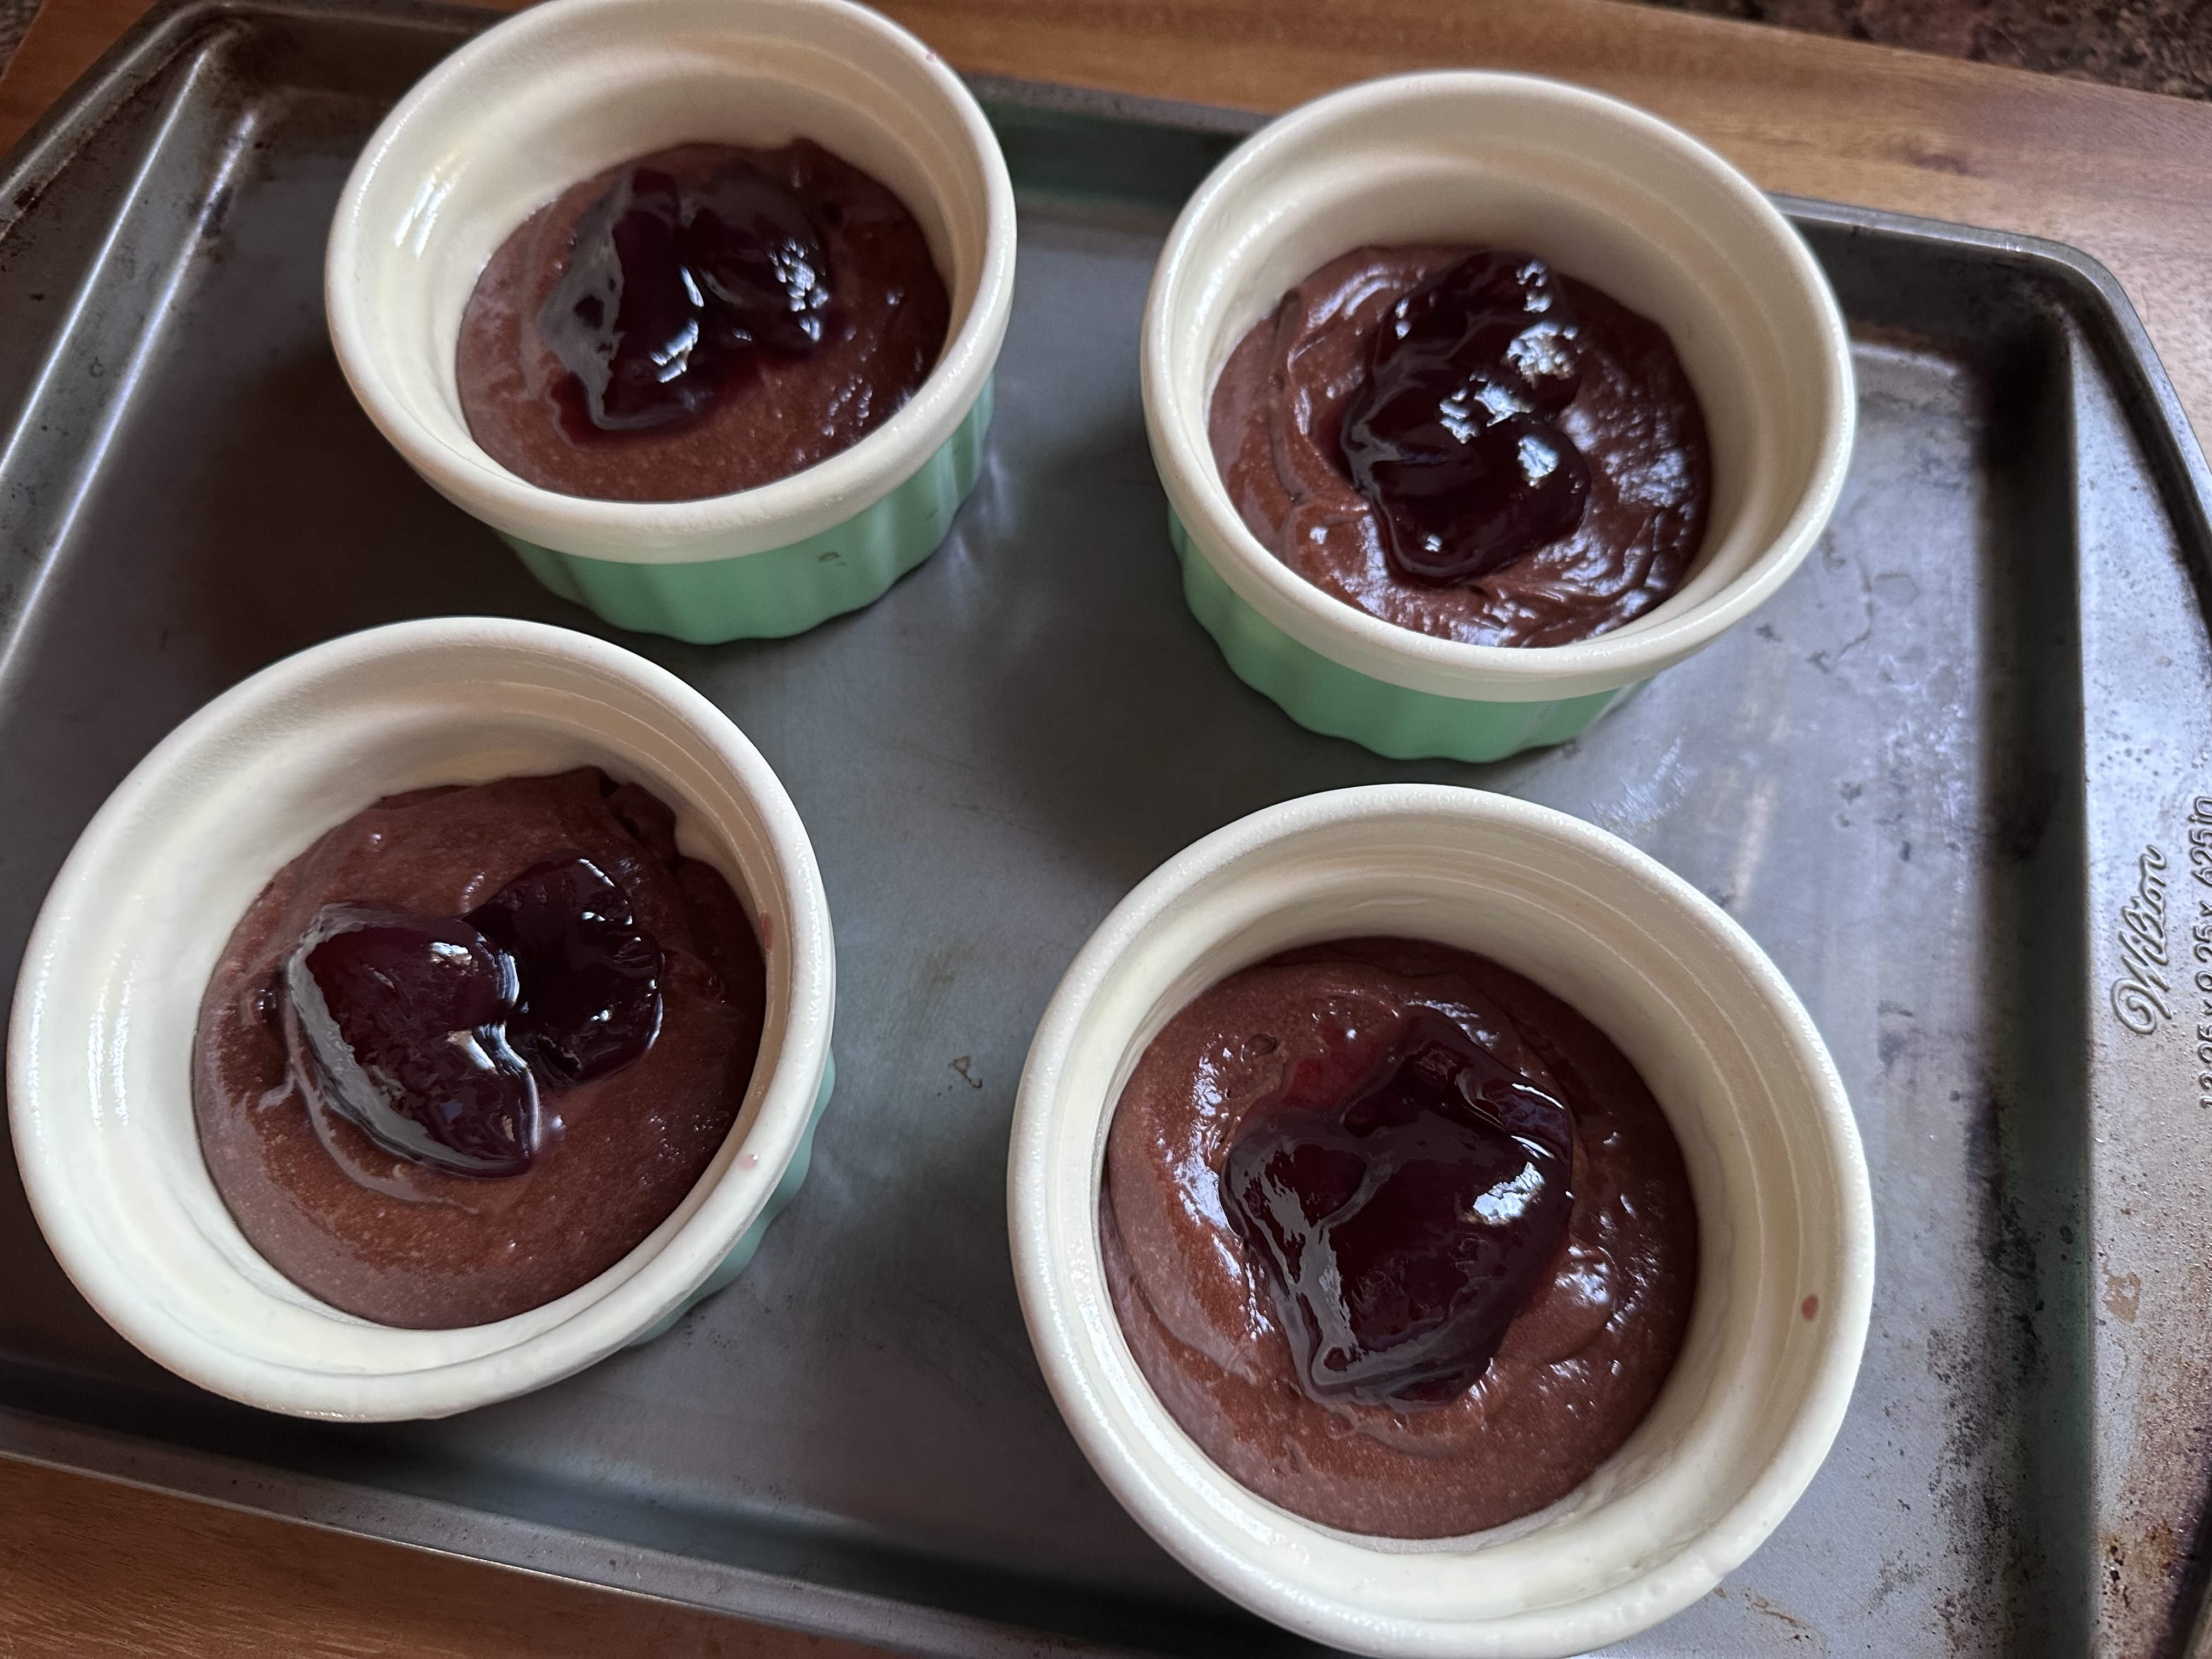
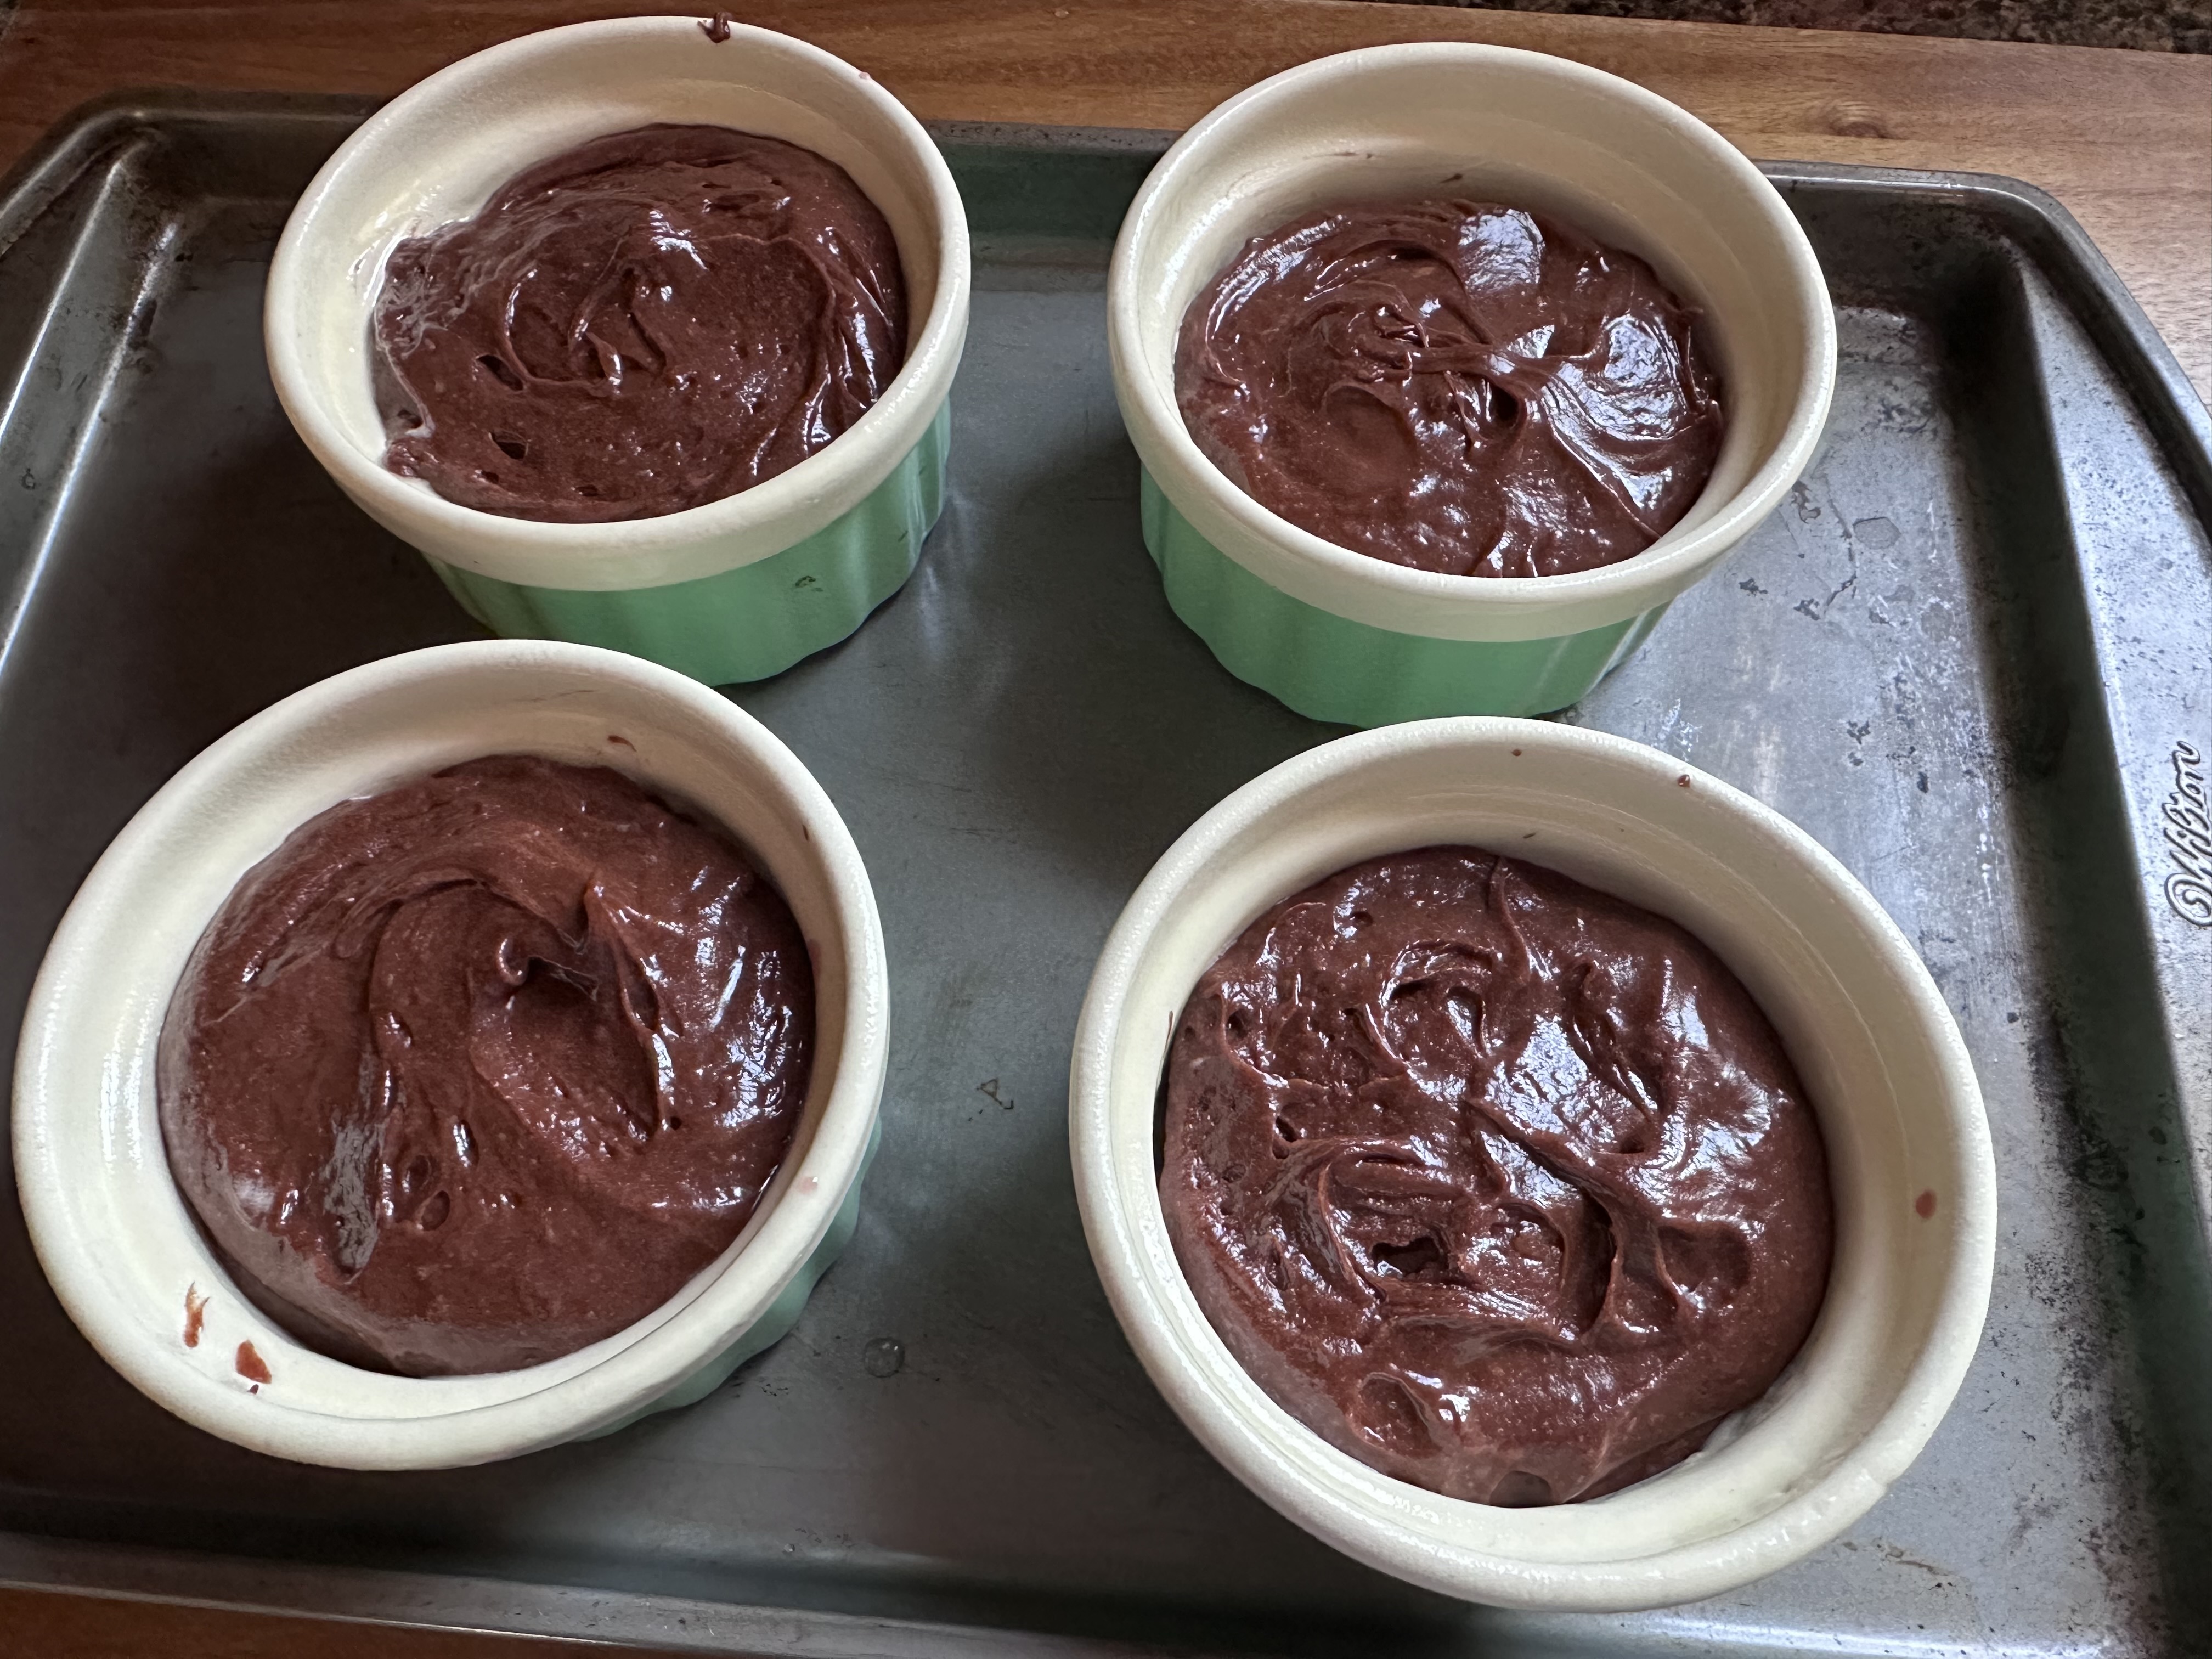
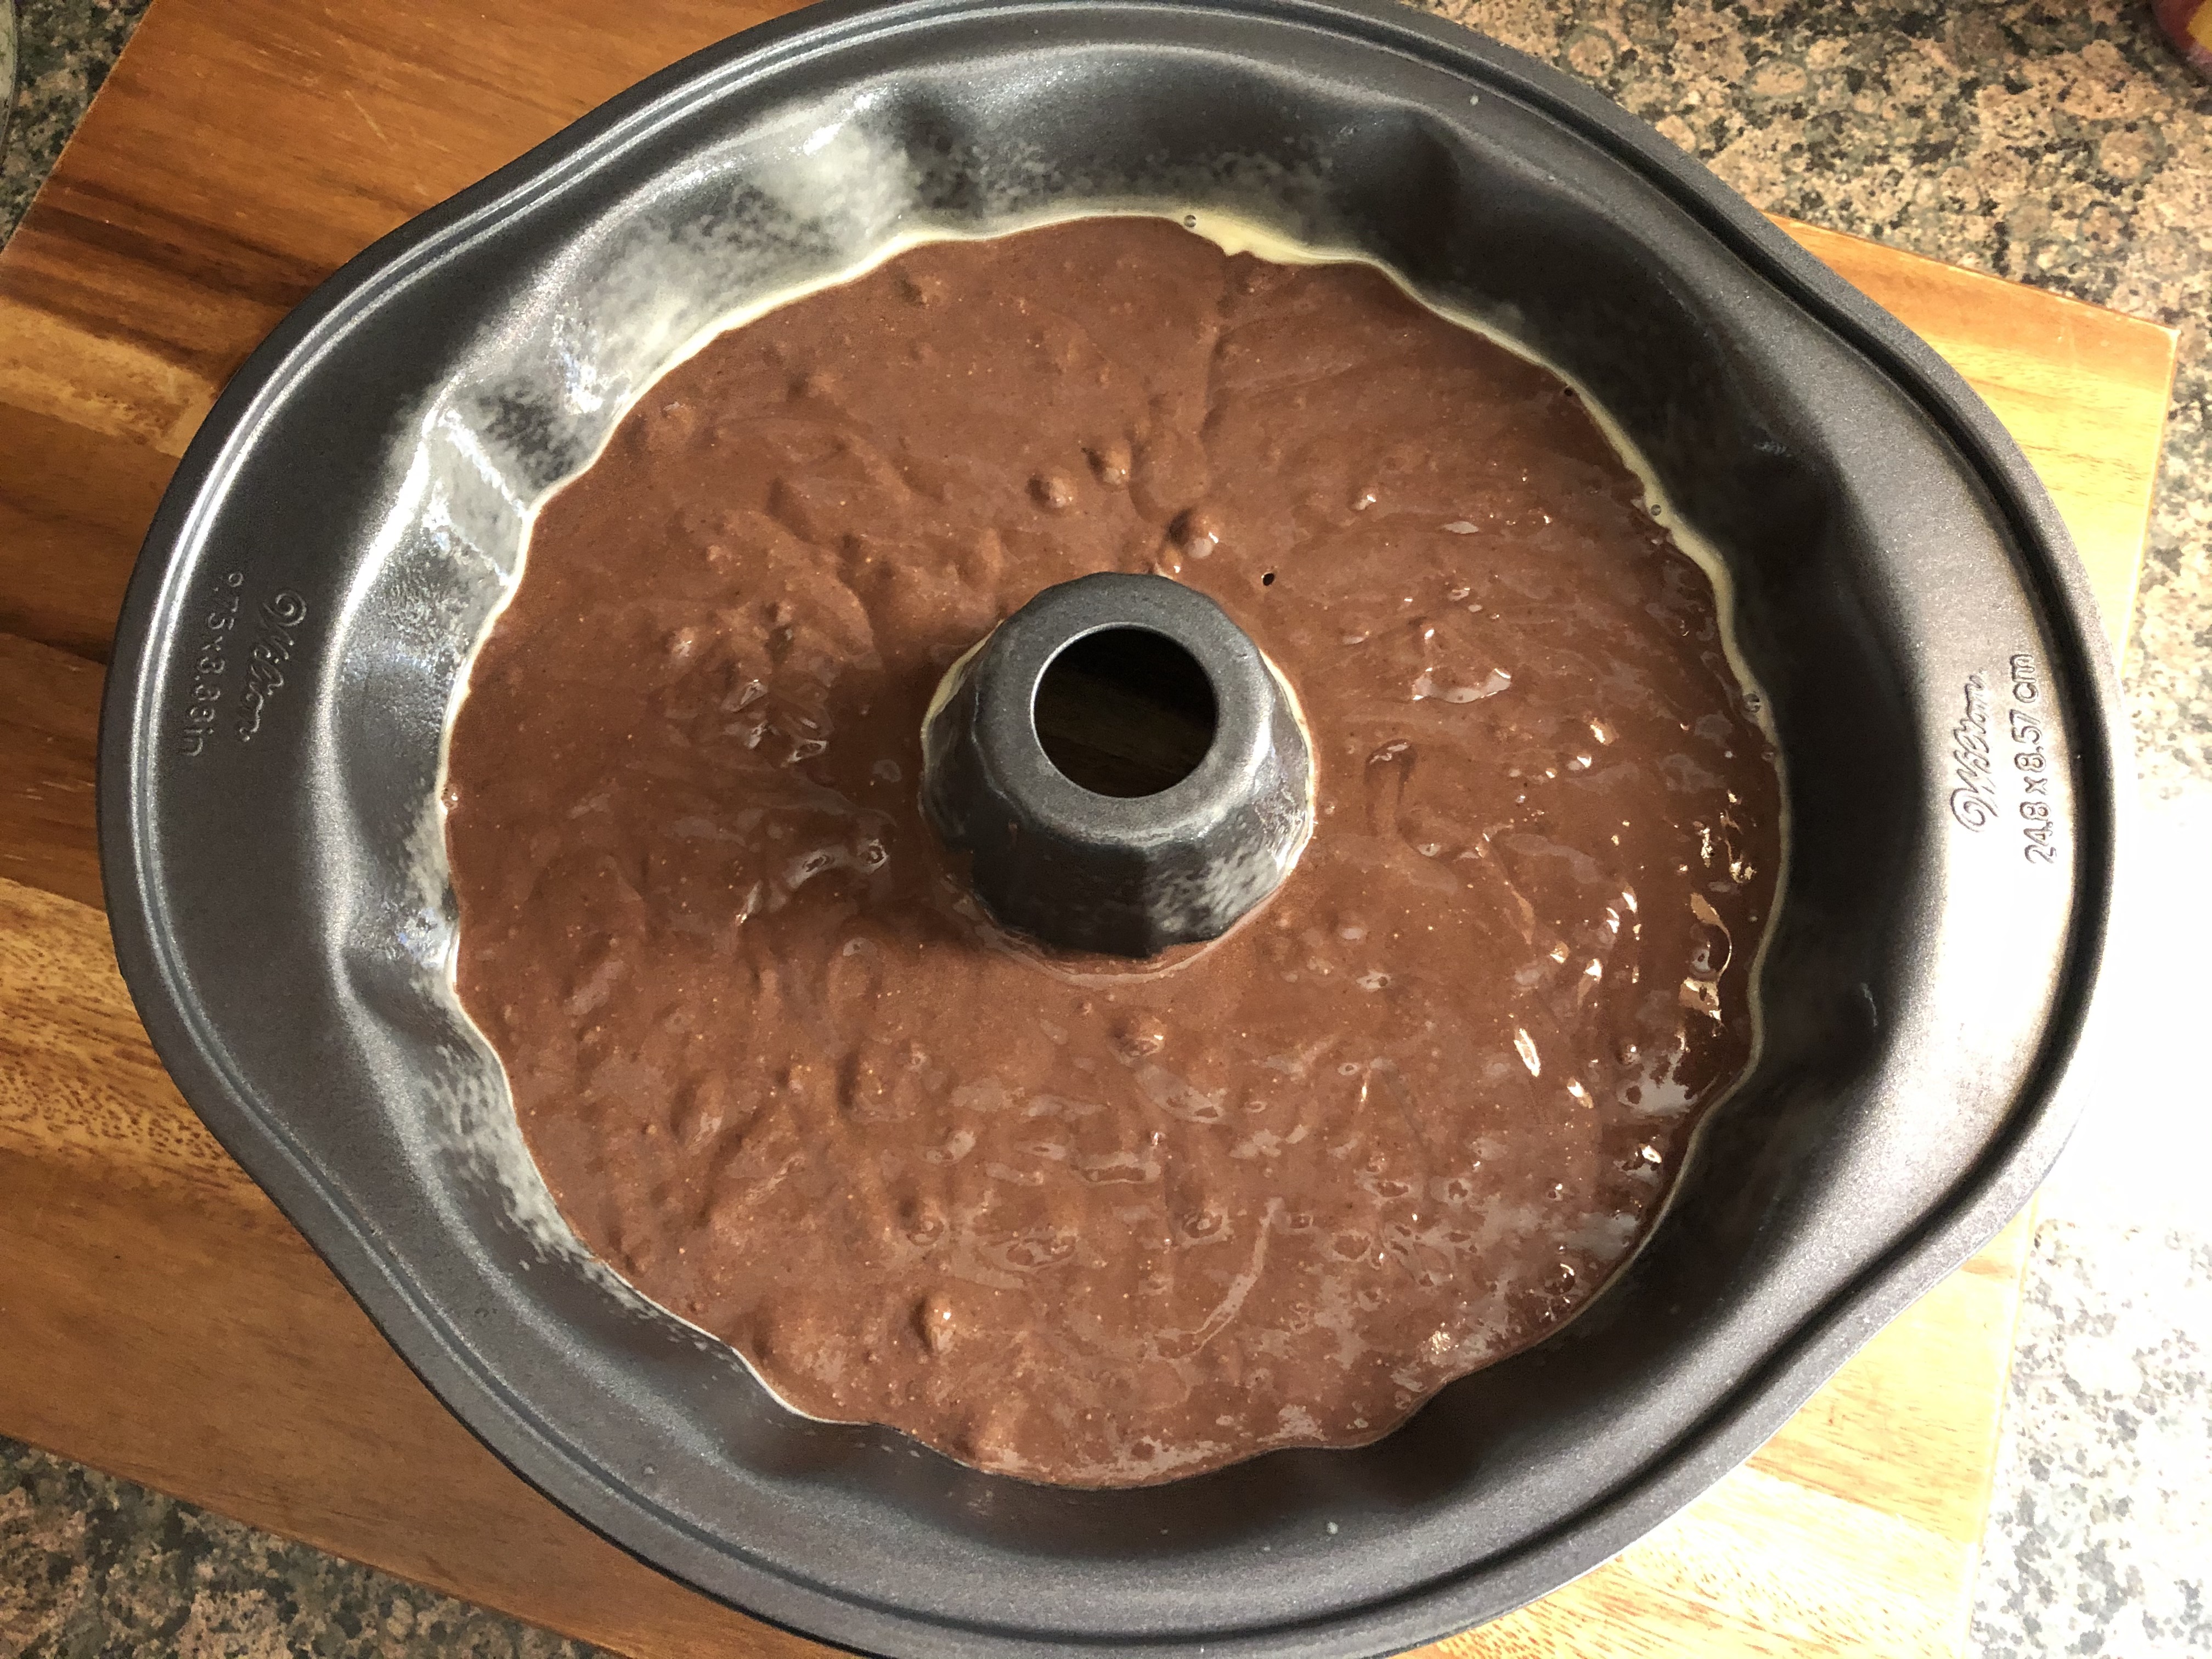
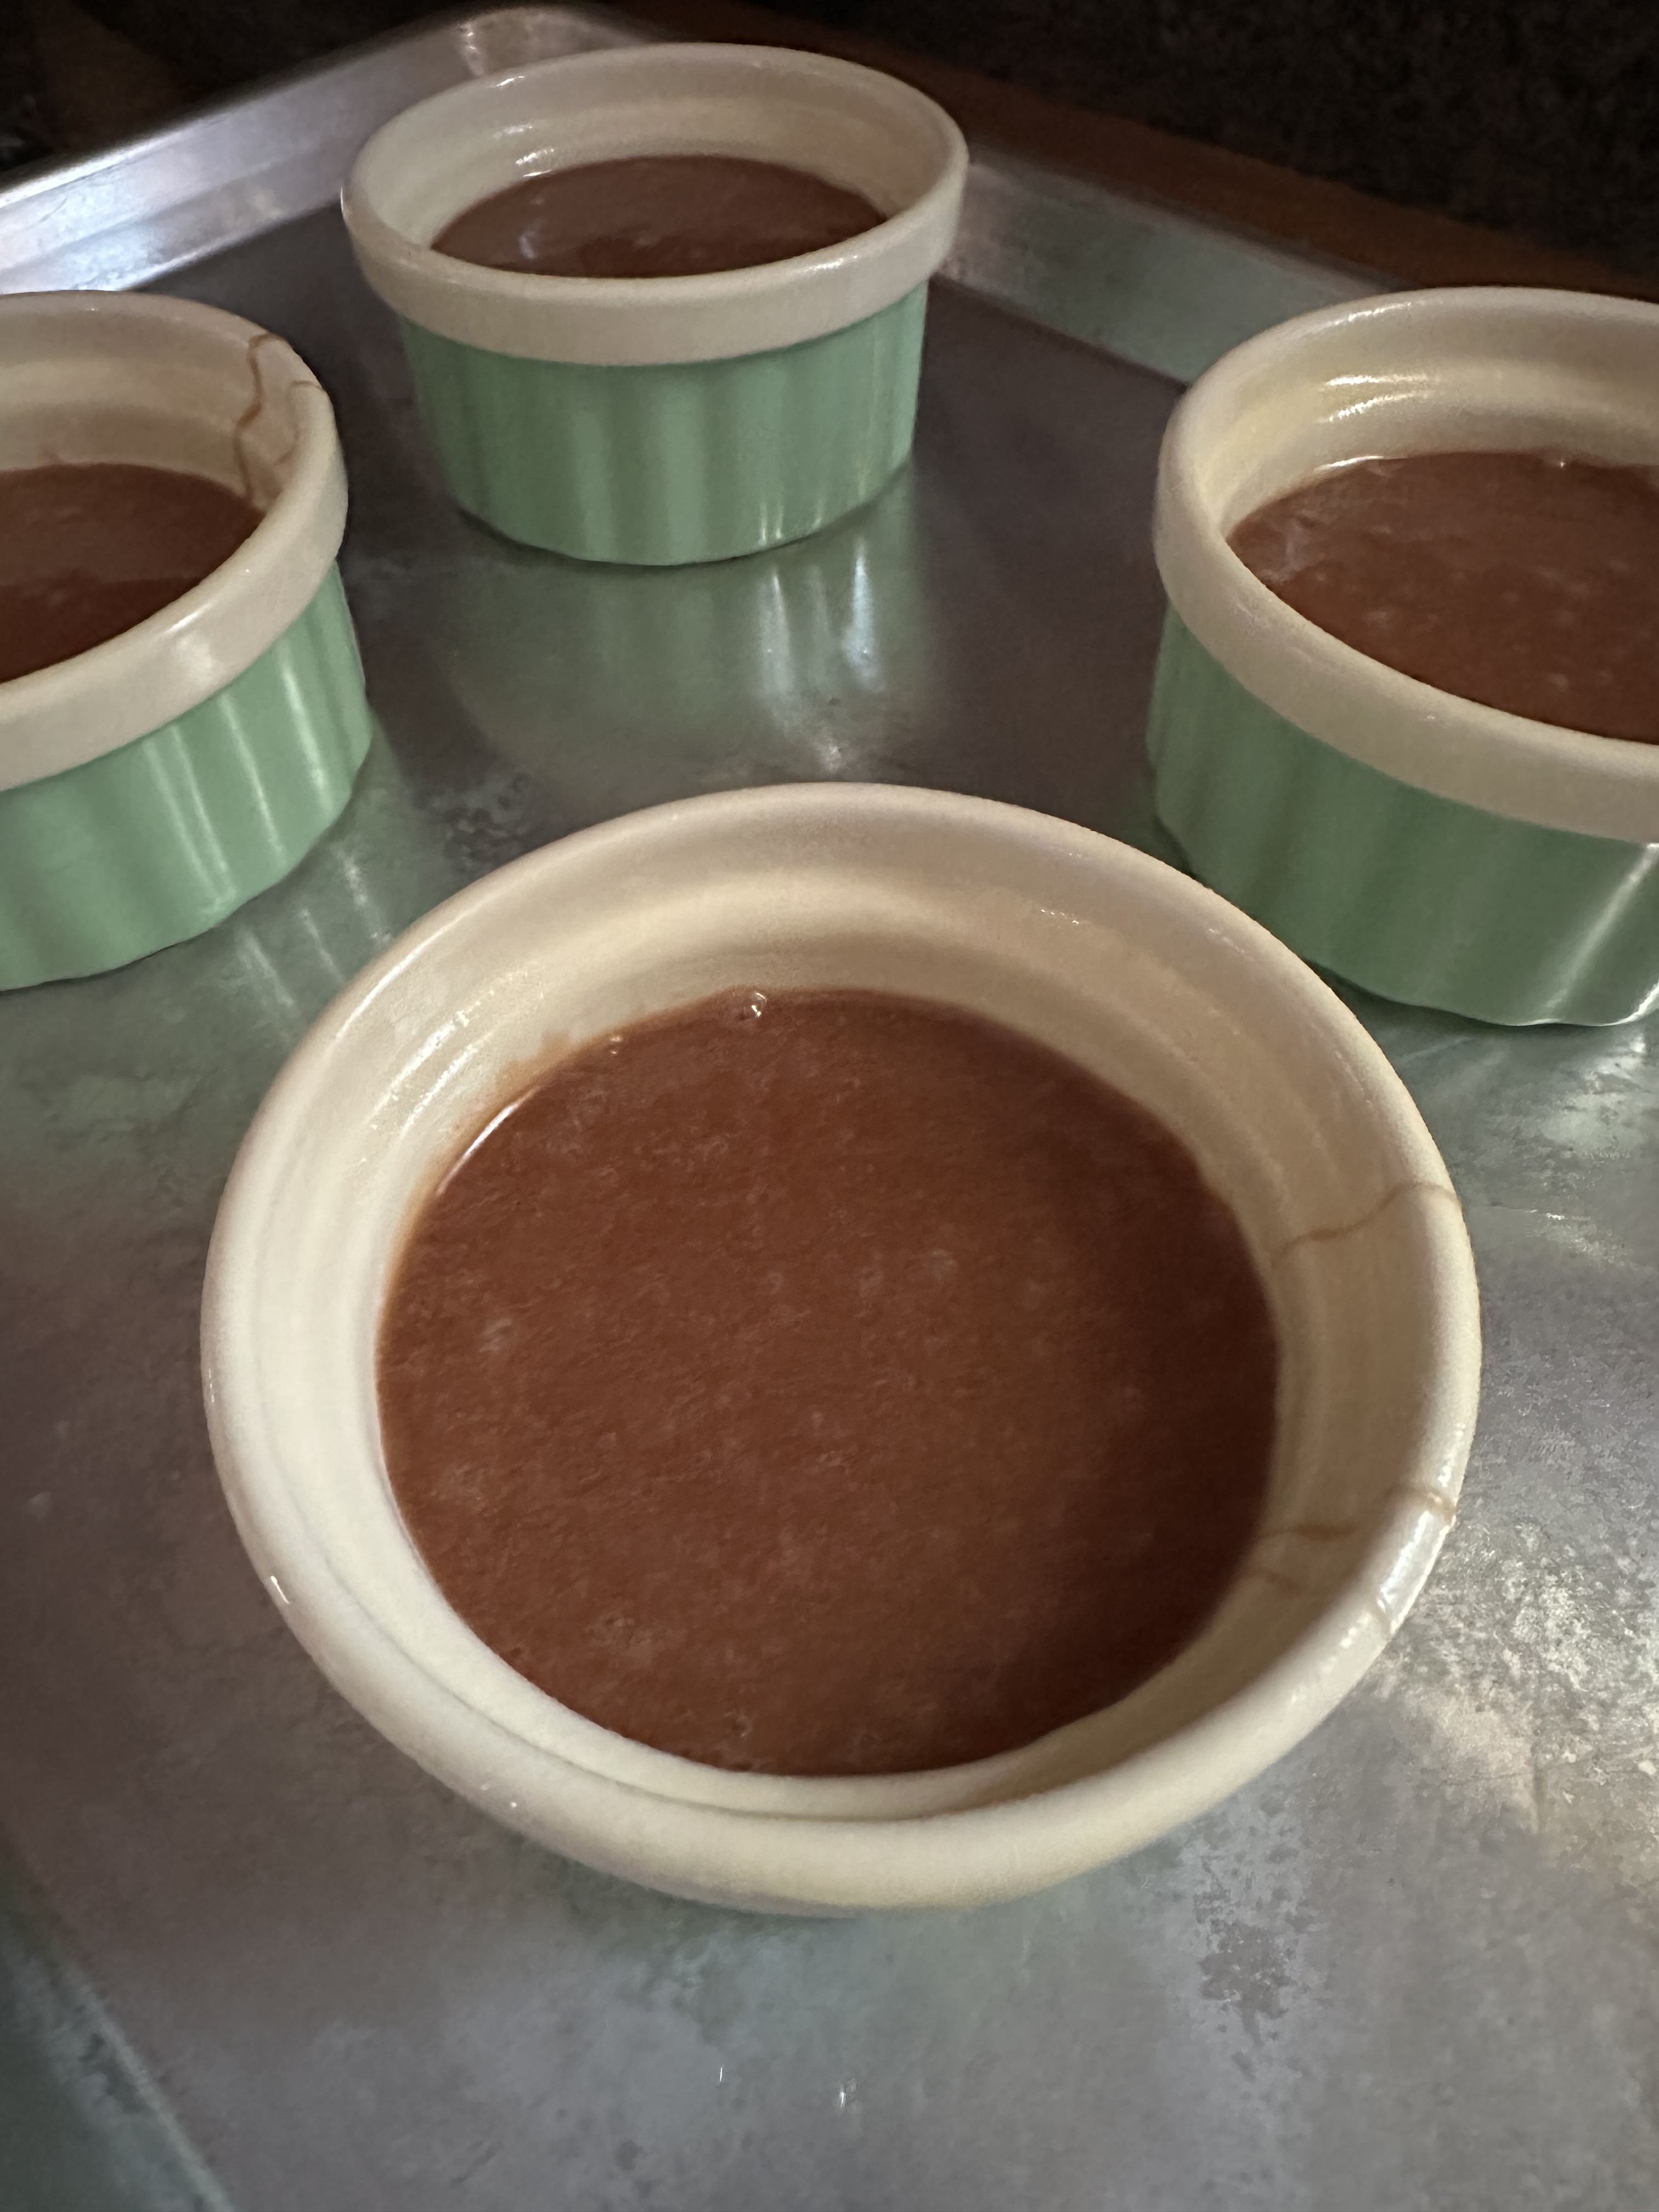
I made some tweaks to the Raspberry Molten Lava Cake recipe and ended up with a molten lava cake that was the perfect balance of peppermint and chocolate. And it’s finally time to share the recipe with the holidays just around the corner. To make the batter I melted the peppermint bark squares in the microwave along with butter and then incorporated that into a mixture of sugar and eggs and finally folded in flour. After dividing the batter among 4 ramekins…  

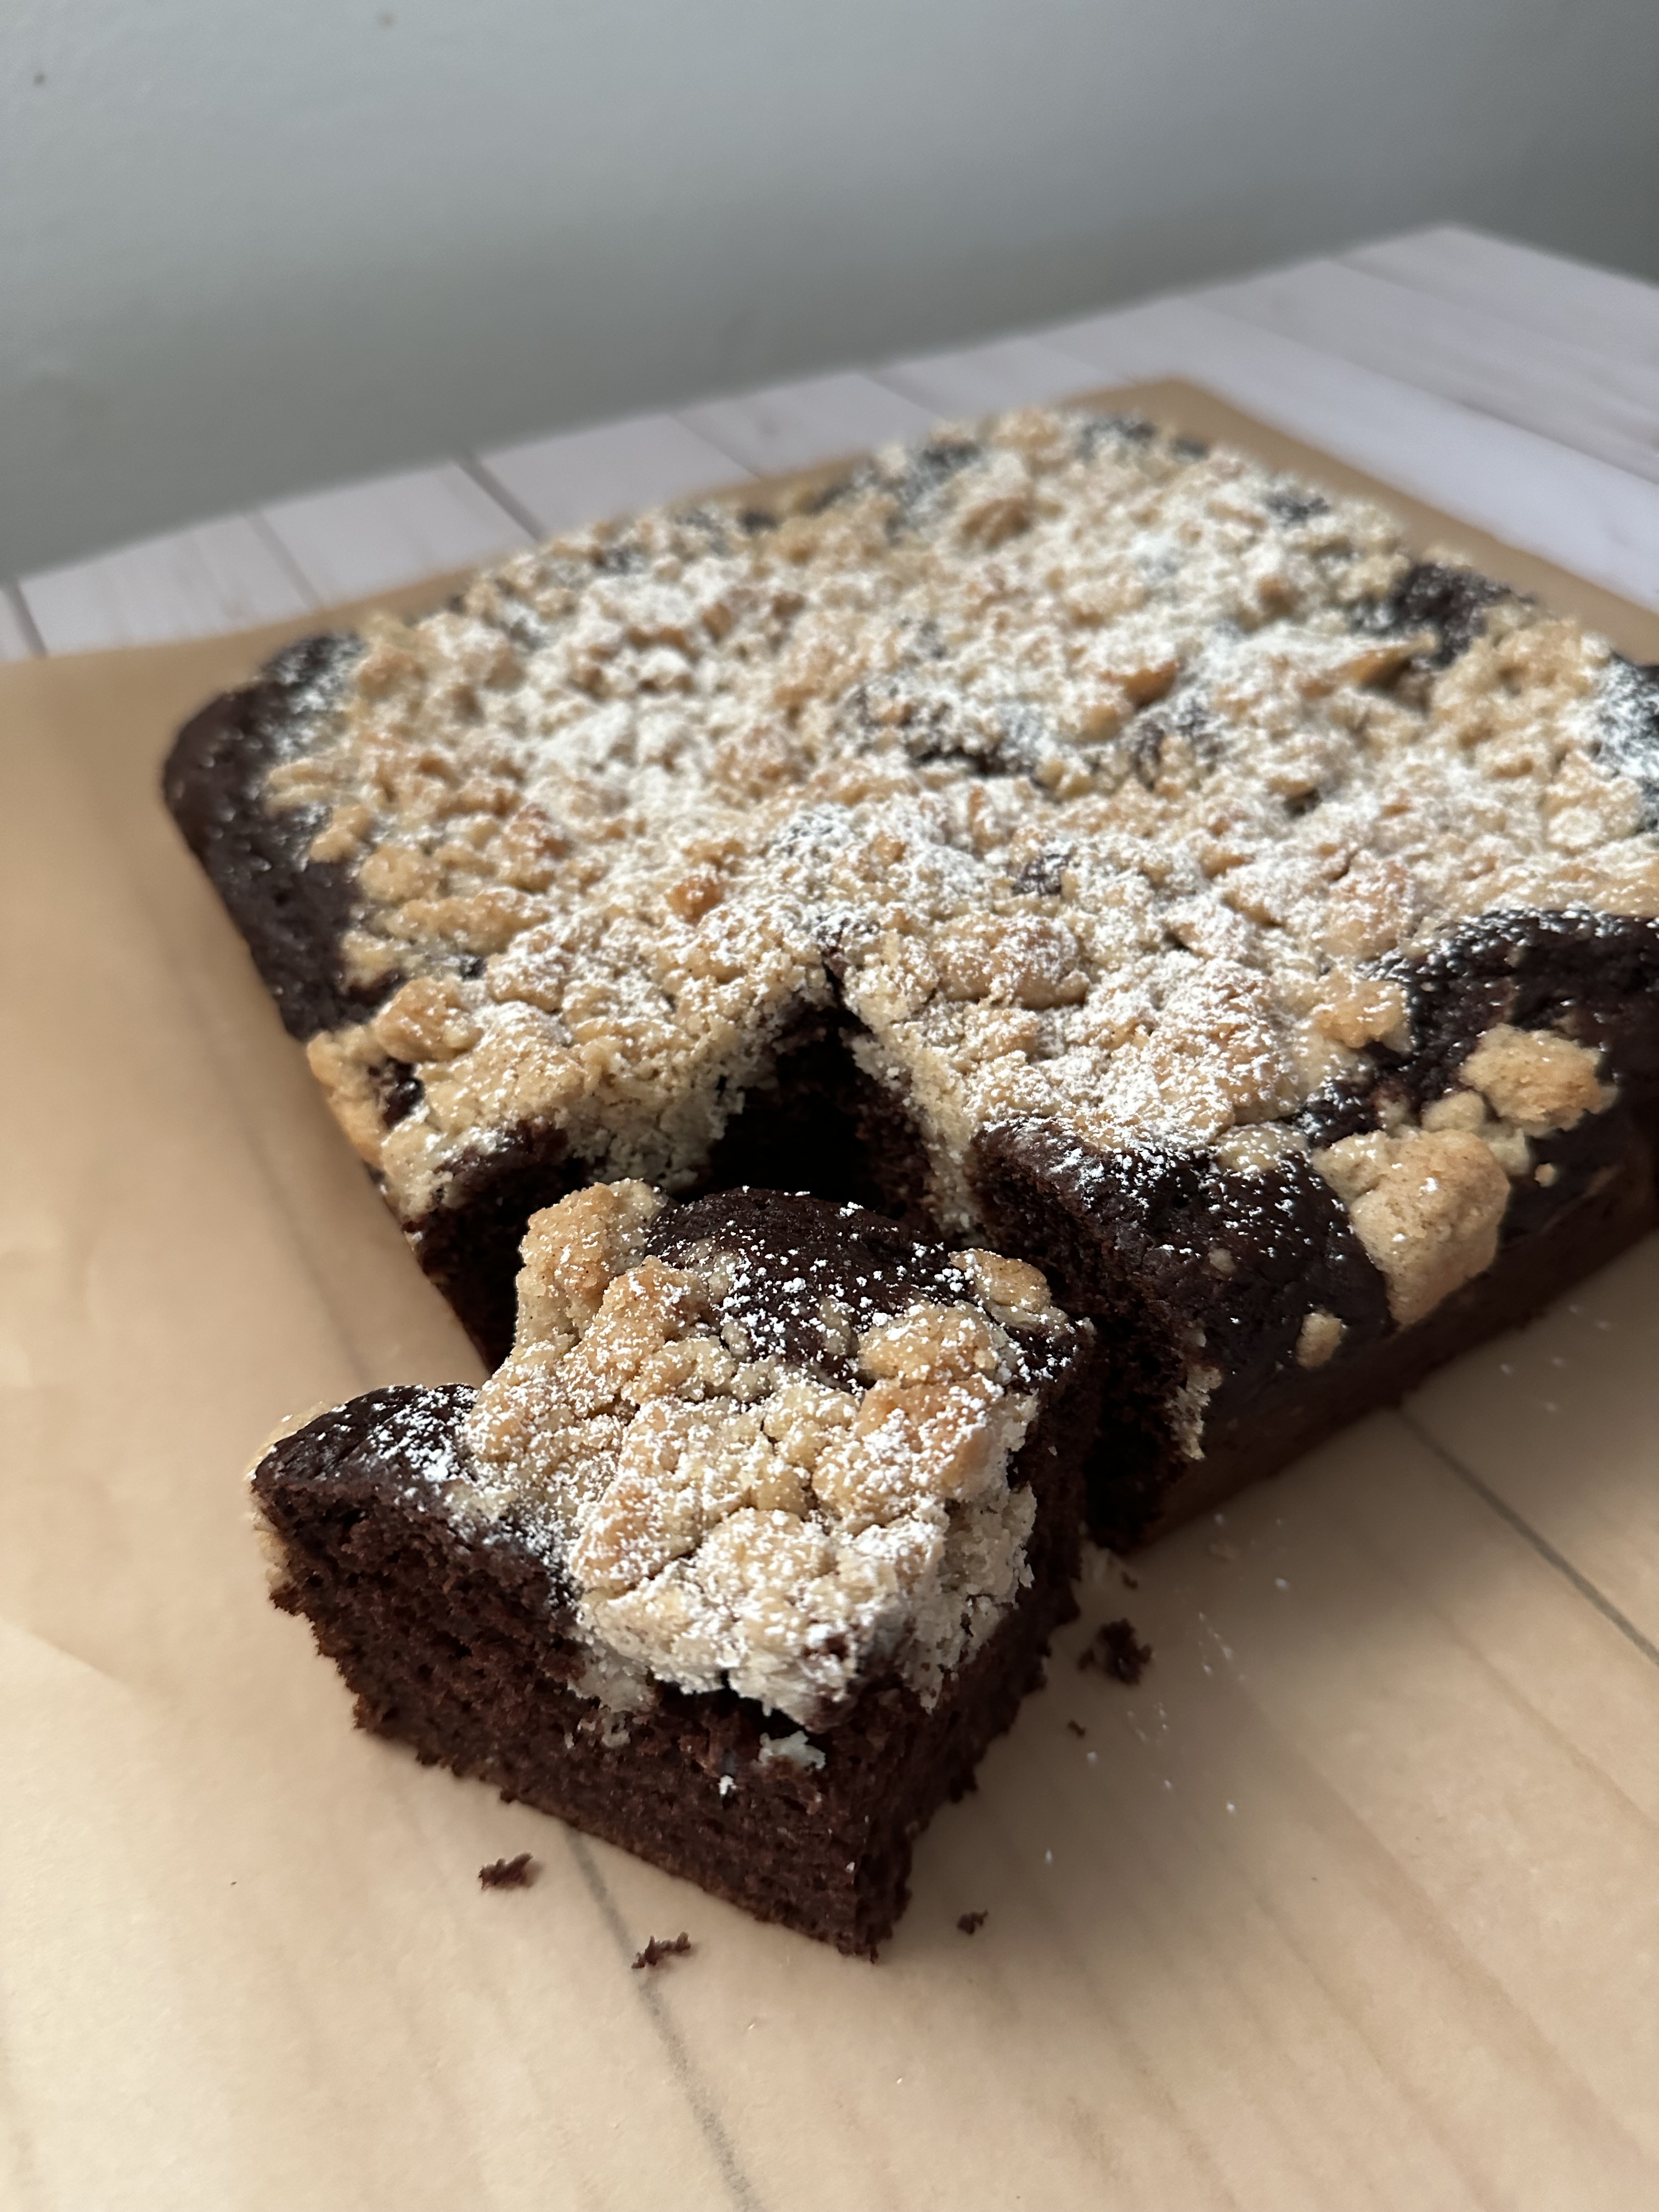
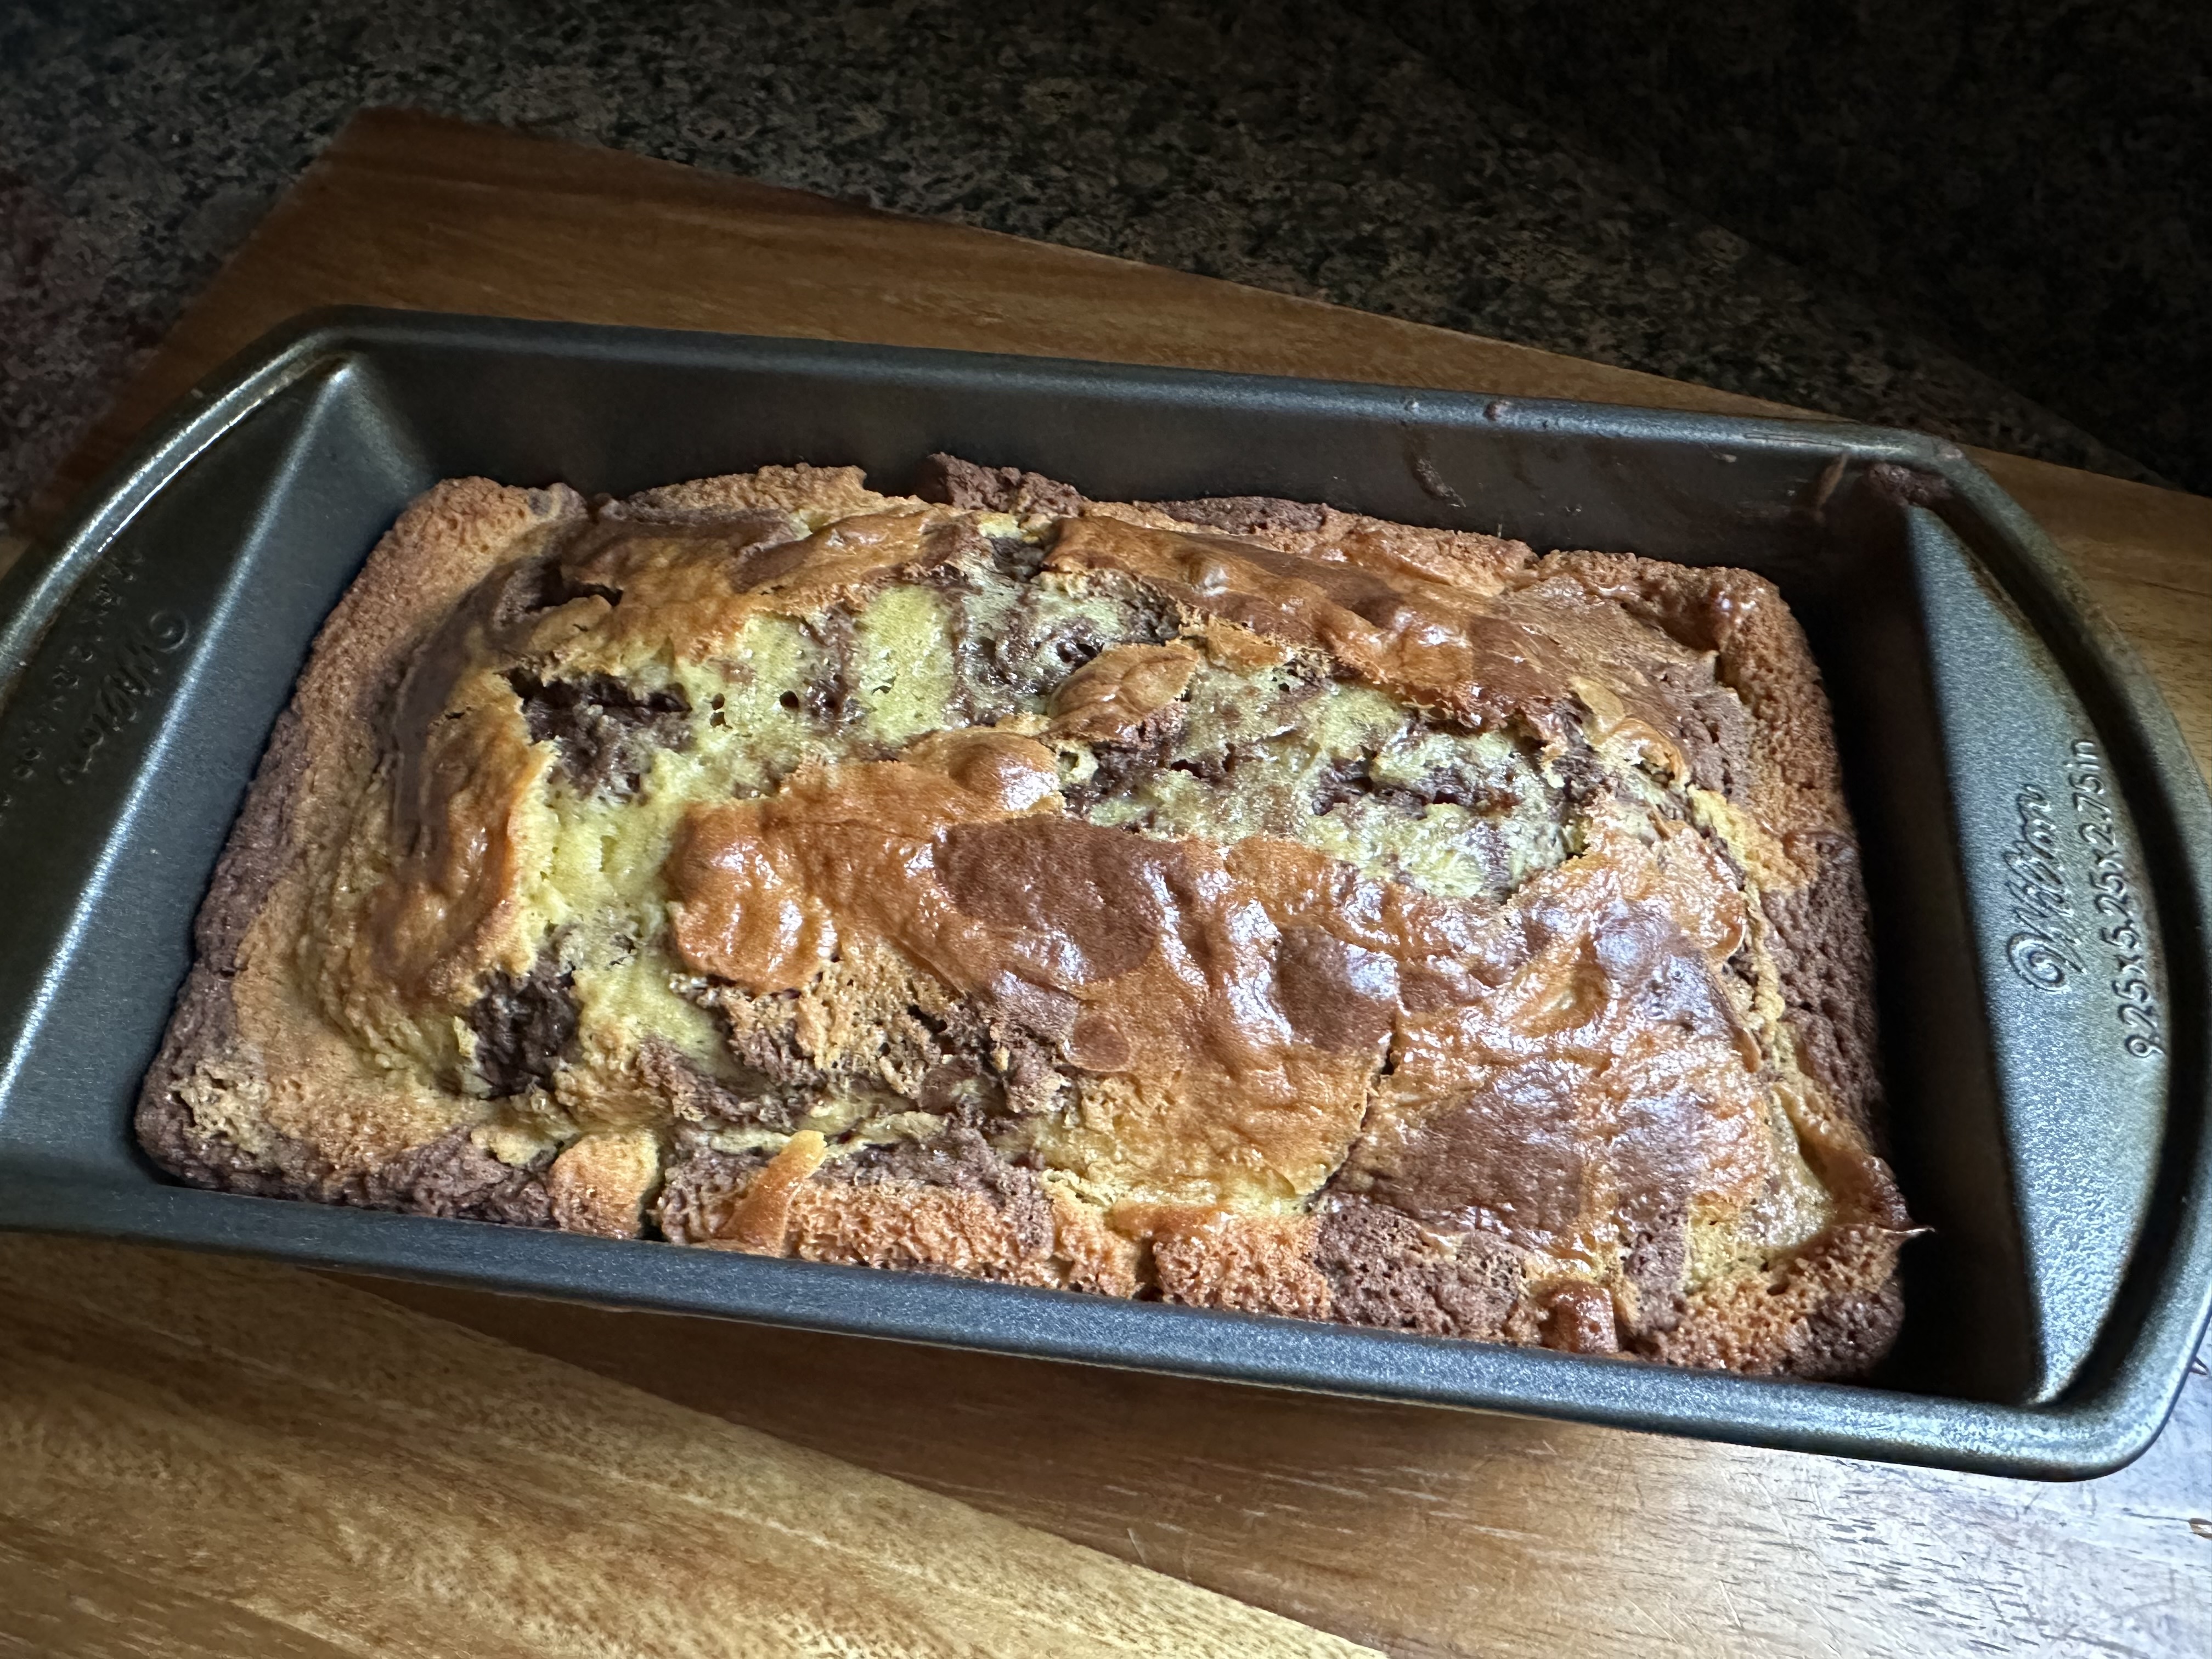
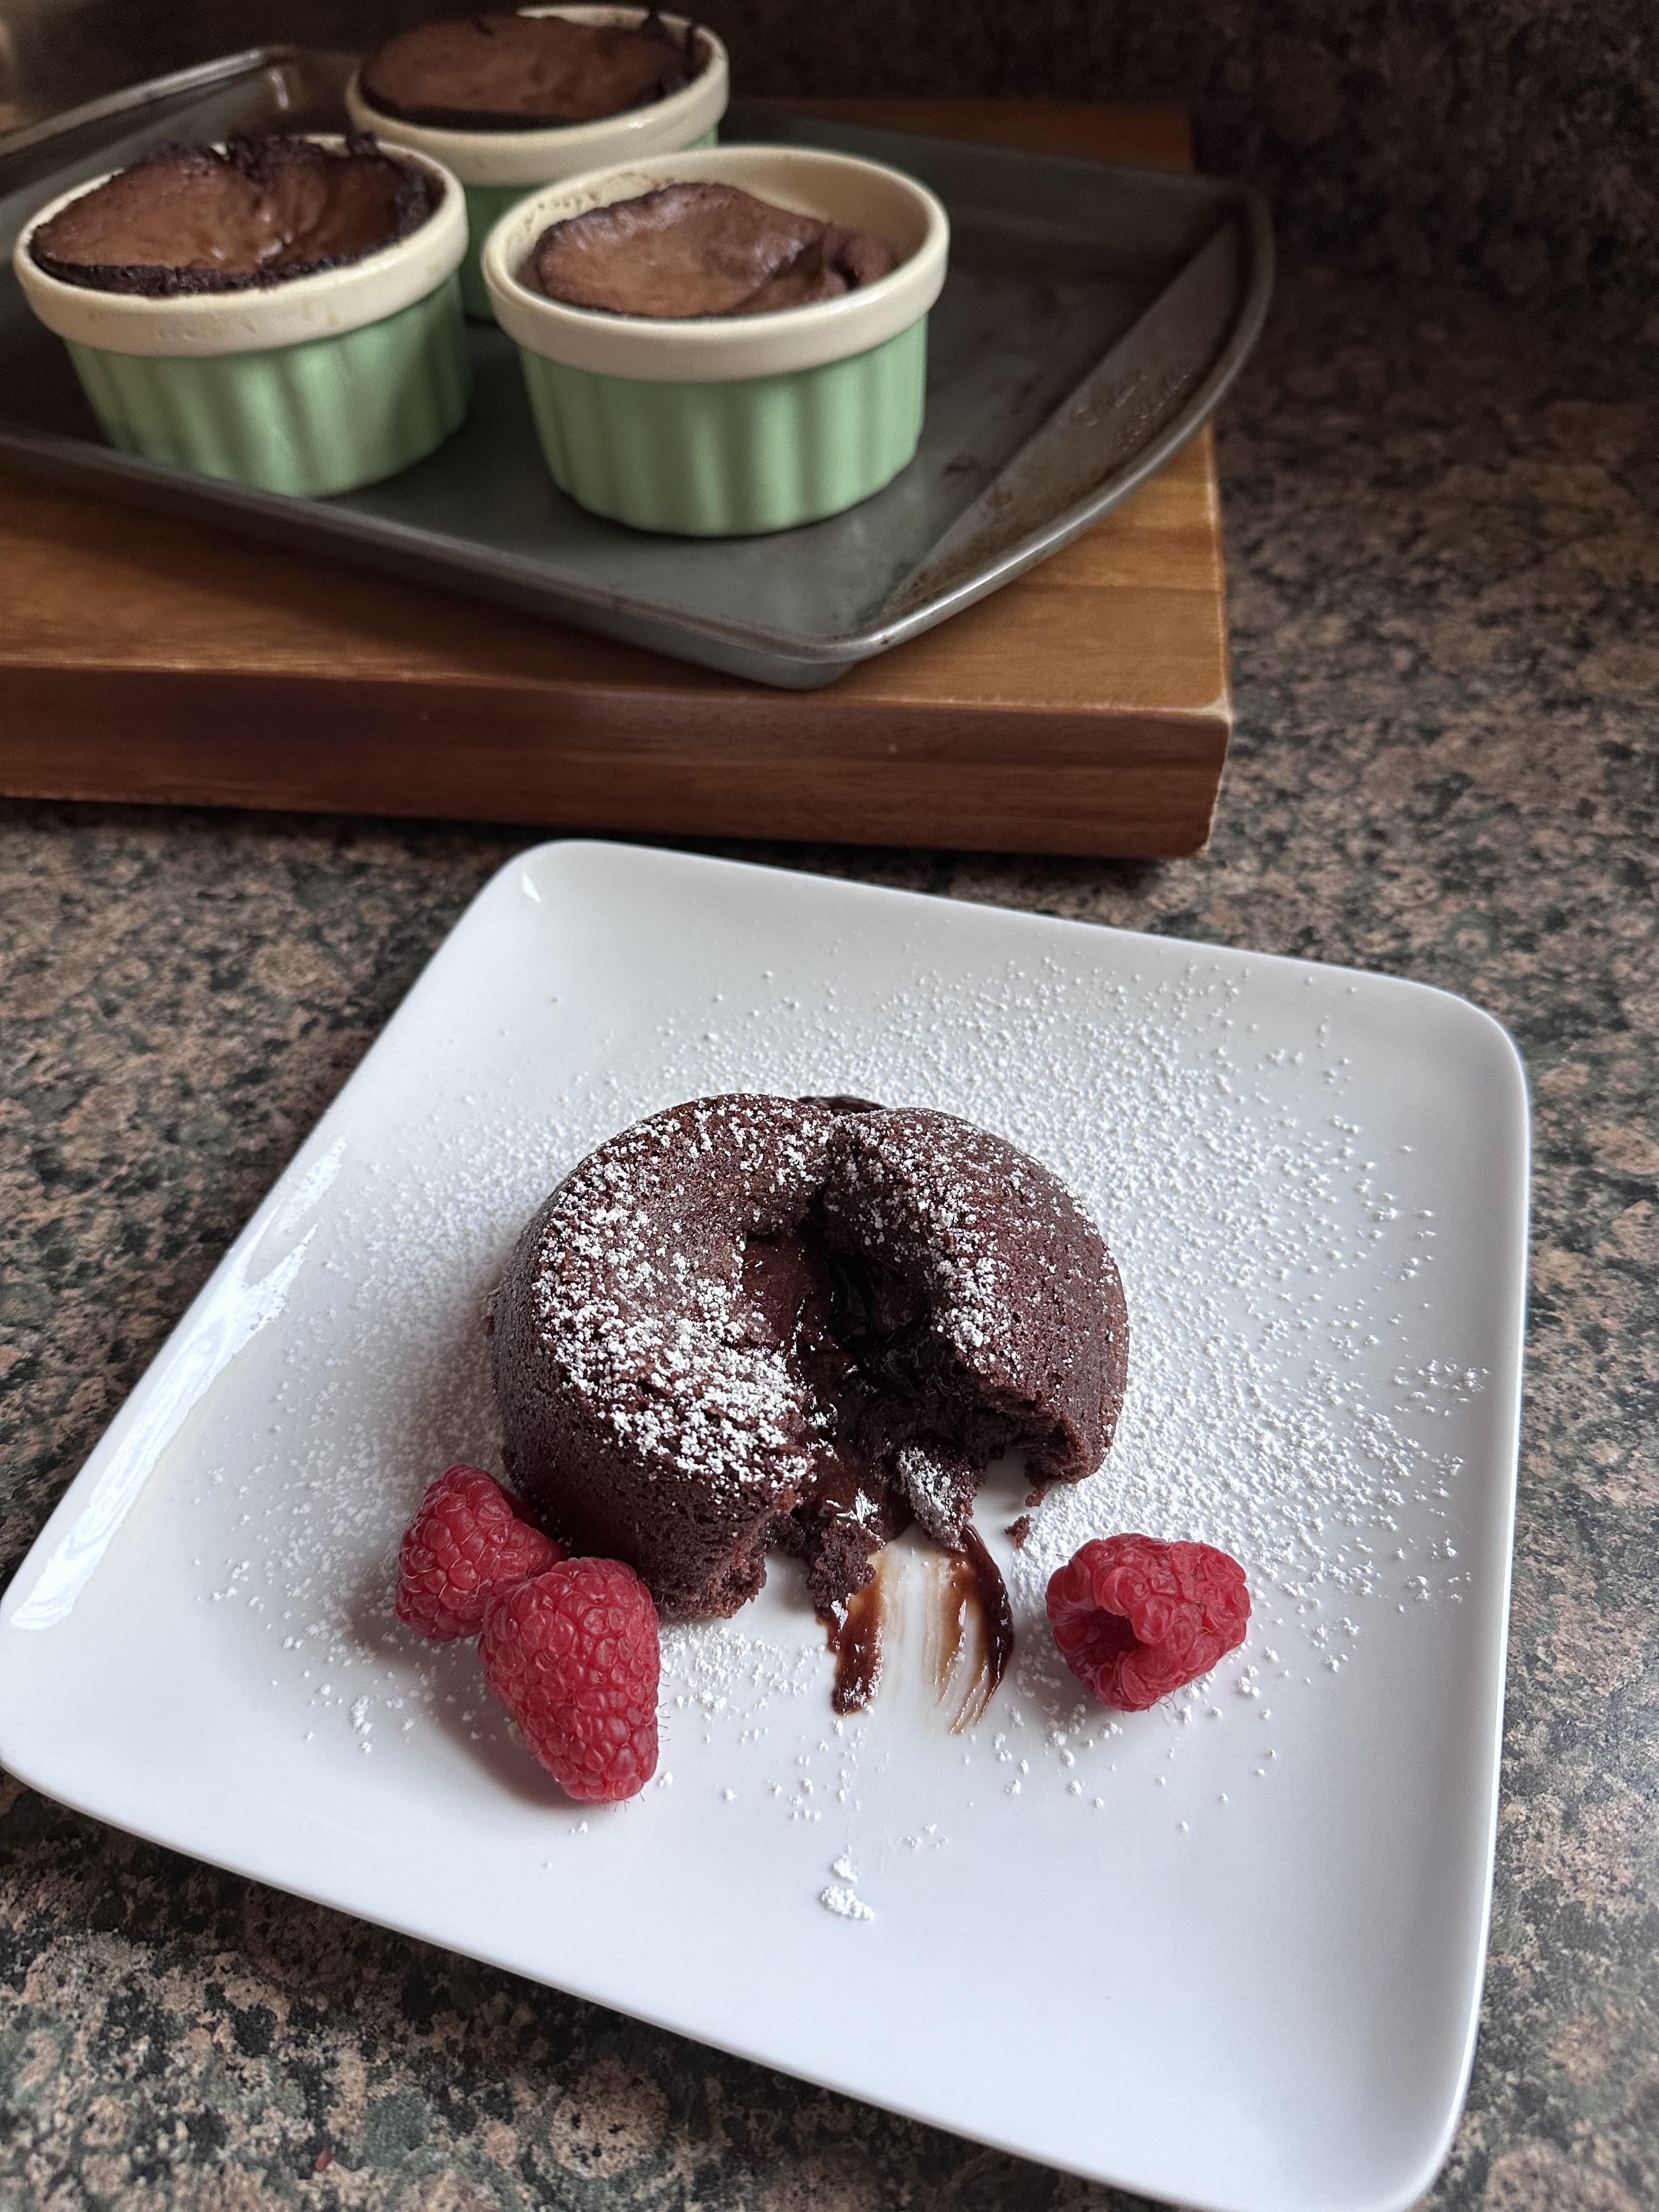
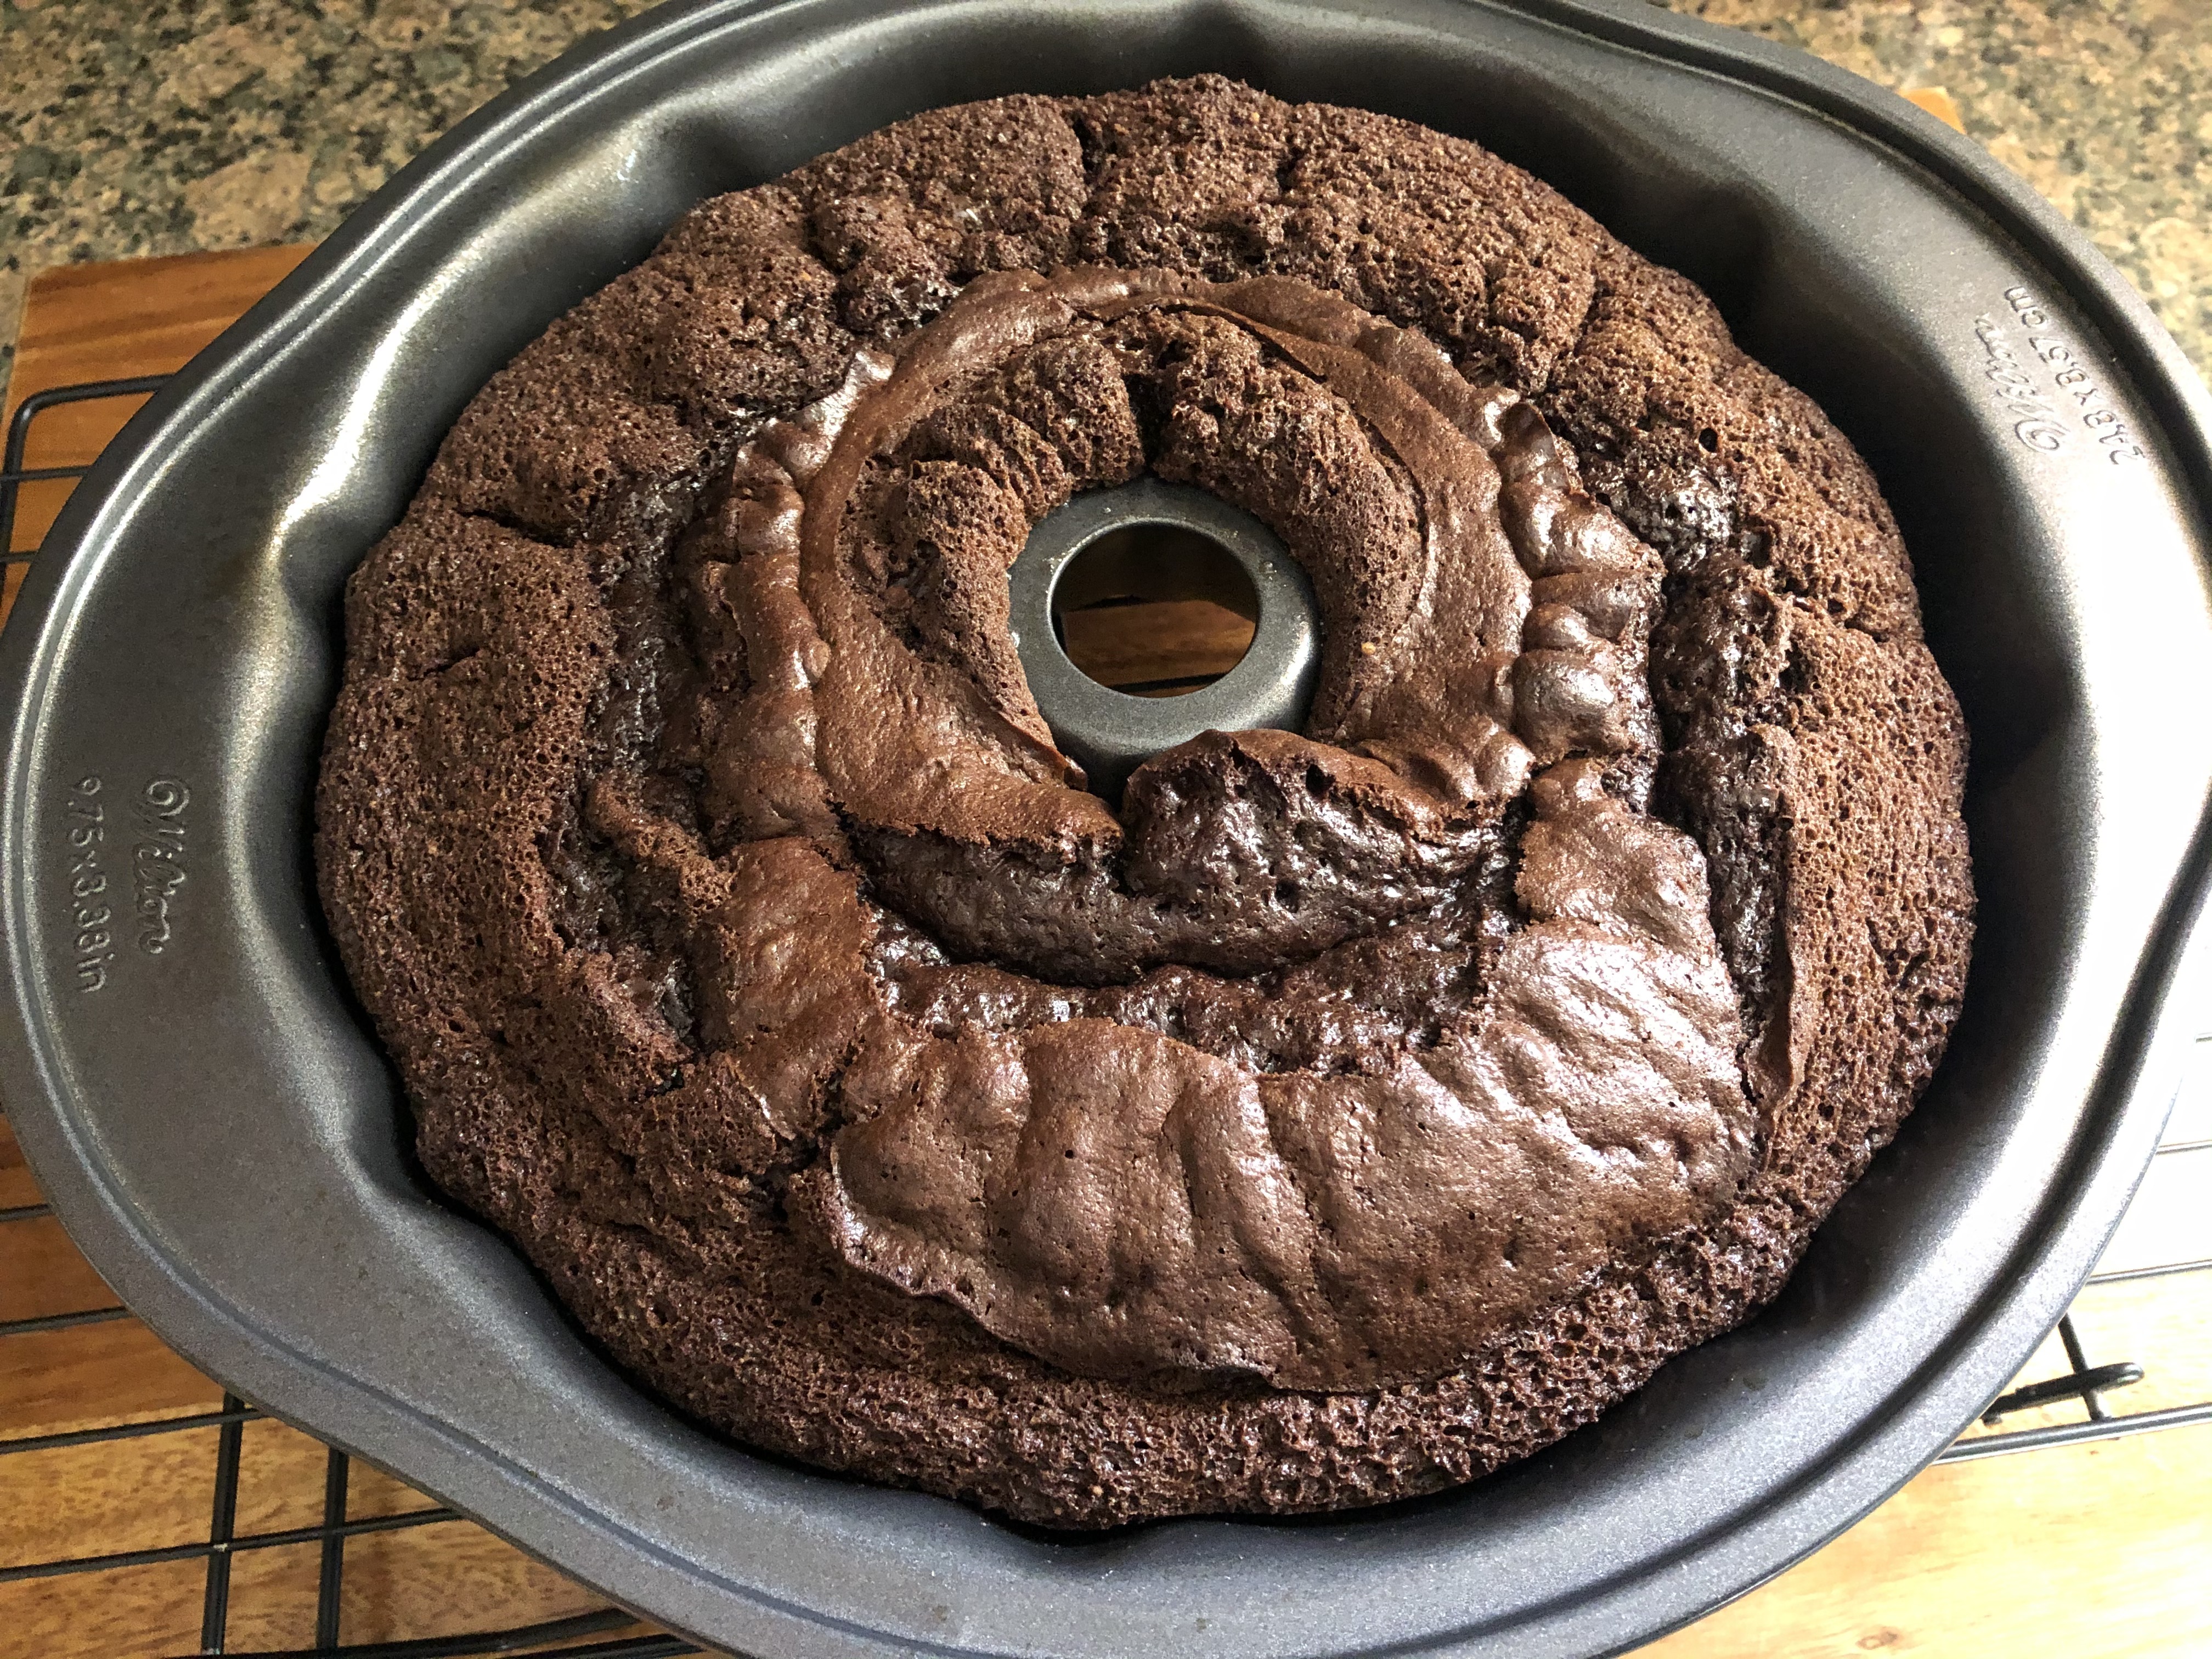
I baked them in a preheated oven for about 15 minutes and then let them cool for a few more…

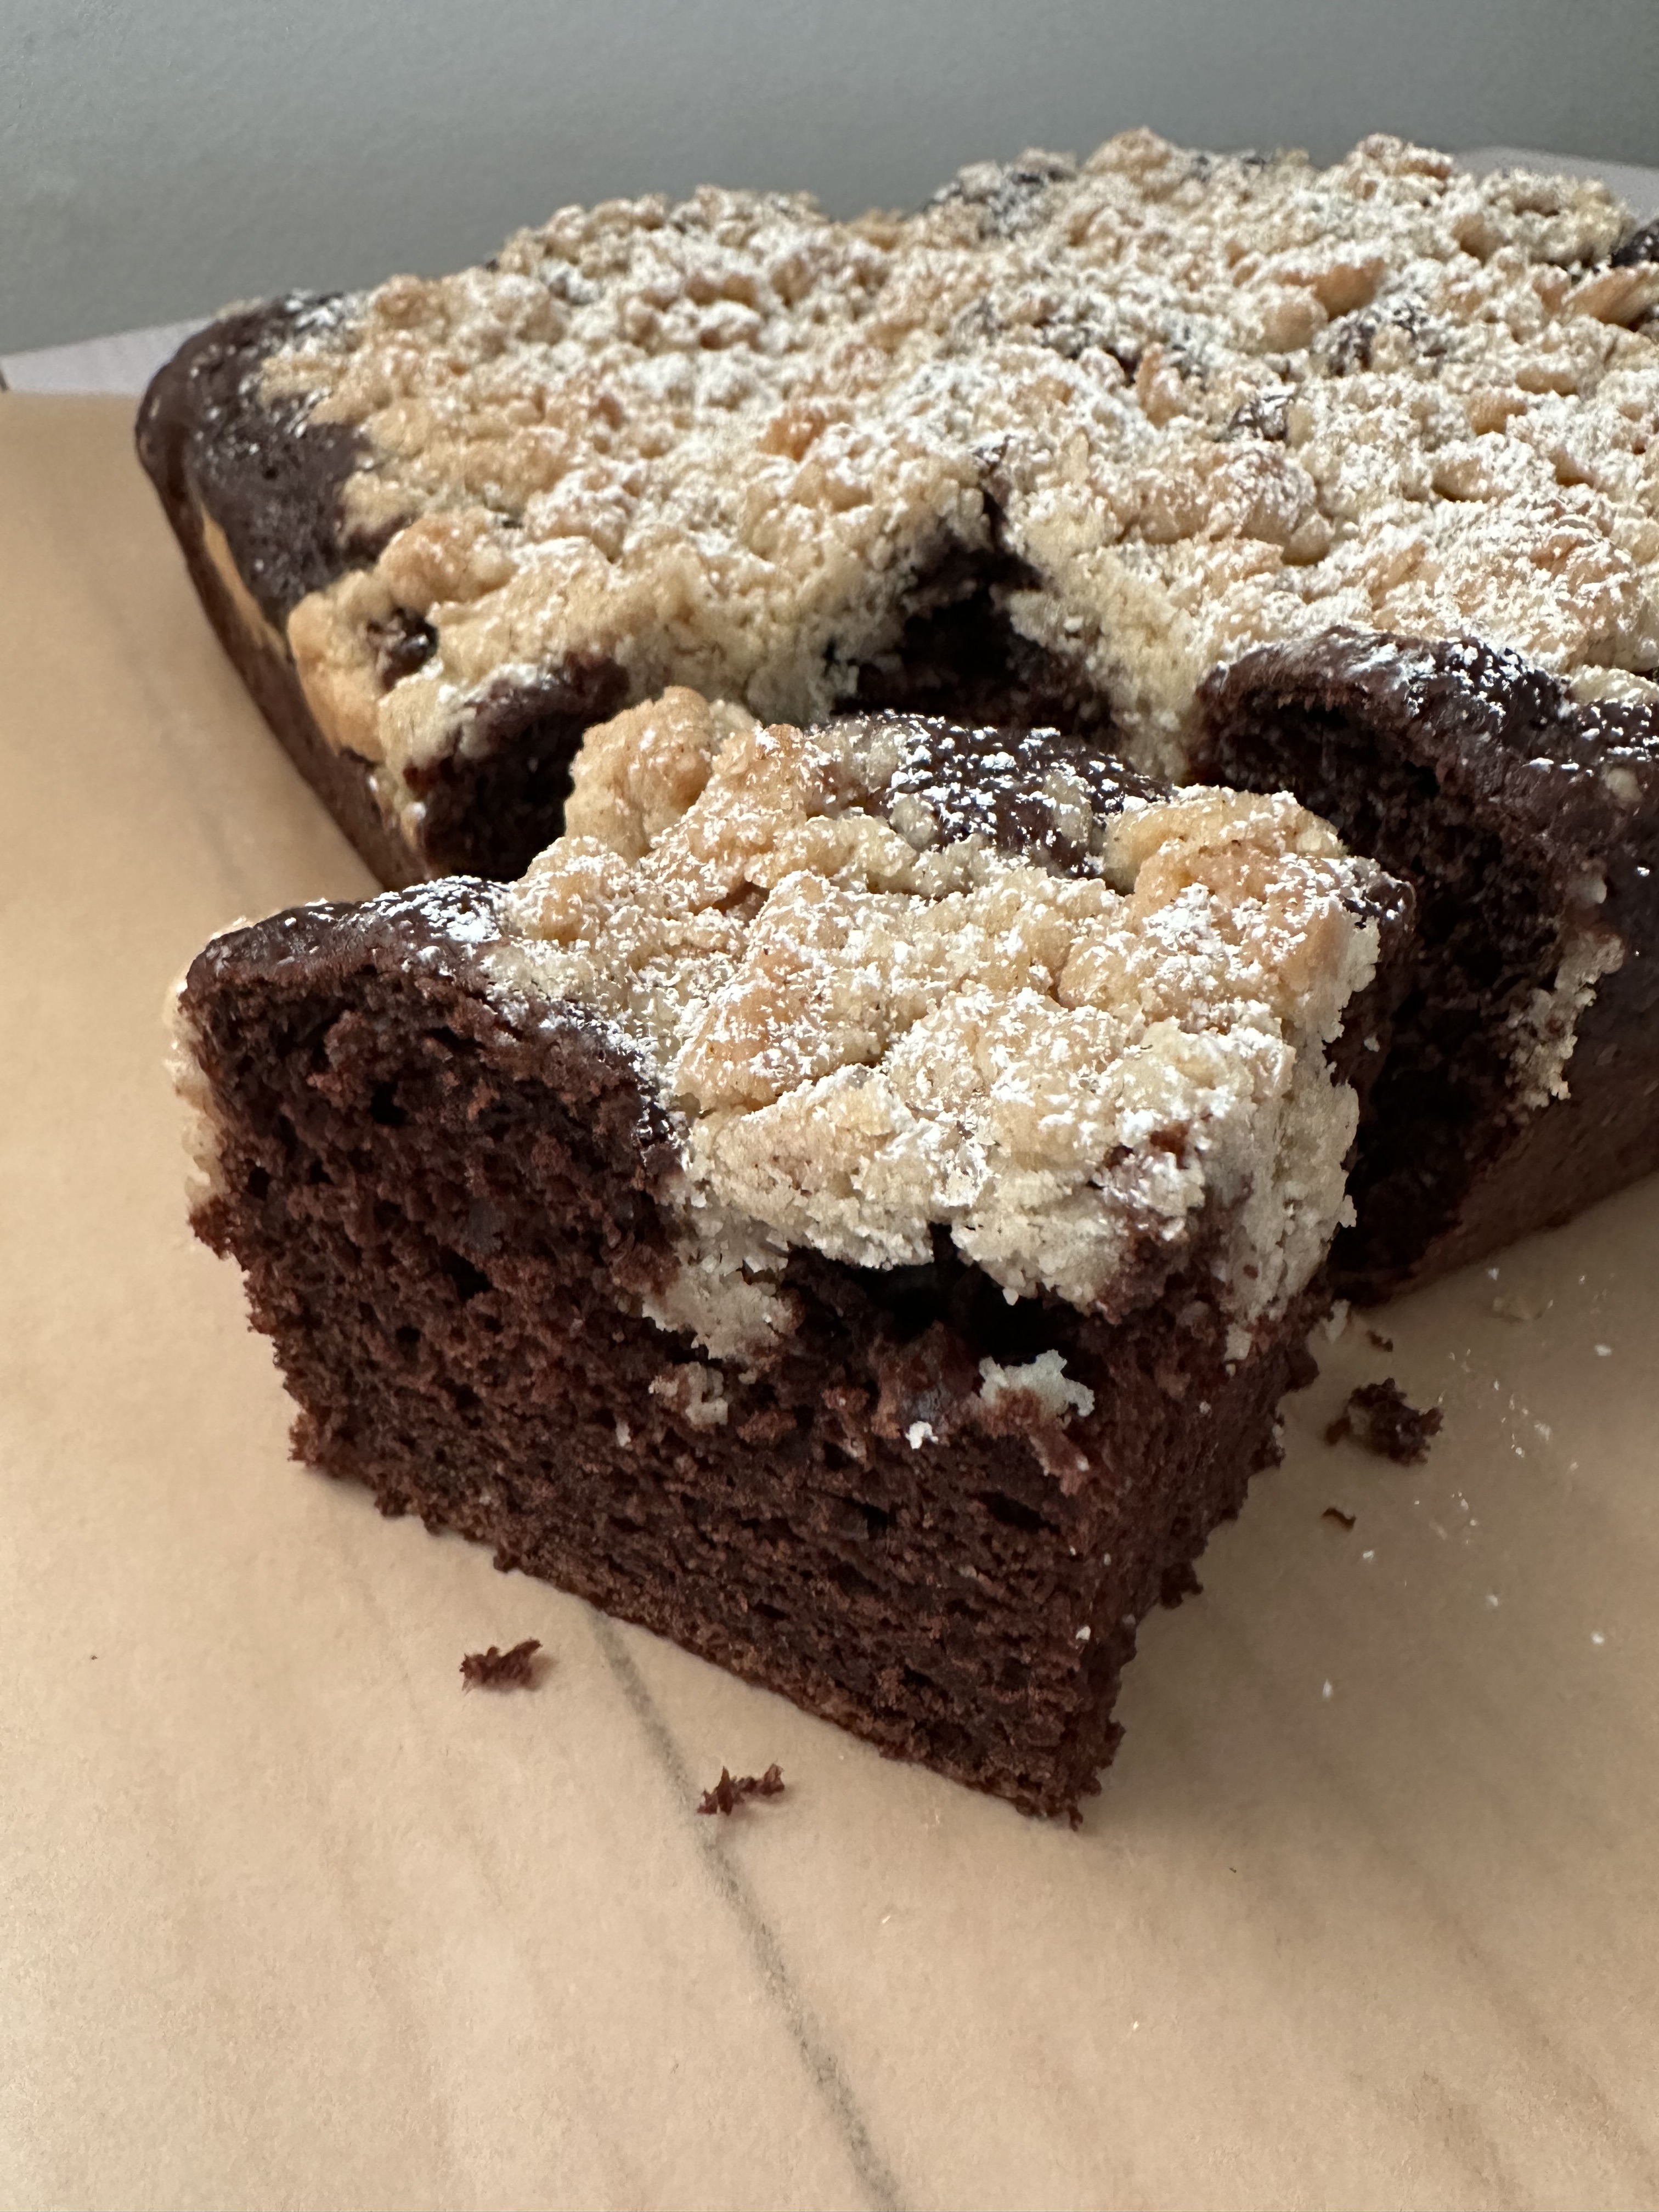
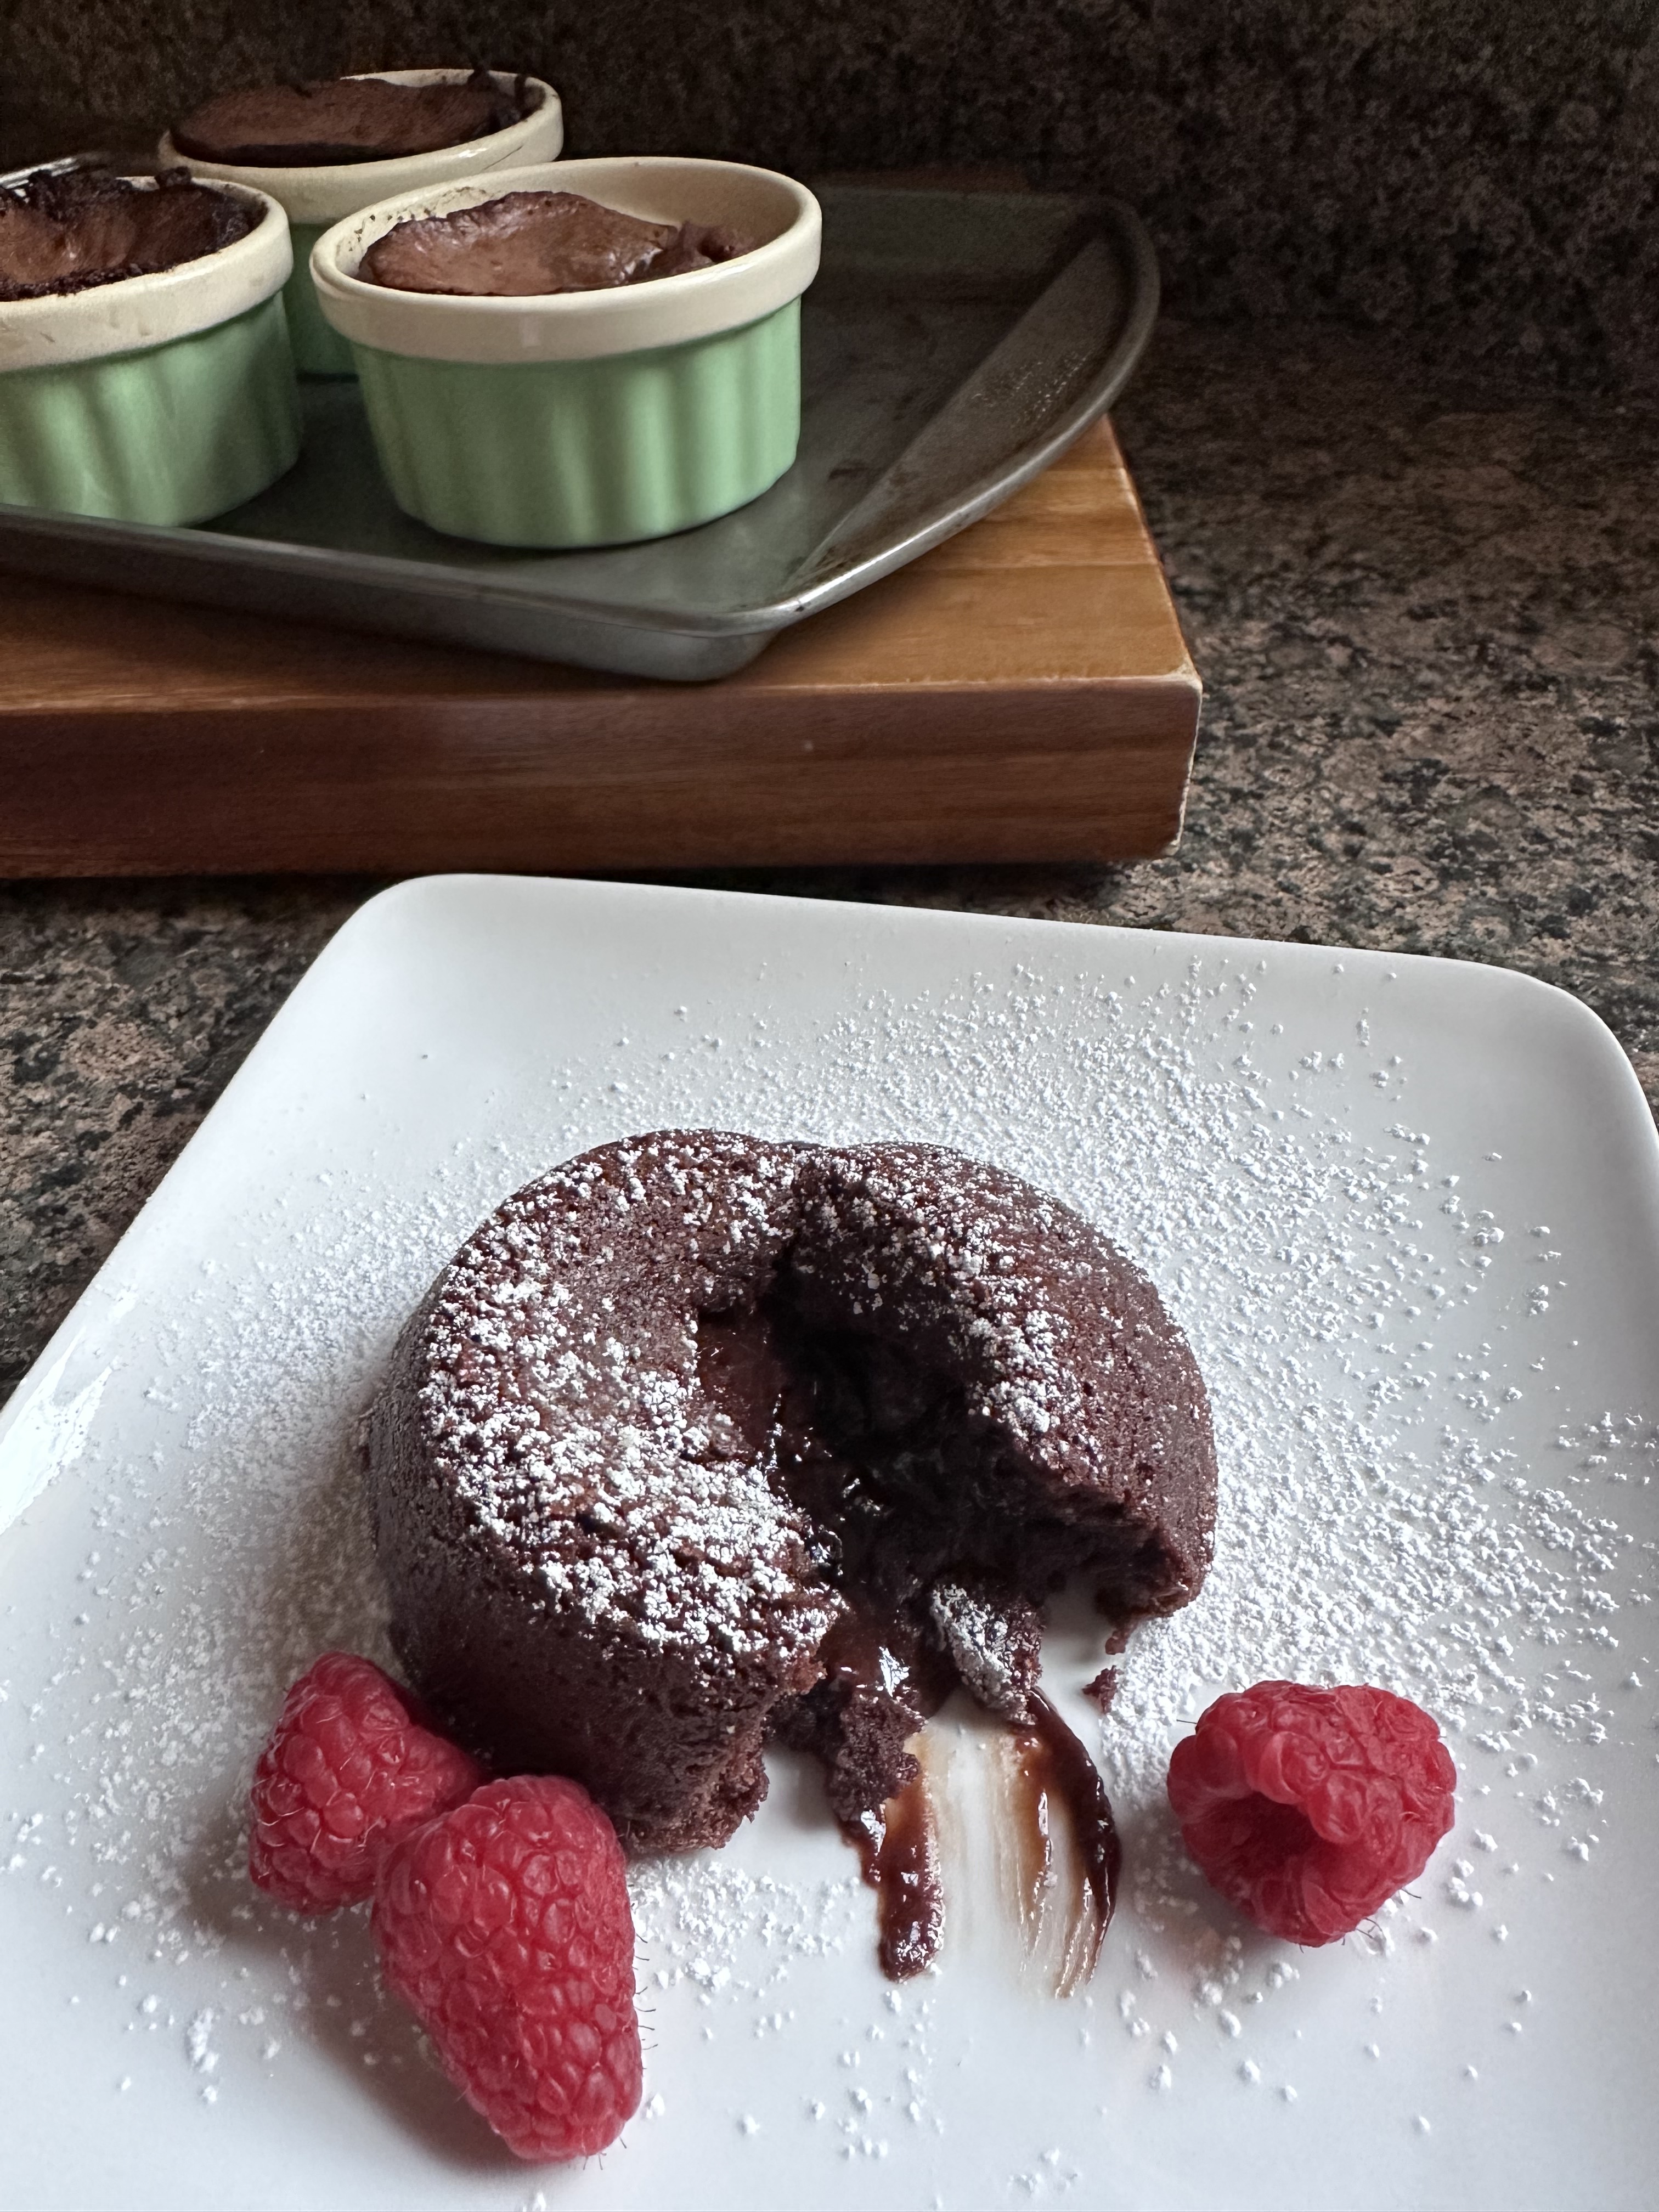
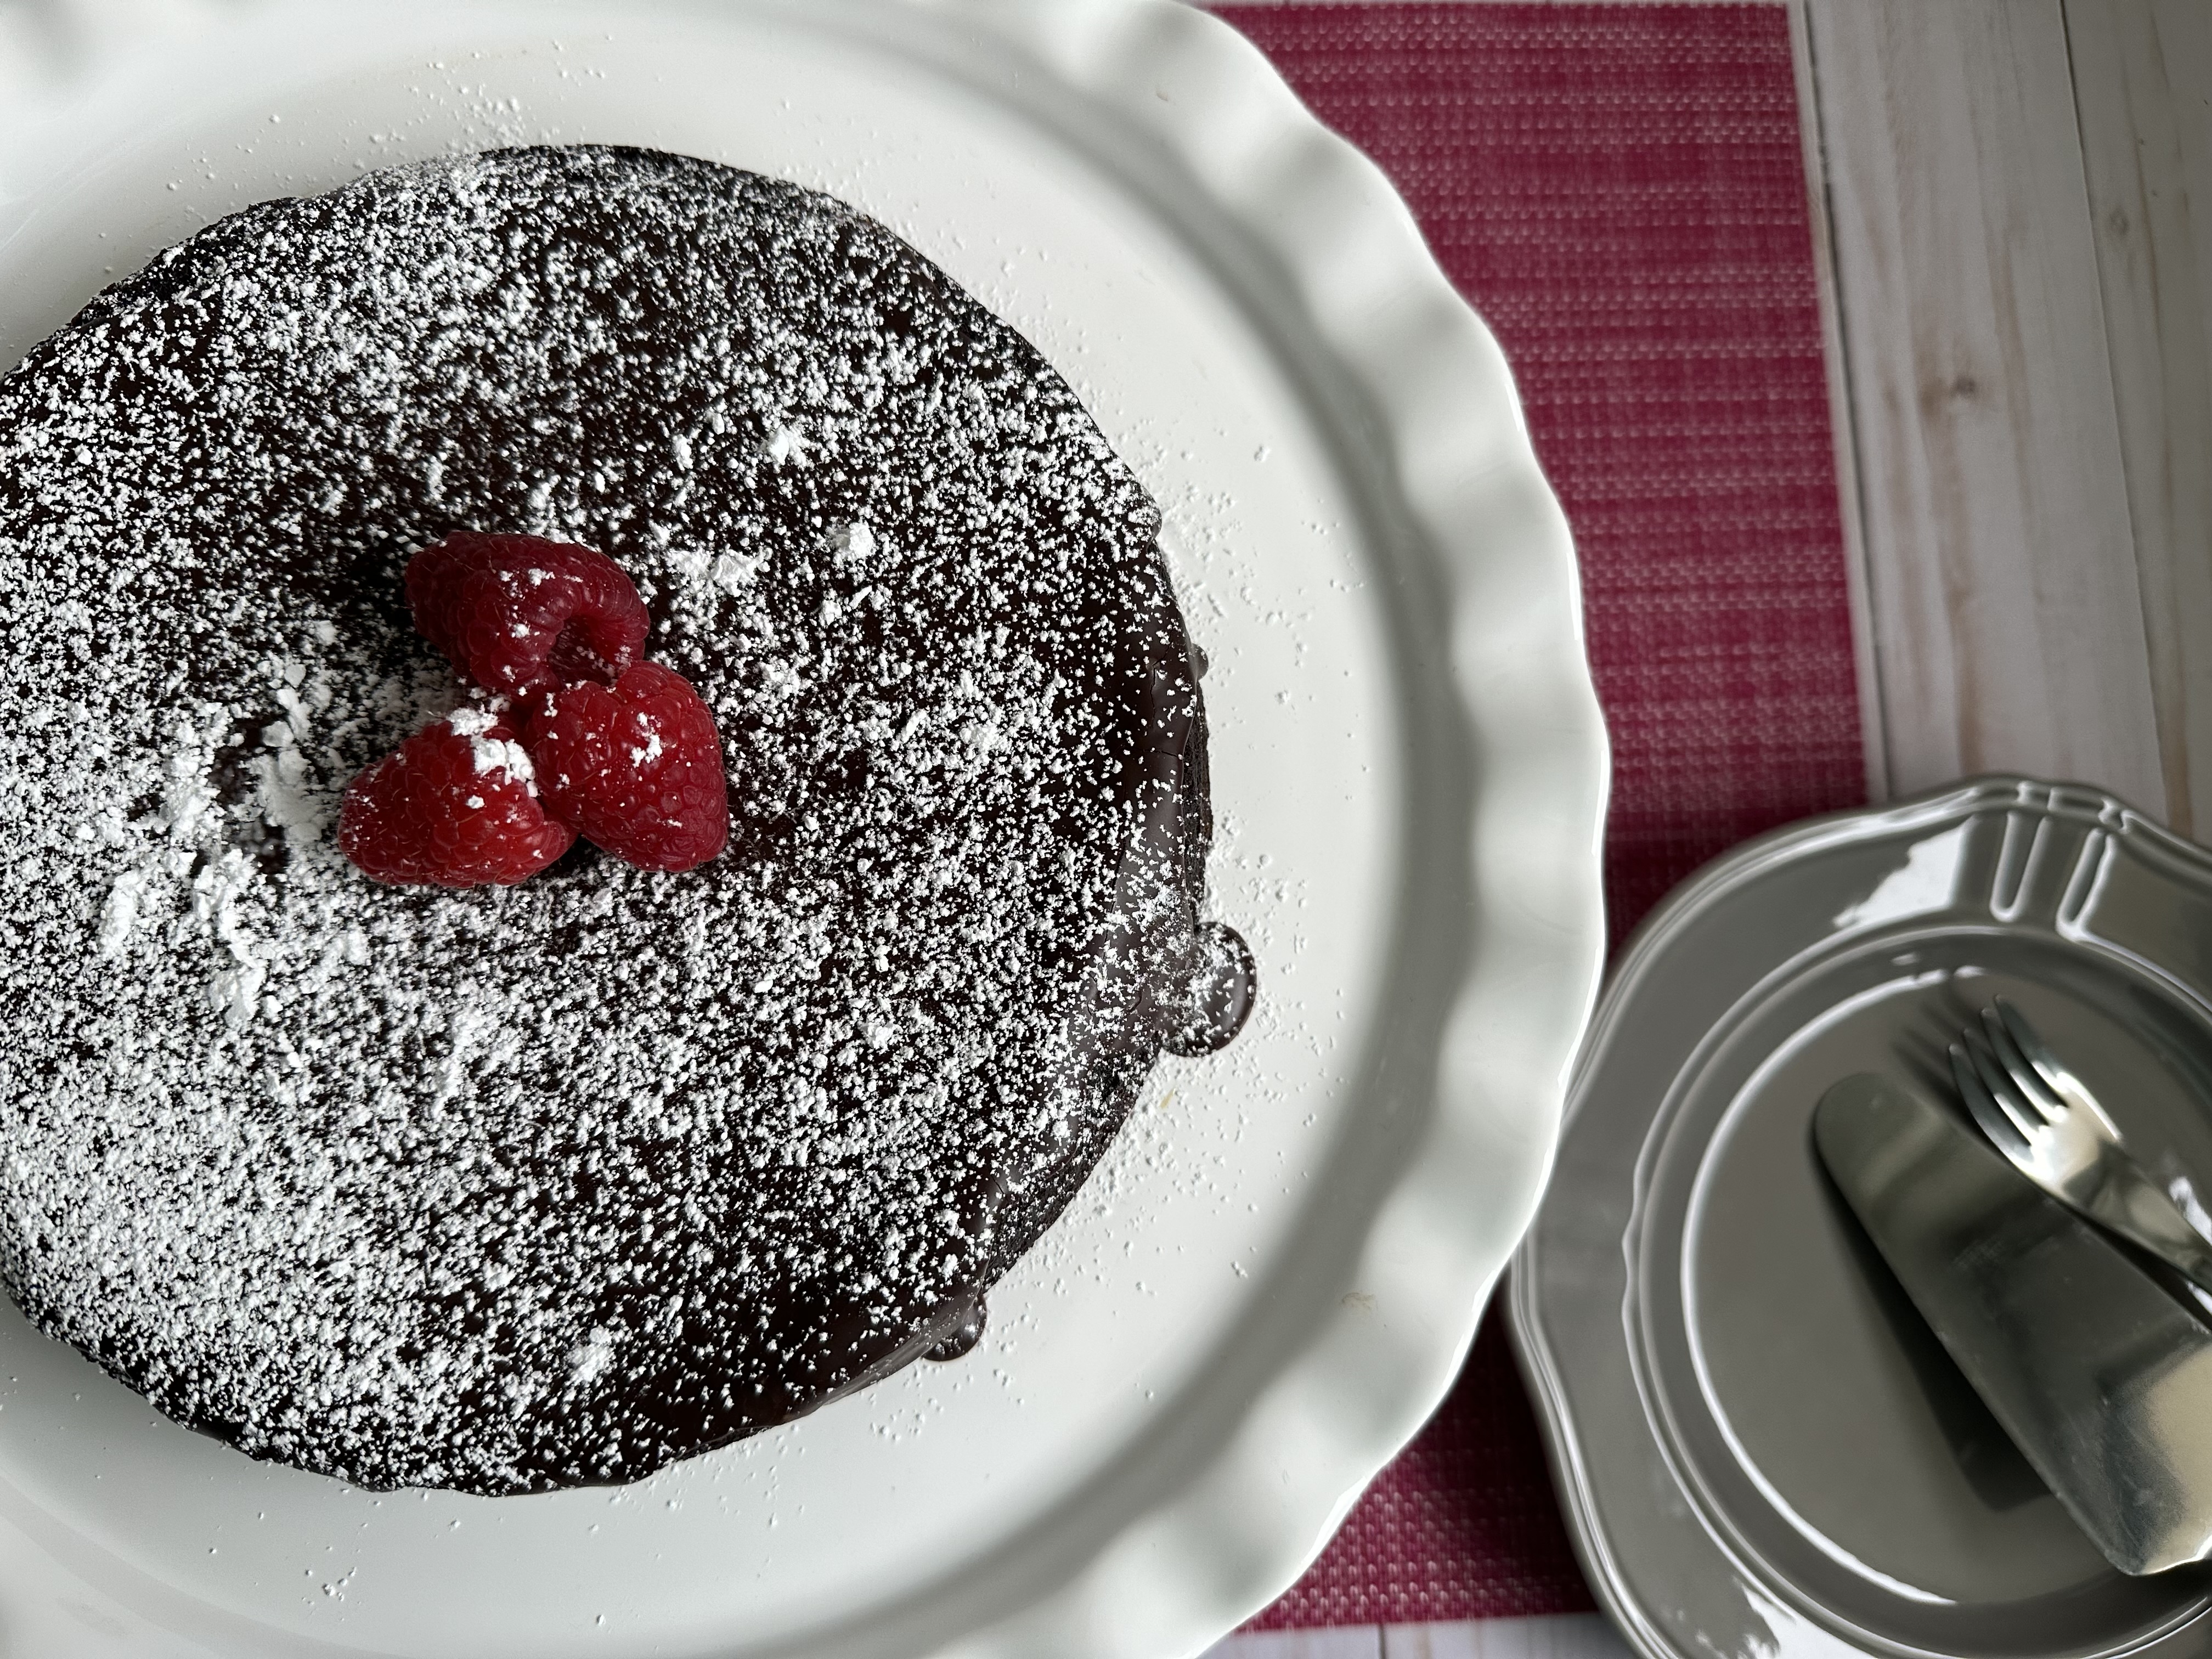
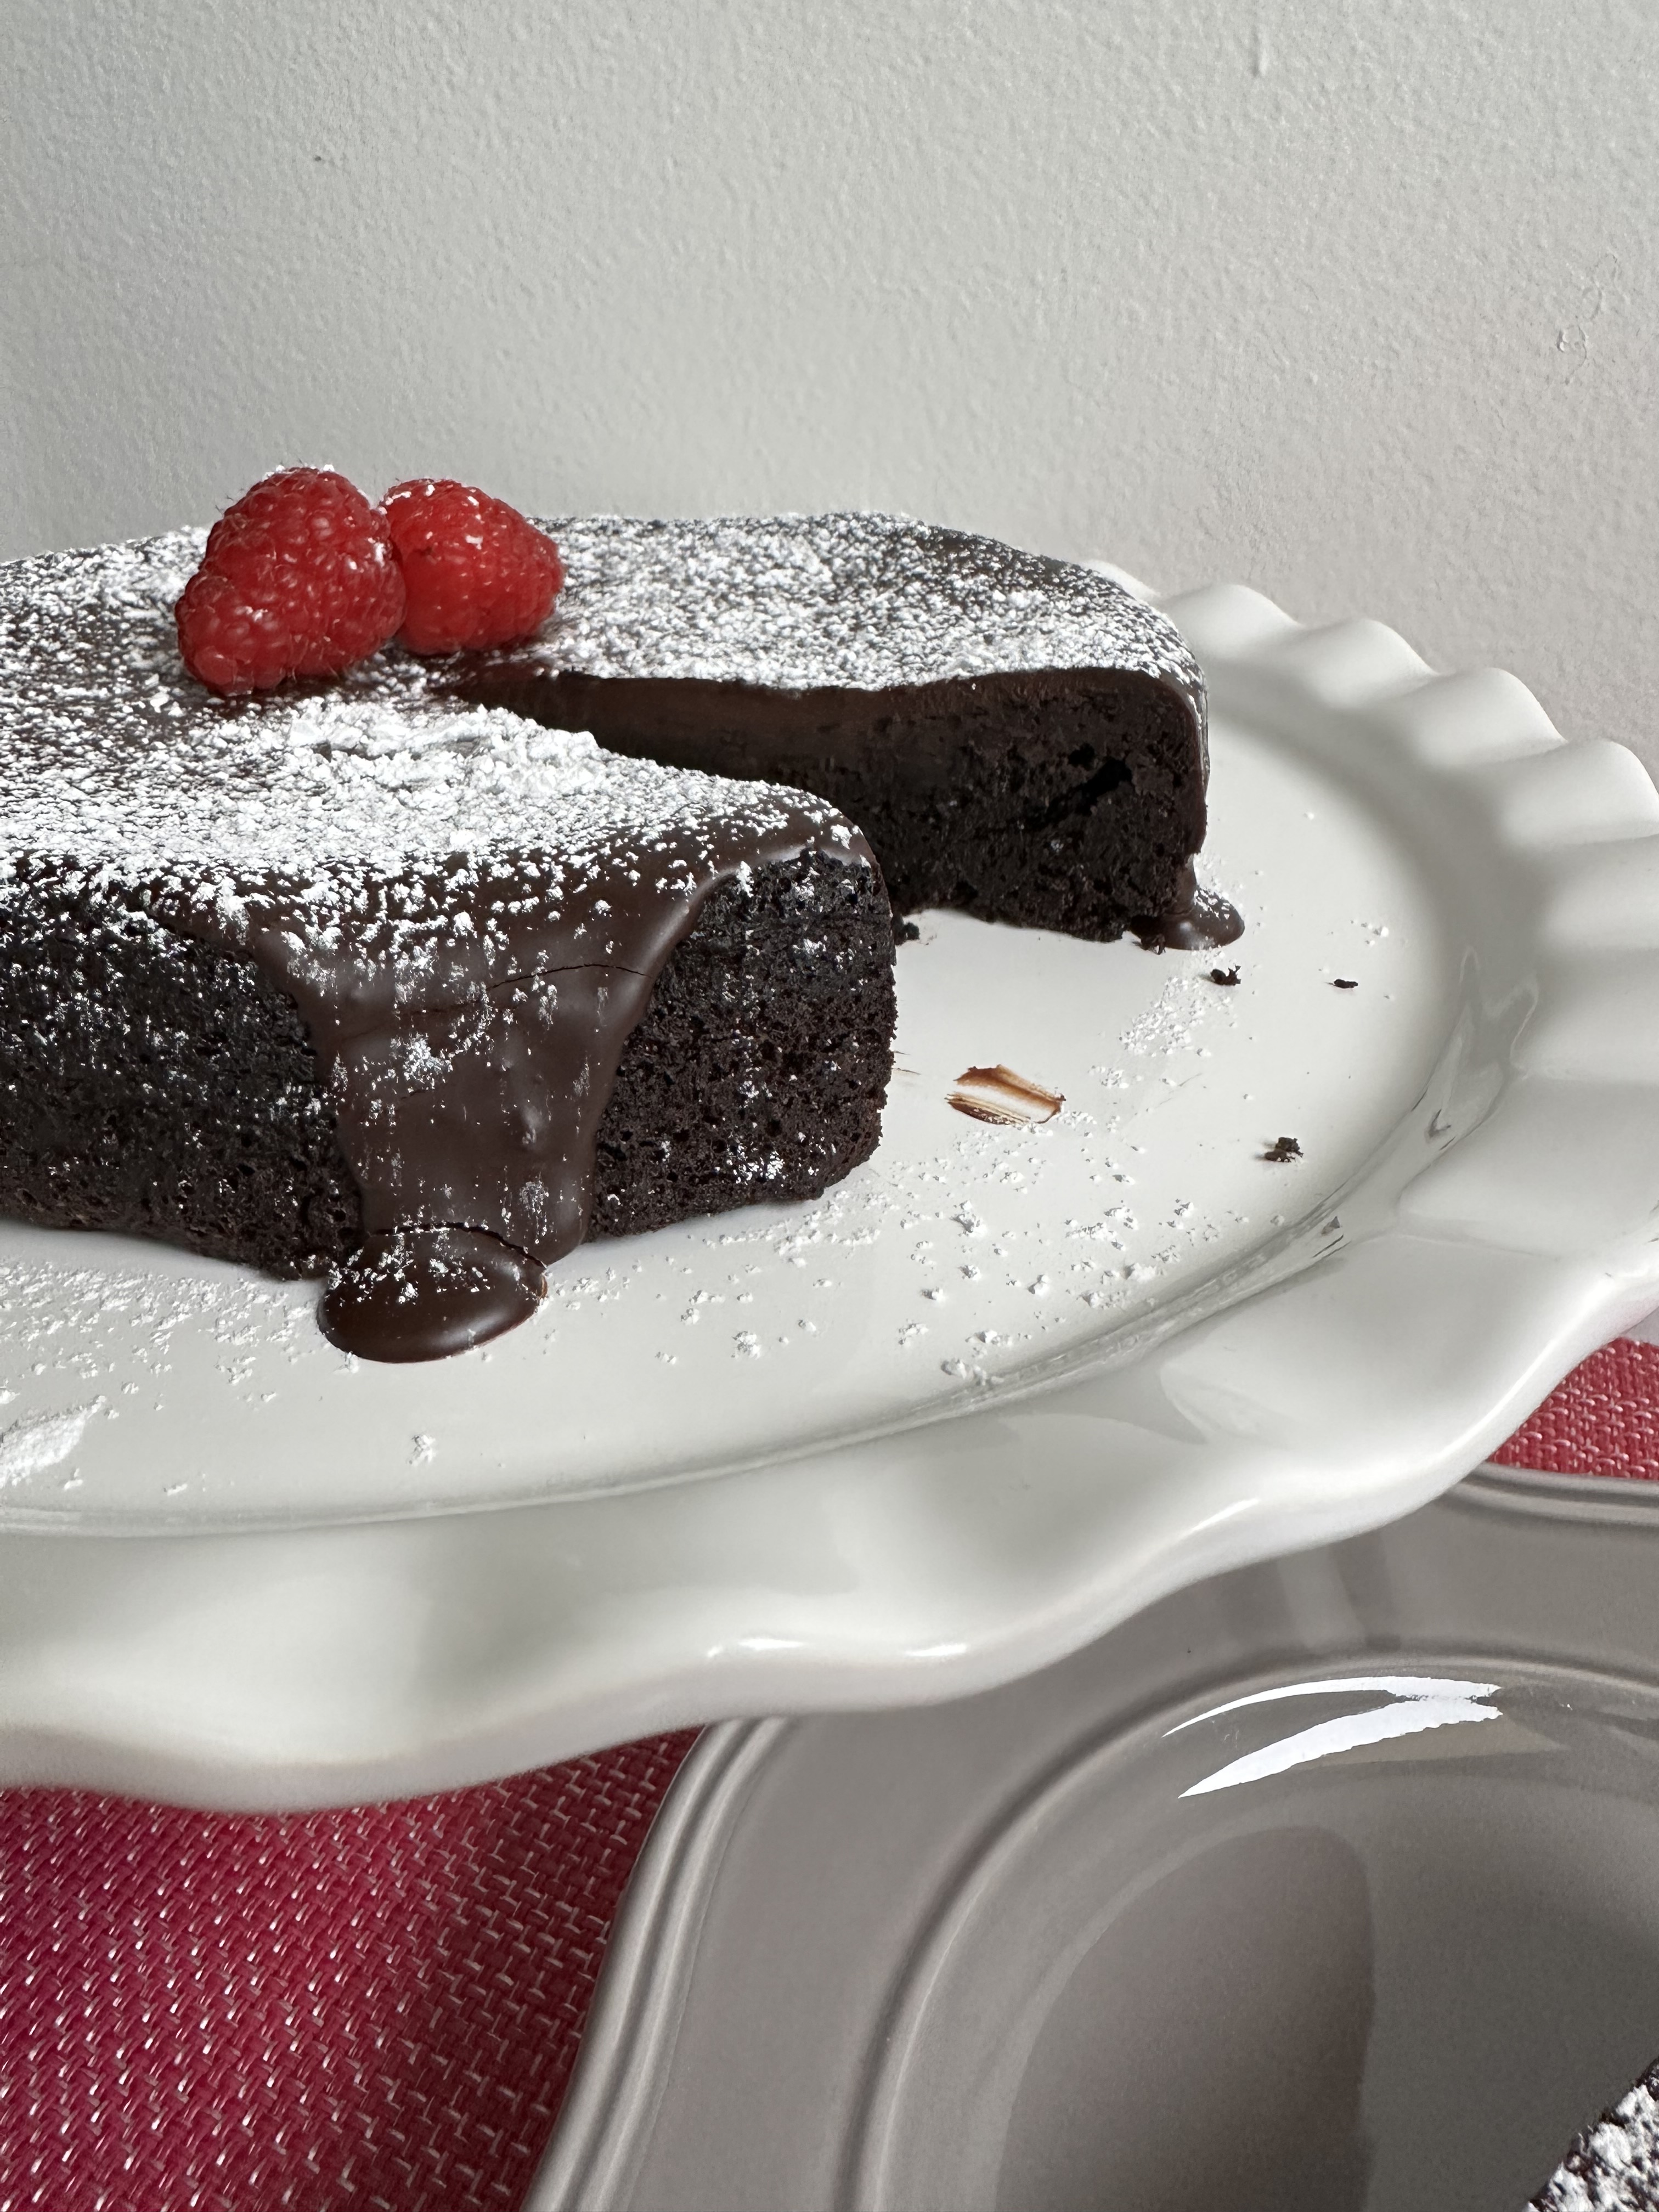
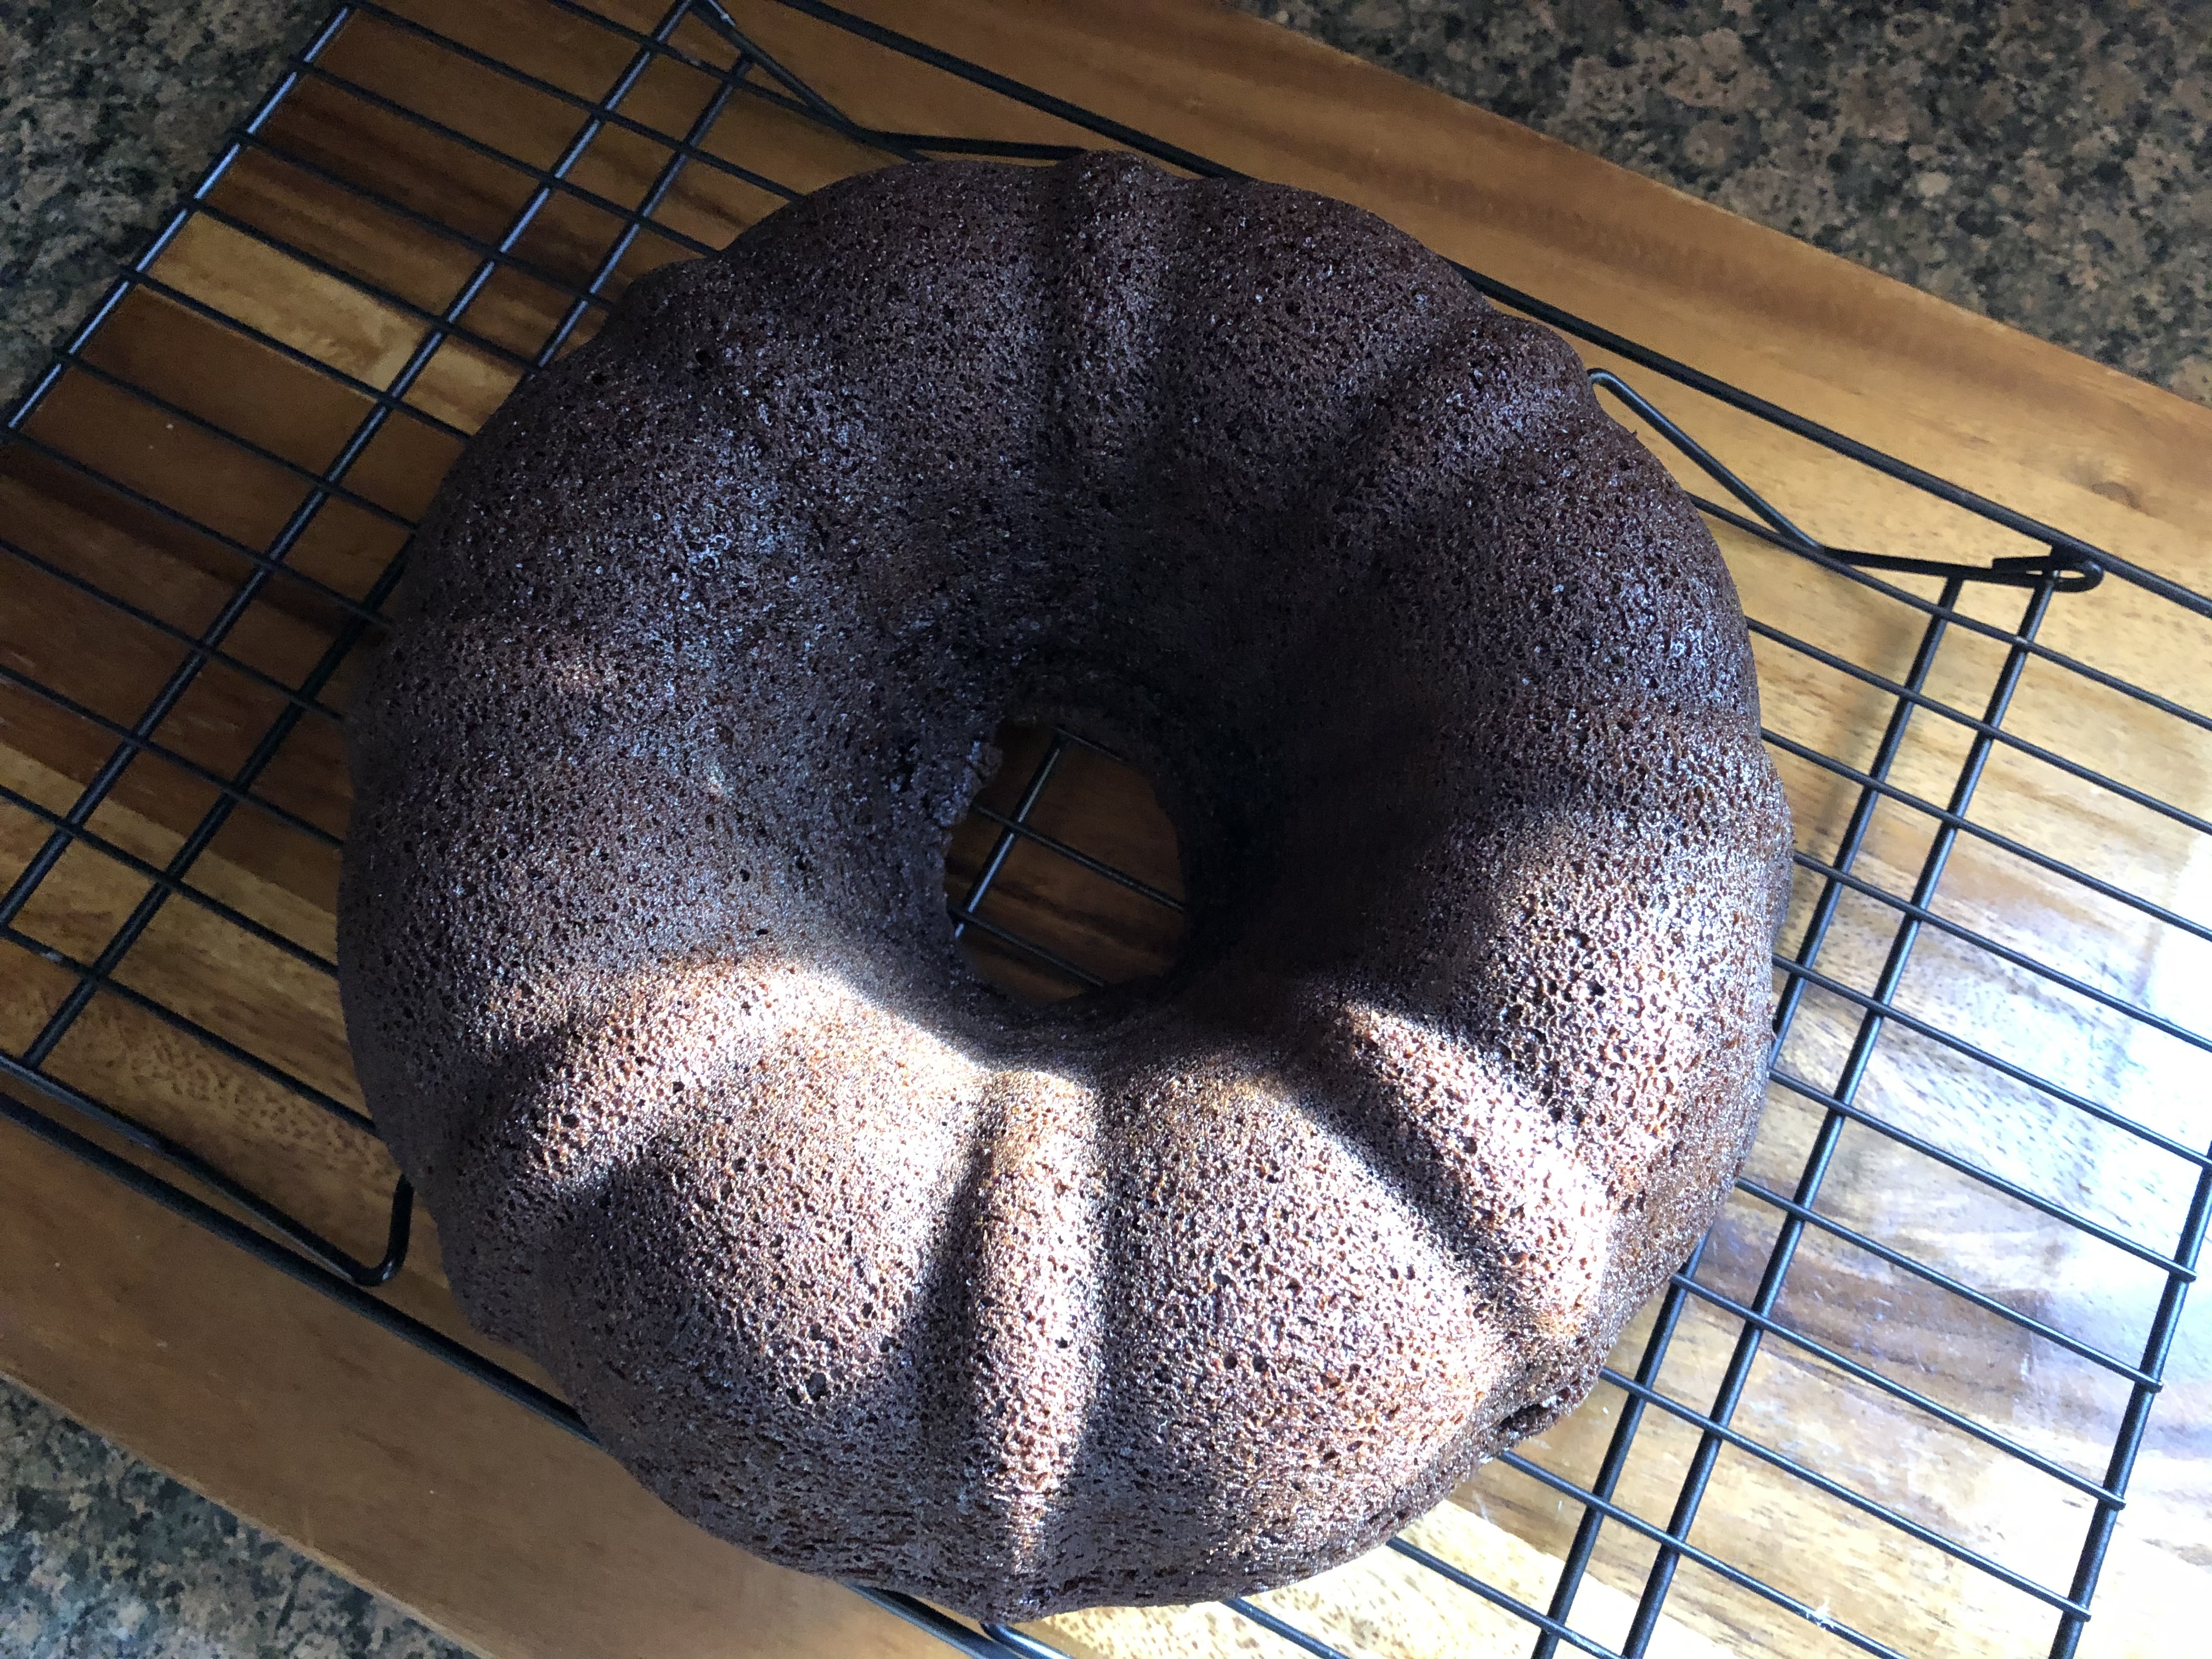
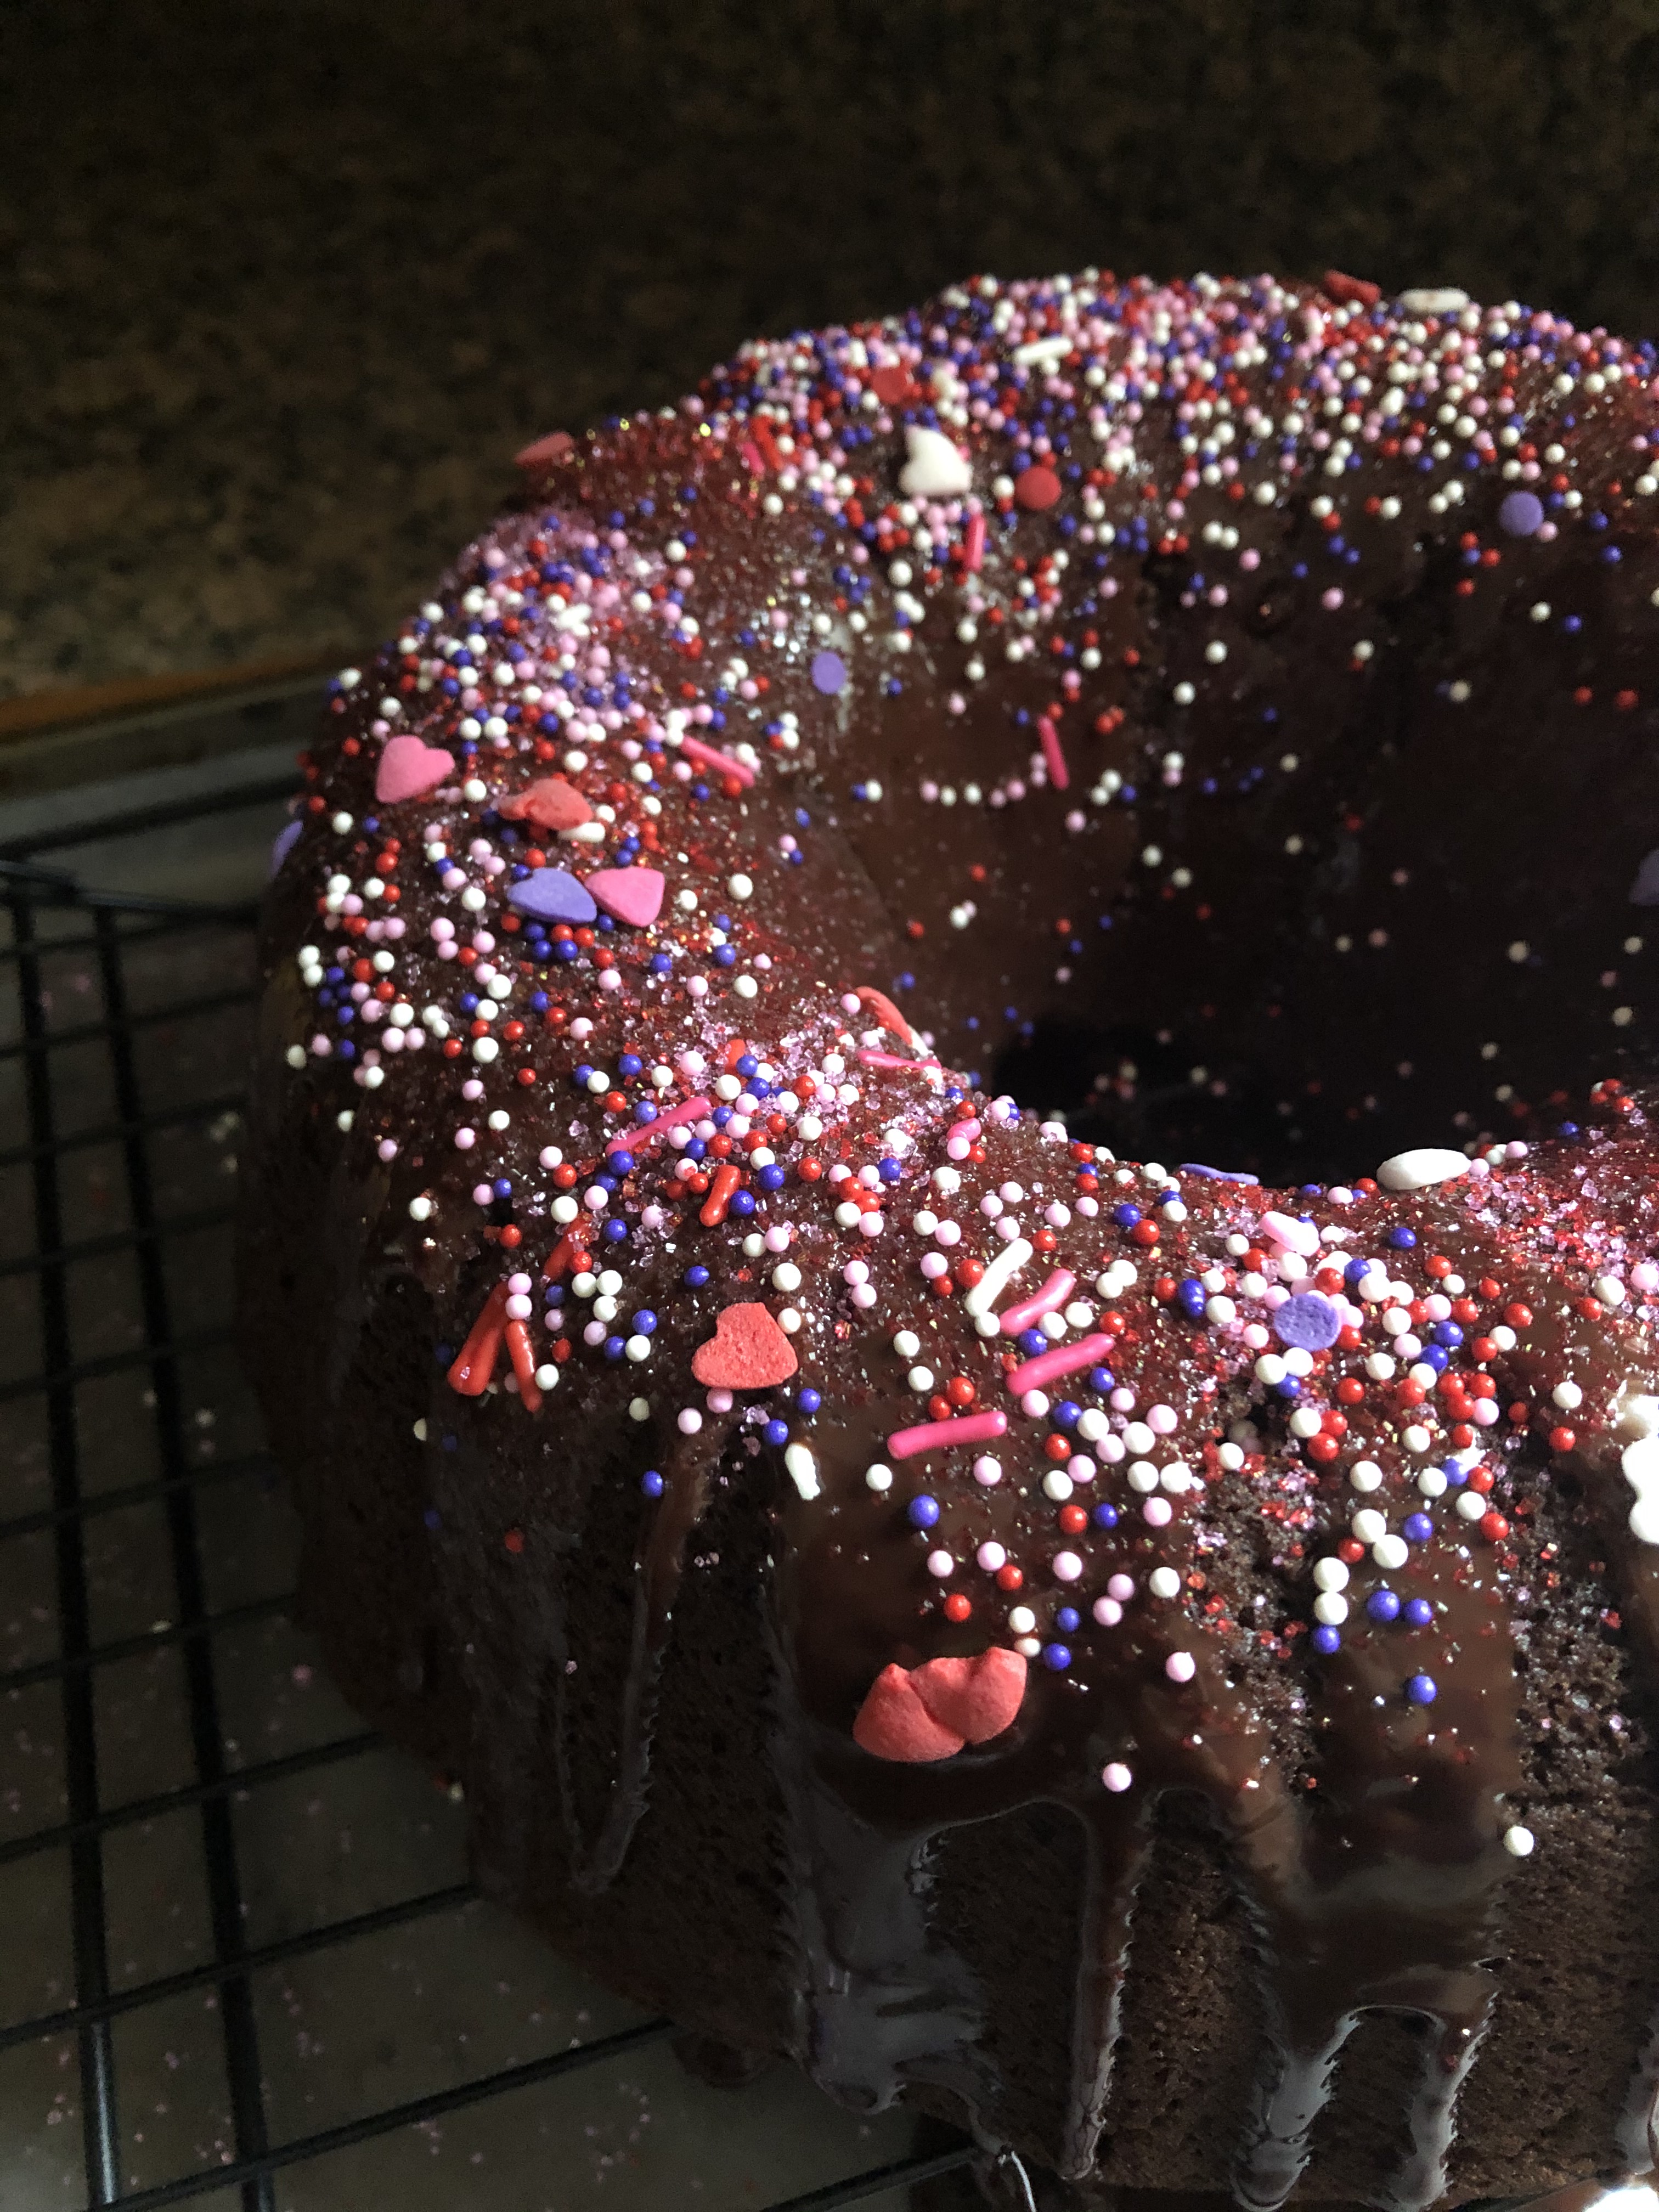
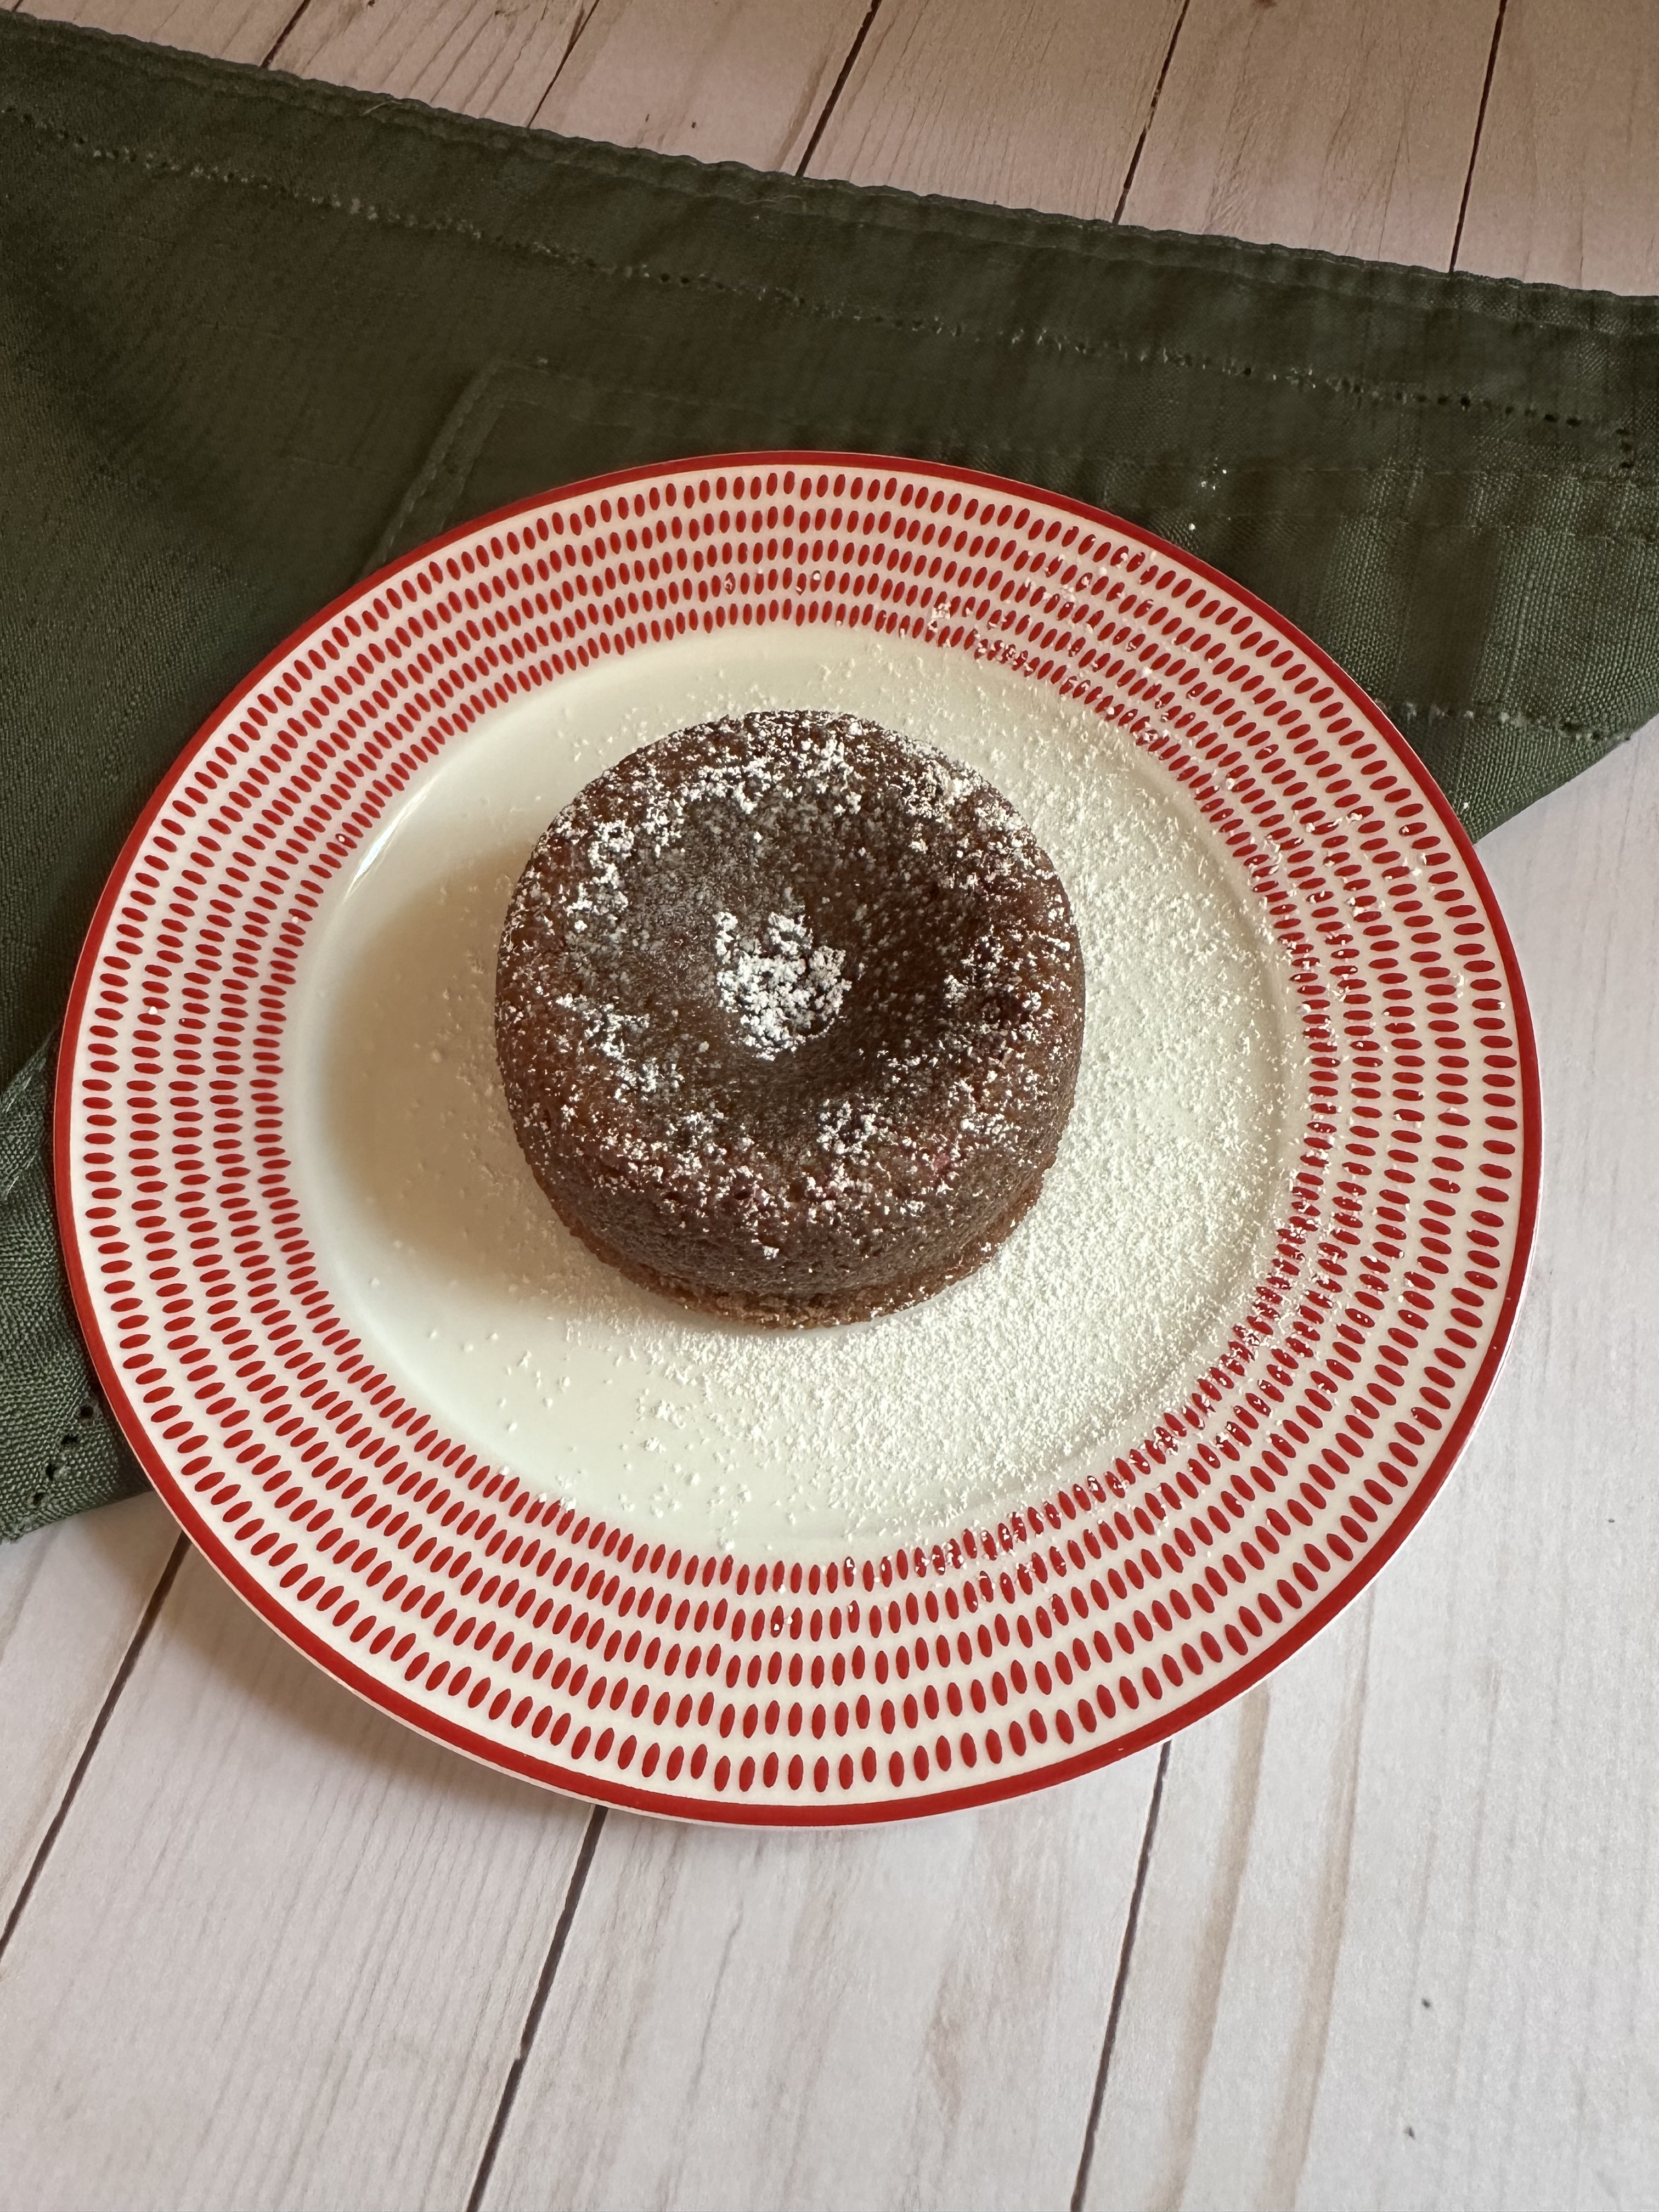
Before inverting on a plate and dusting with confectioners’ sugar to enjoy.

So, this holiday season if you have an extra bag of peppermint bark or are looking for a fun twist on the traditional molten lava cake pick up a bag of peppermint bark and whip up a batch of these yummy cakes!

Peppermint Bark Molten Lava Cakes

Ingredients:

1 5.4 oz. package Ghirardelli Peppermint Bark Squares, broken into quarters

1/2 cup unsalted butter

1/2 cup sugar

3 large eggs, at room temperature

1/4 cup flour

Confectioners’ sugar, for dusting

Directions:

Preheat the oven to 425 F.

Spray 4 6oz. ramekins with baking spray and place on a baking sheet.

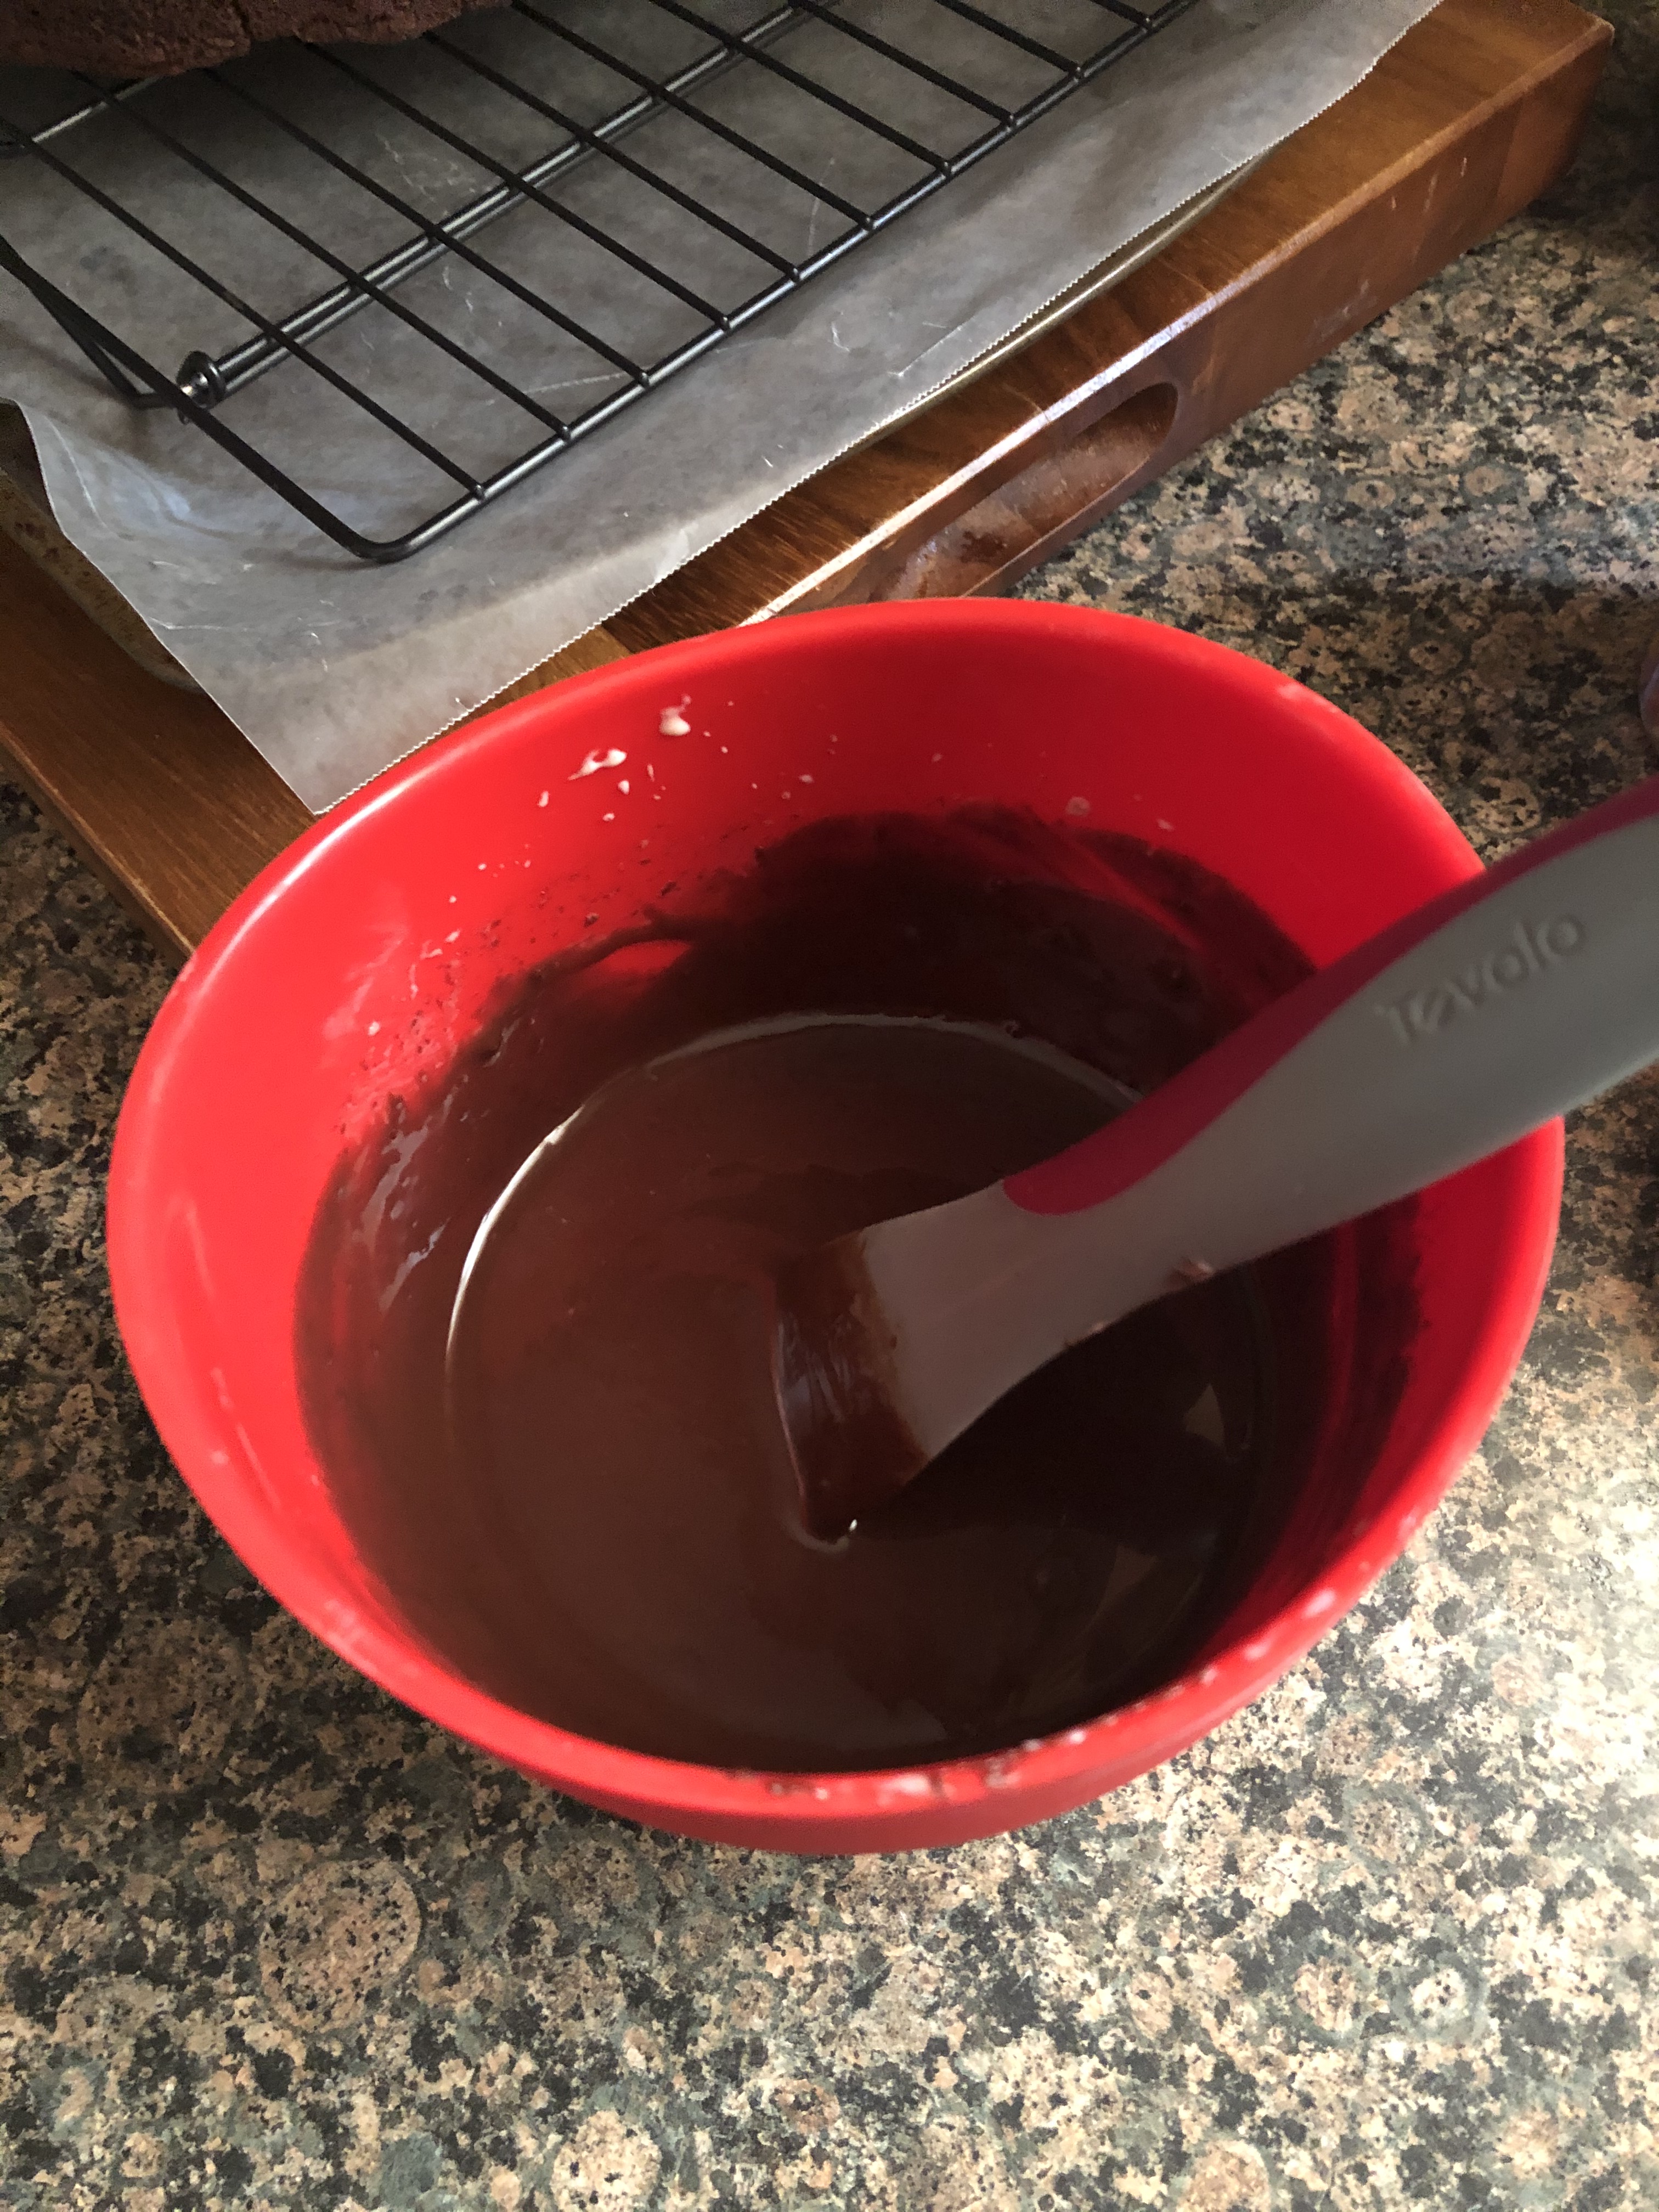
In a microwave safe bowl combine the peppermint bark squares and butter and microwave for 30-second intervals until the butter melts. Once the butter has melted stir the mixture until the chocolate melts.

In a medium bowl beat together the sugar and eggs with a hand mixer on medium speed until pale and fluffy.

Fold the egg mixture into the chocolate mixture until just combined. Add the flour and continued folding the mixture together until well combined.

Divide amongst the prepared ramekins, about 1/2 cup of batter in each.

Bake in the preheated oven for 15-16 minutes. Cool for 5-10 minutes before inverting. Dust with confectioners’ sugar and enjoy.

For leftovers, cover the ramekins tightly with plastic wrap and refrigerate. To heat, microwave for 30 seconds. Let sit for a minute then invert and enjoy.

Recipe first appeared on Bead Yarn & Spatula.

Chocolate Turtle Cake

Around the holidays I always do what I have termed as marathon baking. Usually on December 22nd or 23rd I bake a bunch of cookies that I give as Christmas gifts. I have tried and true recipes that I make every year that I know are crowd pleasers and then I try one or two new ones to add to the mix. Last year one of those cookies was a Chocolate Caramel Thumbprint, essentially a Turtle candy turned into a cookie. And just in case you are not familiar, Turtles are candies made with pecans and caramel dipped in chocolate. The cookies were so good that I ended up making them again for New Year’s Eve. Which then got me thinking of making a cake reminiscent of the flavors and ingredients. Hence, today’s Chocolate Turtle Cake.

So, how are all the flavors incorporated into the cake? Well, two chocolate cake layers are separated by a generous layer of caramel whipped cream and then the whole thing is covered in a delicious chocolate frosting. And finally, decorated with chopped pecans and drizzled with caramel sauce. YUM!

Chocolate Turtle Cake

For the Chocolate Cake:

1 15.25oz box of chocolate cake mix (I used Duncan Hines Devil’s Food)

3 large eggs

1 cup coffee, cooled

1/2 cup vegetable oil

1/2 cup sour cream

1 teaspoon vanilla extract

For the Caramel Sauce / Caramel Whipped Cream:

14oz. package caramels*

1/2 cup evaporated milk

1/4 cup maple syrup

1 cup heavy cream

For the Chocolate Frosting:

2 cups sugar

1 14 oz. can evaporated milk

8oz unsweetened chocolate melted and cooled

Pecan halves and/or chopped pecans, to decorate the cake

*I used Kraft caramels

Directions:

Preheat oven to 350 F. Spray two 8-inch round cake pans with baking spray and set aside.

For the chocolate cake: In a large bowl combine the eggs, coffee, vegetable oil, sour cream and vanilla extract. Beat with a hand mixer on medium speed until well combined. Sift the cake mix over the mixture and beat the mixture on low speed until just combined. Divide among the prepared pans and bake in the preheated oven for 30-35 minutes, or until a cake tester comes out clean. Cool the cakes in the pans for 10 minutes before transferring to wire racks to cool completely.

For the caramel sauce / caramel whipped cream: In a small saucepan combine the unwrapped caramels and evaporated milk. Over medium heat, stir constantly until the caramels melt and the mixture is smooth. Remove from the heat and stir in the maple syrup. Let cool.

Once the caramel sauce is cooled, add 1/4 cup of the sauce along with the heavy cream to a medium bowl and beat with a hand mixer on medium speed until stiff peaks form. Refrigerate the caramel whipped cream until ready to use. Set aside the remaining caramel sauce to drizzle on the cake.

For the chocolate frosting: Add the ingredients to a blender and blend on low speed for 1 minute and then switch to high speed and blend for another minute. The sound of the blender should change signaling that the frosting is done. Transfer the frosting to an airtight container and let sit at room temperature for 1 hour until thickened and spreadable.

To assemble: If necessary, level the cake layers. Place one of the layers on a cake stand or cake round. Transfer about 1 cup to 1 1/2 cups of frosting to a piping bag and pipe a dam around the bottom layer and then fill with the caramel whipped cream. You may have more whipped cream than you need. Place the second cake layer on top of the cake and crumb coat the entire cake. Refrigerate for about 30 minutes and then finish frosting the cake. With remaining frosting pipe decorate dollops on top of the cake. Drizzle some of the remaining caramel sauce on top of the cake as well and then decorate with chopped pecans along the sides of the cake.

Chocolate Crumb Cake

I think we can all agree that the best part of any crumb cake is the crumb! All crumb is not the same though. Leave it in the oven a tad too long and instead of it being delicious and sweet it’ll be burnt and dry. If you don’t mix the ingredients in just the right order your consistency will be off. I once made a batch of muffins with a crumb topping that ended up melting into the muffins while in the oven. And regardless of what the recipe says, I always refrigerate (or freeze) my crumb topping before using it. I think this helps it stay together better while in the oven. After all this talk about crumbs it should come as no surprise that today’s cake has a crumb topping… It’s a Chocolate Crumb Cake.

I’ve had the idea for this cake for quite some time. Years ago, I would get something similar at a bakery I would go to from time to time. In my mind it was a Chocolate Crumb Pound Cake, but that’s not what it was called on the menu. Truth be told, I have no idea what it was called. Whenever I ordered it, I would just point to it and get it (the best way to order things!). Ultimately the bakery closed but I never forgot about that cake. I have a list of things I want to bake / try to make, and that cake was always on there, but it would always get neglected. I finally decided that it would be a nice addition to this week since I was posting two recipes using a yellow cake mix for two different variations of marble cake to make with it. 

For this cake I started with a box chocolate cake mix. To make it taste a bit more homemade and to enhance the chocolate flavor I swapped out the water for coffee and I used vegetable oil and sour cream for the fat. I also added in vanilla extract. After making the batter I poured it into a 9-inch square pan I lined with parchment paper. It’s important to leave an overhang with the parchment paper so you can remove the cake from the pan easily. You really don’t want to flip it out of the pan as you would a regular cake because of the crumb topping. In doing so you could end up cracking the crumb topping or worse the cake itself. After the batter was in the pan, I used my hands to spread the crumb topping over the cake.

Once the cake was baked and completely cooled, I dusted the top of it with confectioners’ sugar – you can’t have crumb topping without it in my opinion.

Overall, the cake was DELISH! It was a hit with everyone I shared it with. Definitely something to make again!

Chocolate Crumb Cake

For the Crumb Topping:

1/4 cup sugar

1/3 cup light brown sugar

1 teaspoon cinnamon

1/4 teaspoon nutmeg

1/2 cup butter (1 stick) butter, melted

1 1/3 cups flour

For the Cake:

1 15.25 oz package chocolate cake mix (I used Duncan Hines Devil’s Food)

3 large eggs

1 cup coffee, cooled

1/2 cup vegetable oil

1/2 cup sour cream

1 teaspoon vanilla extract

Confectioners’ sugar, for topping

Directions:

Preheat oven to 350 F. Spray a 9-inch square pan with baking spray and then line with parchment paper leaving an overhang on all sides. Spray the parchment paper with baking spray and set aside.

Make the crumb topping: In a medium bowl whisk together both sugars, cinnamon and nutmeg. Stir in the melted butter and finally the flour. Continue mixing until the mixture clumps together. Refrigerate for 10-15 minutes.

Make the cake batter: In a large bowl combine the cake mix, eggs, coffee, vegetable oil, sour cream and vanilla extract. Beat with a hand mixer on low speed for 30 seconds to combine all of the ingredients and then increase the speed to medium and continue beating until everything is well combined.

Transfer the batter to the prepared pan and then using your hands sprinkle the chilled crumb topping over it.

Bake in the preheated oven for 40-45 minutes, or until a cake tester inserted in the center comes out clean.

Cool in the pan for 15 minutes and then use the parchment paper to carefully lift the cake out of the pan and place on a wire rack to cool completely.

Dust with confectioners’ sugar prior to serving.

Store leftovers in an airtight container at room temperature.

Recipe first appeared on Bead Yarn & Spatula.

Banana & Chocolate Marble Loaf Cake

Not too long ago I posted a recipe for a Peanut Butter & Banana Chocolate Chip Bread. That got me thinking about making a marble cake using two of the flavors. After some brainstorming I thought that a super simple way to do so would be to use a yellow cake mix as the base and altering the flavor with some add-ins. Now, I know some people have issues with using box cake mixes, but it really is possible to alter them to make them taste more homemade and they are fool proof! This all led me to creating a few recipes that use cake mixes as their base. And I will be sharing them with you over the next week… Up first, a Banana & Chocolate Marble Loaf Cake.

For the base of this loaf cake I used a yellow cake mix. After prepping the batter per the directions on the box I divided it in half. And to be precise, even though I have made plenty of box cake mixes in the past and had a rough idea of how much it was, I measured out the batter using a measuring cup. In total it was 4 cups, so I transferred 2 cups to a bowl and stirred in a mashed banana and in the other half I stirred in 2 tablespoons of cocoa powder.

Next, I dropped alternating scoops of each batter into a loaf pan I sprayed with baking spray. To get the marble effect I swirled the two batters together by dragging a knife through them.  

After baking and cooling the cake, it was time to enjoy a slice (or two!) As for the flavor, the chocolate and the banana really stood out without either overpowering the other. A nice twist on your typical marble cake.

A few takeaways… To make chocolate cake from a yellow cake mix you can add a few tablespoons of cocoa powder and to make a super simple banana cake add mashed banana to a yellow cake mix. More specifically, 4 tablespoons of cocoa powder for a chocolate cake and 2 mashed bananas for a banana cake.

Banana & Chocolate Marble Loaf Cake

Ingredients:

1 15.25 box yellow cake mix (I used Duncan Hines)

eggs, water & oil per directions on box

1 ripe banana, mashed

2 tablespoons cocoa powder

Directions:

Preheat the oven to 350 F. Spray a 9×5-inch loaf pan with baking spray and set aside.

Prep the cake mix per the instructions on the box.

Divide the batter in half and stir the mashed banana in one half and the cocoa powder in the other.

Spoon the batters into the prepared pan, alternating between the two. Use a knife to swirl the batters together. Tap the pan on the counter a few times to remove any air bubbles.

Bake for 40-45 minutes, or until a cake tester inserted in the center comes out clean.

Let the cake cool in the pan for 15 minutes then transfer to a wire rack to cool completely.

Store leftovers in an airtight container at room temperature.

Recipe first appeared on Bead Yarn & Spatula.

Raspberry Molten Lava Cakes

I may be a few years late sharing a recipe for molten lava cakes. They were all the rage years ago. I swear any restaurant I went to had their own version of these chocolate cakes. Truth be told though; I still enjoy them. What’s not to love about a chocolate cake that is semi-baked and oozes chocolate when you cut into it? Add a scoop of vanilla ice cream and you have the perfect dessert. I had an idea though to add a little something extra to them. One of my favorite combinations is raspberry and chocolate. Before Godiva closed all their stores, I would make full use of their loyalty program that included a free piece of chocolate every month and would always get their Raspberry Truffle. So, I thought what about a Raspberry Molten Lava Cake.

Now, while I love the combination of raspberry and chocolate, there is one thing I don’t like… raspberry seeds. I wanted to be able to enjoy this molten without the seeds getting in the way. I never noticed how many seeds are in raspberries until I baked with them. Somehow, they just aren’t as annoying when you eat fresh raspberries. So, to avoid those pesky seeds I opted to use seedless raspberry jam. I prepped my batter, which took less than 10 minutes, and then filled my ramekins about 2/3 full and then placed 2 teaspoons of the jam in the center of each.

I then topped the raspberry jam with the remaining batter.

And finally baked them on a baking sheet in my preheated oven. And while they did rise significantly, they didn’t overflow while baking.

After letting them cool for a few minutes I carefully inverted one onto a plate.

And I must say, the first word that came to mind when I enjoyed my first bite was perfection. The cake itself wasn’t overly sweet, it was baked just right and there was just the right amount of “lava” that flowed out. And let’s not forget about the raspberry flavor… the two teaspoons was just the right amount.

Raspberry Molten Lava Cakes

Ingredients:

6oz. semi-sweet chocolate*

1 stick unsalted butter

1/2 cup sugar

3 large eggs

1/4 cup flour

8 teaspoons seedless raspberry jam

Confectioners’ sugar, for dusting

*I used a combination of a 4oz. Ghirardelli baking bar and 1/2 cup semi-sweet chocolate chips. If using a baking bar, chop the chocolate before melting with butter.

Directions:

Preheat the oven to 425 F. Spray 4 6-oz ramekins with baking spray and place on a baking sheet.

In a microwave safe bowl combine the butter and chocolate and microwave for 30-second intervals until the butter melts. Stir the butter and chocolate together until the chocolate has melted and the mixture is smooth.

In a medium bowl beat the sugar and eggs together on medium speed until pale and fluffy.

Fold the egg mixture into the chocolate until just combined. Then fold in the flour until the mixture is well combined and smooth.

Spoon 1/3 cup of batter into each of the prepared ramekins. Top each with 2 teaspoons of raspberry jam and then top with the remaining batter – 1/4 cup in each.

Bake on the baking sheet in the oven for 15-16 minutes. Allow to cool on the pan 5-10 minutes before carefully inverting the cake onto a plate. Dust with confectioners’ sugar and enjoy.

For any leftovers, cover with plastic wrap and refrigerate. To heat, microwave for 30-seconds. Let sit for a minute and then invert on a plate and enjoy.

Recipe first appeared on Bead Yarn & Spatula.

Flourless Chocolate Cake

Happy February! Today I am sharing a dessert that is perfect to make any time of year but would be perfect to serve for Valentine’s Day as it’s oh so chocolaty! It’s a Flourless Chocolate Cake.

This is probably one of the simplest cakes I’ve made since it only required 1-bowl to make. In a microwave-safe bowl I combined chopped semi-sweet chocolate and butter and microwaved it in 30-second intervals until the butter melted. There’s no need to keep heating the two until the chocolate melts. By the time the butter has melted the chocolate is soft enough that it will finish melting when the two are stirred together, and you don’t want to overheat the chocolate. After the butter and chocolate were smooth, I stirred in sugar, salt and vanilla extract. Next, I added in three eggs. To make incorporating the eggs easier I broke the yolks of the eggs. And finally, I stirred in cocoa powder. I used Dutch-process cocoa powder, but you could also use regular unsweetened cocoa powder as well.

Once the cake was baked and cooled, I topped it with a quick and easy chocolate ganache. To speed up the ganache setting I placed the cake in the refrigerator. You could let it set at room temperature, but it will take a few hours to do so. Once the ganache had set, I dusted the top with confectioners’ sugar and added a few raspberries for a sweet touch. If you do refrigerate the cake, just be sure to let it sit at room temperature prior to serving. I let mine sit for about 45 minutes and it was perfect.

While I thought the cake was going to be overly sweet, surprisingly it wasn’t. It was decadent though. Reminding me of the perfect chocolate truffle, rich and smooth. One other perk about this cake… it’s gluten-free. I’m not gluten-free, but I know for those who are sometimes finding a dessert that is easy to make with simple ingredients and not lacking in flavor can be a challenge.

Flourless Chocolate Cake

For the Cake:

1 4oz. semi-sweet chocolate baking bar*, chopped

1 stick unsalted butter

3/4 cup sugar

1/4 teaspoon salt

1 teaspoon vanilla extract

3 large eggs

1/2 cup Dutch-process cocoa powder

For the Chocolate Ganache:

1 4oz. semi-sweet chocolate baking bar*, chopped

1/2 cup heavy cream

Confectioners’ sugar and raspberries (or another berry) for topping

*I used a Ghirardelli baking bar, alternatively you could also use 1 cup of semi-sweet chocolate chips.

Directions:

For the Cake:

Preheat oven to 375 F. Spray an 8-inch round cake pan with baking spray. Line the bottom with a piece of parchment paper and then spray the paper.

In a microwave-safe bowl add the butter and chocolate and heat in the microwave for 30-second intervals until the butter has melted. Stir the two together until smooth.

Stir in the sugar, salt and vanilla extract to the chocolate mixture until smooth. Next, stir in the 3 eggs until they are well combined, and the mixture is smooth once again. Finally, stir in the cocoa powder until just combined.

Transfer the batter to the prepared pan and bake in the preheated oven for 25 minutes. The cake will form a thin crust and the temperature of the cake should be 200 F when an instant read thermometer is inserted in the center.

Let the cake cool in the pan for 5 minutes. Carefully loosen the edges of the cake and invert the cake onto a serving platter. Allow the cake to cool completely.

For the Chocolate Ganache:

Place the chocolate in a heatproof bowl. Place the heavy cream in a glass measuring cup and heat in the microwave until it begins to simmer, 45 seconds – 1 minute.

Pour the heavy cream over the chocolate. Let it sit for 5 minutes and then stir both together to melt the chocolate. Keep stirring until the mixture is smooth. Let it sit for a few minutes so it can thicken up a bit and then pour over the cake. Spreading it onto the cake evenly.

Let the ganache set, either at room temperature or in the refrigerator.

Once the ganache is set, dust the top of the cake with confectioners’ sugar and top with raspberries.

Store leftovers in the refrigerator.

Recipe modified from King Arthur Baking

Chocolate Kahlua Cake with Strawberry Buttercream Frosting

My first attempt at making this cake was a fail. I settled on using a box cake mix as my starting point and doctoring it with additional ingredients besides the ones called for on the box. I must have added in a few too many ingredients because the cake had a weird texture – kind of rubbery – and the bottom of it had a dense appearance. And the flavor just wasn’t there. Thankfully on my second attempt the flavor and texture were spot on.

On my second attempt I kept things a bit simpler. Along with the eggs and oil measurements suggested on the box, I swapped the water for coffee and added in sour cream, Kahlua and vanilla extract. Adding the coffee helped to really enhance the chocolate flavor, as did the Kahlua. While box cake directions say to mix everything together at once, I opted to beat together all my ingredients except for the cake mix until they were well incorporated and then sifted the cake mix over the mixture and beat it in on low speed until it was just combined. More or less following the method of most cakes that are made completely from scratch.  

Once my cake layers were baked and cooled, I wrapped them in plastic wrap and refrigerated them overnight. I find that it’s easier to level and frost cold cake layers. The cakes are less likely to break apart and there’s much less crumb.

The next day I made the frosting. Contrary to my recipe directions below, I added all the ingredients for the frosting into my stand mixer at once. Either works. If you follow method, I suggest beating everything together on medium speed until the ingredients are incorporated and then raise the speed of your mixer to medium-high for at least 5 minutes to get the frosting light and fluffy. Don’t fret if the frosting appears to be curdled or separated. Just keep beating it, it will come together. I probably beat mine for just shy of 10 minutes. I made this frosting on a fairly warm day so it was a bit soft once it was done so I popped it in the refrigerator for about 30 minutes so it could firm up. I checked it every 10 minutes to make sure that it wasn’t getting too firm. I didn’t want to have to wait for my frosting to “defrost” after all that.

Once it was ready, I transferred about a cup of the frosting to a piping bag fitted with a large star tip and set it aside. After leveling the cakes, I spread about half of the remaining frosting on top of one of them and then placed the other one on top. And finally, I frosted the entire cake with the remaining frosting. My plan was to make this a naked cake so I was well aware that I wouldn’t have enough frosting to completely cover it.  

Once the cake was frosted, I piped dollops of frosting around the cake leaving space between each to fit a strawberry. I opted to slice my strawberries in half, but you could place whole strawberries between the dollops as well. Just make sure to leave enough room. You could also omit the strawberries altogether and just decorate the top of the cake with dollops of frosting.

And then it was time to enjoy a slice. This cake was delicious! The frosting reminded me of strawberry ice cream. Not overly sweet with just the right amount of strawberry flavor thanks to the fresh strawberries added to the frosting. And it was the perfect accompaniment to the chocolate cake.  

Chocolate Kahlua Cake with Strawberry Buttercream Frosting

Ingredients:

For the Cake:

3 large eggs

1 cup coffee

1/2 cup vegetable oil

1/2 cup sour cream

1/4 cup Kahlua

1 teaspoon vanilla extract

1 15.25 package chocolate cake mix (I used Duncan Hines Devil’s Food)

For the Frosting:

1 cup unsalted butter, at room temperature

3 cups confectioners’ sugar

2 teaspoons vanilla extract

1/2 cup diced strawberries

3 tablespoons heavy whipping cream

Additional strawberries for topping

Directions:

For the cake: Preheat oven to 350 F. Spray two 8-inch round pans with baking spray.

In a large bowl combine the eggs, coffee, vegetable oil, sour cream, Kahlua and vanilla extract. Beat with a hand mixer on medium speed until well blended.

Sift the cake mix over the mixture and then beat with the hand mixer on low speed until just combined. Divide the batter among the prepared pans and bake in the preheated oven for 30-35 minutes, or until a cake tester inserted in the center of the cakes comes out clean.

Cool the cakes in the pans on a wire rack for 10 minutes, then remove and allow to cool completely on the racks.

For the Frosting: In the bowl of a stand mixer cream together the butter and sugar on medium speed until light and fluffy. Add in the vanilla extract, diced strawberries and heavy whipping cream and beat on medium-high speed until the ingredients are incorporated and the frosting is light and fluffy. If the frosting is too soft to spread refrigerate for about 30 minutes to firm up.

To assemble the cake: If decorating the top of the cake, fit a piping bag with a large star tip and fill with about a cup of frosting and set aside. Level the cake layers if necessary. Spread about half of the remaining frosting on top of one of the cakes and top with the other. Then frost the top and sides of the cake with the remaining frosting. Finally, pipe dollops of the reserved frosting on top of the cake leaving space between each to place either a whole or halved strawberry. Refrigerate until ready to serve.

Recipe first appeared on Bead Yarn & Spatula

Marbled Pound Cake

If you can’t choose between a vanilla or chocolate cake, then a marbled cake is for you! And if you are thinking that it might be double the work because you have to make to separate batters that’s not the case at all. With today’s recipe I started off by making the vanilla batter and then dividing it in half and adding cocoa powder to one of them.

Once I had the two batters ready it was time to fill my prepared pan. I used a cookie scoop and a 1/4 cup measuring cup to drop alternating scoops of the vanilla and chocolate batter in the pan to get the marble effect.

After tapping the pan a few times on my counter to release any air bubbles I used a small off-set spatula to smooth the top of the cake. I then placed it on baking sheet and baked it in a 325 F preheated oven for 70 minutes.

After letting the cake cool in the pan for about 10 minutes, I transferred it to a wire rack to cool completely.  

And then it was time to slice it. And as cheesy as it sounds, I get a slight tinge of excitement when I bake a cake that is supposed to have a surprise inside or look a certain way and it works. The joys of baking! As you can see, the marble look was just about perfect with this loaf cake. Even more exciting though, was how delicious the cake was. I used to love the Marble Loaf Cake from Entenmann’s, but I feel like they changed their recipe because it doesn’t take like how I remember. Thankfully I have a replacement now that I can make myself.

I actually ended up baking two loaves and decided to slice the second one and freeze it. This is the perfect type of cake to freeze, it has no frosting and is moist but dense enough to withstand being frozen and thawed. I wrapped each of the slices in plastic wrap and then placed all of them in a resealable bag in my freezer. When I am ready to eat a slice, I will leave it out on my counter for a few hours so it can defrost.

Marbled Pound Cake

Ingredients:

1 cup flour

1/4 cup cake flour, sifted

1/2 teaspoon Kosher salt

2 sticks unsalted butter, at room temperature

1 1/2 cups sugar

2 tablespoons vanilla extract

3 eggs, at room temperature

1/4 cup buttermilk, at room temperature*

3 tablespoons Dutch-processed cocoa powder

*To make your own combine 1/4 cup whole milk with 1 teaspoon white vinegar. Let sit at room temperature for 15 minutes then stir to combine.

Directions:

Preheat the oven to 325 F. Spray a loaf pan with baking spray, or, lightly grease with butter and then coat with flour.

In a medium bowl whisk together the flour, cake flour and salt, set aside.

In a stand mixer fitted with the paddle attachment beat the butter of medium-high speed until creamy.

With the mixer on low add in the sugar. Continue mixing on low until the butter and sugar are incorporated. Increase the speed to medium and continue mixing until the mixture has become light and fluffy (about 5 minutes.) Scraping the sides of the bowl as necessary.

Add the vanilla extract. Reduce the speed to medium-low and add the eggs, 1 at a time, beating after each addition until just combined.

With the mixer on low speed, add the flour mixture in three parts alternating with the buttermilk.

Divide the batter in half and add in the cocoa powder to one half. Mixing well to incorporate it evenly among the batter.

Using a 2 ice cream scoops (or 2 1/4 cup measuring cups, or 1 of each) alternate scoops of the vanilla and chocolate batter into the prepared loaf pan. Tap the pan on the counter a few times to release any air bubbles and using a small off-set spatula or butter knife smooth the top of the cake.

Place the loaf pan on a baking sheet and baked in the preheated oven until a cake tester inserted in the middle comes out clean, about 70 minutes.

Let the cake cook in the pan for 10 minutes and then remove from pan and let cool completely before slicing.

Recipe from Zoe Francois

Chocolate Comfort Cake

Similar to the Rum Cake I posted last month, this Chocolate Comfort Cake was made by doctoring a box cake mix. While some frown upon using a box cake mix there are some advantages to doing so, especially when you are doctoring them. They can save you time and by having all of the dry ingredients pre-measured and combined it can ensure a foolproof cake.

So, how can you doctor a cake mix? Add an extra egg for a cake that is richer. Swap out the water with milk or buttermilk, or with coffee for a chocolate cake. Add in cream of coconut or orange zest to a white cake, or a flavored extract. All of these will alter the flavor and texture of the cake to make it more homemade.

Using a dark chocolate cake mix I added in sour cream, freshly brewed coffee and a package of chocolate pudding mix to spruce it up.

Once the batter was prepped I poured it into a Bundt pan I sprayed with baking spray.

And after baking for about 55 minutes it was ready. I was concerned that the batter would overflow while baking but thankfully it didn’t.

After letting it cool in the pan for a few minutes I inverted it onto a wire rack to cool completely.

Once cooled it was time to enjoy a slice and this is definitely a comfort cake. Thanks to the add-ins it didn’t taste like a box cake at all.


Chocolate Comfort Cake

Ingredients:

1 package Dark Chocolate cake mix

1 small package of chocolate pudding mix

4 large eggs

1 cup sour cream

3/4 cup canola oil

3/4 cup brewed coffee

1/2 cup sugar


Directions:

Preheat oven to 350 F. Spray a Bundt pan with baking spray (or grease with butter and lightly coat with cocoa powder) and set aside.

In a large bowl combine all of the ingredients and beat with a hand mixer on low speed for 30 seconds and then on medium speed for 2 minutes.

Pour into the prepared pan and bake in the preheated oven for 50-55 minutes, or until a cake tester inserted comes out clean.

Let cool in the pan for 10 minutes and then remove from the pan and cool on a wire rack completely.

Recipe from Taste of Home

Hidden Heart Bundt Cake

Two years ago, I made my first Hidden Heart Cake in a loaf pan. This year, I decided to make another one, but, with a small twist. Instead of a loaf pan I decided to make it in a Bundt pan. I also made it more festive for Valentine’s Day by drizzling it with chocolate ganache and topping it with Valentine’s Day themed sprinkles.

To start I had to make a pink cake for the hearts. After prepping a mix of white cake per the box directions I tinted it pink. I then poured it into a Bundt pan that I sprayed with baking spray. Once it was done, I let it cool in the pan for 15 minutes before transferring it to a wire rack to cool completely. Once cooled, I wrapped it in plastic wrap and refrigerated it overnight. It’s easier and cleaner to cut up a cold cake. I will point out that I was a bit concerned after making this first cake. It didn’t bake up with a lot of height so I was worries that the chocolate cake wouldn’t be able to completely cover the hearts, but, after a little more thinking I realized it shouldn’t be a problem since the hearts would be taking up some of the pan so the chocolate cake would bake up higher.

The following morning, I cut the cake into slices (about 2-inches each) and then using a 2-inch heart cookie cutter I cut hearts from those slices. If you like making cake pops, you could use the leftover cake to make some.

I then prepped a box of chocolate cake mix per the box directions. I poured some of the batter into the bottom of my Bundt pan that I once again sprayed with baking spray. I did this to ensure that the top of the hearts would be covered by the cake.

Next, I arranged the hearts in the pan upside down. Remember, Bundt cakes are baked upside down and then you invert them once they are done.

And finally, I poured the remaining cake batter into the pan making sure to cover the hearts and getting the batter on the sides of the hearts closer to the outside of the pan.

I baked the cake in a 350 F preheated oven for about 30 minutes. And once the cake had cooled in the pan for 15 minutes, I inverted it onto a wire rack to cool completely. You can see in this close-up shot that a little bit of the pink did peek through, but I knew I would be able to cover that with the chocolate ganache I was planning on pouring over the cake.

To make the ganache, I combined chocolate chips, heavy cream and vanilla extract in a microwave safe bowl and microwaved it for 35-second intervals, stirring between each, until the chocolate chips had melted, and the mixture was smooth. I wanted the ganache to be a little thicker before I poured it over the cake, so I refrigerated it for about 15-20 minutes, stirring it every five minutes.

Before pouring the ganache on the cake, I lined a baking sheet with wax paper and then placed the wire rack the cake was cooling on on top of the wax paper.

Once the ganache was thick enough, I drizzled it over the cake and sprinkled the ganache with Valentine’s Day sprinkles. I then placed the cake in the refrigerator for a few minutes so the ganache could set.

And then it was time to slice it and I happy to say that the cake came out perfectly. It tasted good and the hearts were distinguishable when the cake was sliced.

Hidden Heart Bundt Cake

Ingredients:

For the Cake:

1 box white cake mix, plus the ingredient to prepare the batter

1 box chocolate cake mix, plus ingredients to prepare the batter

Pink food coloring


For the Ganache:

1/2 cup semi-sweet chocolate chips

1/2 cup heavy cream

1 teaspoon vanilla extract


Valentine’s Day themed sprinkles


Directions:

Preheat the oven to 350 F. Spray a 10-cup Bundt pan with baking spray, or grease with butter and dust with flour.

In a large bowl prepare the white cake mix per the directions on the box. Once prepared add in pink food coloring and stir to incorporate the color. Pour the batter into the prepared Bundt pan and bake for 35-40 minutes, or until a cake tester inserted comes out clean. Cool the cake for 15 minutes in the pan and then invert on a wire rack to cool completely. Once cooled, wrap the cake in plastic wrap and refrigerate overnight*.

Preheat the oven to 350 F. And prep the Bundt pan once again.

Remove the pink Bundt cake from the refrigerator and slice the cake into 2-inch thick slices. Using a 2-inch heart cookie cutter cut hearts from the slices. Set aside.

In a large bowl prep the chocolate cake mix per the box directions. Pour enough batter into the pan so there is about a 1/2-inch layer of cake batter on the bottom. Arrange the cut hearts upside down in the pan. They should fit in perfectly and be snugged next to one another. Pour the remaining batter over the hearts, and make sure to get it into the sides of the pan. Bake in the pre-heated oven for 30-35 minutes, or until a cake tester inserted towards the center of the cake comes out clean. Cool the cake in the pan for 15 minutes and then invert onto a wire rack to cool completely.

Once the cake has completely cooled make the ganache.

Combine all the ingredients for the ganache in a microwave safe bowl and microwave for 35-second intervals, stirring between each internal. Once the chocolate chips have melted and the mixture is smooth let cool for a few minutes before placing in the refrigerator so the ganache can thicken up. Refrigerate for about 15-20 minutes, stirring every 5 minutes.

Place a piece of wax paper on a large baking sheet and place the cake on the wire rack on top. Once the ganache is thick, drizzle over the cake. Sprinkle the cake with Valentine’s Day sprinkles and then place in the refrigerator for a few minutes so the ganache can set.

Slice and enjoy!

*It’s not necessary to refrigerate the cake overnight. You can slice the cake the same day you bake it once it’s cool. I just find it easier to work with the cake once it’s cold.