I tend to rip recipes out of magazines and file them away for quite some time before actually trying them. I recently made a turkey meatloaf following a recipe from a 2008 issue of a magazine. I wish I had made it sooner… It was quite good. So, when I was looking to make a cake to give as an anniversary treat for a friends’ parents I turned to a Peach Streusel Cake recipe that I had ripped out from a 2011 issue of Food & Wine magazine.
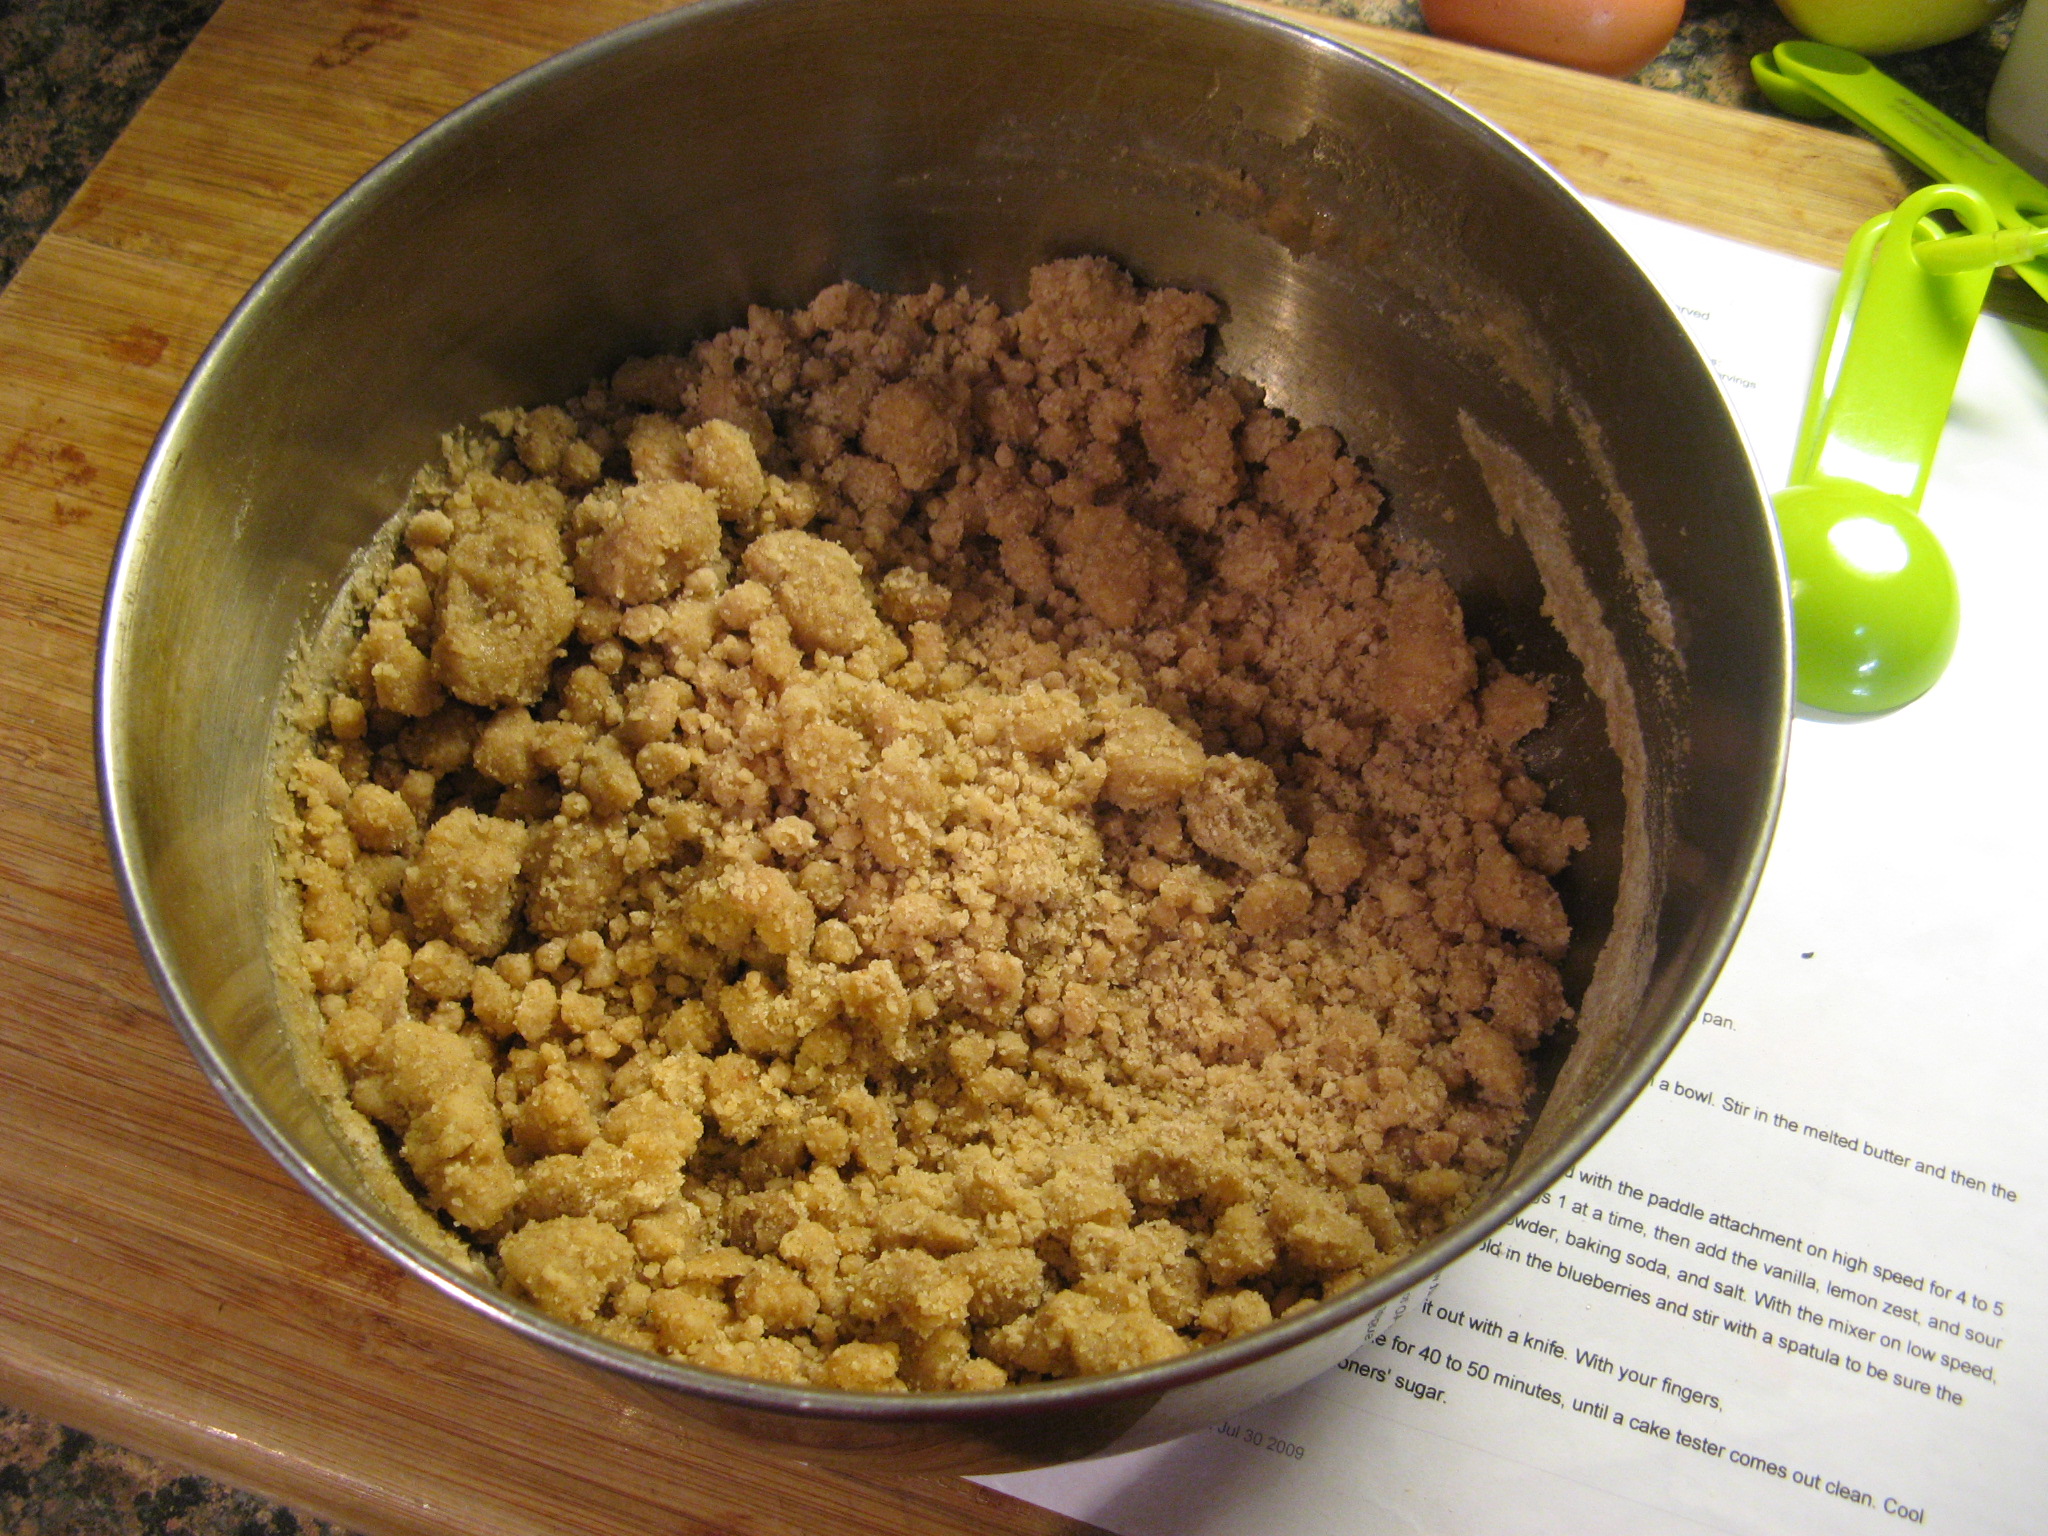
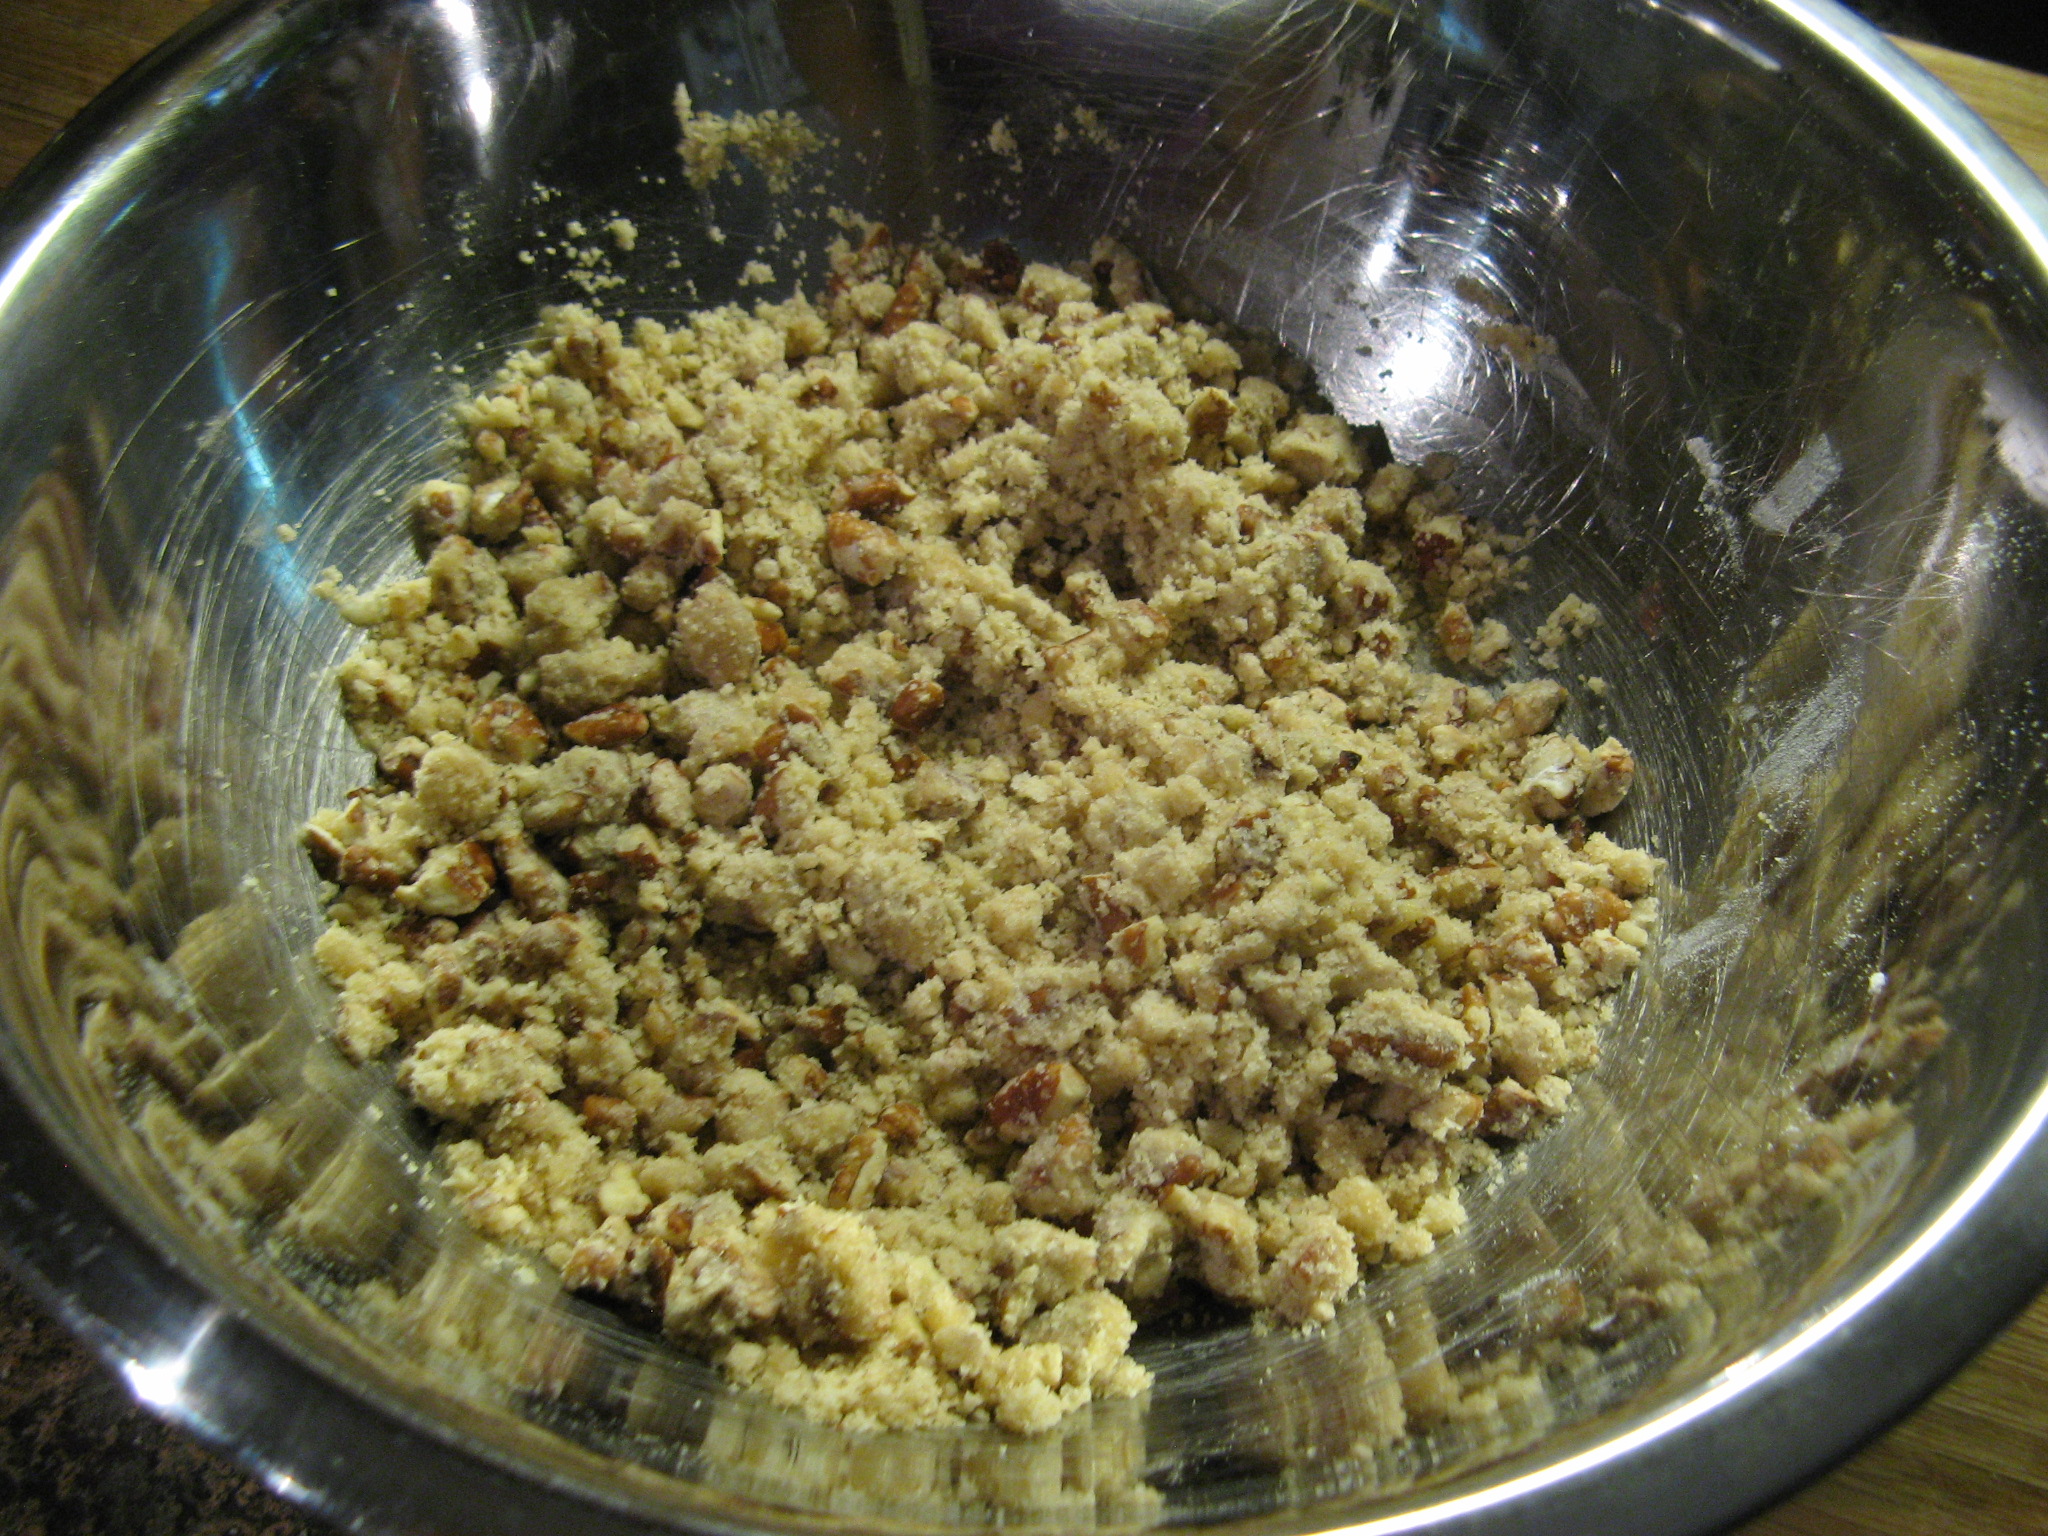
I started the cake by making the streusel. I combined flour, light brown sugar, salt, butter and pecans in a bowl…
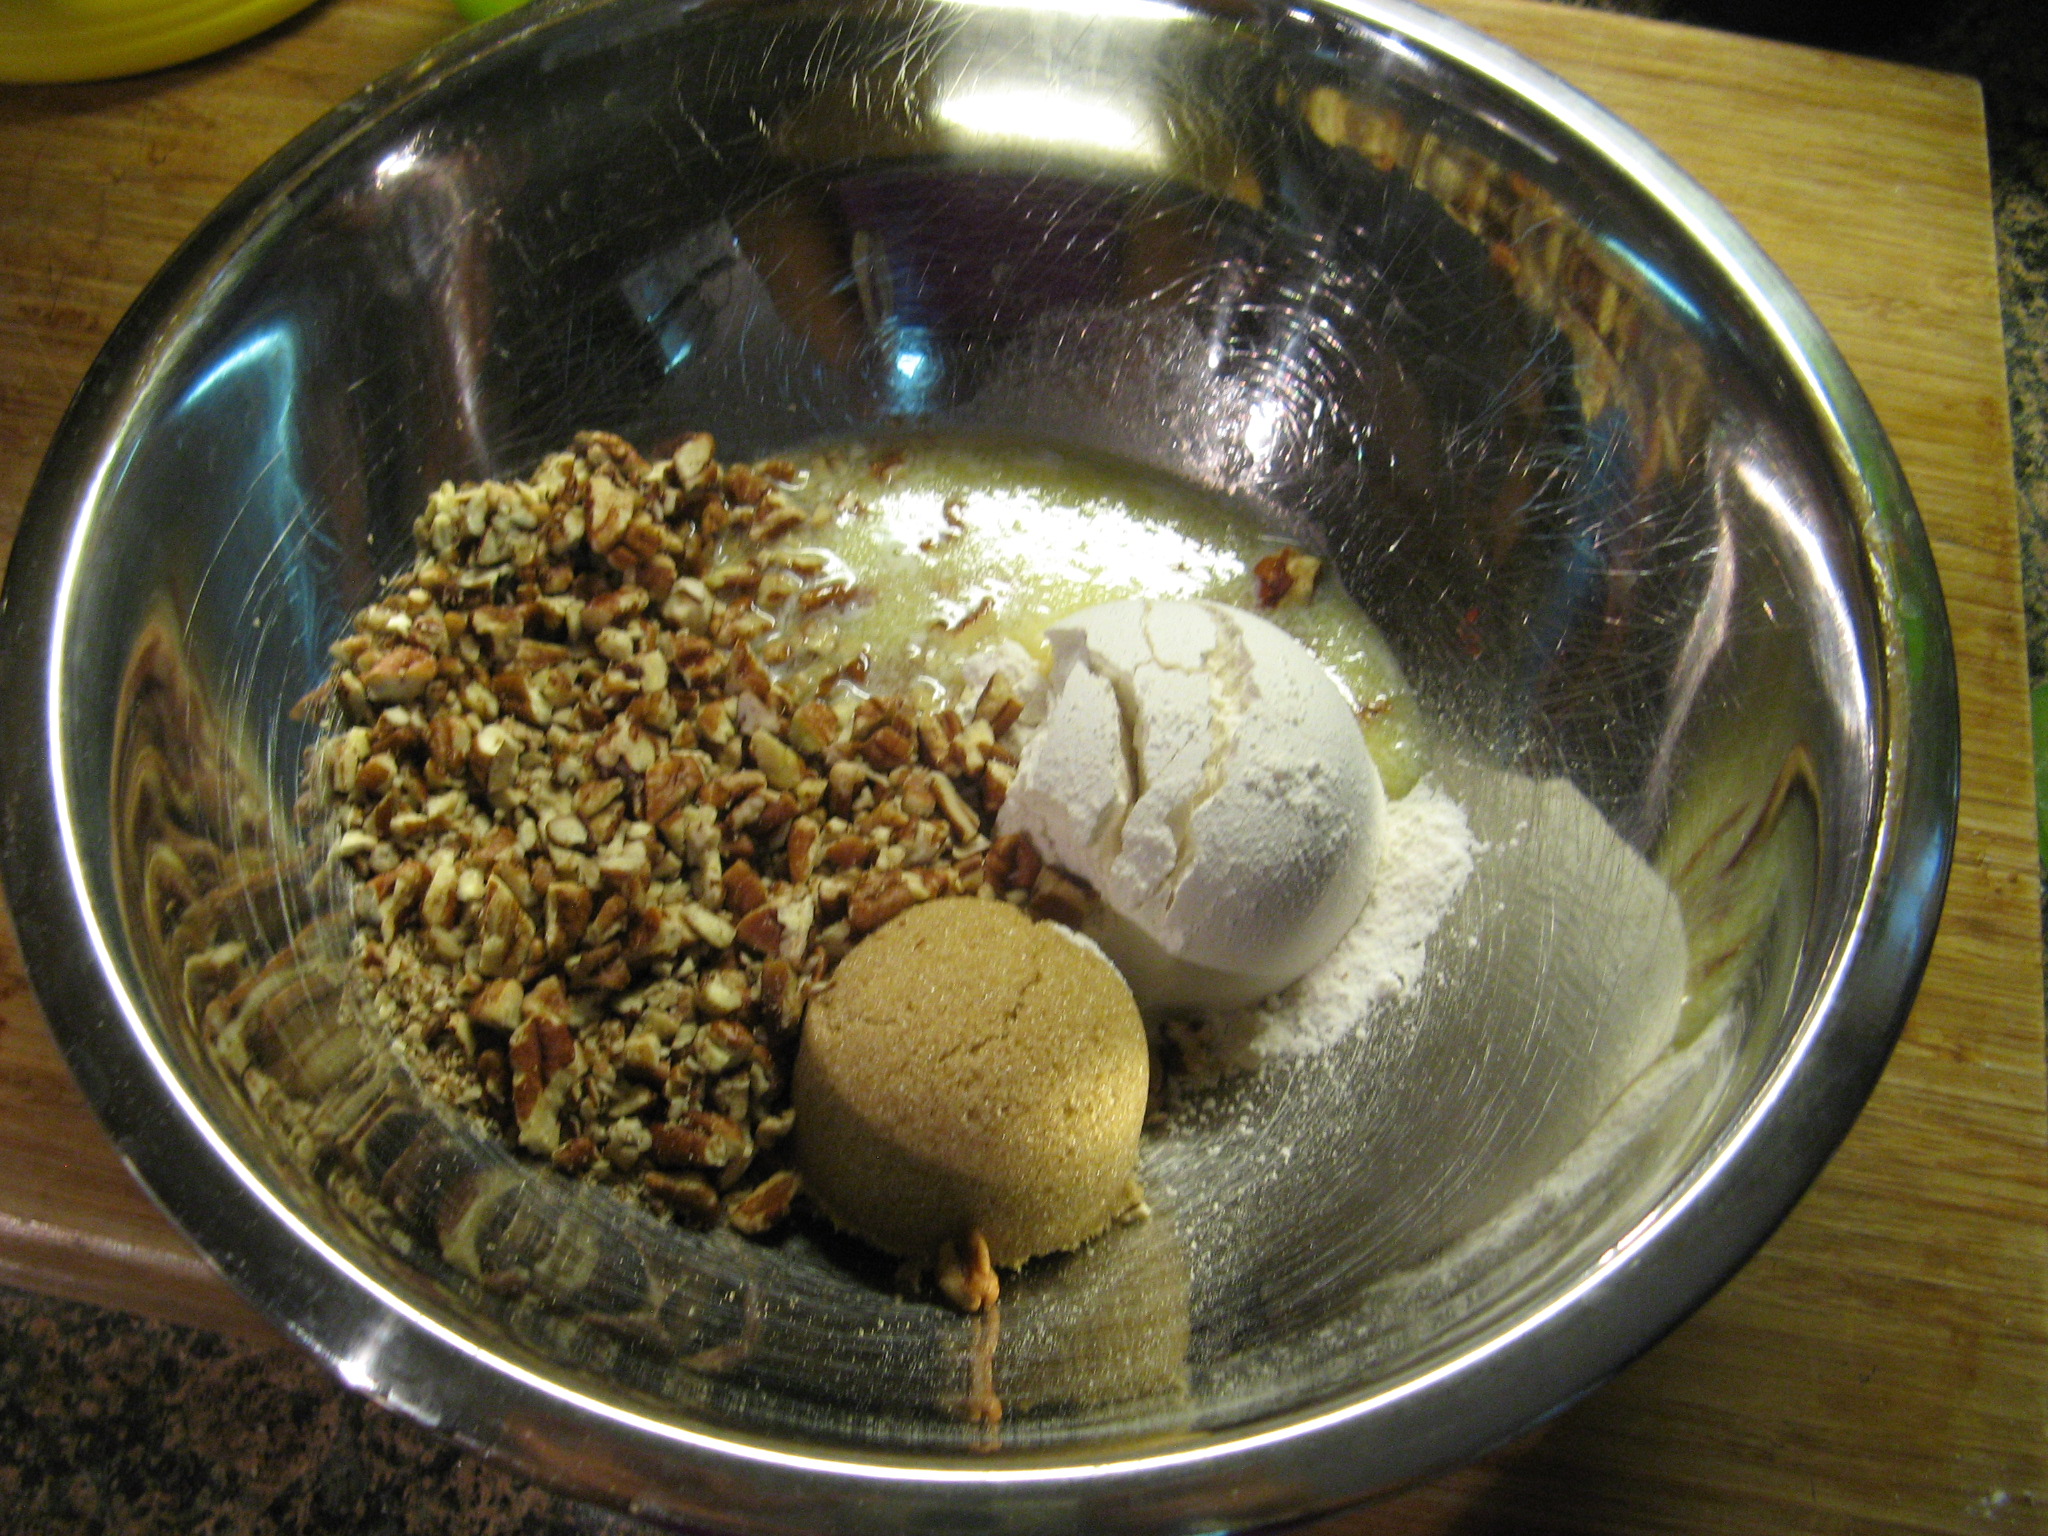
And mixed it together with my fingers to form small clumps with the mixture and then set it aside.
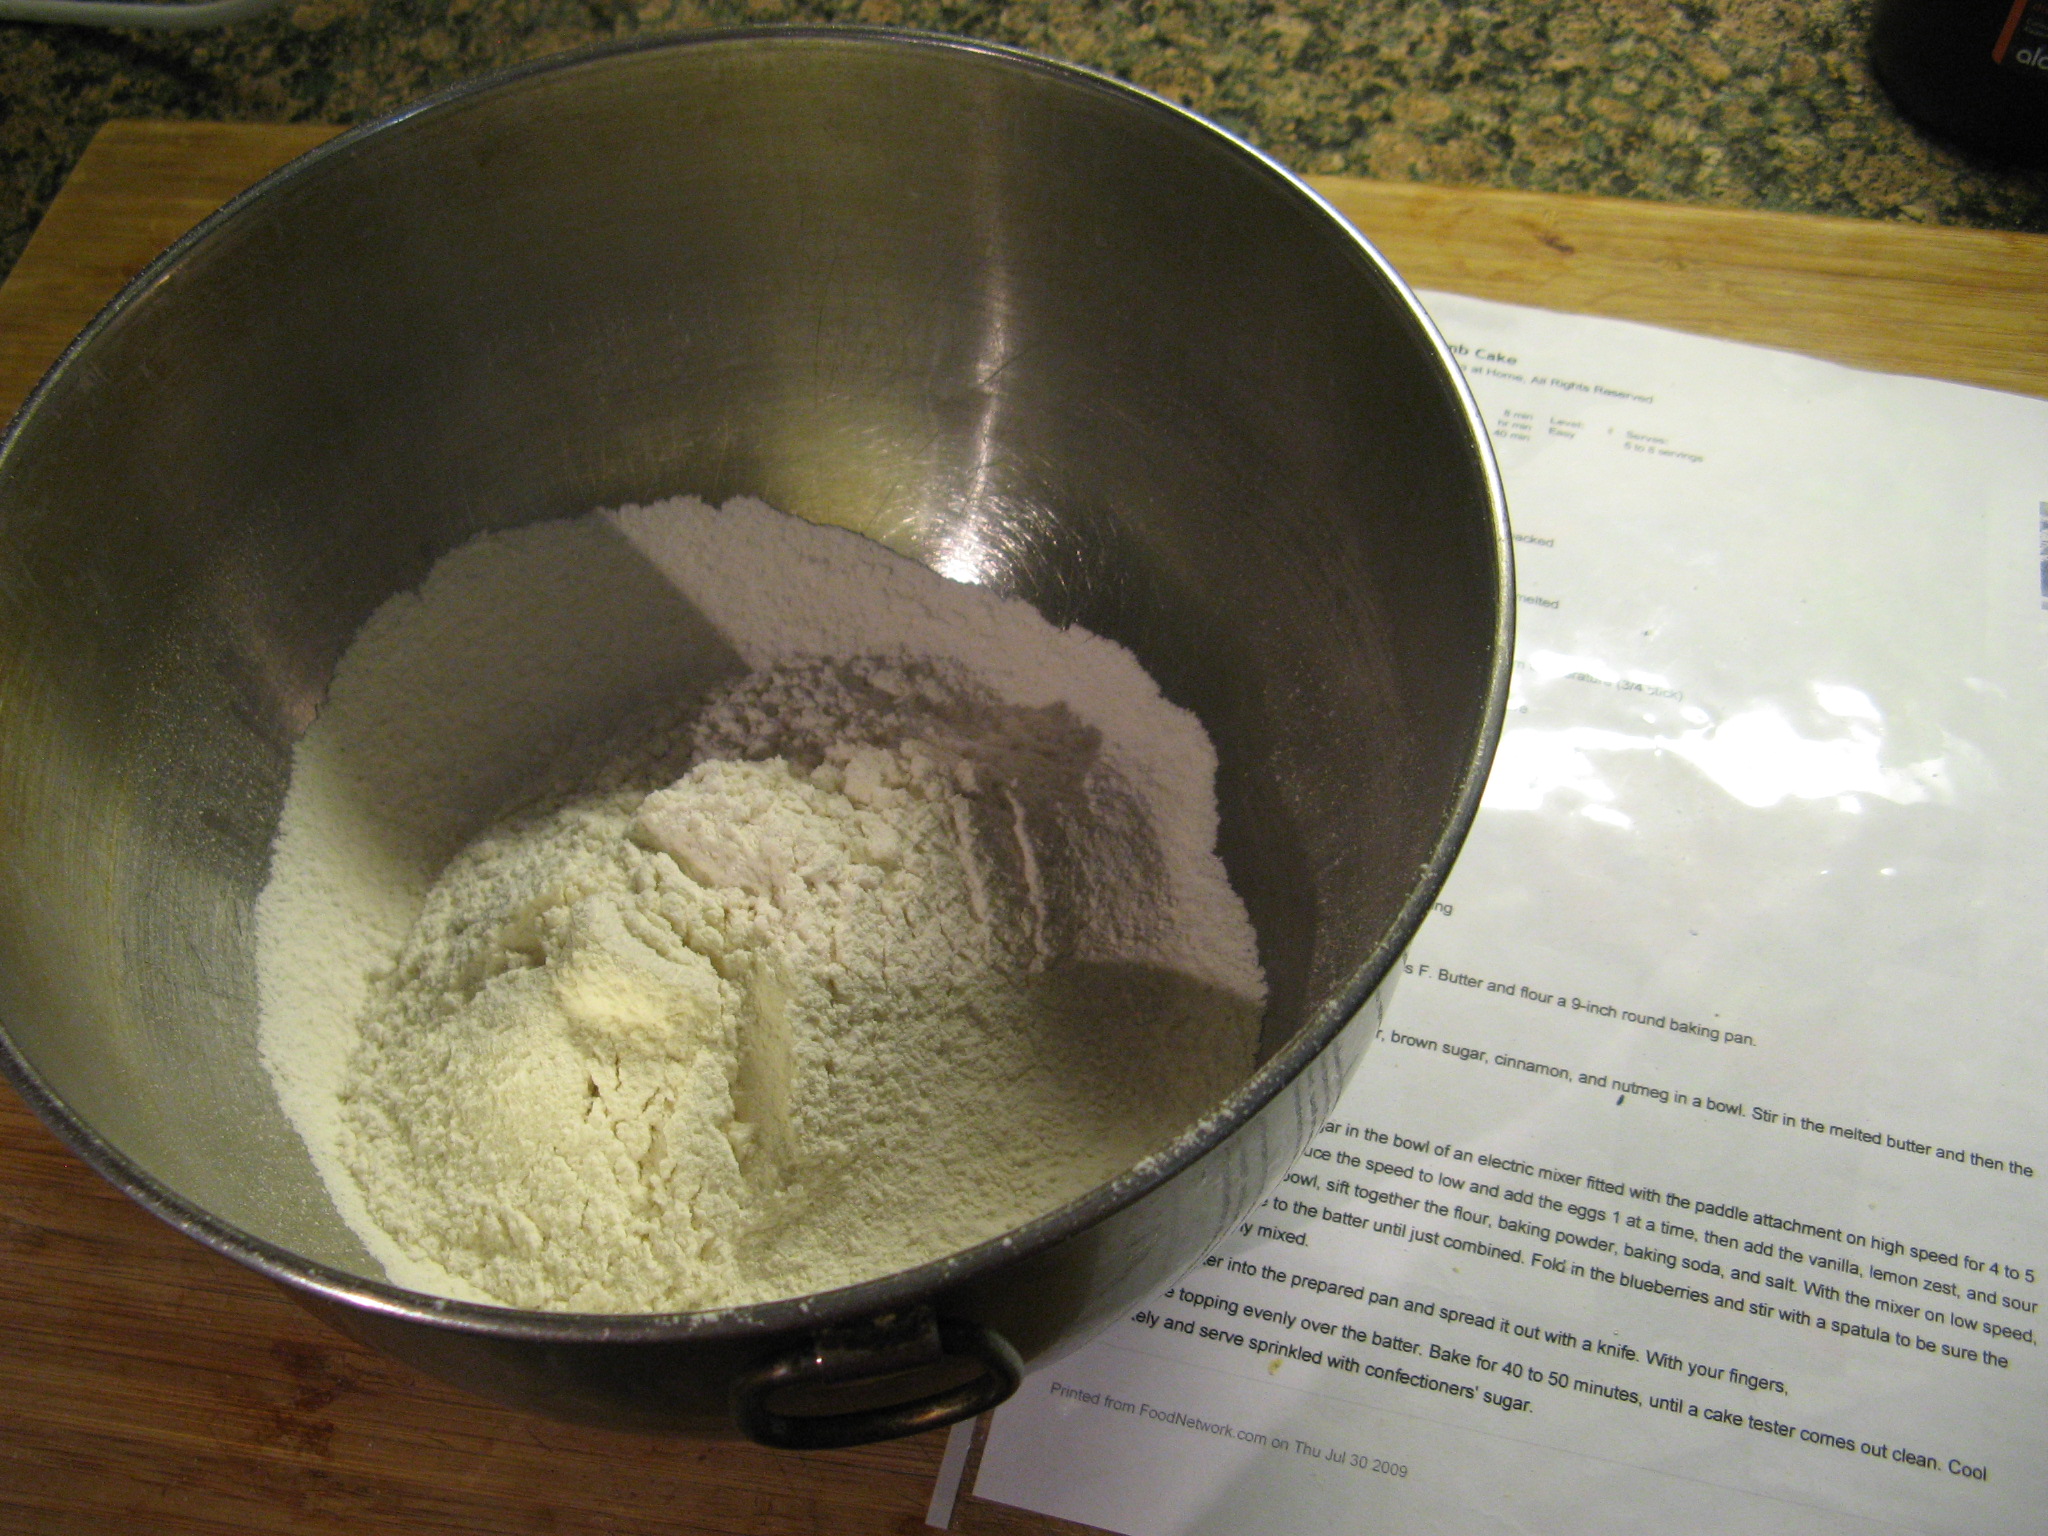
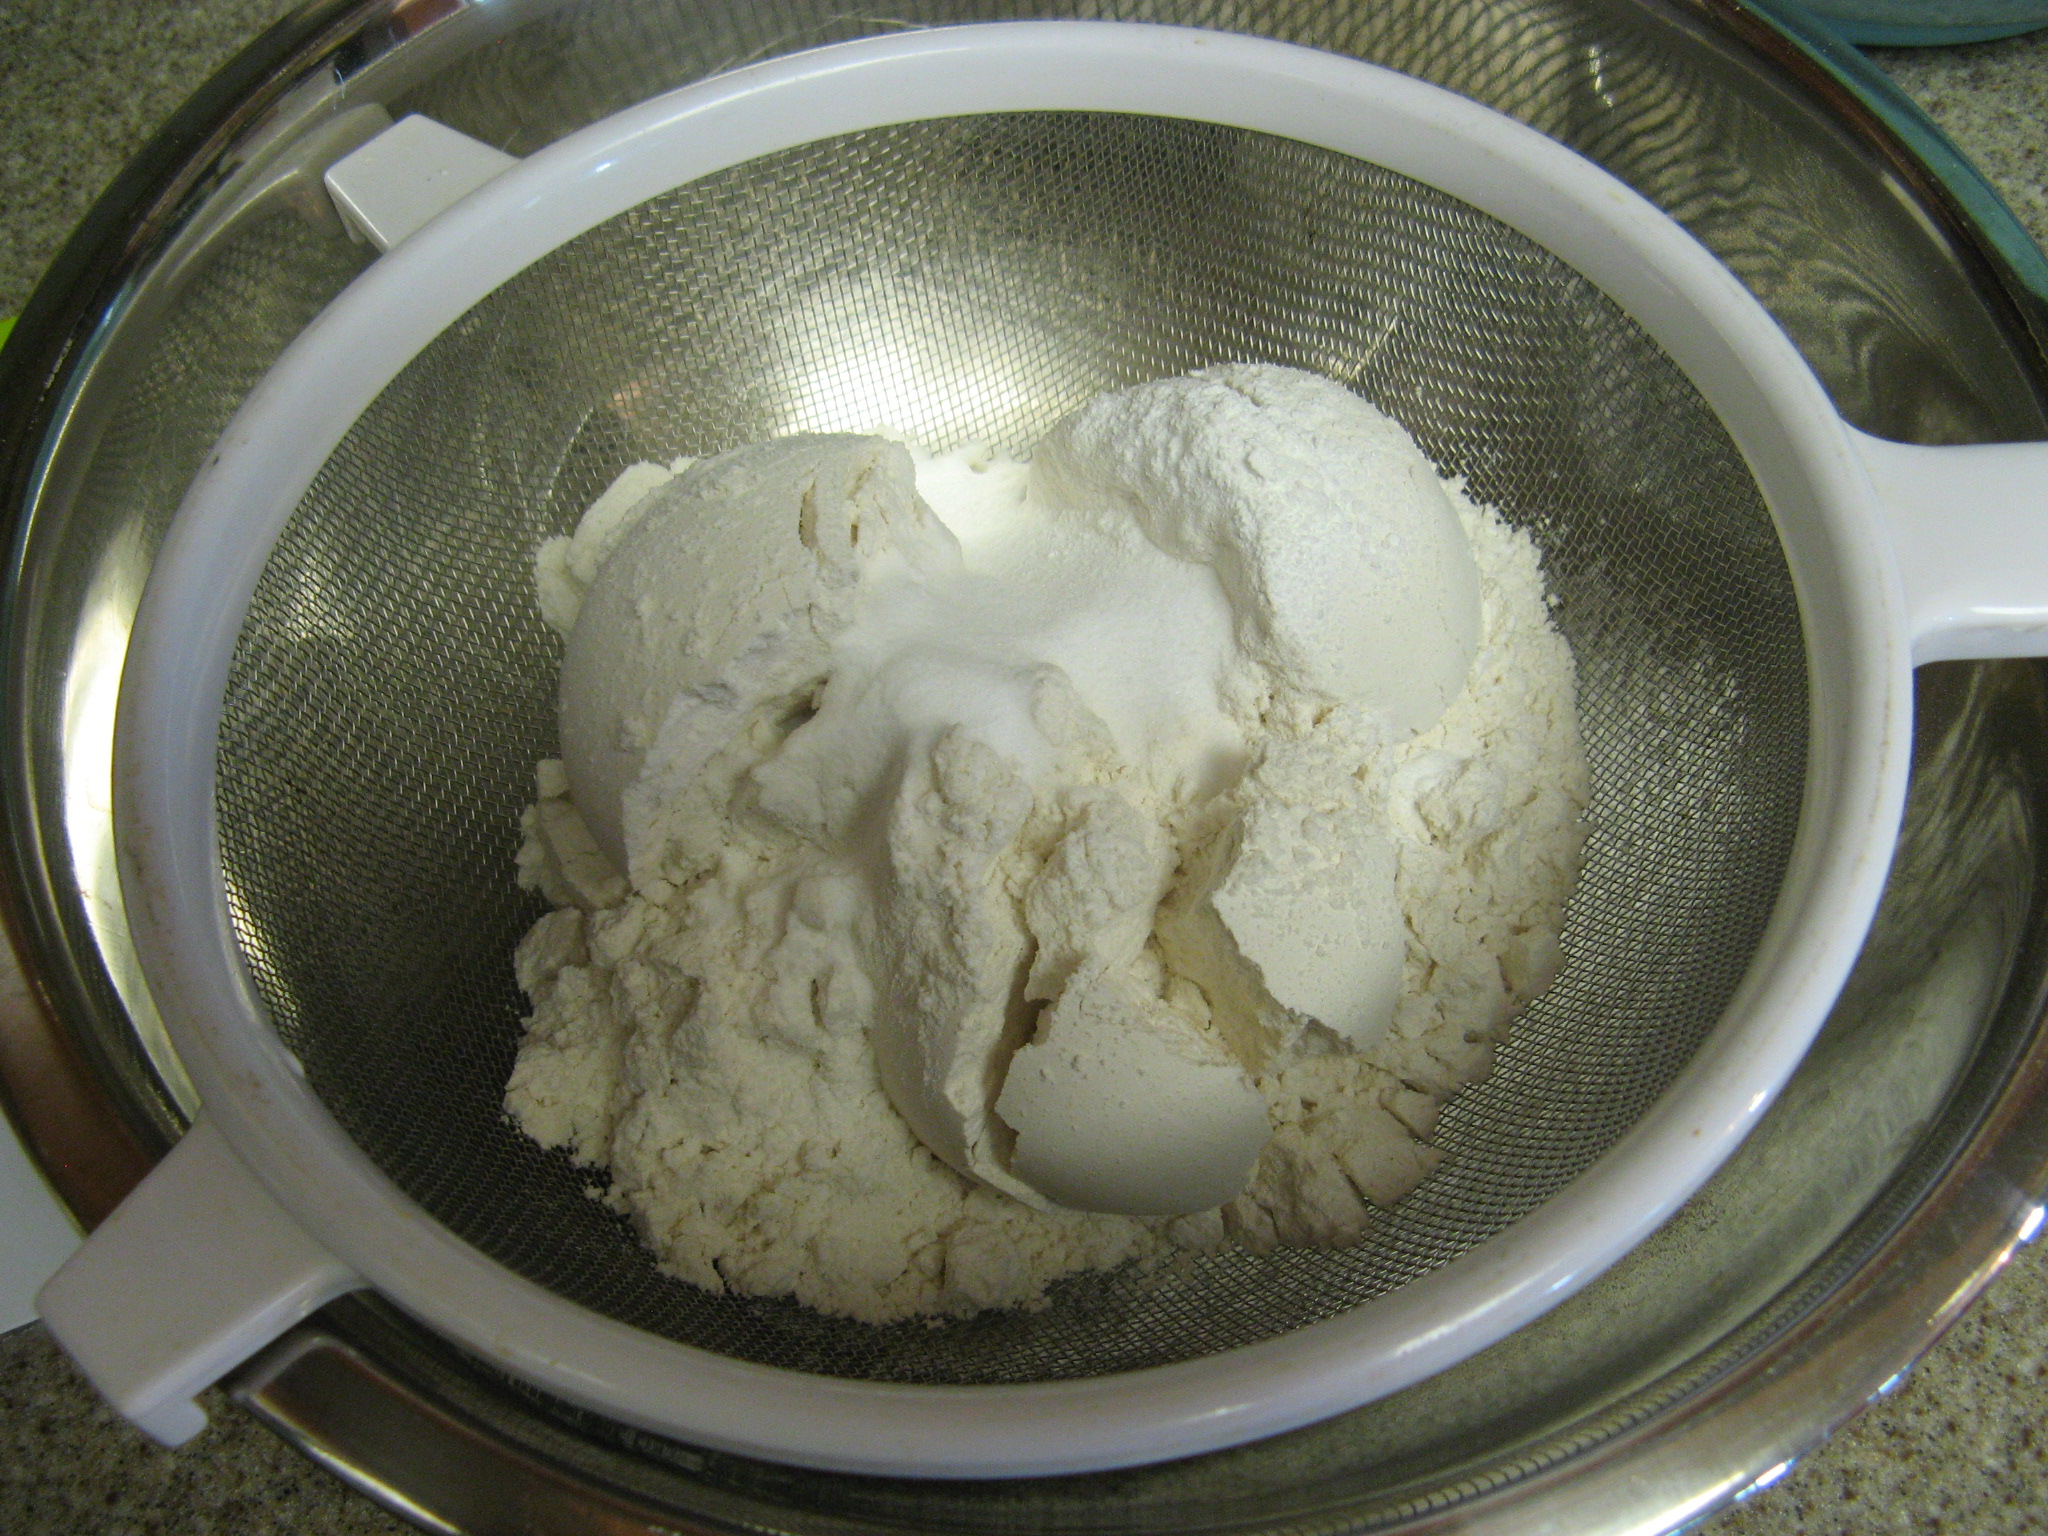
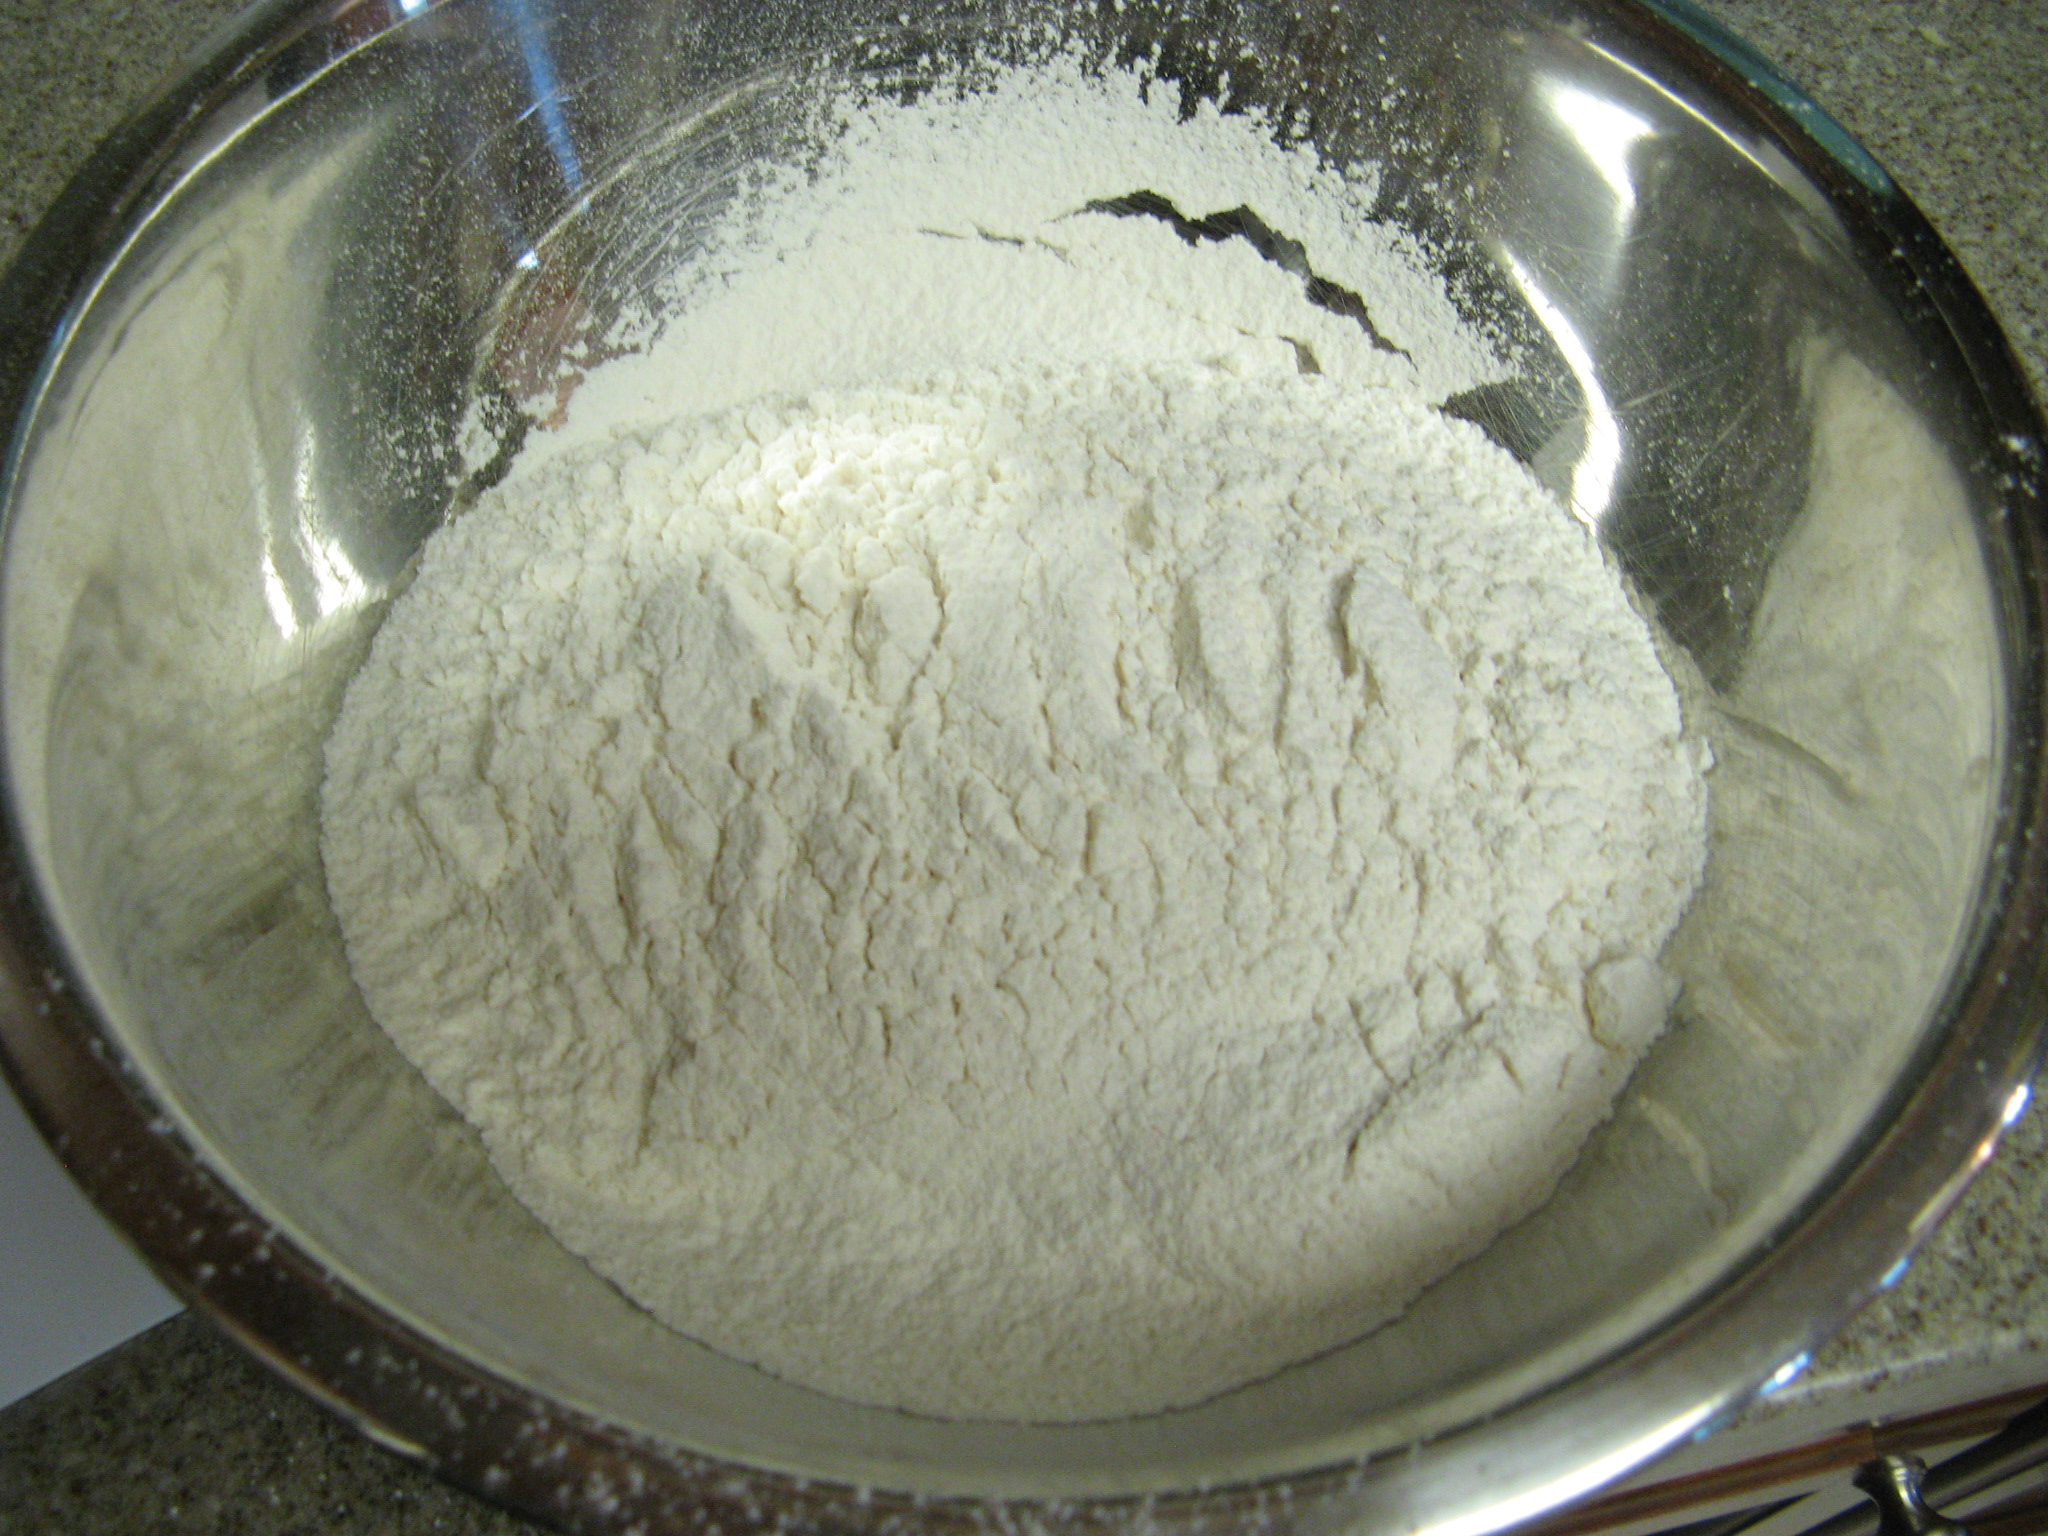
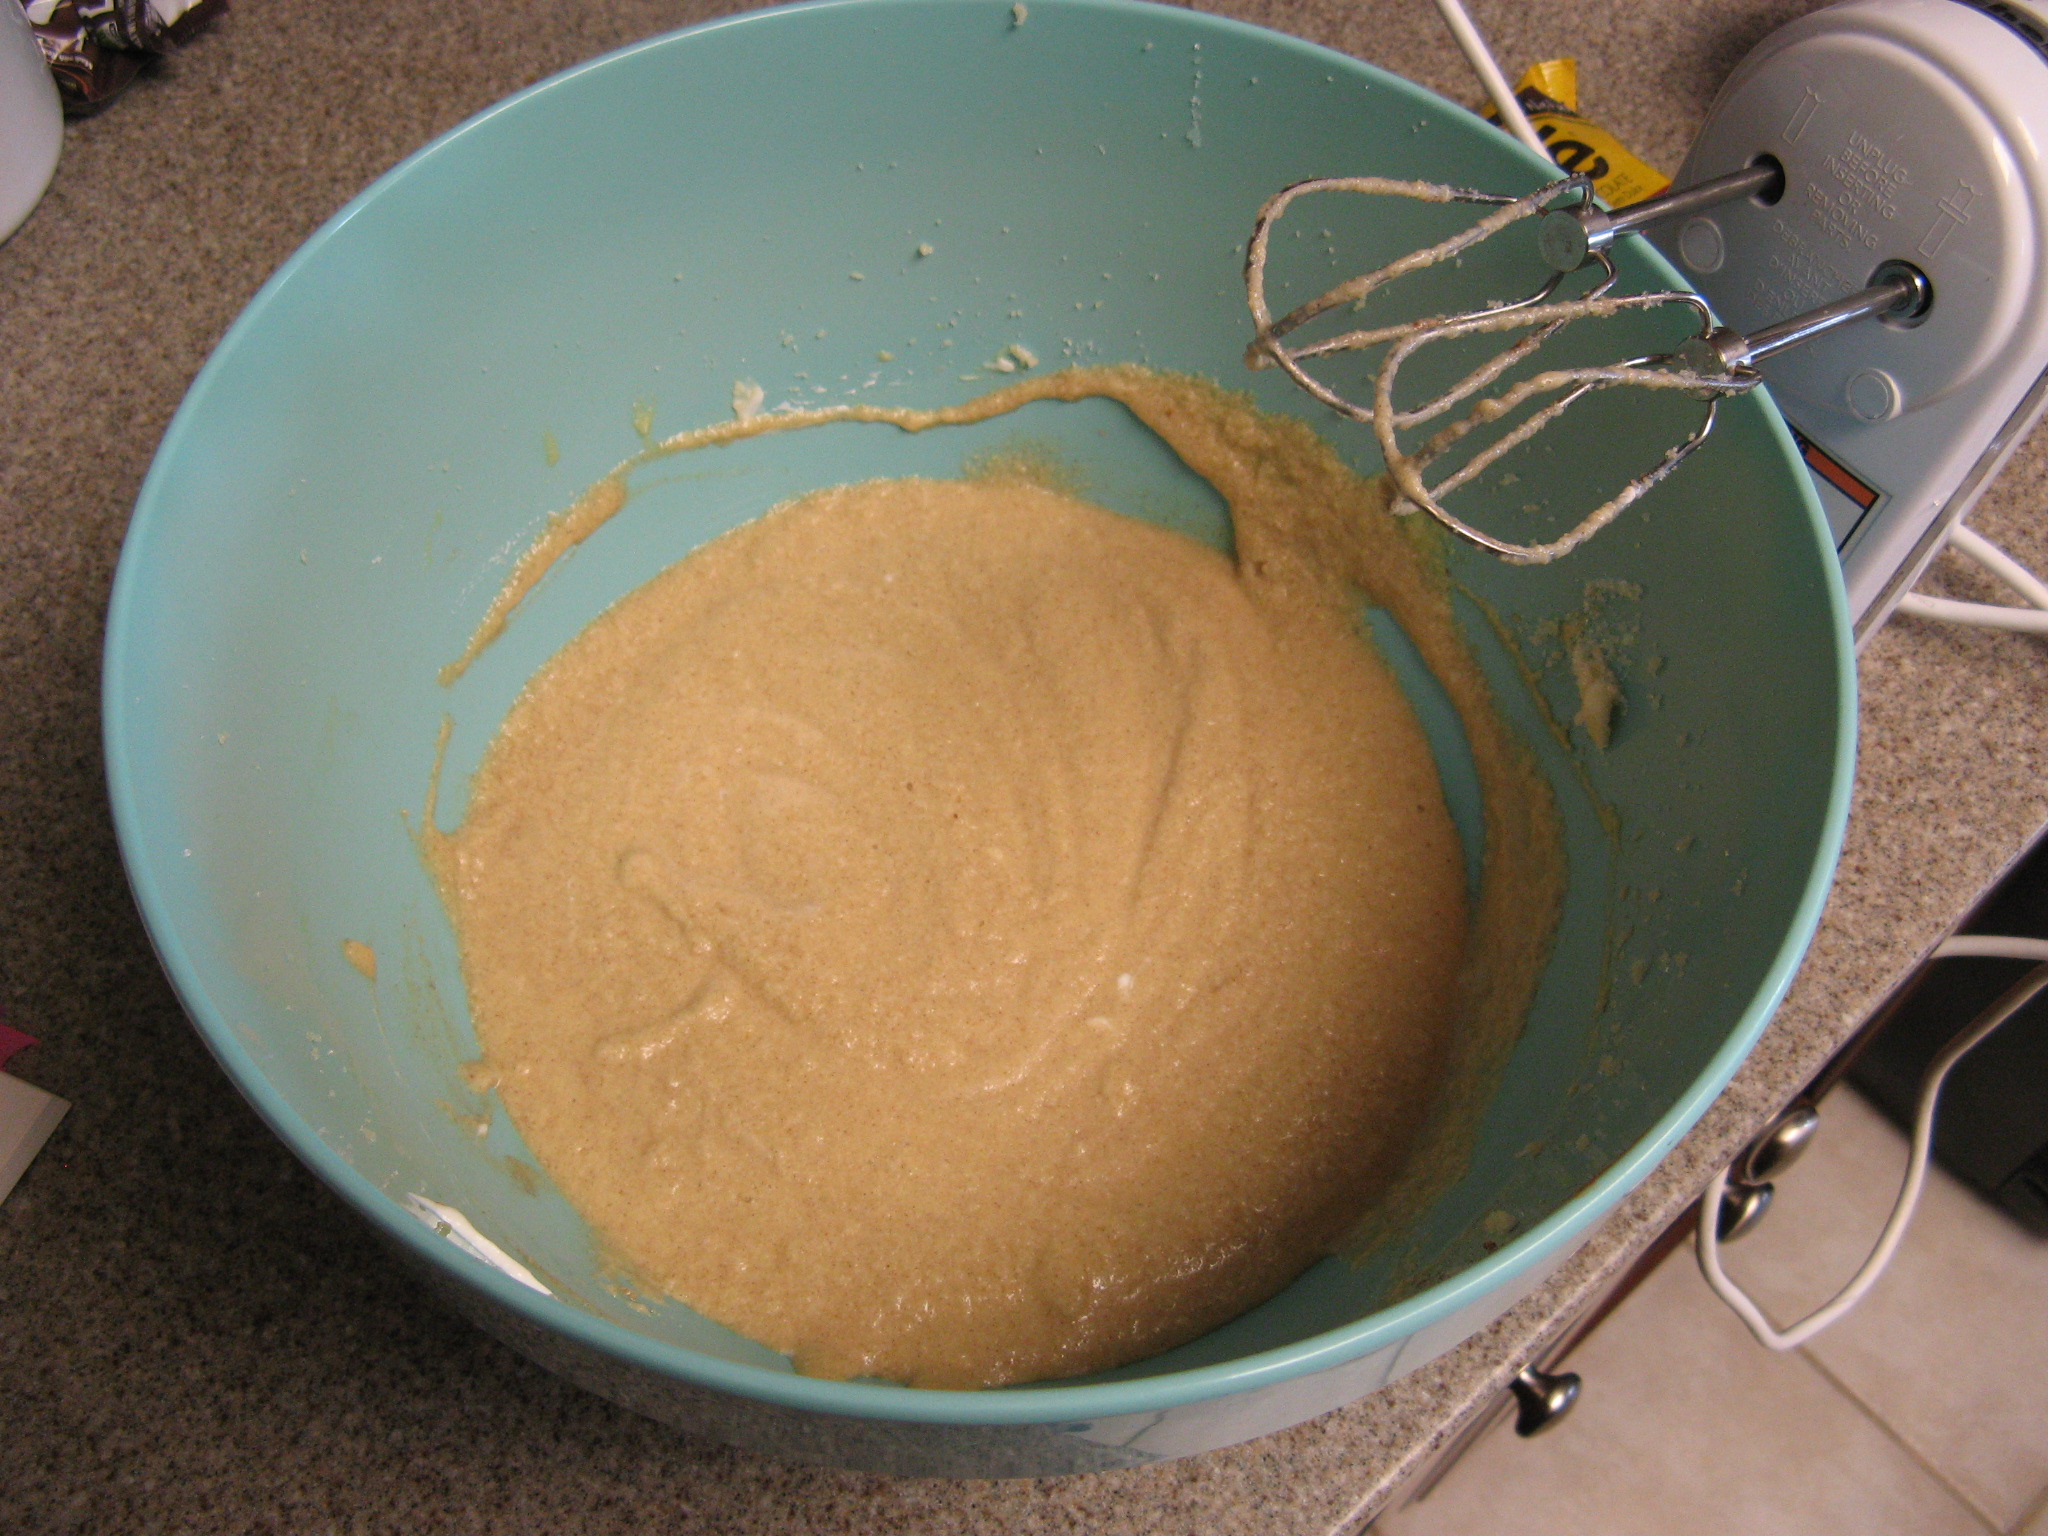
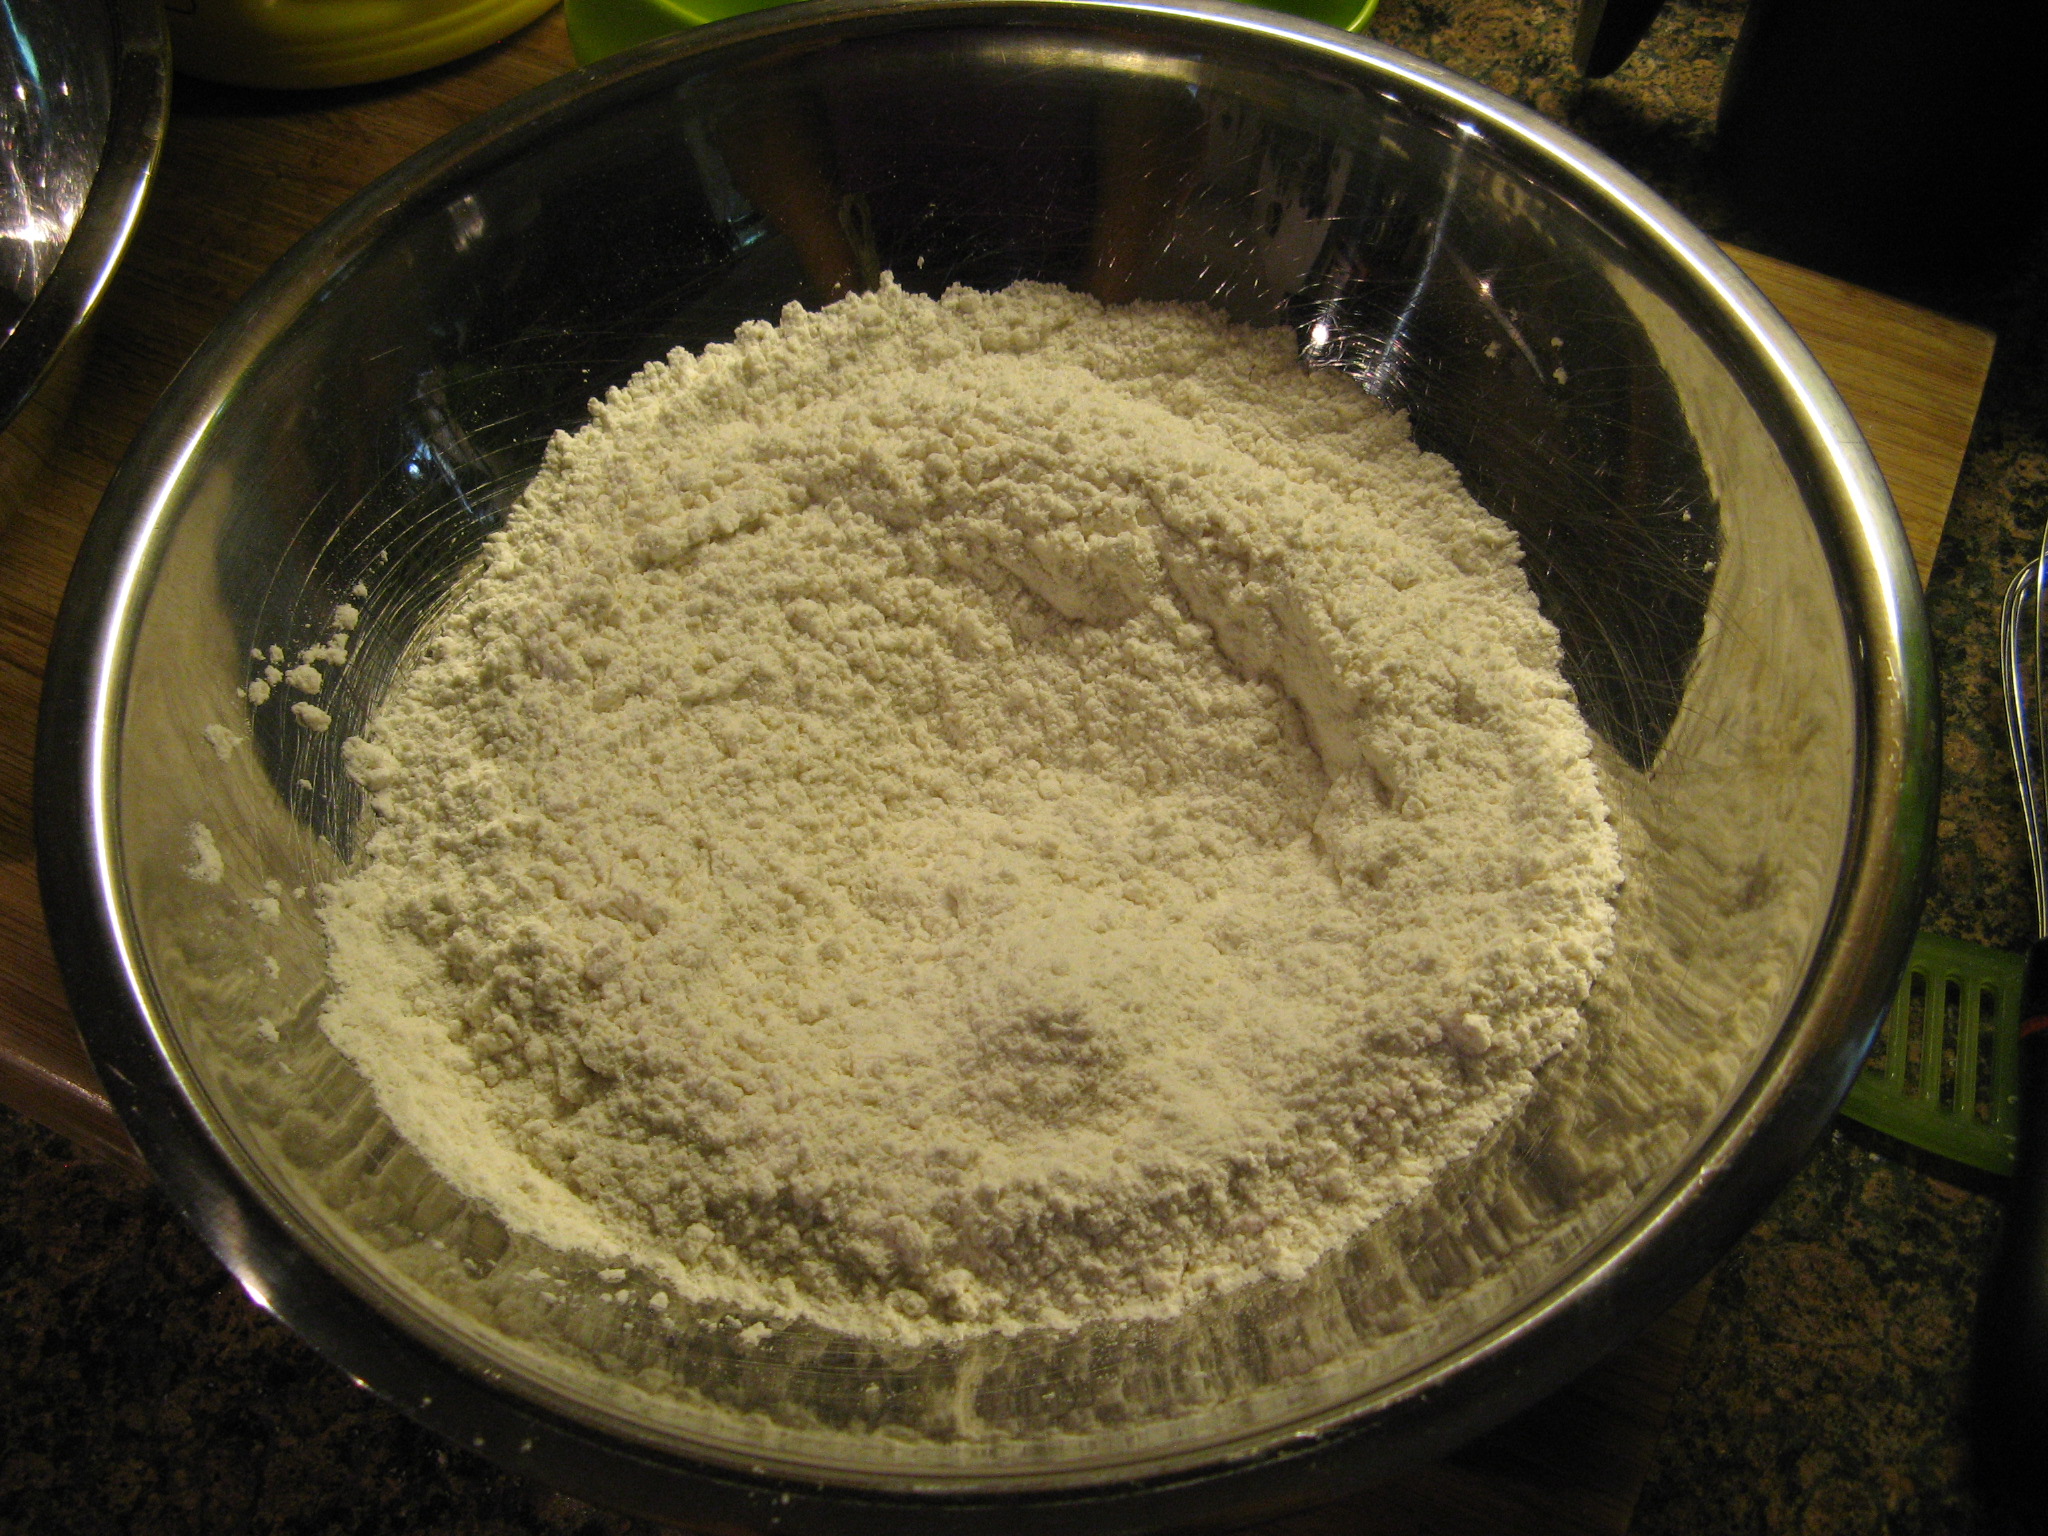
Next up I whisked together flour, baking powder, baking soda and salt in a bowl and set this aside as well.
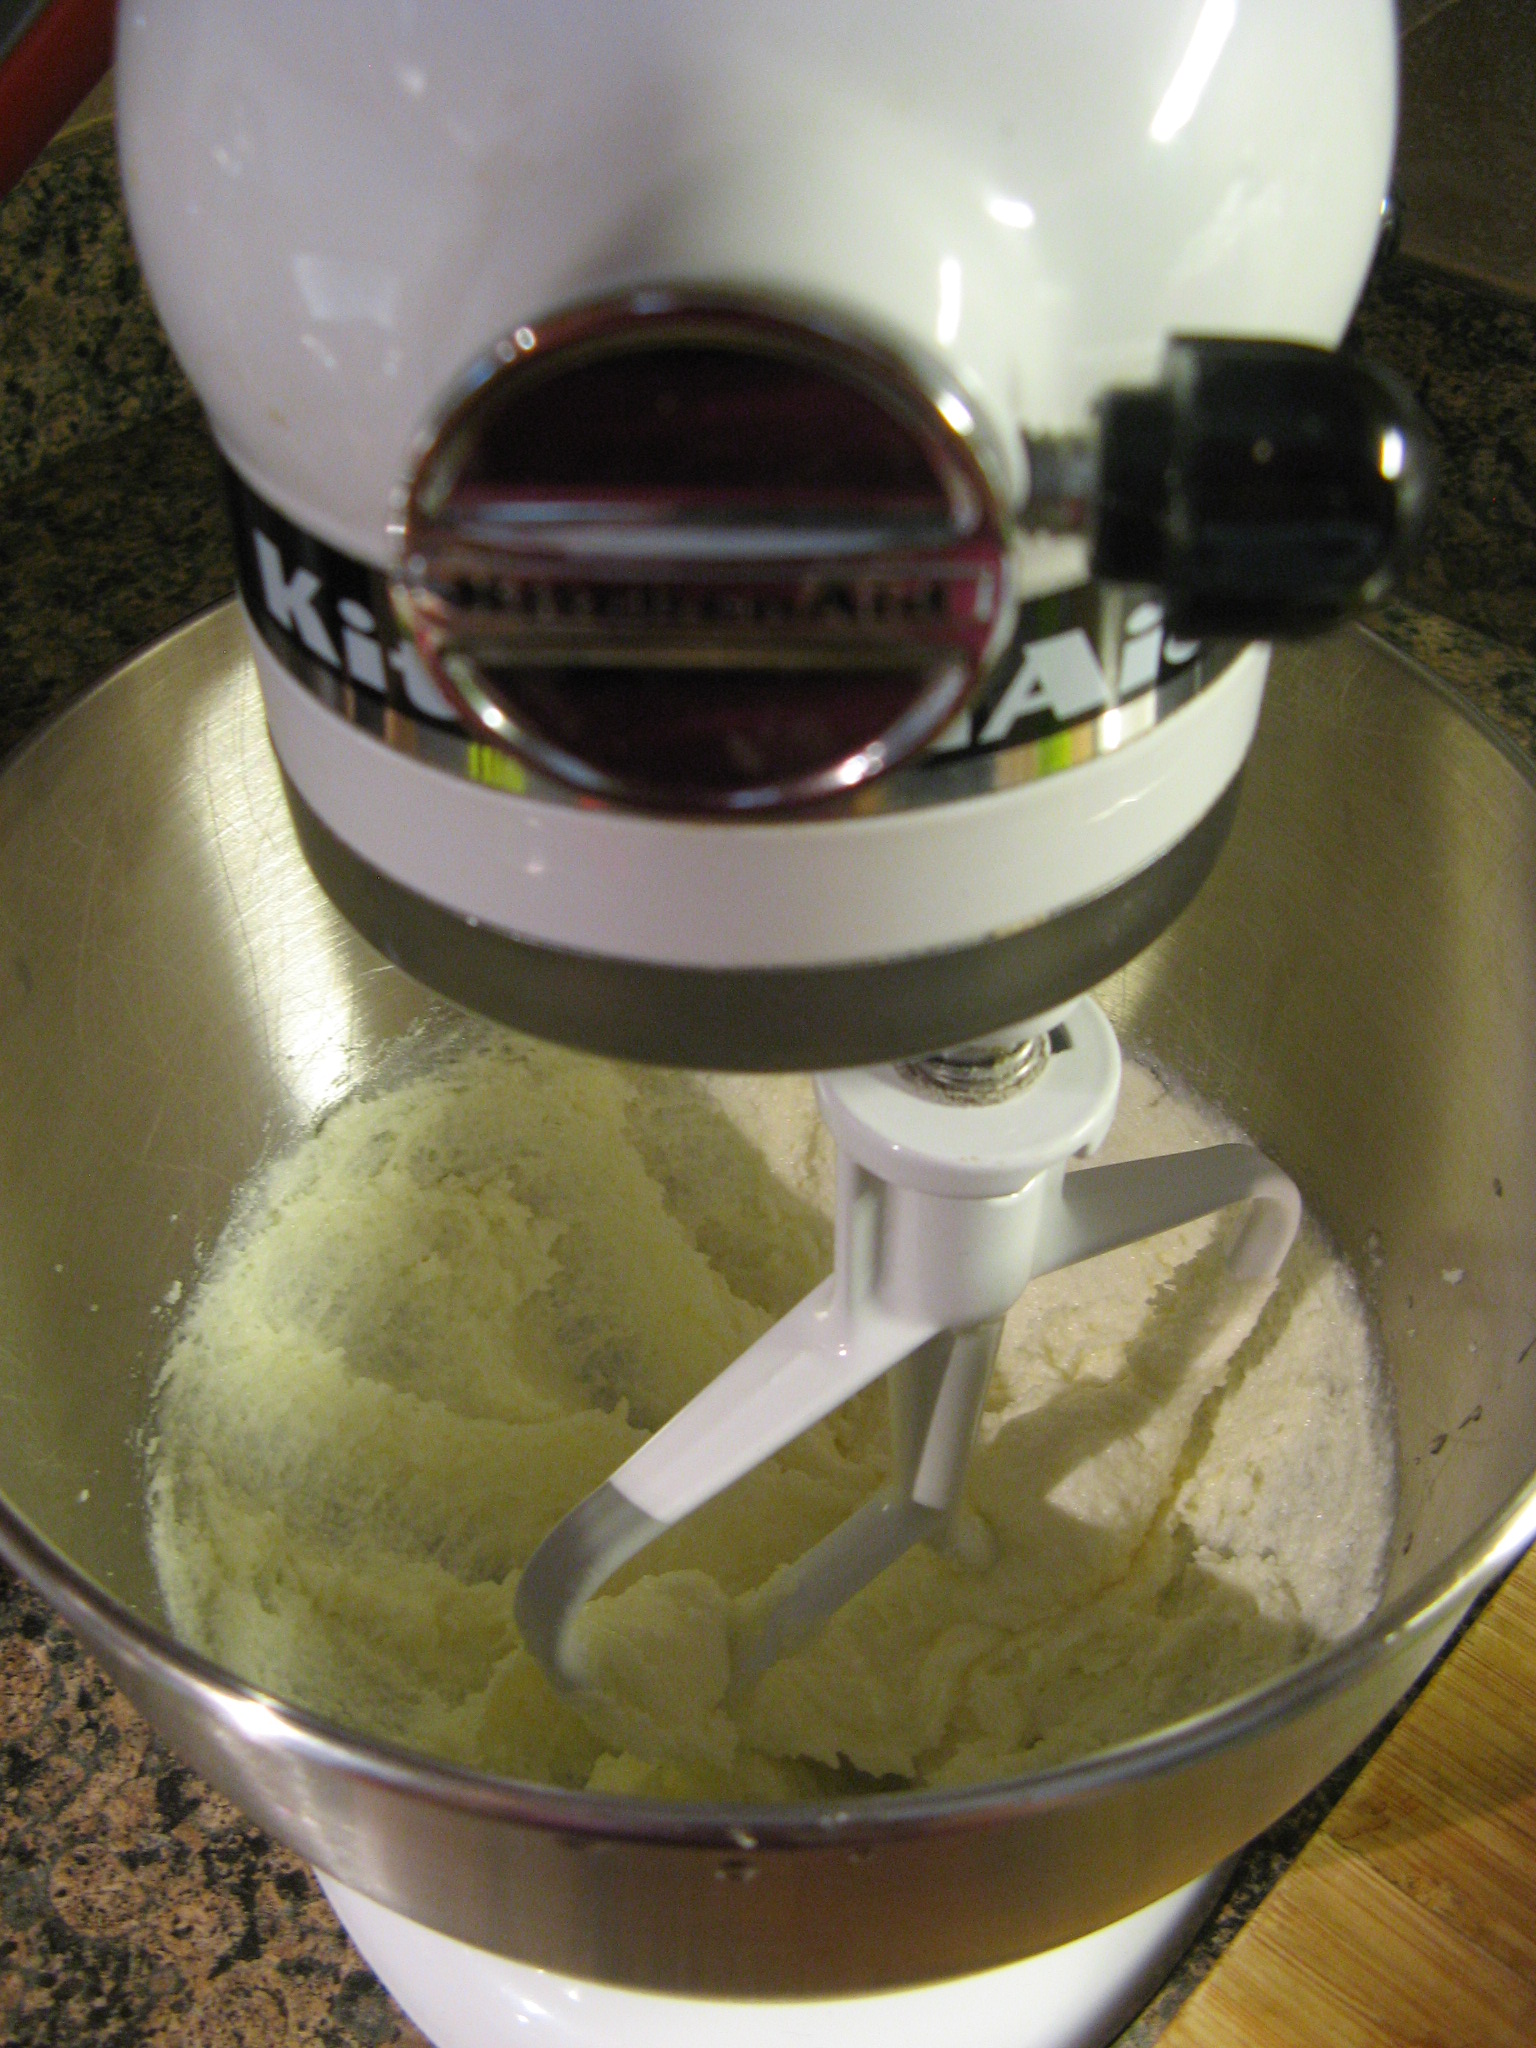
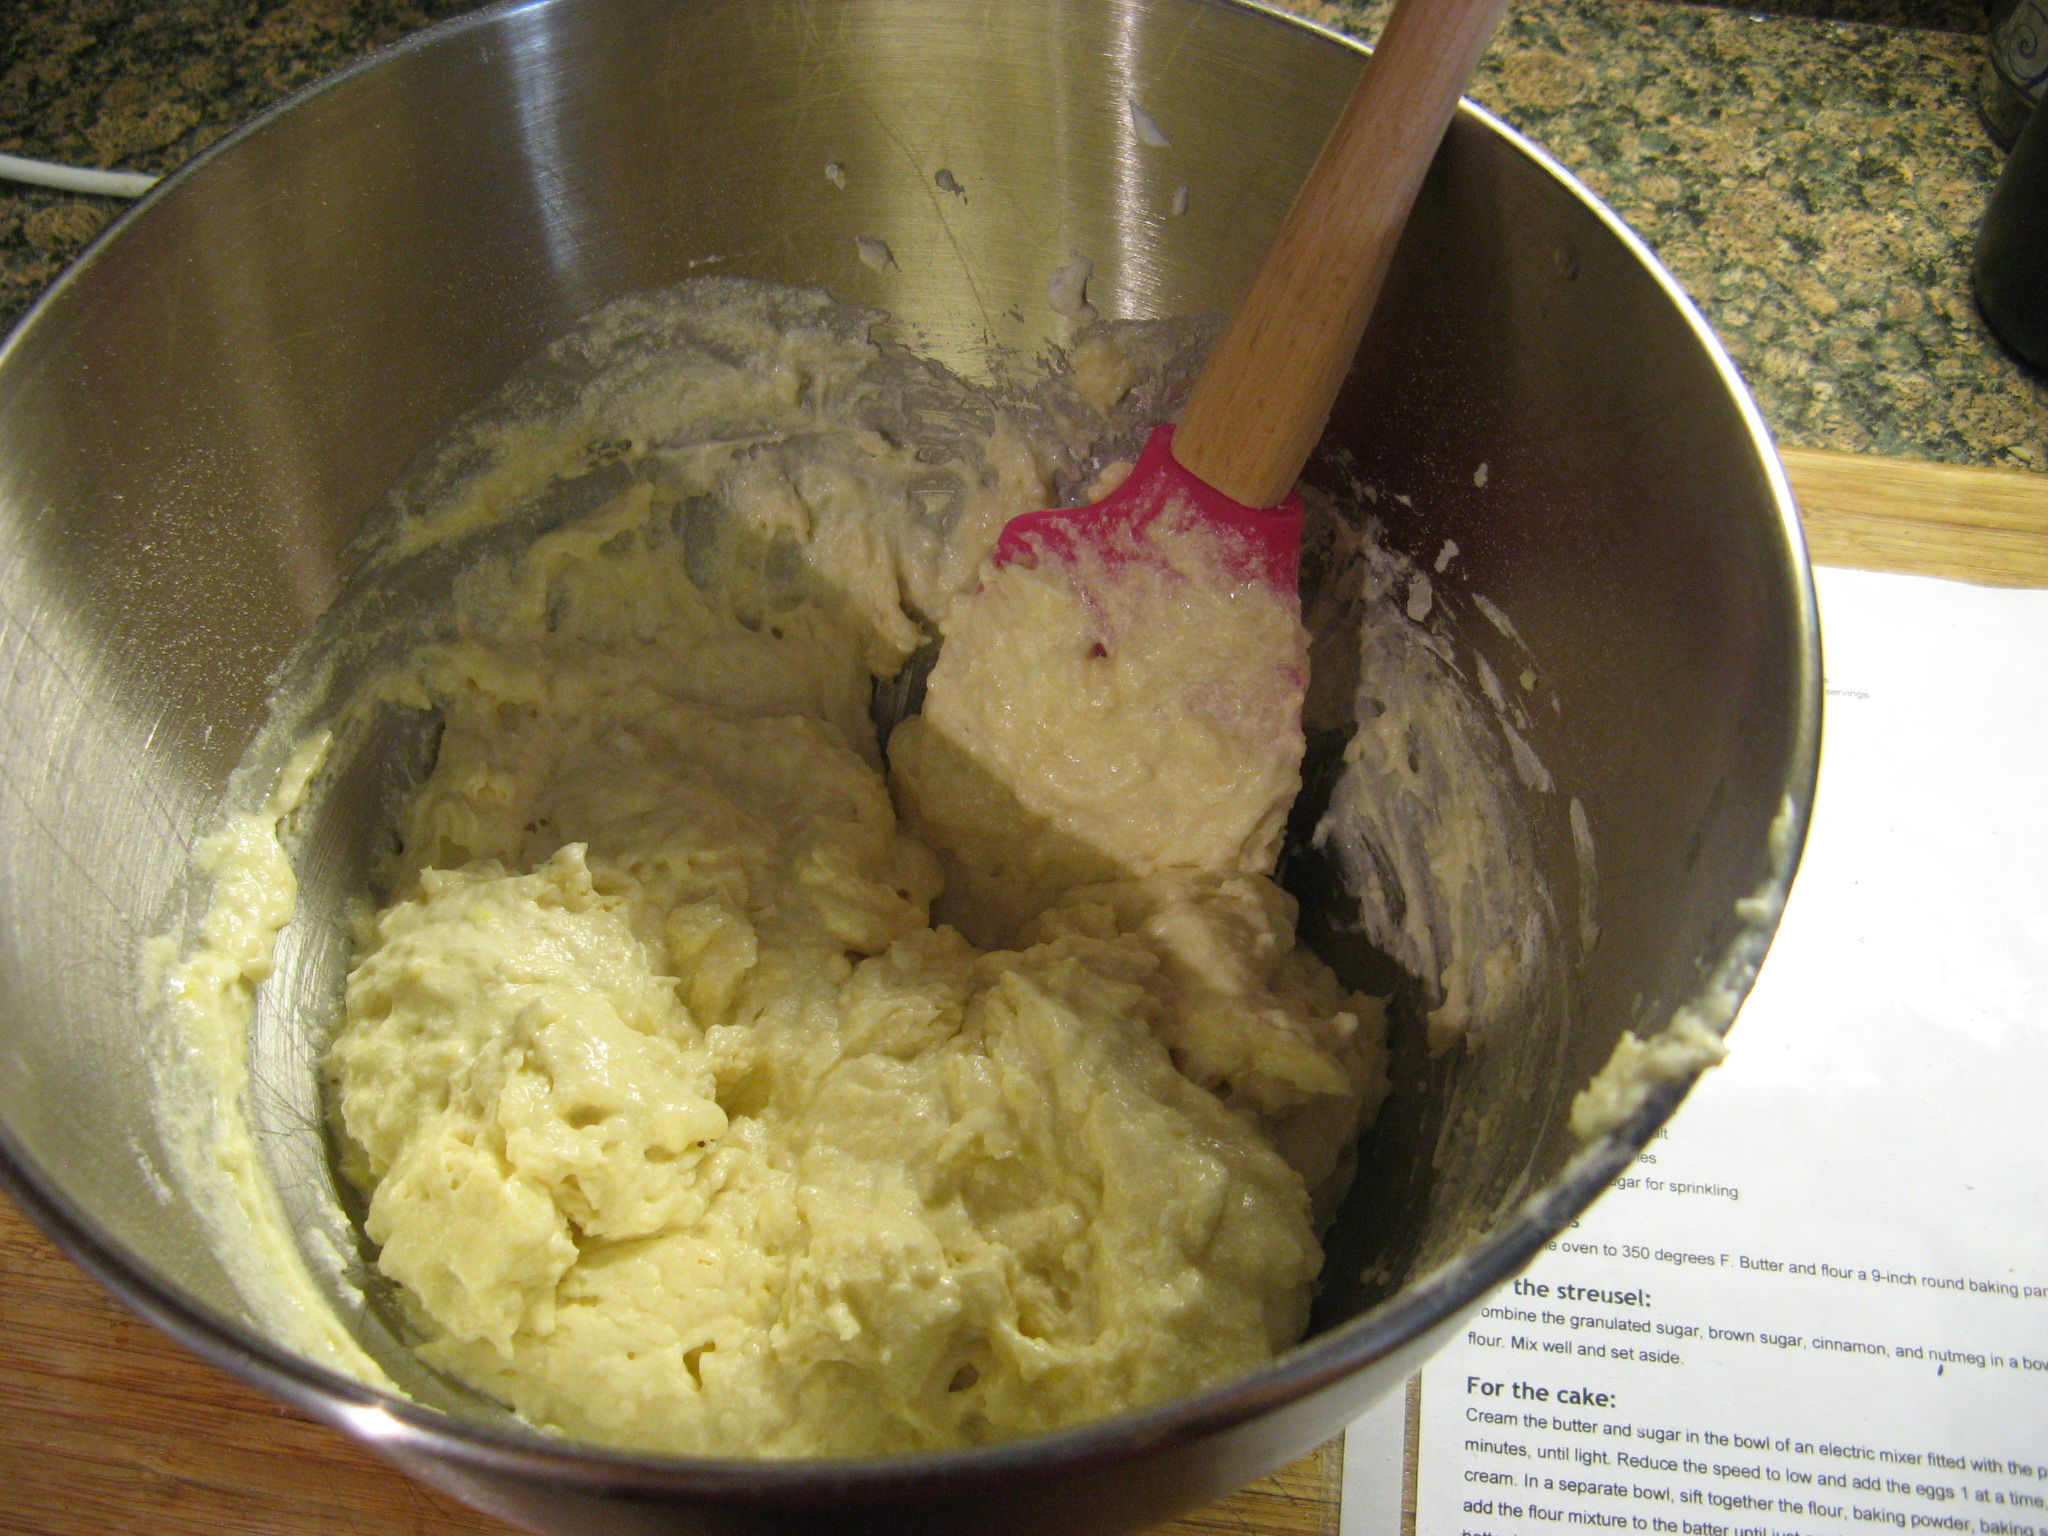
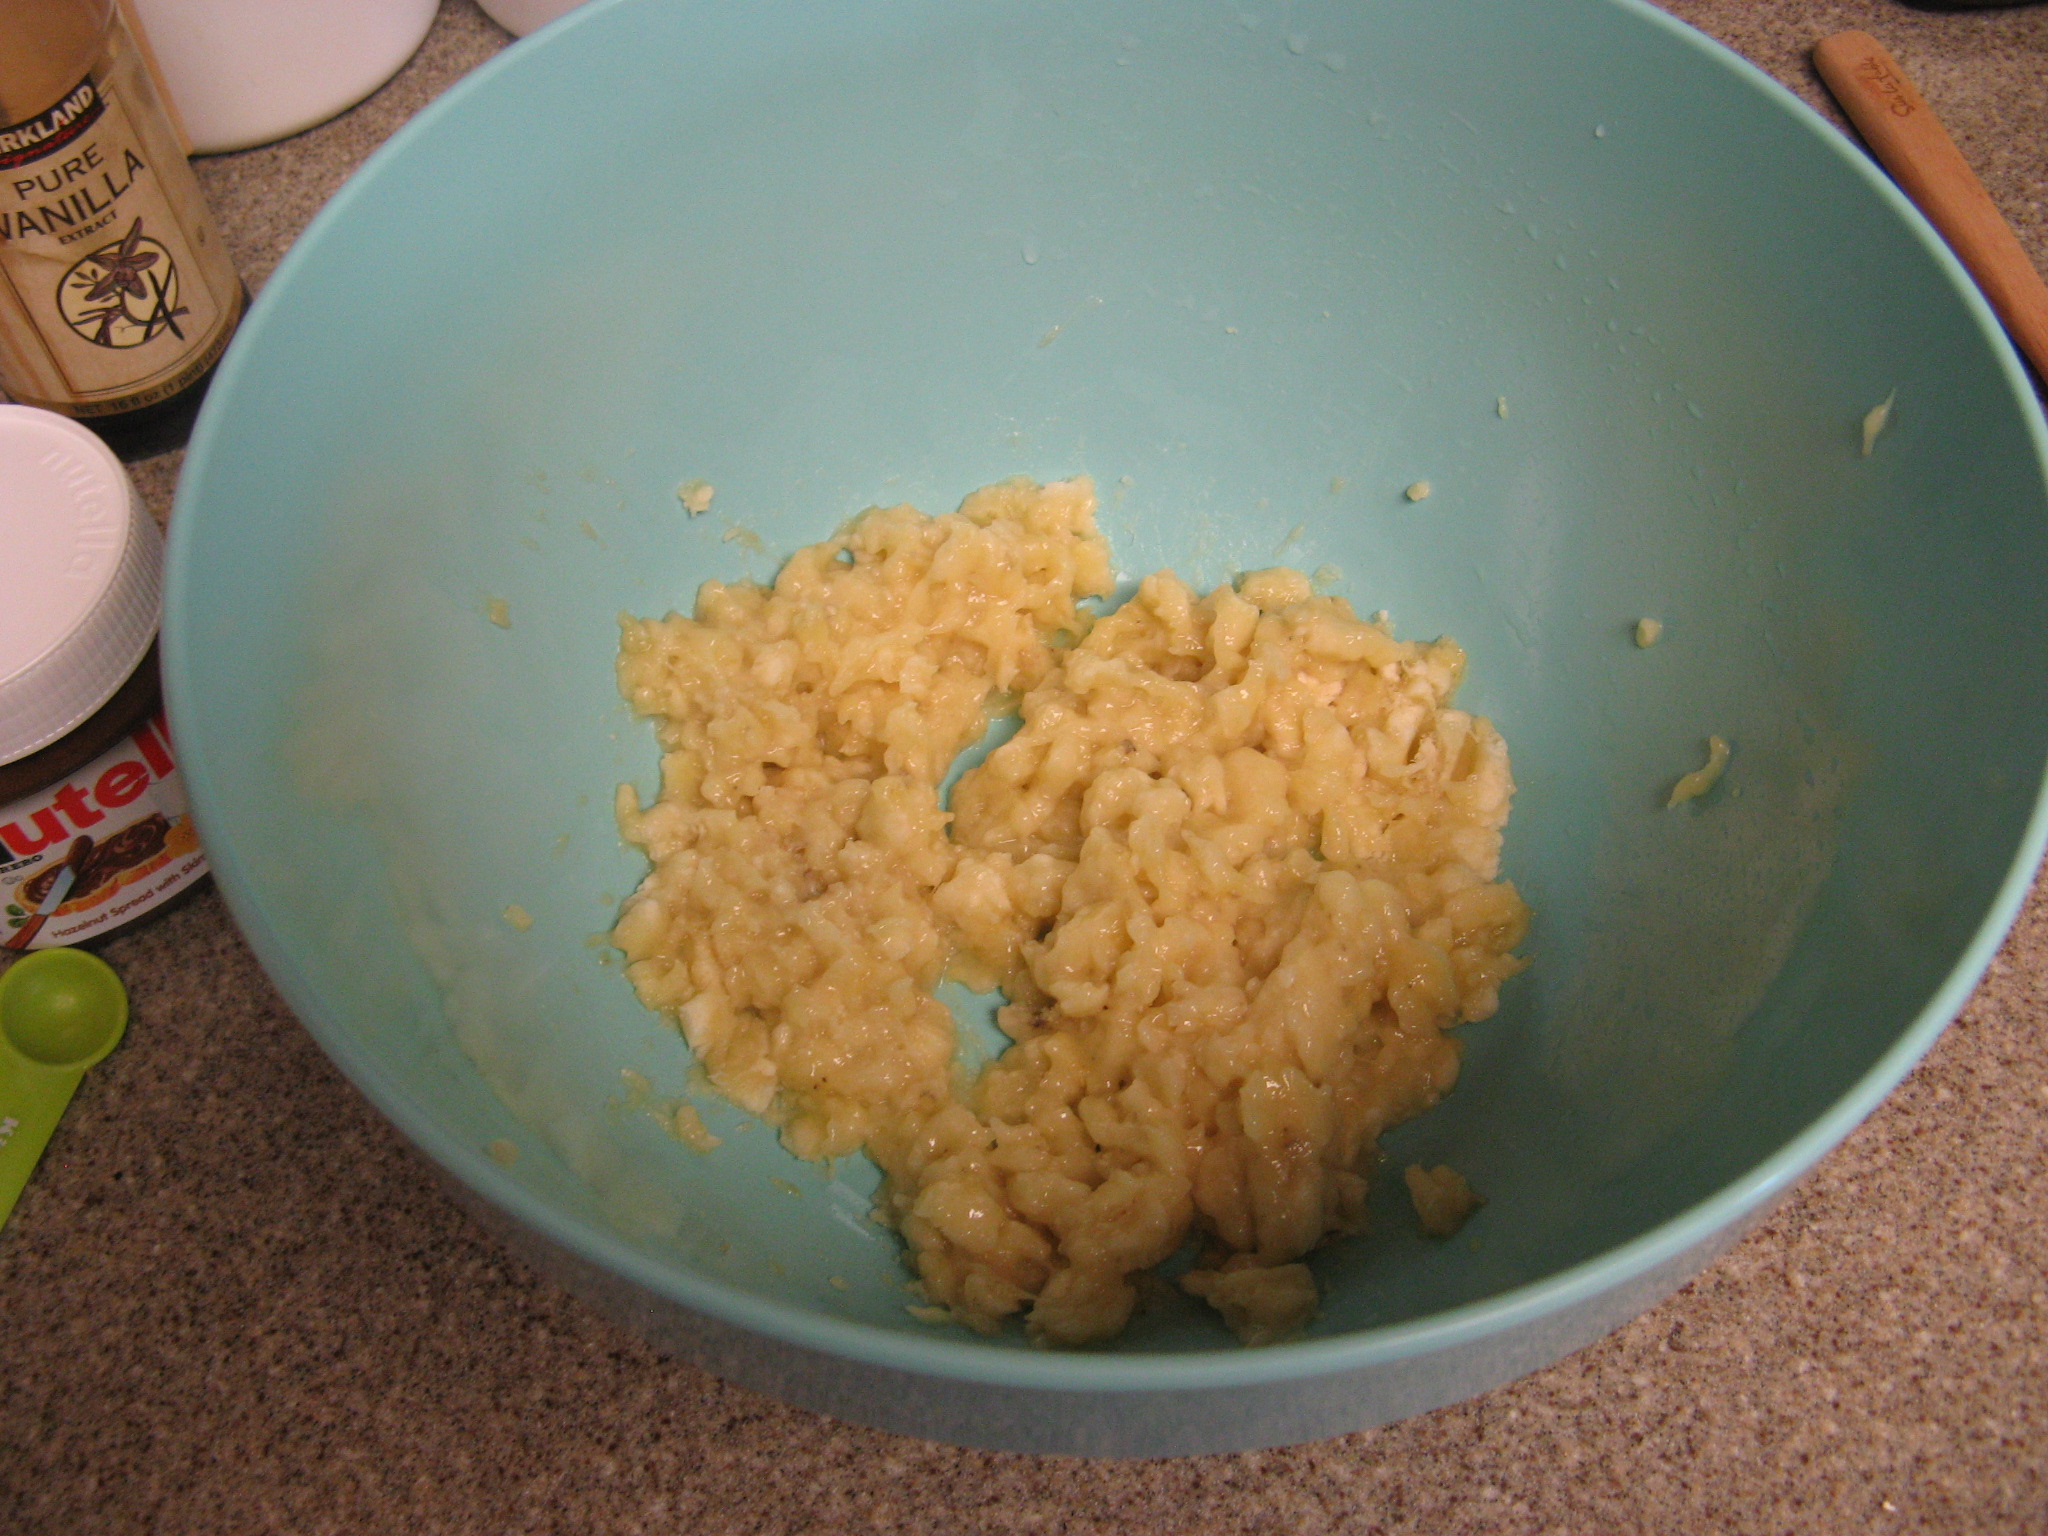
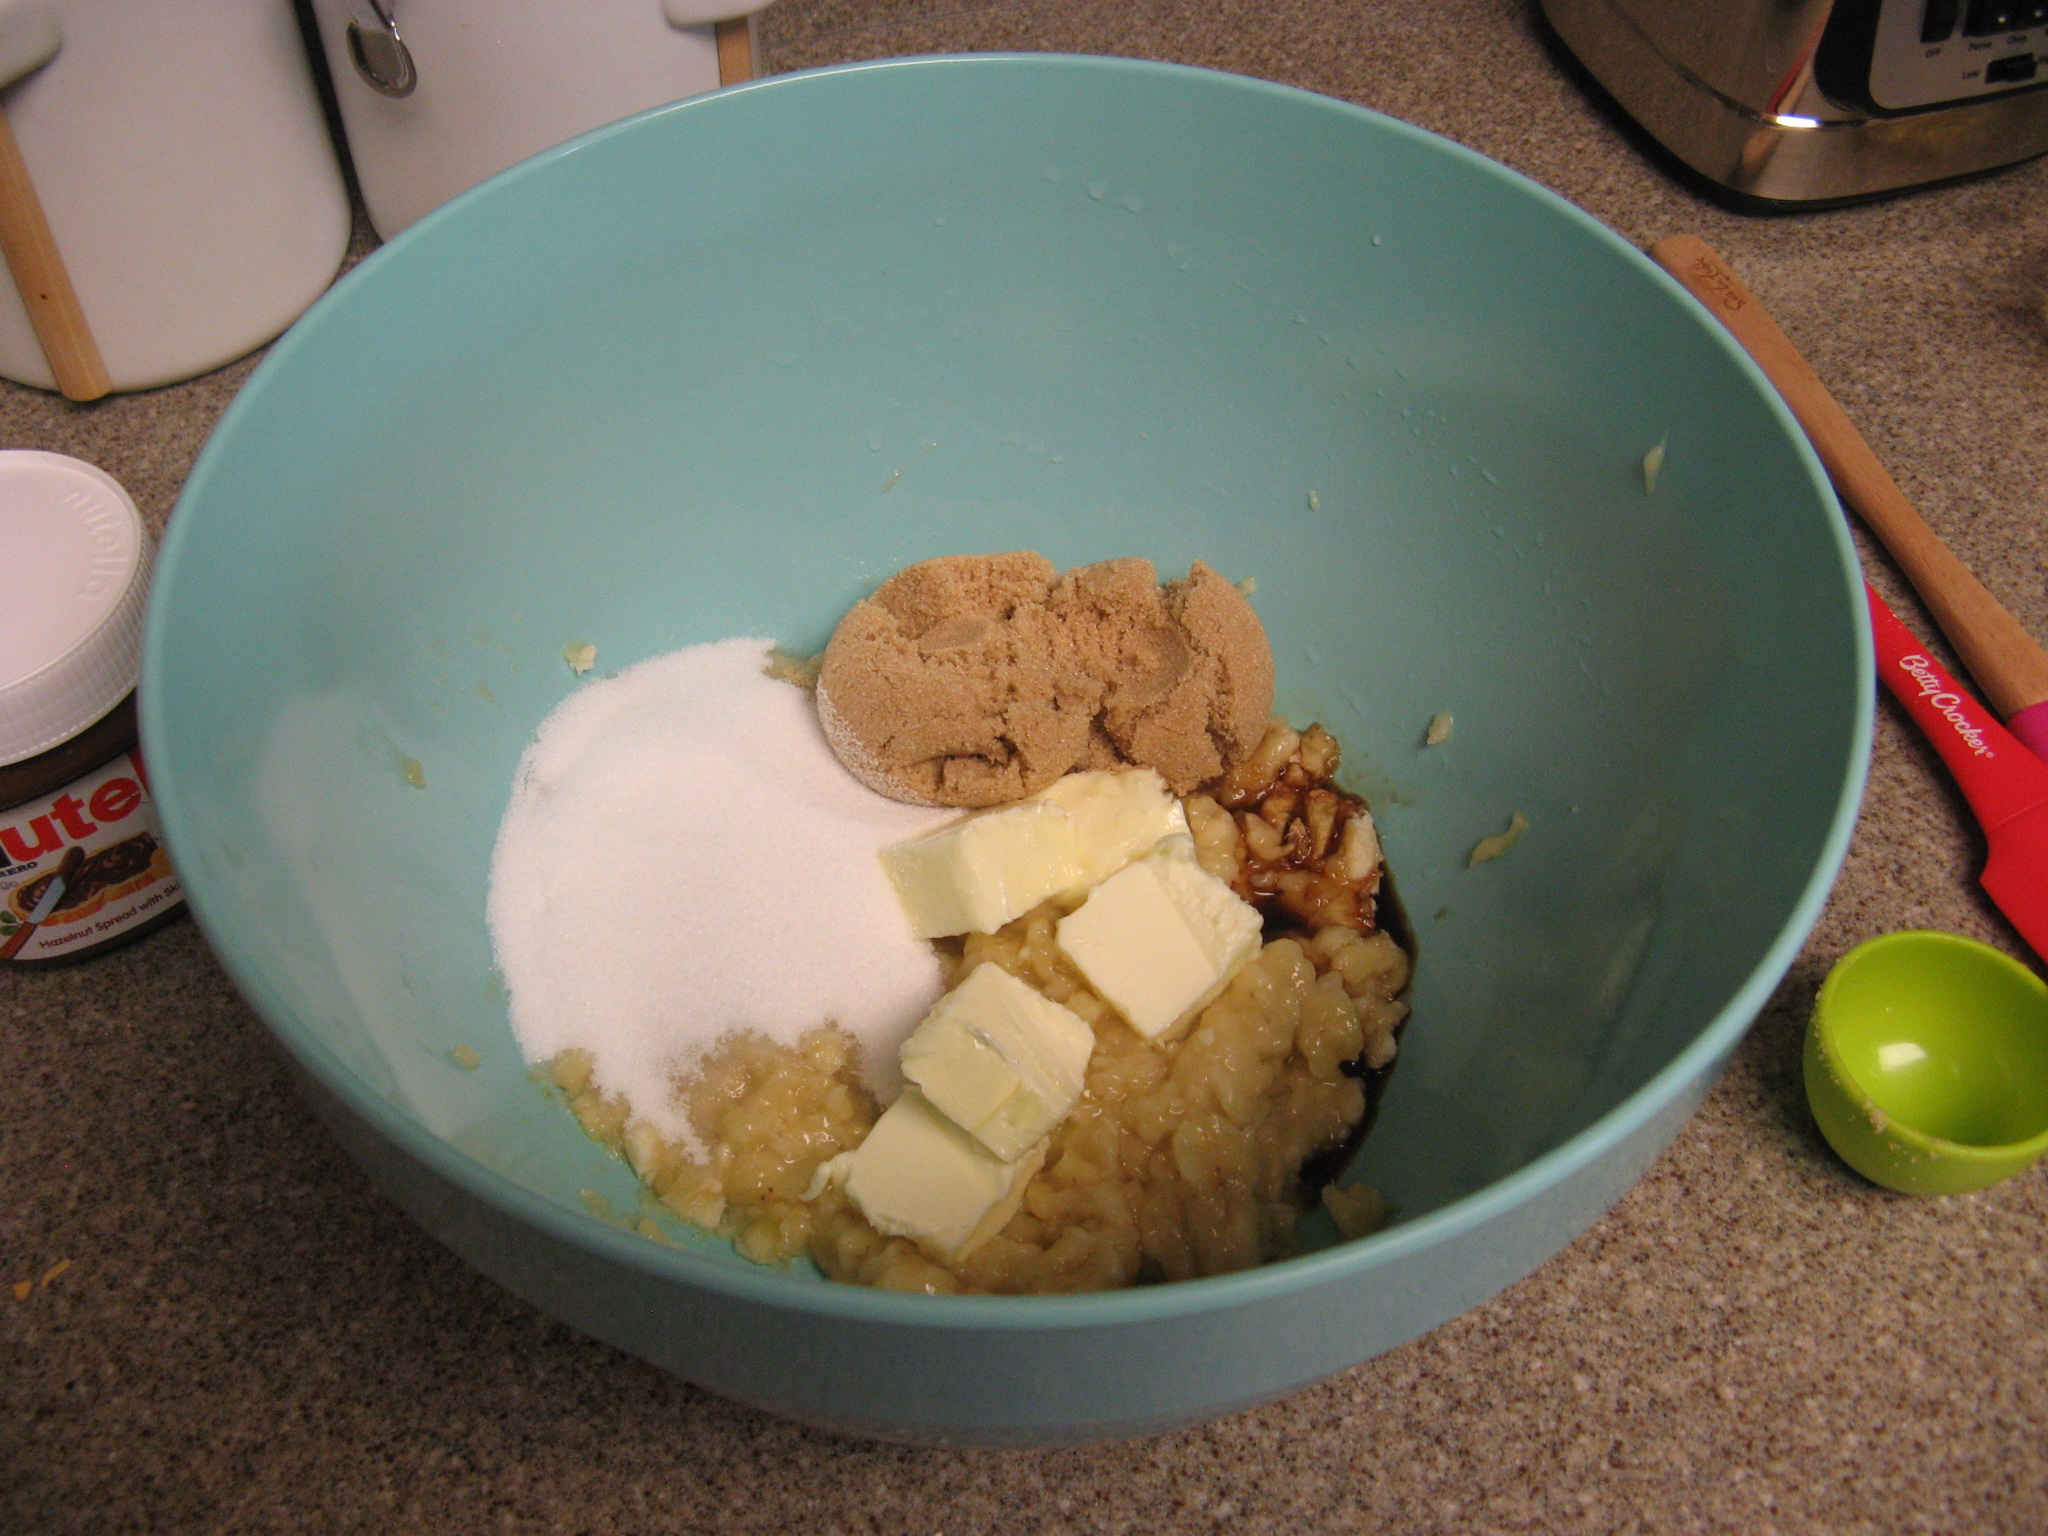
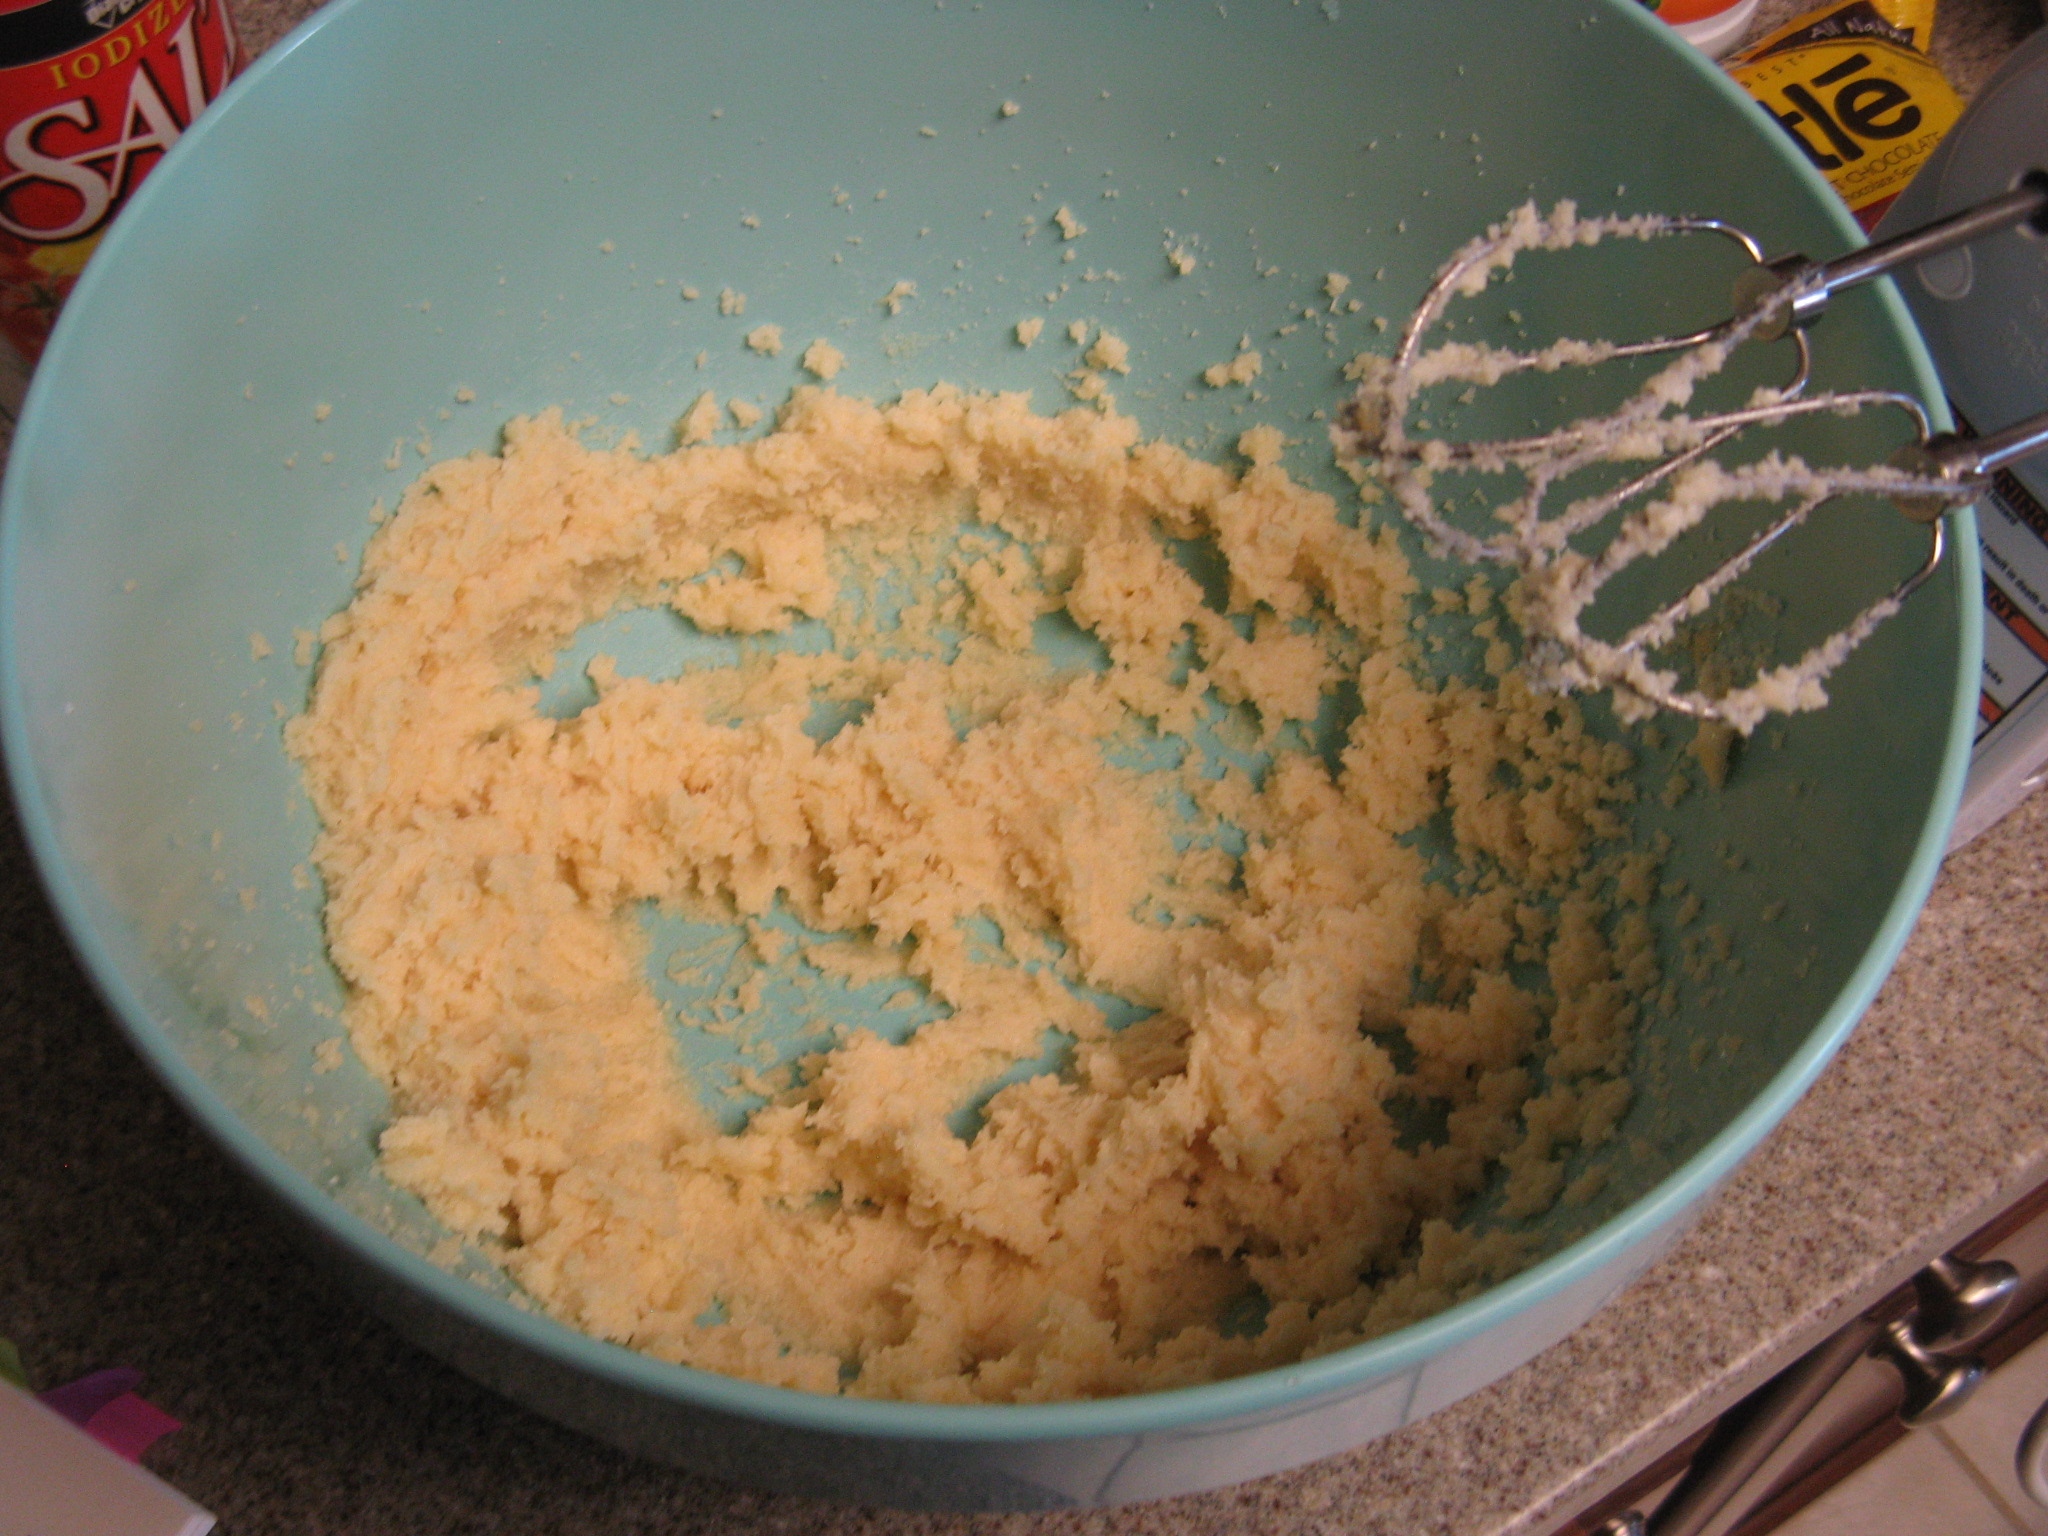
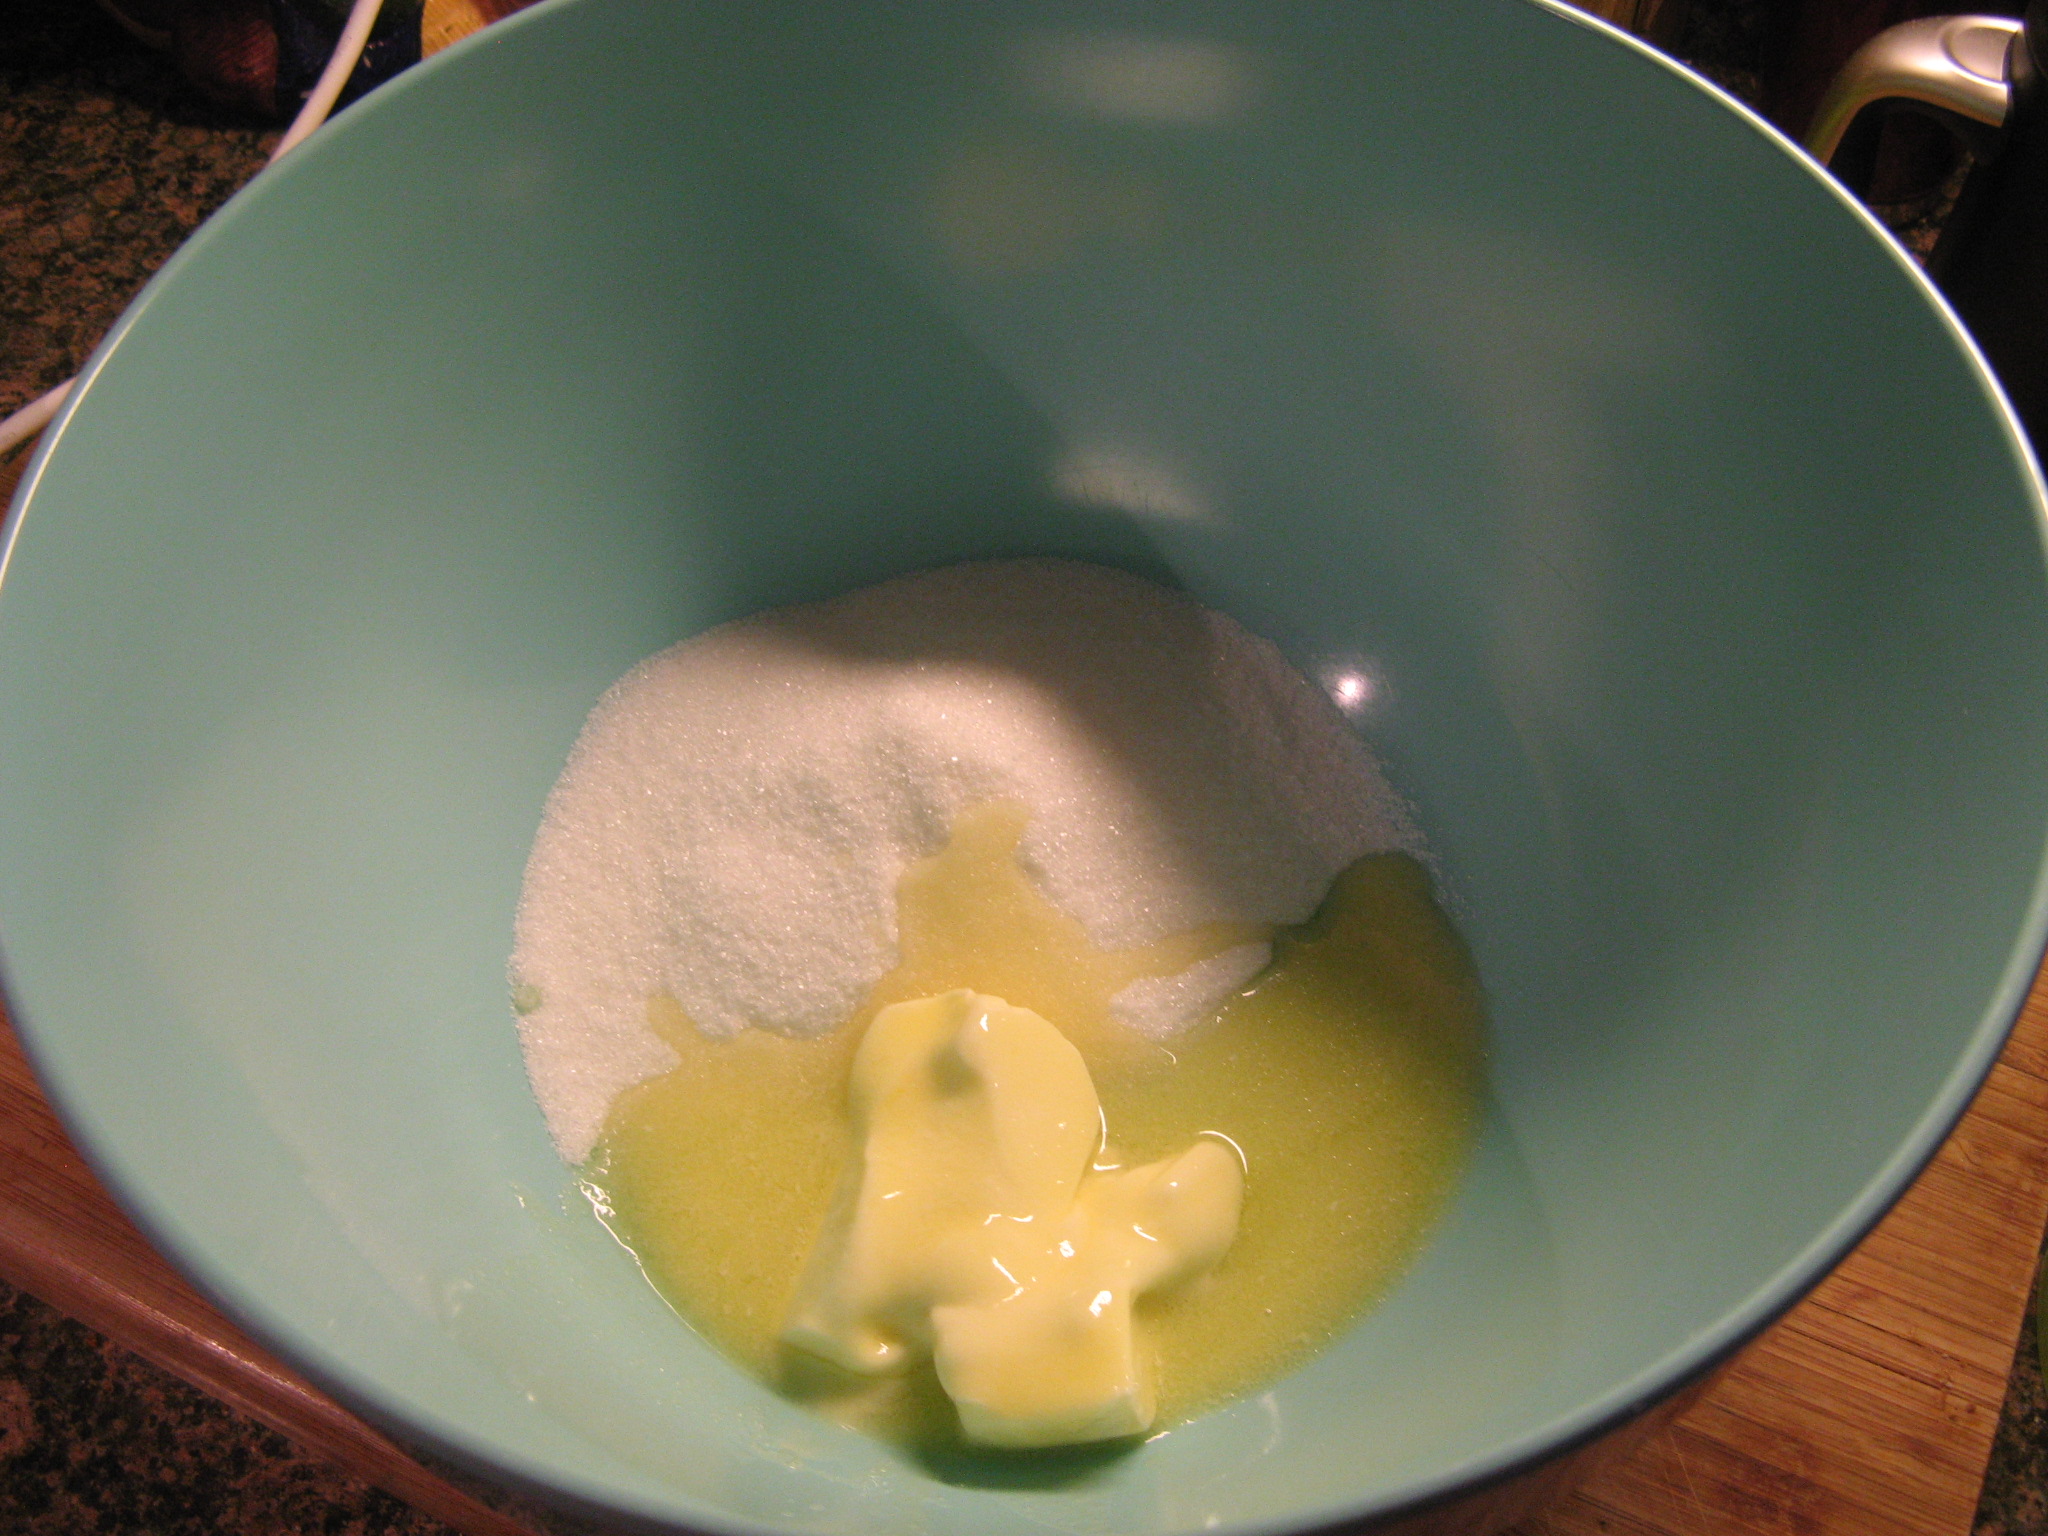
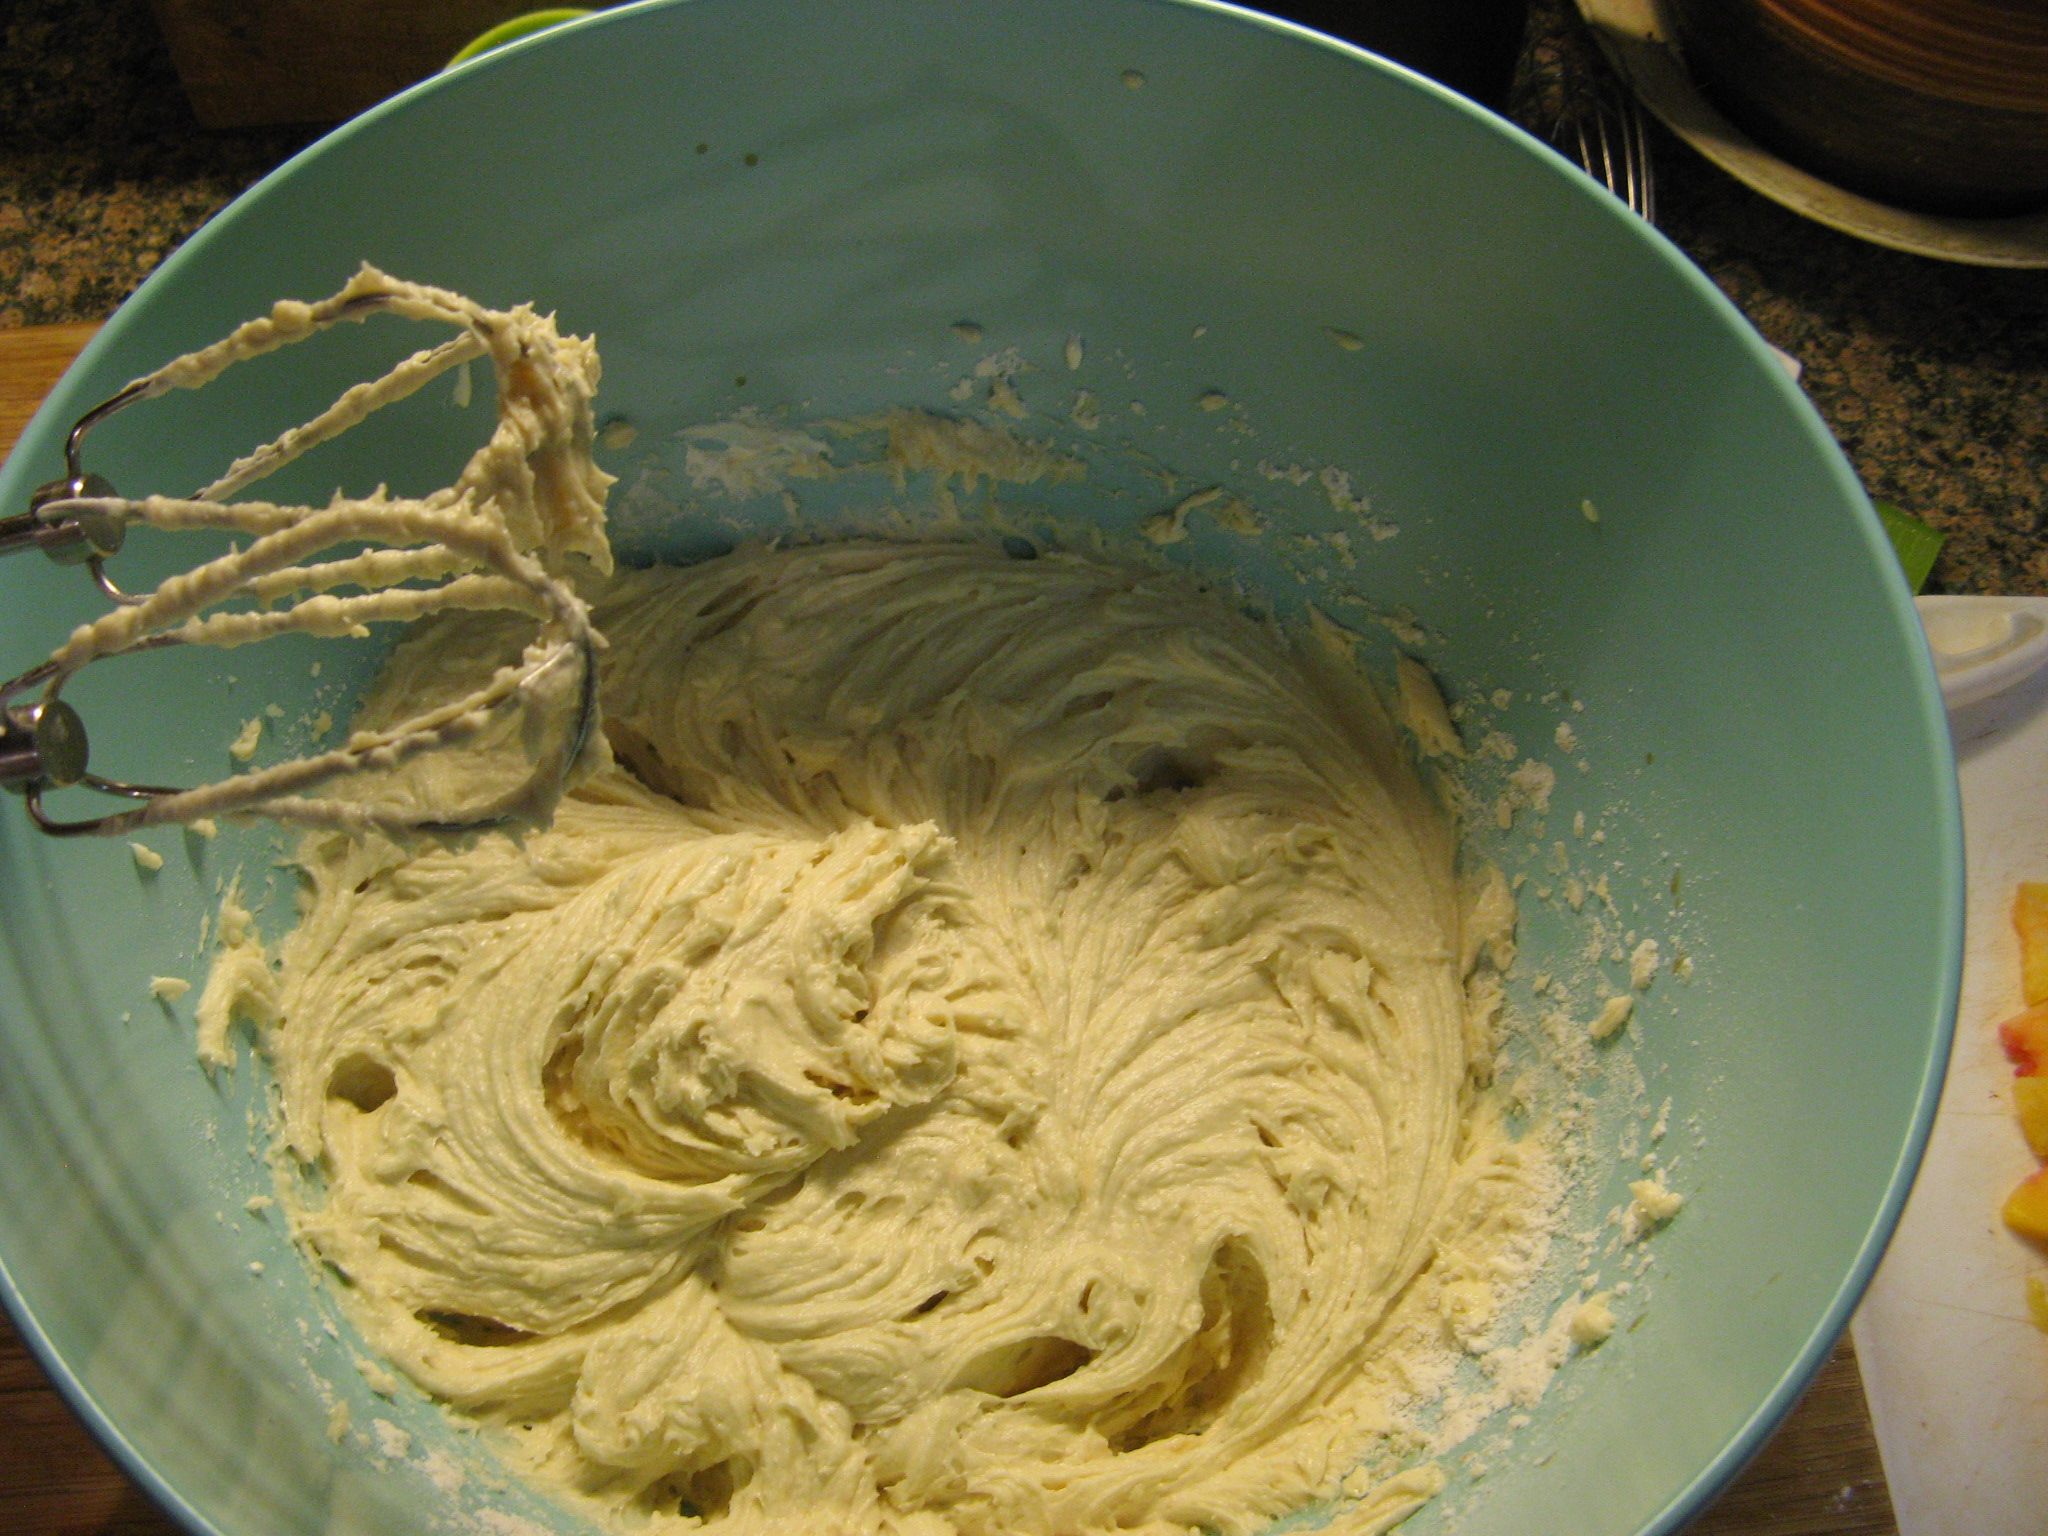
In a separate bowl I began making the batter for the cake by beating together butter and sugar.
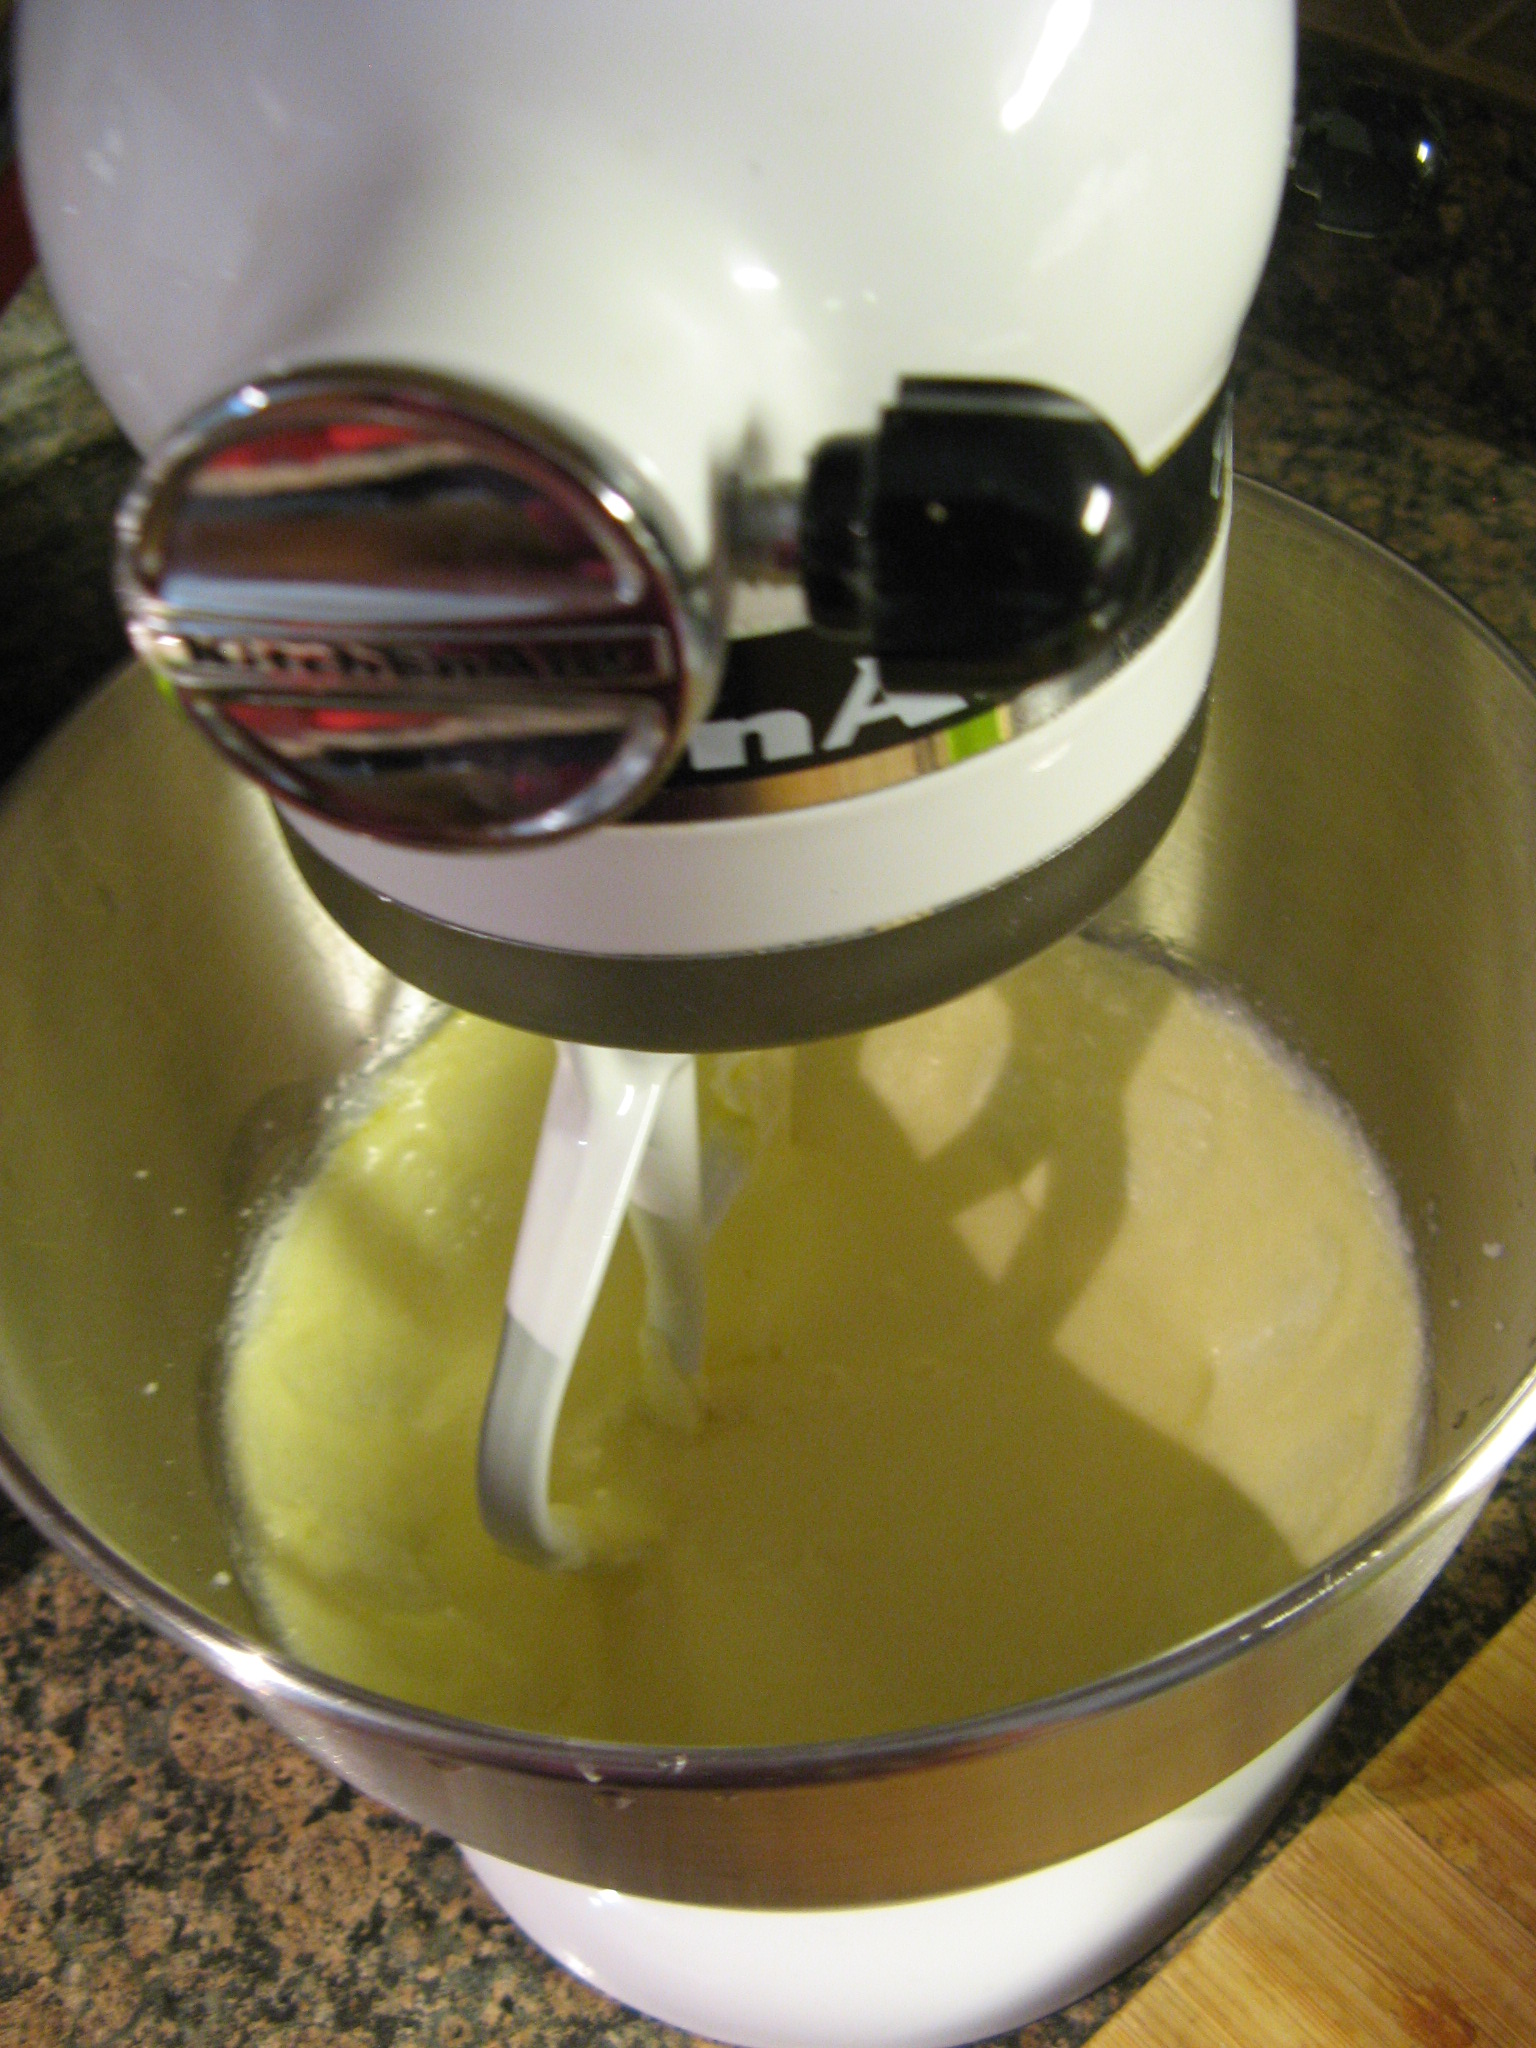
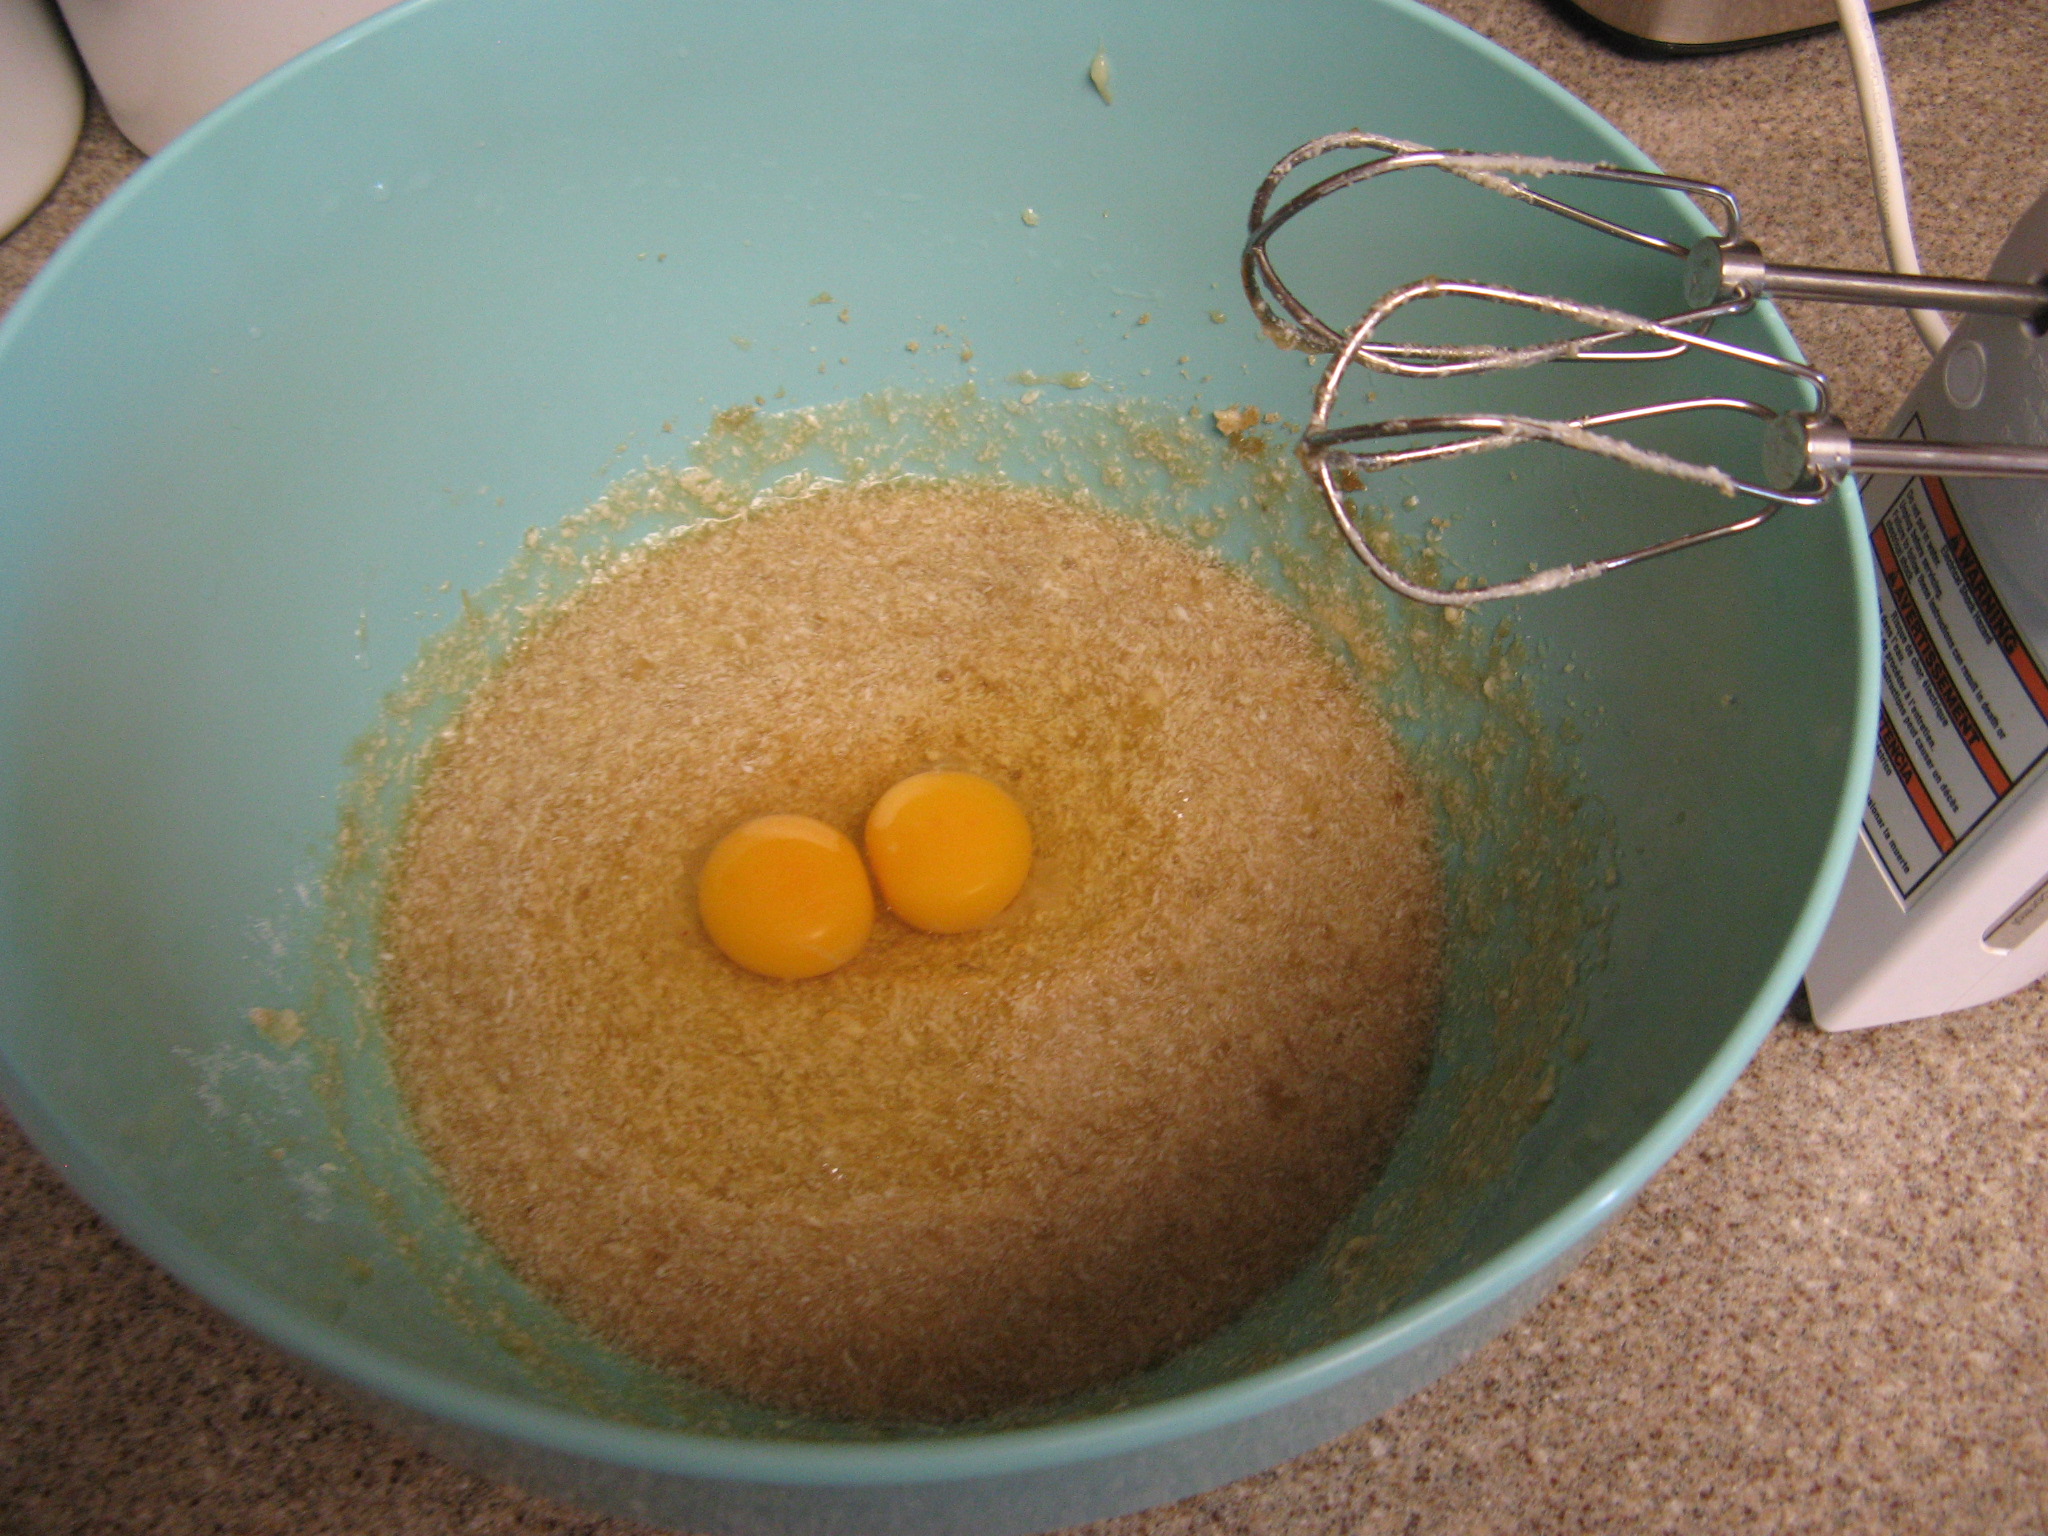
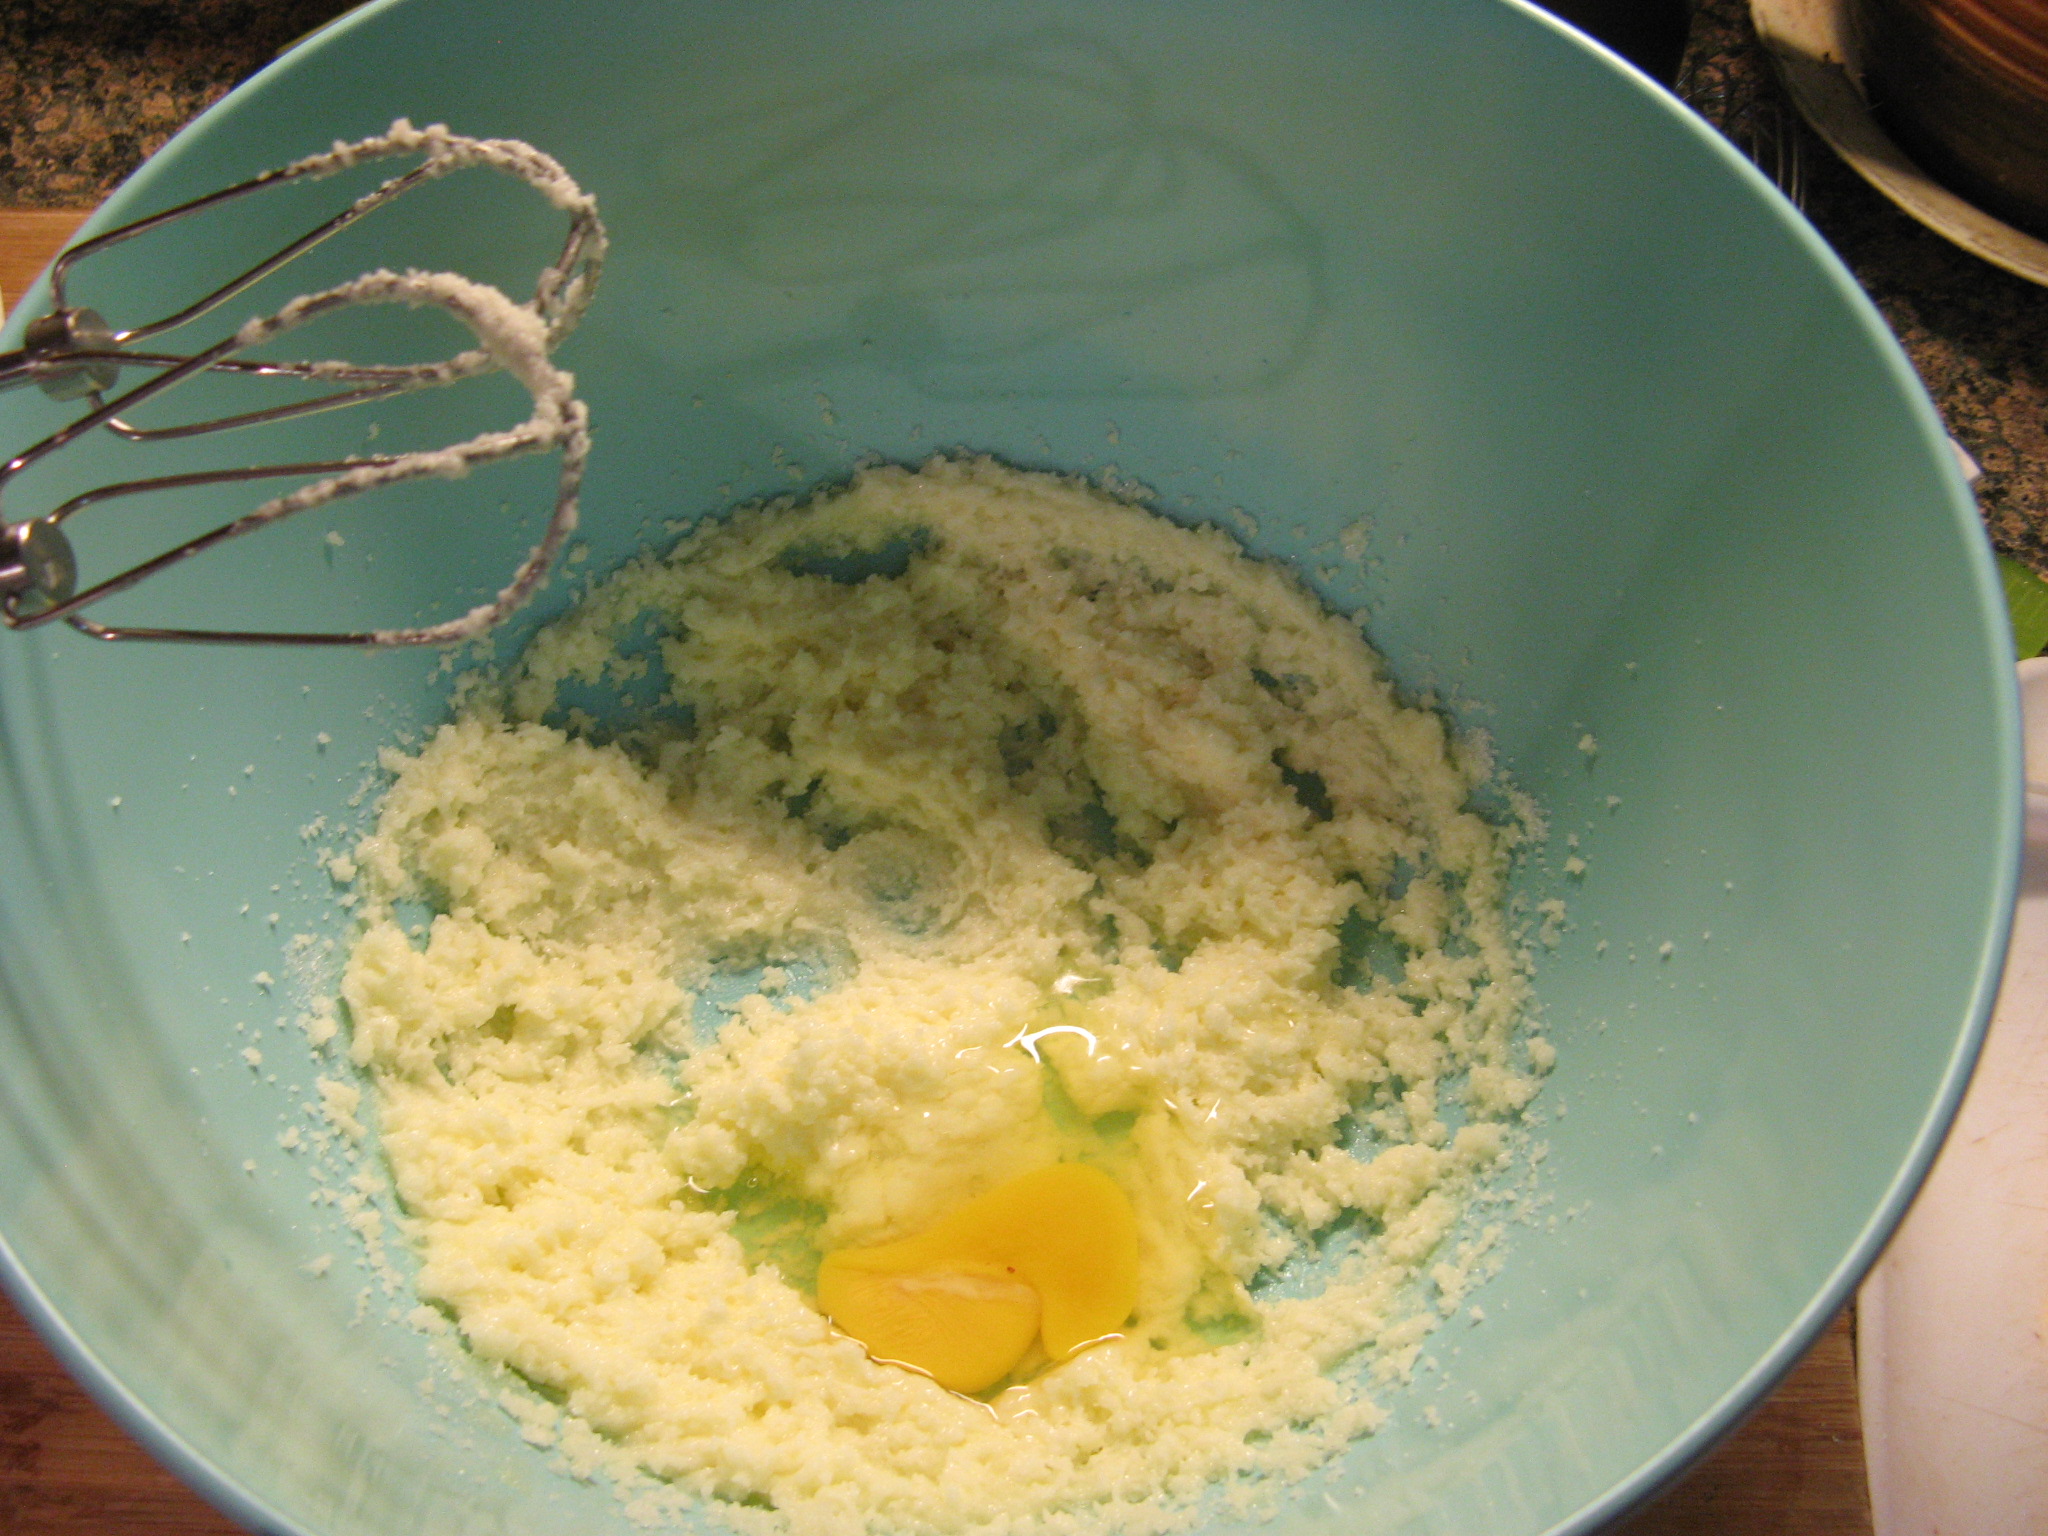
I then added in two eggs one at a time.
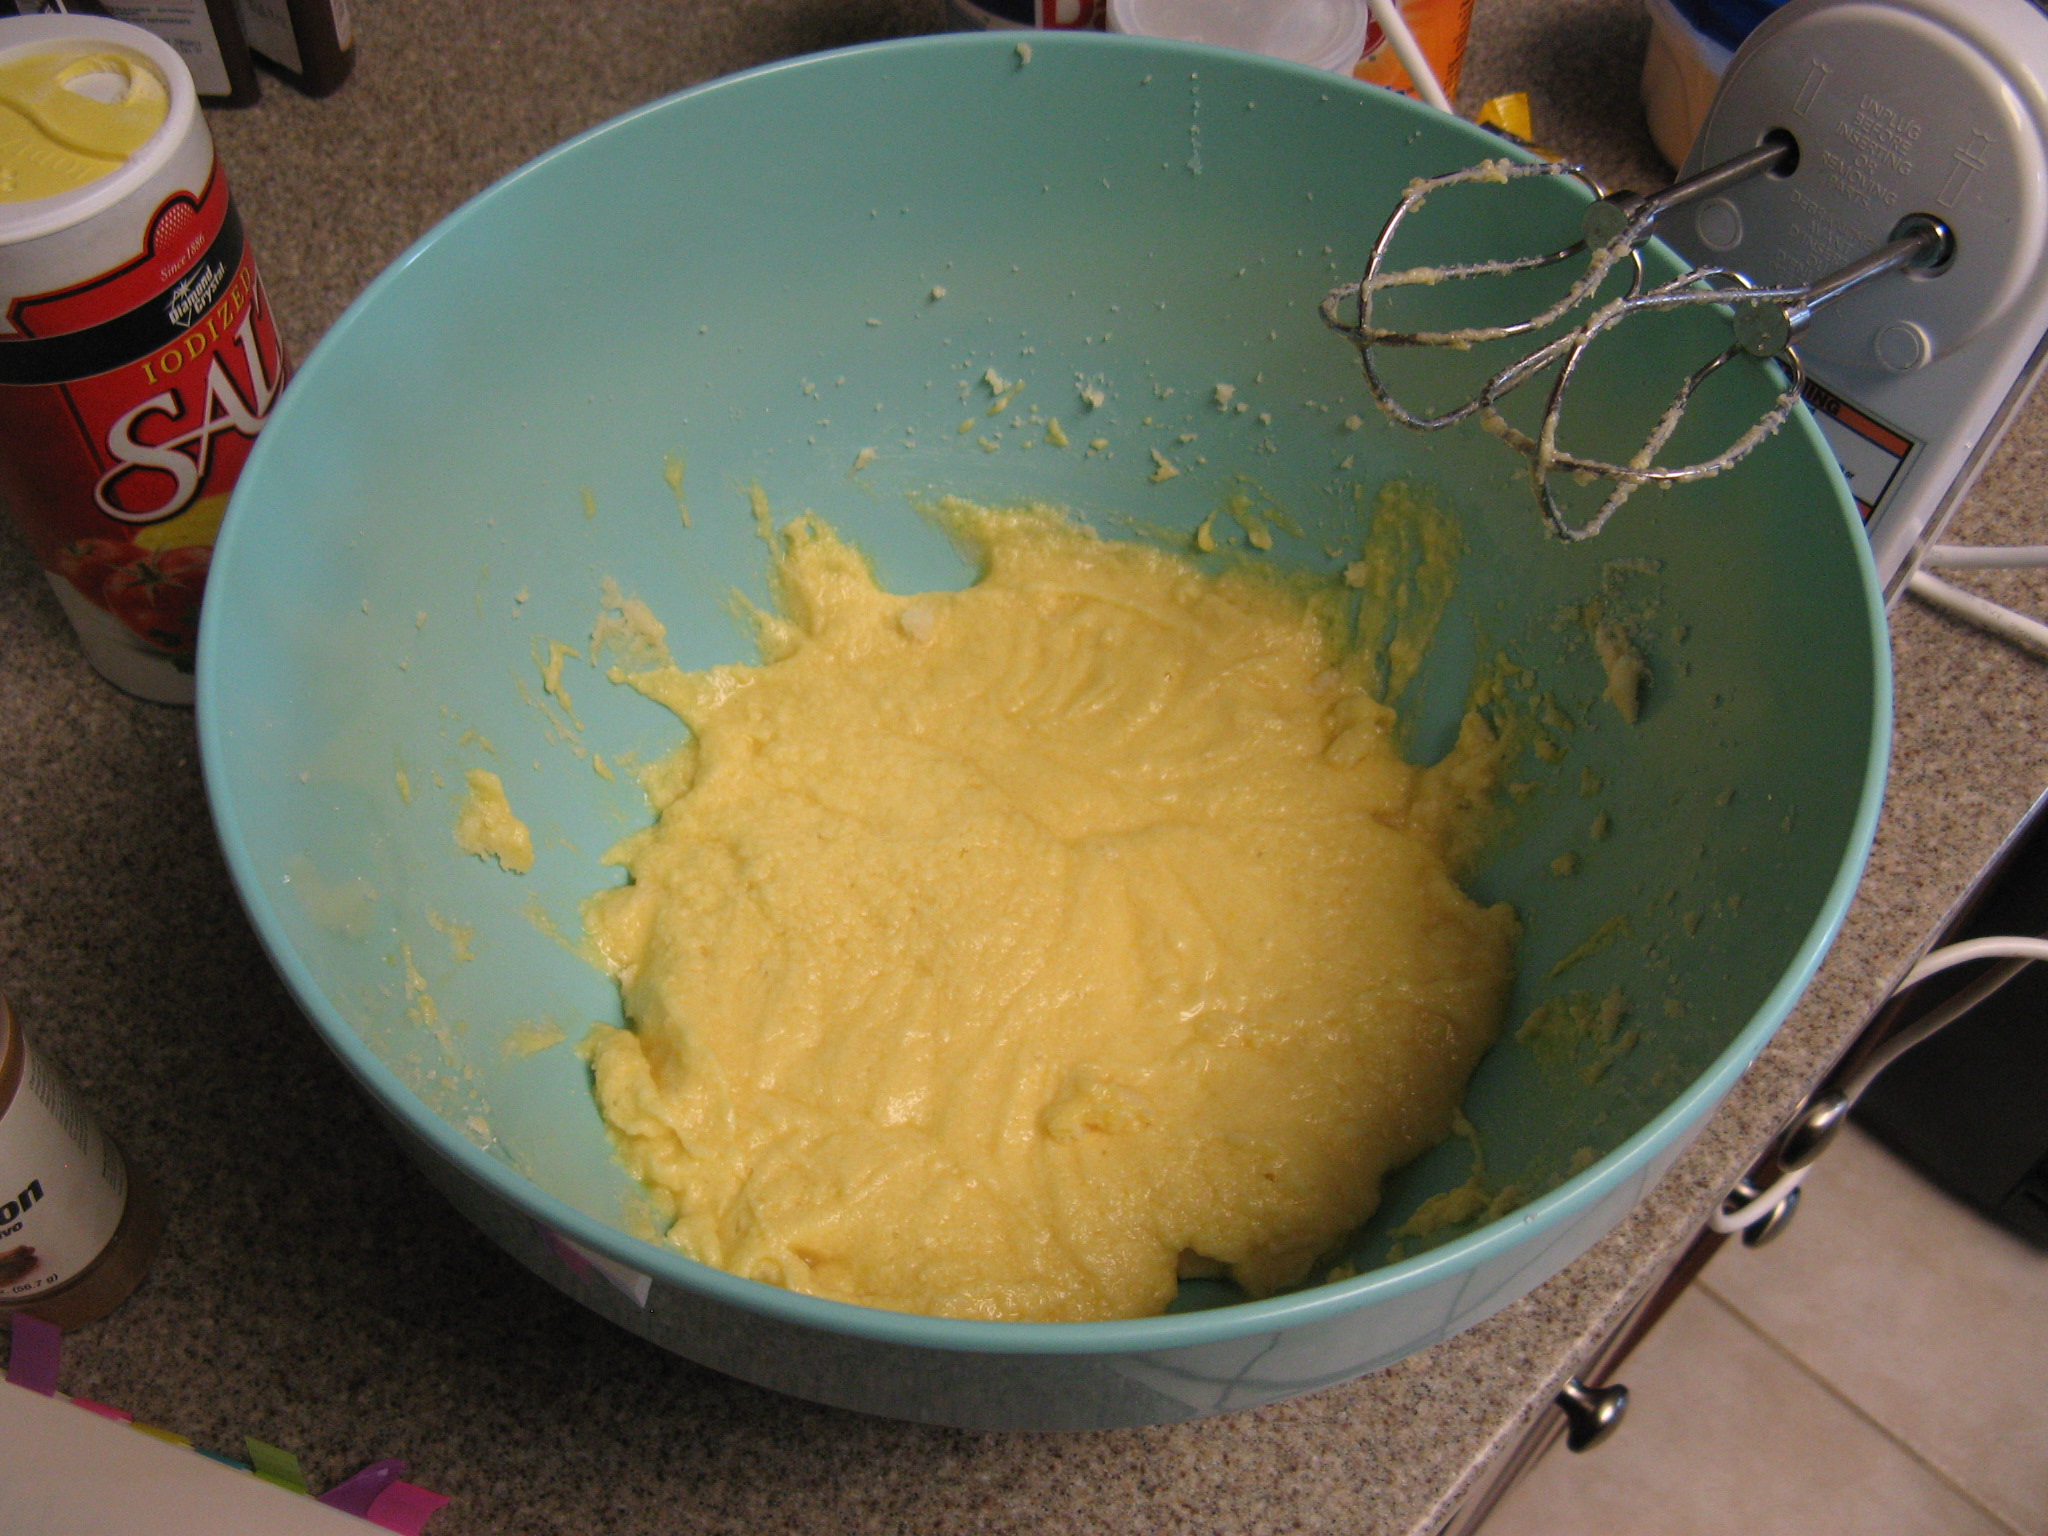
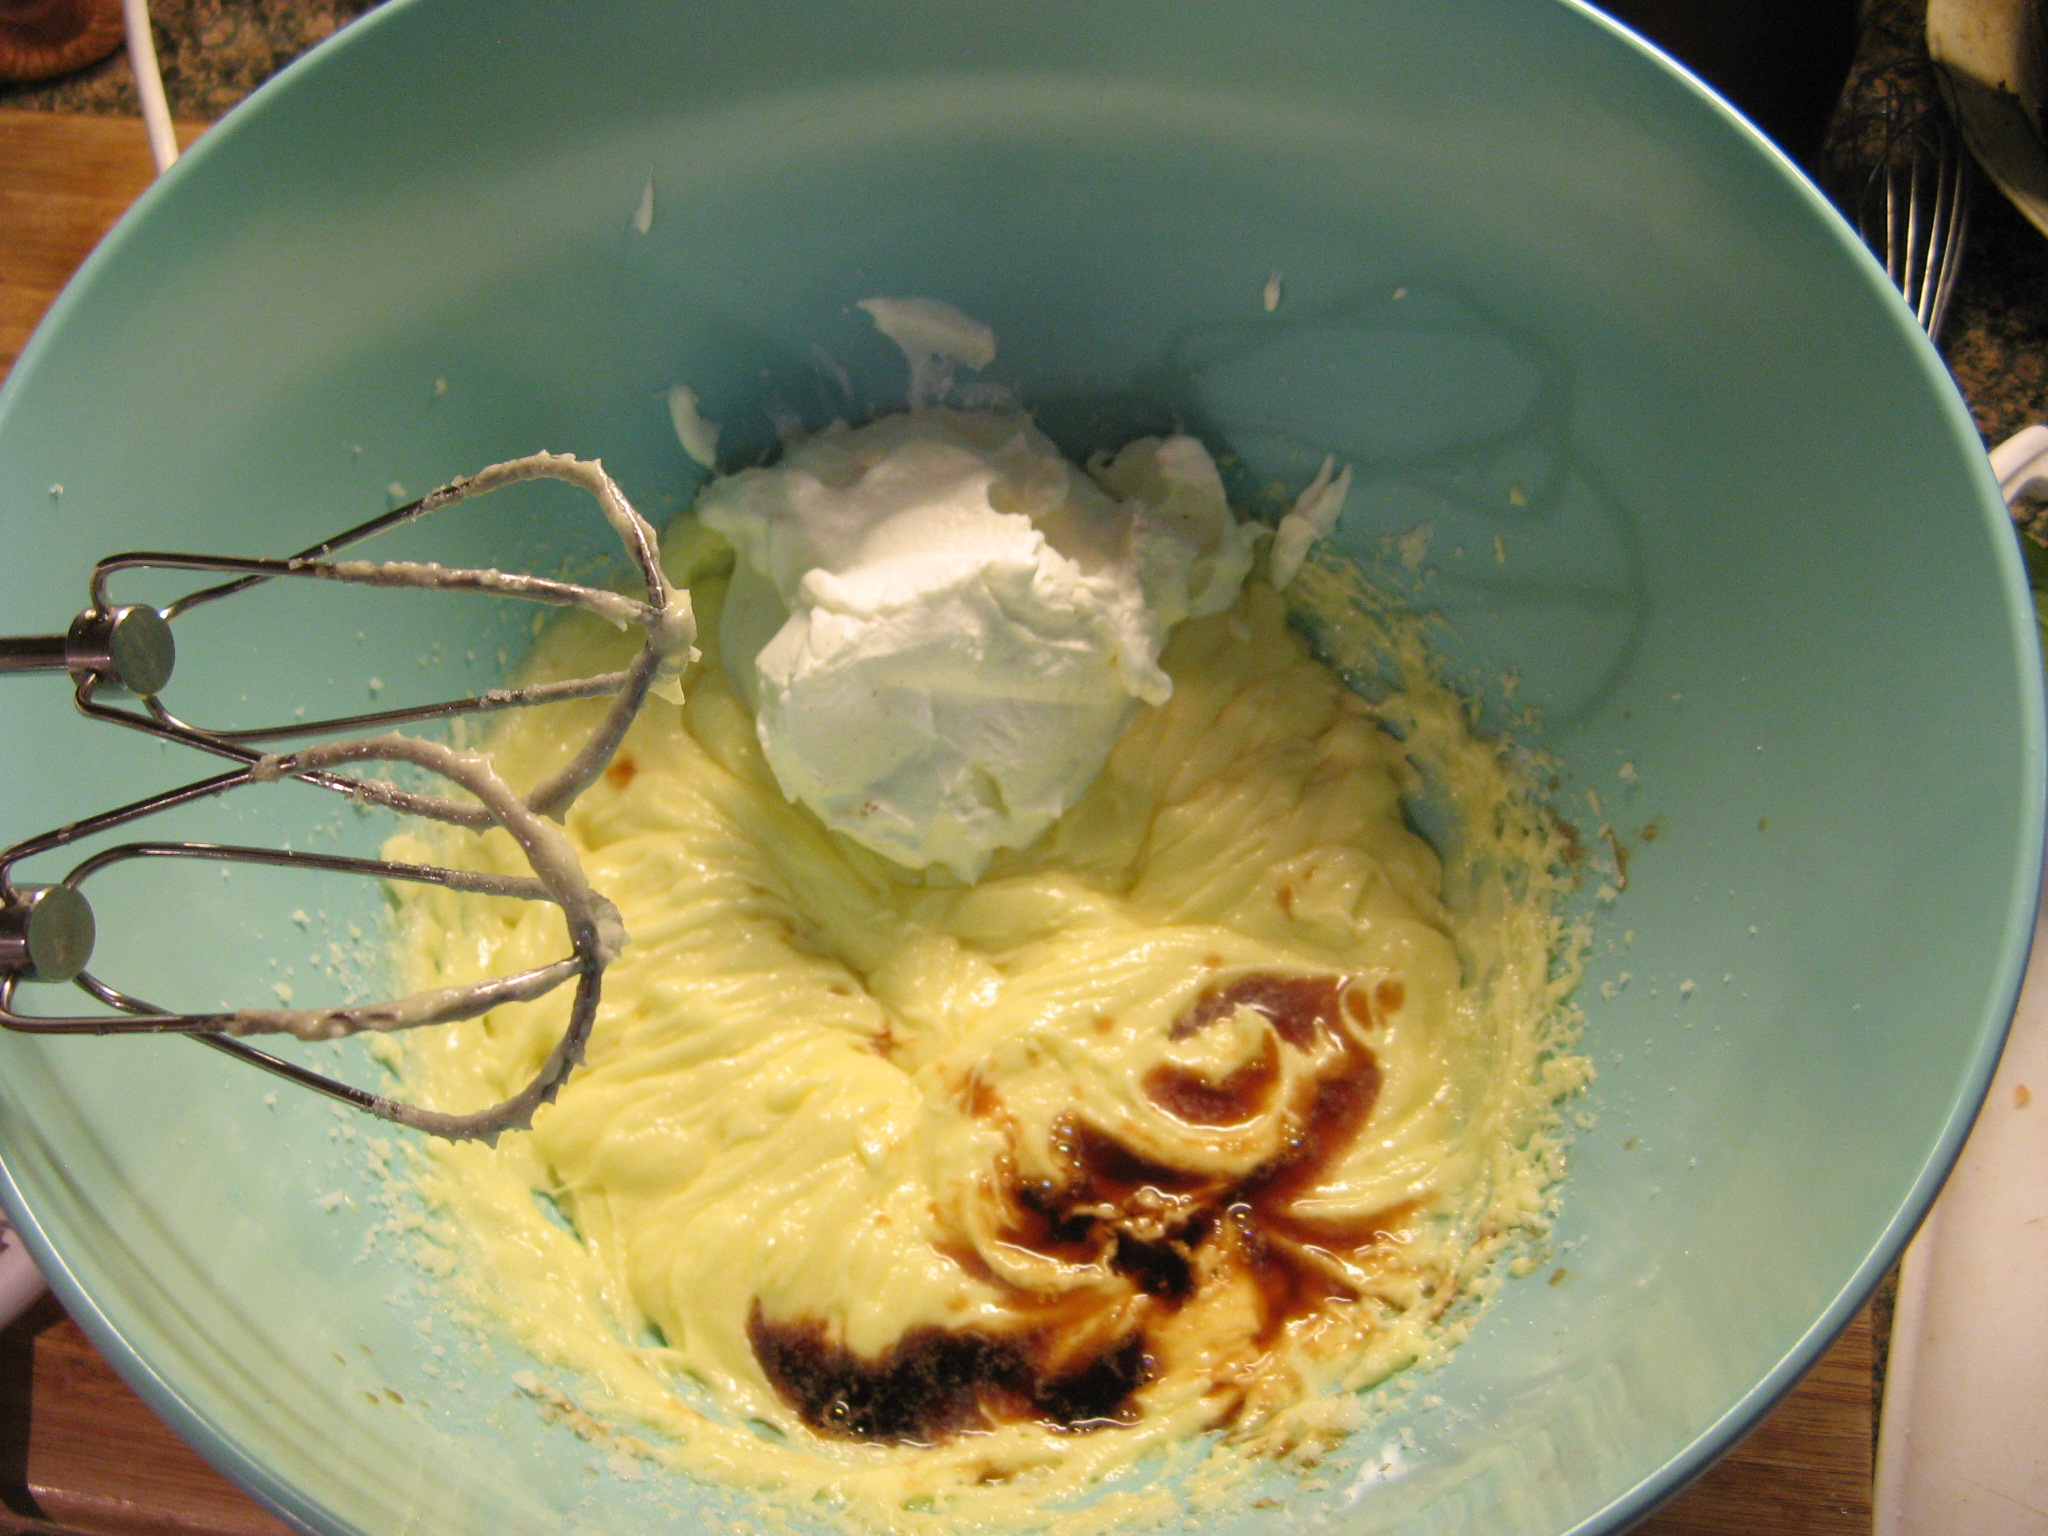
And then sour cream and vanilla extract.
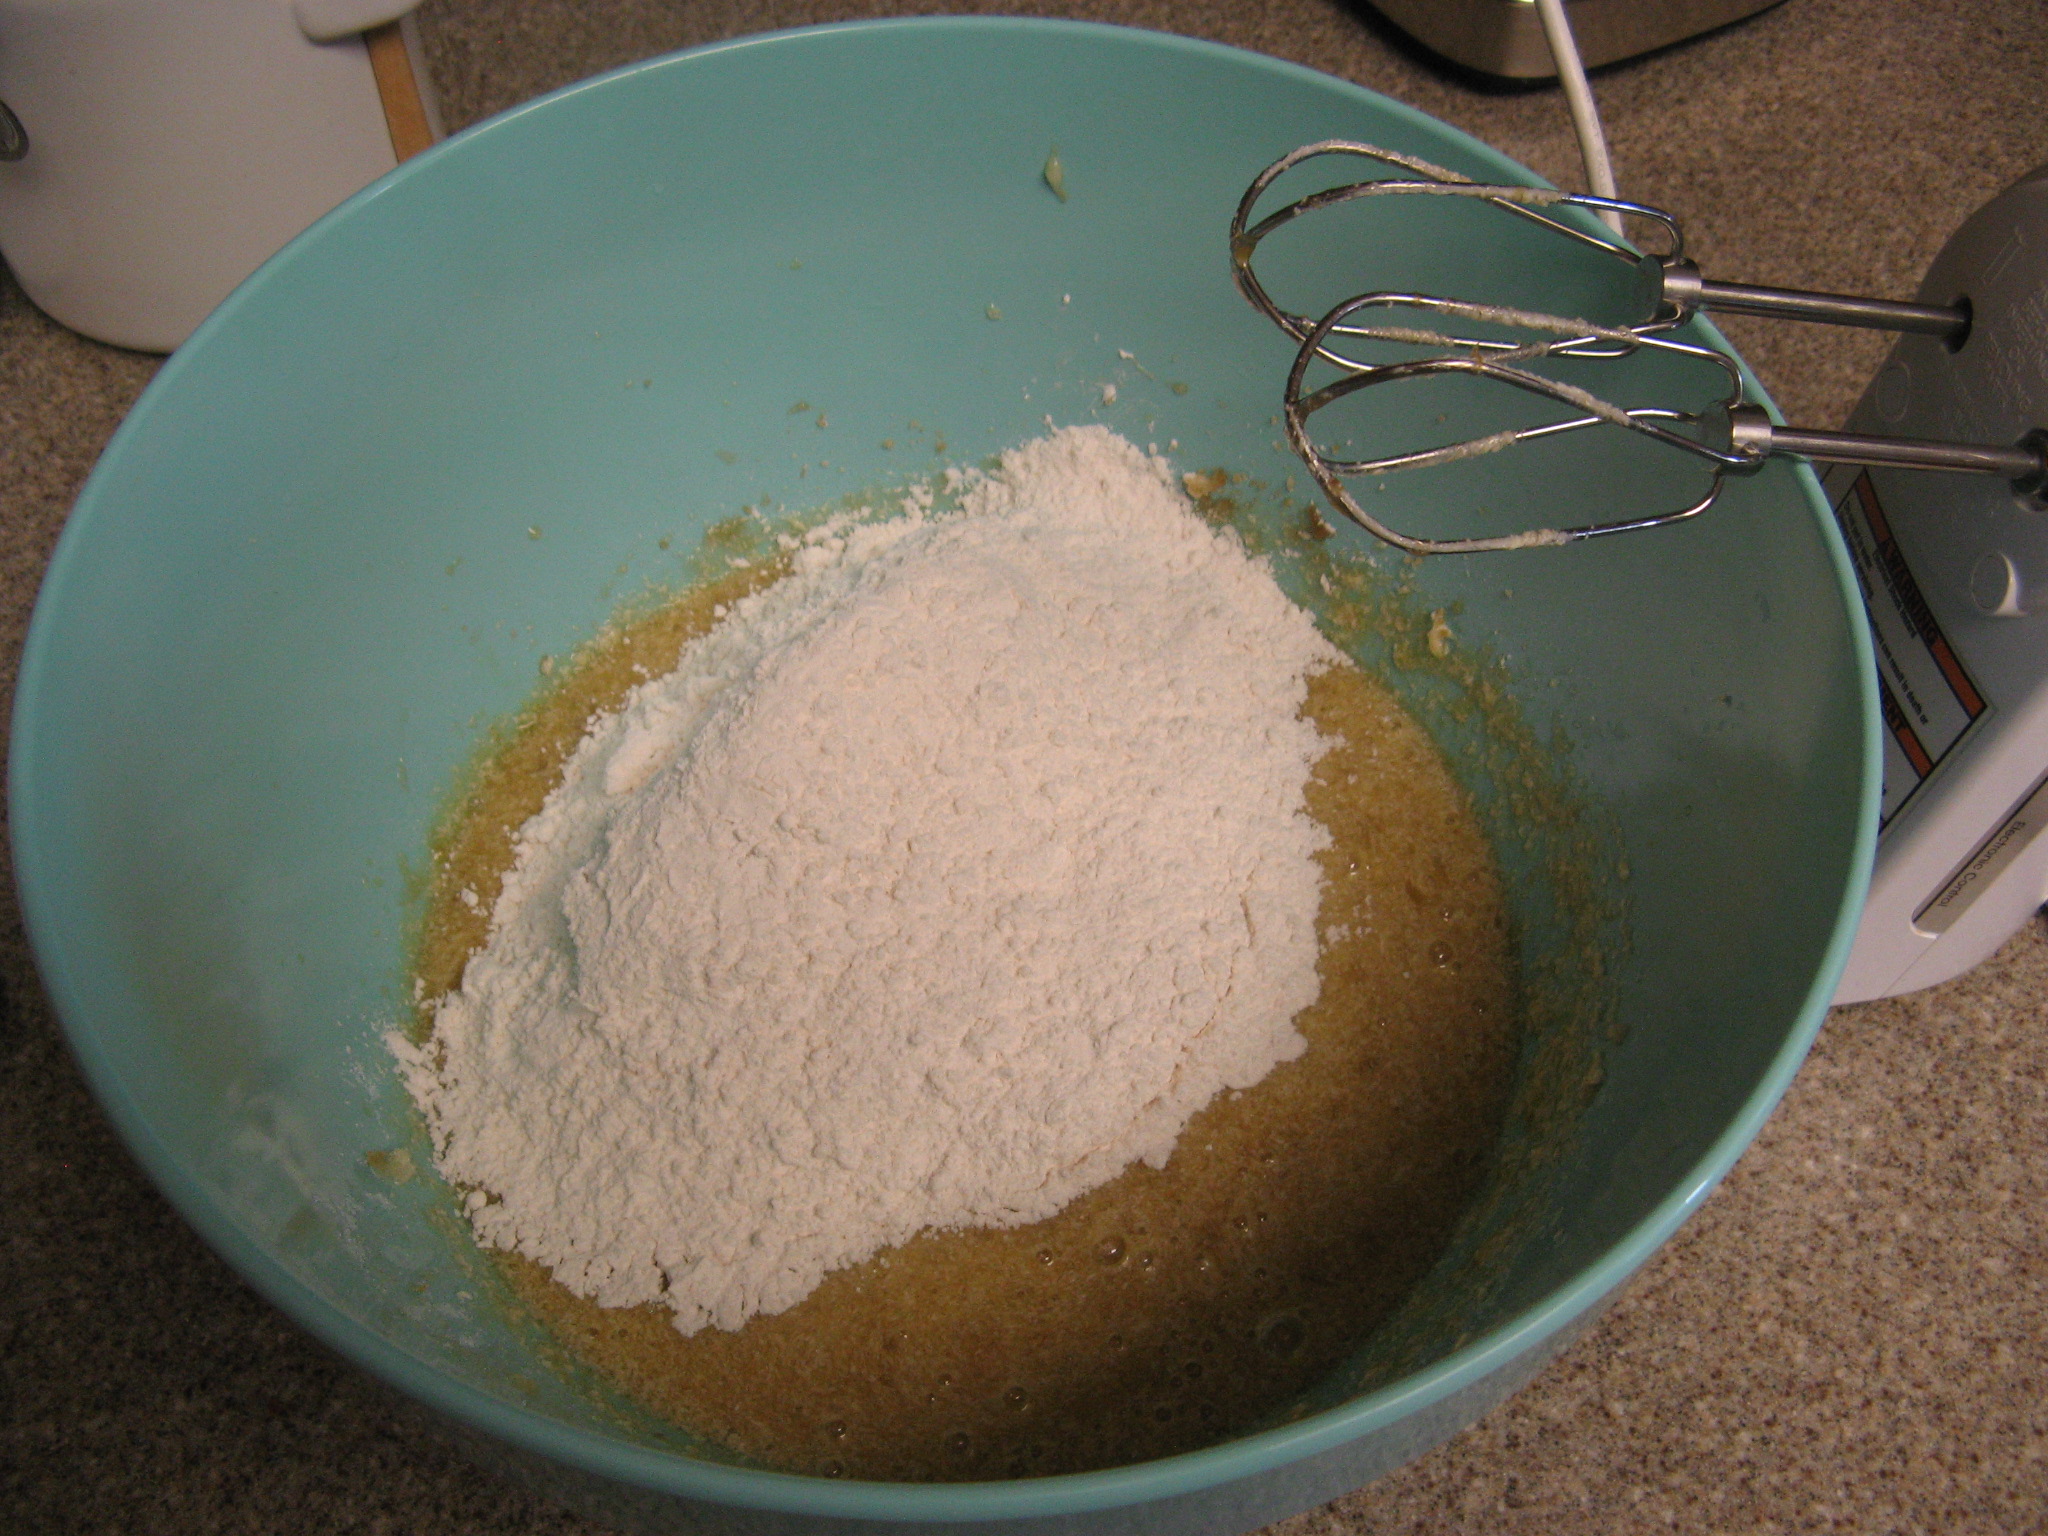
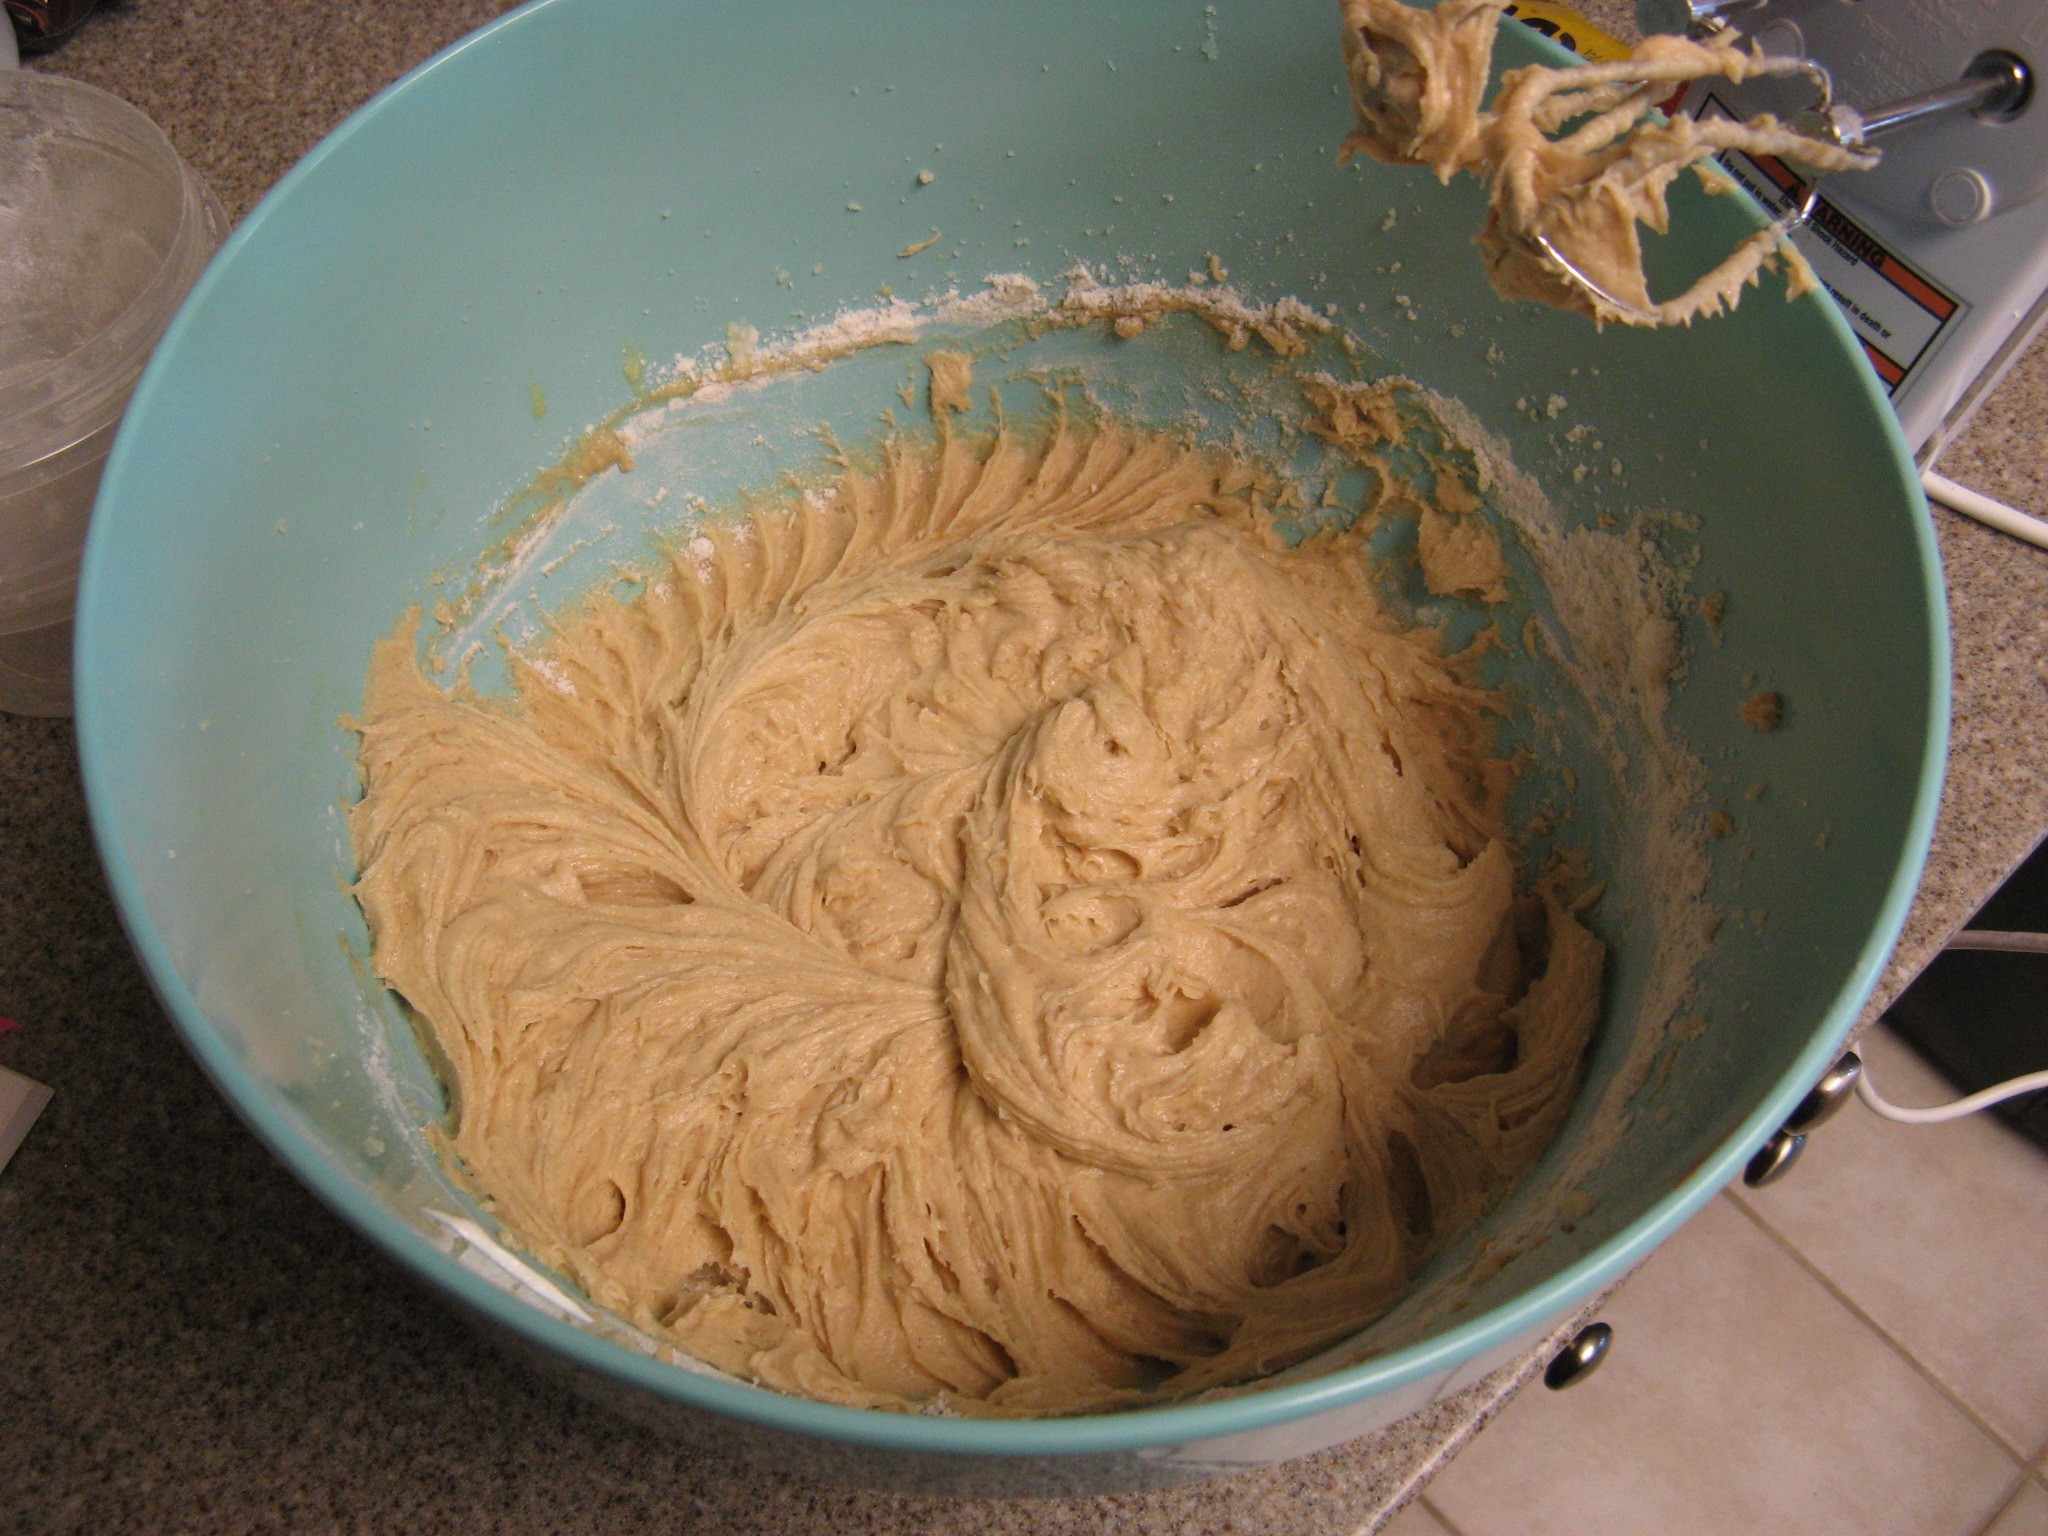
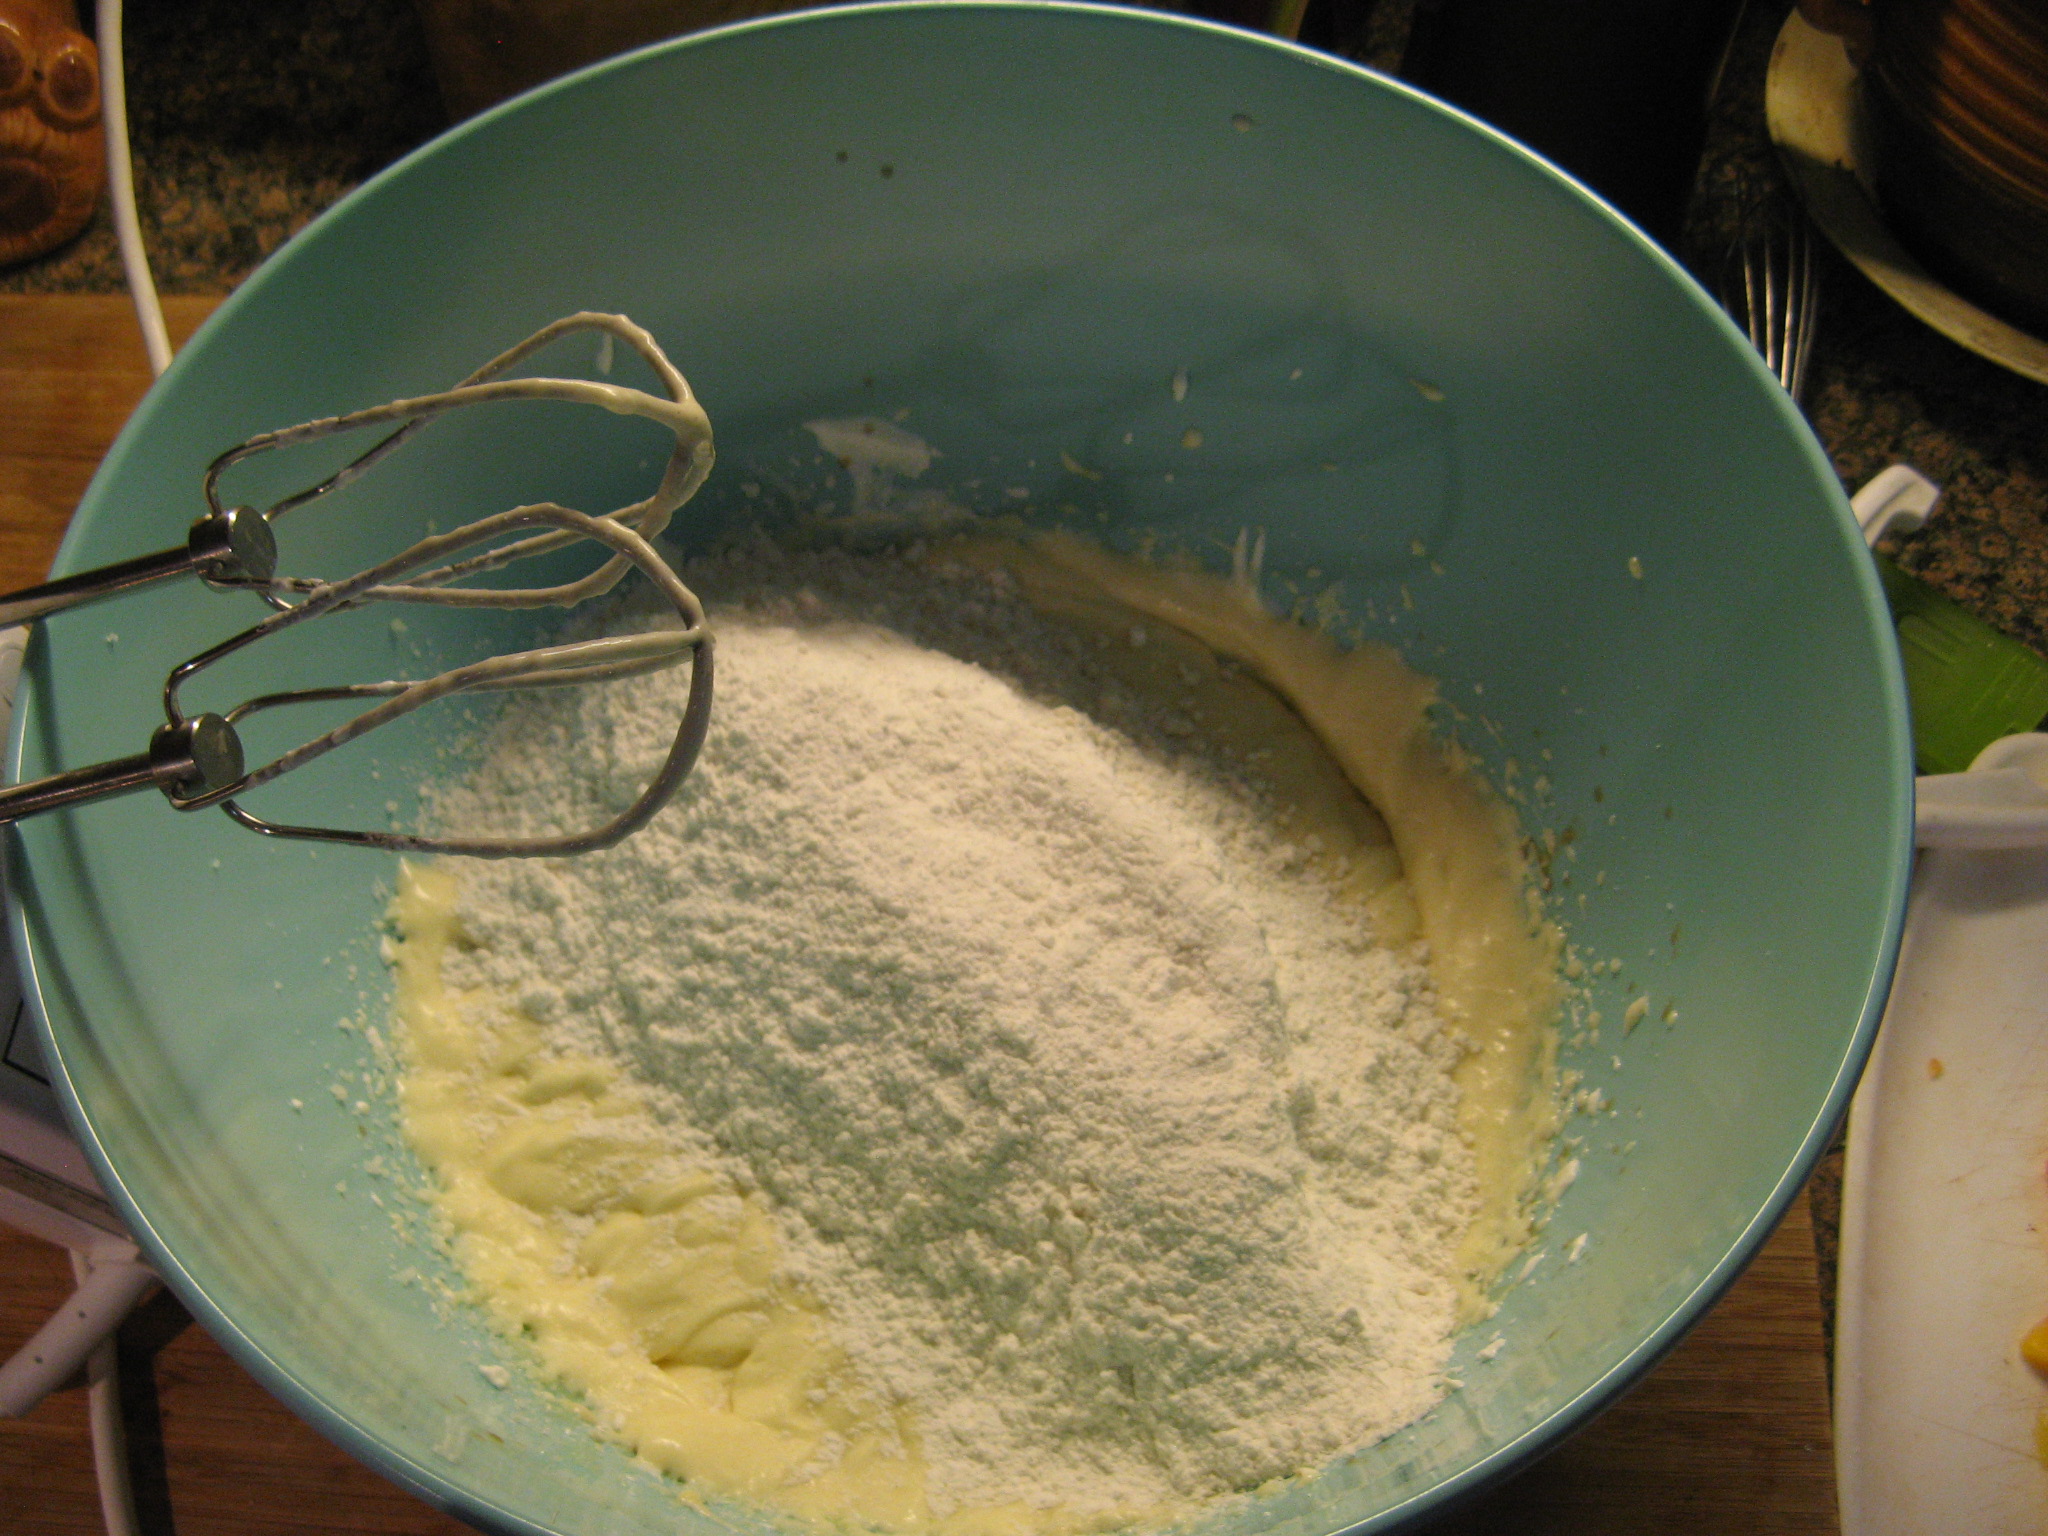
Once all of the wet ingredients were combined well I added in the dry ingredients.
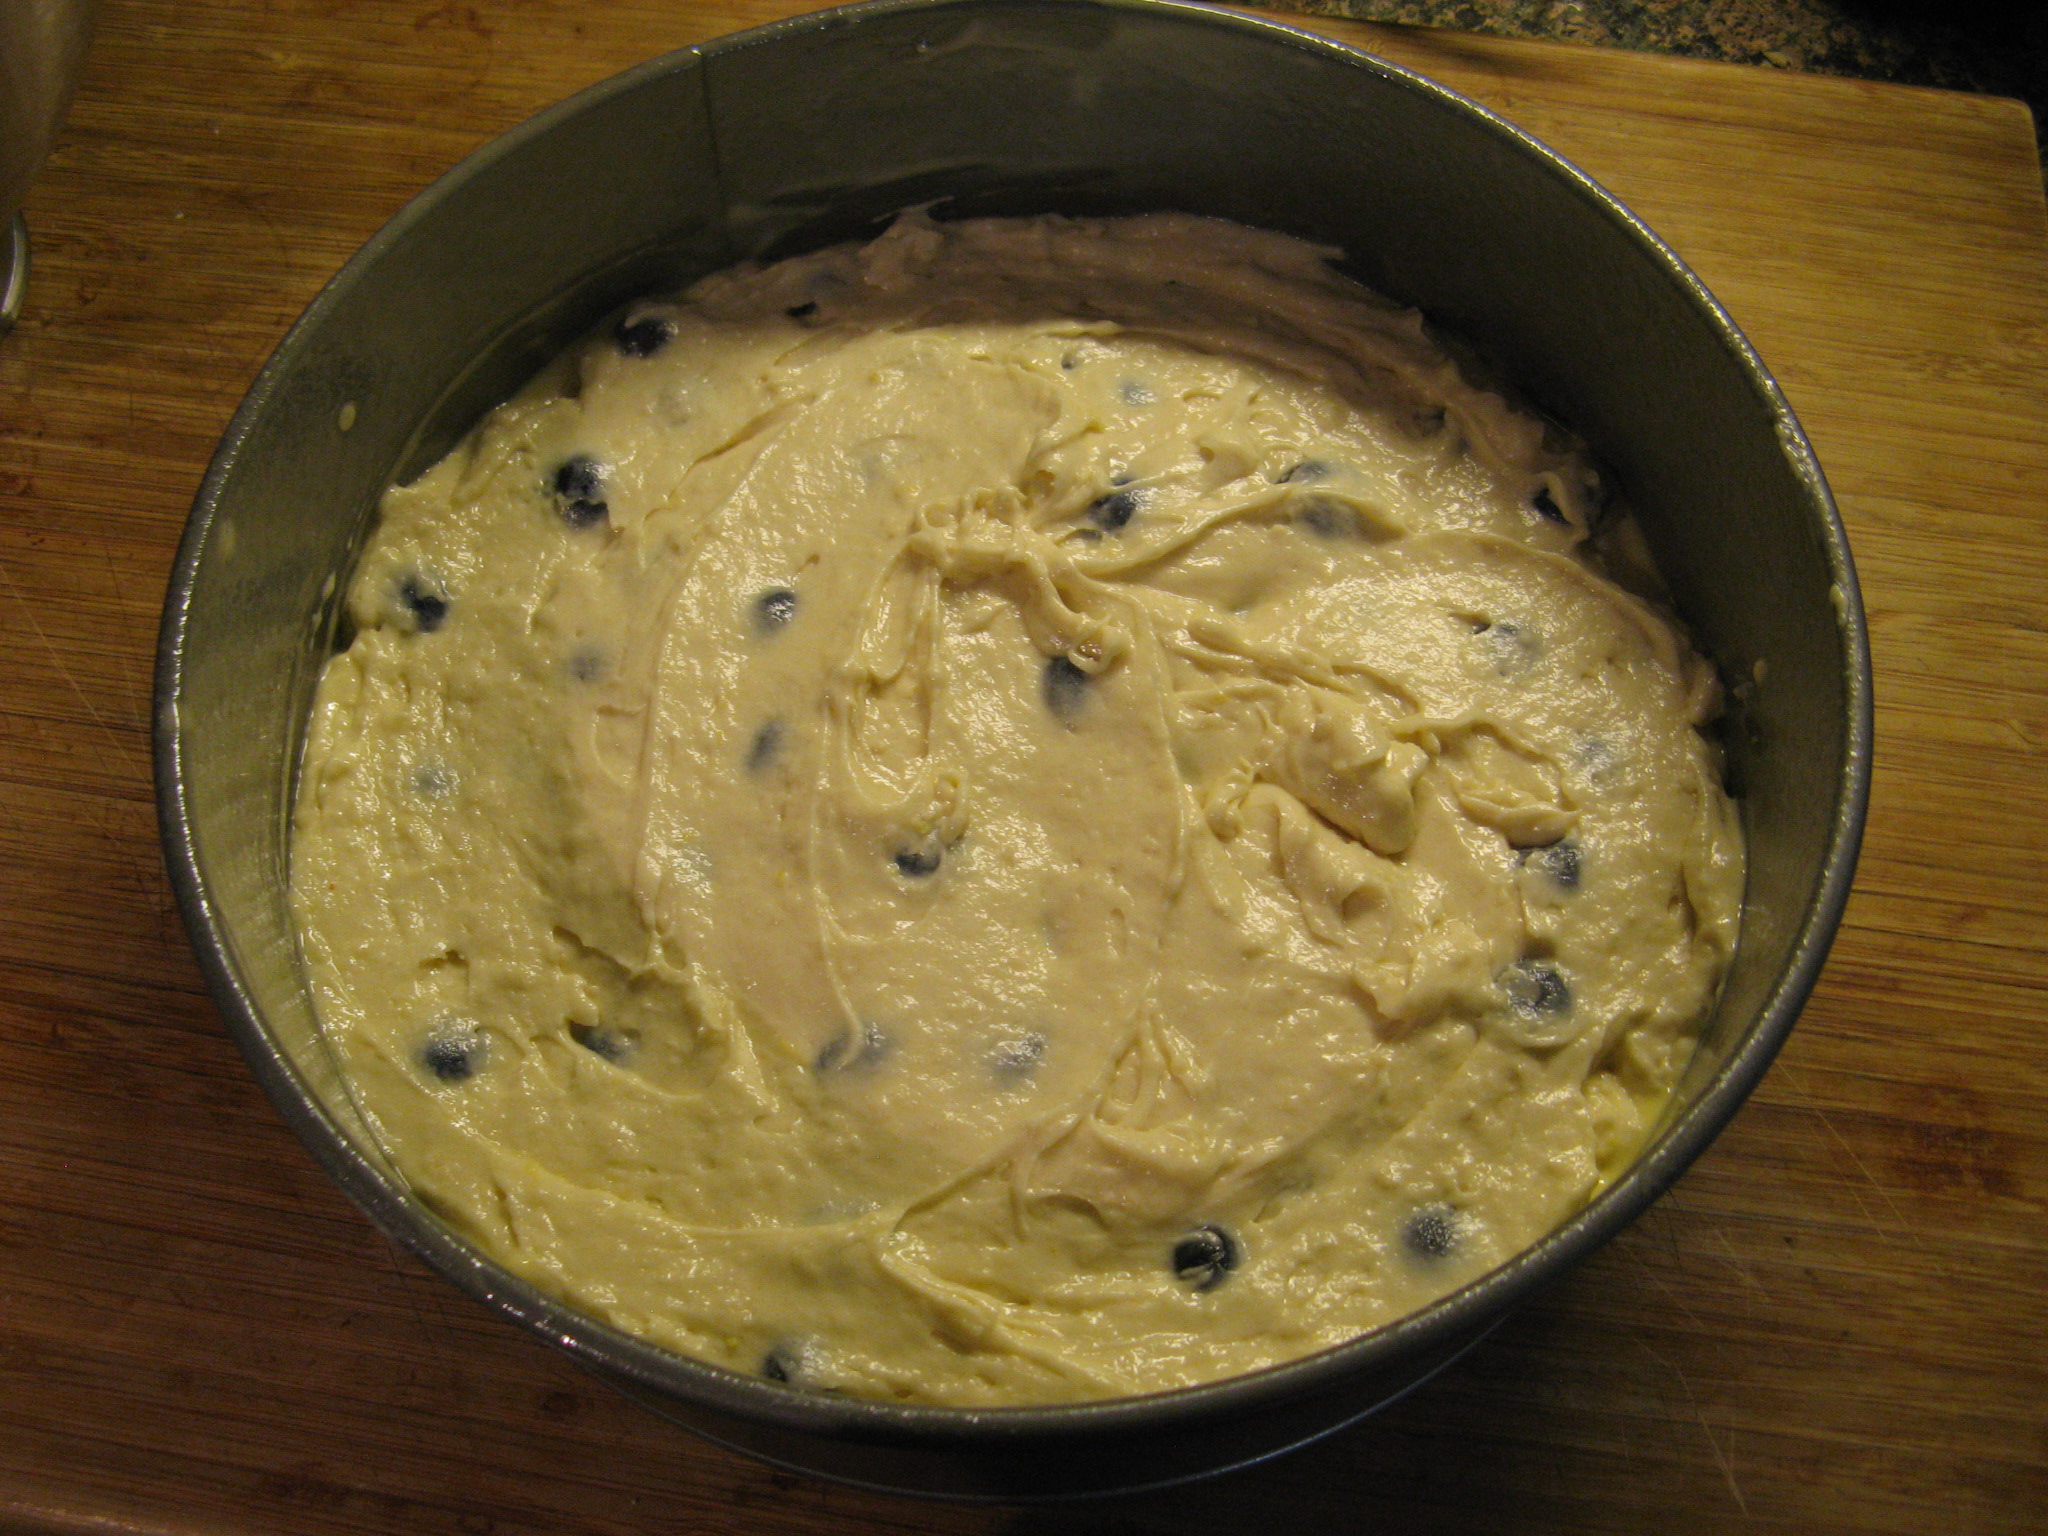
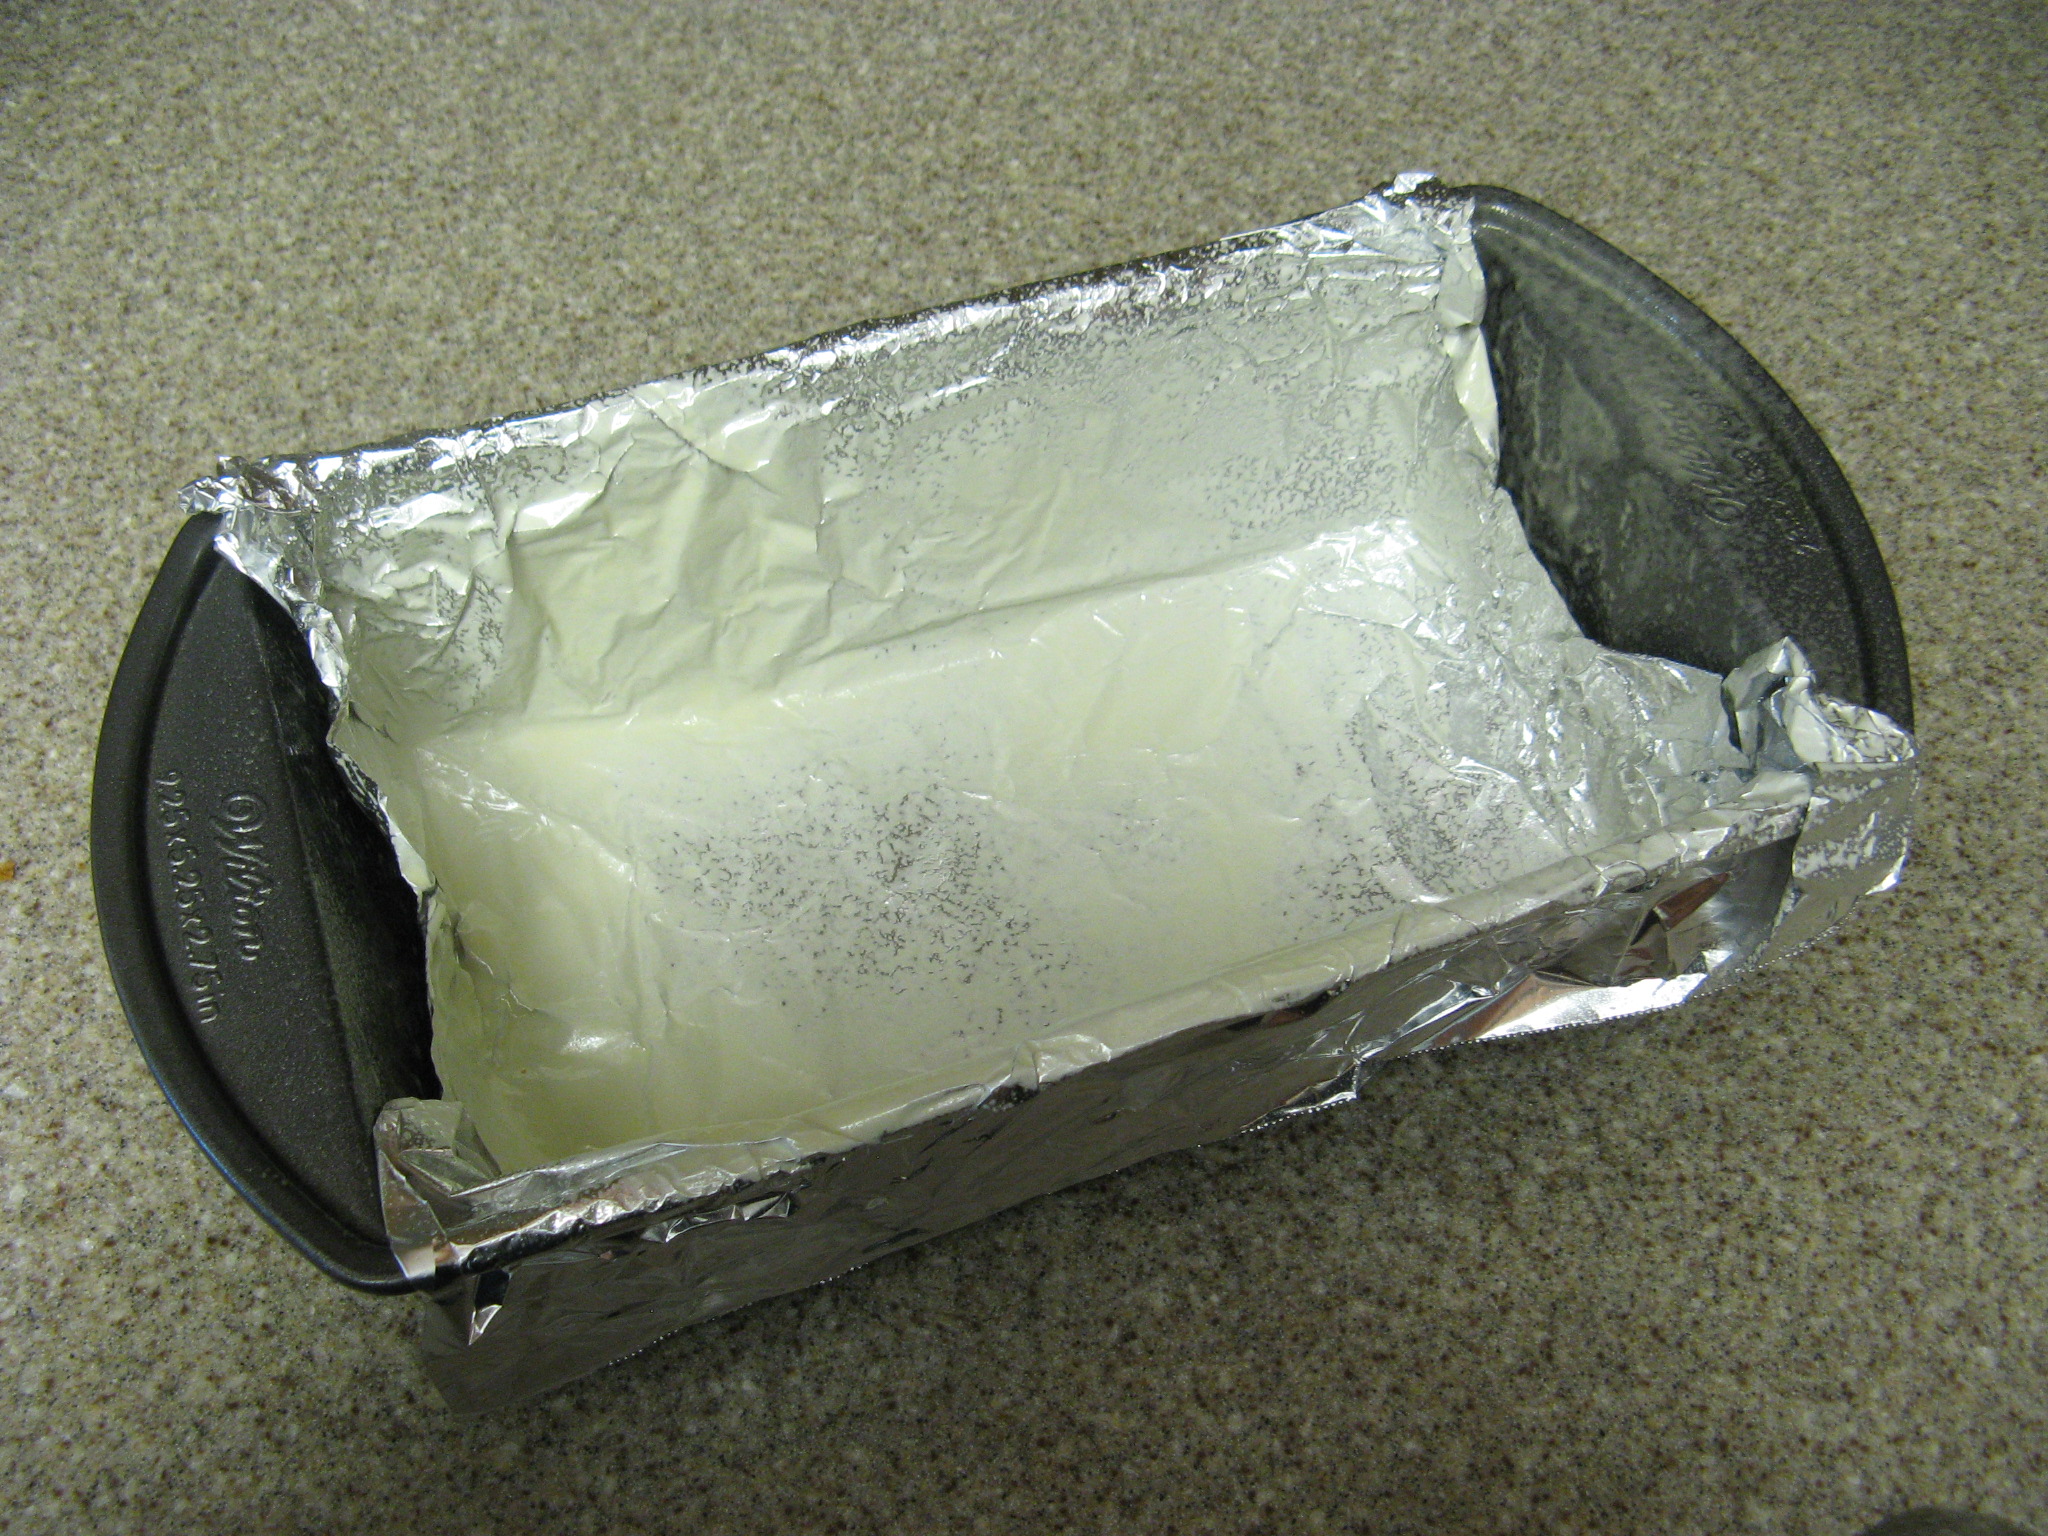
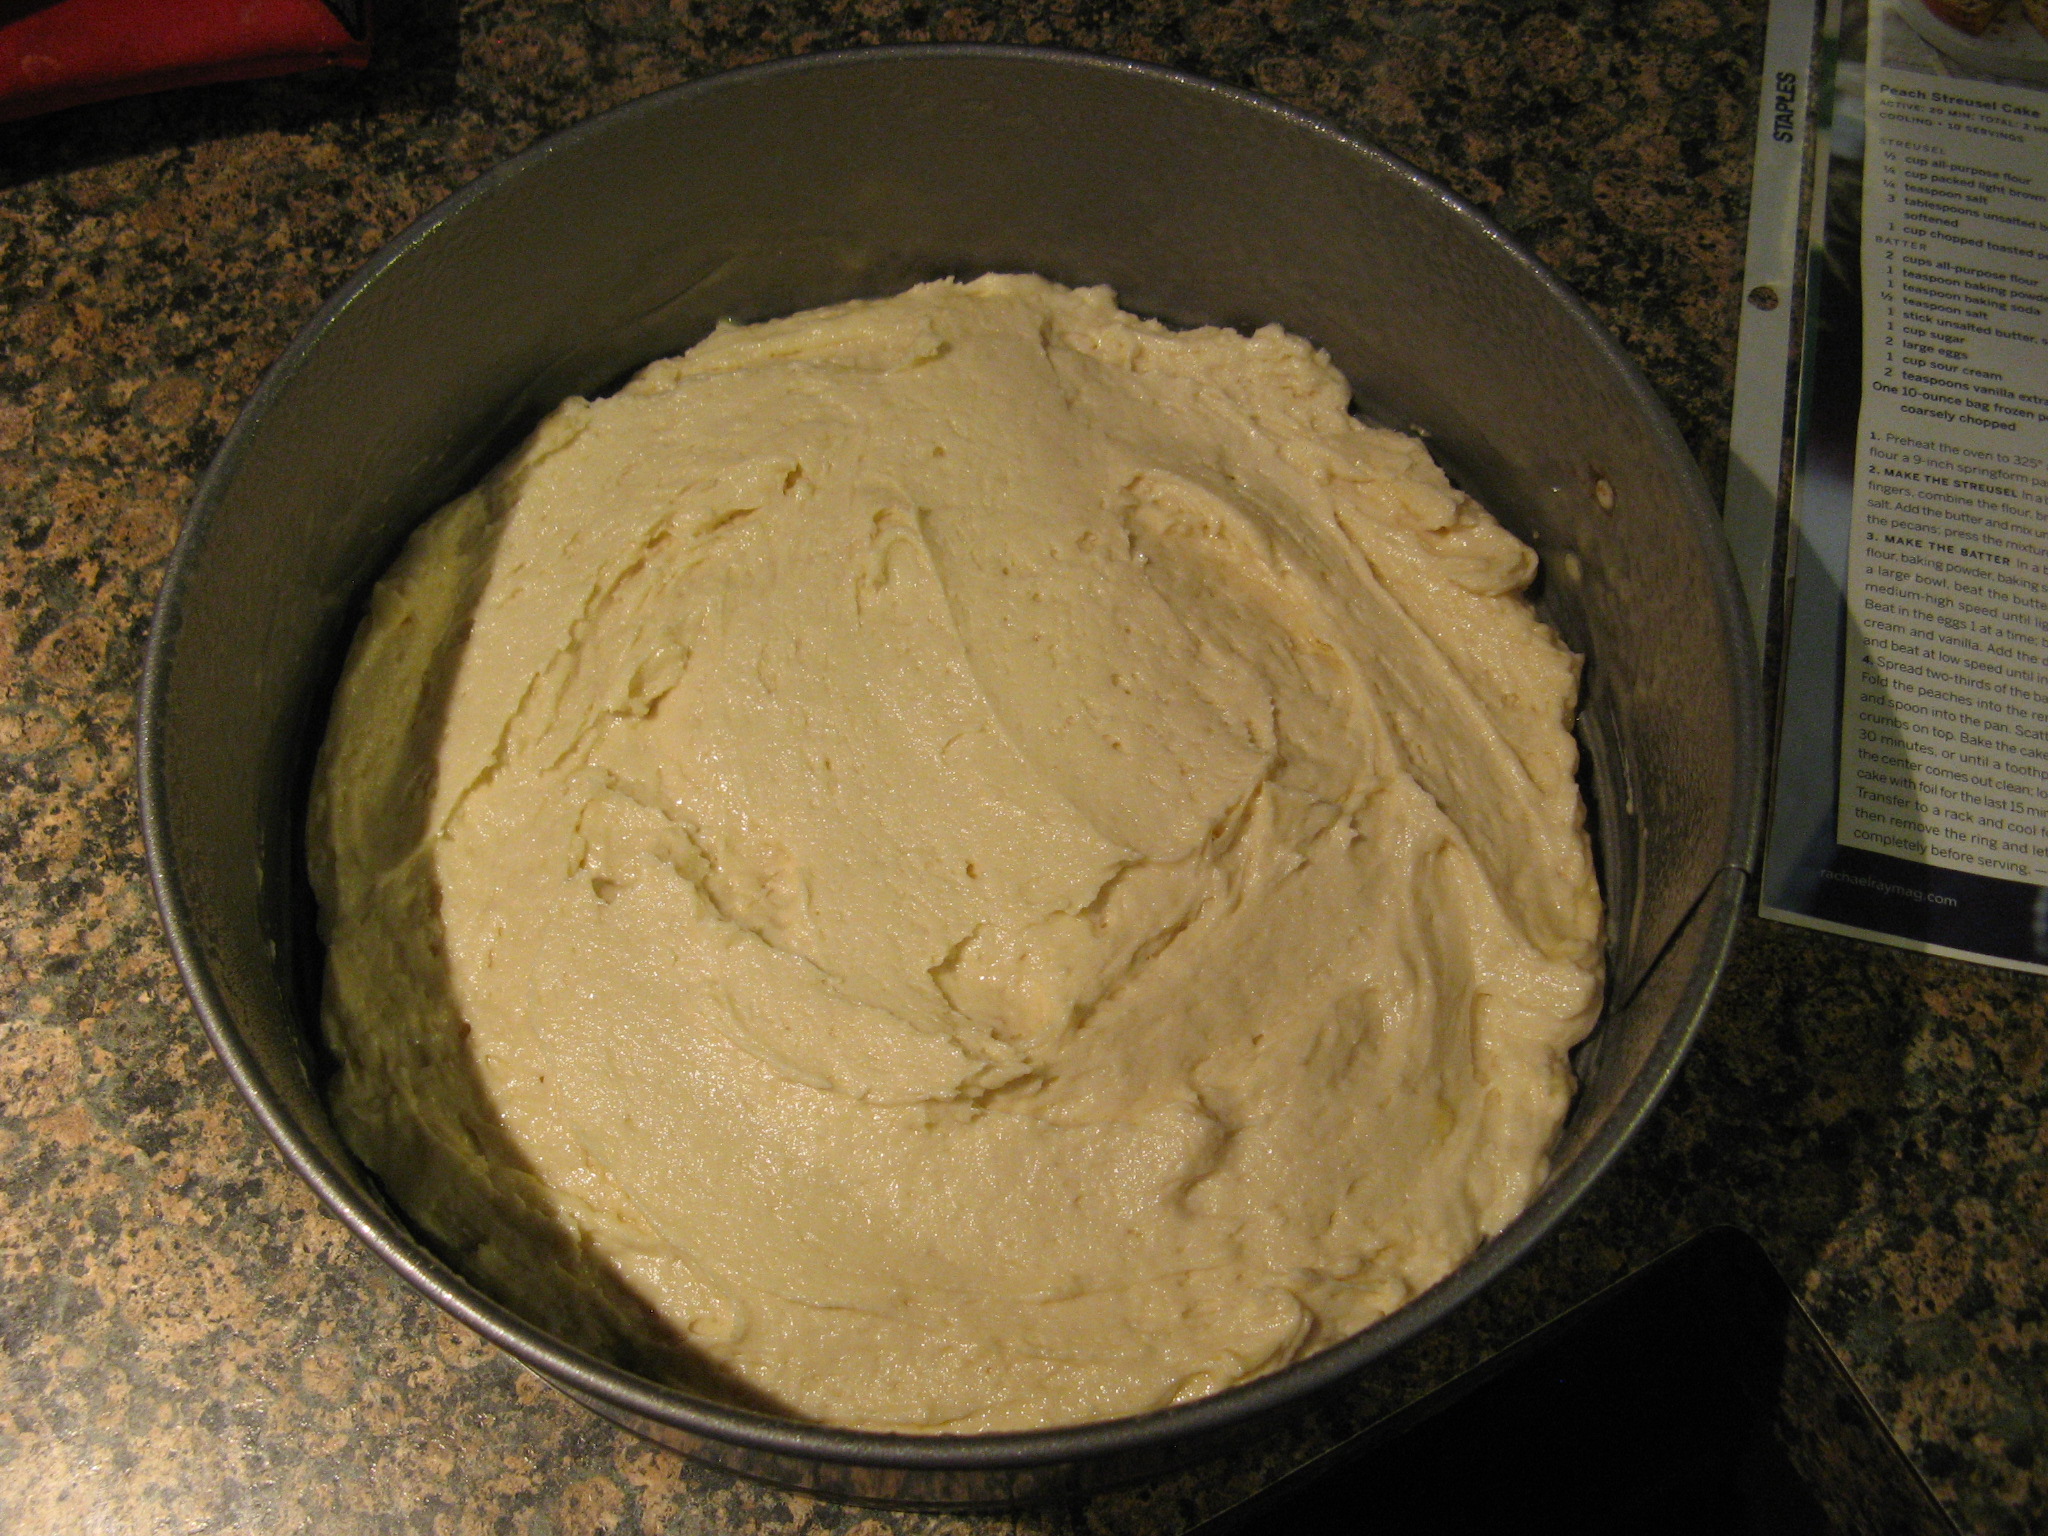
Once the wet and dry ingredients were mixed together it was time to pour it into my prepared pan.

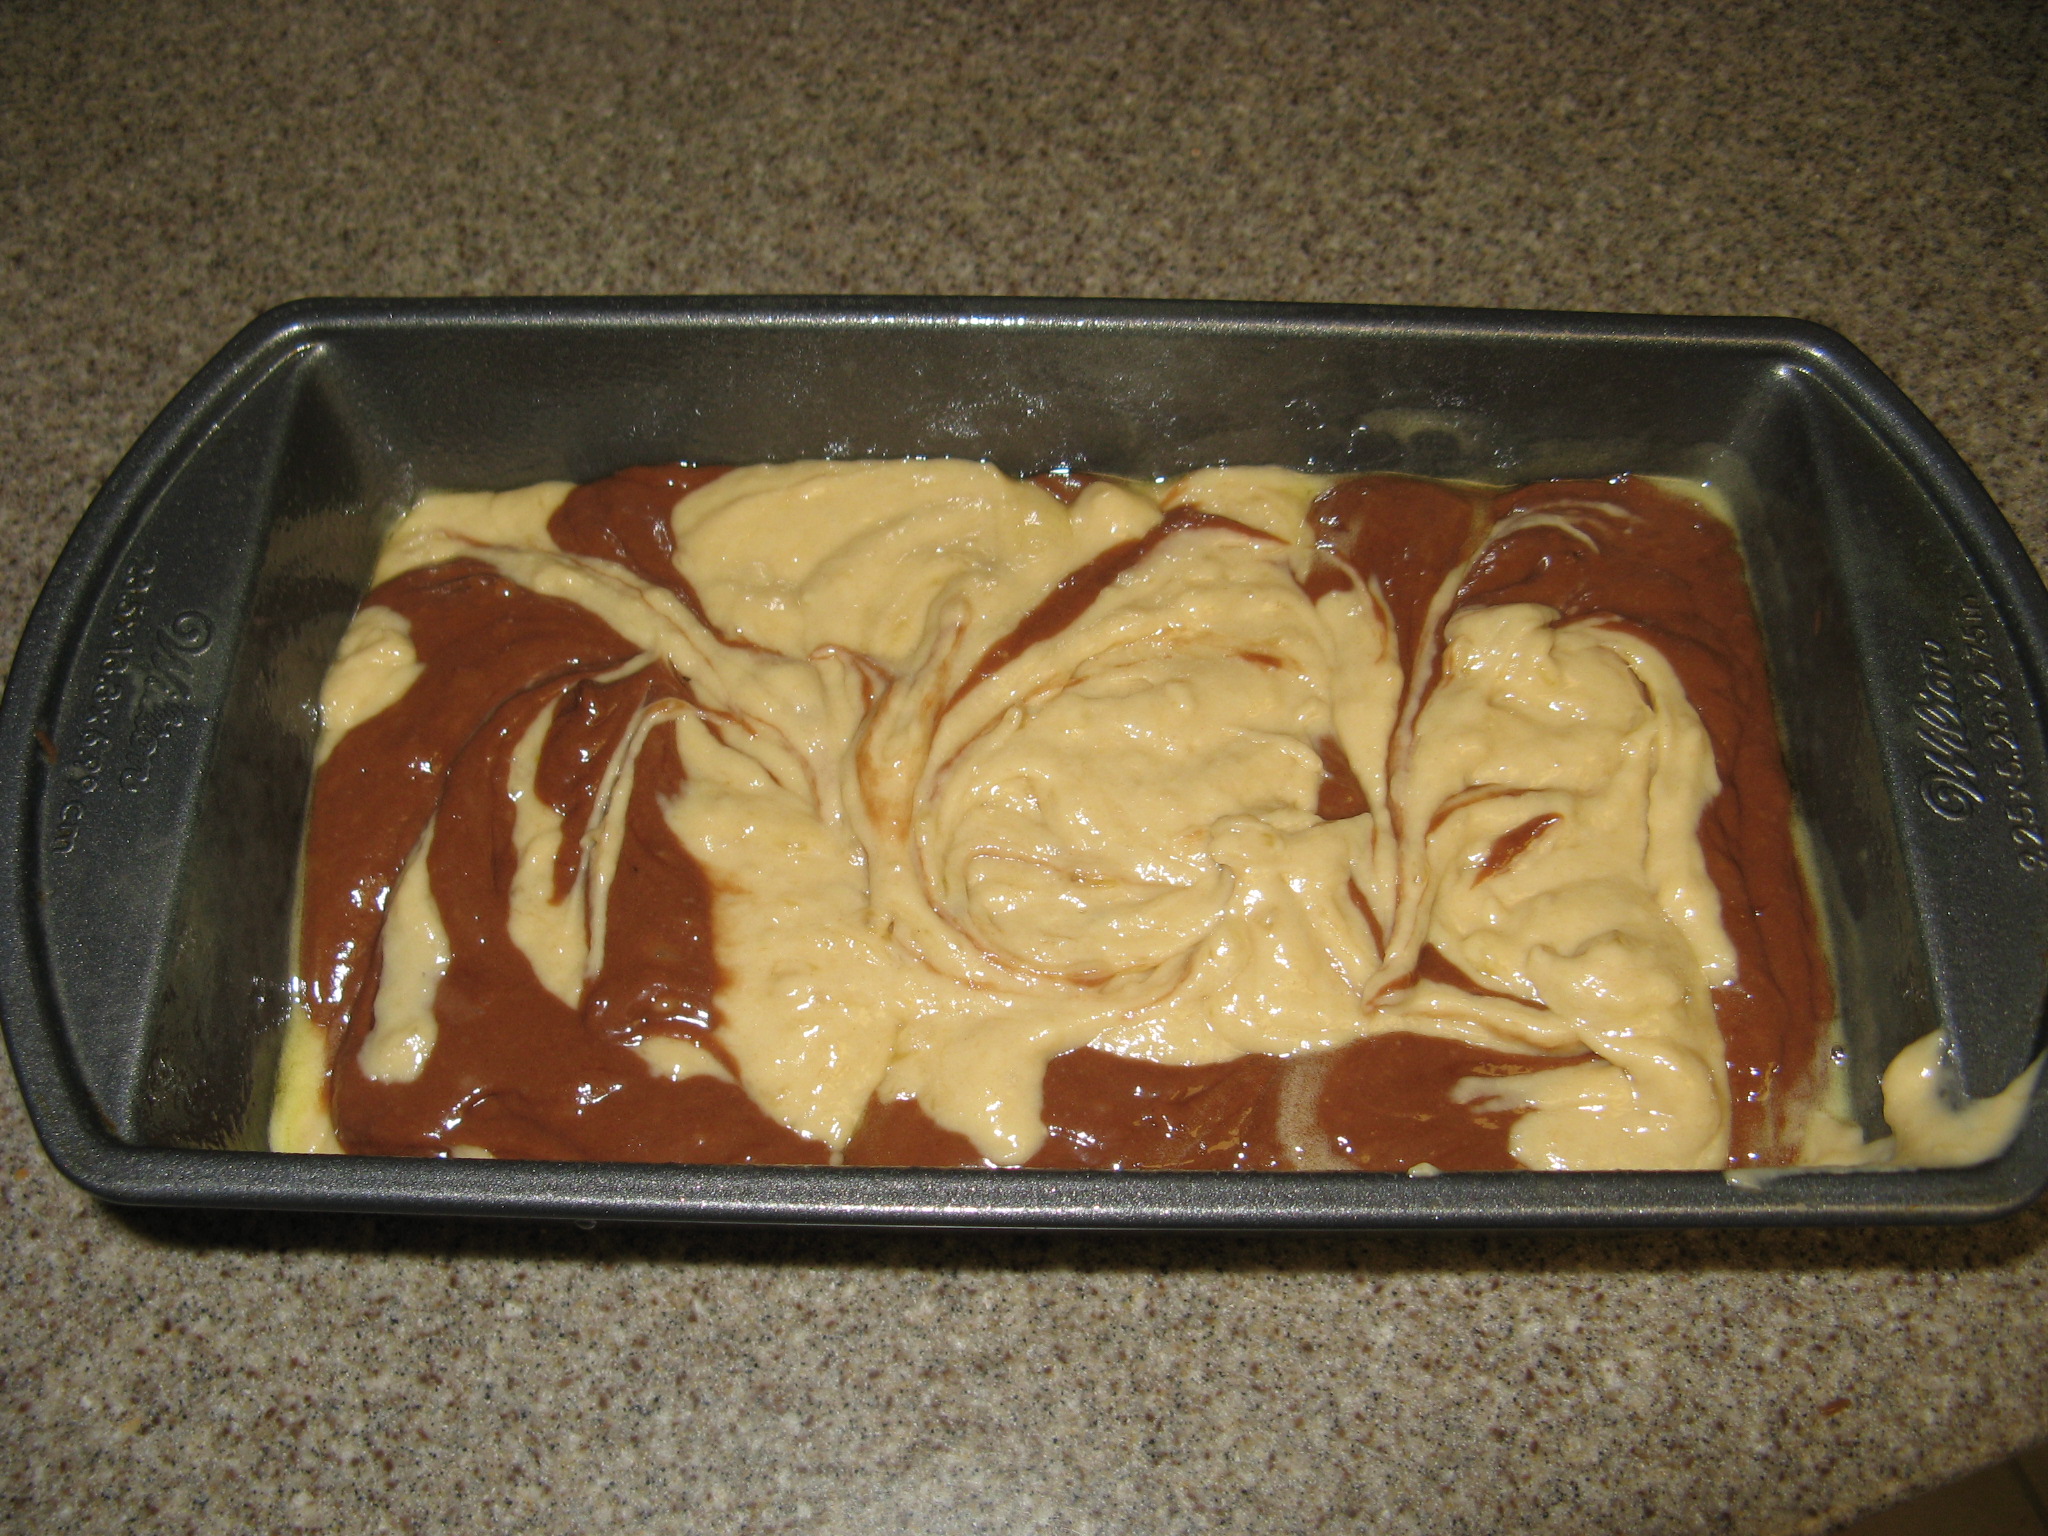
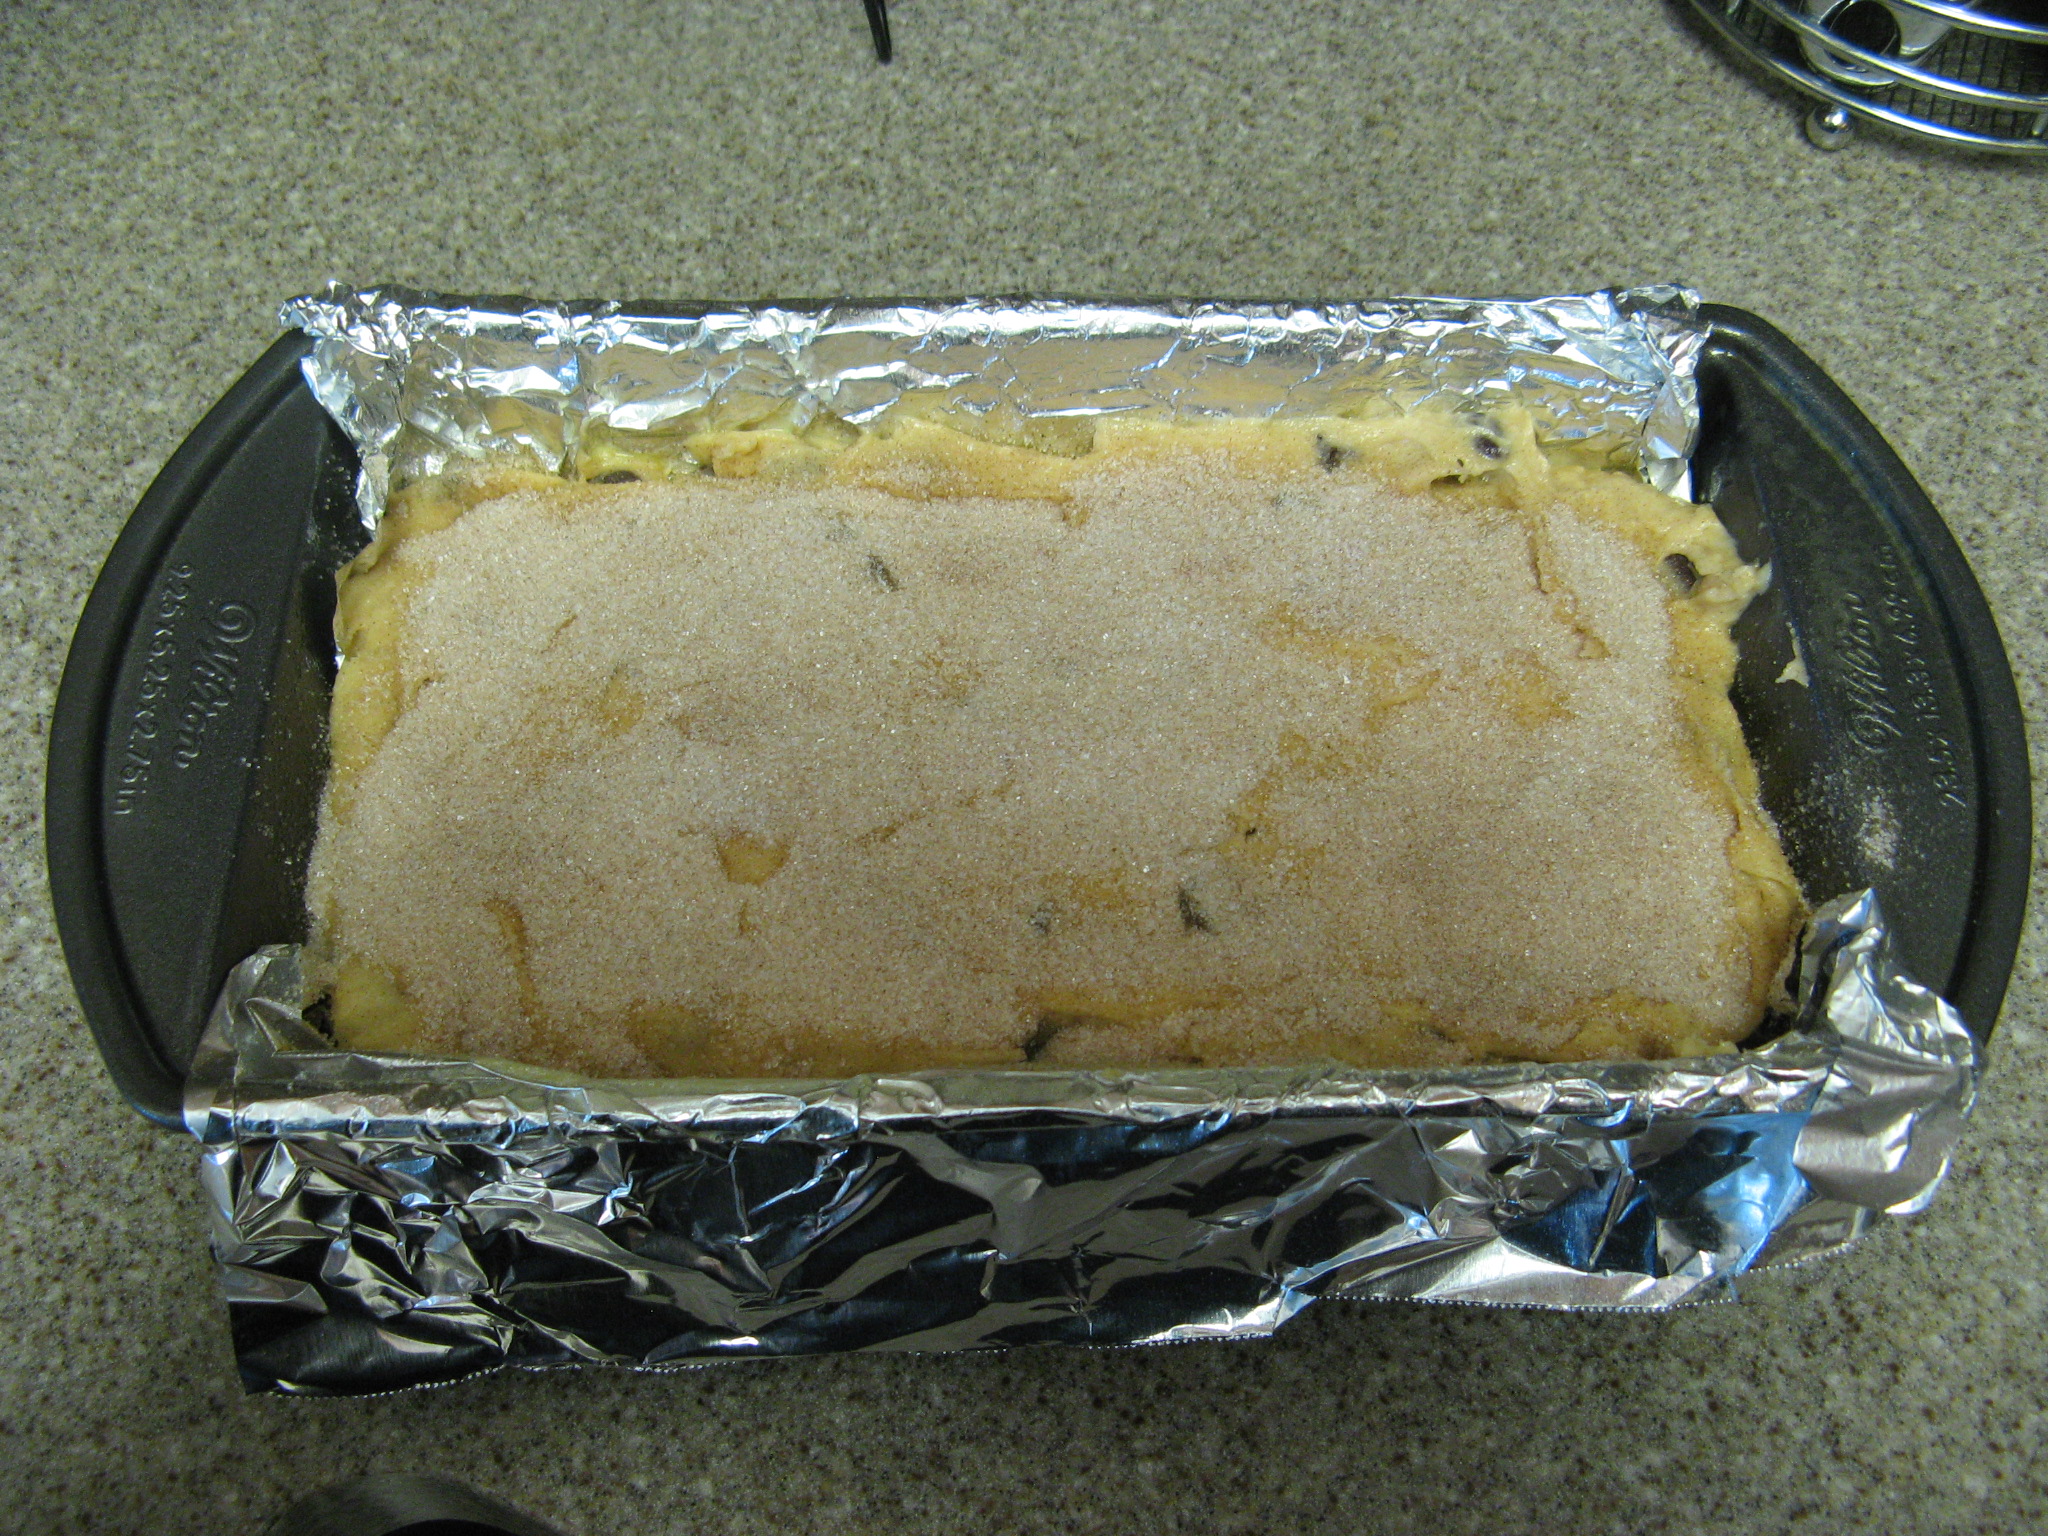
I started by spreading two-thirds of the batter into the pan.
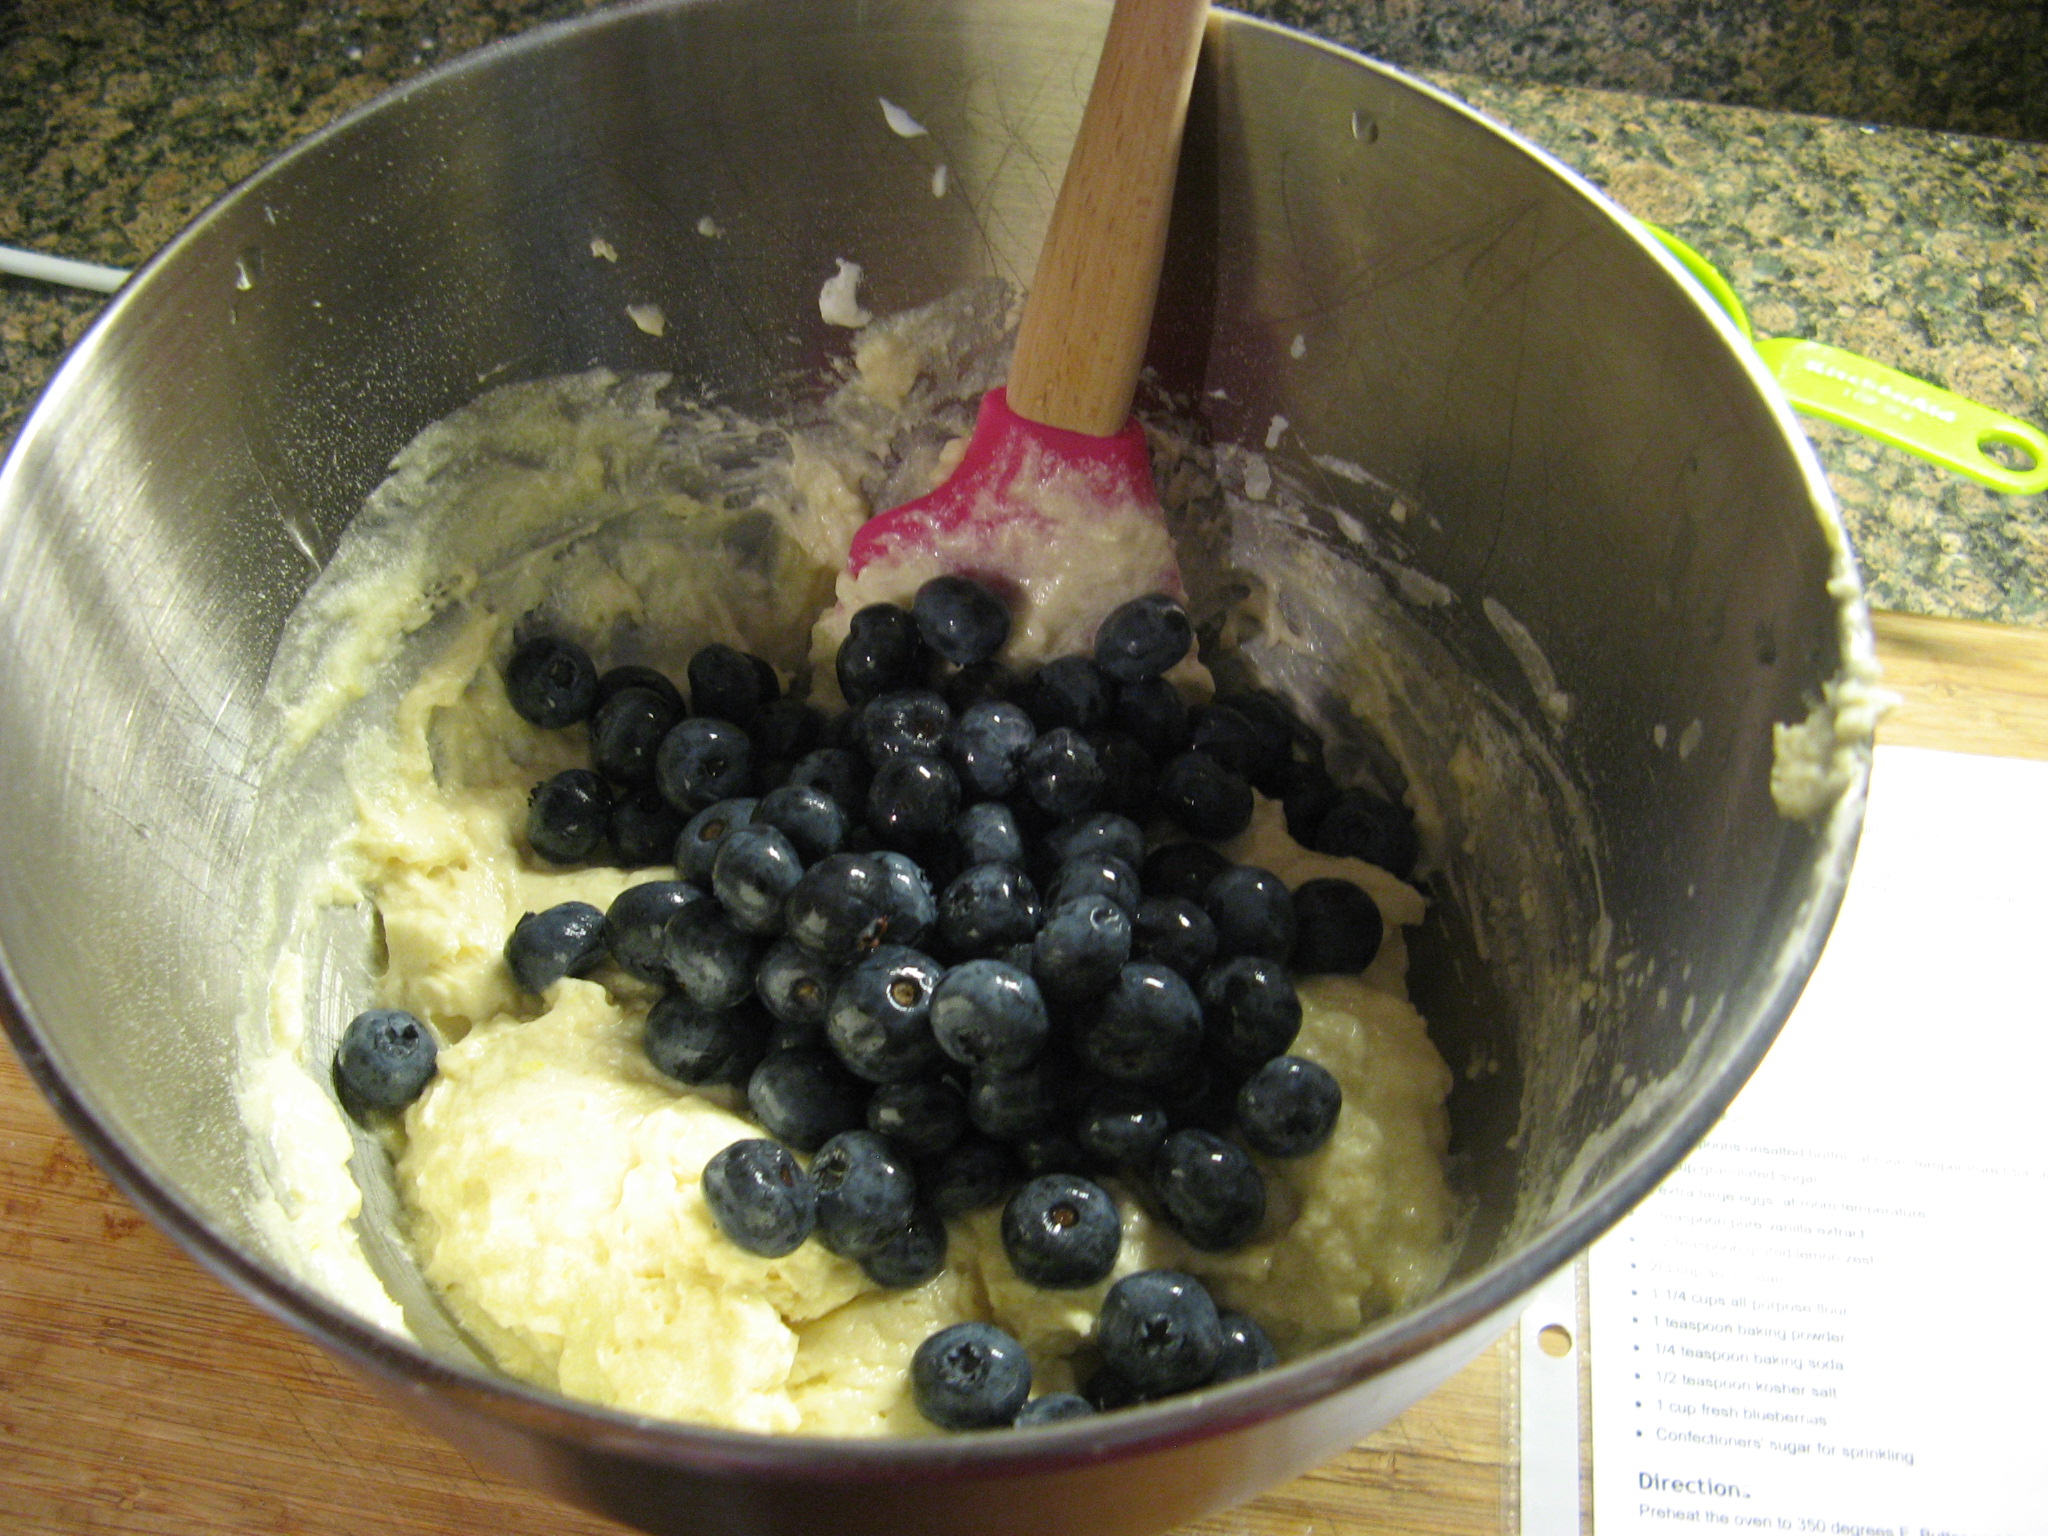
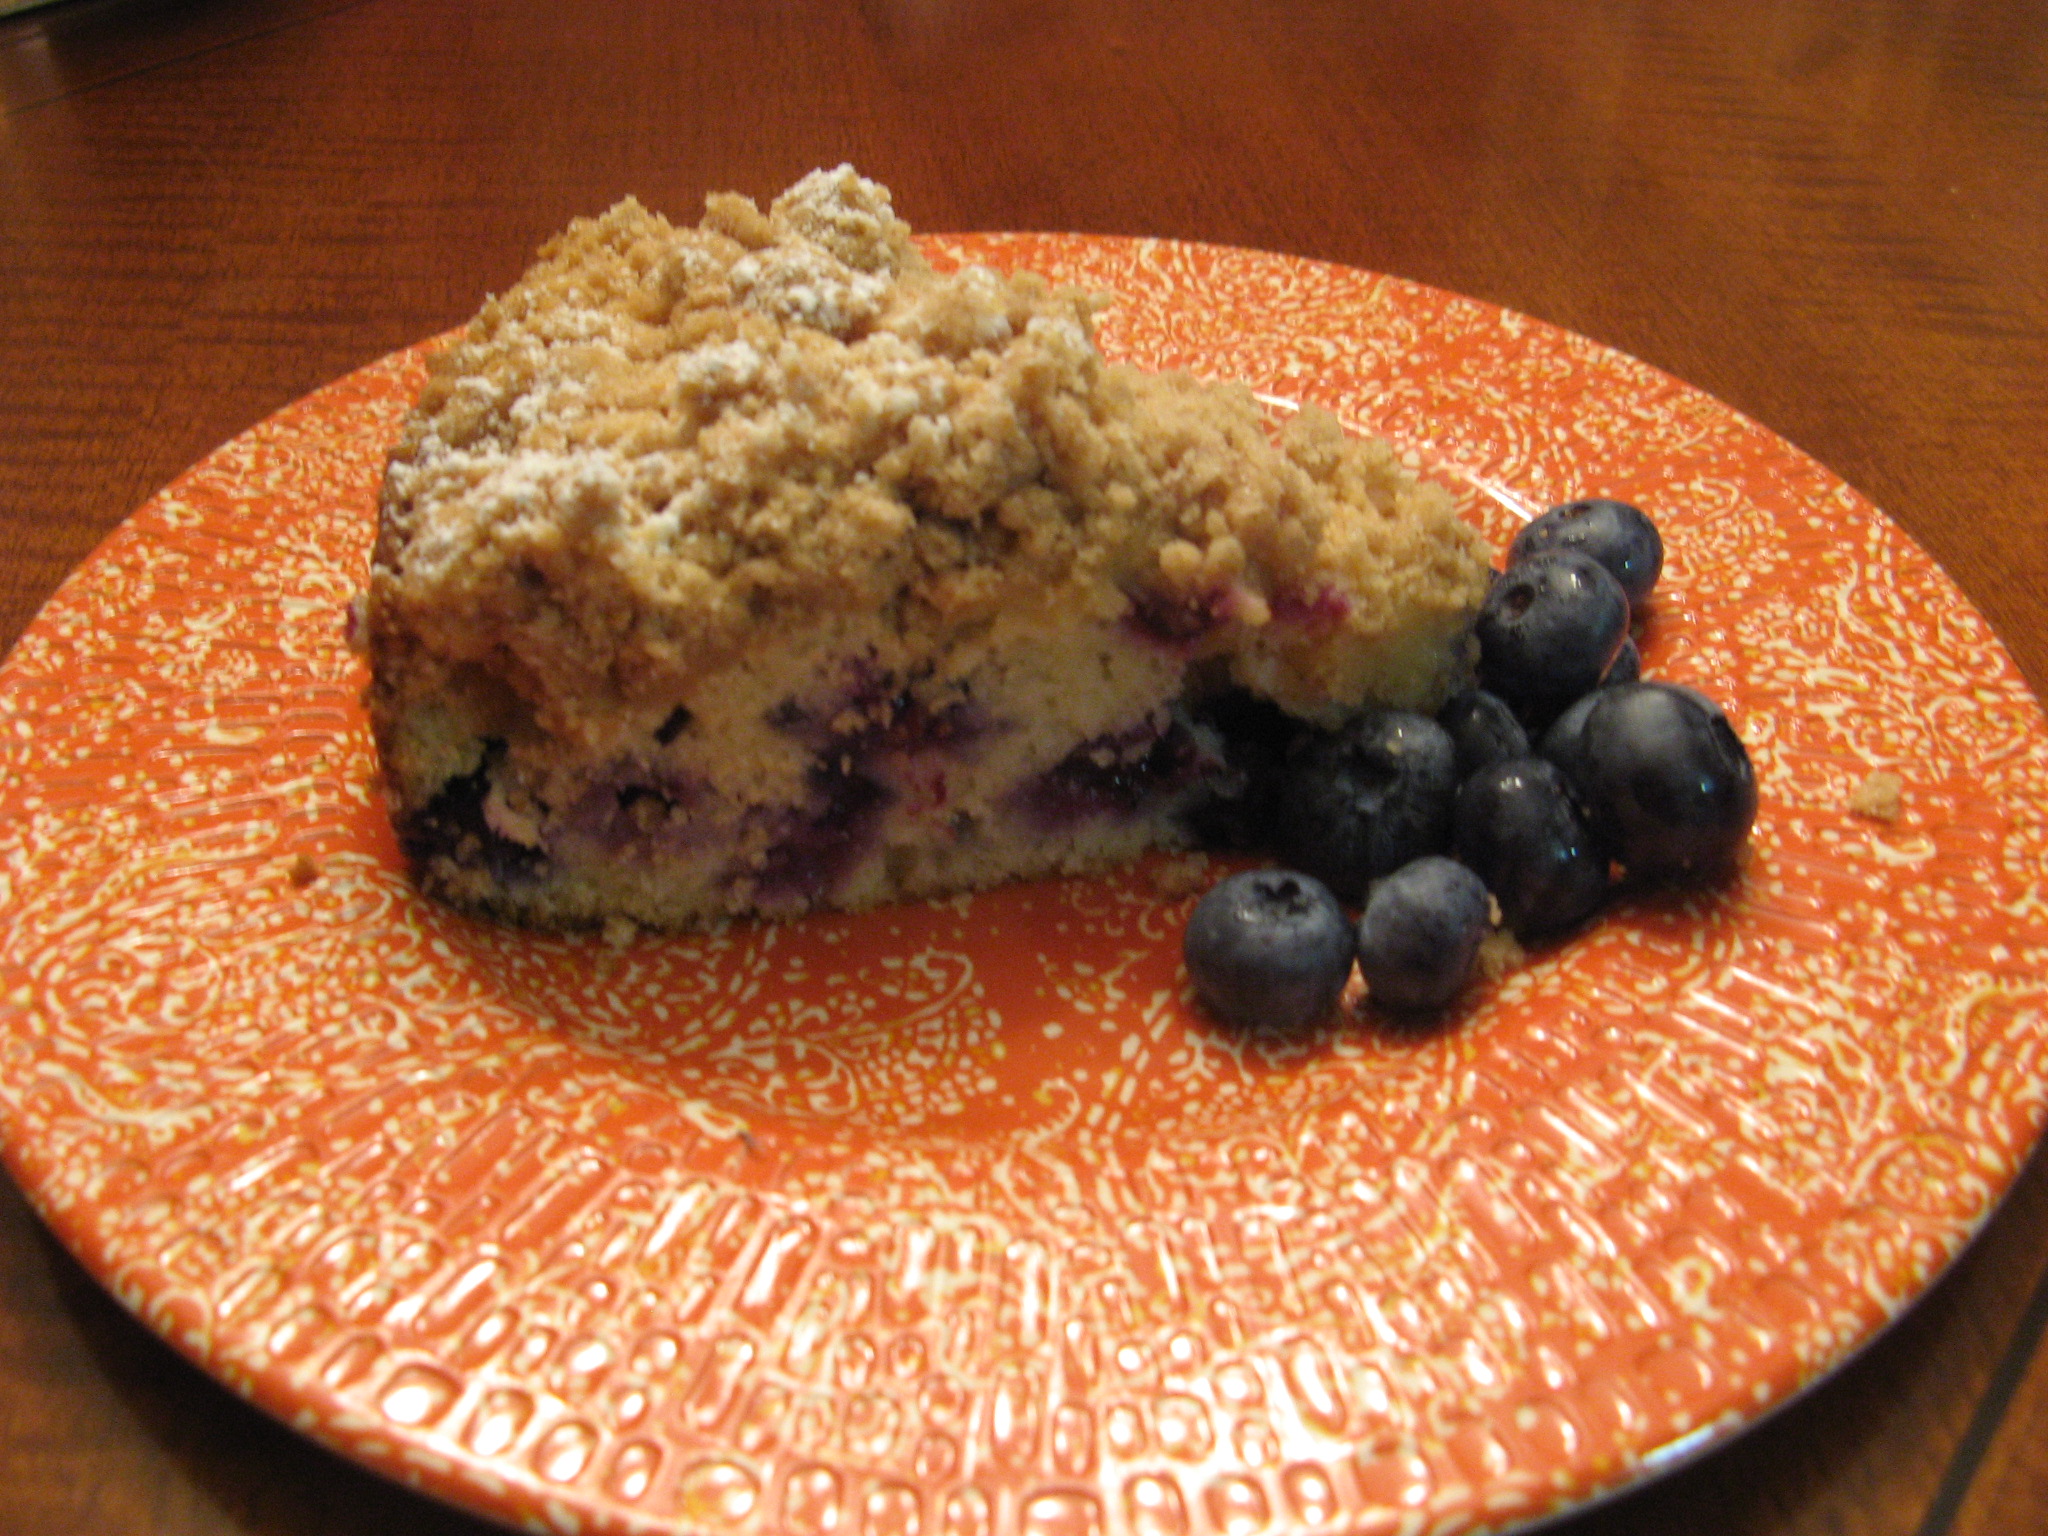
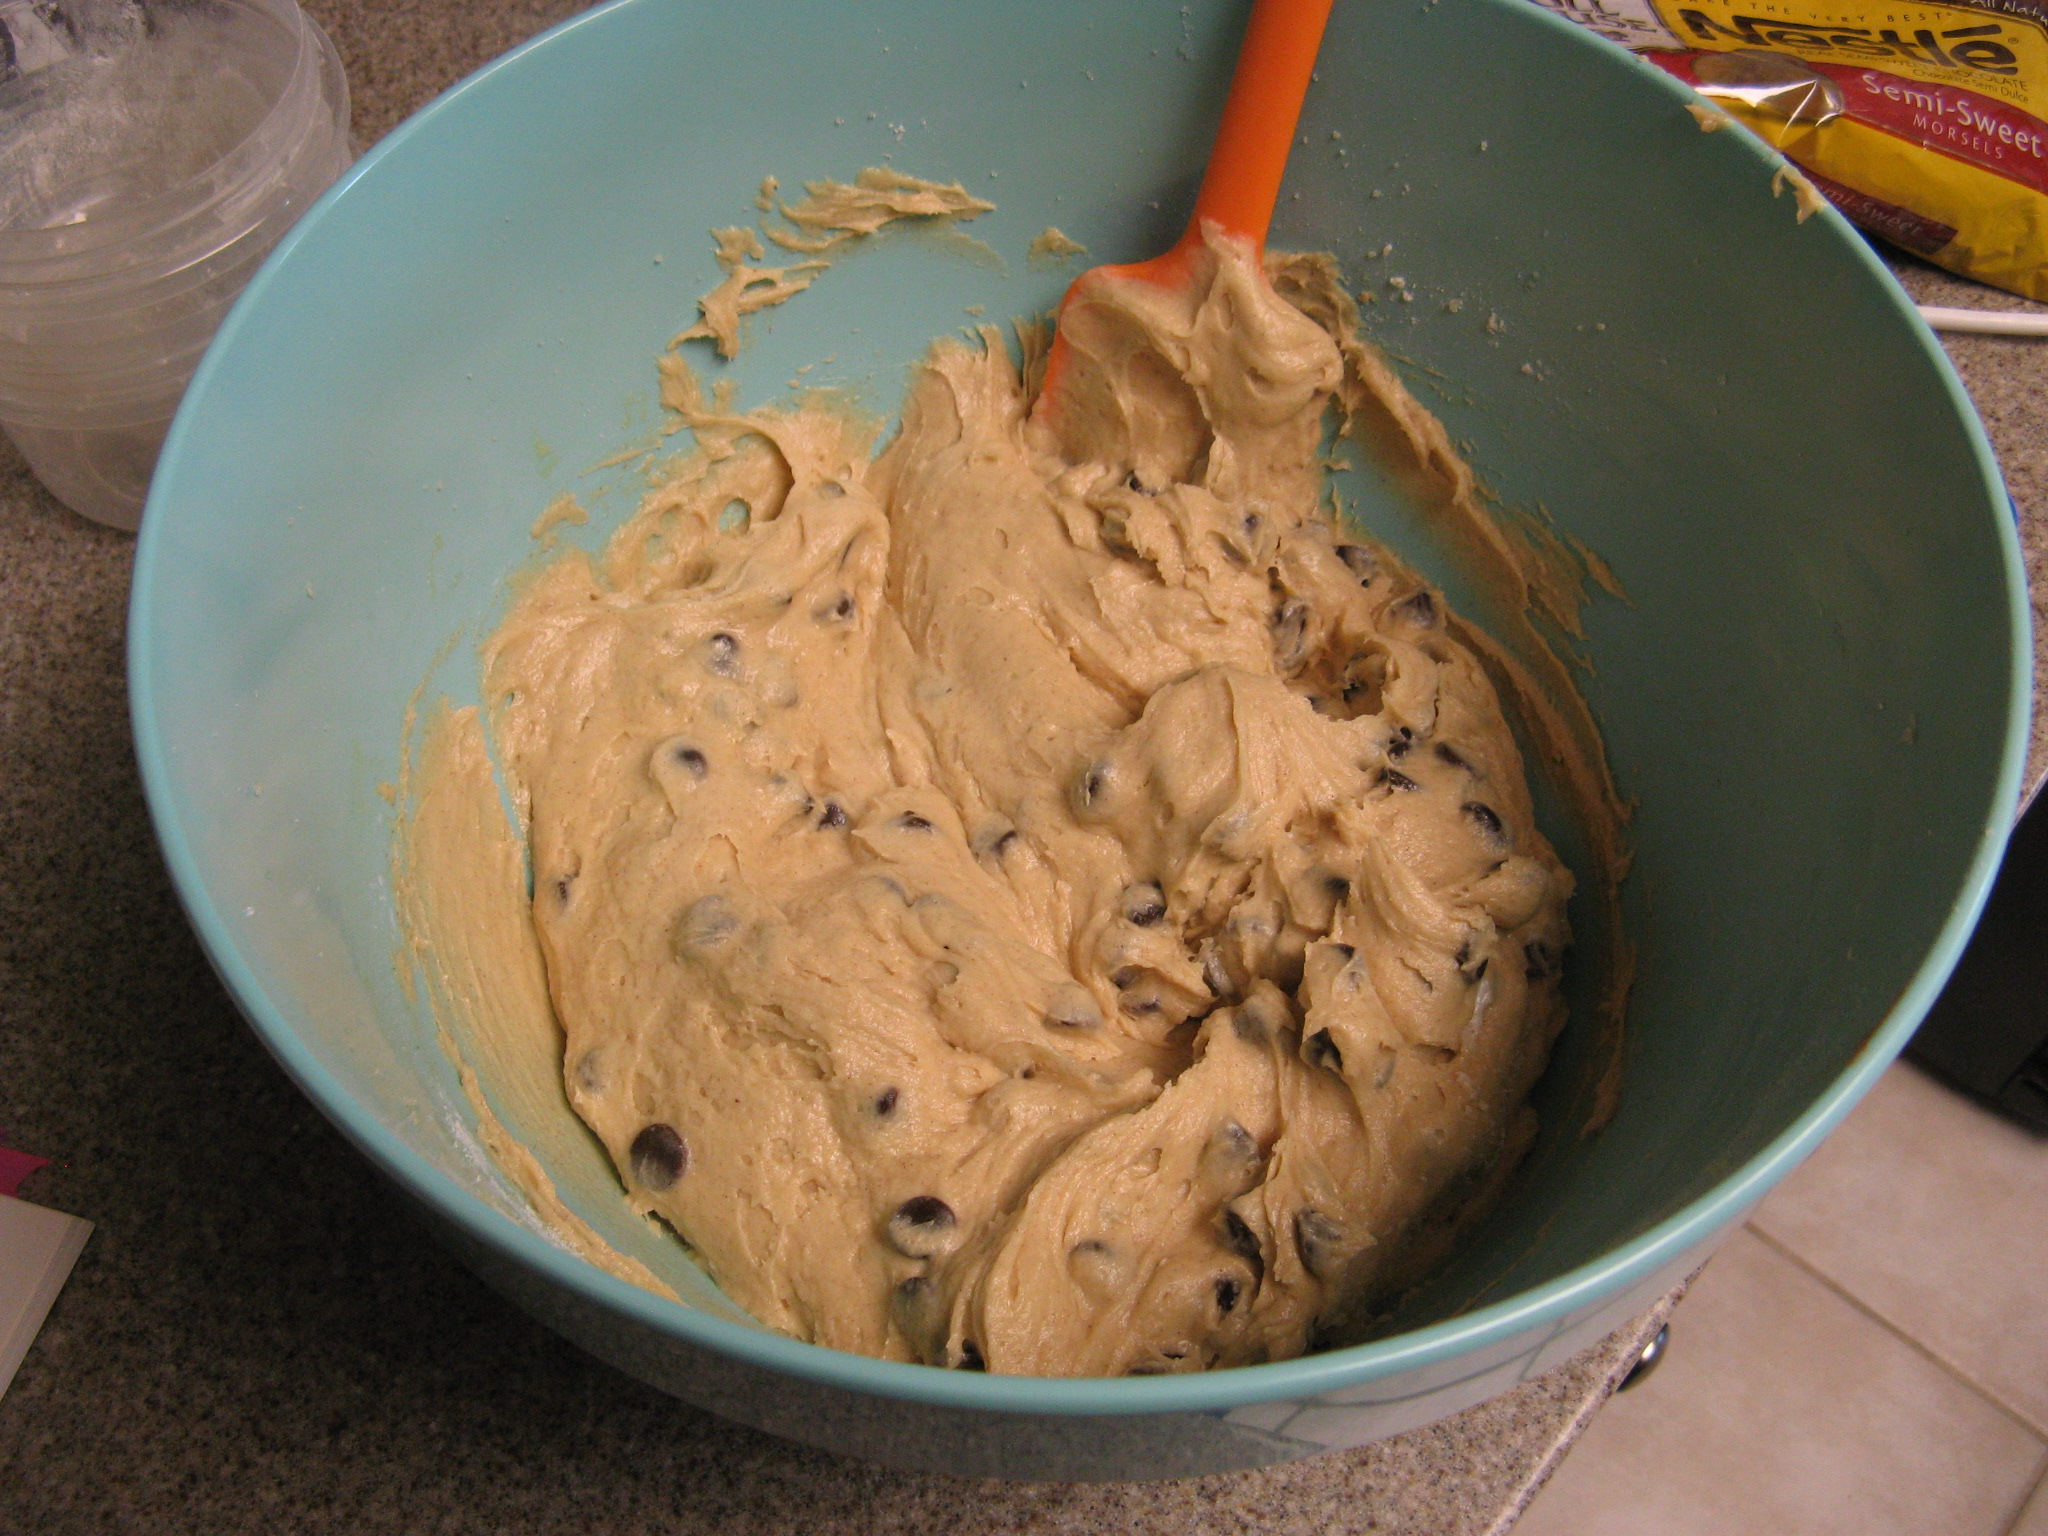
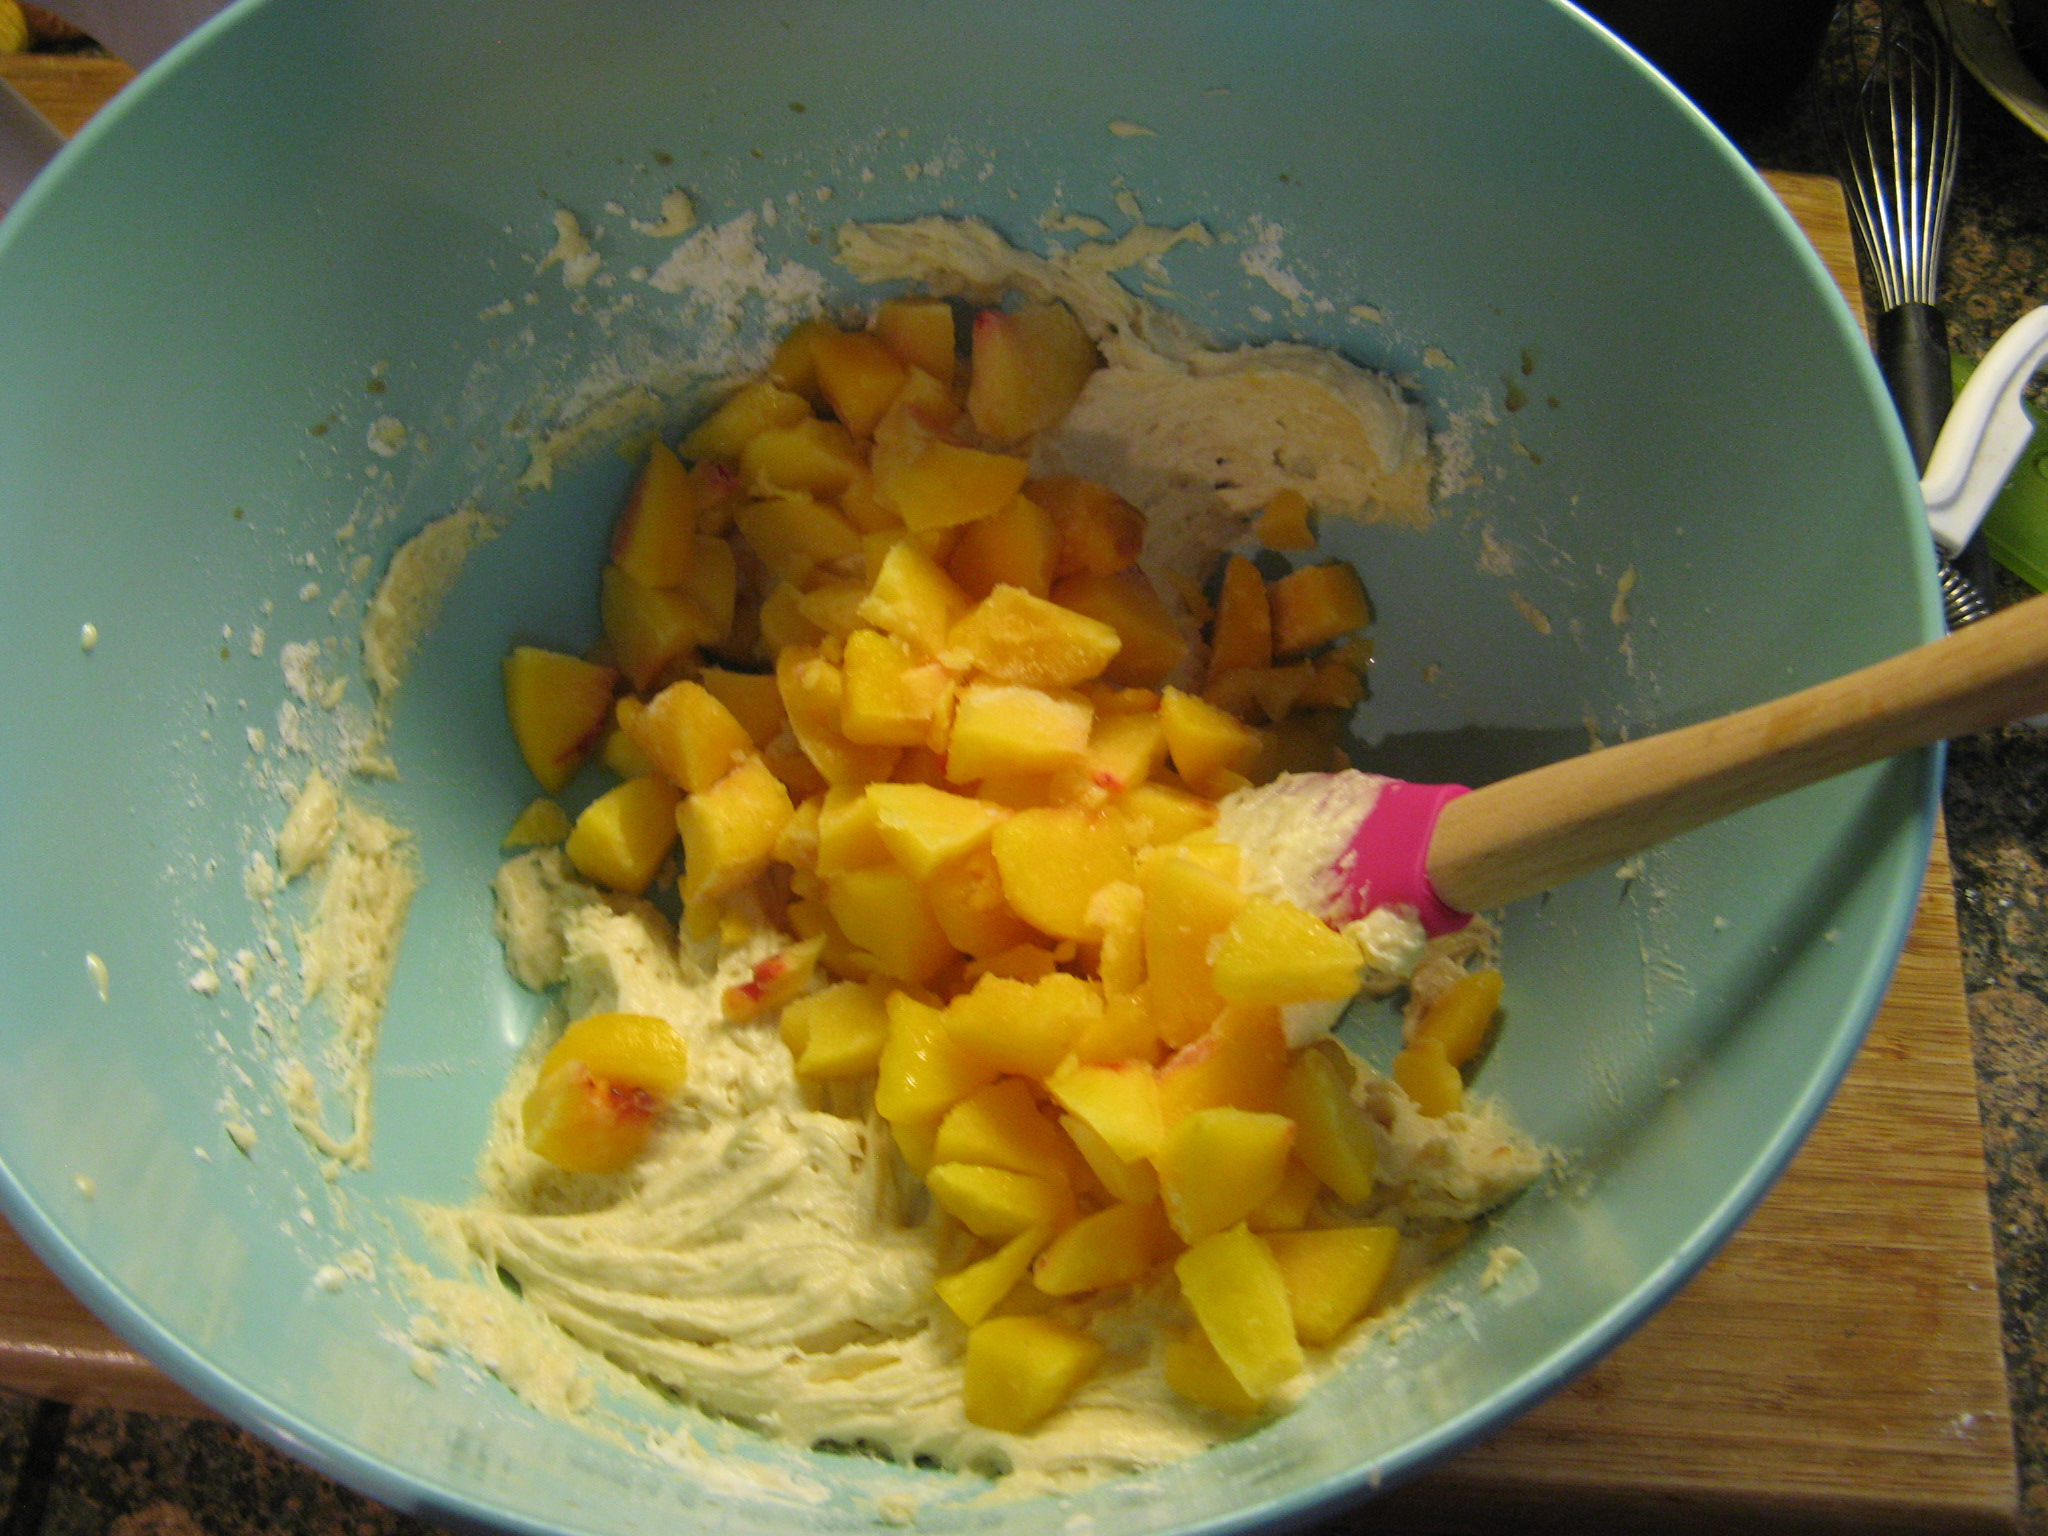
I then folded in chopped frozen peaches into the remaining batter. I had to go to about 4 different places to find frozen peaches. Each supermarket I went to had strawberries, blueberries and other frozen berries but no peaches. I ended up finding them at my local Target. It’s always the last place you check that has what you want.
I then spread this batter on top of the non-peach batter already in the pan.
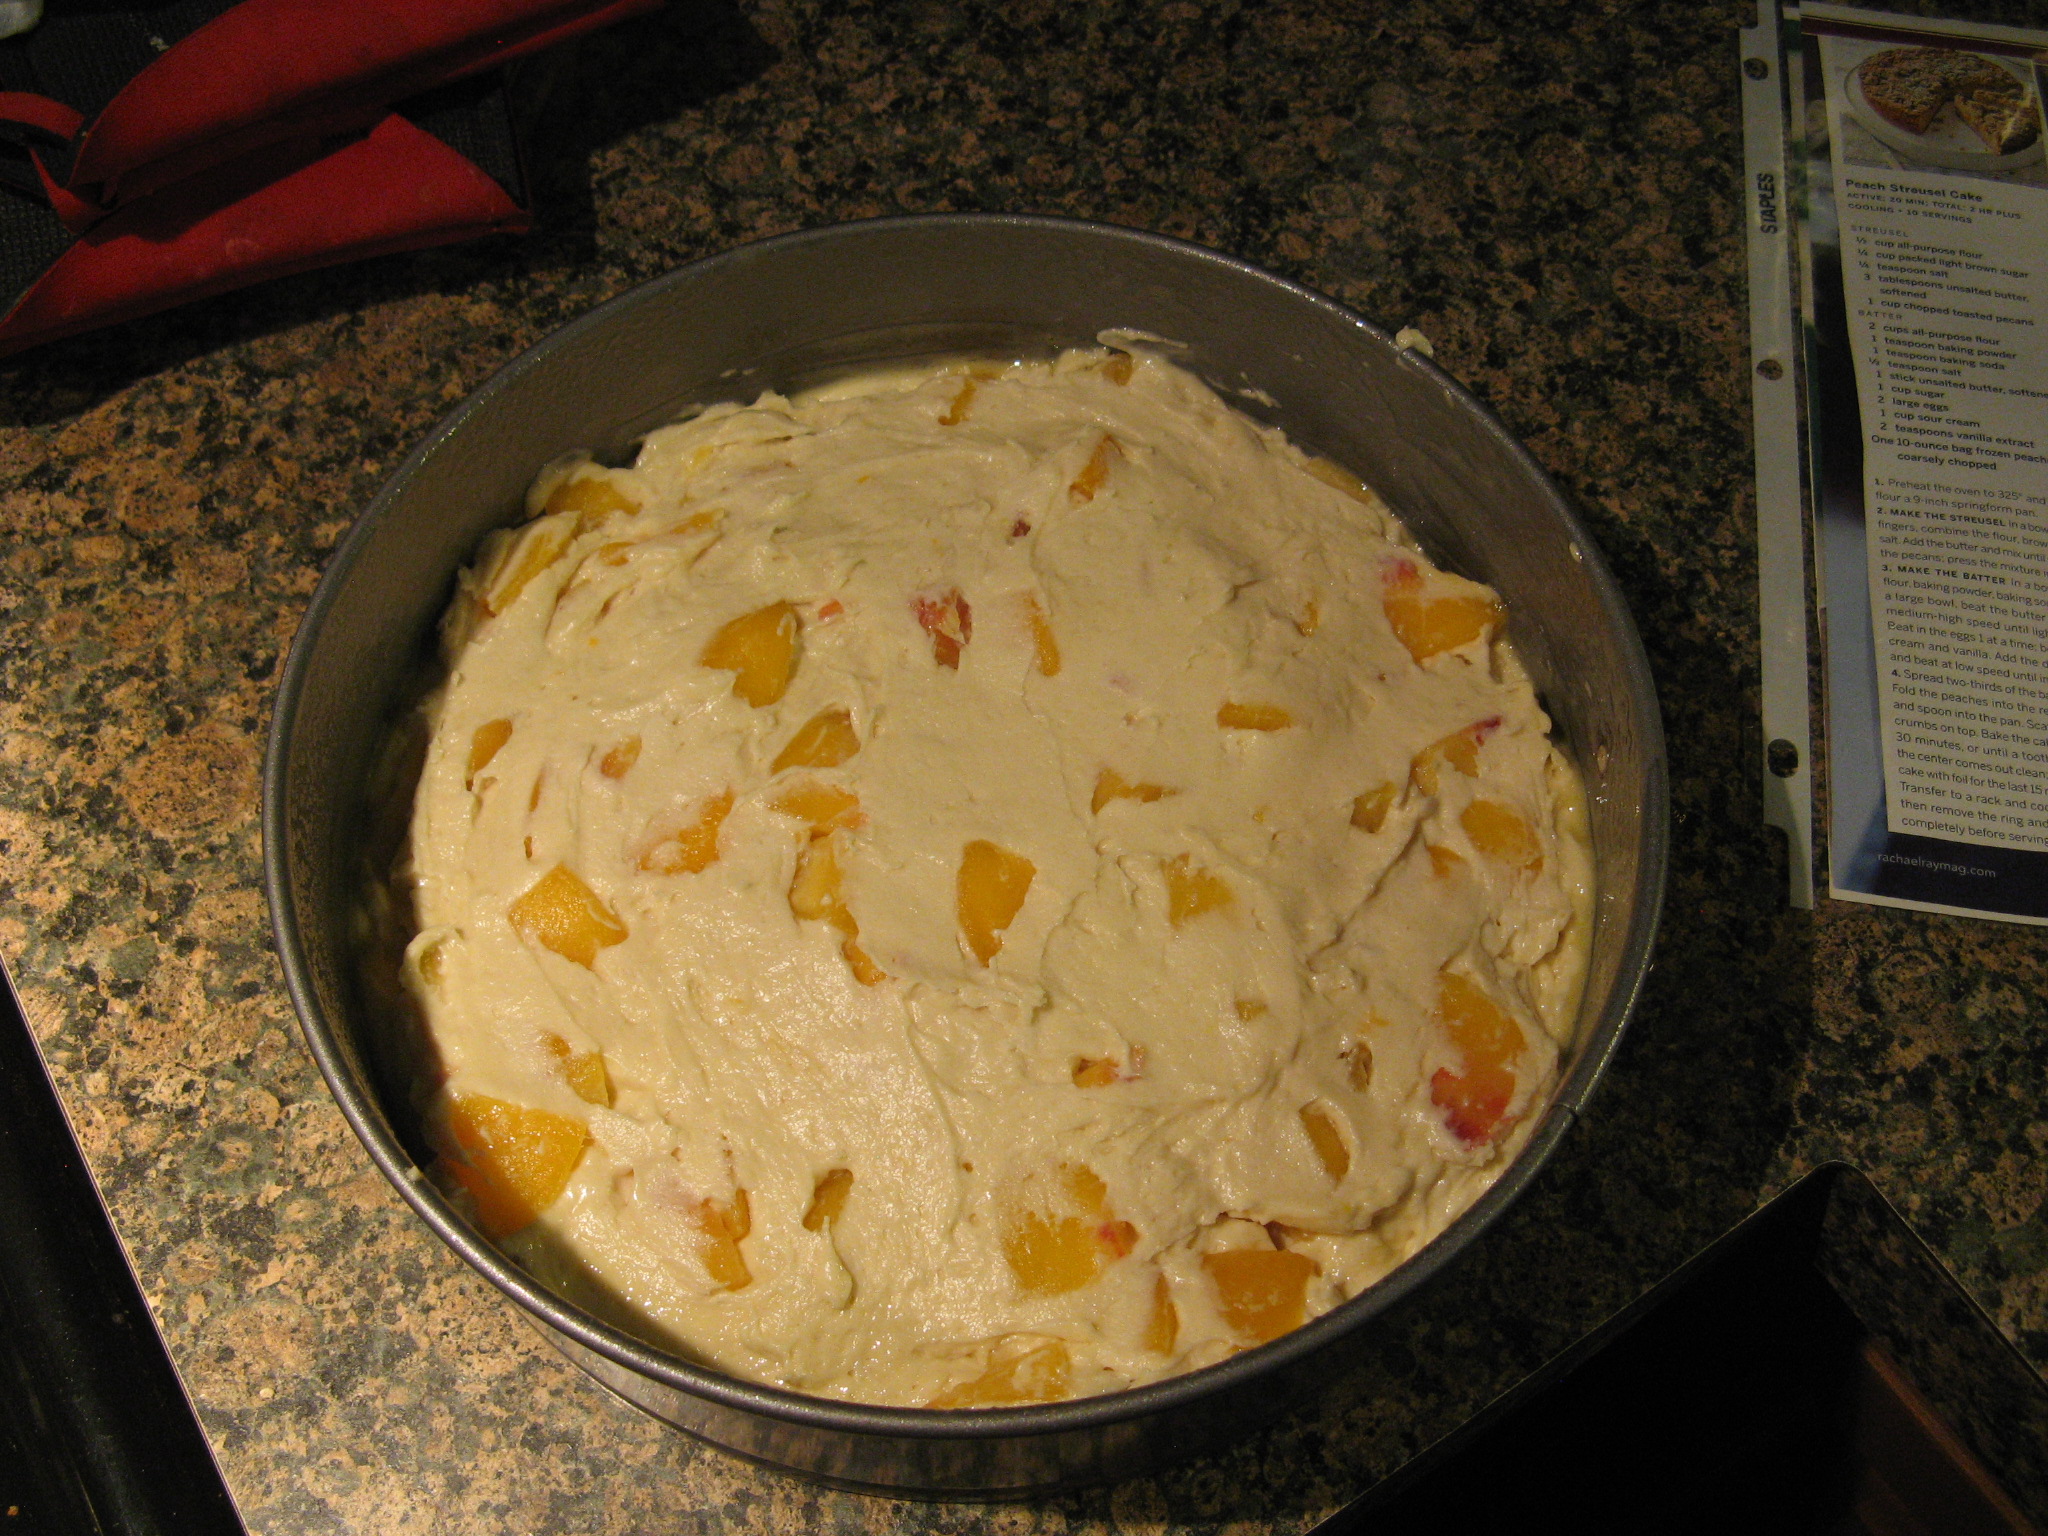
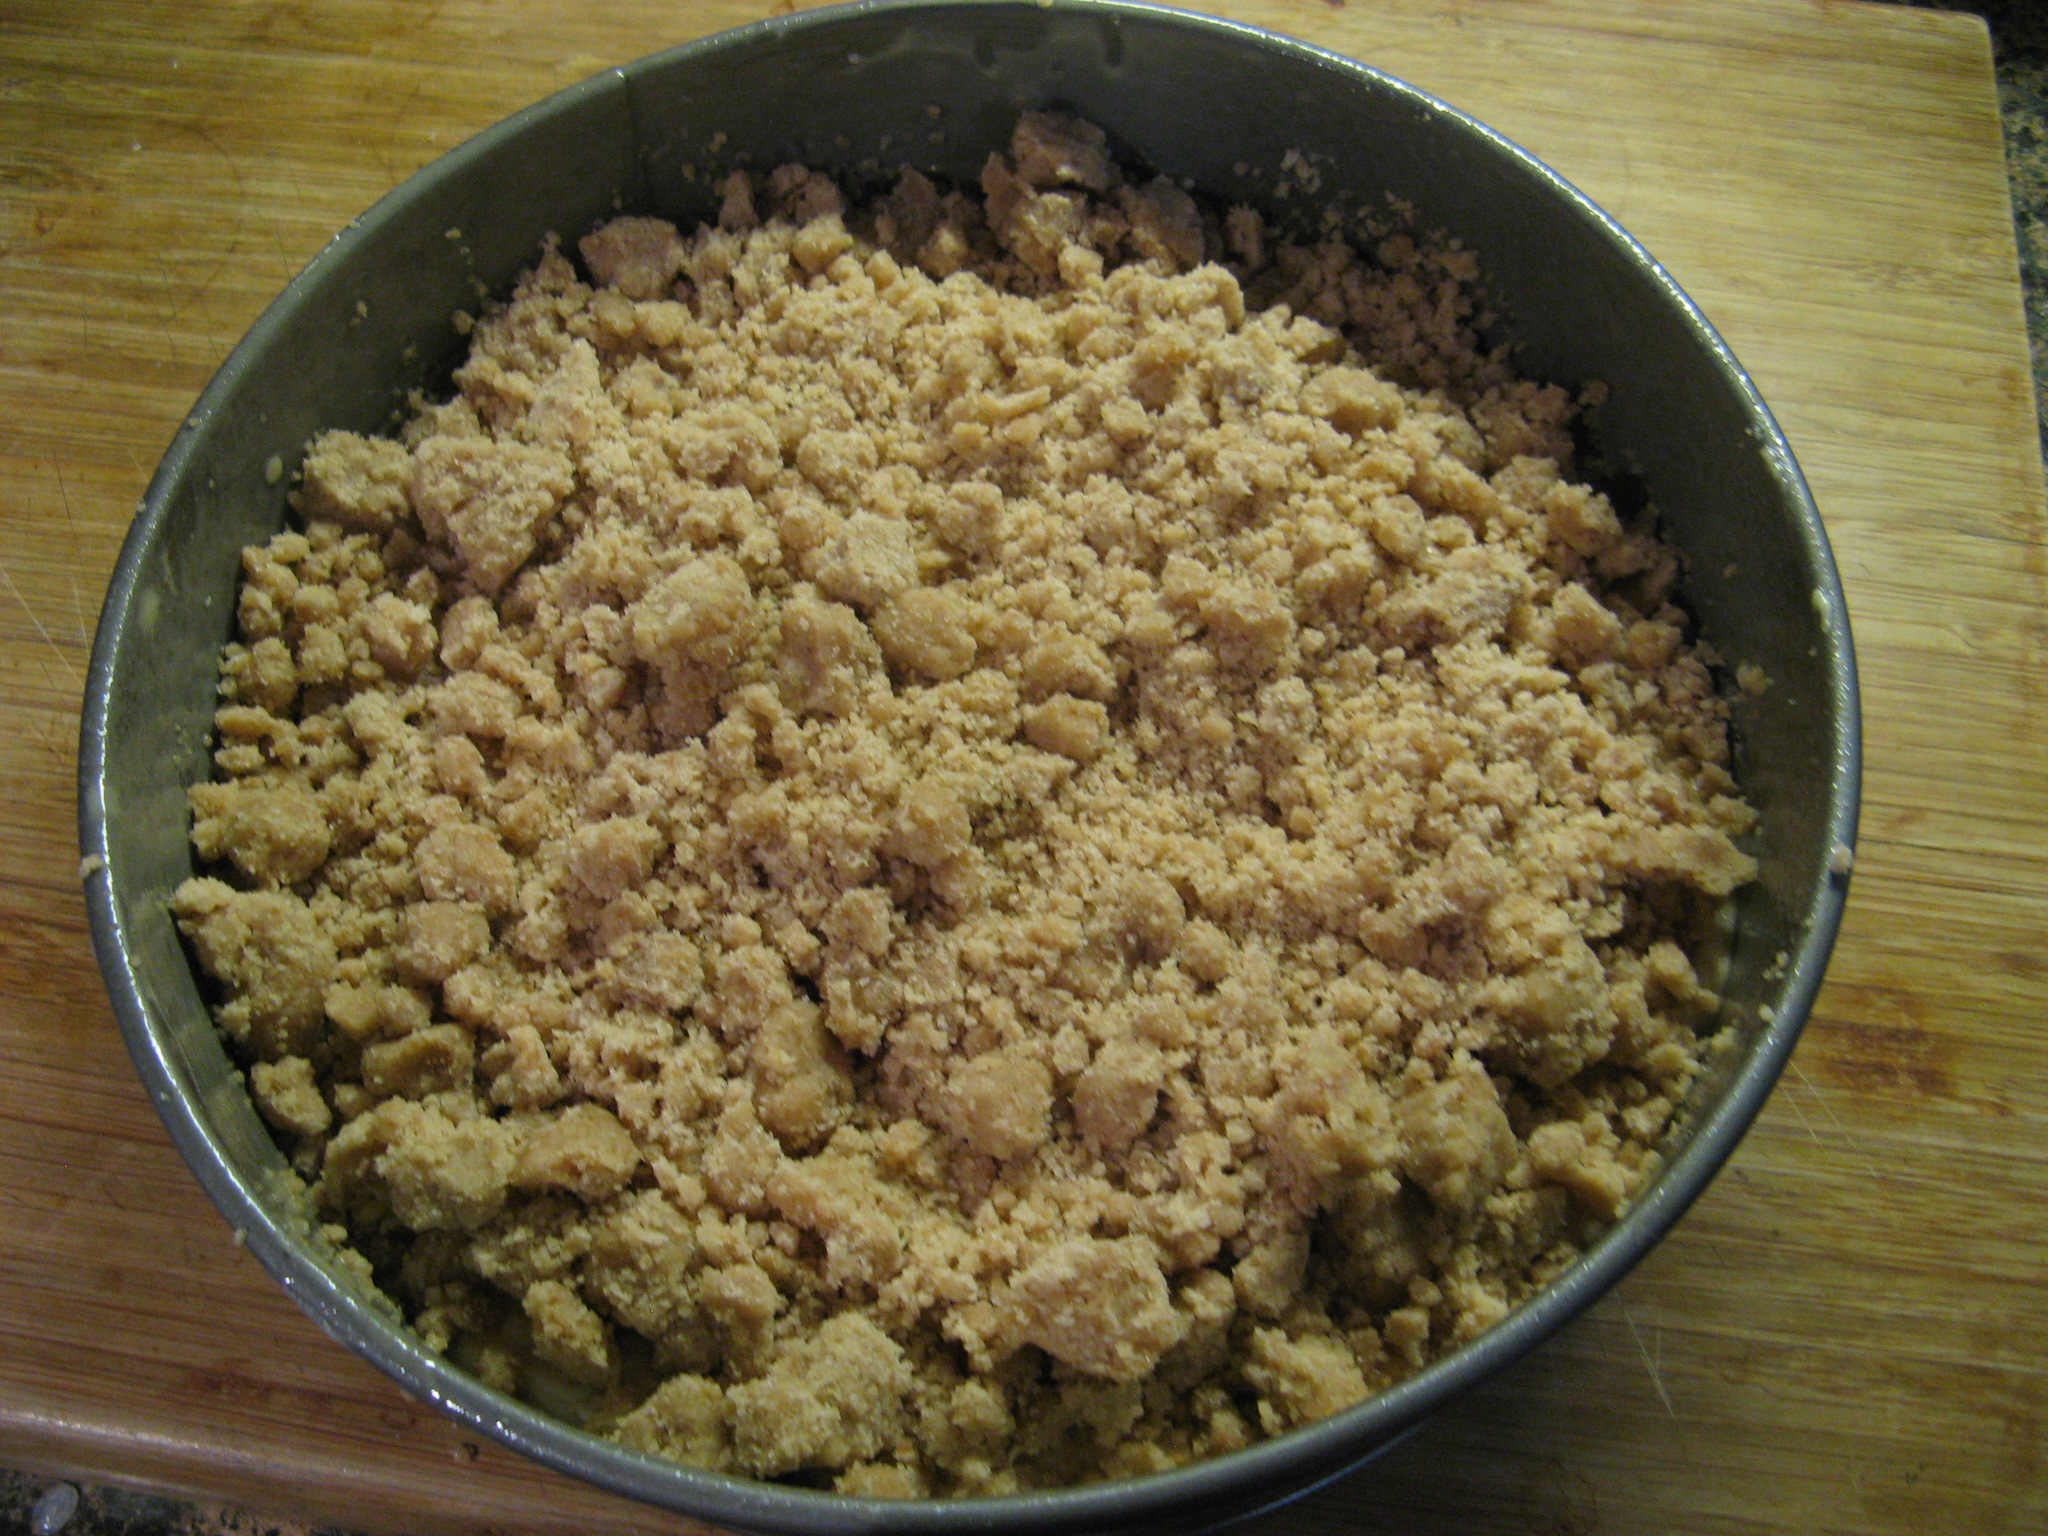
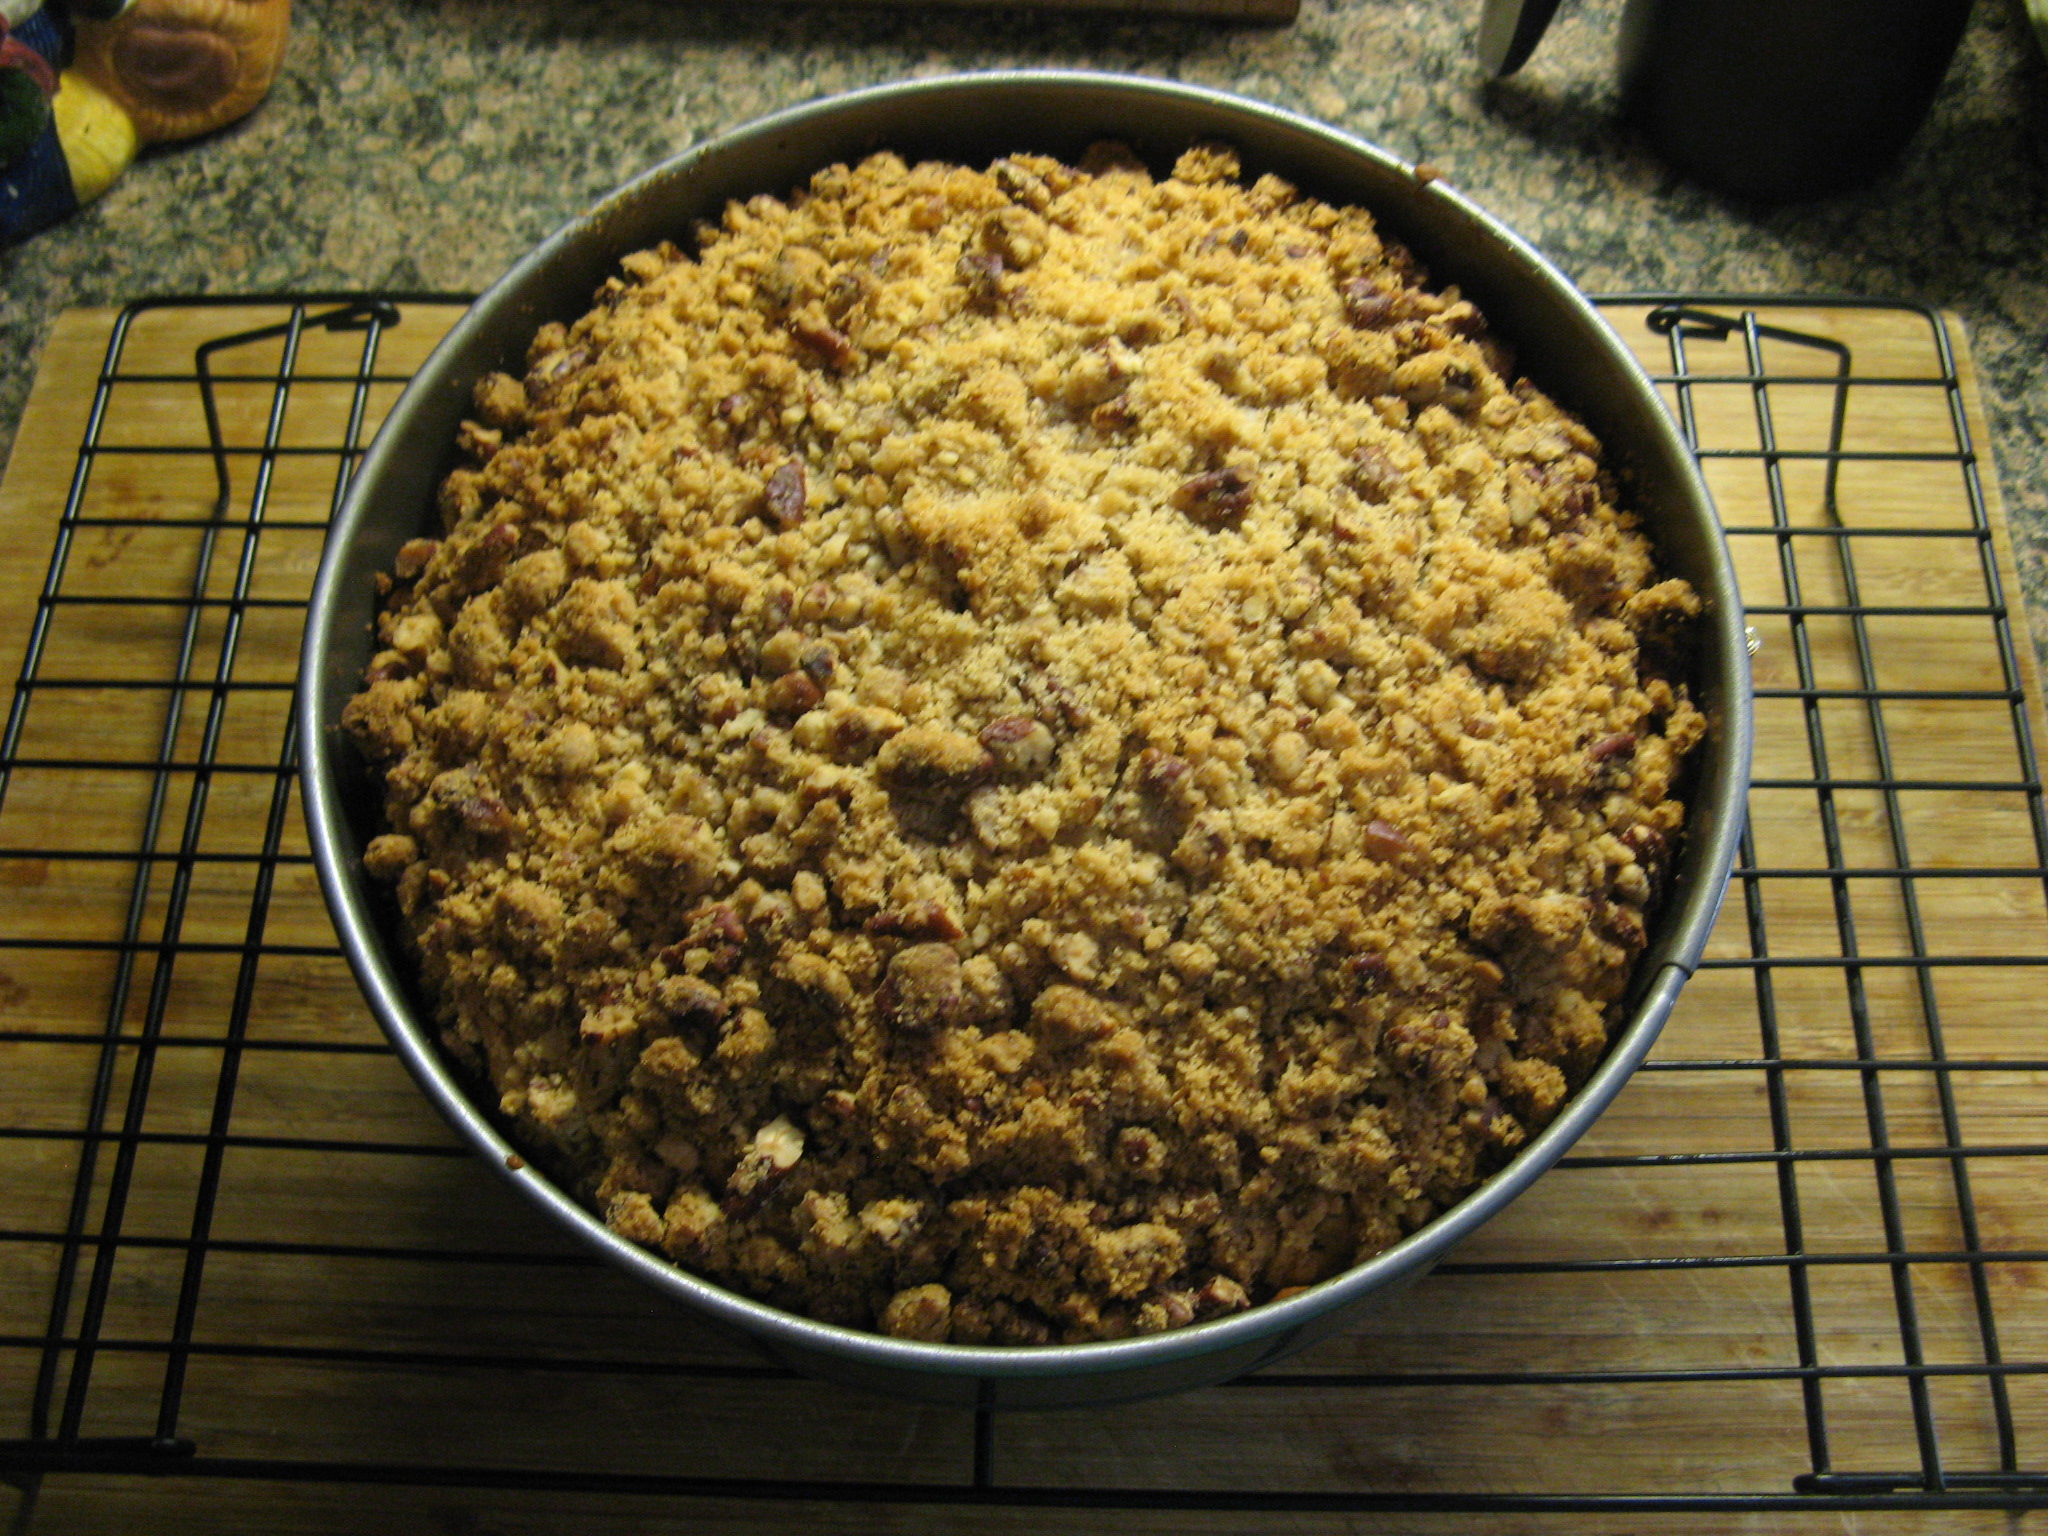
And finally I spread the streusel topping on top.

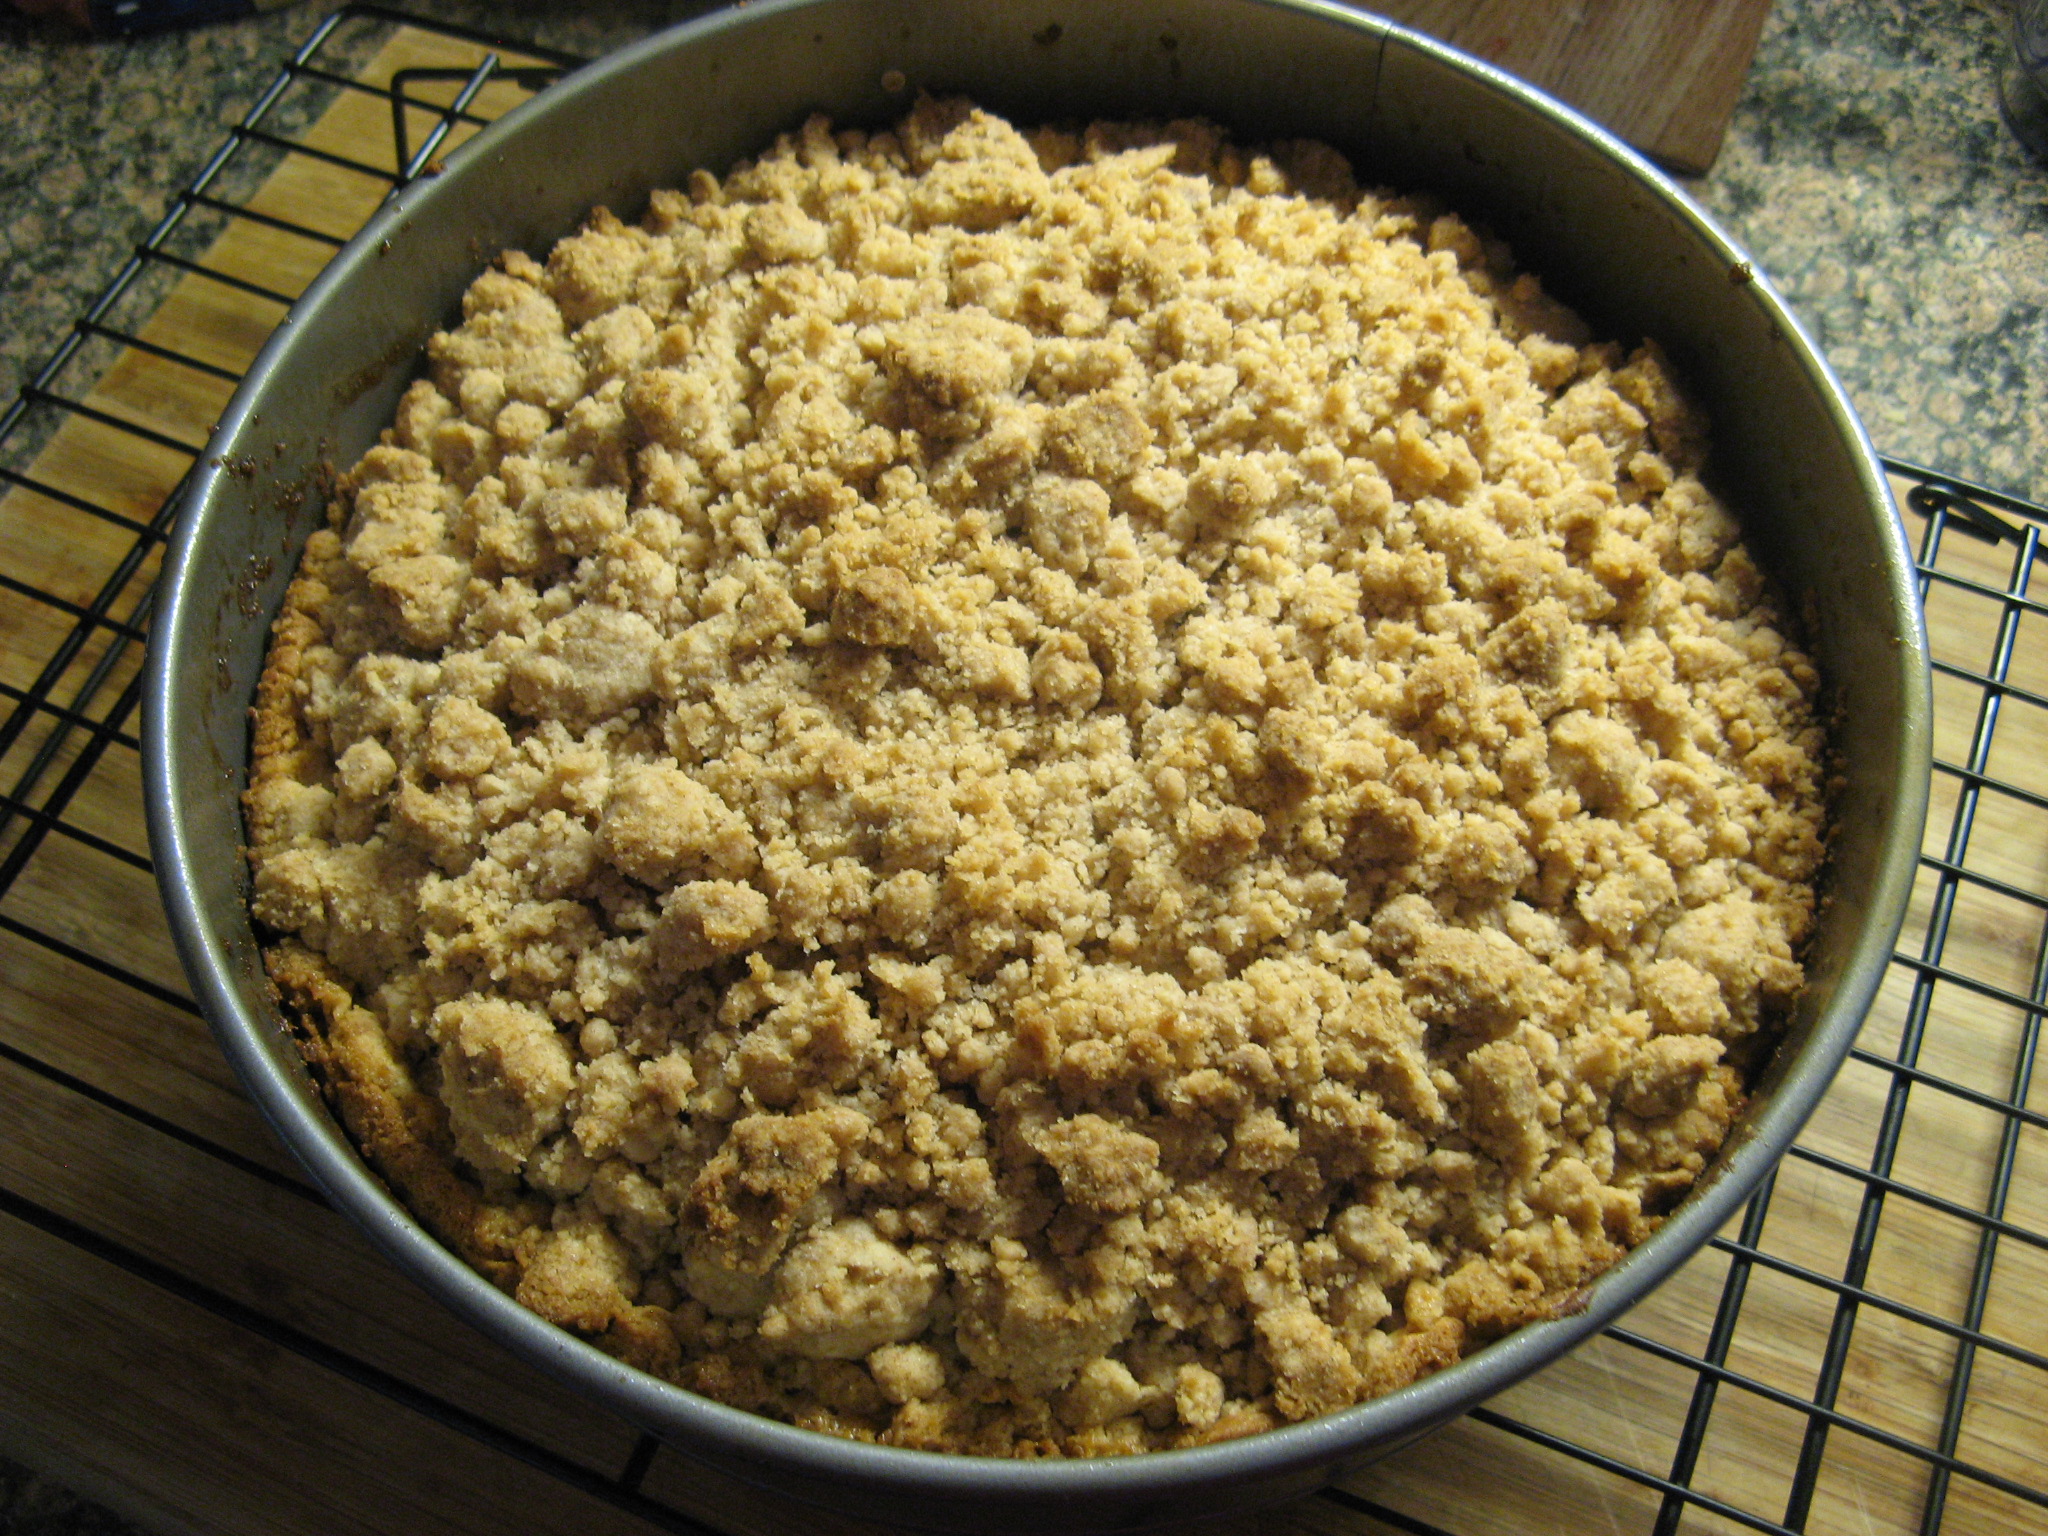
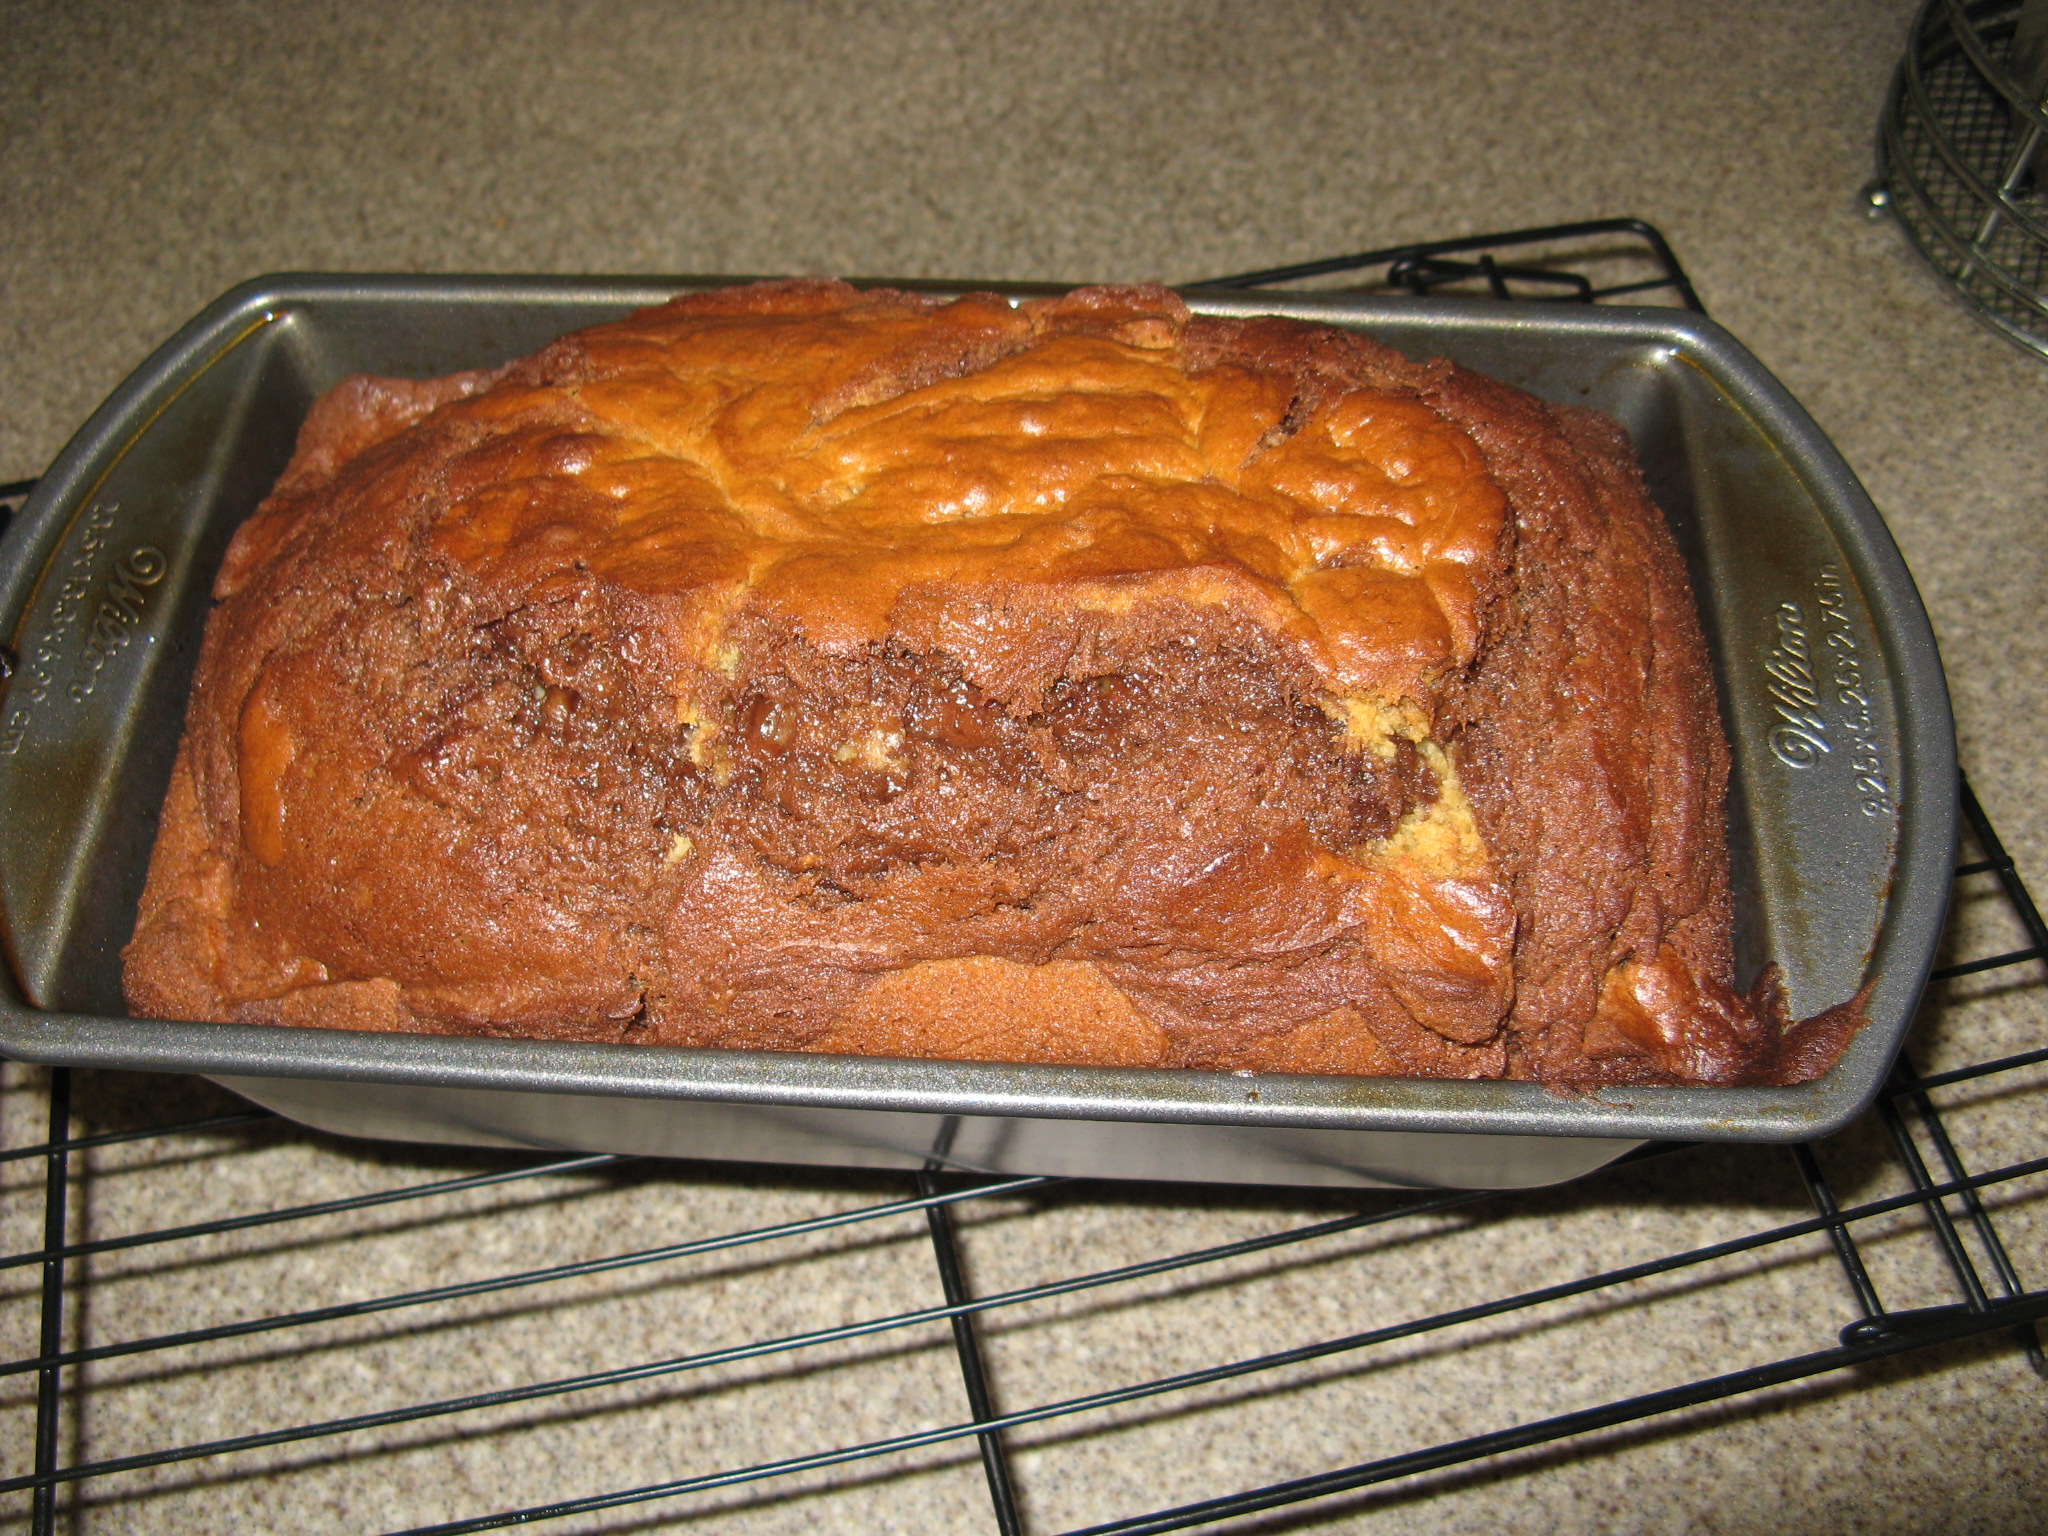
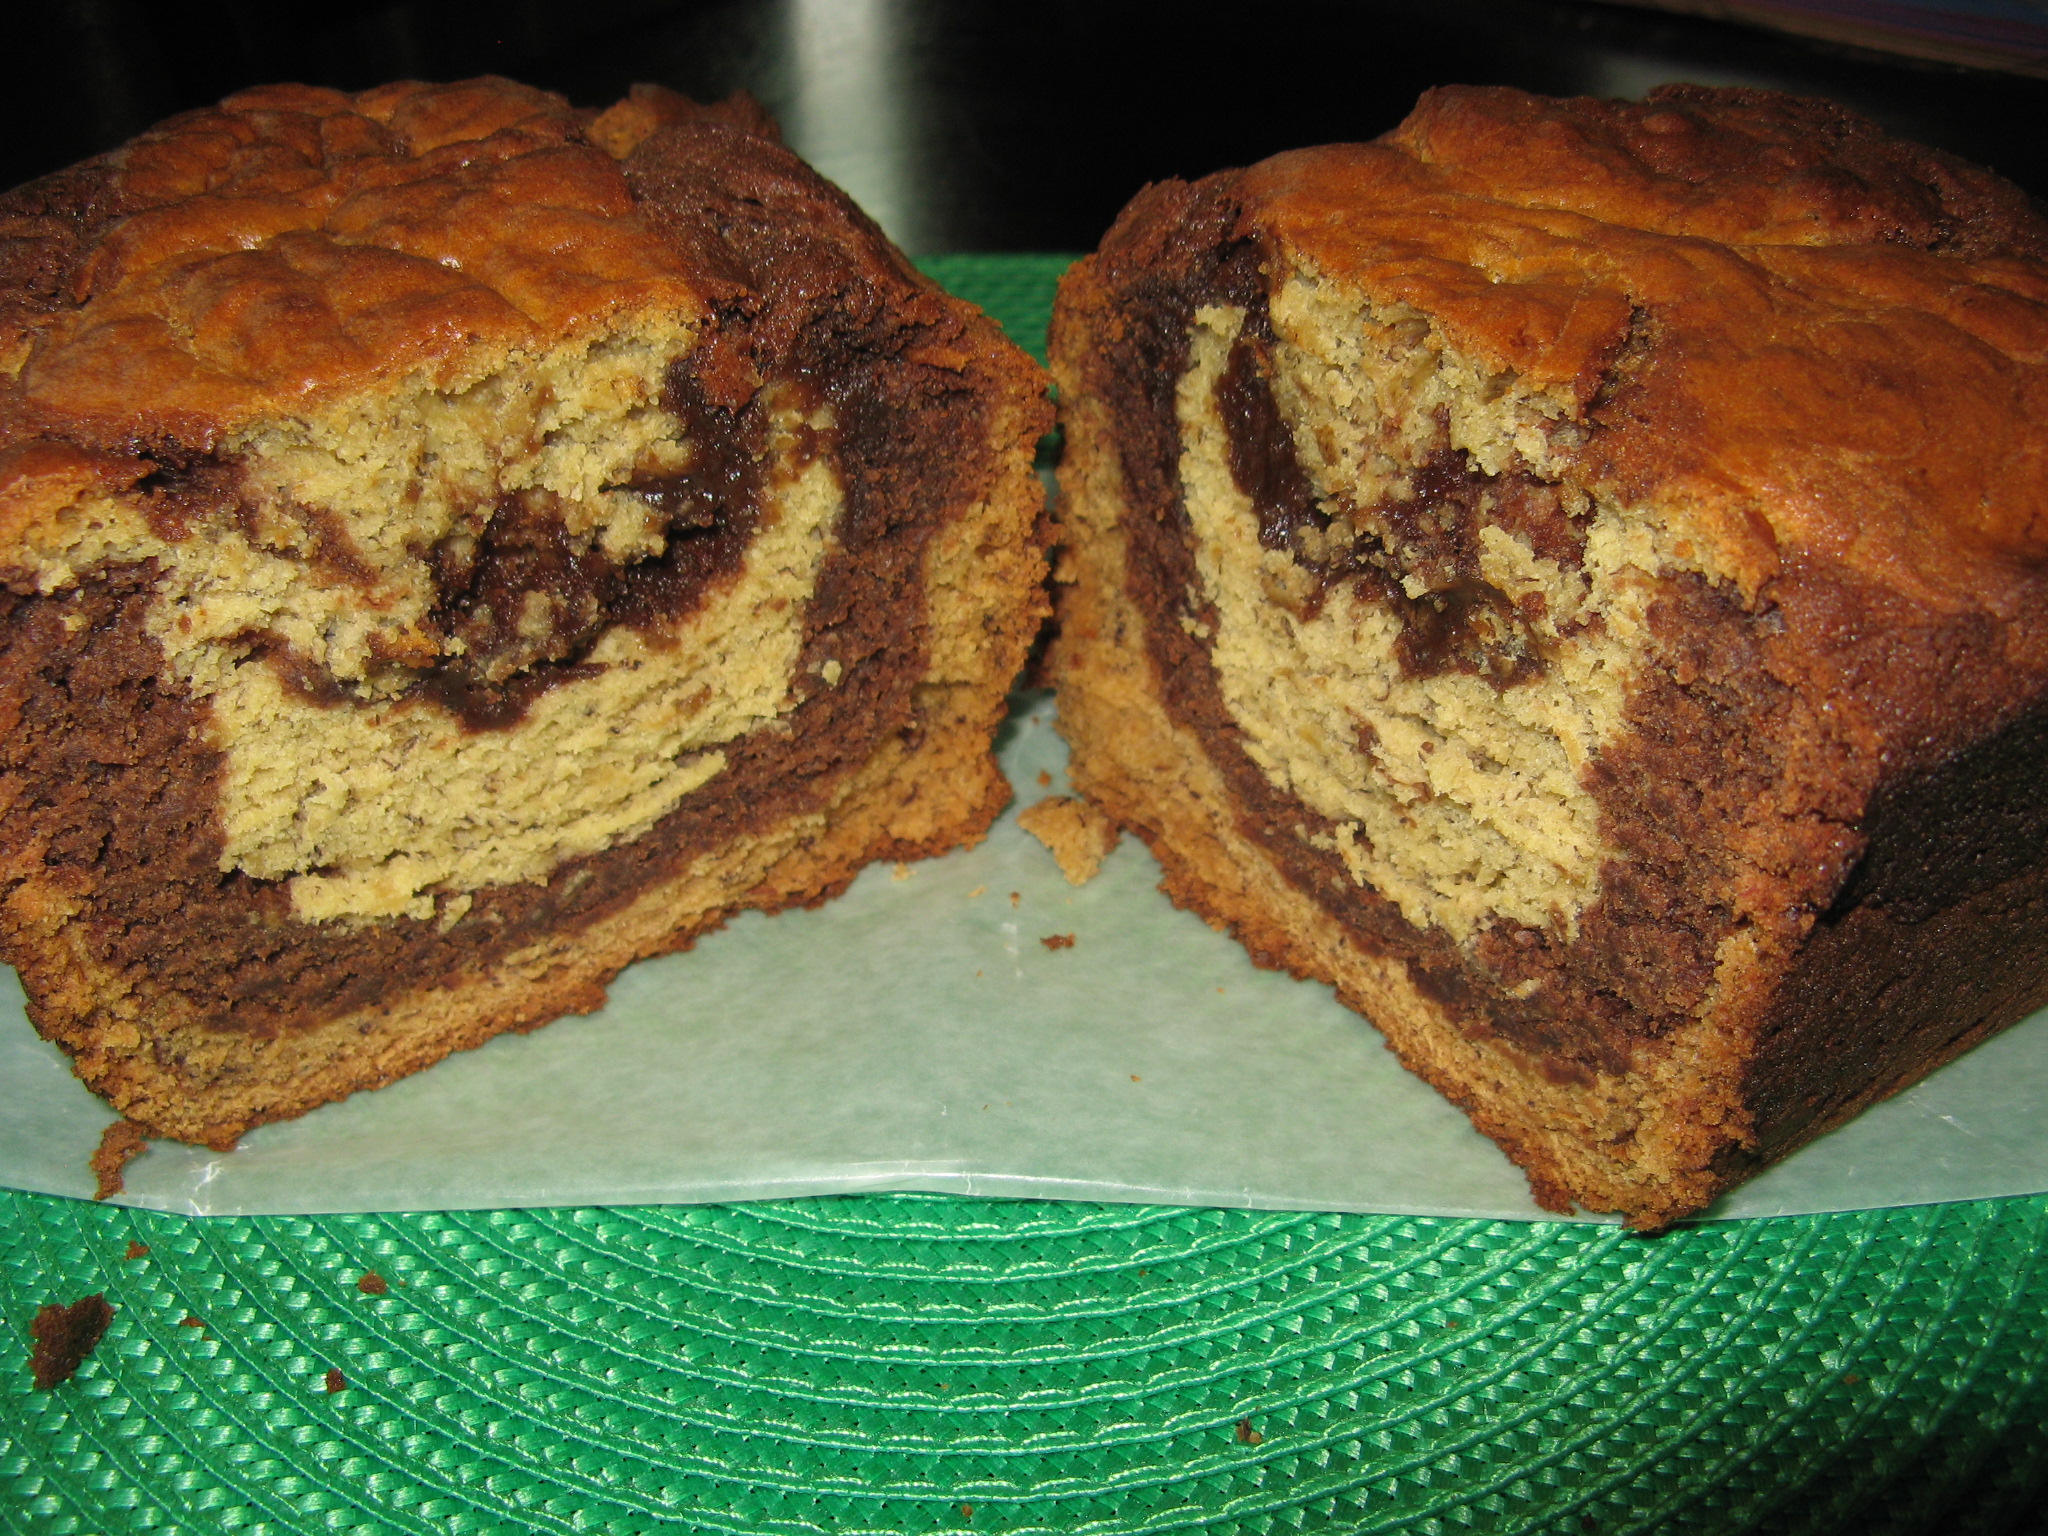
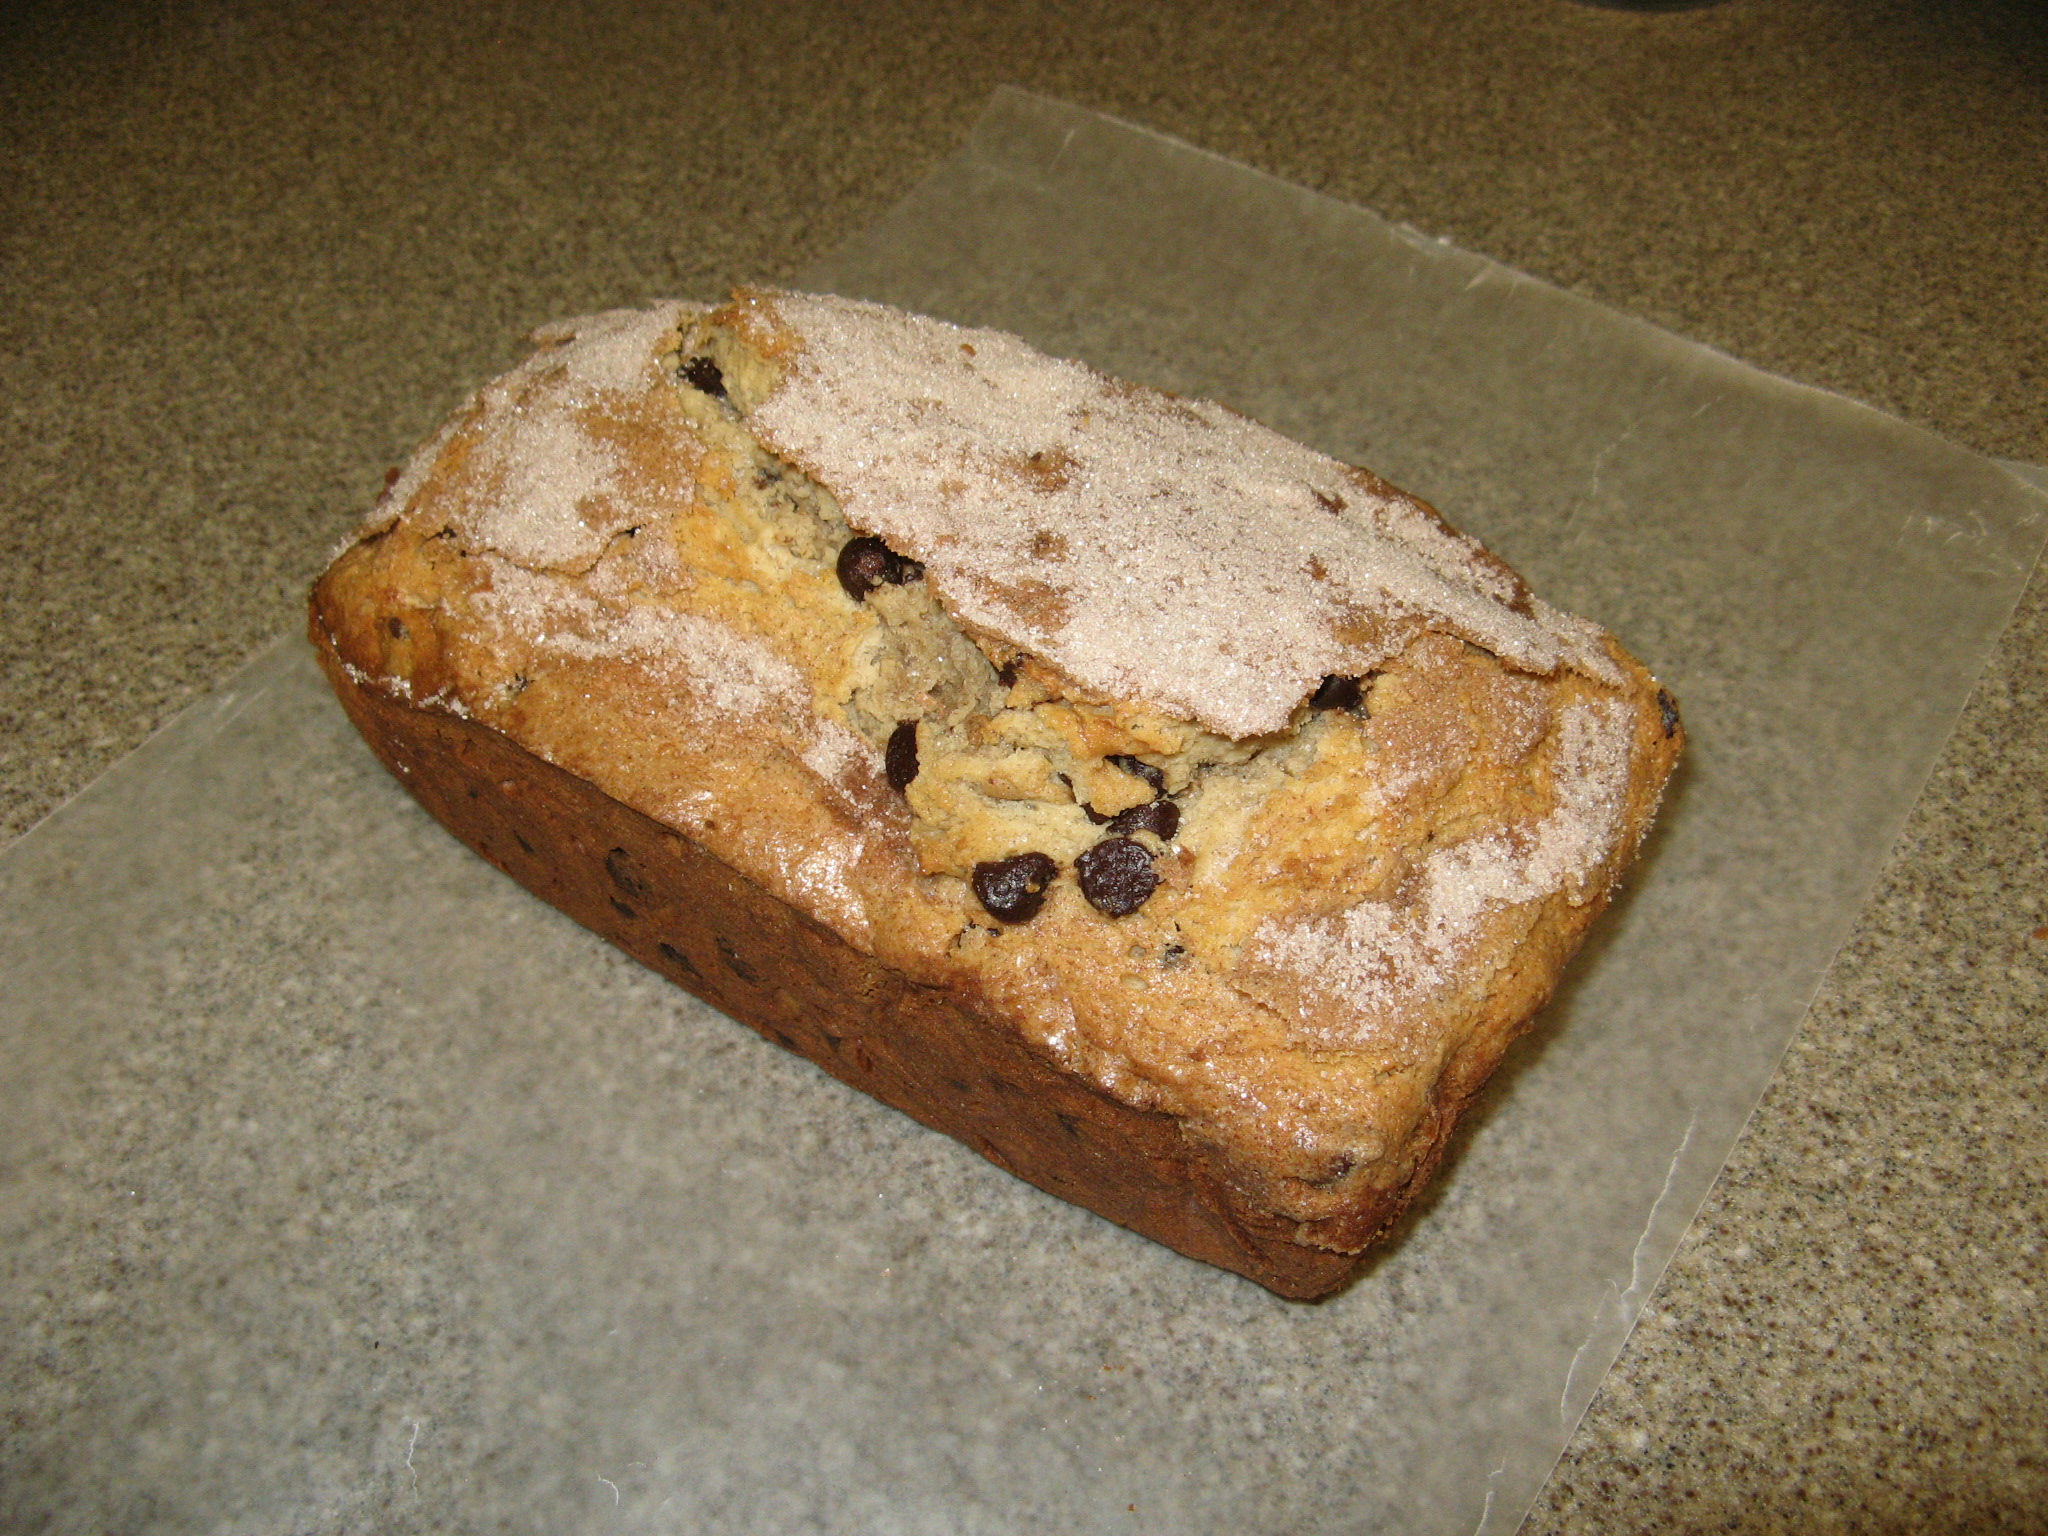
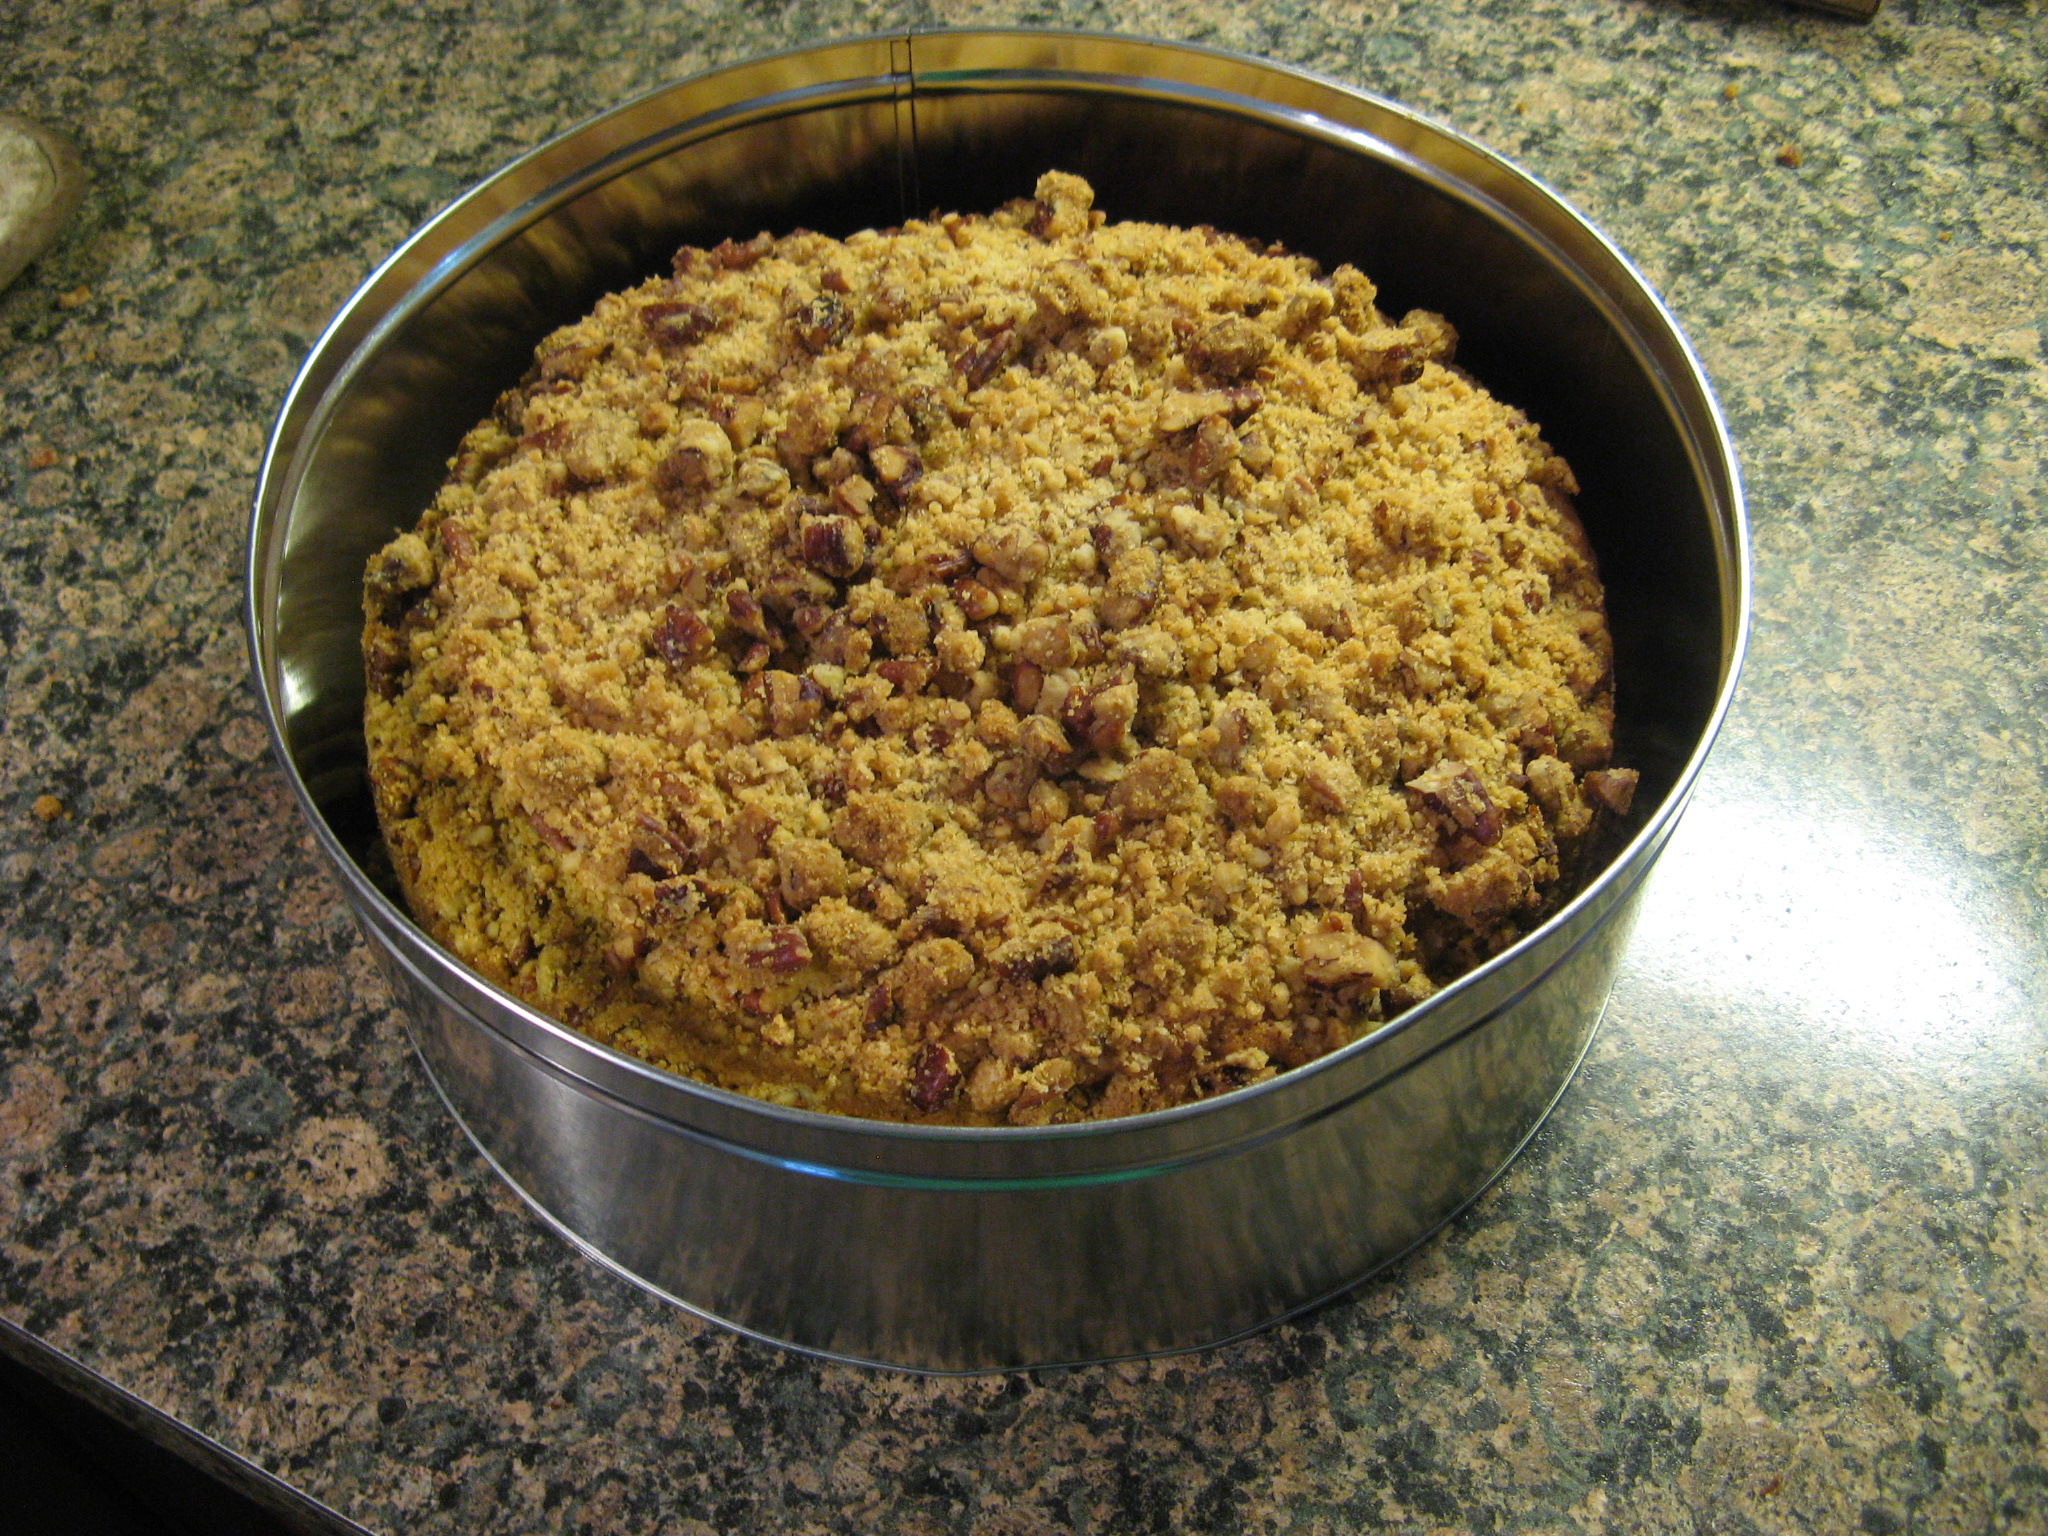
I baked the cake in a preheated 325F oven for 90 minutes, covering the cake with foil for the last 15 minutes so the streusel topping wouldn’t brown too much. It looked amazing when I took it out of the oven.
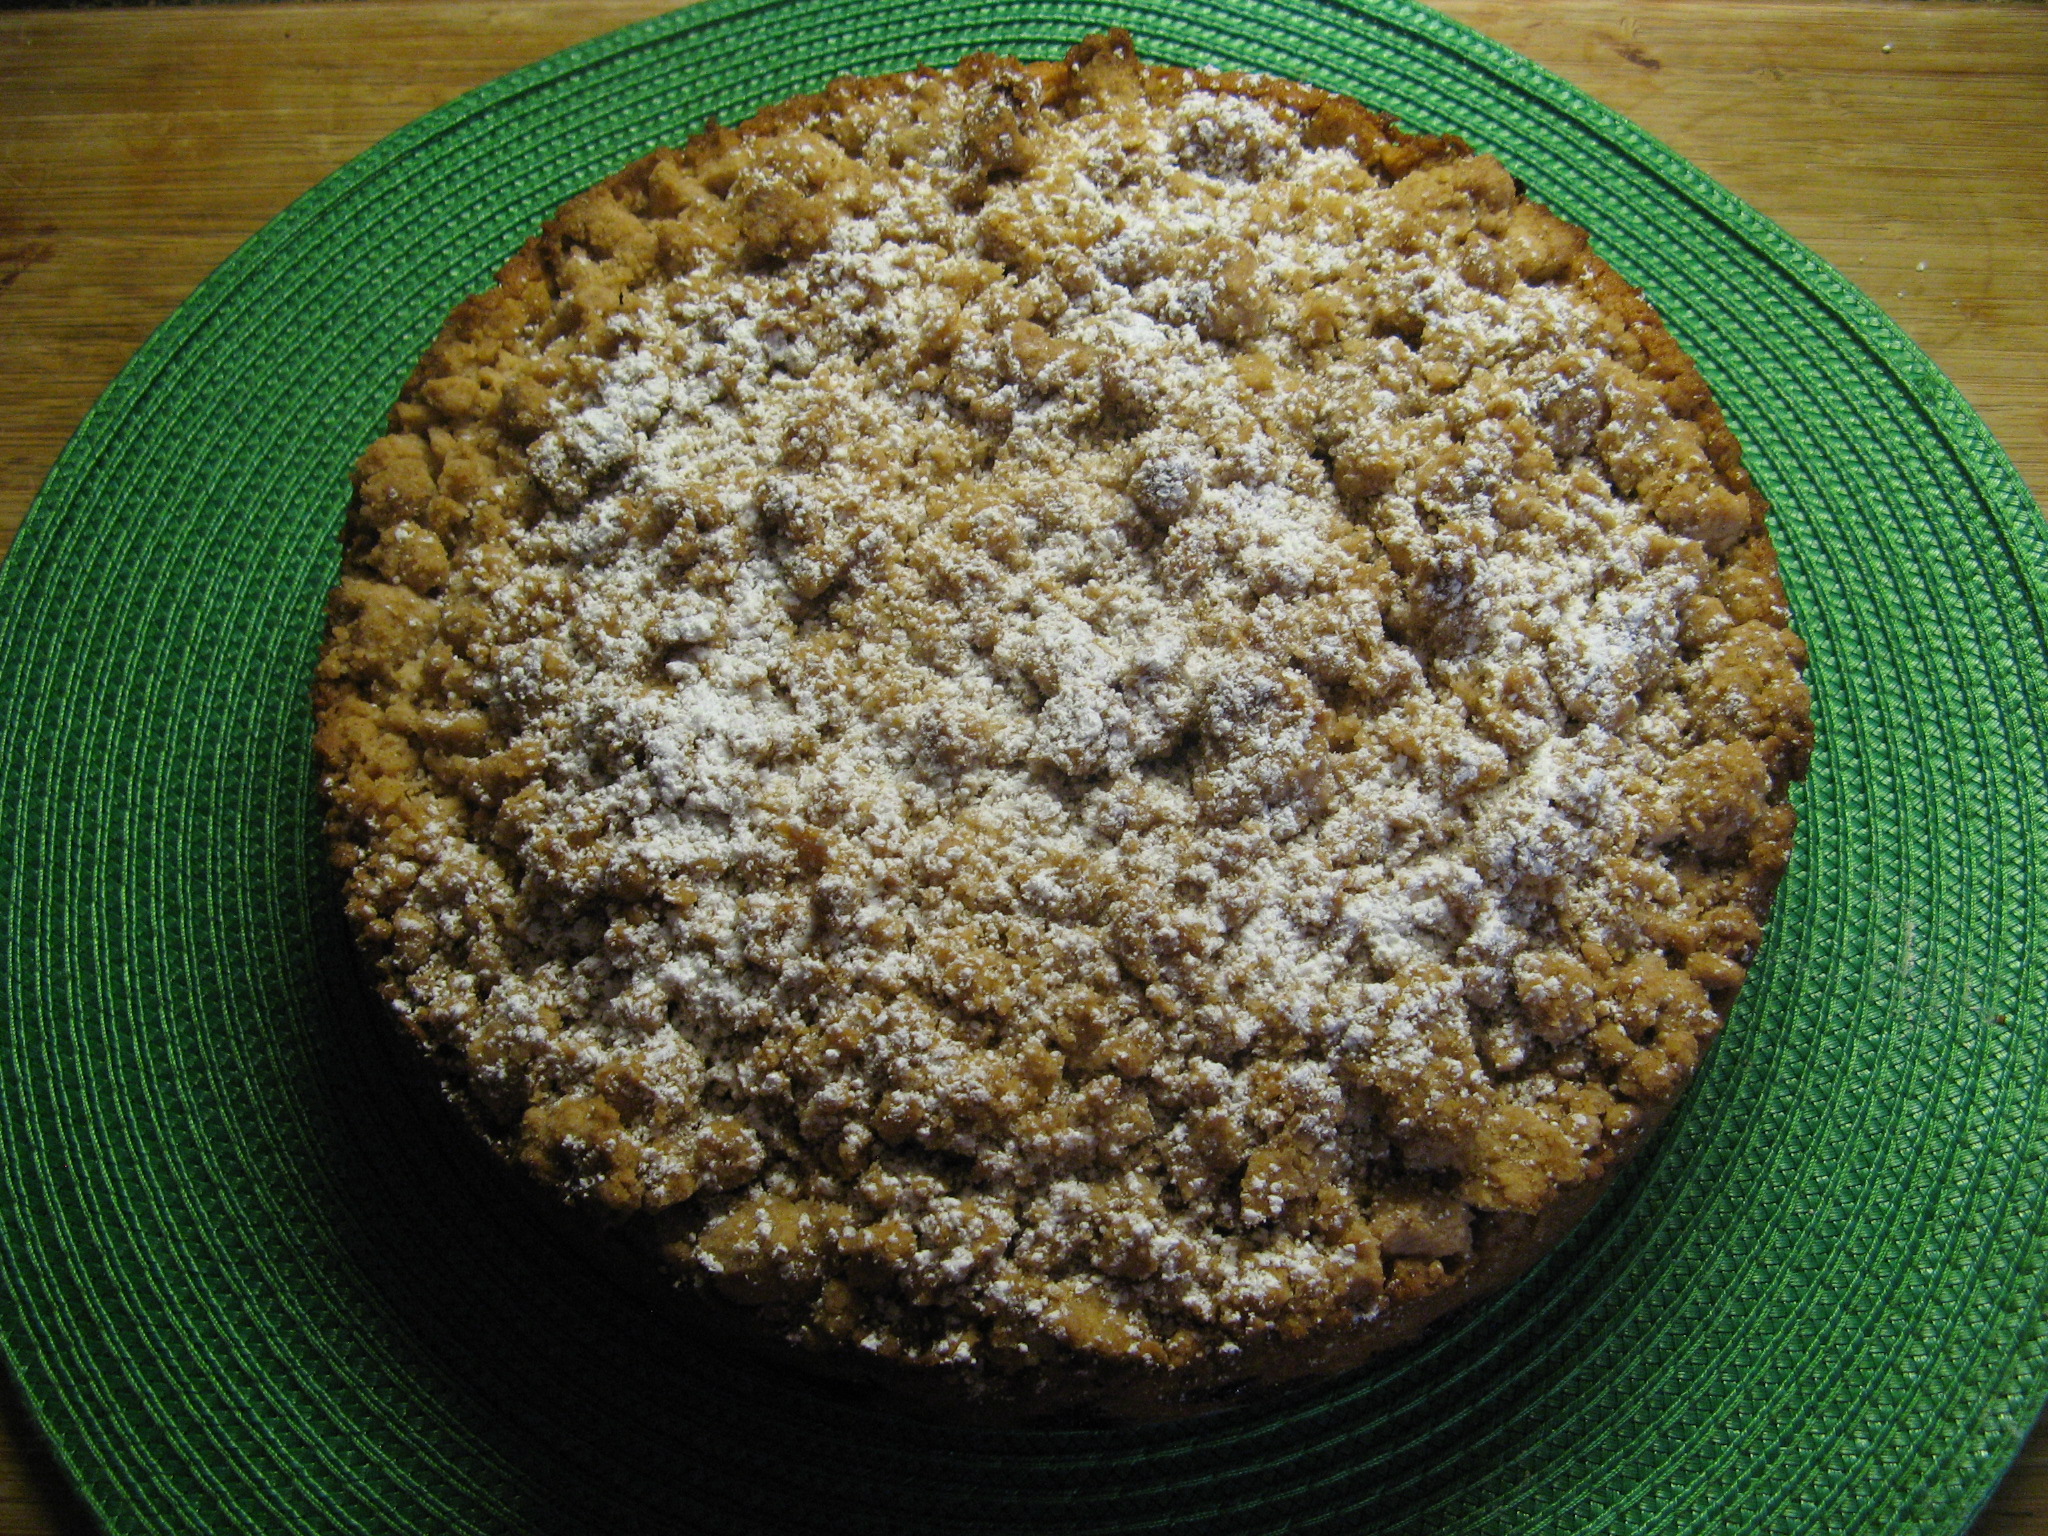
I let it cool for a bit before placing it inside of a tin.
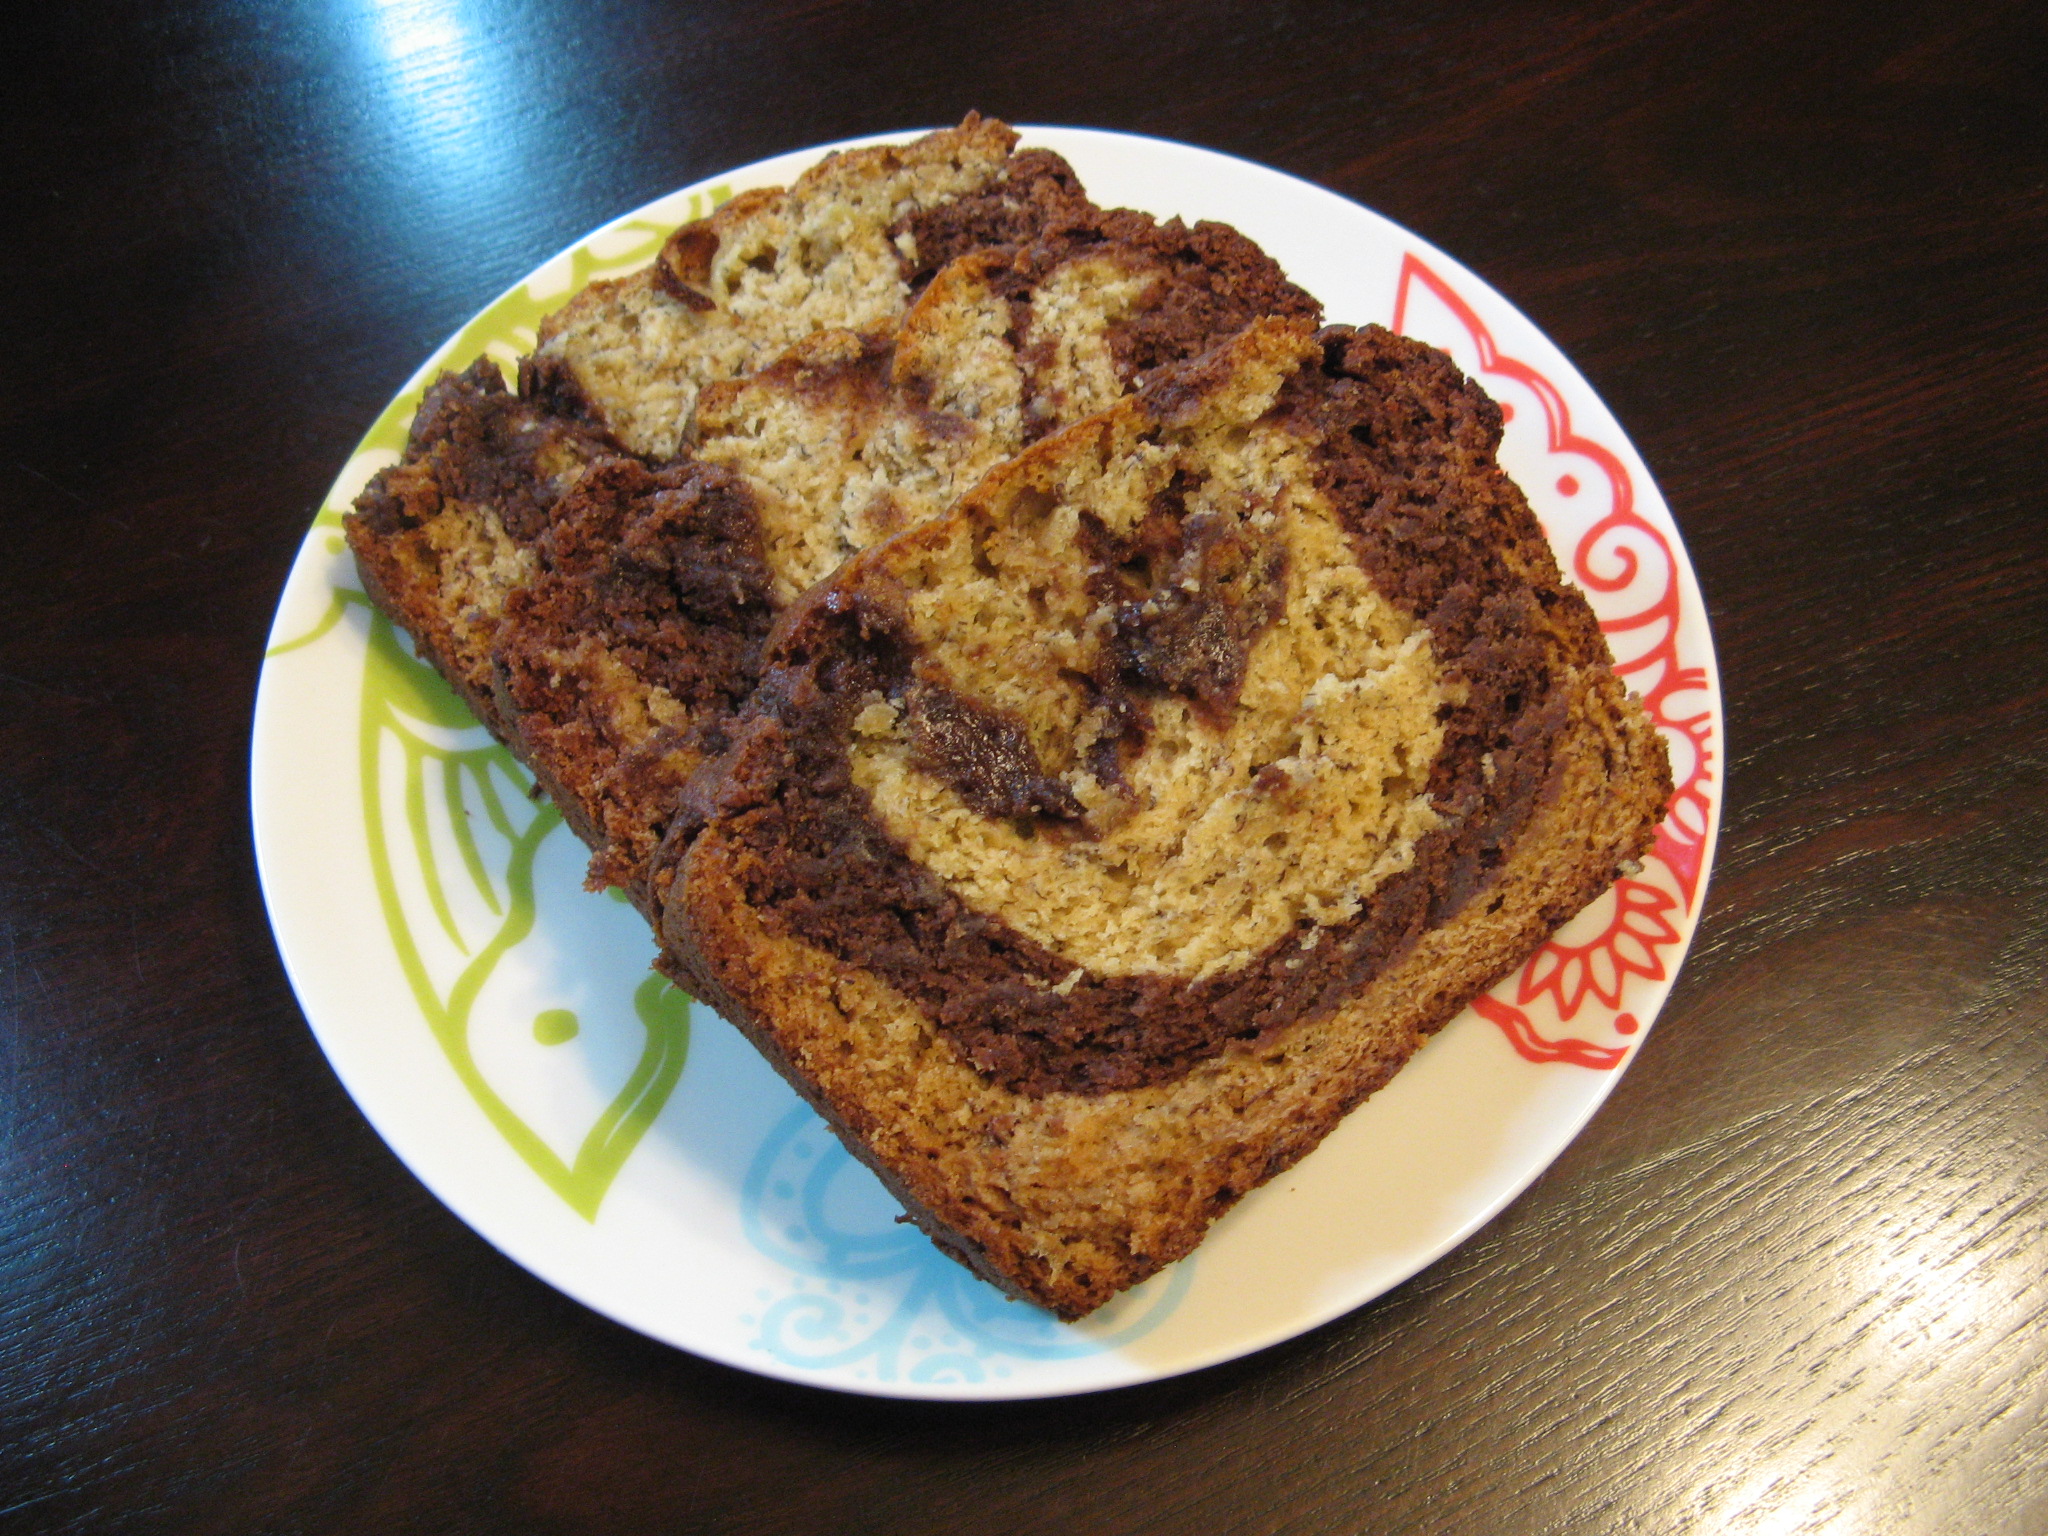
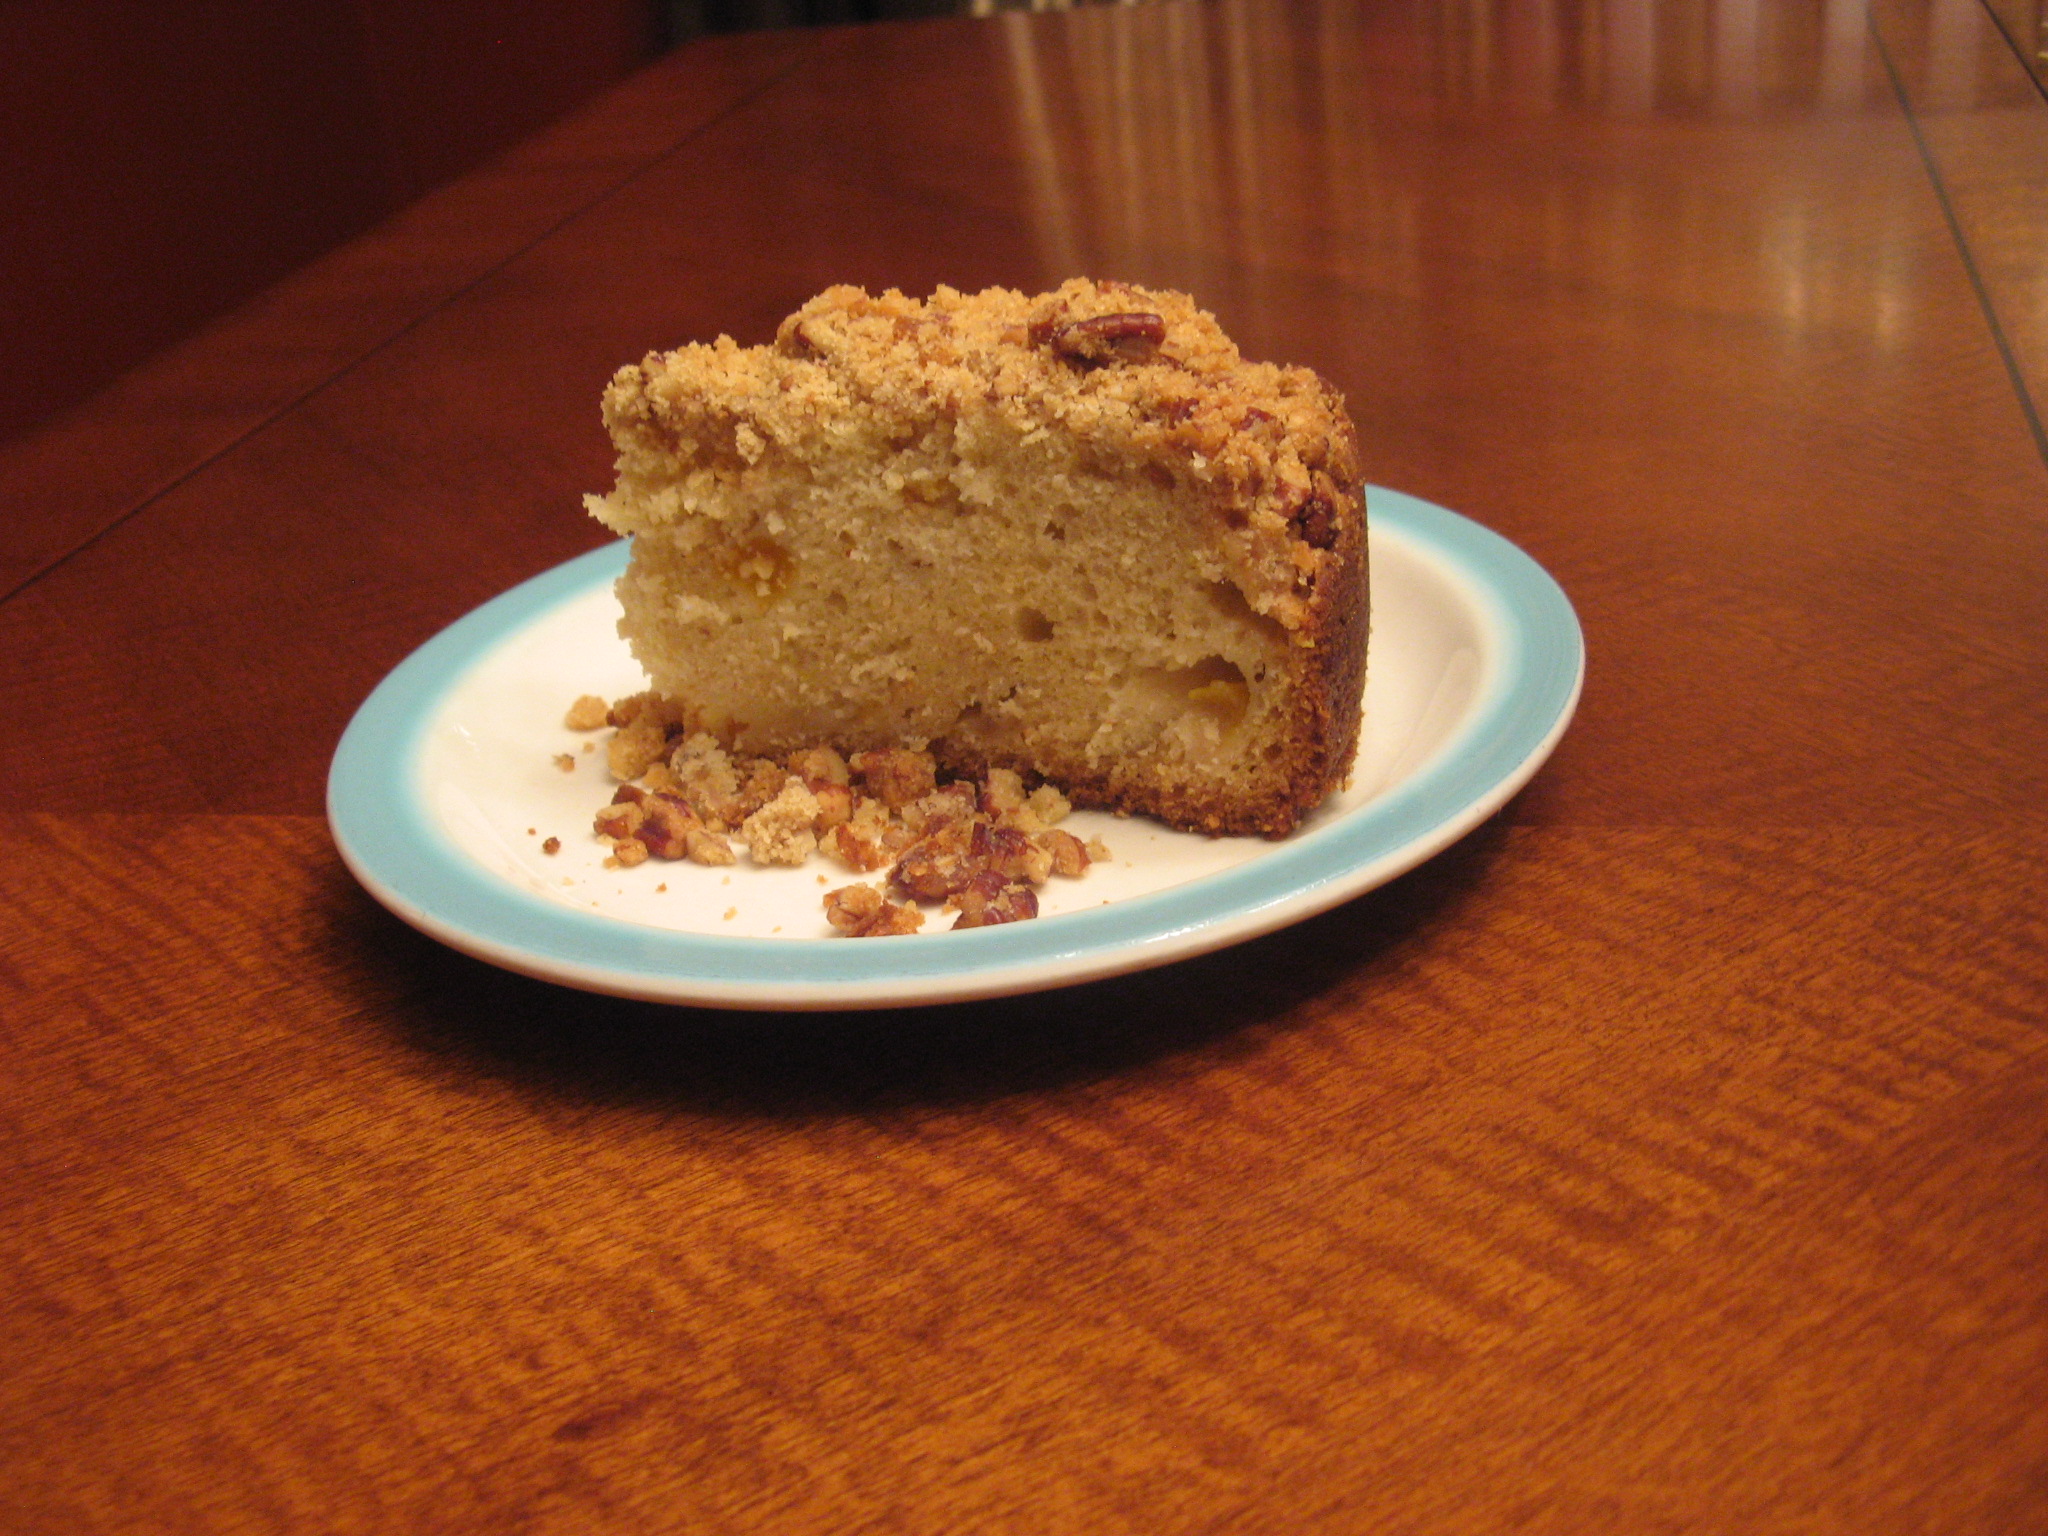
And although it was meant for someone else, I did end up trying a piece and overall it was quite good, but, I think next time I’ll use fresh peaches instead.
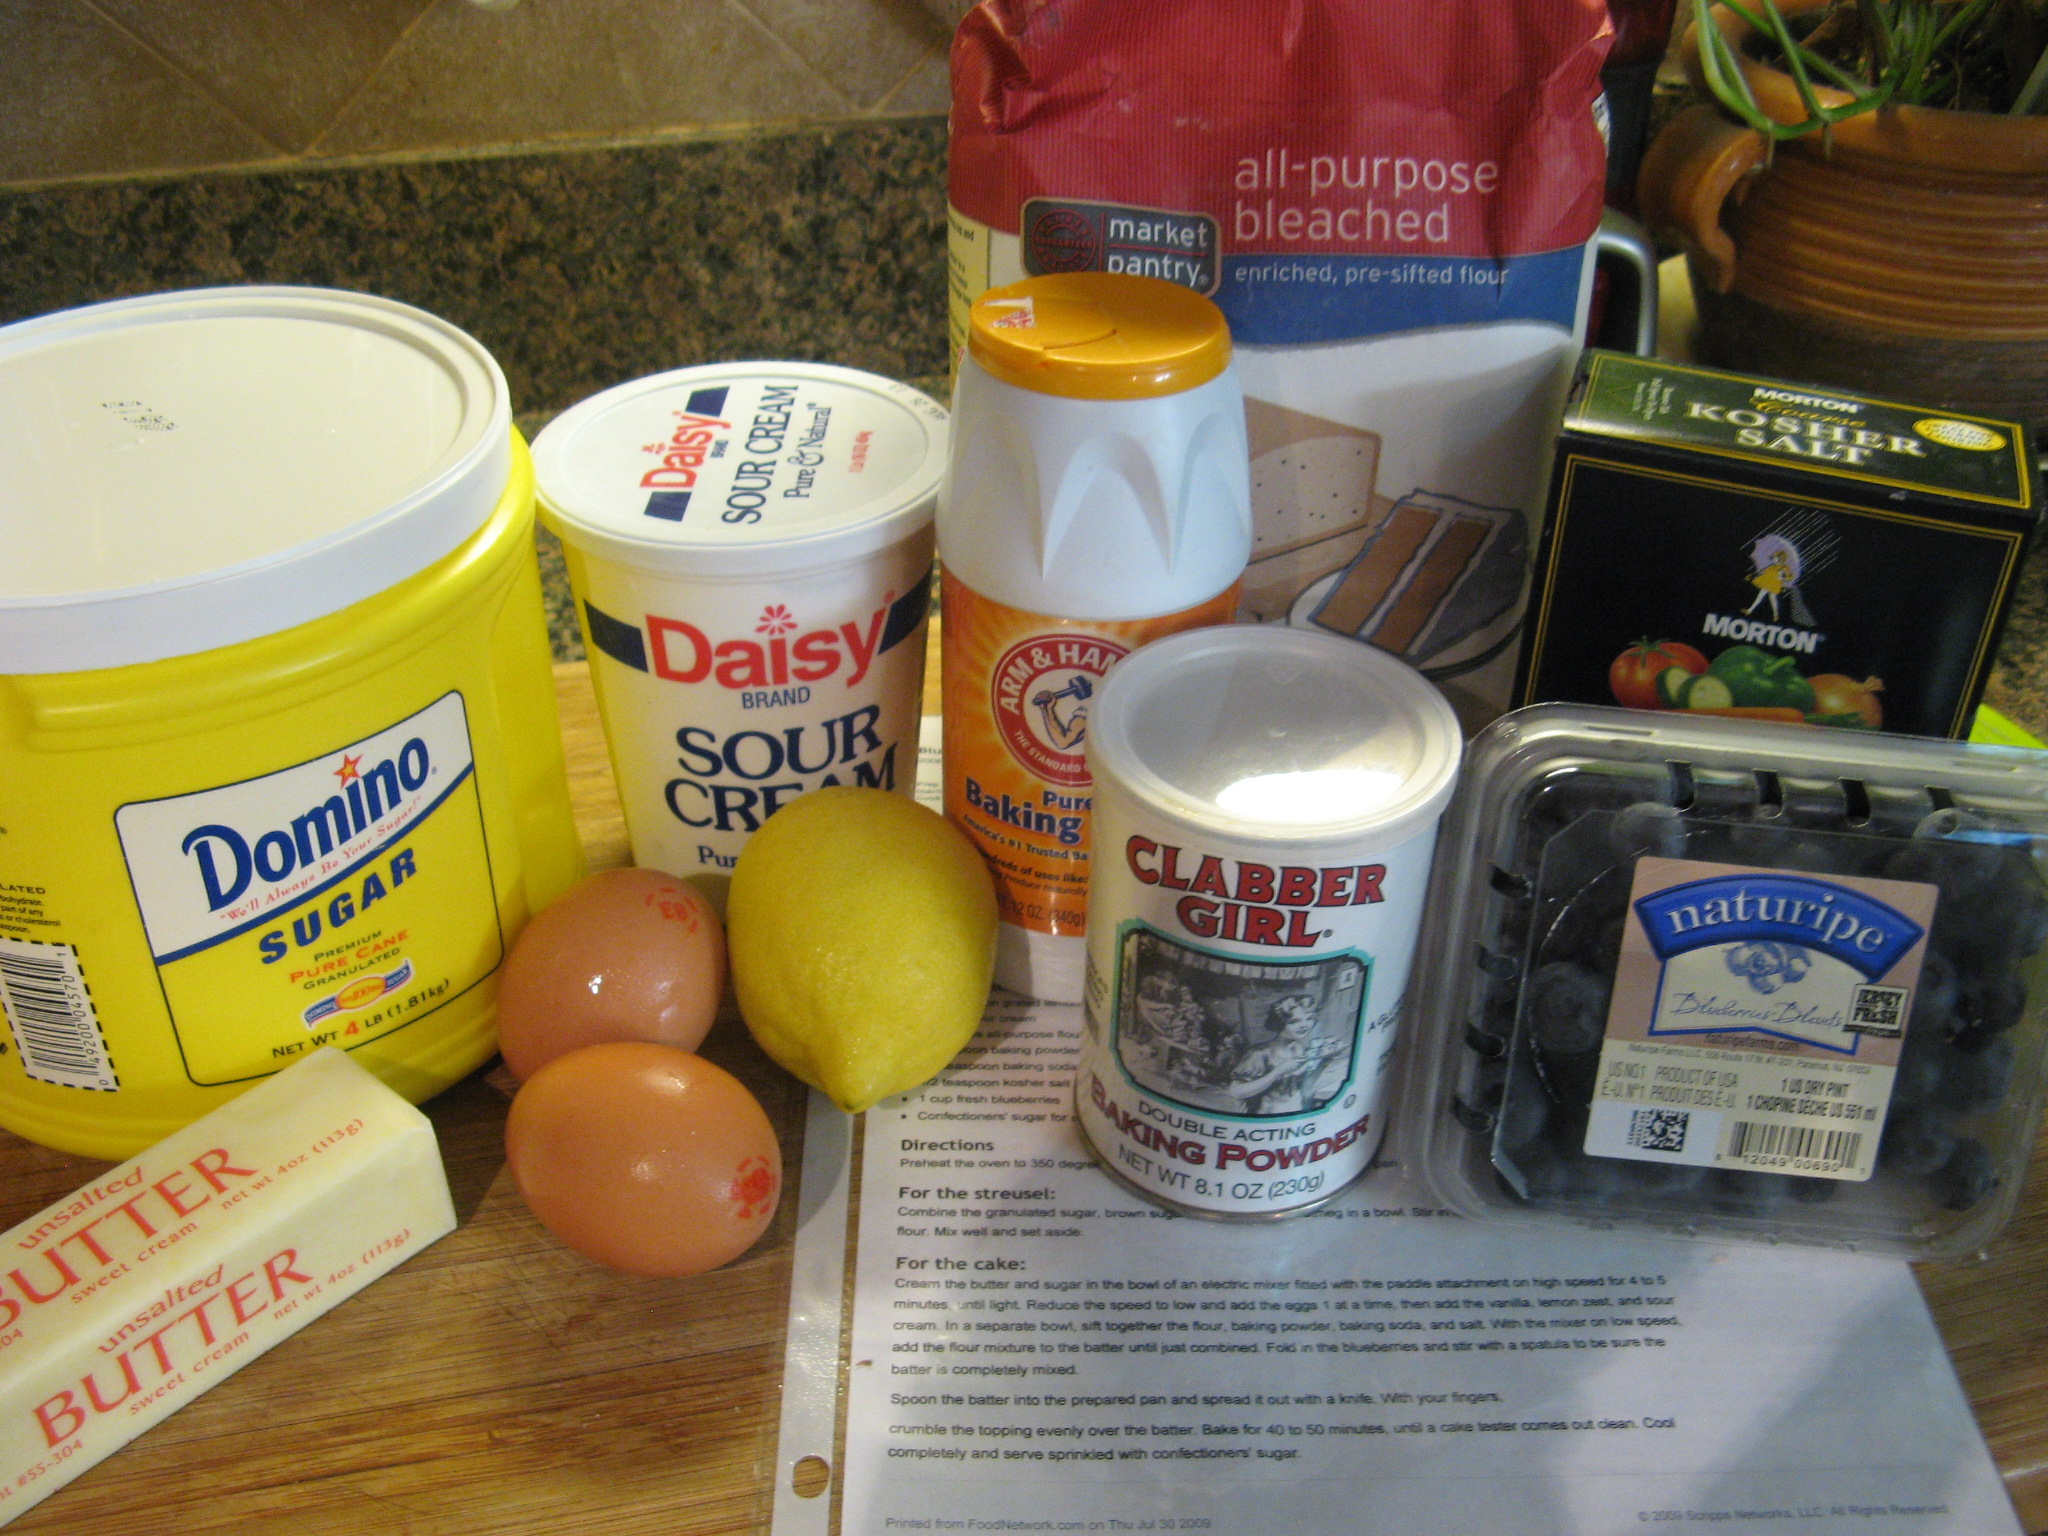
Ingredients
Streusel
1/2 cup all-purpose flour
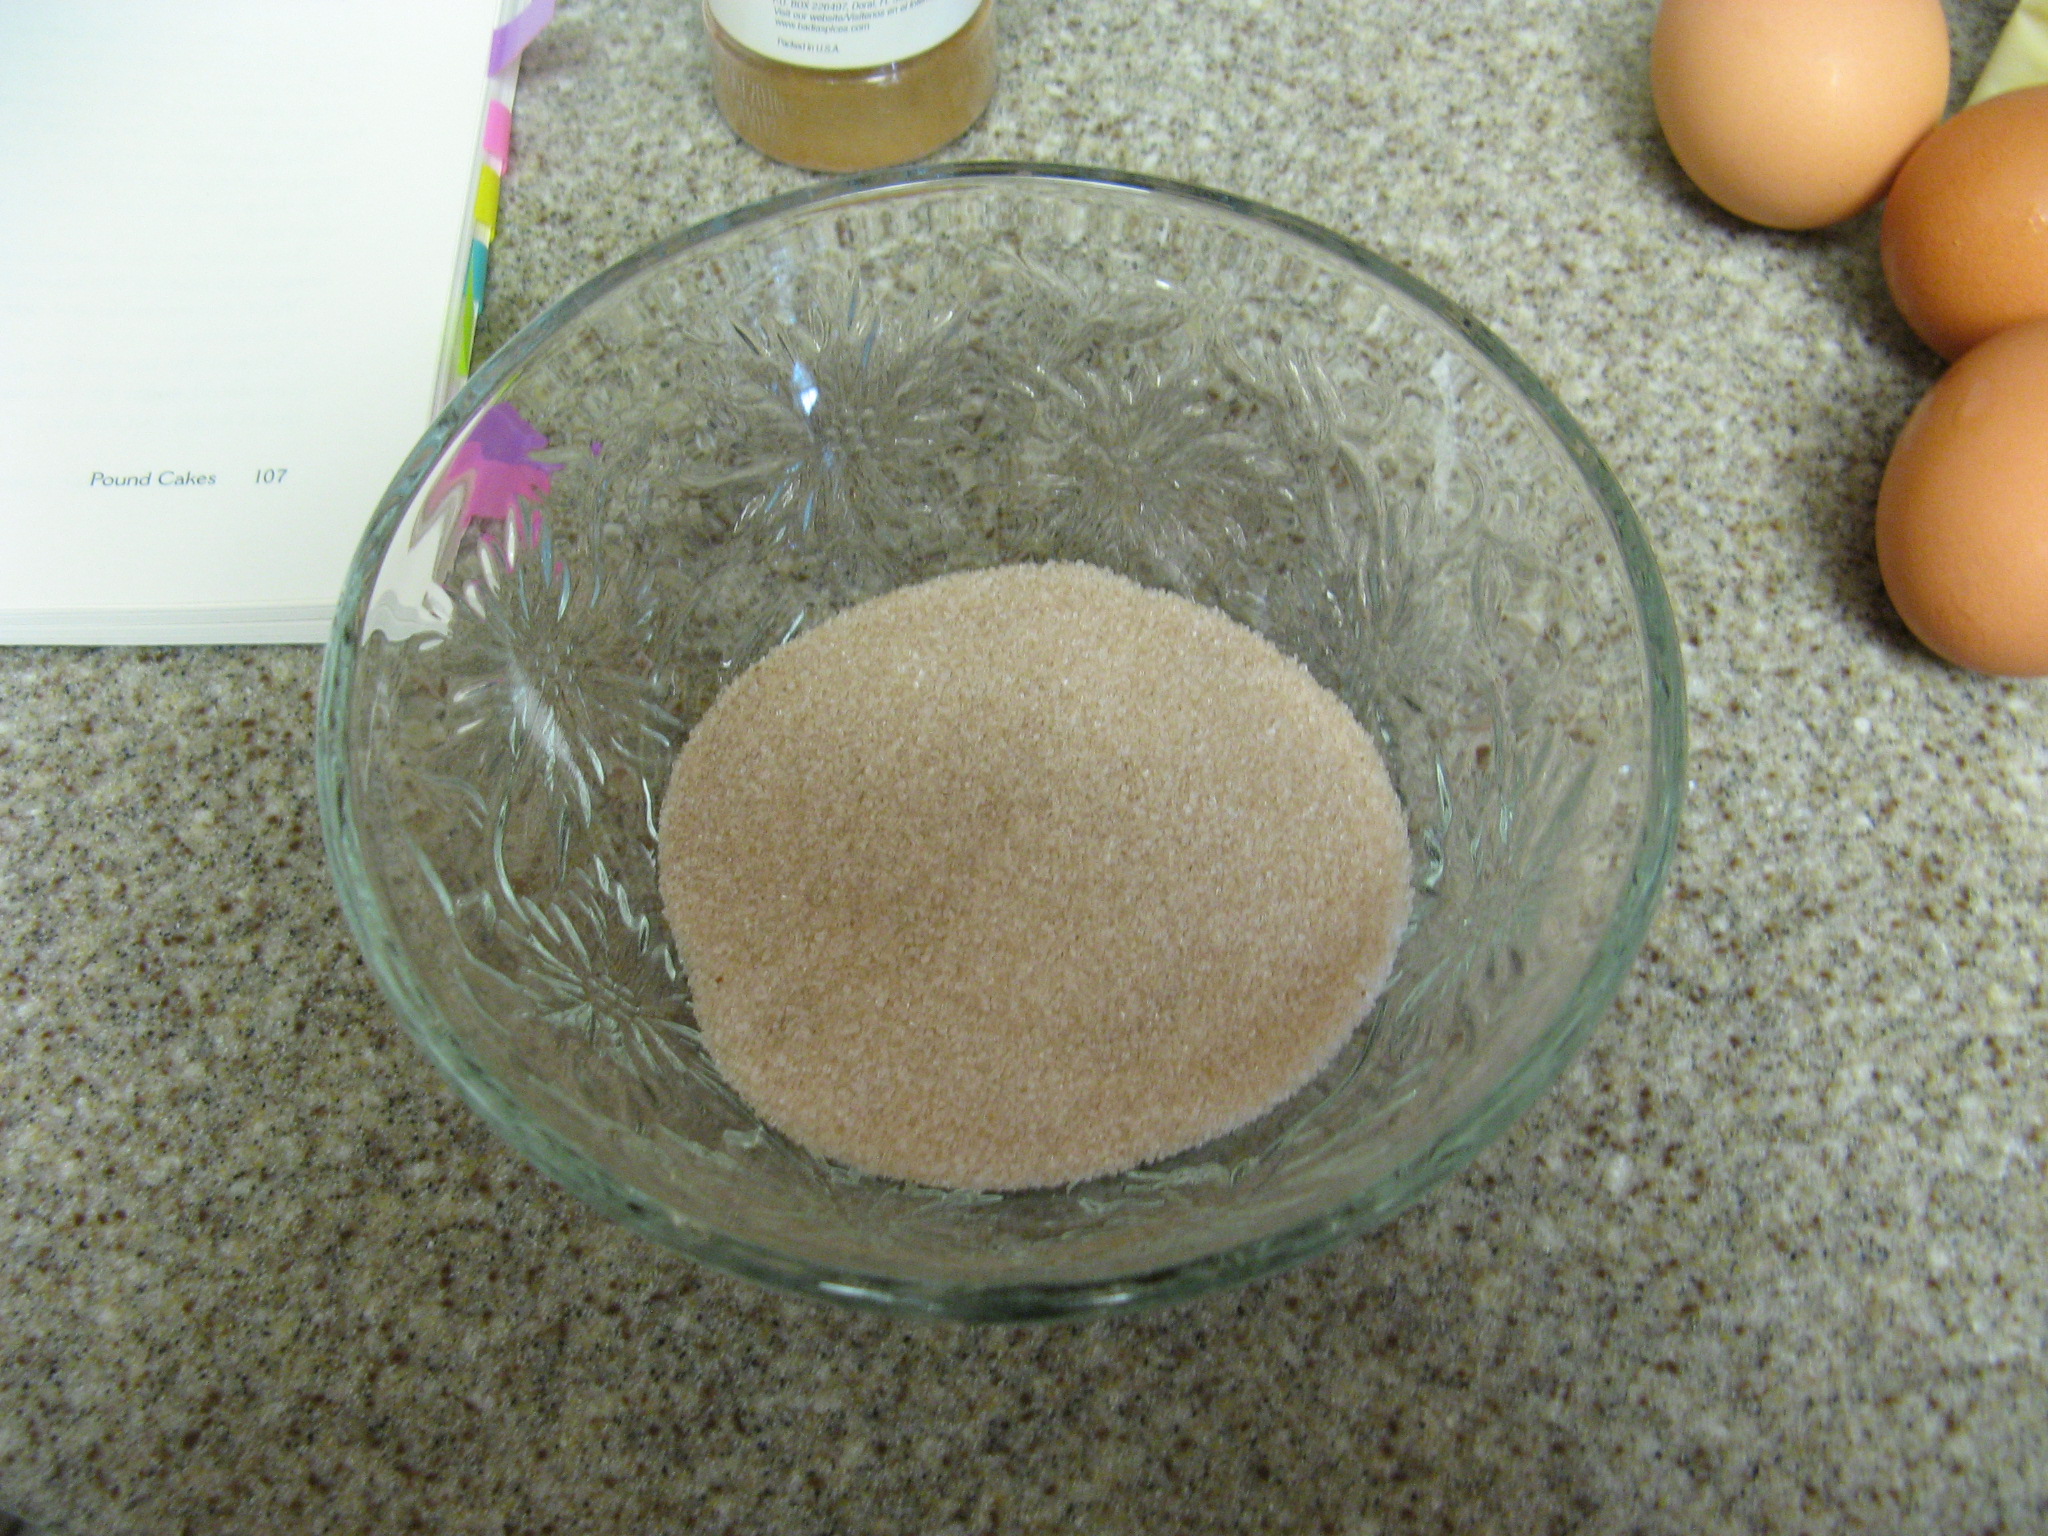
1/4 cup packed light brown sugar
1/4 teaspoon salt
3 tablespoons unsalted butter, softened
1 cup chopped toasted pecans
Batter
2 cups all-purpose flour
1 teaspoon baking powder
1 teaspoon baking soda
1/2 teaspoon salt
1 stick unsalted butter, softened
1 cup sugar
2 large eggs
1 cup sour cream
2 teaspoons vanilla extract
One 10-ounce bag frozen peaches, coarsely chopped
Directions
1. Preheat the oven to 325F and butter flour a 9-inch springform pan.
2. Make the Streusel: In a bowl using your fingers, combine the flour, brown sugar, and salt. Add the butter and mix until smooth. Add the pecans; press the mixture into clumps.
3. Make the Batter: In a bowl, whisk together the flour, baking powder, baking soda and salt. In a large bowl, beat the butter and sugar at medium-high speed until light, 3 minutes. Beat in the eggs one at a time; beat in the sour cream and vanilla. Add the dry ingredients and beat at a low speed until incorporated.
4. Spread two-thirds of the batter in the pan. Fold the peaches into the remaining batter and spoon into the pan. Scatter the streusel crumbs on top. Bake the cake for 1 hour and 30 minutes, or until a toothpick inserted in the center comes out clean; loosely cover the cake foil for the last 15 minutes of baking. Transfer to a rack and cool for 30 minutes them remove the ring and let the cake cool completely before serving.