Carrot Cake For Two…

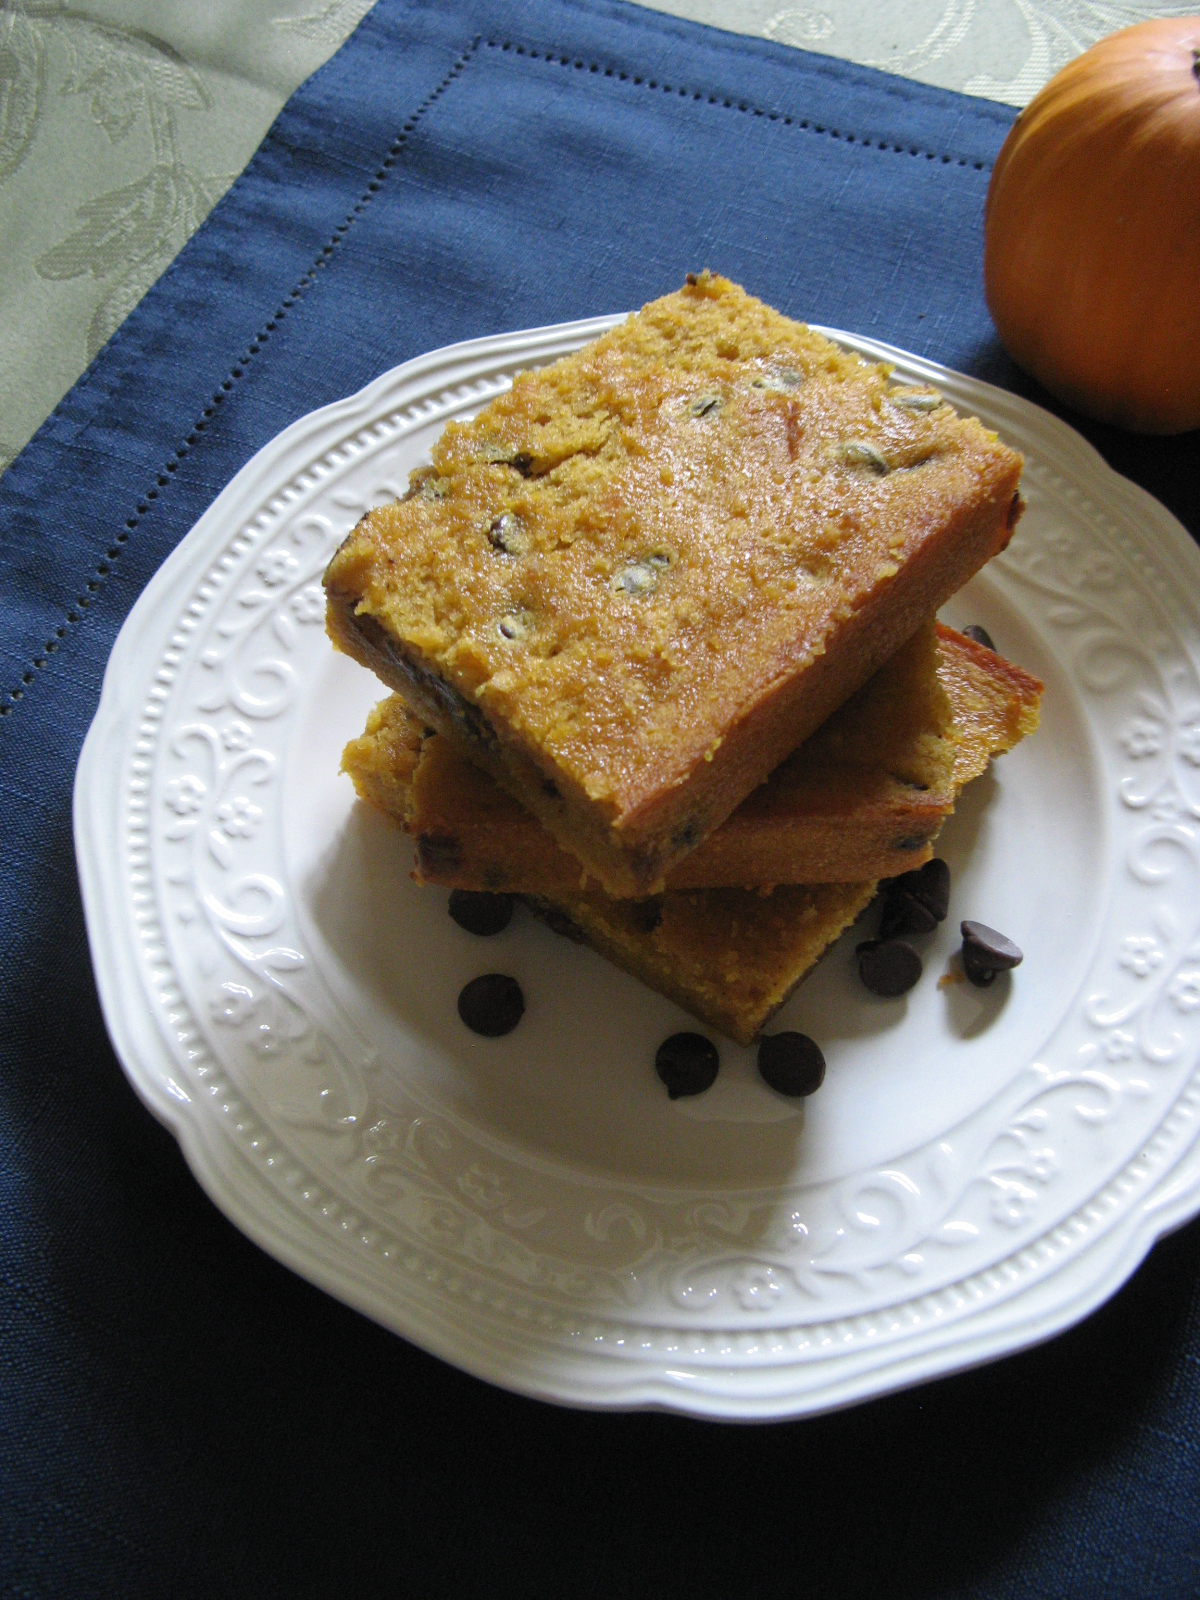
Or dessert for One for two days! I love carrot cake, but, truth be told it’s a lot of work to make for just me alone to eat. Okay, it’s really not a lot of work; it’s a lot of cake for me alone. But, I recently came across a recipe for carrot cake that resulted in two perfect-sized slices of cake, which would be great as a dessert for two or in my case dessert for one for two days… Yum! Who doesn’t love a delicious dessert two days in a row?

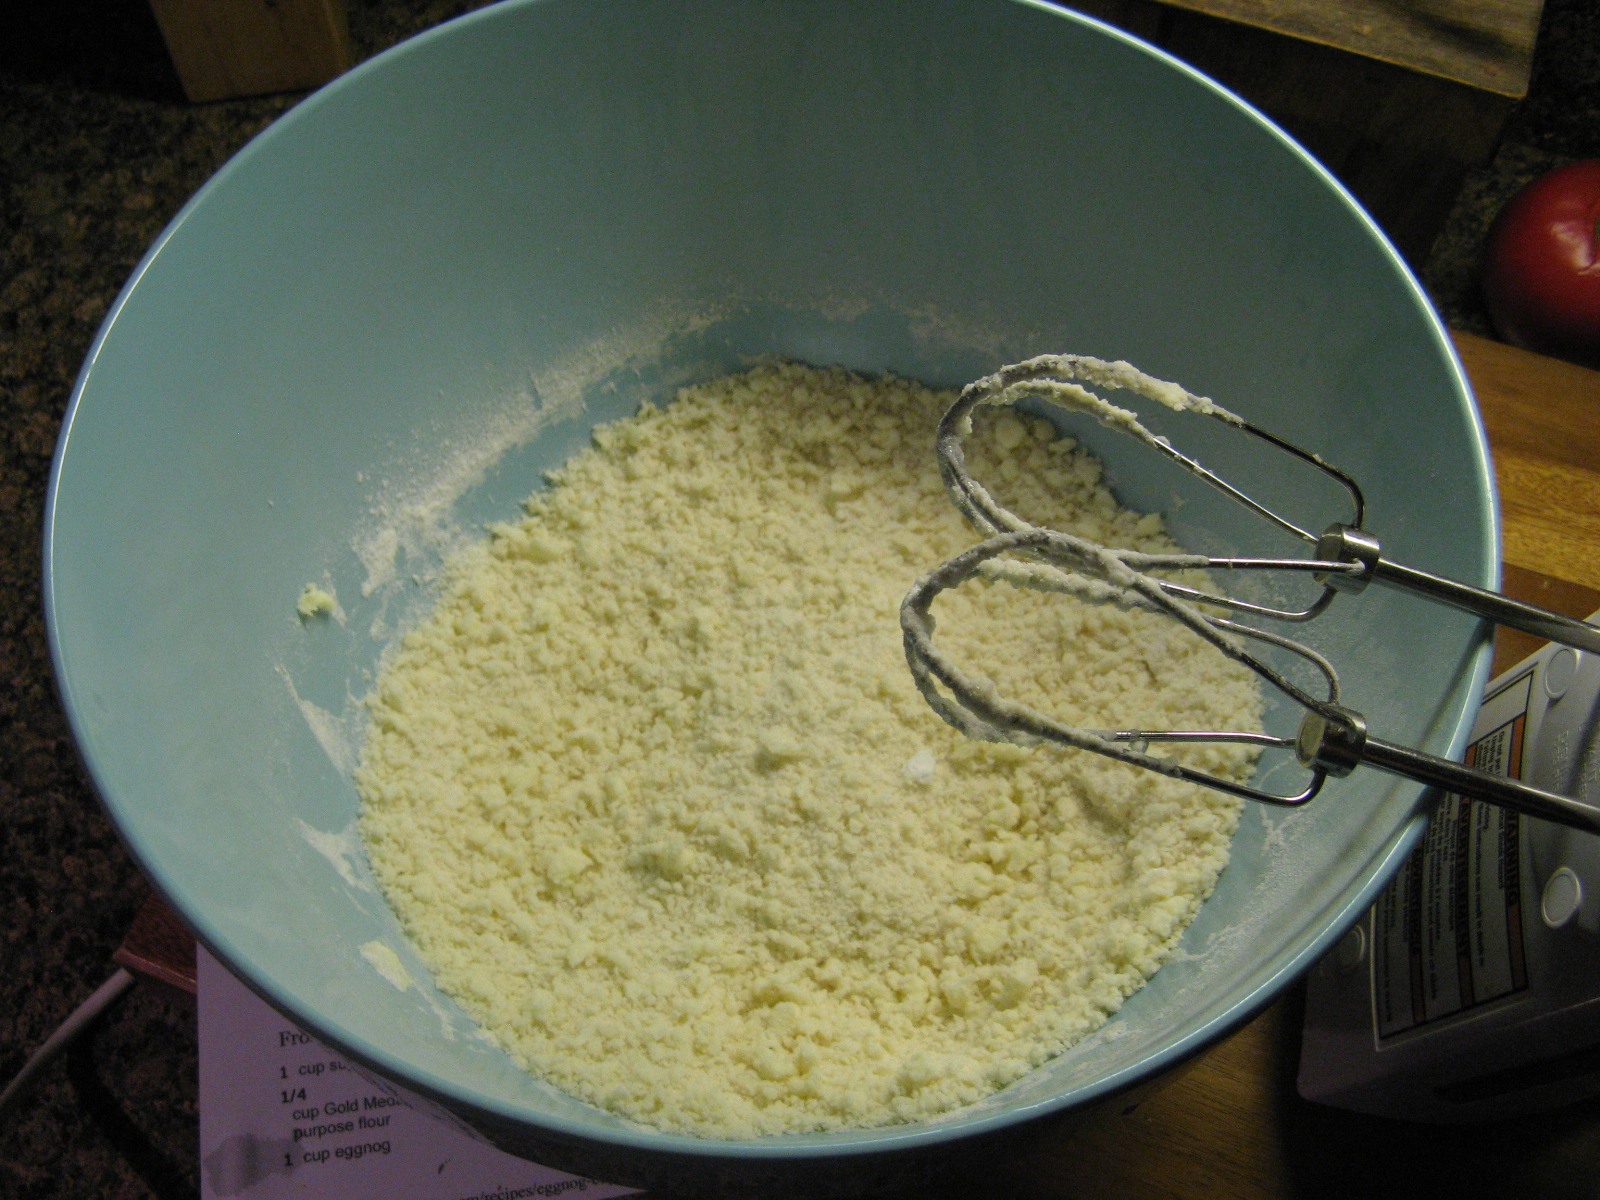
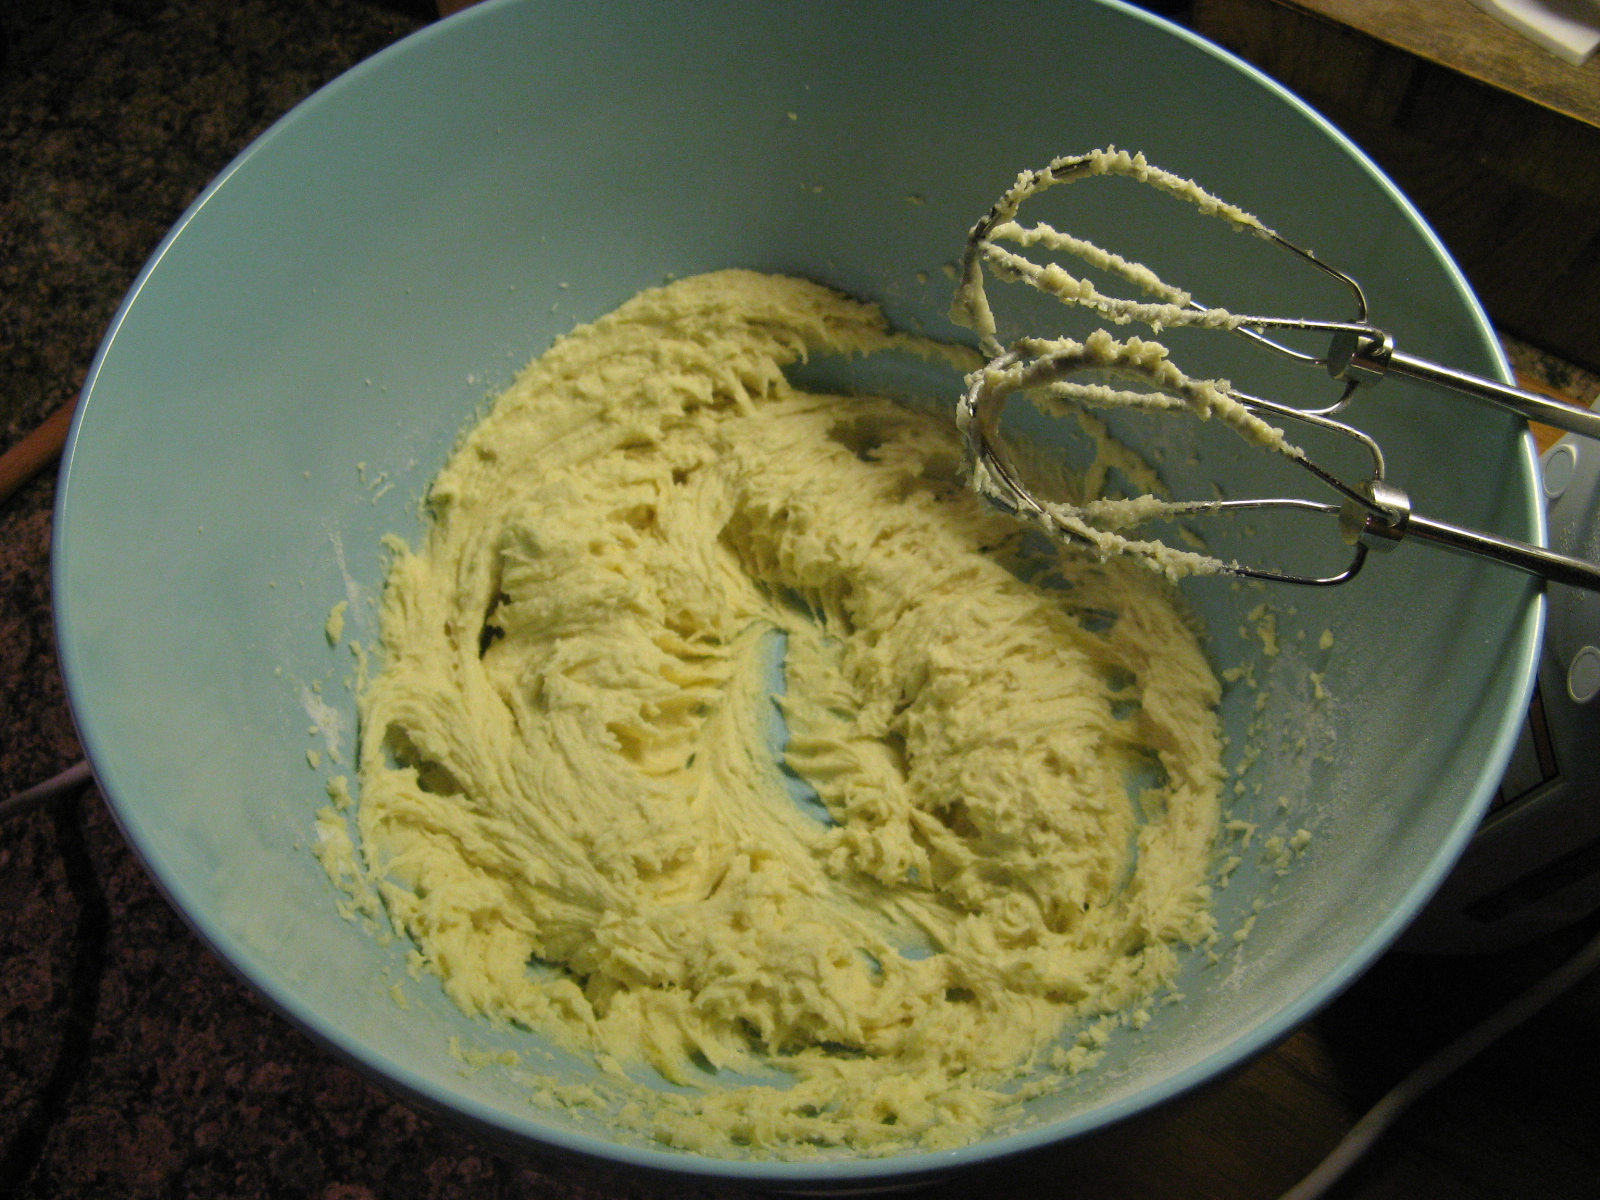
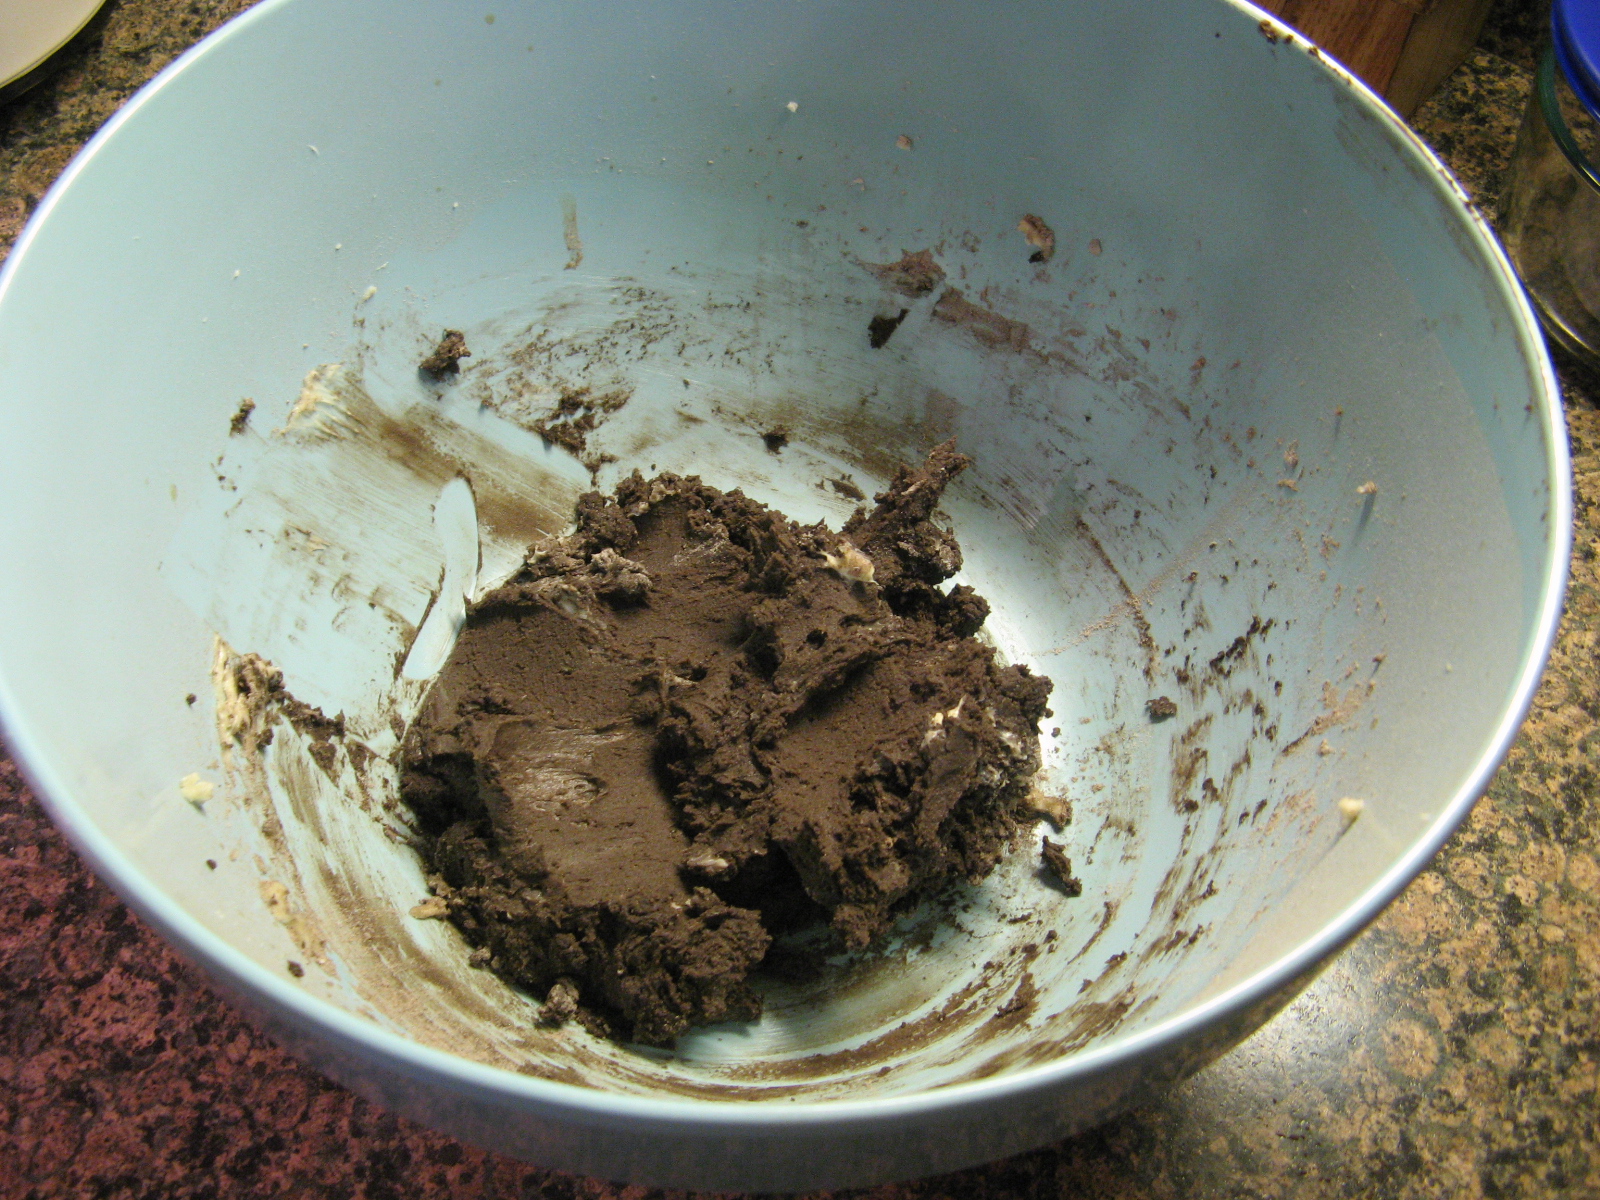
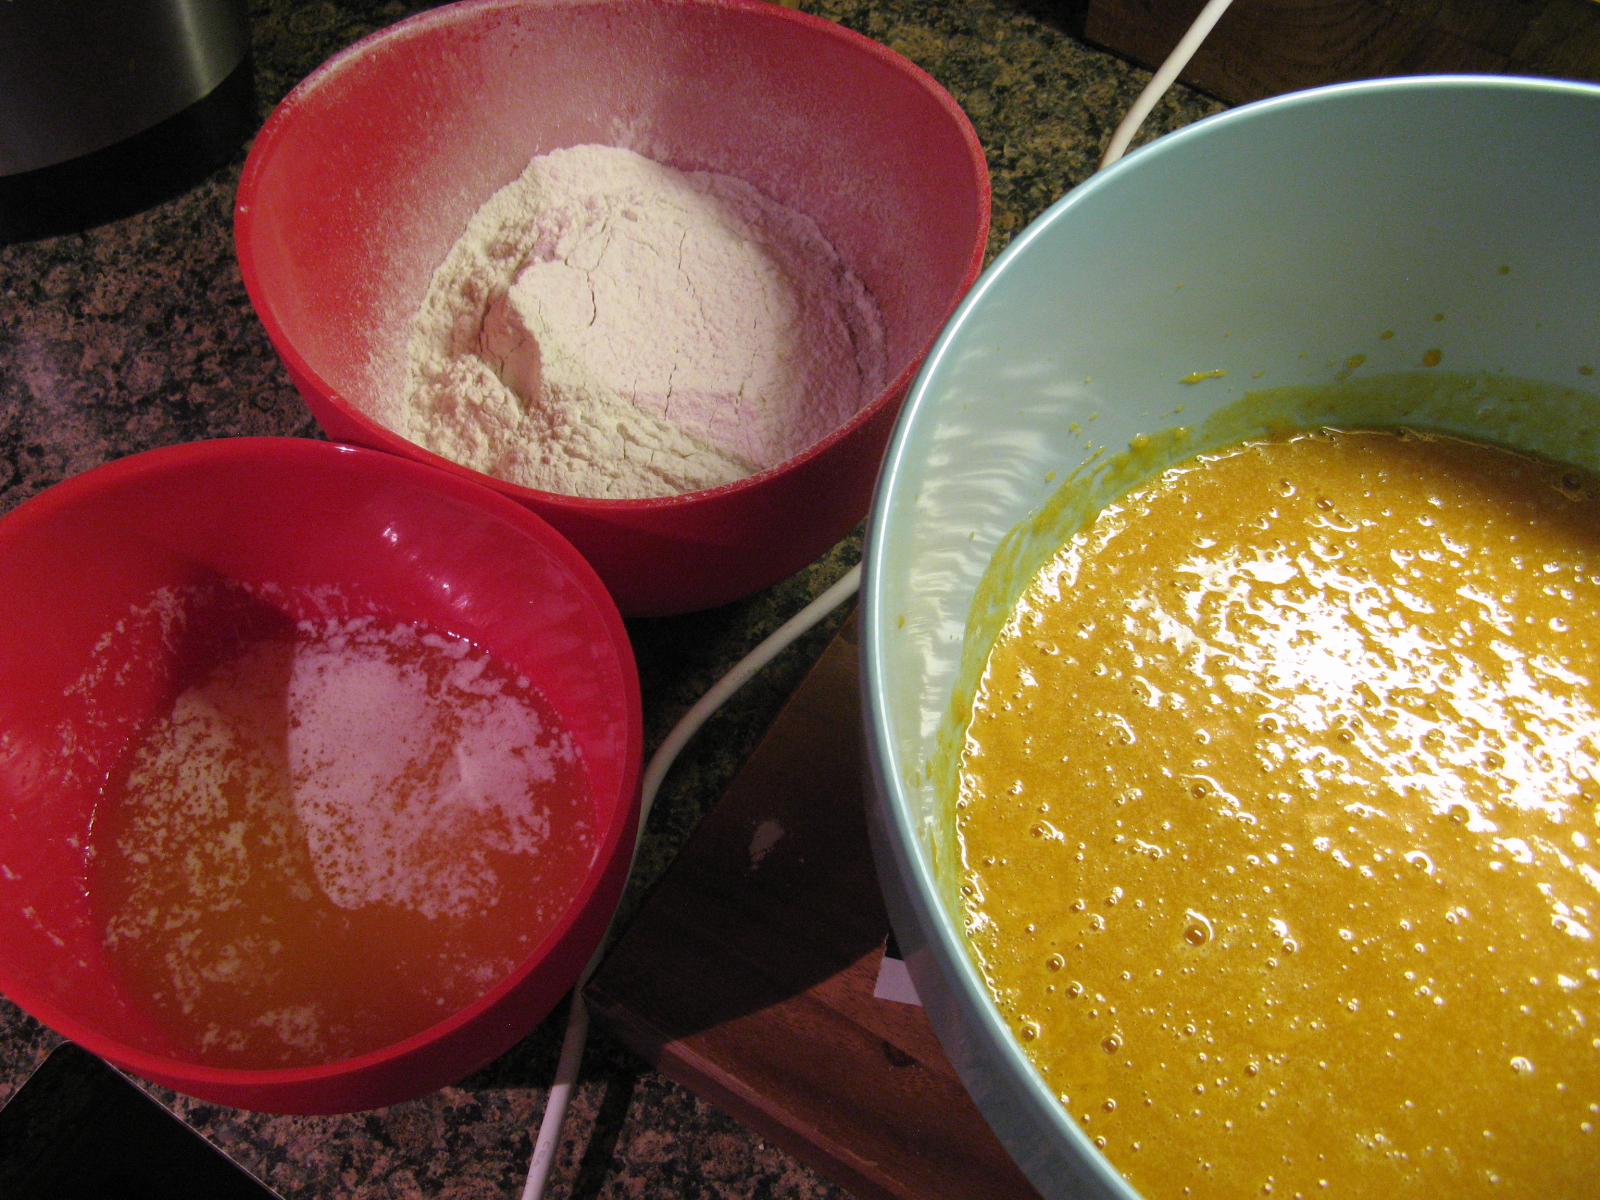
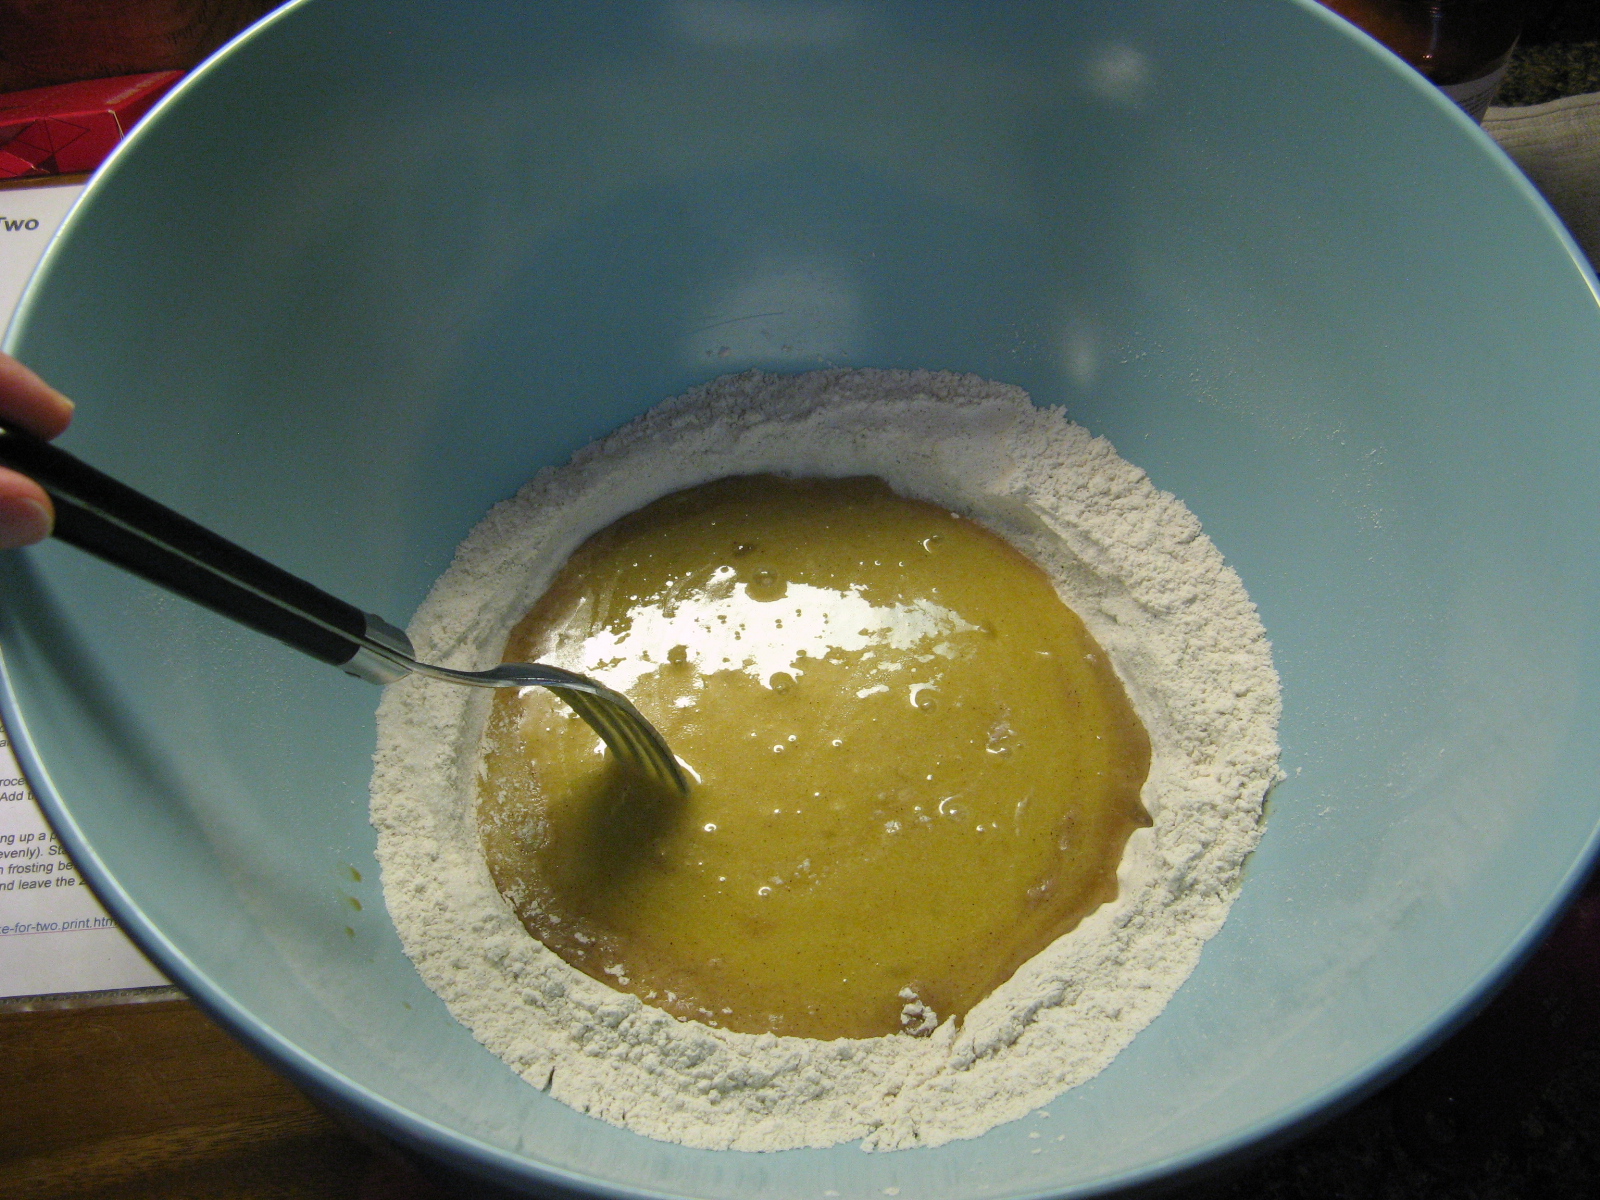
To make the batter I began by whisking together flour, baking powder, salt, cinnamon and nutmeg in a medium bowl. I then created a well in the center of the flour mixture and added in eggs and sugar and mixed the two together. Next I added in oil and vanilla extract and continued mixing it with a fork.

img_0153

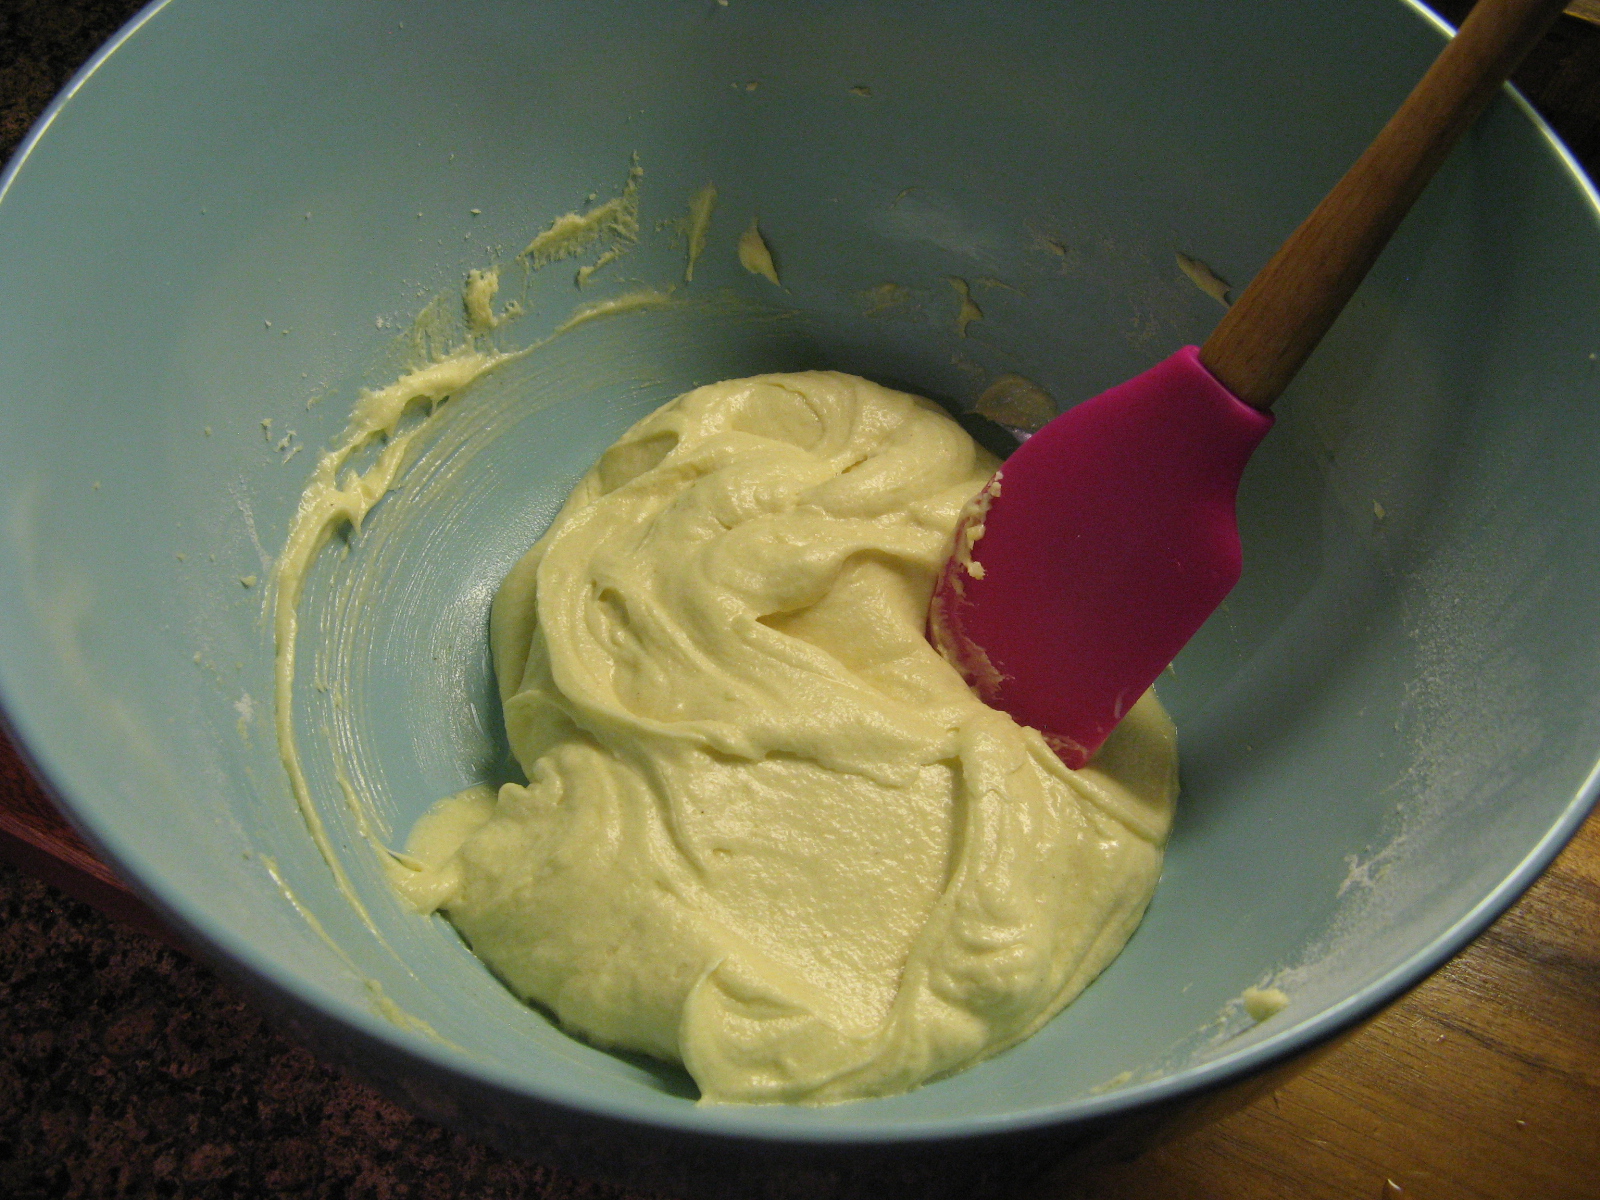
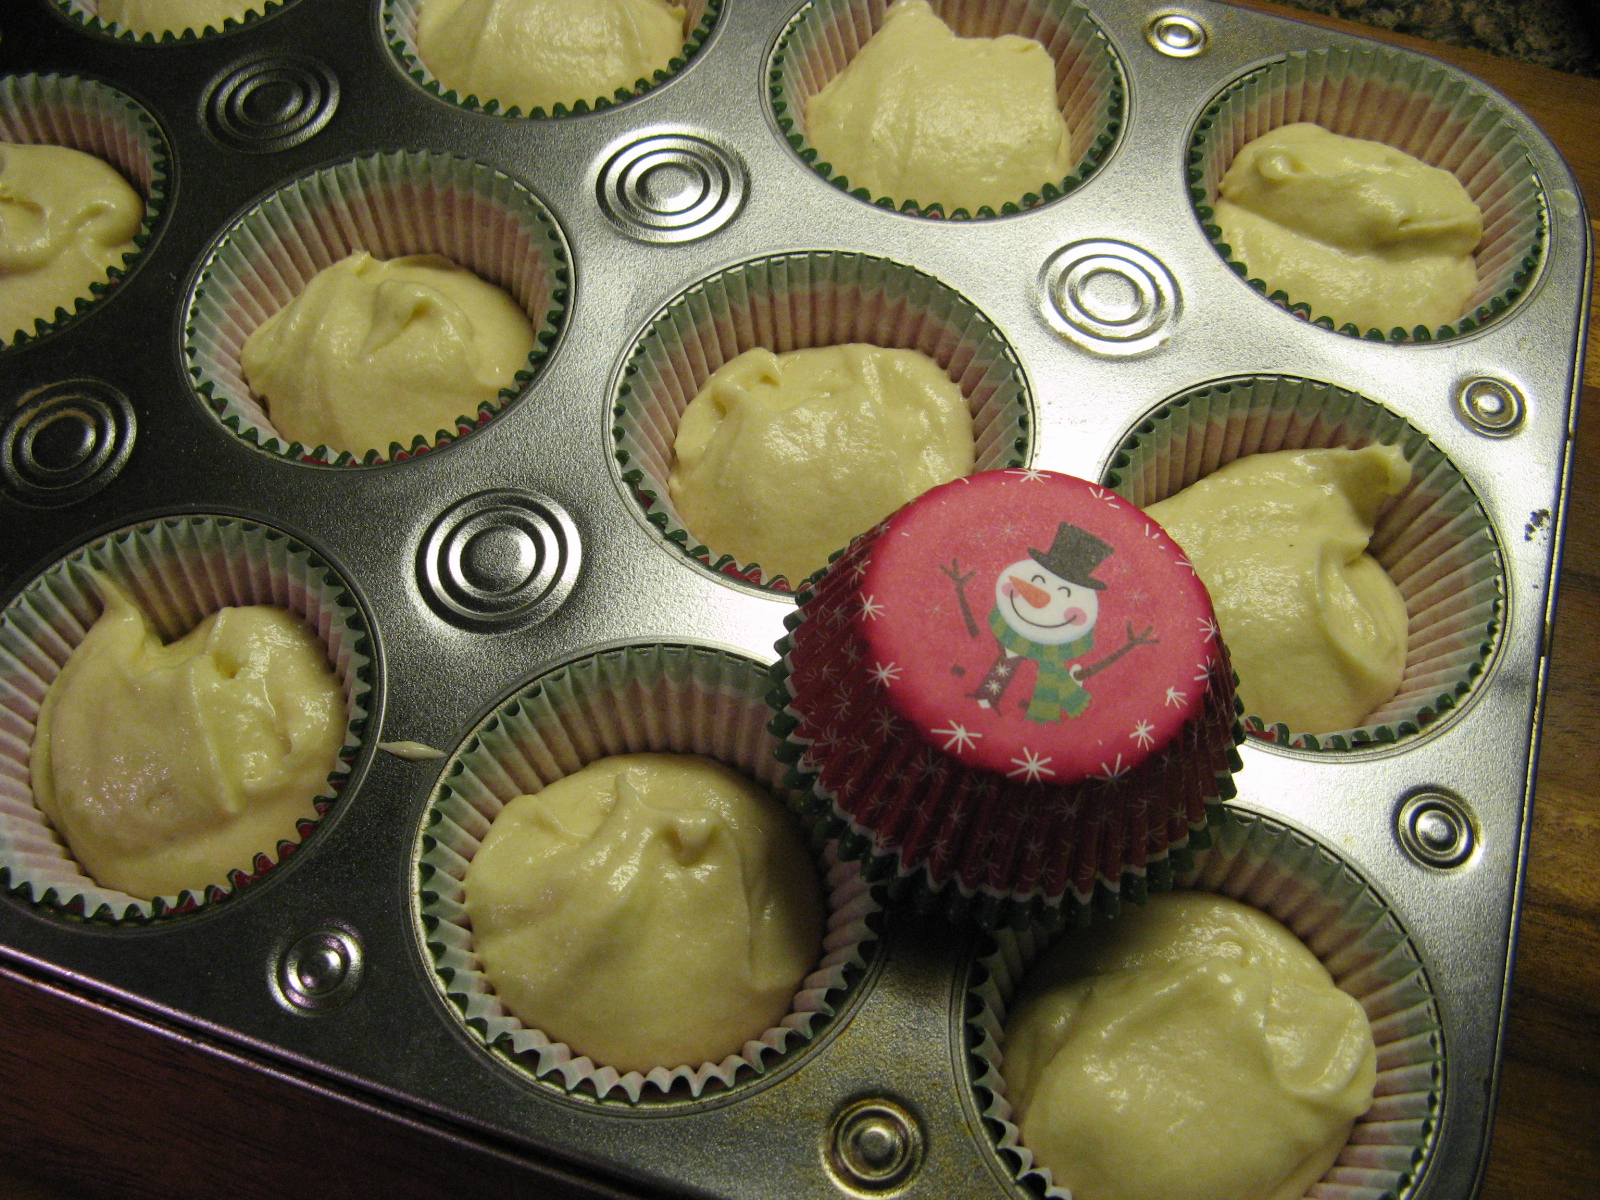
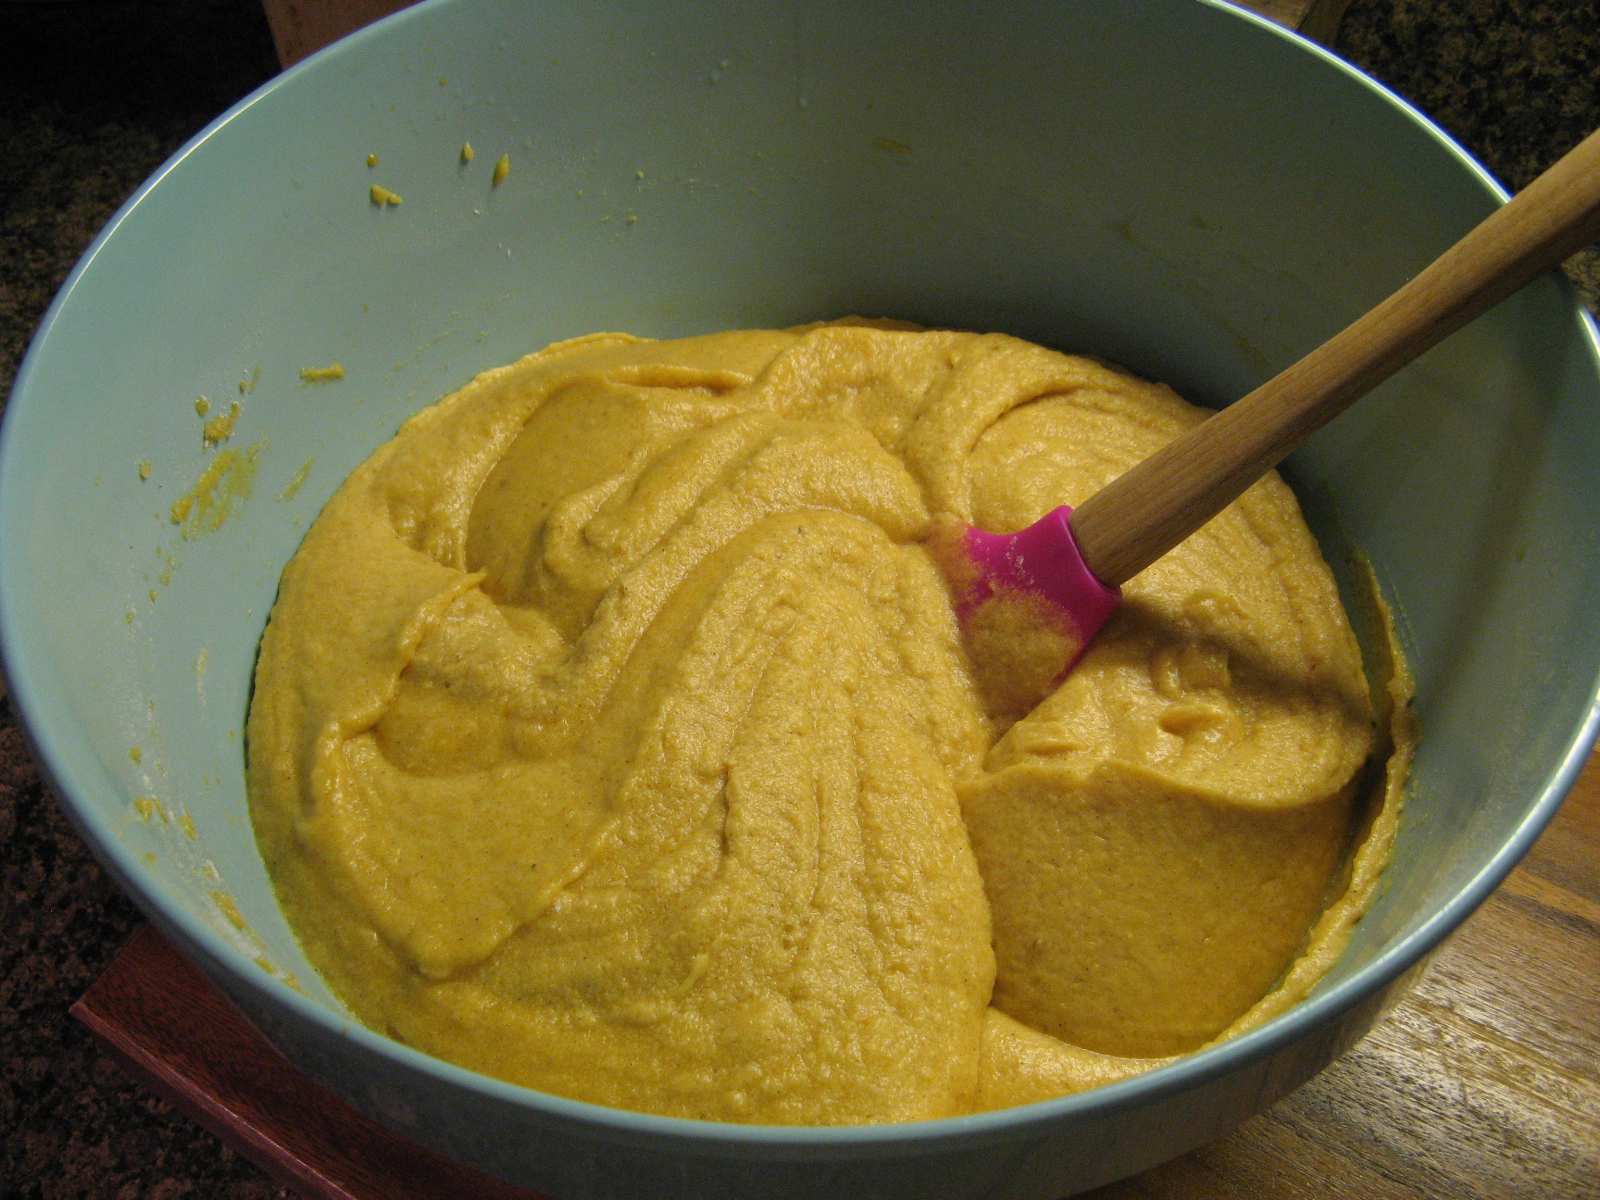
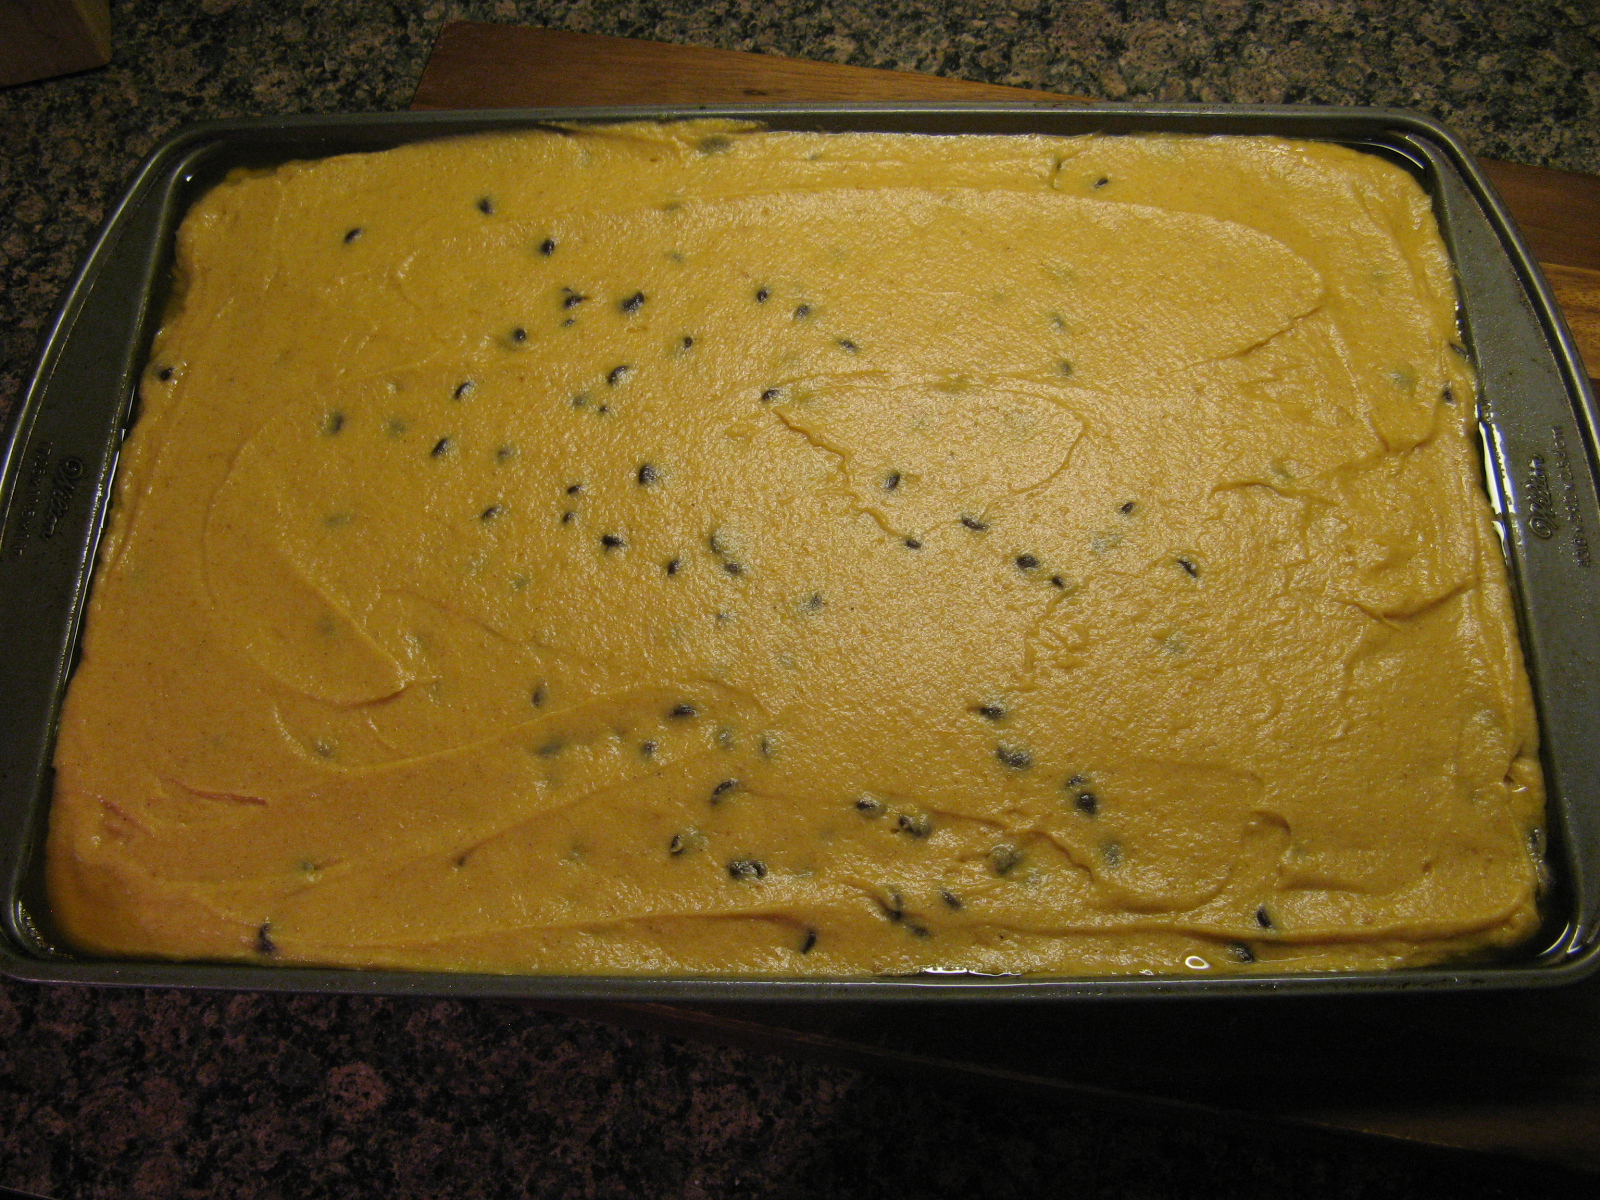
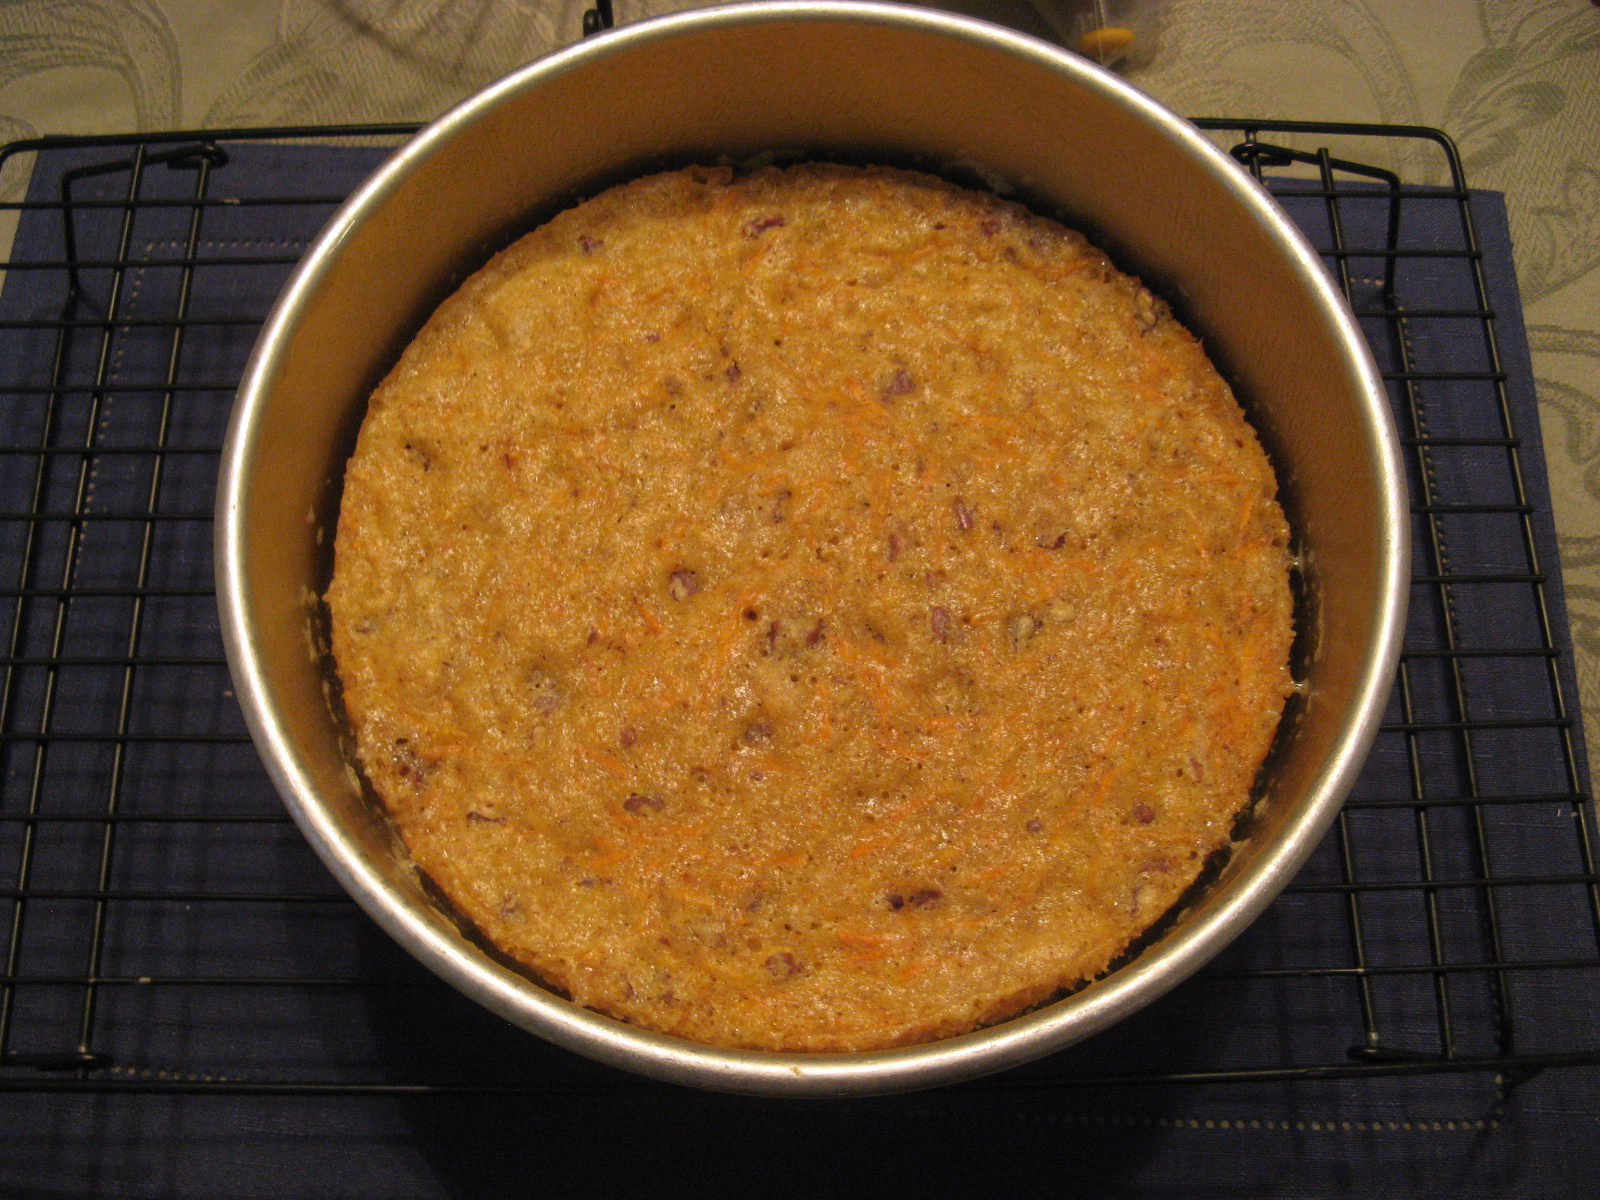
I then incorporated the flour mixture and egg mixture and folded in shredded carrots and pecans to the batter. Once the batter was well combined I transferred it to a 9-inch round pan that I sprayed with baking spray.

img_0154

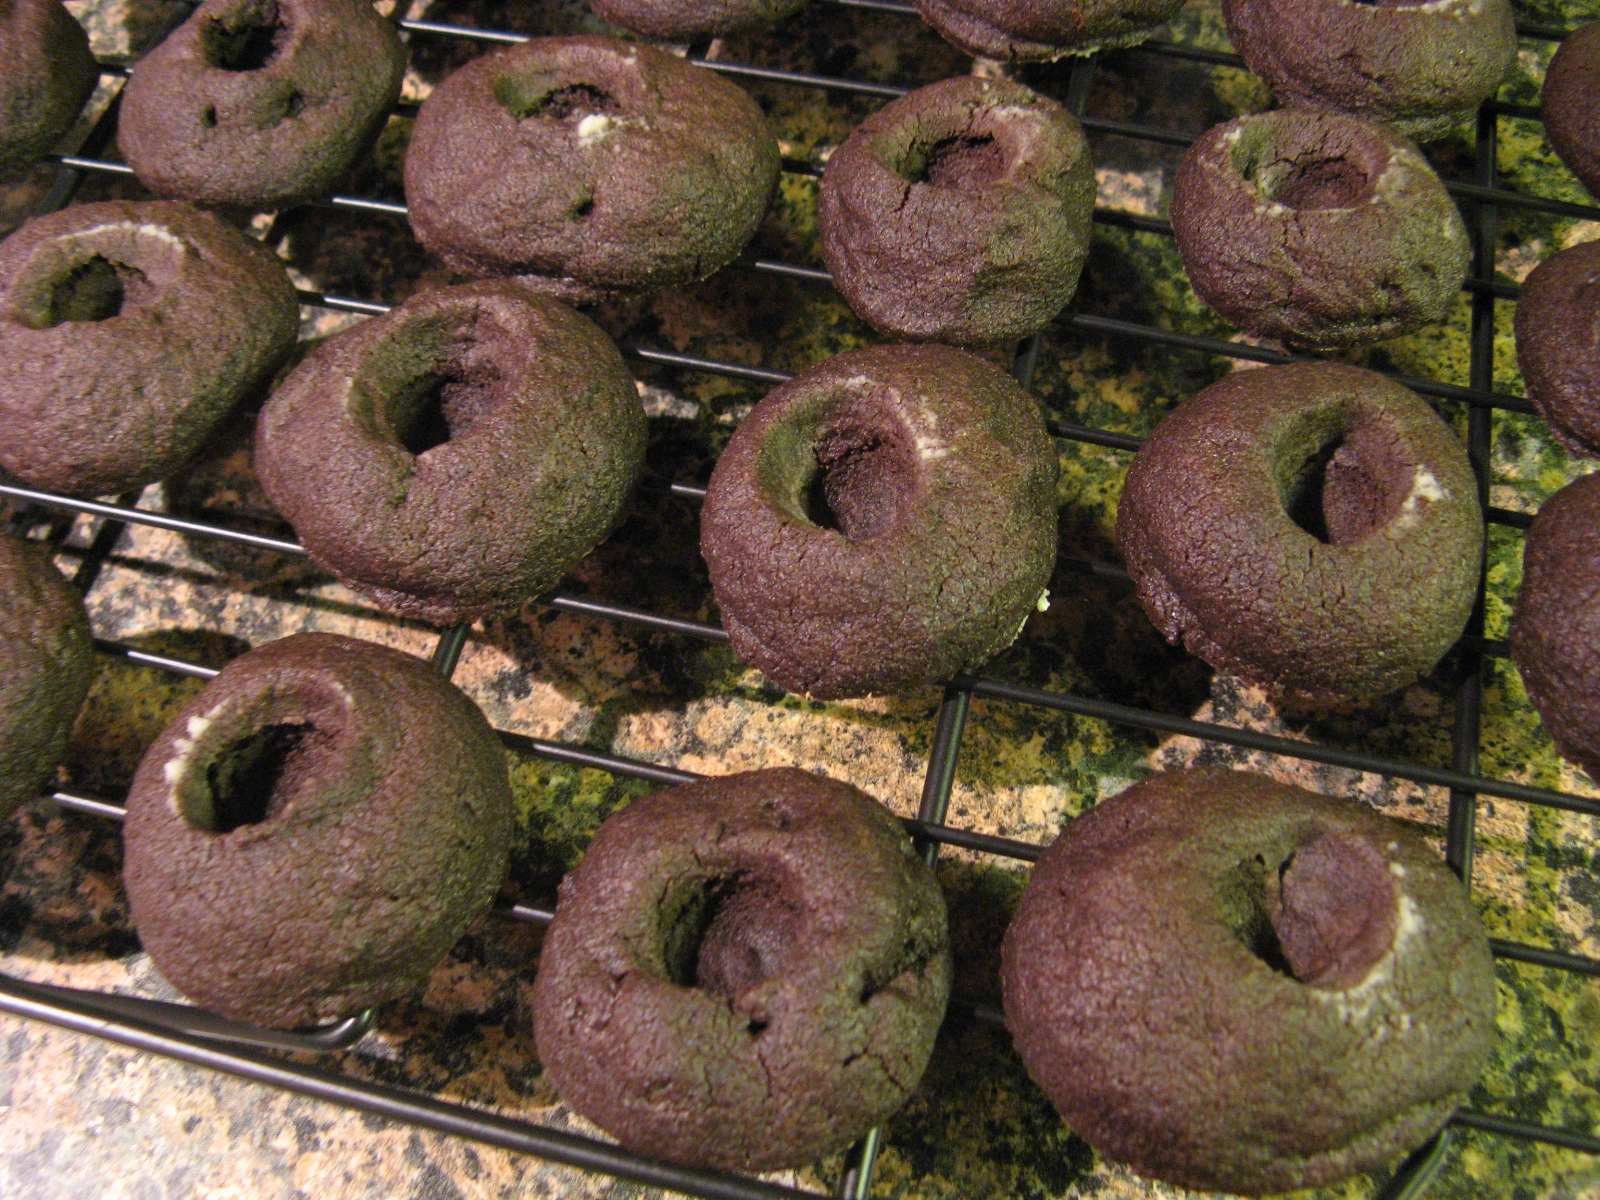
After baking the cake in a 350 F preheated oven for about 25 minutes I removed it from the oven and allowed the cake to cool in the pan on a wire rack for about 20 minutes.

img_0158

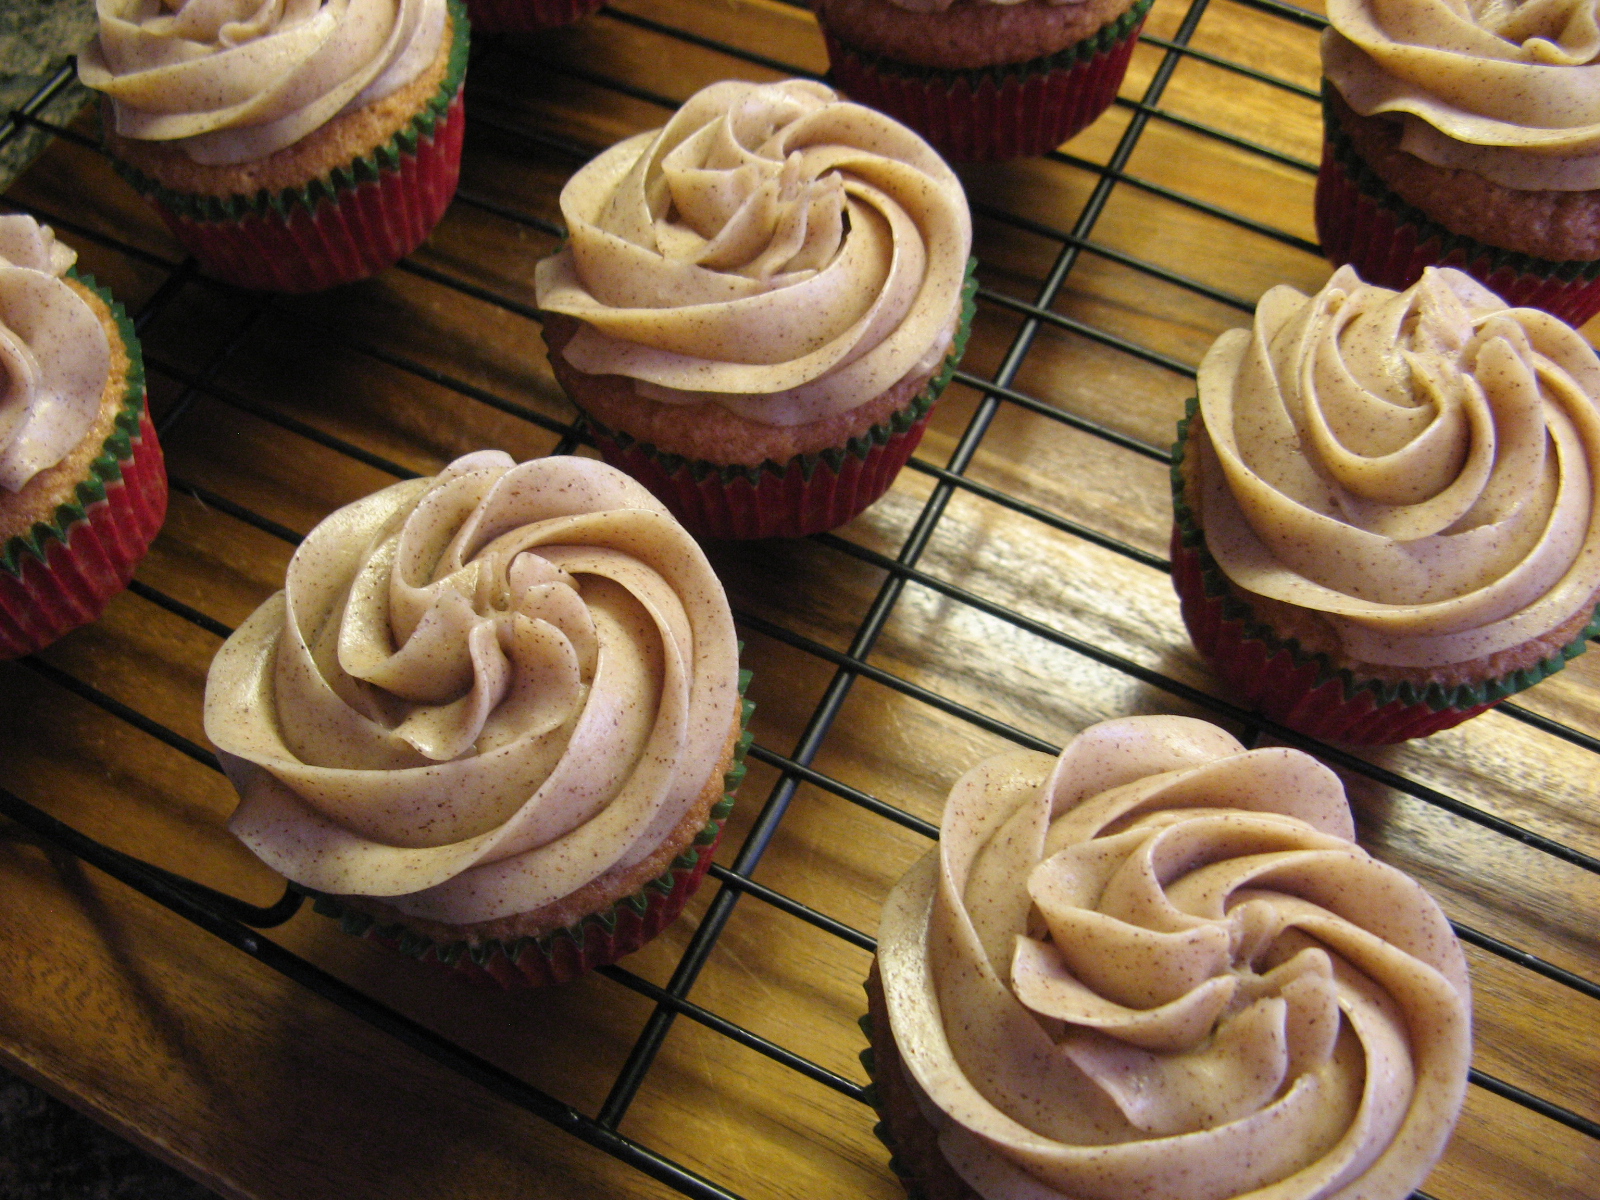
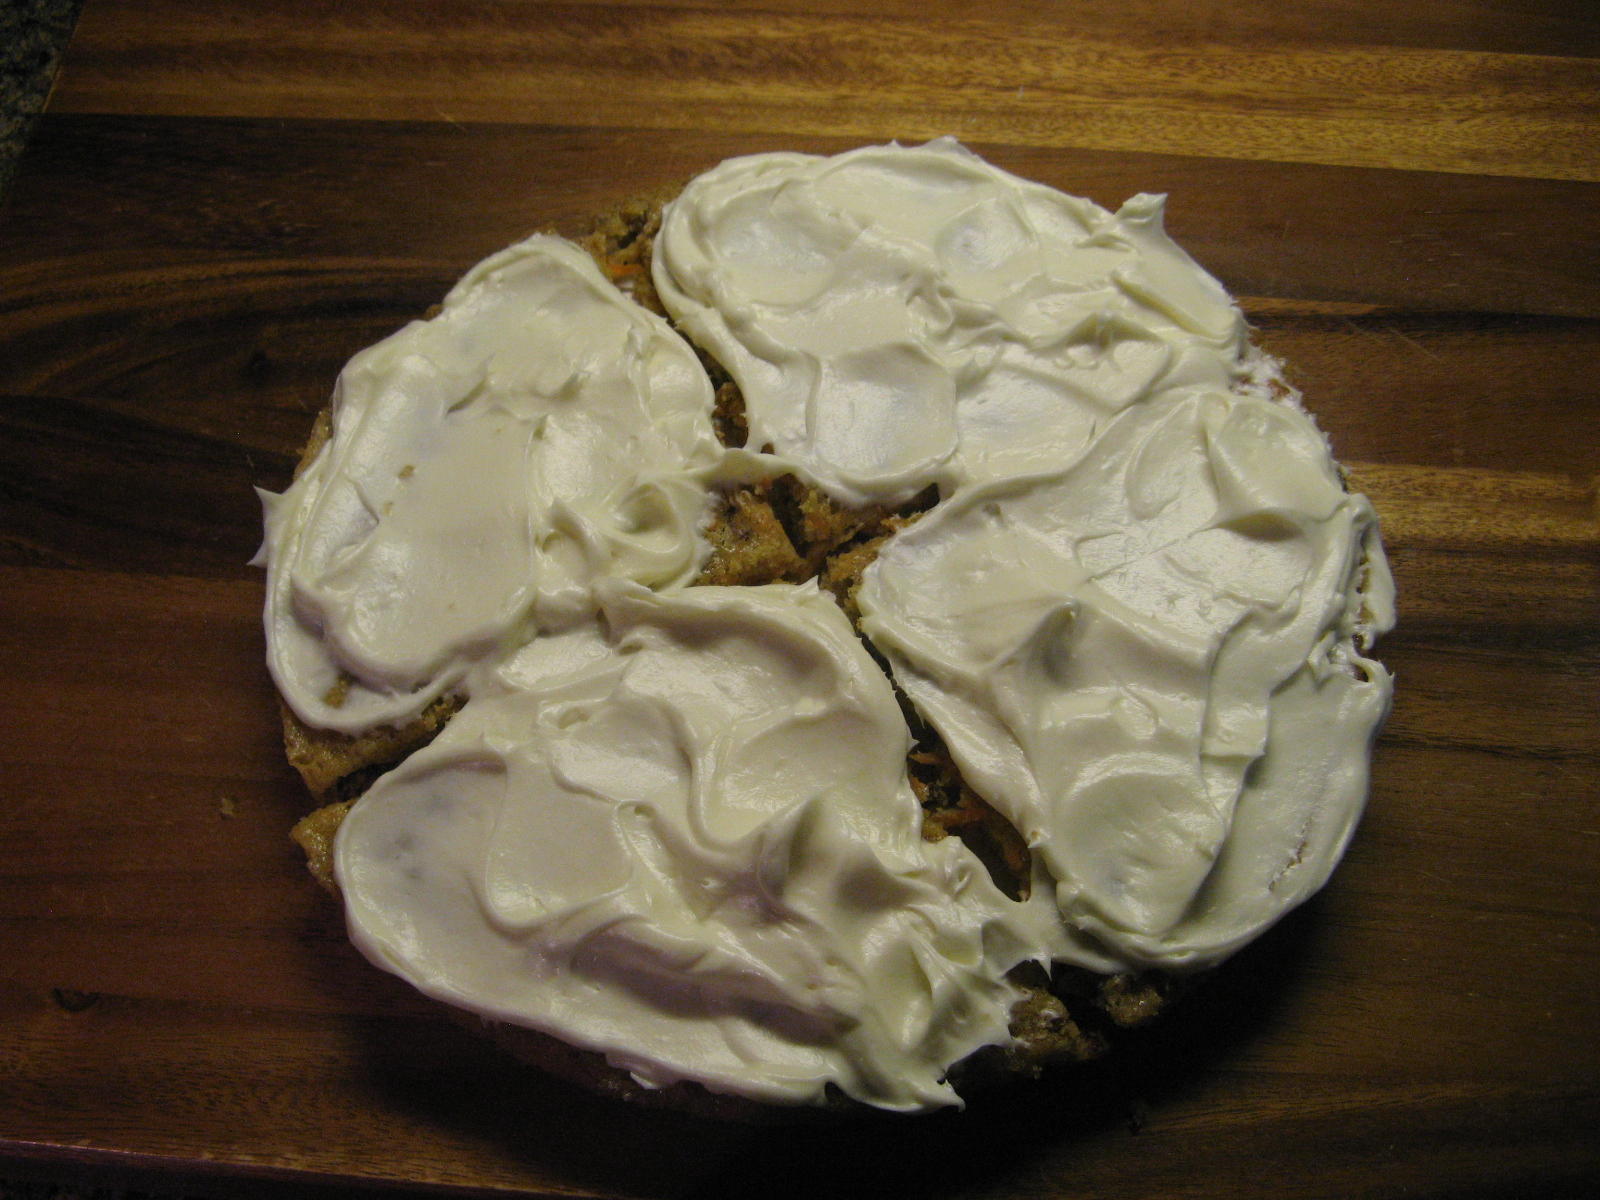
After the 20 minutes, I removed the cake from the pan and allowed it to cool completely on the wire rack. Once it was completely cooled I cut the cake into 4 equal parts and frosted the top of each piece with cream cheese frosting.

img_0164

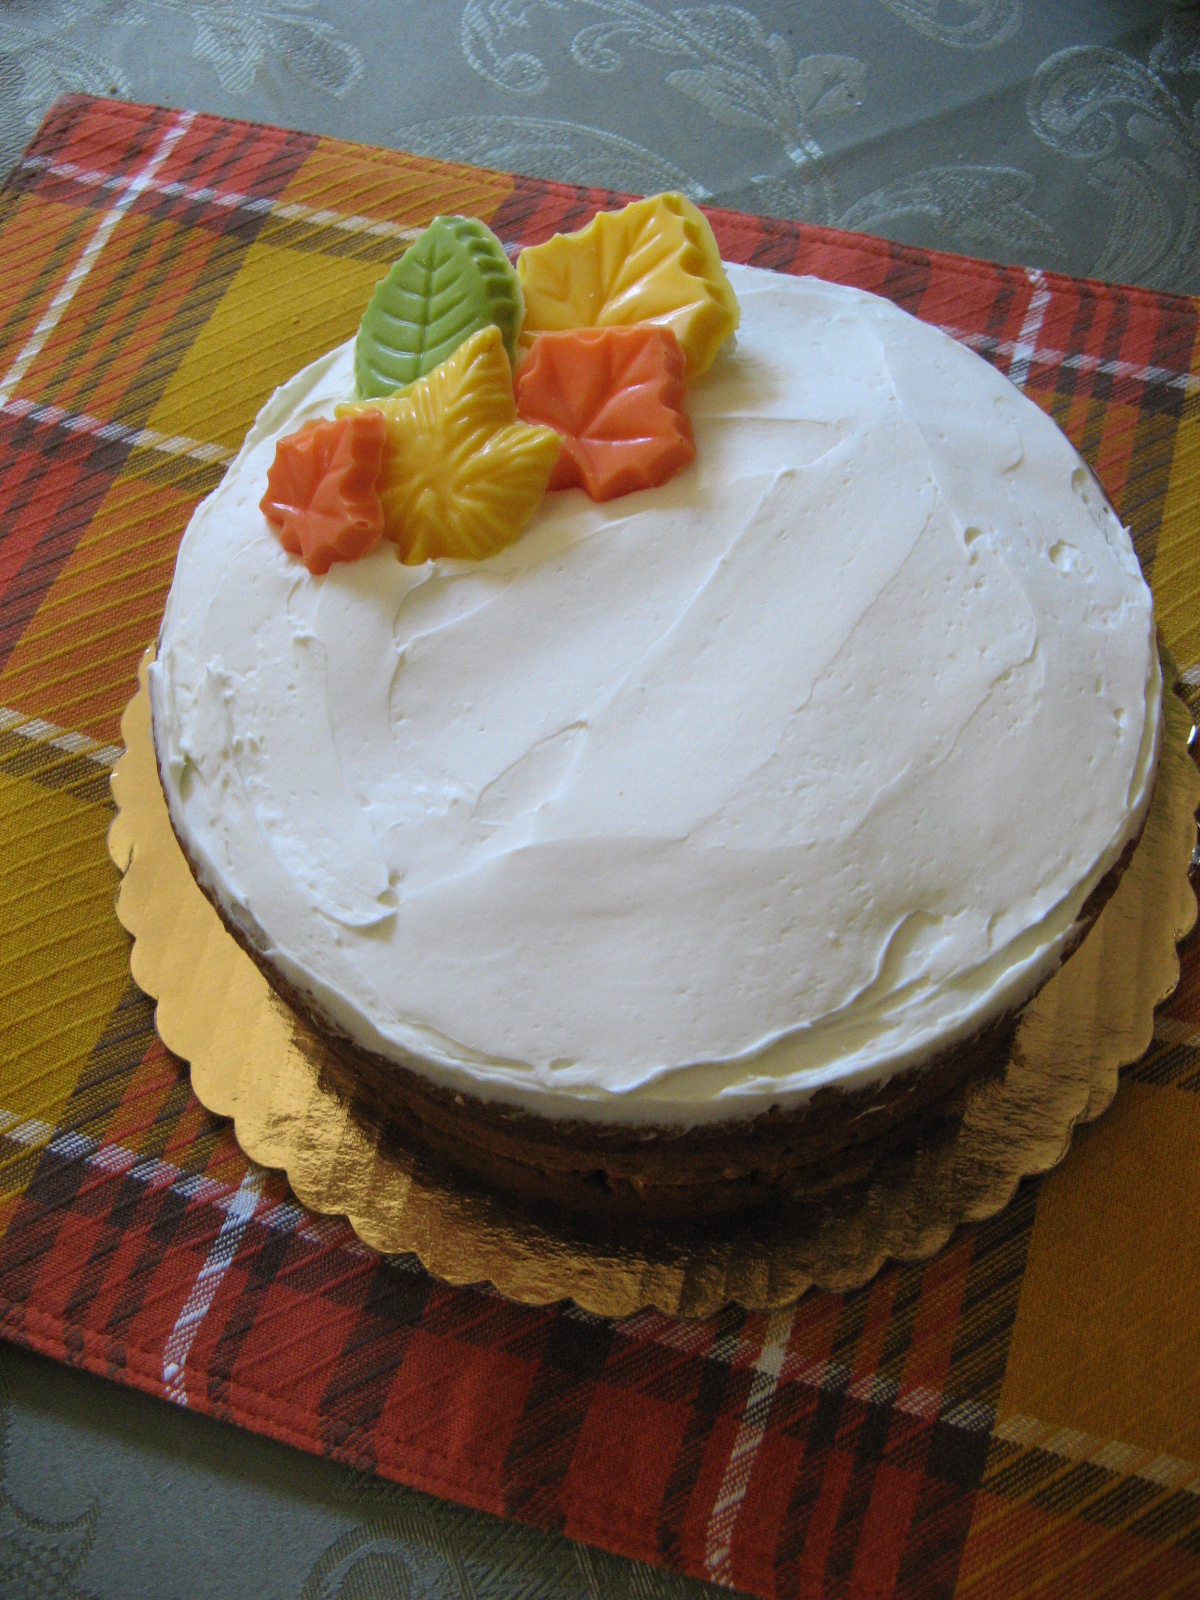
I then stacked the four pieces and frosted the back curve of the cake.

img_0167

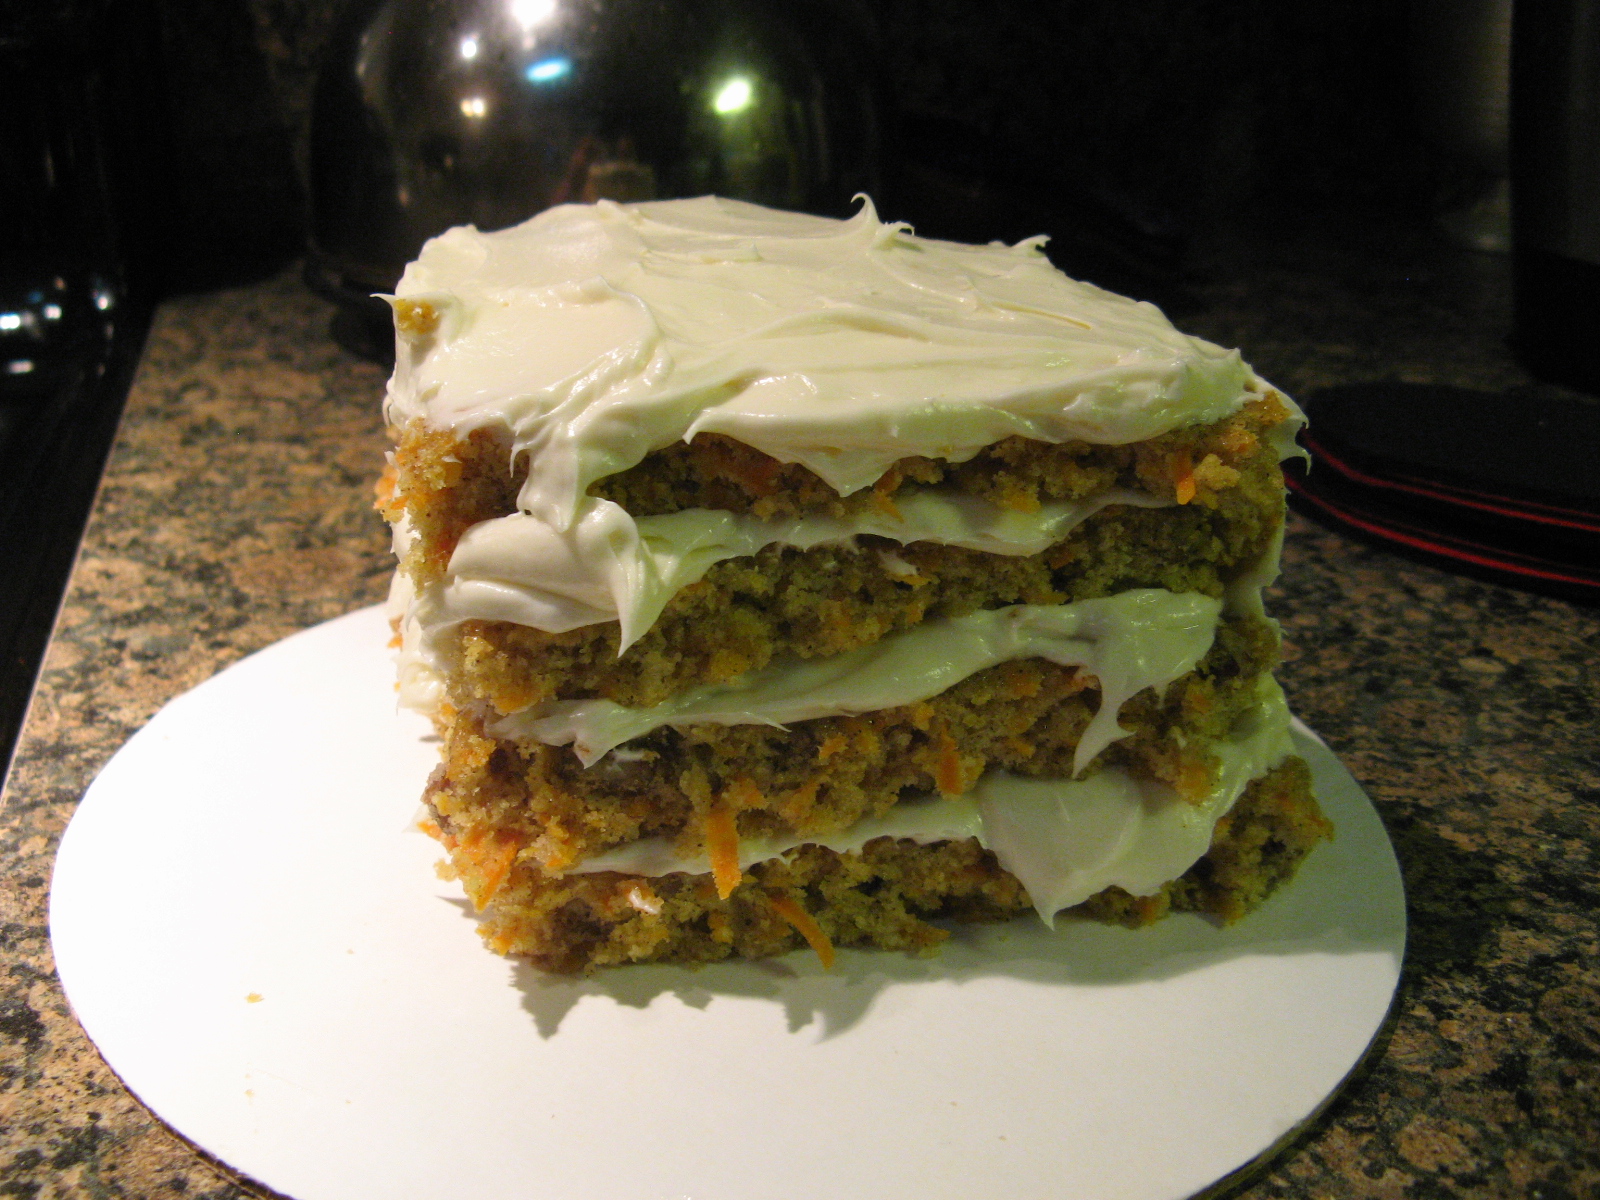
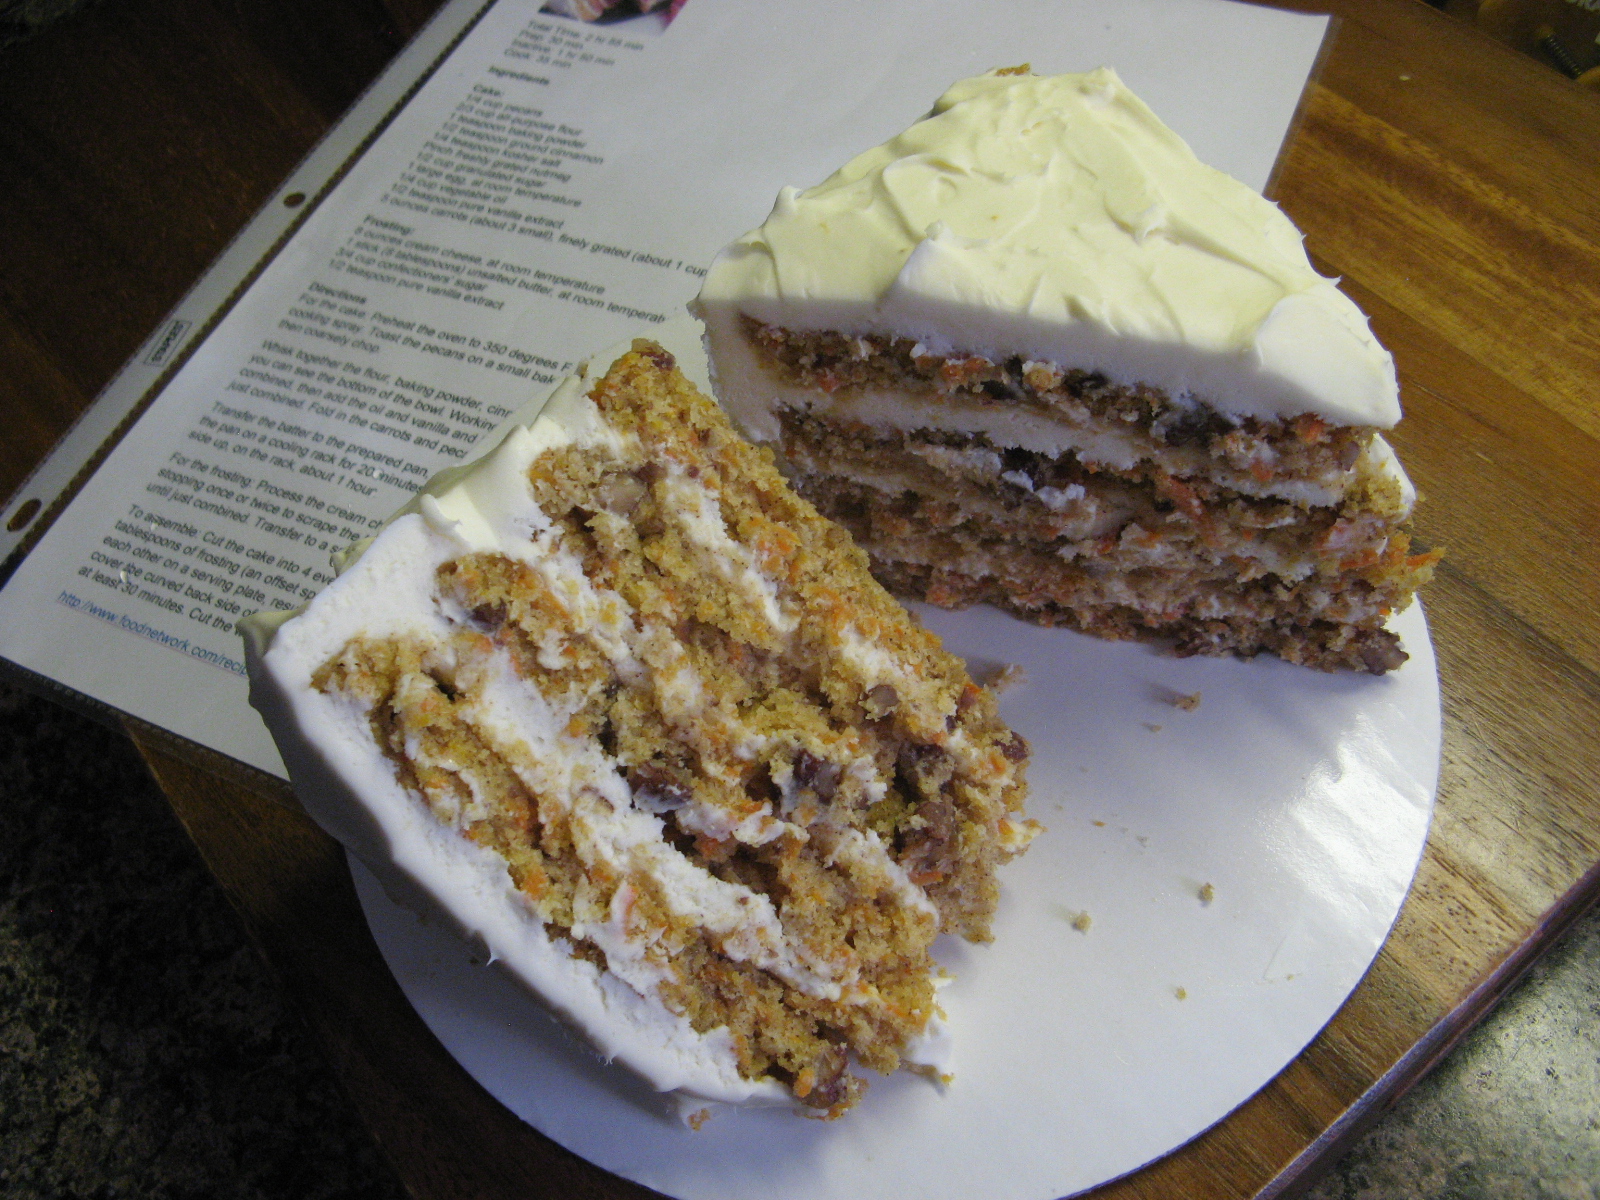
After refrigerating the cake for half an hour I then sliced it in half and was left with 2 perfect sized slices of cakes.

img_0173


Carrot Cake For Two

Ingredients:

For the Cake:

2/3 cup all-purpose flour

1 teaspoon baking powder

1/2 teaspoon ground cinnamon

1/4 teaspoon Kosher salt

Pinch freshly grated nutmeg

1/2 cup granulated sugar

1 large egg, at room temperature

1/4 cup vegetable oil

1/2 teaspoon pure vanilla extract

5 ounces carrots (about 3 small), finely grated (about 1 cup)

1/4 cup pecans


For the Frosting:

8 ounces cream cheese, at room temperature

1 stick unsalted butter, at room temperature

3/4 cup confectioners’ sugar

1/2 teaspoon pure vanilla extract


Directions:

For The Cake:

Preheat the oven to 350 F. Spray a 9 -by- 2 inch round cake pan with baking spray.

Whisk together the dry ingredients – flour, baking powder, cinnamon, salt and nutmeg – in a medium bowl. Make a well in the center of the flour mixture. Working within the well, use a fork to mix together the eggs and sugar until well combined. Add the oil and vanilla to egg mixture and continue mixing with a fork until well combined once again. Stir the wet and dry ingredients together with the fork until just combined. Fold in the carrots and pecans.

Transfer the batter to the prepared pan and bake for 20 to 25 minutes, until a cake tester comes out clean. Let the cake cool in the pan for 20 minutes on a wire rack. Turn out the cake and let it cool on the wire rack for about an hour until completely cool.

For The Frosting:

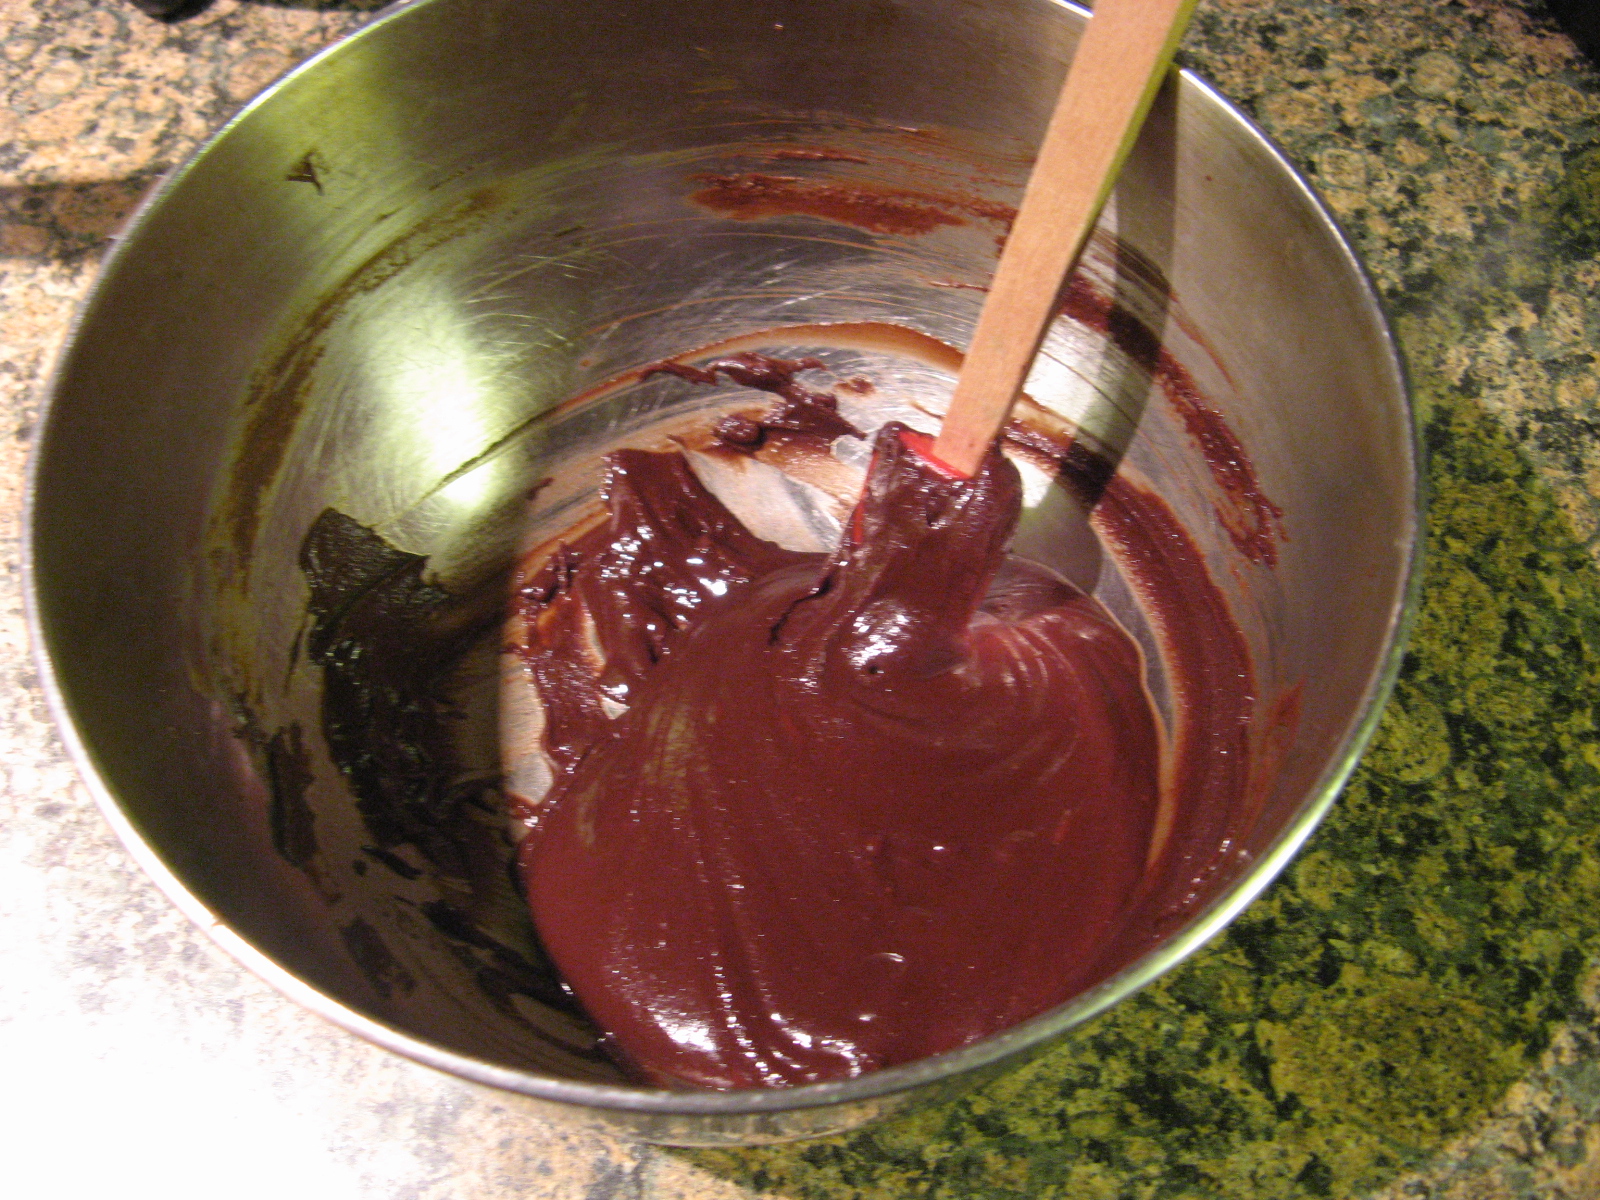
Using a handheld mixer or stand mixer on medium, beat together the butter and cream cheese. Slowly add the confectioners’ sugar and continue beating until well incorporated. Finally add in the vanilla extract.

To Assemble the Cake:

Cue the cake into 4 equal wedges. Frost the top of each wedge with about 3 tablespoons of frosting. Stack the wedges on top of each other and with the remaining frosting frost the back curve of the cake, and leave the 2 sides of the cake open. Refrigerate for about 30 minutes, then cut the cake wedge in half and serve.

Recipe from The Food Network

Eggnog Cupcakes with a Cinnamon Buttercream Frosting

So, what have you been baking this Holiday season? Cookies? Cupcakes? Cakes? All three? I haven’t baked a cake yet, but, I have baked my fair share of cookies. Did you catch any of my Cookie Palooza recipes last week? There were some good ones in there. Today though I am bringing you a cupcake that encompasses a few flavors of the season… Eggnog and Cinnamon in an Eggnog Cupcake with a Cinnamon Buttercream Frosting. I highly suggest you use an eggnog that you like as opposed to any old one you happen to come across at the supermarket and don’t worry if you don’t like eggnog these cupcakes are not overpowering with the flavor.

To make the cupcakes I began by stirring together all the dry ingredients in one bowl – flour, sugar, nutmeg, baking powder, baking soda and salt. In another, using my hand mixer I beat room temperature butter until it was creamy. I then added in all of the flour mixture and continues beat the mixture until it resembled crumble topping.

img_0238

Next I added in two eggs and continued beating…

img_0239

And finally I added in the eggnog and mixed it on low speed until the batter was silky and smooth (kind of a funny way to explain cupcake batter).

img_0240

Next I divided the batter evenly among my 12-cavity cupcake pan (about 1/4 cup in each cavity) and of course I used holiday inspired cupcake liners…

img_0242

I baked them in a 350 F pre-heated oven for about 25 minutes and then transferred them to a wire rack to cool completely. Once cooled, I topped them off with homemade Cinnamon Buttercream Frosting. This frosting is so good I could just eat it out of the bowl. I had to refrain from too many taste tests since I needed enough to frost the cupcakes!

img_0252


Eggnog Cupcakes

Ingredients:

1 1/4 cups all-purpose flour

1 cup sugar

1/2 teaspoon freshly grated nutmeg

1/2 teaspoon baking powder

1/4 teaspoon baking soda

1/4 teaspoon salt

1/2 cup butter, room temperature

2 eggs

1/2 cup eggnog

Directions:

Preheat oven to 350 F. Line a 12-cup cupcake pan with cupcake liners.

In a medium bowl stir together all of the ingredients except the butter, eggs and eggnog and set aside.

In a large bowl beat the butter with a hand mixer on medium speed until creamy. Add all of the flour mixture and continue beating until it mixture resembles a crumble topping. Add the eggs and beat for an additional minute; the batter should be light in color and a bit fluffy. Scrape the sides of the bowl as necessary. Finally, beat in the eggnog gently until just combined and the batter is silky and smooth. Divide the batter evenly among the cupcake pan (about 1/4 cup each cavity).

Bake for 25 to 28 minutes or until the tops of the cupcakes spring back when lightly touched in the center and a cake taster comes out clean. Transfer to a wire rack and cool completely before frosting.

Recipe from Betty Crocker


Cinnamon Buttercream Frosting

Enough for 24 Cupcakes*

Ingredients:

1 cup (2 sticks) butter, at room temperature

1 teaspoon pure vanilla extract

1 tablespoon ground cinnamon

4 cups (1 lb. box) confectioners’ sugar

3 tablespoons milk or heavy cream

*I opted to divide the recipe in half and had enough frosting to frost 10 cupcakes using a 1M Wilton Tip Swirl

Directions:

Using a handheld mixer or stand mixer, beat the butter and vanilla extract on medium speed until light and fluffy.

Stir the cinnamon into the confectioners’ sugar, gradually add this to the butter mixture. Beating well after each addition and scraping the sides of the bowl as necessary. Add milk (or heavy cream) and continue beating until the frosting is light and fluffy. If you find that the frosting is a bit thick and heavy to spread add more milk/heavy cream to thin it down.

Recipe from McCormick

Cookie Palooza: Chocolate-Mint Thumbprints

I hope you have enjoyed my Cookie Palooza and that one of these cookie recipes will be one that you try or has inspired you to create something totally your own. On this final day of Cookie Palooza I bring you a cookie with a flavor of the season, peppermint. A Chocolate-Mint Thumbprint to be precise. And don’t worry, the peppermint flavor isn’t overpowering as some peppermint-flavored things are.

After sifting flour and cocoa powder together in a medium bowl, I creamed butter and confectioners’ sugar together in a large bowl and then added in vanilla extract and salt. Once the butter mixture was well blended I added in the flour mixture and continued mixing using my handheld mixer on low speed until the dough formed. I chilled the dough for about 40 minutes until it was firm enough to roll into balls, but, not so cold that I would have to “defrost” it once out of the fridge.

img_0214

I rolled teaspoonfuls of the dough into balls and placed them on a parchment lined cookie sheet. Next, I pressed straight down the middle of each ball with a floured finger – you could also use the end of a wooden spoon – almost to the cookie sheet to make a deep well. After baking the cookies in a 350 F preheated oven for about 8 minutes, I redefined the indentations with the end of a wooden spoon. I let the cookies cool for a few minutes on the cookie sheet so they could set and then transferred them to a wire rack to cool completely.

img_0224

Once the cookies were completely cooled I made the filling. I created my own double-boiler by bringing a pot of water to a simmer and then placed semisweet chocolate chips and unsalted butter in a heat proof bowl and set it over the simmering water. I began stirring the mixture with a rubber spatula and after a few minutes, before the mixture was completed melted, I removed it from the simmering water and continued stirring the mixture until it melted and then stirred in peppermint mixture. I let the mixture cool for about a half hour – until it was warm and slightly thickened…

img_0225

And then transferred it to a decorator bottle. You could also transfer the chocolate to a decorator bag with a small tip attached or a resealable bag with a small portion of the corned snipped off. I then piped the chocolate into the wells of the cookies.

img_0227

I’ll be the first to admit that my thumbprints came out a bit wonky looking, but, that didn’t detract from how yummy they were with just the right balance of chocolate and peppermint.


Chocolate-Mint Thumbprints

Ingredients:

For the Cookies:

1 cup plus 2 1/2 tablespoons flour

1/4 cup Dutch processed cocoa powder

3/4 cup (6 oz.) unsalted butter, at room temperature

1/2 cup confectioners’ sugar, sifted

1 1/2 teaspoon vanilla extract

1/4 teaspoon table salt

For the Mint-Filling:

3/4 cup semi-sweet chocolate chips

3 tablespoons unsalted butter, cut into 6 pieces

1/4 teaspoon pure peppermint extract

Directions:

For the Cookies:

Sift the flour and cocoa powder together into a medium bowl. Using a handheld mixer (or stand mixer with the paddle attachment) cream the butter and confectioners’ sugar on medium speed until light and fluffy. Add the vanilla extract and salt, continue beating until smooth. Add the flour mixture and beat on low speed until the dough comes together. Chill the dough in the refrigerator until the dough is firm enough to roll into balls, about 40 to 60 minutes.

Preheat the oven to 350 F and line two cookie sheets with parchment paper.

Roll heaping teaspoonfuls of dough into balls and place them on the parchment paper about 2-inches apart. With a lightly floured thumb or fingertip (or the end of thick-handled wooden spoon), press straight down into the middle of each ball, almost to the cookie sheet, to make a deep well.

Bake for 8 to 9 minutes. Gently redefine the wells using the end of a wooden spoon. Let the cookies cool for a few minutes on the cookie sheet and transfer them to a wire rack to cool completely.

For the Filling:

Put the chocolate and butter in heatproof bowl over a pot of simmering water. Stir with a heatproof spatula until the chocolate is almost melted. Remove from the heat and continue stirring until melted and smooth. Stir in the peppermint extract. Let cool for about 30 to 40 minutes, until the mixture is slightly warmer than room temperature and it has begun to thicken. Spoon the filling into a pastry bag fitted with a small plain tip or into a resealable bag with a corner snipped off and pipe the filling into the center of each cookie. Let the filling set completely before storing.

Recipe from Fine Cooking

Cookie Palooza: Cannoli Wafer Sandwich Cookies

For today’s Cookie Palooza recipe I bring you a cookie you don’t have to bake! What could be better than that? No flour to measure, no oven to turn on… Anyone can make this cookie. So, what is it? It’s a Cannoli Wafer Sandwich Cookie! And let me just tell you that I brought these cookies to a friend’s house and they were a hit with everyone.

So, here’s what you need for these cookies; vanilla wafers, whole-milk ricotta, confectioners’ sugar, sugar, vanilla extract, white candy coating and miniature semi-sweet chocolate chips.

I began by making the cannoli filling by mixing whole-milk ricotta with confectioners’ sugar, sugar and vanilla extract.

img_0189

Next, I spread a teaspoon of the filling on the bottom half of the vanilla wafers and then topped them with another wafer.

img_0190

Once I had used up all of the cookies in the box….

img_0191

I dipped each of the sandwich cookies halfway into melted white candy coating – I used White Wilton Candy Melts. I dipped about five cookies at a time and then sprinkled mini chocolate chips on them. You don’t want the candy coating to set too much or the chocolate chips won’t stick to the cookies. Once I dipped all of the cookies I placed the cookies in the refrigerator for a few minutes so the candy coating could set.

img_0192

And finally, I dusted the cookies with confectioners’ sugar. How simple is that!?!?

img_0193

While these cookies are delicious and you might be tempted to save a few for the following day, they are best eaten the same day they are assembled.

Cannoli Wafer Sandwich Cookies

Ingredients:

1 cup whole-milk ricotta cheese

1/4 cup confectioners’ sugar, plus additional for dusting the cookies

1 tablespoon granulated sugar

1/4 teaspoon vanilla extract

1 package (12 oz.) vanilla wafers

12 oz. white candy coating, melted

1/2 cup miniature semi-sweet chocolate chips

Directions:

In a small bowl mix together the ricotta cheese, confectioners’ sugar, granulated sugar and vanilla extract until well blended.

Spread 1 scant teaspoon filling on half of the vanilla wafers and then top with the other half of the cookies.

Dip each of the sandwich cookies halfway into the melted candy coating and place on wax paper. Sprinkle with chocolate chips and let the cookies stand until set, about 10 minutes. Alternatively you can place the cookies in the refrigerator for a few minutes to speed up the process.

Refrigerate the cookies until serving. Dust with confectioners’ sugar prior to serving.

Recipe from Taste of Home

Cookie Palooza: Chocolate Walnut Crinkles

On this third day of Cookie Palooza I bring you a cookie that I have made before… a chocolate crinkle cookie. This version though is a bit simpler to make and it has walnuts. I love walnuts in cookies and brownies.

To make the dough for the cookies I started by toasting the walnuts and melting unsweetened chocolate and butter together. Once the walnuts and chocolate mixture cooled I added it to a large bowl with flour, sugar, eggs, Dutch processed cocoa powder, baking powder and salt. Using a handheld mixer I beat the ingredients until they were combined.

img_0229

Using a cookie scoop I scooped the dough and rolled it into a ball and then rolled it in confectioners’ sugar before placing them on a parchment lined baking sheet.

img_0234

I baked them in a preheated 300 F oven for about 15 minutes. After removing them from the oven I let them cool for a few minutes before transferring them to a wire rack to cool completely.

img_0237

While these cookies were good, I will say this… They are on the sweeter side so they are definitely meant for those who have a super sweet tooth!

img_0246

Chocolate Walnut Crinkles

Ingredients:

2oz. unsweetened chocolate, chopped

2 tablespoons unsalted butter

1 cup flour

1 cup sugar

1/2 cup finely chopped walnuts, toasted*

2 large eggs

1 tablespoon Dutch process cocoa powder

1 1/2 teaspoons baking powder

1/2 teaspoon salt

Confectioners’ sugar, for rolling

*To toast the walnuts, I placed them on a cookie sheet and baked them in a 350 F oven for about 8 minutes.

Directions:

Position racks in the oven in the top and bottom thirds of the oven; preheat to 300 F.

Place the chocolate and butter in a small microwave safe bowl, microwaving on high for 30 second intervals, stirring after each 30 seconds, until melted. Let cool.

Scrape the melted chocolate into a large bowl and add in the flour, sugar, walnuts, eggs, cocoa powder, baking powder and salt. Using an electric handheld mixer, blend on medium speed until well blended.

Using a small cookie scoop (or about 2 teaspoons), scoop the dough and roll in confectioners’ sugar and place on a parchment lined cookie sheet.

Bake until crackly on top and soft in the middle, rotating the sheets and reversing from the top to bottom racks halfway through baking, about 15 minutes. Let the cookies rest for a few minutes before transferring them to a wire rack to cool completely.

Recipe from Rachael Ray

Cookie Palooza: Buttered Rum Meltaways

For today’s Cookie Palooza recipe I bring you a cookie for those of you who don’t like to drink your alcohol but eat it instead… A Buttered Rum Meltaway.

I began by beating butter and sugar until it was pale and fluffy. I then added in vanilla extract and rum.

img_0160

In another bowl I whisked together flour, cornstarch and spices in a medium bowl. Which I then gradually added to the butter mixture.

img_0161

Once the dough came together I shaped it into logs on parchment paper..

img_0162

That I then wrapped in the parchment paper and placed in the freezer.

img_0163

A few days later (you can freeze the dough up to a month) I removed it from the freezer and let it warm a little to make slicing it into 1/4 slices a bit easier.

img_0181

After baking the cookies for about 15 minutes in a 350 F preheated oven…

img_0183

I coated them in confectioners’ sugar by tossing them in the sugar in a Ziploc bag.

img_0186

These cookies are so festive looking they would make a wonderful homemade gift or a welcome addition to a dessert table to a Holiday party you may be attending. Another great thing about these cookies, thanks to the rum they can keep up to 2 weeks in an airtight container!

img_0187

Buttered Rum Meltaways

Ingredients:

1 3/4 cups plus 2 tablespoons all-purpose flour

2 tablespoons cornstarch

2 teaspoons ground cinnamon

1 teaspoons freshly grated nutmeg

1/4 teaspoon ground cloves

3/4 teaspoon coarse salt

3/4 cup unsalted butter, at room temperature

1 cup confectioners’ sugar

1/4 cup rum, dark or light

1 teaspoon pure vanilla extract

Directions:

Whisk together the flour, cornstarch, cinnamon, nutmeg, cloves and salt in a medium bowl and set aside.

Using a handheld mixer or stand mixer beat butter and 1/3 cup confectioners’ sugar on medium speed until pale and fluffy. Mix in the rum and vanilla extract. Reduce the speed to low and gradually add in the flour mixture.

Divide the dough in half and place each half on a piece of parchment paper. Shape the dough into logs. Fold the parchment paper over the dough and using a ruler roll and press the dough into a 1 1/4 inch log. Wrap in parchment paper and chill in freezer at least 30 minutes or up to a month.

Preheat the oven to 350 F. Remove the parchment paper from the dough and slice into 1/4 inch thick rounds. Place on a parchment lined baking sheet and bake for 15 minutes, or until cookies are just golden. Transfer the cookies to a wire rack to cool for 10 minutes. Gently toss the cookies with the remaining confectioners’ sugar in a resalable plastic bag.

Recipe from Martha Stewart

Cookie Palooza: Oat-Rageous Chocolate Chip Cookies

It’s the first week of December, are your ovens ready? It’s time to bake until your hearts content and then bake a little more! It’s probably one of the best things about the Holiday Season… Sweets everywhere! And I am here to help… Every day this week I’ll be bringing you a new cookie recipe that may become part of your baking repertoire or give you some inspiration to create a new recipe for yourself. I’ve scoured my cookbooks and old holiday cookie magazines to gather recipes that are easy to make, are a bit traditional with a twist and one that combines three favorites in one. That’s today’s cookie… One that combines oatmeal, peanut butter and chocolate chips together. So, welcome to Cookie Palooza 2016 on Bead Yarn & Spatula… Up first Oat-Rageous Chocolate Chip Cookies.

img_0150

Oat-Rageous Chocolate Chip Cookies

  • Servings: 30-36 cookies
  • Print

Ingredients:

1/2 cup butter, softened

1/2 cup creamy peanut butter

1/2 cup sugar

1/3 cup packed light brown sugar

1 egg

1/2 teaspoon pure vanilla extract

1 cup all-purpose flour

1/2 cup quick-cooking oats

1 teaspoon baking soda

1/4 teaspoon salt

1 cup semi-sweet chocolate chips

Directions:

Preheat oven to 350 F and line two baking sheets with parchment paper.

In a medium bowl whisk together the flour, oats, baking soda and salt, set aside.

In a large bowl combine the butter, peanut butter and sugars and use an electric mixer to cream together. Beat in the egg and vanilla. Add the flour mixture and mix well. Stir in the chocolate chips.

Drop by rounded tablespoonful onto the prepared baking sheets and bake for 10-12 minutes, until cookies are lightly browned.

Recipe from Taste of Home

Pumpkin Cake with Goat Cheese Frosting

So, what happens when you bake a cake late at night and then frost it early the next morning? You don’t take pictures! But, that’s okay. I don’t need pictures to tell you how delicious this cake is. I do have this lovely final picture though…

img_0144

With Thanksgiving this week this Pumpkin Cake with Goat Cheese Frosting is my final pumpkin dessert of the season. I can’t say it’s the best as that title goes to the Pumpkin Tiramisu I posted about last month, but, it’s definitely a close second, and I am sure would be a welcome addition to your Thanksgiving dessert table. I actually made it for a Friendsgiving celebration I had with some wonderful friends last weekend. If you’ve never had your own Friendsgiving celebration I strongly advise you to have one next year. There’s absolutely no drama and you get to spend some time with people who are just as important or in some cases more important to you than your own family!

Here are some quick notes about this cake though… Definitely go with the freshly grated nutmeg and don’t try to substitute ground ginger for the freshly grated ginger, trust me, these two things make a huge difference in the flavor. I speak from experience. Make your own buttermilk by combining vinegar (or lemon juice) and milk (for this cake, I used 1/2 tablespoon of vinegar and 1/2 cup 2% milk to make the buttermilk.) And finally, if you’re not a fan of goat cheese go with a simple cream cheese frosting. You can never go wrong with cream cheese frosting.

So, however you’re spending your Thanksgiving I hope it’s one with delicious food, sweet desserts and great company. And remember, no matter what has happened in life there is ALWAYS something to be grateful for!


Pumpkin Cake

Ingredients:

2 sticks unsalted butter, at room temperature

2 3/4 cups all-purpose flour

1 1/2 teaspoons baking powder

1 teaspoon baking soda

1 1/2 teaspoons ground cinnamon

3/4 teaspoon freshly grated nutmeg

1/2 teaspoon salt

2 cups light-brown sugar

3 large eggs

1 1/2 cups solid-pack pumpkin

1 teaspoon pure vanilla extract

3/4 teaspoon grated peeled fresh ginger

1/2 cup buttermilk*

*To make your own combine 1/2 tablespoon vinegar (or lemon juice) with 1/2 cup milk – I used 2%. Let stand for 5-10 minutes at room temperature. When the milk is ready it will have thickened and you will see small curdled bits.

Directions:

Preheat oven to 350 F. Prep two 8-inch round pans, either by spraying them with baking spray (what I did) or brush the pans with butter, line the bottoms with parchment paper, butter the parchment paper then dust the pans with flour, tapping out the excess.

In a medium bowl whisk together the flour, baking powder, baking soda, cinnamon, nutmeg and salt.

With an electric mixer (or stand mixer) beat the butter and brown sugar on medium speed until pale and fluffy, 3 to 4 minutes. Beat in the eggs, 1 at a time. Then beat in the pumpkin and finally the vanilla and ginger. Reduce the speed to medium and add the flour in the batches alternating with 2 batches of the buttermilk, beating until just combined, scraping down the sides of the bowl as necessary.

Divide the batter evenly between the prepared pans. Bake until the cakes are golden brown, the edges pull away from the sides of the pan and a cake tested comes out clean, about 30 -35 minutes. Transfer the pans to a wire rack to cool for 15 minutes. Turn out the cakes onto the racks to cool completely.

Place the bottom layer of the cake on a cake stand (or board) and spread half of your desired frosting evenly over the cake. Top with the second layer and evenly spread the remaining frosting over the cake.

Recipe from Martha Stewart


Goat Cheese Frosting

Ingredients:

1 pound (2 – 8oz bars) cream cheese, at room temperature

8 ounces soft goat cheese, at room temperature

1/2 cup confectioners’ sugar

Directions:

Beat cheese until combined, then gradually add sugar and continue beating until smooth and creamy.

Recipe from Martha Stewart

Pumpkin Chocolate Brownies

I came across this brownie recipe in a recent issue of People magazine. At first it sounded great, but, then I started to make them and I began to question them due to the vast amount of ingredients.

In one bowl I sifted together flour, cinnamon, ginger, nutmeg and salt. In another bowl I combined 9 eggs, 2 1/2 cups of pumpkin puree and 4 1/3 cups of sugar. And finally, in another bowl I melted 1 2/3 cups of unsalted butter. YIKES! I’ve made brownies from scratch before and usually they require about 4 eggs or so and definitely not that much sugar. Oh, and if you didn’t know 1 2/3 cups of butter is roughly 27 tablespoons! So, I had my doubts, but I plowed ahead.

 img_0357

To combine these three I continued to beat the pumpkin mixture on low while slowly adding in the melted butter and then gradually added in the flour until the mixture was completely blended.

 img_0358

And finally I stirred in 1 1/2 cups of semi-sweet chocolate chips.

img_0359 

Next, I spread the batter into a greased 12 x 18 – inch rimmed baking sheet.

 img_0361

And baked it for about 45 minutes, until cake tester came out clean from the center.

 img_0363

And after letting them cool completely I went to slice them and problems quickly arose. While they did appear to be completely cooked for some reason when I went to slice them they seemed to be undercooked in the middle. Granted, if I had left them in the oven longer the edges would have really burned. So while it appeared that I would have been able to slice these into 20 healthy-sized brownies I really only ended up with 12. While they did taste good the verdict is out as to whether or not I will make them again. I actually brought them to a friend’s house and we jokingly coined them “The $50 Brownies” because of the amount of ingredients… LOL!

 img_0368


Pumpkin Chocolate Brownies

Ingredients:

2 1/4 cups flour

1 1/4 teaspoon cinnamon

1/8 teaspoon ginger

1/4 teaspoon nutmeg

1/4 teaspoon salt

9 large eggs

2 1/2 cups pumpkin puree

4 1/3 cups sugar

1 2/3 cups unsalted butter, melted

1 1/2 cups semi-sweet chocolate chips


Directions:

Preheat oven to 350 F. Grease an 18 x 12 inch rimmed baking sheet.

In a medium bowl sift together the flour, cinnamon, ginger, nutmeg and salt.

In a large bowl, using an electric mixer, beat together the eggs and the pumpkin puree on medium speed until well combined. Add the sugar and continue beating until all ingredients are well combined.

With the mixer running, slowly add the melted butter to the pumpkin mixture. Gradually add in the flour mixture until fully incorporated, scraping the sides of the bowl as necessary. Stir in the chocolate chips.

Spread the batter into the prepared baking sheet and bake for about 45 minutes, until a cake tester or toothpick inserted in the center comes out clean.

Cool completely and then slice.

Recipe from Buddy Valastio People Magazine


Apple-Blackberry Galette

About a month ago I went apple picking and while I had plans to bake a variety of things with said apples they were just too good that I ended up eating most of them. (I should be keeping the doctor away for quite some time.) But, after picking up a pint of blackberries recently I remembered a recipe I had for an Apple-Blackberry Galette that I decided to try out before eating up the last of my apples. In case you are wondering, I’ve been able to keep the apples fresh by placing them in the drawer at the bottom of my refrigerator.

While my puff pastry thawed I prepped my filling. I began by melting butter in a large skillet over medium-high heat and adding the apples (which I peeled, cored and sliced about a 1/4-inch thick), sugar and ginger. Once the apples began to soften I removed them from the heat and let them cool.

img_0099

While the apples cooled I prepped the rest of the filling. I tossed blackberries with sugar, cornstarch, vanilla extract and lemon zest in a large bowl. Once the apples were cool I added them to the blackberries and gently tossed them to combine.

img_0103

Once the puff pastry was thawed I rolled it out on a floured surface and then transferred it to piece of parchment paper that I placed on a cookie sheet. I refrigerated it for about 15 minutes…

img_0104

Then removed it from the refrigerator and spooned the filling in the center of the puff pastry and folded and pleated the dough around the filling. I brushed the dough with an egg wash, sprinkled sugar on it and then returned it to the refrigerator for about 25 minutes.

img_0105

And finally I baked the galette in a 400 F oven for about a half hour… Until the filling was bubbling and the crust was golden brown. I let it settle for a few minutes before slicing it. The juices of the fruit were a bit runny, so, I think next time I will use flour to bind the fruit together as opposed to the cornstarch. Overall though it was delicious!

img_0109


Apple-Blackberry Galette

Ingredients:

1 puff pastry sheet, thawed

3 tablespoons unsalted butter

3 Golden Delicious apples (about 1 1/2 pounds) peeled, cored, and cut into 1/4 inch thick slices

1/3 cup plus 2 tablespoons sugar

1/4 teaspoon ground ginger

2 cup blackberries (about 10 ounces)

1 tablespoon cornstarch

1 teaspoon pure vanilla extract

1/4 teaspoon freshly grated lemon zest

1 large egg

Directions:

Preheat the oven to 400 F.

While the puff pastry is thawing prep the filling. In a large skillet melt the butter over medium-high heat. Add the apples, 2 tablespoons sugar and ginger. Cook, stirring often, until softened. Let cool.  Toss the blackberries with the remaining 1/2 cup sugar, the cornstarch, vanilla extract and lemon zest in a large bowl. Once the apples have cooled gently toss them into the mixture.

Once the puff pastry has thawed roll it out on a floured surface into a 12-inch square. Transfer to a parchment lined cookie sheet and place in the refrigerator for 15 minutes.

Place the filling in a small mound in the center of the puff pastry and fold and pleat the pastry dough over the fruit. Brush it with an egg wash – beat the egg with a teaspoon of water – and sprinkle with sugar. Return to the refrigerator for about 25-30 minutes and then bake in the preheated oven. Let cool before slicing in.

Recipe from Food Network