Chocolate Crumb Cake

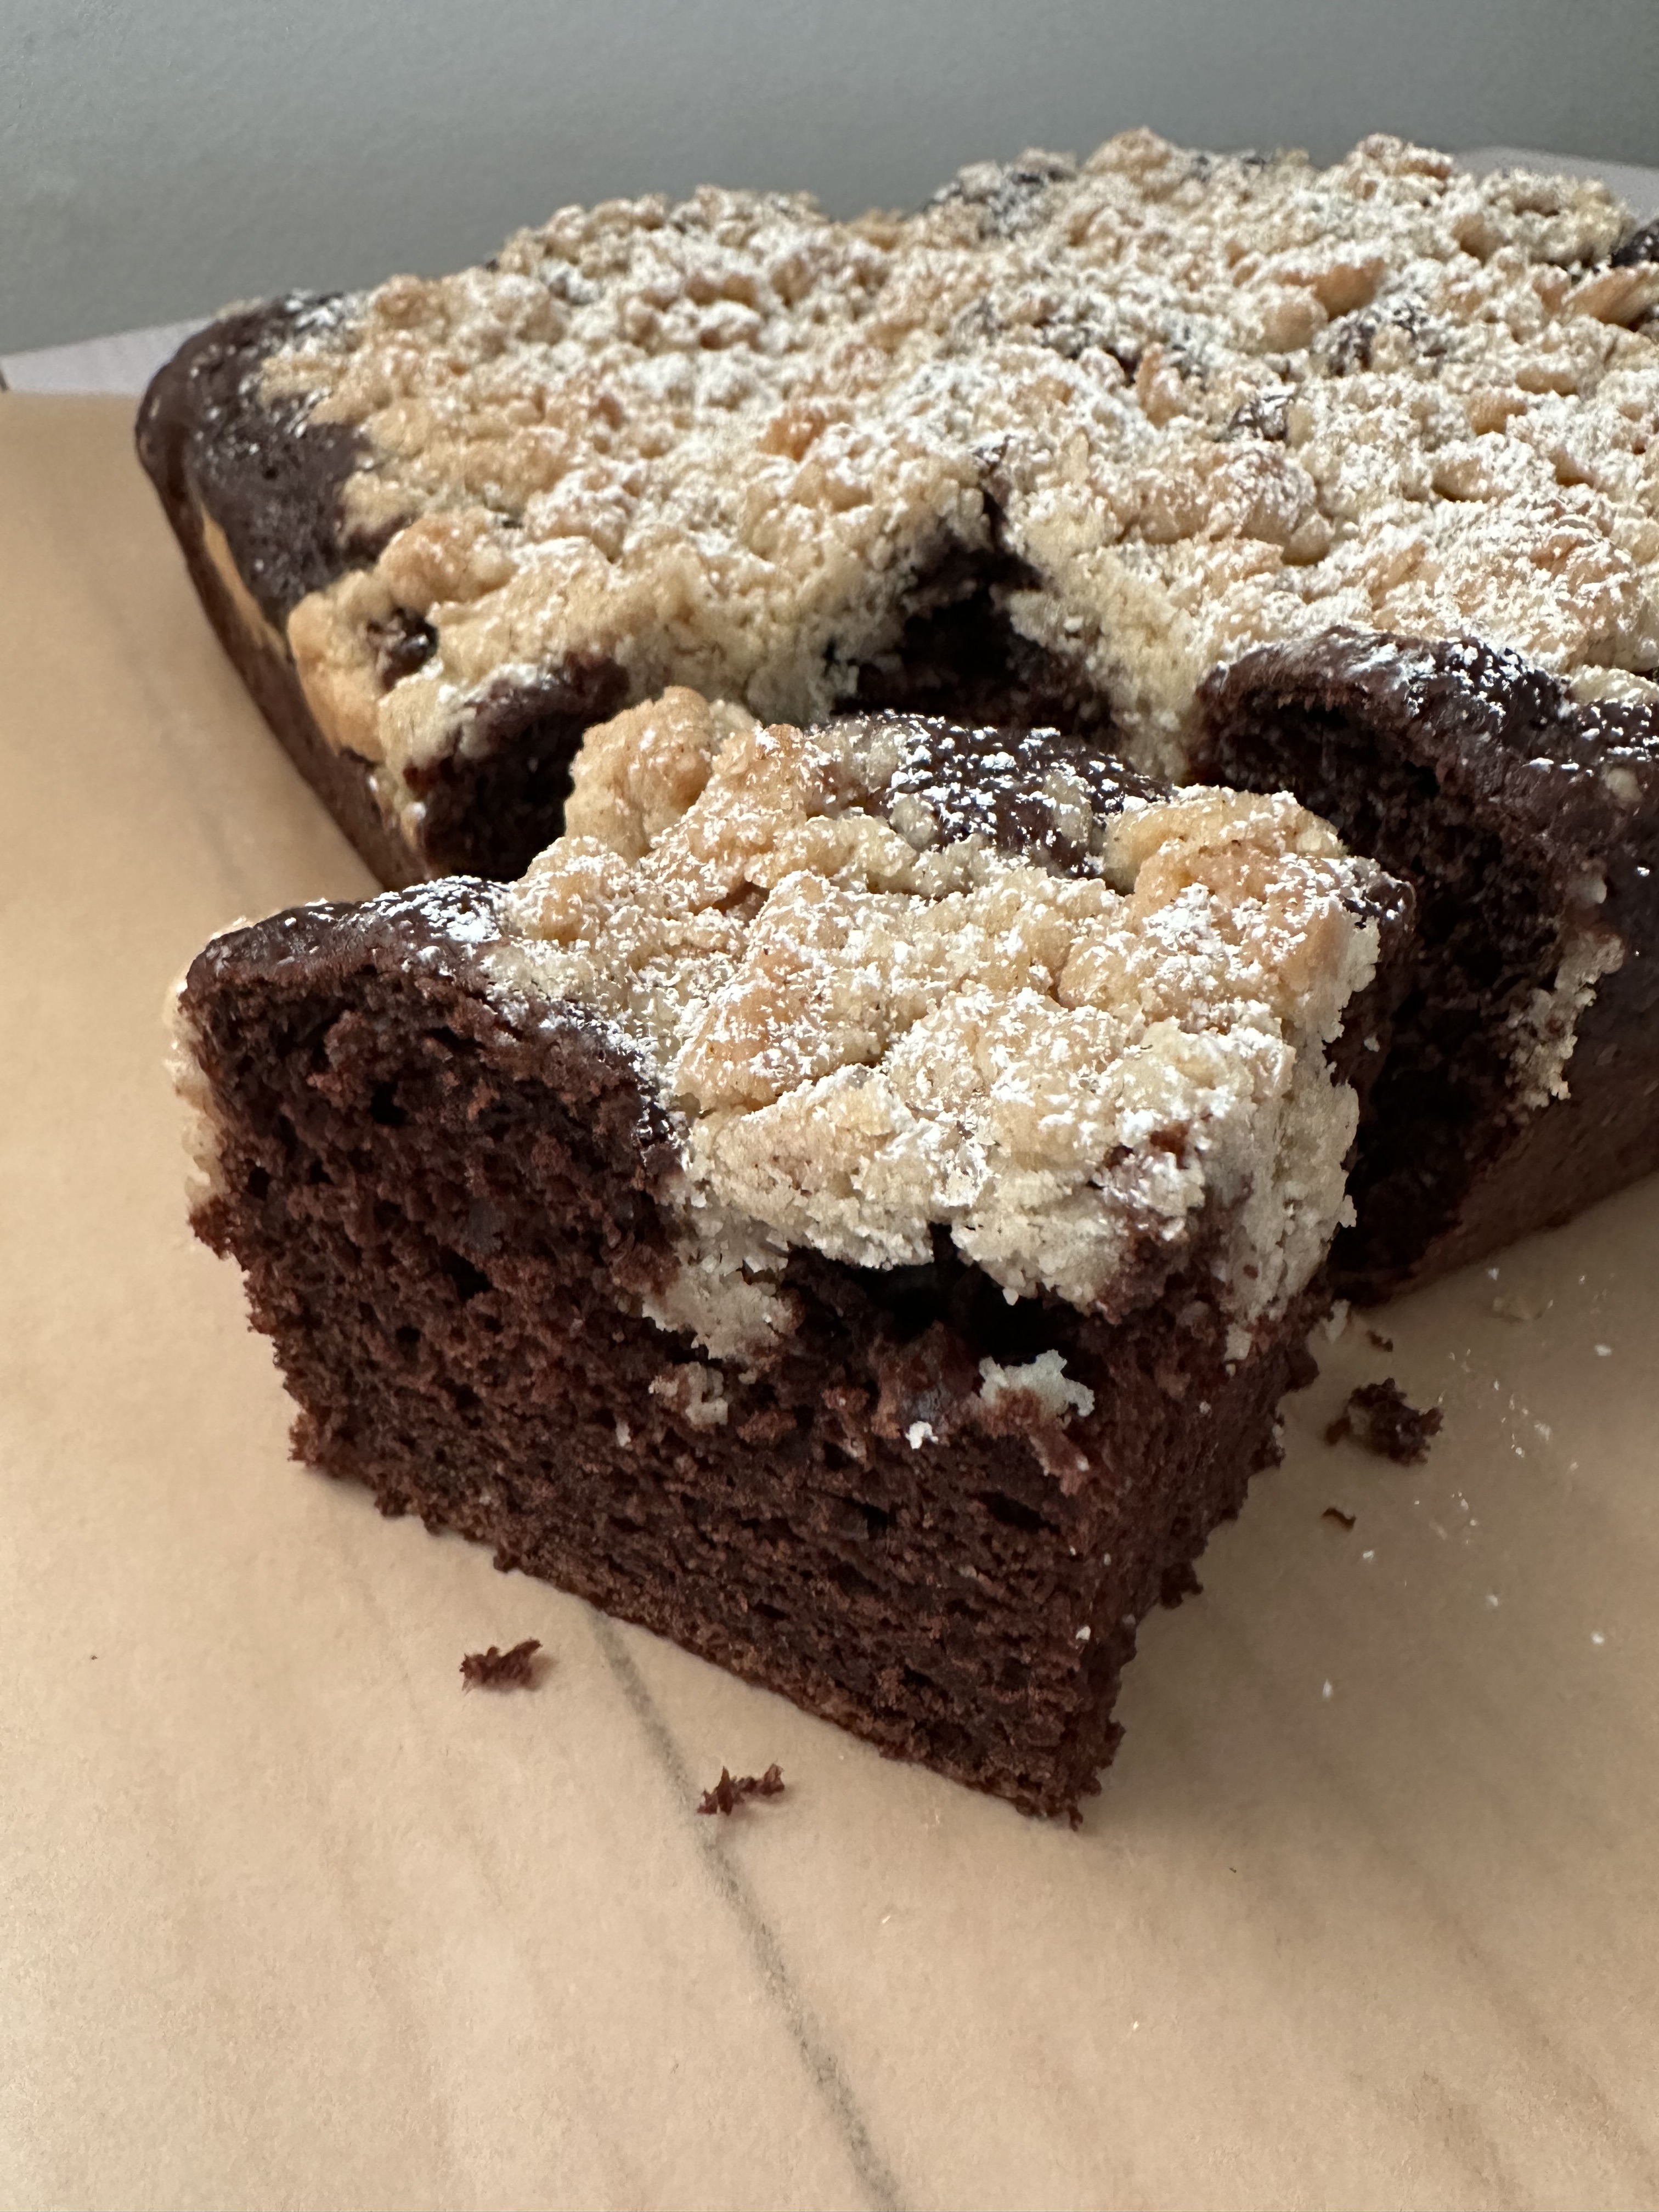
I think we can all agree that the best part of any crumb cake is the crumb! All crumb is not the same though. Leave it in the oven a tad too long and instead of it being delicious and sweet it’ll be burnt and dry. If you don’t mix the ingredients in just the right order your consistency will be off. I once made a batch of muffins with a crumb topping that ended up melting into the muffins while in the oven. And regardless of what the recipe says, I always refrigerate (or freeze) my crumb topping before using it. I think this helps it stay together better while in the oven. After all this talk about crumbs it should come as no surprise that today’s cake has a crumb topping… It’s a Chocolate Crumb Cake.

I’ve had the idea for this cake for quite some time. Years ago, I would get something similar at a bakery I would go to from time to time. In my mind it was a Chocolate Crumb Pound Cake, but that’s not what it was called on the menu. Truth be told, I have no idea what it was called. Whenever I ordered it, I would just point to it and get it (the best way to order things!). Ultimately the bakery closed but I never forgot about that cake. I have a list of things I want to bake / try to make, and that cake was always on there, but it would always get neglected. I finally decided that it would be a nice addition to this week since I was posting two recipes using a yellow cake mix for two different variations of marble cake to make with it. 

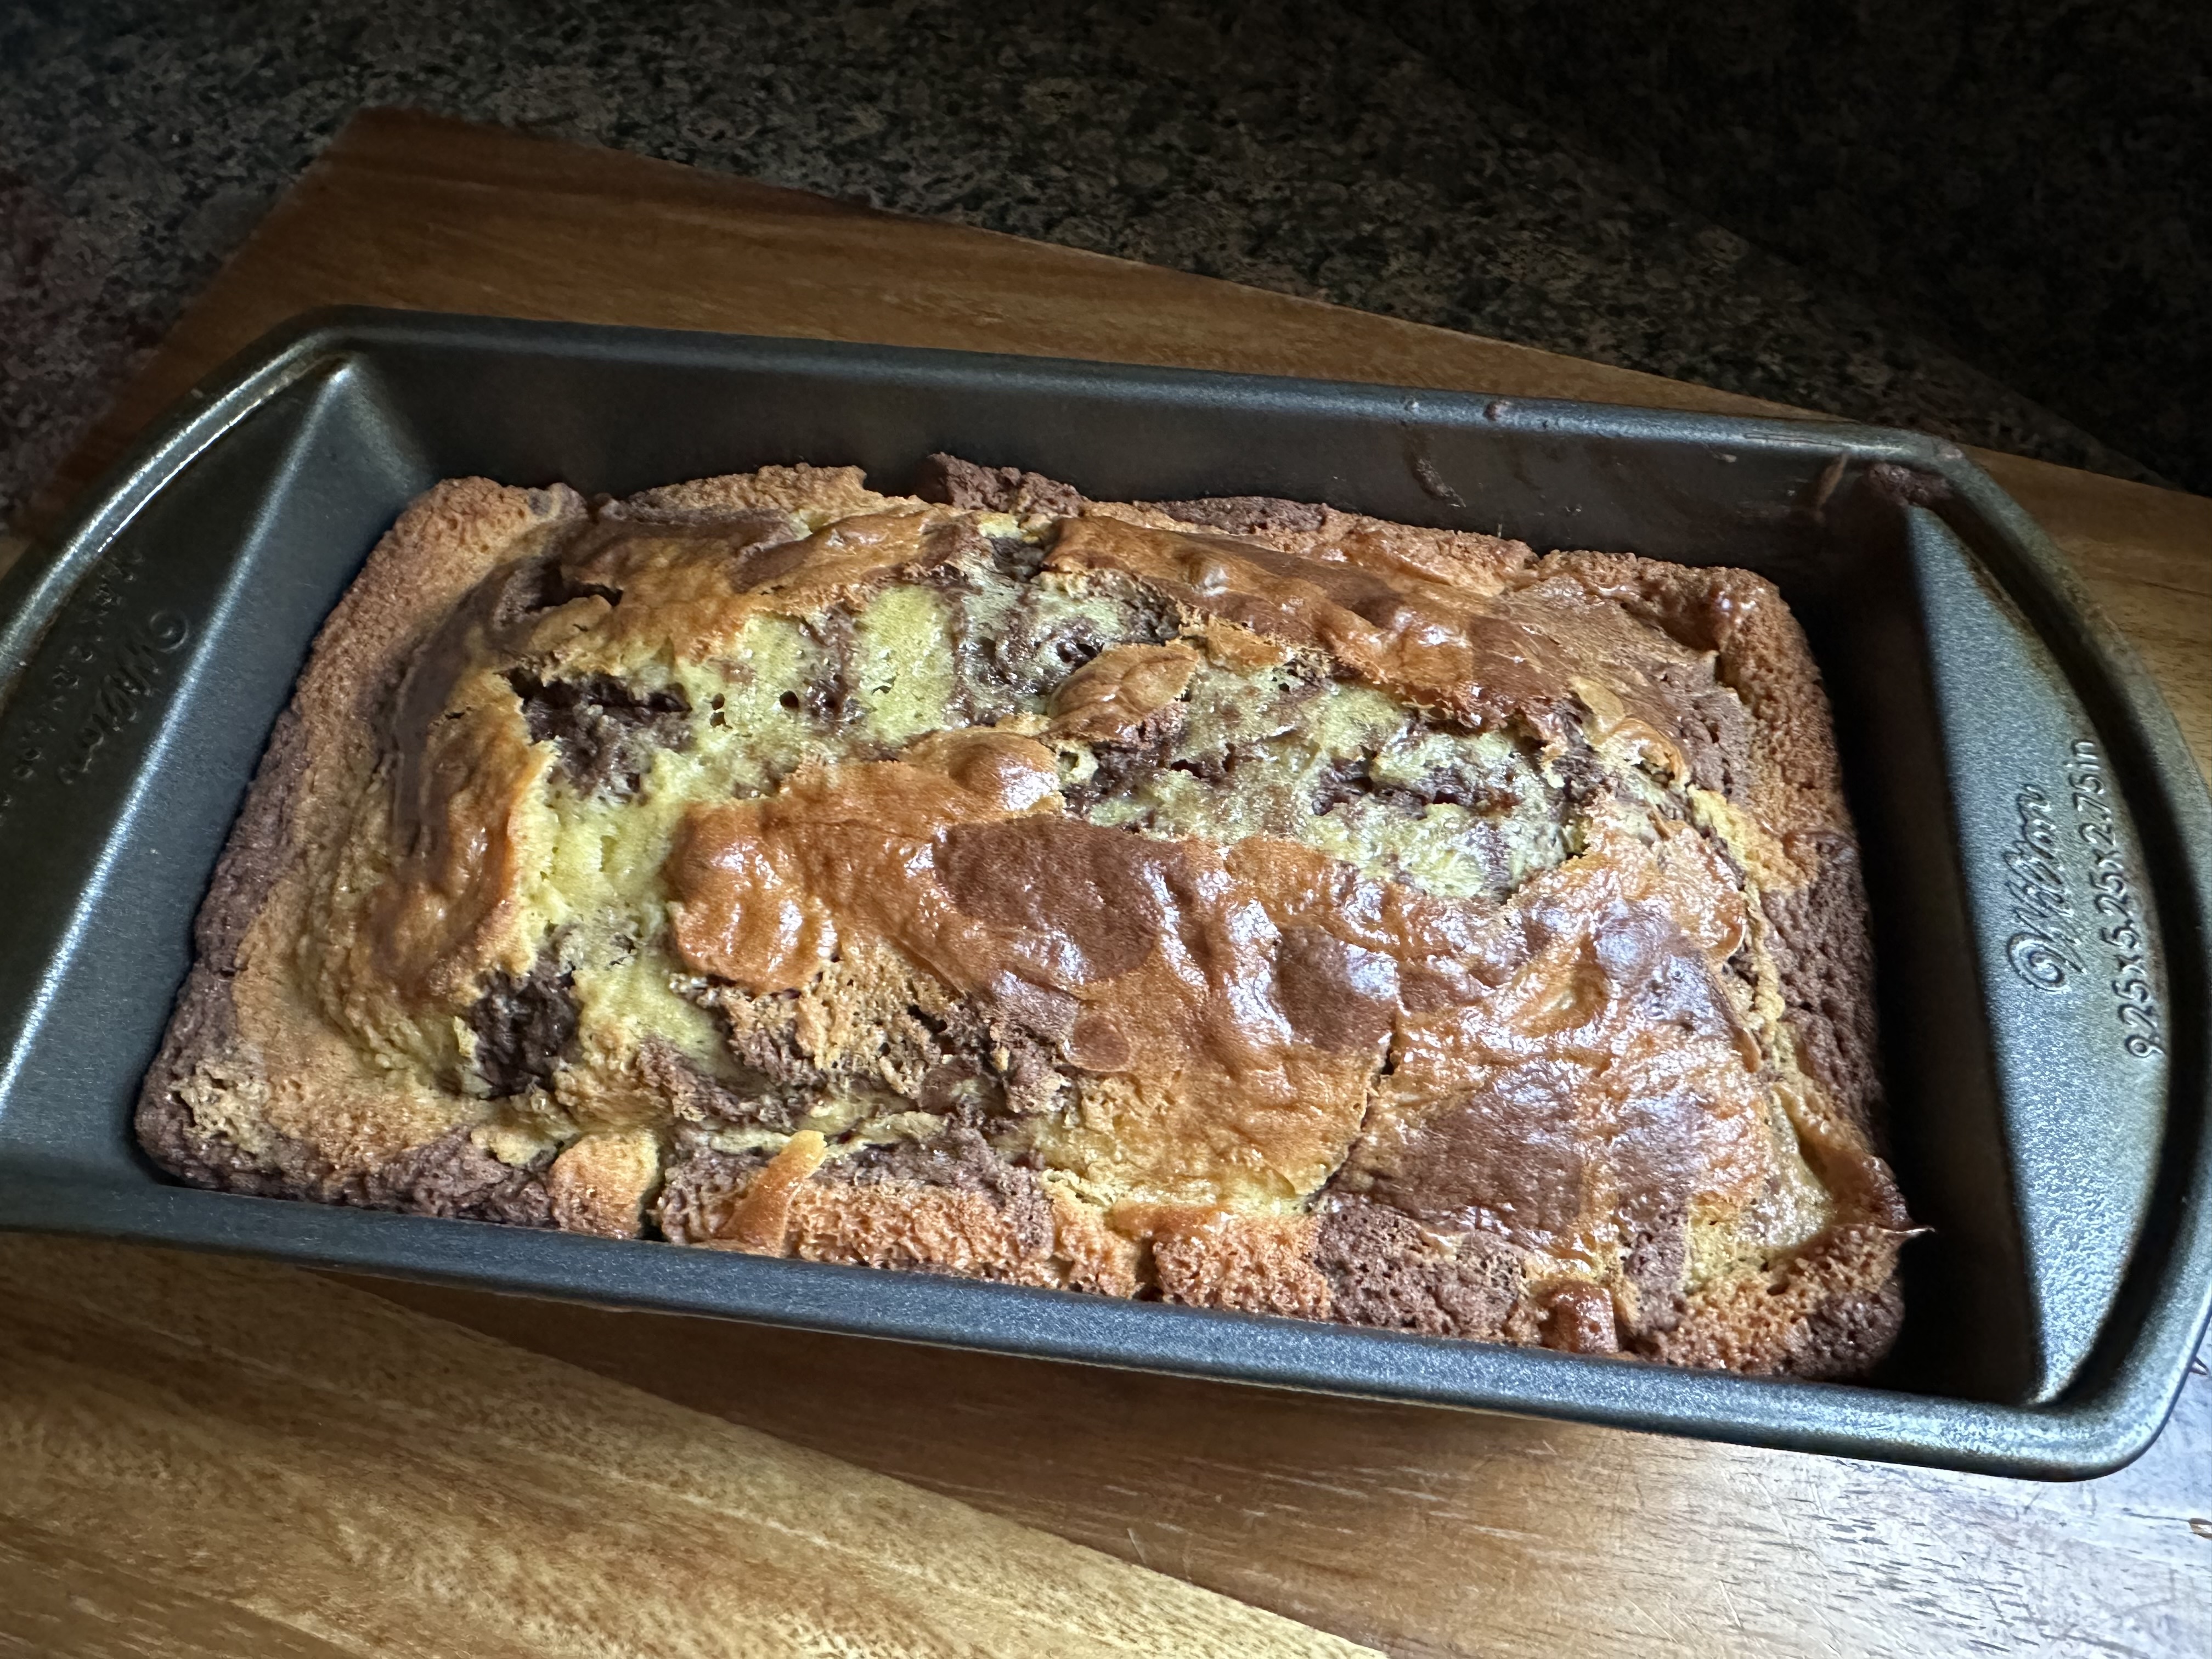
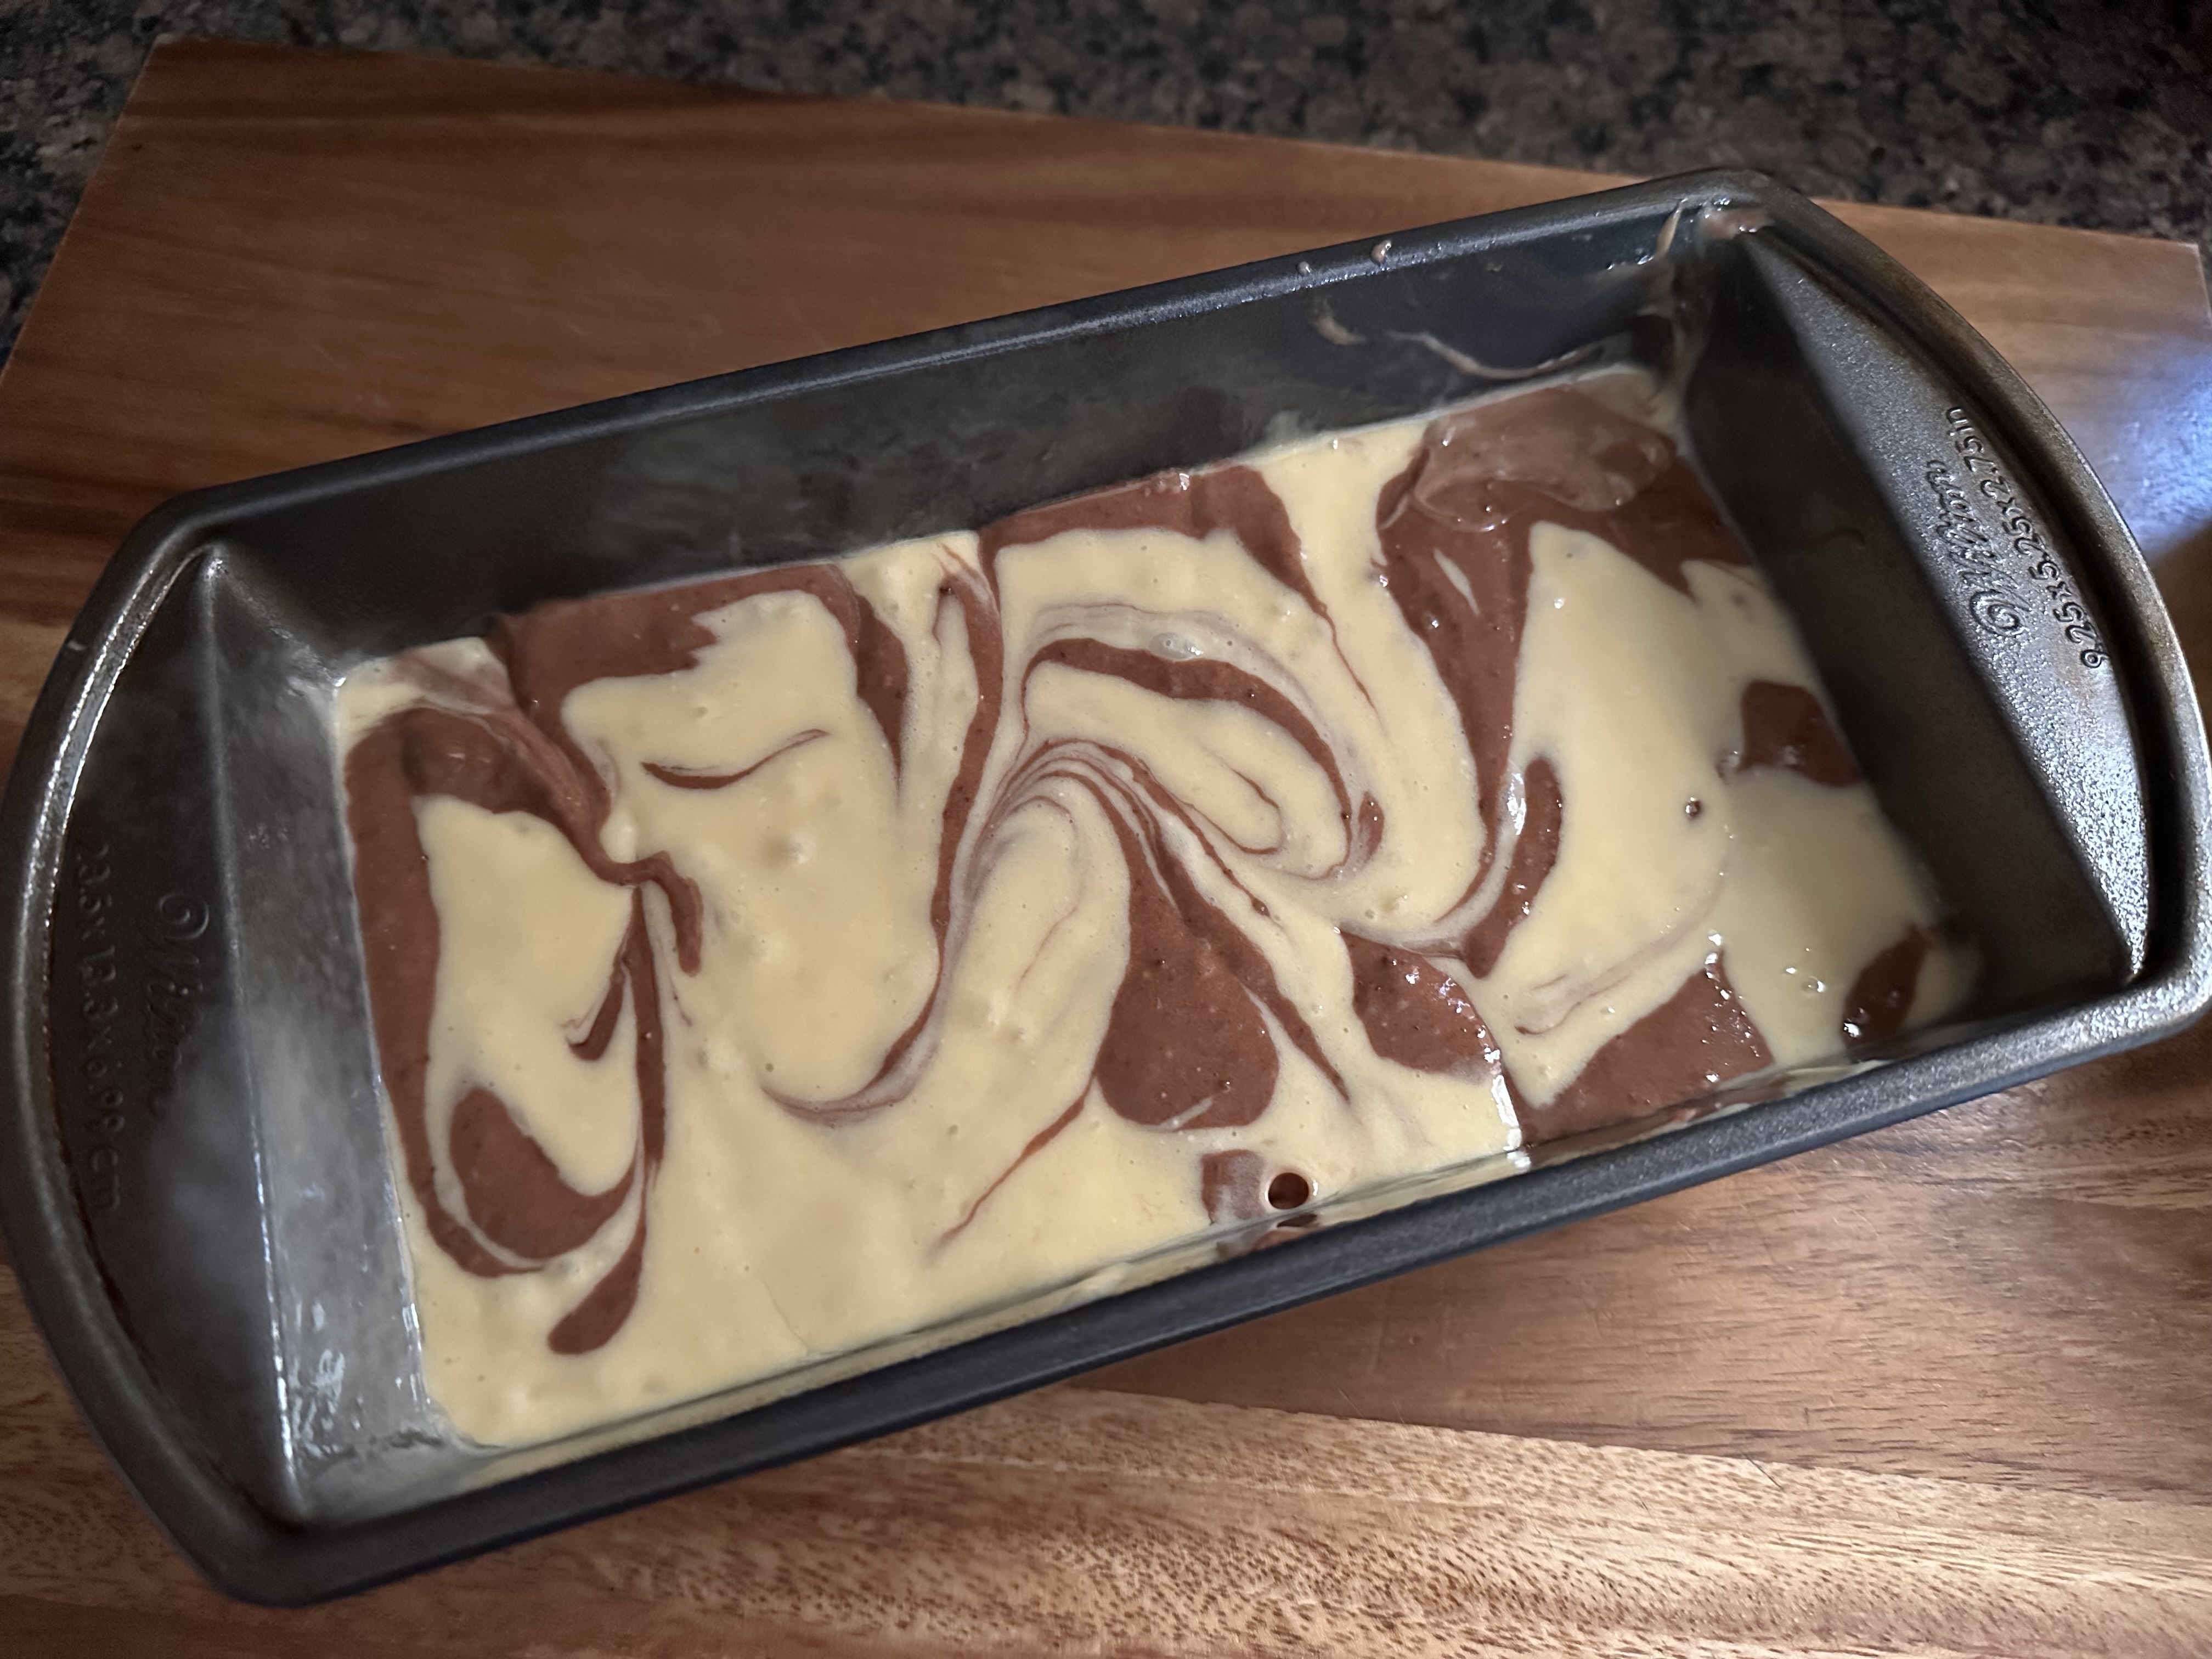
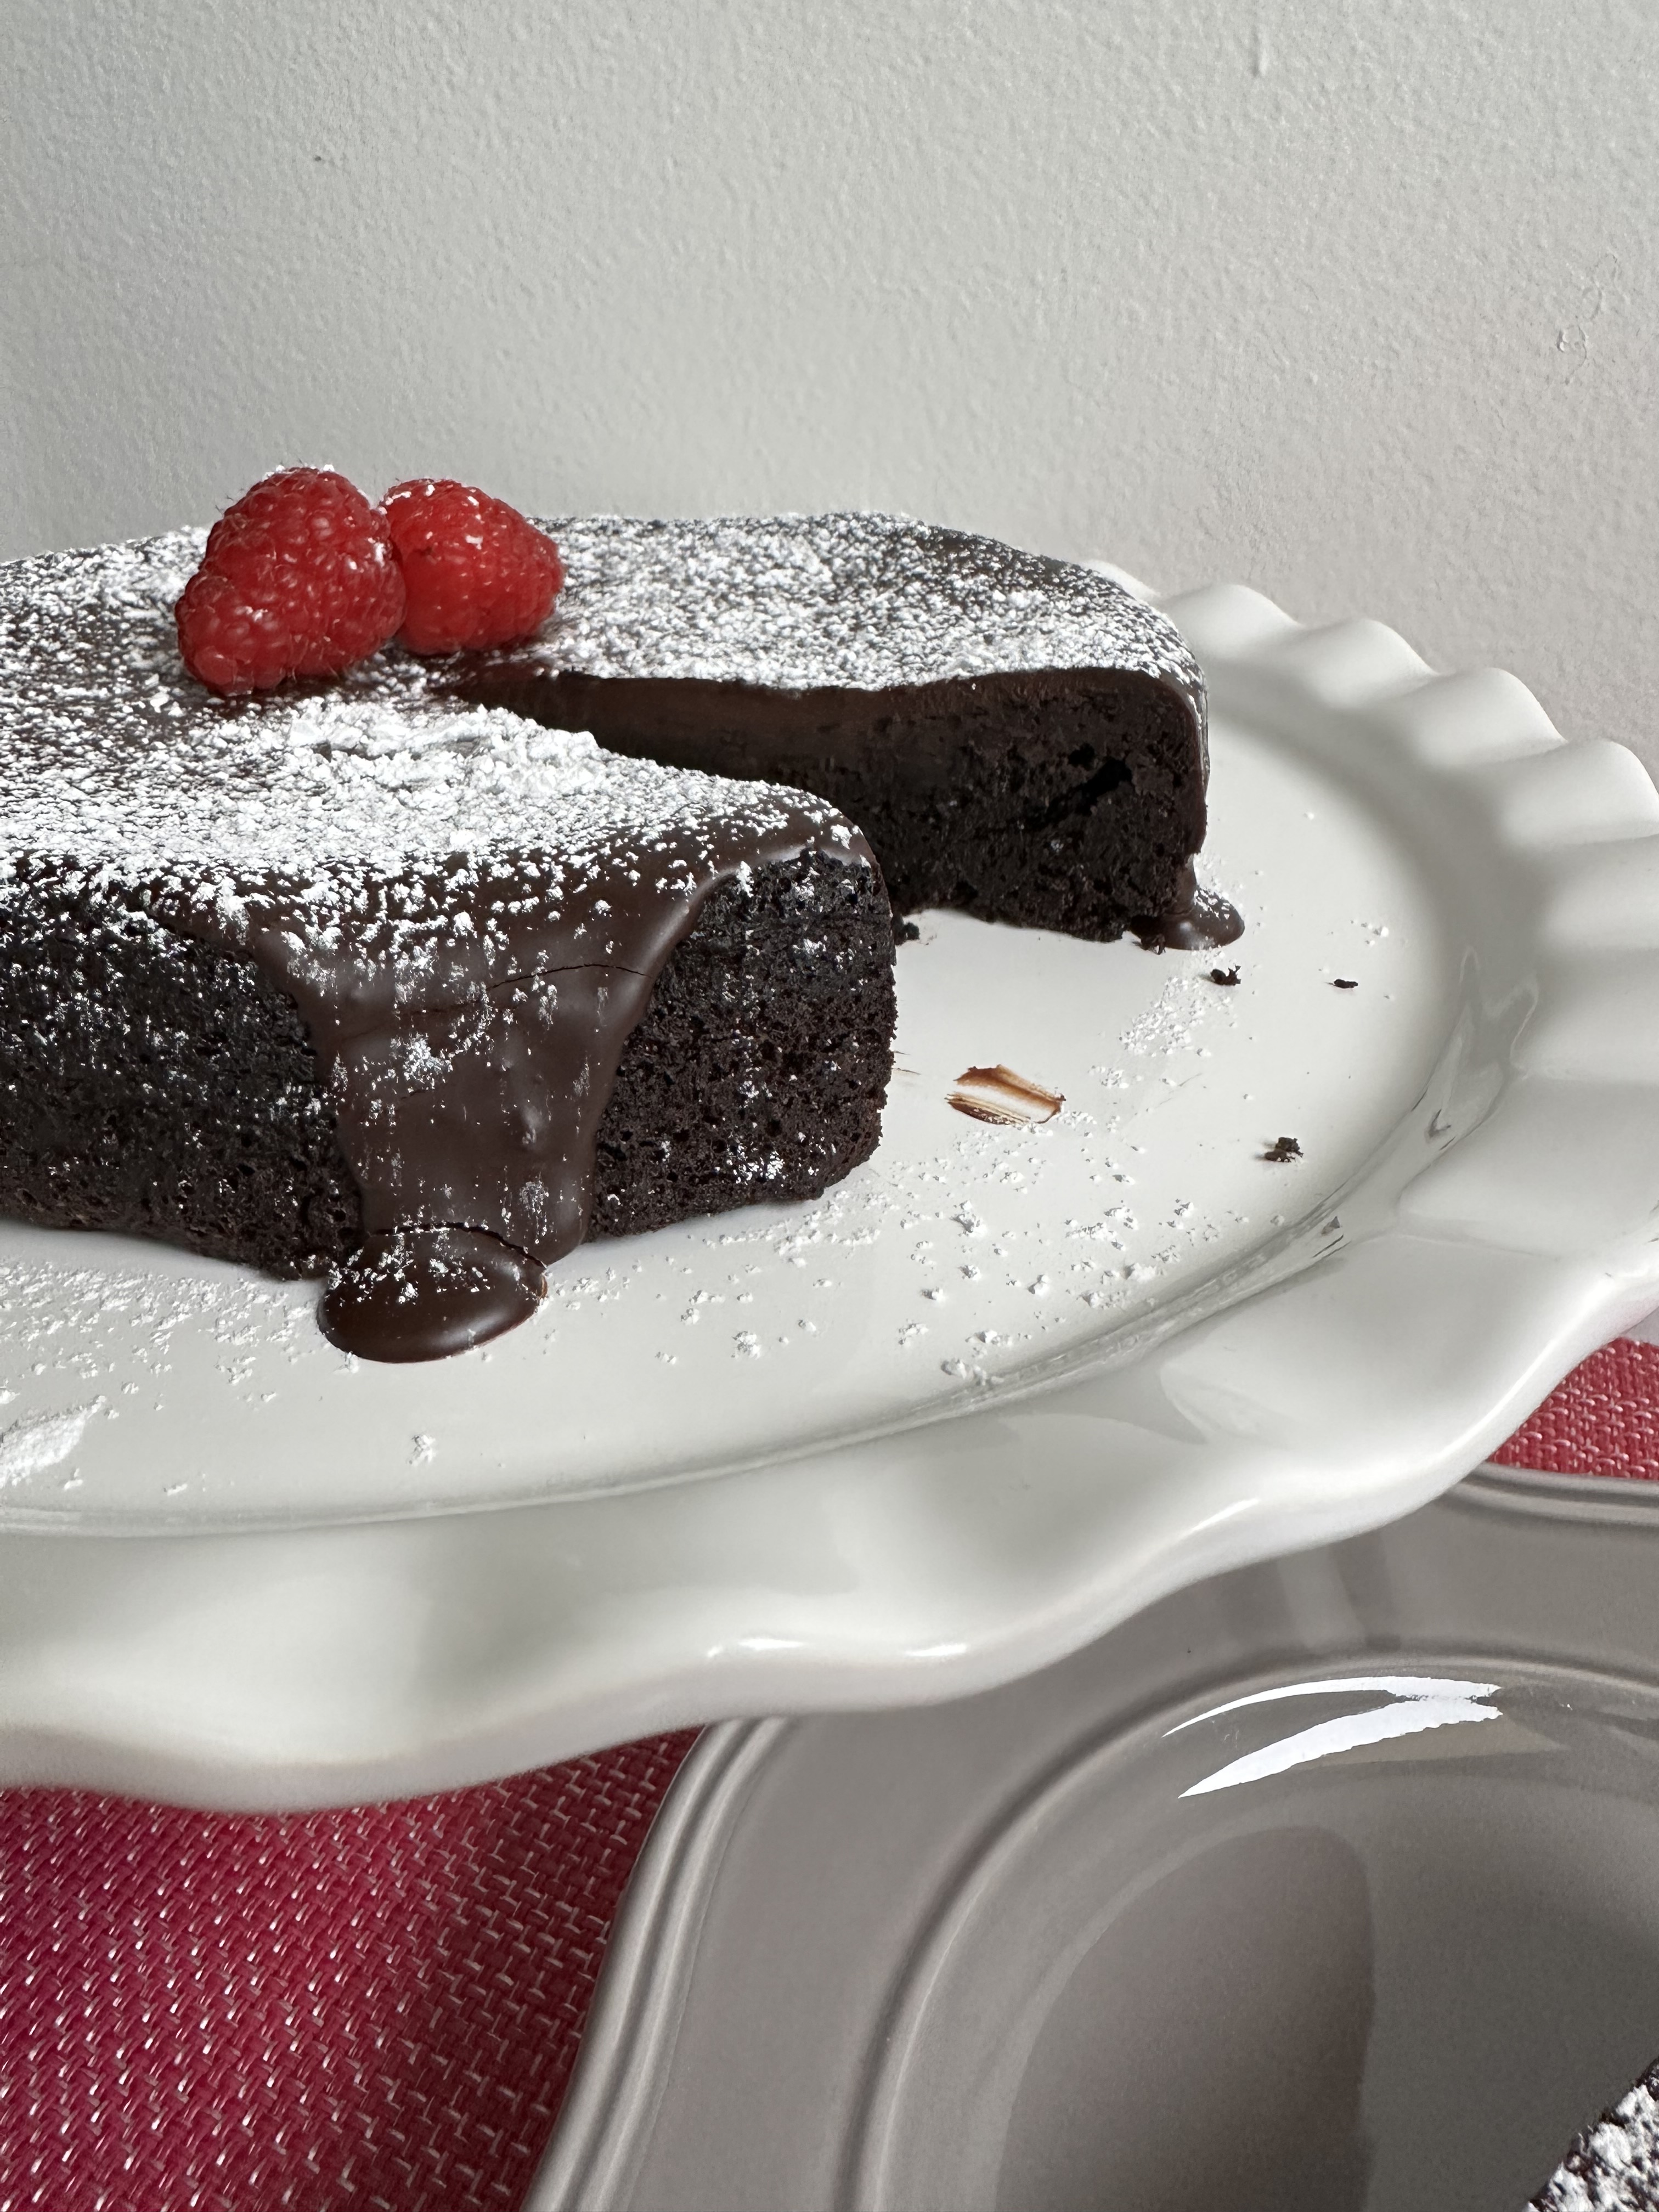
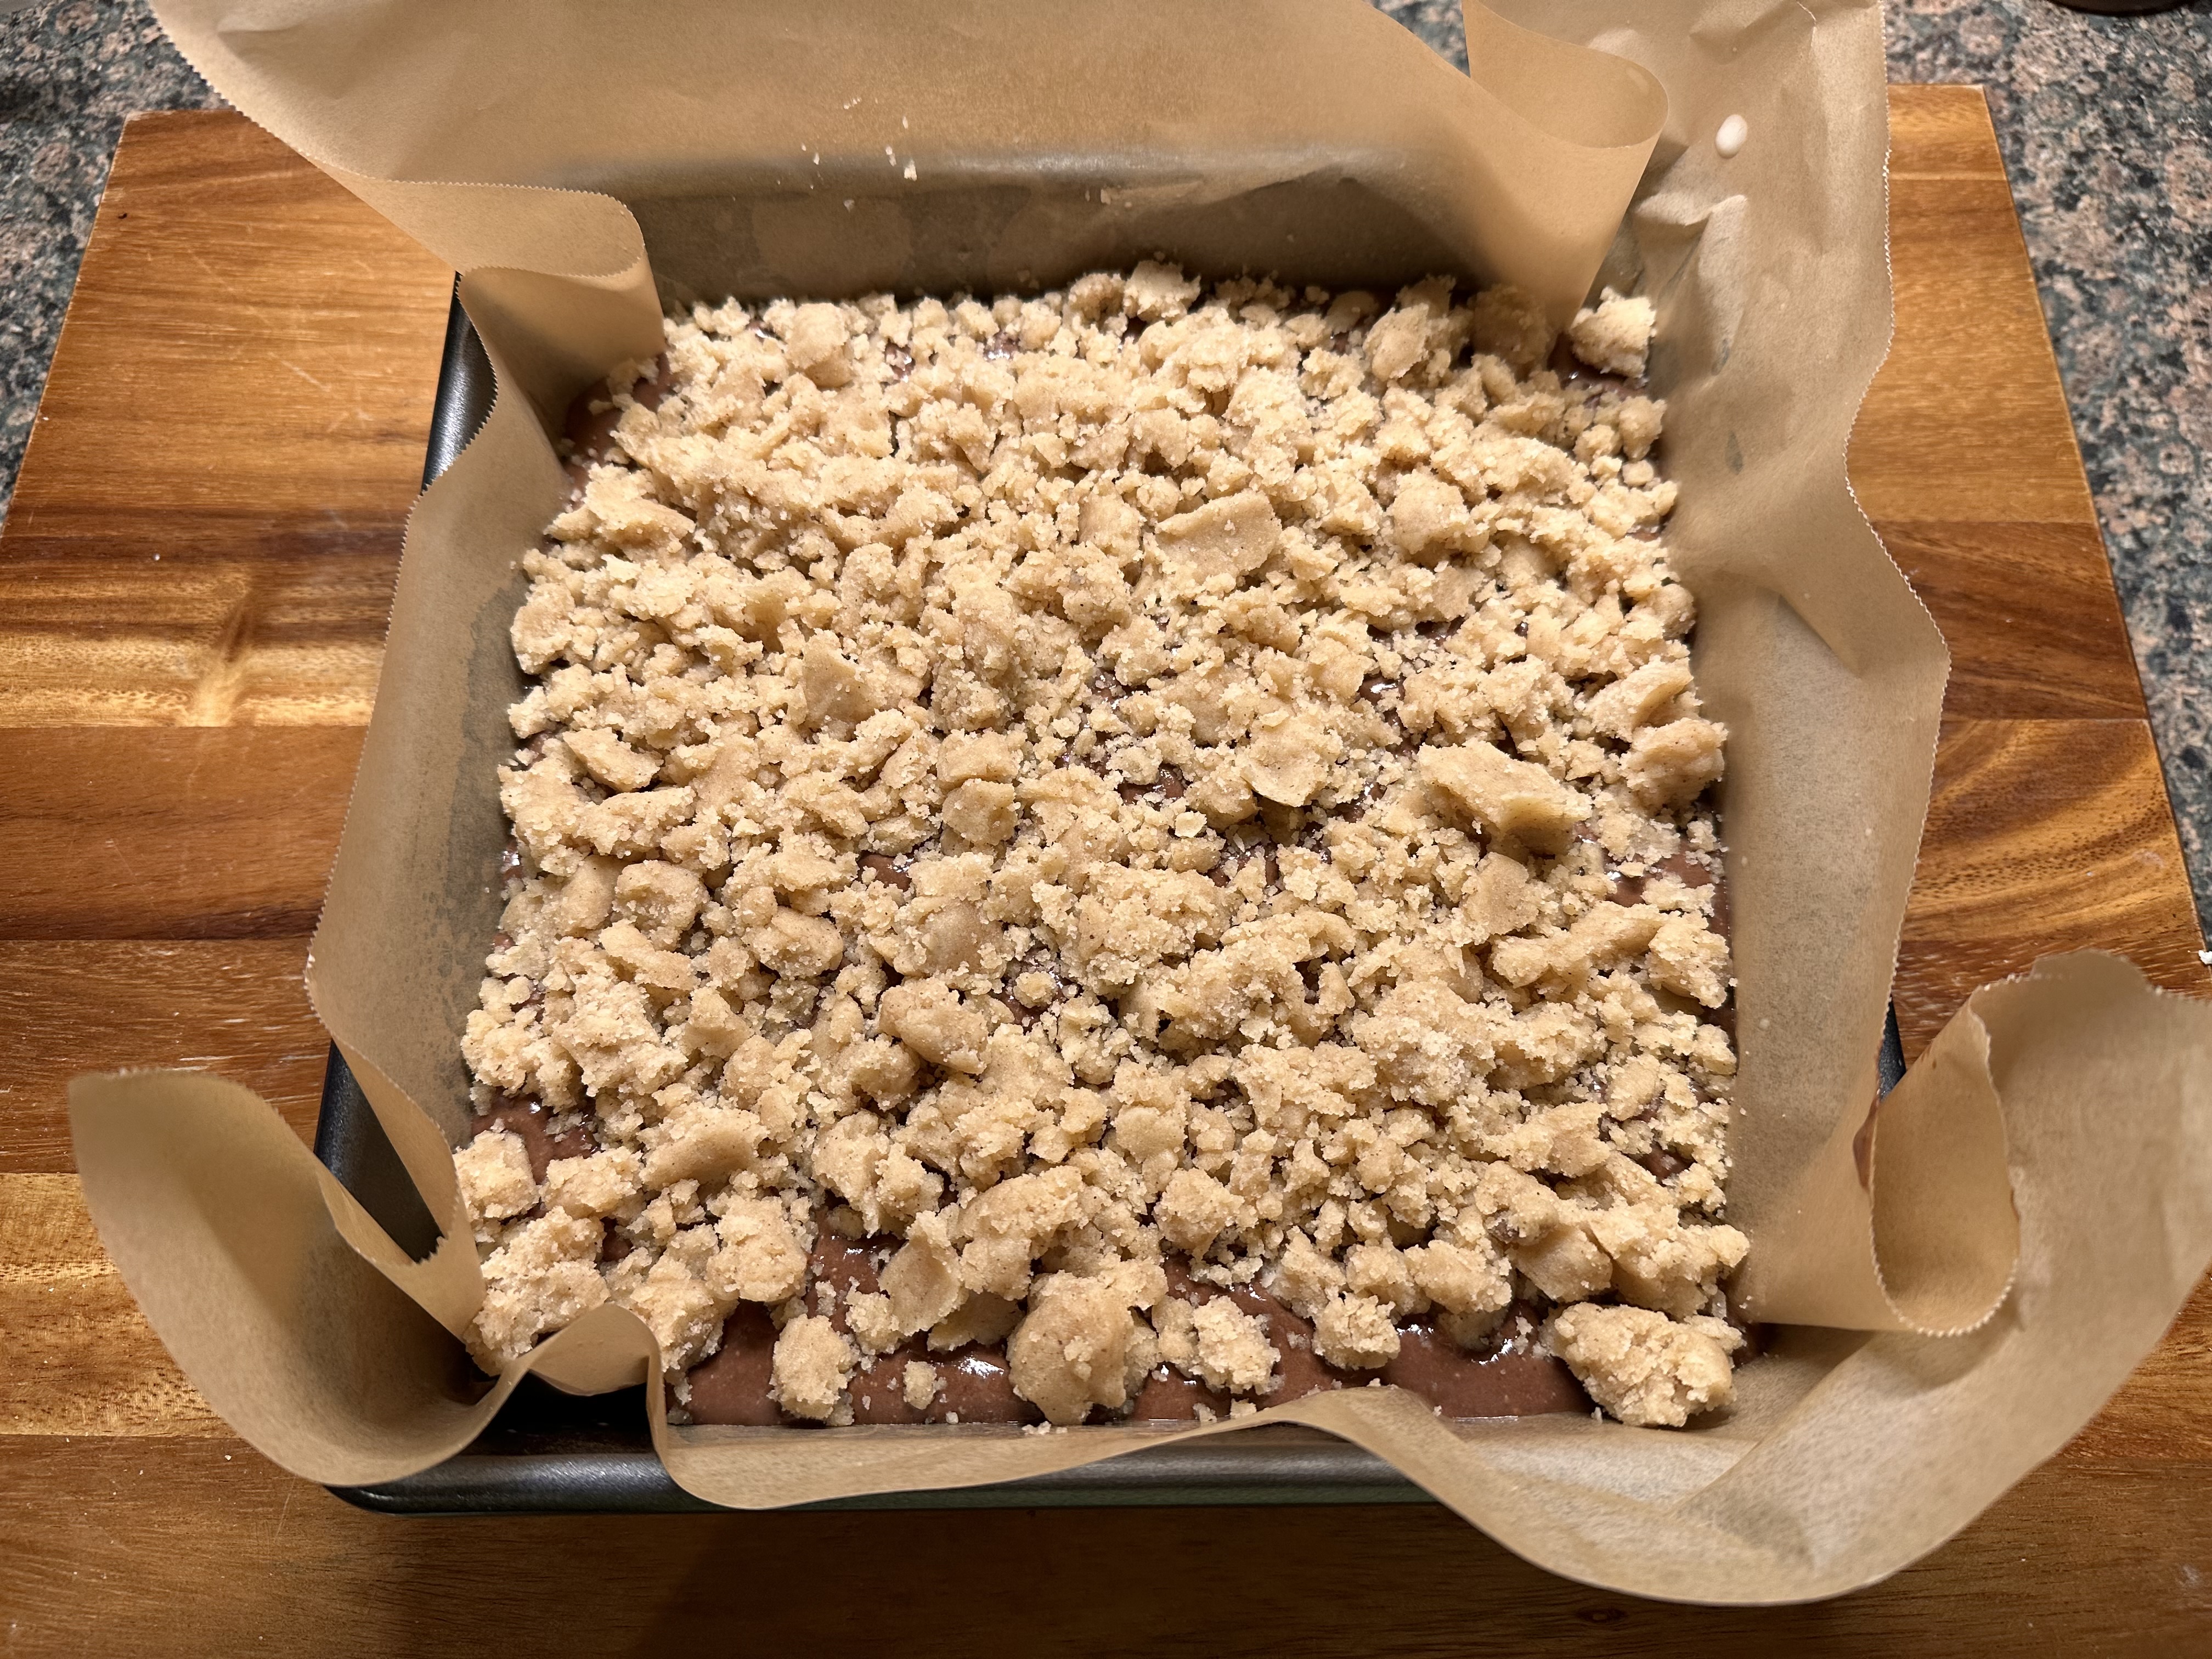
For this cake I started with a box chocolate cake mix. To make it taste a bit more homemade and to enhance the chocolate flavor I swapped out the water for coffee and I used vegetable oil and sour cream for the fat. I also added in vanilla extract. After making the batter I poured it into a 9-inch square pan I lined with parchment paper. It’s important to leave an overhang with the parchment paper so you can remove the cake from the pan easily. You really don’t want to flip it out of the pan as you would a regular cake because of the crumb topping. In doing so you could end up cracking the crumb topping or worse the cake itself. After the batter was in the pan, I used my hands to spread the crumb topping over the cake.

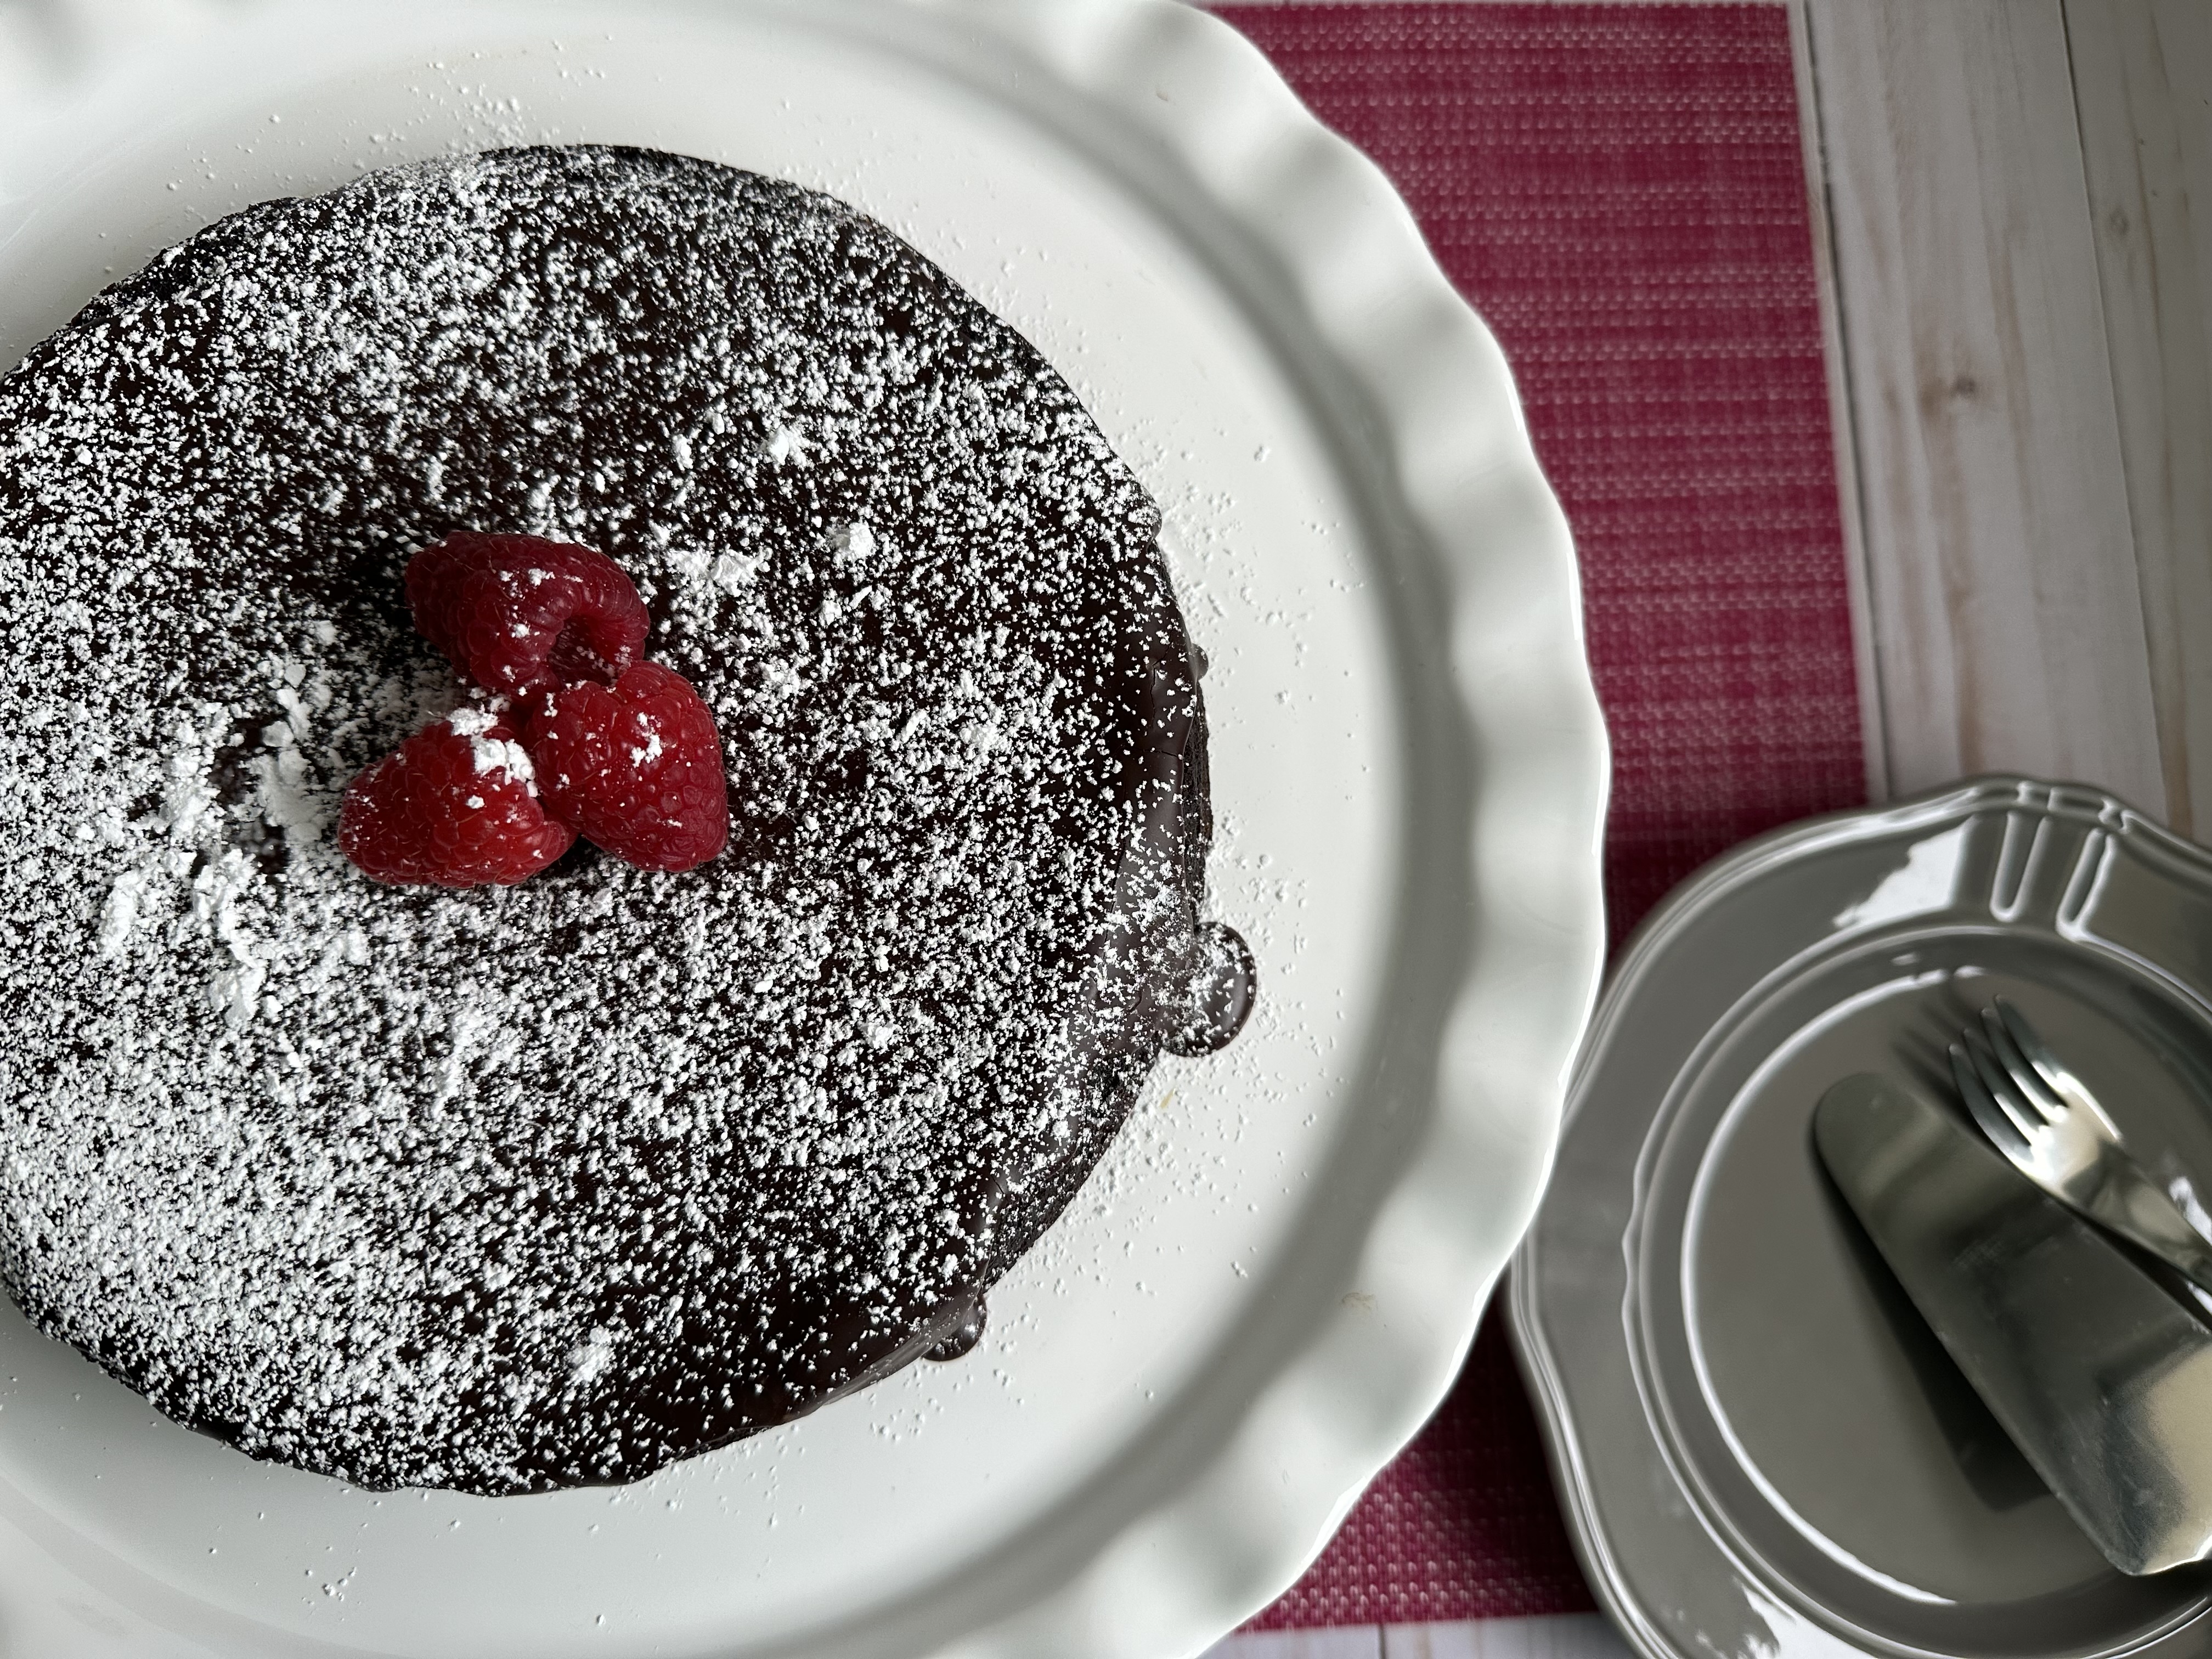
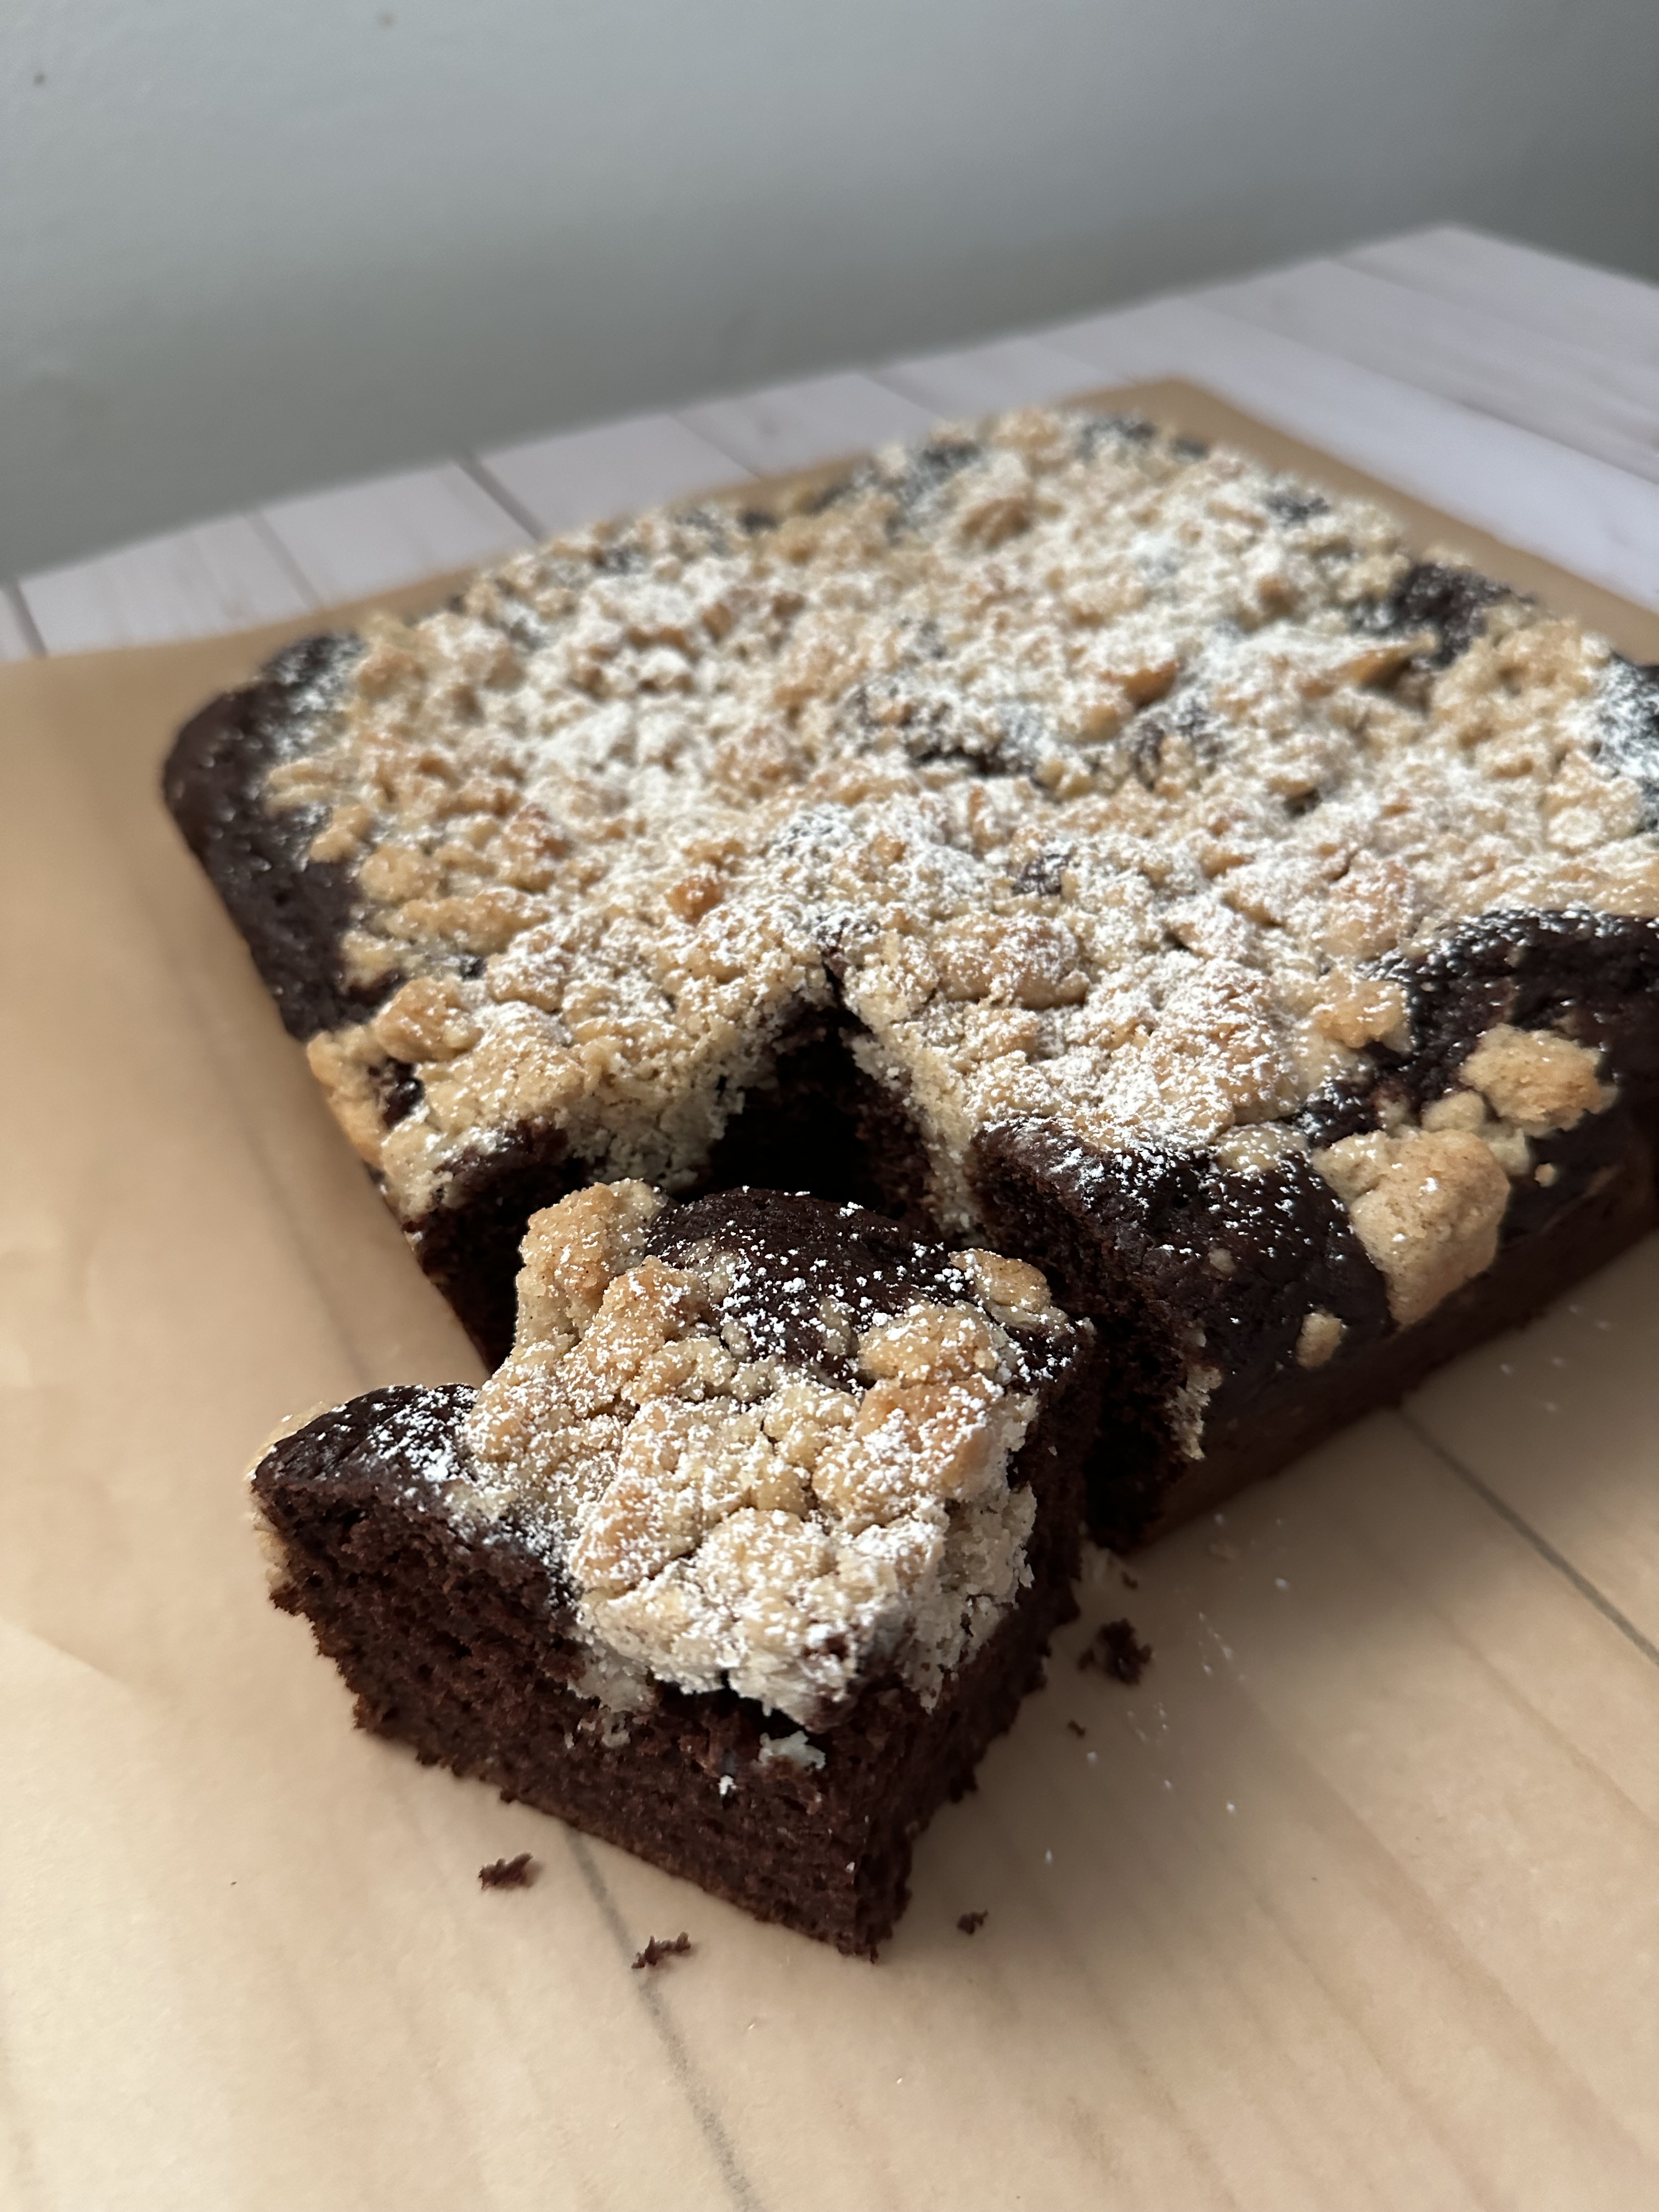
Once the cake was baked and completely cooled, I dusted the top of it with confectioners’ sugar – you can’t have crumb topping without it in my opinion.

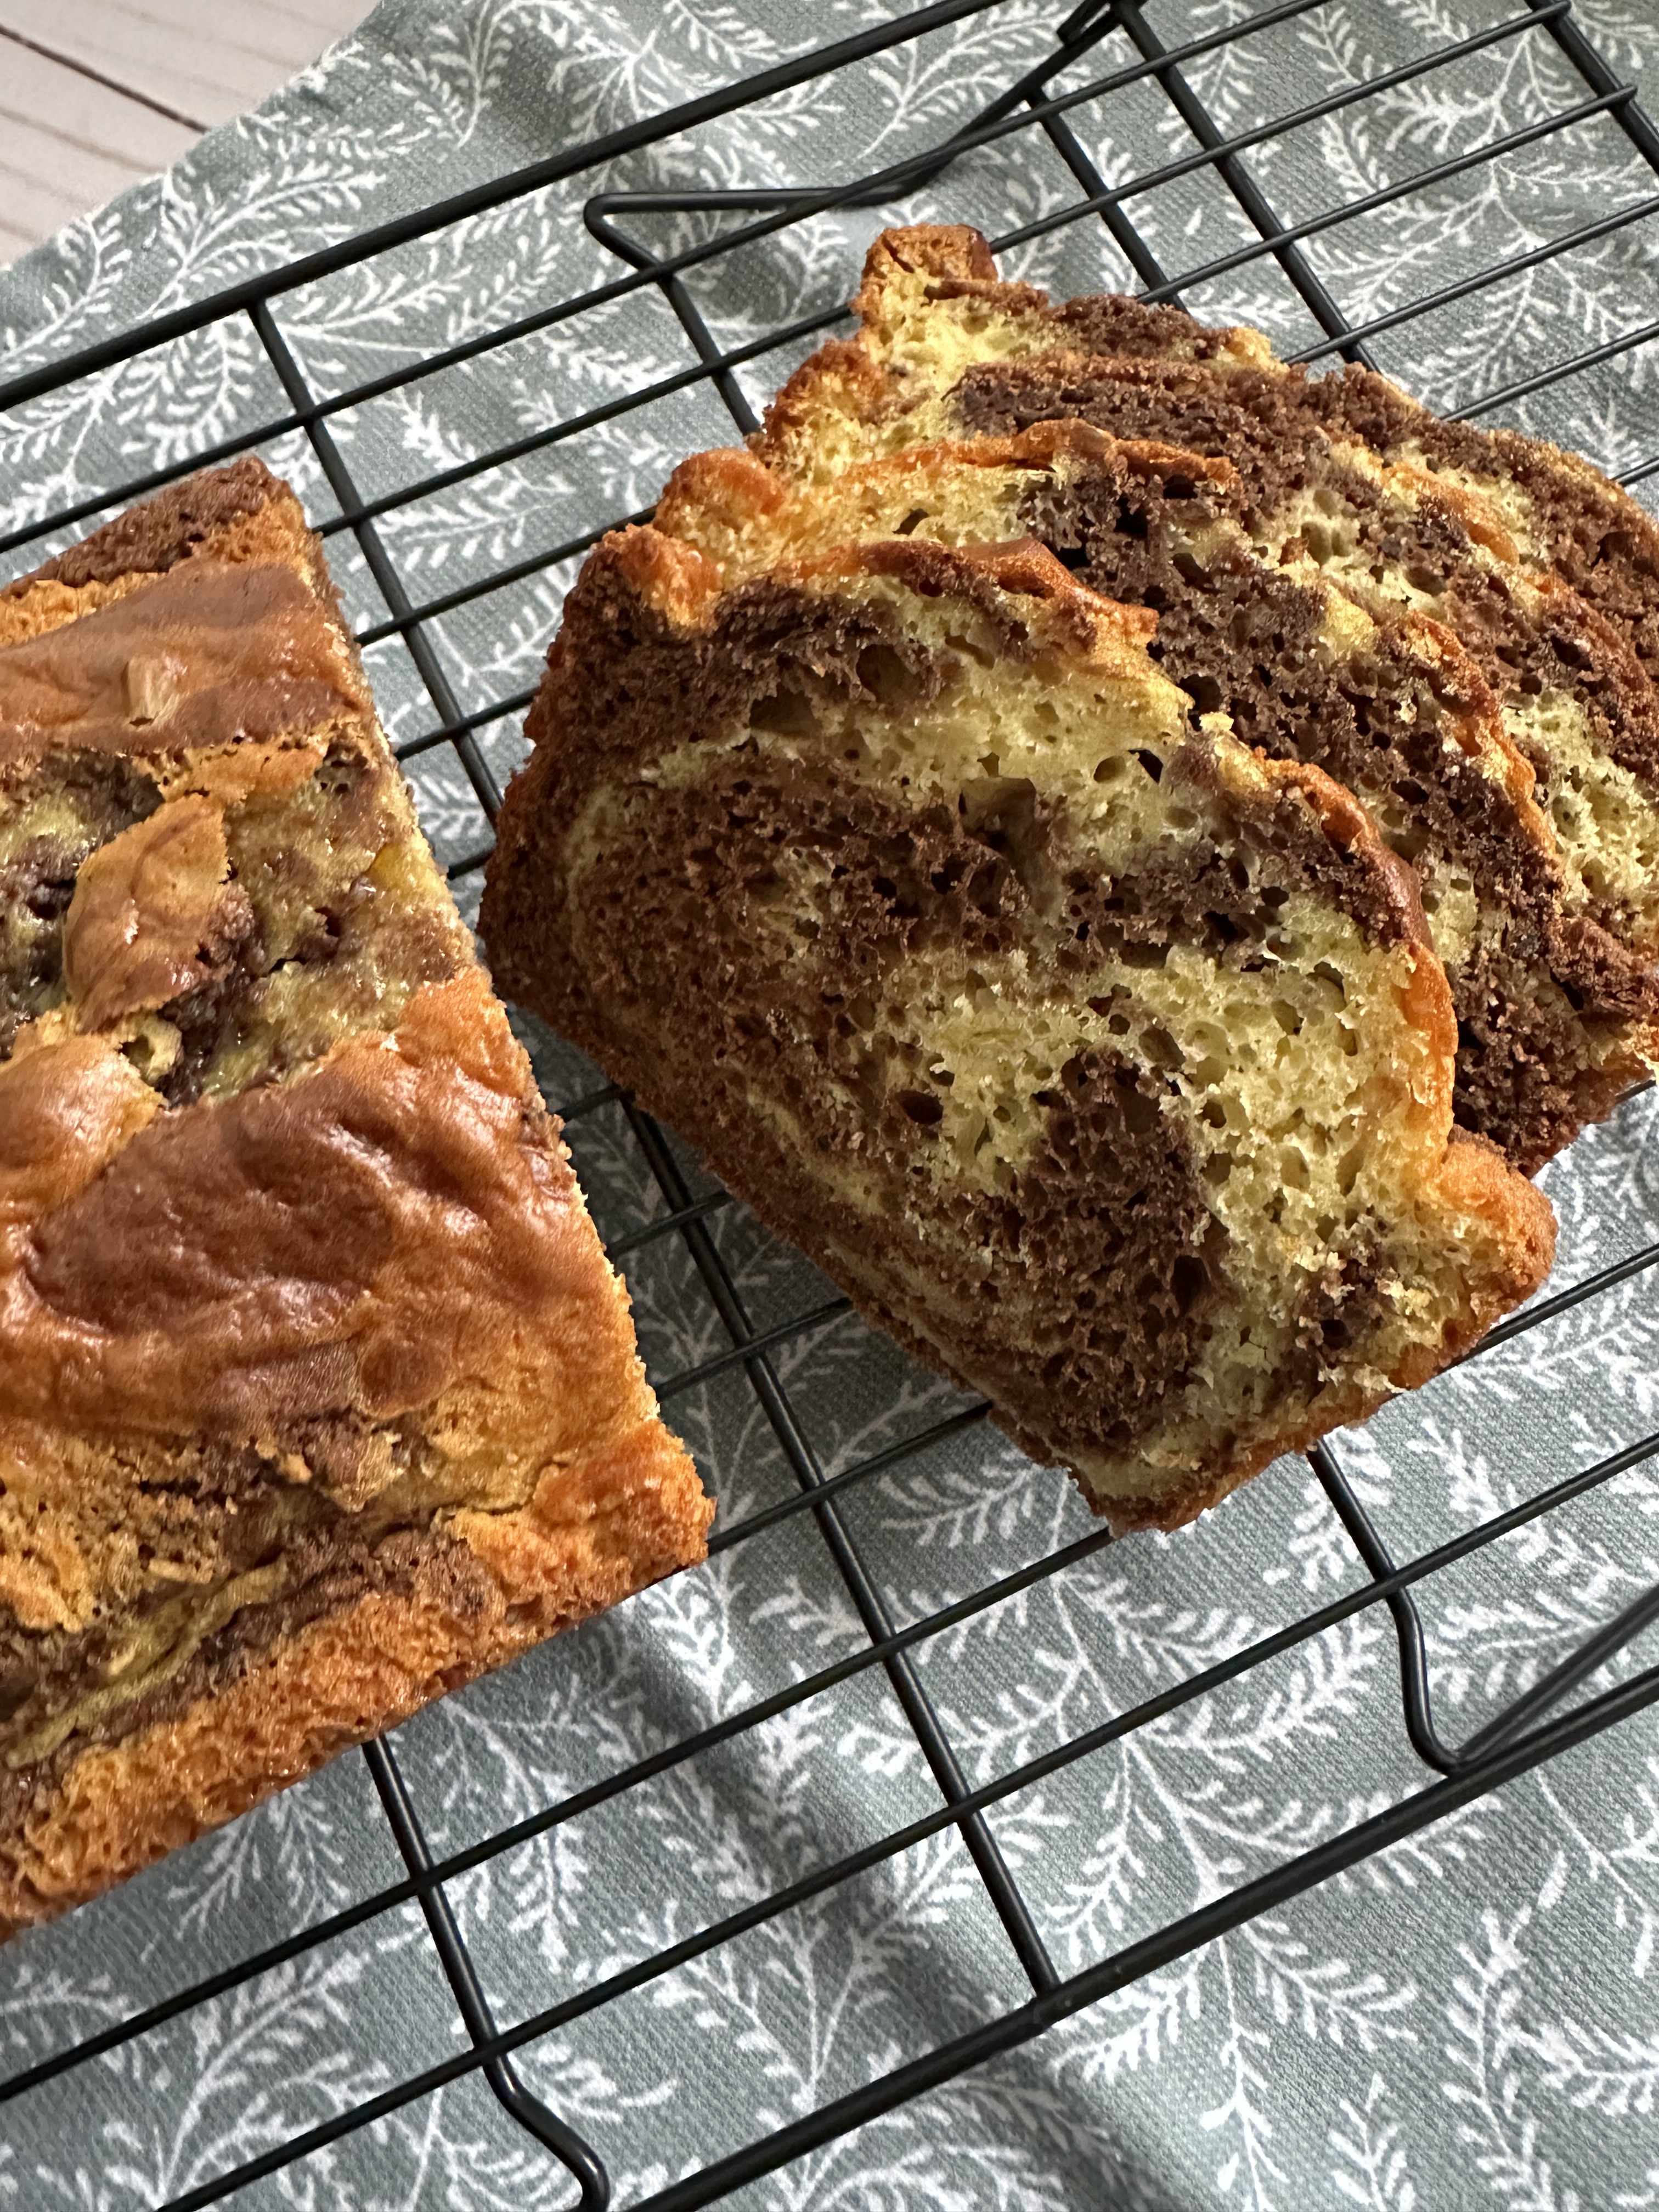
Overall, the cake was DELISH! It was a hit with everyone I shared it with. Definitely something to make again!

Chocolate Crumb Cake

For the Crumb Topping:

1/4 cup sugar

1/3 cup light brown sugar

1 teaspoon cinnamon

1/4 teaspoon nutmeg

1/2 cup butter (1 stick) butter, melted

1 1/3 cups flour

For the Cake:

1 15.25 oz package chocolate cake mix (I used Duncan Hines Devil’s Food)

3 large eggs

1 cup coffee, cooled

1/2 cup vegetable oil

1/2 cup sour cream

1 teaspoon vanilla extract

Confectioners’ sugar, for topping

Directions:

Preheat oven to 350 F. Spray a 9-inch square pan with baking spray and then line with parchment paper leaving an overhang on all sides. Spray the parchment paper with baking spray and set aside.

Make the crumb topping: In a medium bowl whisk together both sugars, cinnamon and nutmeg. Stir in the melted butter and finally the flour. Continue mixing until the mixture clumps together. Refrigerate for 10-15 minutes.

Make the cake batter: In a large bowl combine the cake mix, eggs, coffee, vegetable oil, sour cream and vanilla extract. Beat with a hand mixer on low speed for 30 seconds to combine all of the ingredients and then increase the speed to medium and continue beating until everything is well combined.

Transfer the batter to the prepared pan and then using your hands sprinkle the chilled crumb topping over it.

Bake in the preheated oven for 40-45 minutes, or until a cake tester inserted in the center comes out clean.

Cool in the pan for 15 minutes and then use the parchment paper to carefully lift the cake out of the pan and place on a wire rack to cool completely.

Dust with confectioners’ sugar prior to serving.

Store leftovers in an airtight container at room temperature.

Recipe first appeared on Bead Yarn & Spatula.

Banana & Chocolate Marble Loaf Cake

Not too long ago I posted a recipe for a Peanut Butter & Banana Chocolate Chip Bread. That got me thinking about making a marble cake using two of the flavors. After some brainstorming I thought that a super simple way to do so would be to use a yellow cake mix as the base and altering the flavor with some add-ins. Now, I know some people have issues with using box cake mixes, but it really is possible to alter them to make them taste more homemade and they are fool proof! This all led me to creating a few recipes that use cake mixes as their base. And I will be sharing them with you over the next week… Up first, a Banana & Chocolate Marble Loaf Cake.

For the base of this loaf cake I used a yellow cake mix. After prepping the batter per the directions on the box I divided it in half. And to be precise, even though I have made plenty of box cake mixes in the past and had a rough idea of how much it was, I measured out the batter using a measuring cup. In total it was 4 cups, so I transferred 2 cups to a bowl and stirred in a mashed banana and in the other half I stirred in 2 tablespoons of cocoa powder.

Next, I dropped alternating scoops of each batter into a loaf pan I sprayed with baking spray. To get the marble effect I swirled the two batters together by dragging a knife through them.  

After baking and cooling the cake, it was time to enjoy a slice (or two!) As for the flavor, the chocolate and the banana really stood out without either overpowering the other. A nice twist on your typical marble cake.

A few takeaways… To make chocolate cake from a yellow cake mix you can add a few tablespoons of cocoa powder and to make a super simple banana cake add mashed banana to a yellow cake mix. More specifically, 4 tablespoons of cocoa powder for a chocolate cake and 2 mashed bananas for a banana cake.

Banana & Chocolate Marble Loaf Cake

Ingredients:

1 15.25 box yellow cake mix (I used Duncan Hines)

eggs, water & oil per directions on box

1 ripe banana, mashed

2 tablespoons cocoa powder

Directions:

Preheat the oven to 350 F. Spray a 9×5-inch loaf pan with baking spray and set aside.

Prep the cake mix per the instructions on the box.

Divide the batter in half and stir the mashed banana in one half and the cocoa powder in the other.

Spoon the batters into the prepared pan, alternating between the two. Use a knife to swirl the batters together. Tap the pan on the counter a few times to remove any air bubbles.

Bake for 40-45 minutes, or until a cake tester inserted in the center comes out clean.

Let the cake cool in the pan for 15 minutes then transfer to a wire rack to cool completely.

Store leftovers in an airtight container at room temperature.

Recipe first appeared on Bead Yarn & Spatula.

Spaghetti with Turkey Marsala Meatballs

I haven’t been posting many savory recipes… In other words, something I cooked instead of baked. That doesn’t mean I haven’t cooked. I cook every week, but lately I haven’t been trying new recipes. Just sticking with things that I know are good and are easy to make. Two important criteria when it comes cooking if you ask me. Last month though I finally tried a new recipe, and it was so good that I just made it again. So, what was so good that I had to make it again so quickly… Spaghetti with Turkey Marsala Meatballs.

Two quick things to note… While I do eat pasta, I normally don’t make spaghetti (not a fan of twirling to get it on the fork) and I never made meatballs before trying this recipe (I have eaten them though!). I was always concerned about getting the meat fully cooked. Silly, I know! Both of those things didn’t matter with this recipe though. The meatballs were super easy to make, and for peace of mind I left them in the oven a minute or two longer than the recipe suggested to ensure they were cooked. They didn’t dry out since the chopped mushrooms added to the meat helped to keep them moist. And twirling spaghetti isn’t that bad!

I started off by prepping the meatballs. Once they were formed, I baked them in the oven for about 15 minutes.

While the meatballs were in the oven (and for a little while after they came out) I worked on making the sauce for the pasta, boiled the pasta and tossed the pasta into the sauce.

I wasn’t planning on enjoying this the day I made it, so I packed it in containers and refrigerated it. I will say that it heats up very well and tastes better each day!

Spaghetti with Turkey Marsala Meatballs

Ingredients:

12 ounces cremini mushrooms*

1 pound ground turkey

1 large egg

1/2 cup panko breadcrumbs

1/2 cup parsley, chopped

4 tablespoons unsalted butter

1 small onion, thinly sliced

3 garlic cloves, minced

1/2 cup Marsala wine

12 ounces spaghetti

2 1/2 cups low-sodium chicken broth

Kosher salt and freshly ground pepper

*I used 10 ounces of baby bella mushrooms

Directions:

Preheat the oven to 450 F. Line a baking sheet with parchment paper and set aside.

Finely chop a third of the mushrooms and thinly slice the rest.

In a medium bowl combine the chopped mushrooms, ground turkey, egg, panko breadcrumbs, parsley, 1/2 teaspoon salt and a few grinds of black pepper. Use your hands to mix everything together. Roll into 18 to 22 meatballs and place on the prepared baking sheet. Use a cookie scoop (1 1/2 tablespoons) to make rolling the meatballs easier. Bake in the preheated oven 12 to 14 minutes, until the meatballs are browned and cooked through.

Bring a large pot of salted water to boil.

In a large skillet, melt 2 tablespoons of butter over medium-high heat. Add the sliced mushrooms and onion and a pinch of salt and pepper. Cook, undisturbed for 4 to 5 minutes so the mushrooms and onions can crisp. Stir and cook until browned, an additional 3 to 5 minutes. Add the minced garlic and cook for 30 seconds. Add the Marsala wine and cook until thickened, about 1 to 2 minutes.

Add the spaghetti to the boiling water and cook for 6 minutes.

Add the chicken broth to the mushroom and onion mixture and bring to a boil, reduce the heat and let simmer until thickened, 5 minutes.

Drain the spaghetti and add to the skillet. Cook, tossing until al dente, about 3 to 4 minutes. Remove the skillet from the heat and add in the remaining 2 tablespoons of butter. Toss the spaghetti until the butter has melted.

To serve, divide the pasta among bowls and top with the meatballs.

Recipe from Food Network

11 Years…

Last week marked 11 years that I started this blog. It all started with an Elmo cake I made for my oldest niece’s birthday. Since then, there have been posts highlighting other theme cakes, birthday cakes, holiday cakes, cookies, pies, yarn projects and even some jewelry. And a few other things in between.

When I started, I was basically winging it (to some extent I probably still am). I got the basics of how to post my story and pics and went with it. I am still unsure about SEO, but I keep trudging along. I remember when I posted a recipe I would always take (and post) a pic of all of my ingredients assembled for it. It was something I saw other bloggers do so I figured I should do it as well. I moved away from that quite some time ago. Truth be told, nowadays I can be in such a zone creating (be it baking, knitting/crocheting, etc.) that I tend to forget to take a pic of the steps. I focus more now on getting a good pic of the finished project. I’m still working on getting those just right as well. I feel like I’m chasing the sunlight around my house. The different seasons tend to make the sunlight in my house perfect at different times of the day and in different areas of my house. And lately we have been having a ton of cloudy days, so my pics have been looking a bit gray. My recent location for photos has been by my front door. I set-up a table by my storm door to get as much unobstructed natural light as I can. This involves me contorting and squatting in a tight space to get the picture just right. And probably has my neighbors who have spotted me doing this wondering what the heck I am doing as they aren’t able to see my set-up, just me taking pics. When I come home at night I tend to stand in my yard and look up at the stars (which I think may be an odd sight at night), so this just adds to my eccentricities. It might be time to invest in one of those nifty backdrops to take my pictures though.

During these 11 years there have been times when I thought about ending my blog or taking an extended break from it. But I enjoy creating and writing and what better way to flex that muscle than with a blog. I have noticed that quite a few blogs I do (or did) follow have stopped and I get it. Blogging does take some time and I don’t just mean the writing (which of course takes time as well). You have to create the content. Whether it be working on a creative piece, testing a recipe, creating a recipe from scratch, that all takes time. And having extra time to do things is such a commodity! I am constantly making lists or going through things in my head to make sure I get everything I want done done. There’s always a list. I get such a feeling of accomplishment when I cross things off my lists. Maybe it’s a psychological thing, regardless, it works, and I am going with it. I have even started to try and map out the things I want to post about as well. Baking things earlier for holiday posts so I am not scrambling a day or two before to get all done. So, cheers to 11 years and hopefully too many more to come! Oh, and here’s a pic of my niece’s birthday cake this year… She turned 13 so instead of a theme cake something a bit more sophisticated!

Sprinkle Sugar Cookies

Happy Valentine’s Day! Rose are red, violets are blue, I have sprinkle cookies for you! Sorry for the cheesiness, I just couldn’t resist. That popped into my head the other day when I was thinking of what to write for these cookies. For a second I thought about switching up my plan for these cookies and using sprinkle colors to represent the teams playing in the Super Bowl this past weekend – since I was taking them to a Super Bowl party- but that would have been red & green, so I decided to spread a little love with them instead. That brings up a good point about these cookies, you can switch up the sprinkle colors for any occasion. They will taste good regardless. Similar to the Cookie Butter Chocolate Chip Cookies I shared a few weeks ago.

A couple of things to note about these cookies. The dough can be made in a food processor or using a hand/stand mixer. Since I like easy clean-ups, I opted to use my food processor. While the recipe I was following stated that you could use the butter and cream cheese right out of the refrigerator if using a food processor, I let both come to room temperature. Be sure to refrigerate the dough prior to baking, if not, the cookies will spread considerably. Also, the cookies will appear under baked when they come out of the oven but will firm up after cooling on the baking sheet for a few minutes. Resist the temptation to put them back in the oven for an extra minute or two.

Confetti Cookies

  • Servings: 28 Cookies
  • Print

Ingredients:

3 cups flour

1 teaspoon baking powder

1/4 teaspoon baking soda

3/4 teaspoon salt

2 sticks unsalted butter, at room temperature, cut into chunks

2 ounces cream cheese (1/4 of an 8-ounce brick), cut into chunks

1 1/4 cups sugar

1 large egg

2 teaspoons vanilla extract

1 cup sprinkles

Directions:

Preheat oven to 375 F and line two baking sheets with parchment paper.

In the bowl of a food processor add the flour, baking powder, baking soda and salt. Pulse a few times to mix together. Add the butter cream cheese and sugar and process until the mixture comes together. Add the egg and vanilla extract and process until a ball of dough forms. You may need to scrape the bowl down a few times to ensure everything combines and mixes together. Transfer the dough to a bowl and refrigerate for about 20-30 minutes so the dough can firm up.

Place sprinkles in a small bowl. Use a cookie scoop to scoop the dough. Roll the dough in your hands and then roll in the sprinkles before placing on the prepared cookies sheets 2 inches apart. Use the bottom of a glass to press the cookies down about 1/4 to 1/2 – inch. If the cookies have any bare spots press more sprinkles into the dough.

Bake in the preheated oven for 9 to 10 minutes. Cookies will appear under baked and very soft. Let the cookies cool on the baking sheet for about 5 minutes before transferring to a wire rack to cool completely.

If you opt to use a hand mixer or stand mixer to make the dough… In a medium bowl whisk together the flour, baking powder, baking soda and salt. Set aside. In a large bowl (or the bowl of a stand mixer) beat the butter, cream cheese and sugar on medium speed until light and fluffy. Add the egg and vanilla extract beat again until well combined. With the mixer on low add in the flour mixture and beat until combined. Refrigerate 20-30 minutes until firm and then continue with directions.

Store in an airtight container.

Recipe from Smitten Kitchen.

Raspberry Molten Lava Cakes

I may be a few years late sharing a recipe for molten lava cakes. They were all the rage years ago. I swear any restaurant I went to had their own version of these chocolate cakes. Truth be told though; I still enjoy them. What’s not to love about a chocolate cake that is semi-baked and oozes chocolate when you cut into it? Add a scoop of vanilla ice cream and you have the perfect dessert. I had an idea though to add a little something extra to them. One of my favorite combinations is raspberry and chocolate. Before Godiva closed all their stores, I would make full use of their loyalty program that included a free piece of chocolate every month and would always get their Raspberry Truffle. So, I thought what about a Raspberry Molten Lava Cake.

Now, while I love the combination of raspberry and chocolate, there is one thing I don’t like… raspberry seeds. I wanted to be able to enjoy this molten without the seeds getting in the way. I never noticed how many seeds are in raspberries until I baked with them. Somehow, they just aren’t as annoying when you eat fresh raspberries. So, to avoid those pesky seeds I opted to use seedless raspberry jam. I prepped my batter, which took less than 10 minutes, and then filled my ramekins about 2/3 full and then placed 2 teaspoons of the jam in the center of each.

I then topped the raspberry jam with the remaining batter.

And finally baked them on a baking sheet in my preheated oven. And while they did rise significantly, they didn’t overflow while baking.

After letting them cool for a few minutes I carefully inverted one onto a plate.

And I must say, the first word that came to mind when I enjoyed my first bite was perfection. The cake itself wasn’t overly sweet, it was baked just right and there was just the right amount of “lava” that flowed out. And let’s not forget about the raspberry flavor… the two teaspoons was just the right amount.

Raspberry Molten Lava Cakes

Ingredients:

6oz. semi-sweet chocolate*

1 stick unsalted butter

1/2 cup sugar

3 large eggs

1/4 cup flour

8 teaspoons seedless raspberry jam

Confectioners’ sugar, for dusting

*I used a combination of a 4oz. Ghirardelli baking bar and 1/2 cup semi-sweet chocolate chips. If using a baking bar, chop the chocolate before melting with butter.

Directions:

Preheat the oven to 425 F. Spray 4 6-oz ramekins with baking spray and place on a baking sheet.

In a microwave safe bowl combine the butter and chocolate and microwave for 30-second intervals until the butter melts. Stir the butter and chocolate together until the chocolate has melted and the mixture is smooth.

In a medium bowl beat the sugar and eggs together on medium speed until pale and fluffy.

Fold the egg mixture into the chocolate until just combined. Then fold in the flour until the mixture is well combined and smooth.

Spoon 1/3 cup of batter into each of the prepared ramekins. Top each with 2 teaspoons of raspberry jam and then top with the remaining batter – 1/4 cup in each.

Bake on the baking sheet in the oven for 15-16 minutes. Allow to cool on the pan 5-10 minutes before carefully inverting the cake onto a plate. Dust with confectioners’ sugar and enjoy.

For any leftovers, cover with plastic wrap and refrigerate. To heat, microwave for 30-seconds. Let sit for a minute and then invert on a plate and enjoy.

Recipe first appeared on Bead Yarn & Spatula.

Flourless Chocolate Cake

Happy February! Today I am sharing a dessert that is perfect to make any time of year but would be perfect to serve for Valentine’s Day as it’s oh so chocolaty! It’s a Flourless Chocolate Cake.

This is probably one of the simplest cakes I’ve made since it only required 1-bowl to make. In a microwave-safe bowl I combined chopped semi-sweet chocolate and butter and microwaved it in 30-second intervals until the butter melted. There’s no need to keep heating the two until the chocolate melts. By the time the butter has melted the chocolate is soft enough that it will finish melting when the two are stirred together, and you don’t want to overheat the chocolate. After the butter and chocolate were smooth, I stirred in sugar, salt and vanilla extract. Next, I added in three eggs. To make incorporating the eggs easier I broke the yolks of the eggs. And finally, I stirred in cocoa powder. I used Dutch-process cocoa powder, but you could also use regular unsweetened cocoa powder as well.

Once the cake was baked and cooled, I topped it with a quick and easy chocolate ganache. To speed up the ganache setting I placed the cake in the refrigerator. You could let it set at room temperature, but it will take a few hours to do so. Once the ganache had set, I dusted the top with confectioners’ sugar and added a few raspberries for a sweet touch. If you do refrigerate the cake, just be sure to let it sit at room temperature prior to serving. I let mine sit for about 45 minutes and it was perfect.

While I thought the cake was going to be overly sweet, surprisingly it wasn’t. It was decadent though. Reminding me of the perfect chocolate truffle, rich and smooth. One other perk about this cake… it’s gluten-free. I’m not gluten-free, but I know for those who are sometimes finding a dessert that is easy to make with simple ingredients and not lacking in flavor can be a challenge.

Flourless Chocolate Cake

For the Cake:

1 4oz. semi-sweet chocolate baking bar*, chopped

1 stick unsalted butter

3/4 cup sugar

1/4 teaspoon salt

1 teaspoon vanilla extract

3 large eggs

1/2 cup Dutch-process cocoa powder

For the Chocolate Ganache:

1 4oz. semi-sweet chocolate baking bar*, chopped

1/2 cup heavy cream

Confectioners’ sugar and raspberries (or another berry) for topping

*I used a Ghirardelli baking bar, alternatively you could also use 1 cup of semi-sweet chocolate chips.

Directions:

For the Cake:

Preheat oven to 375 F. Spray an 8-inch round cake pan with baking spray. Line the bottom with a piece of parchment paper and then spray the paper.

In a microwave-safe bowl add the butter and chocolate and heat in the microwave for 30-second intervals until the butter has melted. Stir the two together until smooth.

Stir in the sugar, salt and vanilla extract to the chocolate mixture until smooth. Next, stir in the 3 eggs until they are well combined, and the mixture is smooth once again. Finally, stir in the cocoa powder until just combined.

Transfer the batter to the prepared pan and bake in the preheated oven for 25 minutes. The cake will form a thin crust and the temperature of the cake should be 200 F when an instant read thermometer is inserted in the center.

Let the cake cool in the pan for 5 minutes. Carefully loosen the edges of the cake and invert the cake onto a serving platter. Allow the cake to cool completely.

For the Chocolate Ganache:

Place the chocolate in a heatproof bowl. Place the heavy cream in a glass measuring cup and heat in the microwave until it begins to simmer, 45 seconds – 1 minute.

Pour the heavy cream over the chocolate. Let it sit for 5 minutes and then stir both together to melt the chocolate. Keep stirring until the mixture is smooth. Let it sit for a few minutes so it can thicken up a bit and then pour over the cake. Spreading it onto the cake evenly.

Let the ganache set, either at room temperature or in the refrigerator.

Once the ganache is set, dust the top of the cake with confectioners’ sugar and top with raspberries.

Store leftovers in the refrigerator.

Recipe modified from King Arthur Baking

Cookie Butter Chocolate Chip Cookies

In my opinion you can never have too many chocolate chip cookie recipes. You need your basic one and then you need those “special” ones that have some fun ingredients that really make them stand out. I came across the recipe for these Cookie Butter Chocolate Chip Cookies in a recent issue of Food Network Magazine. Not only do they have cookie butter in the dough, but they also have sprinkles. I made them twice around the holidays using red, green and white sprinkles and just recently again for a friend and her family using rainbow sprinkles. Oh, and in case you are wondering, cookie butter is similar in consistency to peanut butter but is made with speculoos cookie crumbs, a fat, flour and sugar and it’s quite tasty.

To make the dough I whisked together my dry ingredients in one bowl and my wet ones in another. After combining them, I folded in the chocolate chips and sprinkles. The dough was quite soft so I refrigerated it for about 2 hours so it could firm up. Now, if you are thinking of freezing the dough to make it later, you could skip refrigerating it and scoop it out and place it on a wax-paper lined baking sheet and freeze until hard and then place the dough in resealable bags in the freezer until you are ready to bake it. You will just need to add a minute or two to the baking time.

Once the dough was firm I scooped and dropped it onto my prepared baking sheets and pressed some additional sprinkles into the dough before baking them. I believe you can never have too many sprinkles. Whenever I get vanilla soft serve in a cup I ask for sprinkles in the cup before the ice cream is added and then more sprinkles on top. Yum!

After removing the cookies from the oven, I let them cool on the baking sheet for a few minutes before transferring them to a wire rack to cool completely. The rainbow sprinkles gave the cookies a nice fun look. With Valentine’s Day, St. Patrick’s Day and Easter just around the corner you could really customize these for each of those holidays or any other occasion.

Cookie Butter Chocolate Chip Cookies

  • Servings: 30 cookies
  • Print

Ingredients:

1 3/4 cups flour

1/2 teaspoon baking soda

1/2 teaspoon salt

10 tablespoons unsalted butter, at room temperature

1/2 cup smooth cookie butter

1/2 cup light brown sugar

1/4 cup sugar

2 large eggs

1 teaspoon vanilla extract

1 1/2 cups semi-sweet chocolate chips

3 tablespoons sprinkles (or jimmies, not nonpareils), plus more for topping

Directions:

In a medium bowl whisk together the flour, baking soda and salt. In a large bowl, beat the butter, cookie butter and both sugars with a hand mixer on medium speed until light and fluffy. Beat in the eggs, 1 at a time, then beat in the vanilla extract. With the mixer on low beat in the flour mixture until just combined. Fold in the chocolate chips and sprinkles until combined and evenly distributed throughout the dough. Cover the bowl and refrigerate for 1 to 2 hours, until the dough is slightly firm, but still easily scoopable.

Preheat the oven to 350 F and line two baking sheets with parchment paper.

Using a standard cookie scoop, drop the dough onto the prepared baking sheets 2 inches apart. Press additional sprinkles onto the dough.

Bake in the preheated oven for 12 to 14 minutes, until the cookies are set around the edges, puffed, but still soft in the middle. Let cool on the sheets for 3 to 5 minutes until transferring to a wire rack to cool completely.

Store in an airtight container.

Recipe slightly modified from Food Network.

Broccoli Cheddar Soup

One of my favorite soups is Broccoli Cheddar. I got hooked on it years ago when I tried it at Panera’s. I didn’t attempt to make it myself though until I came across a recipe from The Pioneer Woman. And while it is delicious it makes 12 servings. Now, I have no problem eating leftovers or cooking something to eat over the course of a few days, but 12 servings is a bit much. That’s A LOT of soup for one person! Recently, by chance, I came across a recipe for broccoli cheddar soup that was the perfect amount – 2 servings!

Now, the recipe seemed so simple that I had my doubts that it could be delicious, but it was. Truthfully, sometimes the simplicity of ingredients makes a recipe all that better. You can enjoy the flavor of what you are making without it being masked by other ingredients. If you are making broccoli cheddar soup what you really want to taste is the broccoli and cheddar, and that’s what you get with this soup and in less than 30 minutes. You can’t beat that.

Broccoli Cheddar Soup

Ingredients:

1/4 cup chopped yellow onion

1/4 cup unsalted butter, cubed

1/4 cup flour

1/4 teaspoon salt

1/4 teaspoon pepper

1 1/2 cup 2% milk

3/4 cup low-sodium chicken broth

1 cup cooked or frozen broccoli florets

1/2 cup shredded cheddar cheese

Directions:

In a medium saucepan melt the butter on medium heat. Add in the onions and sauté until the onions are tender. Stir in the flour, salt and pepper until well combined. Gradually add in the milk and then the chicken broth. Bring to a boil, cook and stir until the soup has thickened, about 2-3 minutes.

Add the broccoli and cook until heated through. If using frozen broccoli cook until the broccoli is tender and no longer frozen. Remove the pan from the heat and stir in the cheese until melted.

Recipe from Taste of Home

Peanut Butter & Banana Chocolate Chip Bread

Some pairings just taste good together – like peanut butter and chocolate, peanut butter and banana and banana and chocolate – so I figured that three would taste just as good (or better) together. And that’s how I came up with this Peanut Butter & Banana Chocolate Chip Loaf.

Although, I was a little discouraged when I tasted the first loaf I made. It was a bit dense, and the banana flavor was overpowering. With my second loaf, I reduced the amount of flour in the batter and increased the amount of peanut butter. The loaf then ended up being super moist with an equal balance of peanut butter and banana flavor. Now some people who tried it tasted the banana more or the peanut butter more. I think that might be due to preference of one over the other. I was able to taste both.

Now, I would like to think this loaf is somewhat healthy since the bananas are a good source of potassium and the peanut butter protein, but I am sure some would beg to differ since there is sugar and chocolate chips in the loaf as well. But a little sweetness isn’t a bad thing sometimes. If you’re really trying to stick to any health-related New Year’s Resolutions though, you could omit the chocolate chips and use maple syrup in lieu of the sugar. In doing so though you will have to add a little extra flour to the batter to account for the extra liquid.

Peanut Butter & Banana Chocolate Chip Bread

Ingredients:

1 1/2 cups flour

1 teaspoon baking soda

1/2 teaspoon salt

1 stick unsalted butter, at room temperature

3/4 cup light brown sugar

2 large eggs, at room temperature

1 teaspoon vanilla extract

3 large ripe bananas, mashed

1 cup creamy peanut butter

3/4 cup semi-sweet chocolate chips

Directions:

Preheat oven to 325 F. Spray 9 x 5 loaf pan with baking spray and set aside.

In a medium bowl whisk together the flour, baking soda and salt. Set aside.

In a large bowl cream together the butter and sugar with a hand mixer on medium speed until light and fluffy. Add the eggs 1 at a time, beating until just combined. Add the vanilla extract. Stir in the mashed bananas and peanut butter until just combined.

With the mixer on low add the flour mixture to the butter mixture and beat until combined.

Fold in the chocolate chips.

Transfer the batter to the prepared loaf ban and bake for 60-70 minutes, or until a cake tester inserted in the center comes out clean.

Cool in the pan for 15 minutes and then transfer to a wire rack to cool completely.

Store leftovers in an airtight container at room temperature.

Recipe first appeared on Bead Yarn & Spatula.