Vanilla Madeleines

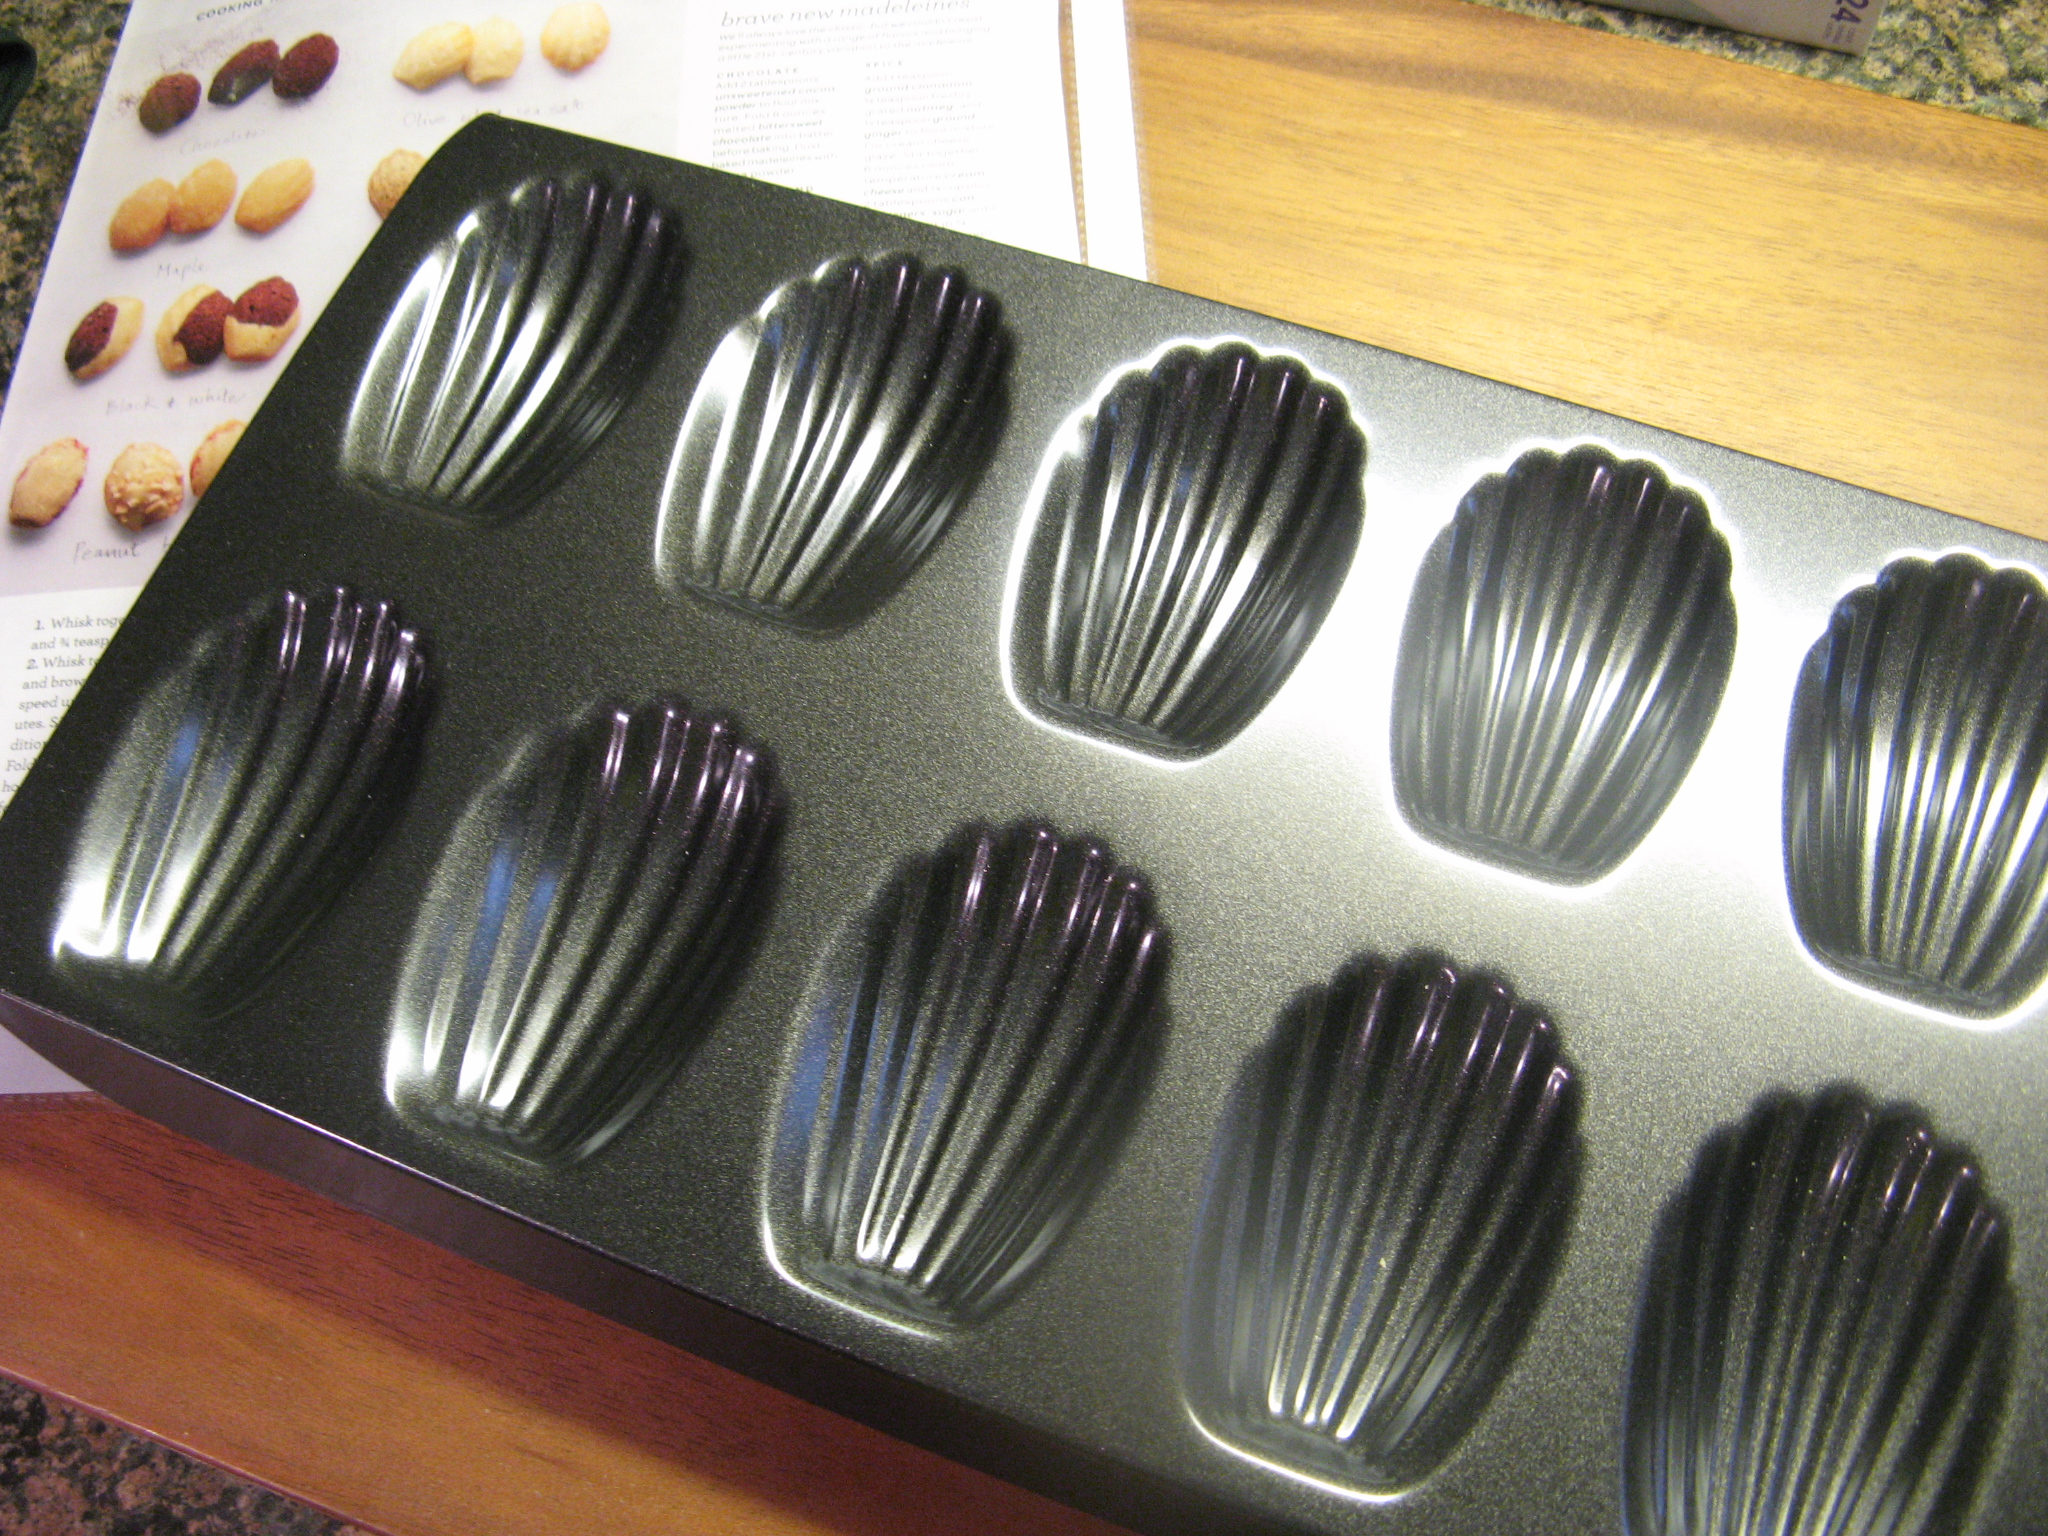
I really can’t remember the first time I had a Madeleine but I do know that when I tried it I instantly loved it. What held me back from making them was not having the proper pan. But, before I go any further you may be wondering, what exactly is a Madeleine? Well, it’s the size of a cookie, but in actuality it’s a cake, a small cake that originated in France. What really sets this sponge cake apart and lets you know that you are eating the real deal is its shape – shell-like reminiscent of a scallop. To obtain that required shape you need a Madeleine pan, they can be a bit pricey considering you won’t use all that often, but luckily I was able to find two of them at a great price at my local Home Goods. This meant I could finally make Madeleines and also try out another recipe for Chocolate Dipped Bear Paws – but those are for another day.

IMG_6497

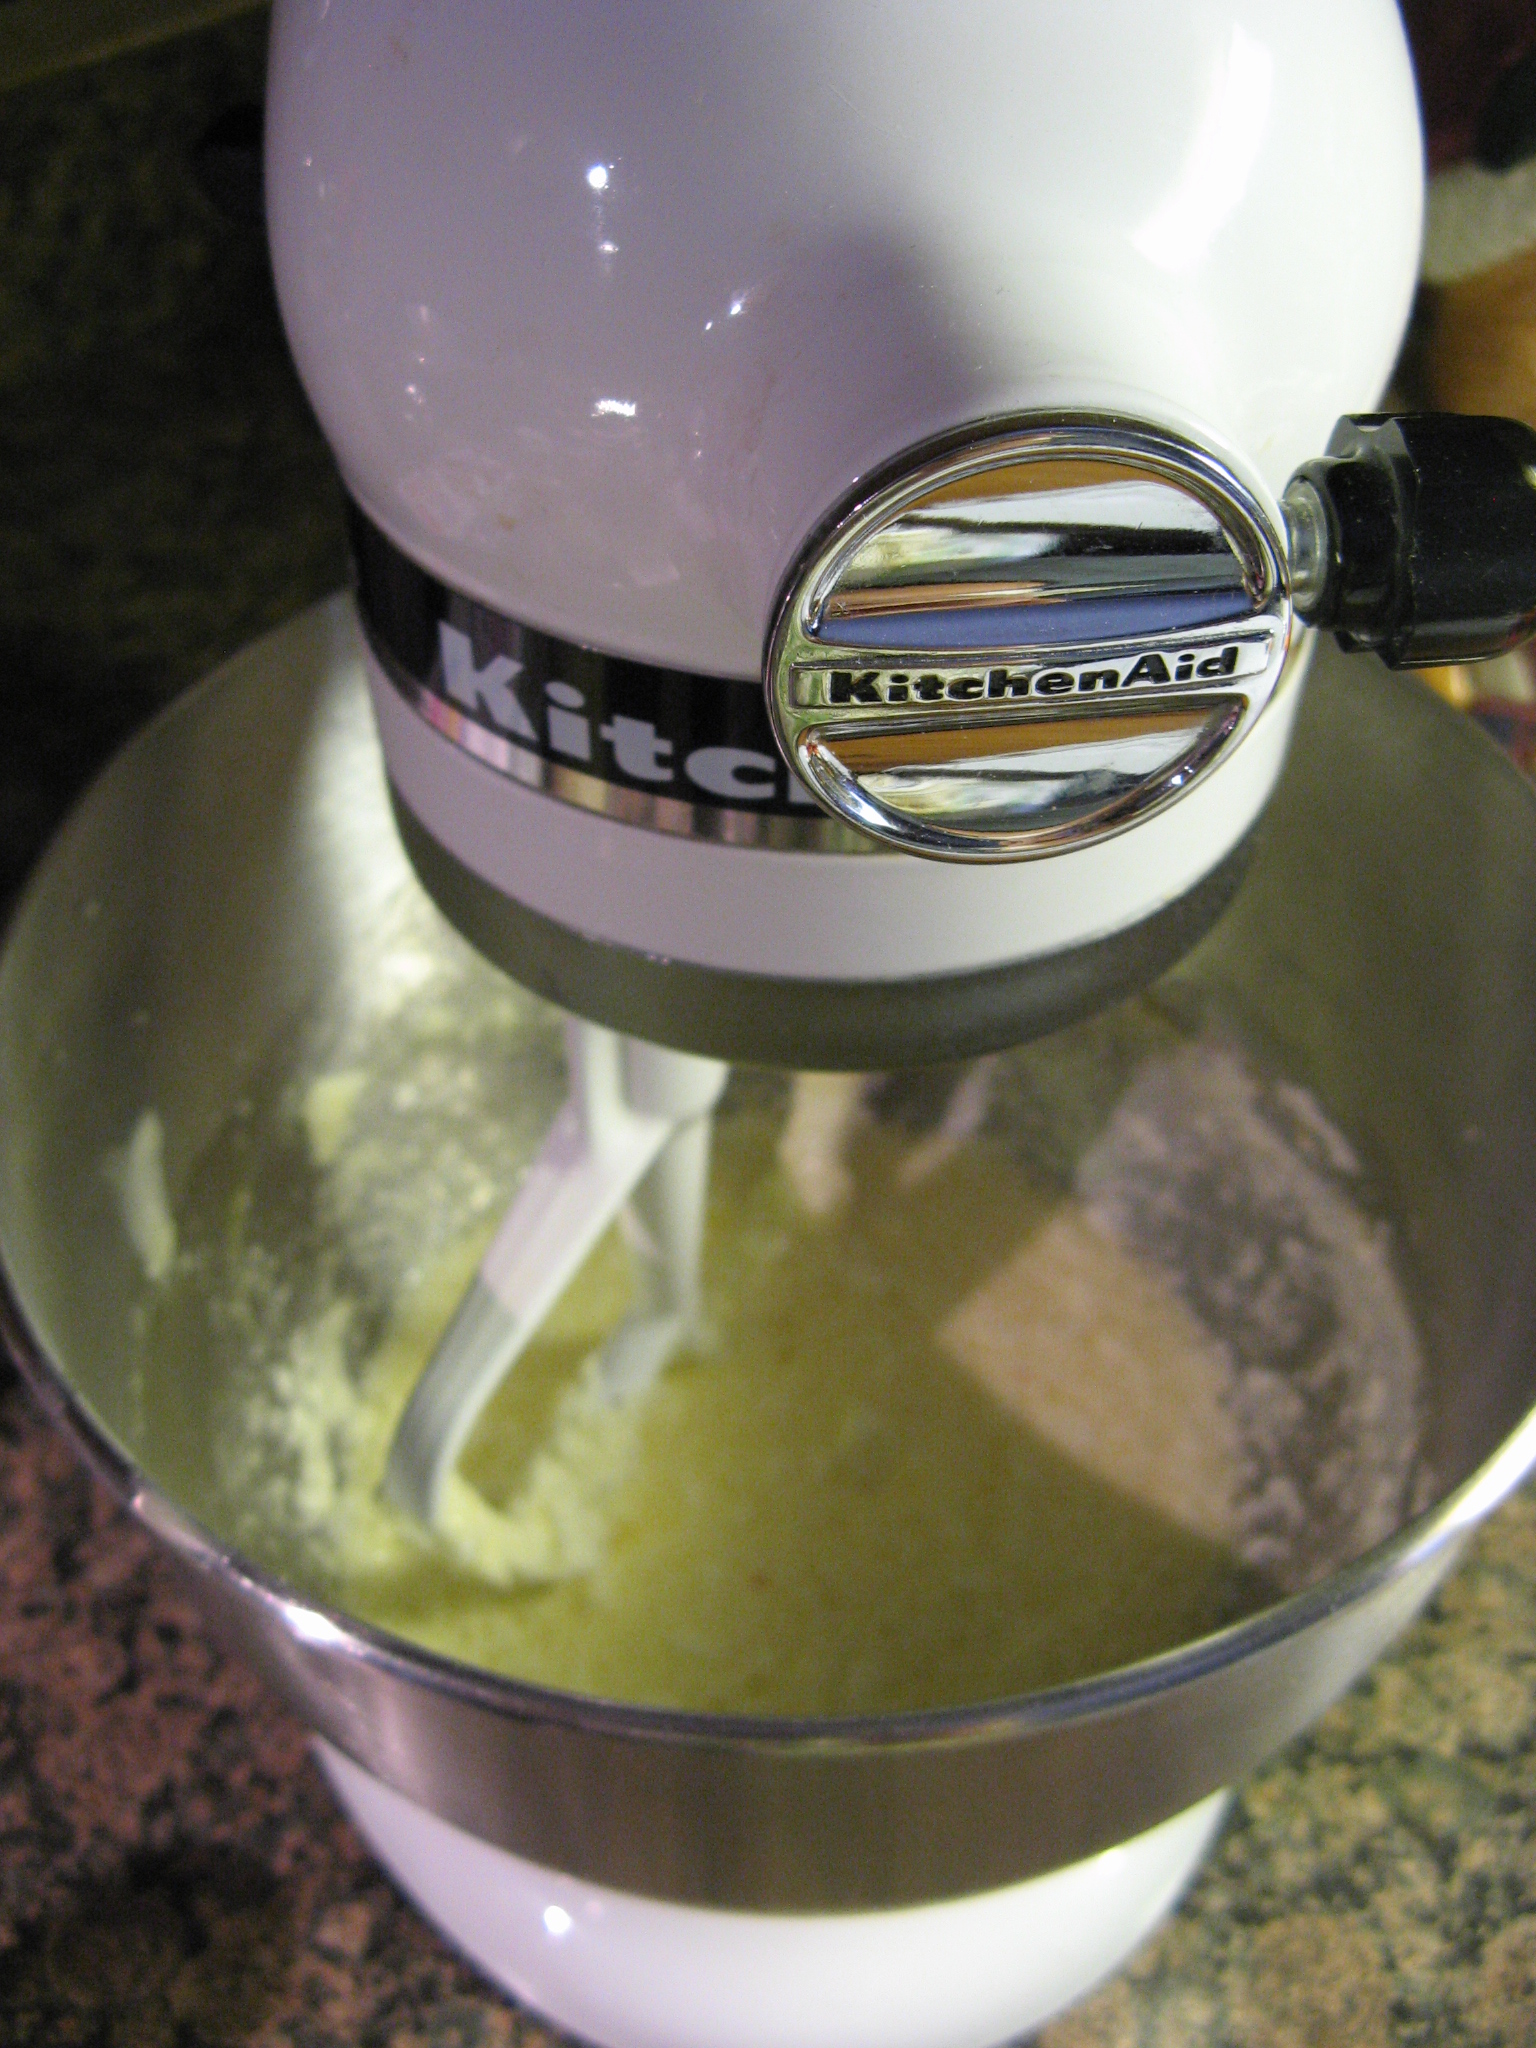
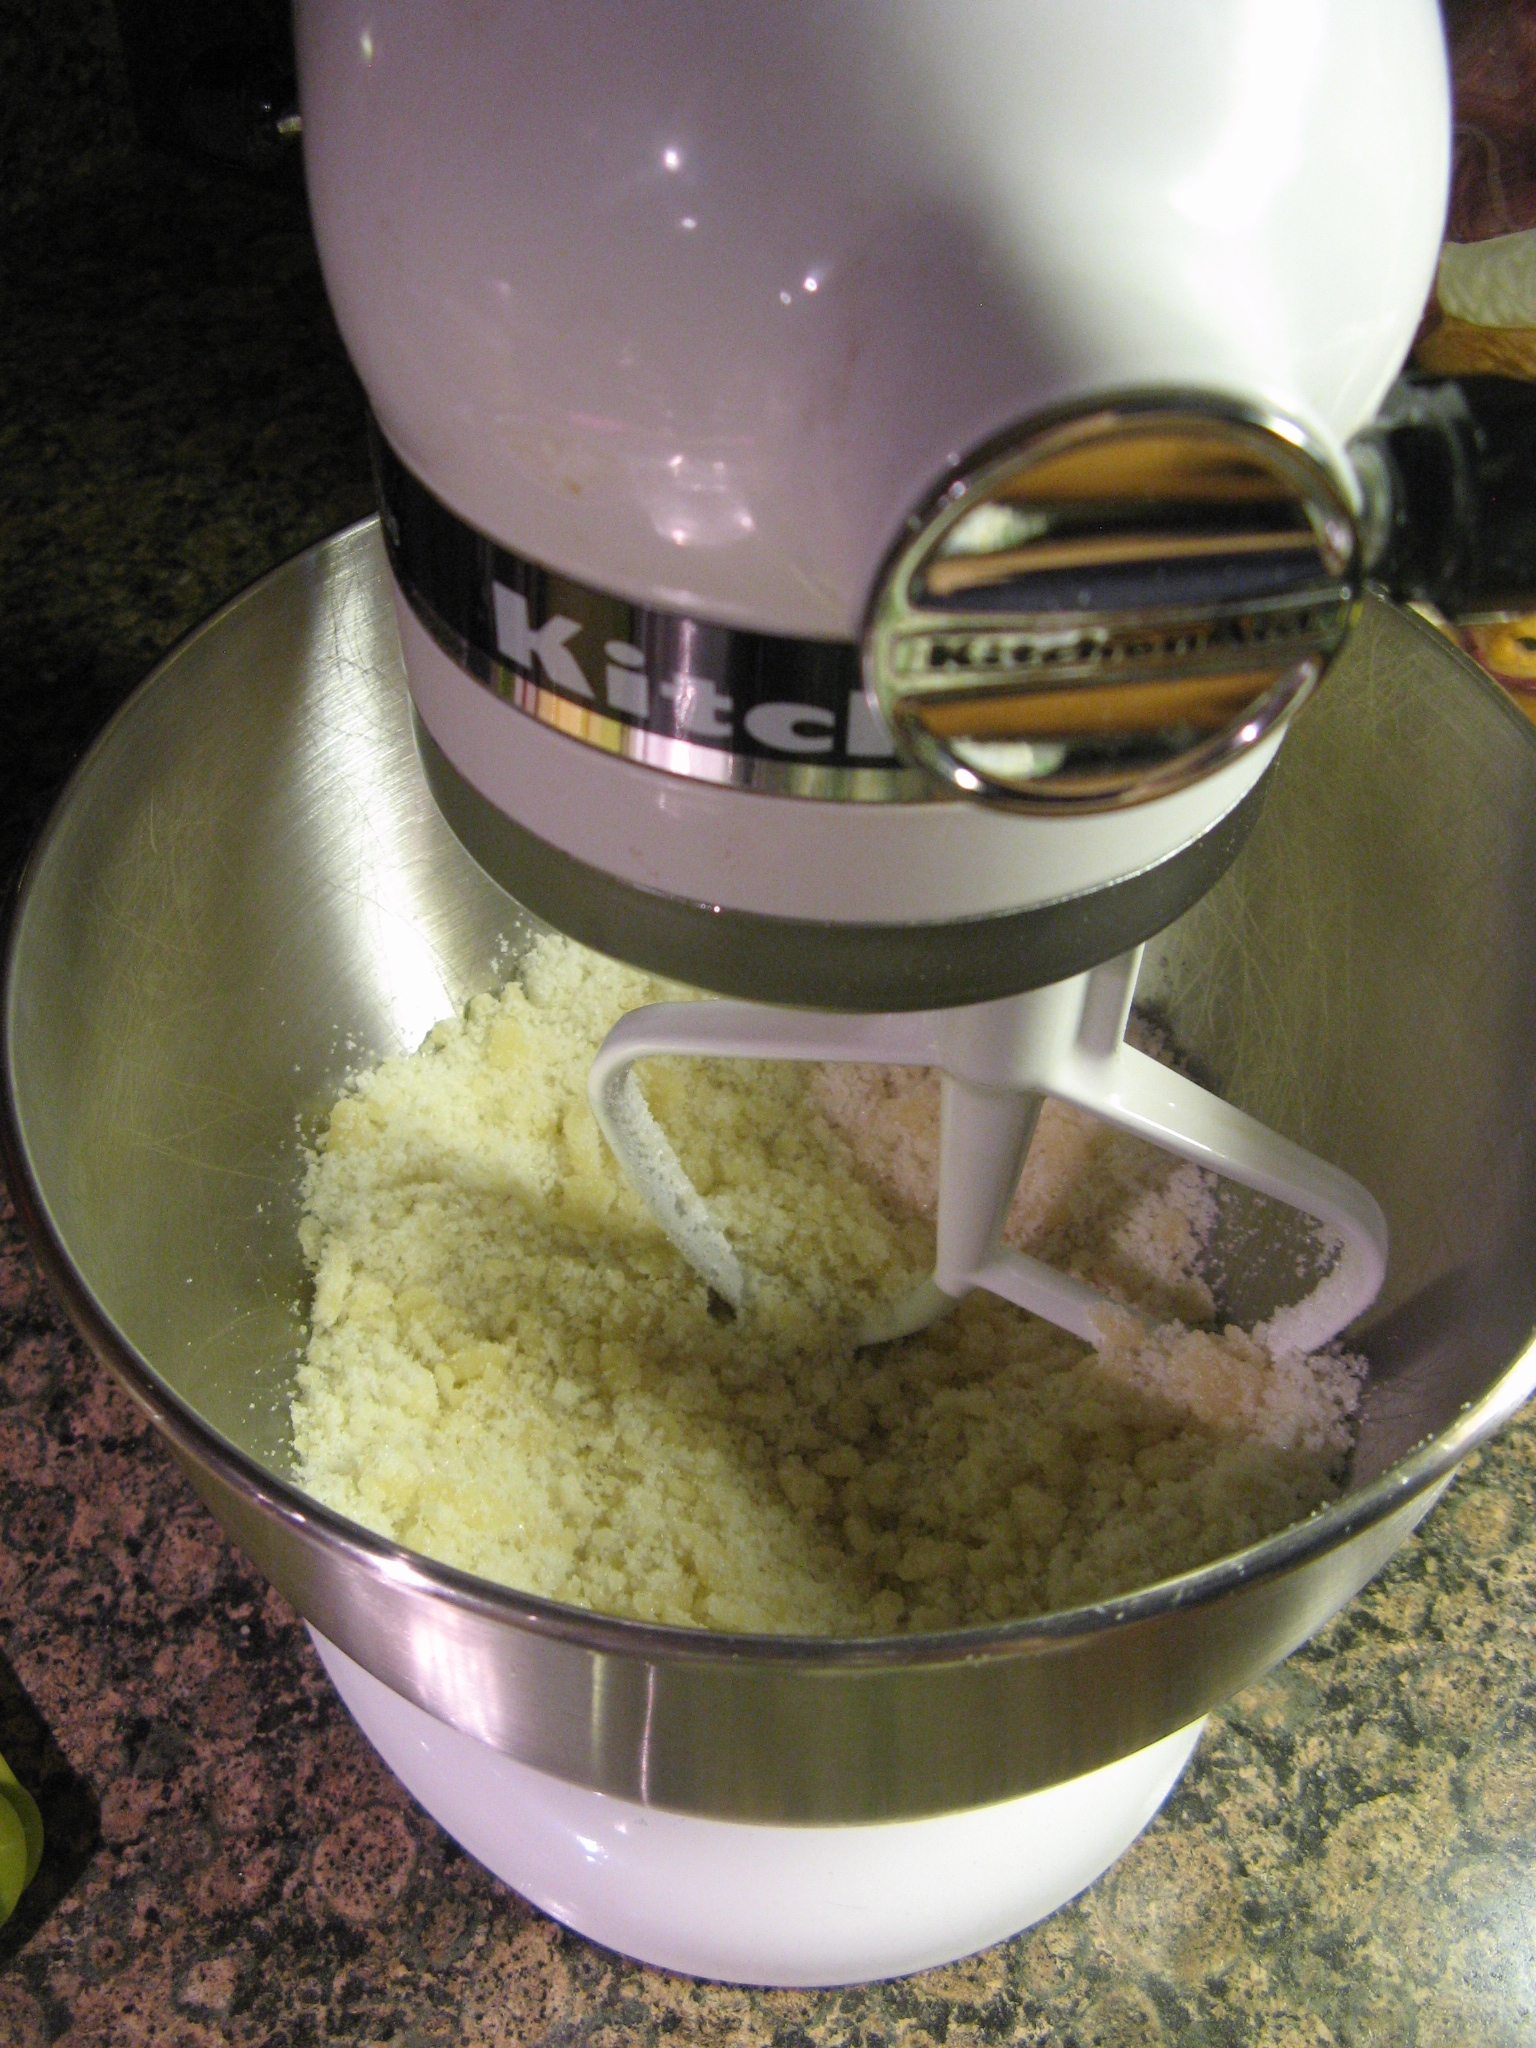
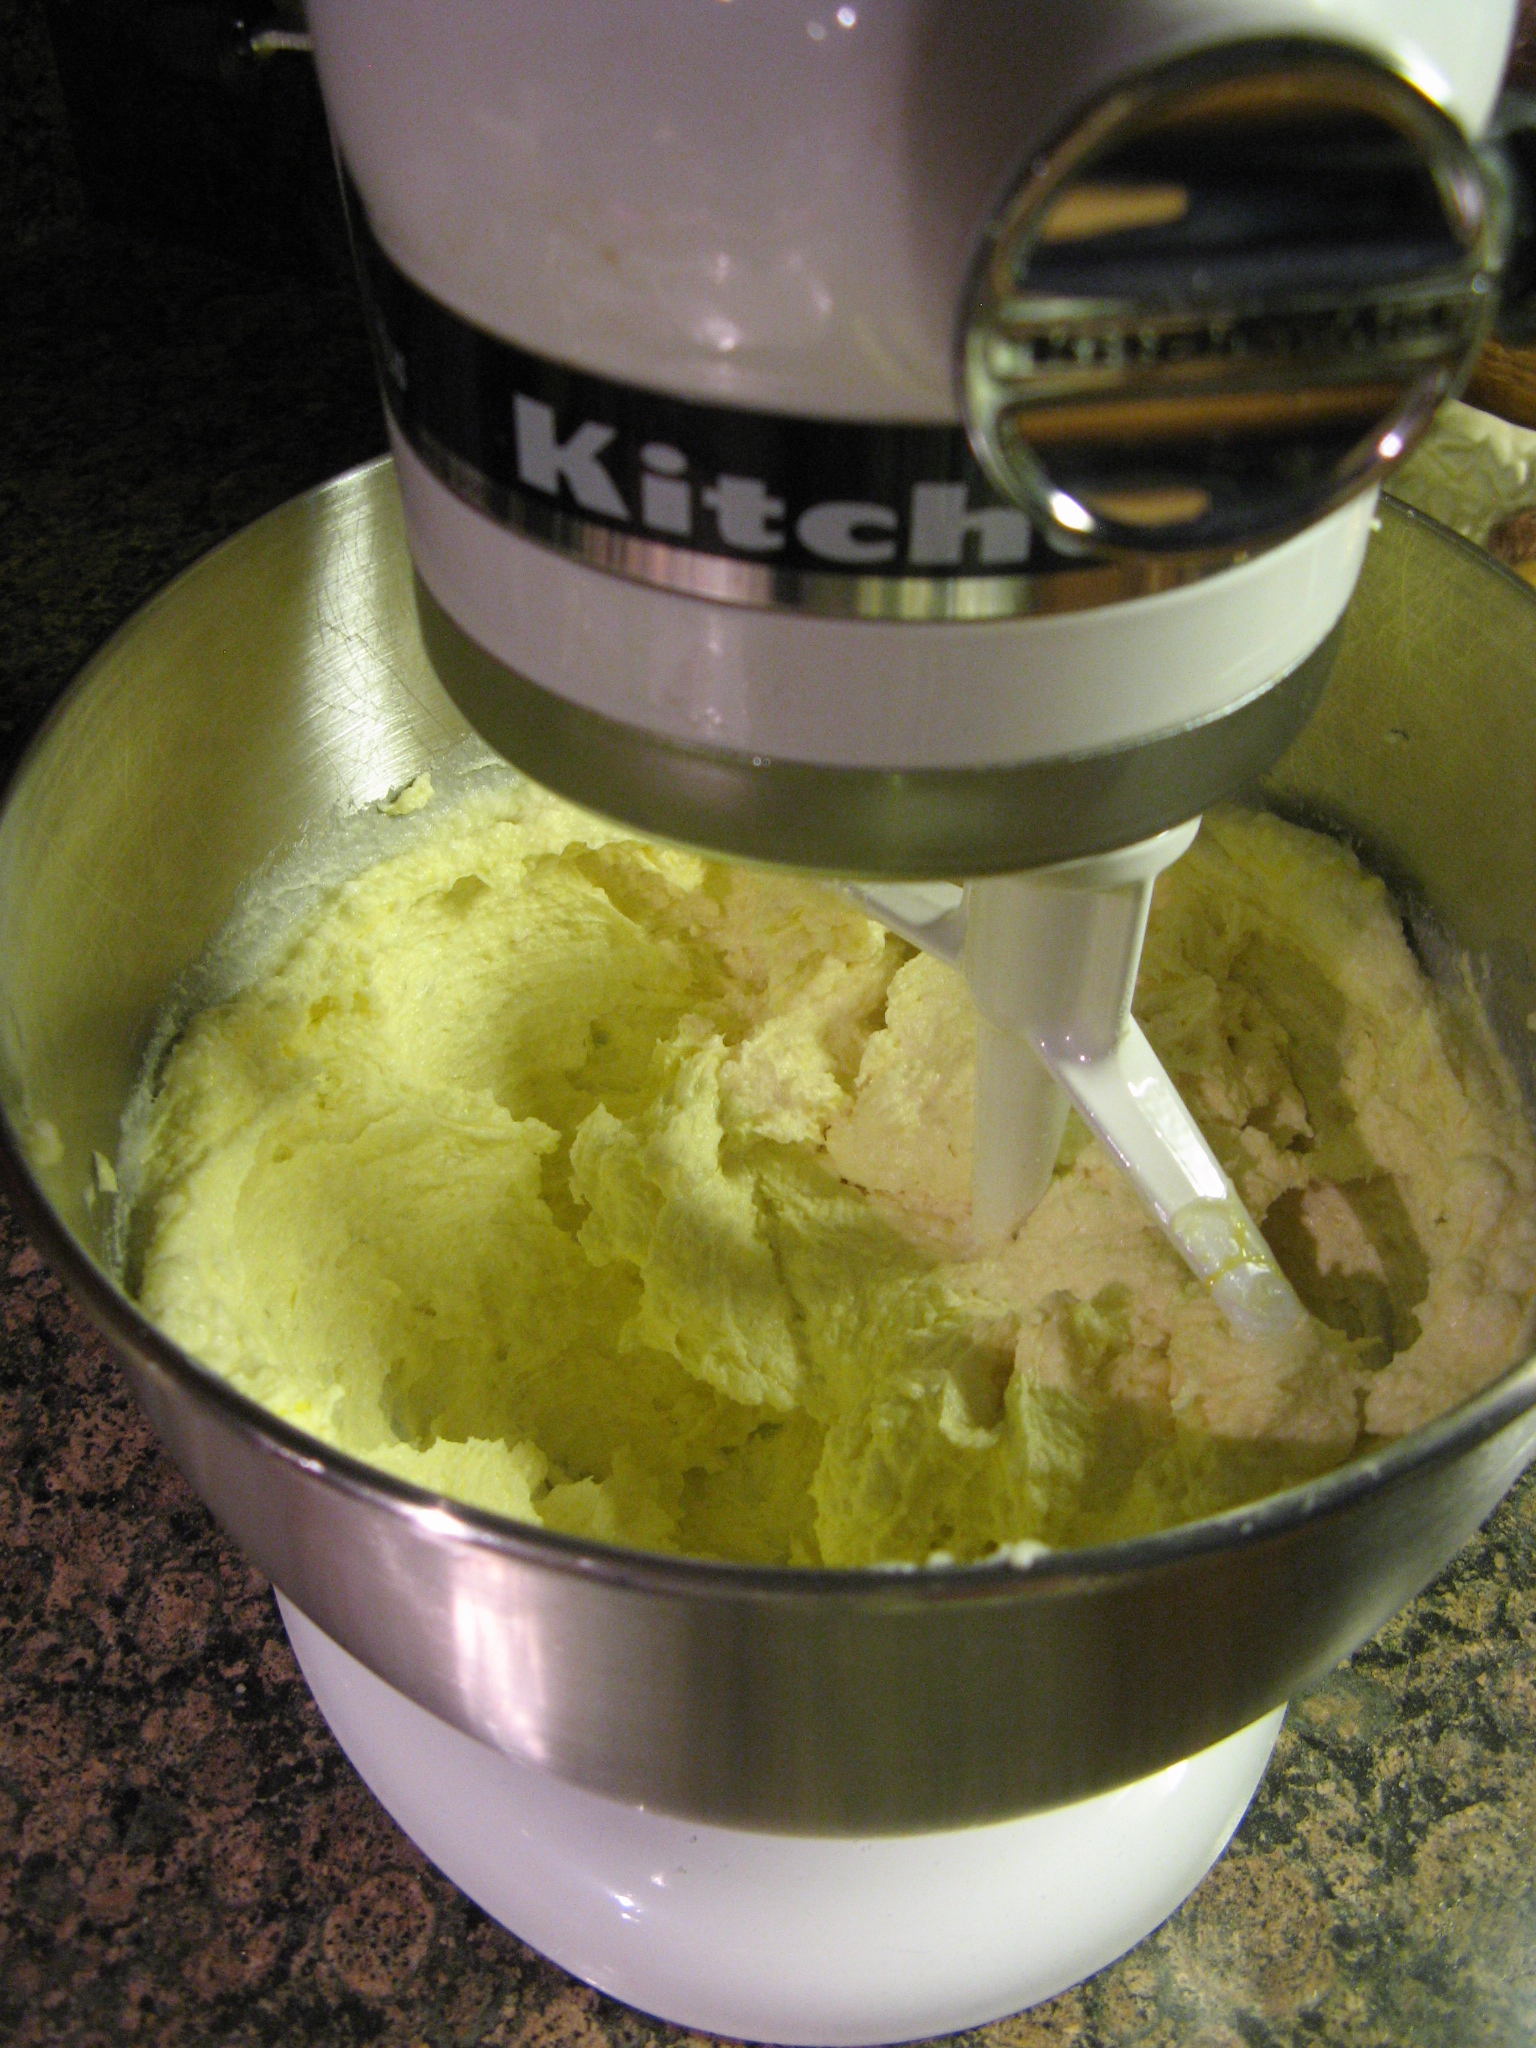
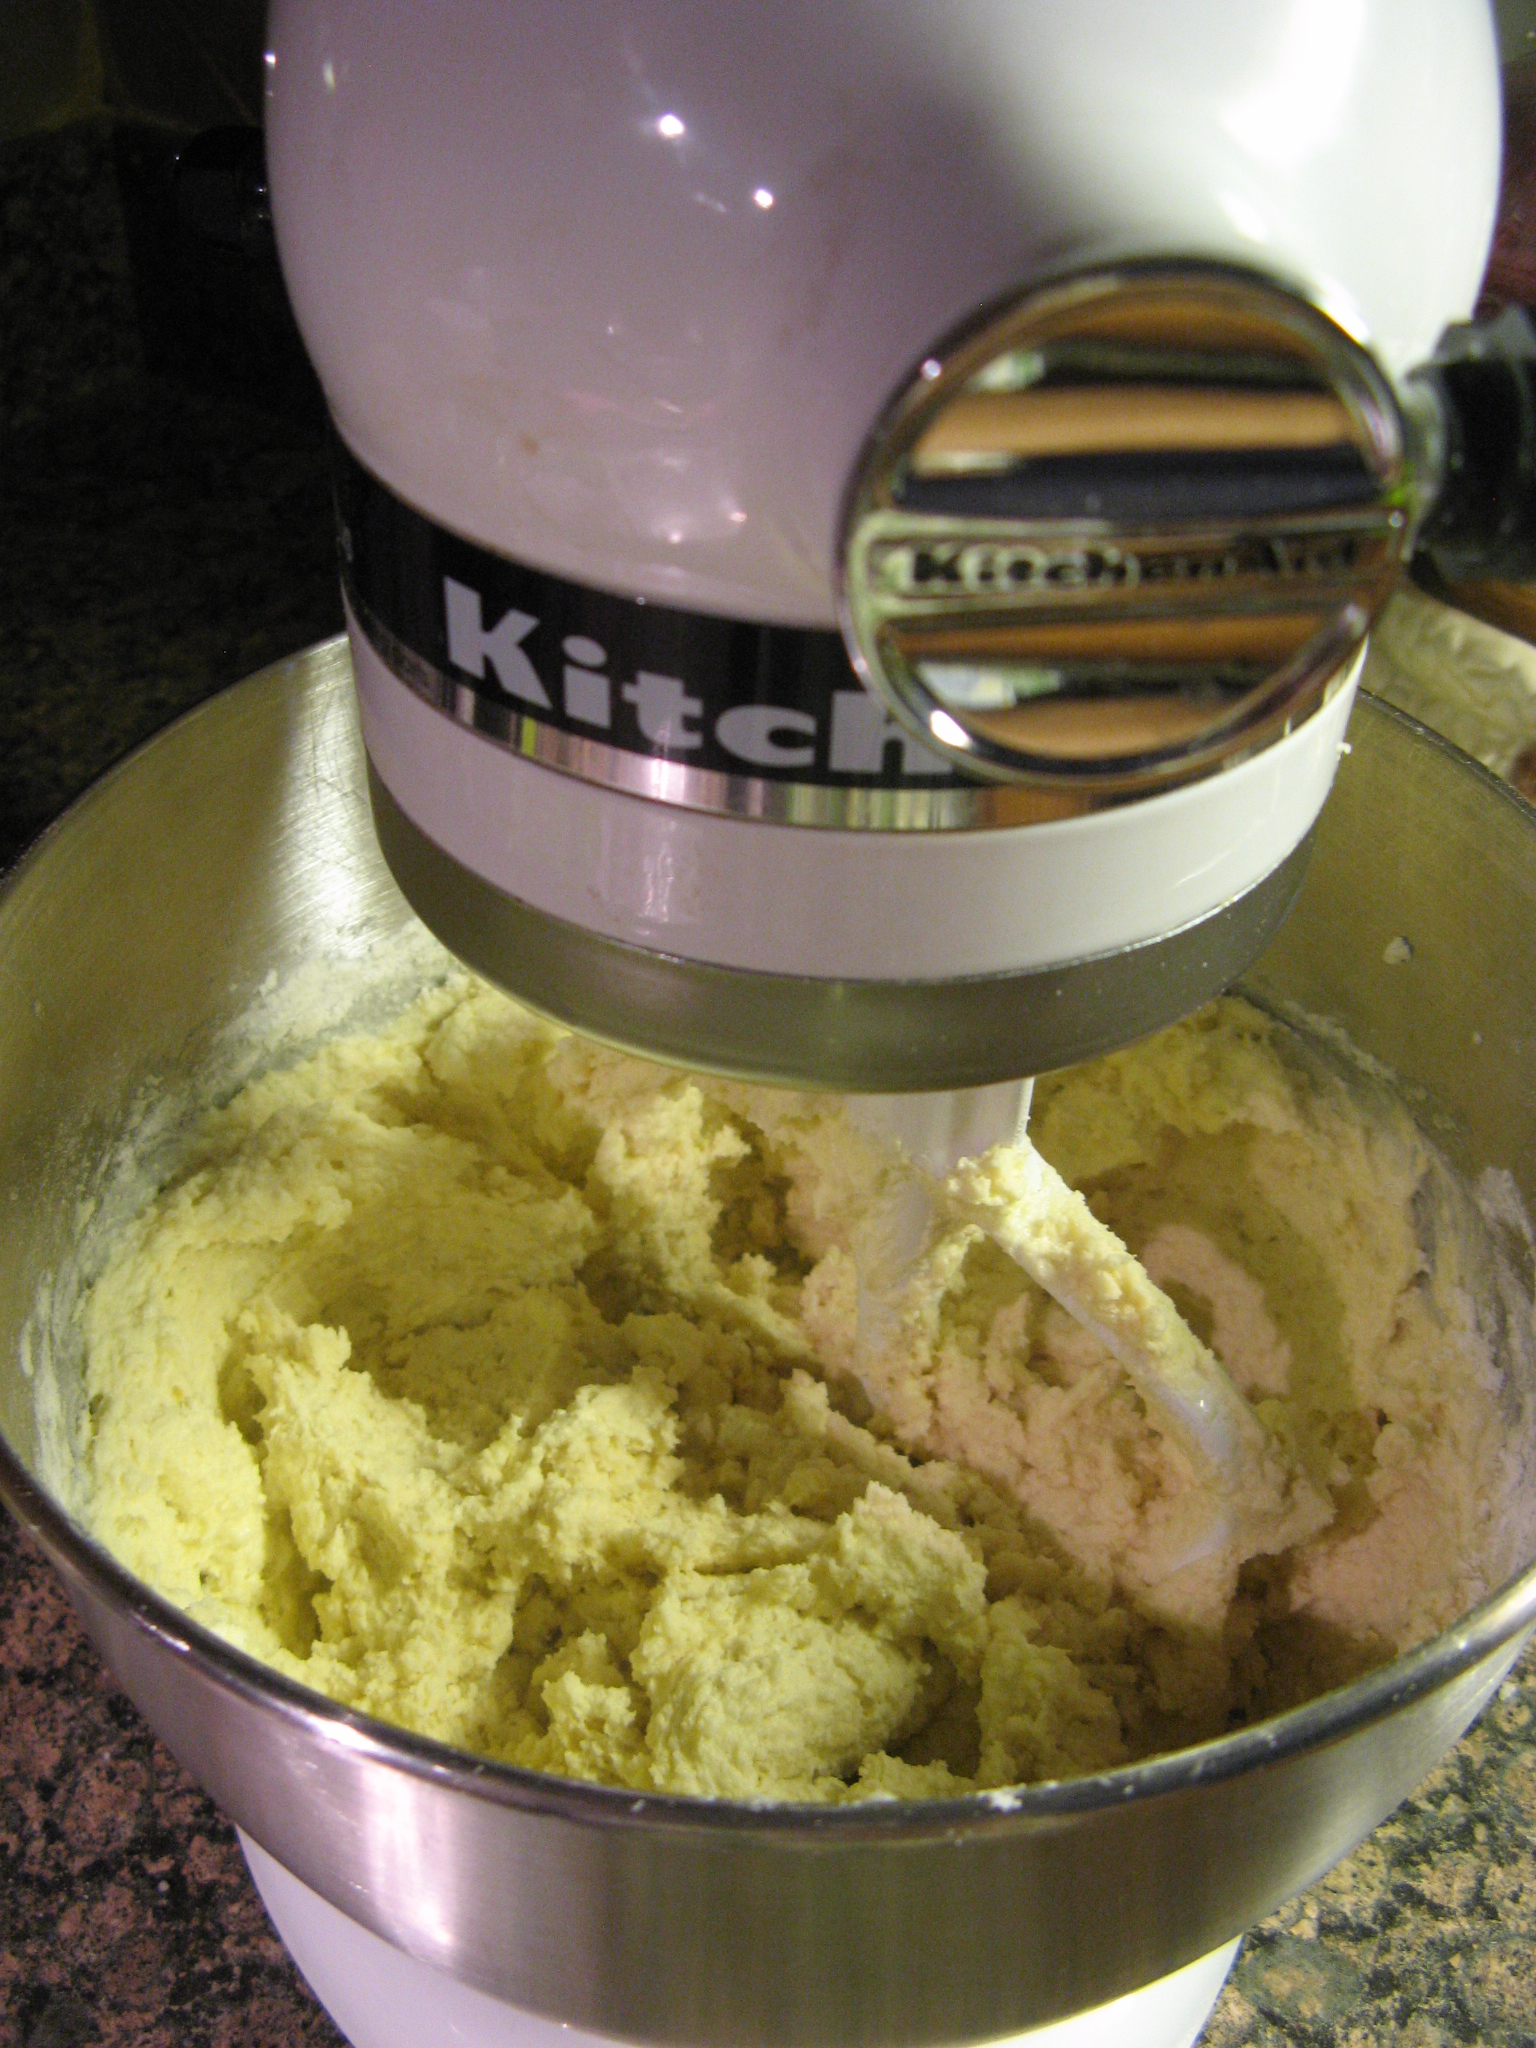
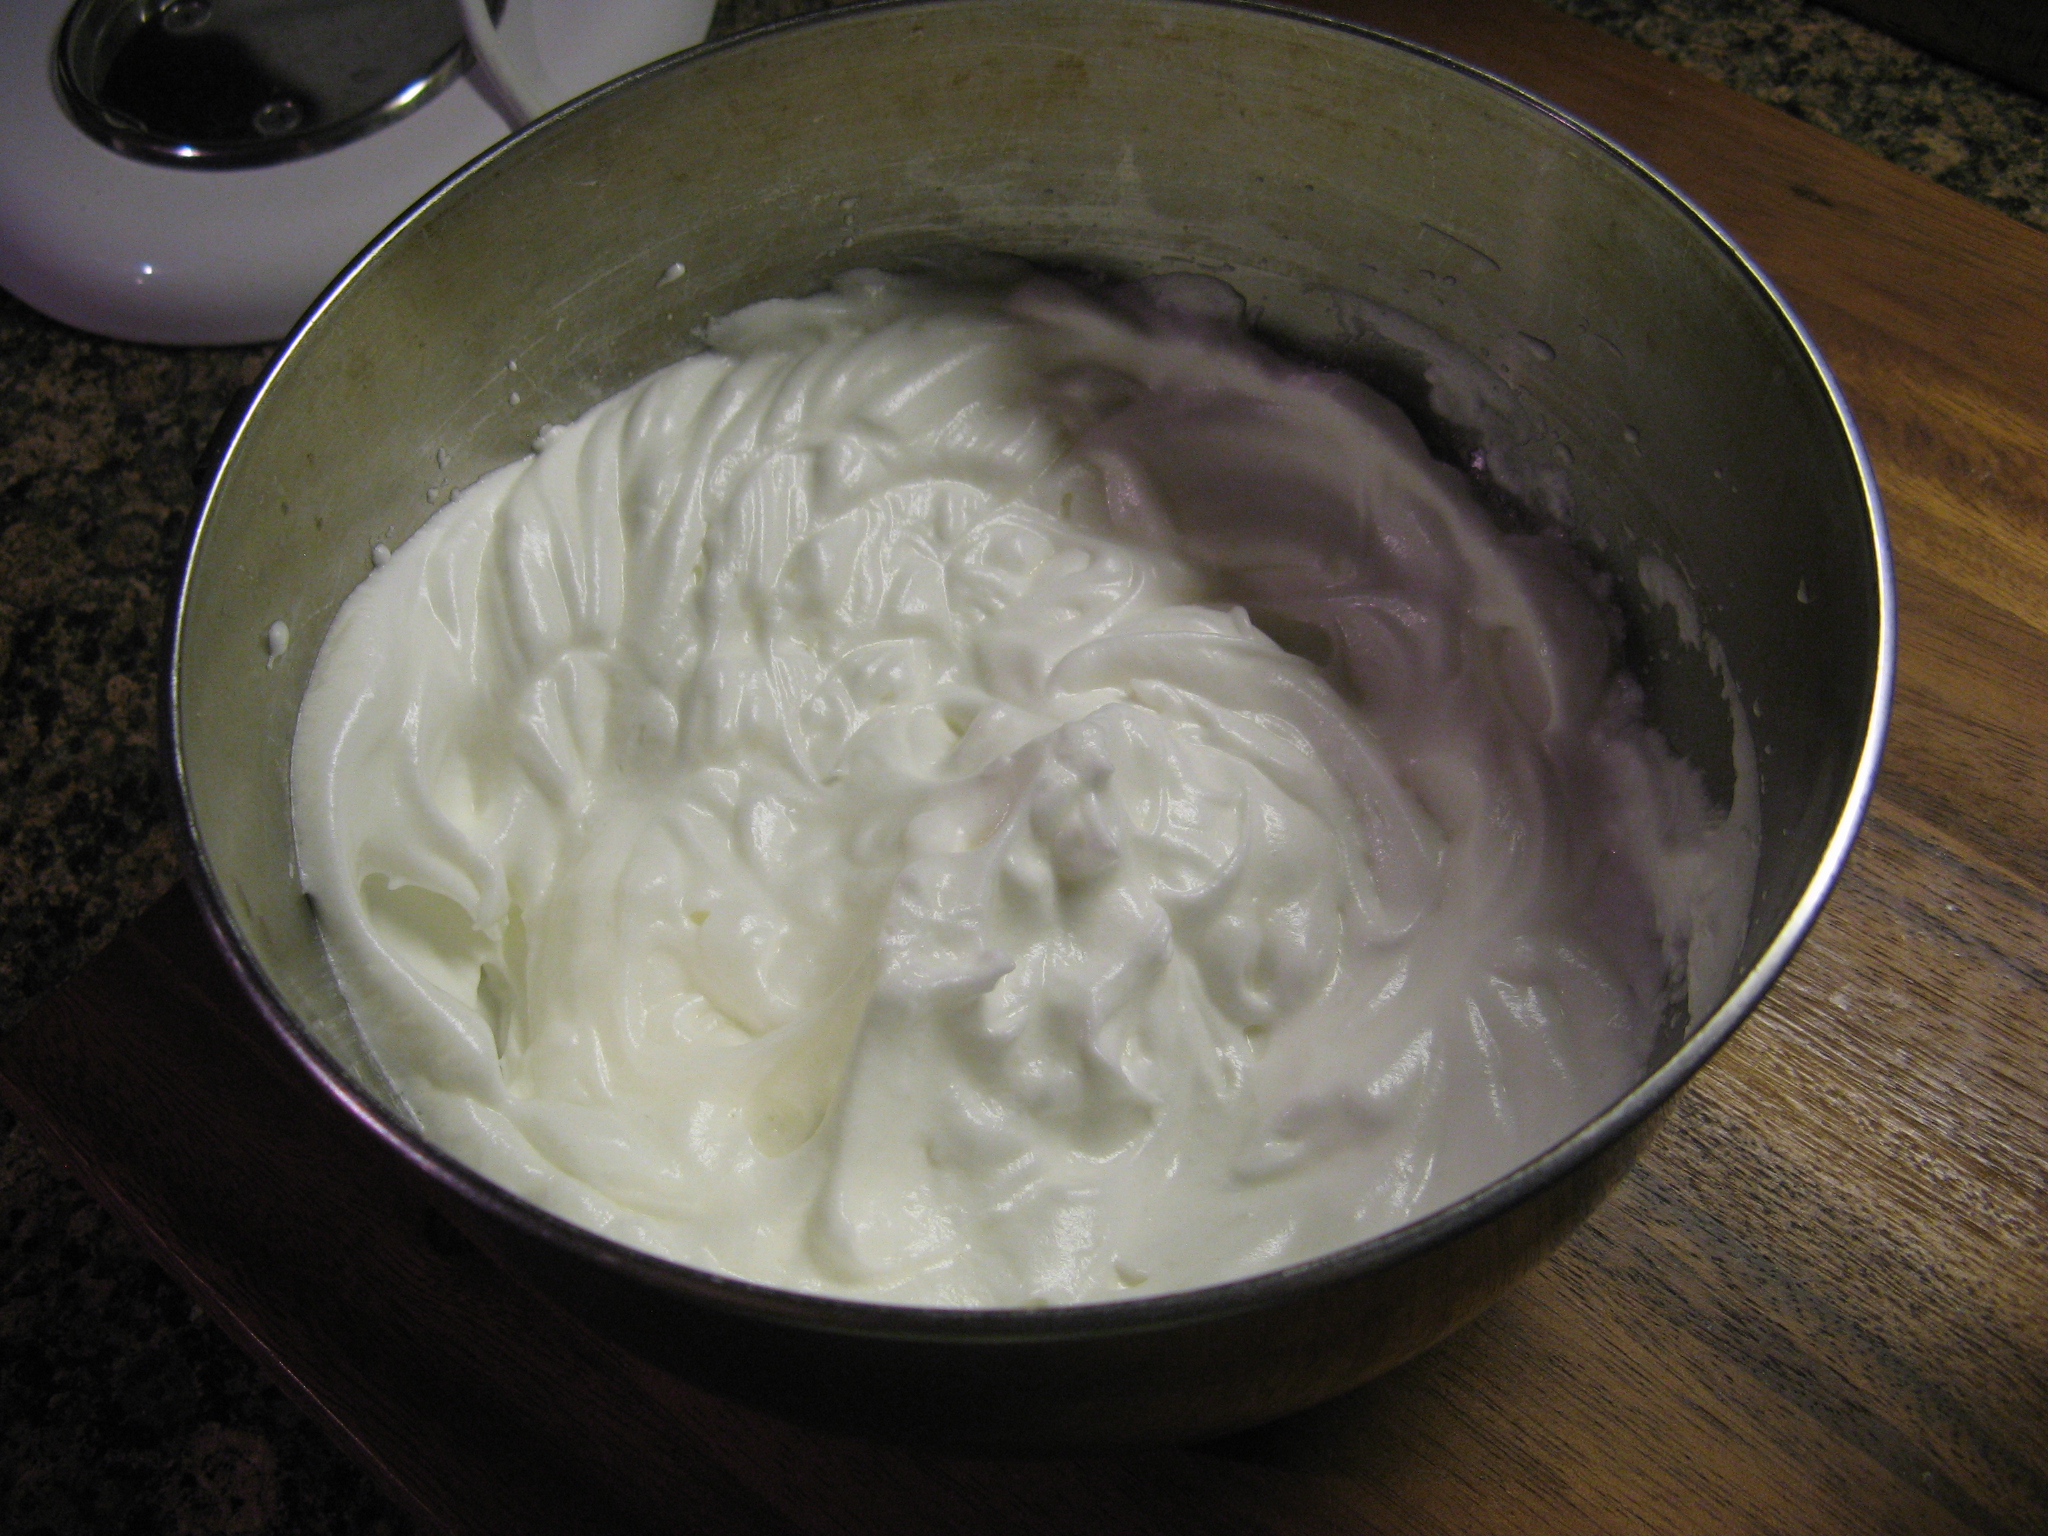
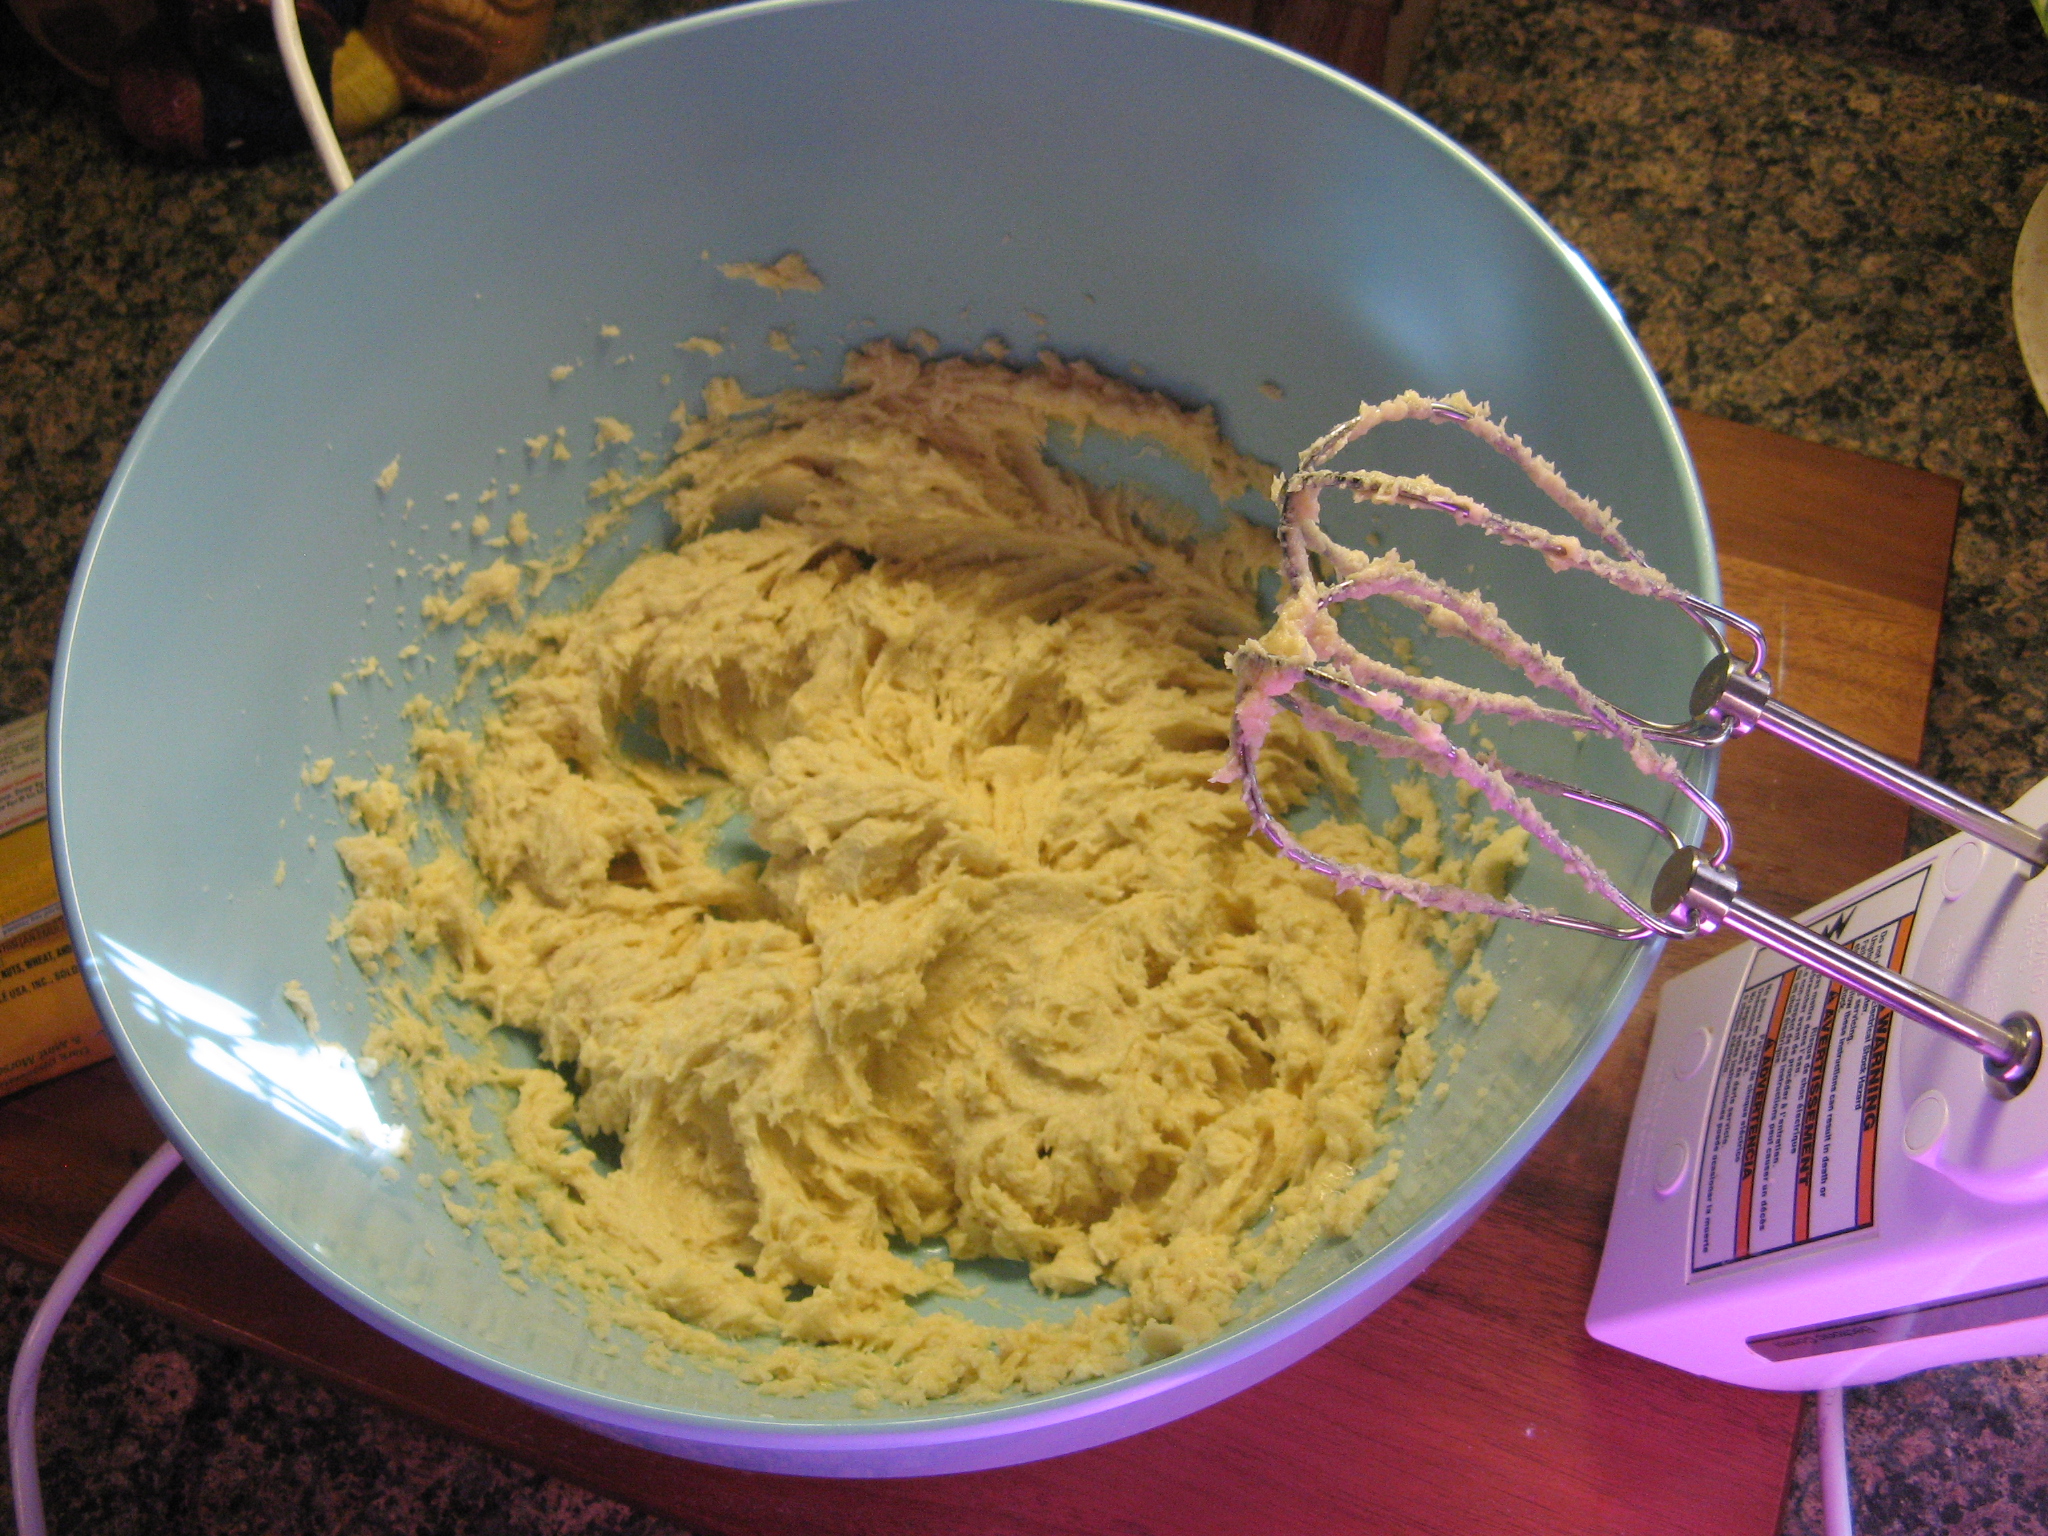
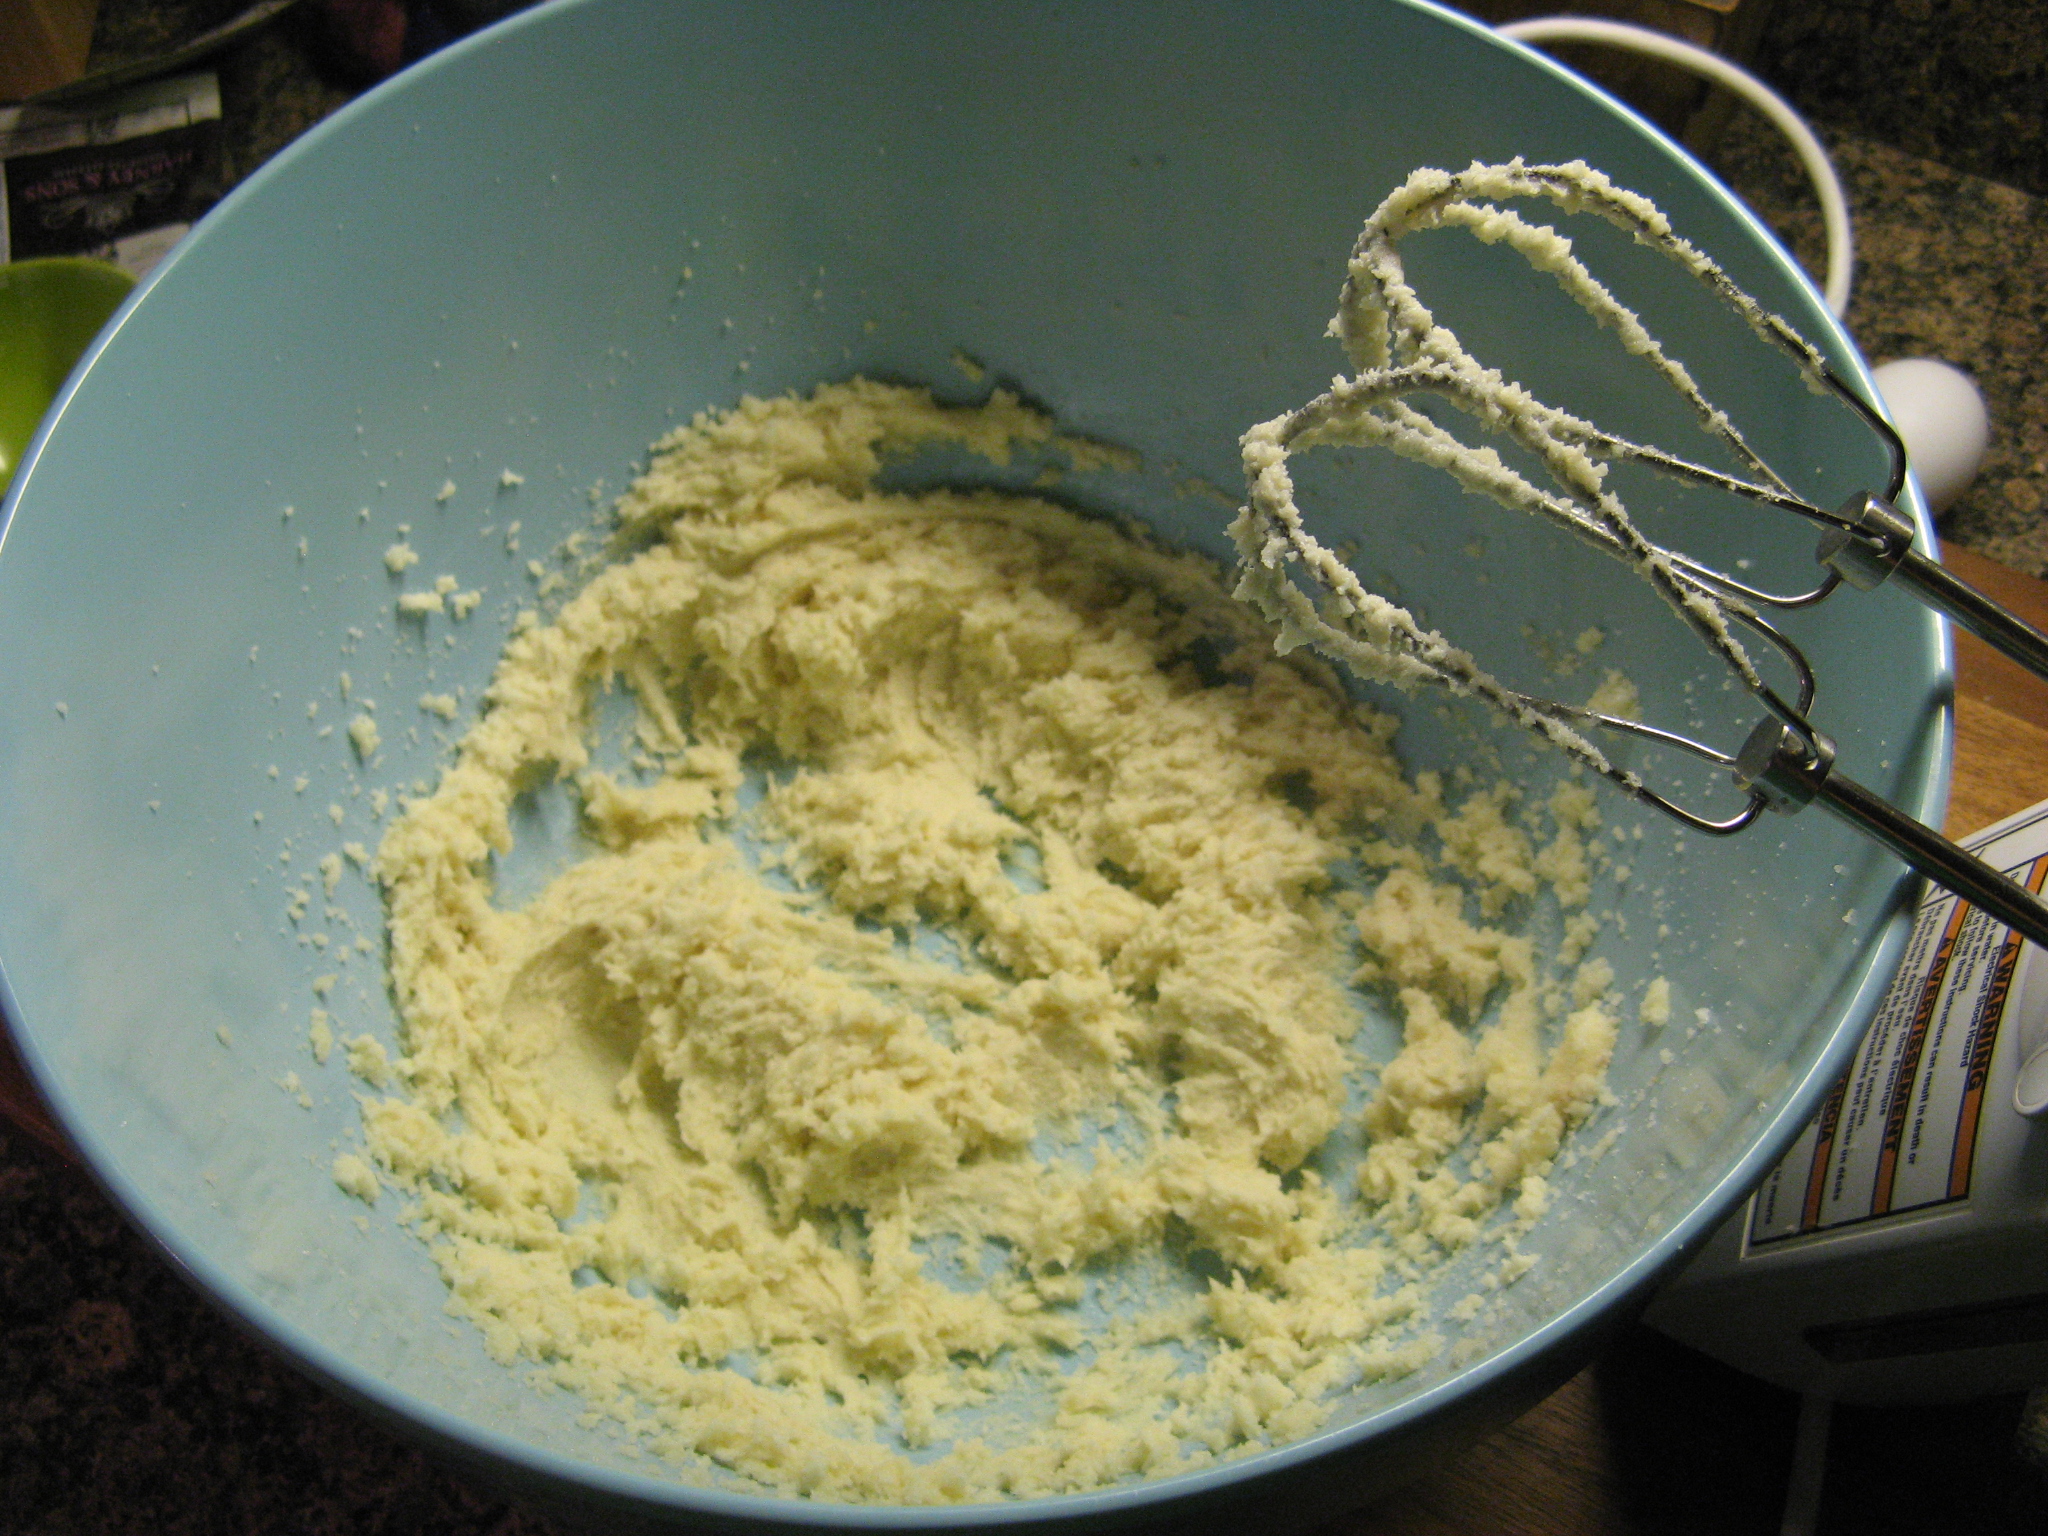
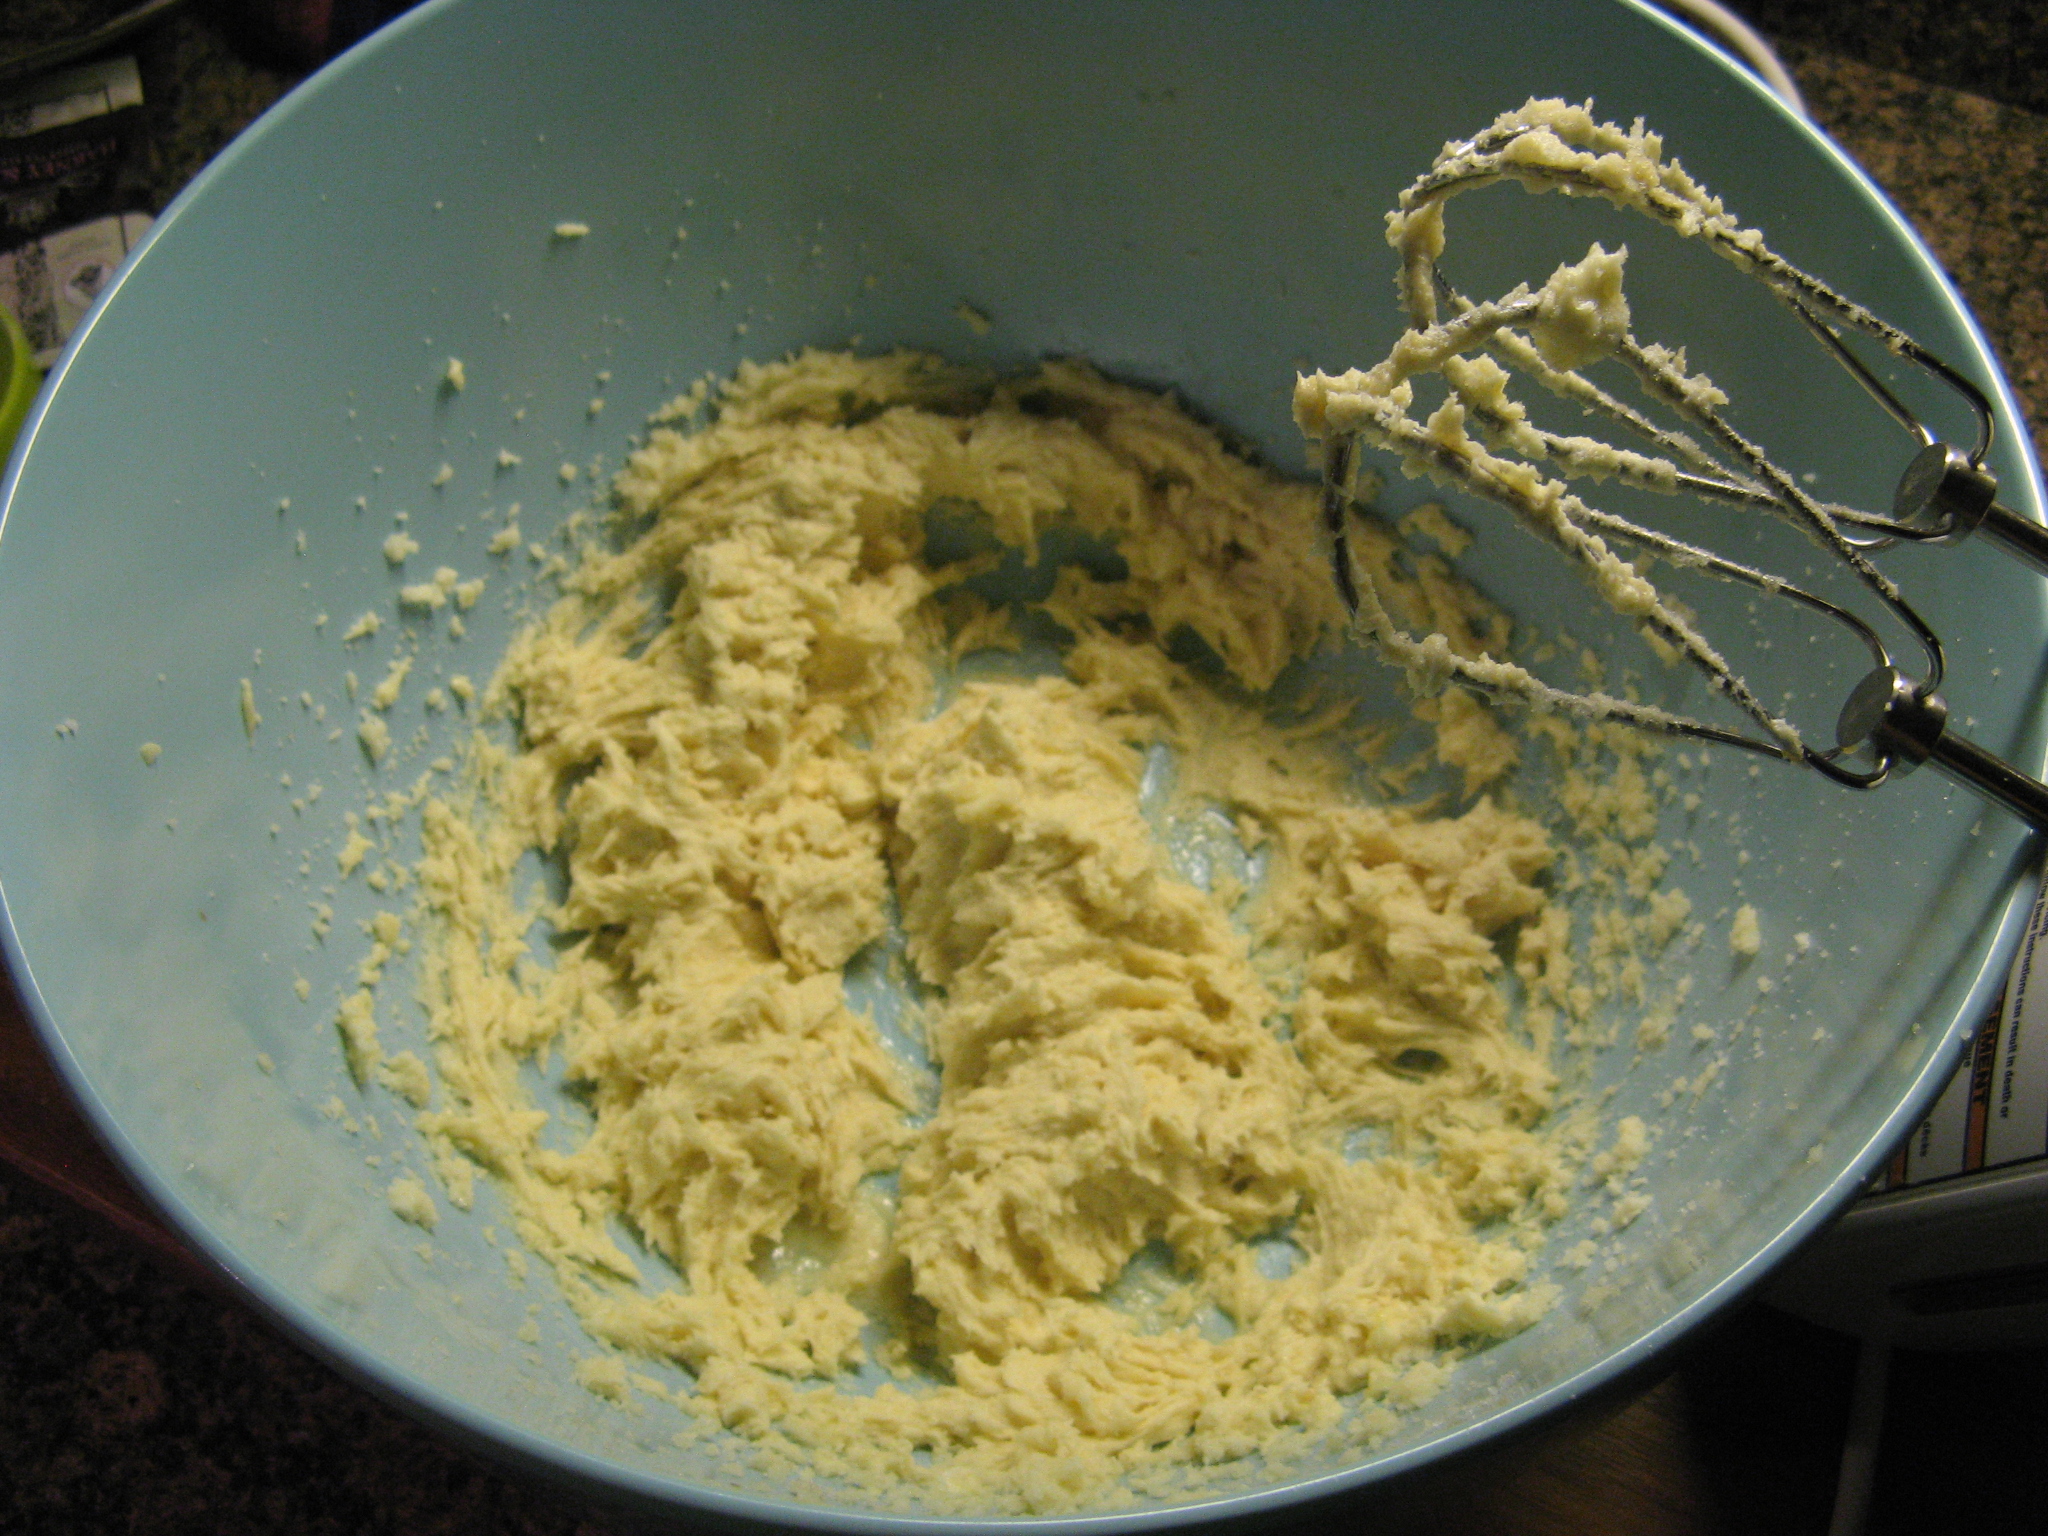
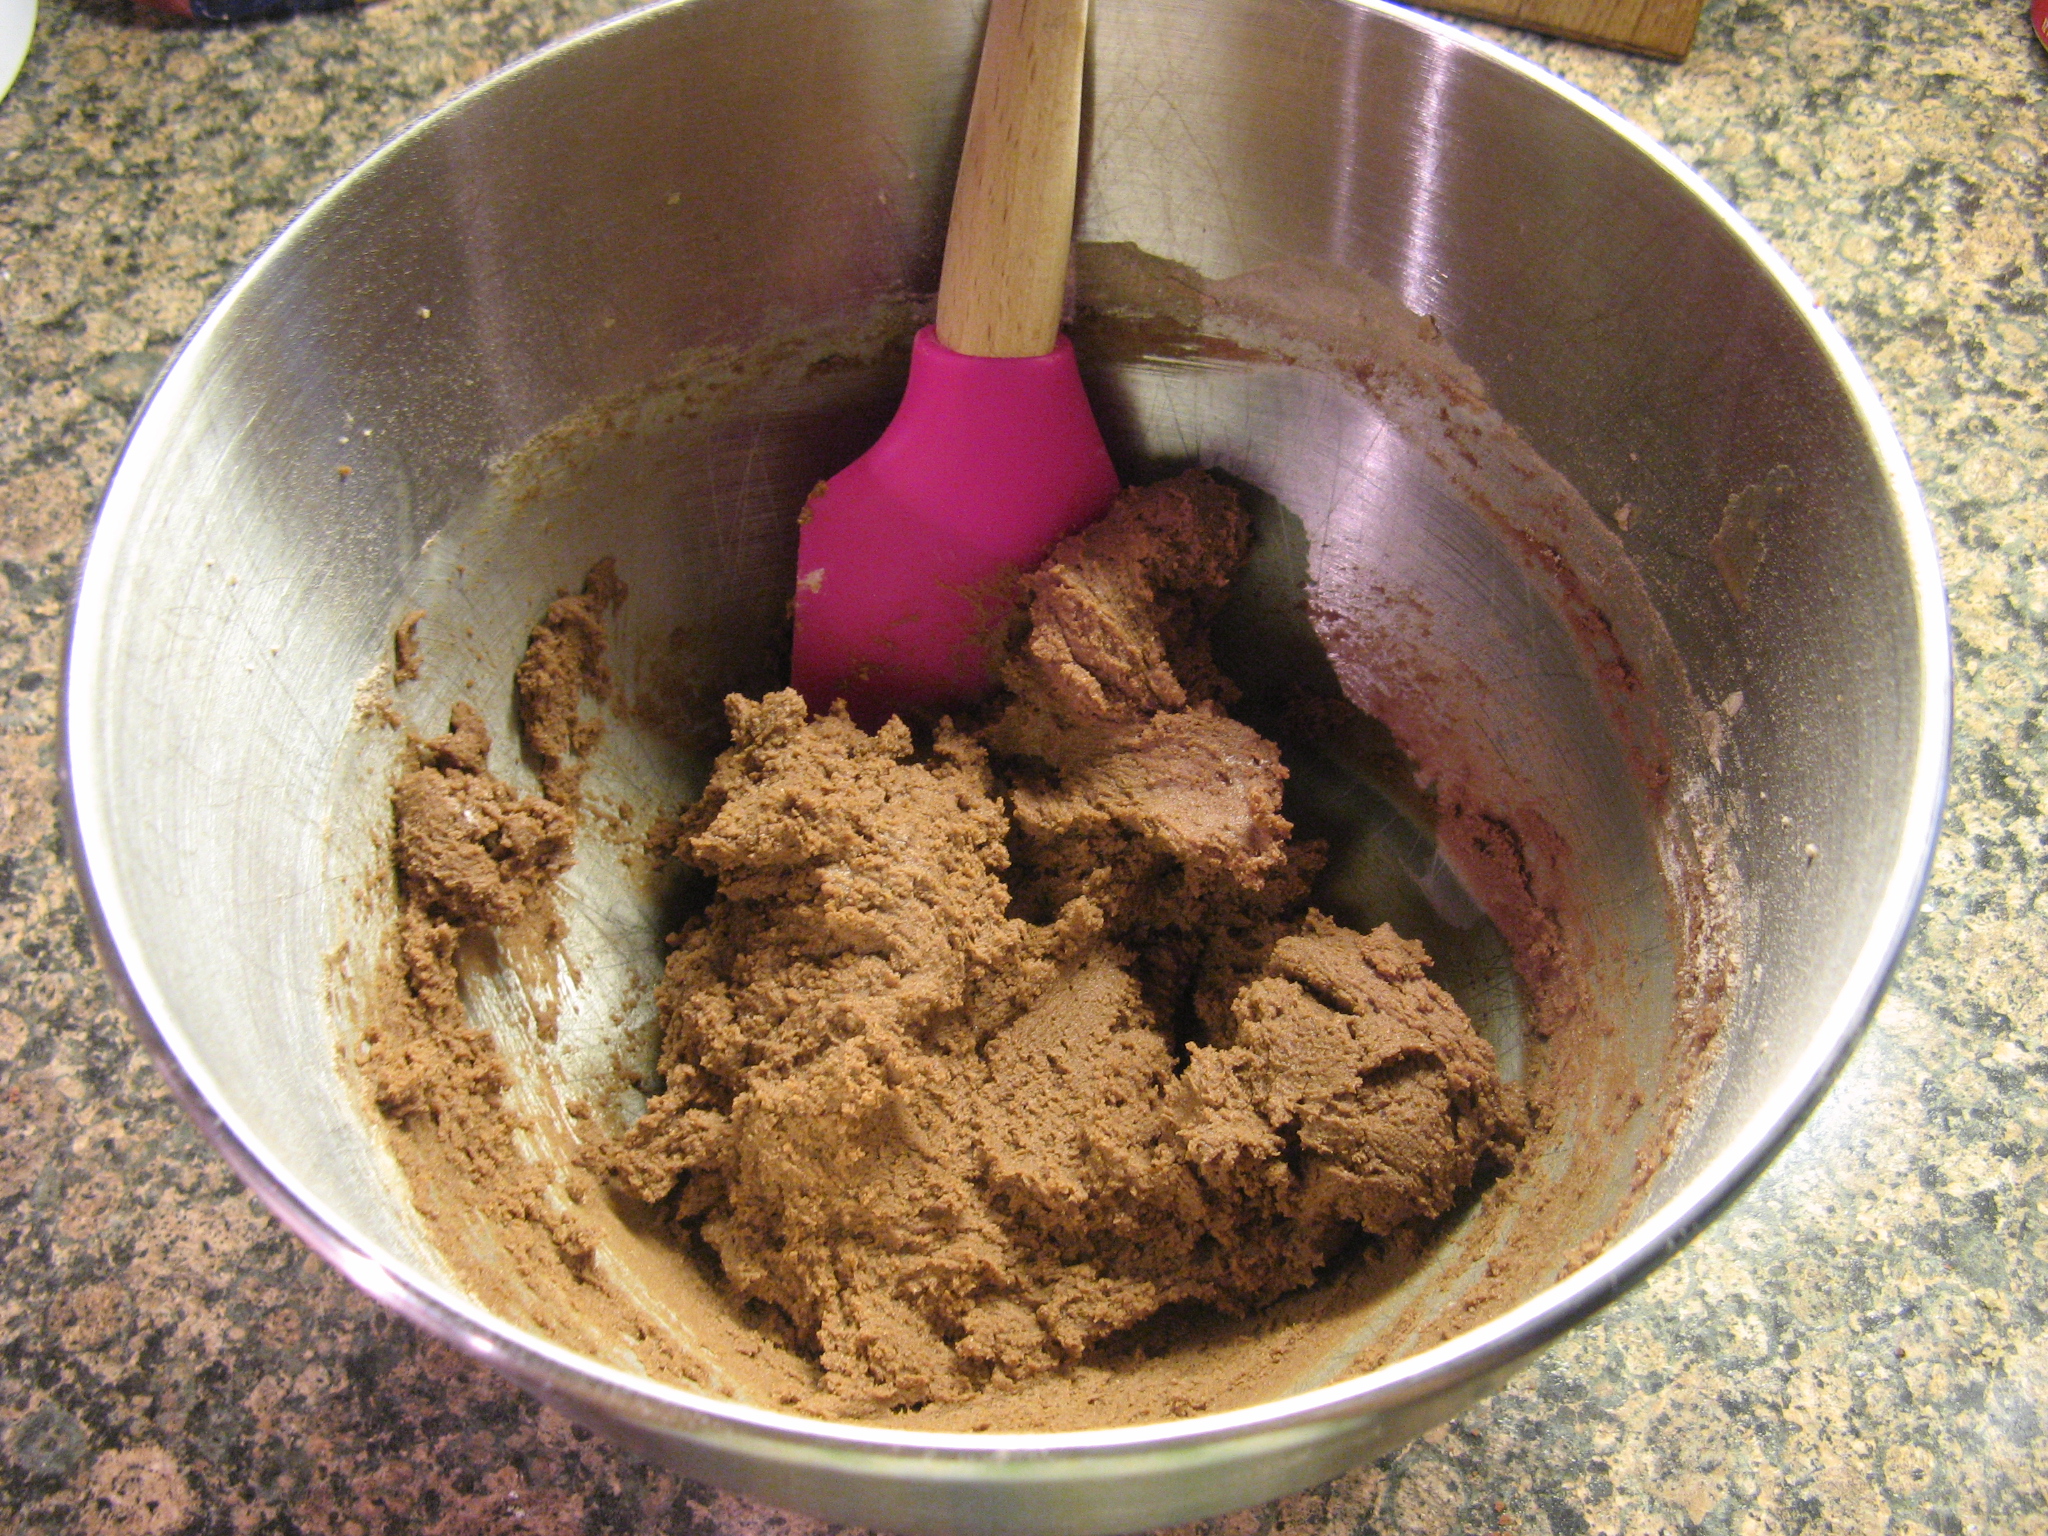
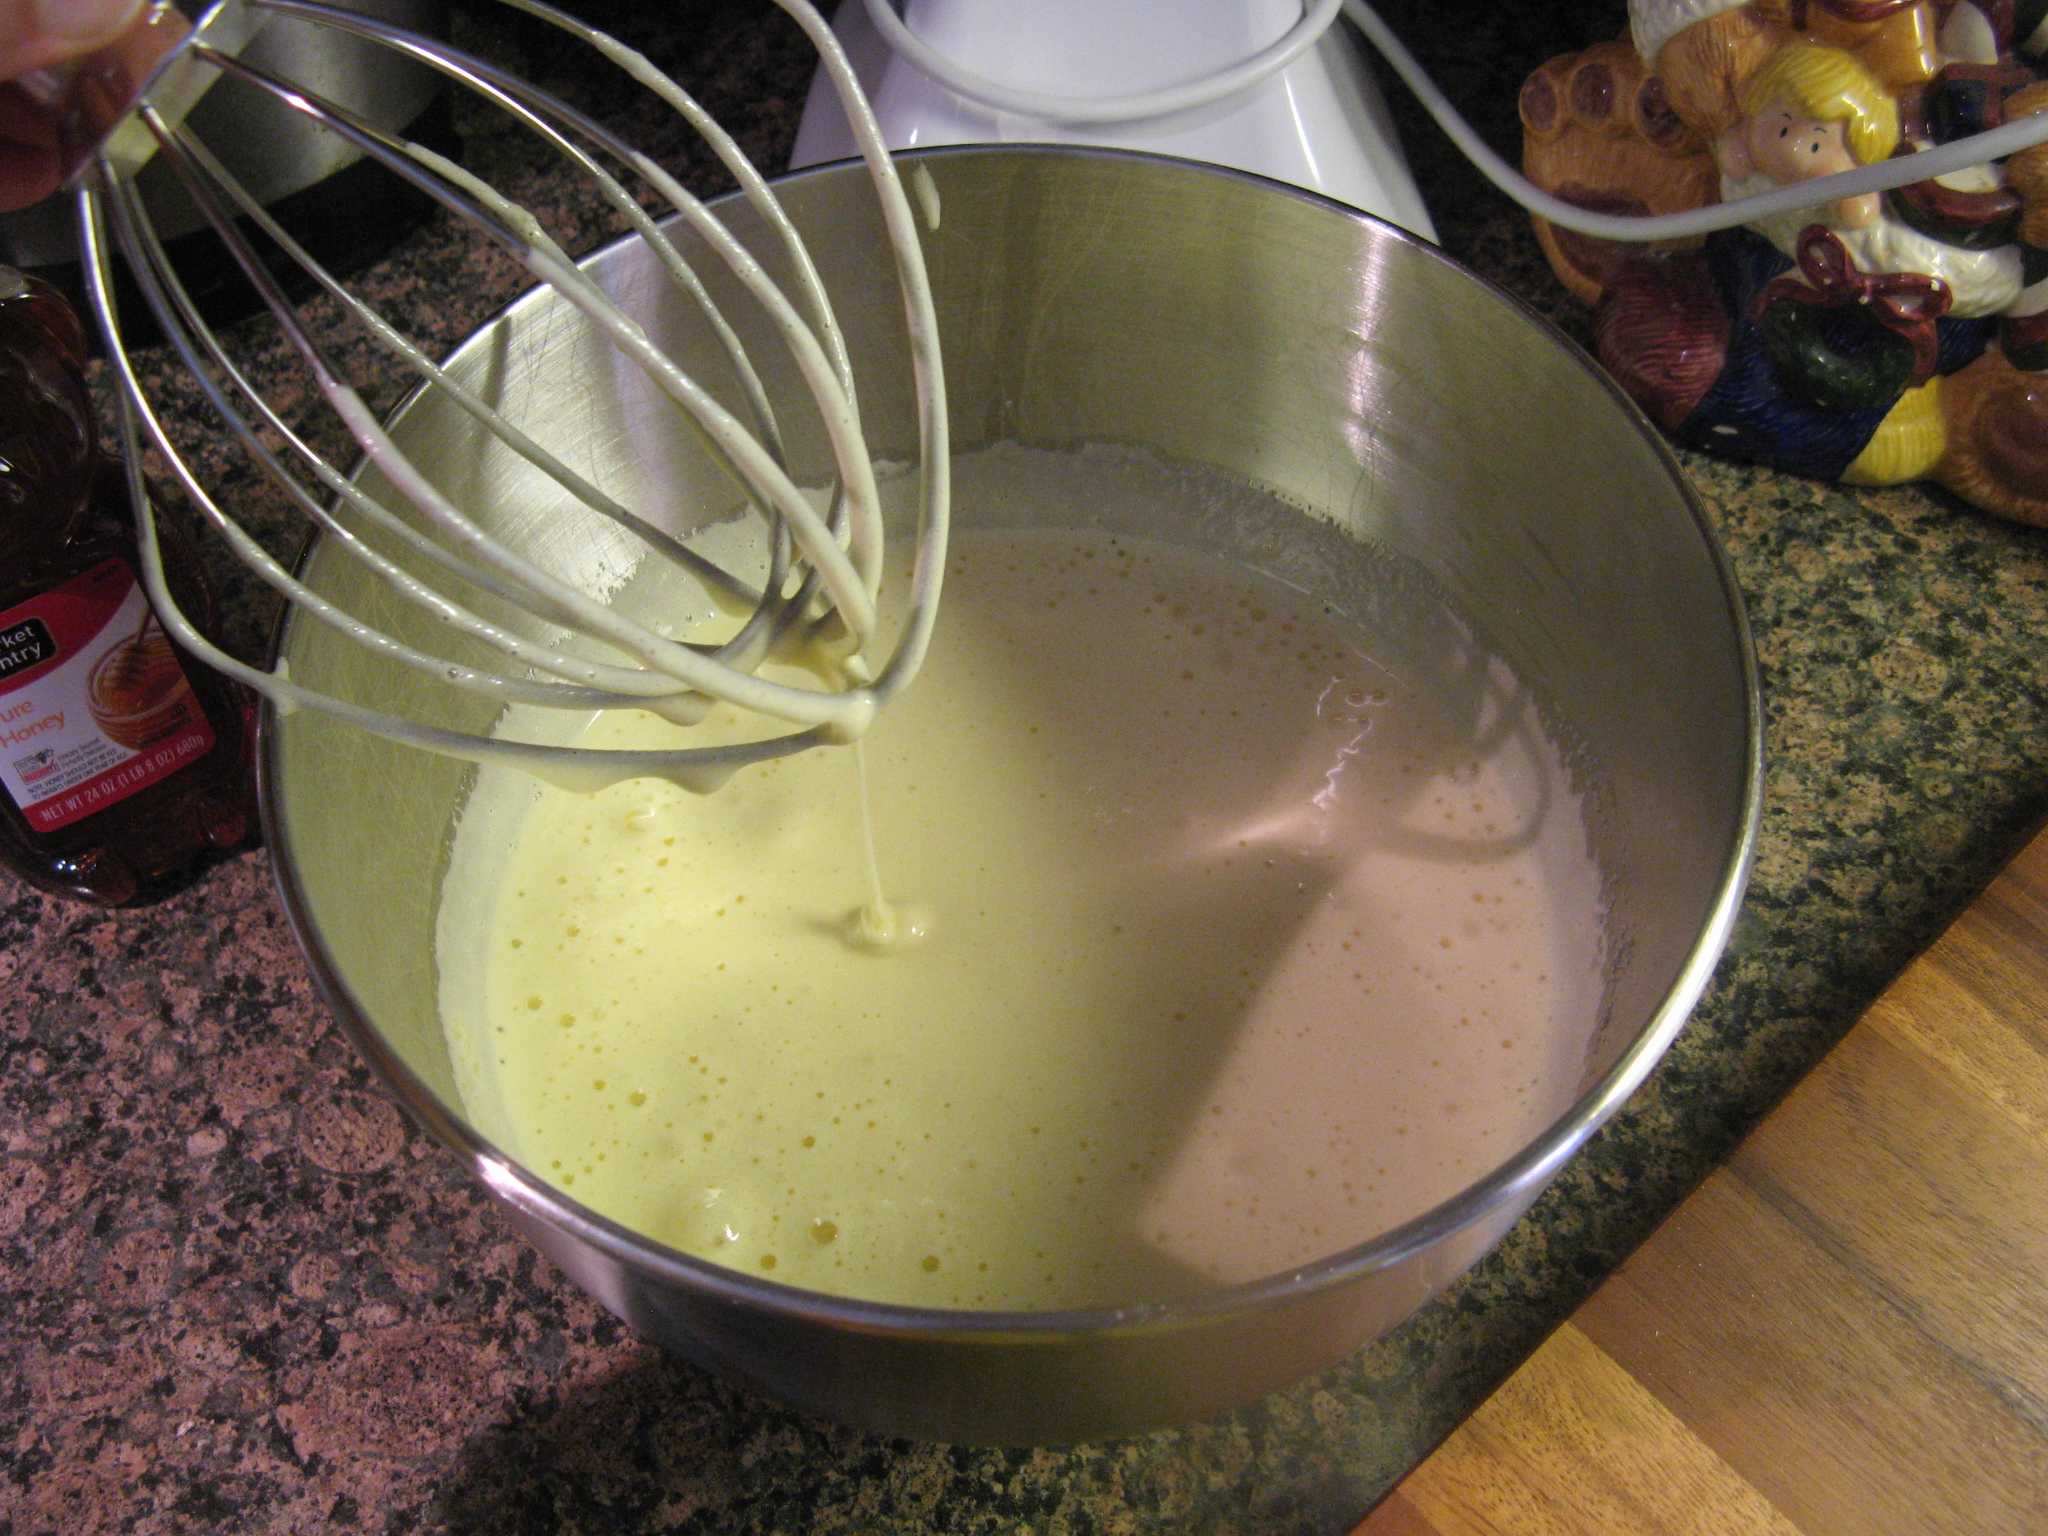
In the bowl of my stand mixer I whisked together six eggs with granulated and brown sugar on high until it was pale and fluffy – just shy of ten minutes.

IMG_6489

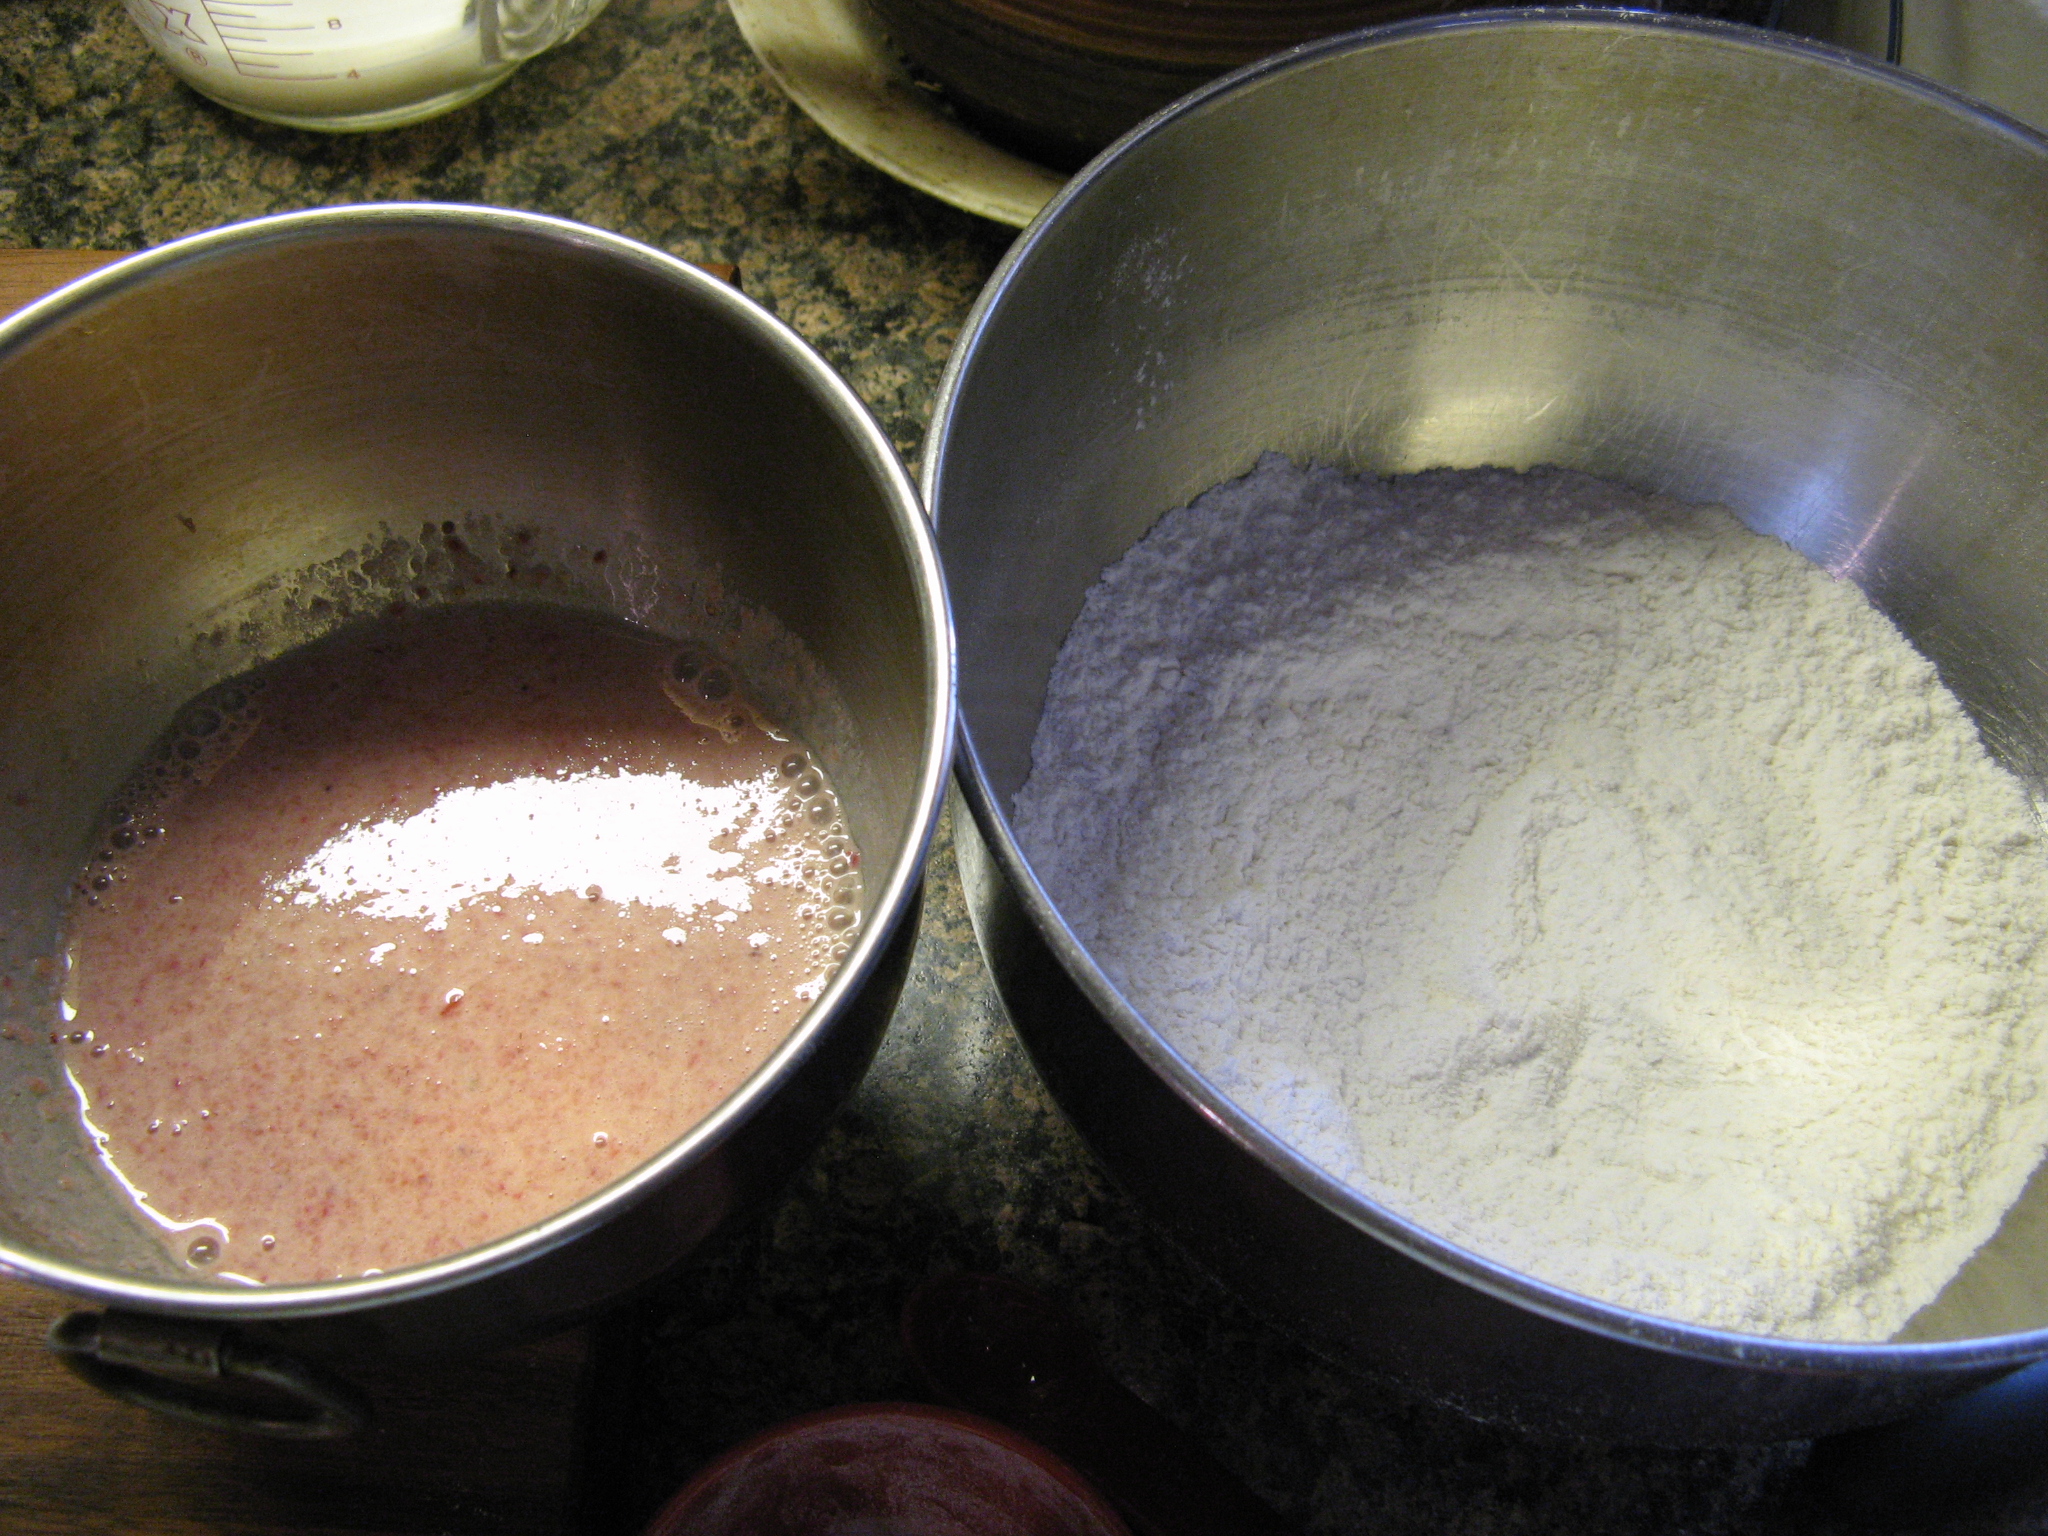
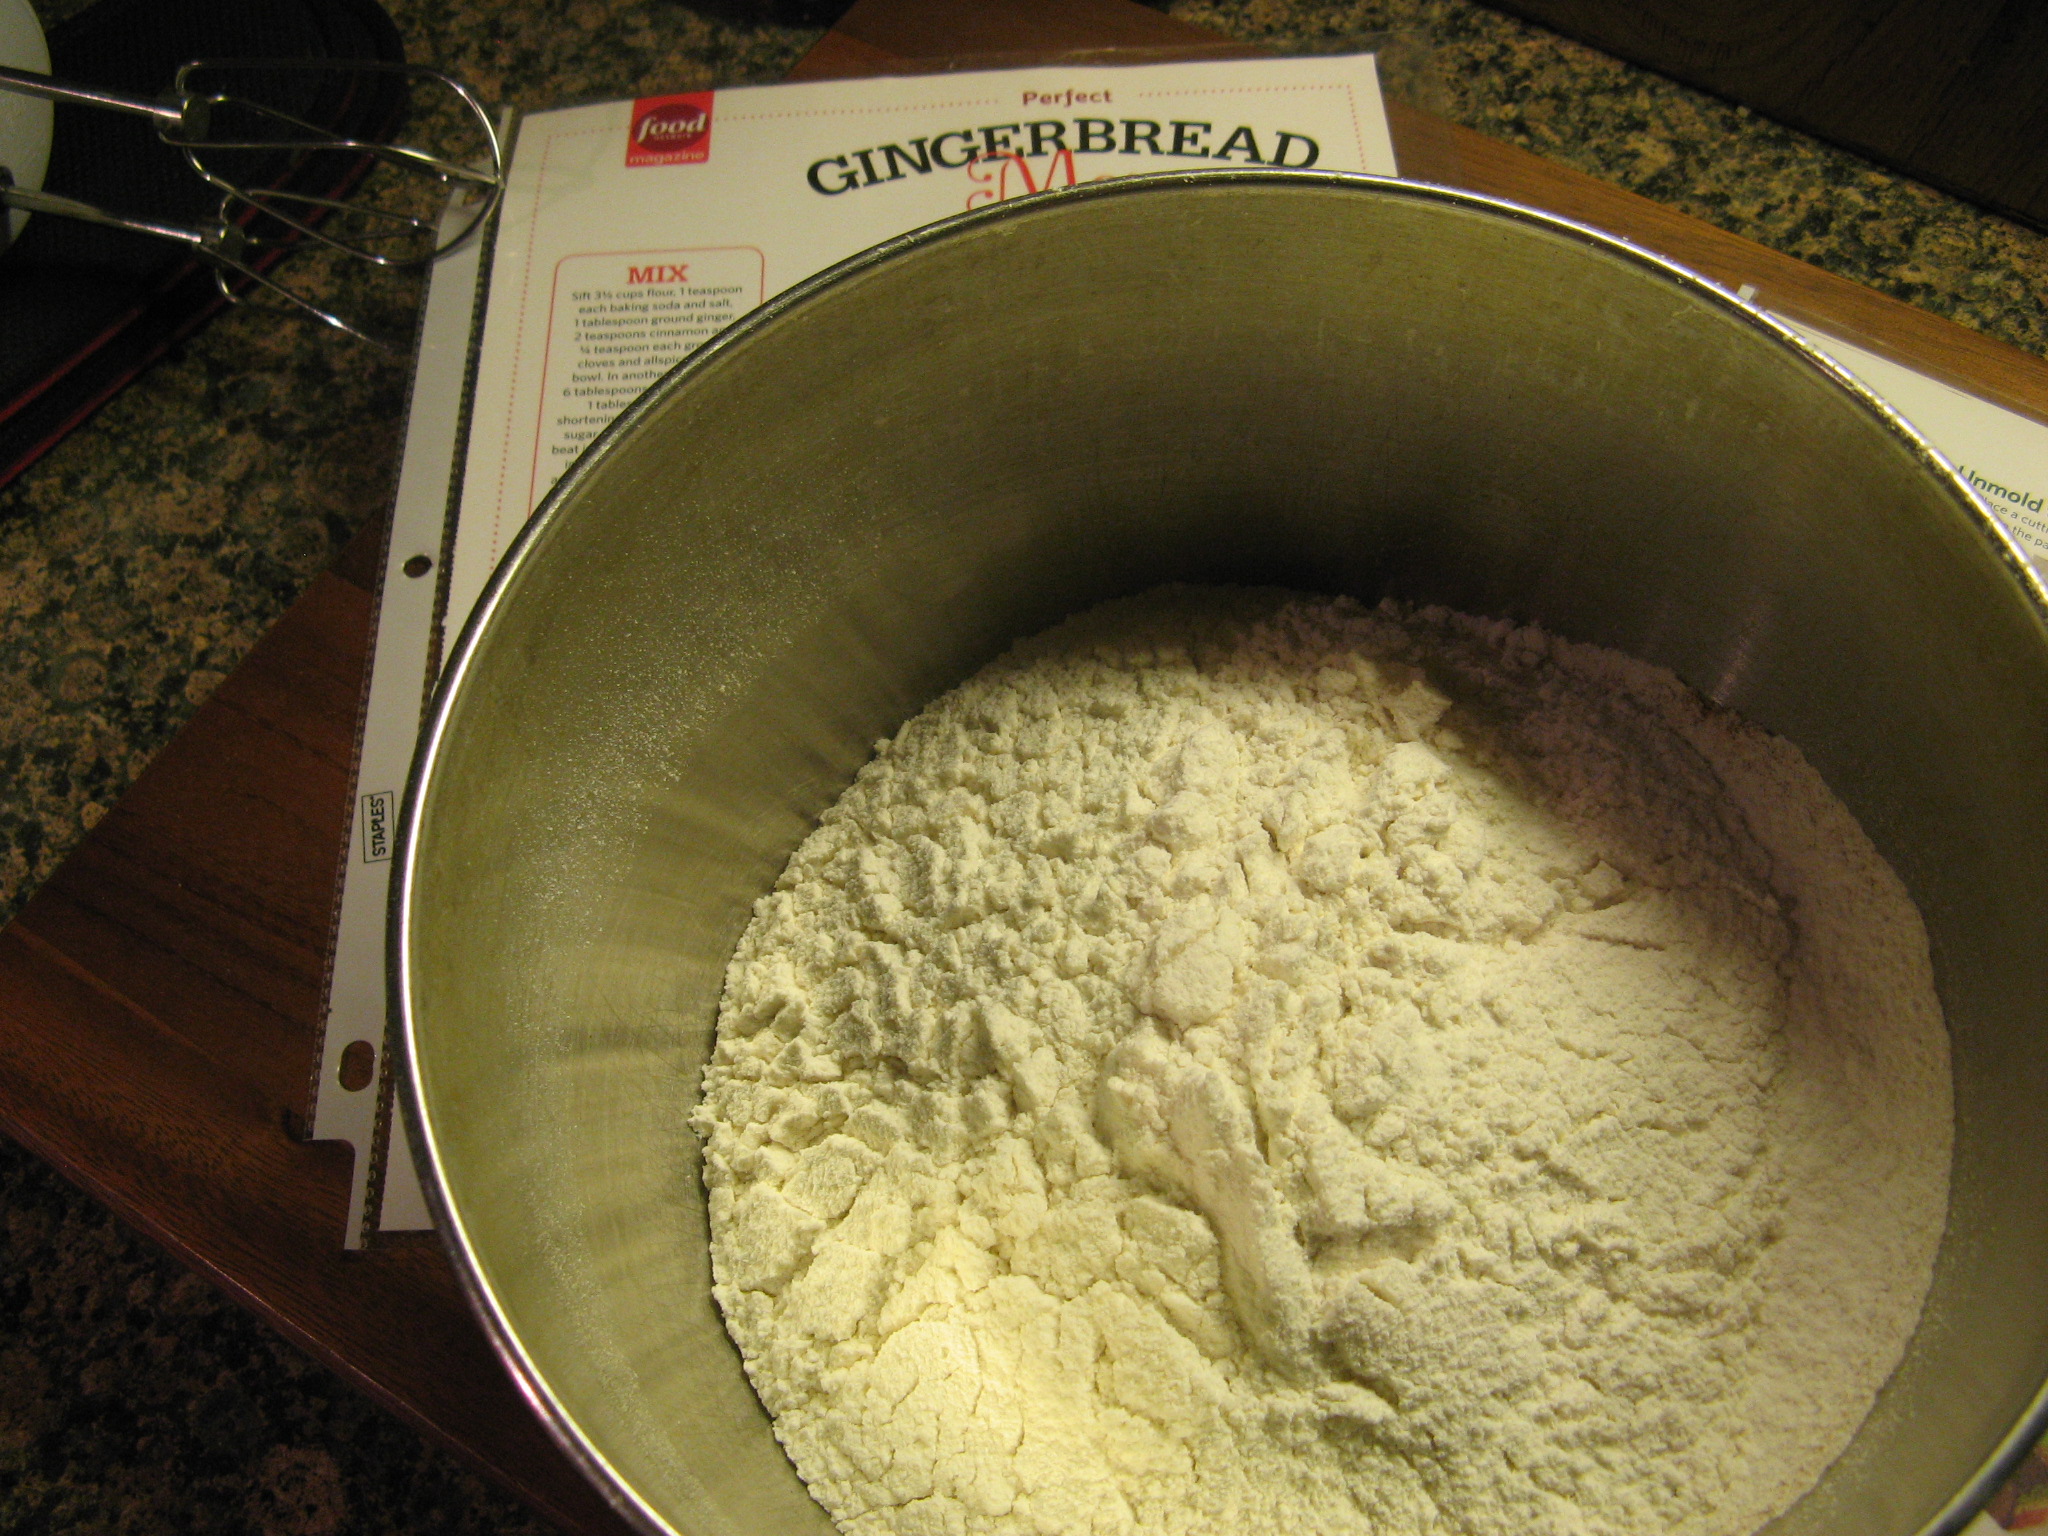
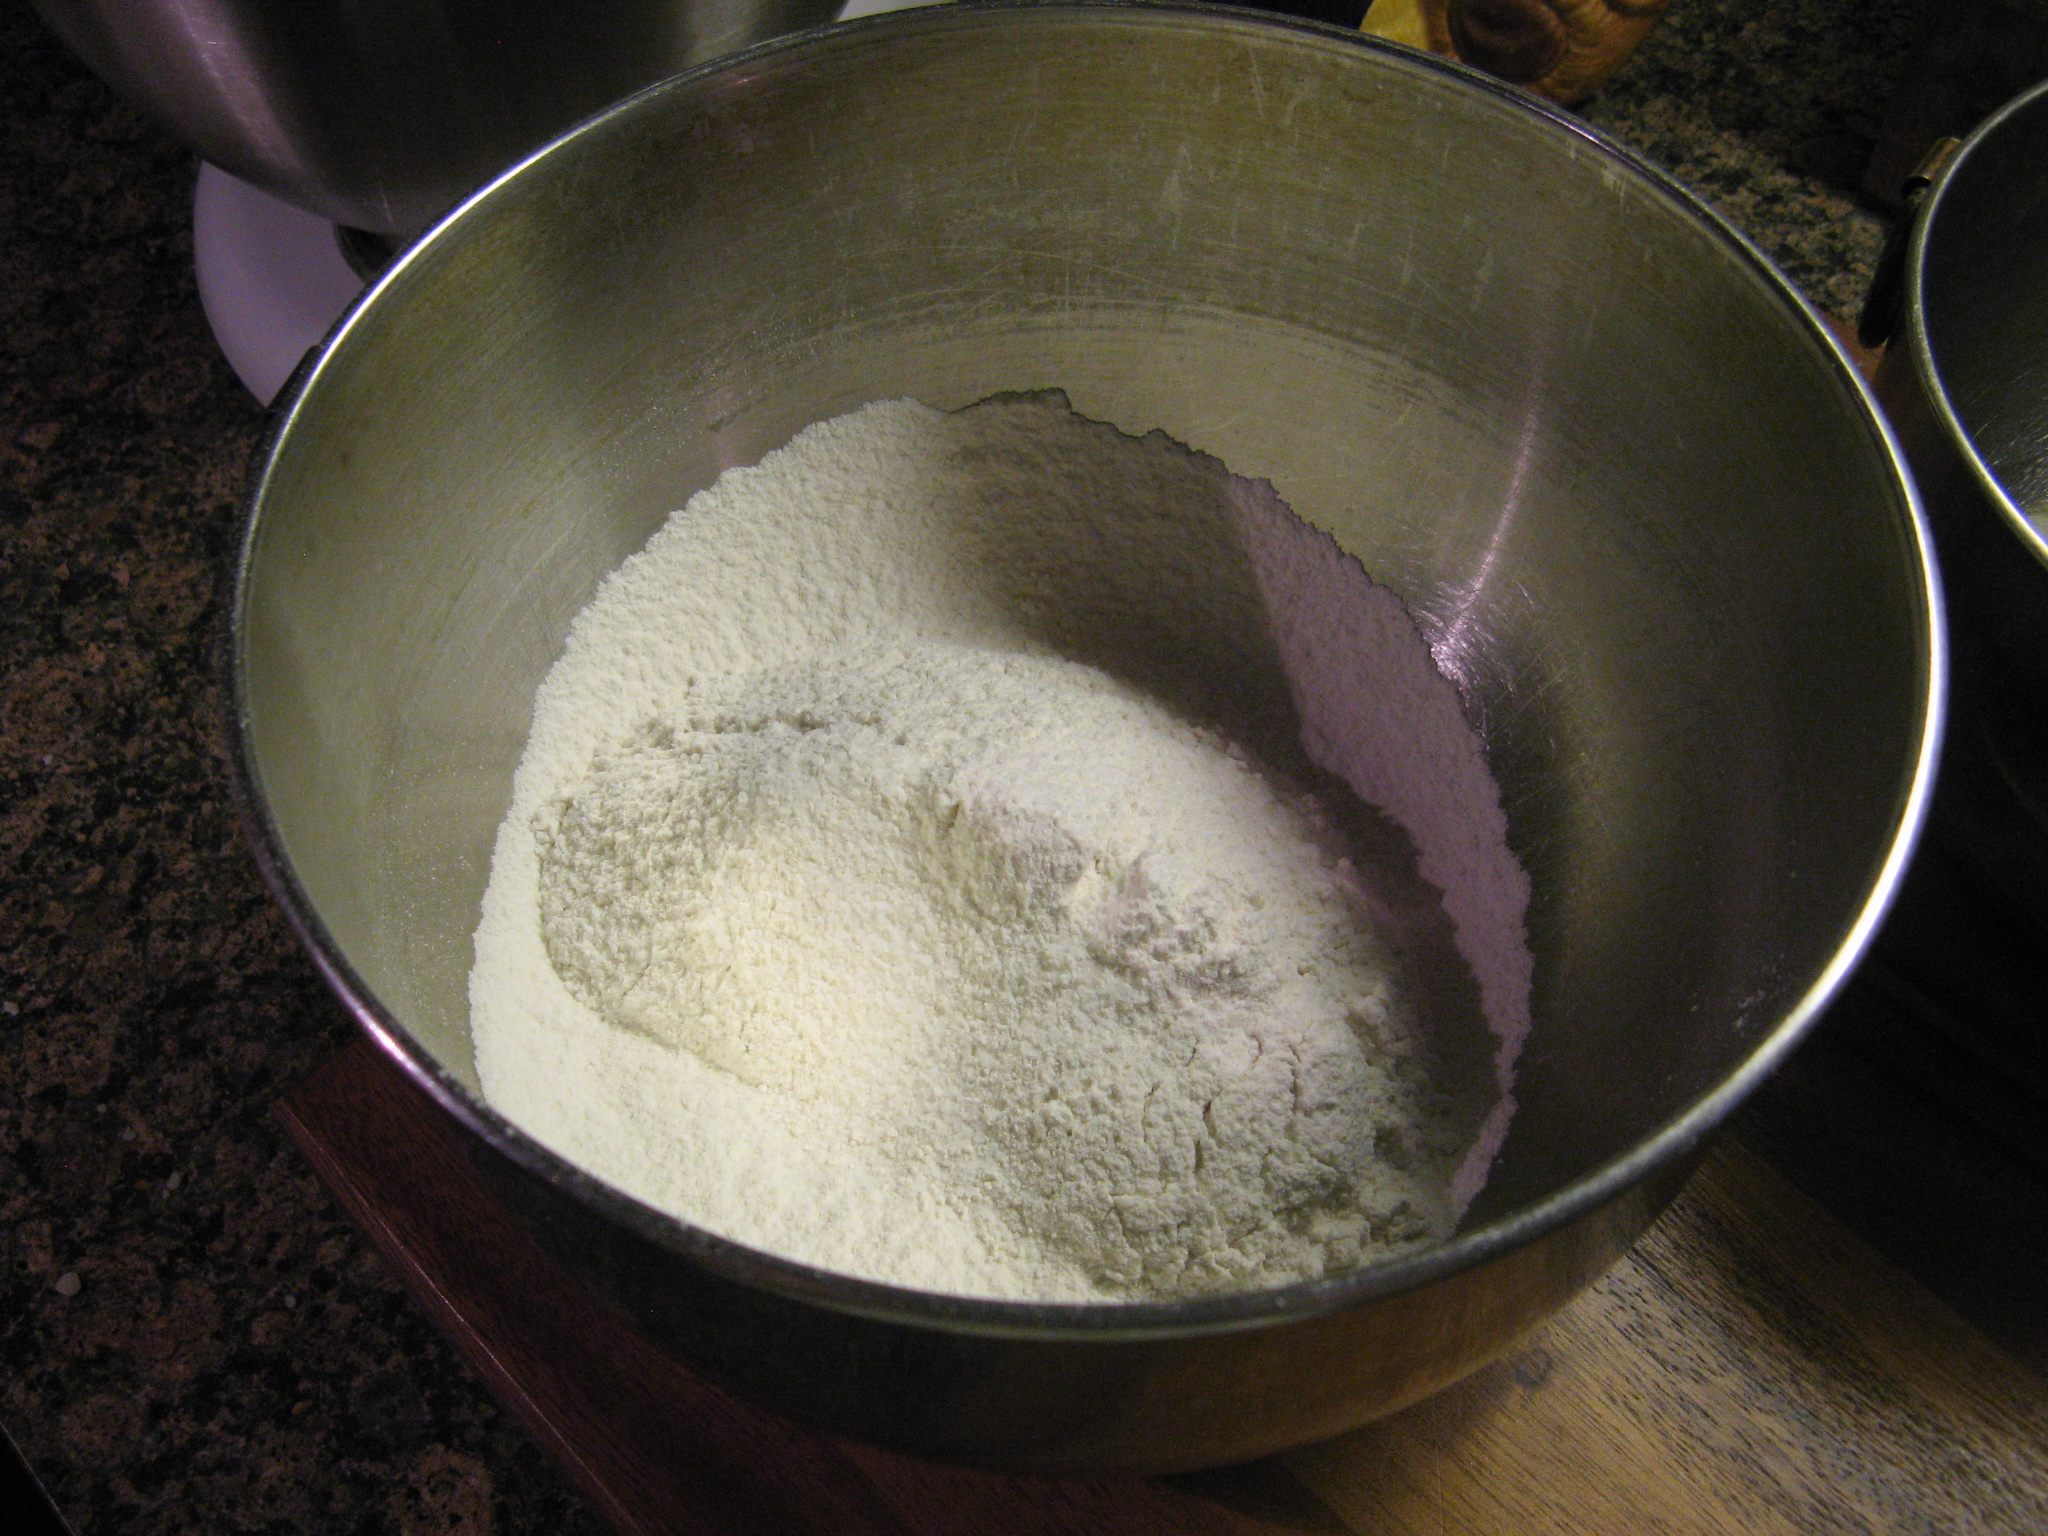
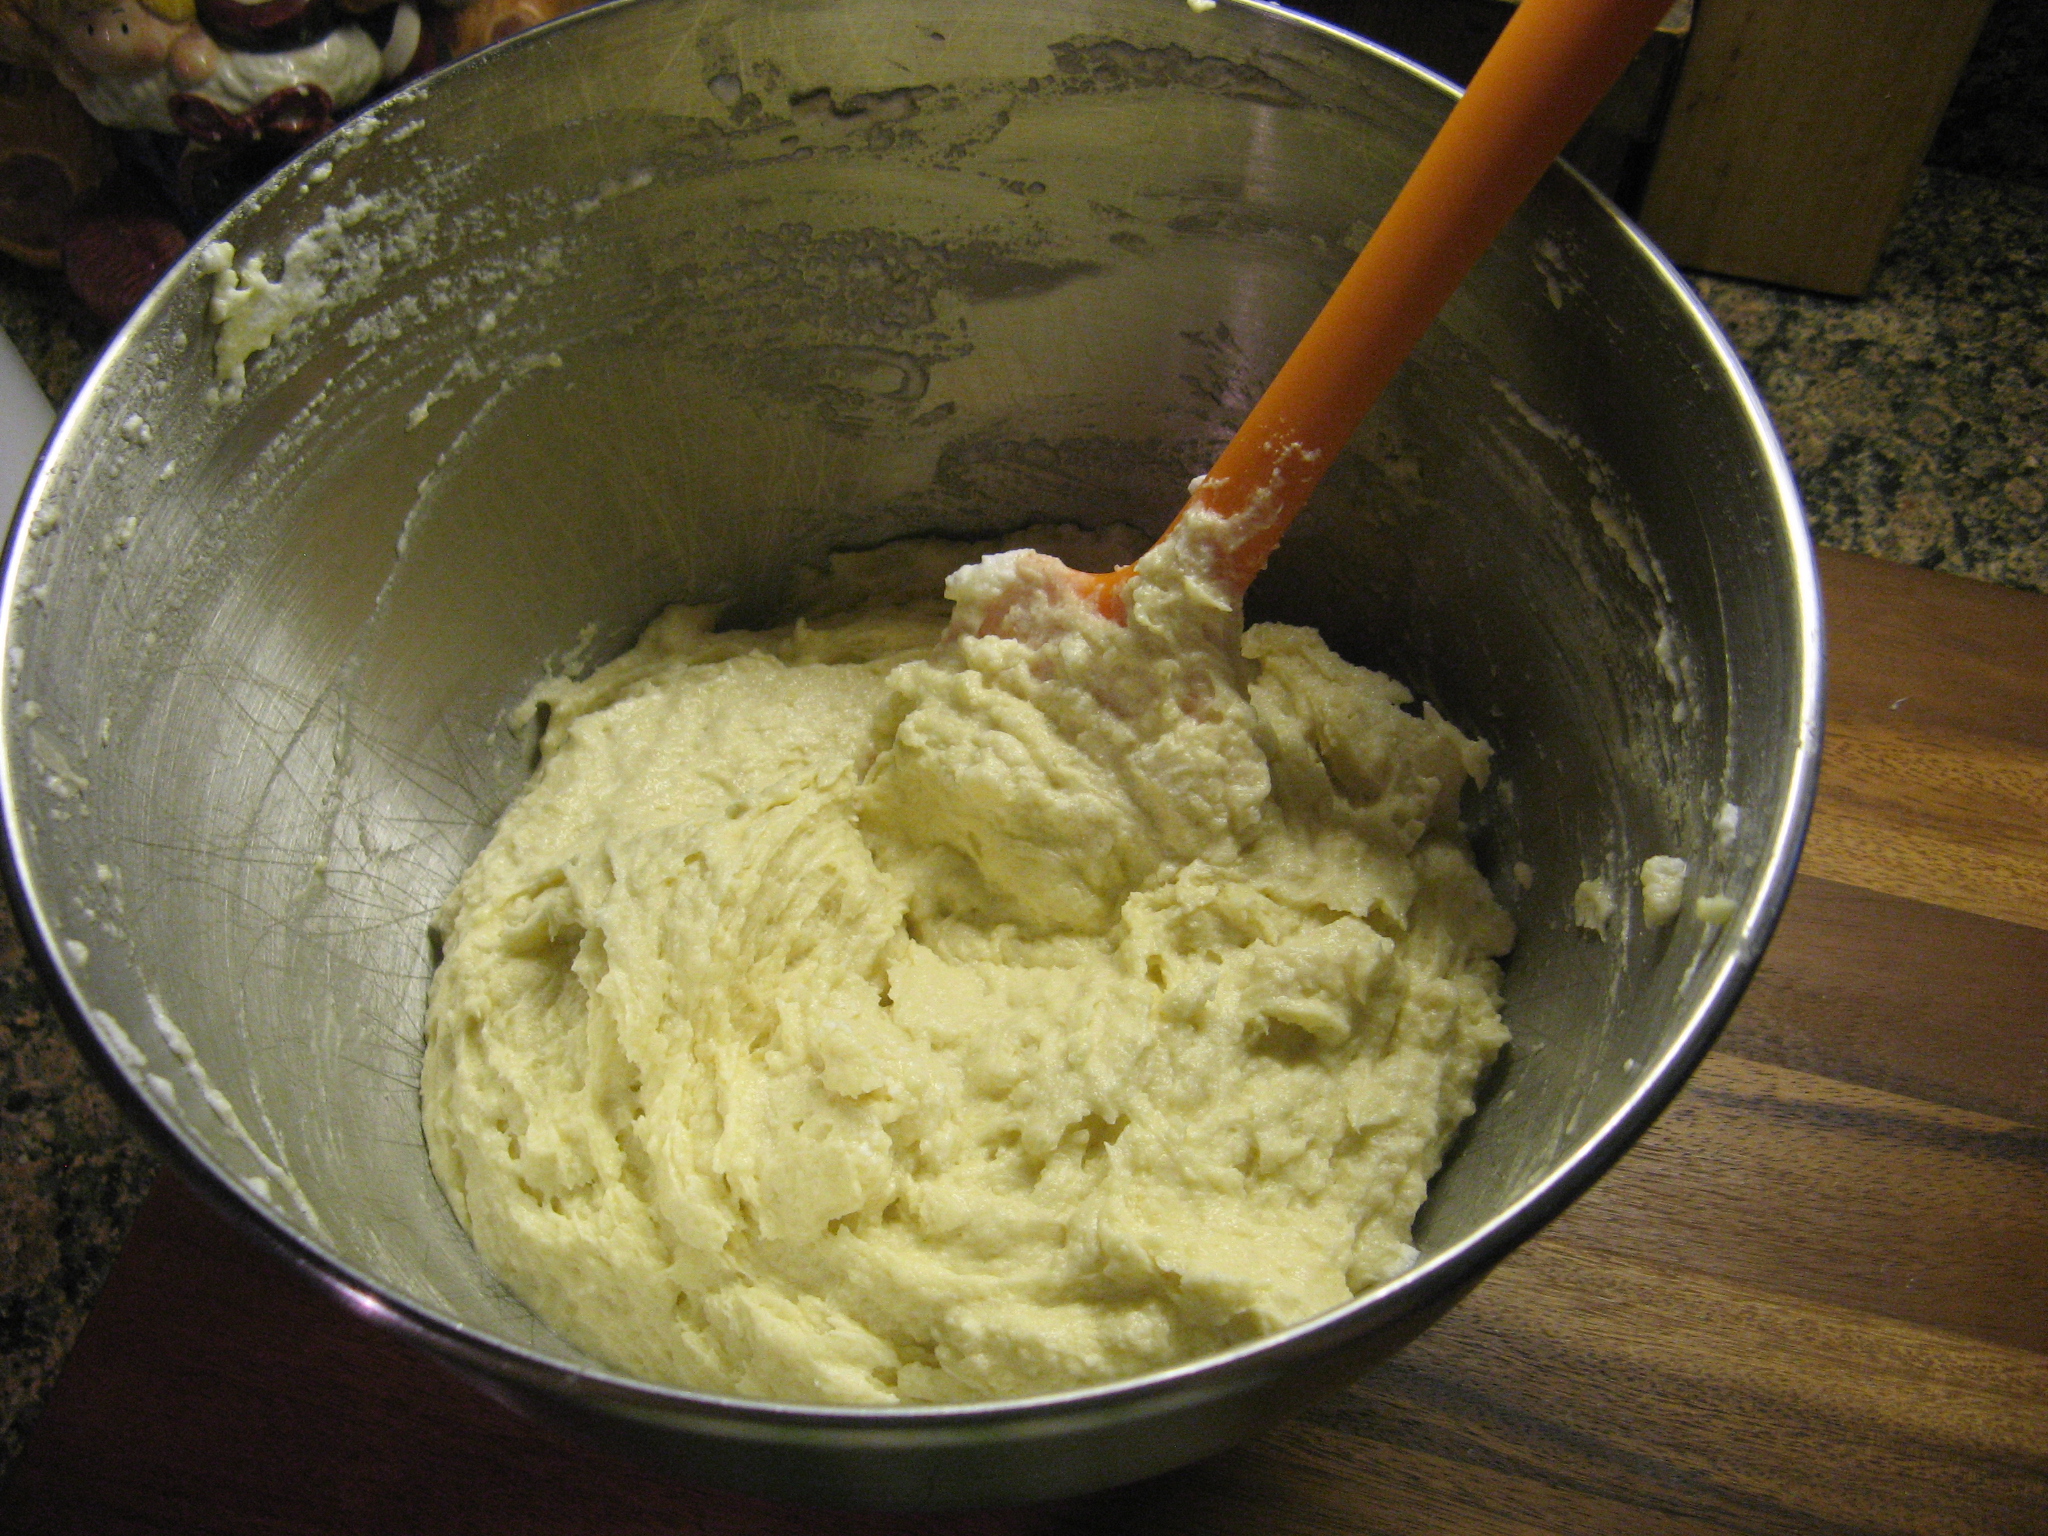
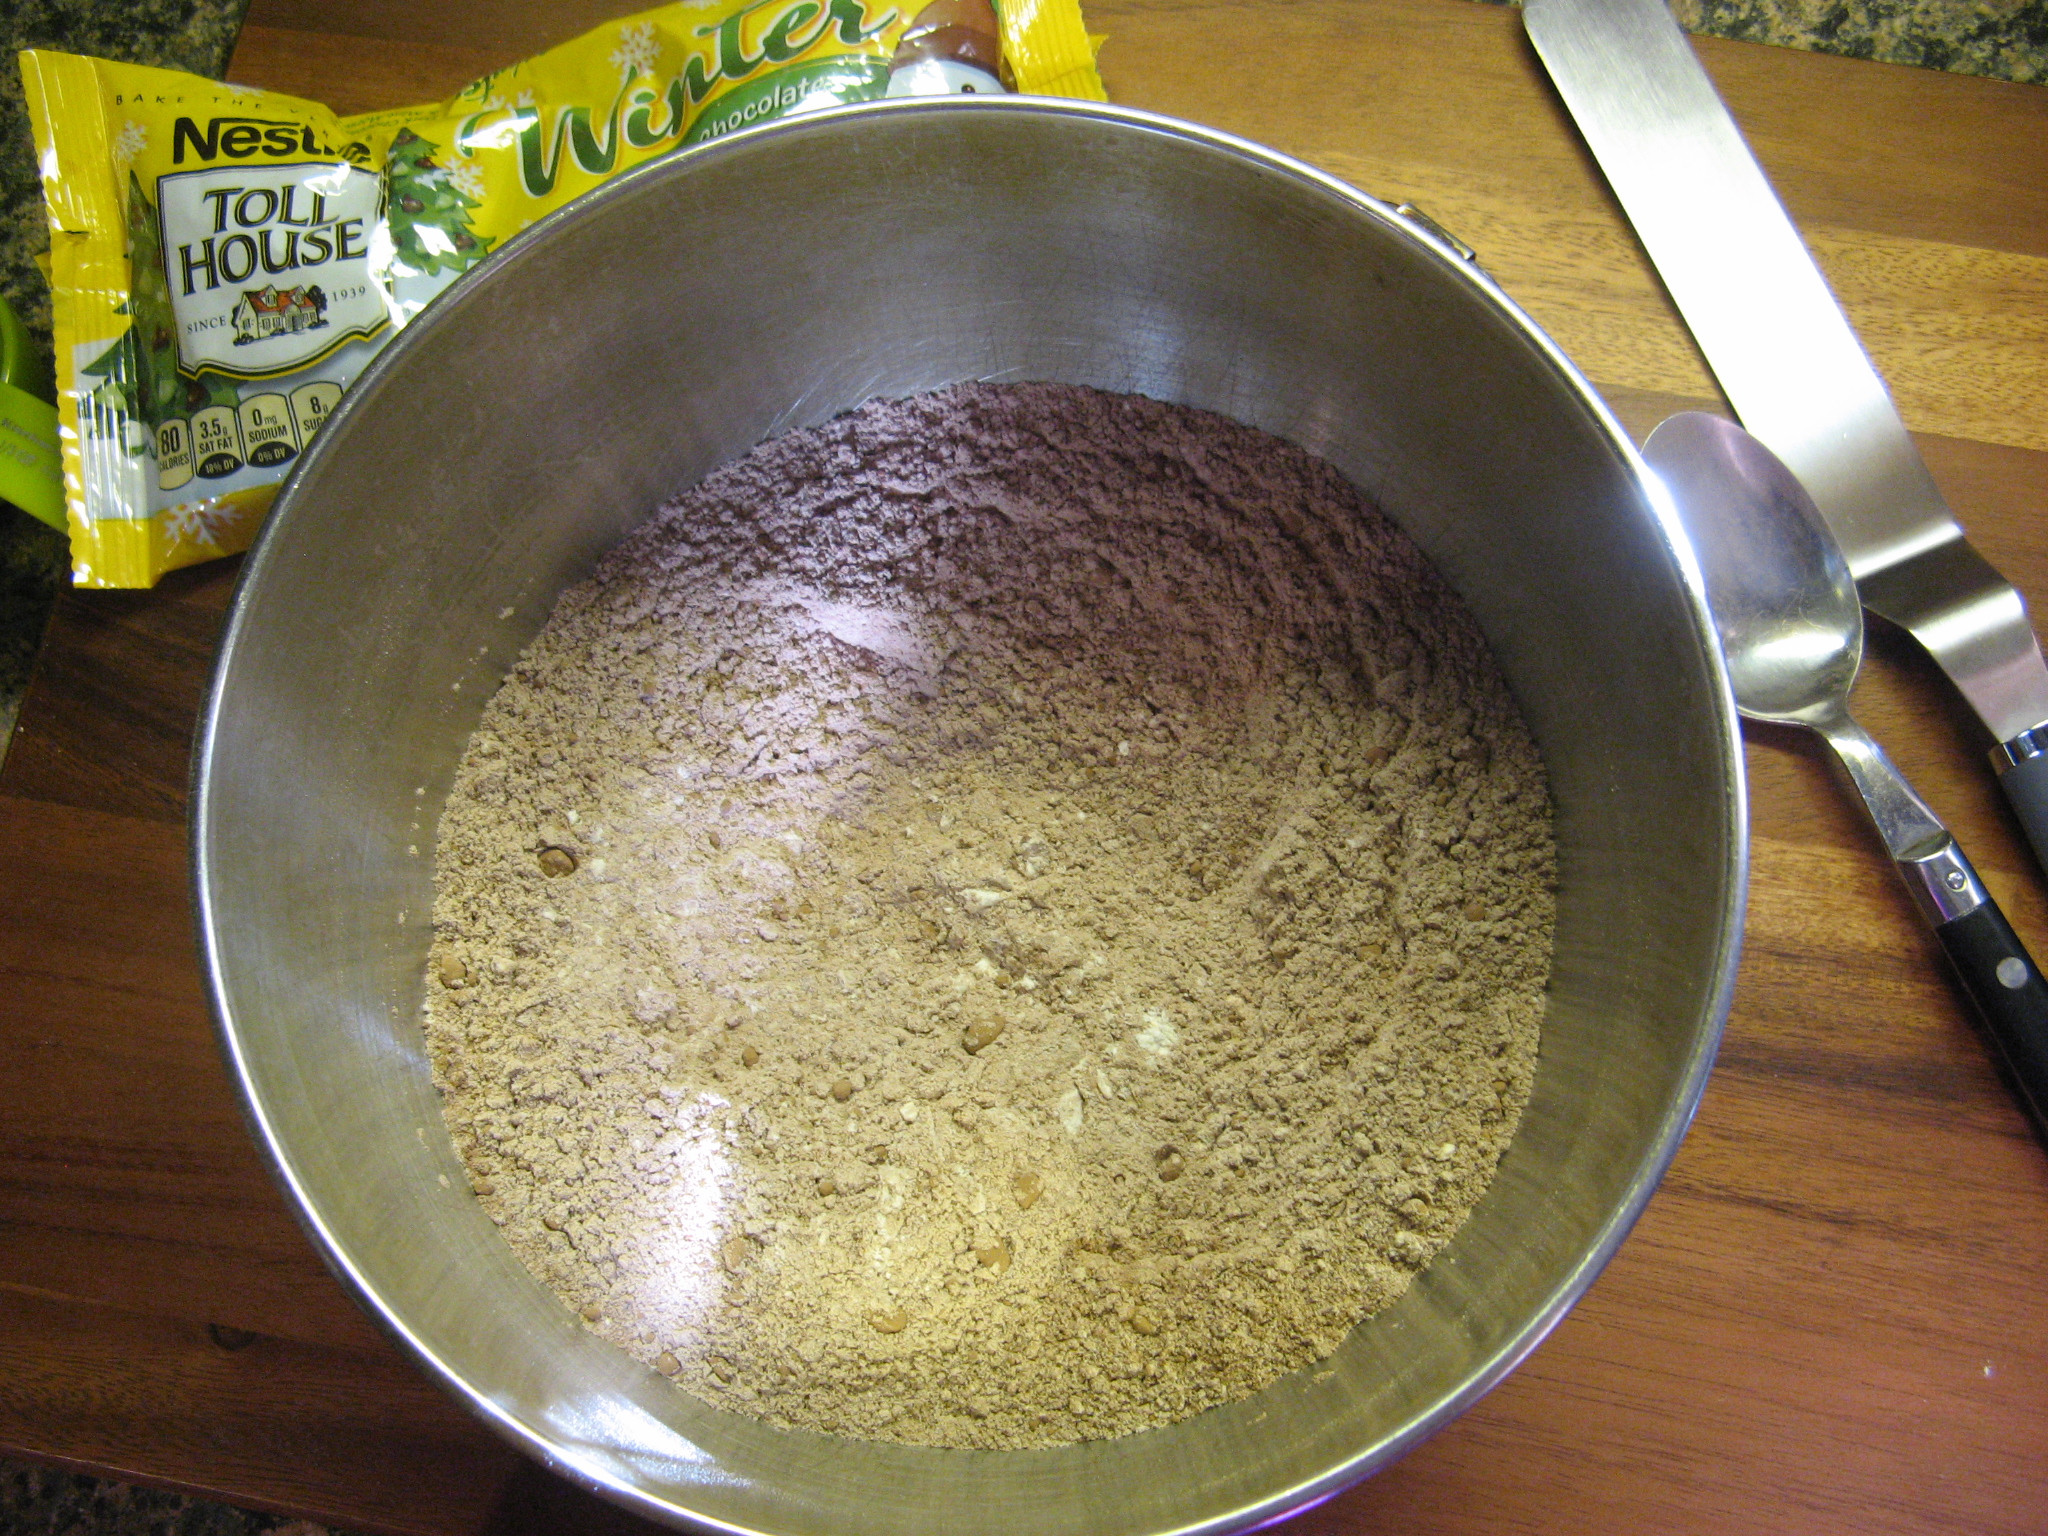
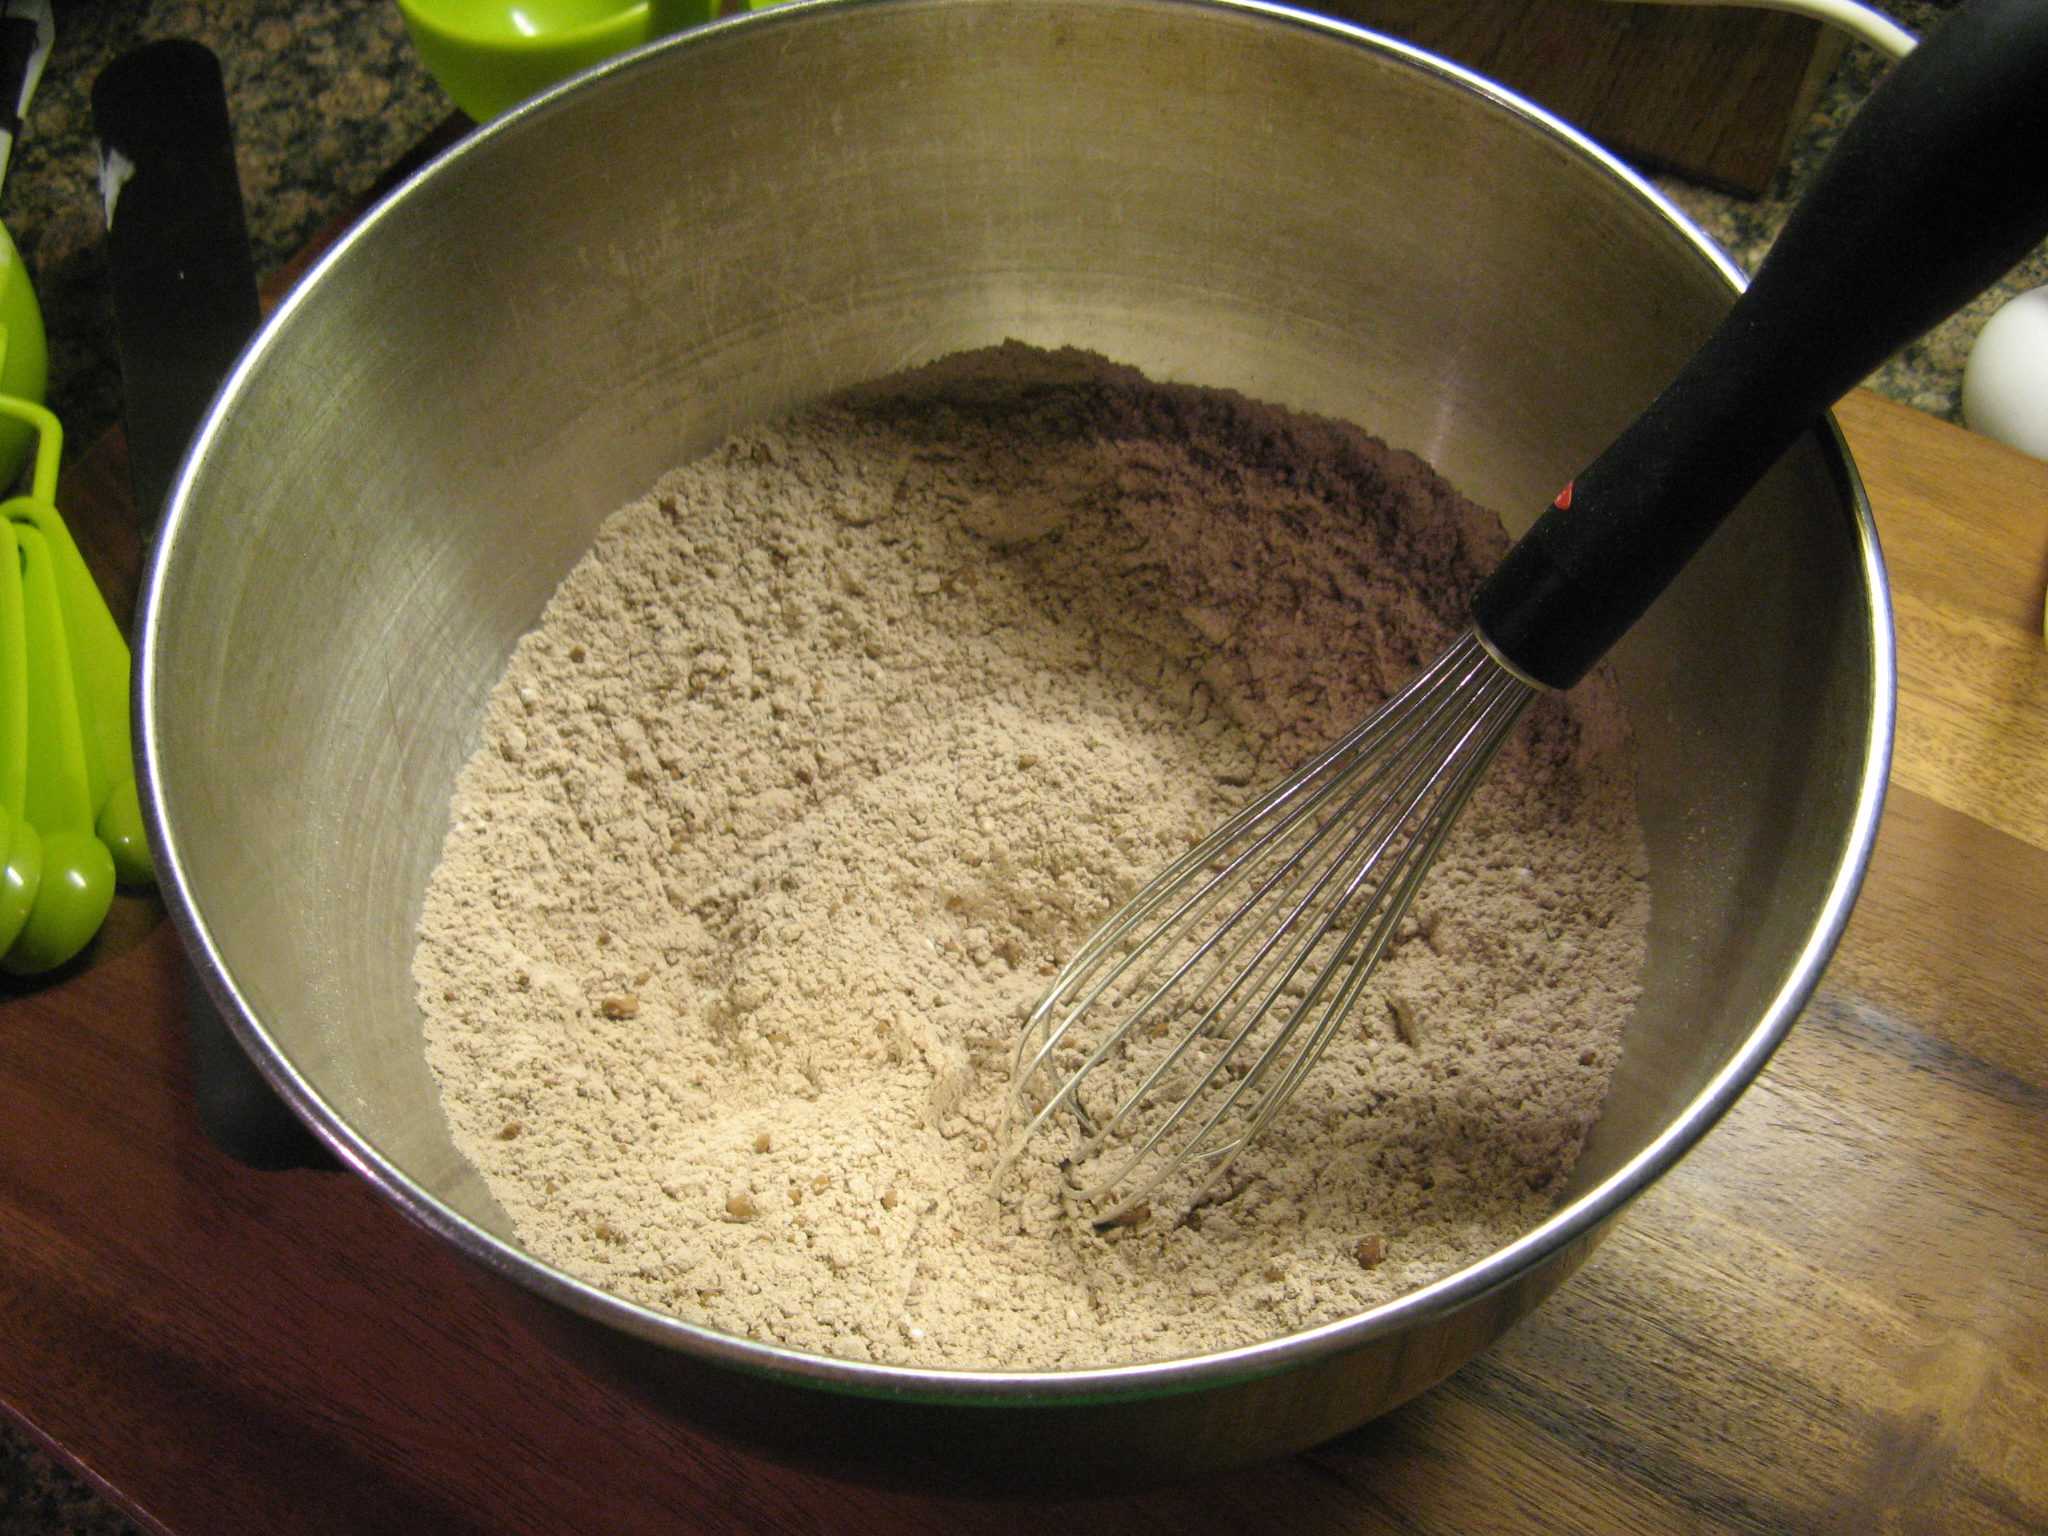
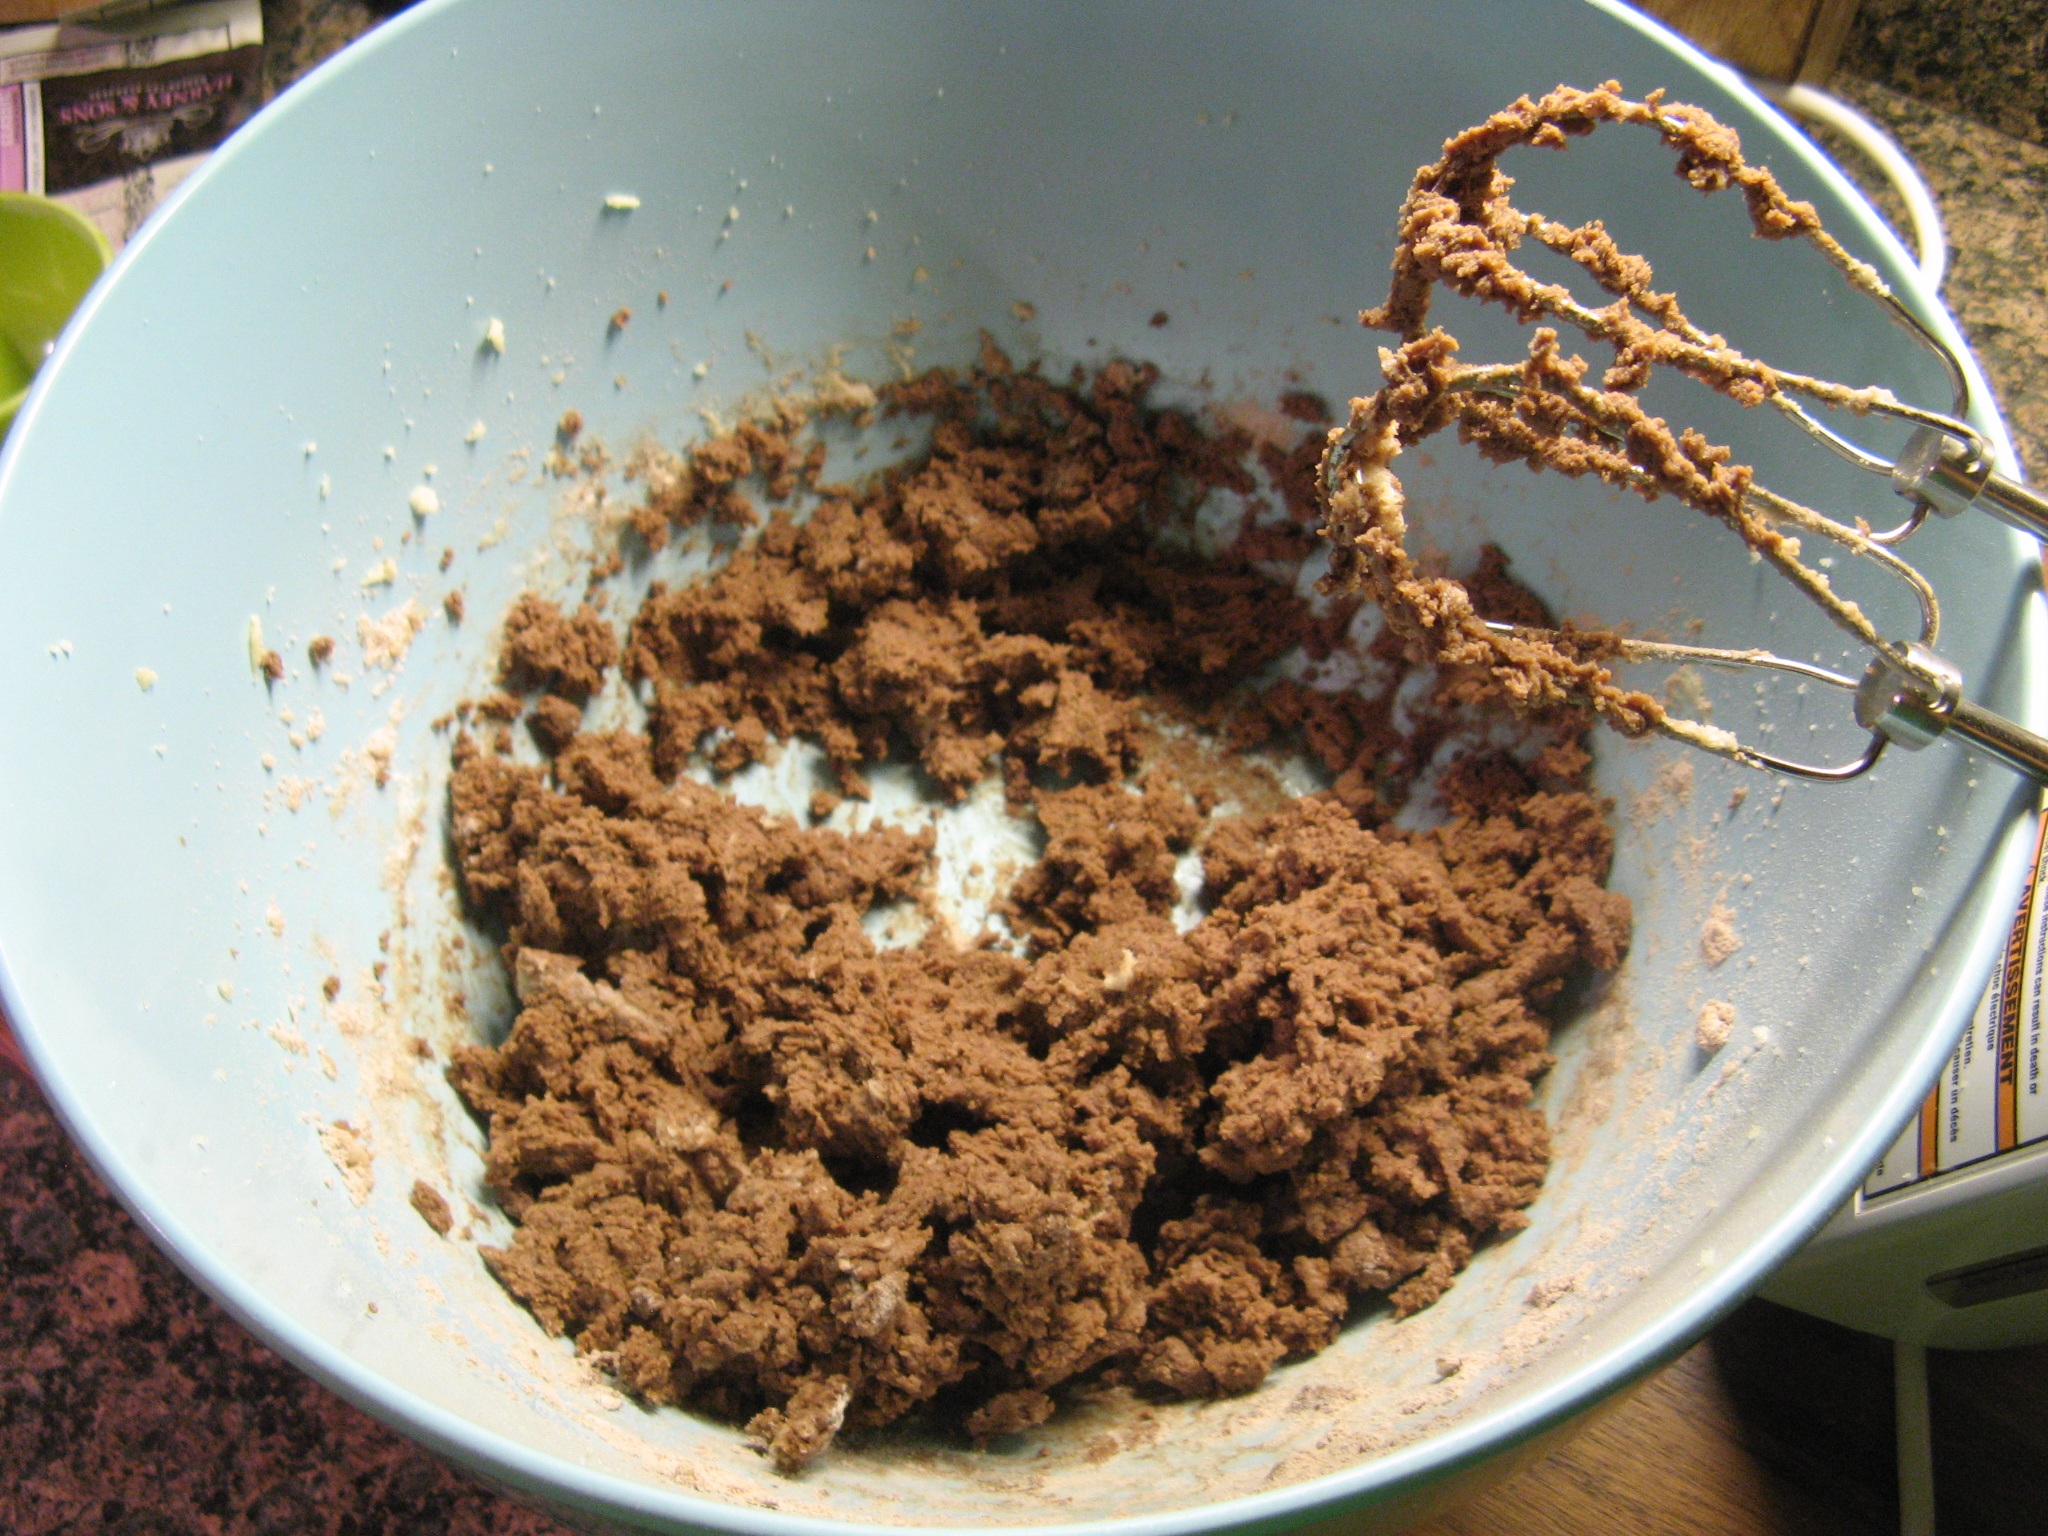
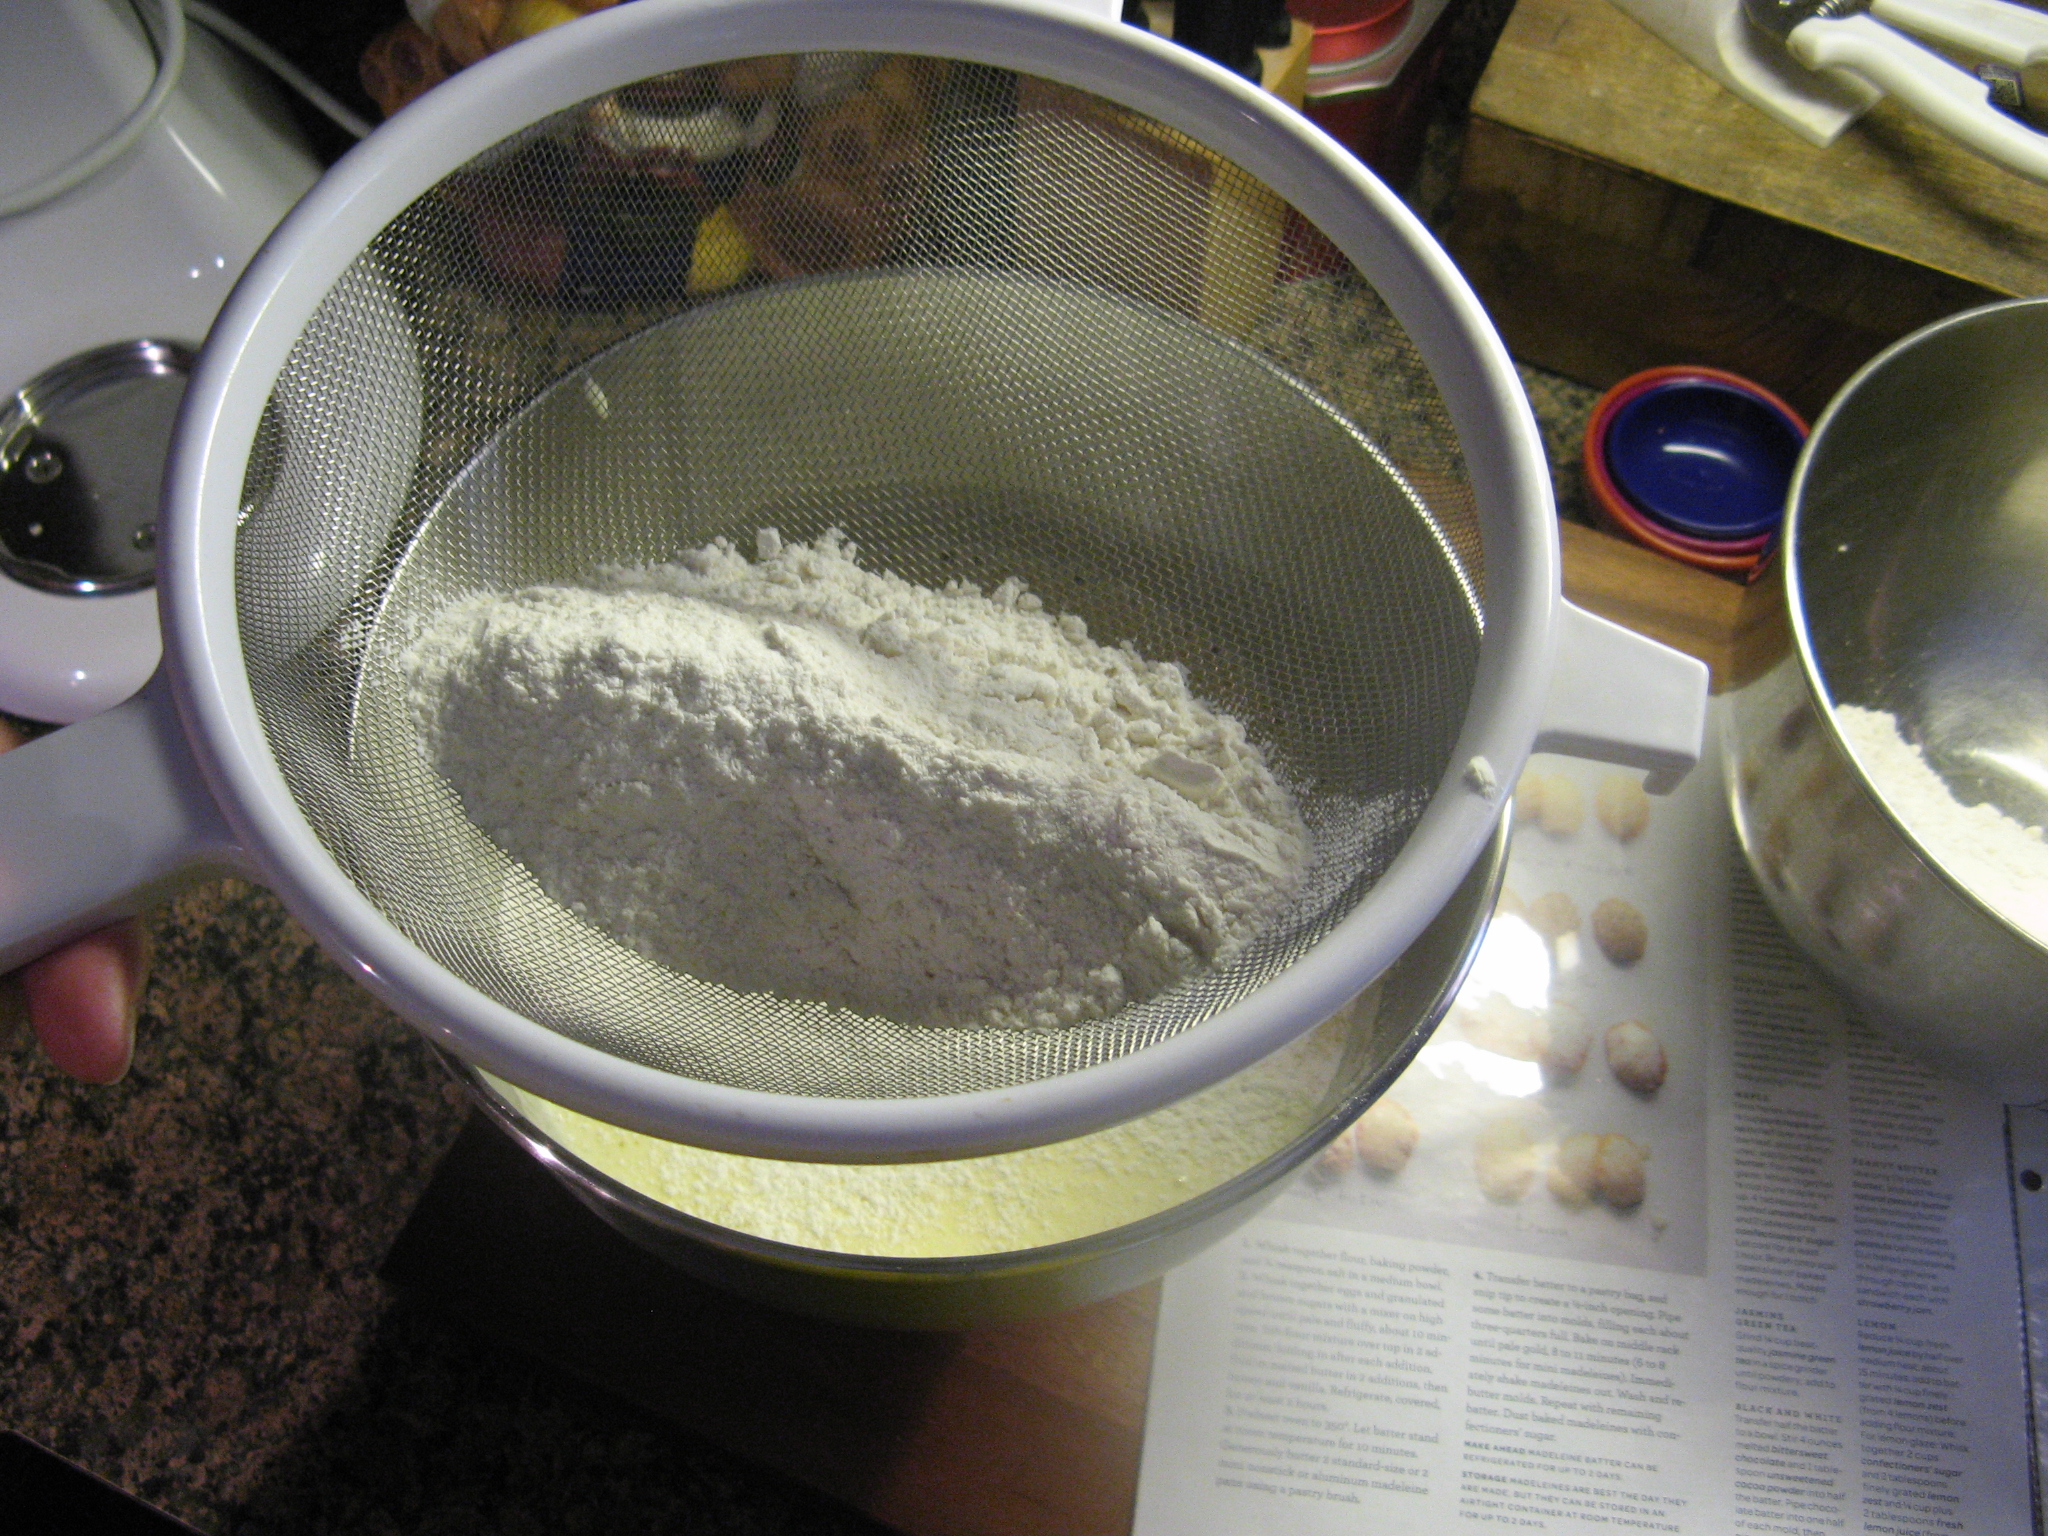
While the eggs were mixing, I combined flour, baking powder and salt in a bowl and then sifted it in two additions over the egg mixture, folding it in after each addition.

IMG_6490

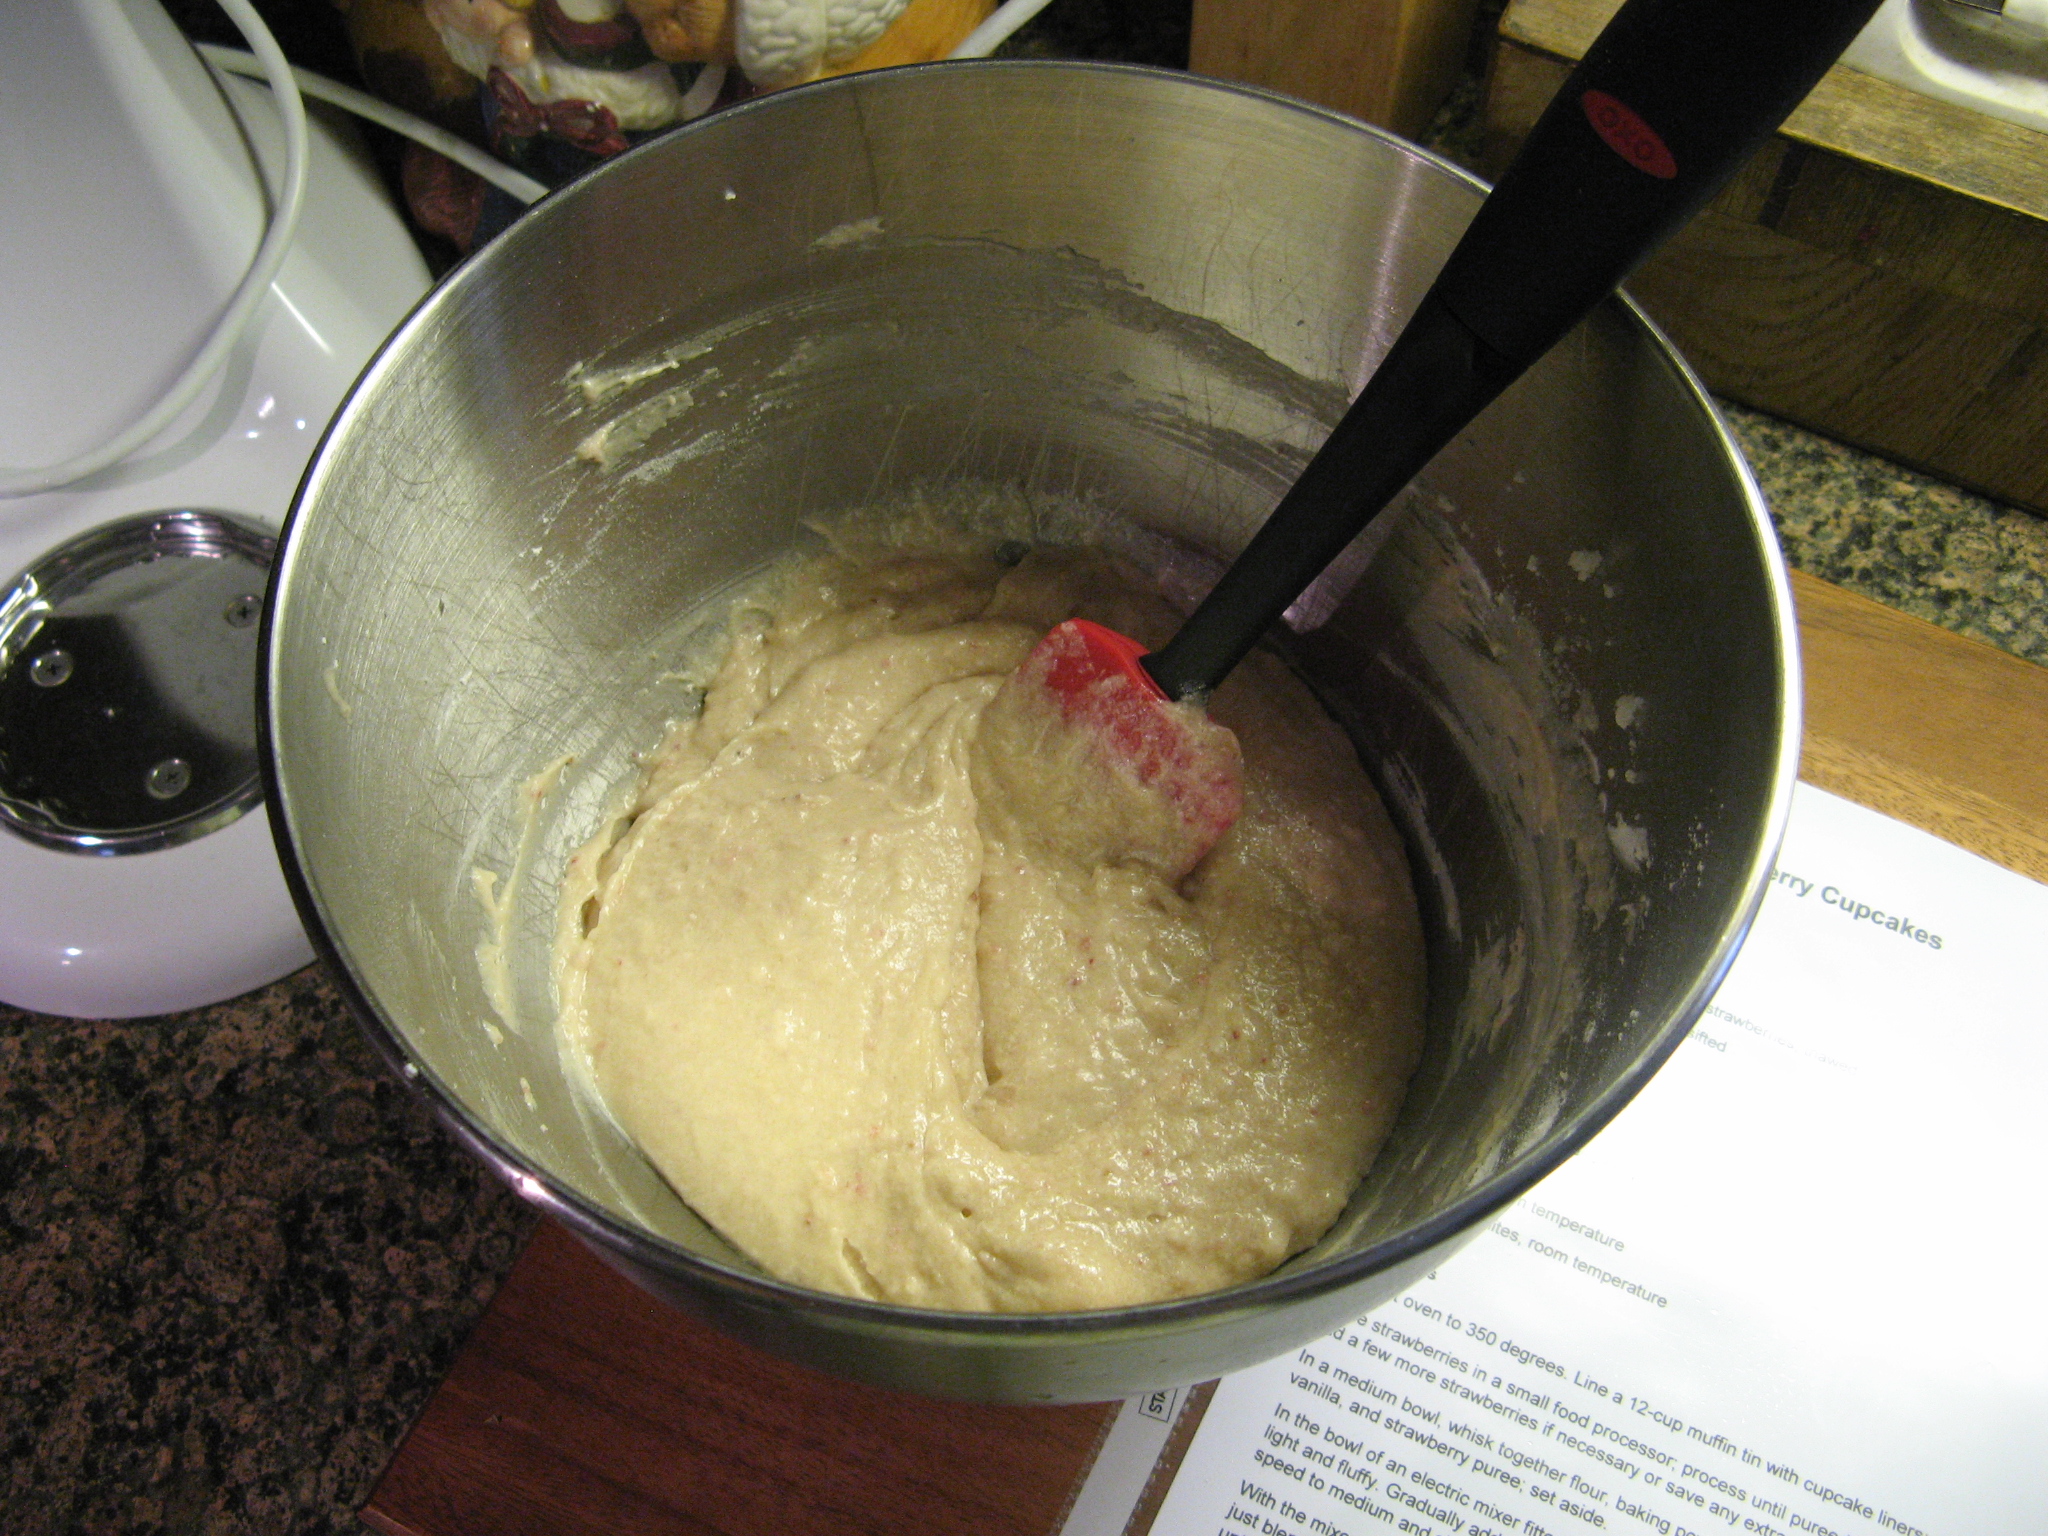
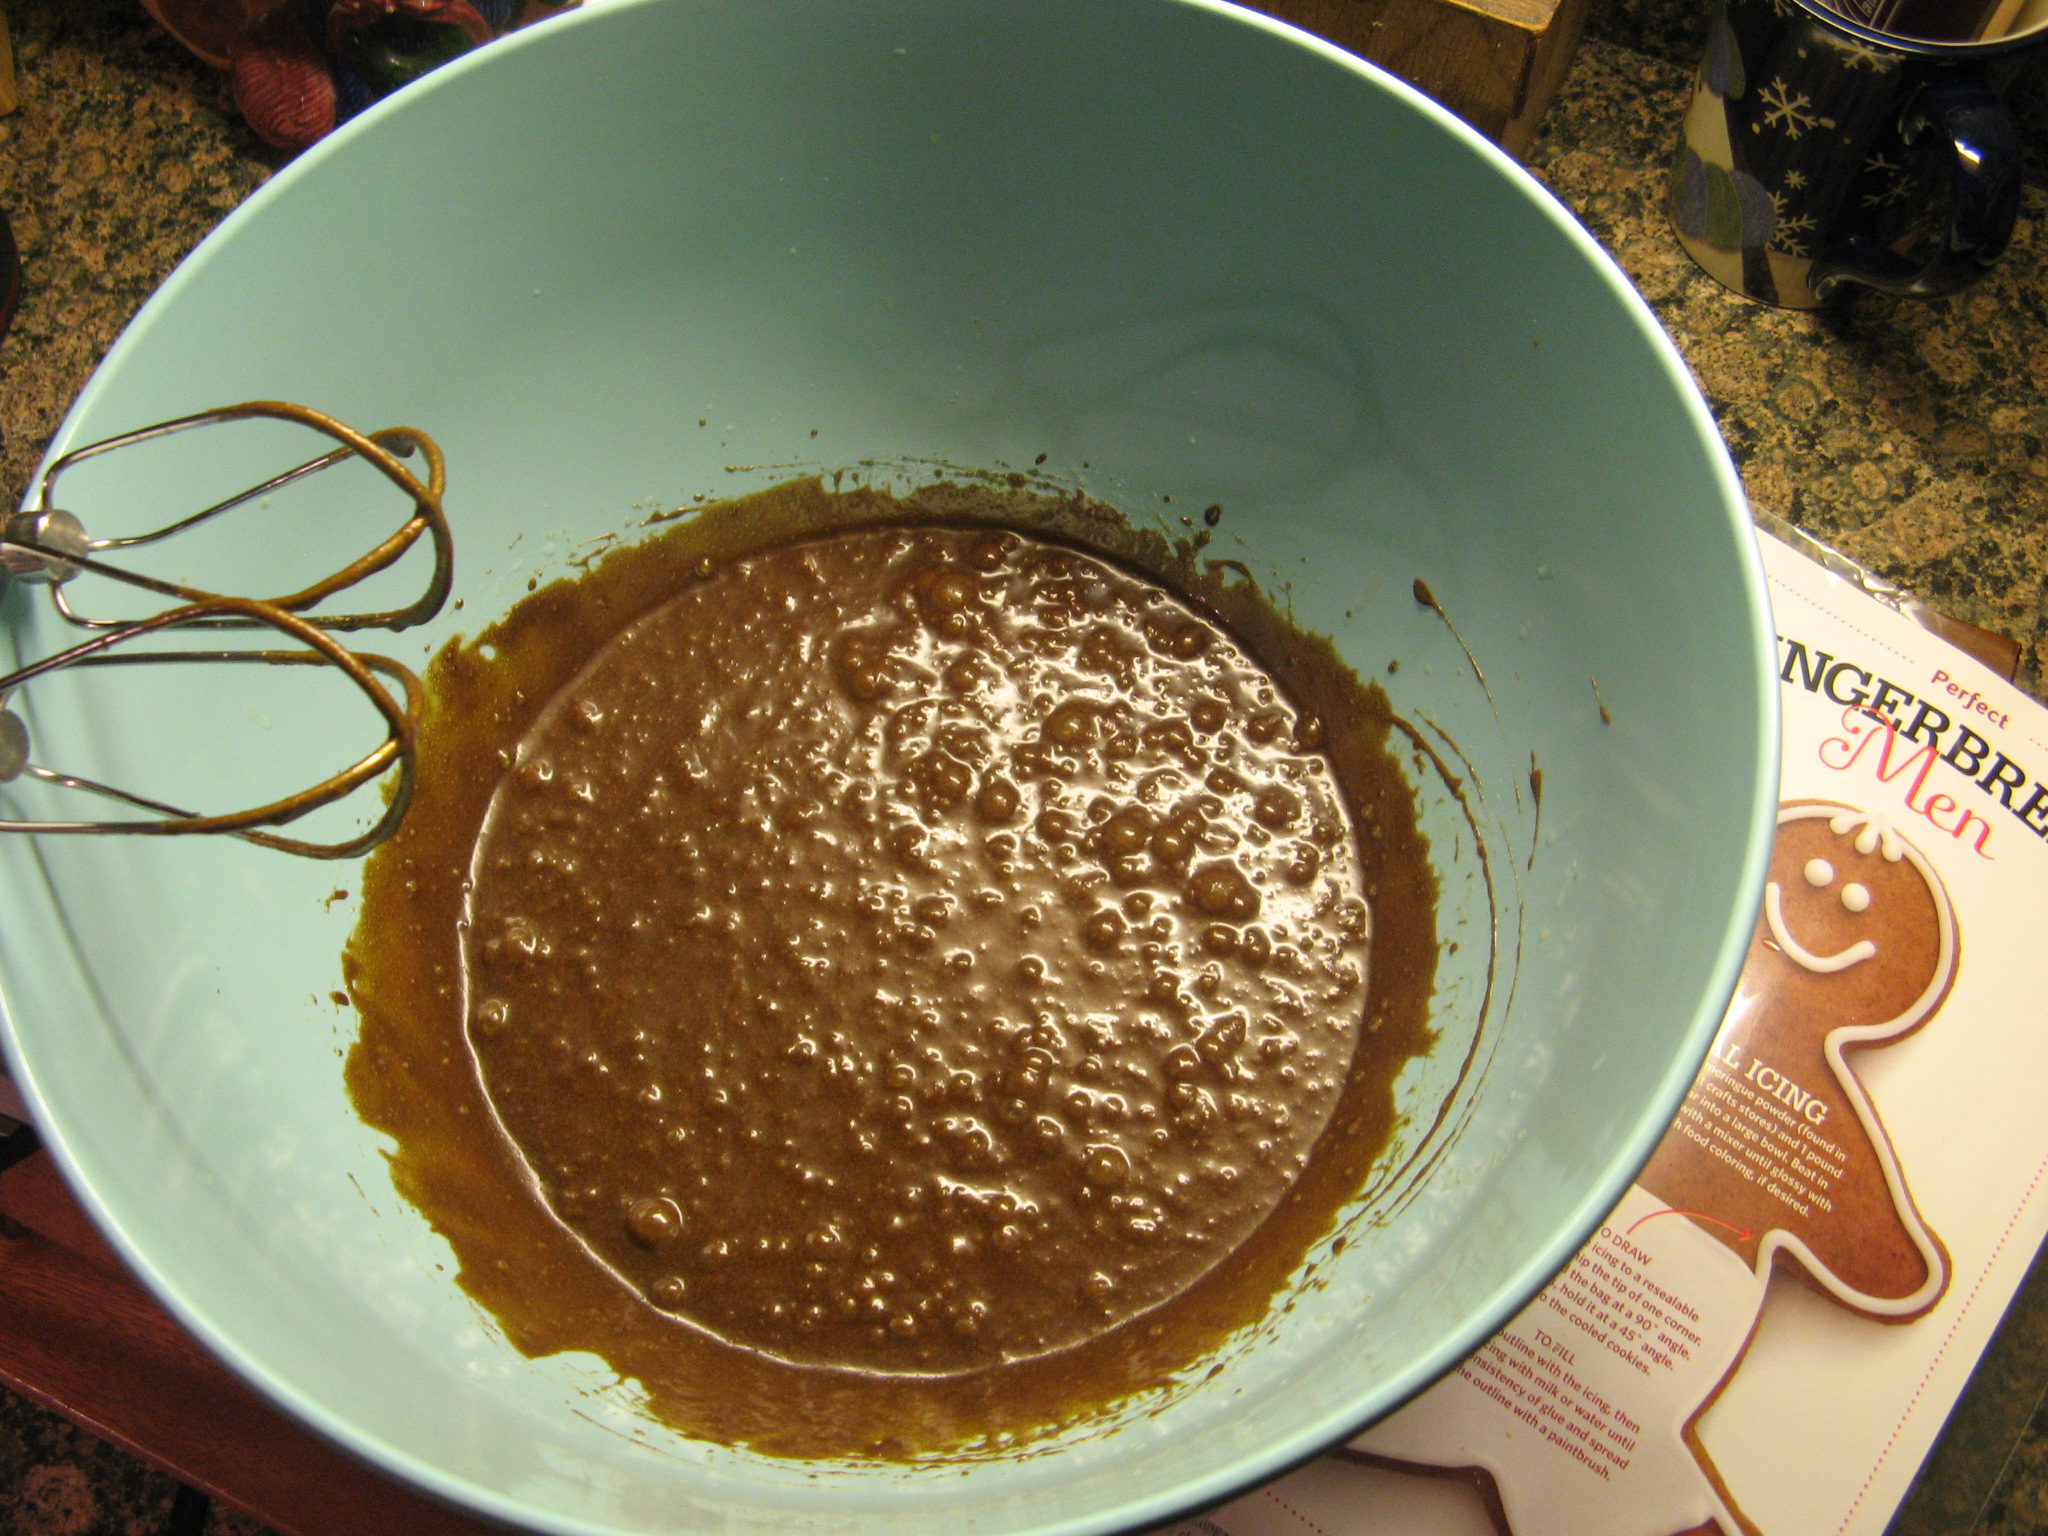
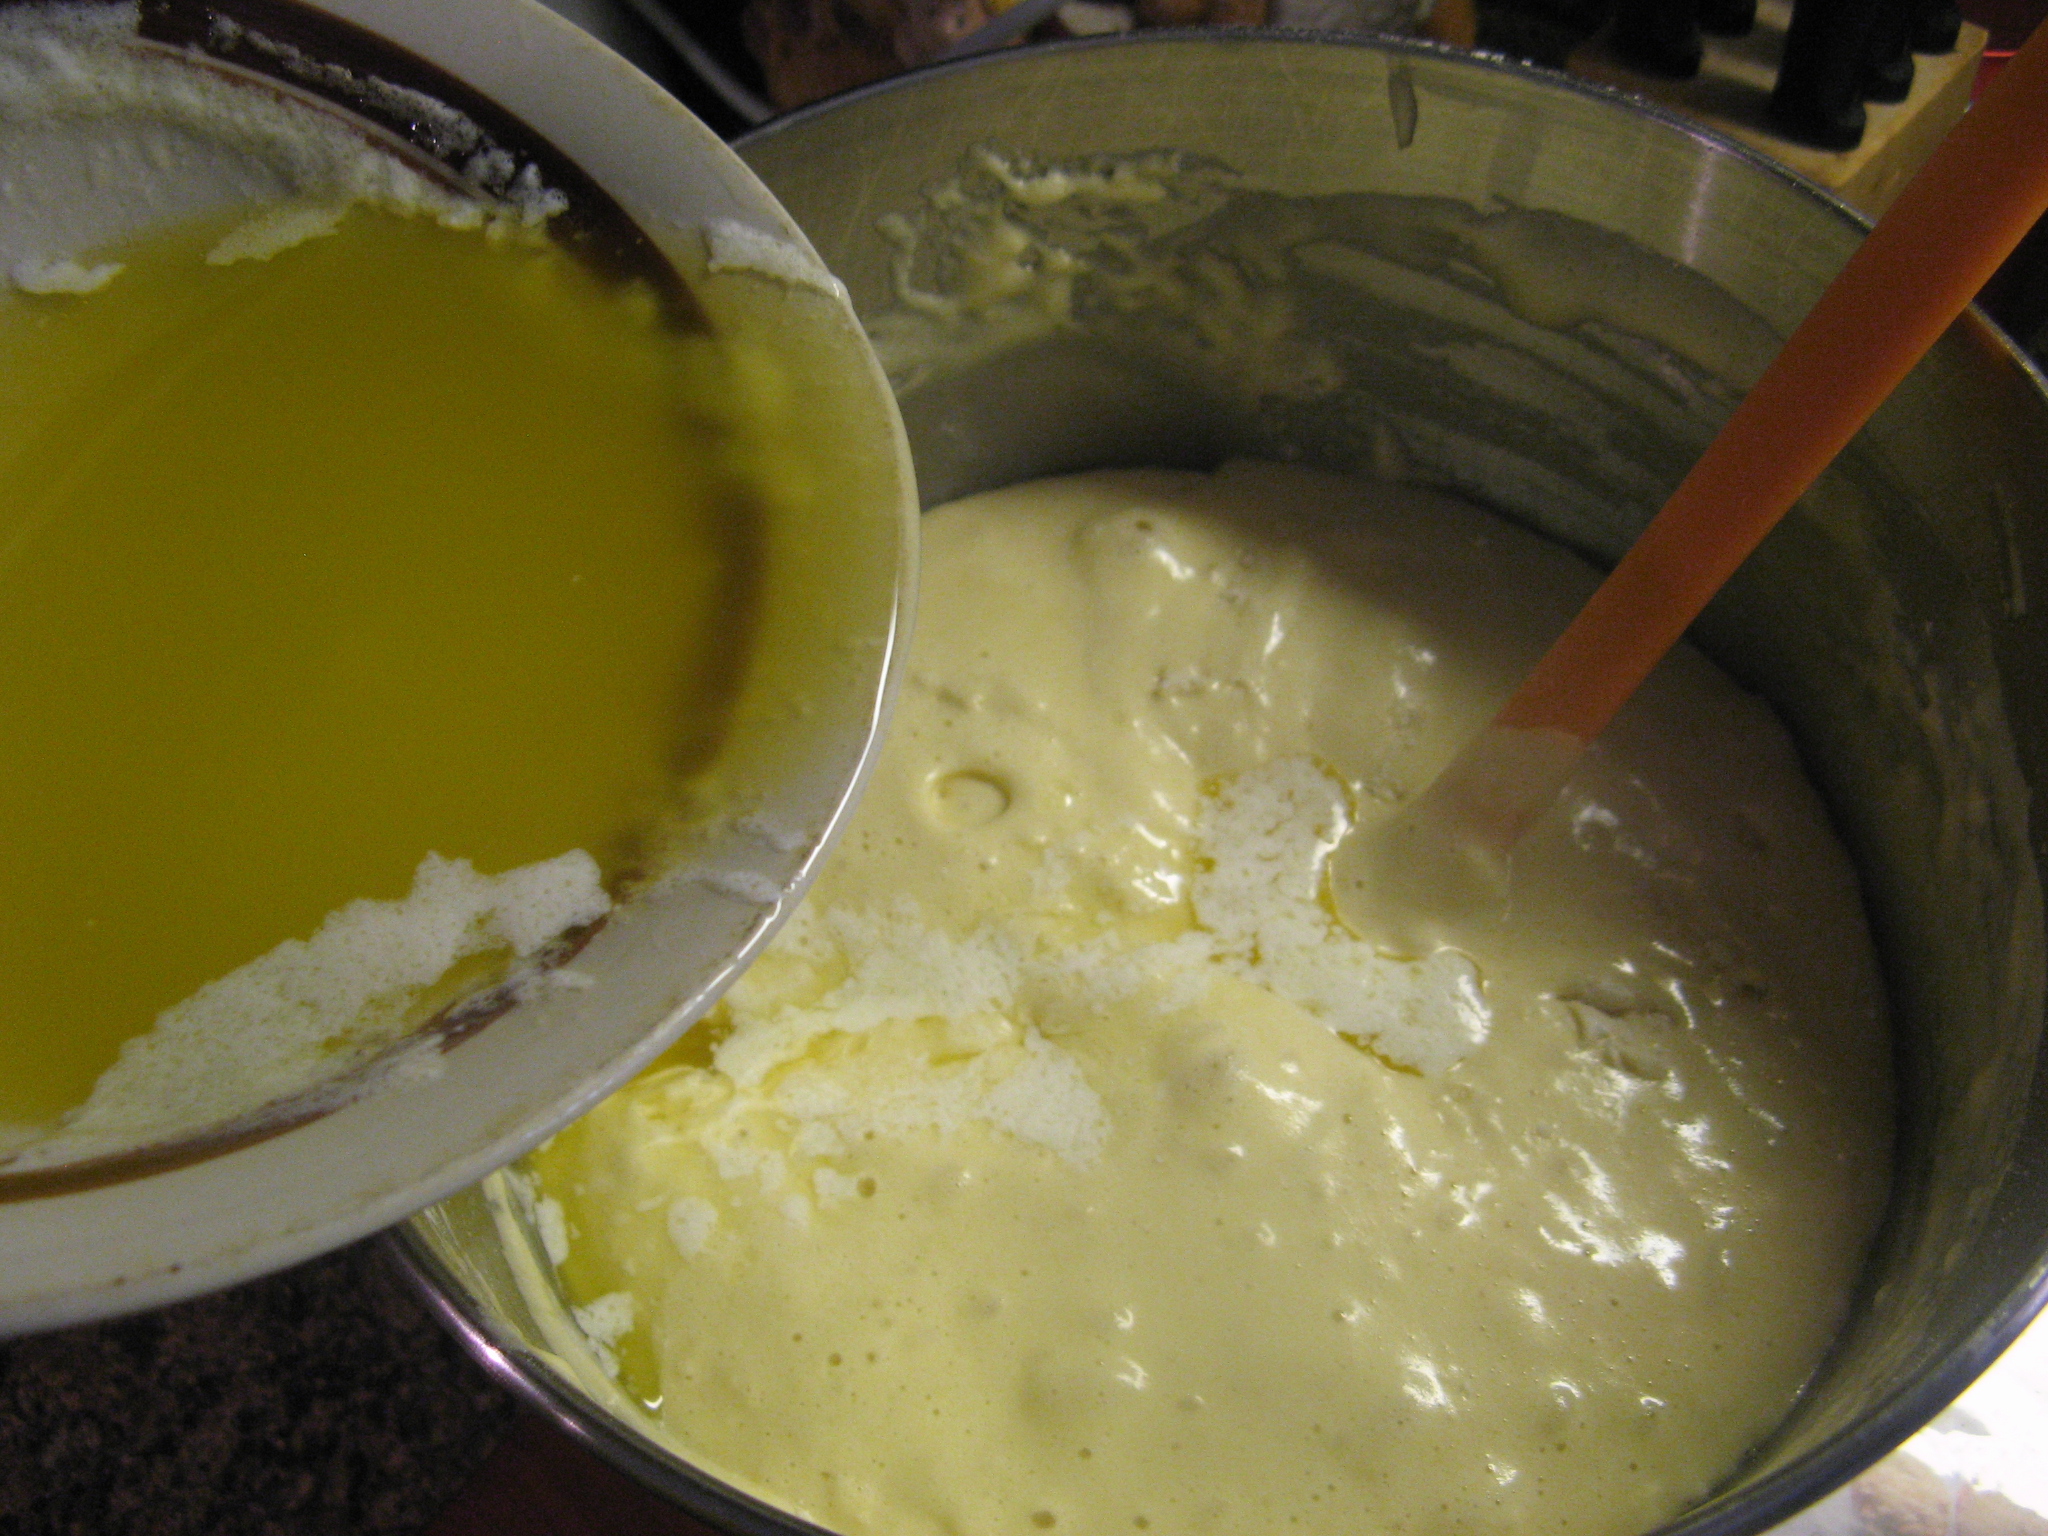
Next, I folded in two sticks of melted butter, once again in two additions, folding it in after each one.

IMG_6491

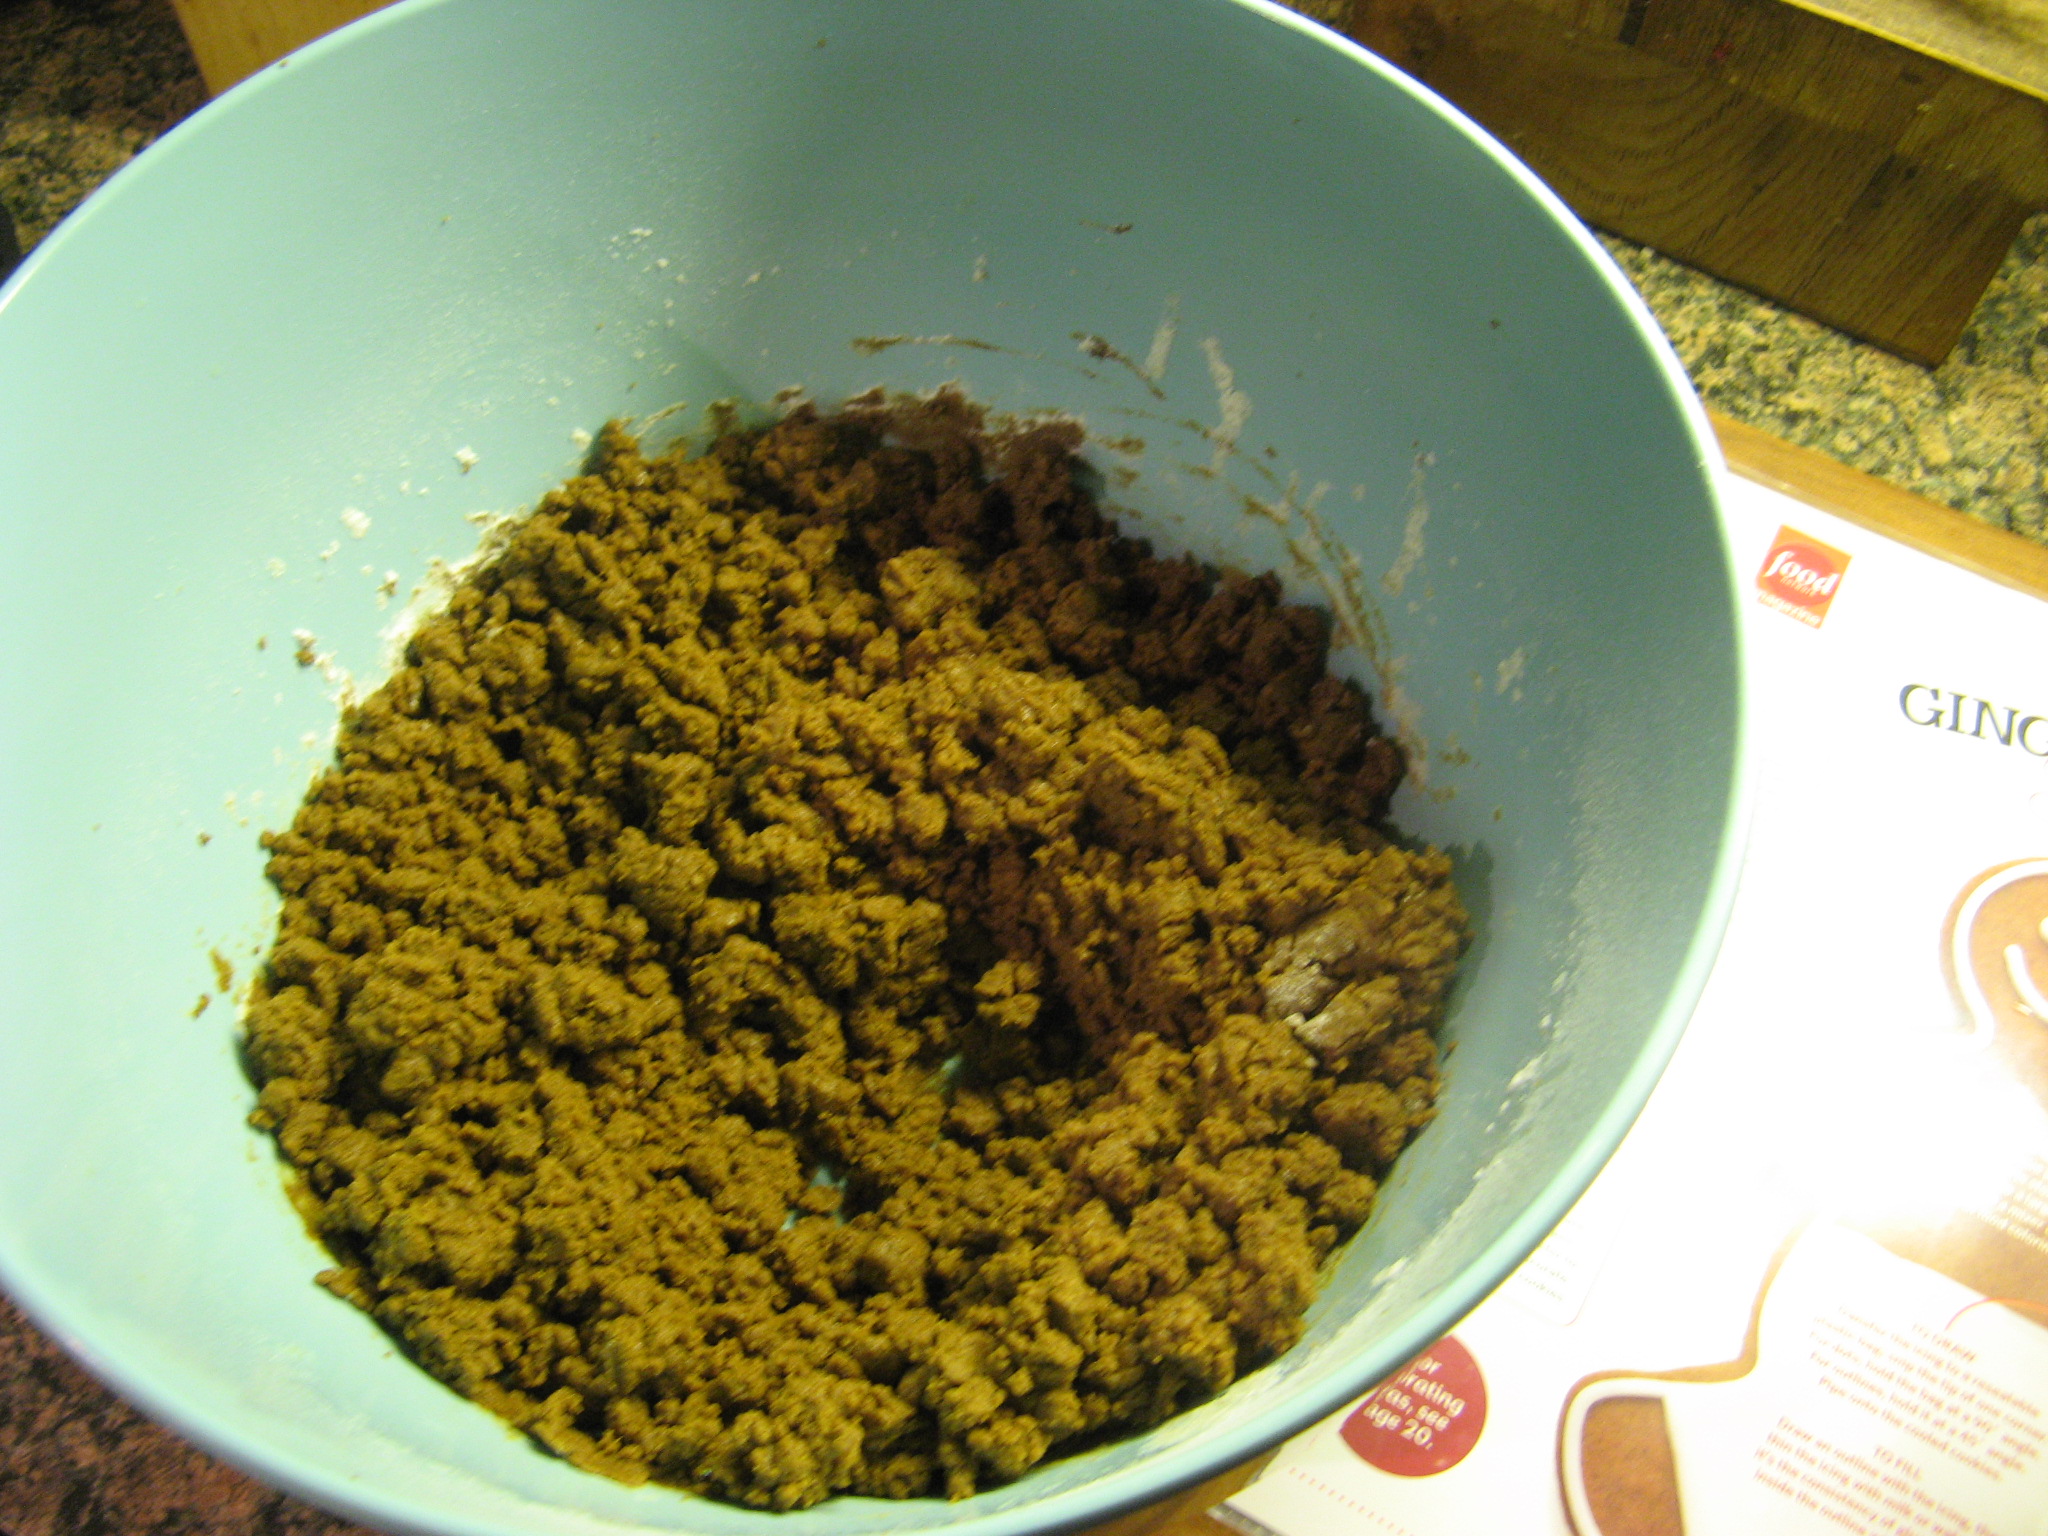
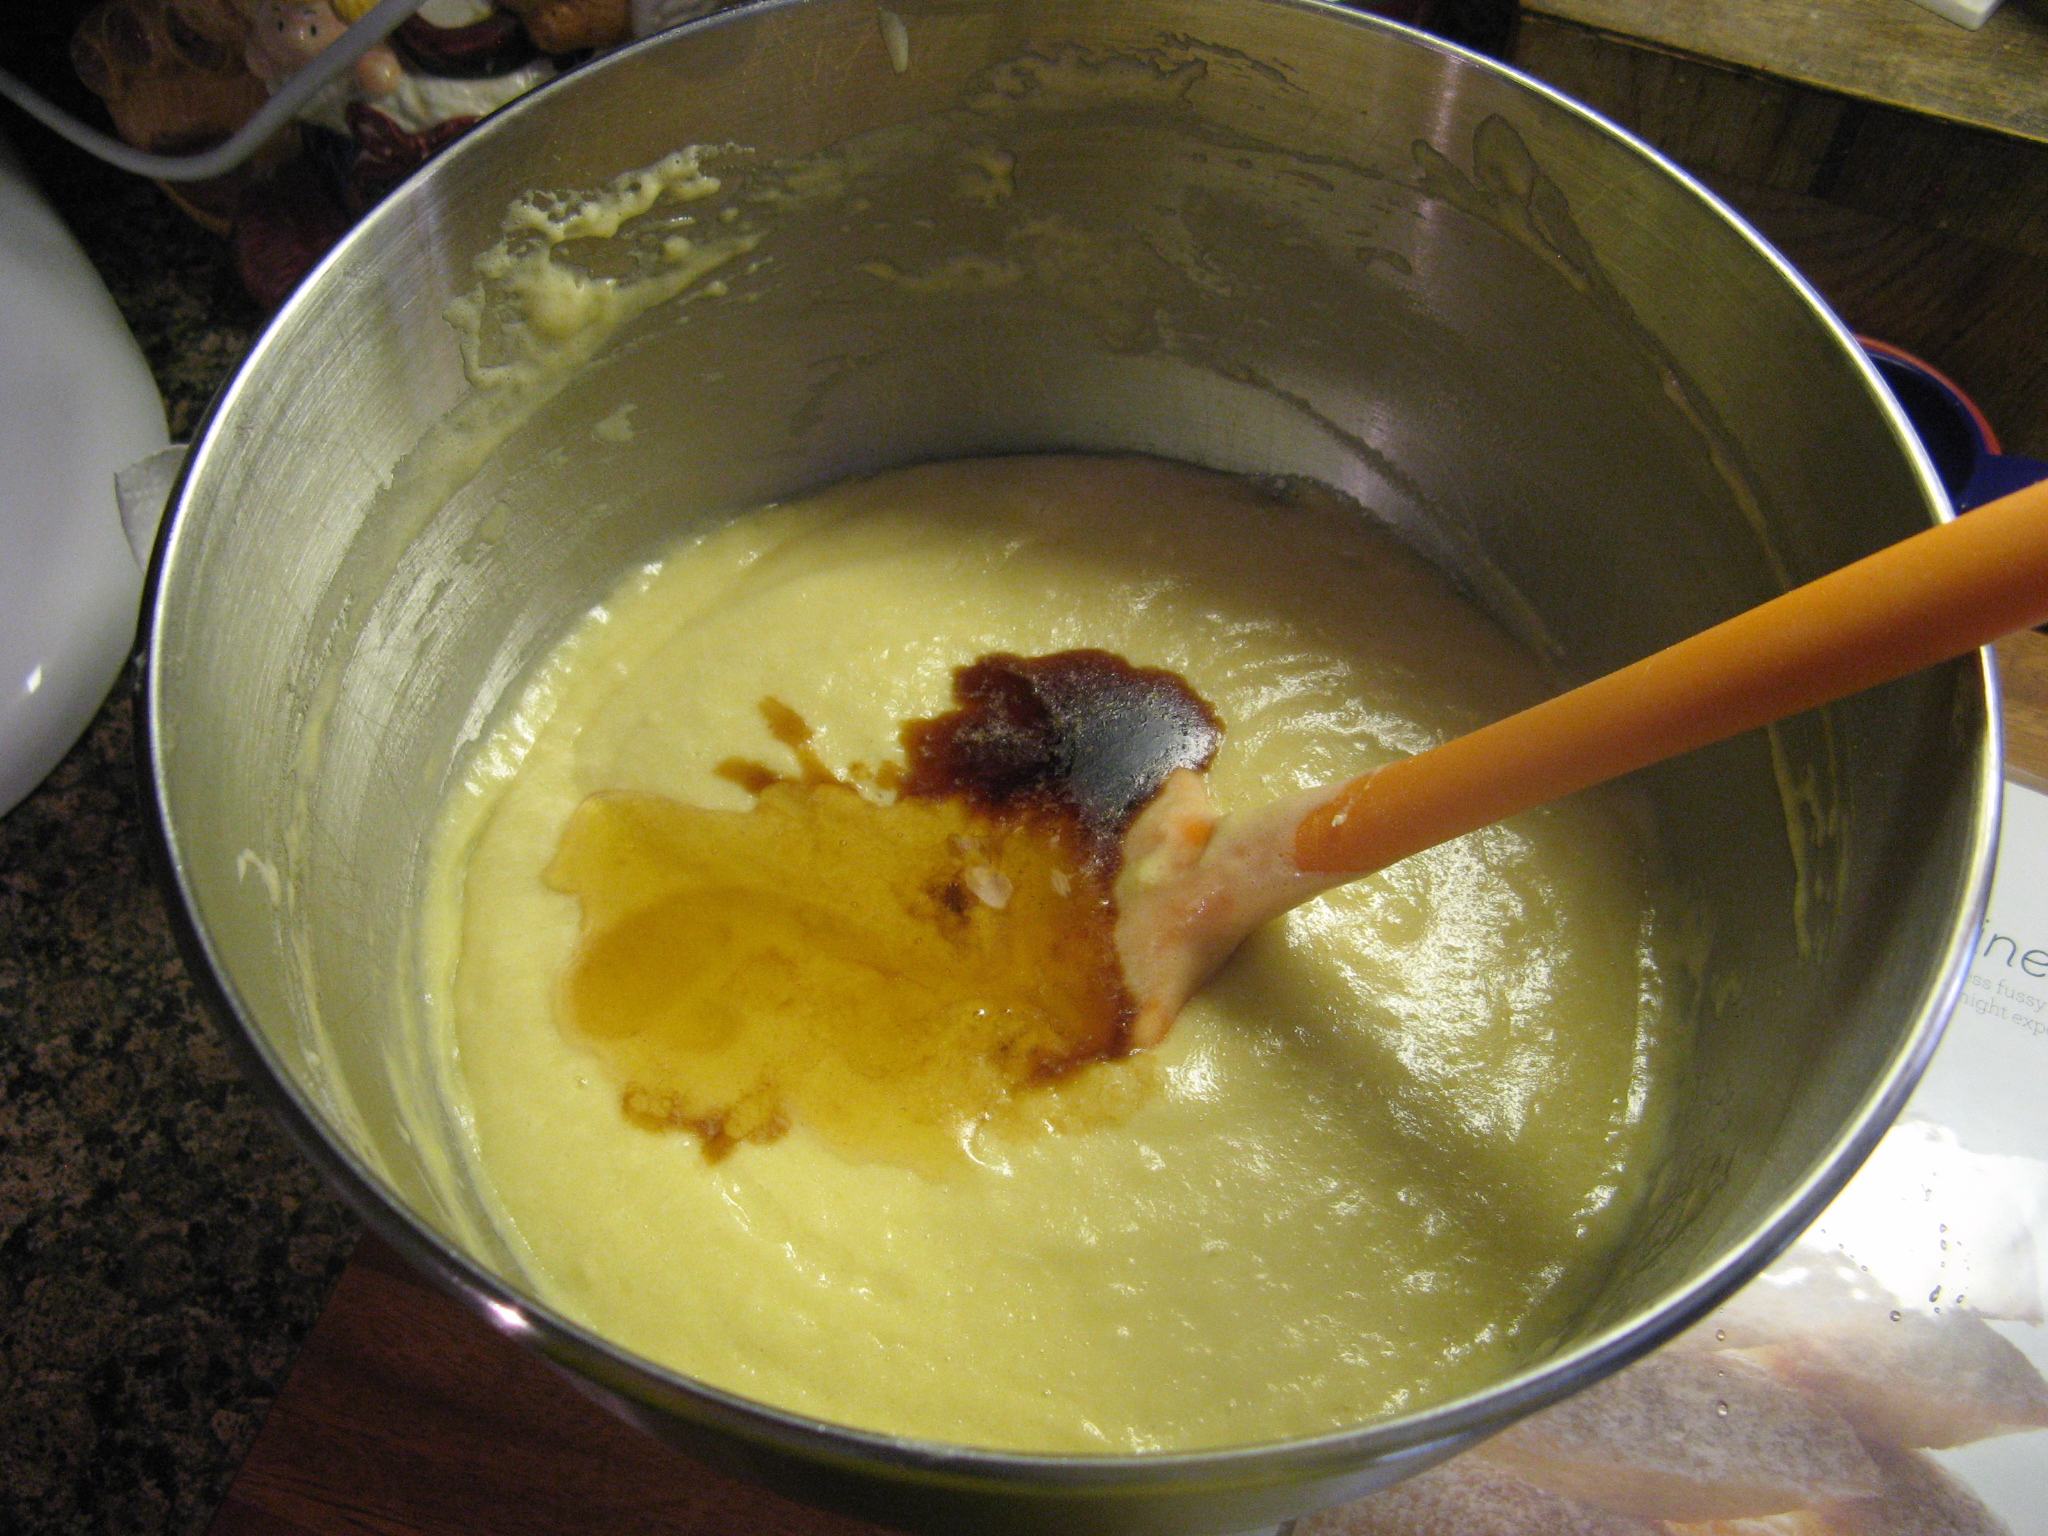
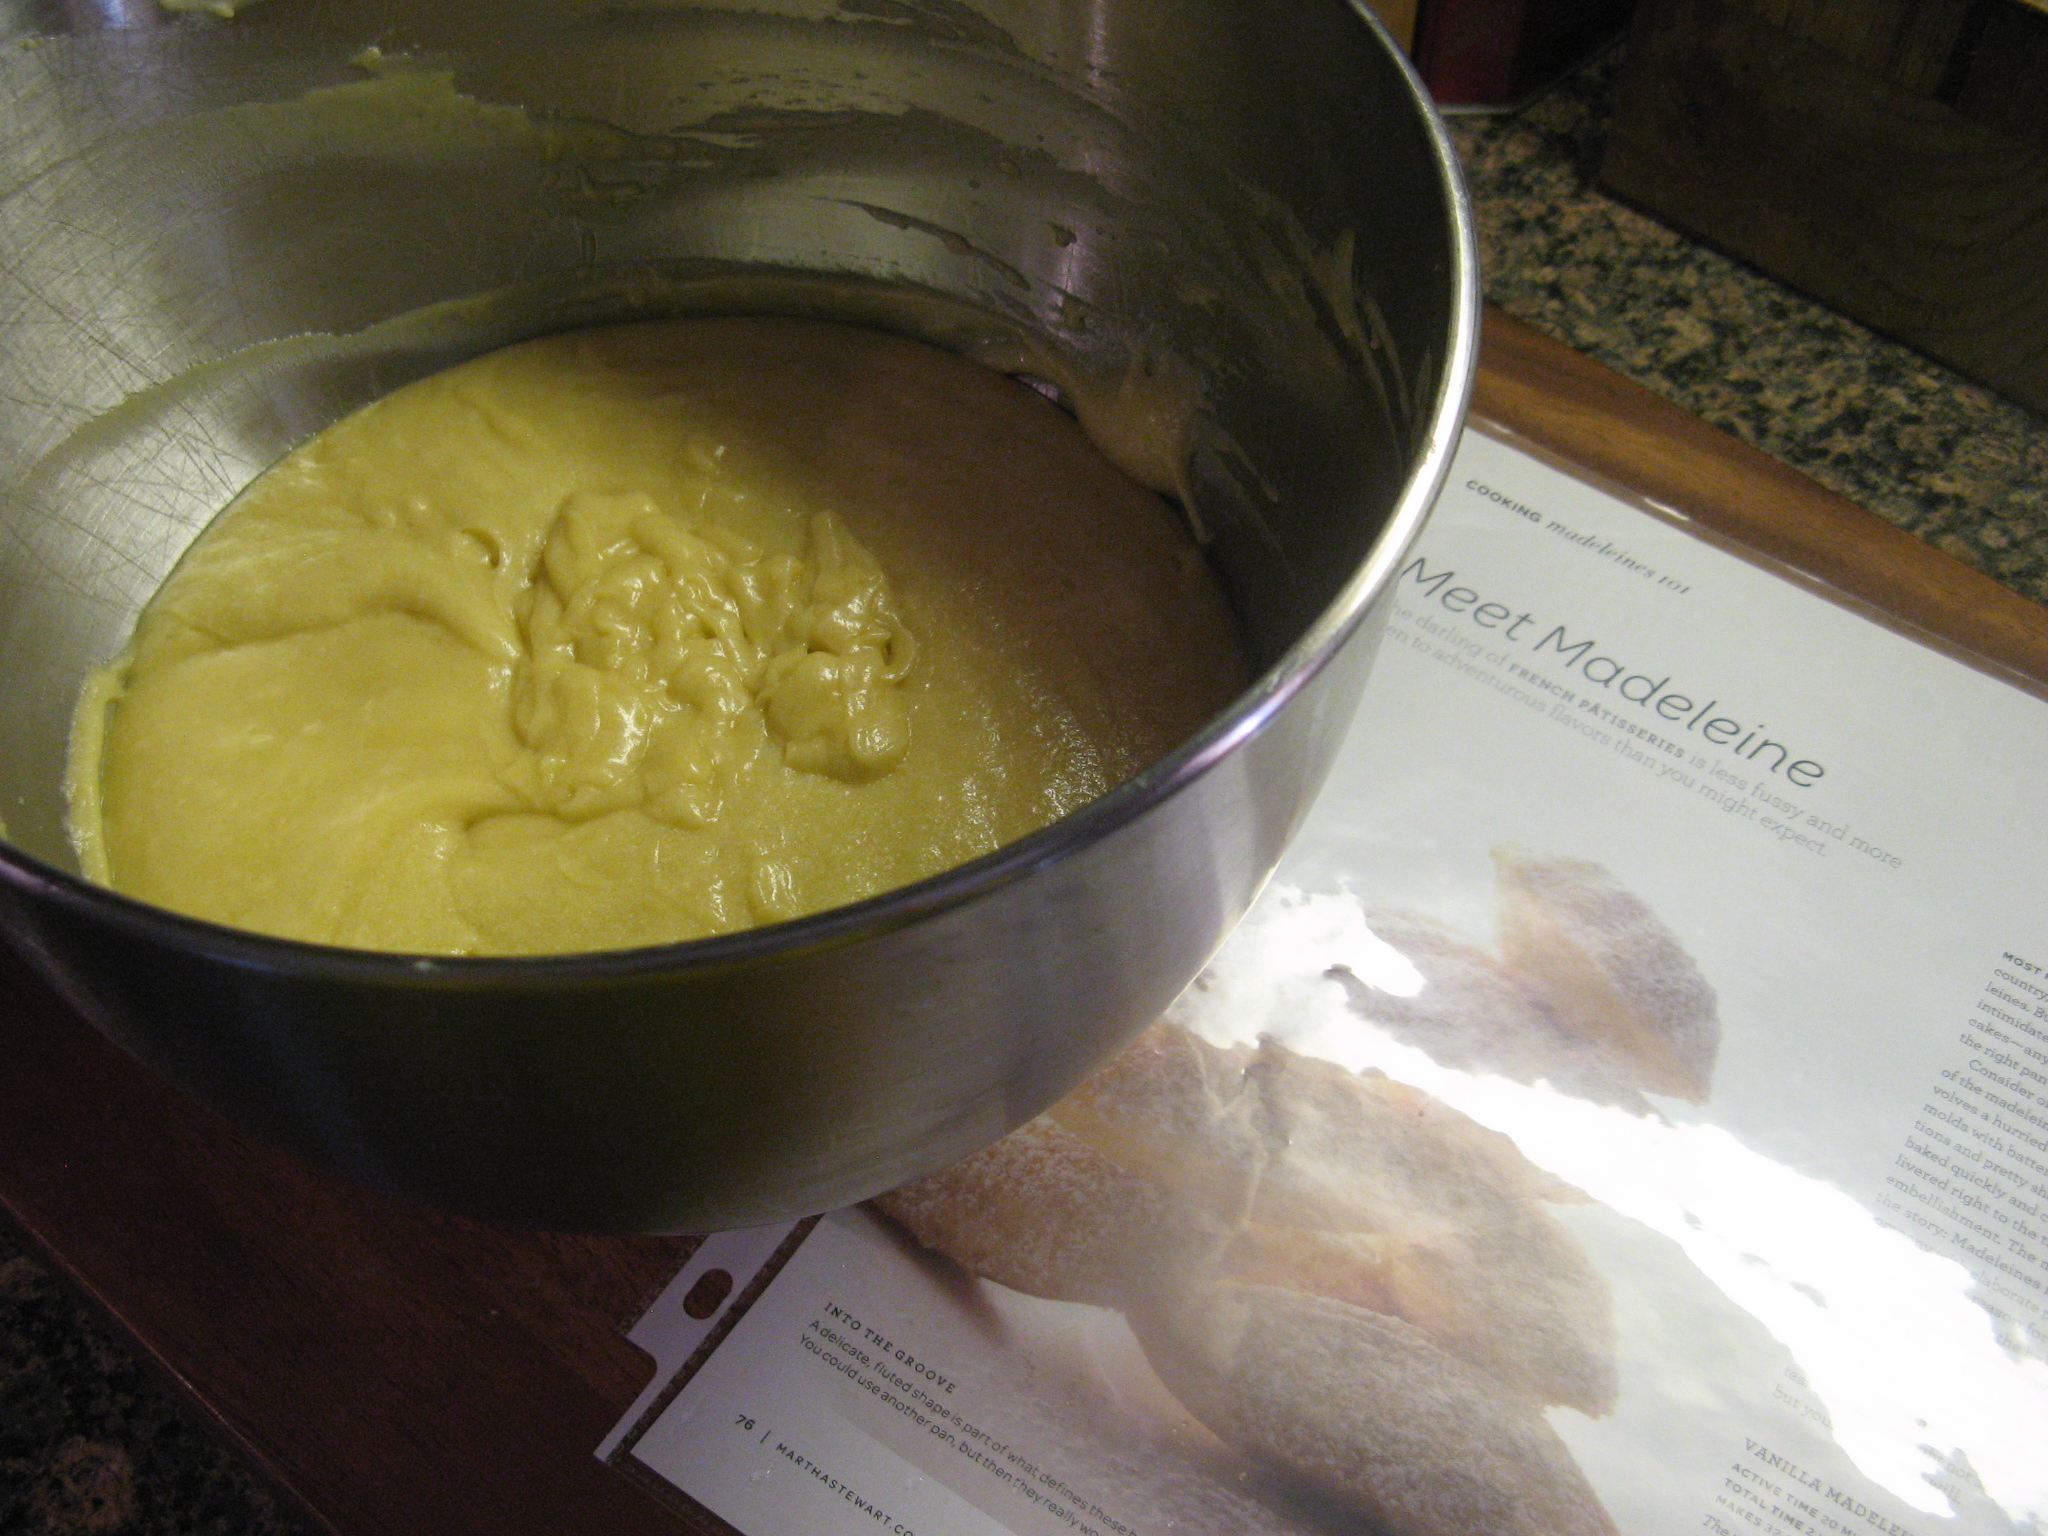
And finally I folded in honey and vanilla extract.

IMG_6492

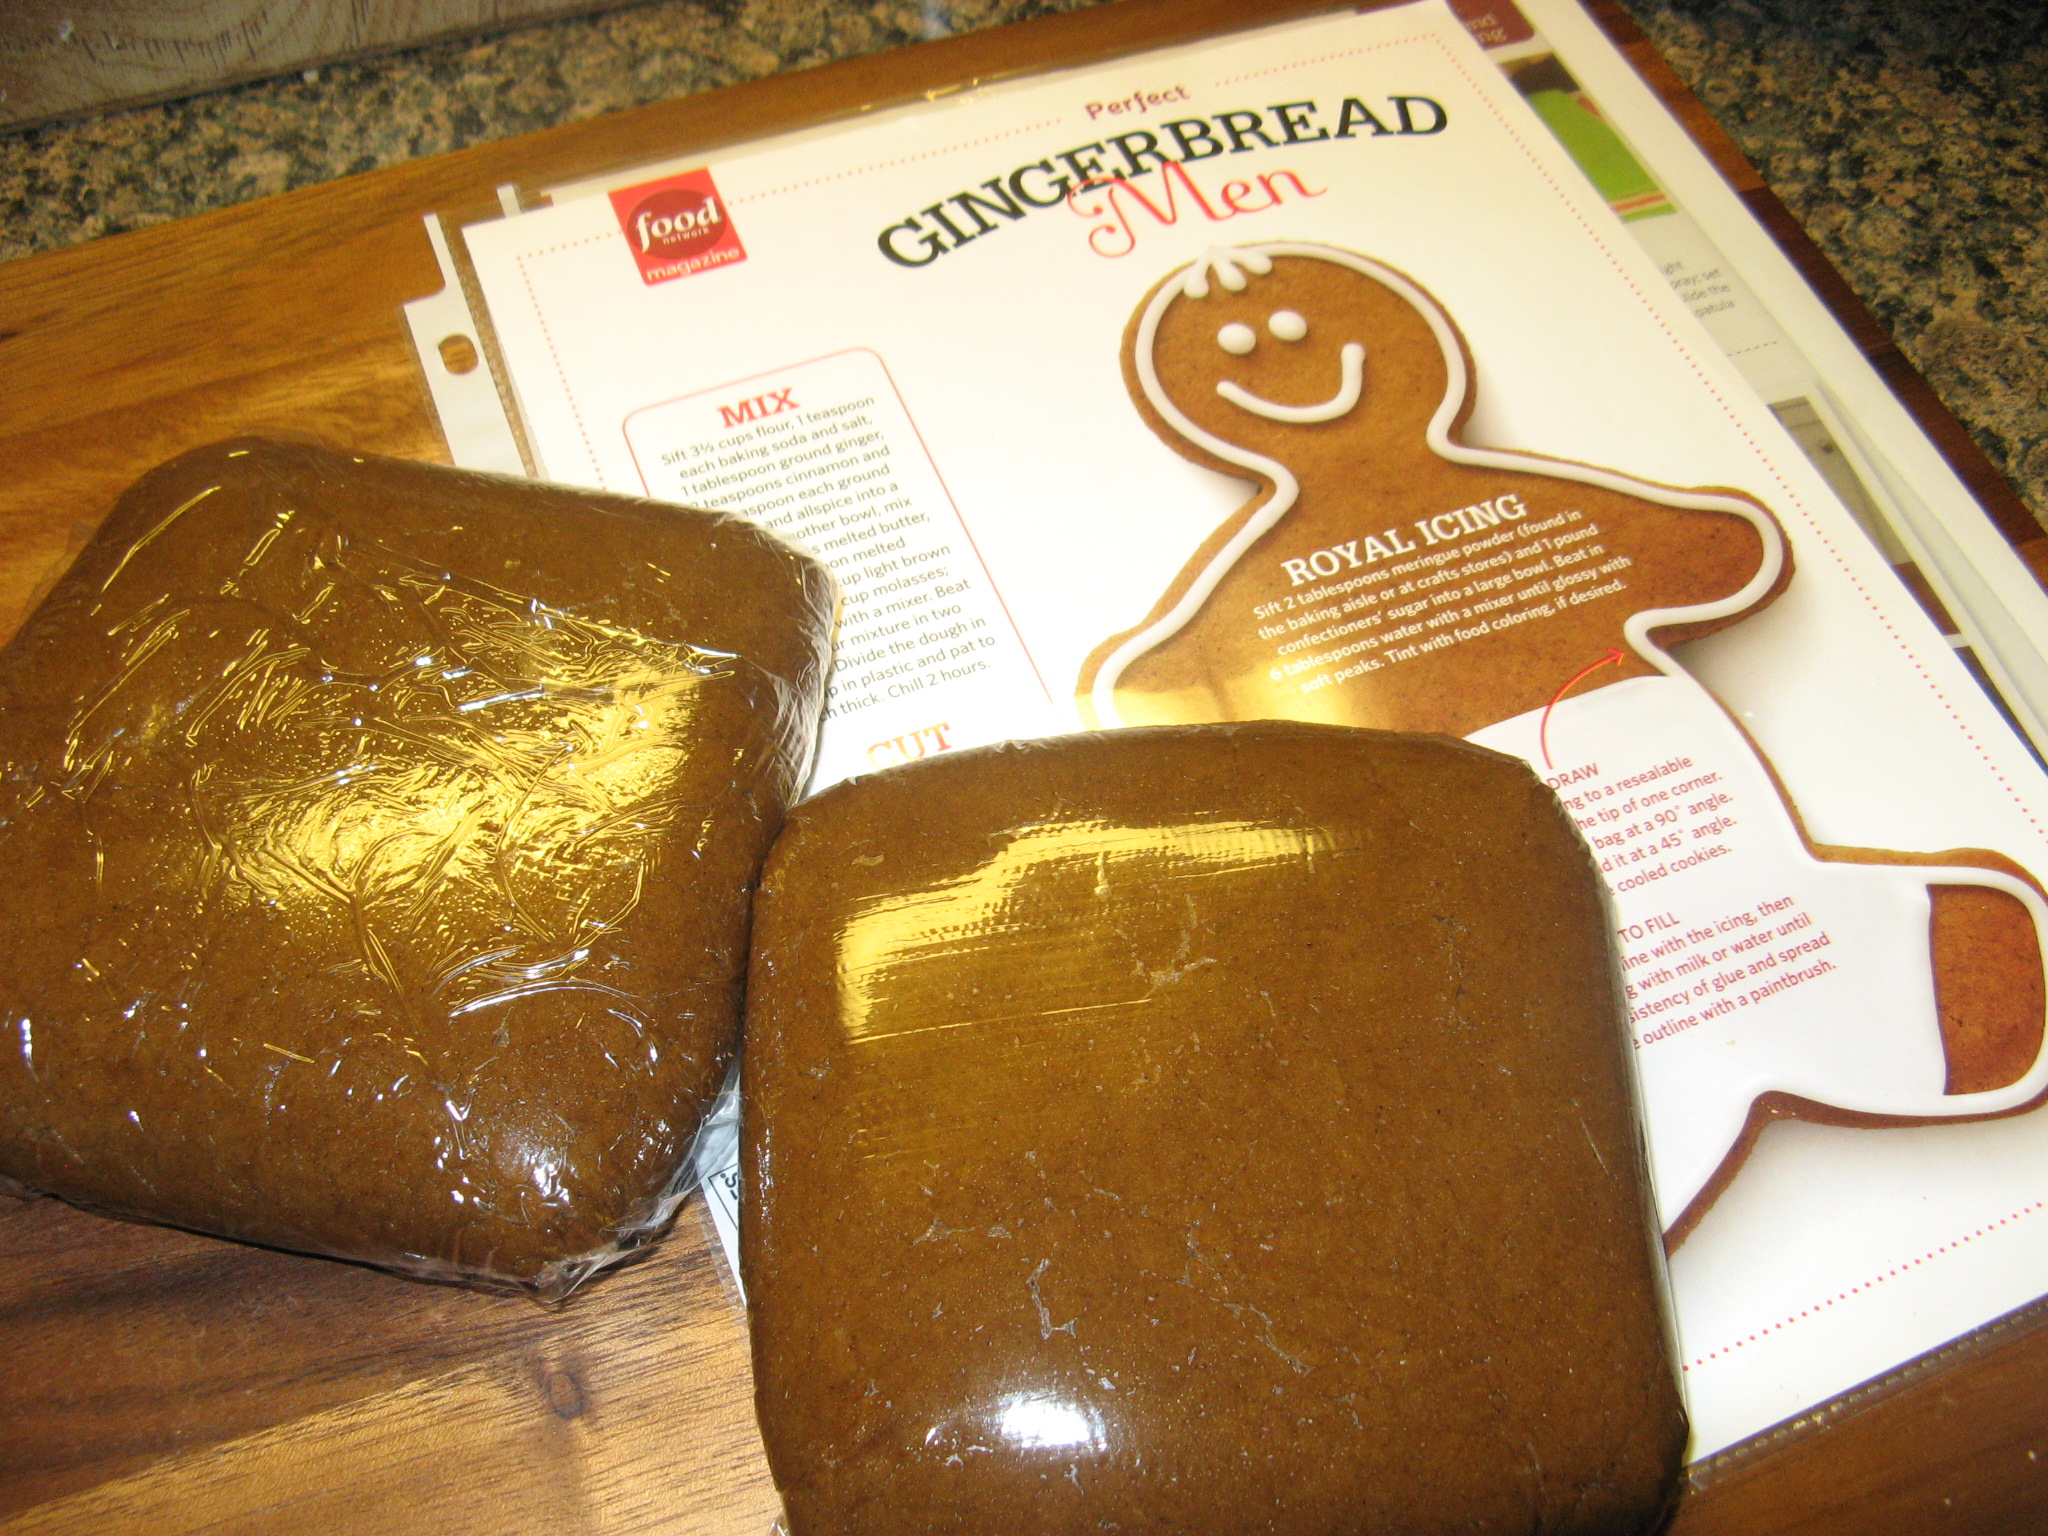
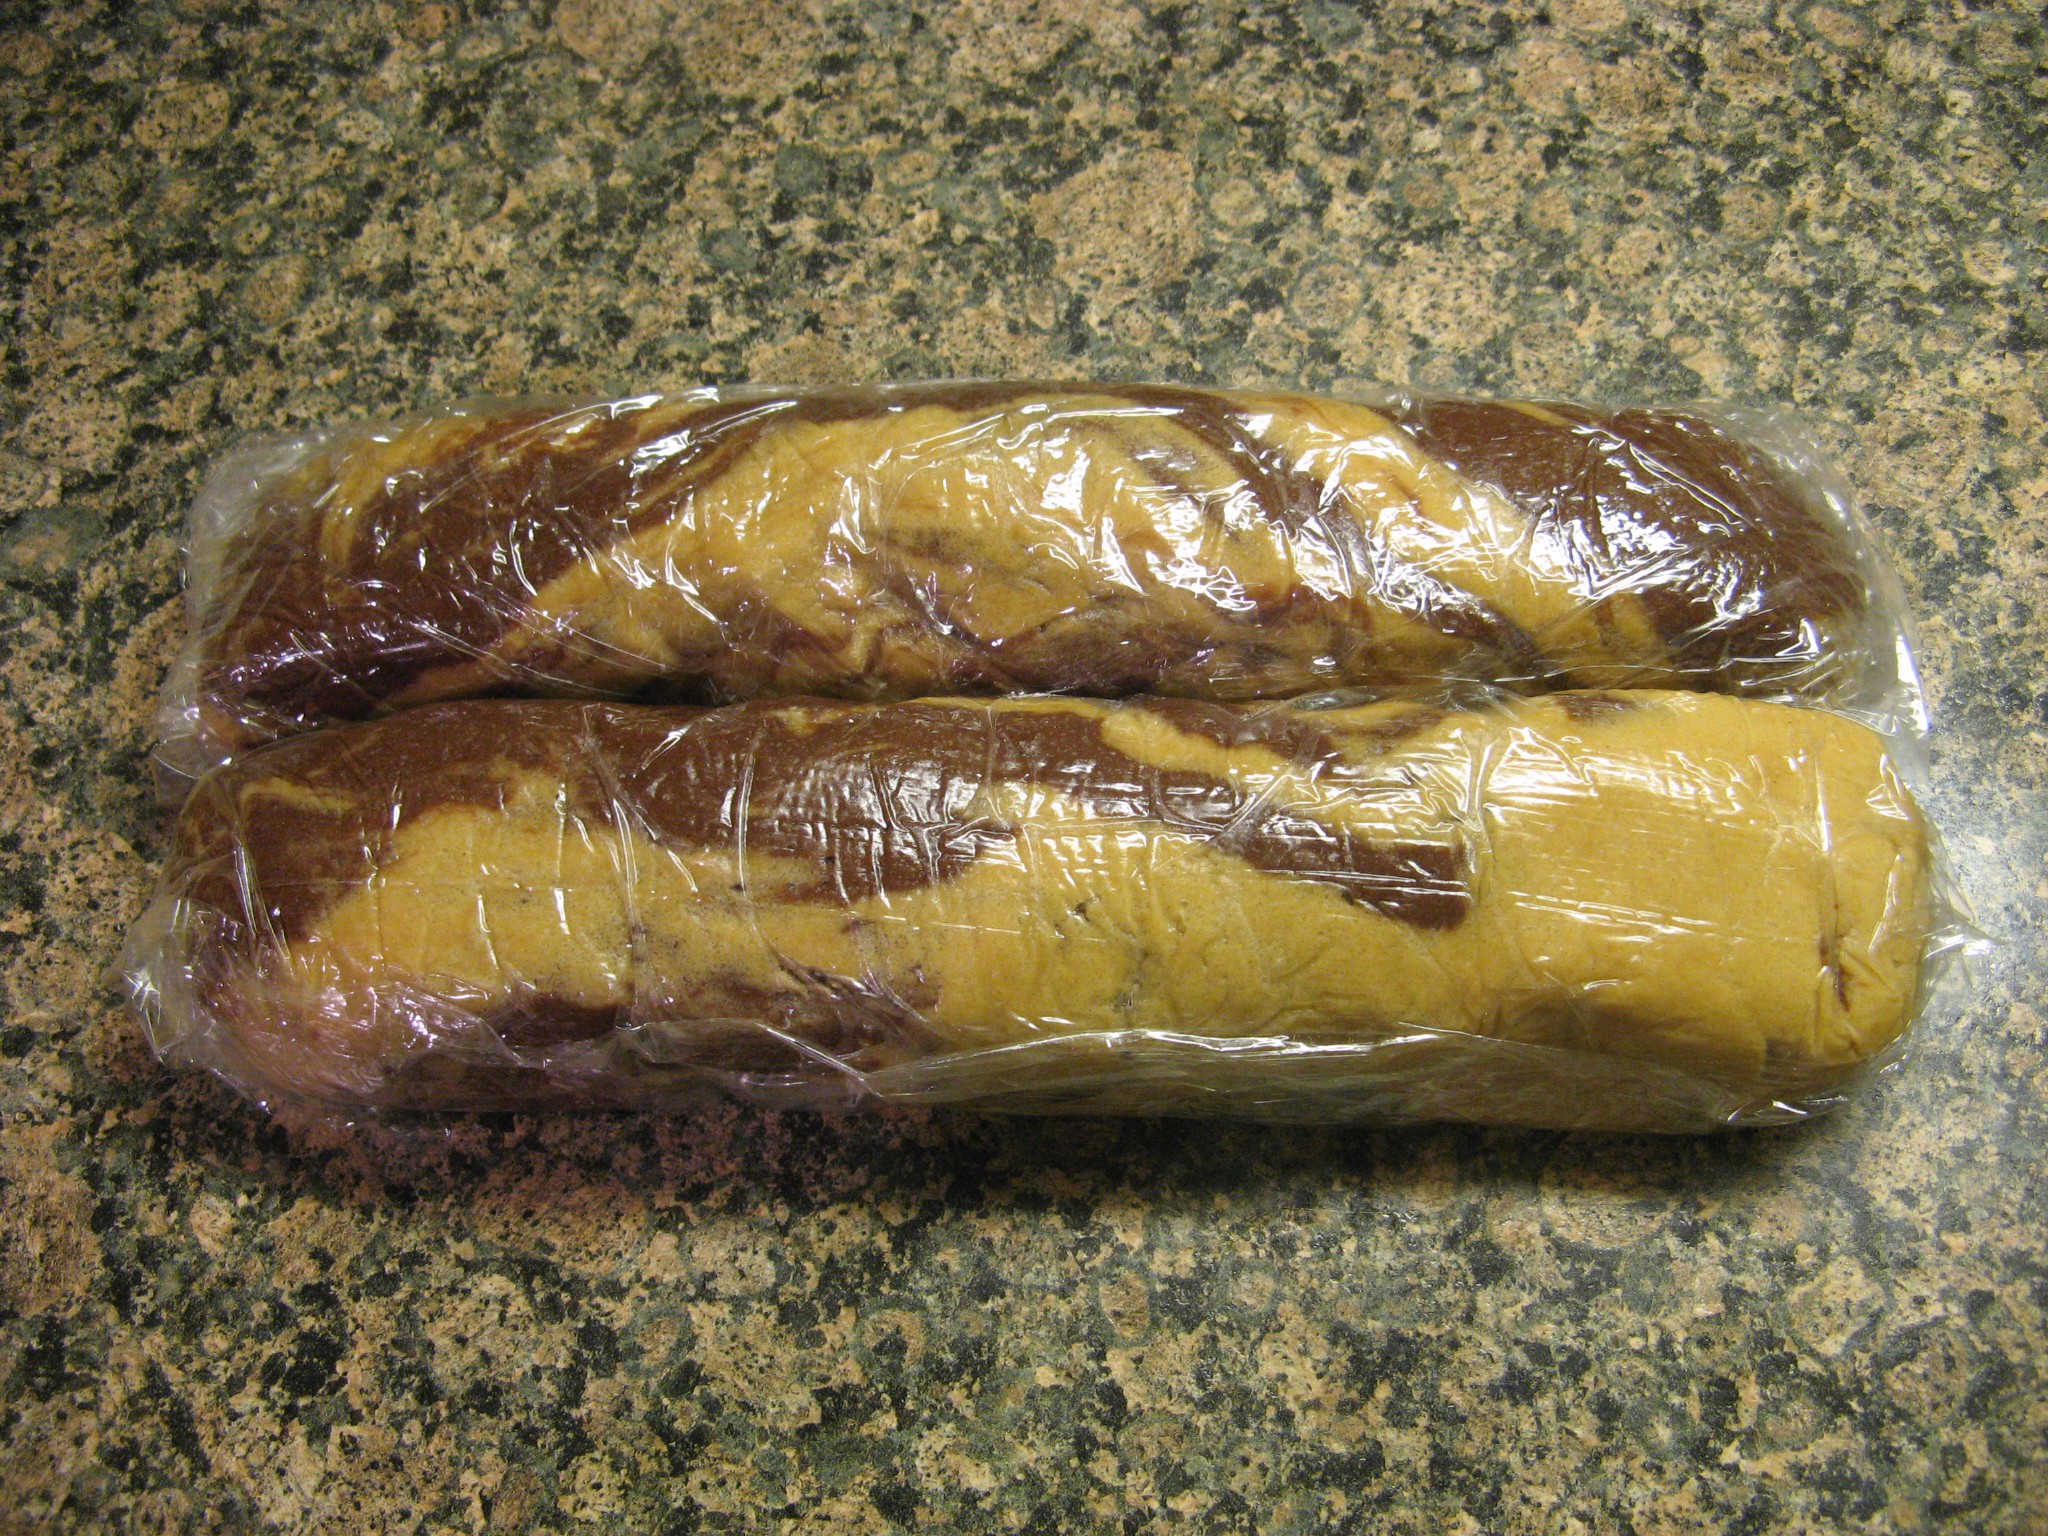
After covering the batter with aluminum foil I refrigerated it for at least two hours.

IMG_6496

After a few hours I removed the batter from the refrigerator and let it stand at room temperature for ten minutes. Meanwhile I preheated the oven to 350 F and prepared my Madeleine pans by buttering them, while most people use a pastry brush to butter their pans I am partial to using a simple sheet of paper towel so that I can be sure to get into all the nooks and crevices of the pan.

IMG_6499

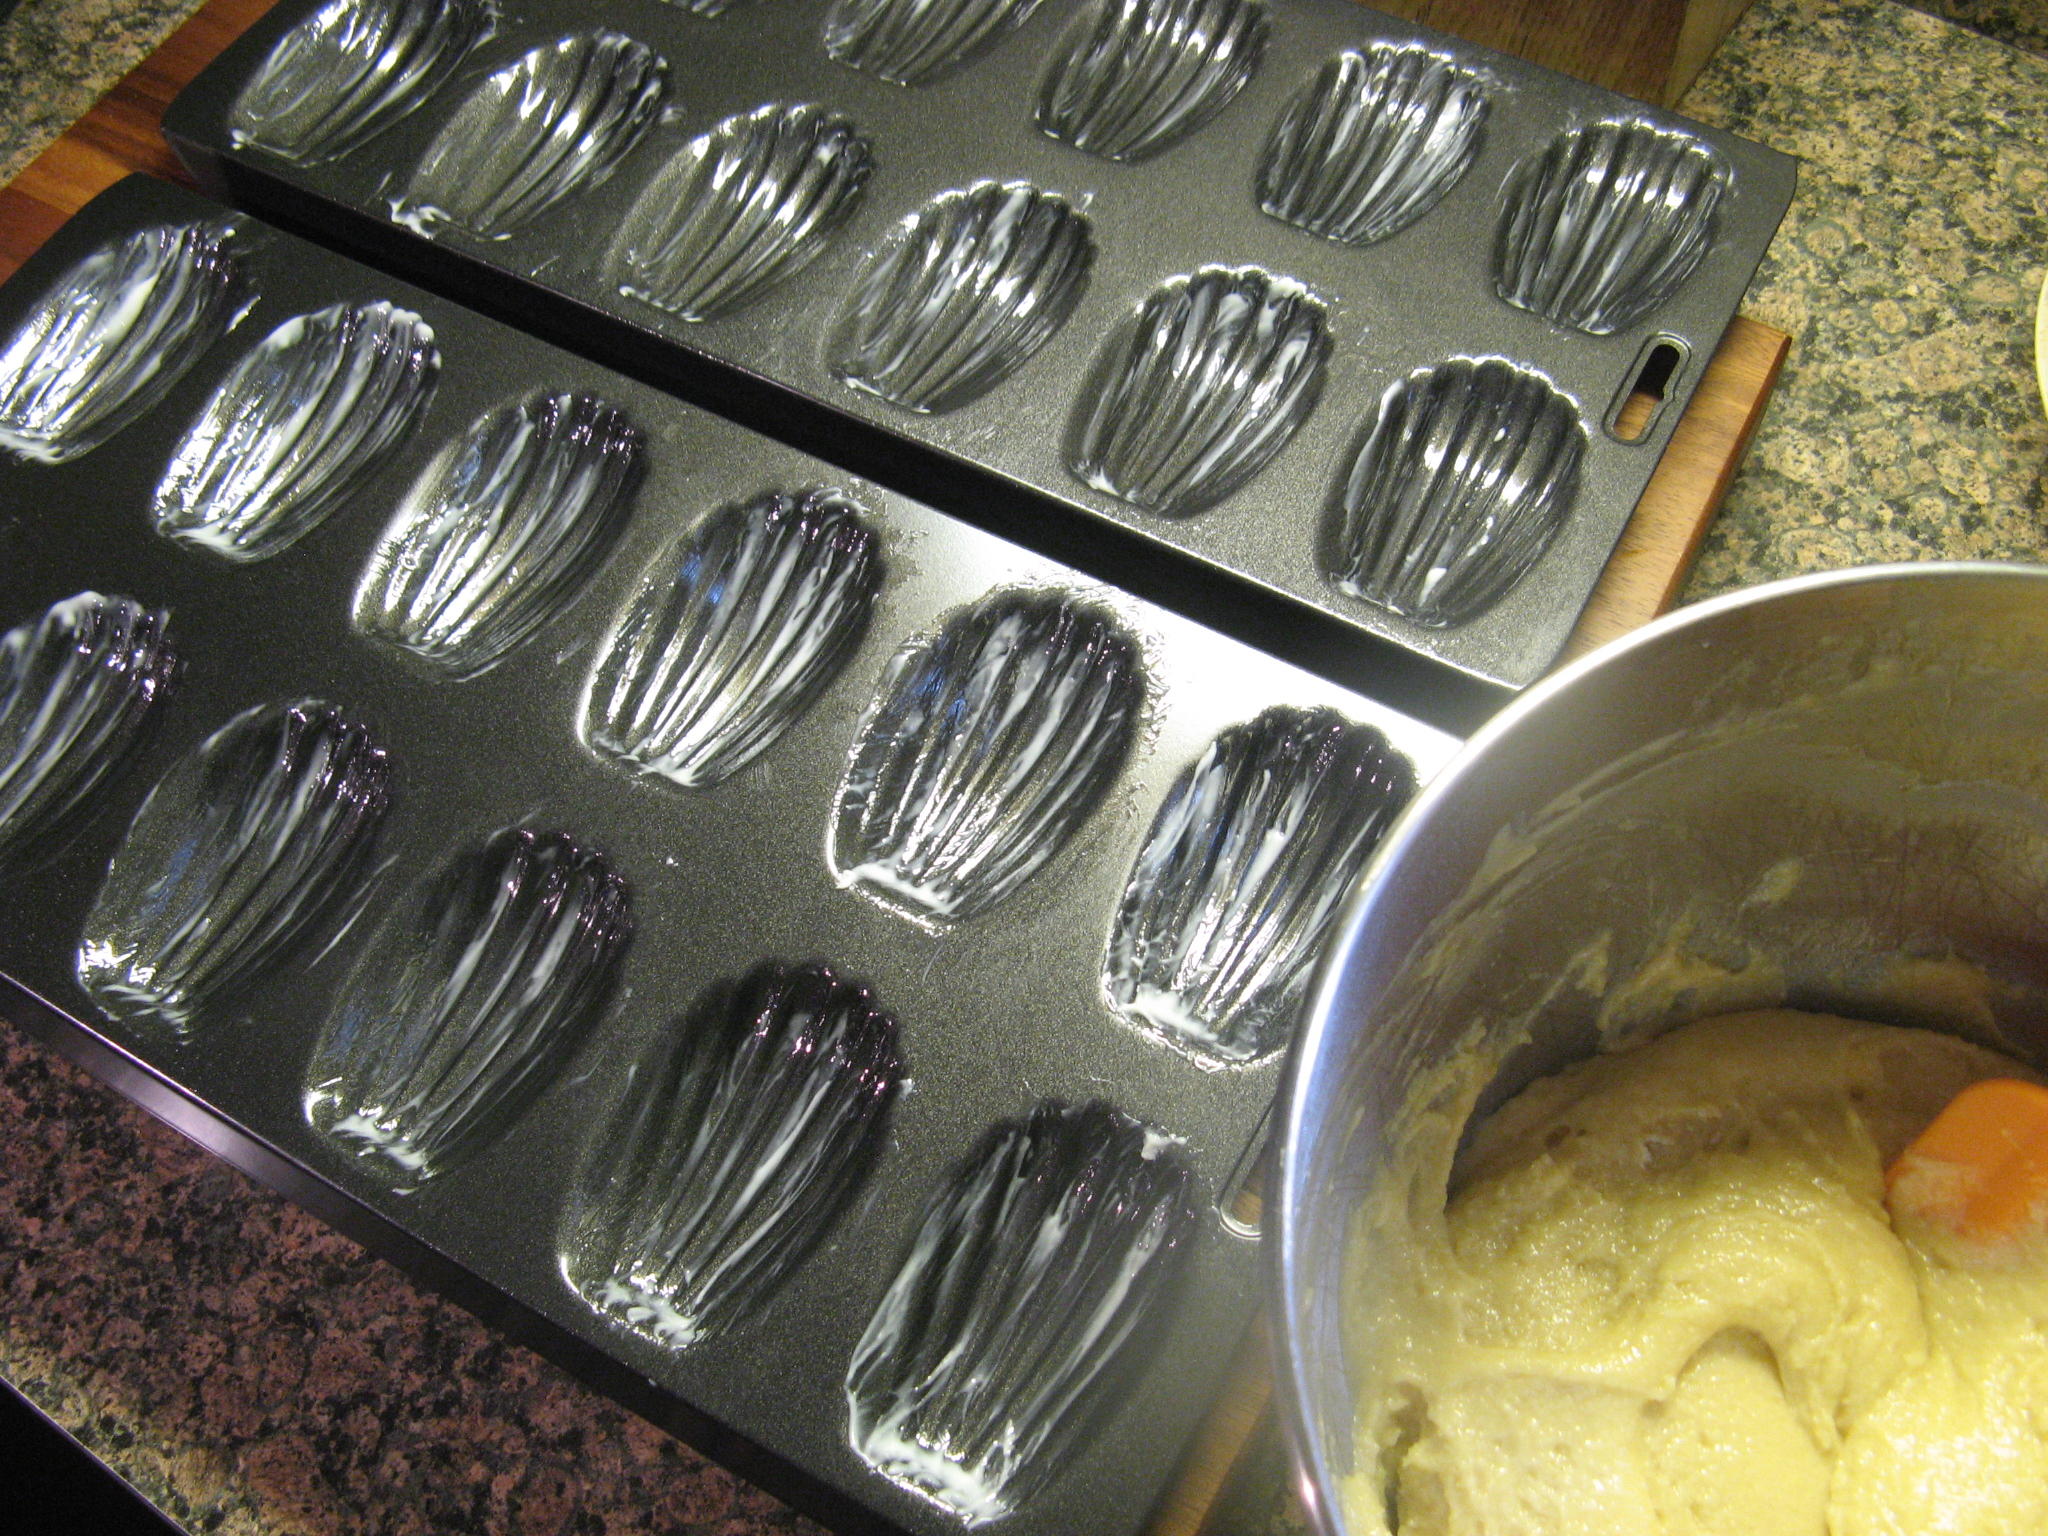
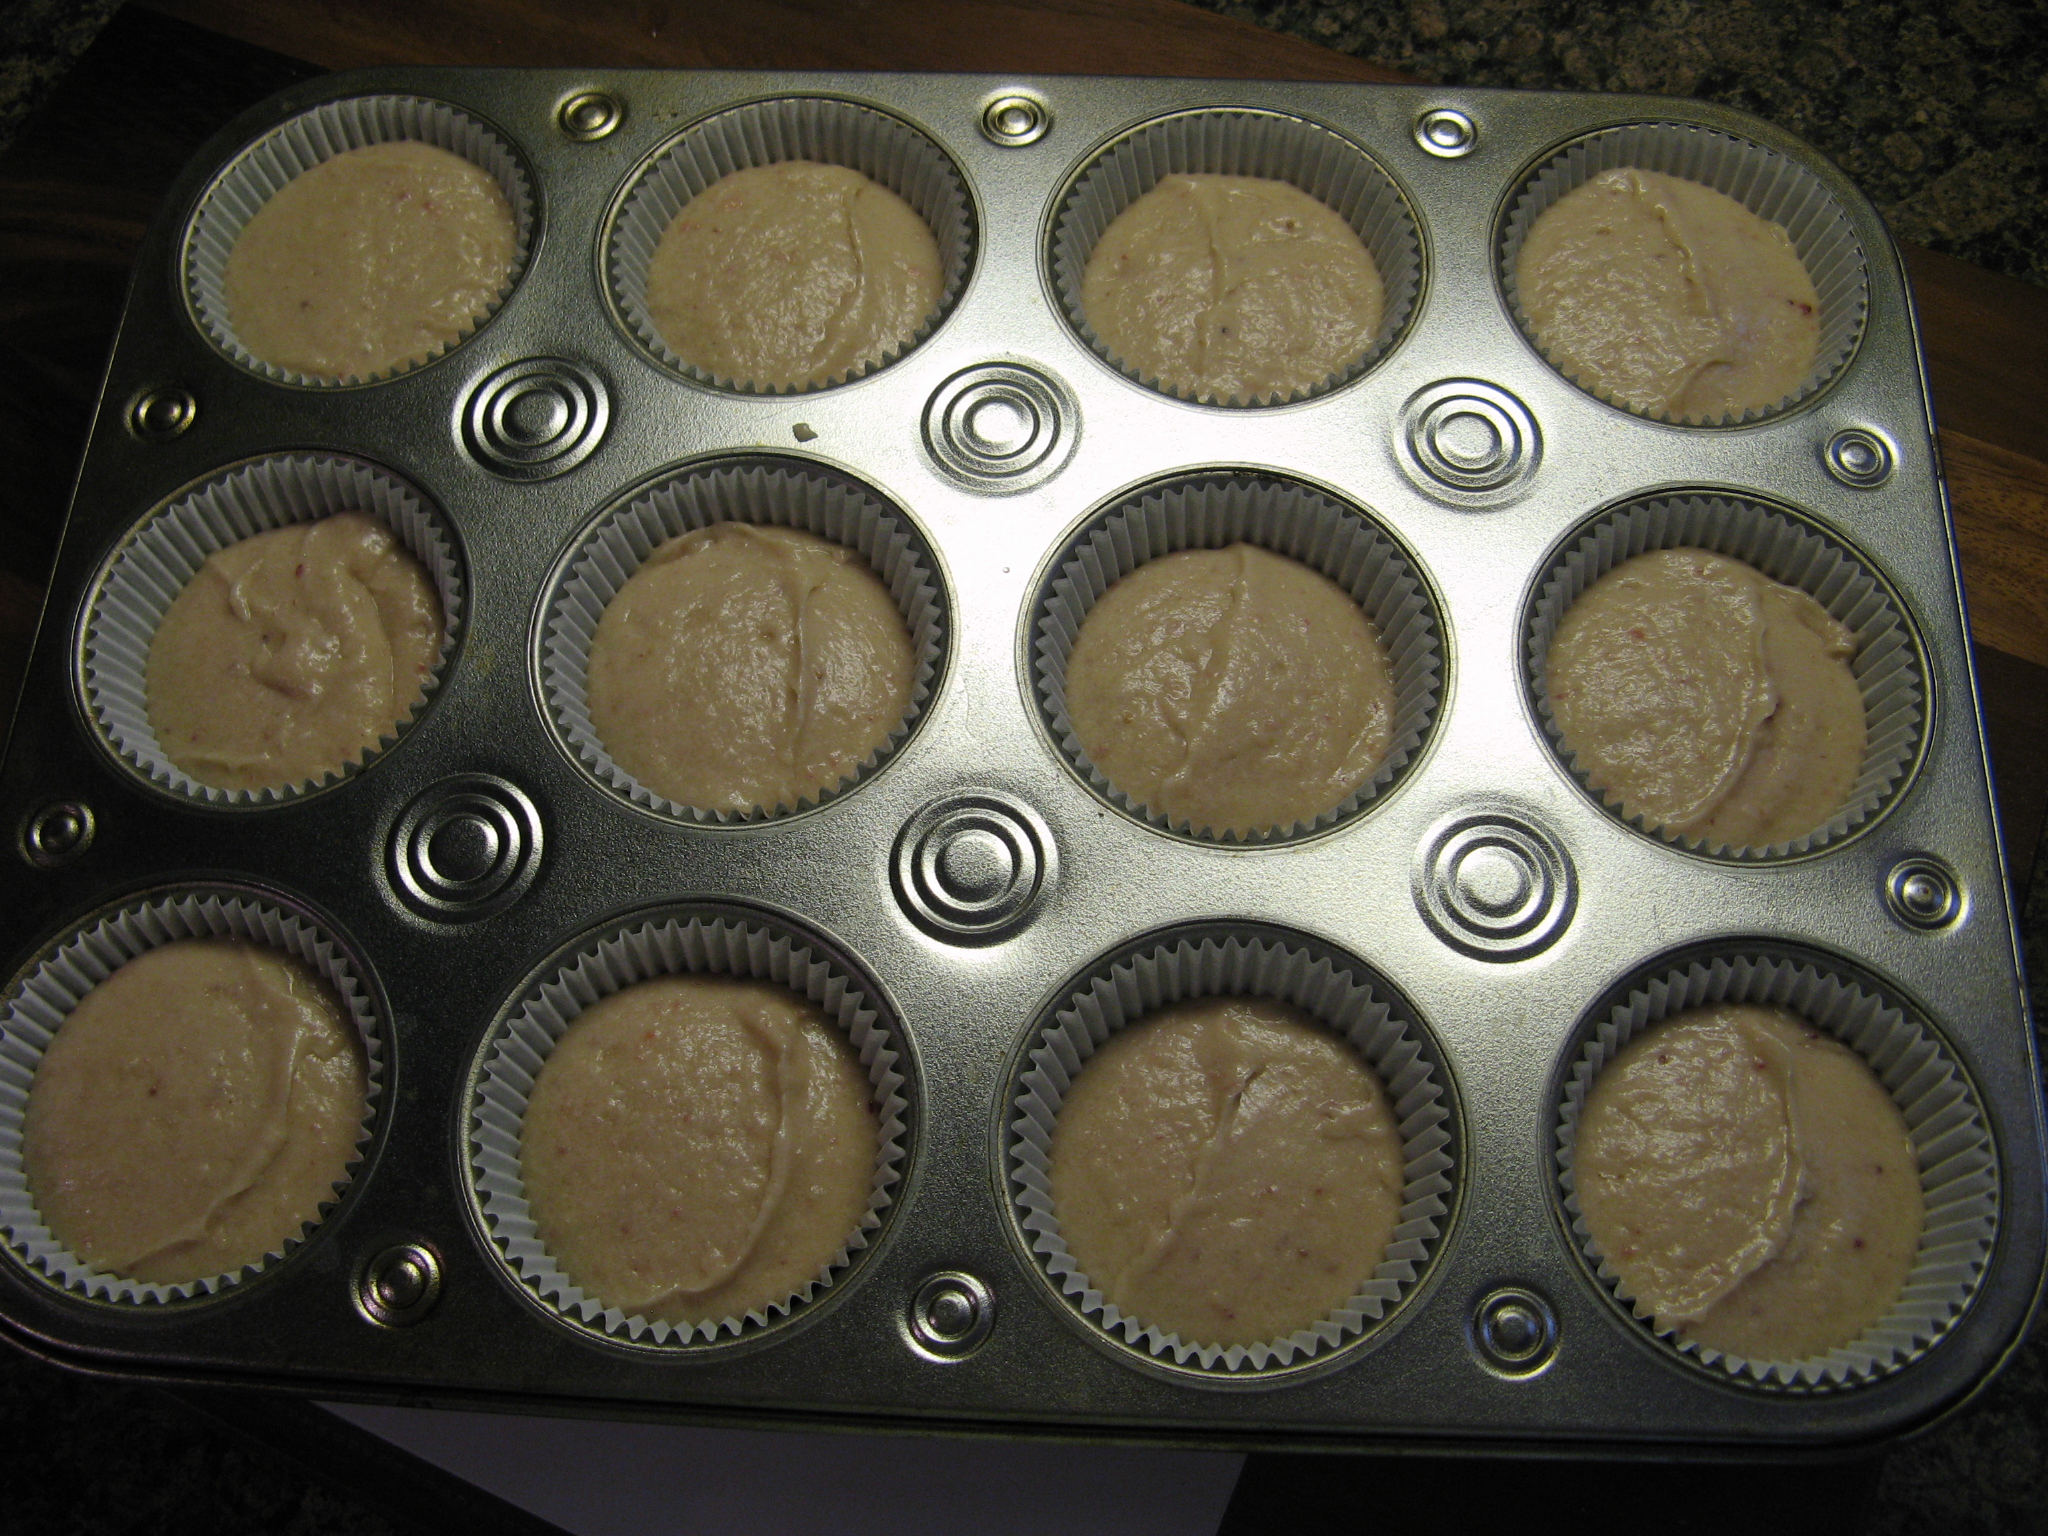
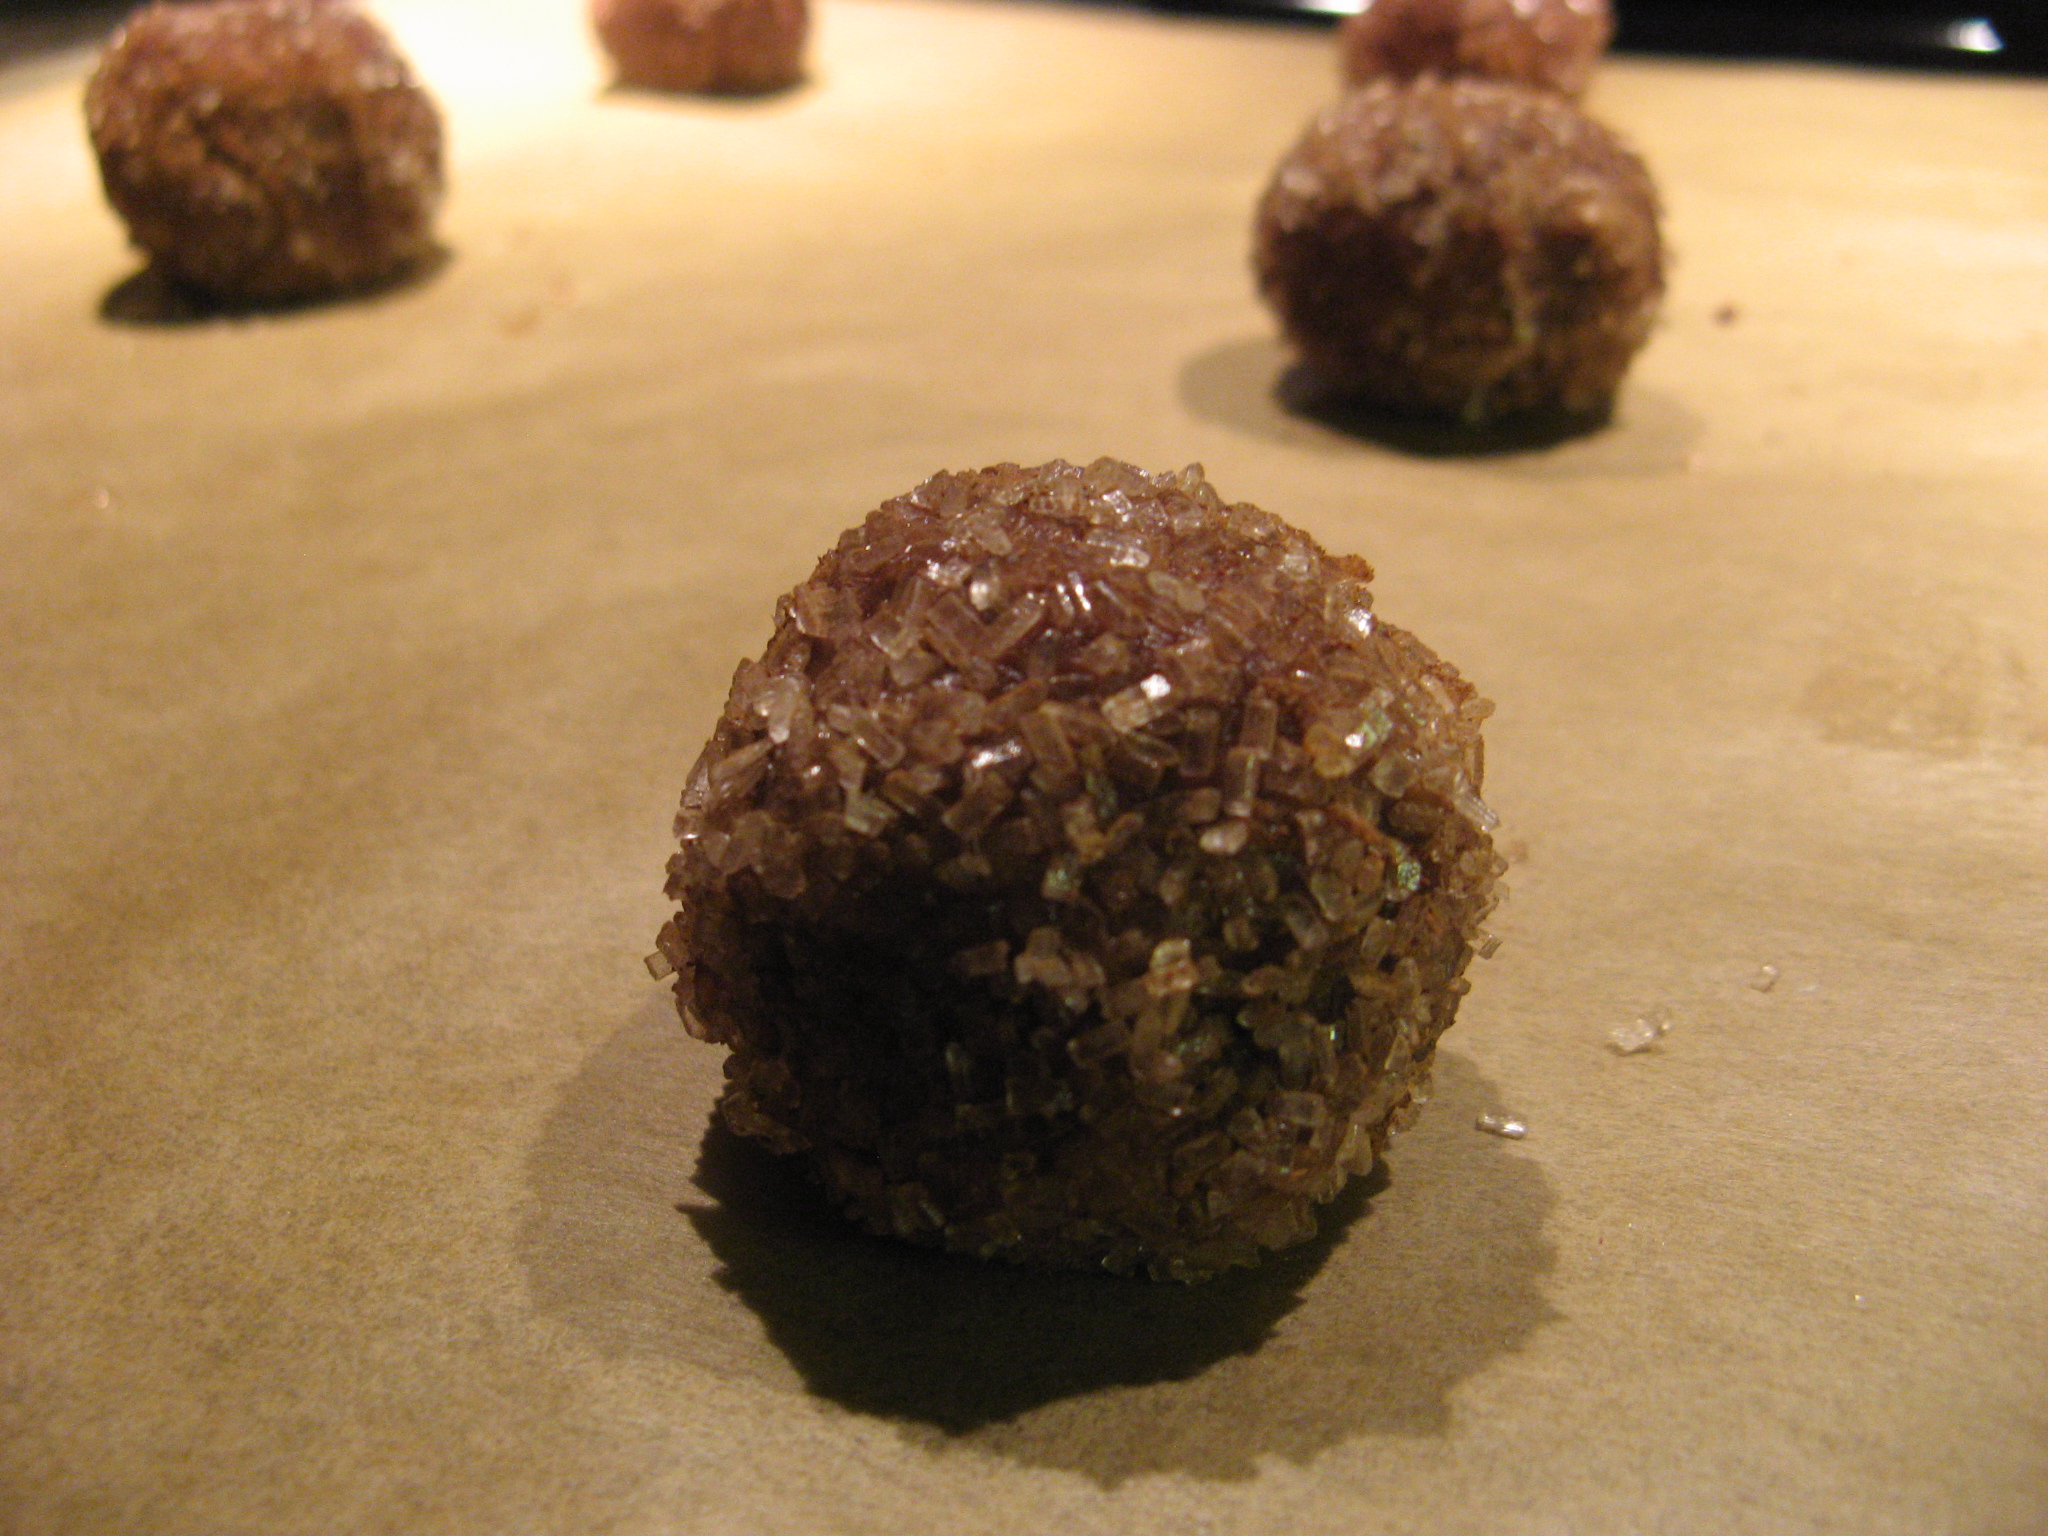
I then filled a pastry bag with the batter and snipped the end so I could fill the molds about three-quarters full. I actually filled one of the molds with water and determined how much exactly was three-quarters so I wouldn’t overfill the molds – I tend to do that sometimes, especially when making donuts!

IMG_6500

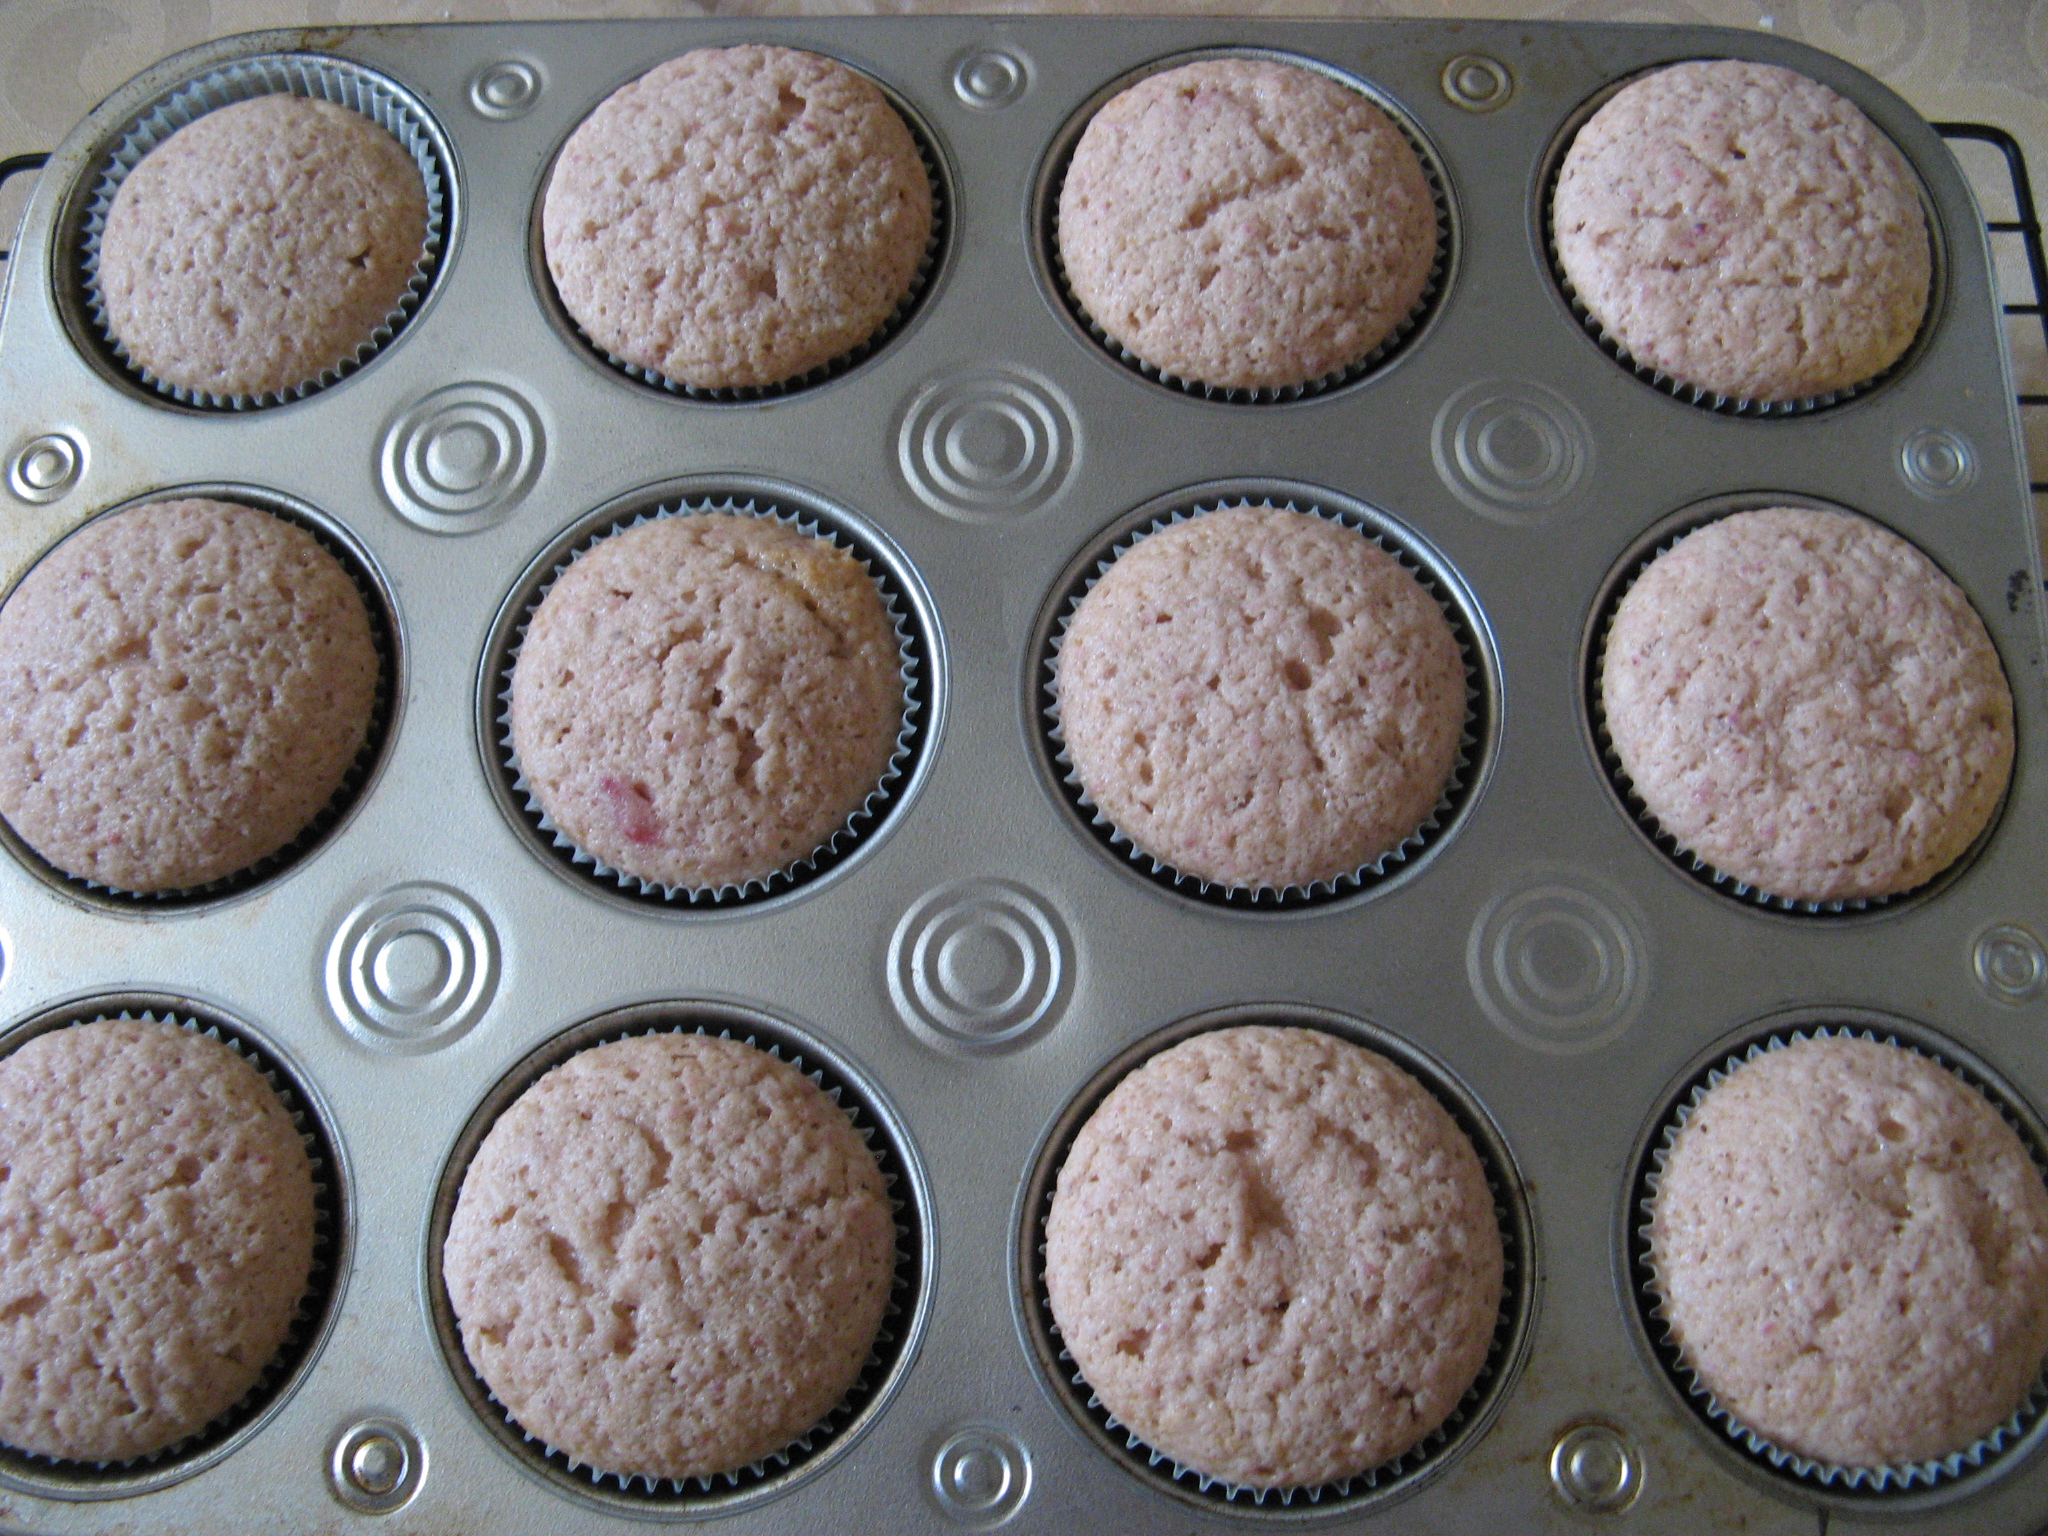
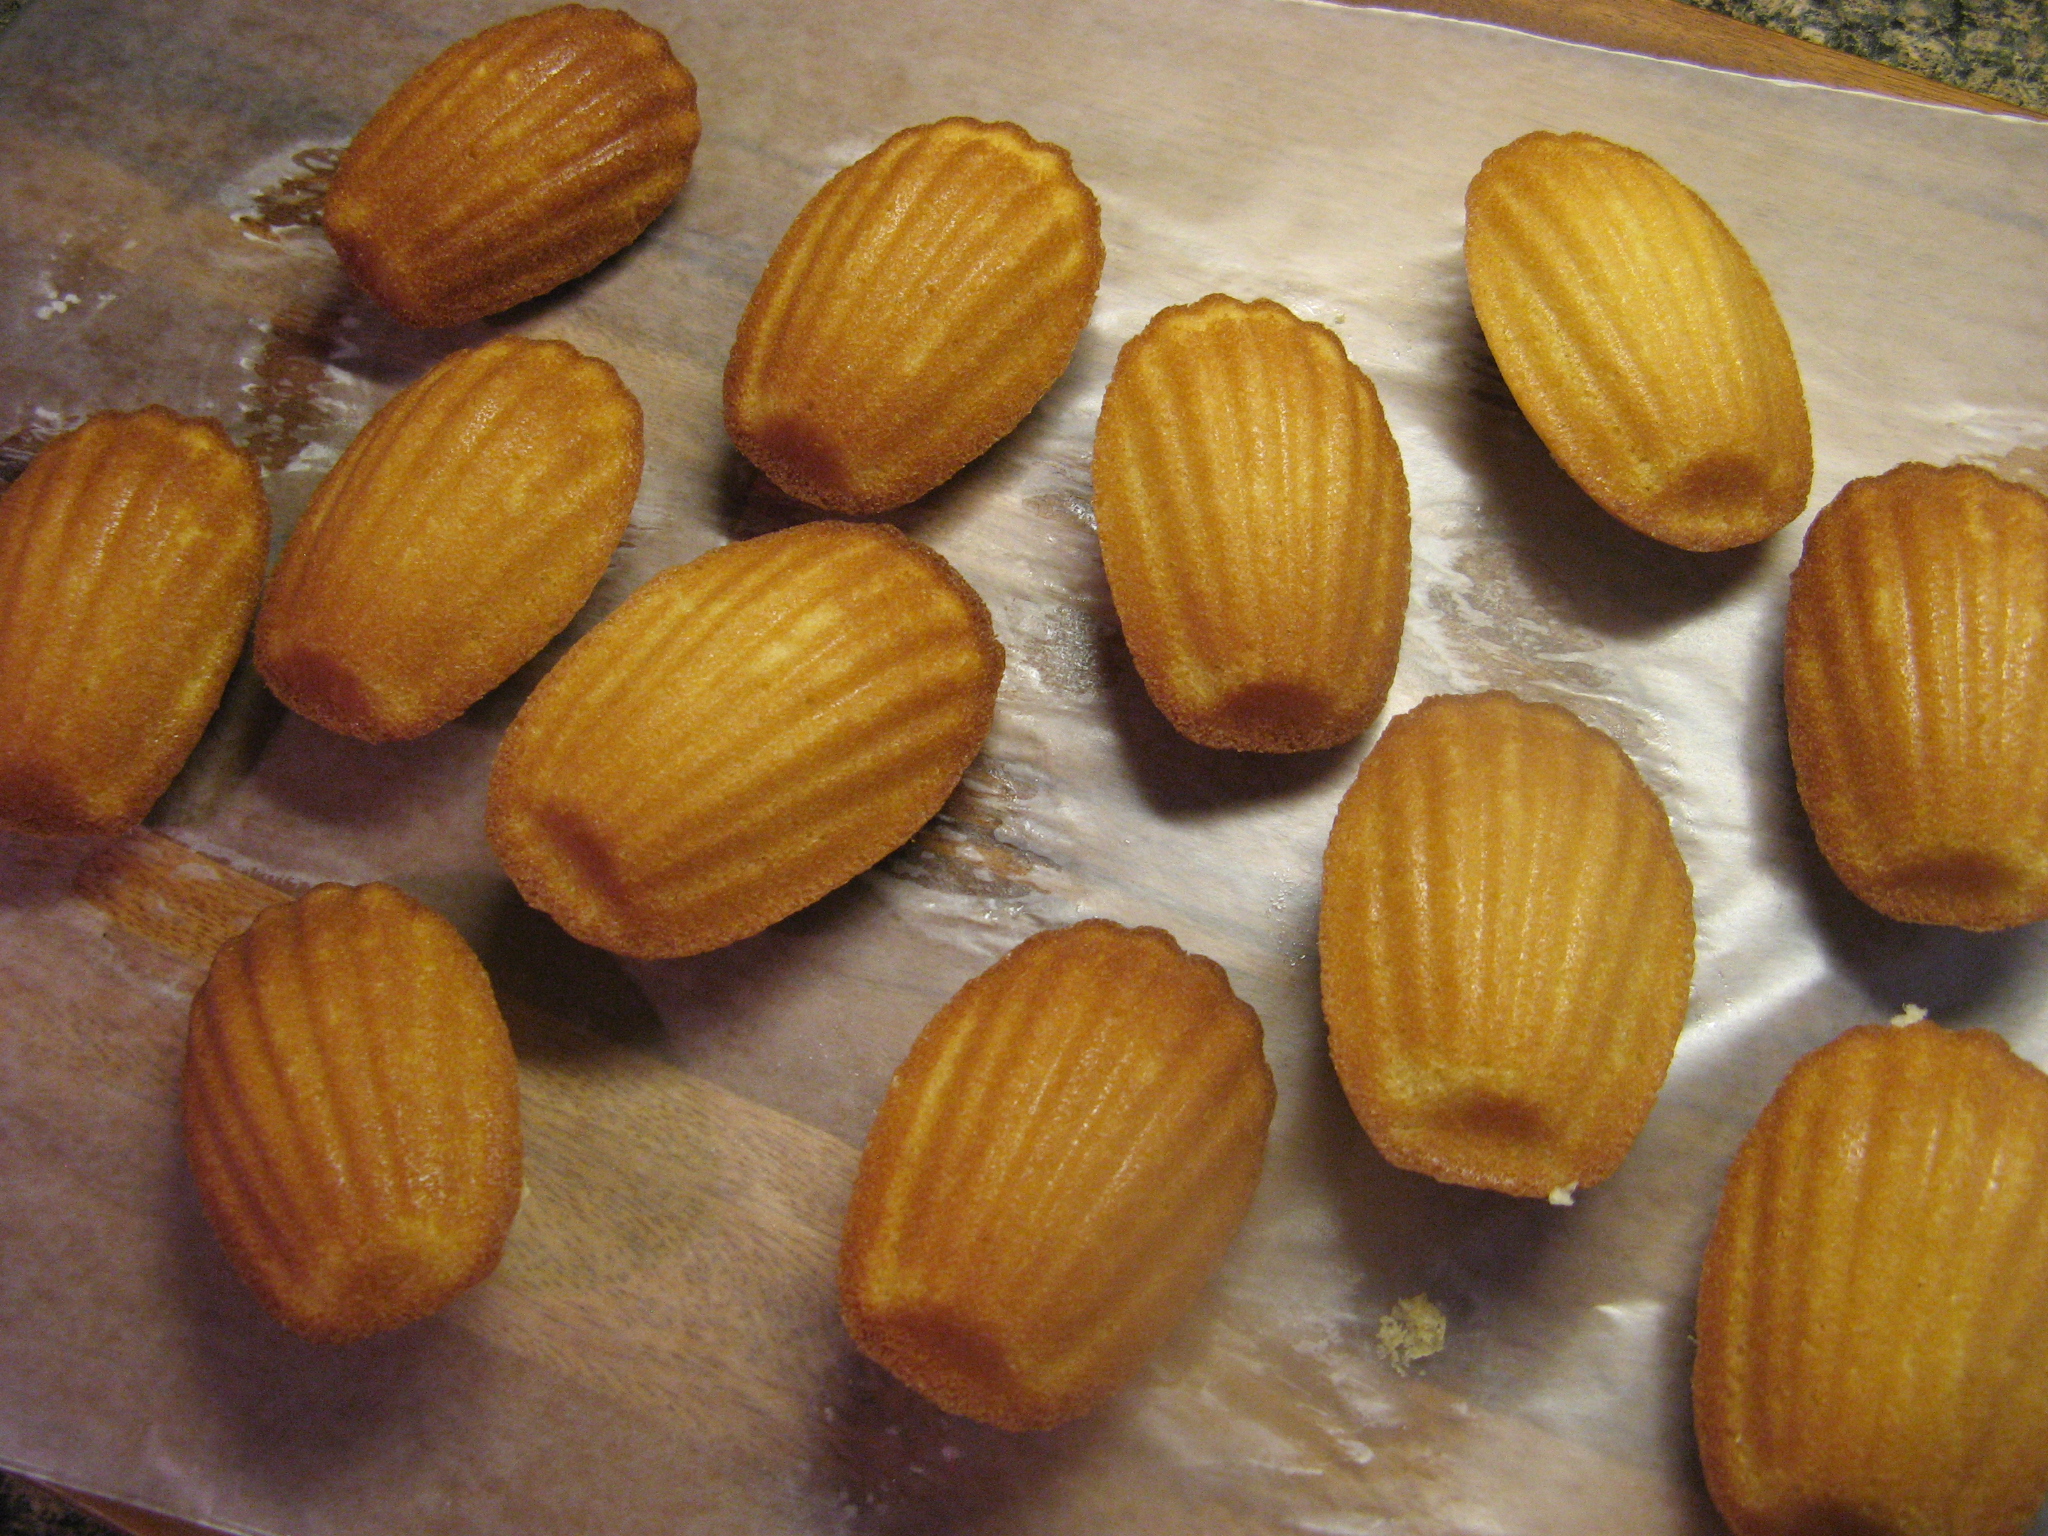
I baked them in the oven for about ten minutes and per the instructions shook them of the pan out as soon as they were out of the oven. I’m happy to say that on my first try I was successful in getting the traditional bump on the back of the cake and also the scalloped design was clearly distinct on the front!

IMG_6501 IMG_6502

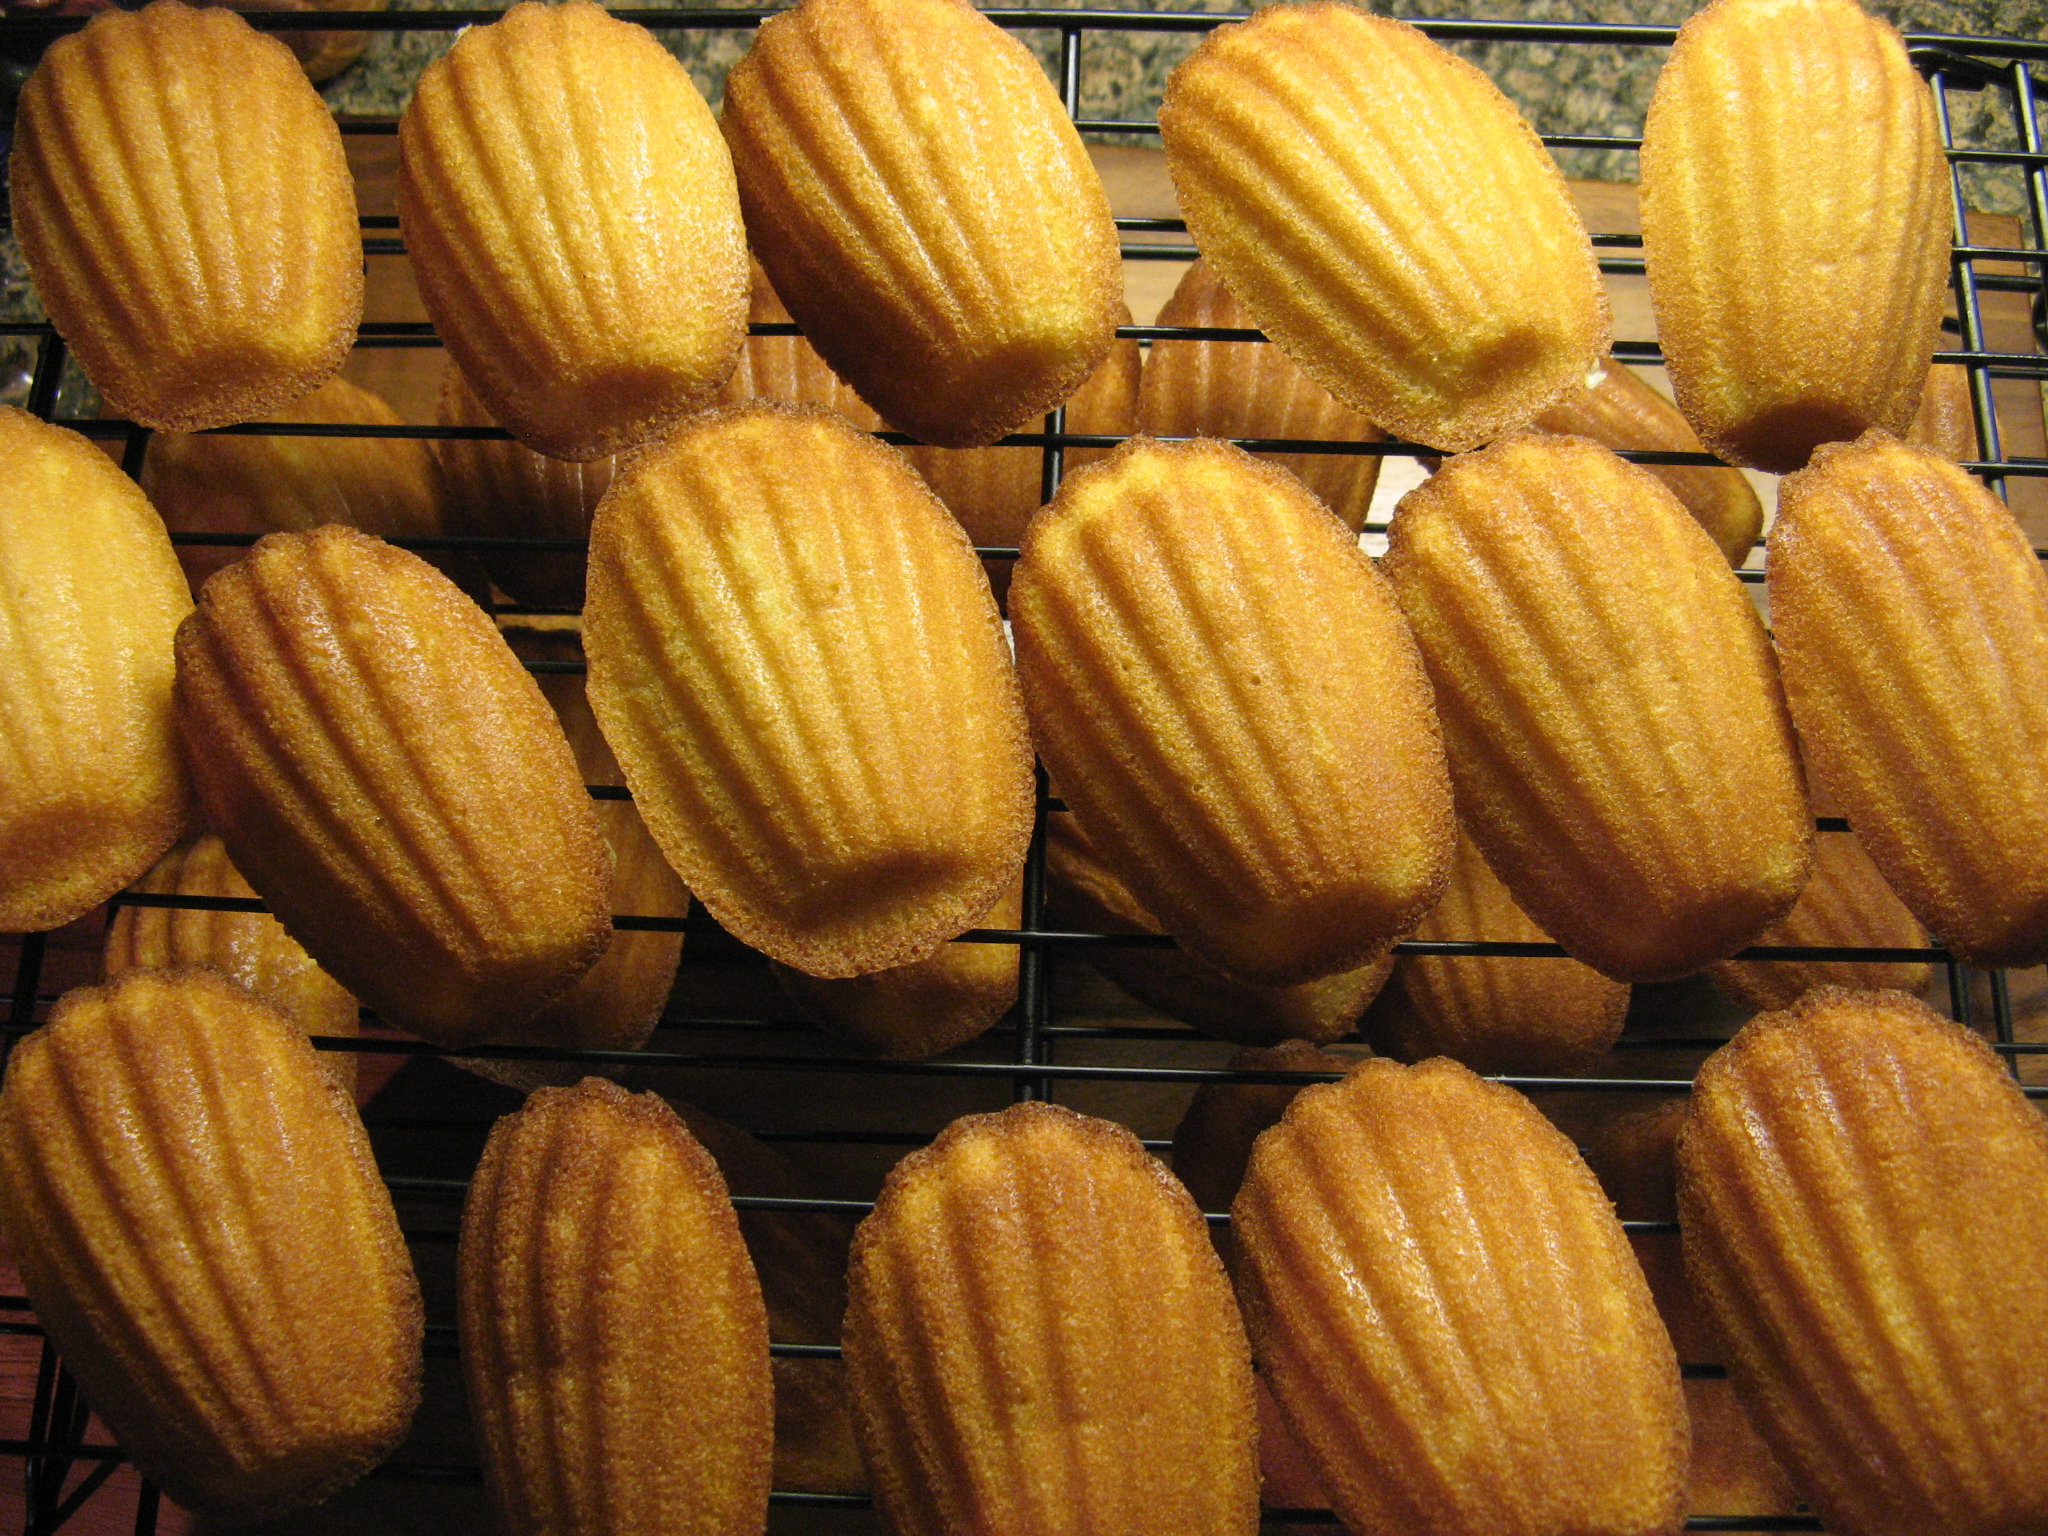
I ended up making thirty-five Madeleines which was the perfect amount for keeping some and sharing. Overall they were hit with everyone who tried them. The texture was spot on – not too dense or light and airy – and the vanilla flavor was just right.  Definitely something I will be making again.

IMG_6510

Vanilla Madeleines

Makes 32-36 (or 160 mini)

Ingredients:

2 cups all-purpose flour

1 teaspoon baking powder

Coarse salt

6 large eggs, room temperature

1 cup granulated sugar

2 tablespoons packed light-brown sugar

2 sticks unsalted butter, melted, plus more, softened, for pans

1 tablespoon plus 1 teaspoon honey

3/4 teaspoon pure vanilla extract

Directions:

1. Whisk together flour, baking powder, and 3/4 teaspoon salt in a medium bowl.

2. Whisk together eggs and granulated and brown sugars with a mixer on high speed until pale and fluffy, about 10 minutes. Sift flour mixture over top in 2 additions, folding in after each addition. Fold in melted butter in 2 additions, then honey and vanilla. Refrigerate, covered, for at least 2 hours.

3. Preheat the oven to 350 F. Let batter stand at room temperature for 10 minutes. Generously butter 2 standard-size or 2 mini nonstick or aluminum Madeleine pans using a pastry brush (or your preferred method!)

4. Transfer batter to a pastry bag, and snip tip to create a 1/2-inch opening. Pipe batter into molds, filling each about three-quarters full. Bake on a middle rack until pale gold, 8 to 11 minutes (6 to 8 minutes for mini Madeleines.) Immediately shake Madeleines out. Wash and re-butter molds. Repeat with remaining batter.

Make Ahead: Madeleine batter can be refrigerated for up to 2 days.

Storage: Madeleines are best the day they are made. But they can be stored in an airtight container at room temperature for up to 2 days.

Pumpkin Ice Cream

By far my favorite sweet treat is ice cream and I firmly believe it’s never too cold to enjoy it. With all the amazing flavors that are available from so many different brands there is always something new to try. It’s been a while since I have made my own ice cream using my Cuisinart Ice Cream Maker but recently the idea of making Pumpkin Ice Cream began floating around in my head. And since I always have a can or two of canned pumpkin puree sitting in my pantry I finally got around to making it and I only wish I had it made it sooner. It was that good!
IMG_6464
To create this ice cream I used an electric mixer to blend together whole milk, heavy cream, sugar, salt, vanilla extract, pumpkin pie spice and pumpkin puree until the sugar was dissolved. I then covered this mixture and refrigerated it overnight. The following day I poured the pumpkin mixture into the bowl of an ice cream maker and allowed it to churn for about 15 minutes – until the mixture was thickened.
IMG_6412
Ideally I wanted the ice cream to have a firmer consistency so I transferred it to a ice cream container and placed it in the freezer.
IMG_6416
And after a few hours it was perfect!
IMG_6460

Pumpkin Ice Cream

Yield Approximately 5 cups

Ingredients:

1 cup whole milk

2 cups heavy cream

1 cup canned pumpkin puree

3/4 cup granulated sugar

1 tablespoon pumpkin pie spice

1 teaspoon vanilla extract

pinch salt

Directions:

Combine all the ingredients in a bowl and using a handheld mixer mix all ingredients until sugar is dissolved. Cover the bowl tightly and refrigerate for a few hours, or overnight. Once the mixture is cold enough follow the instructions for your ice cream maker to make the ice cream.

Strawberry & Champagne Cupcakes

Happy New Year!!! I hope you all ringed in the New Year with much love and happiness surrounding you! I was where I usually am, surrounded by a wonderful group of friends eating delicious food and enjoying some sweet treats. This year those treats were Strawberry Cupcakes with Champagne Frosting; you really can’t get more festive than strawberries and champagne. And the two go together wonderfully!

IMG_6457

To create these cupcakes I began by pureeing strawberries…

IMG_6422

I then combined the pureed strawberries with whole milk and vanilla extract. In another bowl I whisked together flour, baking powder and salt.

IMG_6420

Next, in the bowl of my stand mixer I creamed room temperature butter until it was light and fluffy. Following that I gradually added in a cup of sugar. And finally I added in 1 egg and 2 egg whites.

IMG_6419

With the mixer on low I added in half of the flour mixture, then all of the strawberry mixture and then the other half of the flour mixture. I mixed it until it was just combined and then finished mixing it by hand using a rubber spatula so I wouldn’t accidentally overbeat the batter.

IMG_6424

After dividing the batter evenly among a paper lined muffin tin I placed it in a 350 F preheated oven.

IMG_6426

And after 20 minutes the cupcakes were ready to come out of the oven and be transferred to a wire rack to cool completely.

IMG_6423

Then it was on to the frosting… Using Sweet Rose Champagne I made a Champagne Buttercream Frosting,

IMG_6442

That I then piped onto the cupcakes.

IMG_6455


While these cupcakes were on the sweeter side they were delicious nonetheless. So, what are you all hoping to accomplish this New Year? As for me, I am not one to make resolutions, I just hope – as we all do – for a year that is just as good as or better than the previous one. And to continue to grow to be a better version of my younger myself.


Sprinkles’ Strawberry Cupcakes

Yields 12 cupcakes

Ingredients:

2/3 cup whole fresh or frozen strawberries, thawed

1 1/2 cups all-purpose flour, sifted

1 teaspoon baking powder

1/4 teaspoon coarse salt

1/4 cup whole milk, room temperature

1 teaspoon pure vanilla extract

1/2 cup (1 stick) unsalted butter, room temperature

1 cup sugar

1 large egg, room temperature

2 large egg white, room temperature

Directions:

1. Preheat oven to 350 F degrees. Line a 12-cup muffin tin with cupcake liners; set aside.

2. Place strawberries in a small food processor; process until pureed. You should have 1/3 cup of puree, add a few more strawberries if necessary.

3. In a medium bowl, whisk together flour, baking powder, and salt; set aside. In a small bowl, mix together milk, vanilla, and strawberry; set aside.

4. In the bowl of an electric mixer fitted with the paddle attachment, cream butter on medium-high speed, until light and fluffy. Gradually add sugar and continue to beat until well combined and fluffy. Reduce the mixer speed to medium and slowly add egg and egg whites until just blended.

5. With the mixer of low, slowly add half the flour mixture; mix until just blended. Add the milk mixture; mix until just blended. Slowly add remaining flour mixture, scraping down sides of the bowl with a spatula, as necessary, until just blended.

6. Divide batter evenly among prepared muffin tins. Transfer muffin tin to oven and bake until tops are just dry to the touch, 22 to 25 minutes. Transfer muffin tin to a wire rack and let cupcakes cool completely in tin before icing.


Champagne Buttercream Frosting 

Ingredients:

1/2 cup (1 stick) unsalted butter, room temperature

3 1/2 cups confectioners’ sugar

4 tablespoons champagne (I used a Sparkling Rose)

1 teaspoon vanilla extract

Directions:

In a large bowl beat the butter with a handheld mixer on medium until it’s creamy. Reduce the speed to low and add 1 cup of confectioners’ sugar and continue beating until combined. Then add in the champagne and vanilla and increase the speed to medium and continue beating until all the ingredients are incorporated. Once again reduce the speed to low and gradually add in the remaining sugar and beat until the frosting reaches a spreadable consistency.

Christmas Themed Sugar Cookies

It’s Christmas Eve and I am happy to say that all of my Christmas baking is officially done. For my final cookie post before the holiday – check out my Rainbow Cookies and Gingerbread Men from earlier in the week – I am going completely traditional with sugar cookies decorated to reflect the holiday!

IMG_6310

After sifting together cake flour (yes, you read that correctly, cake flour for cookies), baking powder and salt in a large bowl…

IMG_6267

I then mixed together butter and sugar in a separate bowl and then added in an egg and vanilla extract and continued mixing until all of the ingredients were incorporated.

IMG_6268

Next I added in the flour mixture to the butter mixture in 2 additions.

IMG_6271

Once the dough came together I divided it in half and wrapped it in plastic wrap and refrigerated it until it was firm – the recipe stated at least an hour but I left it in the fridge overnight and just let it sit out for a few minutes before rolling it out.

IMG_6272

Whereas the recipe said to roll the dough to about a 1/8-inch thick I found it to be thin to work with and the few cookies that I did manage to cut out at that thinness ended up over-browning when I baked them so I went with the standard 1/4-inch thick.

IMG_6291

I decorated a few of the cut-outs with sanding sugar prior to refrigerating them for 30 minutes before baking them in a 350 F preheated oven.

IMG_6293

After letting the cookies cool it was time to spruce them up with royal icing, sanding sugar and sprinkles.

IMG_6305

These snowflakes were by far my favorite and I must say that the cake flour produced a sugar cookie that was much more delicate than and not as crunchy as your typical sugar cookie. I definitely think this will become my go-to sugar cookie recipe from now on.

IMG_6294

Hope you all have a wonderful Christmas!

Sugar Cookies

Makes 24 to 36 cookies

Ingredients

2 1/2 cups cake flour (not self-rising), plus more for dusting

1 teaspoon baking powder

1/4 teaspoon salt

2 sticks unsalted butter, at room temperature

3/4 cup sugar

1 large egg

1 teaspoon pure vanilla extract

Directions

1. Sift the cake flour, baking powder and salt onto a piece of parchment paper or into a medium bowl; set aside. Beat the butter and sugar in a large bowl with a mixer on medium-high speed until light and fluffy, about 5 minutes. Add the egg and vanilla and beat until incorporated. Reduce the mixer speed to low and beat in the flour mixture in 2 batches until just incorporated. Divide between 2 pieces of plastic wrap; shape into disks. Wrap and refrigerate until firm, at least 1 hour. (The dough can be frozen for up to 1 month; thaw overnight in the refrigerator before rolling.)

2. Line 2 baking sheets with parchment paper. Working with 1 disk at a time, roll out the dough on a floured surface, dusting with flour as needed, until about 1/8 inch thick*. Cut out shapes with 2-to-4-inch cookie cutters; arrange 2 inches apart on the prepared baking sheets. (If the dough becomes too soft as you work, return to the refrigerator until firm.) Gather the scraps and refrigerate until firm; reroll once to cut out more cookies. Chill the cutouts 30 minutes.

3. Position racks in the upper and lower thirds of the oven and preheat to 350 degrees F. Bake, switching the pans halfway through, until the cookies are slightly puffed and just golden, 13 to 15 minutes. Let cool 5 minutes on the baking sheets, then transfer to racks to cool completely before icing.

*I rolled out my cookies 1/4 inch thick.

Gingerbread Men

So, I have a confession to make, prior to making these cookies I had never had a gingerbread cookie. I’m not really sure why that is. Possibly because it’s never been the cookie I reach for when I see a platter of assorted holiday cookies and also I had never tried baking them. This year though I decided to add it to my holiday baking.

IMG_6319

I began these cookies by sifting together flour, baking soda, ginger, cinnamon, ground cloves and allspice into a bowl.

IMG_6228

In another bowl I first mixed together melted butter and shortening, light brown sugar and molasses and then added in an egg.

IMG_6230

Next I beat the flour into the molasses mixture.

IMG_6231

Once the dough came together I divided it in half and wrapped it in plastic wrap and patted it down to about 1/2 inch and refrigerated it. While the recipe stated to refrigerate it for at least 2 hours I ended up refrigerating it overnight and just let it sit out for a few minutes before rolling it out.

IMG_6234

Once the dough was soft enough to roll, I rolled it a 1/4 inch thick and began cutting out some gingerbread men.

IMG_6235

After placing them on a parchment lined baking sheet I decorated them with some mini M&M’s and round sprinkles.

IMG_6236

I then placed the cookies in the refrigerator for 15 minutes and then baked them in a 350 F preheated oven for about 10 minutes and then transferred them to a wire rack to cool completely.

IMG_6253

Then the fun began, well, that depends on whether or not you like to decorate cookies. I’m still on the fence about that one. I made a batch of royal icing and gave my Gingerbread cookies some faces and some squiggles!

IMG_6285

So, did I enjoy my first Gingerbread cookie? Well, yes and no. With my first cookie I thought the flavor was an acquired taste. The molasses was really standing out to me, but, the following day I tried another one and I definitely had other sentiments about it. It’s tasty but not something I could have two or three of in one sitting as with other cookies.

Perfect Gingerbread Men

Makes 2 to 3 Dozen Cookies

Ingredients:

3 1/2 cups flour

1 teaspoon baking soda

1 teaspoon salt

1 tablespoon ground ginger

2 teaspoons cinnamon

1/4 teaspoon ground cloves

1/4 teaspoon allspice

6 tablespoons butter, melted

1 tablespoon shortening, melted

2/3 cup light brown sugar

3/4 cup molasses

1 egg

Directions:

1. In a bowl sift together the flour, baking soda, salt, ground ginger, cinnamon, ground cloves and allspice; set aside.

2. In another bowl mix together the butter, shortening, sugar and molasses, then beat in the egg. Beat in the flour mixture in two additions. Divide the dough in half, wrap in plastic and pat to 1/2 inch thick. Chill 2 hours.

3. Preheat the oven to 350 F and line two baking sheets with parchment paper.

4. On a floured surface roll out each piece of dough to 1/4 inch think, dusting with flour if needed. Cut into 3-to-5-inch gingerbread men and arrange 1-inch apart on prepared baking sheets. Brush off the excess flour and chill 15 minutes.

5. Bake until the cookies are golden around the edges, 10 to 12 minutes. Transfer to a rack to cool, then decorate.


Royal Icing

Ingredients:

1 lb. box on confectioners’ sugar

1 tablespoons meringue powder

5 tablespoons water

Directions:

Whisk the sugar and meringue powder in a large bowl. Add the water and beat with a mixer on medium-high speed until soft glossy peaks form, adding up to 1 more tablespoon water if necessary. Cover the bowl with a damp paper towel and plastic wrap until ready to use to prevent the icing from drying out.

Rainbow Cookies

Christmas week is finally here and holiday baking is more than likely in high gear for most of you. I know I have quite a few different cookies to bake over the next few days. I was already busy last week trying out some recipes. One of those recipes is actually one that I have tried twice before without much success, but luckily I didn’t strike out with this third attempt. These Rainbow Cookies came out perfect and were well worth the time and numerous steps it took to make them! I’m not sure what exactly led to my success this time, maybe it was the jelly roll pans I used as opposed to the baking dishes or rimmed cookie sheets I used in the past, or me diligently following the recipe exactly as written and reading and re-reading it to make sure I followed it properly or maybe it was just due to sheer patience and dedication. Whichever it was I am just happy to say I finally succeeded in making one of my favorite cookies!

IMG_6266

I began making the batter by mixing together almond paste and sugar until it formed into fine crumbles.

IMG_6204

Next I added in 2 1/2 sticks of unsalted butter a few pieces at a time.

IMG_6205

And finally I added in 4 large eggs yolks one at a time.

IMG_6206

In a separate bowl I sifted 2 cups of flour and then sprinkled salt on top.

IMG_6207

I then added the flour to batter and mixed it until it was just combined.

IMG_6208

In another bowl I whisked 4 large egg whites until they were foamy and then slowly added 2 tablespoons of sugar and continued whisking until firm peaks formed.

IMG_6209

Once the egg whites were ready I gently folded them into the batter.

IMG_6210

Next I evenly divided the batter among three bowls and tinted one a deep salmon color, another a bright green color and I left the third uncolored.

IMG_6212

Following that I spread the batter among three prepared (I first sprayed them with baking spray and then lined them with parchment paper) jelly roll pans.

IMG_6217

After baking the layers in a 350 F oven for about 10 minutes I let them cool completely in the pans on wire racks.

IMG_6221

Then it was time to start assembling the cookies… I began by spreading the green layer with a decent amount of seedless raspberry jam.

IMG_6223

Next I slid the uncolored layer onto the raspberry covered green layer and covered it with raspberry preserves as well.

IMG_6224

And finally I slid the salmon color on top.

IMG_6225

After wrapping it with plastic wrap and then covering it with one of the jelly roll pans and a few of my old college textbooks I placed the assembled layers in the refrigerator overnight.

IMG_6227

The following day I unmolded the layers and trimmed them to make straight edges.

IMG_6256

I then melted bittersweet chocolate and poured it over the layers.

IMG_6257

After letting it set for a few minutes I scraped wavy lines into the chocolate with a fork.

IMG_6258

And finally once the chocolate had set a little more I cut the cake into cookies. First by making vertical cuts.

IMG_6259

And then horizontal cuts.

IMG_6260

And then it was time to enjoy all my hard work and these cookies were definitely worth every minute of it!

IMG_6266


Rainbow Cookies

Recipe courtesy Lidia Bastianich for Food Network Magazine

Ingredients:

2 1/2 sticks unsalted butter, cut into pieces and softened, plus more for the pans

2 cups all-purpose flour, plus more for the pans

8 ounces almond paste

1 cup sugar

4 large eggs, separated

1/2 teaspoon kosher salt

Red and green food coloring (gel preferred)

1 15 -ounce jar smooth apricot jam*

Cooking spray

1 pound bittersweet chocolate, chopped

*I used seedless Raspberry Jam

Directions:

You’ll need three 9-by-12-inch jelly roll pans or rimmed baking sheets to make these layered cookies.

Prep the pans: Position racks in the upper and lower thirds of the oven; preheat to 350 degrees F. Butter and flour three 9-by-12-inch jelly roll pans or rimmed baking sheets and line with parchment paper.

Make the batter: Combine the almond paste and 3/4 cup plus 2 tablespoons sugar in a stand mixer fitted with the paddle attachment. Mix on medium speed until the mixture is in fine crumbles. Beat in 2 1/2 sticks butter, a few pieces at a time, until well combined. Beat in the egg yolks, one at a time, until smooth.

Sift 2 cups flour onto a sheet of parchment and sprinkle the salt on top; add to the mixer bowl and beat until just combined.

In a clean bowl, whisk the egg whites until foamy; while whisking, slowly add the remaining 2 tablespoons sugar and whisk until firm peaks form (or use a hand mixer). Fold about one-third of the egg white mixture into the batter with a rubber spatula, then gently fold in the rest. The batter should be fluffy.

Color the batter: Divide the batter evenly among 3 bowls. Stir enough red food coloring into 1 bowl to make a deep salmon color. Stir enough green food coloring into another bowl to make a medium green color. Leave the third bowl uncolored.

Bake the layers: Transfer the batter to the prepared pans (one pan for each color). Dip an offset spatula in water and spread the batter to the edge of each pan, smoothing the tops. Bake, switching the position of the pans halfway through, until the cakes are cooked through and just beginning to brown around the edges, 8 to 10 minutes. Let cool completely in the pans on wire racks.

Assemble the layers: Spread half of the jam evenly over the green cake layer almost all the way to the edges. Unmold the plain cake layer by inverting it onto another pan or cutting board; peel off the parchment.

Carefully slide the plain layer onto the green layer (use a wide offset spatula to help you, if necessary). Spread the remaining jam on top of the plain layer. Unmold the red cake layer and slide it onto the plain layer.

Cover the cake with plastic wrap and top with one of the empty pans; place several heavy cans on top to weigh down the layers. Refrigerate at least 4 hours or overnight.

Unmold the cake: Remove the cans and plastic wrap. Place a cutting board on top of the cake and flip to unmold it onto the cutting board. Remove the parchment from the top of the green layer.

Trim the cake: Trim the sides with a knife to make straight edges. Spray a wire rack with cooking spray; set the rack over a baking sheet. Carefully slide the cake onto the rack, using a wide offset spatula to help you, if necessary.

Cover in chocolate: Melt the chocolate in a heatproof bowl set over a pan of simmering water; pour over the cake. Dip an offset spatula in the hot water and smooth the top and sides. Let set slightly. Scrape wavy lines into the chocolate with a fork; let cool a few more minutes until the chocolate is mostly set but still slightly tacky.

Cut into pieces: Slide the cake back onto the cutting board. Slice crosswise into 6 strips, then cut each strip into 8 rectangular pieces. For clean edges, dip the knife in warm water and wipe it with a cloth between cuts. Store in an airtight container at room temperature for up to 1 week.


Mint Chocolate Delights

While pumpkin is the flavor of the Fall, peppermint / mint is the flavor of Winter; especially now during the Holiday season. Peppermint hot chocolate is available almost everywhere – I’m partial to getting mine from Starbucks, already made and topped with whipped cream -,  red & green mint M&M’s, mint filled Hershey Kisses and candy canes – just to name a few candies – can be found on store shelves. And I recently came across Nestle Toll House Dark Chocolate & Mint Morsels, which I couldn’t resist picking up. And as luck would have it, there was a cookie recipe right on the back of the package waiting to be made.

IMG_6110

To begin I combined the dry ingredients – flour, cocoa powder, baking soda and salt – in a medium bowl and set it aside.

IMG_6112

In a large bowl I creamed together butter, granulated sugar, brown sugar and vanilla extract and then added in two eggs, one at a time.

IMG_6114

Next I gradually added in the flour mixture.

IMG_6115

And finally I stirred in the dark chocolate and mint morsels (if you love the smell of mint you’ll be in heaven when you open this bag)…

IMG_6117

Which resulted in the casualty of one of my spatulas since the batter for these cookies is so thick and dense – thankfully the cookies turned out completely opposite of that.

IMG_6119

Next I drop rounded tablesoonfuls of the dough on parchment lined cookie sheets.

IMG_6121

After baking in a preheated 325 F oven for 11 minutes I let them cool on the sheets for a few minutes before transferring them to a wire rack to cool completely.

IMG_6124

These cookies are all kinds of delicious and thankfully the recipe yields enough so that you can definitely get your fill!

IMG_6155

Mint Chocolate Delights

Makes about 4 dozen

Ingredients:

2 cups all-purpose flour

2/3 cup baking cocoa

1 teaspoon baking soda

1/2 teaspoon salt

1 cup (2 sticks) unsalted butter, softened

2/3 cup granulated sugar

2/3 cup light brown sugar

1 teaspoon vanilla extract

2 large eggs

1 2/3 cups (10-oz. pkg.) Nestle Toll House Dark Chocolate& Mint Morsels

Directions:

1. Preheat oven to 325 F and line two baking sheets with parchment paper.

2. Combine flour, cocoa, baking soda and salt in a small bowl. Beat butter, granulated sugar, brown sugar and vanilla extract in a large bowl until creamy. Add eggs, one at a time, beating well after each addition. Gradually beat in the flour mixture. Stir in morsels. Drop by well-rounded tablespoon onto prepared baking sheets.

3. Bake for 11 to 13 minutes or until cookies are puffed and centers are set. Cool on baking sheets for 2 minutes; remove to wire racks to cool completely.

Cocoa Snickerdoodles

If you have seen this month’s issue of Food Network Magazine you know they are getting their readers ready for the Holidays with a slew of cookie recipes. While they all sound amazing one of them stood out from the rest for me… Cocoa Snickerdoodles. What is there not to love about a cookie made with cocoa and then rolled in cinnamon sugar?

IMG_6144

I began by whisking together the dry ingredients: flour, unsweetened cocoa powder, baking soda, salt and cream of tartar (which I just recently learned is the key ingredient that makes a Snickerdoodle and Sugar Cookie different. The addition of the cream of tartar prevents the cookie from having the crunch of a Sugar Cookie and instead a soft and cakey inside.)

IMG_6084

Next I beat room temperature butter along with granulated and light brown sugar until it was light and fluffy.

IMG_6085

I then added in an egg and vanilla extract.

IMG_6086

And finally I beat in the flour mixture until the two mixtures were just combined.

IMG_6087

Before placing the cookies on the baking sheet I rolled them in a mixture of sanding sugar and cinnamon.

IMG_6089

Since I knew these cookies would spread while baking I was sure to give them ample space on a parchment lined baking sheet prior to baking them in a 375 F oven for 9 minutes; rotating the pan after the first 5 minutes.

IMG_6093

My first batch right out of the oven… I let the cookies cool on the baking sheet for a few minutes before transferring them to a wire rack to cool completely.

IMG_6099

Once cooled I couldn’t wait to try one… Here’s a close-up of the soft cakey texture I mentioned.

IMG_6153

And while these cookies were delicious once cooled they were even better the next day once the cinnamon sugar mixture had more time to seep into them. The only bad thing about this recipe… It only yields 18 cookies!


Cocoa Snickerdoodles

Makes 18 cookies

Ingredients:

1 1/4 cups all-purpose flour

1/4 cup unsweetened cocoa powder

1 1/2 teaspoons cream of tartar

1/2 teaspoon baking soda

1/4 teaspoon salt

10 tablespoons unsalted butter, at room temperature

3/4 cup granulated sugar

1/4 cup packed light brown sugar

1 large egg

1 teaspoon pure vanilla extract

1/2 cup white sanding sugar

1 3/4 teaspoons ground cinnamon

Directions:

1. Preheat the oven to 375 F and line 2 baking sheets with parchment paper. Whisk the flour, cocoa powder, cream of tartar, baking soda and salt in a medium bowl. Beat the butter, granulated sugar and brown sugar in a large bowl with a mixer on medium speed until creamy, about 2 minutes. Increase the speed to medium high and beat until fluffy, about 2 more minutes. Beat in the egg and vanilla; reduce the mixer speed to low and beat in the flour mixture until just combined.

2. Combine the sanding sugar and cinnamon in a small shallow bowl. Form heaping tablespoonfuls of dough into balls with damp hands; toss in the cinnamon sugar to coat. Arrange about 3 inches apart on 2 baking sheets.

3. Bake, switching the pans halfway through, until the cookies are set around the edge, 9 to 11 minutes. Let cool 2 minutes on the baking sheets, then transfer to a rack to cool completely.

Mushroom & Sausage Quiche

Usually I add ground sausage to my Thanksgiving stuffing, this year though I was on the fence as to whether or not to add it in. As you can guess from this post I opted not to add it, but then the question was what to do with it. I could have frozen it and used it another time but then I remembered a recipe I had for a quiche that called for sausage and mushrooms, another ingredient for the quiche that I had left over from said stuffing. The recipe – Mushroom & Sausage Quiche – is one I came across in a cookbook I picked up years ago and ended up not using. While it was filled with many recipes most of them weren’t appealing to me except this one – which I ended up photocopying and then donating the book.

IMG_6080

I began by cooking the ground sausage.

IMG_6051

While the ground sausage was cooking I chopped up half a Vidalia onion and sliced half-a-pound of white mushrooms.

IMG_6053

After the sausage was cooked I transferred it to a bowl and wiped the skillet down and cooked the chopped onions and sliced mushrooms in a tablespoon of melted butter.

IMG_6055

Meanwhile in the bowl of my food processor I combined eggs, sour cream, cottage cheese (those of you not fond of cottage cheese don’t worry once the quiche is done you won’t even remember it’s there), flour and parmesan cheese and blended them until the mixture was smooth.

IMG_6056

I then stirred together the sausage, sautéed onions and mushrooms, the egg mixture and shredded sharp Cheddar cheese in a large bowl.

IMG_6057

And then spooned it into my pie dish which I fitted with a refrigerated piecrust.

IMG_6060

Following that I baked it in a 350 F preheated oven for about 50 minutes.

IMG_6079

After letting it cool for about 10 minutes I sliced into it and enjoyed the every bite of it!

IMG_6083

Mushroom and Sausage Quiche 

Ingredients:

One 9-inch refrigerated piecrust, fitted into a 9-inch glass plate

One 1-pound package ground sausage

1 tablespoon butter

1/2 pound fresh mushrooms, sliced

1/2 large Vidalia onion, chopped

4 eggs

1 cup sour cream

1 cup cottage cheese, 2% or 4% milk fat

3 tablespoons all-purpose flour

3 tablespoons freshly grated Parmesan cheese

1 teaspoon hot sauce*

One 8-ounce package shredded sharp Cheddar cheese

*I omitted this from my version

Directions:

1. Preheat the oven to 350 F. Crimp the edges of the crust.

2. In a large skillet, cook and drain the sausage, and set aside. Wipe out the pan, and in the same pan, melt the butter over medium-high heat. Add the mushrooms and onion, and sauté for 5 minutes, or until tender.

3. Place the eggs, sour cream, cottage cheese, flour, Parmesan cheese, and hot sauce in a food processor and process until smooth, stopping to scrape down the sides of the bowl.

4. Stir together the crumbled sausage, mushroom mixture, egg mixture, and Cheddar cheese, and spoon into the piecrust. Cover the edges of the piecrust with aluminum foil to prevent the crust from burning.

5. Bake for 50 to 60 minutes, until golden brown and the center is set. Cool for 10 minutes and cut into 8 wedges.

Peanut Butter & Chocolate Marbled Cookies

Another month has rolled in and it’s not just any month, it’s December – the month where everywhere you look there is something sweet to eat and it’s almost impossible to say no to all of the deliciousness. One thing synonymous with December is baking, especially baking Christmas cookies. Personally I don’t think Christmas cookies are limited to those decorated with red and green sprinkles, for me it’s any cookie baked  this month – hey, it’s Christmas season, not just the day. So to kick off the baking festivities I would like to share with you a cookie that is right up my alley. I may have mentioned once or twice before that my favorite candy is Reese’s Peanut Butter Cups, so imagine my delight when I came across a cookie recipe that was a swirl of chocolate and peanut butter flavors. (I should also note that I am a big fan of peanut butter cookies as well!) The recipe is officially called Best of Both Cookies and I came across it in a special edition of Taste of Home magazine highlighting Christmas cookies and candies, but, for the purpose of this post I am going to call them Peanut Butter & Chocolate Marbled Cookies.

IMG_6029

I’ll be honest I was a bit apprehensive about making these cookies for two reasons; they are slice and bake cookies (I prefer making drop and bake cookies) and it involved making two separate doughs and then mixing them together (I thought the doughs would be difficult to meld.) Luckily I was wrong on both fronts. Incorporating the two doughs and forming them into logs to be sliced was super simple.  First up was the peanut butter dough. I creamed together peanut butter, softened butter, granulated sugar and light brown sugar until it was light and fluffy and then added in an egg. In a separate bowl I combined flour, baking powder, baking soda and salt which I then mixed into the peanut butter mixture.

IMG_5977

To make the chocolate dough I creamed together butter, granulated sugar and light brown sugar once again until it was light and fluffy. I then added in an egg and vanilla extract. And finally I added in a mixture a of flour, cocoa, baking powder, baking soda and salt.

IMG_5978

I divided each of the doughs in half and kneaded one peanut butter half and one chocolate half a few times until it began to swirl and then formed the combined doughs into a 10-inch log.

IMG_5979

I then wrapped each of the logs in plastic wrap and refrigerated them until they were firm – at least 3 hours.

IMG_5981

Once firm it was easy to slice the dough for the cookies.

IMG_6002

I then placed them on a parchment lined baking sheet and baked them for 7 minutes in a 350 F preheated oven.

IMG_6003

I let them cool on the sheet for a few minutes before transferring them to a wire rack to cool completely. Overall these cookies were amazing… Not one thing negative to say about them. Depending on how the doughs swirl together you may get a cookie that is more peanut butter than chocolate or vice versa, but, either way it’ll be delicious. Neither of the doughs is overpowering with flavor so it’s the perfect marrying of peanut butter and chocolate!

IMG_6030


Peanut Butter & Chocolate Marbled Cookies (Best of Both Cookies)

Ingredients:

Peanut Butter Dough:

3/4 cup creamy peanut butter

1/2 cup butter, softened

1/2 cup sugar

1/2 cup packed brown sugar

1 egg

1 1/4 cups all-purpose flour

1/2 teaspoon baking powder

1/2 teaspoon baking soda

1/4 teaspoon salt

Chocolate Dough:

1/2 cup butter, softened

1/2 cup sugar

1/2 cup packed brown sugar

1 egg

1 teaspoon vanilla extract

1 1/4 cups all-purpose flour

1/4 cup baking cocoa

1/2 teaspoon baking powder

1/2 teaspoon baking soda

1/4 teaspoon salt

Directions:

1. In a large bowl, cream the peanut butter, butter and sugars until light and fluffy, about 4 minutes. Beat in egg. Combine the flour, baking powder, baking soda and salt; gradually add to creamed mixture and mix well.

2. For the chocolate dough, in another large bowl, cream butter and sugars until light and fluffy. Beat in egg and vanilla. Combine the flour, cocoa, baking powder, baking soda and salt; gradually add to creamed mixture and mix well.

3. Divide each portion in half. Knead one peanut butter and one chocolate portion together 5-10 times or until it just begins to swirl. Shape into a 10-inch log. Wrap in plastic wrap. Repeat with remaining dough. Refrigerate for 3-4 hours or until firm.

4. Preheat oven to 350 F. Unwrap and cut into 1/4 inch slices. Place 2 inches apart on lightly greased baking sheets (or parchment lined baking sheets.) Bake 6-8 minutes or until bottoms are lightly browned. Cool 2 minutes before removing from pans to wire racks.