Individual Strawberry Short-Cut Shortcakes

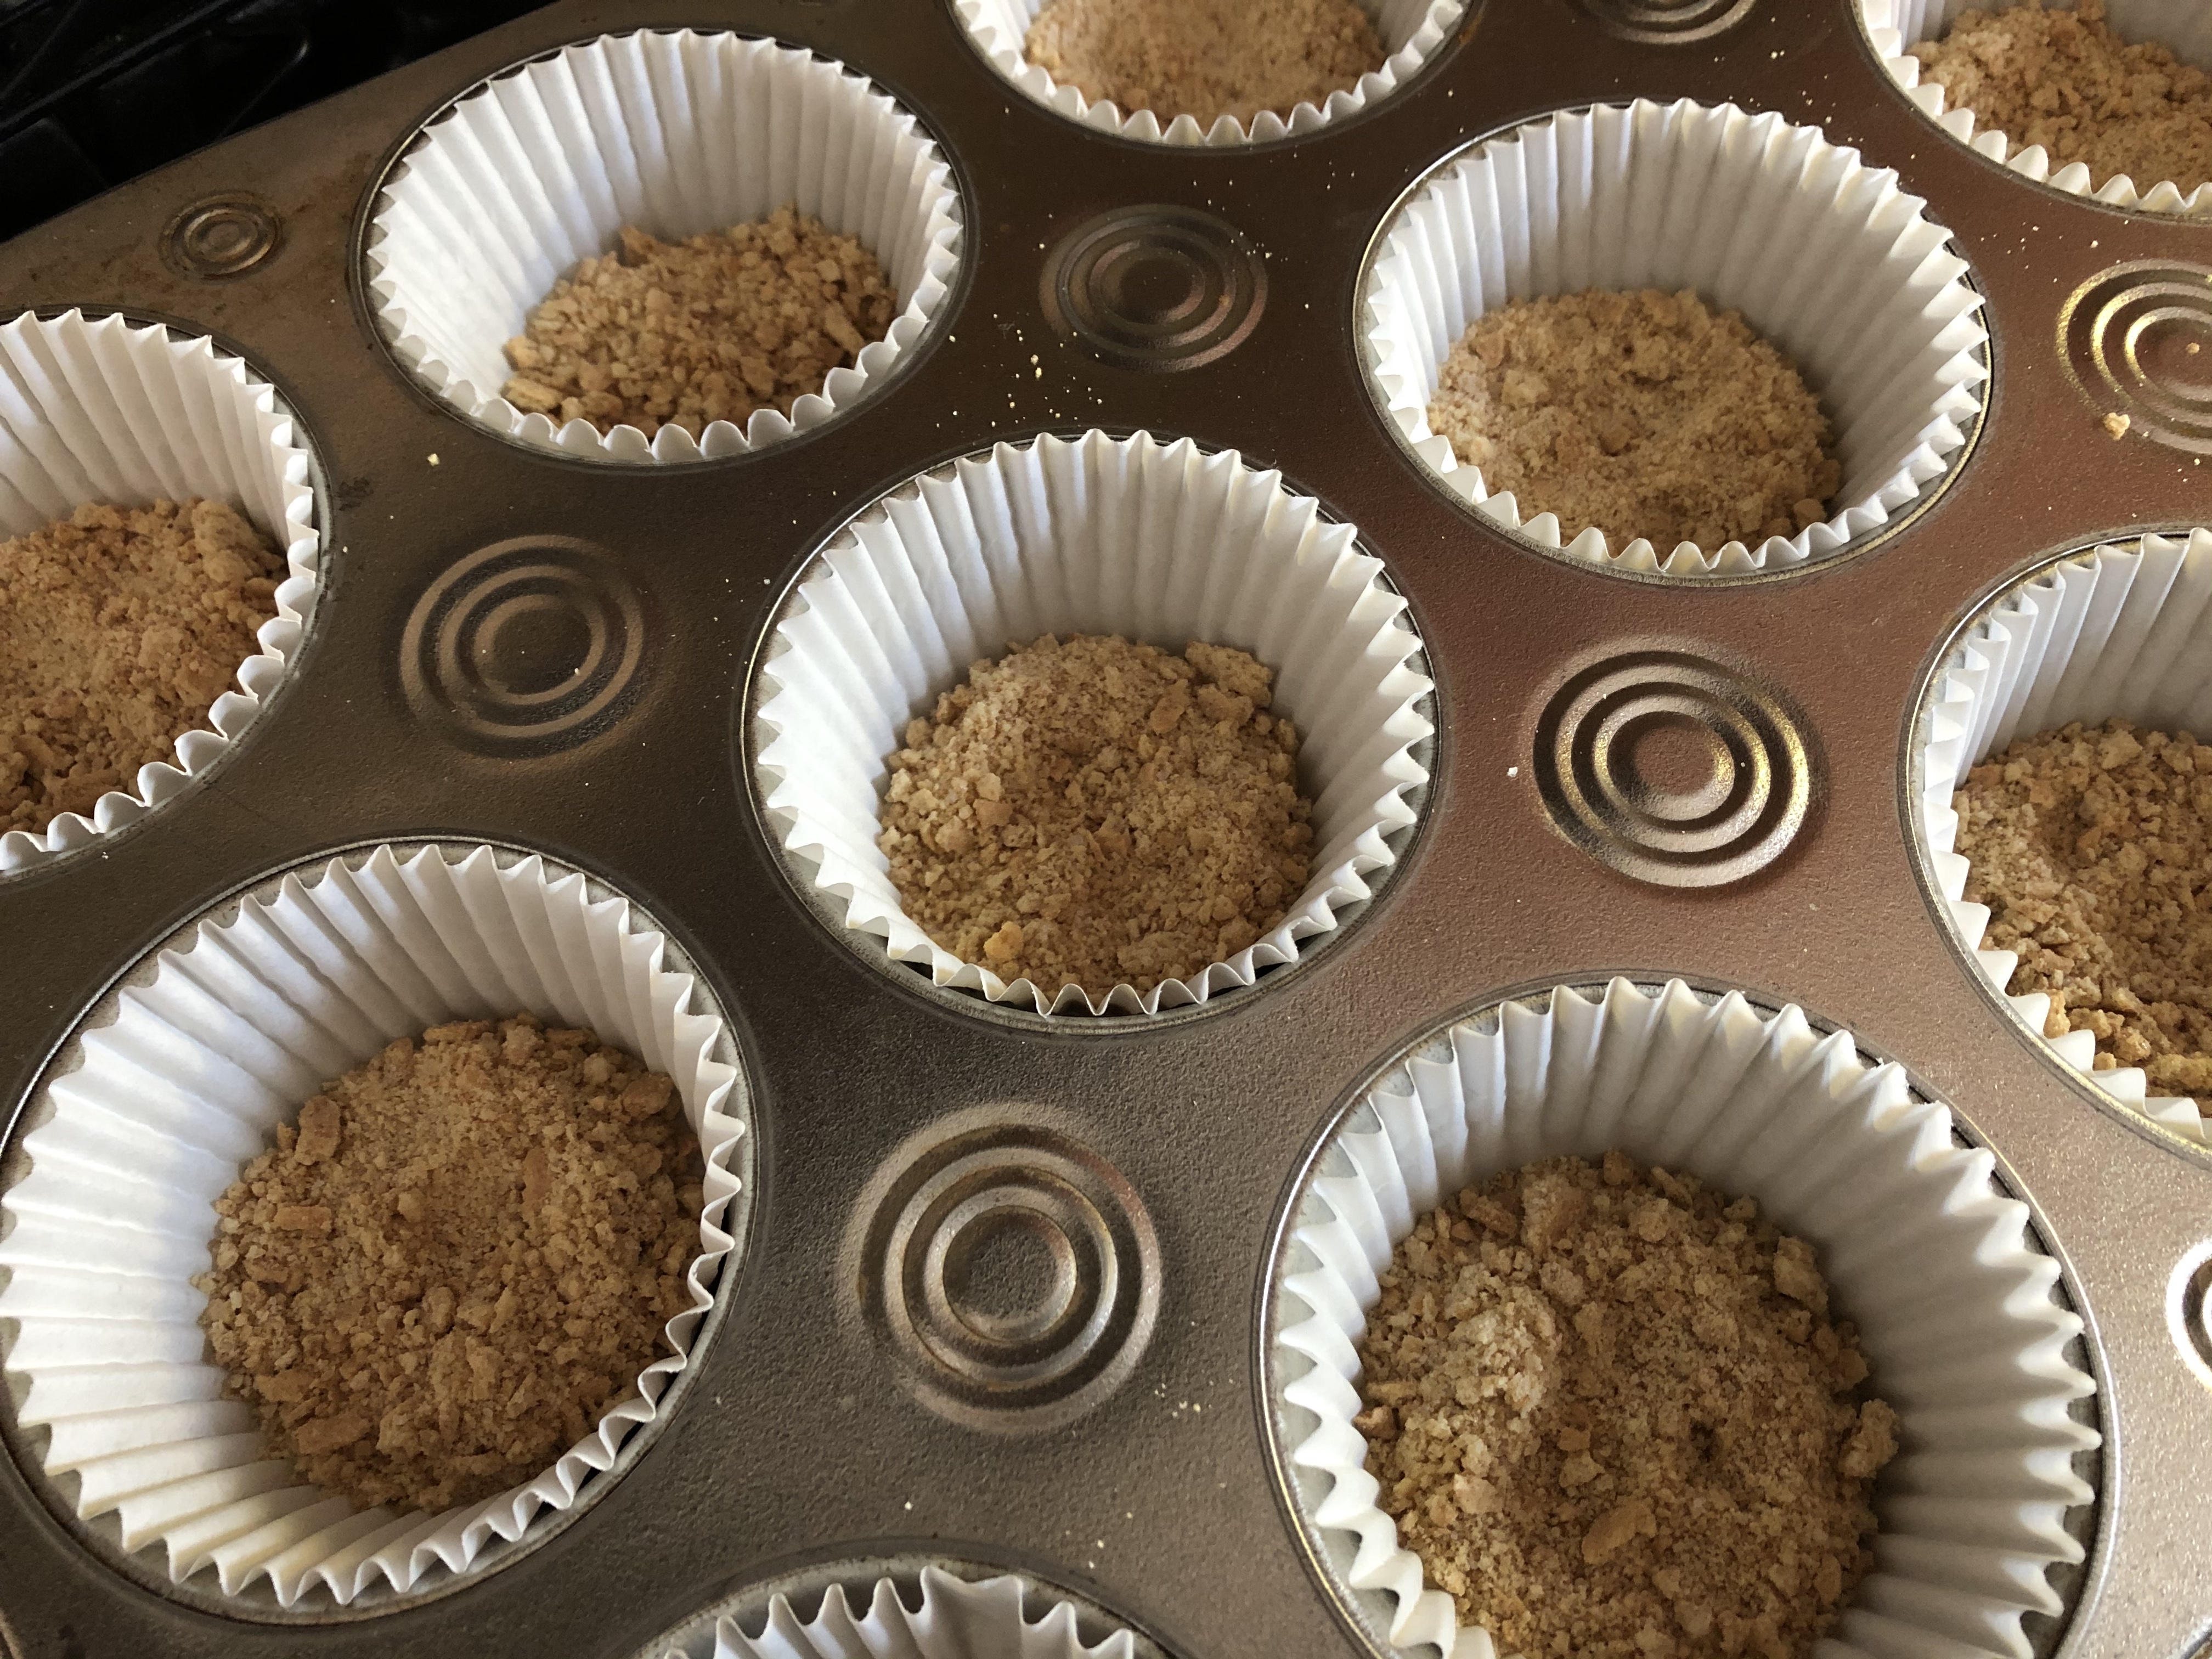
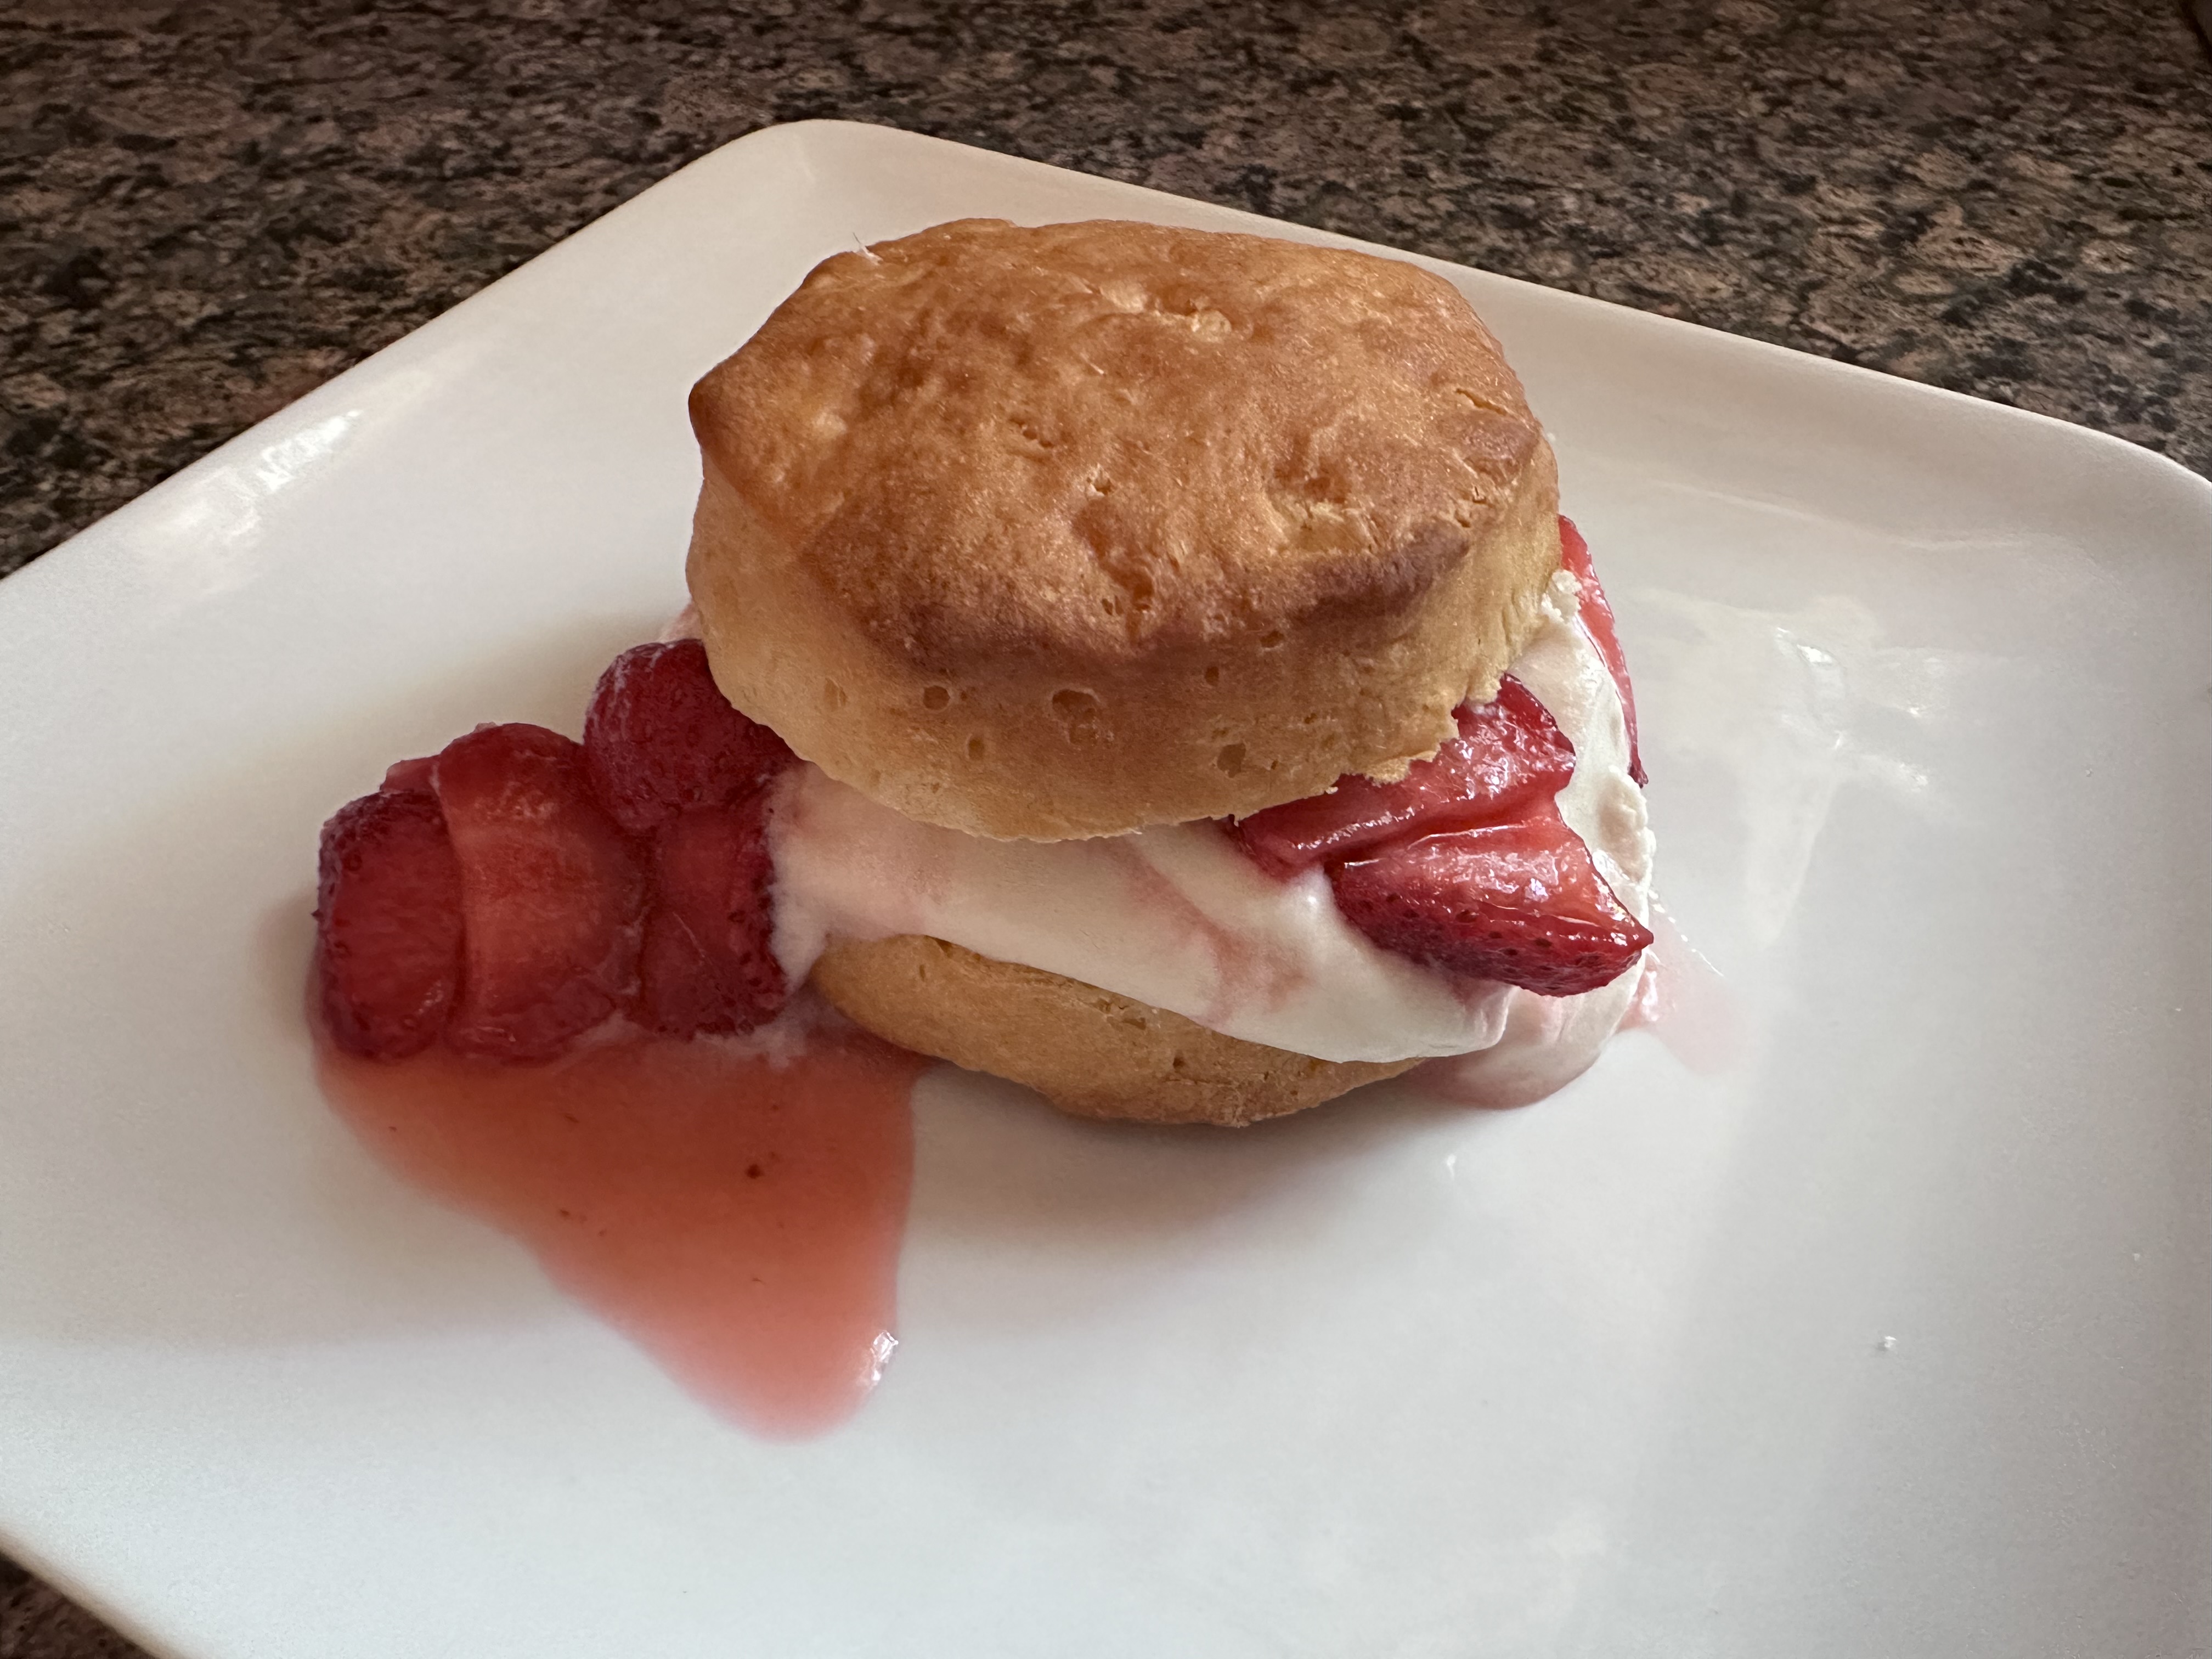
Even though August is quickly coming to an end there is still some summer fun to be had. July flew by for me for a bunch of reasons, so I am little behind in posting fun warm-weather desserts on here. But the one I am sharing today is quick, easy and perfect for summer evenings. It’s an Individual Strawberry Short-Cut Shortcake. What makes it a short-cut? Taking the work out of making the biscuits by using refrigerated biscuits that are ready in just under 15 minutes in the oven.

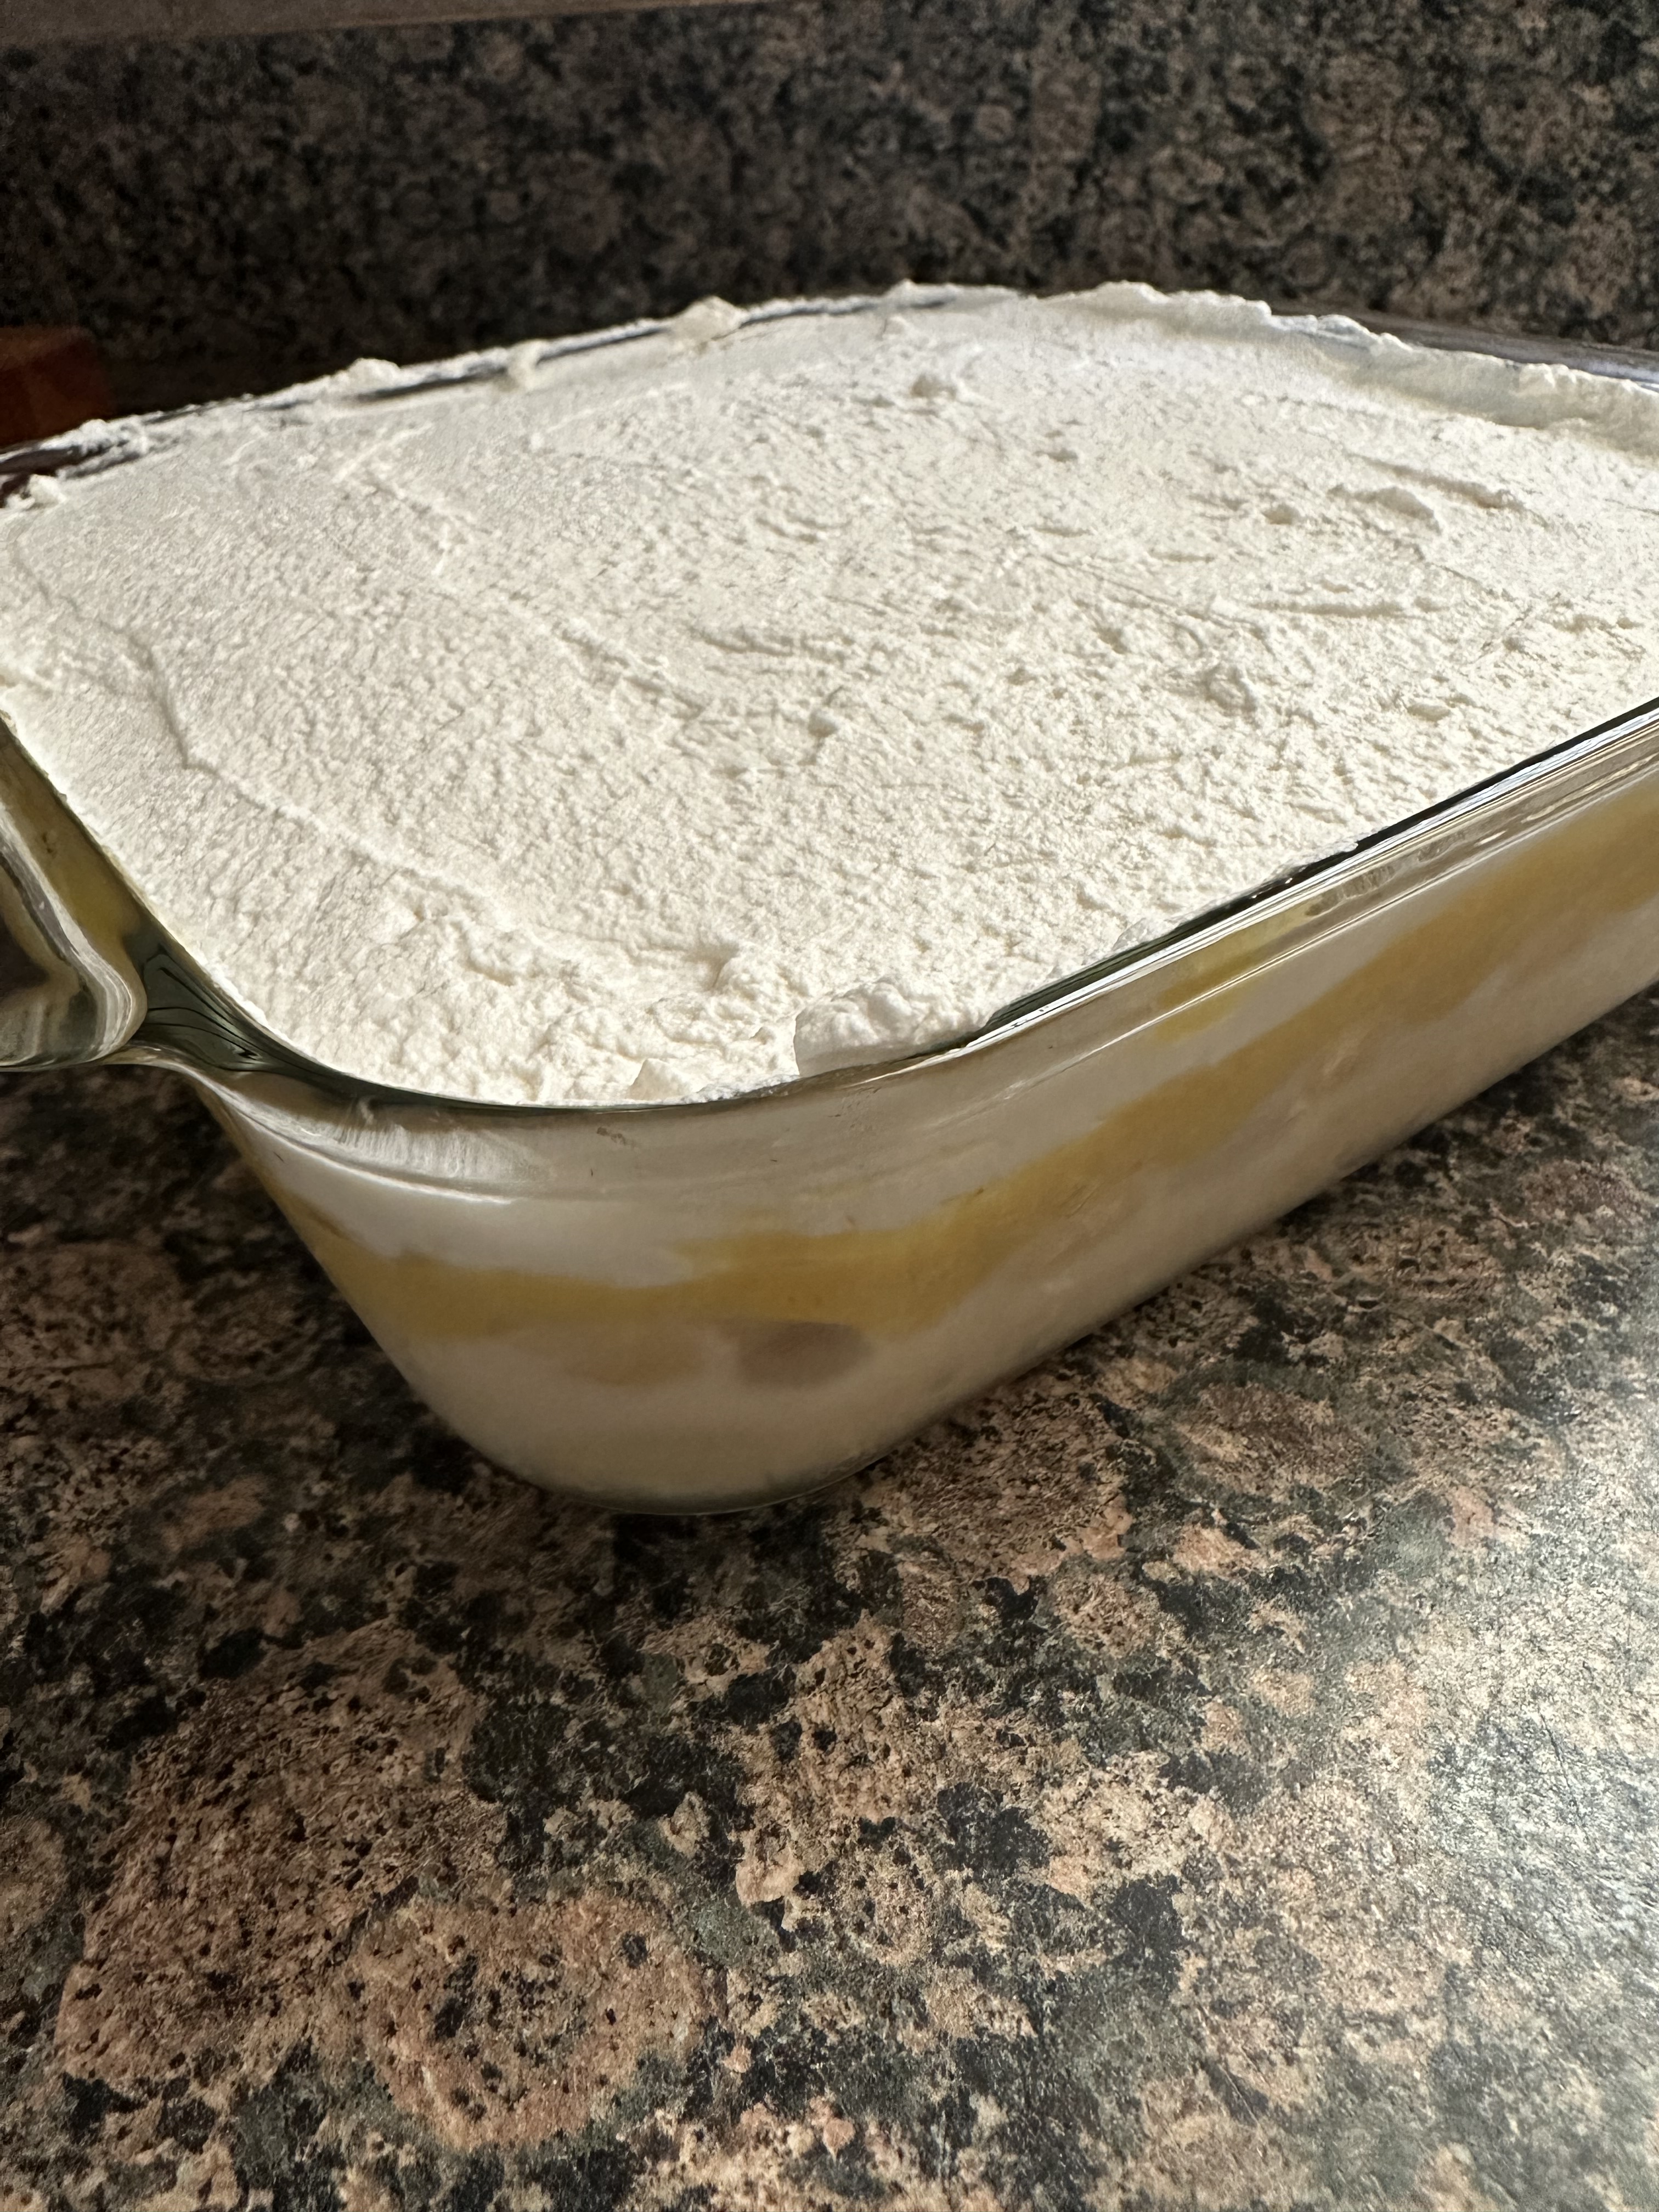
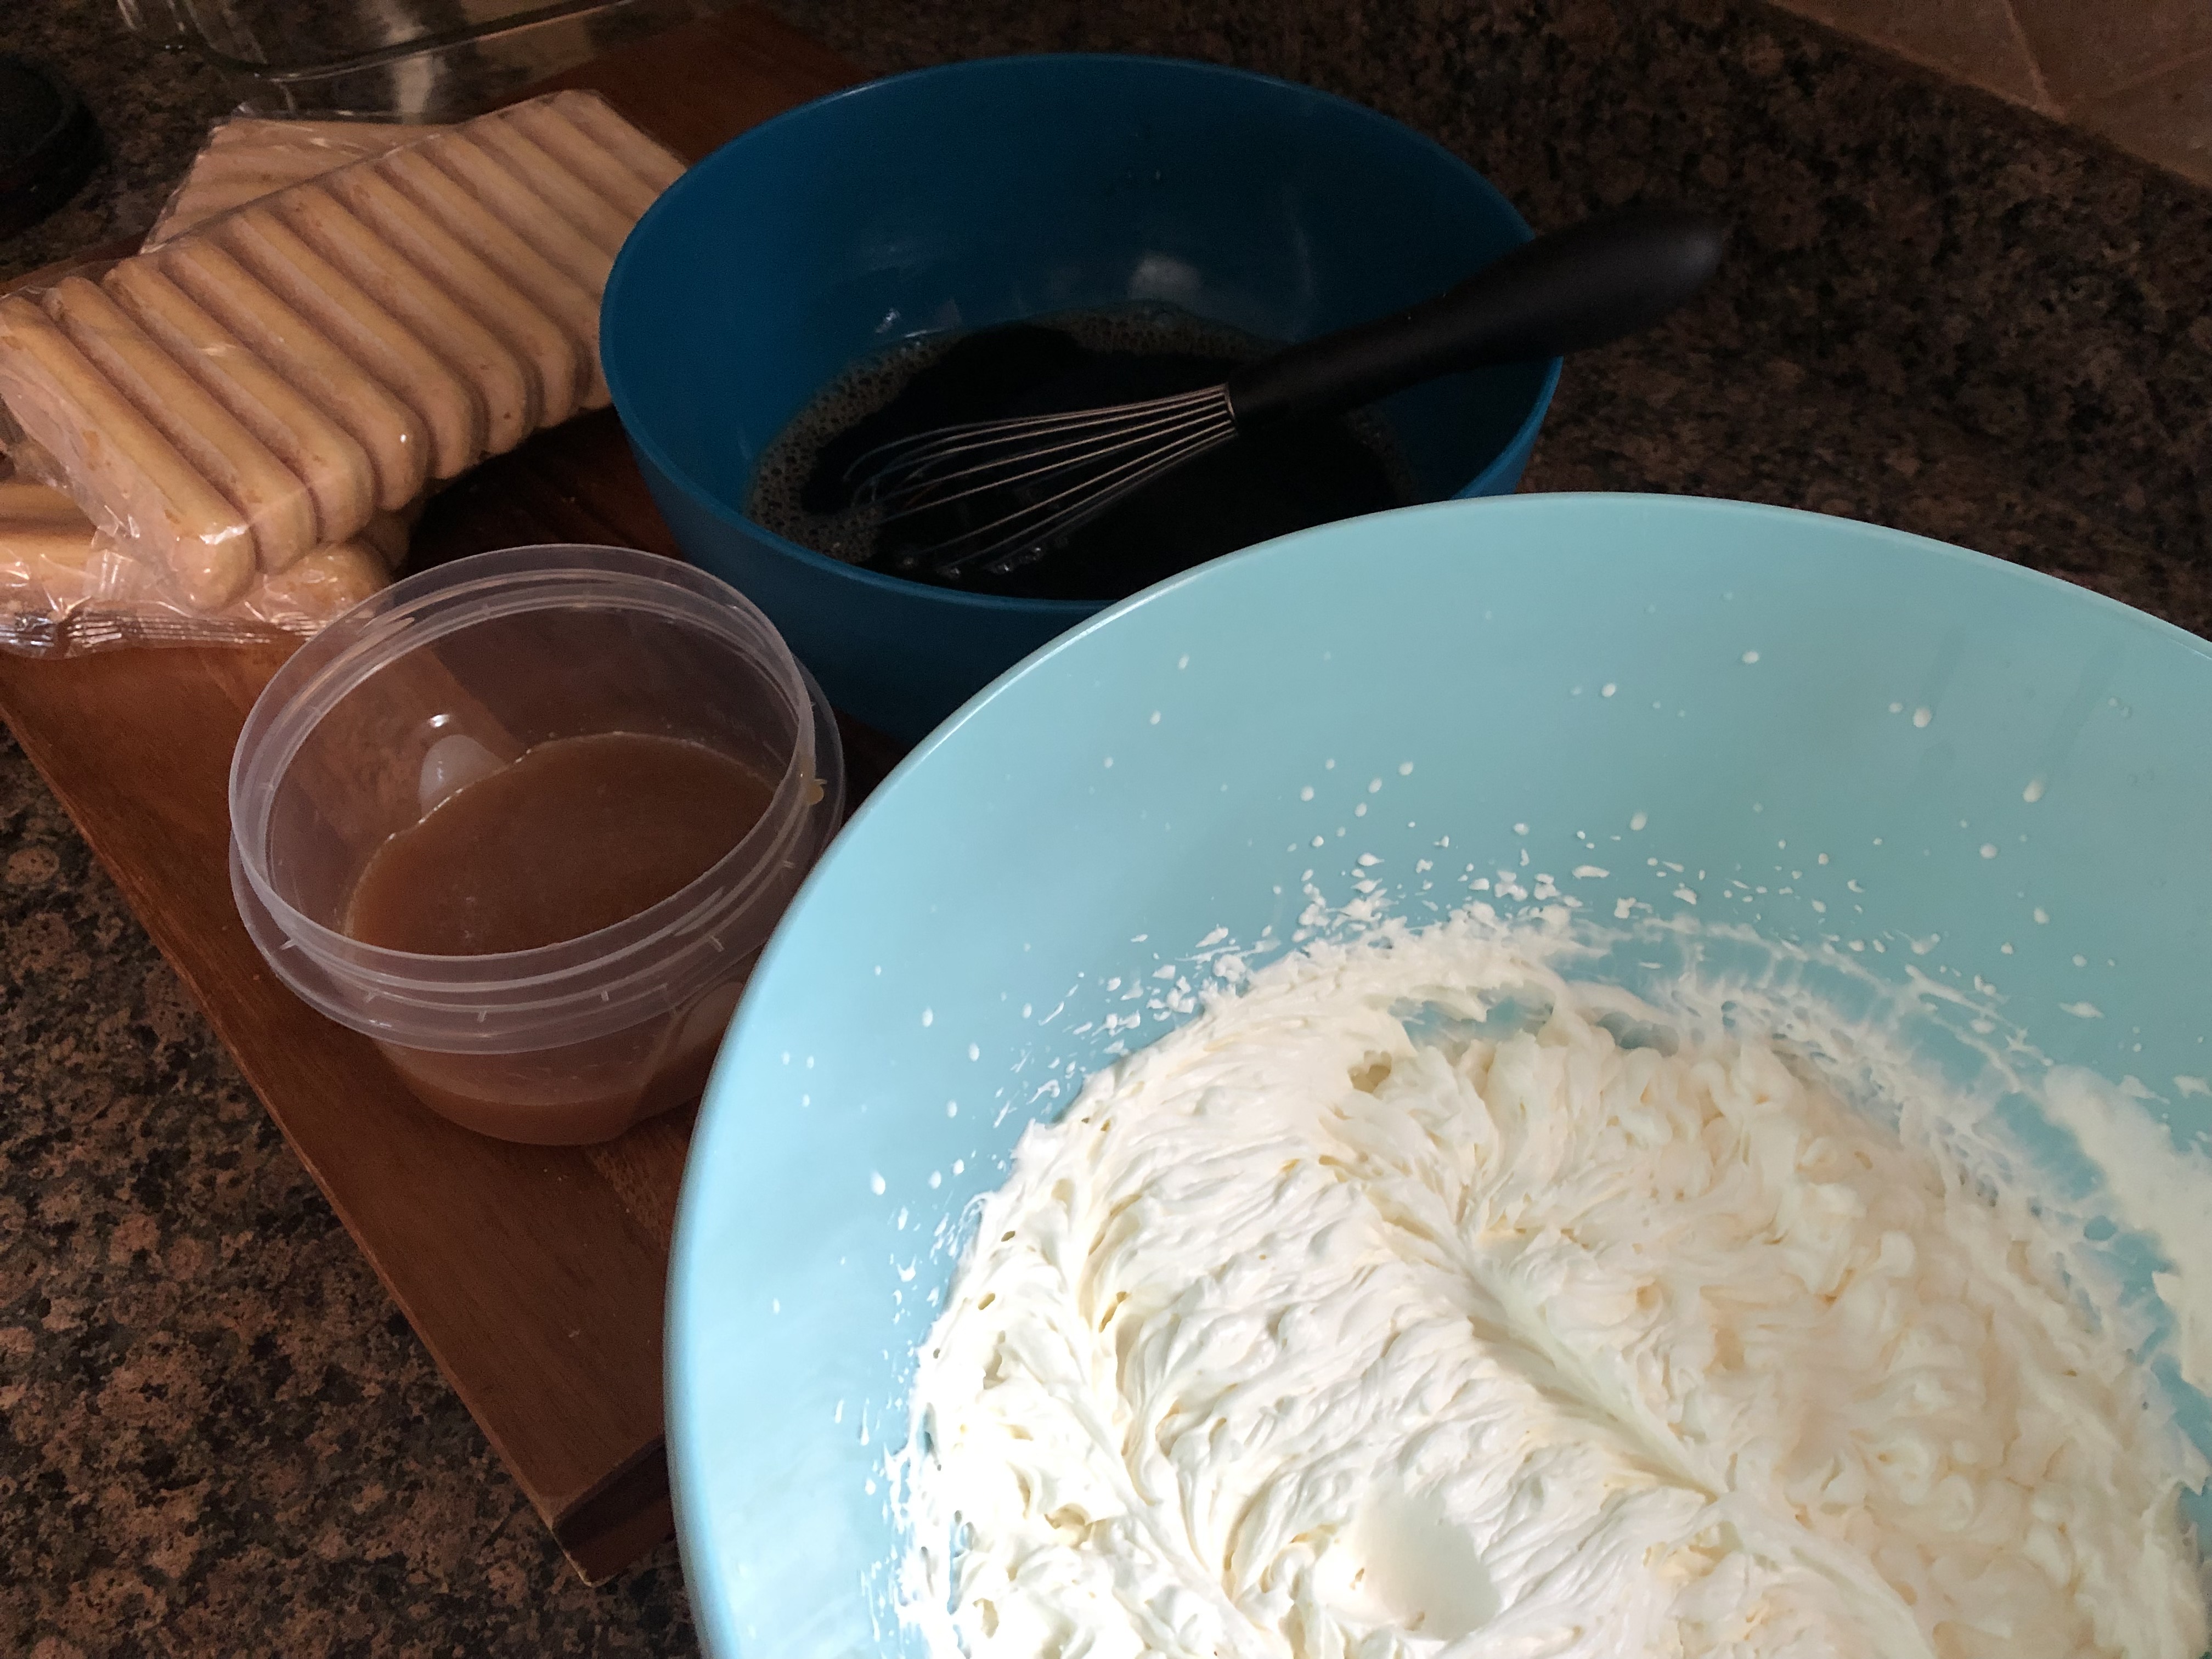
The other steps for this dessert are just as simple. Combine sliced strawberries with sugar and refrigerate for at least 2 hours so the berries can release their juices. And whip up a batch of fresh whipped cream with 3 simple ingredients – heavy whipping cream, confectioners’ sugar and vanilla extract.

Once the biscuits have cooled it’s time to assemble your dessert. Slice the biscuits in half and place a healthy dollop of whipped cream on the bottom half and then top with the strawberries along with some of their juices. Top with the remaining half of the biscuit and enjoy! It doesn’t get much easier than that.

Individual Strawberry Short-Cut Shortcakes

Ingredients:

For the strawberries:

1lb. fresh strawberries, sliced

1/3 cup sugar

For the whipped cream:

1 1/2 cups heavy whipping cream

1/3 cup confectioners’ sugar

1 teaspoon vanilla extract

Pillsbury Grands Southern Homestyle Original Biscuits – 8 count

Directions:

In a medium bowl stir together the sliced strawberries and sugar. Cover and refrigerate for 2 hours.

Bake the biscuits per the instructions on the package – On an ungreased cookie sheet in a 375F oven for 12 minutes, or until golden brown. All to cool to room temperature.

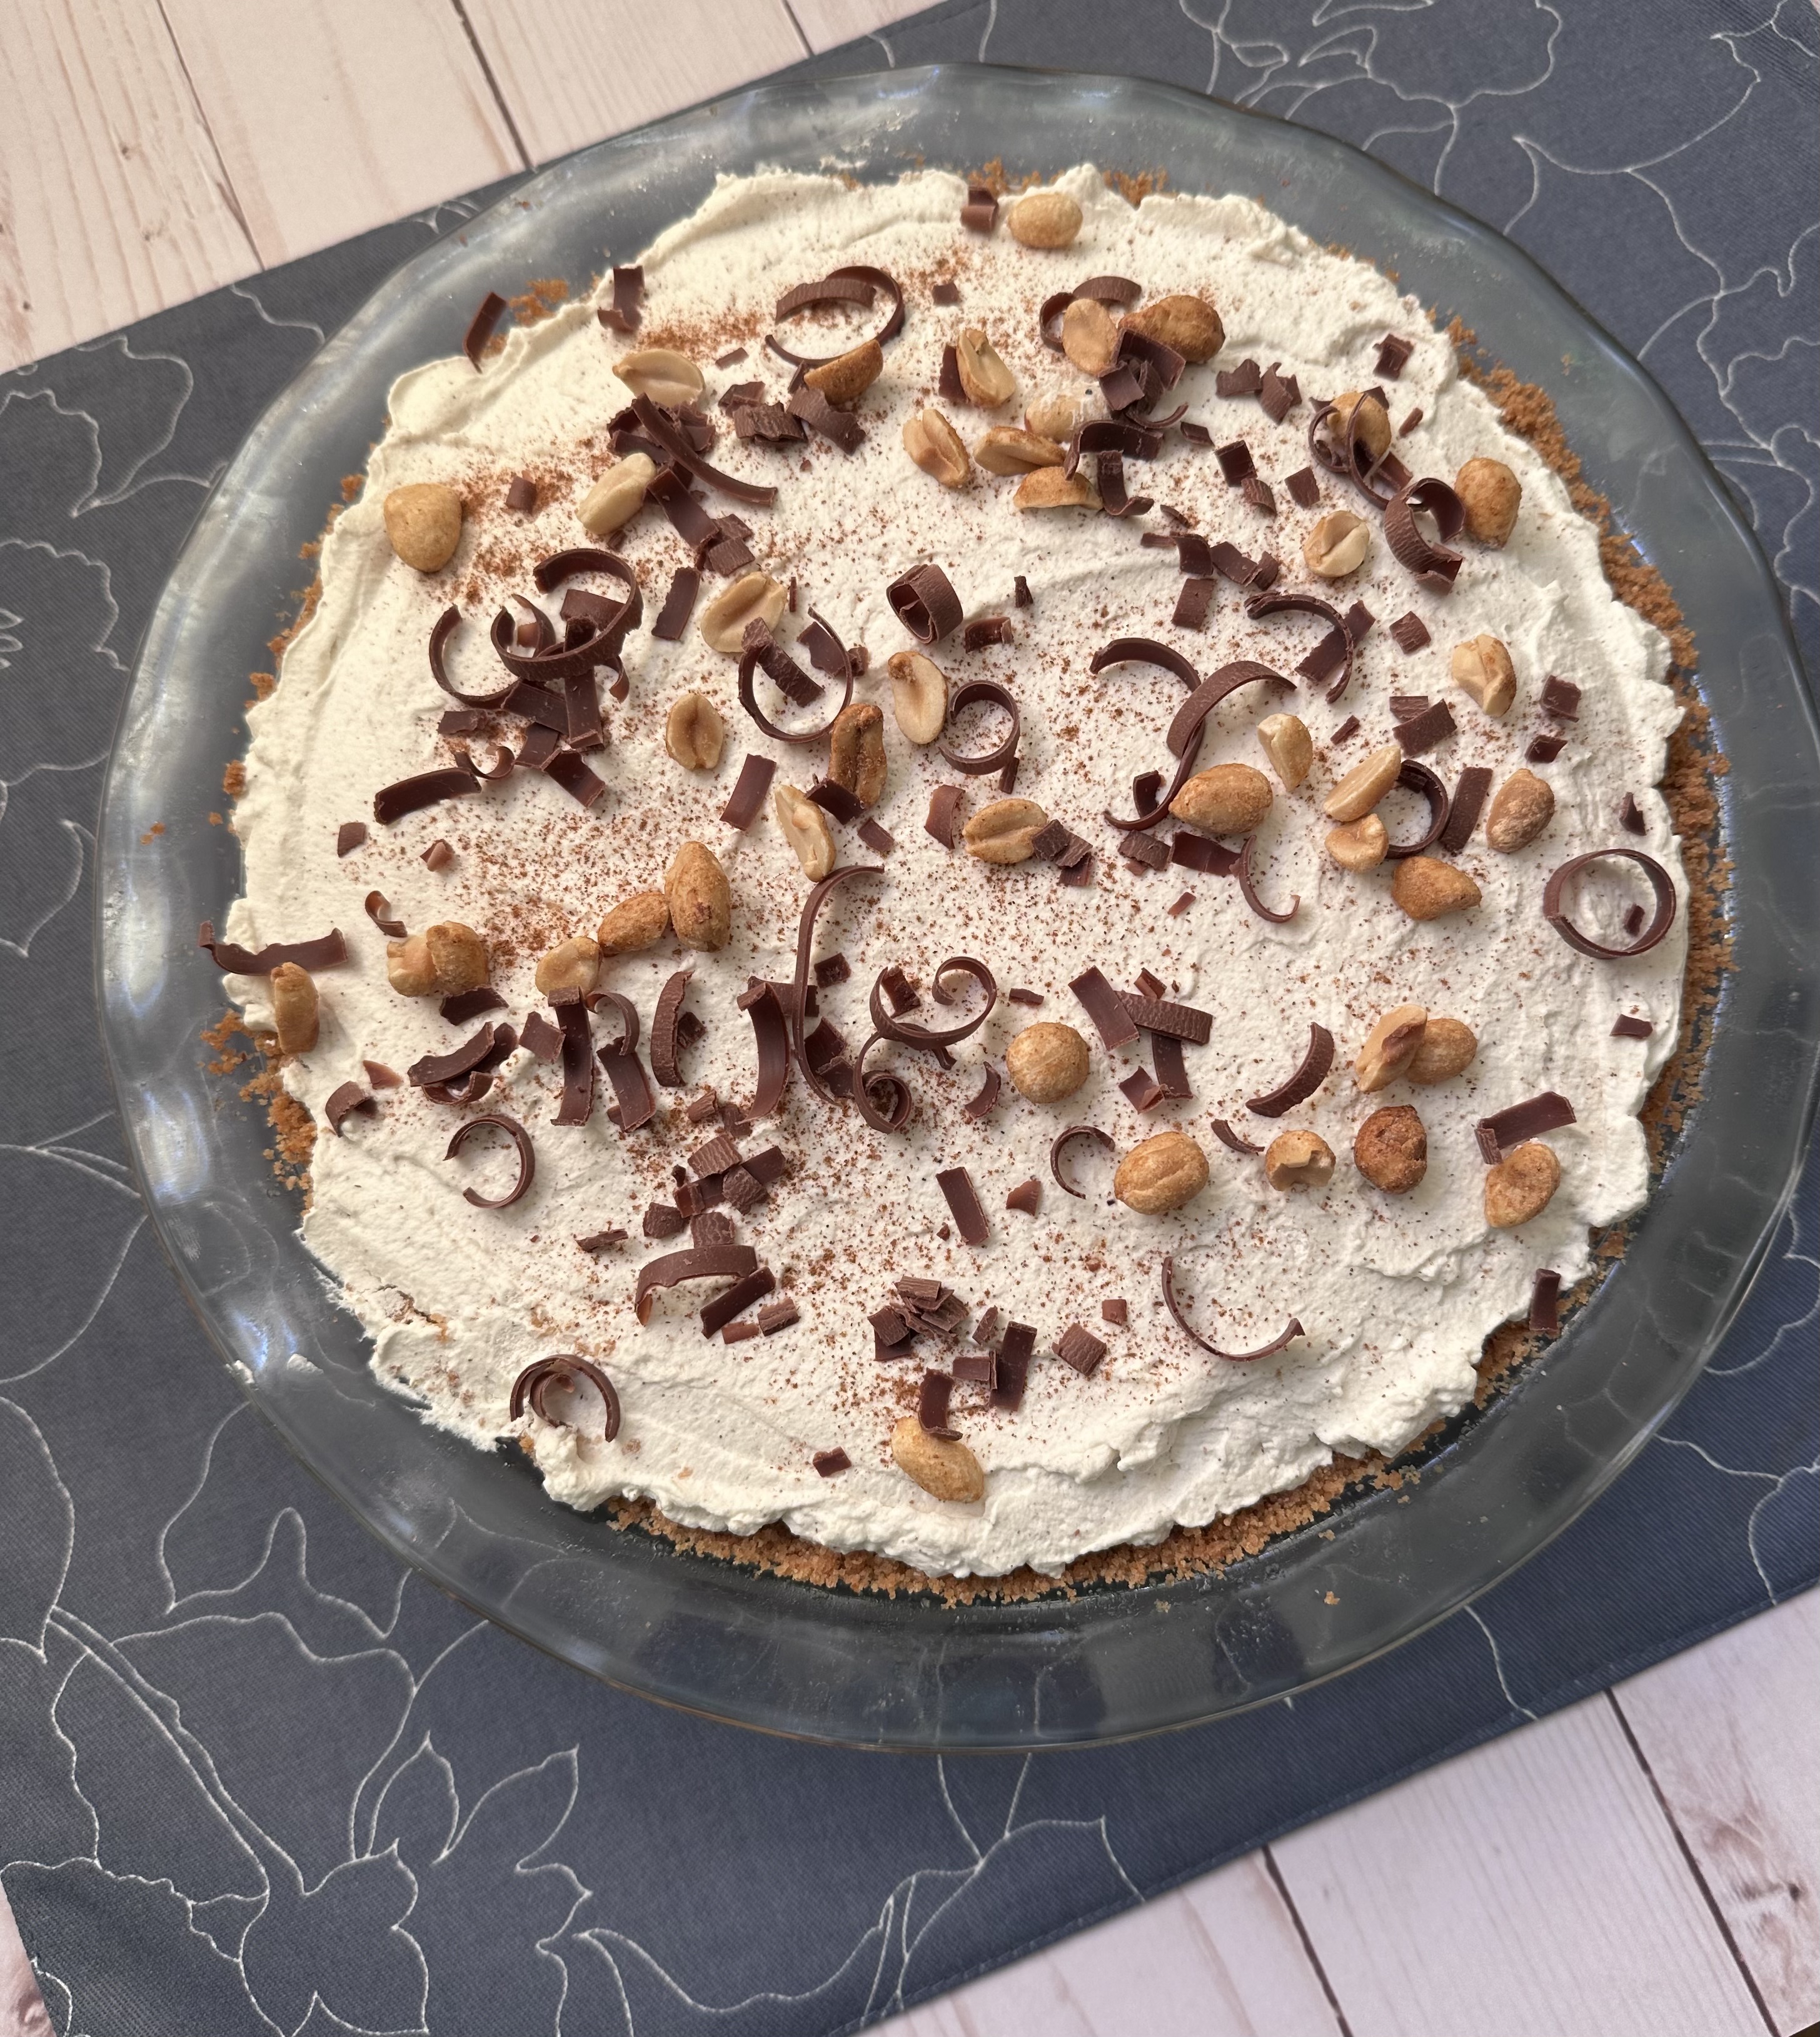
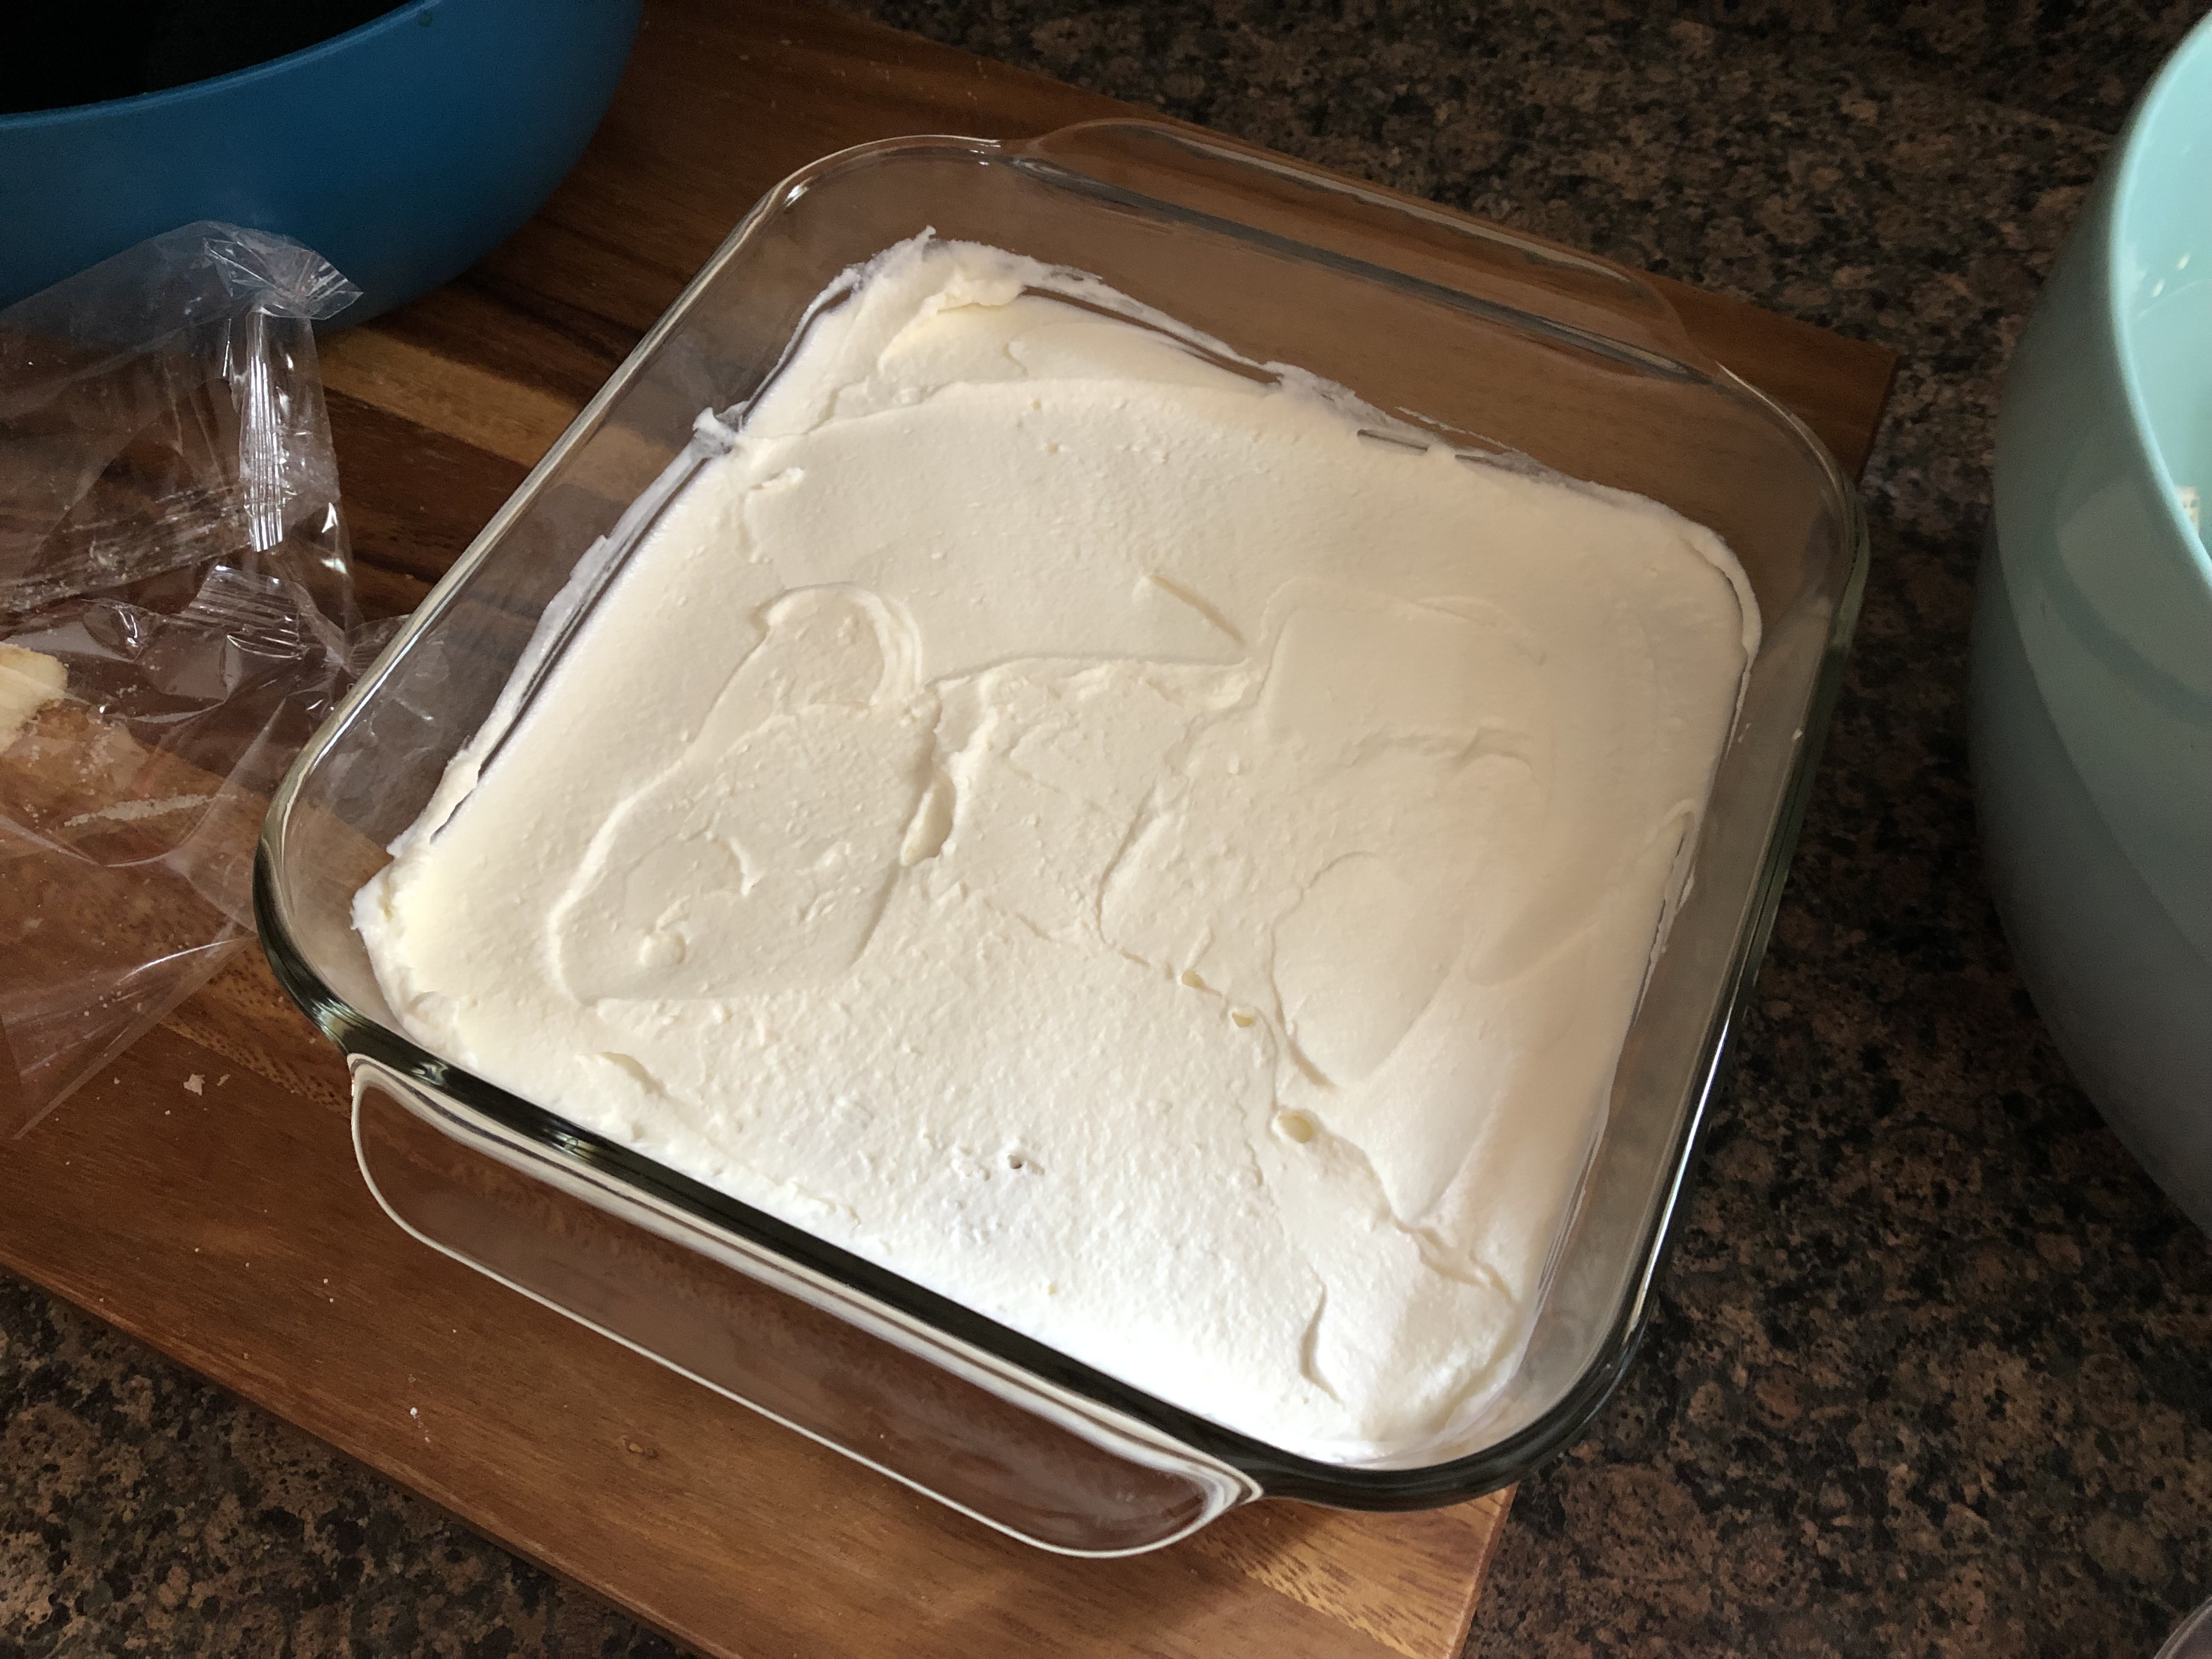
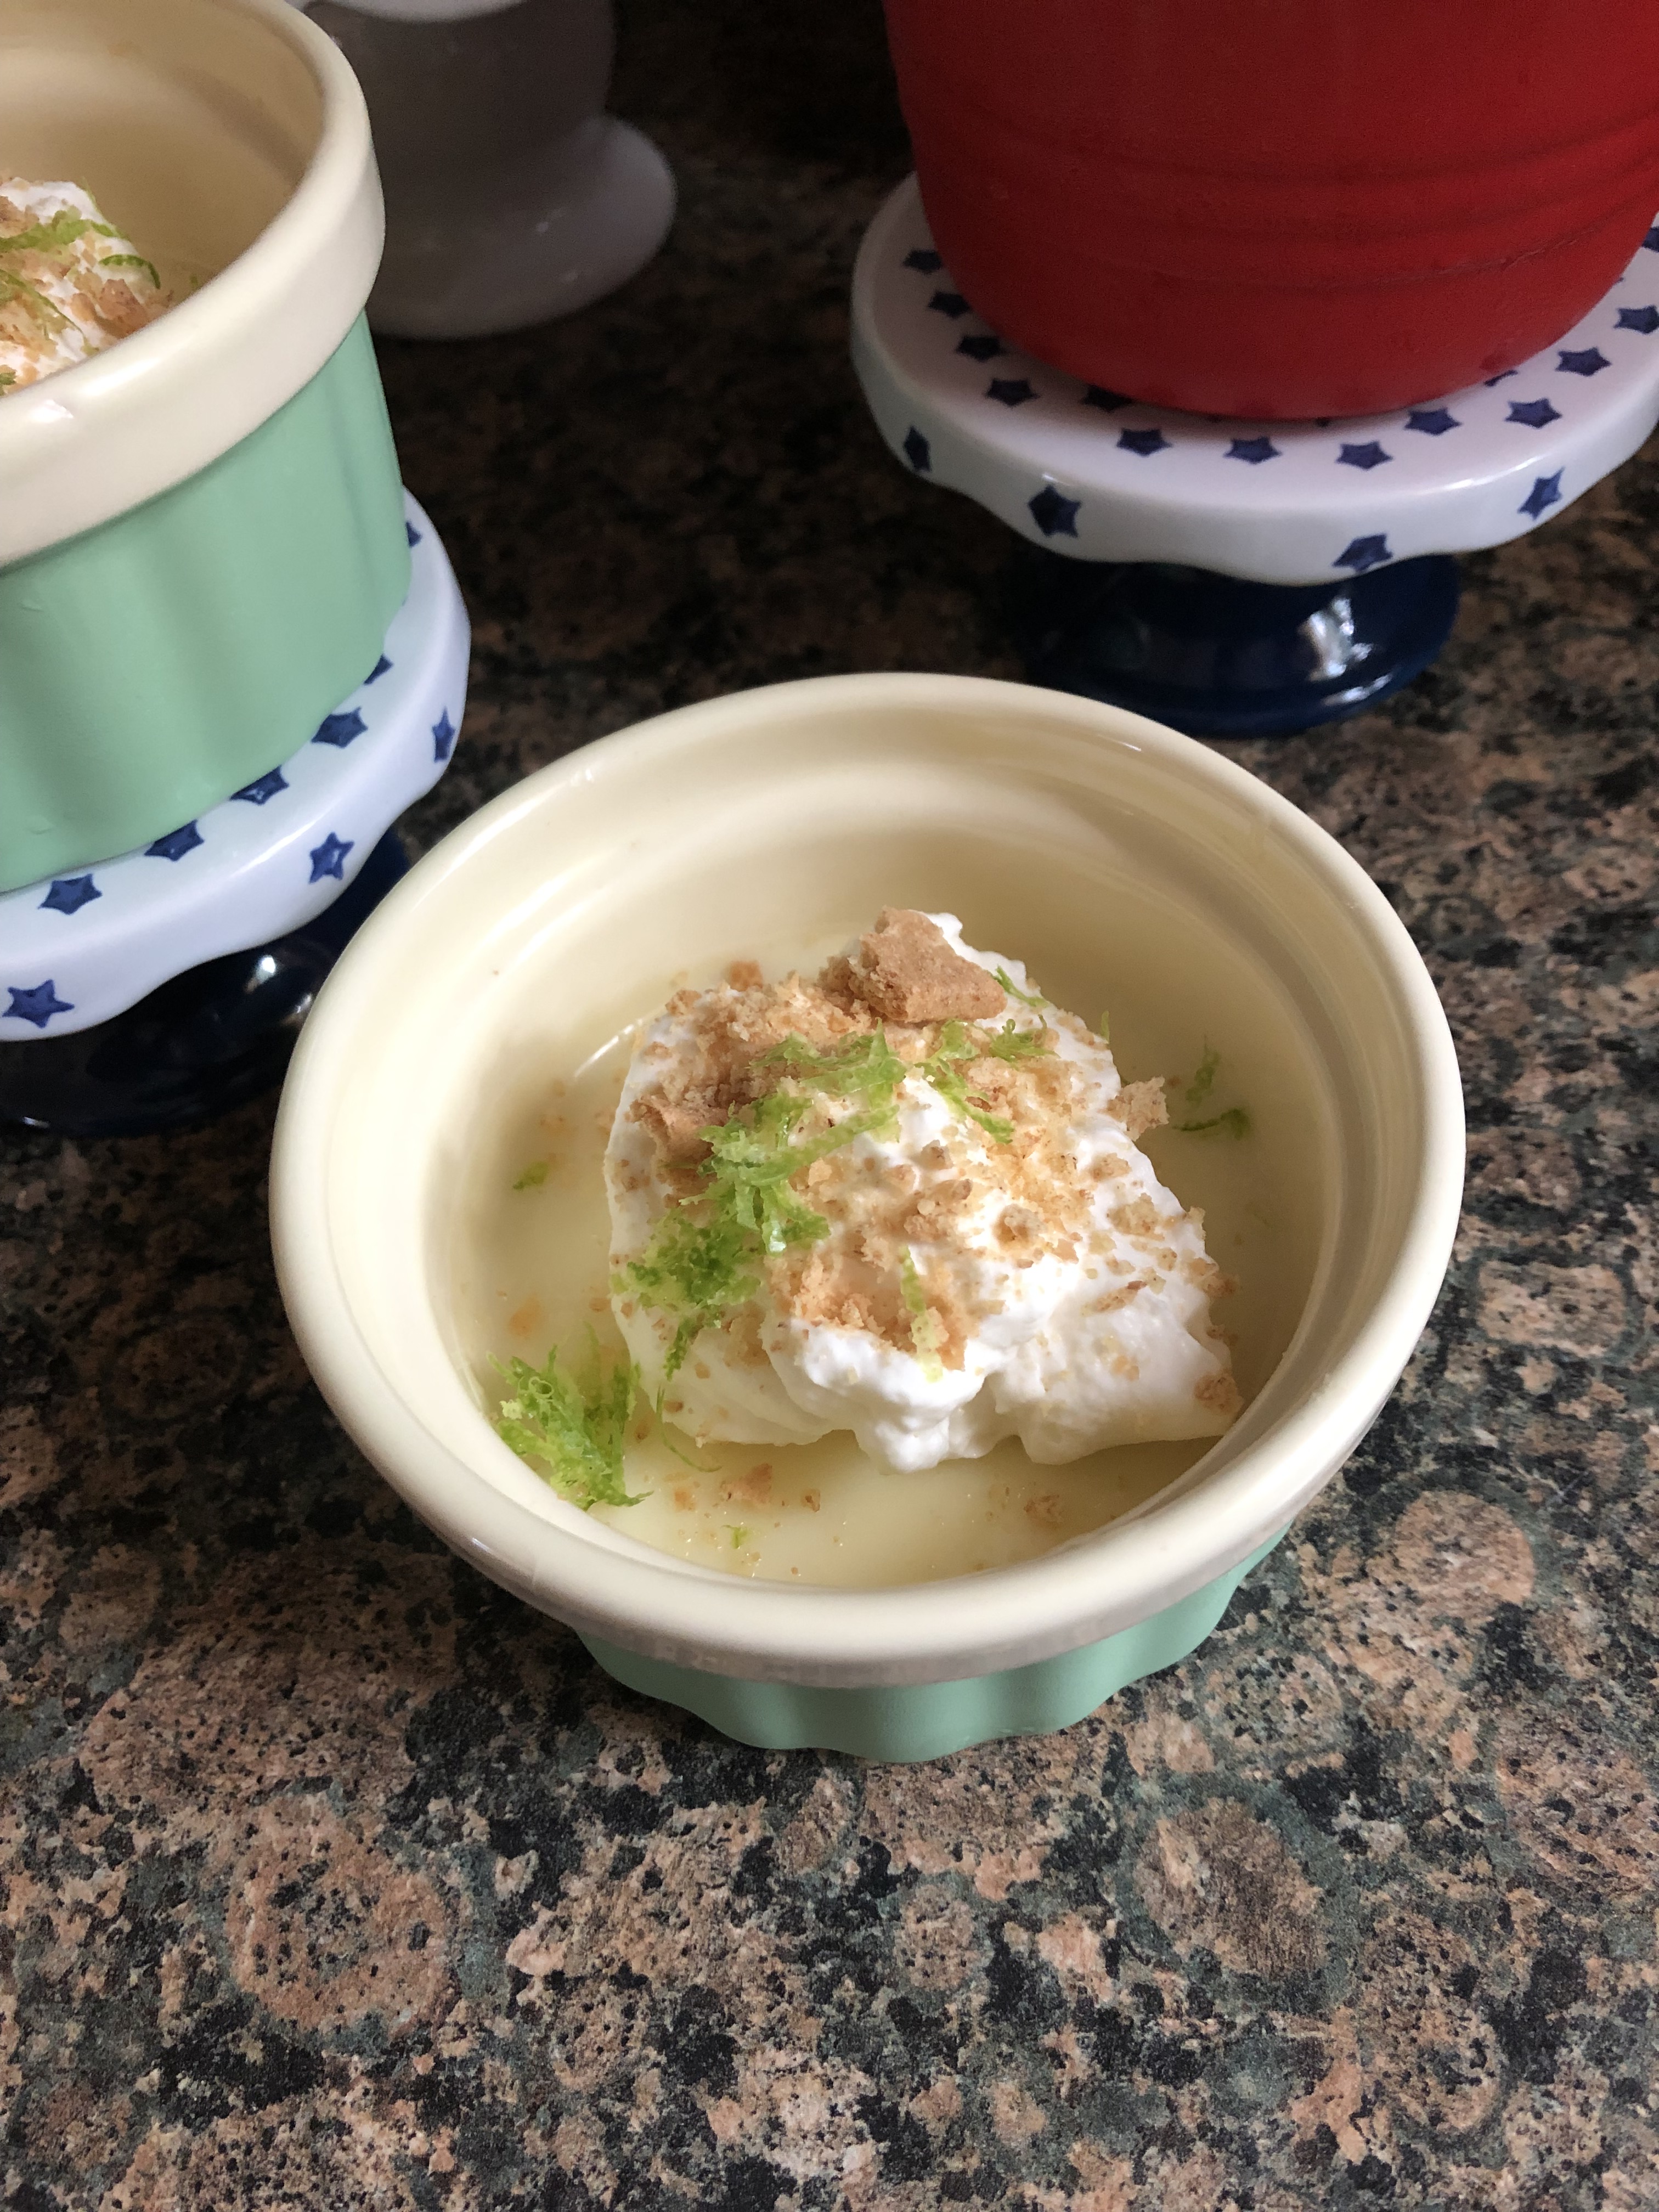
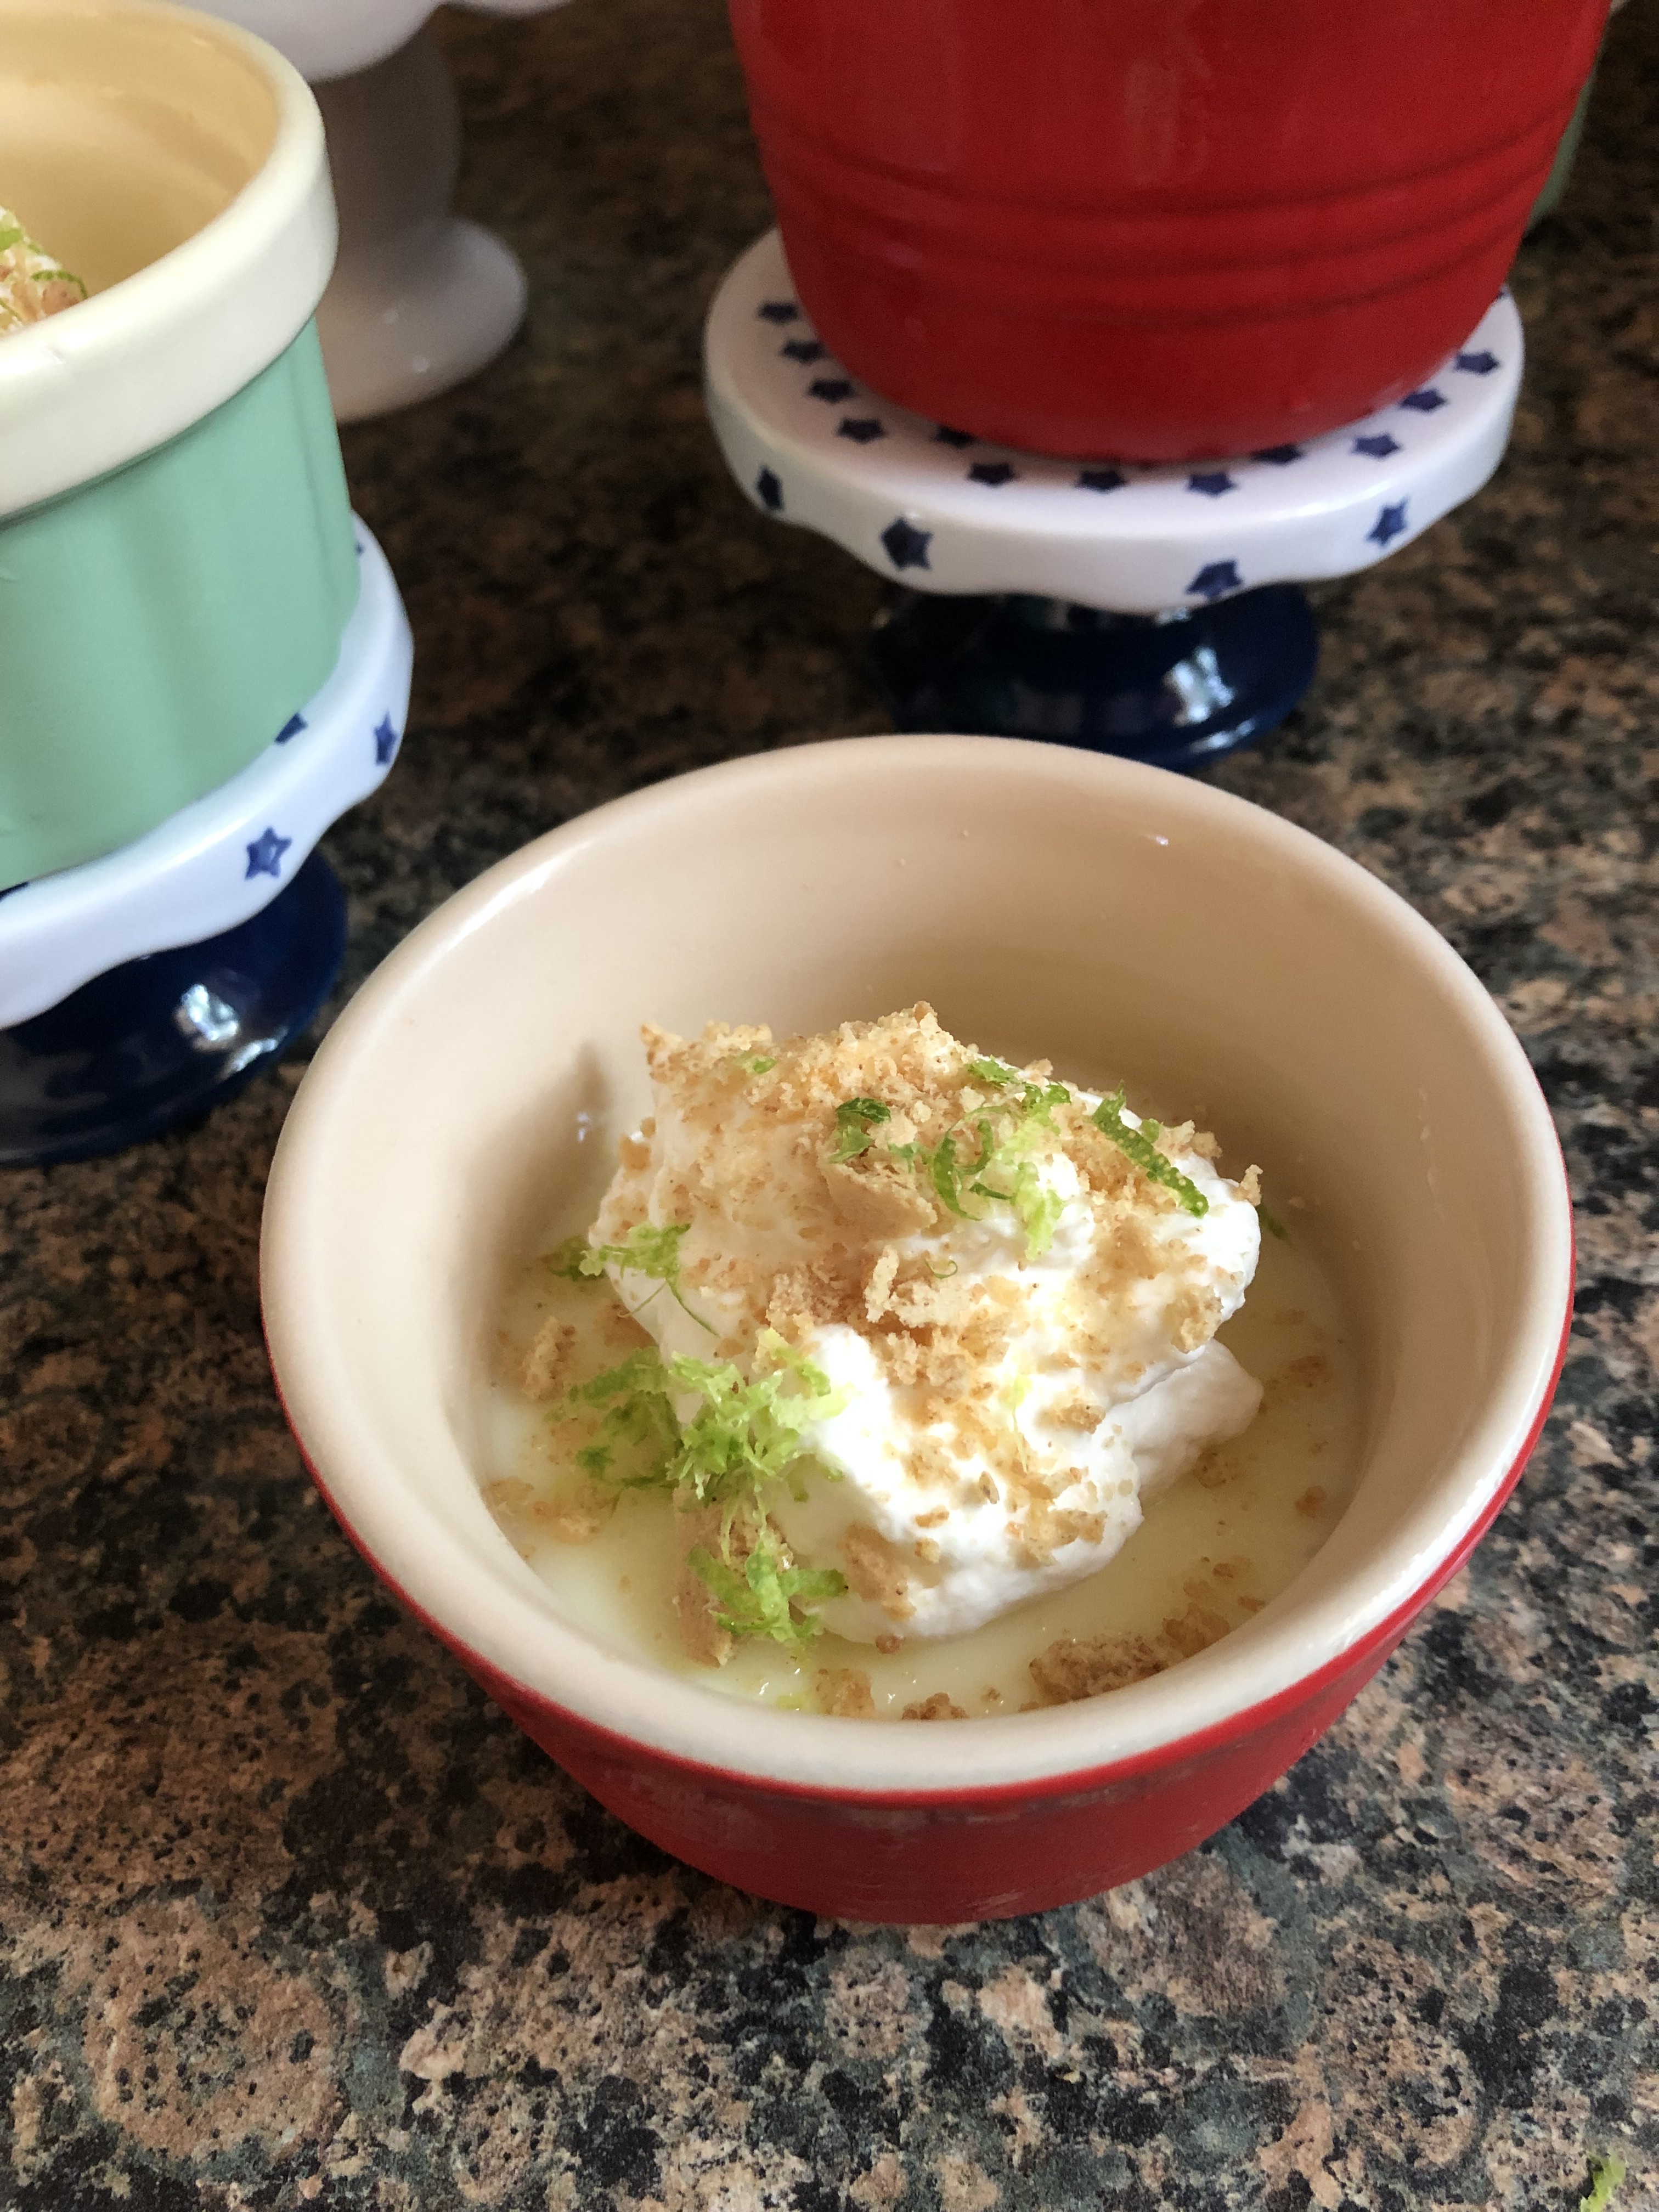
While the biscuits cool make the whipped cream. Add the heavy whipping cream, confectioners’ sugar and vanilla extract to a medium bowl and beat with a hand mixer on medium speed until stiff peaks form. Refrigerate until ready to serve.

To serve, slice the biscuit in half and place the bottom on a plate or in a bowl. Top with a hearty scoop of the whipped cream and then drizzle the strawberries – including the juice – on top and then cover with the top half of the biscuit. Enjoy!

Recipe first appeared on Bead Yarn & Spatula

No Bake Passion Fruit Tres Leches

Memorial Day weekend is upon us… The unofficial start of the summer. The season to spend less time indoors and enjoy the great (hopefully) weather outdoors! It’s also a time where we are all looking for quick and easy recipes that don’t require us being in a hot kitchen for hours on end. That applies to desserts too. And today I have a great recipe that will require you to turn on your stove but not your oven. It’s a No Bake Passion Fruit Tres Leches Cake. Ladyfingers take the place of the traditional cake part and are then topped with a layer of passion fruit curd followed by layer of homemade whipped cream. YUM!

And while this recipe doesn’t require any baking, it does require some time to prep and assemble. Mostly inactive time though.  I started by making the passion fruit curd since it needed to chill and set in the refrigerator. While I am sure you could use 100% pure passion fruit from a bottle, or even extract the juice from fresh passion fruits I opted to use frozen passion fruit pulp that I defrosted in the refrigerator overnight. It takes the work out of using fresh passion fruits and I know for certain it’s only passion fruit pulp with nothing added in. I followed the same curd recipe I used to make a Passion Fruit & Coconut Cake a few years back and it was just as easy and delish!

While the curd cooled and set in the refrigerator, I prepped the tres leches cake. In a medium bowl I whisked together evaporated milk, sweetened condensed milk and heavy cream until it was well combined. I then transferred the mixture to a large measuring cup (at least 4 cups) to make it easier to pour over the ladyfingers. I reserved 3/4 cup of the mixture in a small food storage container and refrigerated it. In an 8×8-inch baking dish I arranged ladyfingers in an even layer and then poured about 3/4 cup of the milk mixture over them. After letting it soak in for 15 minutes, I poured another 3/4 cup of the mixture over the ladyfingers again.

I then arranged a second layer of ladyfingers over the first. For the second layer I placed the ladyfingers in the opposite direction as the first layer to ensure that the cake would hold together when sliced.

As with the first layer, I poured 3/4 cup of the milk mixture over the ladyfingers and let it rest for 15 minutes before pouring another 3/4 cup over them. I then covered the dish with aluminum foil and refrigerated it for 3 hours so the ladyfingers could fully soak in the milk mixture and become soft.

After 3 hours, I poured the reserved milk mixture over the ladyfingers, re-covered the dish and refrigerated for an additional hour.

After an hour it was time to finish assembling the cake. I spread the passion fruit curd on top of the ladyfingers and then spread homemade whipped cream over the curd.

I thought about decorating the top with fresh strawberries strictly for picture purposes, but the week I made this the strawberries didn’t look that great at the supermarket. Instead, here is a side picture of the different layers.

While I was concerned that this No Bake Passion Fruit Tres Leches would be overly sweet as some Tres Leches cakes can be I was pleasantly surprised that it wasn’t. While the curd and whipped cream were sweetened and the sweetened condensed milk is of course sweet, using the ladyfingers, which aren’t that sweet, really helped to keep the sugary taste down.

If you love passion fruit, check out these desserts as well…

No Churn Passion Fruit Ice Cream

Passion Fruit Panna Cotta

Passion Fruit Pie

No Bake Passion Fruit Tres Leches

Ingredients:

For the Passion Fruit Curd:

1/2 cup passion fruit juice*

7 large egg yolks

1 cup sugar

10 tablespoons unsalted butter, sliced into tablespoons

Pinch of salt

For the Tres Leches Cake:

22-25 Ladyfingers

12.5 oz can of evaporated milk

14 oz. can sweetened condensed milk

1/3 cup heavy cream

For the Whipped Cream Topping:

1 cup heavy cream

2 teaspoons confectioners’ sugar

1 teaspoon vanilla extract

*I used defrosted frozen passion fruit pulp

Directions:

For the Passion Fruit Curd: In a medium saucepan combine the passion fruit juice, egg yolks and sugar, stir to combine. Heat over medium heat and continue stirring until the sugar has dissolved and the mixture thickens, enough to coat the back of a spoon.

Remove from the heat and add a pinch of salt. Add the butter a tablespoon at a time, stirring between each addition to ensure the butter has melted. Strain the mixture through a fine mesh sieve two times. The first time into a bowl and the second time into the container you plan to use to store the curd. Place a piece of plastic wrap directly on the surface of the curd, cover and refrigerate for 2-3 hours, until cool and thickened.

For the Tres Leches: In a medium bowl whisk together the evaporated milk, sweetened condensed milk and heavy cream until well blended. Transfer to a large measuring cup to make it easier to pour. You should have about 3.5 cups. Reserve 3/4 cups in a separate bowl, cover and refrigerate.

Arrange half of the ladyfingers in the bottom of an 8×8-square baking dish. Pour a quarter of the remaining milk mixture over the ladyfingers, about 3/4 cup. Let rest for 15 minutes and then pour another 3/4 cup of the milk mixture over the ladyfingers.

Arrange the remaining ladyfingers over the soaked ladyfingers. Pour another 3/4 cup of the milk mixture over the second layer of ladyfingers. Let rest for 15 minutes and then pour the remaining mixture over the ladyfingers. Cover with aluminum foil and refrigerate for 3 hours.

After 3 hours pour the reserved milk mixture over the ladyfingers. Cover and refrigerate again for about an hour.

For the Whipped Cream Topping: In medium bowl beat together the heavy cream, confectioners’ sugar and vanilla extract with a hand mixer on medium speed until stiff peaks form.

Finishing the Tres Leches: Spread the passion fruit curd in an even layer over the soaked ladyfingers. Then spread the whipped cream topping over the curd. You can now serve the Tres Leches or cover with wax paper and aluminum foil and refrigerated until ready to serve.

Recipe first appeared on Bead Yarn & Spatula

Peanut Butter Chai Pie

Happy Pi Day! The day that math lovers celebrate the irrational number Pi (3.14159…) – the ratio of a circle’s circumference to its diameter – and a day others use as an excuse to bake a pie, eat a pie, bake a pizza pie or eat a pizza pie. While I thought about making a pizza this year to honor the day, I decided to go with a pie instead. Mainly because I wanted to try a Peanut Butter Chai Pie recipe I ripped out of an issue of Food & Wine magazine last year. And I must say, it didn’t disappoint.

And yes, you read that correctly… Peanut Butter Chai. While some might scoff at the idea of peanut butter working with the flavors of chai – cinnamon, cardamom, and ginger to name a few – surprisingly they complement each other quite well.  

To begin, I made the crust. I opted to make something a little out of the ordinary – a Sweet & Salty Pretzel and Waffle Cone Crust – but, if you want to go with something simple or you just don’t feel like making your crust you could use a store-bought graham cracker crust (I would go with the one that has 2 extra serving just to be sure it’s large enough). To start, I processed miniature pretzels and a few waffle cones along with brown sugar in my food processor until it was finely ground. I then added in a stick of melted butter and processed it a few times until it appeared to be wet sand. Next, I pressed it an even layer along the bottom and up the sides of a 9-inch pie dish I sprayed with cooking spray. After baking and cooling it was ready for the filling.

To make the filling, I used my stand mixer to whisk together peanut butter and cream cheese along with a spice mixture, honey, vanilla extract and salt. Once that was well combined, I gradually whisked in heavy cream. I set the peanut butter filling aside and then whipped up a batch of whipped cream sweetened with honey and the remaining spice mixture. I then folded in some of the whipped cream into the peanut butter mixture and then transferred it to the prepared pie crust. Finally, I spread the remaining whipped cream over the filling and then refrigerated the pie overnight.

Before serving the pie, I sprinkled cinnamon over the whipped cream along with roasted salted peanuts and chocolate curls. To make the chocolate curls I microwaved a chocolate bar for about 10 seconds in the microwave and then used a vegetable peeler to shave it.

The first thing I noticed about this pie was that it wasn’t sweet, not that I am complaining. But there is definitely a difference when you sweeten anything with honey versus sugar. I like to think it’s a tad but healthier. As for the crust, you get hints of the waffle cones and a slight saltiness thanks to the pretzels. Overall, all the flavors worked well together.

Peanut Butter Chai Pie with a Sweet & Salty Pretzel and Waffle Cone Crust

Ingredients:

For the Crust:

2 cups miniature pretzels

6 (5 ½-inch) waffle cones, broken into pieces (about 4oz.)

1/4 cup light brown sugar

1 stick unsalted butter, melted

For the Filling:

1 1/2 teaspoons cinnamon, plus more for topping

3/4 teaspoon cardamom

3/4 teaspoon ginger

1/4 teaspoon allspice

1/8 teaspoon nutmeg

1 8oz package cream cheese, at room temperature

1 cup creamy peanut butter

1/2 cup plus 2 tablespoons honey, divided

2 teaspoons vanilla extract

1/2 teaspoon Kosher salt

2 1/2 cups heavy cream, divided

For the Topping:

Roasted Salted Peanuts

Chocolate curls

Directions:

For the Crust:

Preheat the oven to 350 F. Spray a 9-inch pie dish with cooking spray and set aside.

Add the pretzels, waffle cones and sugar to the bowl of a food processor and process until finely ground and well combined. Add the butter and pulse a few times until the mixture resembles wet sand.

Transfer the mixture to the prepared pie dish and press into the bottom and up the sides of the dish in an even layer. Bake in the preheated oven for 8 to 12 minutes, until the crust is set and golden brown. Transfer to a wire rack to cool completely before using.

For the Filling:

In a small bowl stir together the spices – cinnamon, cardamom, ginger, allspice and nutmeg – and set aside.

In the bowl of a stand mixer fitted with the whisk attachment, beat together the cream cheese, peanut butter, 1/2 cup honey, vanilla extract, salt and 1 tablespoon of the cinnamon-cardamom mixture on medium-high speed until light and fluffy, about 2 minutes.

With the mixer running, gradually add in a 1/2 cup of the heavy cream. Beat until well combined and fluffy. Transfer the peanut butter – cream cheese mixture to a large bowl.

Clean the mixing bowl and whisk the remaining heavy cream (2 cups), honey (2 tablespoons) and cinnamon-cardamom mixture in the bowl. Beat on medium-high speed until stiff peaks form.

Fold 1 cup of the whipped cream into the peanut butter-cream cheese mixture until no streaks remain. Transfer the mixture to the prepared crust and spread into an even layer. Top with the remaining whipped cream. Refrigerate, uncovered, for at least 4 hours.

Garnish the top of the pie with cinnamon, peanuts and chocolate curls.

To make chocolate curls: Microwave a chocolate bar for about 10 seconds in the microwave – you want it soft but not on the verge of melting. Use a vegetable peeler to shave the chocolate into curls.

Recipe from Food & Wine – Peanut Butter Chai Pie and Sweet & Salty Pie Crust

Salted Caramel Tiramisu

Tiramisu is a great dessert to make during the summer months since you don’t need to turn on your oven. While traditional tiramisu is delicious, variations offer a nice twist and a melding of flavors. I’ve made a Pumpkin version, a White Chocolate Blackberry version and today I am sharing with a Salted Caramel version.

I always like to look at the back of my wrappers, packages and so forth when I buy things. You never know what delicious recipe you may come across. That’s exactly where I found this recipe. It was on the back of a package of ladyfingers I bought.

I started by prepping all the ingredients to assemble the tiramisu. First, I made the salted caramel. I must say, I have made caramel before and had more failures than successes and I was able to ace this salted caramel on my first try. So, this will definitely be my go-to when a recipe calls for caramel, I will just omit the salt. While the caramel cooled, I made instant espresso and allowed it to cool before whisking in Kahlua and I beat together mascarpone cheese along with heavy cream.

Then it was time to start assembling. I dipped 12 ladyfingers in the espresso mixture and then arranged them in an 8 x 8 baking dish and drizzled the top with a few tablespoons of the salted caramel.

I then spread half of the mascarpone mixture on top and then repeated the layers.

And finally, I dusted the top with cocoa powder before covering and refrigerating it for at least 4 hours before serving.  And I must say, this may be my favorite variation of tiramisu I have made to date.

Salted Caramel Tiramisu

For the salted caramel:

1/2 cup sugar

1/4 cup water

1/2 cups heavy cream

2 tablespoons unsalted butter

1 teaspoon Kosher salt

For the Tiramisu:

1/4 cup sugar

8oz. mascarpone cheese, at room temperature

1 1/2 cups heavy cream

1 1/2 cups brewed instant espresso, cooled

3 tablespoons Kahlua

24 Ladyfingers

2 teaspoons cocoa powder

Directions:

For the caramel: Clip a candy thermometer to a medium saucepan. Add the sugar and water to the saucepan and let simmer for 5 minutes or until the sugar dissolves over medium-low heat. Increase the heat to medium and bring the mixture to boil. Cook undisturbed until the temperature on the candy thermometer reaches 350 F.

Decrease the heat to low and slowly whisk in the heavy cream and cook for an additional 2 minutes until smooth, whisking constantly.

Remove the saucepan from the heat and whisk in the butter and salt. Allow the caramel to cool for 25 minutes before using.

For the tiramisu:  In a large bowl combine the sugar, mascarpone cheese and heavy cream. Using a hand mixer on medium-high speed beat the mixture until soft peaks form.

In a medium bowl stir together the cooled espresso and Kahlua. Dip half of the lady fingers in the mixture and arrange them in an even layer in an 8-inch square baking dish.

Drizzle the arranged ladyfingers with 3 tablespoons of the cooled salted caramel. Top with half of the mascarpone mixture.

Repeat the layers one more time. Store the leftover salted caramel in an air-tight container in the refrigerator.

Dust the top of the final layer of the mascarpone mixture with the cocoa powder. Cover with a piece of wax paper and aluminum foil and refrigerate for at least 4 hours before serving.

Mini Pumpkin Spice Latte Cheesecakes

Mini desserts are the perfect-sized treats. You can satisfy your sweet tooth and not feel guilty that you may have served yourself too much of your desired dessert. For today’s pumpkin recipe I am bringing you a Mini Pumpkin Spice Latte Cheesecake. And the title says it all, you have pumpkin, cream cheese and a hint of coffee. I made a few slight changes to the original recipe to use up items I currently had in my pantry… Instead of speculoos cookies (a spiced shortbread cookie) I used graham crackers and instead of regular instant coffee I used Bustelo Instant Espresso. While I am not a coffee drinker, I always have this in my pantry to make tiramisu and to make coffee to use in lieu of water for box chocolate cake mix. If you didn’t know, coffee enhances the flavor of chocolate cake.

To begin I made the crust. After rolling graham crackers with a rolling pin to make crumbs, I combined them with sugar. I then placed a tablespoon of the mixture into the bottom of cupcake liners I placed in a muffin tin.

Next, after making the cheesecake batter, I spooned about 1/4 cup of the batter over the graham cracker crumb mixture.

I then baked the cheesecakes in a 325 F preheated oven for about 30 minutes. I ended up leaving the cheesecakes in the oven for a minute or two too long and they ended up cracking on top…

But once they cooled the cheesecakes deflated a bit and the cracks were gone. After letting them cool in the pan for a few minutes I removed them and transferred them to a wire rack to cool completely before refrigerating them.

I ended up leaving them in the refrigerator for about a day before topping them with a dollop of homemade whipped cream and sprinkling them with pumpkin pie spice.

Final verdict… YUM!!! They were super creamy and overbaking them had no effect on the texture whatsoever. The combination of coffee and pumpkin is delicious and the dollop of whipped cream on top was the perfect topping.

Looking for another recipe that combines coffee and pumpkin?  Then check out my Pumpkin Tiramisu recipe from a few years ago.


Mini Pumpkin Spice Latte Cheesecakes

Ingredients:

1 3/4 cups graham cracker crumbs (12 graham crackers)

3/4 plus 2 tablespoons sugar

3 8oz. packages of cream cheese, at room temperature

3/4 cup canned pumpkin

2 1/4 teaspoon pumpkin spice, divided

1 teaspoon vanilla extract

3 eggs, at room temperature

1 tablespoon instant coffee

1 cup whipping cream

2 tablespoons confectioners’ sugar


Directions:

Heat oven to 325 F. Line two 12-cup muffin pans with cupcake liners.

Combine the graham cracker crumbs and 2 tablespoons of sugar. Add 1 tablespoon of the mixture to the bottom of each of the cupcake liners.

In a large bowl beat the cream cheese and the remaining 3/4 cup sugar with a hand mixer on medium until well blended. Add the pumpkin, 2 teaspoons of the pumpkin spice and vanilla extract, mix well. Add the eggs 1 at a time, mixing on low speed after each addition. Mix until just blended. Stir in the coffee granules until completely dissolved. Spoon about 1/4 cup of the cheesecake batter over the graham cracker crust.

Bake for 25 to 30 minutes, or until the centers are just set. Cool completely and then refrigerate for at least 2 hours.

Beat the whipping cream and confectioners’ sugar together until stiff peaks form. Transfer to a piping bag fitted with a large piping tip and pipe the whipped cream over the cheesecakes. Sprinkle with the remaining pumpkin spice.

Recipe slightly modified from Kraft Foods

S’mores Cupcakes

Happy National S’mores Day! The day to celebrate the summer and campfire sweet treat. This year to honor the day I decided to make a S’mores Cupcake. It starts off with a graham cracker crust, followed by a chocolate cupcake and topped with a marshmallow whipped cream… YUM!

After lining a 12-cup muffin tin with cupcake liners I made the graham cracker crust. I crushed a few graham crackers into crumbs by placing them in a resealable bag and rolled them with a rolling pin. I then combined the crumbs with melted butter and sugar. I placed a tablespoon of the crumbs into the bottom of each cupcake liner and then pressed them down with the bottom of a cup. I then baked them in a 350 F preheated oven for 6 minutes. Once they were done, I set the pan aside so the graham cracker crust could cool.

Next, I made the batter for the cupcakes. Now, you could make your cupcakes from scratch, but I decided to go the easy route and use a box mix of chocolate cake. I prepped the batter per the box directions and then filled each cupcake liner with a quarter cup of the batter. With the leftover batter I made a 6-inch chocolate cake so it wouldn’t go to waste. If you would like to make 24 cupcakes, you can easily double the ingredients for the graham cracker crust and use the leftover frosting to frost additional cupcakes. I baked the cupcakes for about 18 minutes and let them cool in the pan for a few minutes before transferring them to a wire rack to cool completely.

Once the cupcakes were cooled, I made the marshmallow whipped cream frosting. Using a handheld mixer, I whipped heavy cream and vanilla extract together until soft peaks formed and then added in a 7oz. jar of marshmallow fluff (also known as marshmallow cream). I continued mixing until everything was well incorporated and the whipped cream was smooth. It was a bit lumpy at first, but, as I continued to mix it the lumps smoothed out.

I transferred the whipped cream to a piping bag fitted with a round tip and piped the frosting onto the cooled cupcakes and then topped them with graham cracker crumbs and shaved chocolate. The consistency of the frosting was a bit thin and I was concerned that it would be runny on the cupcakes, but it held up quite well. Definitely keep these in the refrigerator if making them on warm days.

And here is a pic of each layer of this delicious cupcake…

Looking for some more S’more inspired treats…

S’mores Stuffed Chocolate Chip Cookies

S’mores Brownies

Malted S’mores Ice Cream

S’mores Icebox Cake

S’mores Chocolate Chip Cookies


S’mores Cupcakes

  • Servings: 12 Cupcakes
  • Print

Ingredients:

Graham Cracker Crust

3/4 cup graham cracker crumbs

3 tablespoons unsalted butter, melted

2 tablespoons sugar


Chocolate Cupcakes:

1 box chocolate cake mix along with the ingredients necessary to make the batter


Marshmallow Whipped Cream

1 cup heavy whipped cream

1 teaspoon vanilla extract

7 oz. jar marshmallow cream


Graham cracker crumbs and shaved chocolate for topping


Directions:

Preheat the oven to 350 F. Line a 12-cup muffin tin with cupcake liners.

Make the graham cracker crust: Combine the graham cracker crumbs, butter and sugar in a medium bowl until well combined. Place a tablespoon of the mixture in the bottom of each cupcake liner and press down with the bottom of a cup. Bake in the preheated oven for 5 – 7 minutes, until set, and then let cool while making the cupcake batter.

Cupcakes: Prepare the cake mix per the instructions and pour 1/4 cup of batter over the graham cracker crust. Use the remaining batter to make a small cake. Bake the cupcakes for 15-18 minutes, or until a cake tester inserted in the middle comes out clean. Let the cupcakes cool in the pan for a few minutes before transferring them to a wire rack to cool completely.

Frosting: Using a handheld mixer, beat the heavy cream and vanilla extract in a medium bowl until soft peaks form. Add in the marshmallow cream and continue beating the mixture until it’s smooth. Transfer to a piping bag fitted with a round tip and pipe dollops of the frosting onto each cupcake.

Top each cupcake with graham cracker crumbs and shaved chocolate and enjoy!

Whipped Cream Dyed Easter Eggs

While we may not be able to celebrate Easter as we normally do this year there is one activity that can still be fun and remain the same… Dyeing Easter Eggs.

There are plenty of creative ways to dye Easter eggs… The traditional way of using water, vinegar and food coloring, the all-natural method of using vegetables and spices or the fancy way of using silk ties.  And then there are bunch of different methods in between. One of those, the shaving cream method. With this method you swirl food coloring into a dish of shaving cream and then set the eggs in the cream so they can absorb the color swirl. The only problem with this method is that the shaving cream makes the eggs inedible since egg shells are porous. I definitely don’t think it’s safe to eat a hard-boiled egg that may have traces of shaving cream on it. So, instead of shaving cream you can use whipped topping to achieve the same results and also have eggs that are still safe to eat after decorating.

After boiling your eggs let them cool completely. I suggest saving the carton from your eggs so you can store them in there once they have been dyed. Pour vinegar into a medium bowl and submerge the eggs in the vinegar for about two minutes. Remove the eggs and pat them dry with a paper towel. Set aside.

Now, you can make your own whipped cream if you choose, but, I opted to buy frozen whipped topping, aka Cool Whip. I placed it in the refrigerator overnight so that it could defrost. Once defrosted, I emptied the contents of 2 8oz. tubs of whipped topping into a 9×9-inch baking dish. Next, I dotted the top with gel food coloring. I opted to use three colors, I wouldn’t suggest using more colors than three as the colors can get really muddled together then. I would also try avoid using colors that when blended together make a new color, i.e. red and yellow (orange), blue and yellow (green), red and blue (purple), and so forth.  Using a toothpick I swirled the colors into the topping, making sure to get the color into the bottom of the dish as well so that when I submerged the eggs they would be completely covered with the dyed whipped topping. I then placed the eggs in the whipped topping. I fit about 9 eggs in the 9×9-inch dish. I covered the top of the eggs with the whipped topping and I let the eggs sit there for about 15-20 minutes. The longer the eggs sit, the more vibrant the colors will be.

Next, I removed the eggs from the whipped topping and placed them in a bowl of water to clean them off. You don’t want to wipe the whipped topping off with a napkin as this could rub the colors off as well. After rinsing the eggs off I placed them on paper towels so they could dry off and then placed them back in the egg carton.

Overall I was happy with how these eggs came out. My nieces were especially happy. I think it was the first time that we dyed eggs and the eggs actually had a nice color to them.


Supplies:

18 hardboiled eggs

Vinegar

4 8oz. tubs of whipped topping

Food Coloring – preferably gel

2 9×9-inch (or 8×8-inch) baking dishes

2 Bowls

Toothpicks

Paper towels


Banana Cake with a Mascarpone Whipped Cream Frosting

Has your cooking and baking gotten a tad bit creative in these crazy times? As we all try to adhere to social distancing our runs to the grocery store may have become non-existent or minimal. On those times we do go our selections may be slim pickings or restricted. So, what are we to do? We have to make do with what we have at home or get creative with what we can get on our grocery runs.

I recently picked up a bunch of bunch of bananas on one of my runs and I always make the mistake of getting a few too many or not eating them fast enough. I prefer my bananas to not have any spots on them. So, with three overripe bananas staring at me I decided to make a banana cake. And initially I was thinking of making a whipped cream frosting to top it, but, then I remembered I had a slightly used container of mascarpone cheese in my fridge that was quickly approaching its expiration date, so I decided to make a Mascarpone Whipped Cream frosting instead. Now, I wasn’t all that sure how the two flavors would go together, but, since mascarpone is closely related to cream cheese (both are essentially the same but mascarpone has a higher fat content than cream cheese, hence it having a richer and creamier taste) and a lot of banana cakes do have a cream cheese frosting I figured they would work together. So, if you don’t have either mascarpone or whipped cream on hand but you do have cream cheese and confectioners’ sugar you could easily just make a cream cheese frosting to top the cake. Or, to make things even easier, and just as delicious, you can enjoy the cake on its own without frosting. Hopefully that wasn’t too much information or rambling.

Once I had baked the cakes I let them cool completely before refrigerating them overnight before frosting them.

I wasn’t sure if I had enough frosting to fill and cover the cake so I decided to just lightly frost the cake and use the remaining frosting to pipe a few swirls on it.

Final verdict… The two flavors worked well together.


Banana Cake

  • Servings: 10 to 12 people
  • Print

Ingredients:

3 overripe bananas, mashed

3 cups flour

1 teaspoon baking powder

1 teaspoon baking soda

1/2 teaspoon cinnamon

1/2 teaspoon salt

3/4 cups unsalted butter, at room temperature

1 cup sugar

1/2 cup light brown sugar

3 large eggs, at room temperature

2 teaspoons vanilla extract

1 1/2 cups buttermilk, at room temperature*

*To make your own buttermilk combine 7 teaspoons of white vinegae with 1 1/2 cups whole milk in a measuring cup. Stir to combine and let stand for 10 to 15 minutes. The buttermilk is ready when the mixture begins to curdle.

Directions:

Preheat the oven to 350 F. Spray two 8-inch round cake pans with baking spray (or coat with butter and flour) and set aside.

In a medium bowl whisk together the flour, baking powder, baking soda, cinnamon and salt. Set aside.

In a large bowl, using a handheld mixer, beat the butter on high speed until creamy. Add both sugars and continue beating until creamed together. Lower the speed to medium and add the eggs and vanilla extract and continue beating until well combined. Add the mashed bananas and beat until just combined. Reduce the speed to low and add the dry ingredients in three parts alternating with the buttermilk. Do not overmix the batter, a few lumps is okay.

Divide the batter amongst the two pans (about 3 cups each) and bake in the preheated oven for 35 – 40 minutes, or until a cake tester inserted in the middle comes out clean.

Let the cakes cool in the pans for 15 minutes and then transfer to a wire rack to cool completely.

Recipe from Sally’s Baking Addiction


Mascarpone Whipped Cream Frosting

Ingredients:

1 1/4 cups heavy cream

3/4 cups confecitioners’ sugar

1 teaspoon vanilla extract

8oz. mascarpone cheese*

*You can substitute cream cheese for the mascarpone cheese, or just make a cream cheese frosting with the addition of the heavt cream

Directions:

Remove the mascarpone cheese (cream cheese) from the refrigerator 15 minutes prior to making the frosting. You want the cheese to be softened but still cold.

In a medium bowl, using a handheld mixer, beat together the heavy cream, confectioners’ sugar and vanilla exract on medium speed until soft peaks form. Add in the cheese and continue beating until stiff peaks form.


A Classic Pound Cake

You may or may not have noticed that I recently streamlined my category groups. I realized that I had too many and that some of the categories only had one or two posts under them. So, I took some time to clean it up. Which meant pretty much re-categorizing about half of my posts. While doing so I noticed how my picture quality has improved since I started blogging. Not to say that they are anywhere near perfect now, but, I have definitely gotten better from the beginning in terms of background and lighting.  It also gave me the chance to see some of the baked goods I have shared with you – some that I can’t believe I haven’t made again and others that tasted good but I am sure I won’t be making again. This all led me to realizing that there was one recipe I haven’t shared… my go-to pound cake recipe. I have been making this recipe for a few years now. I actually posted an almond variation of the recipe a few years ago and today I am finally posting the original recipe.

This cake is super simple to make, moist, delicious and will be sure to please all palates. You can’t beat that!

And while it’s delicious on its own, adding fresh whipped cream (and fresh berries when they are in season) is a nice addition. Since its Fall I decided to whip up pumpkin spice whipped cream to go along with it. I’ve shared my recipe below, but if you have a favorite whipped cream recipe you swear by simply add in a teaspoon or two of pumpkin pie spice to give it a nice twist.


Classic Pound Cake

Ingredients:

2 cups flour

1 tablespoon baking powder

1 8oz. package cream cheese, at room temperature

2 sticks unsalted butter, at room temperature

2 cups sugar

1 teaspoon vanilla extract

6 eggs


Directions:

Preheat oven to 325 F. Spray a Bundt pan with baking spray and set aside.

In a medium bowl combine the flour and baking powder and set aside.

Using a handheld mixer cream together the cream cheese, butter, sugar and vanilla extract in a large bowl until well blended. Add the eggs 1 at a time, beating after each addition. With the mixer on low gradually add in the flour mixture until incorporated.

Transfer the batter to the prepared pan and bake for about an hour or until a cake tester inserted in the cake comes out clean.

Let the cake cool in the pan for 10 minutes before inverting it on a wire rack to cool completely.

Recipe from Kraft


Pumpkin Spice Whipped Cream

  • Servings: About 2 cups
  • Print

Ingredients:

2 cups heavy whipping cream

1/2 cup confectioners’ sugar

1 teaspoon pumpkin pie spice

1 teaspoon vanilla extract


Directions:

Place the beaters of a handheld mixer and a metal in the freezer for at least 15 minutes.

Place the whipping cream, sugar, pumpkin pie spice and vanilla extract in the chilled bowl and beat on medium speed until stiff peaks form. Do not over beat. Refrigerate until ready to use.

Lime Pudding Cups

The best desserts in the summer are of course no-bakes ones. No one wants to turn on their oven when it’s 90+ degrees outside, but, sometimes you can make a slight exception and light up your stove for a quick delicious treat like these Lime Pudding Cups. These came up on my Instagram feed a few weeks ago and I knew instantly that I wanted to make them – partially because it meant using up the last of some heavy whipping cream I had in my refrigerator that was expiring soon and more importantly because they reminded me of one of my favorite desserts… Key Lime Pie.

The prep and cooking time for these is less than an hour. That includes juicing and zesting the limes, cooking the pudding on the stove and then letting it cool before straining and dividing it. (Okay, maybe it’s more like less than 45 minutes). Once all that is done you place them in the refrigerator for at least 2 hours so the pudding can set. While they are in the refrigerator you whip up some homemade whipped cream to top them and refrigerate it until they are ready.

Once the pudding has set top each one with a dollop of whipped cream, crushed graham crackers (to crush, I placed 1 graham cracker in a Ziploc bag and then rolled with a rolling pin) and lime zest.

And as simple as that you have a refreshing summer dessert that’s sweet and citrusy!

Lime Pudding Cups

Ingredients:

2 cups heavy cream

2/3 cup granulated sugar

1 tablespoon grated lime zest, plus more for topping

Pinch of kosher salt

1/3 cup freshly squeezed lime juice (from 4 medium-sized limes)

Crushed graham crackers, for topping

Sweetened whipped cream, for topping (use store-bought or follow recipe below to make your own)


Directions:

In a medium saucepan combine the heavy cream, sugar, lime zest and salt and bring to a boil over medium heat. Stir the mixture often until it is reduced to 2 cups. About 8 to 10 minutes.

Remove the saucepan from the heat and stir in the lime juice. Let cool for 20 minutes and then strain the mixture through a sieve into a measuring cup, discarding the solids. Divide evenly (about 1/3 cup in each) among 6 ramekins. Place in the refrigerator until set, at least 2 hours.

To make the whipped cream: Combine 1 cup heavy cream, 2 tablespoons confectioners’ sugar and 1/2 teaspoon vanilla extract in a chilled bowl. Beat on low speed until the mixture thickens and then beat on medium speed until soft peaks form.

Once the pudding is set, top each one with a dollop of whipped cream, some of the crushed graham cracker and lime zest.

Recipe from Martha Stewart