Hope you all had a wonderful 4th! Unfortunately the holiday weekend is now over and it’s back to the daily grind of work, but, on the bright side there is still more summer to enjoy. I had my annual BBQ on the 4th and it was a great time… You can never go wrong with great friends, delicious food and yummy desserts.
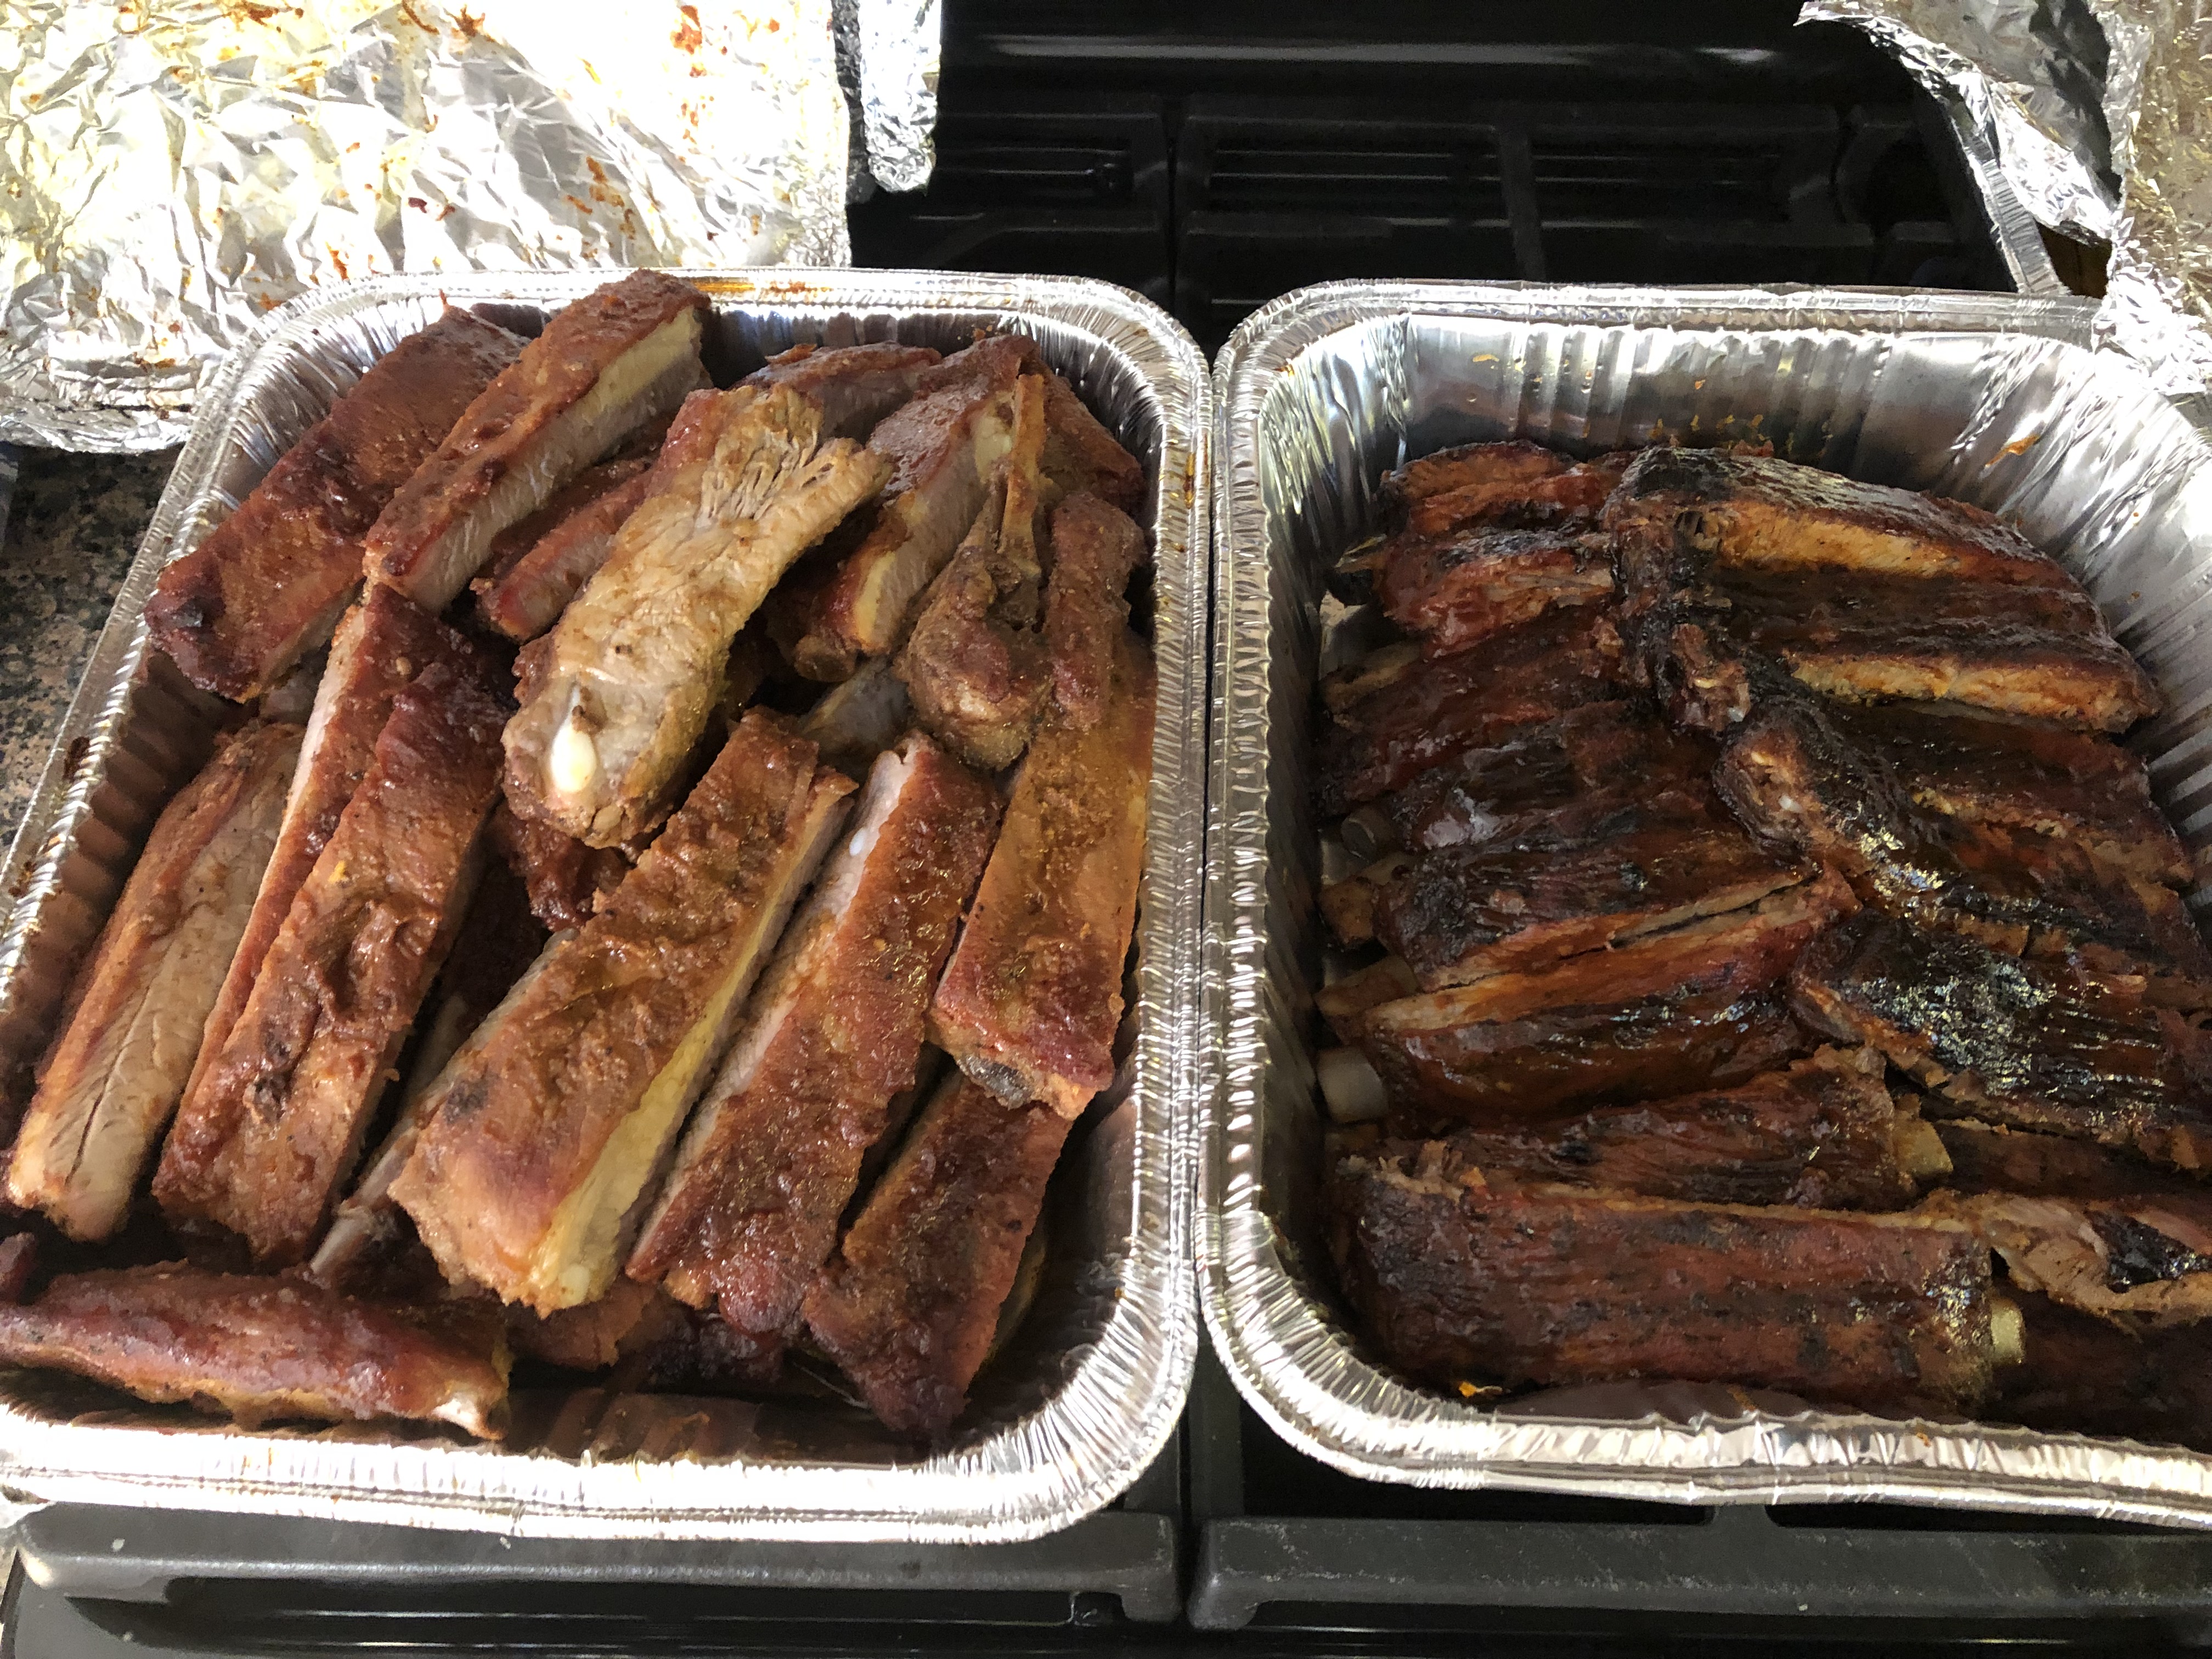
This year, one of my friends and his mother-in-law decided to have a rib throw-down. Everyone was a winner in this throw-down. One of them was declared as having the best ribs and the rest of us got to enjoy them. In all honesty both were equally delicious in my book… One had a bit of a kick and the other one had a nice amount of homemade BBQ sauce on it.
I made a few salads (macaroni, potato, black and a Greek chickpea salad), macaroni and cheese, slow cooker baked beans and of course dessert.
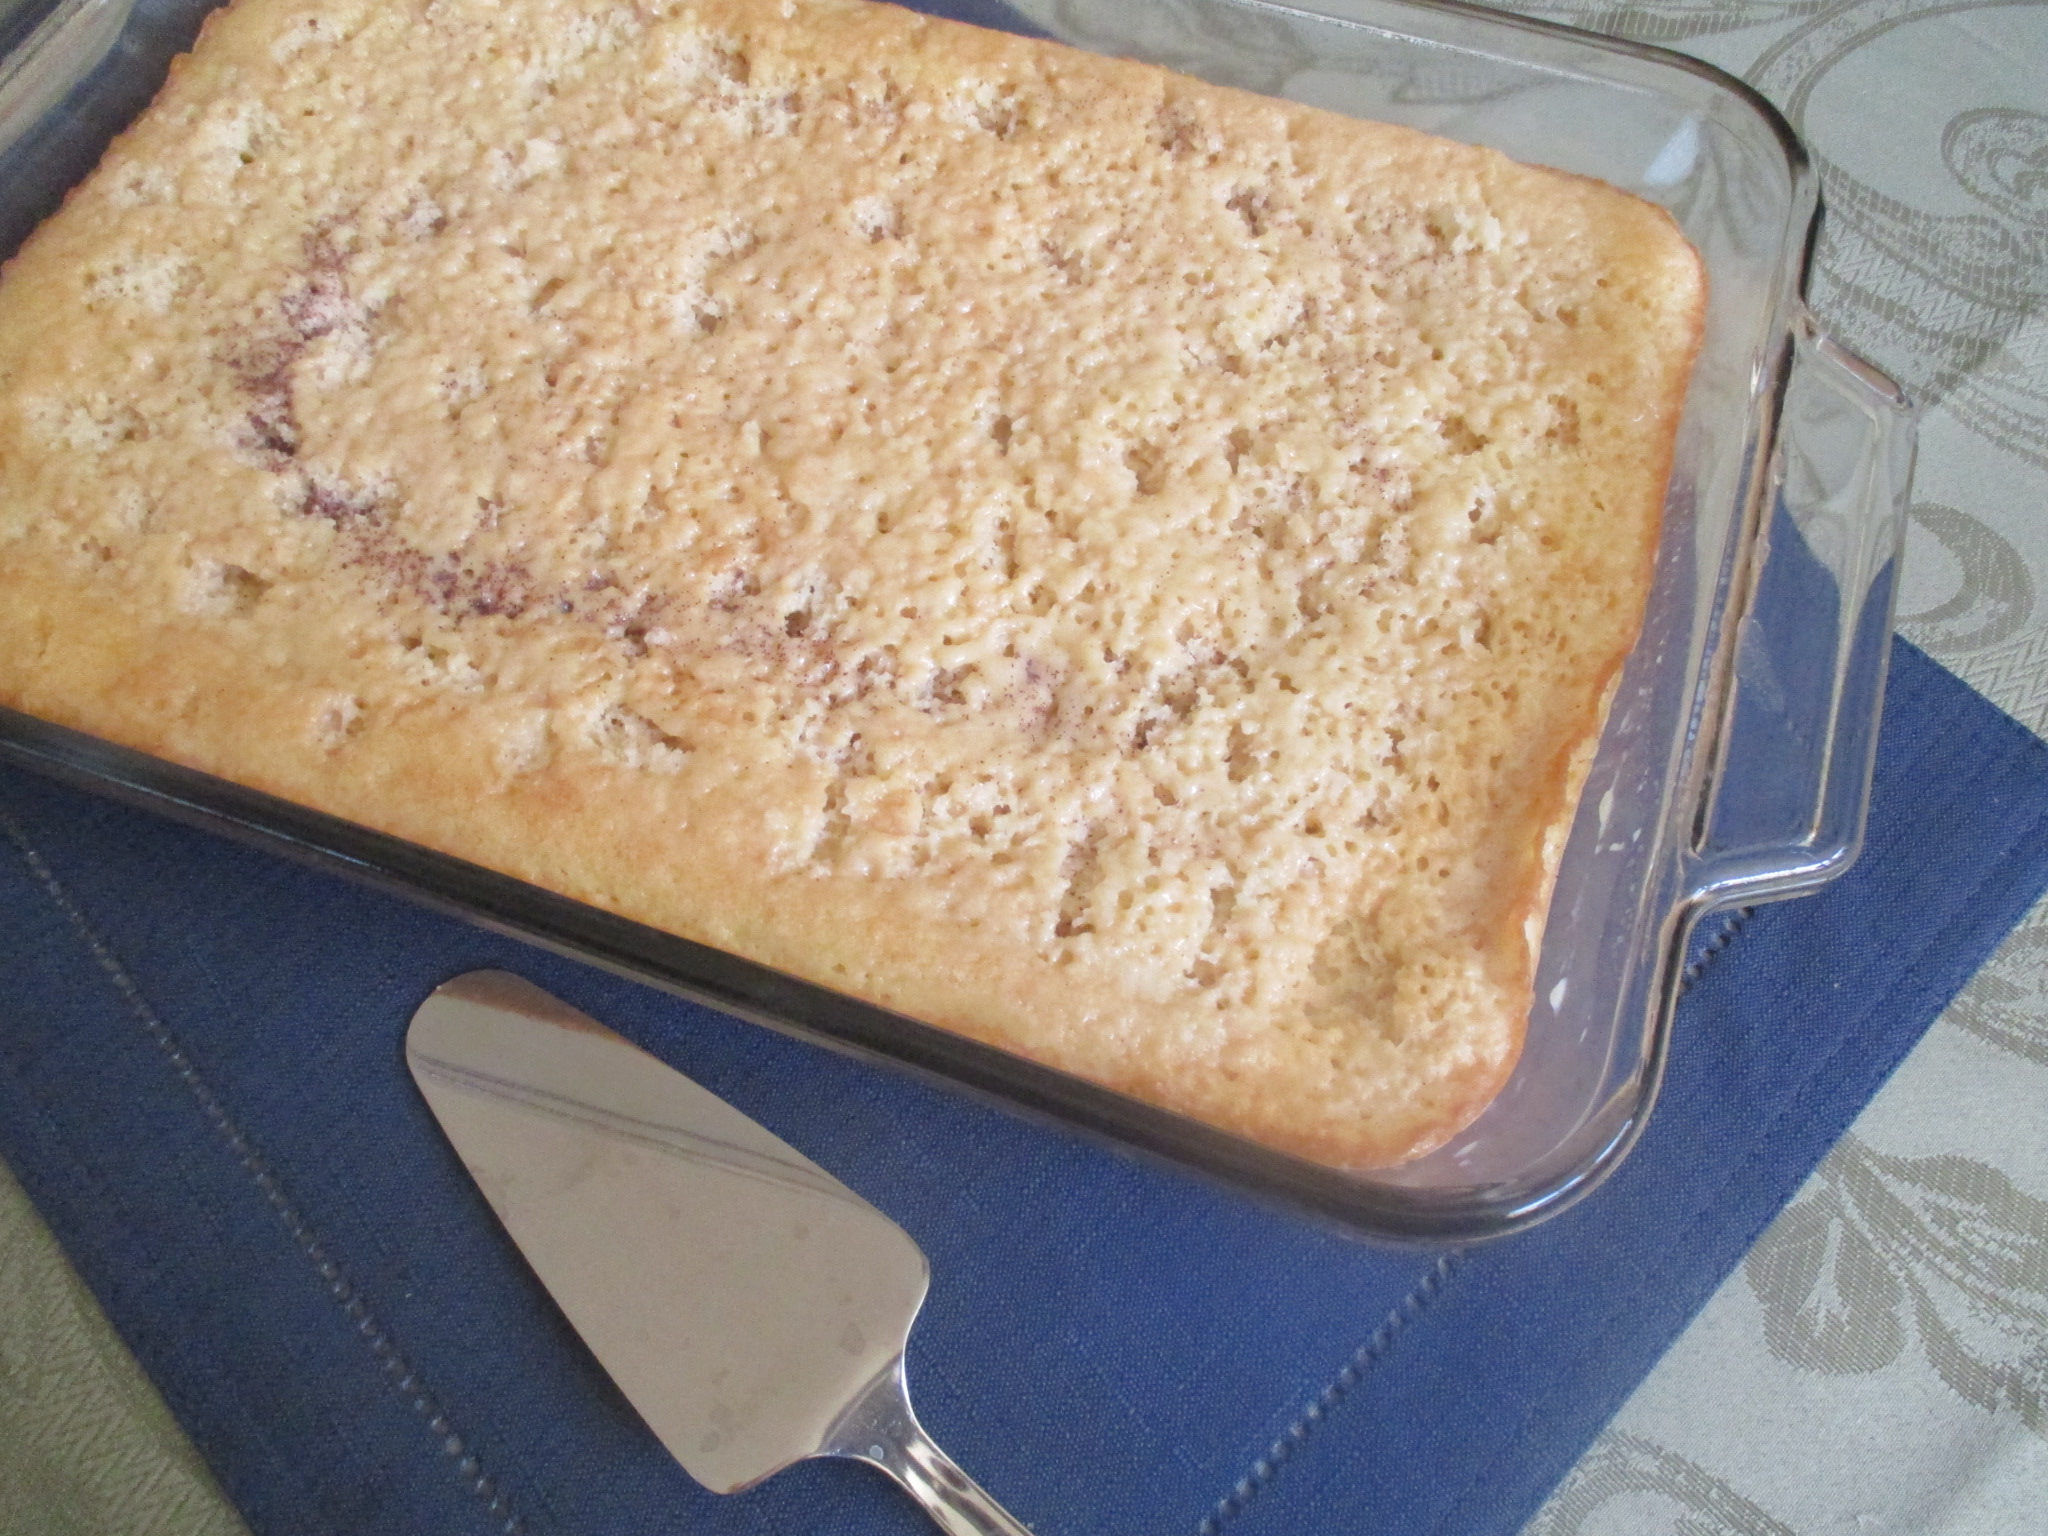
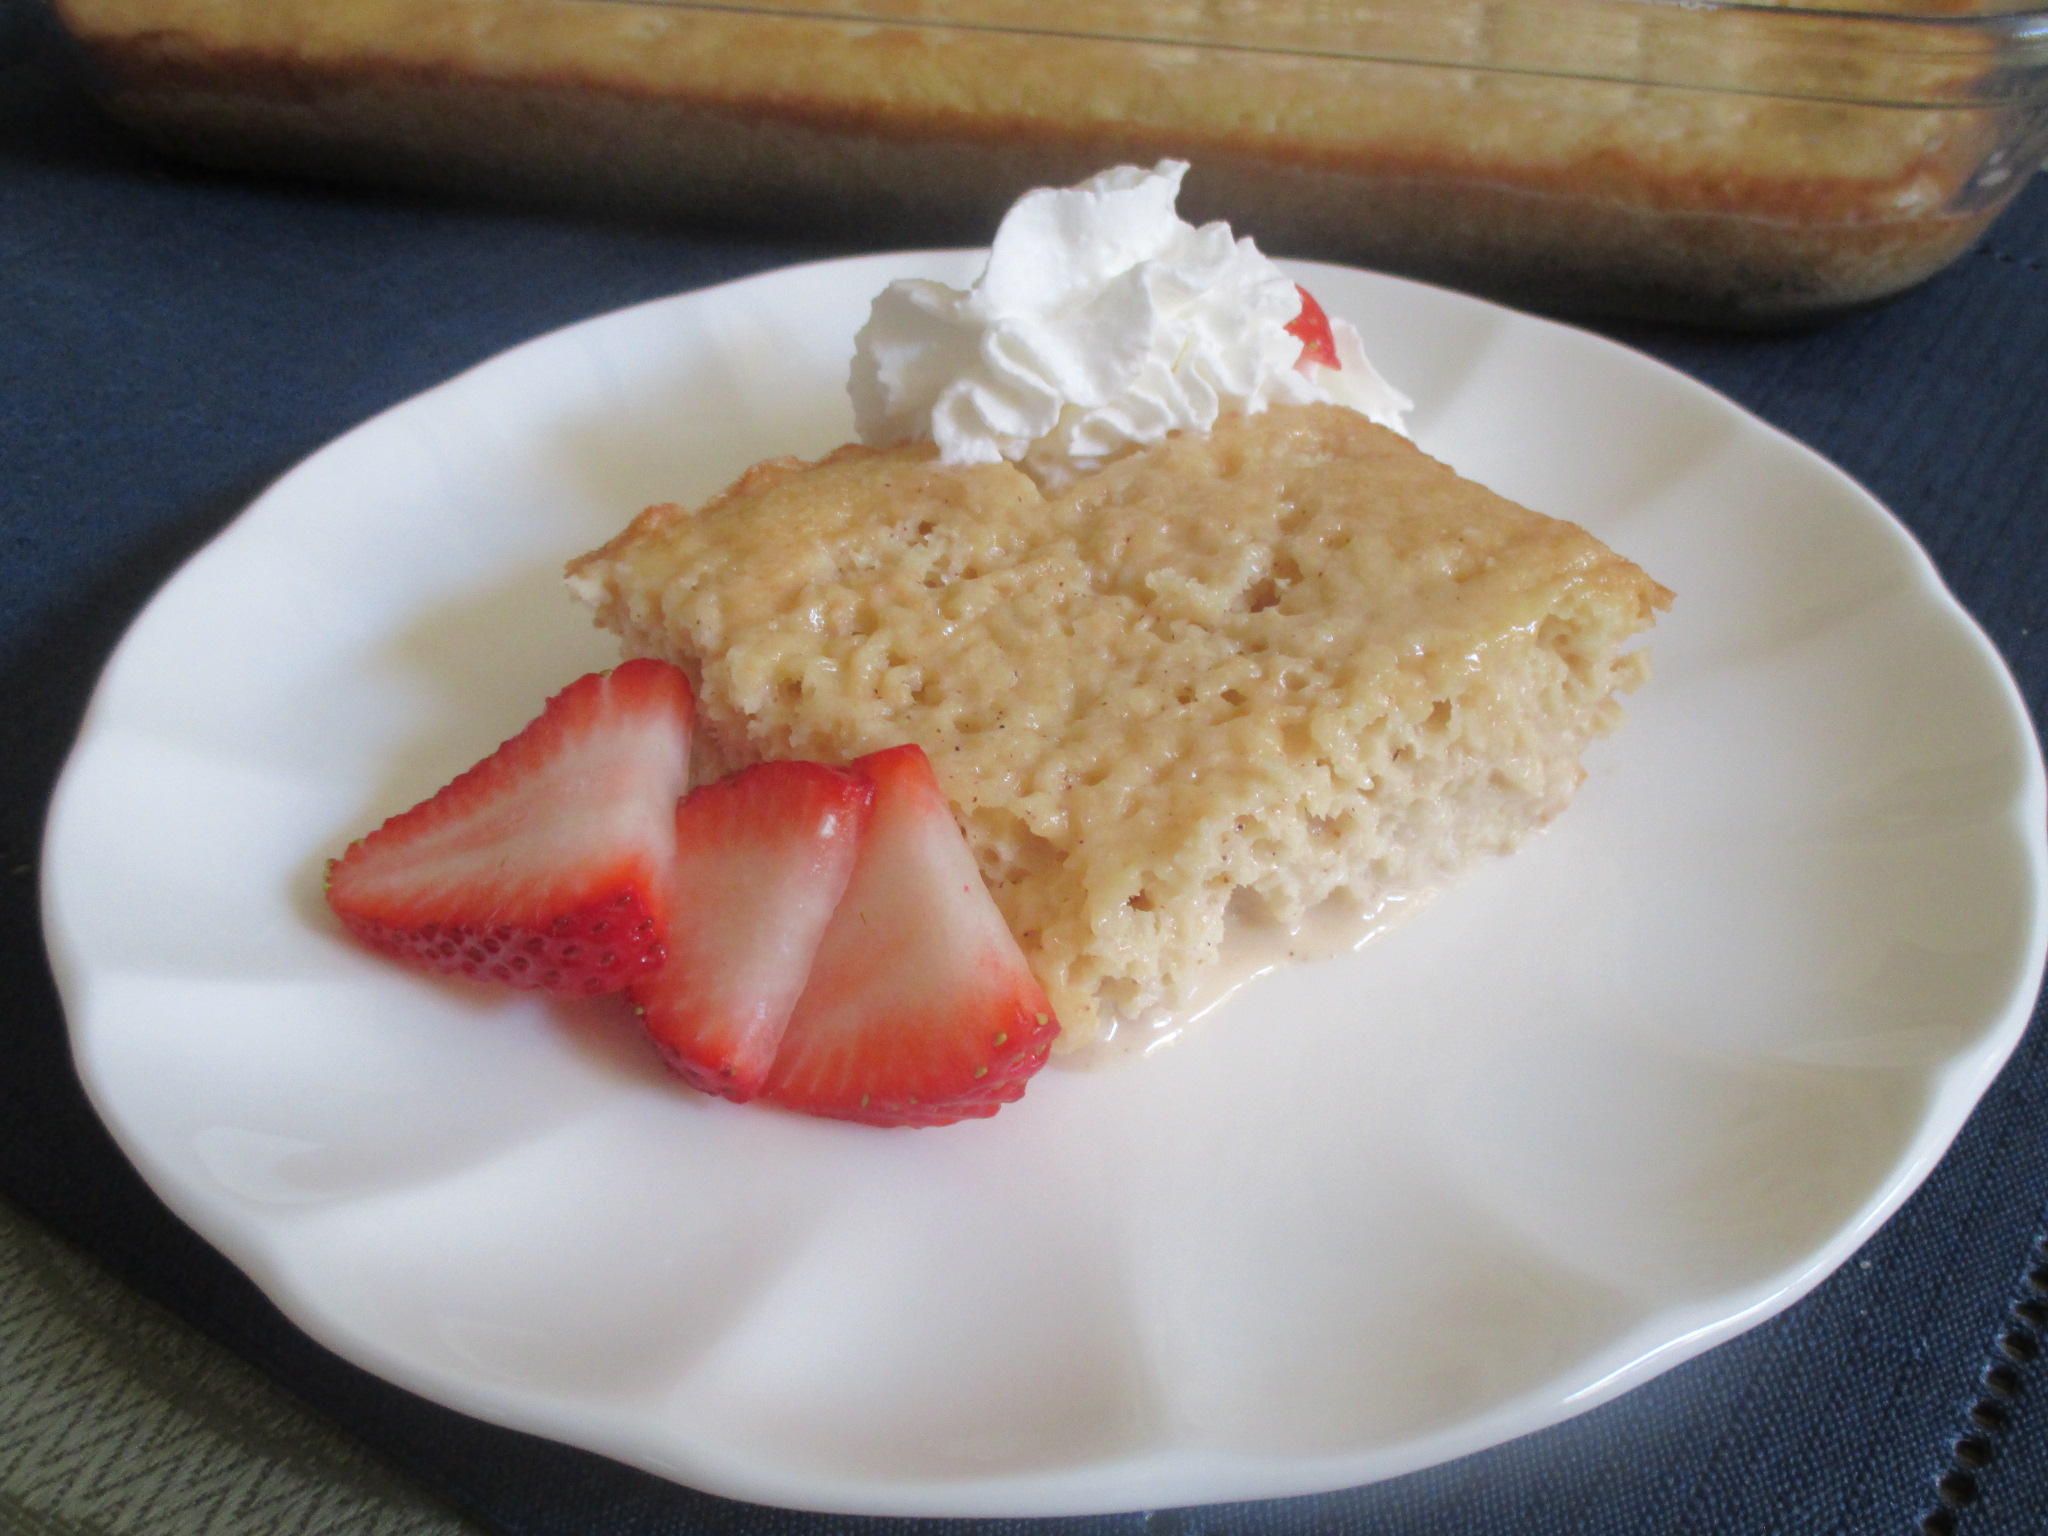
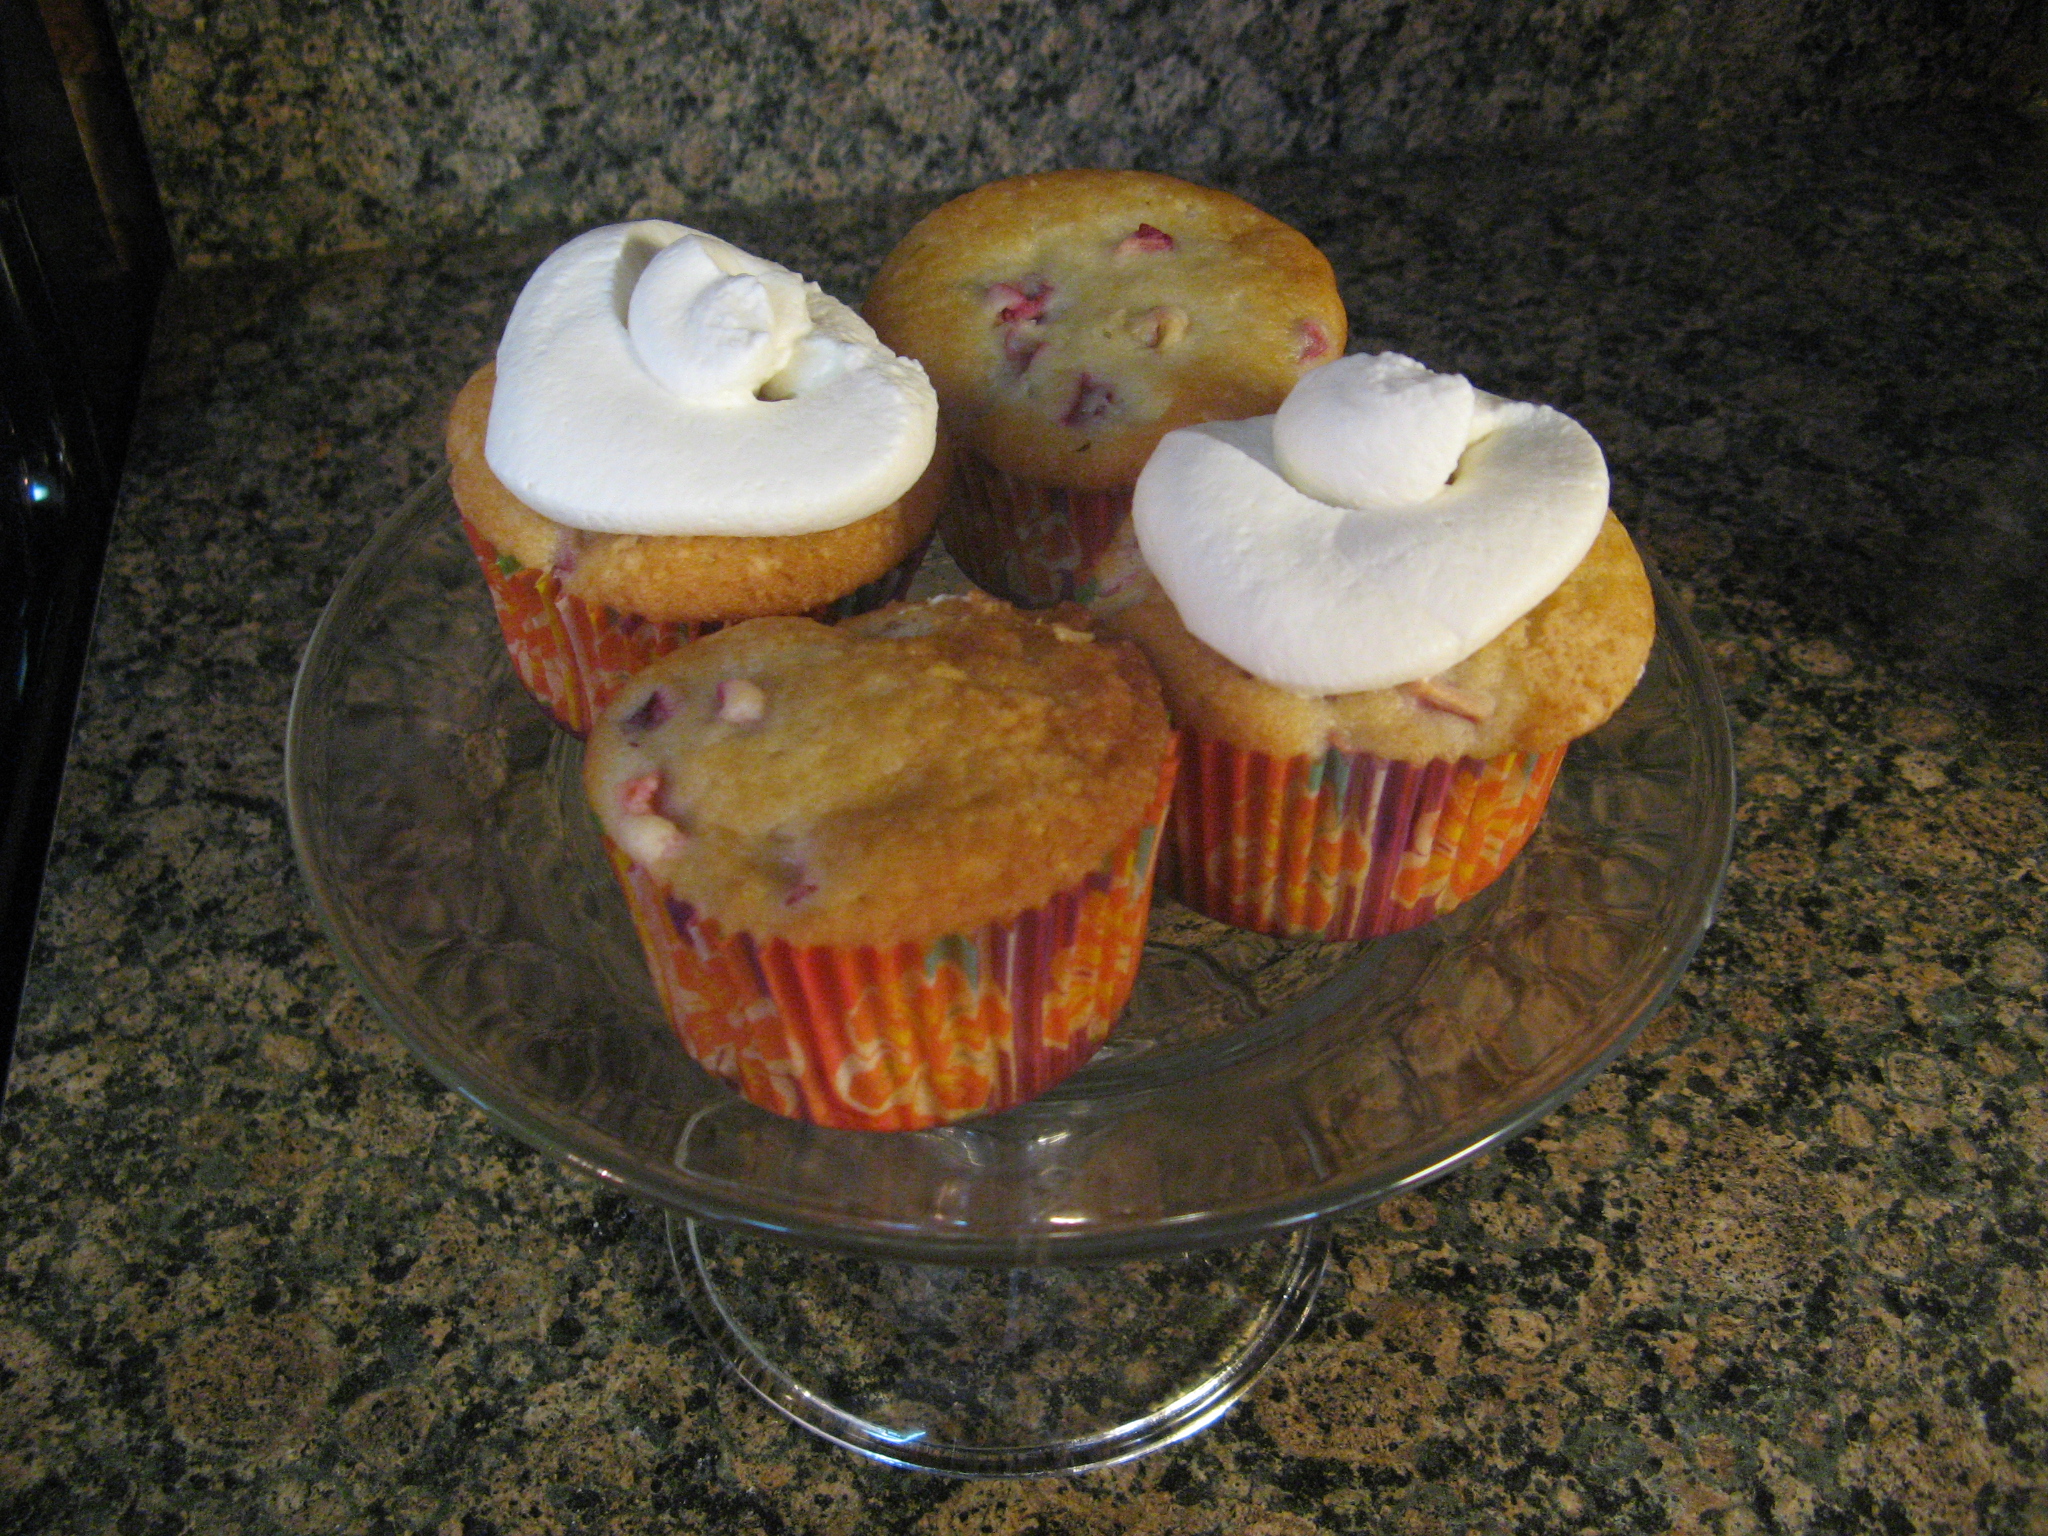
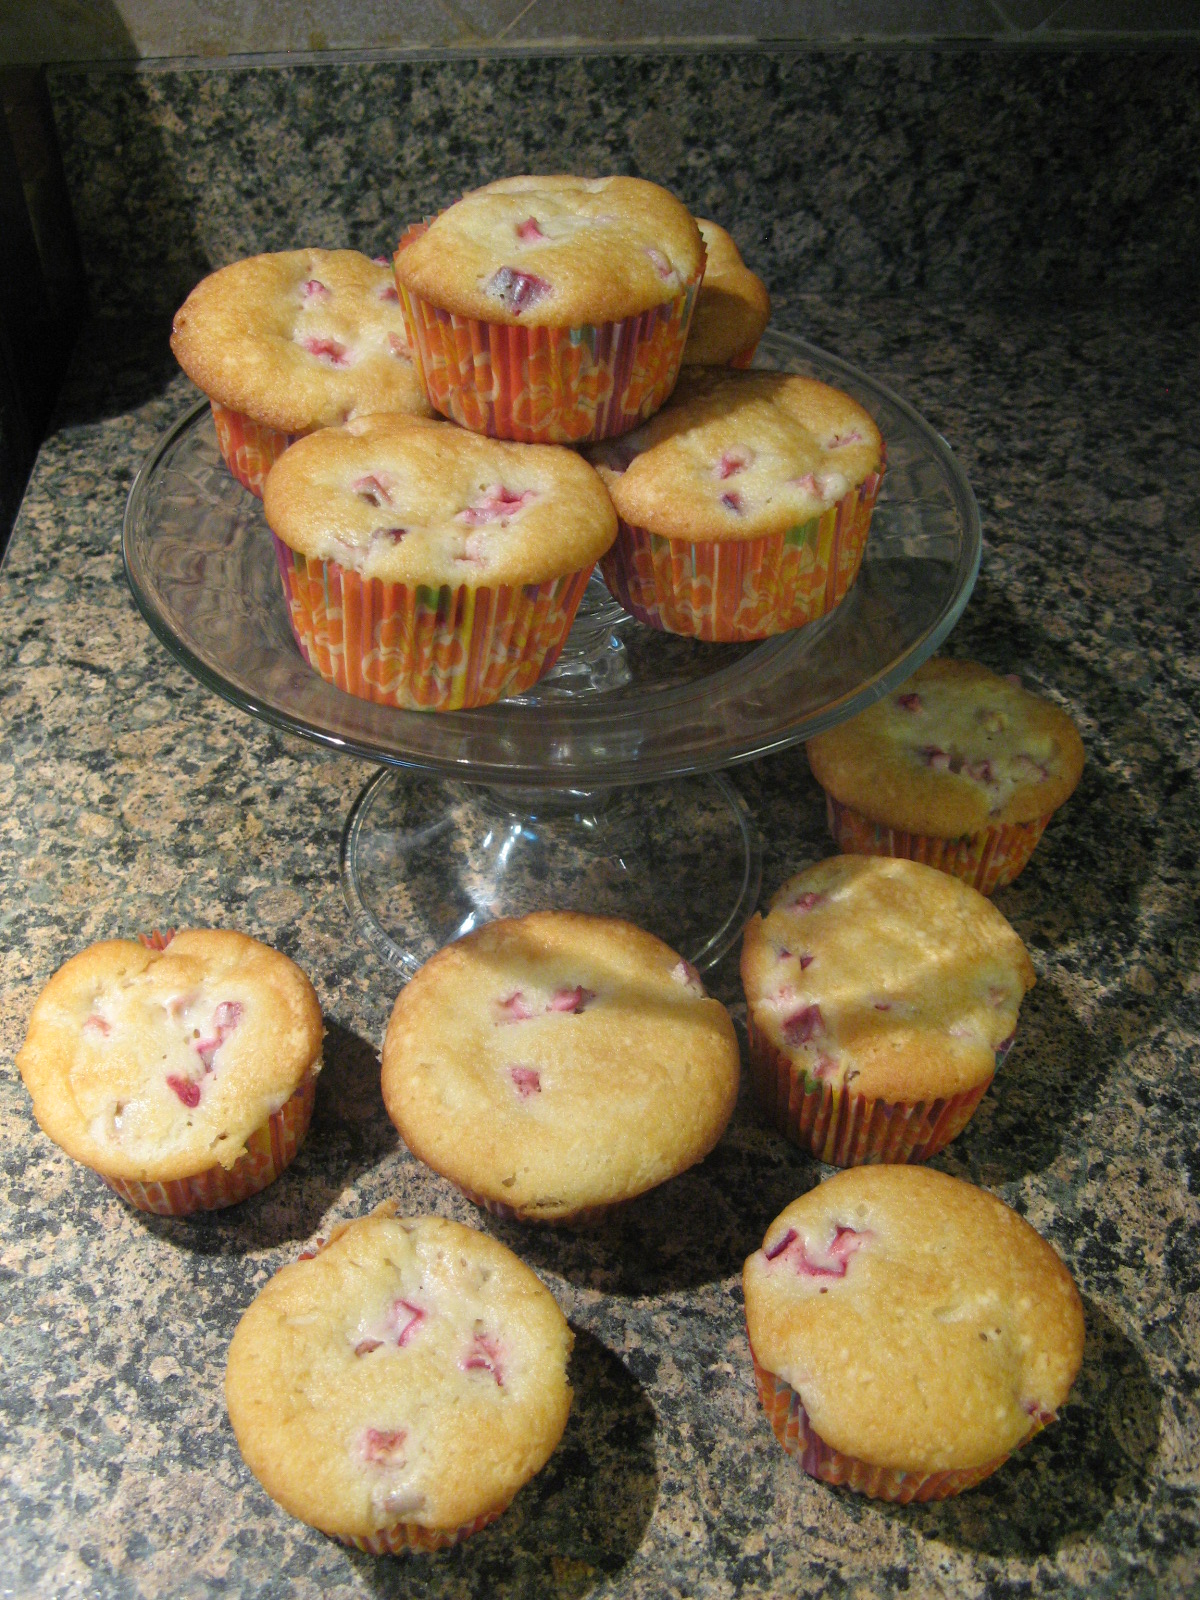
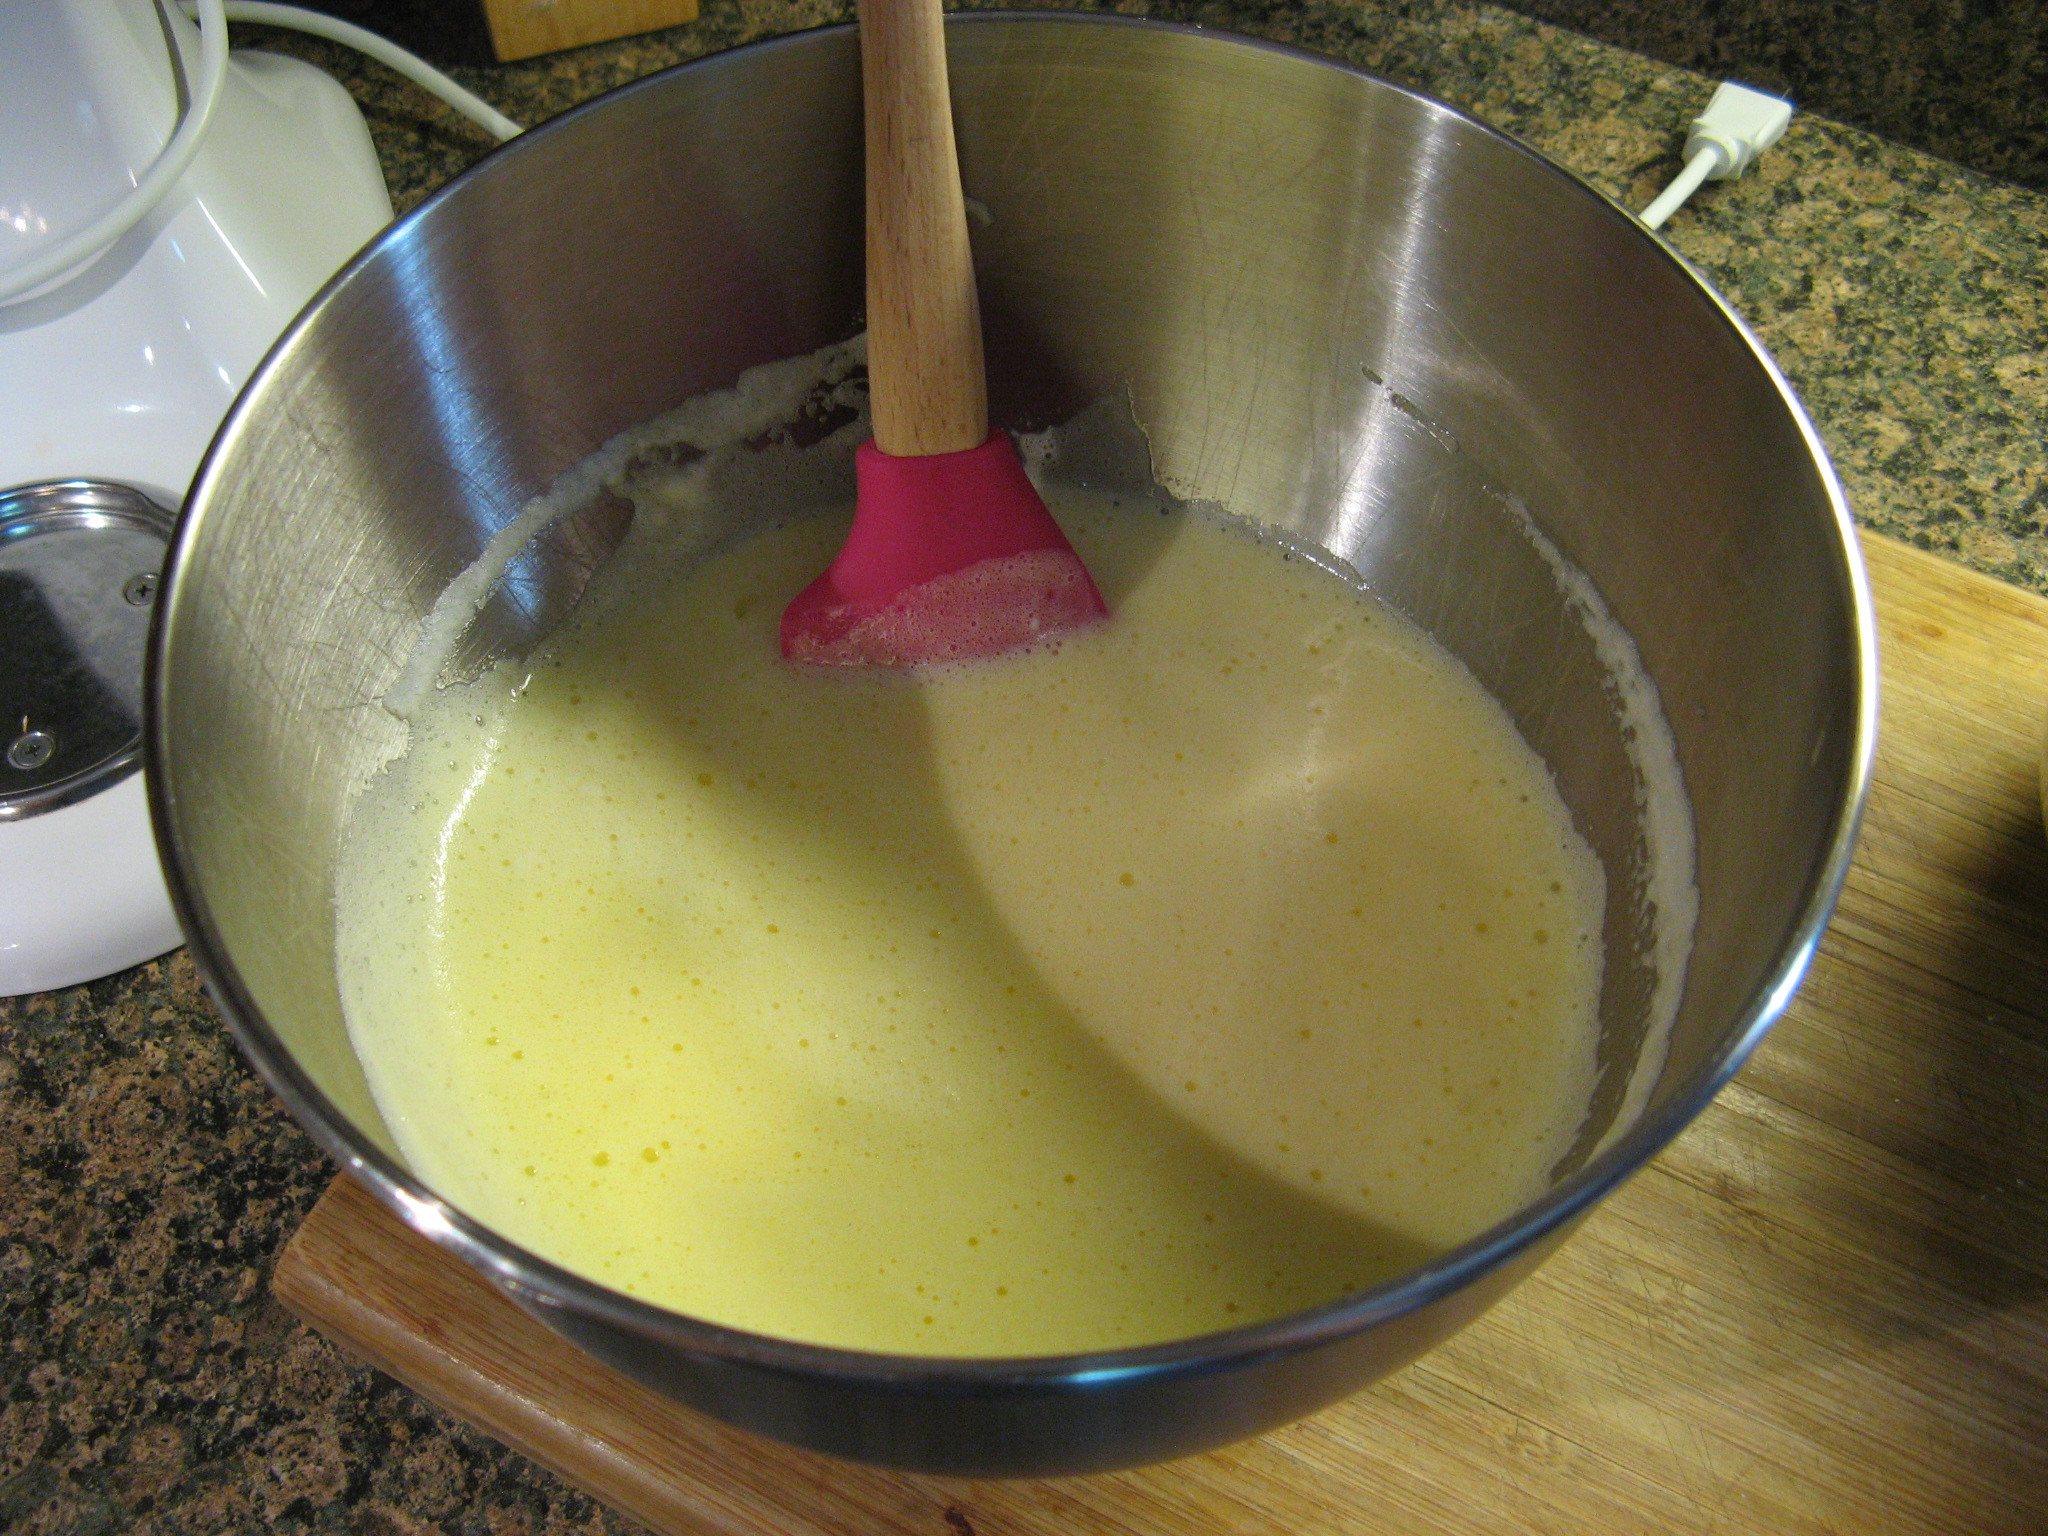
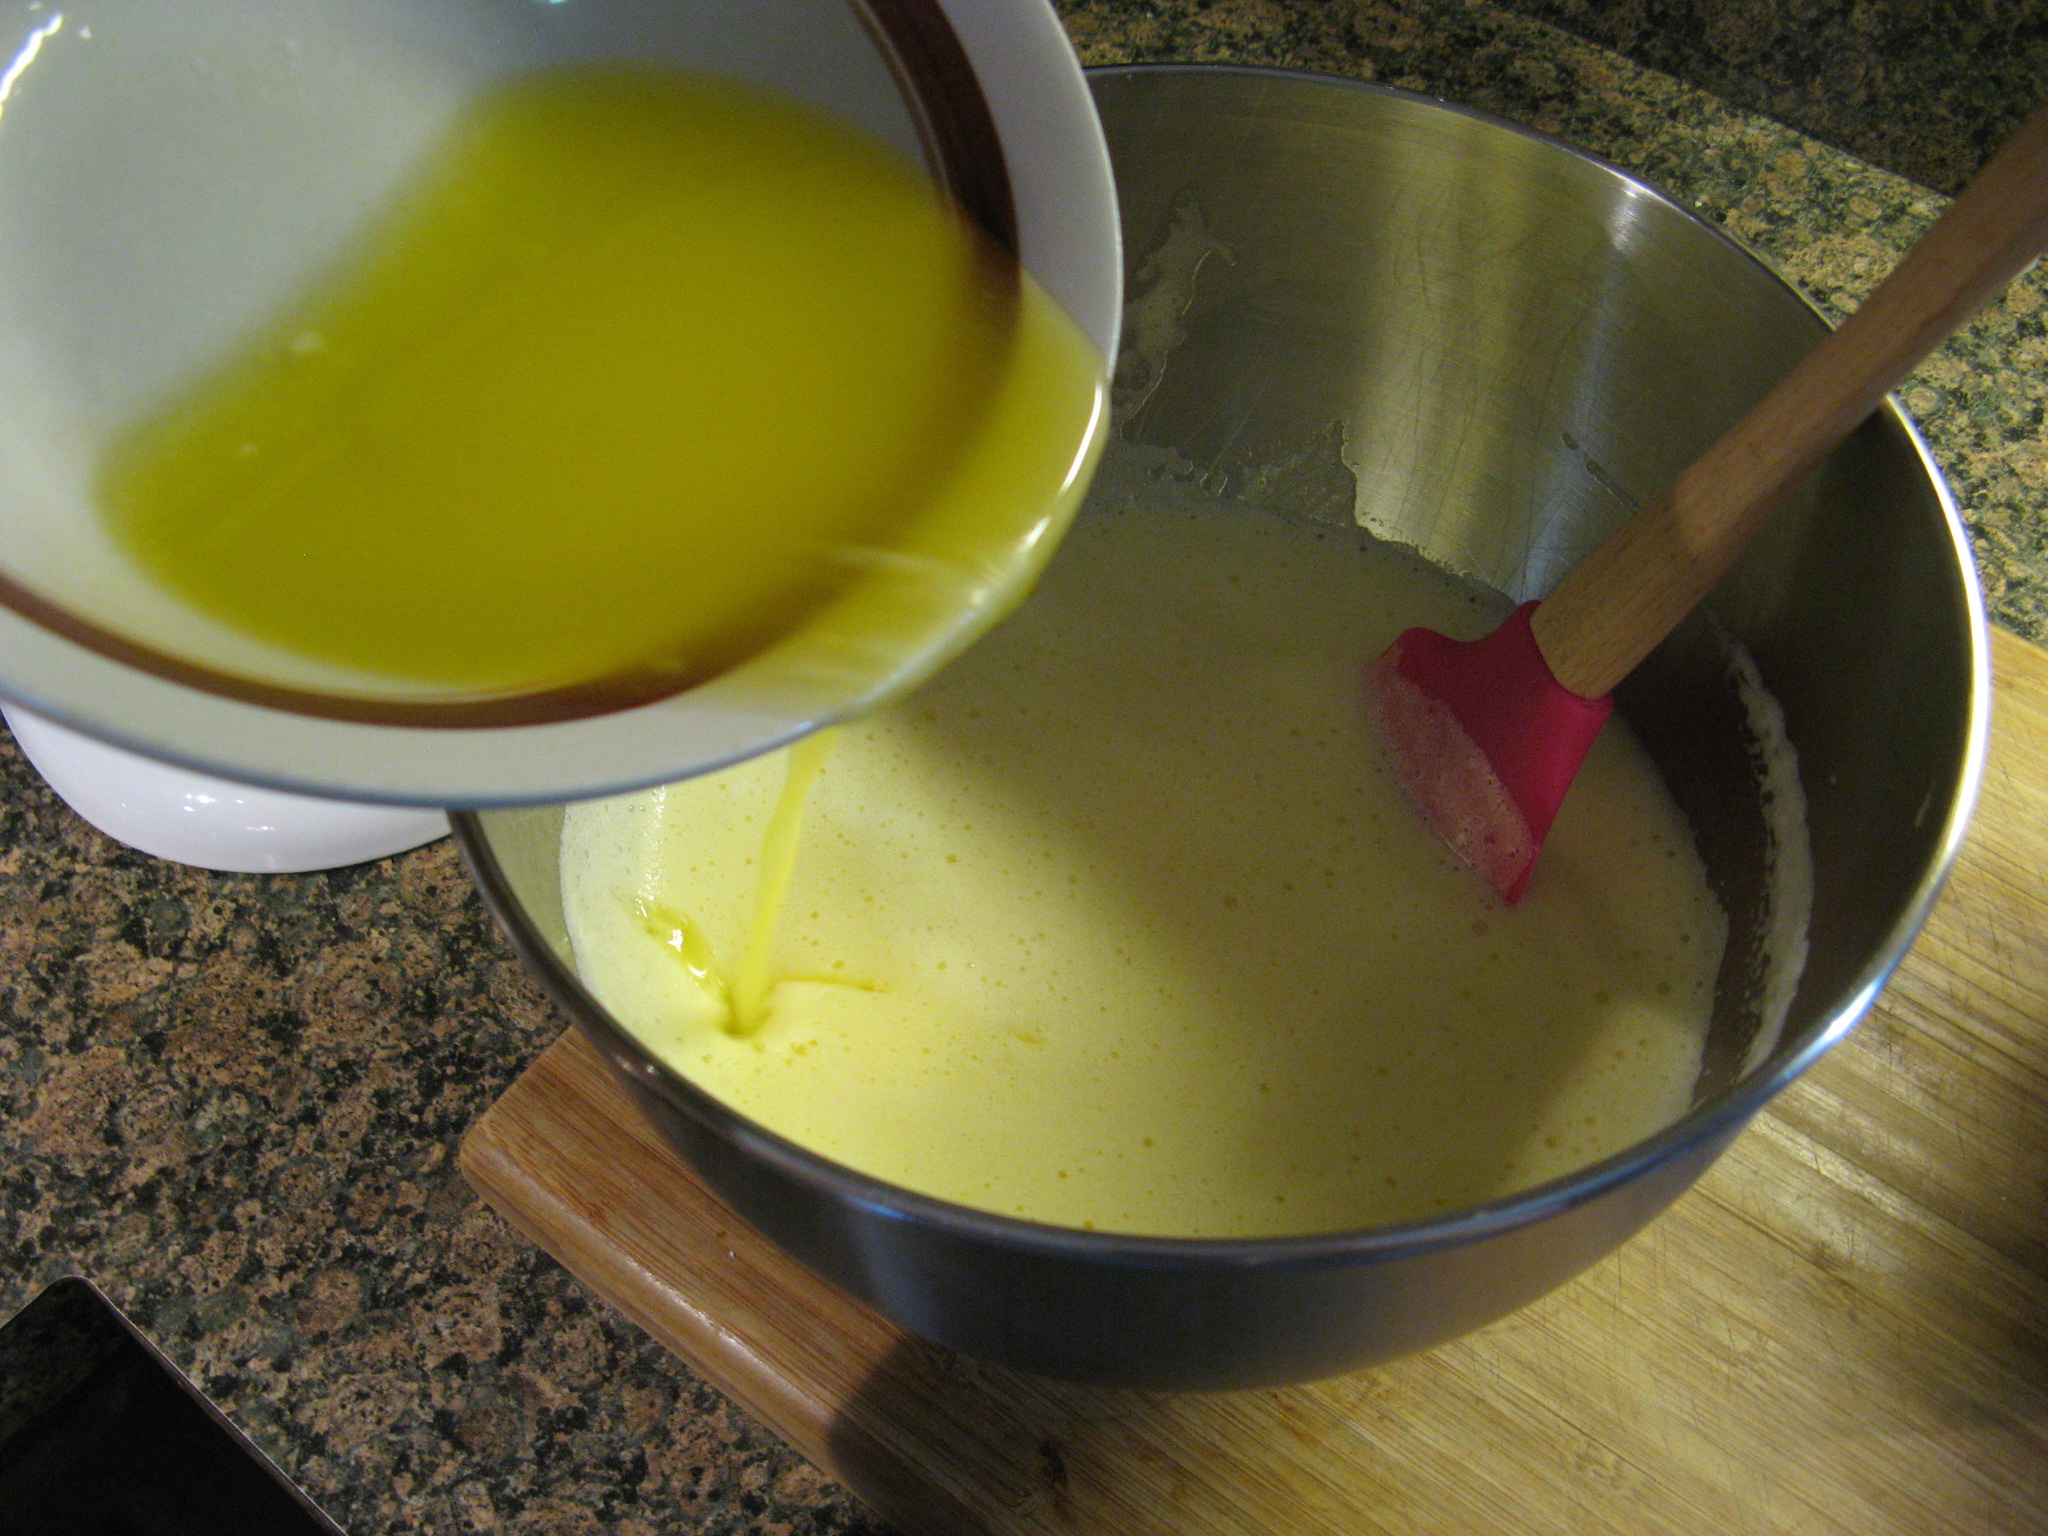
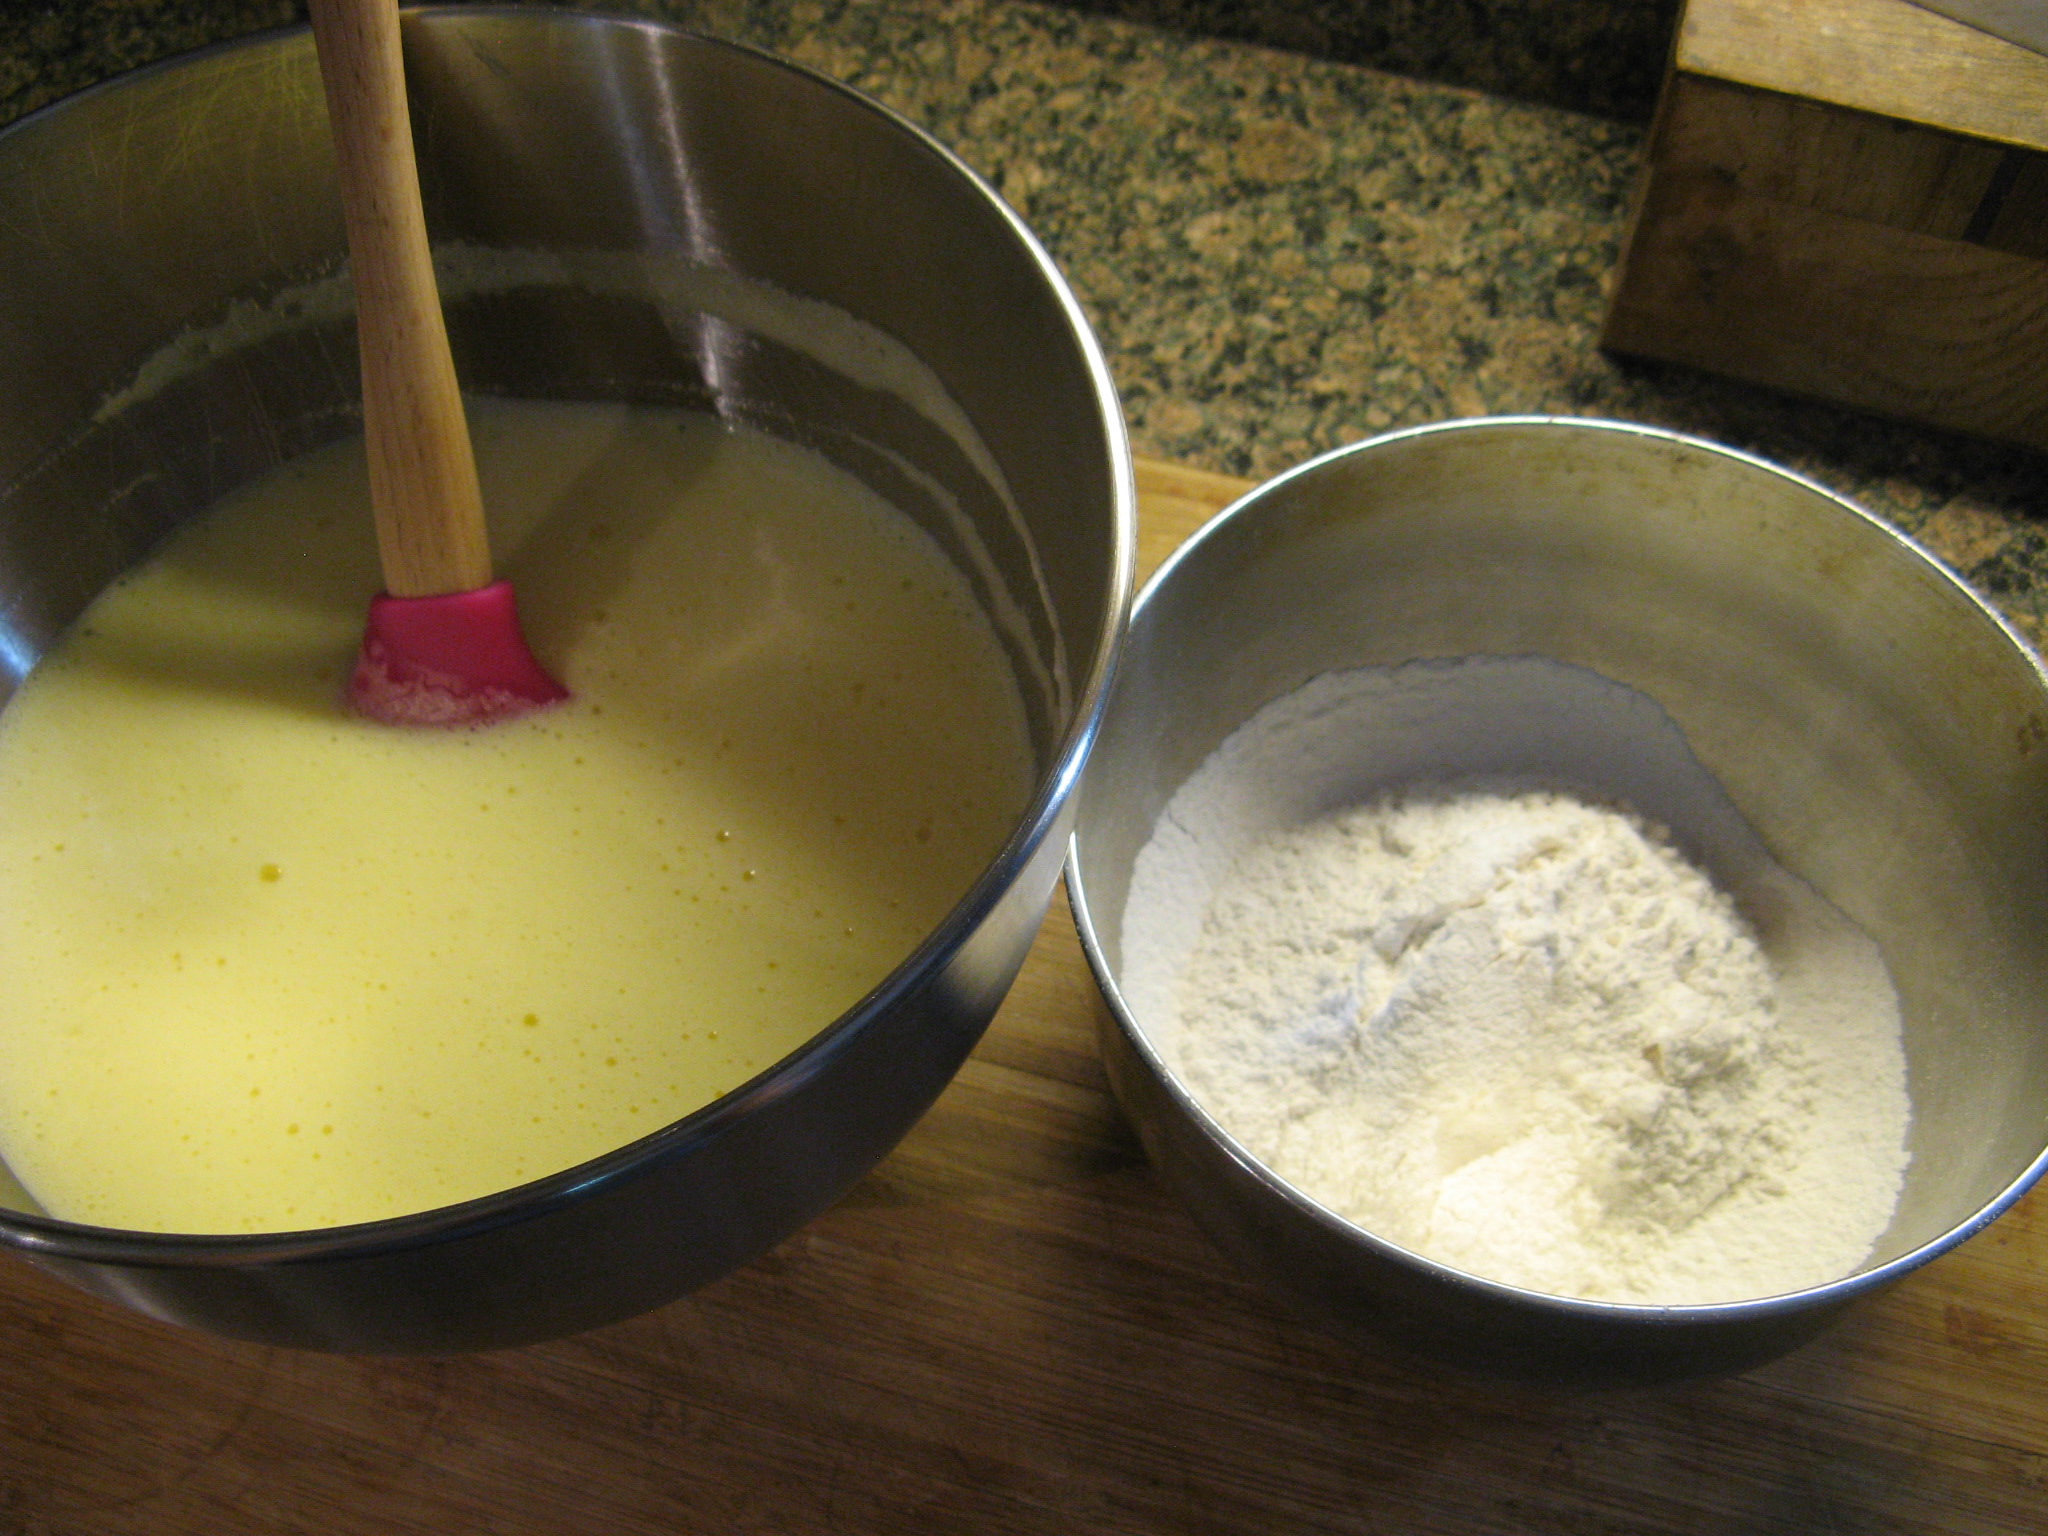
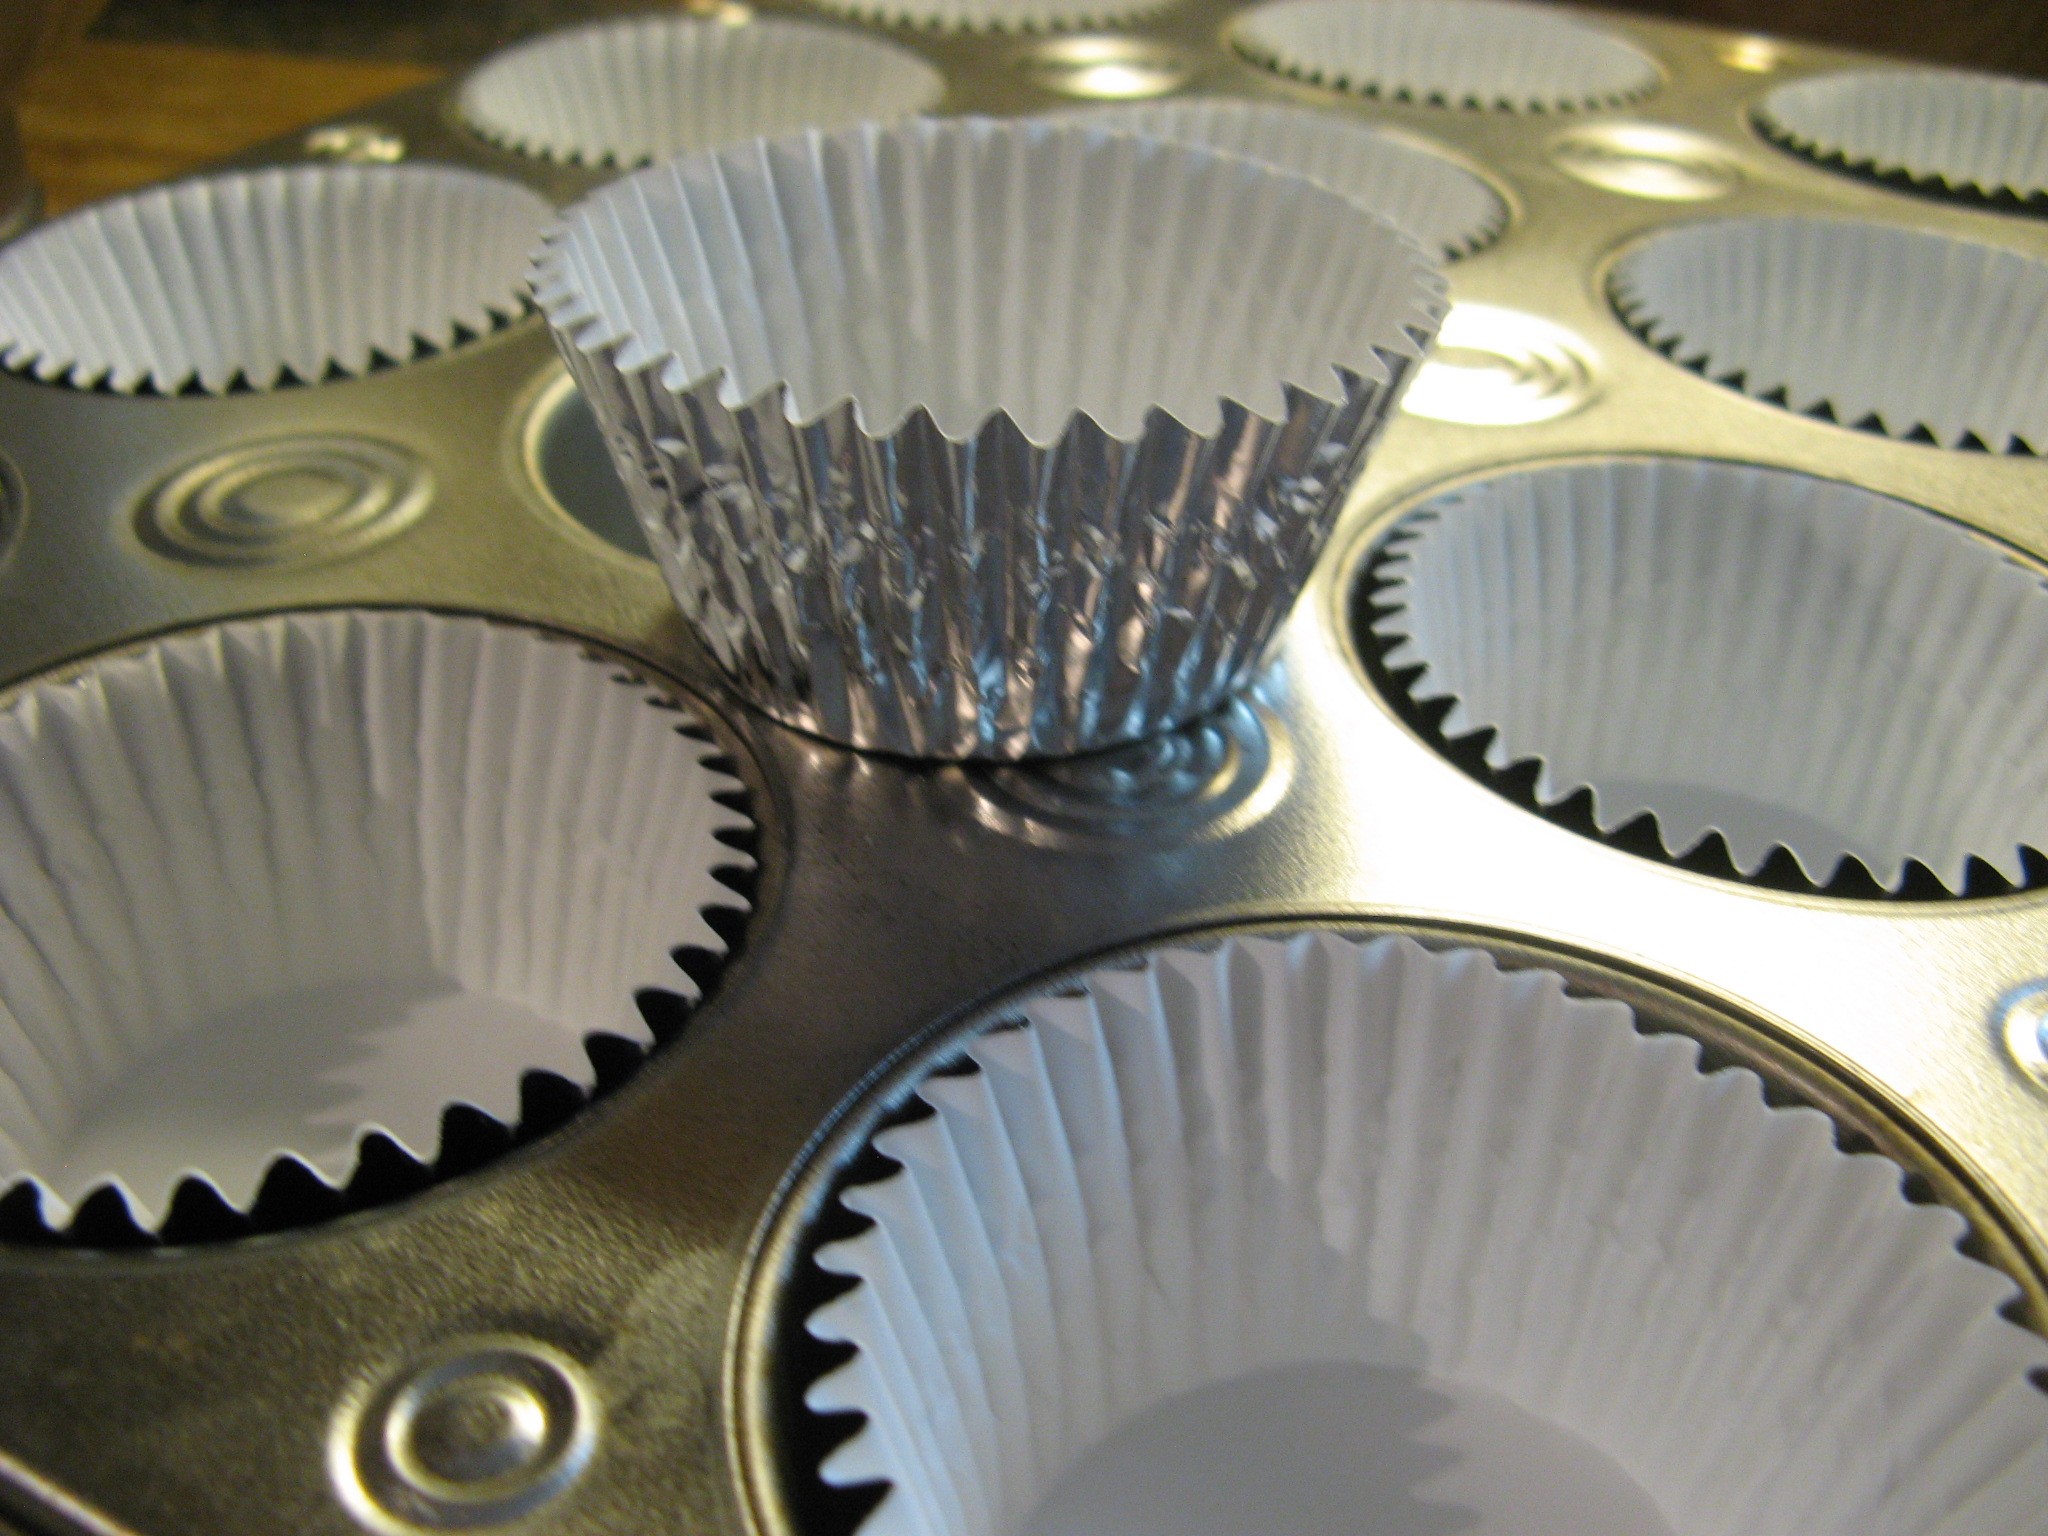
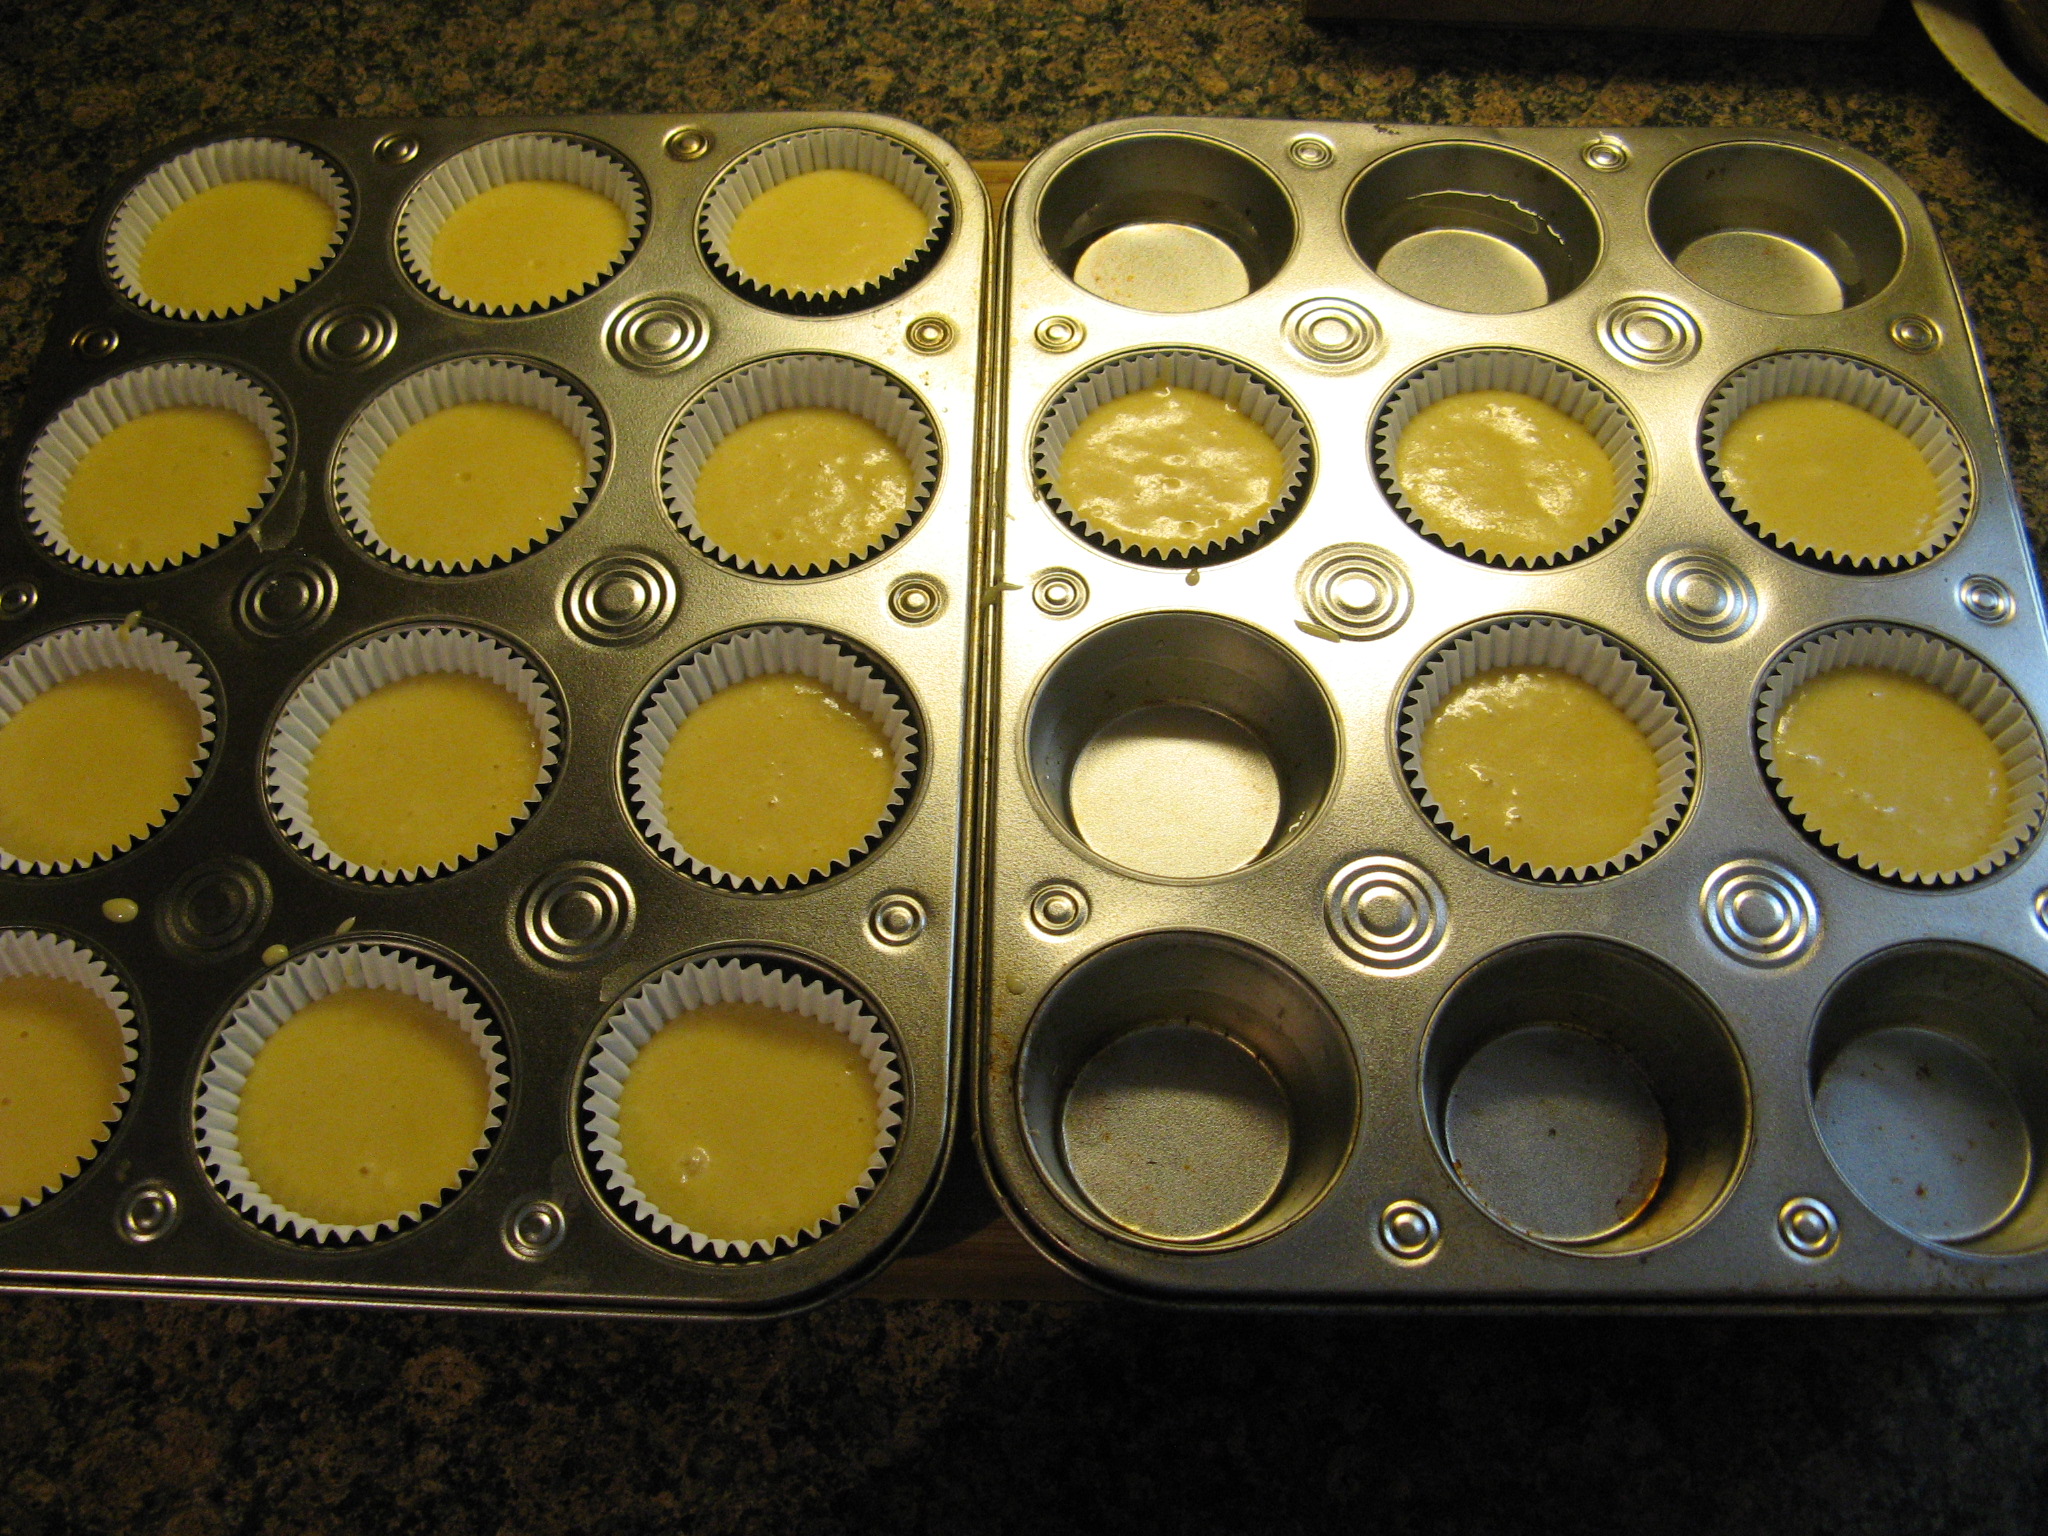
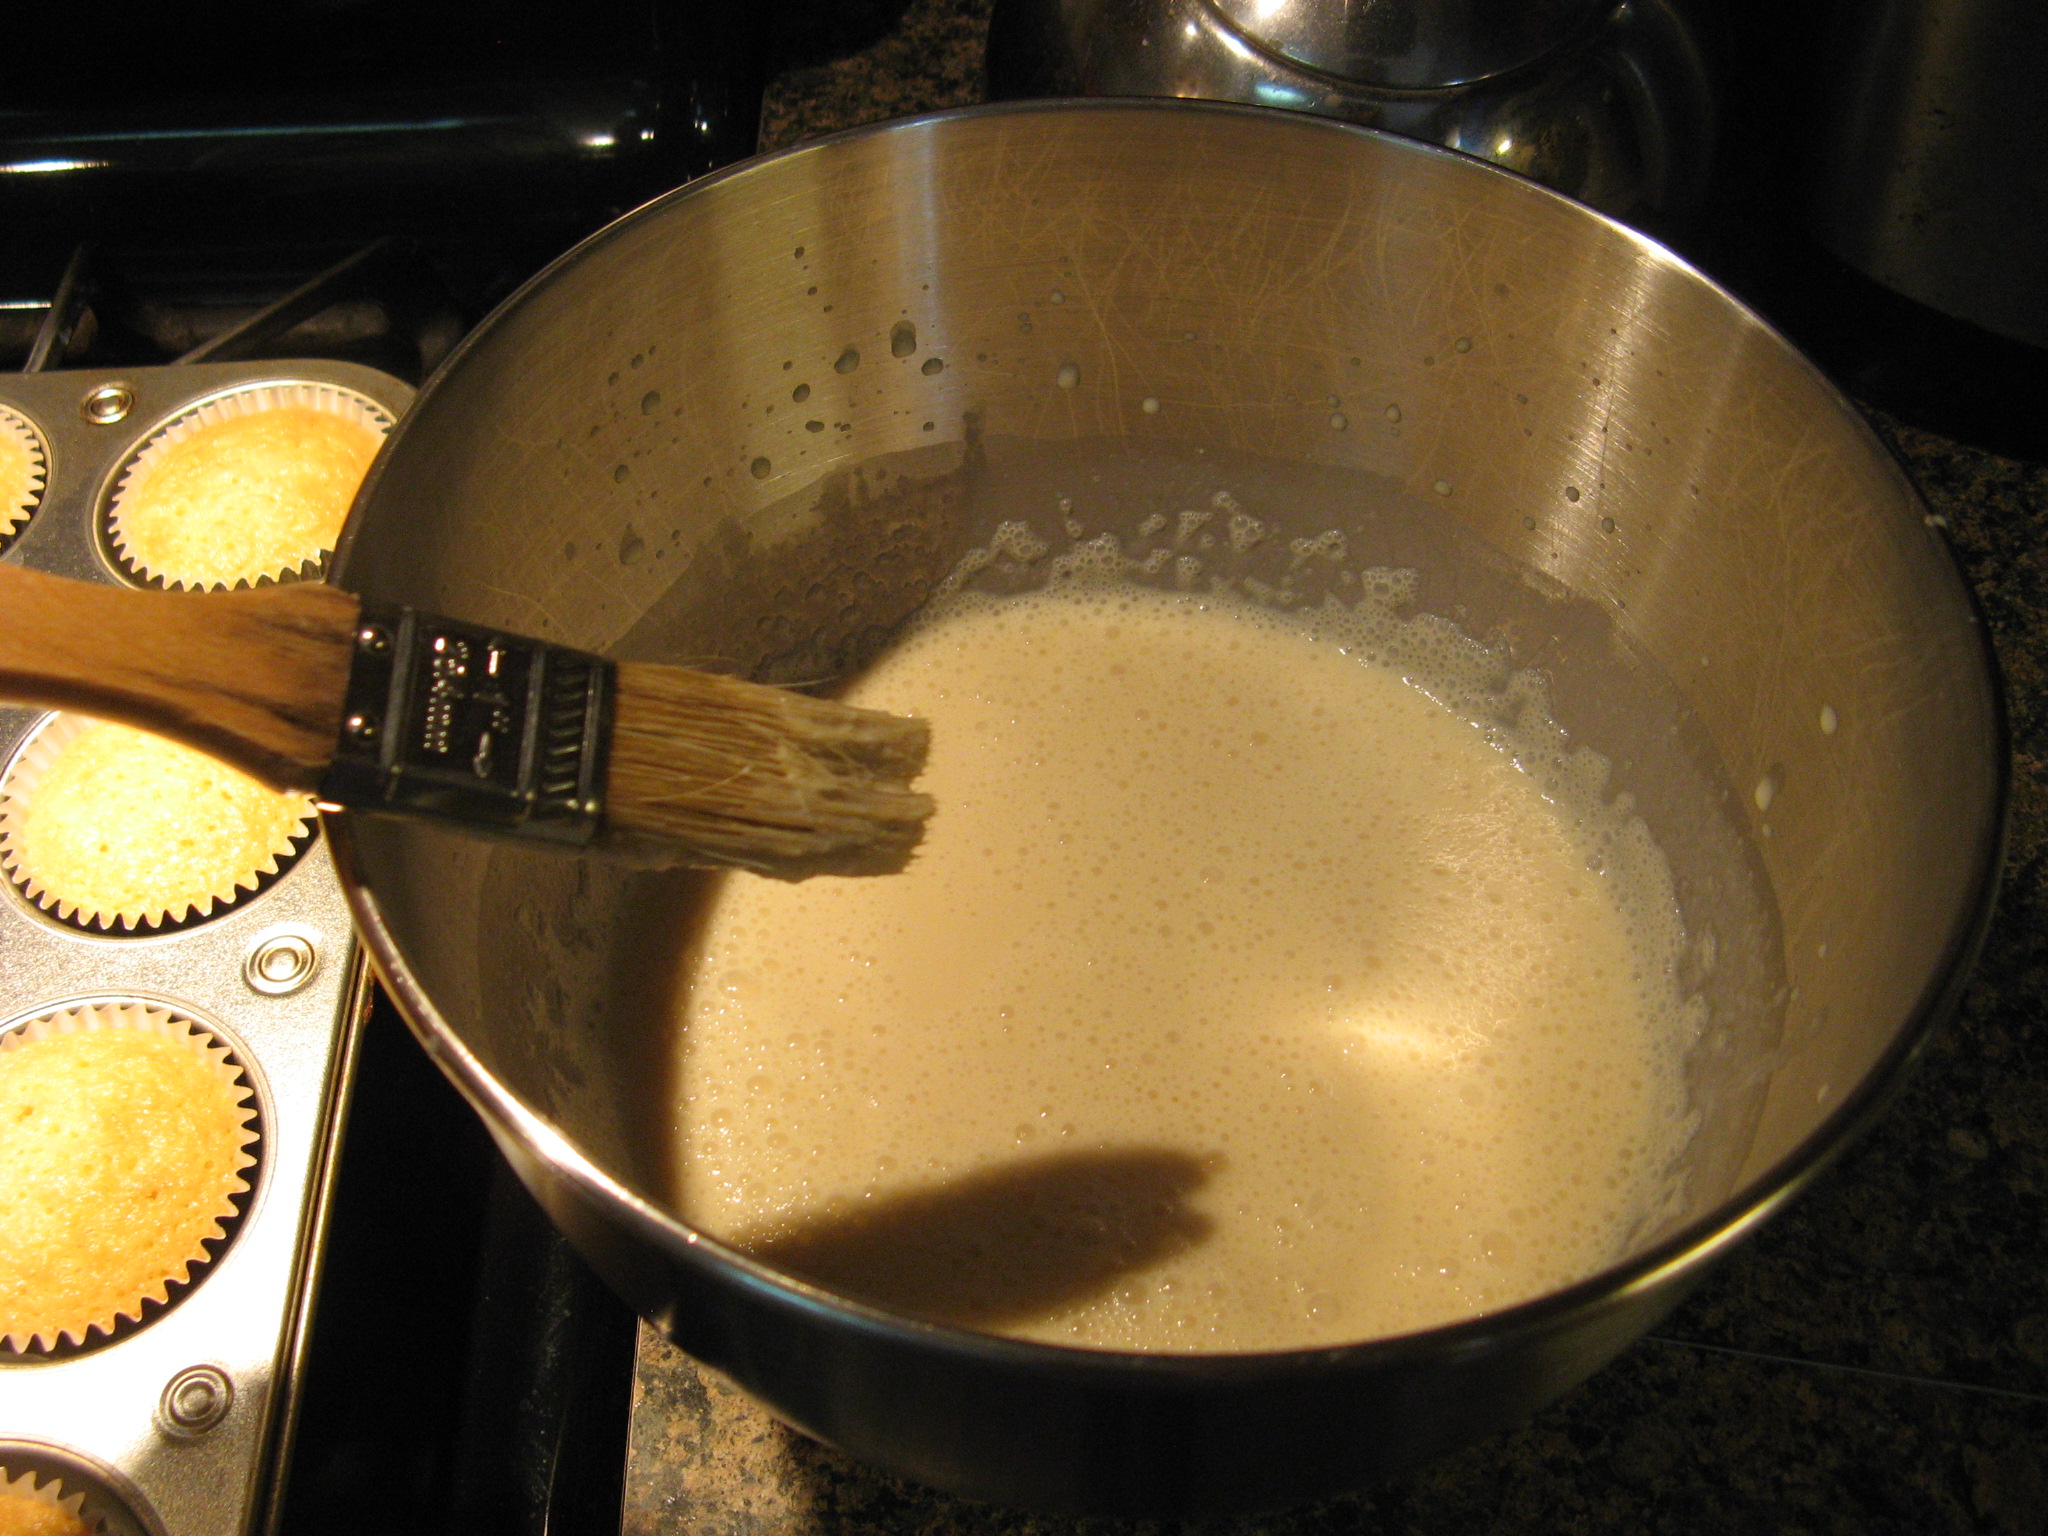
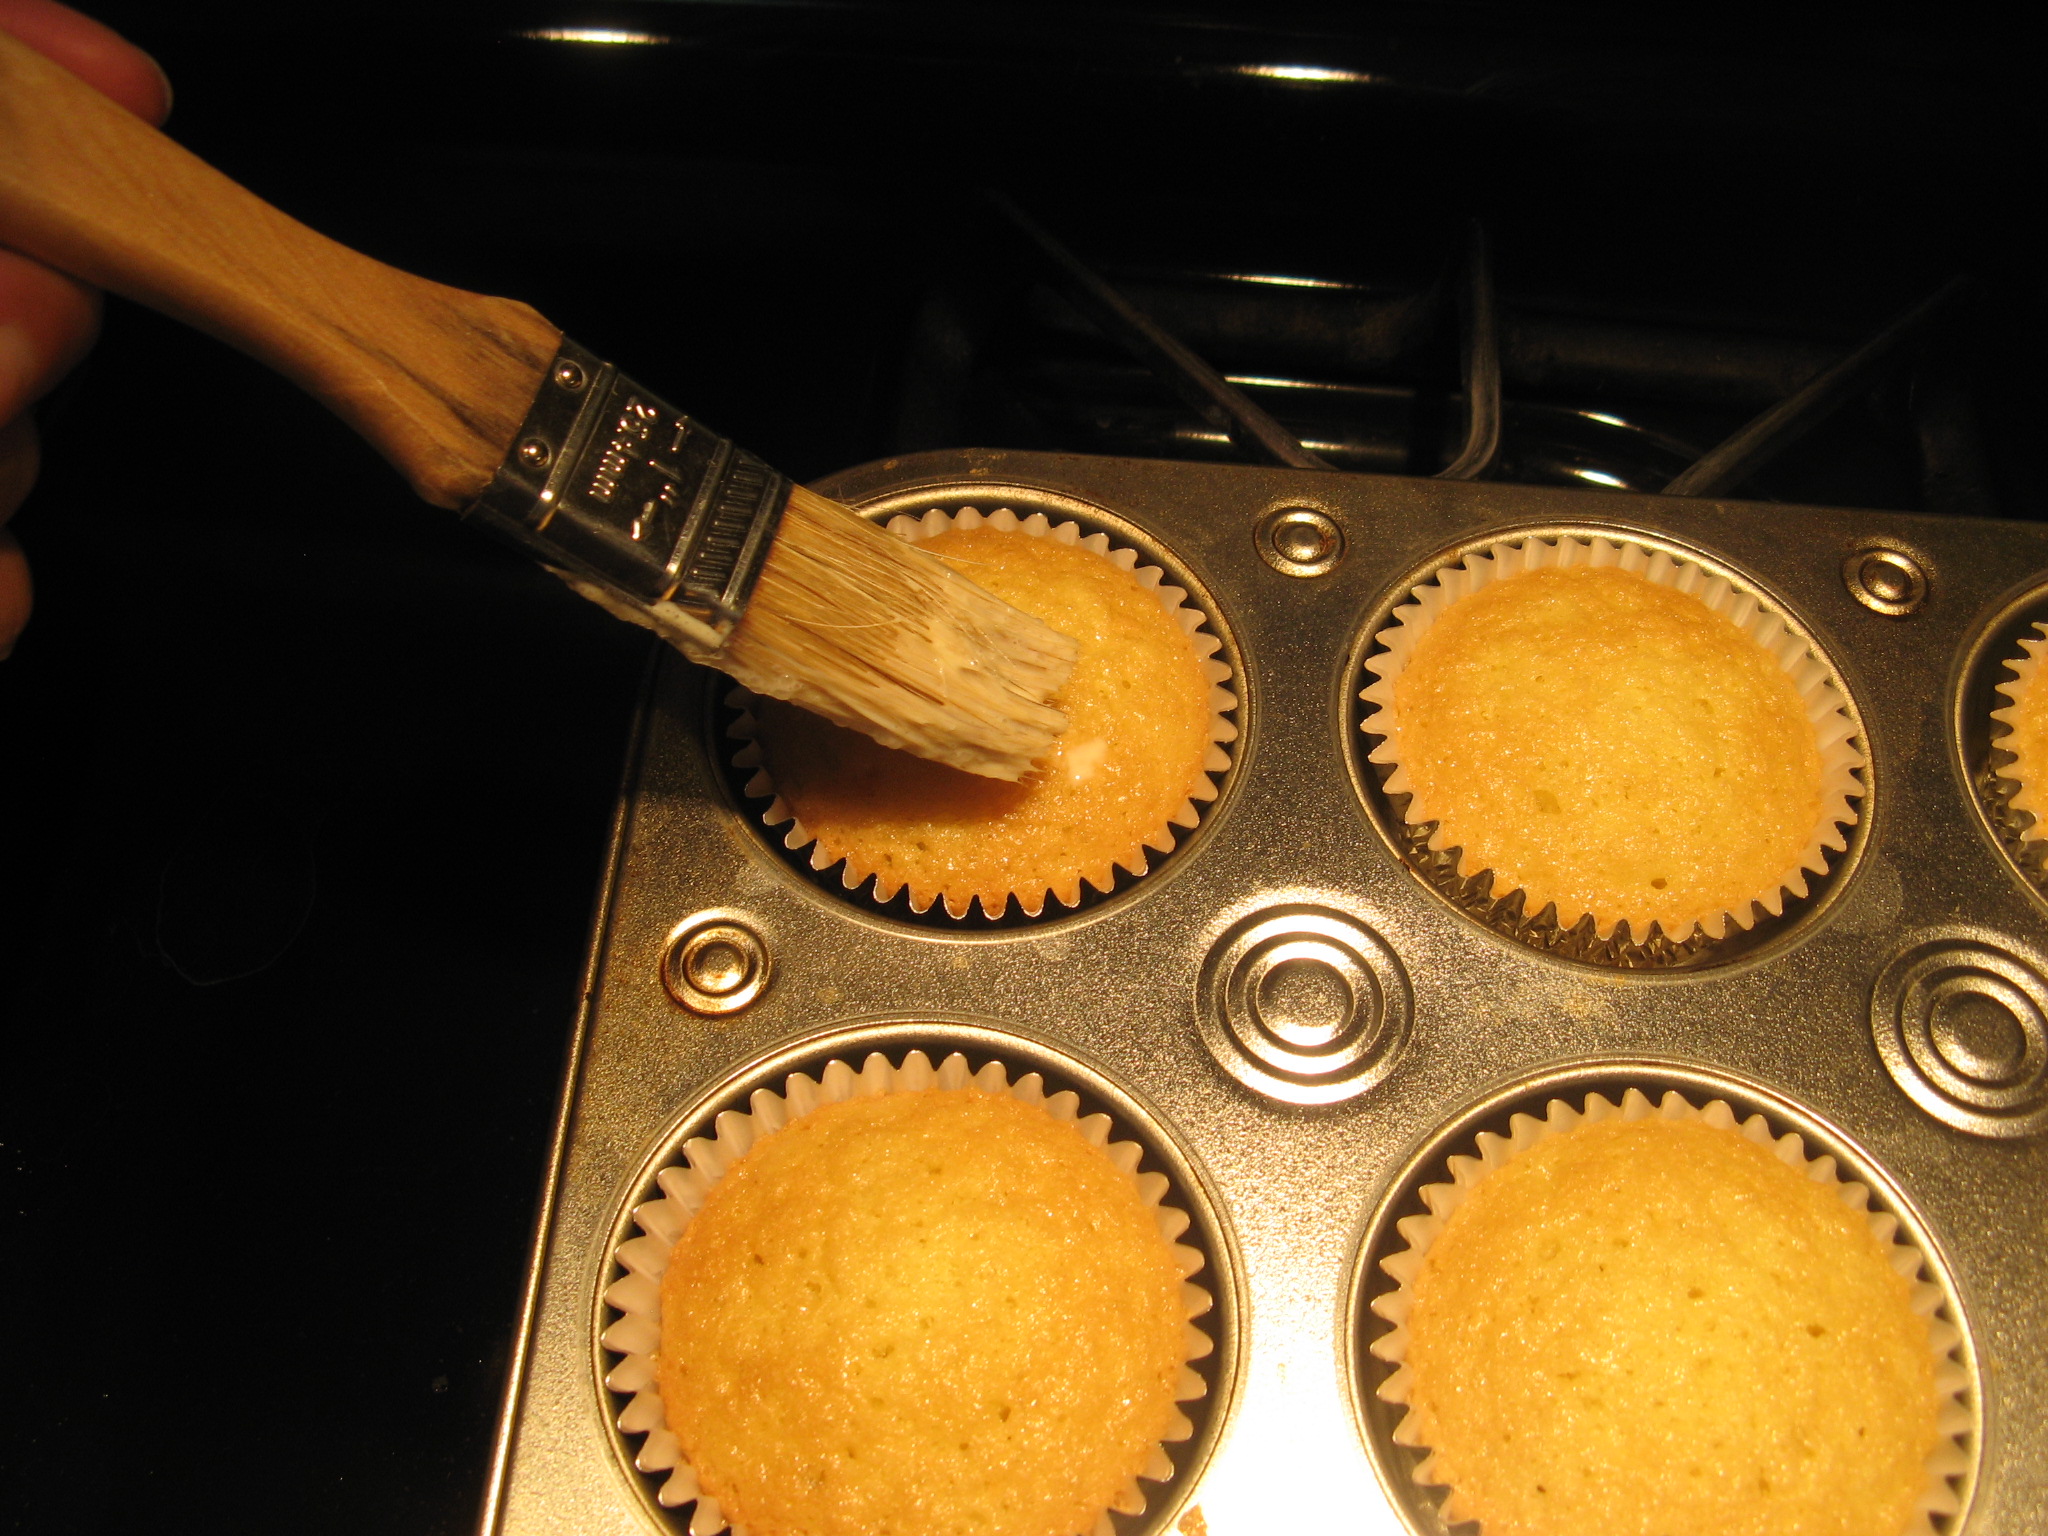
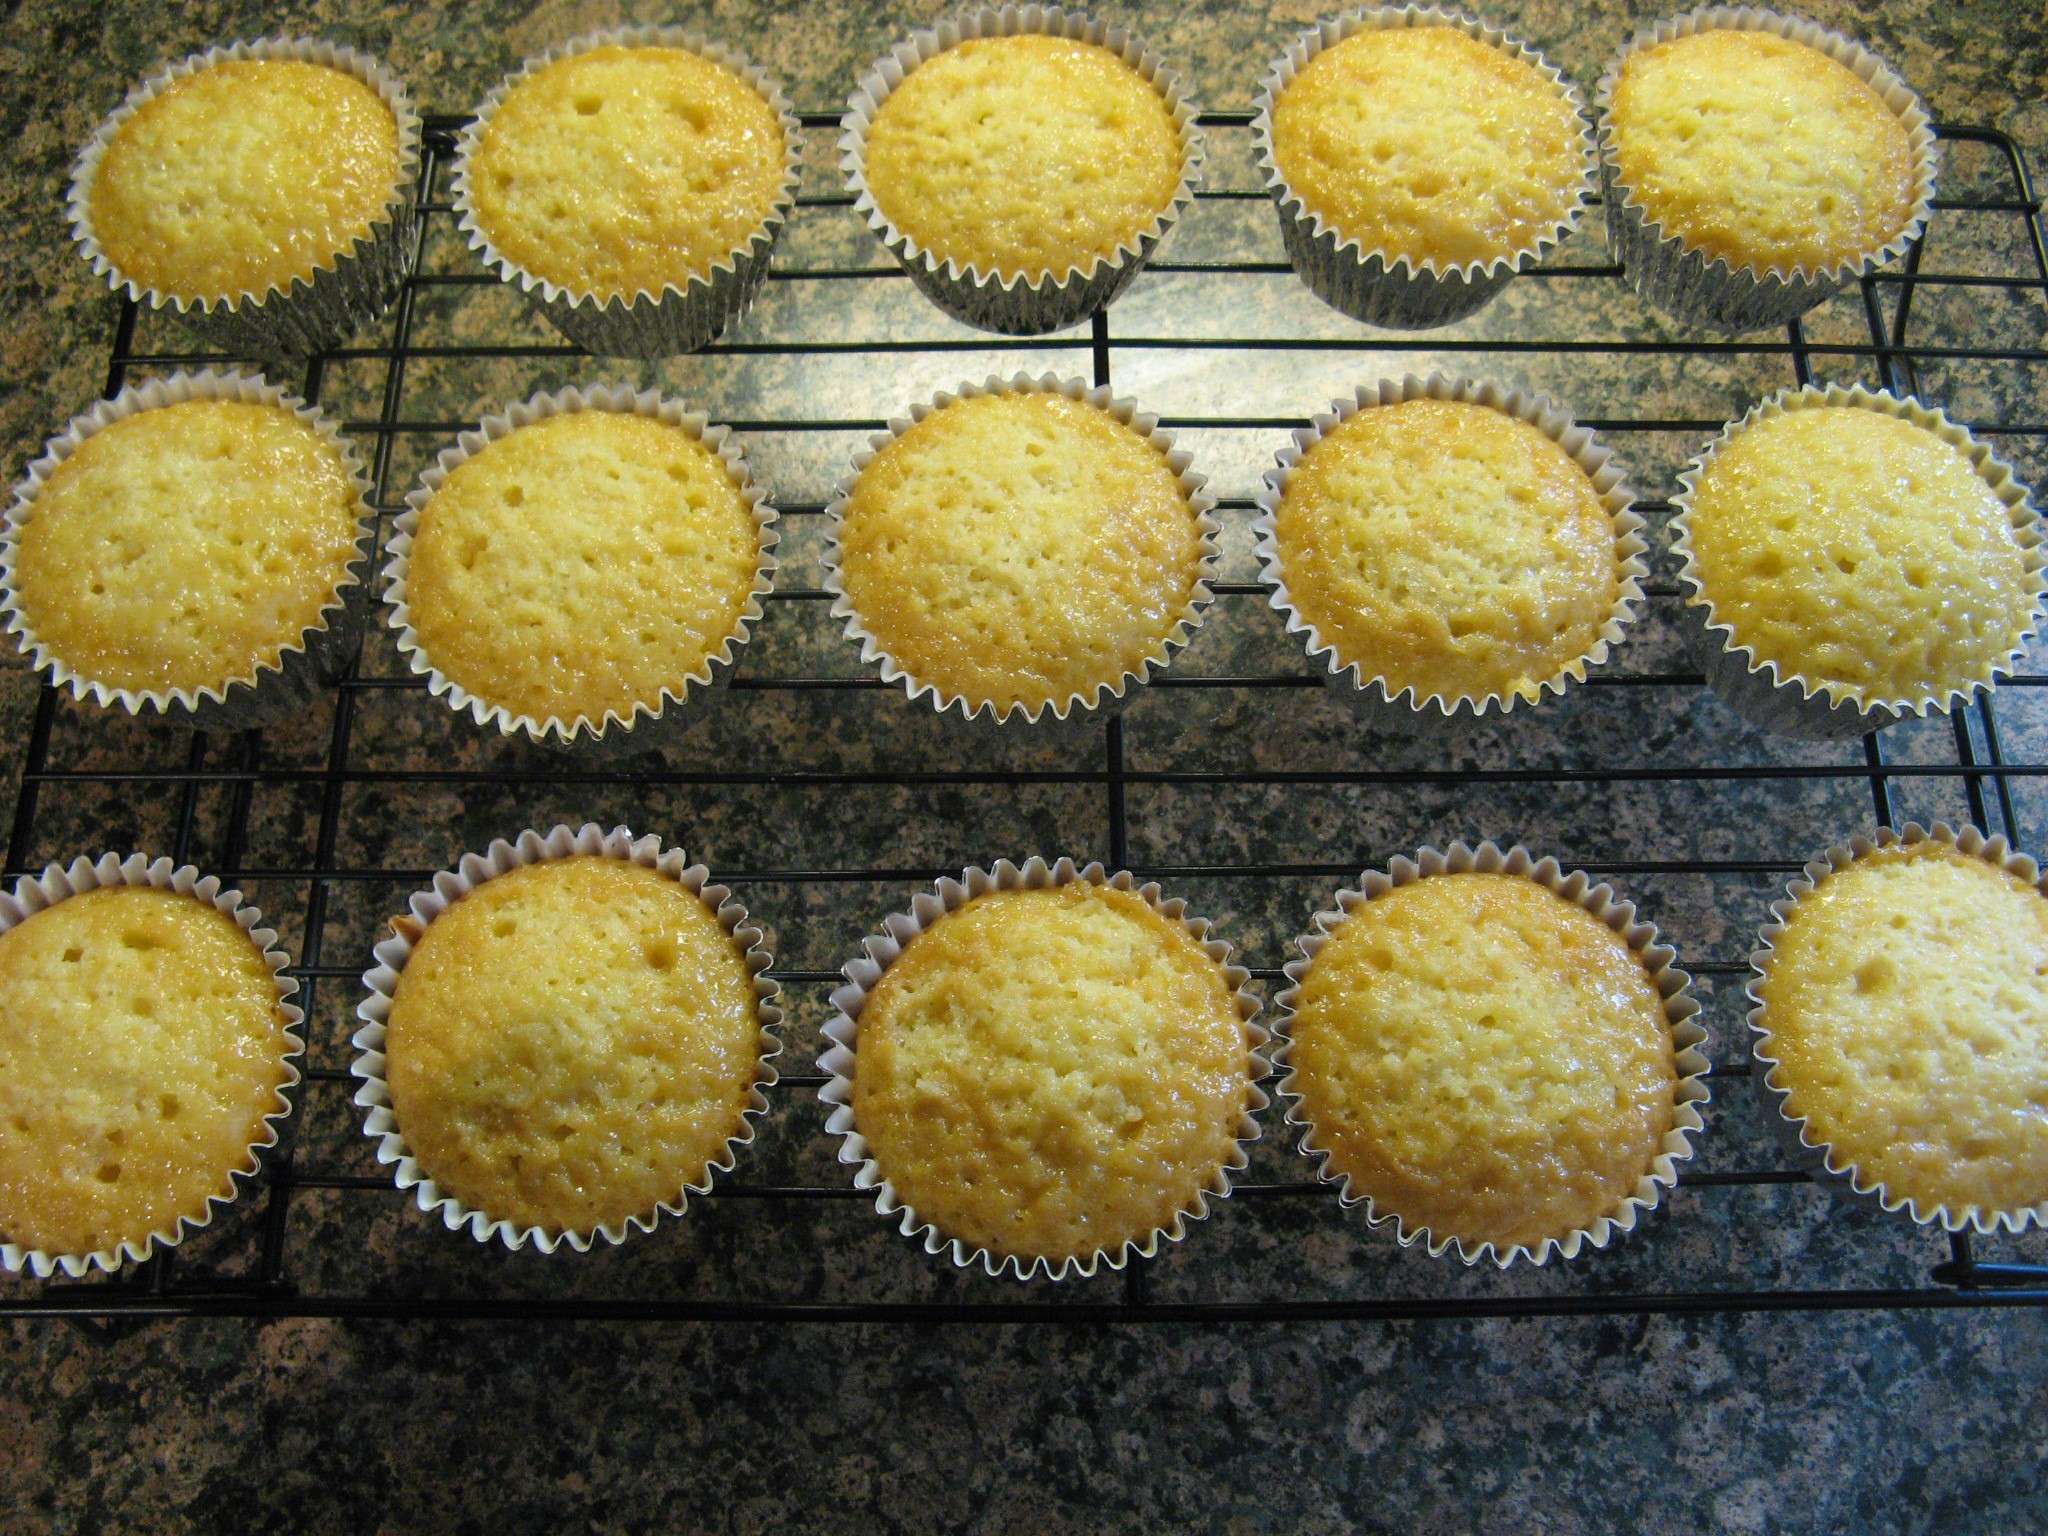
I made this very patriotic funfetti cake…

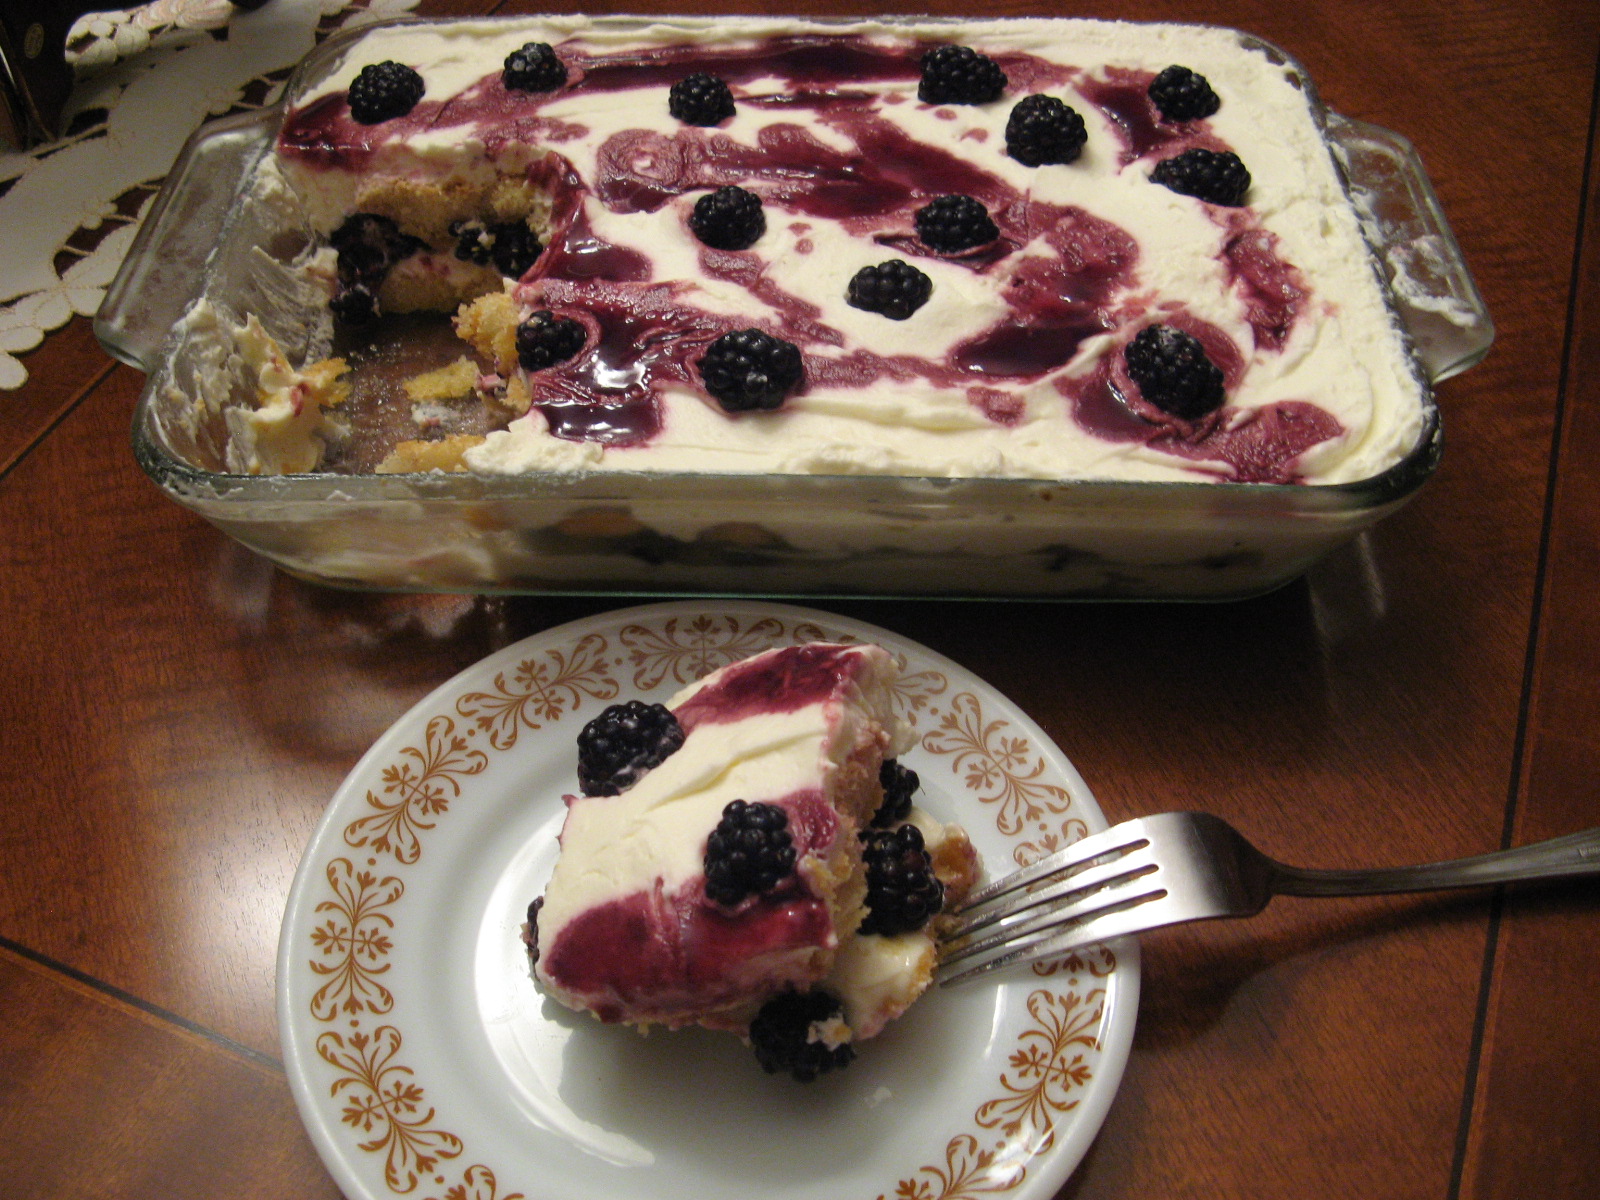
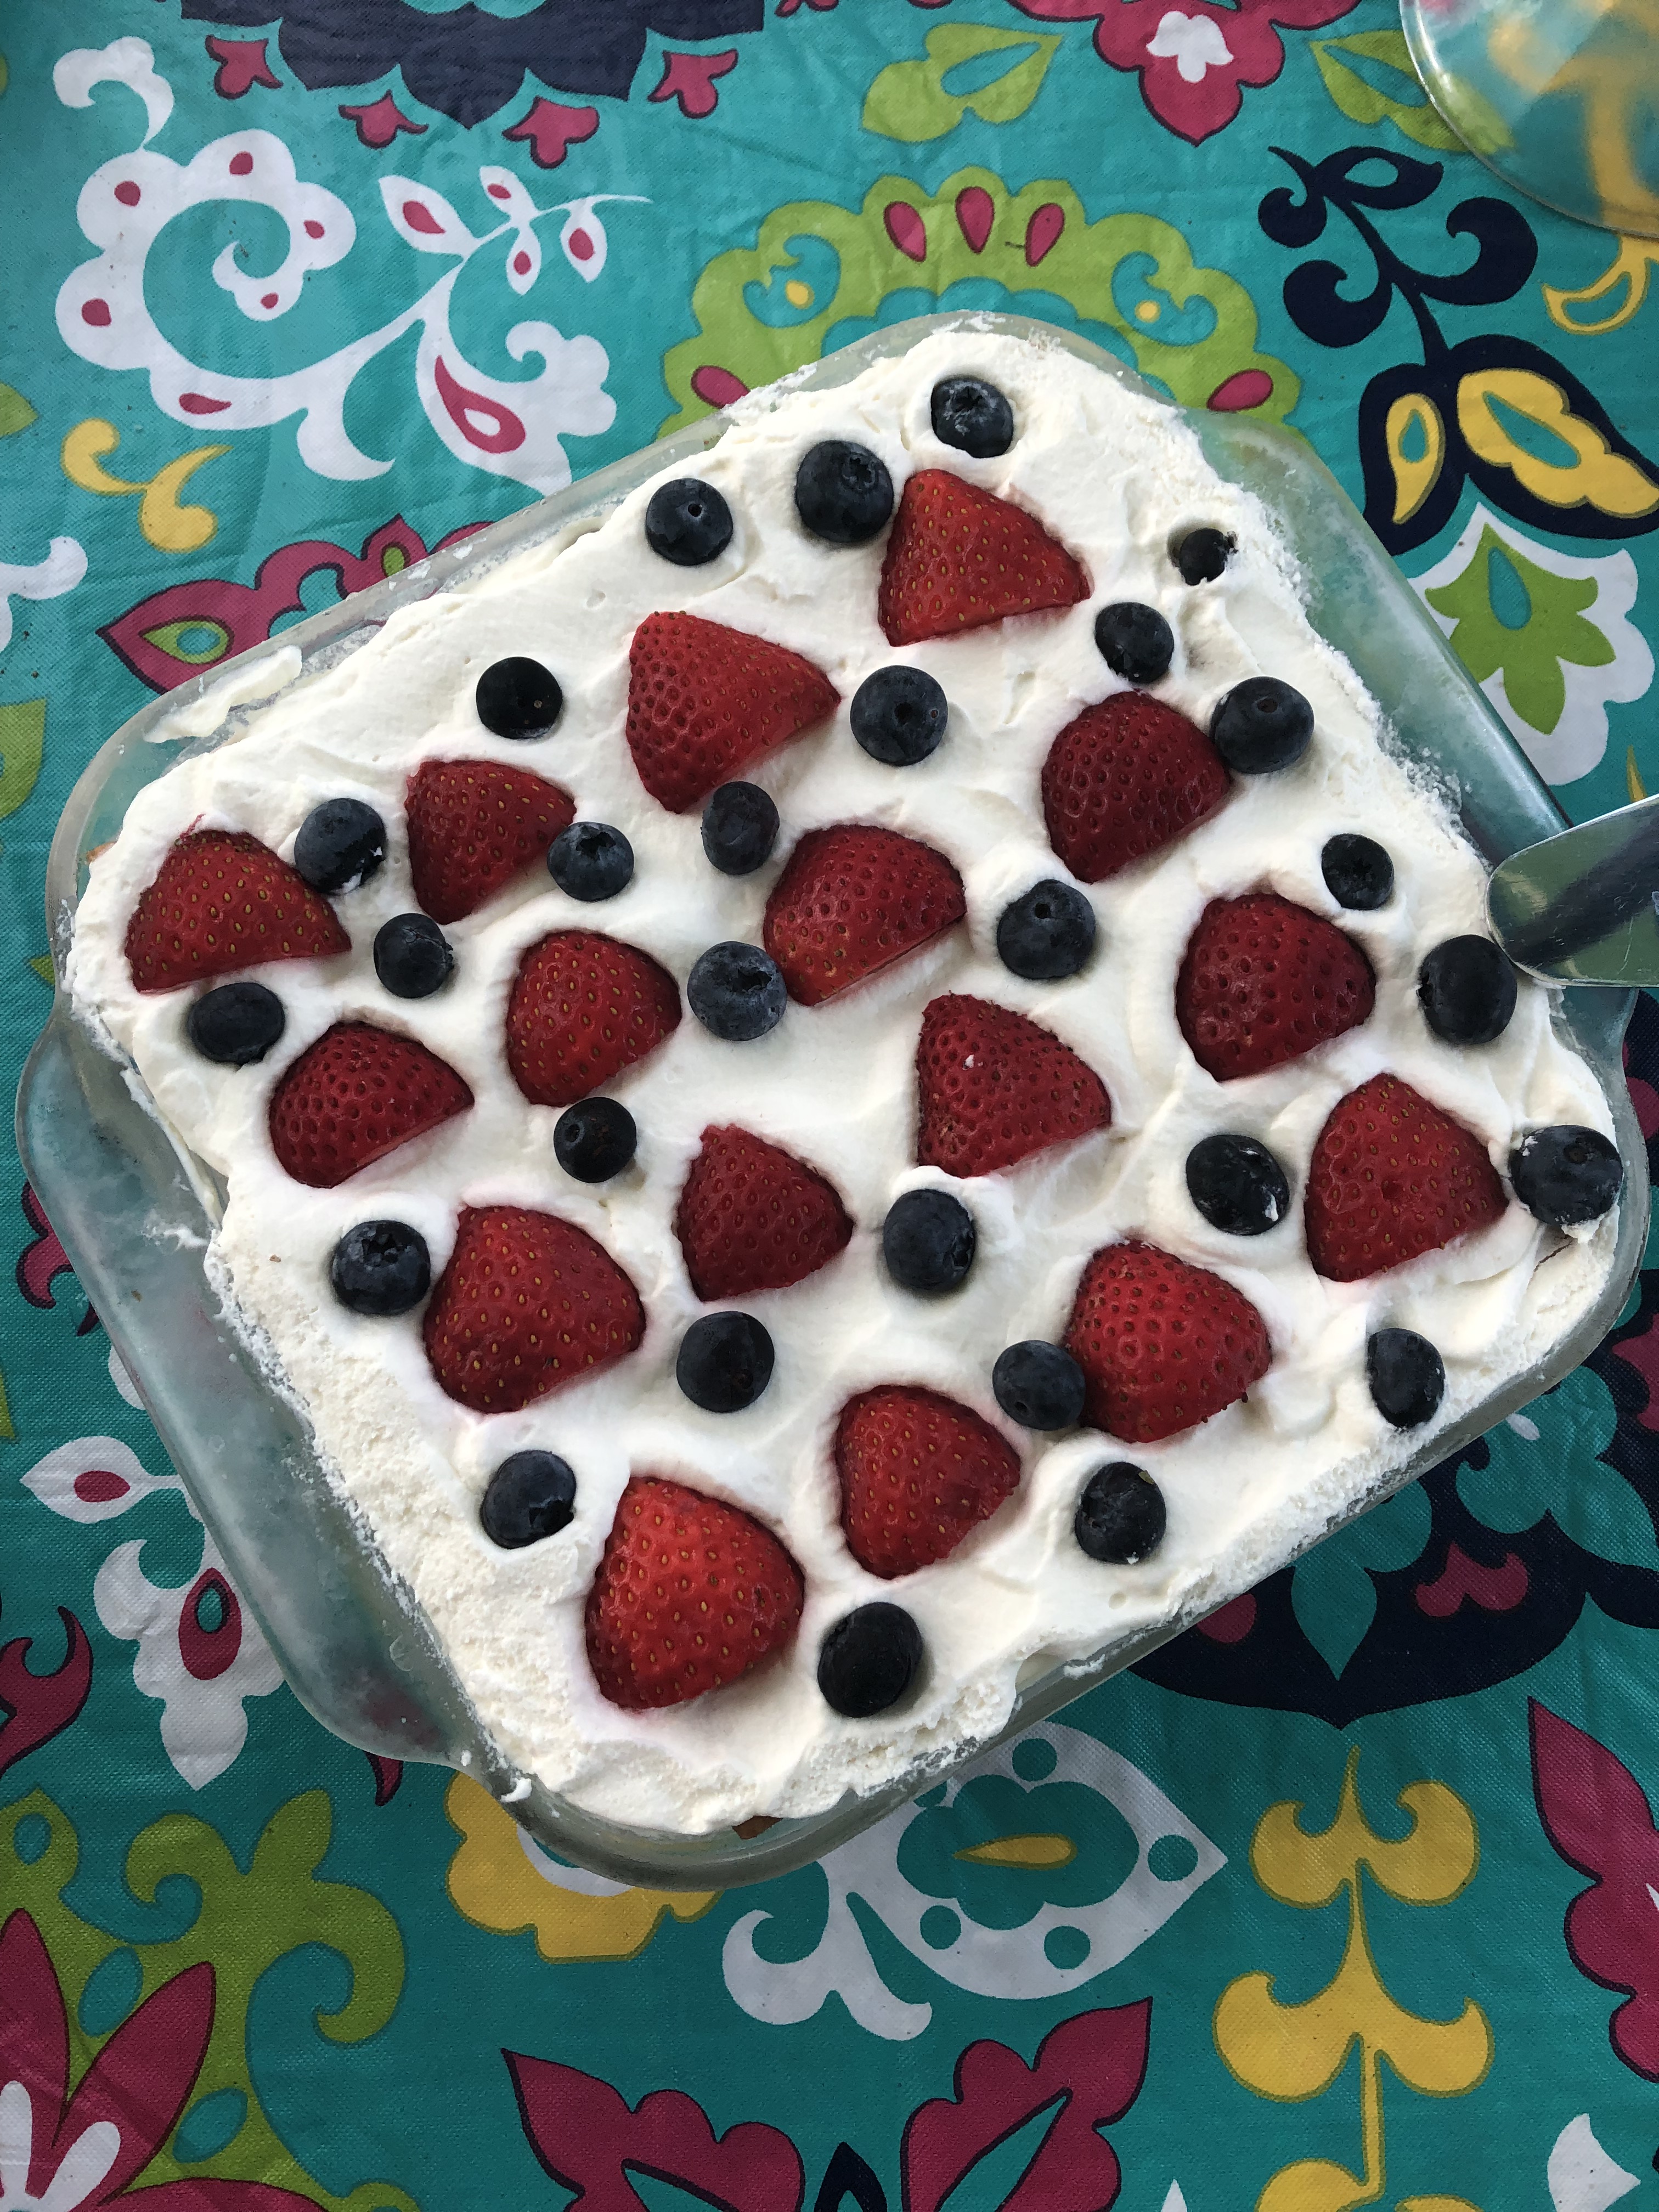
A Strawberry Blueberry Icebox Cake (this is actually a dessert I make every year for the 4th)…
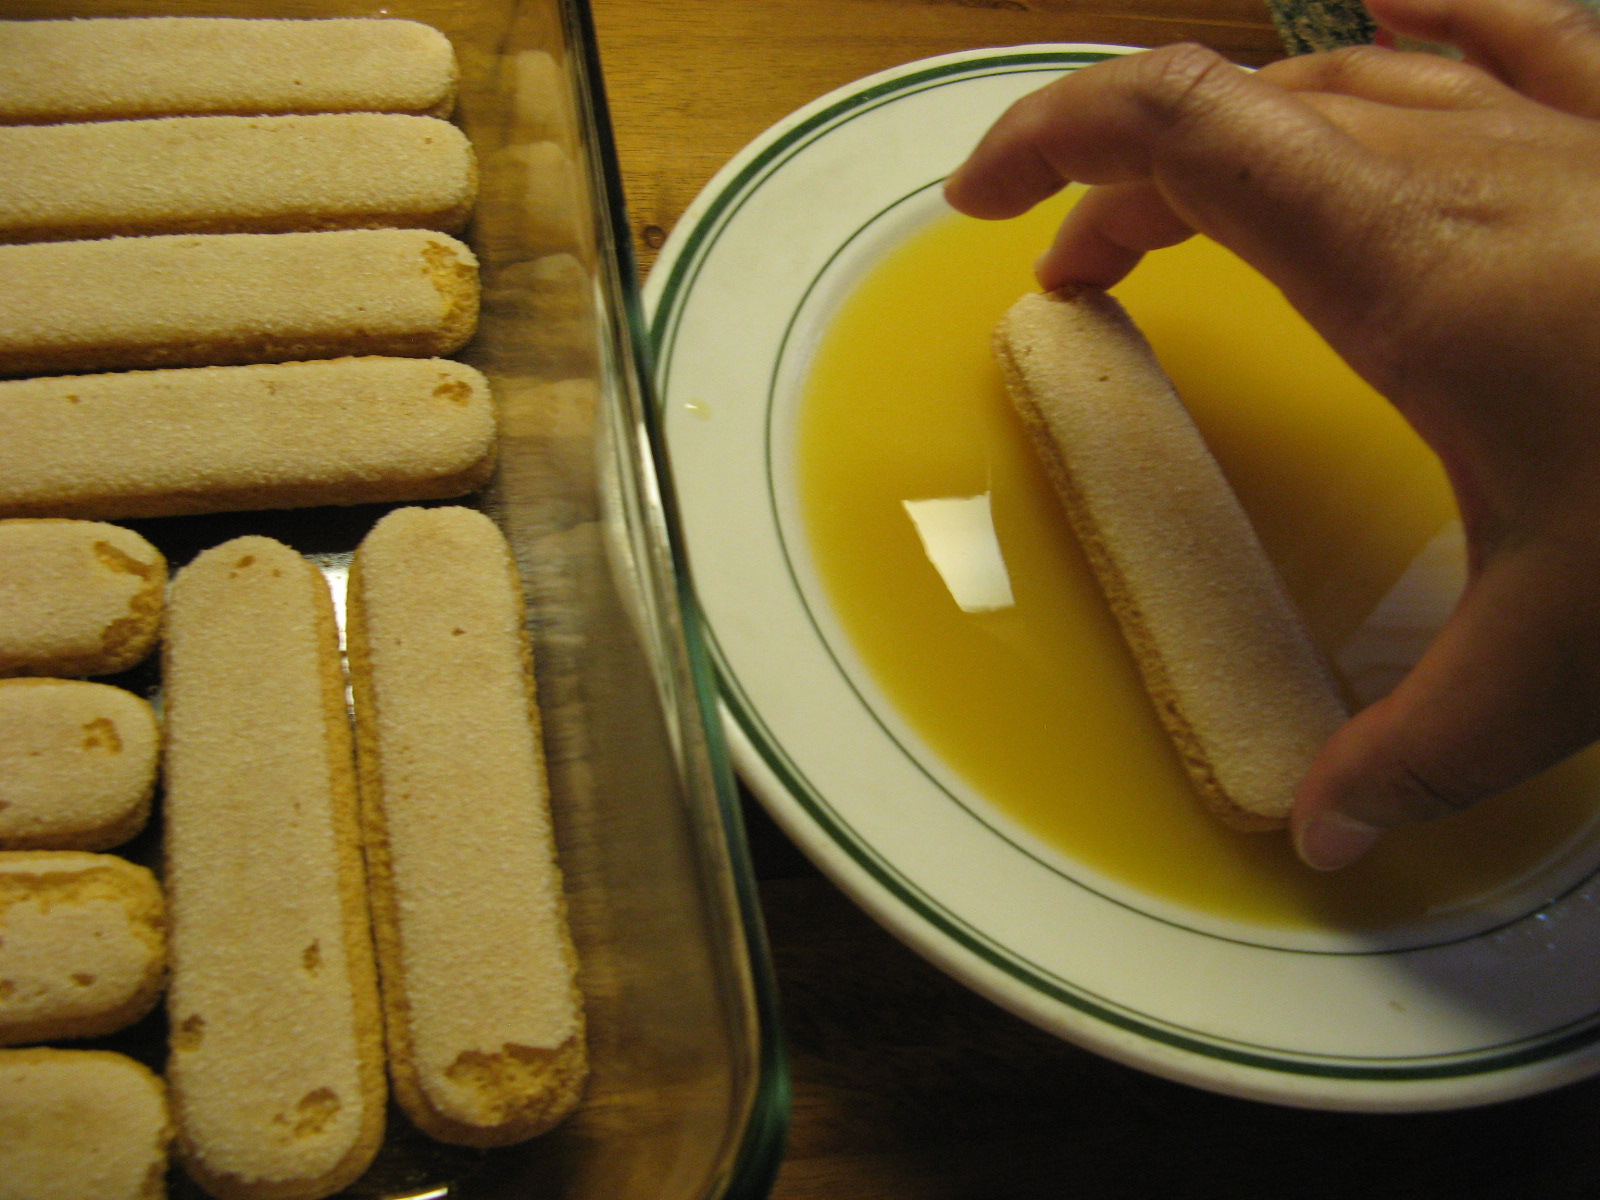
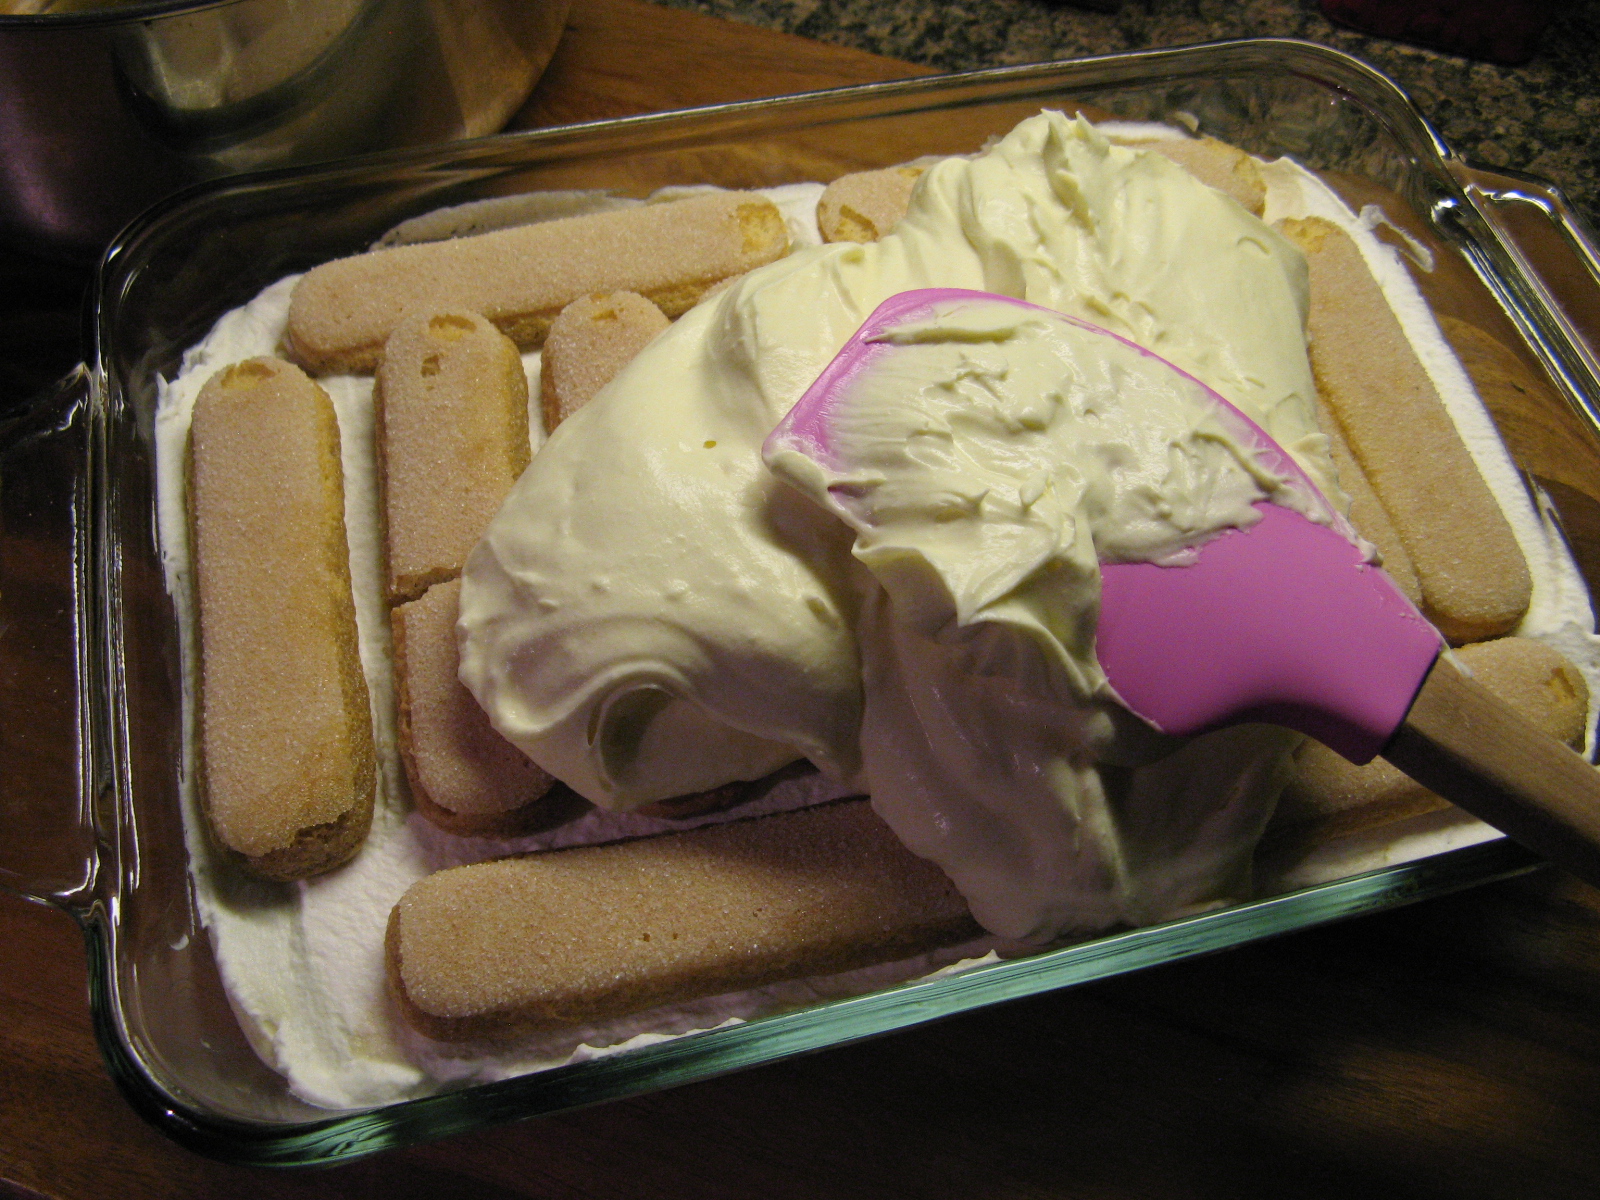
And for the first time ever I made a trifle. It had layers of Angel Food Cake, Mascarpone Whipped Cream and Mint Macerated Strawberries. I took a major time-saving shortcut and used a store-bought Angel Food Cake as opposed to baking one from scratch. If you’re not keen on Angel Food Cake, a Pound Cake would be a nice substitute. And, if you don’t have a trifle bowl you could use a large flat-bottomed glass bowl.

Strawberry Trifle with Mascarpone Whipped Cream
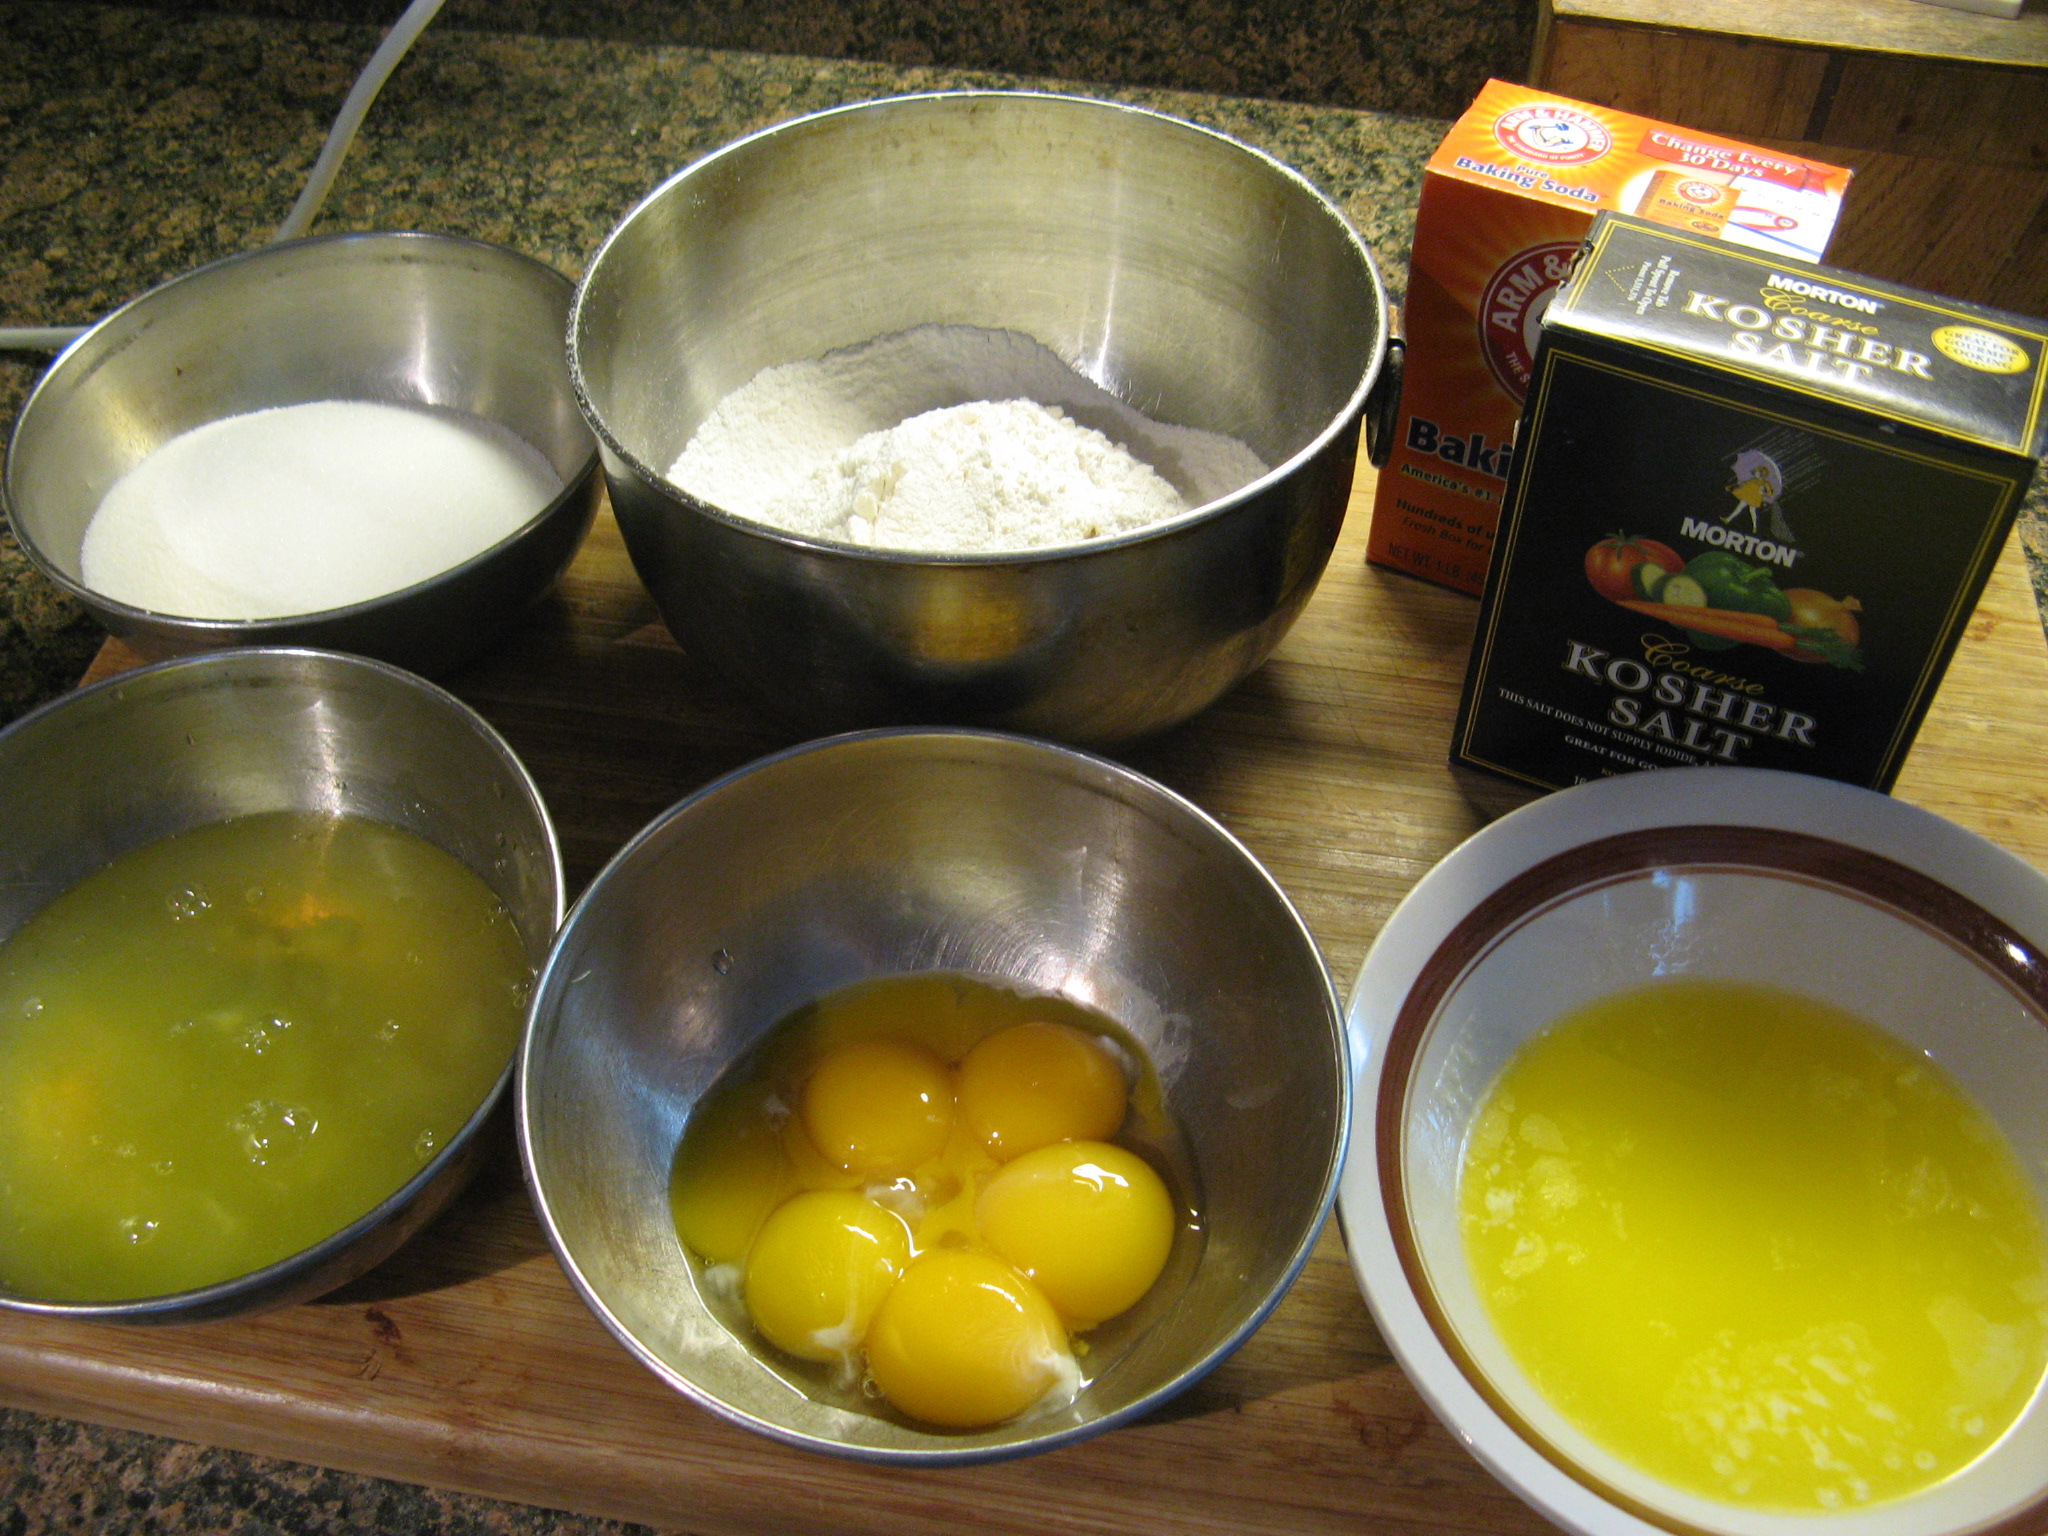
Ingredients:
Store-bought or Homemade Angel Food Cake or Pound Cake, cut into cubes
For the macerated strawberries:
2 lbs. strawberries, hulled and quartered
1/2 cup sugar
2 tablespoons chopped fresh mint
For the mascarpone whipped cream:
1 1/3 cups mascarpone cheese
1/2 cup confectioners’ sugar
2 cups heavy whipping cream
1/2 teaspoon vanilla extract
Directions:
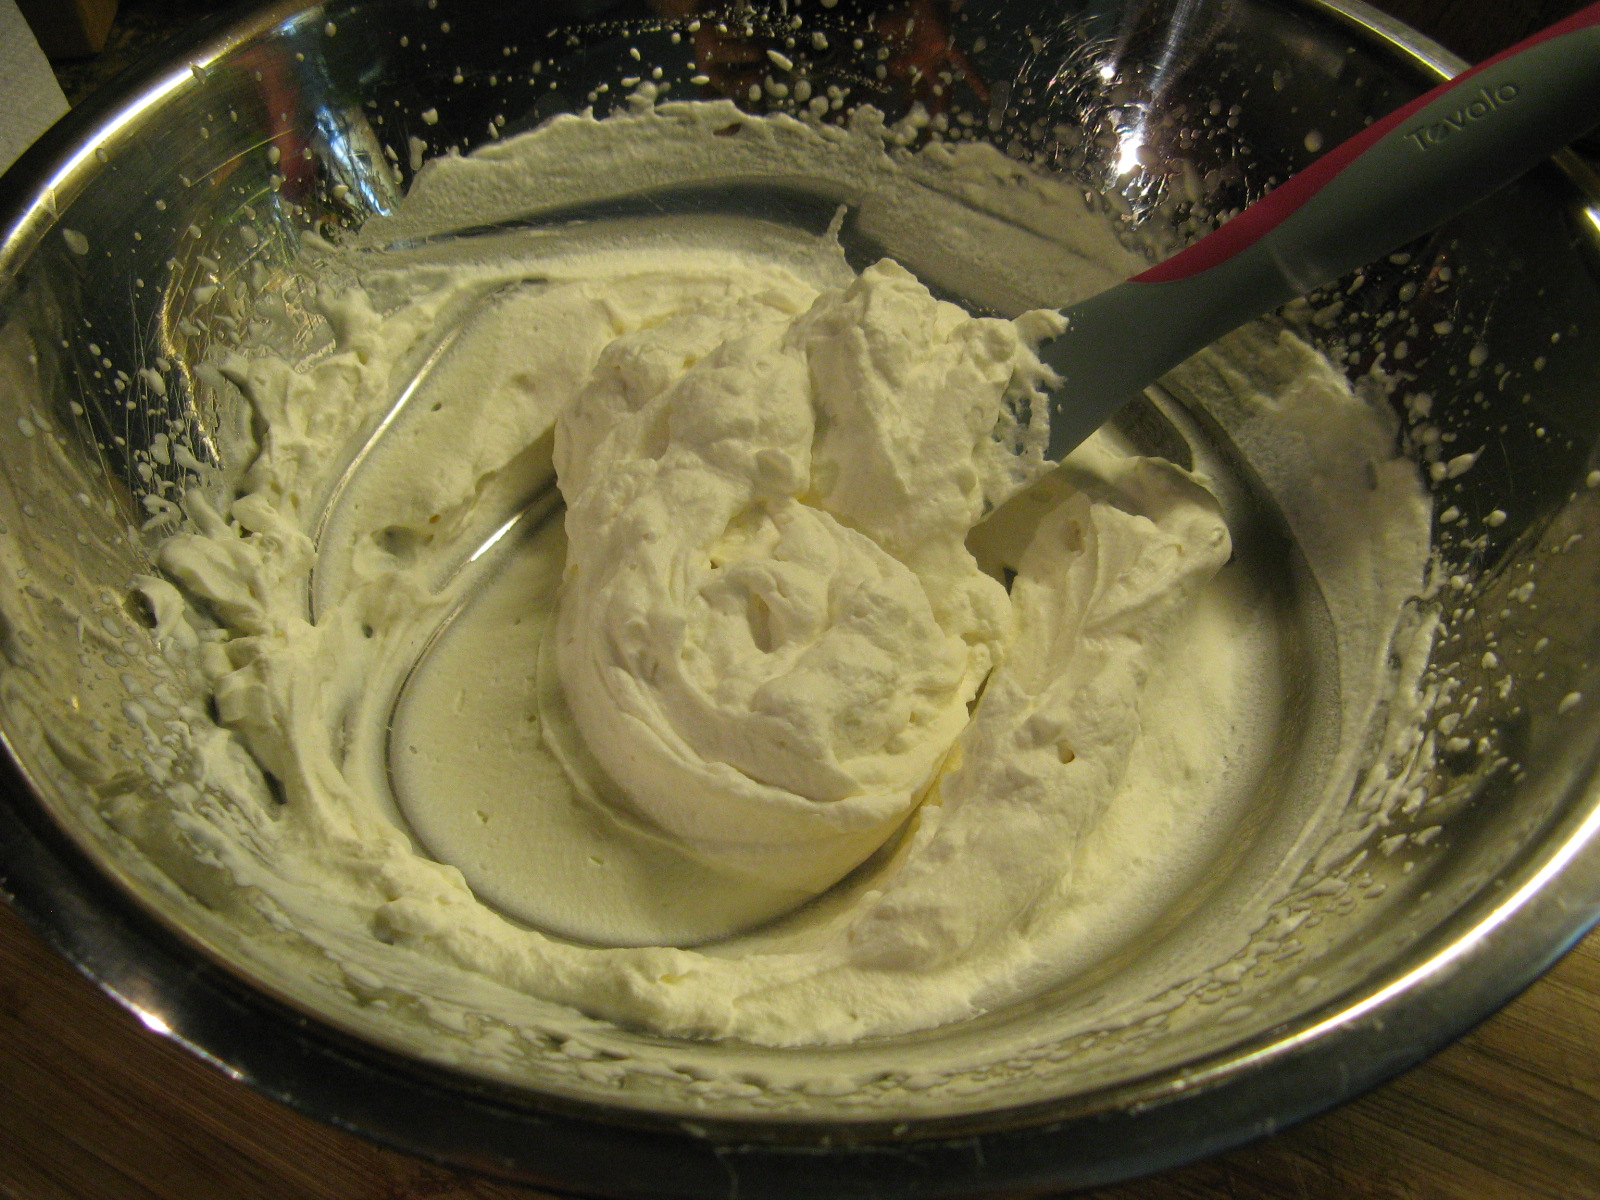
For the Mascarpone Whipped Cream:
Using a handheld mixer on medium speed beat the mascarpone cheese and sugar until combined. Add the heavy cream and vanilla extract and continue beating until stiff peaks form. Use immediately or cover and refrigerate for up to 2 days.
For the strawberries:
In a large bowl stir together the strawberries, sugar and mint. Let stand at room temperature until the strawberries begin to release their juices, about 15 minutes.
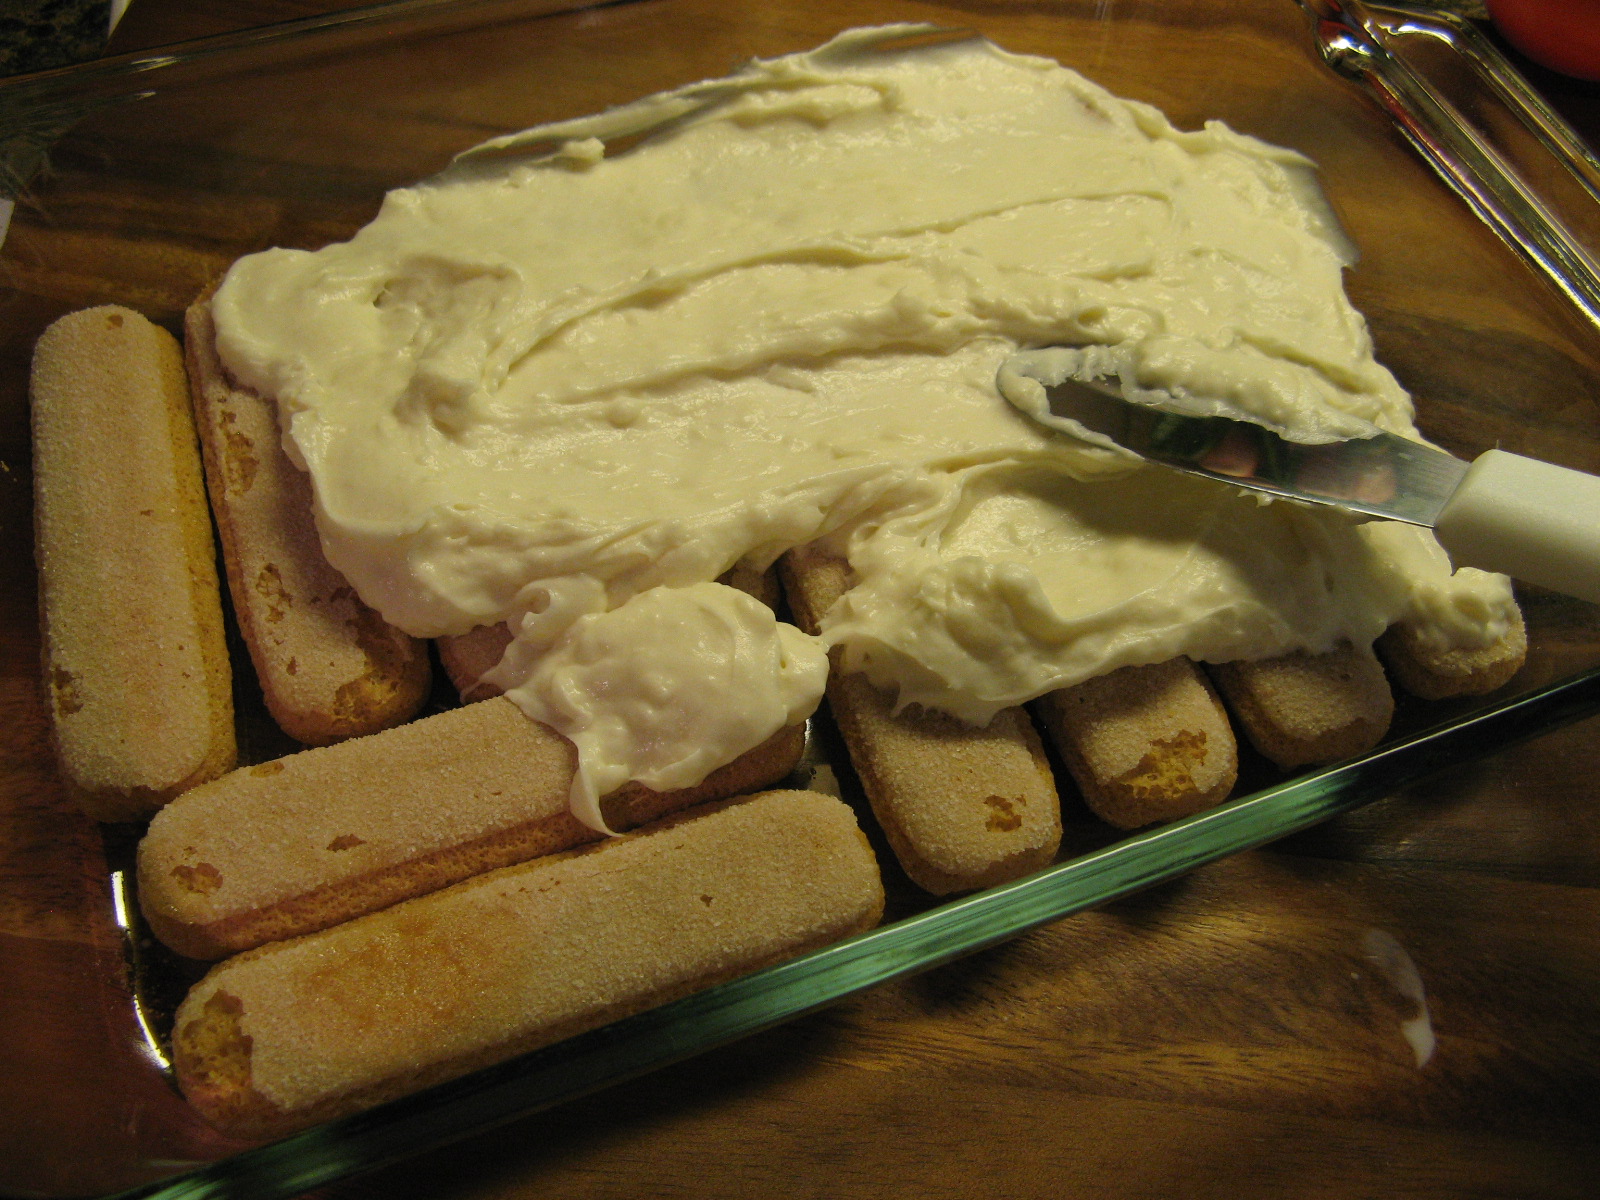
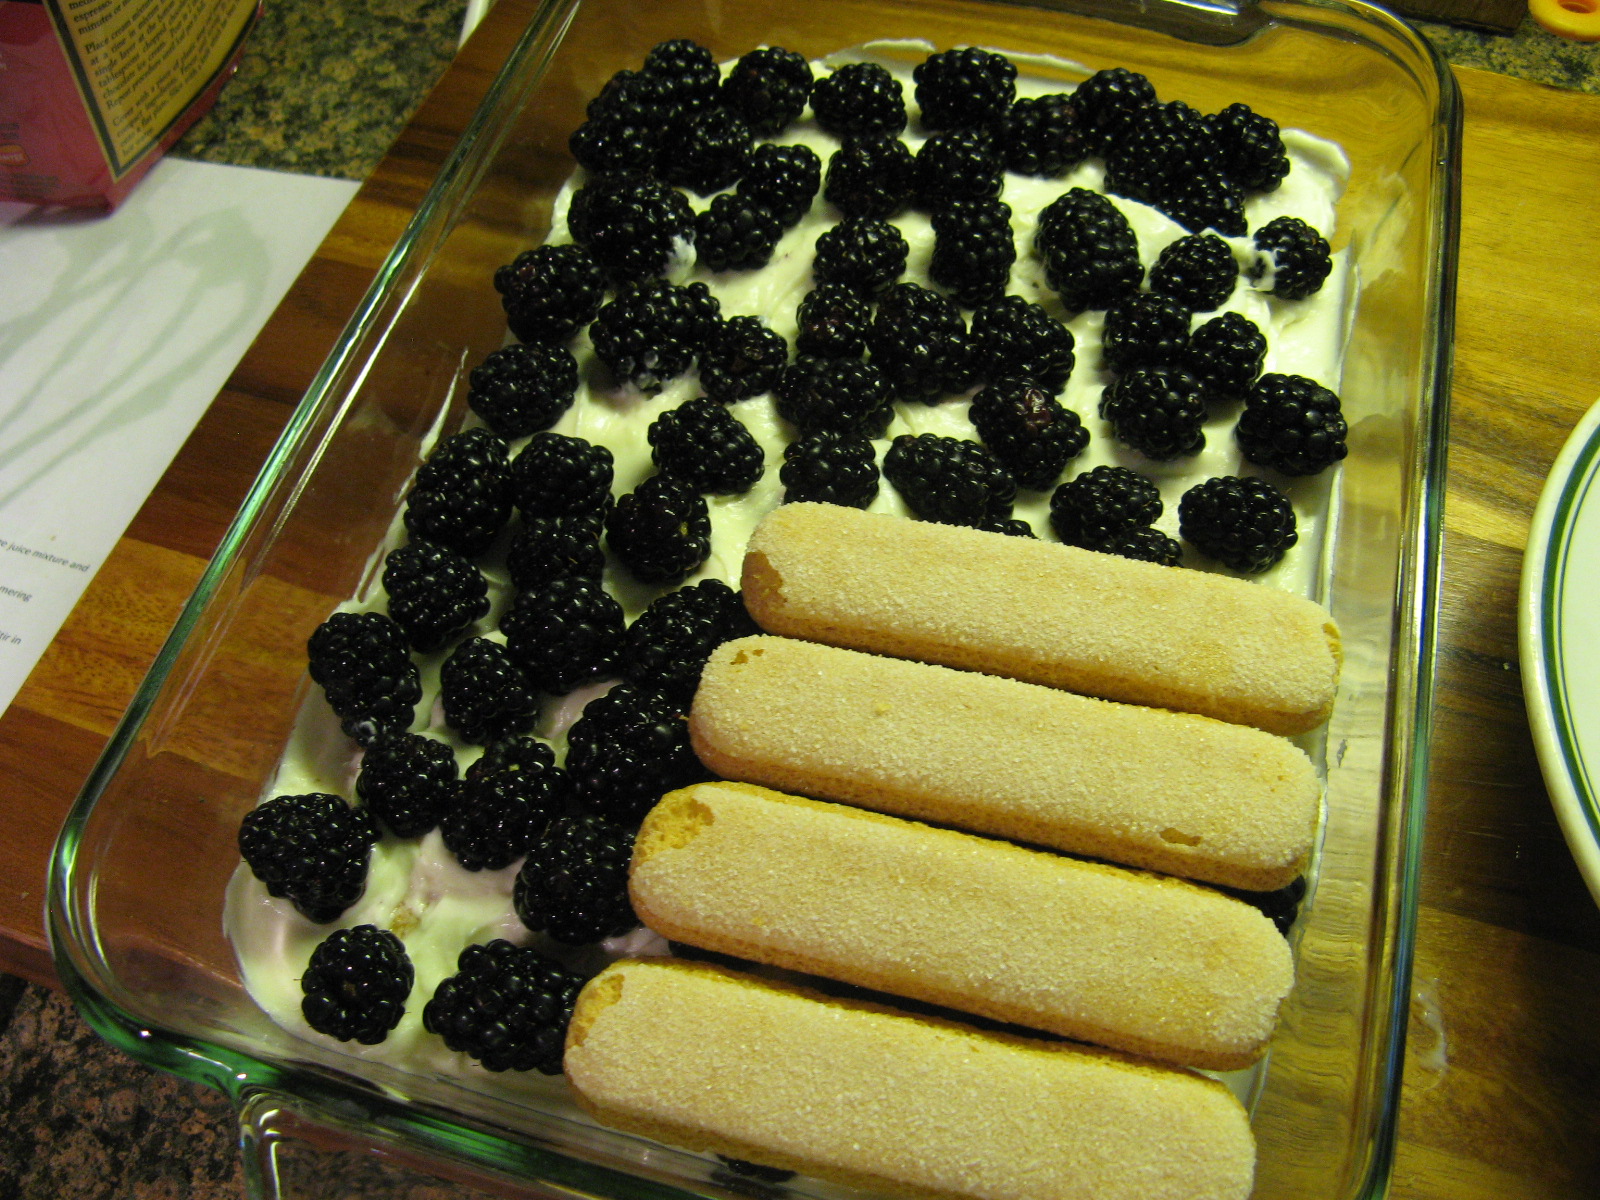
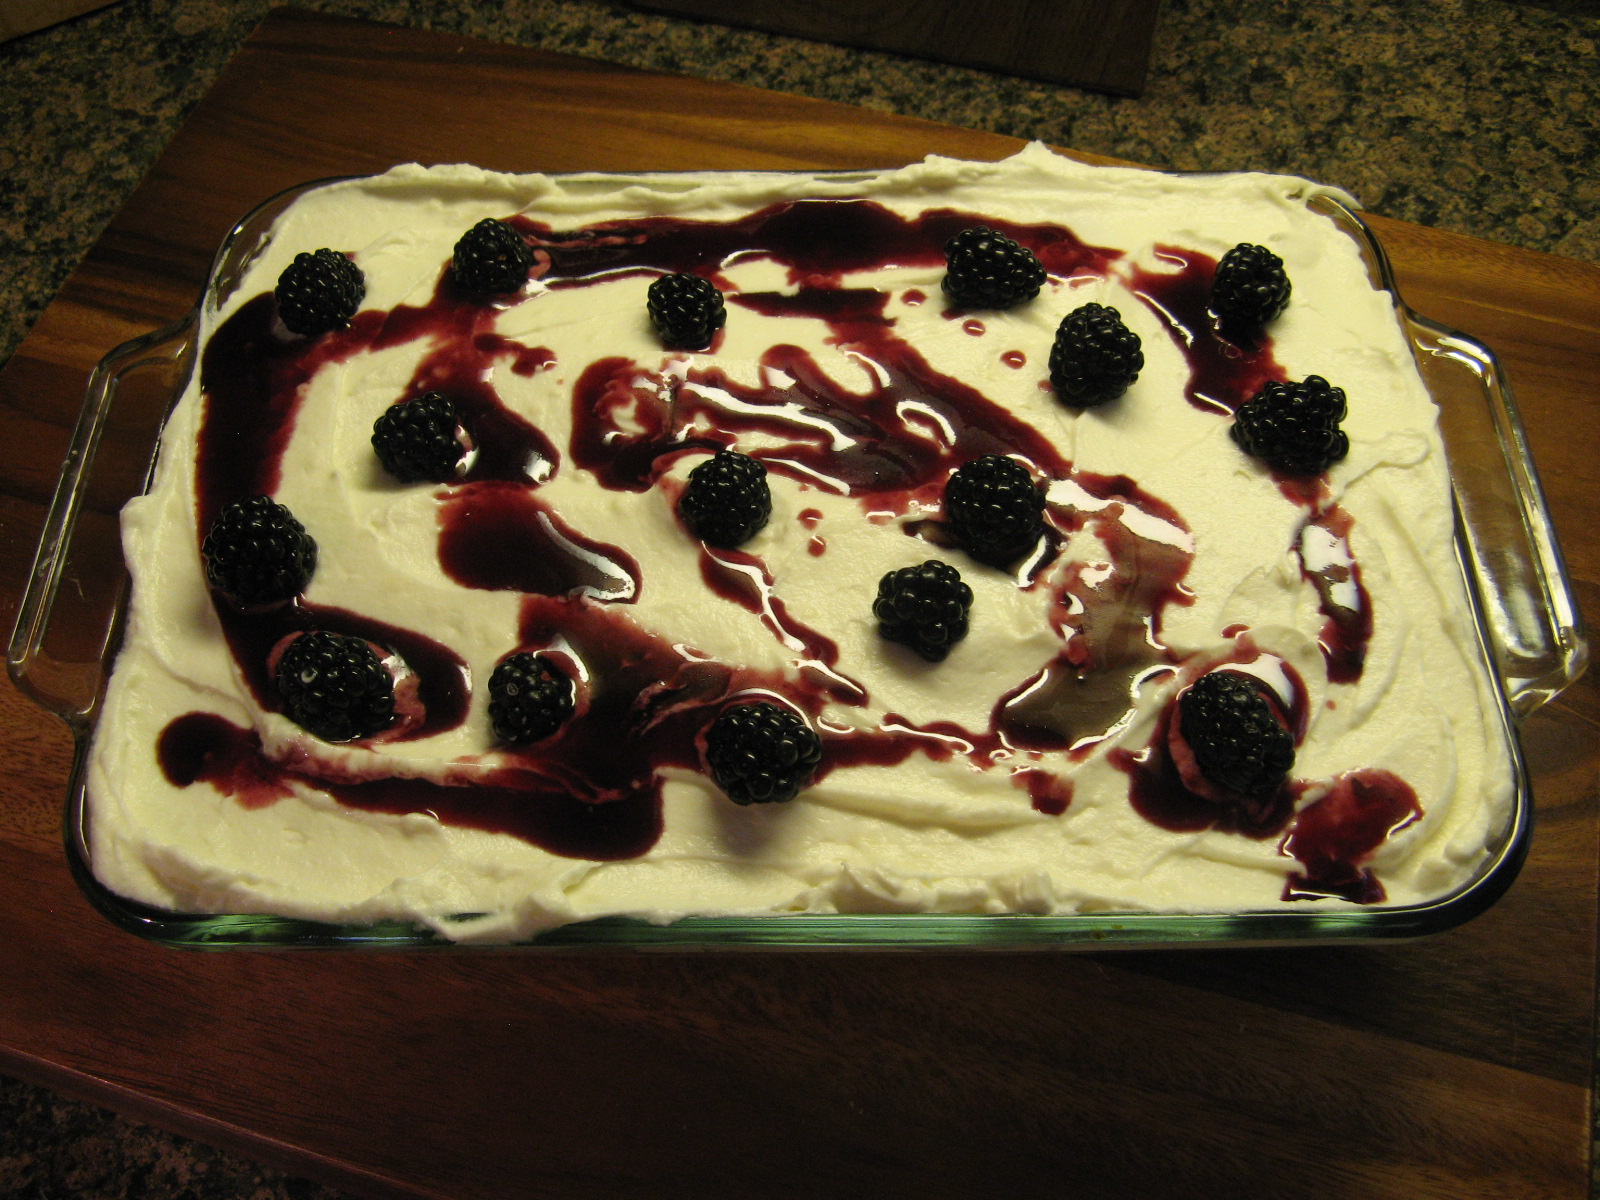
To assemble the trifle:
Place a single layer of cake in the bottom of the bowl. Spoon a third of the macerated strawberries over the cake and then spread a third of the mascarpone whipped cream over the strawberries. Repeat these layers two more times ending with a layer of mascarpone whipped cream. Place a few strawberries in the center of the whipped cream for decoration. Serve immediately or cover and refrigerate for a few hours before serving.
Recipe slightly modified from Williams-Sonoma