S’mores Brownies

I hope you are all having a wonderful summer thus far! Today I have a treat for you that is perfect for these summer days, a spin on a favorite campfire treat… S’mores Brownies.

IMG_8701

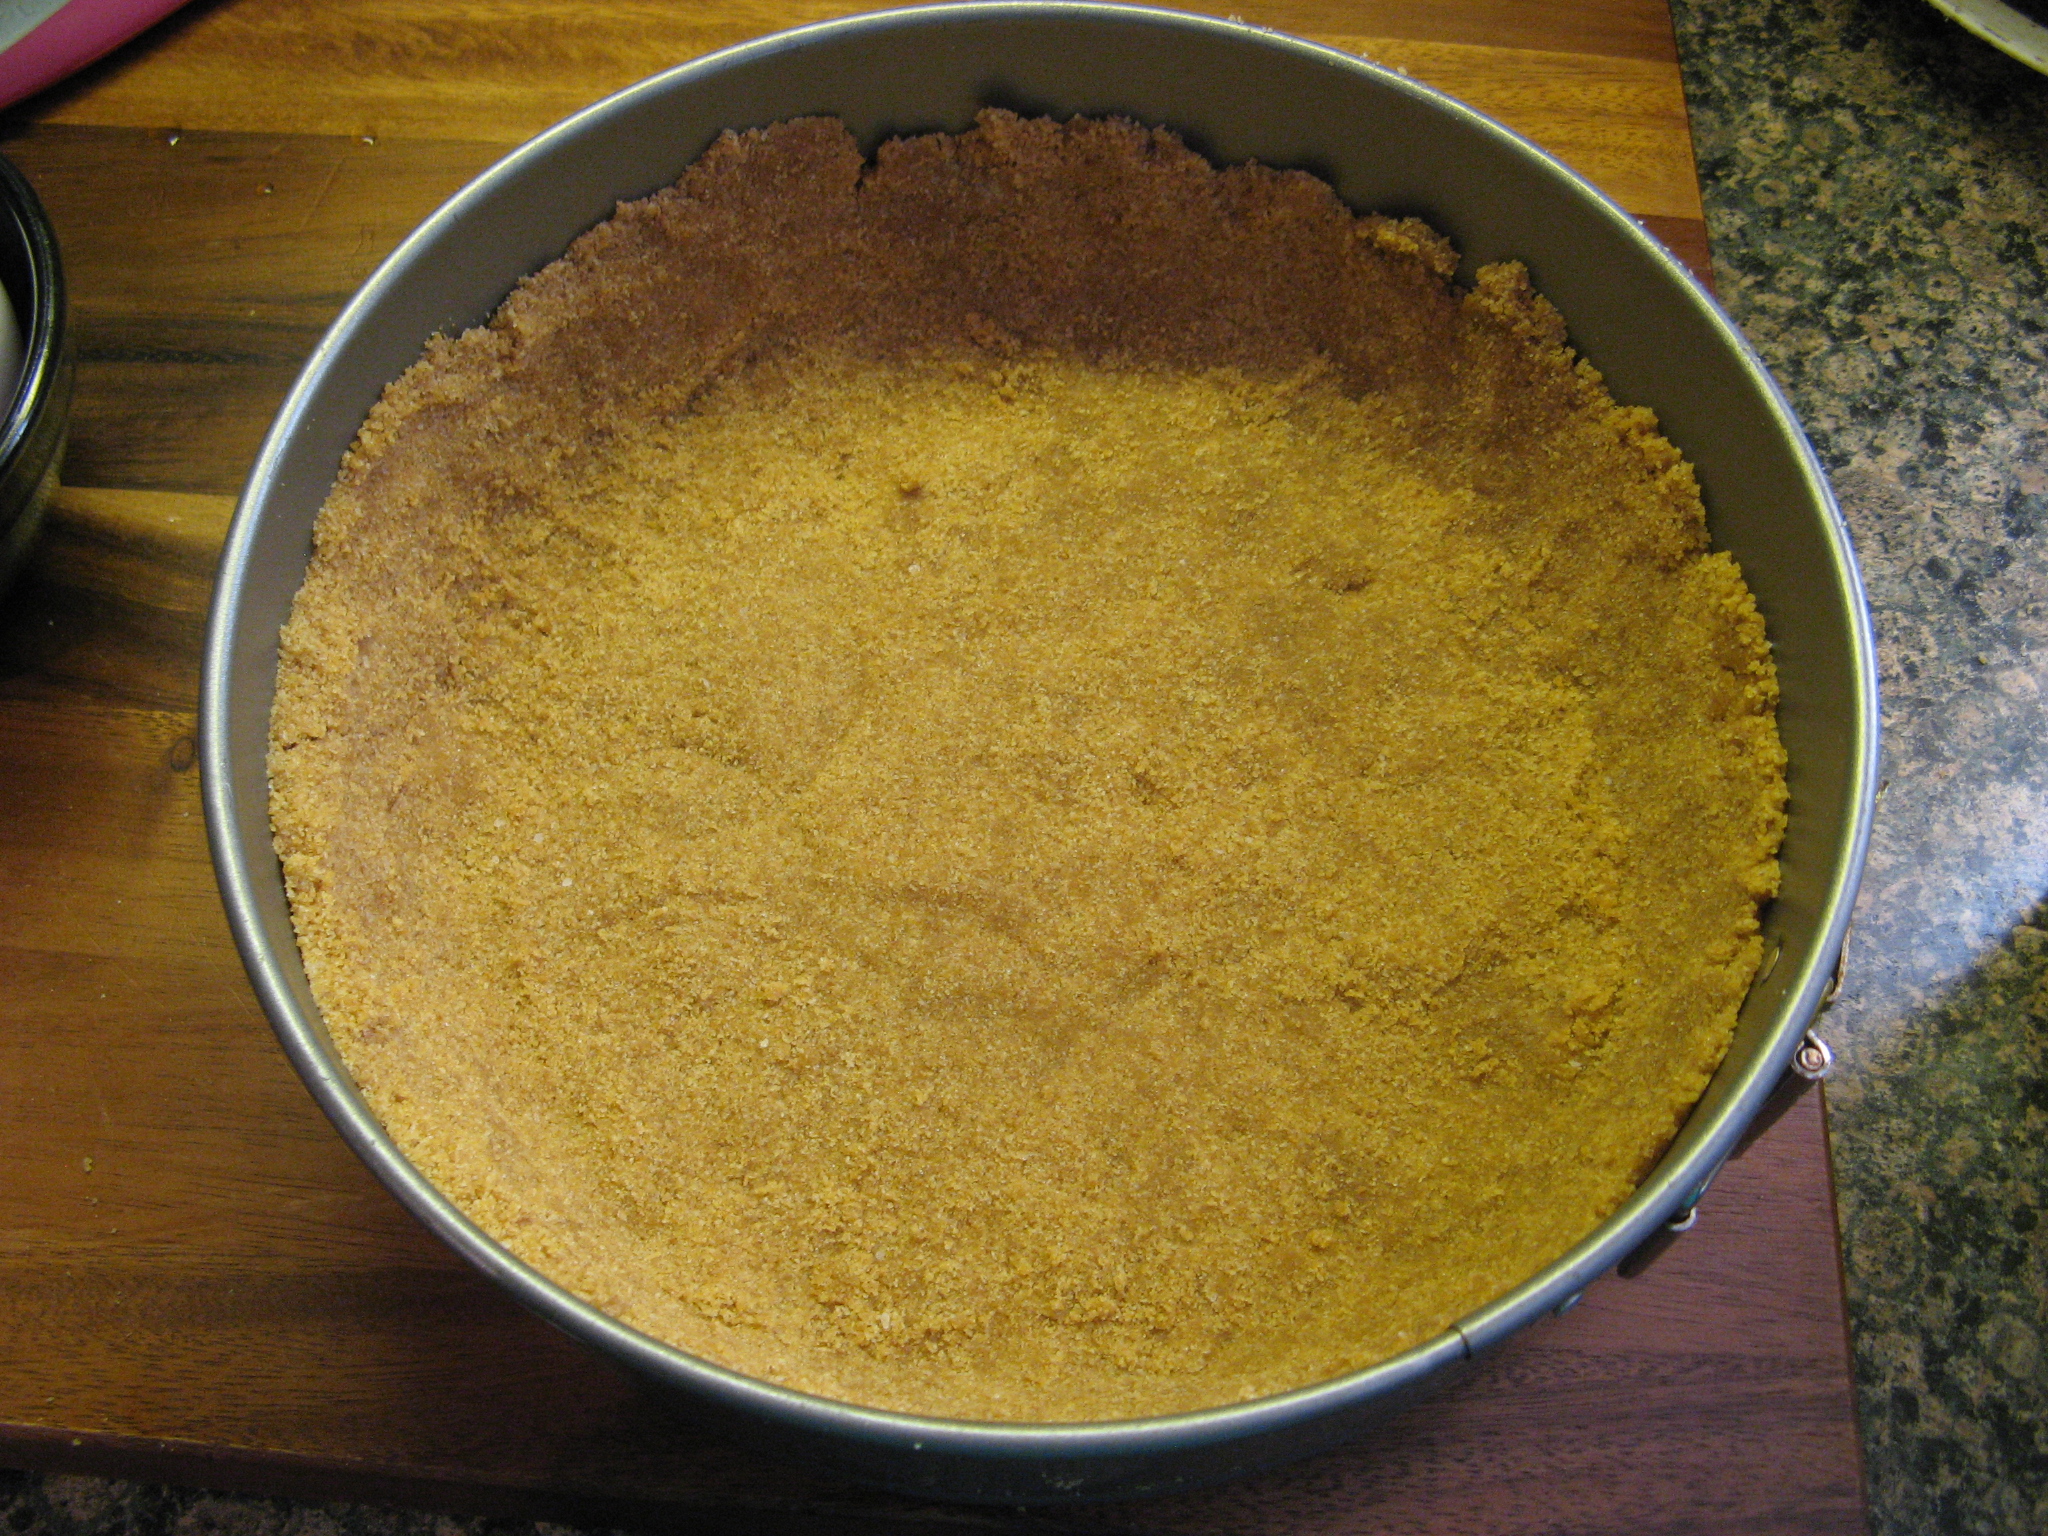
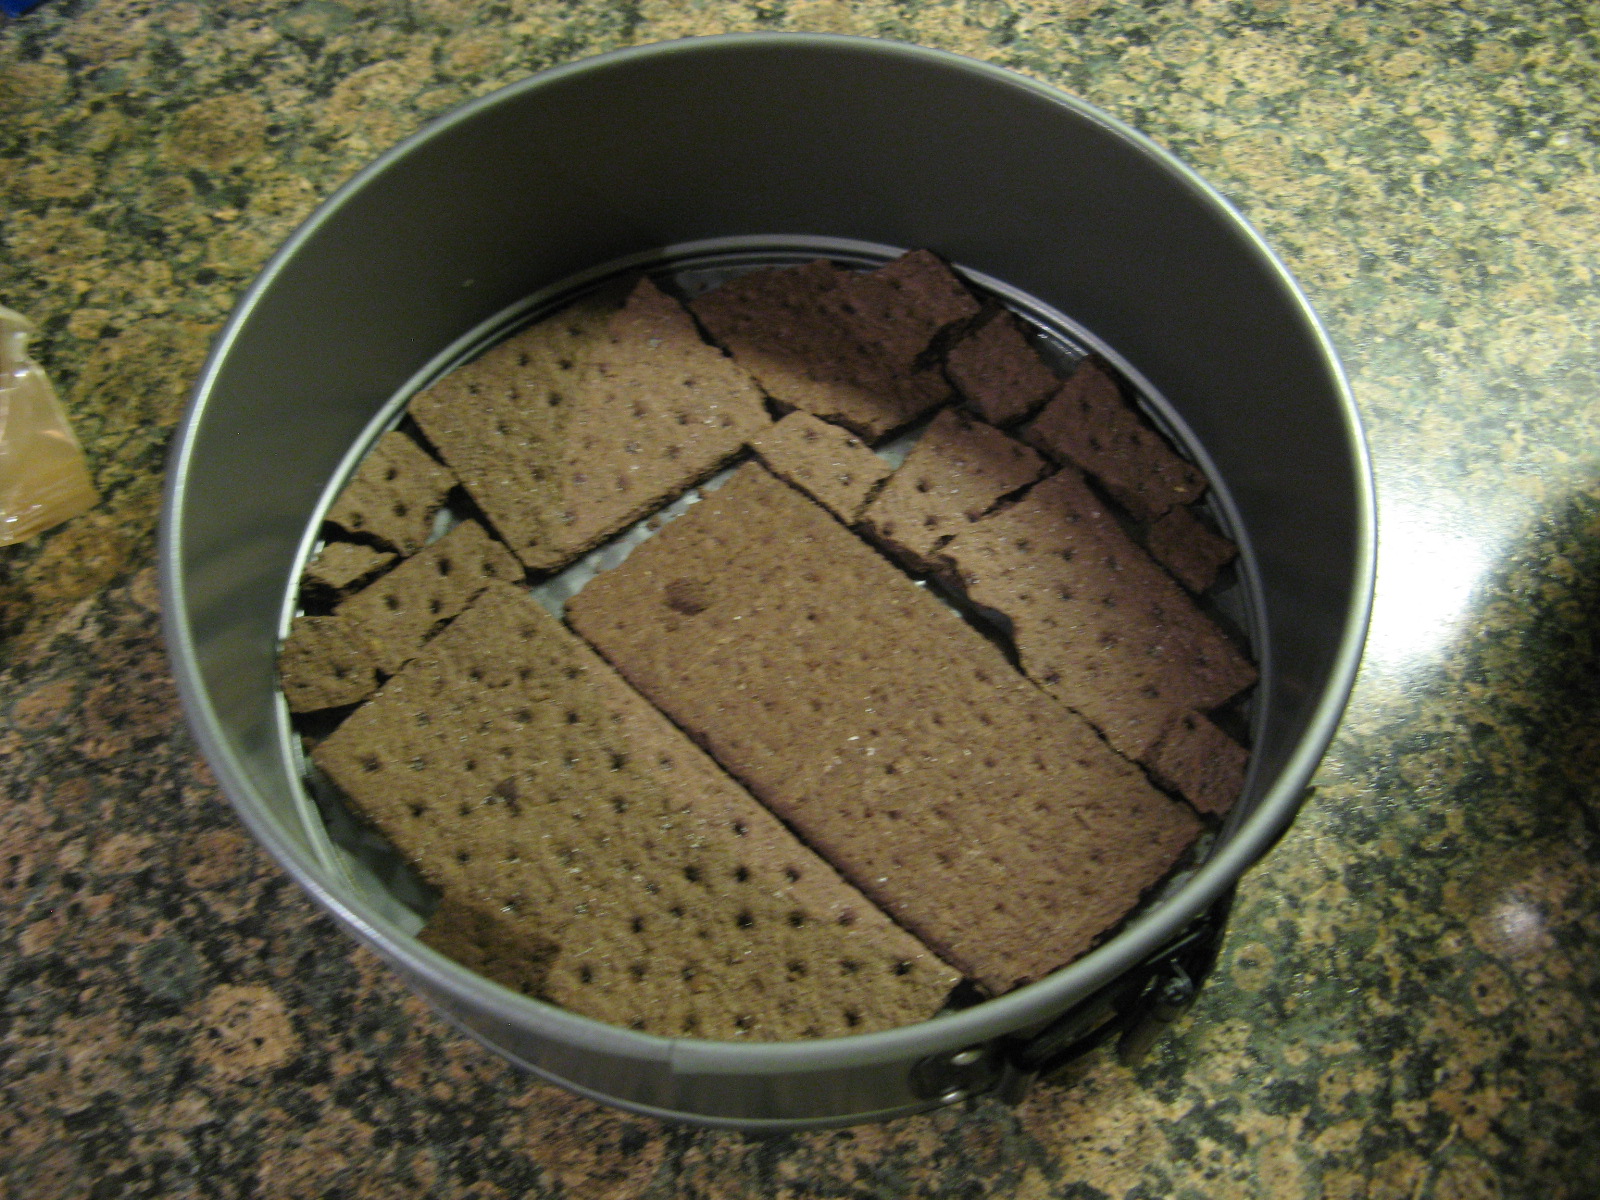
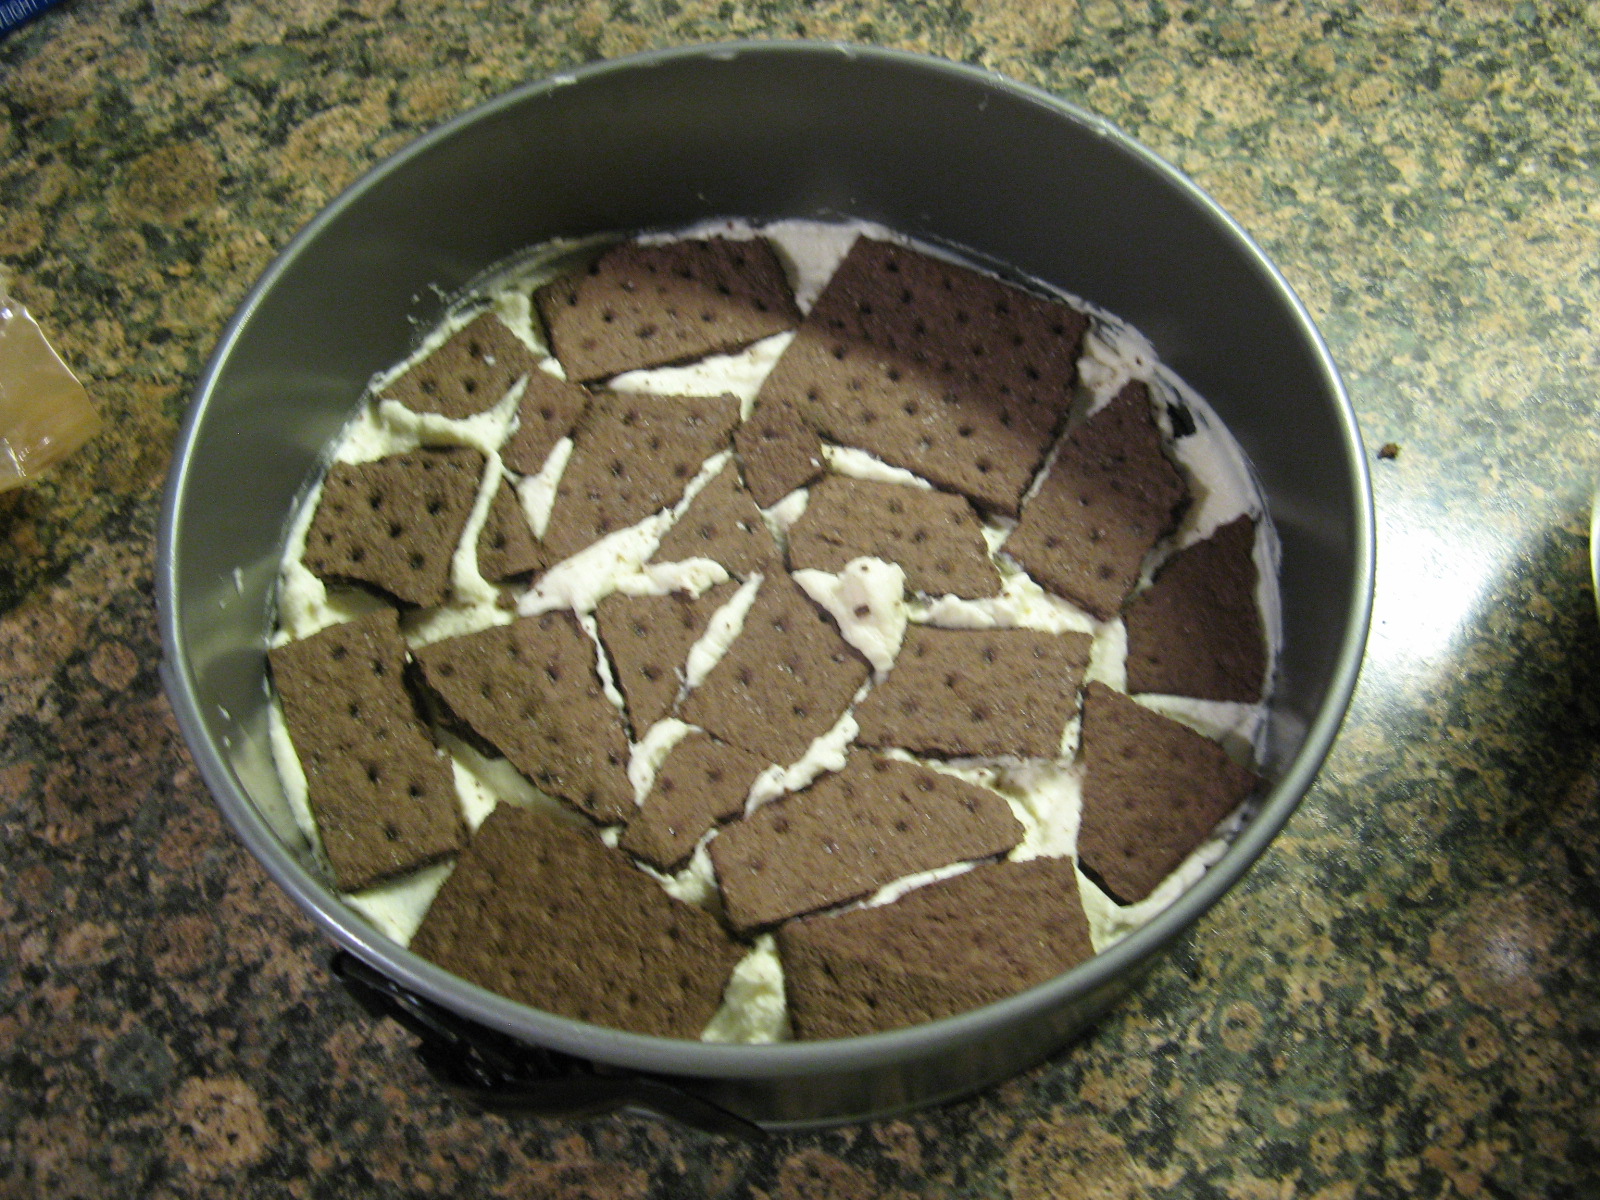
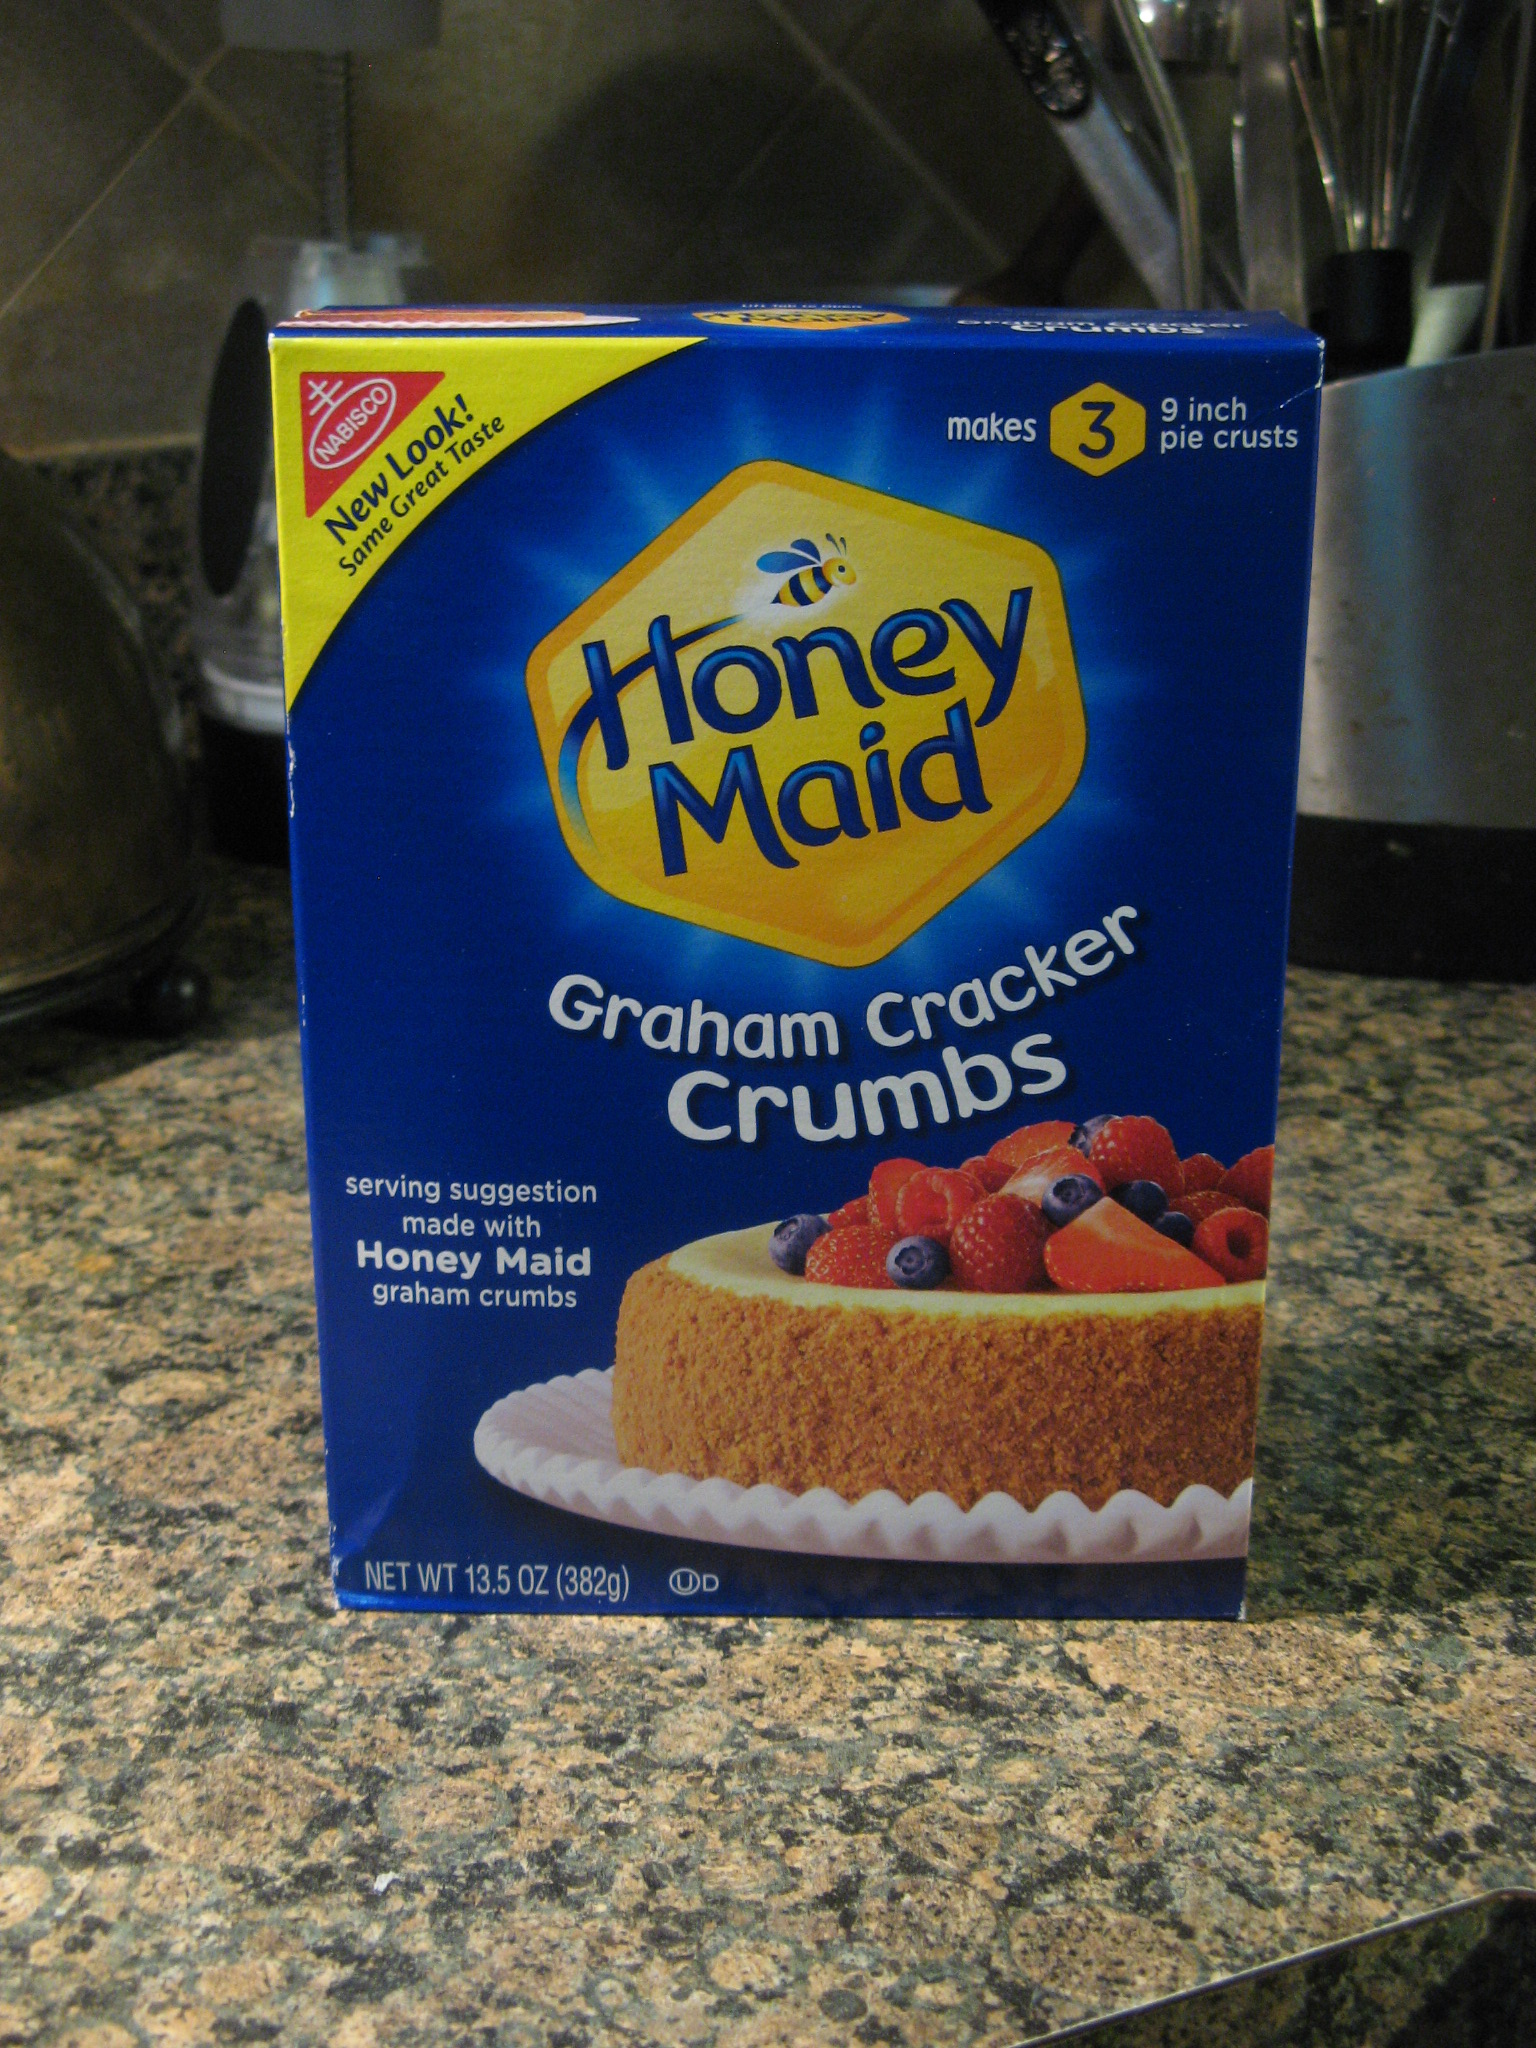
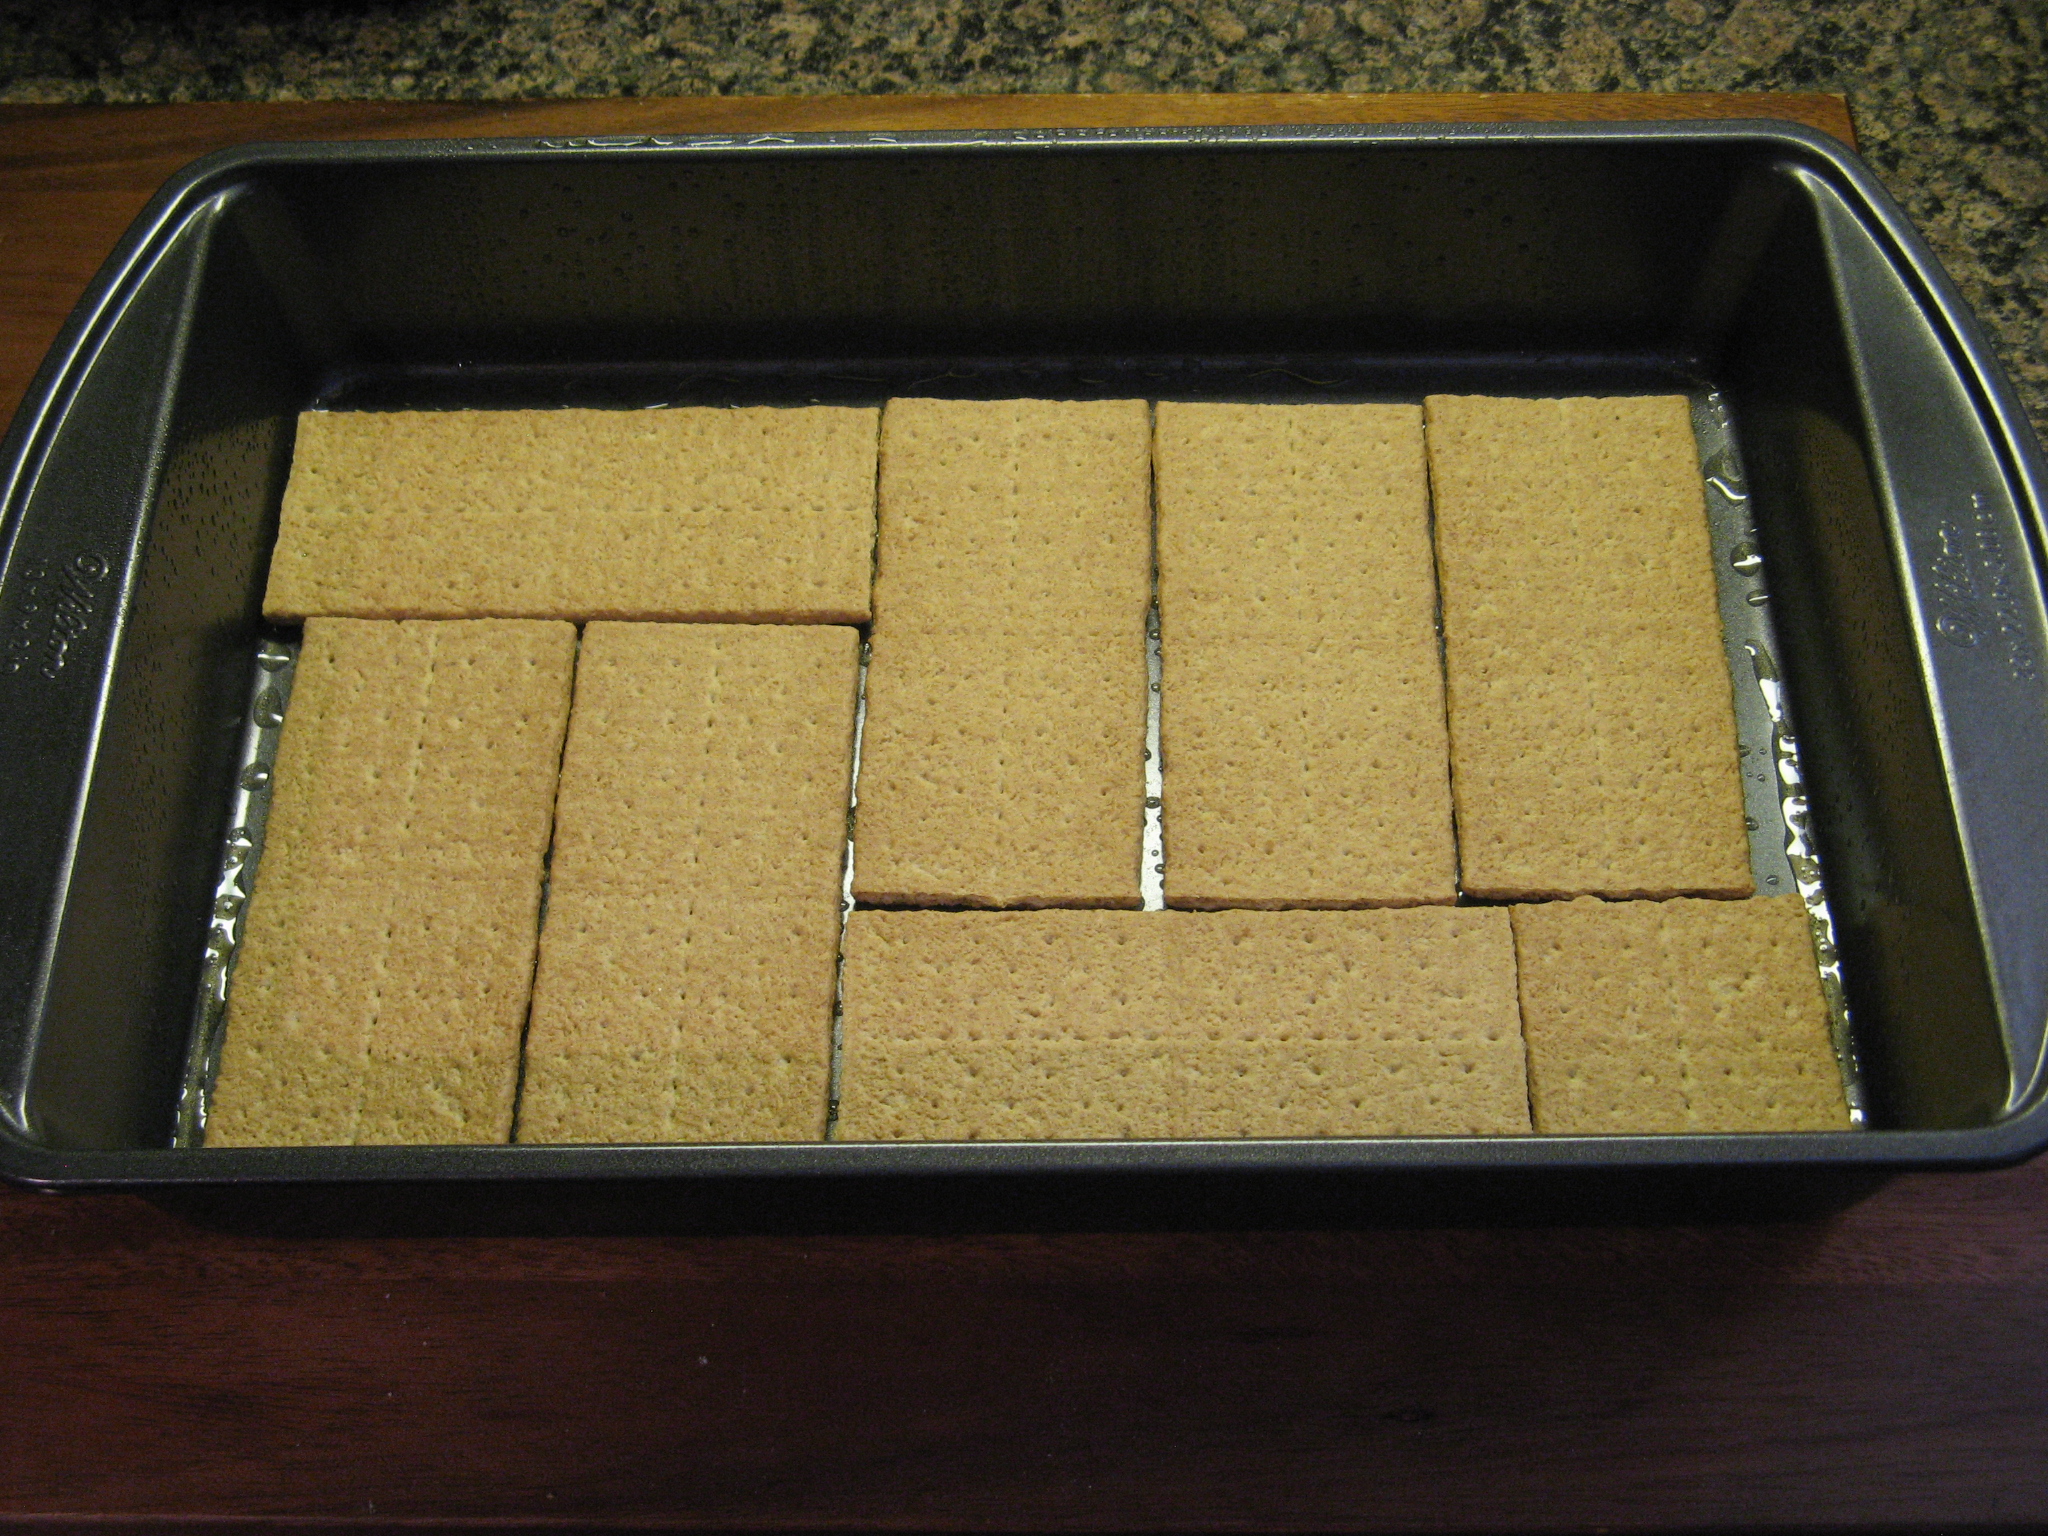
I began by spraying a 9 x 13 inch pan with cooking spray and lining it with graham crackers.

IMG_8646

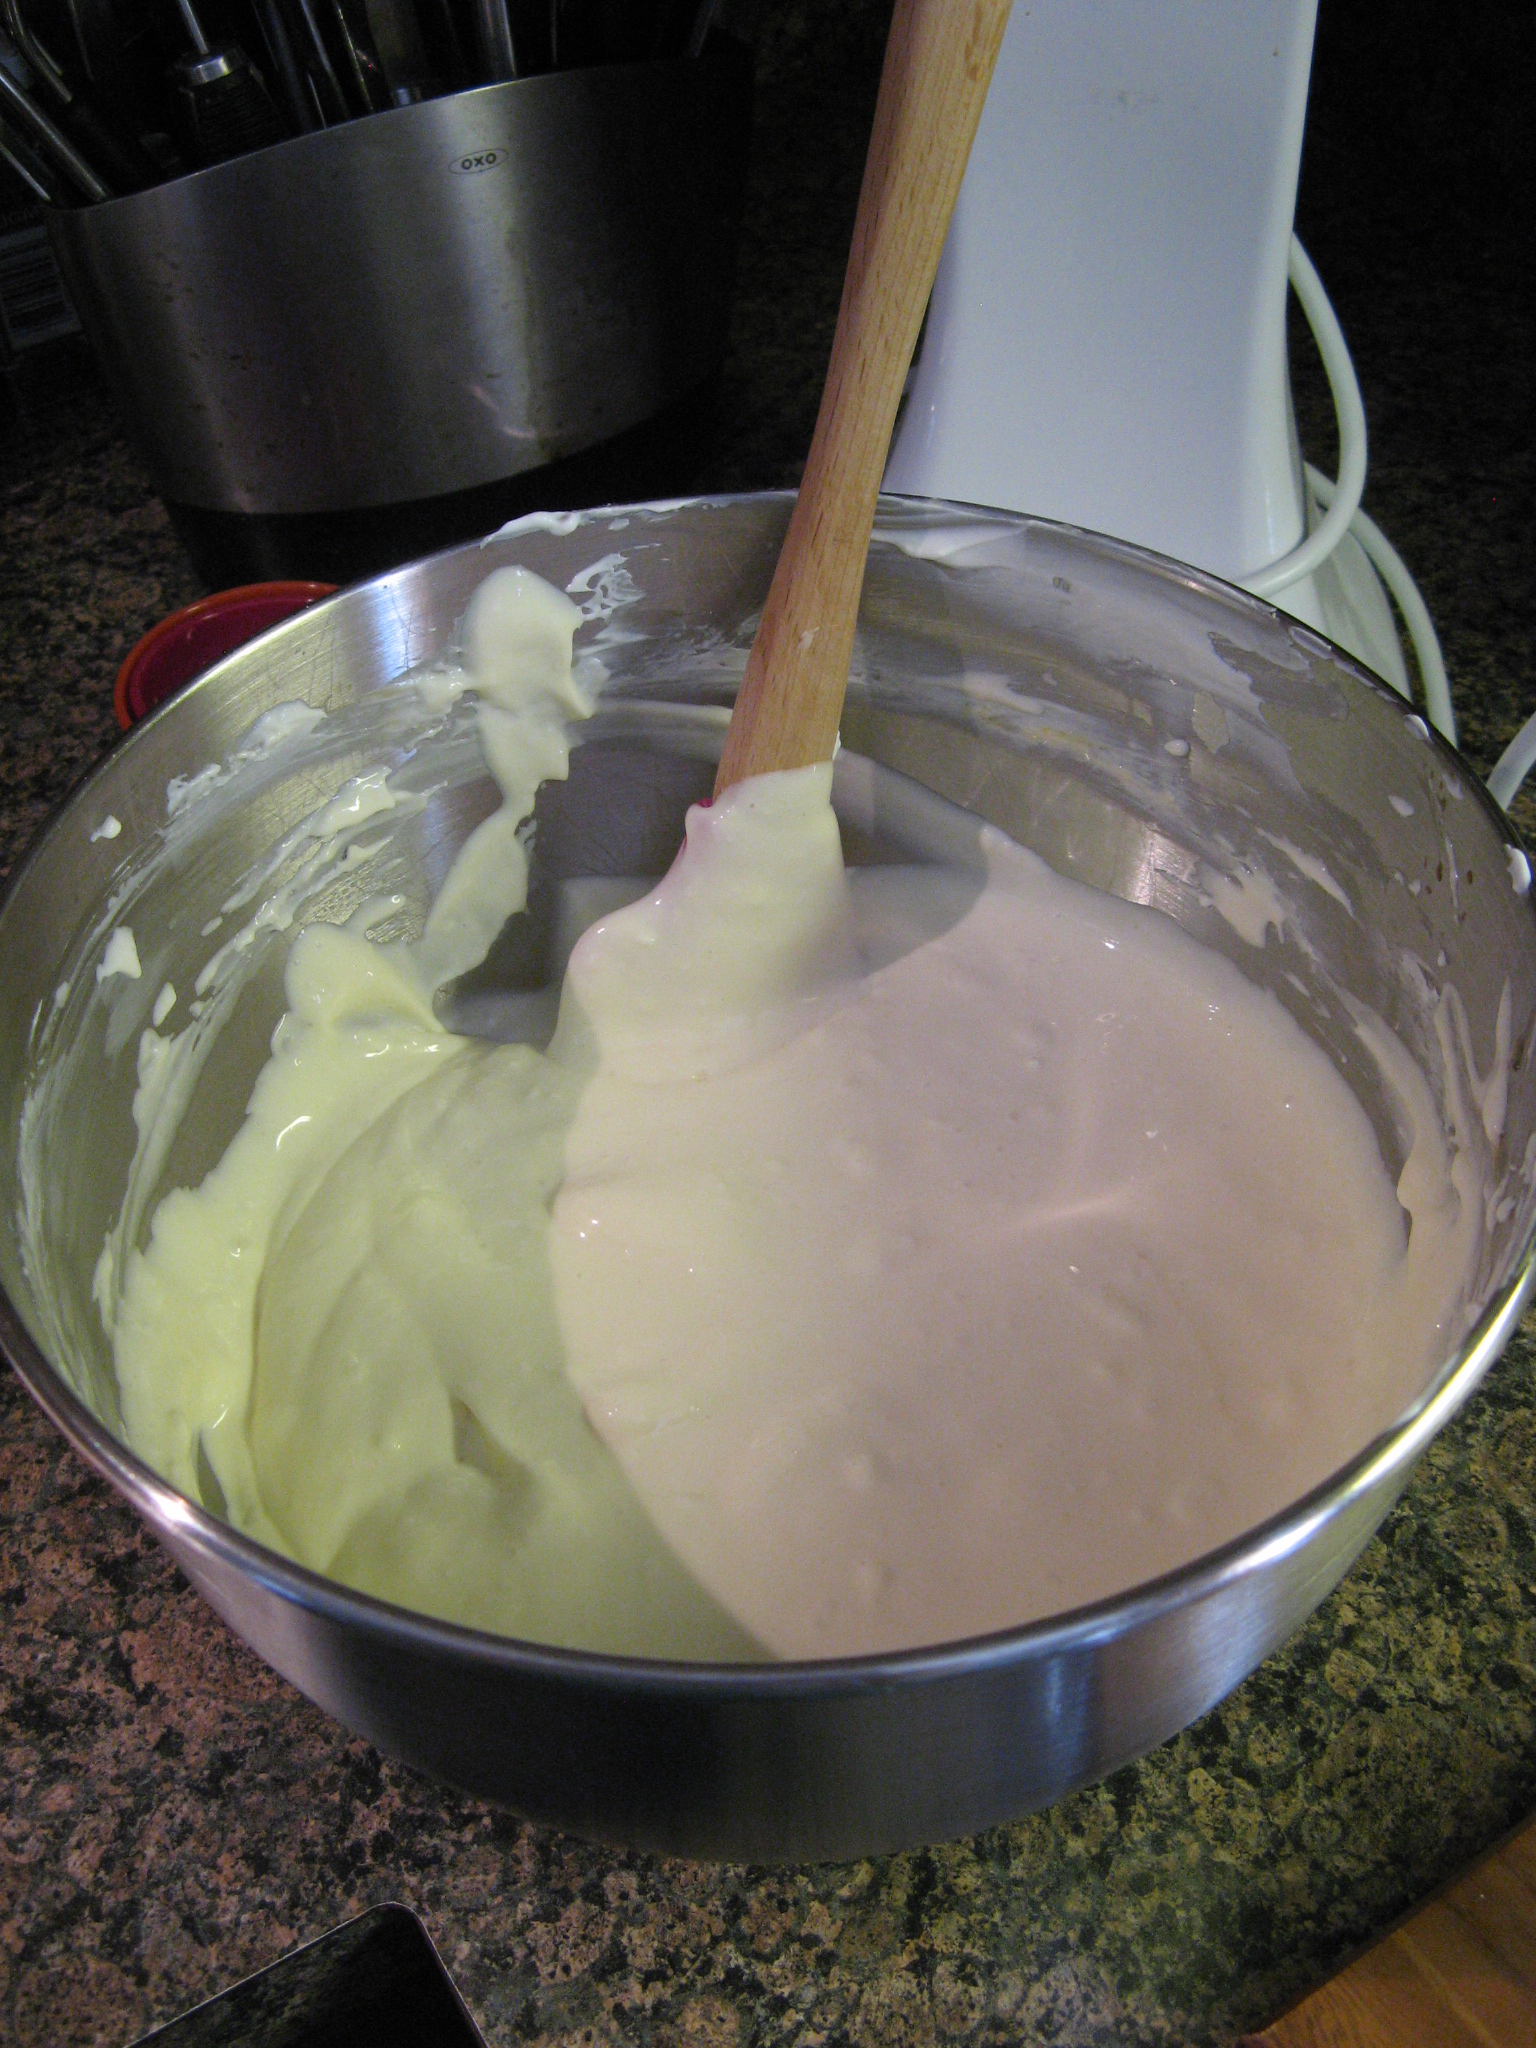
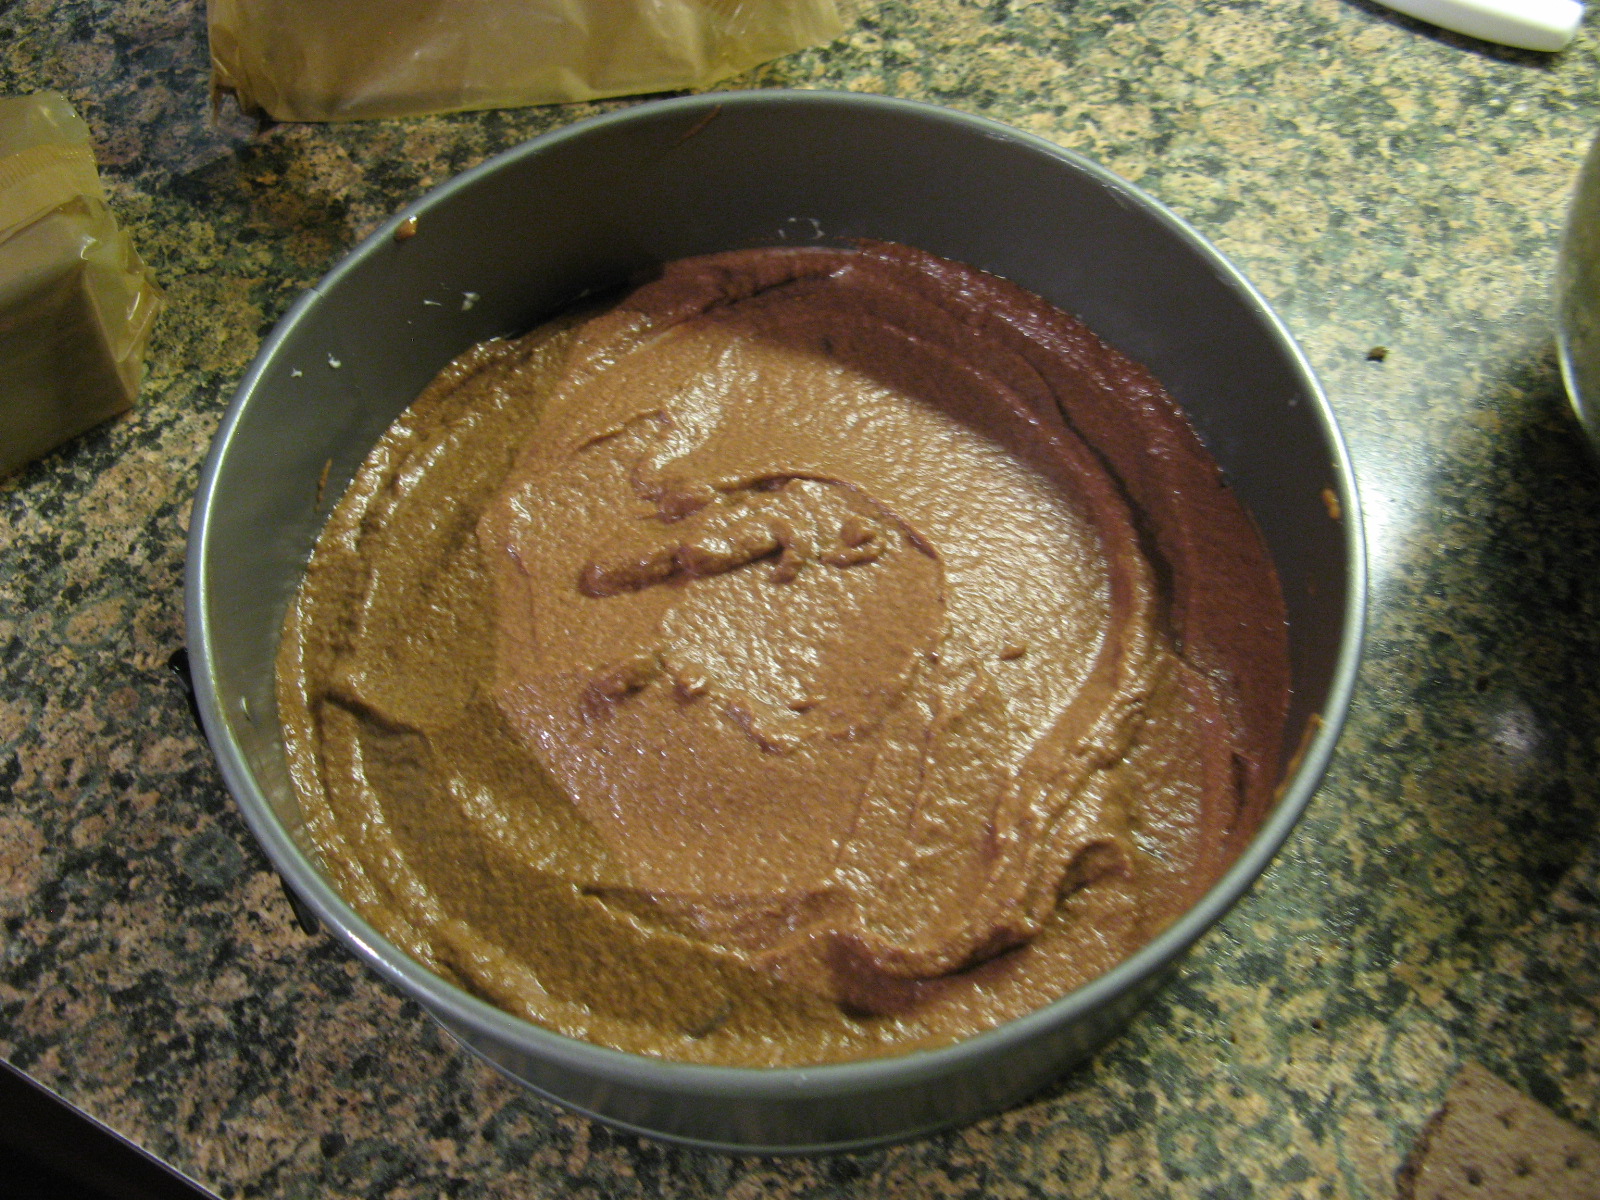
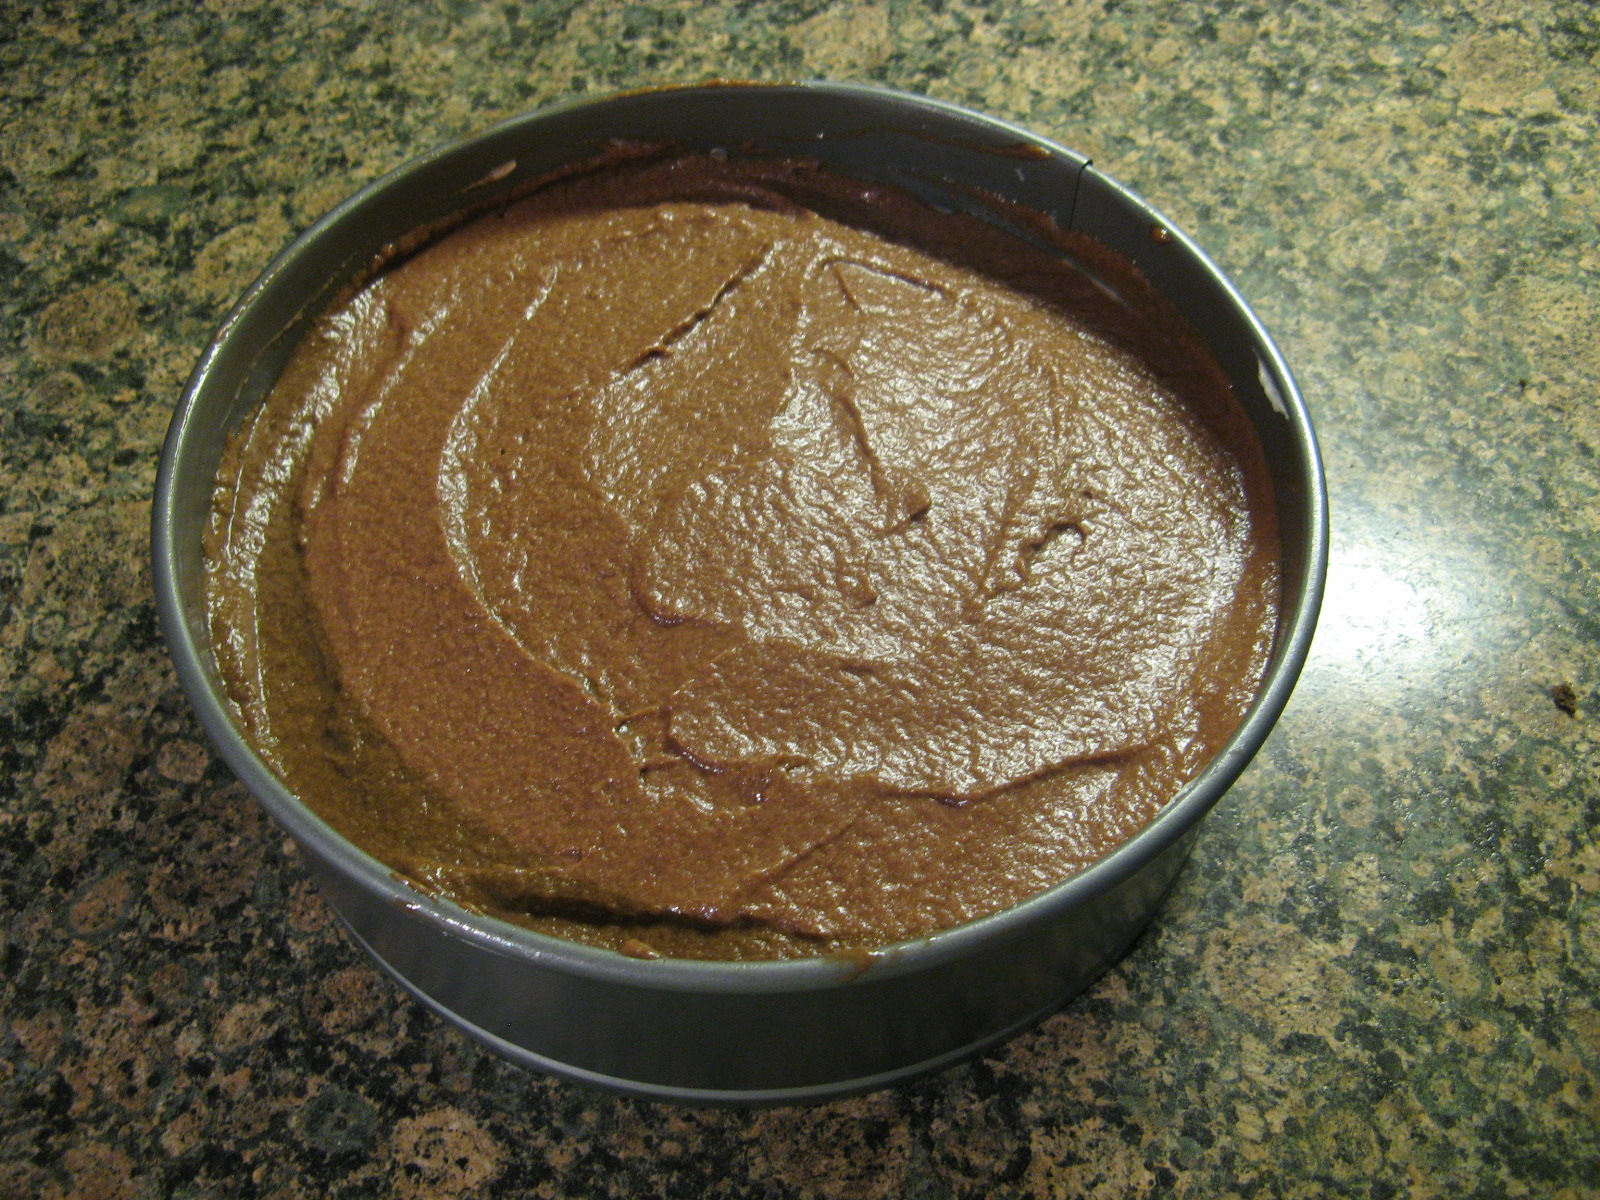
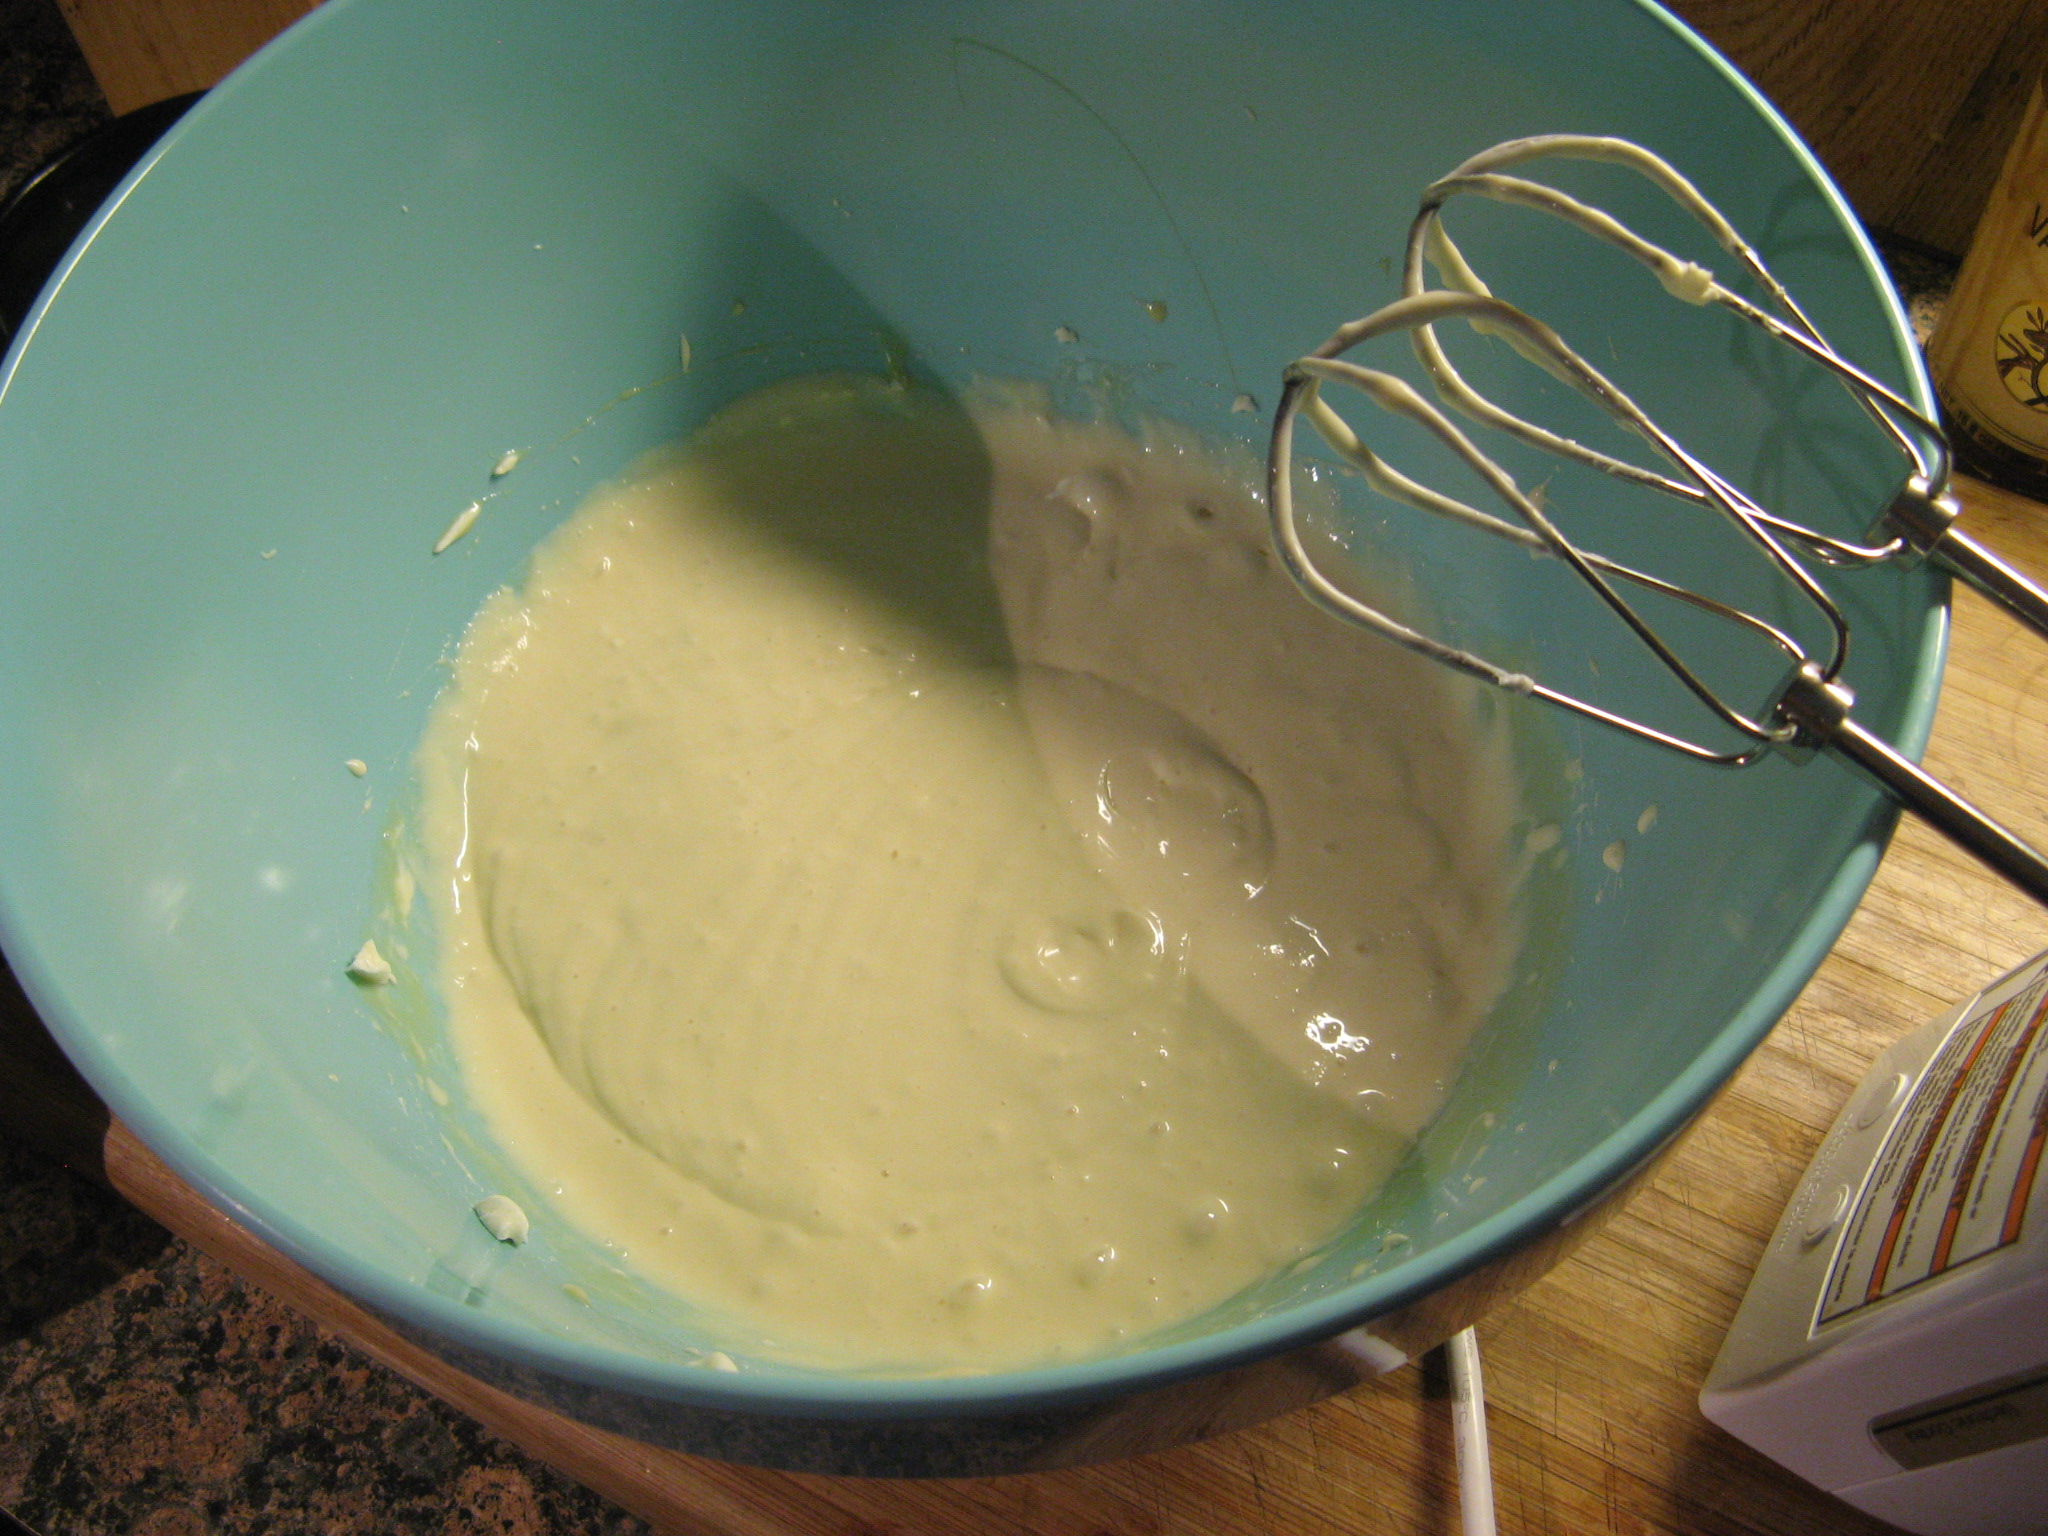
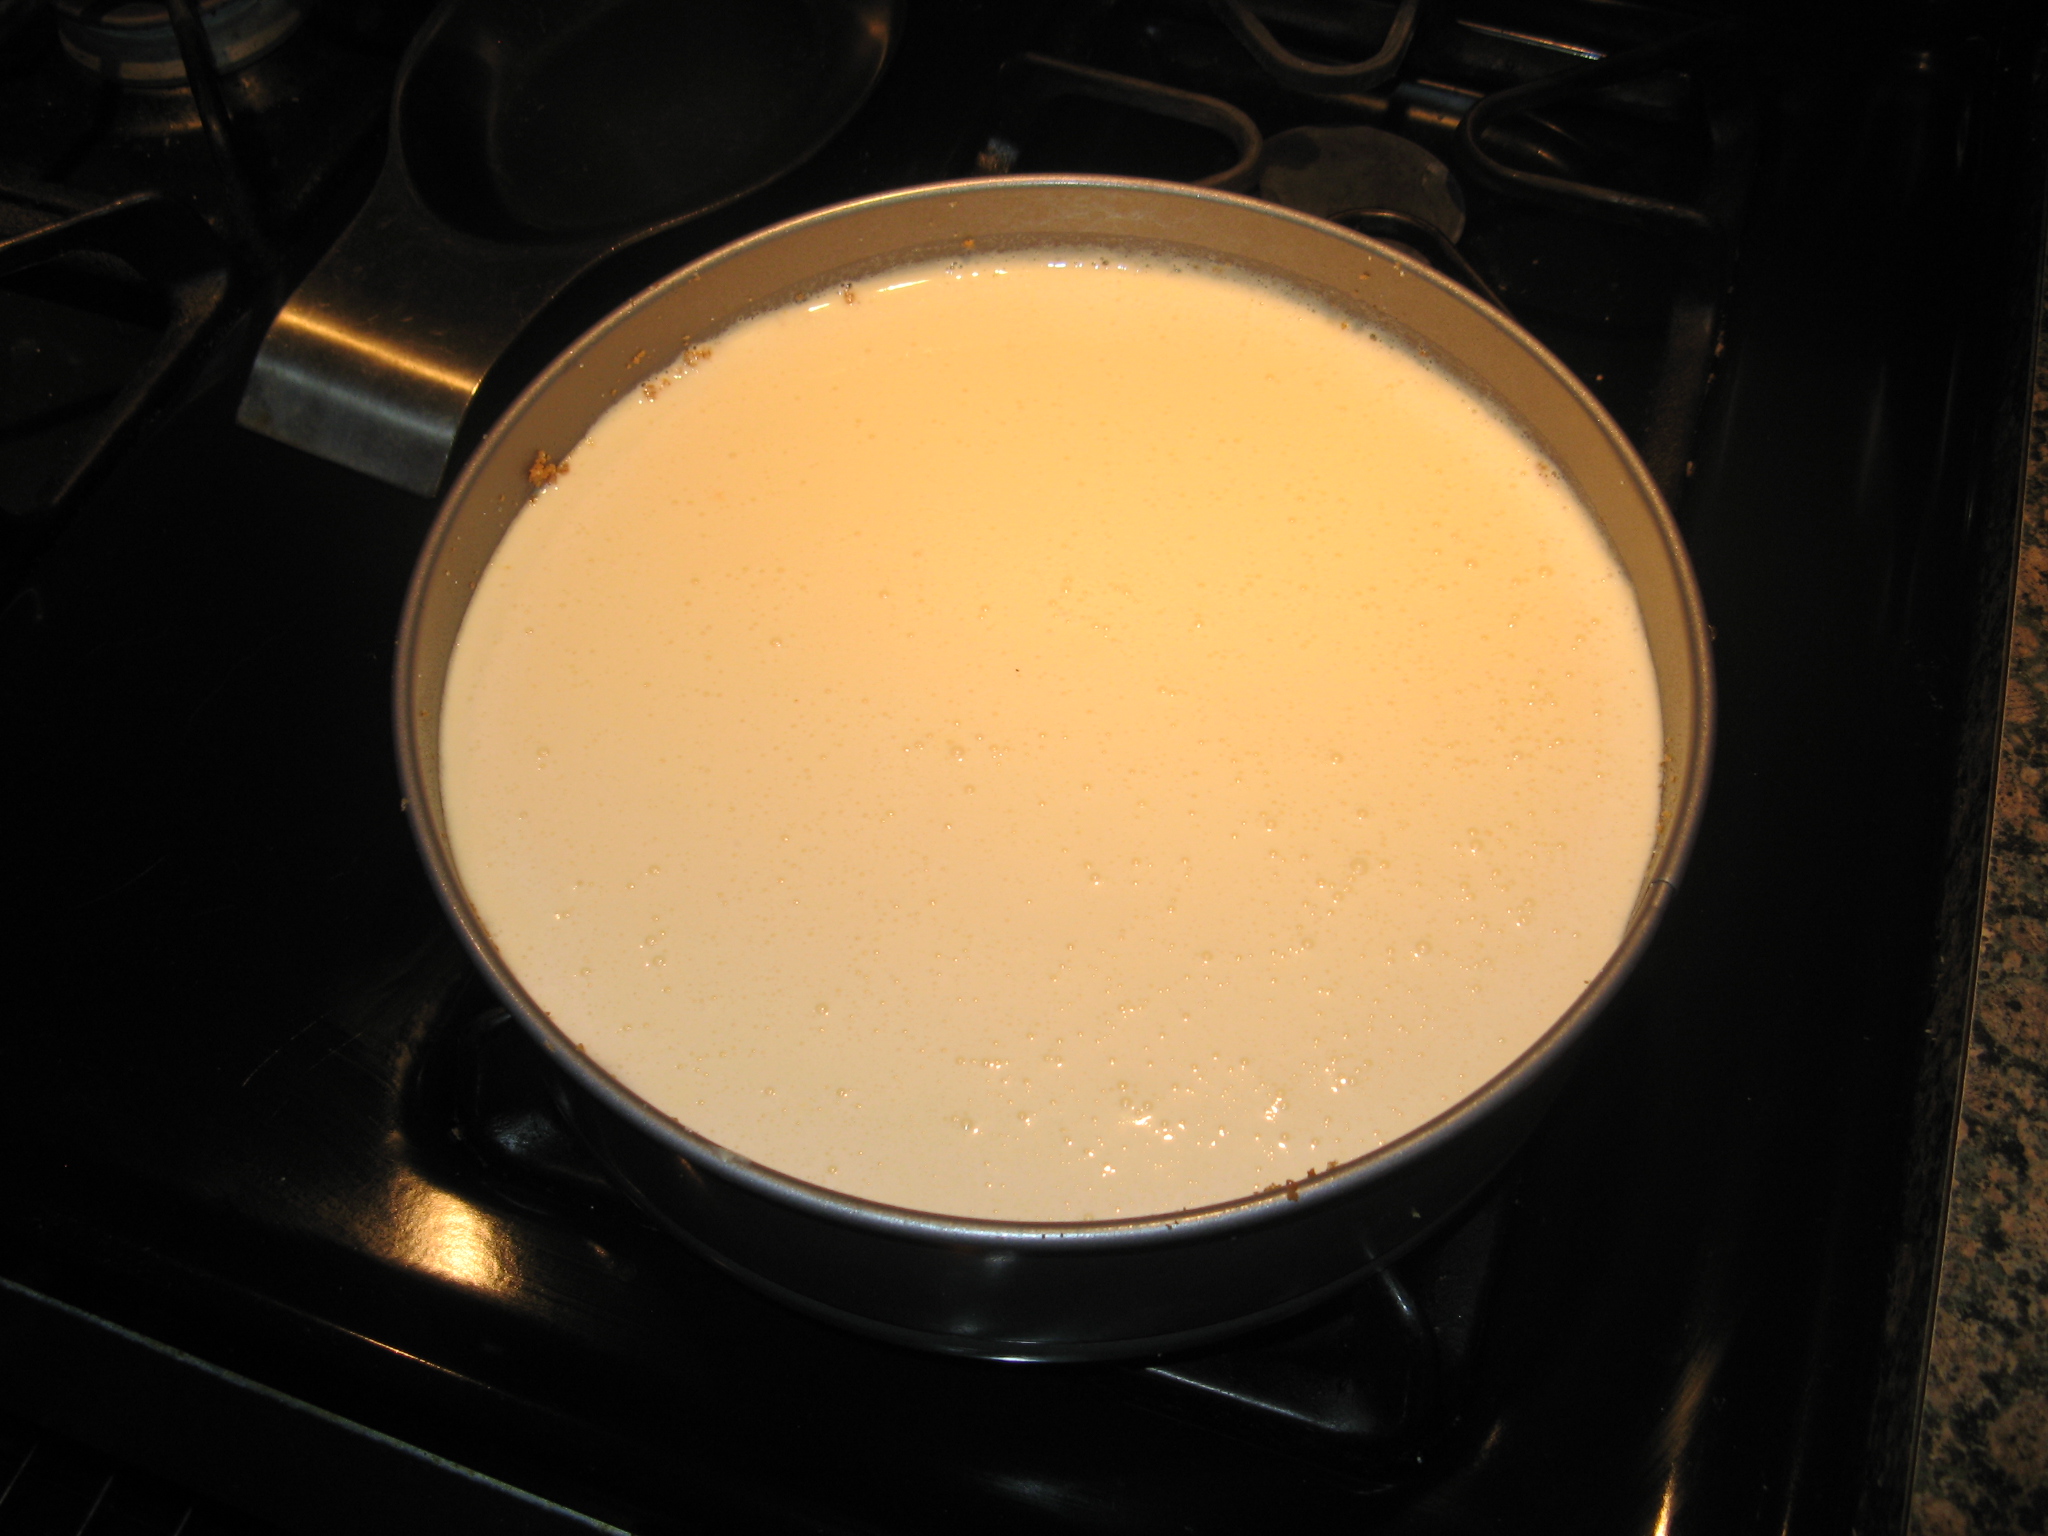
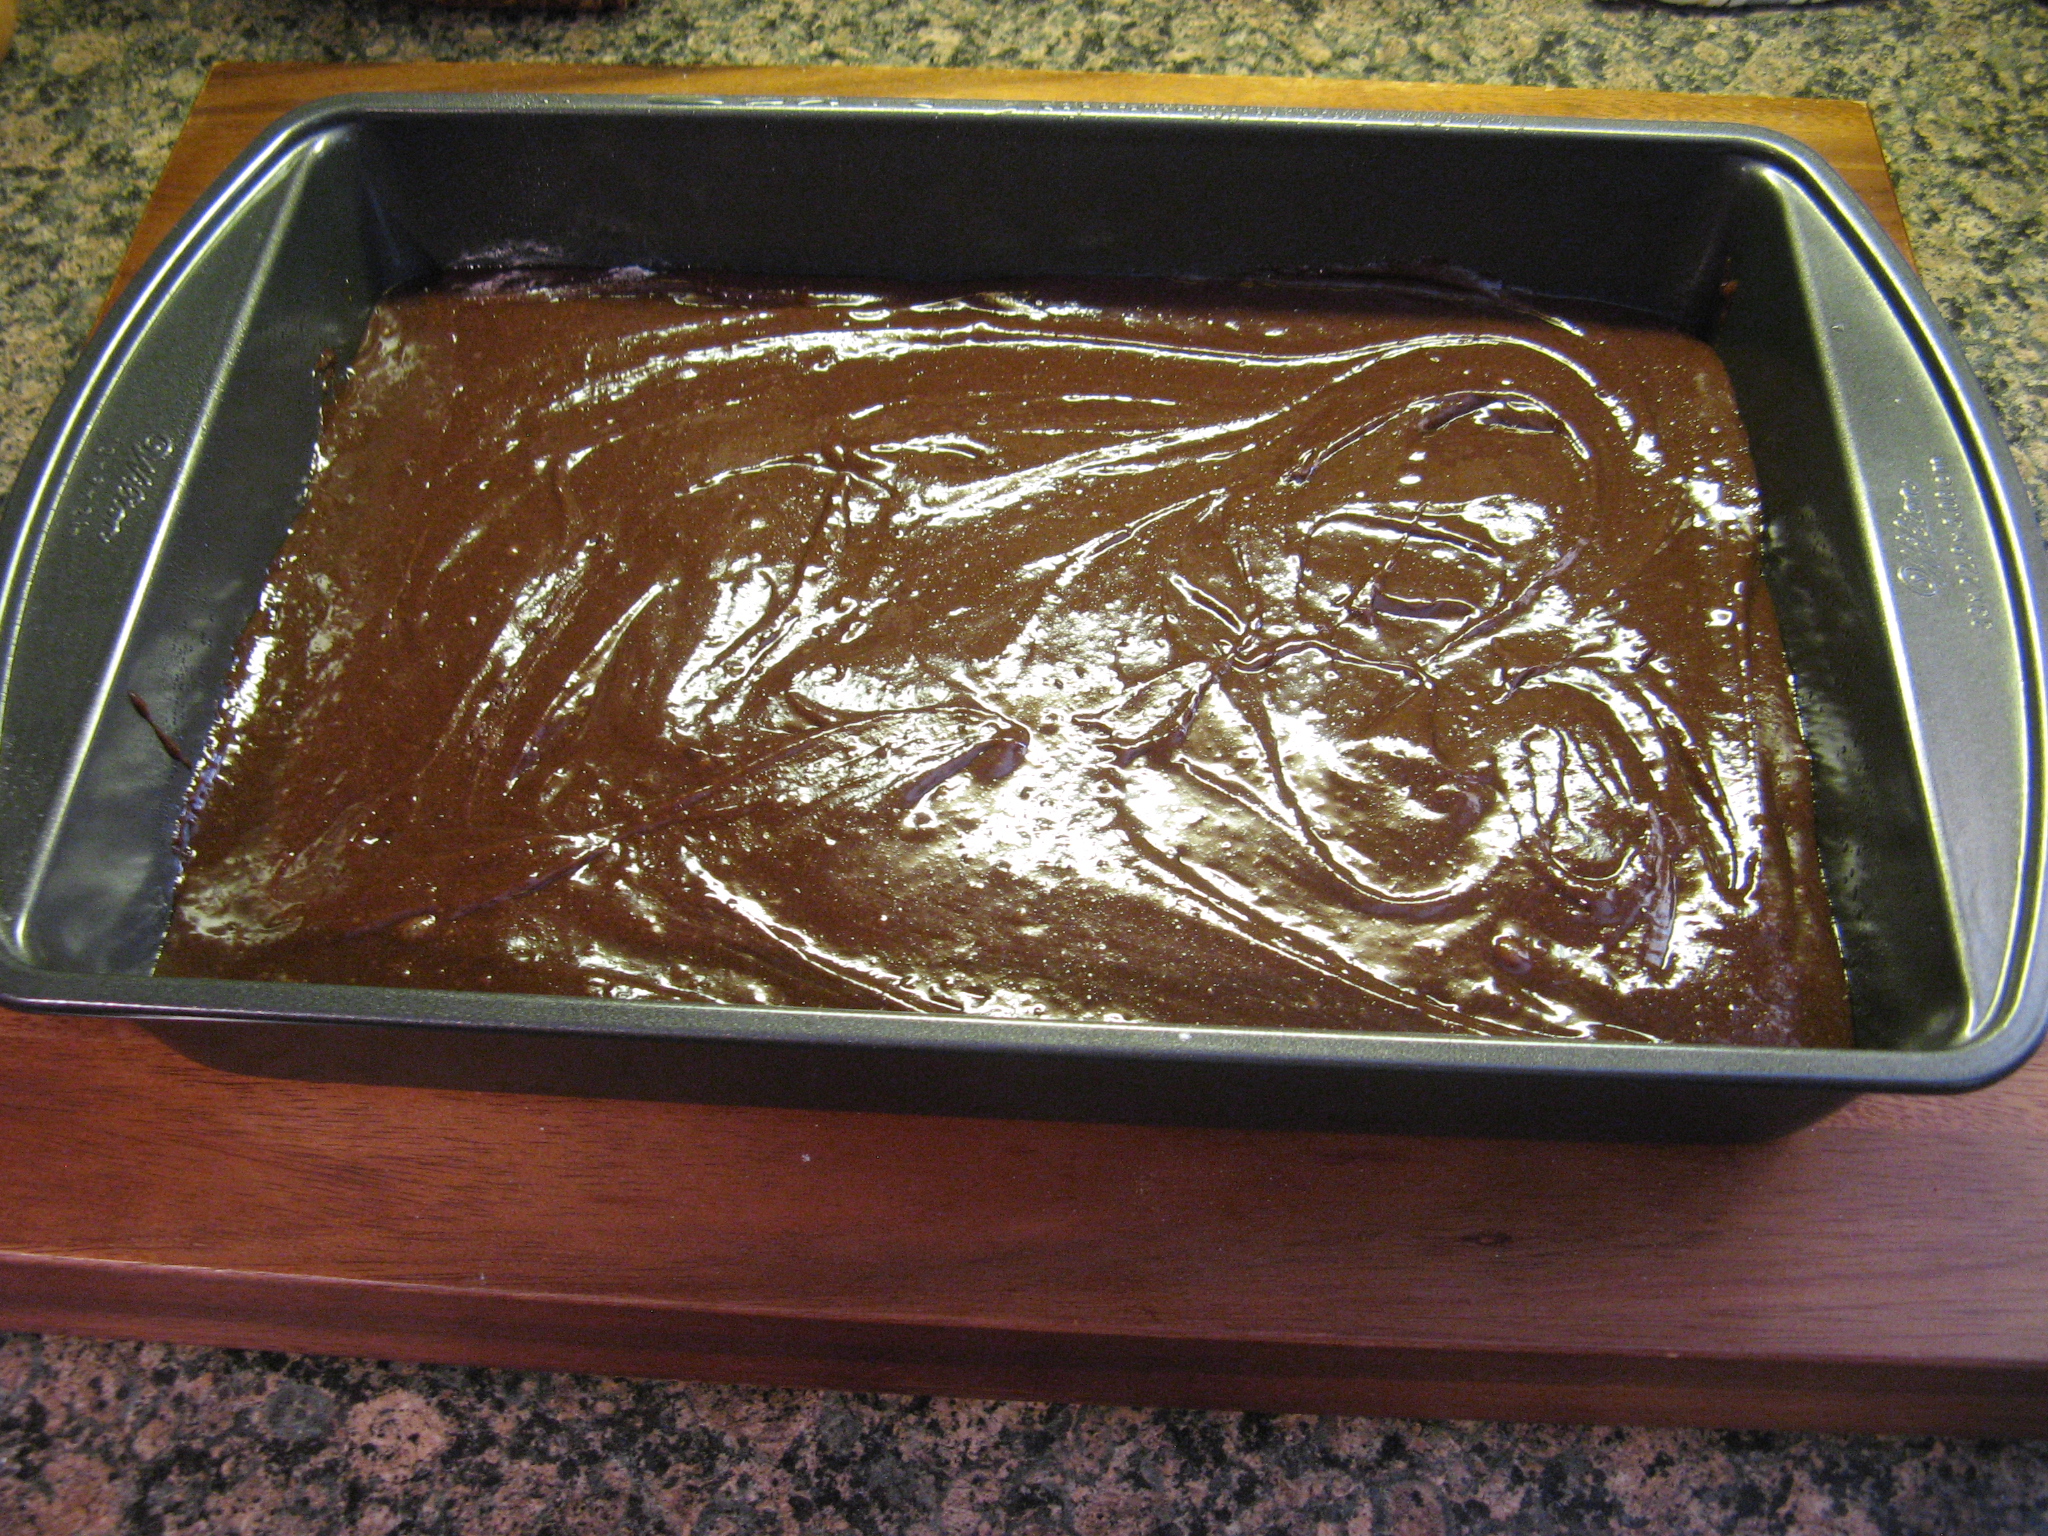
Next, I made my brownie batter and poured it right over the graham crackers…

IMG_8652

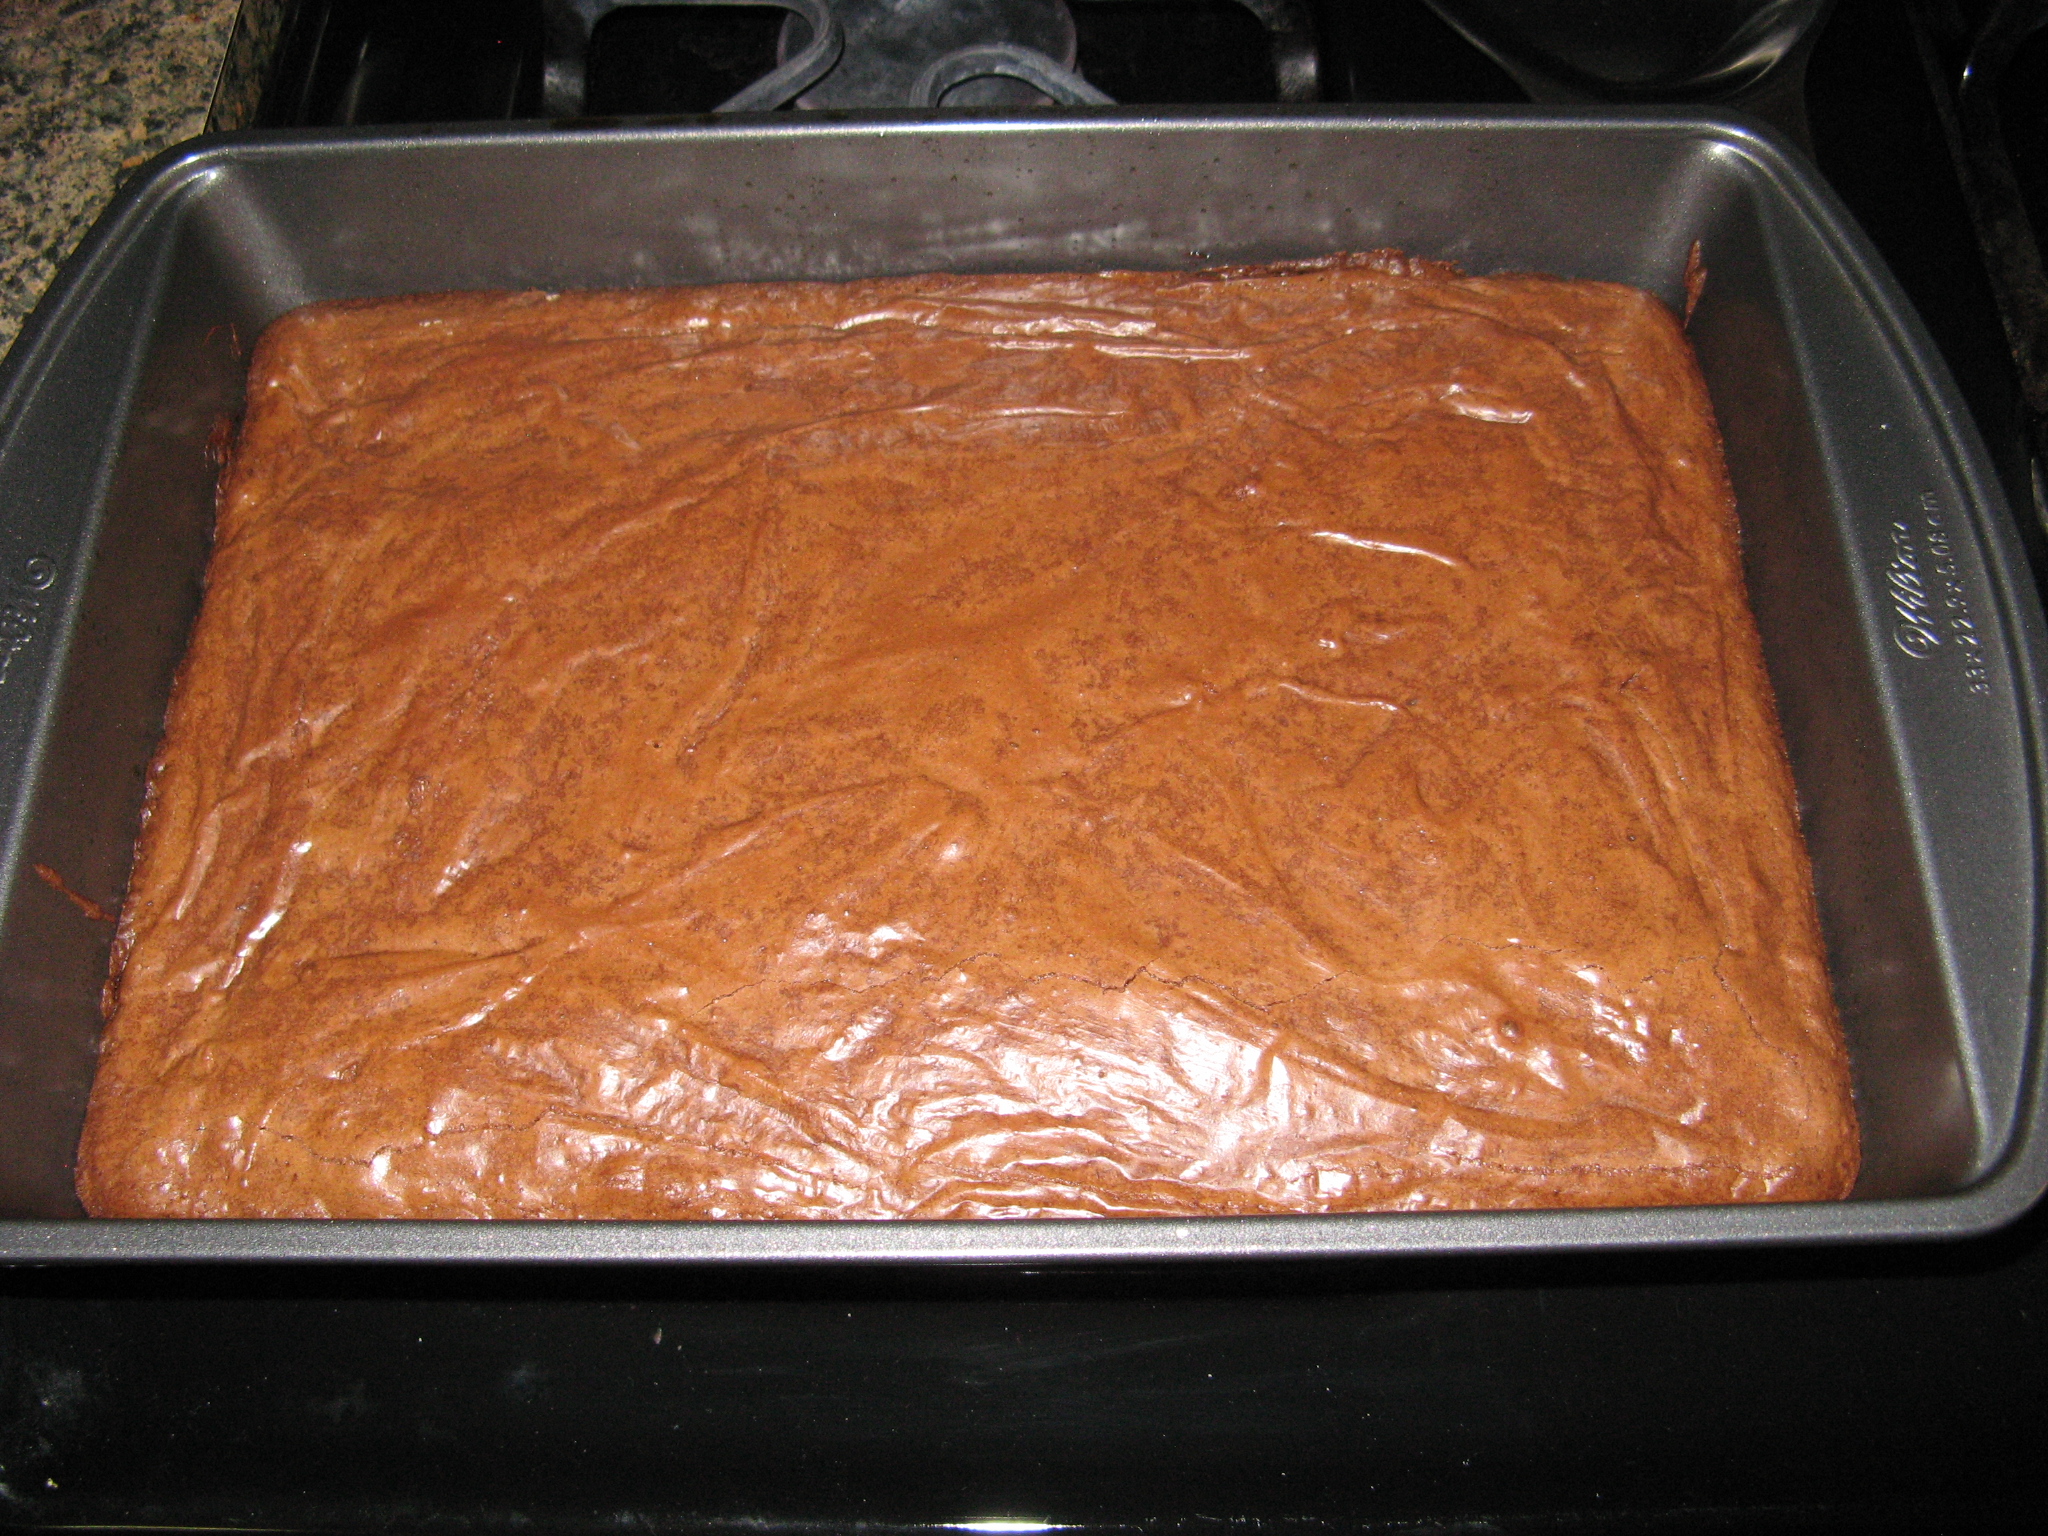
And then baked it in a pre-heated 325 F oven for 40 minutes, until a cake tester inserted in the middle came out almost clean.

IMG_8653

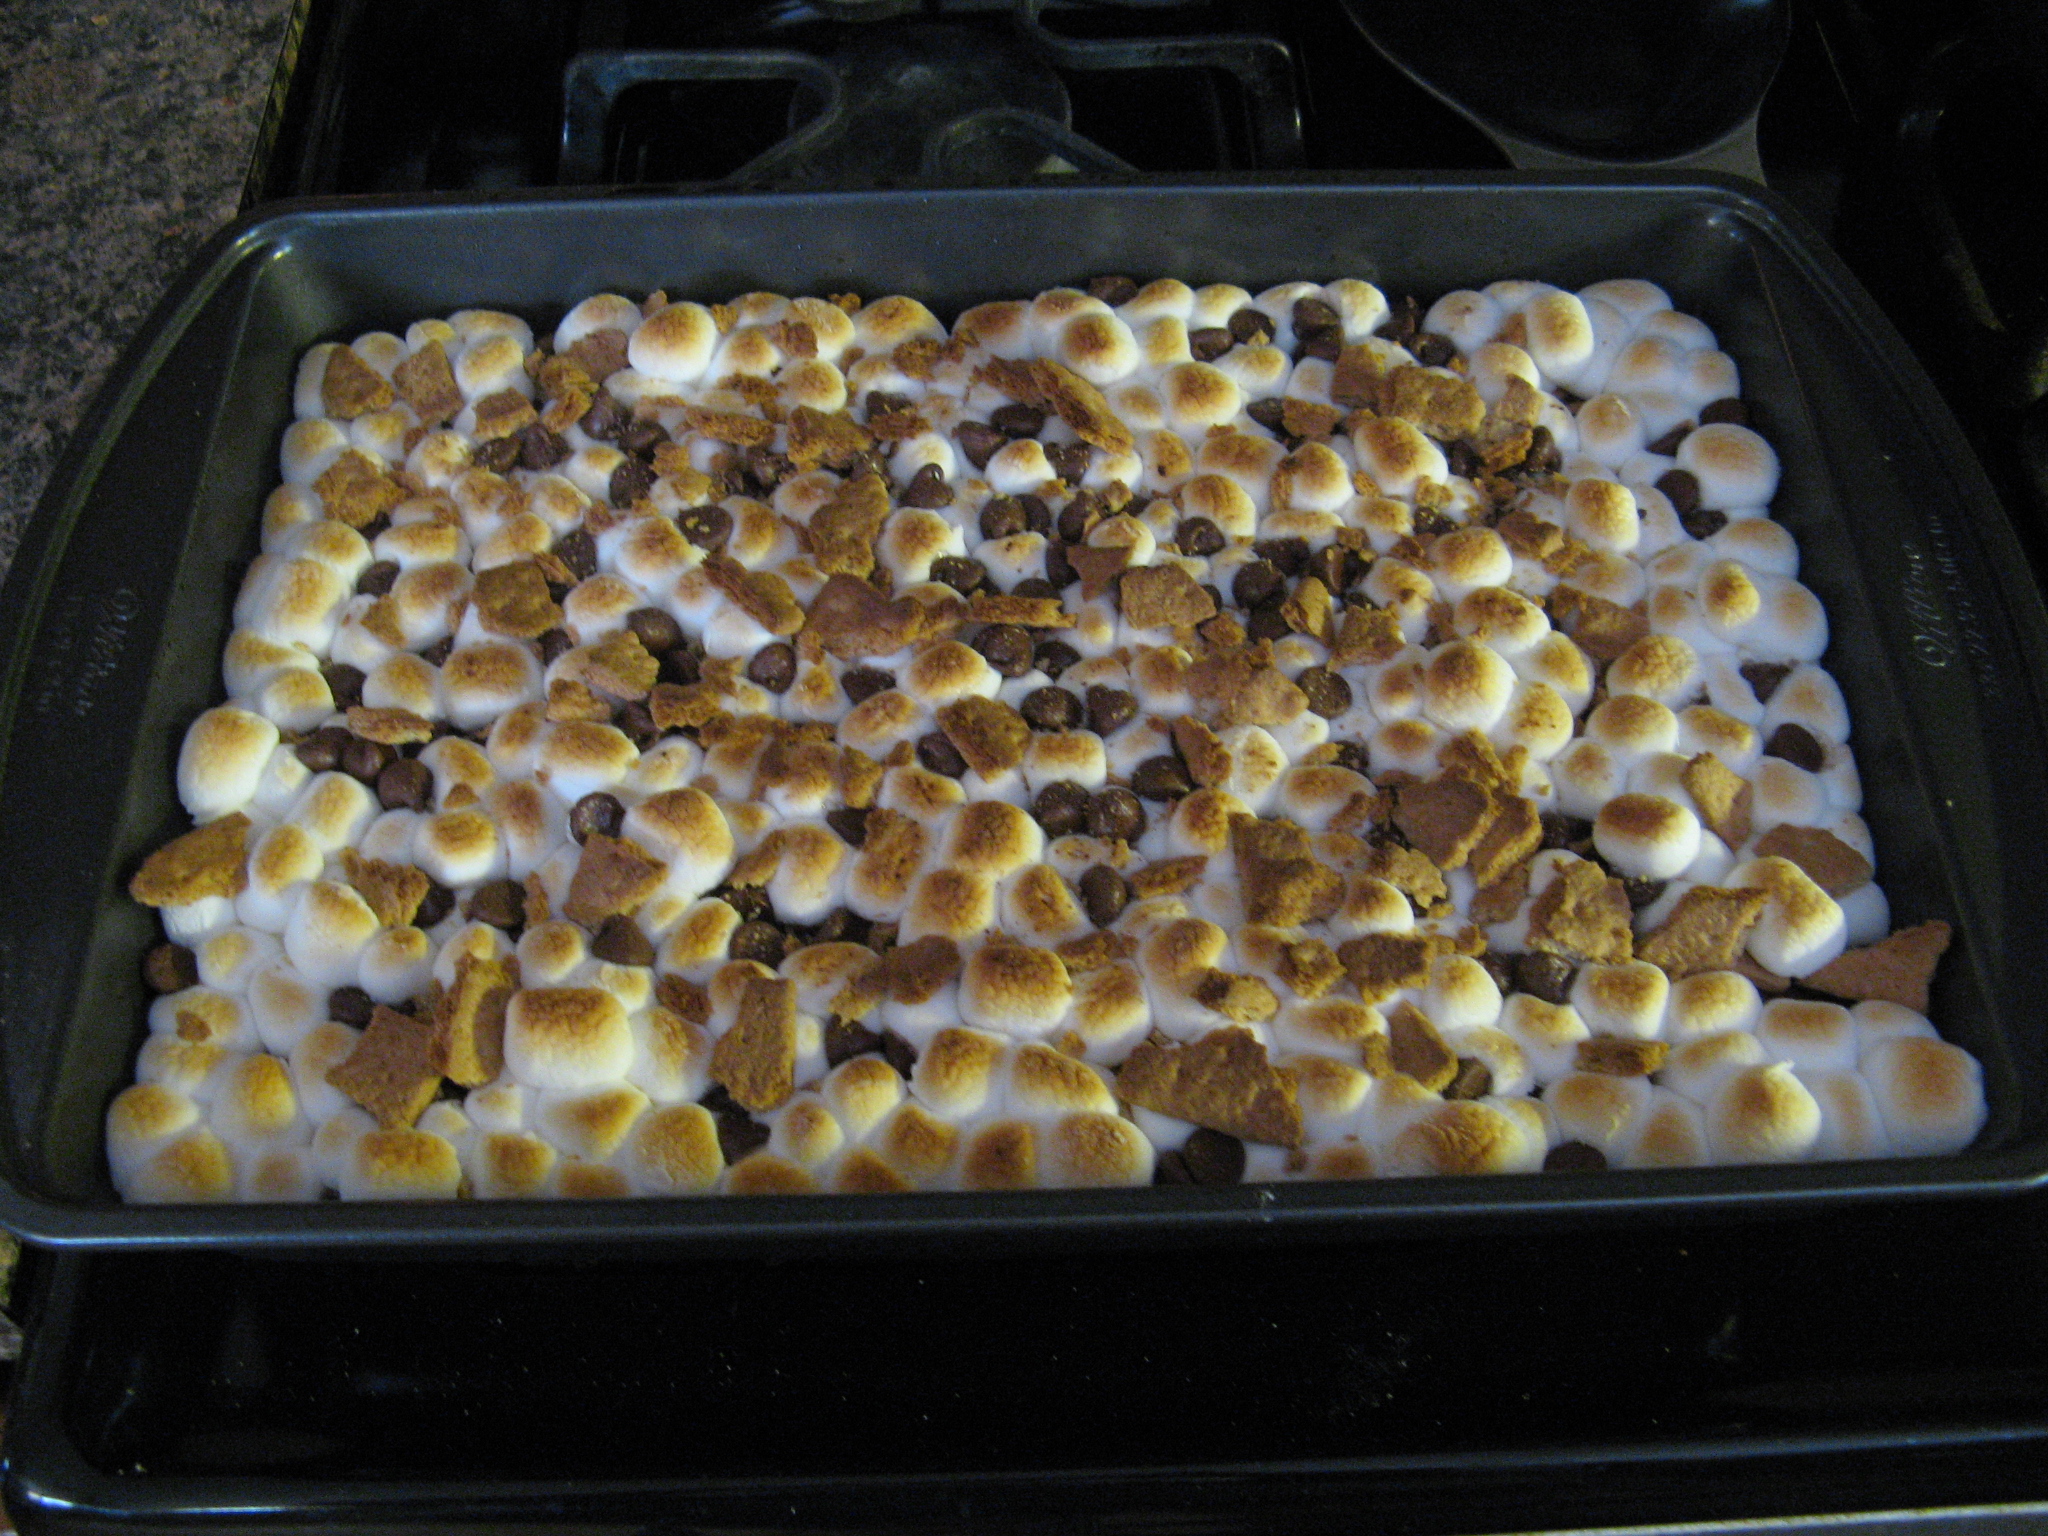
I then switched my oven to the broiler setting and topped the brownie with mini marshmallows, chocolate chips and crushed graham crackers and placed it back in the oven for just about a minute until the marshmallows began to brown.

IMG_8664

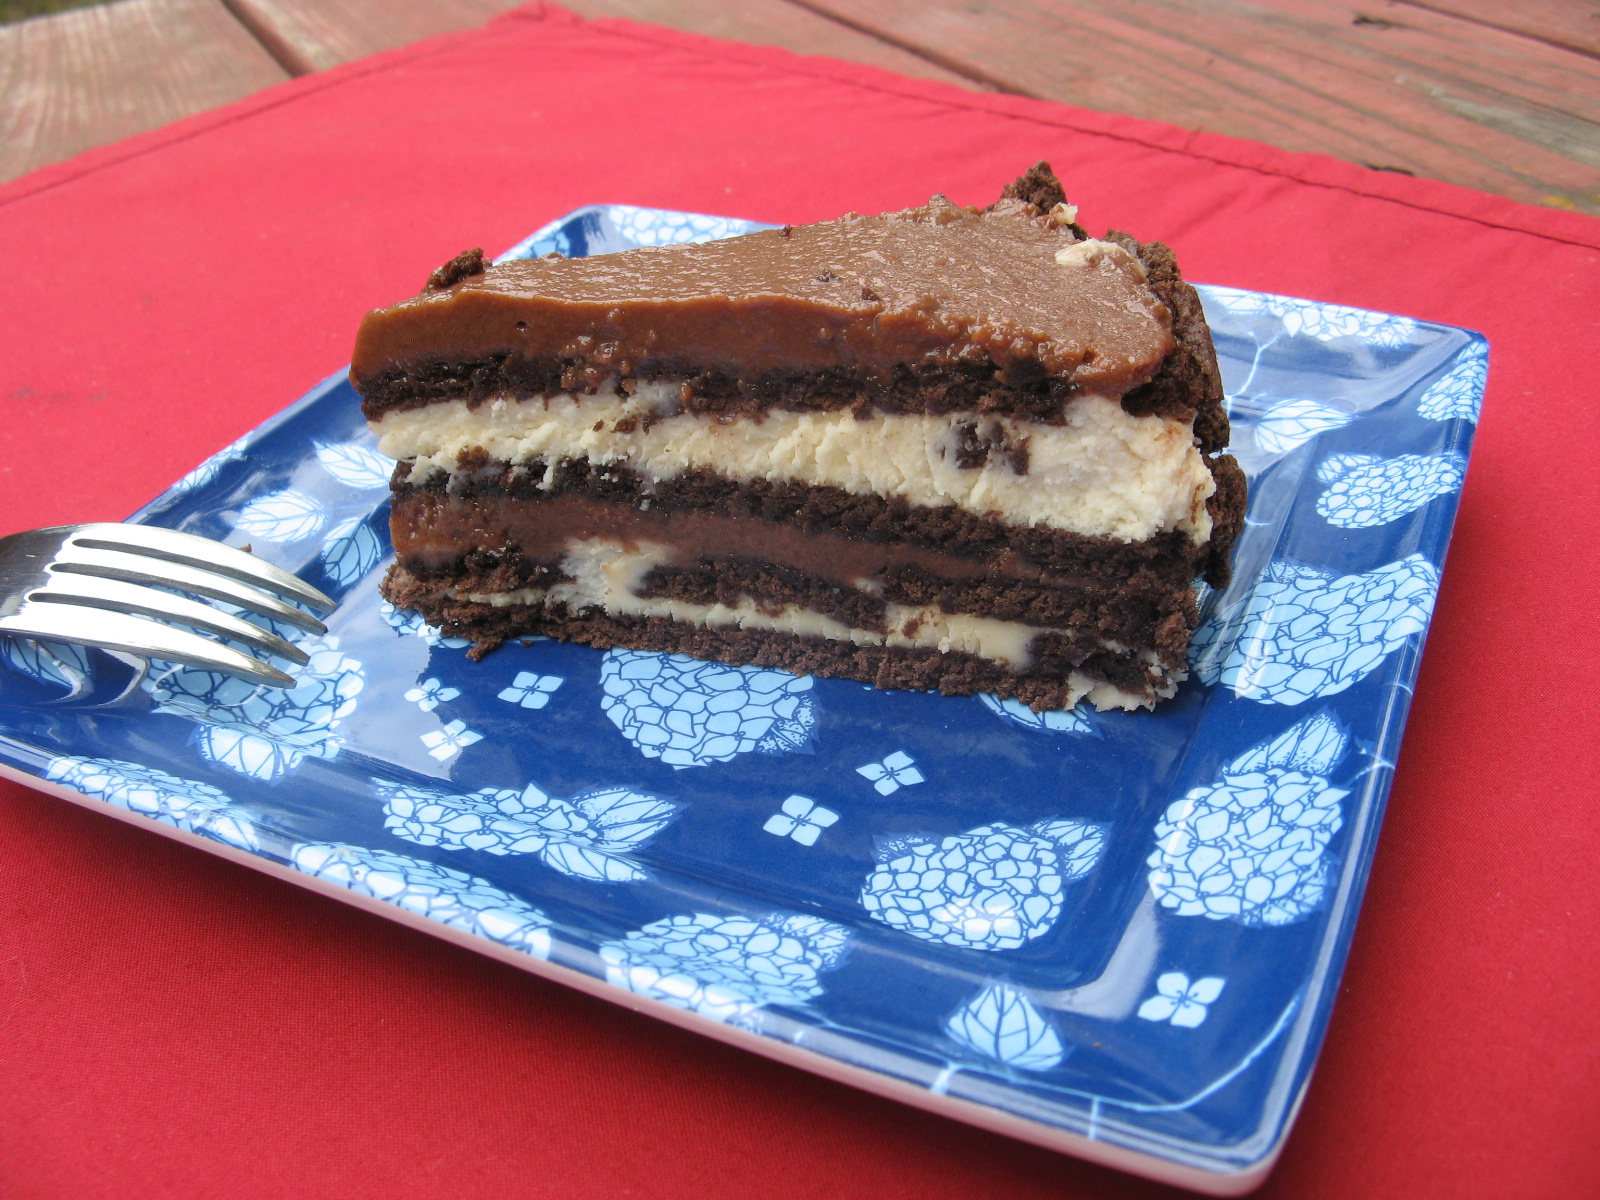
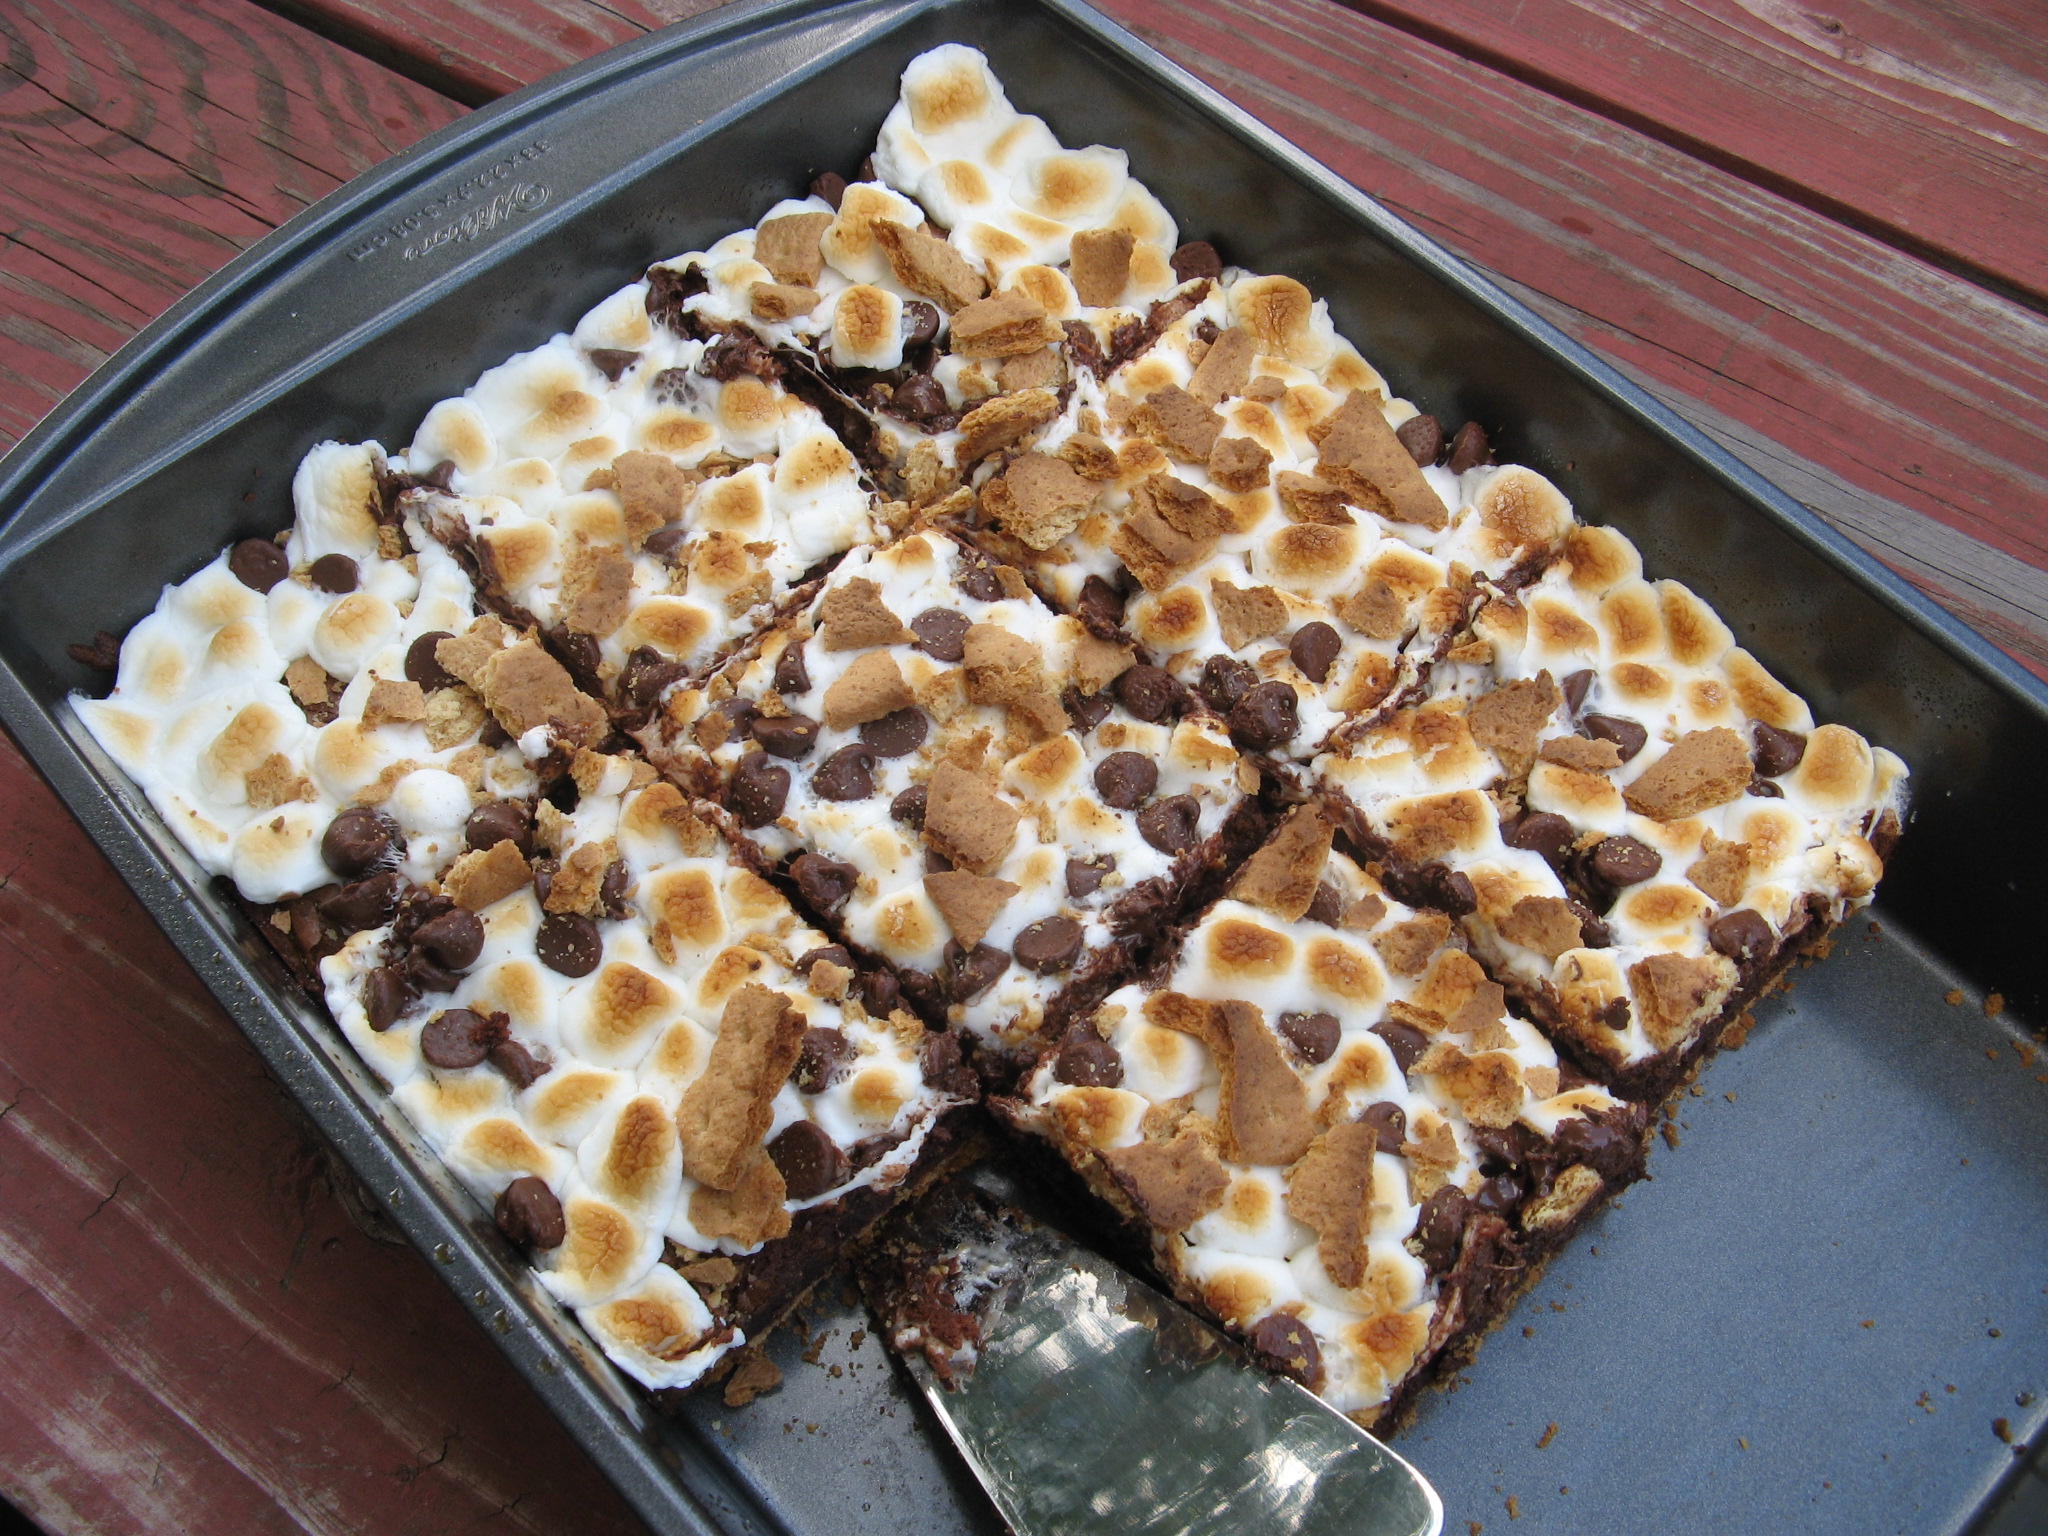
I let the brownie cool on a wire rack and then transferred it to a cutting board to slice it. The key is to make sure the brownies have completely cooled before slicing into them, if you slice them too soon you will have a marshmallow mess as they will still be warm and gooey and the brownies will fall apart as they won’t have had enough time to set. I speak from experience on the latter.

IMG_8687

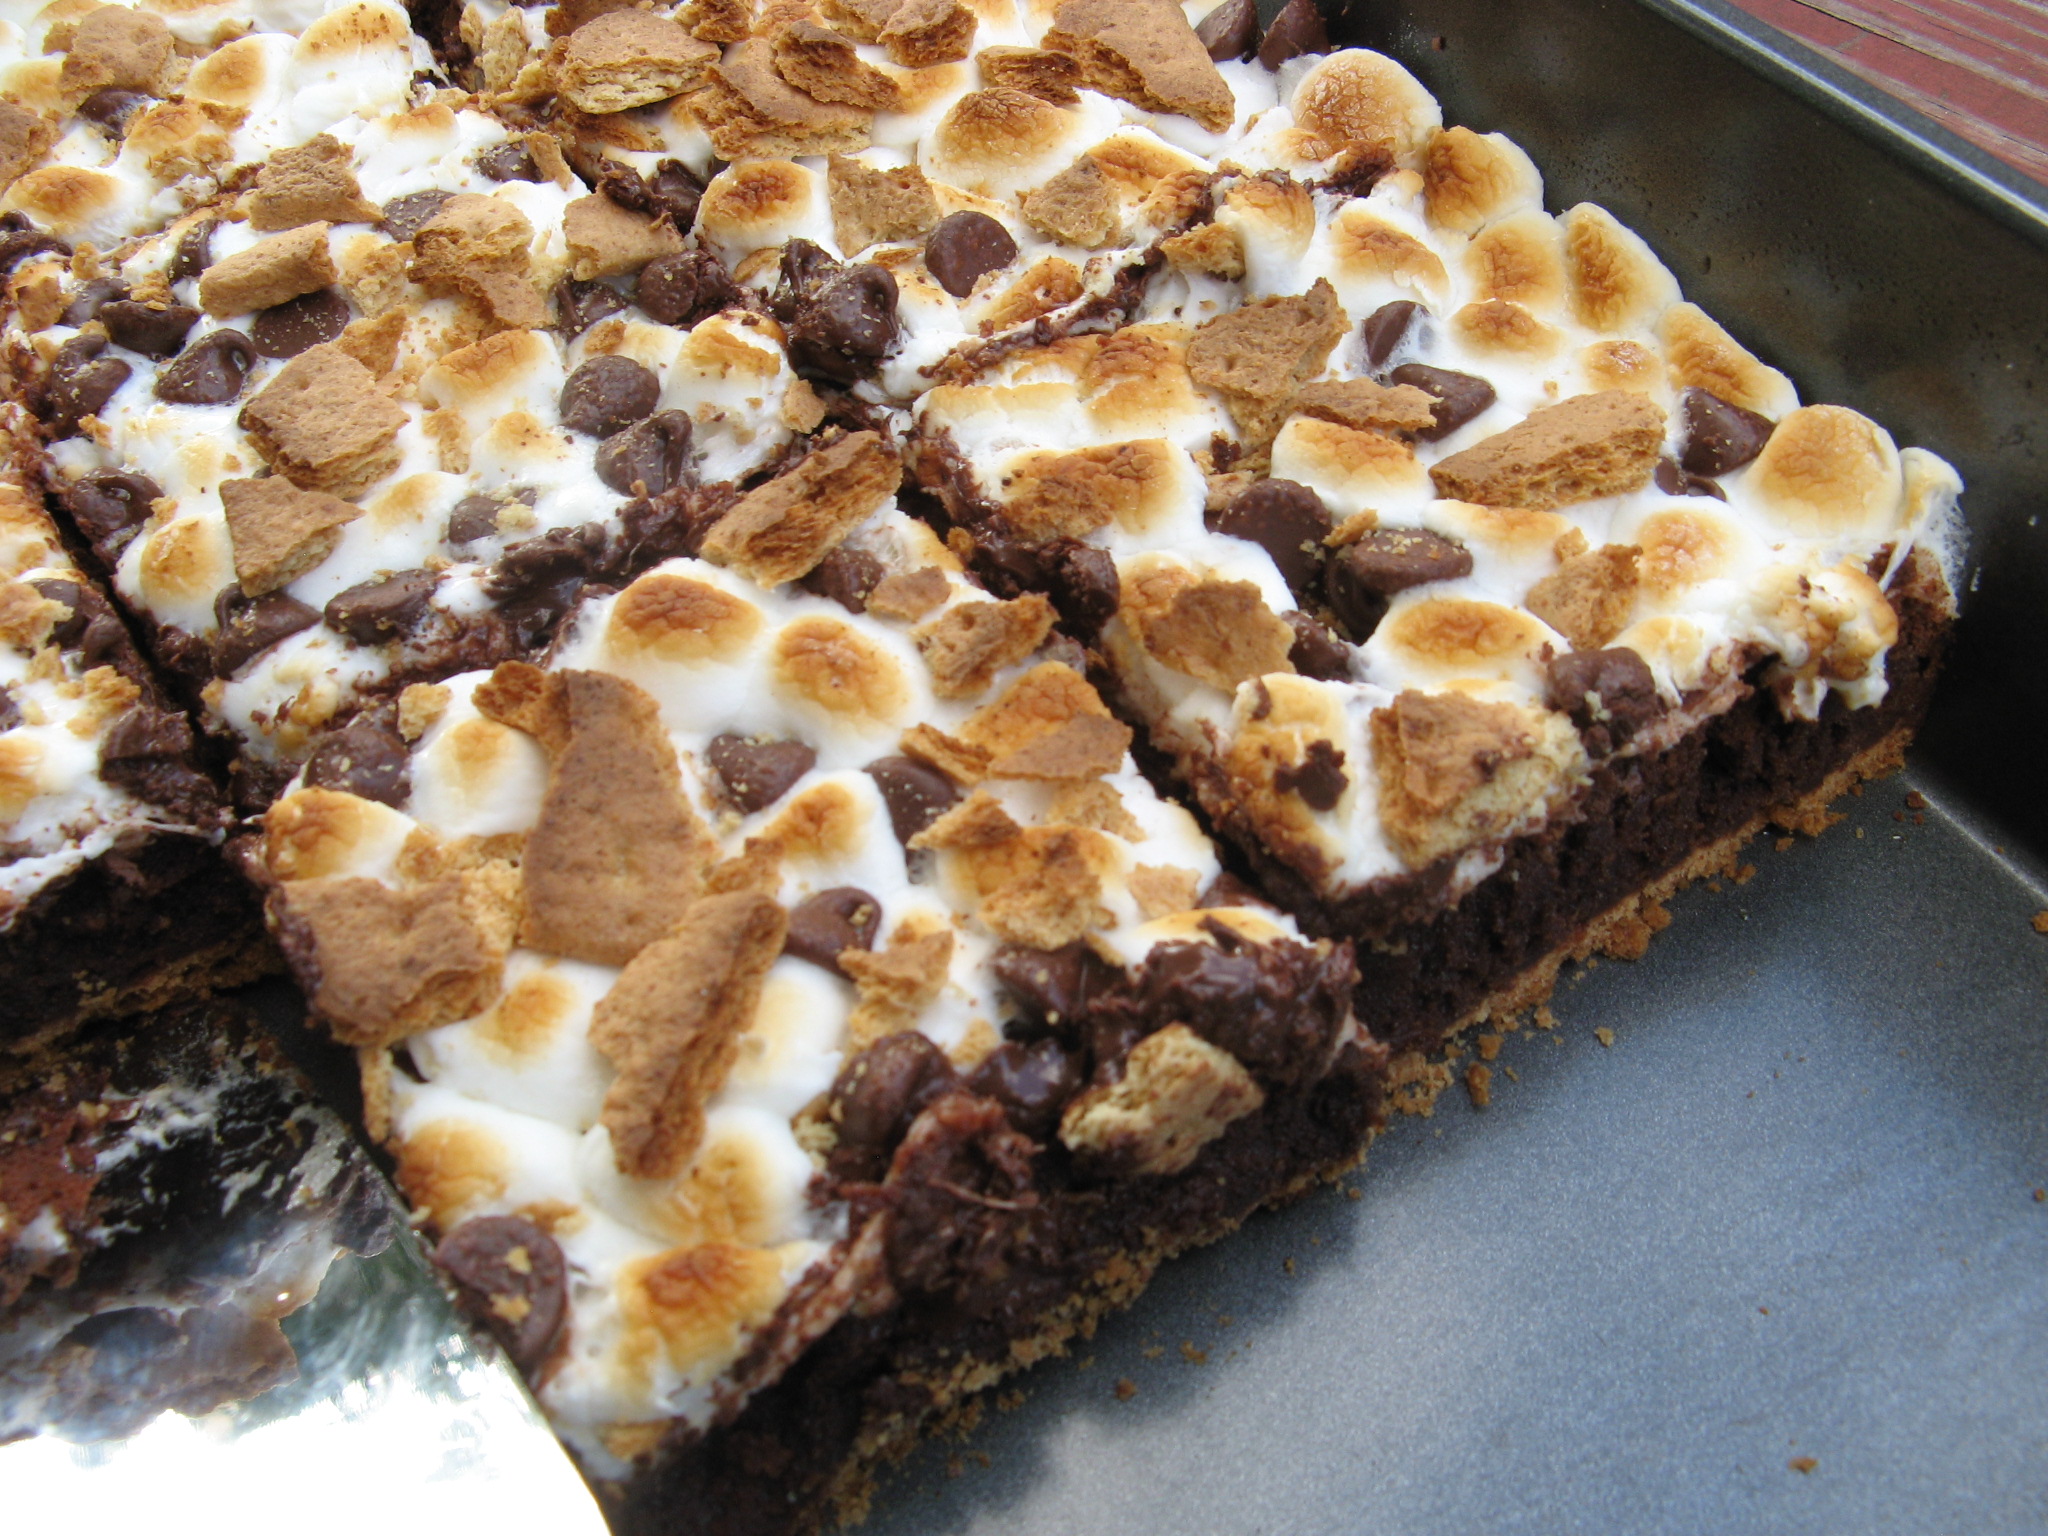
These brownies were perfect! The texture was spot-on… Not cakelike or too dense. And while you may think that the addition of the marshmallows and chocolate chips on top would make them too sweet, the opposite is true, it enhanced the flavor of the chocolate in the brownies. And let’s not forget the graham crackers on the bottom, they incorporated nicely into the brownie and while you may think they would get crispier when baked they actually provided a soft base to the brownies, sort of like a built-in plate. Overall, all of these flavors and textures worked together perfectly; just like your regular S’mores does.

IMG_8690


S’mores Brownies

Makes 12 Brownies

 Ingredients:

10 graham crackers

3 cups mini marshmallows

2 cups semi-sweet chocolate chips, plus an additional 1/2 cup for the topping

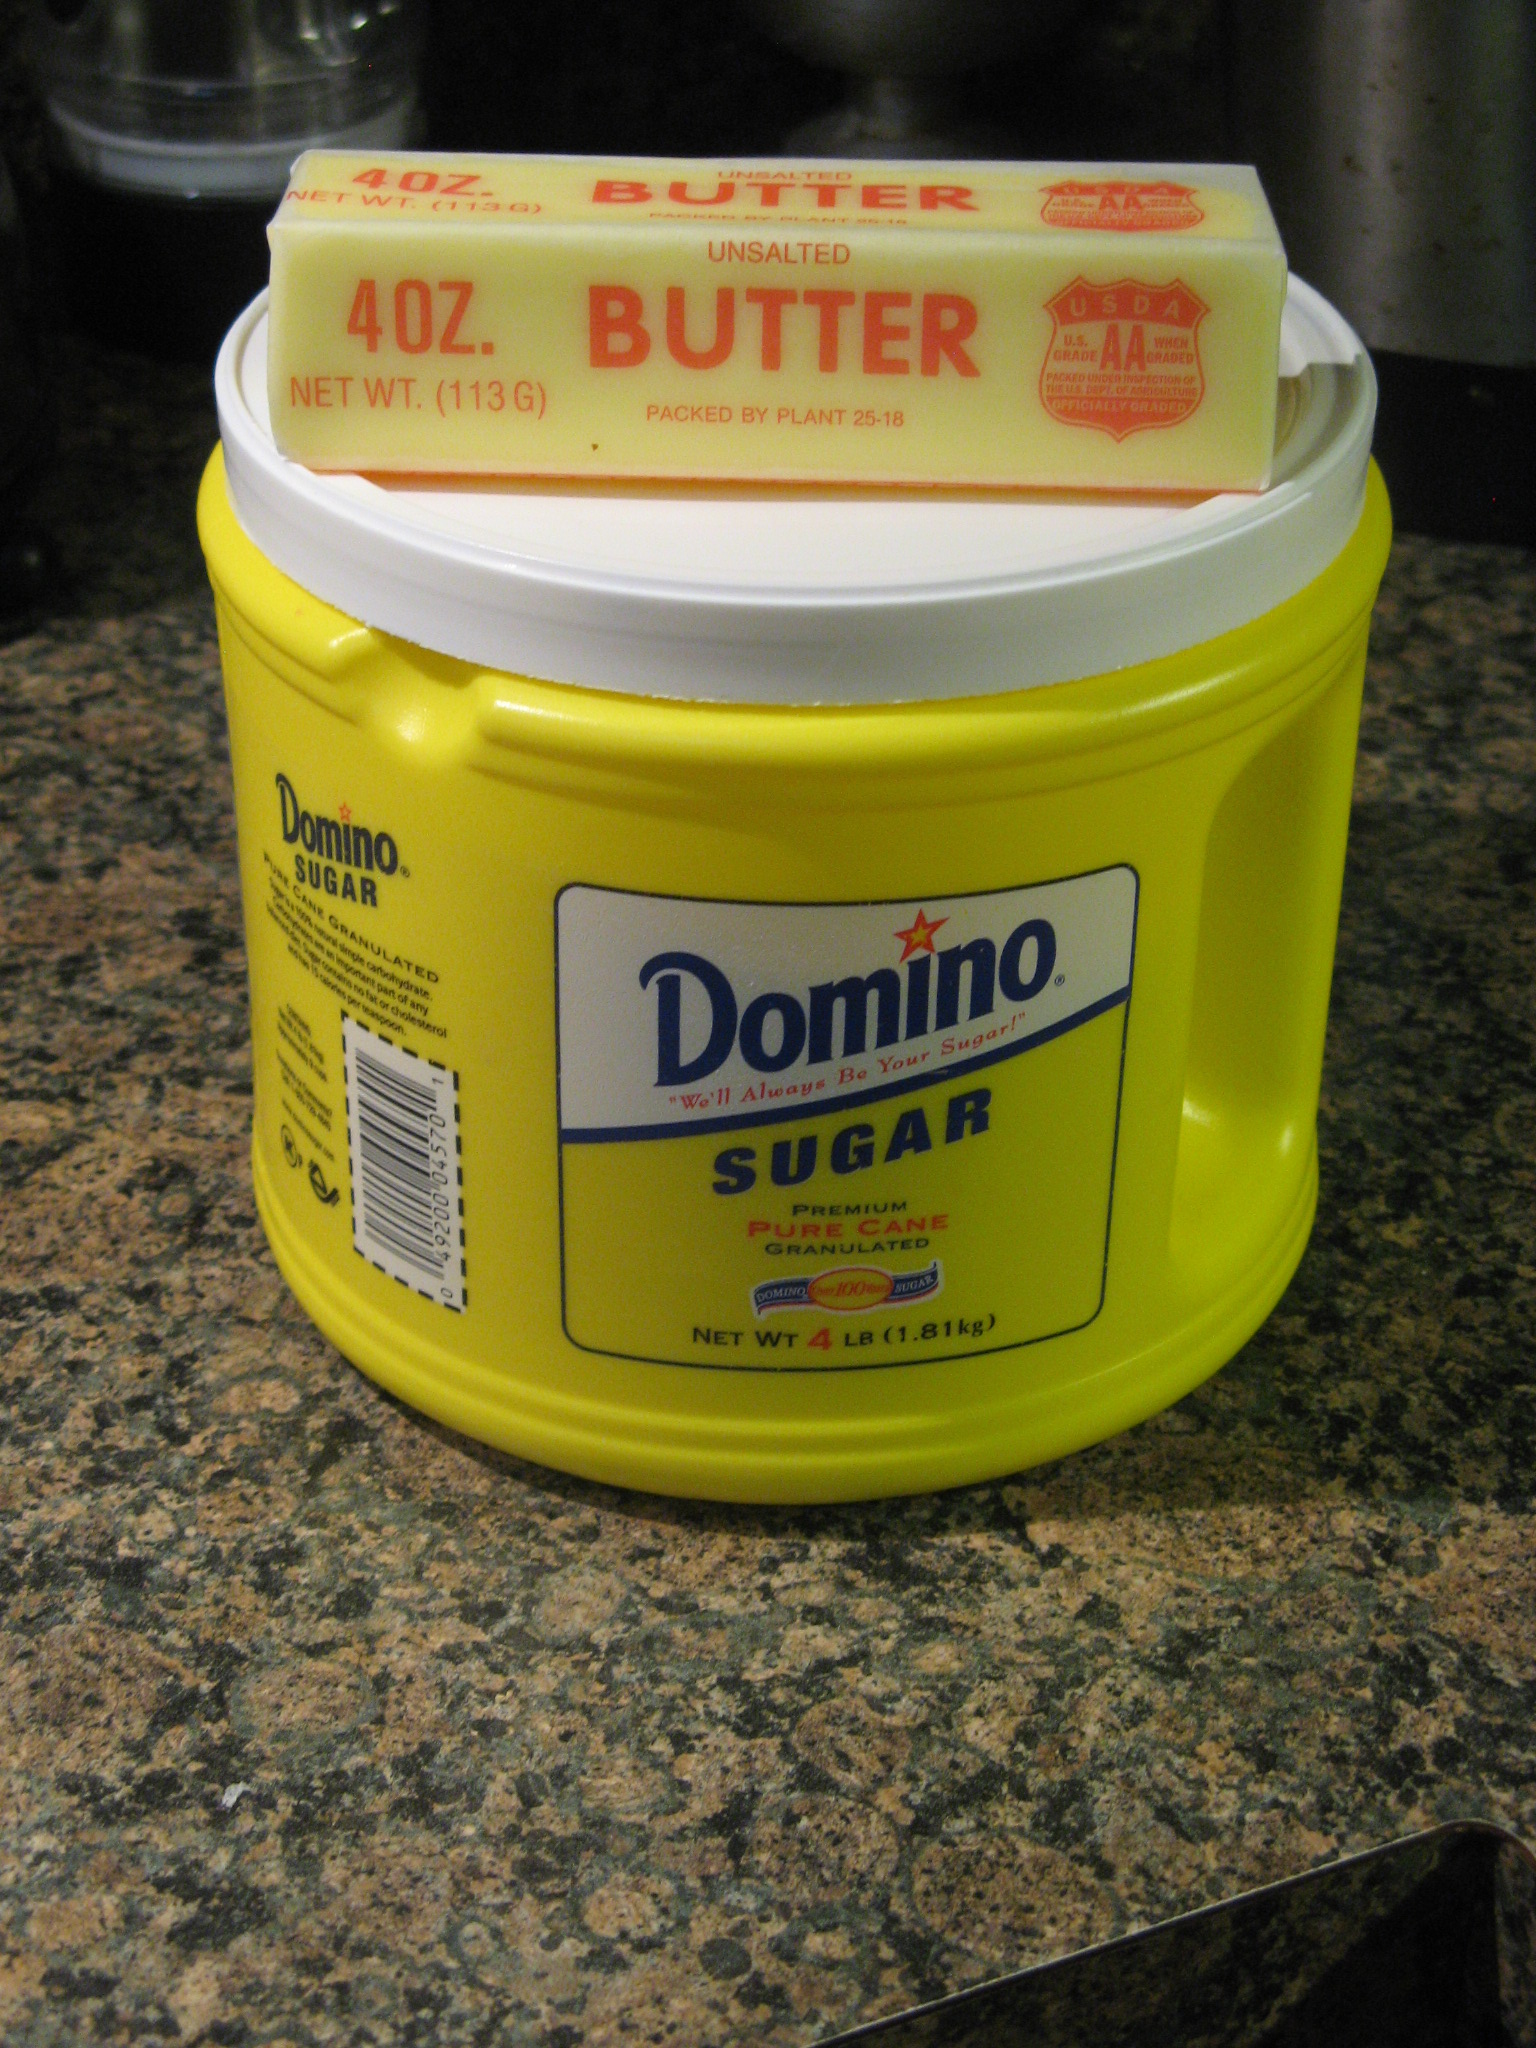
1 stick unsalted butter

3/4 cup granulated sugar

3/4 cup light brown sugar

4 eggs

1 teaspoon vanilla extract

1 cup flour

1/2 teaspoon salt

Directions:

Preheat the oven to 325 F. Spray a 9 x 13 inch pan with cooking spray and line it with graham crackers.

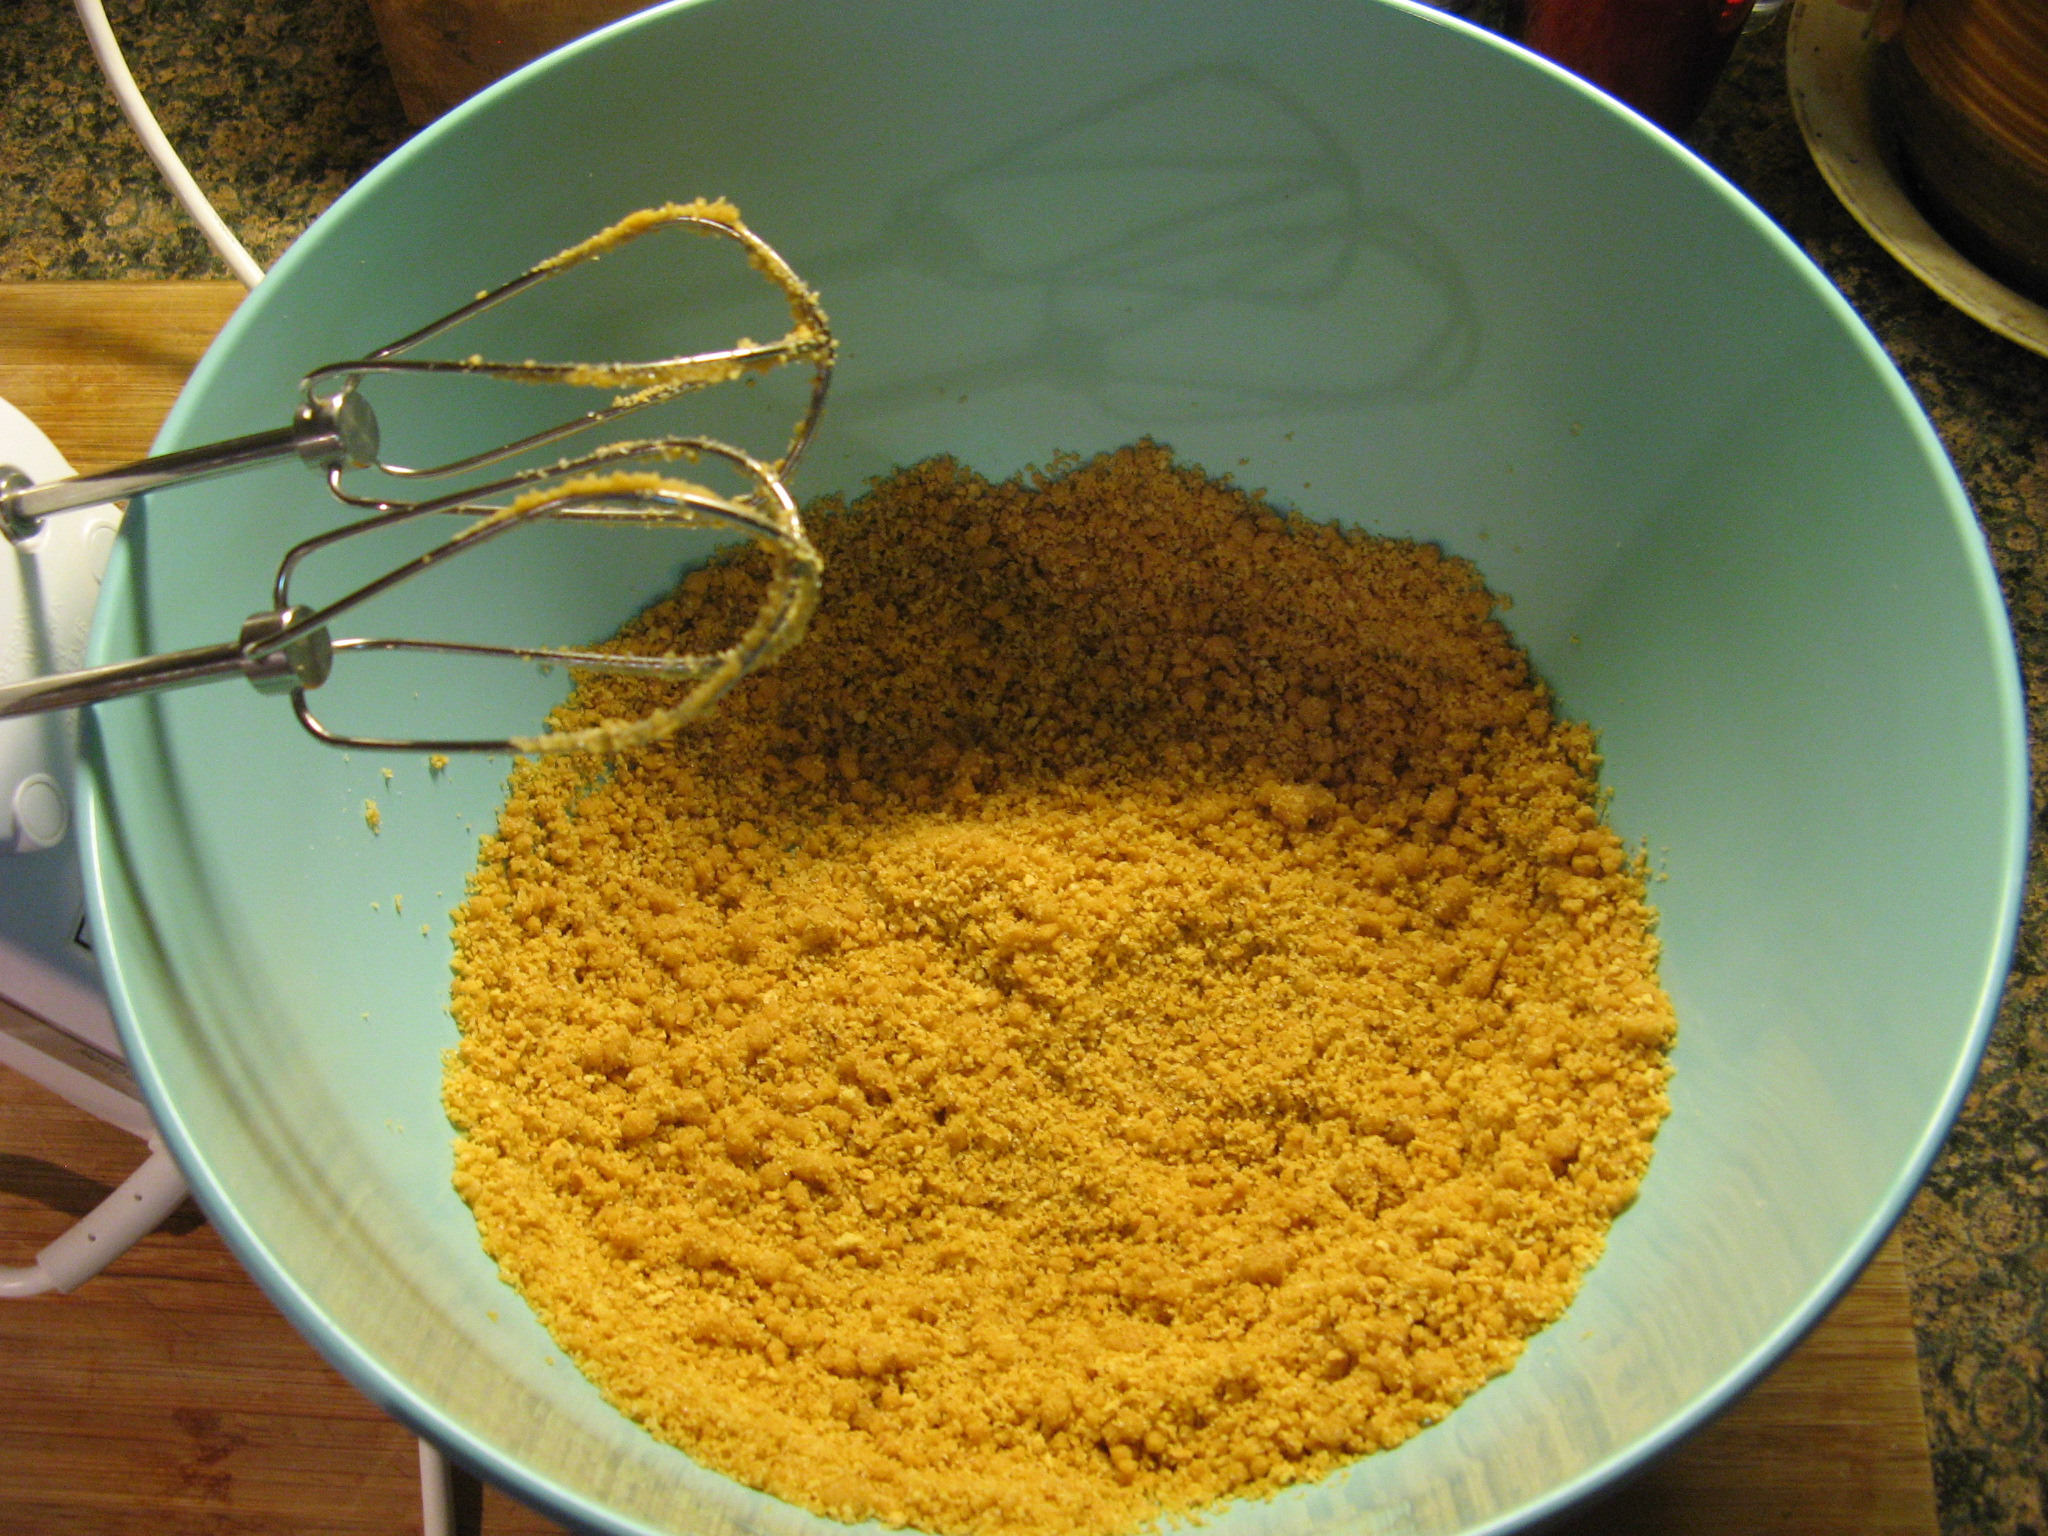
In a medium saucepan melt 2 cups of the chocolate chips with the stick of butter over low heat, stirring frequently.

Once the chocolate chips and butter have melted remove from the heat and whisk in the granulate sugar and light brown sugar, cool slightly.

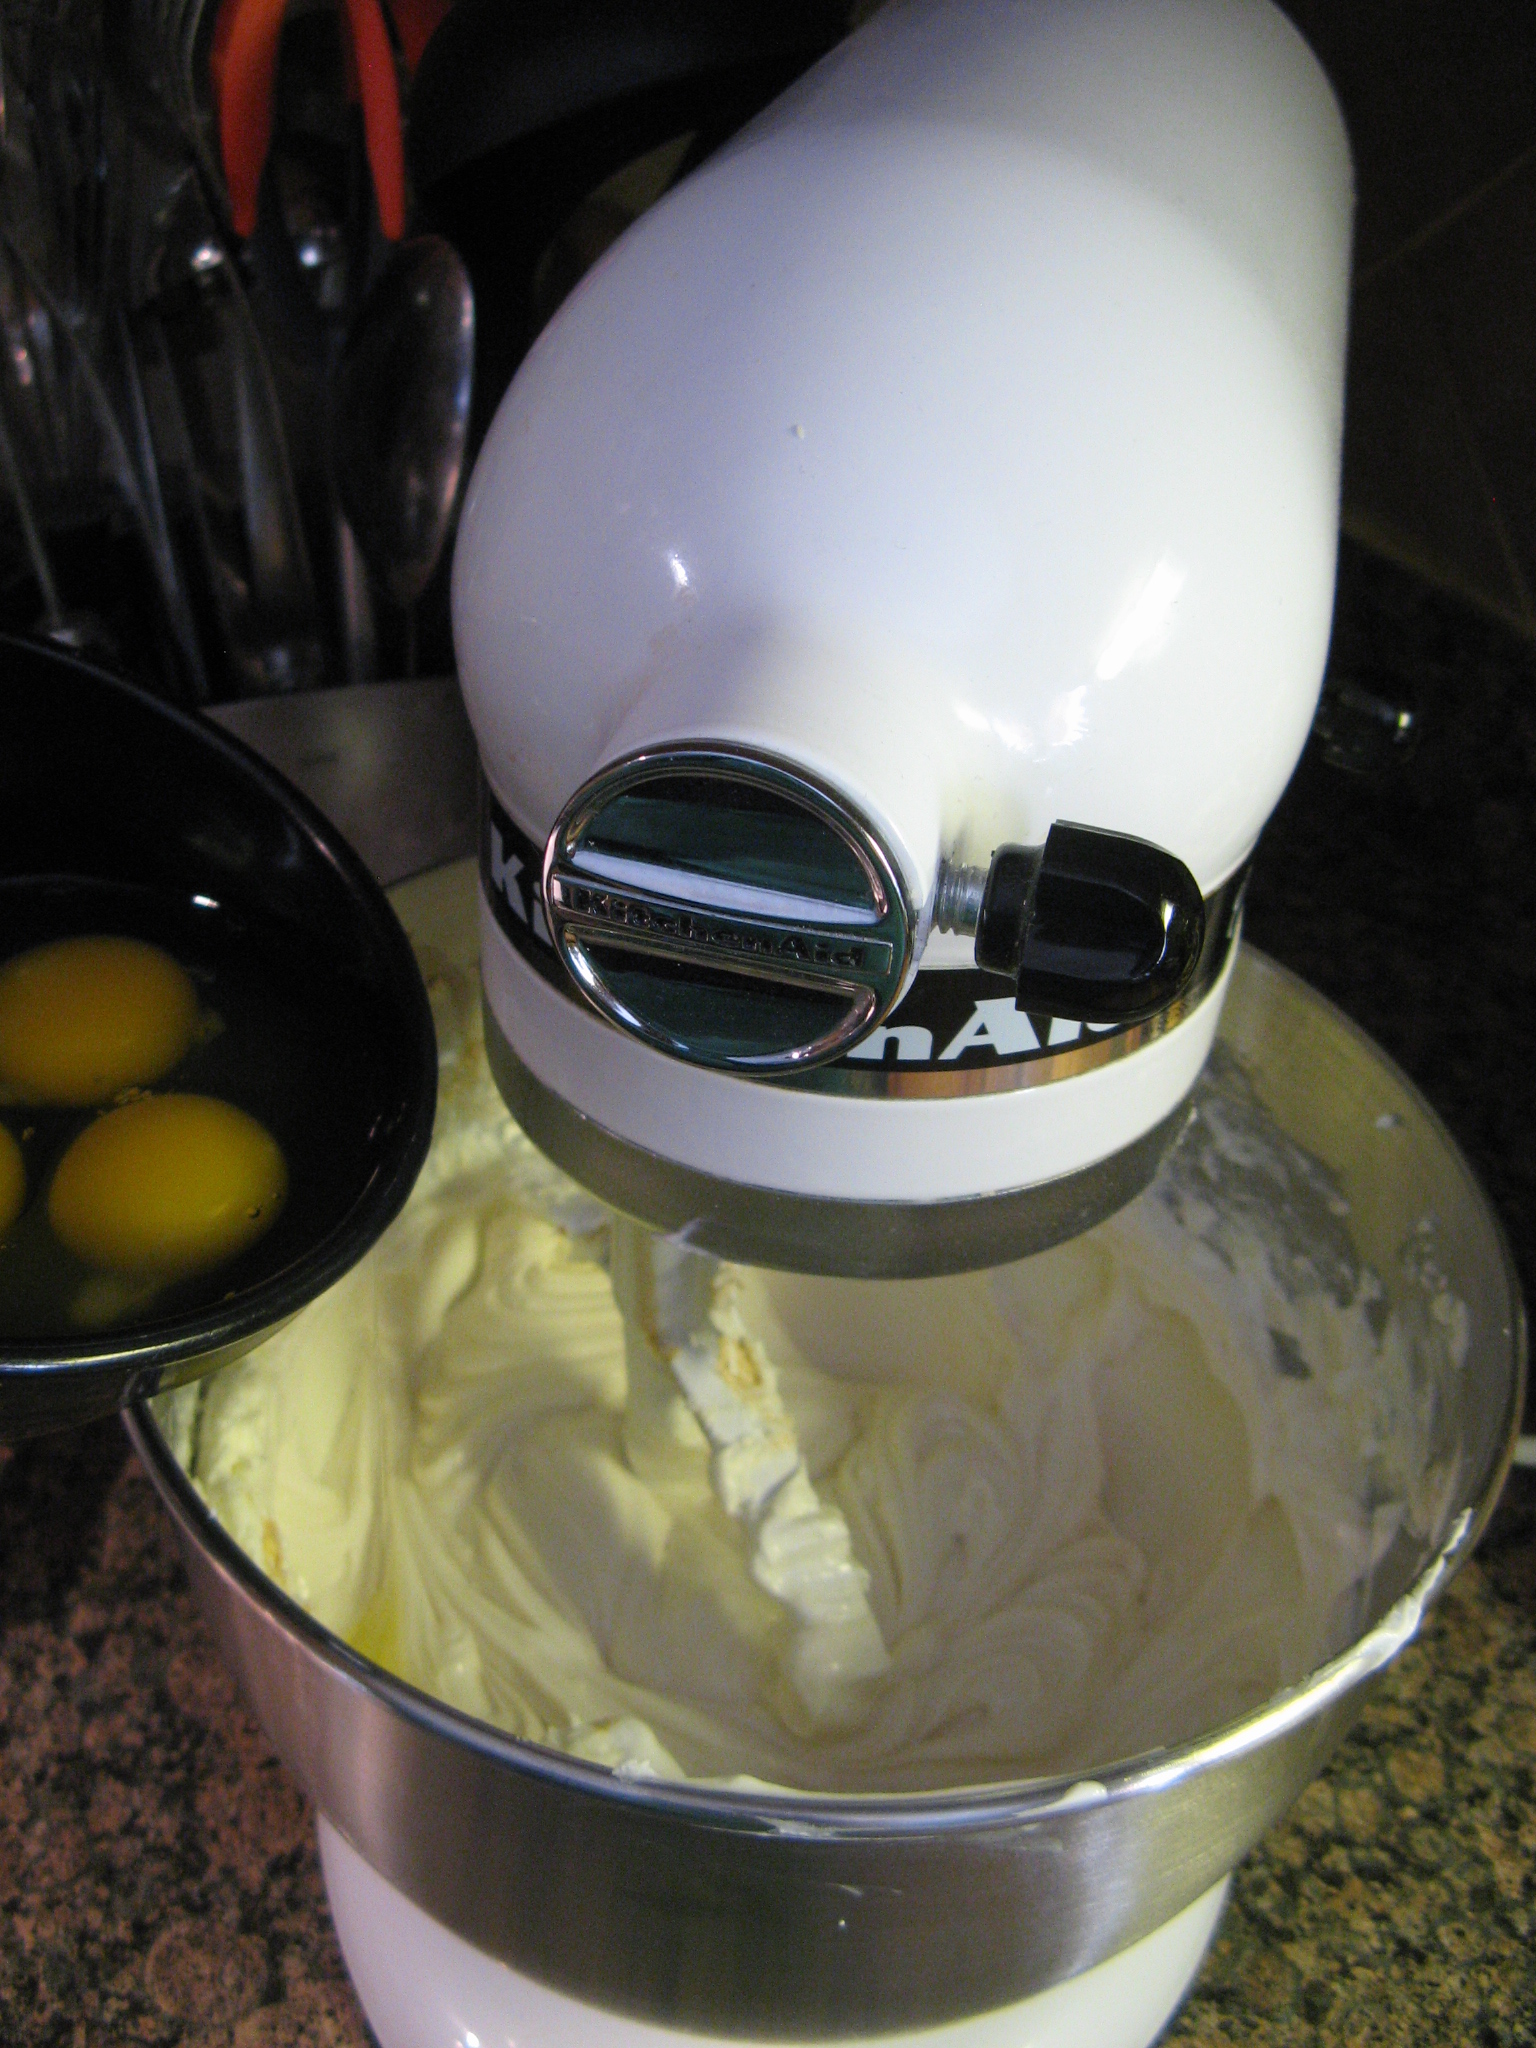
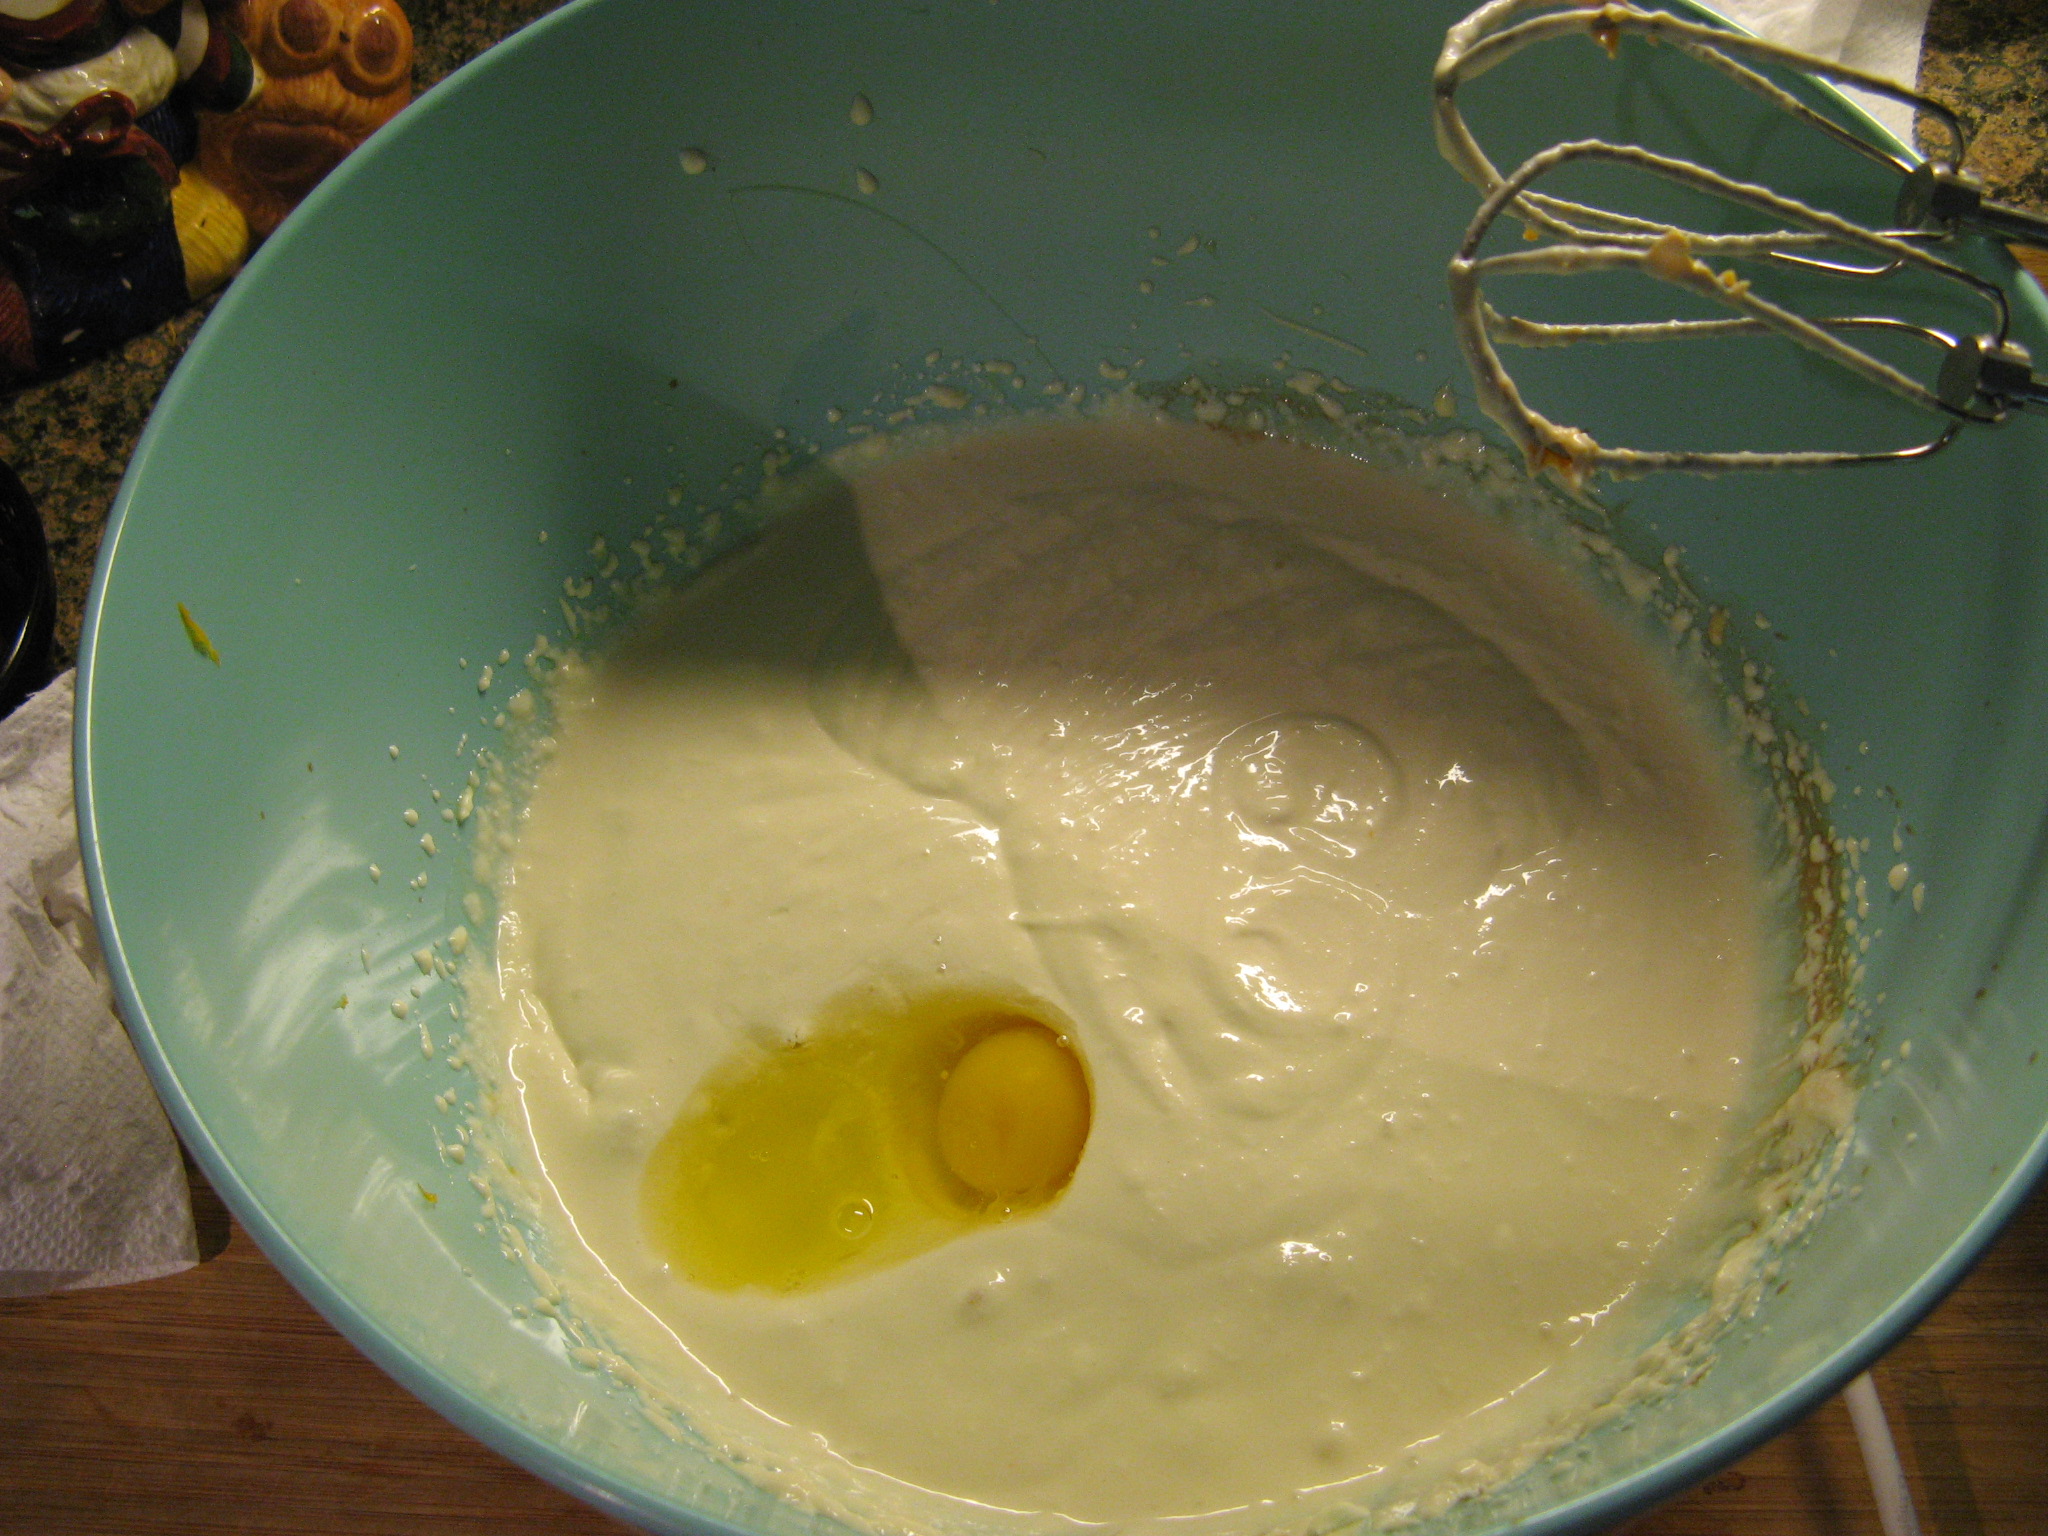
Whisk in the eggs, one at a time and then the vanilla extract.

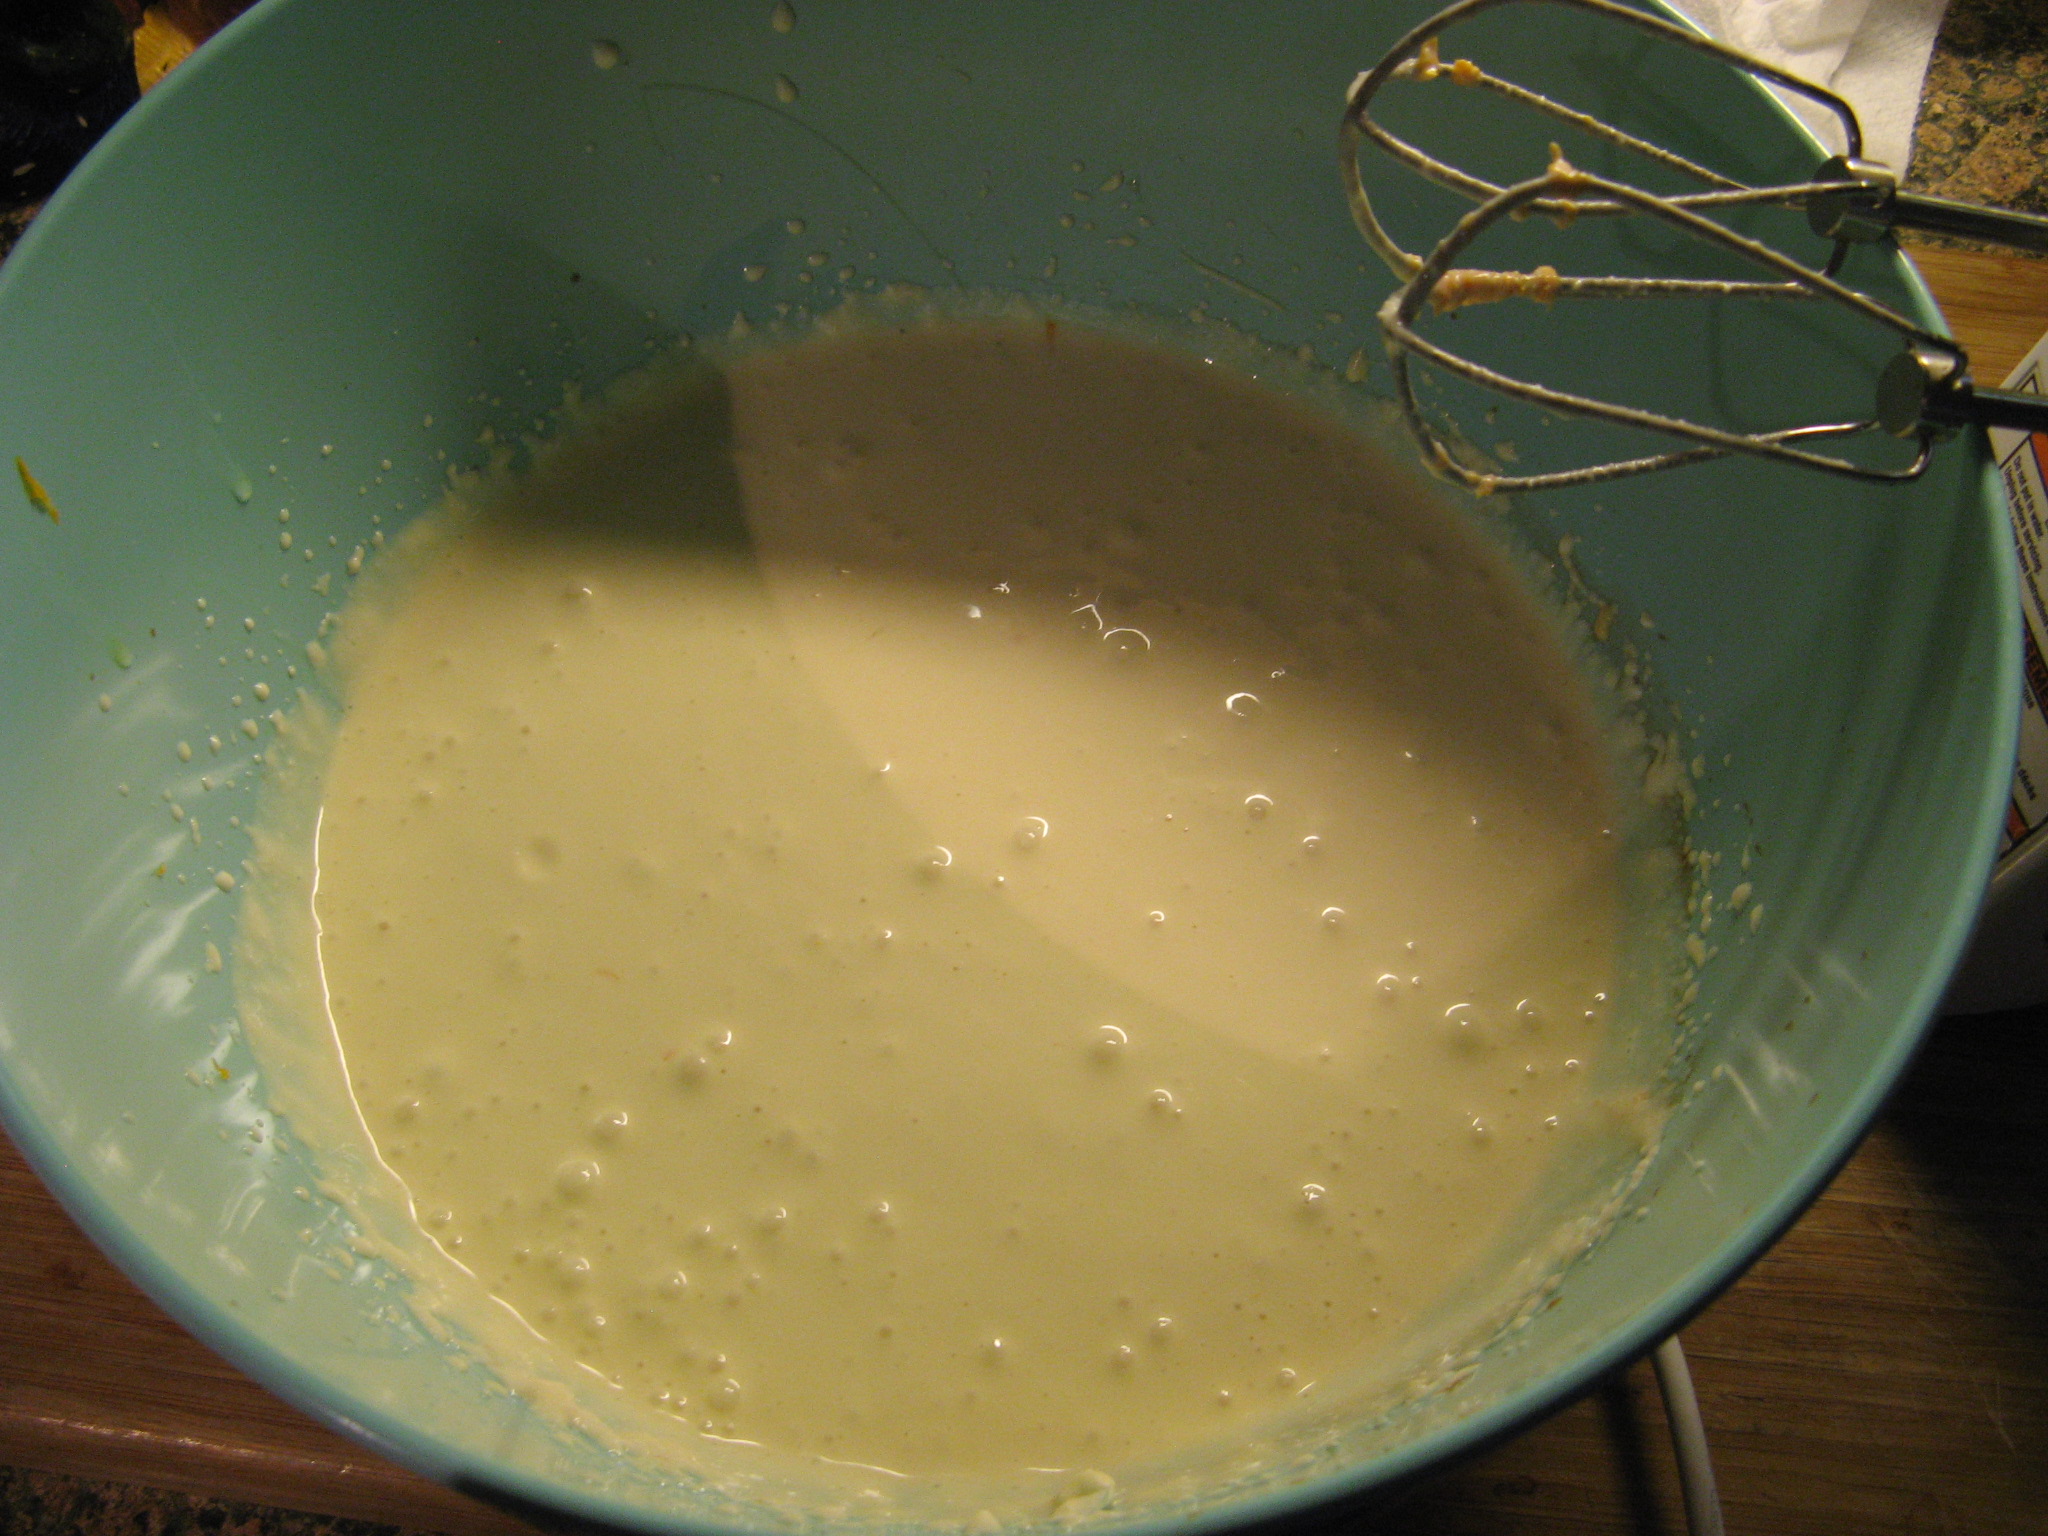
Stir in the flour and salt and pour the batter over the graham crackers.

Bake for 40 – 45 minutes, until a tester inserted in the middle come out almost clean.

Remove the pan from the oven and set the oven to the broiler setting. Top the brownie with the mini marshmallows, and the remaining chocolate chips and graham crackers – crush the graham crackers. Place the pan back in the oven for 30 – 60 seconds, until the marshmallows begin to brown. Remove from the oven and transfer to a wire rack to cool completely. Once cooled transfer the brownie to a cutting board and slice into 12 pieces.


Cheesecake… Is it a Pie or a Cake?

Well, for today the answer to that question is going to be pie in honor of Pi Day! Yes, it’s the day that Math lovers around the world celebrate in honor of Pi, the irrational number (meaning it cannot be written as the ratio of two integers) that begins with 3.14 and goes on infinitely. This year’s Pi Day is extra special though because it only comes around once every 100 years… The first five numbers of Pi Day is the date (3/14/15) and to go even further at the time 9:26:53 you will have the first ten numbers of Pi in sequence, i.e. 3.141592653. Okay, I’ll stop being a Math geek now and go back to the pie. The idea of cheesecake falling under the pie category isn’t too much a stretch, especially for this cheesecake. Pies tend to have a crust and this one has a graham cracker crust and they also have a filling, the cheesecake part. Okay, maybe it is a tad bit of a stretch, but, I really couldn’t think of a pie I wanted to make but I have wanted to make a cheesecake.

IMG_7027

I began by making the crust… Using a food processor I ground up 18 graham crackers until they were fine crumbs. I then added in a stick of melted butter, sugar and salt and pulse to combine them. Following that I pressed the crumbs into the bottom and approximately 2-inches up the side of a 9-inch springform pan.

IMG_7006

Next I moved on to make the actual cheesecake. Using a stand mixer I beat three 8-oz. bars of cream cheese with a cup of sugar until it was smooth. It’s important to use room temperature cream cheese to ensure you won’t have any lumps in the mixture.

IMG_7007

I then added in a cup of room temperature sour cream and a teaspoon of vanilla extract; beating until these two ingredients were well incorporated.

IMG_7008

And finally I added in three eggs, one at a time.

IMG_7009

Before pouring it into the crust, I gave the cream cheese mixture a few stirs with a rubber spatula to make sure all of the ingredients were blended together well. I tend to find that sometimes ingredients are left on the bottom of the bowl of the stand mixer untouched since the paddle attachment doesn’t fully hit the bottom of the bowl.

IMG_7010

After pouring the cream cheese mixture into the prepared crust I baked it in a preheated 325 F oven for about an hour; until it was set but still wobbly in the center.

IMG_7011

A few minutes before removing the cheesecake from the oven I combined a cup of sour cream, a few tablespoons of sugar and vanilla extract in a bowl. I was happy that the cheesecake didn’t have any cracks in it – that normally happens when I bake cheesecakes.

IMG_7012

I then spread this sour cream mixture over the cheesecake and then placed the cheesecake back in the oven for about five minutes.

IMG_7014

The cheesecake right out of the oven… I let it cool for a few hours before covering it and placing it in the refrigerator.

IMG_7015

I ended up leaving it in the refrigerator overnight and then added some sliced strawberries on top of it the following morning in the shape of the Greek letter used to represent “Pi.” I had to validate this being a Pi Day pie somehow!

IMG_7022

And how did it taste… It was perfectly creamy and not overly sweet! A winning combination for the perfect cheesecake!

IMG_7044


Classic Cheesecake

Ingredients:

18 graham crackers (2 sleeves)

1/2 cup (1 stick) unsalted butter, melted

1/4 teaspoon kosher salt

1 cup plus 4 tablespoons sugar

3 8-oz. packages cream cheese, at room temperature

2 cups sour cream, at room temperature

1 1/2 teaspoons vanilla extract

3 large eggs, at room temperature

Directions:

1. Preheat oven to 325 F. In a food processor pulse the graham crackers until fine crumbs form. Add the butter, salt and 2 tablespoons of the sugar and pulse to combine. Press the mixture on the bottom and 2-inches up the side of a 9-inch springform pan.

2. Use an electric mixer to beat the cream cheese and 1 cup of sugar until smooth. Add 1 cup of the sour cream and 1 teaspoon of the vanilla extract and continue beating until combined. Beat in the eggs, one at a time. Pour the mixture into the prepared crust and bake until just set (the center will be slightly wobbly), 50 to 60 minutes.

3. In a small bowl combine the remaining 1 cup of sour cream, 2 tablespoons of sugar and 1/2 teaspoon of vanilla extract. Spread over the hot cheesecake, then bake until set, 3 to 5 minutes more. Let cool to room temperature in pan, then refrigerate for at least 2 hours. Run a knife around the edge of cheesecake before unmolding.


S’Mores Stuffed Chocolate Chip Cookies

Not that long ago I finally joined Pinterest and while I am no nowhere near being an expert on it, I am getting the gist of it. Maybe with the holiday season just around the corner I’ll utilize it a bit more. Luckily I have friends who are on it who find cool things to share with me and politely hint at me to try, like S’mores Stuffed Chocolate Chip Cookies . I’ve actually never had a s’more; mainly because I am not particularly fond of marshmallows. I recall eating them as a child but chances are I ate one too many of them and got my fill. I figured since these marshmallows would melt into the cookie while baking I wouldn’t be bothered by them. And boy was I right!

IMG_4864

I began by making the chocolate chip cookie dough.

IMG_4847

I then gathered my three ingredients to make s’mores – graham crackers, chocolate and marshmallows.

IMG_4848

And a assembled a s’more. I should note that I opted to use mini-marshmallows as opposed to the larger ones which probably explains the lack of marshmallow gooeyness in my cookie. I’m not complaining though!

IMG_4850

This is where the messy part began and I’ll spare you those pictures – mainly because I didn’t take any since my hands were covered with cookie dough. Using an ice cream scoop I scooped the dough into the palm of my hand and flattened it. I then placed the s’more on the flattened cookie dough and then placed another ice cream sized scoop of cookie dough on top of the s’more and smoothed the dough to form a decent sized mound. One more thing about those pesky marshmallows, if I had used the larger sized ones it probably would have been easier to shape the cookies since the smaller ones allowed the graham cracker and chocolate to move around a lot while forming the cookie.

IMG_4855

I baked the cookies (4 at a time) in a 350 F preheated oven for 15 minutes – they were just beginning to brown and the tops were cracking a bit. I let them cook on the pan for 10 minutes before transferring them to a wire rack to cool completely.

IMG_4852

Overall these cookies are amazing! The cookie itself was delicious and I will probably use the recipe the next time I make basic chocolate chip cookies.

IMG_4858

But the best part is when you split the cookie in half and you have all that chocolate in the middle… YUM!!!

IMG_4863


S’Mores Stuffed Chocolate Chip Cookies 

Makes 12 Large Cookies

Ingredients:

2 sticks softened butter

1 Cup granulated sugar

3/4 Cup packed light brown sugar

2 eggs

1 Tablespoon vanilla

3 1/2 Cup all-purpose flour

1 teaspoon kosher salt

1 teaspoon baking soda

2 Cups semi-sweet chocolate chips

24 graham cracker quarters or 12 full sheets separated at perforations

3 Hershey Bars, broken into rows of 3 bars

12 large marshmallows cut in half lengthwise**

Directions:

1.  Preheat oven to 350 degrees F. and line a large baking sheet with parchment or a silpat liner.

2.  In a stand or electric mixer, beat the butter and sugars until light and fluffy.  Add eggs and vanilla, continue to beat until well combined.

3.  Place flour, salt and baking soda into a bowl; mix to combine then add slowly to wet ingredients along with the chocolate chips.

4.  Layer a graham cracker quarter with 3 Hershey chocolate squares and 2 marshmallow halves.  Close with another graham cracker.  Top s’more with a large scoop of cookie dough.  Place in hands and place another large scoop on bottom then front and back sides as needed.  Form dough around s’mores.  Will get messy, but stick with it, it does not have to be perfect.  S’mores will move around but it’s no big deal.  Place large cookies onto prepared baking sheet and bake for 15-17 minutes or until edges are golden and centers are cooked through.  Let cool for 10 minutes before transferring to cooling rack or serving plate.


Chocolate-Hazelnut Icebox Cake

Have you ever come across a recipe that you knew you just had to try only to discover that one ingredient in that recipe would be a mission to find? That’s exactly what happened to me. I came across a recipe for a Chocolate-Hazelnut Icebox Cake in a recent issue of Food Network Magazine and a key ingredient in for the cake was chocolate graham crackers. I was pretty sure that I had seen them before at a local supermarket or Target, but then after searching quite a few supermarkets and a few Targets I was still out of luck. I even searched the Nabisco website to make sure they were still available and found out that in fact Honey Maid Chocolate Graham Crackers were still in production. So, it was just a matter of finding them and lo and behold I did just that when I randomly strolled down the cookie aisle of a supermarket I normally don’t shop at.

With ingredients like confectioners’ sugar, Nutella, mascarpone cheese, heaving whipping cream and those hard-to-find chocolate graham crackers this was sure to be a delicious cake.

IMG_4603

To begin I whipped together heavy cream, mascarpone cheese, confectioners’ sugar and vanilla extract in one bowl until stiff peaks formed.

IMG_4605

In another bowl I whipped together the remaining heavy cream and mascarpone cheese the recipe called for along with the Nutella until once again stiff peaks formed.

IMG_4607

Then it was time to begin assembling the cake. (Of course before assembling I had to try both of the whipped mixtures and they were delicious.) I lined the bottom of an 8-inch springform pan with 4 graham crackers, breaking the crackers as need be so there wouldn’t be any big gaps.

IMG_4609

I then spread half of the mascarpone-vanilla mixture over the crackers…

IMG_4610

And then layered another four graham crackers over it…

IMG_4611

And then spread half of the mascarpone-Nutella mixture over the crackers…

IMG_4612

I continued the layering process ending with a top layer of the mascarpone-Nutella mixture.

IMG_4614

I wrapped the cake with plastic wrap – I also wrapped the bottom with aluminum foil to make sure the plastic wrap would stay on – and refrigerated it overnight.

IMG_4615

Prior to serving the cake I unmolded it from the springform pan and pressed the crumbs of 4 crushed graham crackers around the sides of the cake.

Final verdict… It was AMAZING! If you follow by blog regularly you know that in February I always make a character cake – first there was Elmo, then Minnie Mouse and this year it was an Enchanted Castle – for my friend’s daughters’ birthday, well, she happily ate a slice of this cake in record time and when I saw how much she enjoyed it I told her that next year this would be the cake I make for her birthday and she had no objections! We’ll see what happens when February rolls around though… I’ve already been thinking about some sort of Frozen theme. Regardless, I’m already looking forward to making this cake again. I should head back to that supermarket to pick up another box or two of the graham crackers just in case… Another search for them would not be fun, especially since I know how delicious this cake is now.

IMG_4670


Chocolate-Hazelnut Icebox Cake

1 3/4 cups cold heavy cream

1 1/2 cups mascarpone cheese

1/3 cup confectioners’ sugar

1 teaspoon vanilla extract

2/3 cup chocolate-hazelnut spread (such as Nutella)

20 whole chocolate graham crackers

1. Beat 1 cup heavy cream, 3/4 cup mascarpone, the confectioners’ sugar and vanilla in a bowl with a mixer on low speed until combined. Increase the speed to medium and beat until stiff peaks form, 1 to 2 minutes.

2. Combine the remaining 3/4 cup each heavy cream and mascarpone with the chocolate-hazelnut spread in a separate bowl. Beat with the mixer on low speed until combined, then increase the speed to medium and beat until stiff peaks form, 1 to 2 minutes.

3. Line the bottom of an 8-inch springform pan with 4 graham crackers in a single layer, breaking them into pieces to fit and fill and big gaps. Spread half of the vanilla whipped cream over the graham crackers, then top with another layer of graham crackers. Spread half of the chocolate-hazelnut whipped cream on top. Repeat with another layer of graham crackers, the remaining vanilla chipped cream, then more graham crackers and the remaining chocolate-hazelnut whipped cream. Cover the pan with plastic wrap and refrigerate at least 6 hours or overnight.

4. Uncover the cake and run a thin knife around the edge to loosen. Remove the springform ring; smooth the sides of the cake using an offset spatula. Put the remaining 4 graham crackers in a large resealable bag; crush into fine crumbs using the bottom of a skillet. Press the crumbs around the side of the cake.


Sweetened Ricotta Cheesecake

Unbeknownst to me July 30th was National Cheesecake Day and coincidentally that day (I’m a little behind in my postings!) I decided to try out a Ricotta Cheesecake recipe from Marcela Valladolid that I came across in People magazine. What interested me in the recipe was that instead of using sugar as the sweetener it uses sweetened condensed milk. It was also super simple to follow which is always a plus.

I started off by making the crust. While I know there are traditionalist out there who like to crush their own graham crackers to make their crust – I’ve done it a few times and this recipe actually called for that as well – I am not a big fan of graham crackers so buying a box of them is a waste so I opt to buy them already crushed and ready to use for the specific purpose of making a crust.

IMG_0948
Along with my graham cracker crumbs, I needed butter and sugar from the crust.
IMG_0951
I mixed all of the ingredietns together…
IMG_0952
And then pressed the crumbs into the bottom of a 9-inch springform pand and about an inch and a half up the sides.
IMG_0956
After baking for 7 minutes I let the curst cool while I got to working on the cheesecake filling.
IMG_0964
The ingredients were basic: cream cheese, ricotta cheese, sweetened condensed milk, eggs, vanilla extract and orange zest.

IMG_0967

I started by beating together the cream cheese and the sweetened condensed milk.

IMG_0970  IMG_0971

Following that I added in the ricotta cheese, vanilla extract and orange zest.

Prior to adding in the eggs I couldn’t resist the temptation of trying the filling and I found it to be awfully sweet and was concerned that the final product would be so as well, but, after adding in each of the four eggs individually the sweetness level of the filling dropped considerably. While I know some people would say it’s not a smart idea to try batter with raw eggs in it I haven’t got sick yet… I’m going to go knock on some wood now!

IMG_0974 IMG_0975
And finally I poured the filling into the cooled crust.
IMG_0978
After baking for about 50 minutes in a 350 degrees oven the cheesecake was done and looked perfect – yes, it was a little brown, but, it didn’t crack which I was very happy about!
IMG_0980

I did attempt to make a quick strawberry topping for the cheesecake by heating strawberry jam, sugar and fresh strawberries in a saucepan on the stove, but, it was a completely fail. I believe the jam I used wasn’t the best quality and it produced a horrible flavor. Luckily though the cheesecake was perfect on its own.

IMG_0981

Ricotta Cheesecake

by Marcela Valladolid


18 cinnamon-sugar graham crackers

1/2 cup (1 stick) unsalted butter, melted

8 oz. cream cheese, softened

1 (14 oz.) can condensed milk

15 oz. fresh ricotta or requeson cheese

1 tbsp. vanilla extract

1 tsp. fresh orange zest

4 large eggs


1) Adjust oven rack to middle position. Preheat oven to 350 degrees.

2) Process graham crackers in food processor until finely crumbled. Add butter; process until blended. Pat crumbs over bottom and 1 1/2 inches up sides of a 9-inch springform pan. Place on baking sheet; bake 10 minutes until golden. Cool completely.

3) Beat cream cheese and condensed milk at medium speed in bowl of electric mixer until smooth. Add ricotta, vanilla, and orange zest; beat until smooth. Add eggs 1 at a time, beating well after each addition.

4) Pour mixture into cooled crust. Bake 50 minutes until cheesecake is puffed and golden and a tester inserted 1 inch from center comes out clean. Cool on wire rack for 35 minutes. Cover and chill at least 2 hours. Serve at room temperature.

 
%d bloggers like this: