Vanilla Pound Cake

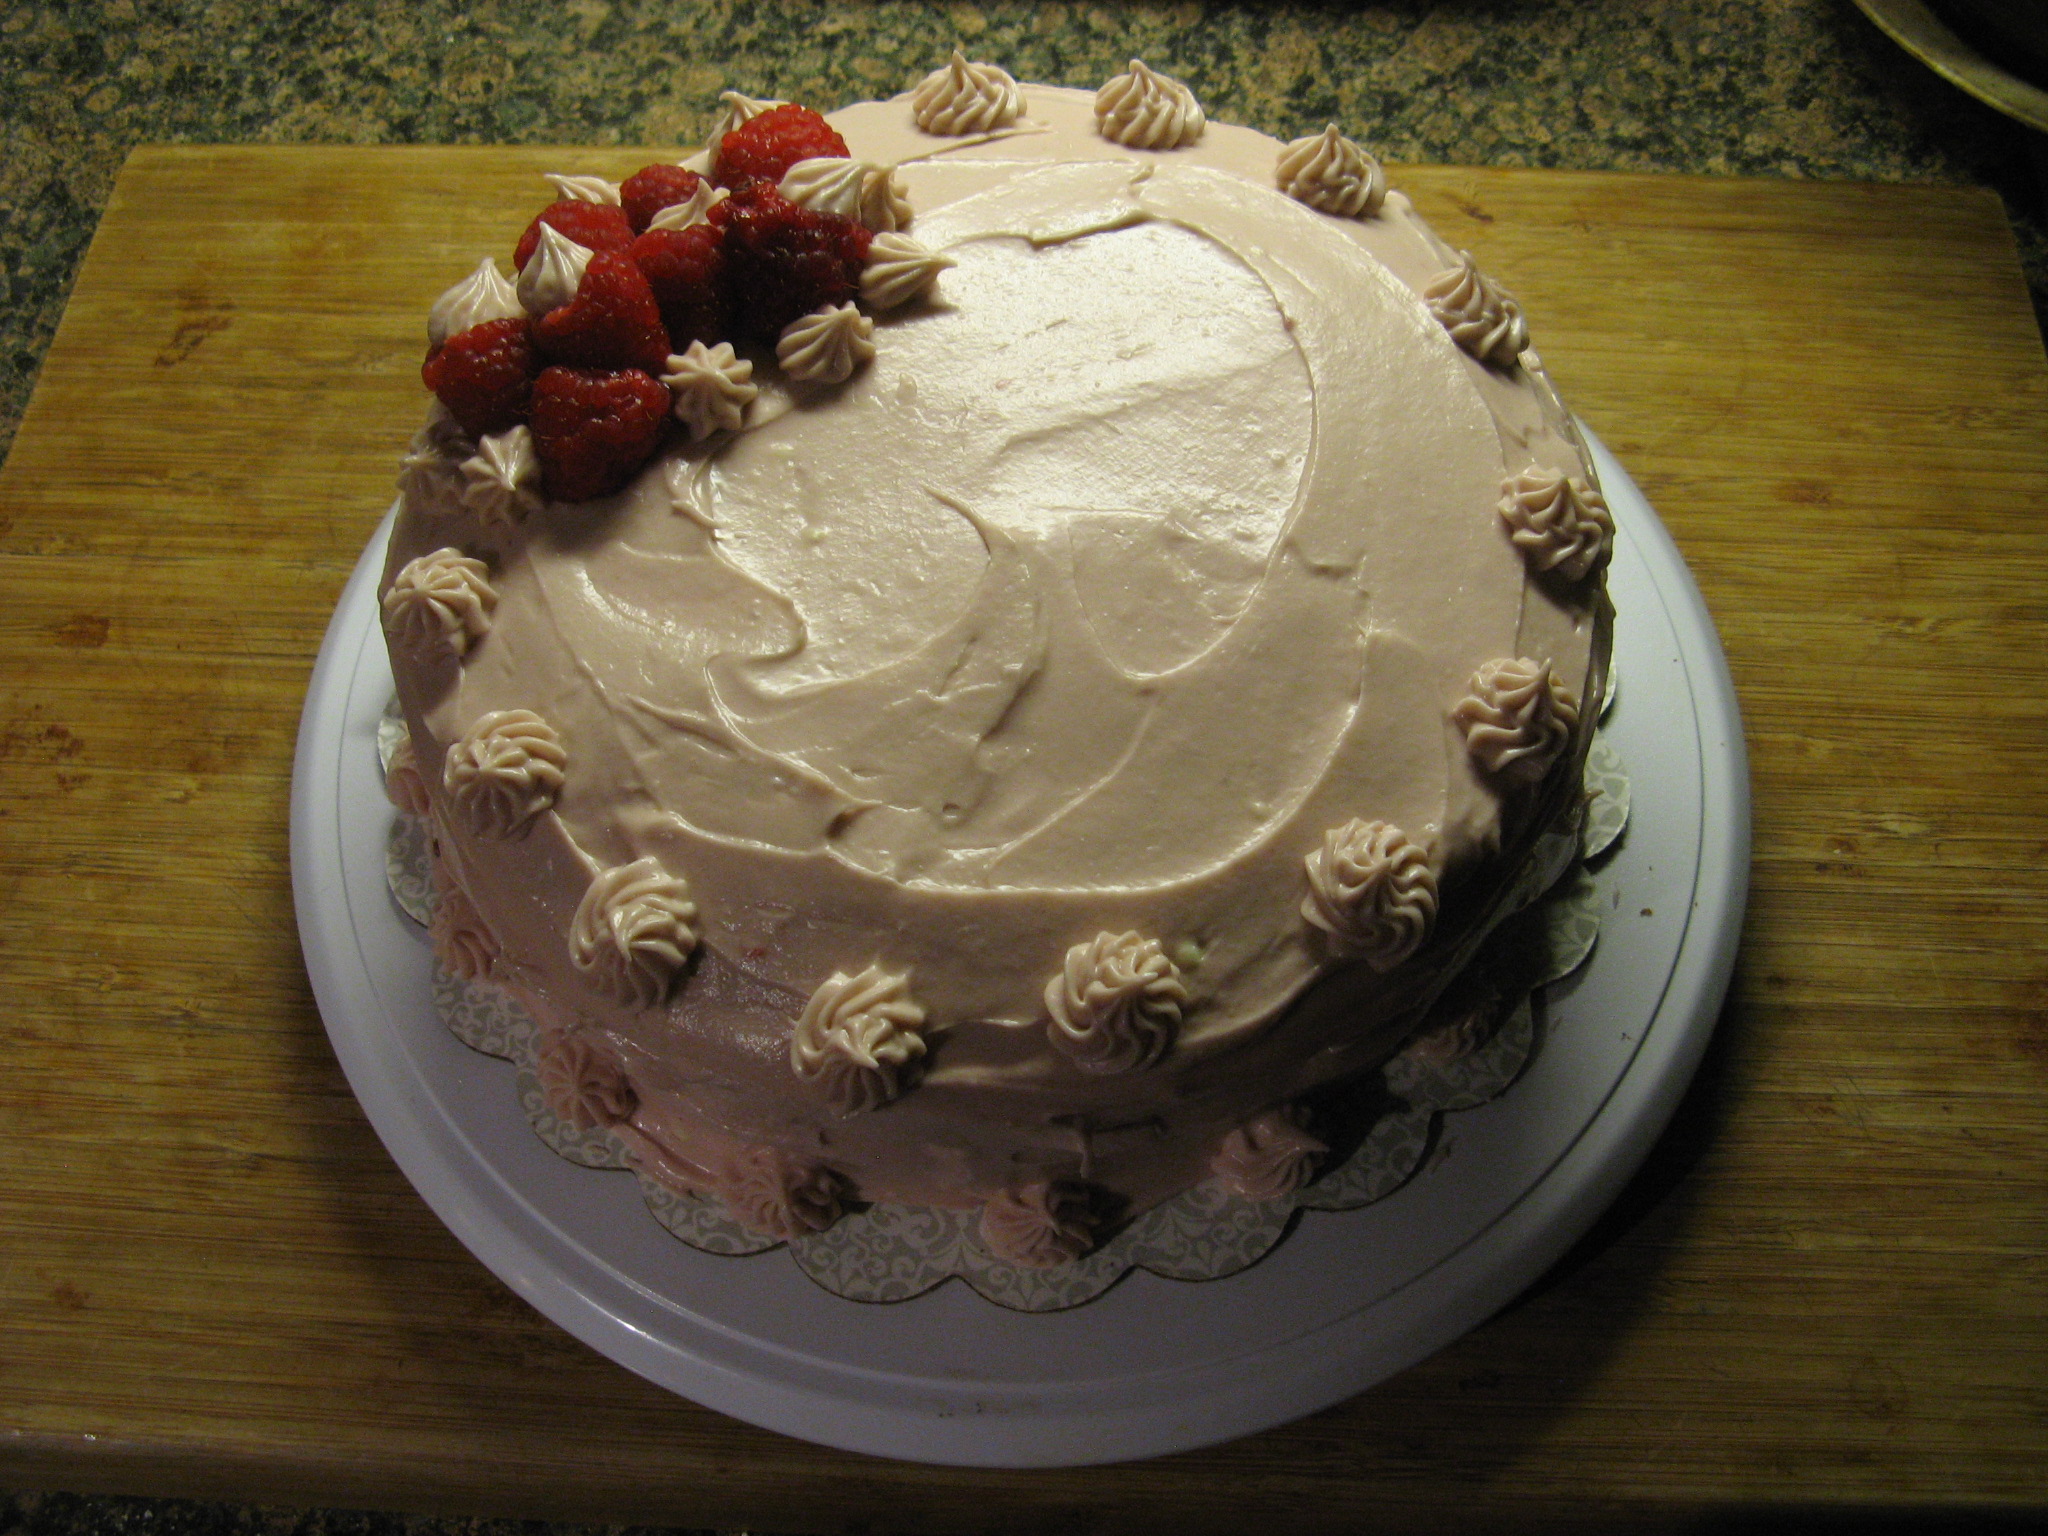
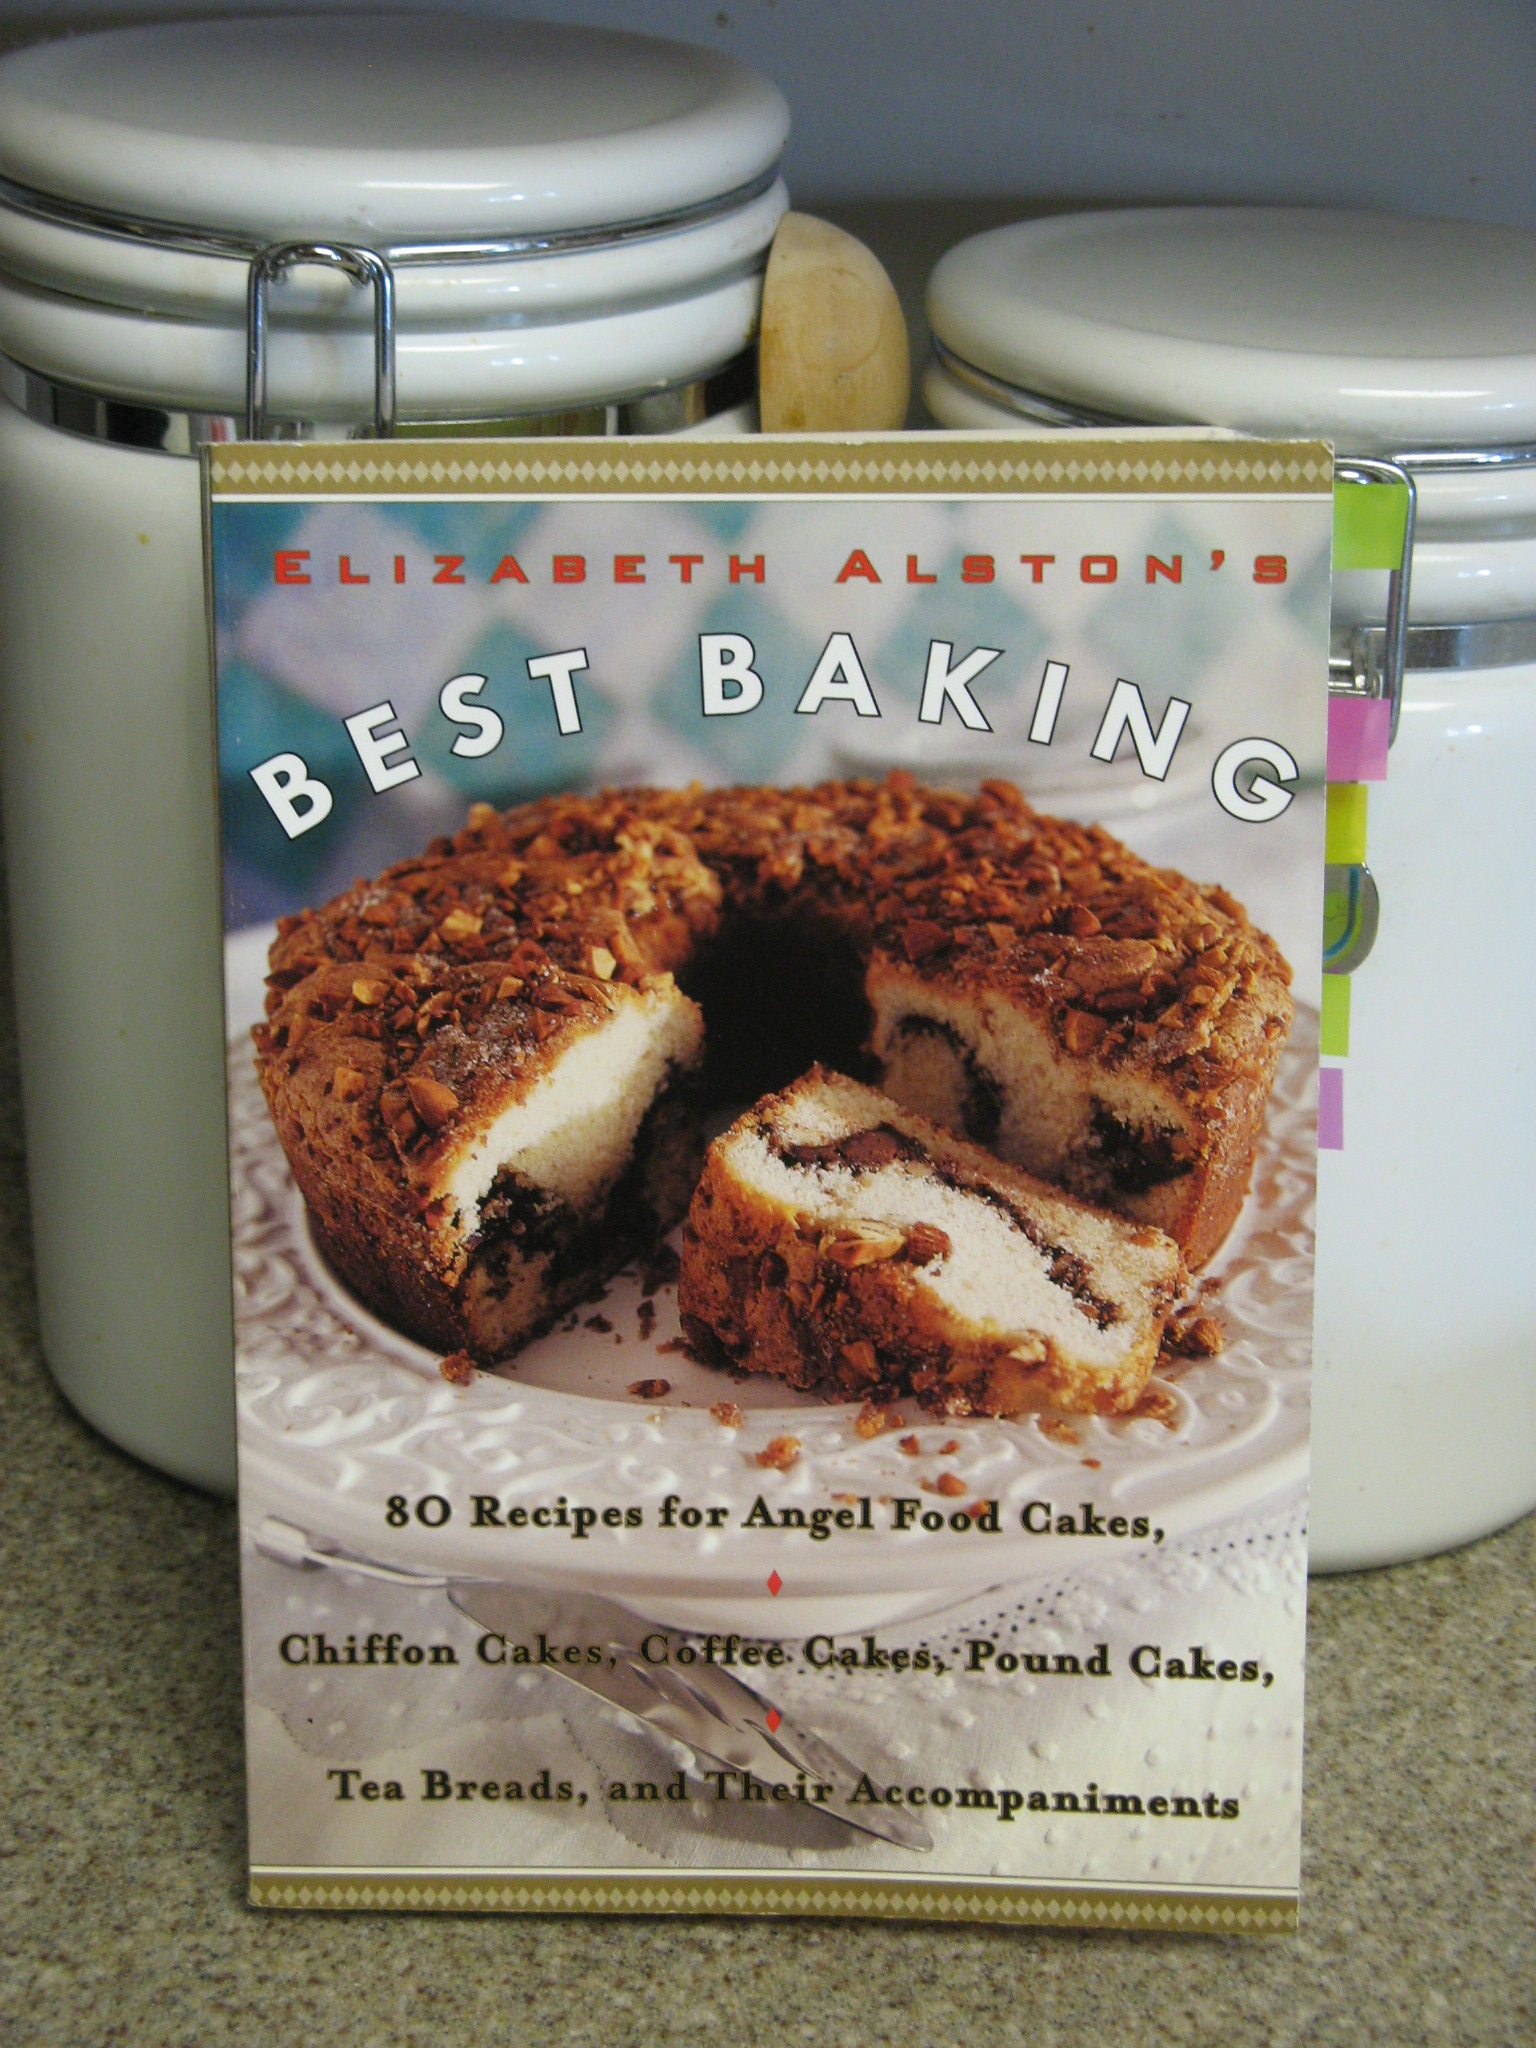
Dinner at a friend’s house last week meant trying out a new recipe for me. I decided to keep it simple and bake a simple Vanilla Pound Cake from Martha Stewart.

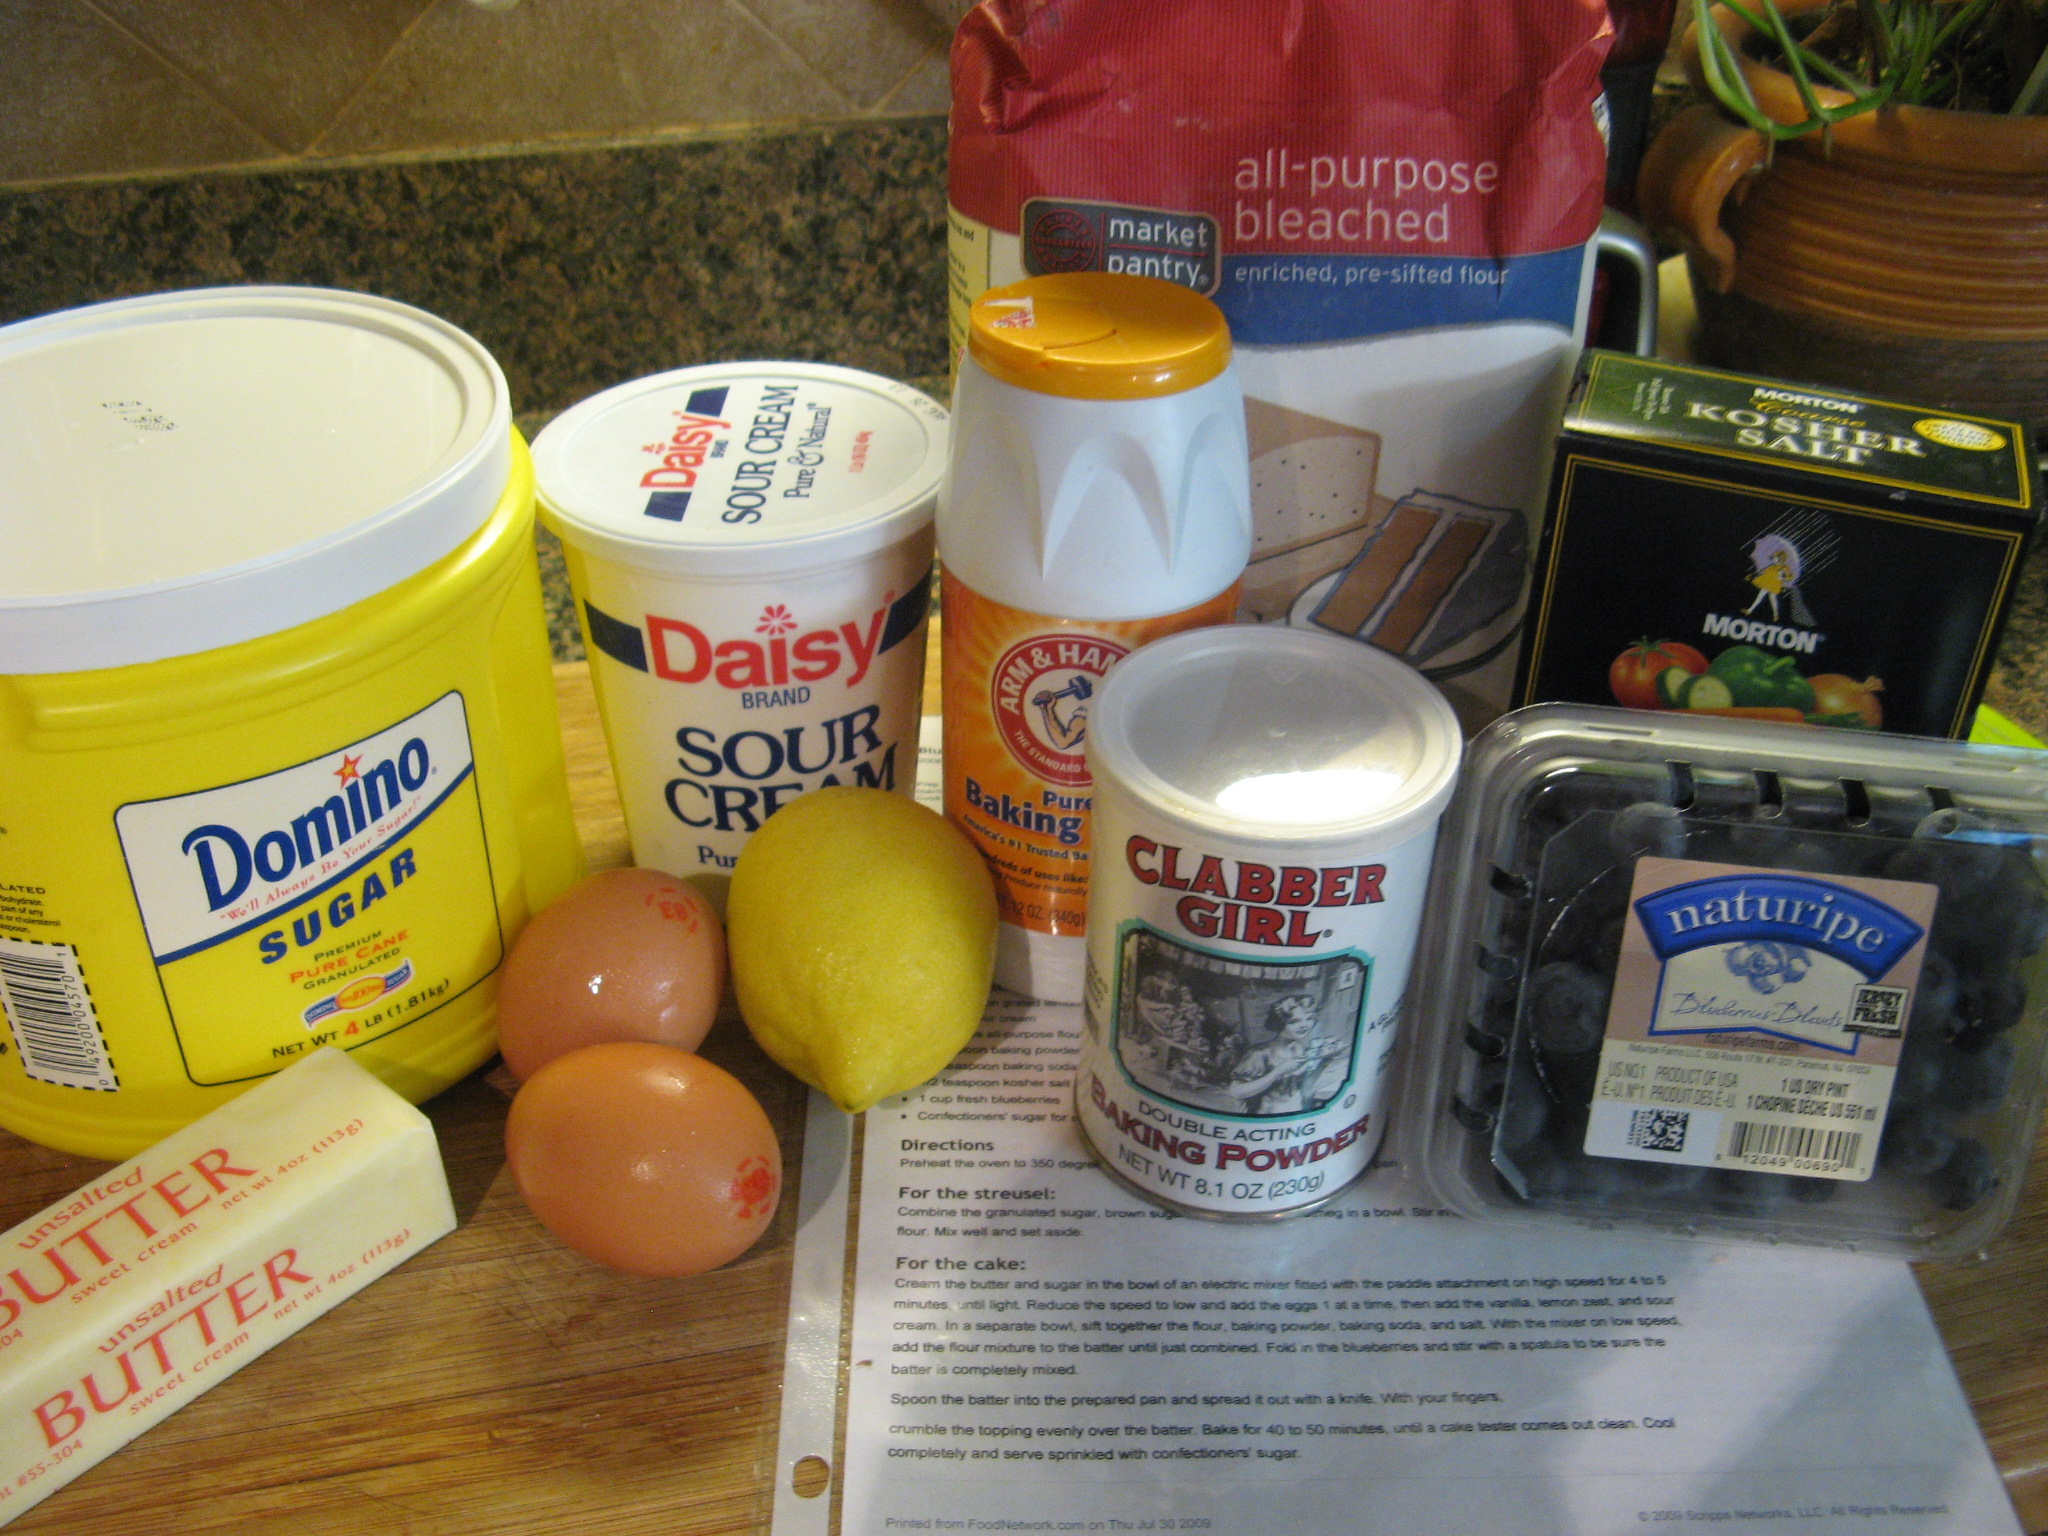
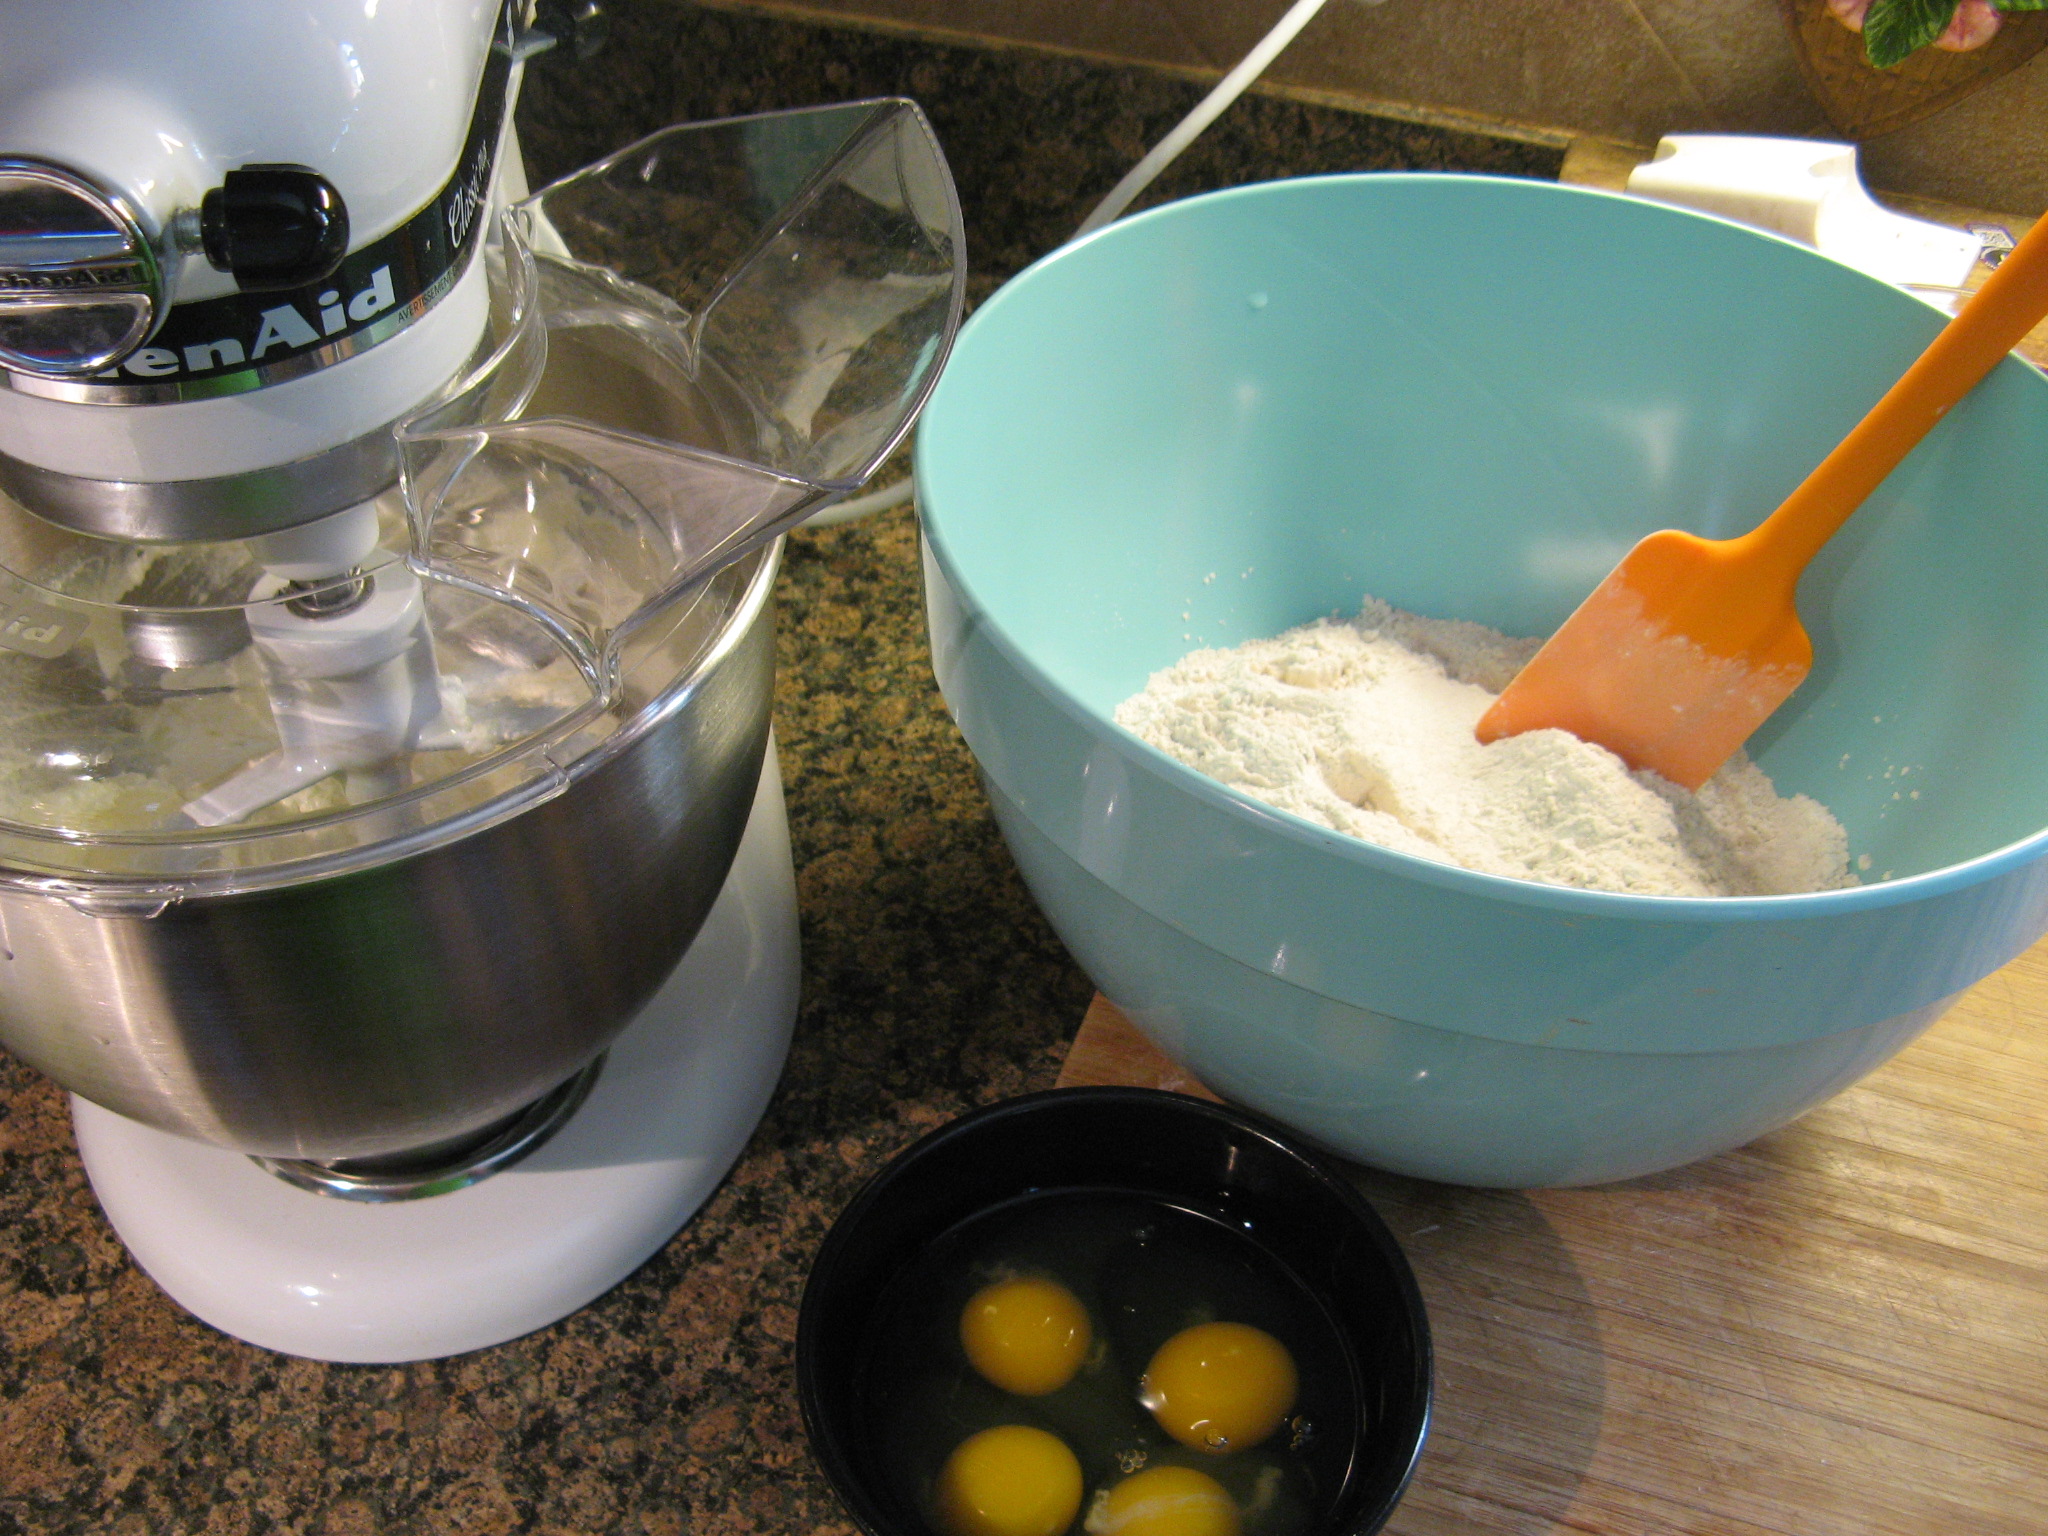
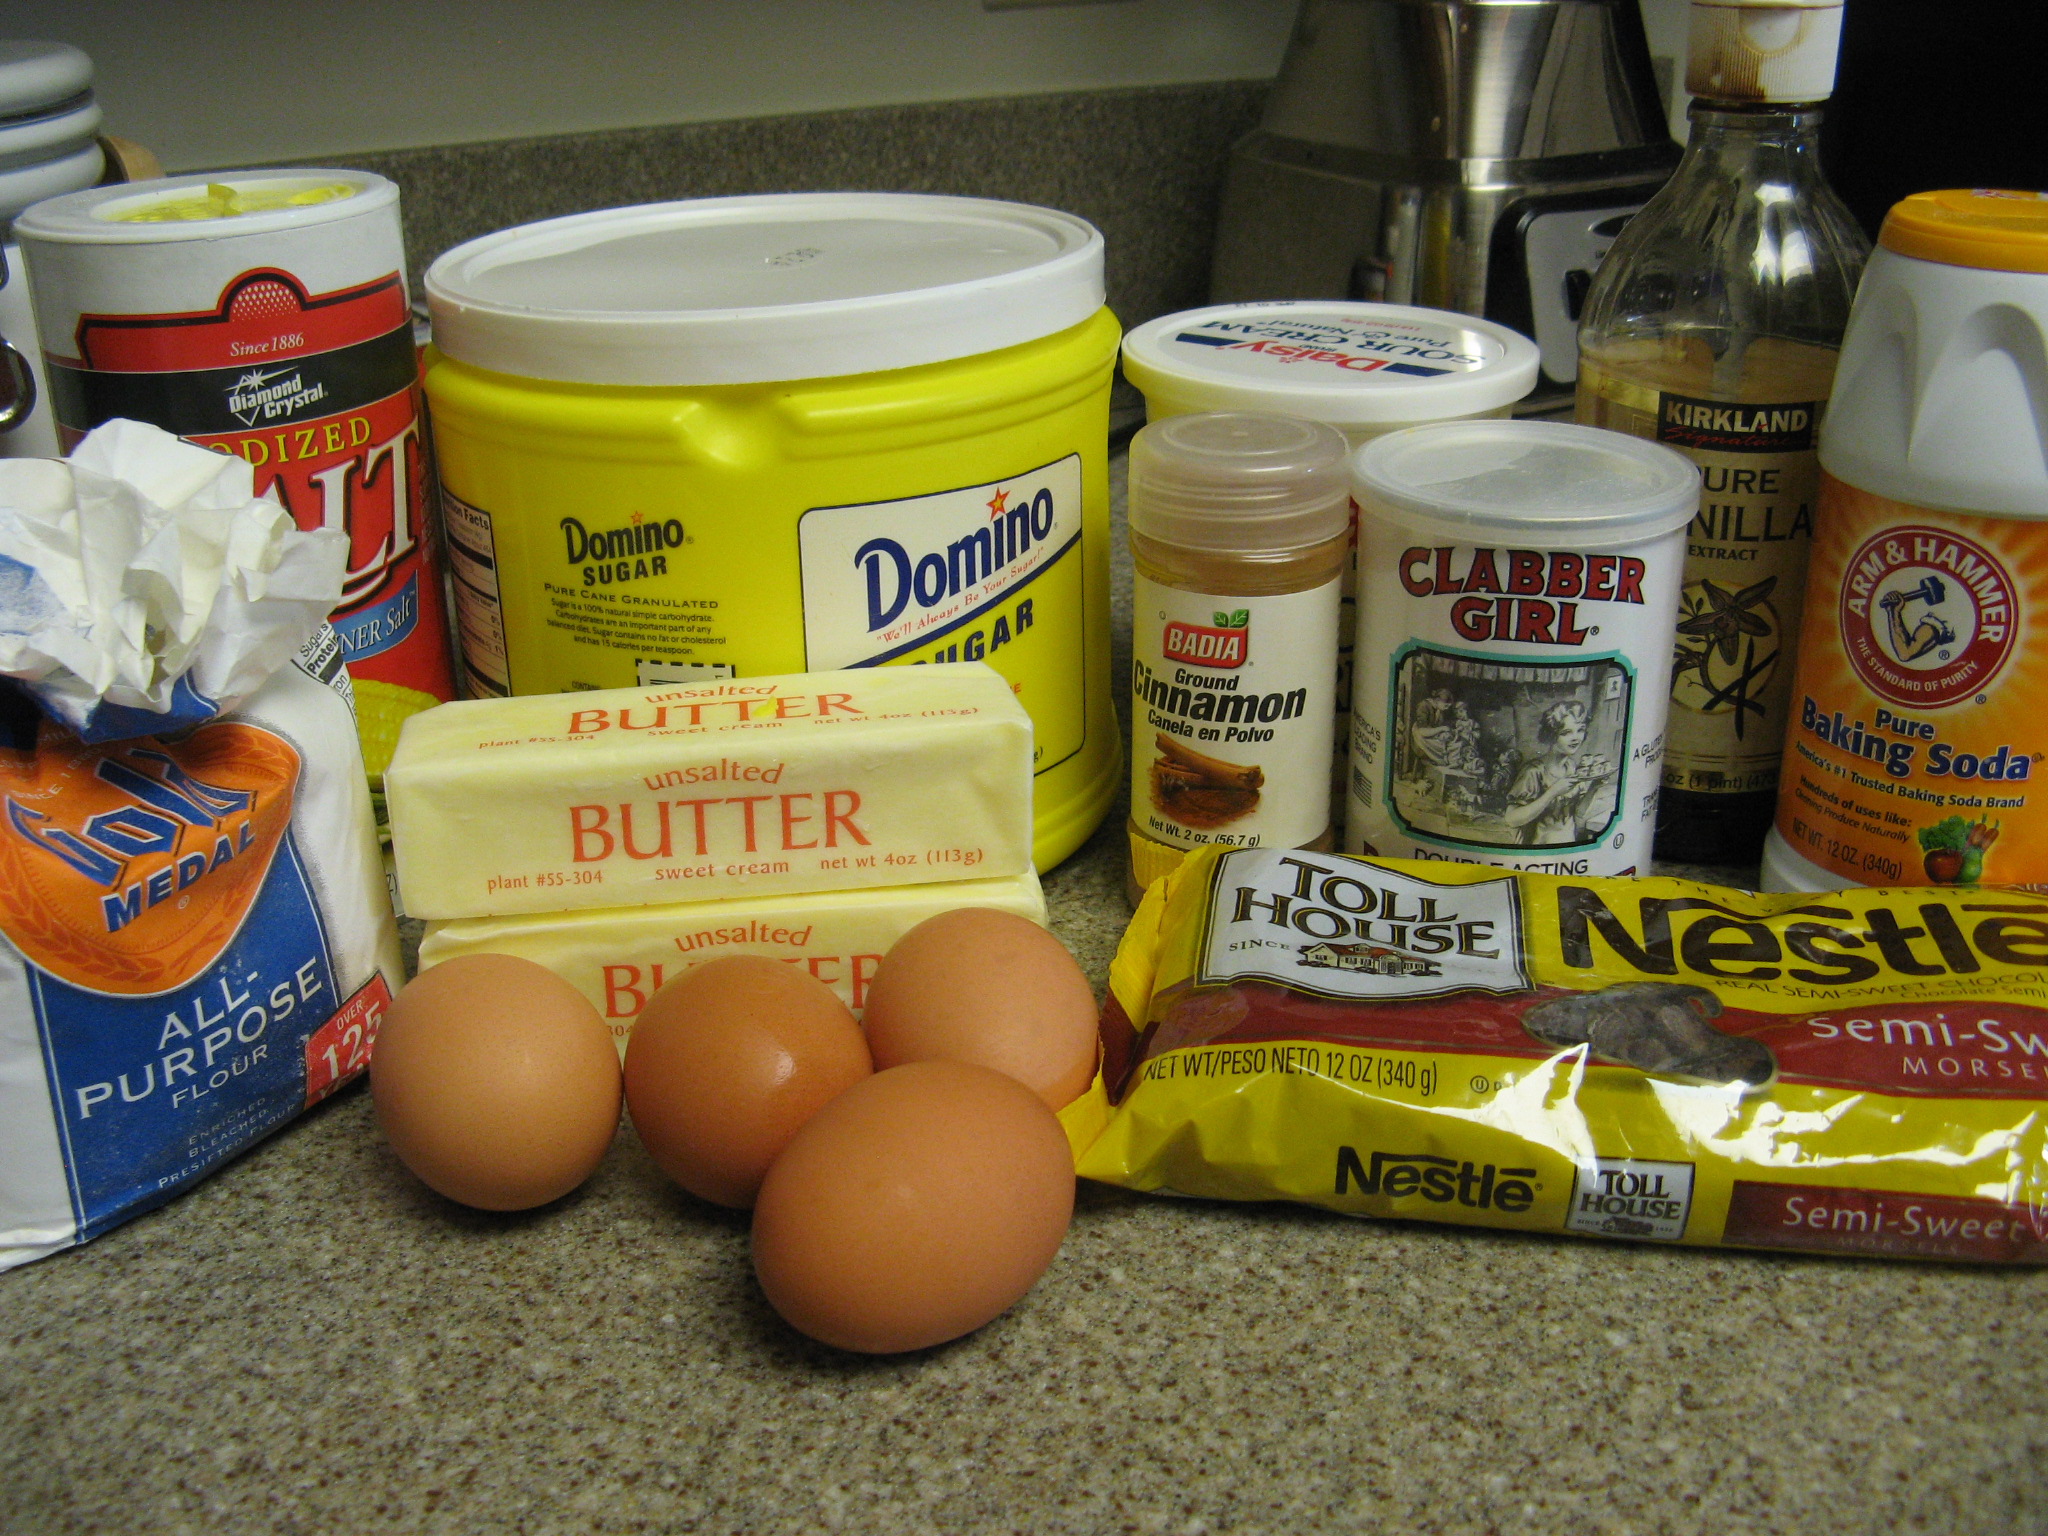
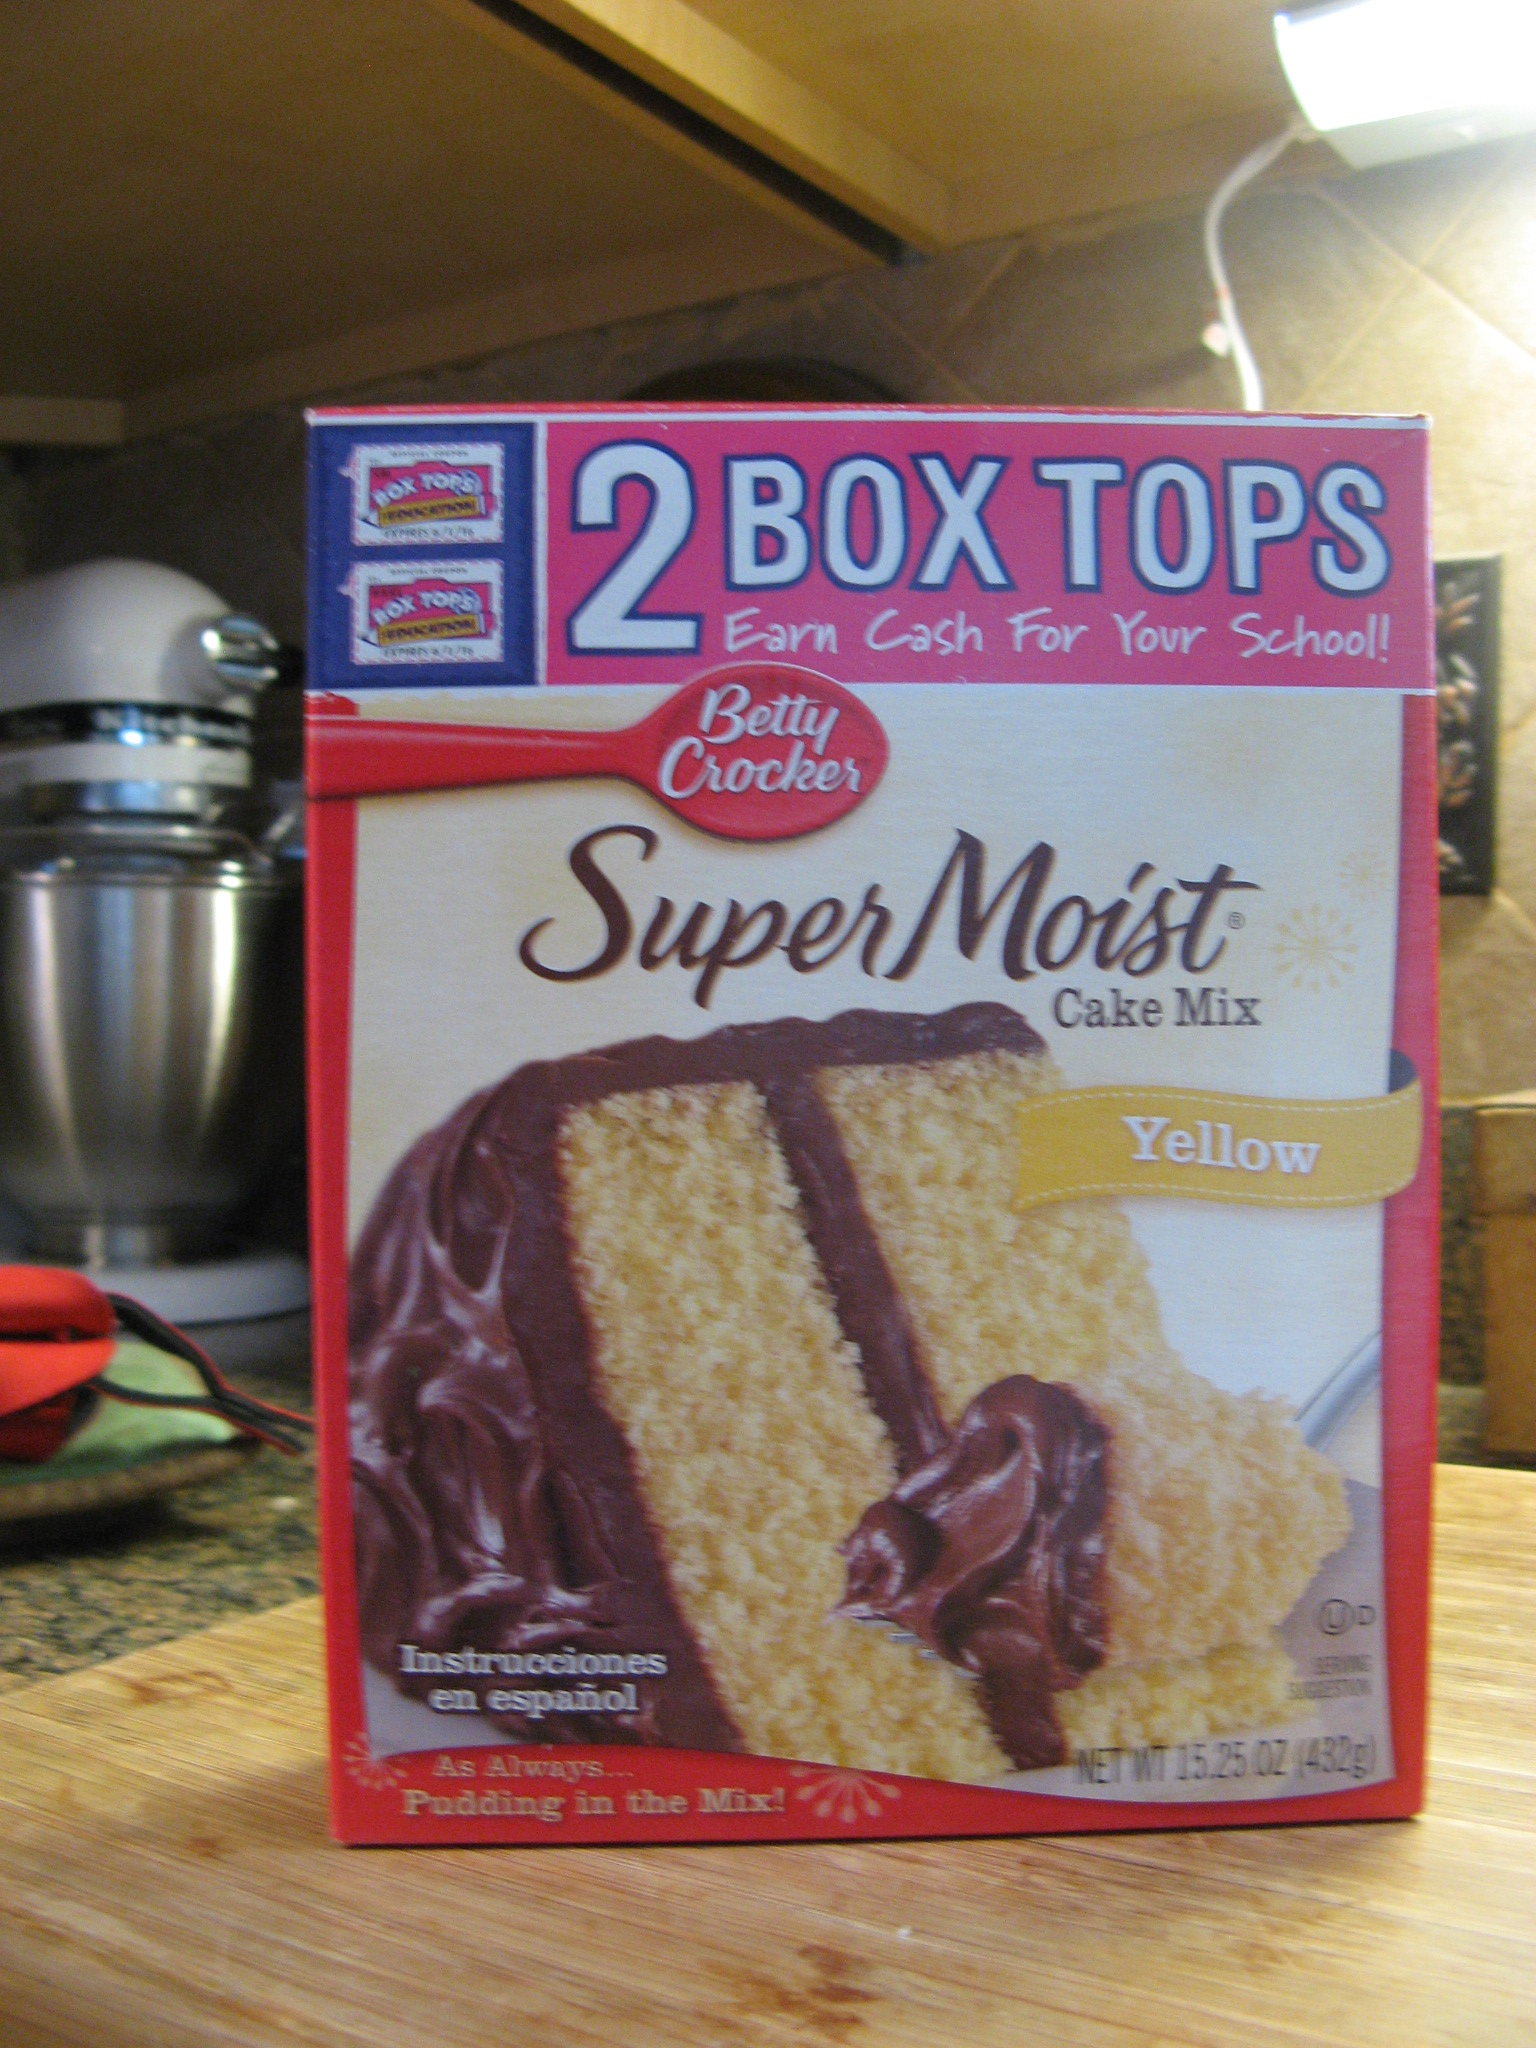
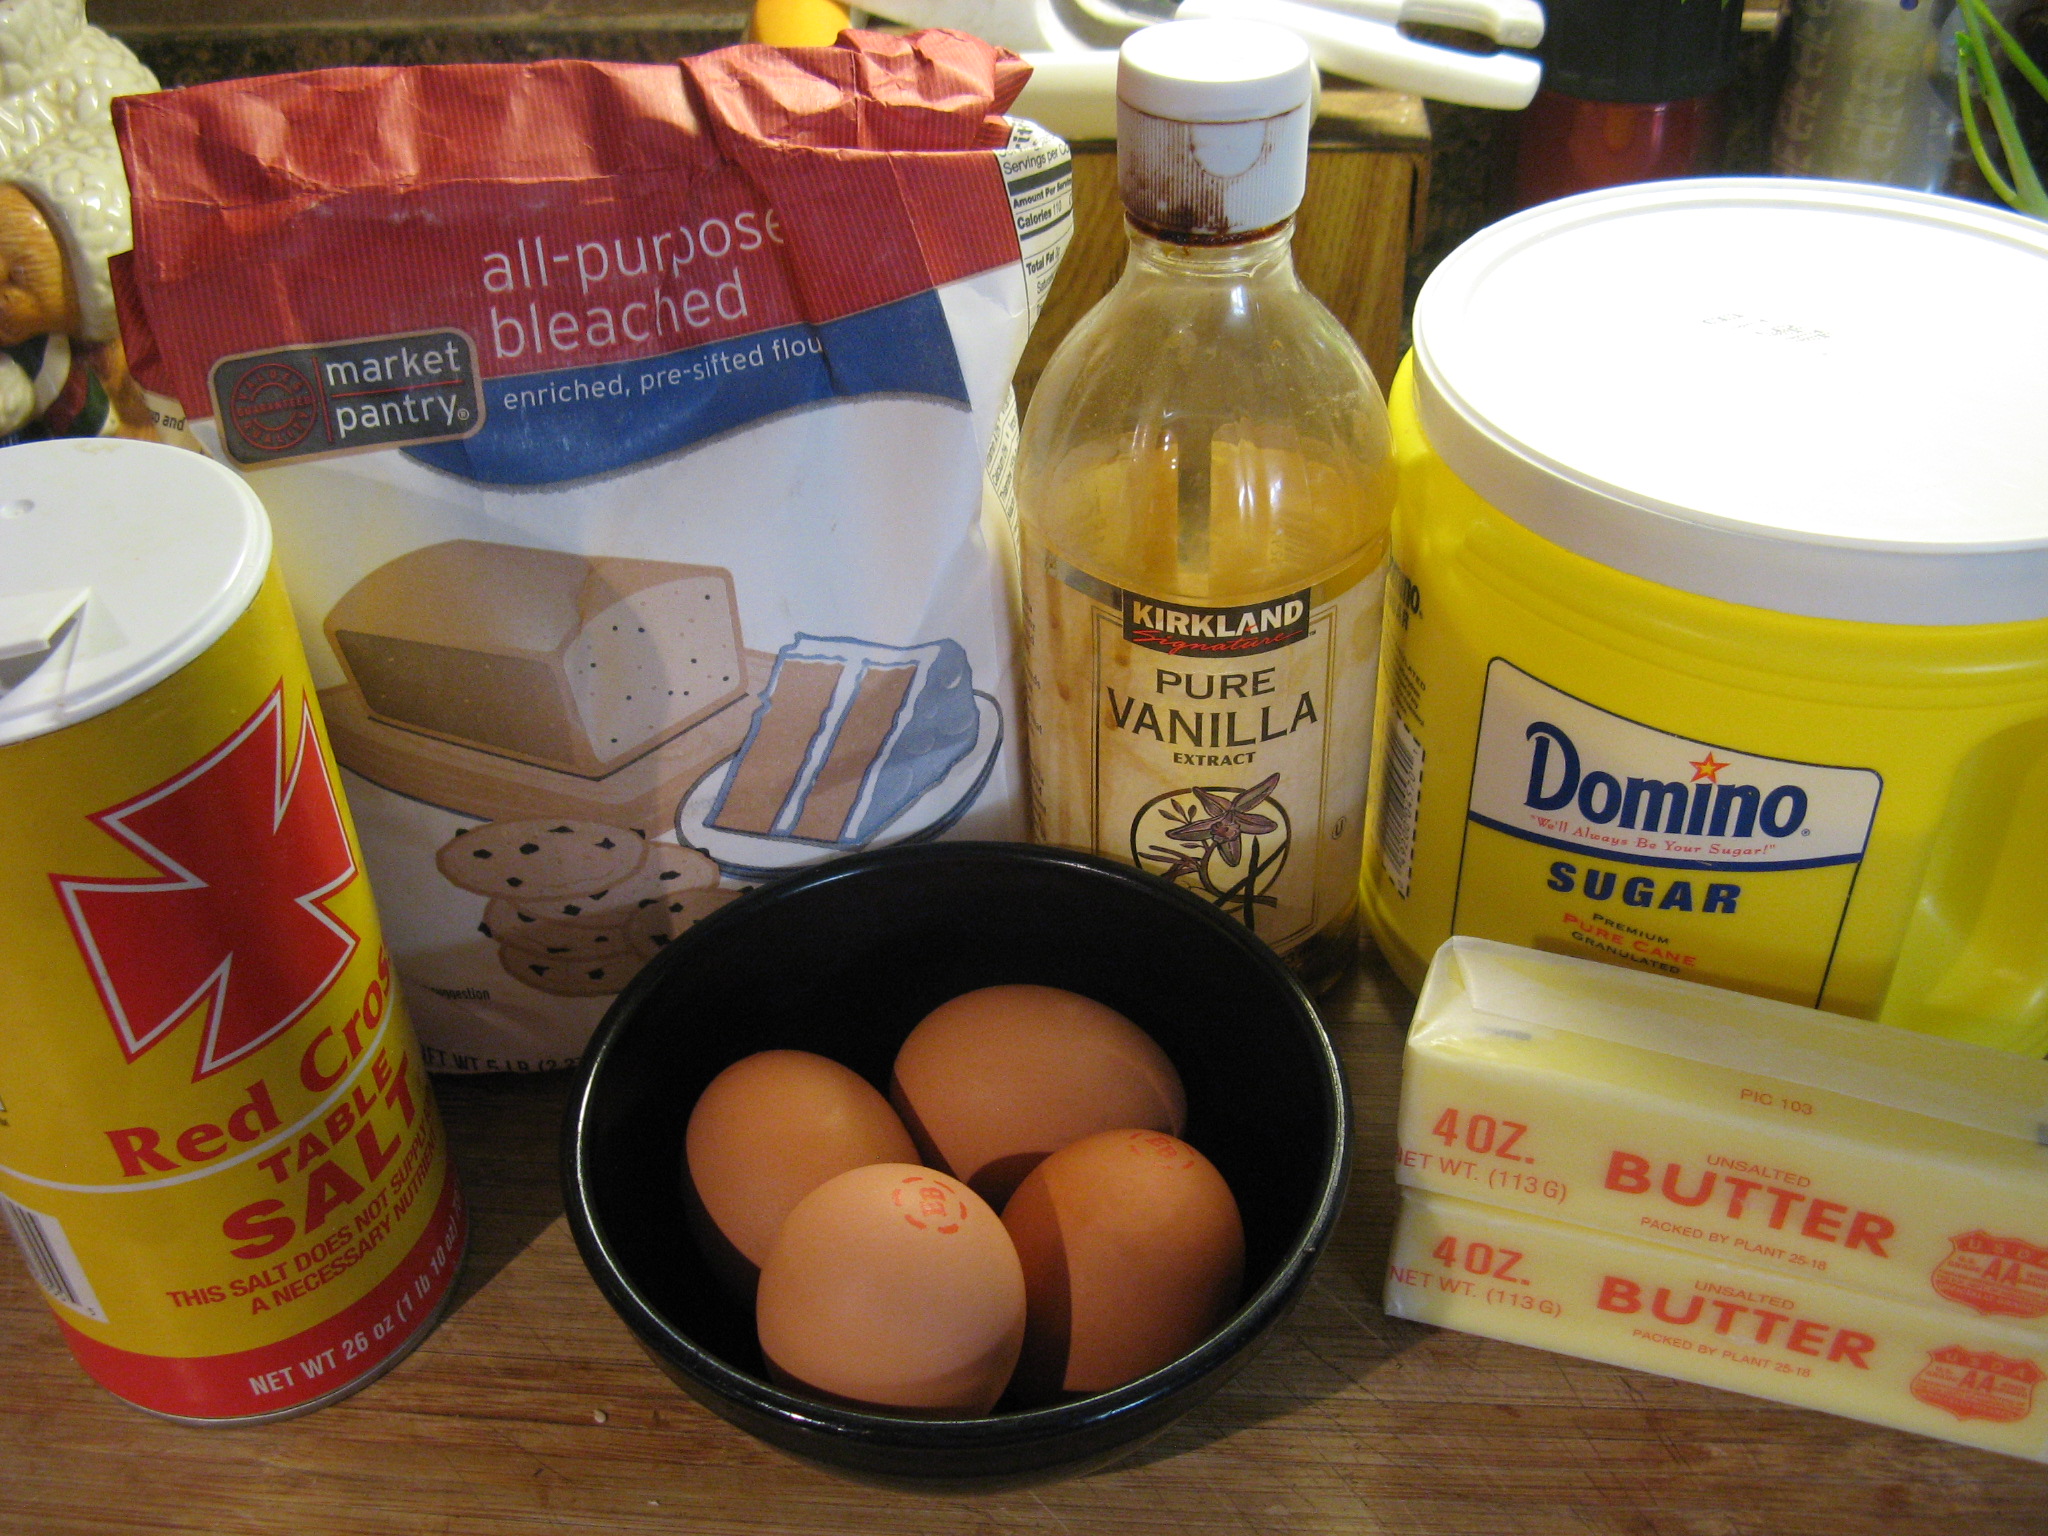
The recipe consisted of ingredients I already had on hand: butter, flour, sugar, eggs, vanilla extract and salt.

IMG_0990

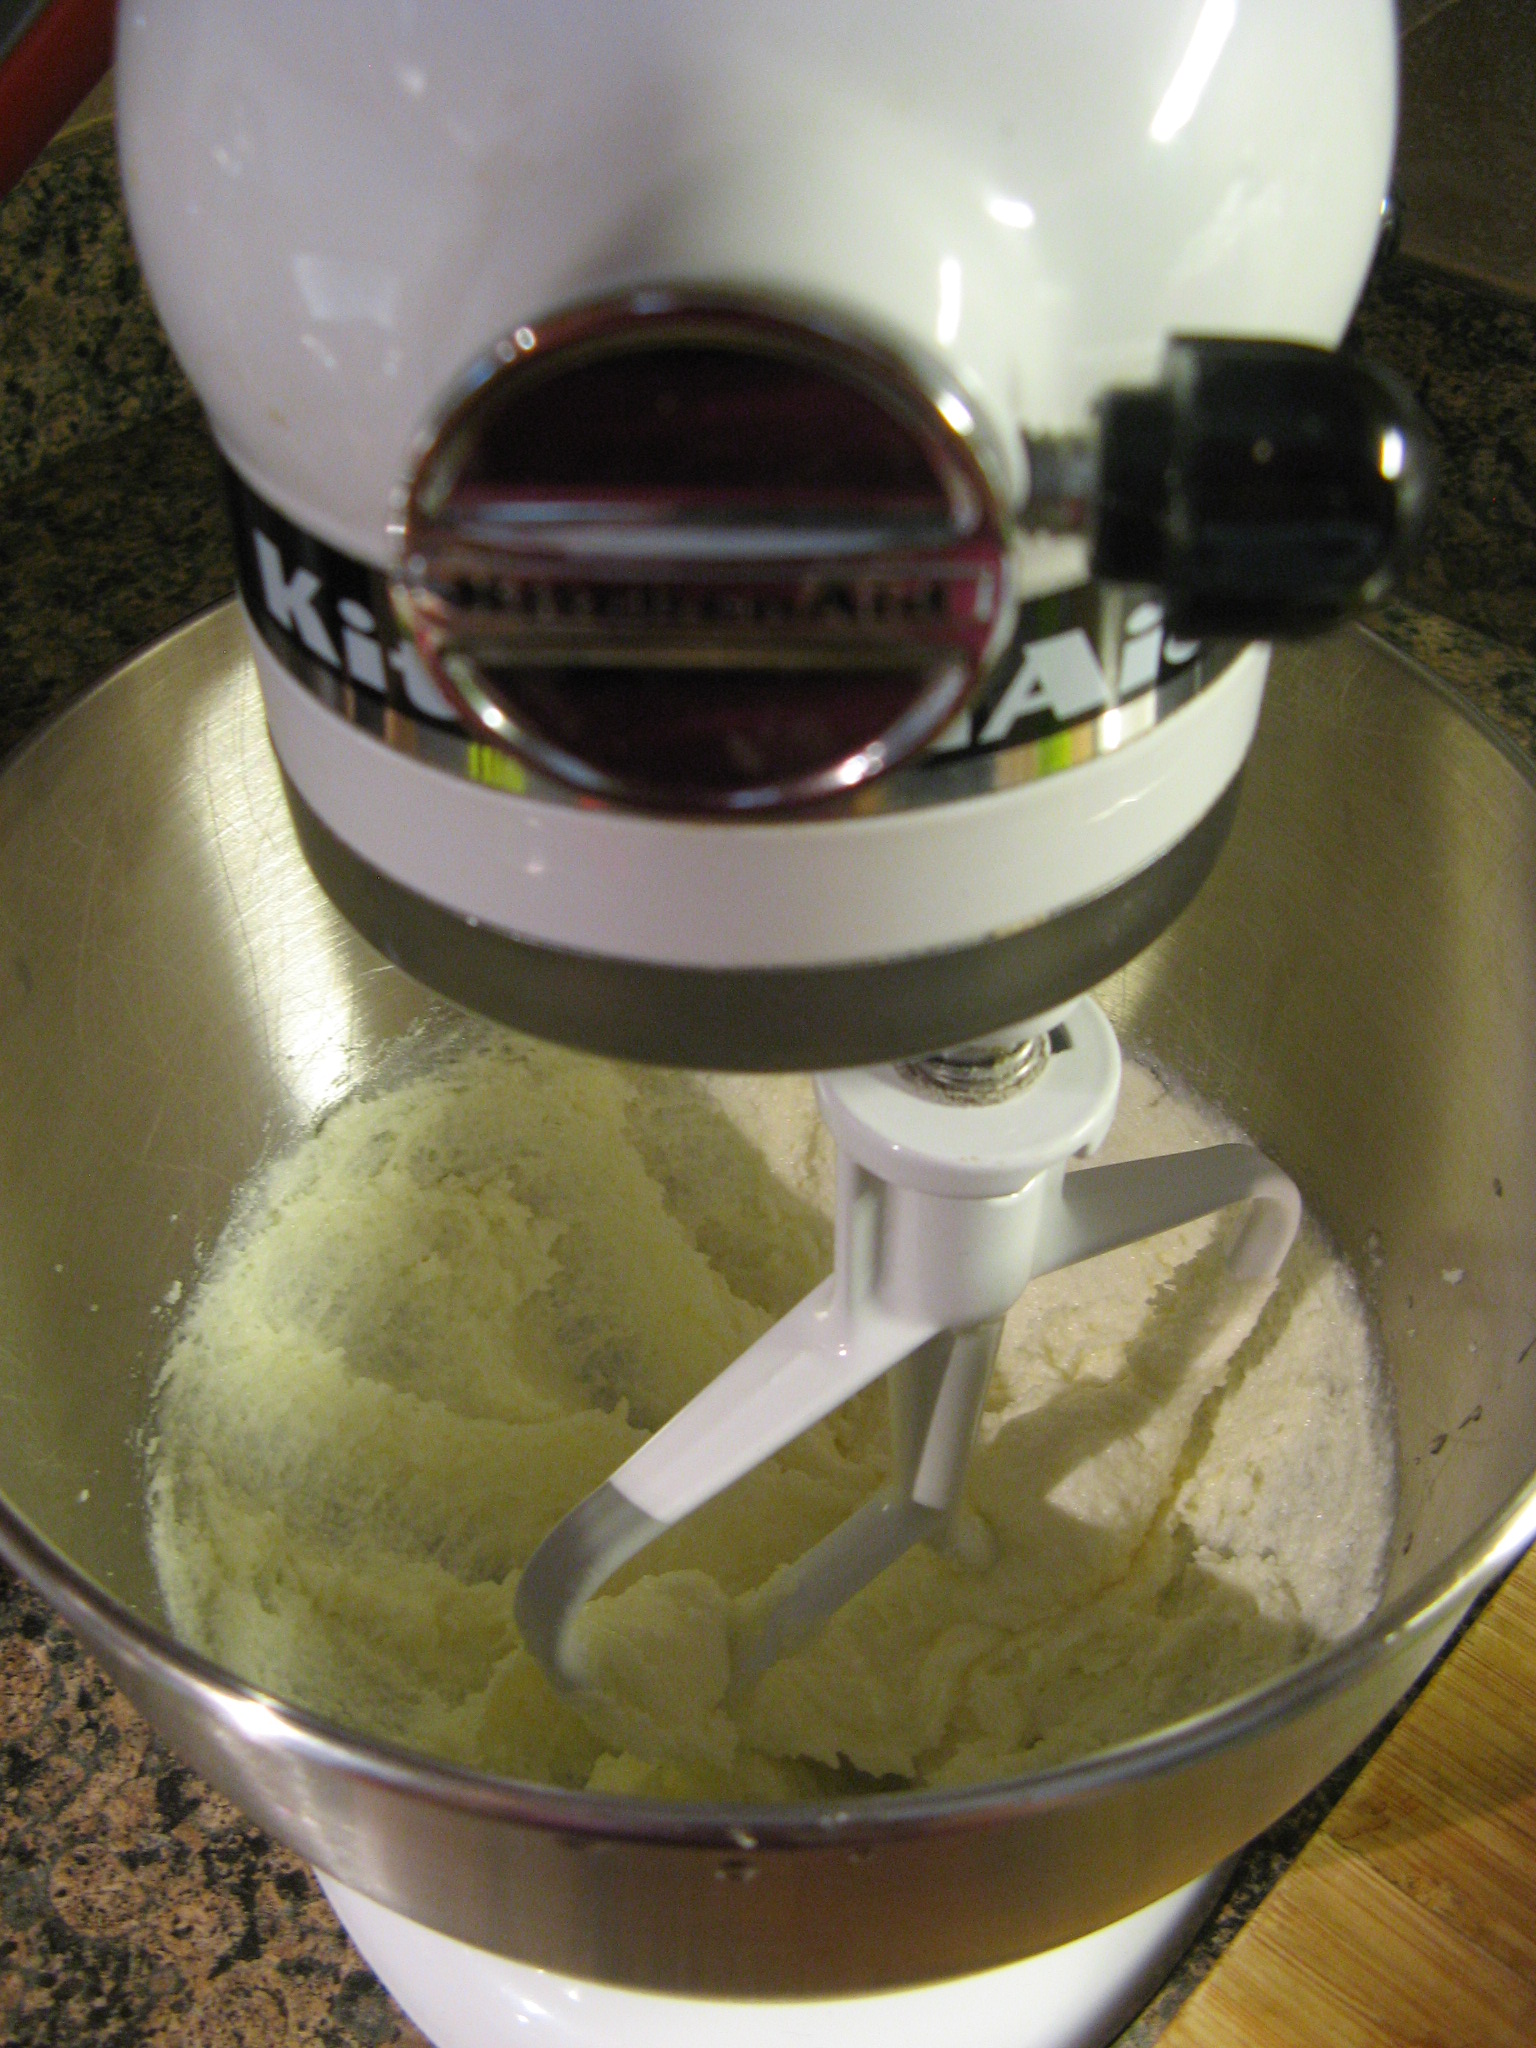
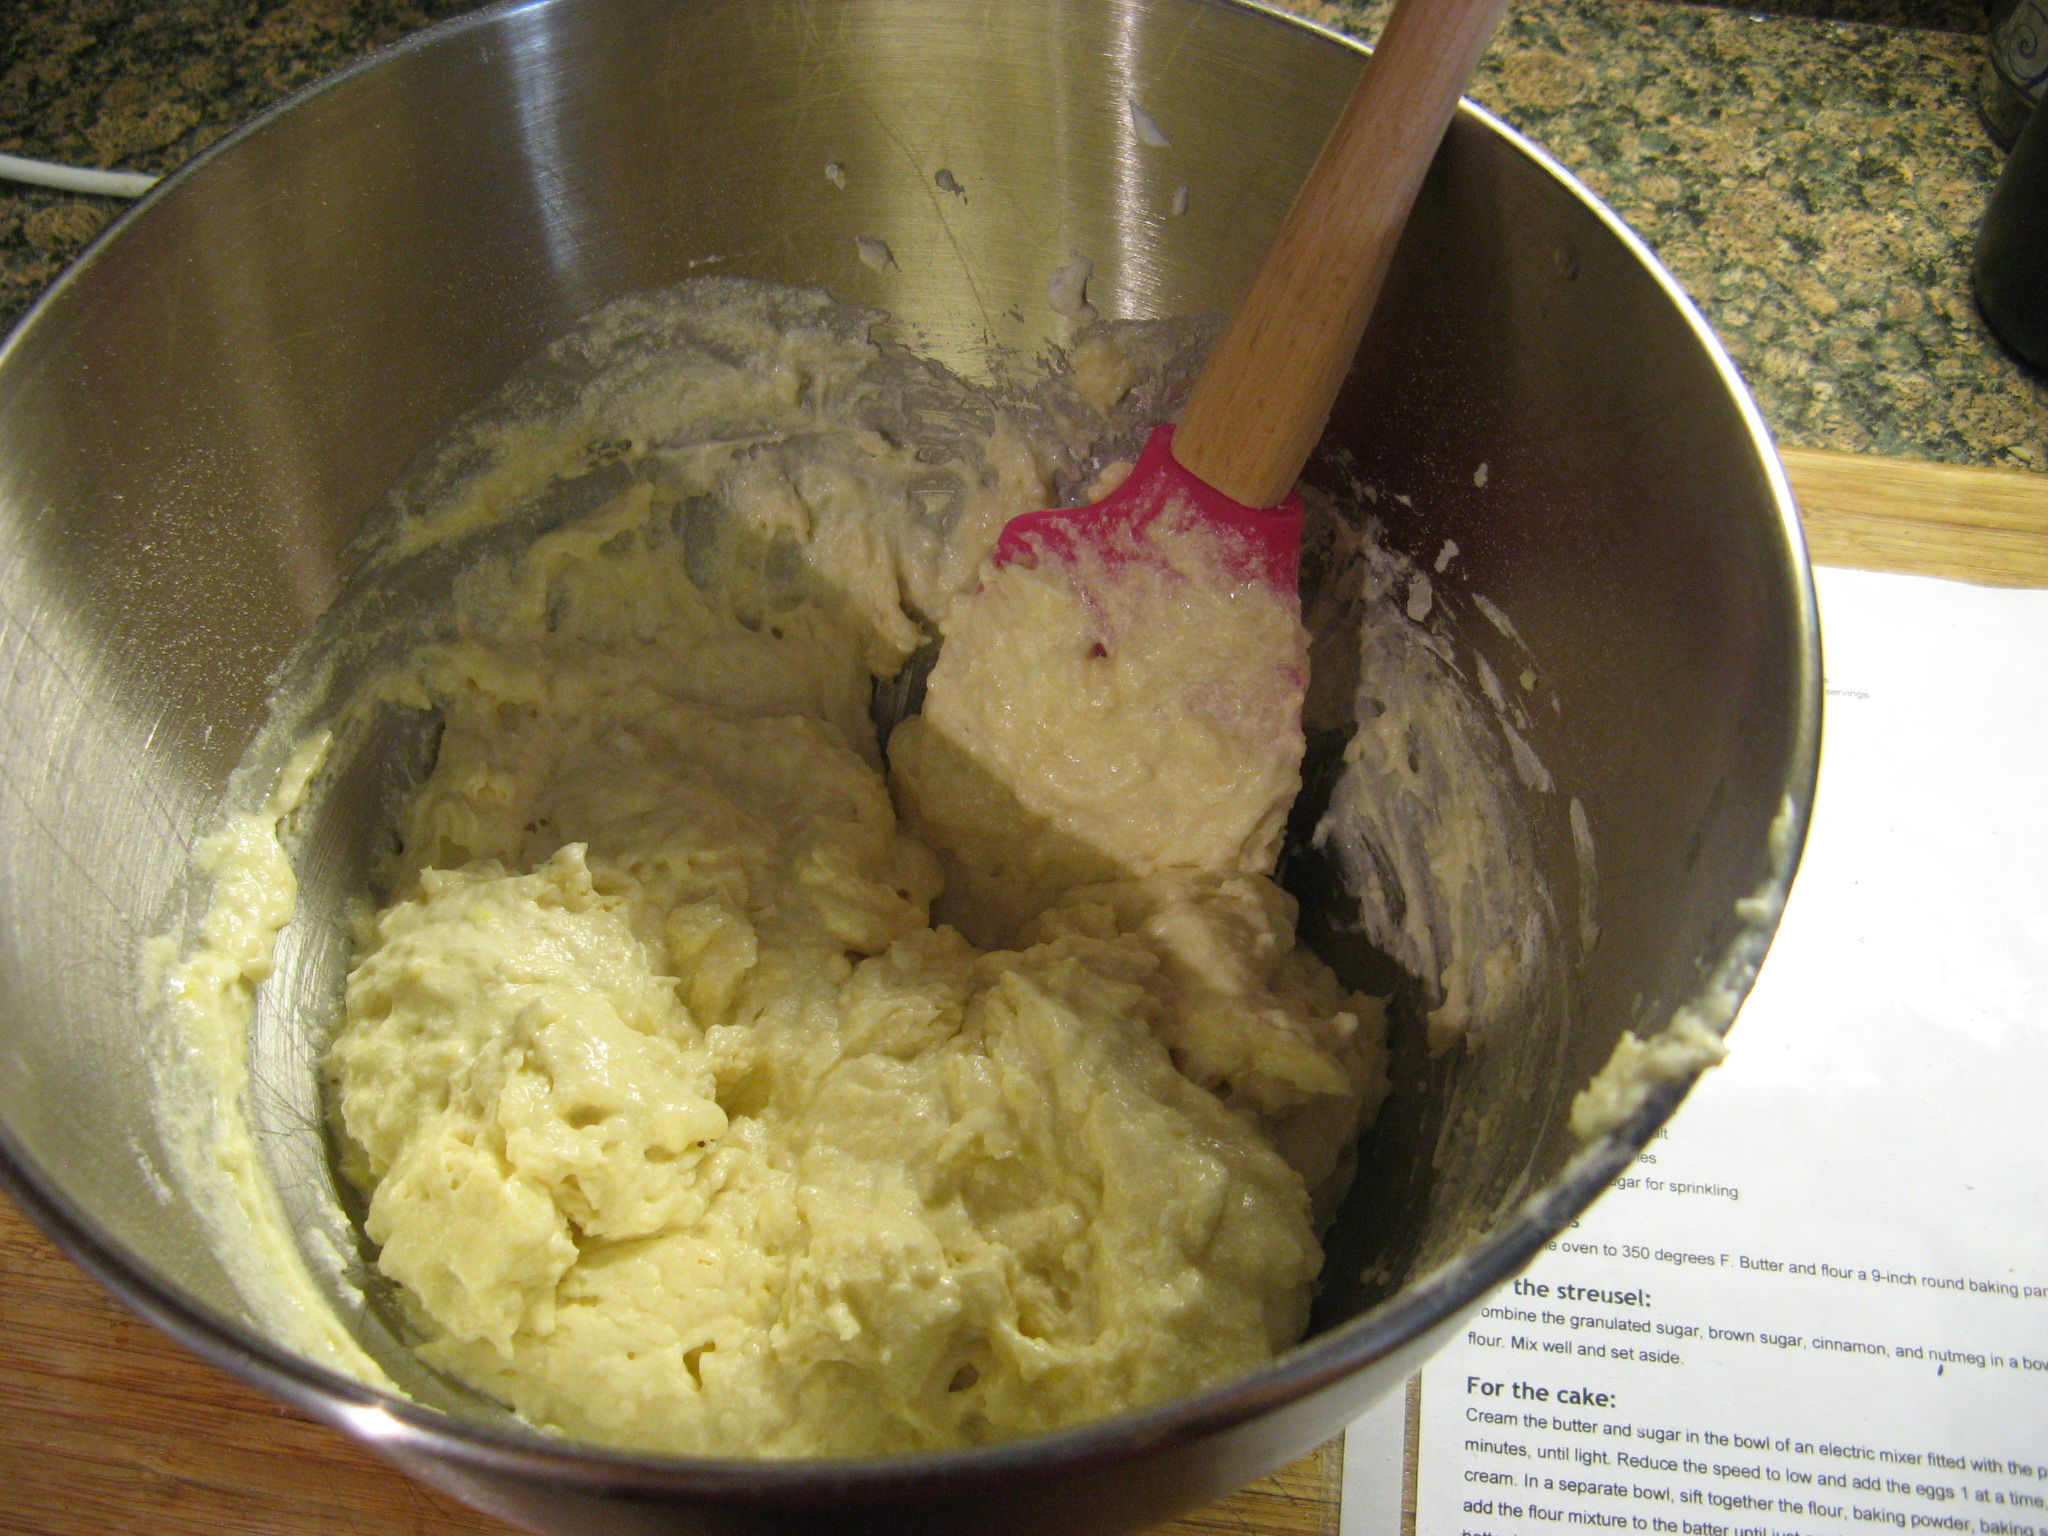
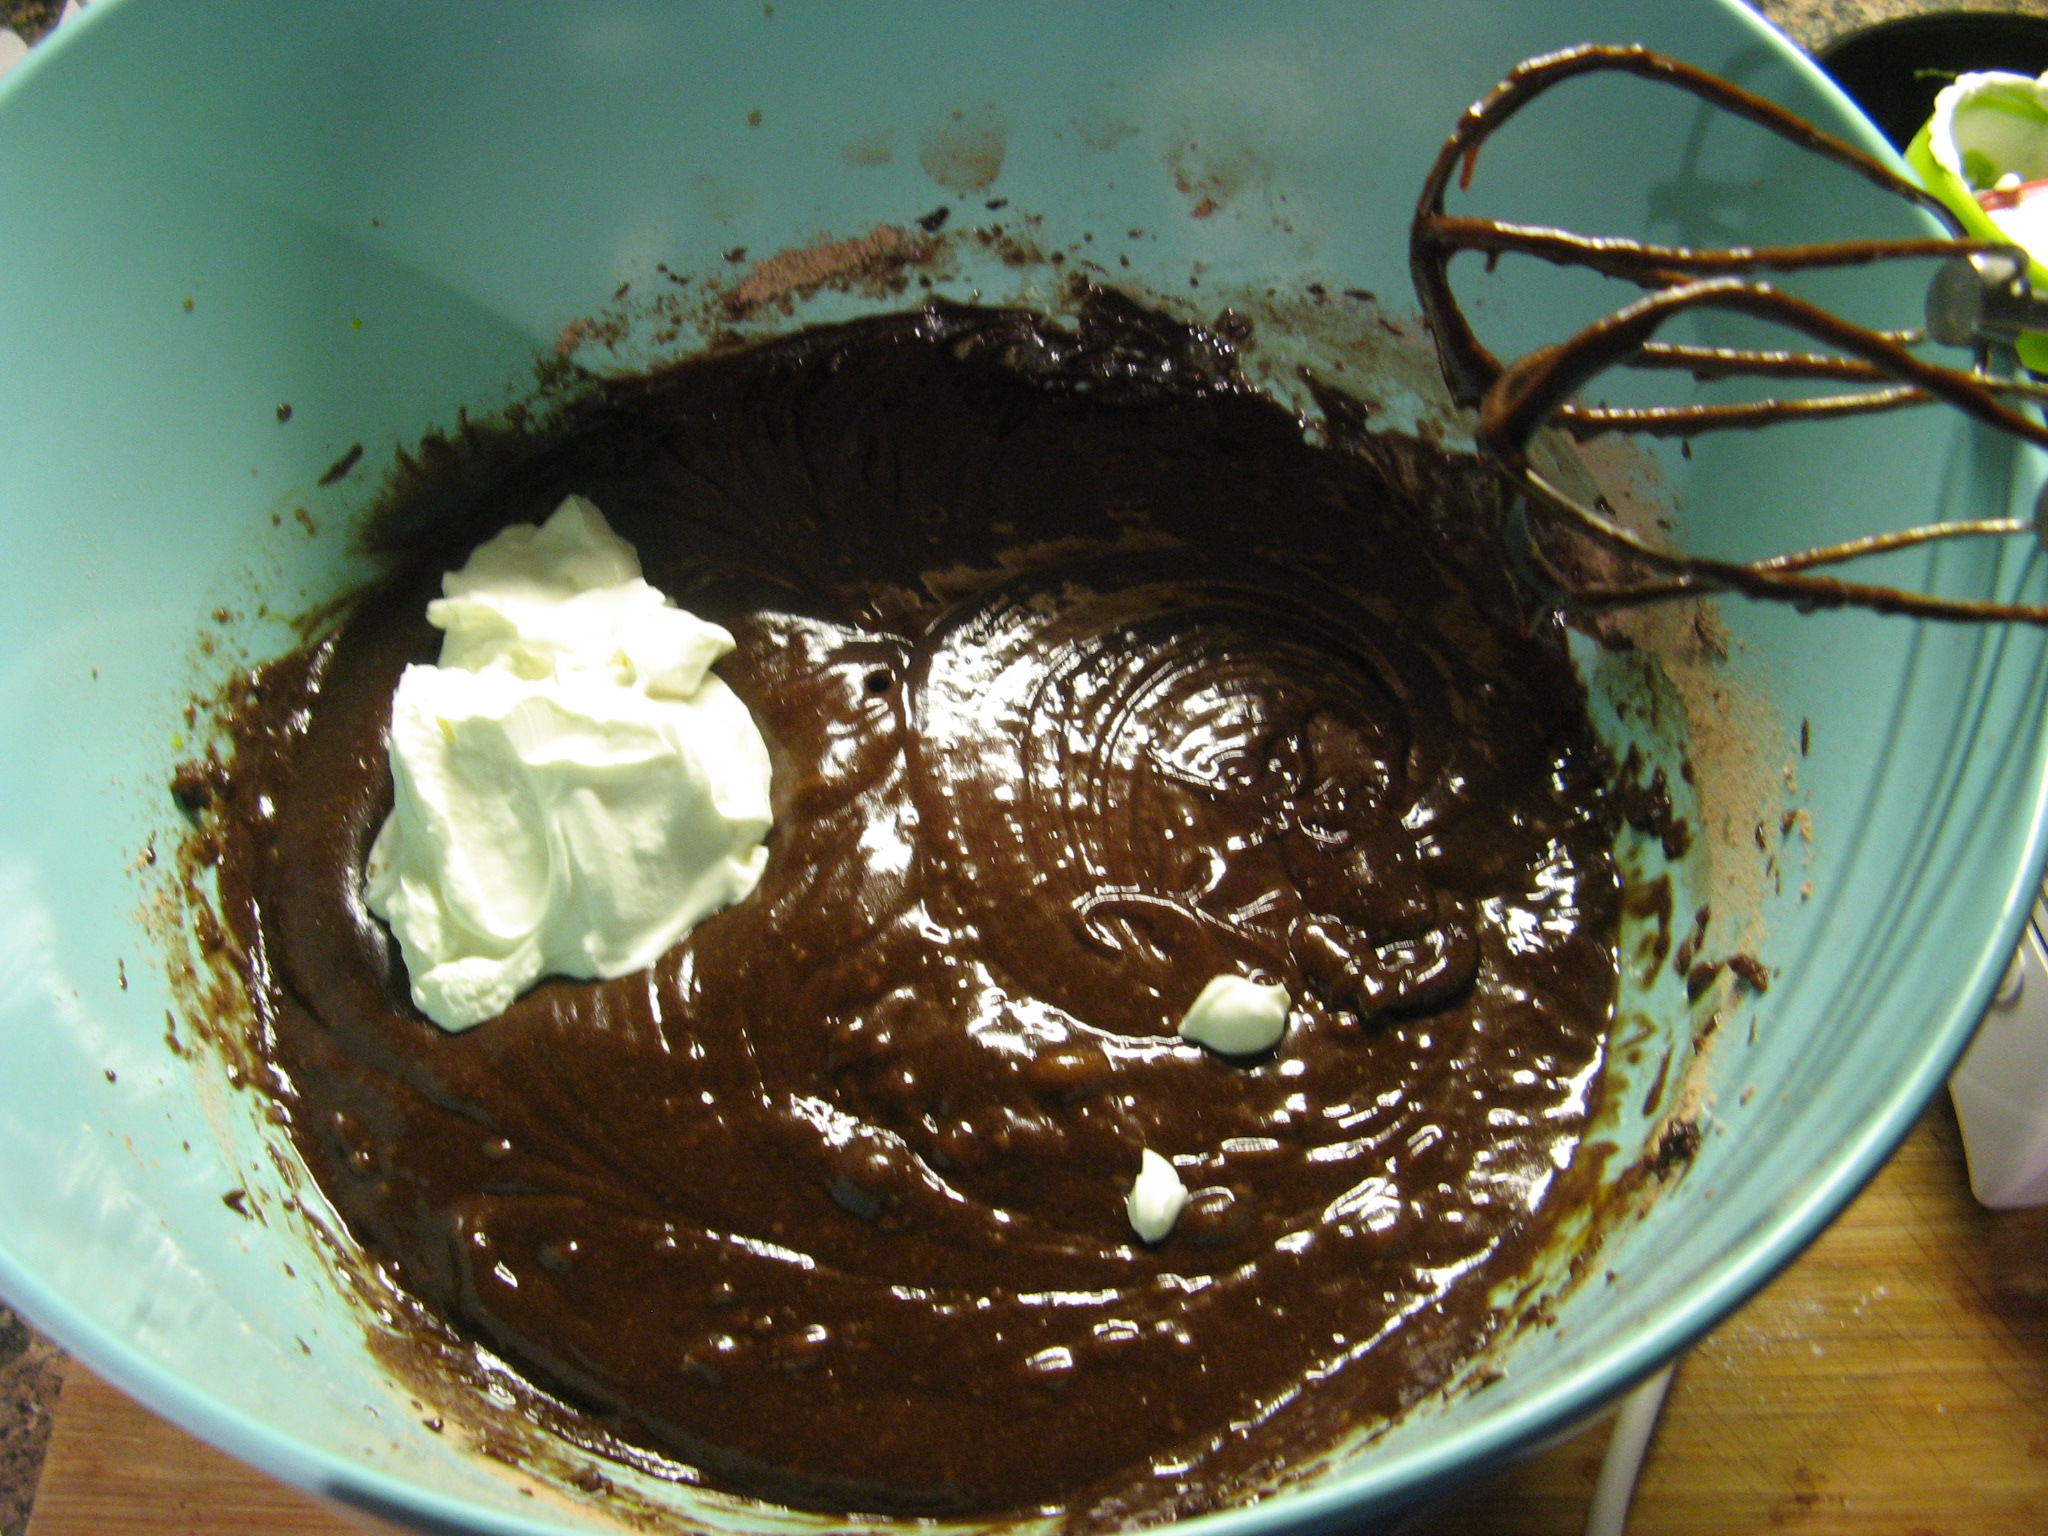
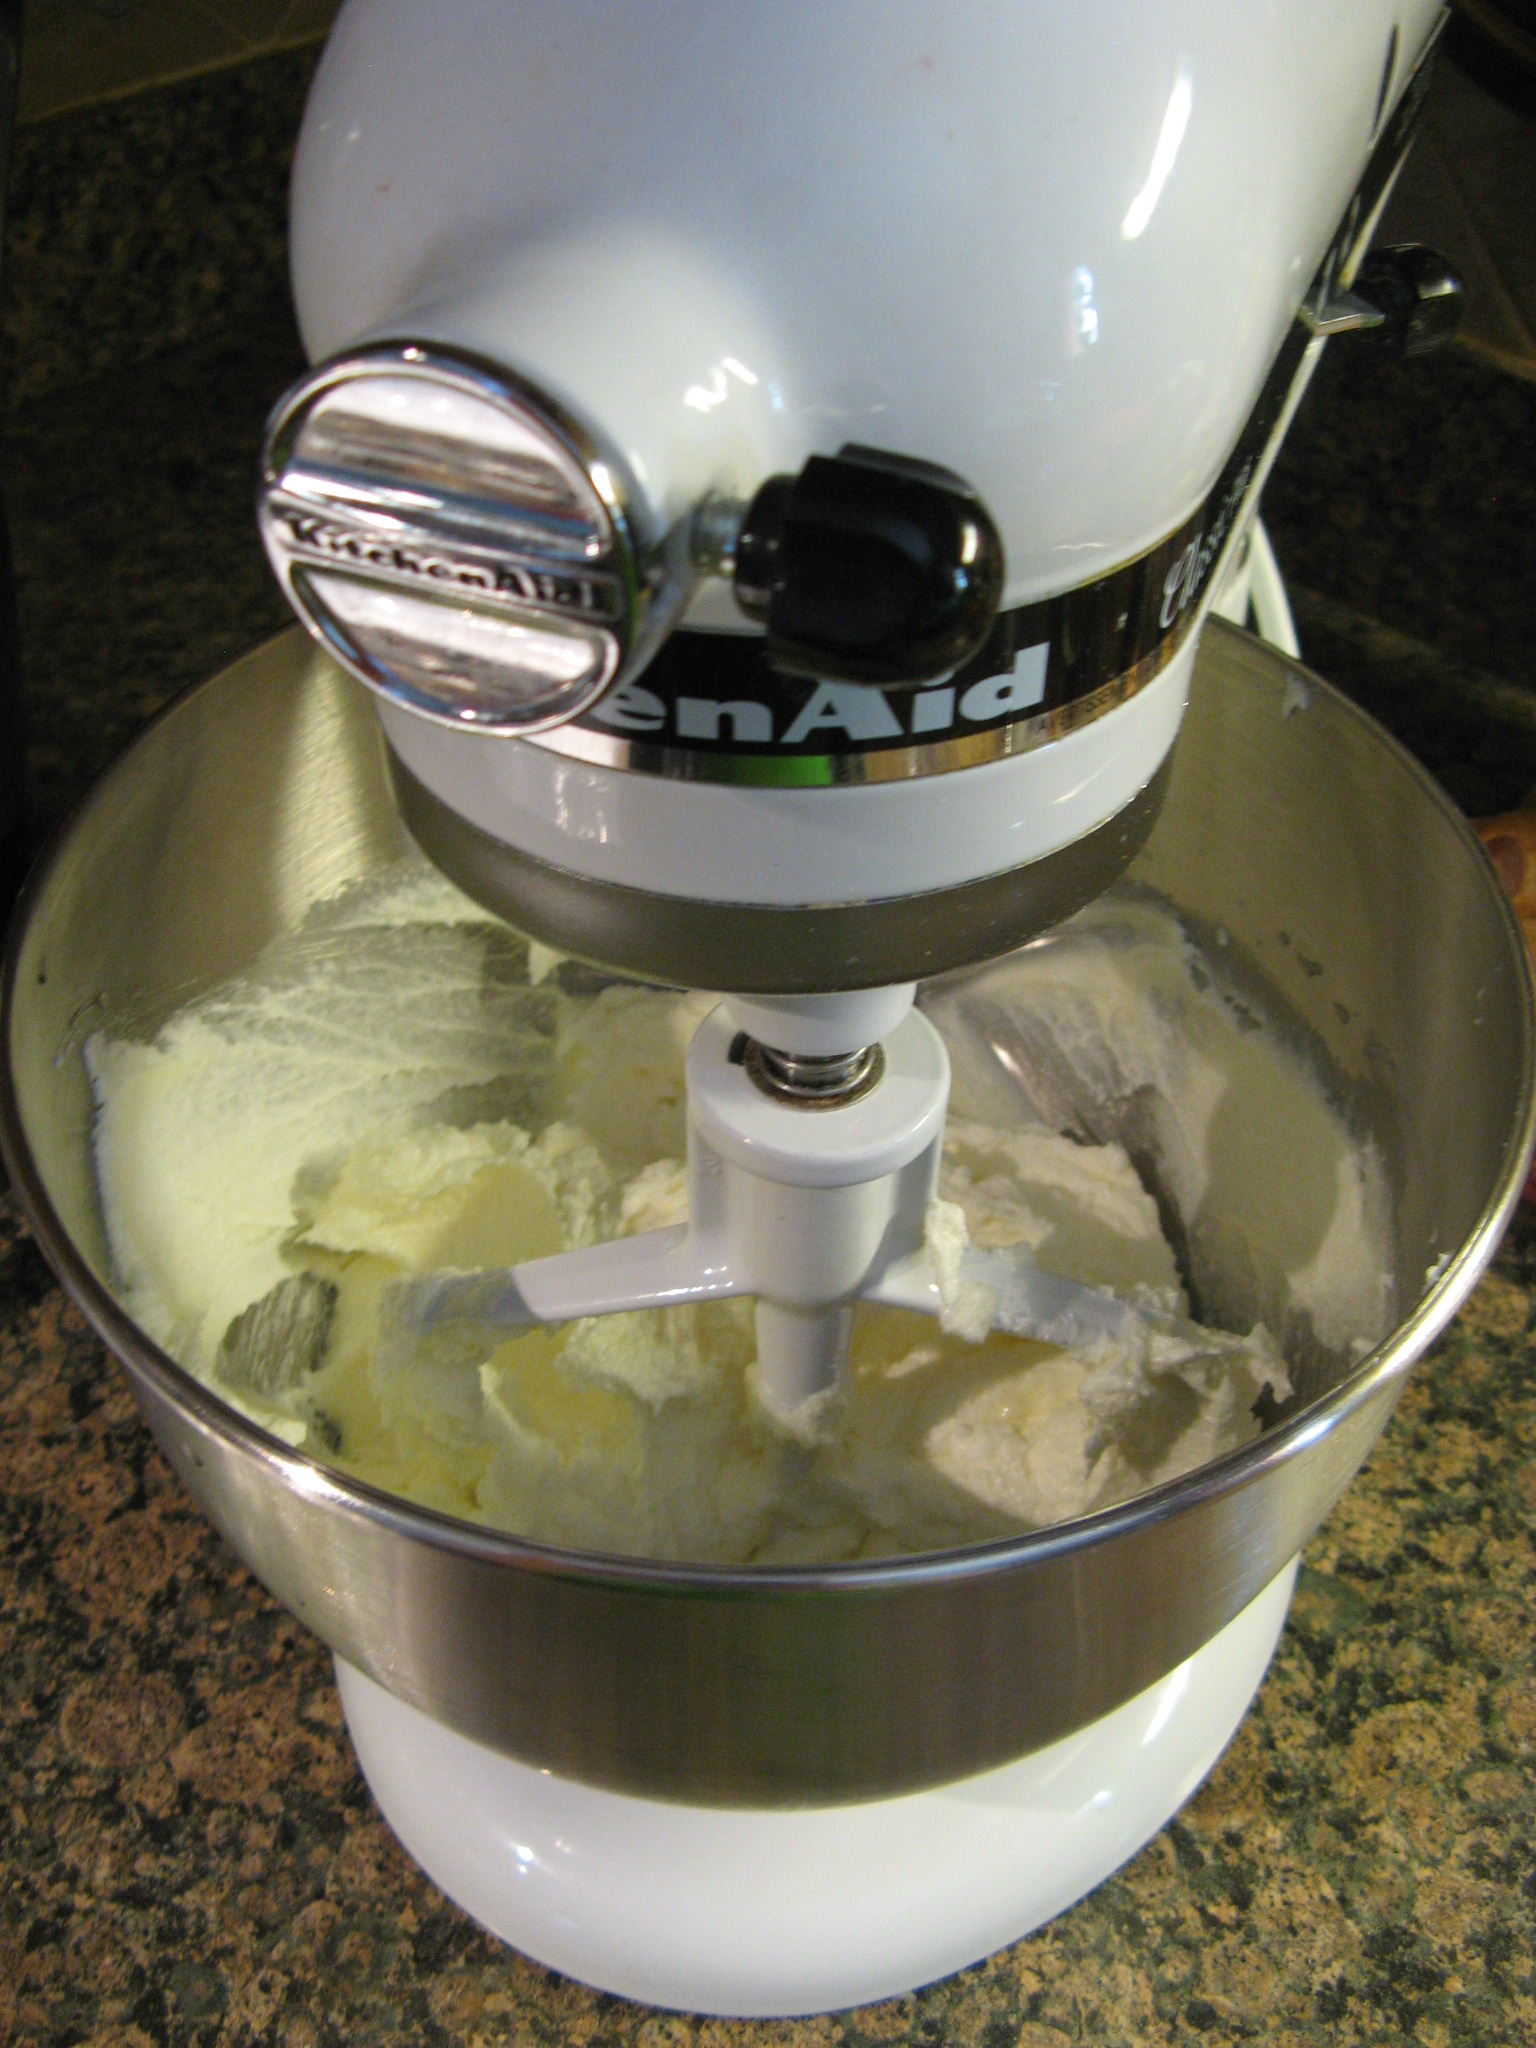
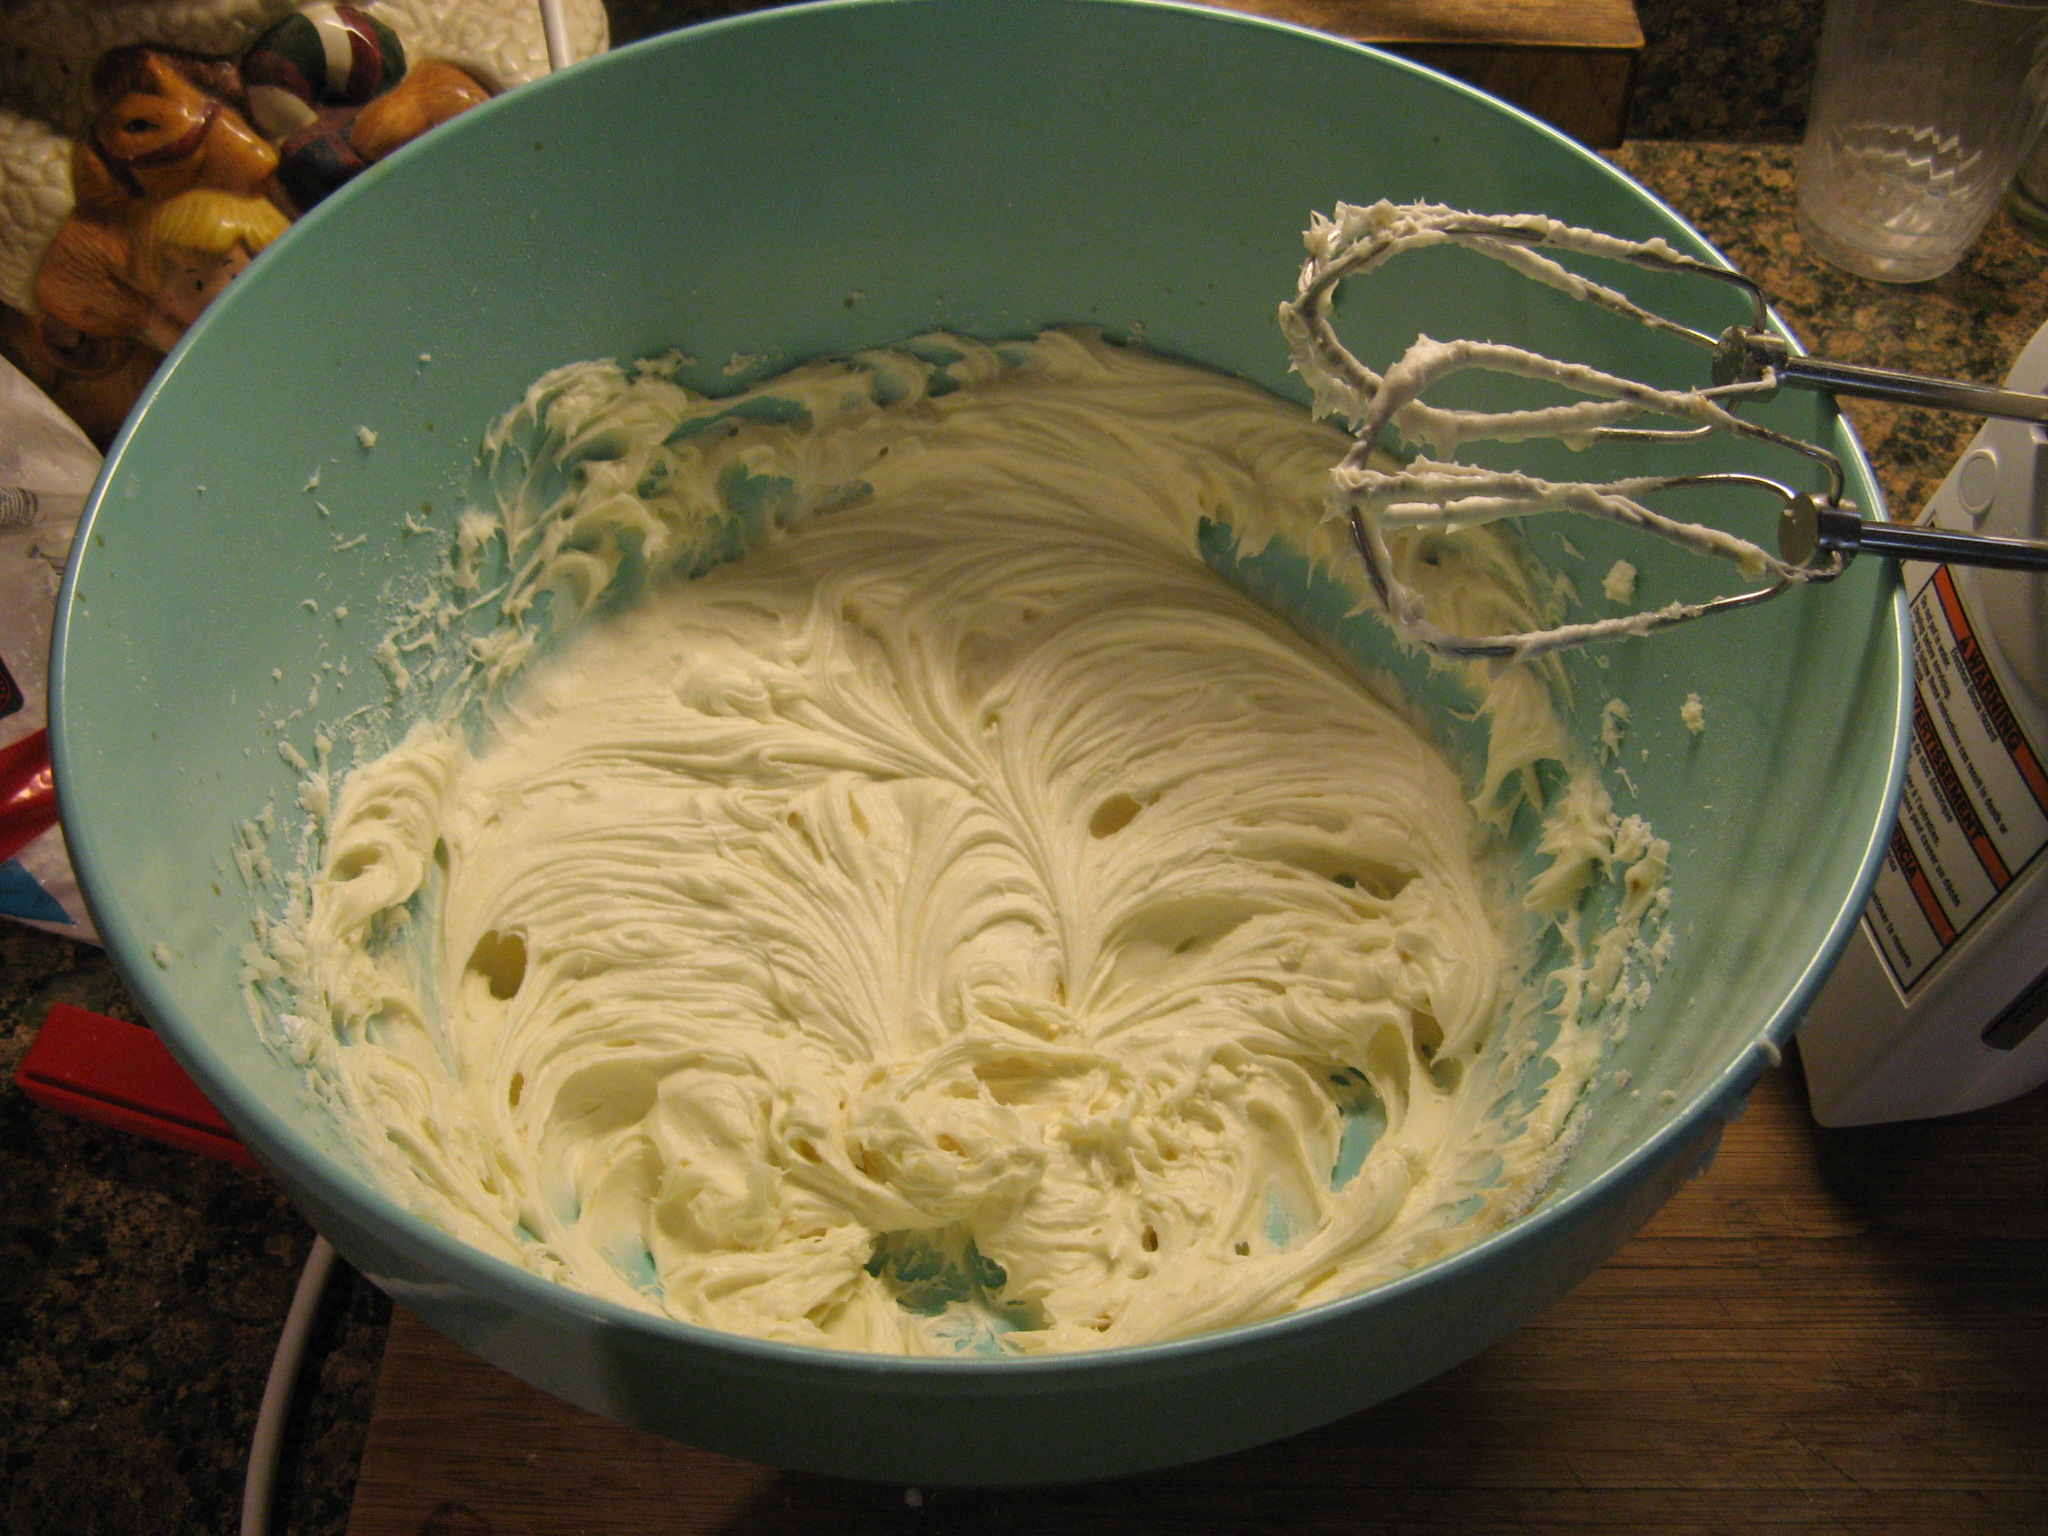
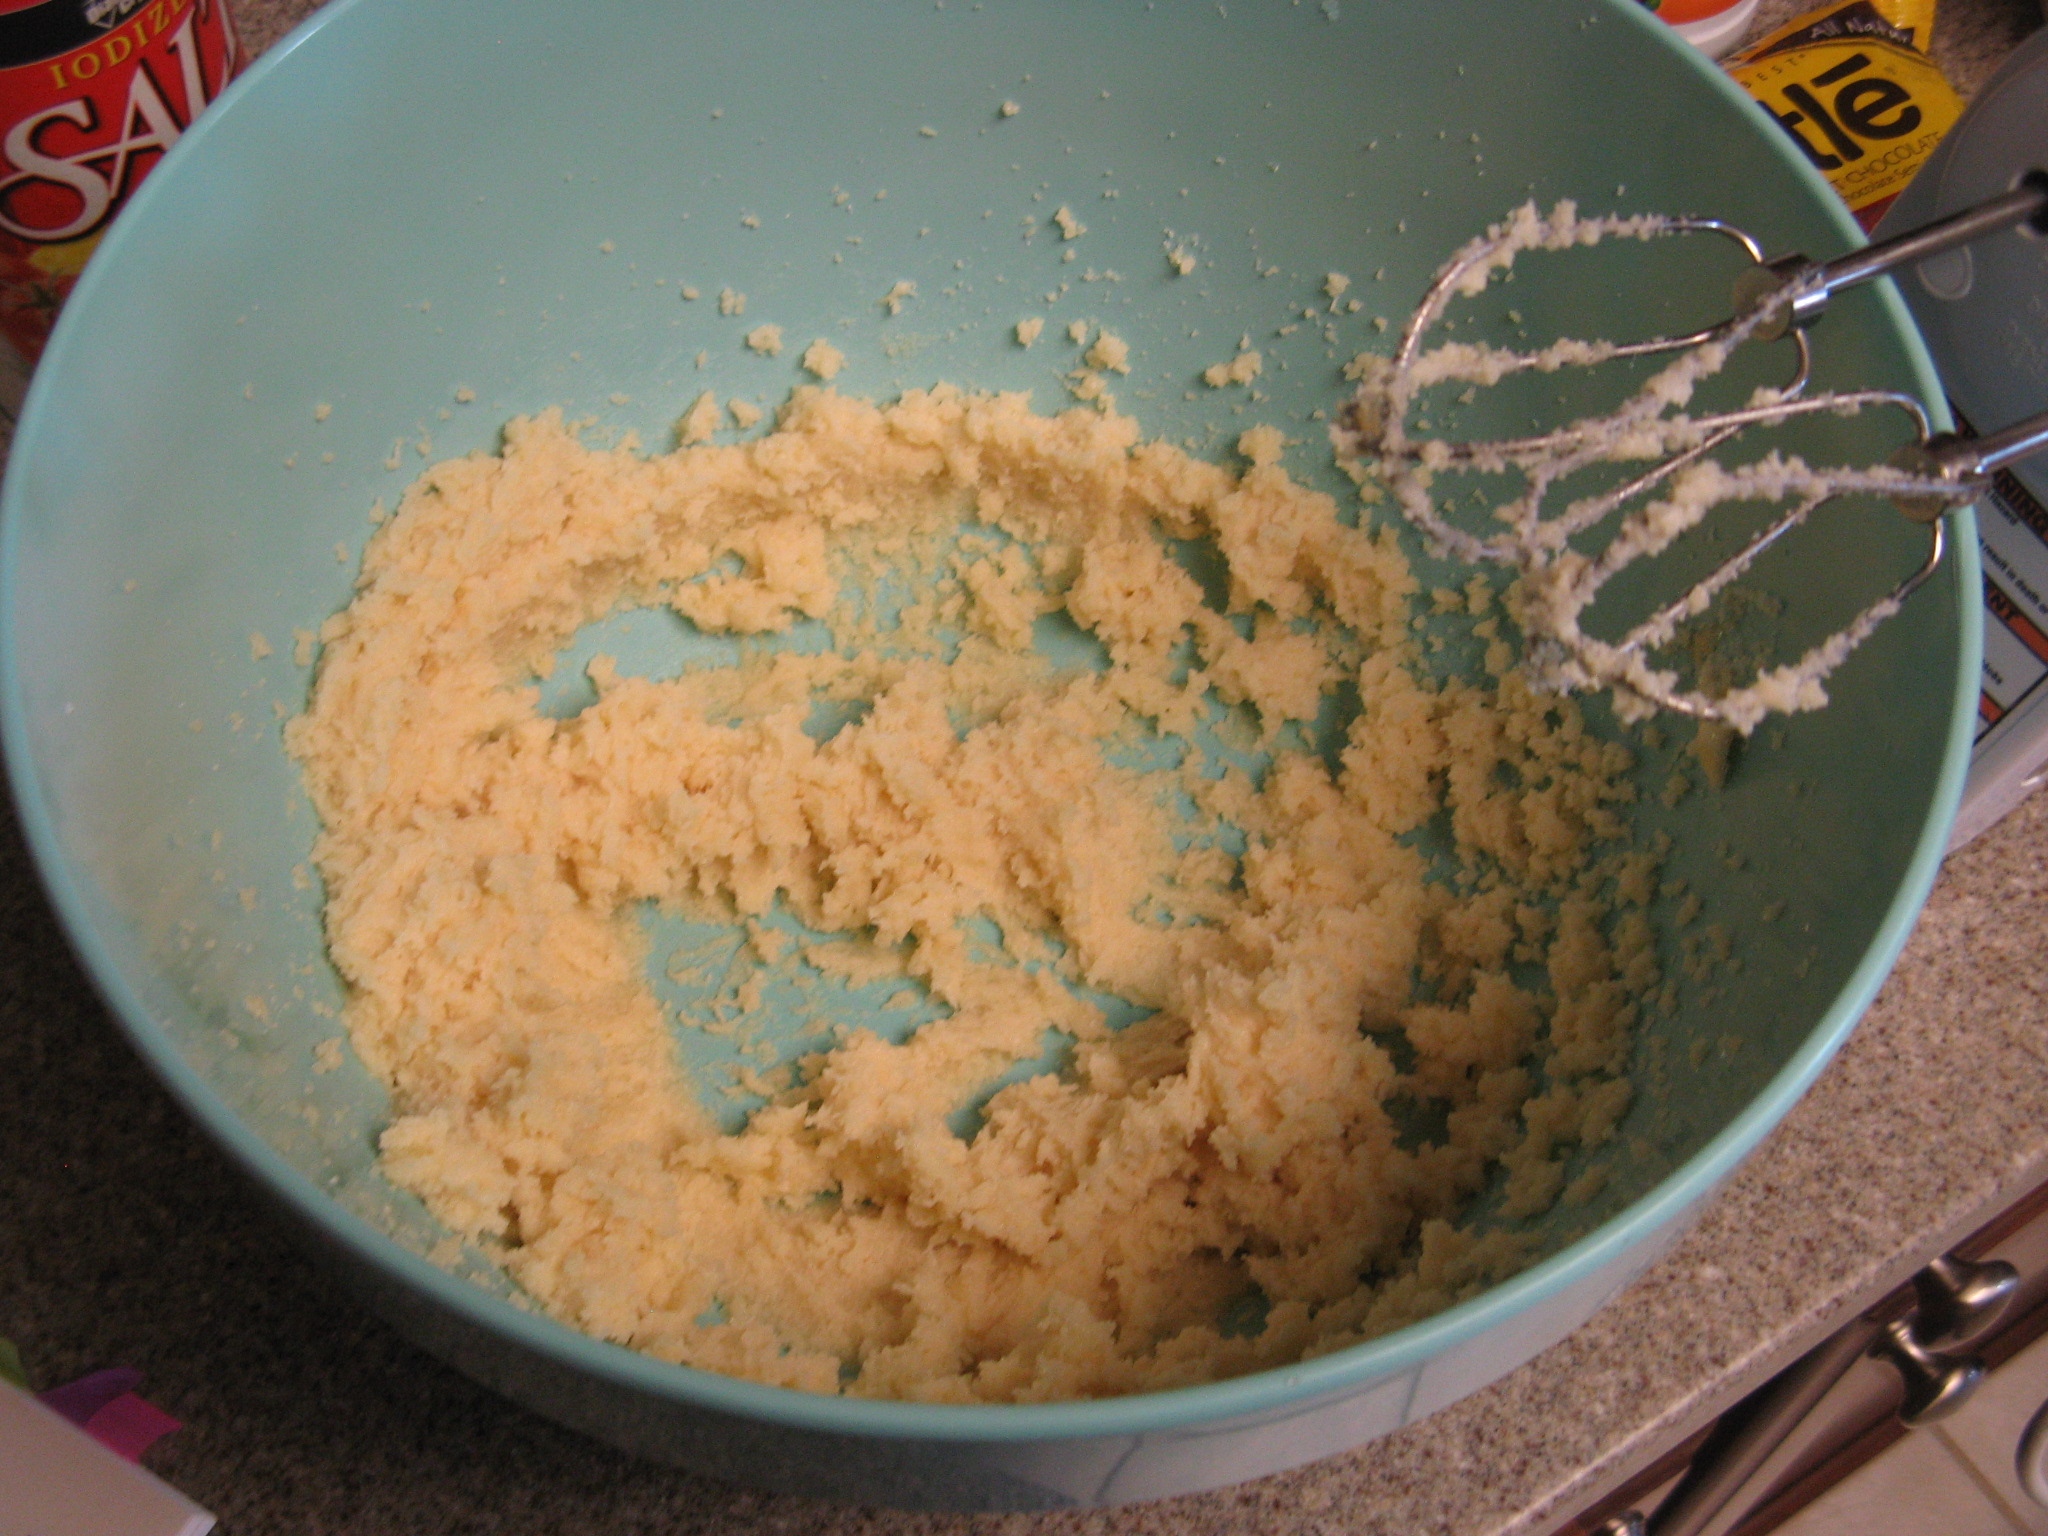
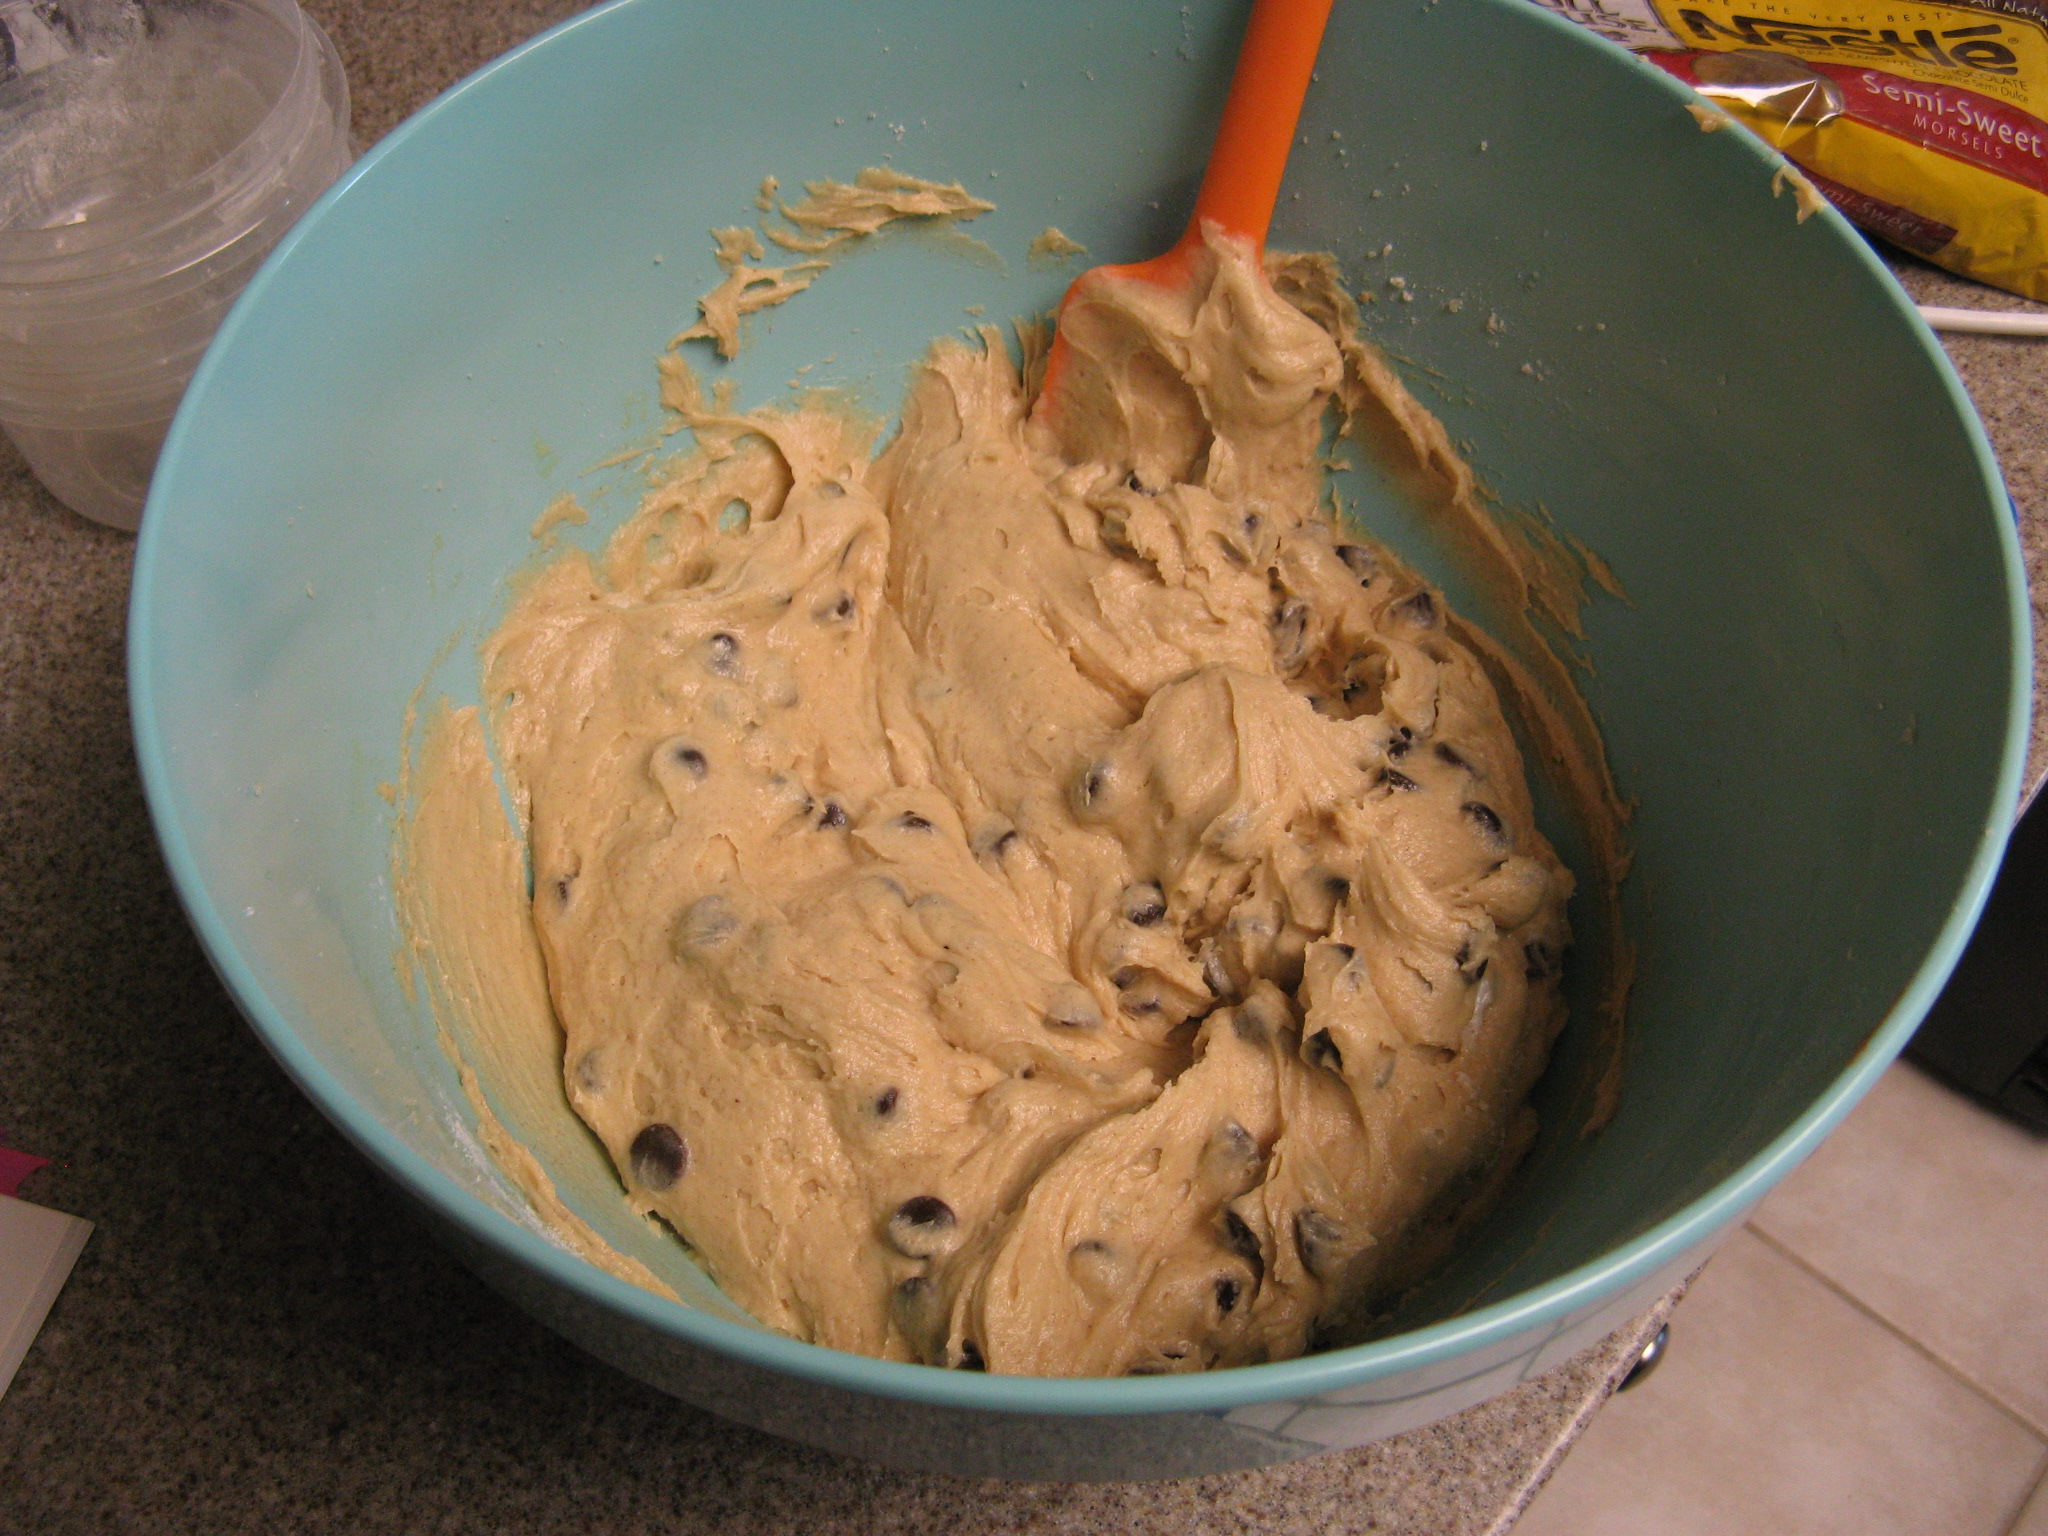
I started by beating the butter and sugar together on a high speed until the mixture was light and fluffy.

IMG_0991

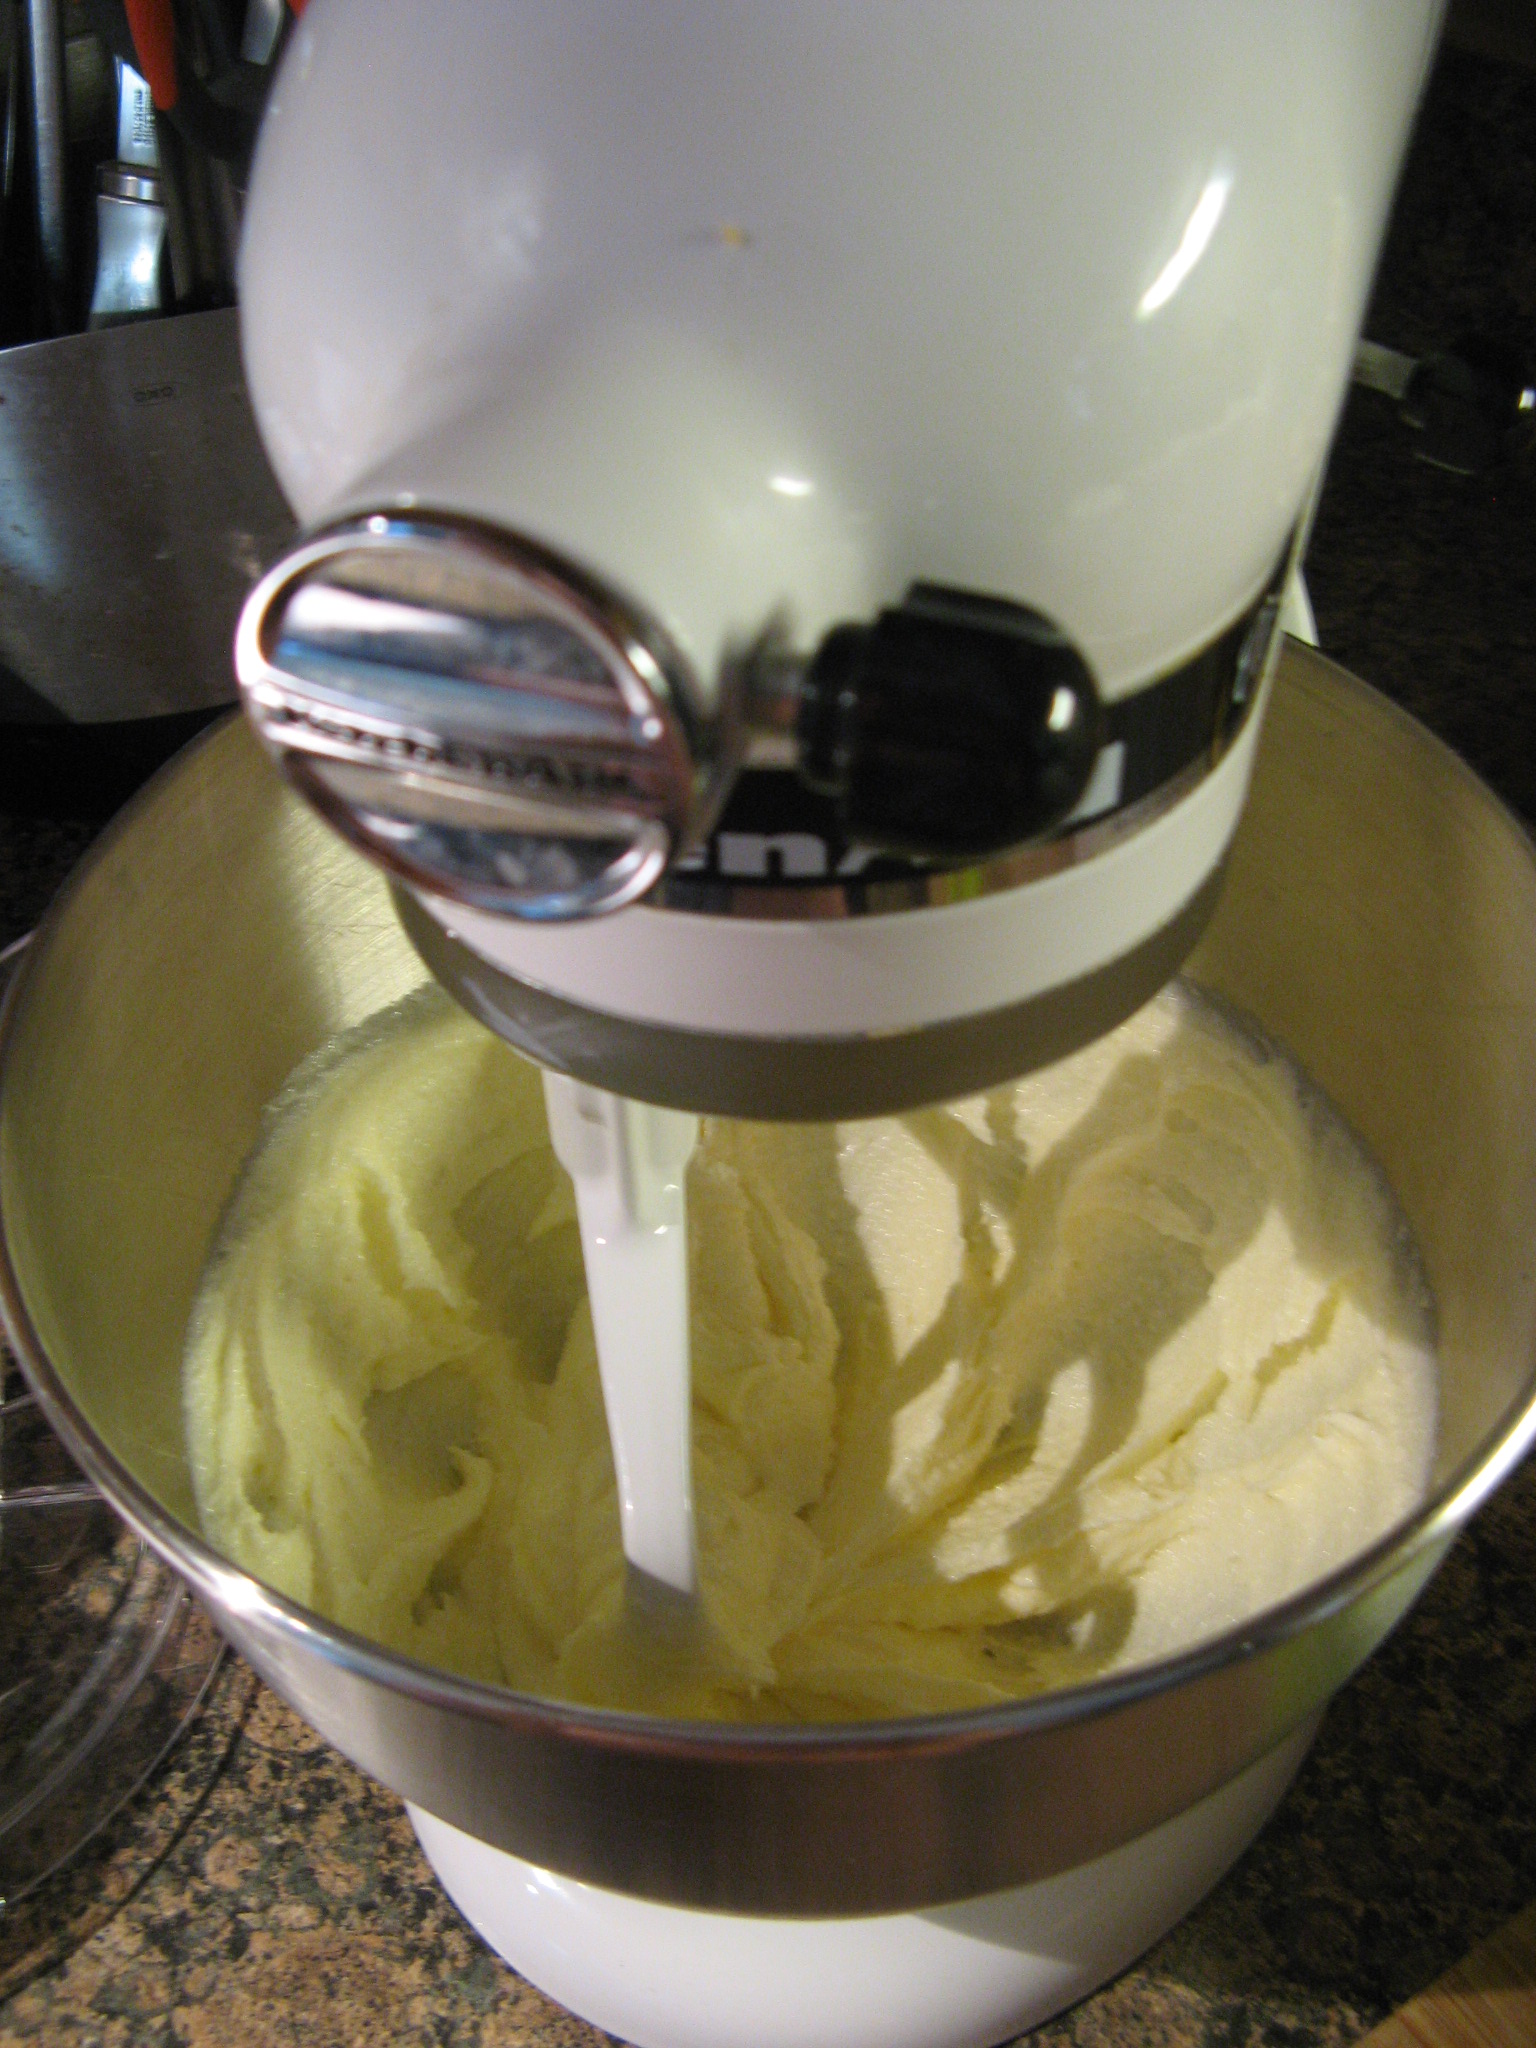
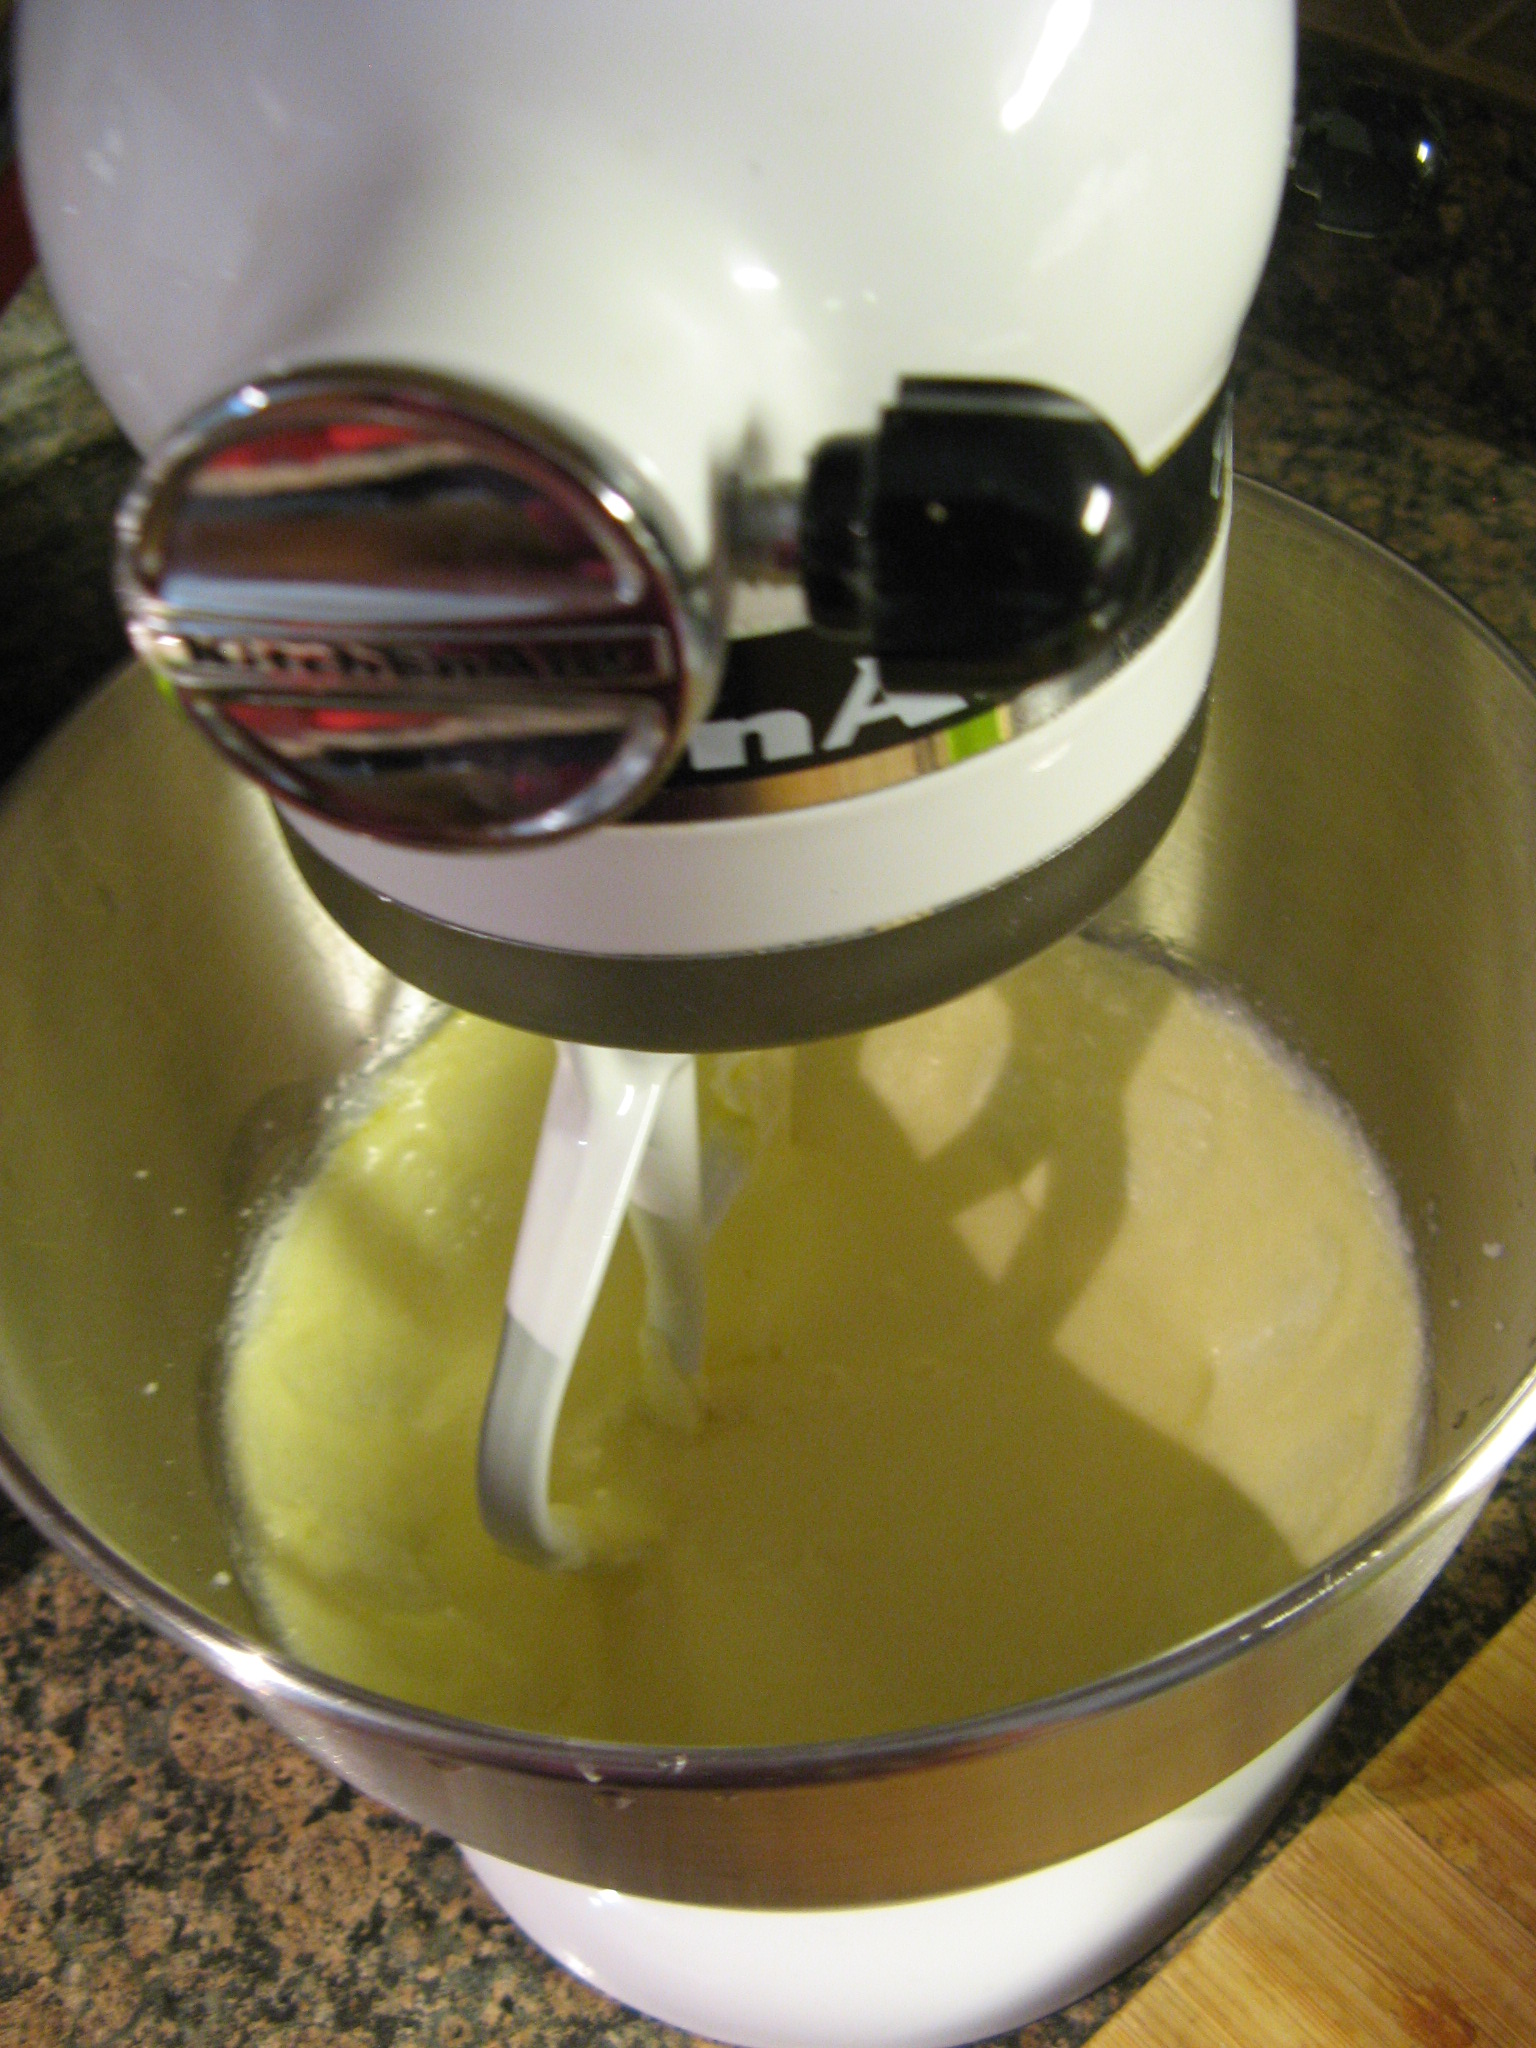
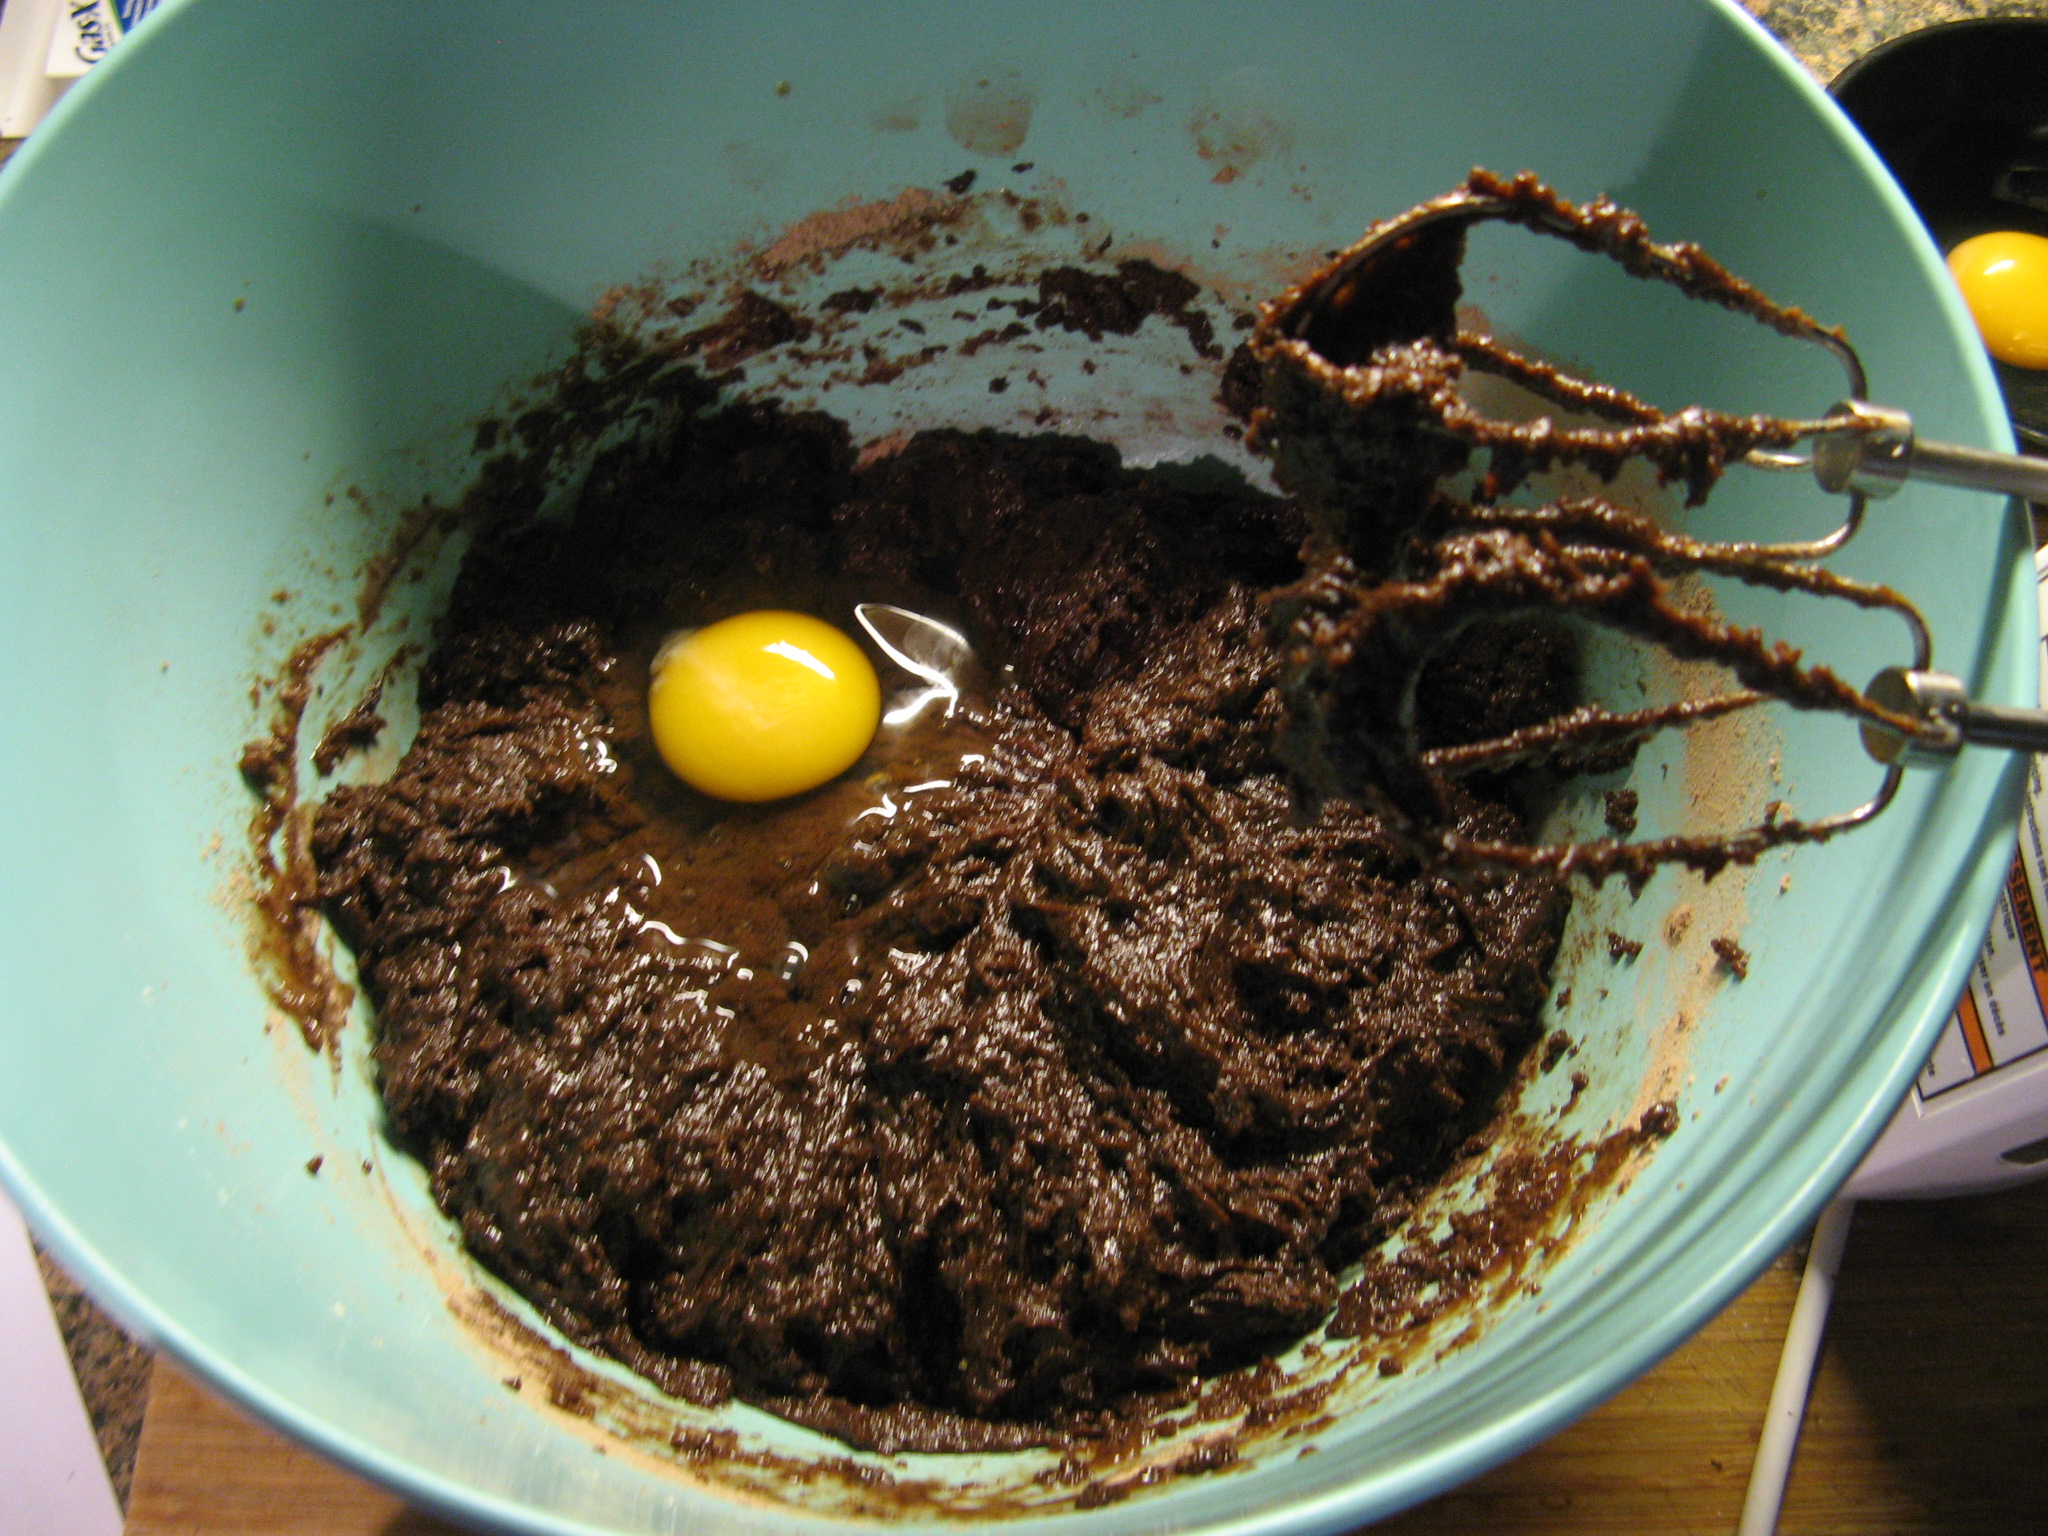
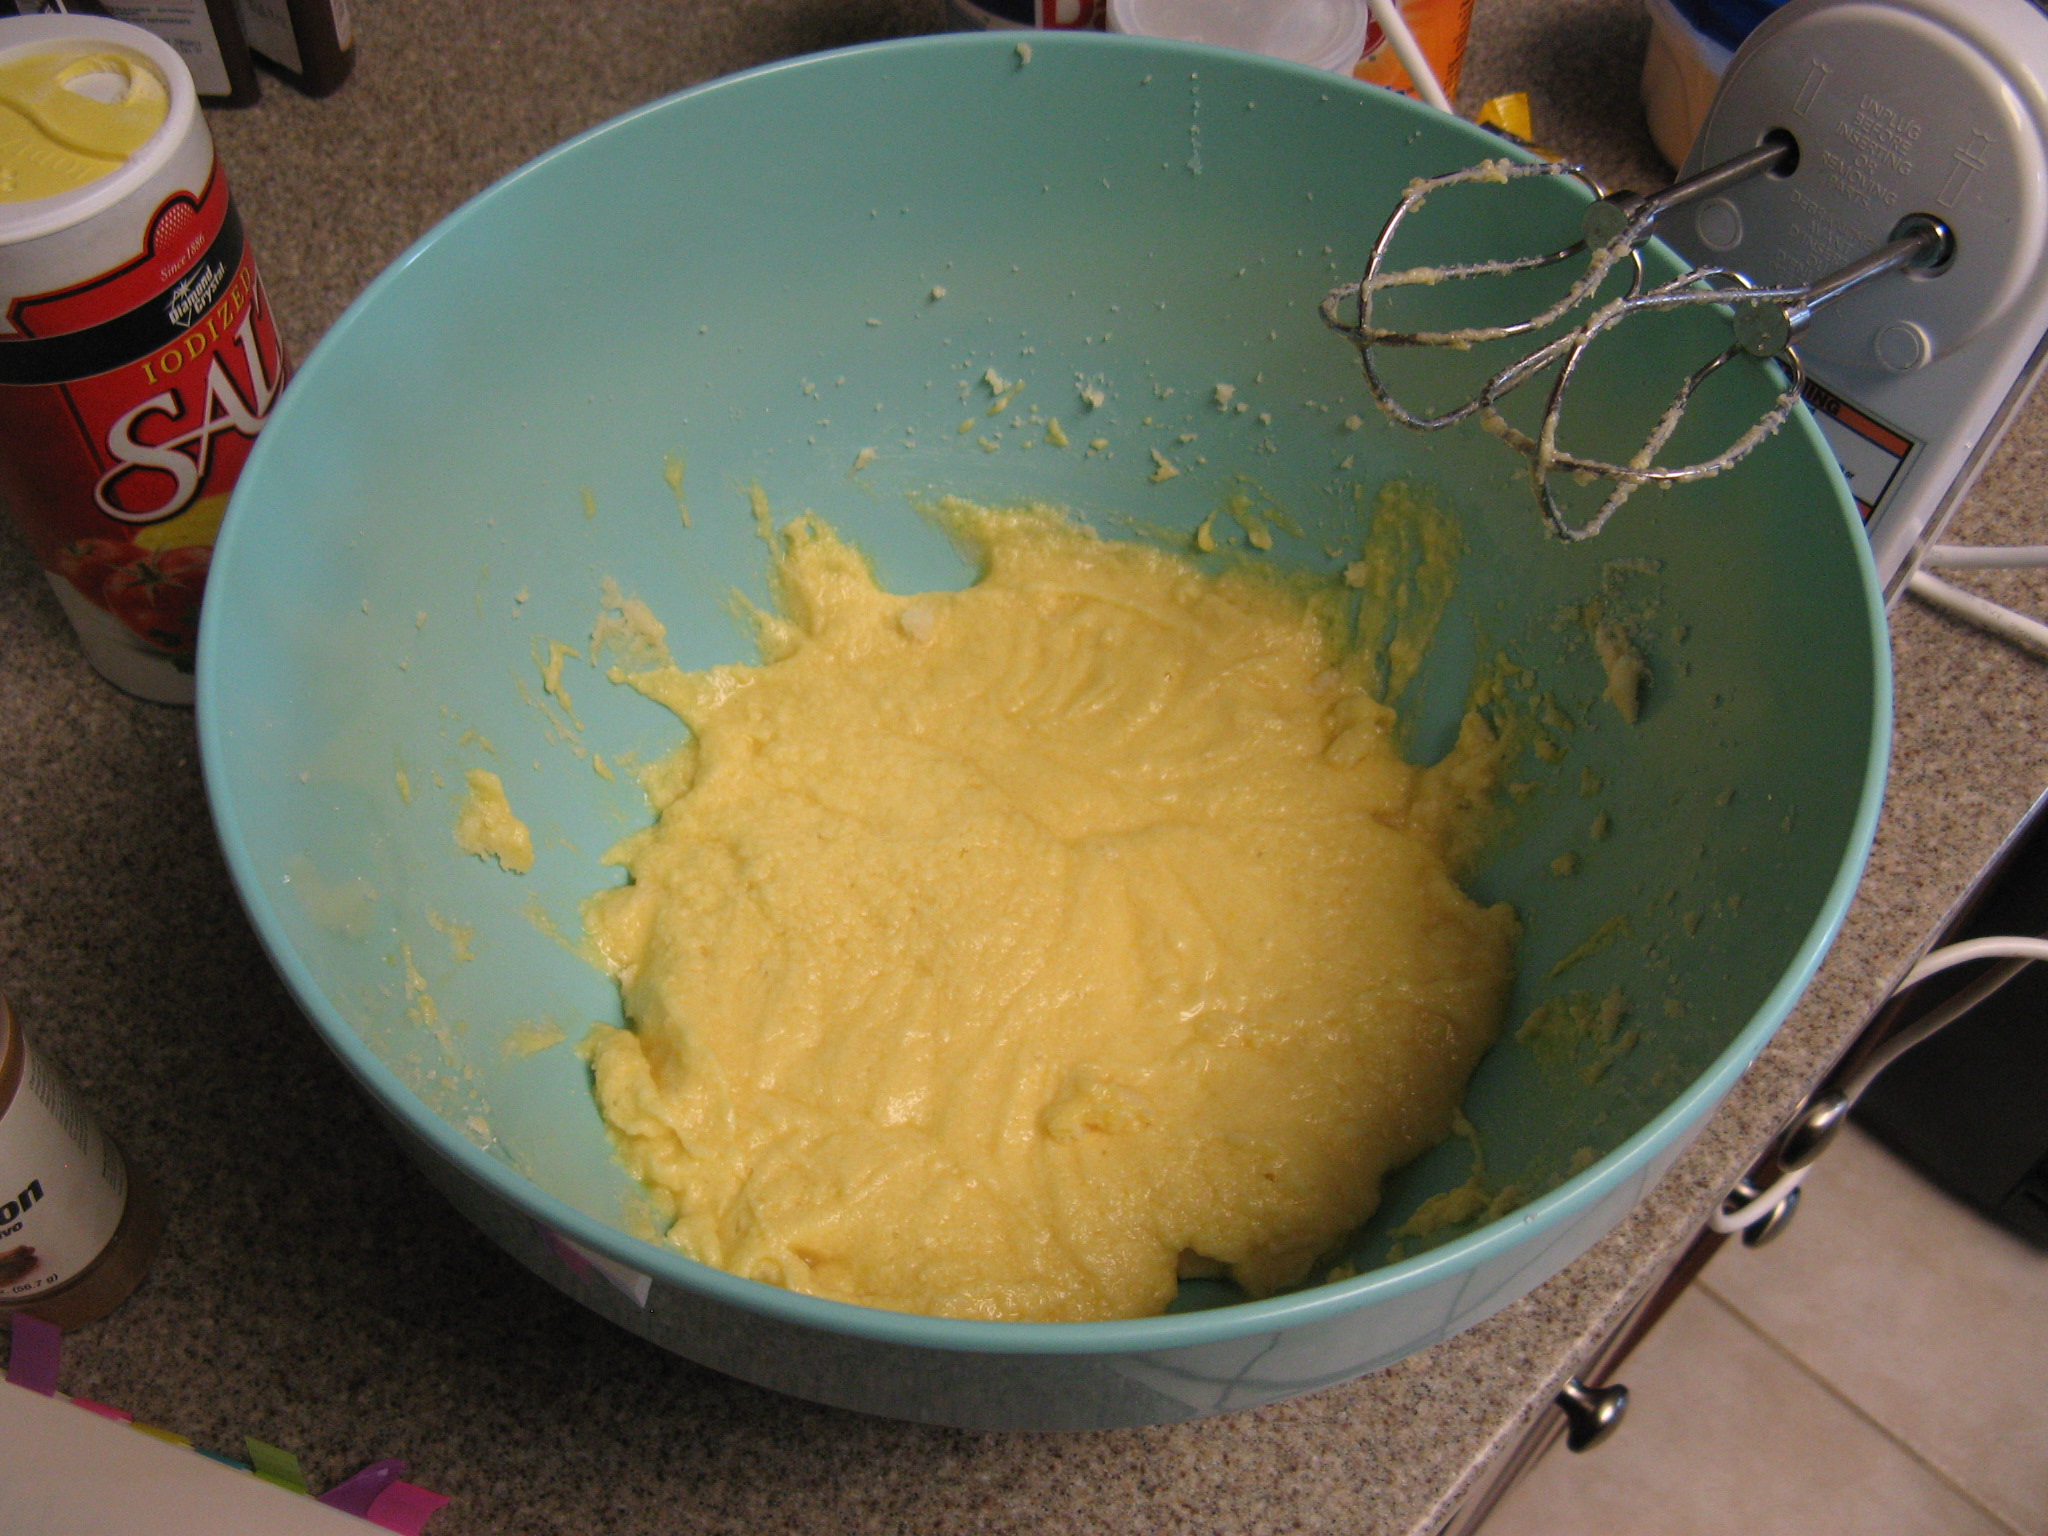
Following that I added in each of the eggs one at a time.

IMG_0992

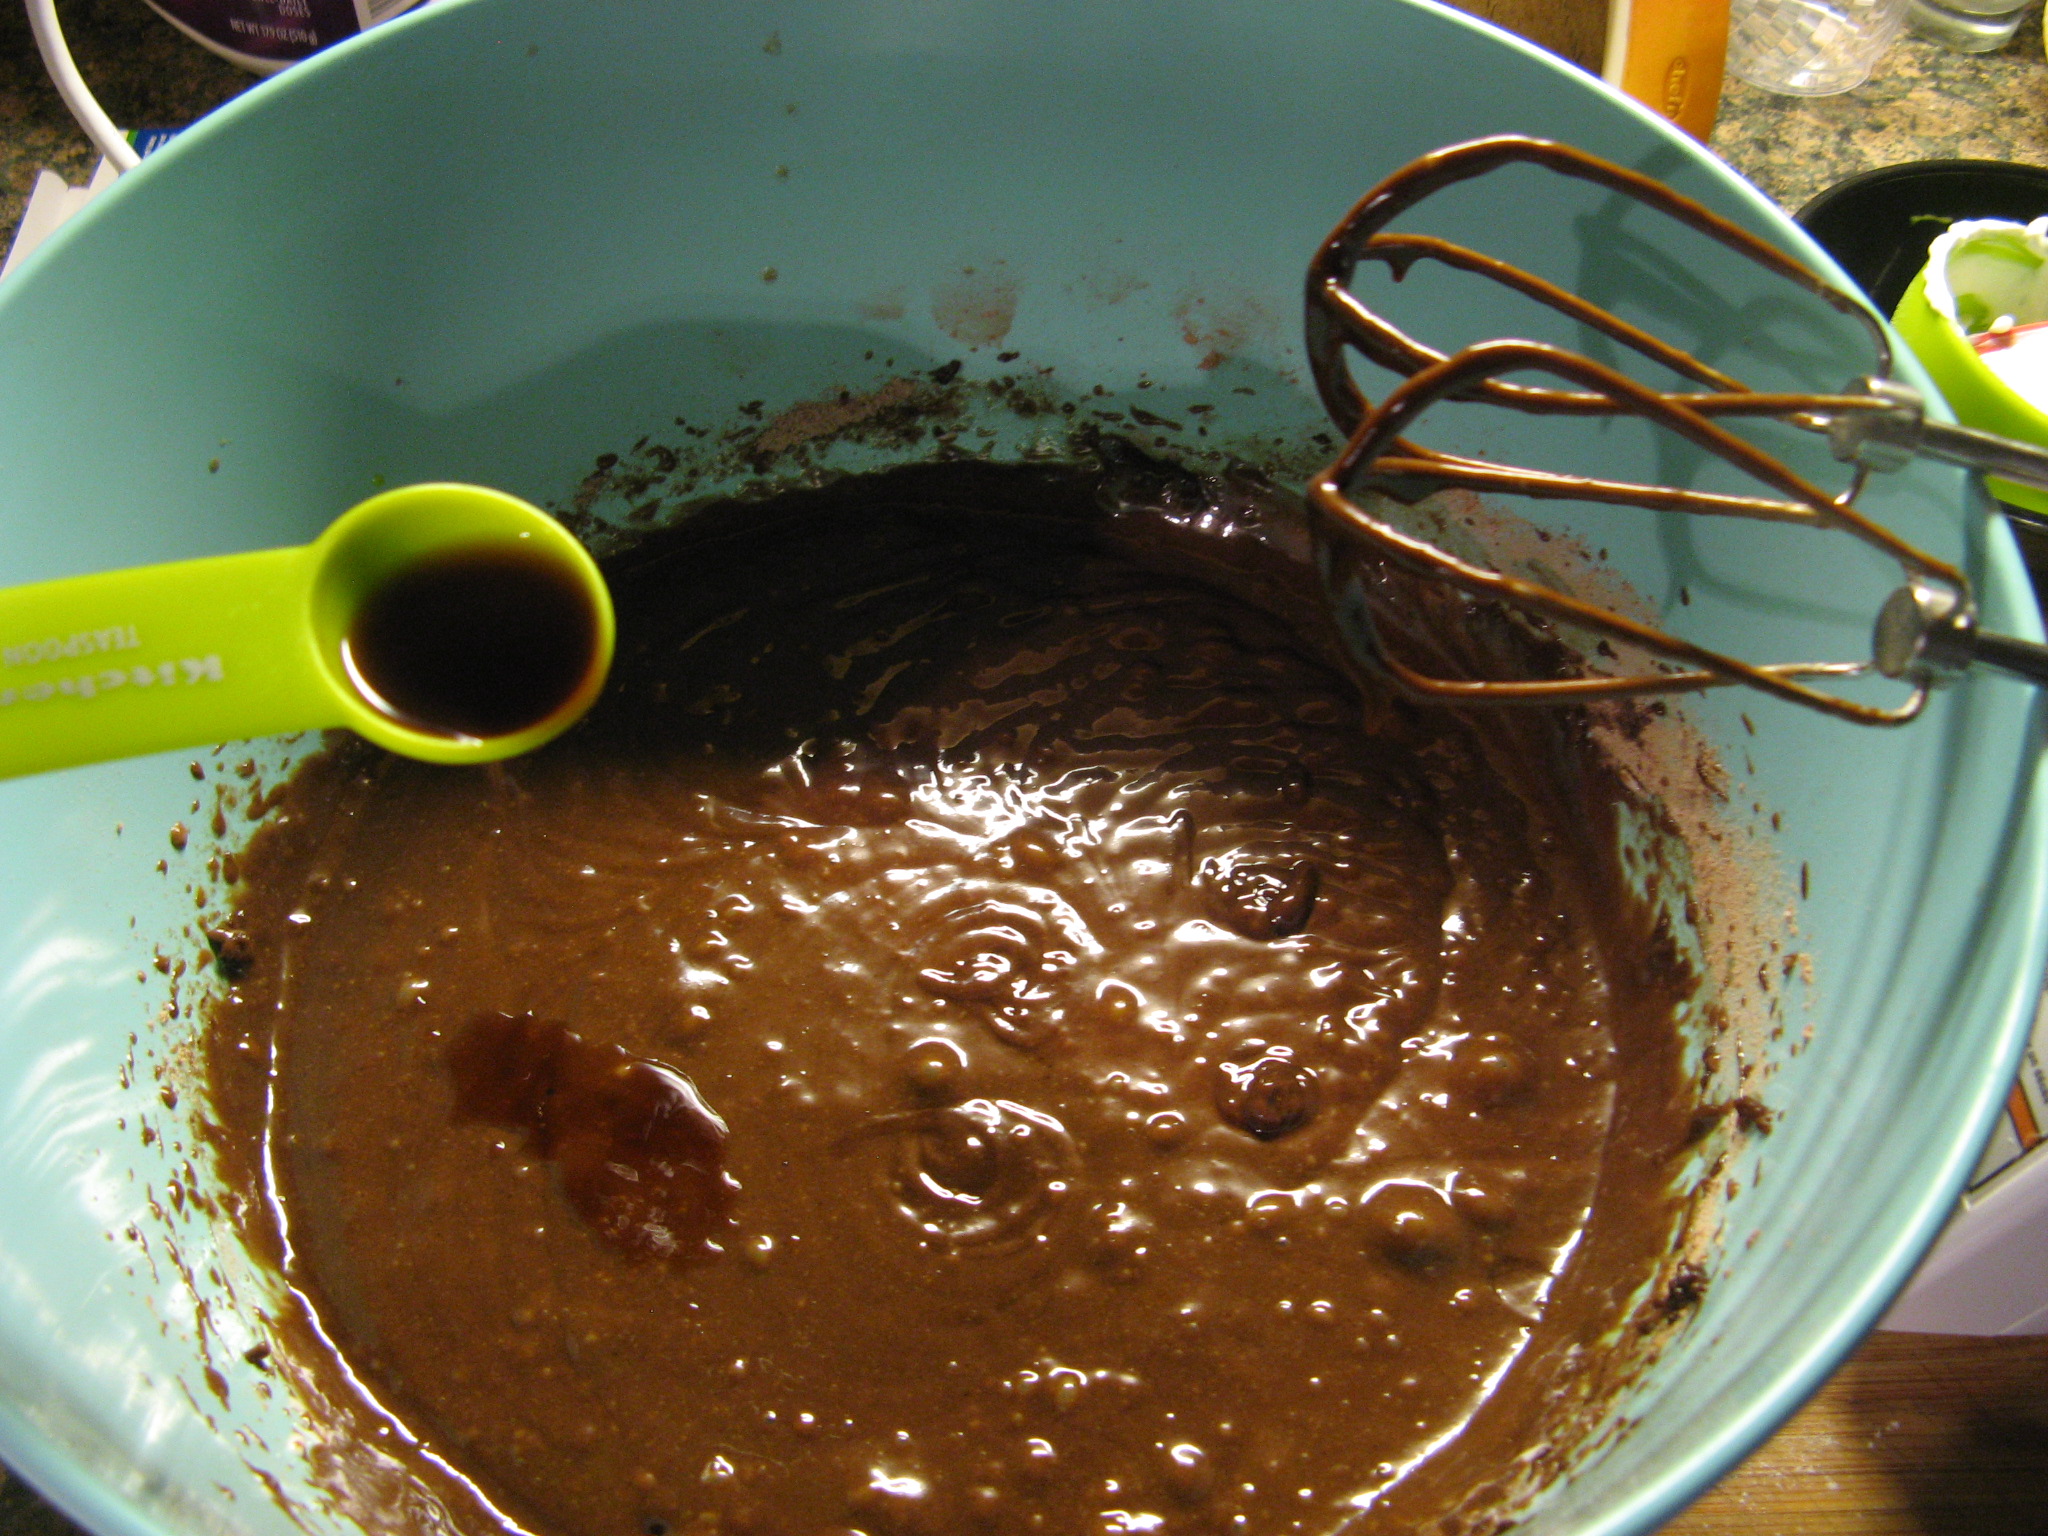
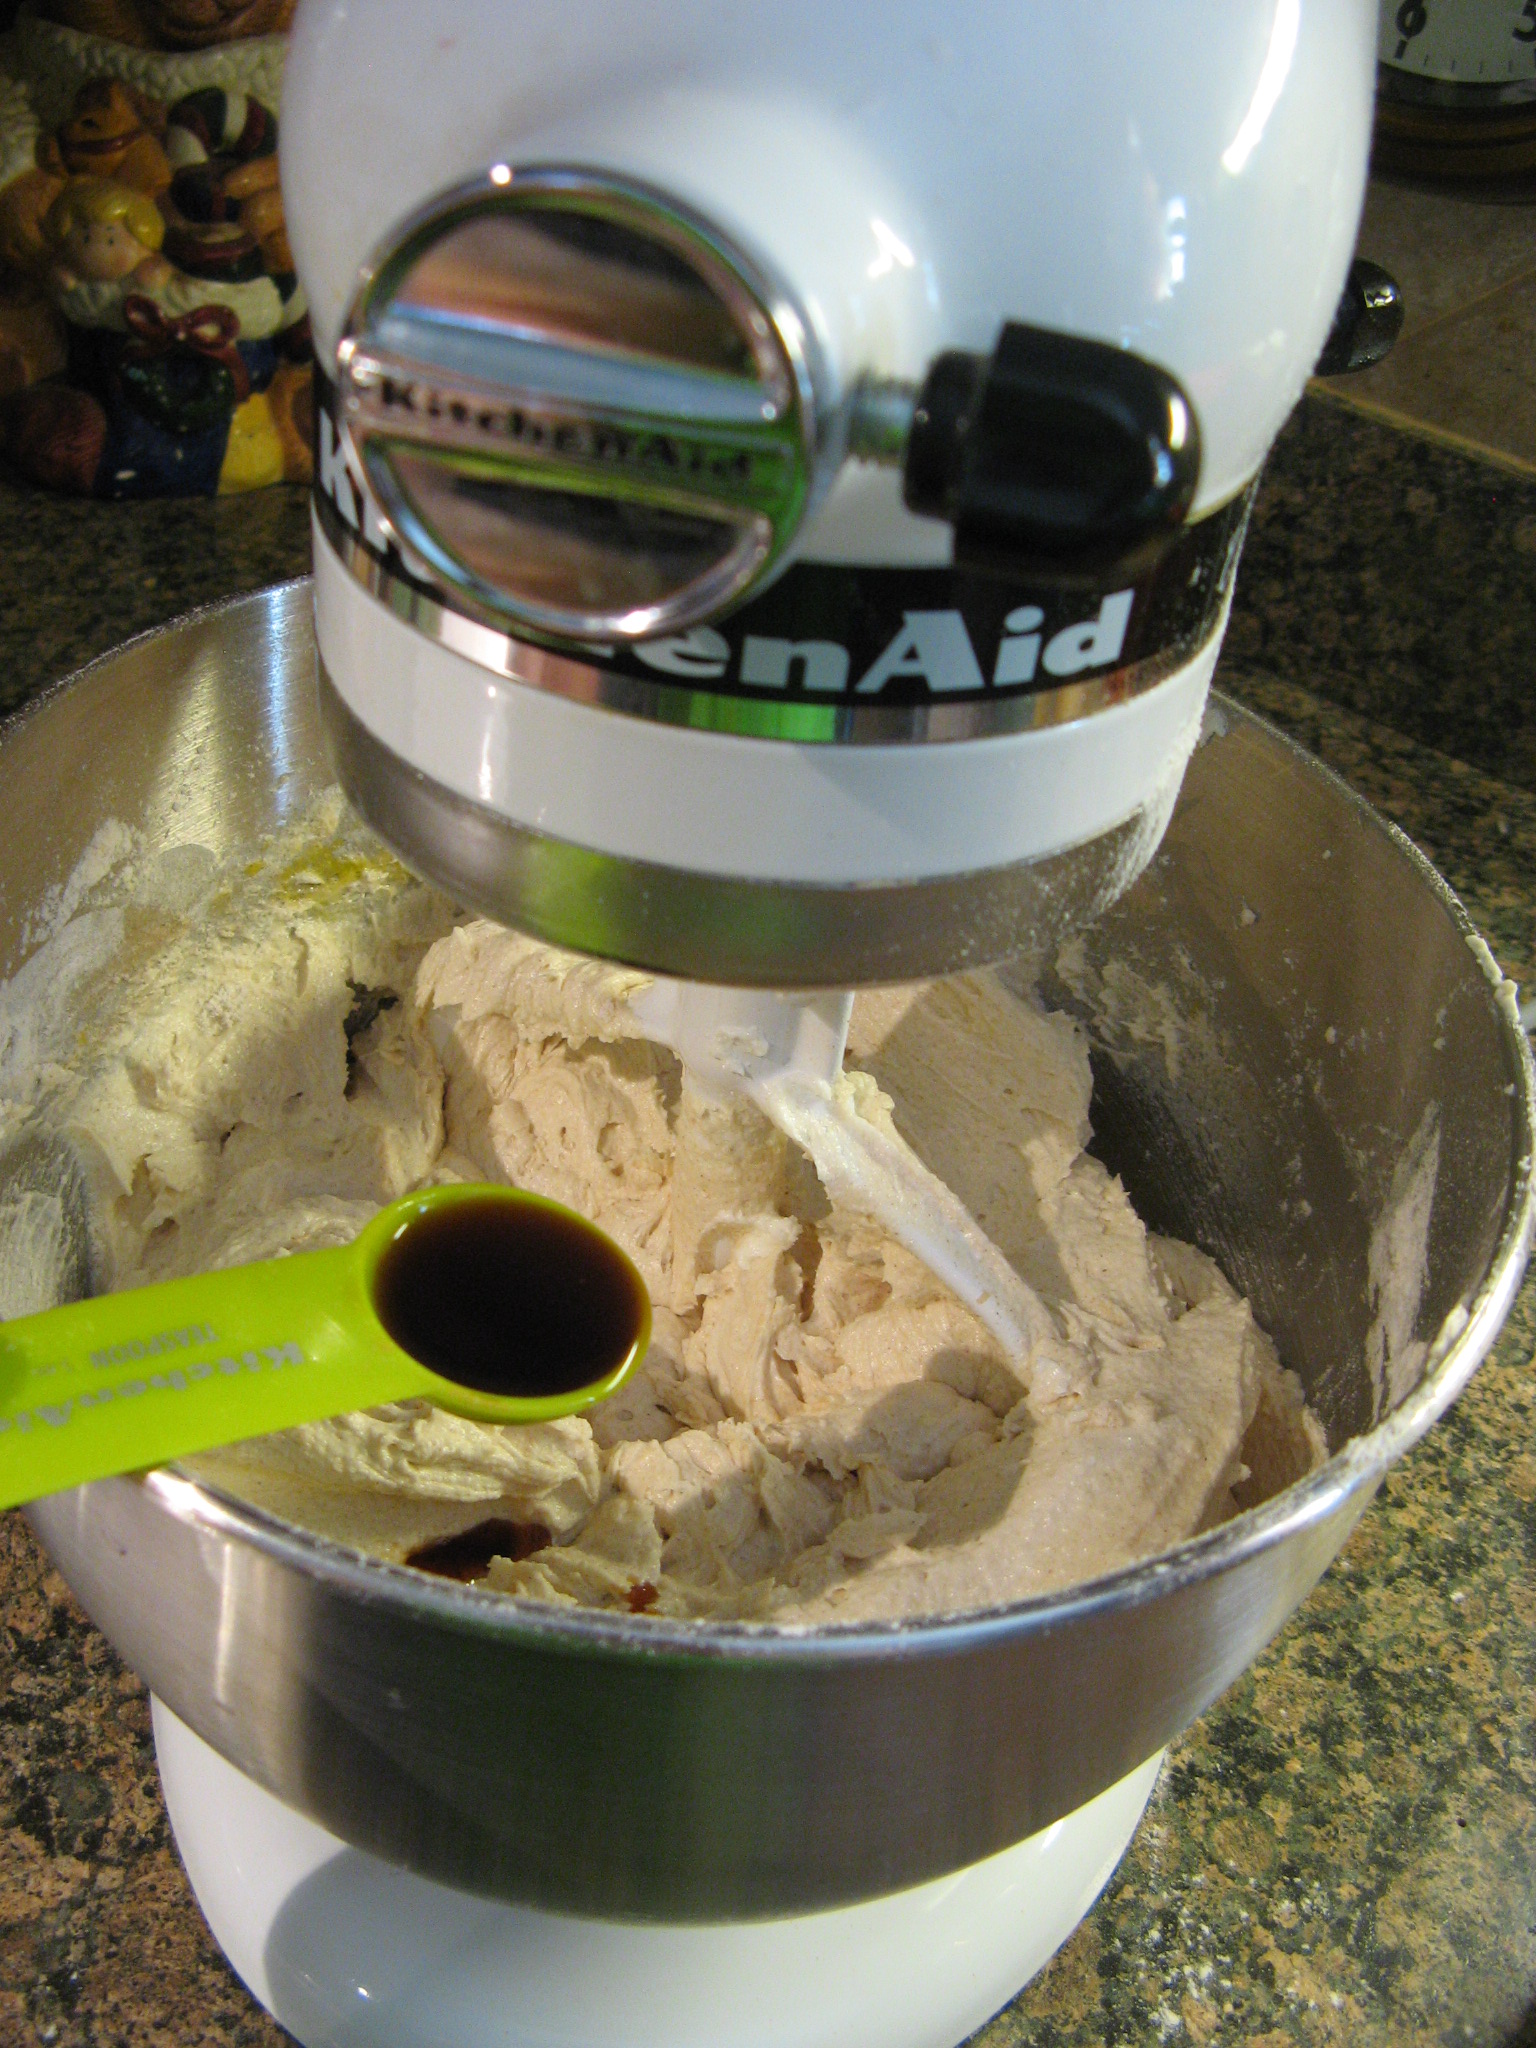
After the four eggs were added and mixed in well I then added in the vanilla extract and salt.

IMG_0993

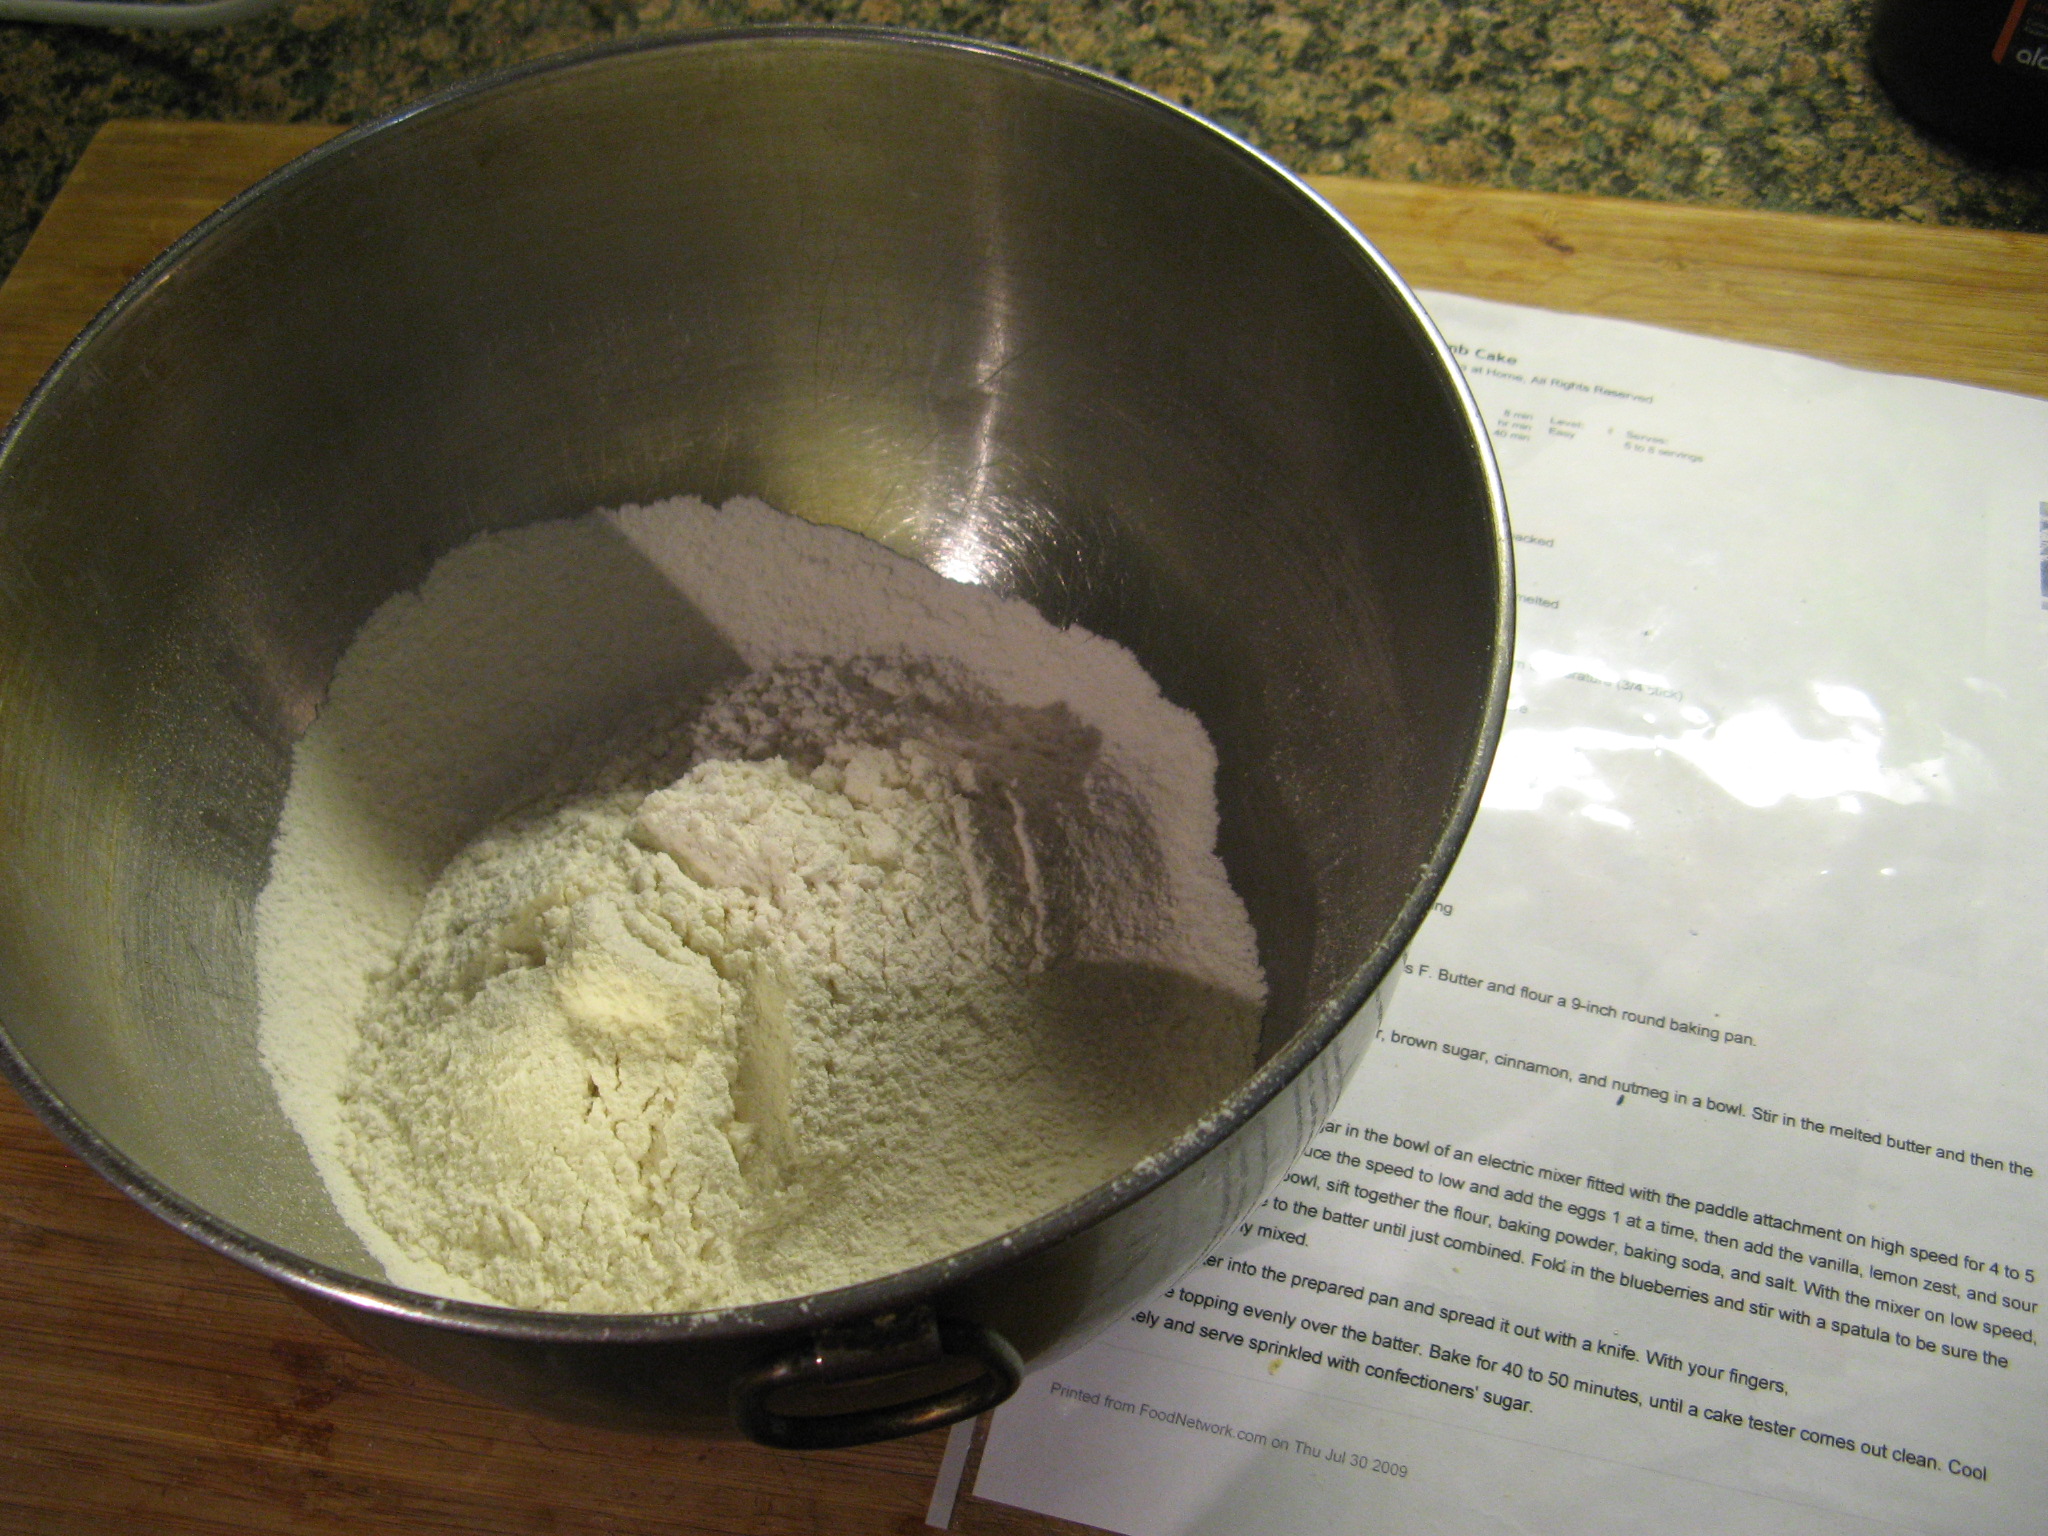
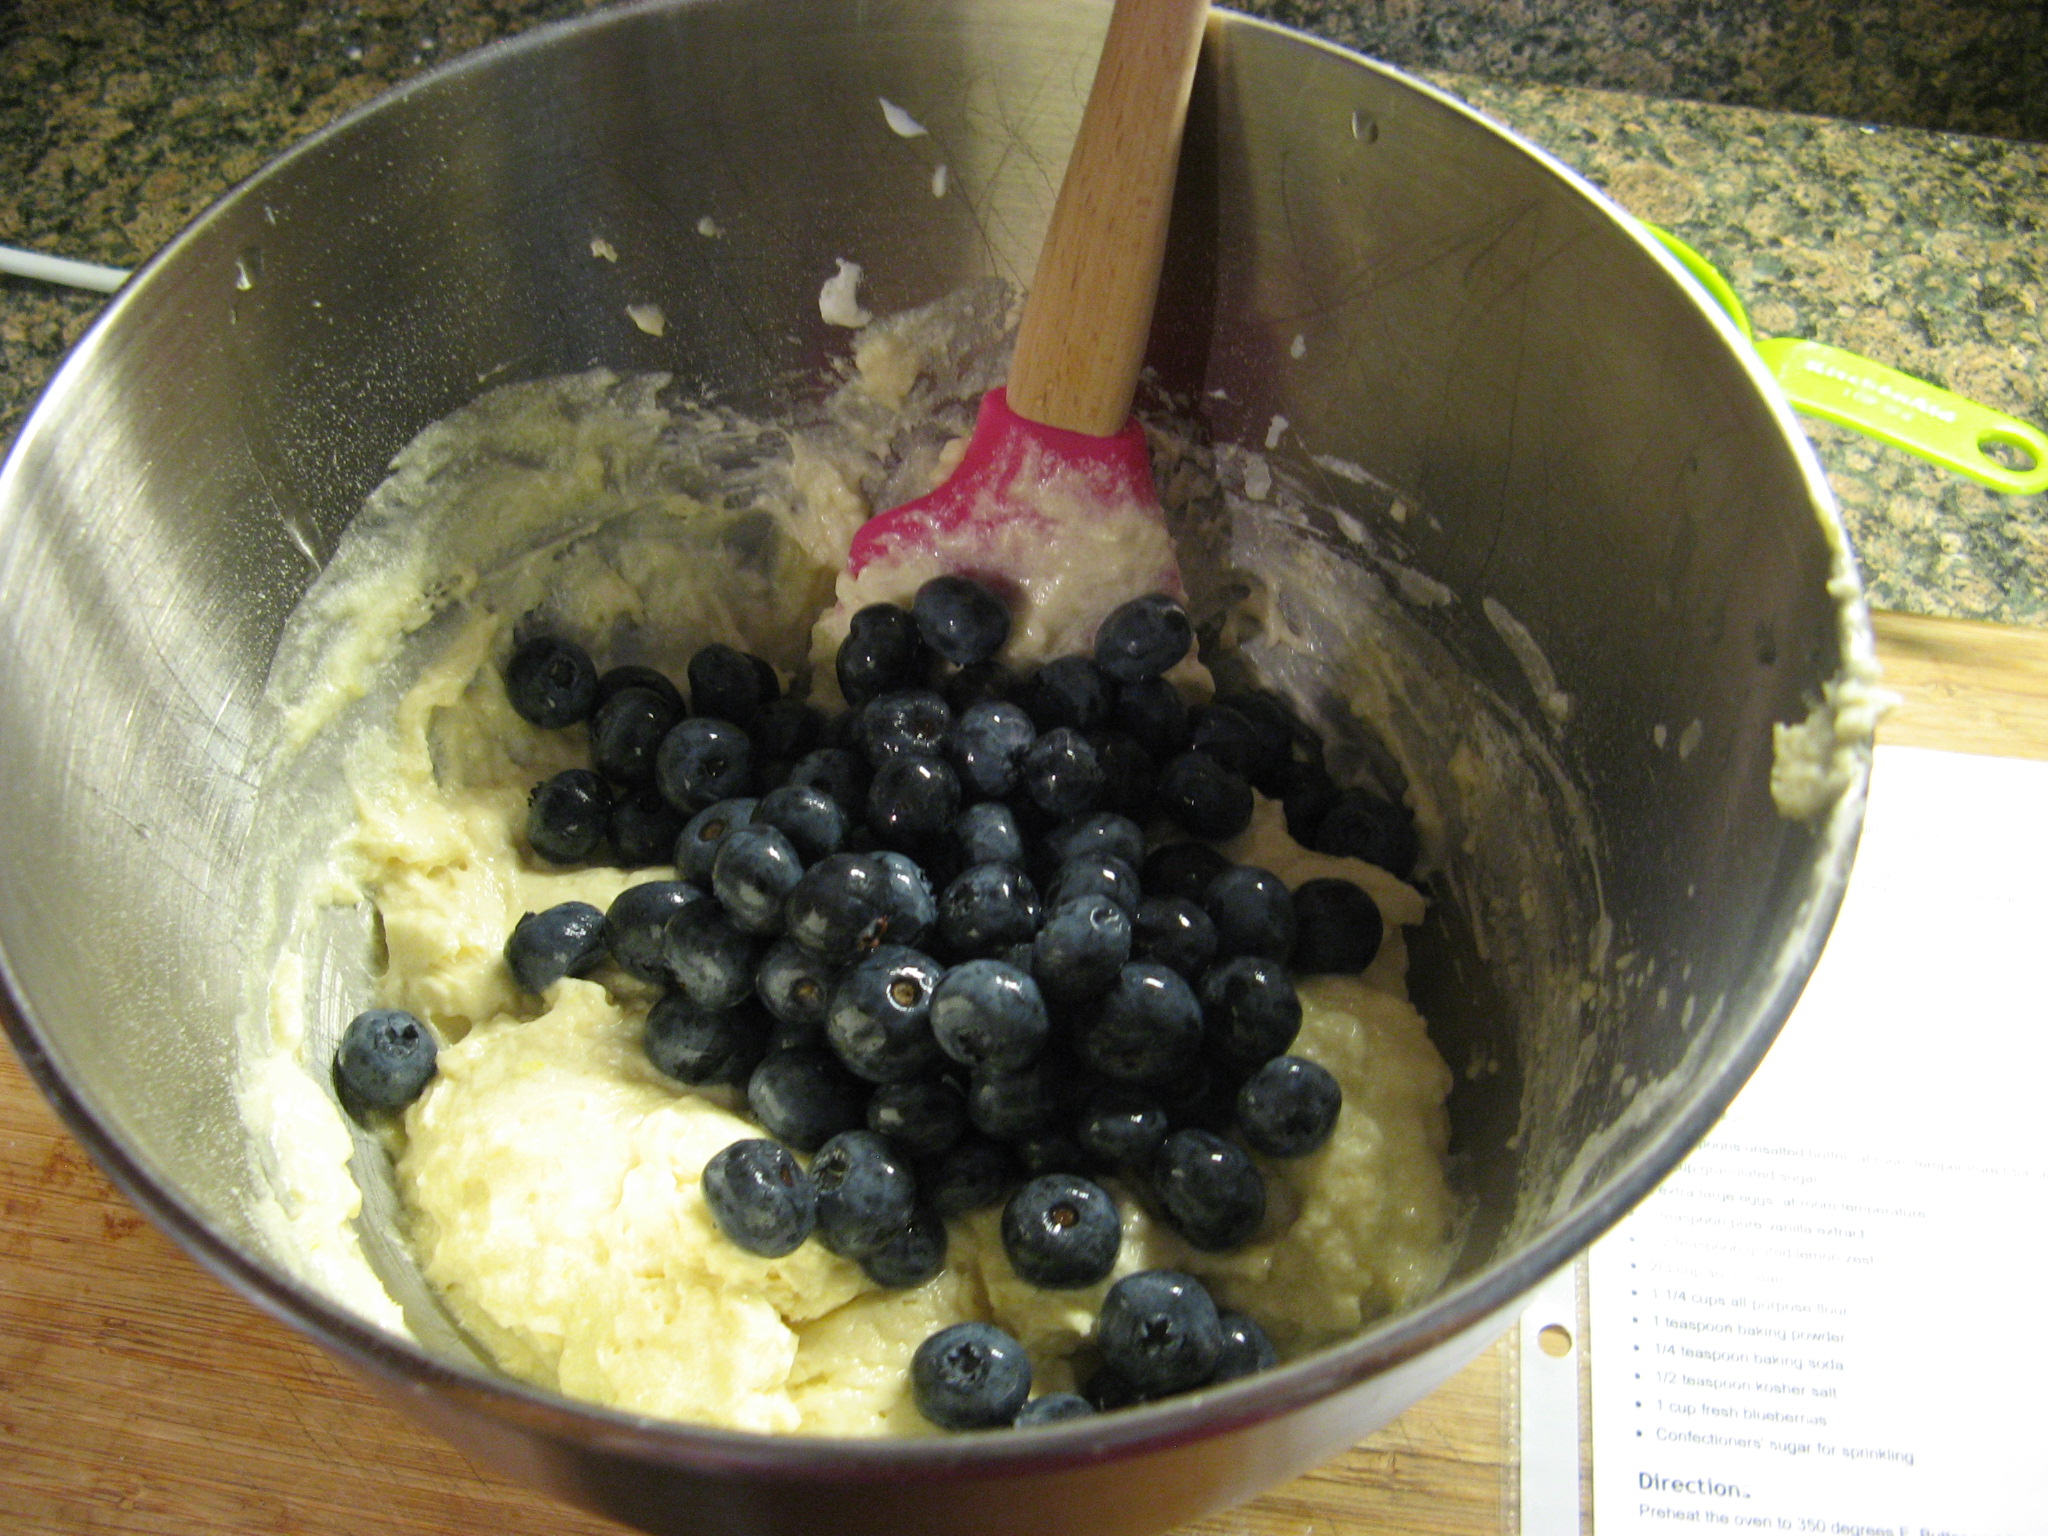
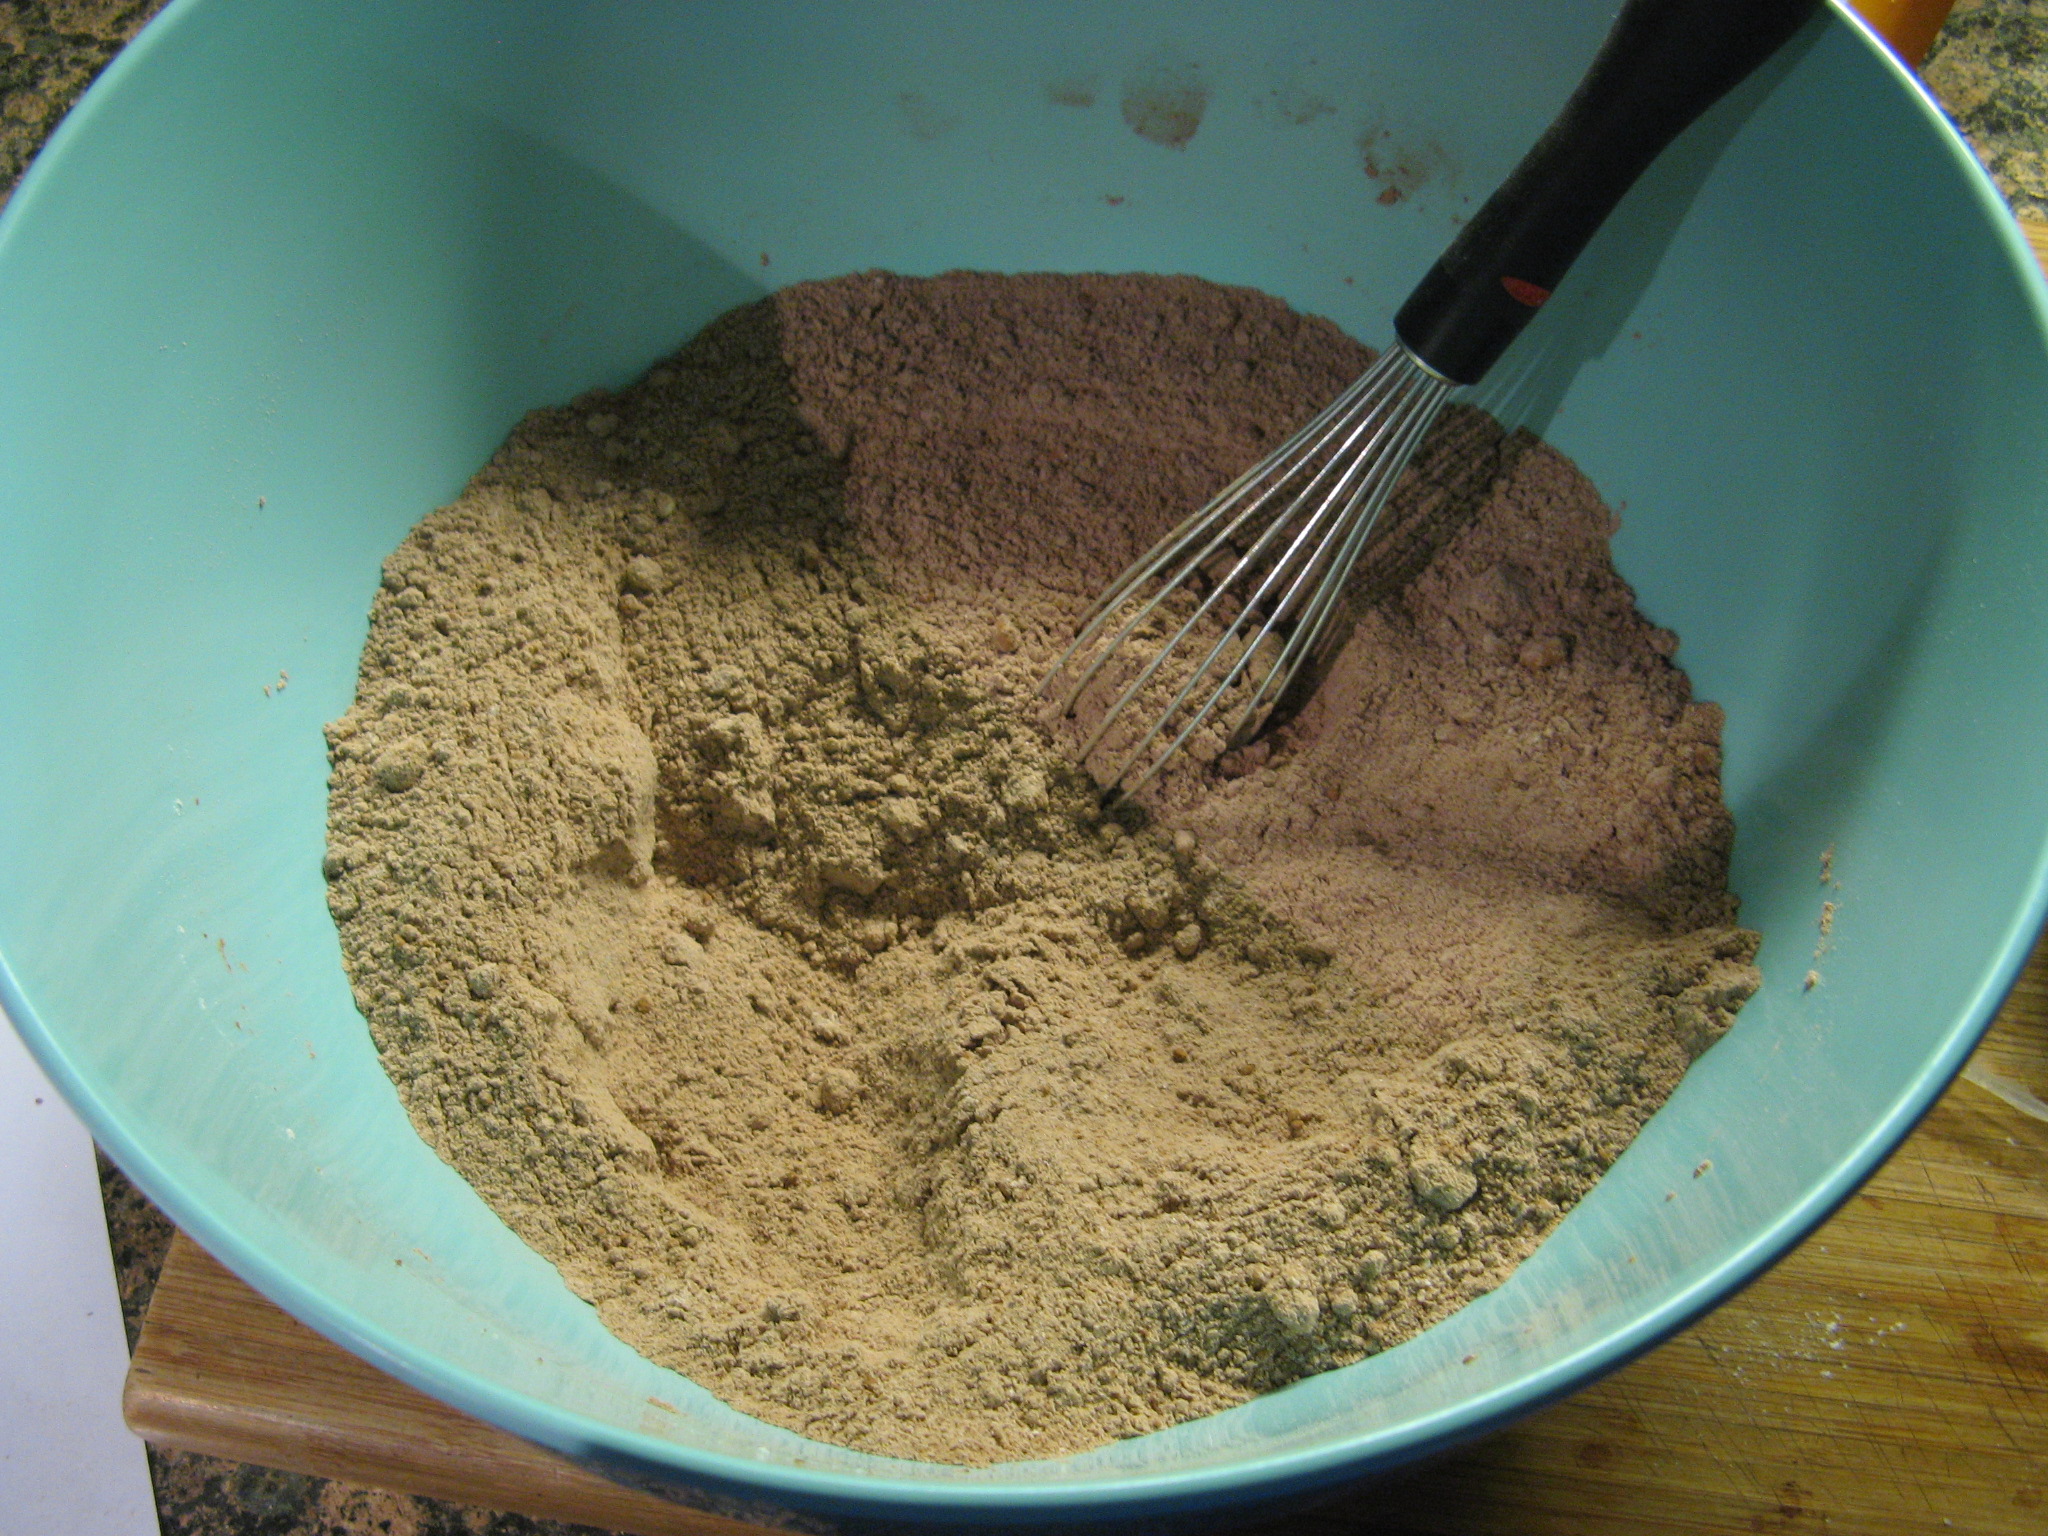
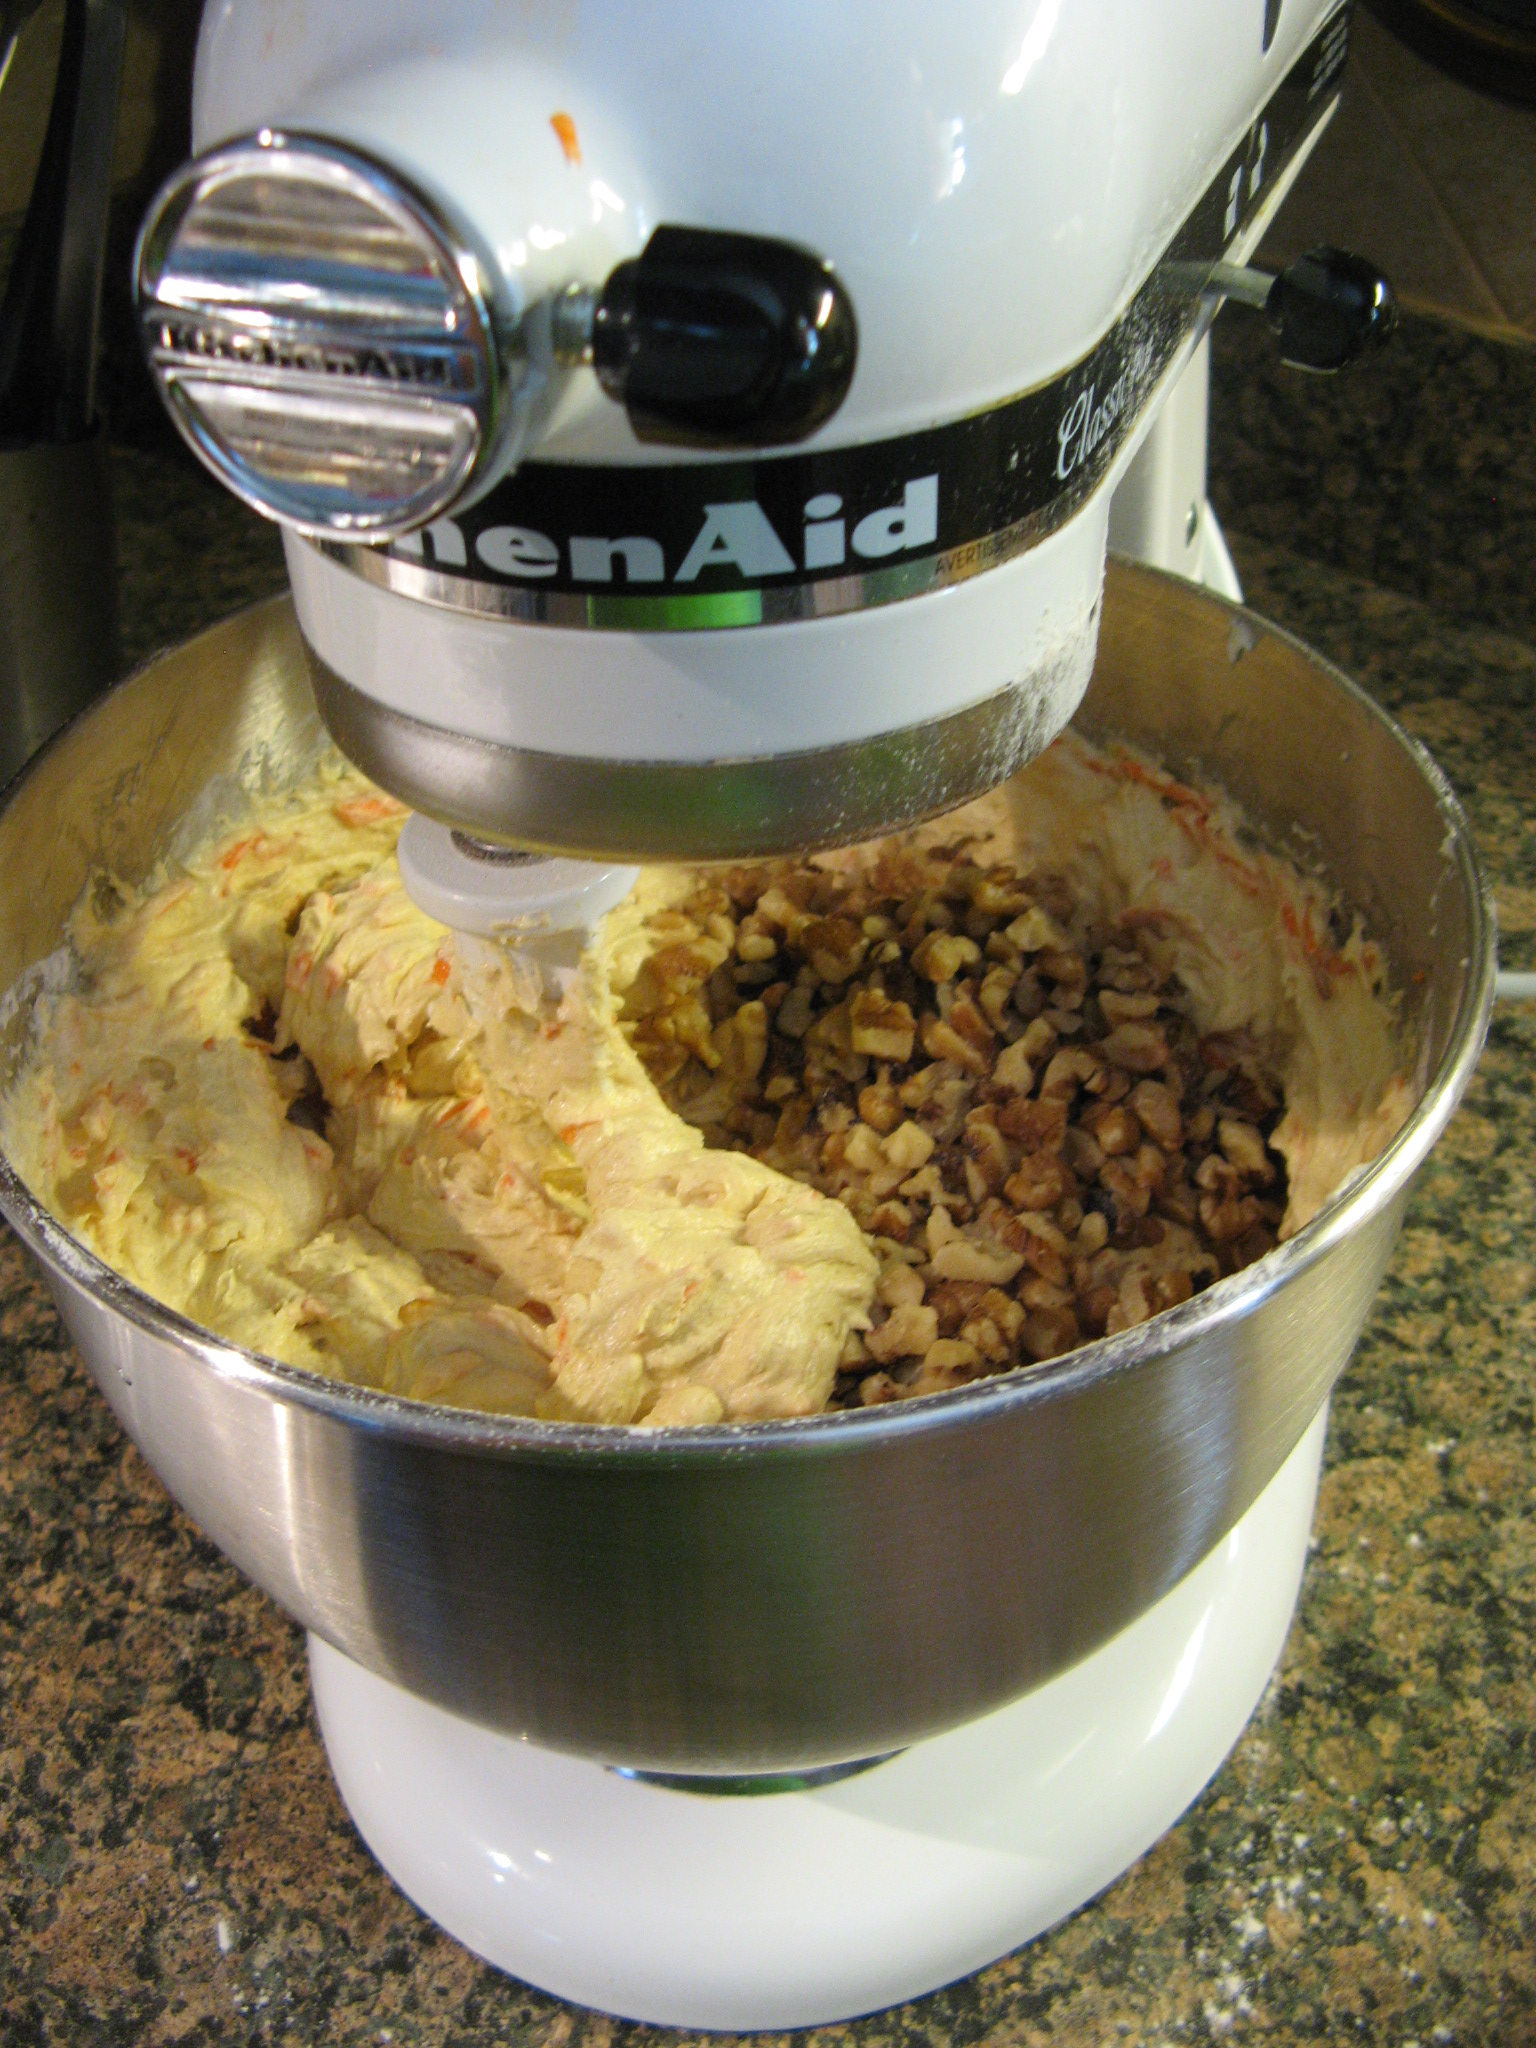
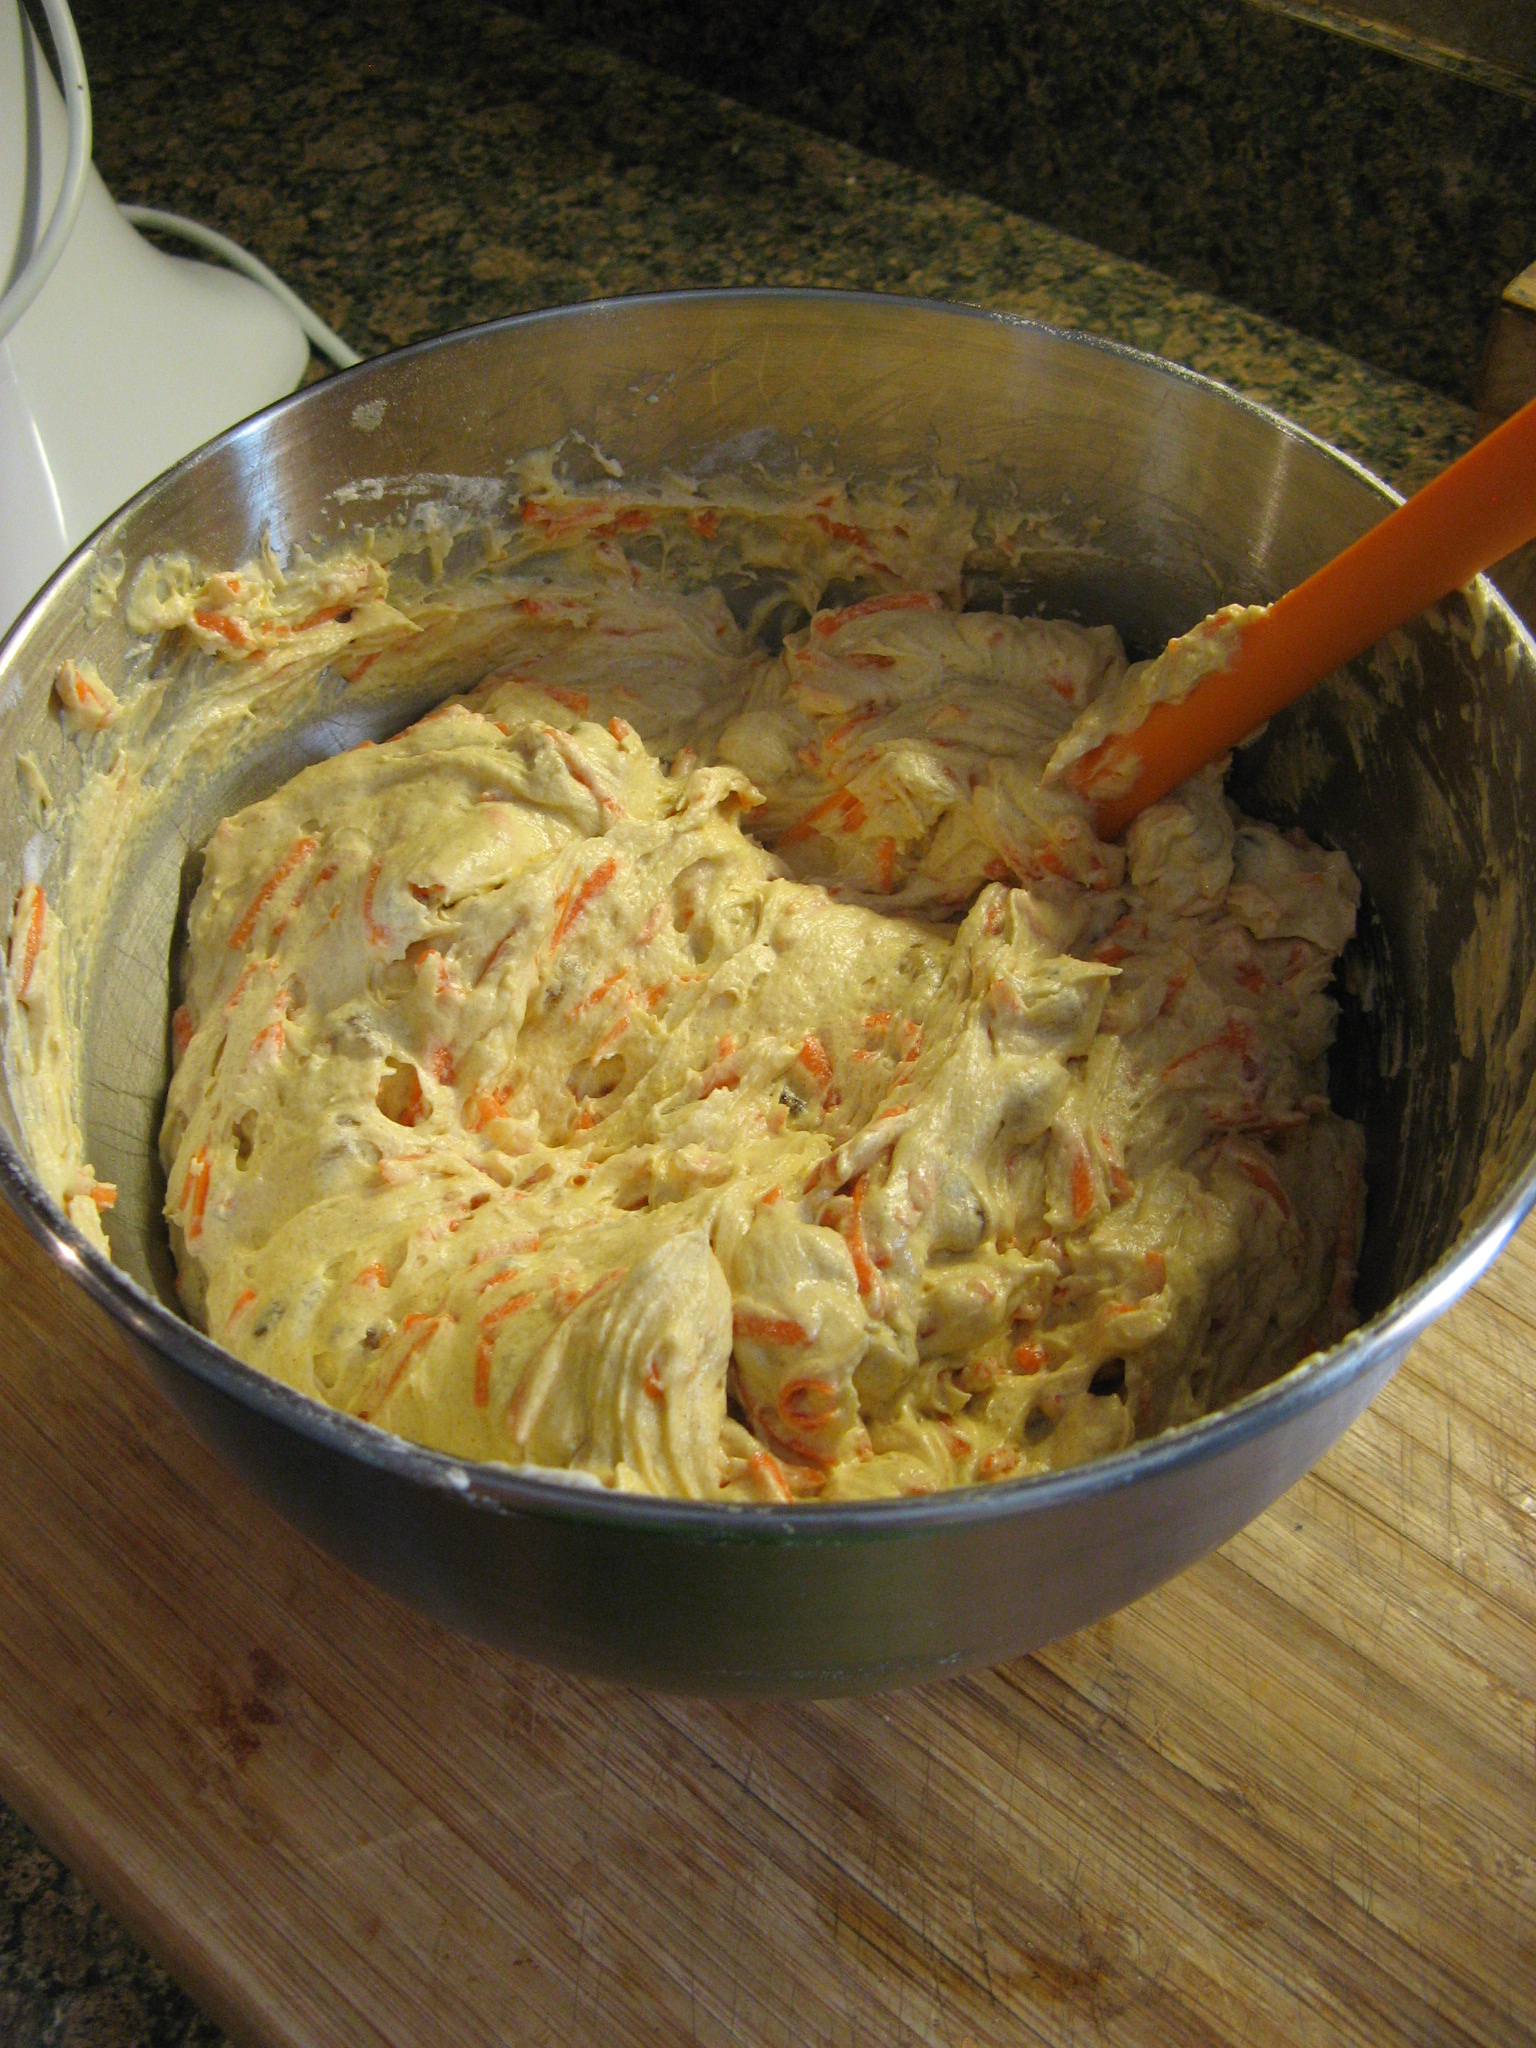
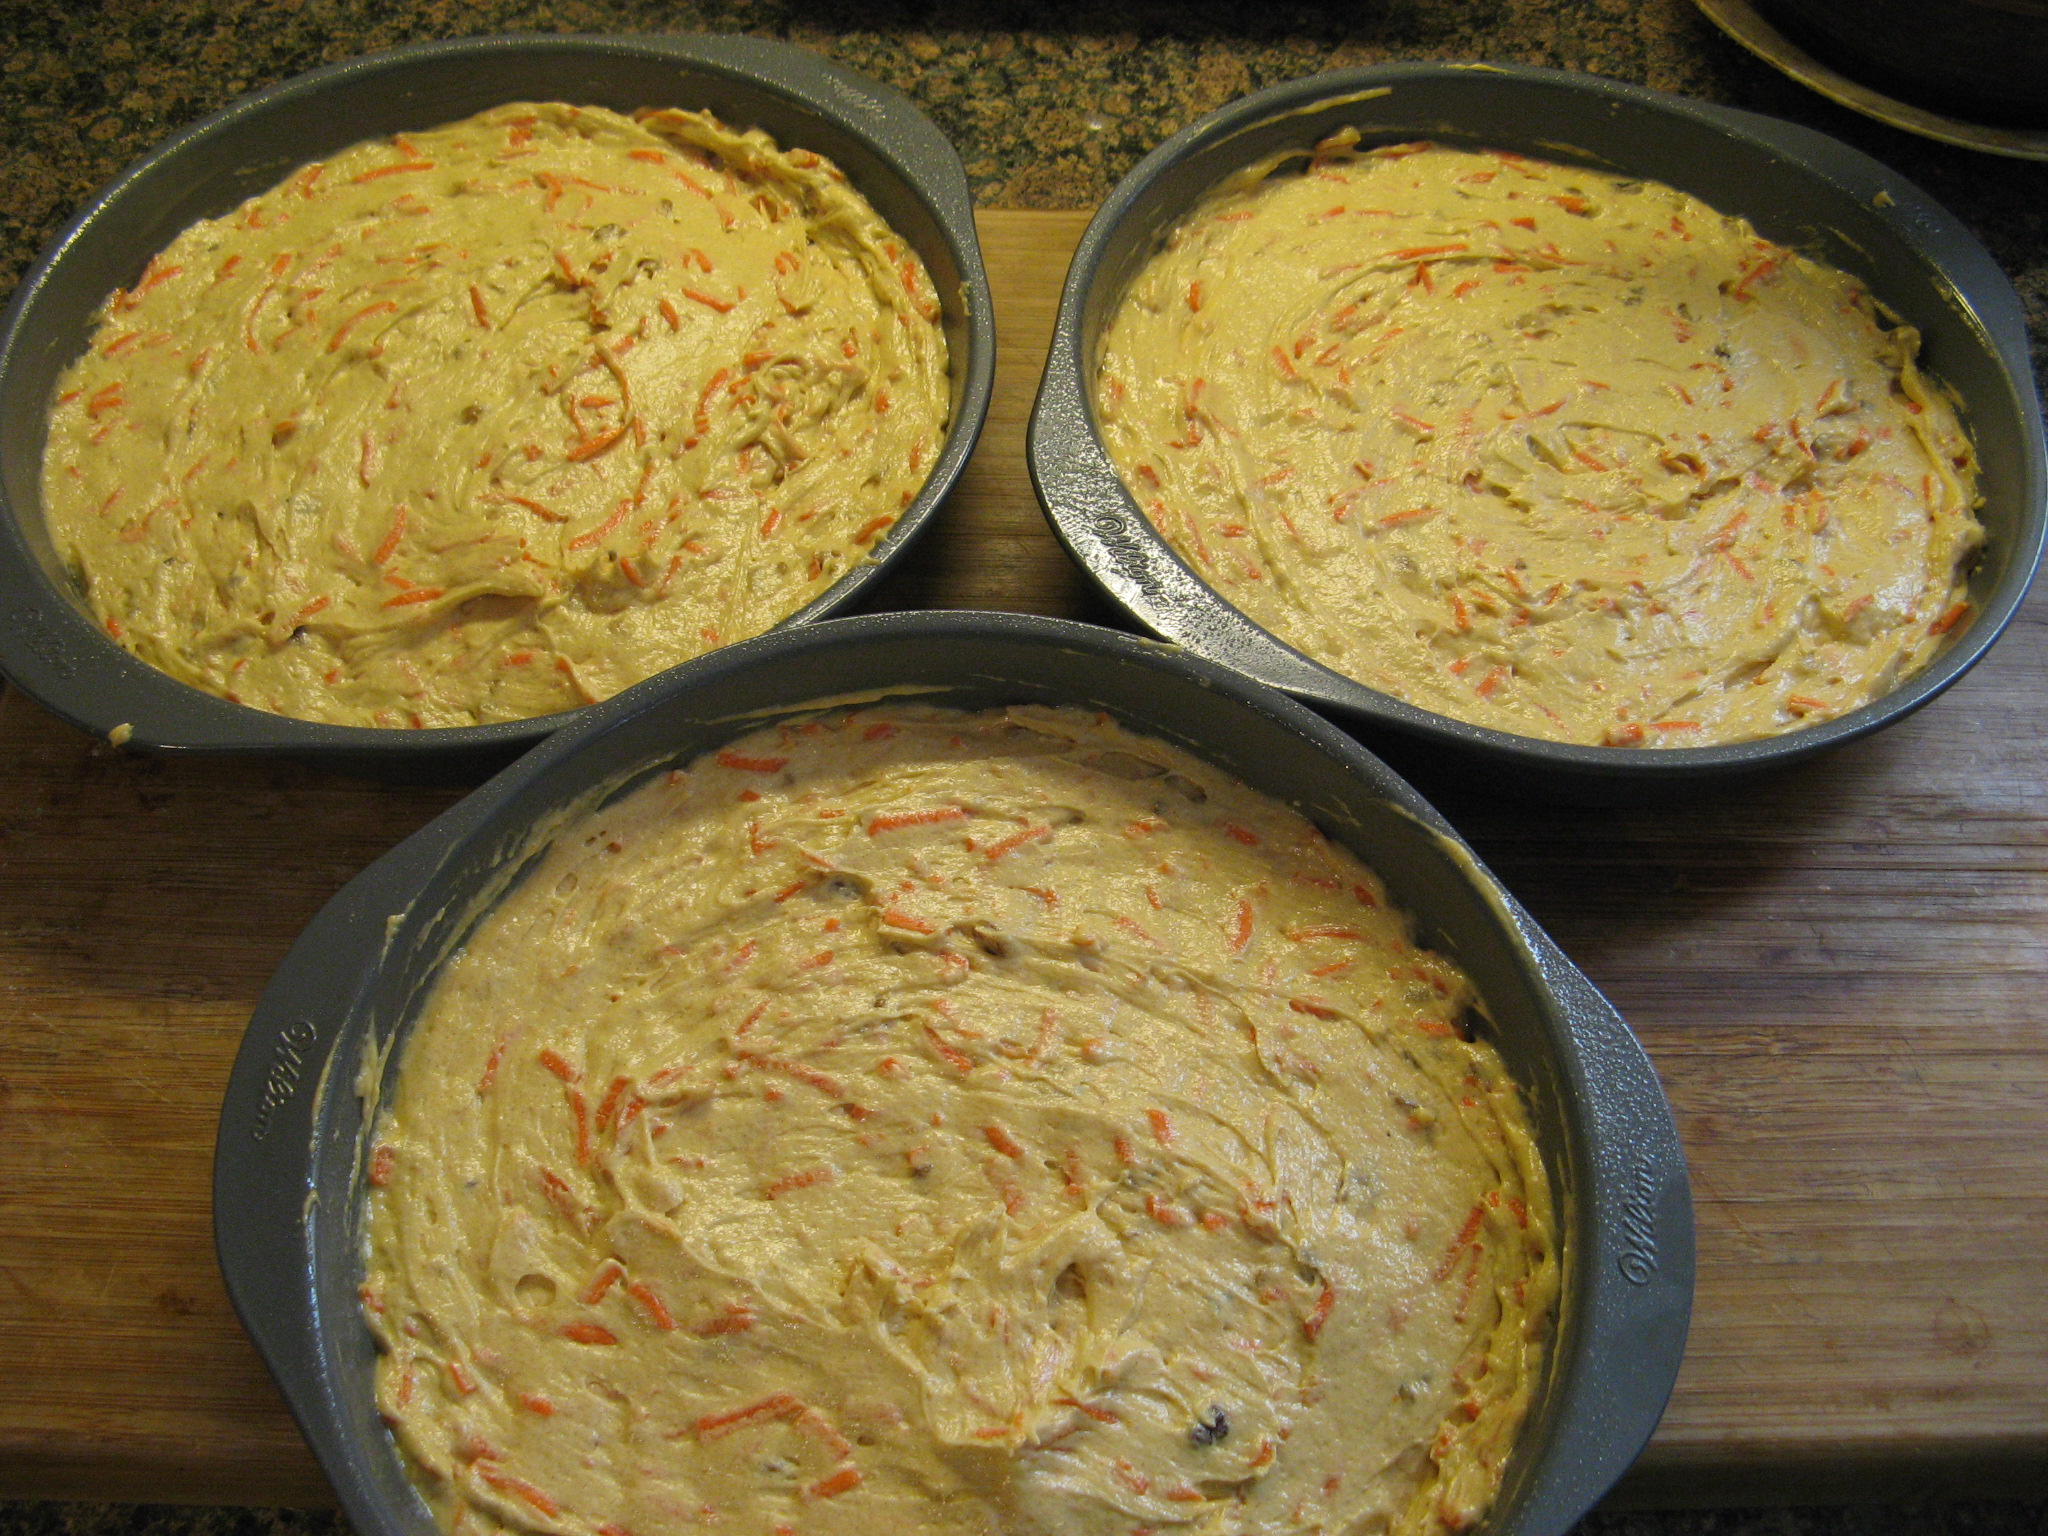
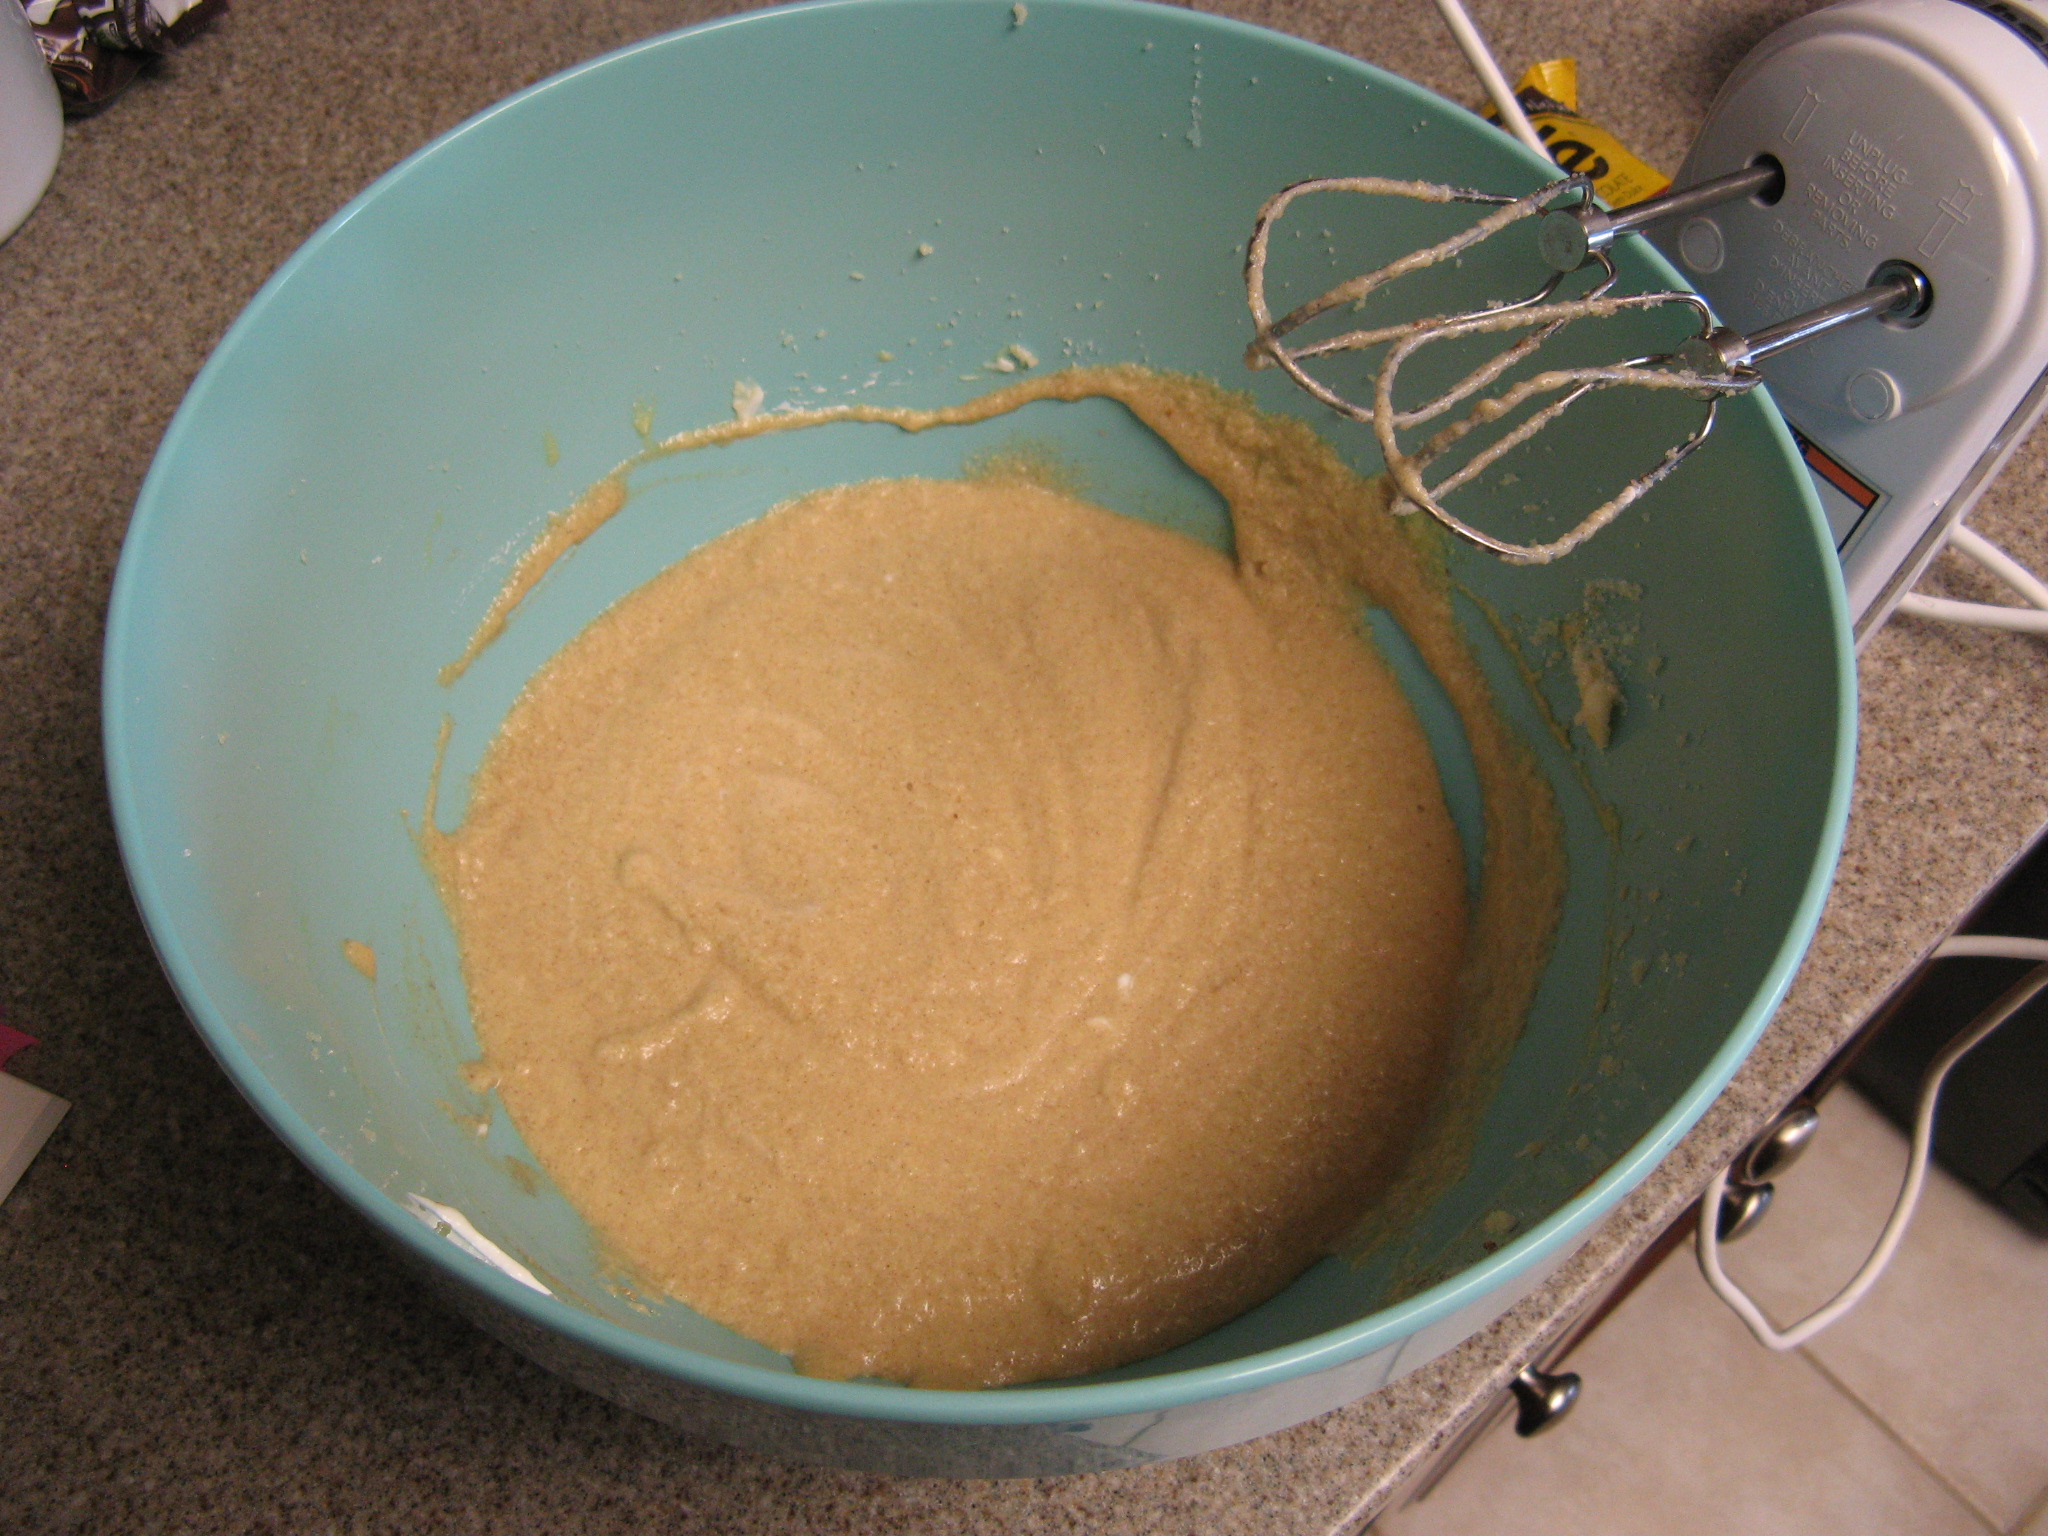
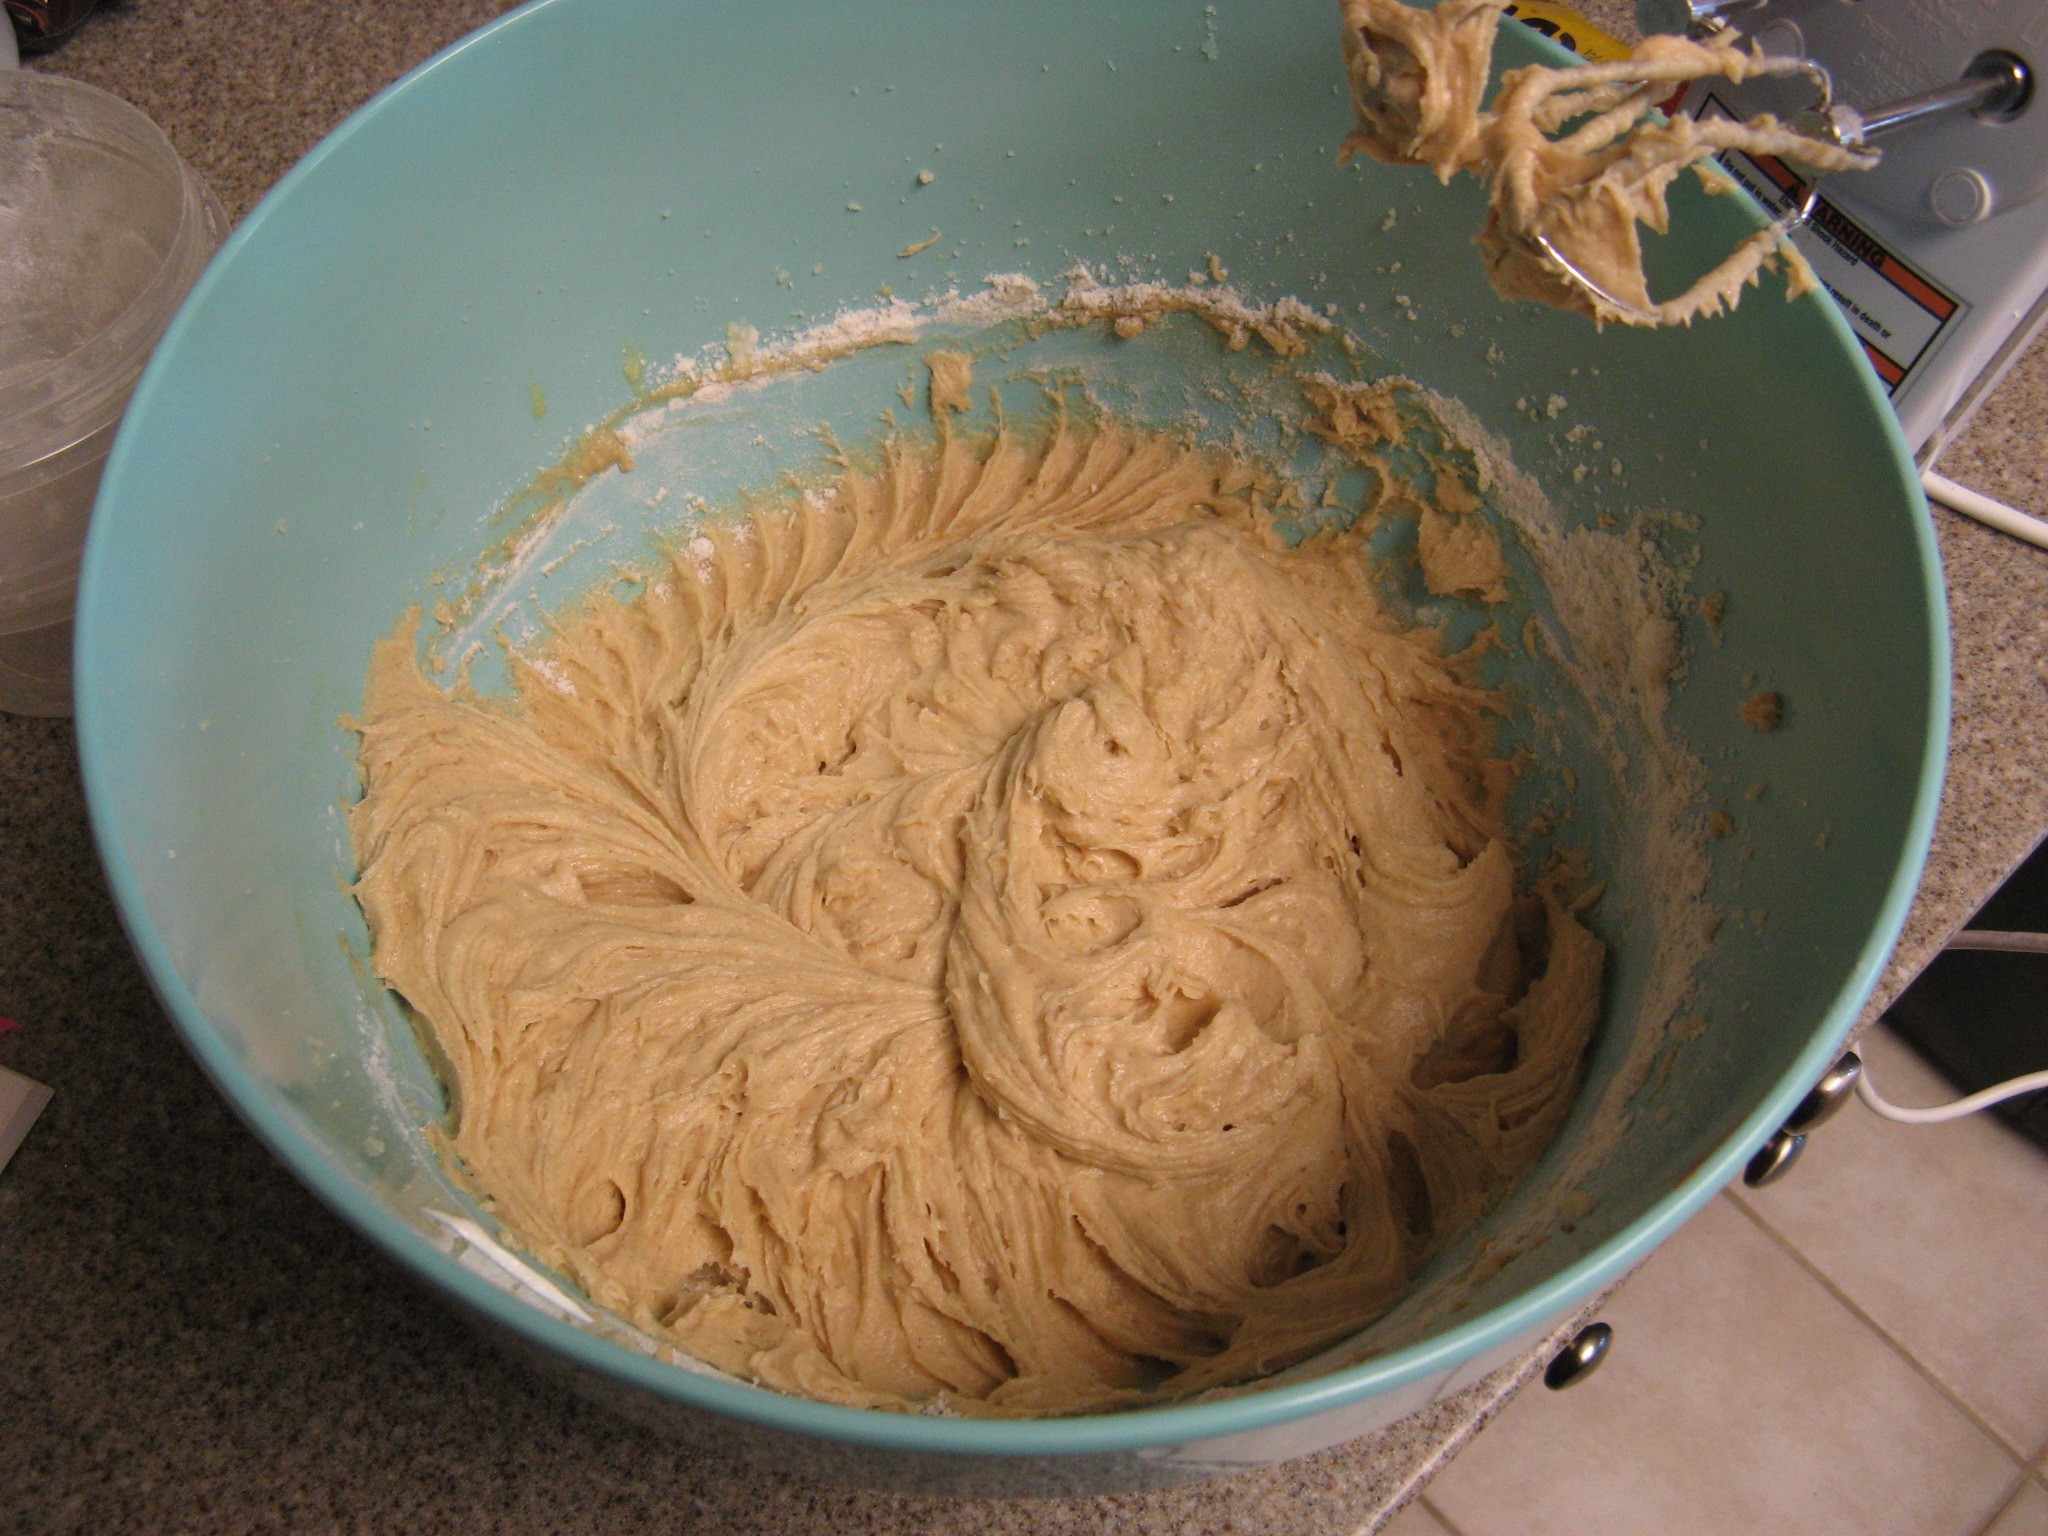
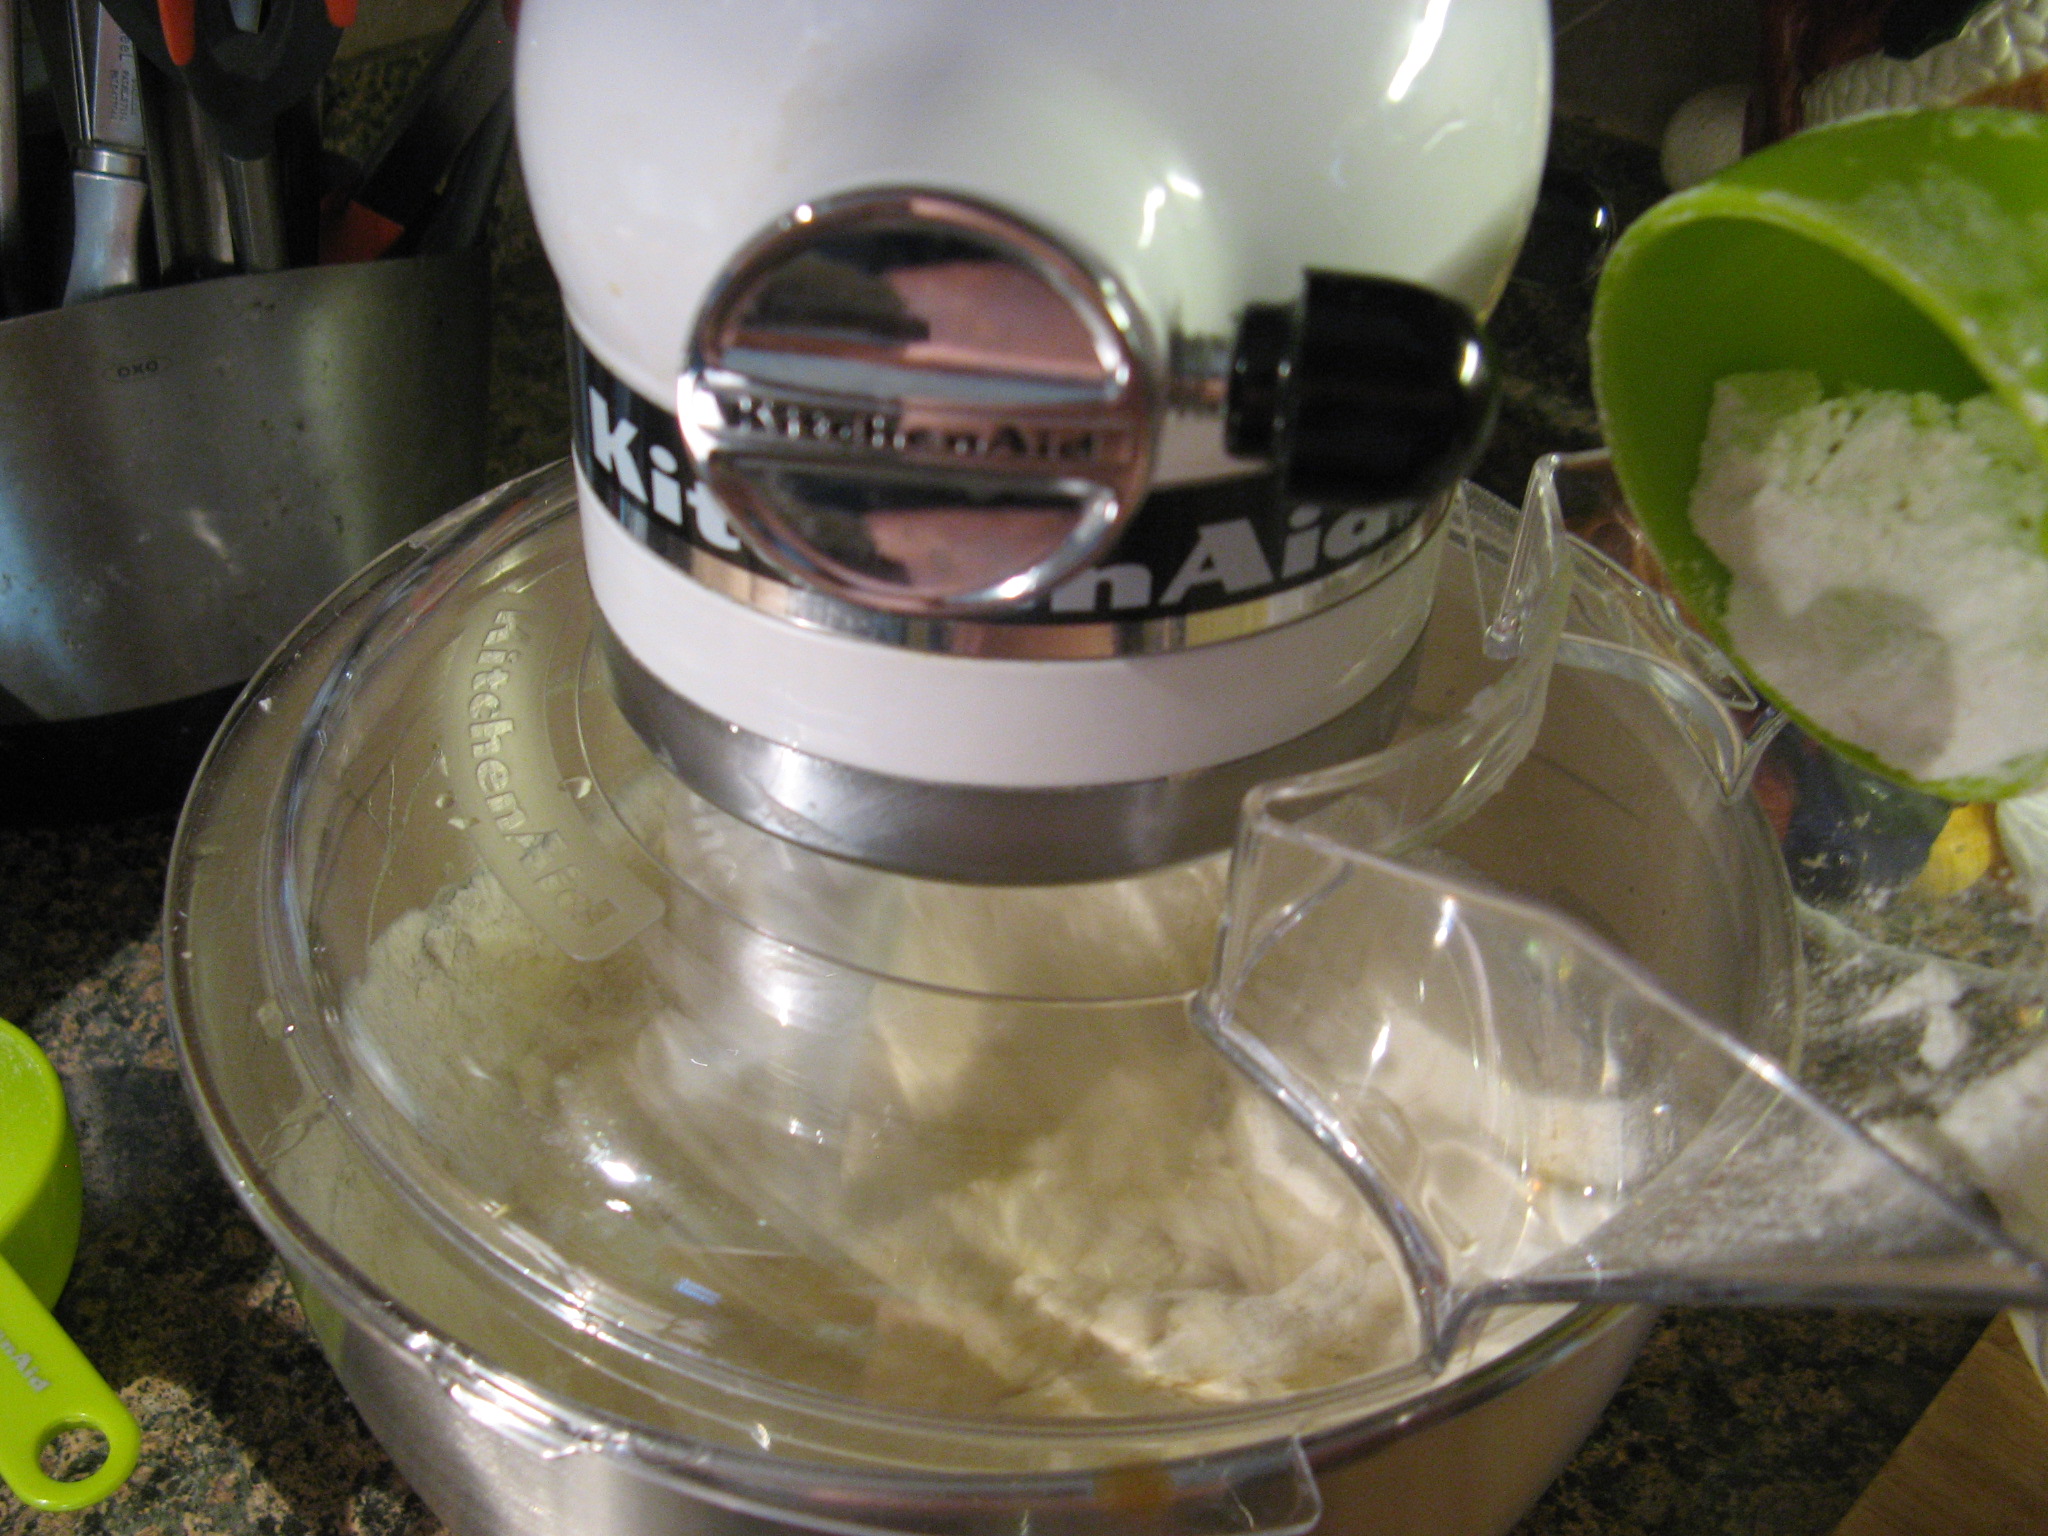
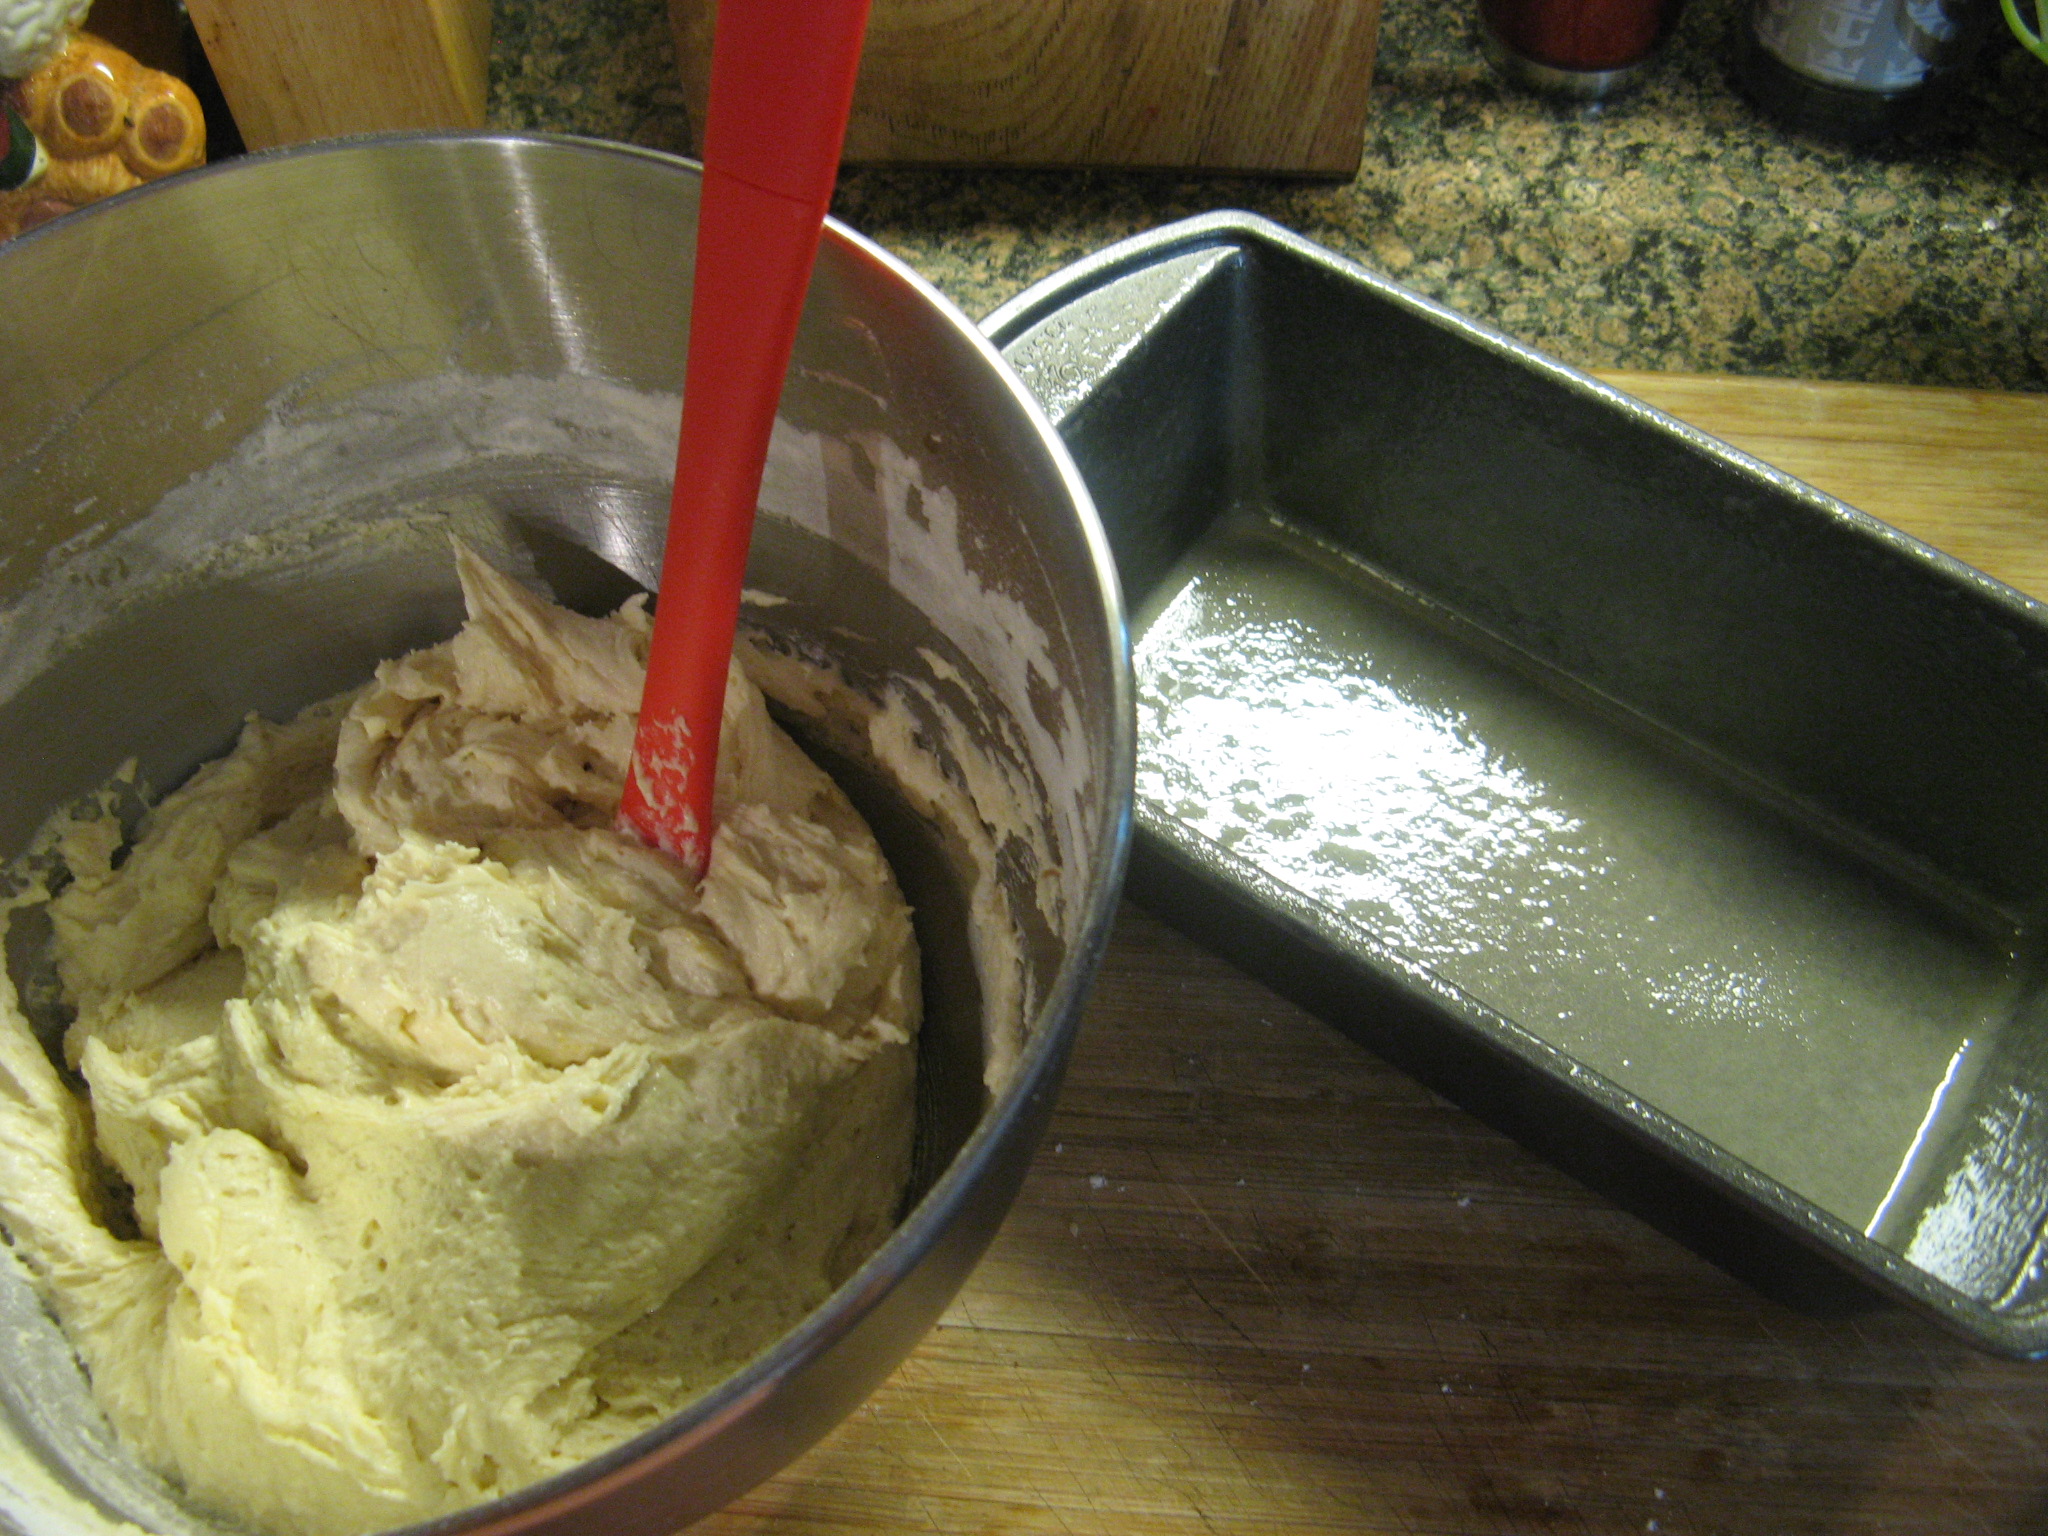
I then switched my mixer to a lower speed and gradually added in the flour until the batter was just coming together.

IMG_0994

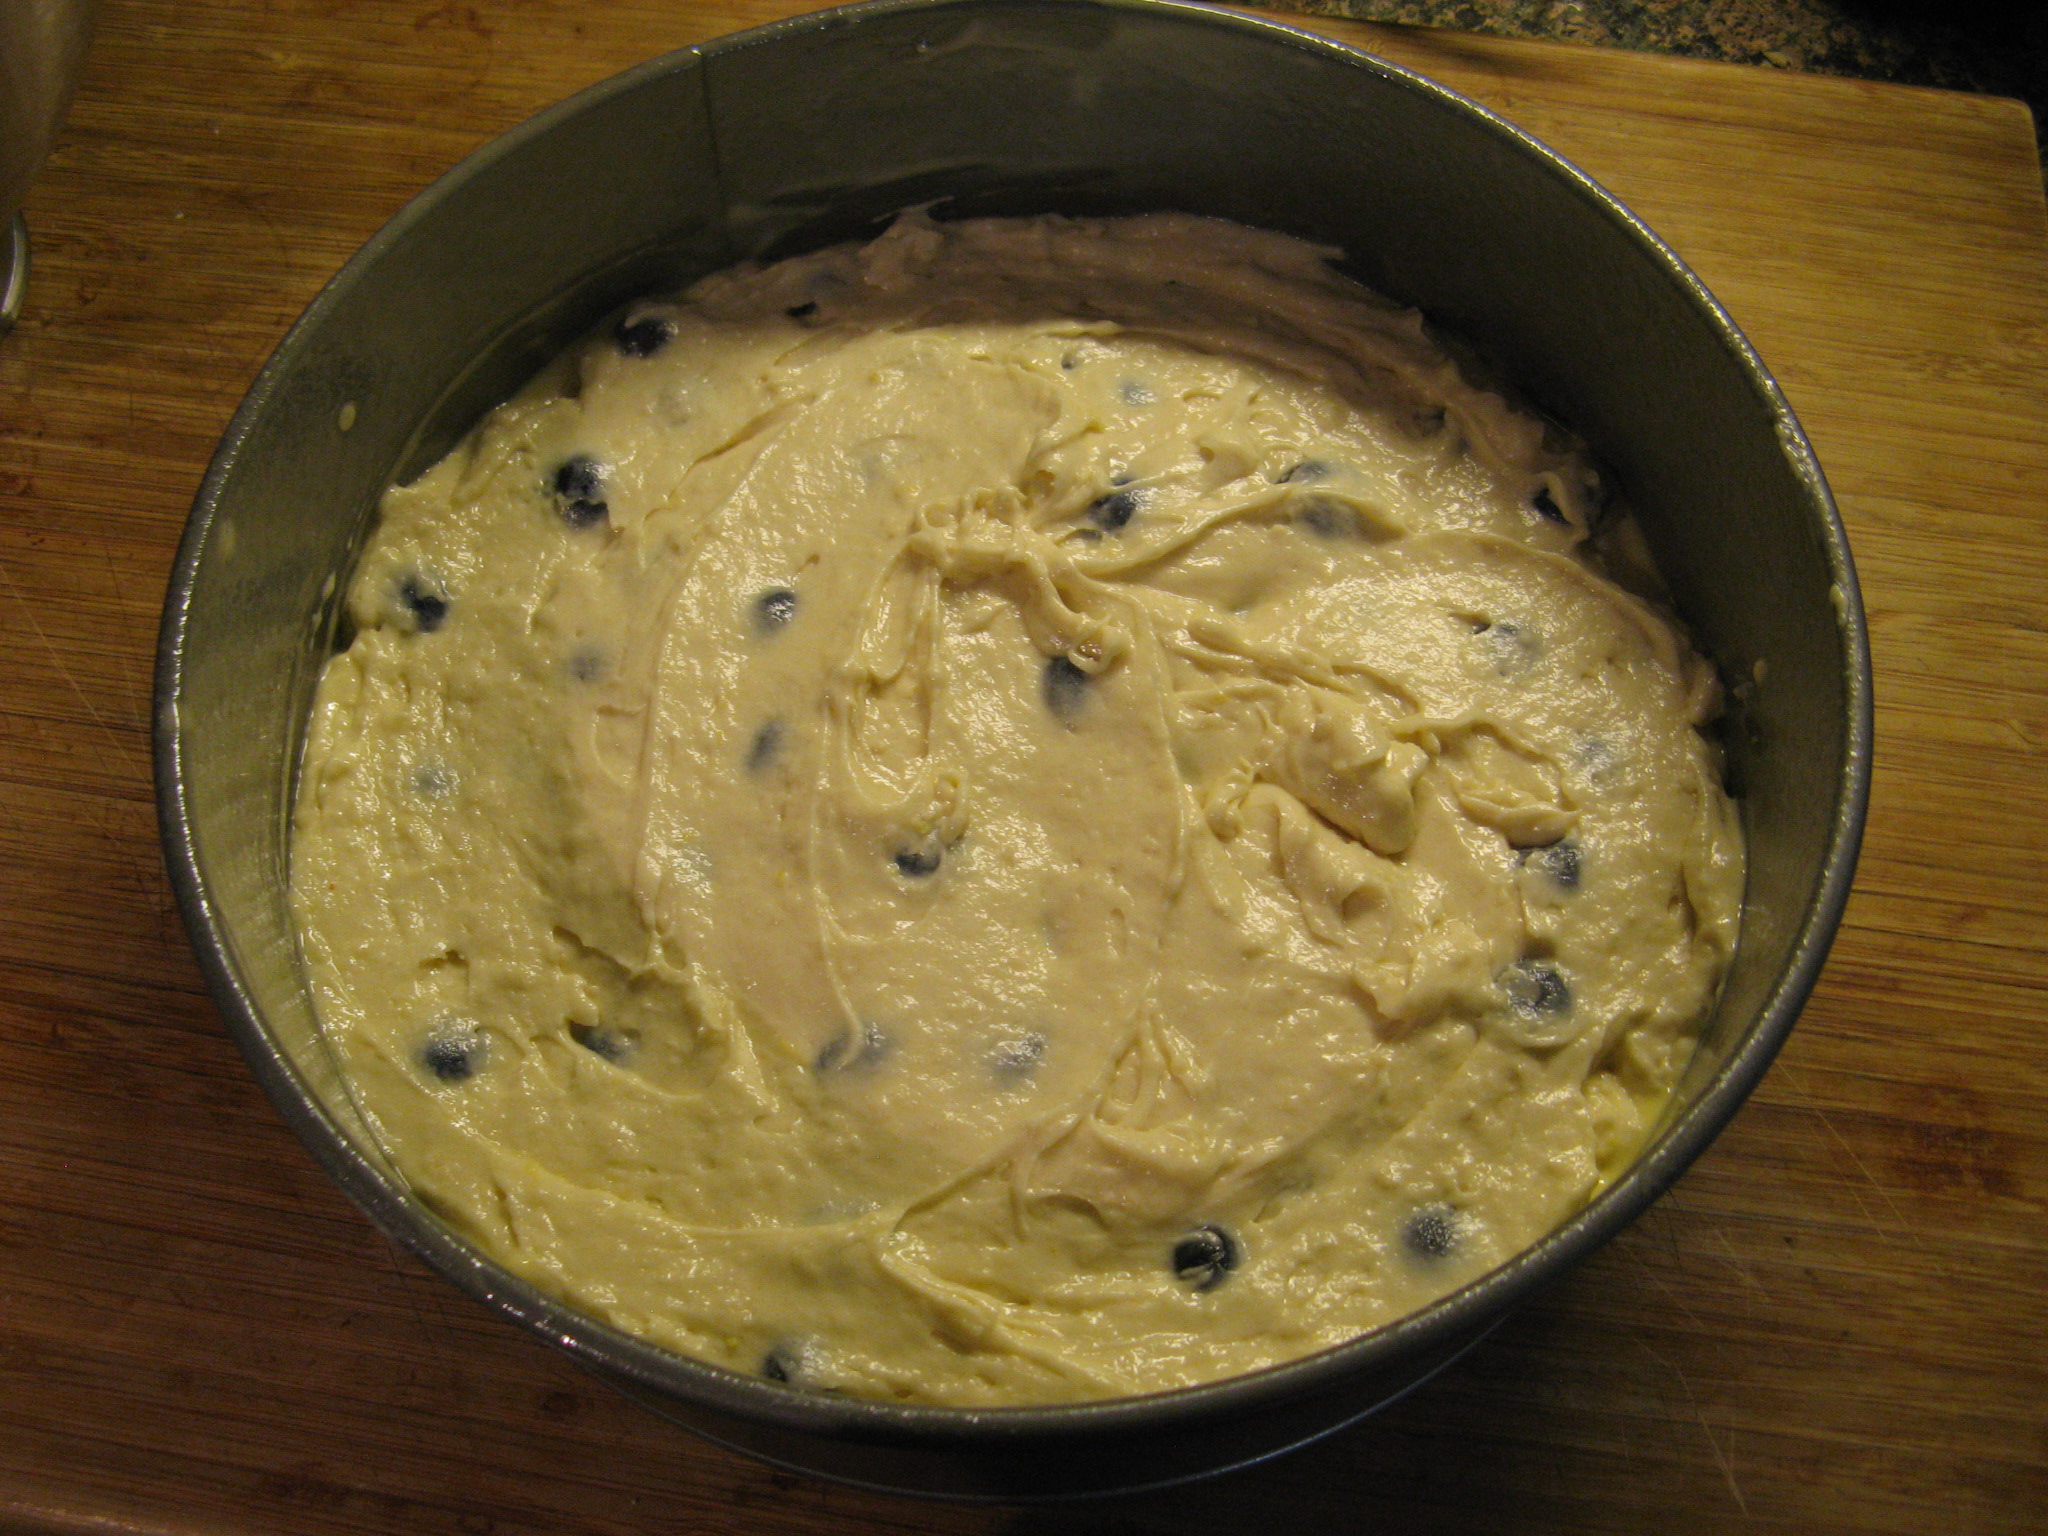
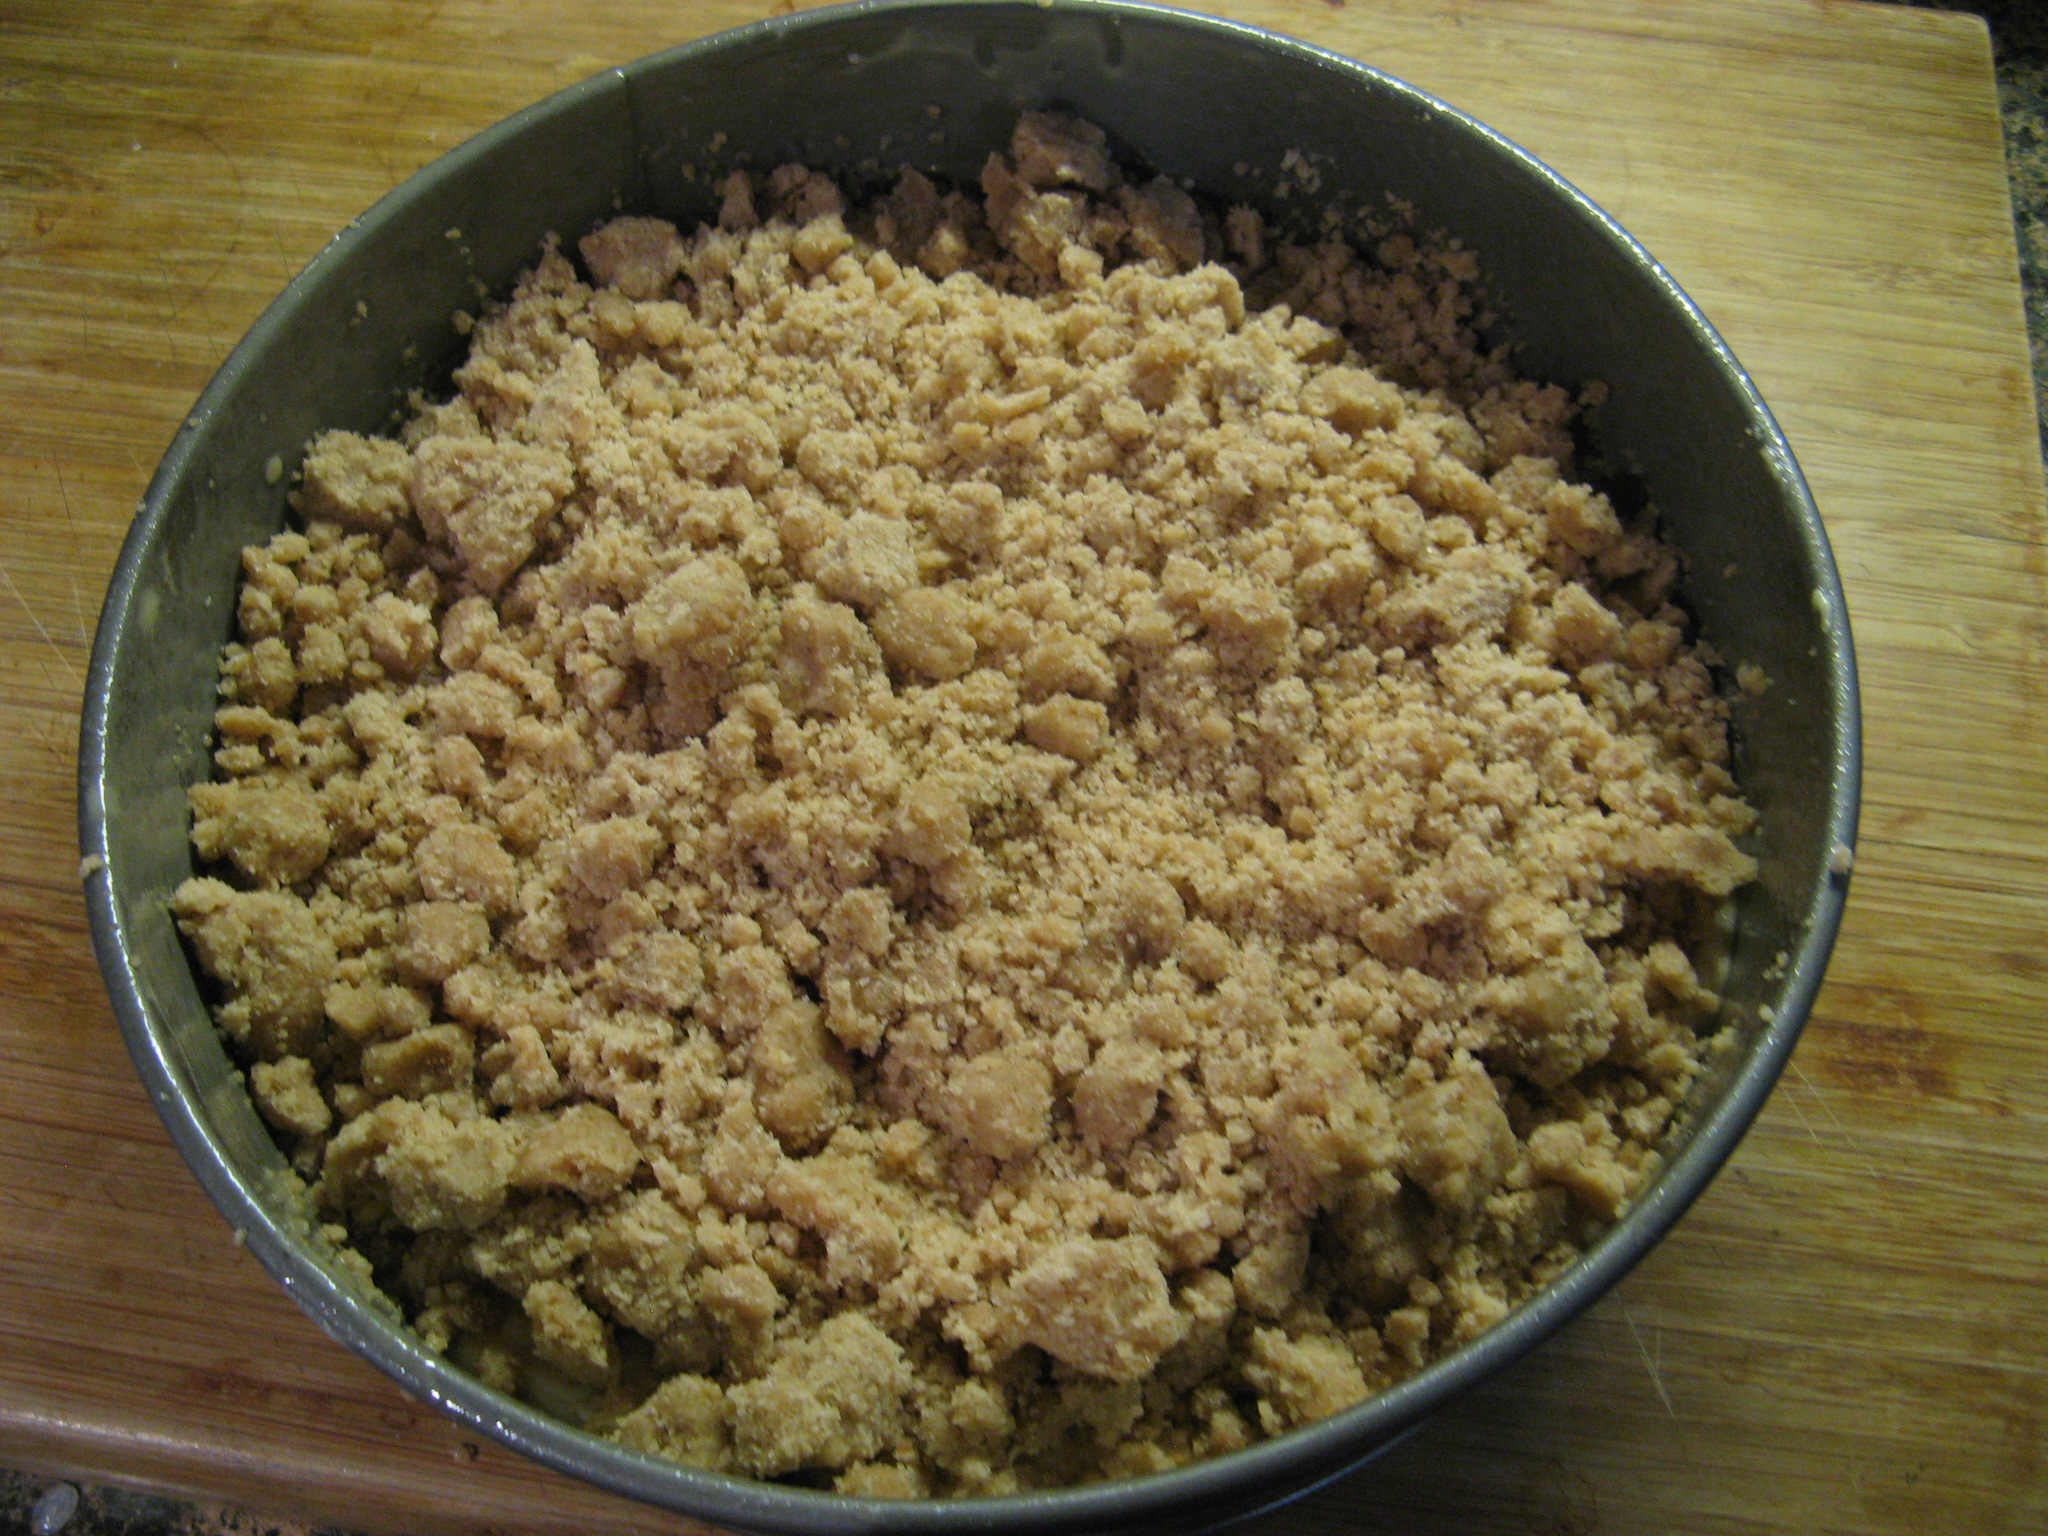
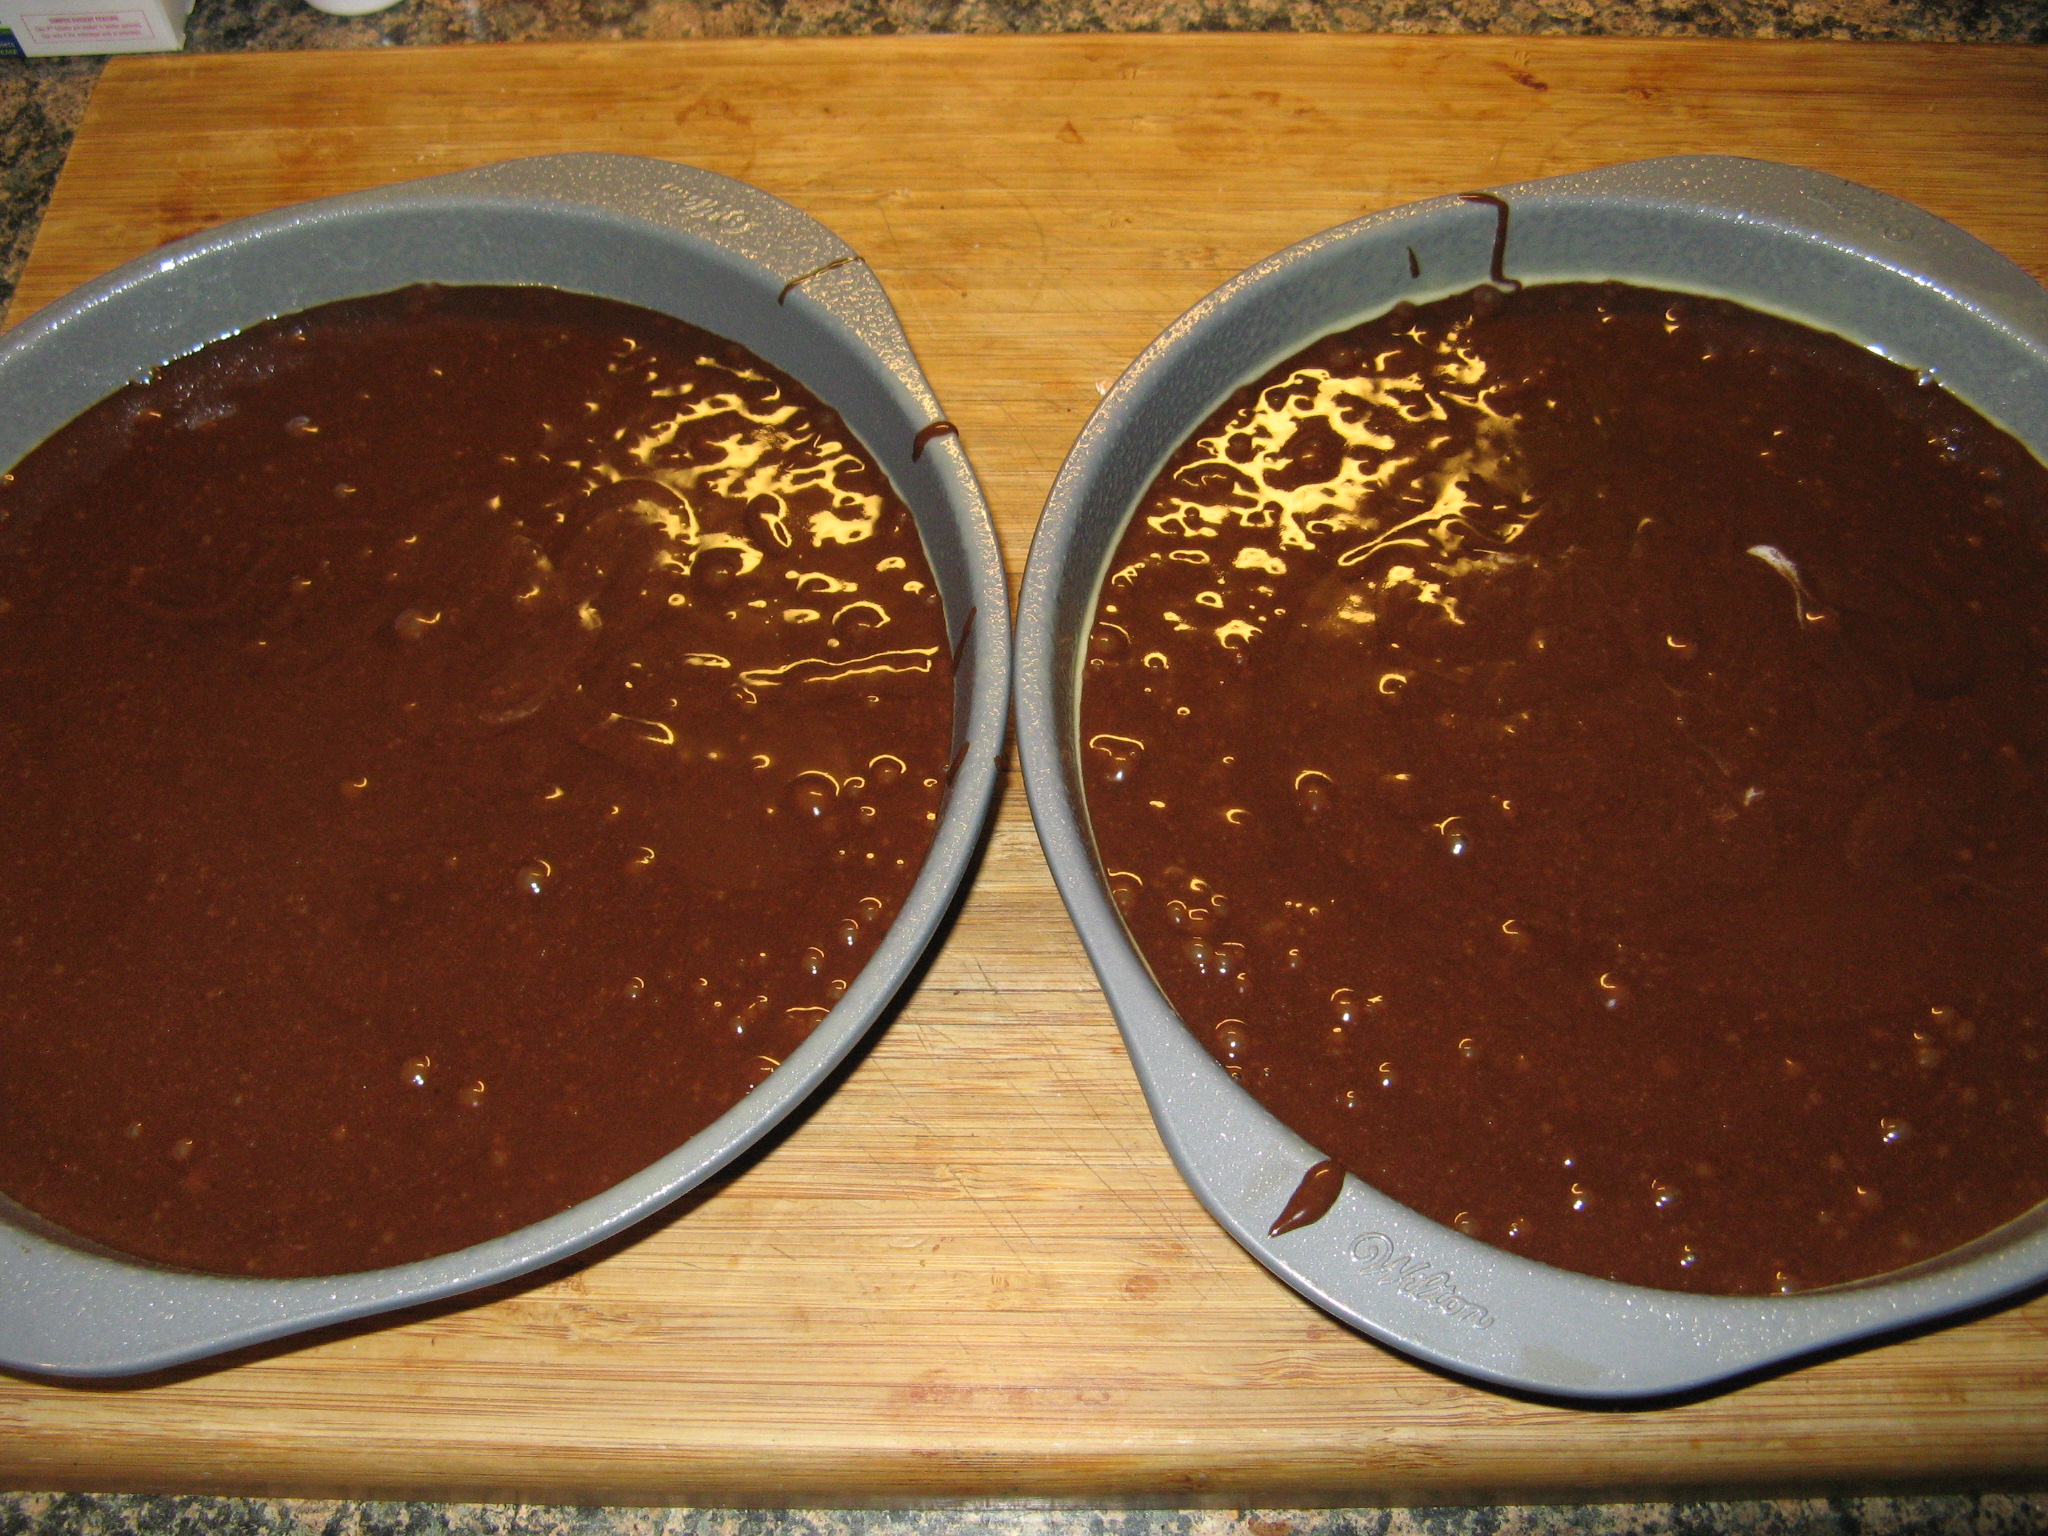
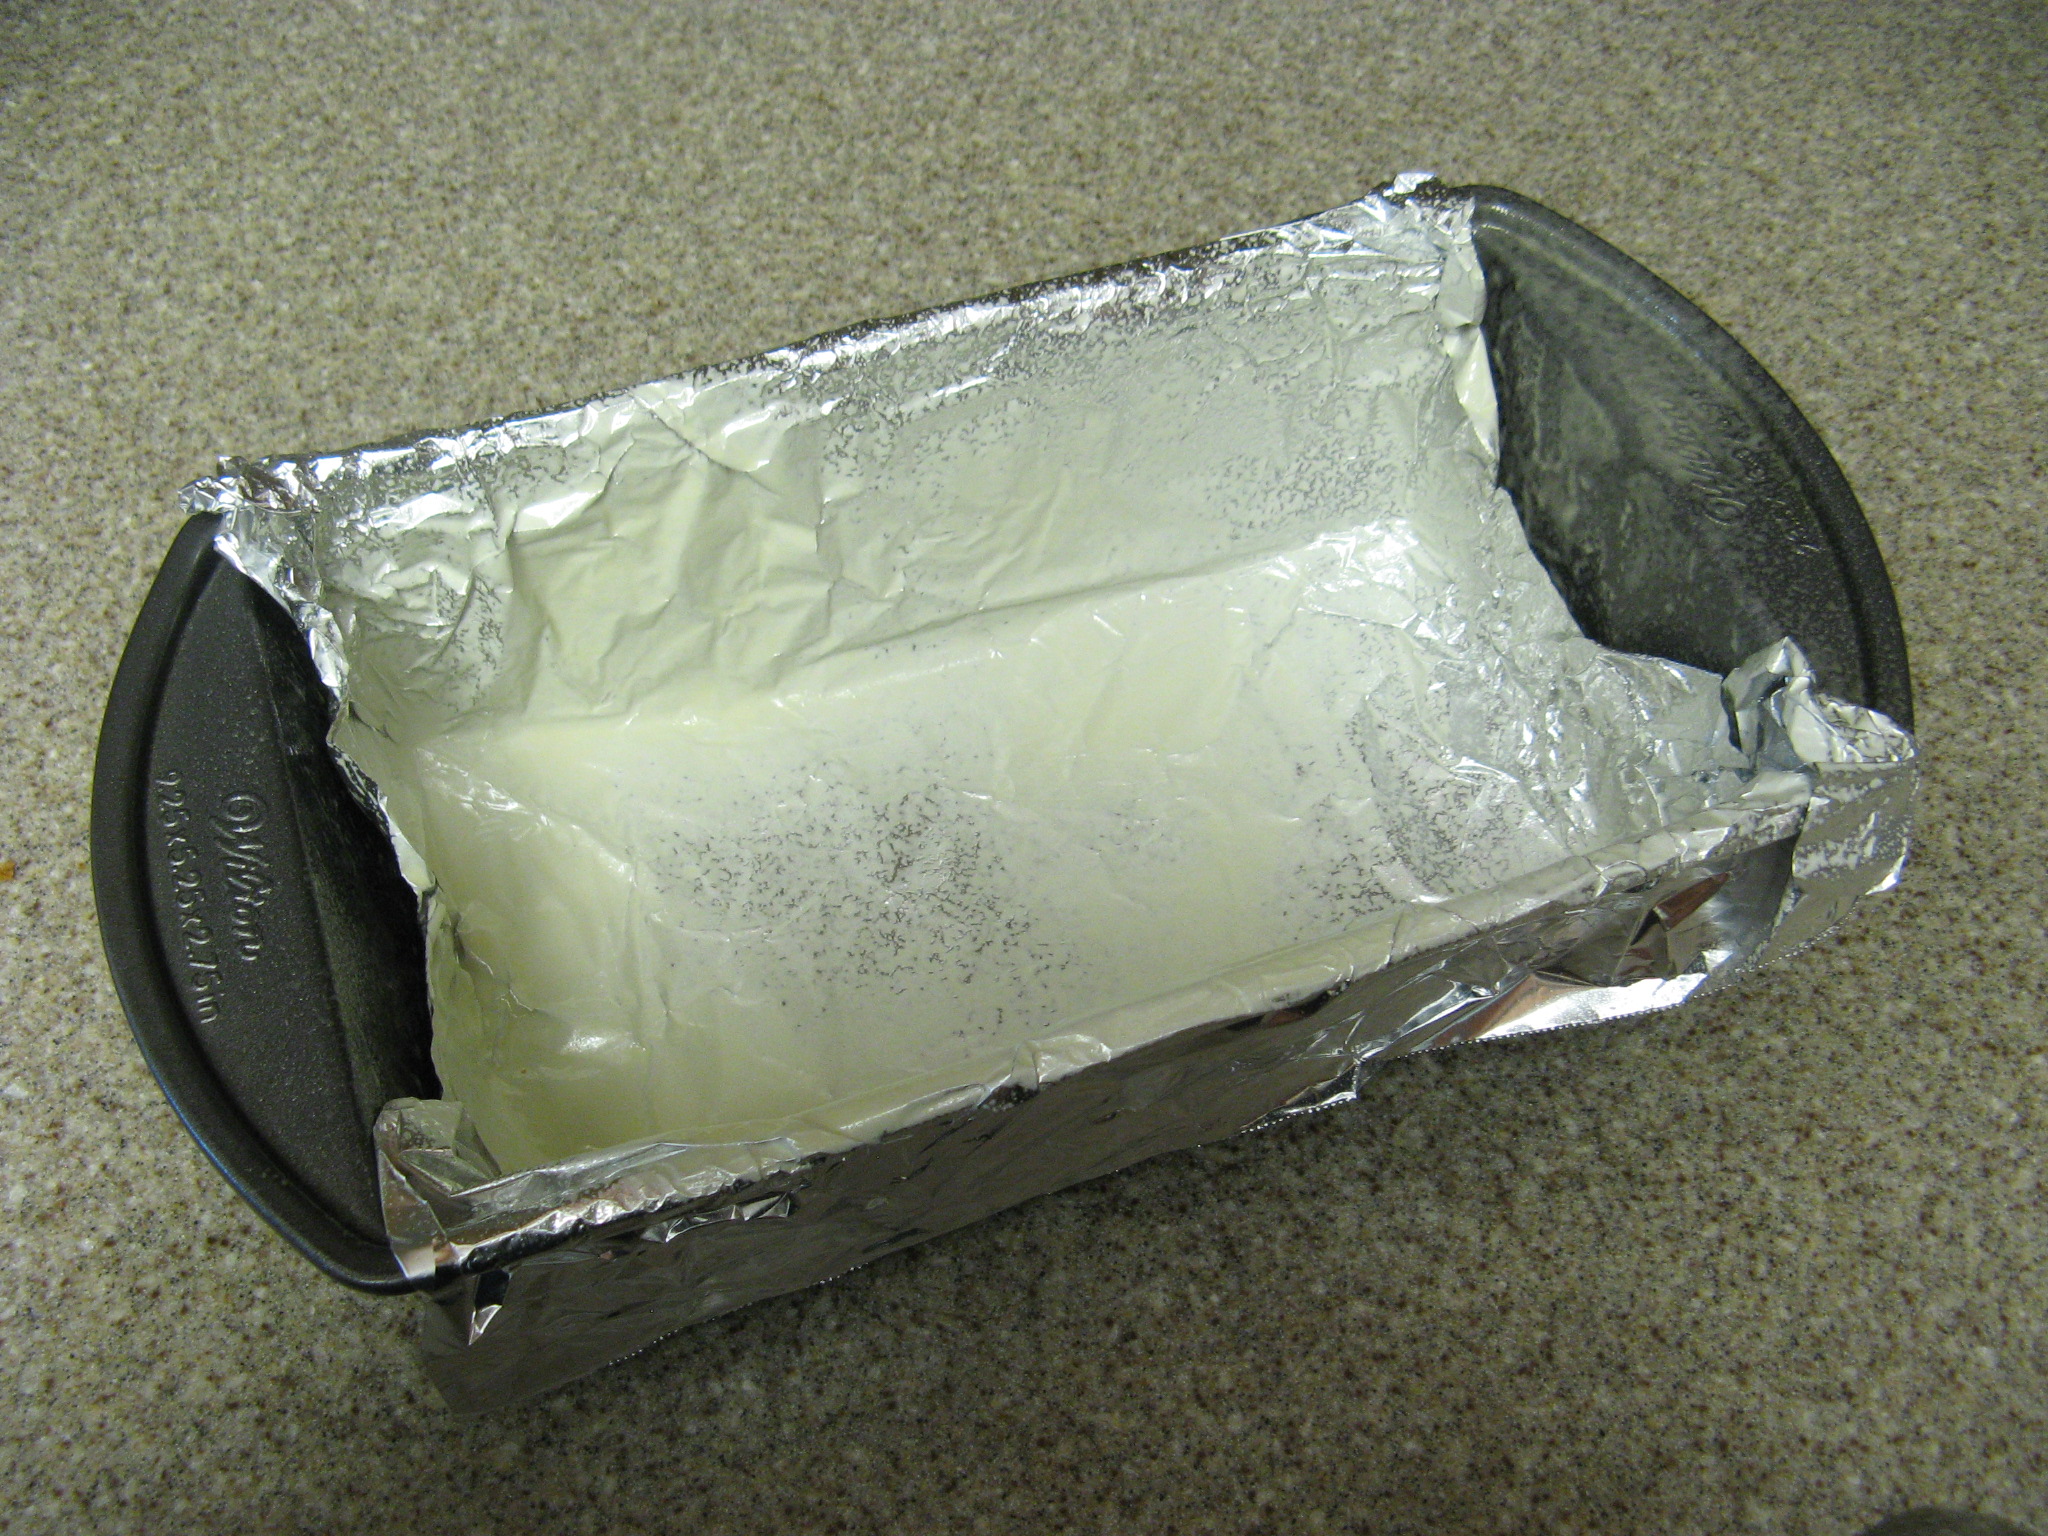
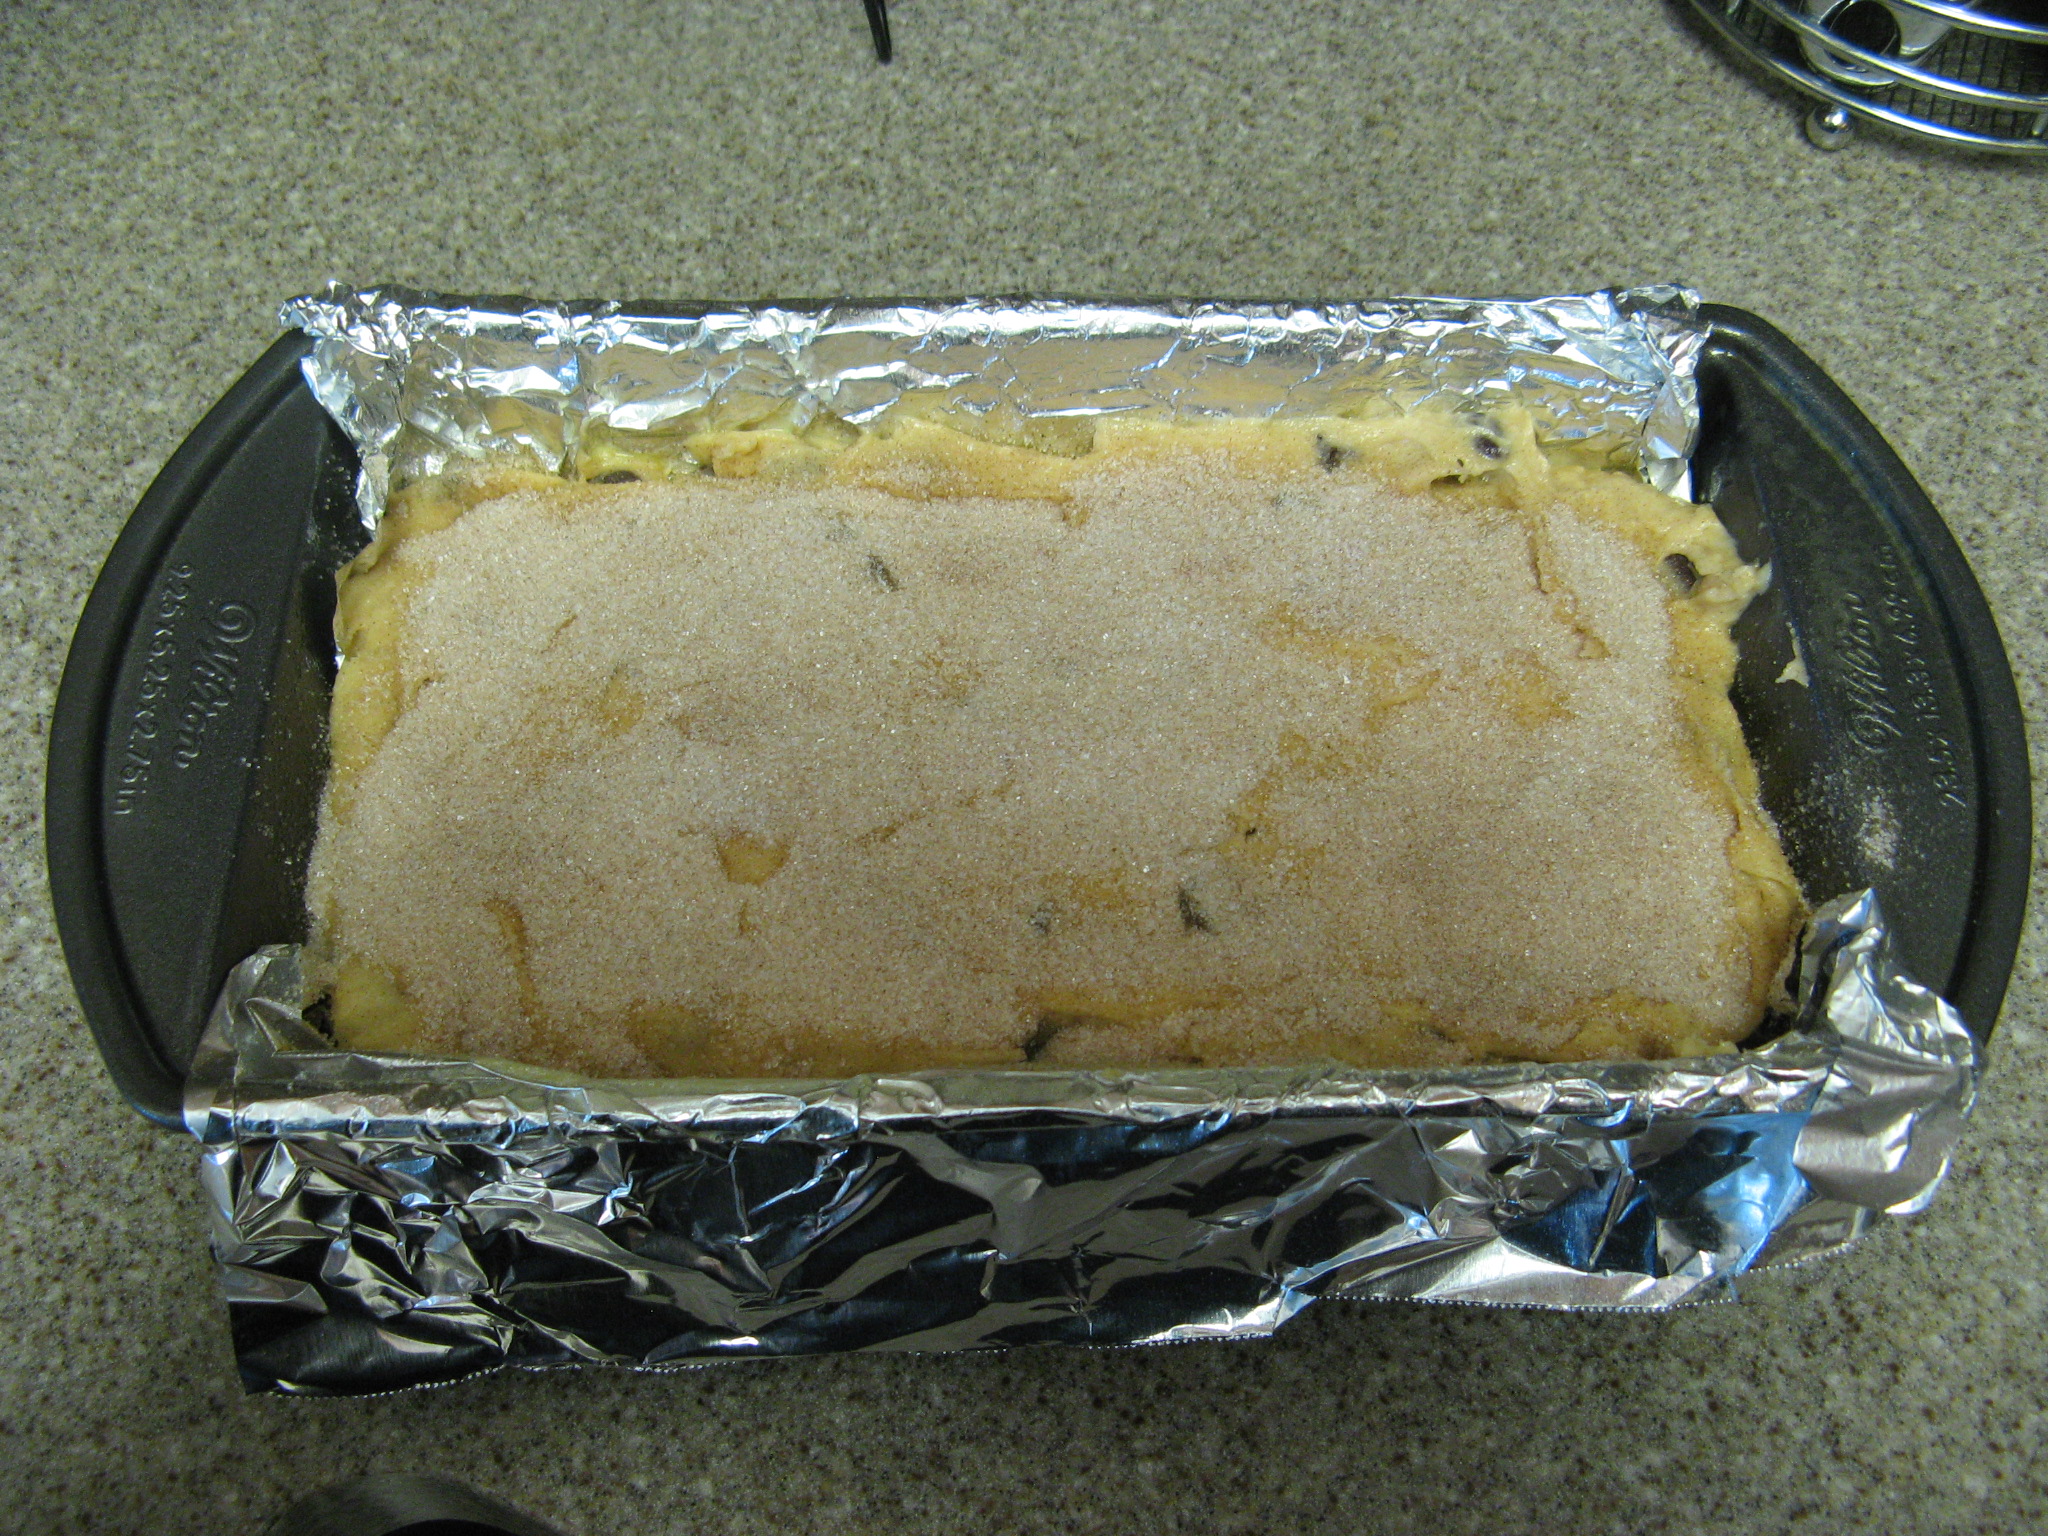
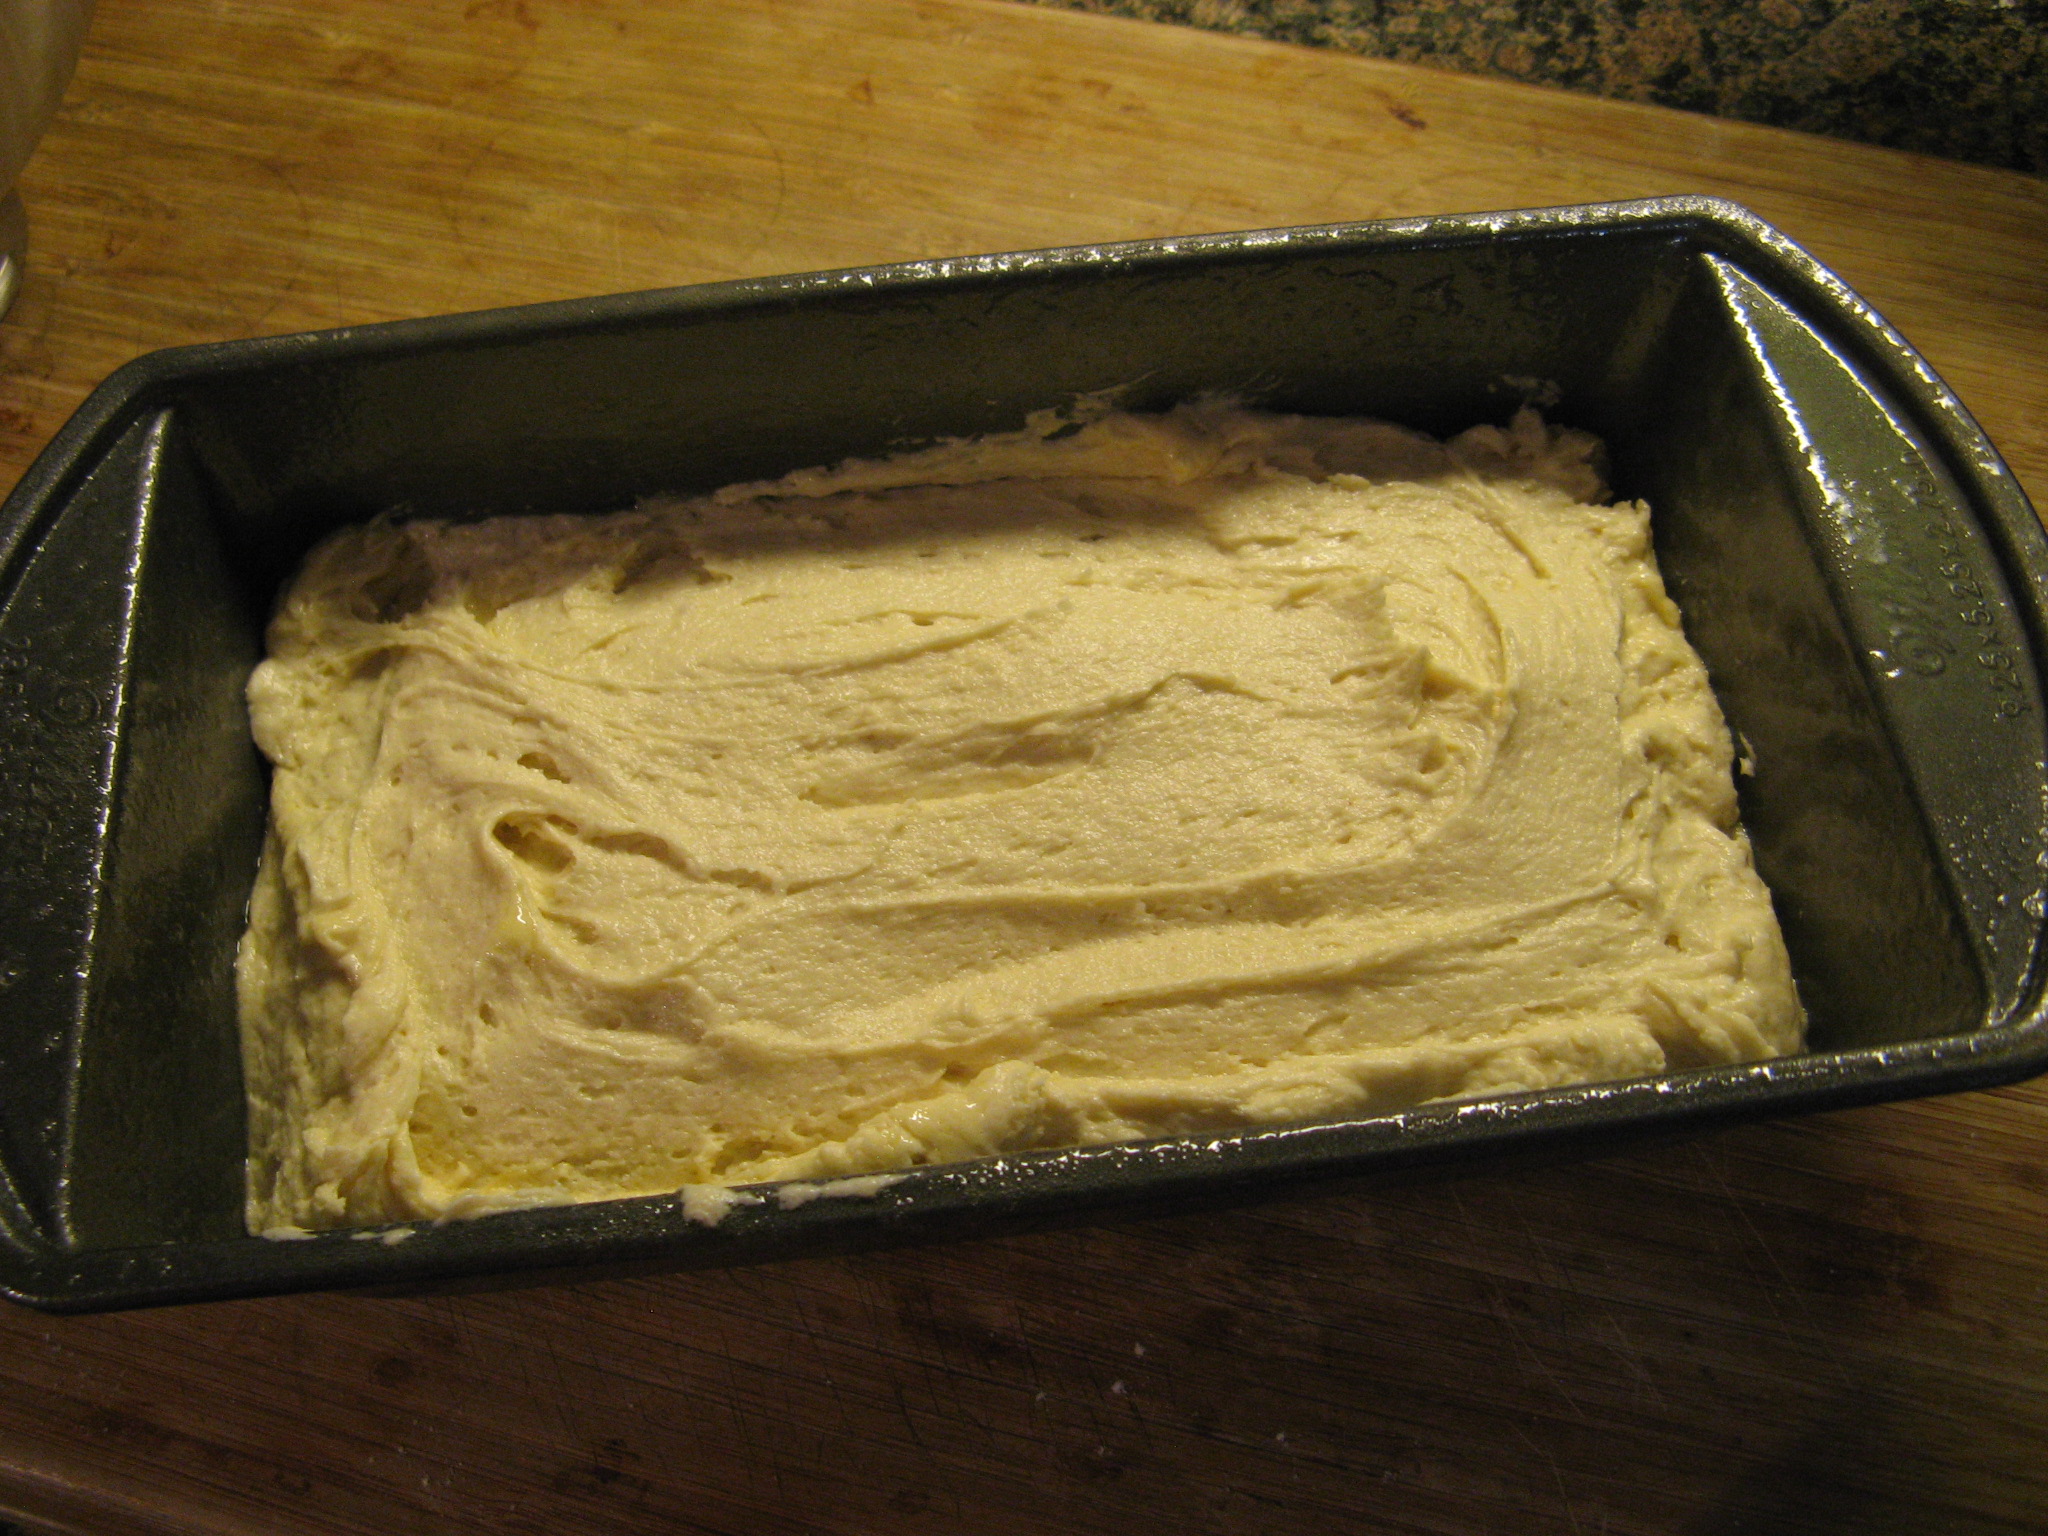
It was then ready to spread into my prepared pan – I sprayed it with baking spray.

IMG_0996 IMG_0997

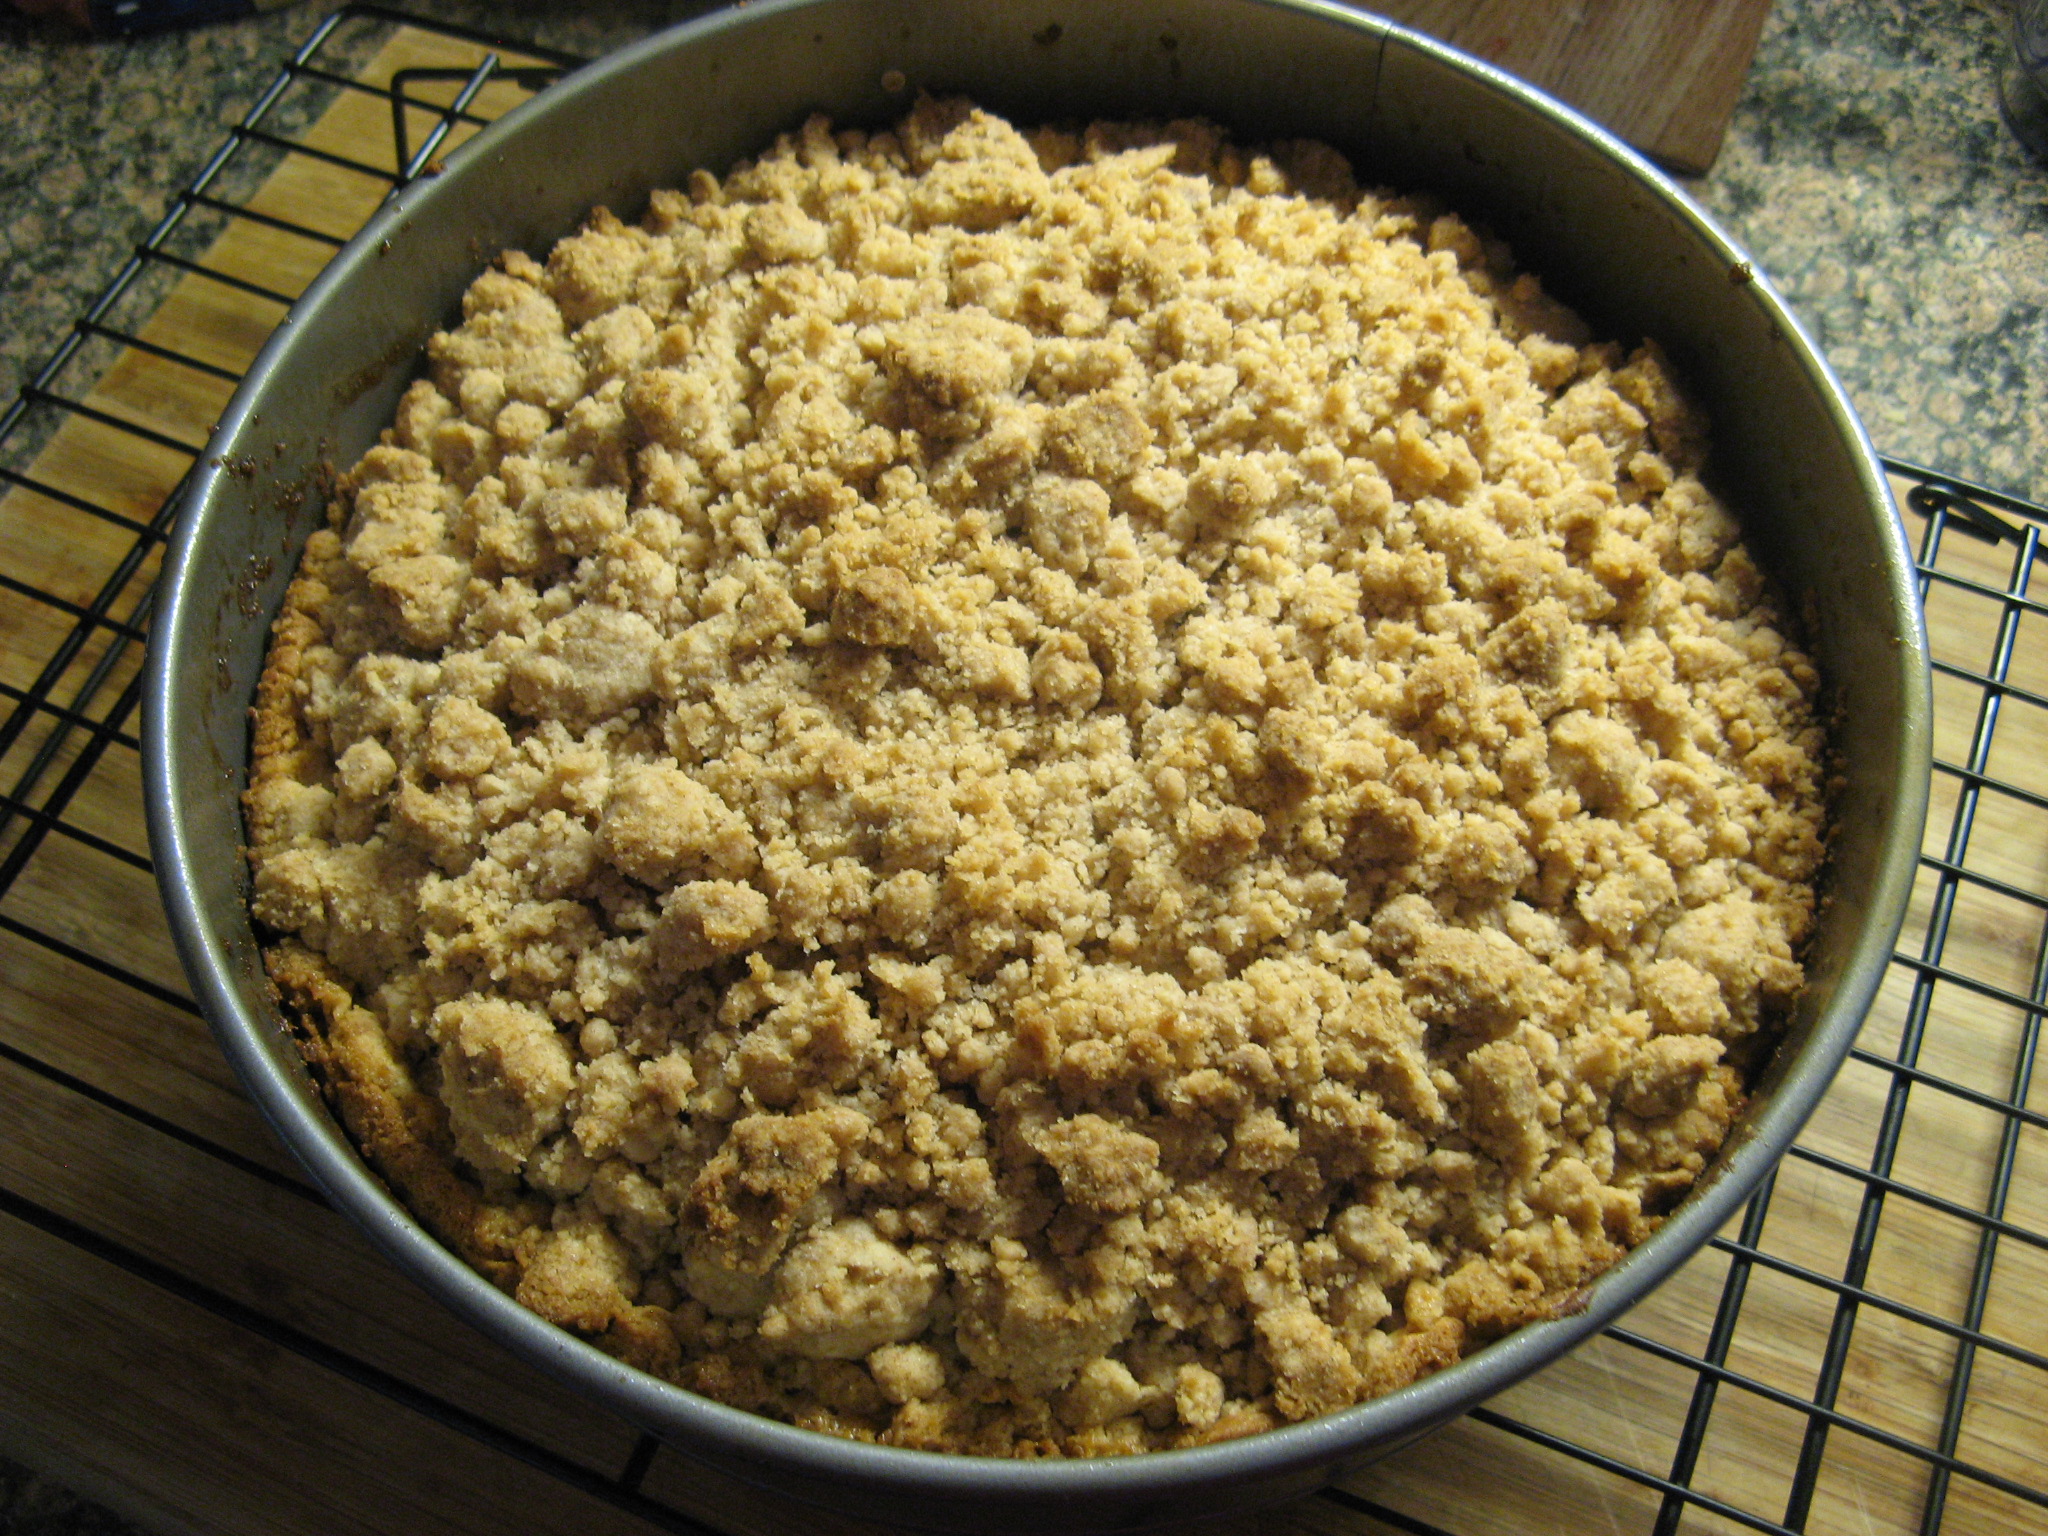
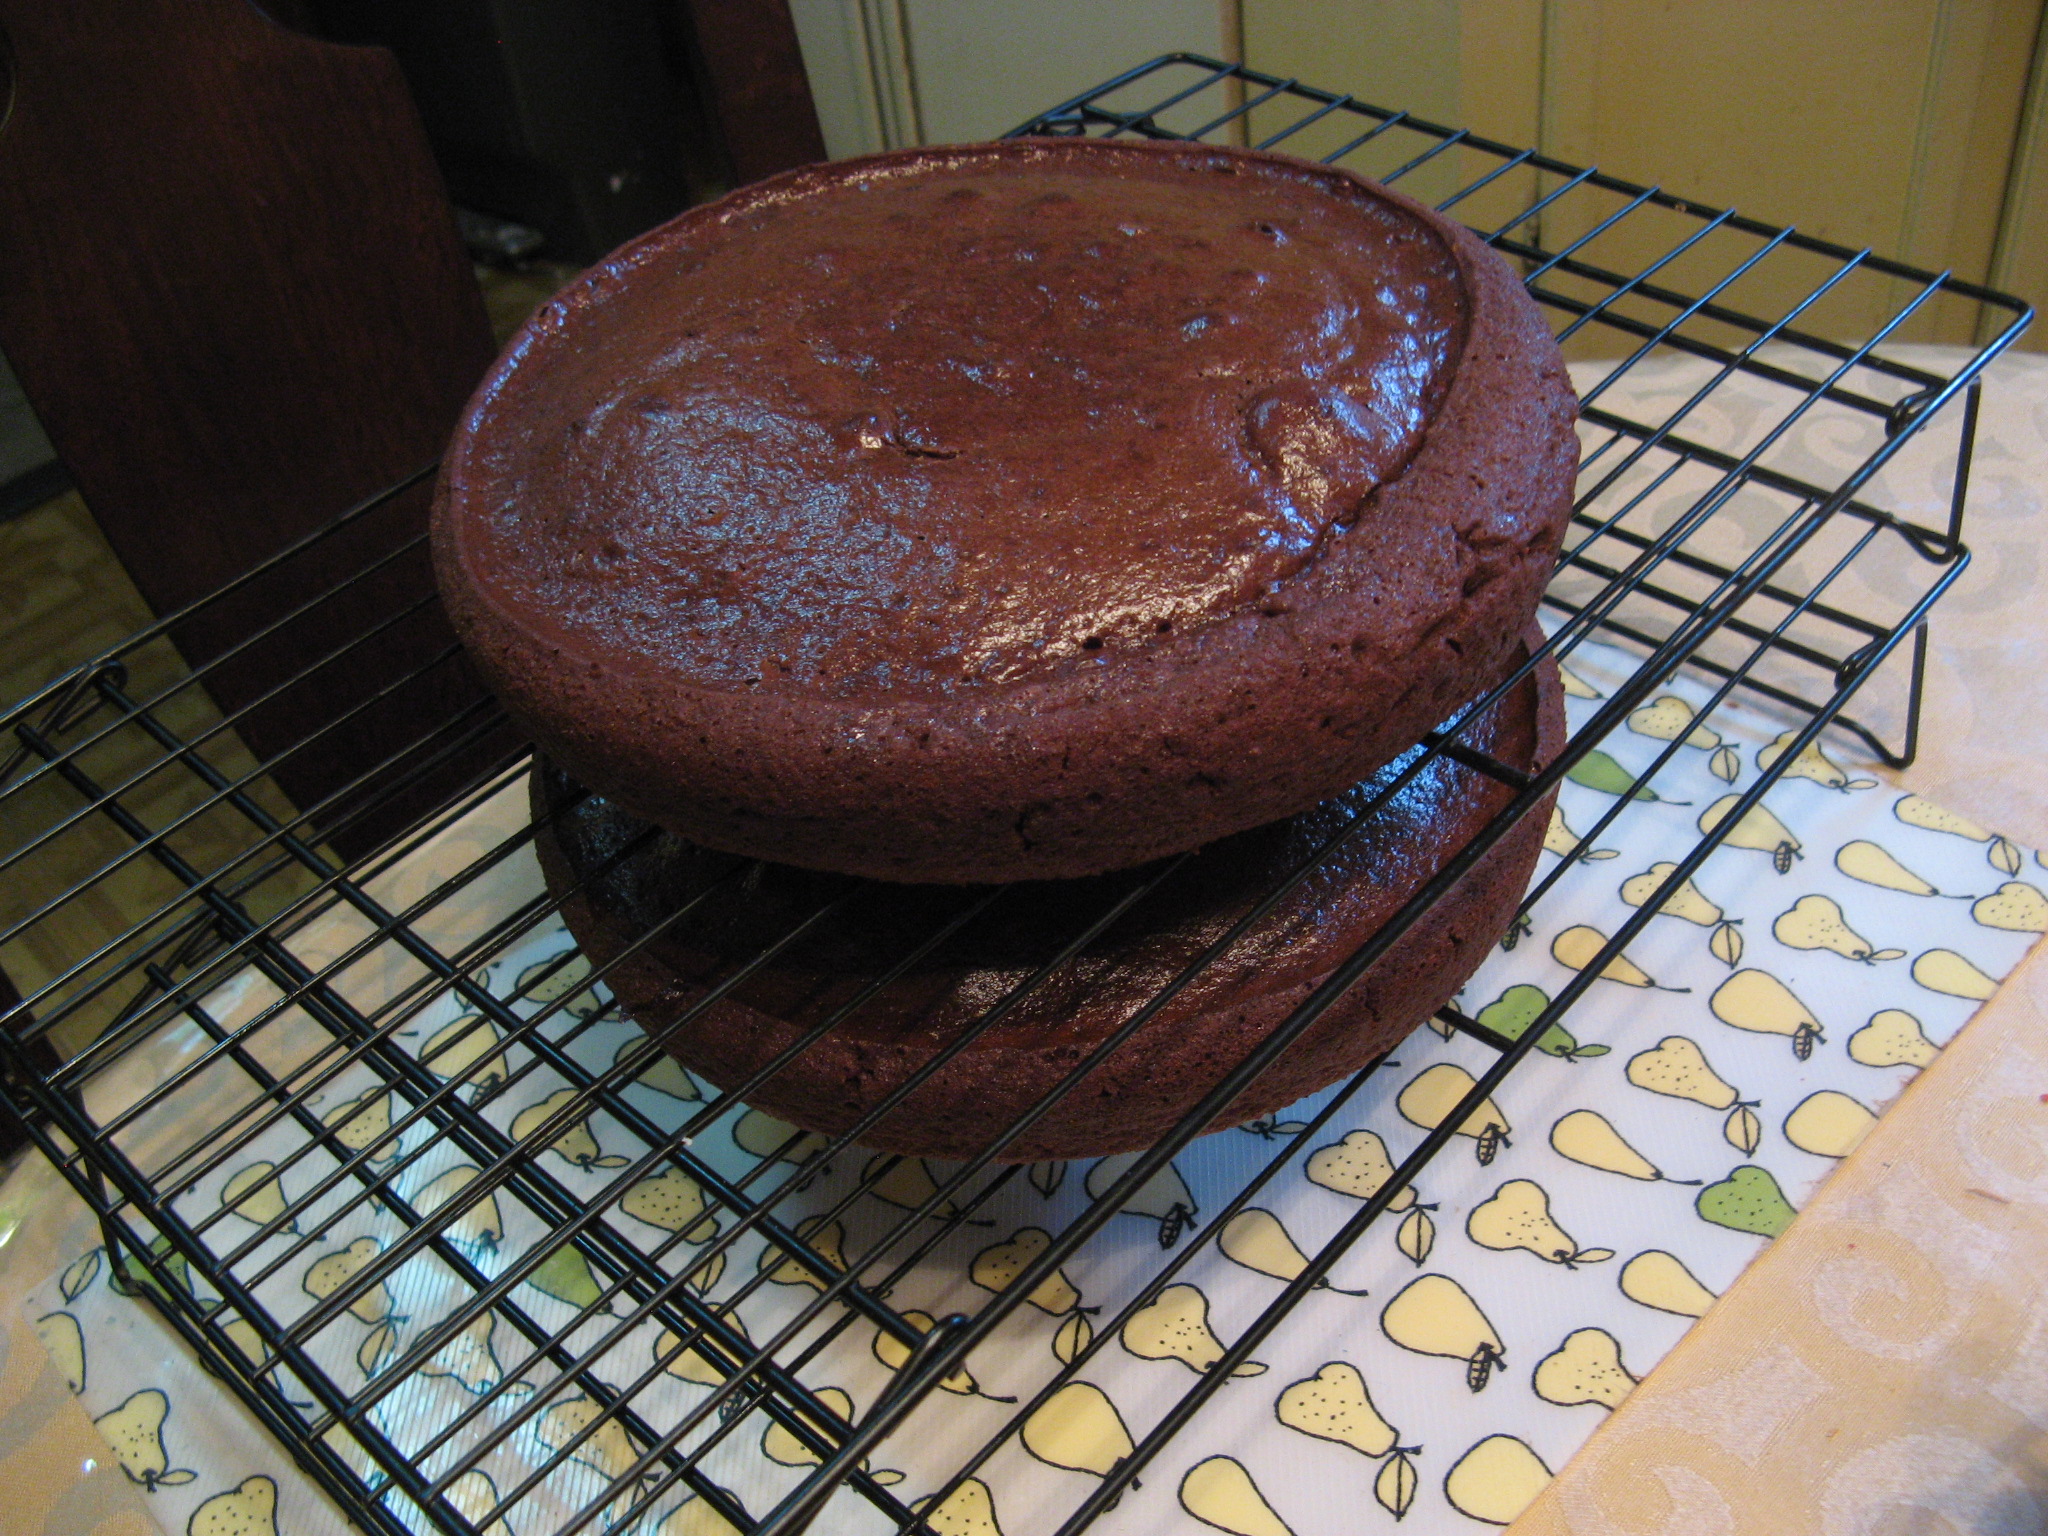
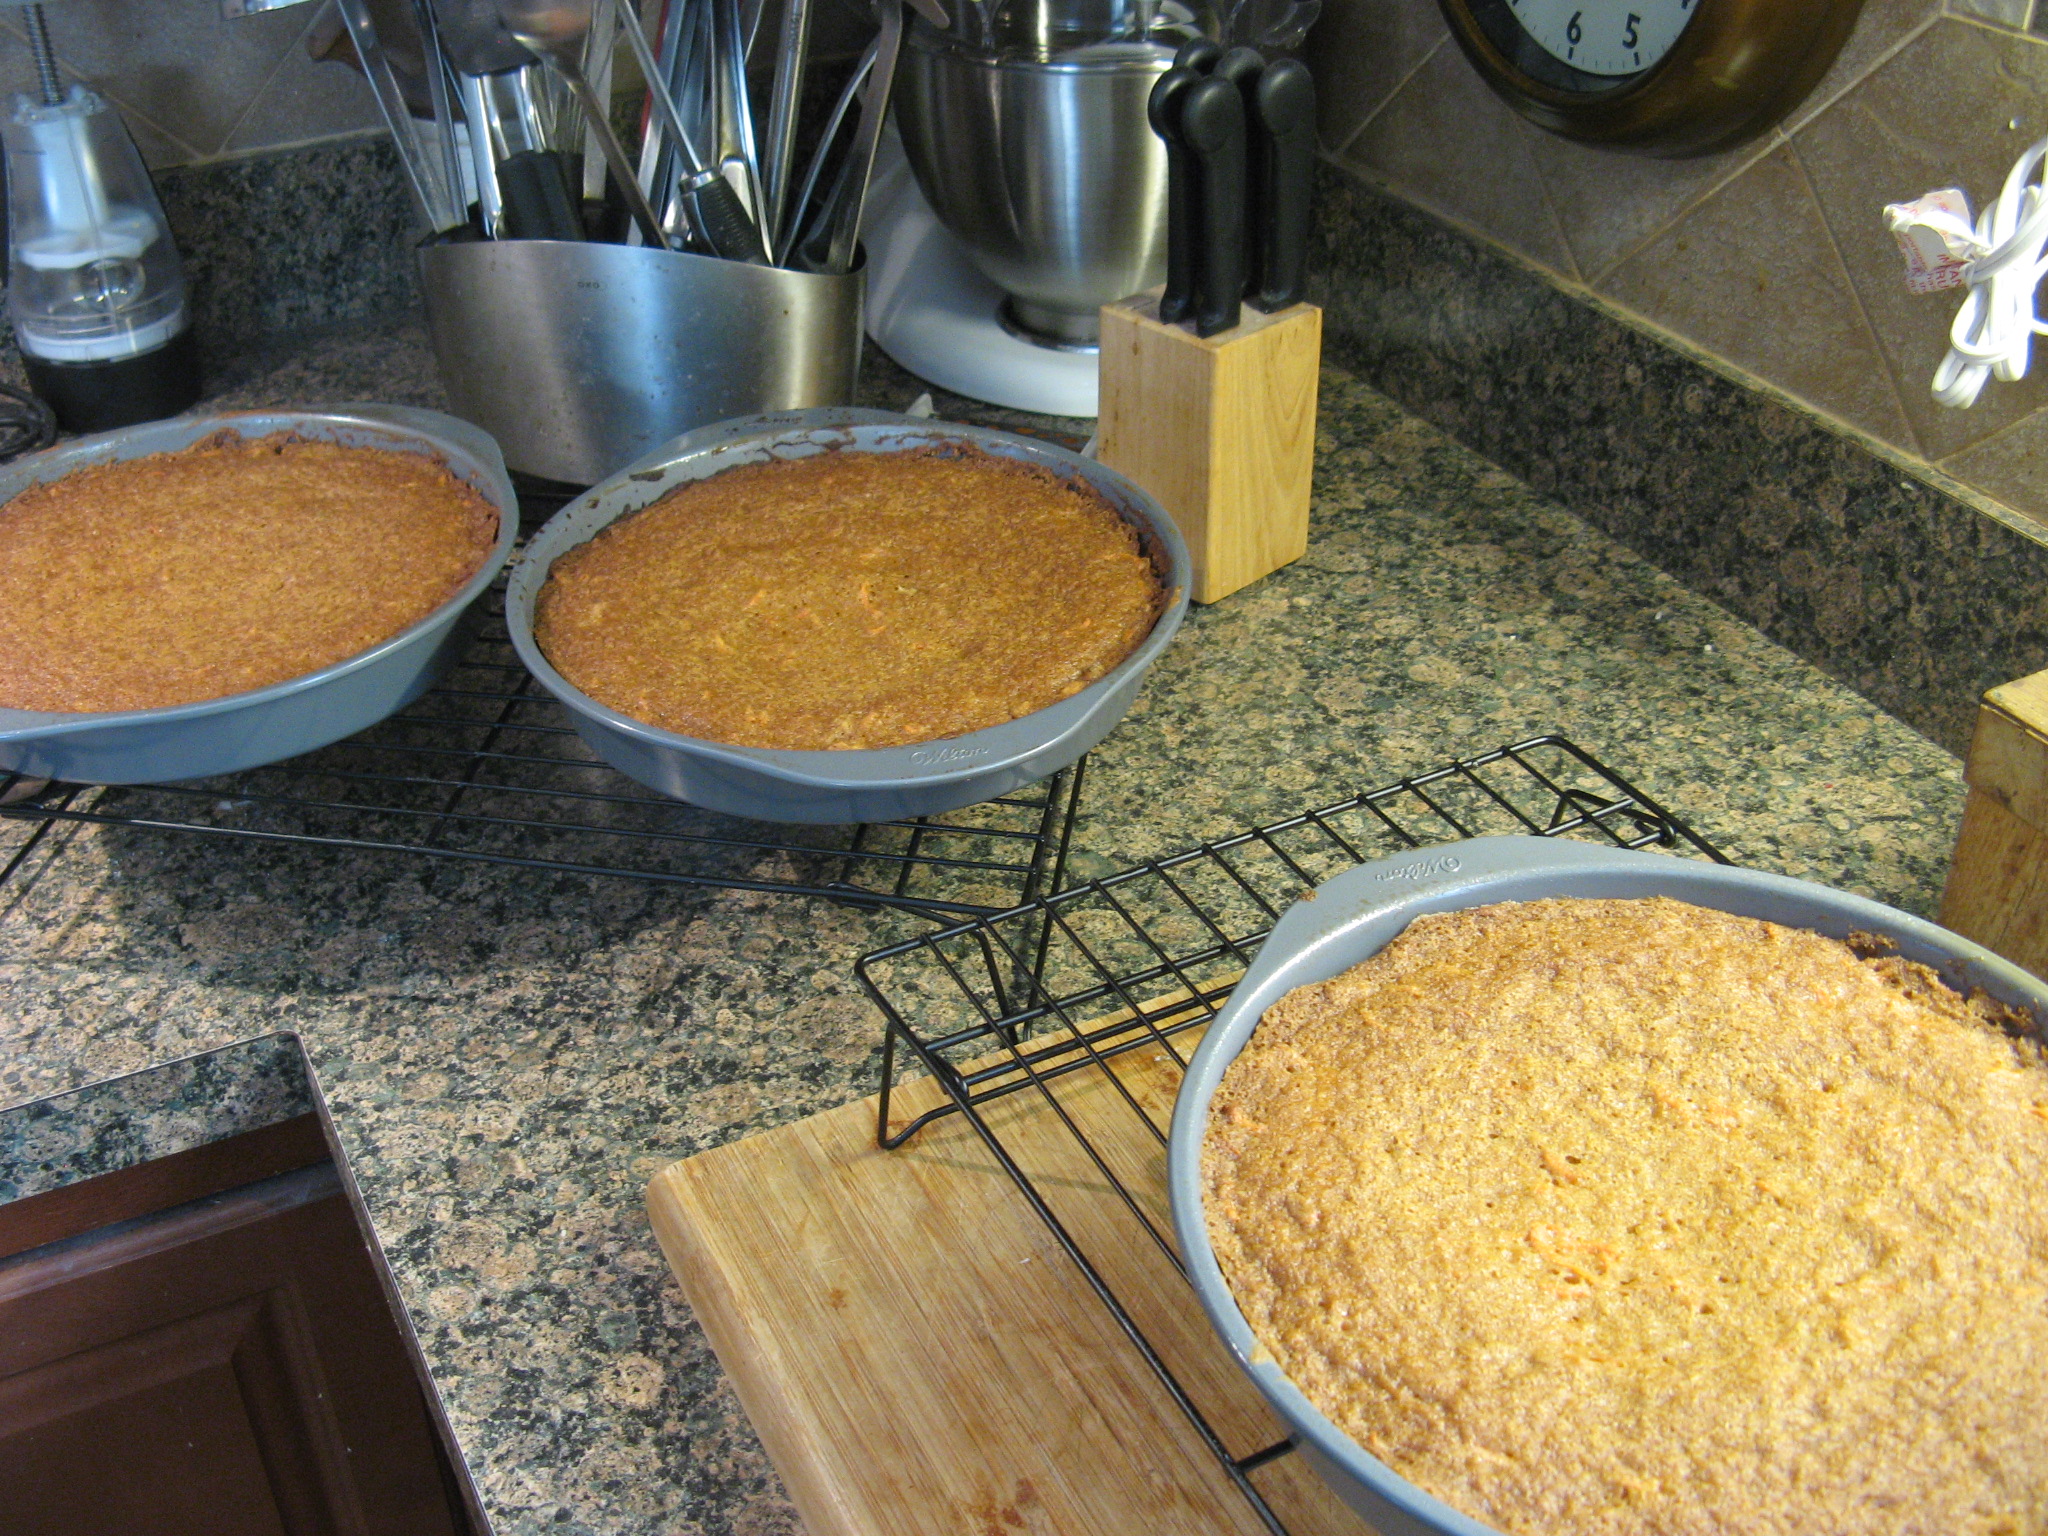
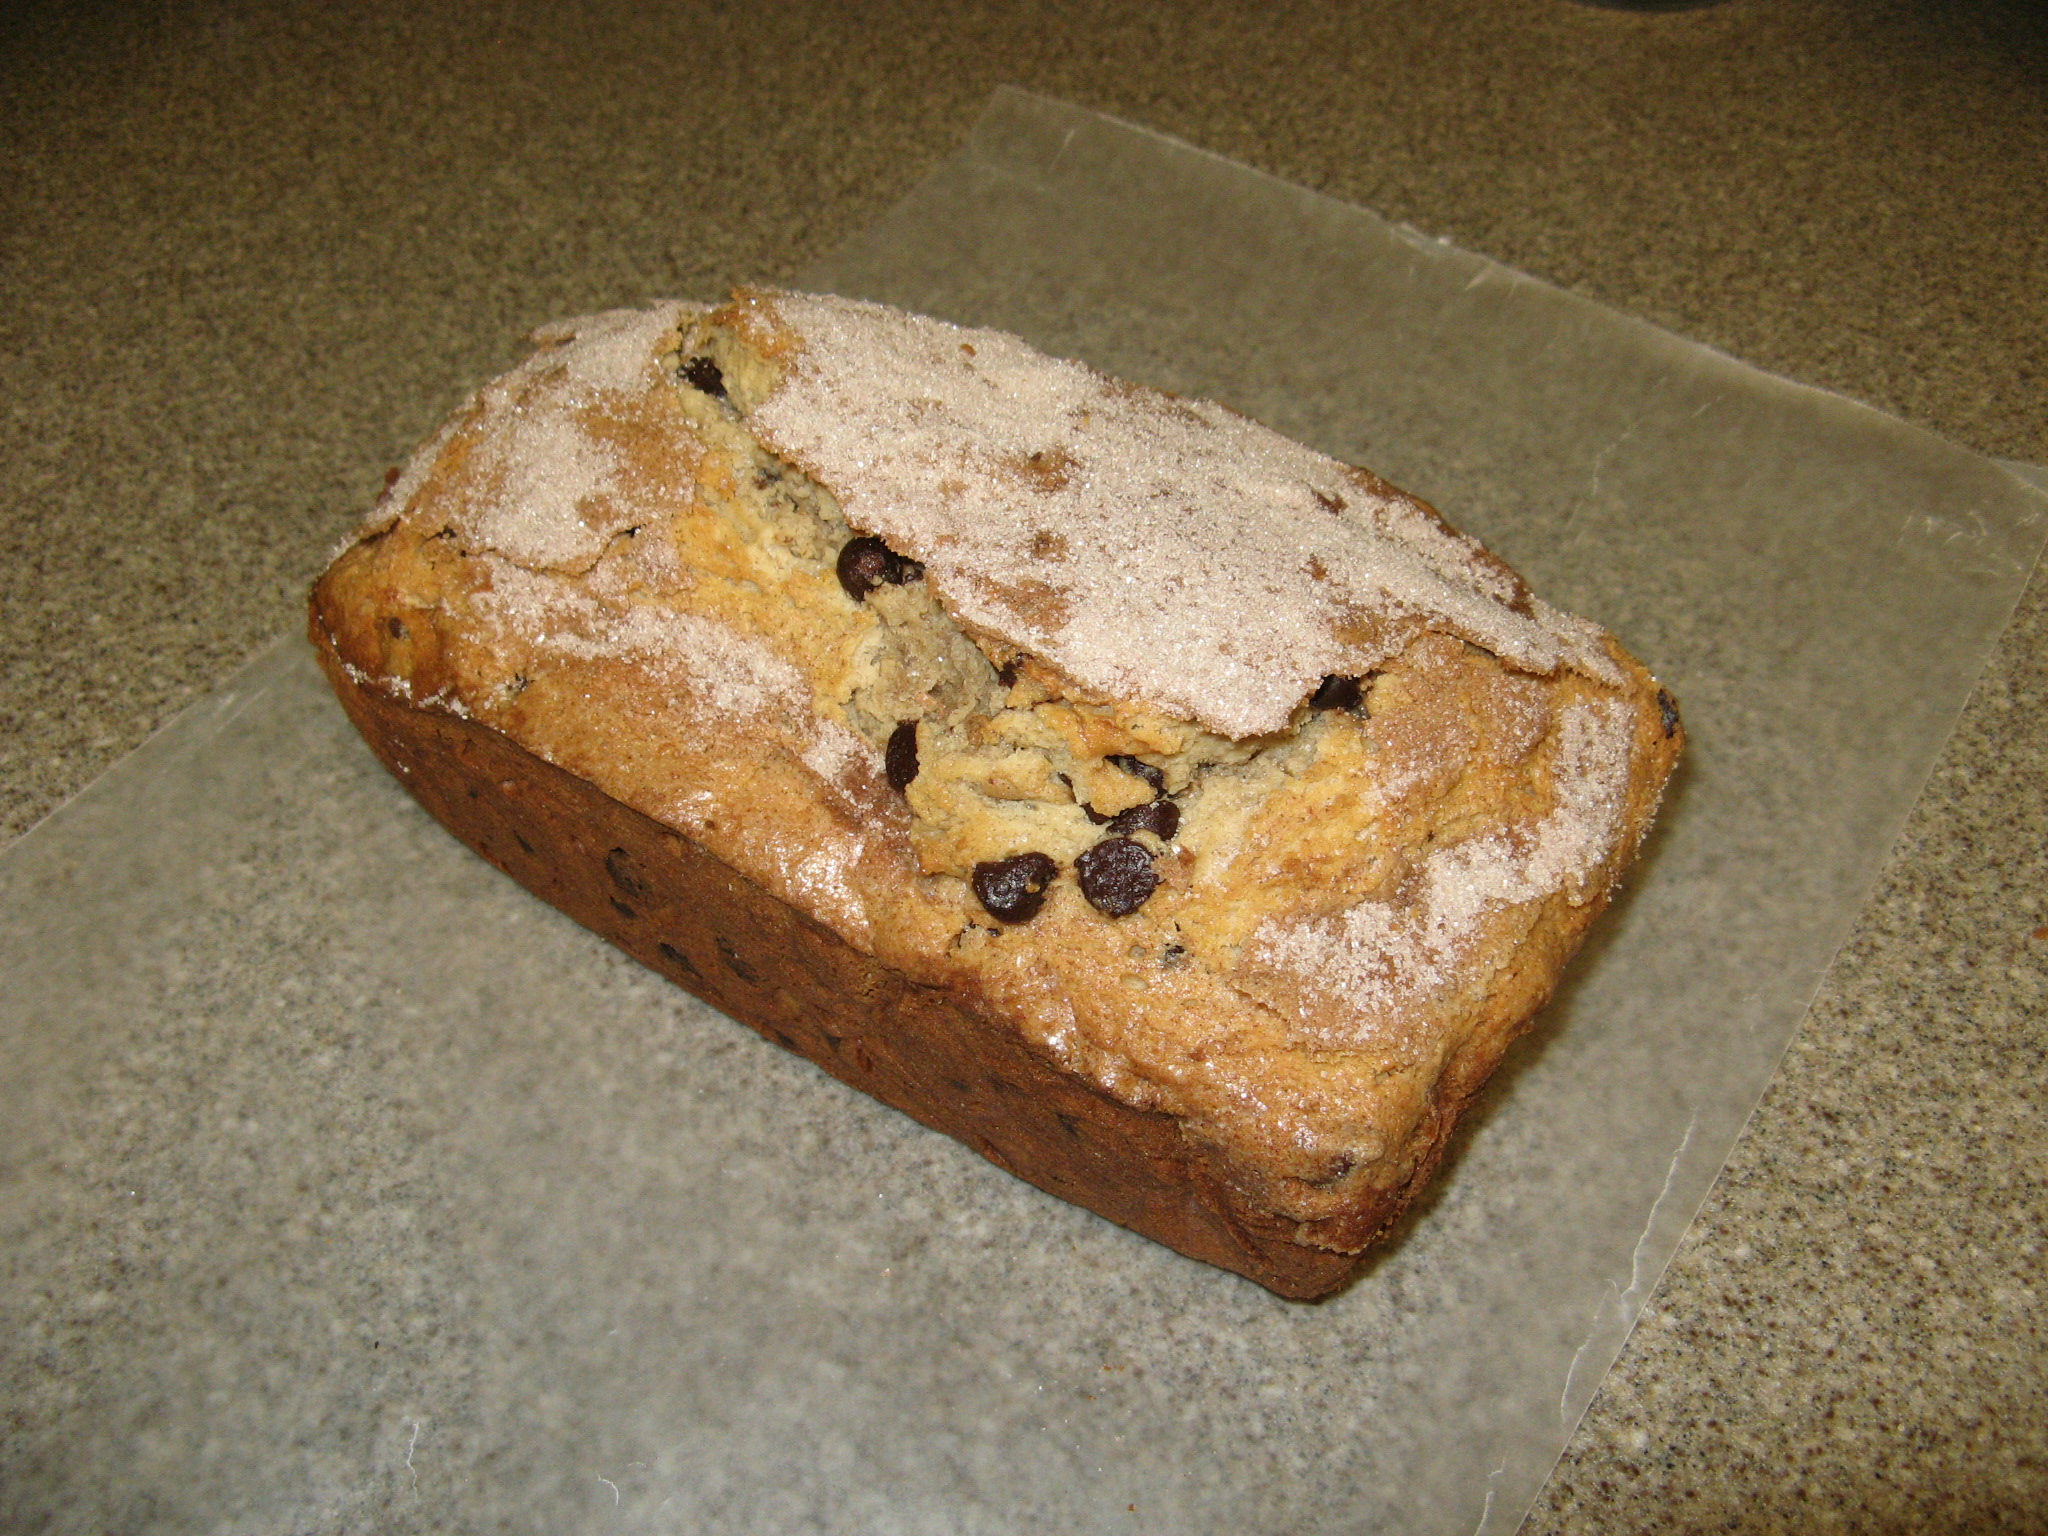
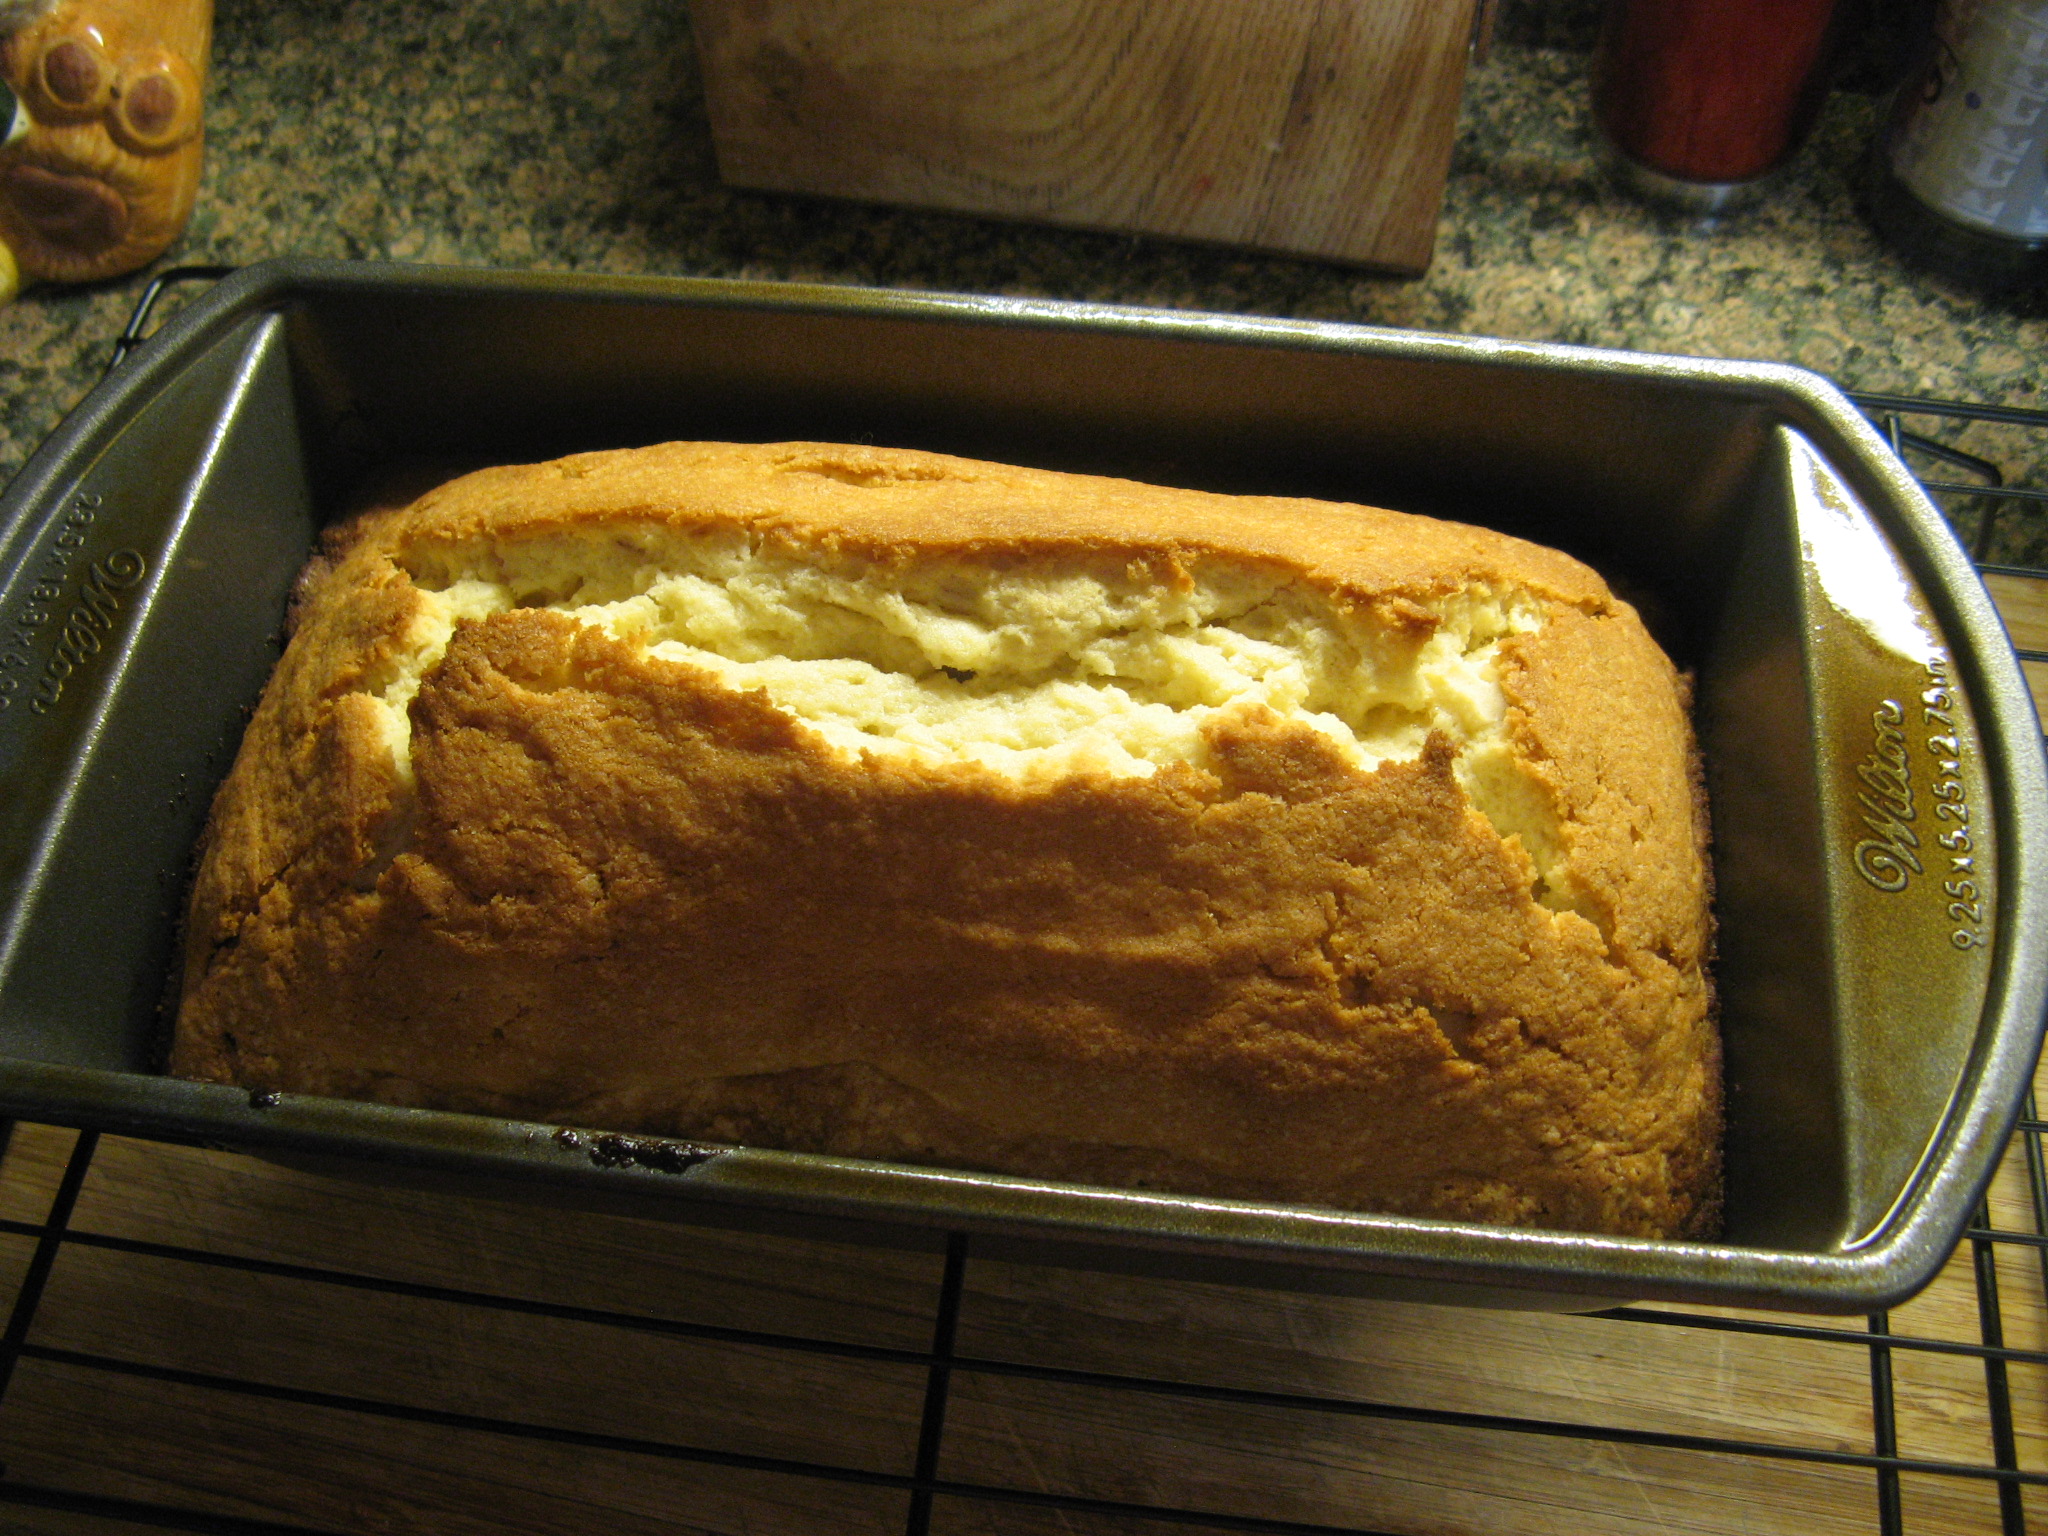
After baking in a 350 degree preheated oven for just shy of an hour it was ready to come out of the oven. I let it cool in the pan on a wire rack for 15 minutes…

IMG_0999

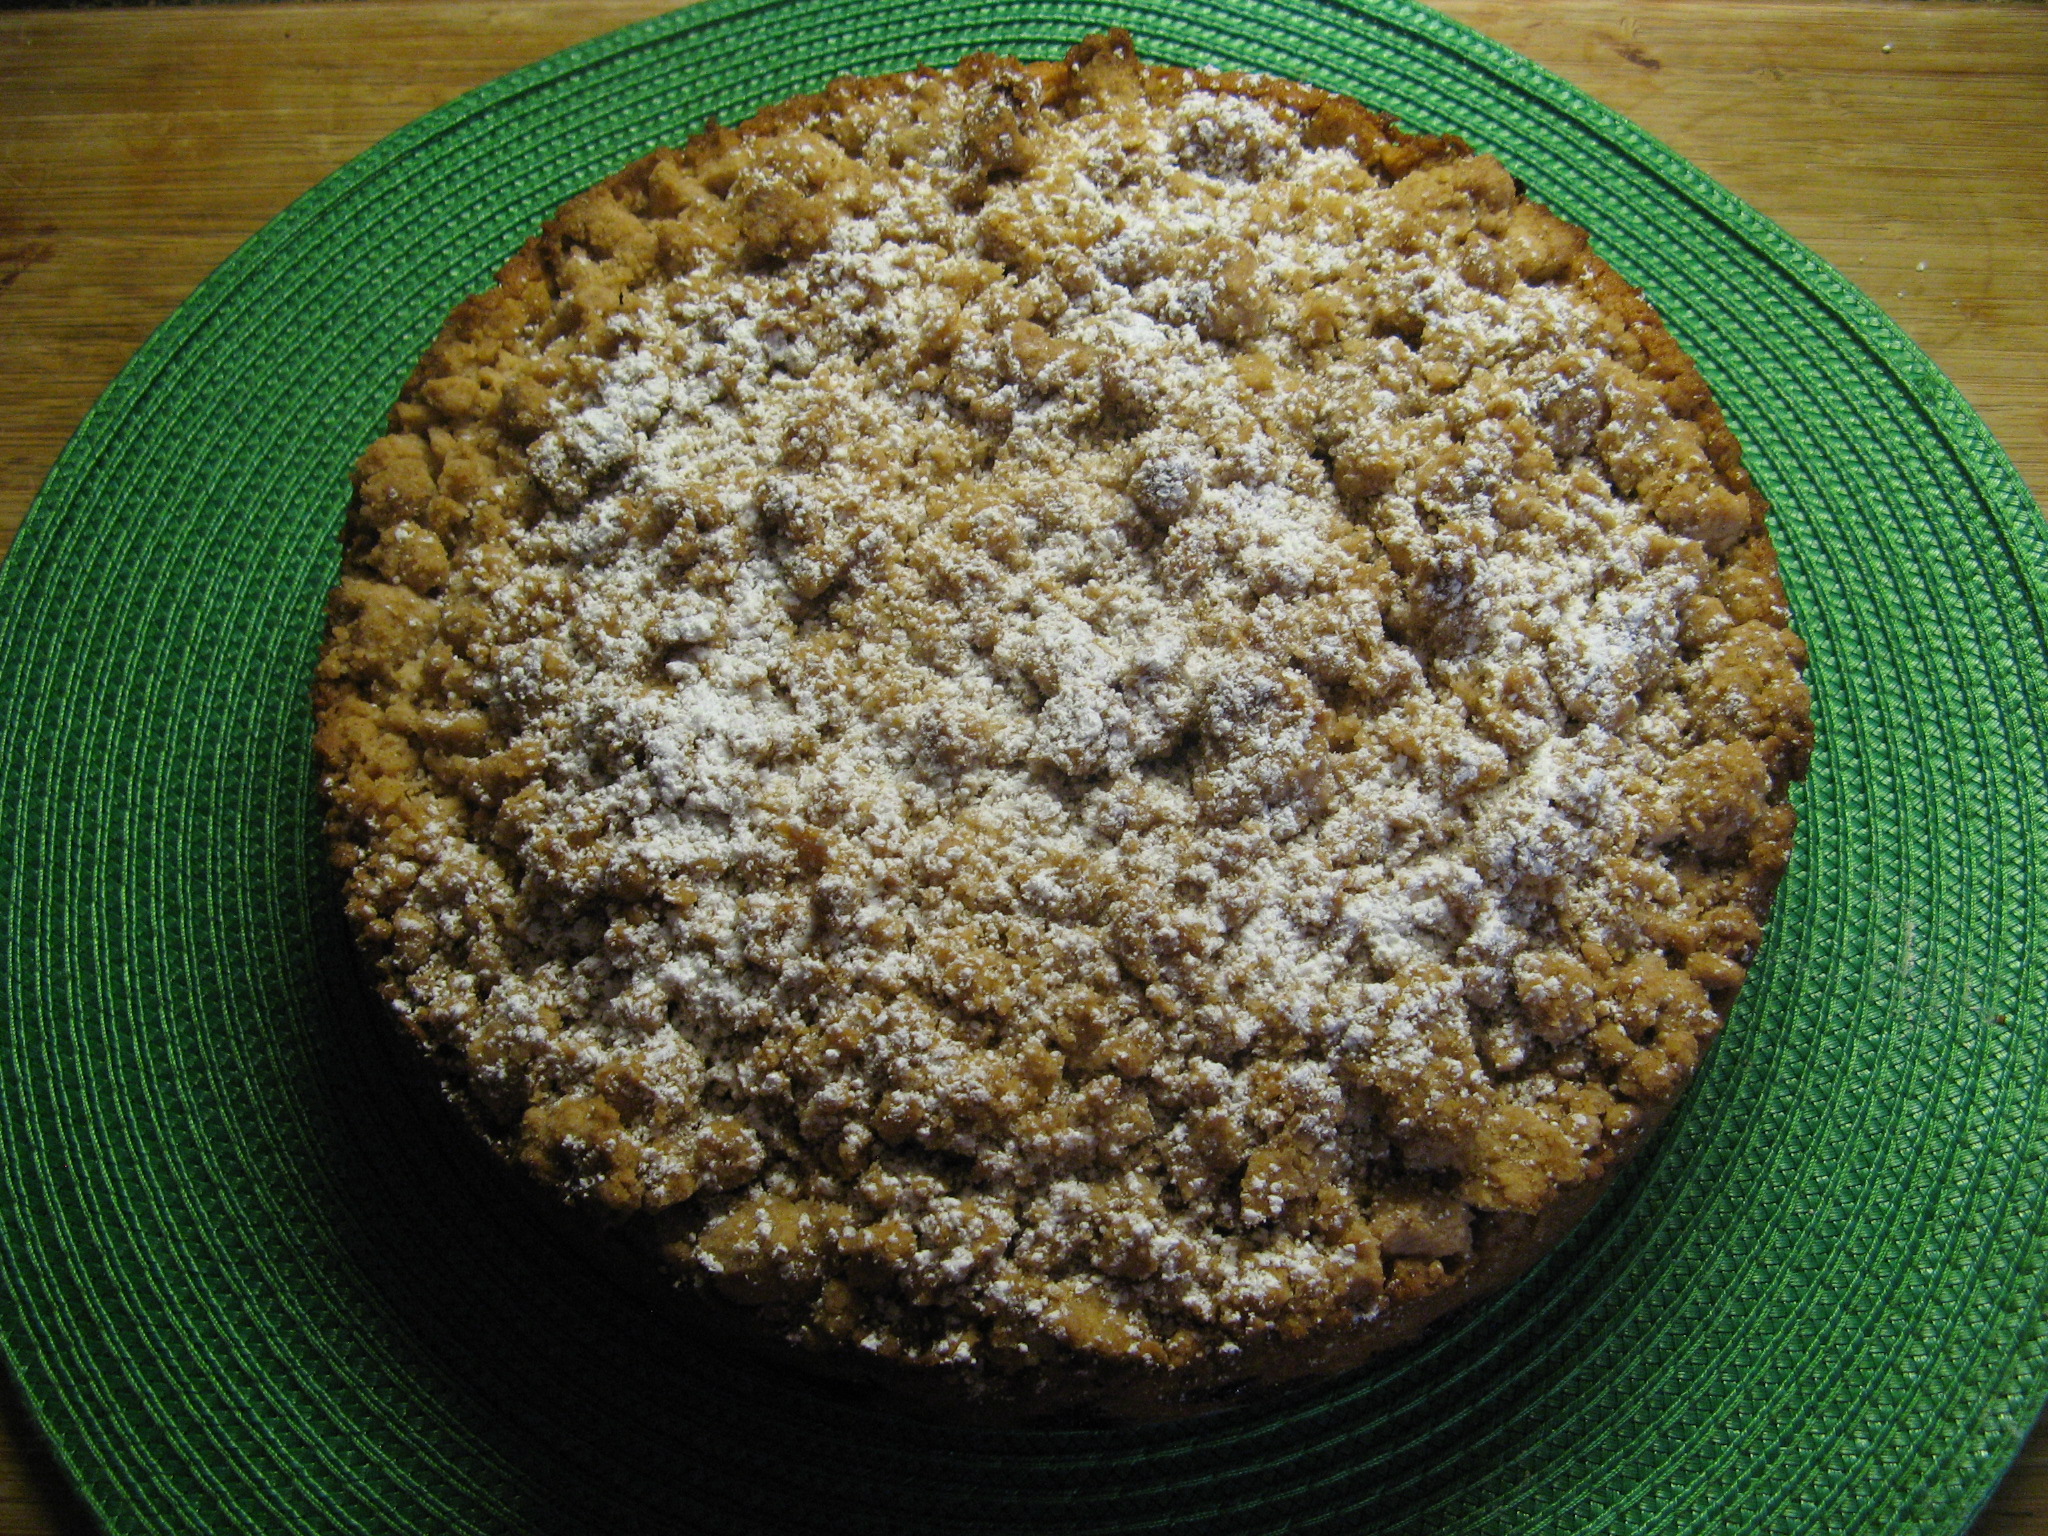
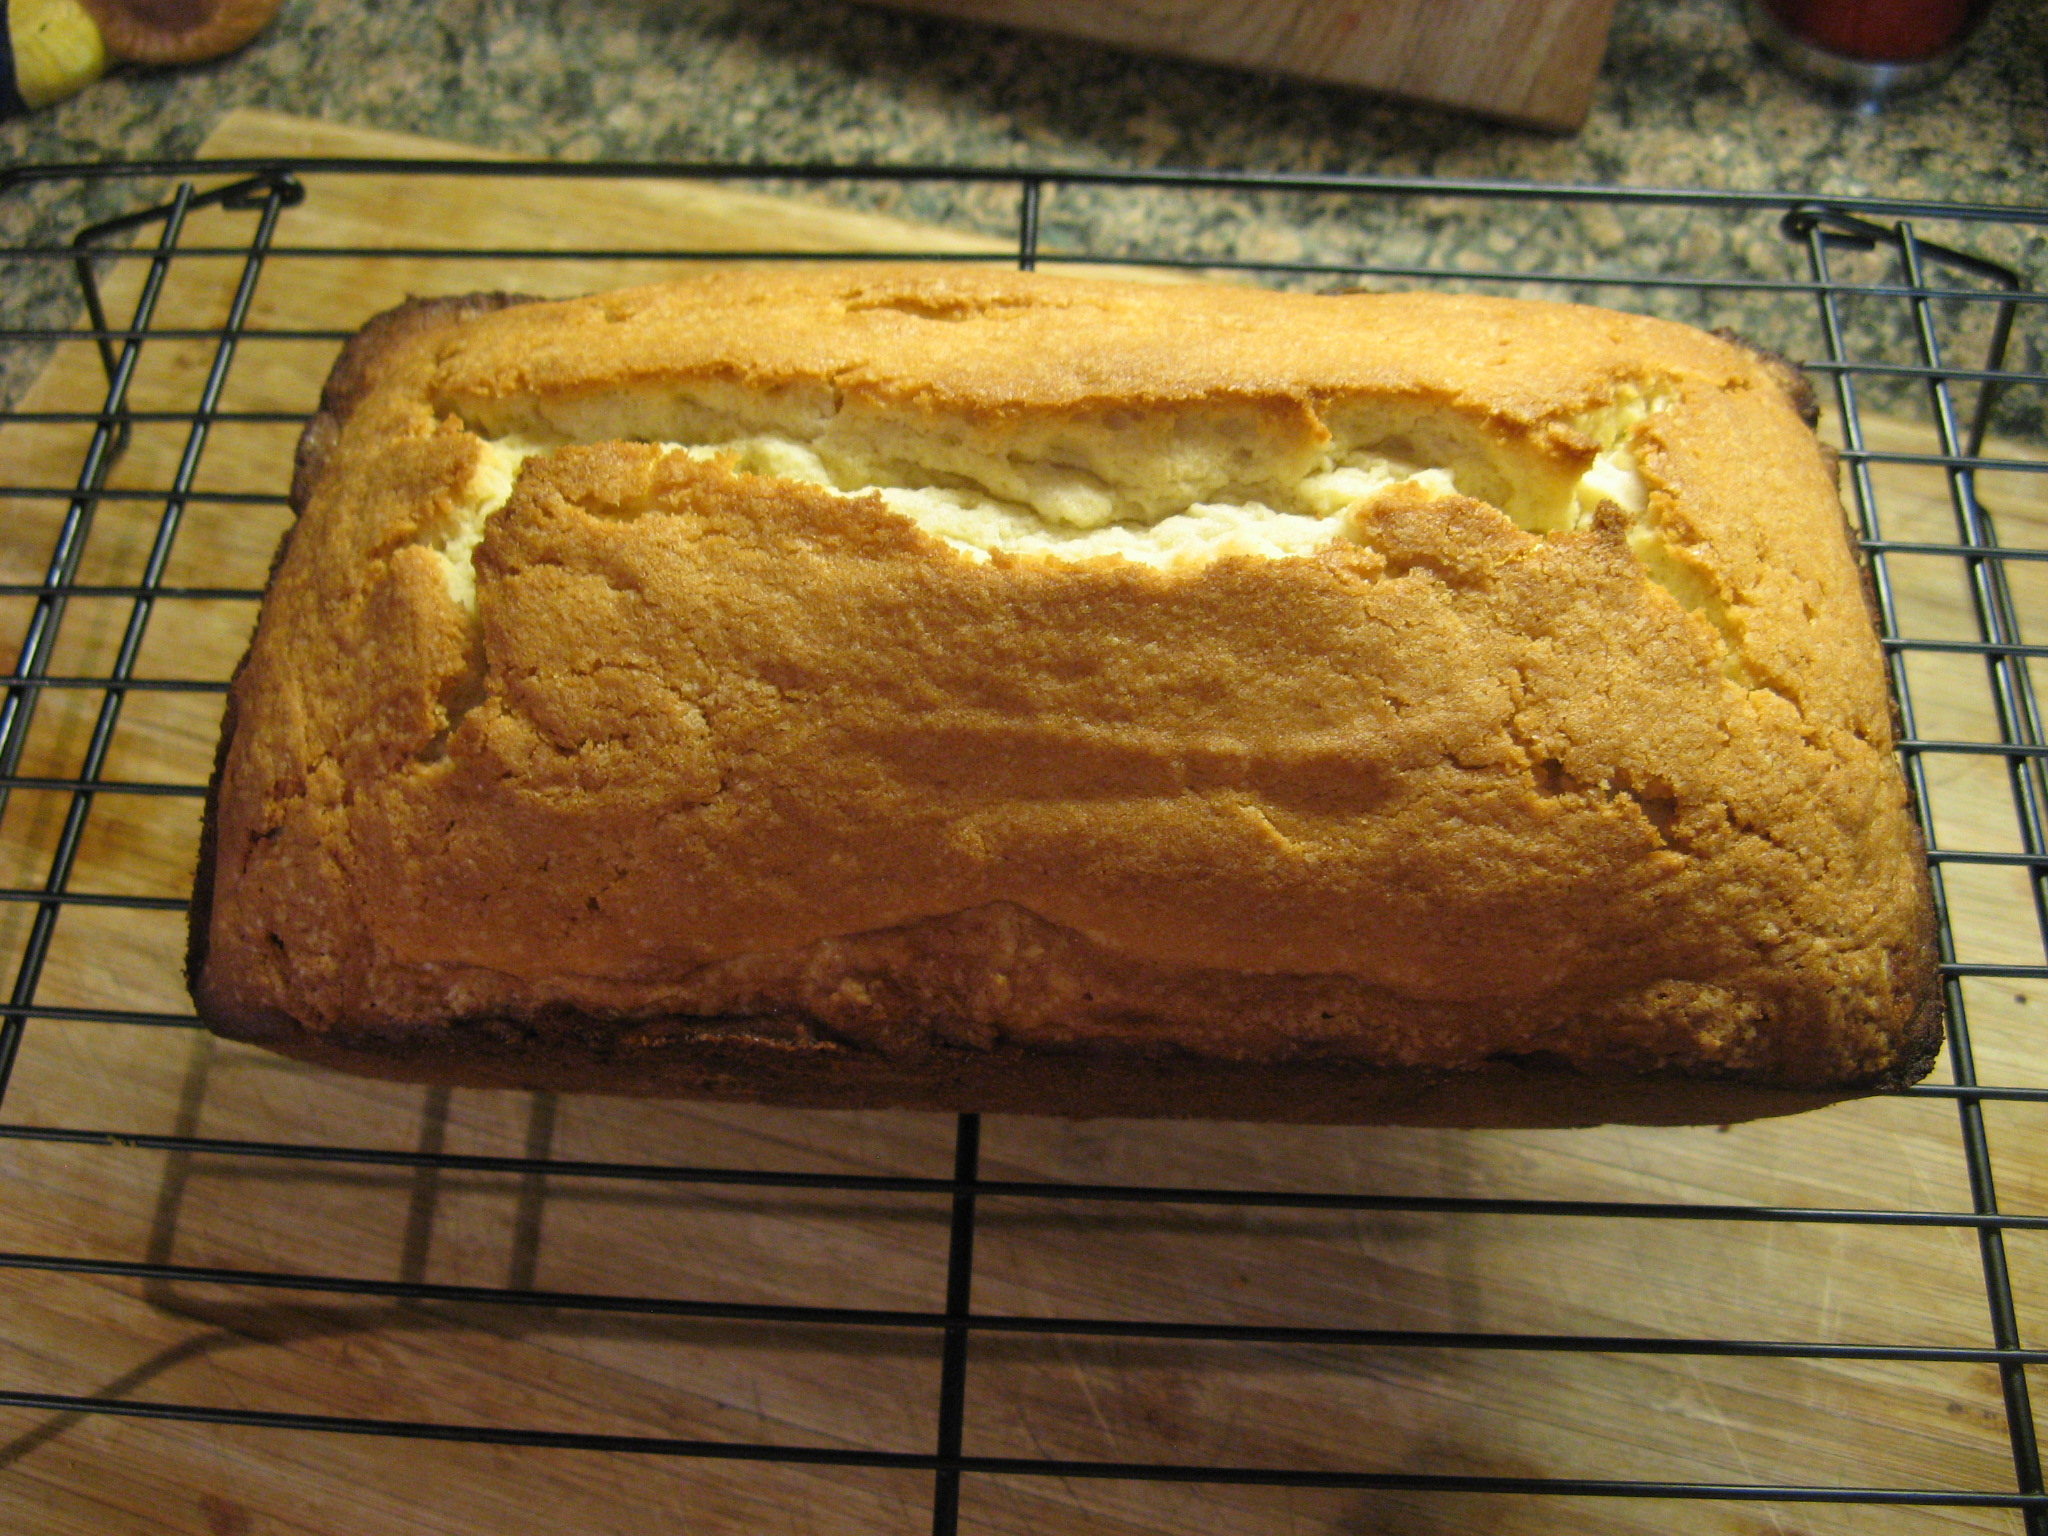
And then removed it from the pan and allowed it to cool completely.

IMG_1000

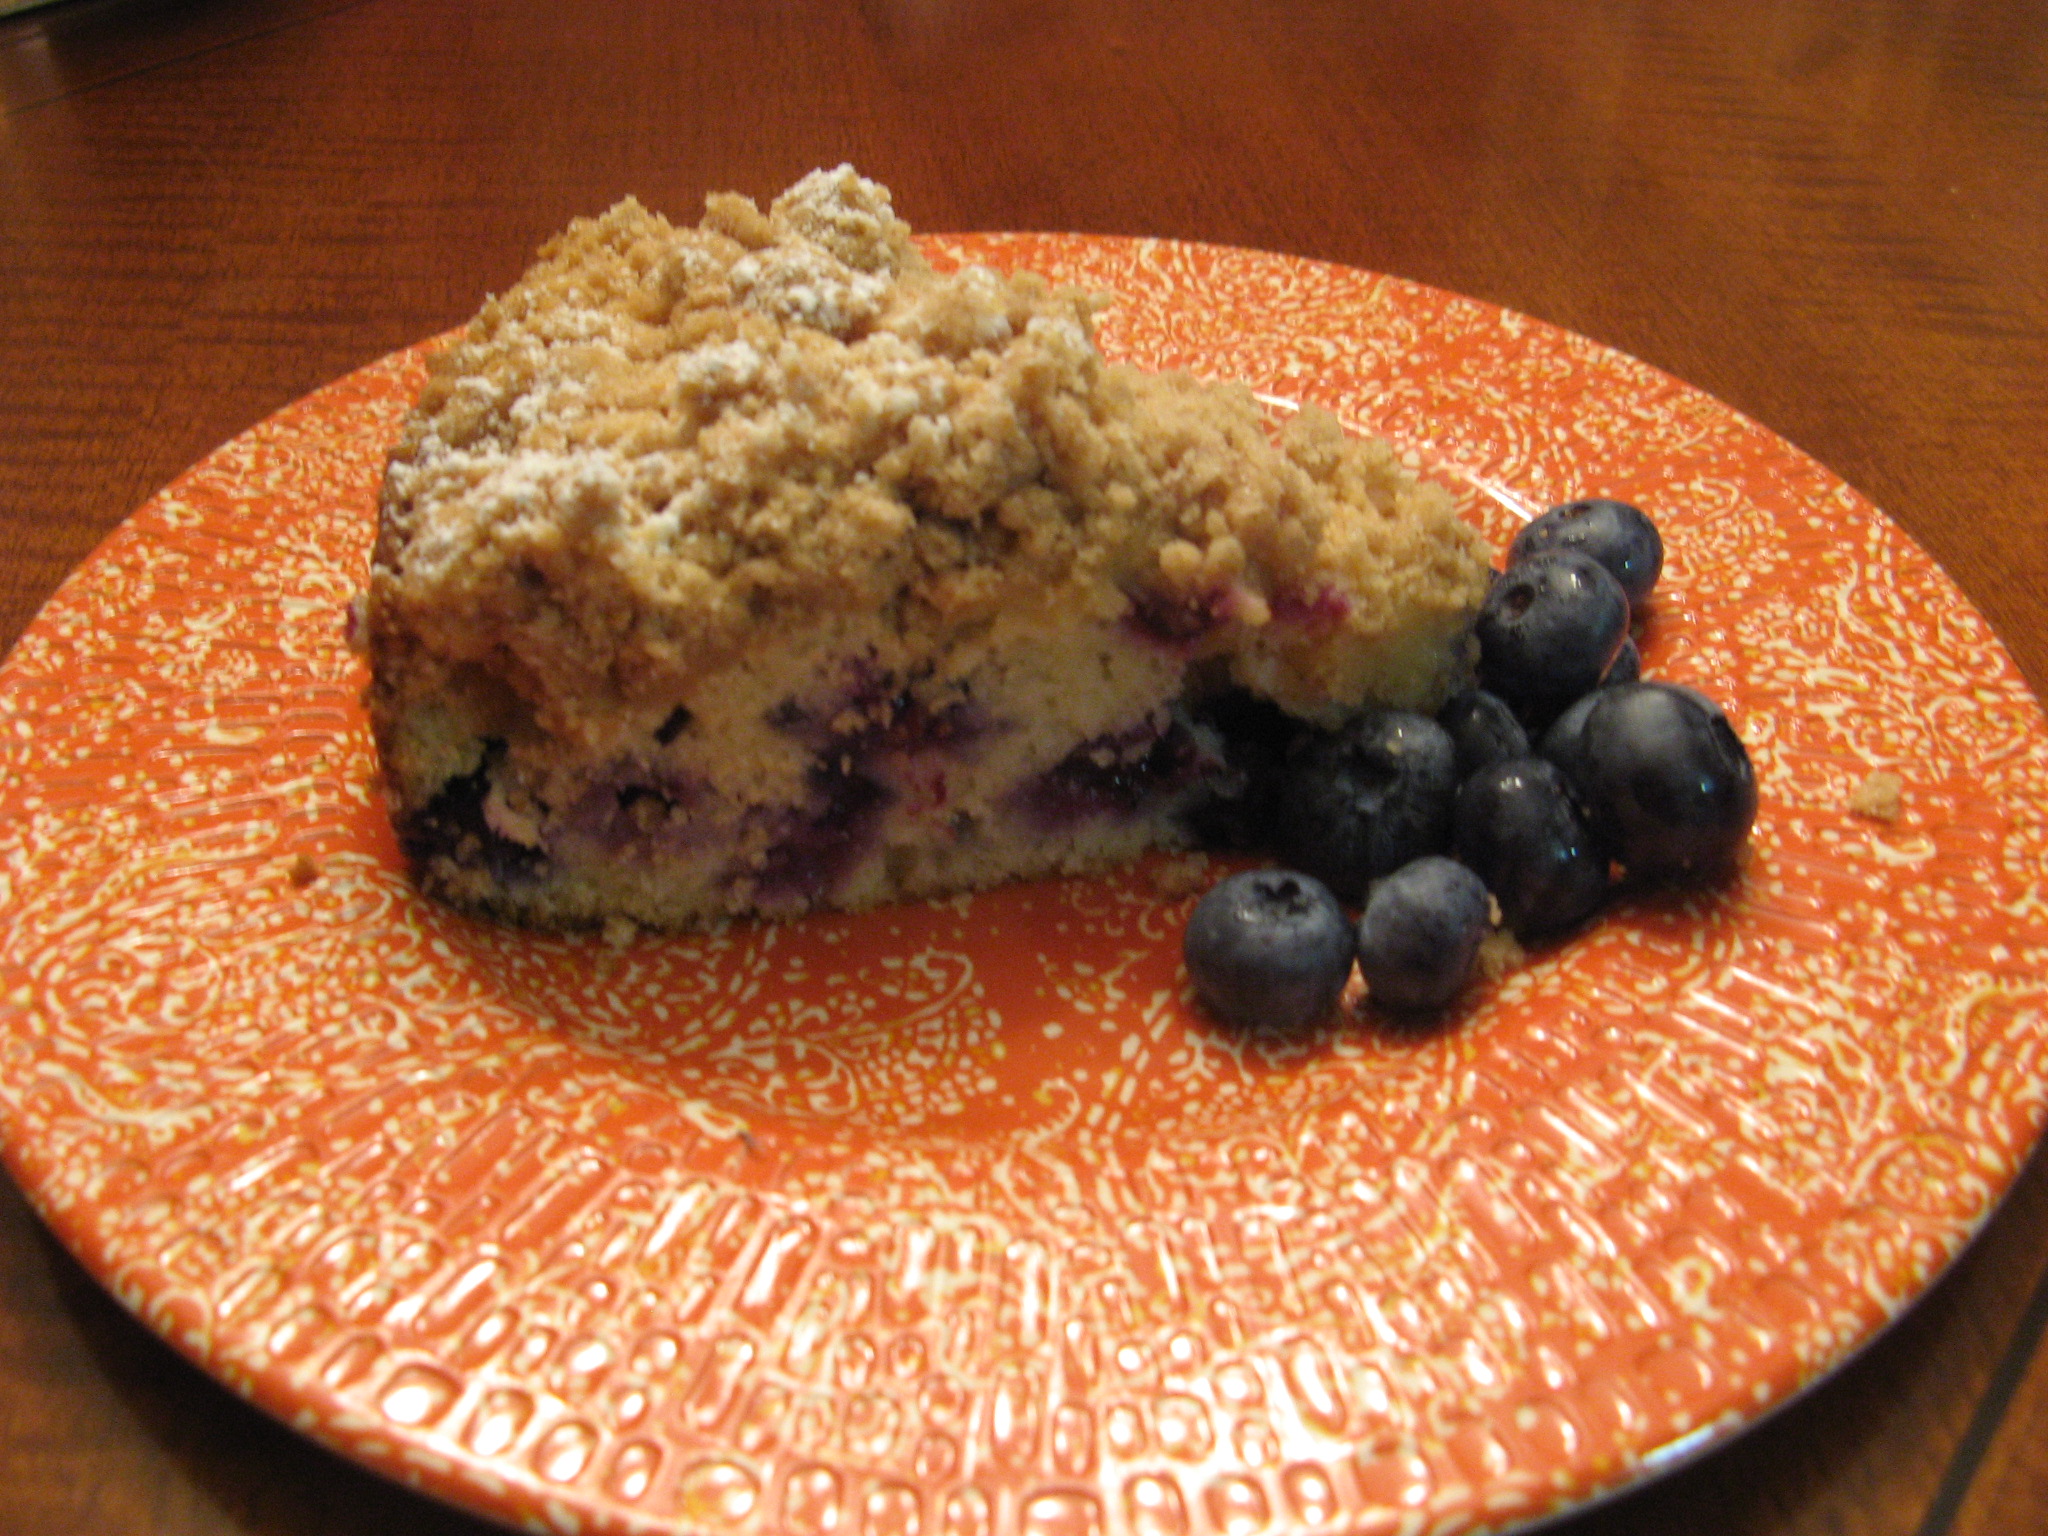
While the cake looked good I had a feeling that it was going to be on the dry side since the sides were a little dark and since dinner was rescheduled at the last minute I opted to bake another cake and make some tweaks to the directions. First off, the recipe called for a 6-cup loaf pan (8 1/2 inches x 4 1/2 inches) but since I didn’t have that size I just used what I had which was a 9 1/4 inches x 5 1/4 inches pan I had a feeling that this slight disparity in loaf pan size may have had something to do with the baking time and the oven temperature. So, for the second I decided to lower the temperature to 325 degrees and then baked the cake for approximately 50 minutes which was still a little long I found, but, produced a cake that was lighter in color and definitely moister. I definitely think you need the 6-cup loaf pan to make the most of this recipe. Next time I want to bake a simple pound cake I think I will go with Martha Stewart’s Classic Pound Cake recipe. The only reason I didn’t bake it this time was because it produced two cakes as opposed to one… In hindsight though I probably should have just gone with that one since I ended up baking two cakes anyway.

Vanilla Pound Cake

Ingredients

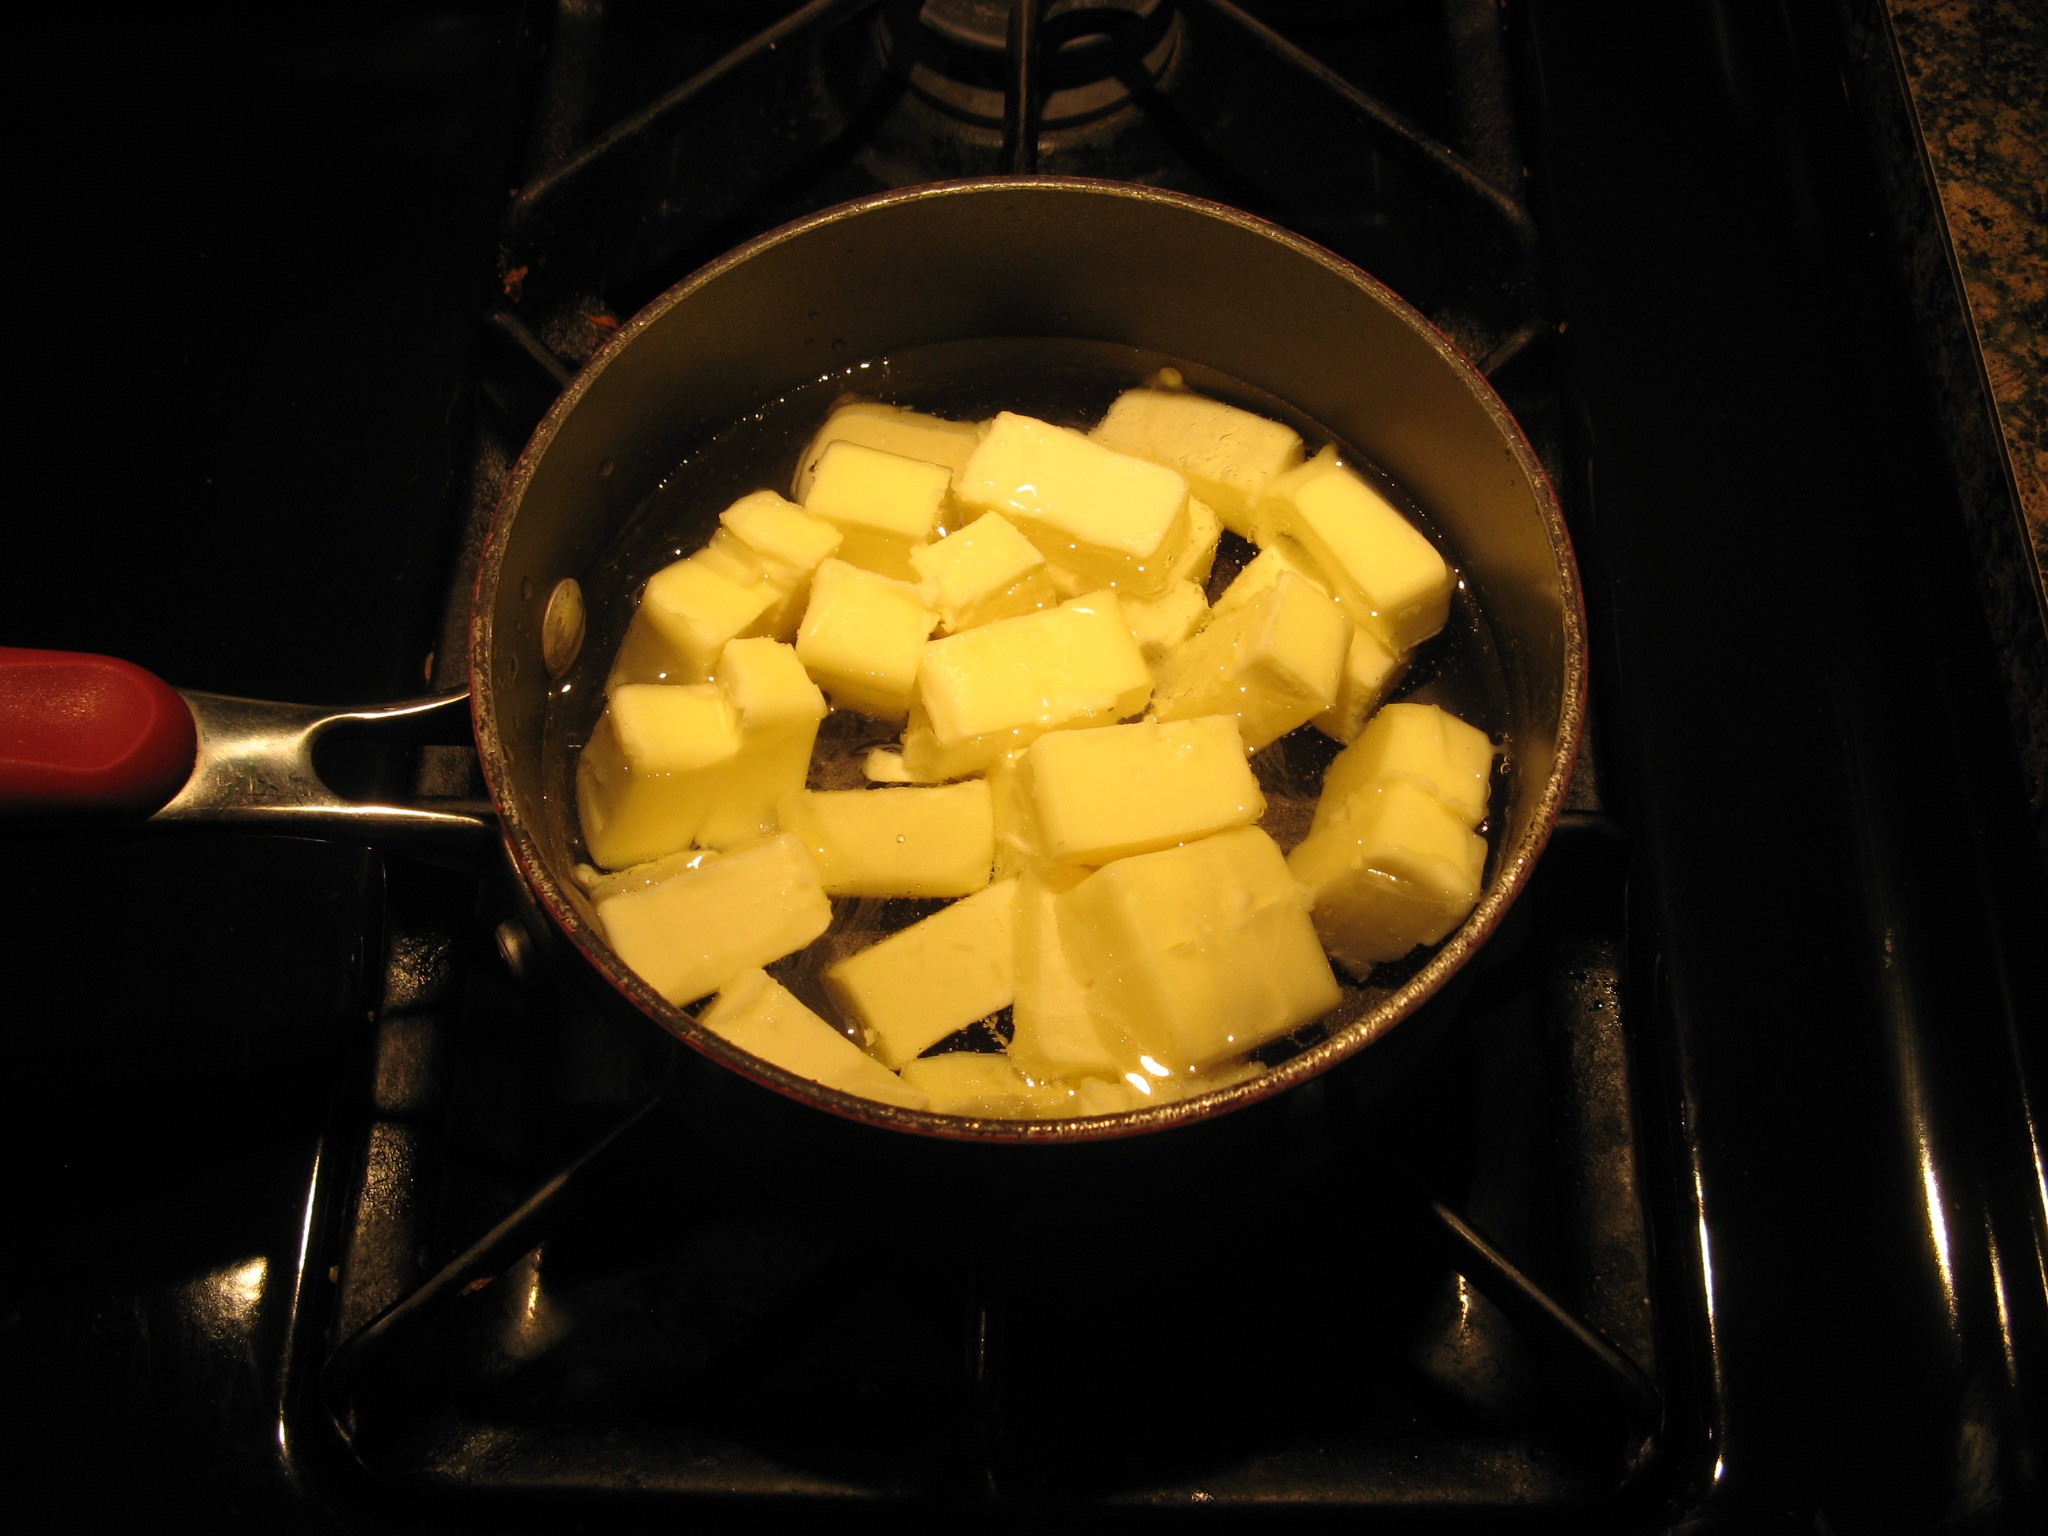
1 cup (2 sticks) unsalted butter, room temperature, plus more for pan

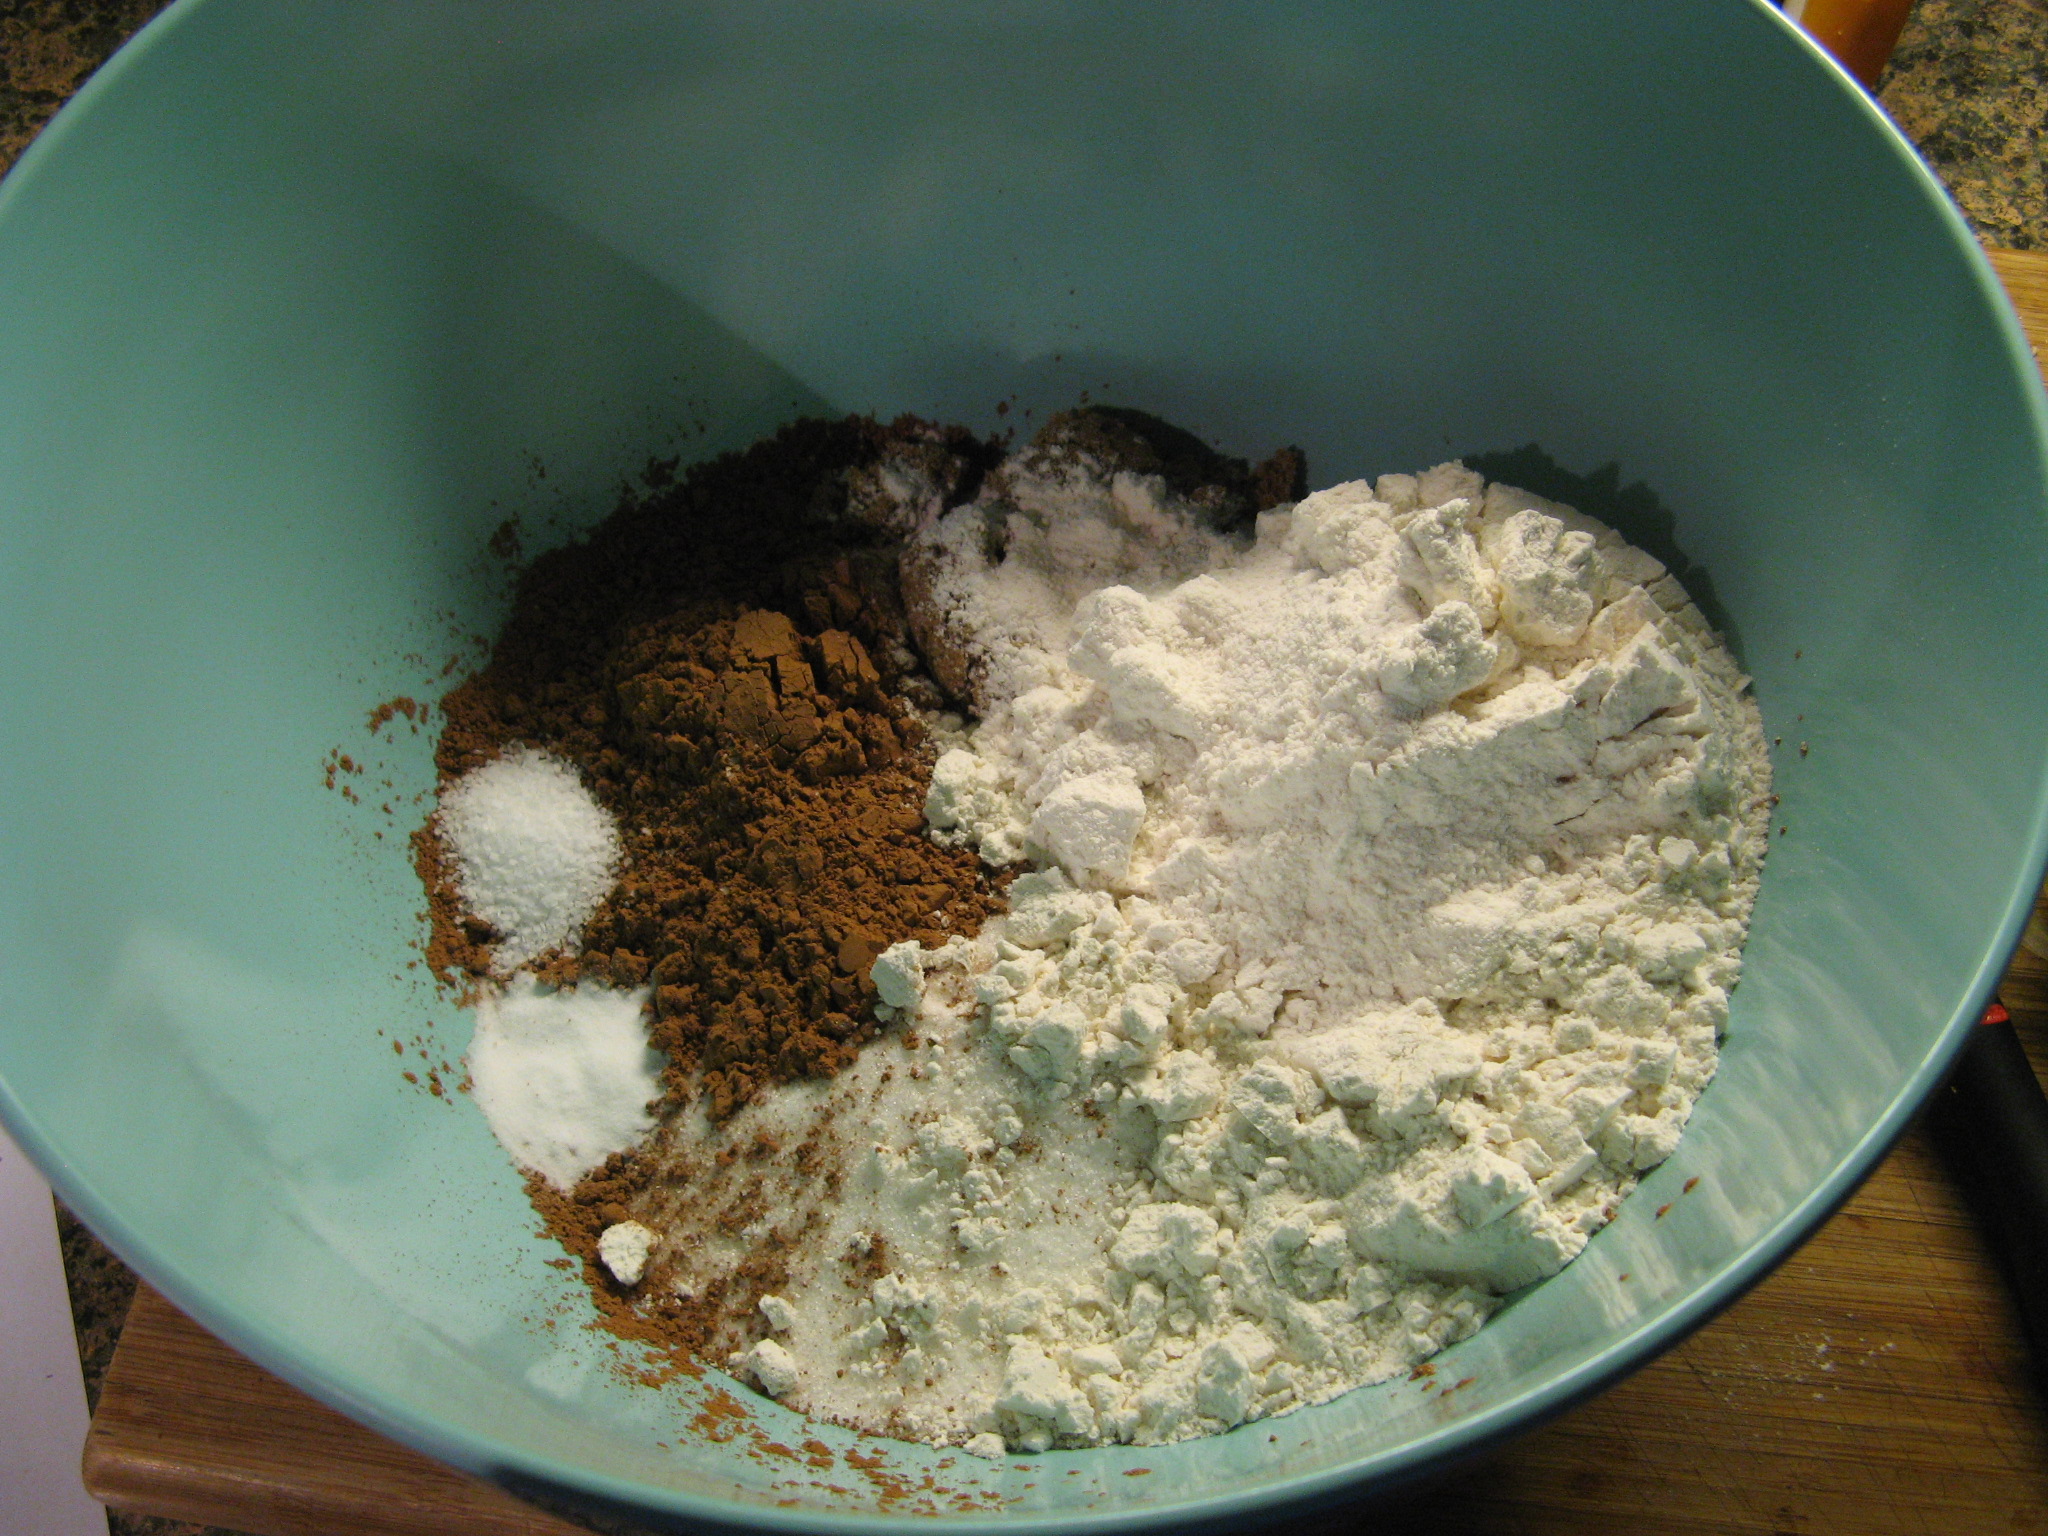
2 cups all-purpose flour (spooned and leveled), plus more for pan
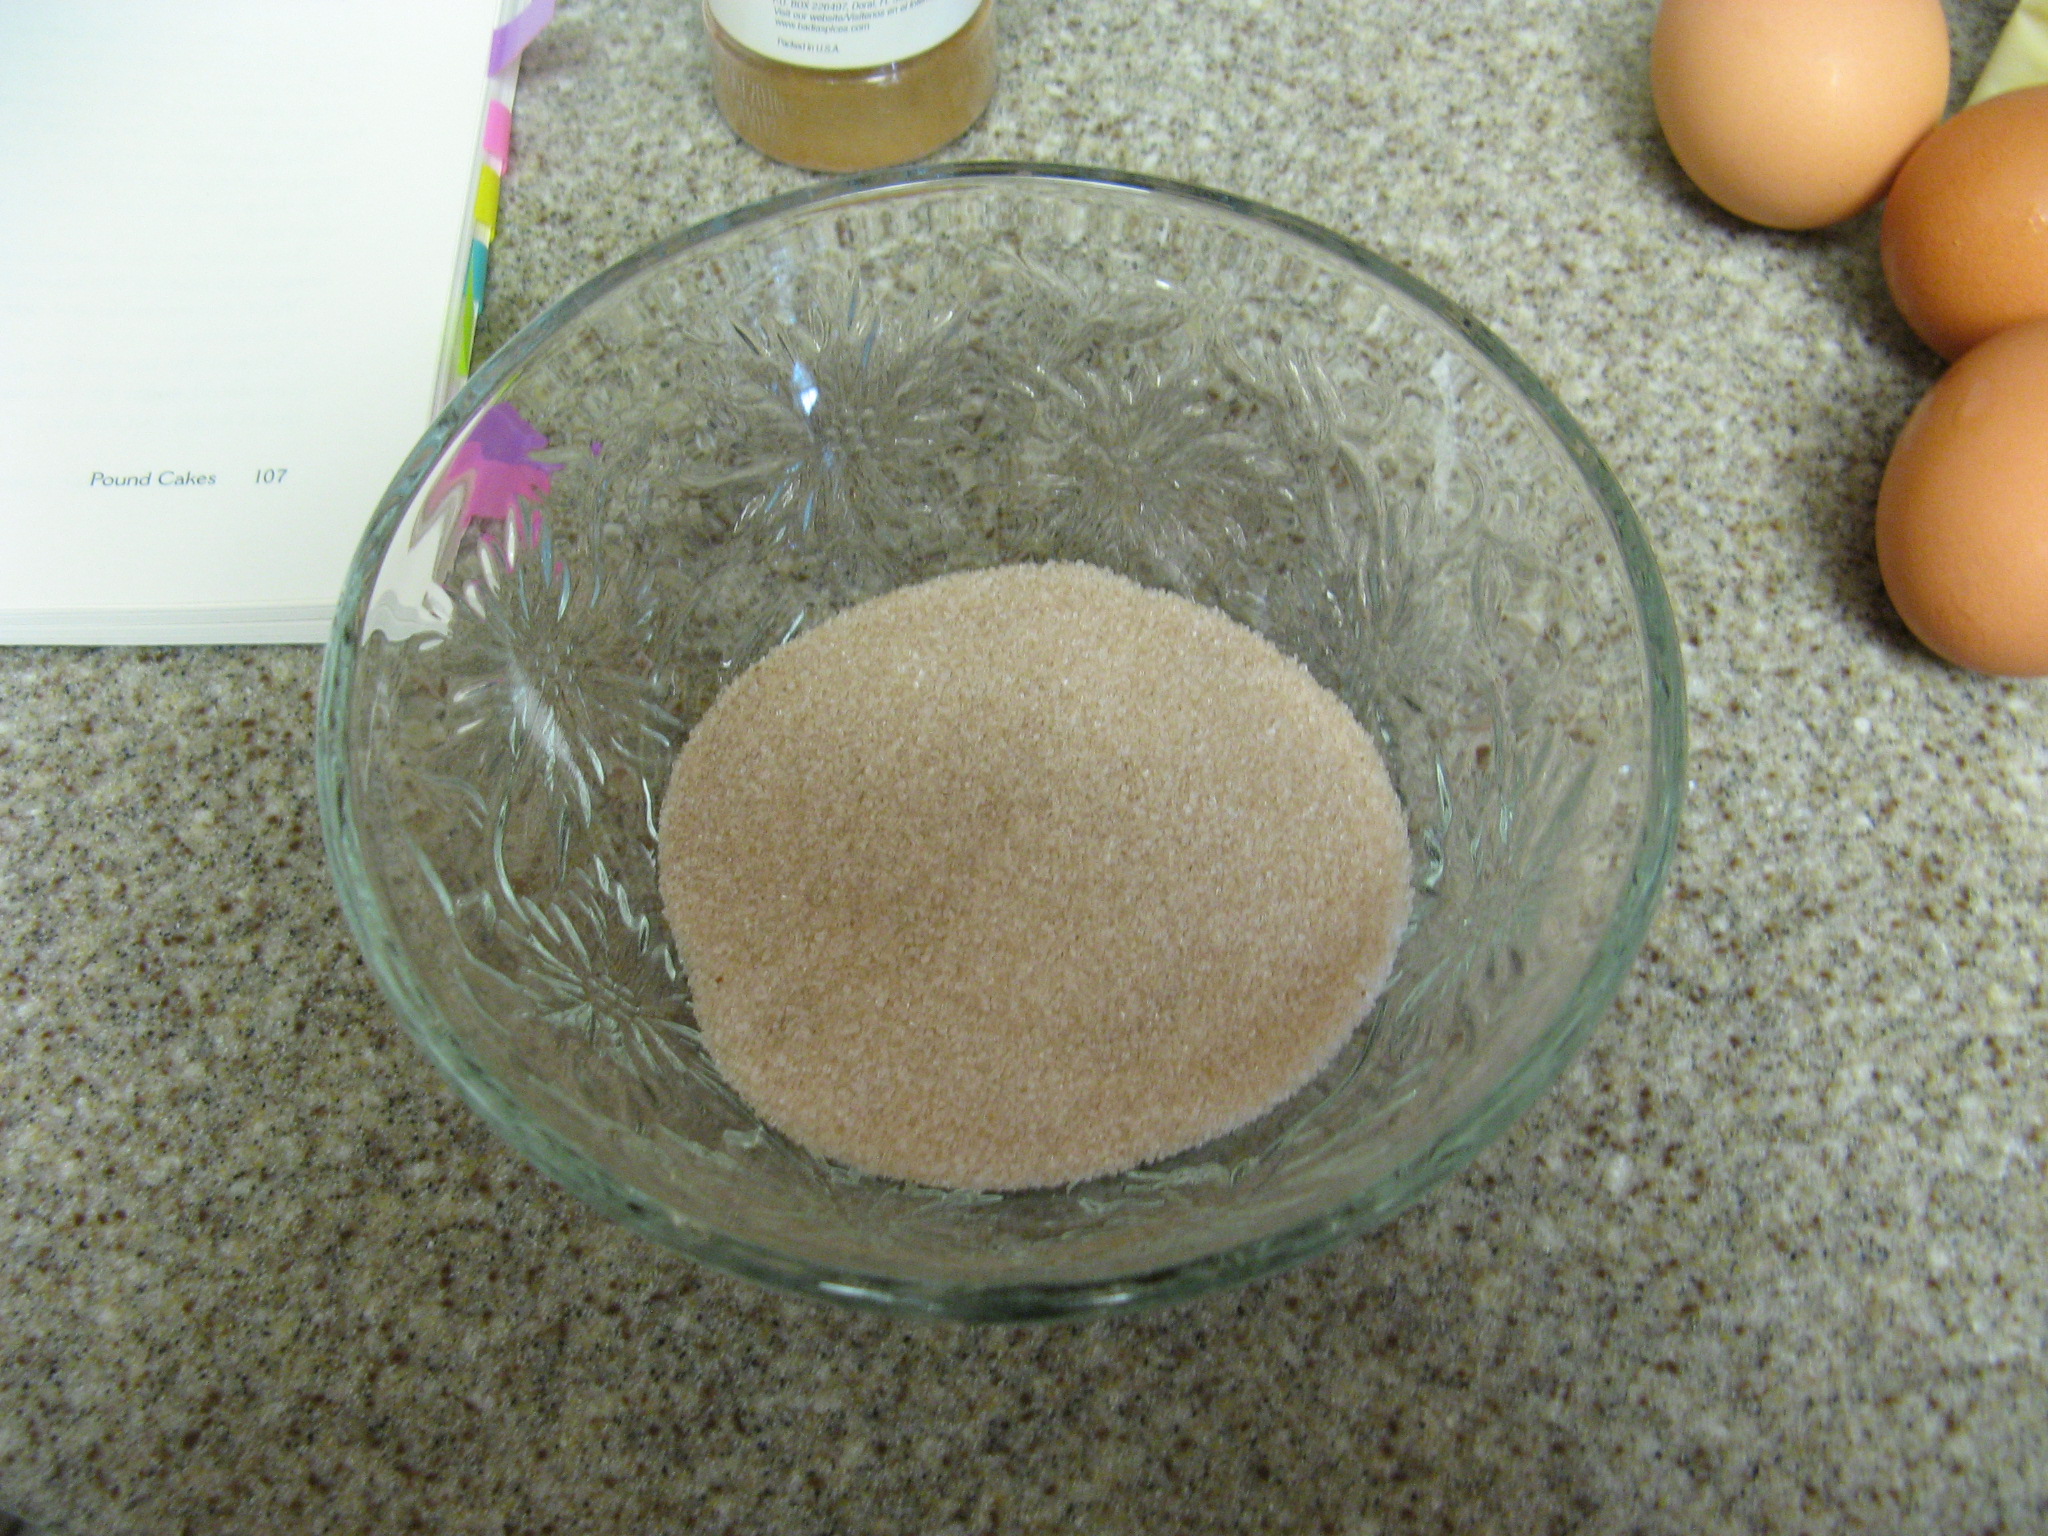
1 cup sugar

4 large eggs

2 teaspoons pure vanilla extract

1/2 teaspoon salt

Directions

1. Preheat oven to 350 degrees. Butter and flour a 6-cup (8 1/2-by-4 1/2-inch) loaf pan; set aside

2. Using an electric mixer on high speed, beat butter and sugar until light and fluffy. Add eggs one at a time, beating well after each addition; add vanilla and salt. With mixer on low, gradually add flour, beating just until combined (do not overmix).

3. Bake until a toothpick inserted in center of cake comes out clean, about 1 hour (tent with aluminum foil if browning too quickly). Let cool in pan 15 minutes. Invert onto a wire rack, and turn upright to cool completely.

Bluberry Crumb Cake

I’ve always enjoyed baking, but, it wasn’t until a few years ago that it really became a hobby where I would challenge myself to actually make things from scratch… frostings, pie crusts, pie fillings, cakes and so forth. One of the first things I attempted back then was Barefoot Contessa’s Blueberry Crumb Cake and it instantly became a favorite amongst my friends. It had been a while since I made one but during a recent trip to the supermarket I decided to bake one when I came across some perfectly ripe blueberries in the produce aisle.

To start, I began by making the crumb topping for the cake. First I combined granulated sugar, brown sugar, cinnamon and nutmeg together and then added in melted butter and lastly flour. Once it was mixed well I set it aside and began working on the cake.
IMG_0888
I gathered all of my ingredients together so they would be within arm’s reach.
IMG_0889
As with most cakes I started by creaming the butter and sugar together.
IMG_0892
I then added in 2 eggs one at a time.
IMG_0894
Following that I added in vanilla extract, lemon zest and sour cream.
IMG_0895
I set the wet mixture aside and sifted together the dry ingredients: flour, baking powder, baking soda & salt.
IMG_0897
I then added the flour mixture to the wet mixture and mixed it until it was just combined.
IMG_0899
And finally I folded in about a cup of fresh blueberries.
IMG_0900
I then spread the batter into my prepared – I sprayed it with baking spray – 9-inch round pan.
IMG_0901
And then it was time to add the crumb topping.
IMG_0902
After baking for 45 minutes the cake was ready to come out of the oven. You definitely don’t want to over bake this cake because then the crumb topping will burn and become dry and a bit crunchy.
IMG_0905
Once the cake was completely cooled I sprinkled it with confectioners’ sugar. You may be tempted not to add the sugar, but believe me, that little touch of sweetness makes such a difference.
IMG_0907
The cake was delicious, so much so that I ended up making another one a few days later.
IMG_0915

Blueberry Crumb Cake

Ingredients

For the streusel:

1/4 cup granulated sugar

1/3 cup light brown sugar, lightly packed

1 teaspoon ground cinnamon

1/8 teaspoon ground nutmeg

1/4 pound (1 stick) unsalted butter, melted

1 1/3 cups all-purpose flour

For the cake:

6 tablespoons unsalted butter, at room temperature (3/4 stick)

3/4 cup granulated sugar

2 extra-large eggs, at room temperature

1 teaspoon pure vanilla extract

1/2 teaspoon grated lemon zest

2/3 cup sour cream

1 1/4 cups all-purpose flour

1 teaspoon baking powder

1/4 teaspoon baking soda

1/2 teaspoon kosher salt

1 cup fresh blueberries

Confectioners’ sugar for sprinkling

Directions

Preheat the oven to 350 degrees F. Butter and flour a 9-inch round baking pan.

For the streusel:

Combine the granulated sugar, brown sugar, cinnamon, and nutmeg in a bowl. Stir in the melted butter and then the flour. Mix well and set aside.

For the cake:

Cream the butter and sugar in the bowl of an electric mixer fitted with the paddle attachment on high speed for 4 to 5 minutes, until light. Reduce the speed to low and add the eggs 1 at a time, then add the vanilla, lemon zest, and sour cream. In a separate bowl, sift together the flour, baking powder, baking soda, and salt. With the mixer on low speed, add the flour mixture to the batter until just combined. Fold in the blueberries and stir with a spatula to be sure the batter is completely mixed.

Spoon the batter into the prepared pan and spread it out with a knife. With your fingers, crumble the topping evenly over the batter. Bake for 40 to 50 minutes, until a cake tester comes out clean. Cool completely and serve sprinkled with confectioners’ sugar.

Chocolate & Raspberries… Always A Good Combination

There’s nothing like a homemade birthday cake and whenever I bake one I usually let the honoree pick whatever they want – as was the case when I recently baked one for a friend’s mom. She had loved the Raspberry Cream Cheese frosting I used when I made the Lemon Cupcakes so I wanted to make a cake that would complement it and at the right moment I received an email from Real Simple with a Classic Chocolate Layer Cake recipe that sounded like the perfect match.

I started off by combining all of my dry ingredients (flour, sugar, cocoa powder, brown sugar, baking soda & salt) in a large bowl and whisking them together.

IMG_0739 IMG_0741

I then combined two sticks of unsalted butter and a cup of water in a small saucepan and brought it to a boil.

IMG_0743

Once it boiled and the butter was completed melted I added it to the dry ingredients.

IMG_0745

Once it was combined I added in two eggs one at a time.

IMG_0747

Then sour cream.

IMG_0748

And finally vanilla extract.

IMG_0749

I then divided the batter between two 9-inch round pans and baked it in a 350 degrees preheated oven for 35 minutes.

IMG_0751

I let the cakes cool completely before frosting them.

IMG_0756

I whipped up a batch of Raspberry Cream Cheese Frosting and folded in about a cup of fresh raspberries into half of the frosting and used it as the filling between the two cakes. I used the other half of the frosting to crumb coat the cake and then refrigerated it for about fifteen minutes so the filling and frosting could set. Meanwhile I made another batch of the frosting to cover and decorate the cake. I also used some fresh raspberries to decorate the cake and this was the final outcome…

IMG_0762

It looked and more importantly tasted delicious. Definitely something I’ll make again!

Classic Chocolate Layer Cake

Serves 8

Hands-On Time: 45m

Total Time: 2hr 00m

Ingredients

1  cup  unsalted butter (2 sticks), cut into pieces, plus more for the pans

2  cups  all-purpose flour, spooned and leveled

1 1/2  cups  granulated sugar

3/4  cup  unsweetened cocoa powder

1/2  cup  dark brown sugar

1  teaspoon  baking soda

1  teaspoon  kosher salt

2  large eggs

1/2  cup  sour cream

1  teaspoon  pure vanilla extract

Directions

1. Heat oven to 350º F. Butter two 8- or 9-inch round cake pans and line the bottom of each with a round of parchment paper.

2. In a large bowl, whisk together the flour, granulated sugar, cocoa powder, brown sugar, baking soda, and salt.

3. In a small saucepan, combine the butter and 1 cup water and bring to a boil. Add to the flour mixture and, using an electric mixer, mix until combined. Beat in the eggs, one at a time, then the sour cream and vanilla.

4. Divide the batter evenly between the prepared pans. Bake until a toothpick inserted in the center of each cake comes out clean, 35 to 45 minutes. Cool in the pans for 20 minutes, then turn out onto a rack to cool completely.

Raspberry Cream Cheese Frosting

Ingredients

1 8 oz. package cream cheese, softened

1 stick unsalted butter, softened

1 teaspoon vanilla extract

2 cups confectioners’ sugar

1/4 cup seedless raspberry jam

Directions

Begin by creaming the cream cheese and butter together and then add in the vanilla extract. Reduce the speed of the mixer to low and add in the confectioners’ sugar, once the sugar is incorporated add in the raspberry jam and continue mixing on medium speed.

Keep The Bunnies Away Carrot Cake

I was never a big fan of Carrot cake. While I pretty much like any vegetable – including Brussels sprouts – the idea of a vegetable in a cake didn’t sound all that appealing when I was growing up. But then, at my first job after college whenever a coworkers birthday rolled around we would usually get a carrot cake from a place a few blocks away and my love of a vegetable in a cake was born. I soon found out though that not all carrot cake is the same. I have had my share of bad ones which usually entailed them being too dry or instead of being frosted with cream cheese frosting they are frosted with buttercream frosting. In my opinion, cream cheese frosting is the only way to go… The same goes for Red Velvet Cake. I’ve been making this Carrot Cake for a while now after finding the recipe on the Food Network website, it’s called Gigi’s Carrot Cake from Emeril Lagasse and I love it. It’s been a while since I’ve made one and being that it is Easter weekend I decided it was time to whip up another one.

To start I peeled and grated my carrots. The very first time I made this cake I didn’t have a food processor so I grated the carrots by hand and while it was a nice arm workout I am definitely spoiled now and won’t be going back to using a box grater anytime soon.

IMG_9876

I only needed 3 cups of grated carrots for the recipe, which is approximately 1 pound of carrots, but I mistakenly bought a 2 pound bag instead. I ended up grating all of carrots since I had a yummy recipe for grated carrots in my recipe binder.

IMG_9878

I started working on the batter by first combining the dry ingredients (flour, baking soda, cinnamon and salt) and then set it aside.

IMG_9886

I creamed 3 sticks of butter and then added in 2 cups of granulated sugar.

IMG_9888

Once the butter and sugar were combined I added in the dry ingredients by alternating between the 4 eggs the recipe calls for.

IMG_9889

I then added in some vanilla extract.

IMG_9892

And it wouldn’t be carrot cake without the carrots.

IMG_9893

Finally, I added in the nuts. While the recipe calls for pecans I have always used walnuts. And I actually didn’t mix in the walnuts with the mixer but instead folded them in by hand with a spatula.

IMG_9894

And here’s what my batter ultimately looked like.

IMG_9896

I then divided the batter between my three prepared 9-inch pans.

IMG_9897

After baking for 25 minutes and cooling in the pans for 10 minutes I removed the cakes from the pans so they could cool completely.

IMG_9898  IMG_9899
Once the cake was completely cooled it was time to frost it. To make the cream cheese frosting I creamed the cream cheese and butter together first and then mixed in the confectioners’ sugar and vanilla extract. I actually made two batches of the frosting. With the first batch I frosted between each of the layers and did a crumb coating and with the second batch I fully frosted the outside of the cake.

IMG_9900

After decorating it with a few fondant/gum paste flowers I had made and writing on it this was the final product. I can’t wait to cut into it!

IMG_9905

Oh, and those left-over grated carrots I had I used them to make a Carrot Raisin Salad.

IMG_9907

Gigi’s Carrot Cake

Recipe courtesy Emeril Lagasse, 2002

Ingredients
3 sticks, plus 1 tablespoon unsalted butter
2 cups granulated sugar
2 cups all-purpose flour
2 teaspoons baking soda
2 teaspoons ground cinnamon
1 teaspoon salt
4 large eggs
1 teaspoon pure vanilla extract
3 cups grated carrots
1 cup chopped toasted pecans

Pecan Cream Cheese Icing:
8 ounces cream cheese
1 stick unsalted butter
1 (1-pound) box confectioners’ sugar
1 teaspoon pure vanilla extract
1 cup chopped toasted pecans

Directions
Preheat the oven to 350 degrees F.
Butter 3 (9-inch) cake pans with 1 tablespoon of the butter and set aside. In a large bowl, cream the butter with an electric mixer. Add the sugar, and beat. In a medium bowl or on a piece of parchment, combine the flour, baking soda, cinnamon, and salt, and mix well.

Add the dry ingredients, alternating with the eggs, beating well after the addition of each. Add the vanilla extract and mix. Add the carrots and beat on medium speed until well incorporated, about 2 minutes. Fold in the nuts. Divide between the 3 cake pans and bake until set and a cake tester inserted into the middle comes out clean, 25 to 30 minutes. Remove from the oven and let rest in the cake pans for 10 minutes. Invert onto wire racks, remove from the pans, and let cool.

For the Frosting: In a large bowl, cream together the cream cheese and butter until light and fluffy. Add the sugar gradually, beating constantly. Add the vanilla and pecans.

When the cake is cool, place 1 cake layer on a cake plate or stand. Spread the top with cream cheese frosting and top with a second and third cake layer, spreading the icing between each layer. Spread the icing around the sides of the cake and let harden slightly before serving. To serve, cut into wedges.

Carrot Raisin Salad

Ingredients
1 lb. carrots, peeled & grated
1/2 cup raisins
1/3 cup mayonnaise
1 tablespoon sugar
1/2 teaspoon salt
1/2 teaspoon black pepper
2 tablespoons honey
Juice from 1 lemon

Directions
Pour boiling water over raisins for five minutes and then drain to plump them up. Combine all ingredients in a bowl, mix together and then chill for a few hours before serving.

Sour Cream – Chocolate Chip Pound Cake

This past week I went to dinner at a friend’s house and offered to bring dessert. I decided to bring a pound cake of some sort and remembered that I had a cookbook with different variations of the traditional pound cake. I tend to get cookbooks, mark off a few recipes that I like but then seem to never make them. Cookbooks are not my first go-to when I want to make something new and different. I got this recipe from Elizabeth Alston’s Best Baking cookbook which offers numerous recipes for pound cakes, angel food cakes, chiffon cakes, coffee cakes and tea breads.

IMG_9575

To start off here are the ingredients: sugar, cinnamon, unsalted butter, vanilla extract, eggs, sour cream, baking powder, baking soda, salt, flour and semi-sweet chocolate-chips.
IMG_9559
I began by preheating my oven to 325 degrees and prepping my loaf pan by spraying it with baking spray, lining it with aluminum foil so that it would hang over the sides for easy removal of the cake and then spraying the foil with more baking spray. I also made the topping of the cake by mixing 2 tbsp. of the sugar with 1/4 tsp. of the cinnamon. I set these two things aside then and got to making the cake.
IMG_9561 IMG_9562
I started making the batter by mixing together the butter, which should be at room temperature but I took a short-cut on this and warmed it up in the microwave for about 15 – 20 seconds, and the sugar. Unfortunately I wasn’t at home while making this cake so I didn’t have the advantage of using my stand mixer but my hand mixer works just as well with double, or maybe triple, the time. I mixed the butter and sugar until the mixture was pale and fluffy, per the directions.
IMG_9565
Next I beat in the four eggs one at a time.
IMG_9567
Following that I added in the sour cream, baking powder, baking soda, salt and the remaining cinnamon.
IMG_9568
And then I added in the flour. Up to this point the batter was pretty smooth and thinned out but once I added in the flour it became quite thick and heavy.
IMG_9569
Once the flour was incorporated I stirred in the chocolate chips.
IMG_9570
I then spread the batter out evenly in my prepared pan and sprinkled the cinnamon sugar mixture on top and put in the oven.
IMG_9571
My baking time was off in comparison to the directions. According to the directions it should take about 70 minutes, but, after 70 minutes my cake was still not fully cooked in the middle so I lowered the temperature to 300 and baked it for an additional 15 fifteen minutes which did the trick. After letting it cool in the pan for thirty minutes I removed it from the pan and let it cool for another hour or two on the wire rack. I was thinking that the cinnamon-sugar mixture was actually going to be bake into the cake but it just seemed to sit on top which I wasn’t too happy about. After it was fully cooled I wrapped it airtight and let it sit at room temperature for optimal flavor, per the directions. This actually helped the cinnamon sugar topping sink into the cake a little which was good.
IMG_9586
I would make this again but I would lower the oven temperature so that it could bake longer without sacrificing the moisture of the cake. While the cake was good I found it to be a bit dry and I am sure that had to do with the extra baking time.
Sour Cream – Chocolate Chip Pound Cake
From Best Baking by Elizabeth Alston
1 cup plus 4 Tbsp. granulated sugar
1 1/2 Tsps. ground cinnamon
14 Tbsps. (1 3/4 sticks) unsalted butter, at room temperature
2 Tsps. vanilla extract
4 large eggs, at room temperature
1/3 cup sour cream
1 Tsp. baking powder
1/4 Tsp. baking soda
1/4 Tsp. salt
2 1/4 cups all-purpose flour
1 1/2 cups semi-sweet chocolate chips
9 x 5 x 3 – Inch Loaf Pan
Heat the oven to 325F. Grease the pan and line with foil; letting it hang over the sides. Grease the foil.
Mix 2 tablespoons of the sugar with 1/4 teaspoon of the cinnamon, and set aside to use for the topping.
Beat the butter, the remaining 1 cup plus 2 tablespoons sugar, and the vanilla with an electric mixer on high speed, until pale and fluffy.
Reduce the speed to medium. Add the eggs, one at a time, beating after each.
Beat in the sour cream, baking powder, baking soda, salt, and the remaining 1 1/4 teaspoons cinnamon. Scrape the sides of the bowl often.
With the mixer on low, stir in the flour until nearly incorporated. Add the chocolate chips and stir until the batter is well mixed.
Spread the batter (6 1/2 cups) in the pan (the pan will be very full). Sprinkle the reserved cinnamon sugar over the top. (It will look like too much topping, but it isn’t.)
Bake until a cake tester inserted in the center comes out clean, about 1 hour and 30 minutes.
Cool the cake in the pan on a wire rack for about 30 minutes. Life the cake from the pan by the foil. Let cool completely on the wire rack. Remove the foil. For best flavor, wrap airtight, being careful not to disturb the sugar topping more than necessary, and store 1 day at room temperature before serving or freezing.

Minnie Mouse Cake

I started my blog about a year ago with an  Elmo Cake for a friend’s daughter’s birthday, well, here we are a year later and it’s time for another character cake. After mentioning a castle cake, a Cinderella cake, a Minnie Mouse cake and then back to Cinderella the birthday girl finally settled on a Minnie Mouse cake. Luckily I was able to find a place near me that actually rents out the cake pans so I won’t be collecting them. Needless to say, Elmo has been a one-time use pan thus far.

IMG_9298

After testing out a vanilla cake recipe last week that didn’t come out that great I opted to just use a yellow cake box mix for the cake. I actually had to bake the cake two times. The first time I used one box of mix and the cake was on the flat side and it was really difficult to distinguish the mold pattern on it. The second time I used a box and a half of mix and the results were much better. The cake was much taller and while I wish the mold pattern was more distinguishable on Minnie Mouse’s face, it was 100% better than my first attempt.

IMG_9284 IMG_9292

I also cheated when it came to making the frosting. I am usually one who loves making things from scratch, but, since I knew I was going to need quite a bit of frosting for this cake I opted to just go with store bought vanilla frosting to ensure that it would all be the same consistency and taste. I prepped all of my decorating bags with couplers and decorating tips the night before so I could save time while decorating. While the cake cooled I got to mixing all of the colors I would need. I kept the colors I wasn’t working with in the refrigerator so they wouldn’t soften up. Working with frosting that’s too soft can become a mess very quickly. It won’t hold shape or anything and it’s very frustrating… I speak from experience. While the frosting may seem to stiff when you take it out of the refrigerator once you give it a few stirs with a spatula and start working with it in the decorating bag it becomes the perfect consistency.

IMG_9295

After transferring the cake to a decorative cake board it was time to get to work. I started by frosting the background and sides of the cake with yellow. Admittedly, I was concerned immediately that the cake wasn’t going to look good, but, I forged ahead.

IMG_9300 IMG_9301

Next up, I outlined Minnie Mouse with black frosting using a size 3 decorating tip. Once she started to look like herself I felt more at ease. If you look closely at the picture you can see that I actually messed up once or twice with the outlining, but, since I was filling in the cake with individual stars as opposed to spreading the frosting all of those mishaps would be covered up and no one would be the wiser.

IMG_9302

Now it was time for Minnie’s face to come to life. To create the stars I used a size 16 decorating tip and to smooth out the frosting in her eyes, nose and mouth I used a decorator brush dampened with water.

IMG_9305

Bringing more of her face to life I next filled in her ears with black stars as well as her legs. At this point I was very happy with how it was coming together.

IMG_9306

Some pink stars on Minnie’s bow and dress really added some much needed color.

IMG_9308

I then added white stars on Minnie’s gloves and trim on her dress and violet stars on her dress sash and shoes.

IMG_9309

And finally, I cleaned up the cake board and added yellow rosettes using a size 21 decorator tip along the border to complete the cake. I was really happy with the final outcome, so was the birthday girl, that’s what really matters.

IMG_9318

I also made some cupcakes to go along with the cake. Unfortunately you can’t see it in the picture, but, the cupcake liners were Minnie Mouse themed.

IMG_9315

The cake was a hit at the party, which also happened to be a Superbowl party as well. So, we all got an extra fill of cake during that thirty-four minute delay!

Holiday Baking… Six Hits and A Miss

What would the holidays be without some yummy homemade treats? Every year a day or two before Christmas Eve I bake about four or five different types of cookies. This year was no different, although this year baking didn’t seem as stressful as year’s past- probably because I was able to bake on the weekend as opposed to a weekday. Every year I get the idea to bake up actual Christmas cookies with frosting and decorations, but, it never happens. Instead my holiday cookies look more like this…

An assortment that includes Rugelach, Peanut Butter, Malted Chocolate Chip, Lemon and Fudgy Chocolate Cookies.

IMG_9083

I also decided to bake a cake for a friend’s Christmas Eve dinner. I wanted to try something new so I went with a recipe that I saw in the December 2012 issue of Food Network Magazine, an Almond Layer Cake with White Chocolate Frosting.

First things first, I got together all of my ingredients together.

IMG_9059

To start off I essentially created a variation of pure almond flour by pulsing together cake flour, baking powder, salt and almonds until the almonds were finely ground down.

IMG_9061 IMG_9062

Next up I whisked together egg whites, milk, vanilla and almond extract. While there are almonds in the flour component of the batter, the almond extract is what truly gives this cake its almond taste and scent.

IMG_9064

And finally, what cake would be complete without creaming together butter and sugar.

IMG_9066

I then incorporated all three of these components to create the batter for the cake.

IMG_9068

And then divided the batter among my two prepared pans and popped them into the oven.

IMG_9070

After about twenty-five minutes my cakes were ready to come out of the oven and cool down.

IMG_9072

While I had no doubt that the cake would taste good I was a bit doubtful that the frosting would be as good. I have never been partial to white chocolate so I wasn’t sure how I would like white chocolate frosting. Also, I couldn’t imagine the almond flavor actually tasting good with it. But, I was wrong. The frosting actually leaned more towards a cream cheese flavor than a white chocolate flavor which was a good match for the almond flavor.

The frosting was super simple to make. Basically I made a cream cheese frosting and then incorporated melted white chocolate into it. For the white chocolate I opted to use two Ghirardelli white chocolate baking bars.

IMG_9094

To start frosting I used about a cup of frosting in between the two layers and then covered the cake in a crumb coat and placed it in the refrigerator for 15 minutes.

IMG_9095

I then used the remaining frosting to finish covering the cake. Once that was done I covered the cake in some red sparkles I had bought to give it a festive feel.

IMG_9099 IMG_9105

This cake was a HIT! One of my friends said it was like eating a Good Humor Toasted Almond ice cream bar!

Unfortunately everything can’t always be a success. I tried making Rainbow Cookies a few years and I wasn’t too happy with the end result. While they tasted good I wasn’t pleased with the way they looked. I decided to try this year after coming across a recipe in a recent issue of Food Network magazine that seemed flawless enough. Once again though, there wasn’t a pot of gold at the end of my rainbow. I’m not sure if I waited too long to slice them or something went wrong while mixing and baking but they weren’t too appetizing looking. While I could overlook that, I couldn’t overlook the fact that they didn’t have much of a taste. All I could taste was the chocolate and not much of anything else.  After failing twice to get these cookies to somewhat near perfection I doubt I will try again. Sometimes you don’t need three strikes to be out!

IMG_9078 IMG_9079 IMG_9081

They looked great prior to and after being covered with chocolate, but, as you can see that was short-lived once I started slicing them. Oh well!

Apple-Walnut Bundt Cake

I’m a little off-season in making this cake, but, a few weeks ago while organizing my baking supplies – I guess I have too much time on my hands – I came across a Bundt pan and remembered that I specifically bought it to make this cake after finding the recipe in a Martha Stewart magazine last fall. Every October I go apple picking and I always like to try a new recipe or two with the apples, but,  before I got a chance to make this cake I had used up my apples baking a few Apple-Raspberry Crumb pies and enjoying an apple a day.
I started off by toasting the walnuts and caramelizing the apples. I’ll be honest, when a recipe calls for toasting walnuts, or any nut for that matter, I usually by-pass that step. I did like the flavor of the toasted walnuts, but, I am not sure if it will sway me one way or another to toast them in future recipes. My apples came out a little mushier than I would have liked, but, they tasted great.
While my apples and walnuts were cooling I got to work on making the batter for the cake. I started off by sifting the flour, baking powder, baking soda, cinnamon, nutmeg, ginger and salt together. The recipe called for freshly grated nutmeg which I didn’t have on hand so I used regular ground nutmeg. Once that was done I got to mixing the brown sugar, butter and eggs in my stand mixer. Once they were blended together well I added the flour mixture, alternating with milk, per the recipe directions.
I folded in the caramelized apples and walnuts by hand so the apples wouldn’t be further broken down by mixing them. I must say, cake batter doesn’t look very appetizing sometimes. I poured the batter into my prepared pan and baked it for about 50 minutes in a 350 degrees oven.
And voila, a not-so-appetizing looking cake batter turned into a delicious spice cake that filled my house with a nice aroma while baking. And while the recipe did call for an apple-cider glaze on top of the cake I opted not to do it because I am not a big fan of how sweet icings can be.
Prep Time: 40 Minutes
Total Time: 2 hours 30 Minutes
Serves: 10
Ingredients
For the Caramelized Apples:
1/3 cup granulated sugar
1 tablespoon water
3 tart green apples, such as Granny Smith, cored, peeled, and cut into 1-inch chunks
For the Cake:
2 sticks unsalted butter, room temperature, plus more for pan
3 cups all-purpose flour, plus more for pan
2 1/2 teaspoons baking powder
1/2 teaspoon baking soda
3/4 teaspoon ground cinnamon
3/4 teaspoon freshly grated nutmeg
3/4 teaspoon ground ginger
Coarse salt
1 3/4 cups packed light-brown sugar
3 large eggs
1/2 cup whole milk
3/4 cup chopped toasted walnuts
For the Glaze:
1 1/2 cups confectioners’ sugar, sifted
3 tablespoons apple cider
Directions
Make the caramelized apples: Cook granulated sugar and water in a medium saucepan over medium-high heat, without stirring, until sugar caramelizes, about 4 minutes. Reduce heat to low. Stir in apples. Cook, covered, until softened, about 6 minutes. Slightly mash apples with a fork until broken down but still chunky. Continue to cook, uncovered, stirring, until liquid evaporates, about 5 minutes. Let cool completely.
Preheat oven to 350 degrees. Make the cake: Butter a 10-inch Bundt pan. Dust with flour, tapping out excess. Sift flour, baking powder, baking soda, cinnamon, nutmeg, ginger, and 1 teaspoon salt into a medium bowl.
Beat butter and brown sugar with a mixer on high speed until pale and fluffy, about 4 minutes. Add eggs, 1 at a time. Reduce speed to low, and add flour mixture in 3 additions, alternating with milk, beginning and ending with flour. Mix in caramelized apples and the walnuts.
Transfer batter to pan. Bake until cake is deep golden brown and a toothpick inserted into the center comes out clean, about 50 minutes. Let cake cool in pan set on a wire rack for 10 minutes. Turn out cake onto rack, and let cool completely.
Once cake is cool, make the glaze: Whisk together confectioners’ sugar and cider. Drizzle over top of cake, letting it drip down the sides.
Cook’s Note
Storage: Glazed cake can be stored at room temperature for up to 3 days.

Elmo Cake

It’s been a while since I have properly decorated a cake and I have never done a character cake. But, for my friend’s daughters’ second birthday I decided to make her an Elmo cake; it’s one of her favorite characters and was the theme of her birthday party. After going to three different Michael’s craft stores I was finally able to find the Elmo cake pan that I would need.
 
I used a basic yellow cake mix to make the cake. I have never been so apprehensive about making a cake. I was fearful that when I flipped the pan over Elmo would somehow be stuck to the pan or worse break in half. Thankfully I prepped the pan well and Elmo popped right out!
After cooling overnight Elmo was ready to come to life. First I needed to make the icing and color it. While I did use a box mix for the cake (my favorite is Betty Crocker) I decided to make the buttercream icing from scratch. Coloring icing is not always fun, especially when you have to make dark colors like red and black. I ended up using the entire 1 oz. jar of Wilton no-taste red to get Elmo’s fur the proper shade of red. Thankfully orange wasn’t as daunting to make.
Now that my icing colors were the right shade it was time to decorate. I started off with filling in Elmo’s mouth and icing his nose.
After an hour or so of meticulous work Elmo was done and I must say I was quite pleased with how he came out. His eyes took me a while to get right but it was well worth the time. He was a hit at the party and brought a great big smile to the birthday girl’s face.
Buttercream Icing (From Wilton)
1/2 cup solid vegetable shortening
1/2 cup butter, softened
1 teaspoon clear vanilla extract
4 cups (1 lb.) sifted confectioners’ sugar
2 tablespoons milk
Cream butter and shortening with an electric mixer. Add vanilla. Gradually add sugar, one cup at a time, beating well on medium speed. Scrape sides and bottom of bowl often. When all sugar has been mixed in, icing will appear dry. Add milk and beat at medium speed until light and fluffy.