Brownie Cookies

‘Tis the season for cookies, cakes, treats and all kinds of sweets! And today’s treat is a take on a classic sweet that won’t have anyone fighting for the middle, edge or corner piece – everyone has a preference – it’s a Brownie Cookie!

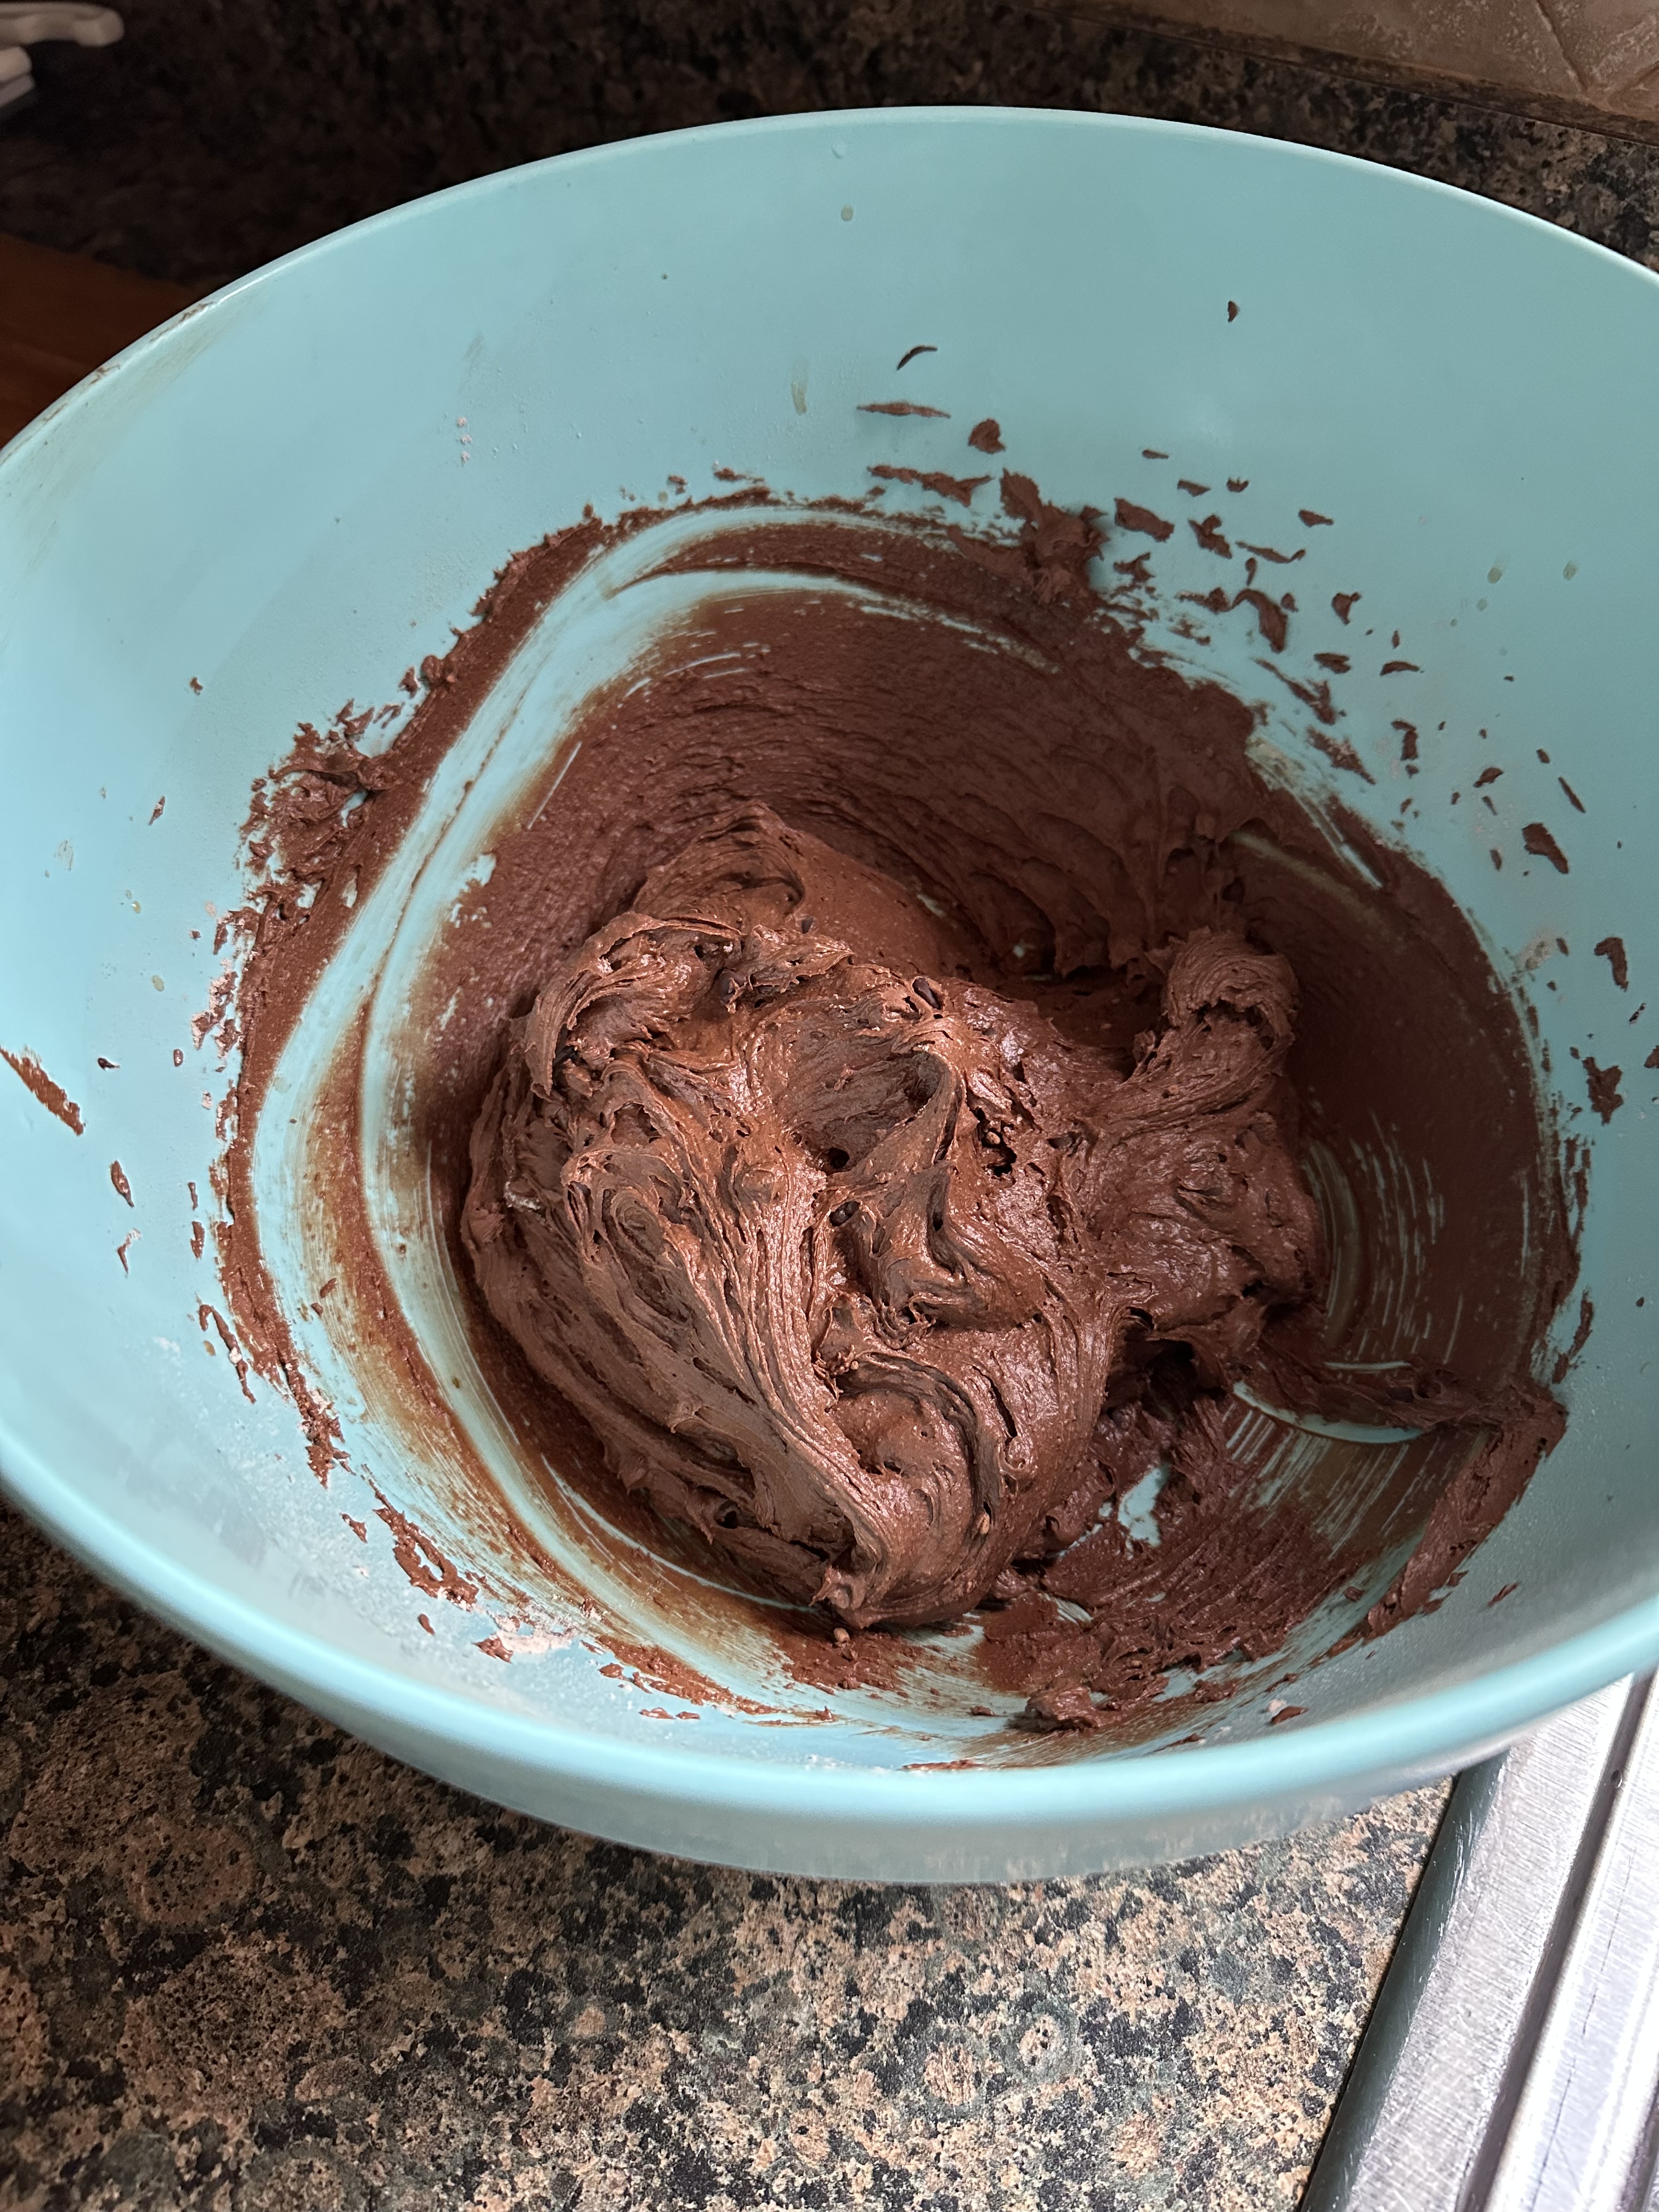
The dough for these cookies involves a few steps. First up, chocolate and butter are melted together, stirred until smooth and then cooled to room temperature. Once cooled, the chocolate mixture is then added to a mixture of eggs, sugar, vanilla extract and coffee granules. And finally, dry ingredients and mini chocolate chips are added into the dough. Although, the dough won’t look like dough at this point, more so like brownie batter. So, it’s necessary to refrigerate the dough for 20 minutes so it can firm up and be perfect for scooping and baking.

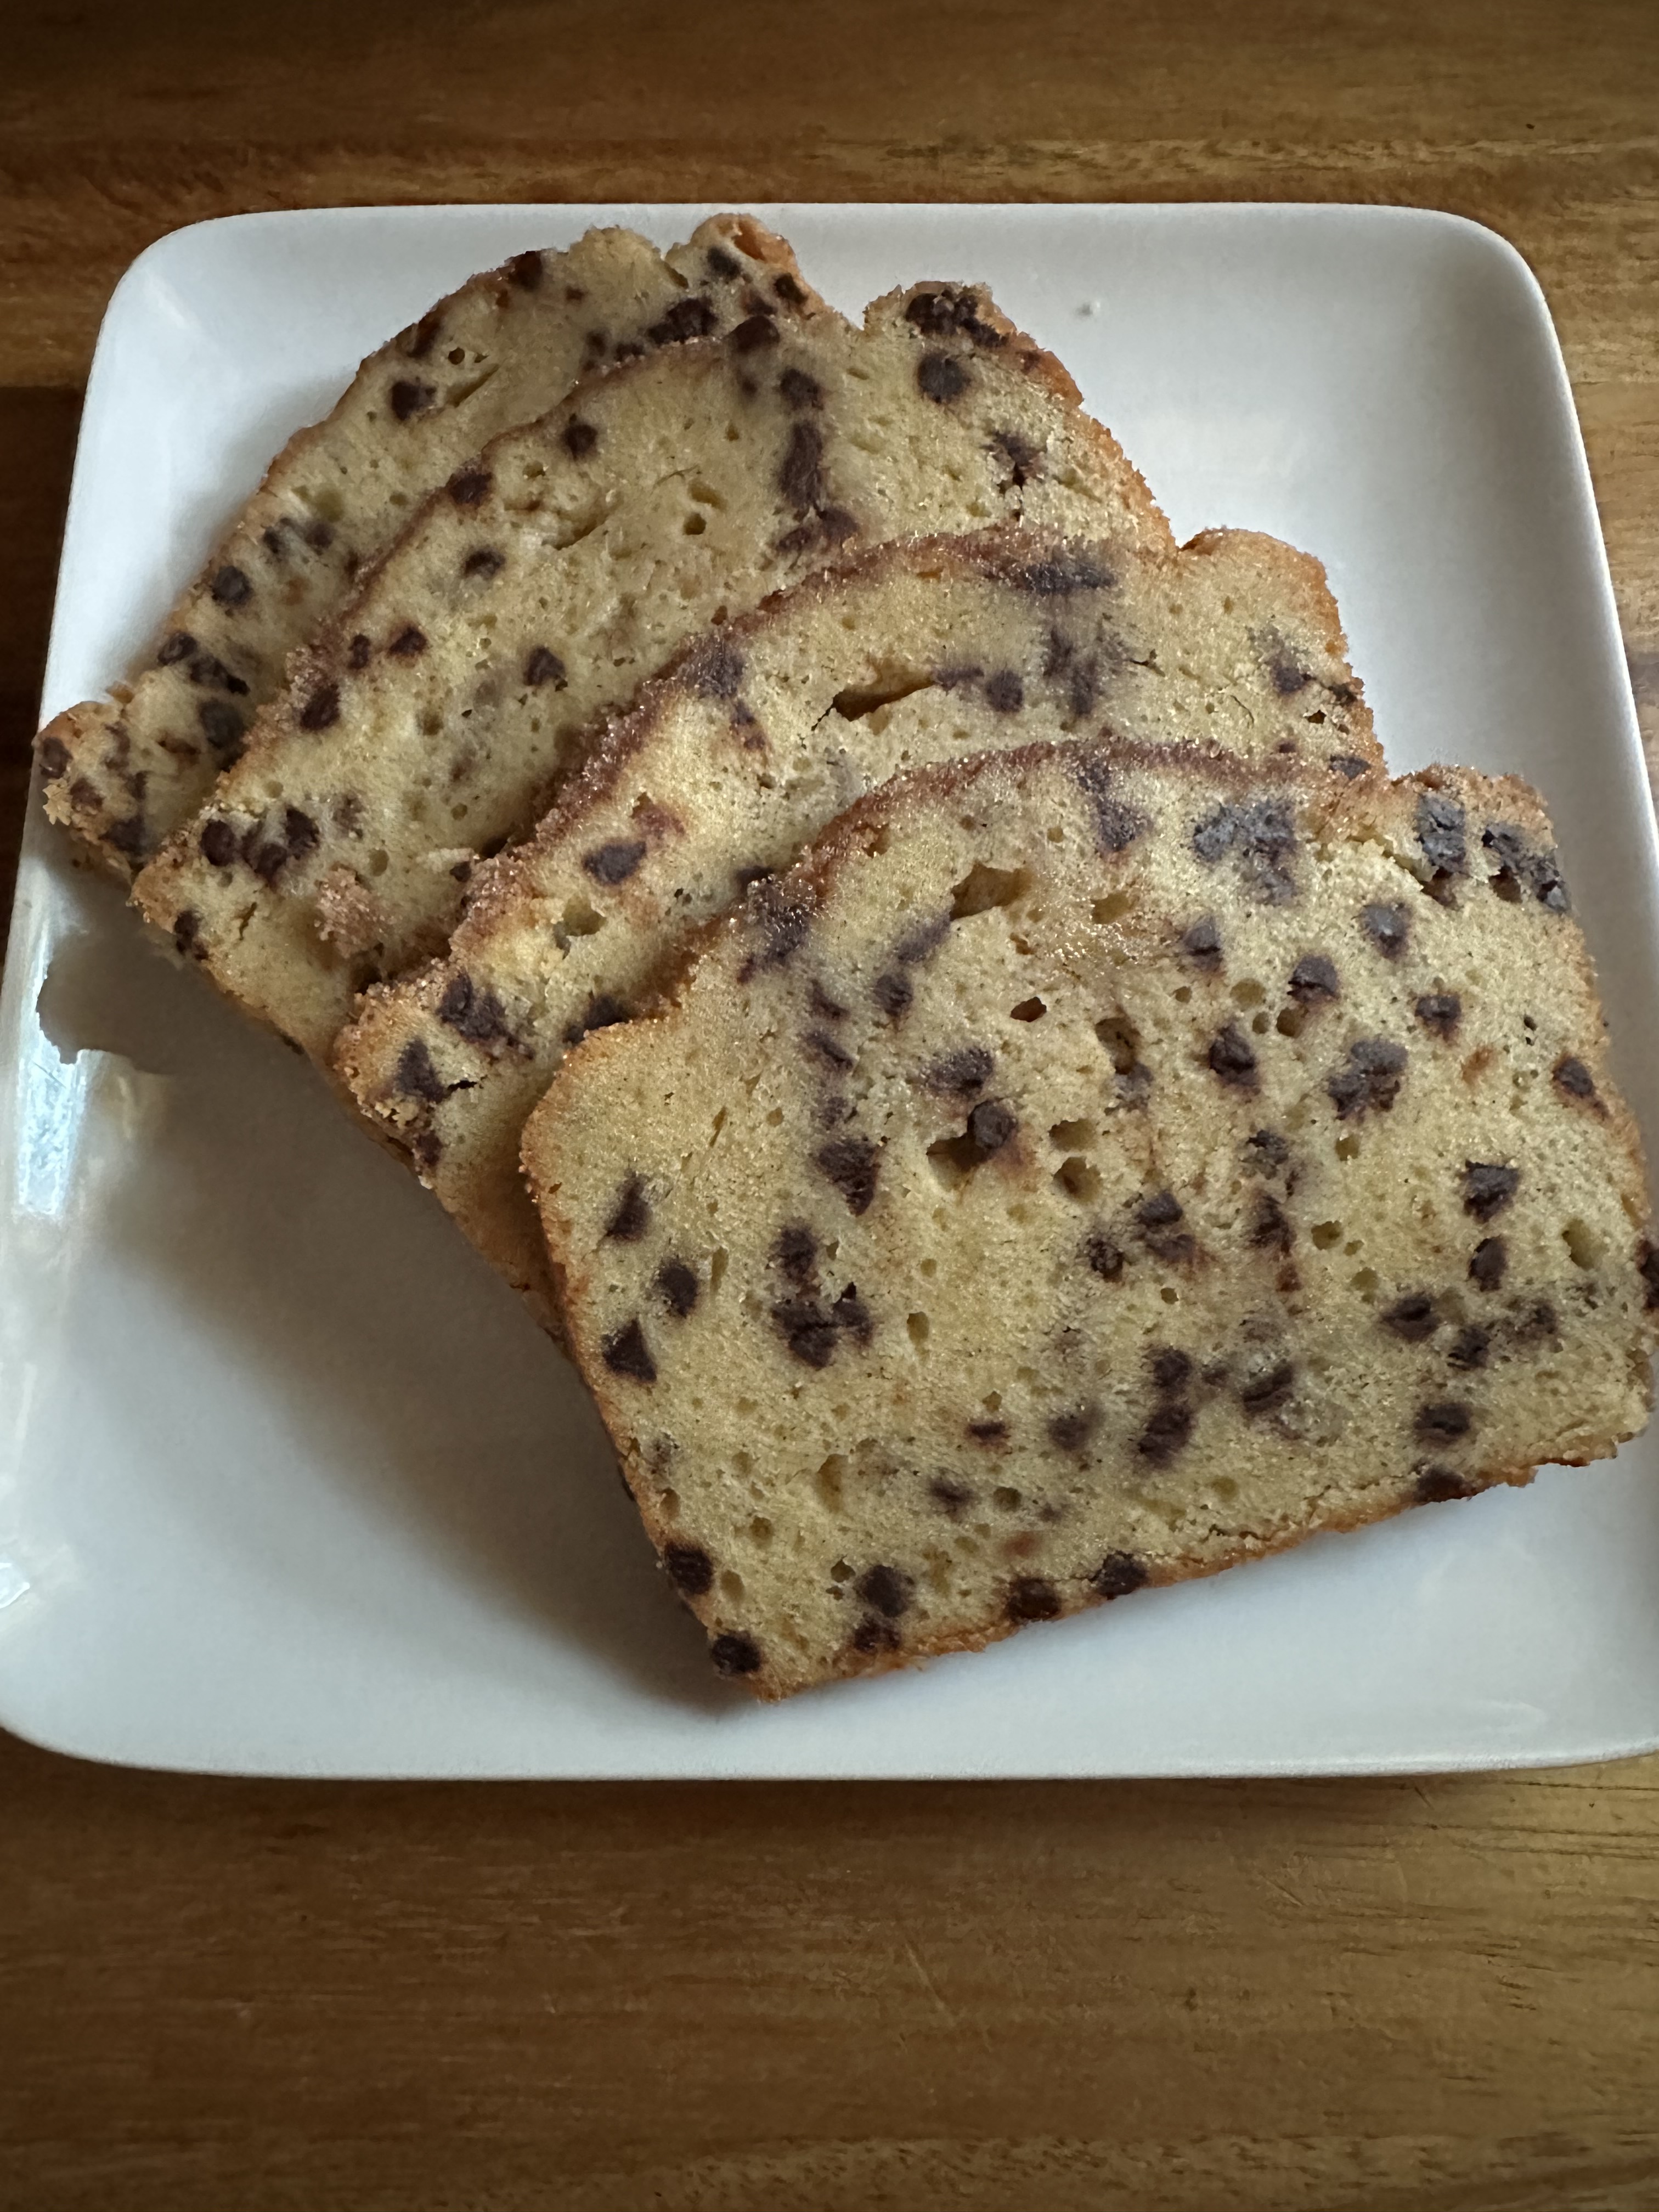
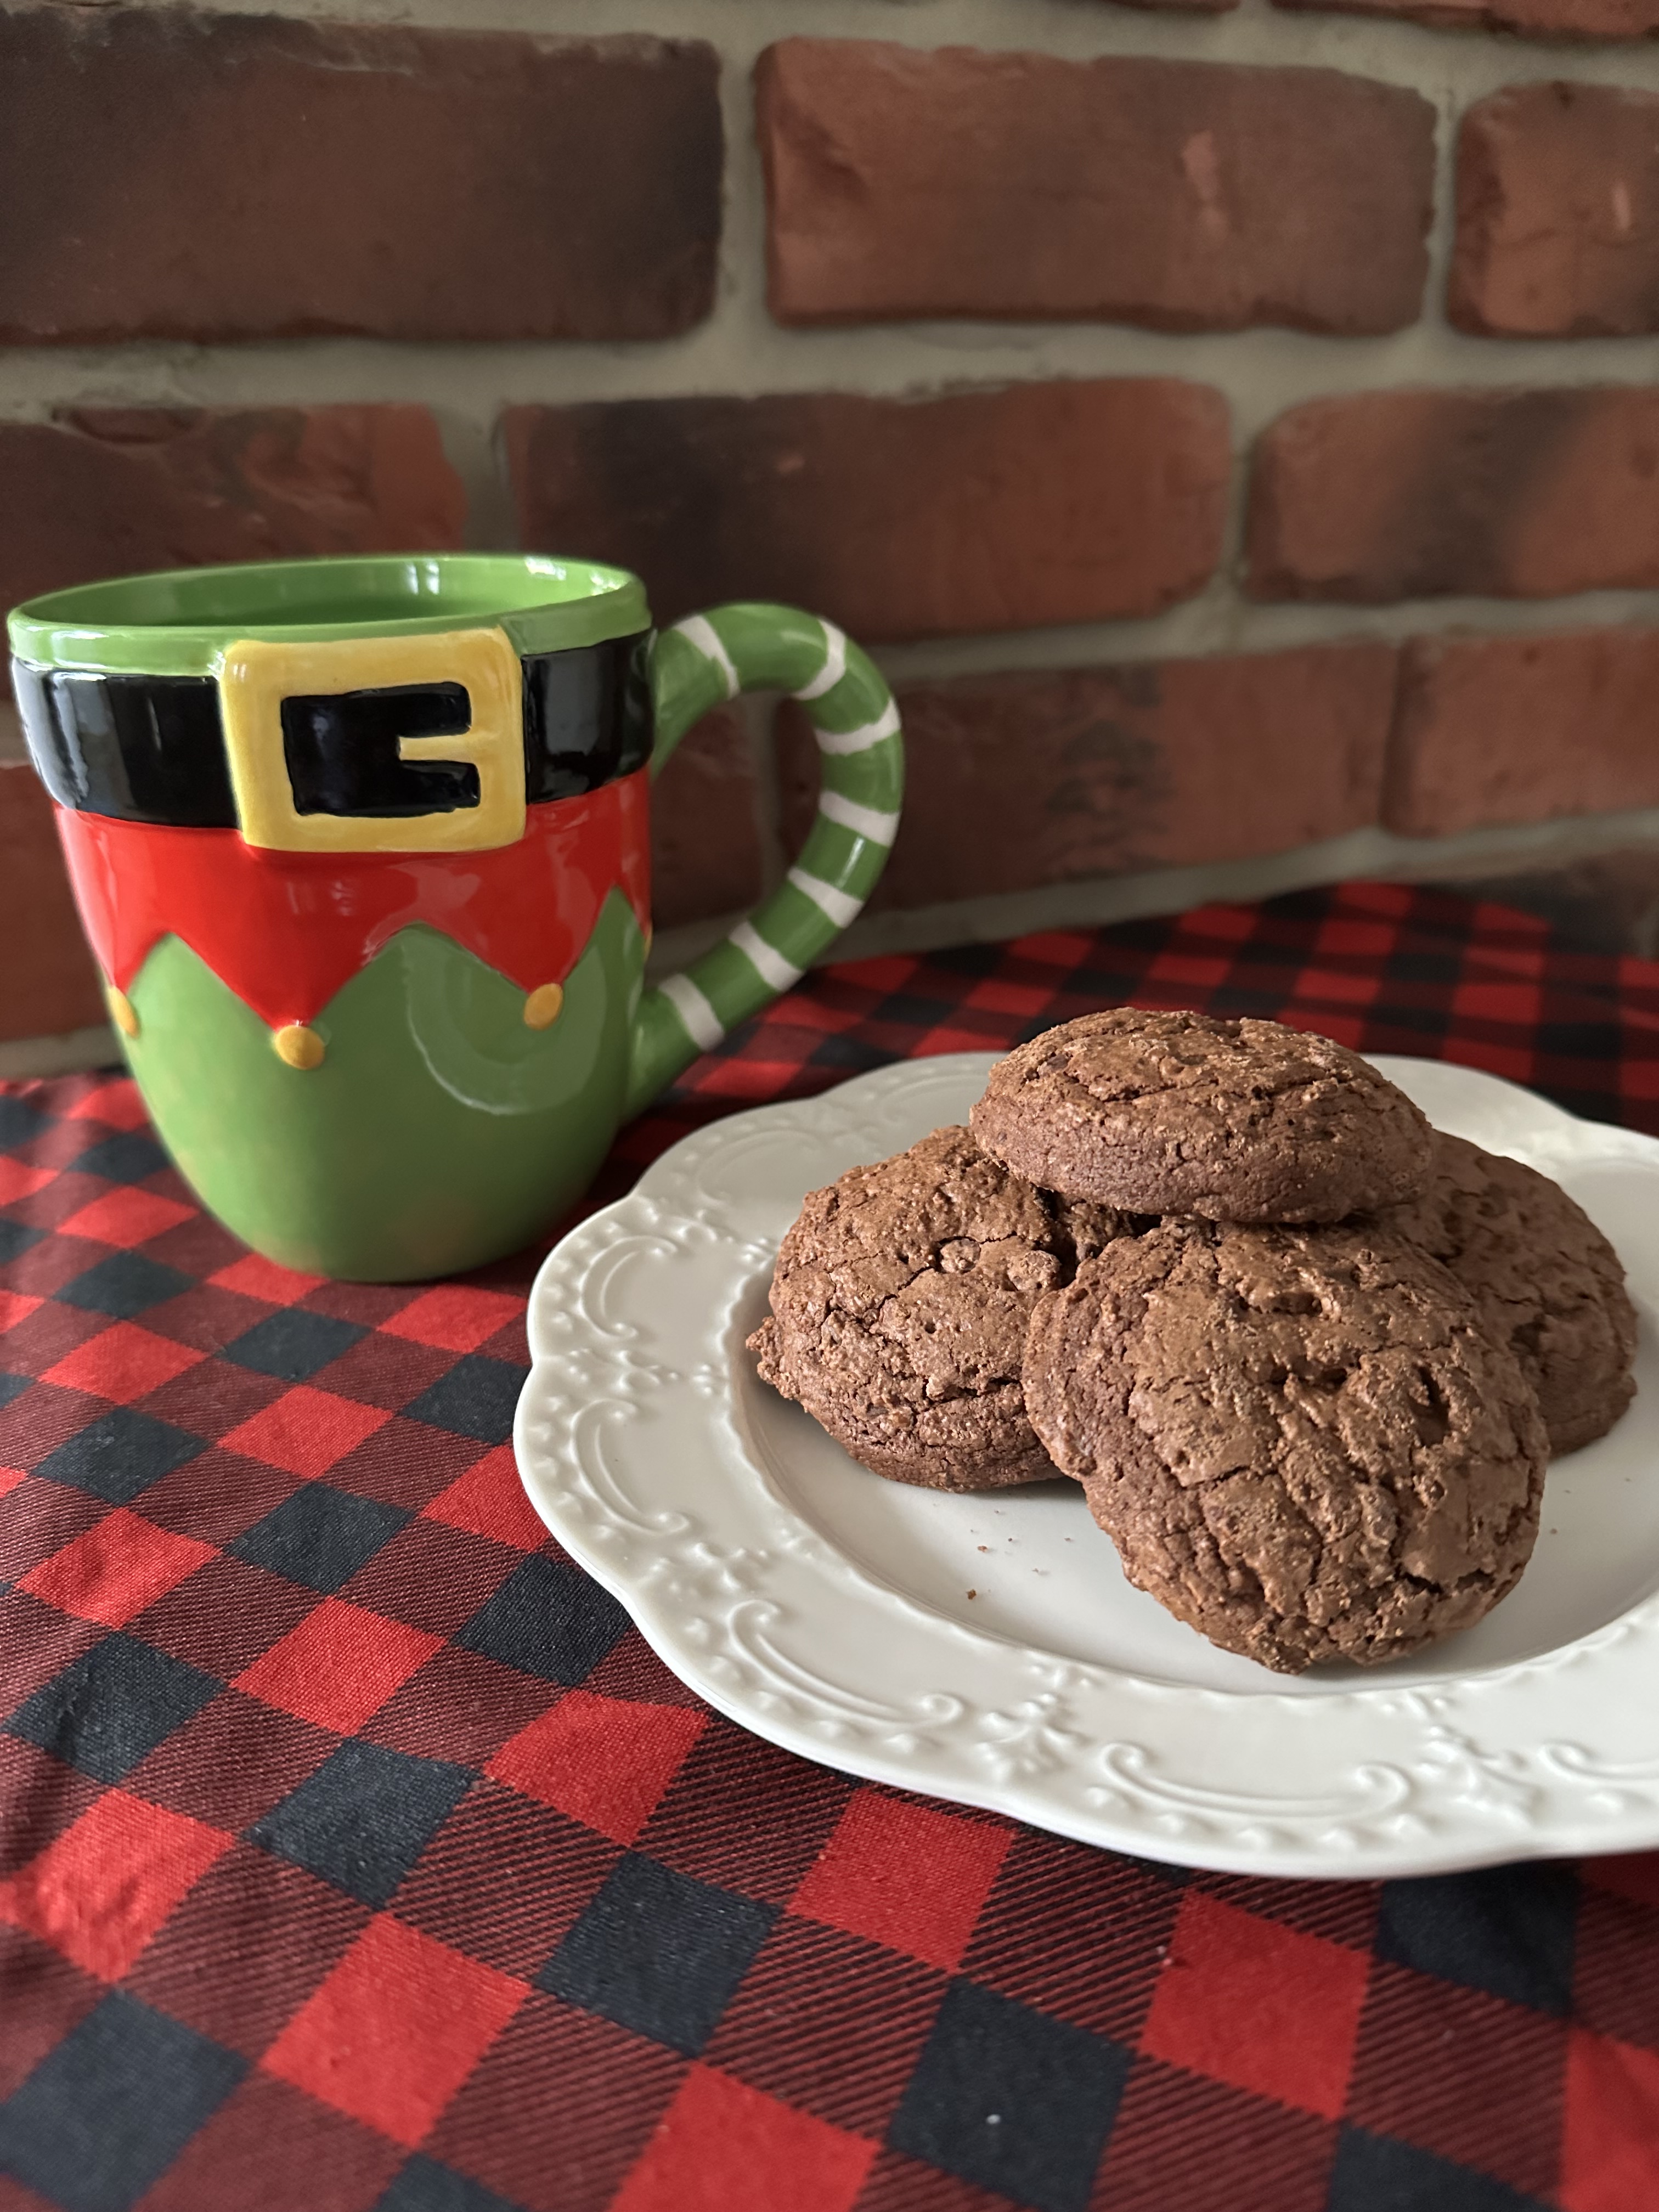
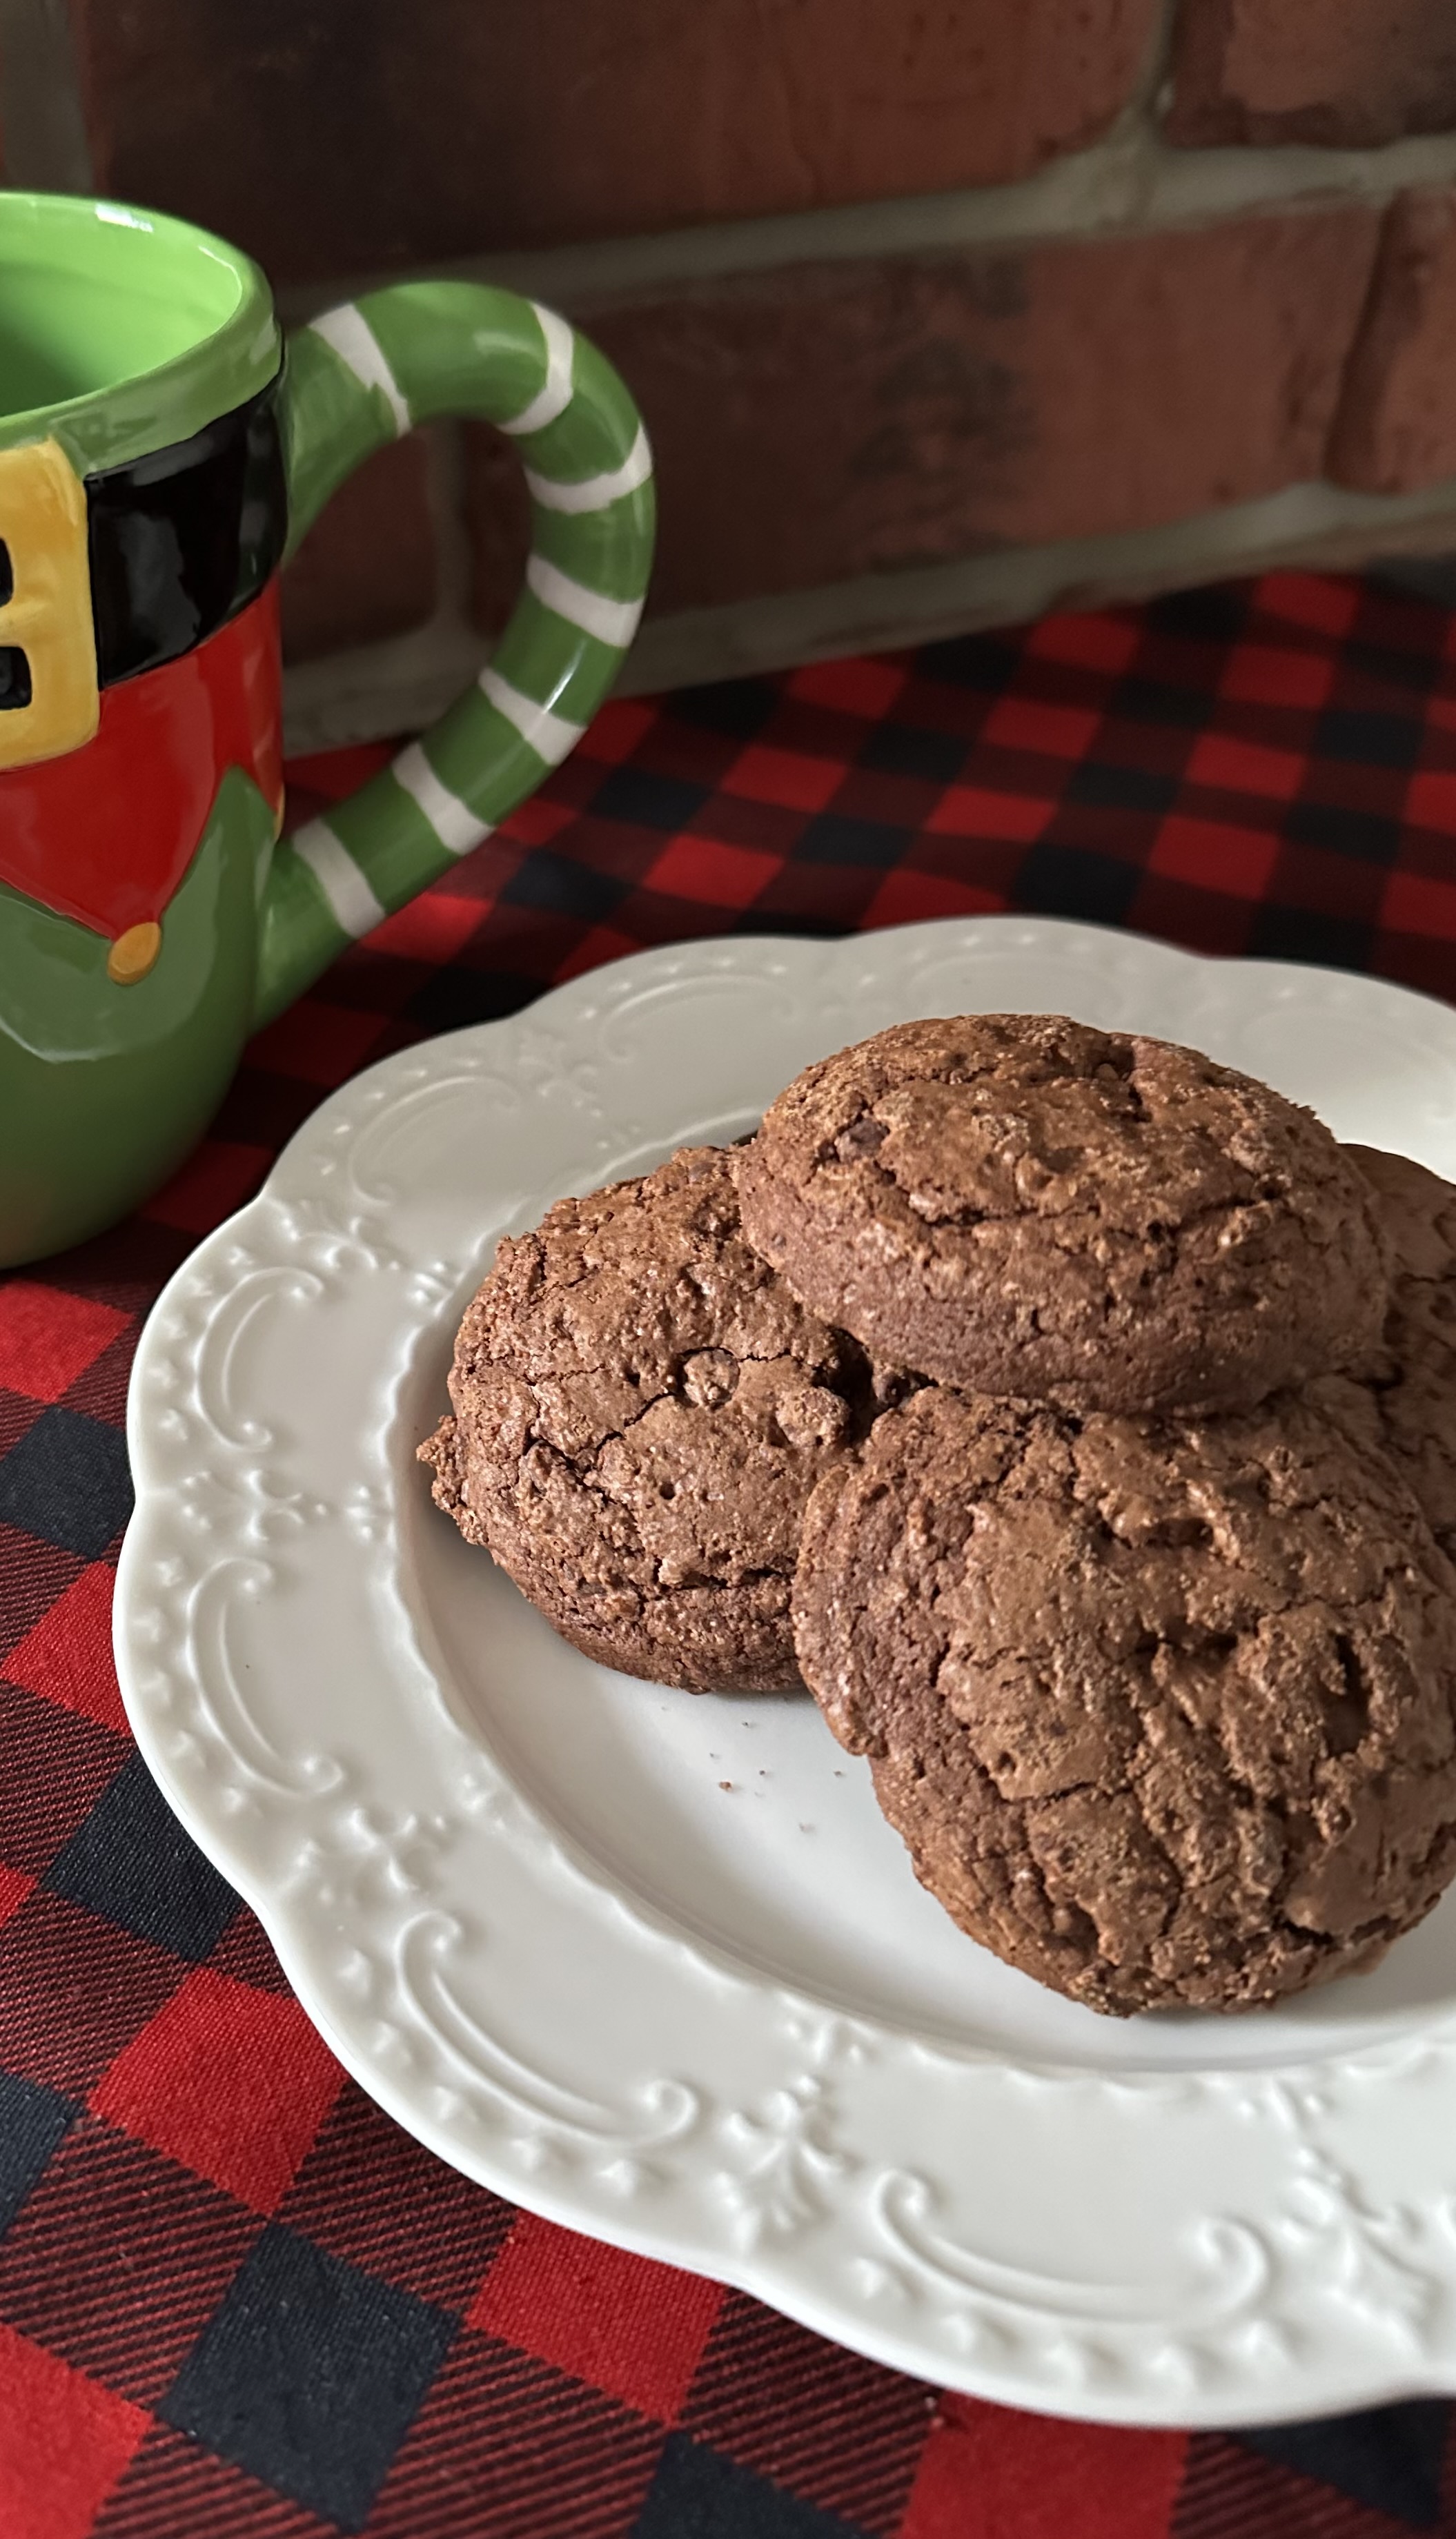
And once baked, you will have delicious chocolaty cookies that are reminiscent of a brownie with a shiny crackly top and a soft chewy inside, perfect for any chocolate or brownie lover in your life. 

Brownie Cookies

Ingredients:

2 4oz. semi-sweet chocolate baking bars, chopped

6 tablespoons unsalted butter, cubed

1/2 cup sugar

1/2 cup light brown sugar

2 large eggs

1 teaspoon vanilla extract

1 1/2 teaspoons instant coffee granules

3/4 cup flour

1/4 cup unsweetened cocoa powder

1 teaspoon baking powder

1/4 teaspoon salt

1/2 cup mini chocolate chips

Directions:

In a microwave safe bowl melt the chopped chocolate and butter together. Heat for 20 second intervals, stirring between each until the mixture is smooth. Cool to room temperature.  

In a large bowl beat together both sugars, eggs, vanilla extract and coffee granules with a hand mixer on medium speed until the mixture is well combined and has increased slightly in volume, 2-3 minutes. 

Add the cooled chocolate mixture to the egg mixture and beat until well combined.

In a medium bowl whisk together the flour, cocoa powder, baking powder and salt.

Stir the flour mixture into the chocolate mixture until just combined. Add in the mini chocolate chips and continue stirring until well combined. Cover with plastic wrap and refrigerate for 20 minutes.

Preheat the oven to 350 F and line two baking sheets with parchment paper.

Using a cookie scoop, drop the dough onto the prepared baking sheets about 2 inches apart. Bake in the preheated oven for 12-13 minutes, until the cookies are set. Let cool on the baking sheets for 5 minutes and then transfer to a wire rack to cool completely.

Store in an airtight container.

Recipe first appeared on Bead Yarn & Spatula

One-Pot Chicken and Broccoli Alfredo

The holidays are upon us and between planning meals for Thanksgiving and Christmas, running around trying to get everything else done, and whatever else may pop-up one can feel overwhelmed. Trying to come up with easy and quick meals becomes daunting and making good food choices may end up on the backburner. Today I am sharing a recipe for a one-pot meal that may help to answer the stress-inducing question “What’s for Dinner?” It’s a One-Pot Chicken and Broccoli Alfredo dish.

I came across this recipe one Sunday morning when I myself was trying to decide what to cook for dinner. I saw the reel on Food Network’s Instagram page at just the perfect time, I was about to go grocery shopping. I made some small tweaks to the recipe – I used a bag of pre-cut broccoli florets instead of a head of broccoli and after seeing the amount of sodium in Italian herb seasoning base I opted to make my own version – and ended up with a meal that was delicious the first night and even better as leftovers.

One-Pot Chicken and Broccoli Alfredo

Ingredients:

2 tablespoons unsalted butter

4 boneless, skinless chicken thighs, cut into 1-inch pieces

1 small yellow onion, finely chopped

2 garlic cloves, chopped

1 pound broccoli florets (from 1 large head broccoli)*

12 ounces uncooked penne

1 cup heavy cream

2 tablespoons Italian herb seasoning base**

8 oz block cream cheese, cubed, at room temperature

1/4 cup grated Parmesan

Kosher salt and black pepper

*I used a 12oz bag of broccoli florets from the produce department

**I opted to make my own by combining 1 tablespoon of Italian seasoning with one minced garlic clove, a teaspoon of salt and a few drops of olive oil to make the mixture into a paste-like consistency

Directions:

In a large sauté pan (or wide pot), melt the butter over medium-high heat. Add the chicken, season with salt and pepper and cook, stirring occasionally, until the chicken begins to change color, about 2 minutes.

Add the onions to the chicken and cook until the onions begin to soften, an additional 3 to 4 minutes. Add in the garlic and cook for an additional minute.

Add the broccoli, pasta, heavy cream, Italian herb seasoning base and 4 cups of water, bring to a boil over medium-high heat. Lower the heat to a simmer and cook until the pasta is al dente and the sauce is reduced by half and thickened, stirring occasionally, about 15 minutes.

Remove the pan from the heat and stir in the cream cheese and parmesan cheese until the cream cheese is melted and everything is well combined. Let sit for 5 minutes before serving, the sauce will continue to thicken.

Recipe slightly adapted from Food Network

Quick & Easy Apple Cider Donuts & Pumpkin Donuts

A popular treat around this time of the year is Apple Cider Donuts. If you partake in any type of Fall festival or activity – especially visiting an apple orchard – chances are you will come across them. Not as popular but just as perfect for these crisp autumn days are Pumpkin Donuts. And while I have shared recipes for both donuts before, today’s recipe takes a major short-cut and uses one box of spice cake mix to whip up a batch of both.

To start I made the “base” for each donut. To avoid overbeating and ending up with dense donuts, I opted to mix everything by hand. In a large bowl I stirred the cake mix along with eggs, oil and vanilla extract until just combined. The mixture was quite thick, resembling more of a cookie dough than a batter. I divided it in half, leaving one half in the bowl and placing the other in a medium size bowl. In one I added in apple cider and in the other pumpkin puree. I stirred each until it was the consistency of cake batter and then transferred it to piping bags and filled each donut cavity about halfway. It was easy not to confuse which was which since the pumpkin donuts had an orange hue to them.

After baking I let the pumpkin donuts cool in the pan for 10 minutes before transferring to a wire rack to cool completely. As for the apple cider donuts, I coated them in cinnamon sugar while they were still warm. Coating them while warm eliminates the need to brush them with melted butter for the cinnamon sugar to adhere to them. If you want to add cinnamon sugar to your pumpkin donuts as well, follow the same steps.  

Now, if you aren’t a fan of either apple cider donuts or pumpkin donuts or just want to make a full batch of one or the other, you can simply double the amount of apple cider or pumpkin puree you add in. The amount for that is in the recipe below.  

Spice Cake Mix Apple Cider Donuts & Pumpkin Donuts

Ingredients:

1 15.25oz box of spice cake mix (I used Duncan Hines)

2 large eggs

1/4 cup oil

1 teaspoon vanilla extract

For the Pumpkin Donuts:

6 tablespoons pumpkin puree

For the Apple Cider Donuts:

6 tablespoons apple cider

Cinnamon Sugar Topping:

3/4 cup sugar

2 teaspoons cinnamon

*If you want to make a full batch of apple cider donuts add in 3/4 cup of apple cider to the batter and similarly, if you want to make a full batch of pumpkin donuts add in 3/4 cup of pumpkin puree.

Directions:

Preheat the oven to 350 F. Spray 2 donuts pans with baking spray.

In a large bowl stir together the cake mix, eggs, oil and vanilla extract until just combined. Divide the batter in half (it will be thick) and place one half in another bowl.

In one of the bowls add in the pumpkin puree and in the other the apple cider. Stir each of the batters until the ingredients are well incorporated.

Transfer each batter to a piping bag or resealable bag. Snip the end of the bag (or corner if using a resealable bag) and pipe the batters into the prepared pans about half-way.

Bake in the preheated oven for 10-12 minutes. You can insert a cake tester into one of the donuts to make sure it comes out clean.

In a shallow bowl stir together the cinnamon and sugar.

Let the pumpkin donuts cool in the pan for 10 minutes before transferring to a wire rack to cool completely.

Carefully remove the apple cider donuts from the pan one at a time and coat in the cinnamon sugar topping before transferring to a wire rack to cool completely.

*If you want to coat the pumpkin donuts with cinnamon sugar as well follow the same steps as the Apple Cider Donuts after removing from the oven.

Store in an airtight container.

Tex-Mex Lazy Rice

I recently saw a post on Instagram that said one of the hidden facts about being an adult was figuring out what to eat for dinner everyday for the rest of one’s life… Isn’t that the truth! Who knew that a decision that should be so simple to make is in fact quite stressful. Sure, you could go with the old standby, a bowl of cereal, but that won’t always fill your stomach or satisfy your taste buds. It’s safe to say that we all want quick and easy dinners that are delicious, nutritious and filling. A surefire way to get the quick and easy checked off is to make one-pot/pan meals. And today’s Tex-Mex rice is just that. It’s made completely in one pot and it’s both delicious and nutritious.

The original recipe for this rice called for making it in a rice cooker. I do not own, nor do I have any plans to purchase one, so I adapted the recipe and made it as I make other rice dishes – in one large pot. I started off by browning ground beef and then adding in vegetables, beans and rice. And finally, water, taco seasoning and salt to taste and ended up with a delicious meal that was ready in less than an hour.

Tex-Mex Lazy Rice

Ingredients:

2 cups long grain white rice, rinsed

1 1-ounce package of taco seasoning

1 lb. ground beef*

1 15.5-ounce can black beans, drained and rinsed

1 8.75-ounce can corn, drained

1 red bell pepper, chopped

1 green pepper, chopped

Kosher salt

Pepper

Vegetable Oil

Water

1 lime, halved

Optional toppings:

Grated cheddar cheese

Sour cream

1 avocado, diced

*You could swap out the beef for ground turkey or chicken

Directions:

In a large Dutch oven (or other heavy bottom pot) heat 2 tablespoons of vegetable oil over medium heat. Add the ground beef, season with salt and pepper, and cook until no longer pink. Add in the chopped red and green peppers. Sauté for a few minutes and then add in the black beans, corn and rice. Give everything a good stir to combine it all. Add 3 ½ – 4 cups of water (the water level should be about an inch above the rice) and the taco seasoning. Give everything a good stir and add salt to taste.

Increase the heat to high and allow to cook uncovered until most of the water has been absorbed. Cover and reduce the heat to low and continue to cook until the rice is done. About 25 – 30 minutes.

Fluff the rice with a fork and squeeze the juice of one lime into the rice and stir with the fork again.

You can eat the rice as is or top with shredded cheese, sour cream and/or avocado.

Refrigerate leftovers in an airtight container.

Recipe adapted from Food Network

Pumpkin Bourbon Cream Cheesecake

Here it is… My first pumpkin recipe of the season! Not sure how many more are to follow. This could very well be the only pumpkin recipe I share this year. I’m just not into it this year as I have been in the past. I did get my fair share of pumpkin beverages from Starbucks last month during their BOGO promotion, so I am getting my pumpkin fill. Before we know it though, pumpkin will be replaced by peppermint and all the pretty fall colors will be replaced by holiday colors. I walked into a Lowe’s the other day and right smack in my face was a full Christmas display flanked by two very large Santa Clauses’. I had to stop and think for a moment what date it was and how long until Christmas is actually here. Don’t get me wrong I enjoy the holidays, but this year feels like it has flown by incredibly fast so savoring these last few months of the year and the remaining holidays would be nice. 

A few months ago, I received a bottle of bourbon cream from Nooku. They reached out to me on Instagram and offered to send me a bottle. I never tried bourbon cream before but was pleasantly surprised when I did. While the tasting notes are different, it reminded me of Irish cream. And while it is delicious to drink on its own chilled or at room temperature, I thought I could use it to make some sort of dessert. Initially I was thinking of making a bourbon cream cheesecake, but it being Fall and all I decided to give the cheesecake a Fall twist and add pumpkin to create a Pumpkin Bourbon Cream Cheesecake.    

So, with some bourbon cream, pumpkin puree and of course pumpkin spice (along with a few other ingredients) I ended up with a delicious cheesecake that’s perfect for these Fall days. And while I was initially thinking of topping the cheesecake with a chocolate ganache drizzle, I opted to go a simpler route and whipped up a small batch of bourbon cream whipped cream to pipe along the edges of the cheesecake which I then sprinkled with pumpkin spice (because you can never have too much of it).

Pumpkin Bourbon Cream Cheesecake

Ingredients:

For the Graham Cracker Crust:

12 graham crackers

1 tablespoon sugar

6 tablespoons unsalted butter, melted

For the Cheesecake:

3 8oz blocks of cream cheese, at room temperature

1/2 cup sugar

1/2 cup light brown sugar

1/4 cup sour cream, at room temperature

15oz. can pumpkin puree

2 teaspoons vanilla extract

2 teaspoons pumpkin pie spice

3 large eggs, at room temperature

1/3 cup bourbon cream*

For the Bourbon Cream Whipped Cream:

1/2 cup heavy whipping cream

1 tablespoon bourbon cream*

1 tablespoon confectioners’ sugar

Additional pumpkin pie spice to sprinkle on top of cheesecake

*I used Nooku Bourbon Cream

Directions:

Preheat the oven to 325 F.

In the bowl of a food processor process the graham crackers into fine crumbs. Add the sugar and melted butter and pulse a few times until the mixture is combined. Transfer to a 9-inch springform pan and press the crumbs into an even layer along the bottom of the pan and up the sides. Set aside.

In a large bowl beat the cream cheese and both sugars with a hand mixer on medium speed until well combined. Add in the sour cream, pumpkin puree, vanilla extract and pumpkin pie spice until beat until just combined. Add the eggs 1 at a time, beating well after each addition. Finally beat in the bourbon cream.

Transfer the cheesecake filling to the prepared pan and bake in the preheated oven for 50-55 minutes. The cheesecake should be set but the center a bit wobbly.

Leave the cheesecake in the oven with the door open and allow the cheesecake to cool as the oven cools, about 30 minutes. Finish cooling on a wire rack and then cover and refrigerate for at least 8 hours or overnight.

Before serving make the whipped cream topping. In a medium bowl beat the whipped cream, bourbon cream and confectioners’ sugar on medium speed until stiff peaks form. Transfer the whipped cream to a piping bag fitted with a large star tip. Carefully remove the ring from the cheesecake and drop dollops of the whipped cream along the edge of the cheesecake. Finish by sprinkling pumpkin pie spice over the whipped cream. If you don’t have piping bags and/or tips, you can use a large resealable bag. Snip one of the corners and drop dollops of the whipped cream on the cheesecake. 

Store leftovers in the refrigerator.

Recipe first appeared on Bead Yarn & Spatula

Cheddar Bay Biscuits

If you’ve been to a Red Lobster I think we can agree that one of the best things about going is the Cheddar Bay Biscuits. Granted the food isn’t bad either; depending on the one you go to. Unfortunately, not all chain restaurants are the same. The biscuits are so popular that Red Lobster sells a mix that you can buy to make them yourself at home, although I can’t say how good it is as I have never tried it. There are also a ton of recipes floating around the internet to make them from scratch. I know I tried one or two and I wasn’t that impressed. I recently came across today’s recipe while scrolling Instagram and it sounded simple and delicious, so I flagged it. And on a recent rainy Saturday I decided it was the perfect excuse to stay home and try a few recipes and this was one of them and it didn’t disappoint.

The texture of these biscuits was spot on. They were light and airy and the garlic butter on top was perfection. I initially thought that maybe the garlic butter would need more salt, but I opted against adding more than the recipe called for and I am happy that I did. Most recipes I have seen call for using yellow cheddar cheese while this one used white cheddar cheese, I am not sure if that made a huge difference in the flavor, but it did make a difference in the color of the biscuits. As one would expect, the yellow cheddar gives the biscuits a slight orange hue while the white cheddar didn’t do that which made them a tad bit more appealing on the eye. Truth be told we do eat with our eyes before our taste buds.

These are so quick and easy to make that you could whip up a batch and store them in your freezer and reheat them to enjoy with a hearty soup throughout the Fall/Winter. That’s exactly what I am planning on doing. I froze half of the ones I made and already tested reheating them in the oven and they were just as good as the day I made them.

Copycat Red Lobster Cheddar Bay Biscuits

  • Servings: 12 biscuits
  • Print

Ingredients:

For the Biscuits:

4 ounces (1 cup) shredded sharp white cheddar cheese*

1 stick unsalted butter, melted

3/4 cup buttermilk

2 cups flour

1 tablespoon baking powder

1 1/2 teaspoons garlic powder

1 1/2 teaspoons Kosher salt

1/2 teaspoon baking soda

For the Garlic Butter:

1/4 cup (4 tablespoons) unsalted butter, melted

1/2 teaspoon dried parsley

1/2 teaspoon garlic powder

1/8 teaspoon Kosher salt

*I opted to shred the cheese myself from a block of cheddar as opposed to buying it already shredded

Directions:

For the Biscuits:

Preheat oven to 450 F. Line a baking sheet with parchment paper and set aside.

Stir together the melted butter and buttermilk and set aside.

In a large bowl whisk together the flour, baking powder, garlic powder, Kosher salt and baking soda until well combined. Add in the buttermilk mixture and using a rubber spatula gently stir together until a soft dough forms. Add in the shredded cheese and continue stirring until the cheese is incorporated into the dough.

Use a 1/4 cup measuring cup to measure out 12 portions of the dough. Roll each portion into a ball and place on the prepared baking sheet 2-inches apart.

Bake the biscuits until they are golden brown, about 10-12 minutes.

While the biscuits are in the oven make the garlic butter.

For the Garlic Butter:

In a small bowl combine the melted butter, parsley, garlic powder and salt, stir together until well combined.

As soon as the biscuits come out of the oven generously brush each with the garlic butter. Serve immediately.

Make ahead: Prep the biscuits – make the dough and then shape them – and then place on a baking sheet in the freezer until frozen. Transfer to a resealable bag and keep in the freezer up to 2 months. Bake straight from the freezer, adding a few minutes to the baking time and then brush the garlic butter and serve.

Storing: Leftover biscuits can be stored in an airtight container for 3 days or frozen in a resealable bag up to 2 months. Reheat in a 350 F oven until warmed through, about 10 minutes.

Recipe from The Kitchn

Rosemary Honey Custard

Rosemary and honey… It may sound like a weird combination, but I’ve been thinking about making something with the two after having a Rosemary Honey Crème Brulee last year. I ended up not straying too far from that dessert and came up with a Rosemary Honey Custard. If you are thinking rosemary is better suited for savory dishes as opposed to sweet ones, you are partially correct, with the right ingredients and measurements rosemary can be used in desserts as well.  

Since I didn’t want bits of rosemary in the custard, I started off by infusing the rosemary flavor into whole milk; which is one of the main ingredients in custard (eggs being the other). To do so, I boiled a few sprigs of fresh rosemary in milk and then let the milk steep for a few minutes with the rosemary still in it.

While the milk was steeping, I beat eggs along with sugar, honey and vanilla extract. I then whisked a few tablespoons of the milk into the egg mixture to temper them and then slowly whisked in the remaining milk – having removed the rosemary sprigs beforehand. It’s important to temper the eggs, if you add all the milk in at once you may end up with scrambled eggs. After straining the mixture through a fine mesh sieve, I divided it amongst greased ramekins that I had placed in a roasting pan. About 1 cup of the mixture in each ramekin. I would suggest straining the mixture into a large (4-cup or more) measuring cup to make pouring it into the ramekins easier (and less messy!)

Next, I added enough boiling water to the pan to reach halfway up the sides of the ramekins.

And finally, I placed the roasting pan in the oven and baked the custards for about 30 minutes. The custards were set, but still slightly jiggly in the center. I let them cool in the pan for about 10 minutes before transferring them to a wire rack to cool completely.

Once cooled I refrigerated them for a few hours before enjoying. The flavor of these custards reminded me of the crème brulee that inspired them. I could taste the rosemary, but it’s not as overpowering as it can be in some savory dishes it’s used in. The honey (and sugar) calms it down. If you have an abundance of rosemary from your summer gardens this recipe is one way to use it up. You won’t be disappointed!

Rosemary Honey Custard


Ingredients:

2 3/4 cup whole milk

3 sprigs fresh rosemary

3 large eggs

1/4 cup sugar

1/4 cup honey

1 teaspoon vanilla extract

Butter, for greasing the ramekins

Boiling water, for a water bath to bake the custards

Directions:

Preheat the oven to 350 F. Grease 4 8oz. ramekins with butter and place inside of a roasting pan. Set aside.

In a medium saucepan combine the milk and rosemary and heat over medium heat until the milk begins to boil, reduce the heat and let simmer for 30 seconds to 1 minute. Turn off the heat and allow to steep for 15 minutes.

Meanwhile, in a large bowl beat the eggs with the sugar, honey and vanilla extract with a hand mixer on medium speed until the eggs are pale.

Remove the rosemary from the milk and whisk in 2 tablespoons of the milk into the egg mixture to temper the eggs. Then slowly whisk in the remaining milk.

Strain the mixture through a fine mesh sieve and then divide amongst the prepared ramekins. About 1 cup per ramekin.

Add hot water to the roasting pan about halfway up the sides of the ramekins. Bake in the preheated oven for 30-35 minutes. The custards will be set but slightly jiggly in the center.

Let the custards cool in the pan for 10 minutes before removing to a wire rack to cool completely. Refrigerate for 2 to 3 hours so the custard can finish setting before serving.

Recipe first appeared on Bead Yarn & Spatula

Tennessee Whiskey Cake

Happy Fall! So, I am switching things up this year. I normally welcome Fall with a pumpkin recipe, but I haven’t baked anything with pumpkin yet. I have one or two recipes that I want to make but just haven’t gotten to them yet. Instead, I am bringing you a cake that is just as equally perfect for the Fall, a Tennessee Whiskey Cake. (Although, I made it with bourbon, but you could use either.) There is also a decent amount of chopped pecans in the cake that I find reminiscent with Fall baking.

One thing I loved about this cake is that it only required one-bowl and came together rather quickly. I thought about foregoing toasting the pecans to save time, but I went ahead and did it. I can’t say for sure if it added another layer of flavor to the cake though. What I mainly tasted was hints of the bourbon, which wasn’t a bad thing. A slice of this cake is the perfect accompaniment to a nice hot cup of tea (or coffee if that’s your thing!). Perfect after a day of raking leaves, leaf peeping, apple picking or whatever Fall activity you may be doing.

Tennessee Whiskey Cake

Ingredients:

1 1/4 cup pecan halves, plus additional for topping

2 sticks unsalted butter, at room temperature

3/4 cup sugar

1/2 cup dark brown sugar

2 teaspoons vanilla extract

5 large eggs, at room temperature

1/4 cup whiskey or bourbon*

1 teaspoon baking powder

1/4 teaspoon baking soda

1/4 teaspoon salt

2 cups flour

*I used Jim Beam’s Bourbon

Directions:

Preheat oven to 400 F. Spread the 1 1/4 cups of pecans on a baking sheet and bake 10 to 15 minutes, stirring occasionally to prevent the pecans from sticking and/or burning, until toasted and lightly browned. Allow to cool and then chop the pecans.

Reduce the oven temperature to 325 F and spray a 9x5x3-inch loaf pan with baking spray.

In a large bowl beat the butter, both sugars and vanilla extract together with a hand mixer on high speed until light and fluffy.

With the mixer on low, add the eggs one at a time, beating after each.

Next, beat in the whiskey/bourbon, the baking powder, baking soda and salt. Reduce the mixer to low and stir in the chopped pecans and then the flour until just incorporated.

Spread the butter into the prepared pan. Smooth the top and then place pecan halves on top.

Bake in the preheated oven until a cake tester inserted in the center comes out clean, about 50 minutes to 1 hour.

Cool the cake in the pan on a wire rack for 30 minutes. Remove from the pan, place on the wire rack and cool completely. For best flavor store airtight for one day at room temperature before serving.

Recipe from Elizabeth Alston’s Best Baking

A Blanket, a Tote Bag and Some Pumpkins

As I mentioned in my last post, I haven’t been doing much baking – although now that the temps & humidity are dropping I am hoping to get back into it – but one thing I have been doing is a decent amount of crocheting.

I’ve been working on a granny square tote bag. Out of nowhere these bags started popping up on my Instagram feed and I figured since I knew how to make a granny square why not try one. Well, it’s taken me a bit longer than I thought it would. First, I was trying to come up with different color variations so no two squares would be the same. I gave up on that plan quickly and then decided to settle on a few variations and work with those to create a pattern for the bag. I made a slight mistake while stitching them together but decided it was okay… It’s a prototype. LOL!  Then it was time to work the border and make handles… Not sure what happened but I didn’t like how it was coming out, so I ended up frogging the whole border and the handles to start over. I am at that point now. 

I recently finished a baby blanket in a ripple stitch pattern. While I normally like to use white as the accent/separator color the person requesting this blanket asked that I use green instead. While I initially had my doubts about how it would look, I ended up really liking the variation.

I also finished a few pumpkins to add to my Etsy shop. I made these pumpkins using the bobble stitch. It’s a fun stitch that gave the pumpkins a nice 3D texture. Some might say that they are reminiscent of a pumpkin with warts, but just in a more uniform pattern. Either way, they are cute! It was the first time I used the stitch and while it’s a super easy stitch that results in a nice design it is one that requires a lot of yarn. It’s a yarn eater! The reason is because the stitch consists of multiple double crochets that are grouped together in the same stitch. Not sure I would ever make something larger than these pumpkins using the stitch.

They are available on my Etsy shop now.  

I also have other pumpkins available that were made with a simpler stitch but are just as equally cute.

One great thing about these pumpkins is that they will last all season year after year!

And that’s about it when it comes to my yarn projects. I have some ideas for a few other things I would like to make but I haven’t gotten to them yet. Hopefully soon!

Sour Cream-Chocolate Chip Pound Cake (and a few other things!)

It’s been a bit quiet around here. Almost two months since my last post. Partly because this summer has been way too hot to turn my oven on to bake anything and because I was gone for about 10 days in late July / early August. I finally made it across the pond! I went to Barcelona for two days and then headed out on a Mediterranean cruise which made stops in Mallorca, Marseille, La Spezia (Florence), Civitavecchia (Rome) and Naples. Since I was on a cruise, I really didn’t get the opportunity to try a lot of the local food, but while in Marseille I did try a traditional cookie called a Navette (it wasn’t to my liking) and while in Lucca I enjoyed pizza and gelato (both were delish!).

And not food related whatsoever, but too beautiful not to share a few pics of the Mediterranean and a few sunrise and sunset pics from the ship. 

A few weeks after getting back I finally turned my oven on to bake something as I was planning to visit family and wanted to bring dessert. I opted to make a Sour Cream-Chocolate Chip Pound Cake that I had flagged in a cookbook quite some time ago but hadn’t gotten around to making. I really need to go through my cookbooks and see what else I have flagged that I haven’t made! Truthfully, I felt out of sorts while prepping the batter for the cake. It was almost like I was tripping over myself. Don’t get me wrong, I have been cooking for myself even though I wasn’t baking but I never realized that I had developed a rhythm of sorts while baking.

Thankfully, my out of sorts feeling didn’t translate into the cake… It turned out delicious! The recipe called for a cinnamon sugar topping which I thought to be a bit odd, but I went with it and am happy that I did. The cinnamon flavor really added to the flavor of the cake. You could taste it, but it wasn’t overpowering.

One thing to note, the flavor of this cake gets better with time. I suggest making it a day or two ahead of time and then wrapping it tightly to keep it fresh and let the flavors develop.

I think I am finally getting my baking legs back! I baked a Blueberry Crumb Cake that came out delish – although I did have to mix my dry ingredients twice. I flipped the measurements for salt & baking soda and added in more baking soda than the recipe called for and I didn’t want to end up with metallic soapy flavored cake. Maybe that isn’t a good example. I did bake up some treats (cookies and cheesecake brownie bites) last week along with a birthday cake that all came out perfect! I even decorated the cake… It’s been a while since I have done that. So, I guess I am getting back into the swing of things. Perfect timing to with Fall and the holidays just around the corner.

Sour Cream-Chocolate Chip Pound Cake

Ingredients:

1 cup plus 4 tablespoons sugar

1 1/2 teaspoons cinnamon

1 3/4 stick (14 tablespoons) unsalted butter, at room temperature

2 teaspoons vanilla extract

4 large eggs, at room temperature

3/4 cup sour cream

1 teaspoon baking powder

1/4 teaspoon baking soda

1/4 teaspoon salt

2 1/4 cups flour

1 1/2 cups semi-sweet chocolate chips

Directions:

Preheat the oven to 325 F. Spray a 9x5x3- inch loaf pan with baking spray then line with aluminum foil, leaving an overhang, then spry with additional baking spray. Set aside.

Cinnamon Sugar Topping- In a small bowl mix 2 tablespoons of the sugar with 1/4 teaspoon of the cinnamon and set aside.

In a large bowl beat the butter, vanilla extract and the remaining sugar together with a hand mixer on high speed until pale and fluffy. Reduce the speed to medium and add the eggs one at a time, beating after each. Beat in the sour cream, baking powder, baking soda, salt and the remaining cinnamon. Scraping the sides of the bowl as needed. With the mixer on low, add in the flour until almost combined. Finally add in the chocolate chips and continue mixing on low until the batter is well combined.

Transfer the batter to the prepared pan. Tap the pan on the counter a few times to release any air bubbles and then sprinkle the cinnamon sugar topping on top of the cake.

Bake in the preheated oven until a cake tester inserted in the center comes out clean, 70 – 75 minutes.

Allow the cake to cool in the pan on a wire rack for 30 minutes. Then using the overhang lift the cake out of the pan and place on the wire rack to cool completely. Remove the foil and serve or wrap tightly in plastic wrap and leave at room temperature until ready to serve. For best flavor, let the cake sit for 1 day before serving.

Recipe from Elizabeth Alston’s Best Baking