As I mentioned in my last post, I haven’t been doing much baking – although now that the temps & humidity are dropping I am hoping to get back into it – but one thing I have been doing is a decent amount of crocheting.
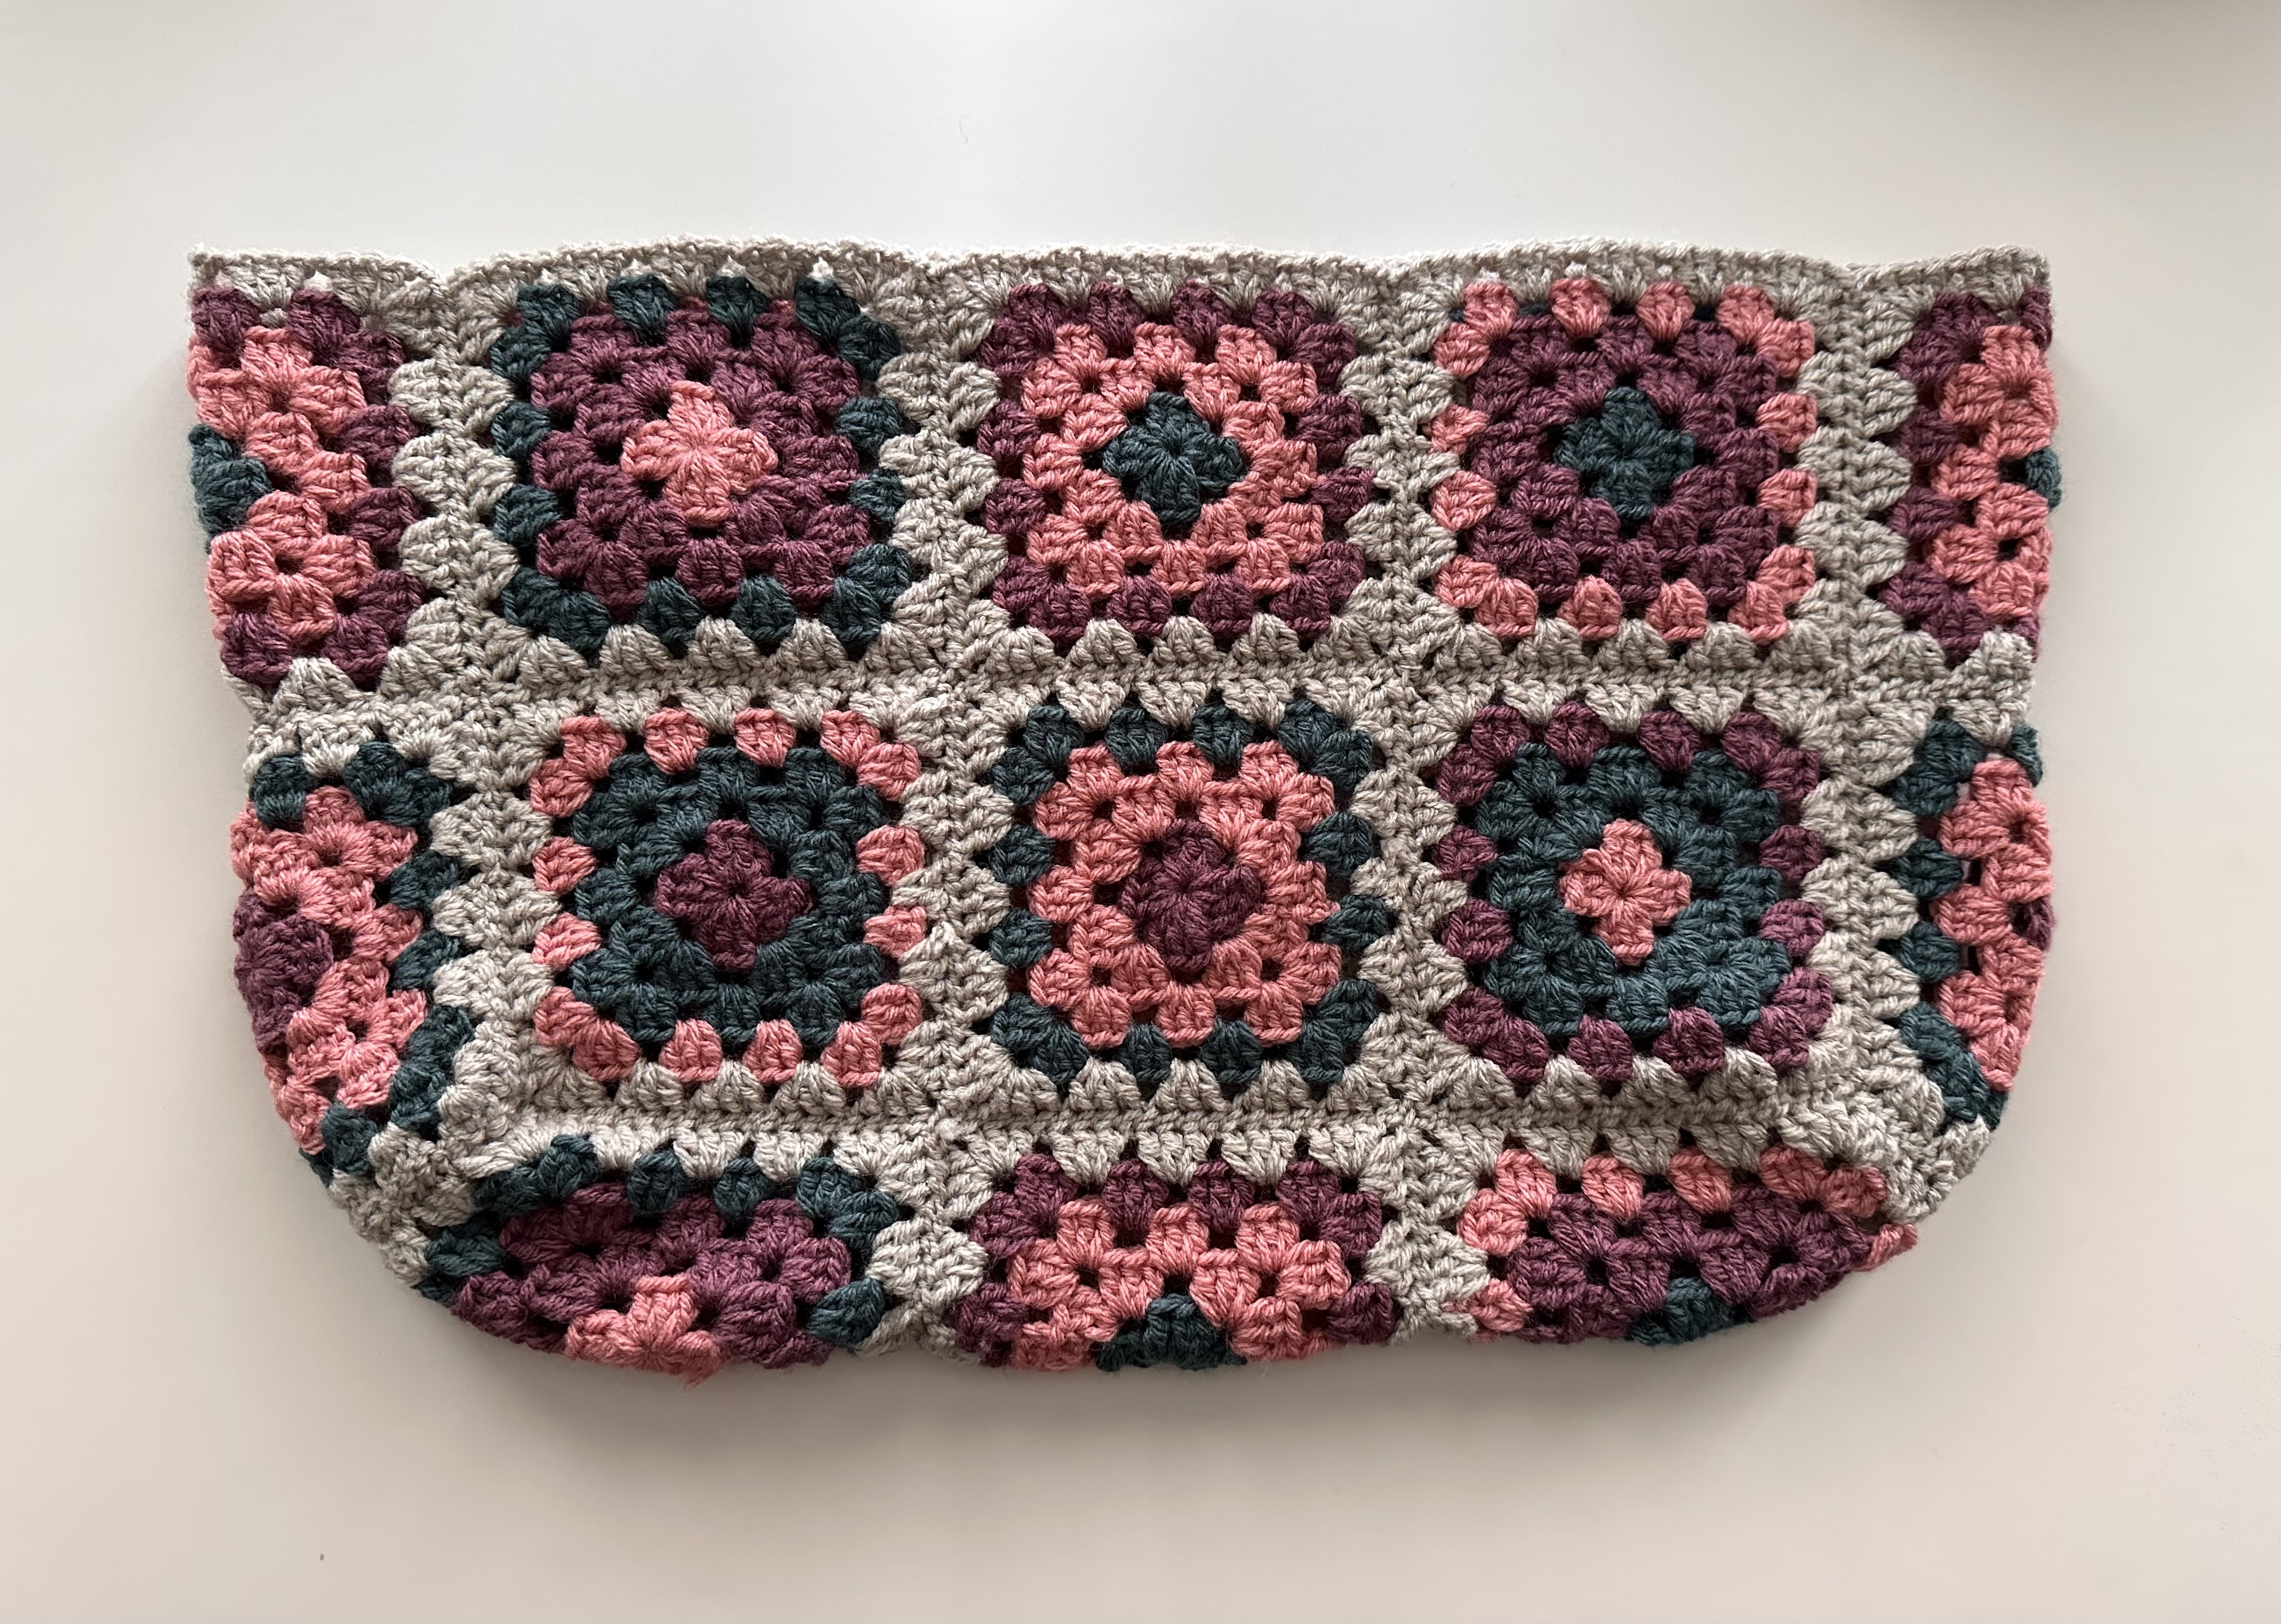
I’ve been working on a granny square tote bag. Out of nowhere these bags started popping up on my Instagram feed and I figured since I knew how to make a granny square why not try one. Well, it’s taken me a bit longer than I thought it would. First, I was trying to come up with different color variations so no two squares would be the same. I gave up on that plan quickly and then decided to settle on a few variations and work with those to create a pattern for the bag. I made a slight mistake while stitching them together but decided it was okay… It’s a prototype. LOL! Then it was time to work the border and make handles… Not sure what happened but I didn’t like how it was coming out, so I ended up frogging the whole border and the handles to start over. I am at that point now.
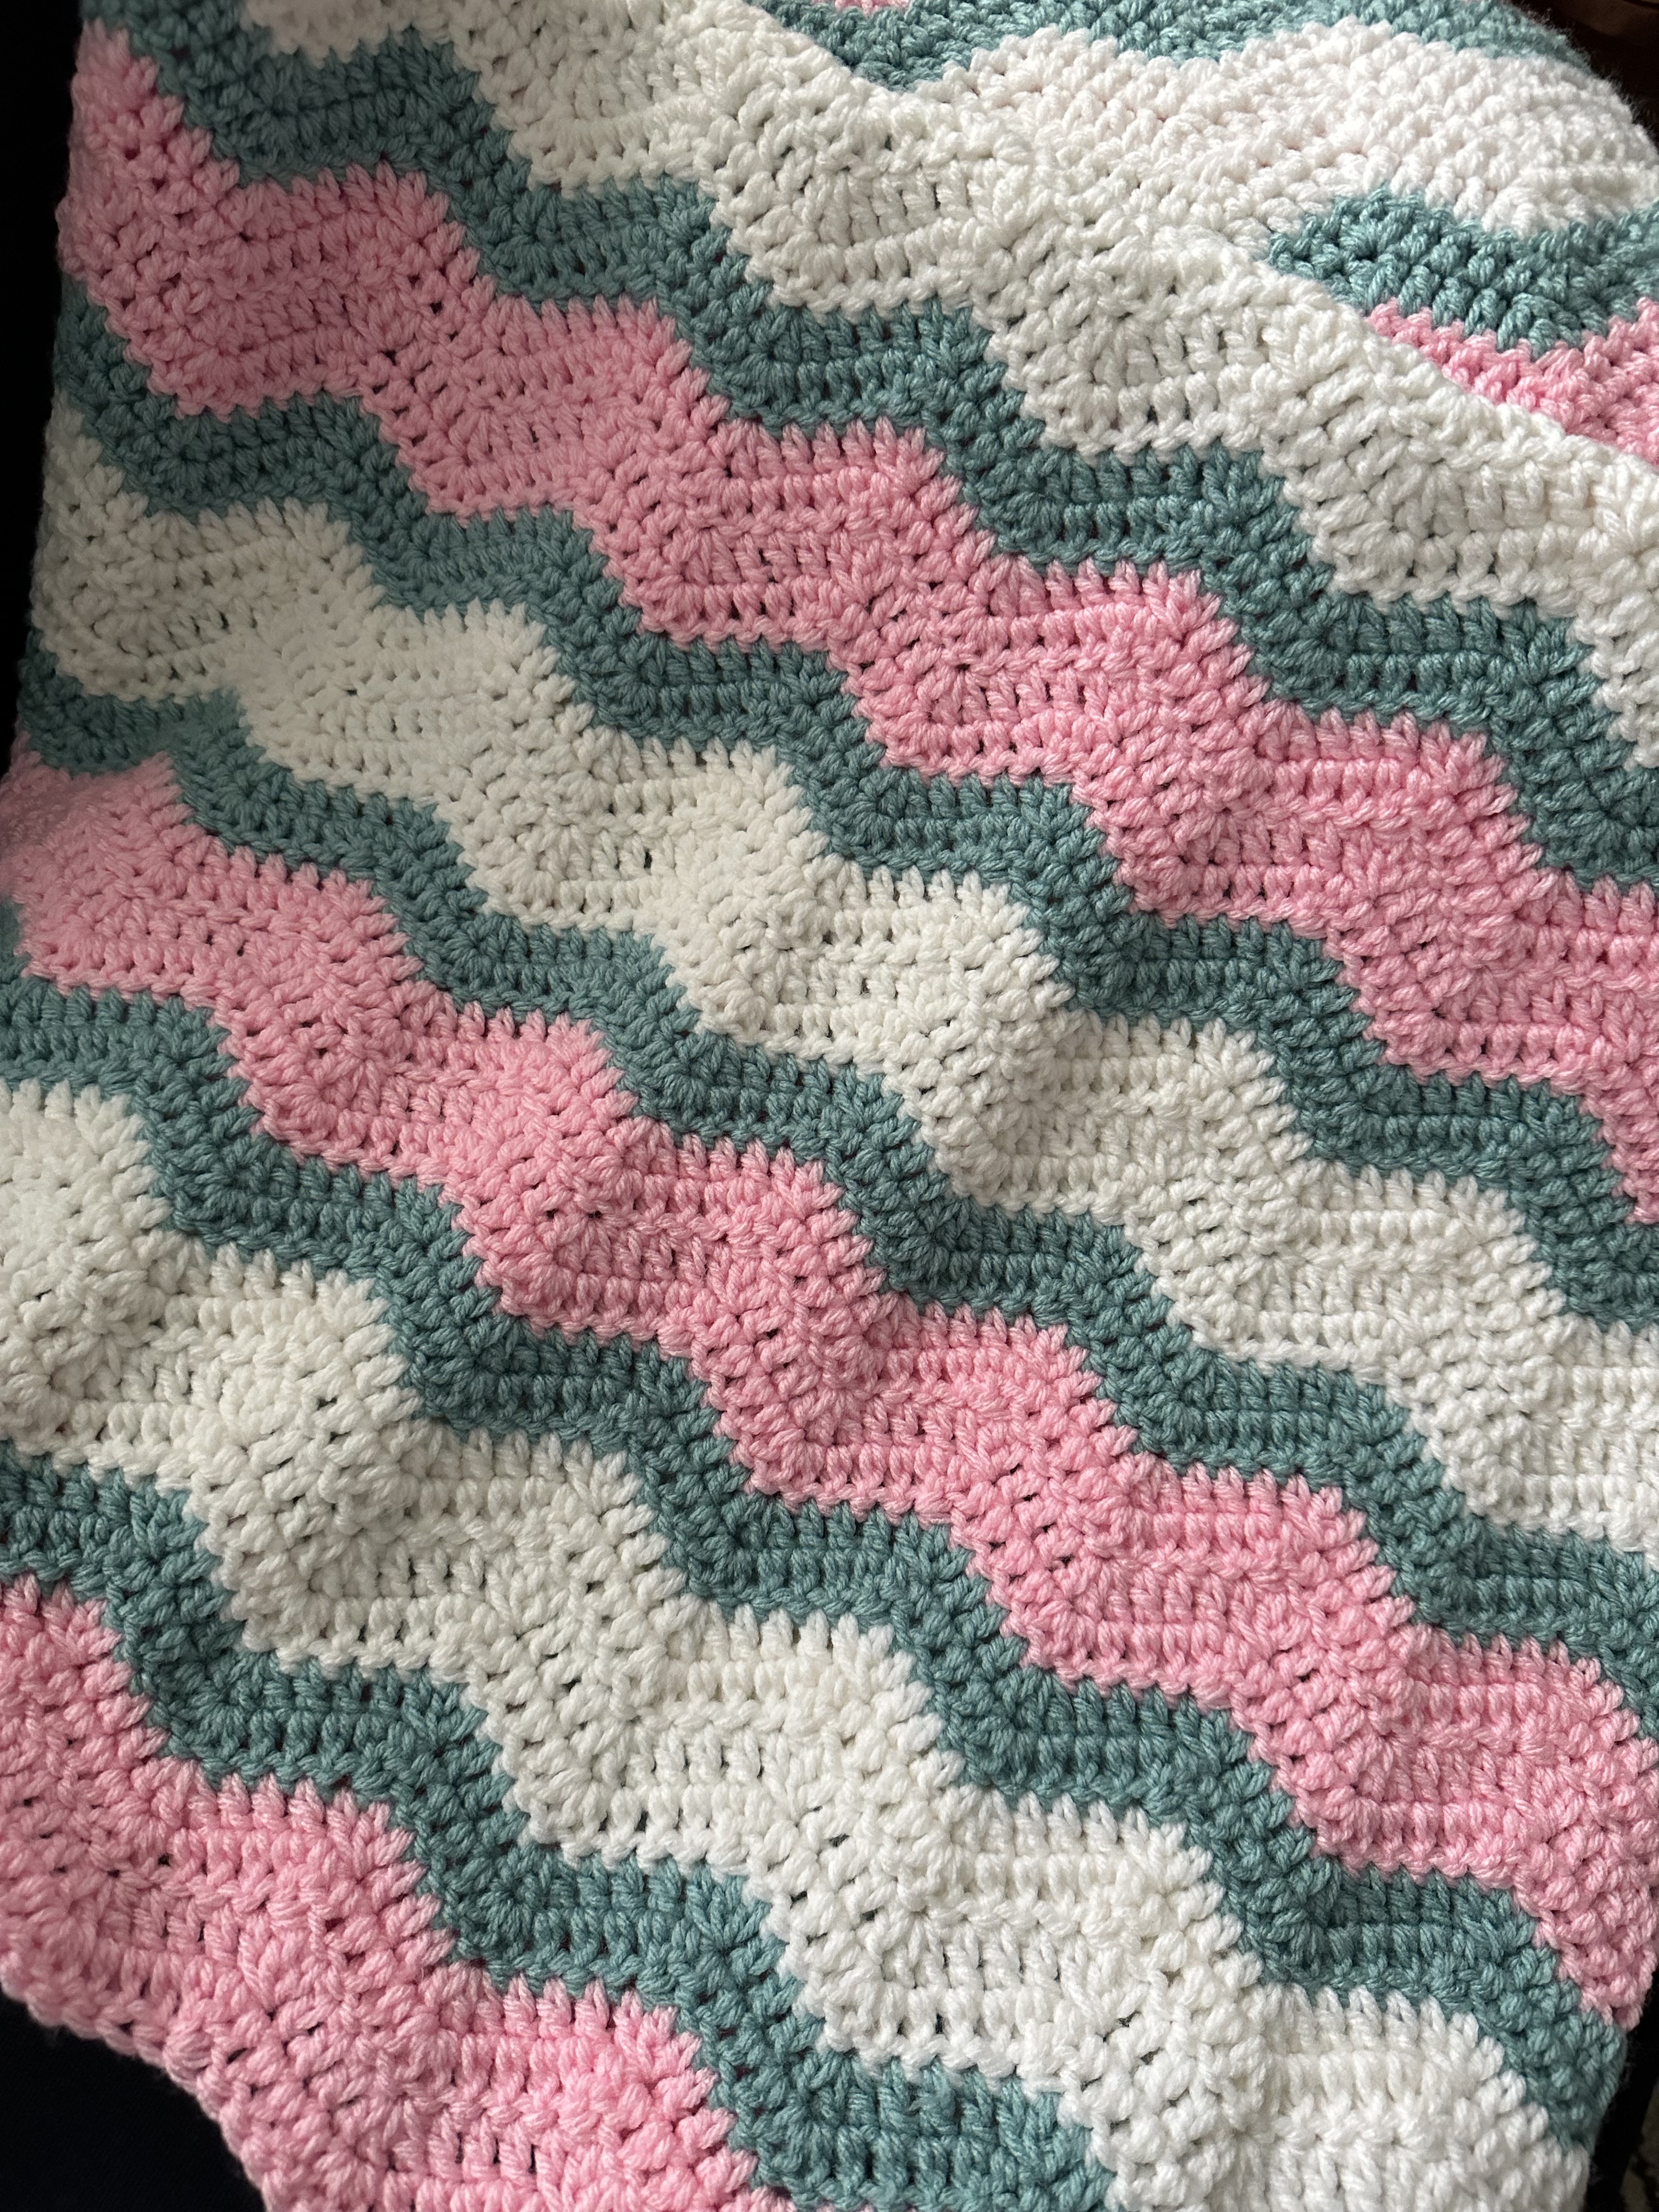
I recently finished a baby blanket in a ripple stitch pattern. While I normally like to use white as the accent/separator color the person requesting this blanket asked that I use green instead. While I initially had my doubts about how it would look, I ended up really liking the variation.
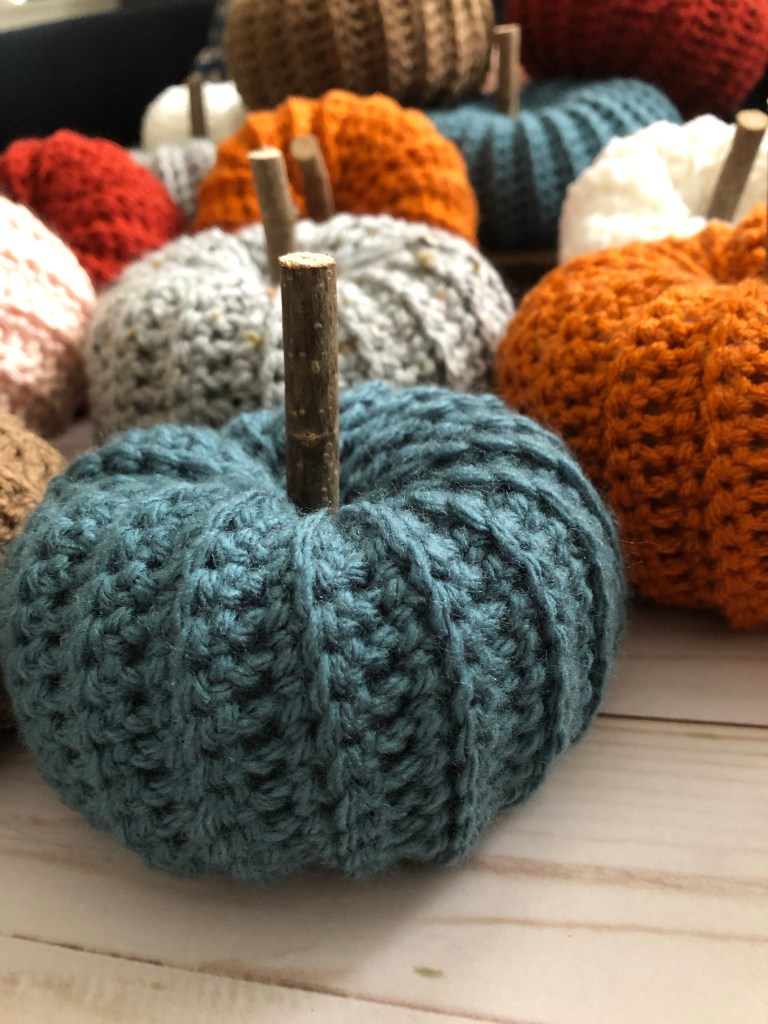
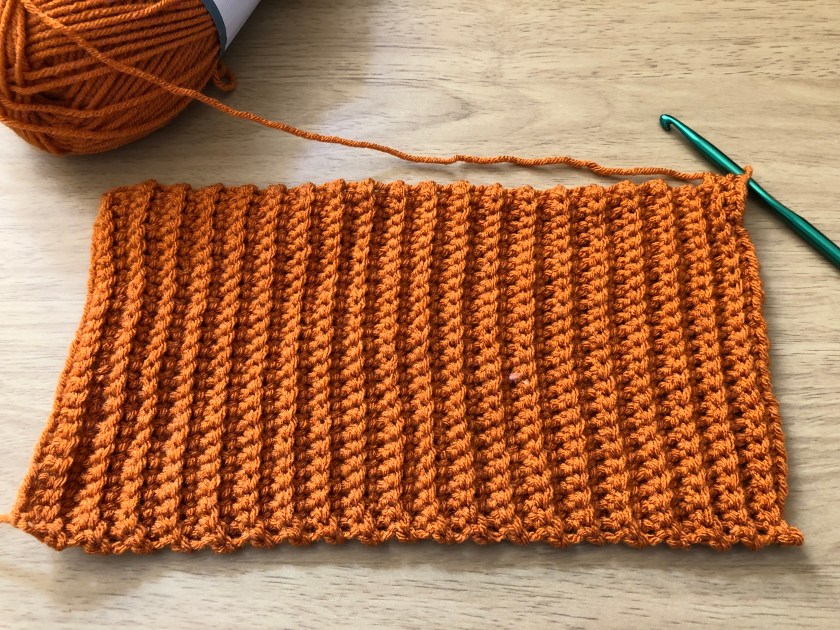
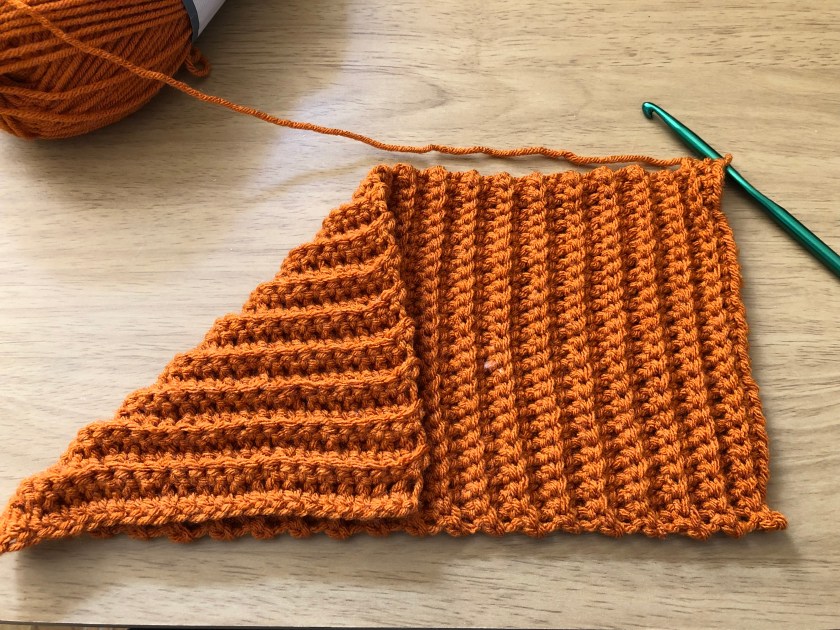
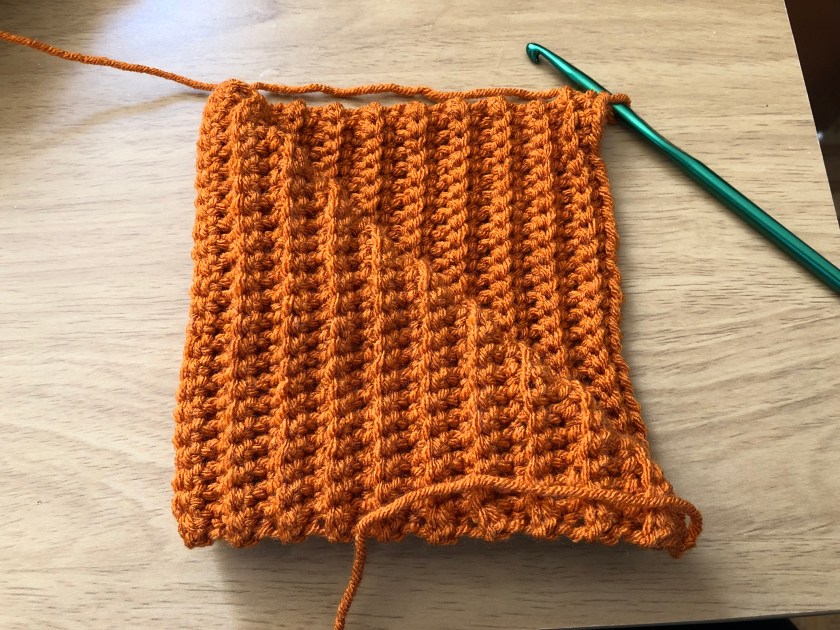
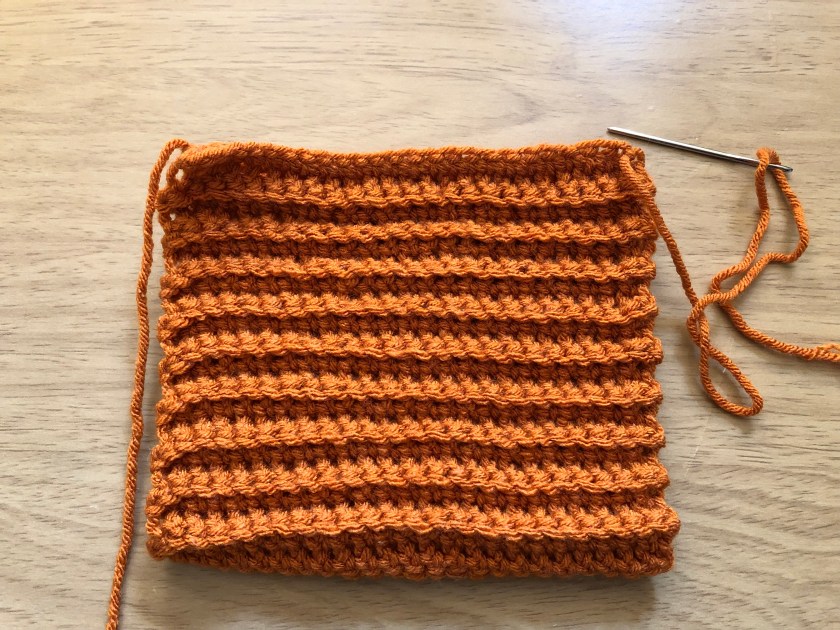
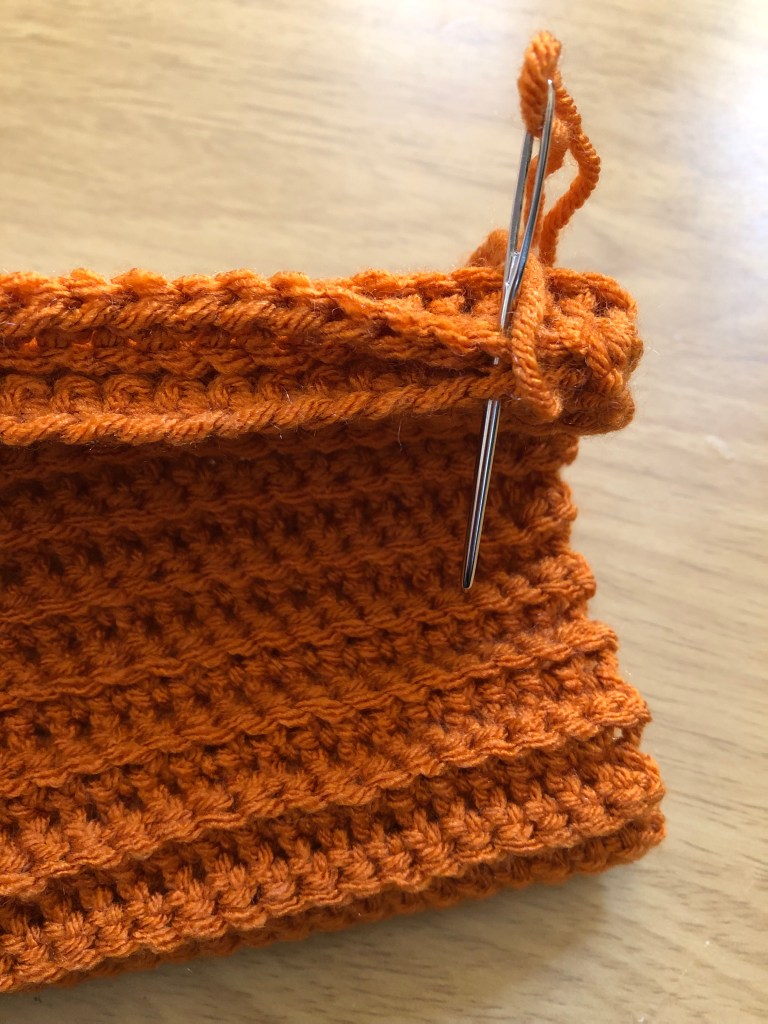
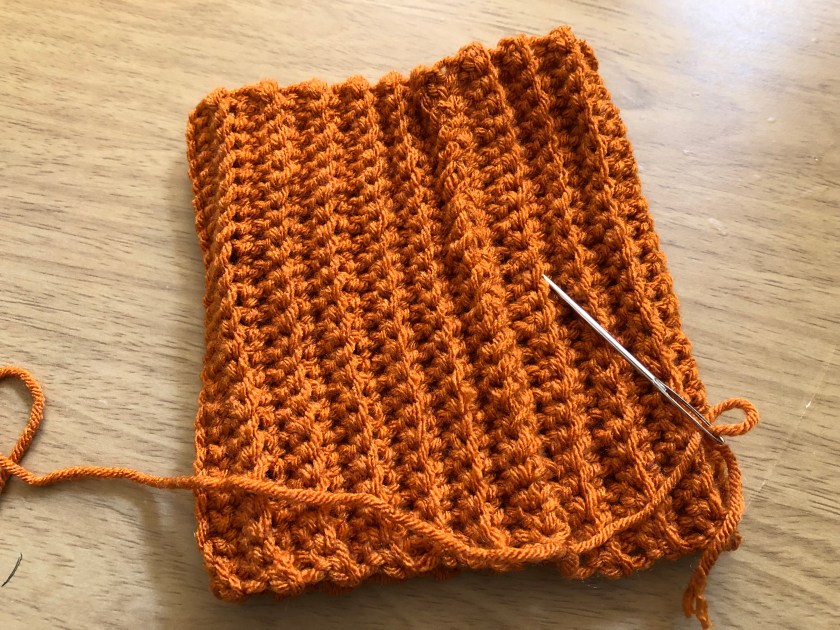
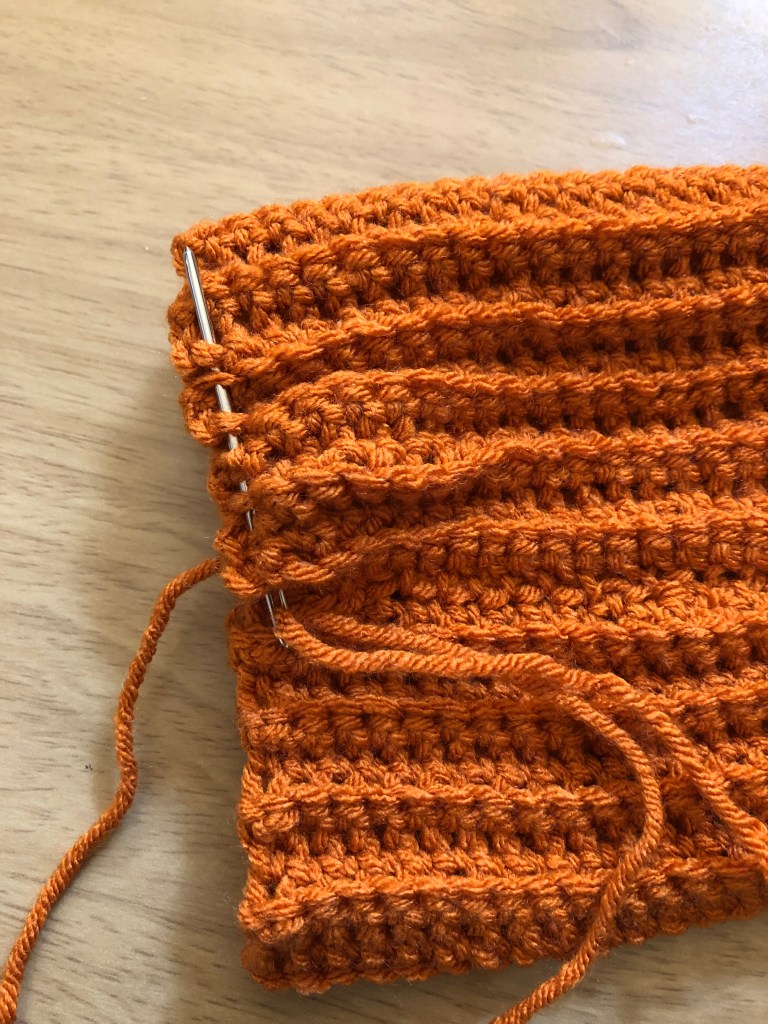
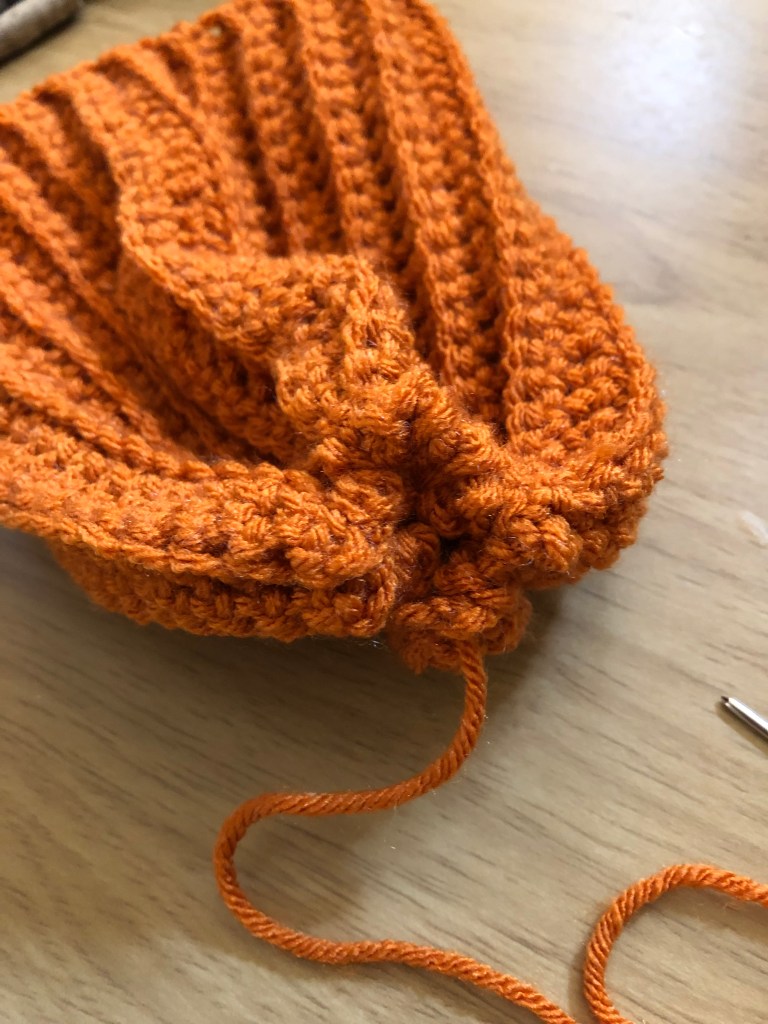
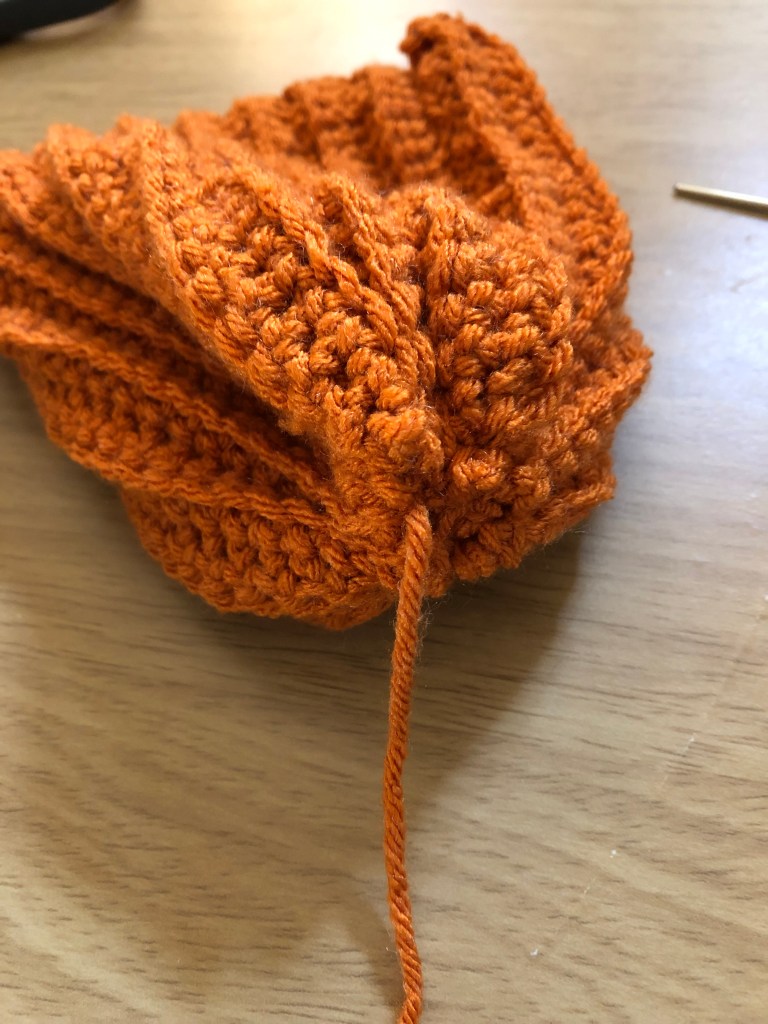
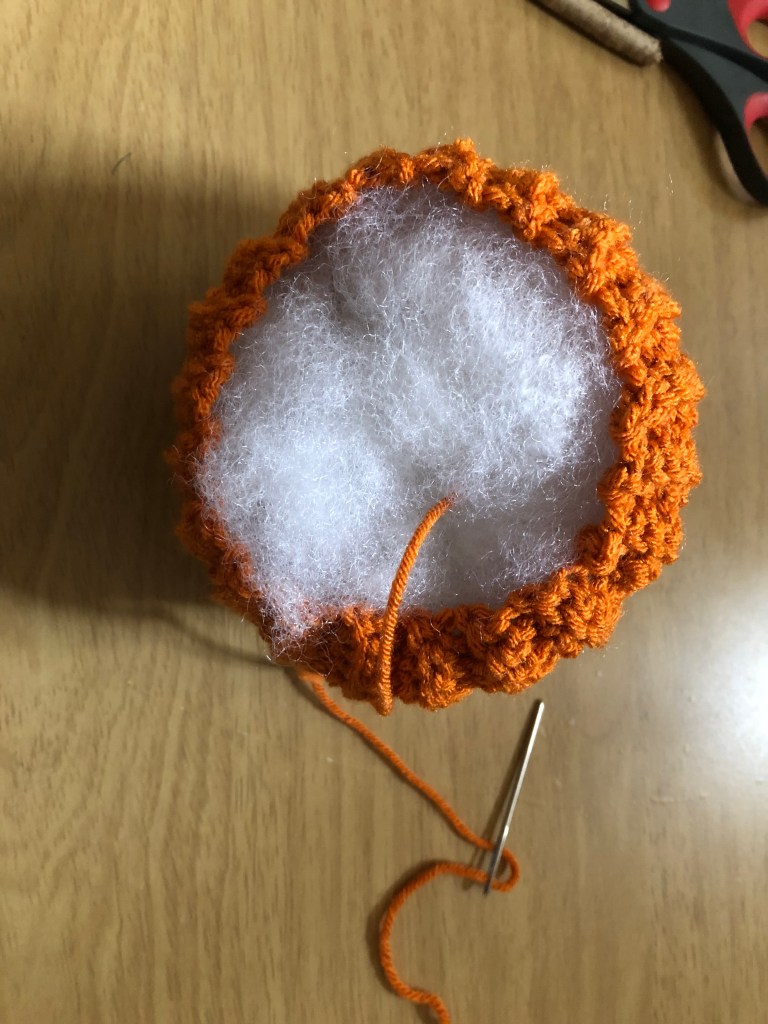
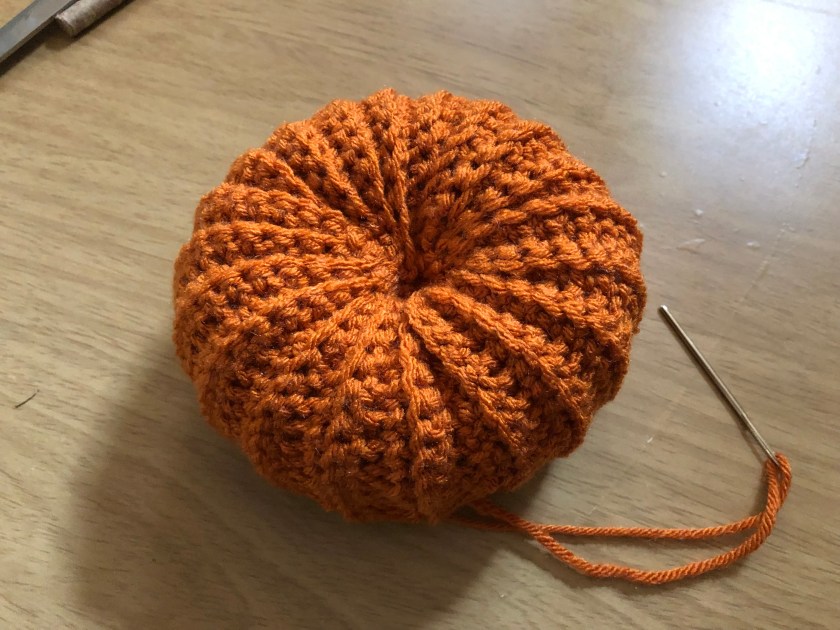
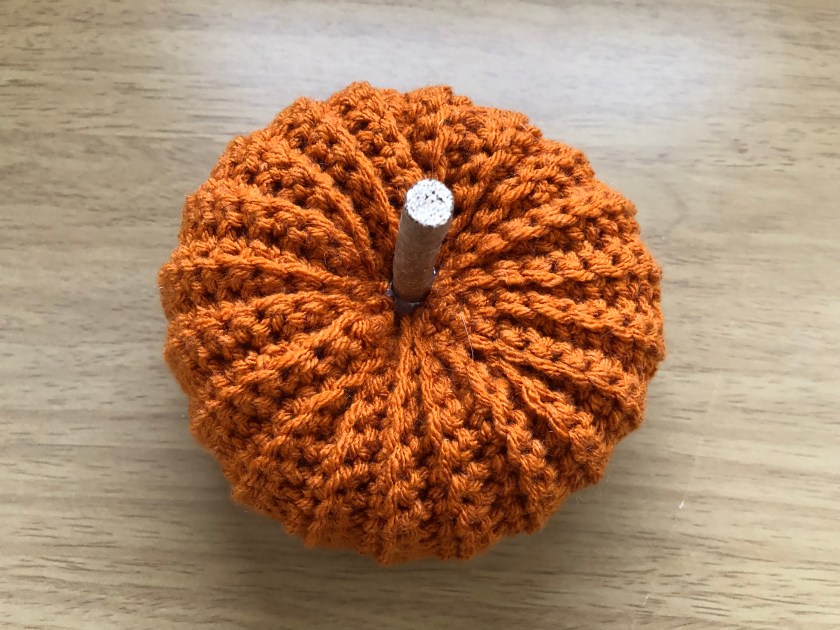
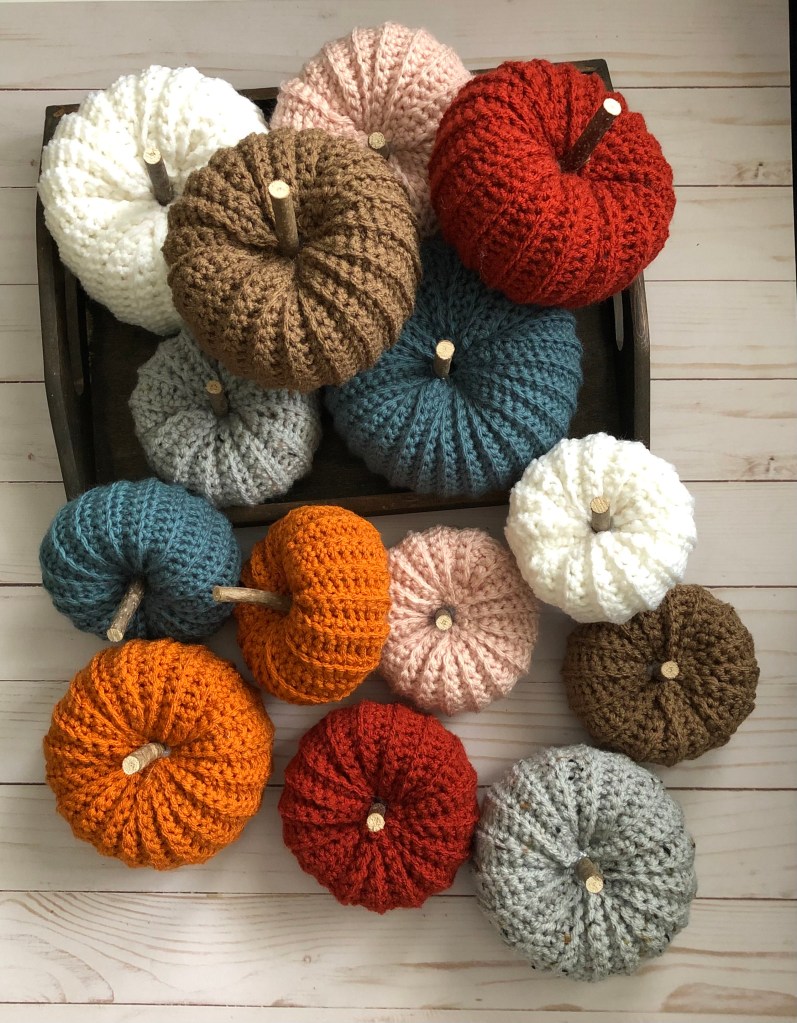
I also finished a few pumpkins to add to my Etsy shop. I made these pumpkins using the bobble stitch. It’s a fun stitch that gave the pumpkins a nice 3D texture. Some might say that they are reminiscent of a pumpkin with warts, but just in a more uniform pattern. Either way, they are cute! It was the first time I used the stitch and while it’s a super easy stitch that results in a nice design it is one that requires a lot of yarn. It’s a yarn eater! The reason is because the stitch consists of multiple double crochets that are grouped together in the same stitch. Not sure I would ever make something larger than these pumpkins using the stitch.
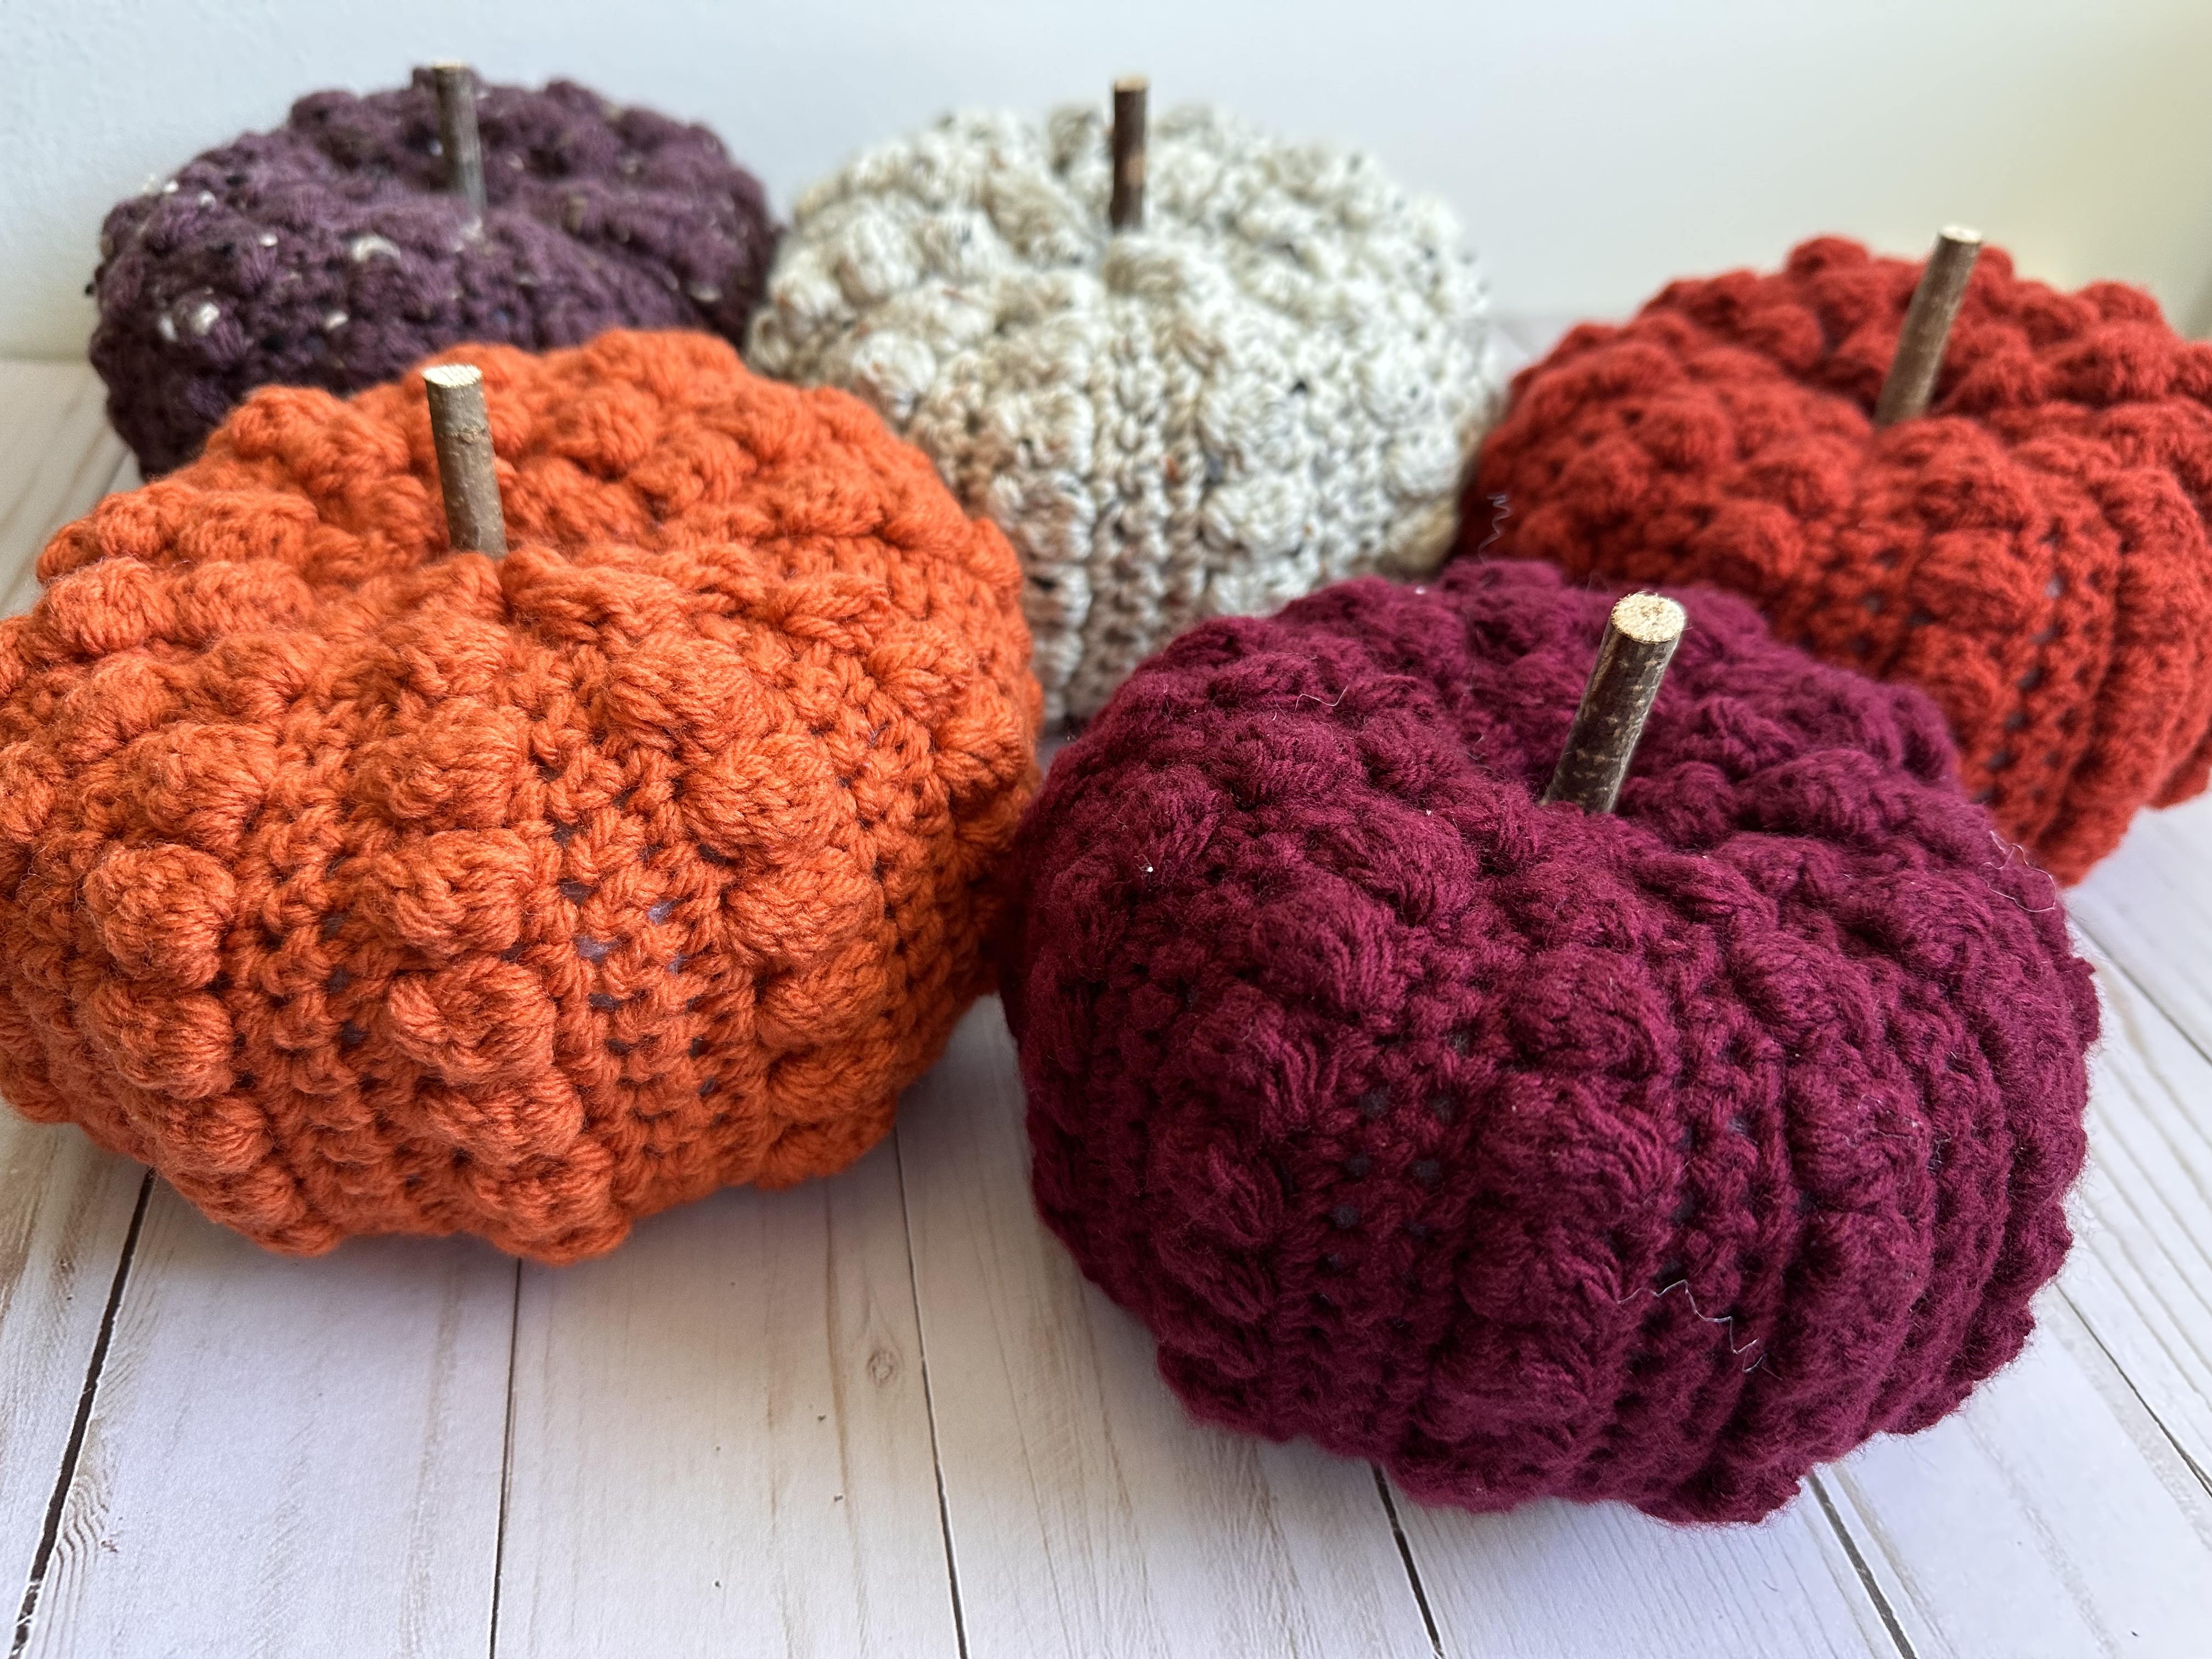
They are available on my Etsy shop now.
I also have other pumpkins available that were made with a simpler stitch but are just as equally cute.

One great thing about these pumpkins is that they will last all season year after year!
And that’s about it when it comes to my yarn projects. I have some ideas for a few other things I would like to make but I haven’t gotten to them yet. Hopefully soon!