Come every September I want to learn how to make crocheted / knitted pumpkins. They start popping up on my Instagram feed and I think to myself “I want to make those.” But then it never happens. I look at patterns and they just seem way too complicated or I just lose track of time and I get into Christmas mode instead. This year I was determined though.
I initially found one pattern that I thought was going to be a winner. I am not sure if I did something wrong or maybe it was the yarn I used, but, when it came time to sew what I had crocheted into the pumpkin it was a fail. I had crocheted something that sort of resembled a piece of hard candy in a wrapper. Think, wide in the middle and then tapering off on both ends. I followed the pattern and sewed it together but when it came time to stuff it with the fiber fill there was no way to make that thing look like a pumpkin! I wasn’t throwing in the towel just yet though.
I read over some other patterns and watched a video or two and figured out the best way was to crochet a rectangle and then form that into a pumpkin.
What’s great about this pattern is that gauge doesn’t matter and you don’t have to count rows. I am going to show you a nifty way to know when you have crocheted enough rows. As for the crochet hook size you should use, I would go with the size that is suggested for the yarn you decide to use. That’s what I have been doing. Just realize depending on the yarn weight you use that will determine the size of your pumpkin. You could start with the same length of your foundation chain with a chunky yarn and medium weight yarn and end up with two pumpkins that are completely different sizes.
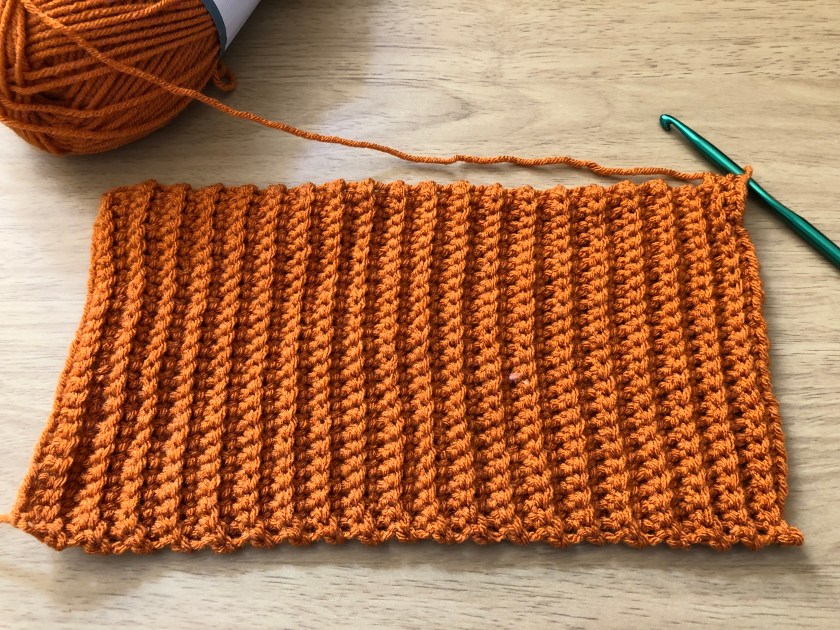
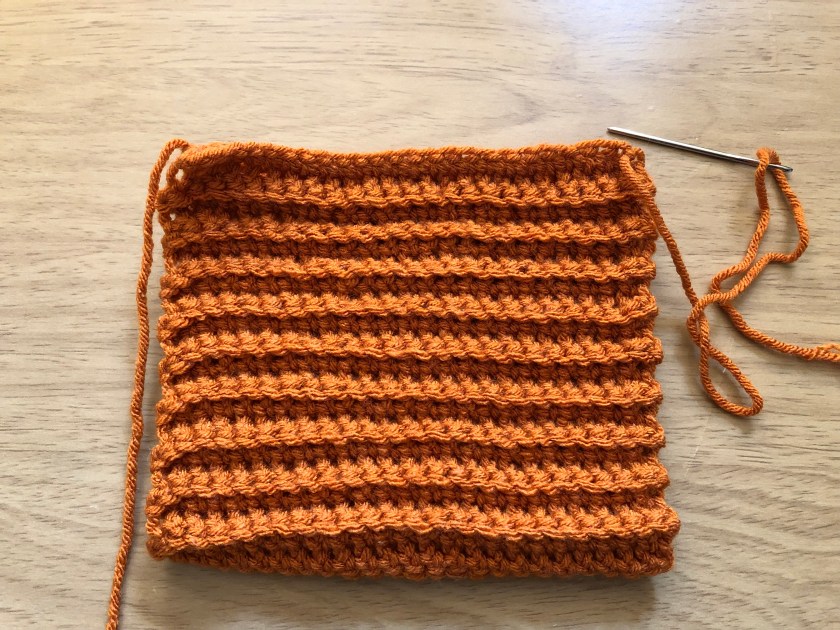
Start by crocheting your foundation chain. Since the yarn I was using was a medium weight and I wanted a decent size pumpkin I started with a foundation chain of 25. I left a long tail since the tail is used to seam the rectangle together.

For the first row, starting with the second chain from your hook, single crochet in the back loops of each chain across the row.
For the second row and each subsequent row, ch1 and single crochet into each back loop across the row.
And, as I mentioned, there is no need to count your rows as you go. To determine if you have crocheted enough rows simply do this…
Lay your rectangle flat…
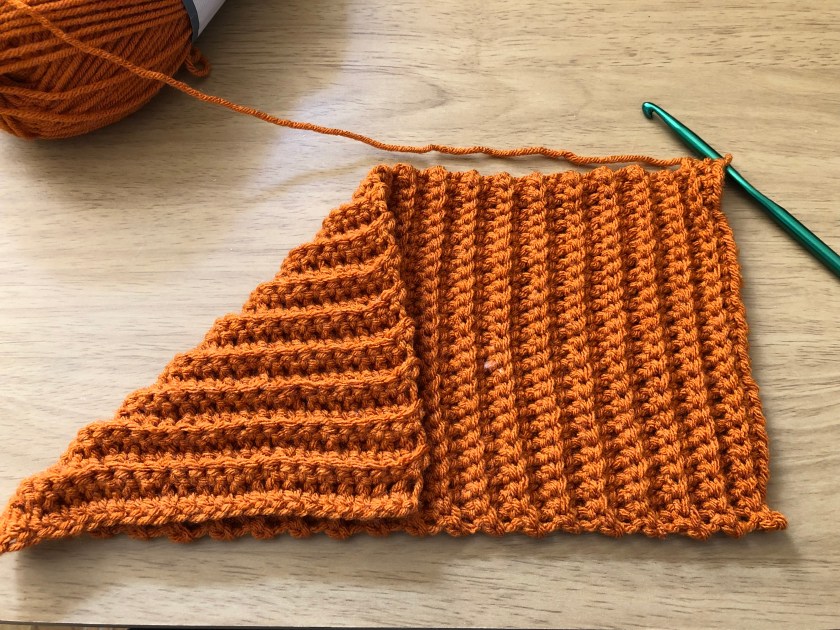
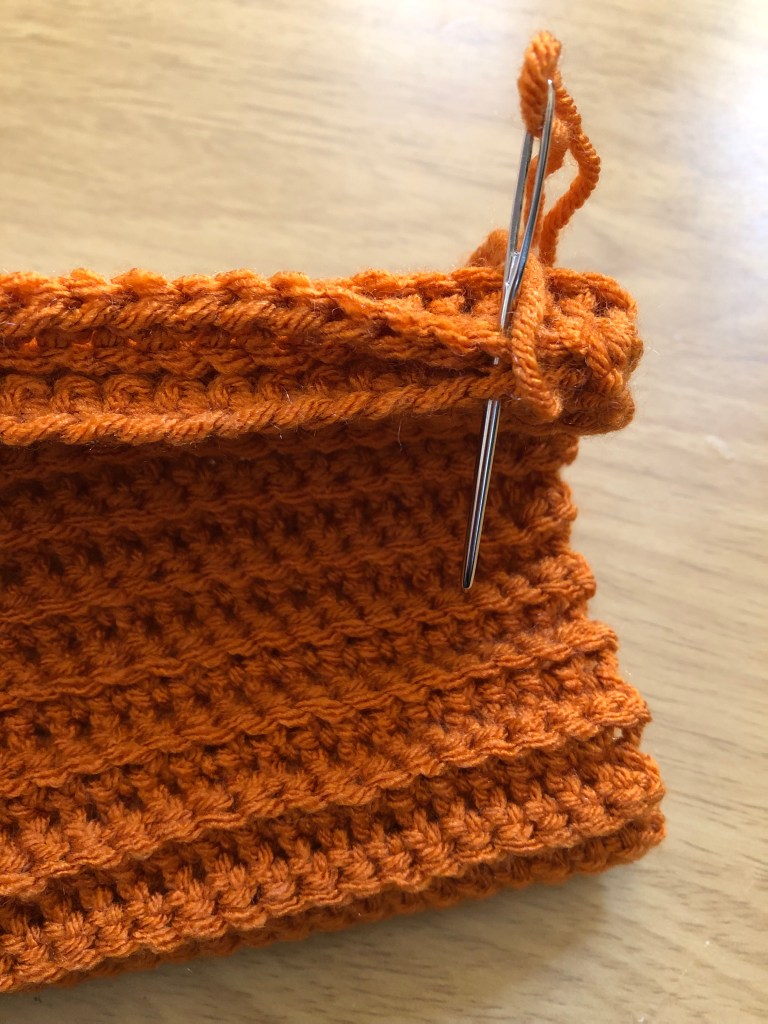
With your working row on the right, fold by bringing the top left corner of your work down to the bottom of your work to form a triangle.
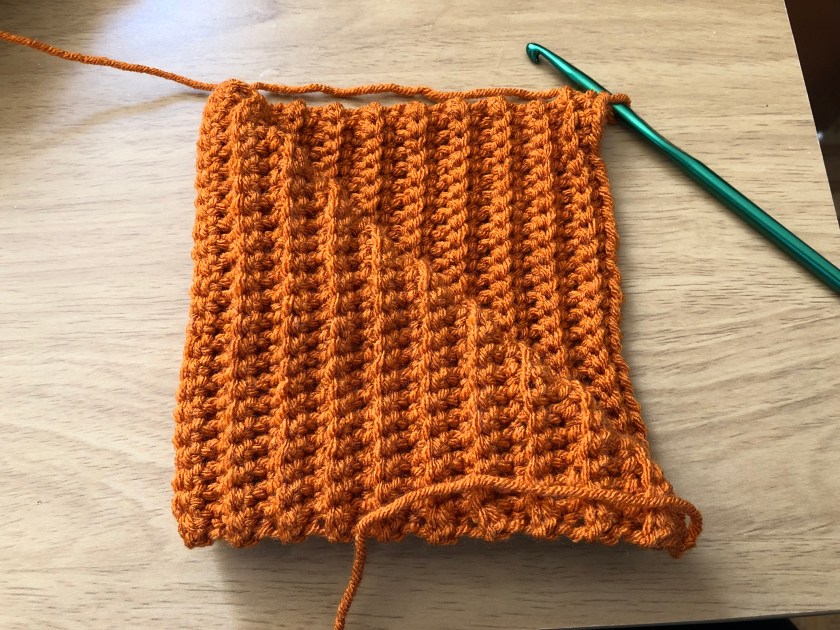
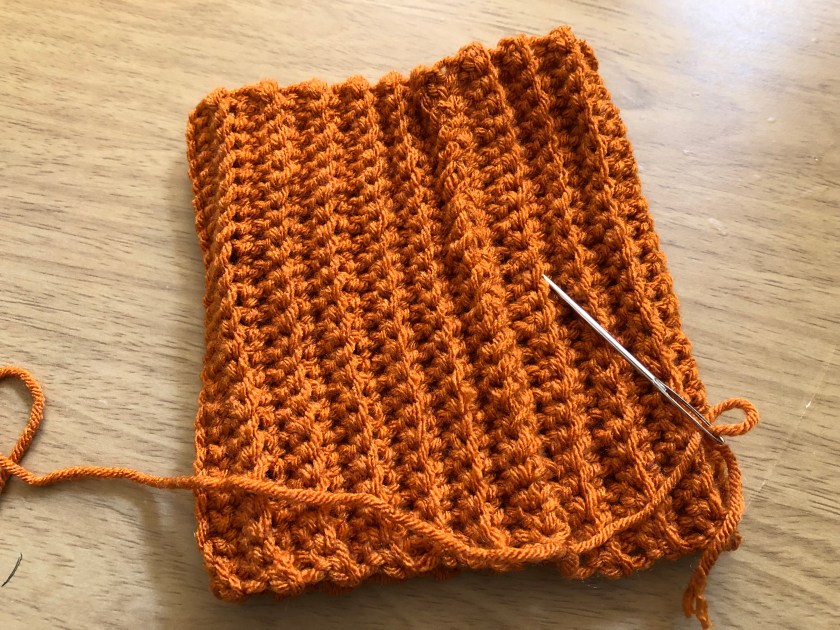
Next, fold the triangle piece to the right. Once the bottom corners of the two ends meet you have crocheted enough rows. At this point you can end your row, but, be sure to leave a long tail as this tail will be used to seam the pumpkin. This tail should be longer than the tail you have from your foundation row.
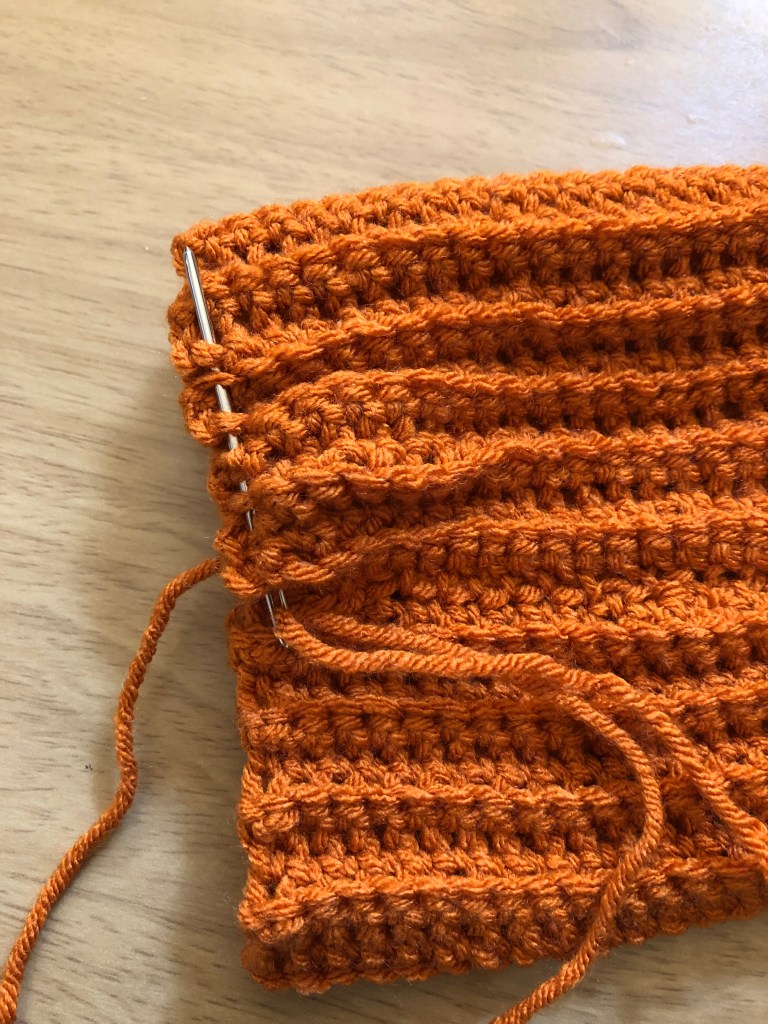
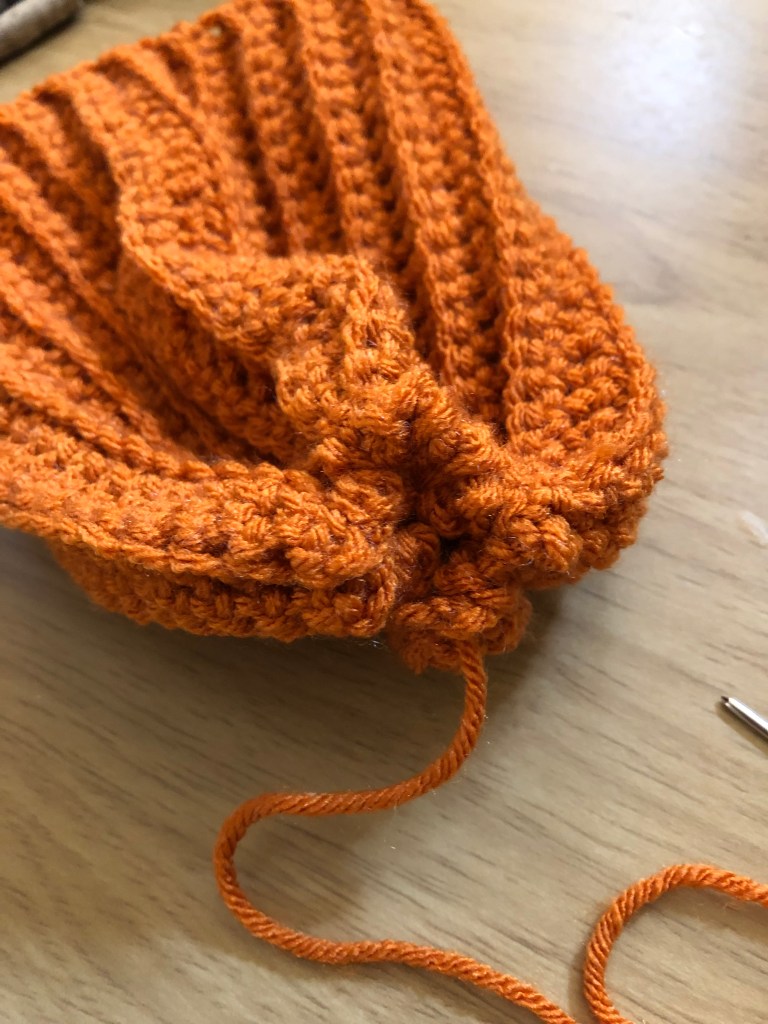
Now that you have your rectangle it’s time to make your pumpkin. Fold the rectangle in half with the short ends meeting, and thread a needle on the tail from your foundation chain. Or, the shorter of the two tails. And just seam up the two sides. Make sure as you are seaming the edges that they are meeting up at the corner you are working towards. Once you are done, weave the tail through the work and end it. Since you want to hide this seam, you want to turn your project inside out for the finishing steps.
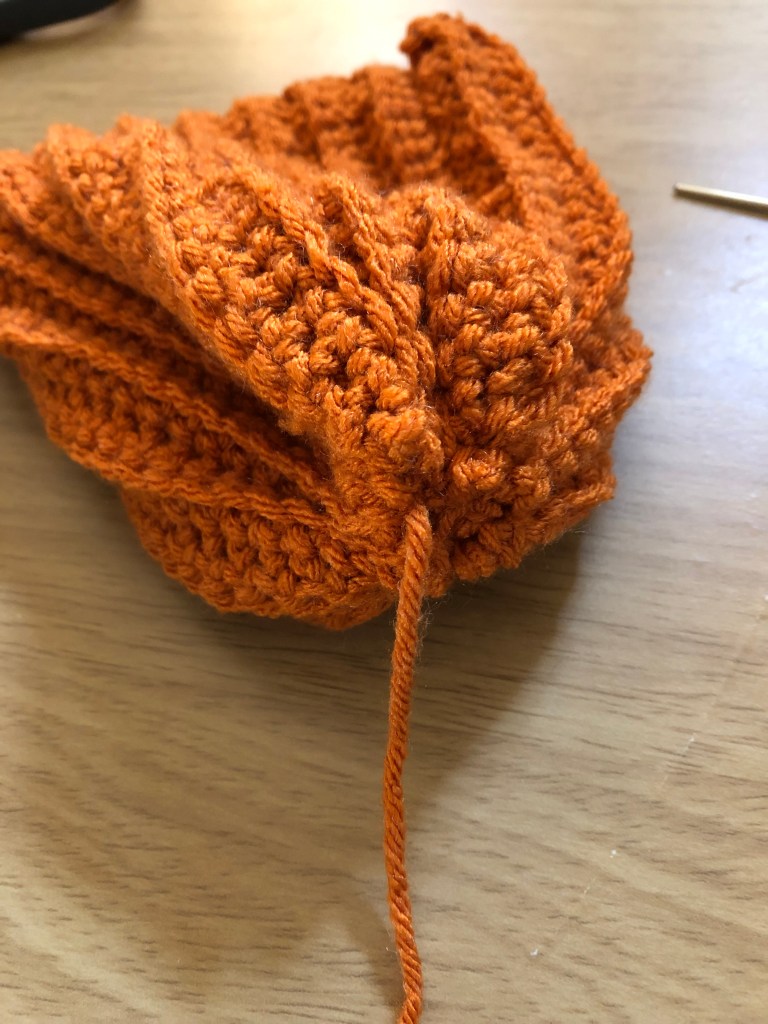
Thread your needle on the other tail and you are going to weave the yarn near the top edge to essentially create a drawstring to cinch the opening. Once you have weaved the yarn around the entire edge pull the yarn tight to close the hole. You will still have a slight opening. To close it you are just going to stitch the yarn from one side to the other to make sure the hole is completely closed. Do not end the tail.
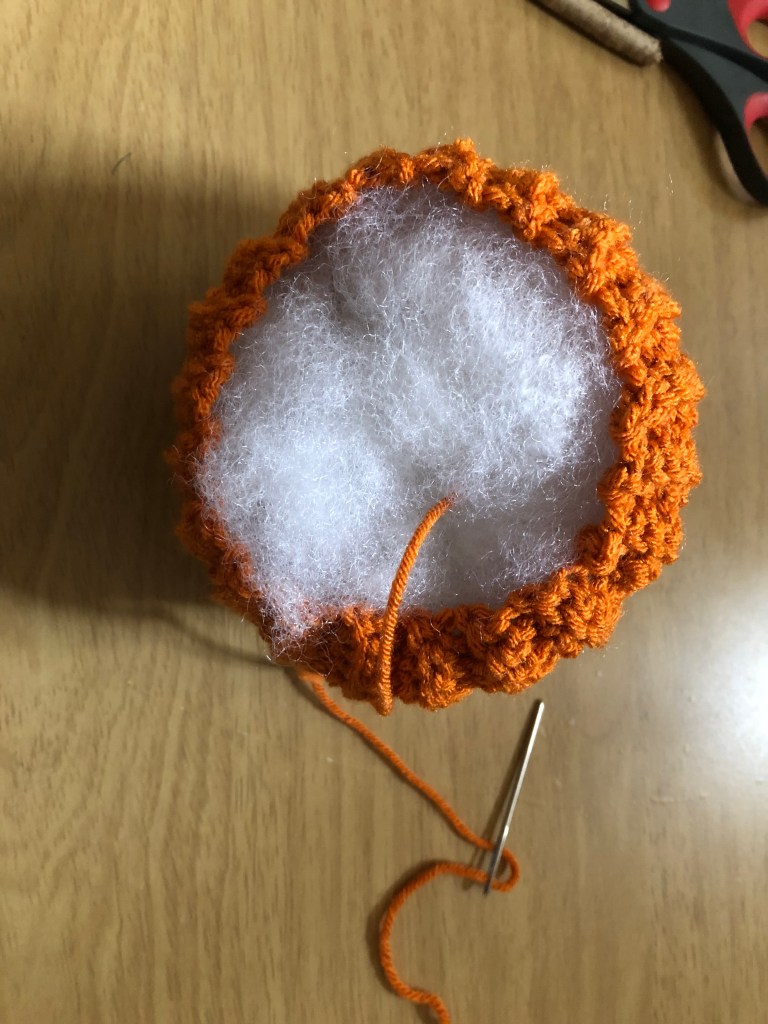
With one end stitched closed you can now fill the pumpkin with fiber fill. Stuff it with a good amount so your finished pumpkin is firm and full. Pass your needle with the working tail through the center of the pumpkin and through the fiber fill.
Stitch the top of the pumpkin in the same manner as you did the bottom to close it.
You can leave your pumpkin like this, or, to give it a more “smooshed” look you can stitch the working tail through the center from the top of the pumpkin to the bottom a few times, ending with the bottom and then weave the tail through a few stitches on the bottom and end it.
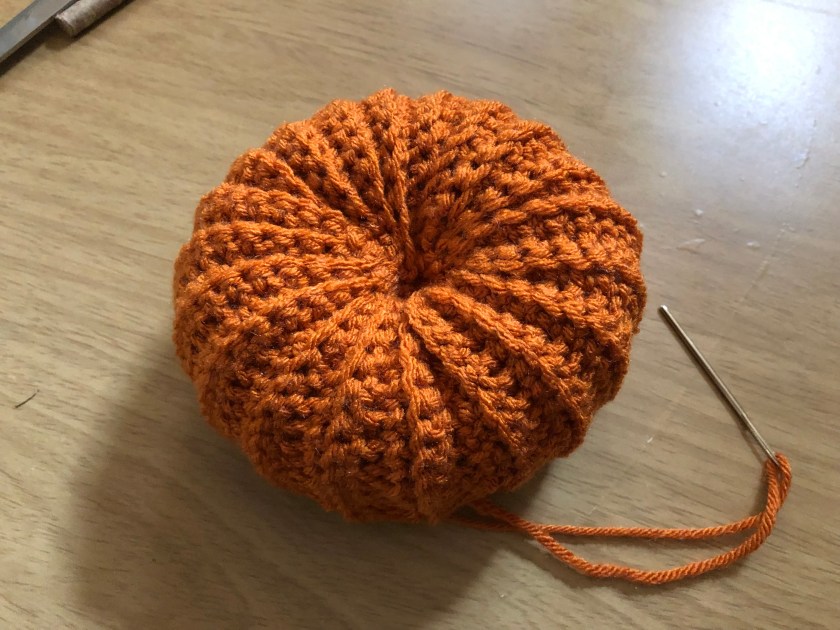
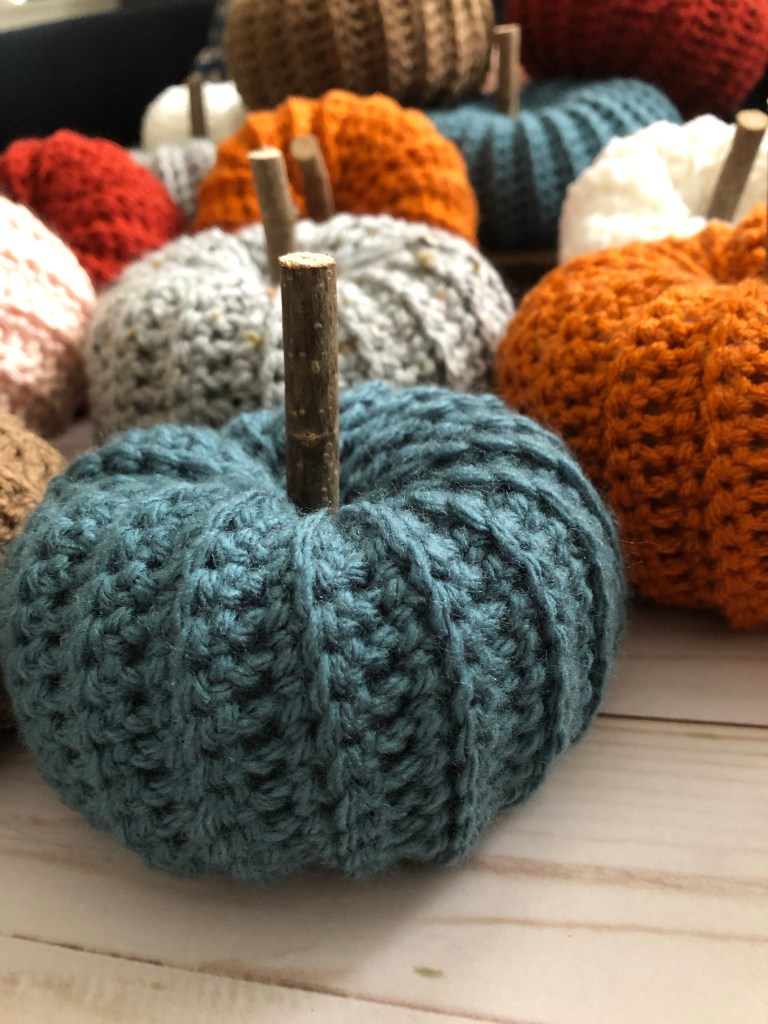
Finally, your pumpkin needs a stem. You can either use decorative stick, that you can pick up at your local craft store, or a cinnamon stick. Just stick it in place with a small dab of hot glue.
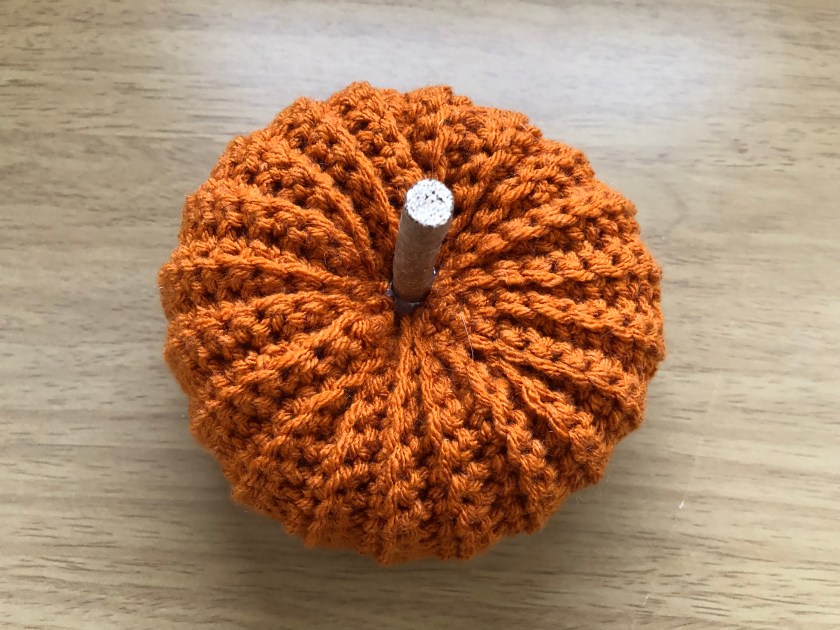
And there you have it, a simple handmade pumpkin.
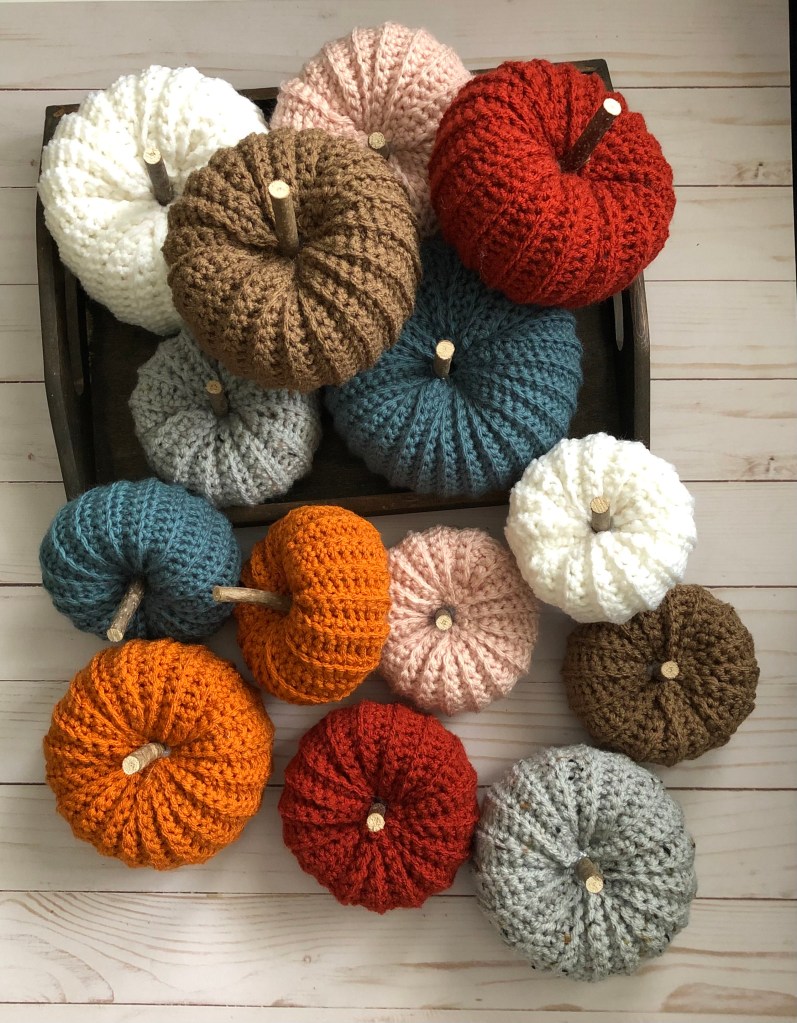
I had so much fun making these that I ended up making some to list in my Etsy shop.

These are so cute! I will have to try this too!
Thanks!!!