One day while brainstorming for pumpkin dessert ideas I thought to myself that Pumpkin Spice Madeleines would be a nice treat. Then a few days later while I was at Starbucks ordering my usual Venti Black Tea Lemonade Sweetened guess what I saw next to the register… Pumpkin Spice Madeleines. I didn’t purchase them as I am partial to their regular madeleines and since I was planning on making a version myself I didn’t want their flavor to cloud my judgment as to how mine should taste.

Originally I was planning on tweaking the recipe I used for Vanilla Madeleines to make a Pumpkin Spice version, but then I came across a recipe that required less ingredients and less time. Both are always a plus. Although I did have my doubts. Especially since the ingredient list did differ greatly in the basics – the amount of eggs, oil vs. butter, the amount of flour and so forth. Thankfully those doubts were futile, these madeleines were a hit! An 8 year old who initially make a yucky face when I told her what they were enjoyed them. And the day after I made them I got a request for more. And I recently made a third batch. So, what do they taste like? Well, I’ll say this, if you like pumpkin bread you’ll love these madeleines. They are made with actual pumpkin purée as well as the spices that make up the notorious pumpkin spice flavor – cinnamon, ginger, nutmeg and cloves.
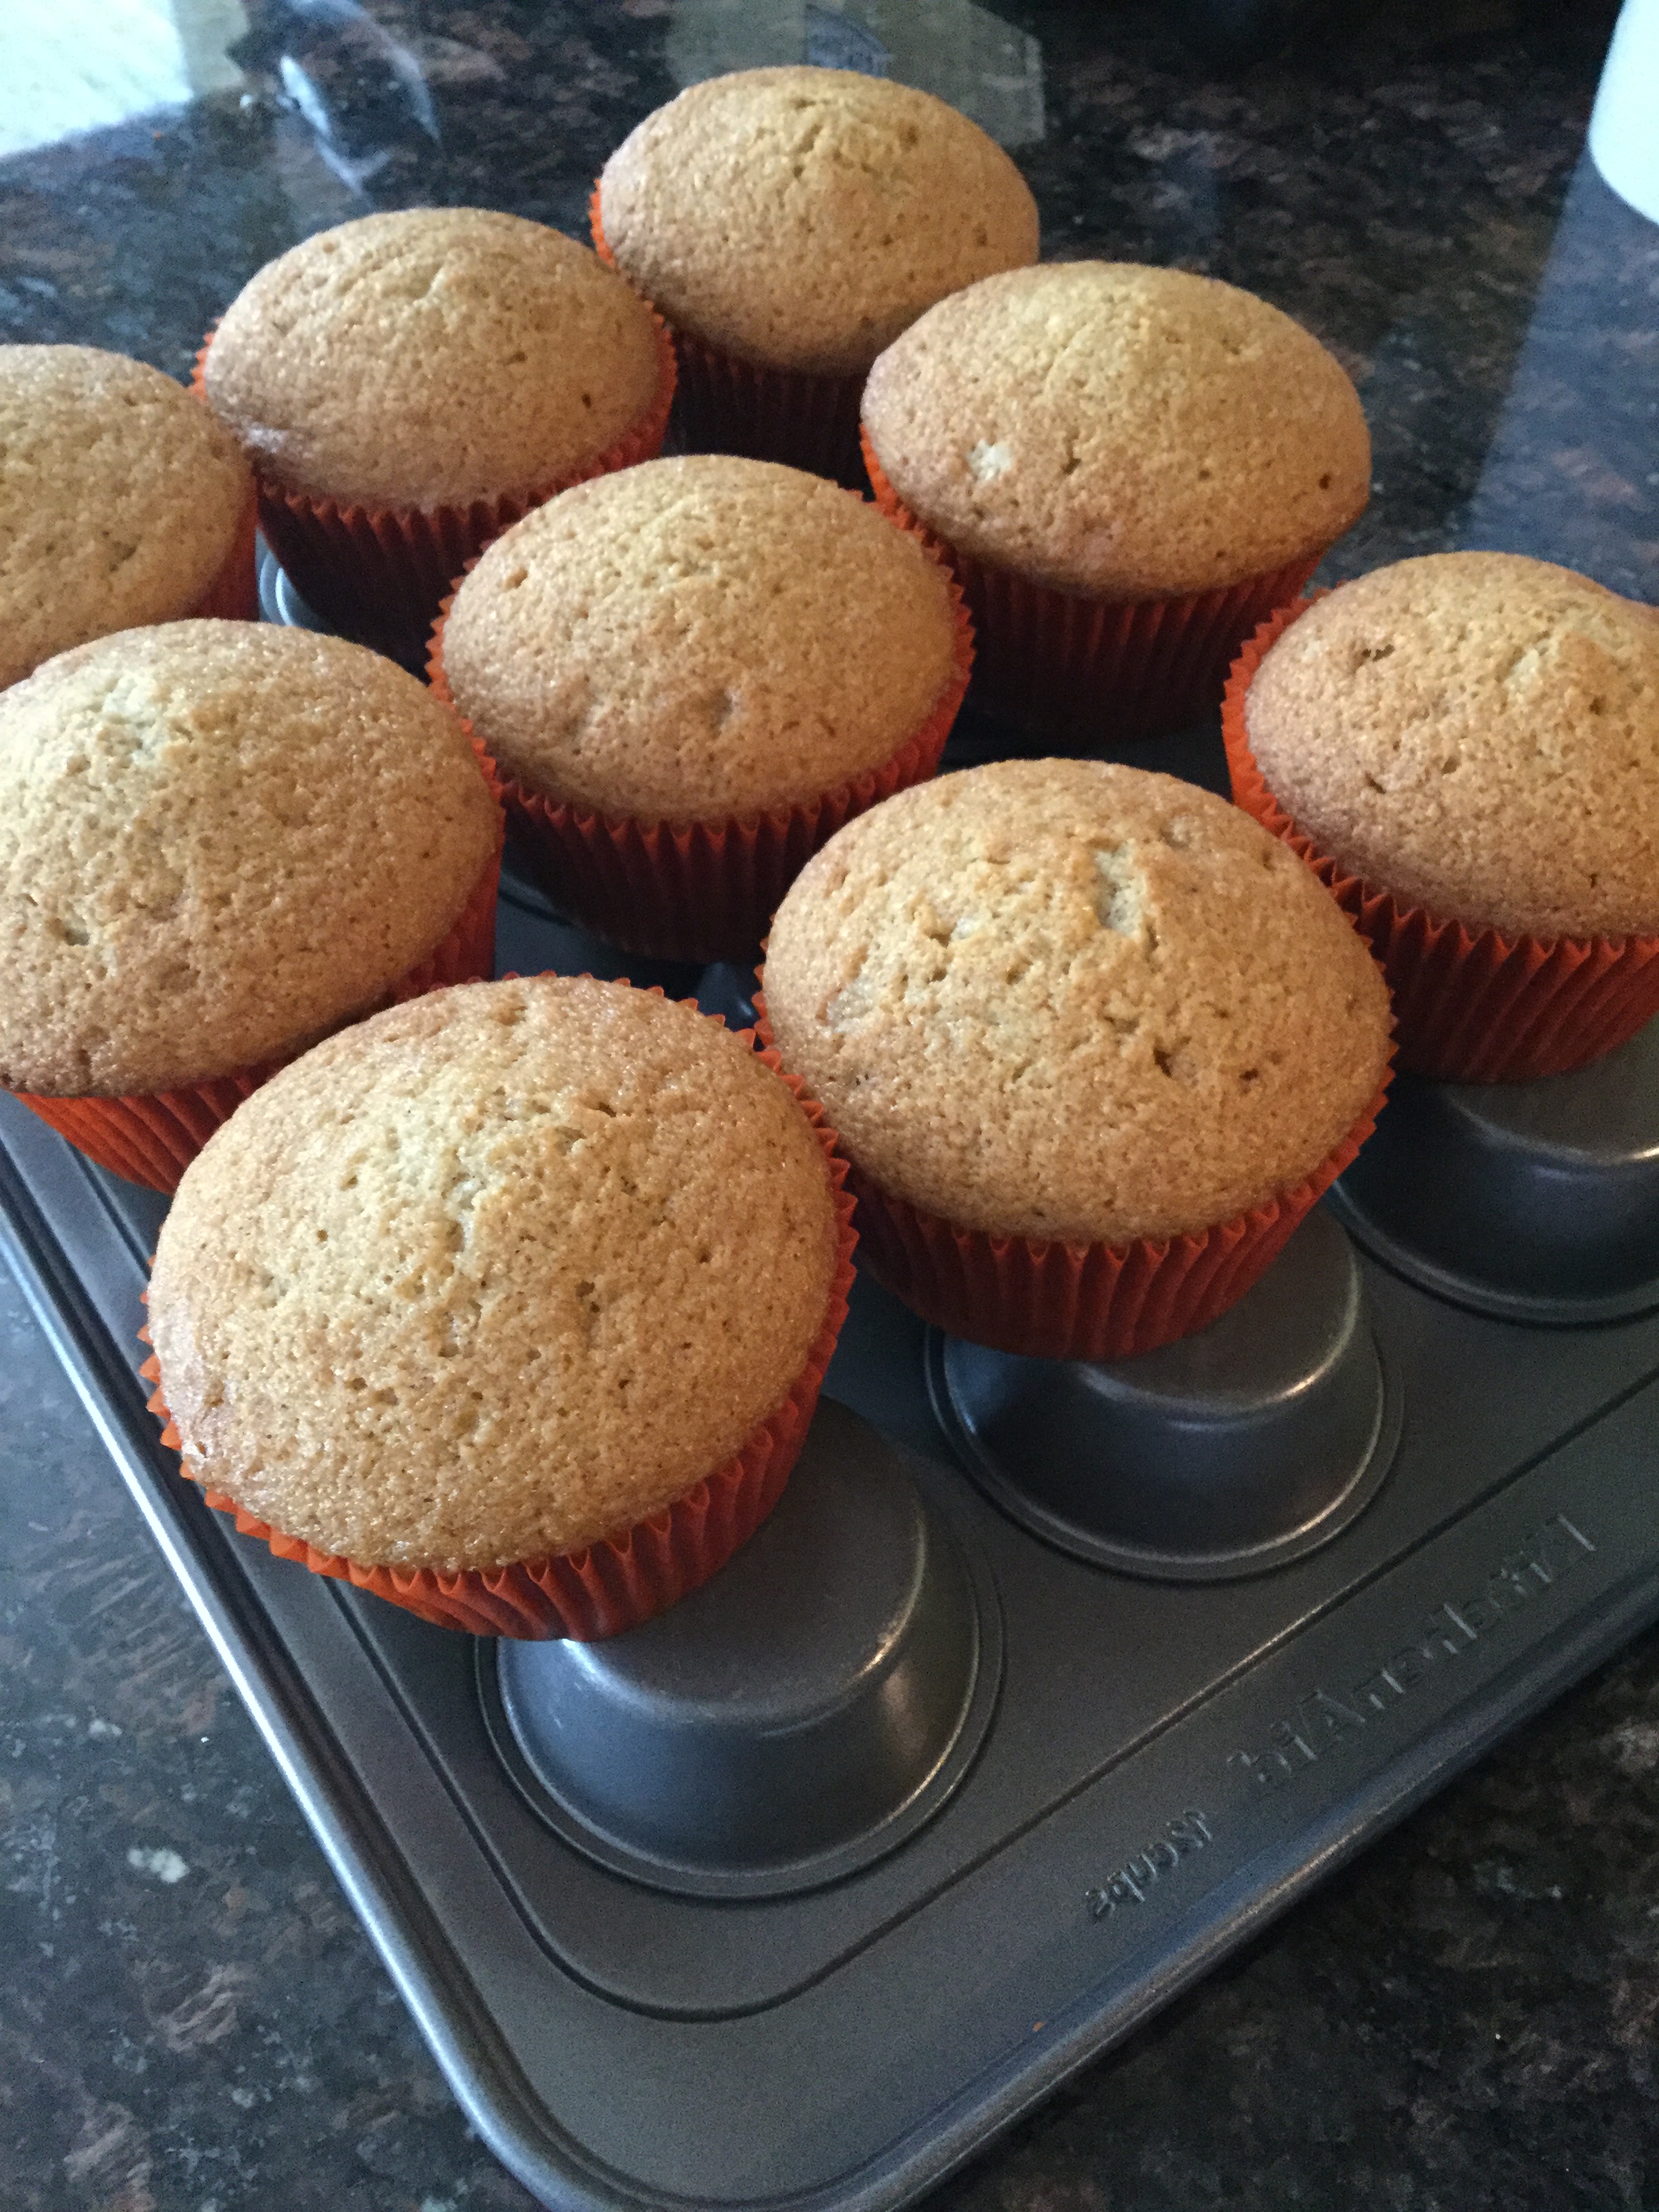
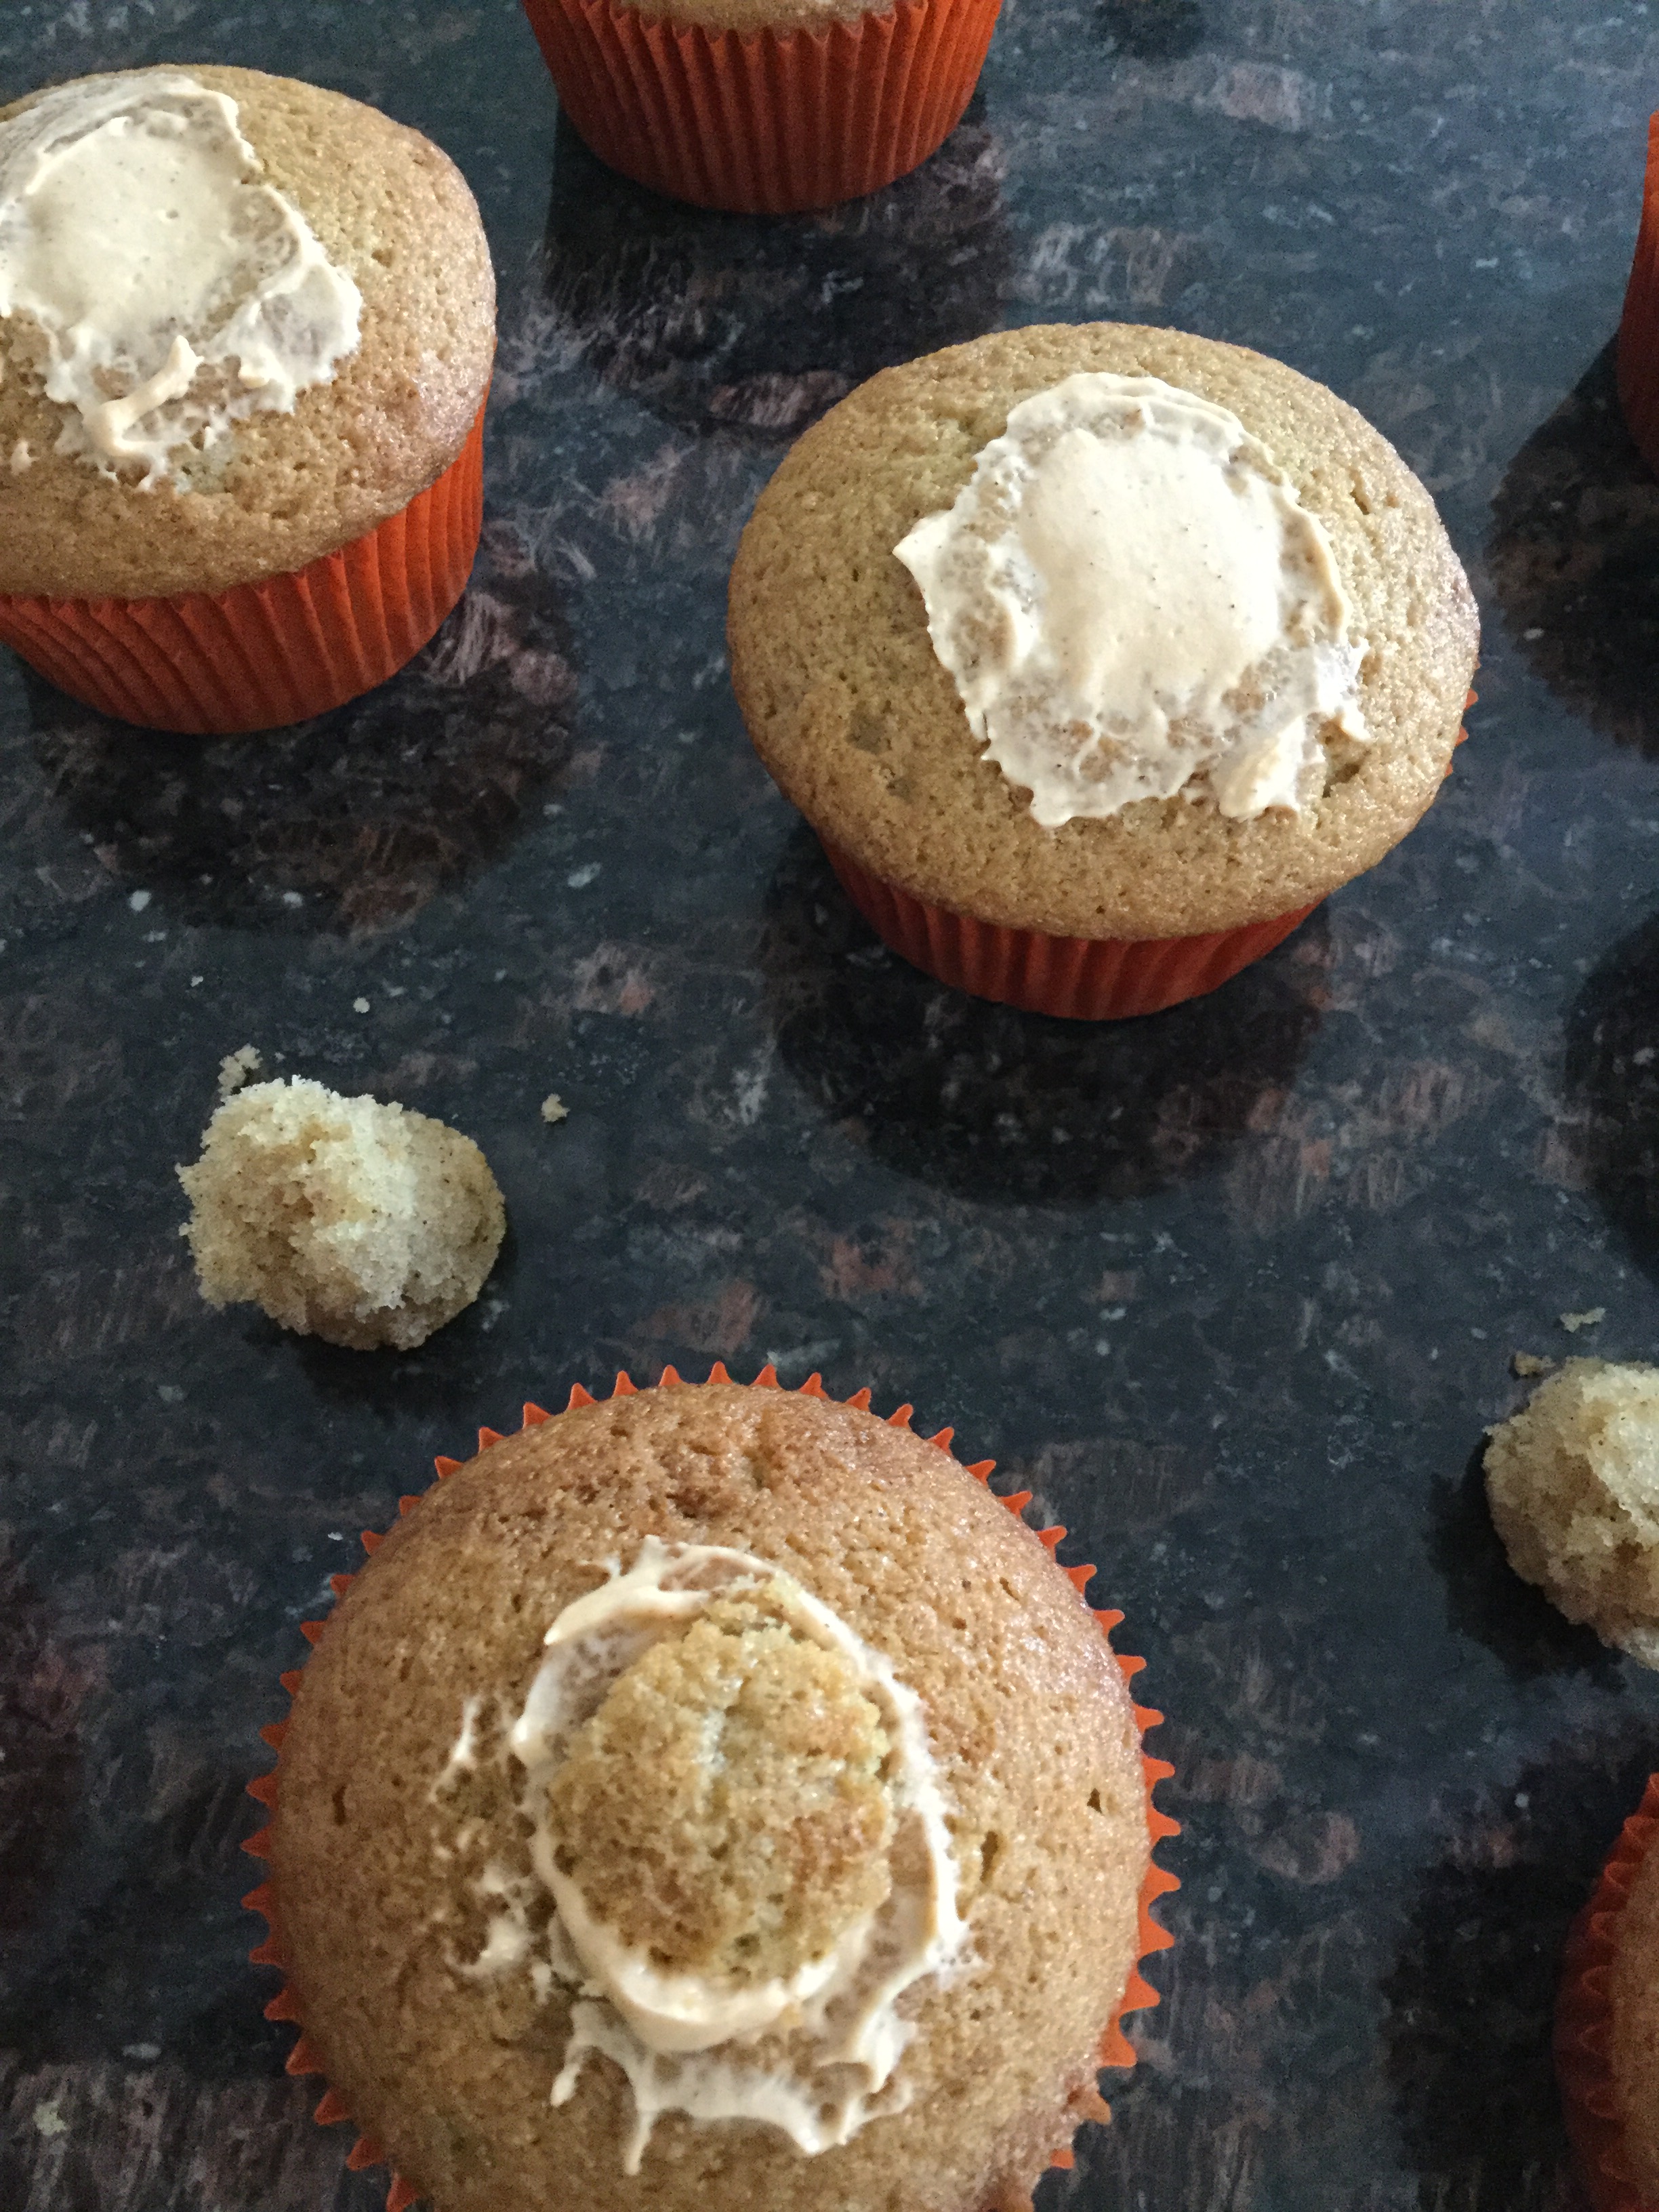
Pumpkin Spice Madeleines
Ingredients:
3/4 cup pumpkin purée
2 eggs
3/4 cups sugar
1/2 cup vegetable oil
1 cup flour
1 teaspoon baking powder
1/2 teaspoon baking soda
1/4 teaspoon salt
1 teaspoon cinnamon
1/4 teaspoon ginger
1/8 teaspoon nutmeg
1/8 teaspoon cloves
Confectioners’ sugar, for dusting
Directions:
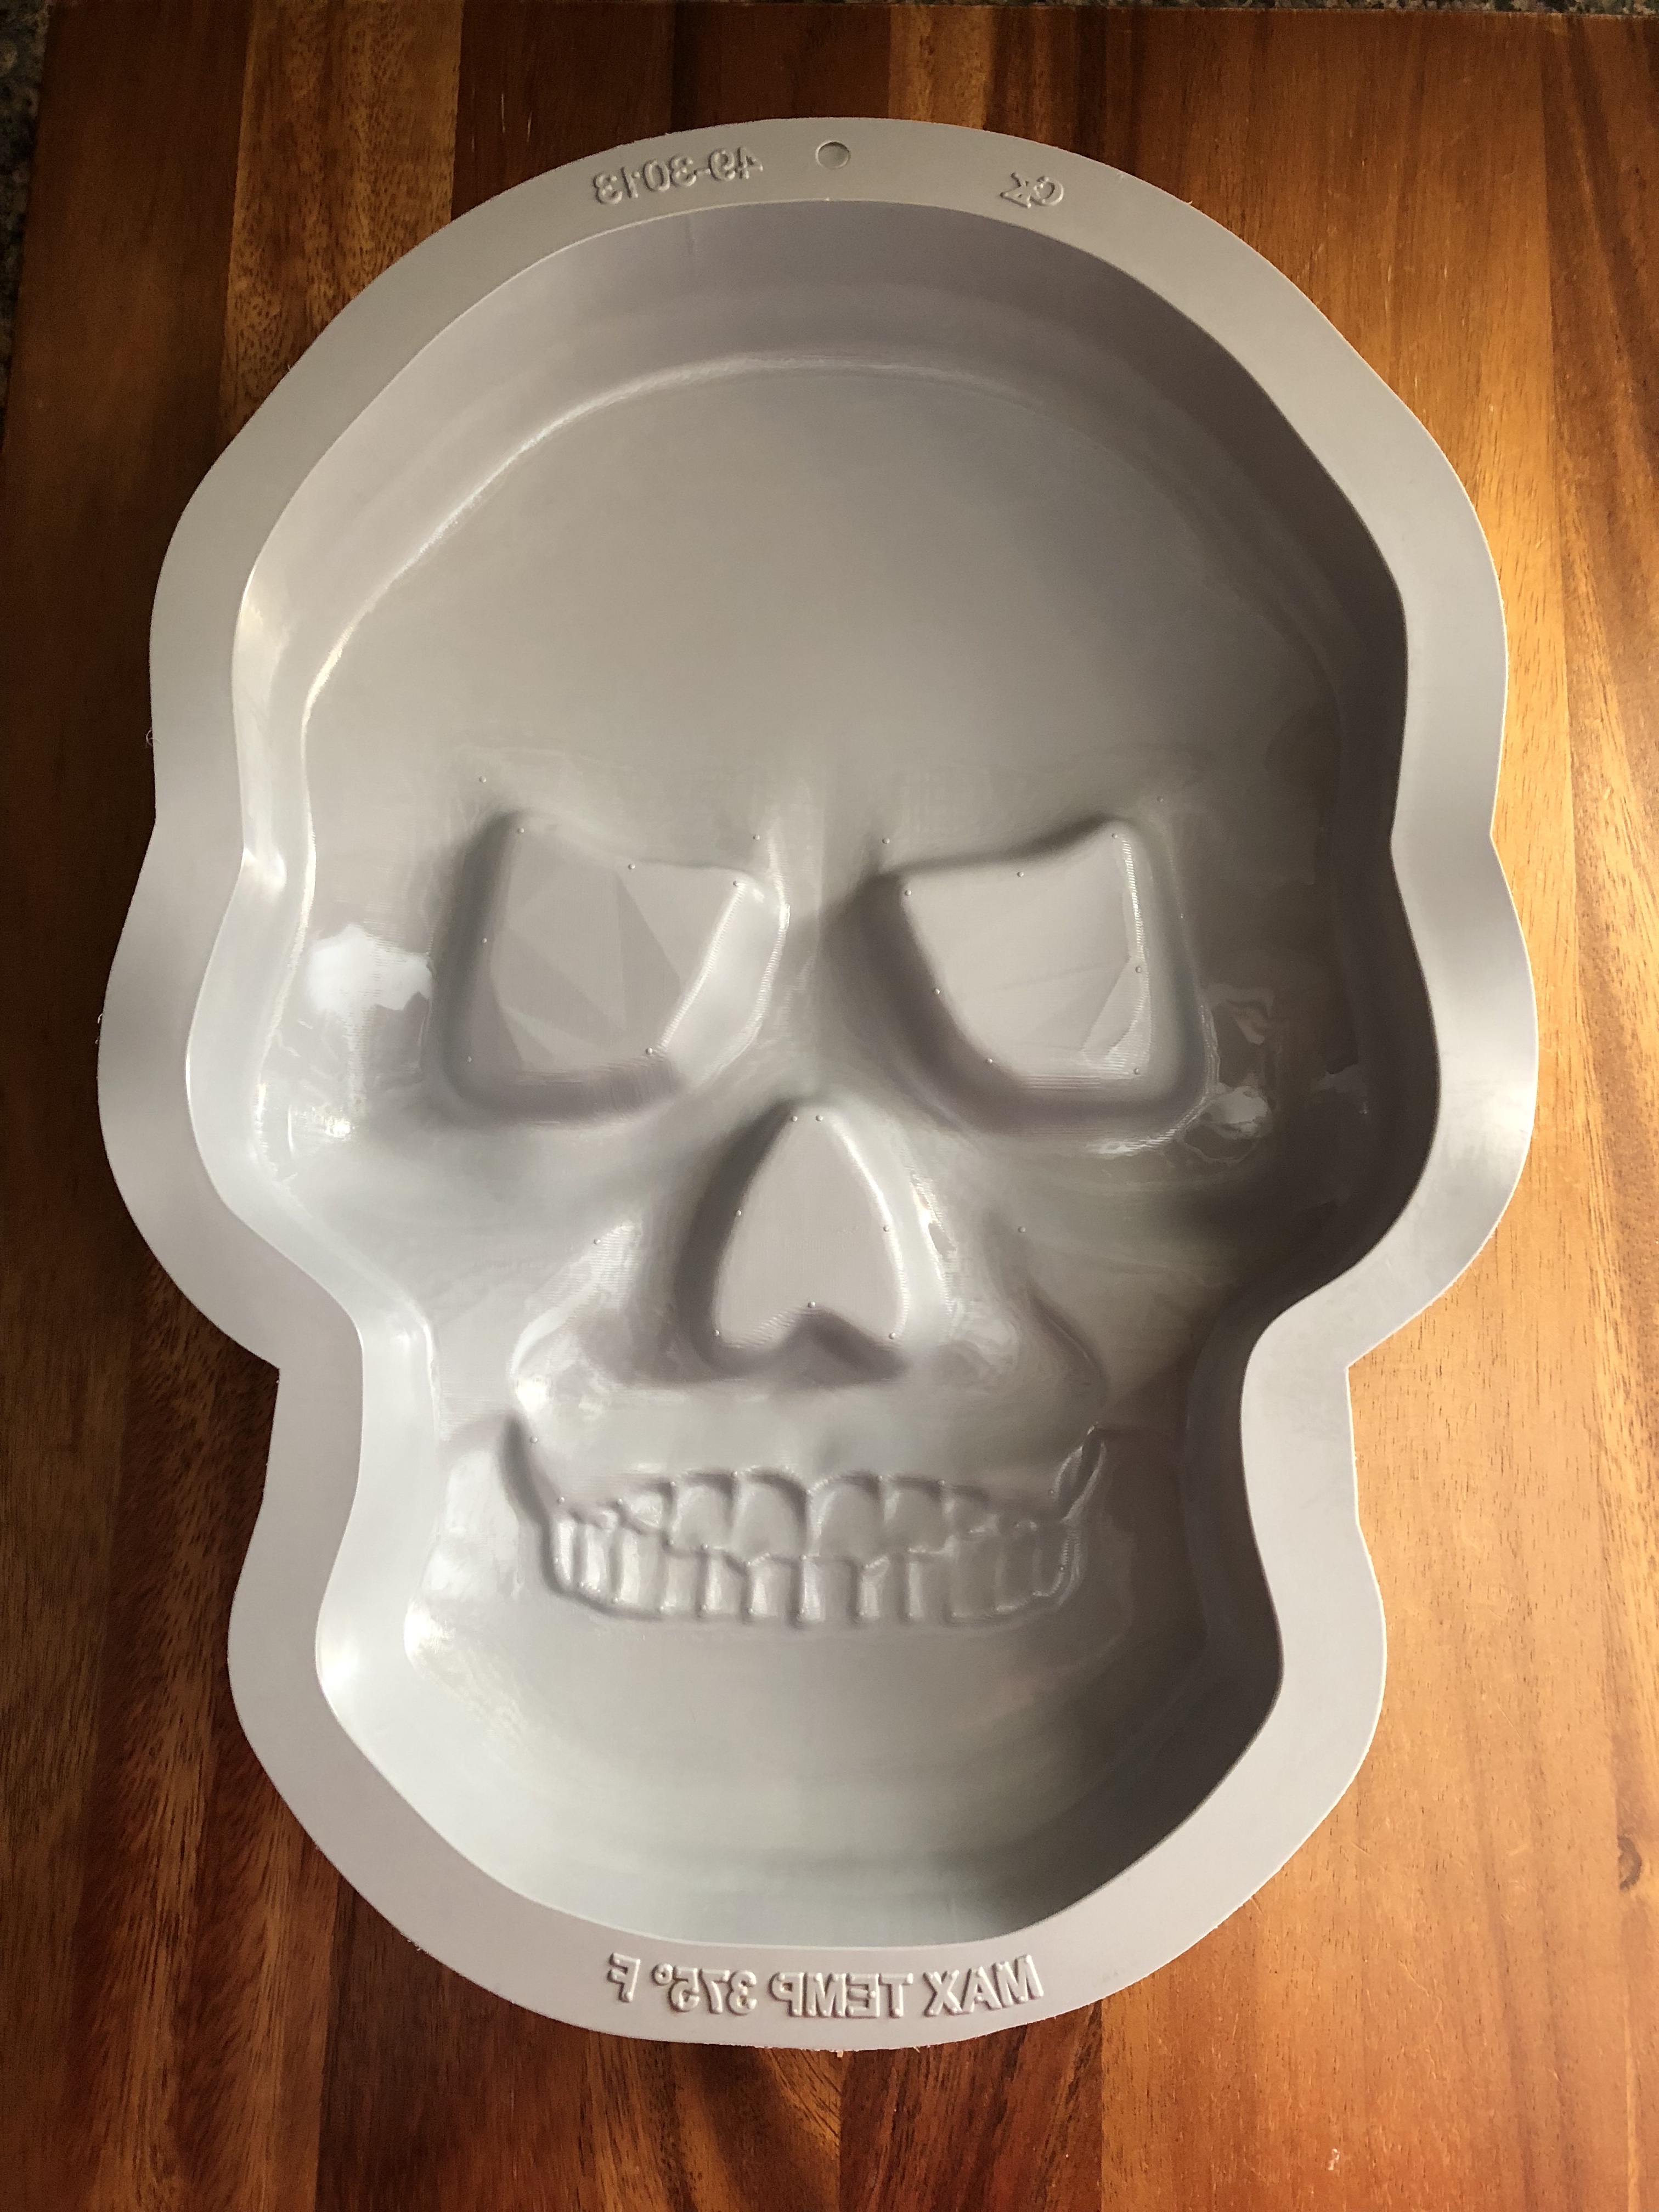
Preheat the oven to 350 F. Spray your Madeleine pans with cooking spray or grease with butter or oil.
In a large bowl, use a hand mixer to beat together the pumpkin, eggs, sugar and oil until smooth. In a medium bowl combine the remaining dry ingredients, except for the confectioners’ sugar, and whisk together.
With the mixer on low speed add half of the flour mixture and mix until just combined. Add the remaining flour mixture and mix until smooth.
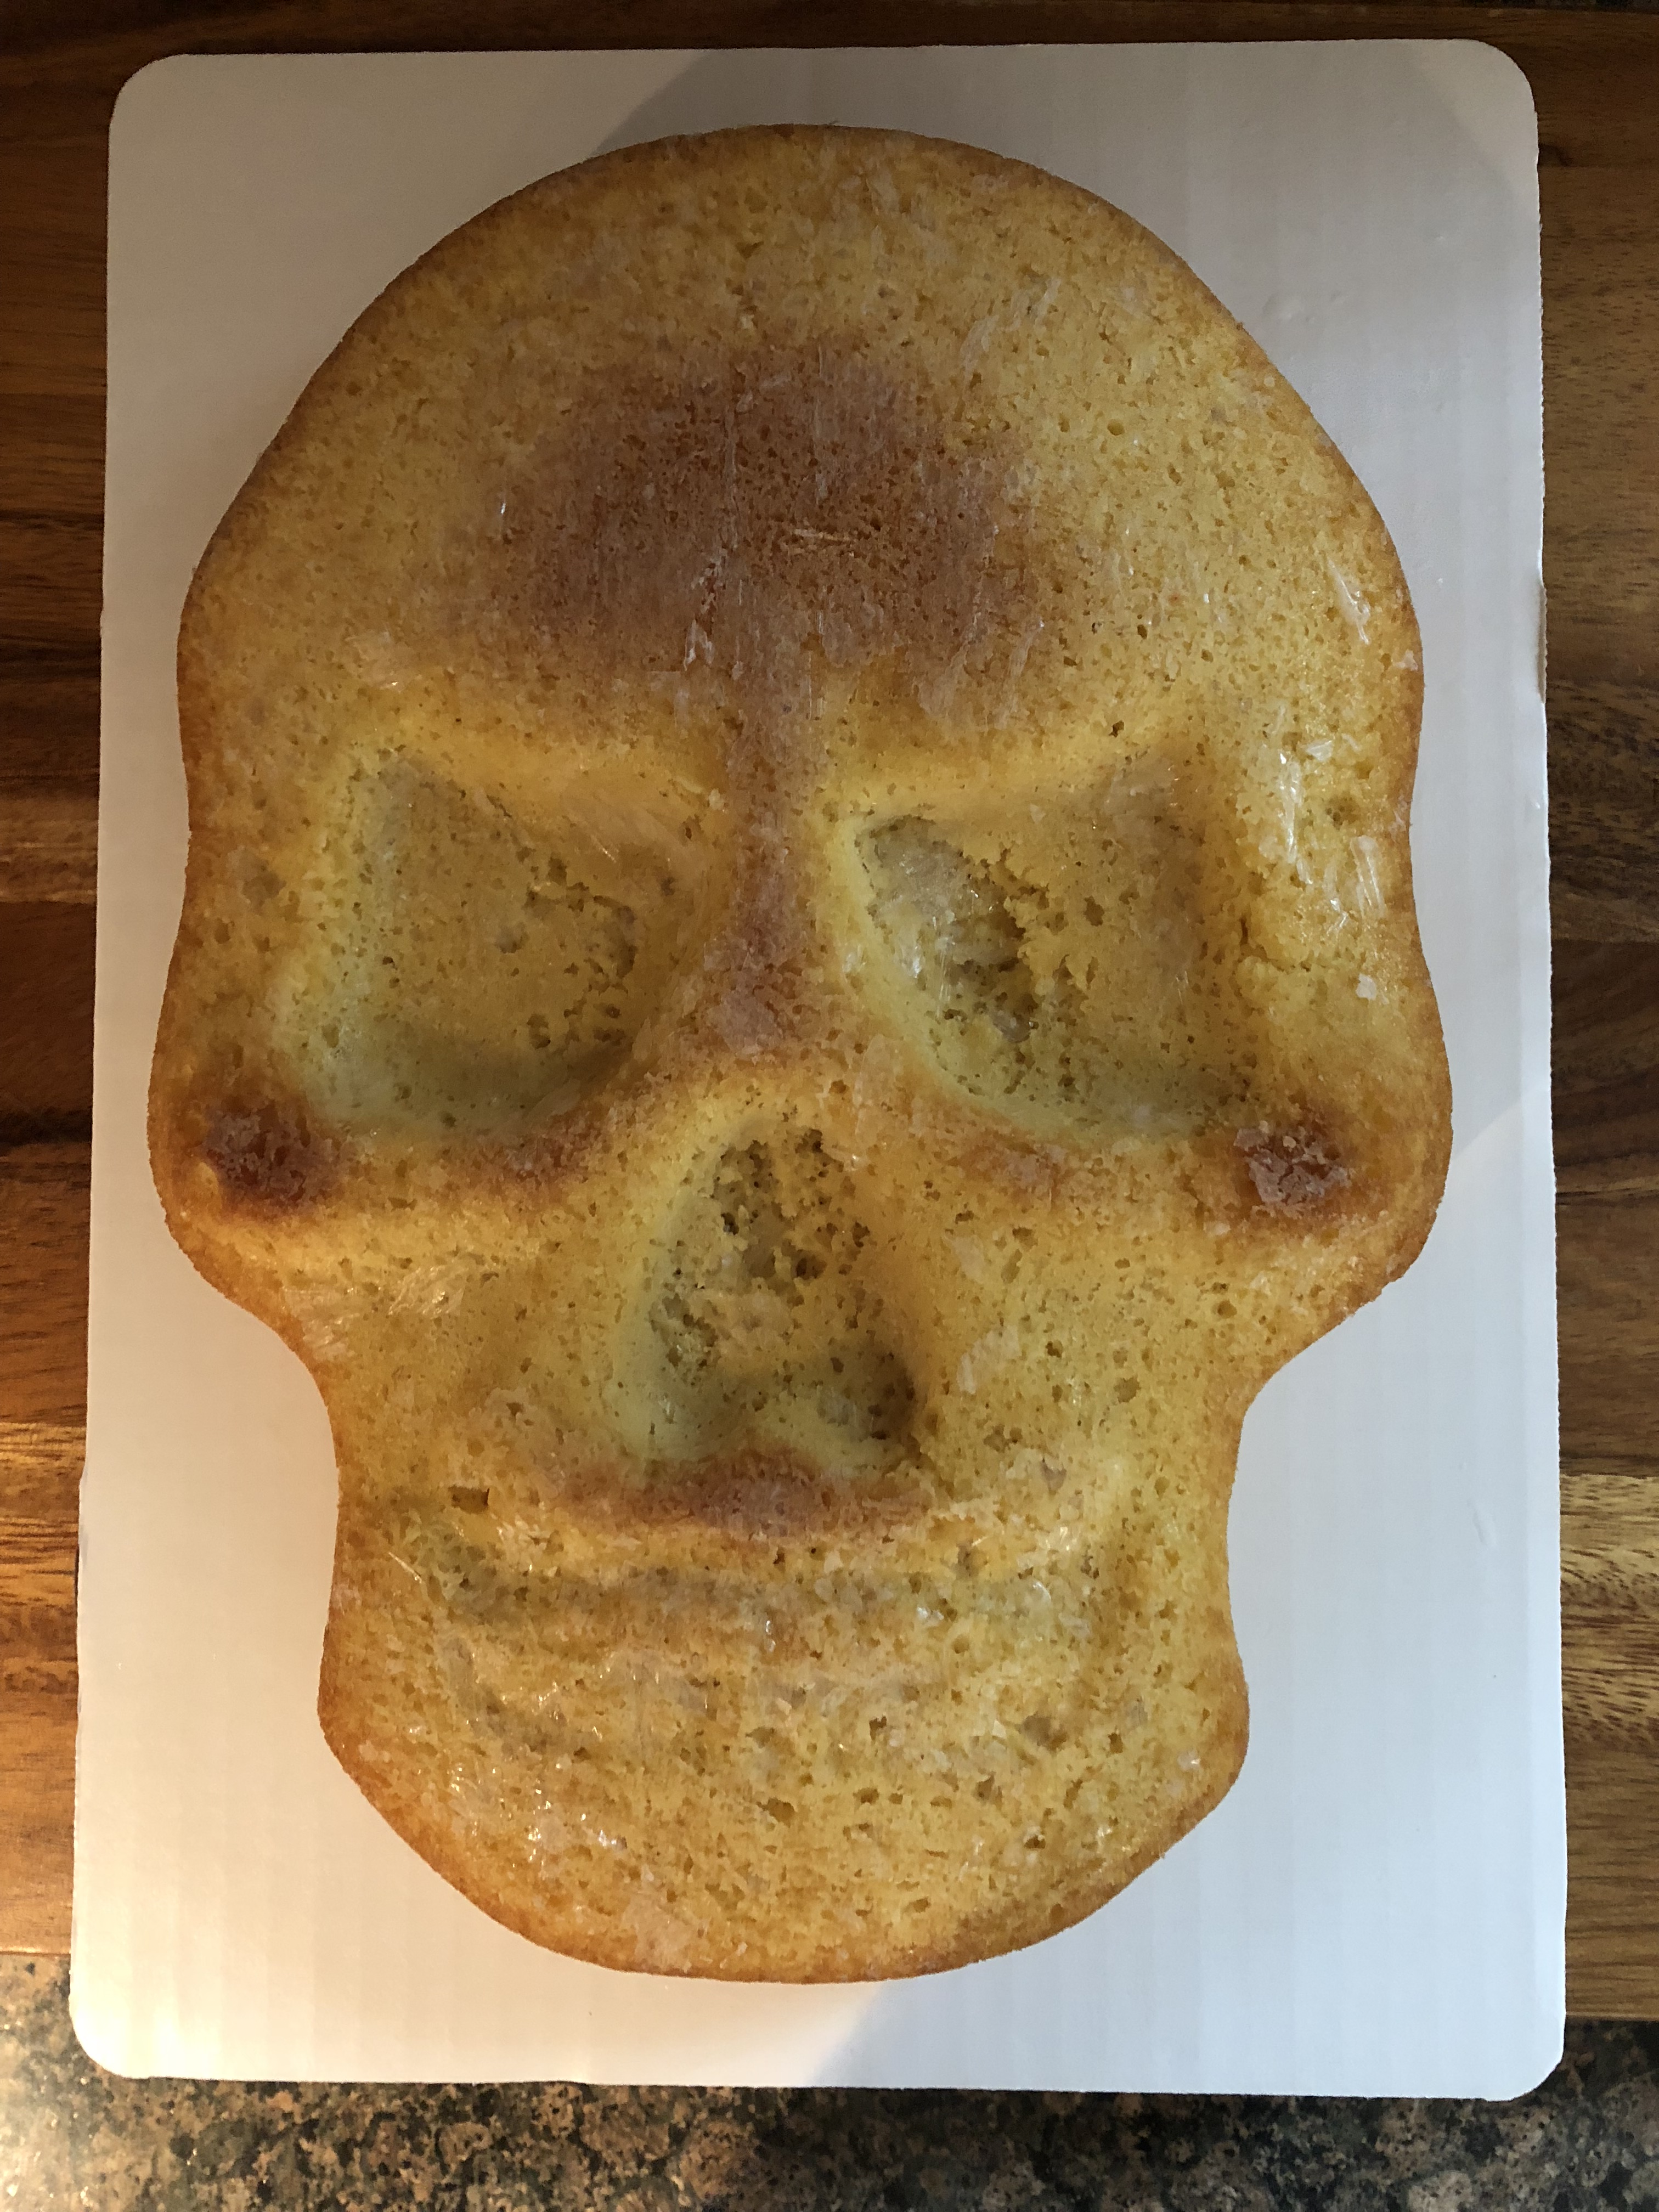
Spoon a tablespoonful of the batter into each cavity of the madeleine pan. Bake for 10 to 12 minutes, until they are puffed up and a cake tester inserted into the middle of one comes out clean. Let cool for a few minutes in the pan and the transfer to a wire rack to cool completely and then dust with confectioners’ sugar.
*If you only have 1 madeleine pan wipe it clean after the first batch and then re-grease it before filling the cavities with the remaining batter.
Recipe from The Yellow Table