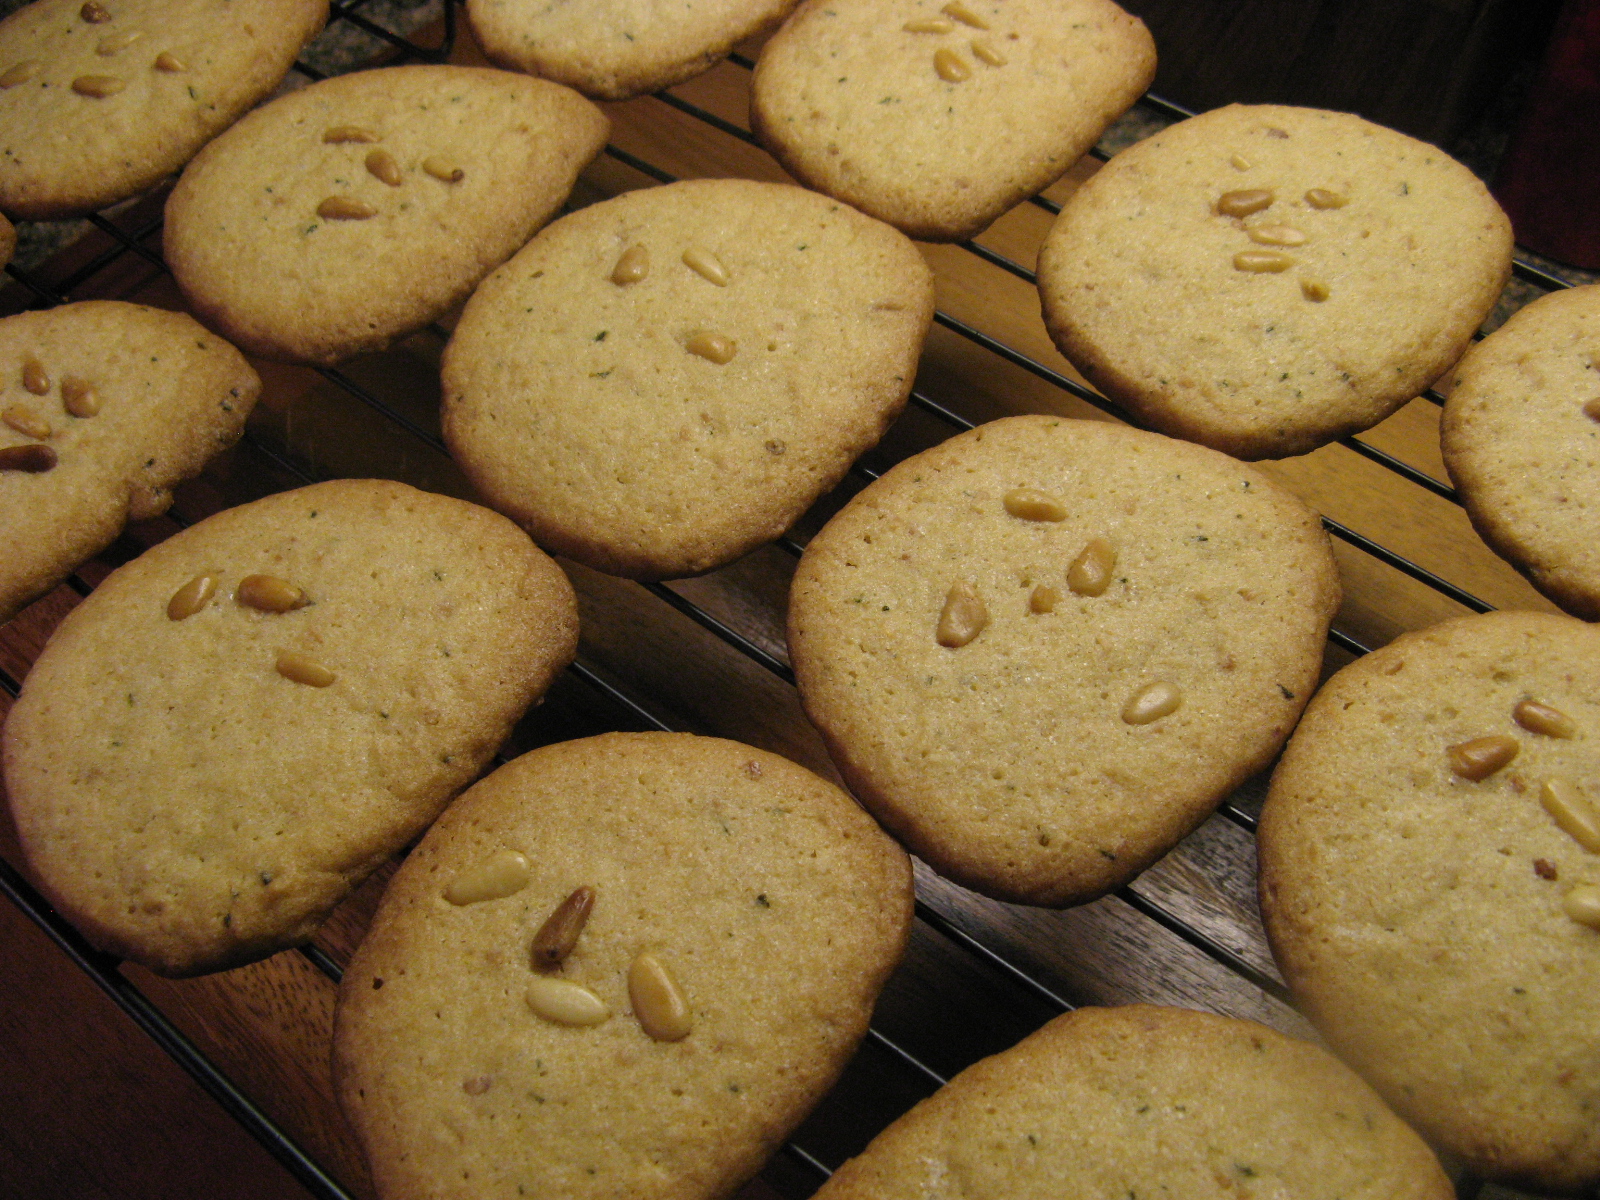
It’s Christmas Eve! Have you gotten all of your baking done? I took my last sheet of cookies out of the oven not too long ago. Speaking of cookies… Decorated sugar cookies are synonymous with the Holidays. Whether they are decorated with royal icing, sprinkles or both, you can usually find them on most cookie platters this time of the year. Now, there are so many different recipes for sugar cookies out there. I once tried one with orange juice… it definitely wasn’t my favorite. What grabbed me about this recipe was that it was for Soft Sugar Cookies. Yes, sugar cookies are supposed to be on the crispier side but I sometimes find that if you leave those cookies in the oven for a few seconds too long your bordering on hard cookies not crispy ones.
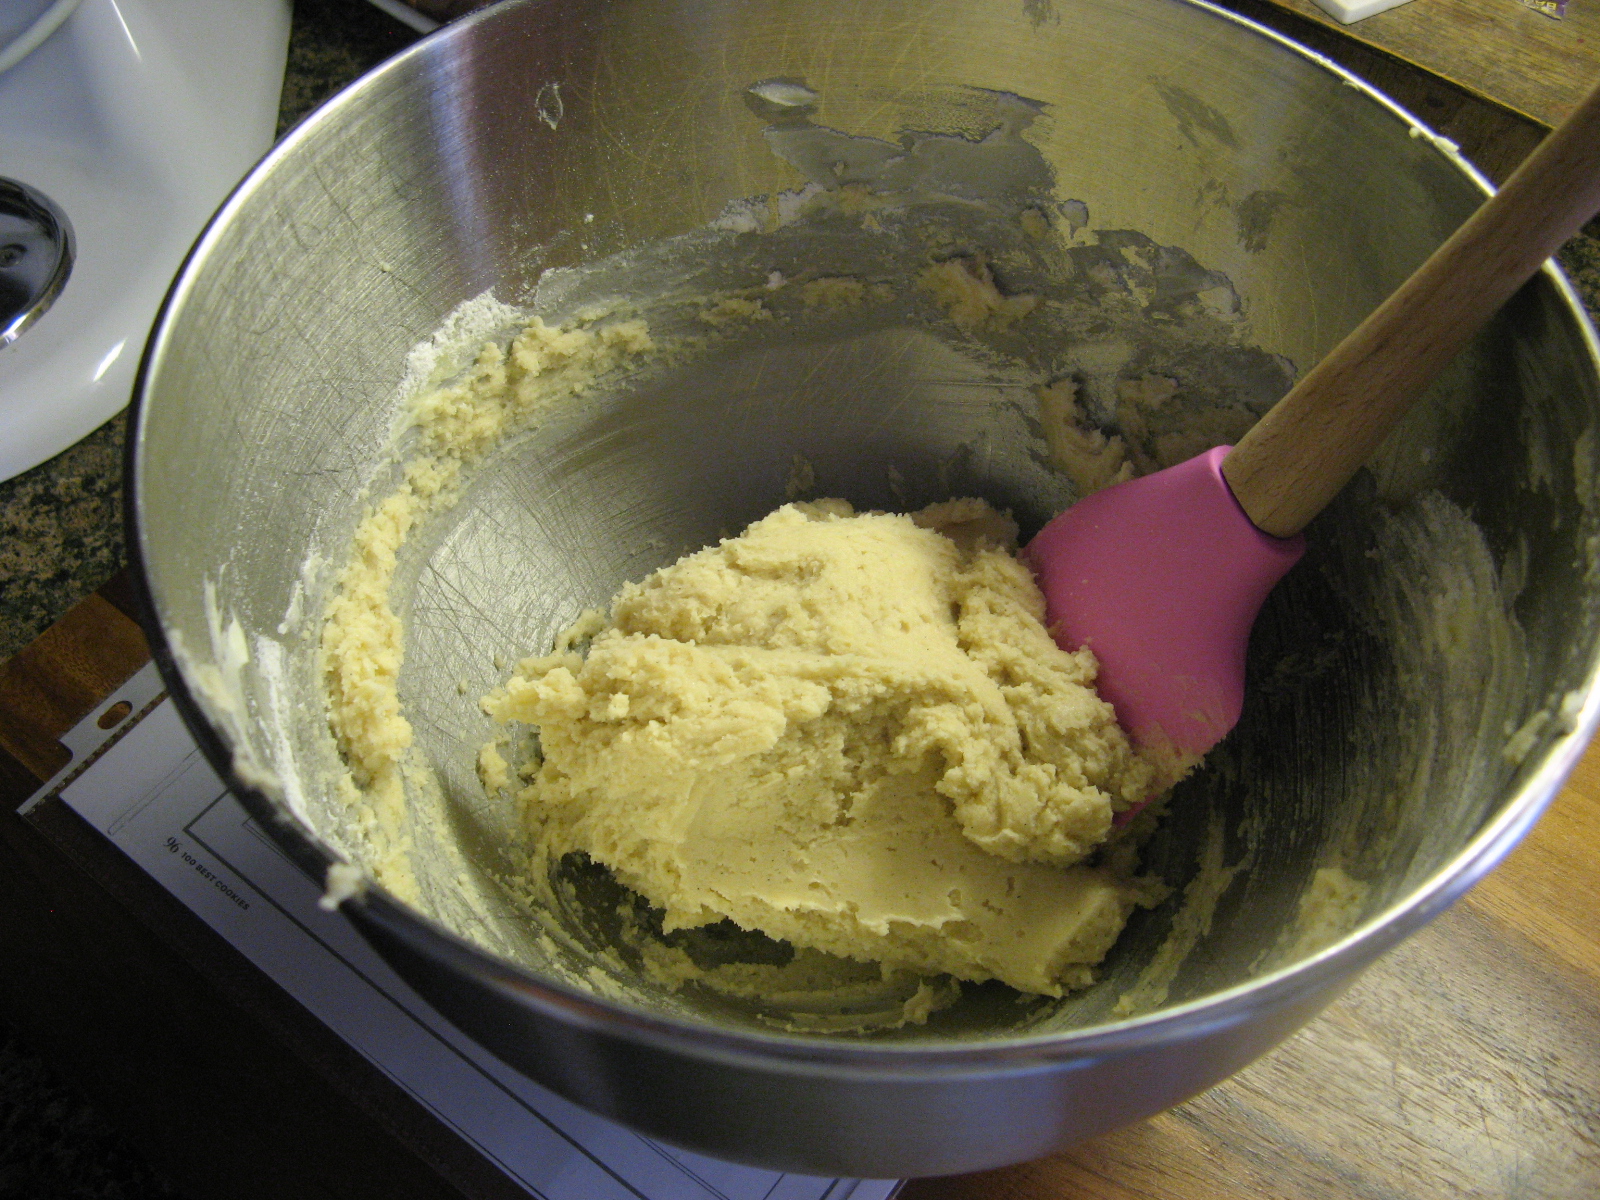
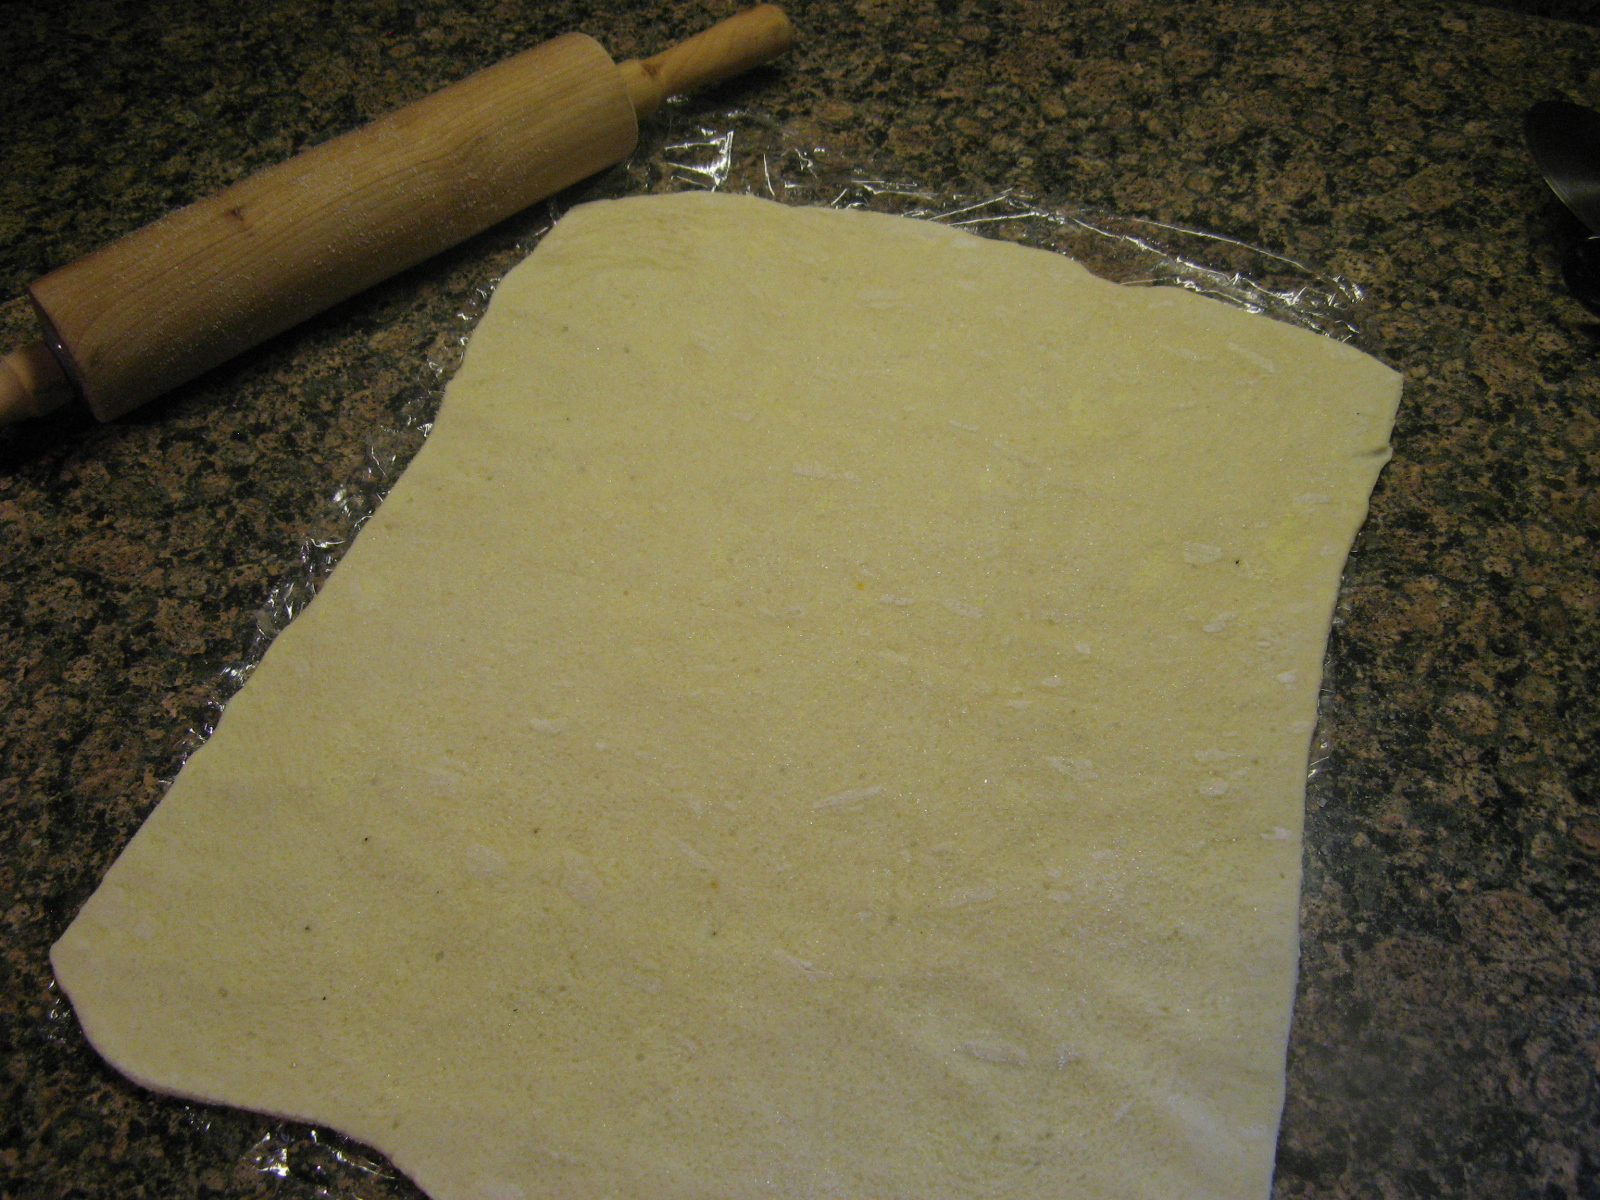
To make the dough for these cookies I began by beating butter in the bowl of my stand mixer on medium-high speed until it was light and fluffy. I then added in sugar, egg, vanilla extract and sour cream. Once all of those ingredients were well incorporated I added a flour mixture that included flour, baking powder, salt and baking soda. After the dough came together I shaped the dough into a disk, covered it with plastic wrap and refrigerated it until it was firm.
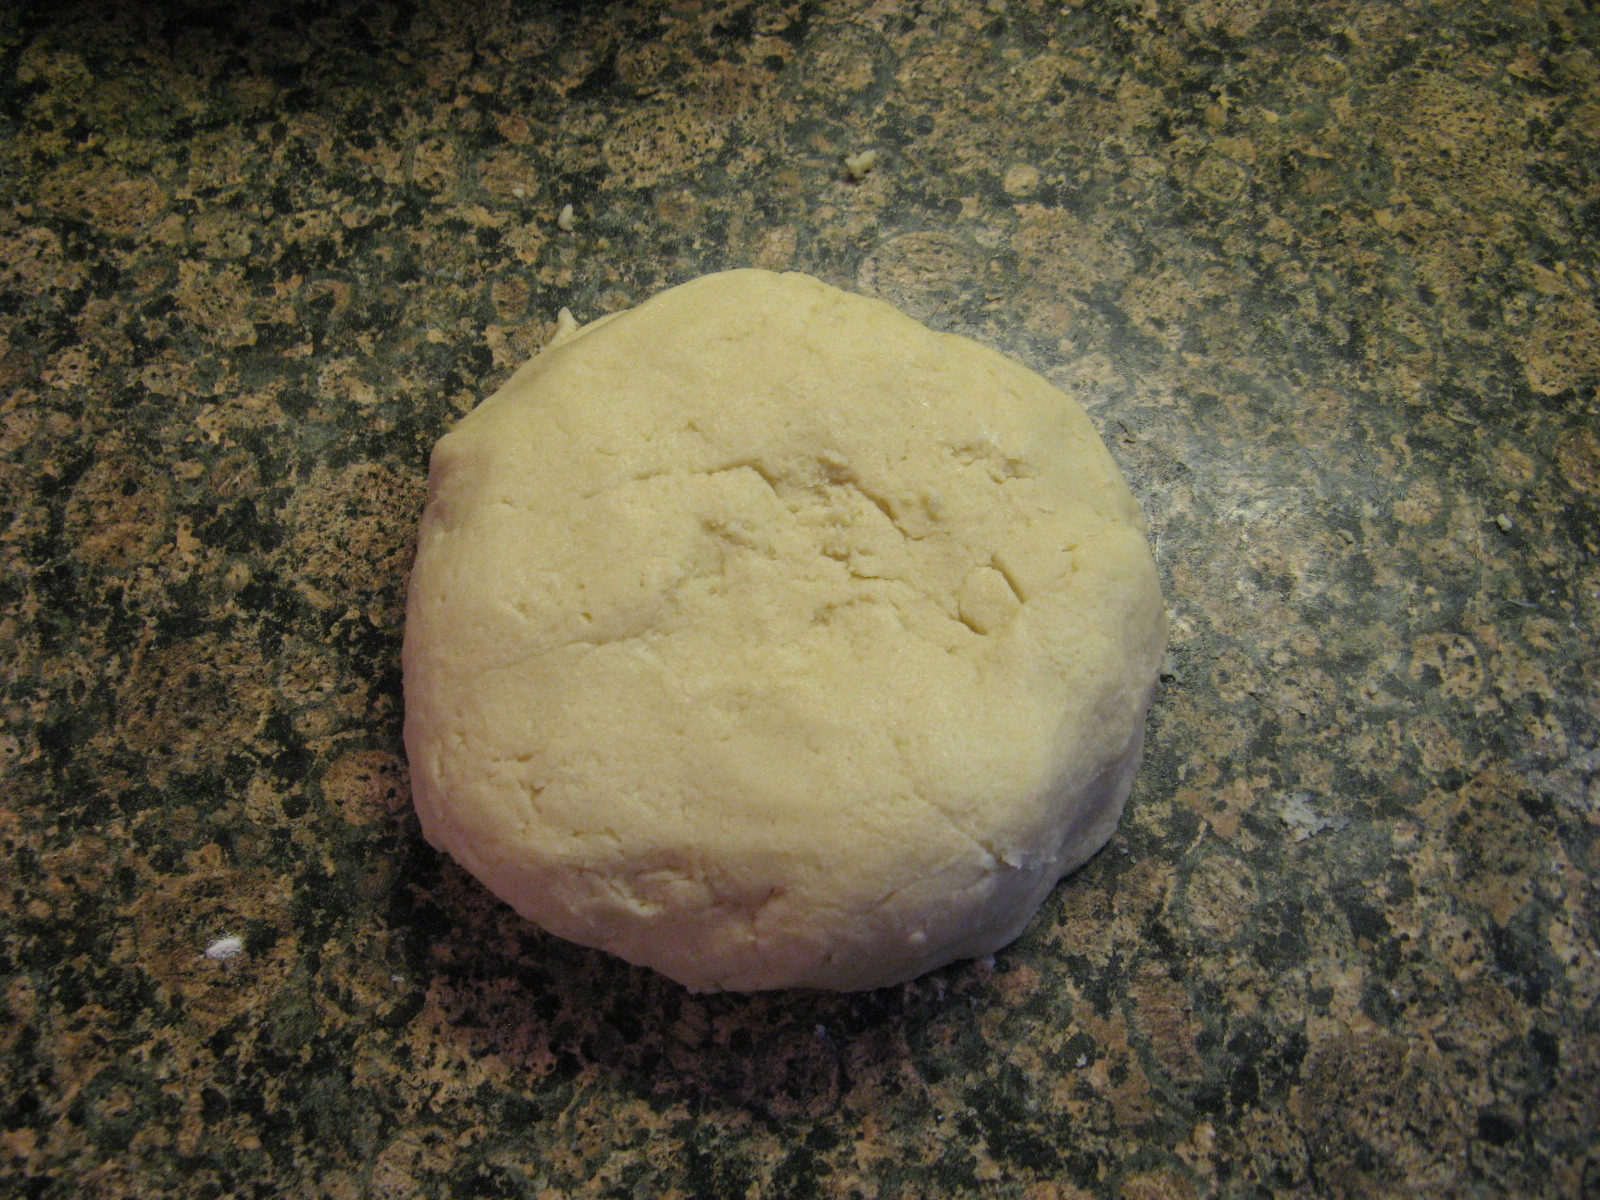
Once it was firm I rolled it out on a floured surface and began cutting out my Christmas shapes.
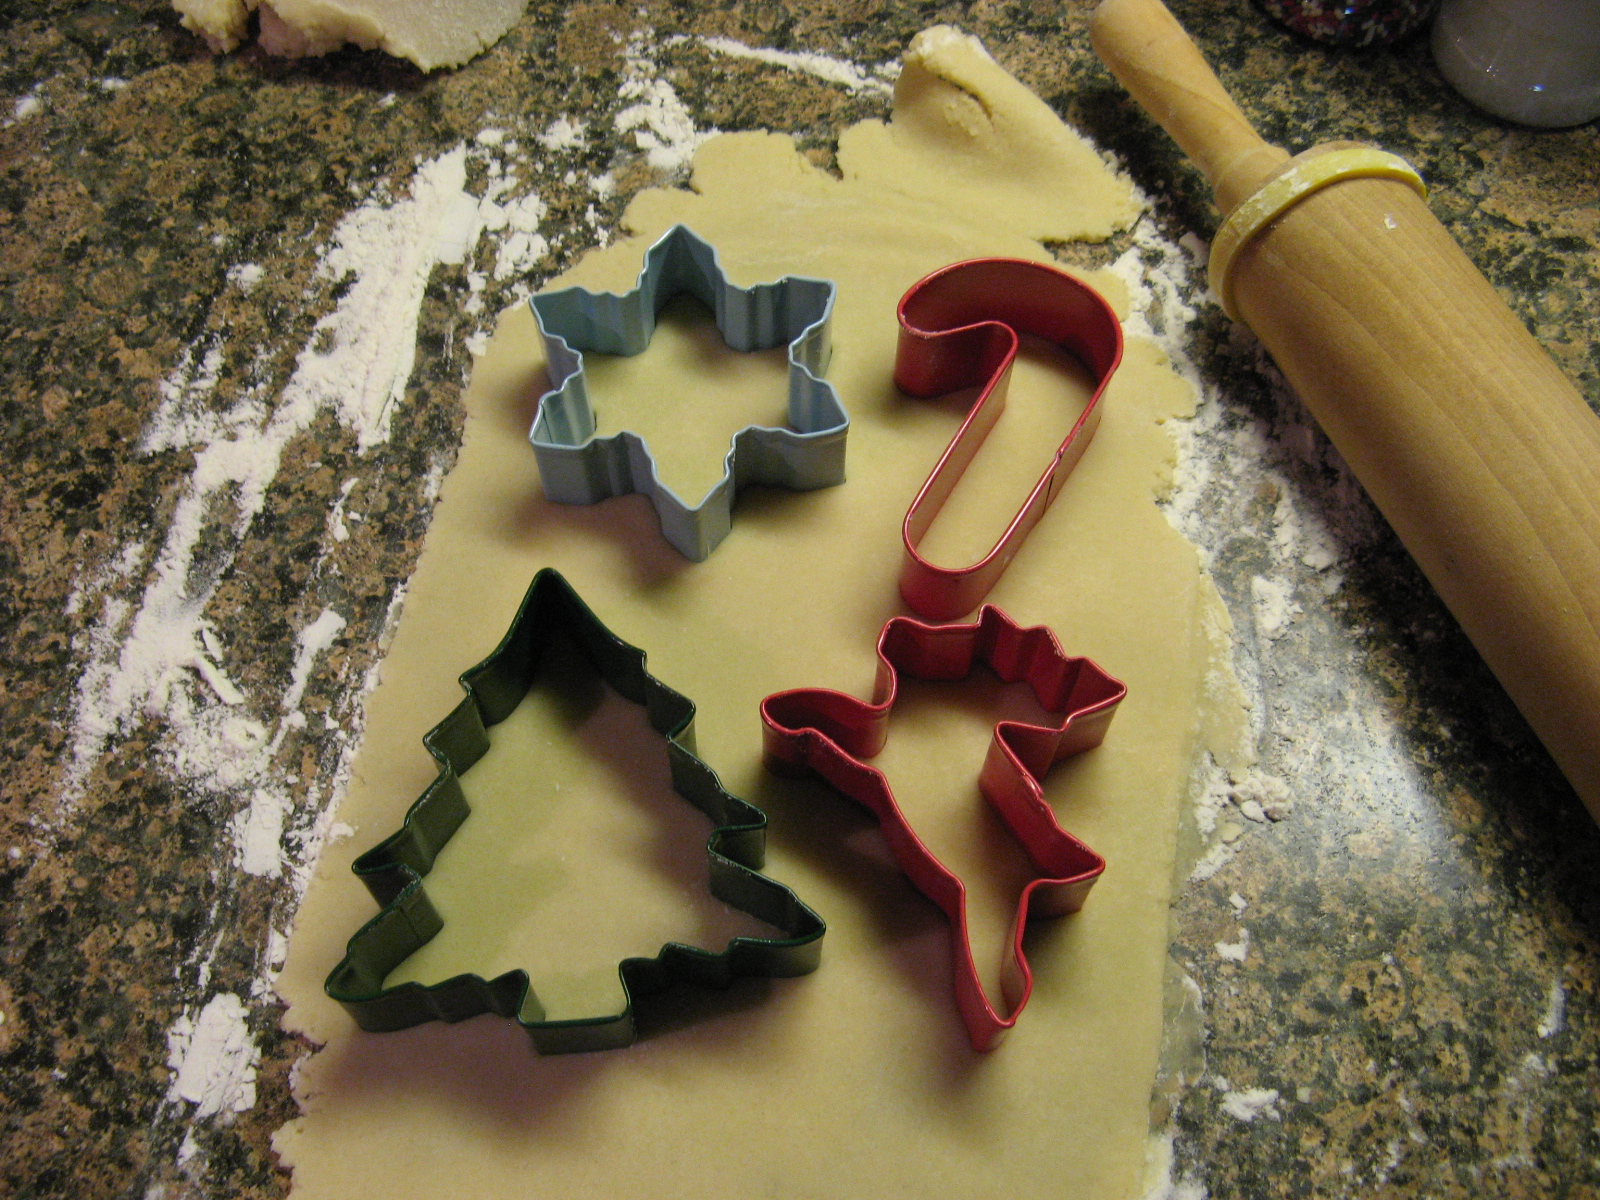
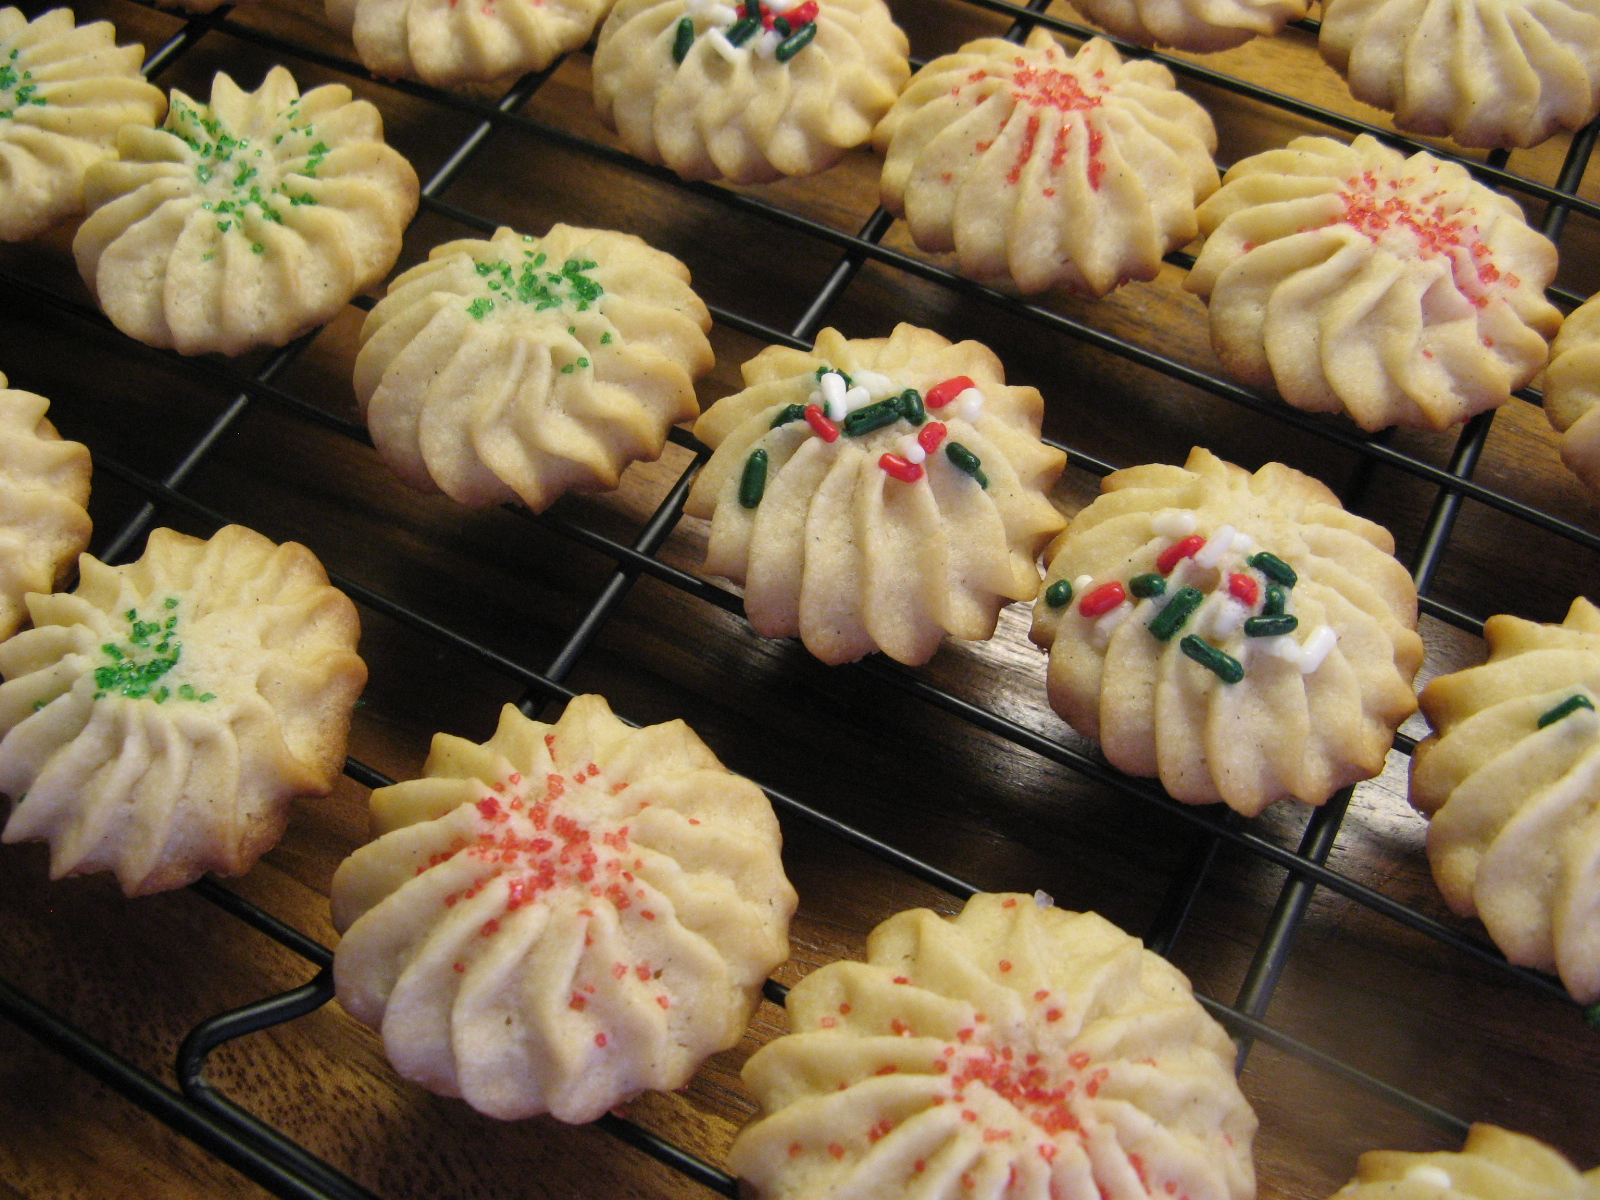
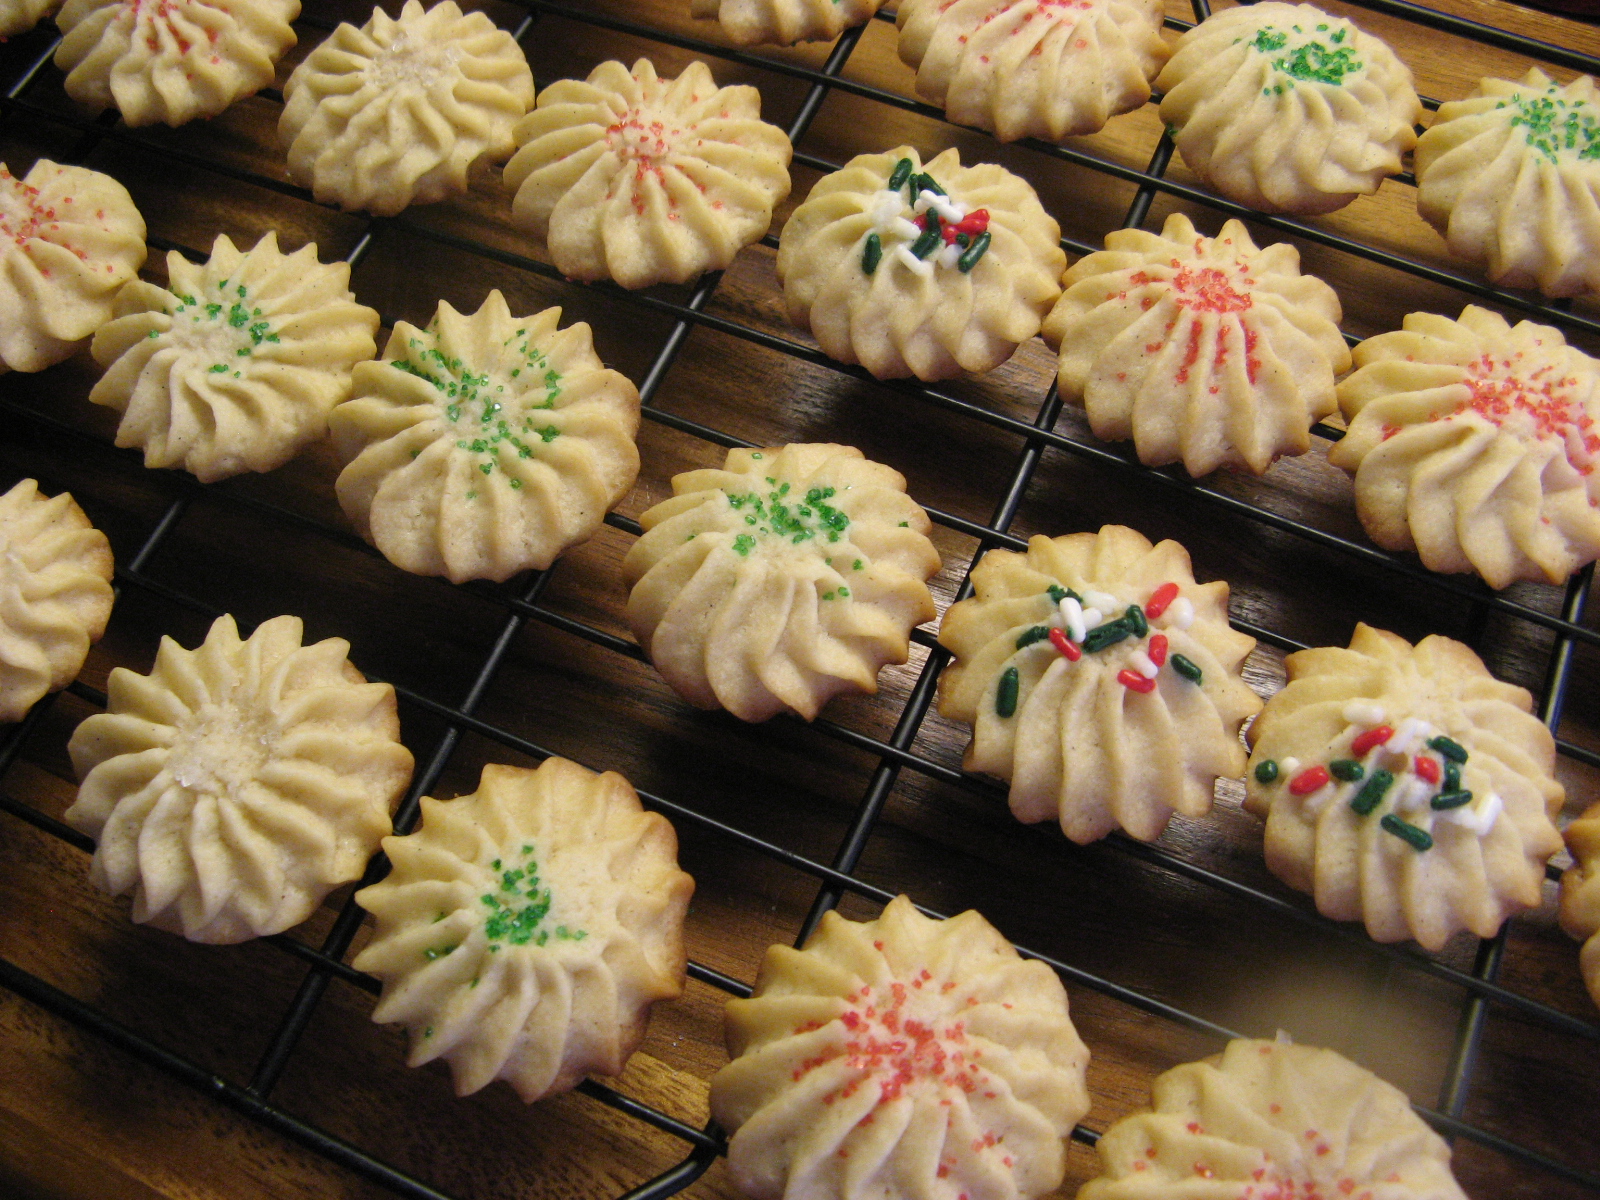
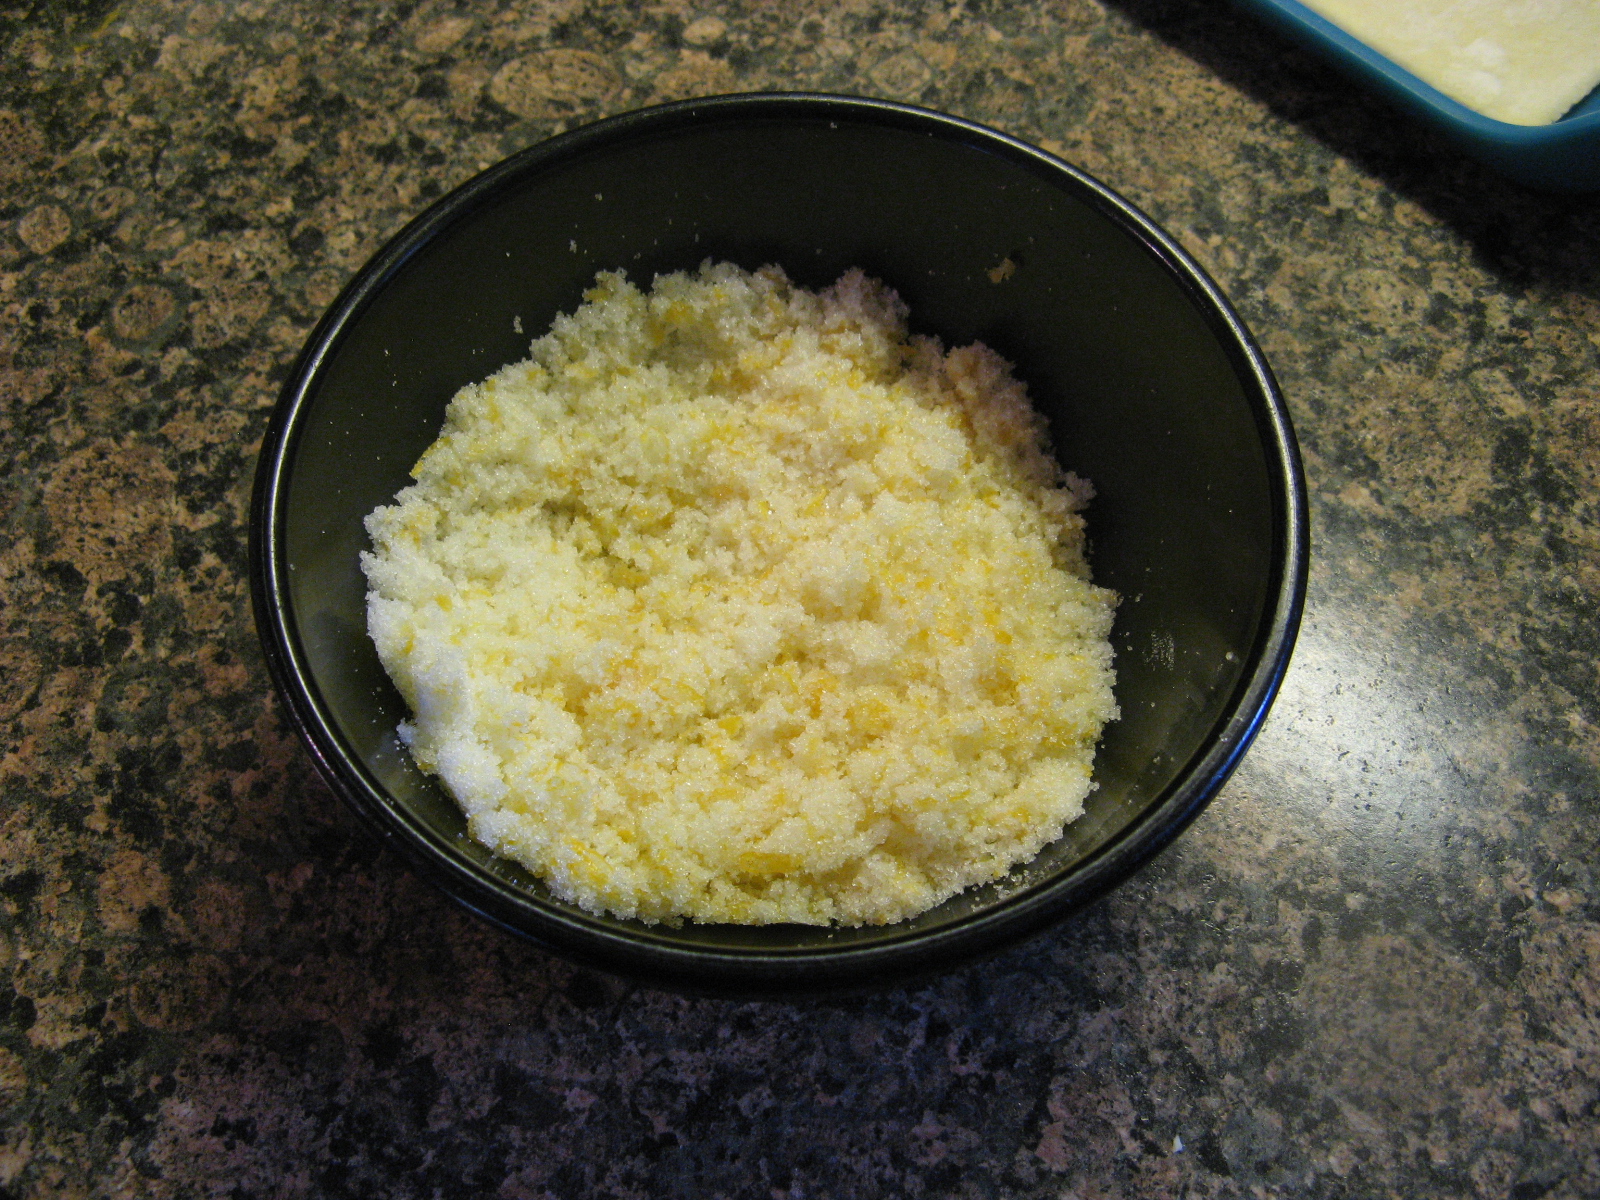
After transferring the cutouts to a parchment lined cookie sheet I decorated them with holiday themed sprinkles and sugar.
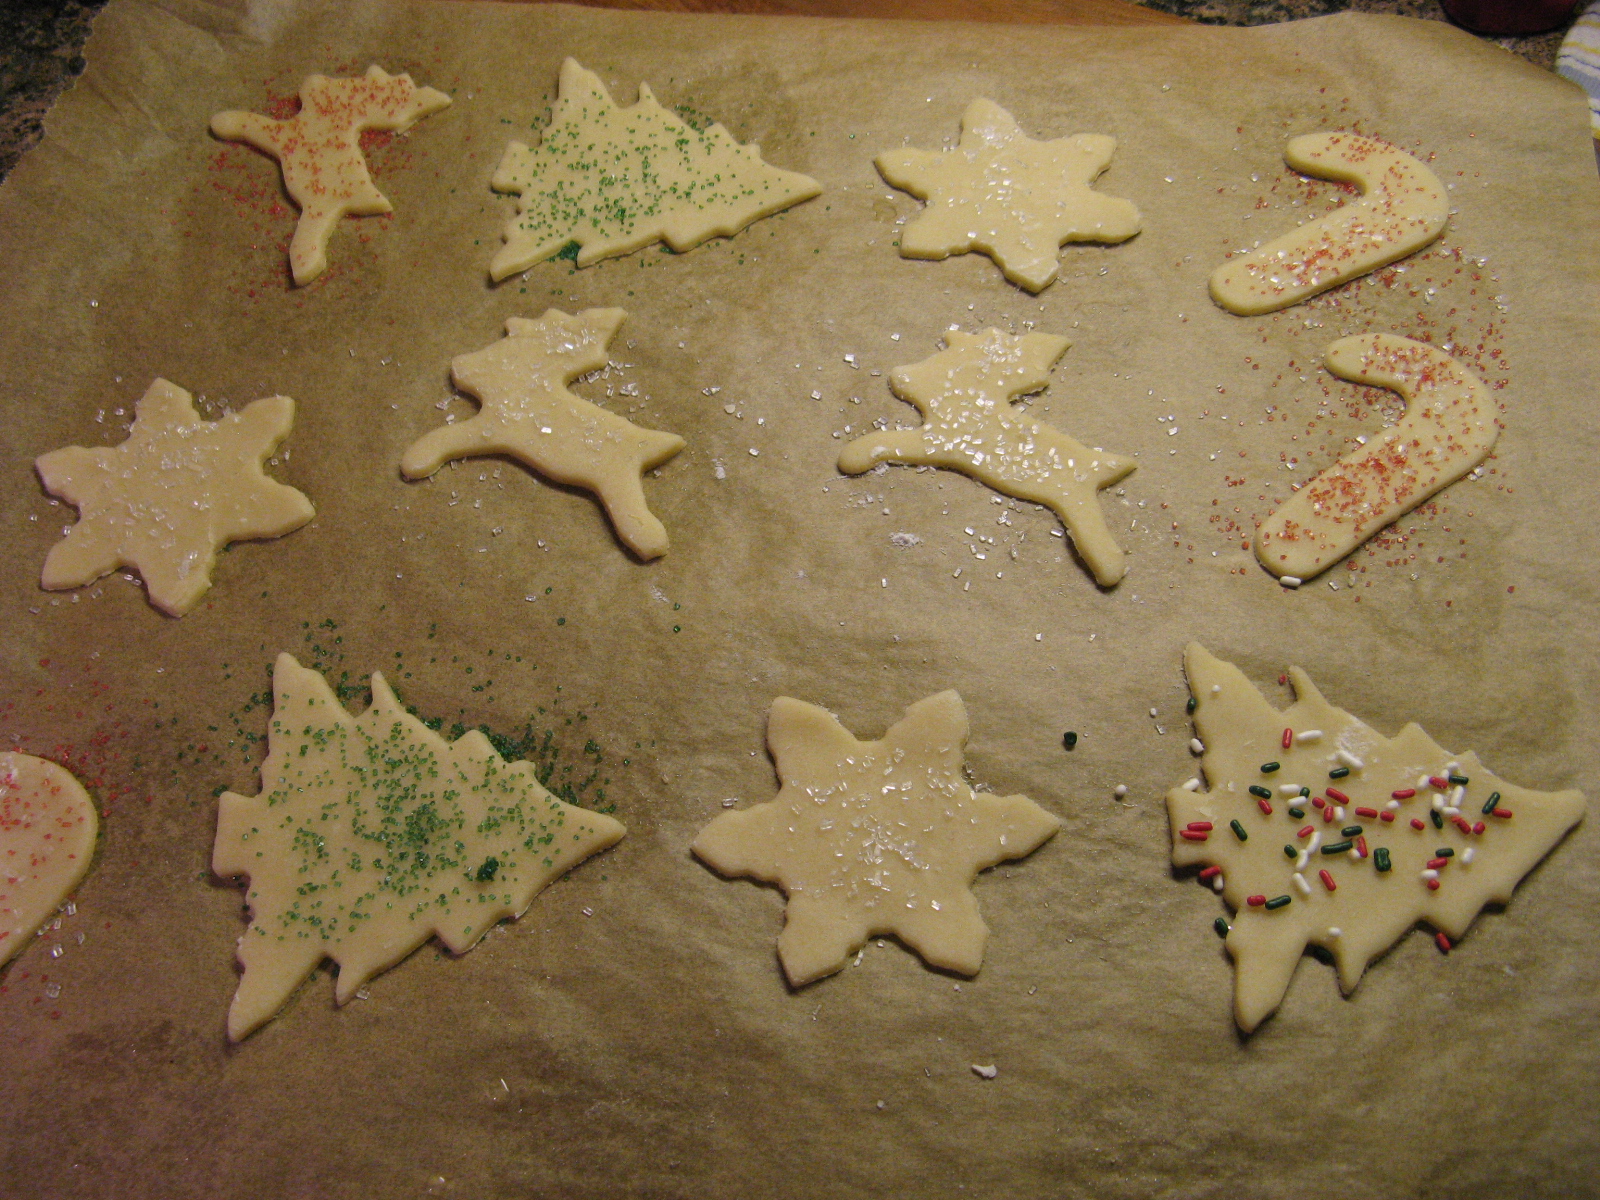
I baked them in a 350 F preheated oven for 5 to 6 minutes and then transferred them to a wire rack to cool completely. This recipe is definitely going to be my go-to recipe for whenever I want to make sugar cookies. They are not overly sweet and are the perfect texture. They have a little bite to them but overall are nice and soft!

Hope you all have a wonderful Christmas!!!
Soft Sugar Cookies
*Please note that I halved the recipe which yielded me 30 2-inch cookies. If you would like to do the same follow the measurements in parenthesis.
Ingredients:
3 cups flour (1 1/2 cups)
1 teaspoon baking powder (1/2 teaspoon)
1/2 teaspoon salt (1/4 teaspoon)
1/4 teaspoon baking soda (1/8 teaspoon)
1 1/2 sticks unsalted butter, at room temperature (6 tablespoons)
1 cup sugar (1/2 cup)
1 egg (2 tablespoons of a whisked egg)
1 teaspoon vanilla extract (1/2 teaspoon)
1/4 cup sour cream (2 tablespoons)
Directions:
In a medium bowl whisk together the flour, baking powder, salt and baking soda and set aside.
In a large bowl using an electric mixer (or using a stand mixer) beat the butter on medium-high speed until light and fluffy. Add the sugar and beat to blend. Add in the egg and vanilla and then the sour cream. Switch the speed to low and beat in the flour until just blended. Halve the dough, shape into disks and wrap plastic wrap and refrigerate until firm – 1 1/2 to 2 hours. If using the smaller measurements just shape into one disk.
Preheat the oven to 375 F and line cookie sheets with parchment paper.
On a floured surface roll out the disk to about 1/8 inch thick and cut out using desired cookie cutters. Place on prepared cookie sheets about 1-inch apart.
Bake until the bottoms of the cookie are light golden, 5 to 7 minutes. Transfer to a wire rack to cool completely.
If you plan on decorating with sprinkles and sugar, place those on the cookies prior to baking. If you plan on decorating with royal icing wait until the cookies have completely cooled to do so.
Recipe from Rachael Ray Magazine