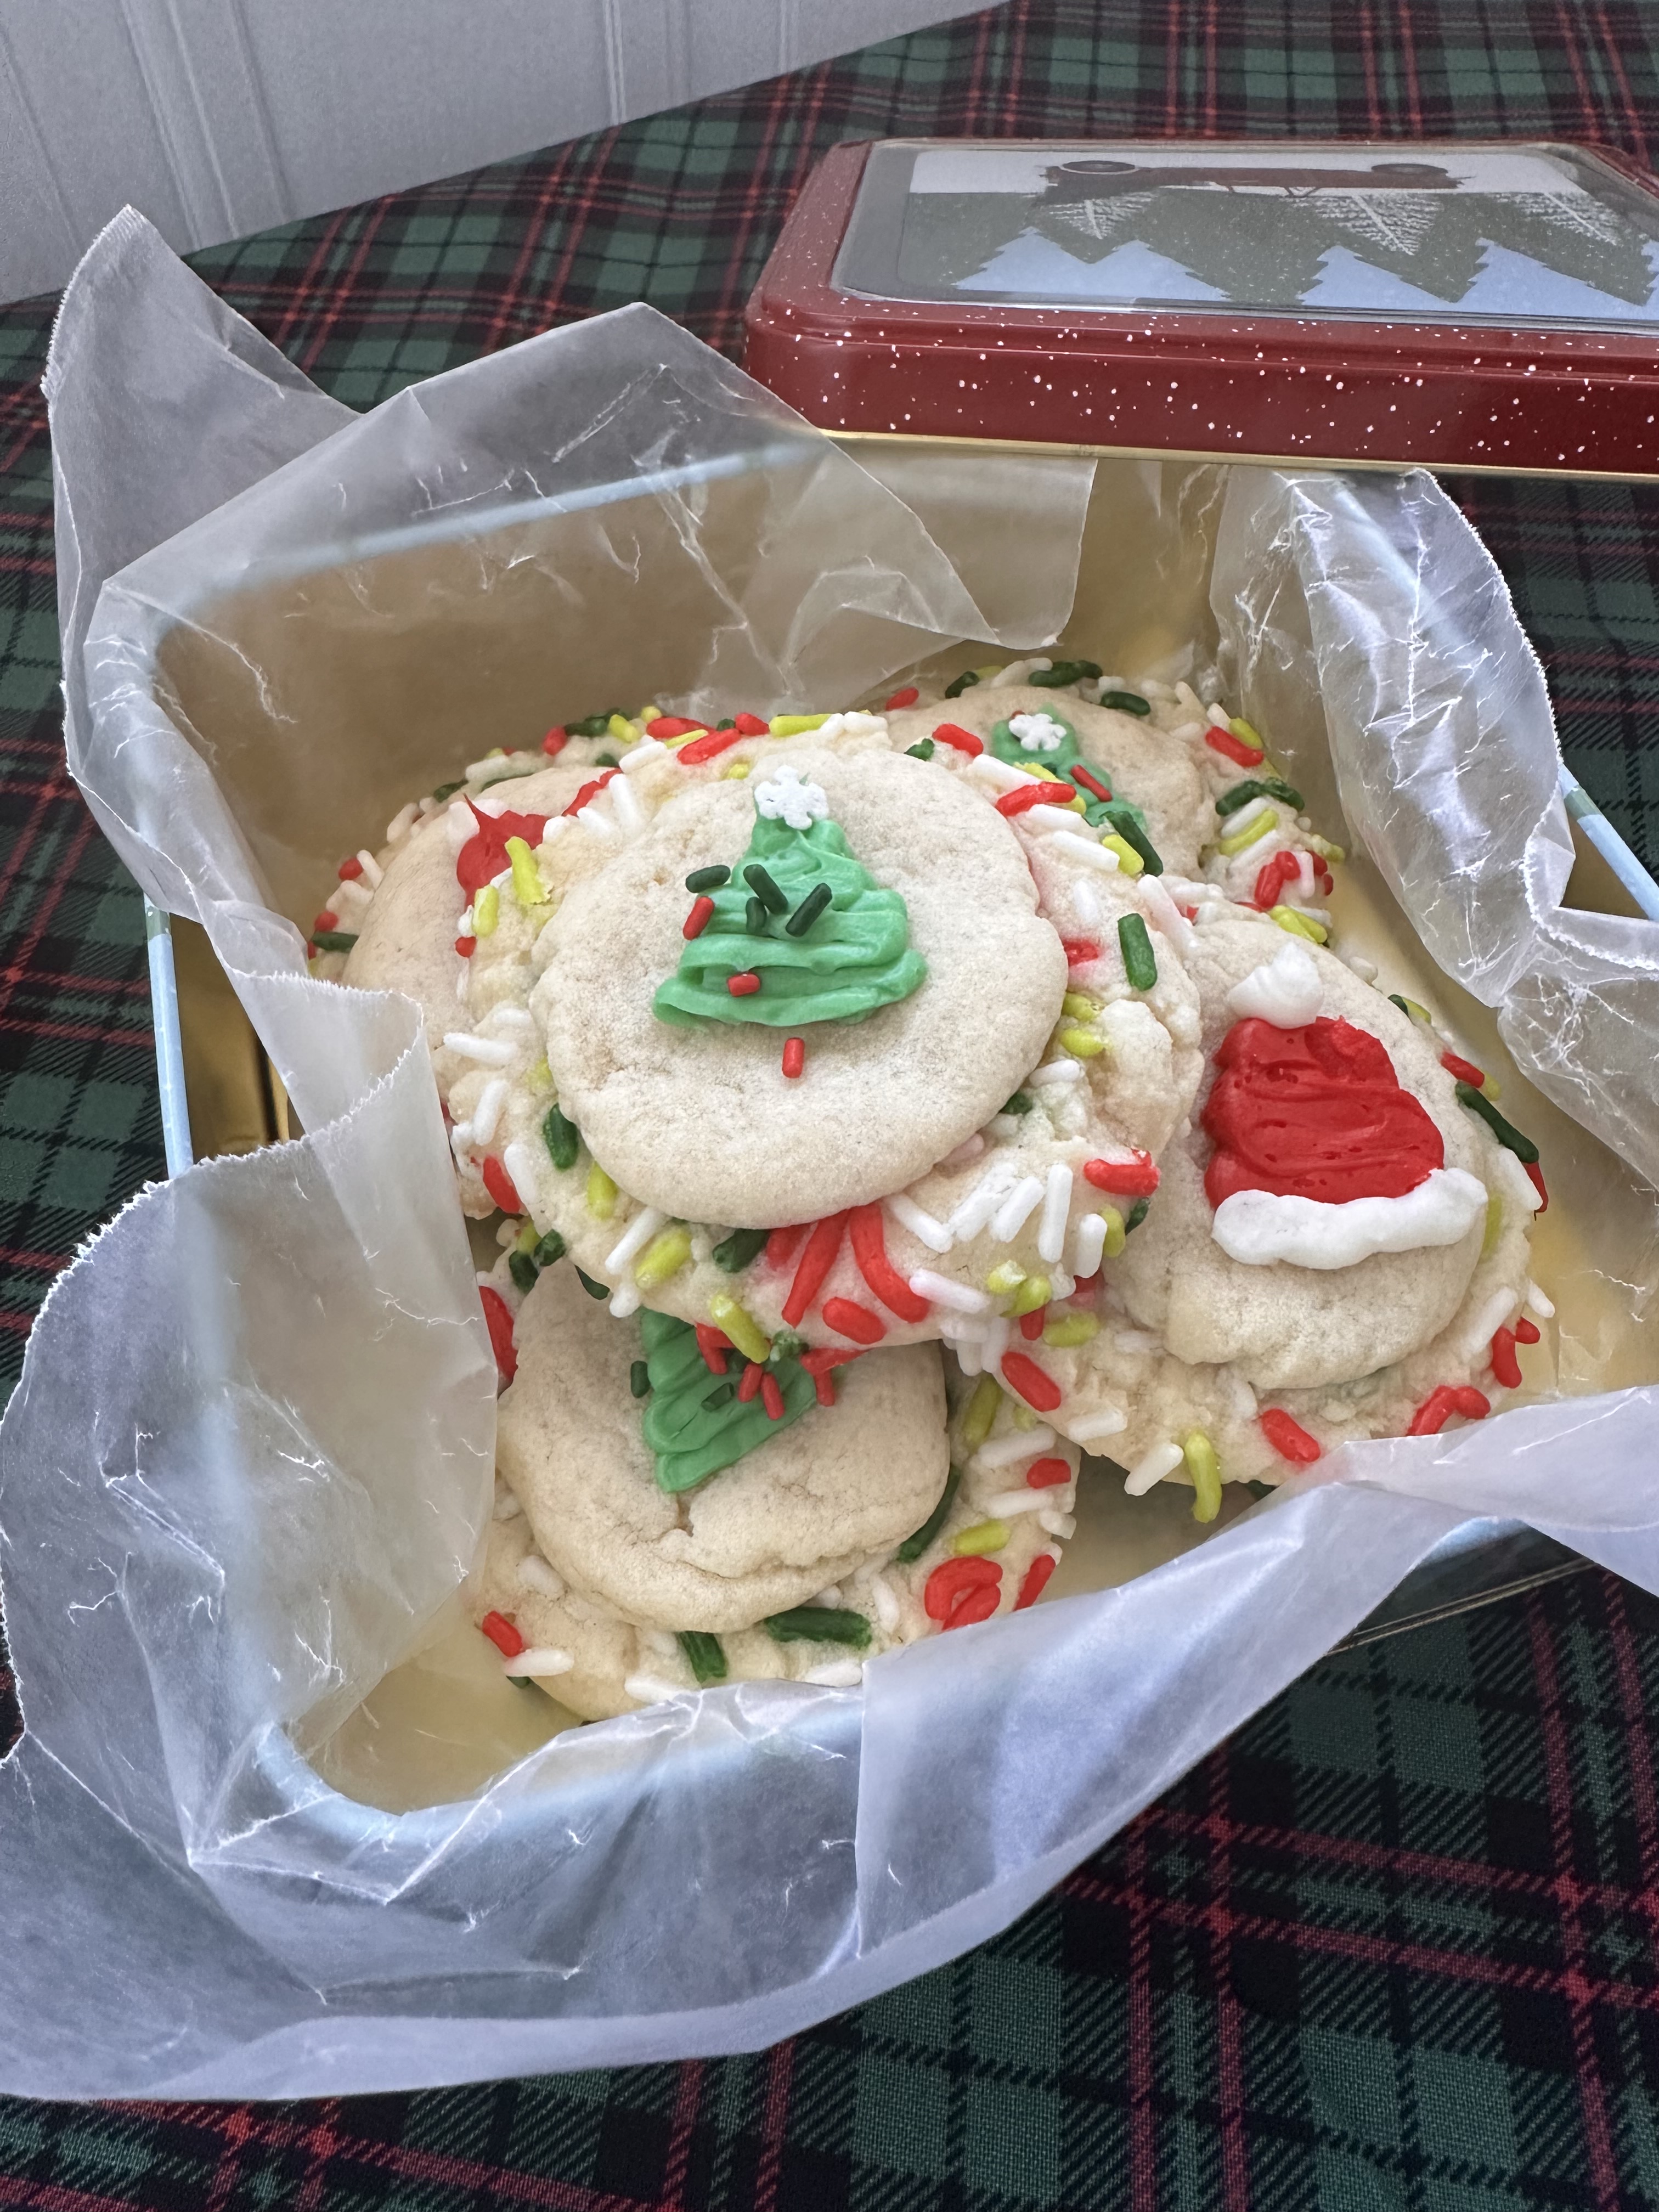
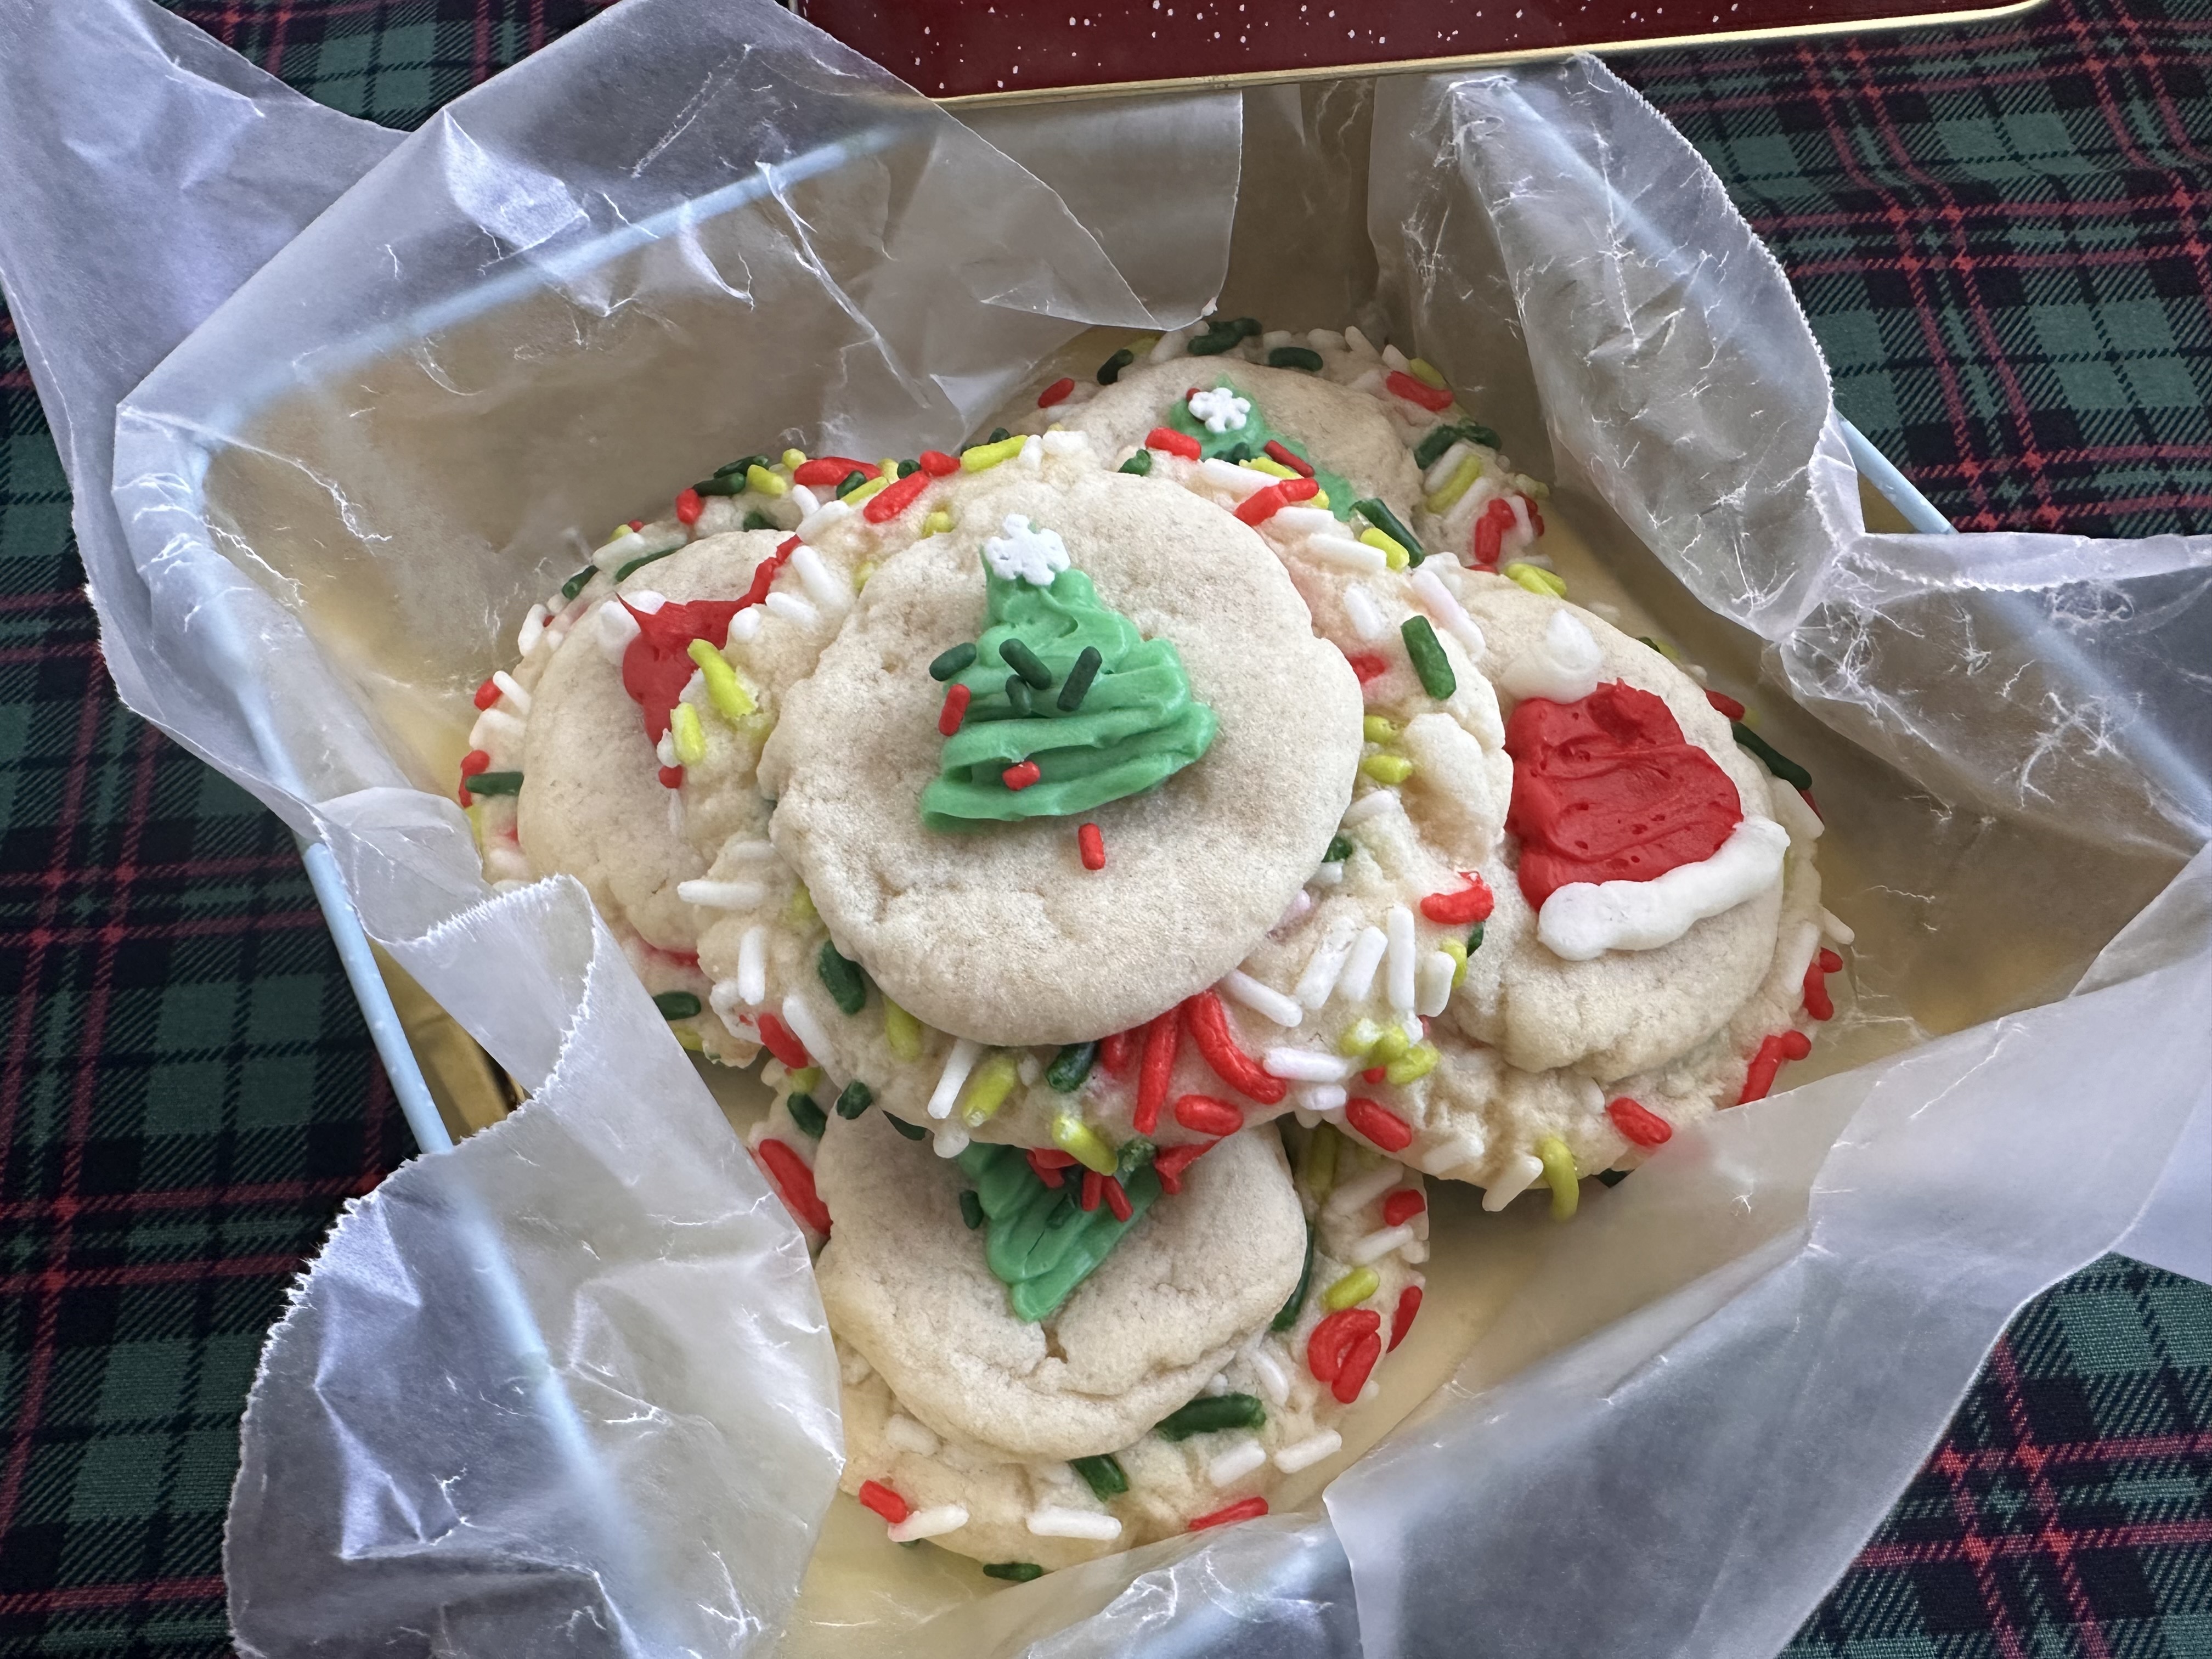
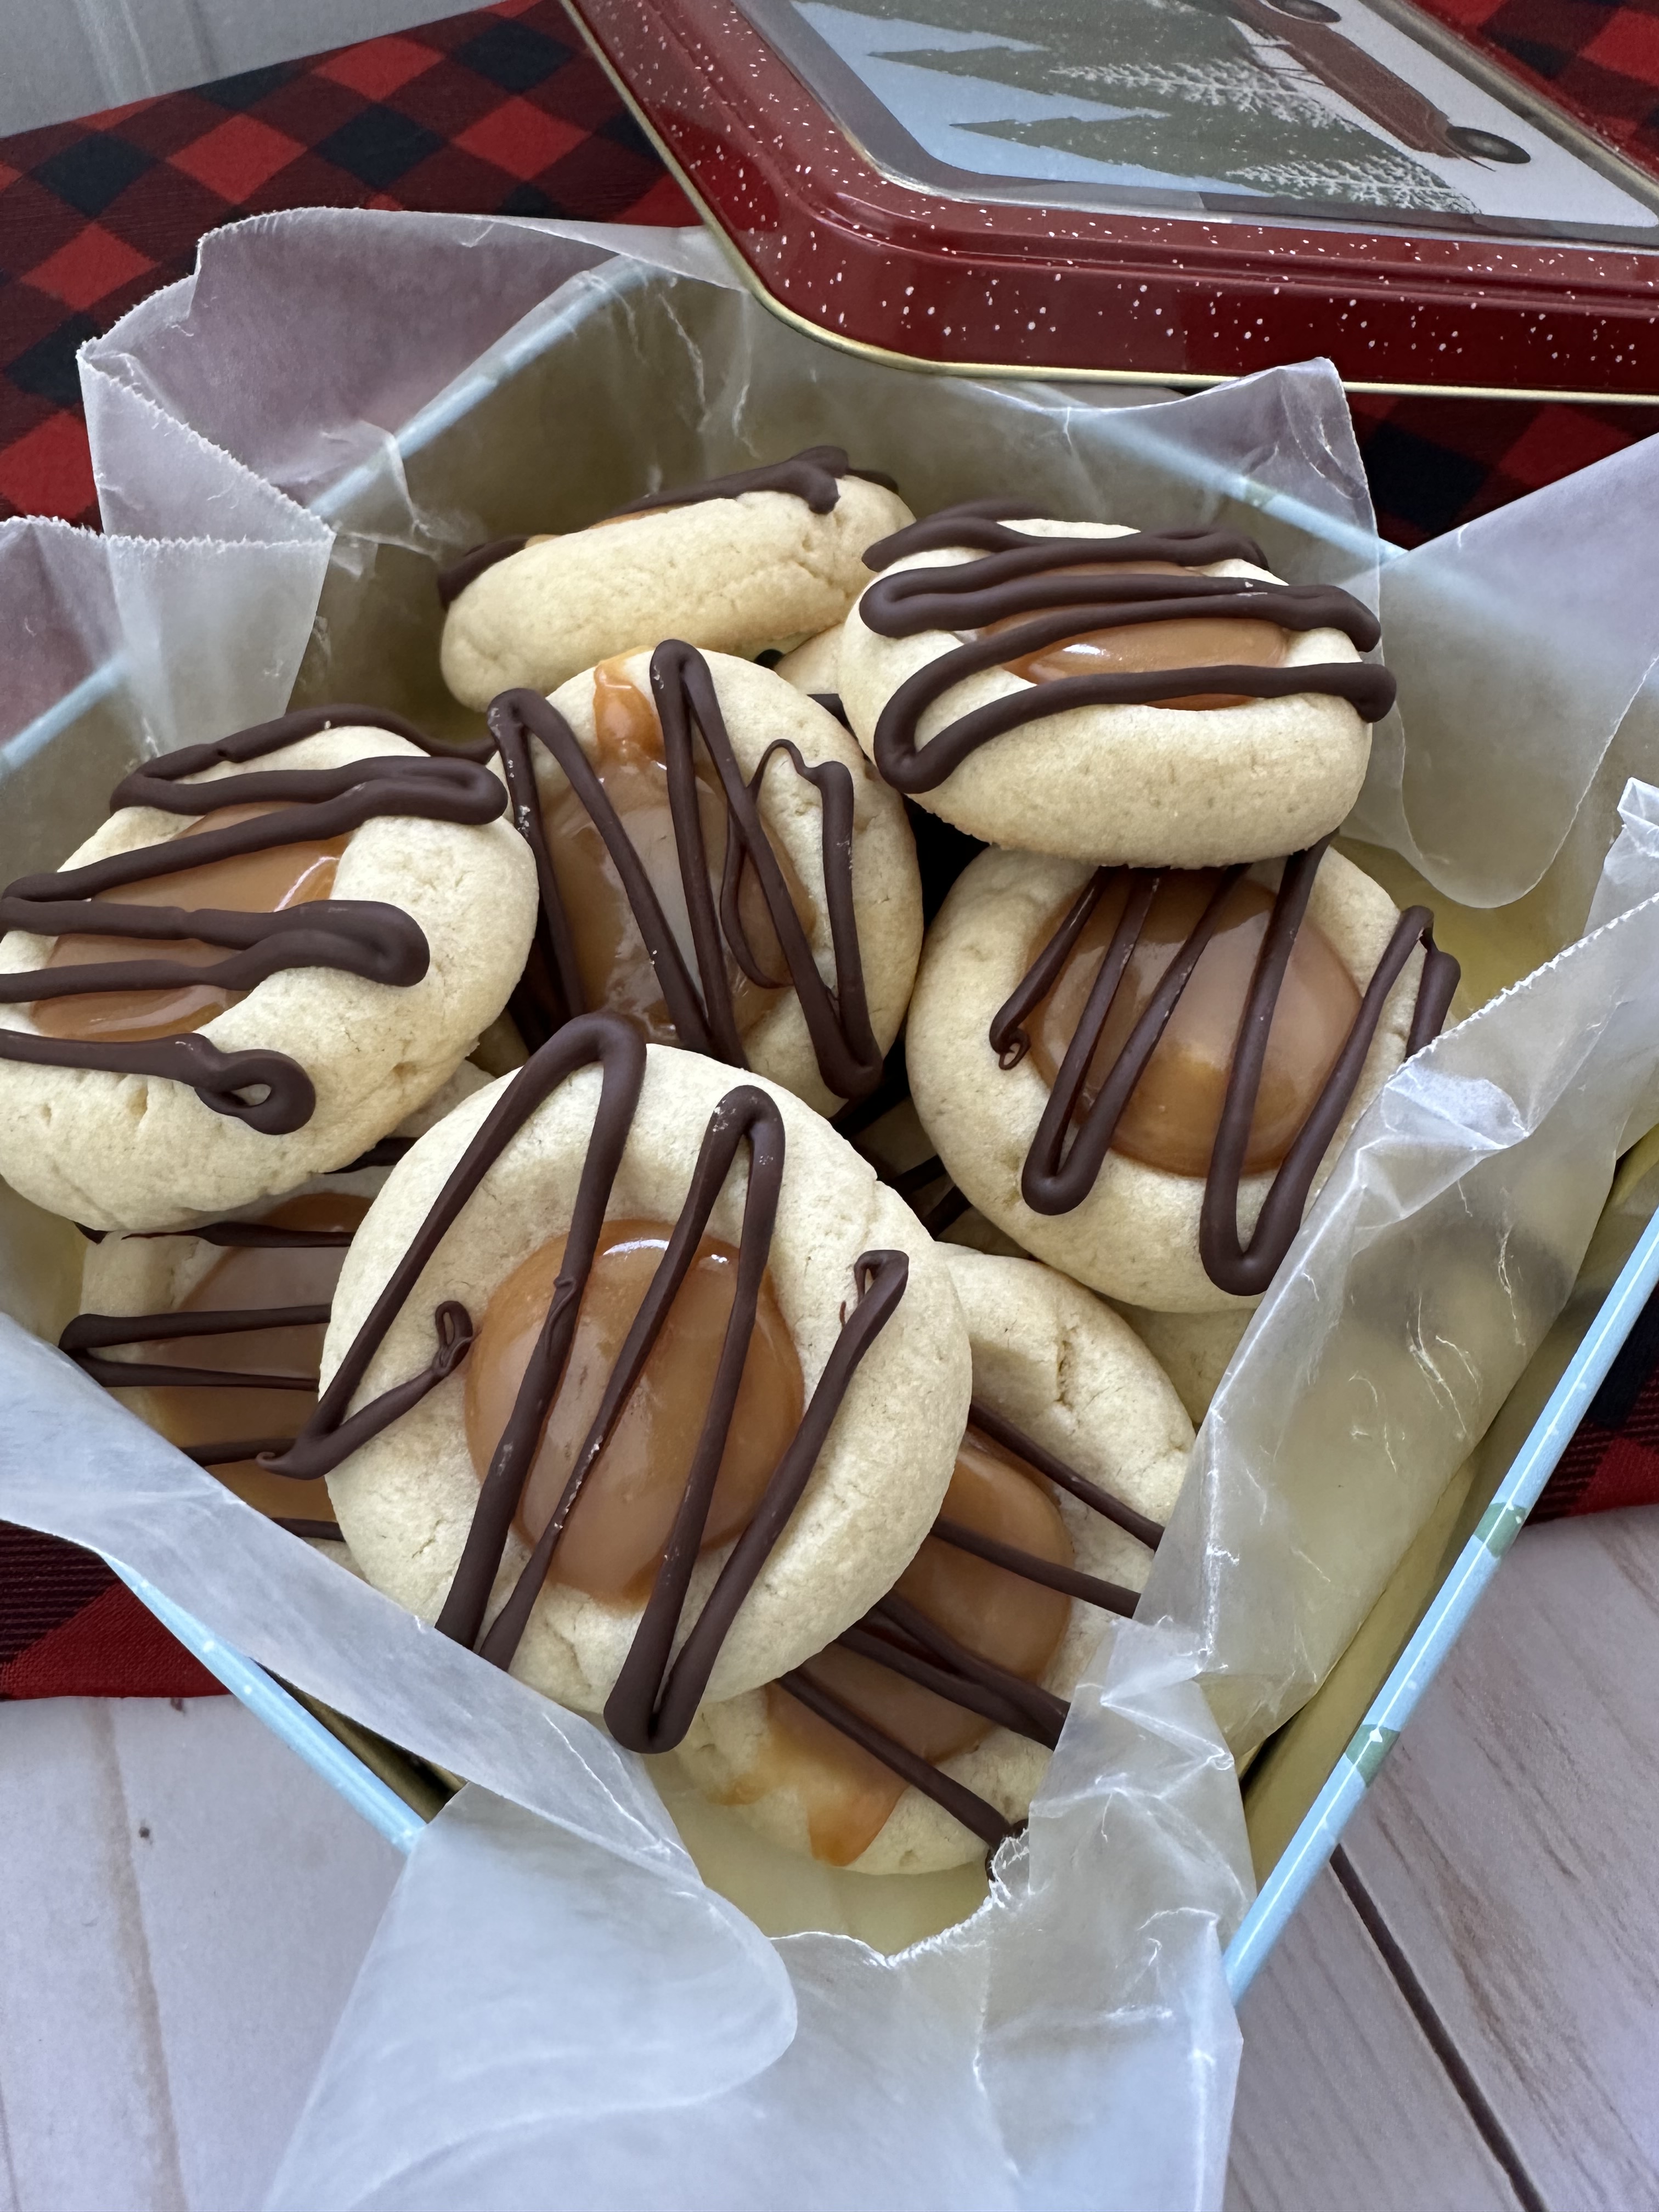
I’m closing out this week of cookies with the quintessential flavor of the season, peppermint! Specifically, a peppermint buttercream sandwich between two chocolate cake mix cookies. Yes, I made the cookies using a cake mix. I’ve shared quite a few cake mix cookie recipes over the years and they’ve always been a success. This recipe is perfect for anyone short on time or just doesn’t want to be measuring flour, baking soda/powder, sugar, etc. One thing to note, the recipe only makes 12 sandwich cookies, as using the cake mix only yields 24 cookies. If you would like more cookies – 24 for example – simply double the cookie recipe – use 2 boxes of chocolate cake mix, 2/3 cup of oil and 4 eggs. The recipe for the peppermint buttercream is enough for the double batch. If you don’t want any left-over filling simply cut the ingredients in half for the buttercream. Here’s an idea though, if you plan on making the Stacked Christmas Confetti Cookies I shared yesterday you could use the leftover buttercream to decorate those. If you don’t feel like tinting the frosting to make the Christmas Tree or Santa Hat, you could pipe a snowflake instead.

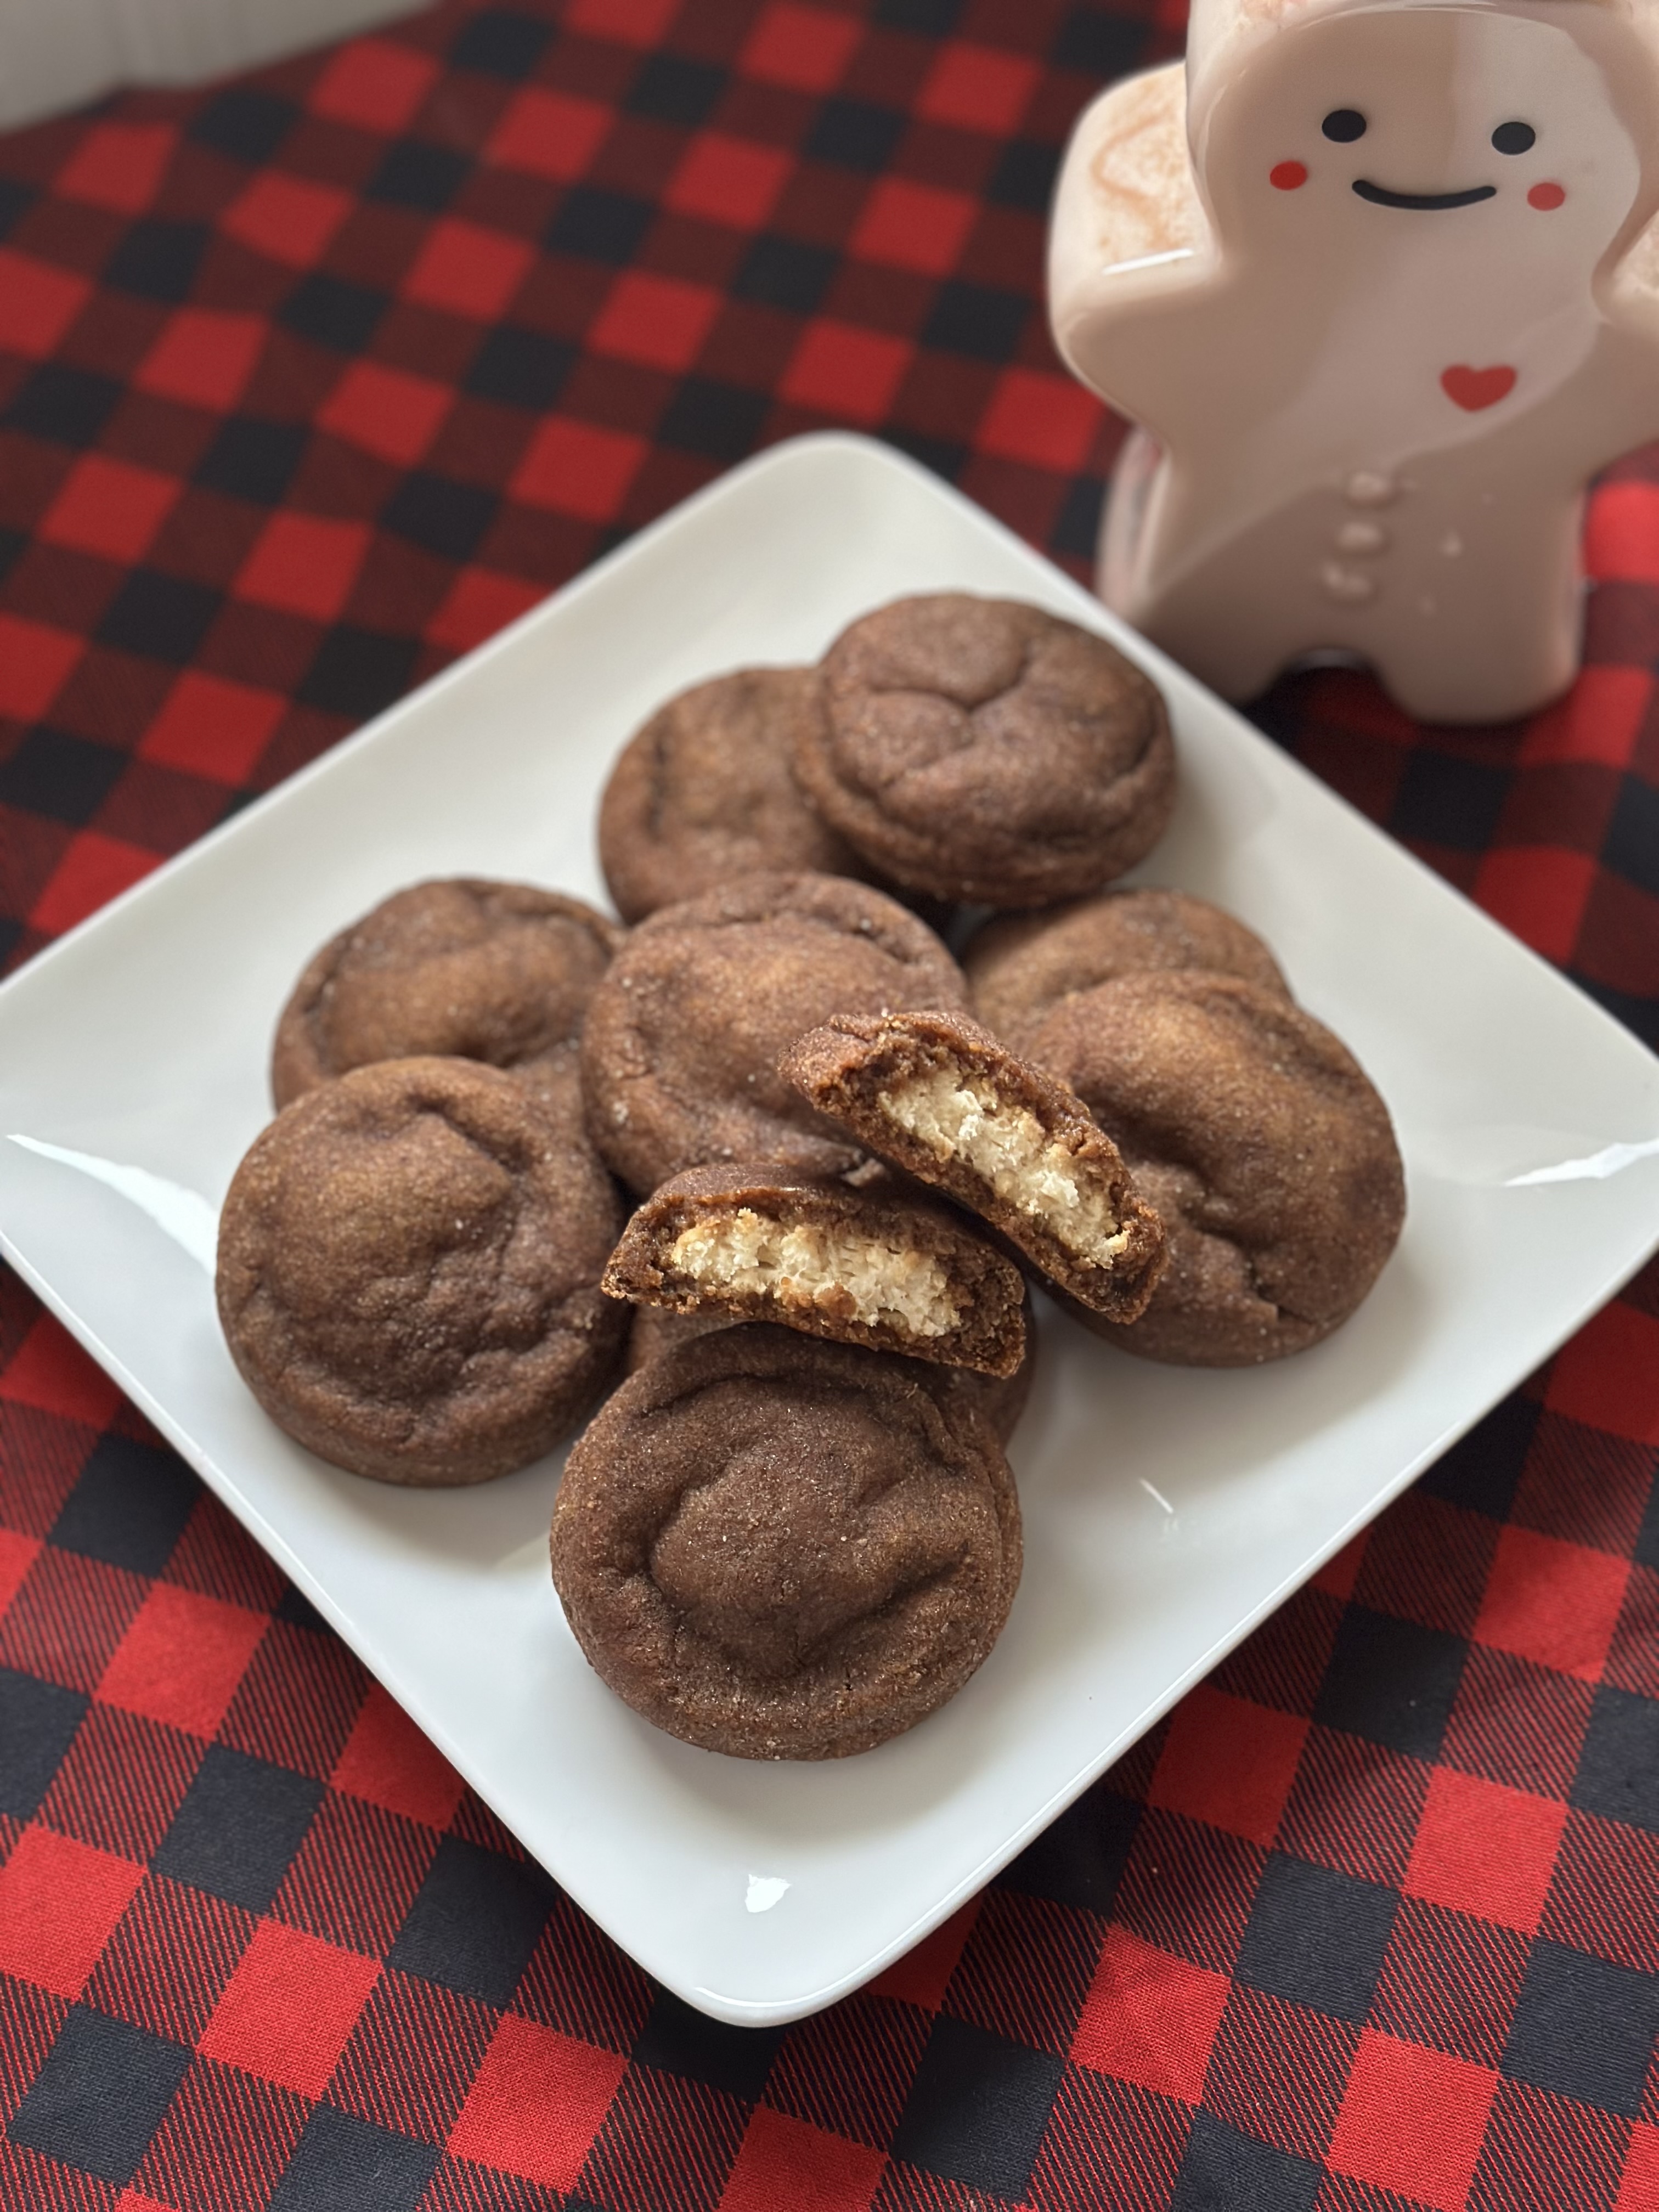
Peppermint & Chocolate Sandwich Cookies
Ingredients:
For the Chocolate Cookies:
1 15.25 oz box chocolate cake mix
1/3 cup vegetable or canola oil*
2 large eggs
For the Peppermint Buttercream:
1/2 cup unsalted butter (1 stick), at room temperature
1 1/2 cups confectioner’s sugar
2 teaspoons peppermint extract
1 1/2 tablespoons milk
Crushed peppermint candy to decorate the sides of the cookies.
*If you want your cookies to have a more cookie-like texture as opposed to cake-like use 1/3 cup melted butter instead.
Directions:
For the Chocolate Cookies: Preheat the oven to 350 F and line two baking sheets with parchment paper and set aside. In a large bowl combine the cake mix, oil and eggs and beat with a hand mixer on medium speed until well incorporated. Scoop 1 tablespoon of the dough, roll into a ball and place on the prepared baking sheets about 2 inches apart. Bake in the preheated oven for 8-10 minutes. Let cool on the baking sheets for 1 -2 minutes and then transfer to a wire rack to cool completely.
For the Peppermint Buttercream Filling: Add all ingredients to a large bowl and beat with a hand mixer on medium speed until the frosting is light and fluffy. If you would like a stronger peppermint flavor add an additional 1/2 to 1 teaspoon of peppermint extract. If you find that the filling is not a pipeable consistency add about 1/2 tablespoon of milk and beat well to incorporate. You don’t want the consistency to be too thin though. Transfer to a piping bag and snip the end off.
Pipe the filling on the flat side of half of the cookies and top with the other half, pressing down gently so some of the frosting comes out of the sides. Roll the cookies in the crushed peppermint candy and enjoy!
Recipe first appeared on Bead Yarn & Spatula