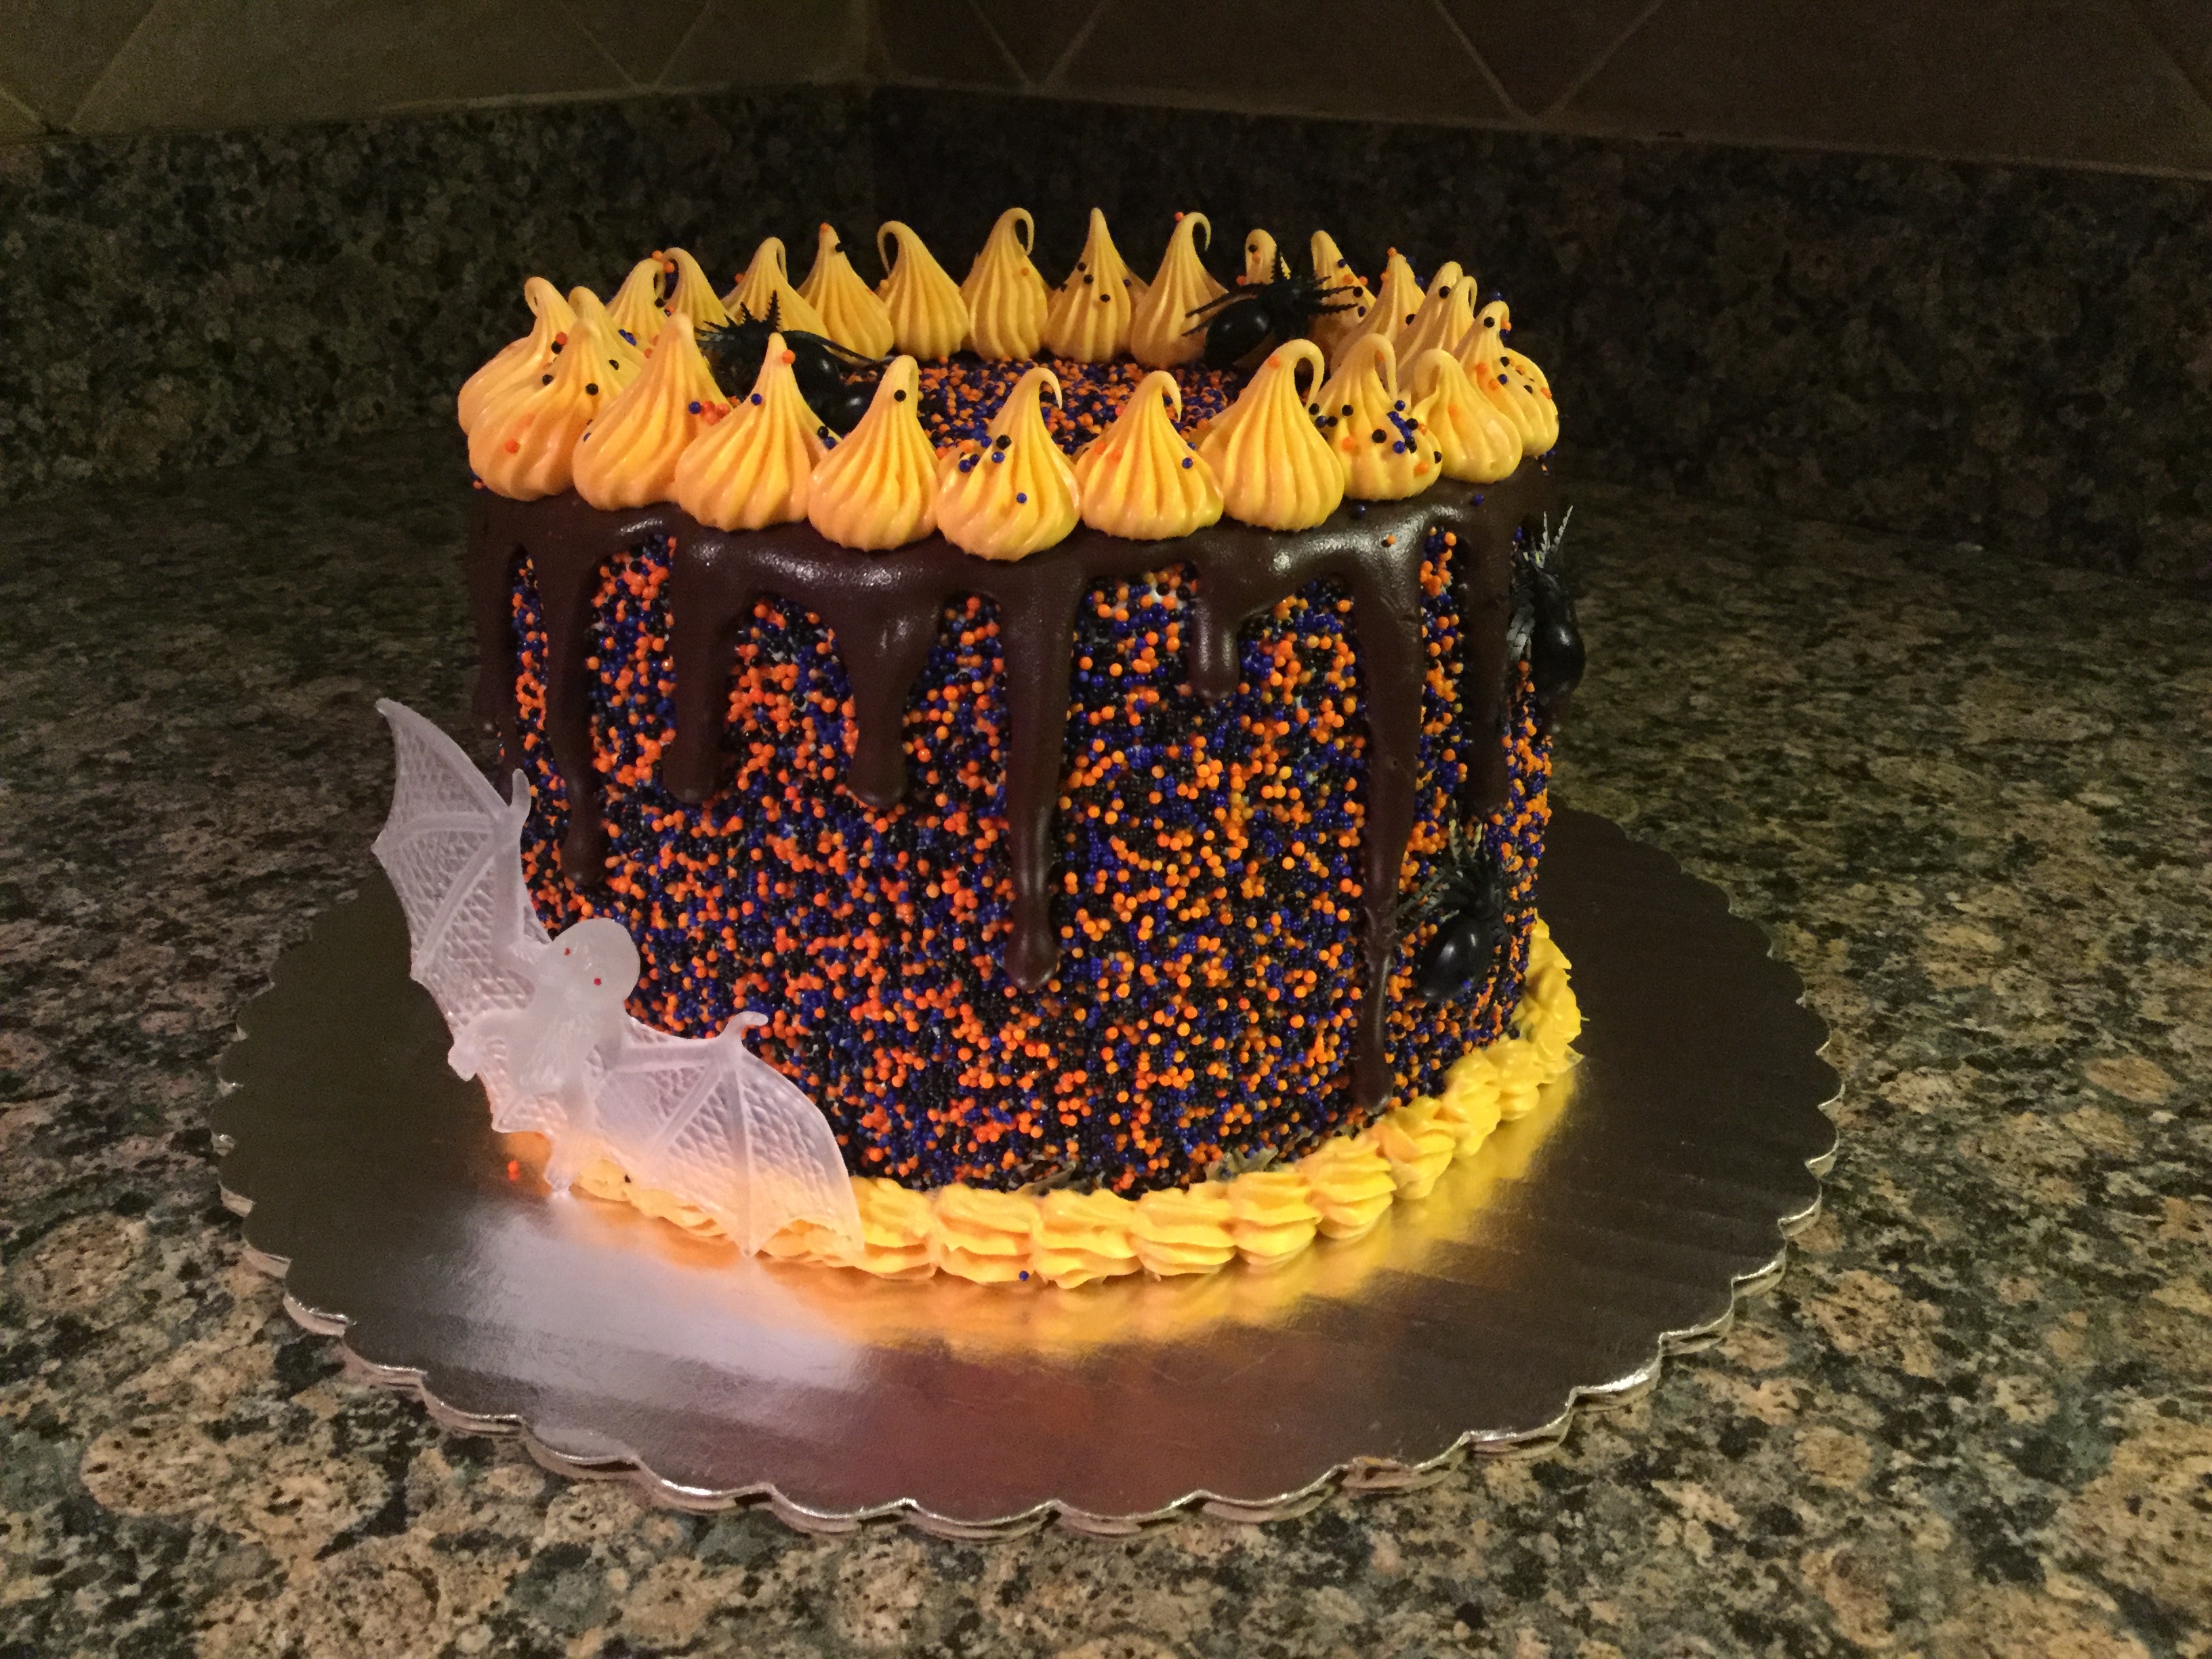
Happy Halloween! So, will any of you be dressing up today? I can’t remember the last time I dressed up. These days I prefer to dress-up my baked treats with a Halloween theme. And this year, I made a Halloween themed Sprinkle Cake. If you’re wondering, a sprinkle cake is exactly what it sounds like. A cake covered in sprinkles. What’s fun and great about them, they work for any occasion… you just have to change the color of your sprinkles and you are all set.

I started off by baking, crumb coating and frosting my cake – getting it as smooth as possible. I opted to use a box cake mix – Pillsbury’s Halloween Funfetti Cake Mix – and store bought vanilla frosting – Betty Crocker Vanilla Frosting. Since I wasn’t all that sure how many ounces of sprinkles I was going to need – I had a rough idea -and because I was planning on rolling the cake in a bed of sprinkles I opted to keep it small – 6 inches.

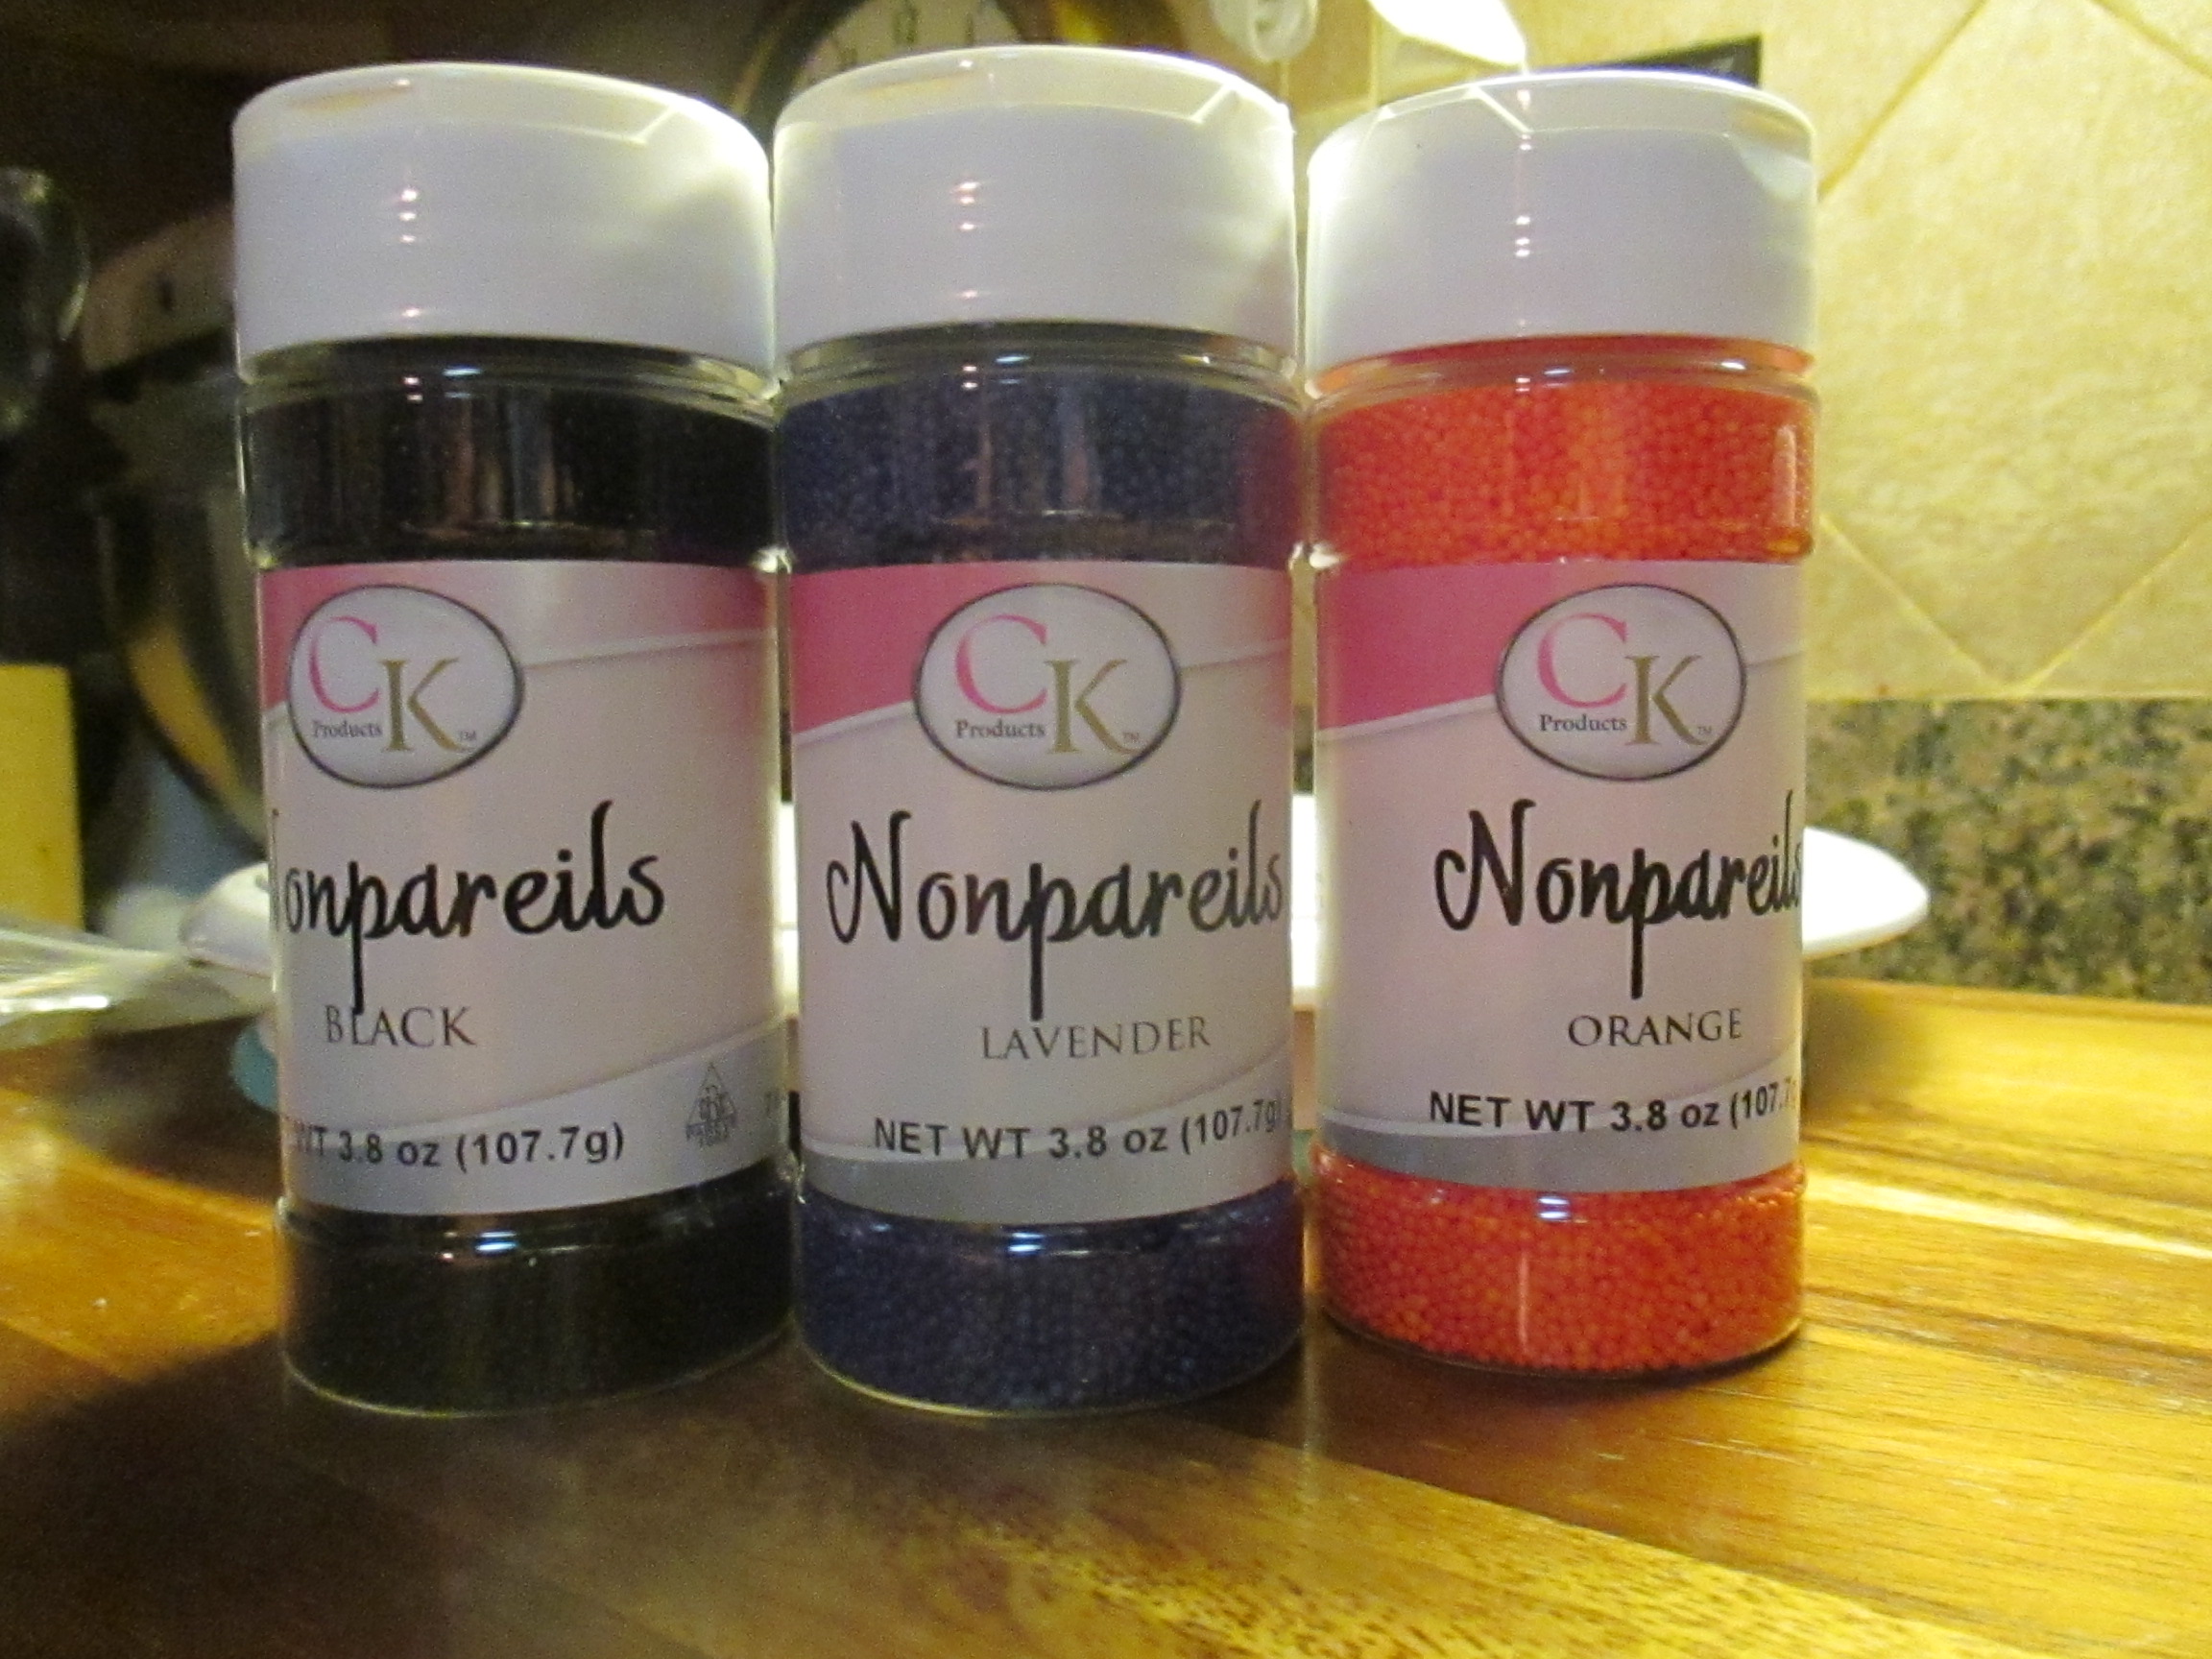
Speaking of the sprinkles… I order nonpareils – basically tiny balls of sprinkles – in purple, orange and black from NY Cake. I did a little research and they had the colors I wanted at the best price. I also ordered the green cupcake liners I used for the Cupcake Bouquet I made back in May from them. I went to their shop once in NYC and at the time I was just wandering around aimlessly looking at things. Since I decorate cakes more often now I am sure I would make the most of my next visit.
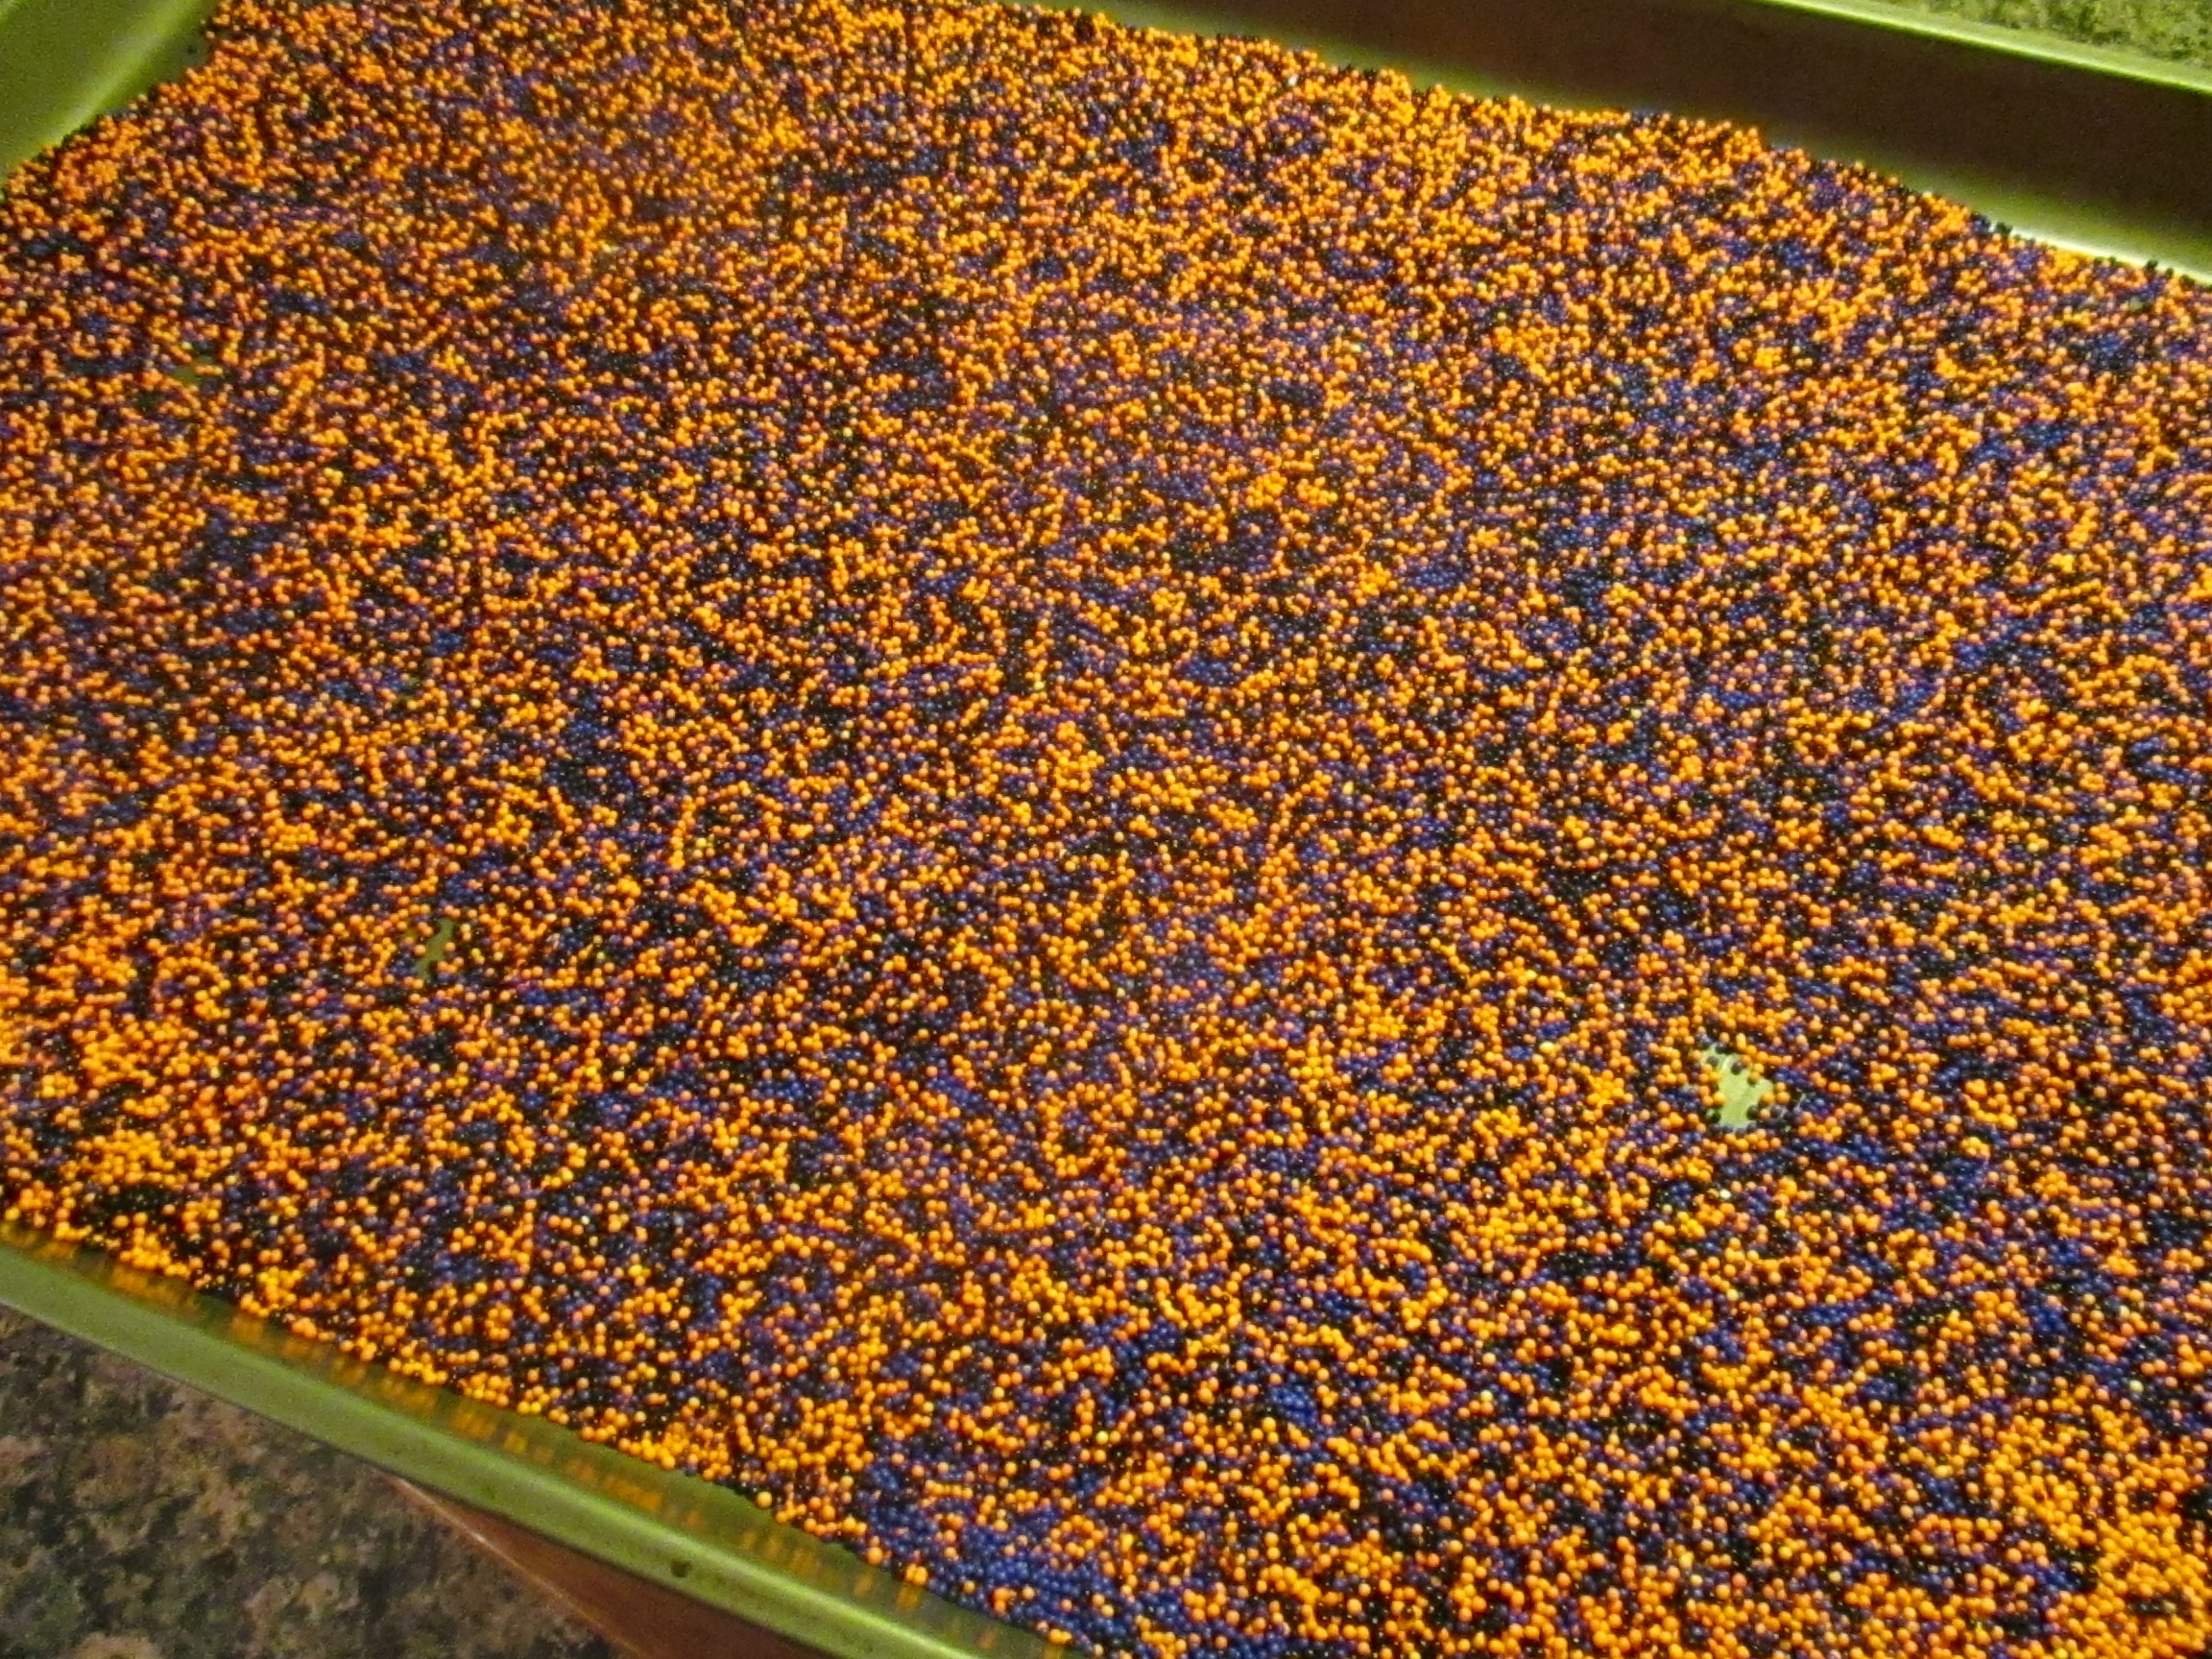
Next, I emptied the sprinkles onto a rimmed baking sheet and mixed them together. Let me just apologize now for my pictures. I need to stop baking and decorating at night and also on rainy days. Well, I can’t control the rainy days, but, I could definitely pick better times to start my baking/decorating projects.
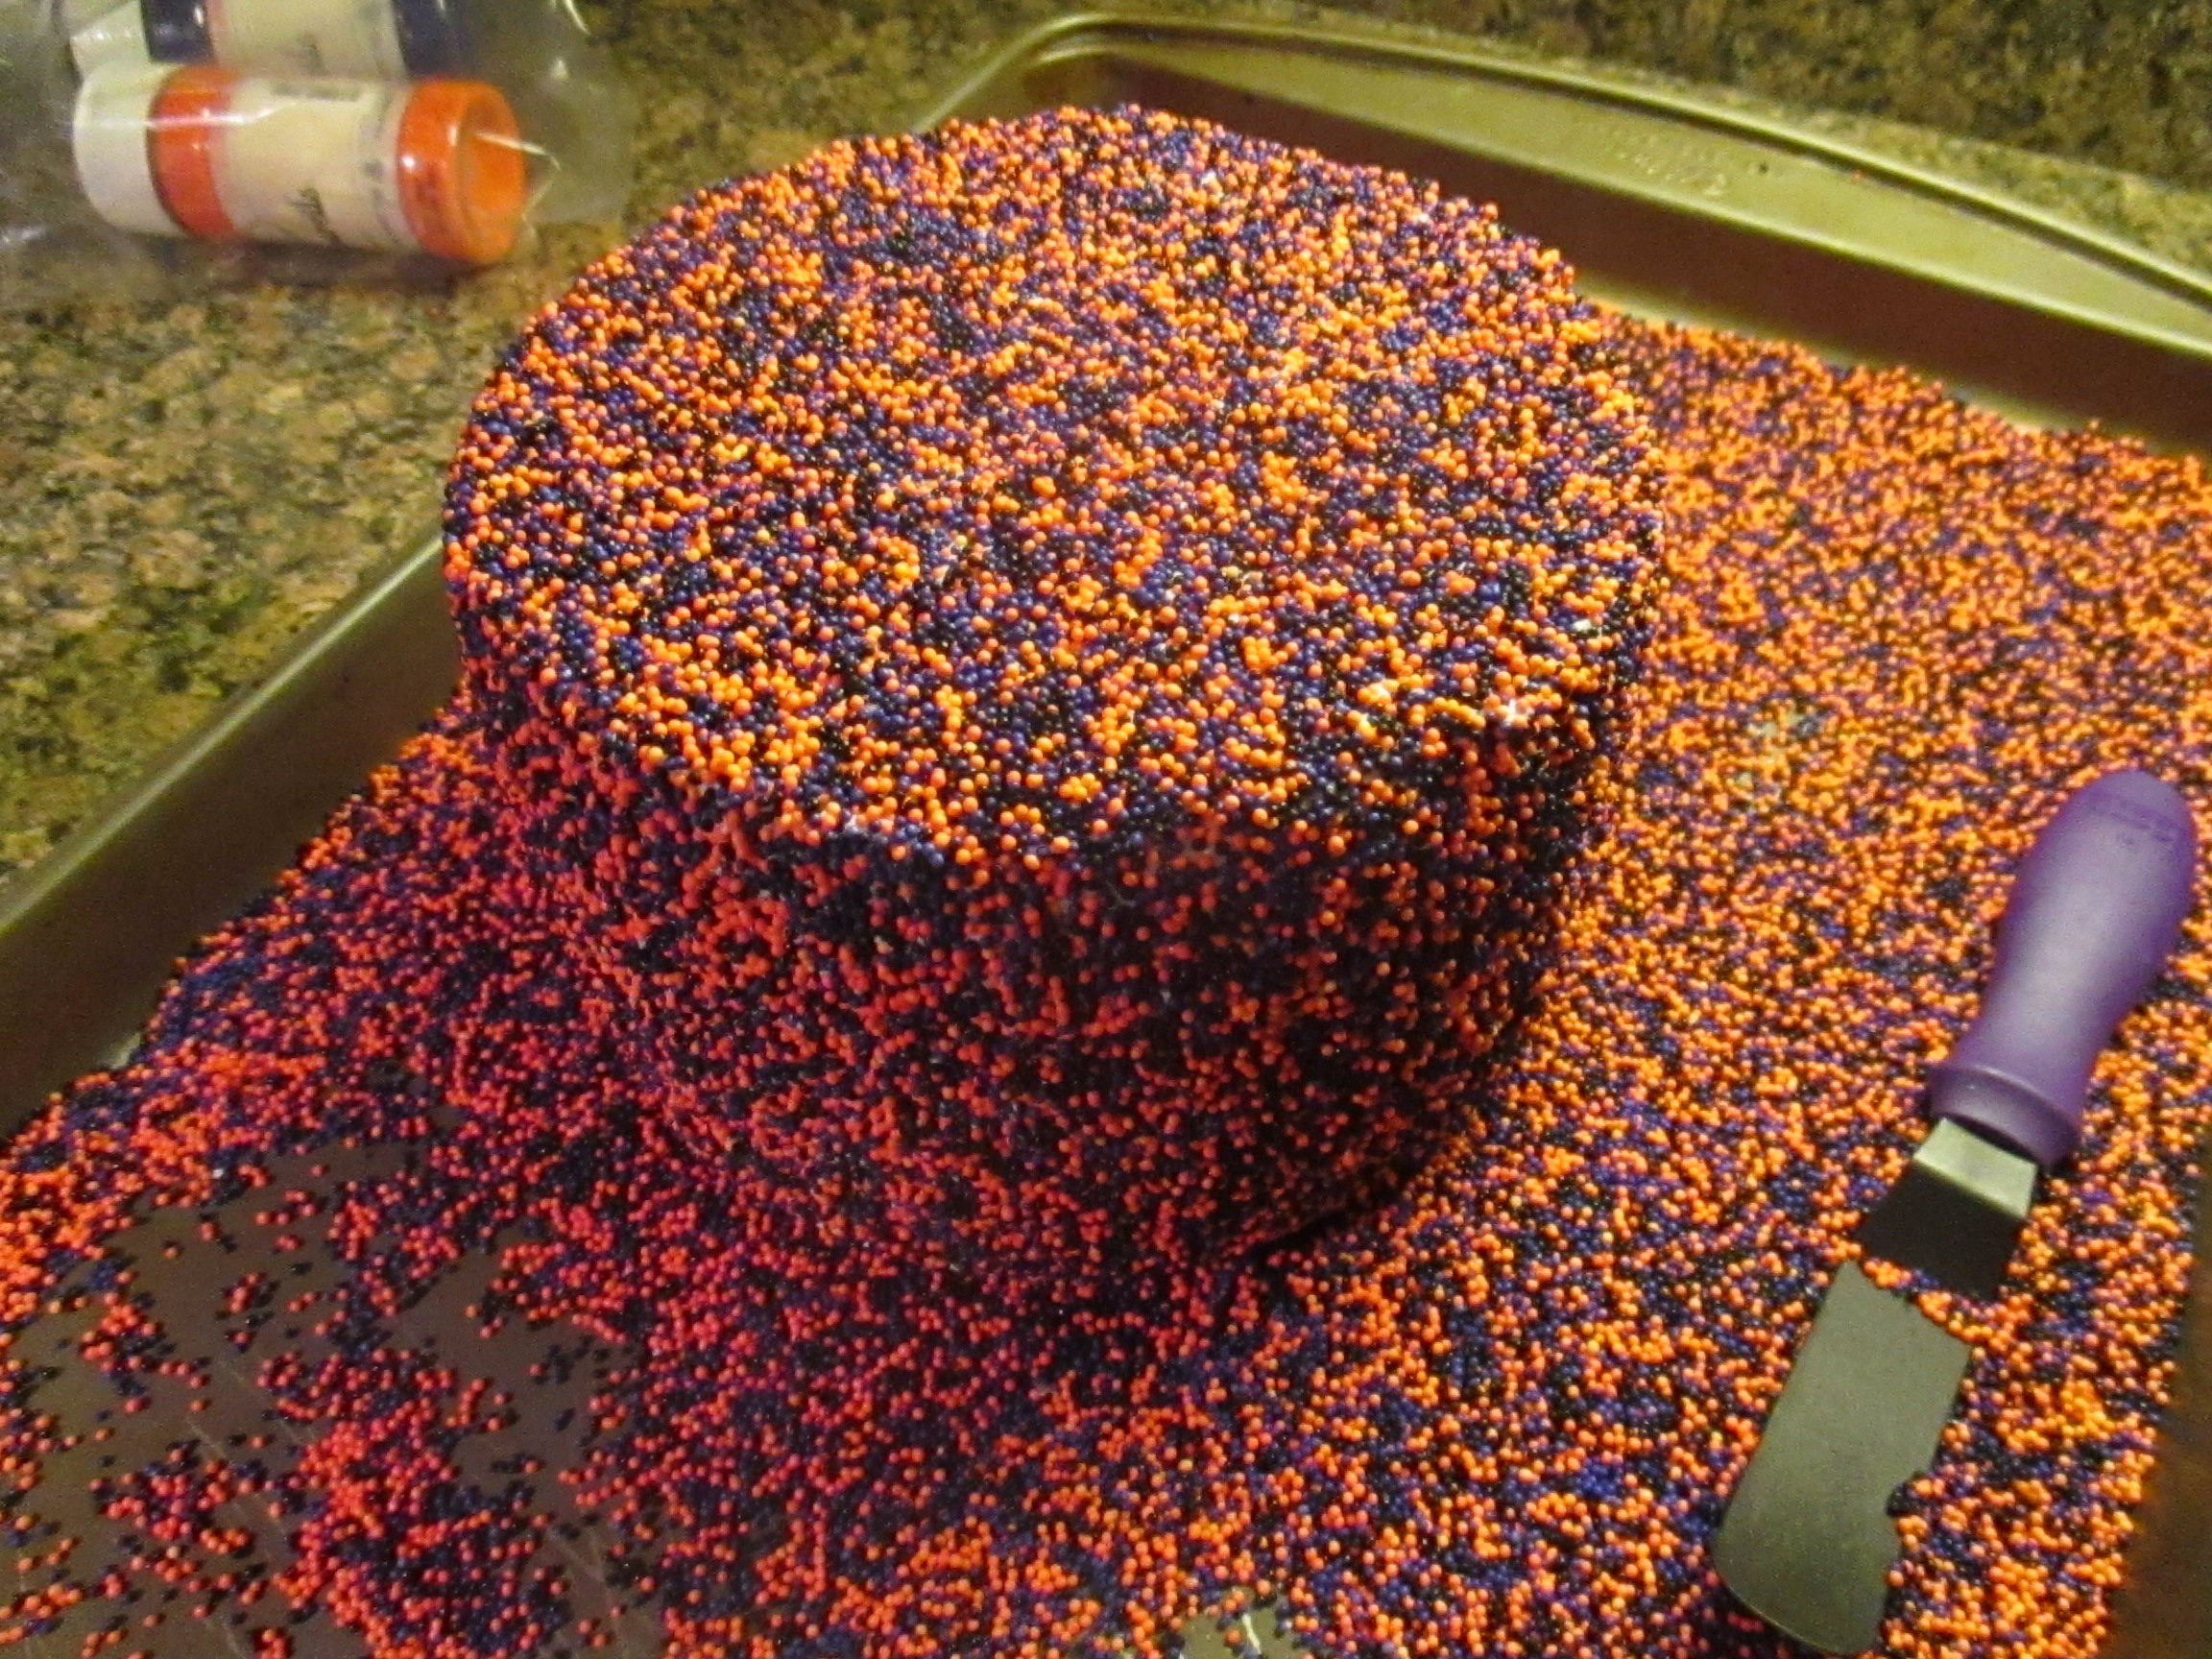
To efficiently cover the cake in sprinkles I opted to roll the cake in the sprinkles. To do so, I placed a cake board on top of the cake, as well as the bottom, and simply rolled the cake in the sprinkles back and forth until it was covered. I used a spoon to cover any small spots I may have missed. To cover the top, I carefully removed the cake board and spread more frosting on it and poured handfuls of the sprinkles over it. To remove any excess sprinkles, I carefully tilted the cake to the side and tapped the bottom cake board so they could fall off.
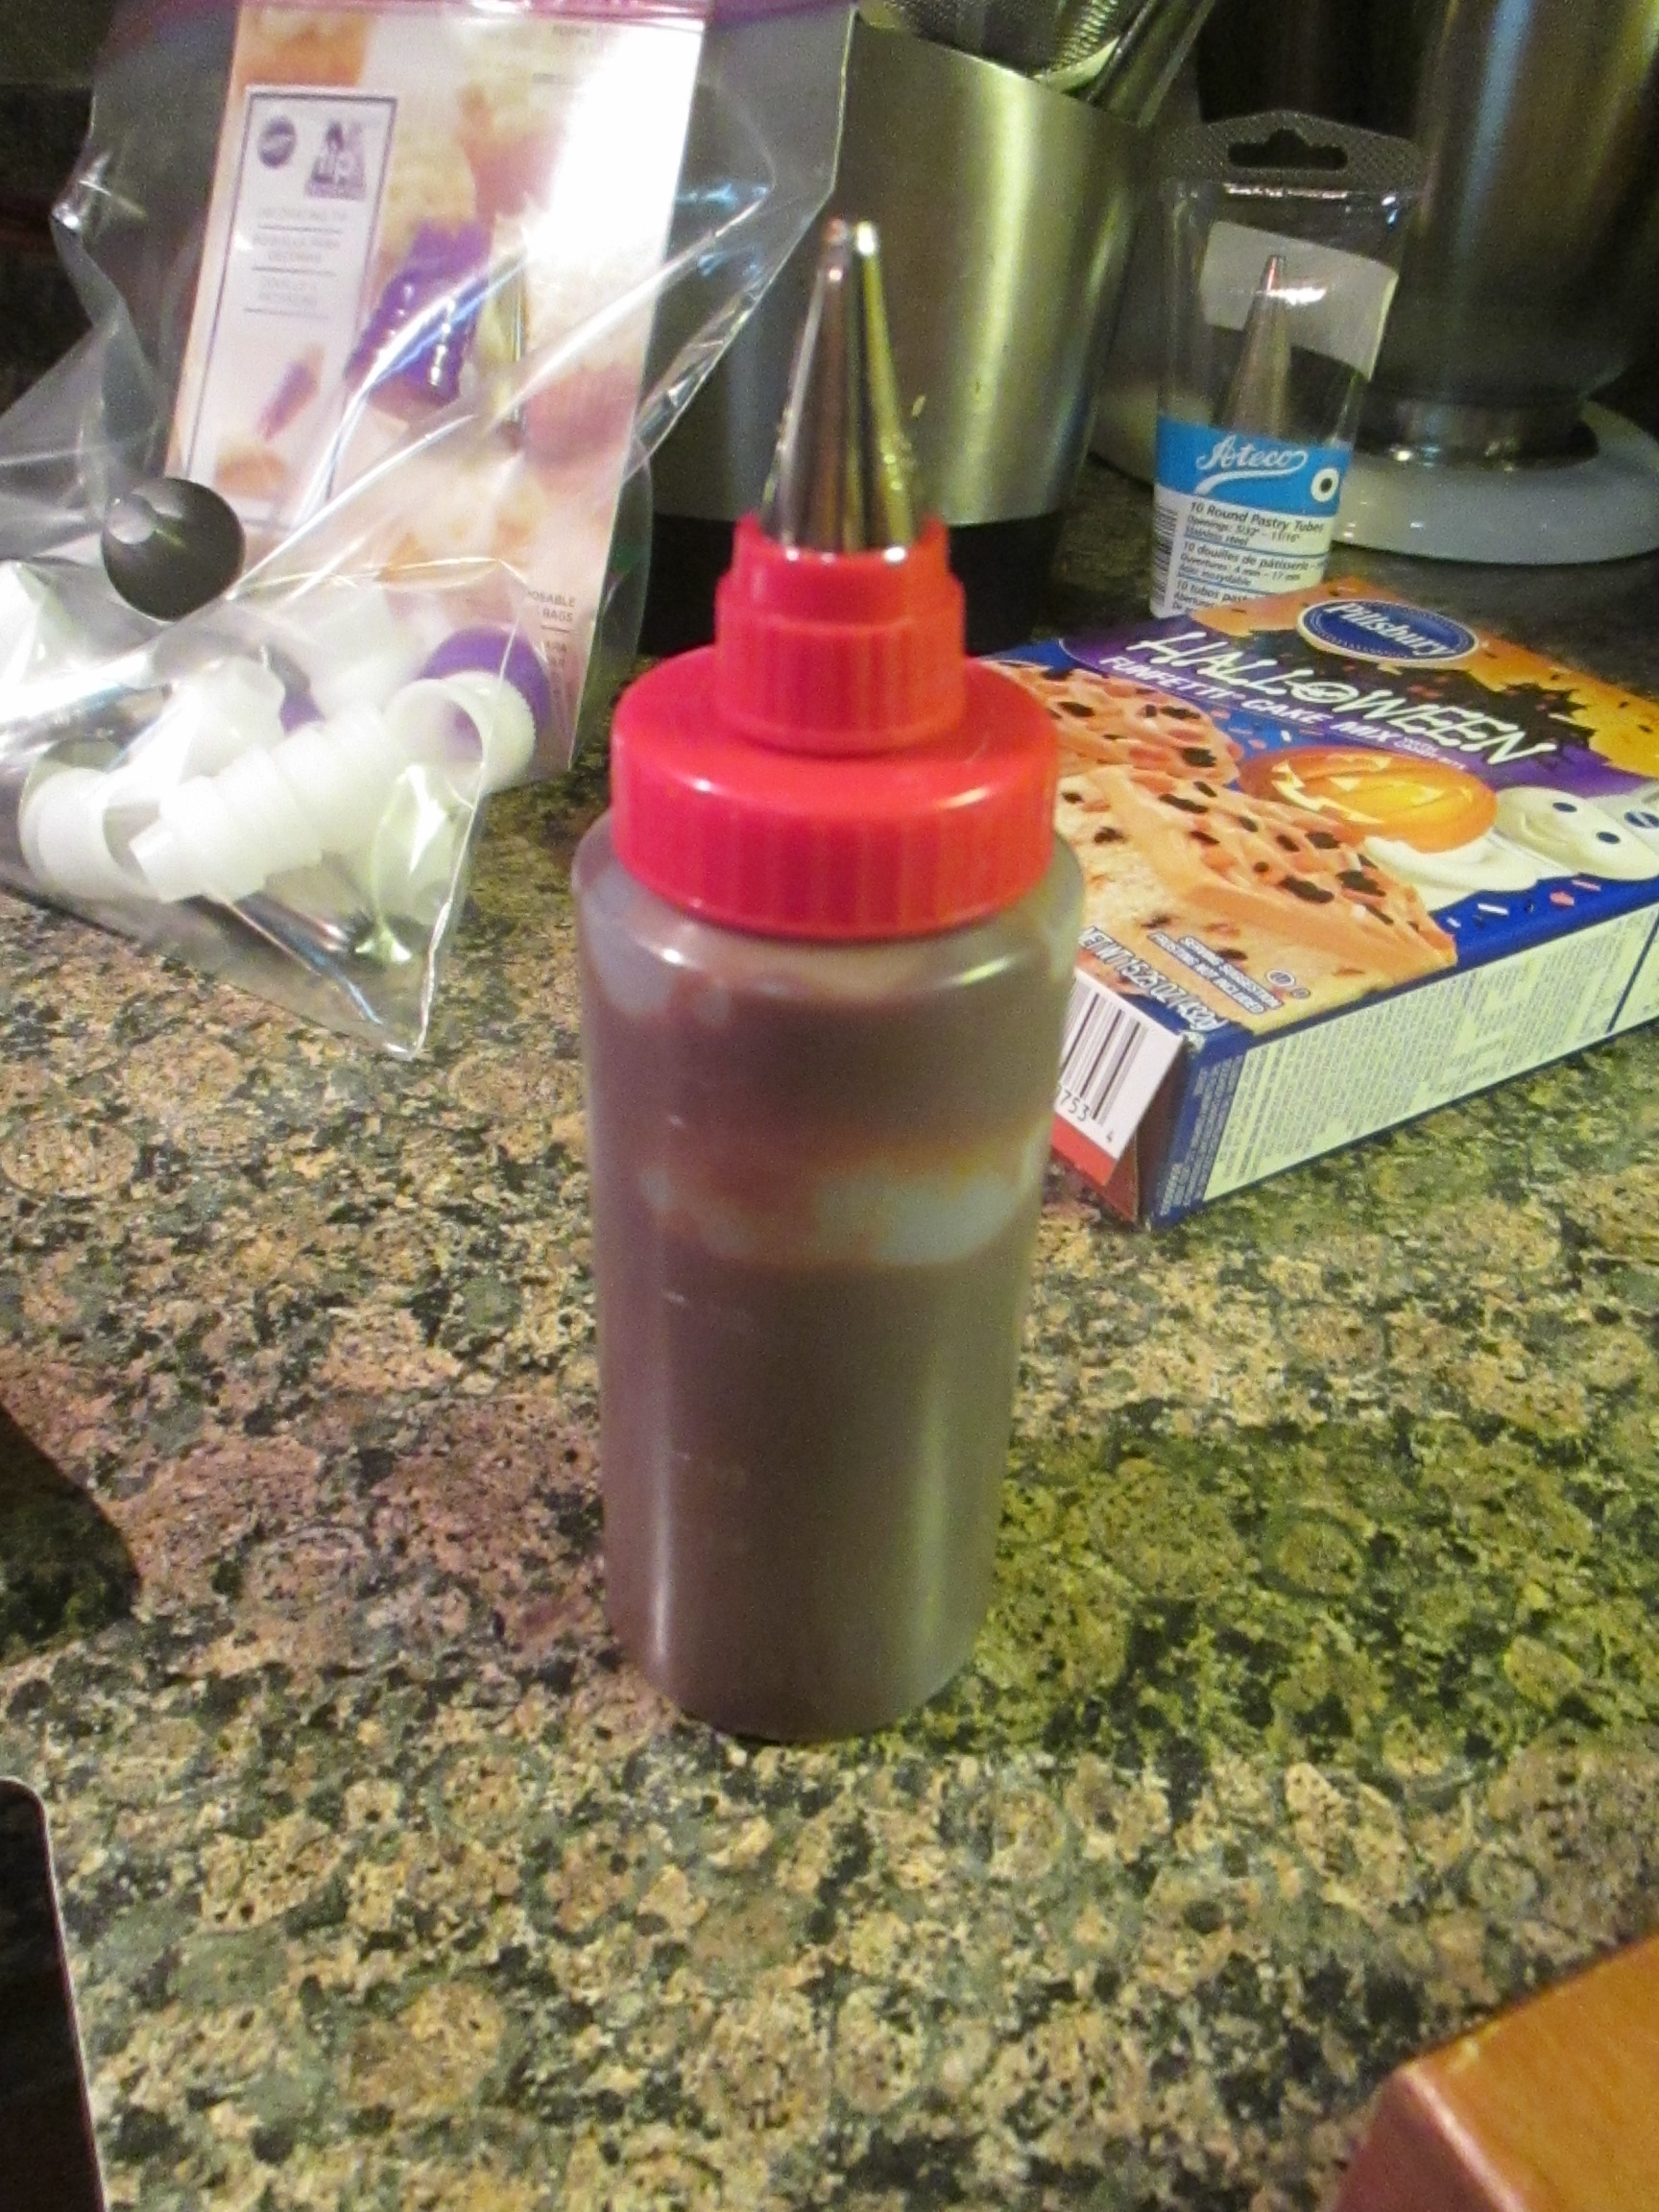
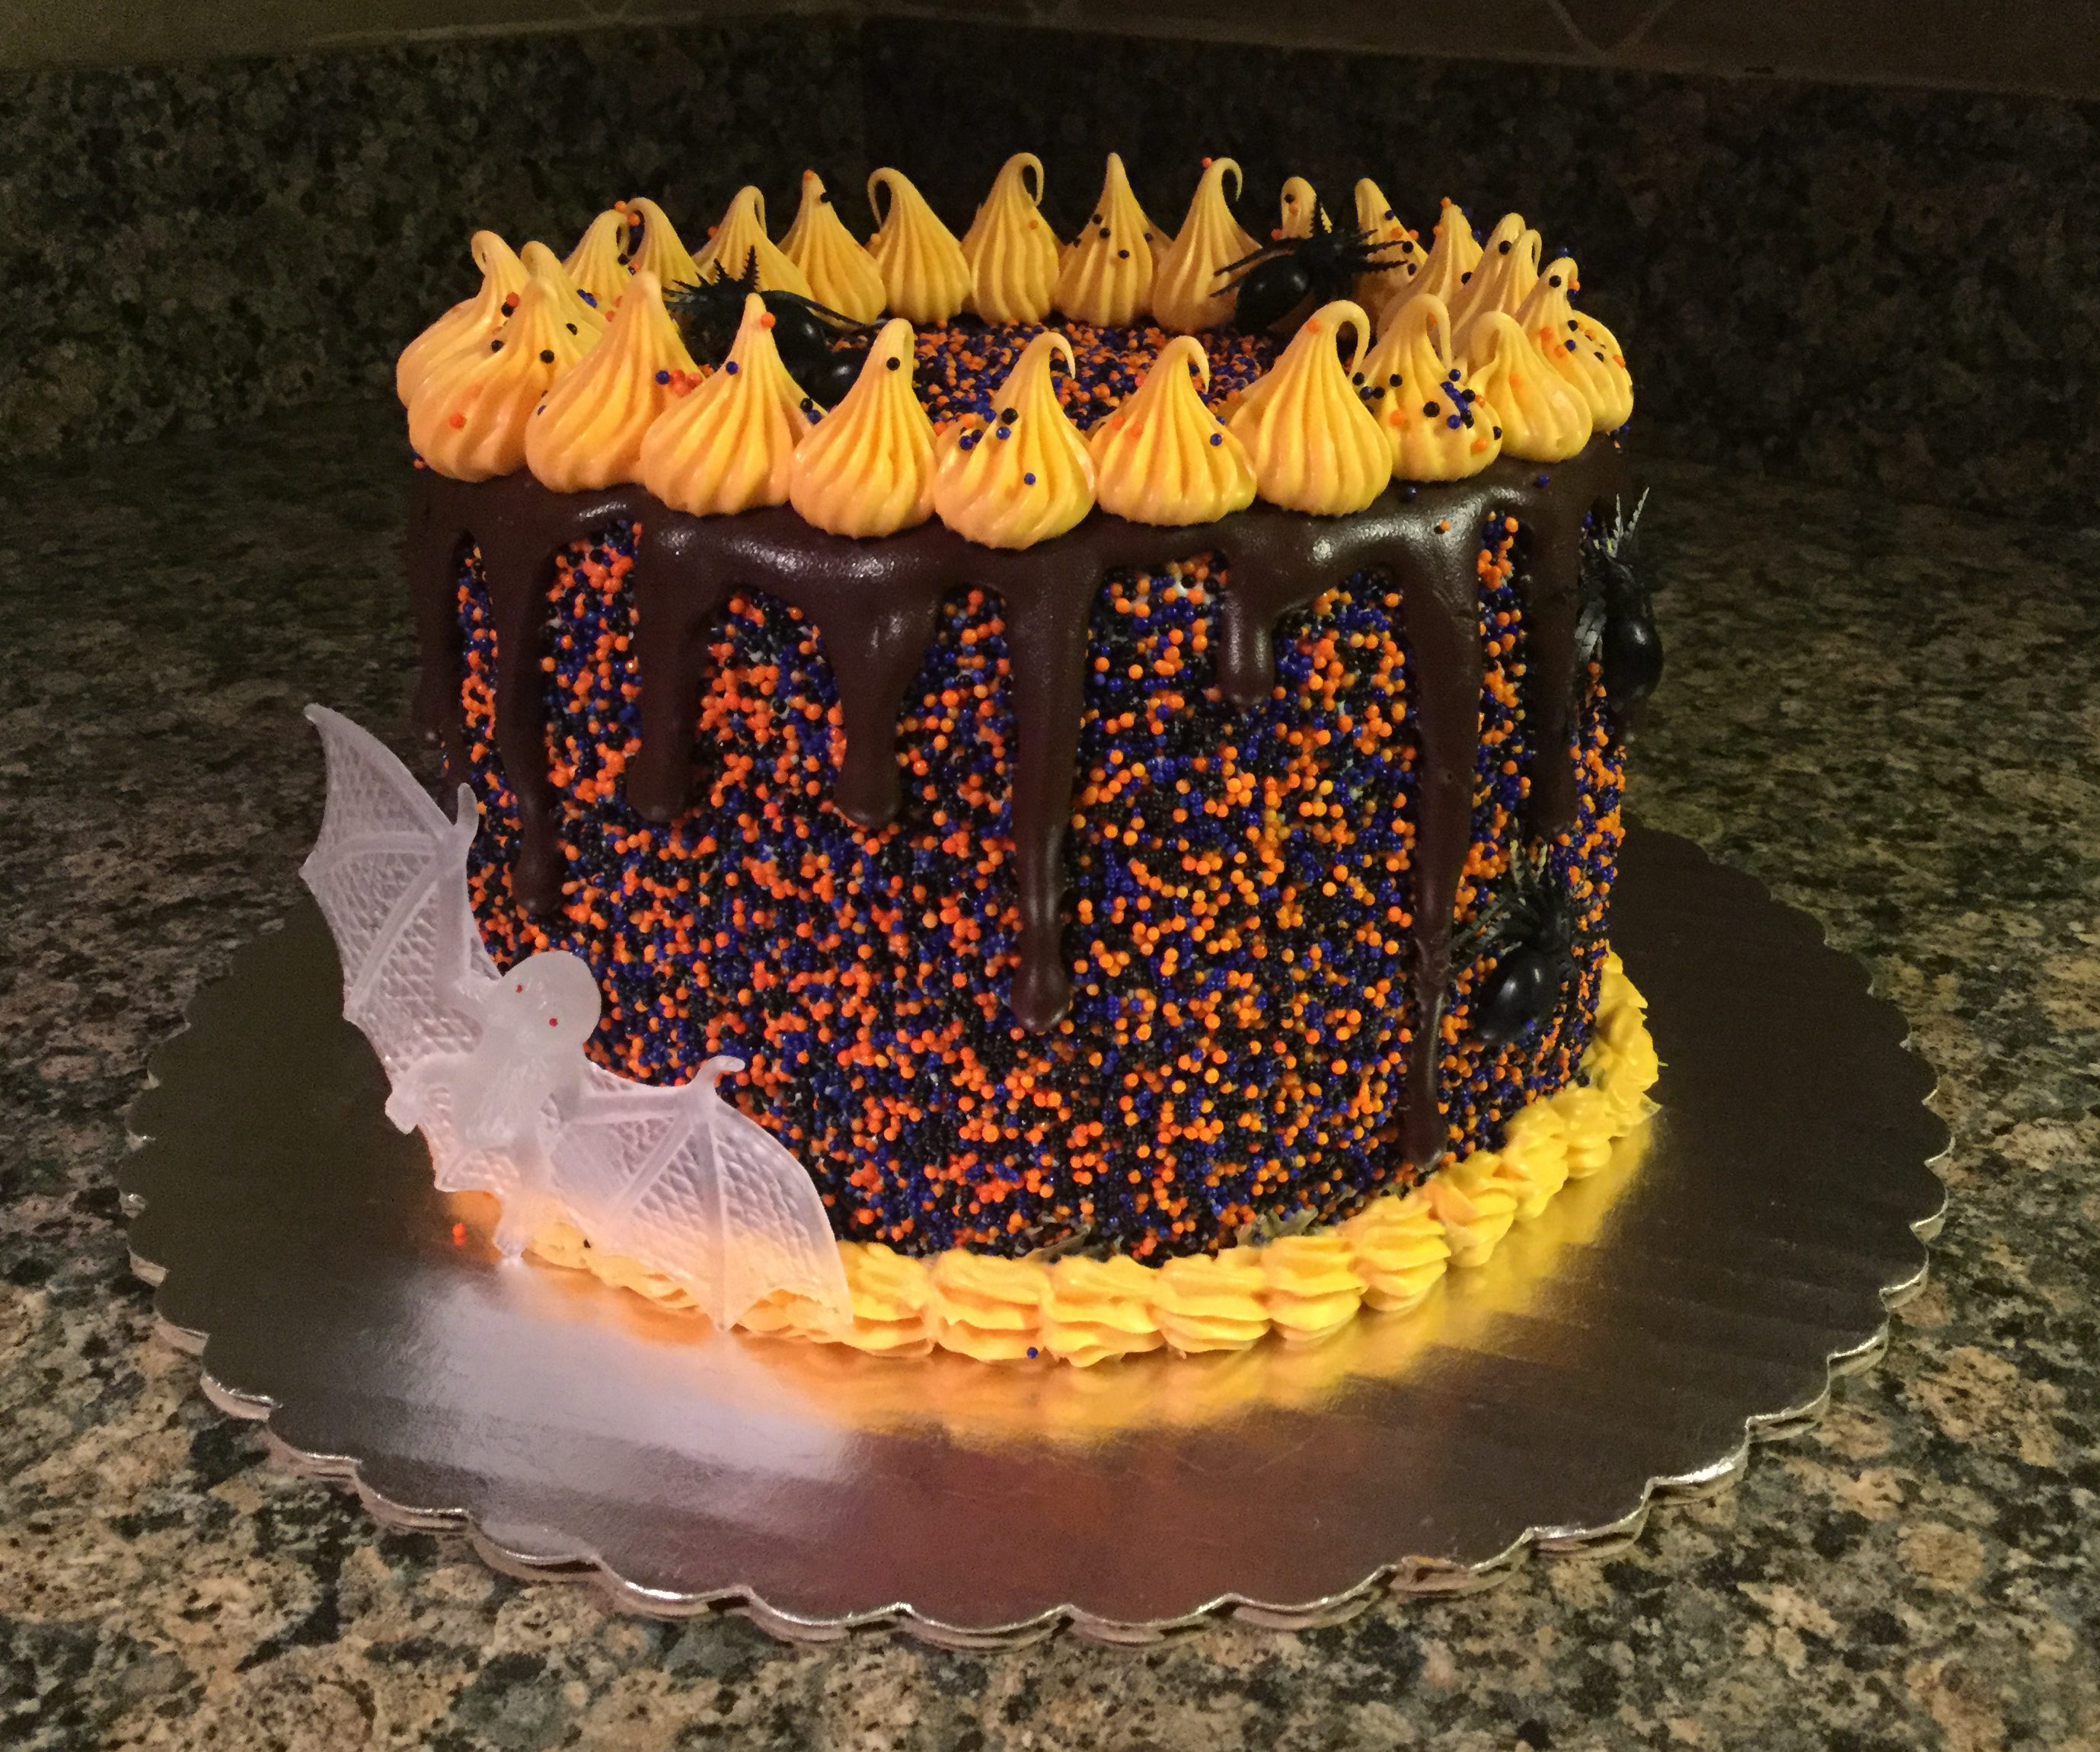
Now it was time for a little more decorating. I’ve been seeing a lot of cakes on Instagram with a chocolate drizzle and I have been wanting to try it myself. I decided that this cake would be perfect for that. I made a chocolate ganache – the same one I made for the Pumpkin Crepe Cake – and poured it into a decorating bottle. I let the ganache sit for a few minutes so it would thicken up but still be pourable. You don’t want to pour it too soon or you’ll end up with a runny mess on your cake. I put it in a decorating bottle because I was only planning on decorating the edges of the cake and the sides, but, if you want to cover the entire top of the cake you could pour the ganache in the middle of cake and then use an offset spatula to smooth it out and let it drip down the sides.
After that, I tinted some of the remaining vanilla frosting a light orange color and piped a border around the bottom of the cake and used a large star tip to decorate the top. And finally placed a bat and a few creepy crawlers – spiders – on the cake for a final touch.
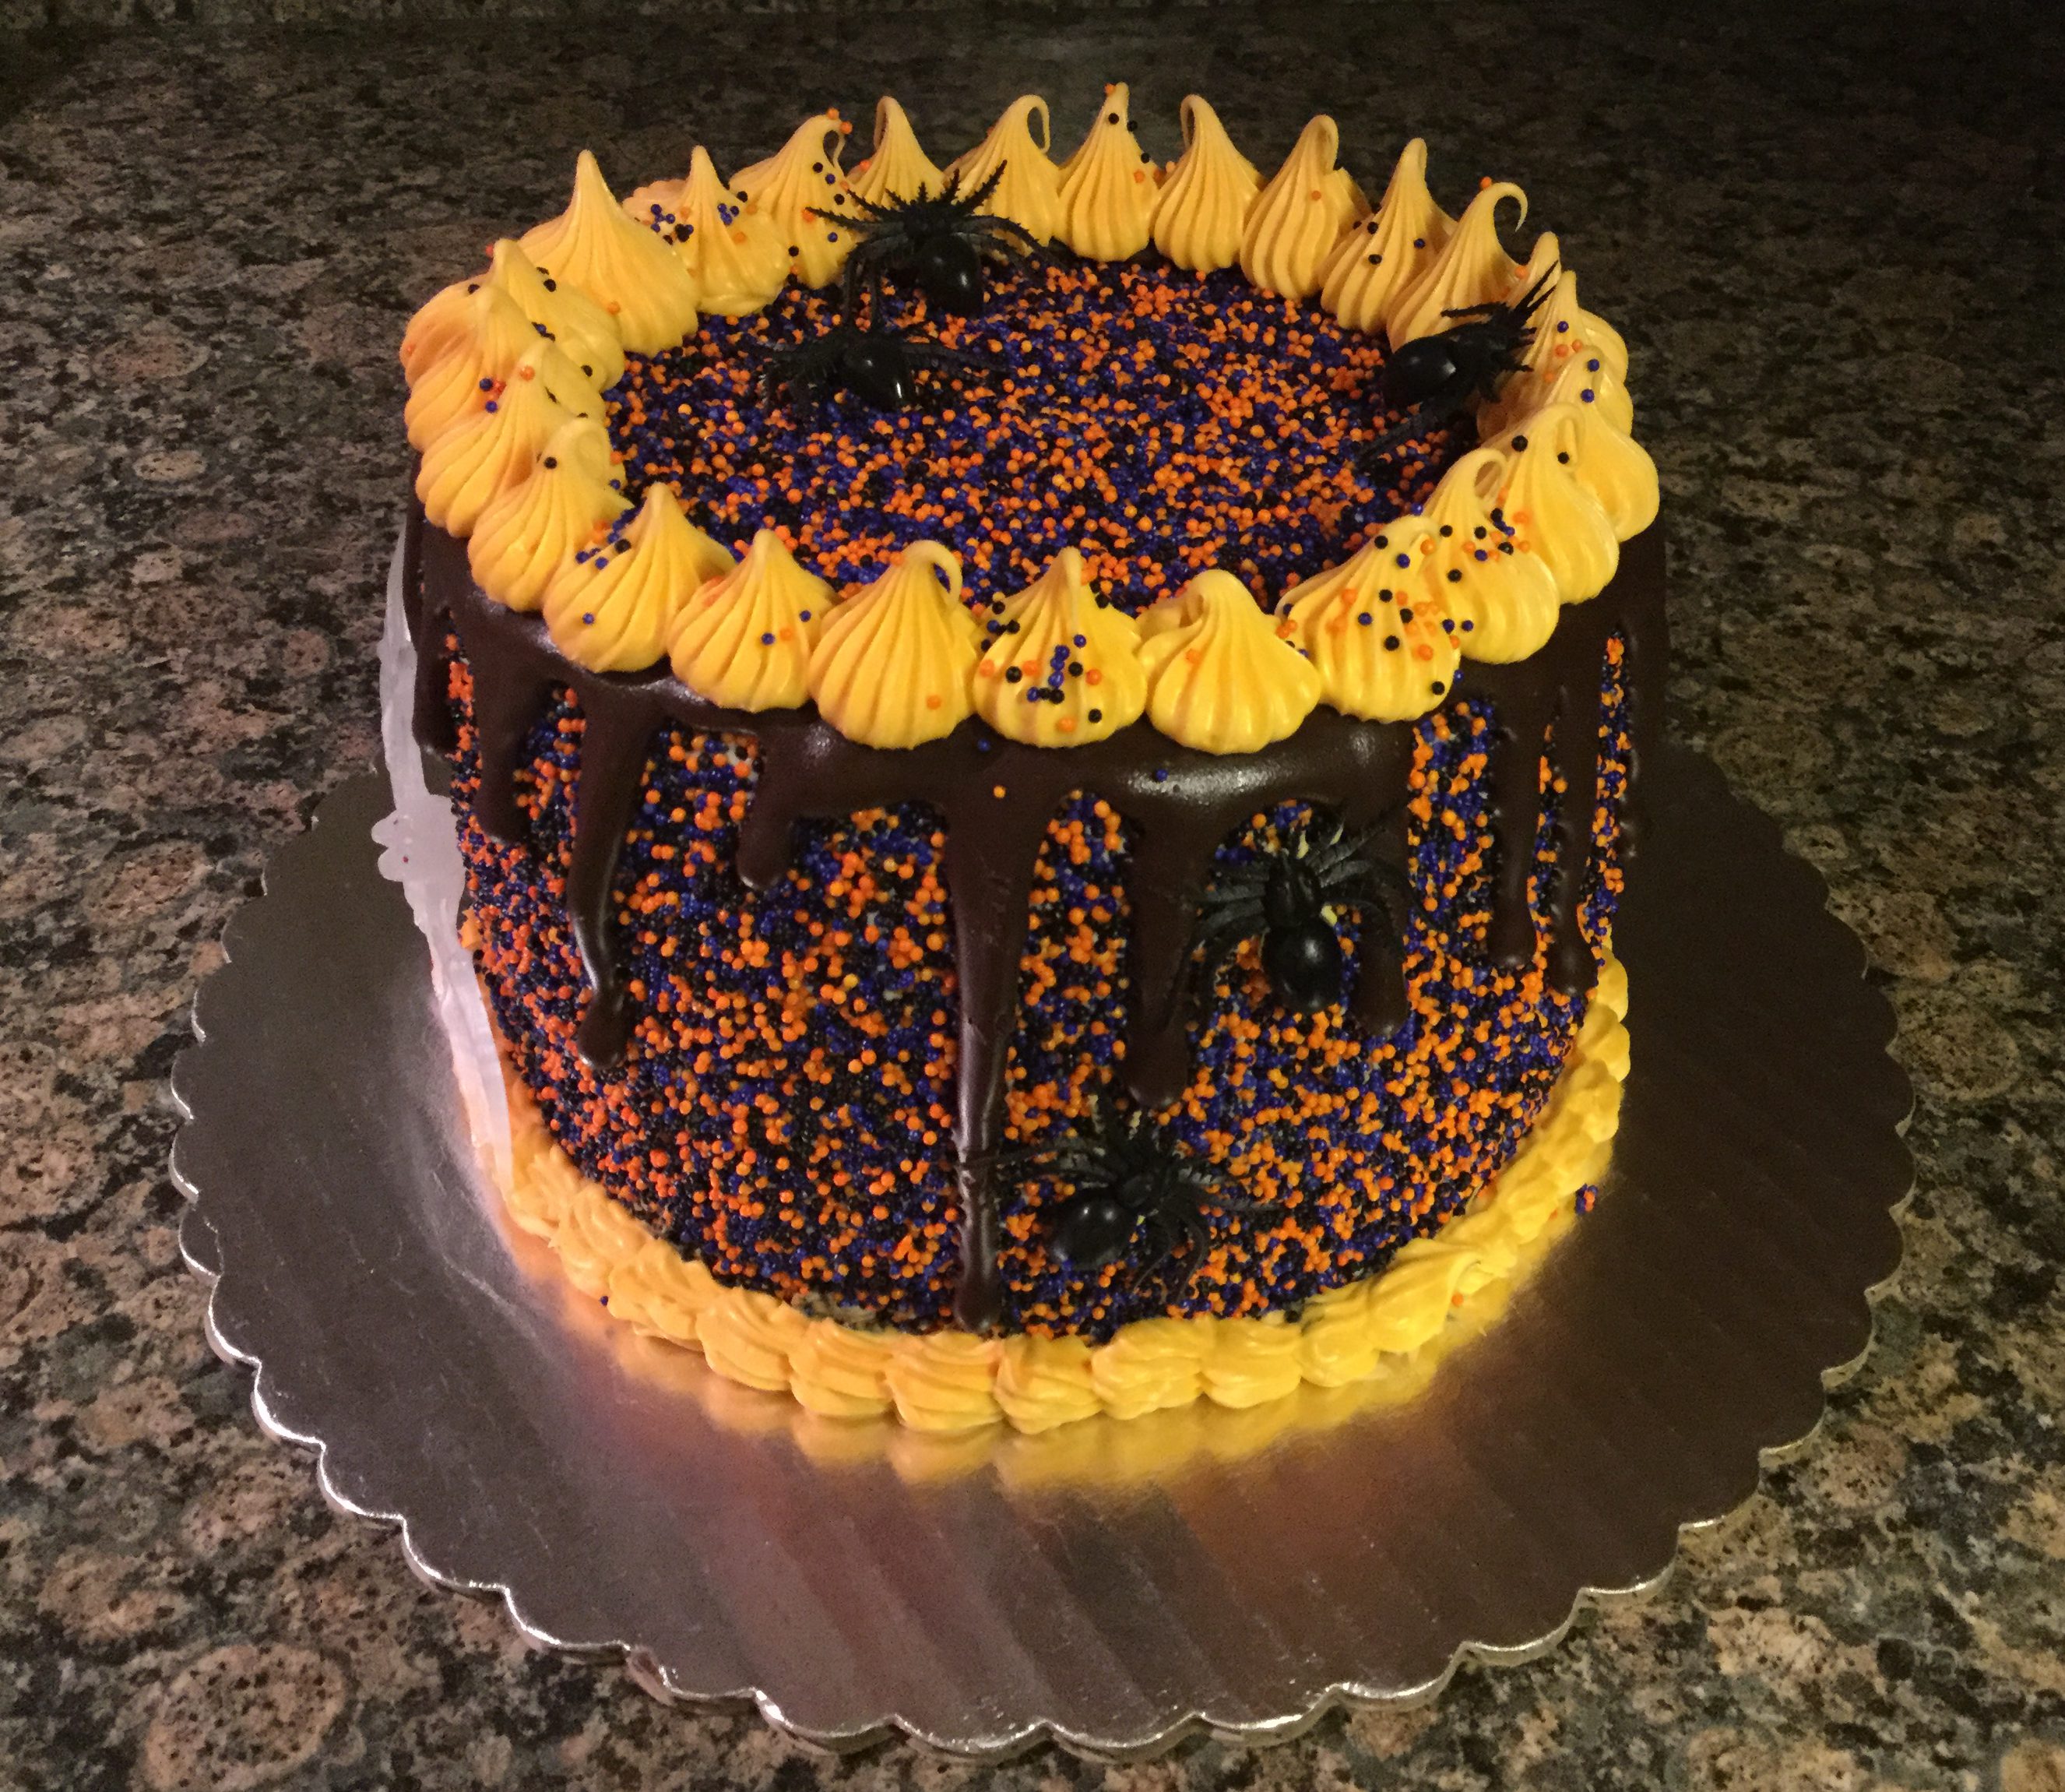
I love how this cake came out! I can’t wait to make another one with a completely different theme.
Happy Halloween!
