I bought a bag of sweetened shredded coconut a while back and kept changing my mind as to what I wanted to make with it. Initially I bought it to make Coconut Macaroons for Easter, but, after making a Carrot Cake I opted not to make them. I then came across a recipe for Coconut Almond Macaroons that sounded yummy, but, I soon changed my mind on making them. And then I saw a recipe for an Apricot Coconut Cake that sounded amazing, but, while flipping through my recipe binder I discovered a Coconut Cupcake with Cream Cheese Icing recipe that I had ripped out from the September 2012 issue of Food Network Magazine and I immediately settled on what I wanted to use that bag of shredded coconut for.
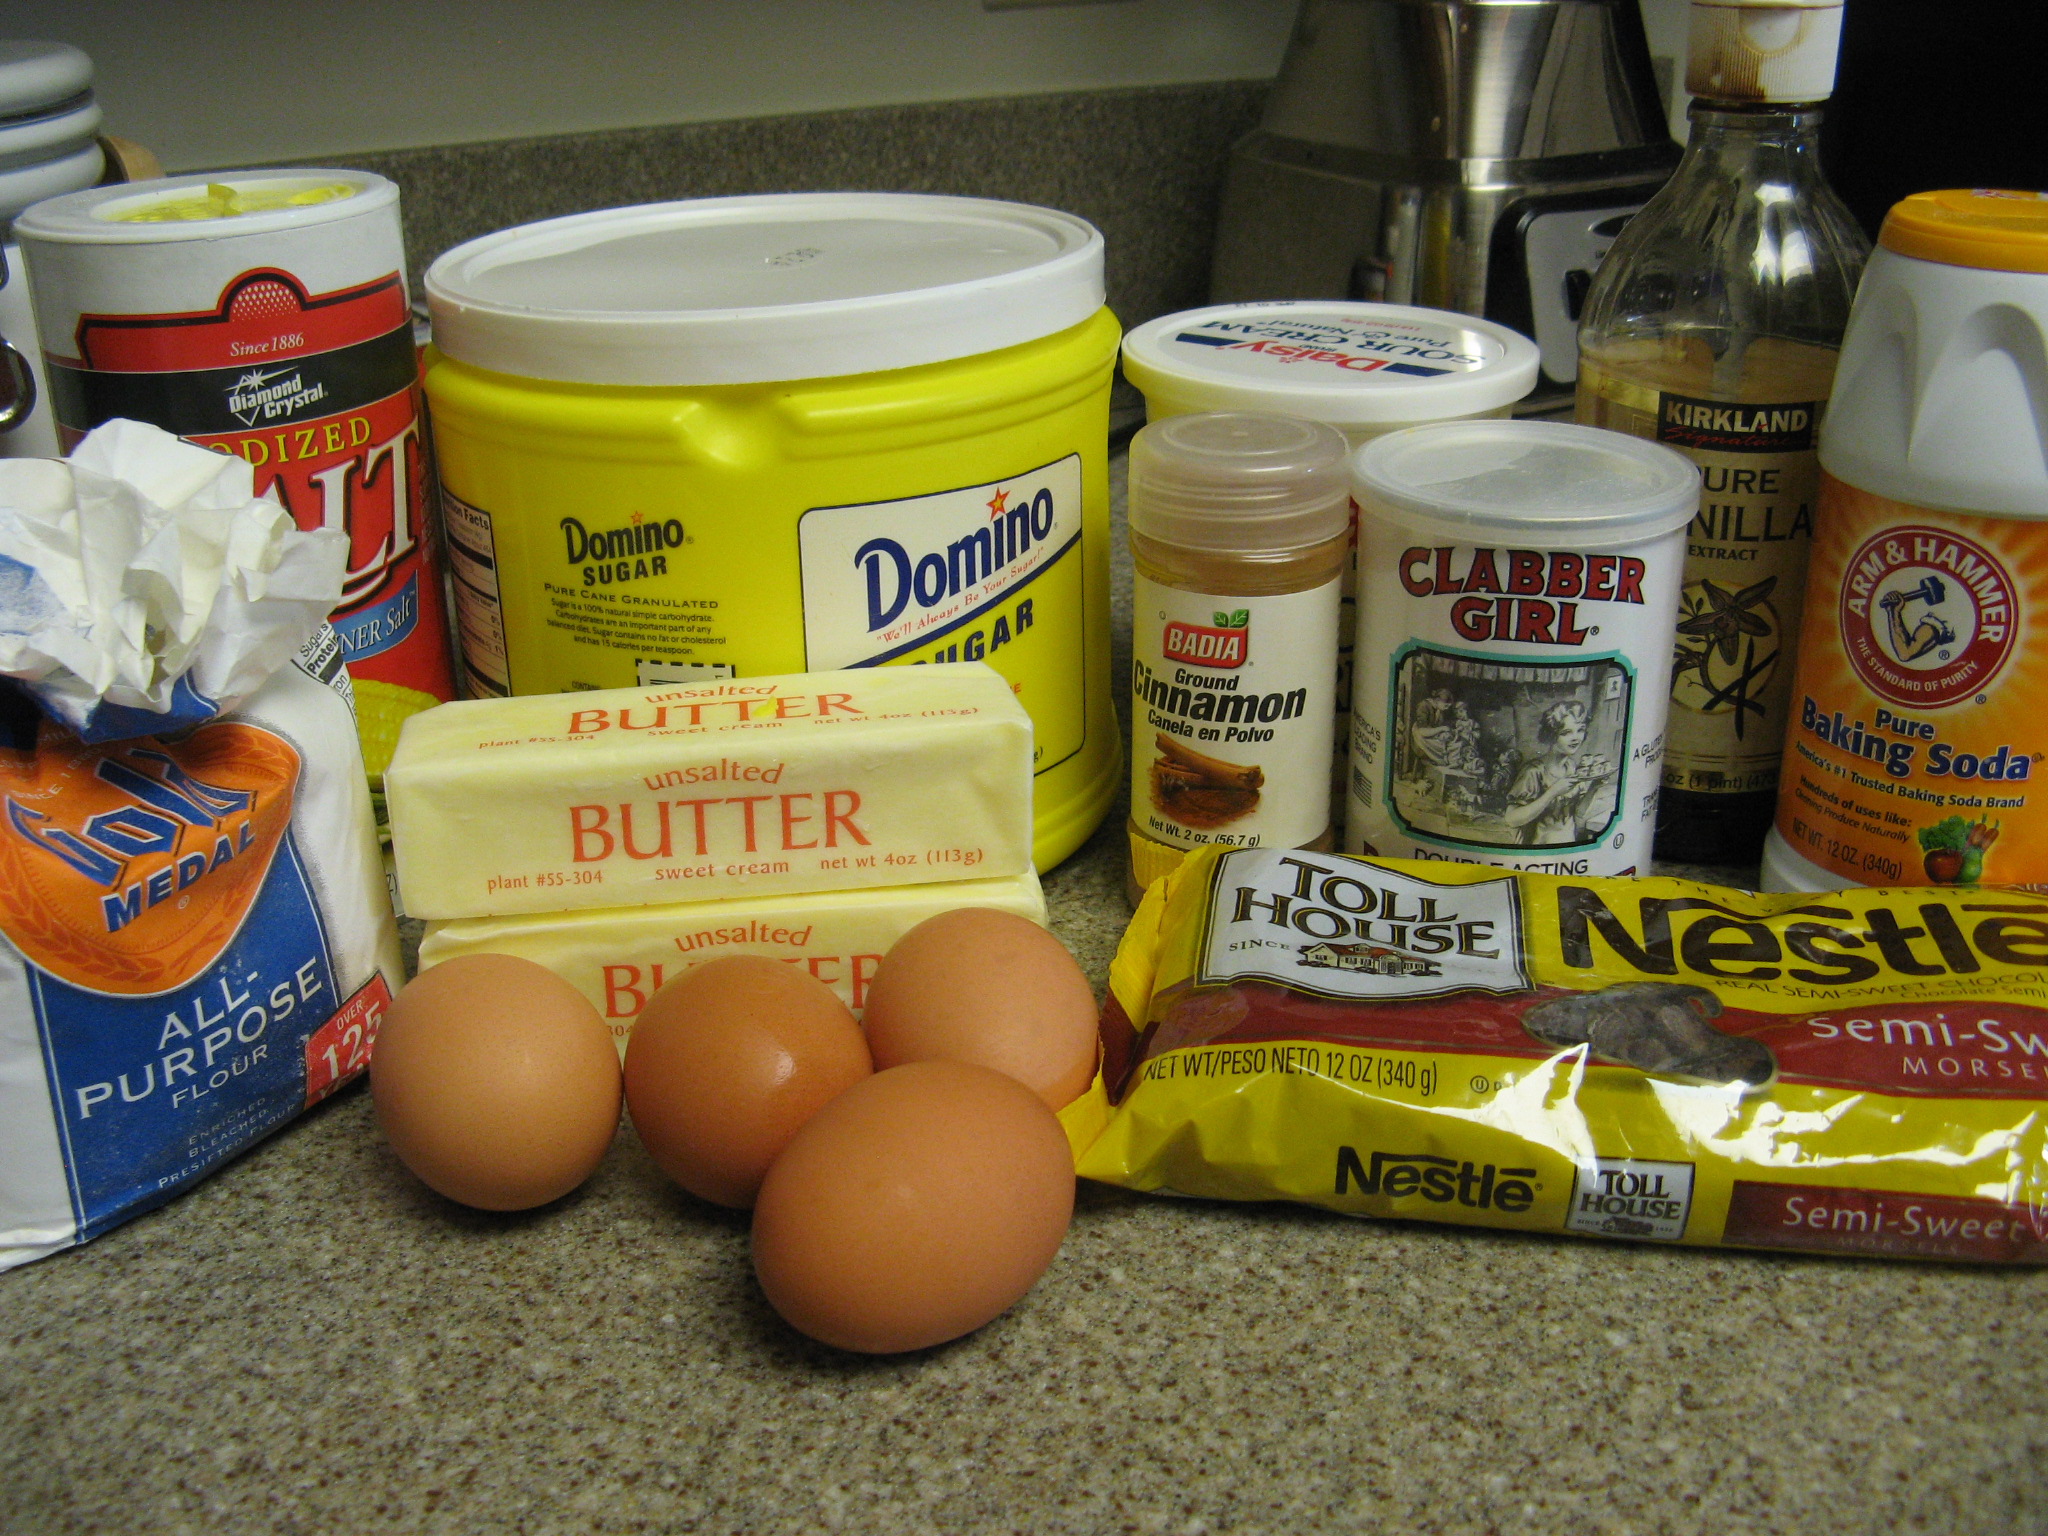
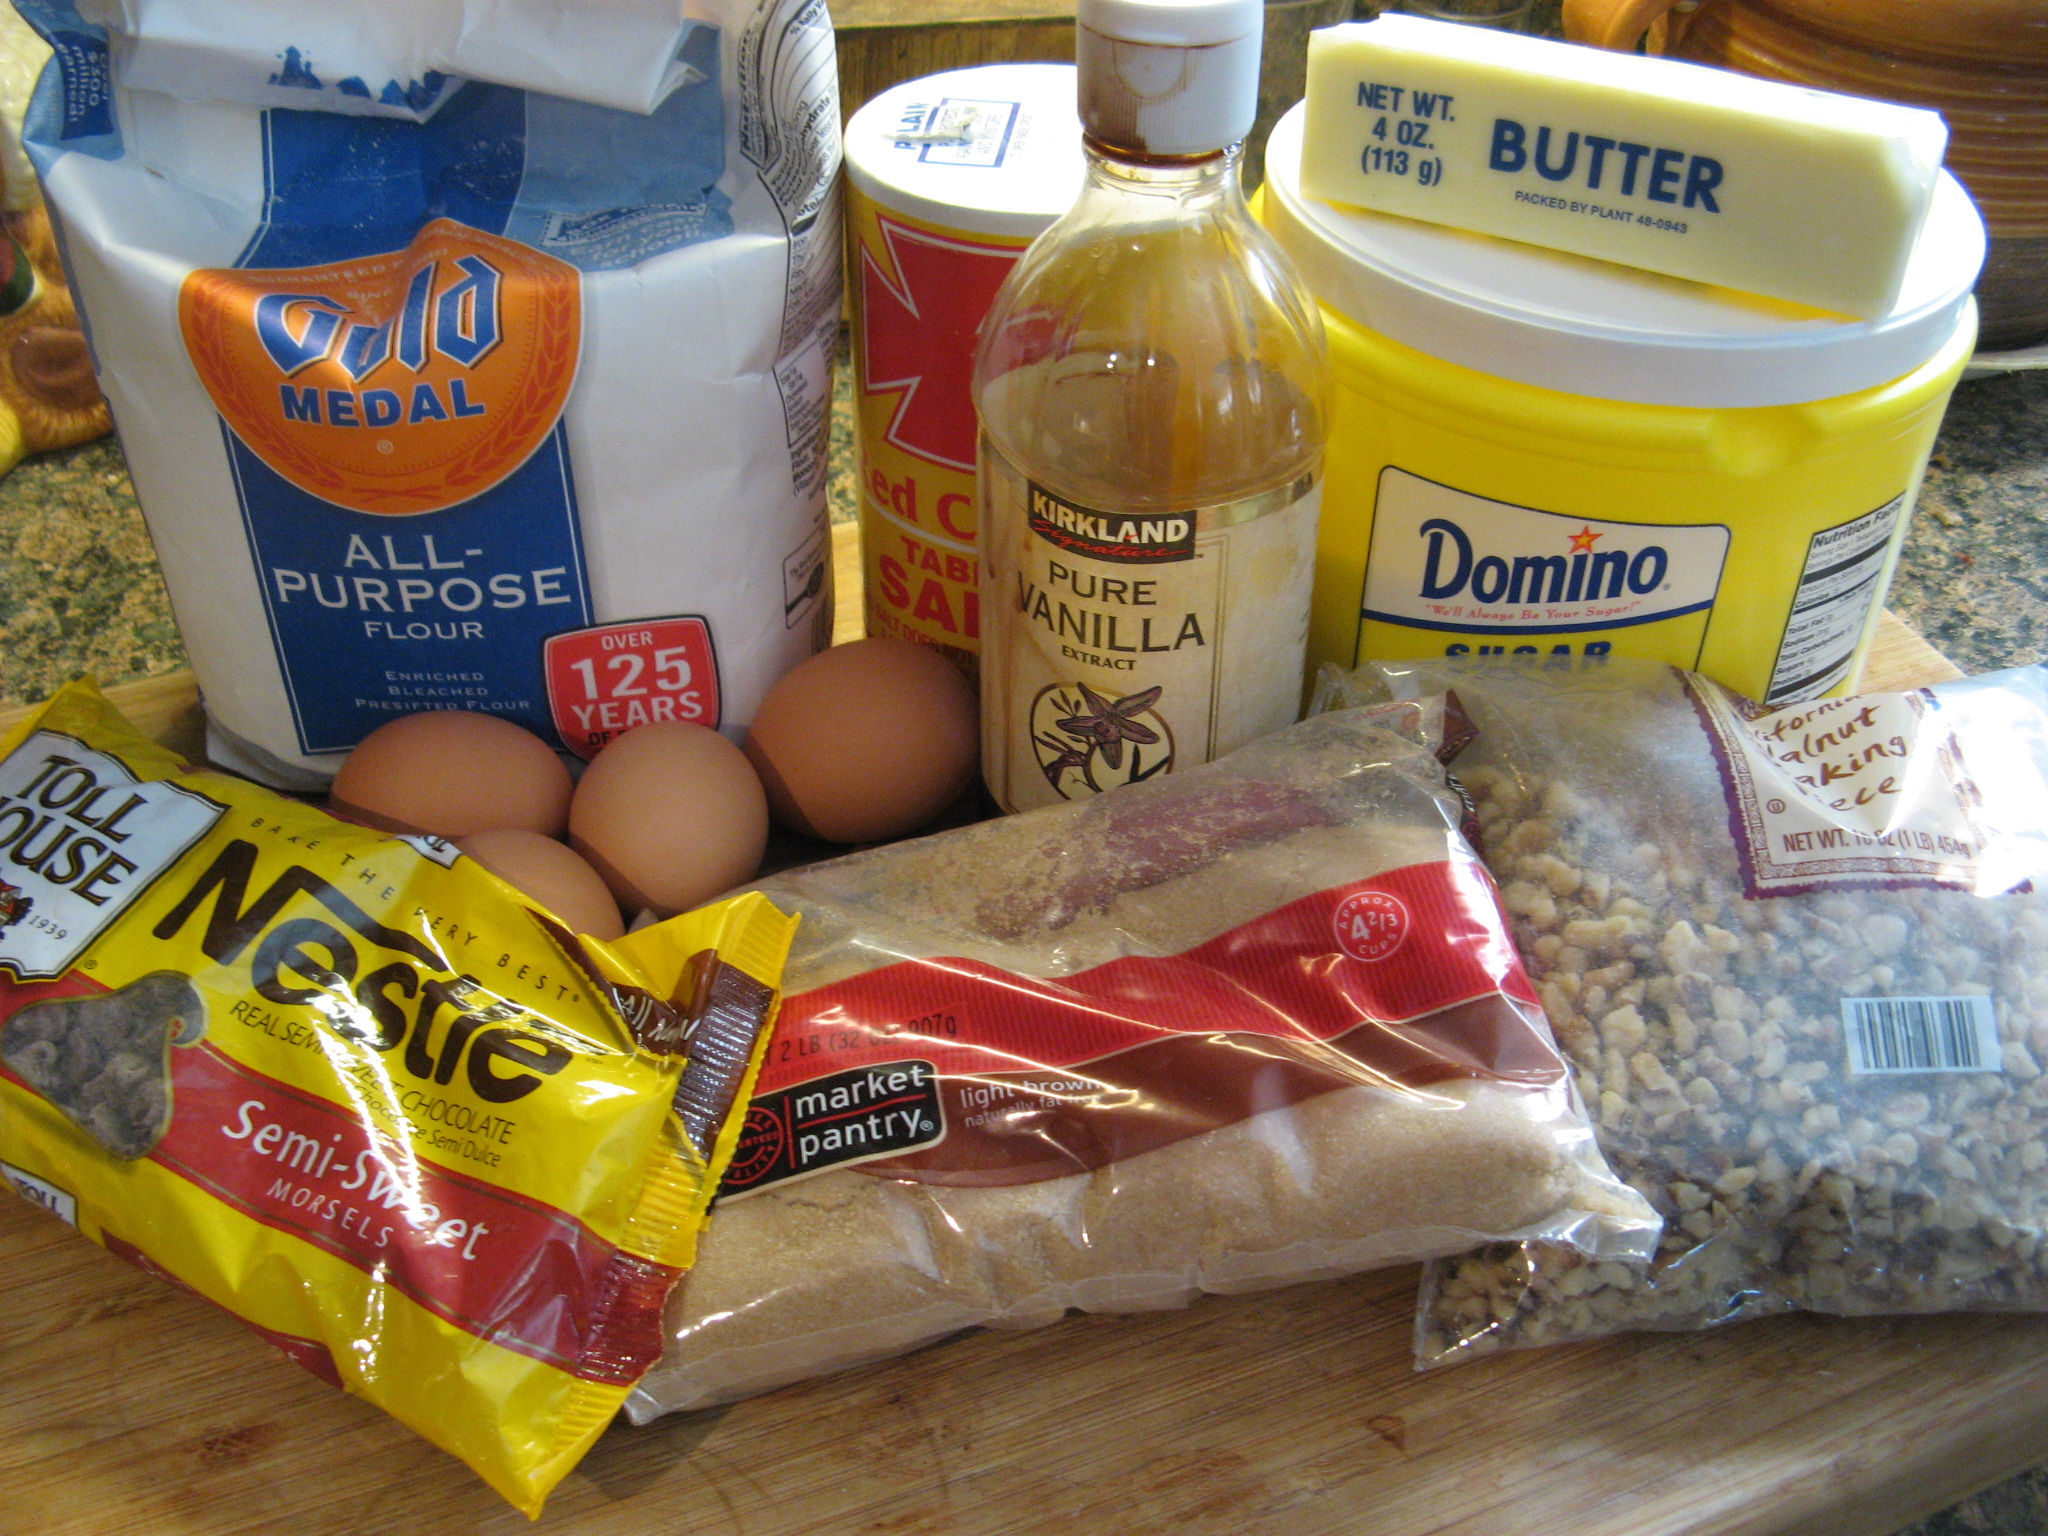
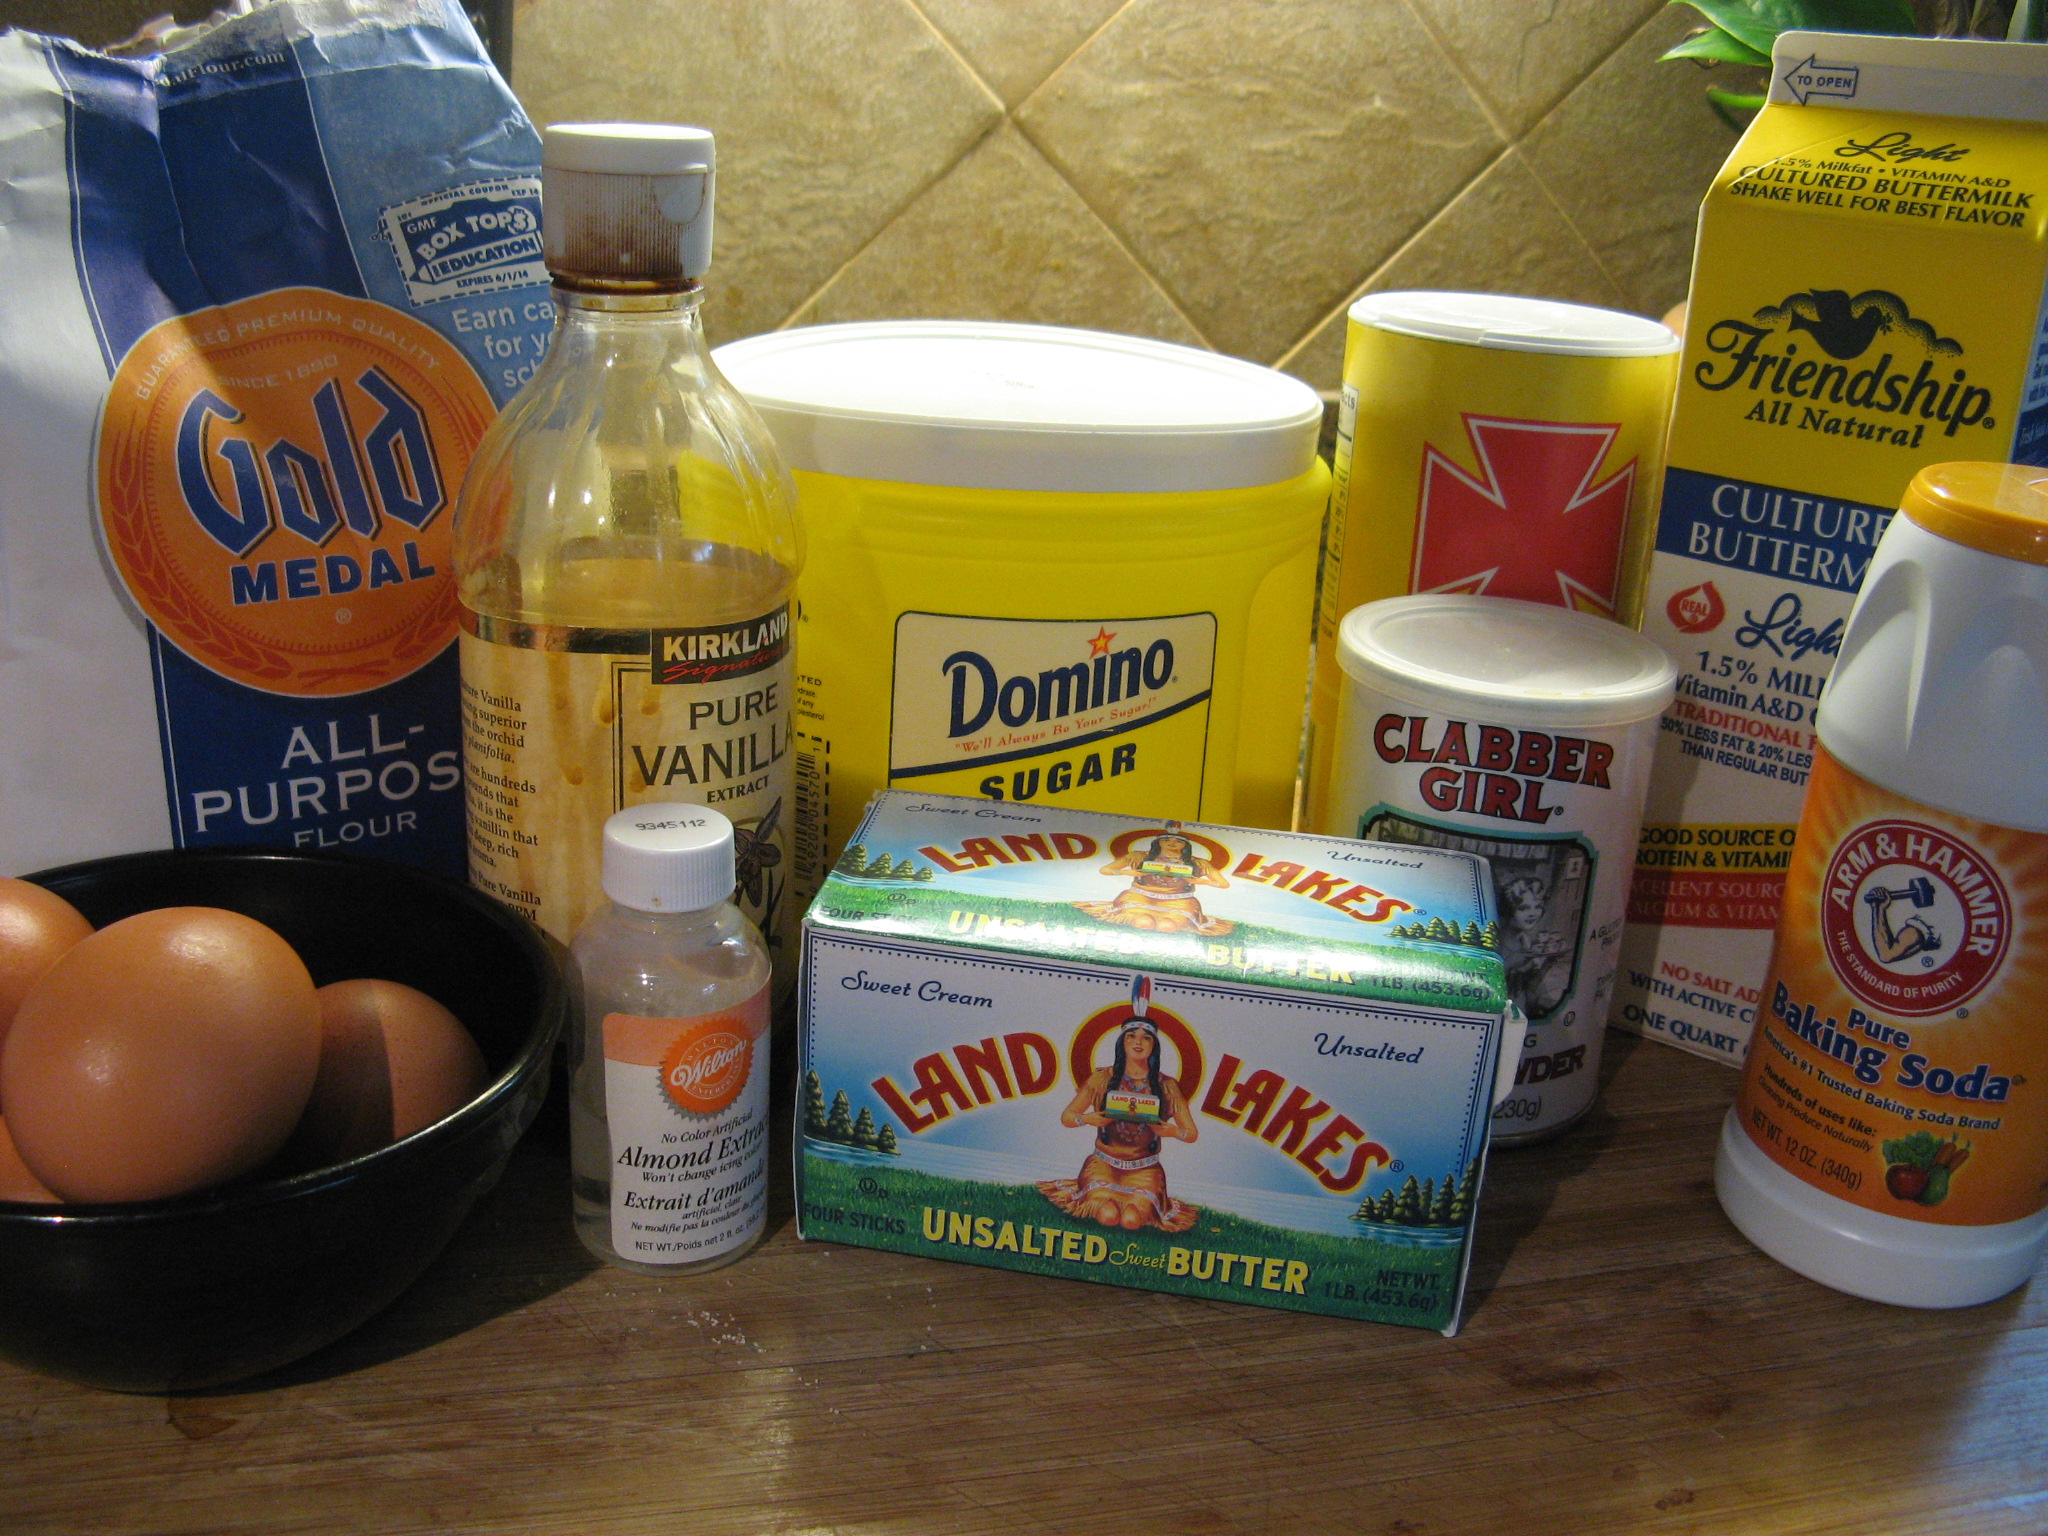
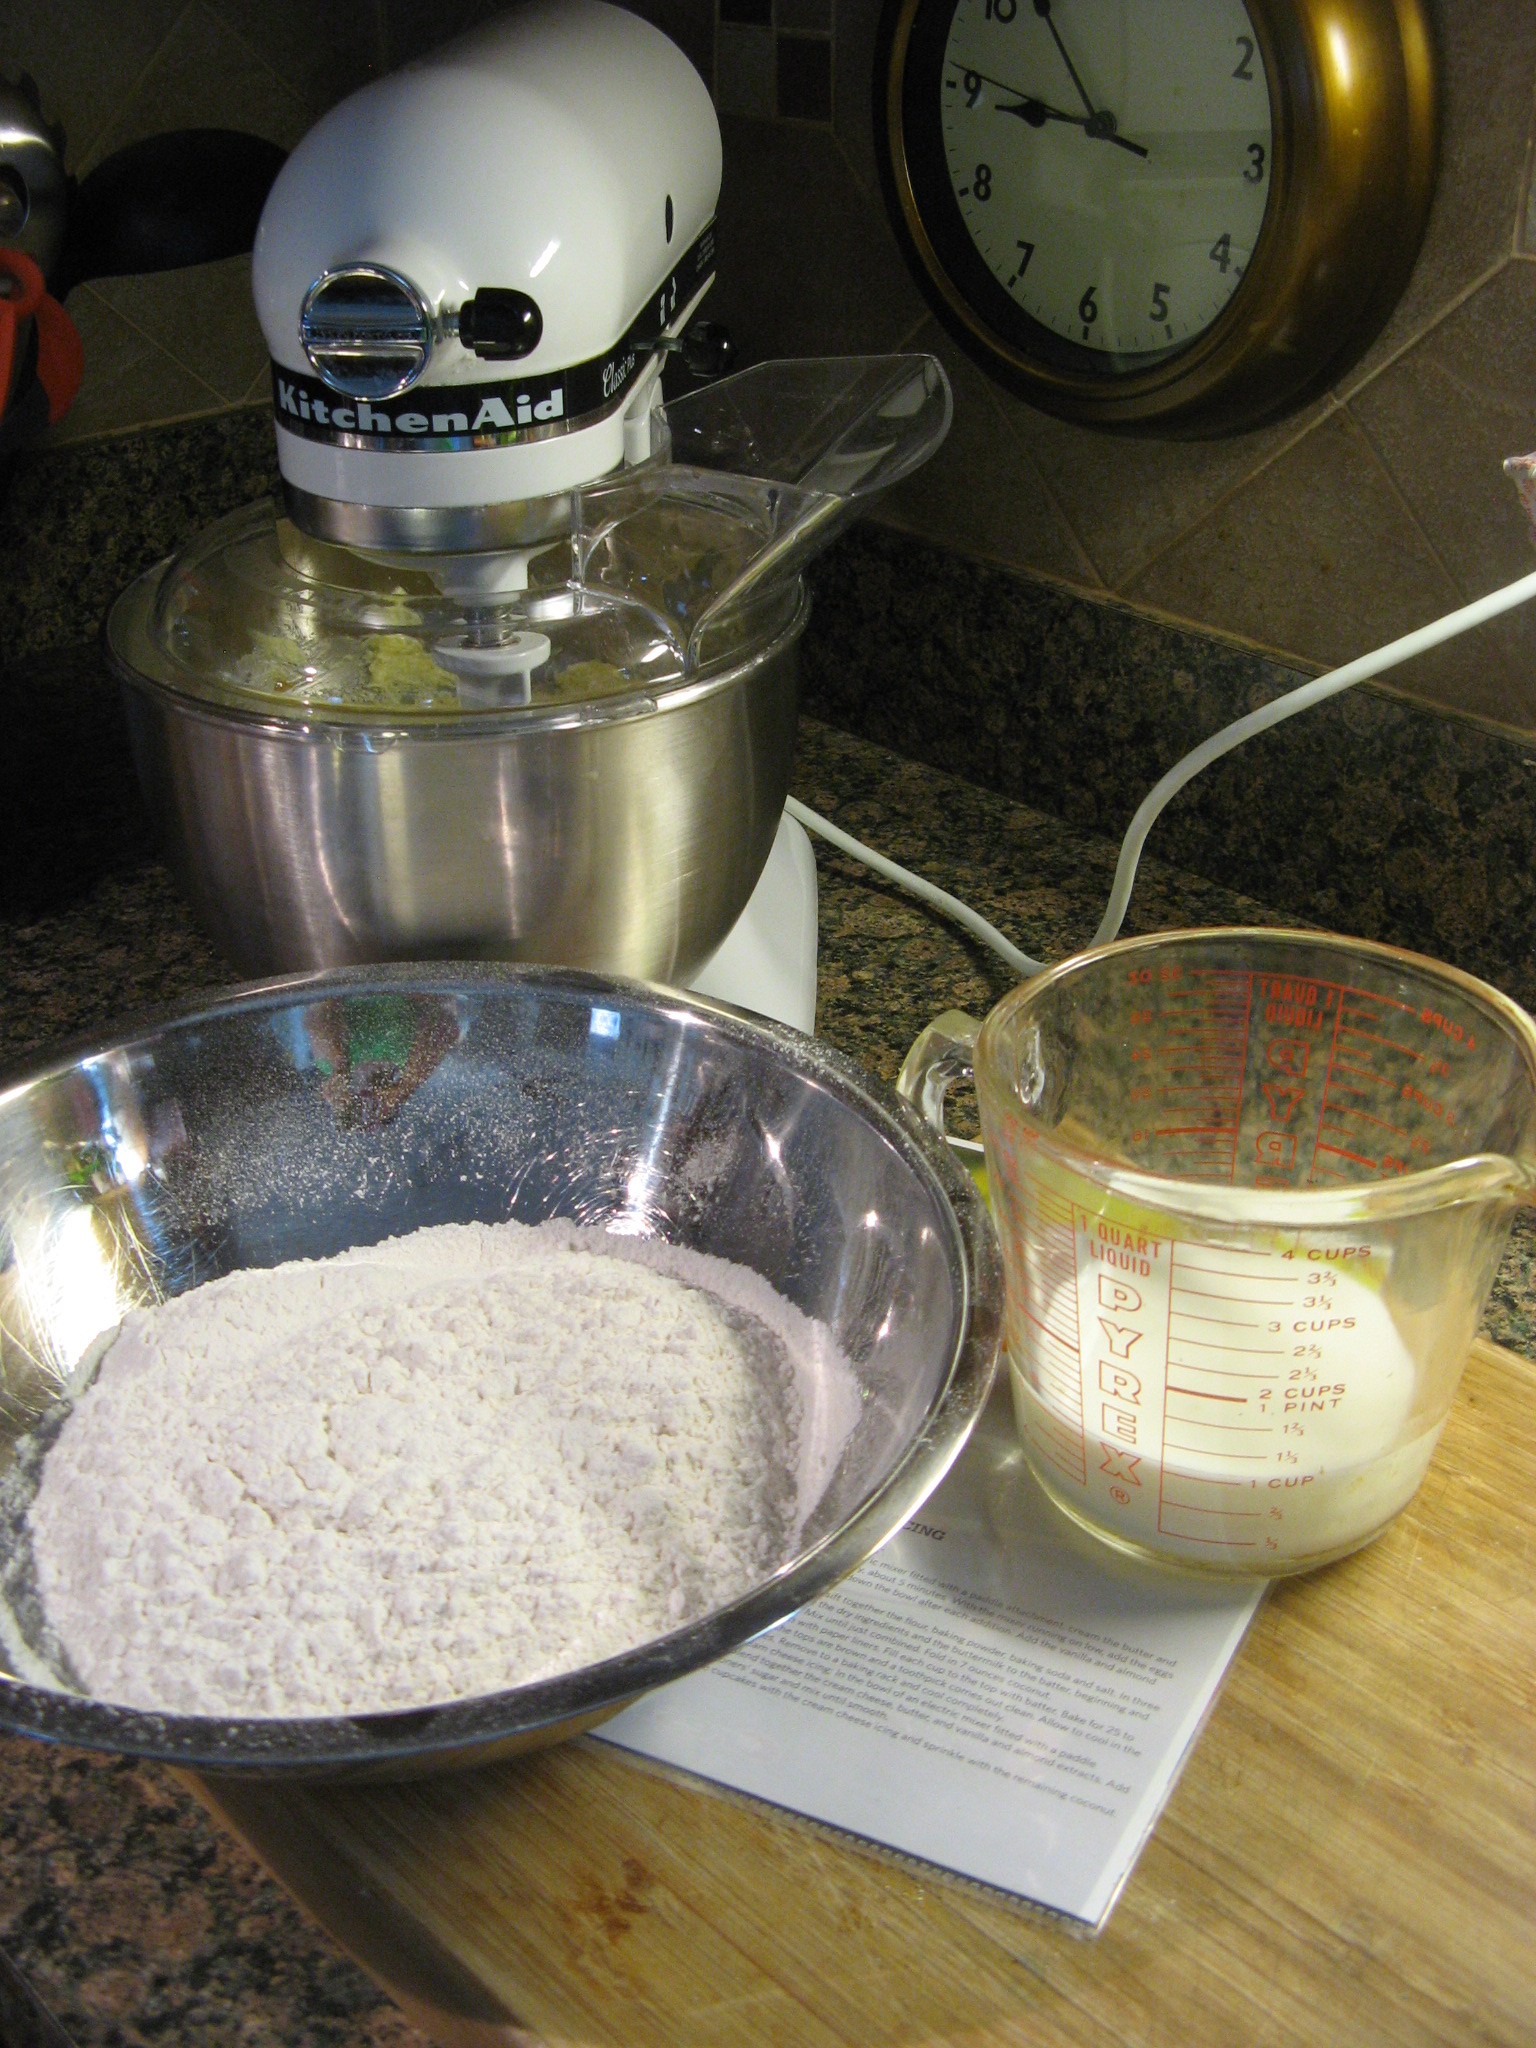
To begin I assembled all of my ingredients for the cupcakes together: butter, sugar, eggs, vanilla extract, almond extract, flour, baking powder, baking soda, salt & buttermilk.
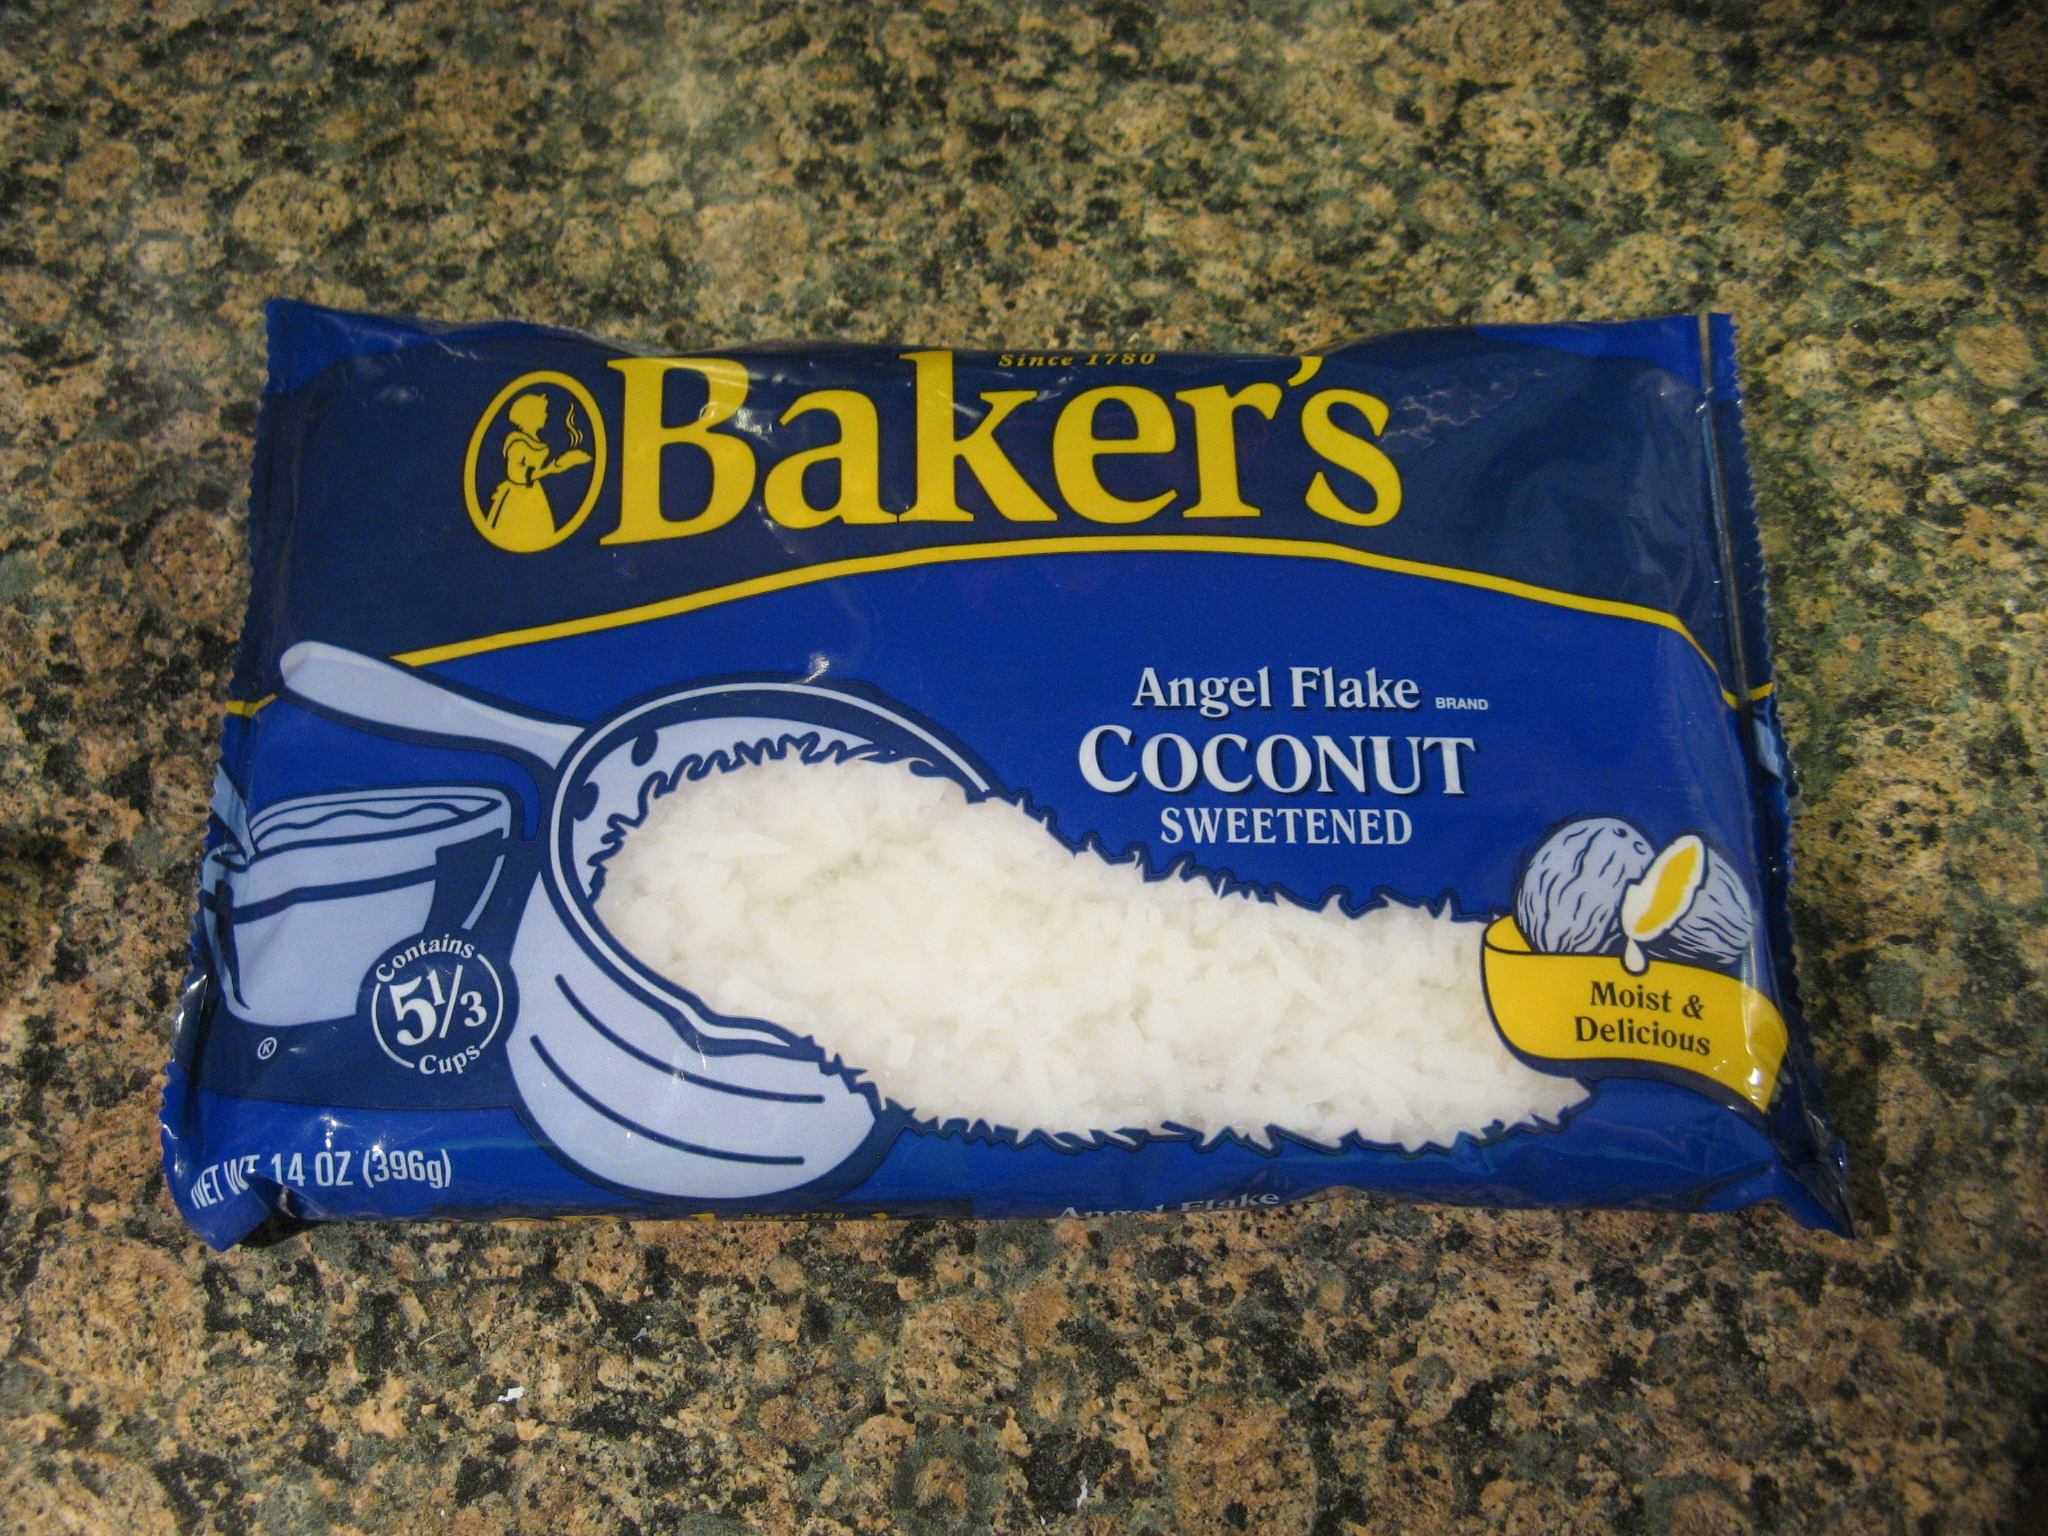
And you can’t have Coconut Cupcakes without the coconut…
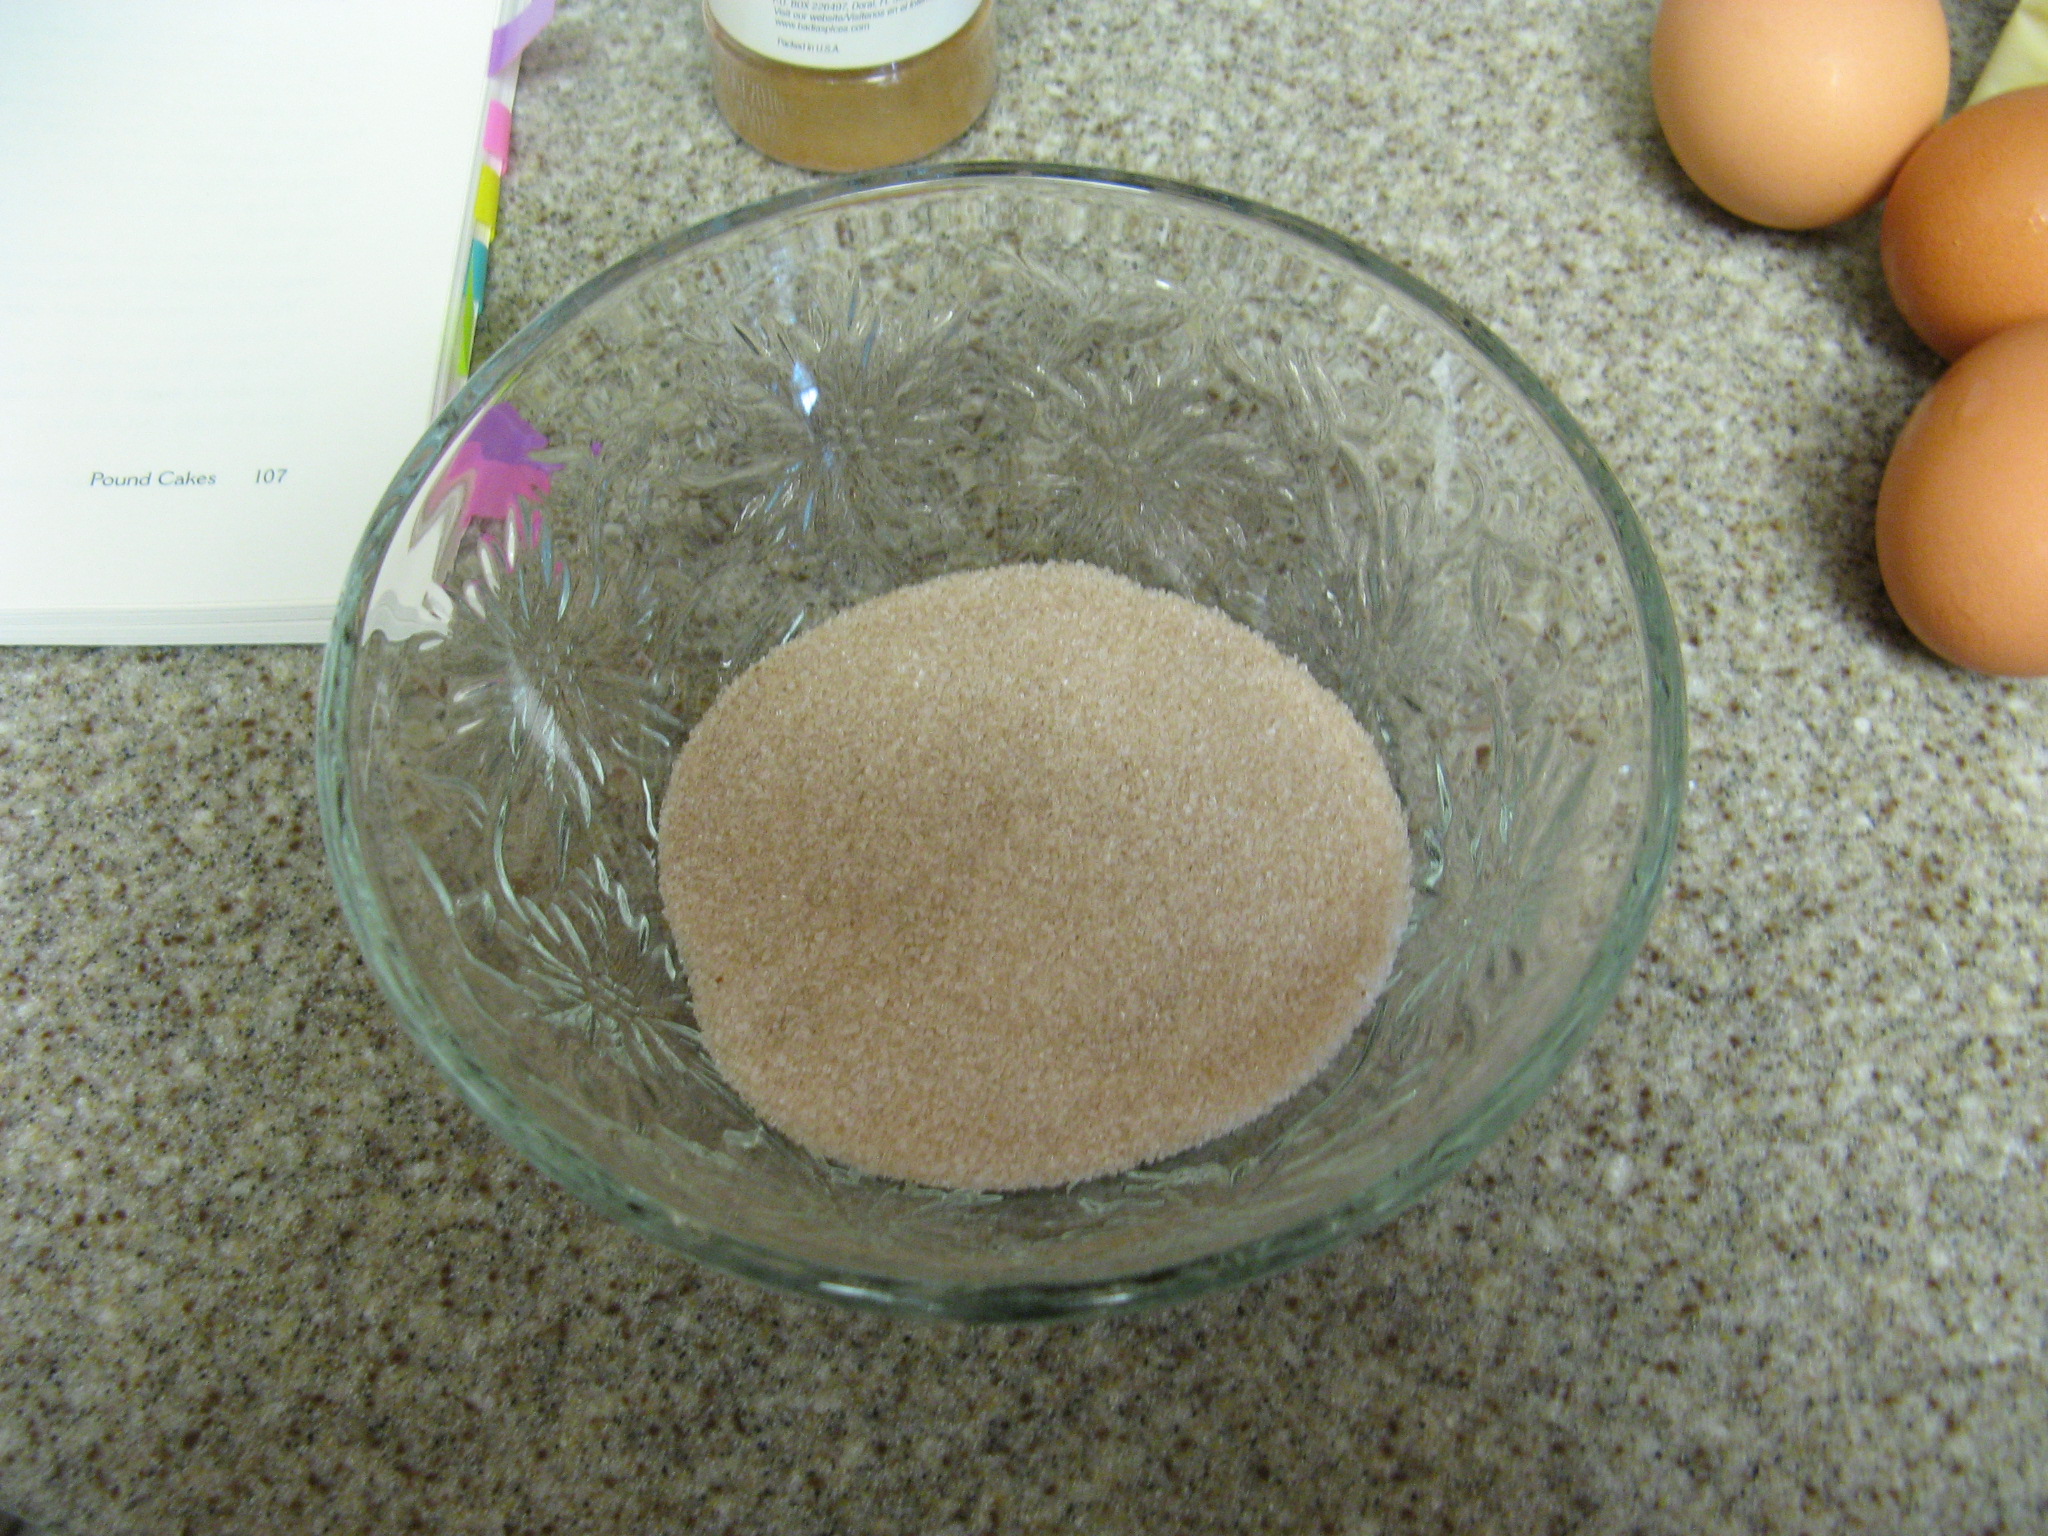
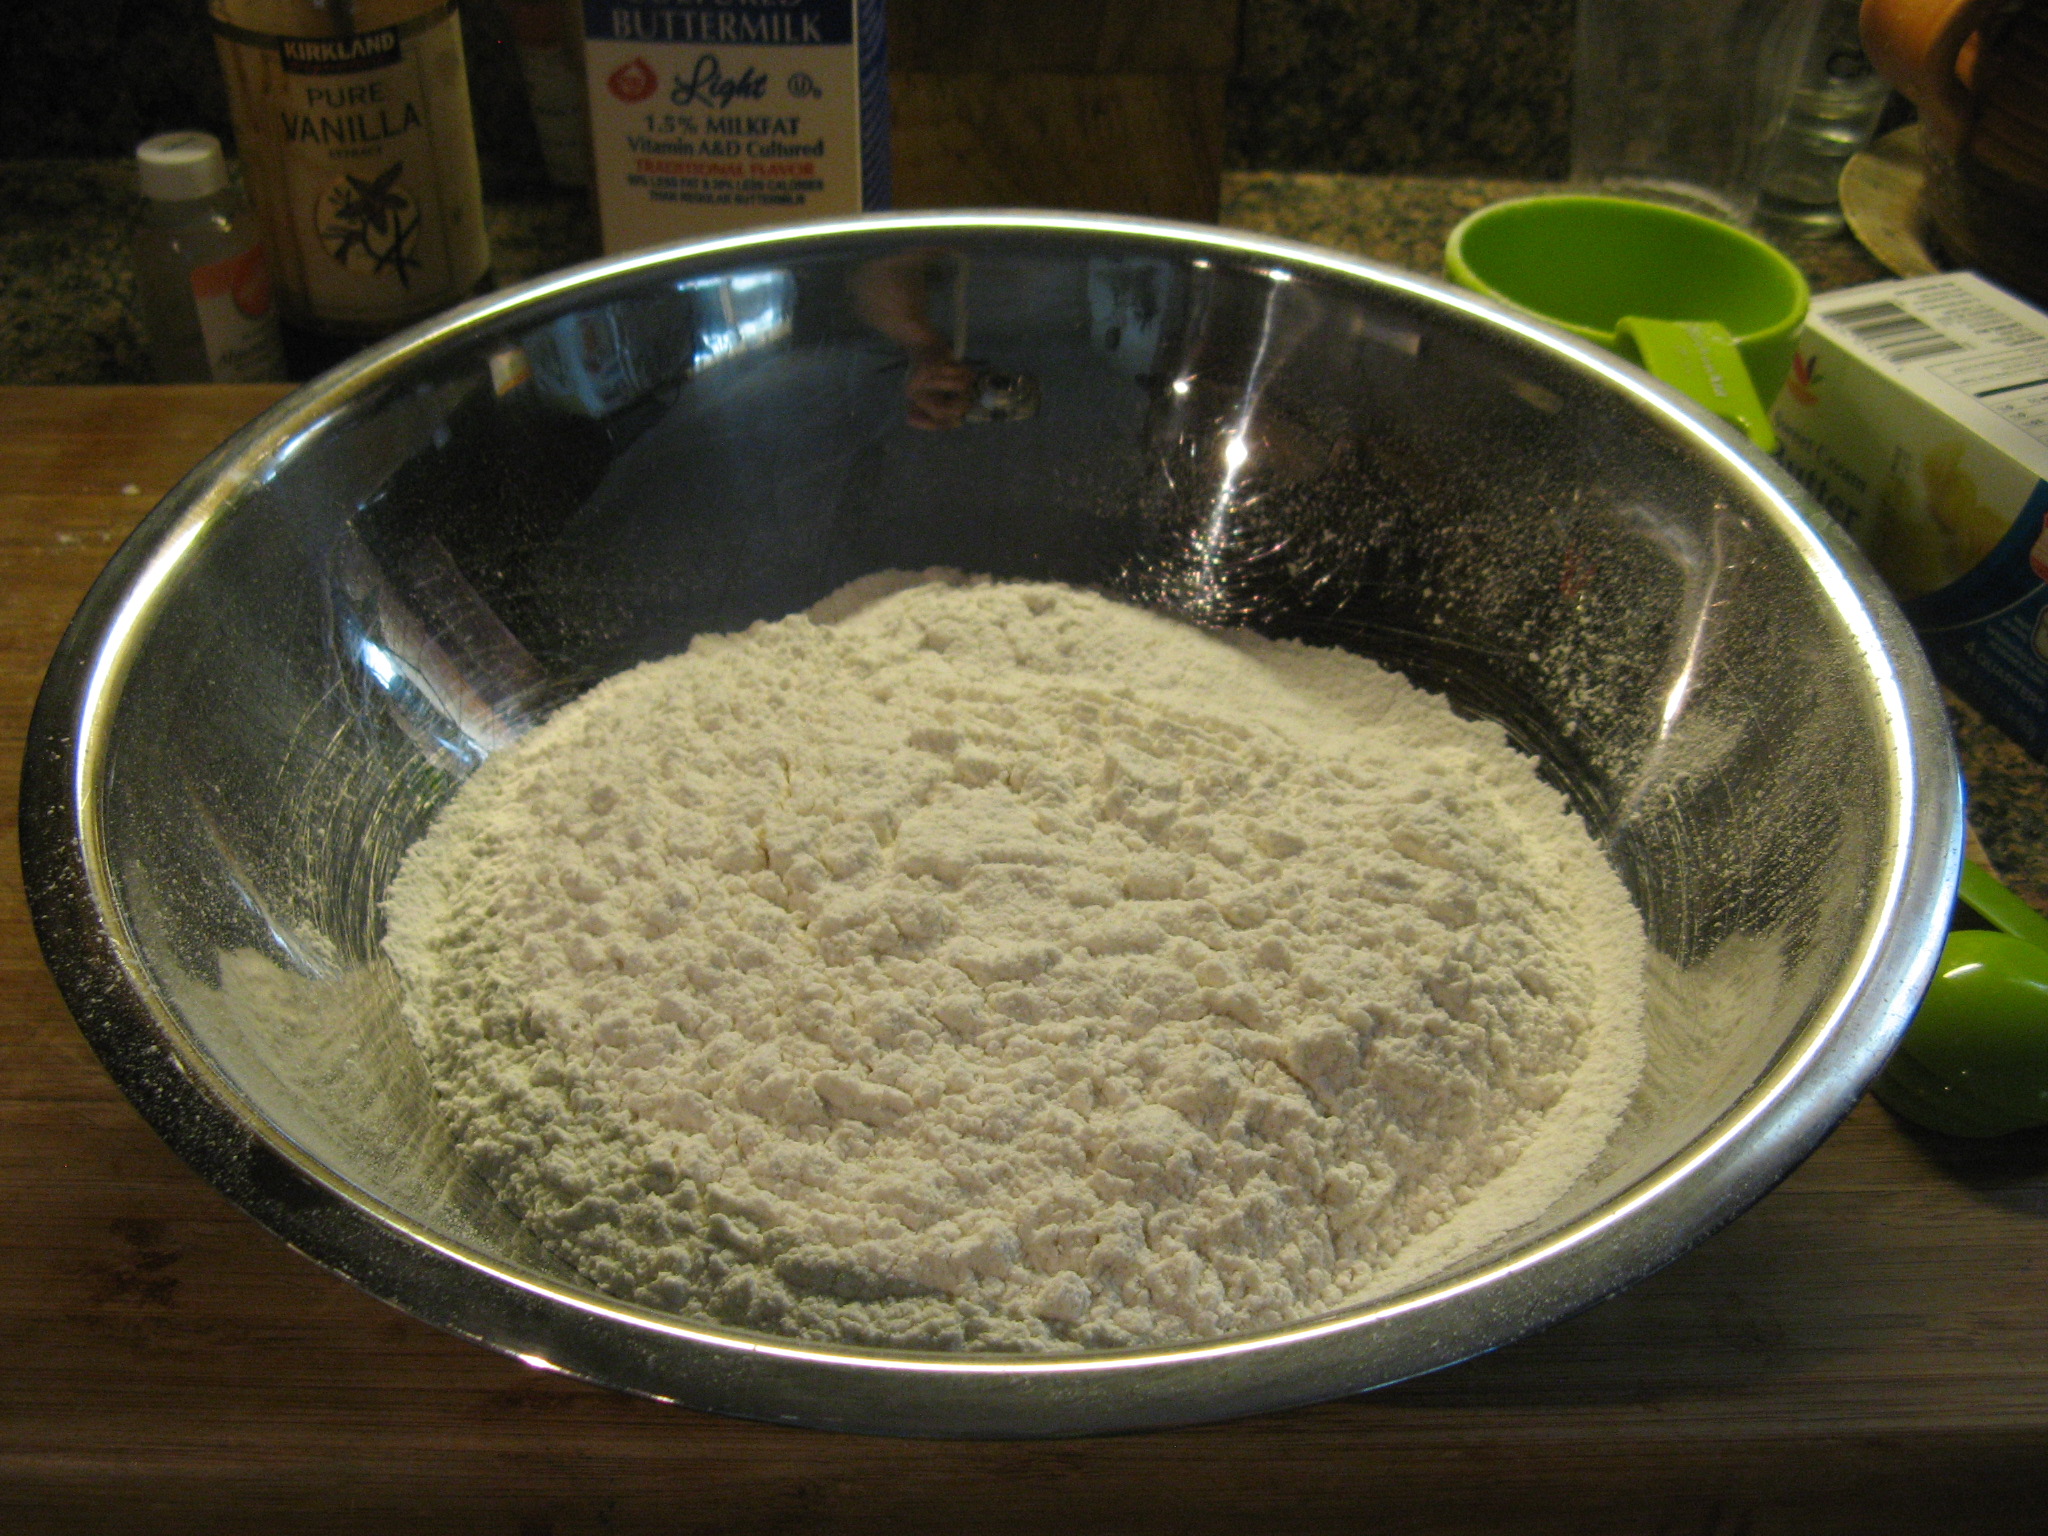
While the recipe calls for sifting the dry ingredients – flour, baking powder, baking soda and salt – together after creaming the sugar and butter together, I opted to do this first this way it didn’t interrupt the flow of making my batter.
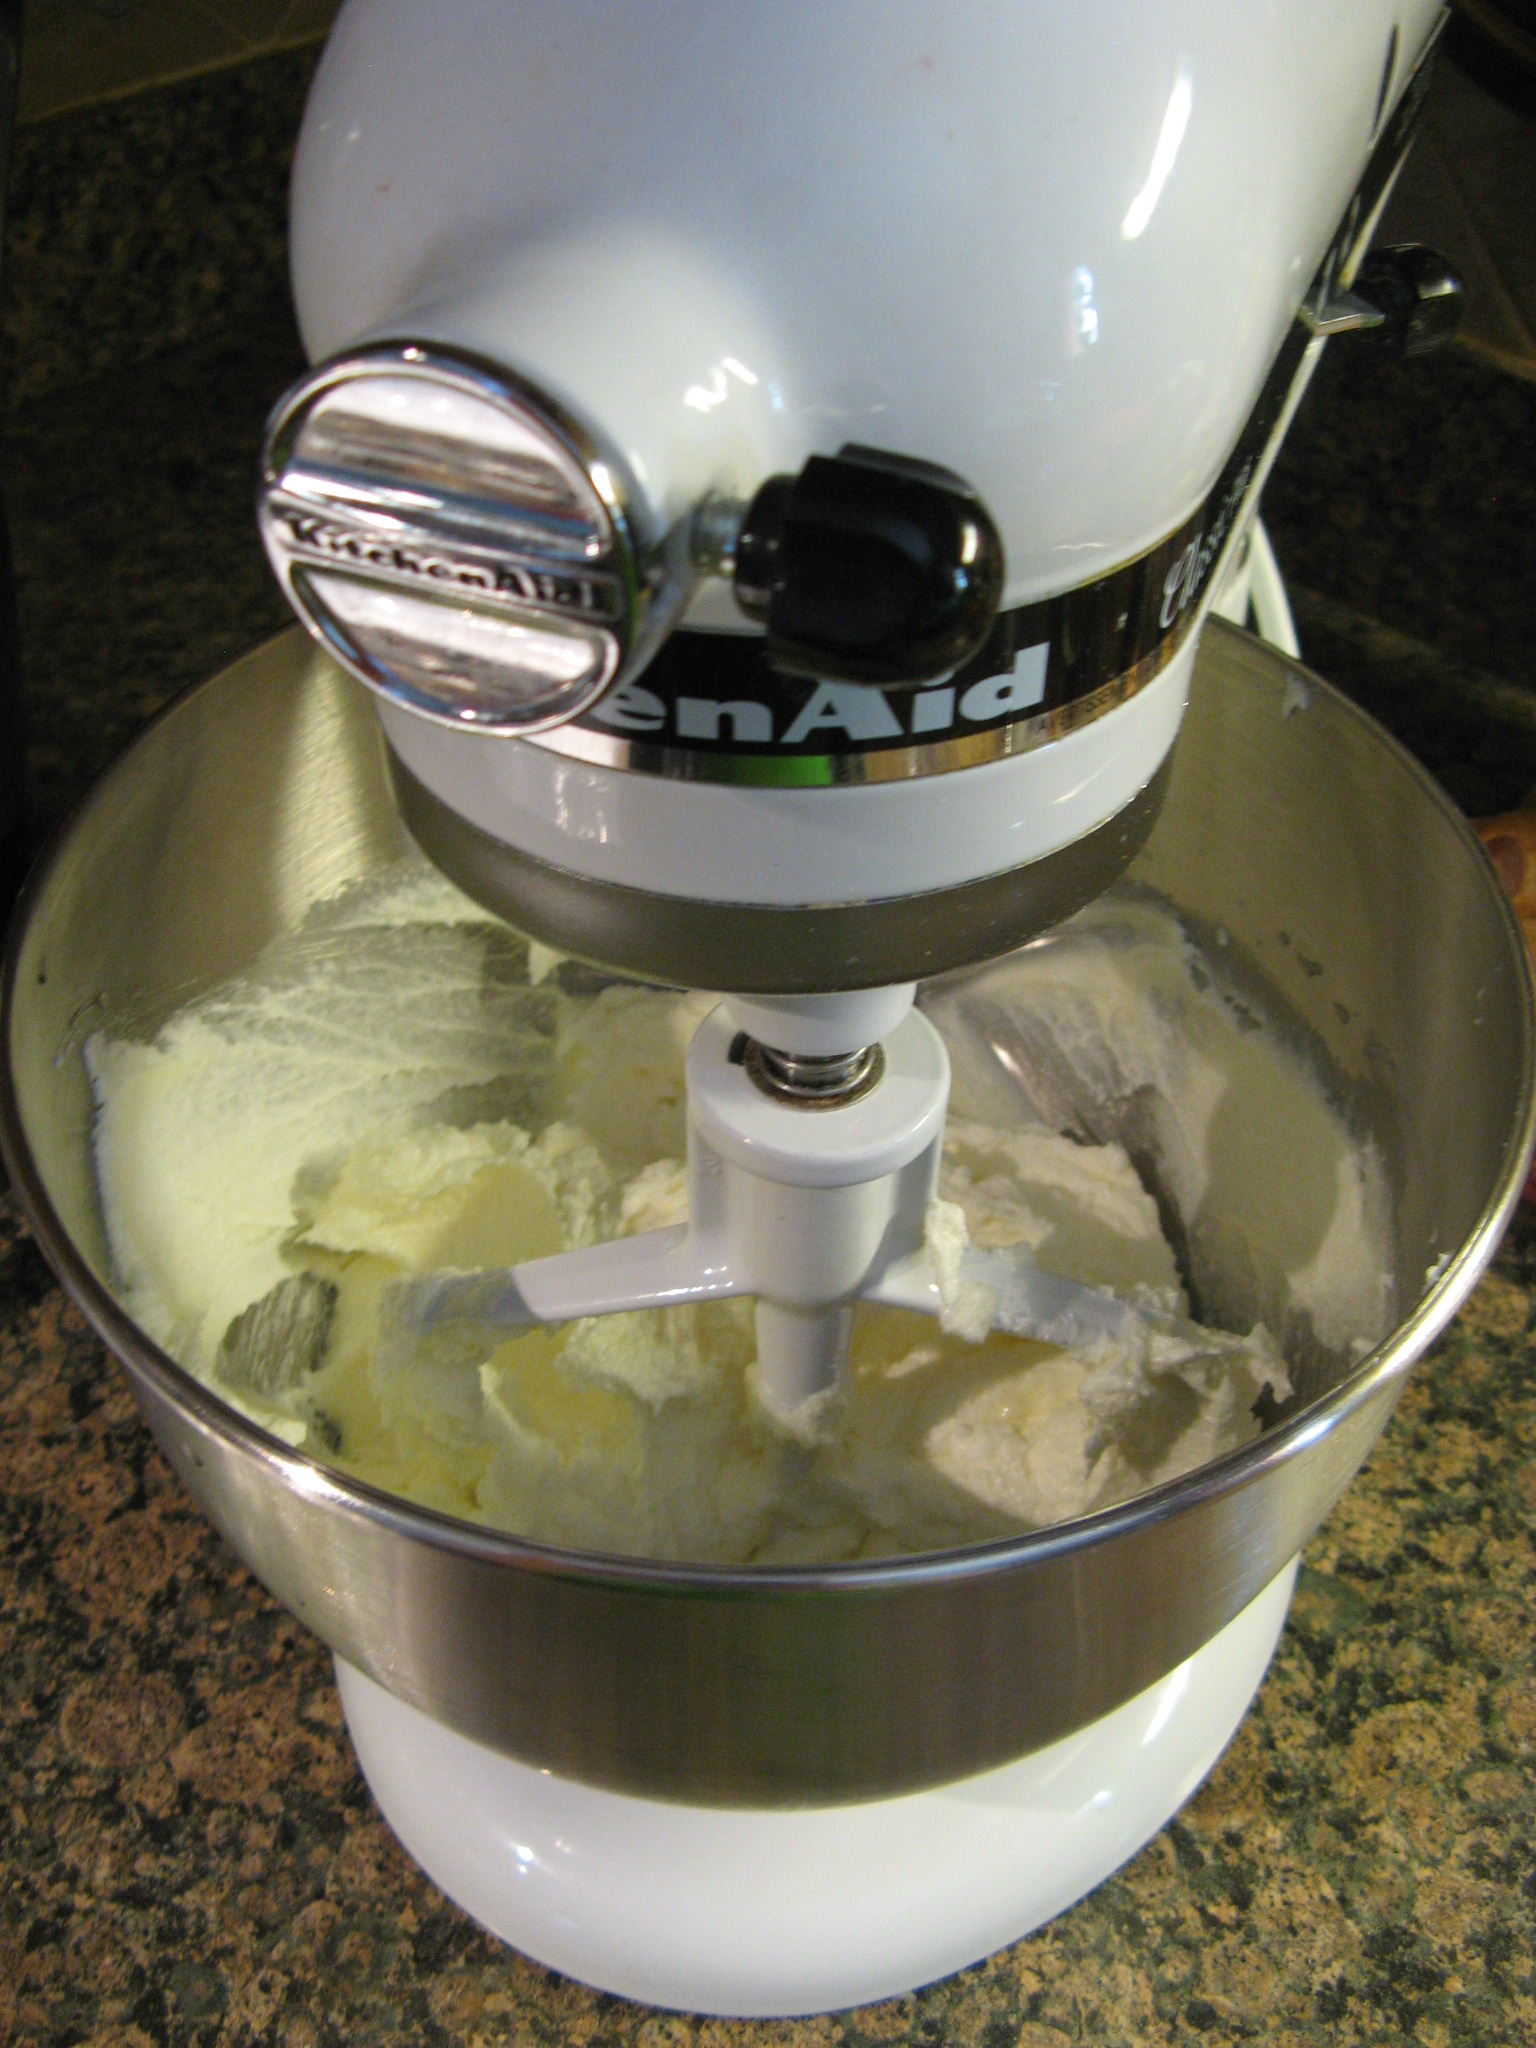
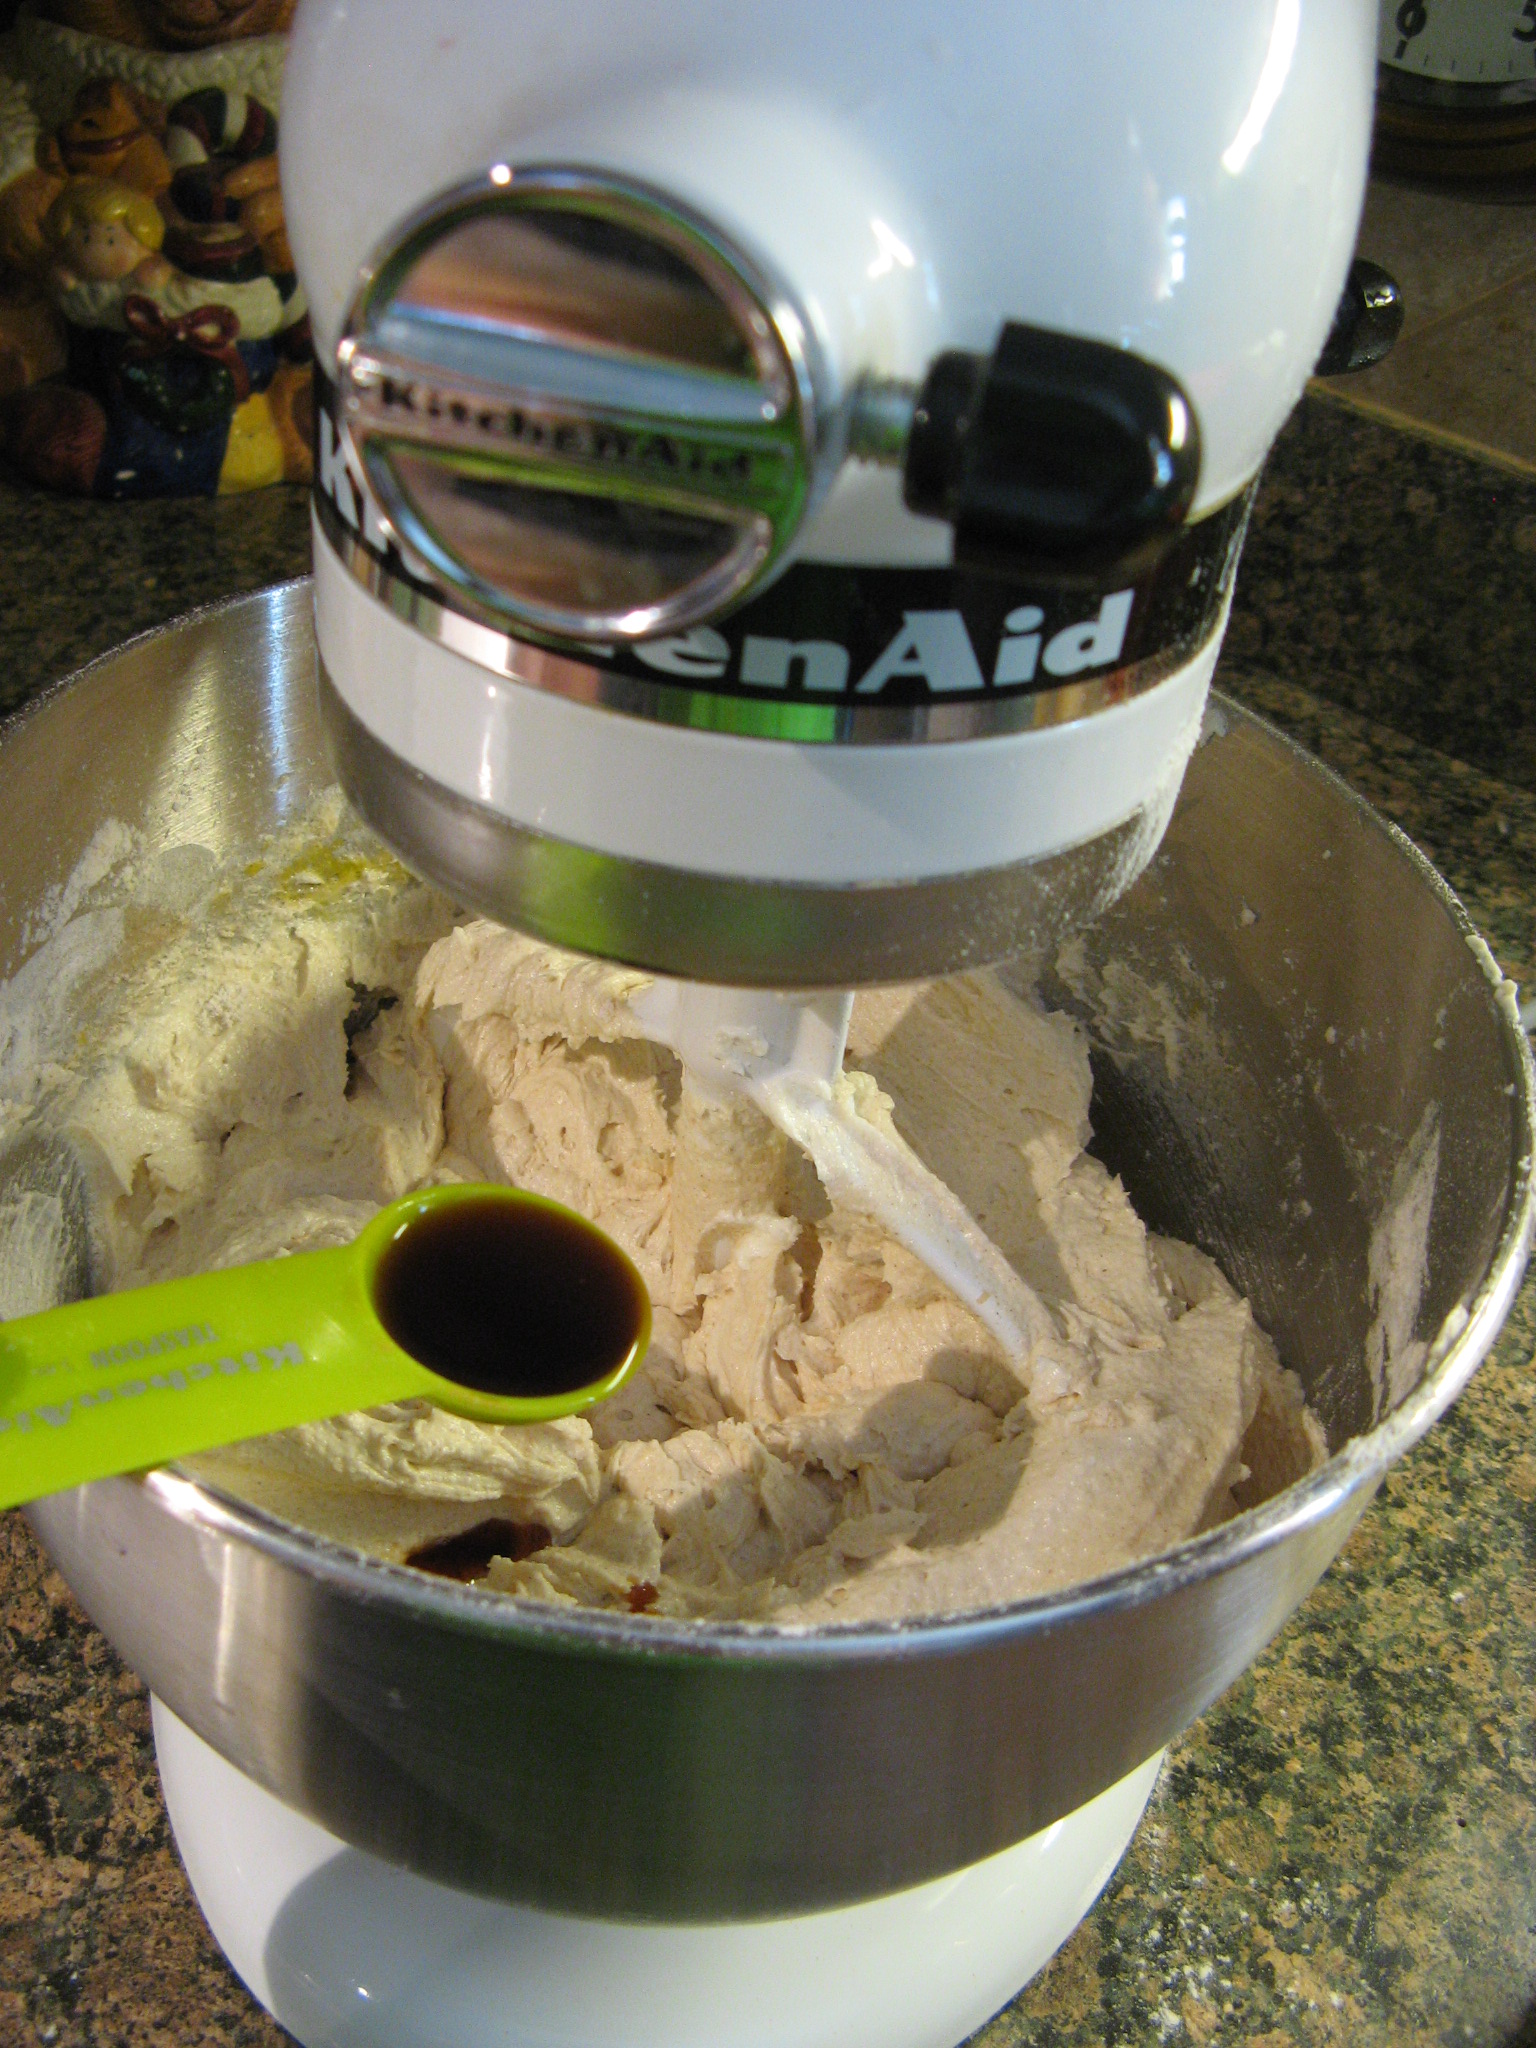
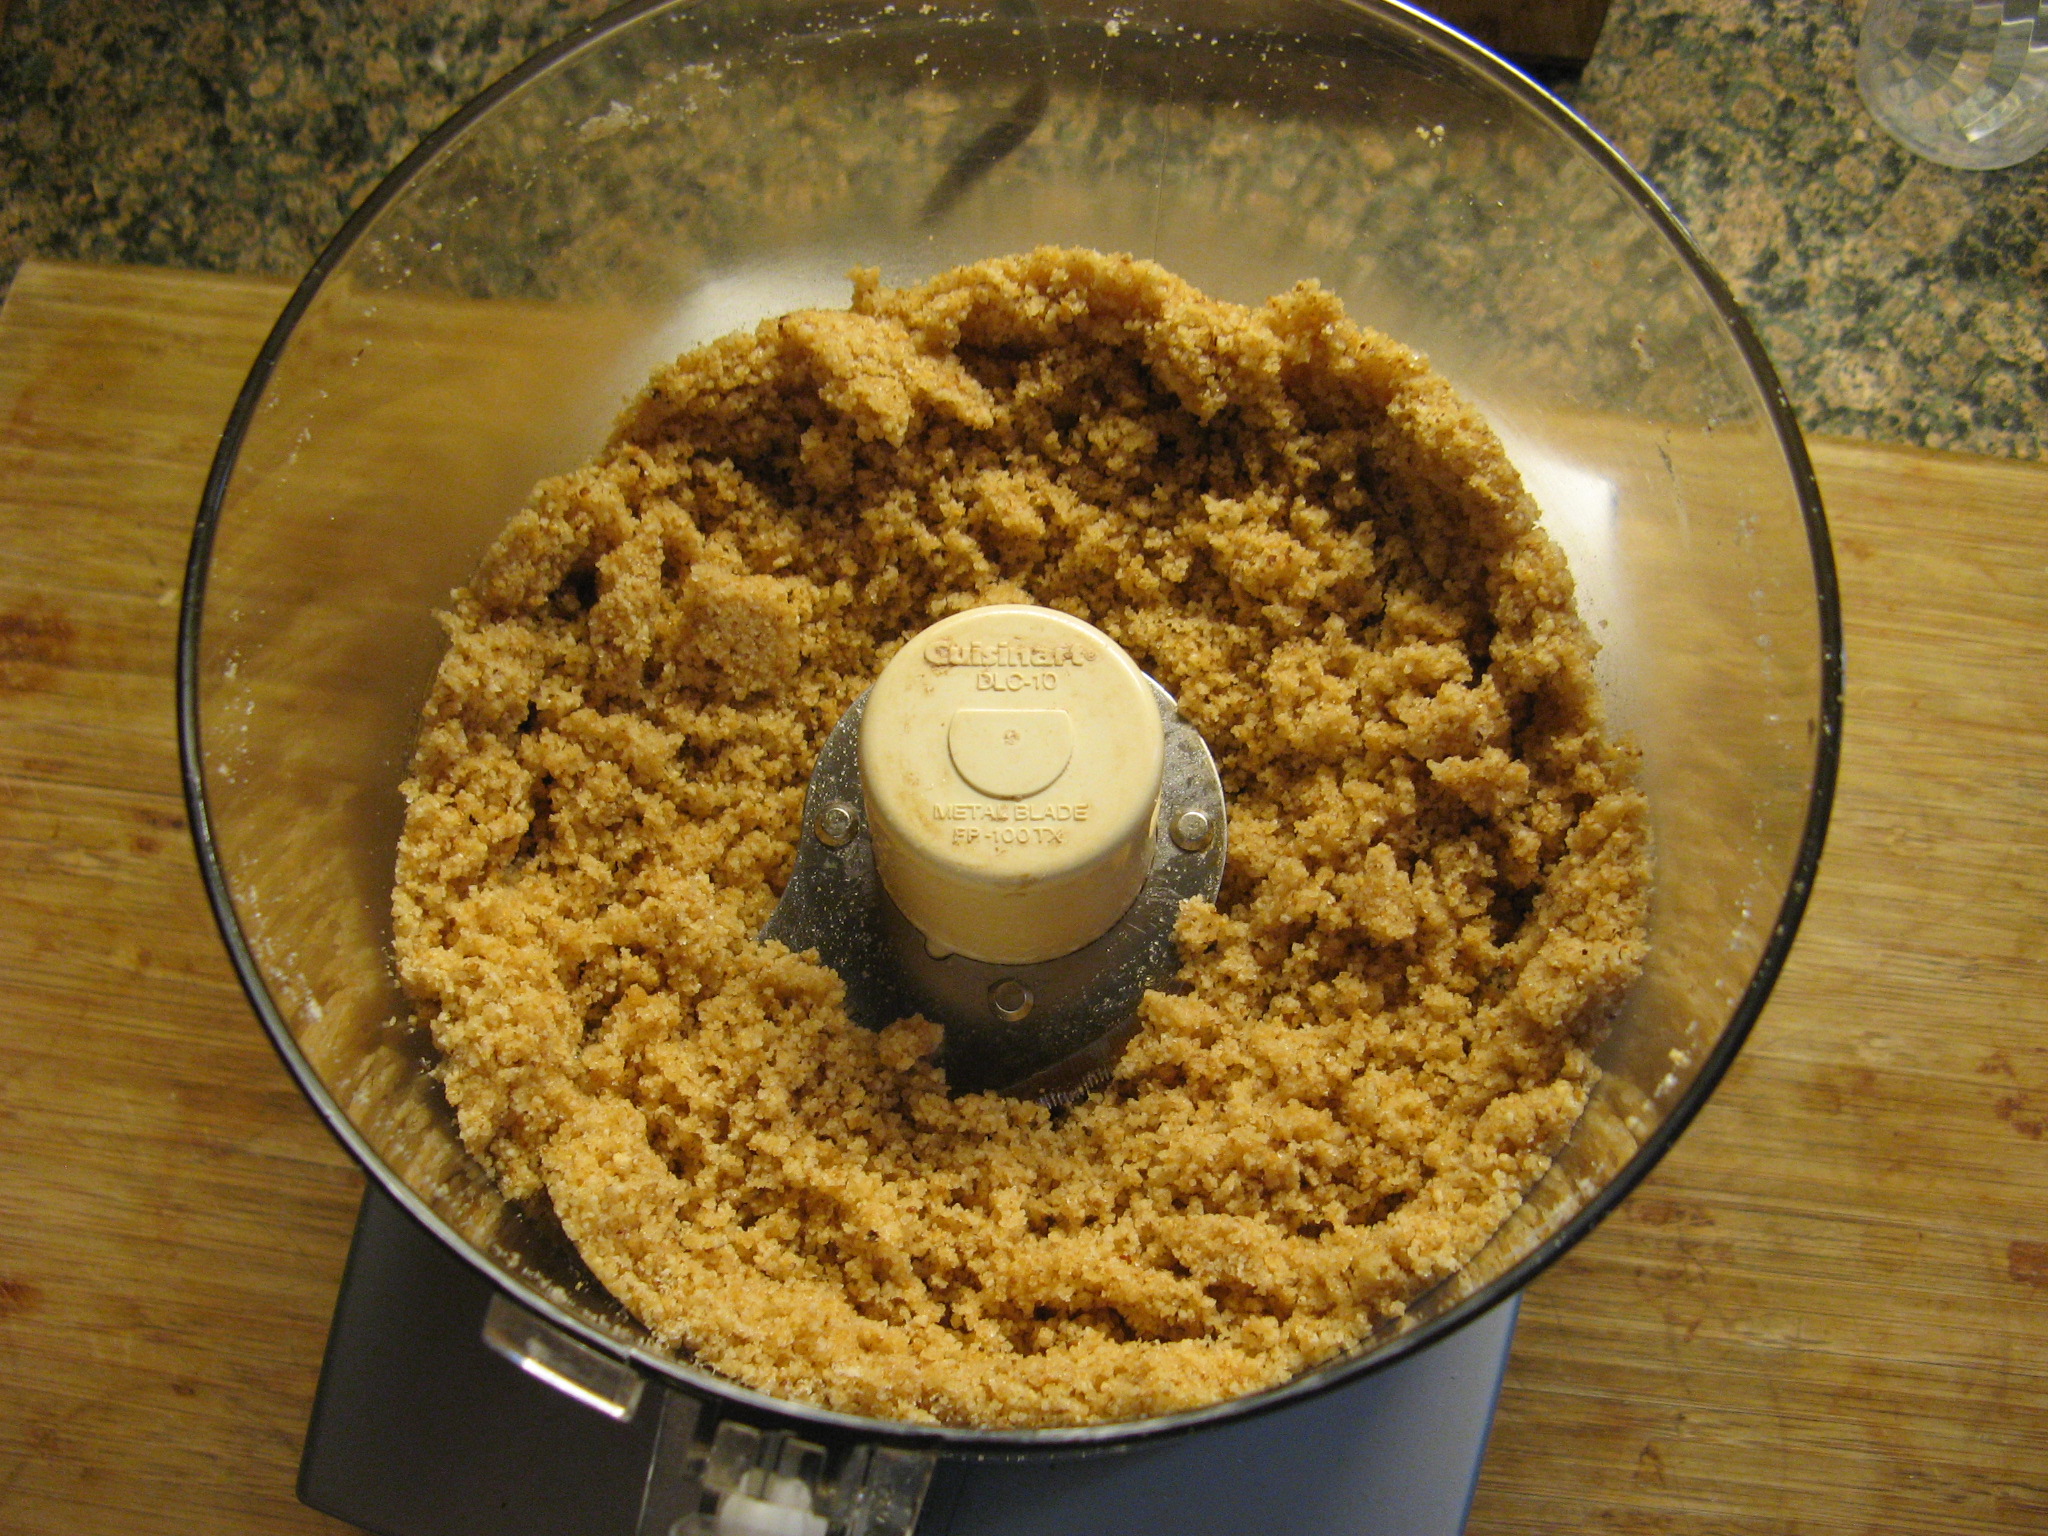
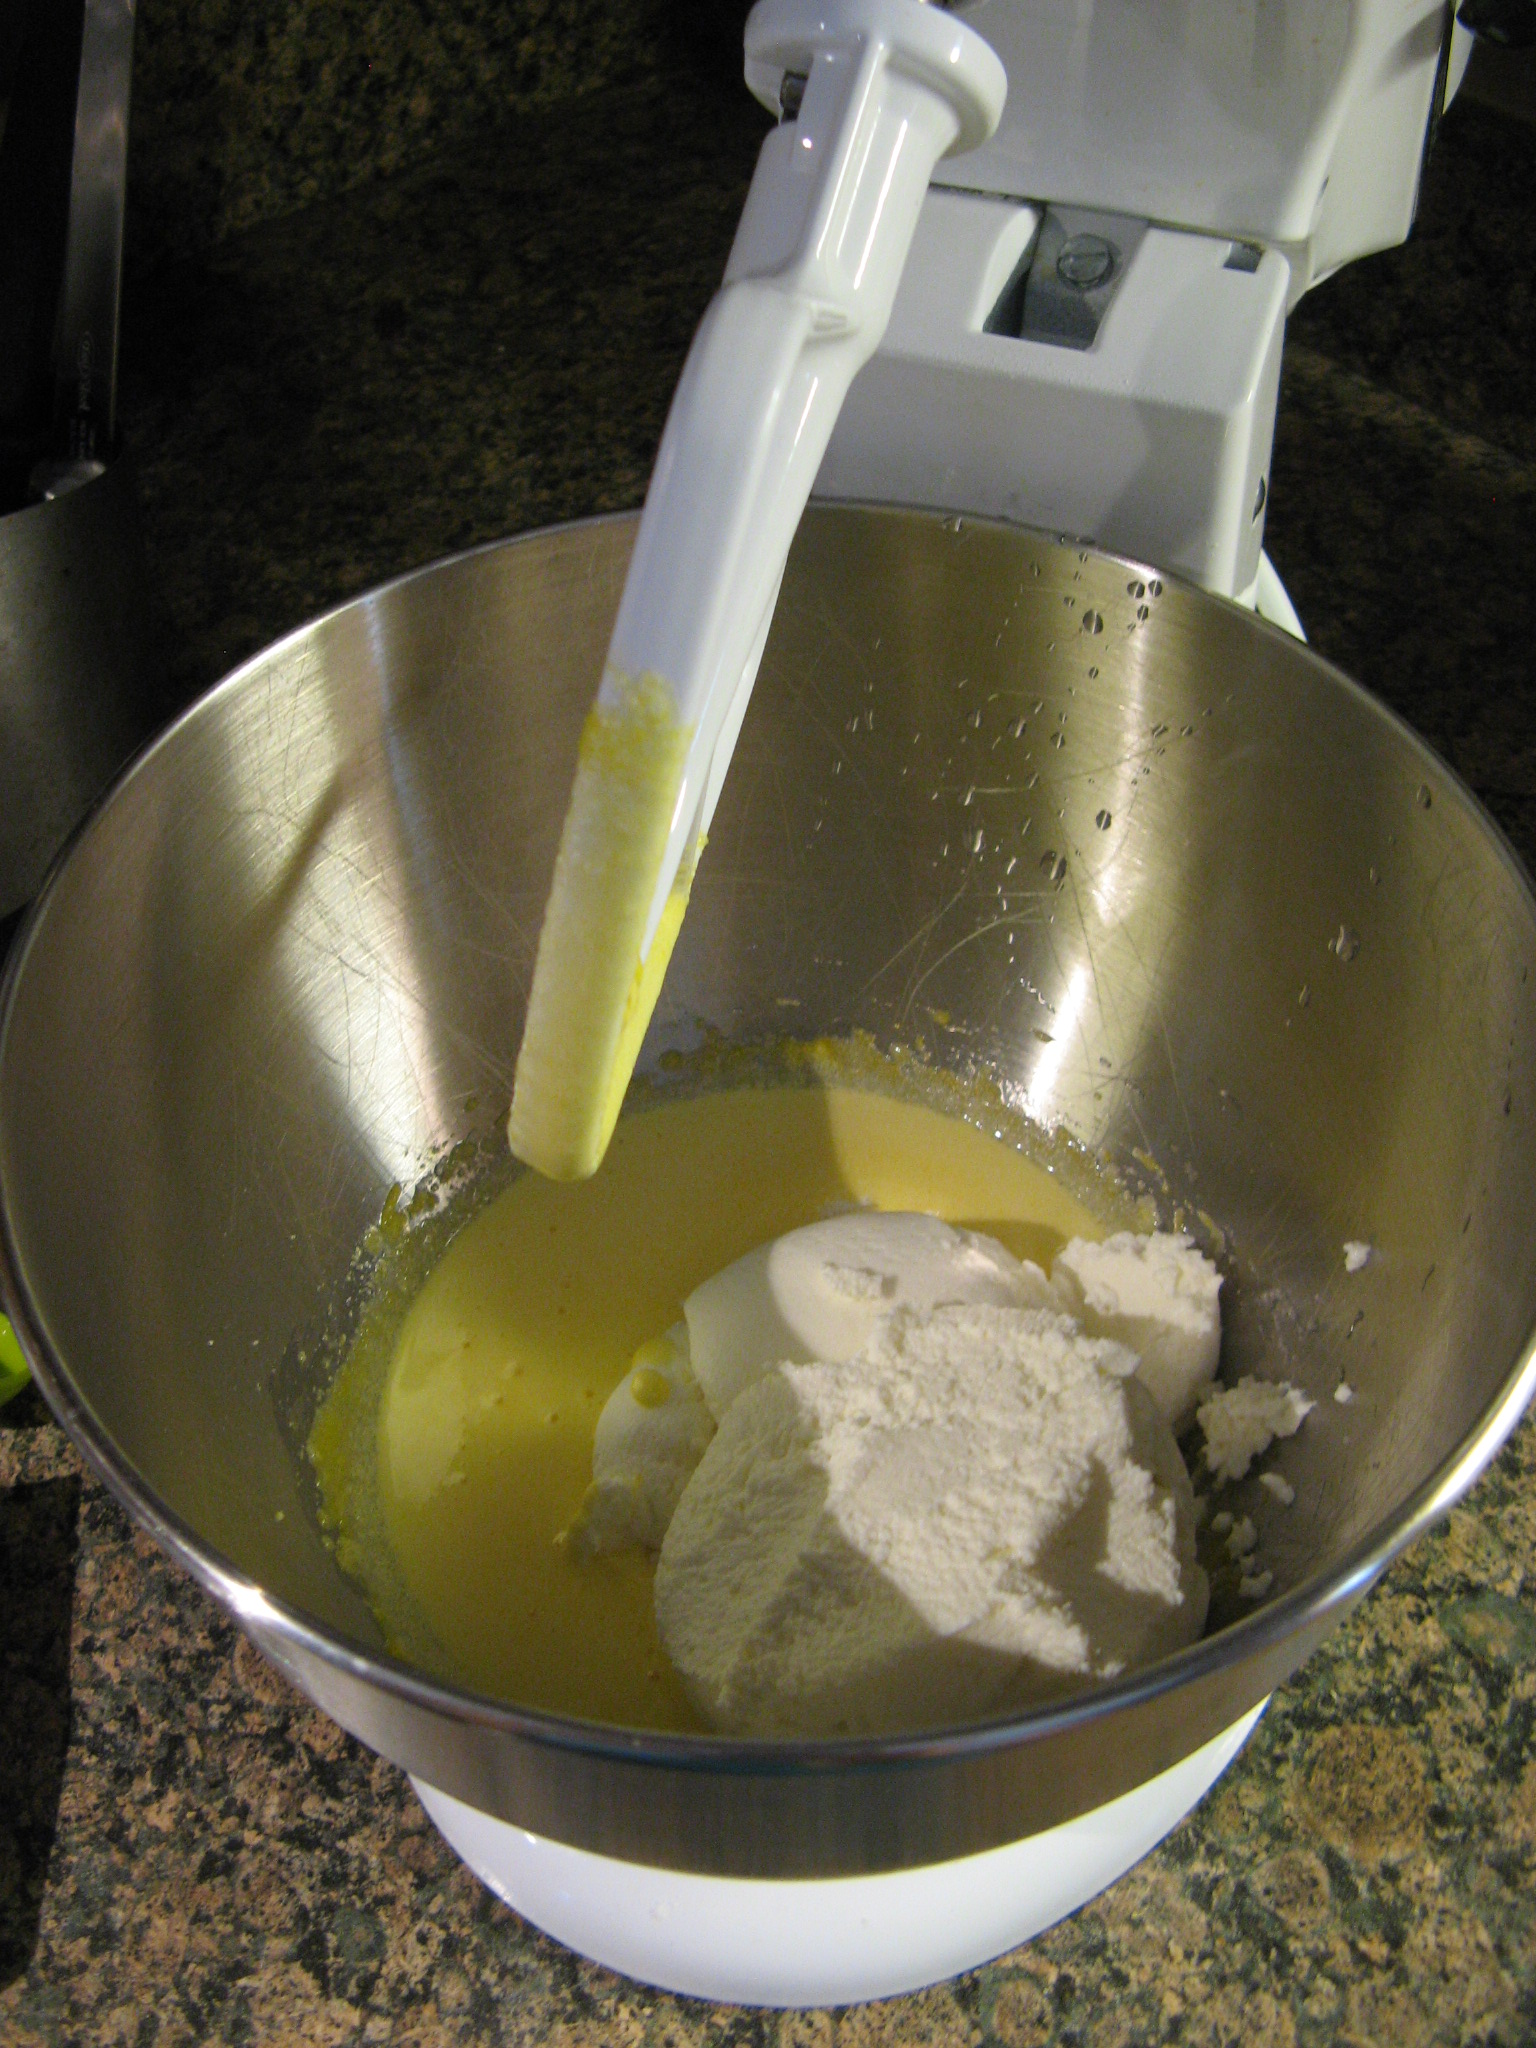
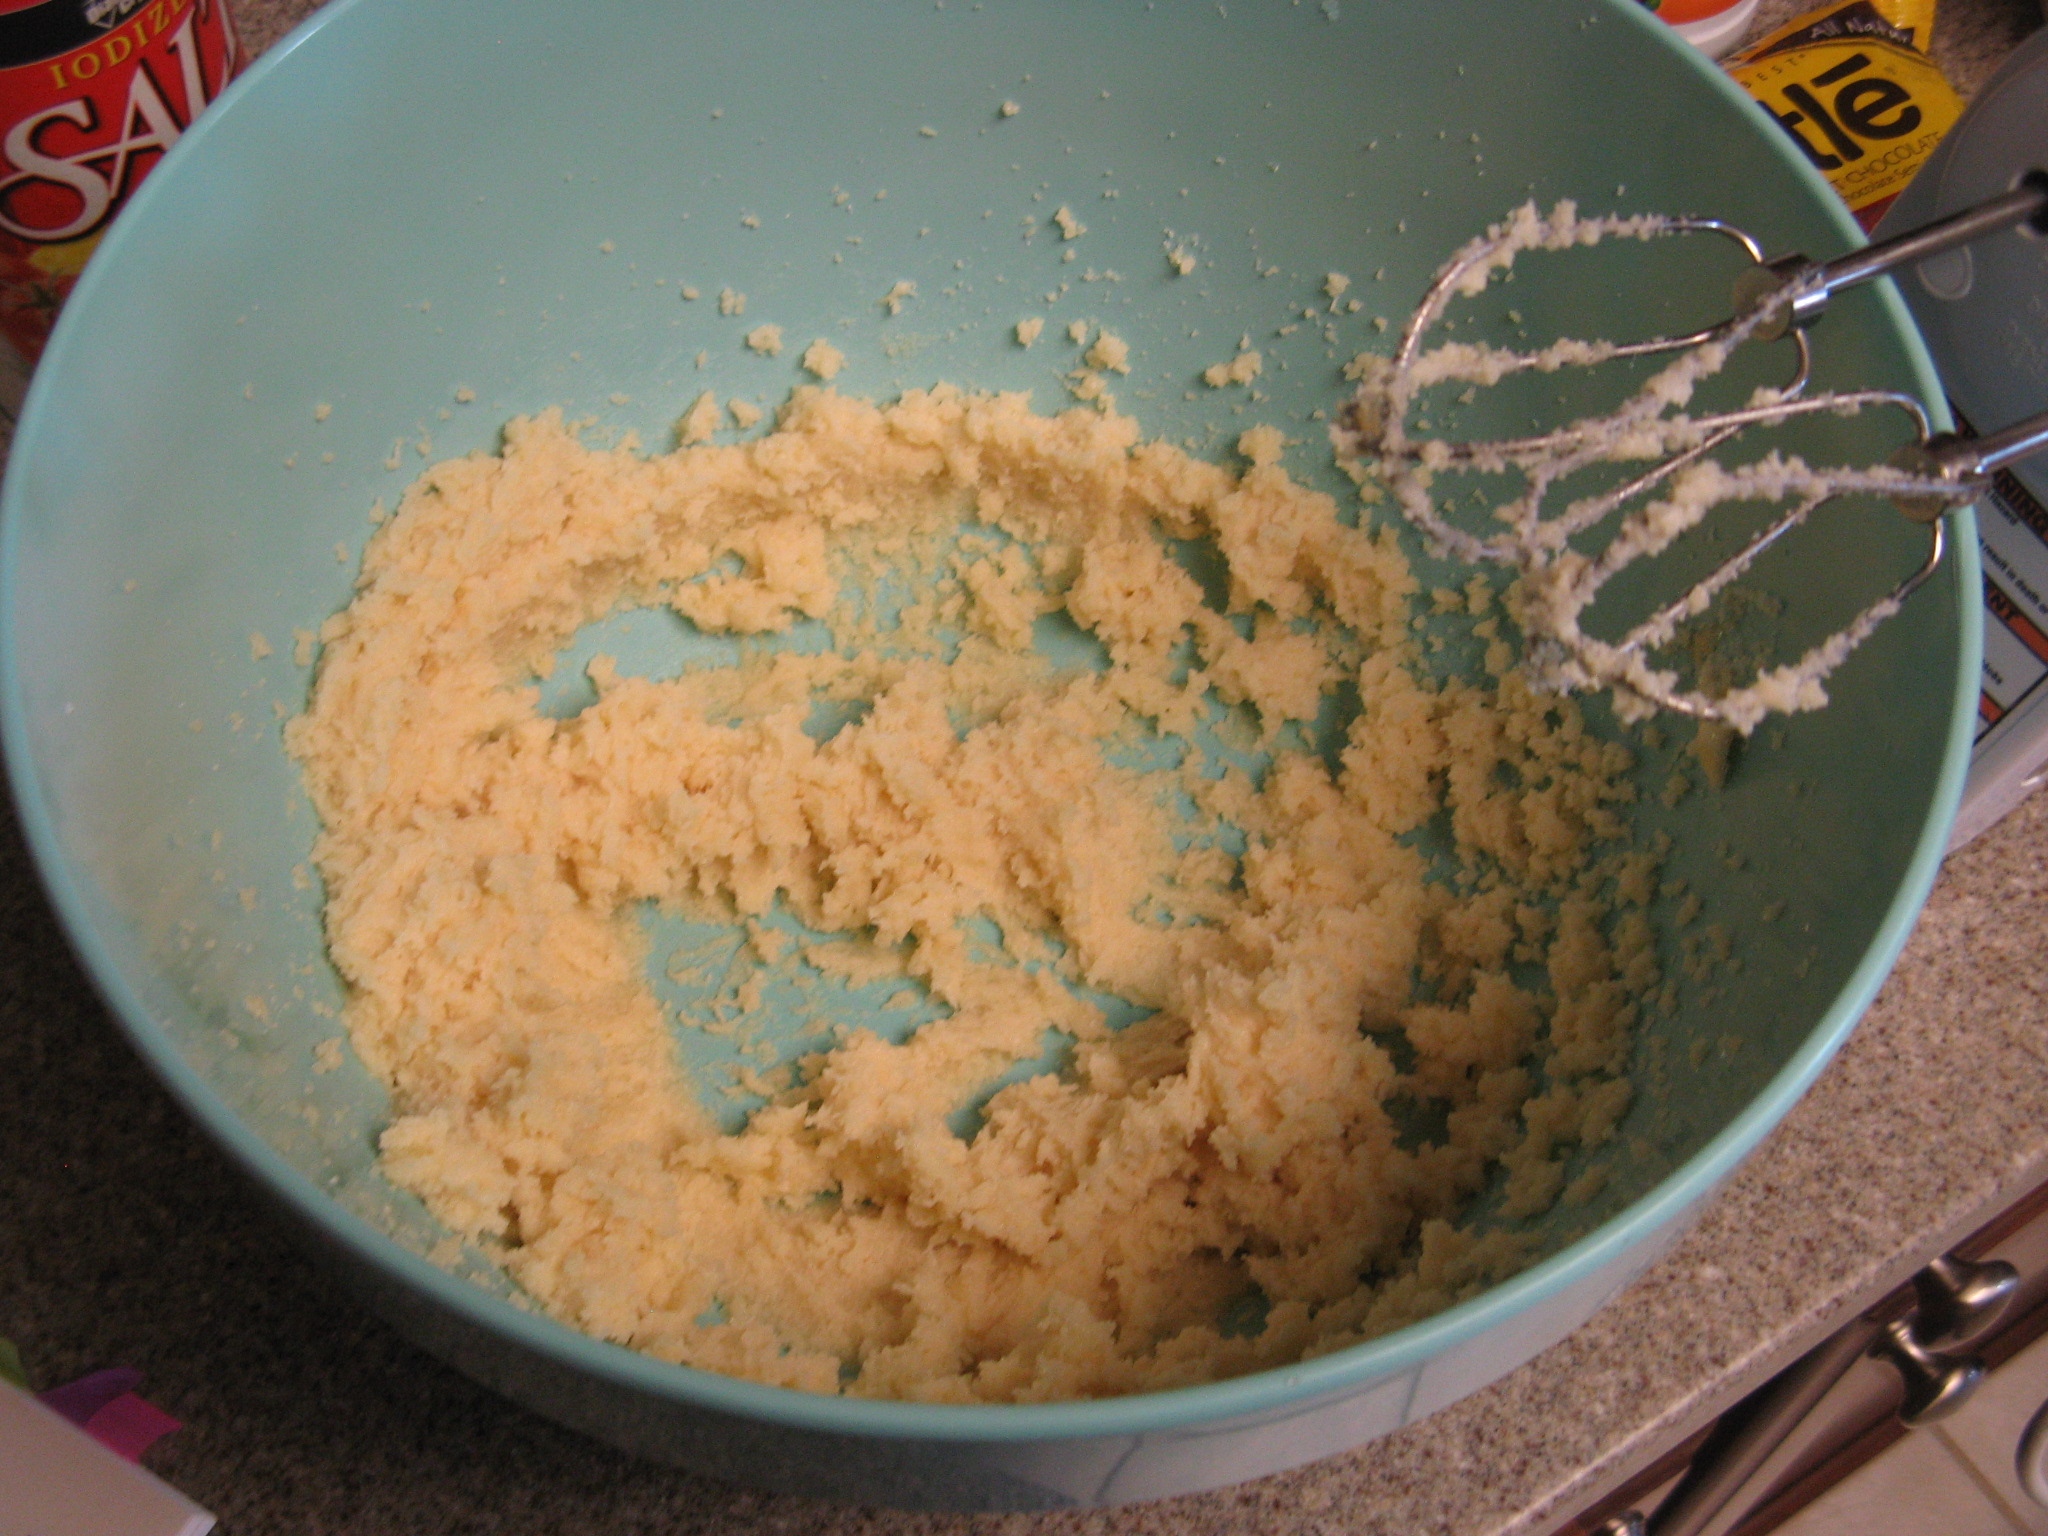
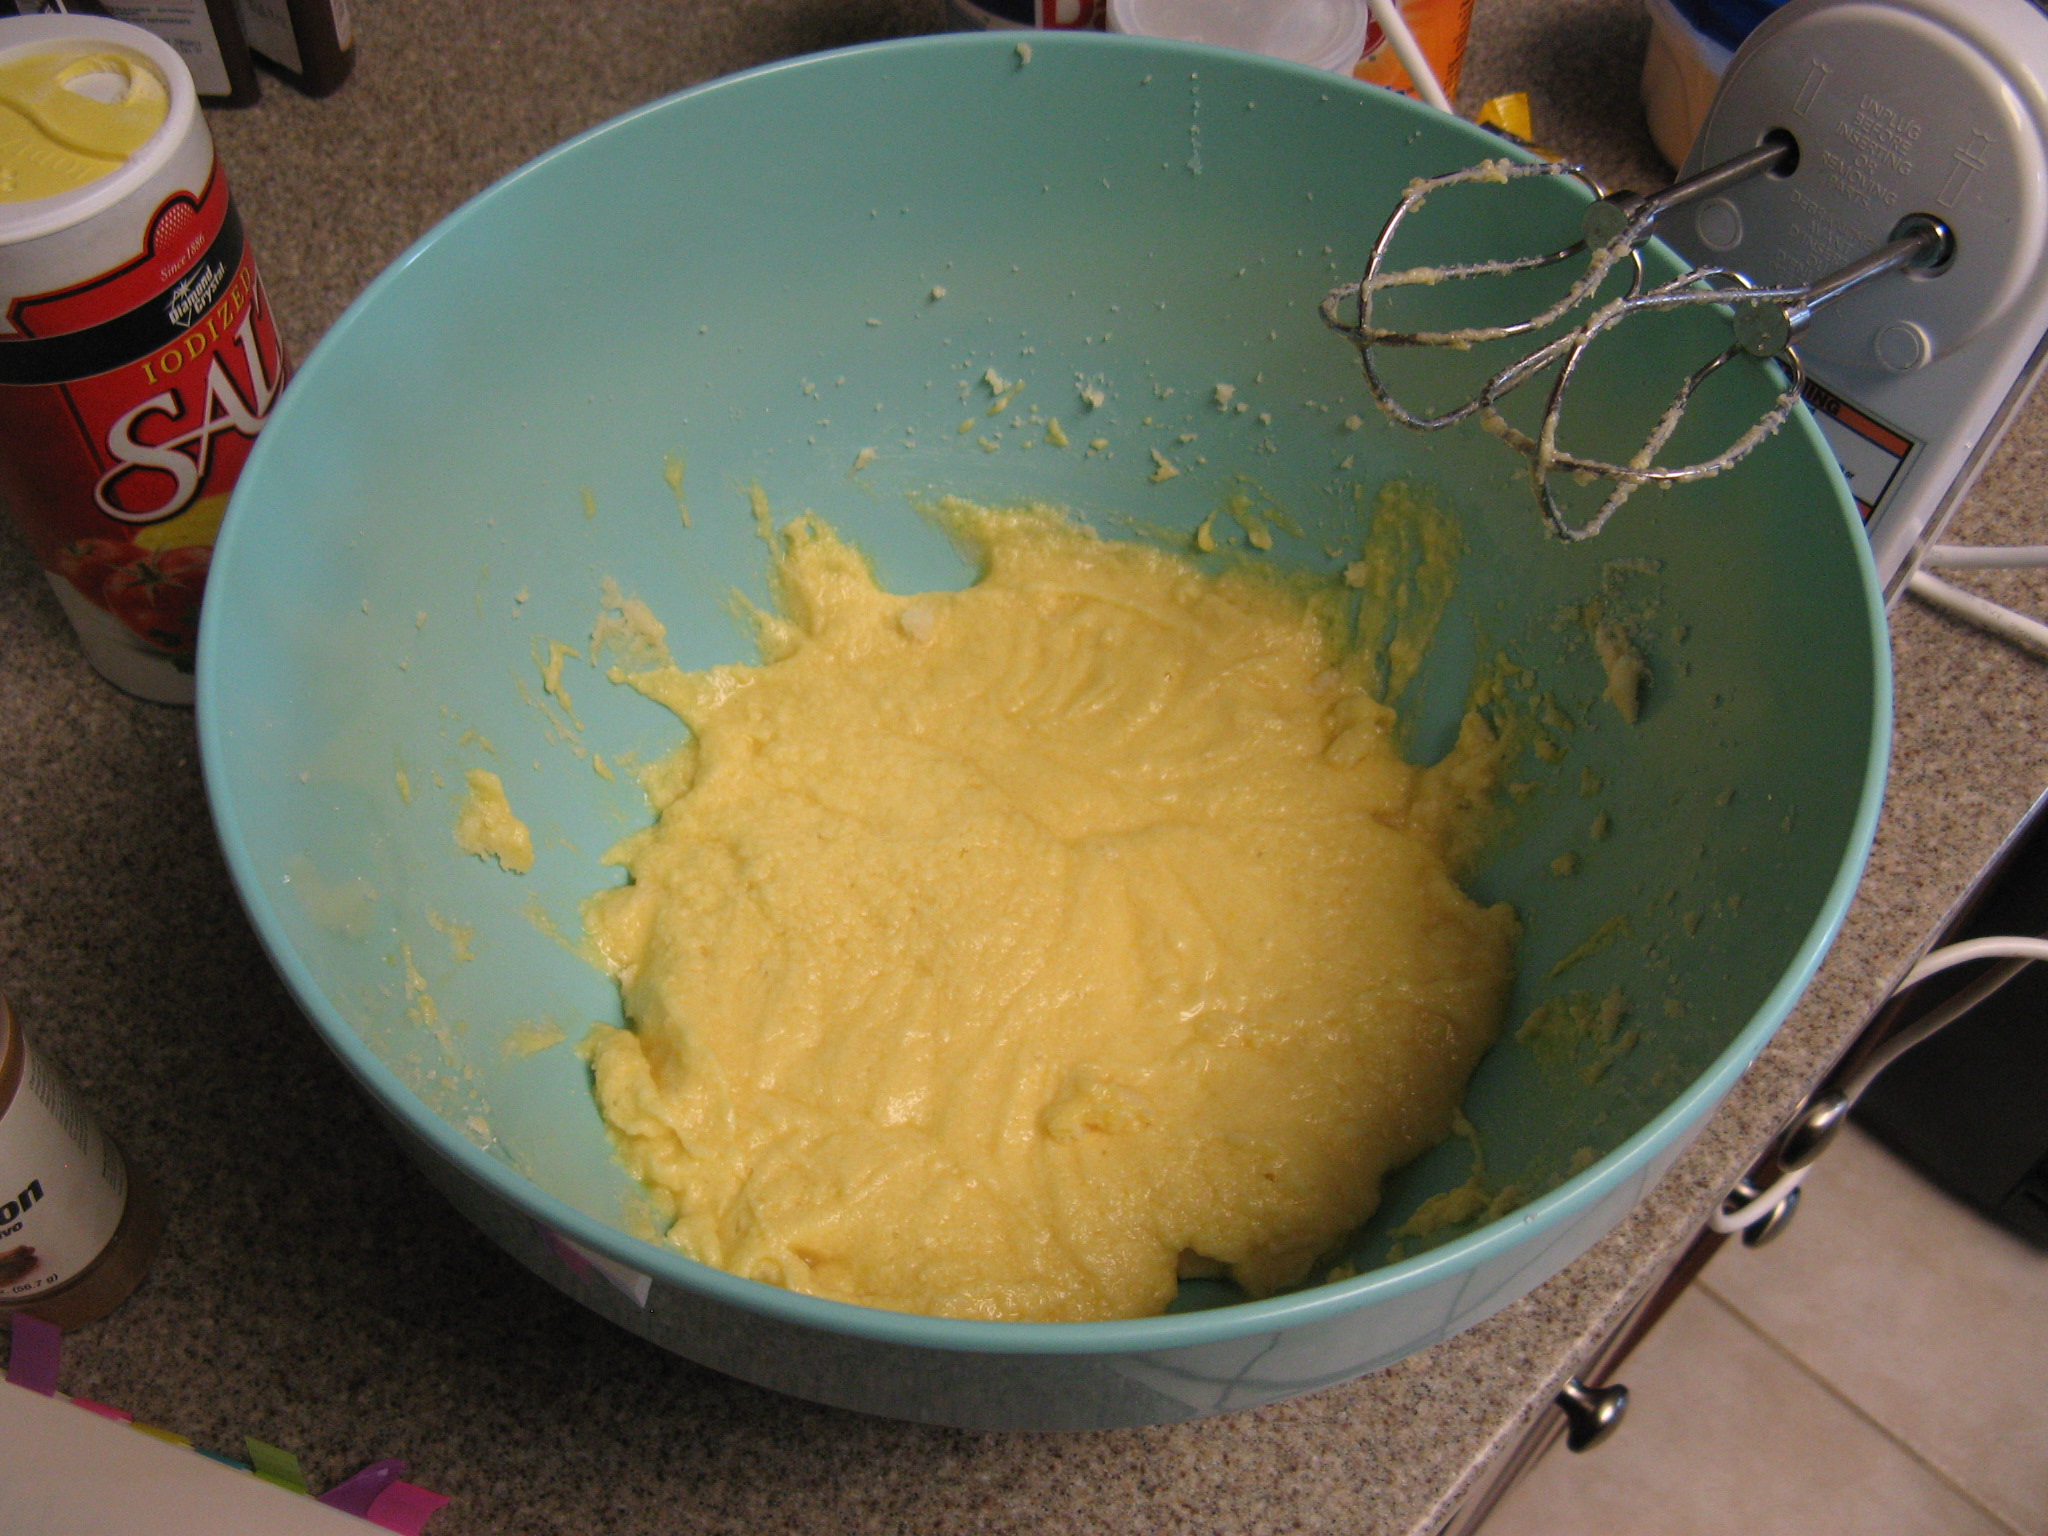
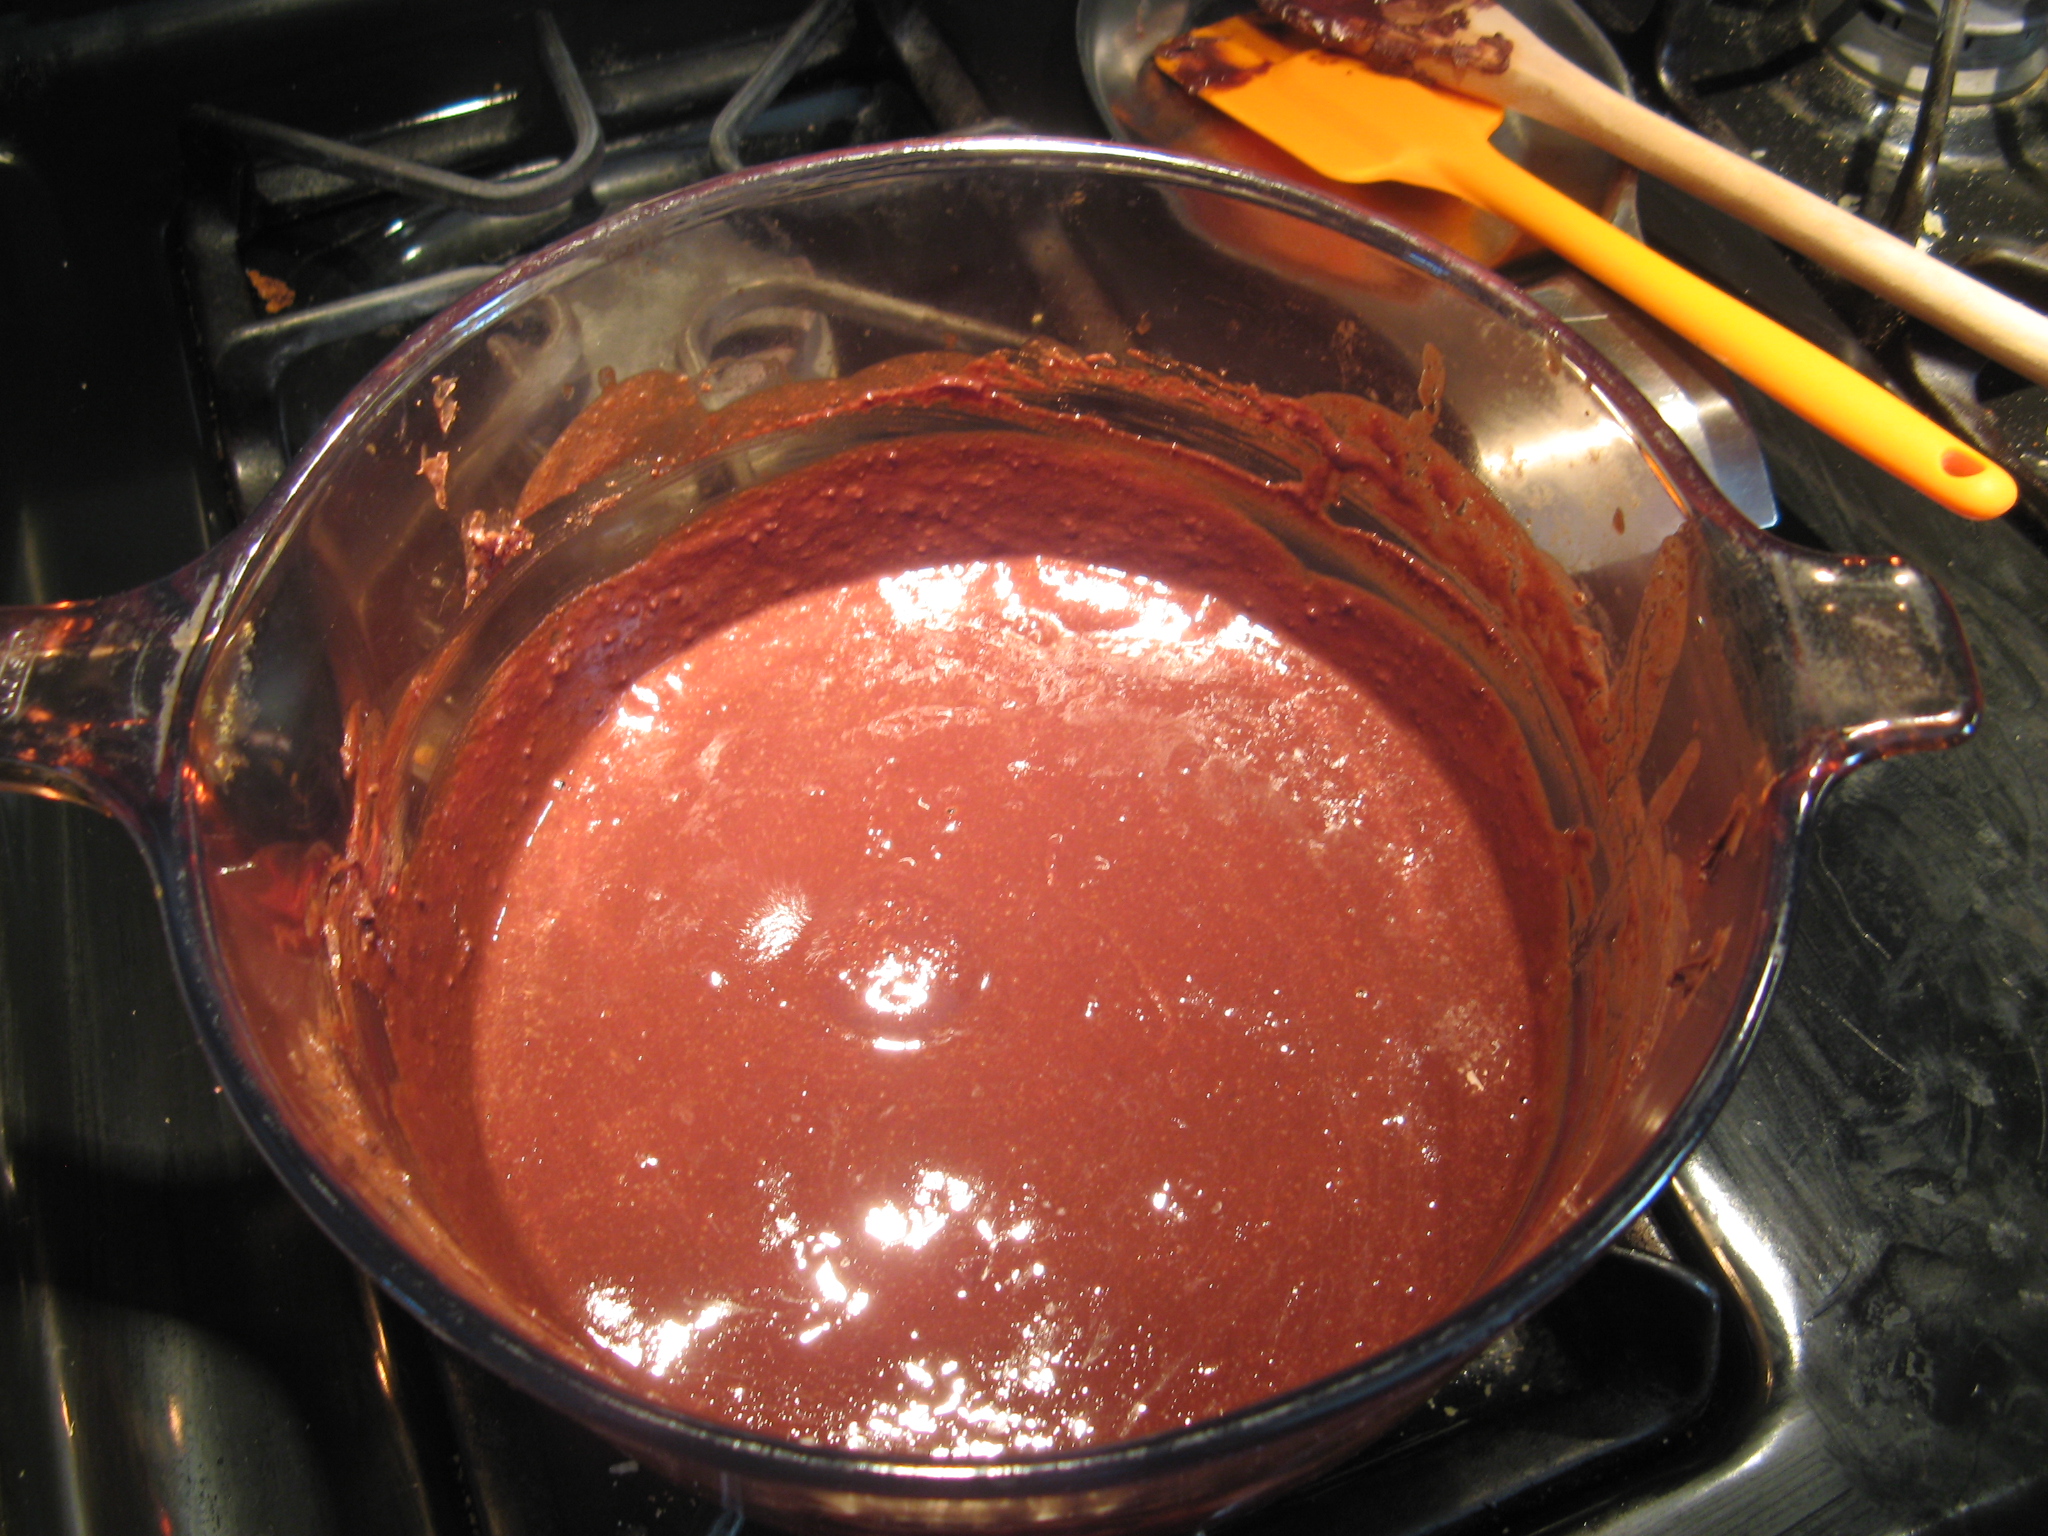
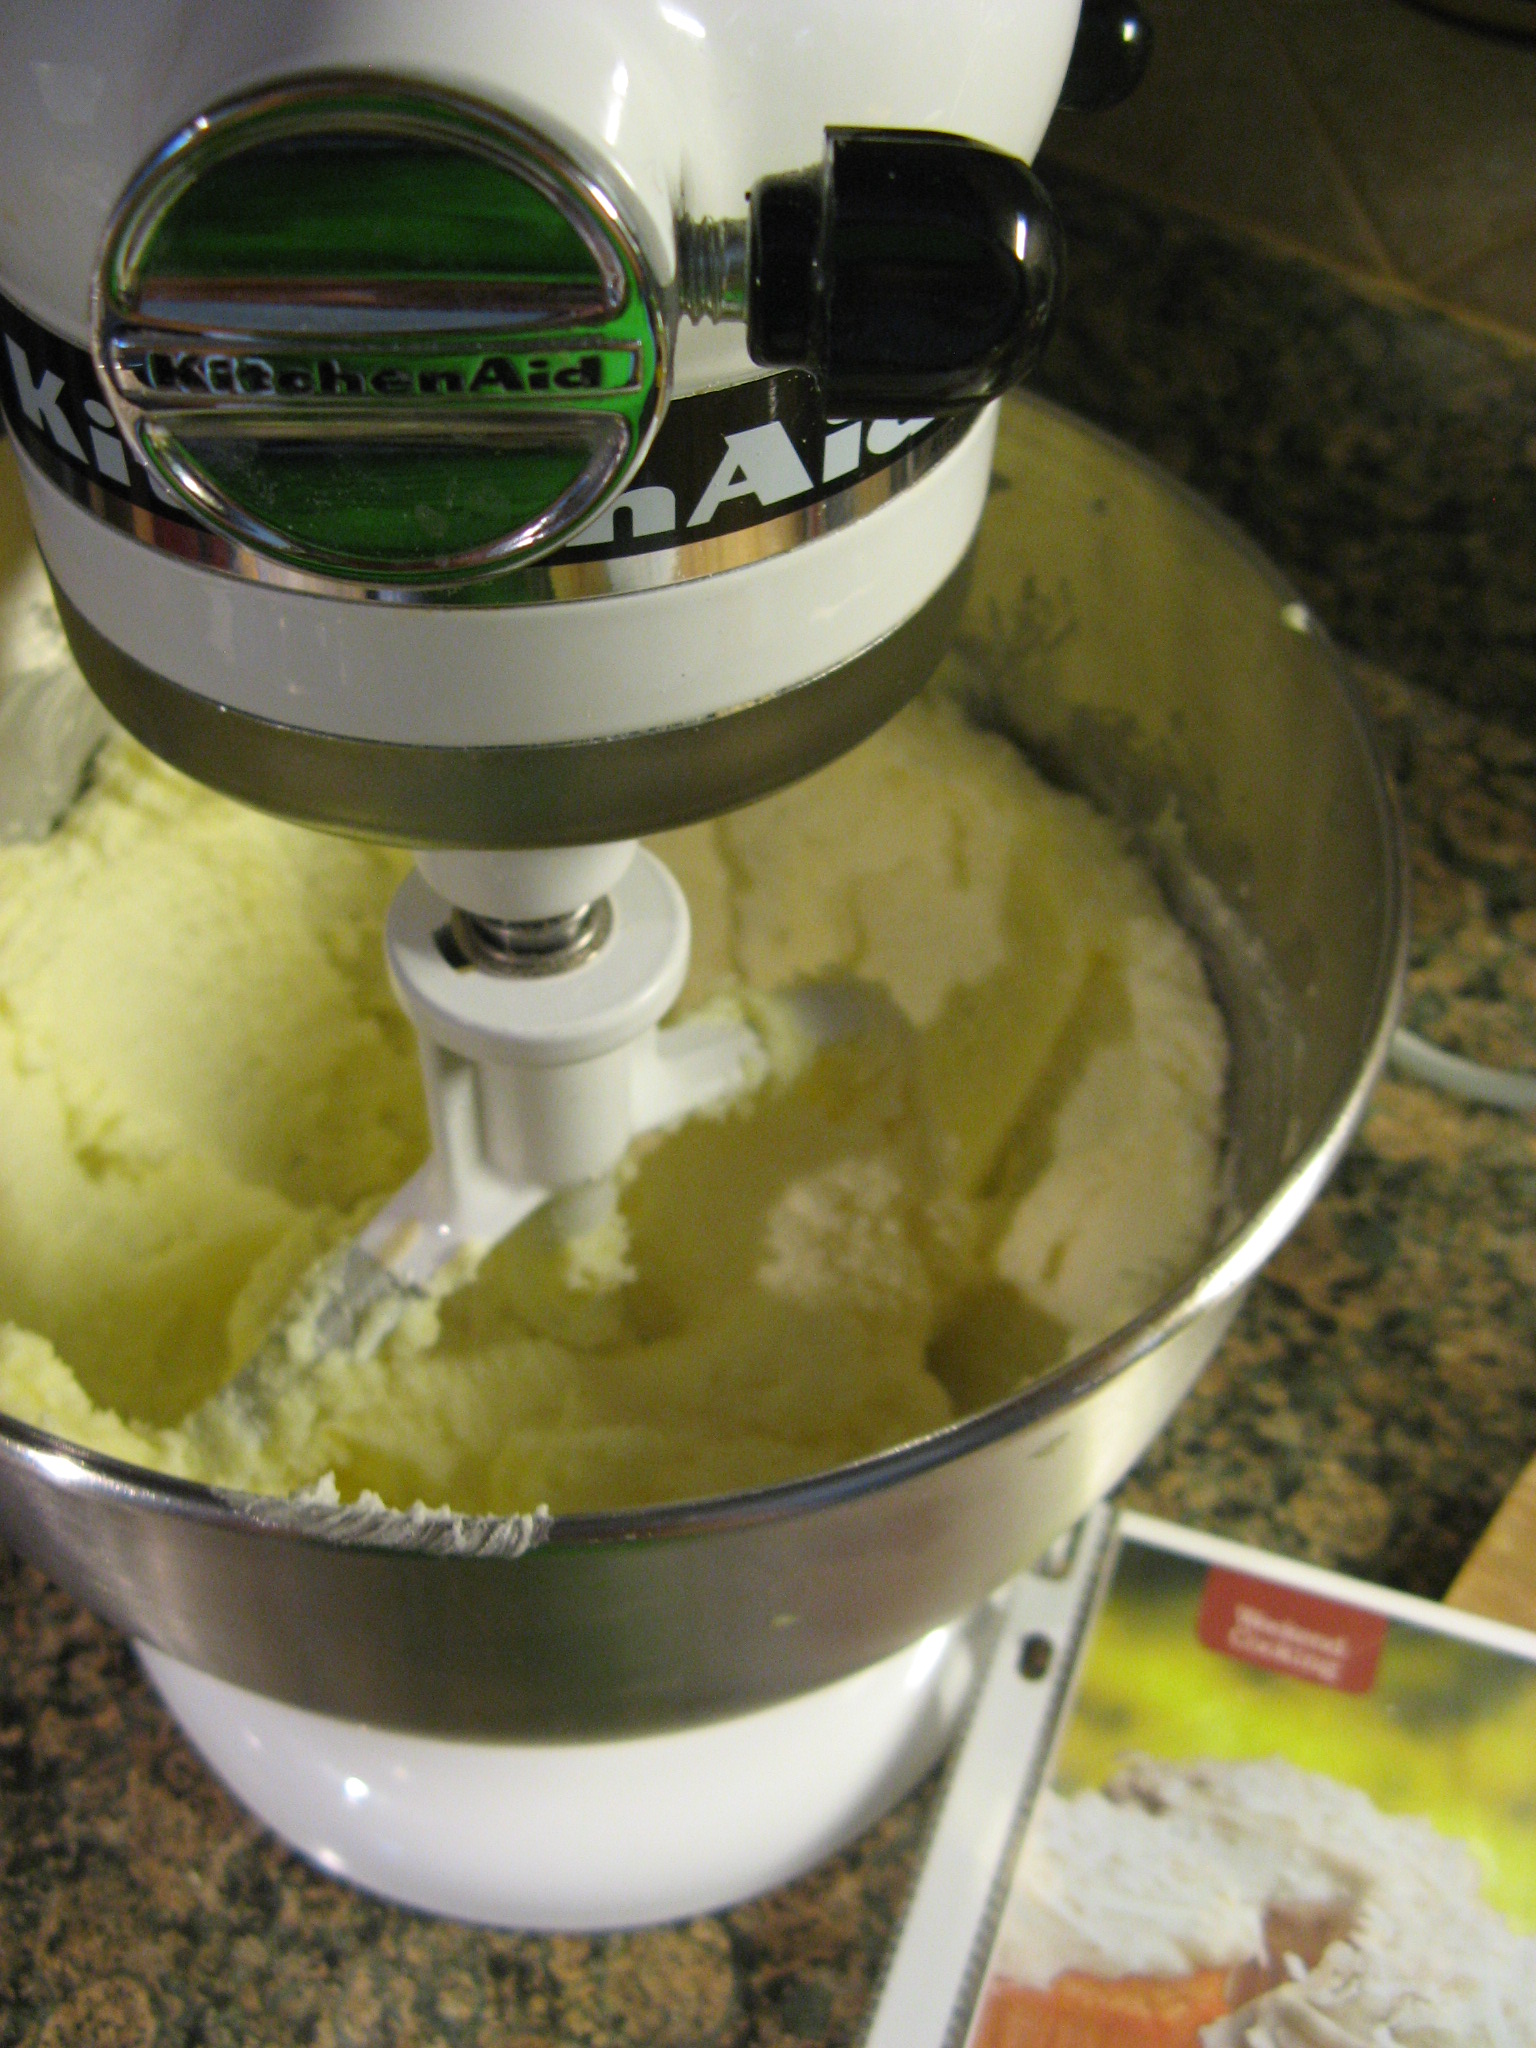
I then creamed together the butter and sugar until the mixture was light and fluffy – per the directions.
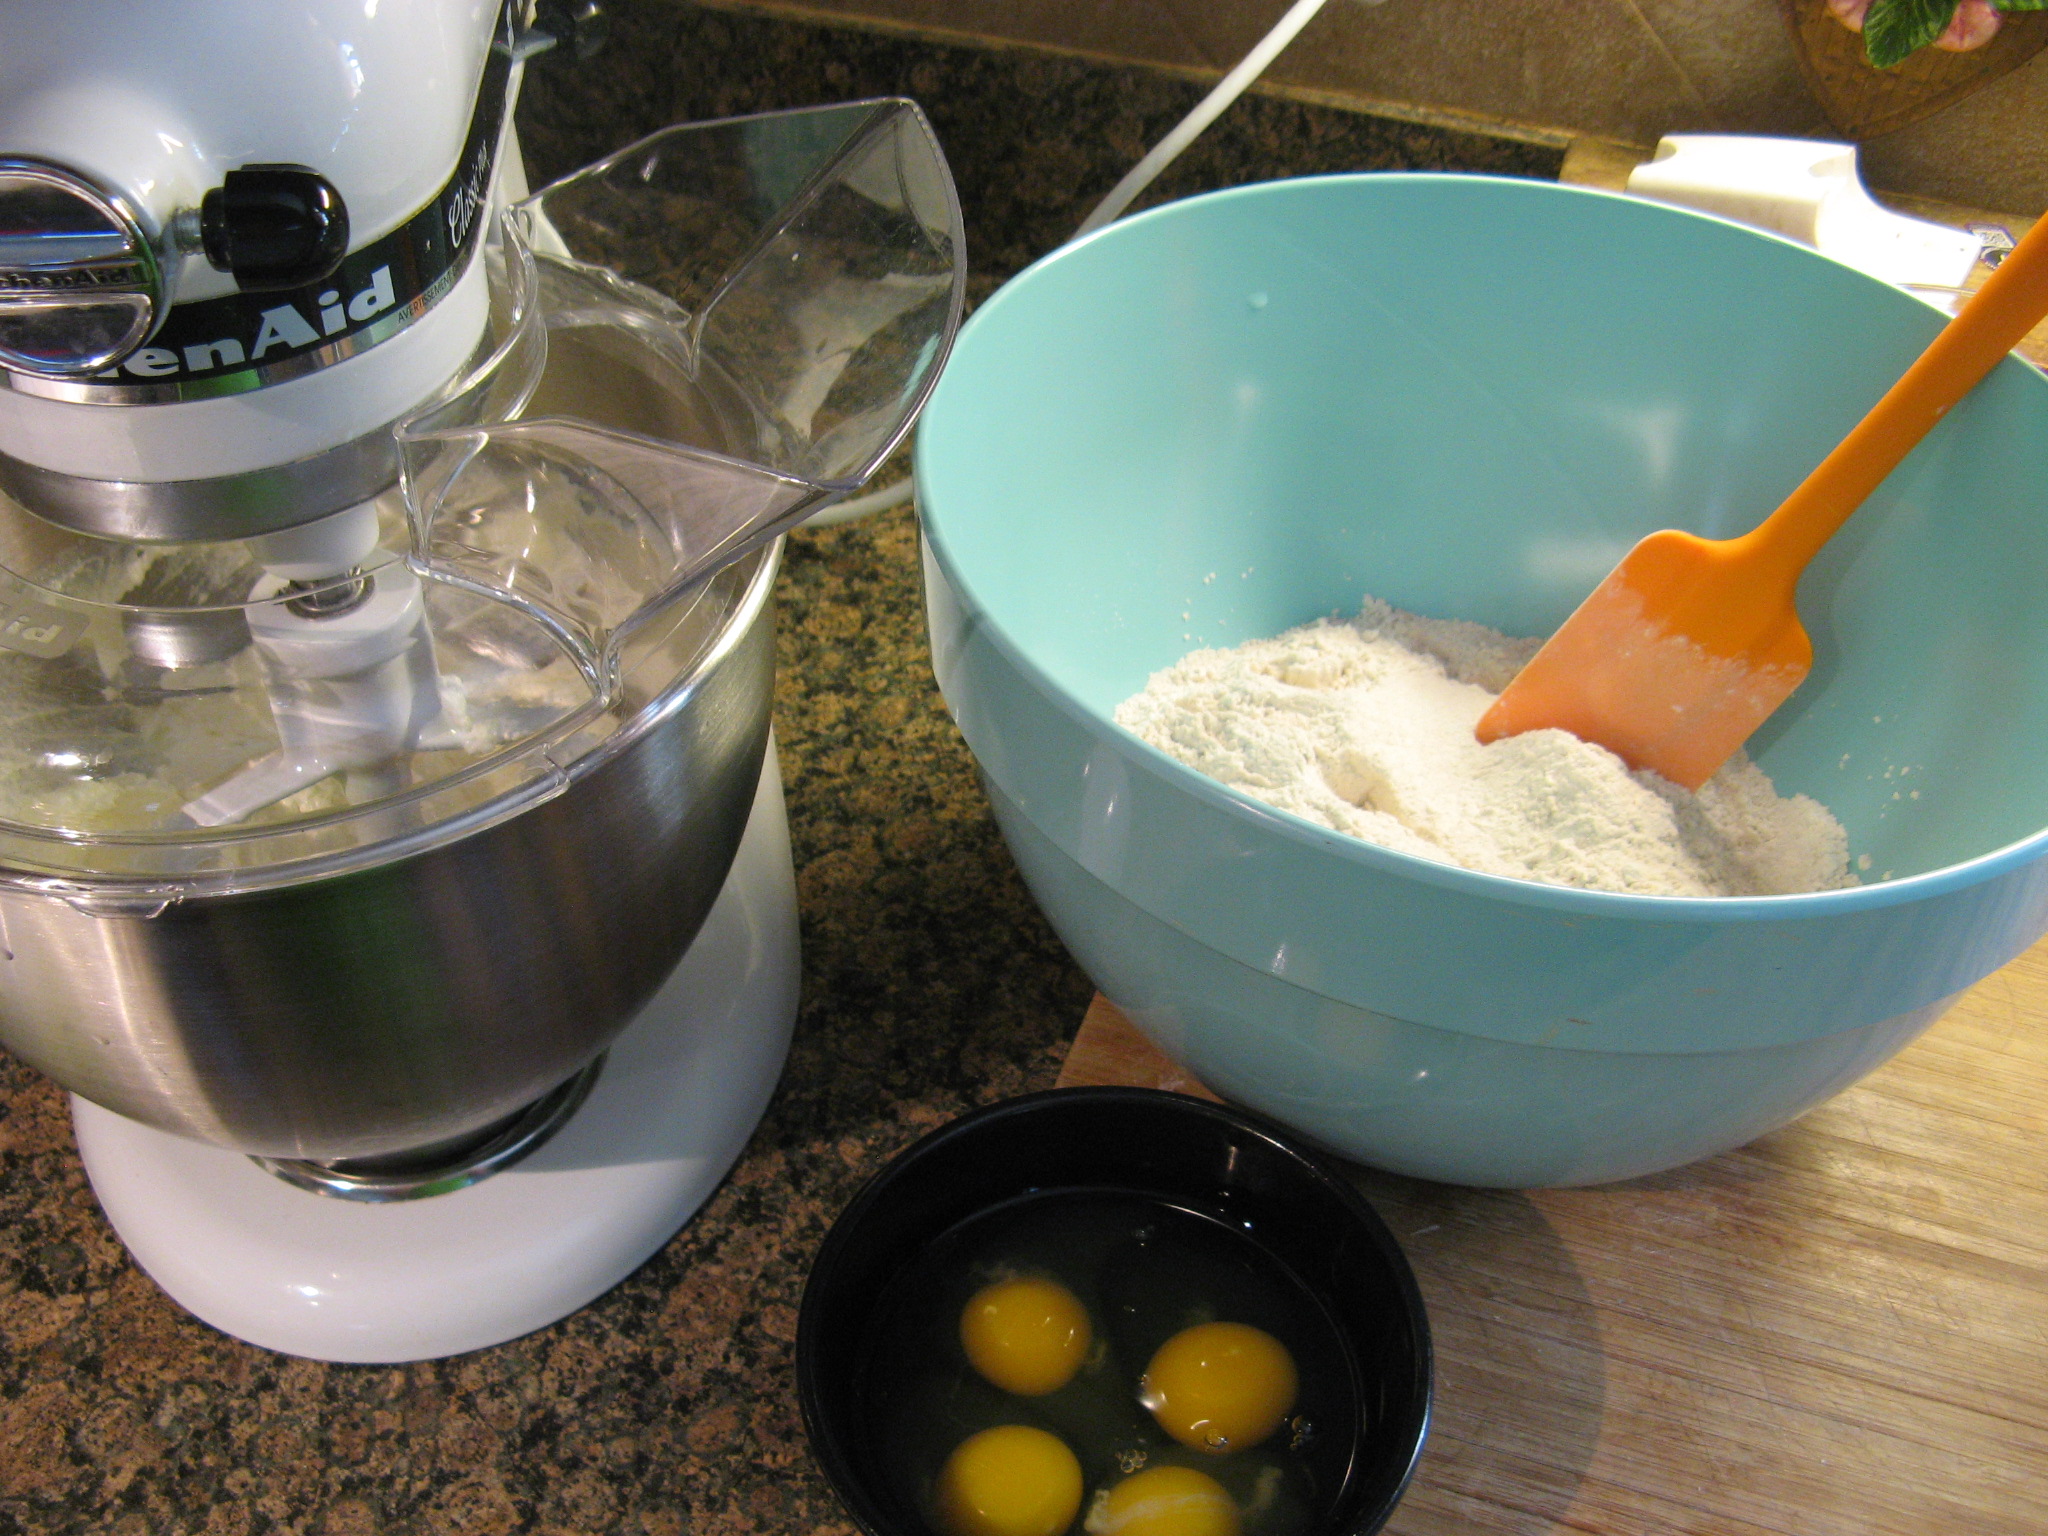
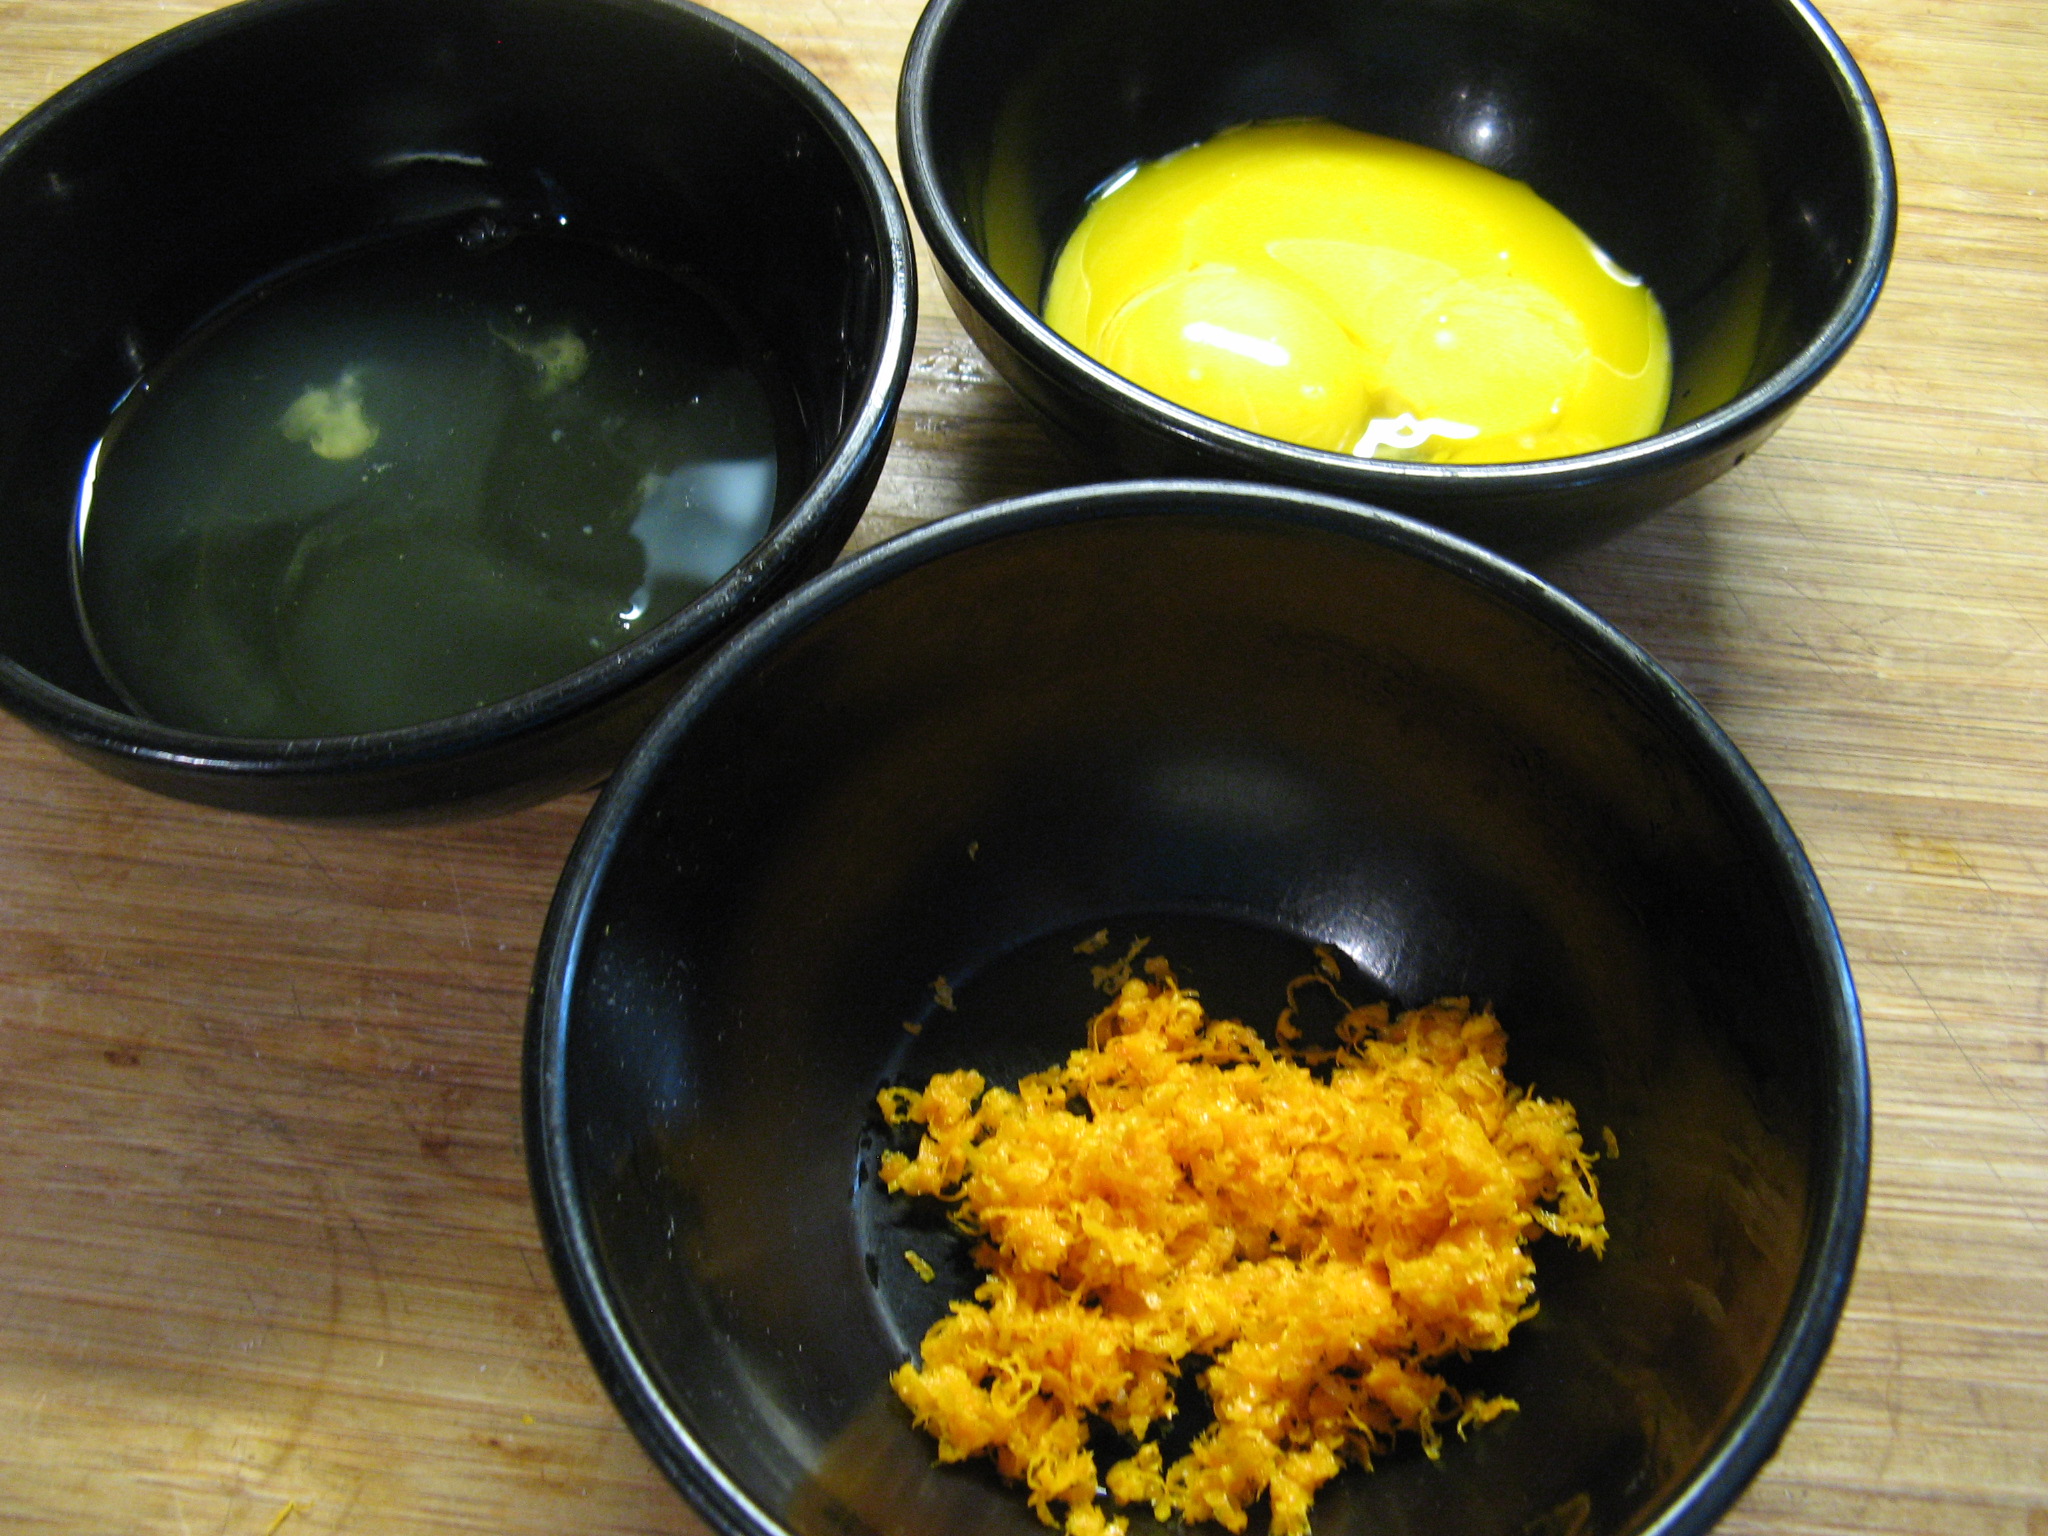
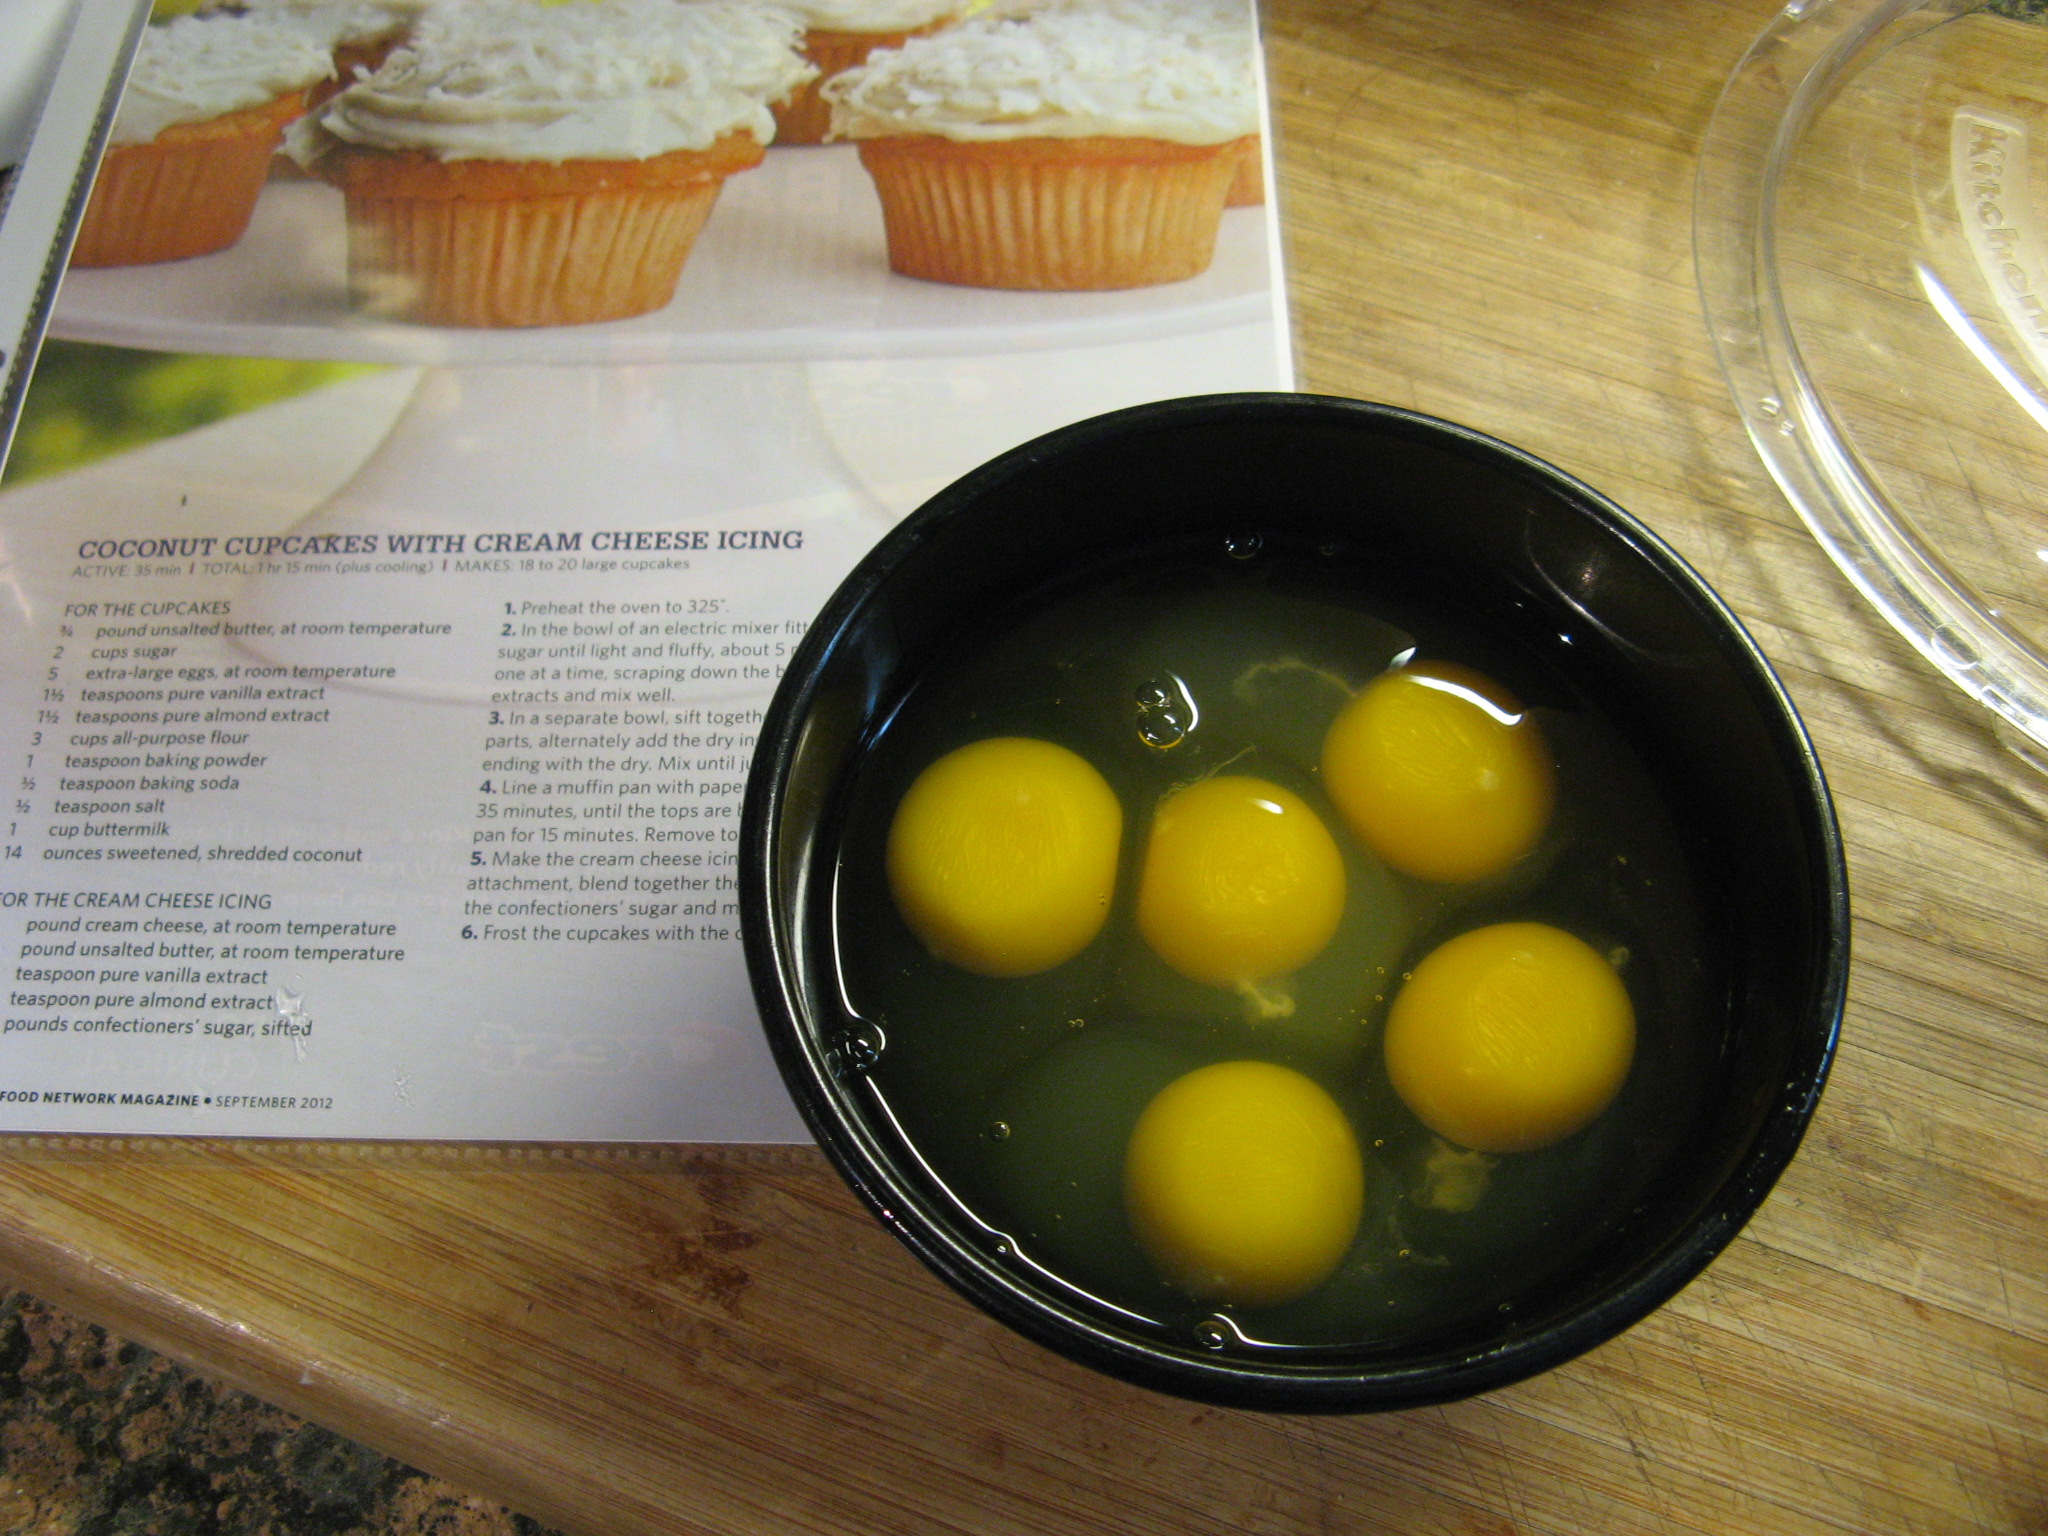
While the butter and sugar were mixing I got my eggs ready. I used to just crack my eggs right into my batter, but, after having to fish out egg shells once or twice I decided cracking them into a separate bowl is a better idea and it also makes the process of adding them to the batter a lot quicker.
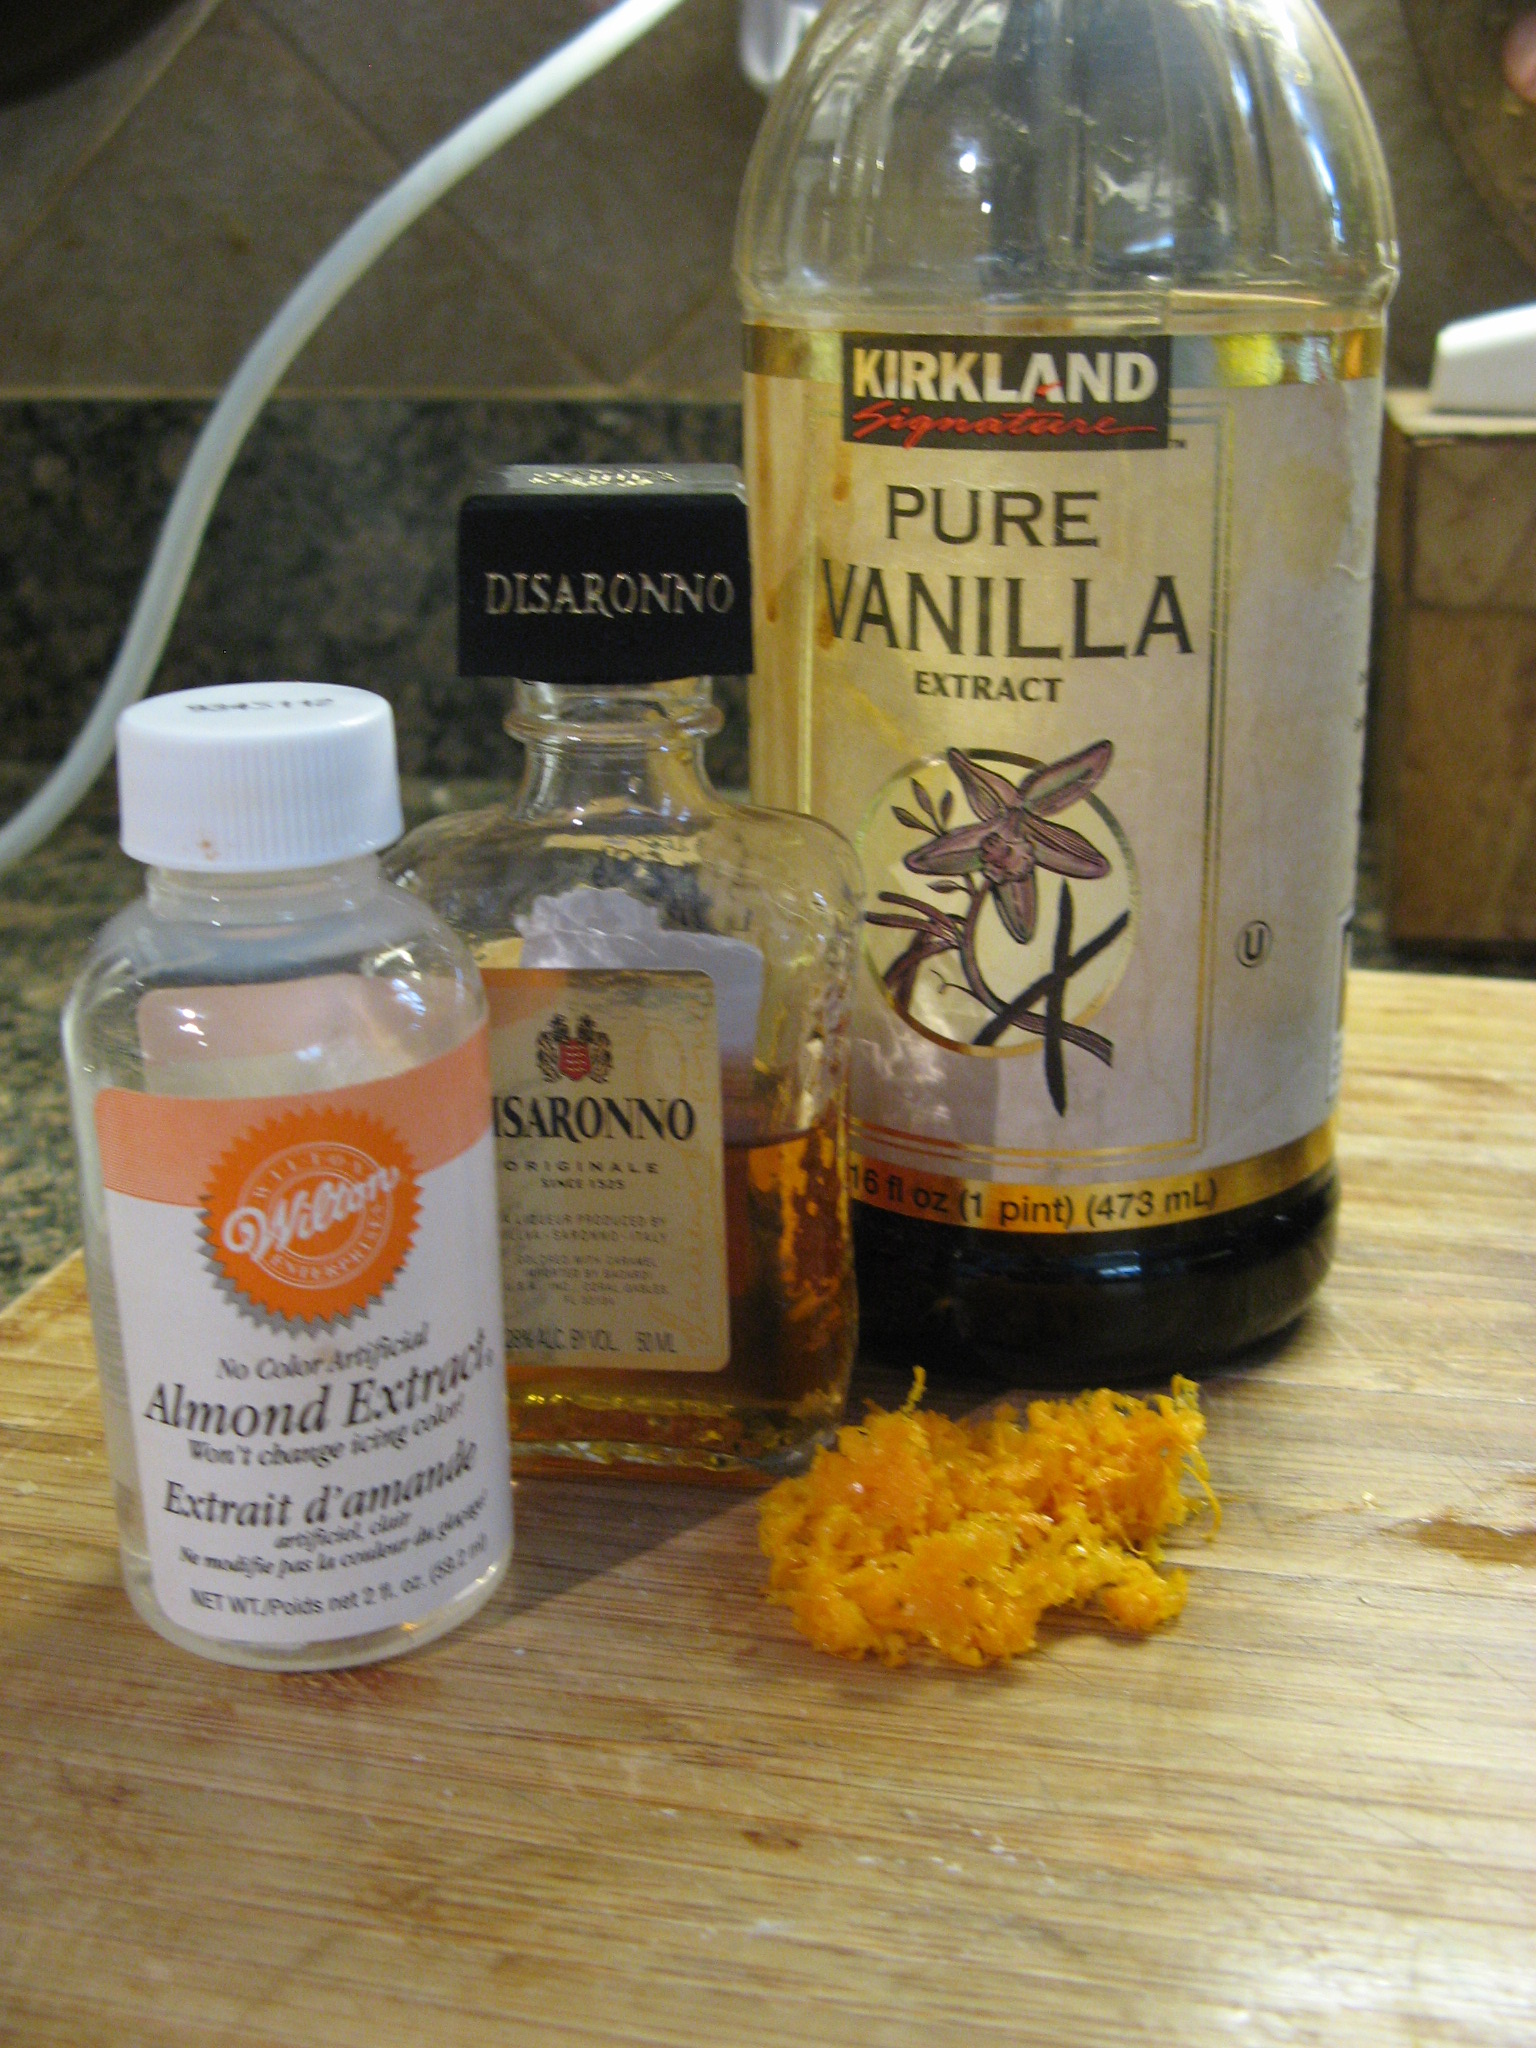
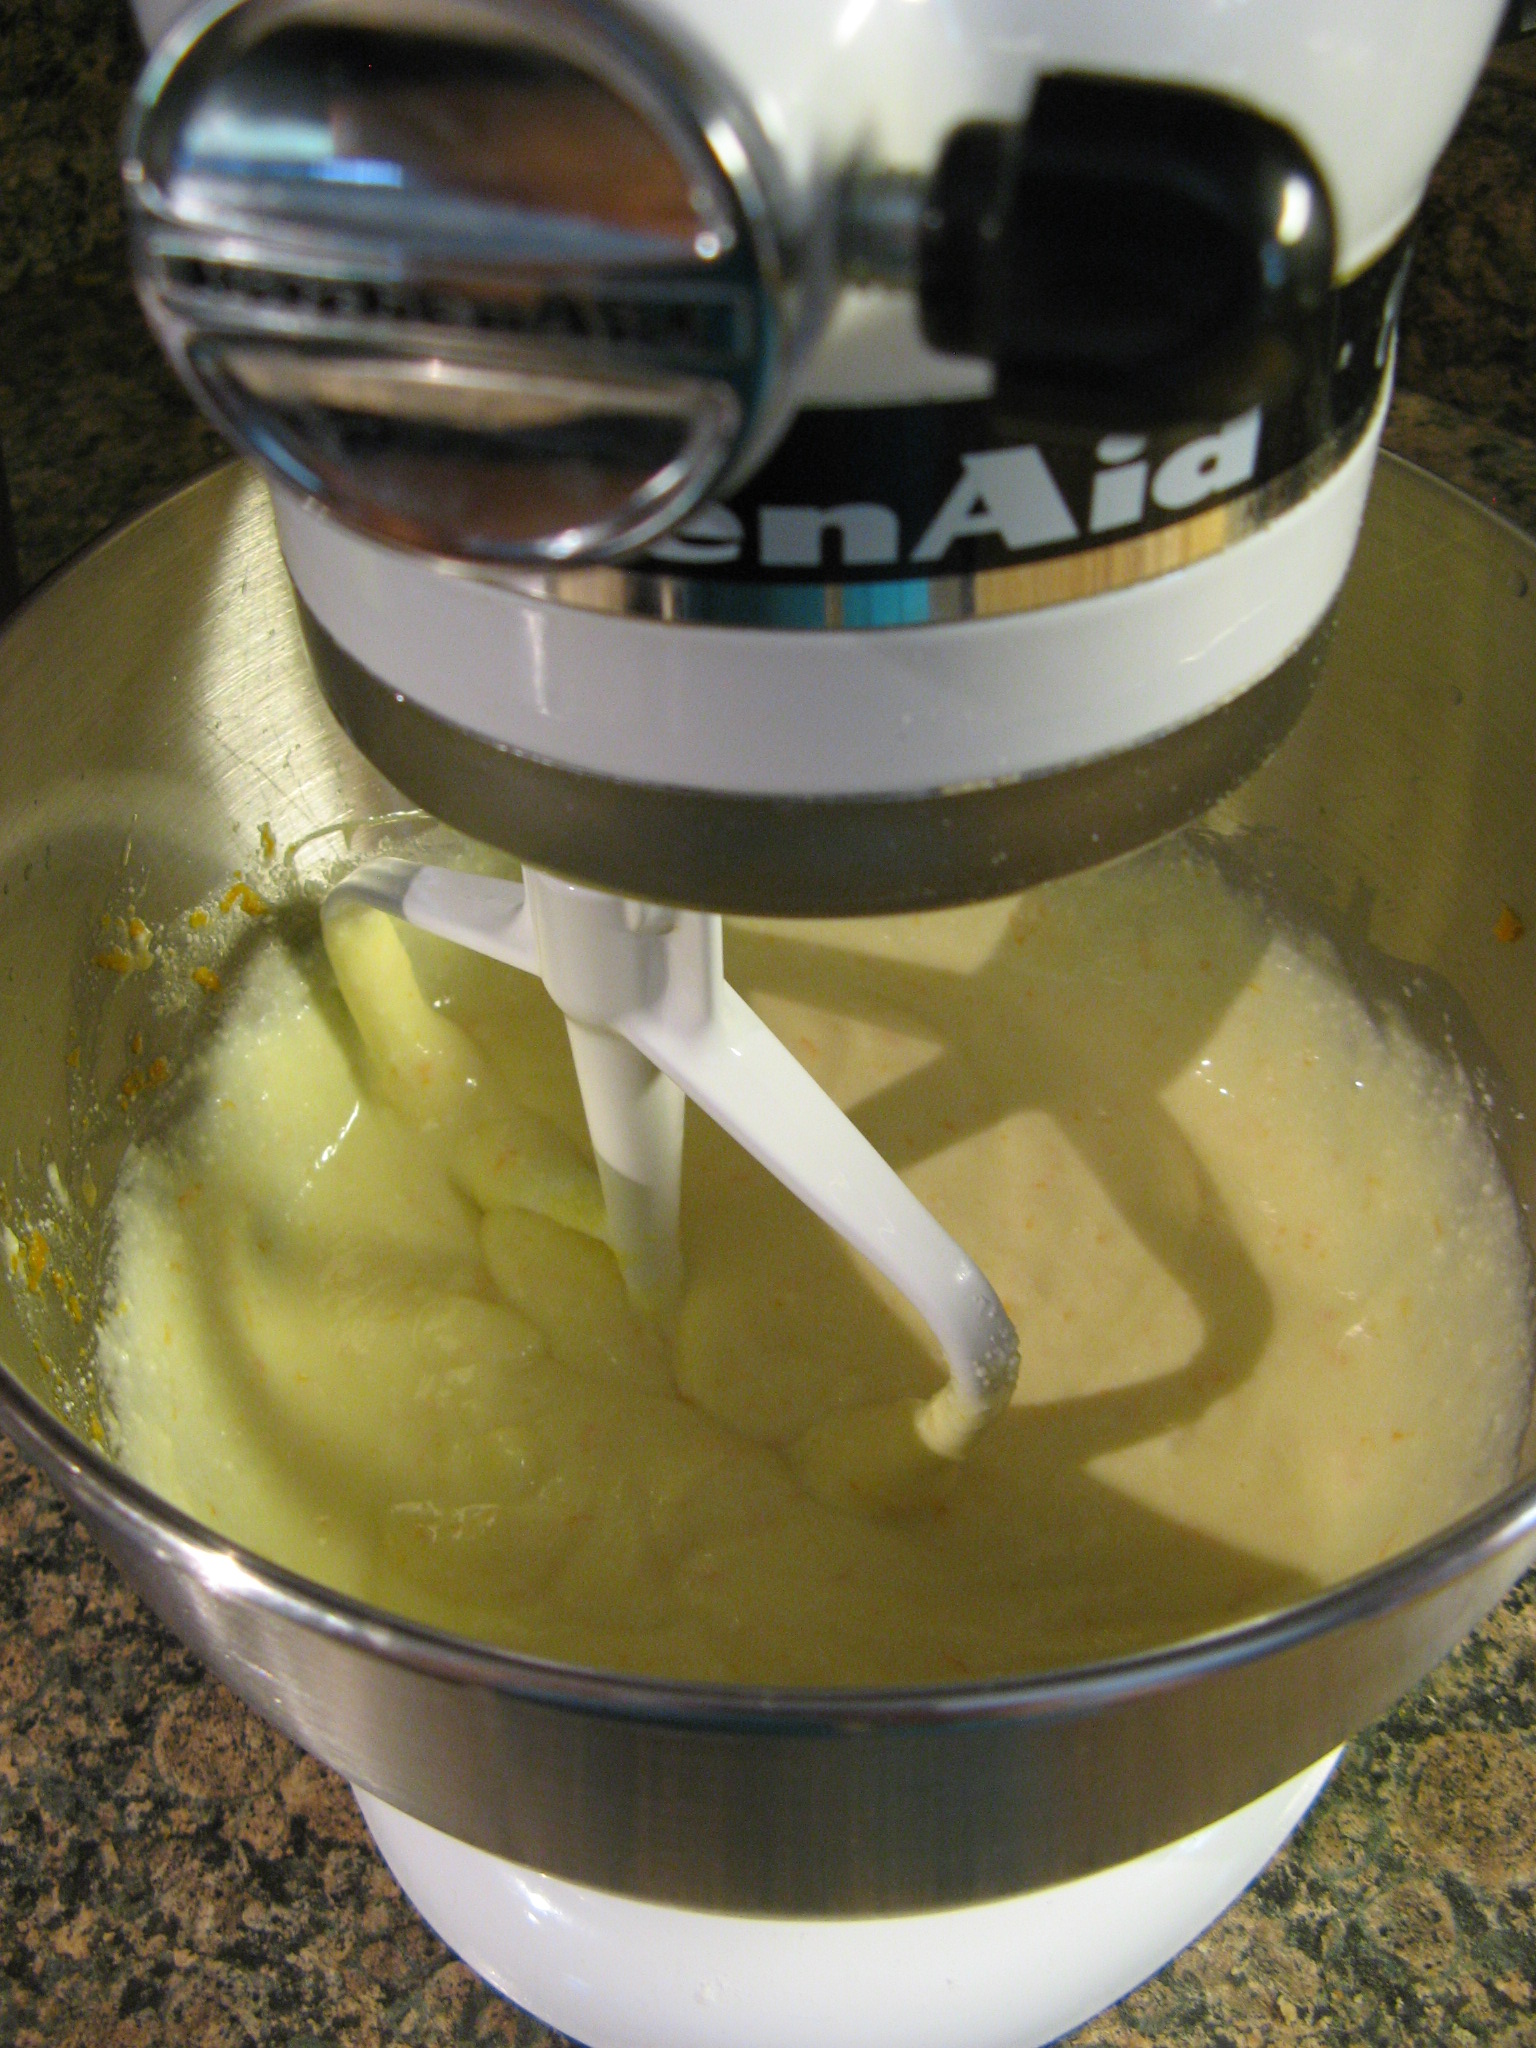
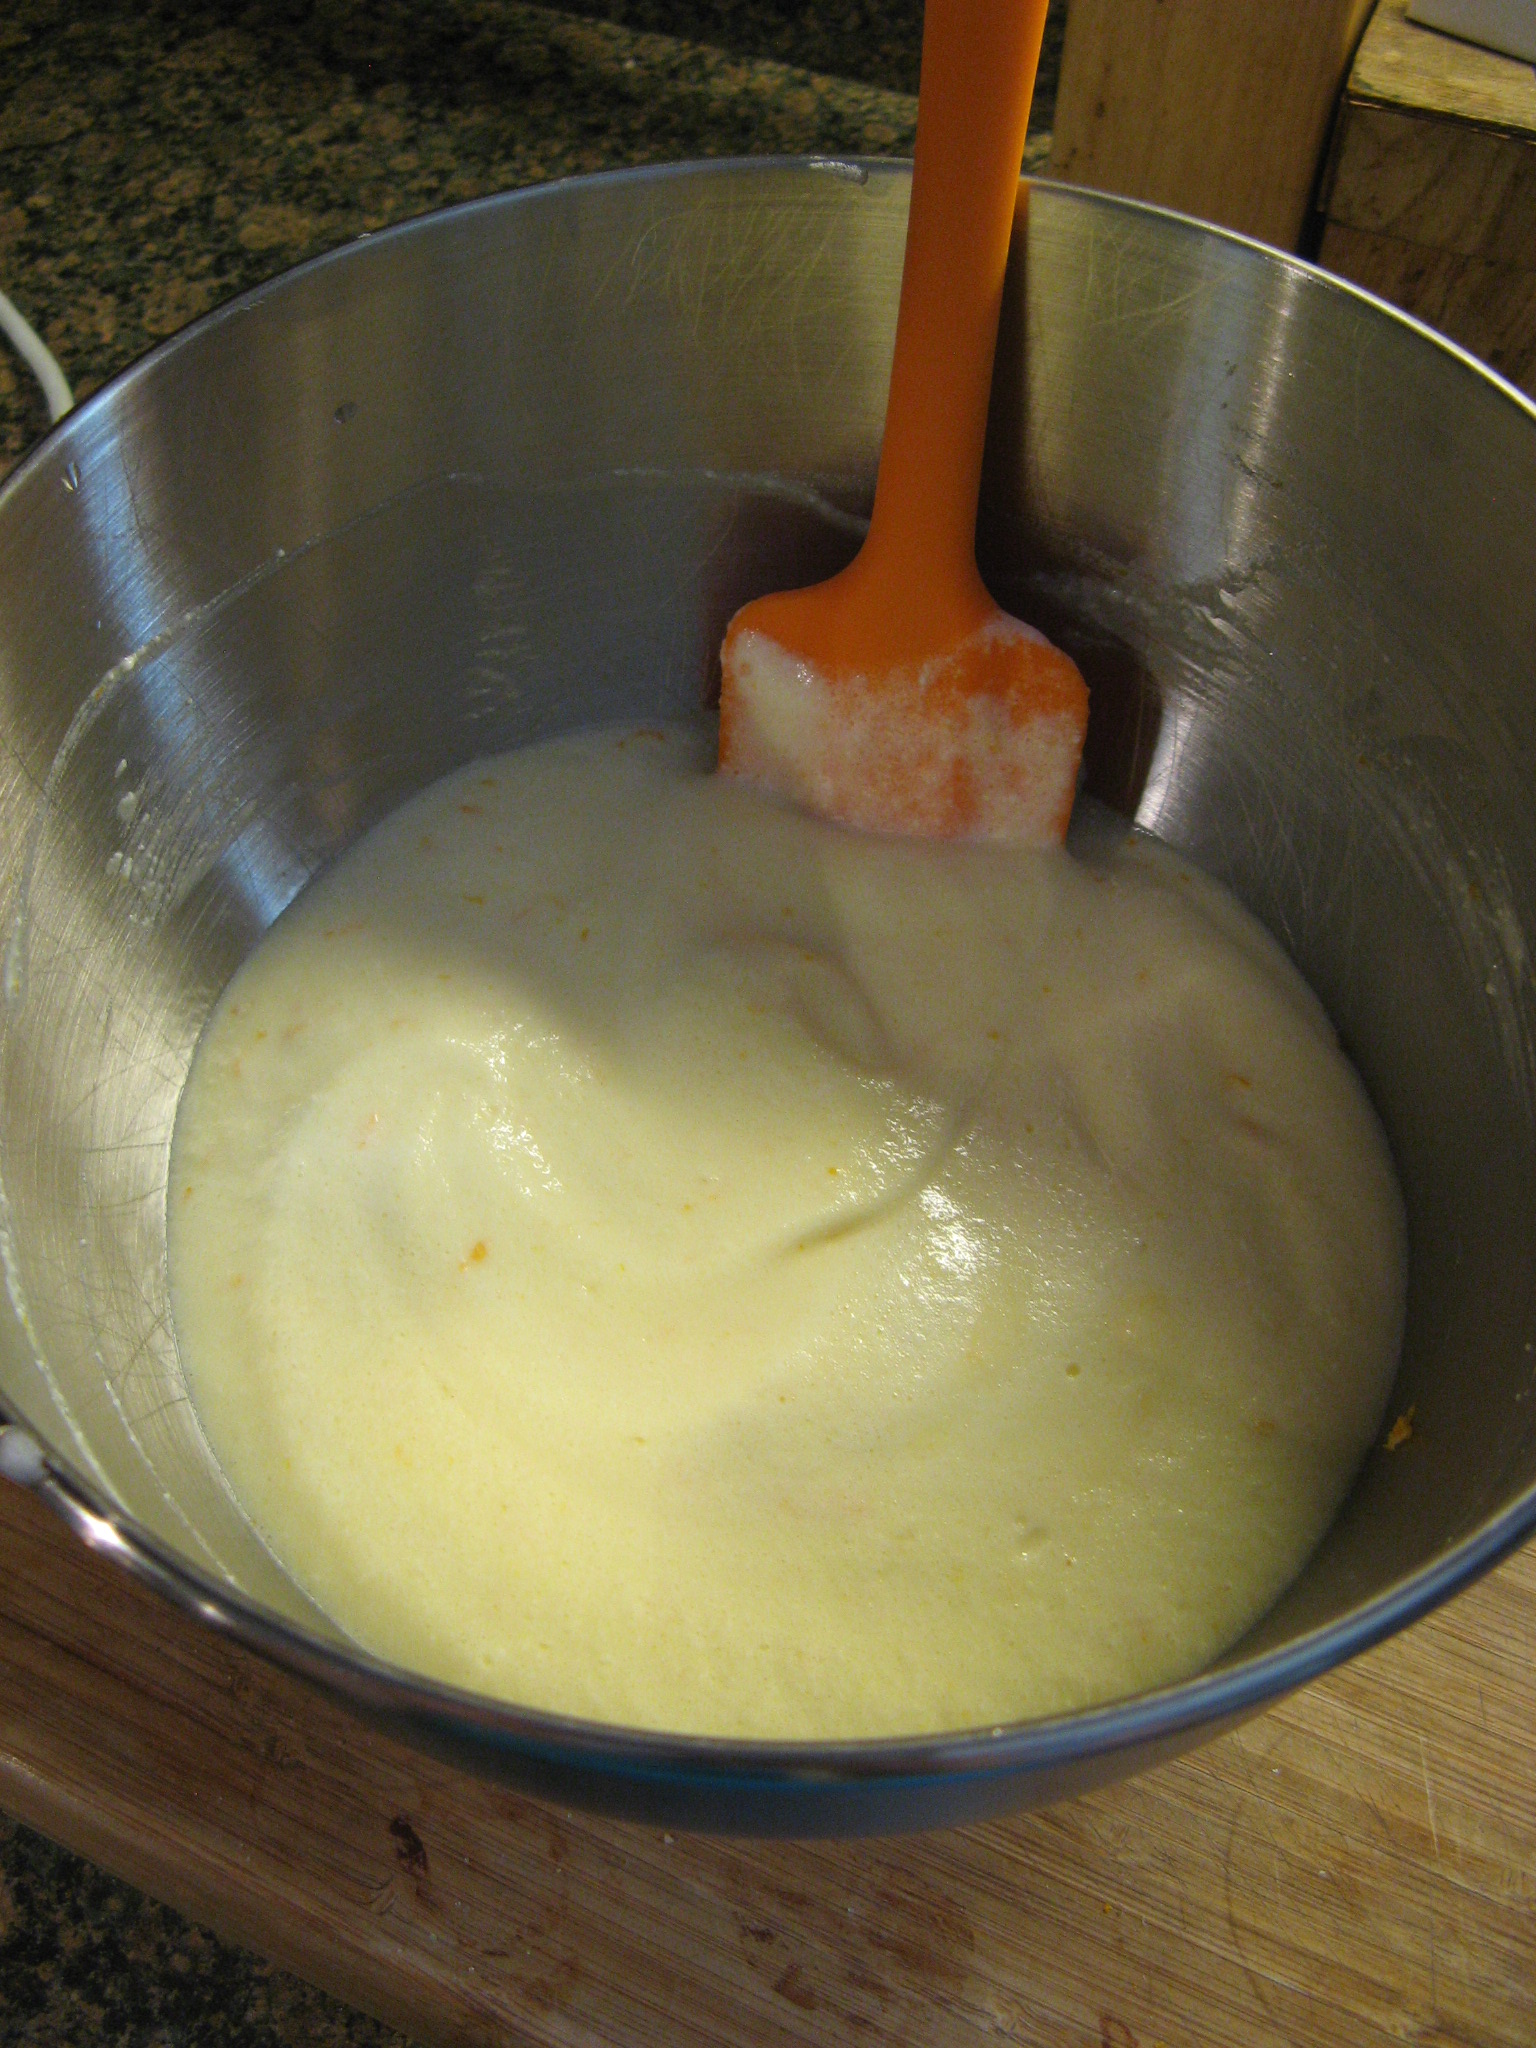
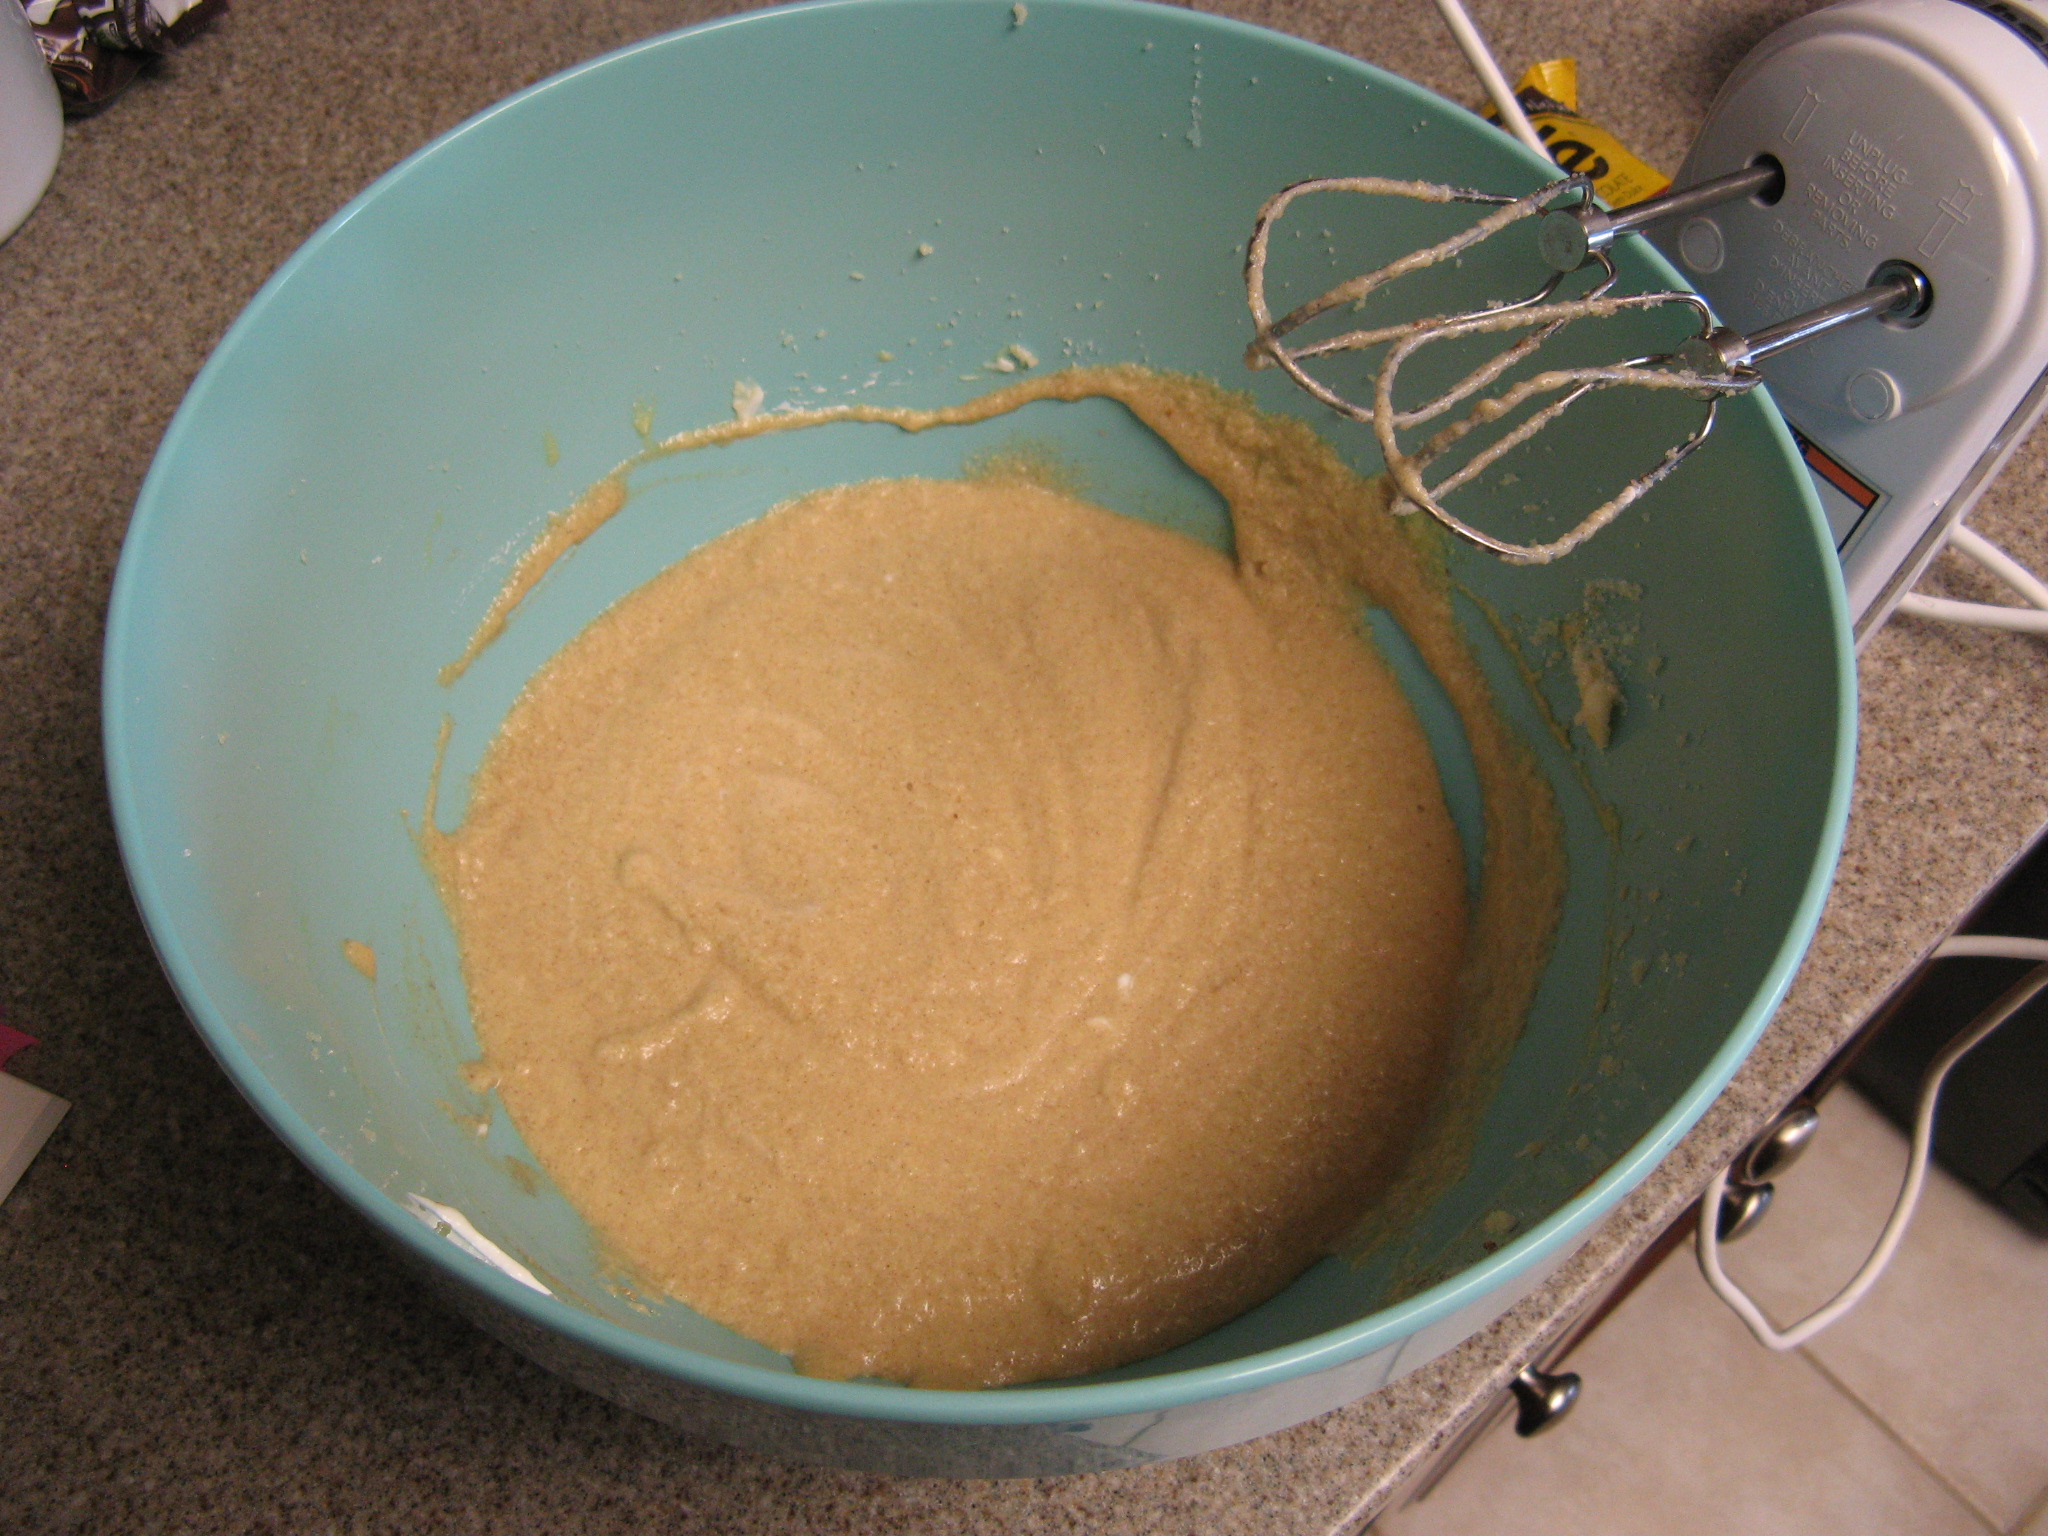
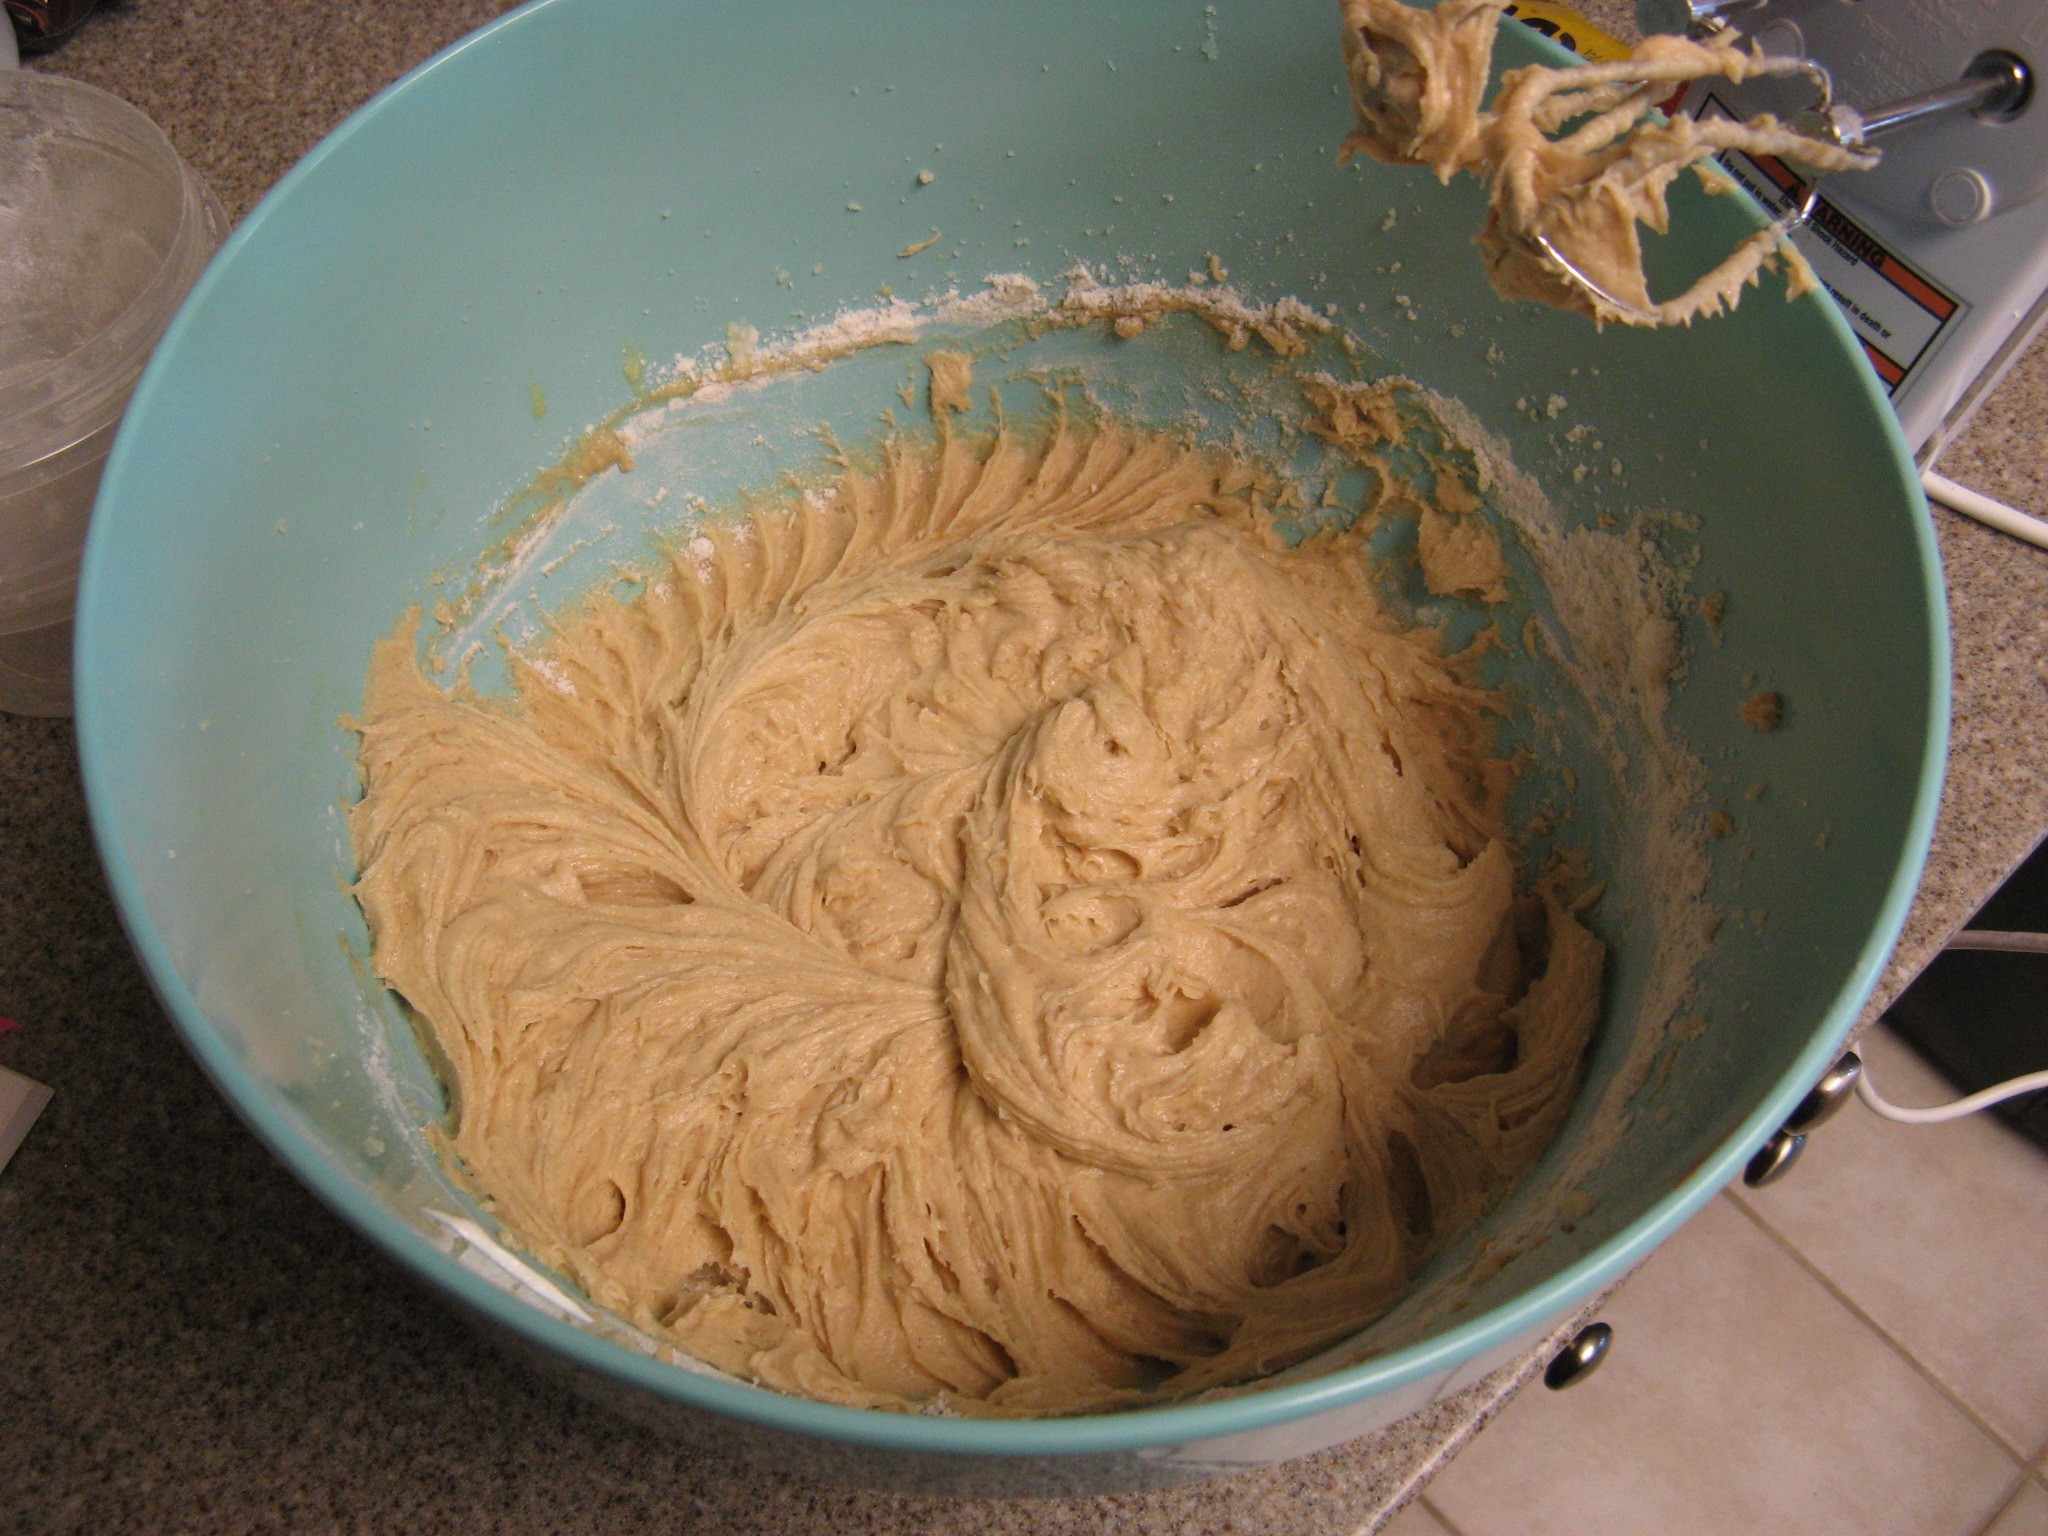
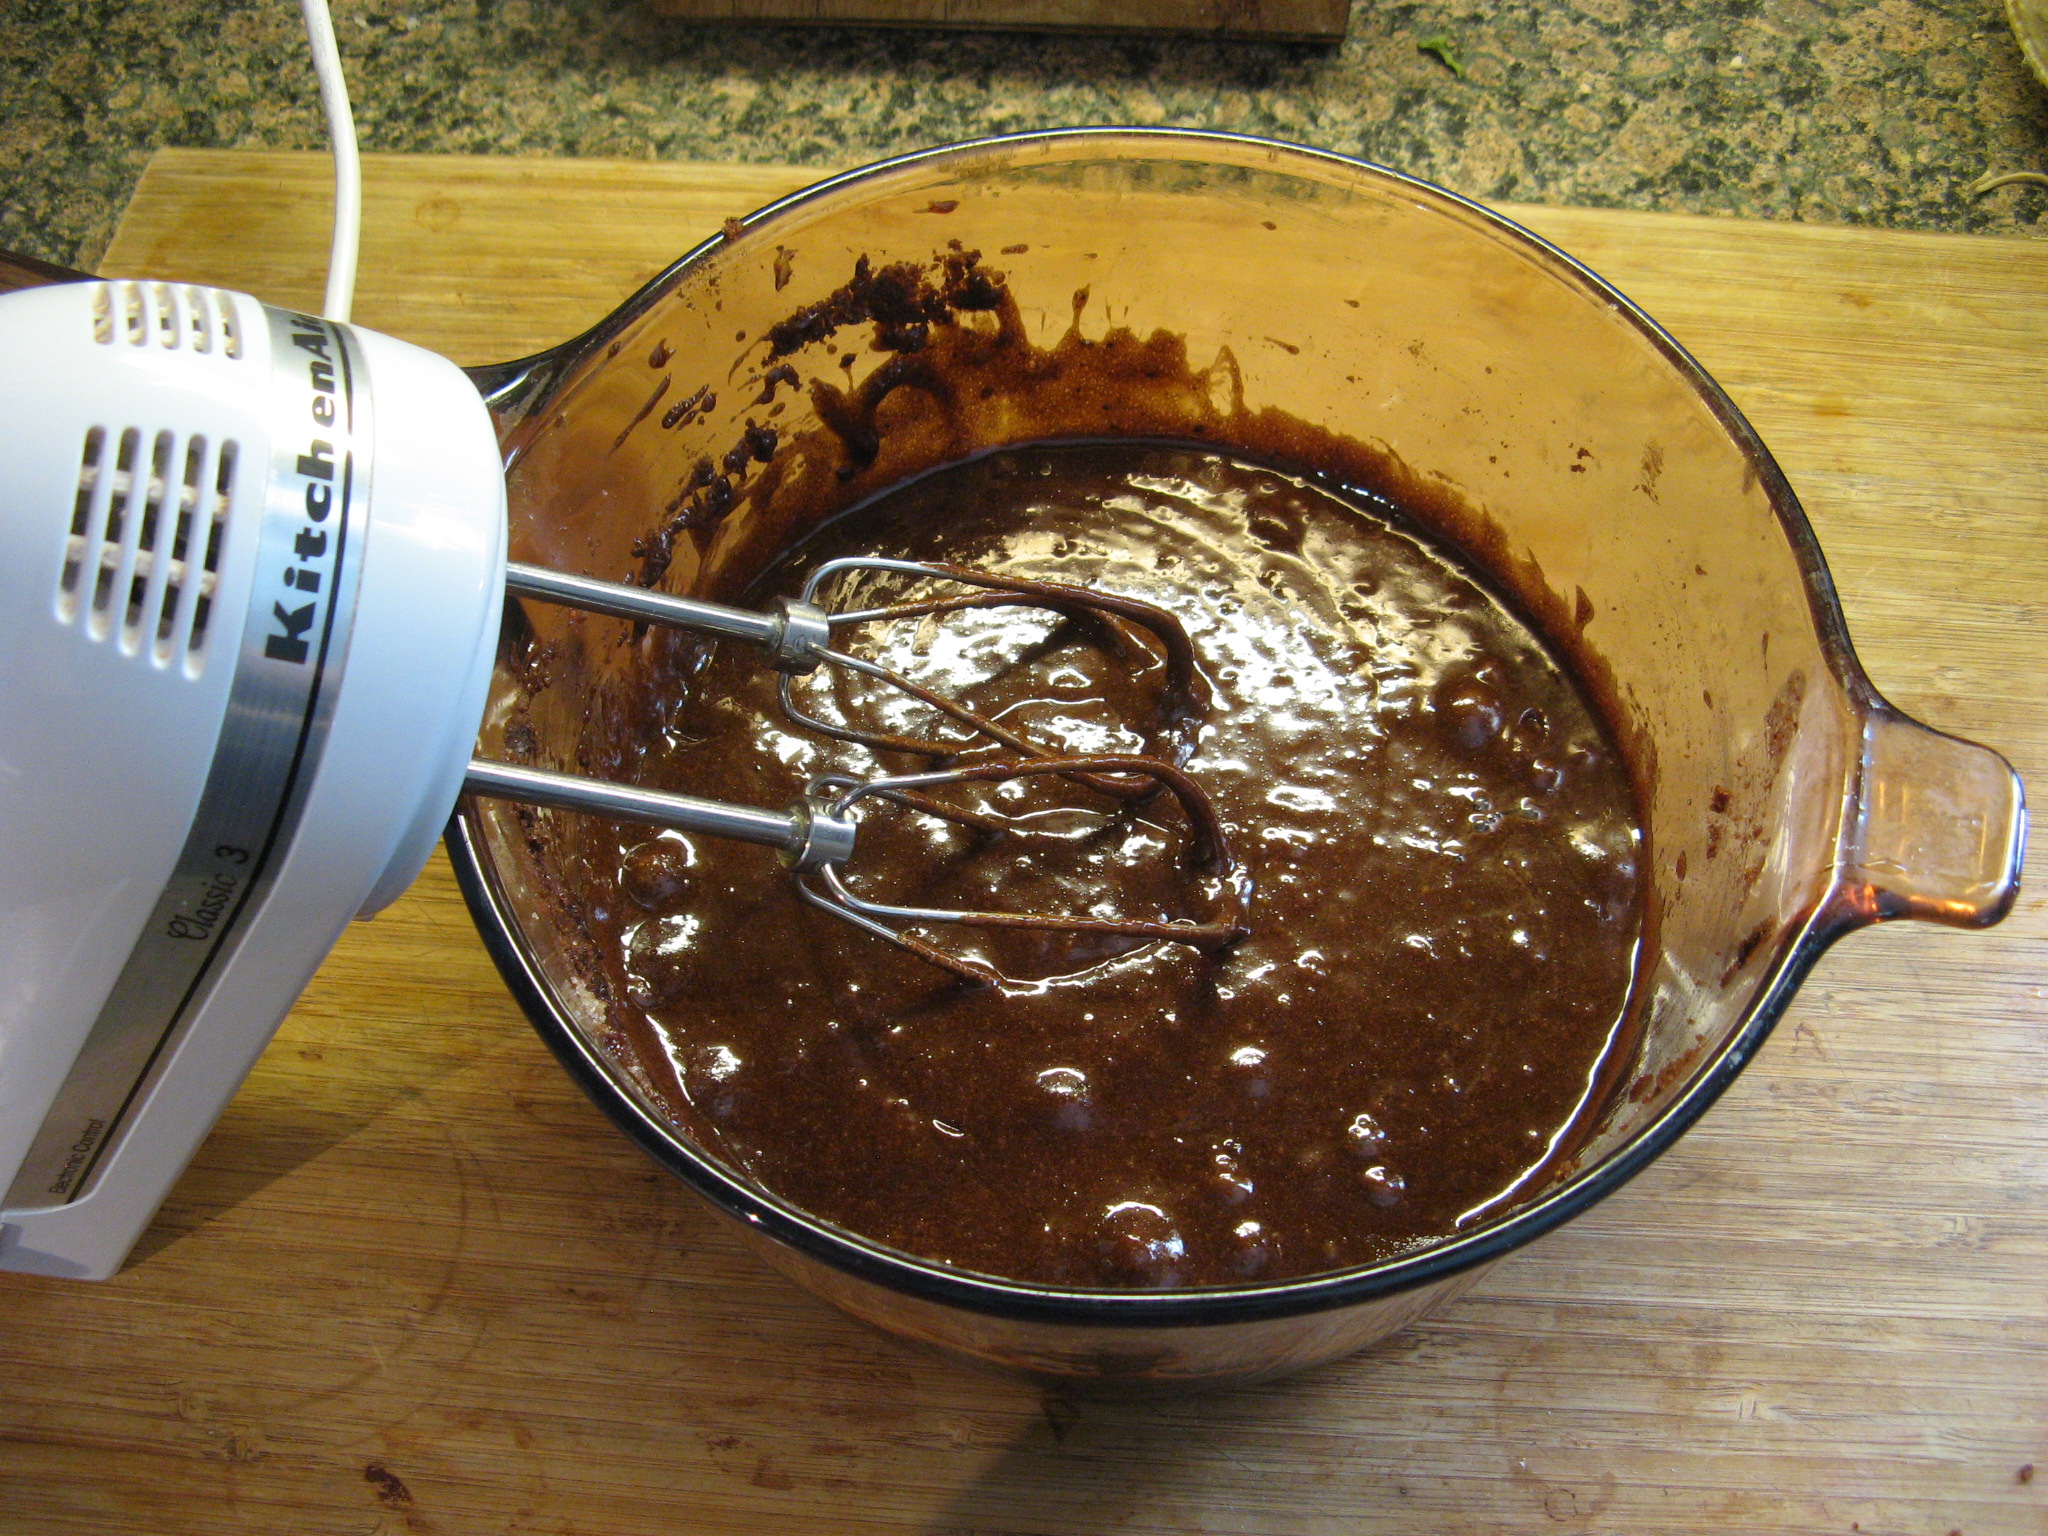
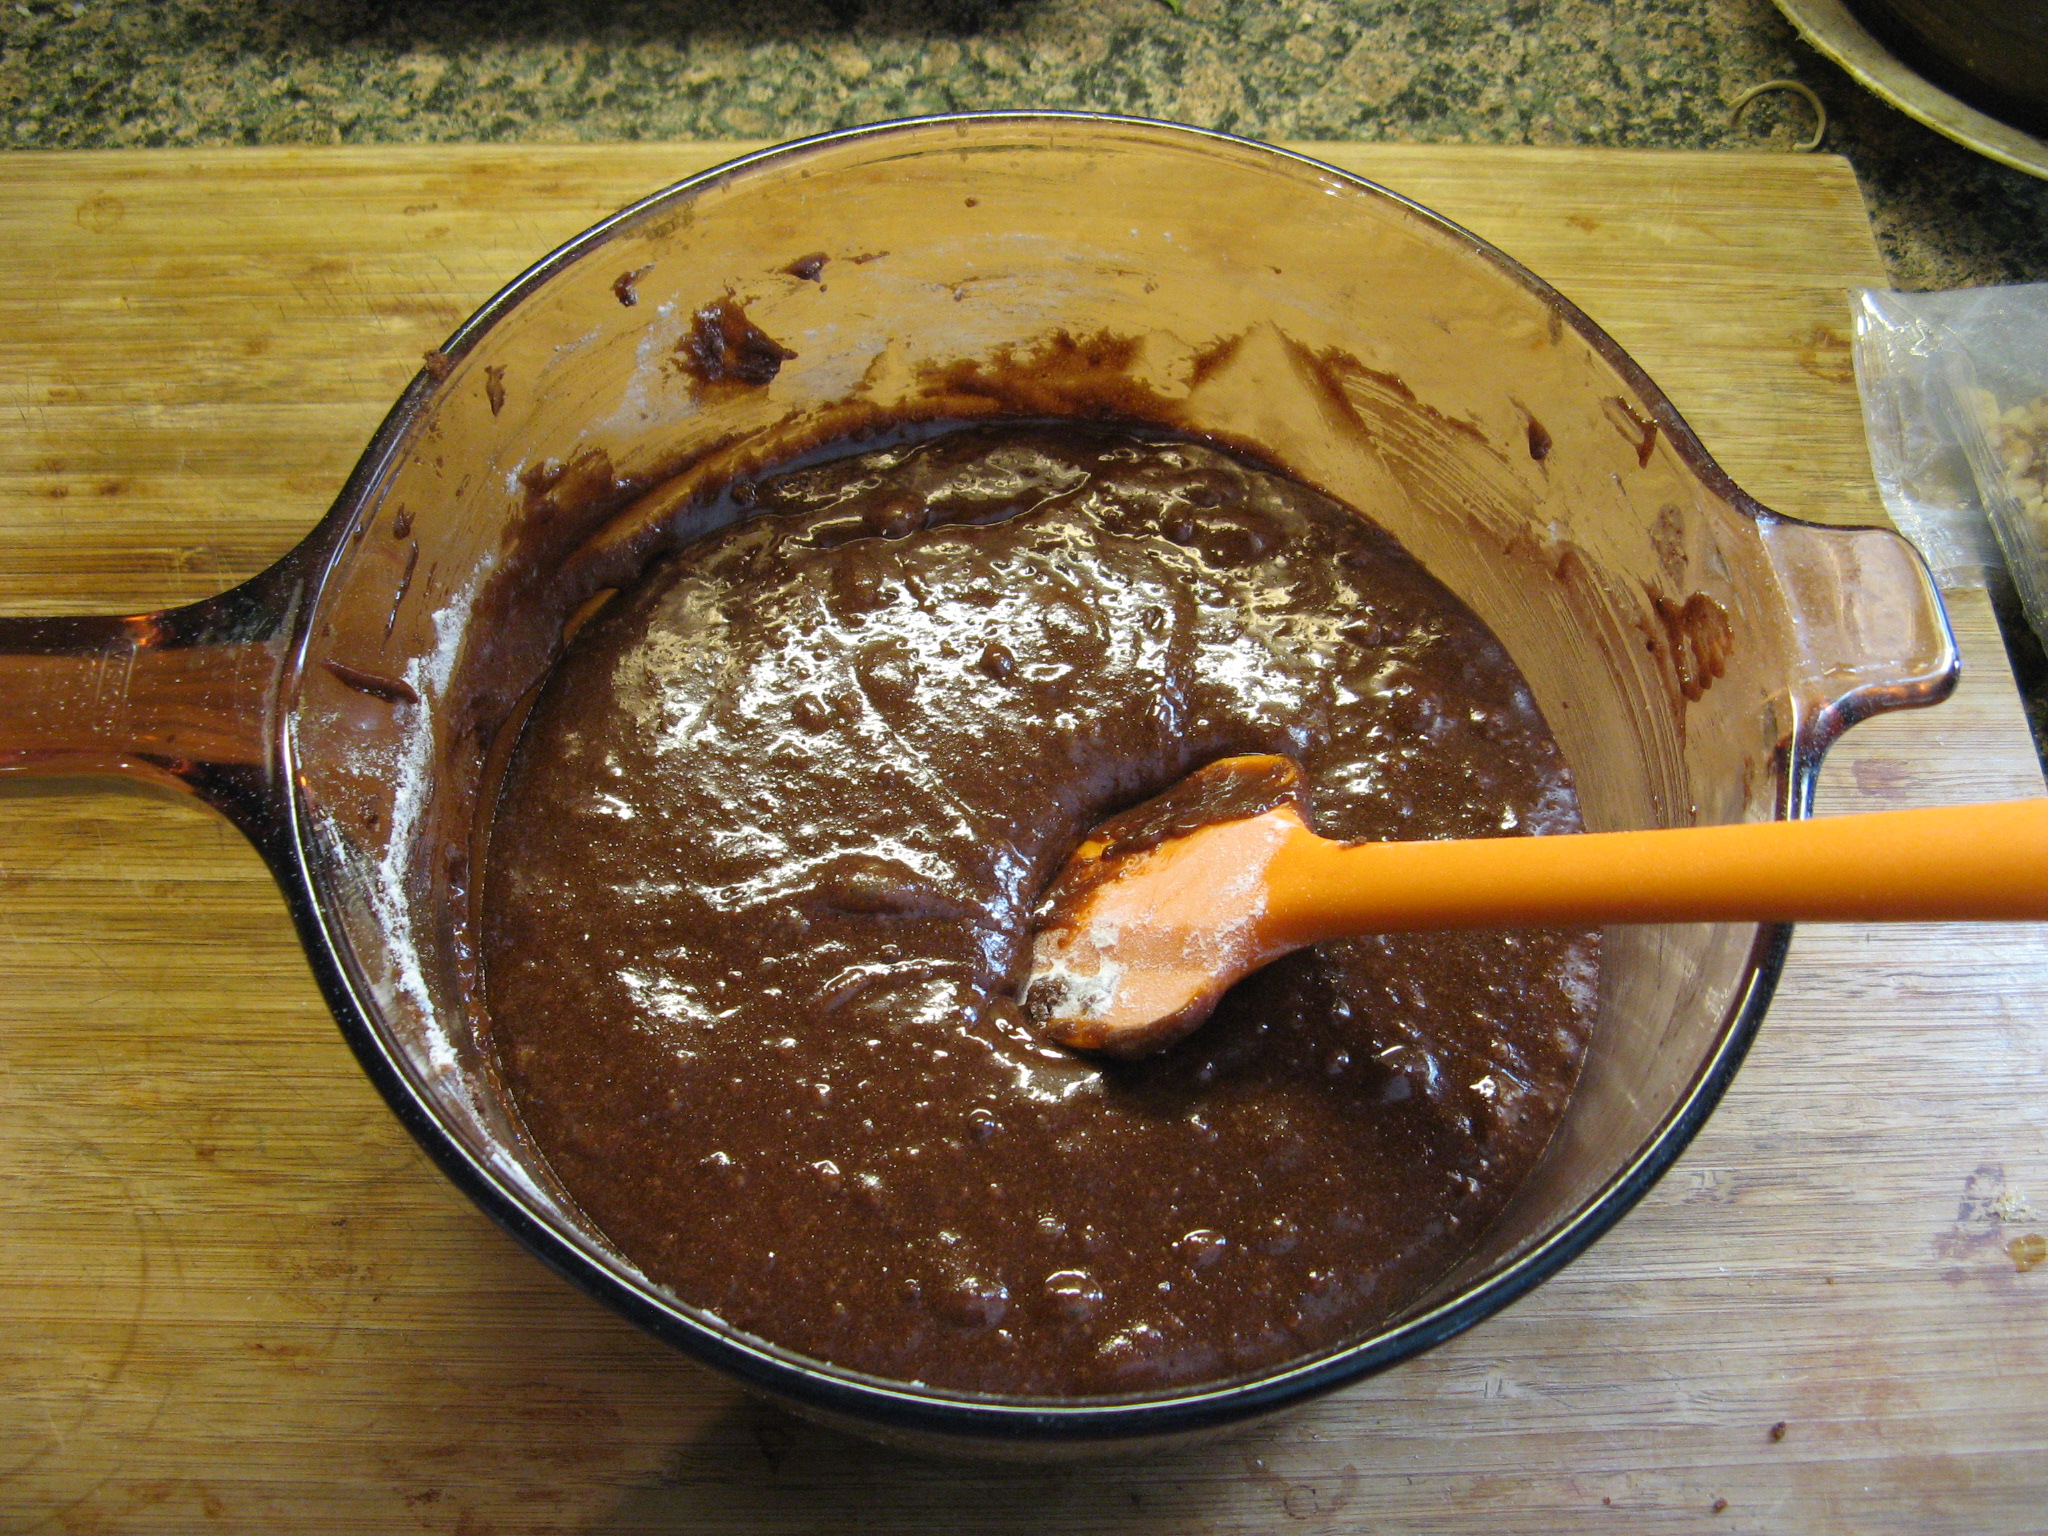
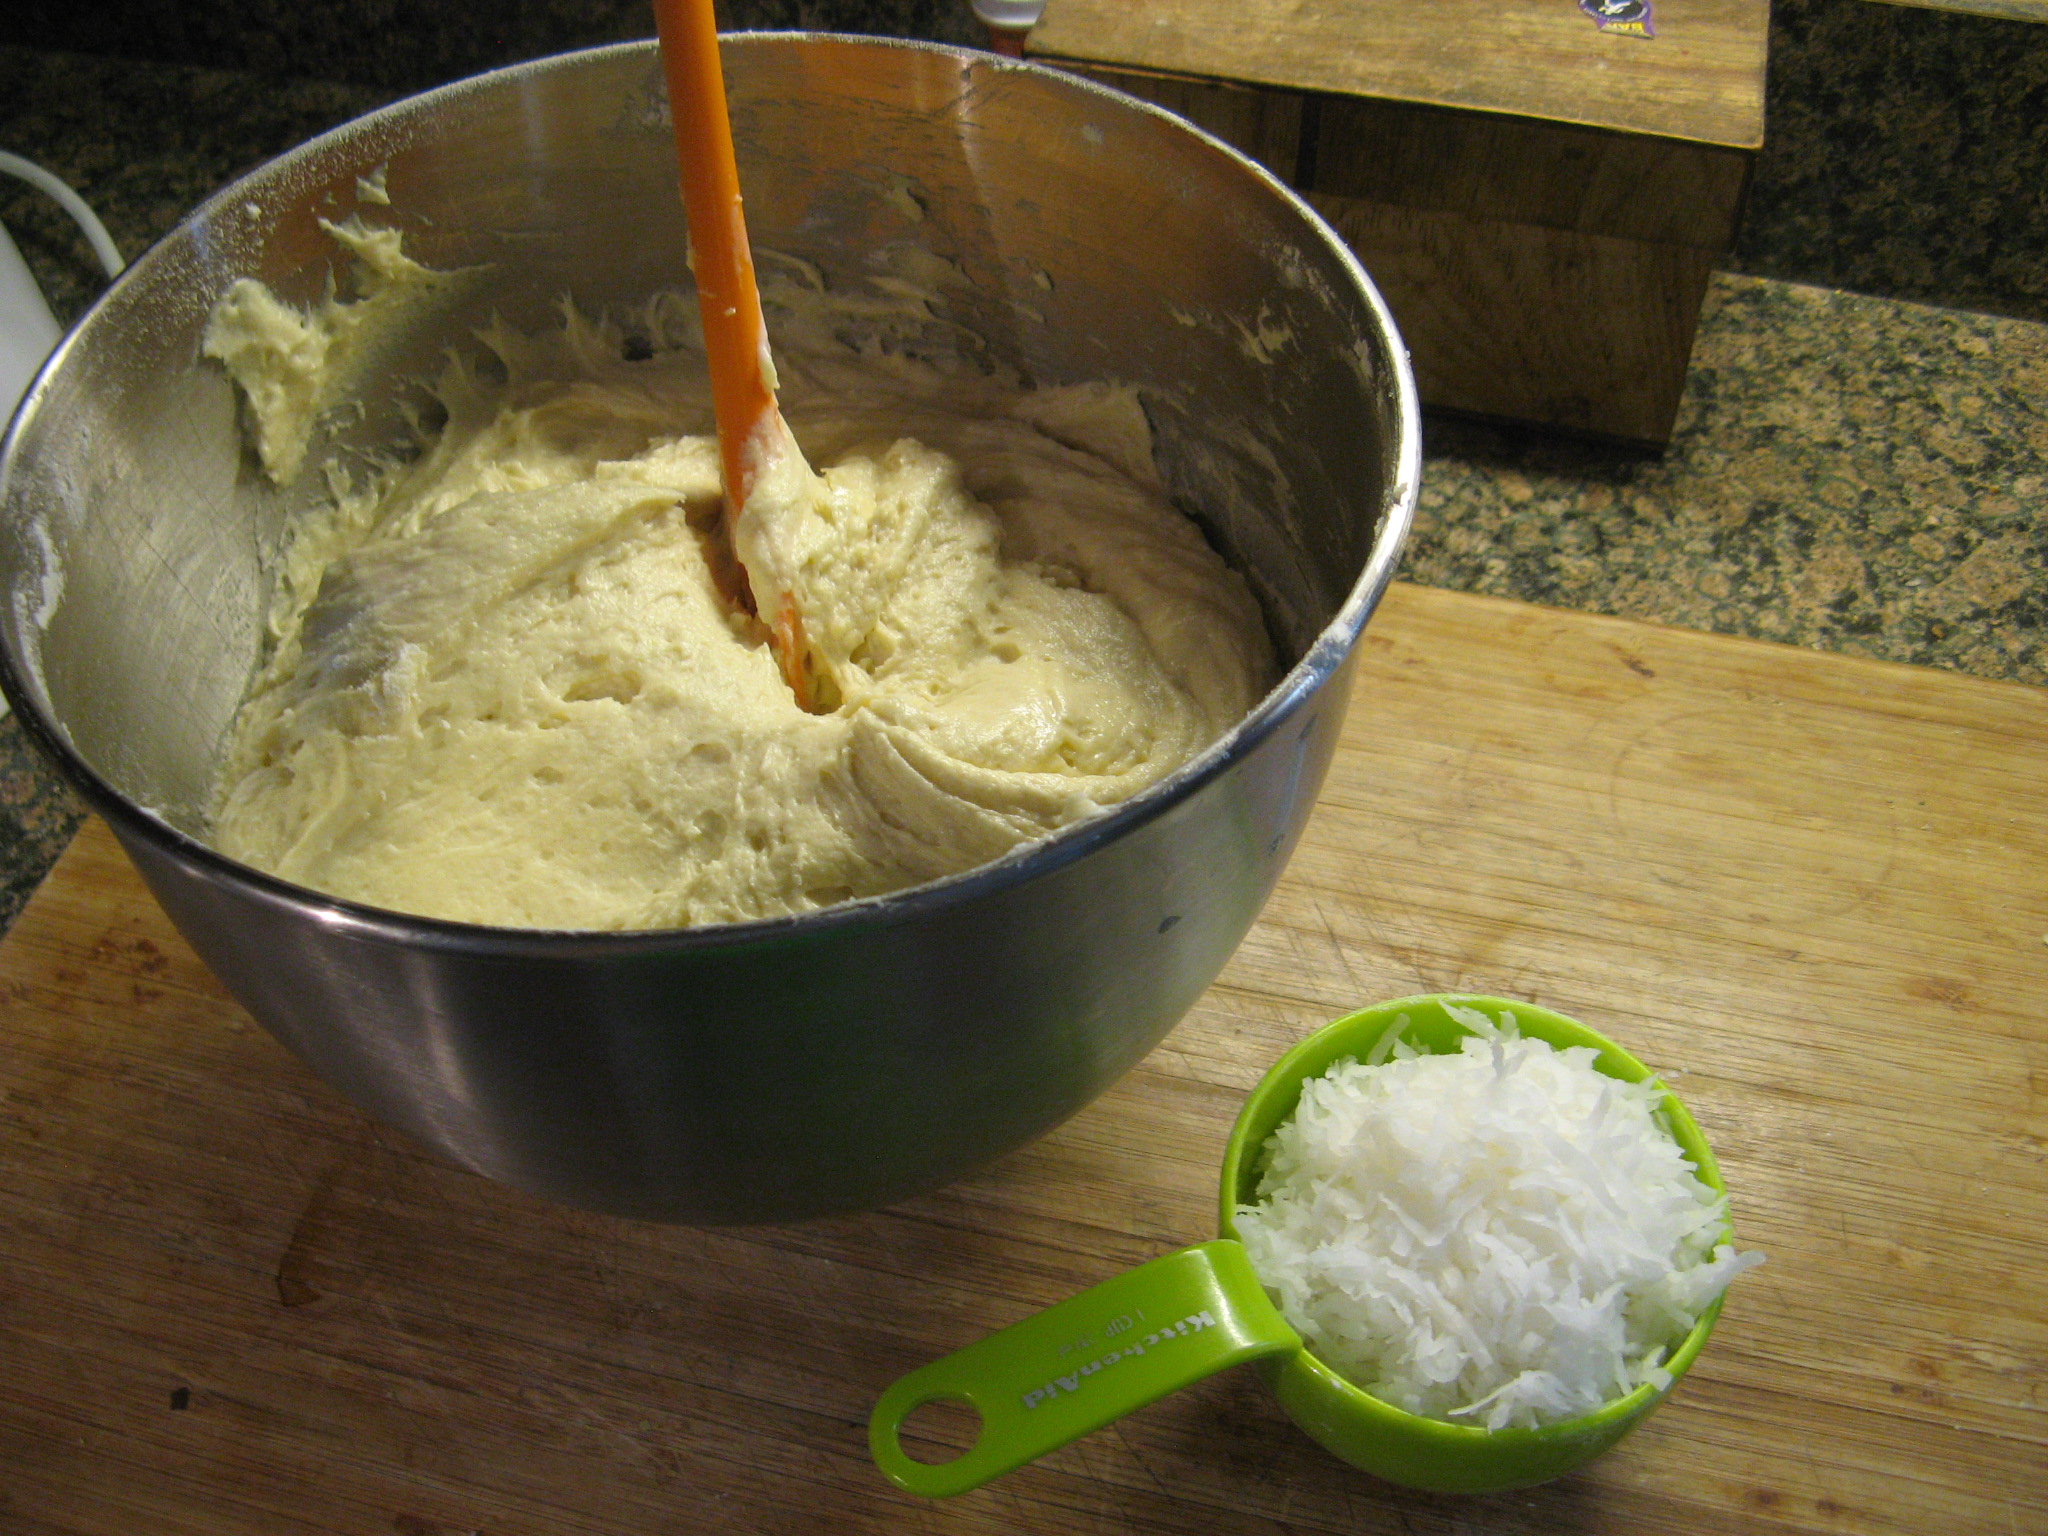
After adding in the eggs and the vanilla & almond extracts the batter was now ready to come together with the addition of the flour mixture and the buttermilk. I added them by alternating between the two – beginning and ending with the addition of the flour mixture.
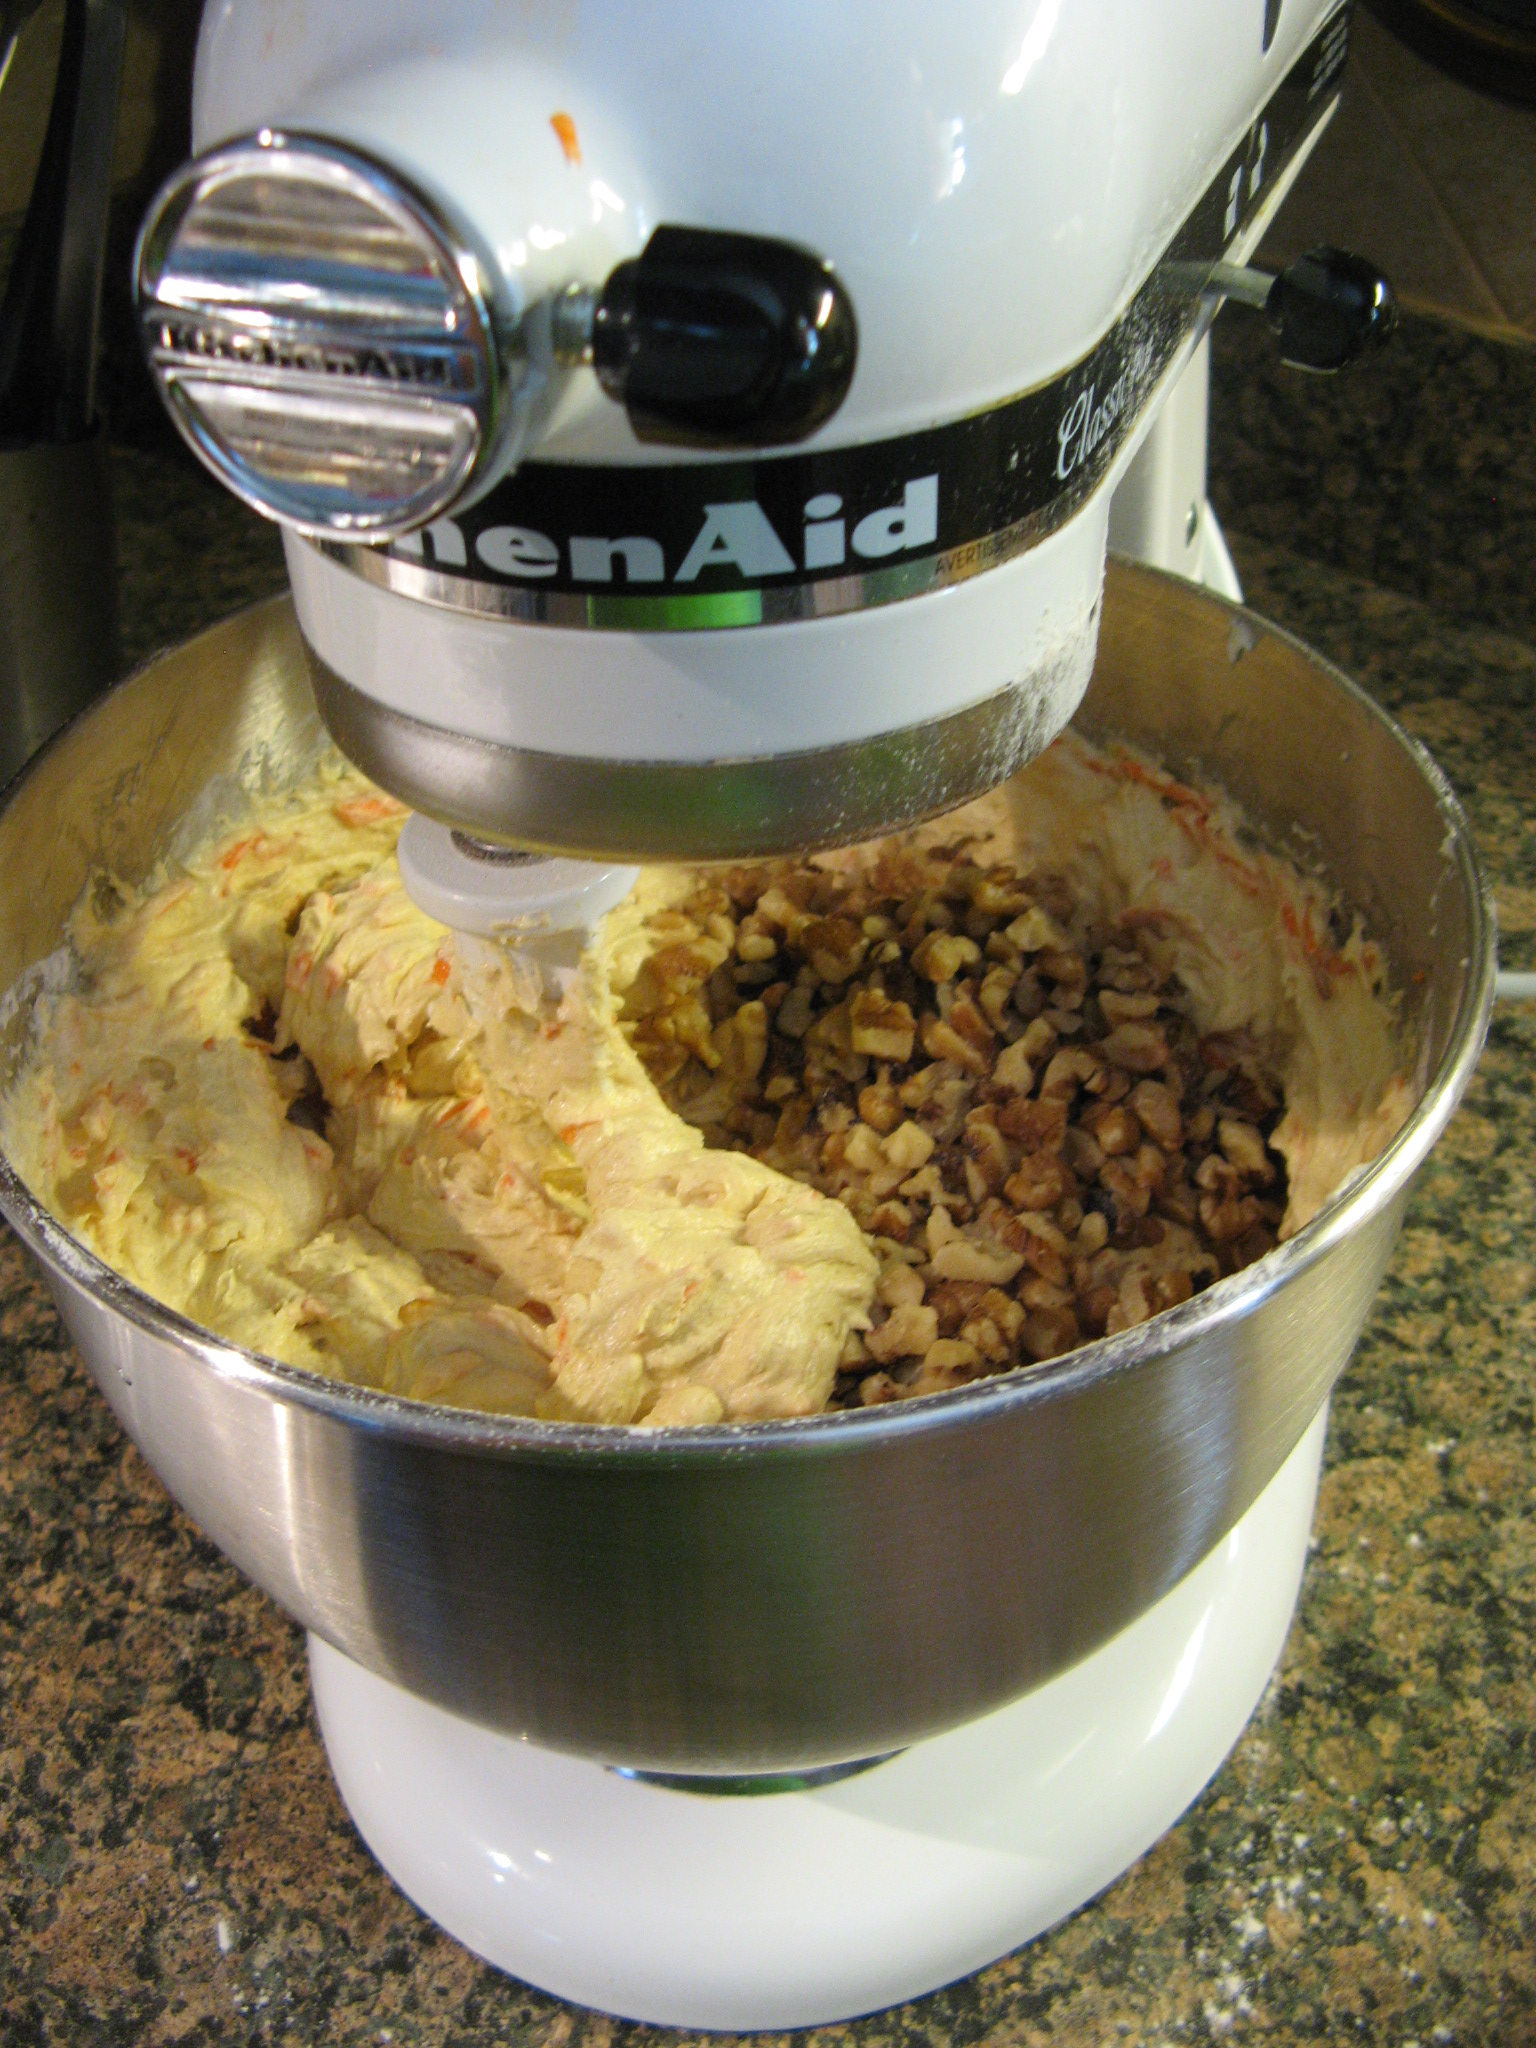
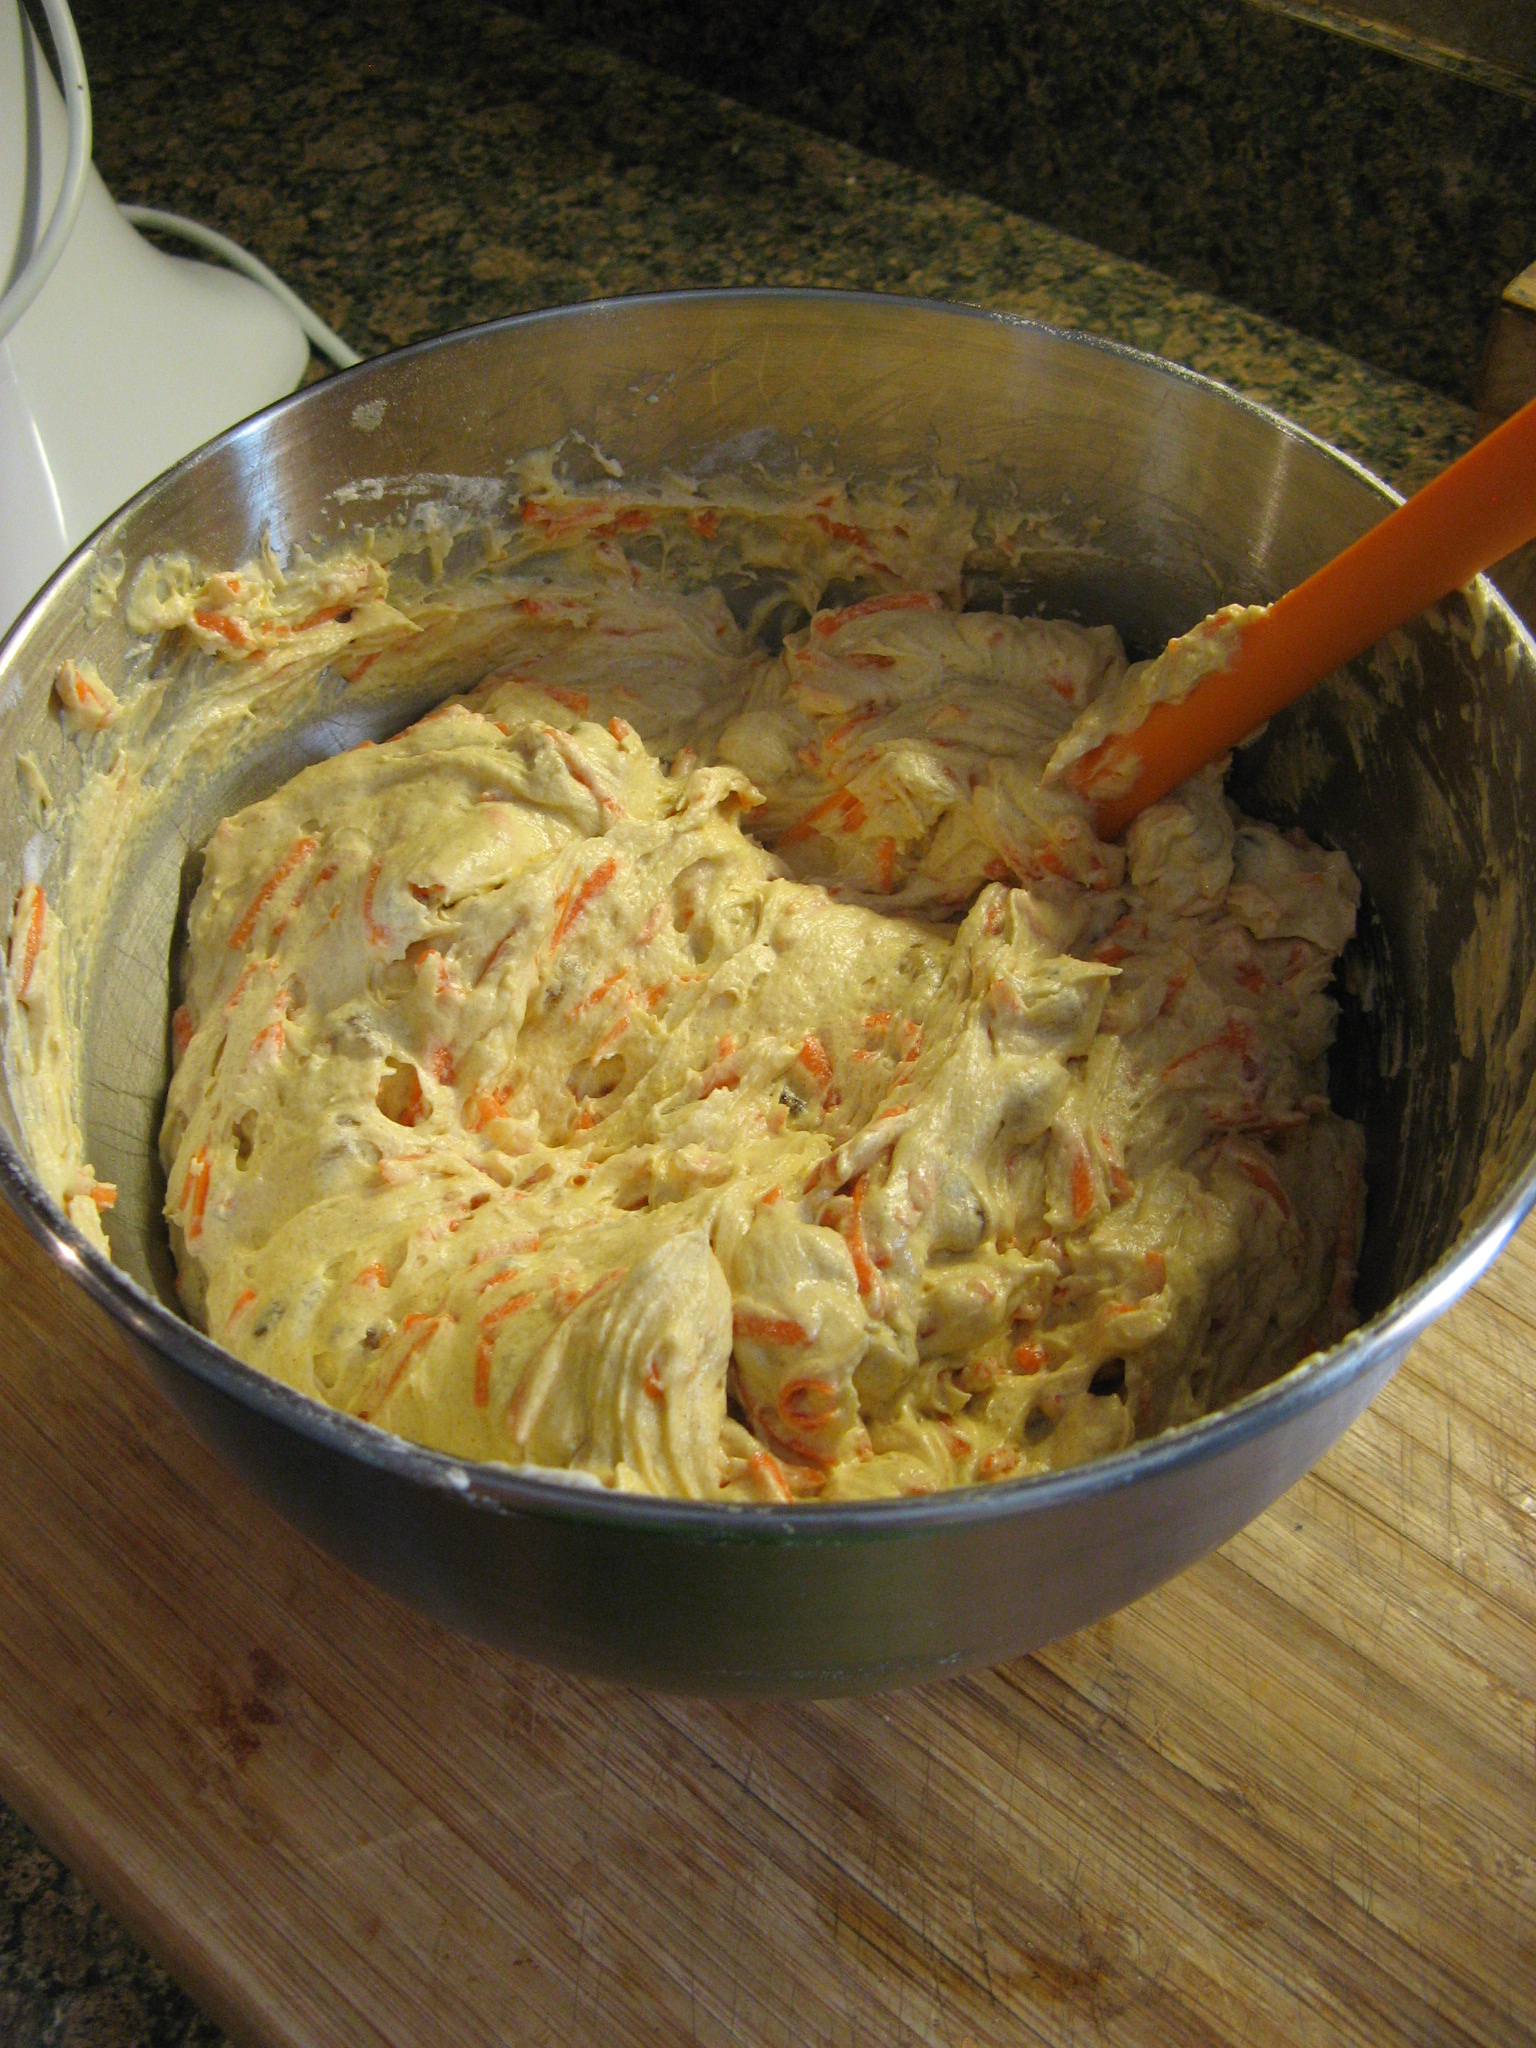
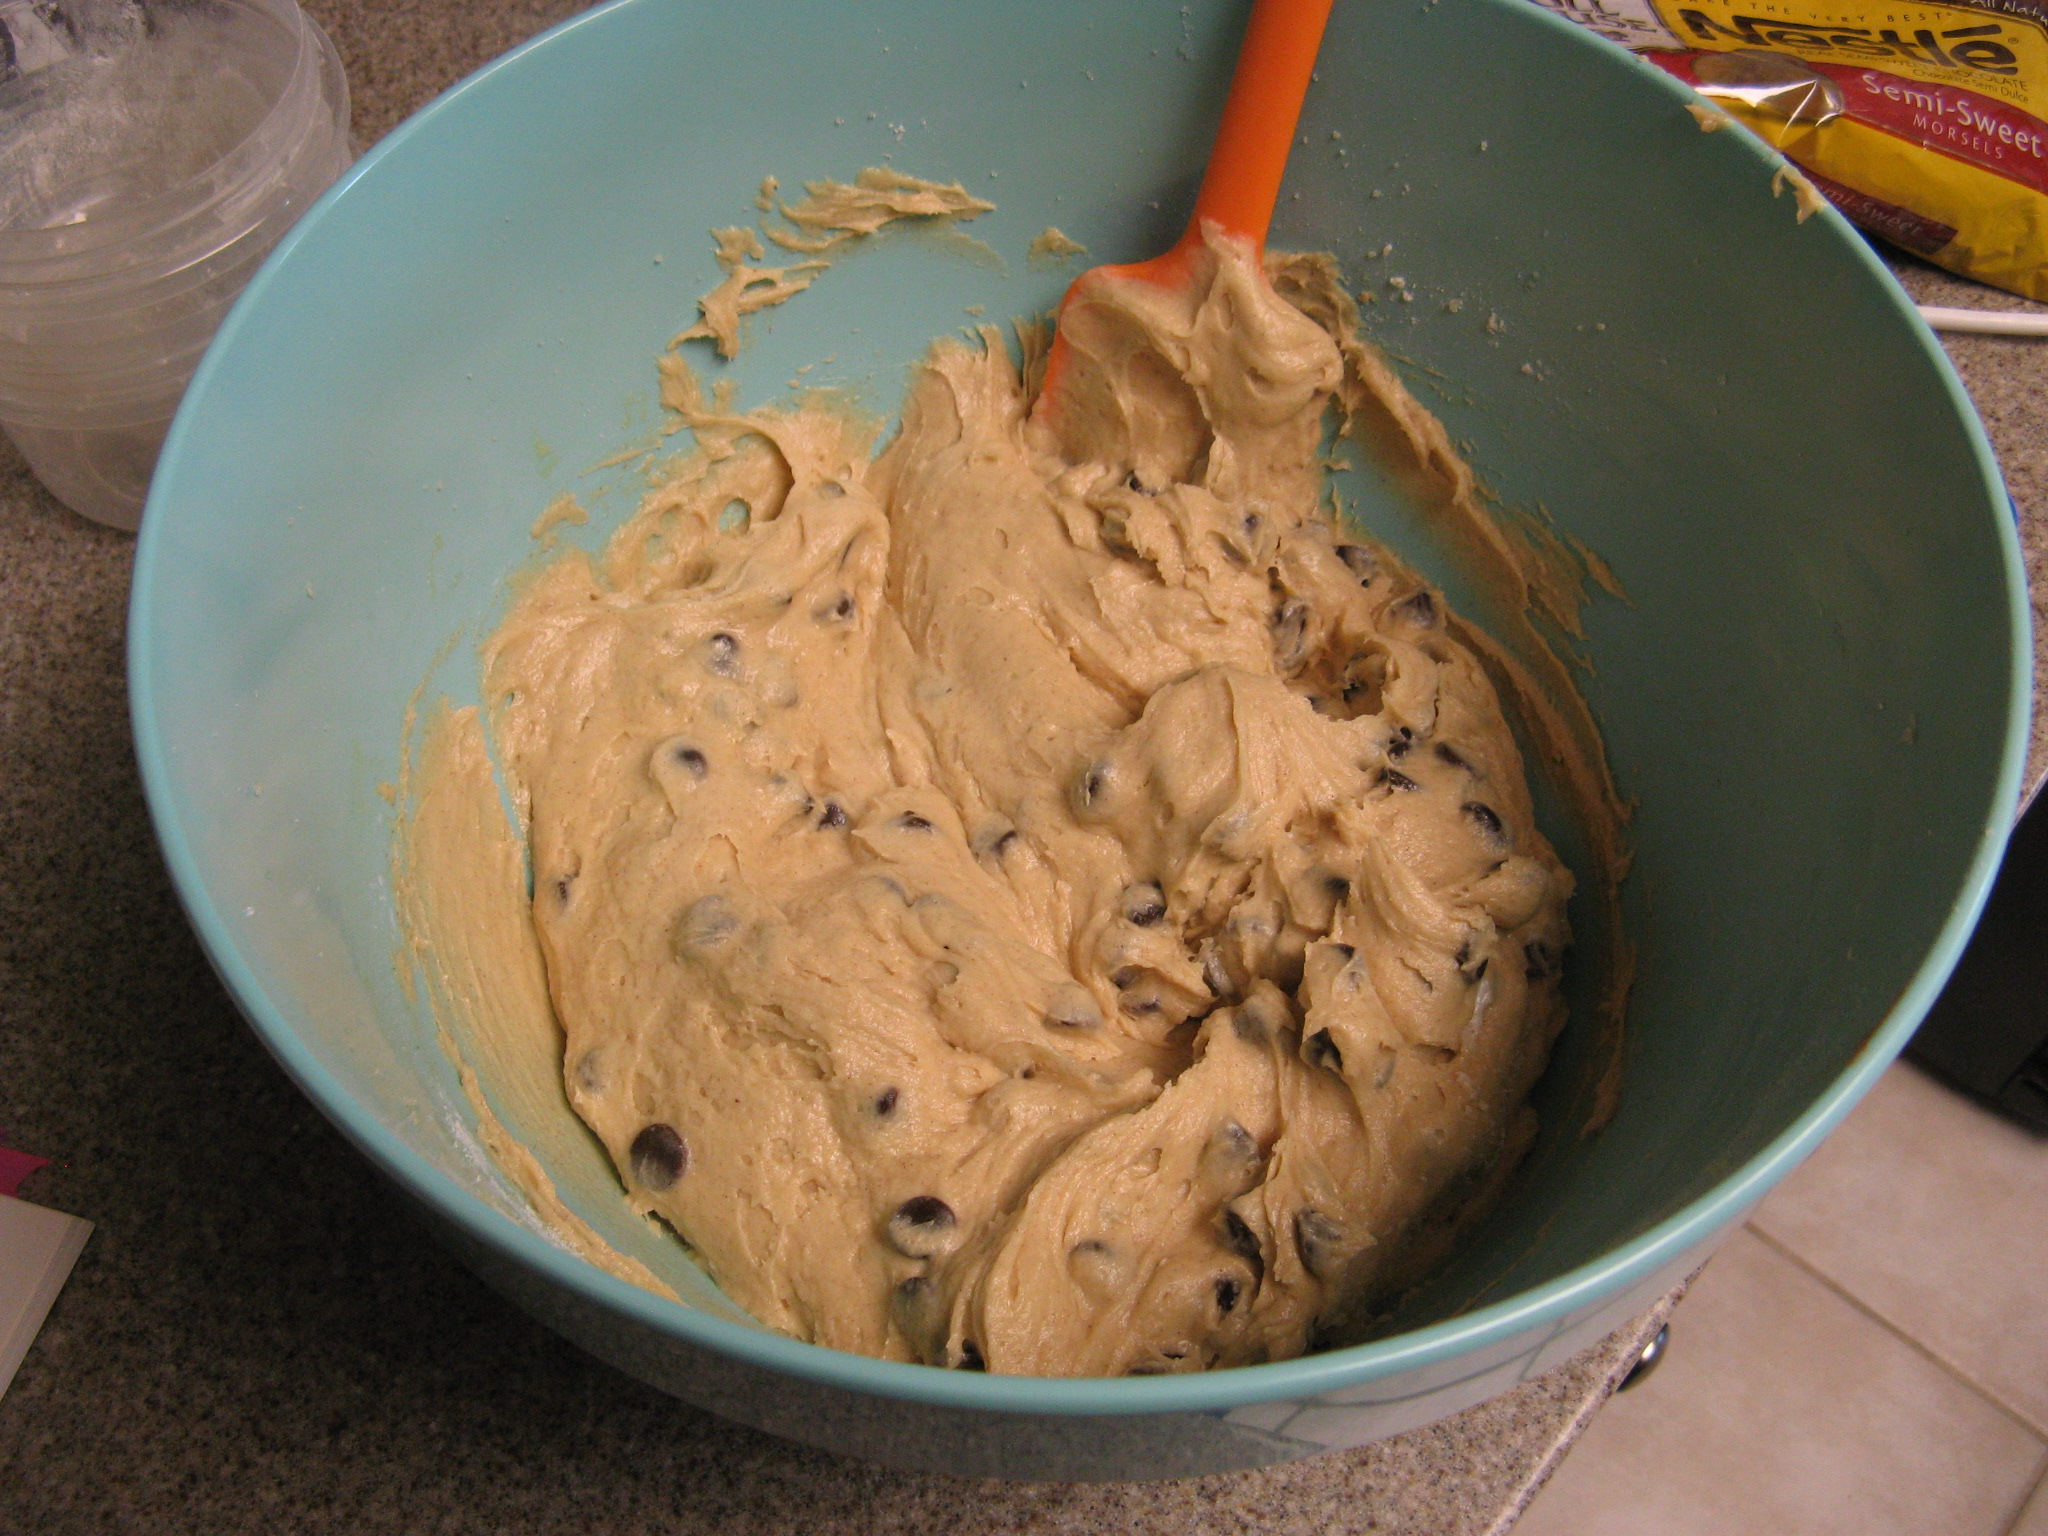
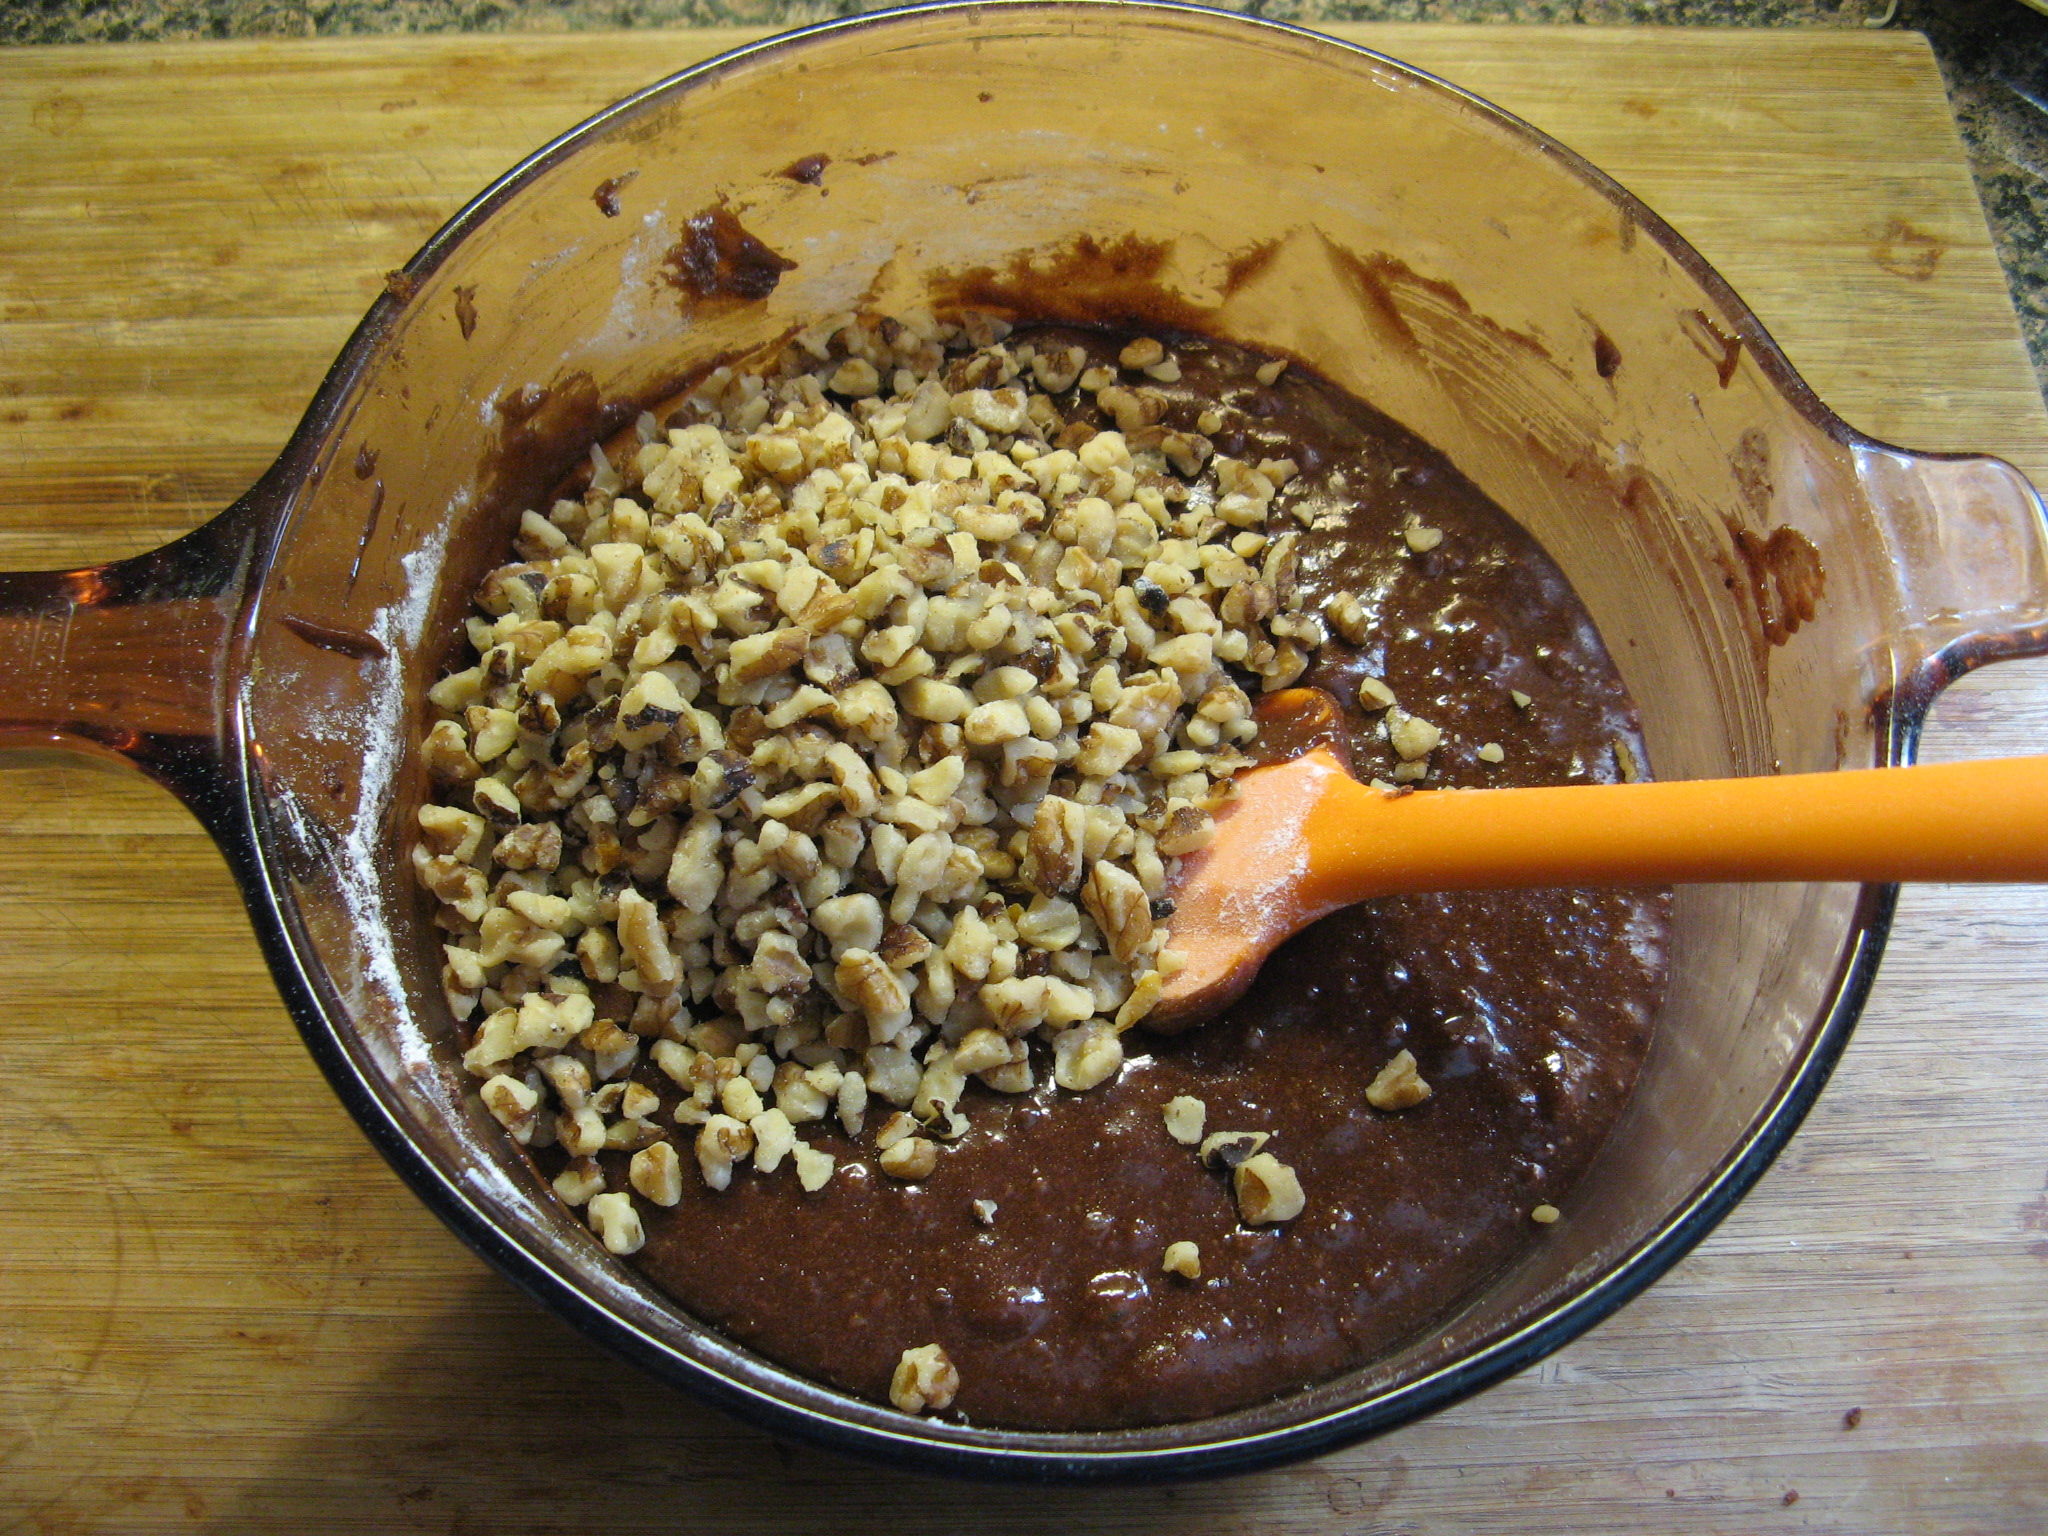
And then it was time to fold in the coconut. The recipe only called for half of the 14 ounce bag which was approximately 1 cup.
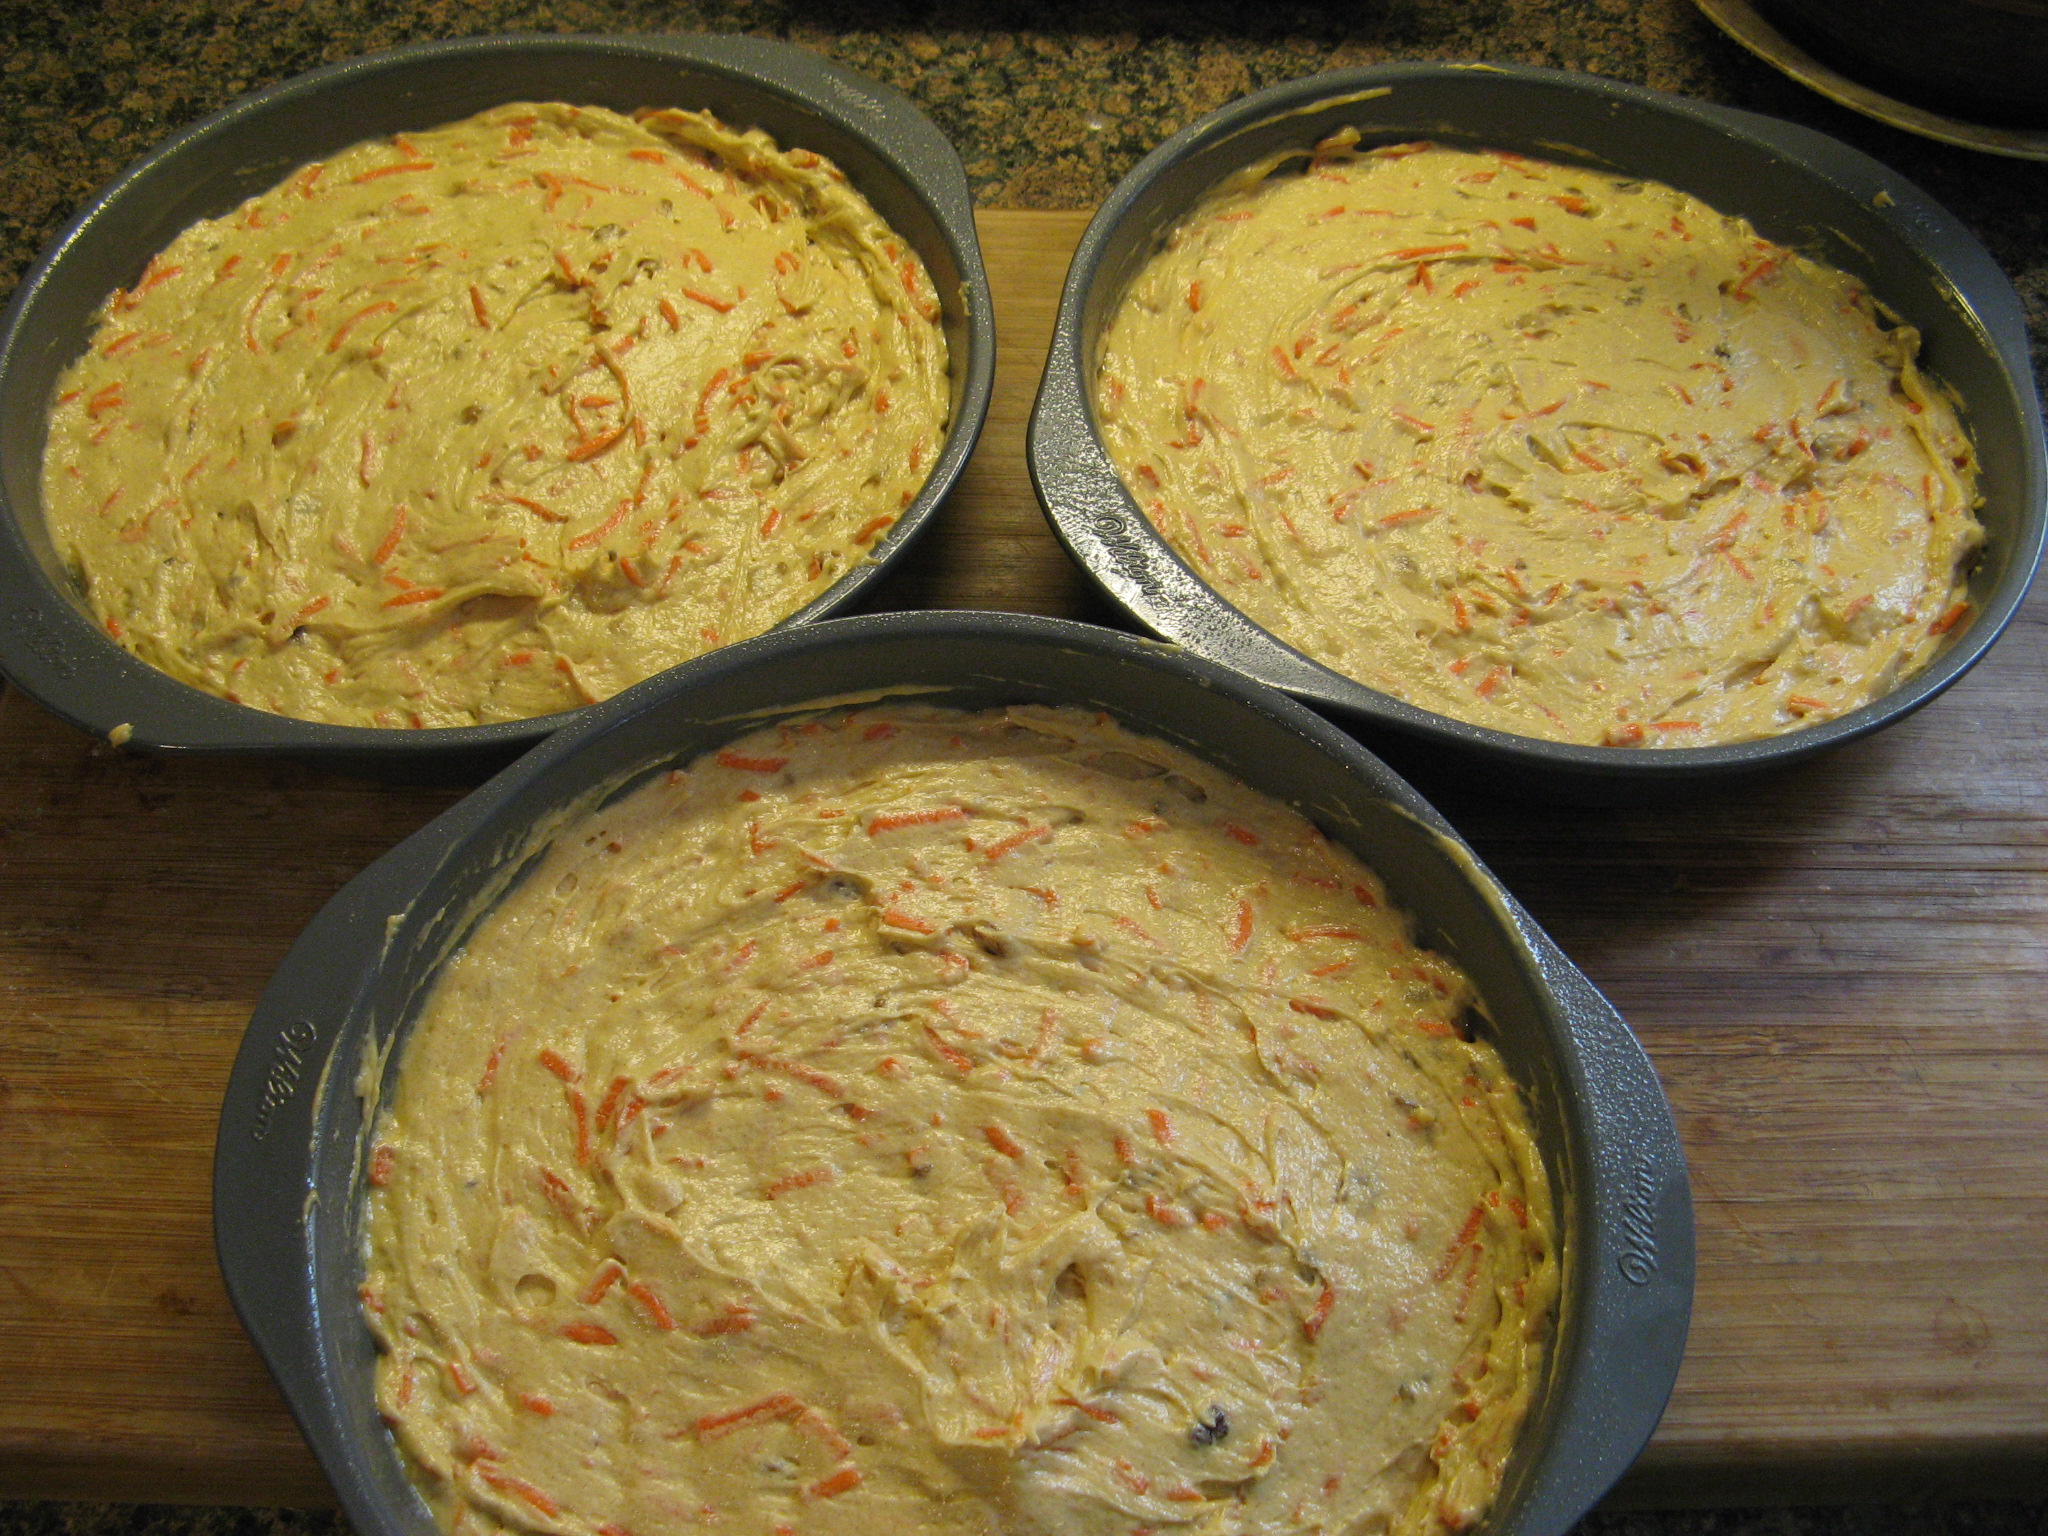
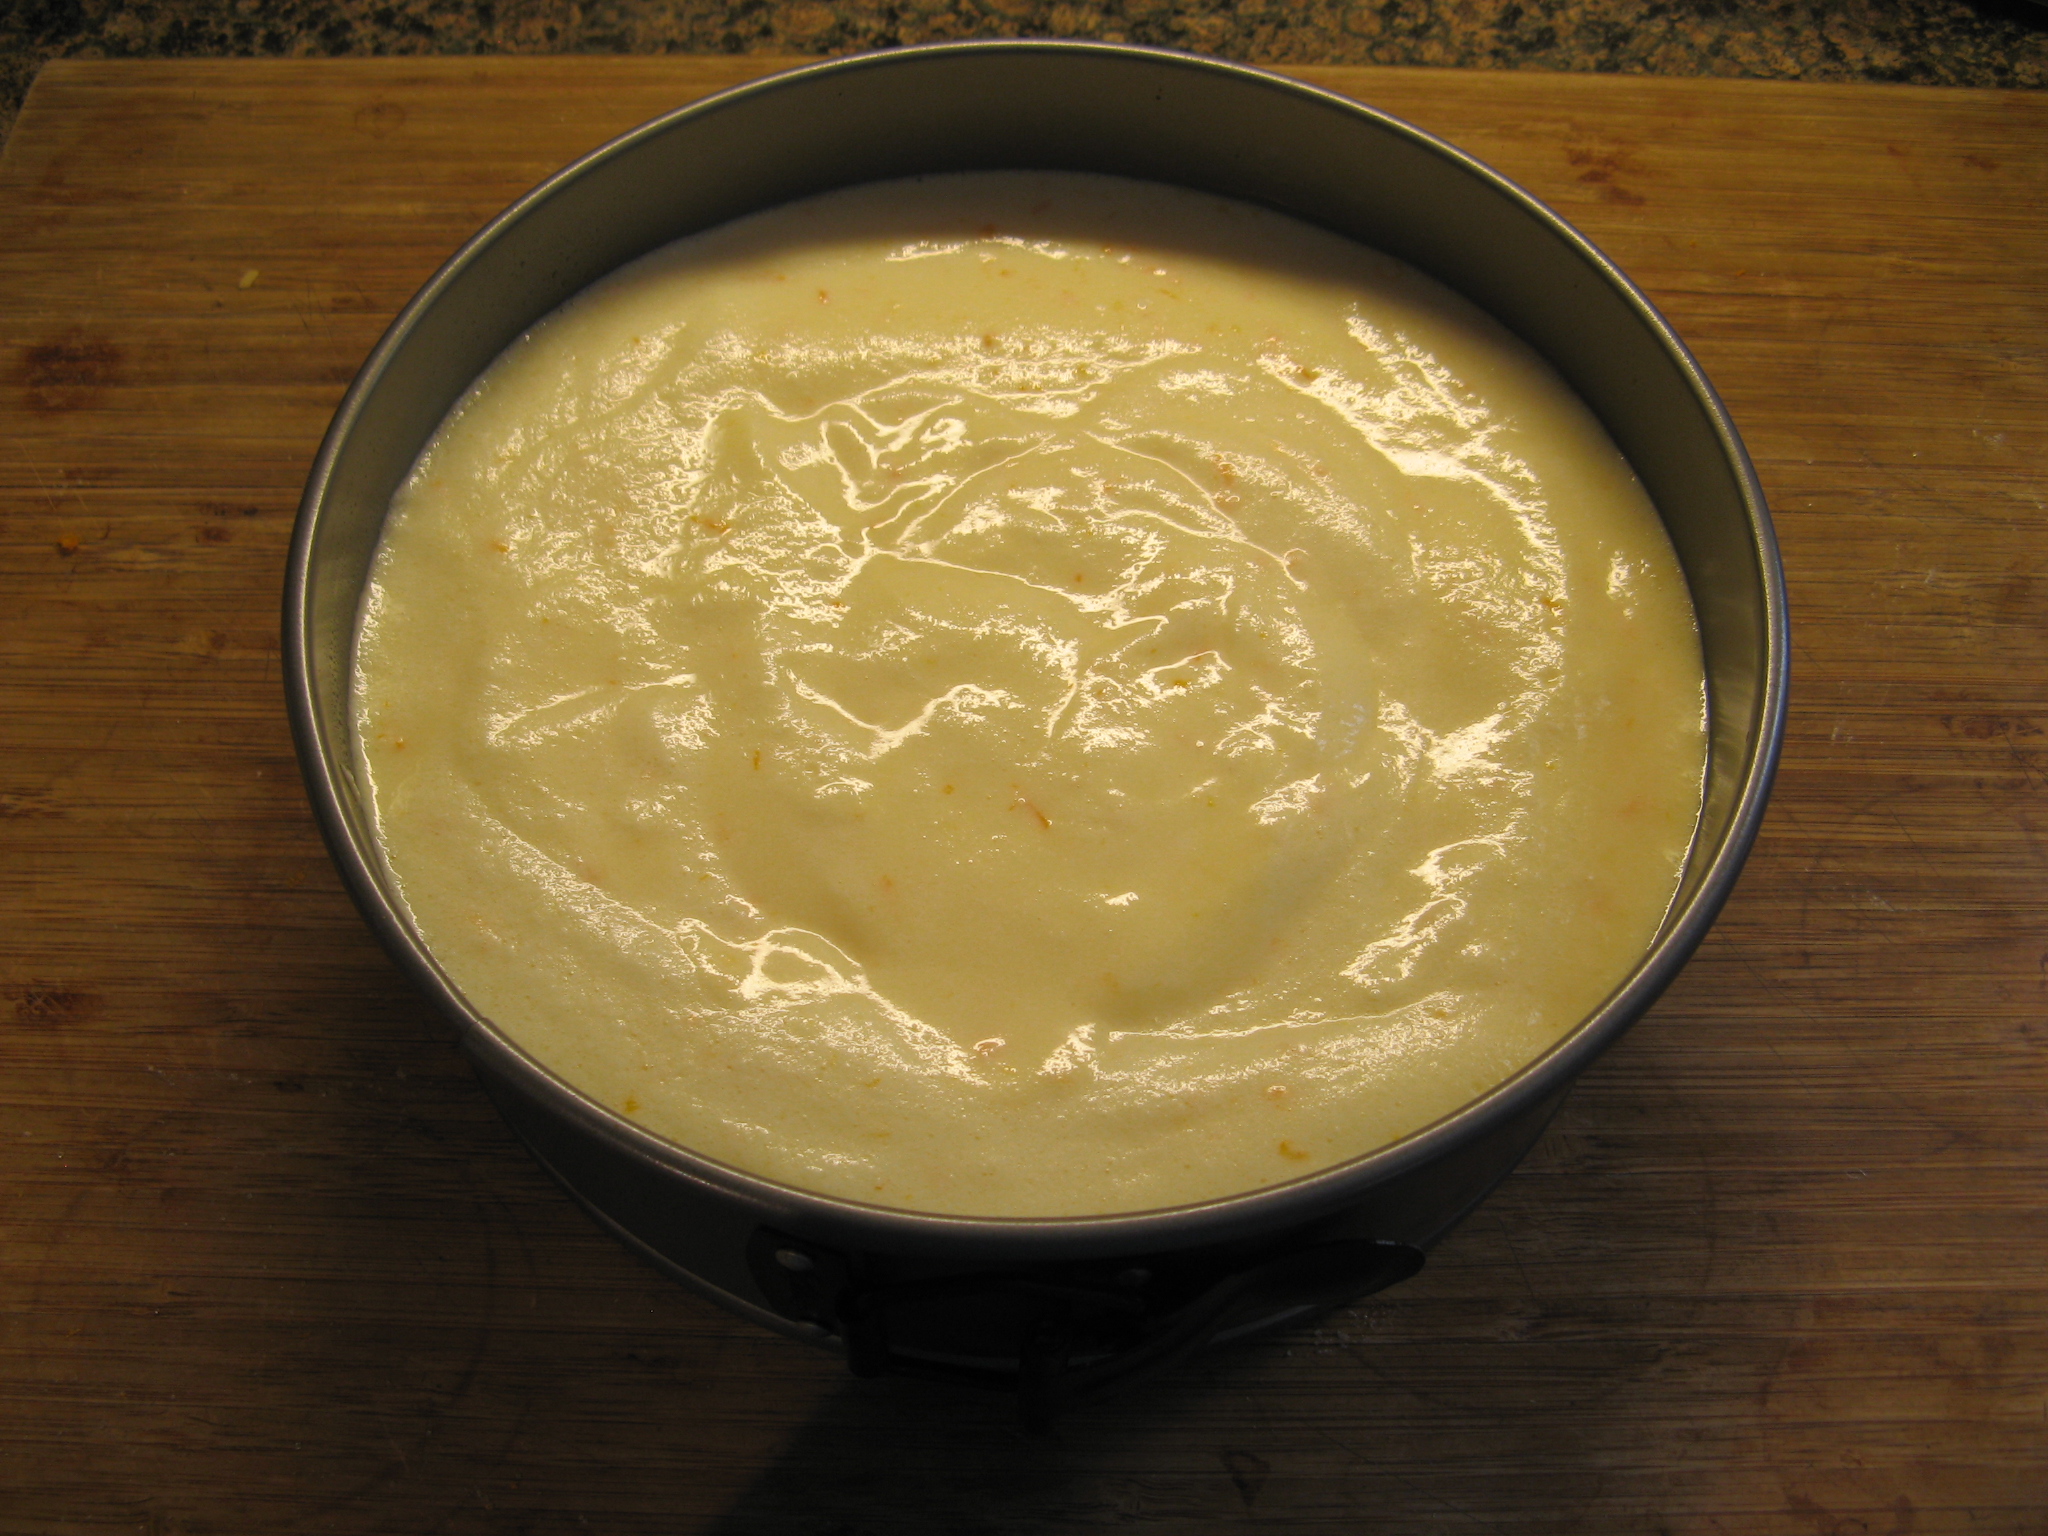
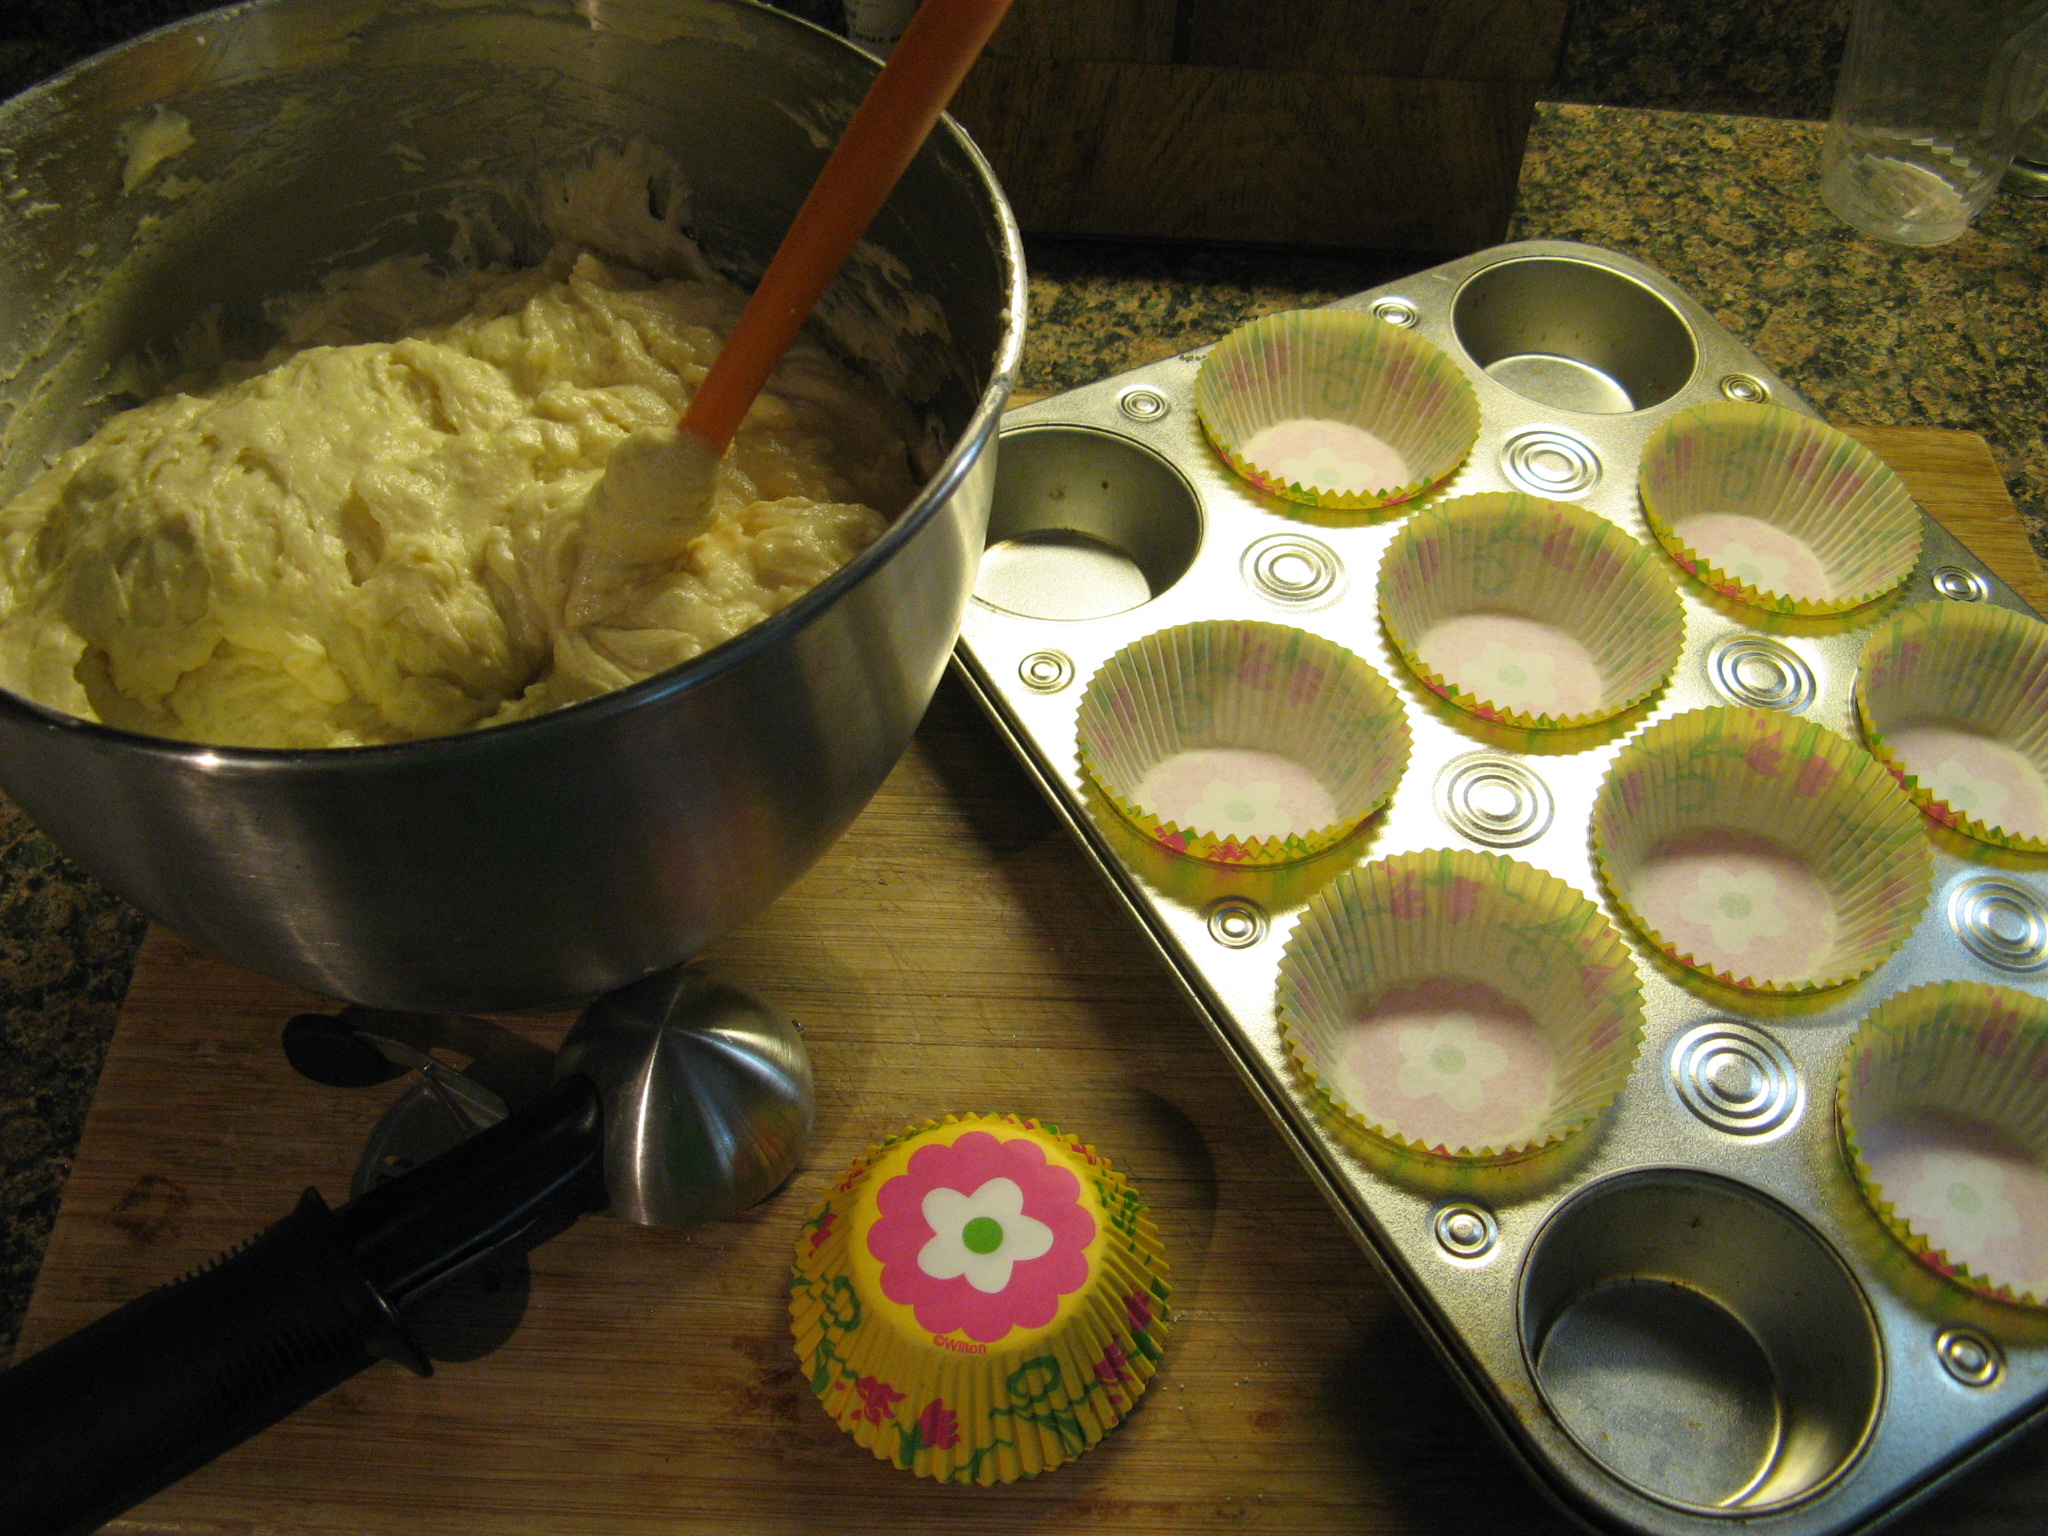
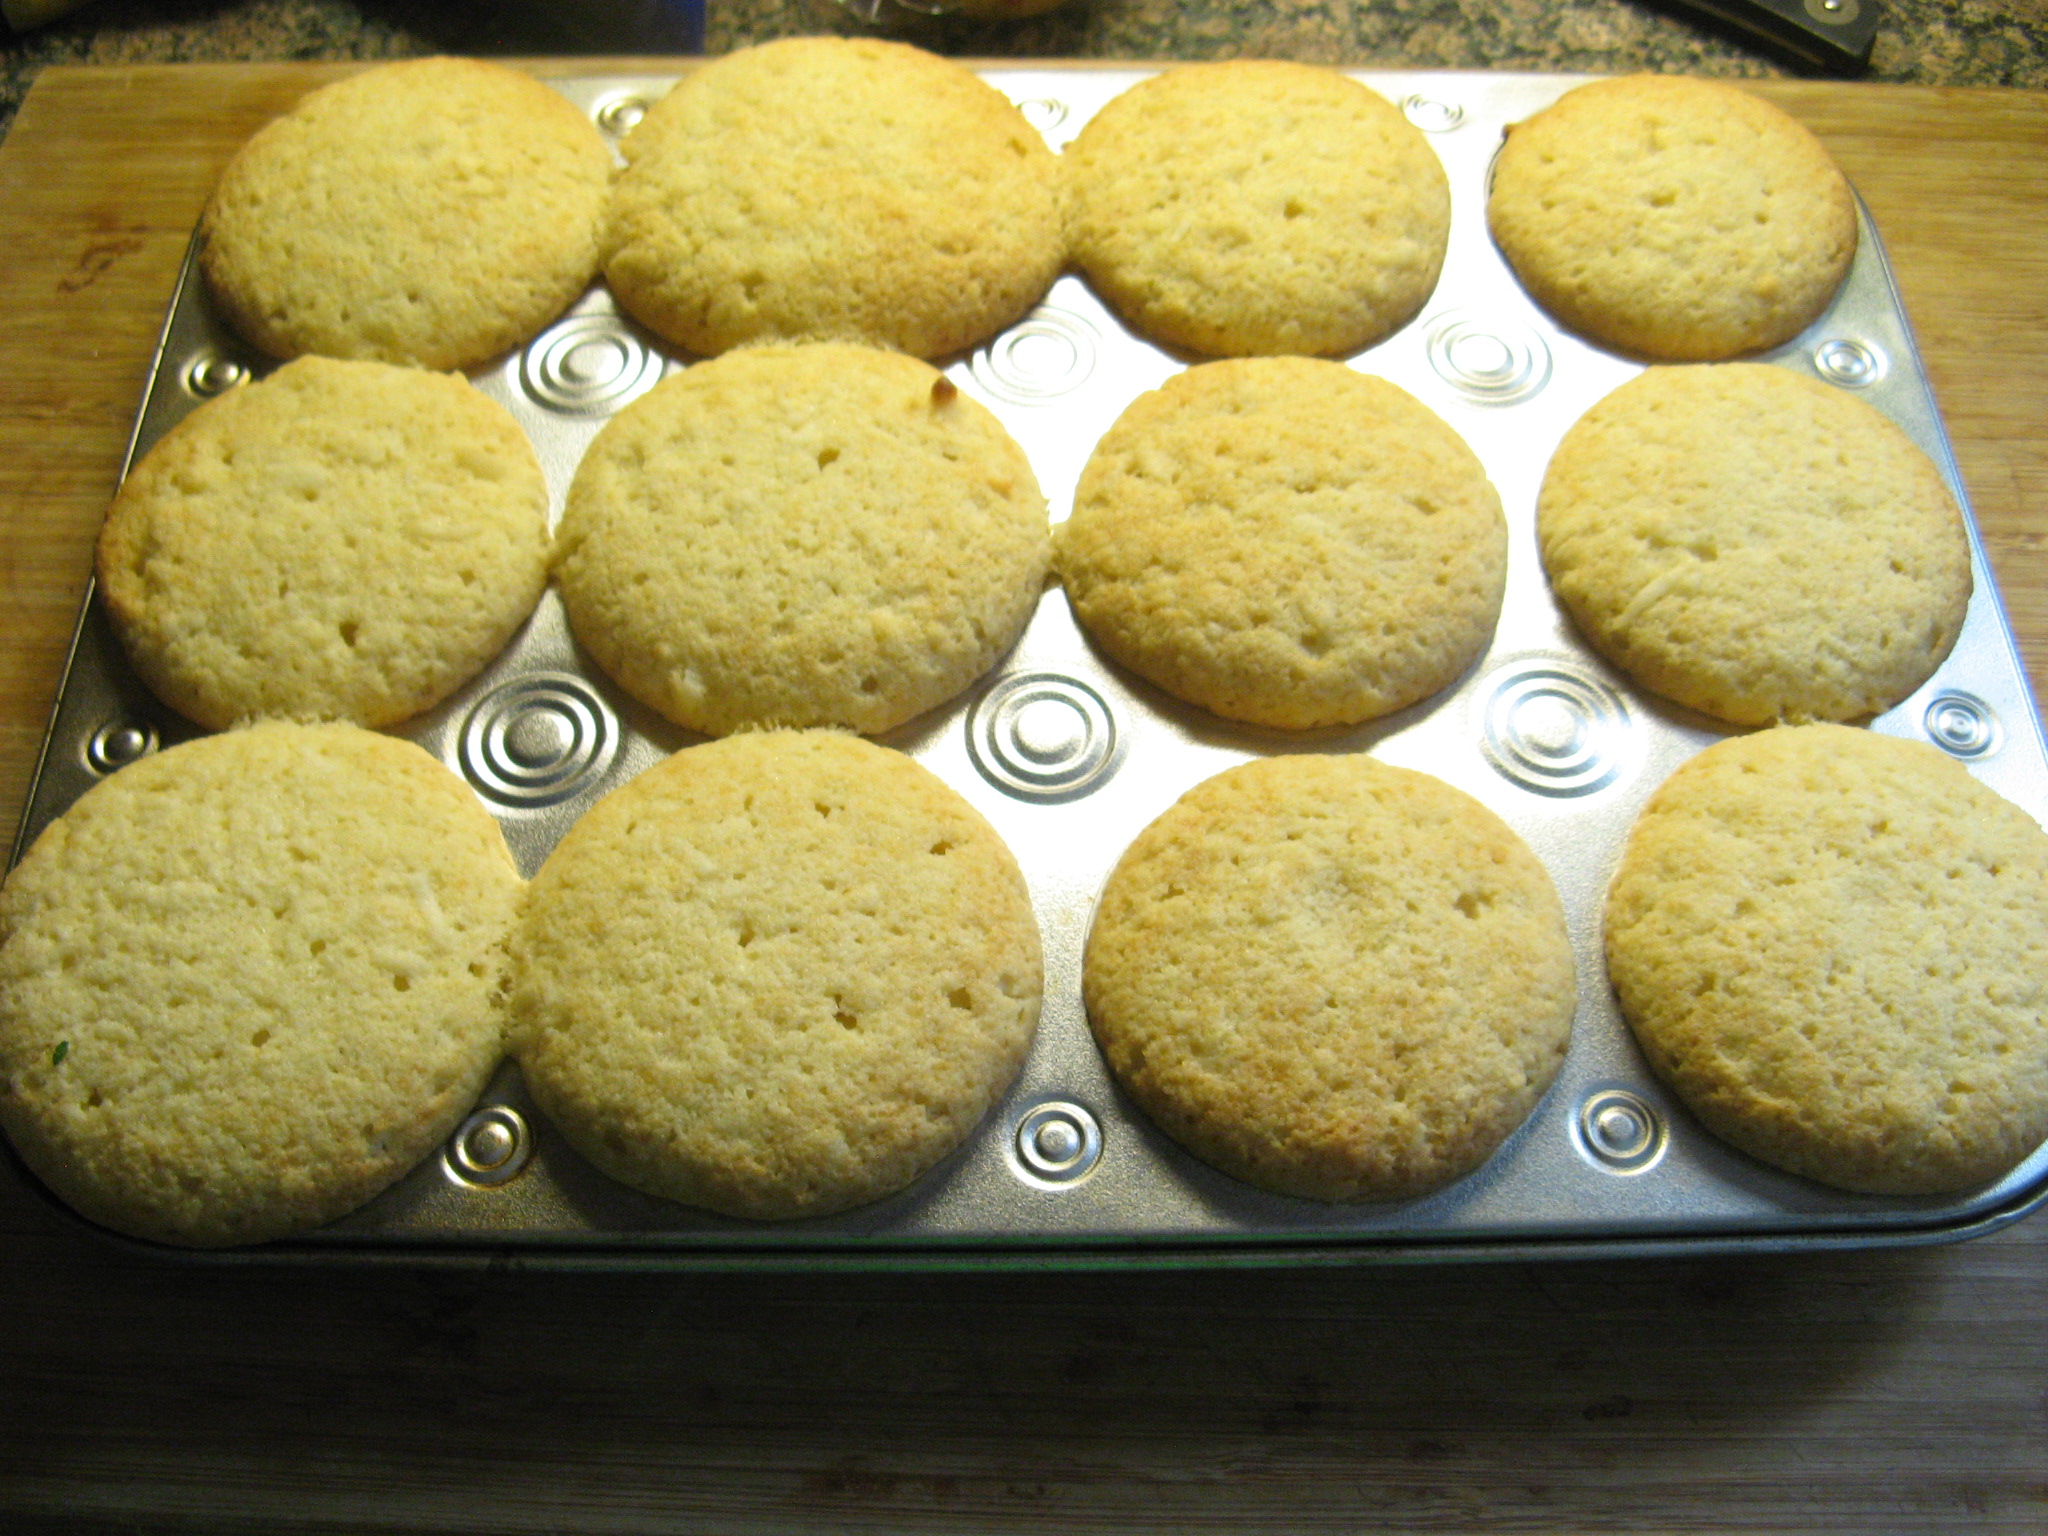
Then the fun part… Scooping the batter into the paper lined muffin tin. The recipe called for filling the liners to the top with the batter – this is the one thing I would do differently next time I make these. By filling them so much the tops of the cupcakes were enormous.
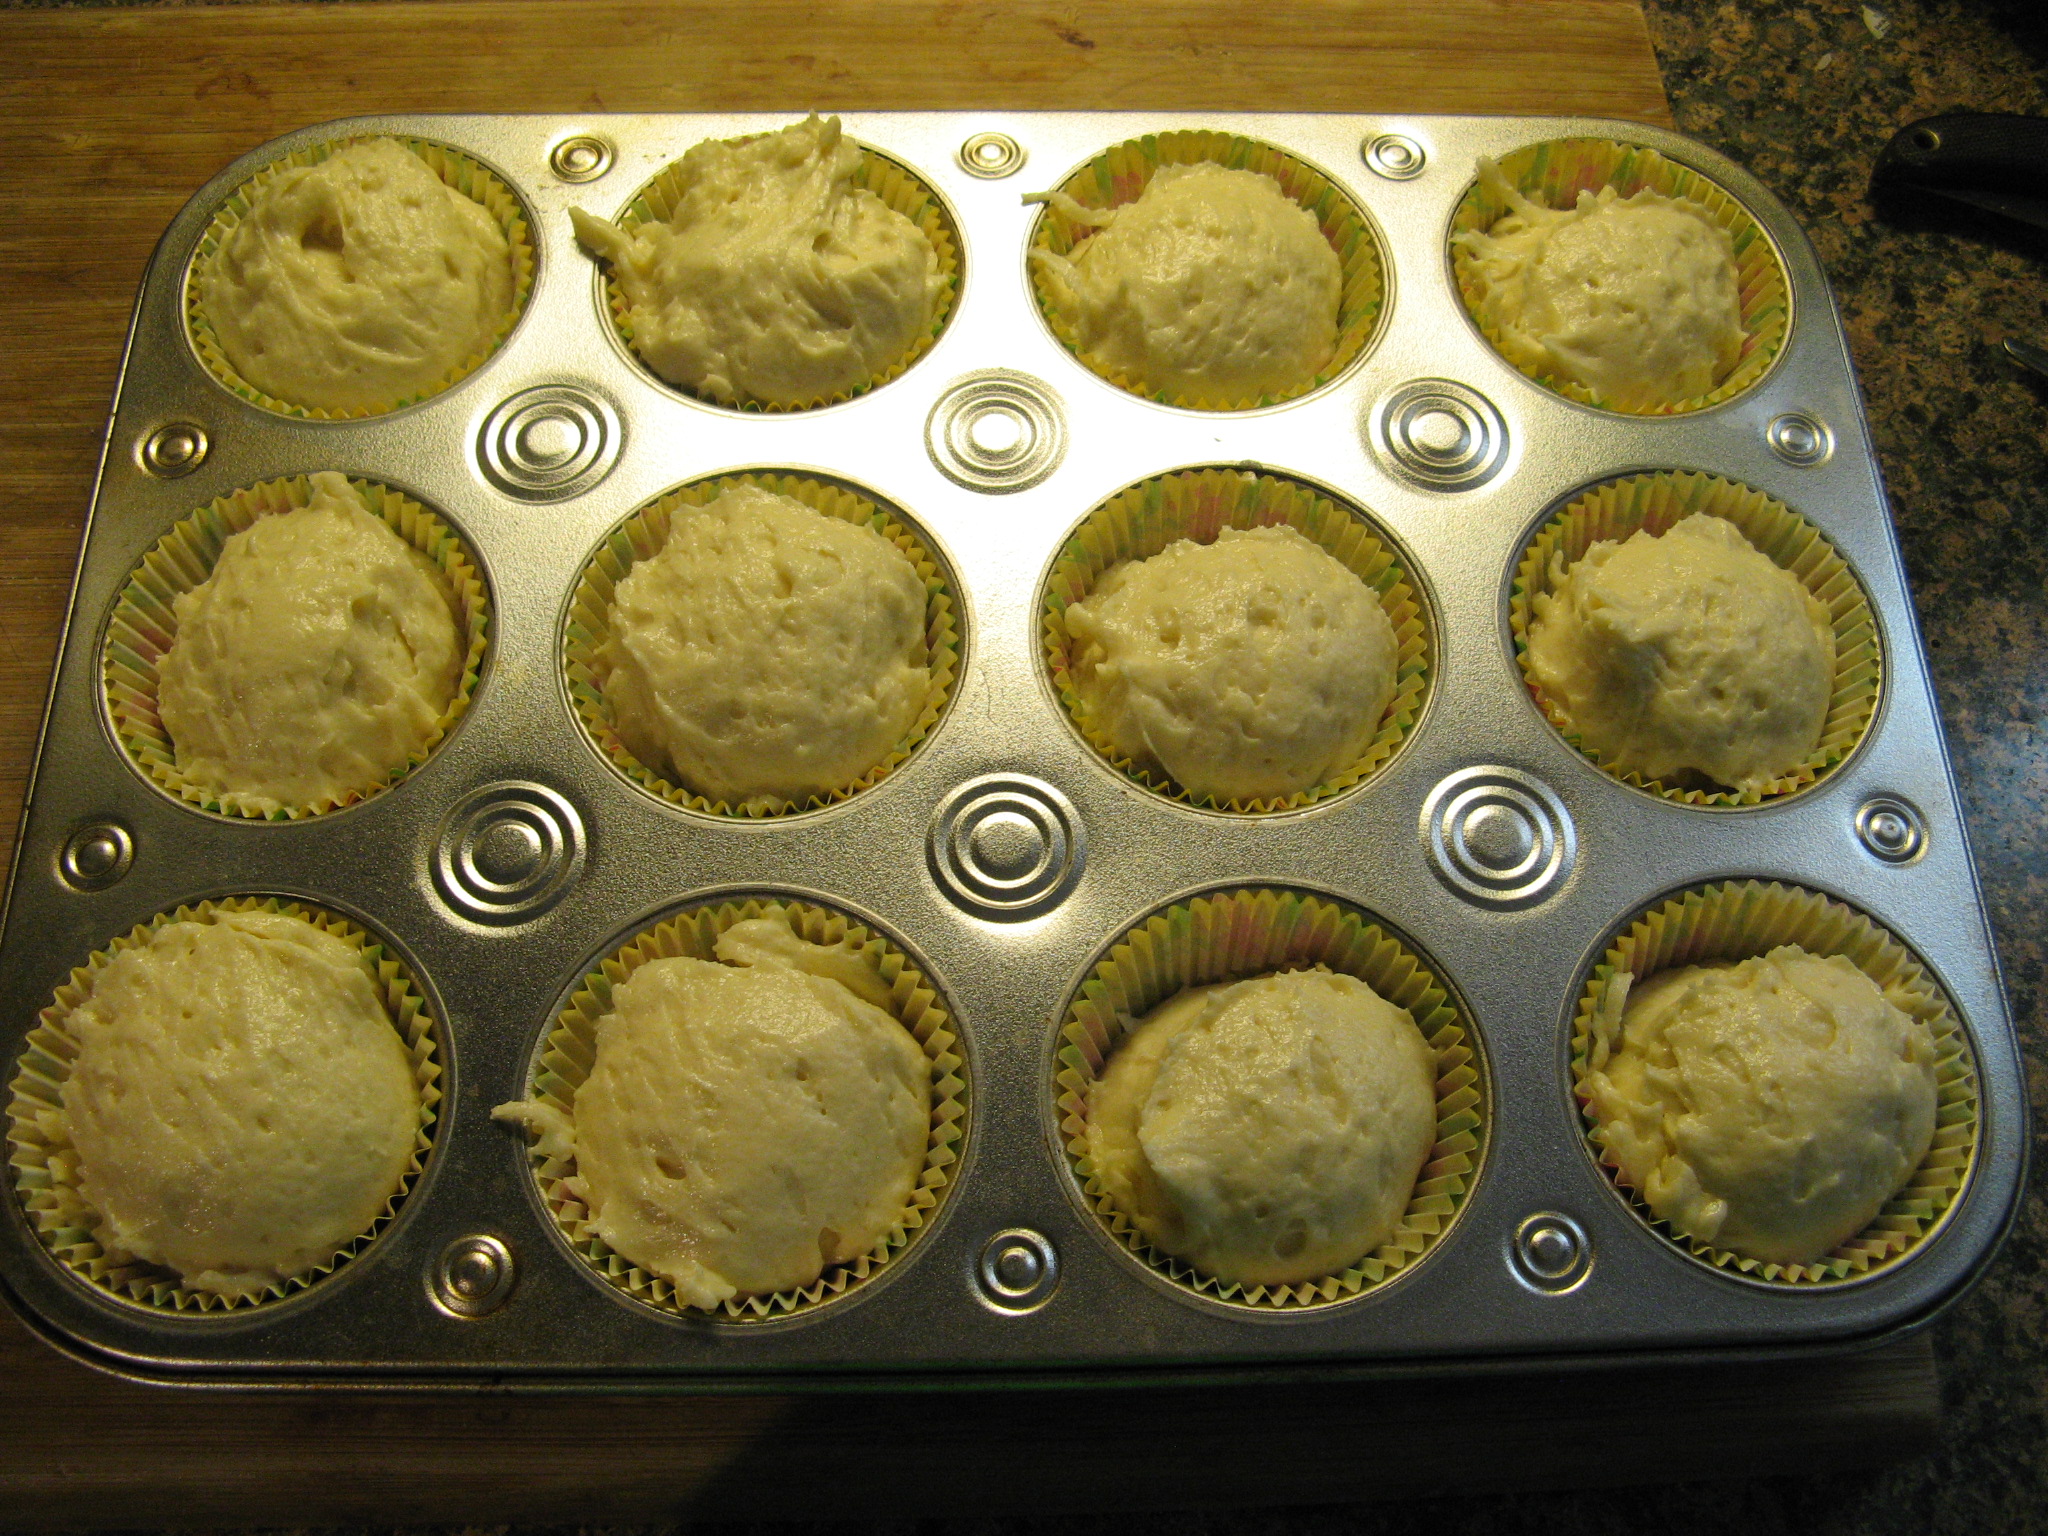
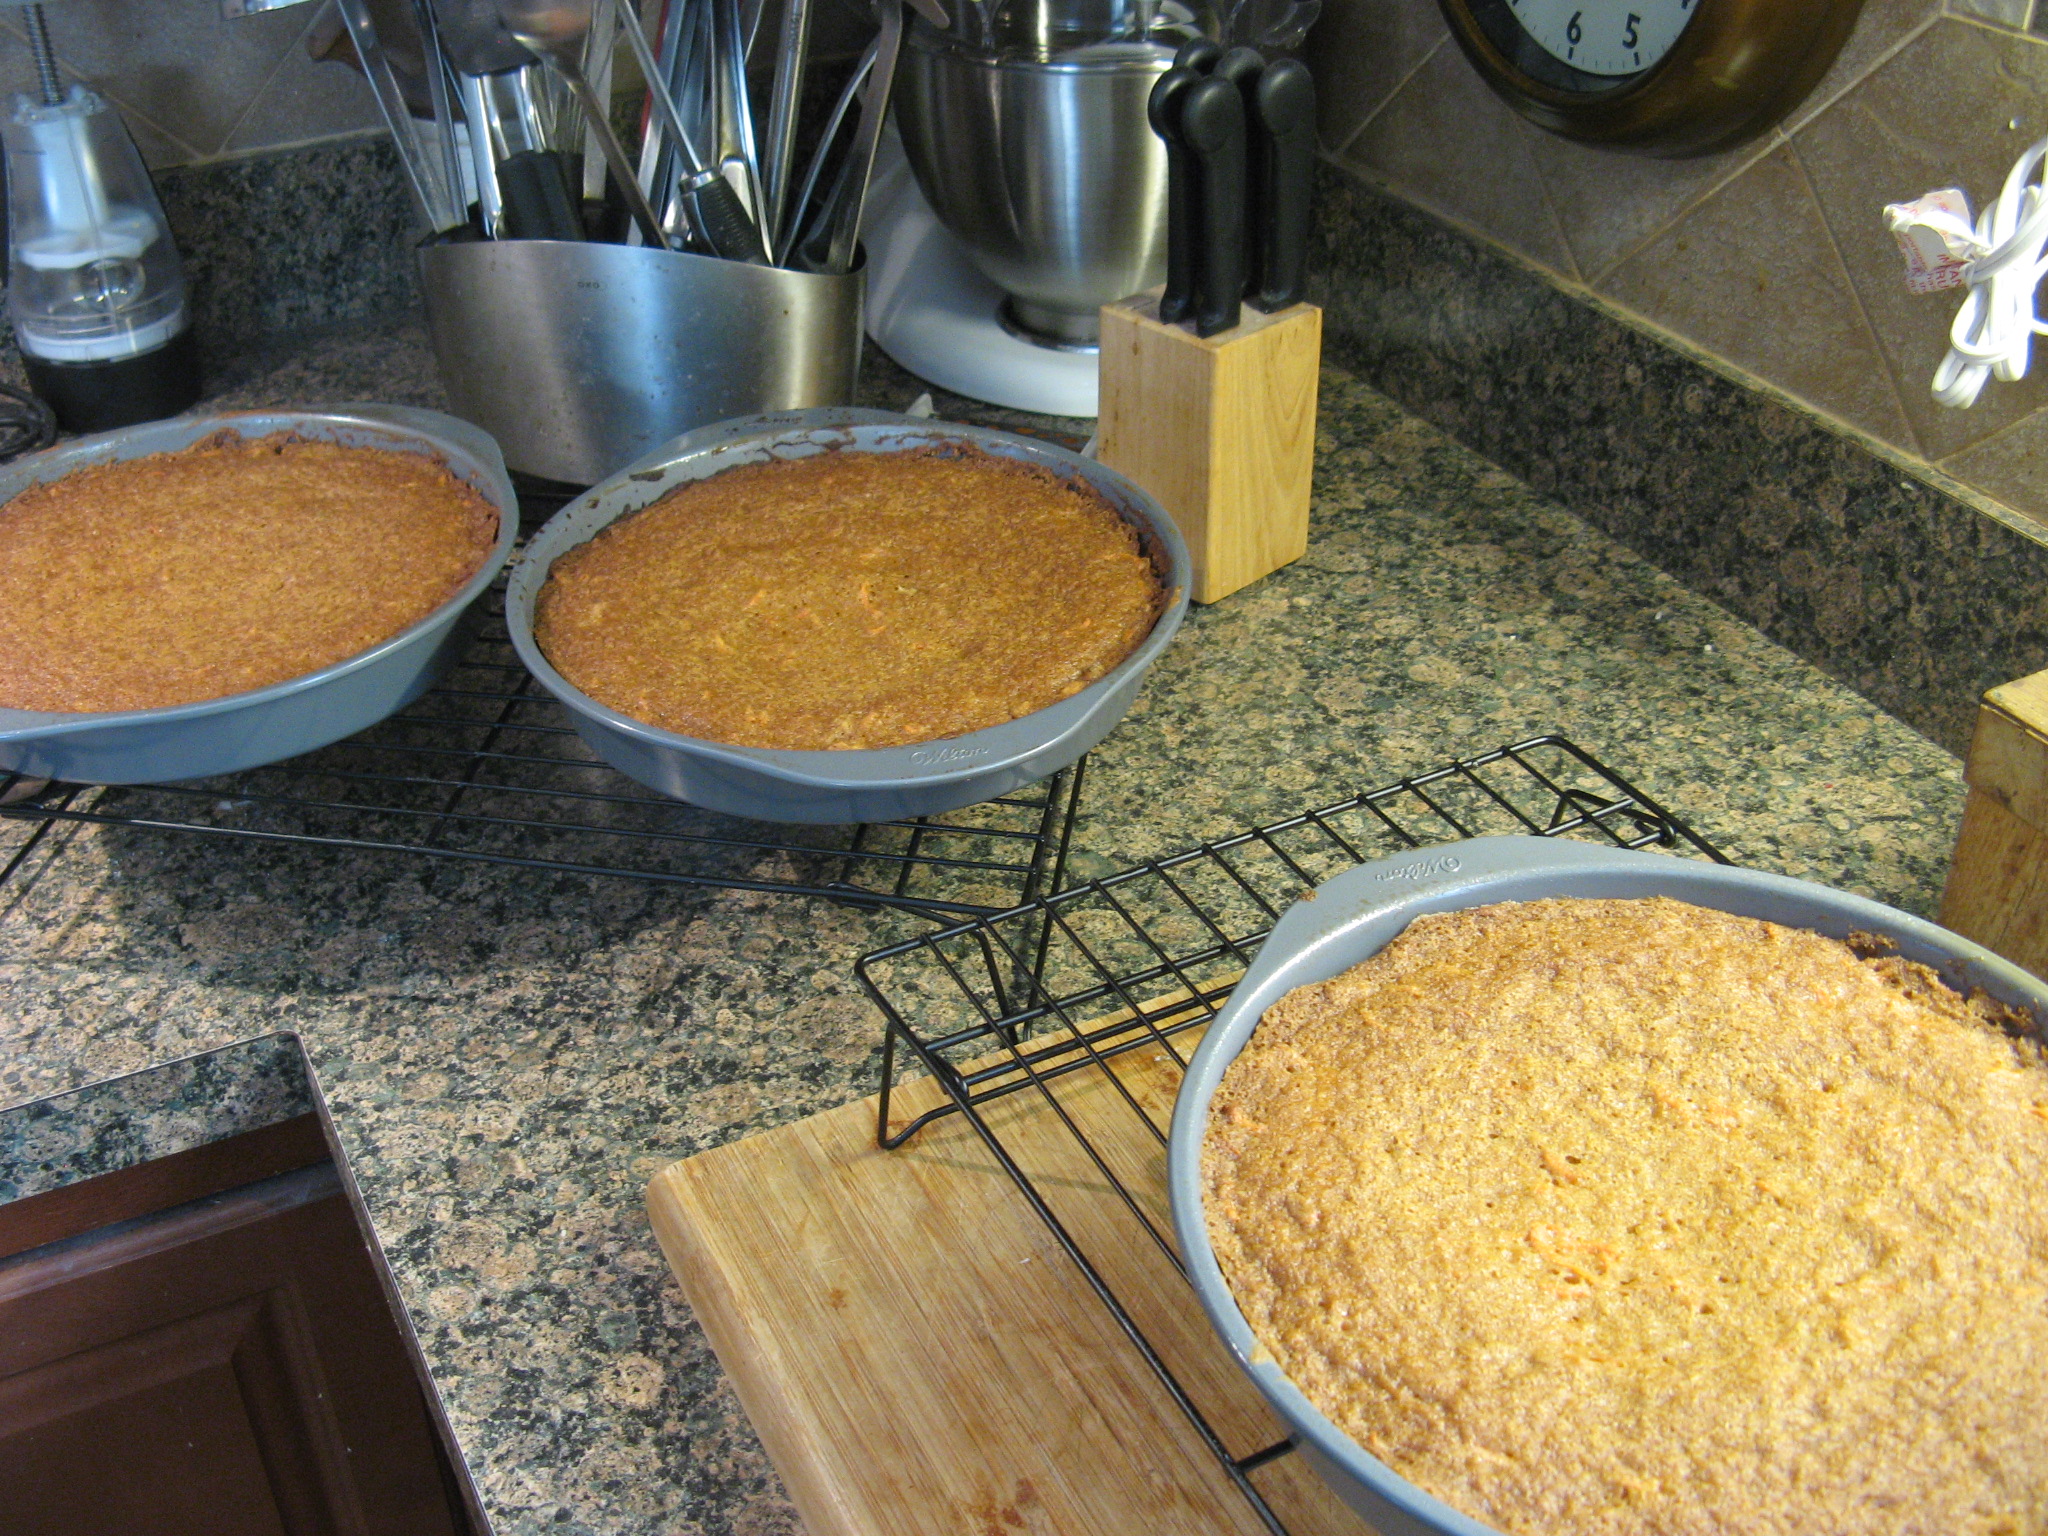
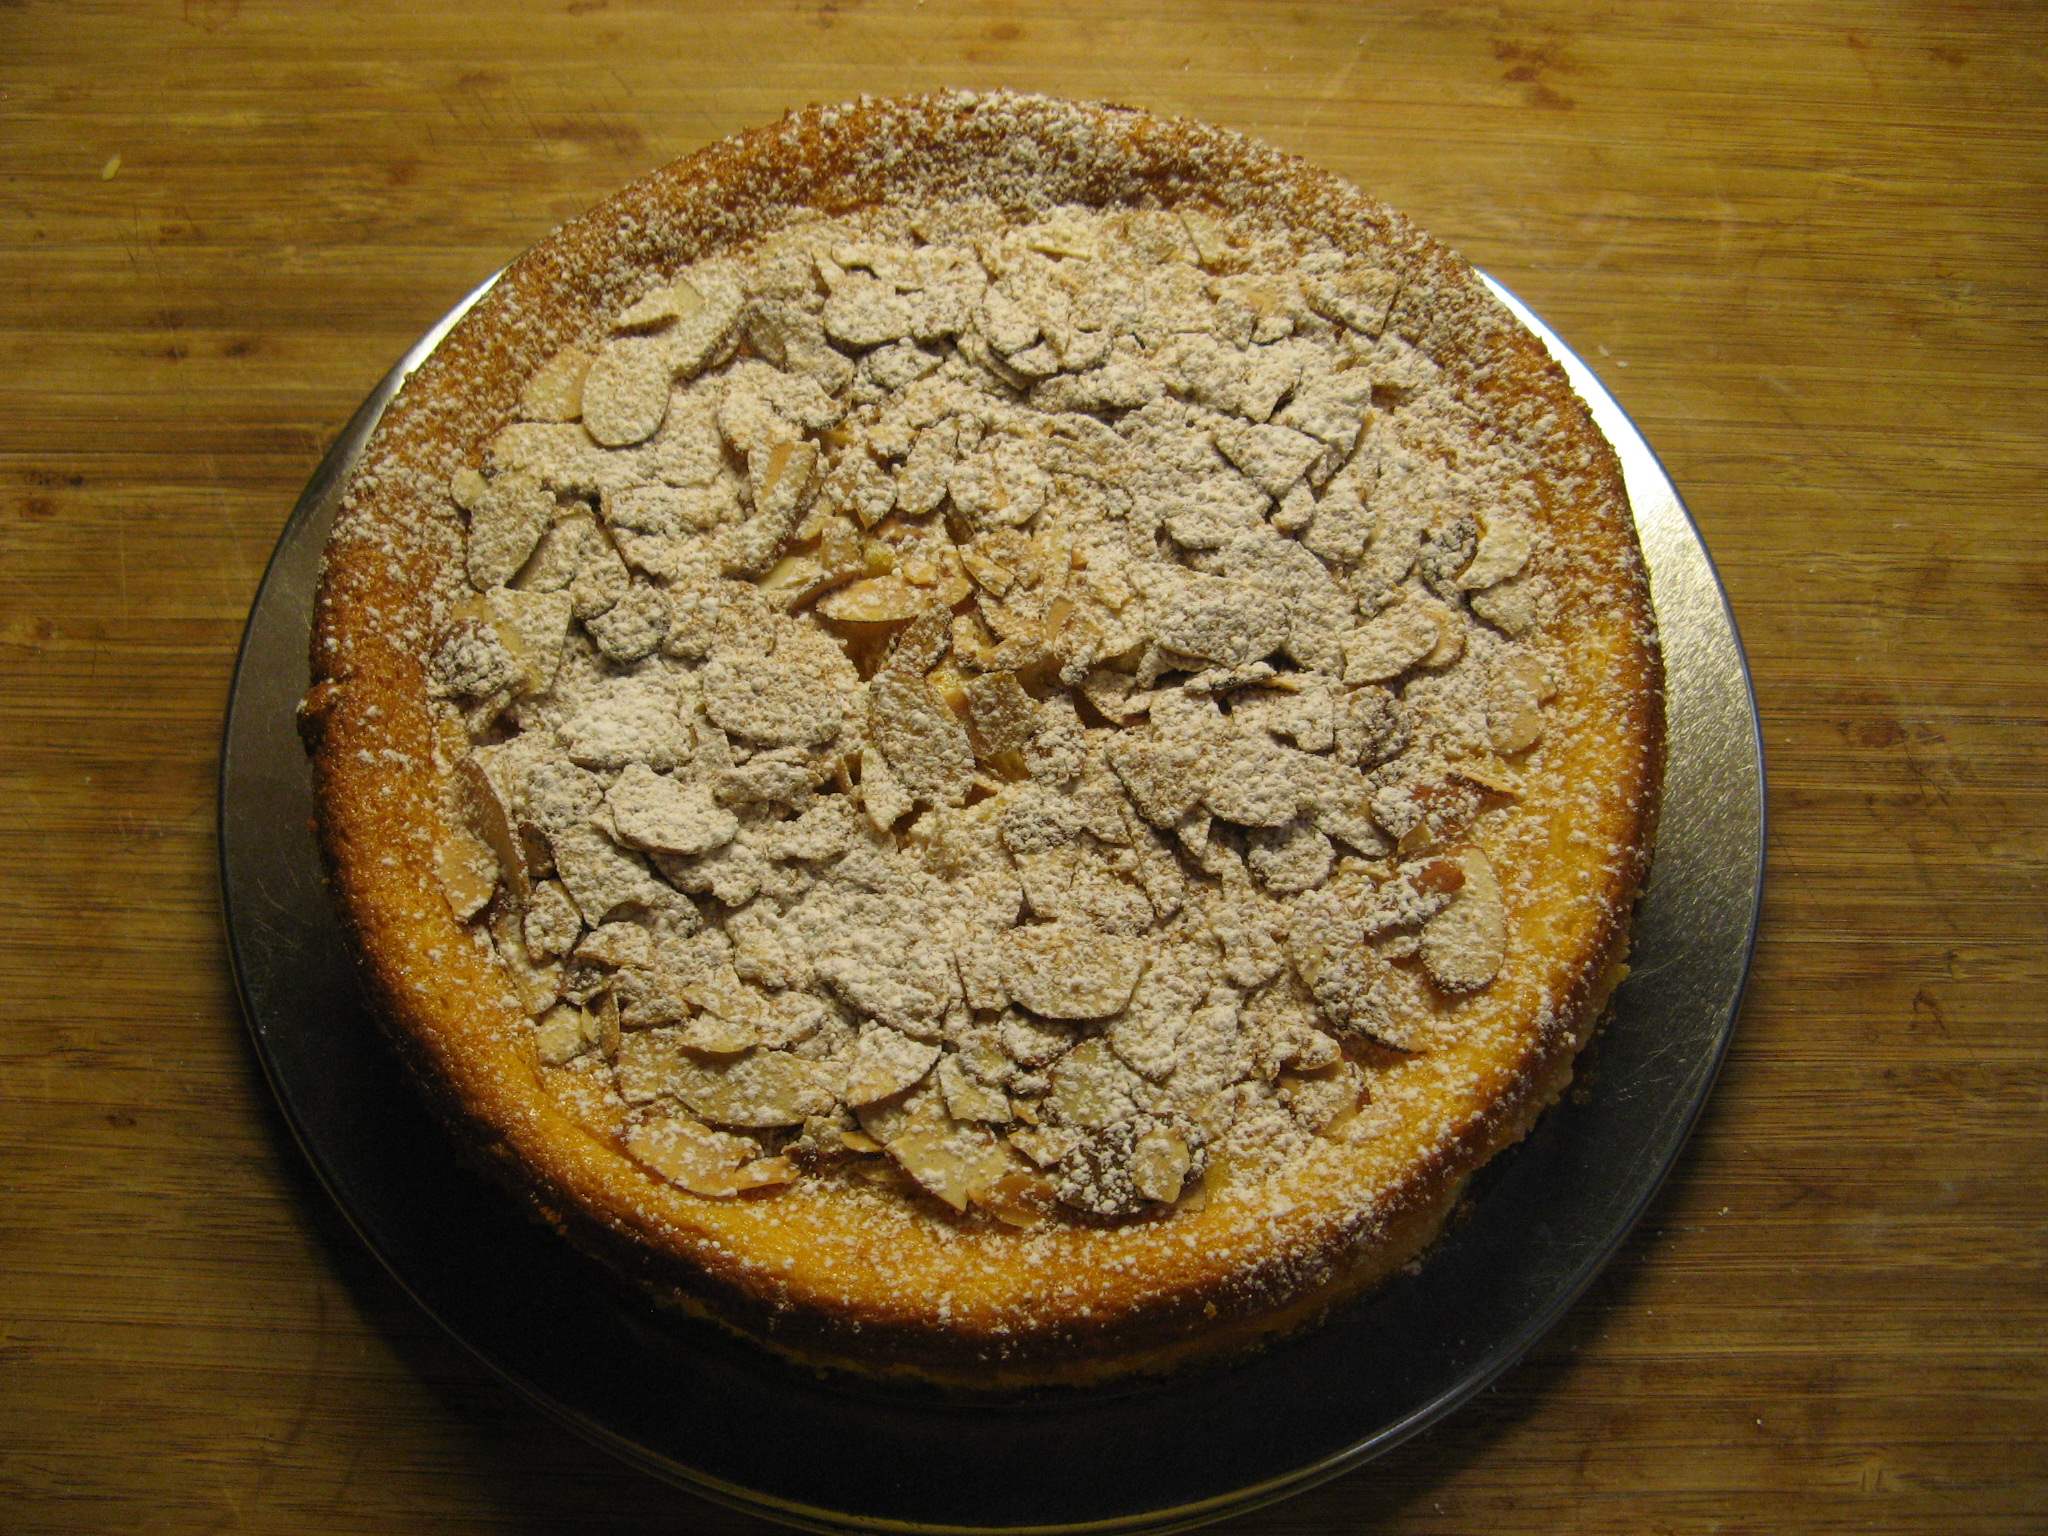
After baking for about 30 minutes there were ready to come out of the oven. Ultimately I ended up with 23 cupcakes.
Once they cooled it was time to make the frosting.
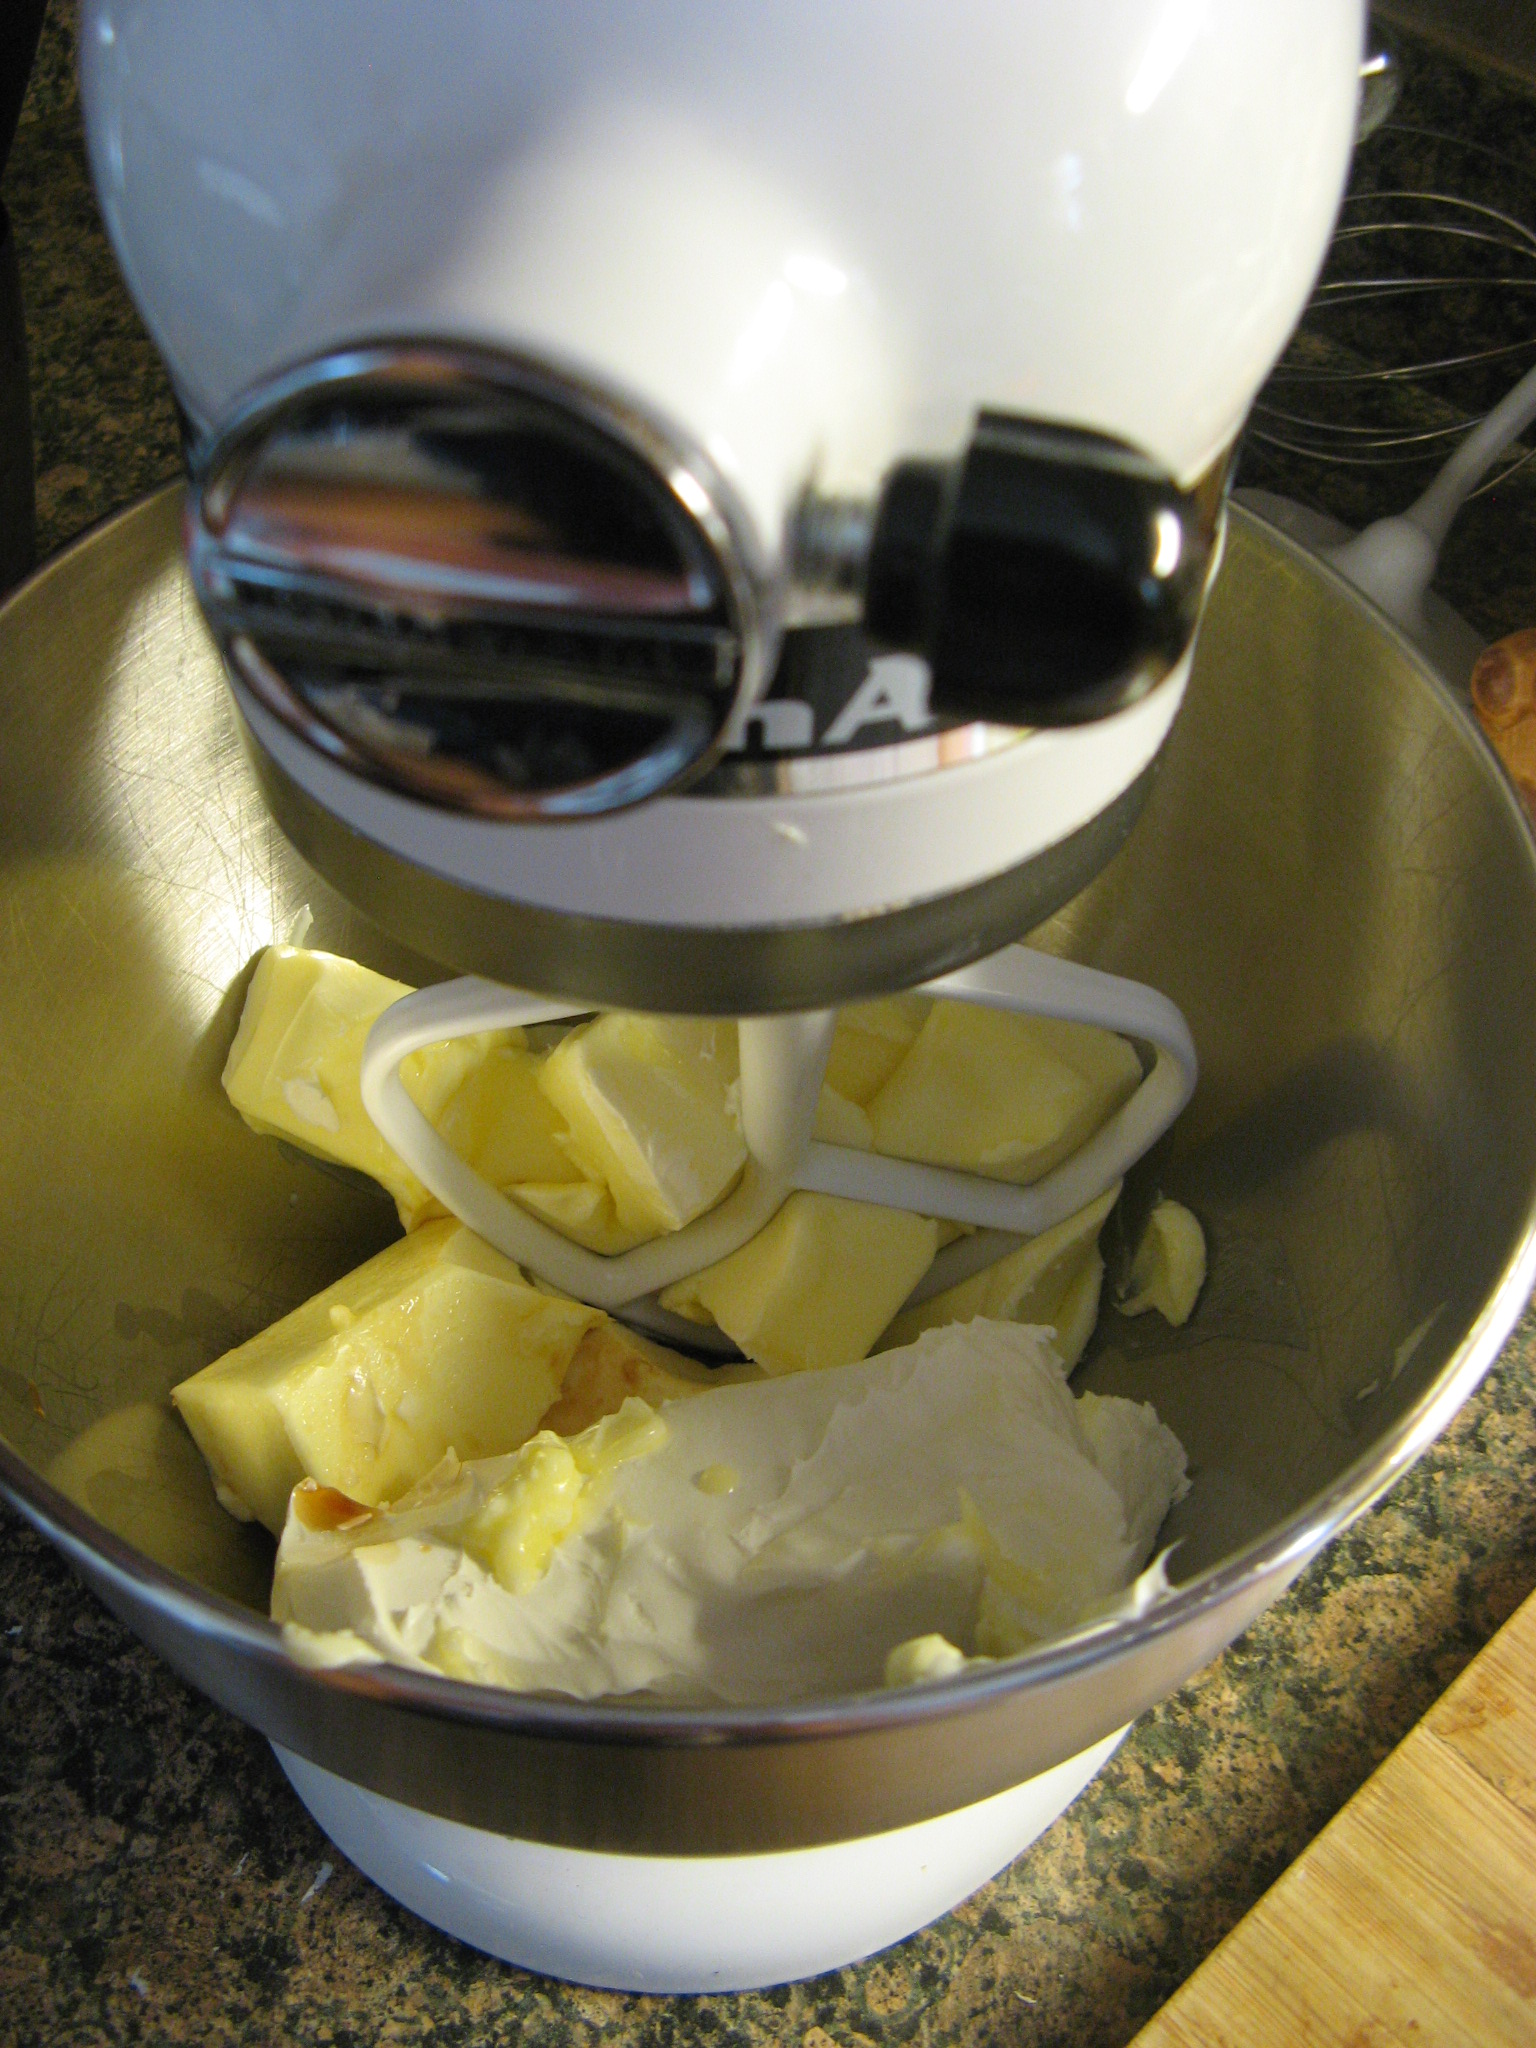
I started off by blending together butter, cream cheese, vanilla extract and almond extract.
While the recipe called for 1 1/2 pounds of sifted confectioners’ sugar I decided to only use 1 pound this way it wouldn’t be too sweet. I tried to take a shortcut and sift the powder right into my mixing bowl – definitely won’t do that again. I ended up with sugar all over my counter.
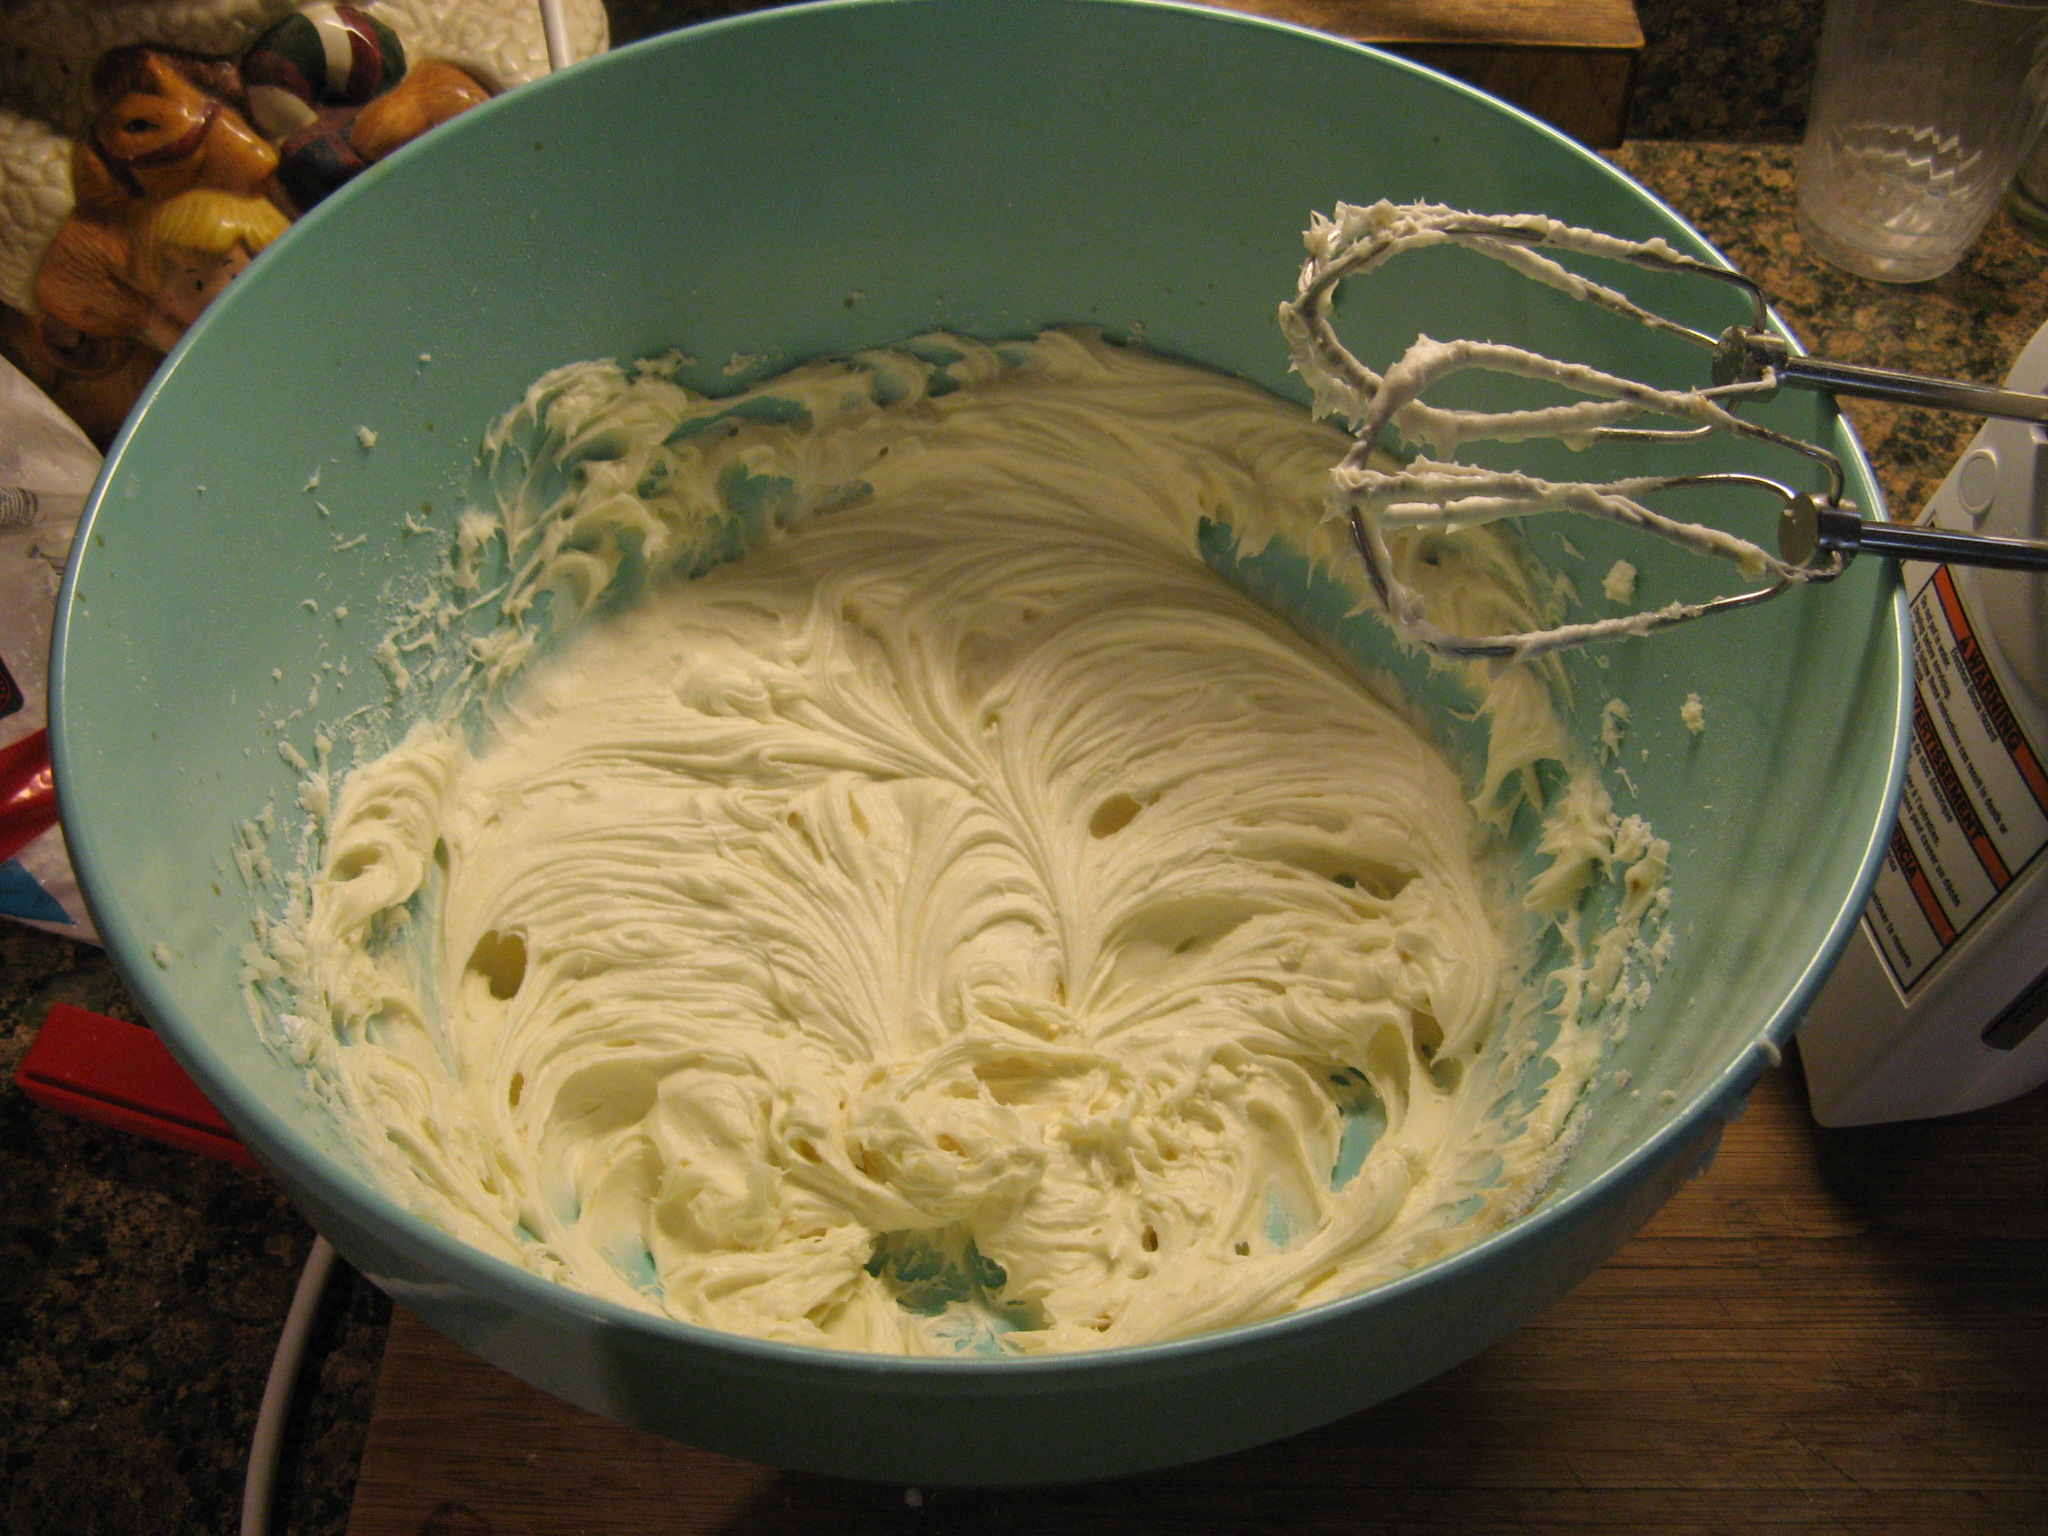
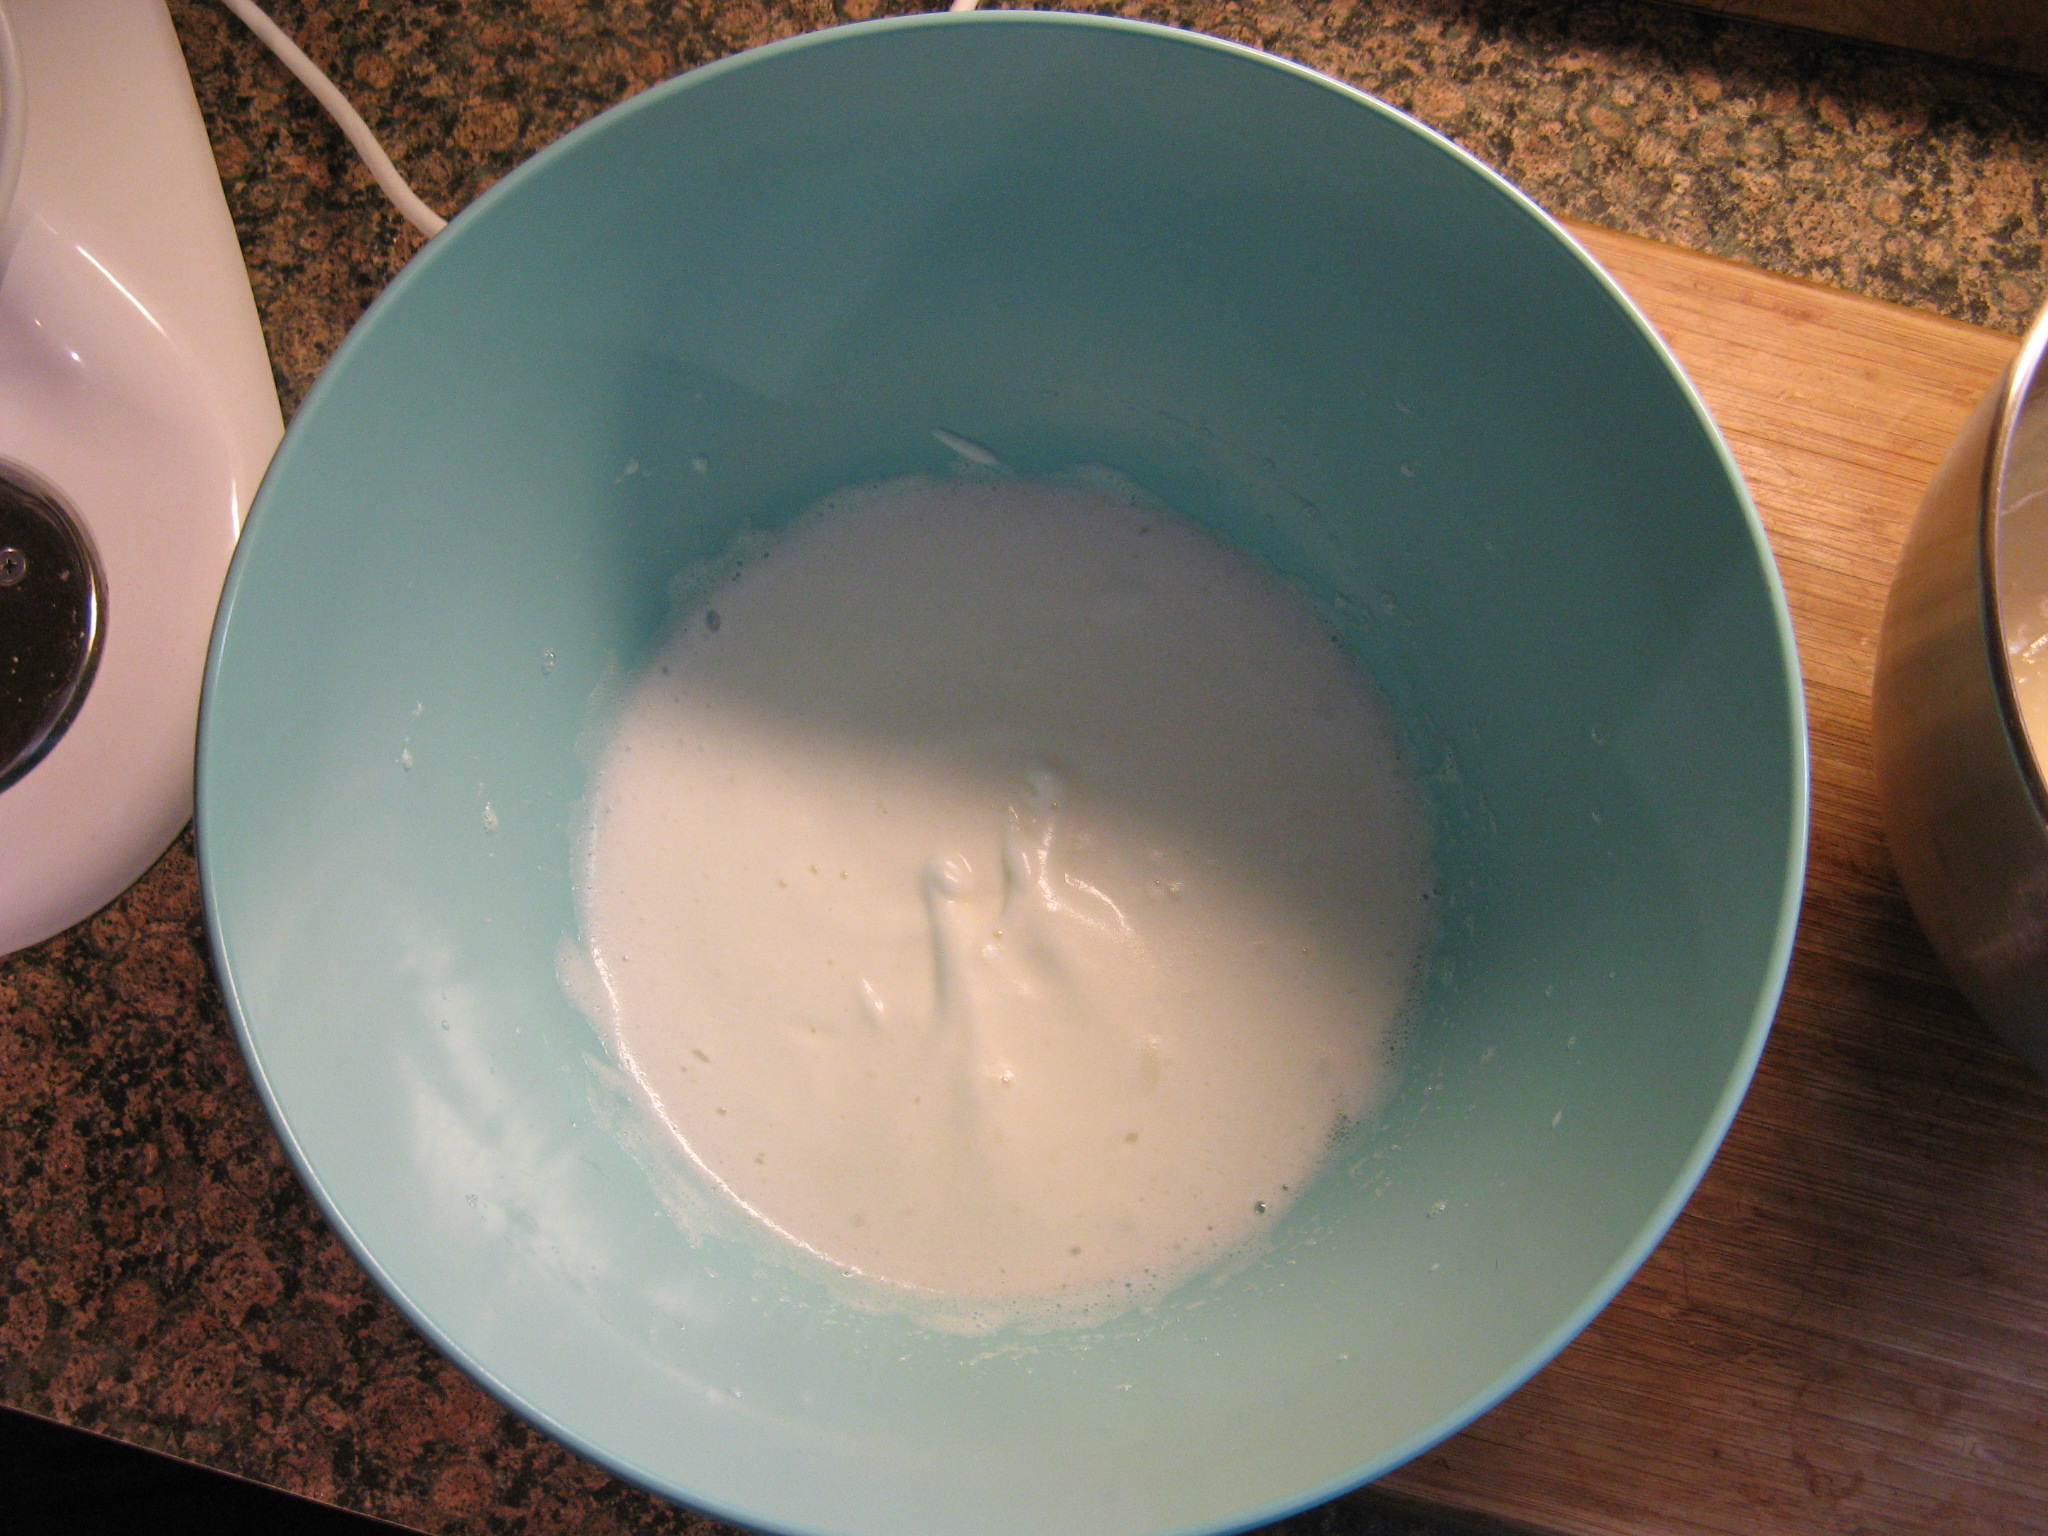
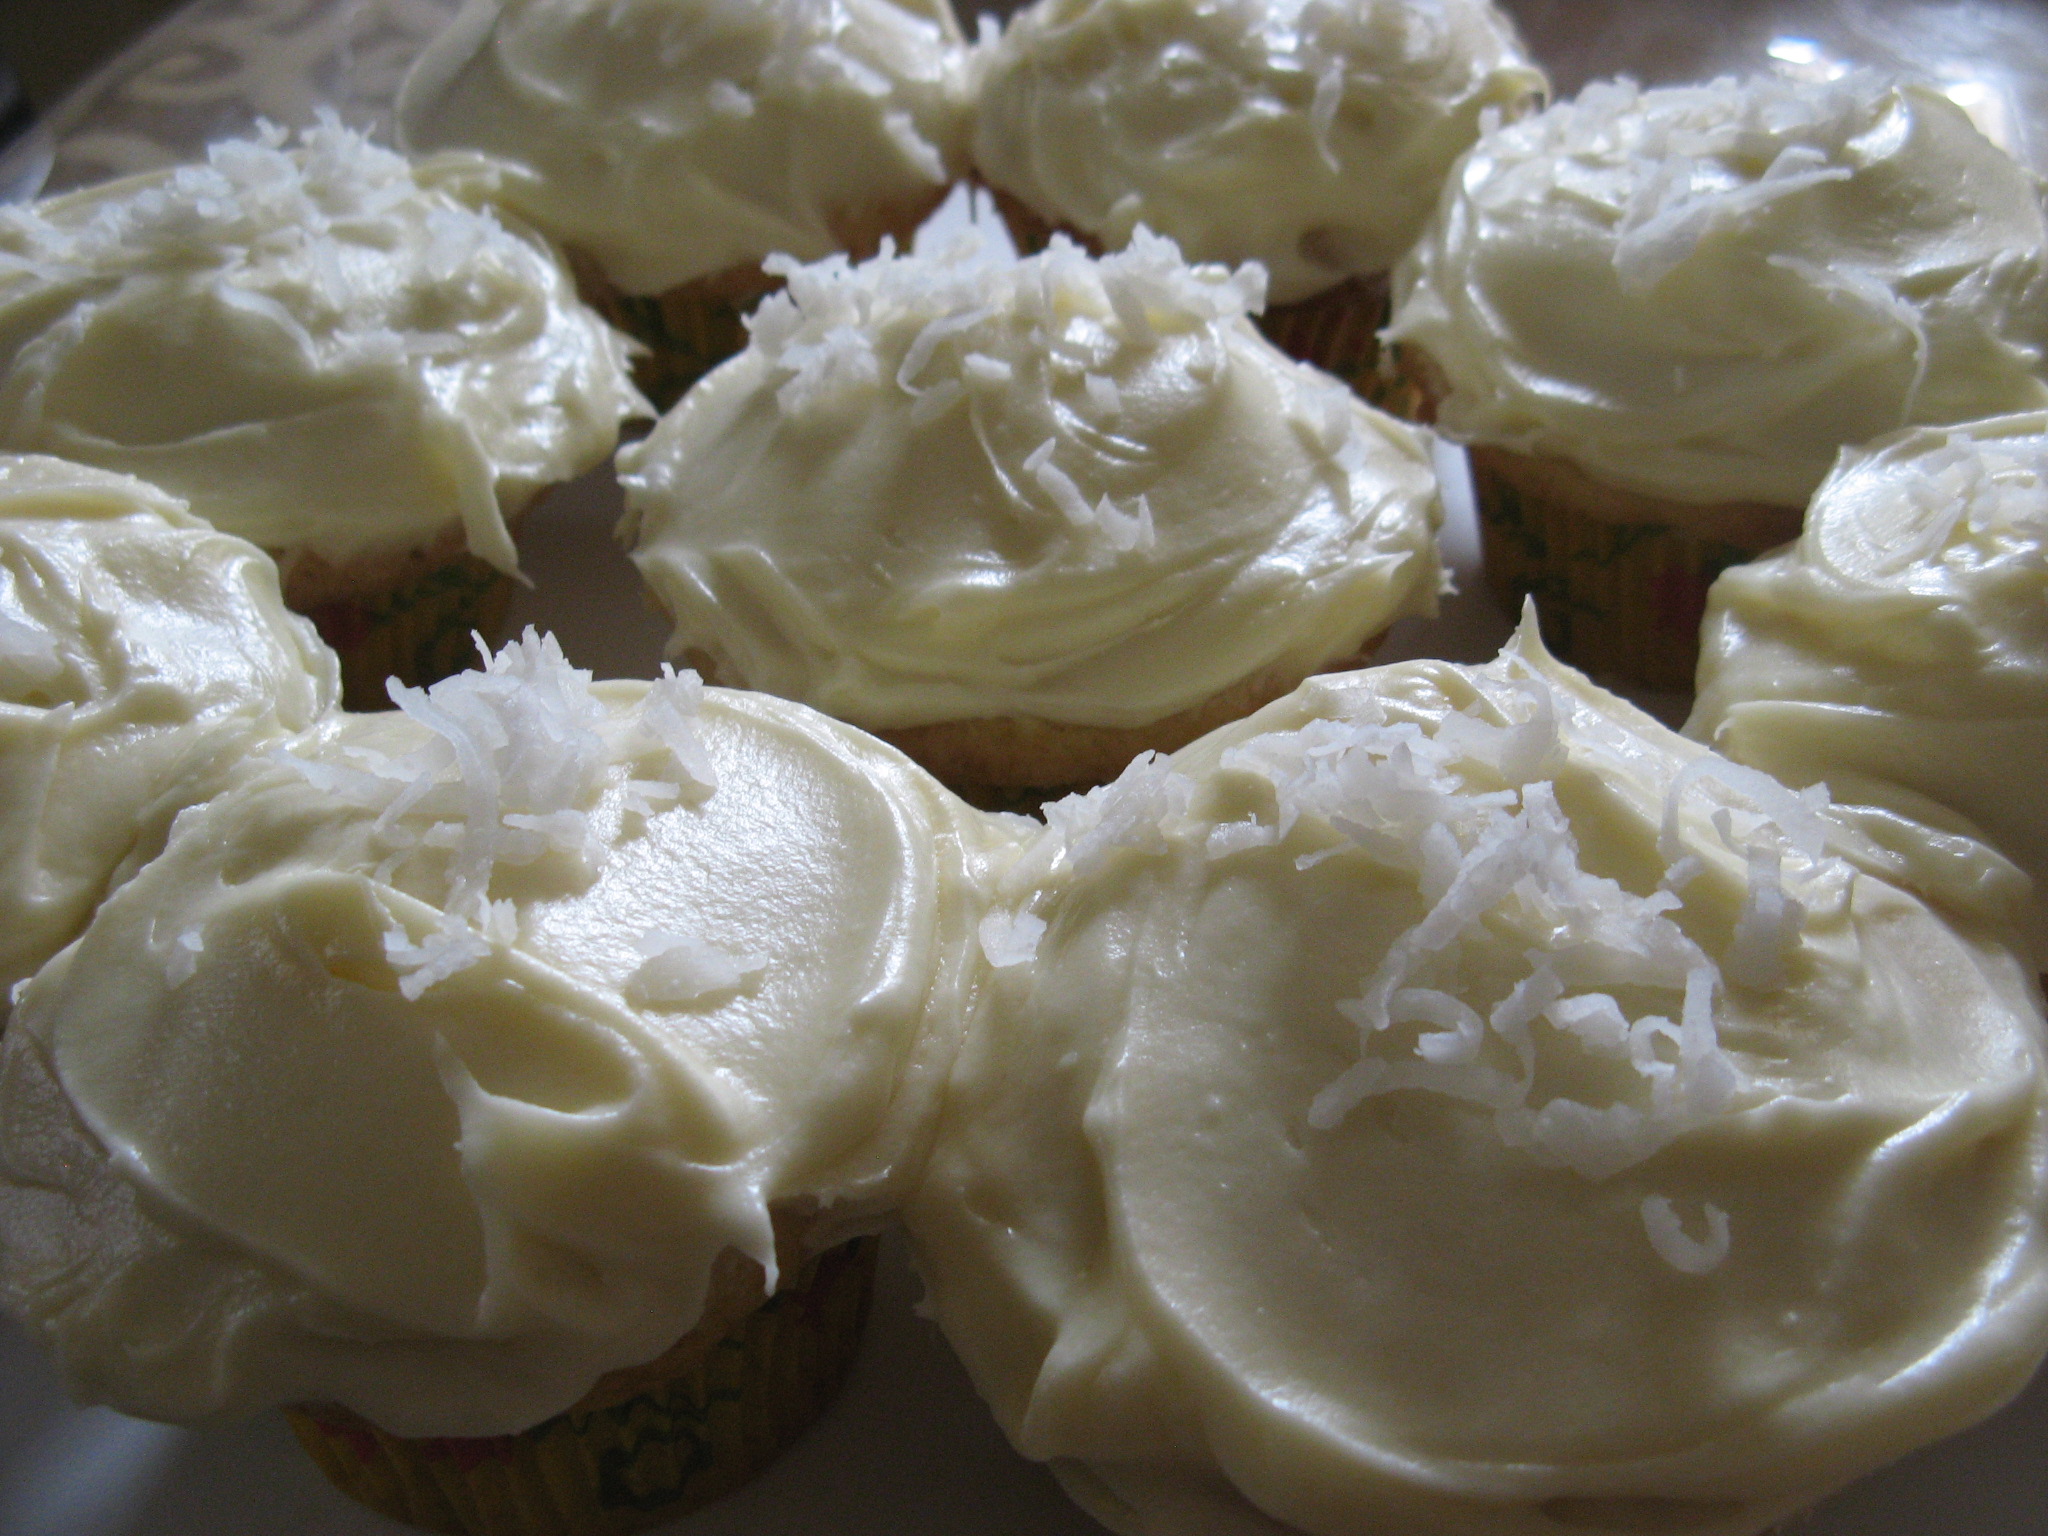
After mixing for a few minutes the frosting was nice and smooth and ready to be spread onto the cupcakes.

Once I frosted the cupcakes I sprinkled each of them with a little shredded coconut. These cupcakes were amazing! Definitely a recipe I will be making again. And since I still have about half a bag left of the shredded coconut I am sure I’ll be making one of those other recipes I mentioned earlier soon.
Coconut Cupcakes With Cream Cheese Frosting
Food Network Magazine September 2012
Makes 18 to 20 Cupcakes
For the Cupcakes:
3/4 pound unsalted butter, at room temperature
2 cups sugar
5 extra-large eggs, at room temperature
1 1/2 teaspoons pure vanilla extract
1 1/2 teaspoons pure almond extract
3 cups all-purpose flour
1 teaspoon baking powder
1/2 teaspoon baking soda
1/2 teaspoon salt
1 cup buttermilk
14 ounces sweetened, shredded coconut
For the Cream Cheese Frosting:
1 pound cream cheese, at room temperature
3/4 pound unsalted butter, at room temperature
1 teaspoon pure vanilla extract
1/2 teaspoon pure almond extract
1 1/2 pounds confectioners’ sugar, sifted
1. Preheat the oven to 325 degrees.
2. In the bowl of an electric mixer fitted with a paddle attachment, cream the butter and sugar until light and fluffy, about 5 minutes. With the mixer running on low, add the eggs one at a time, scraping the bowl after each addition. Add the vanilla and almond extracts and mix well.
3. In a separate bowl, sift together the flour, baking powder, baking soda and salt. In three parts, alternately add the dry ingredients and the buttermilk to the batter, beginning and ending with the dry. Mix until just combined. Fold in 7 ounces coconut.
4. Line a muffin pan with paper liners. Fill each cup to the top with batter. Bake 25 to 35 minutes, until the tops are brown and a toothpick comes out clean. Allow to cool in the pan for 15 minutes. Remove to a baking rack and cool completely.
5. Make the cream cheese icing: In the bowl of an electric mixer fitted with a paddle attachment blend together the cream cheese, butter, vanilla and almond extracts. Add the confectioners’ sugar and mix until smooth.
6. Frost the cupcakes with the cream cheese icing and sprinkle with the remaining coconut.