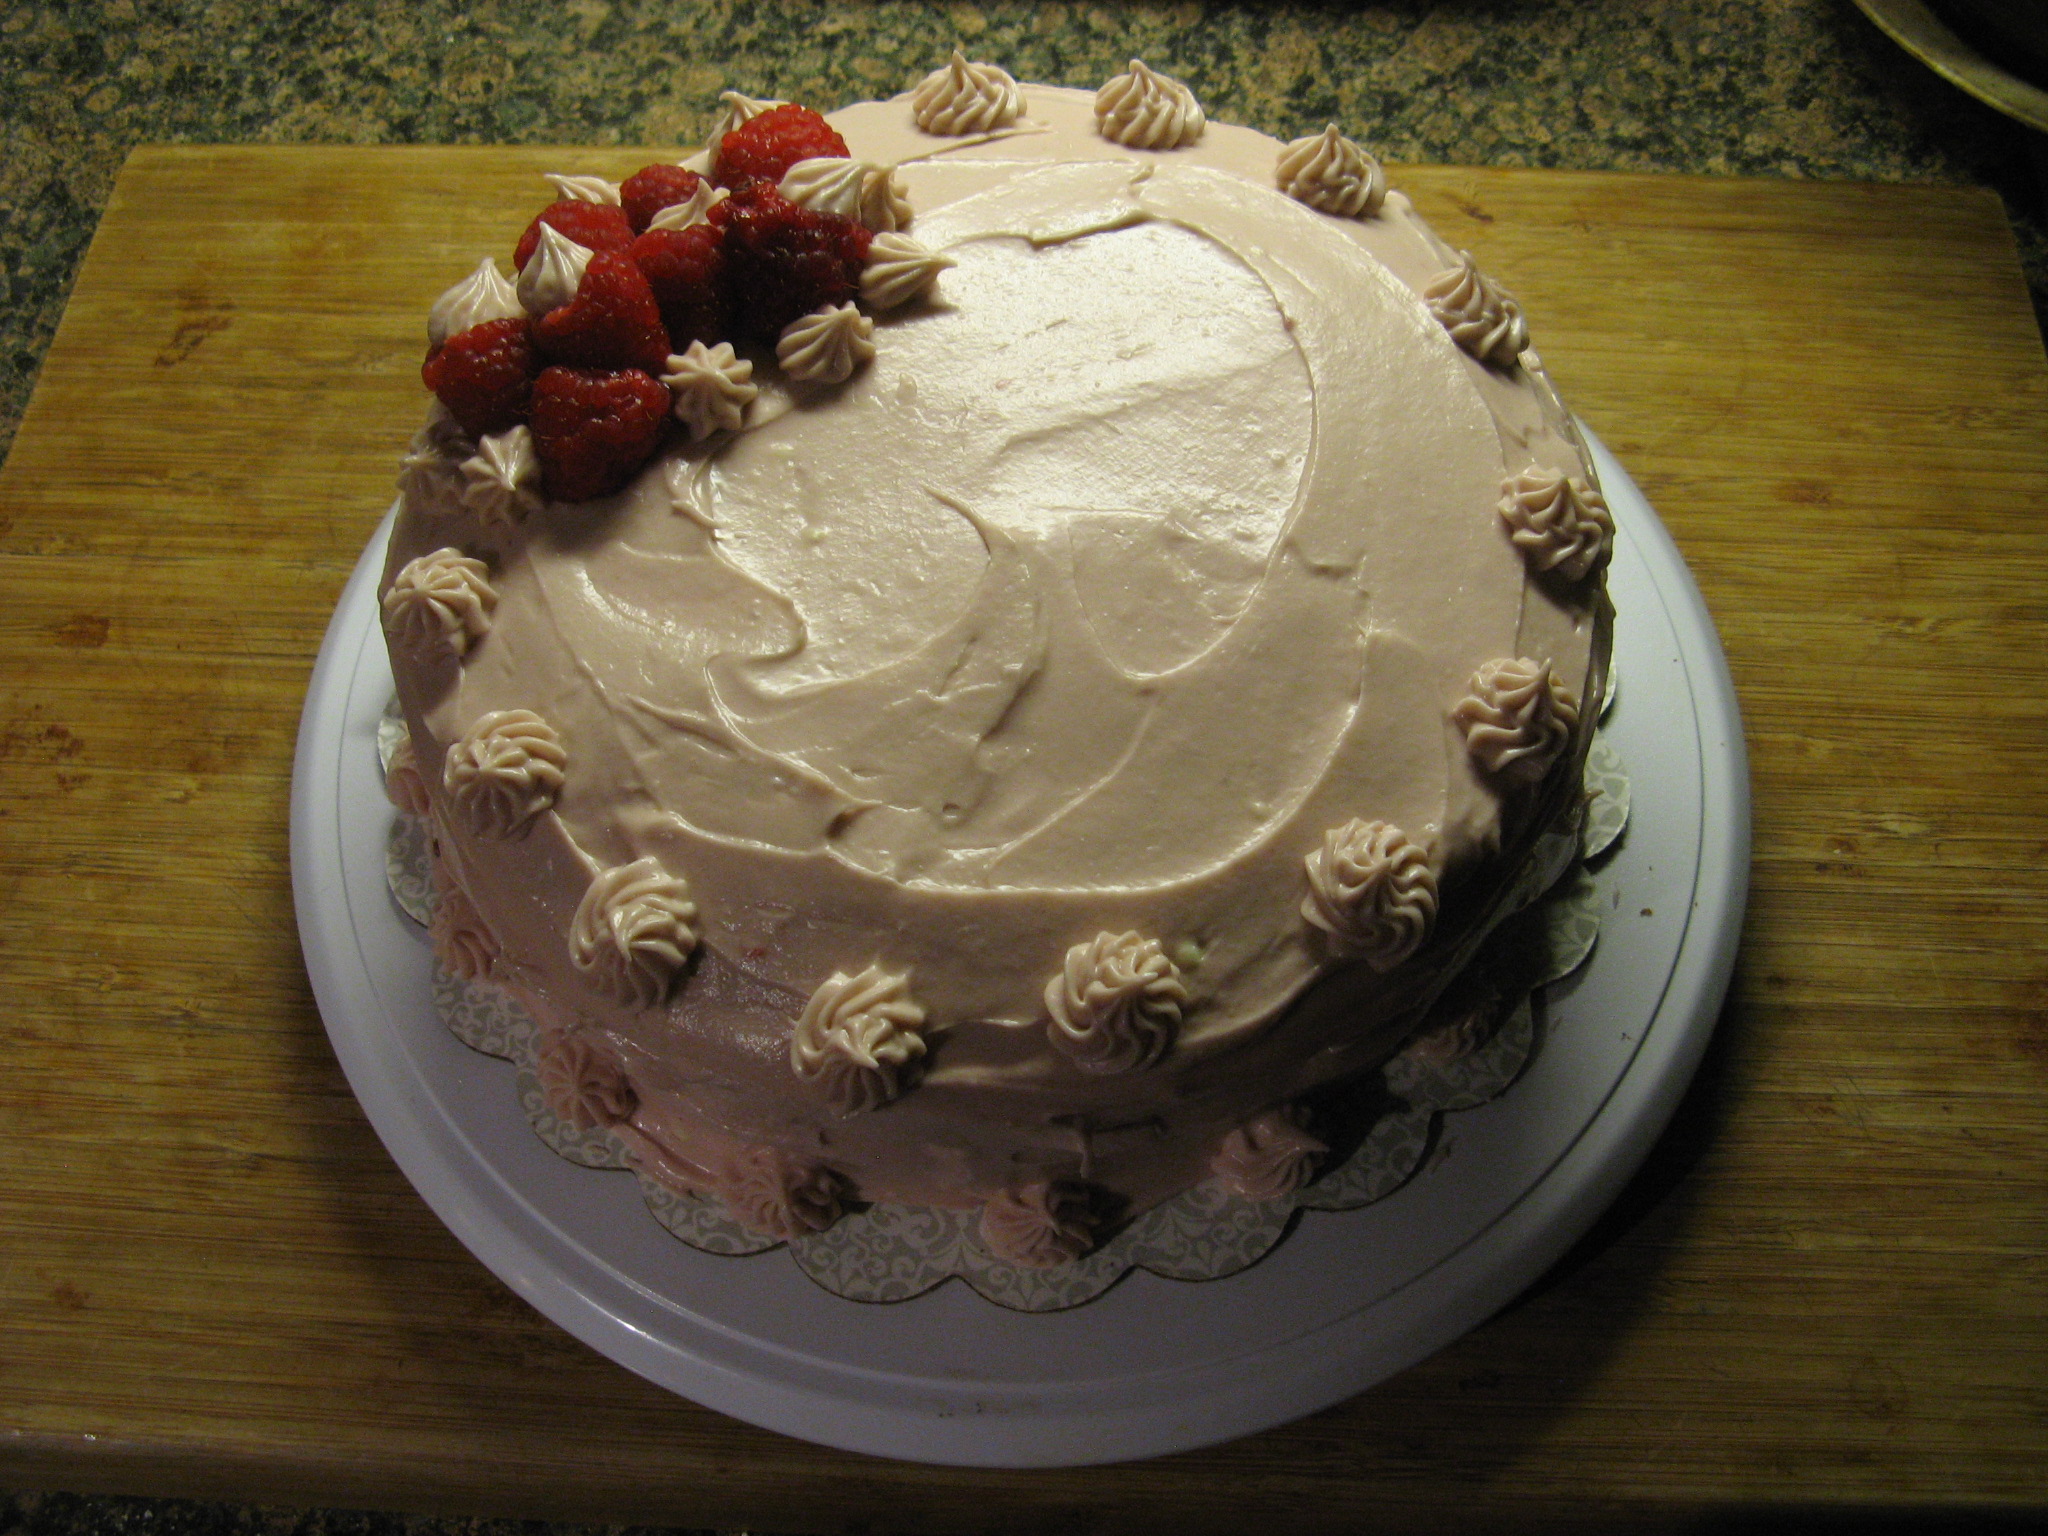
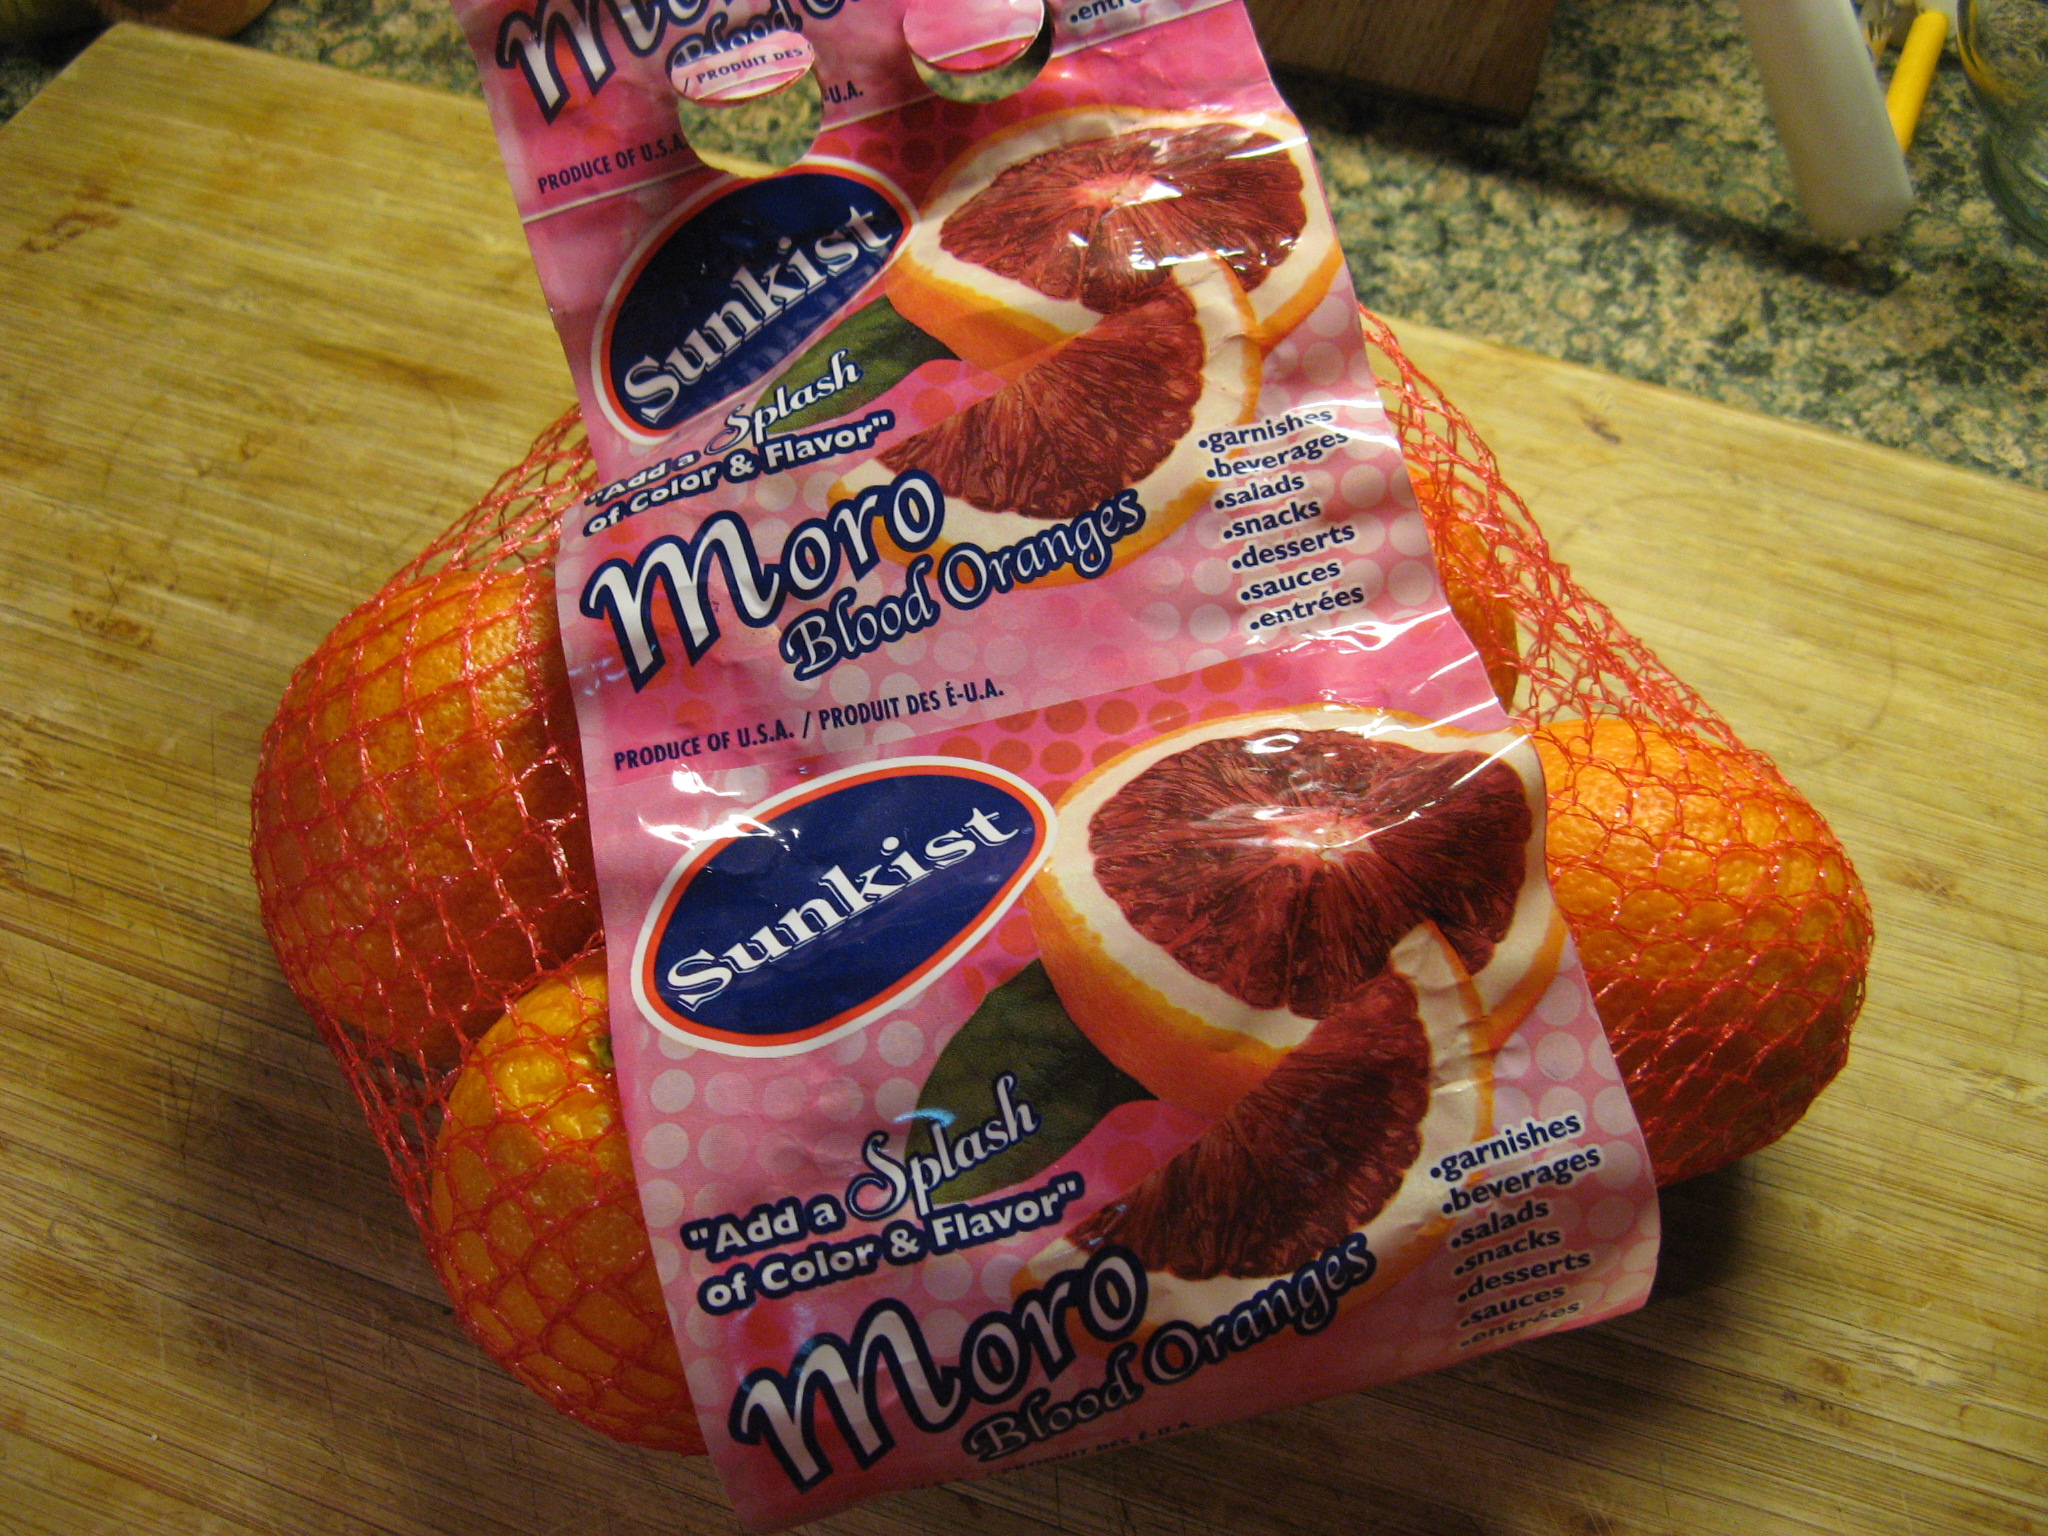
I recently picked up Martha Stewart’s newest cookbook – Martha Stewart’s Cakes – and after going through it I was eager to try out one of the many delicious recipes in it. I was all set to make a butter cake until I came across some blood oranges in my local supermarket and remembered a Blood Orange – Olive Oil cake recipe from the book.
The oranges…
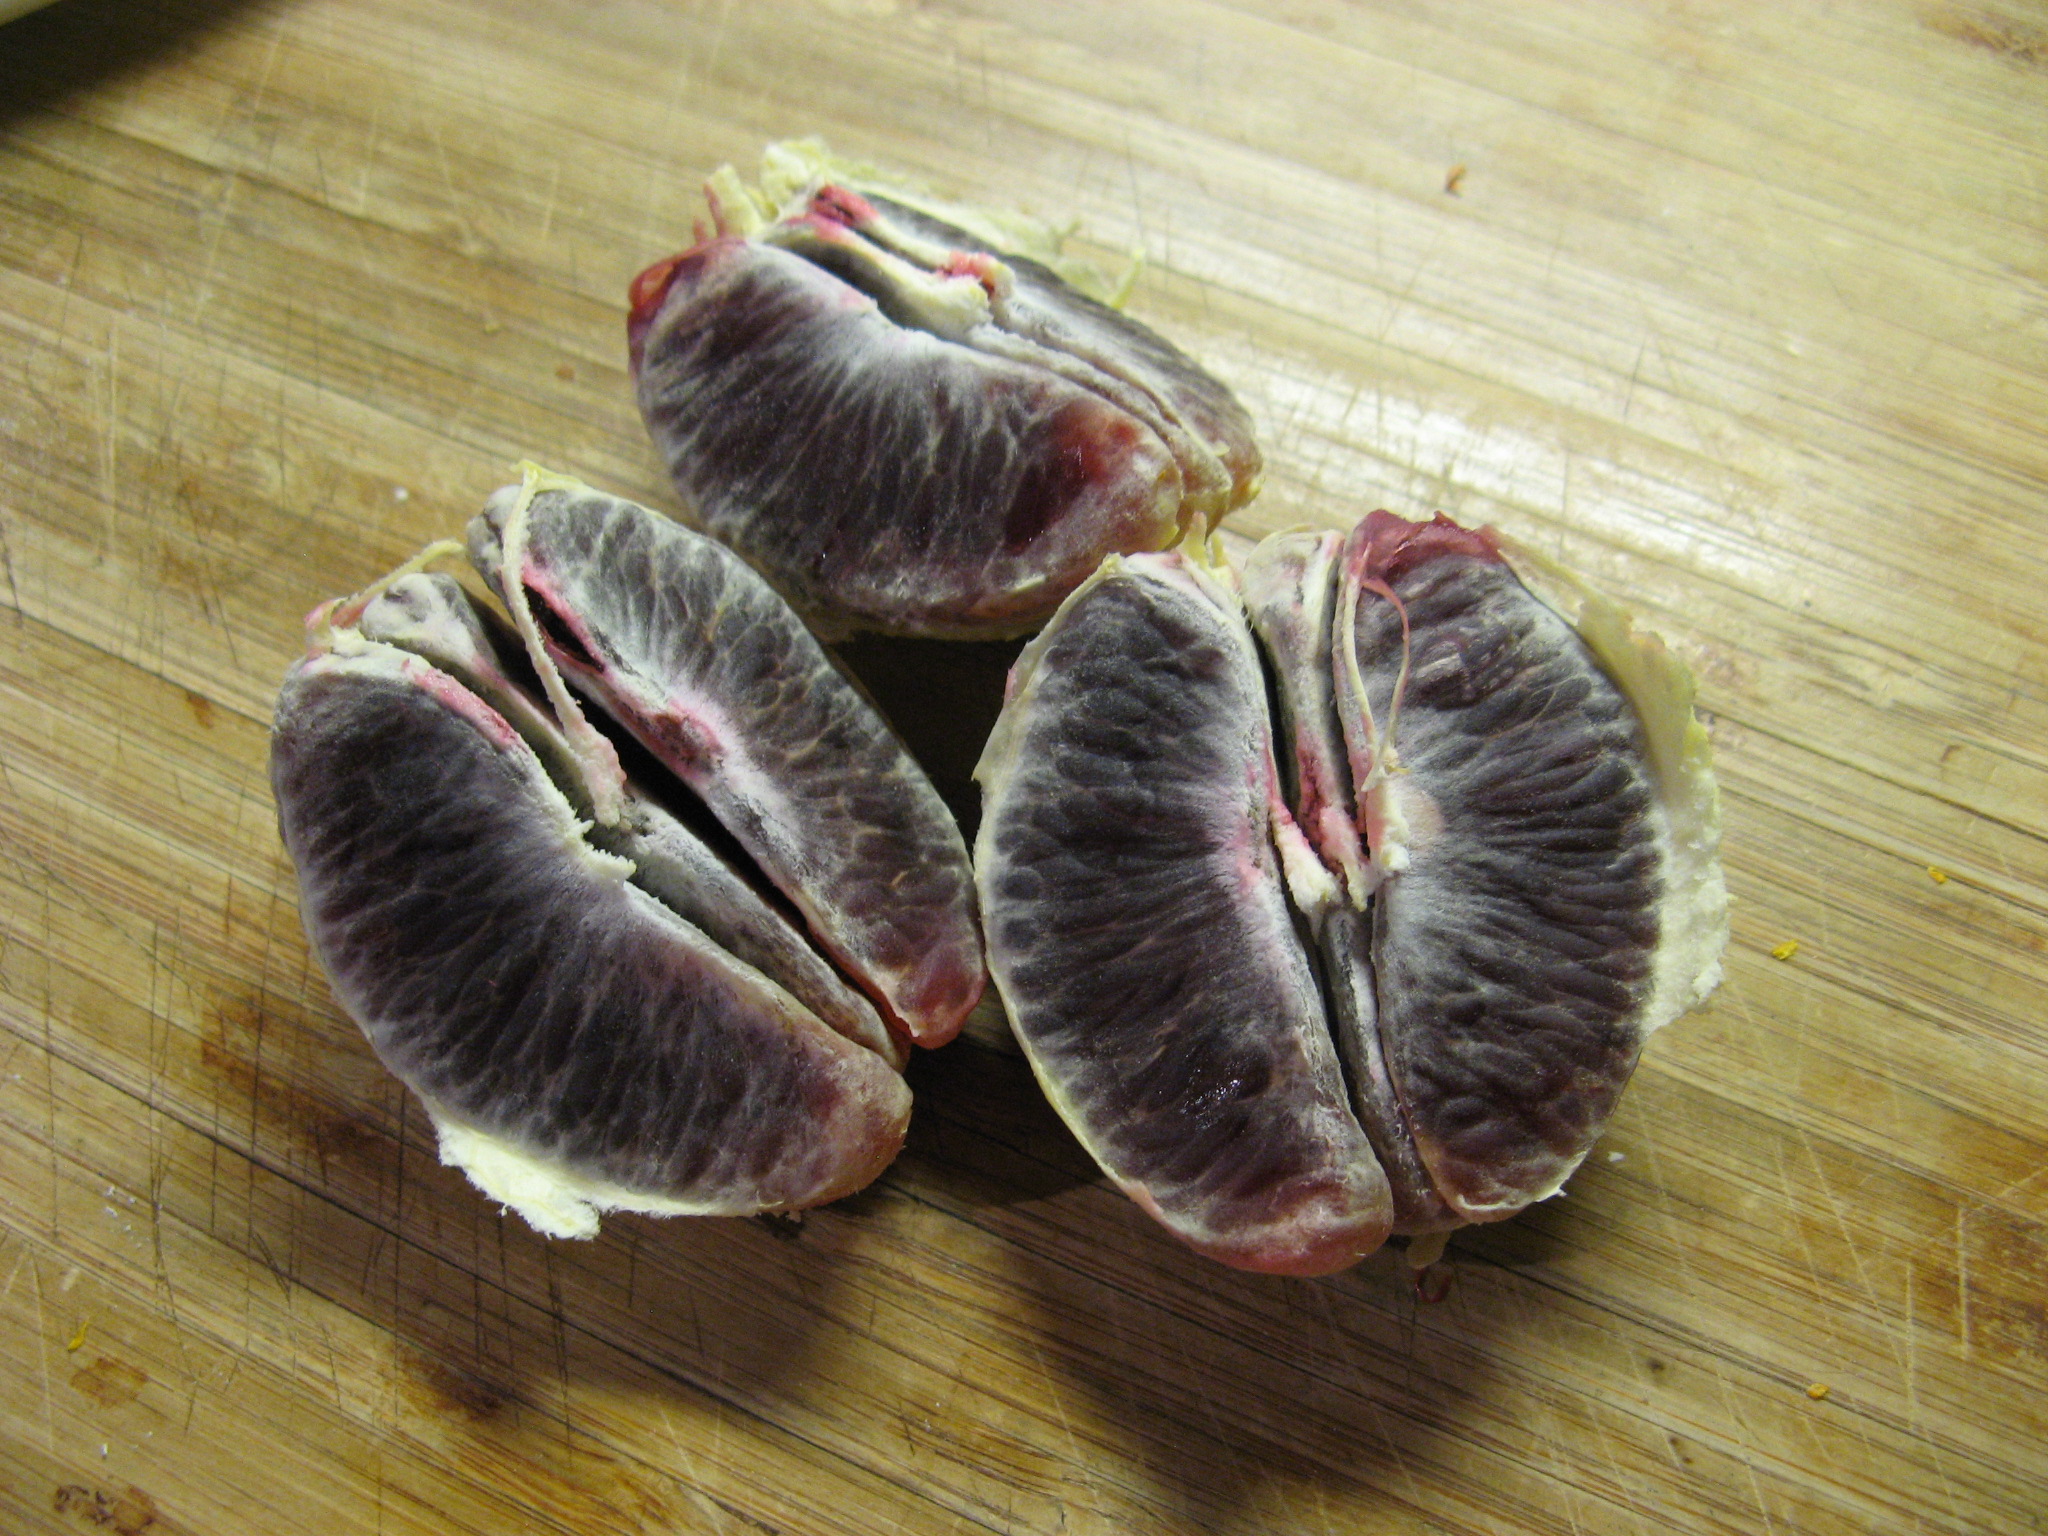
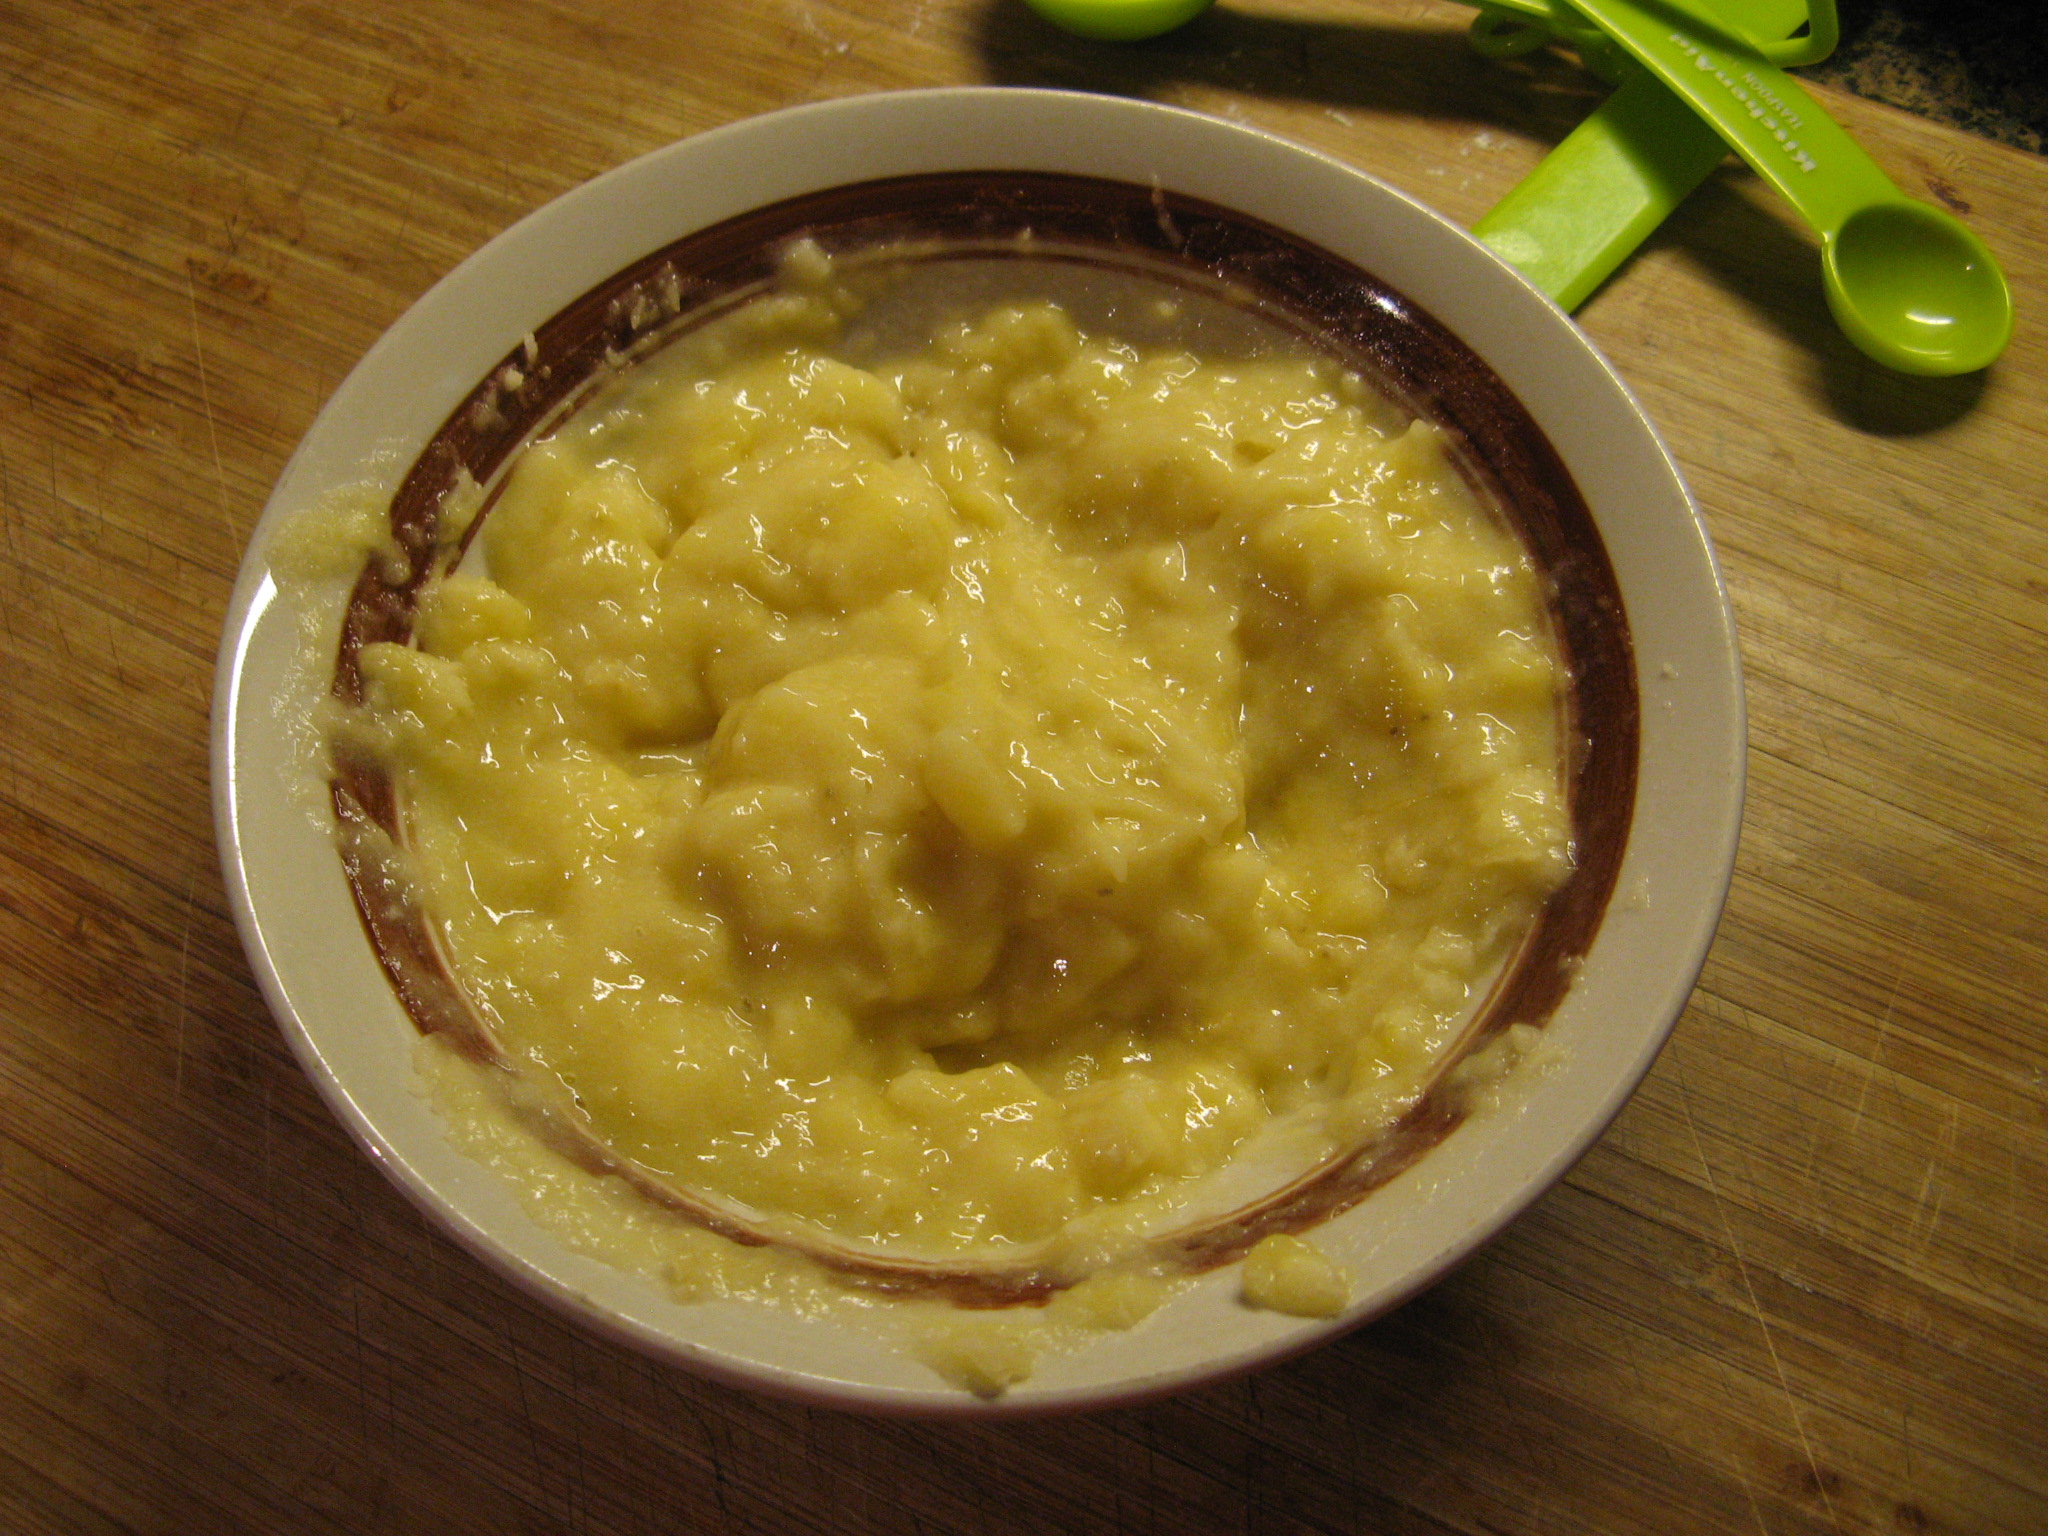
After zesting and peeling the oranges….

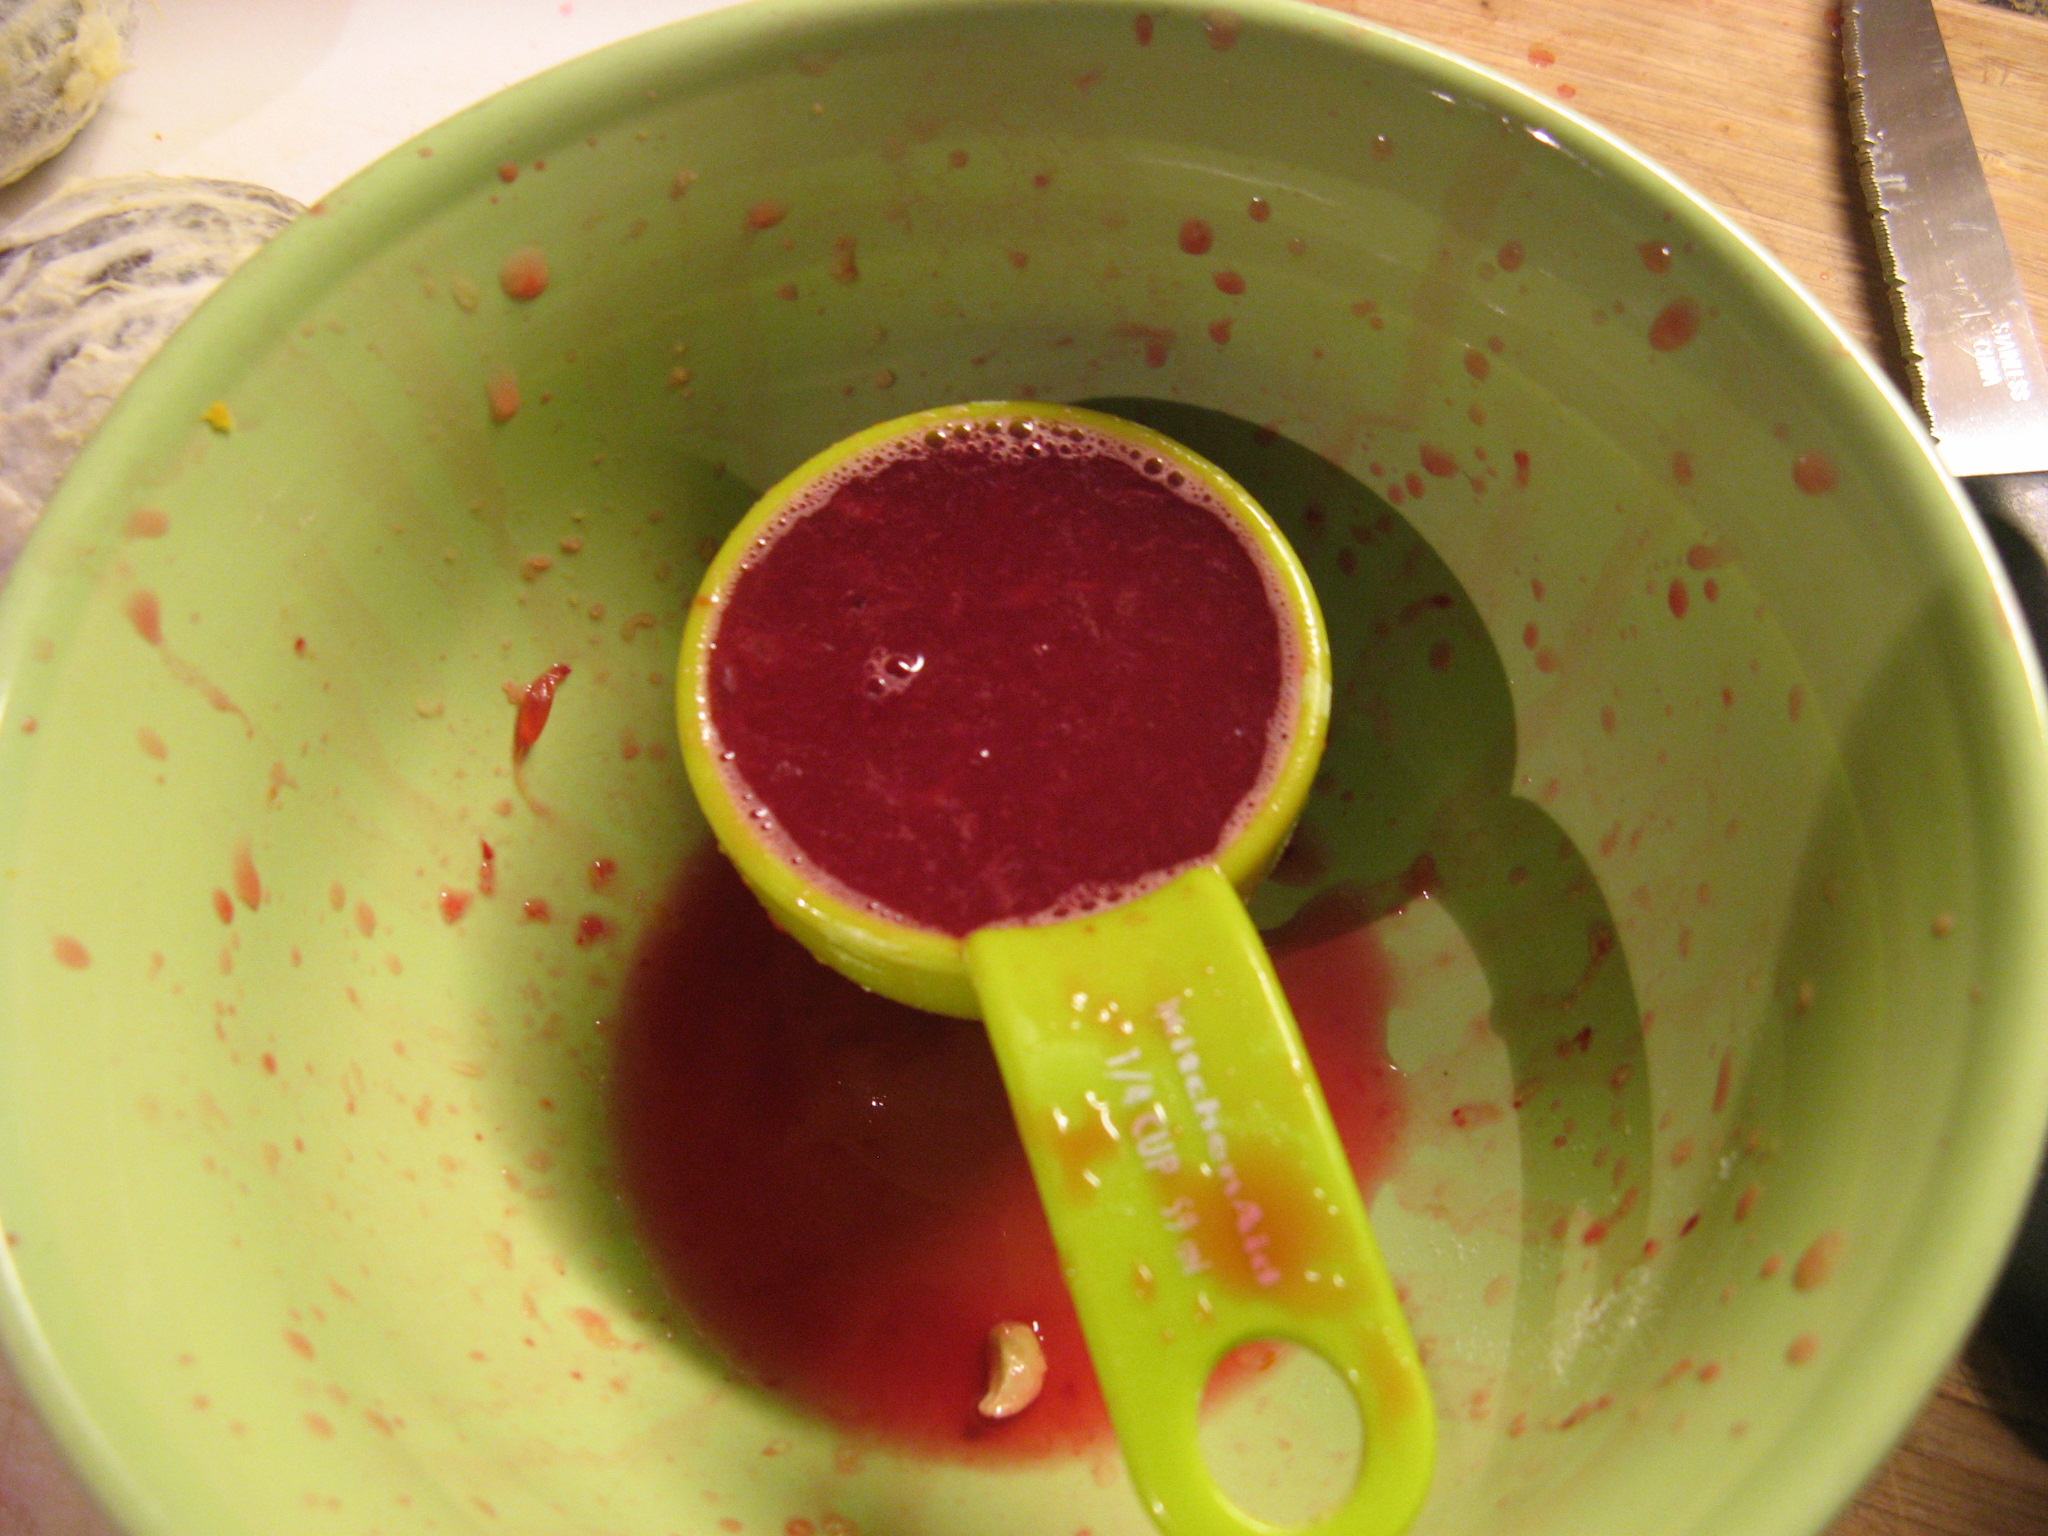
I squeezed a few segments to get 1/4 cup of juice. While it probably would have been easier just to squeeze the juice into a measuring cup this oddball method was what my hands reached for first.
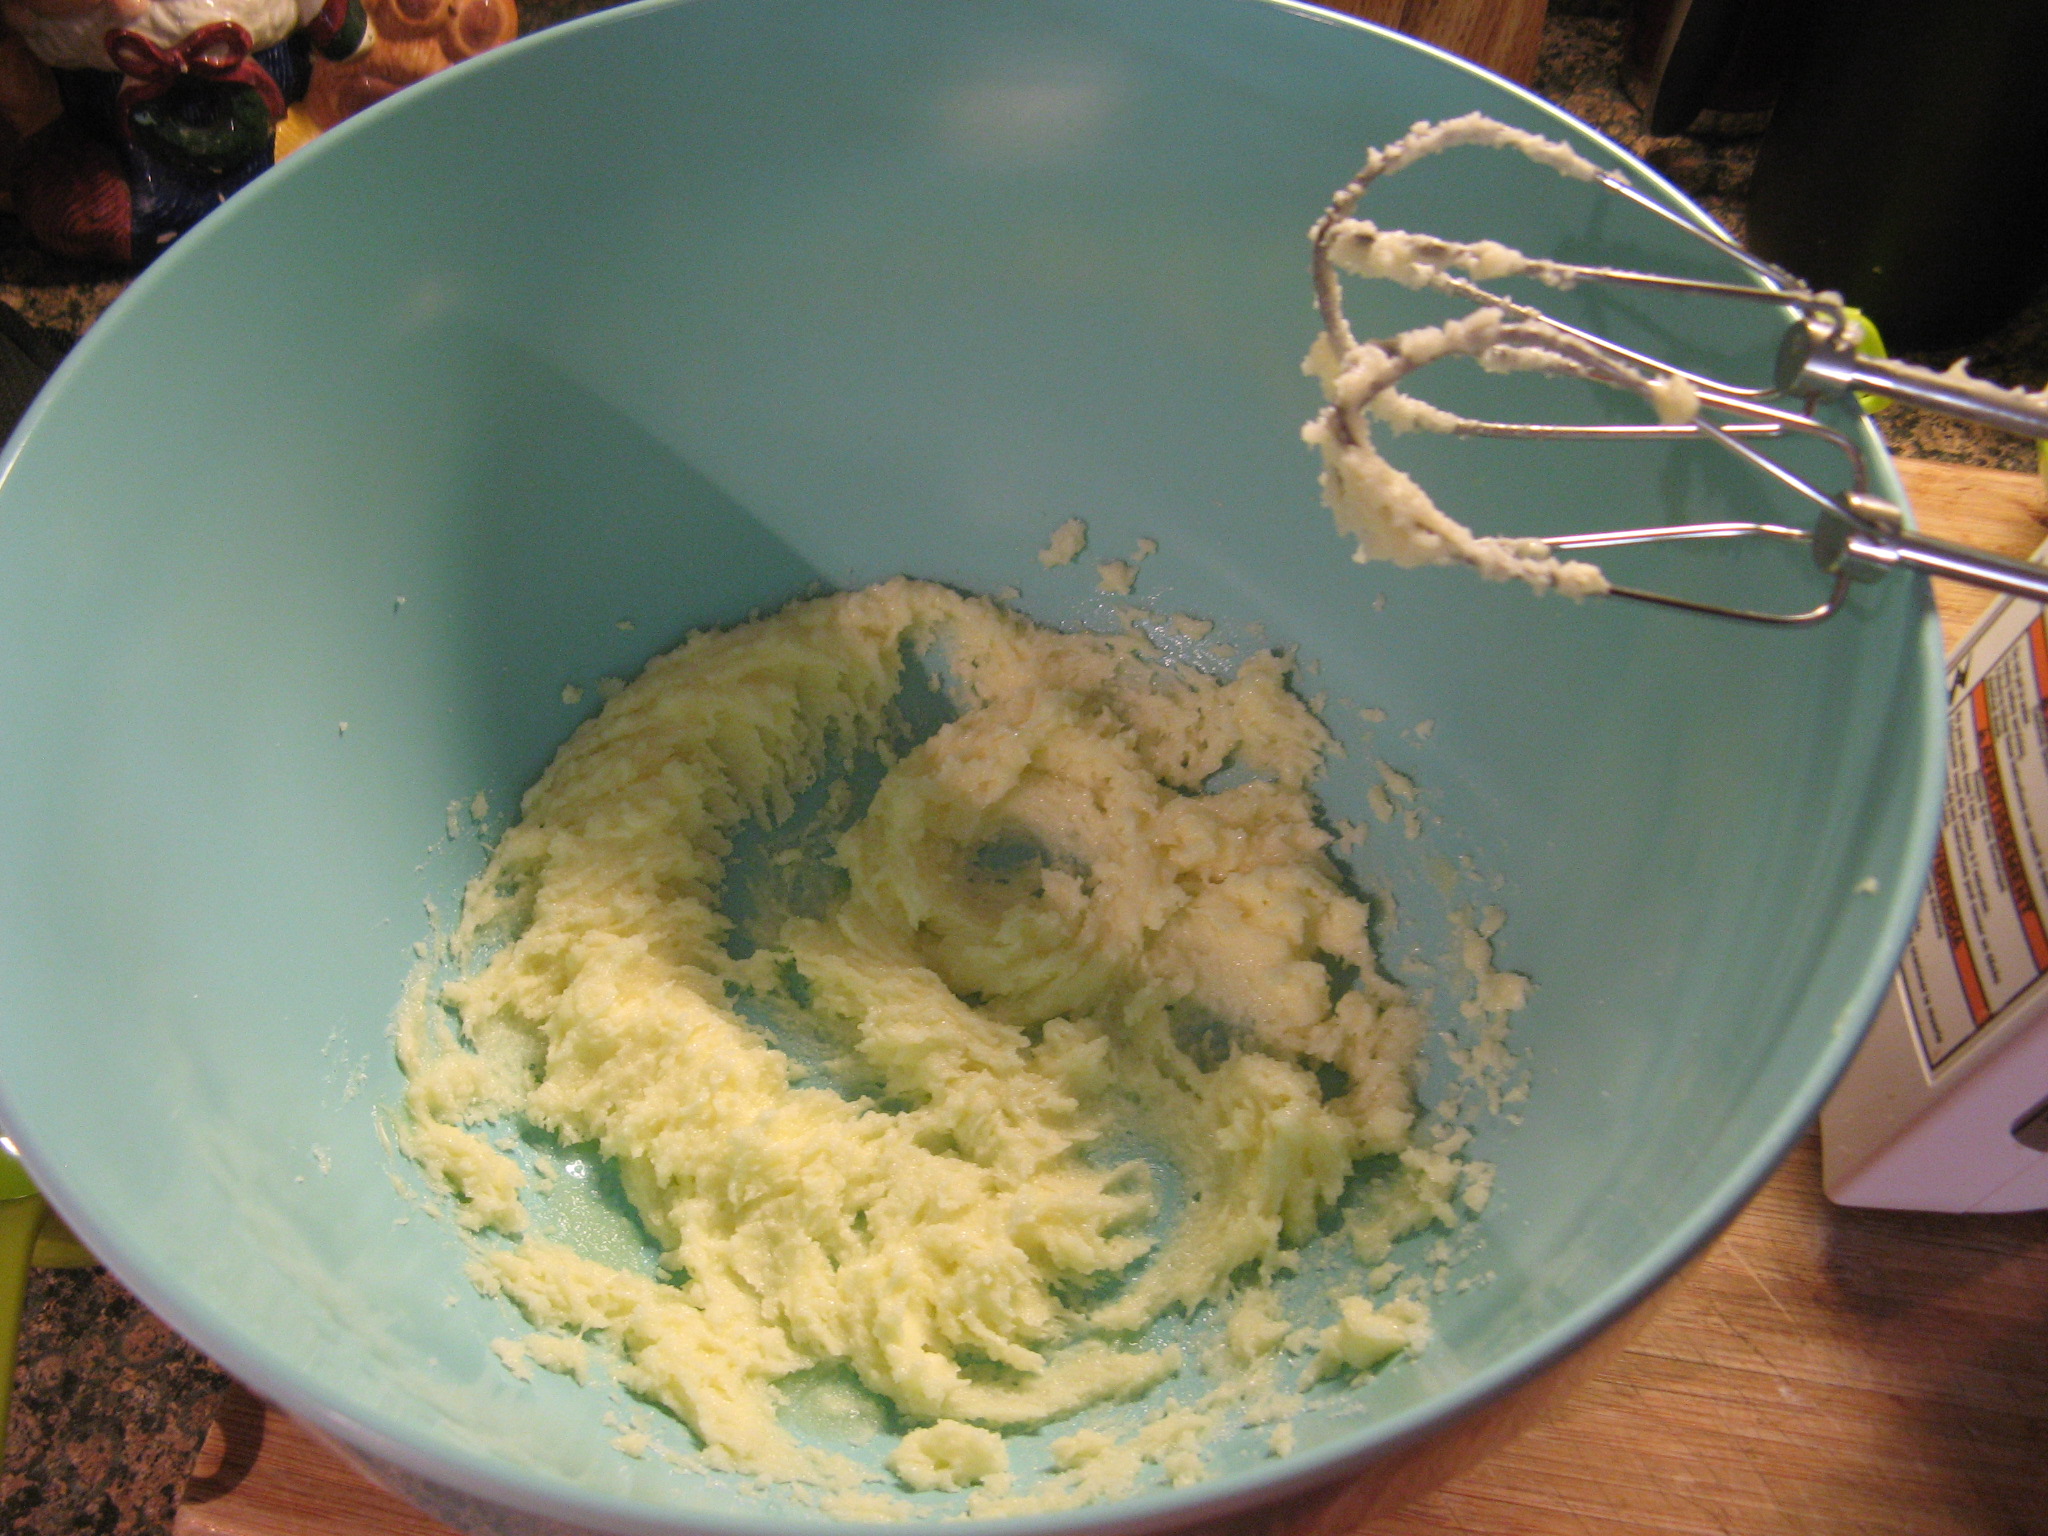
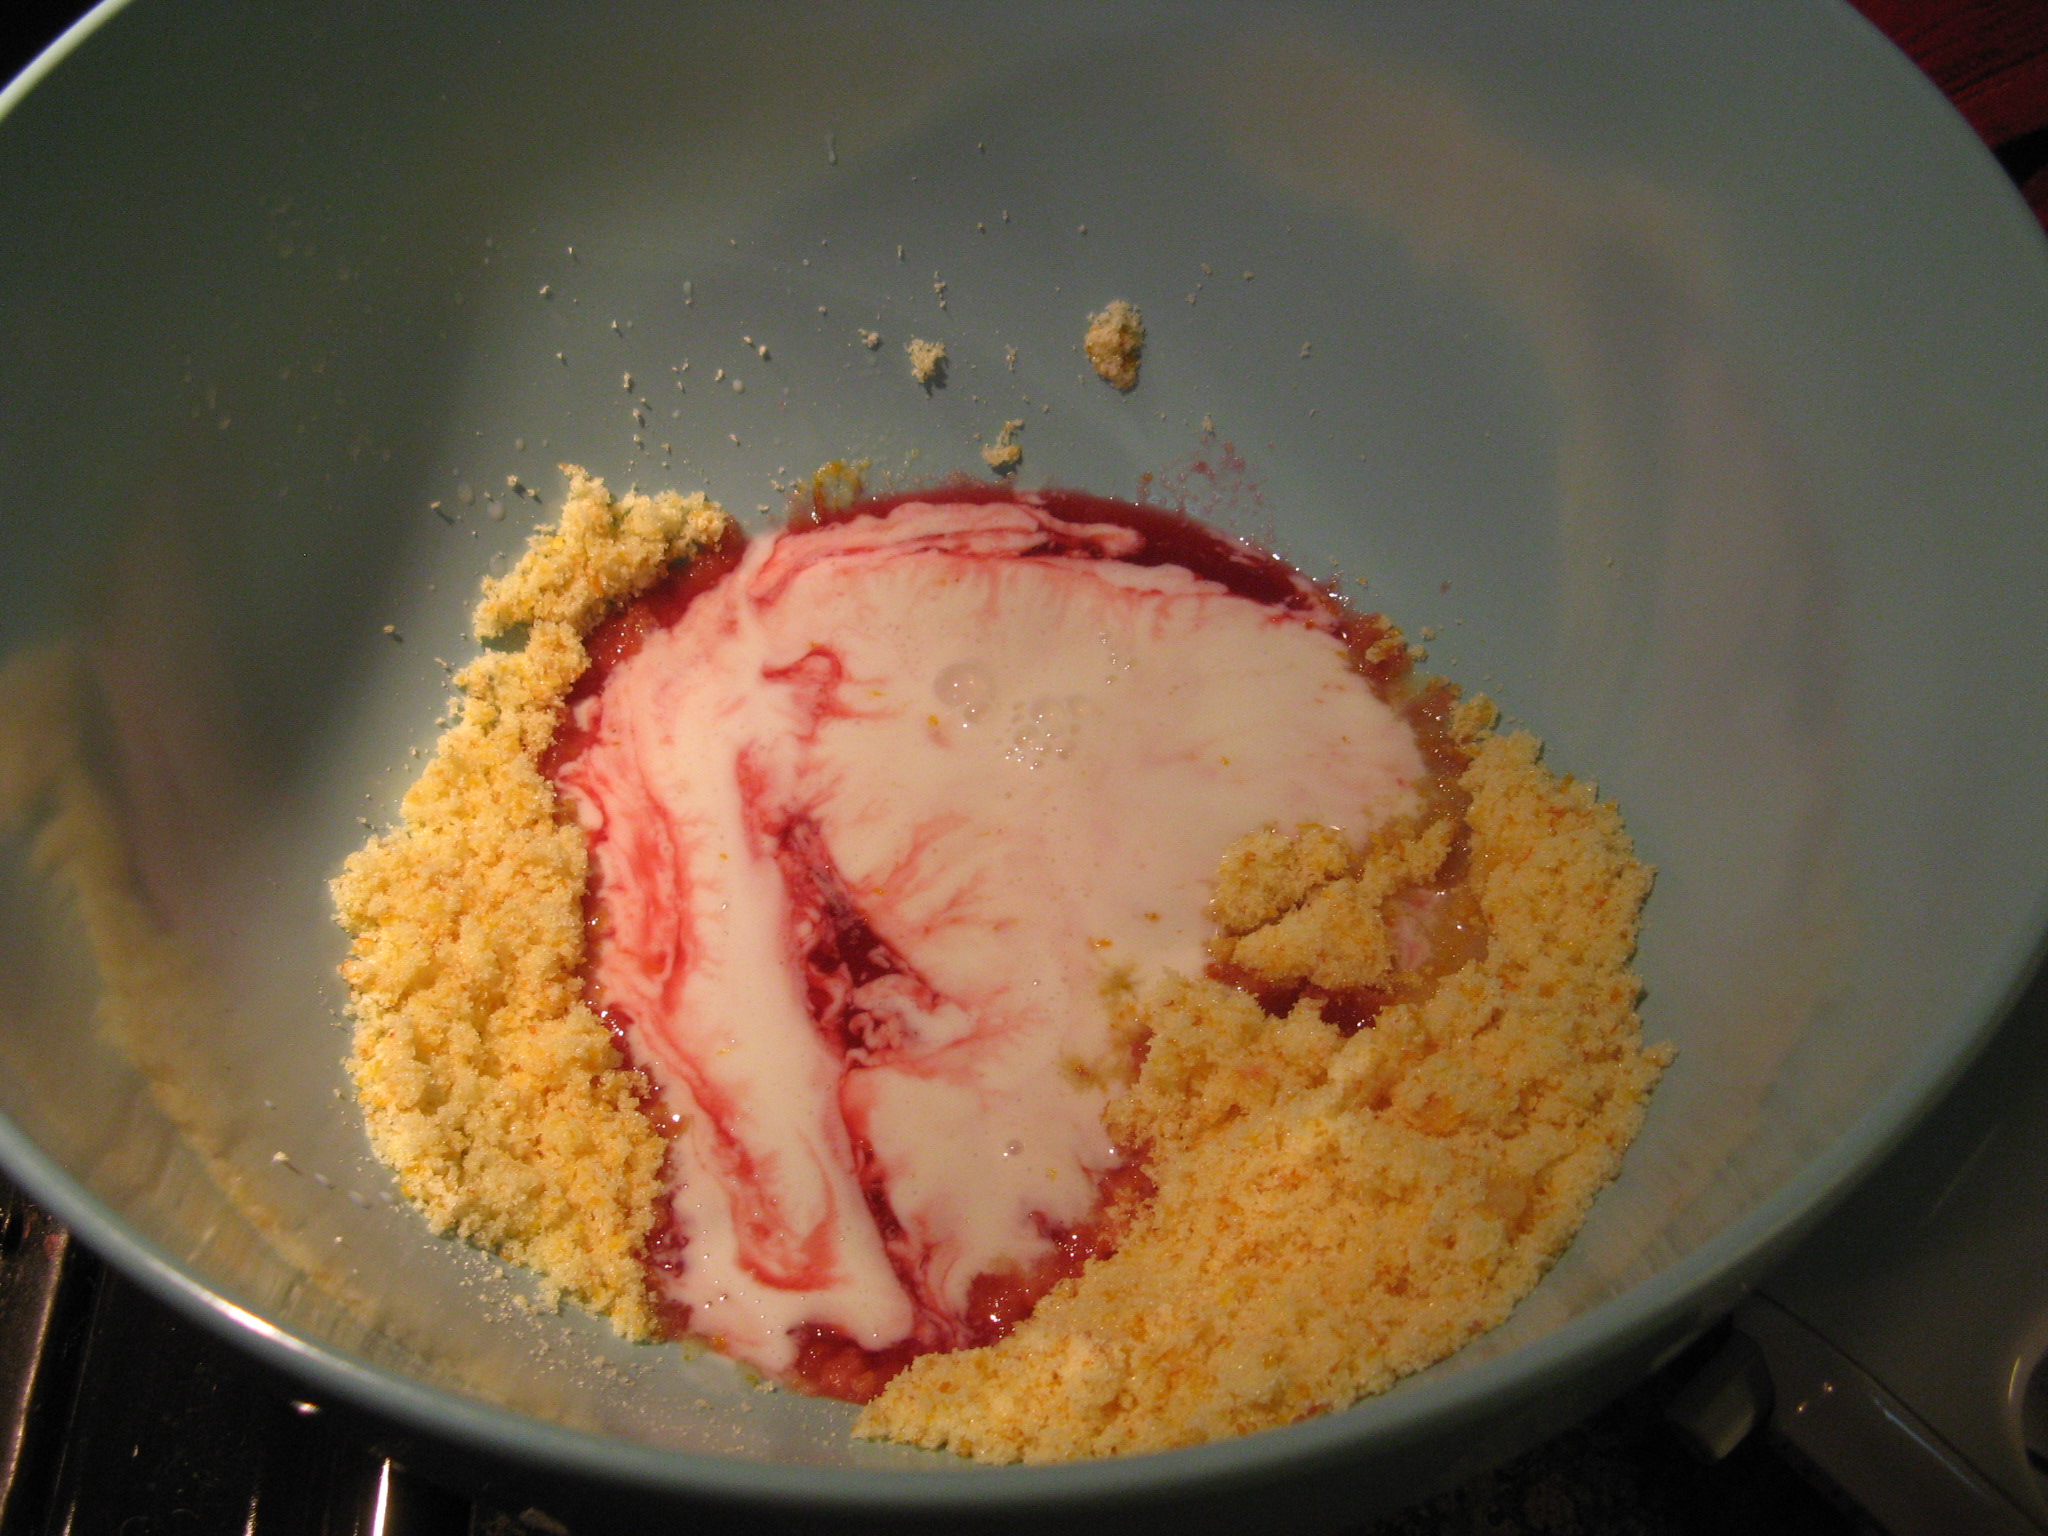
After mixing the orange zest and sugar together with my fingers (per the instructions) I then added in the juice and buttermilk and whisked it together with my hand mixer… not my fingers!
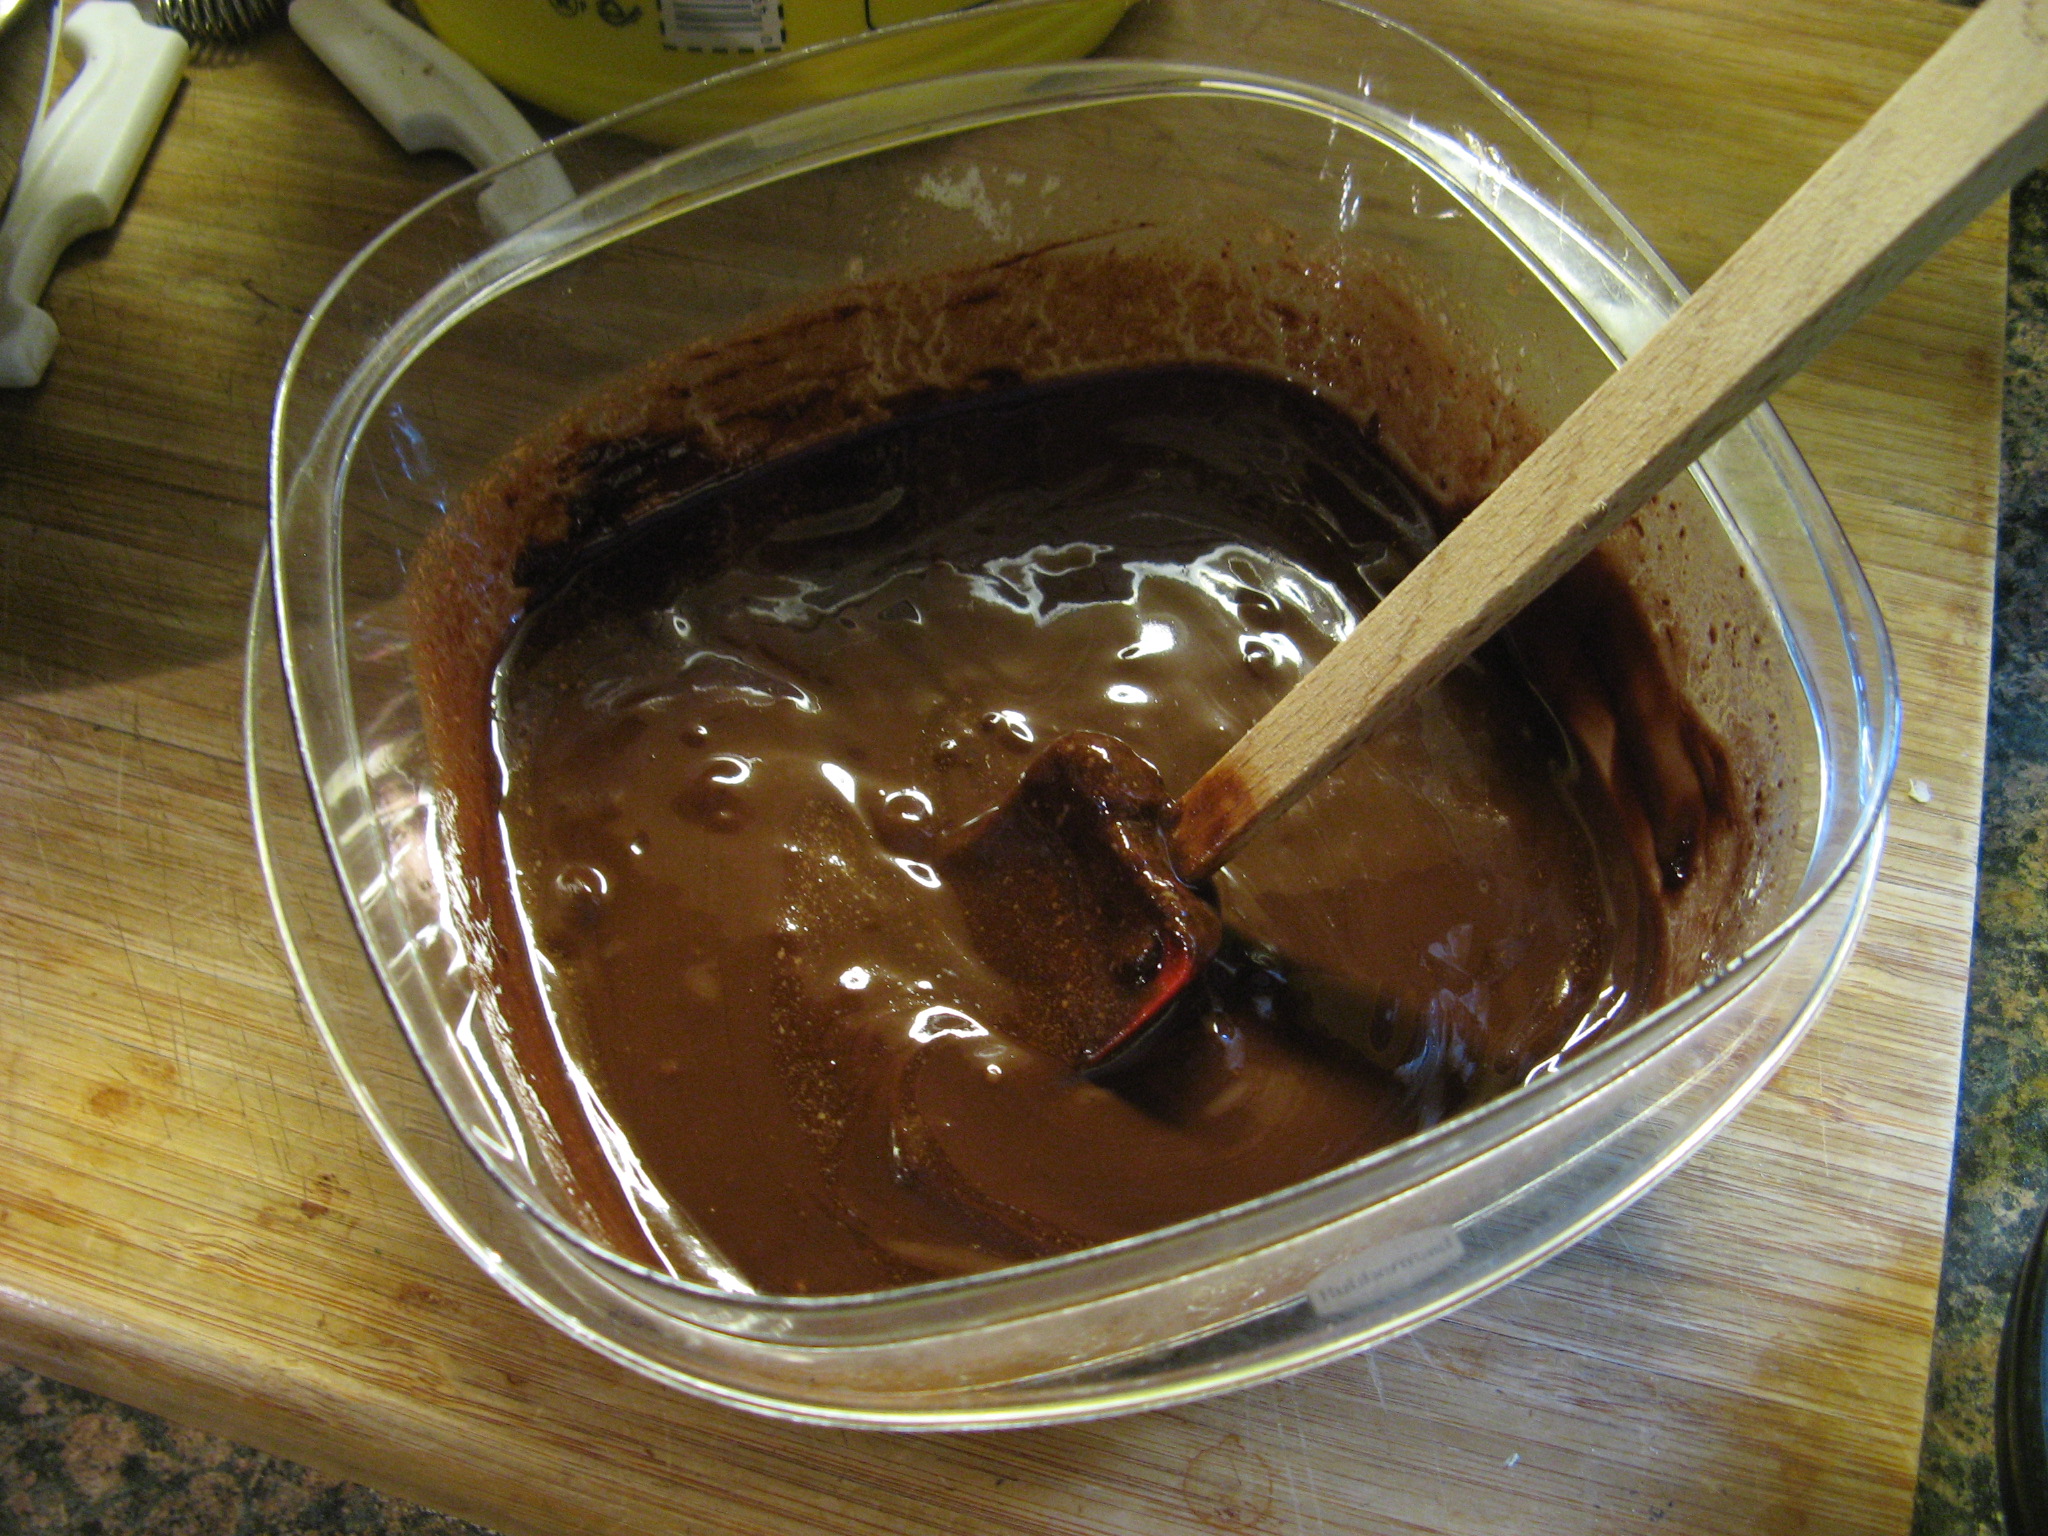
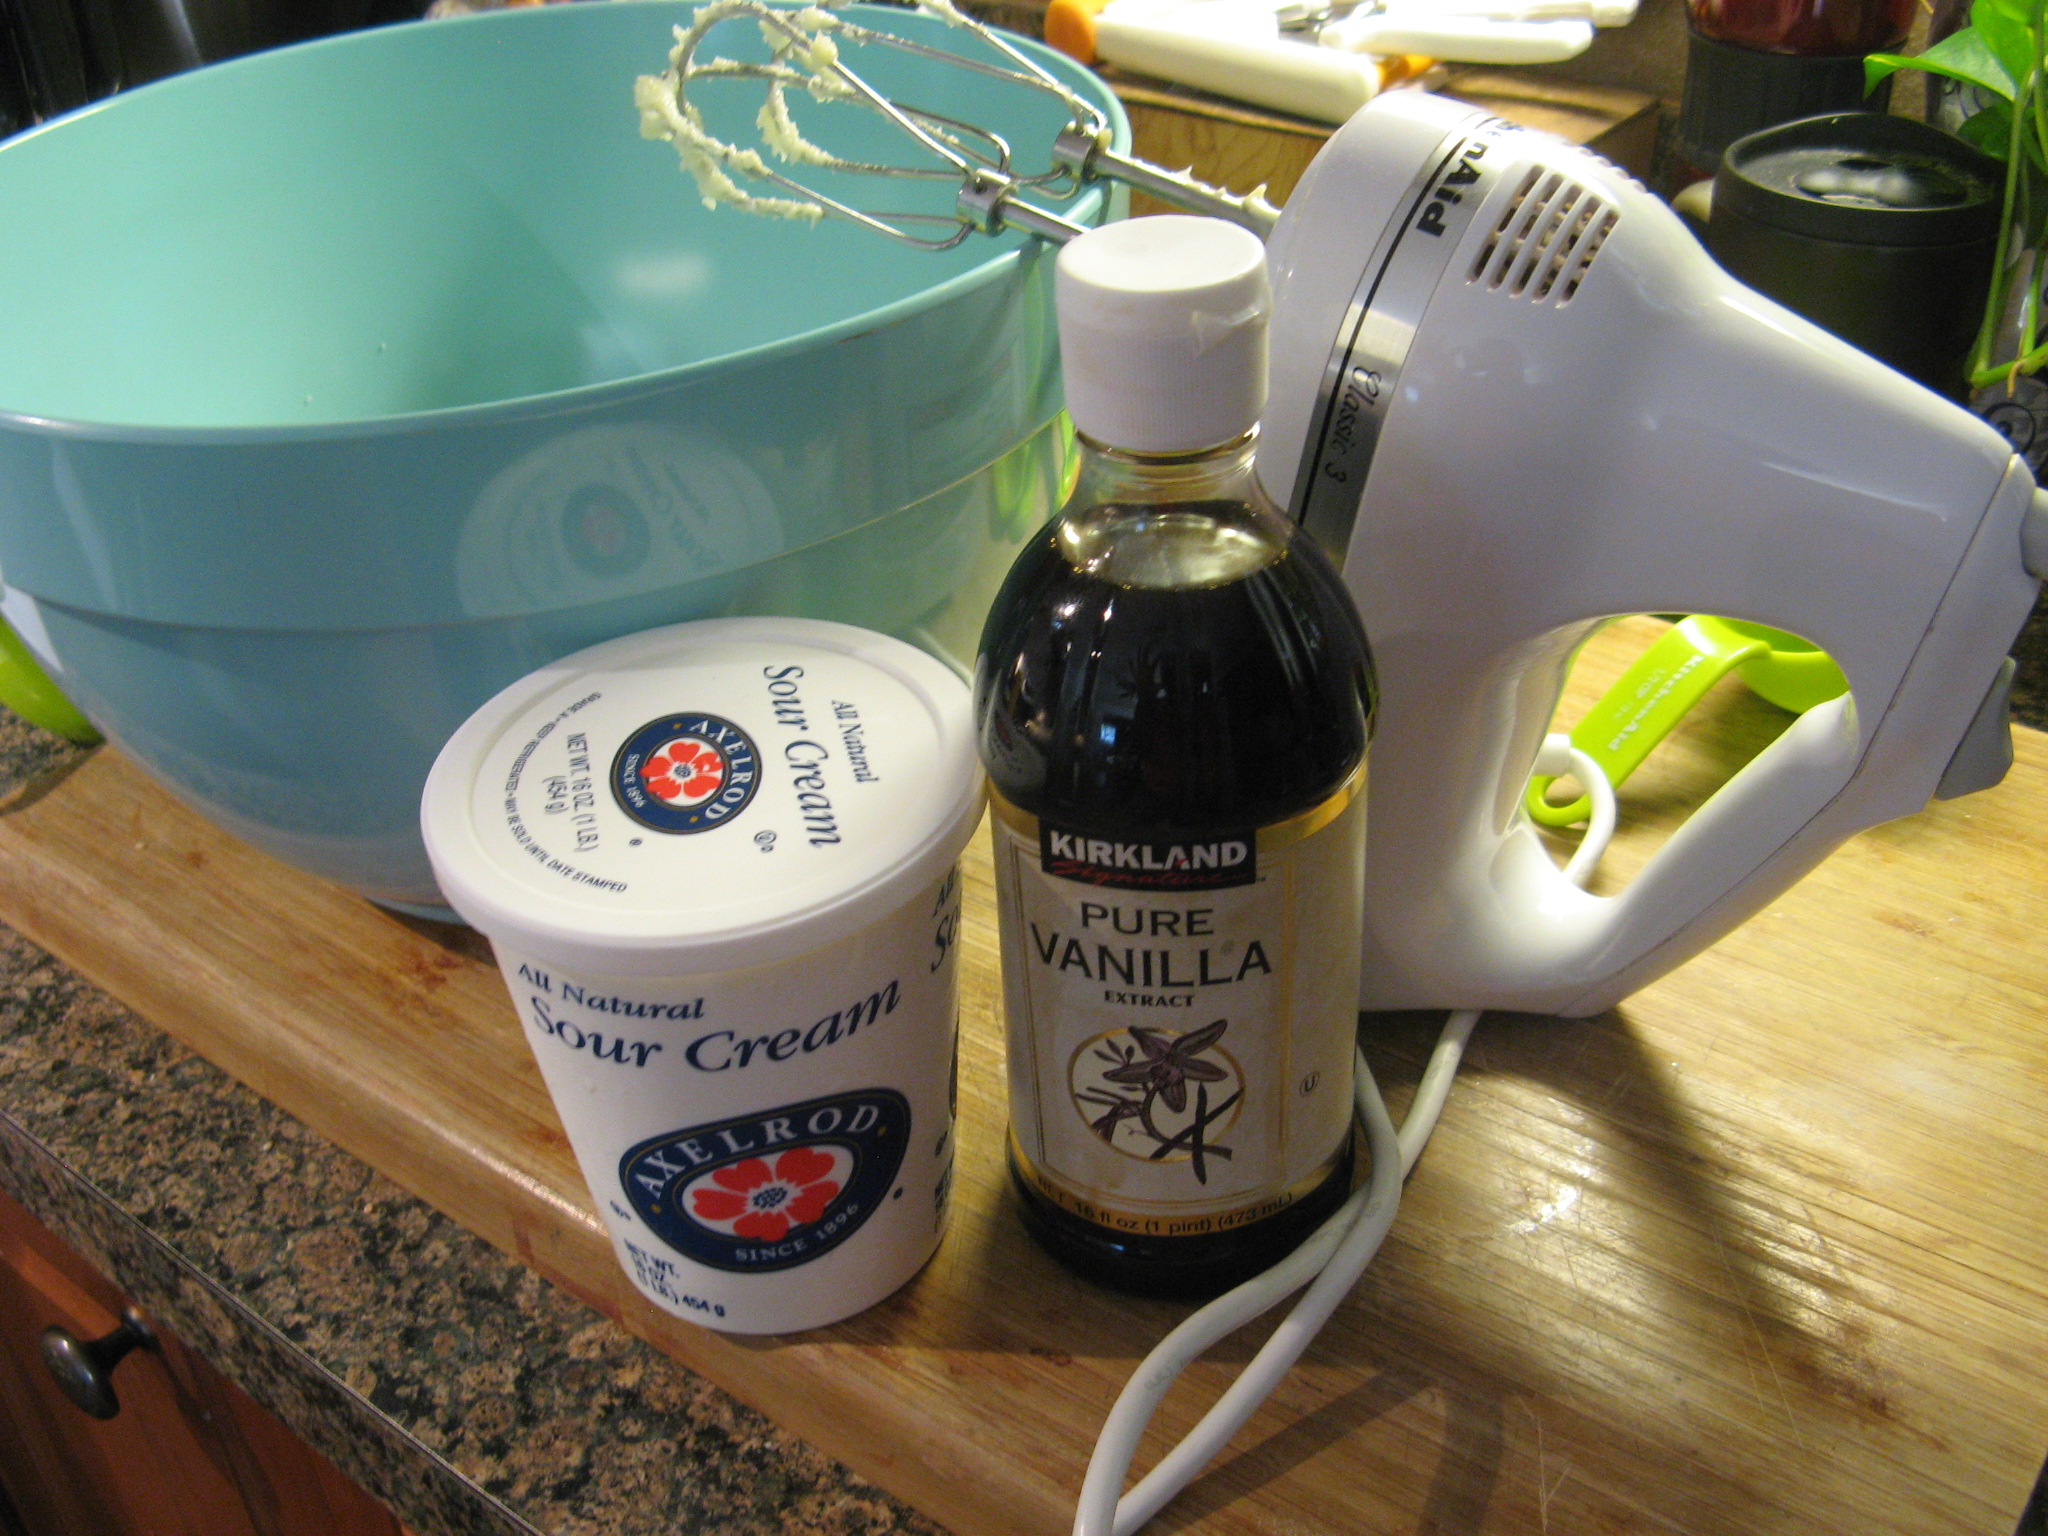
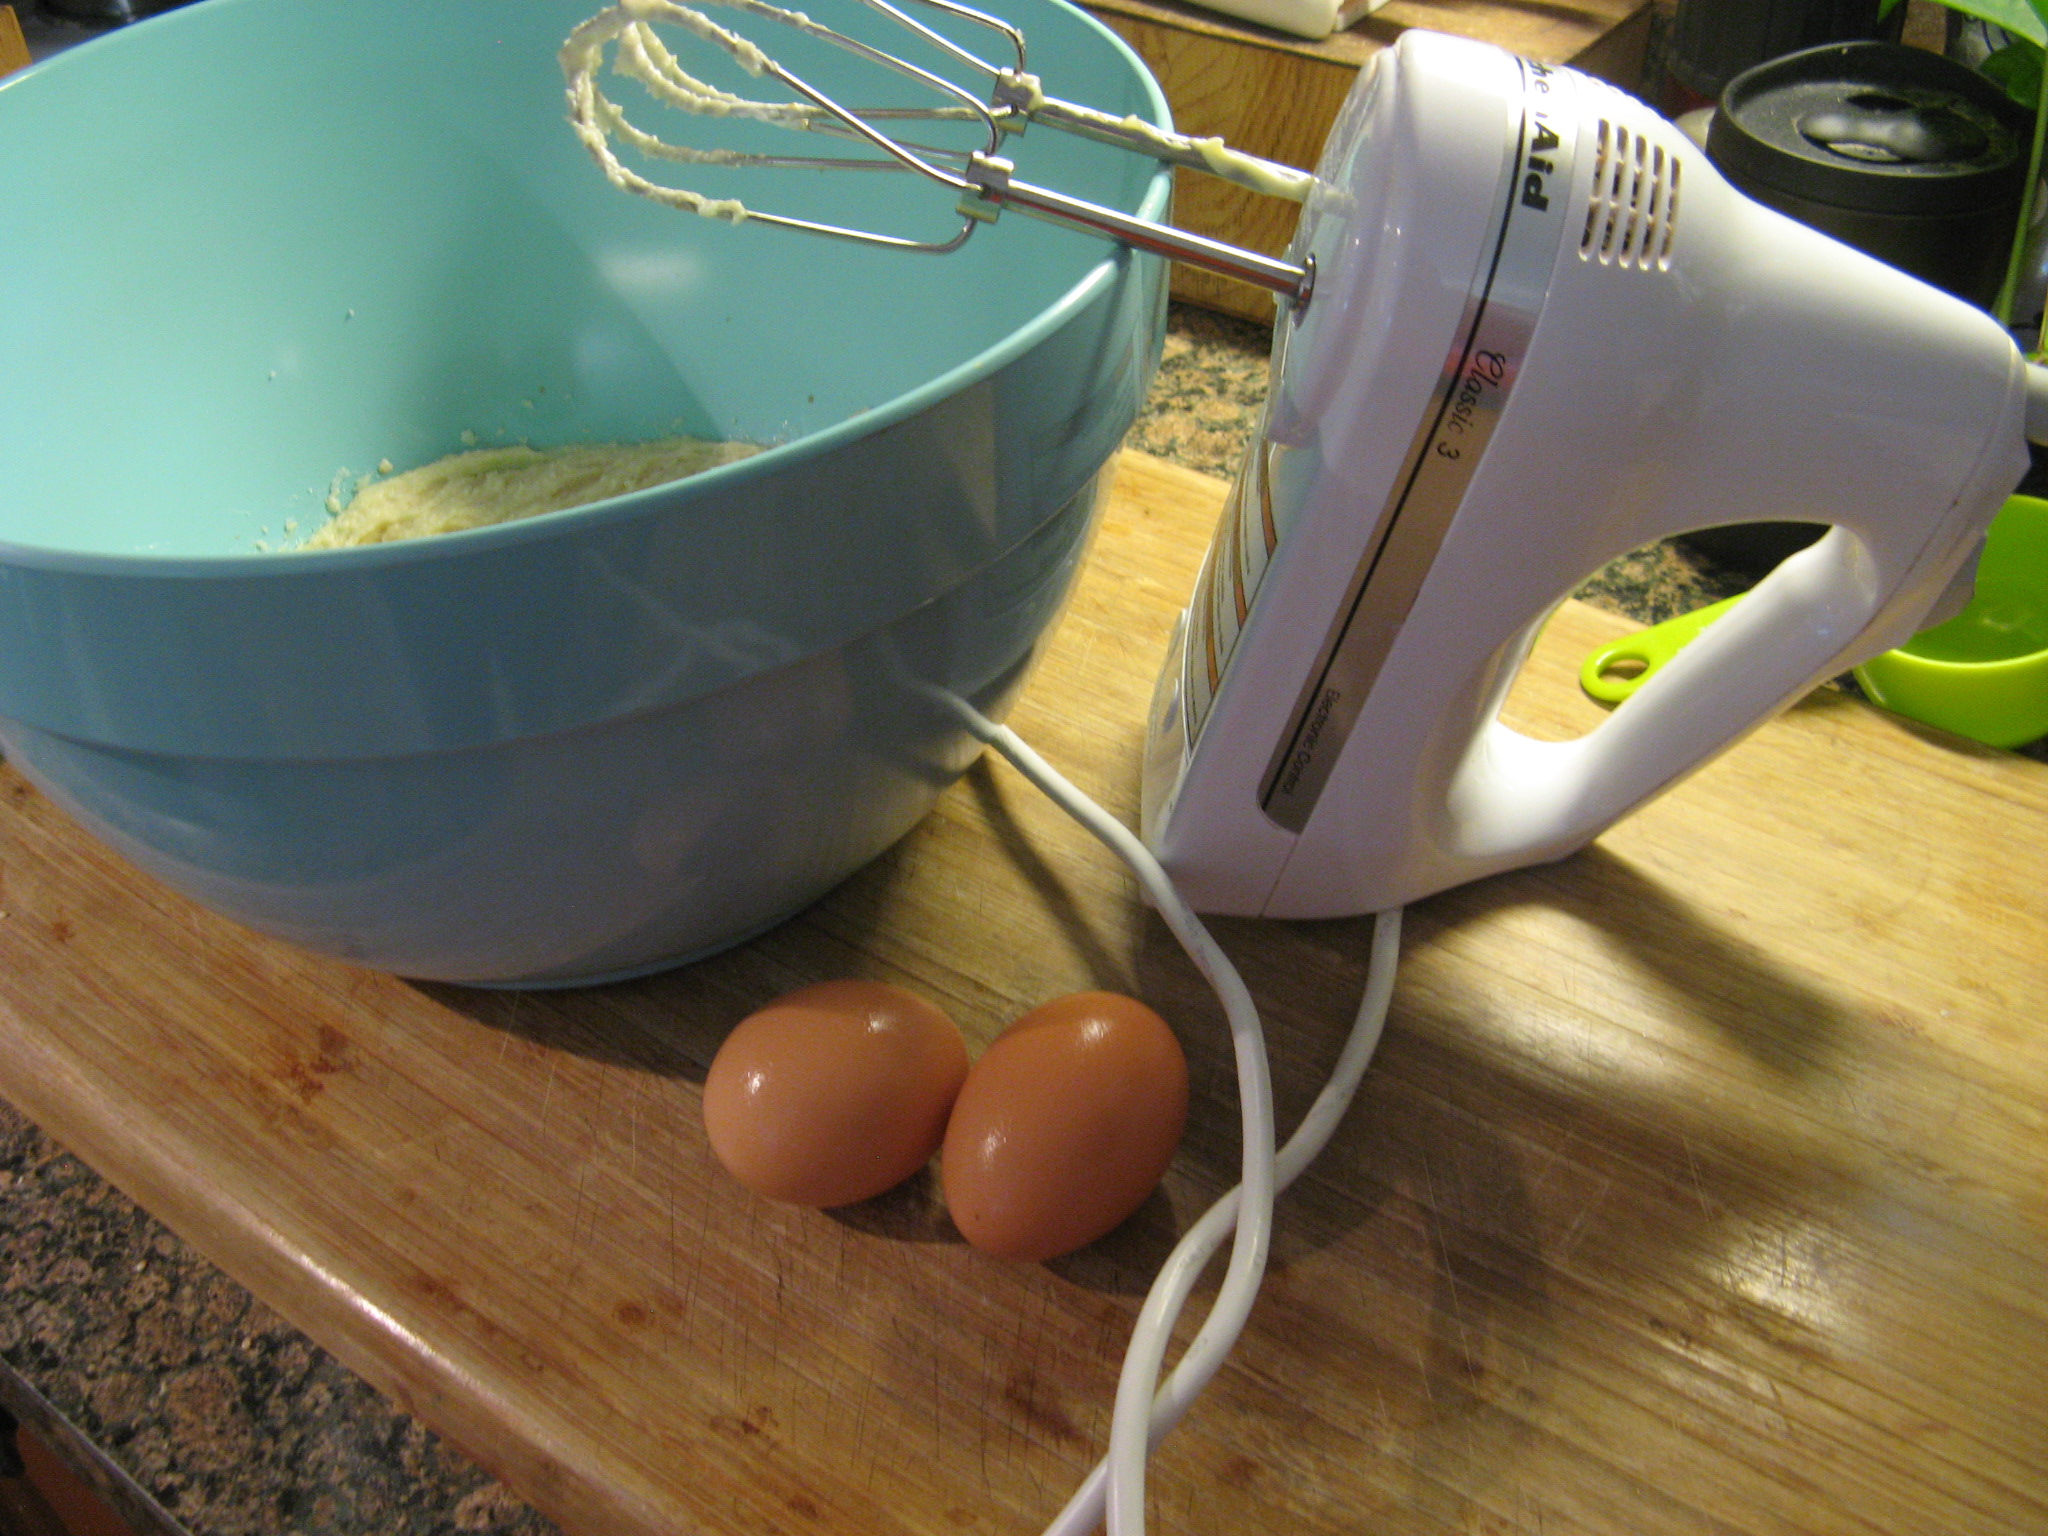
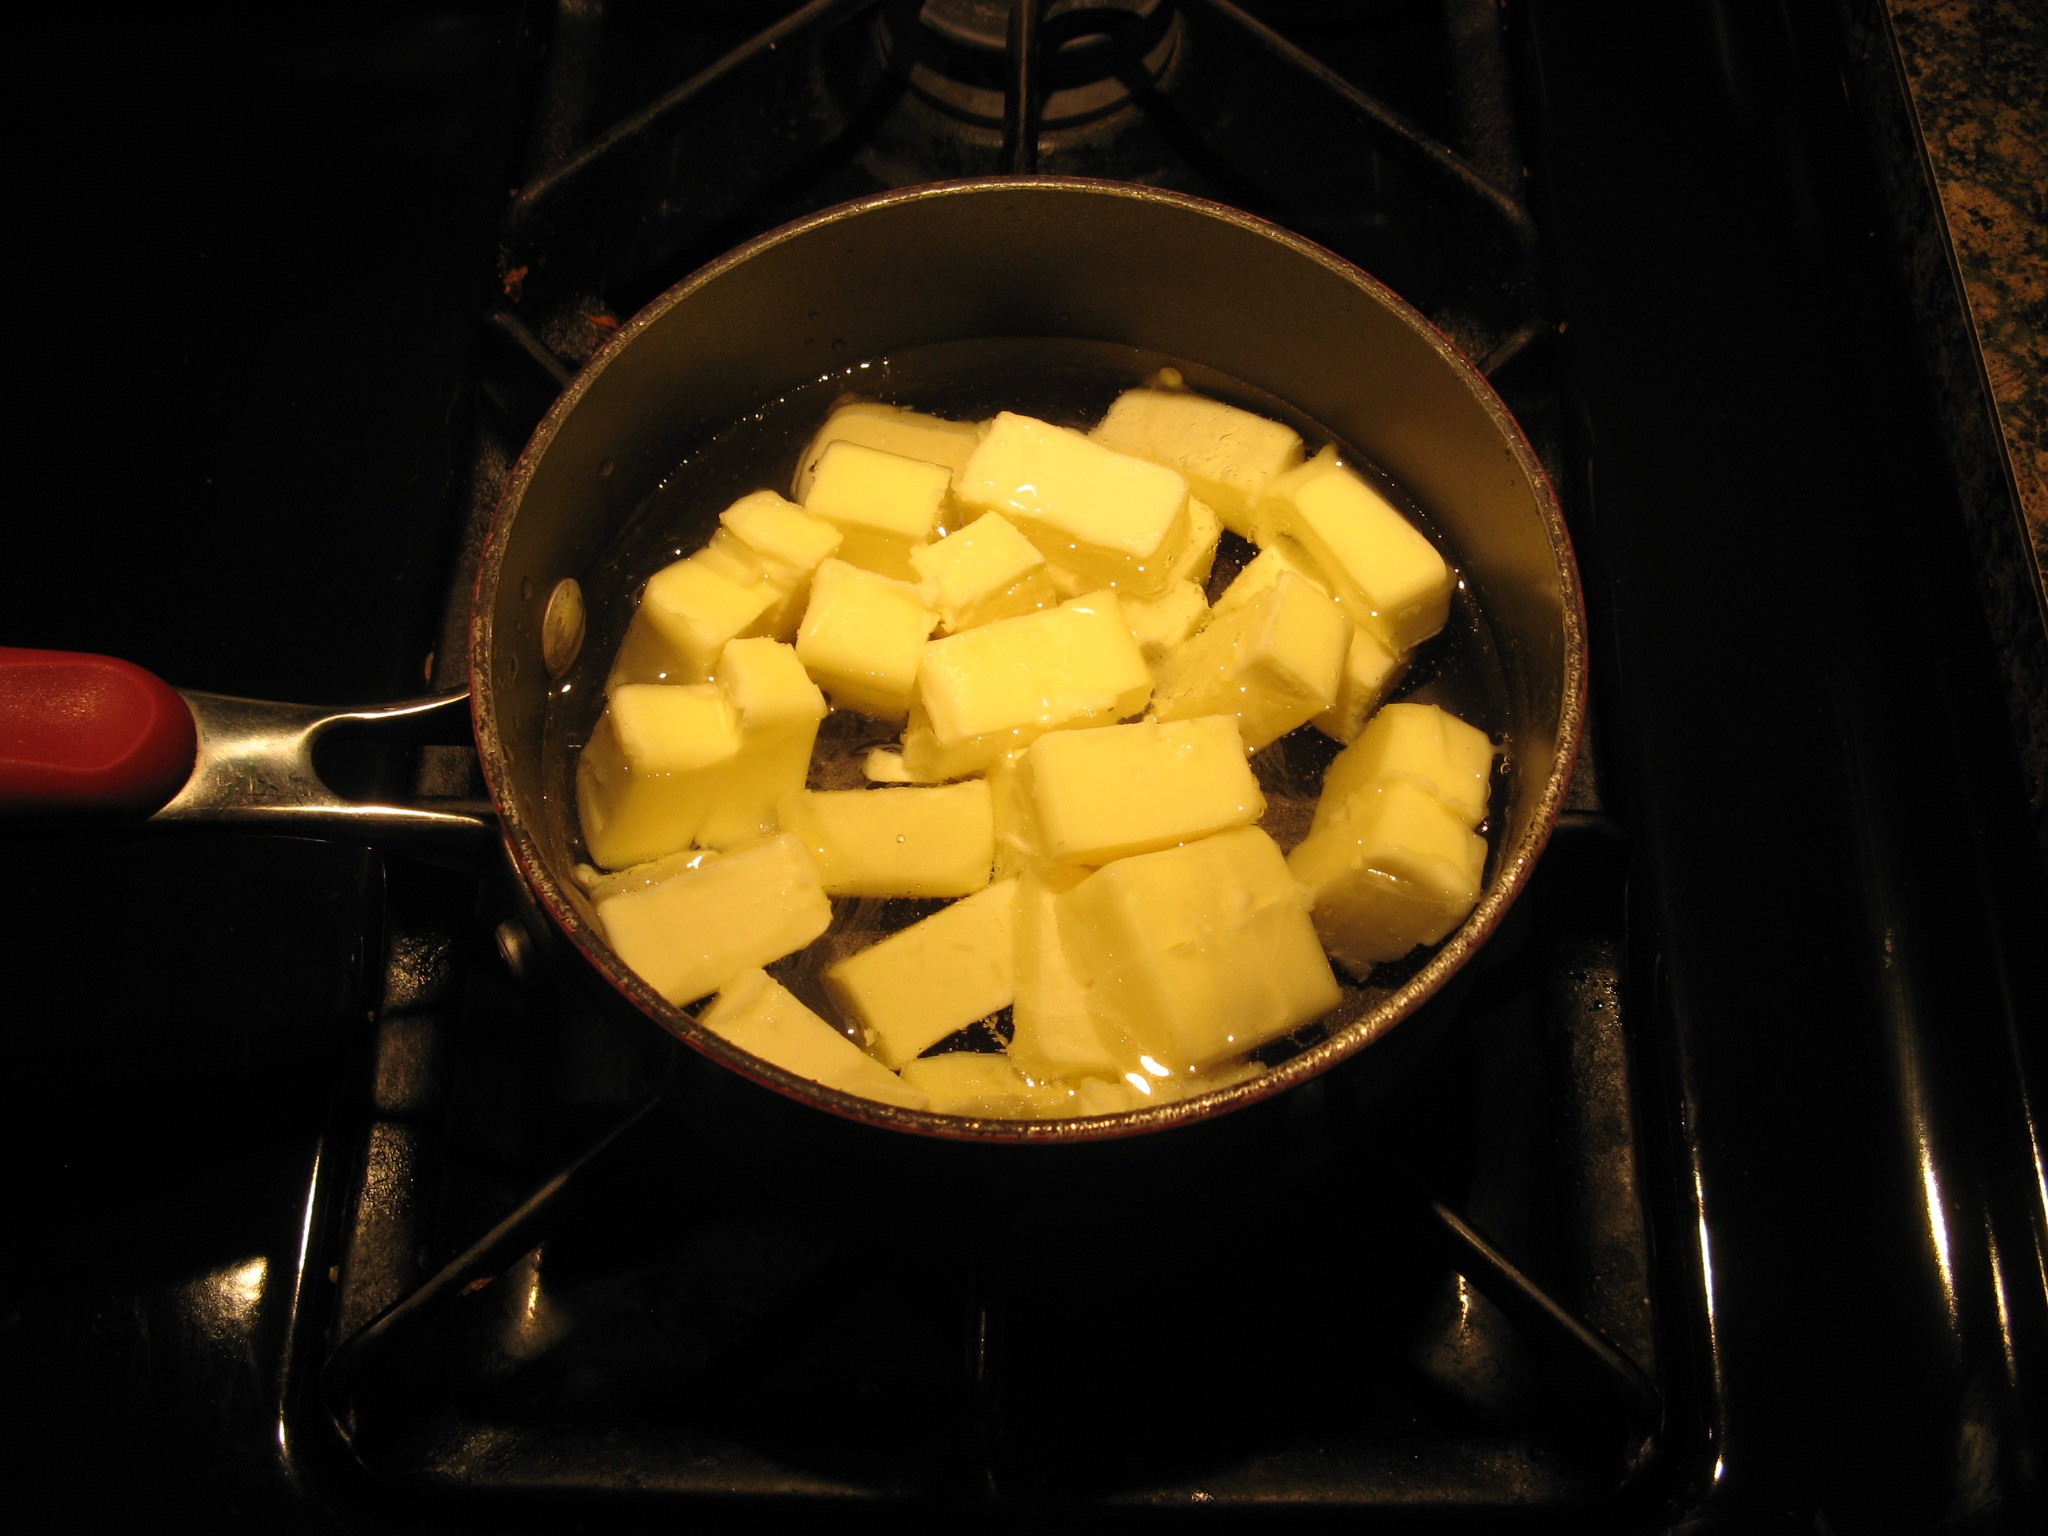
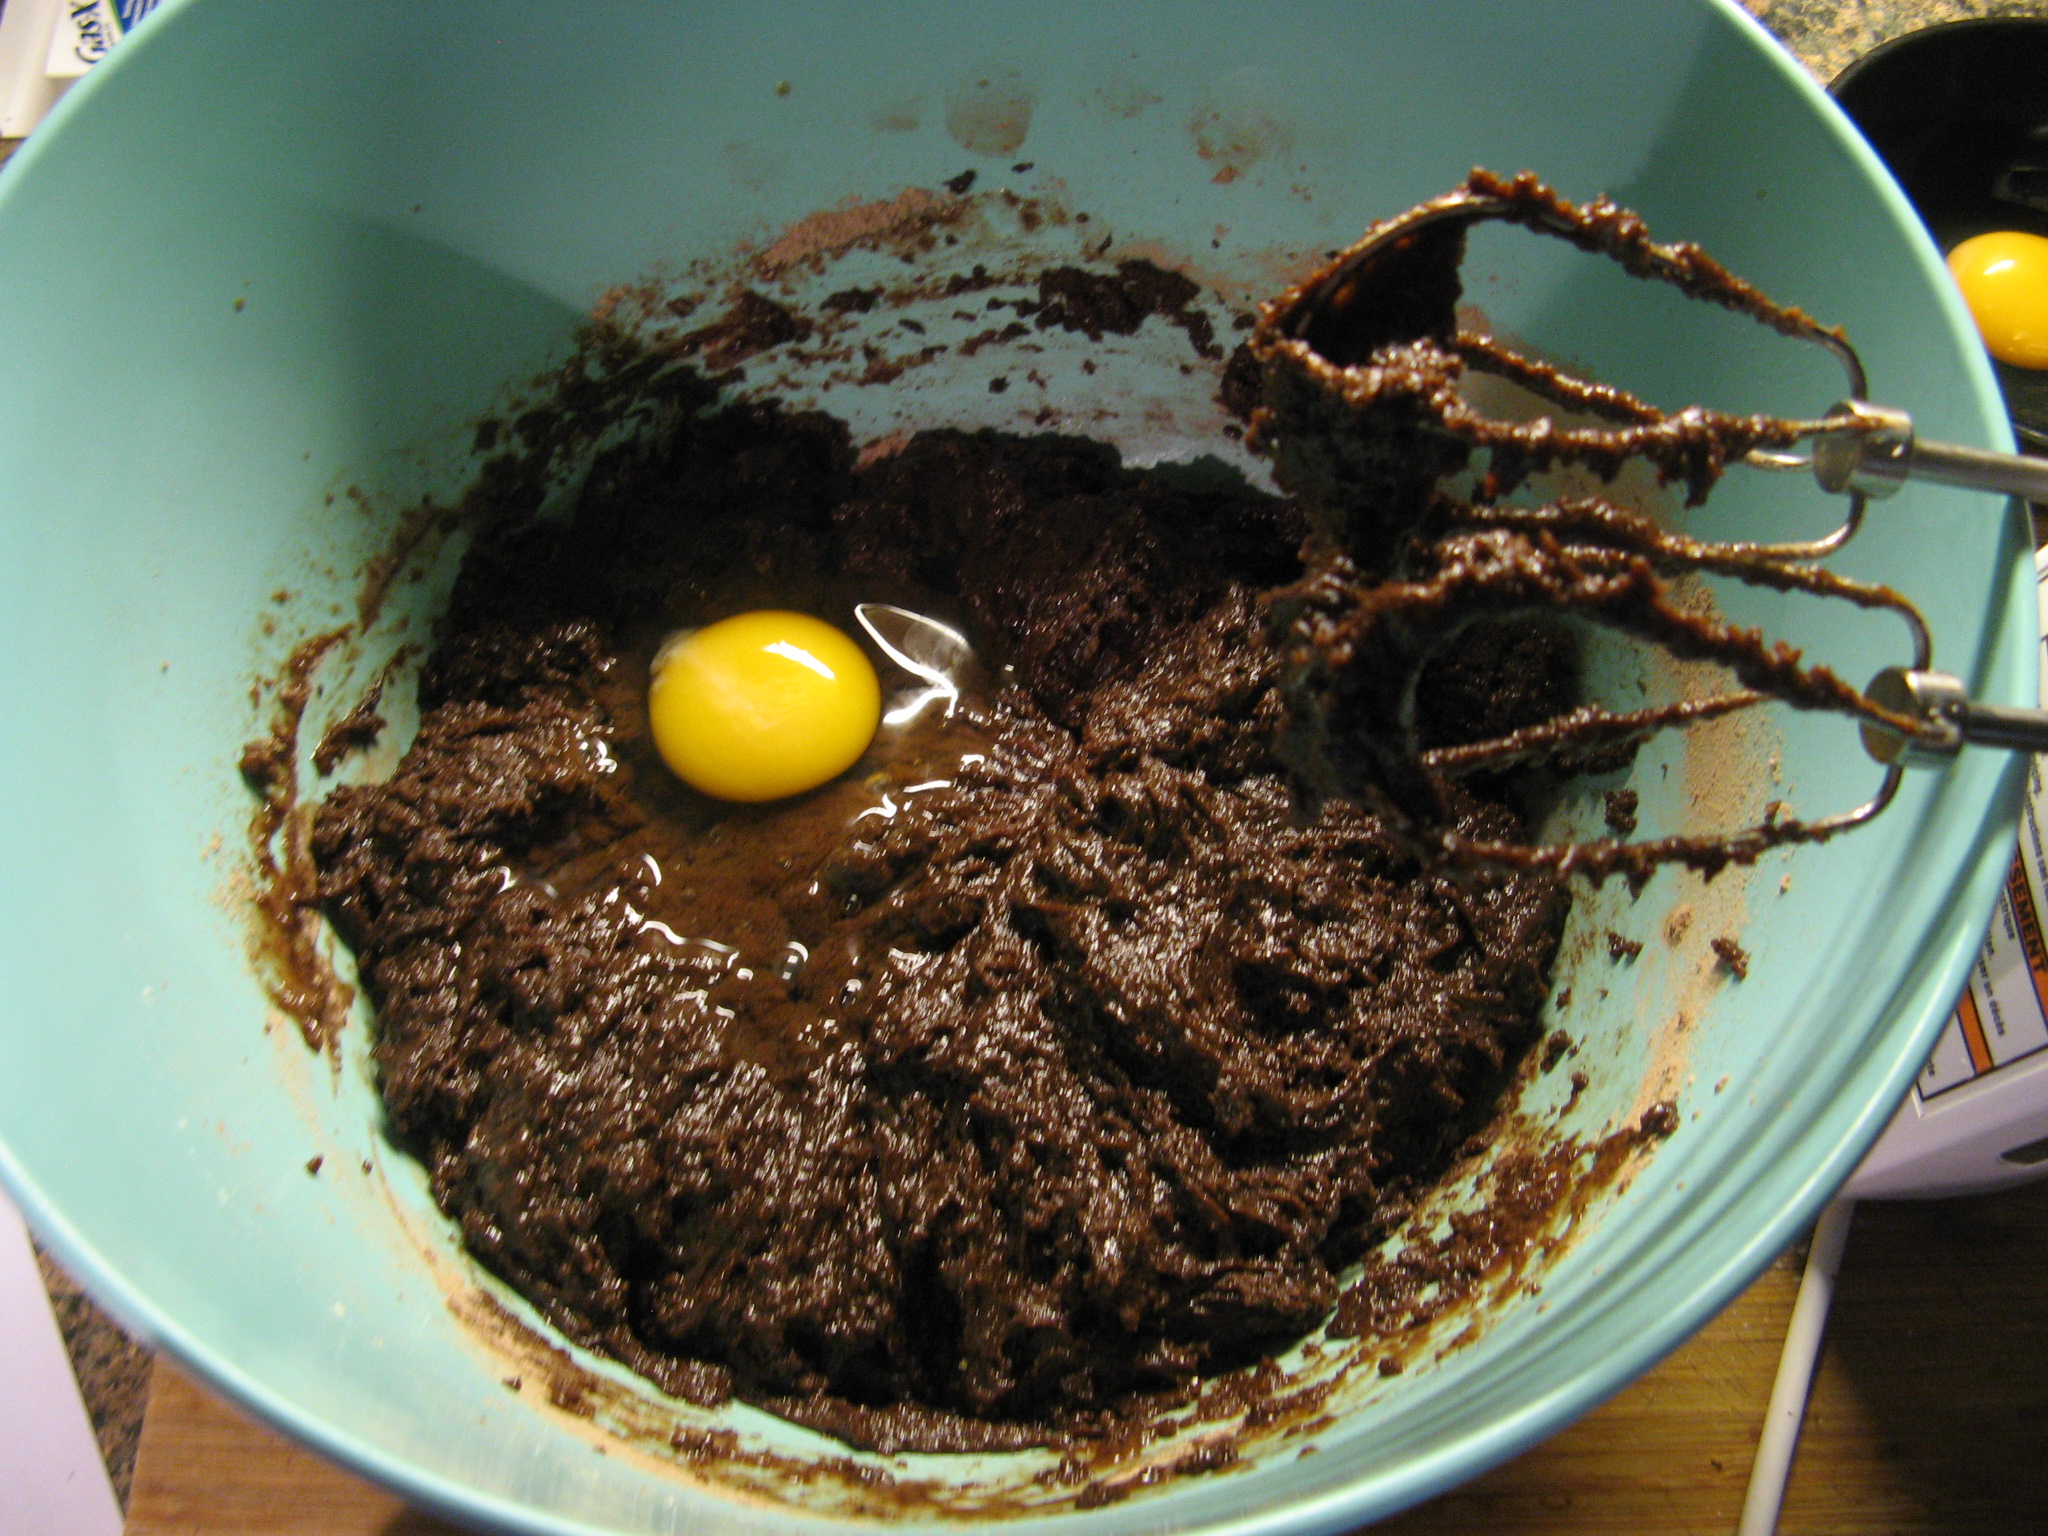
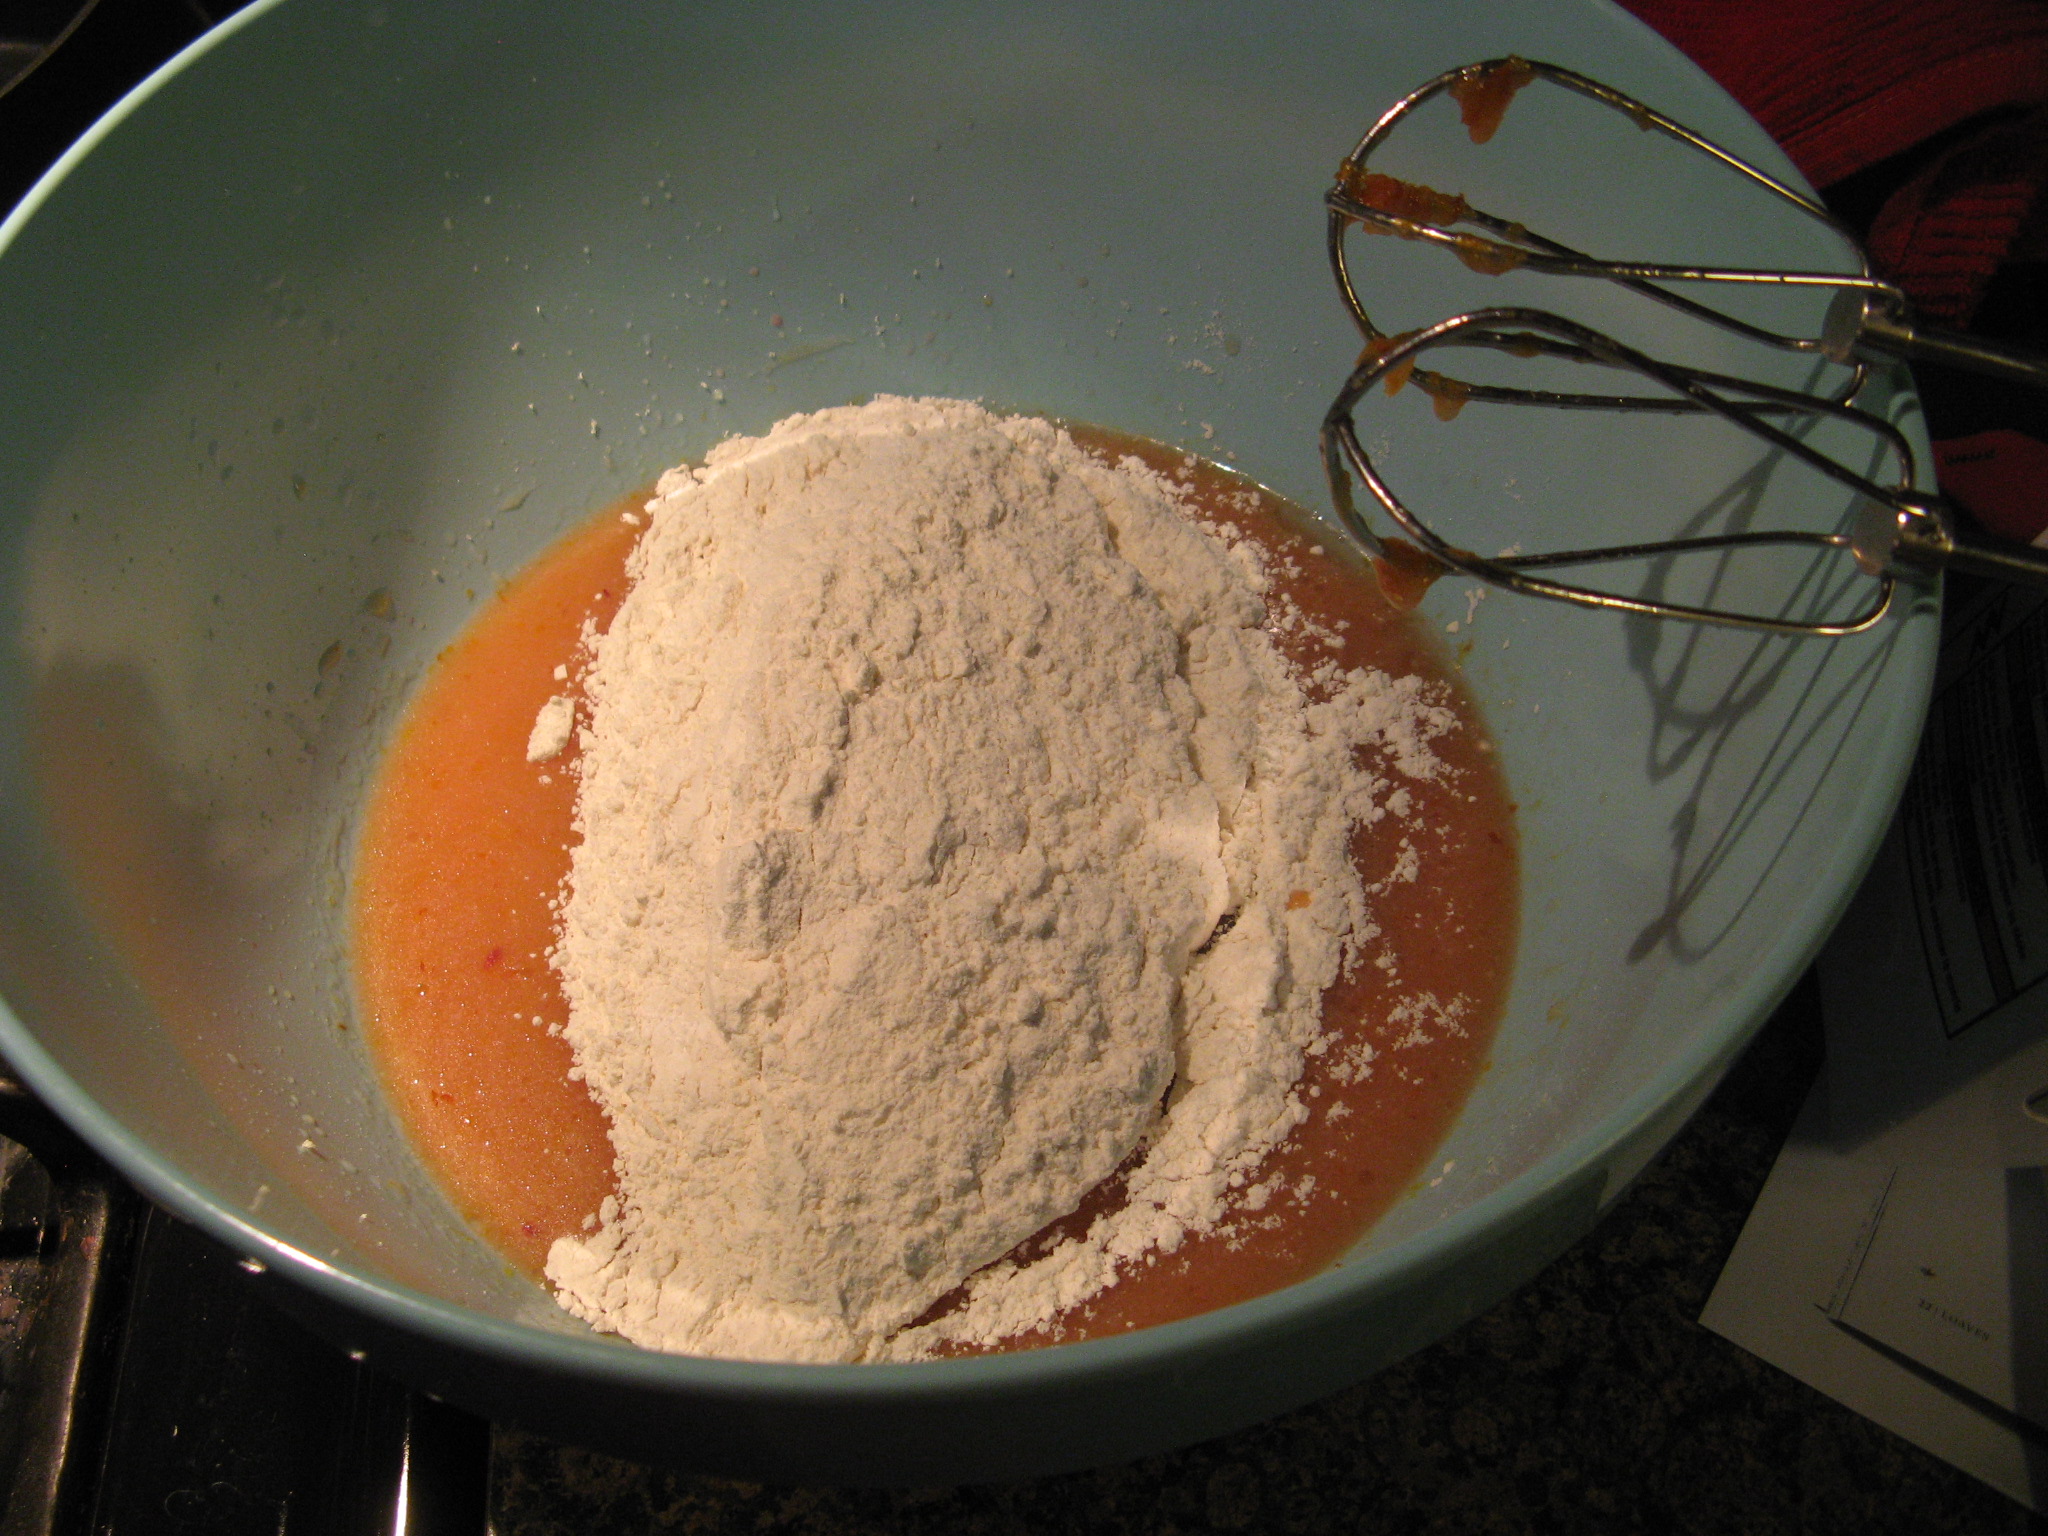
I then added in three eggs and extra-virgin olive oil. No worries… There wasn’t a hint of taste of olive oil in the final outcome and I must say the olive oil produced a very moist cake. If you want some more information on baking with olive oil check out this website.

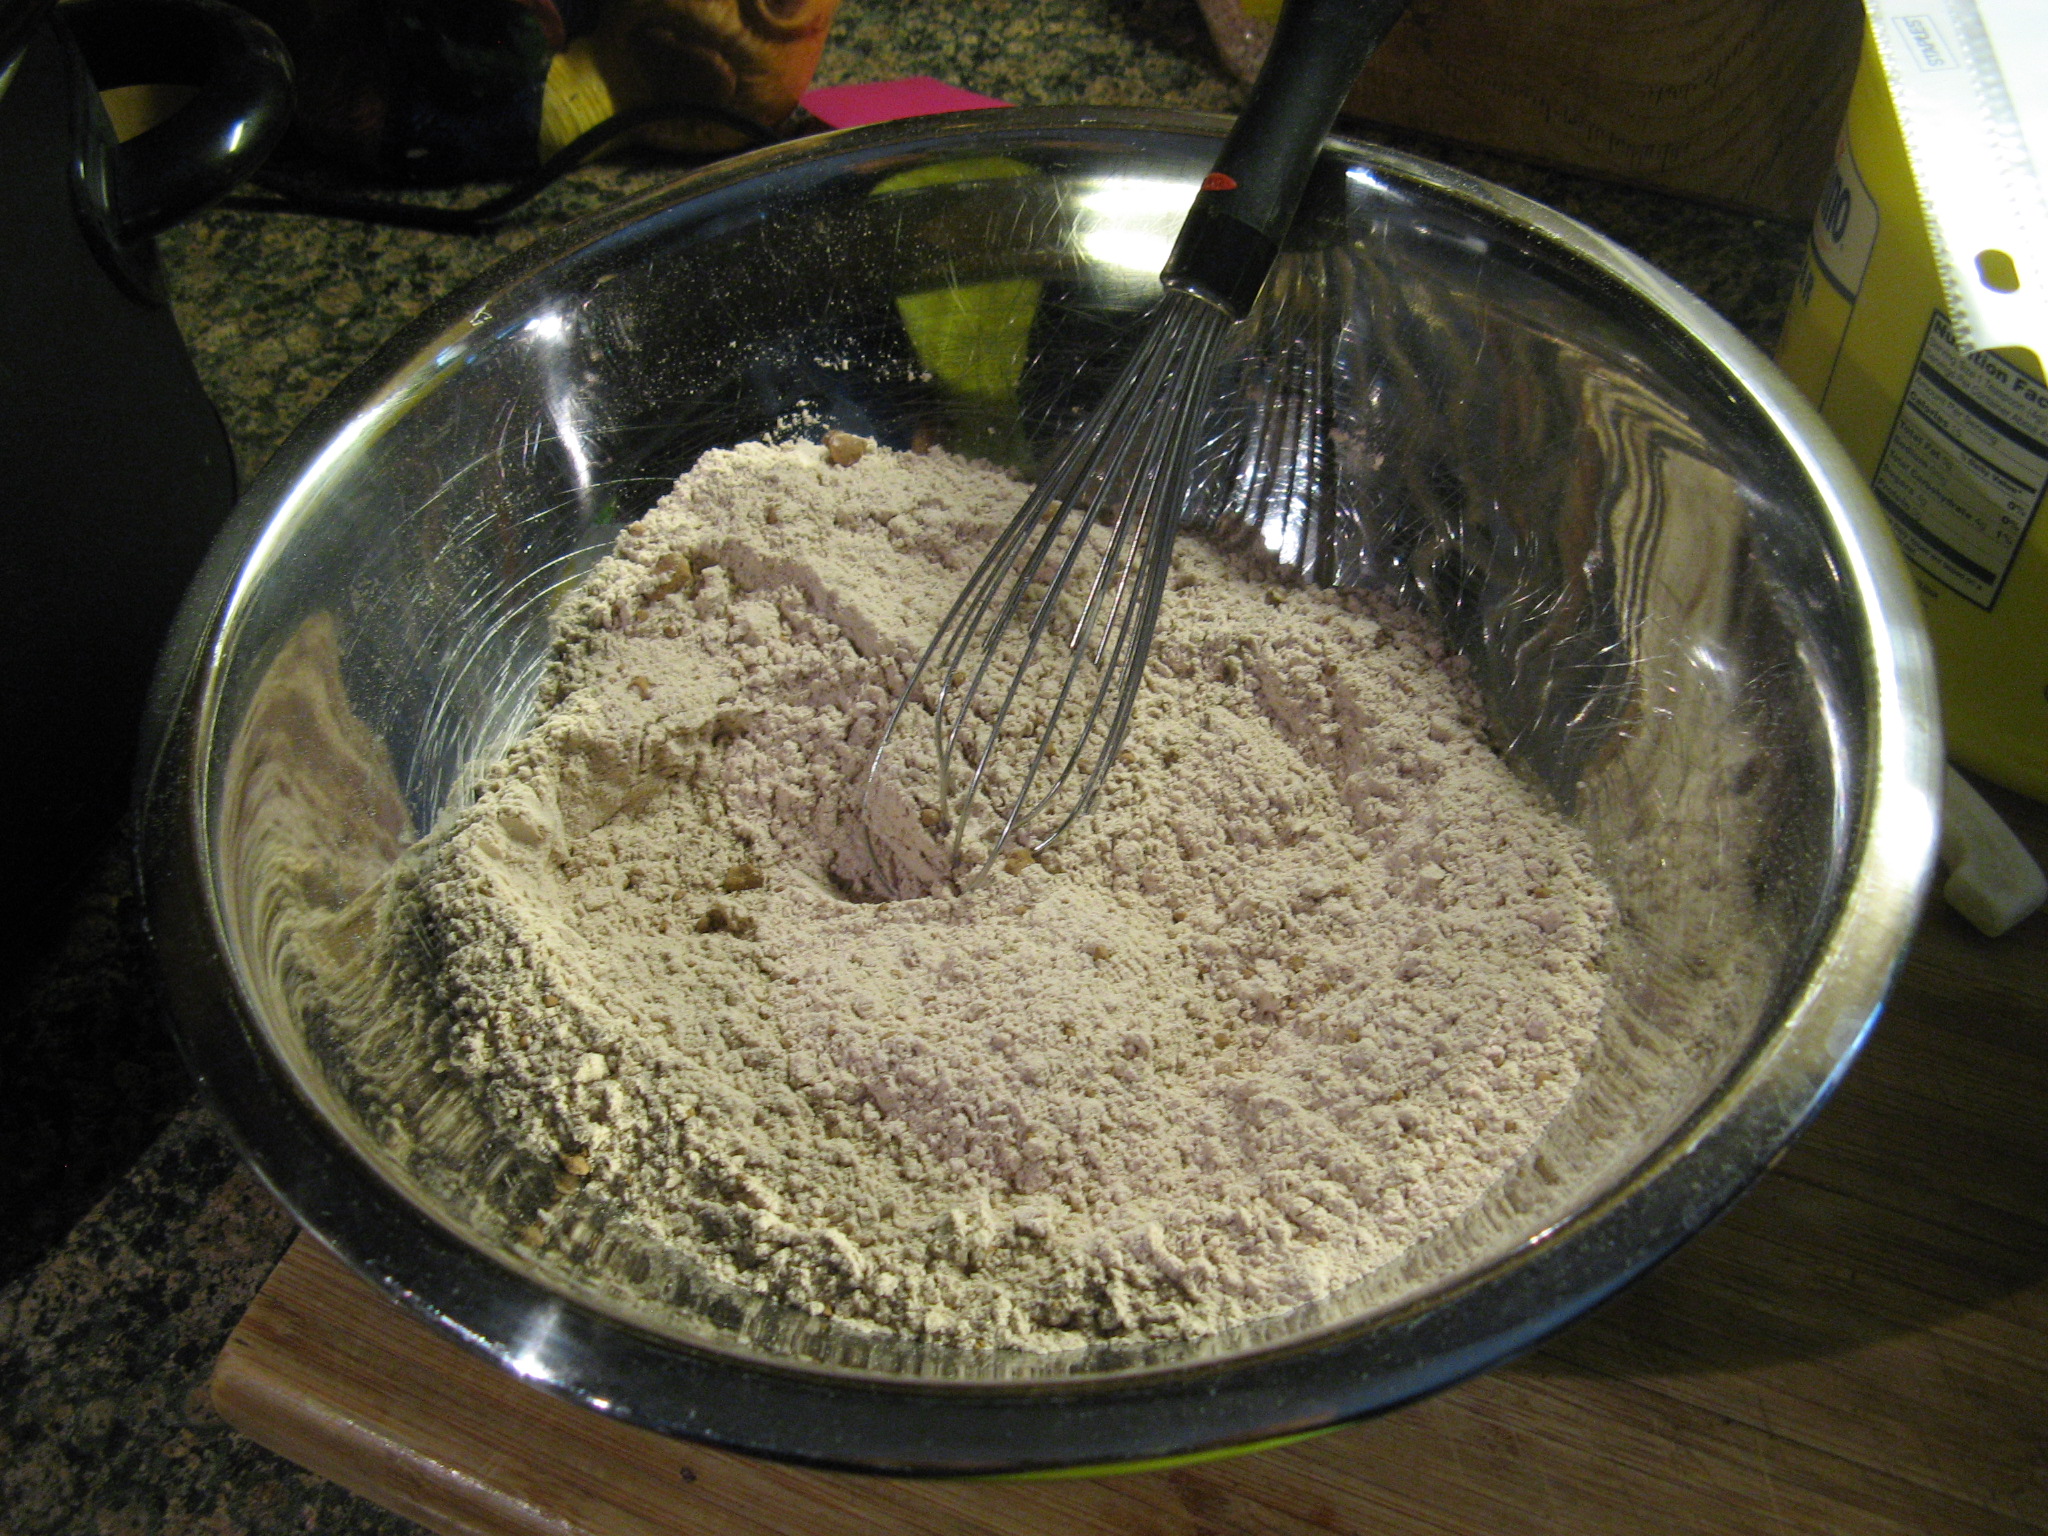
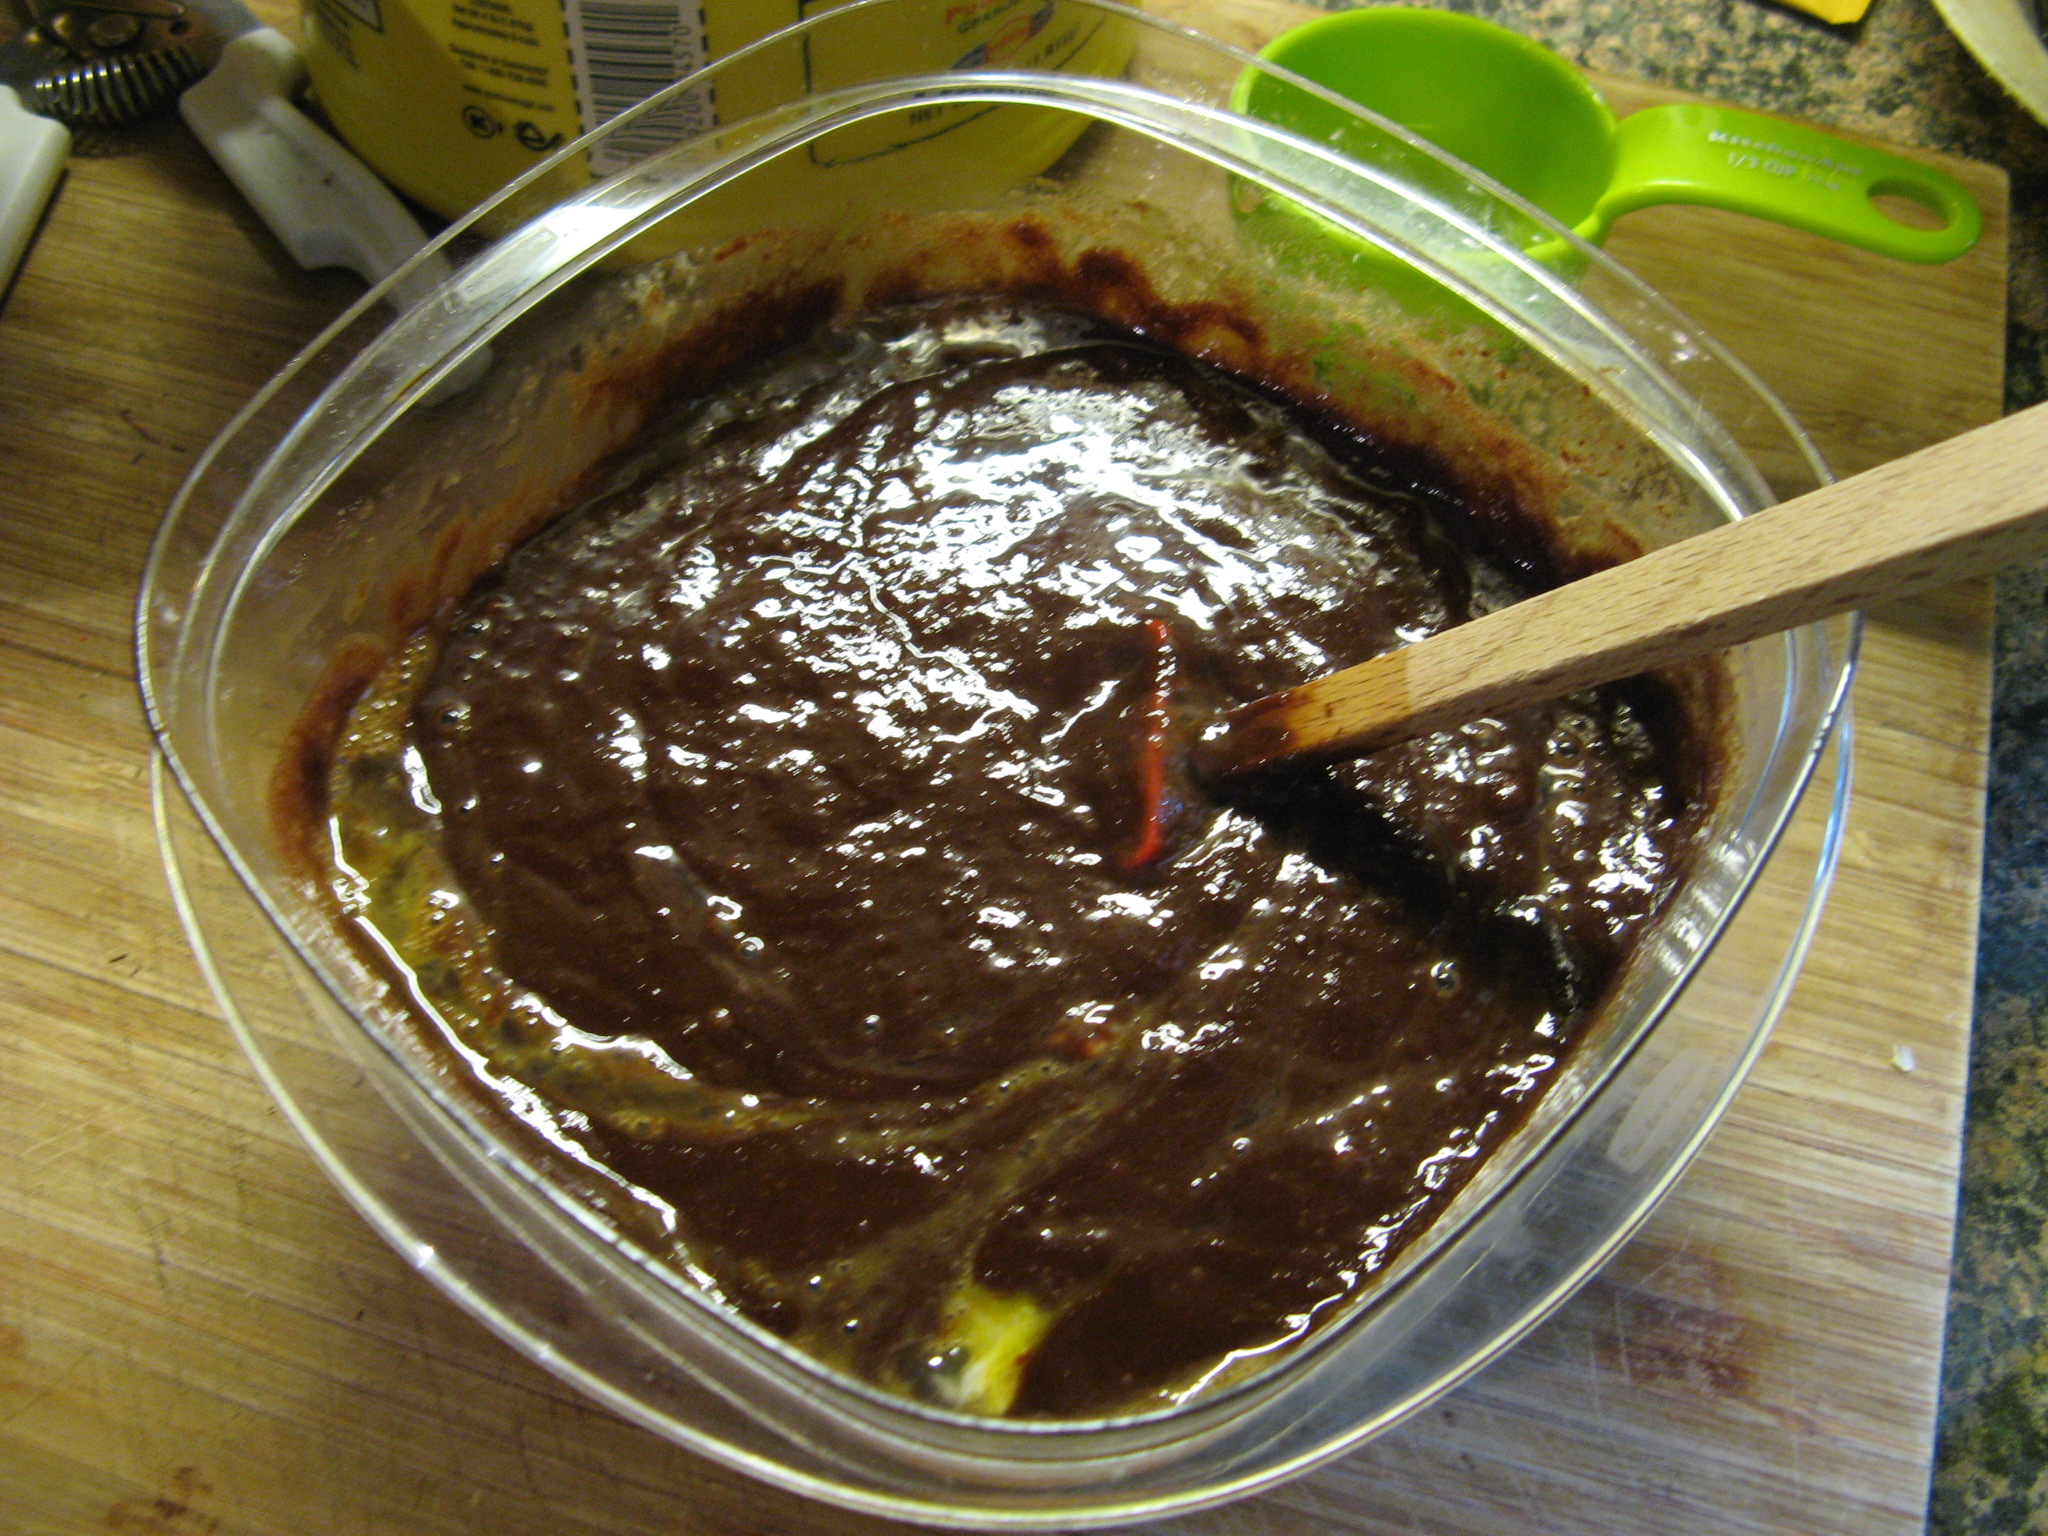
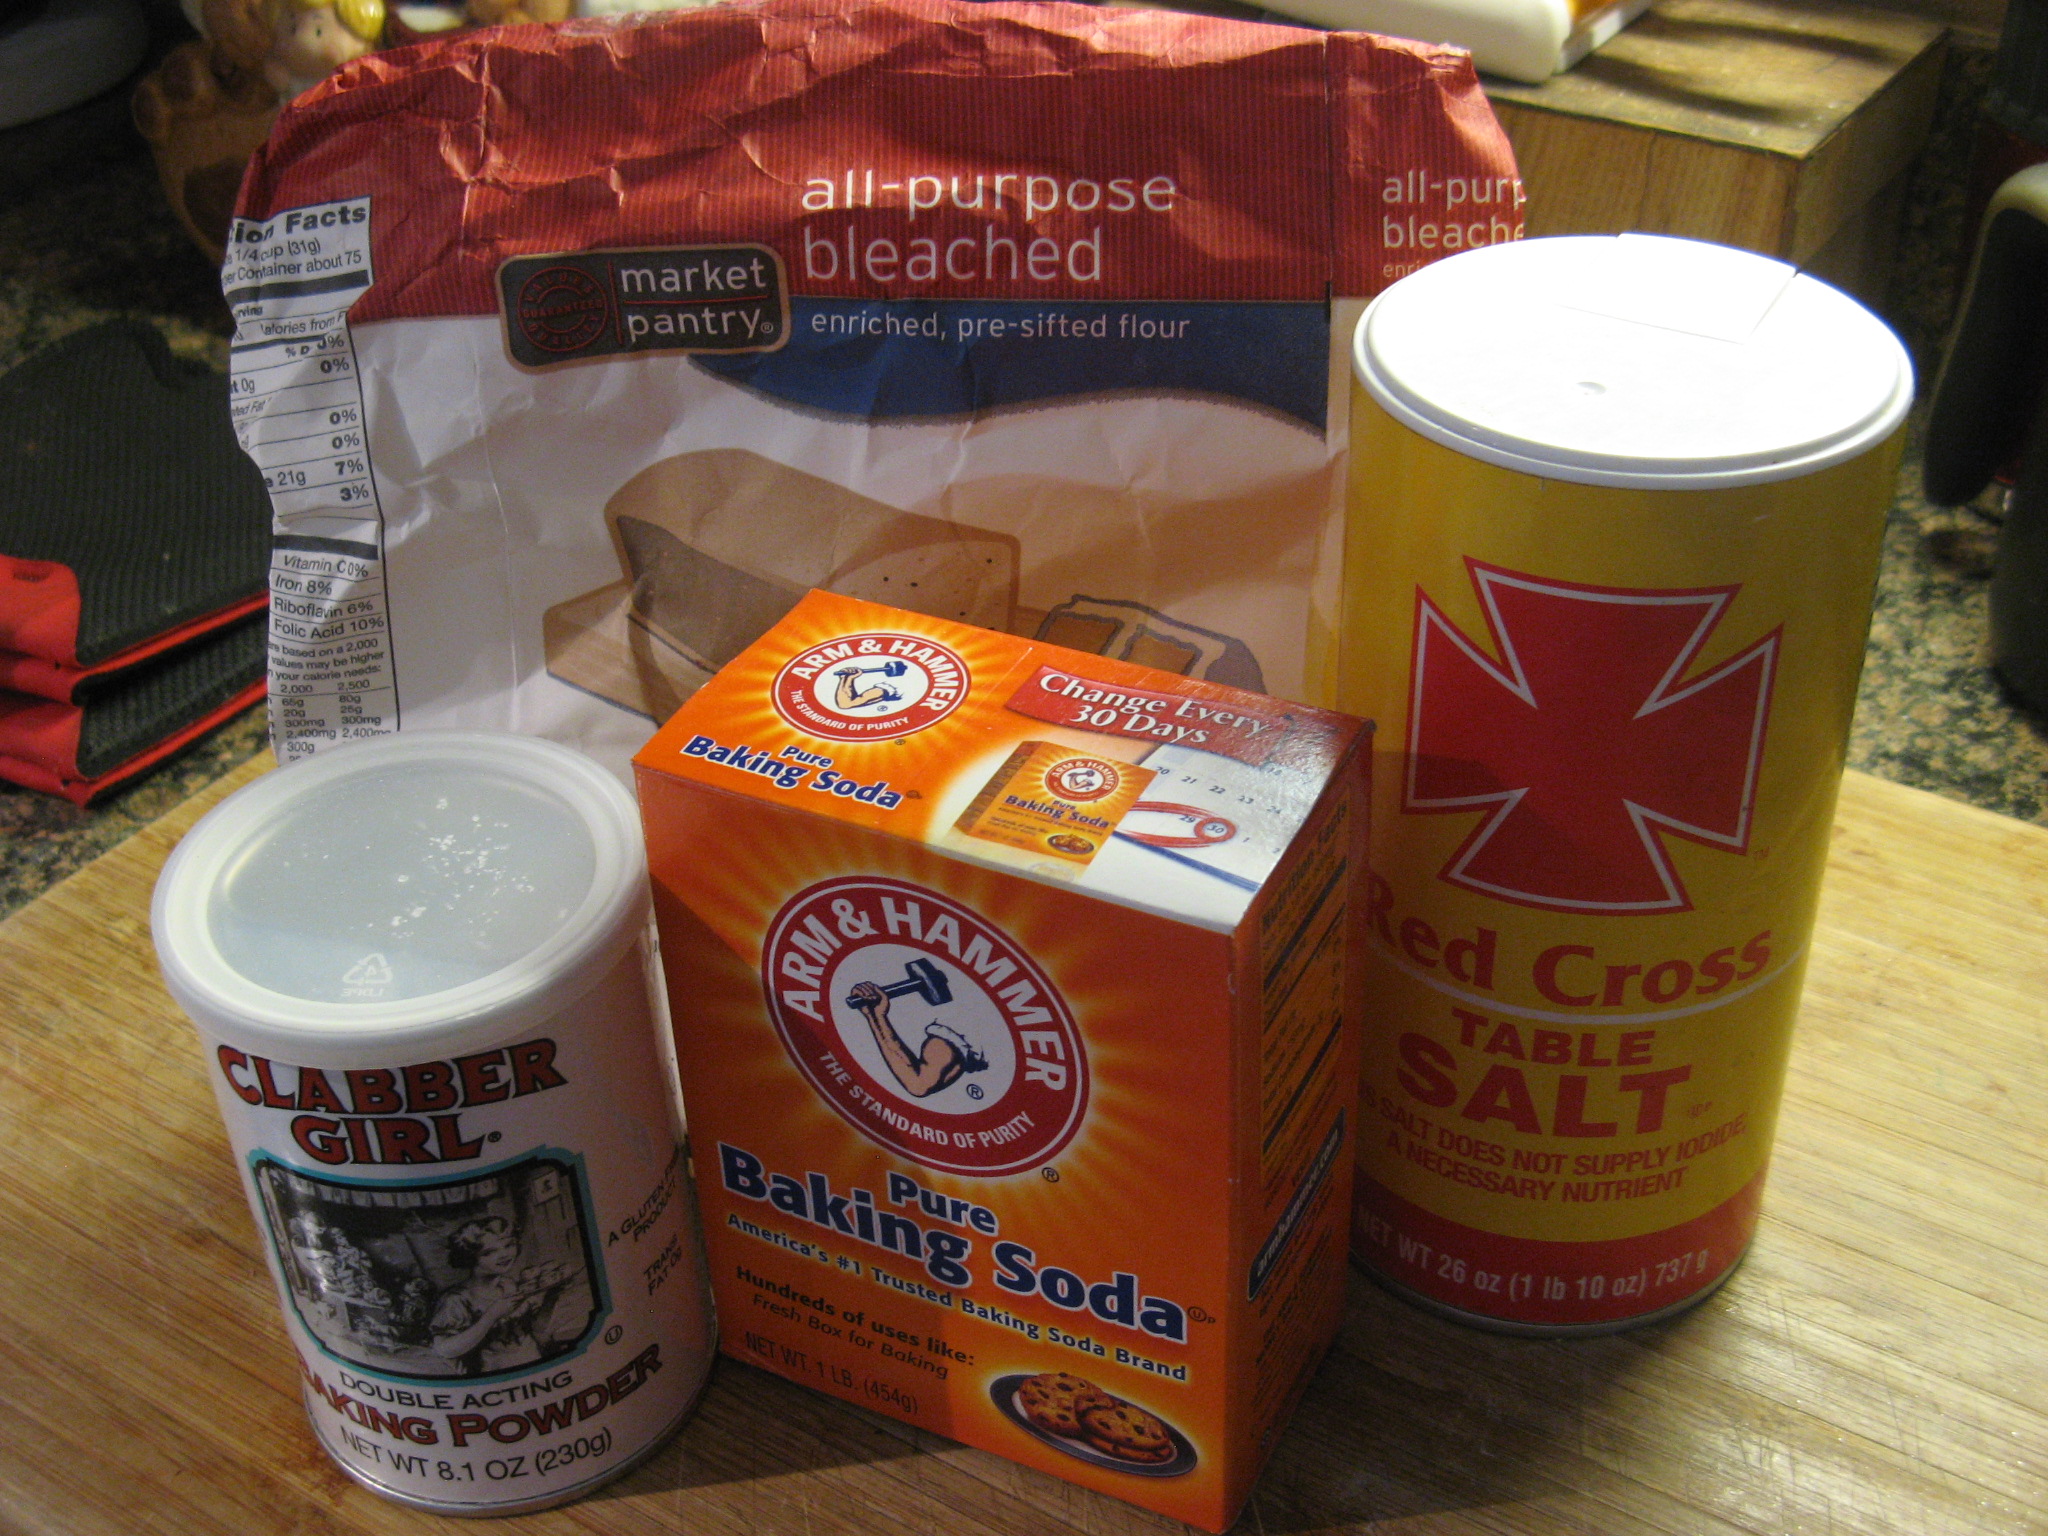
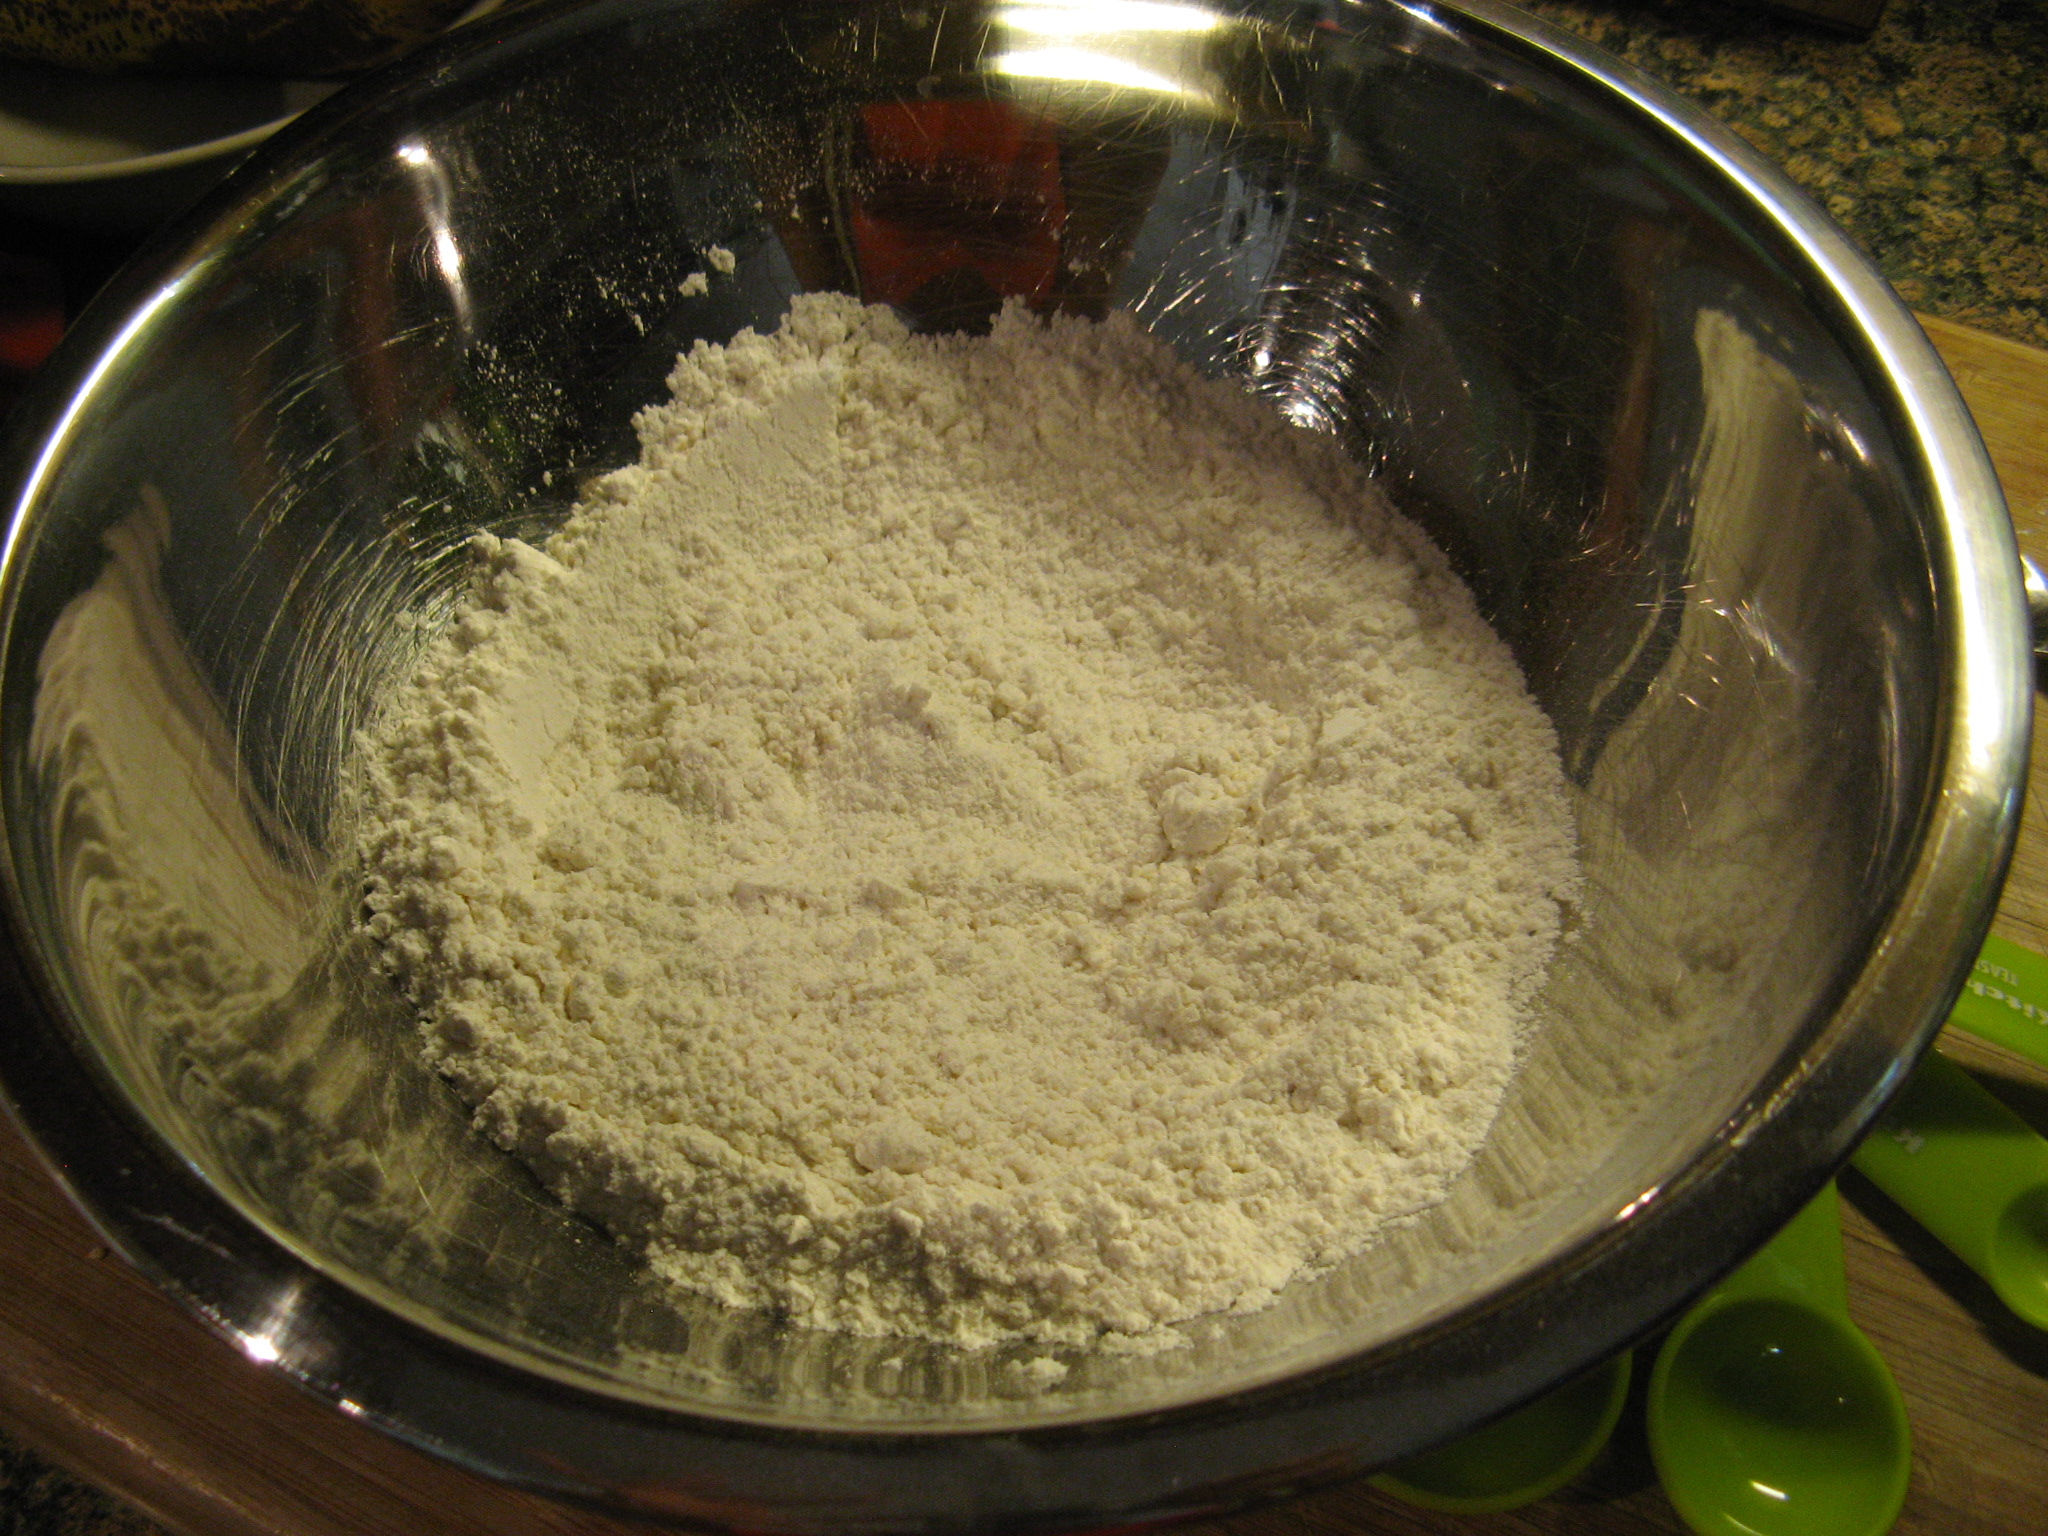
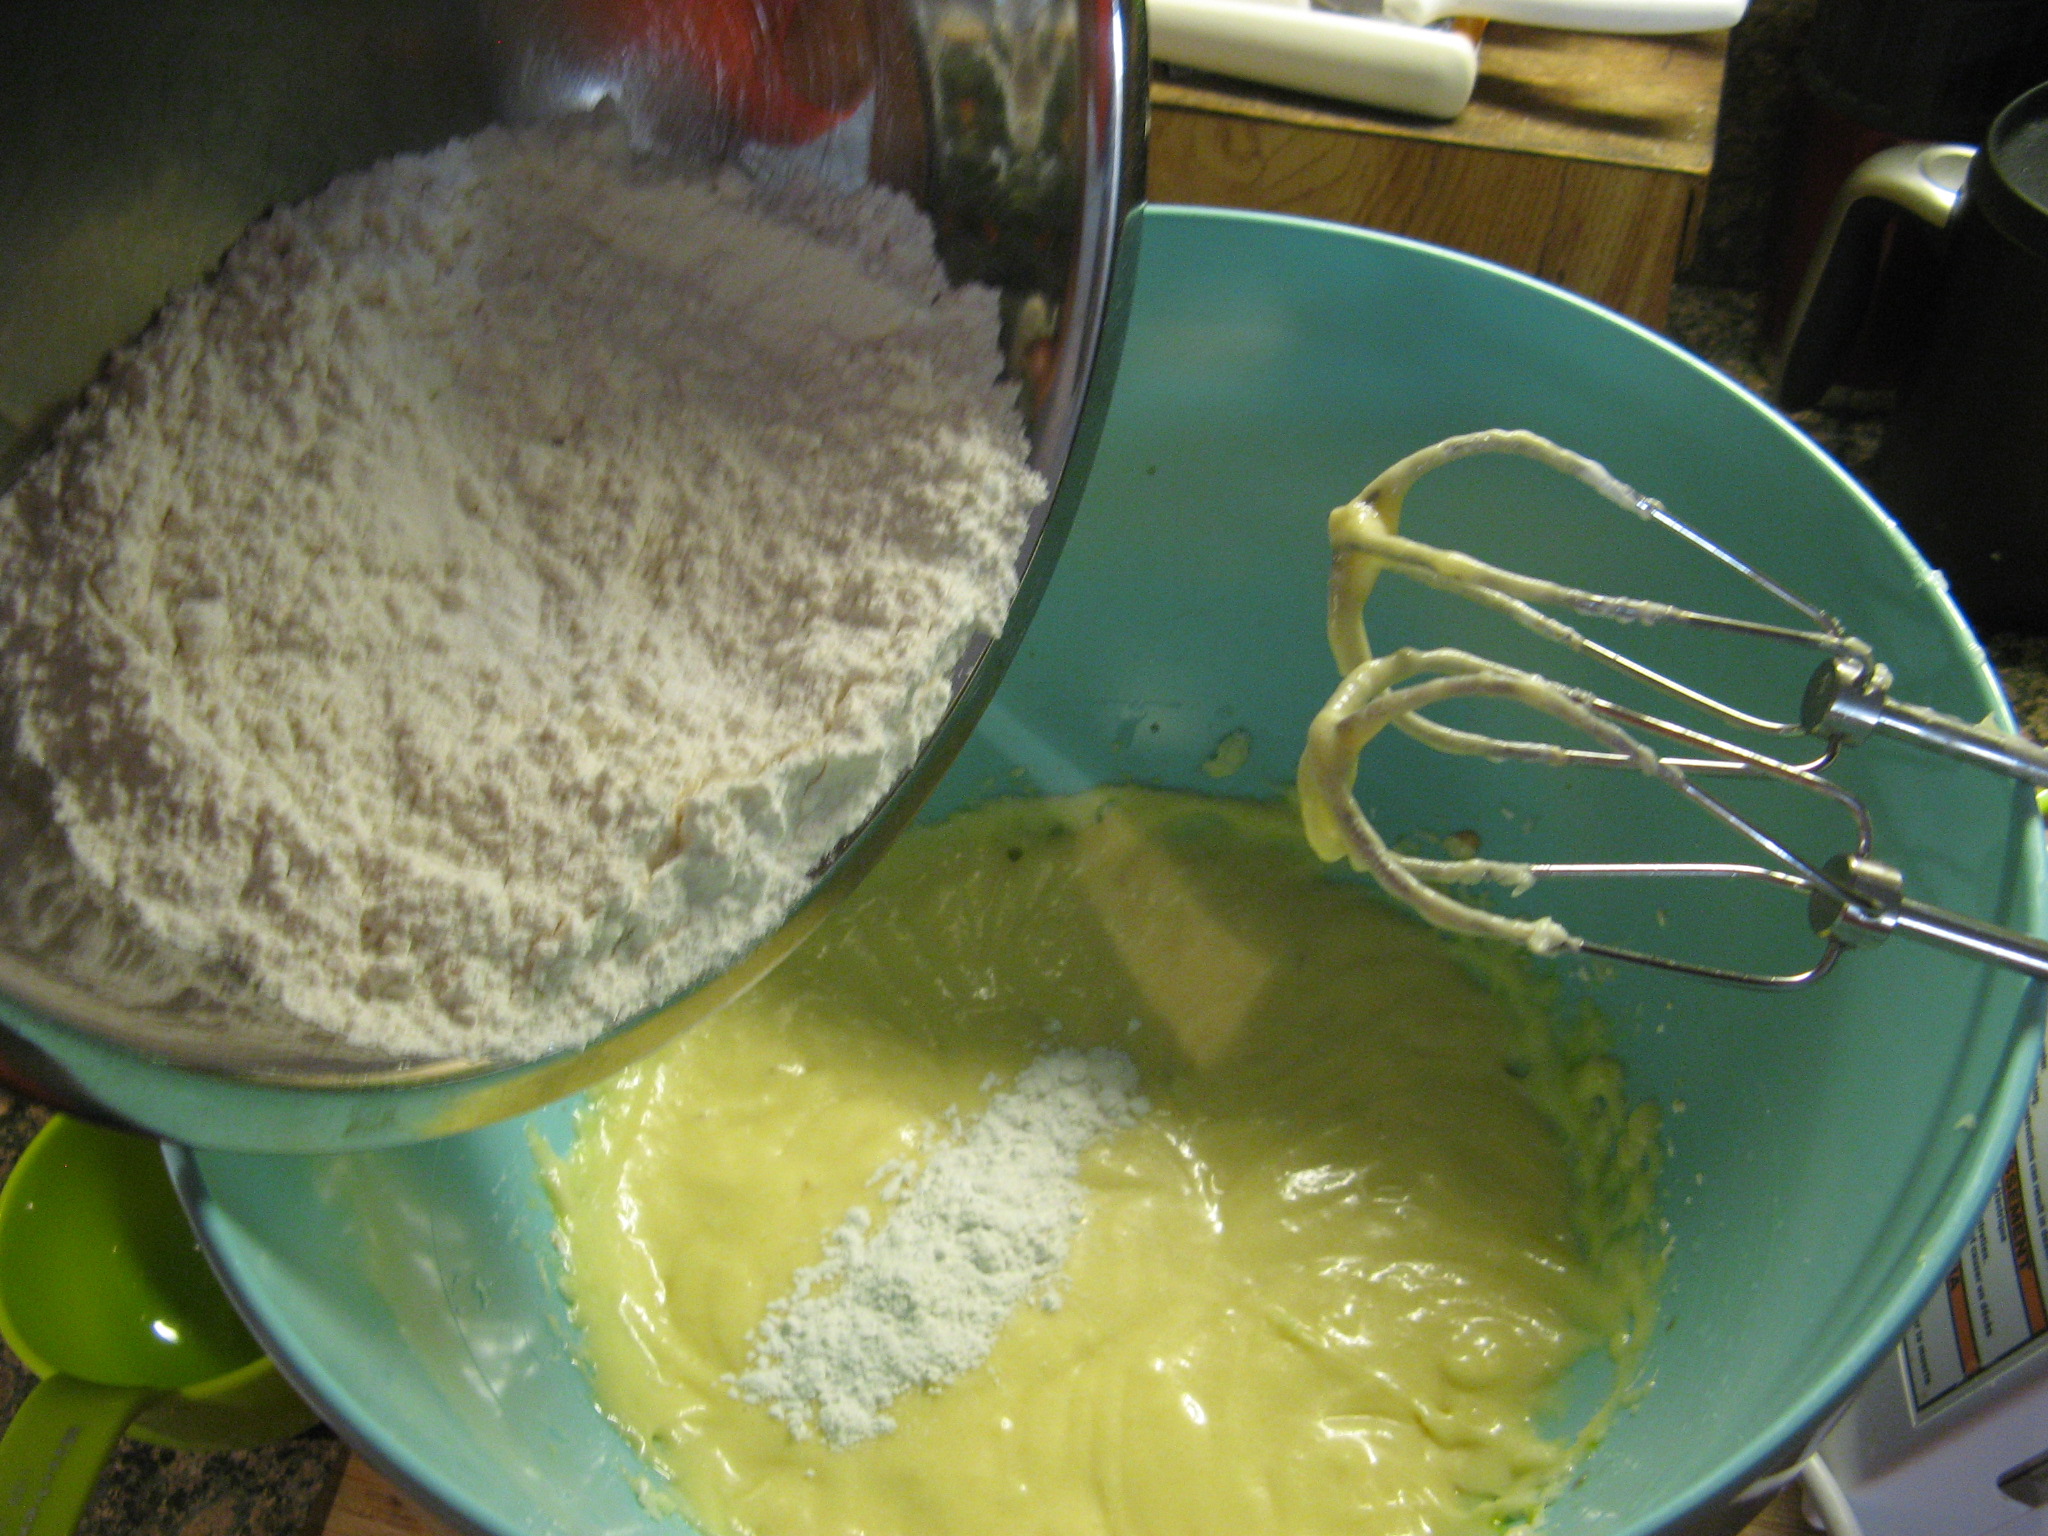
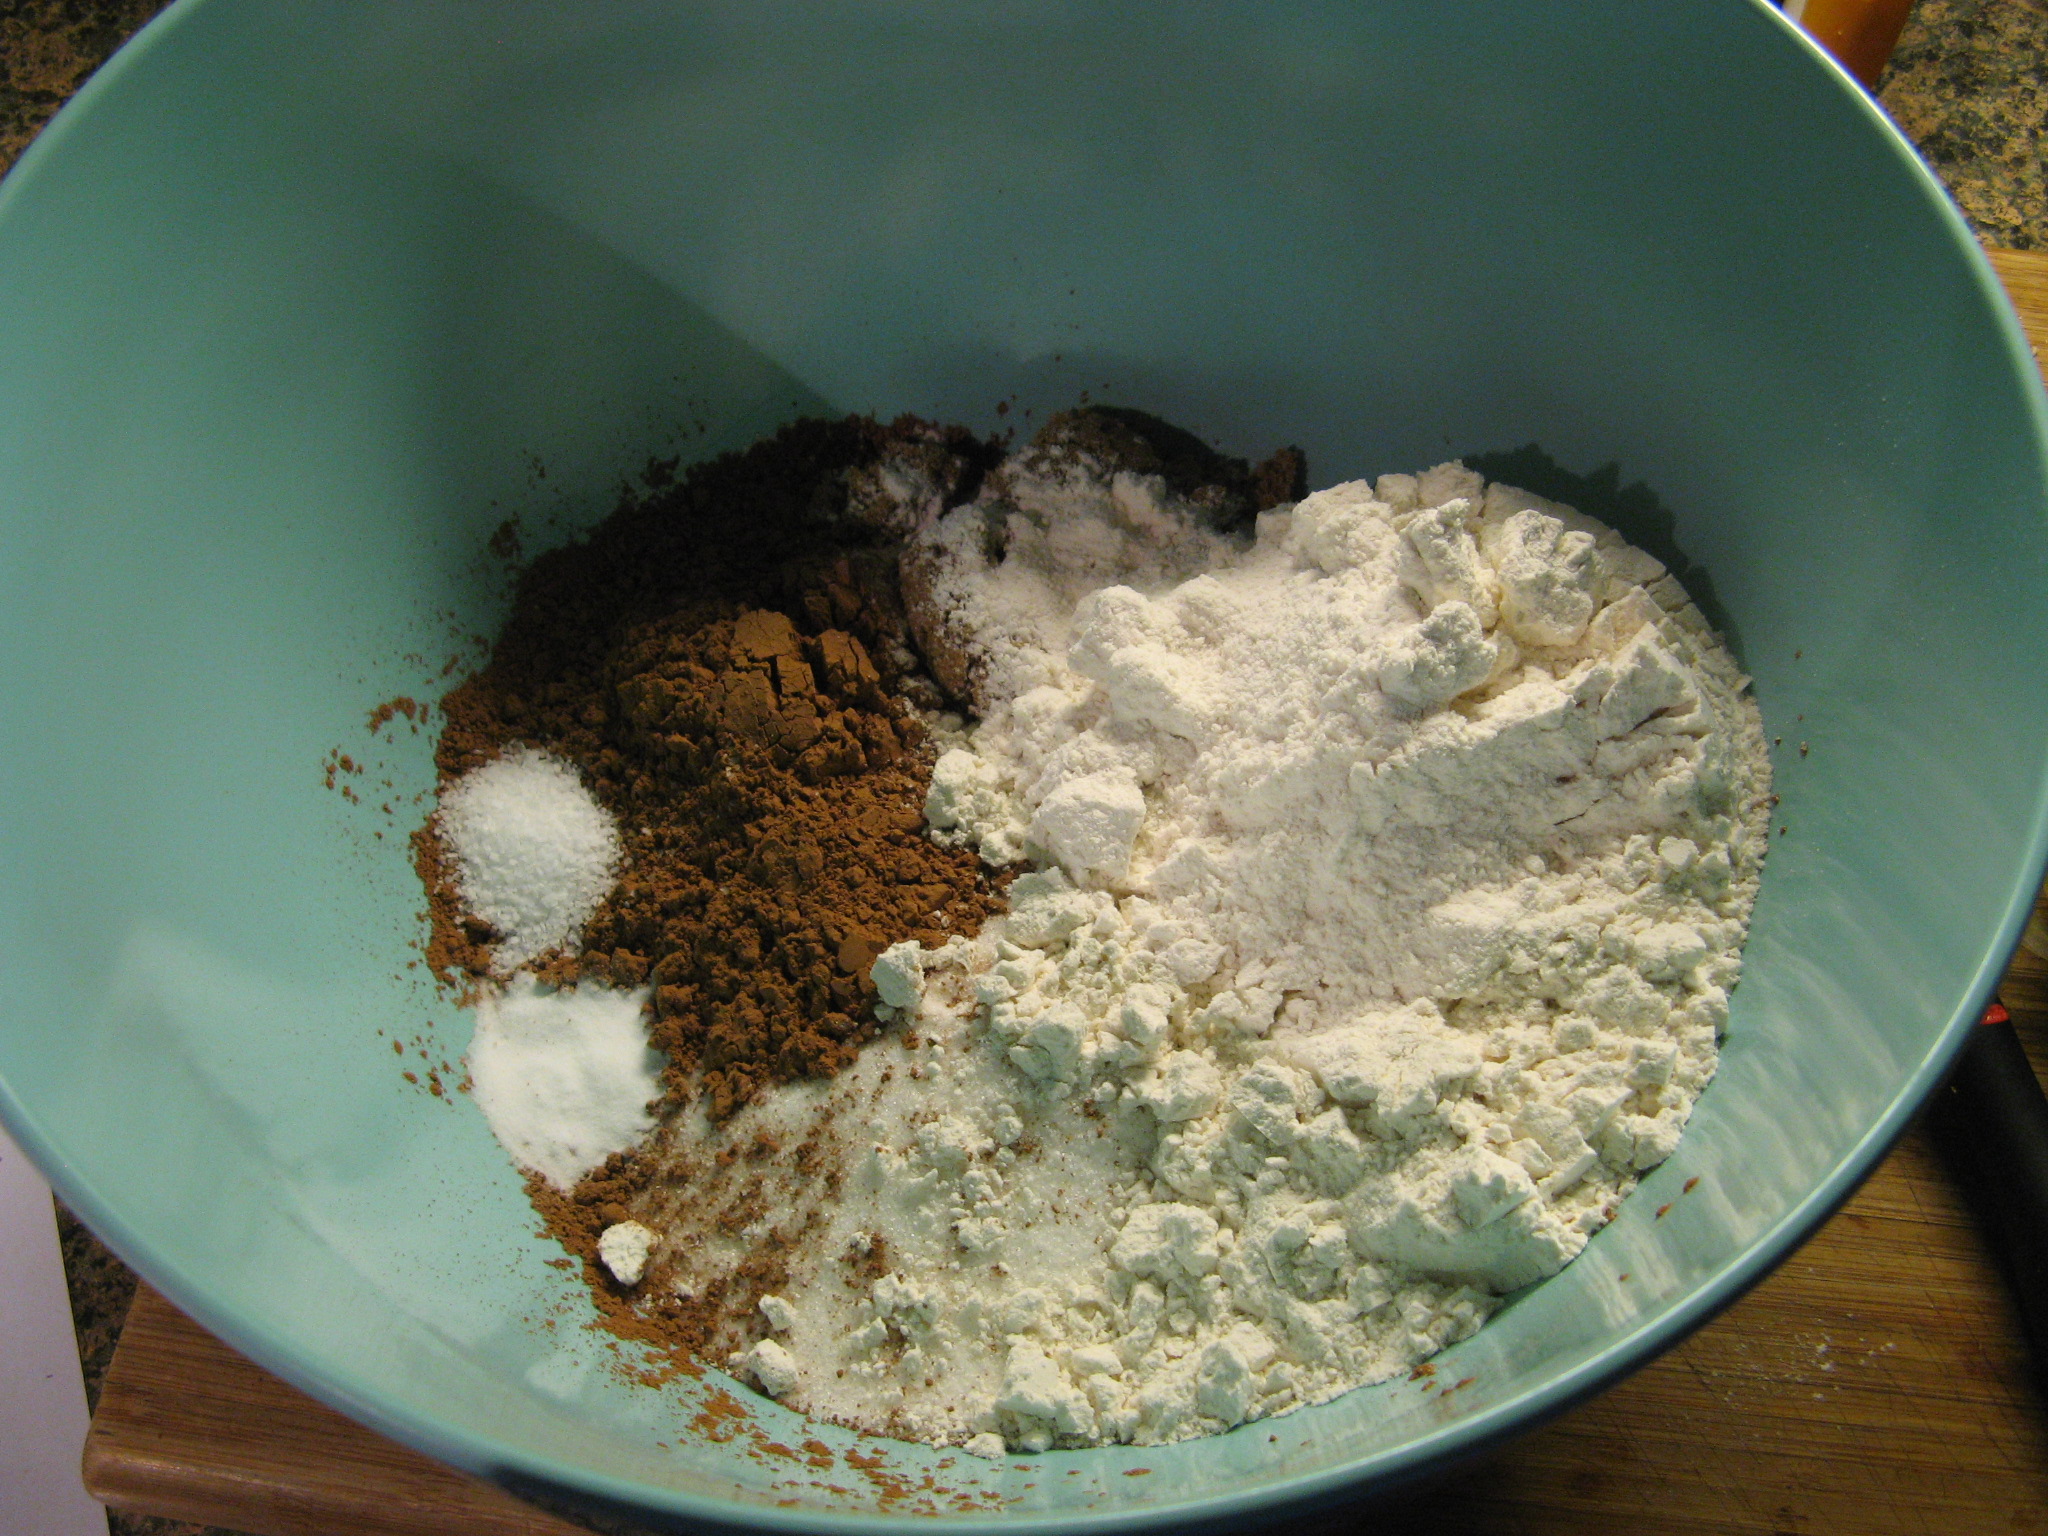
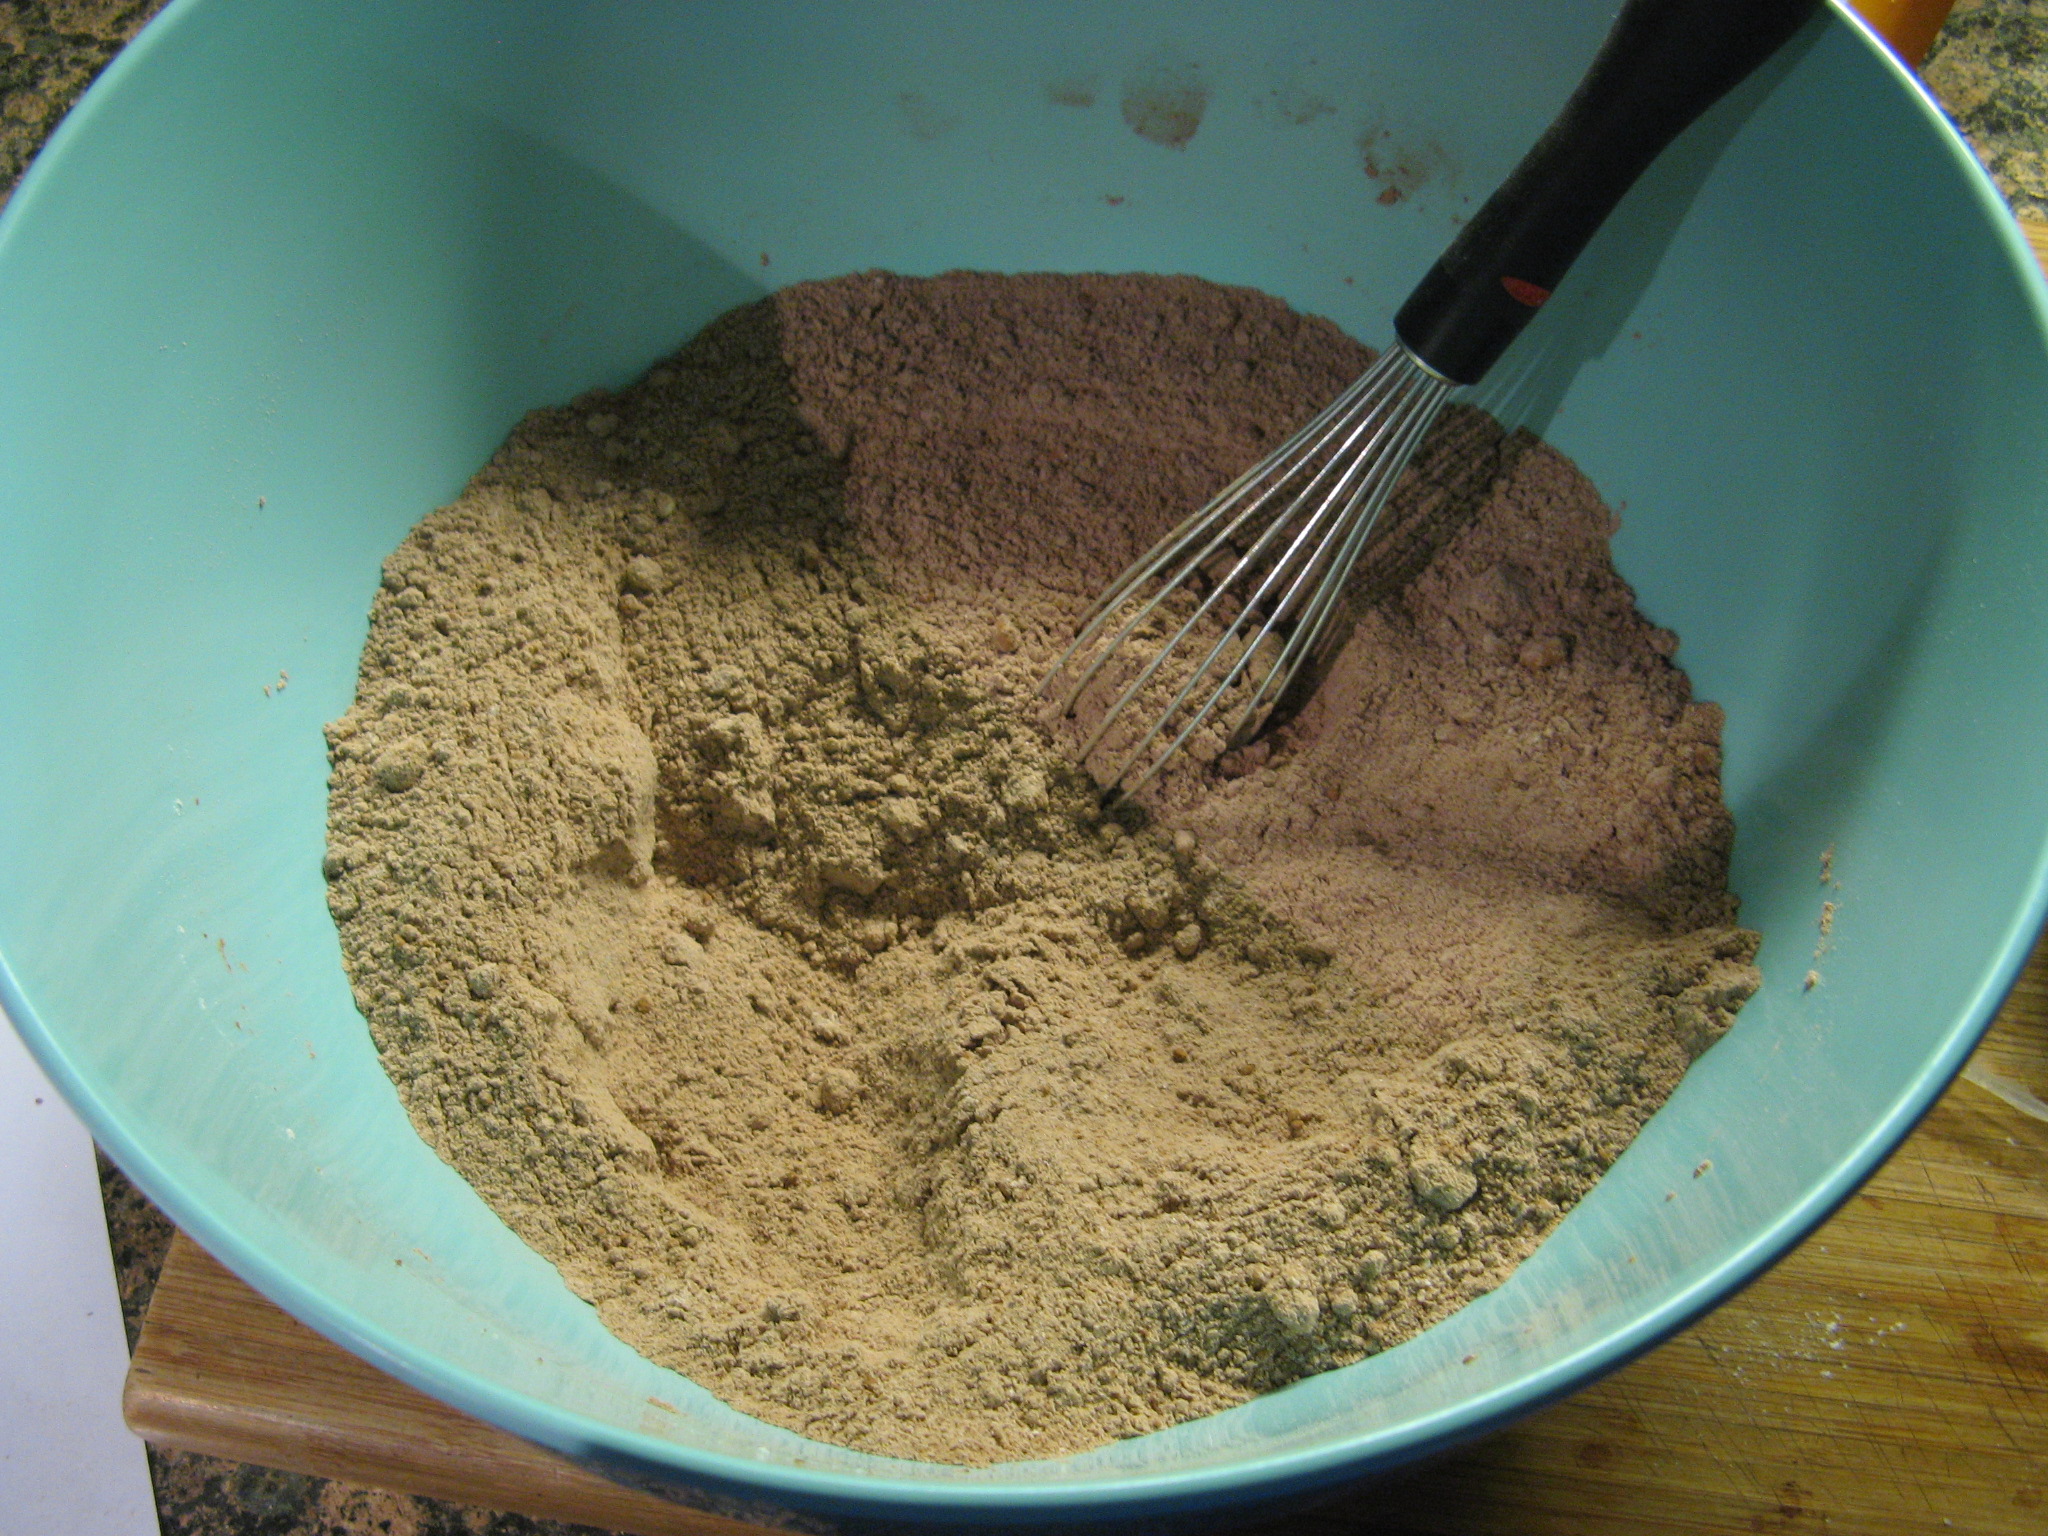
And finally I added in a sifted mixture of flour, baking powder, baking soda and salt.
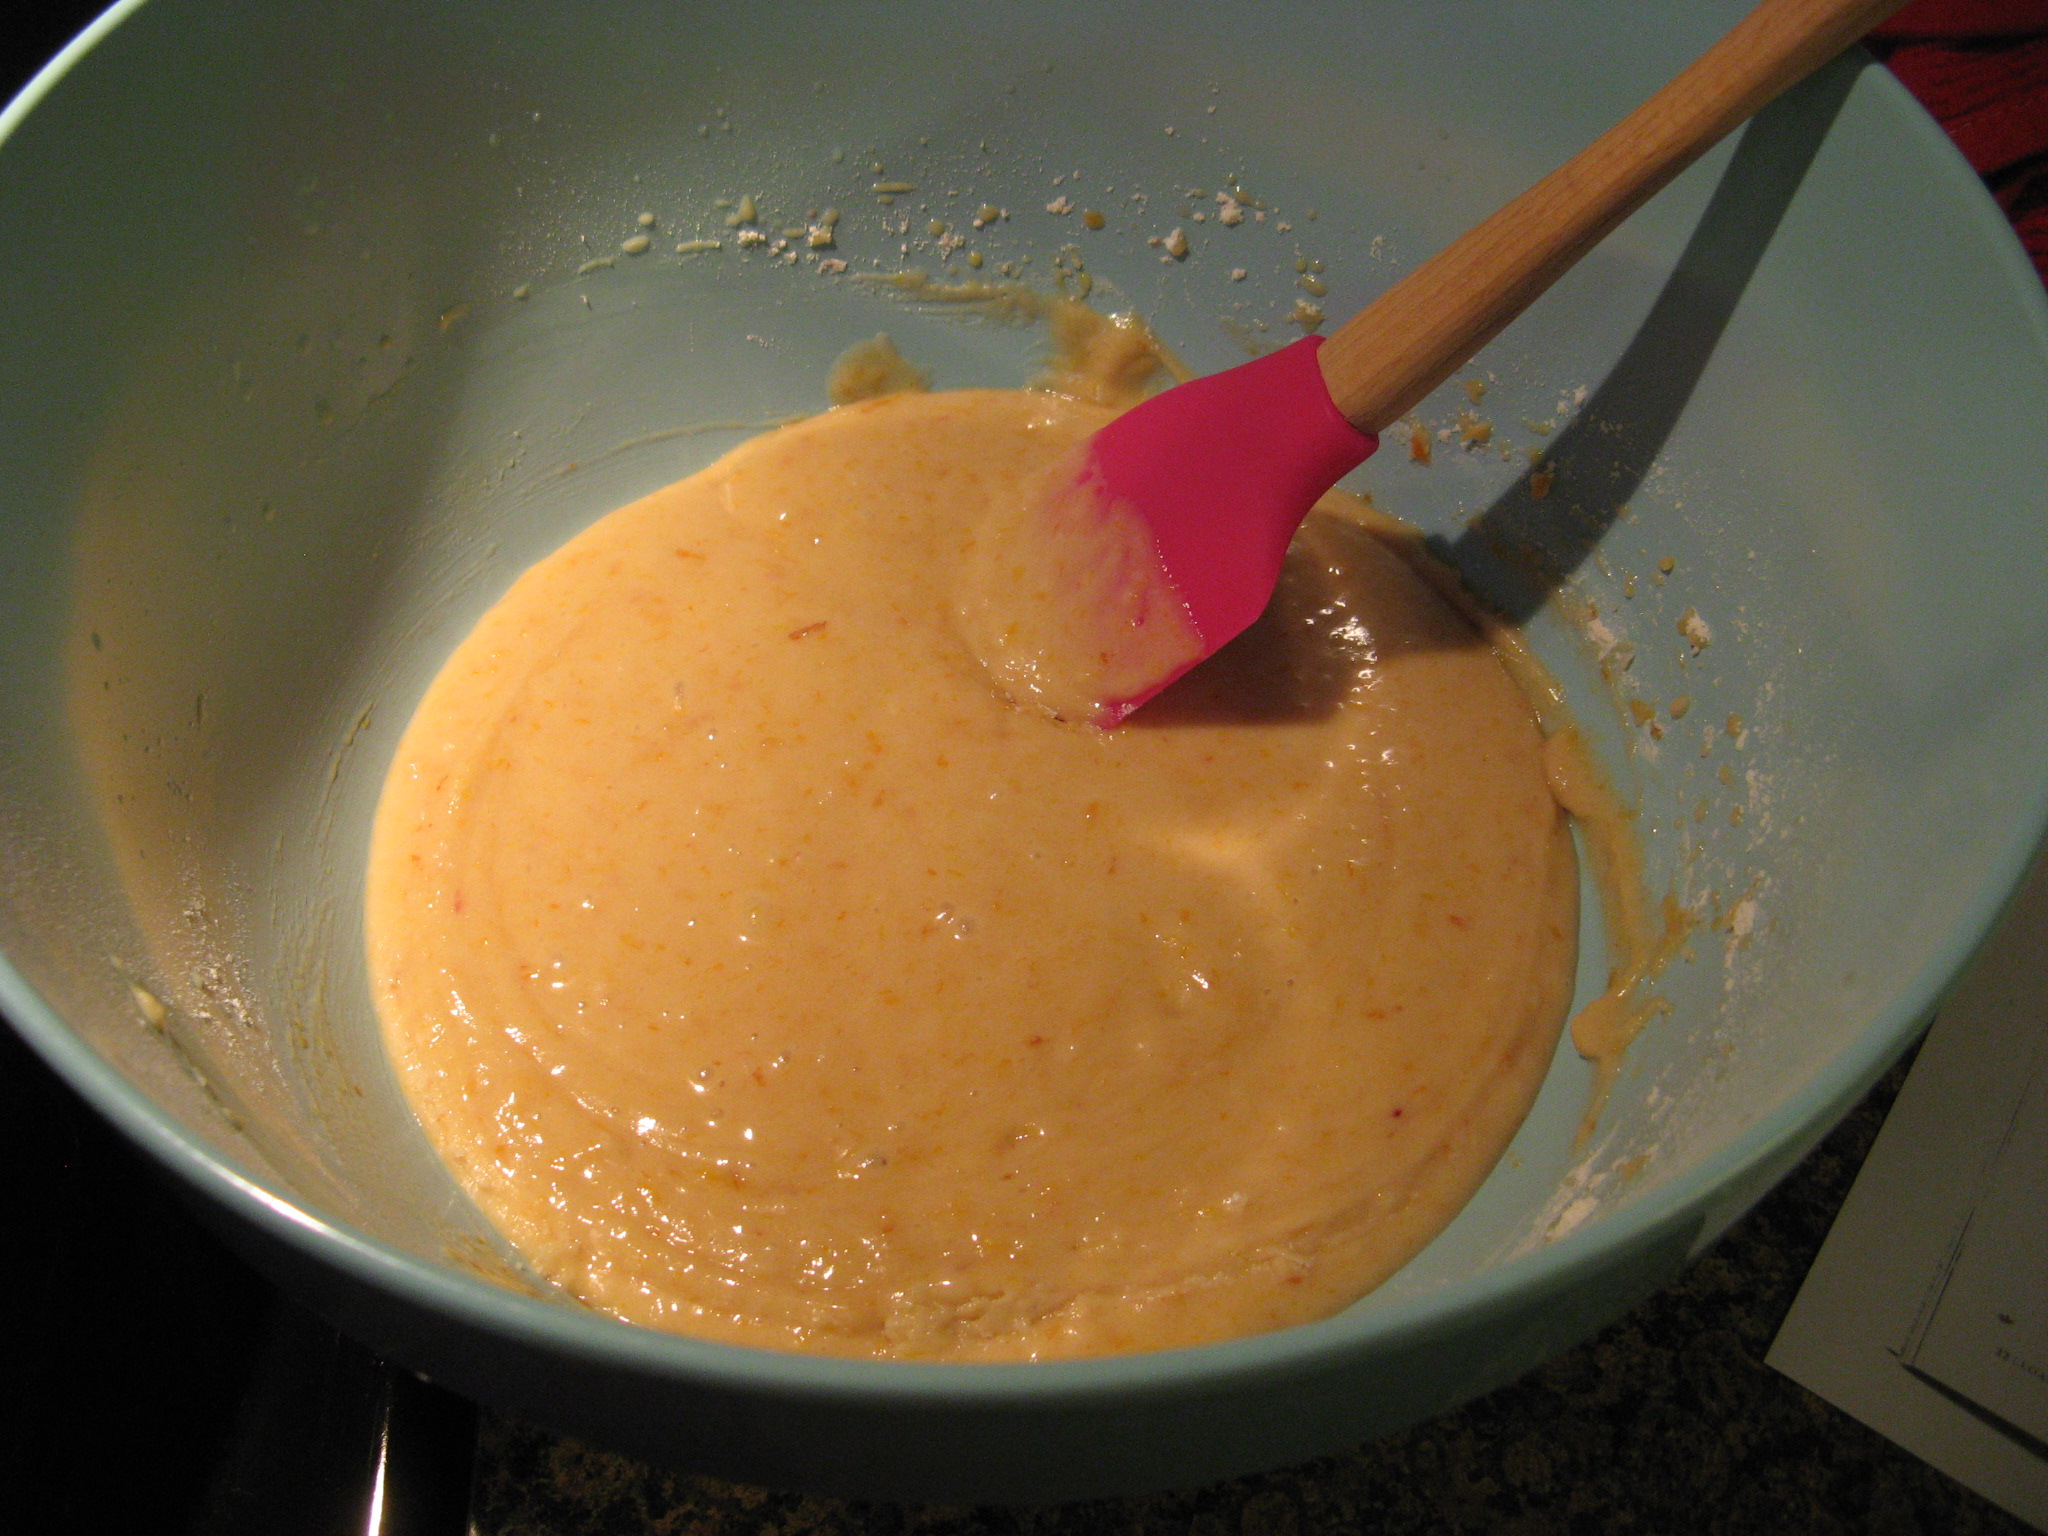
I knew this cake was going to be a winner when the batter itself already had a wonderful aroma and it wasn’t even in the oven yet.
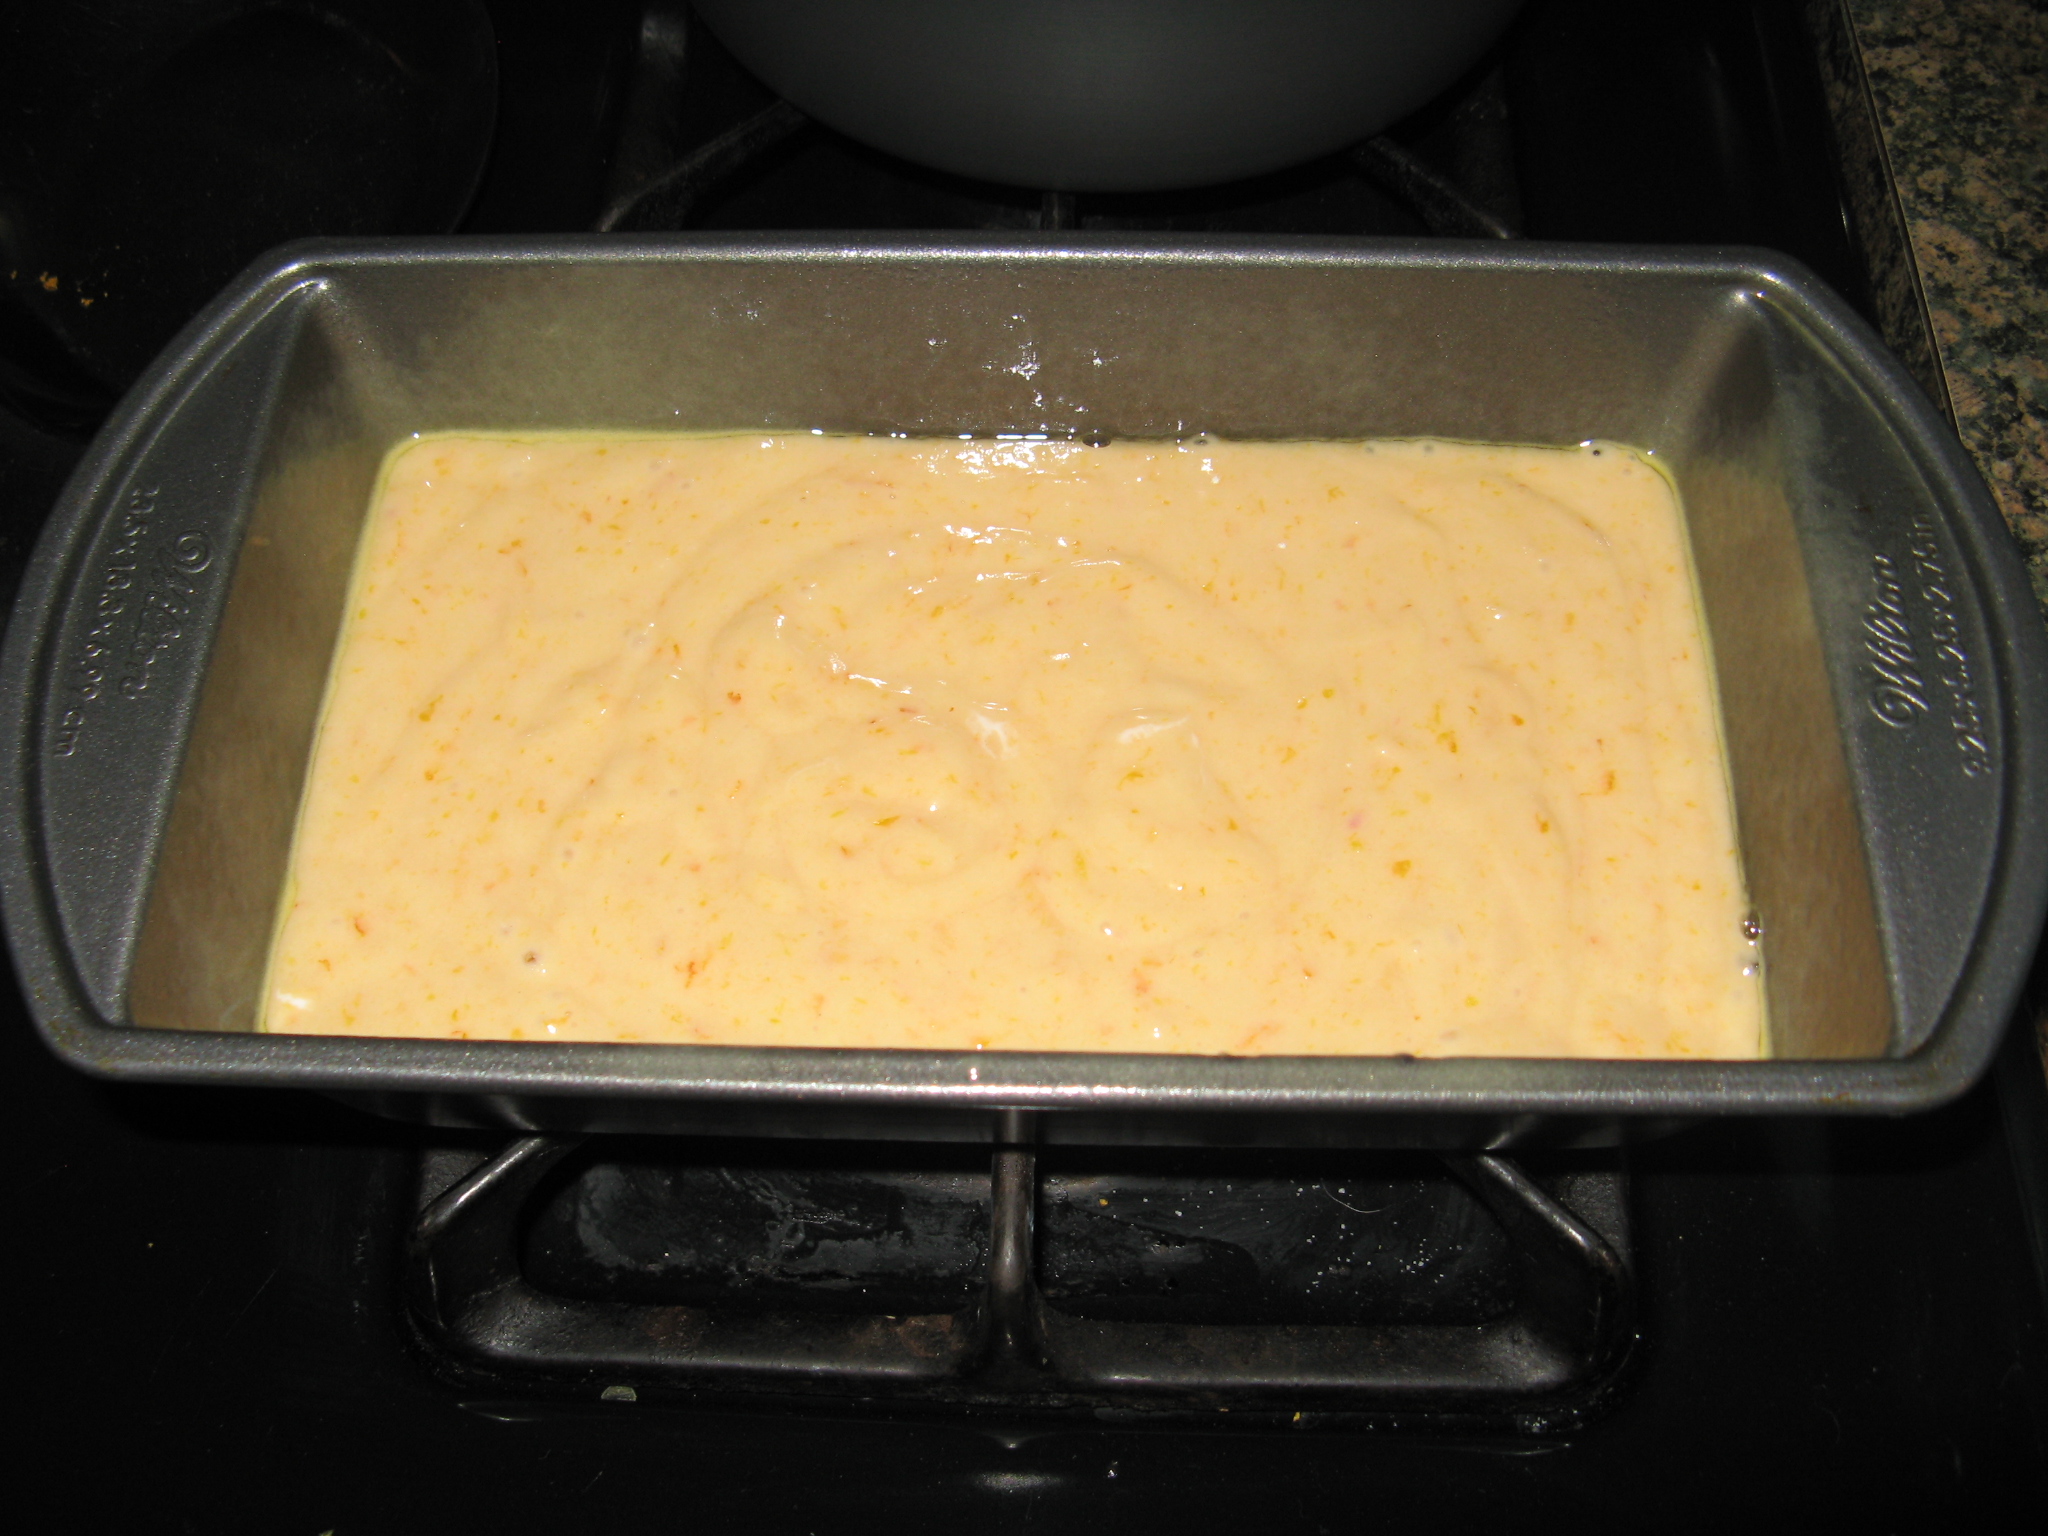
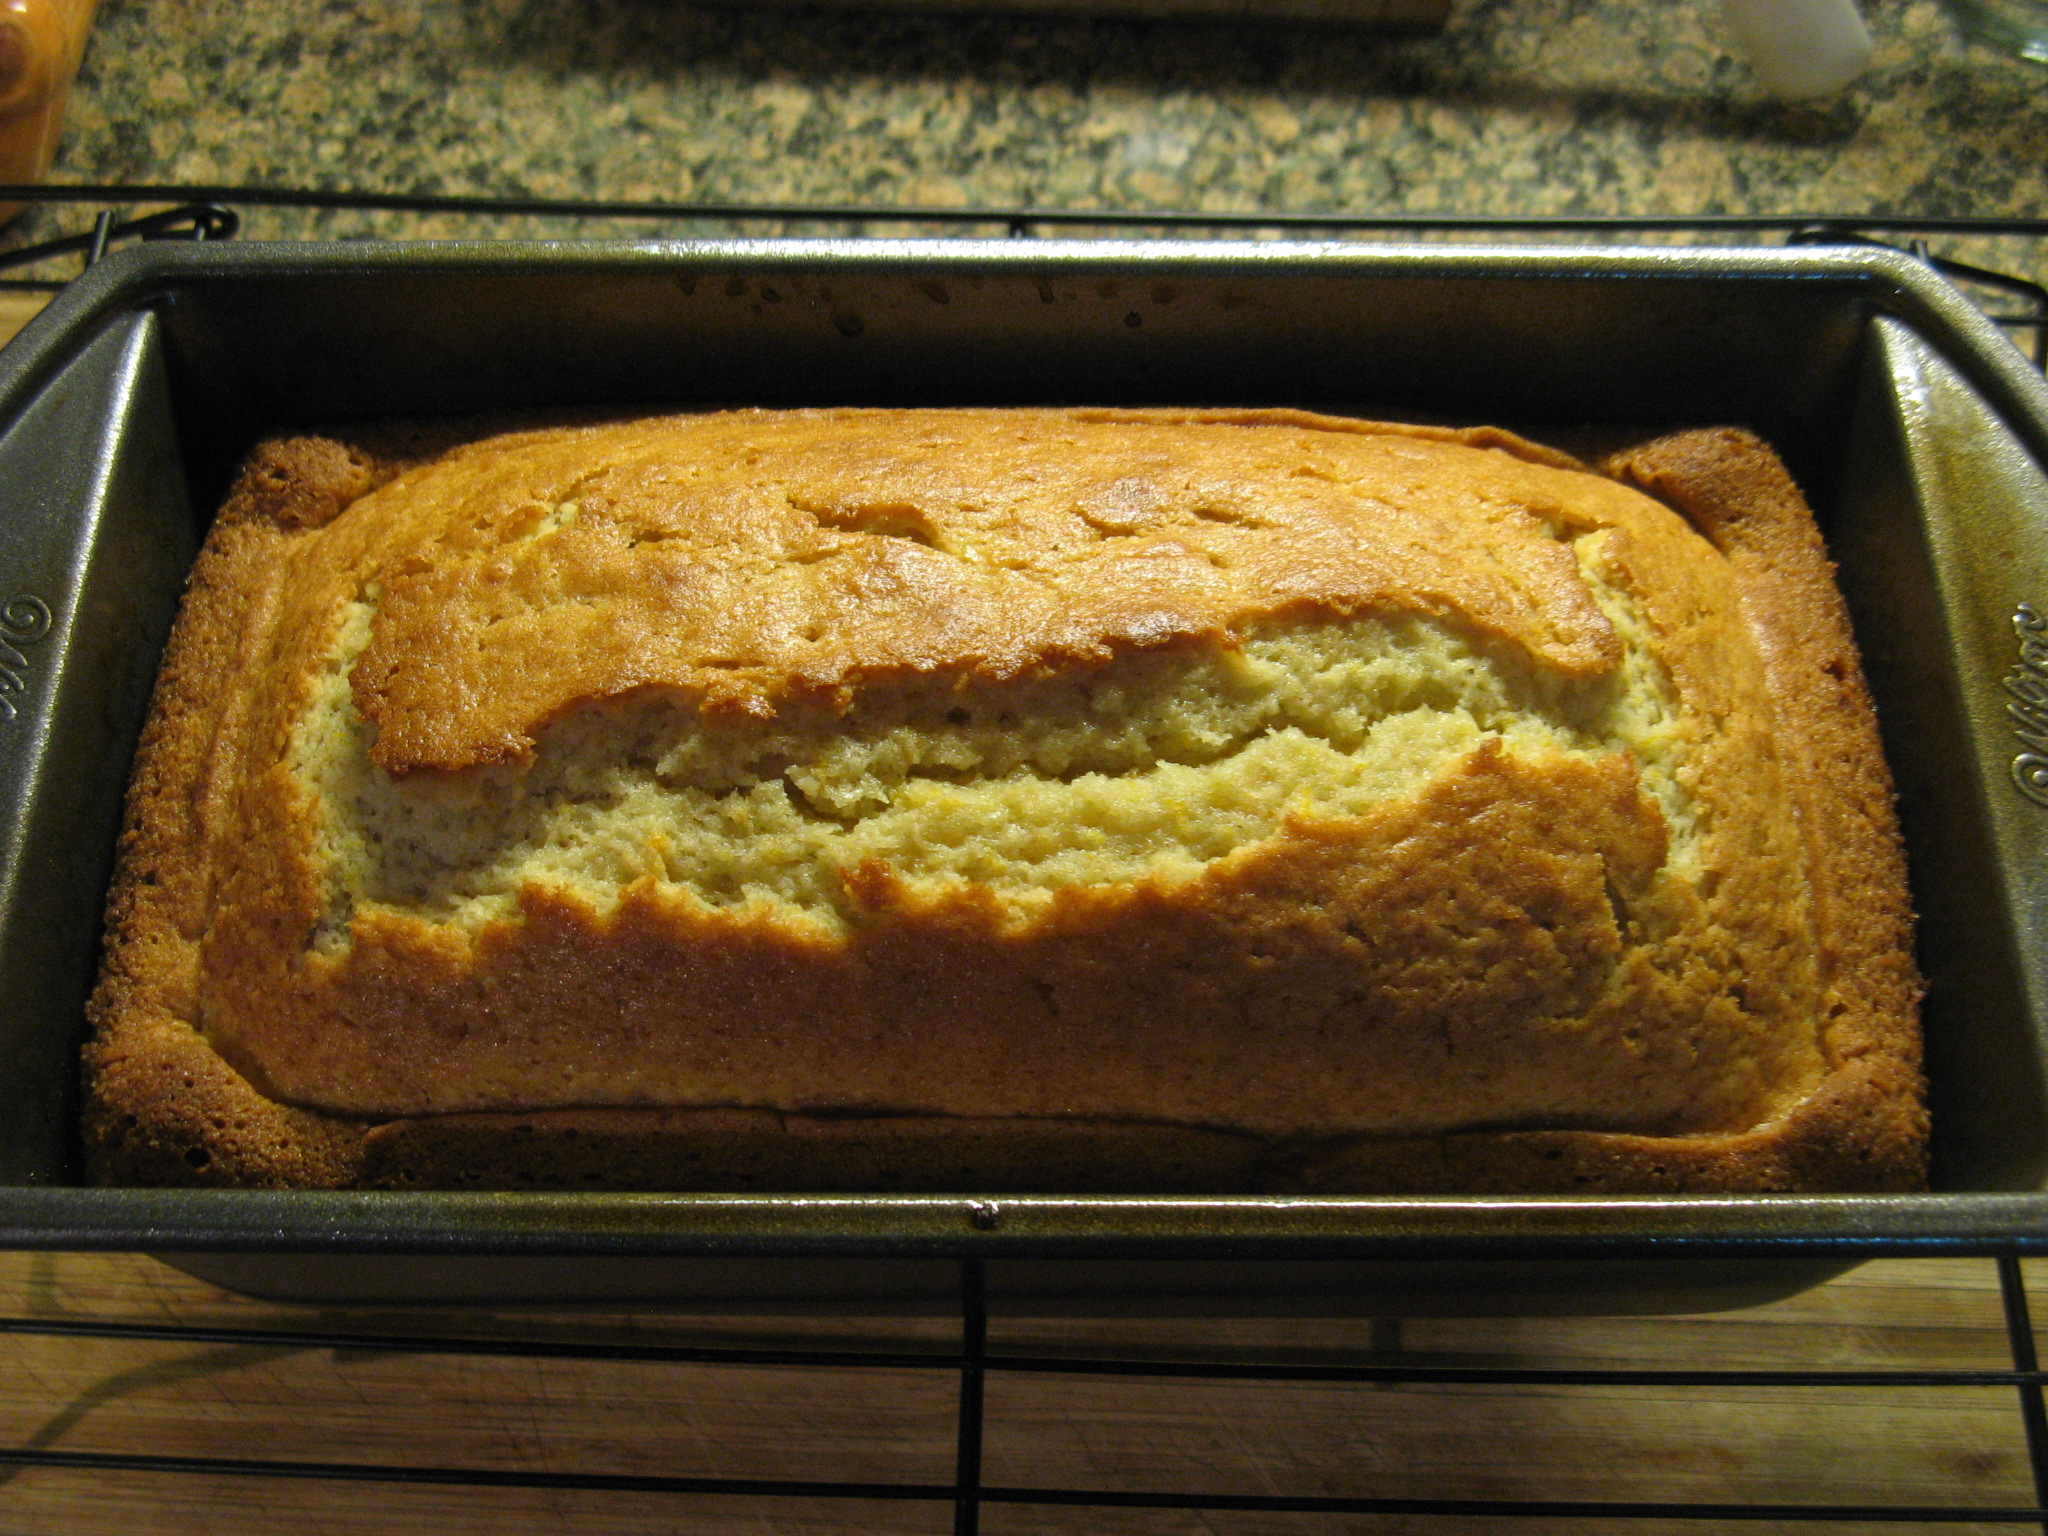
I then poured it into a prepared – I sprayed it with non-stick baking spray – 9 x 5 inch loaf pan and baked it in a 350 degrees preheated oven for about forty-five minutes.
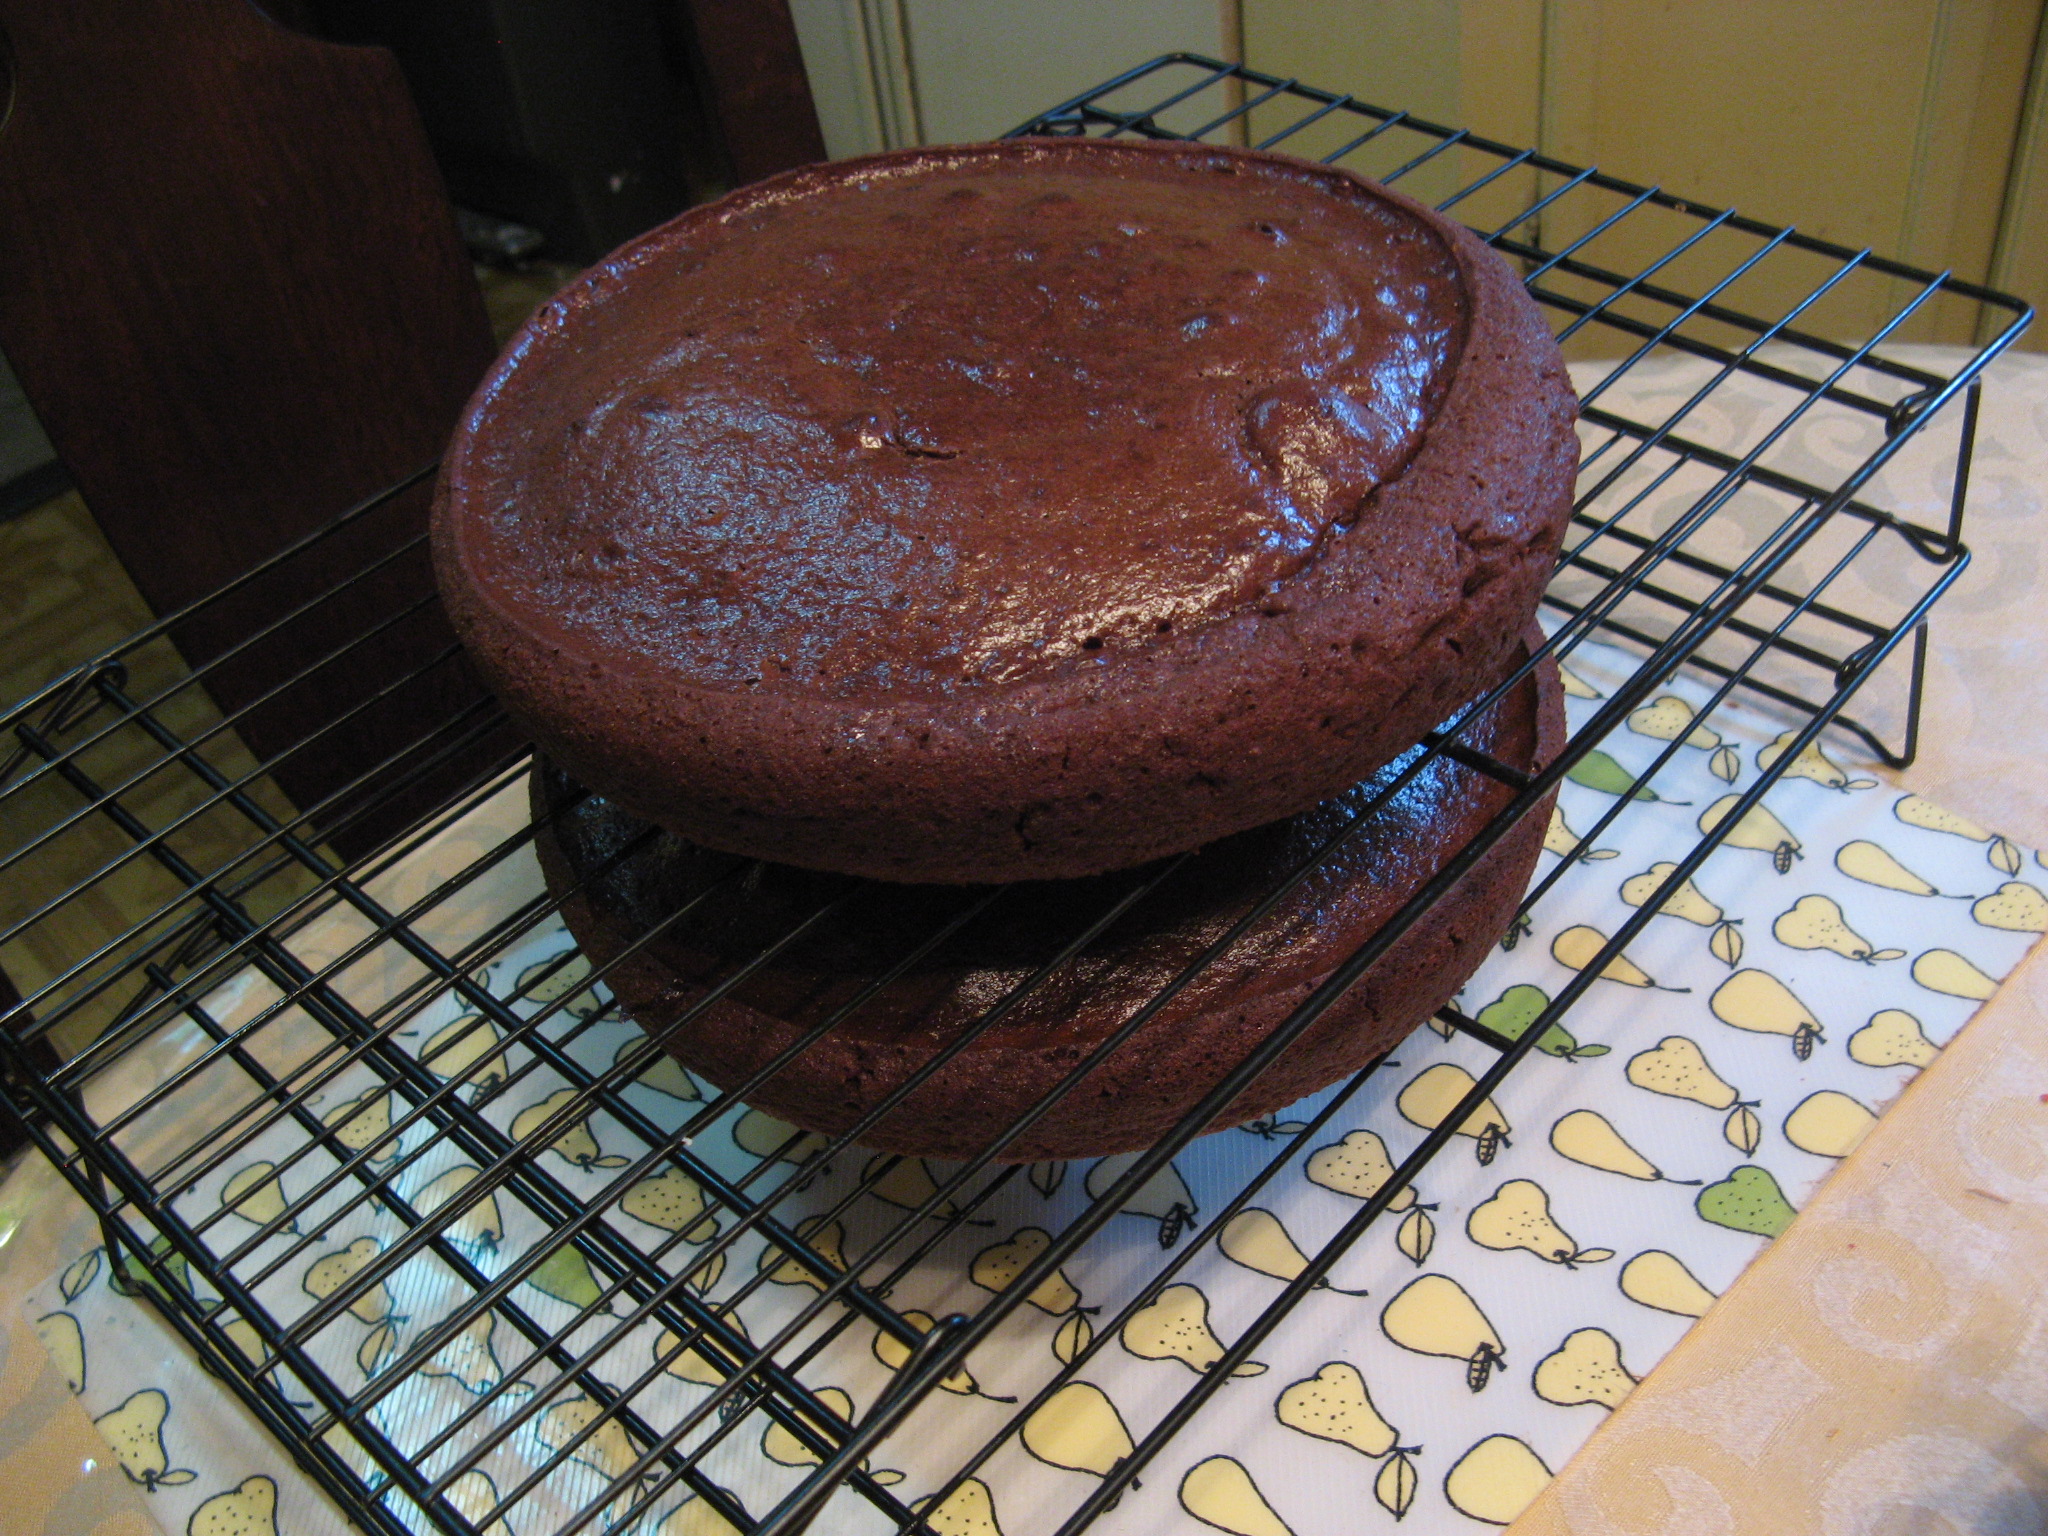
I first let the cake cool in the pan on a wire rack for fifteen minutes and then turned it out on the rack to finish cooling overnight.
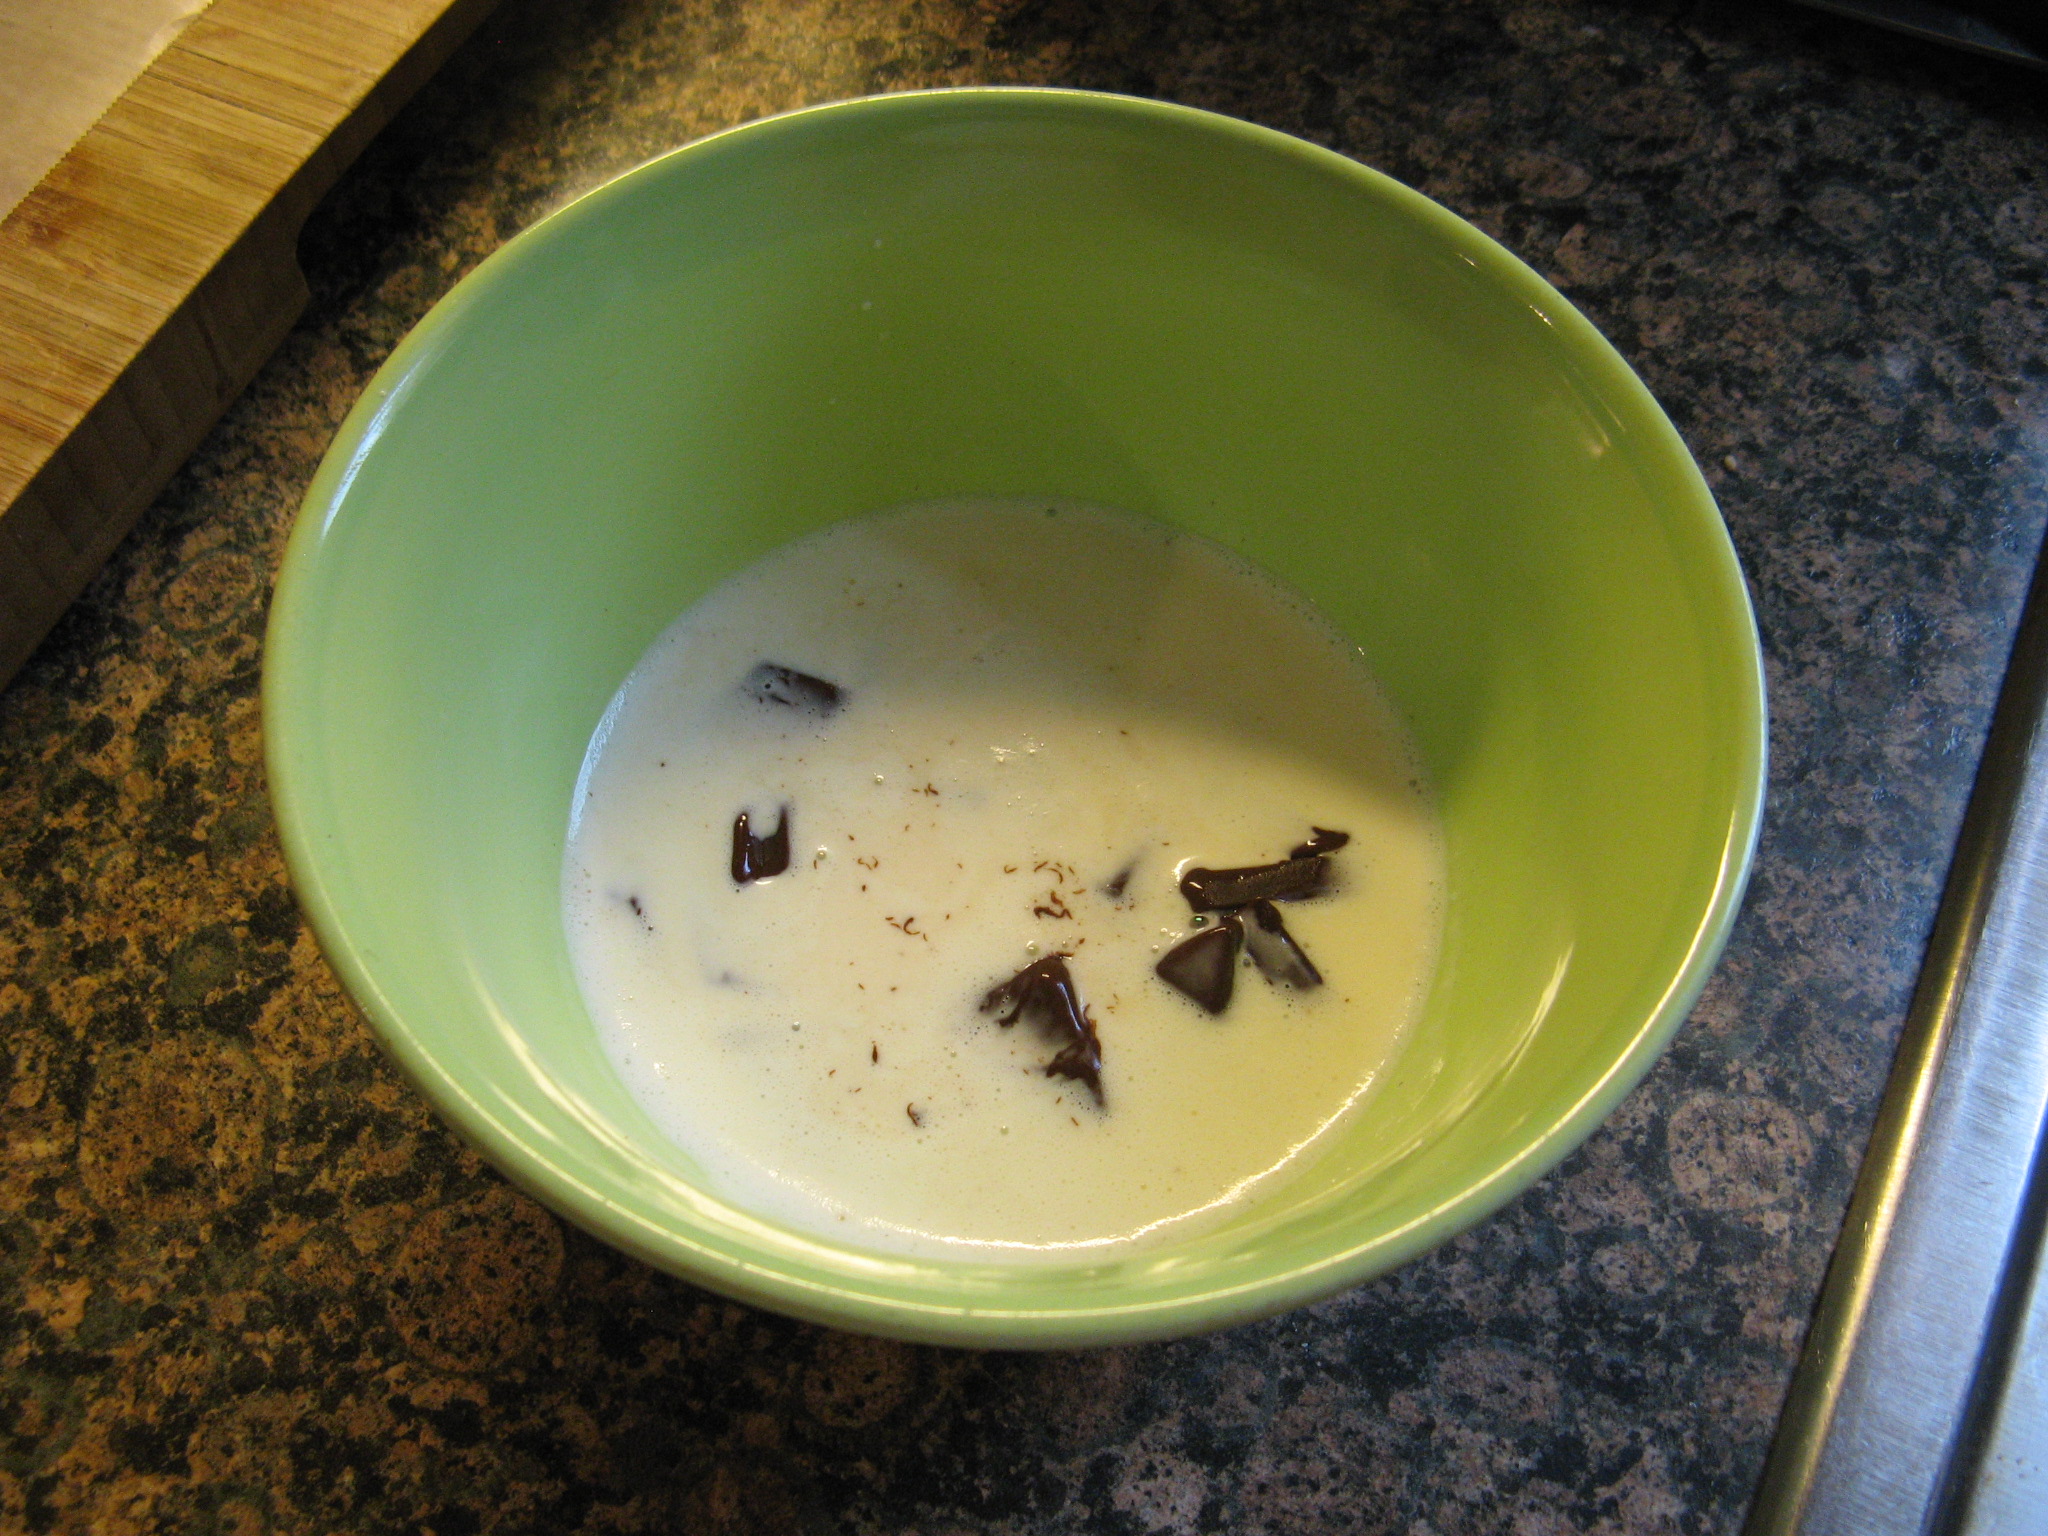
Once the cake cooled I made a dark chocolate glaze to drizzle over it. I did so by chopping up two ounces of bittersweet chocolate and then poured warmed heavy cream over it.
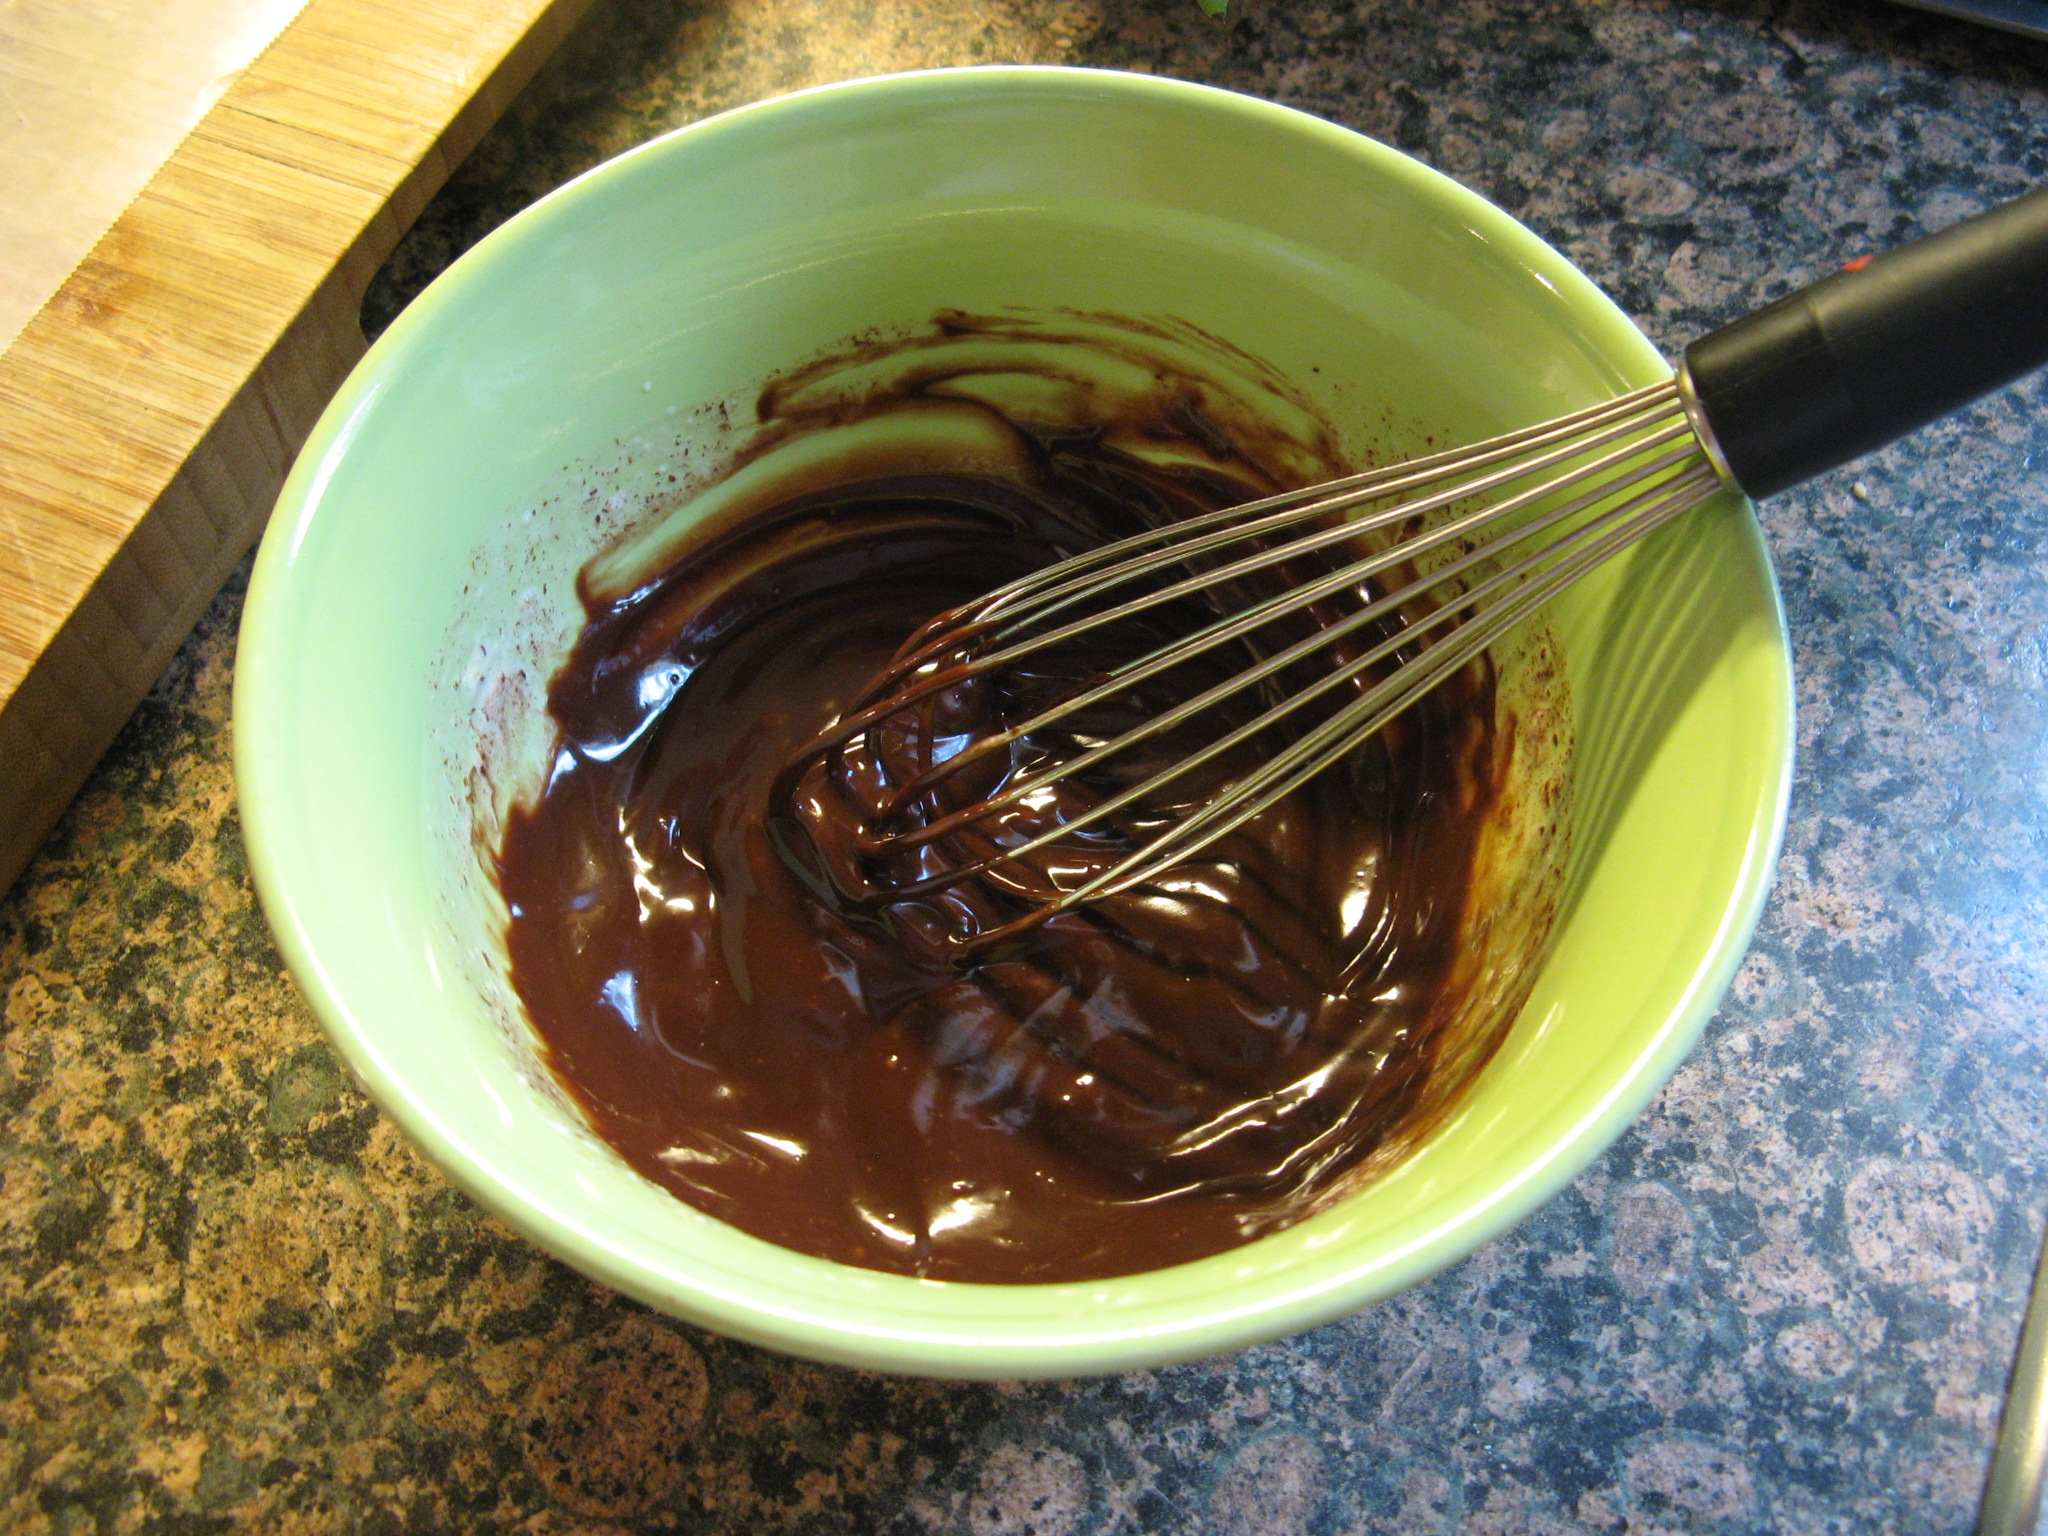
After letting it sit for a few minutes I whisked it together.
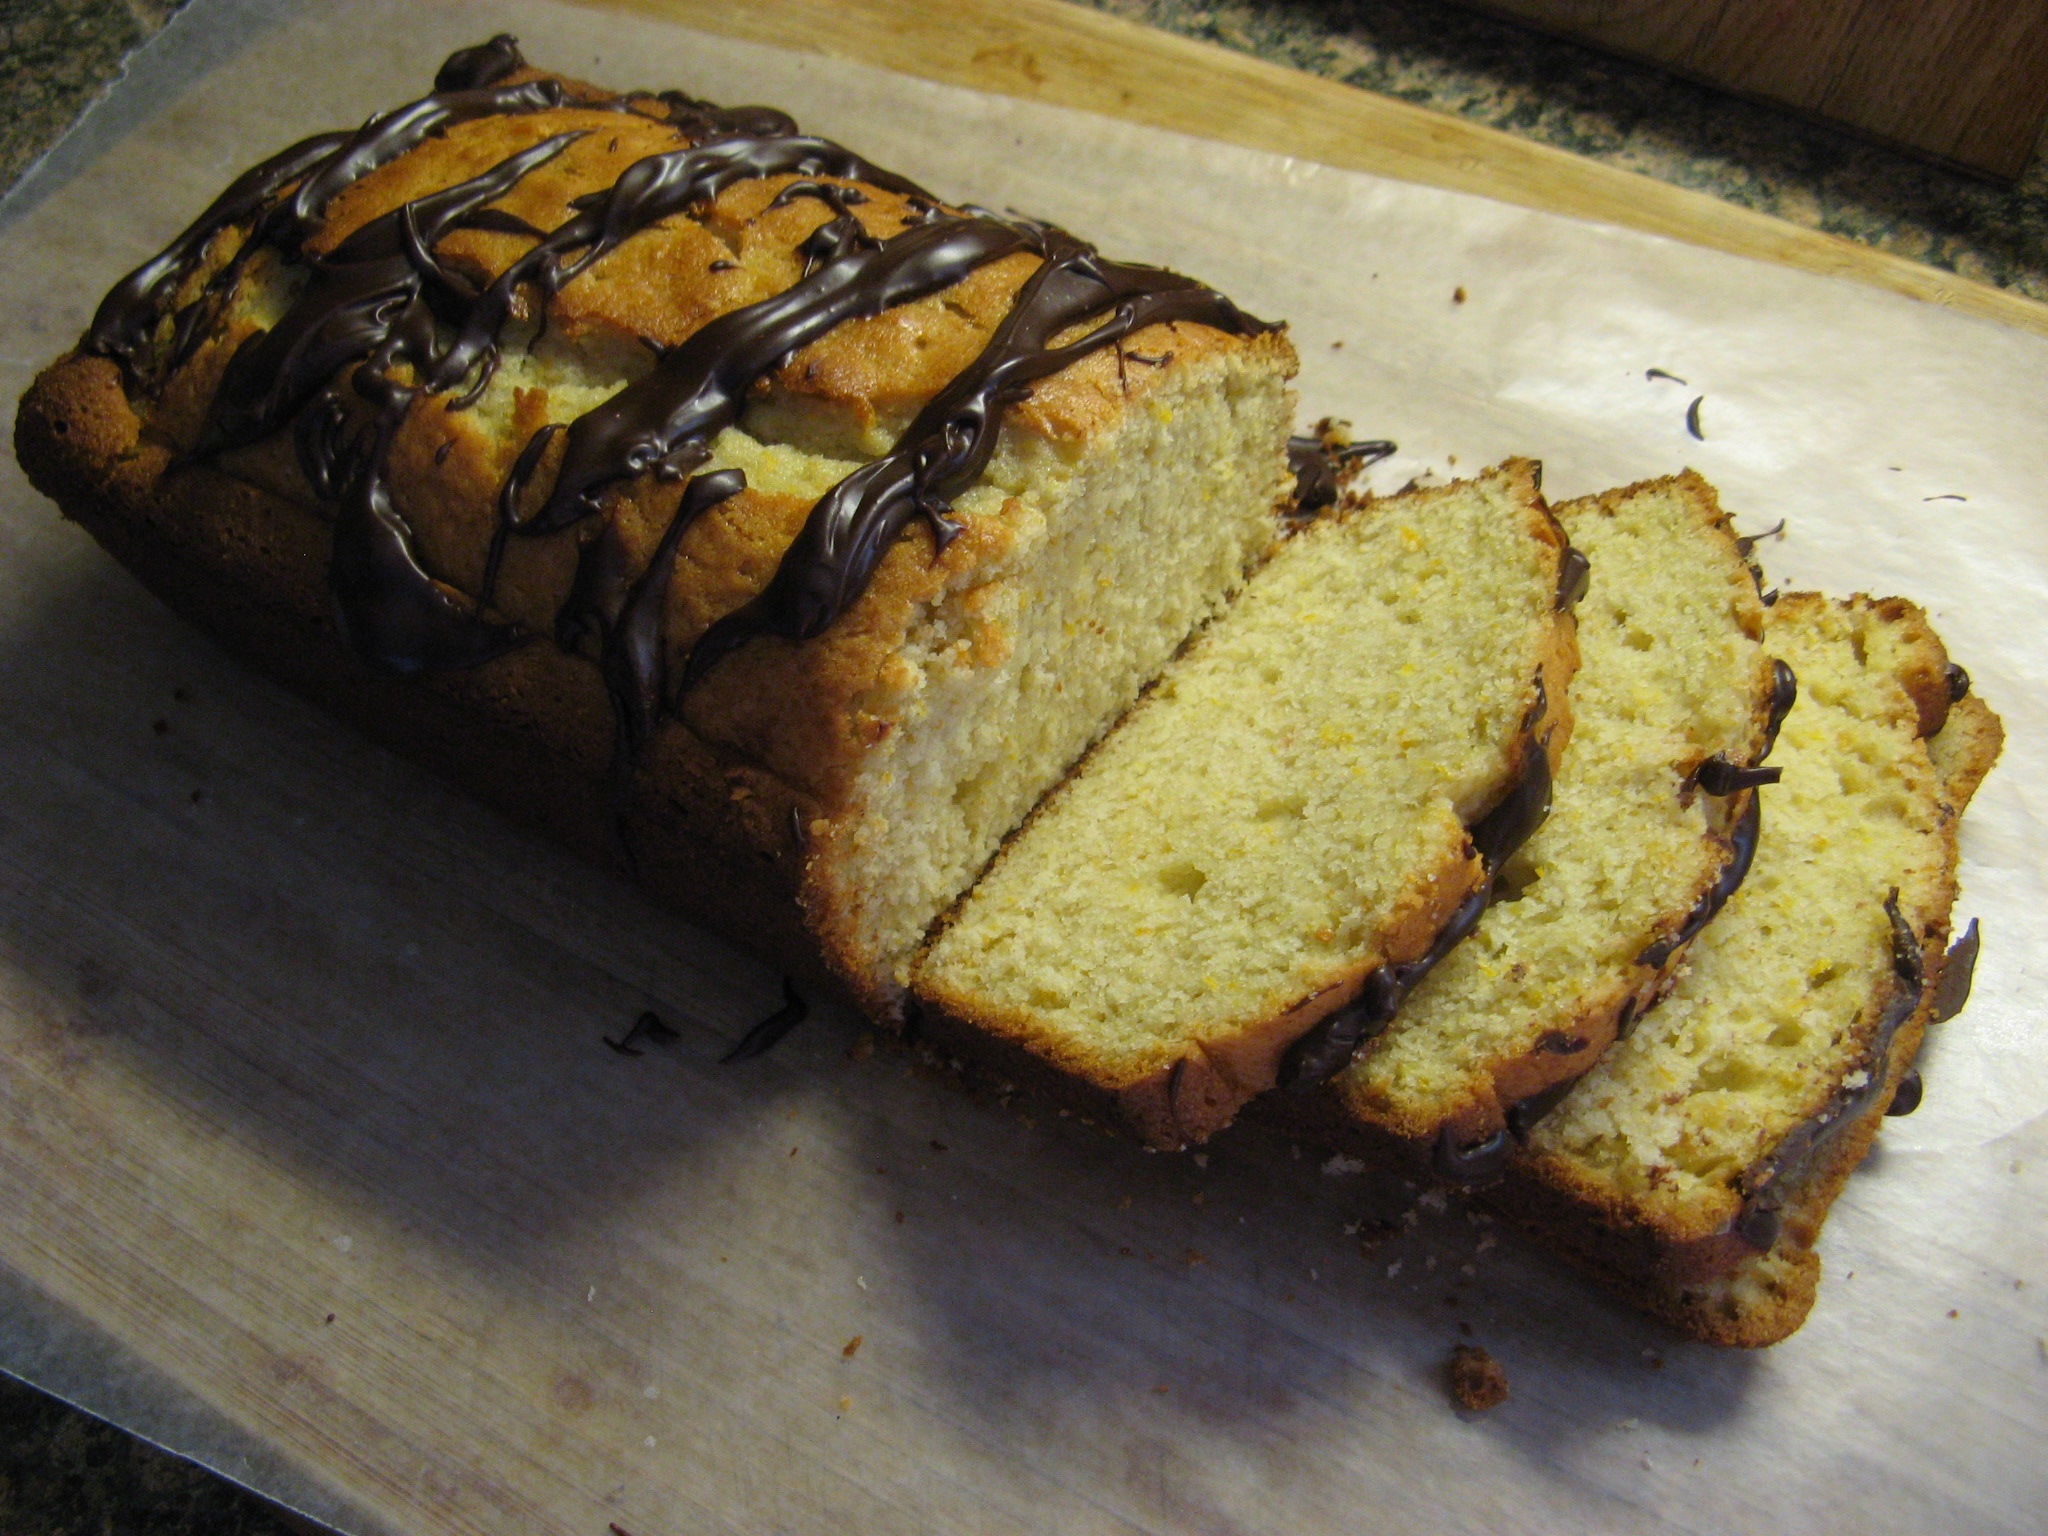
And then drizzled it over the cake.

I couldn’t wait to slice it into it and was not disappointed. The cake had a nice orange taste and that little bit of chocolate on top was just perfect! The recipe actually called for a honey-sweetened blood-orange compote to go along with it but I opted not to make it and I definitely didn’t miss it.
3 blood oranges
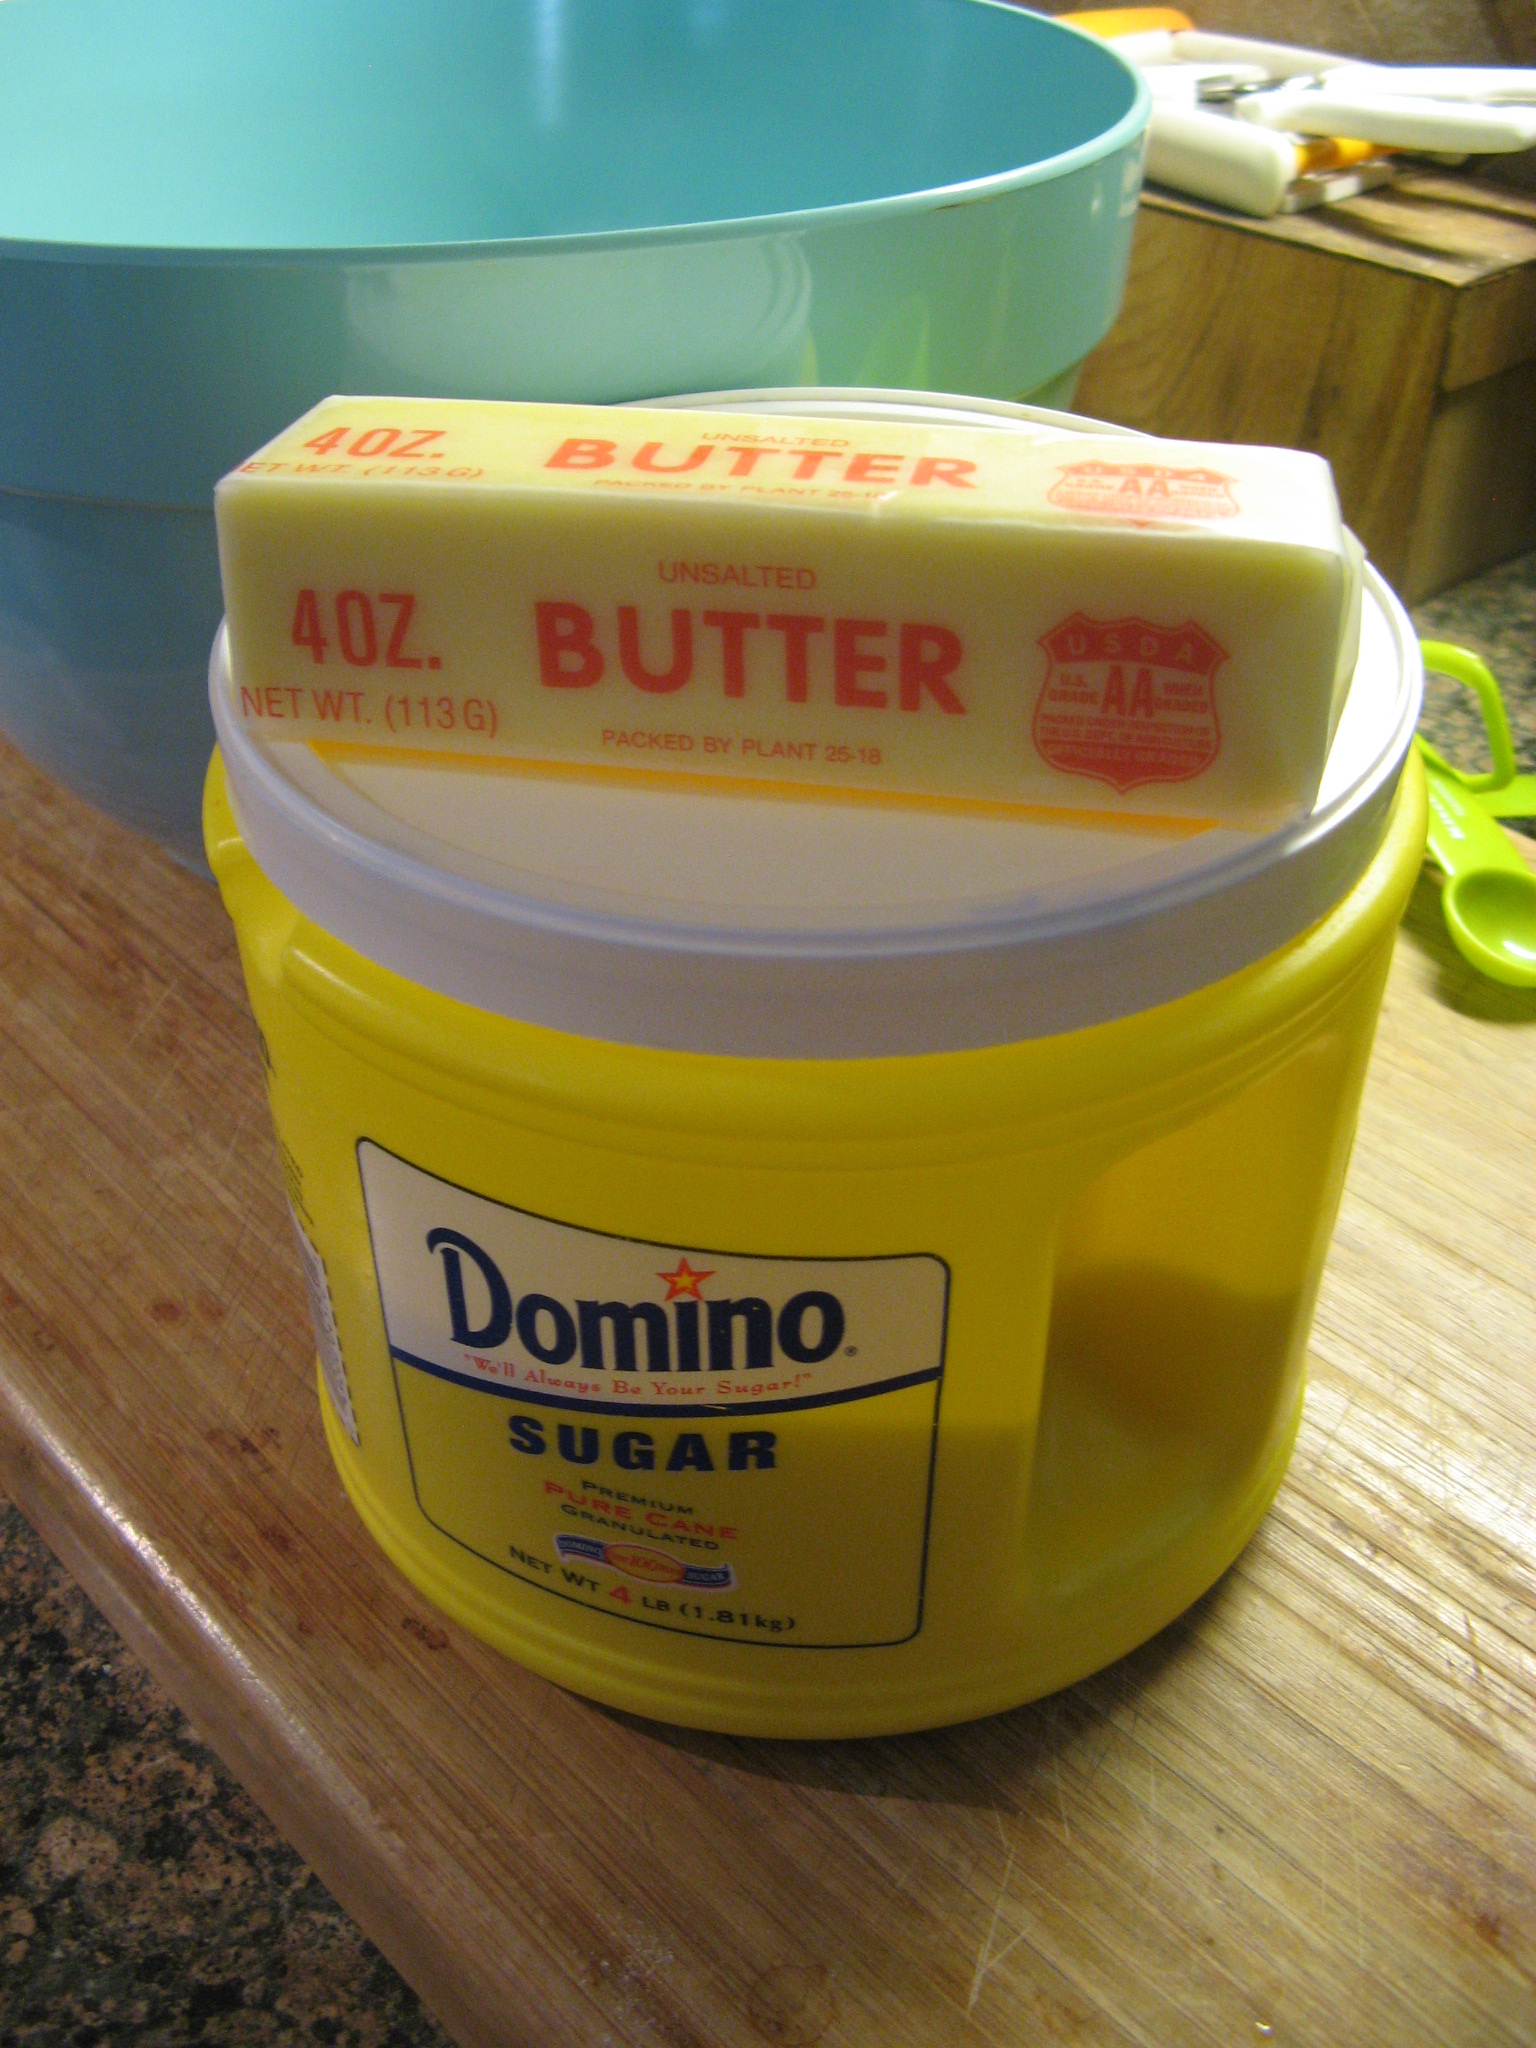
1 cup sugar
1/2 cup buttermilk
3 large eggs
2/3 cup extra-virgin olive oil
1 1/2 tsp. baking powder
1/4 tsp. baking soda
1/4 tsp. salt
2 oz. bittersweet chocolate
1/4 cup heavy cream
1. Preheat oven to 350 F. Prepare a 9-by-5 inch with non-stick baking spray. Finely grate enough rind from oranges to yield 1 packed tablespoon zest.
2. Peel the oranges and then working over a bowl squeeze the segments to obtain 1/4 cup juice.
3. Combine sugar and zest in another bowl; using your fingers, rub together well. Add juice and the buttermilk; whisk to combine. Add eggs and oil; whisk to combine. Sift together flour, baking powder, baking soda, and salt into a small bowl; add to buttermilk mixture, whisking until smooth.
4. Transfer batter to prepared pan. Bake until golden and a cake tester comes out clean, 40 to 45 minutes. Transfer pan to a wire rack to cool 15 minutes. Turn out cake onto rack to cool completely.
5. Place chocolate in a heatproof bowl. Bring cream to a gentle simmer in a small saucepan. Pour over chocolate, let stand 5 minutes, and then whisk together until smooth. Drizzle over cooled cake and let set about 1 hour.