Sometimes baking in my slow cooker is a hit or miss situation. I recently made a Banana Bread Pudding in it and that was a definite hit and I once made a Chocolate Peanut Butter Cake that was more burnt than cake. I don’t let those mishaps discourage me though. I recently tried making brownies in my slow cooker and while they tasted good, there were a few pieces along the edge that were burnt. But, I believe I know what the problem was. The recipe called for a 5 quart slow cooker and I used a 5.5 quart slow cooker. You wouldn’t think it would make a difference, but, having a slightly larger slow cooker means that my brownies were probably slightly thinner than the recipe intended, hence the baking time I followed was too long which resulted in slightly burnt brownies.
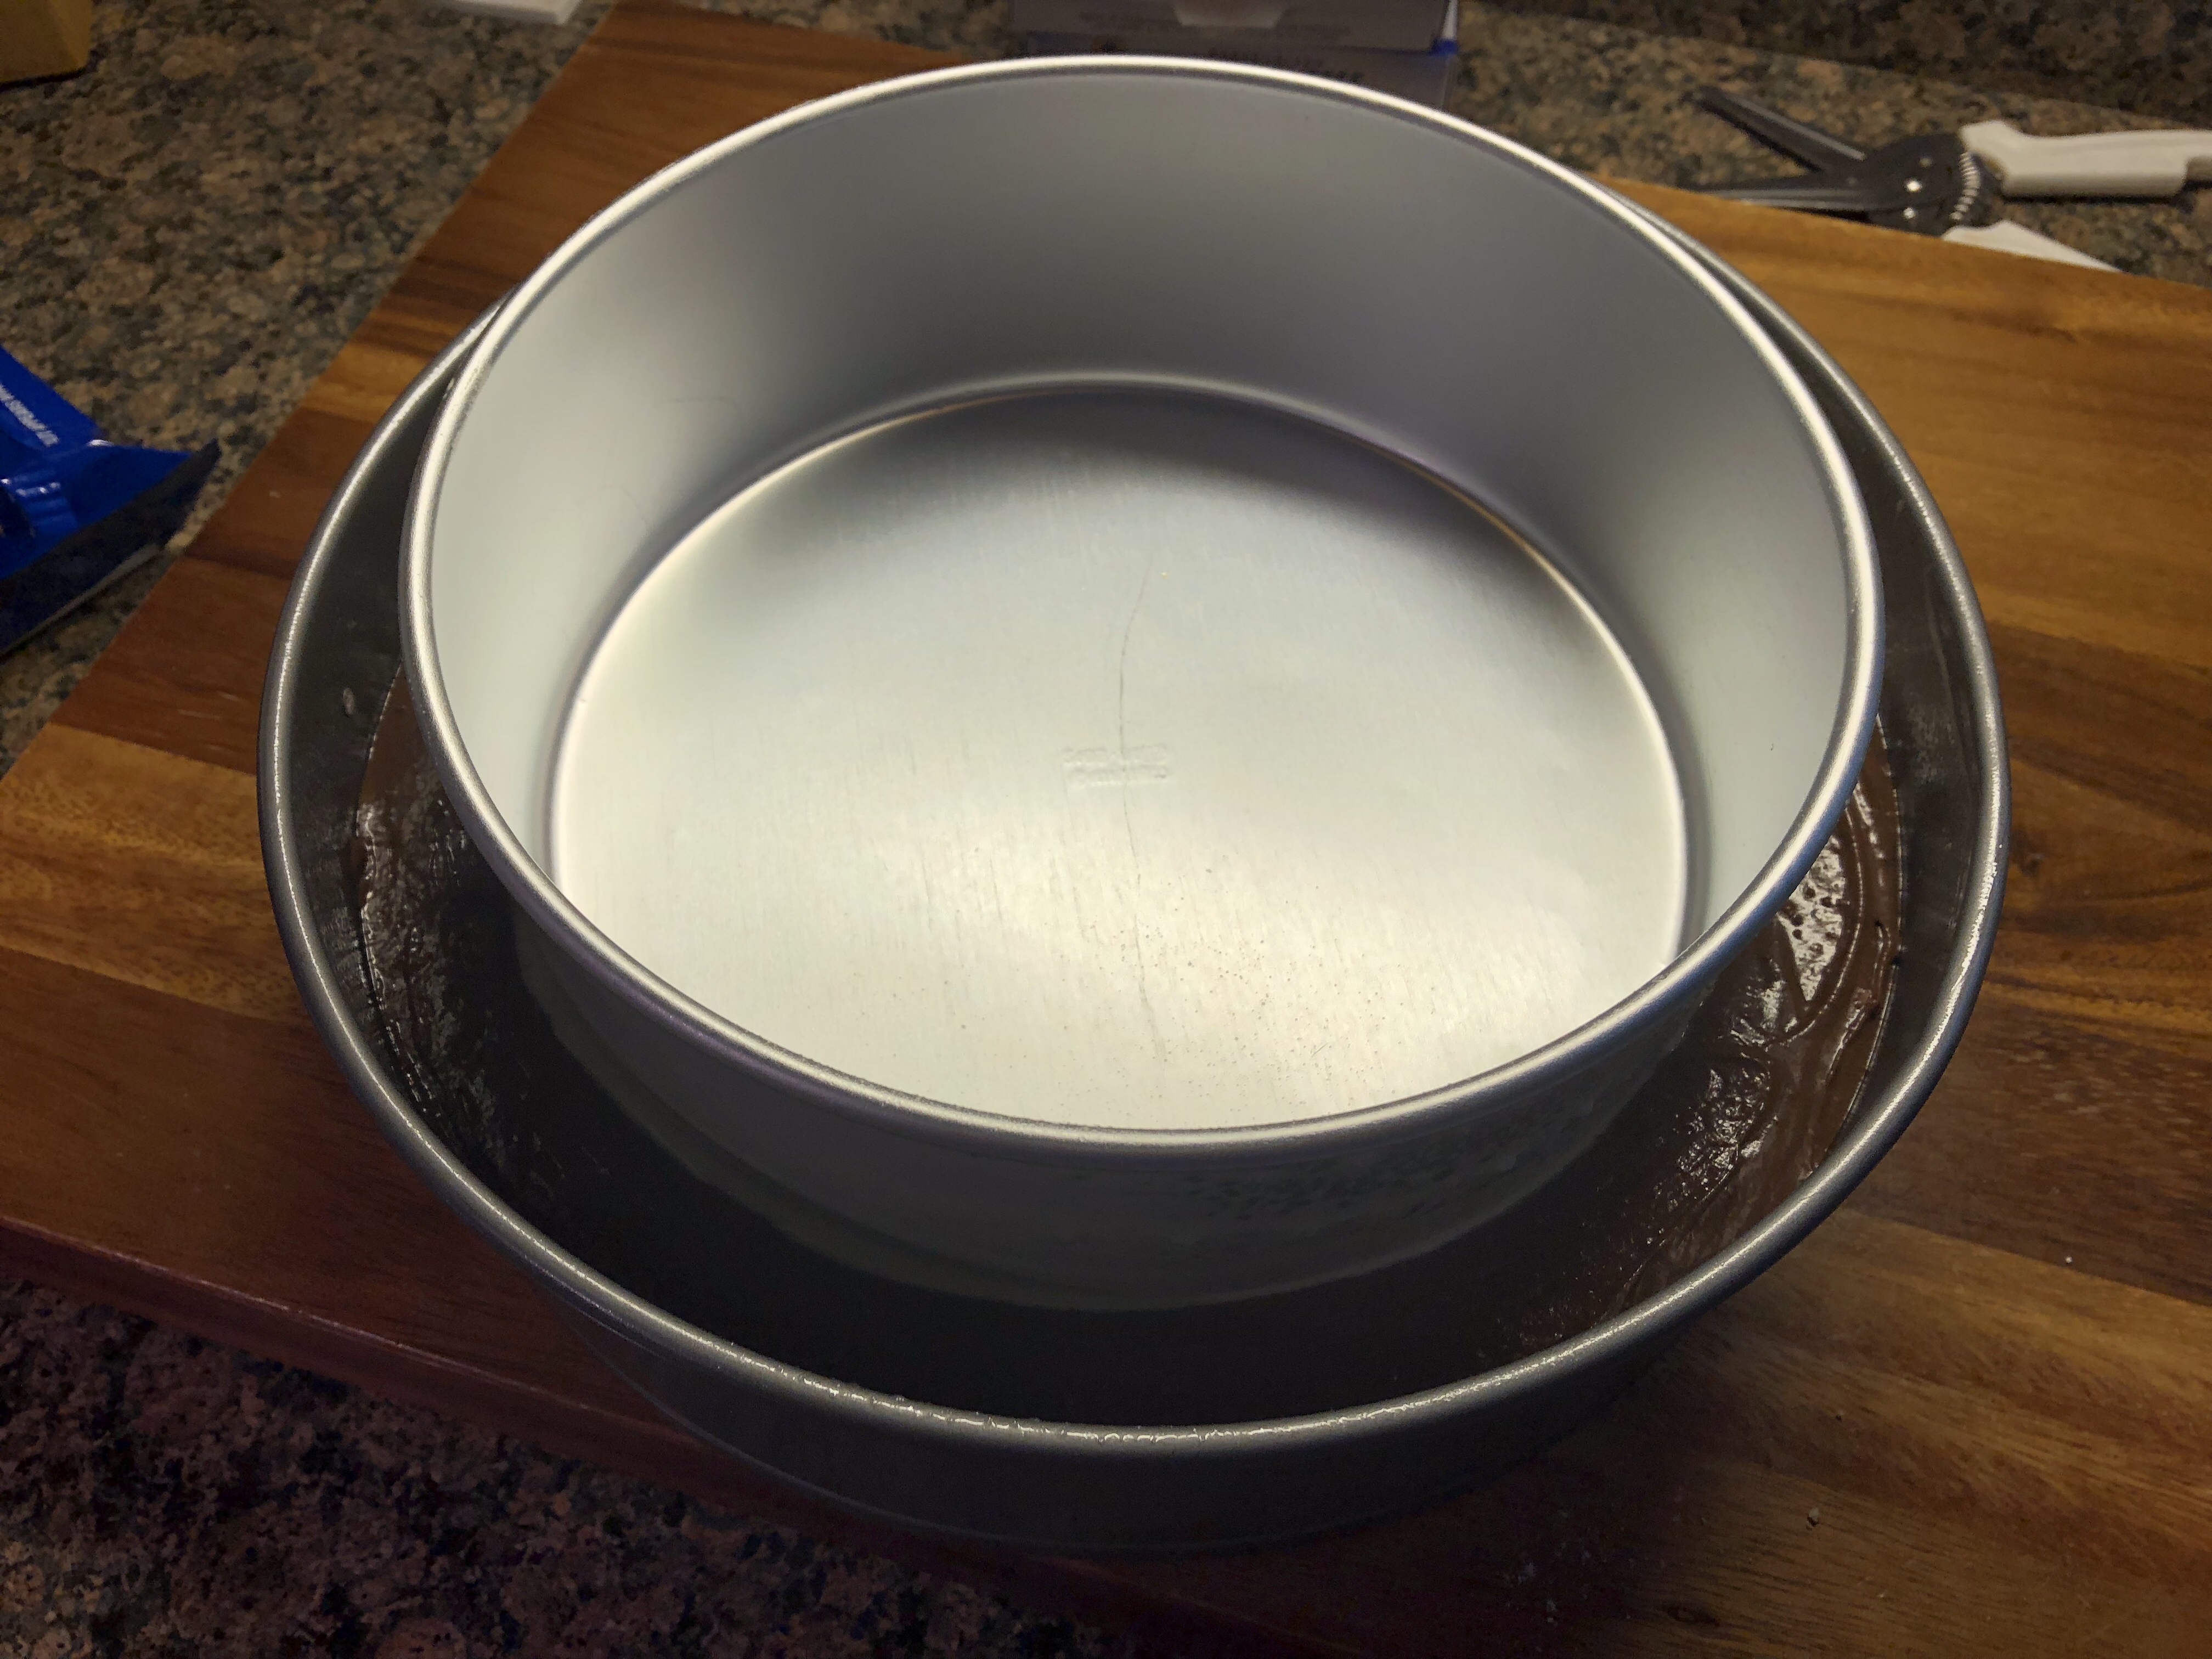
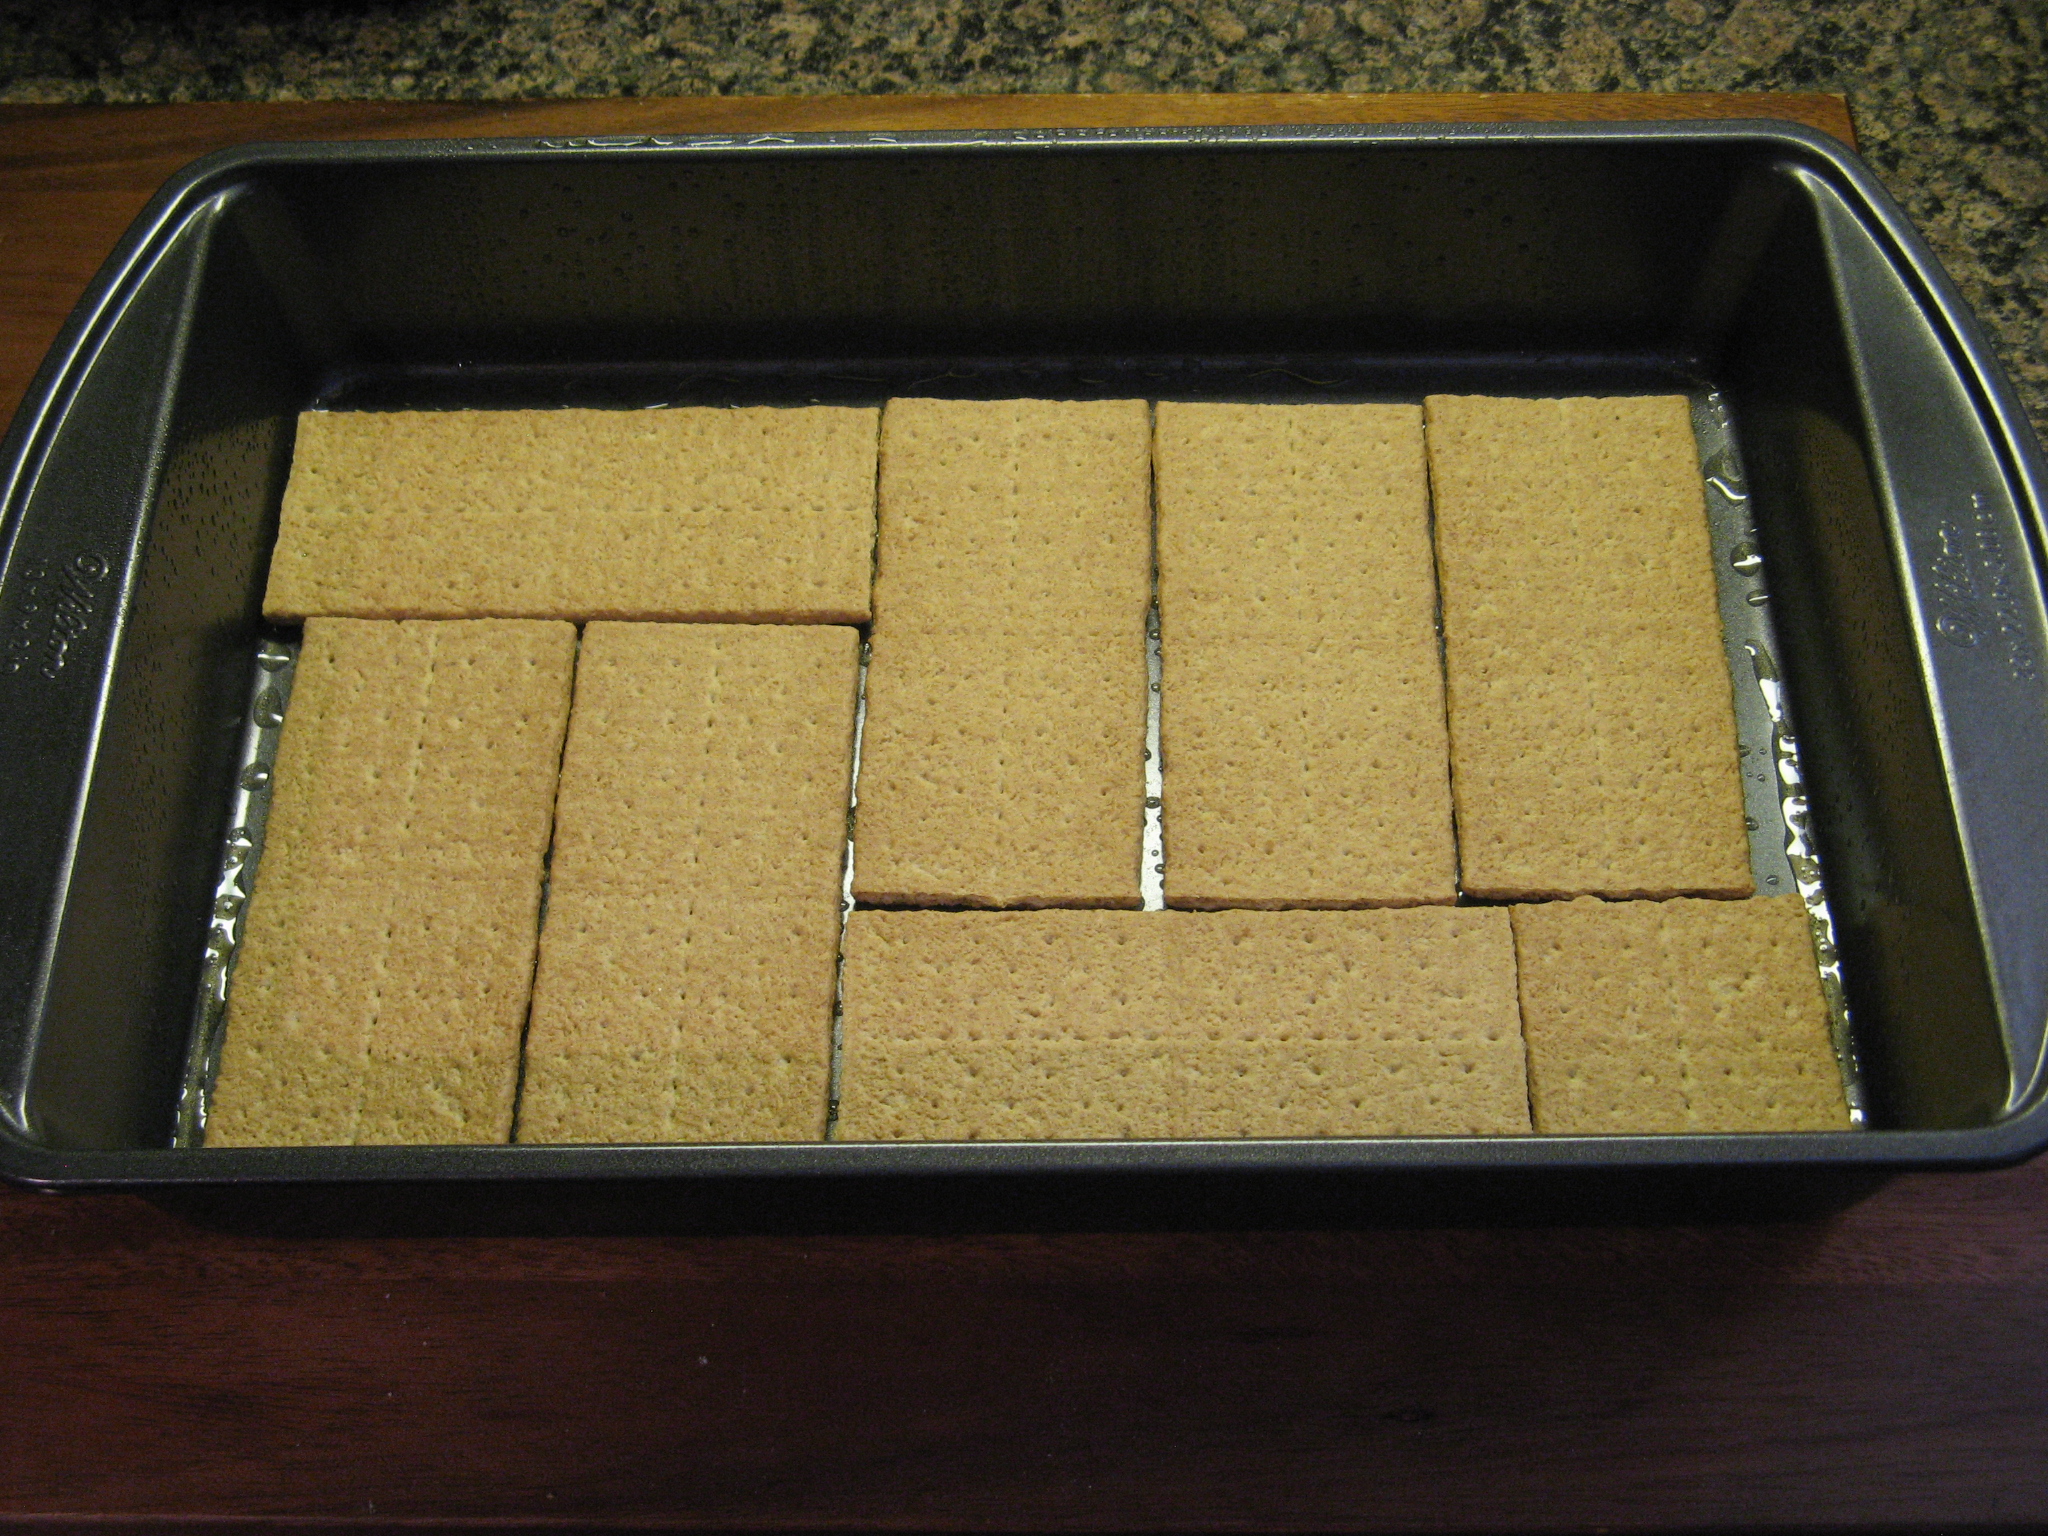
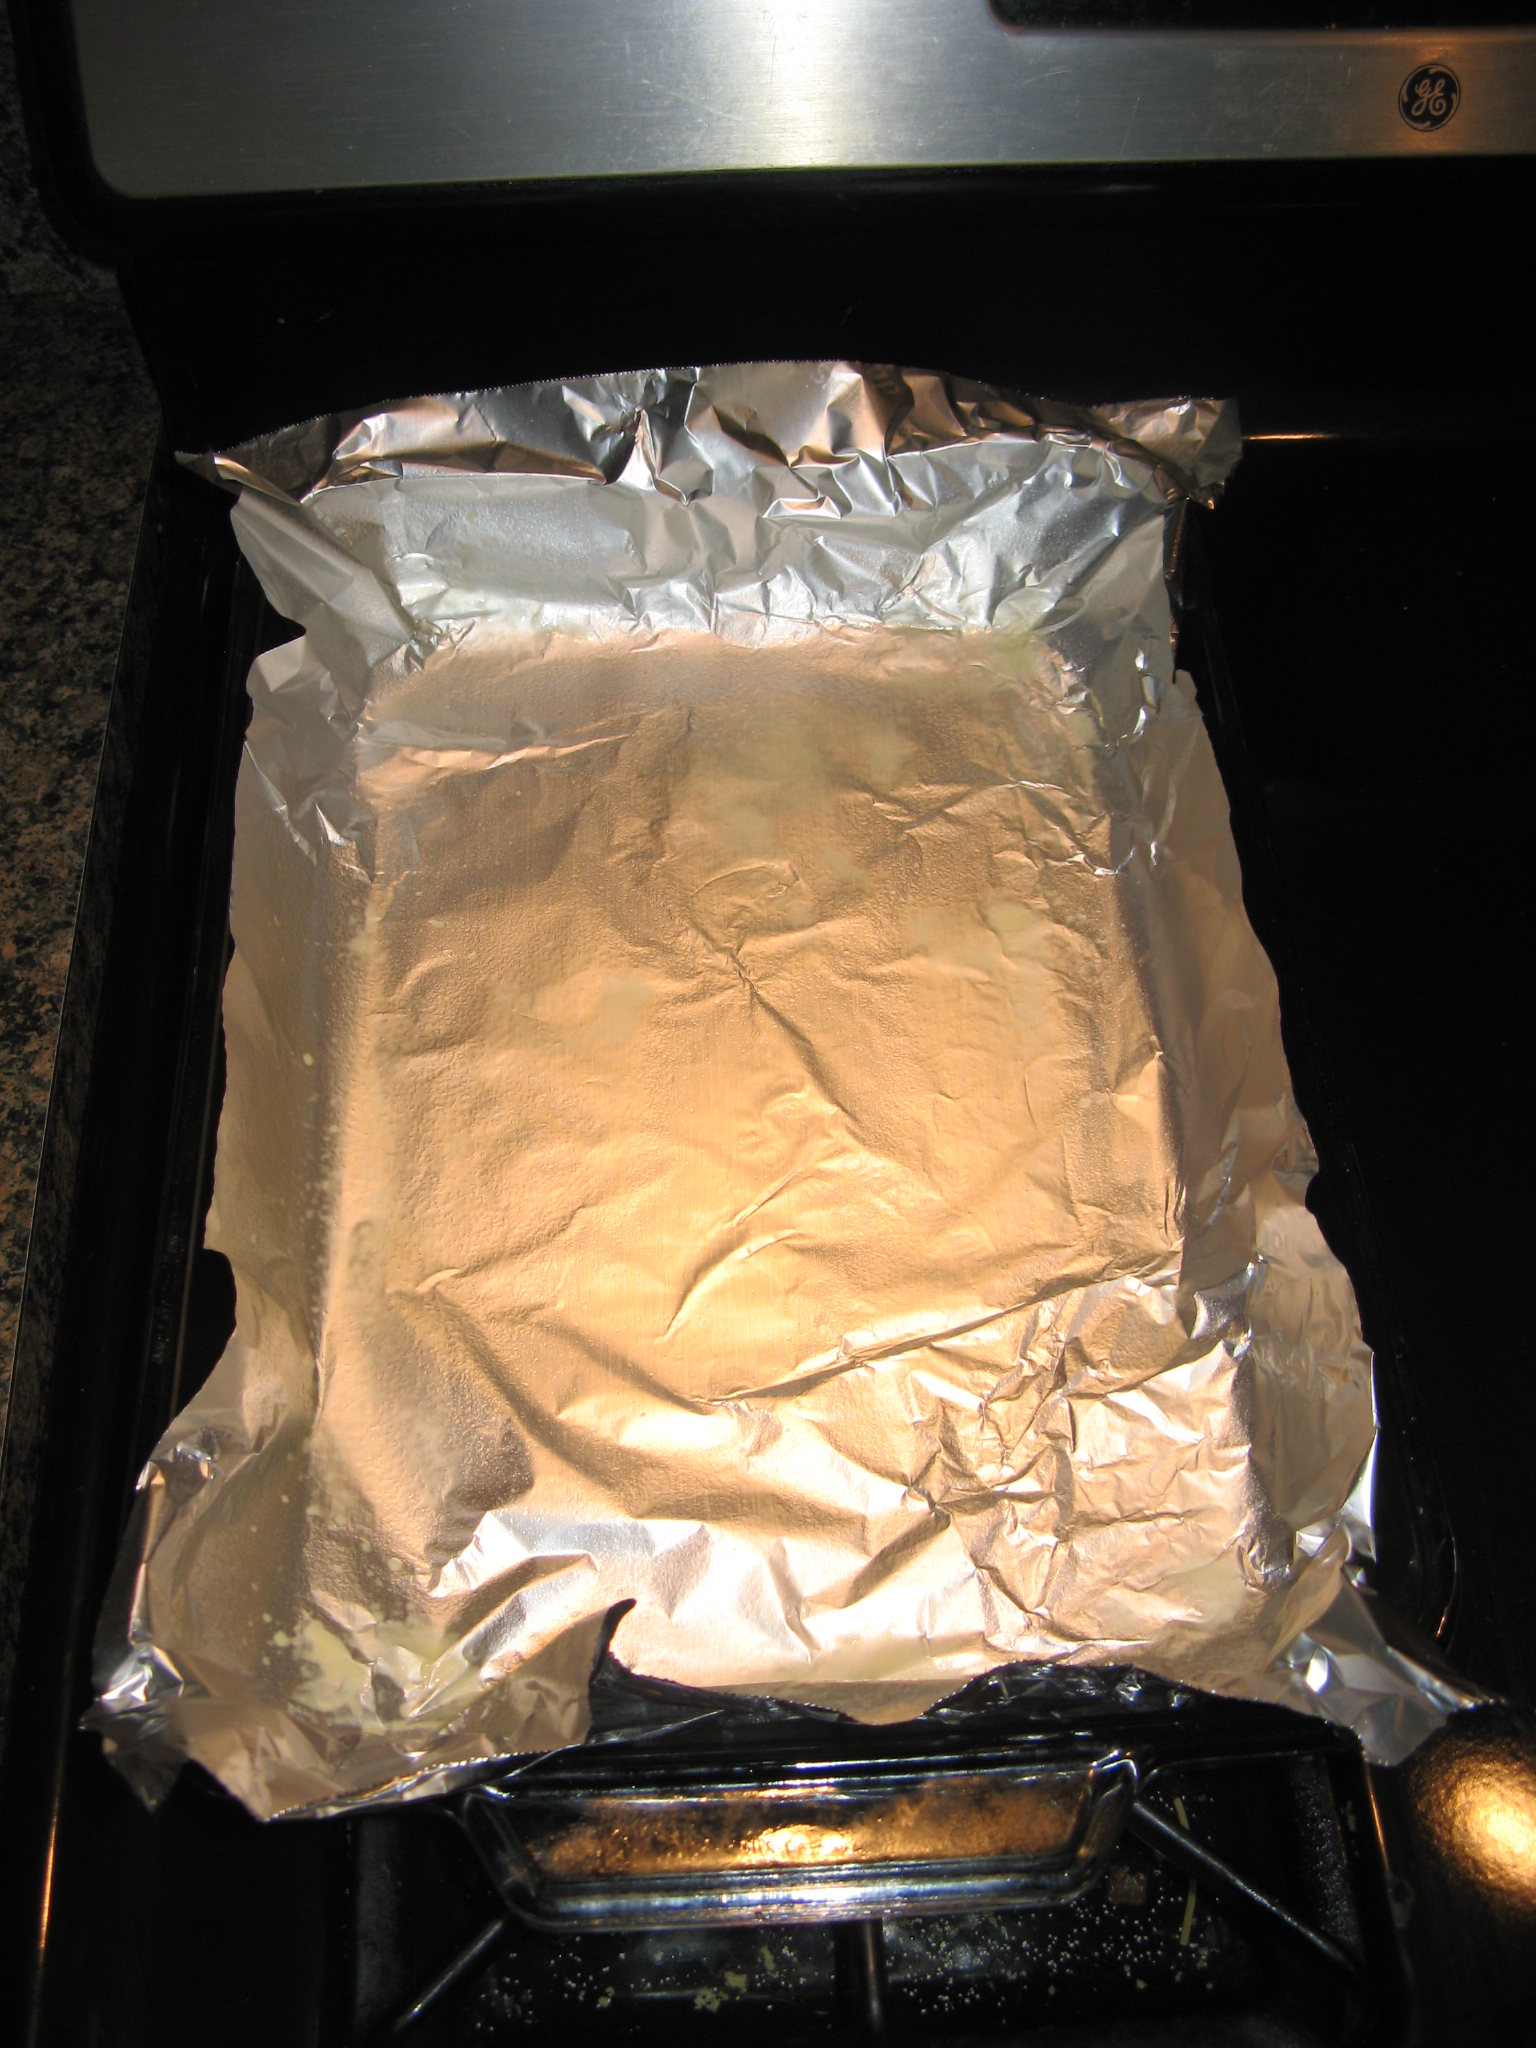
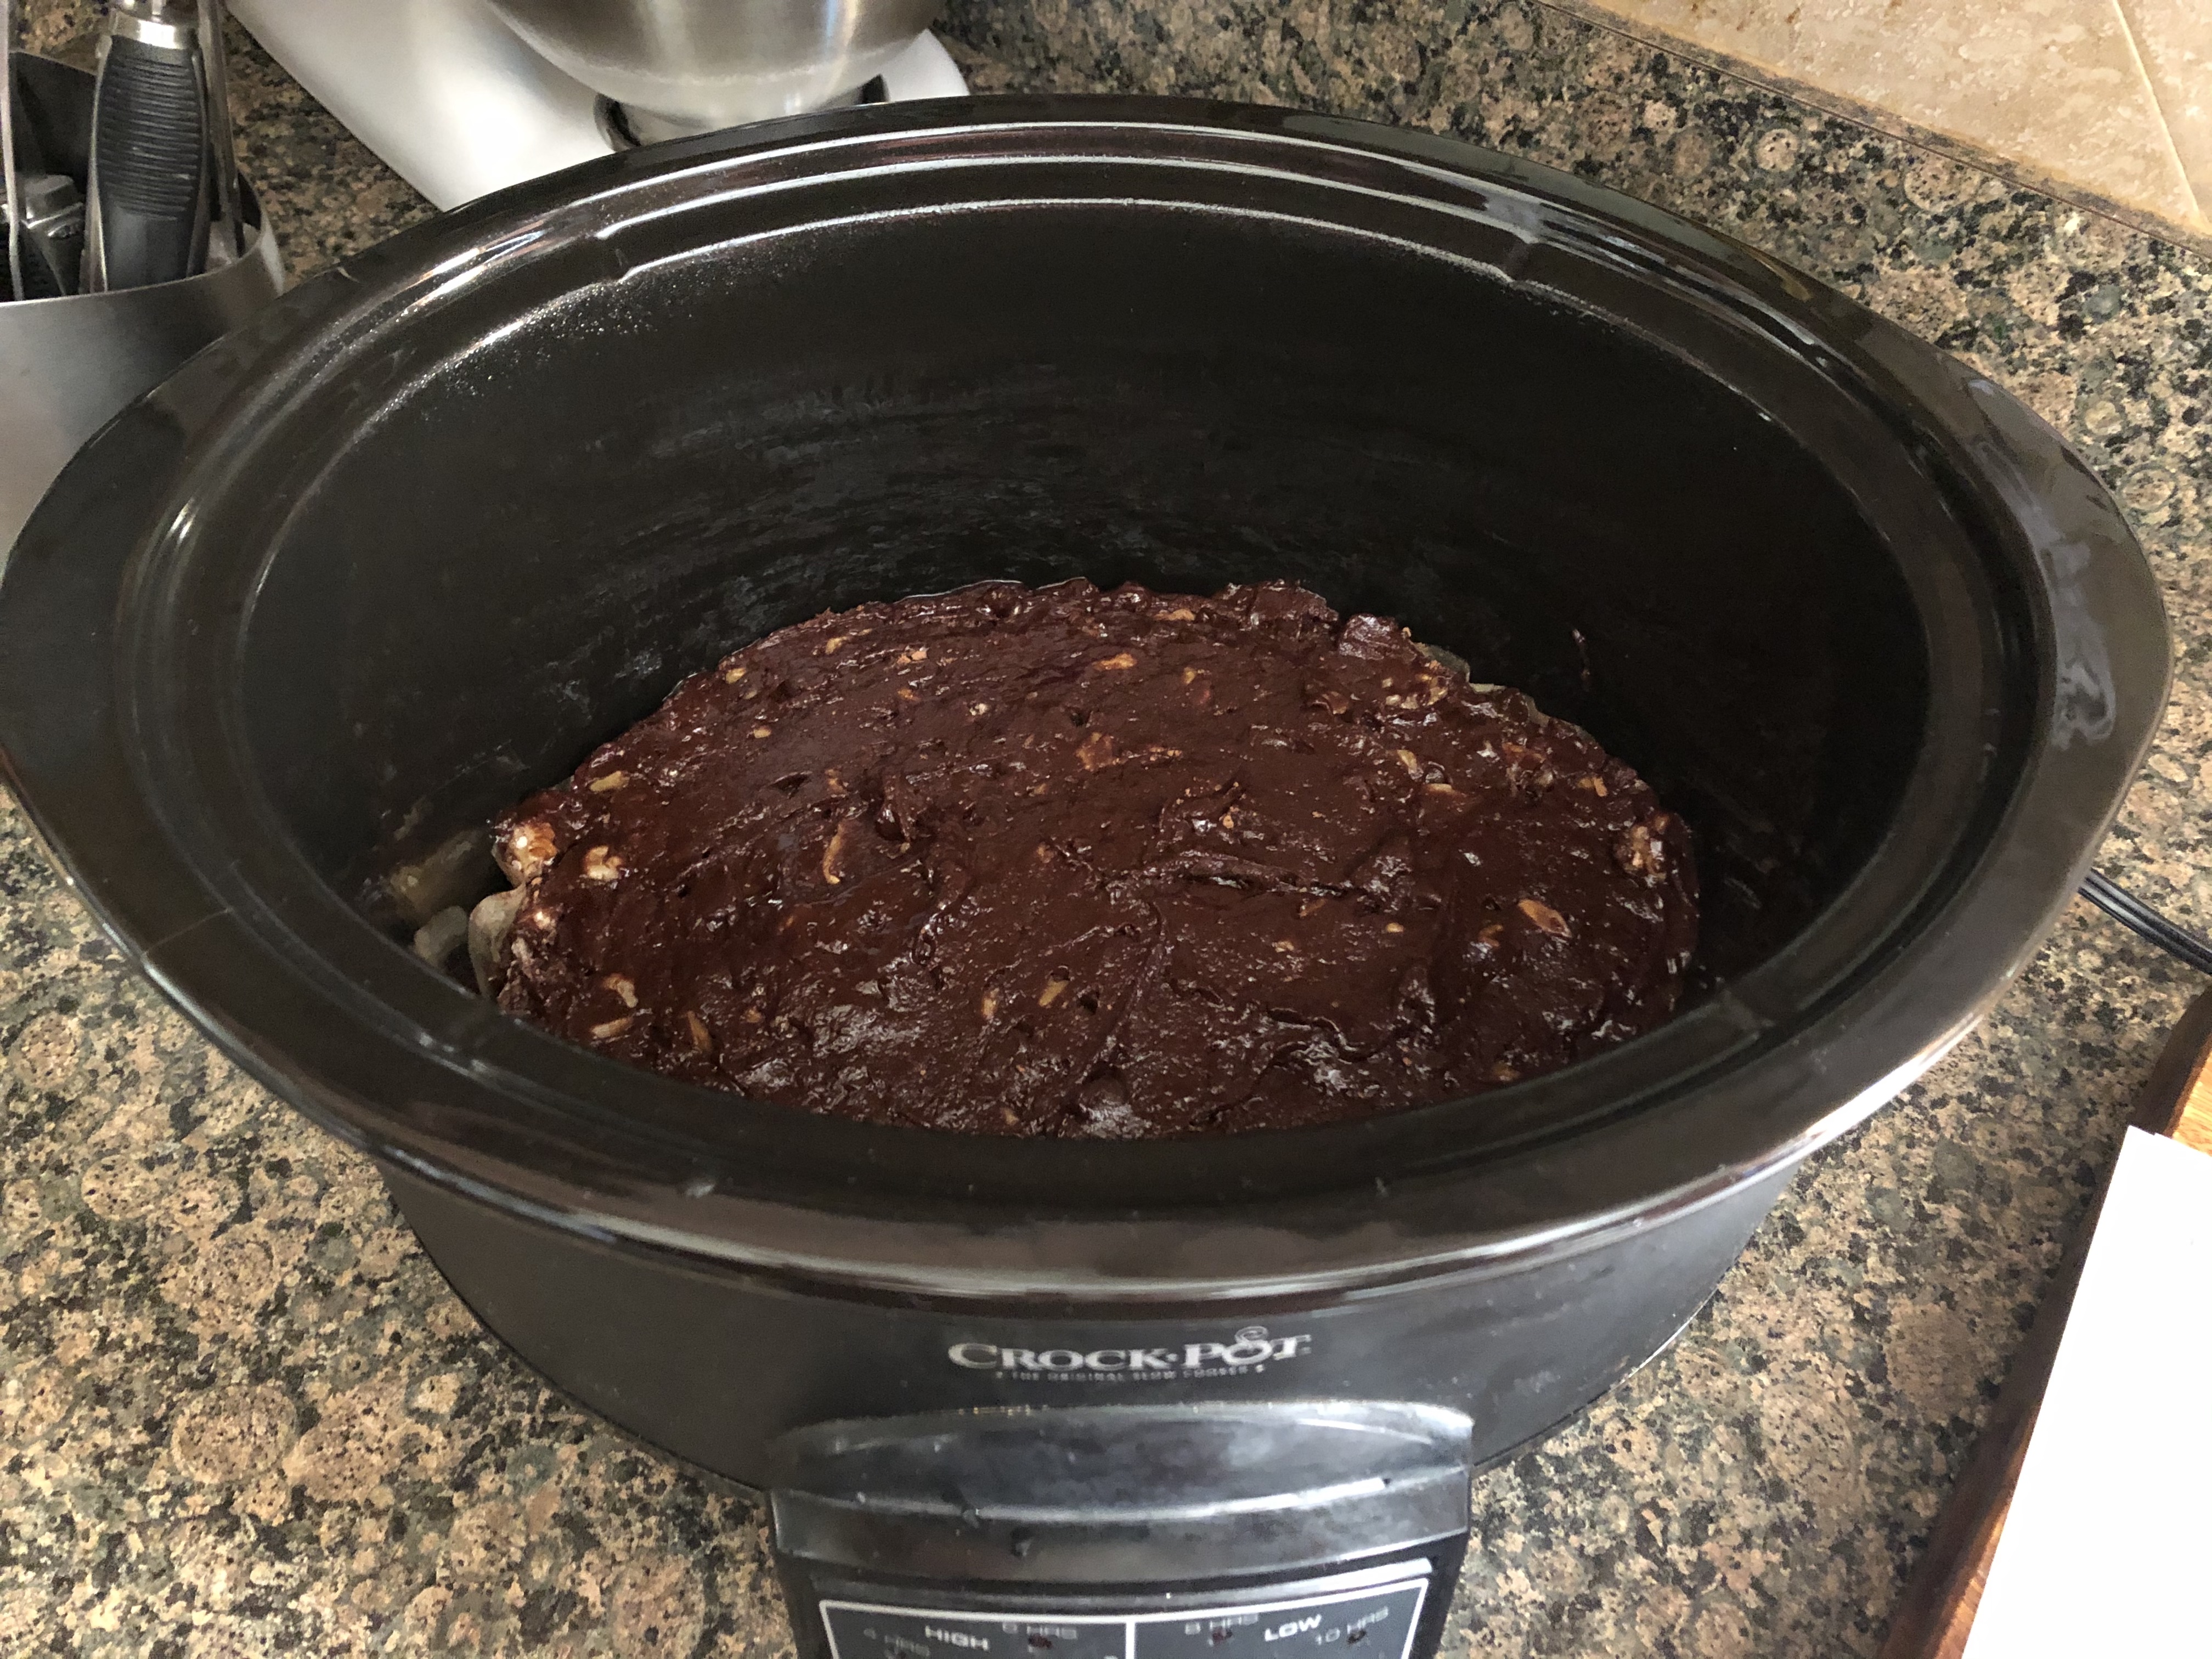
I prepped my slow cooker by spraying the insert with non-stick cooking spray and then lining the bottom with parchment paper that I then sprayed with the spray as well.

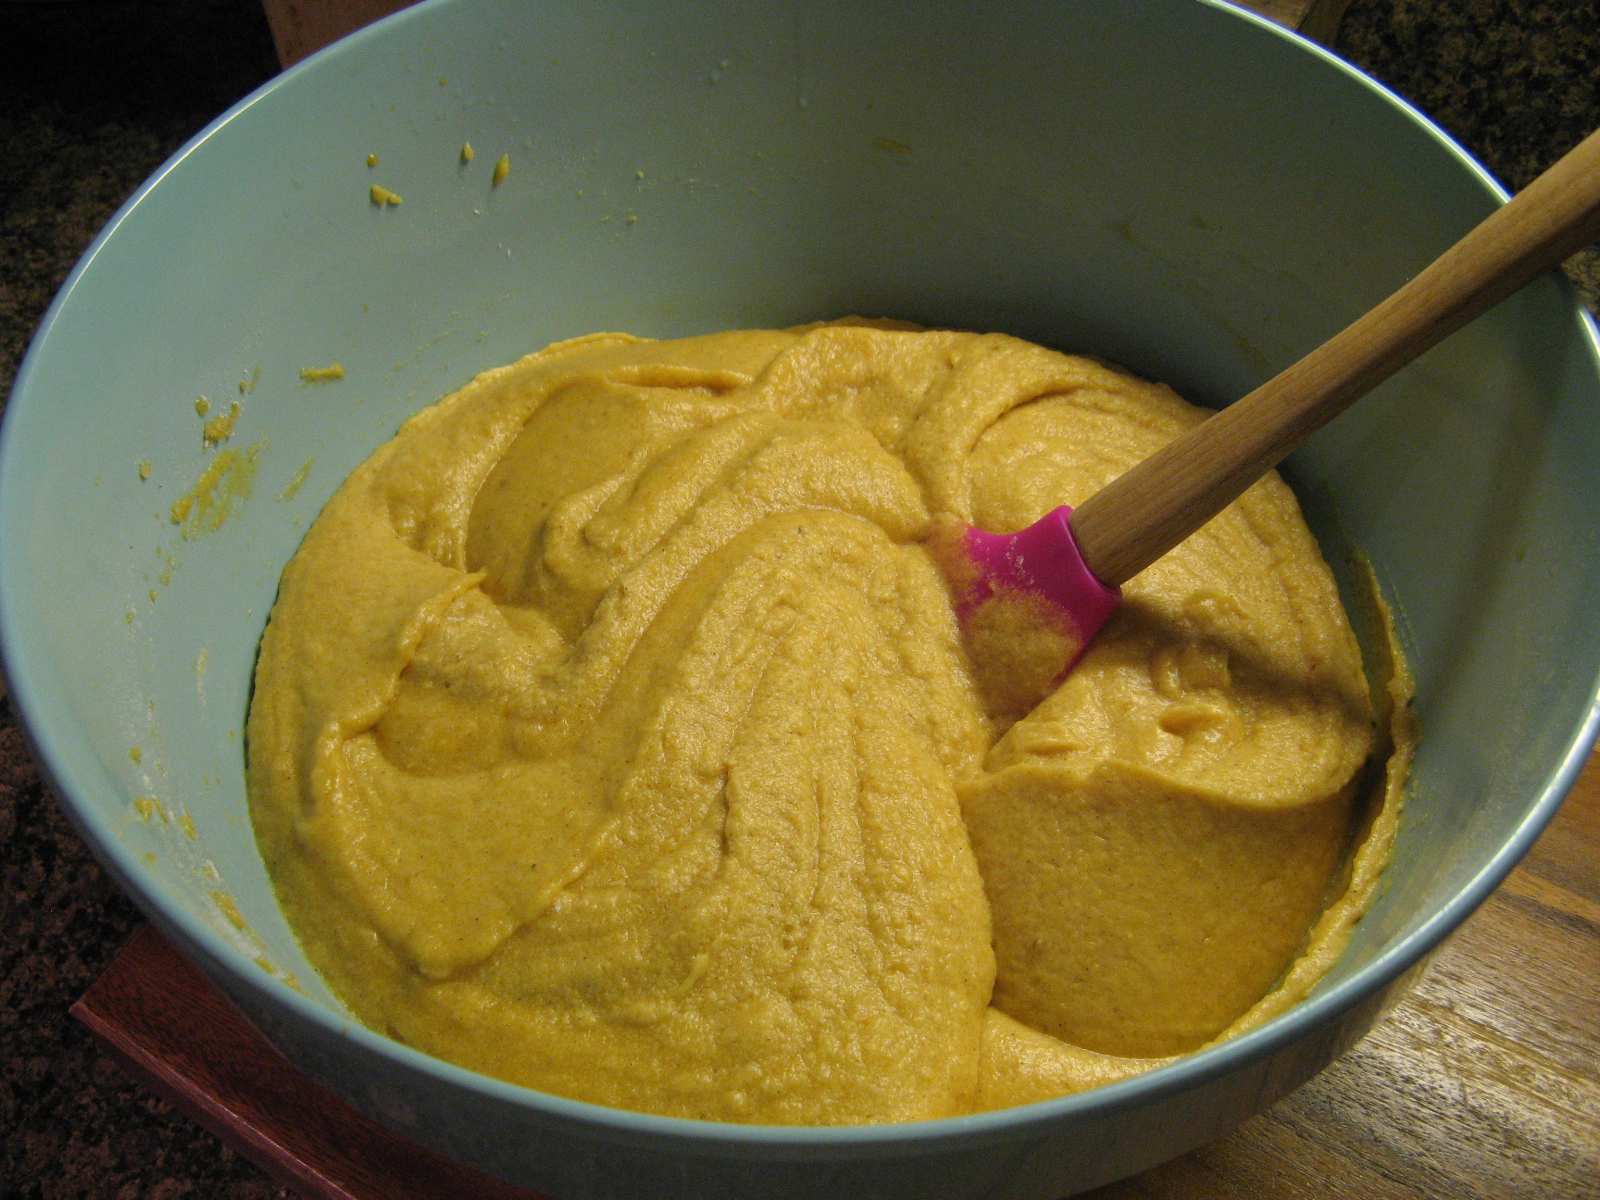
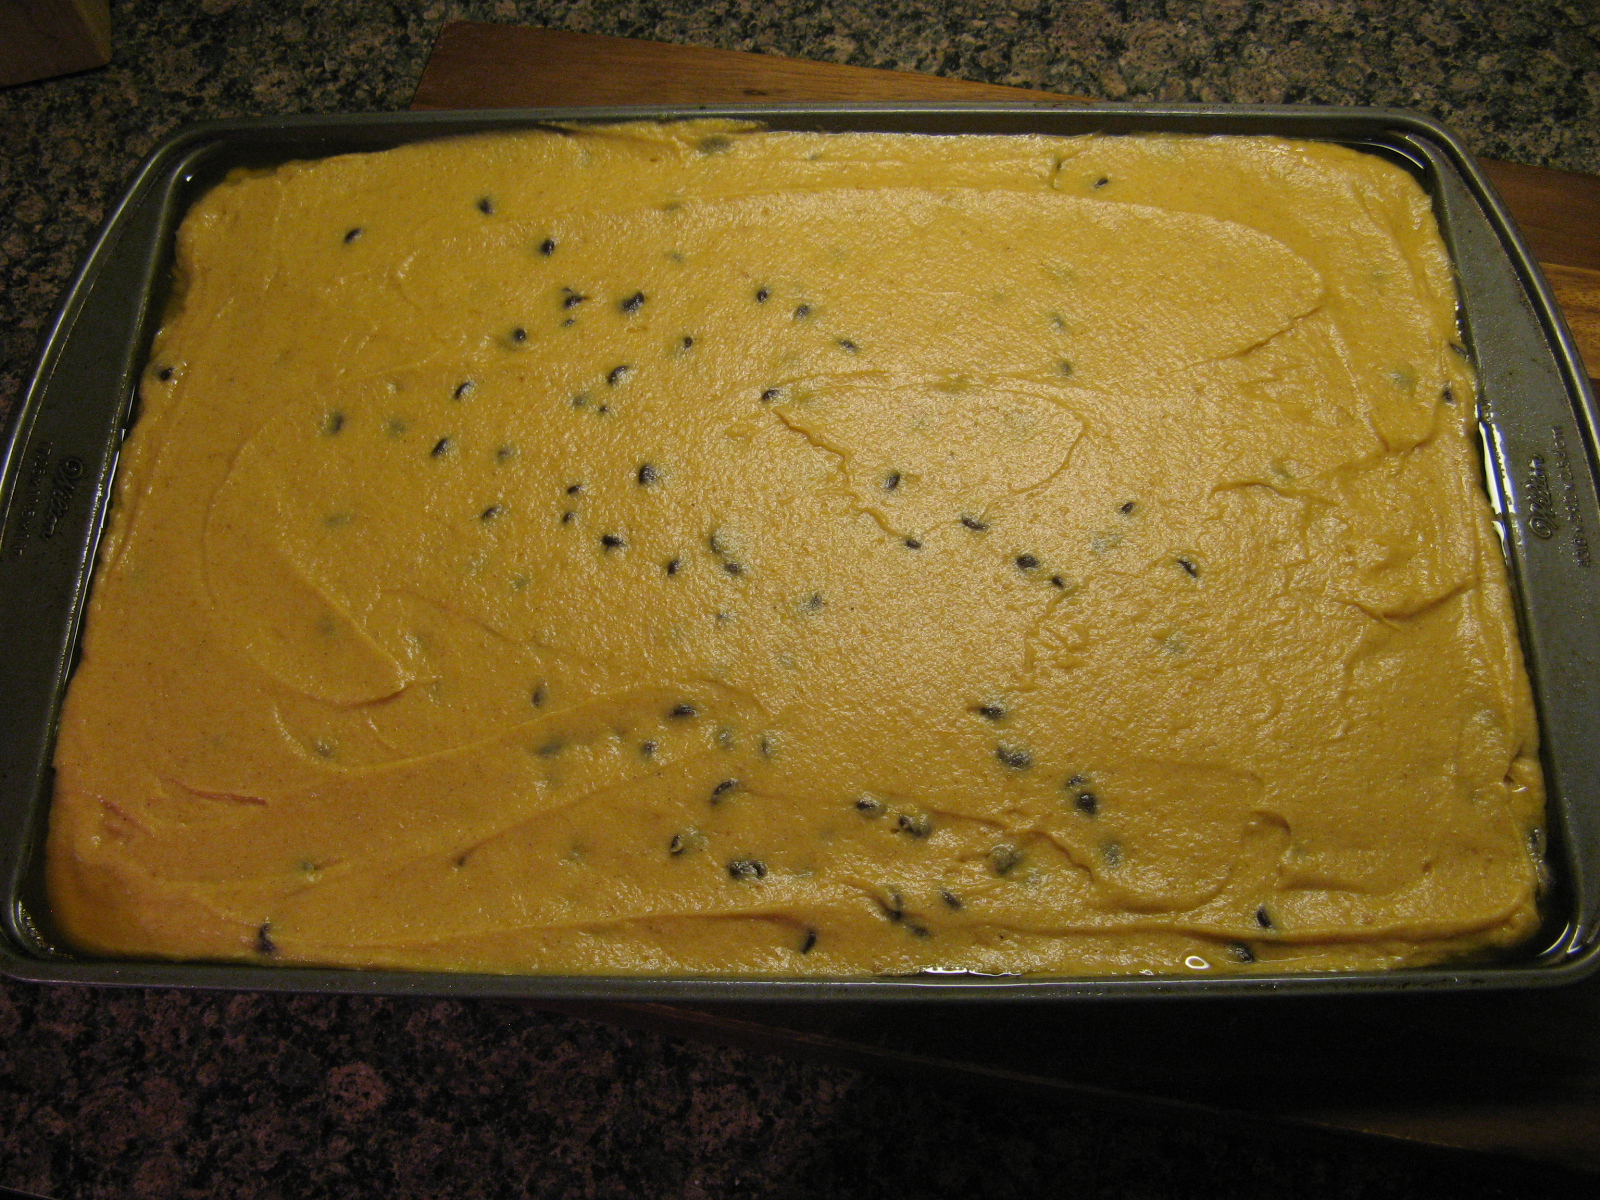
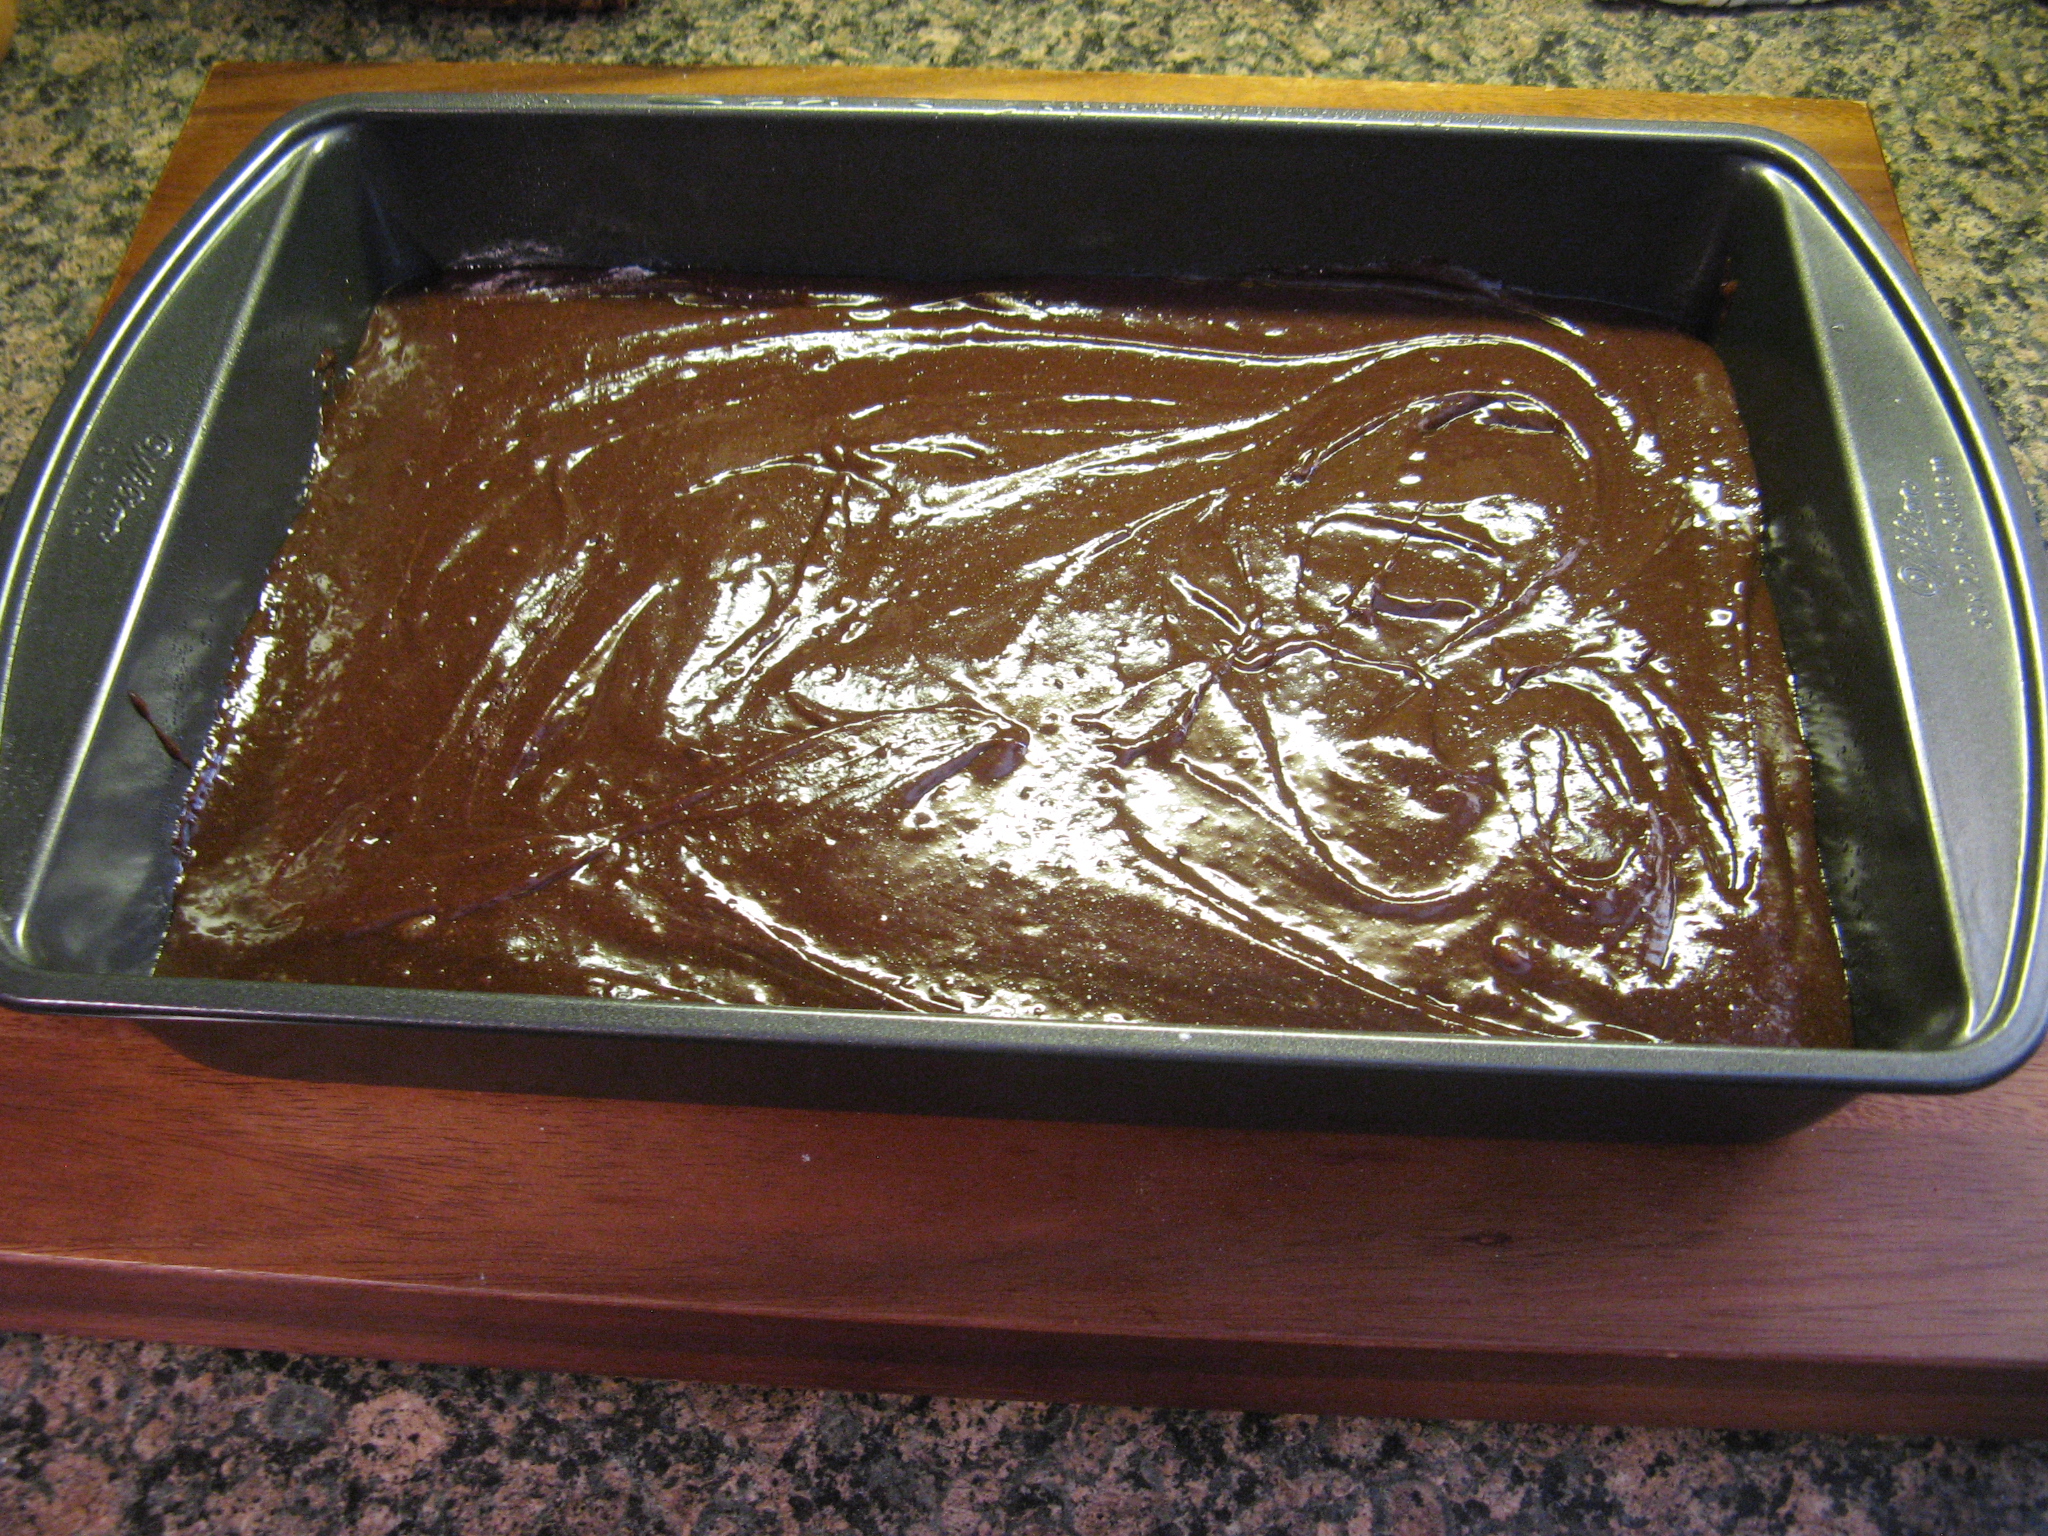
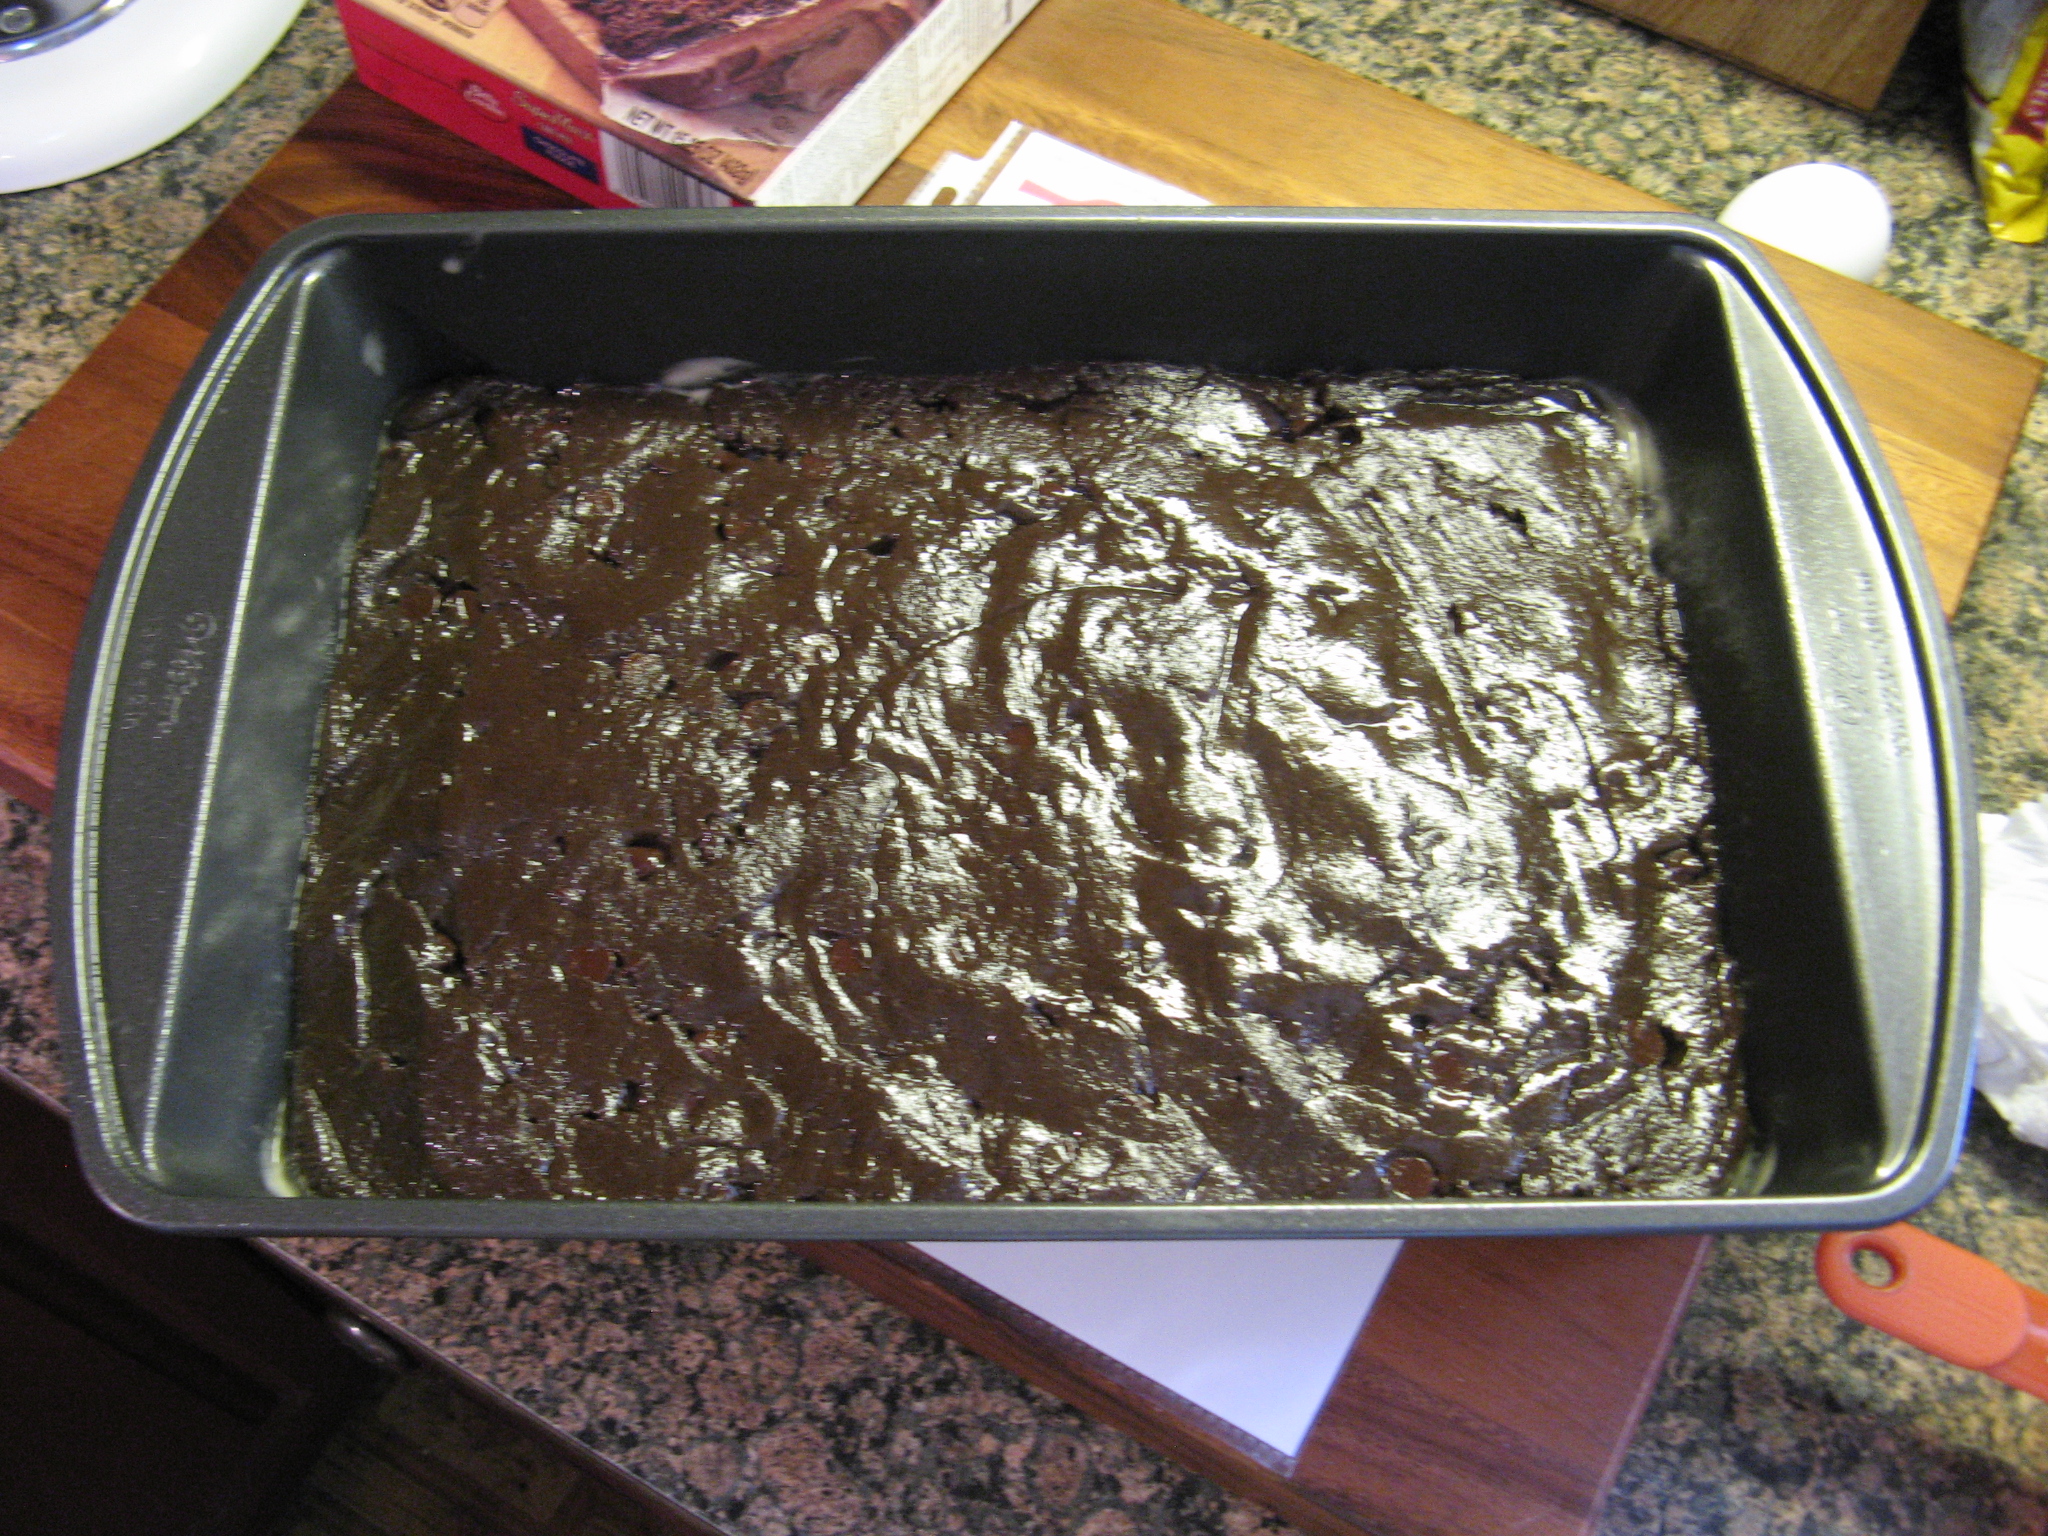
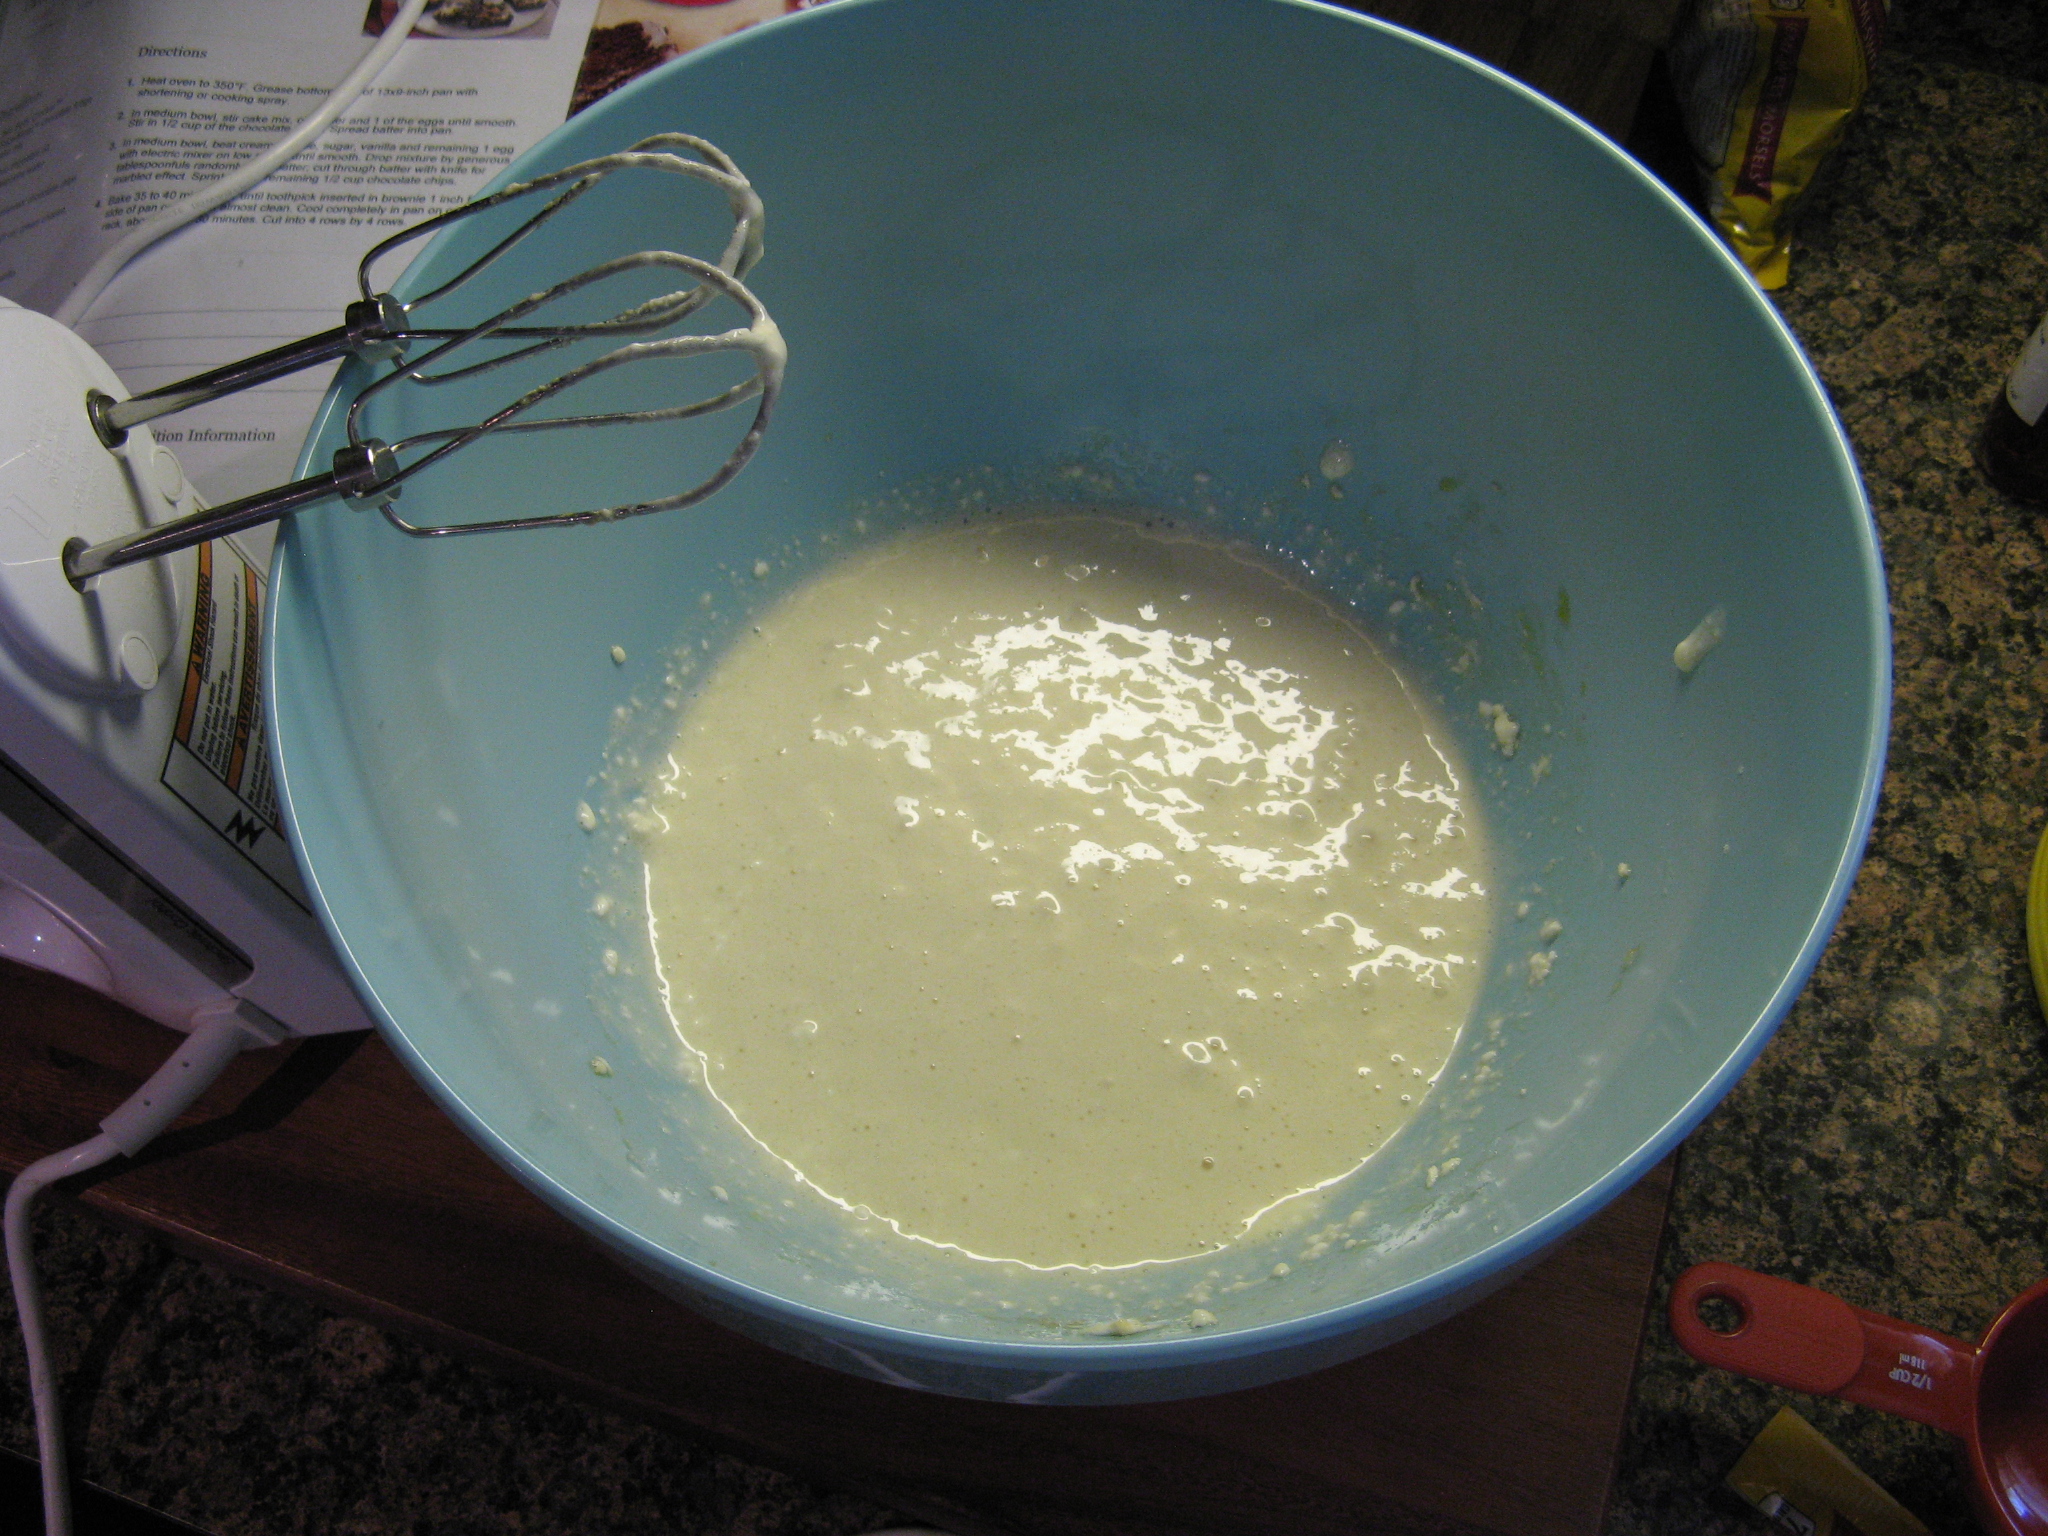
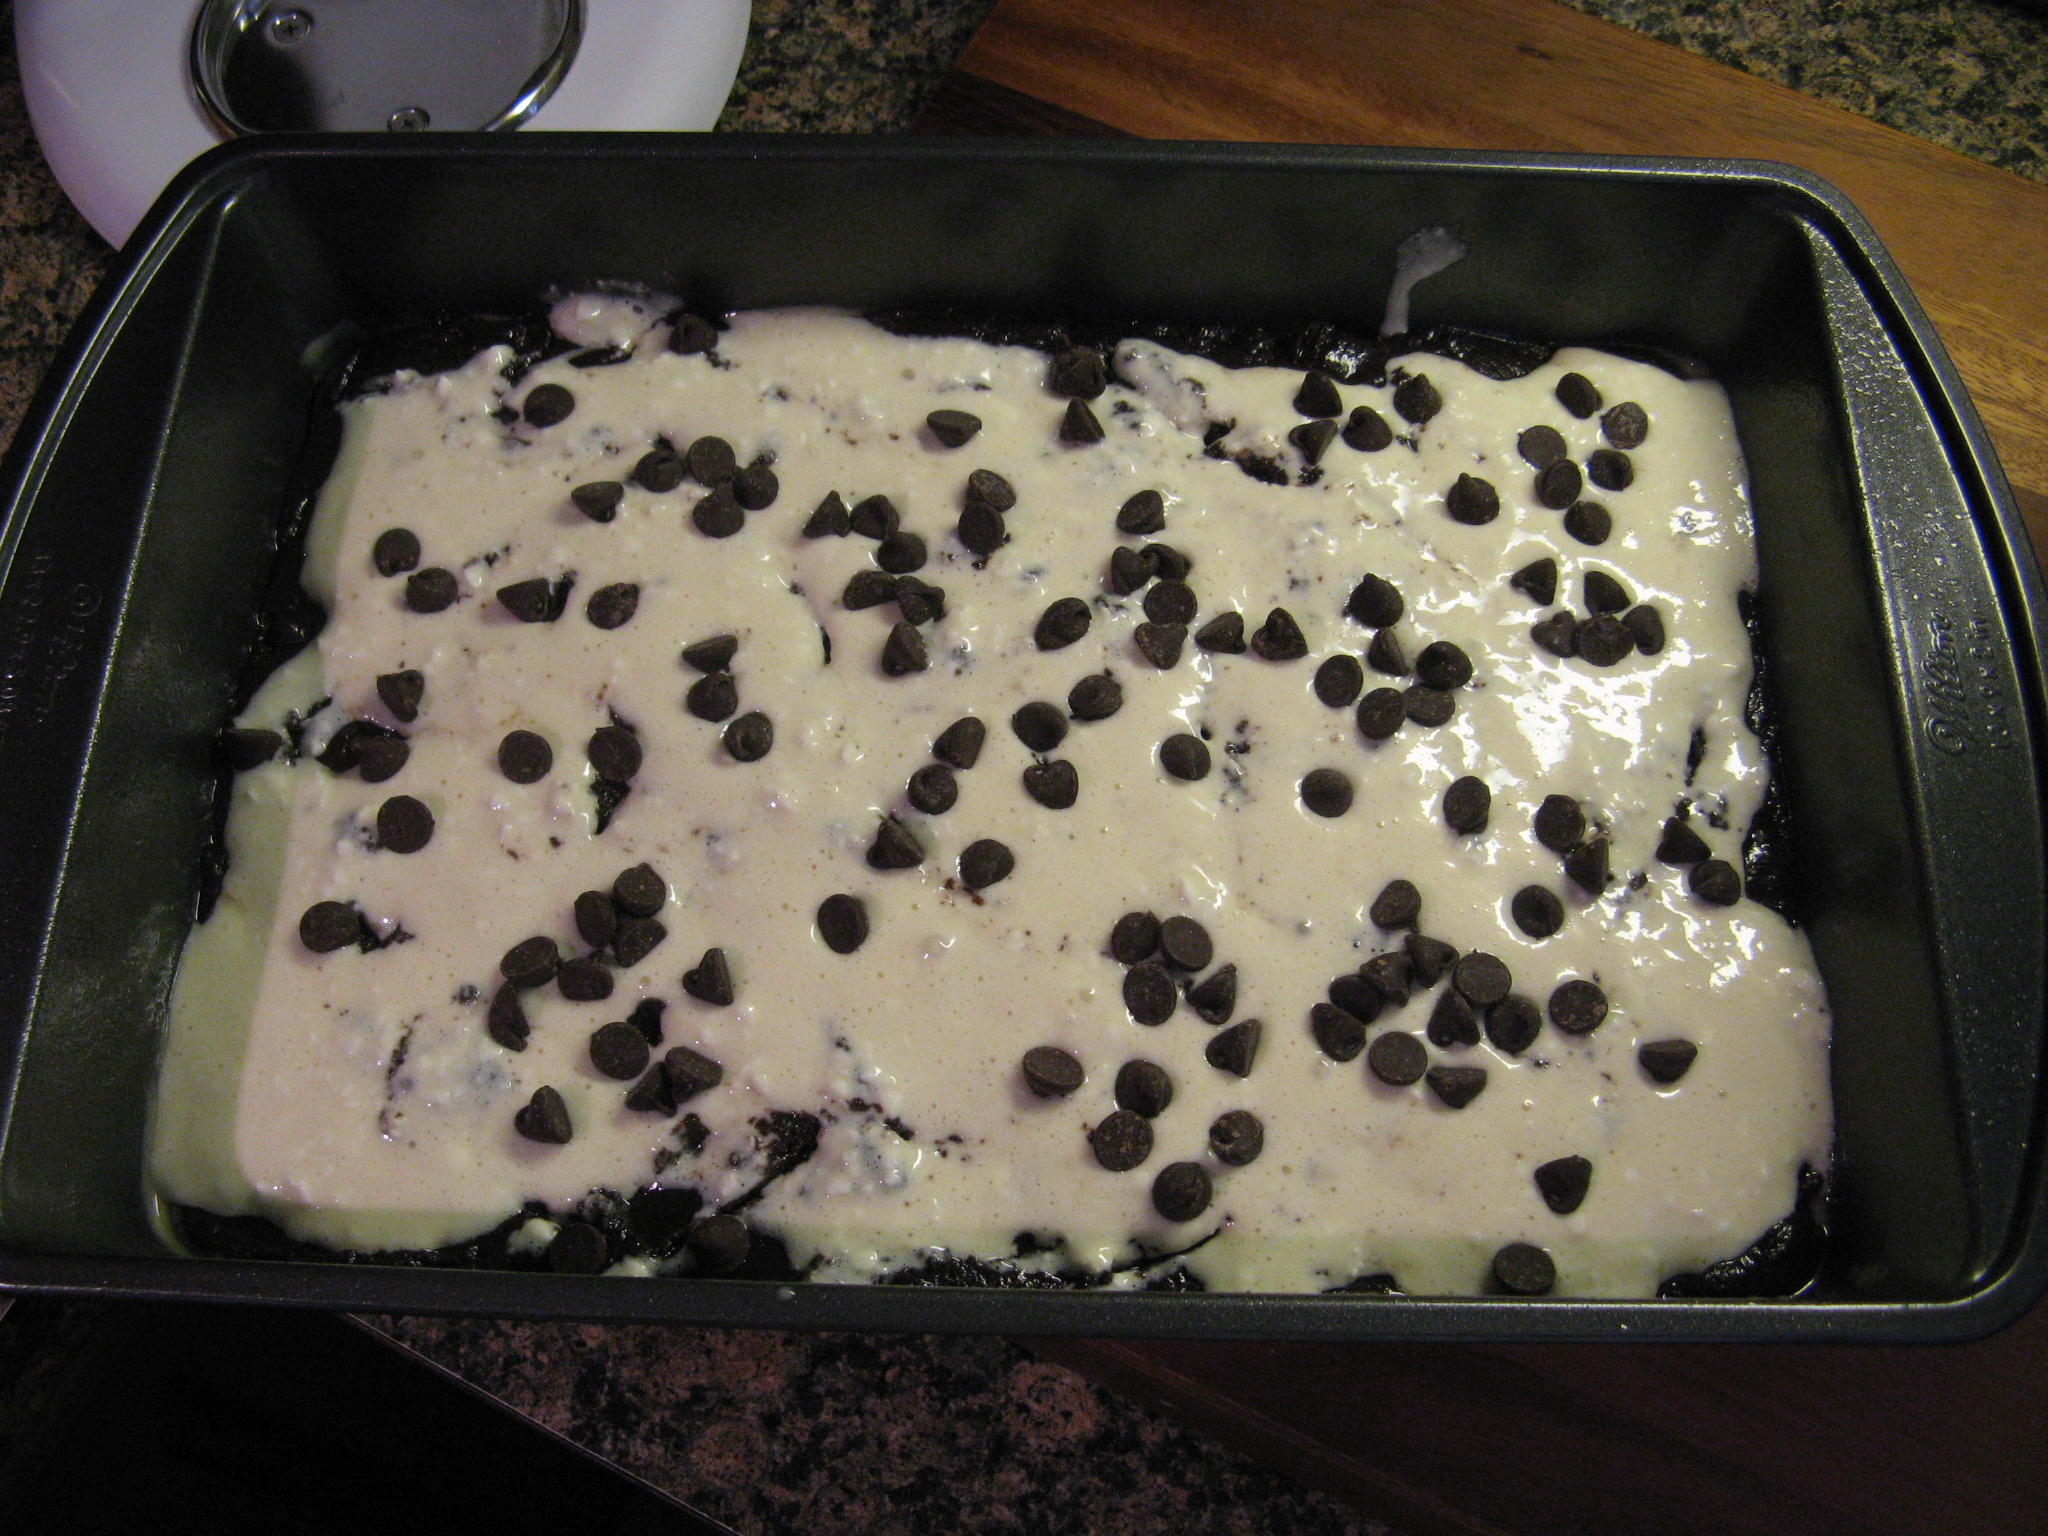
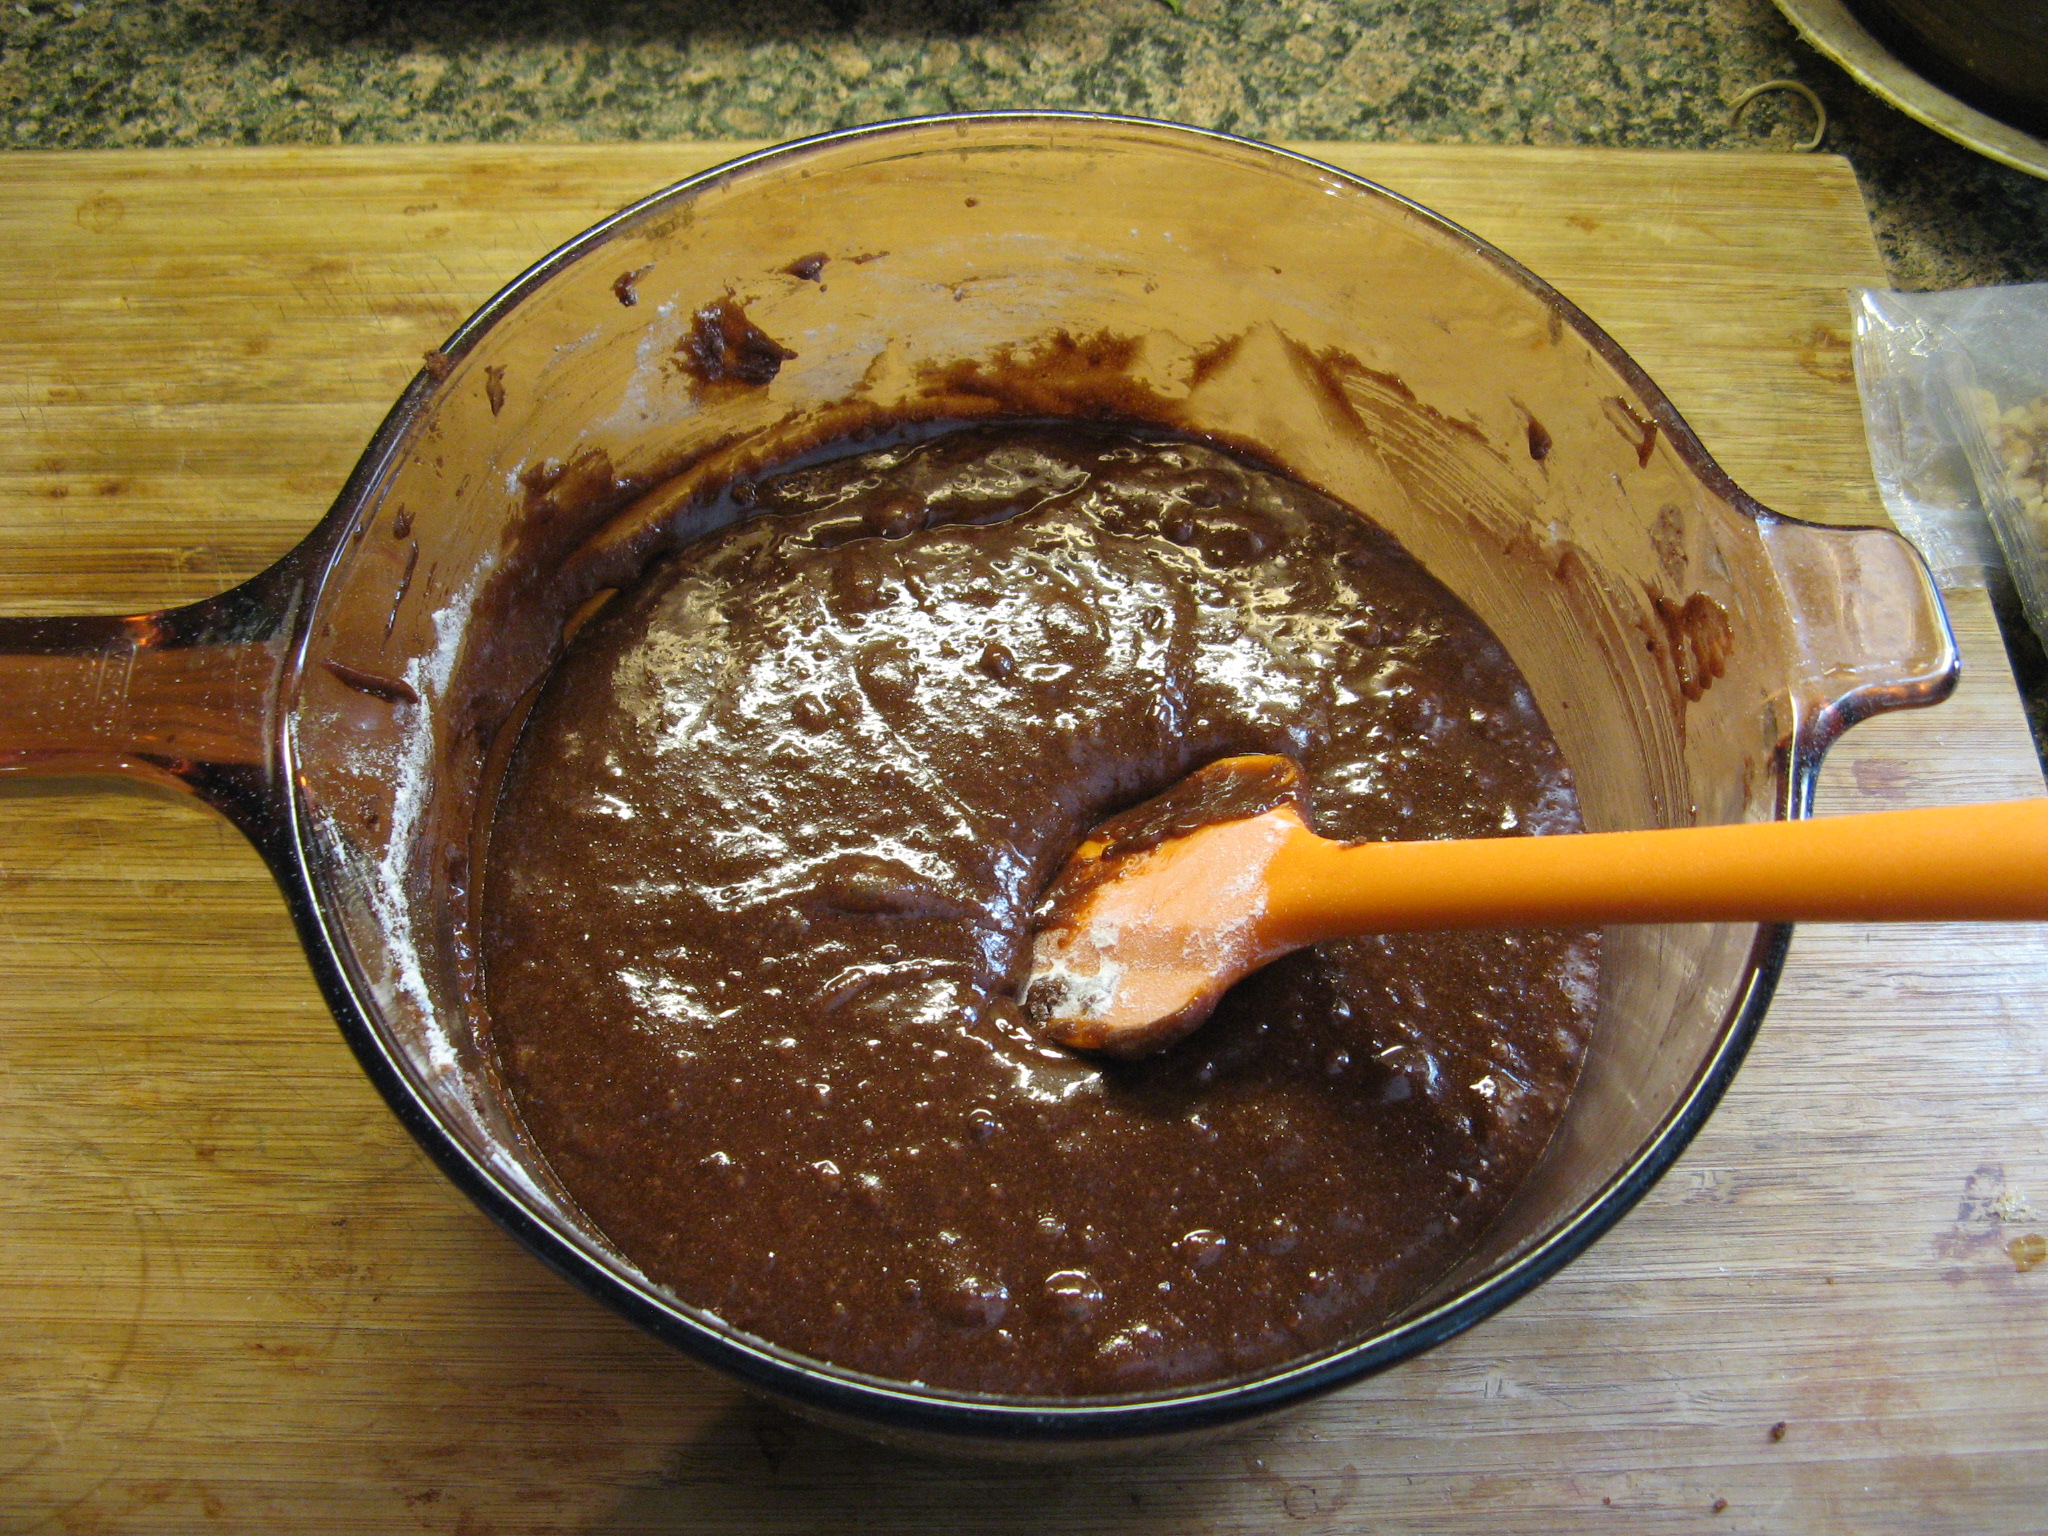
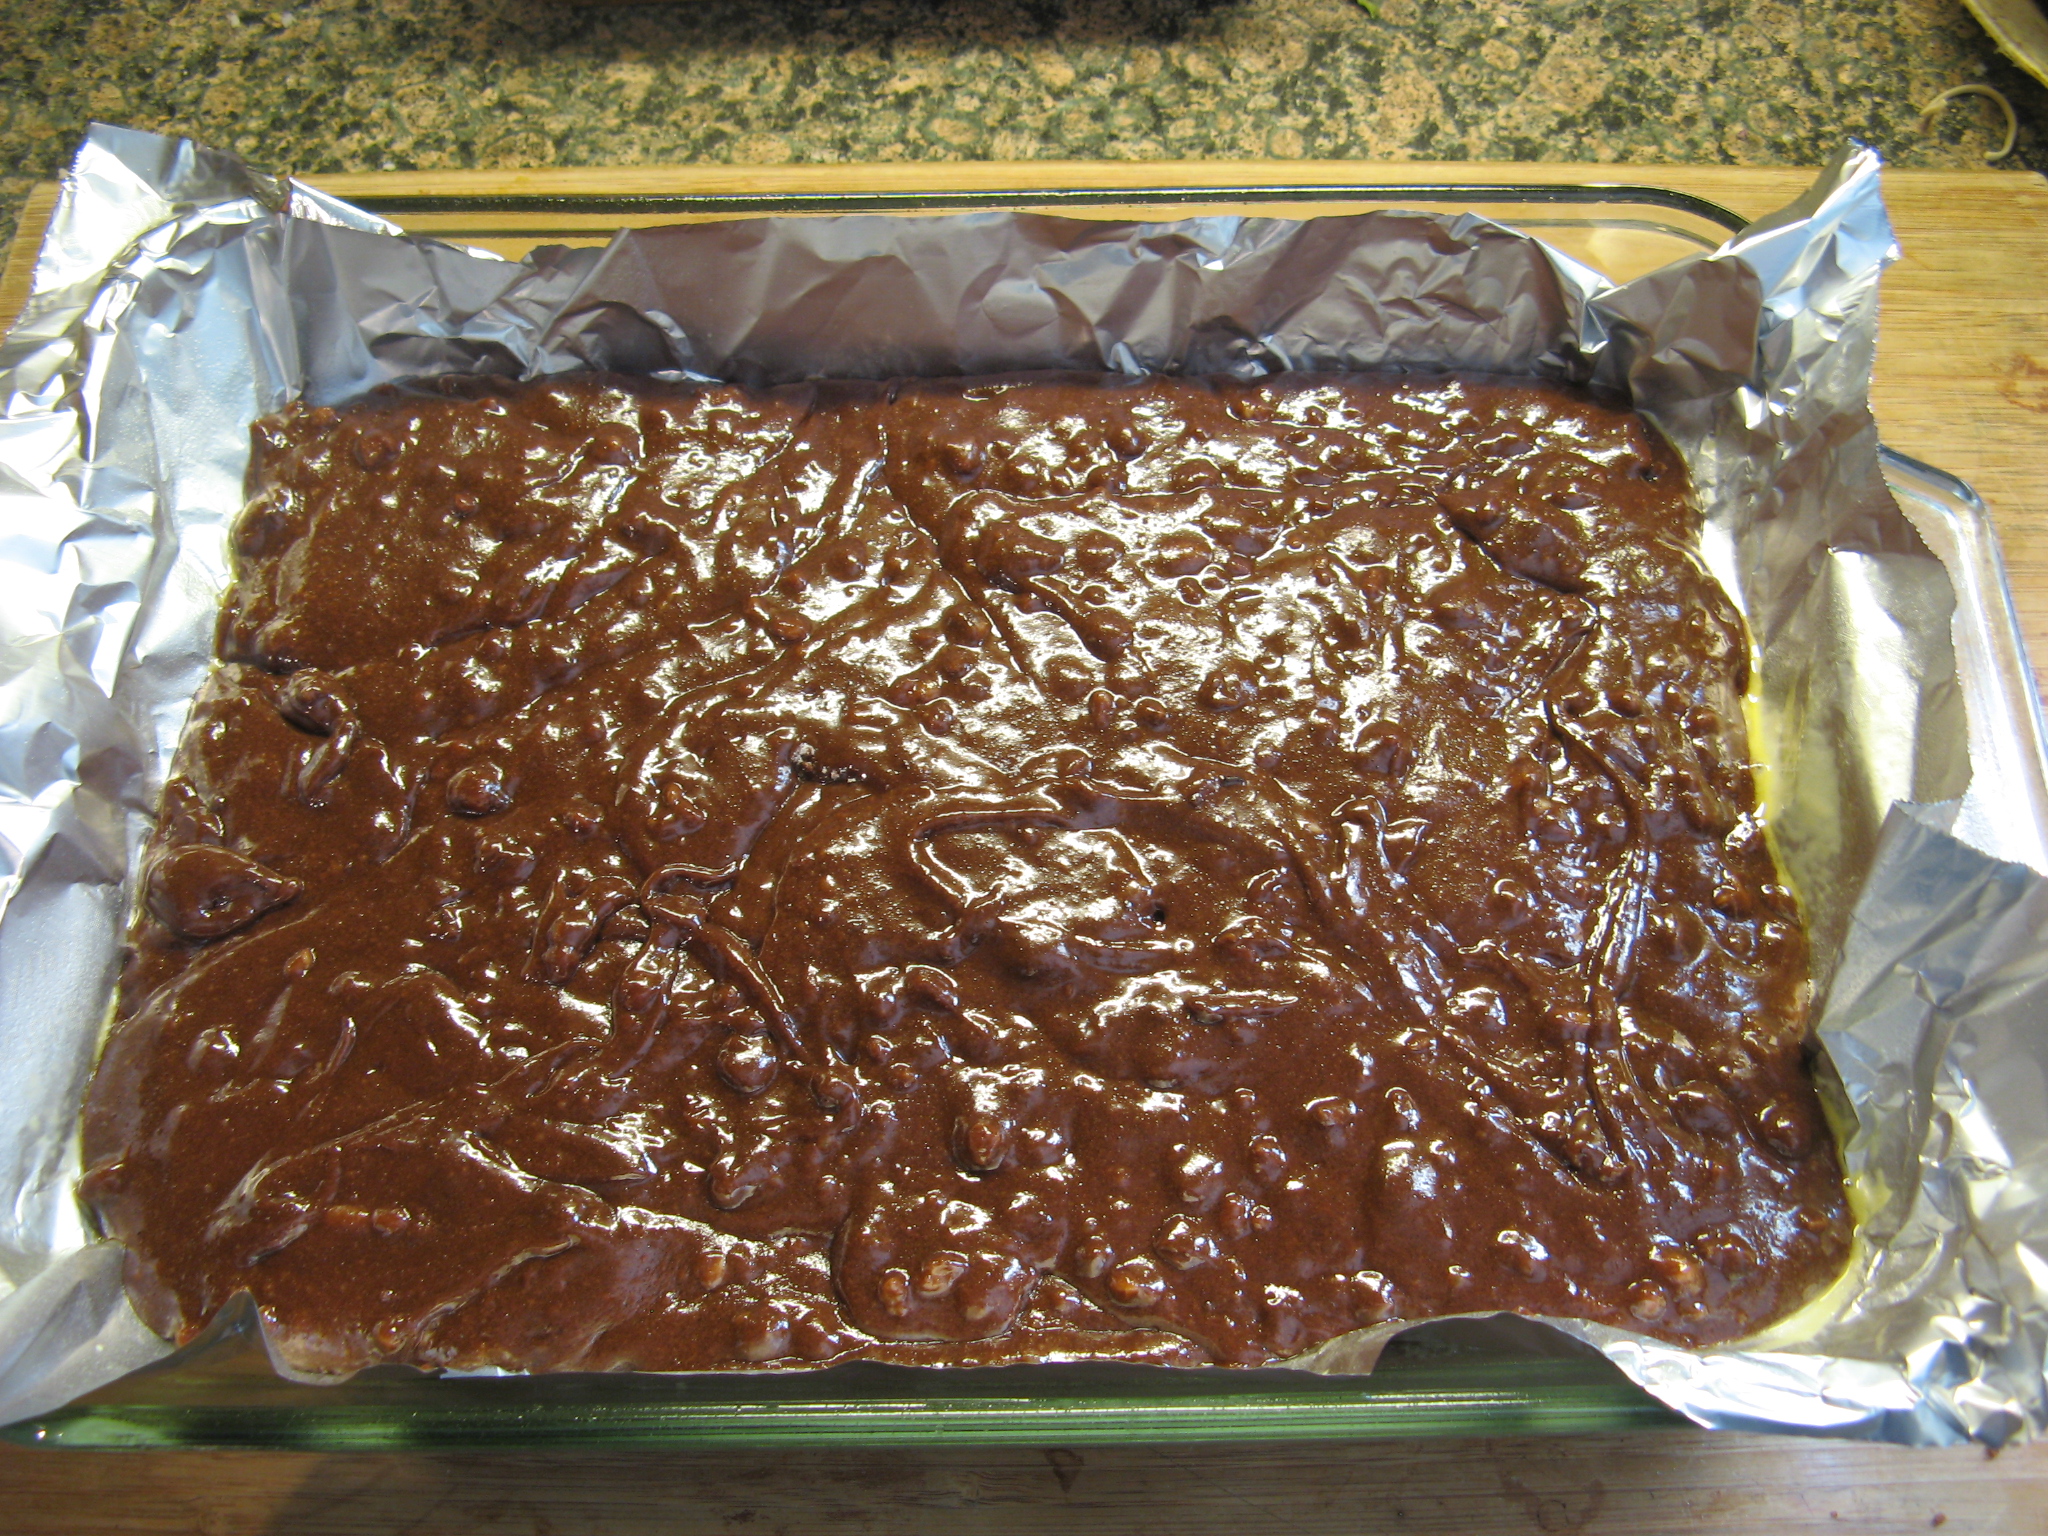
After making the batter for the brownies I poured it into my slow cooker and smoothed the top with a small offset spatula.
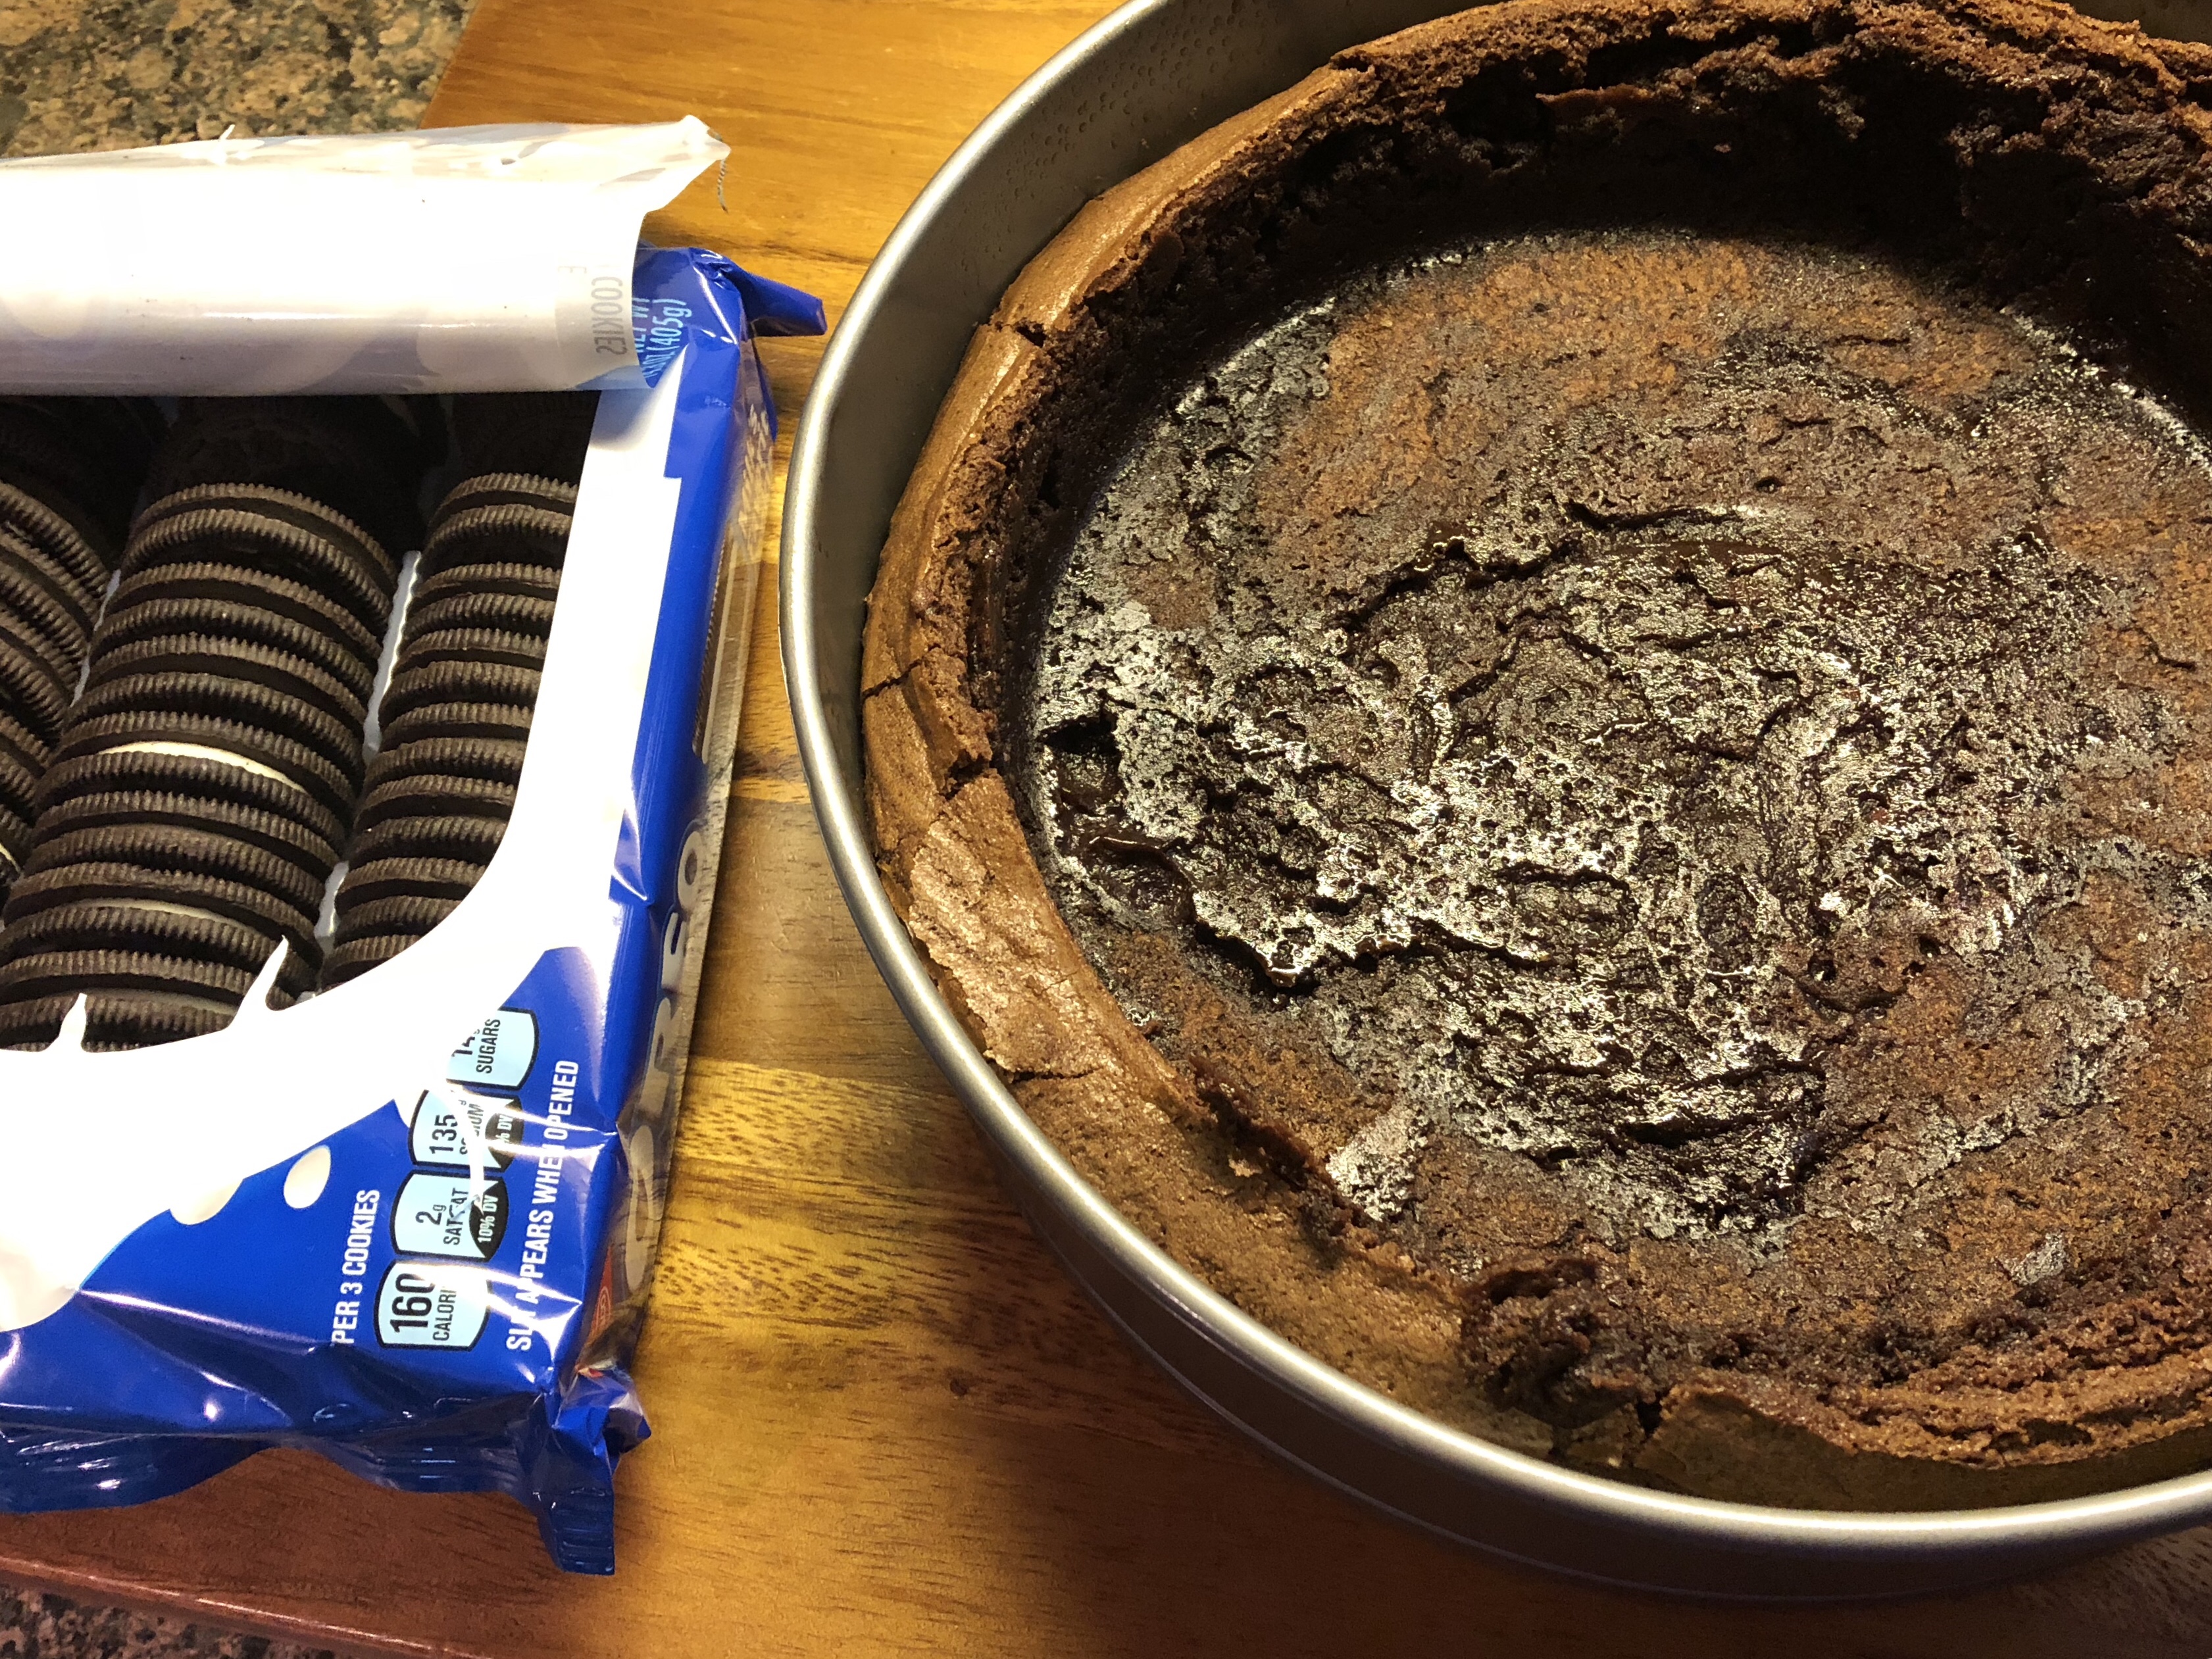
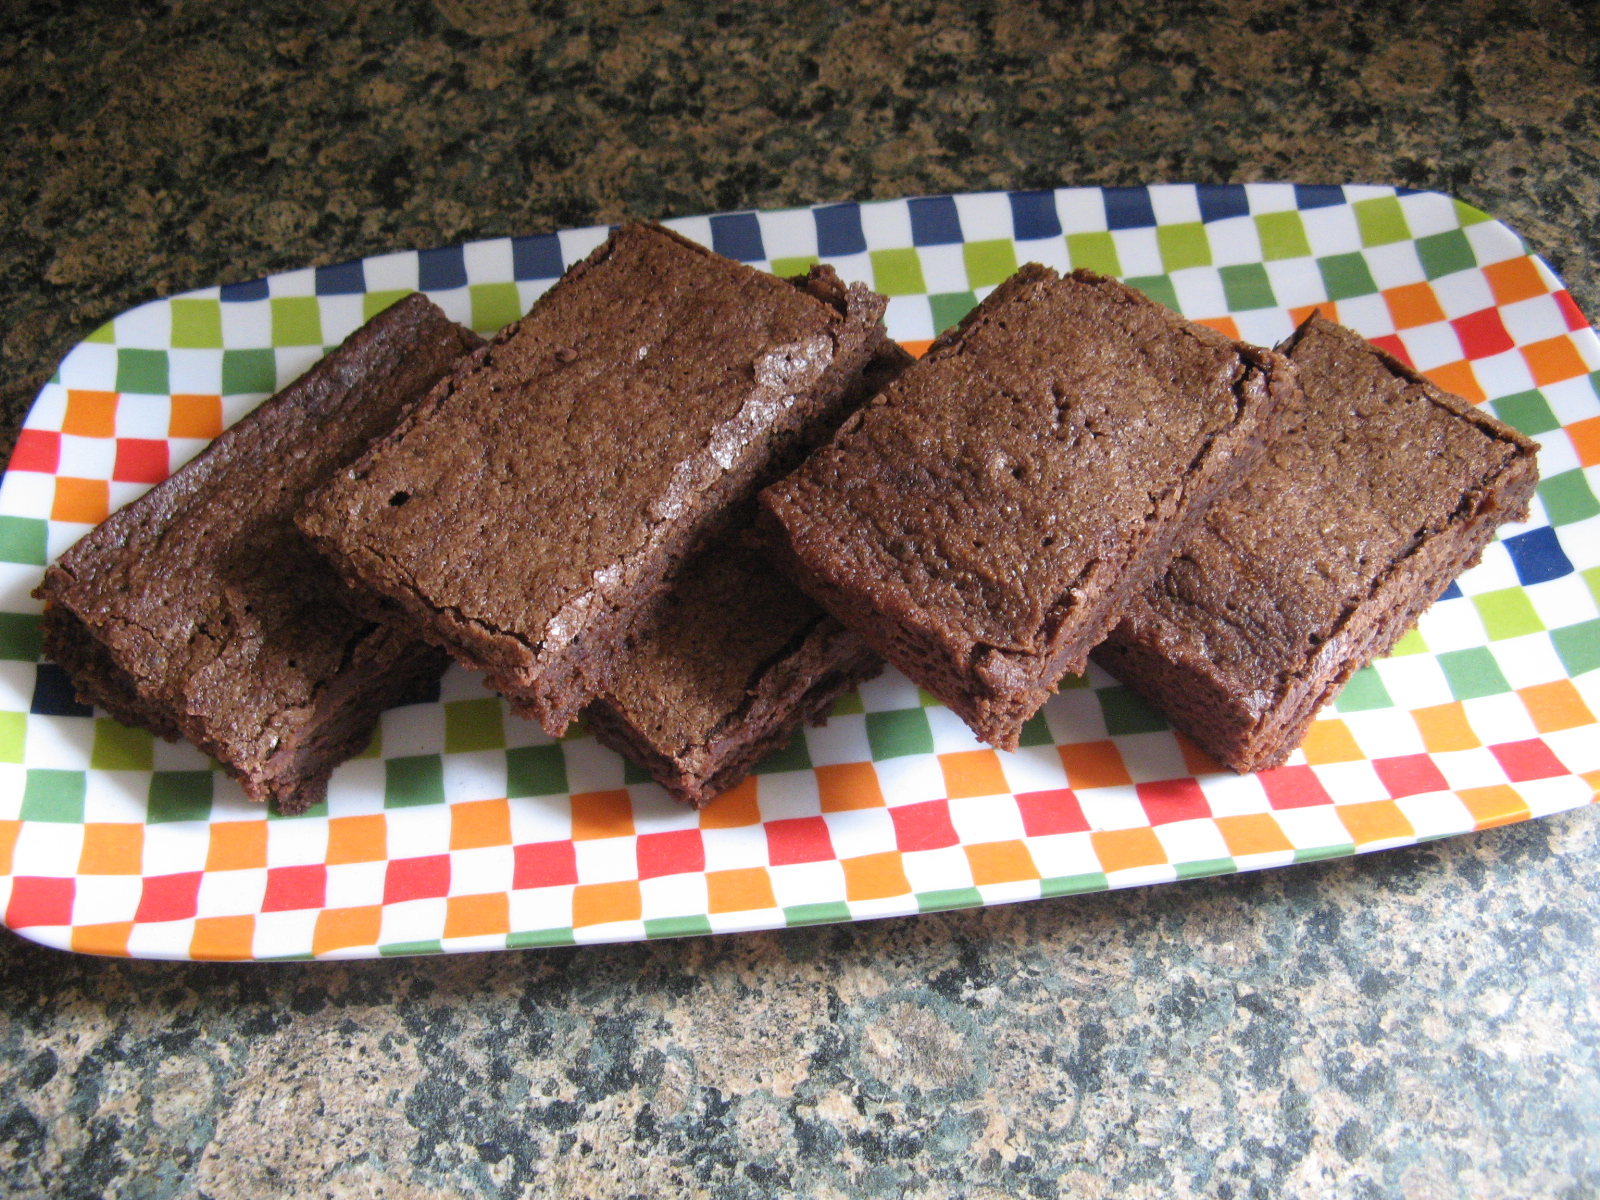
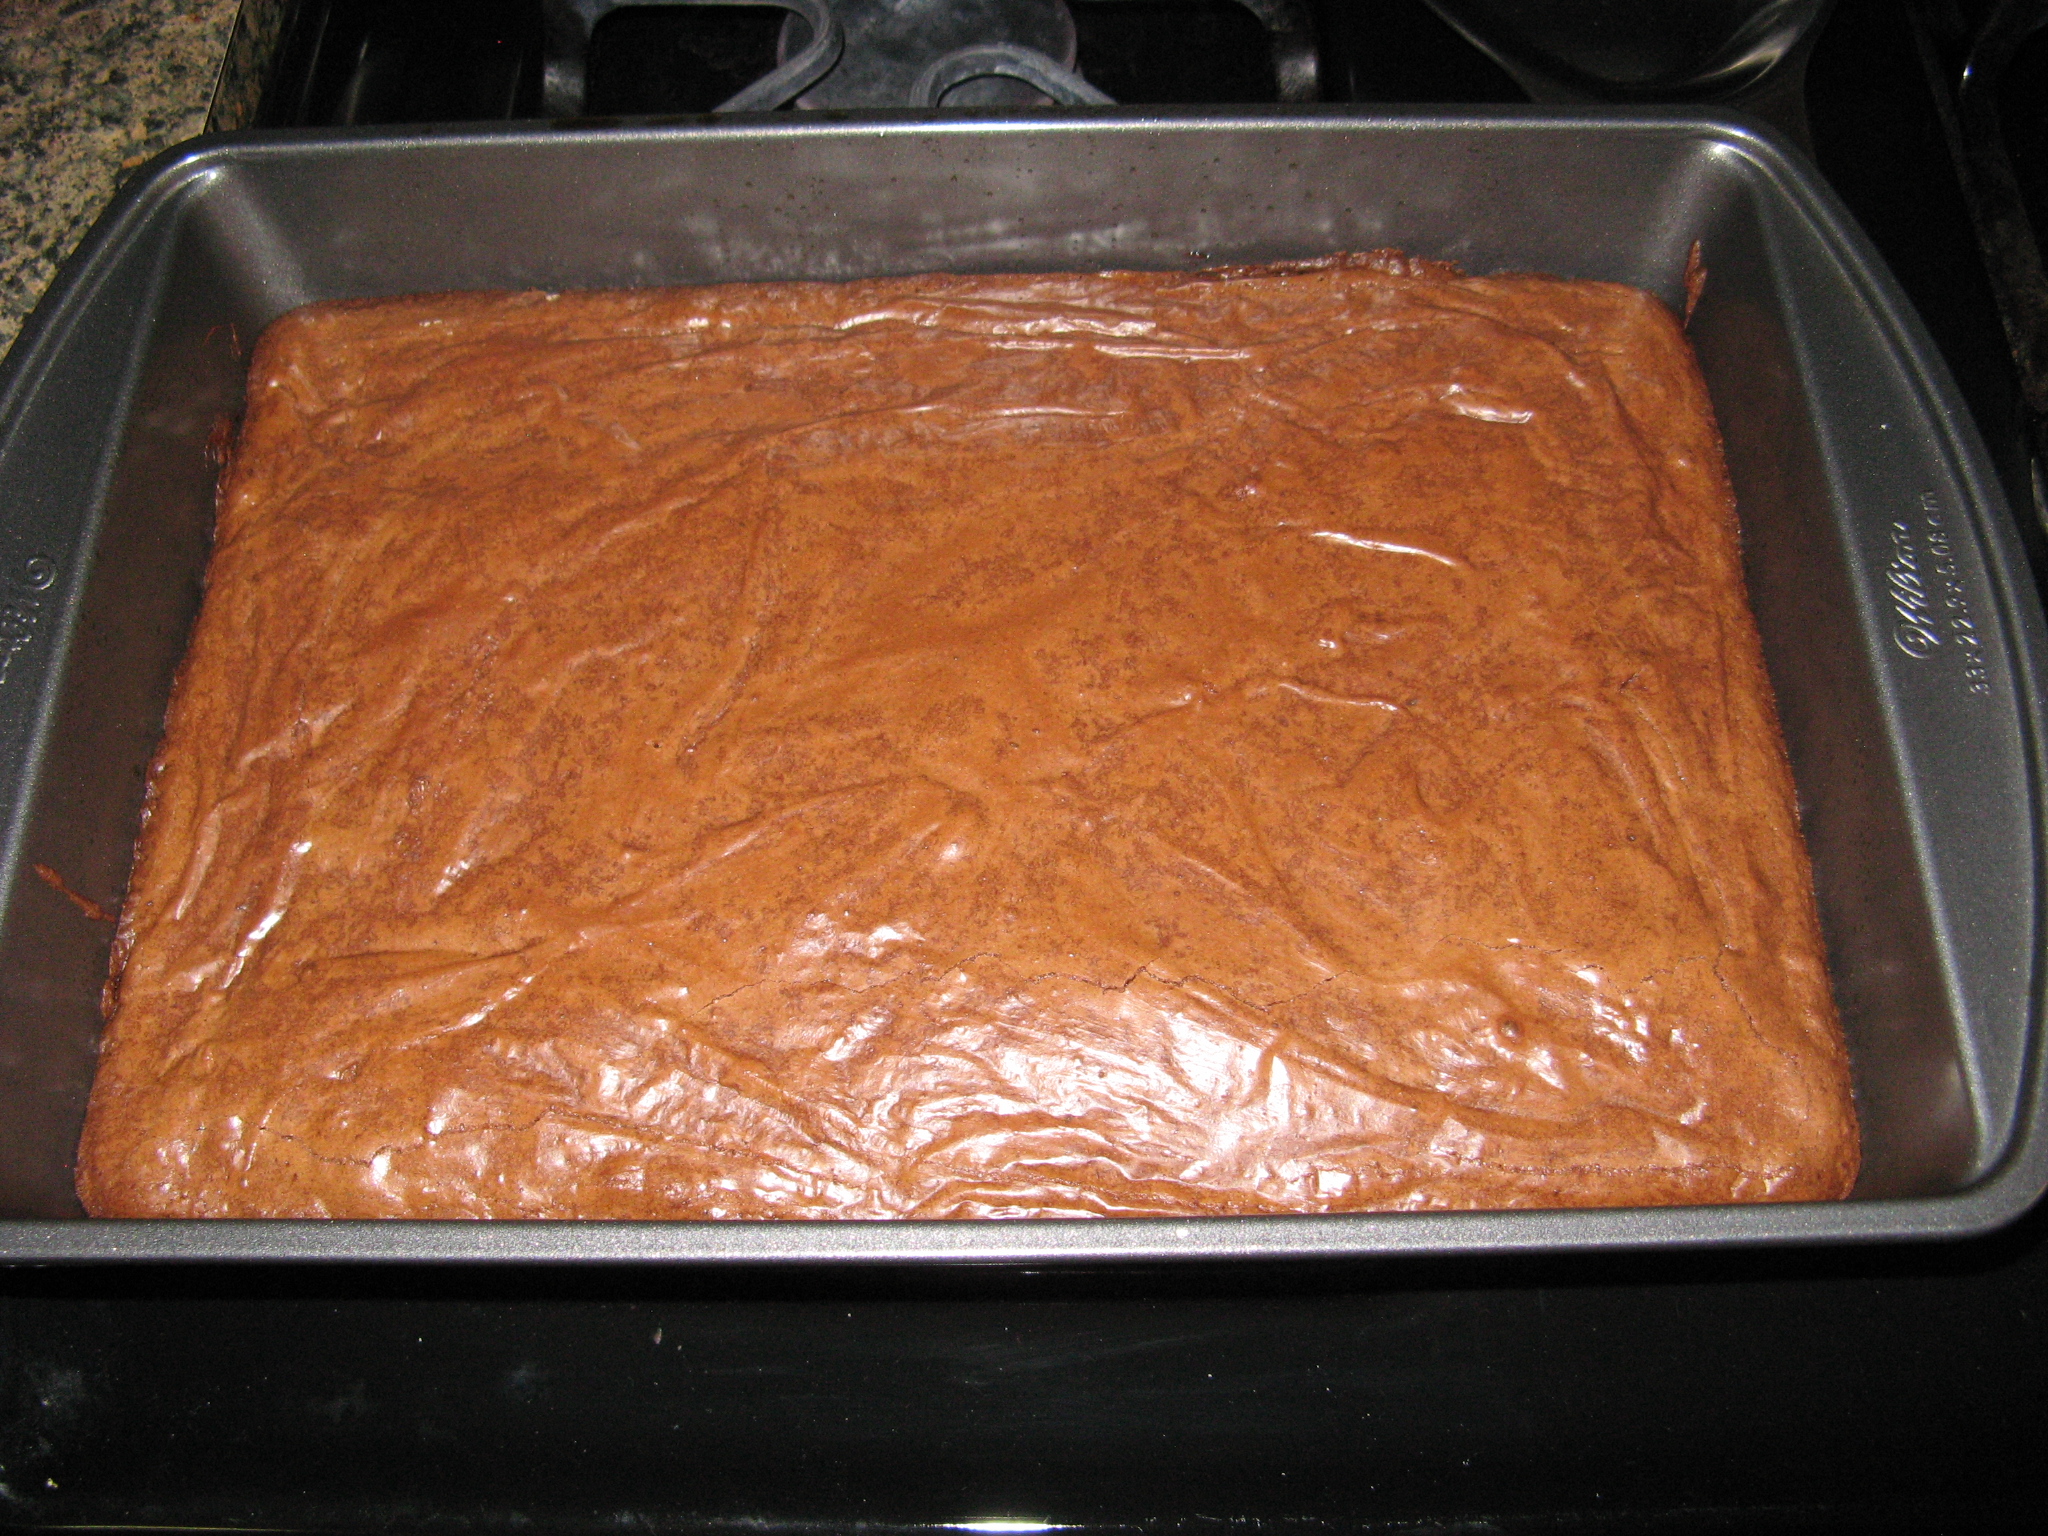
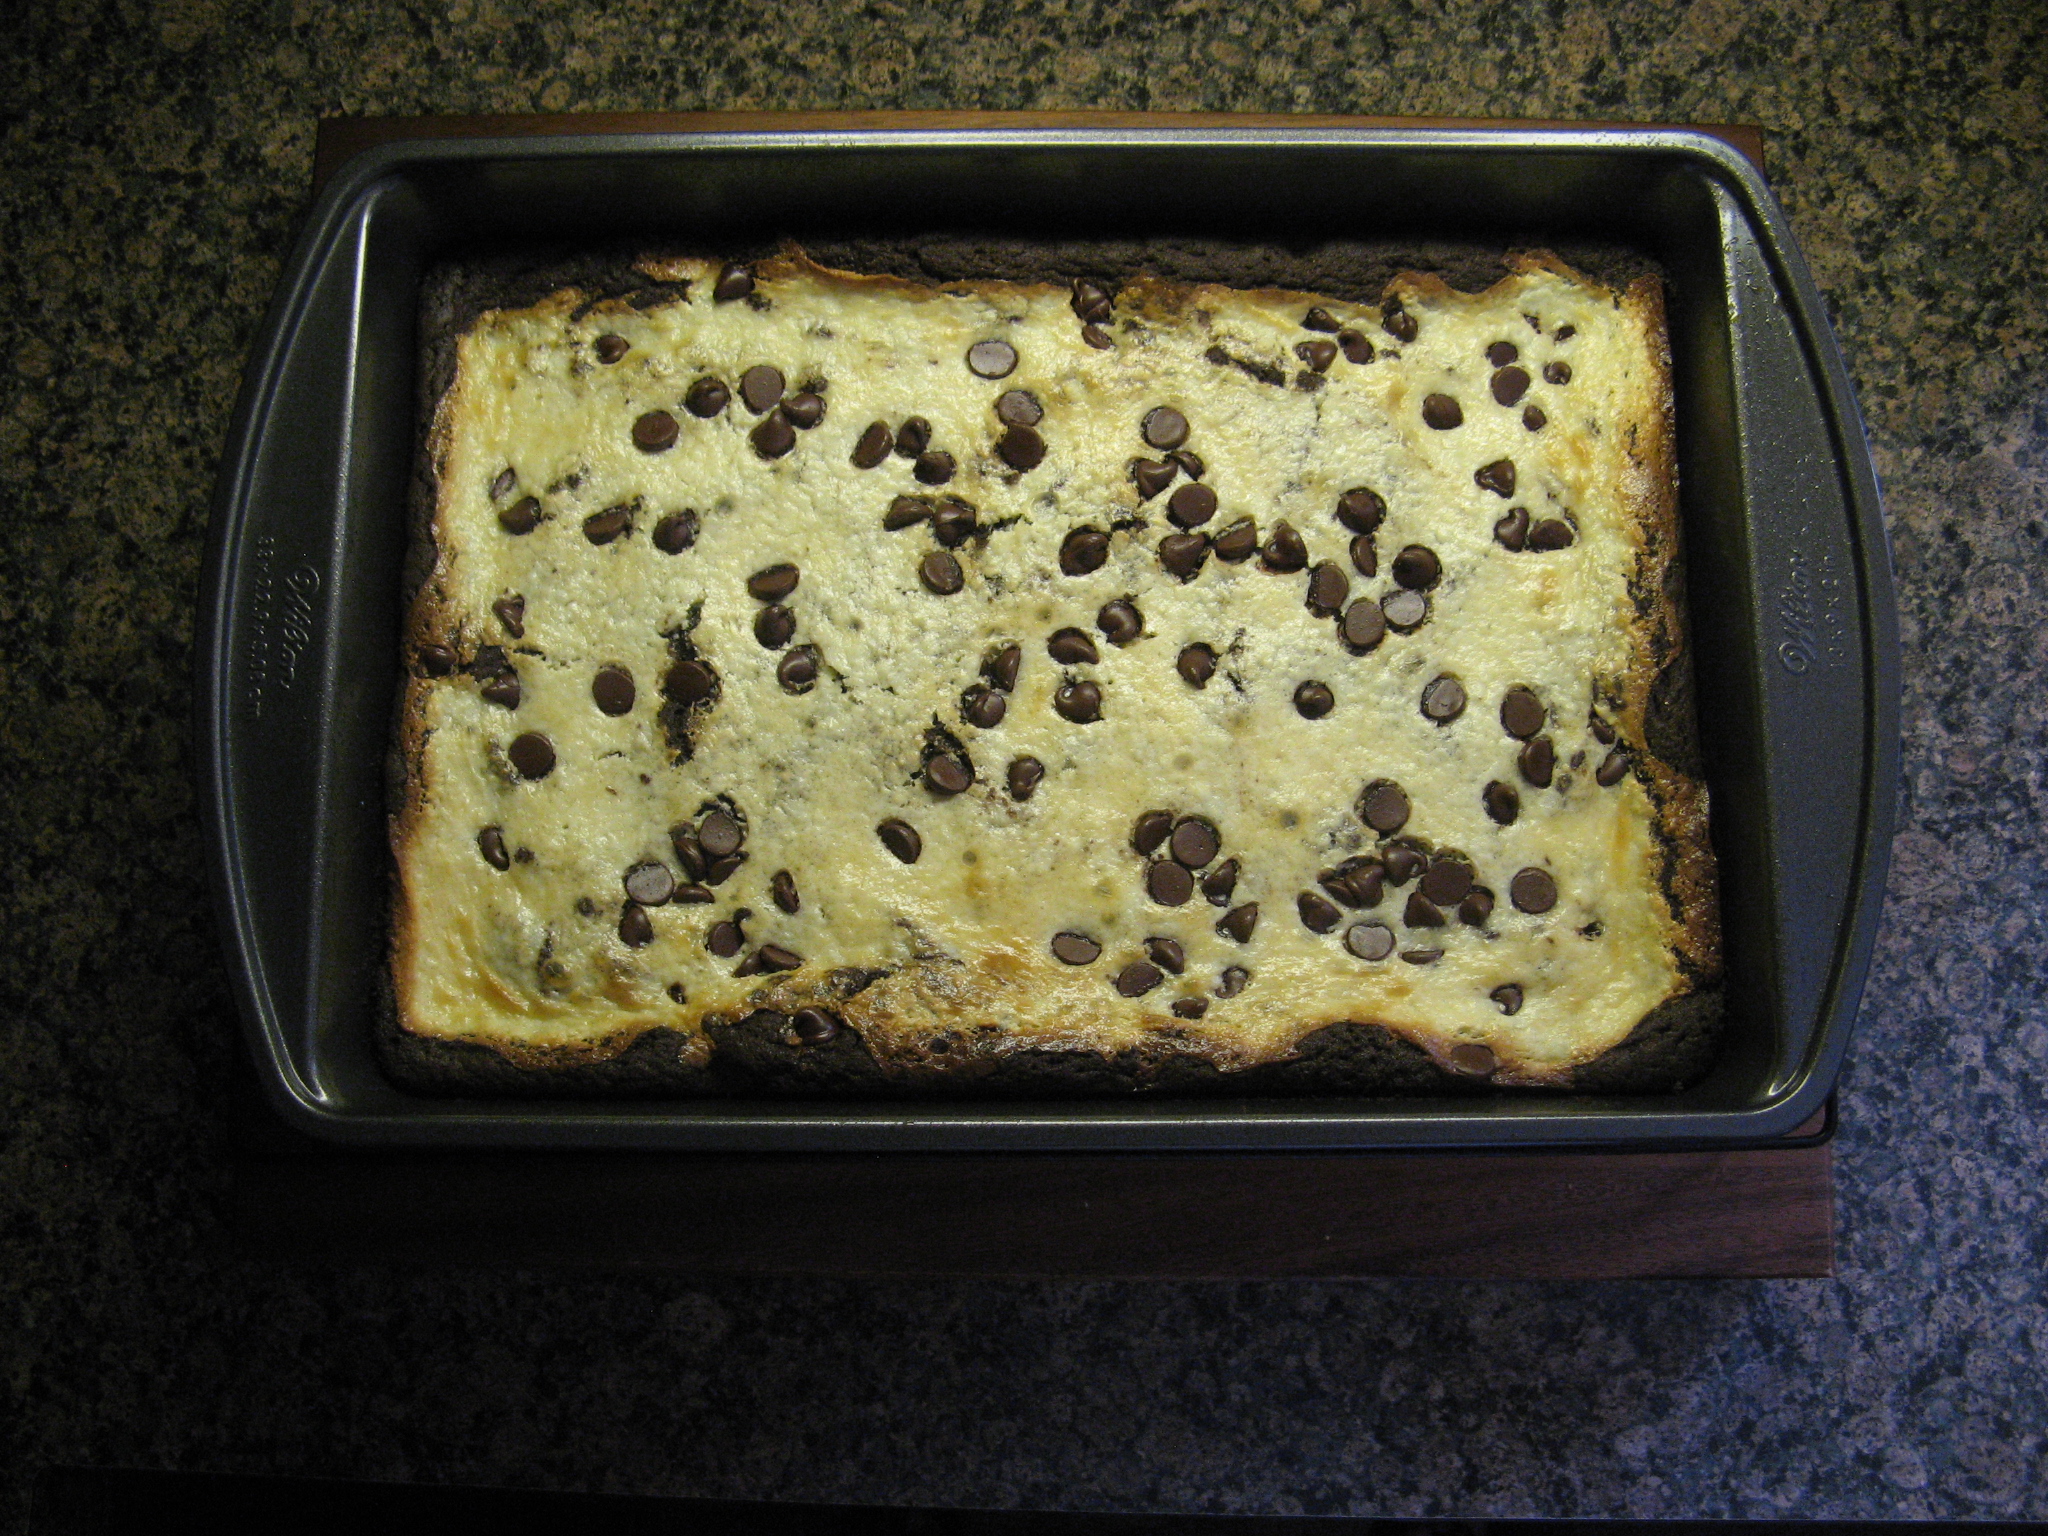
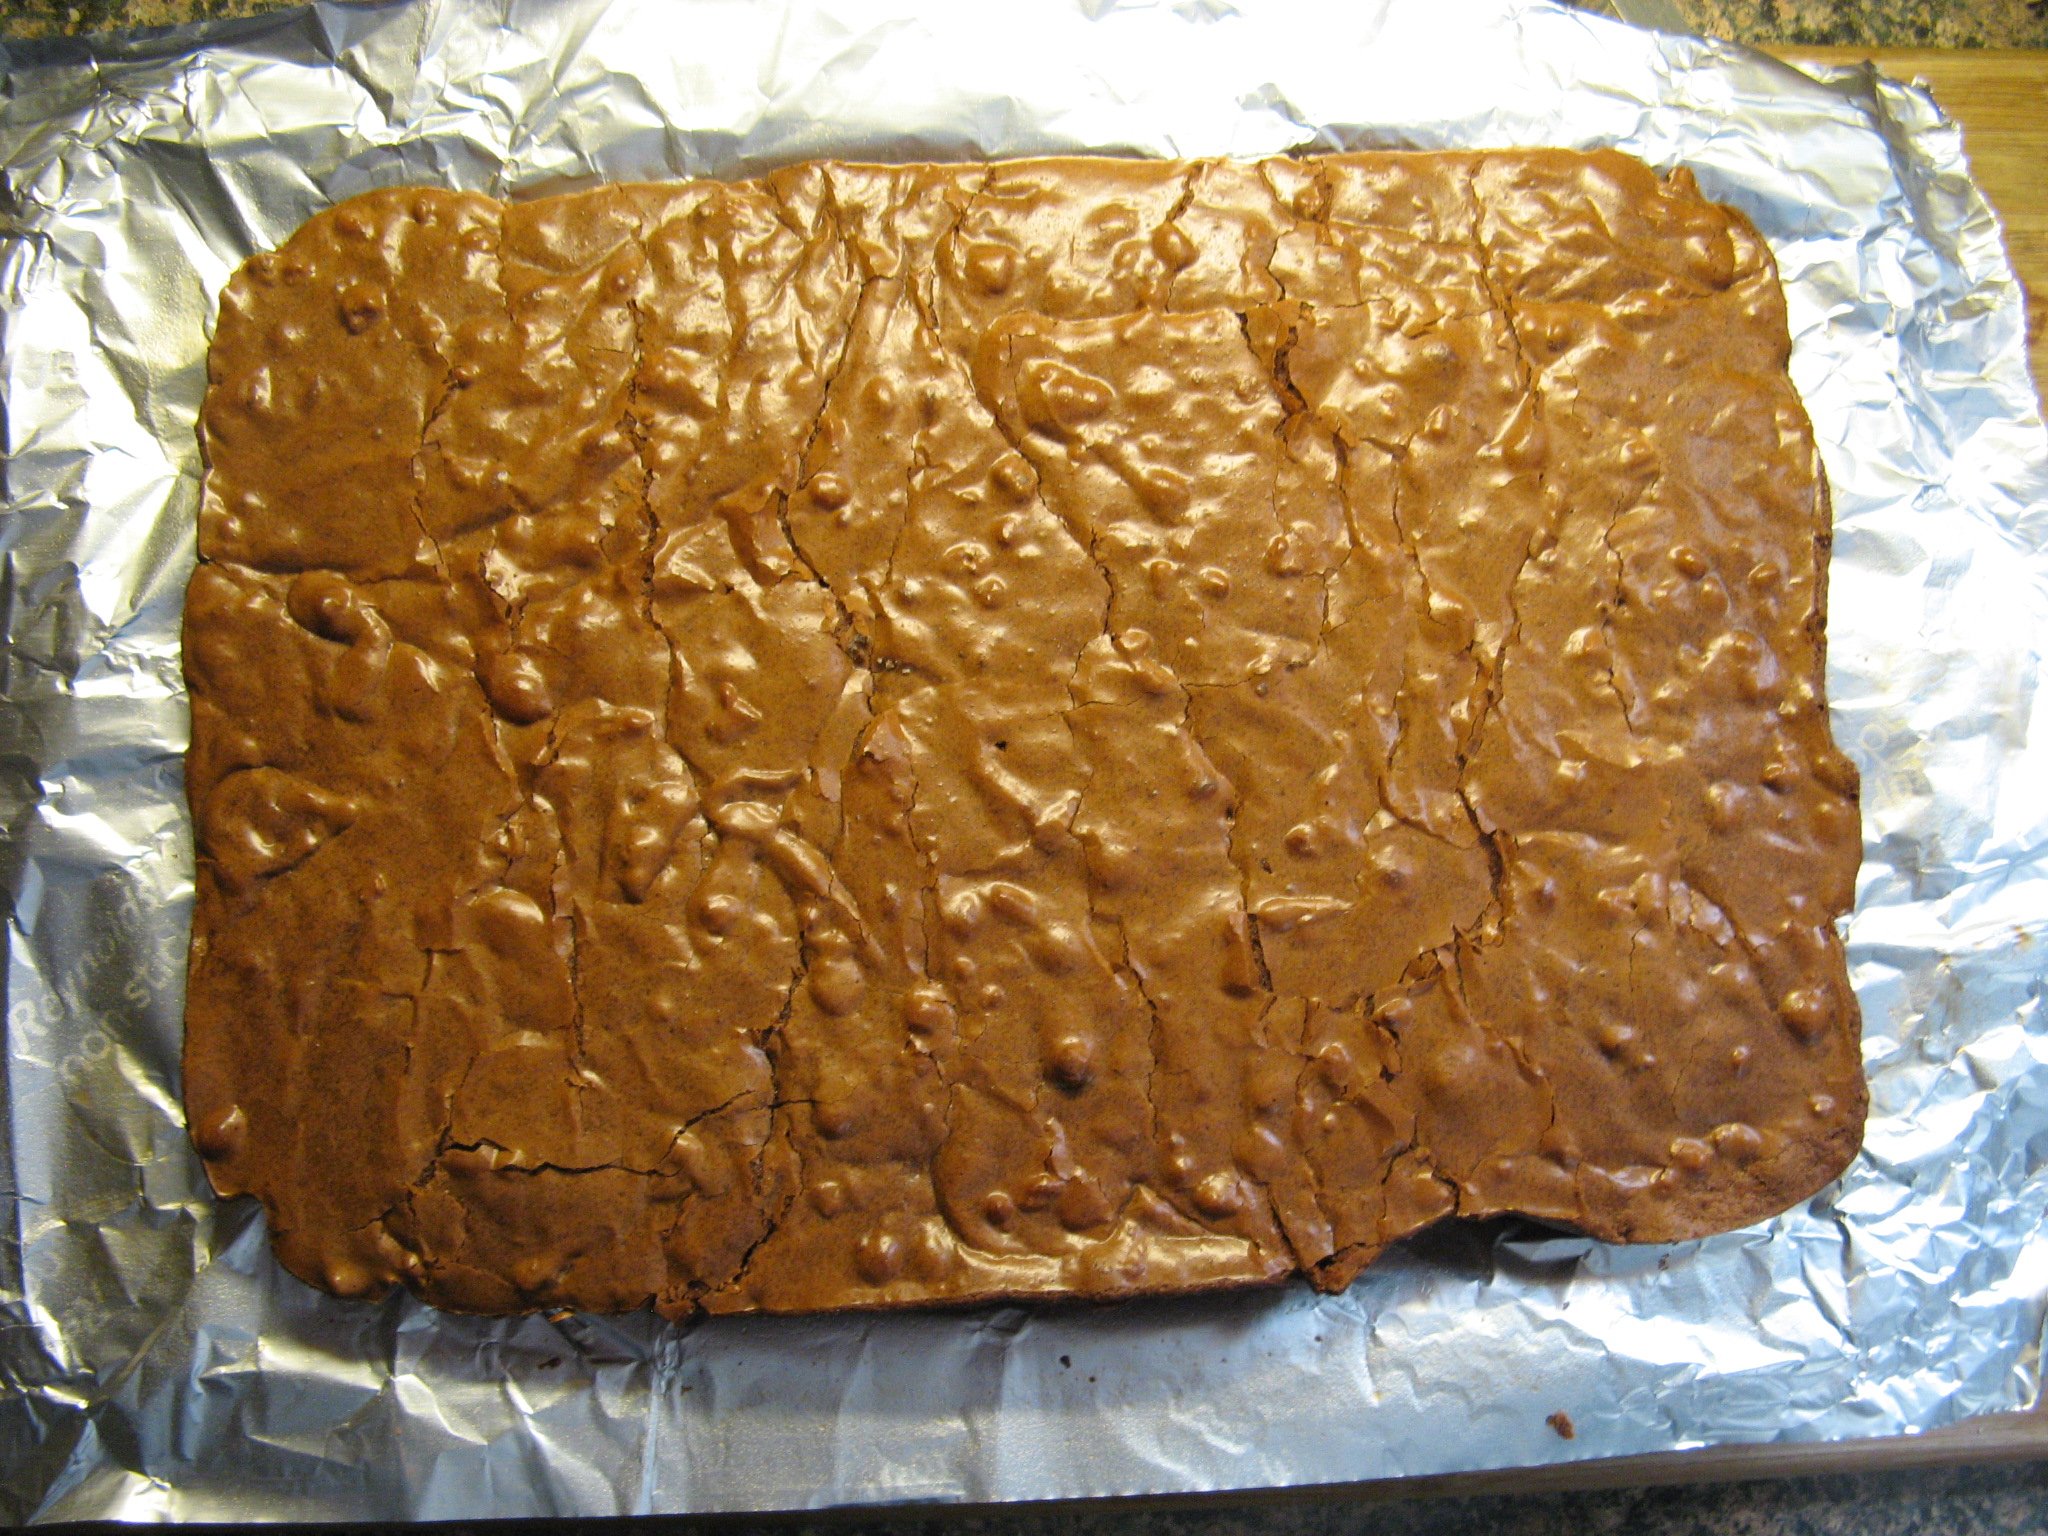
And while I let the brownies cook for 3.5 hours, I really should have let them cook for only 3 hours and then uncovered the slow cooker for the final 30 minutes of cooking. Truth be told, I am not greatest at gauging when I should take my brownies out of the oven. I know they are supposed to be slightly underdone when you take them out, but, I inevitably leave them in a minute or two too long because I don’t want them to be too underdone. I should learn by now. So, while I had a feeling my brownies were done at 3 hours, I ended up leaving them in too long and I ended up with burnt edges, but, I was able to salvage most of them and they were delicious.
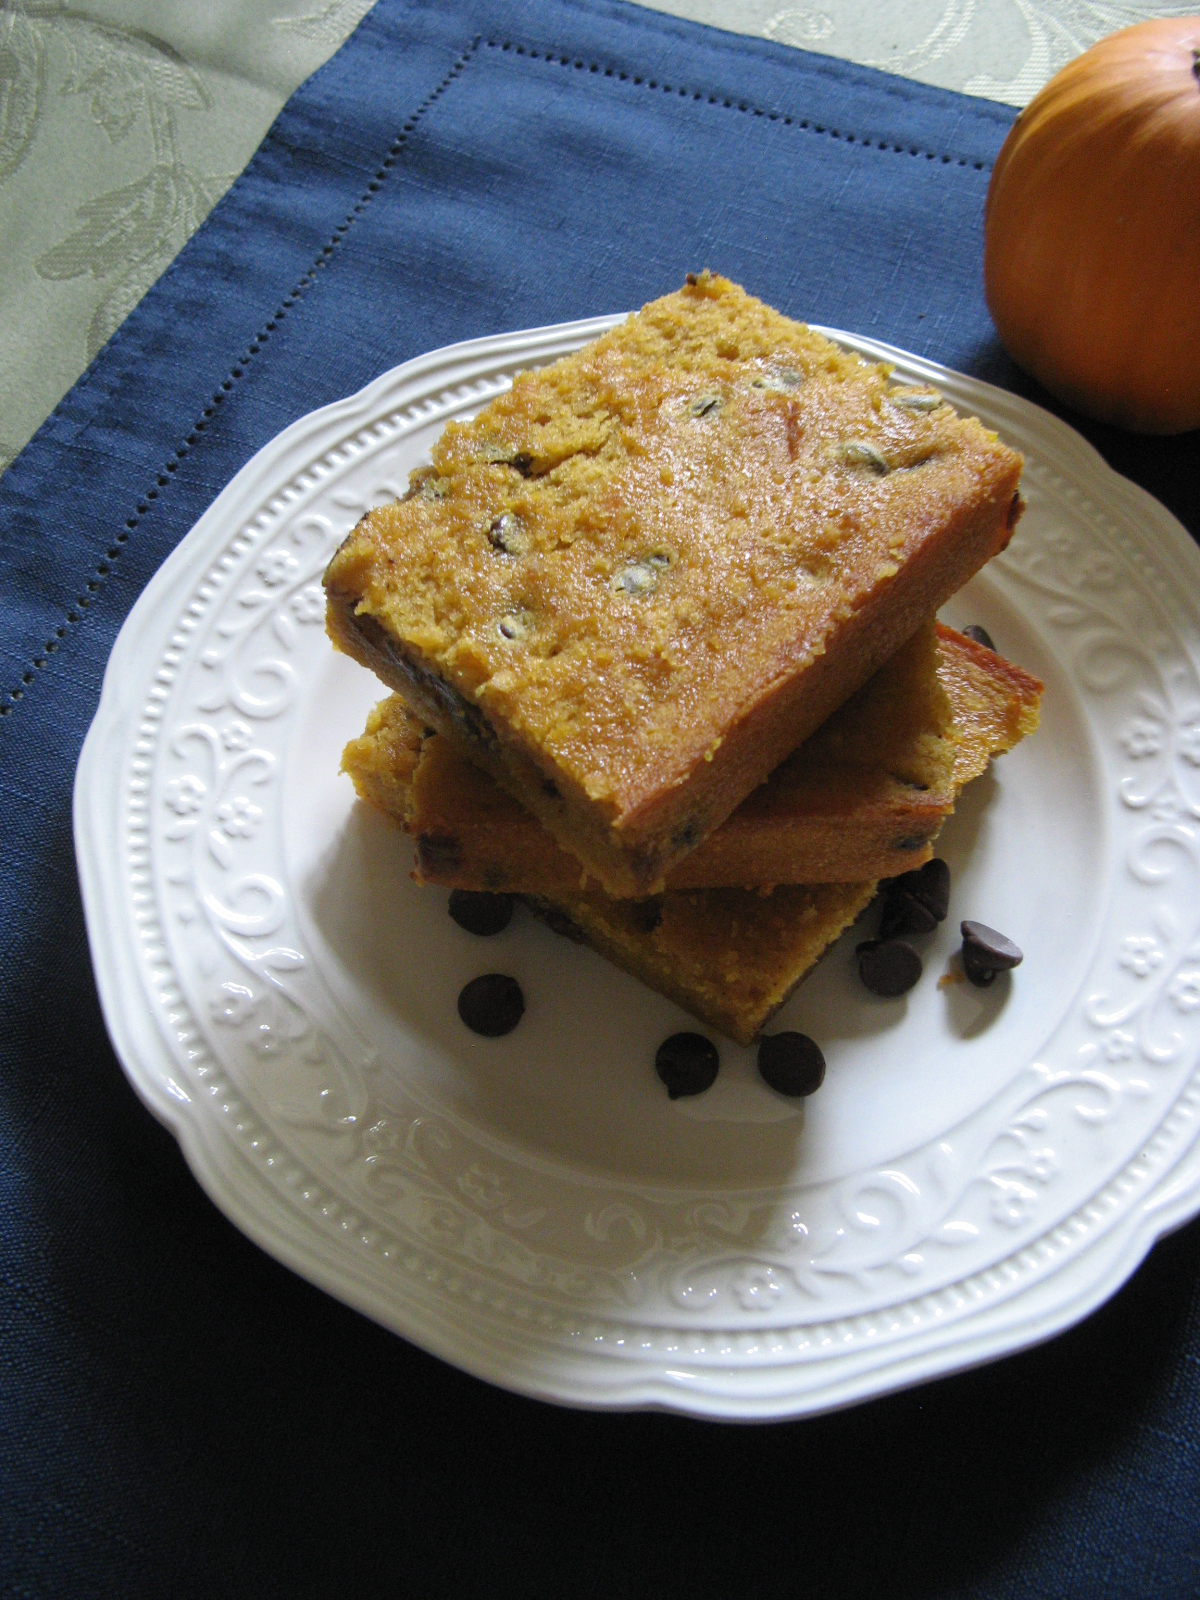
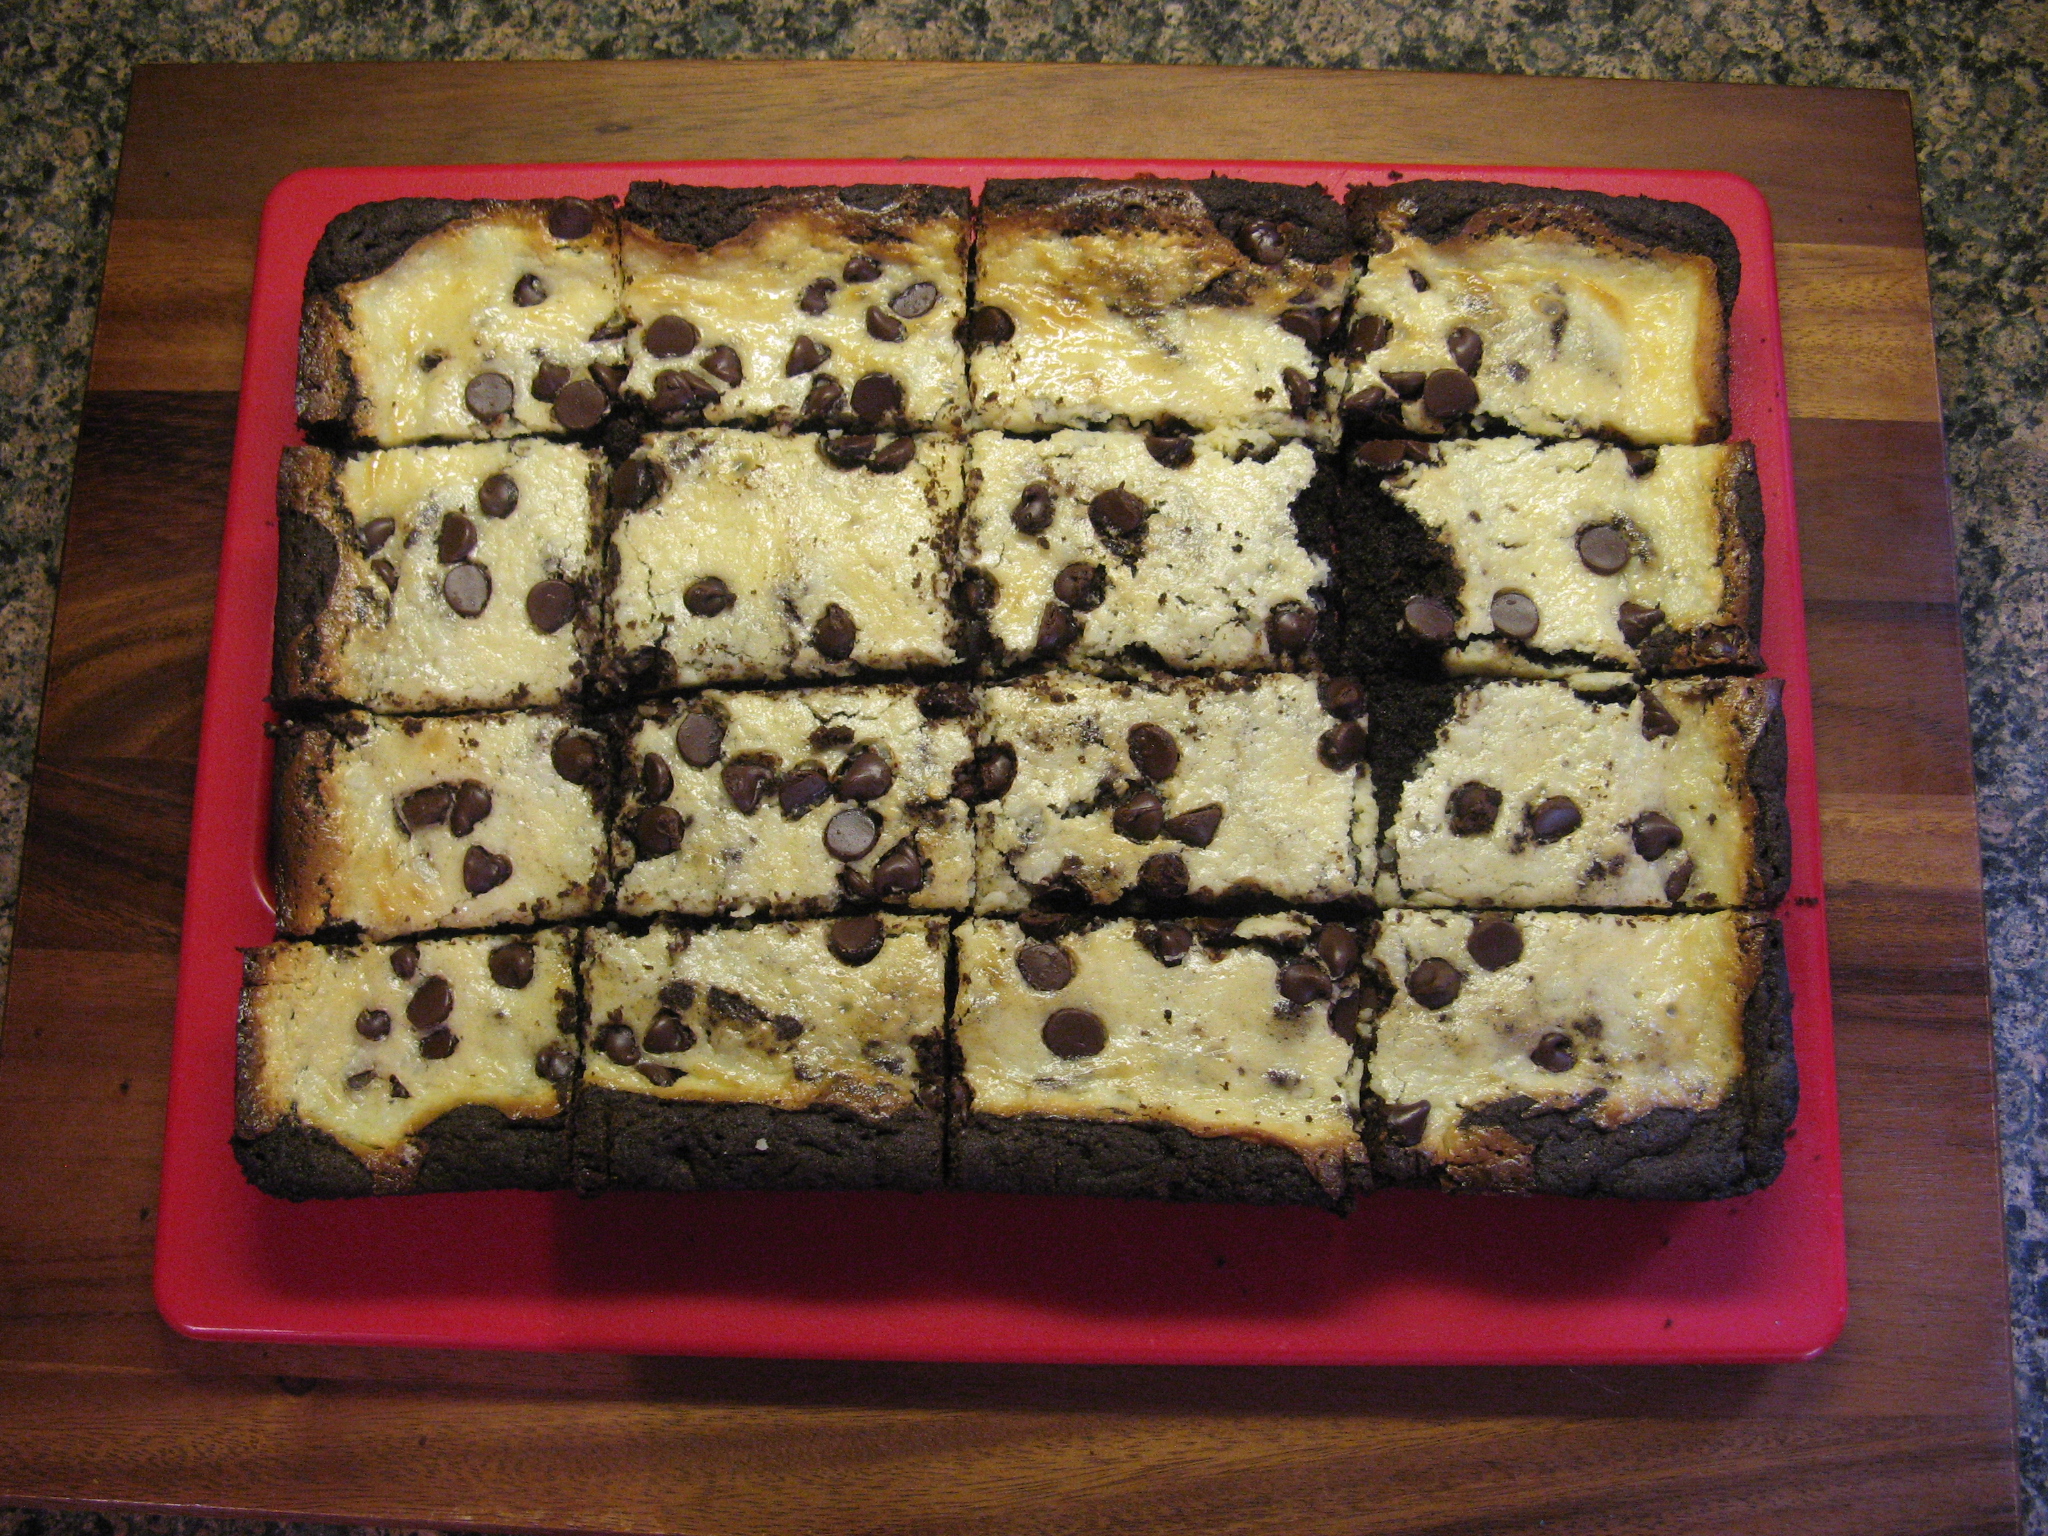
You may be wondering why I don’t have any pics of those brownies I did salvage…. Well, by the time the brownies cooled and I sliced them it was too dark in my house to get a good picture. It’s so much easier to take pictures during the summer months! I debated whether or not to share the recipe since there were so many mishaps, but, they were good nonetheless and worth another try at perfecting. Or maybe just baking them in the oven instead!
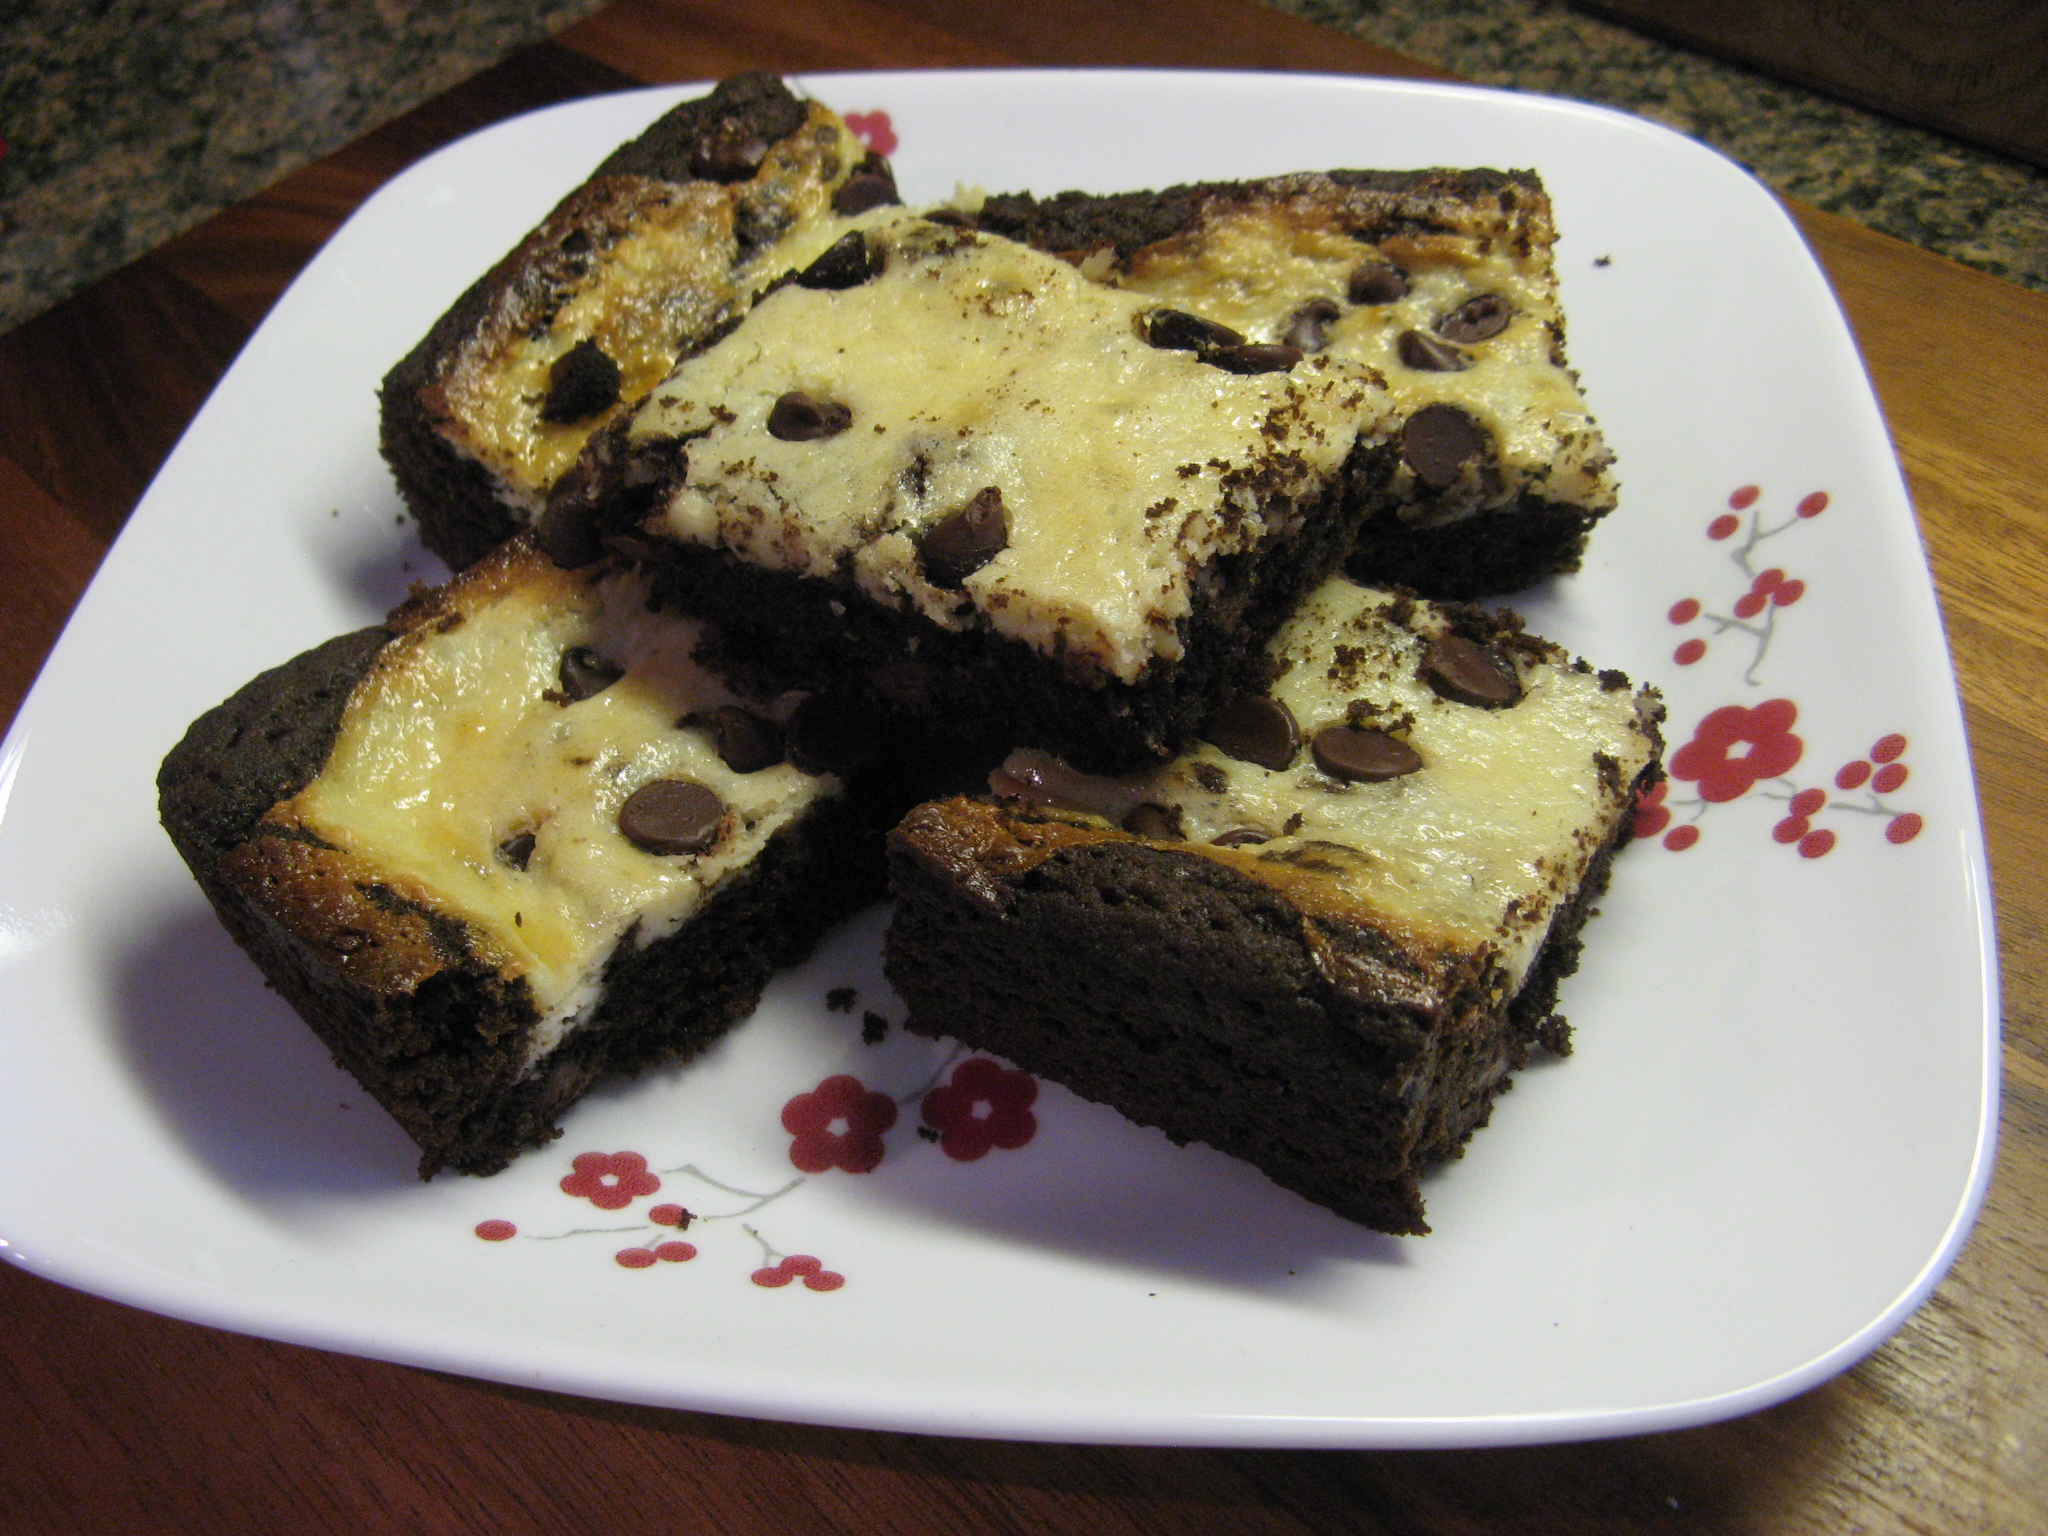
Slow Cooker Triple Chocolate Brownies
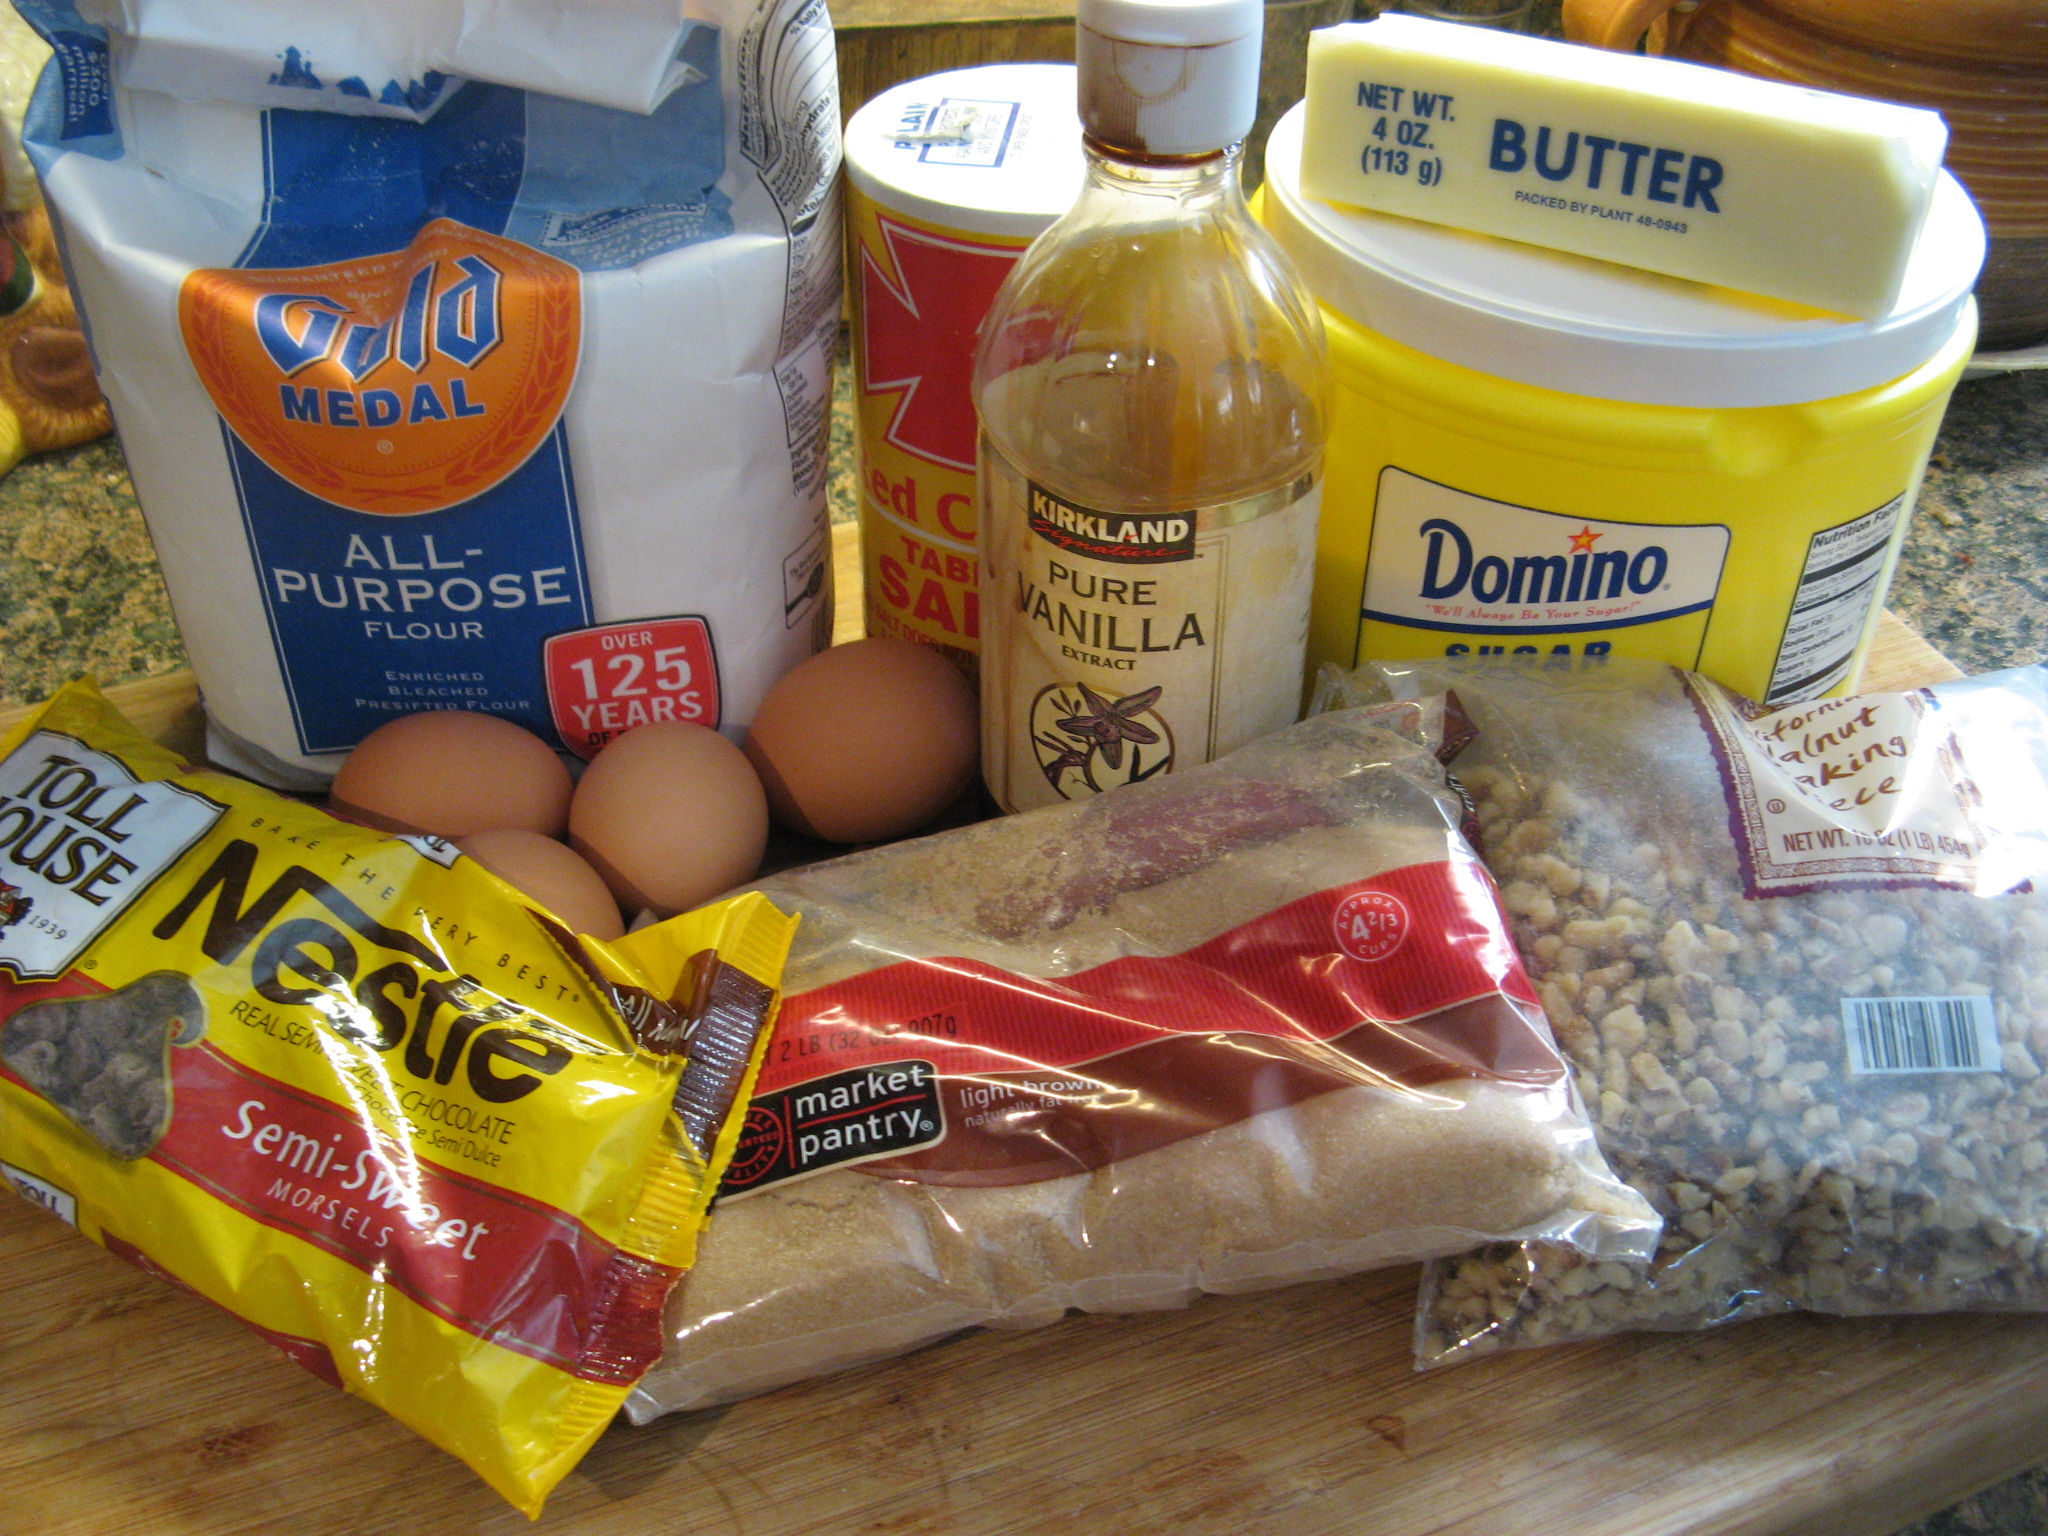
Ingredients:
1 1/4 cups flour
1/4 cup unsweetened cocoa powder
3/4 teaspoons baking powder
1/2 teaspoons coarse salt
1 stick unsalted butter, cut into pieces
8oz. bittersweet chocolate, cut into pieces*
1 cup sugar
3 large egss, lightly beaten
1 cup chopped walnuts
1 cup semi-sweet chocolate chips
Non-stick cooking spray
*I used 1 1/3 cups of bittersweet chocolate chips
Directions:
Spray the insert of a 5-quart slow cooker with the cooking spray. Line the bottom with parchment paper and then spray the paper with the spray as well.
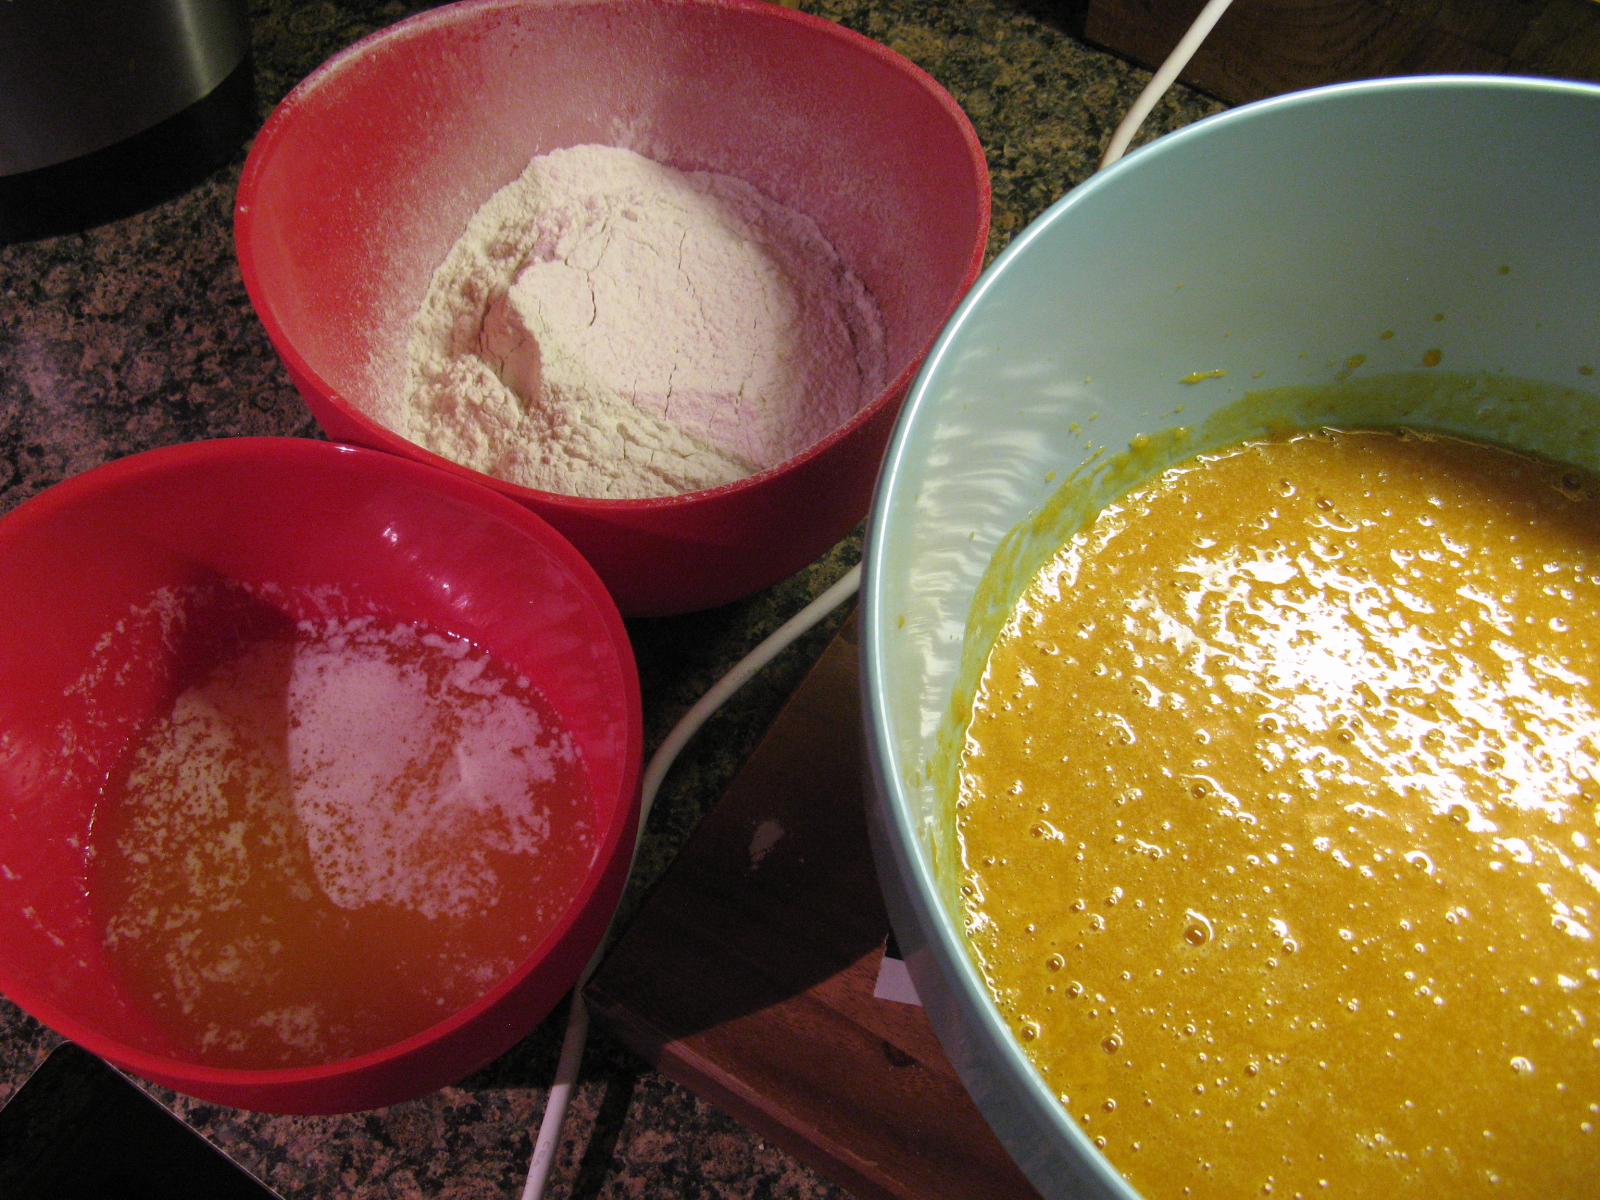
In a small bowl whisk together the flour, cocoa powder, baking powder and salt. Set aside.
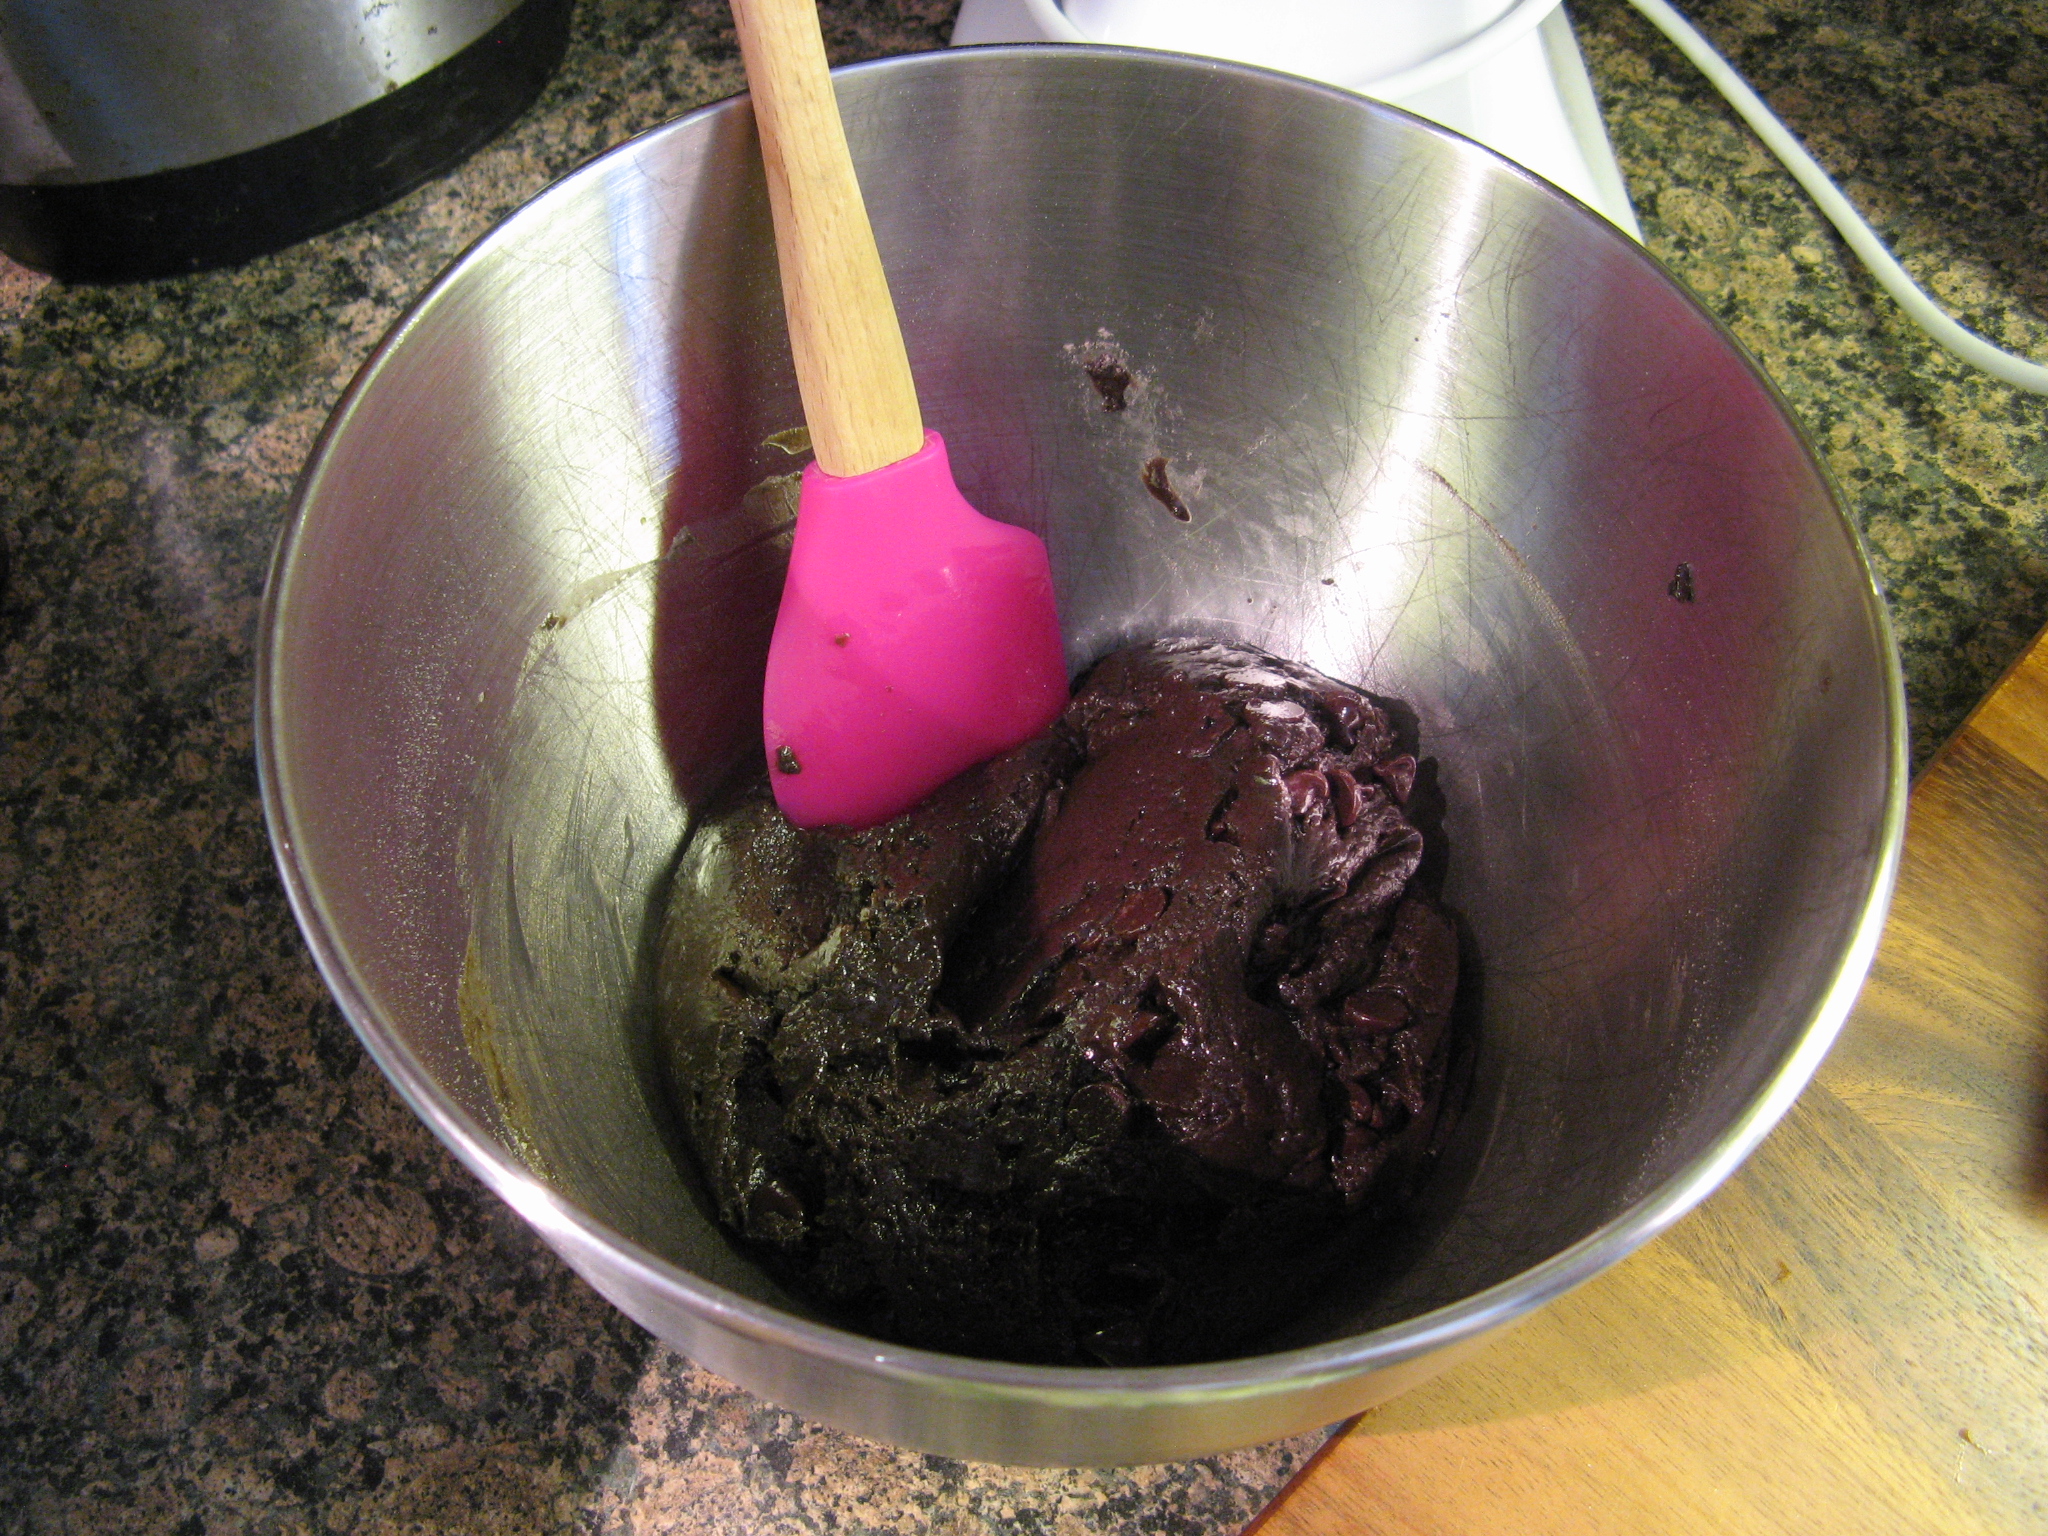
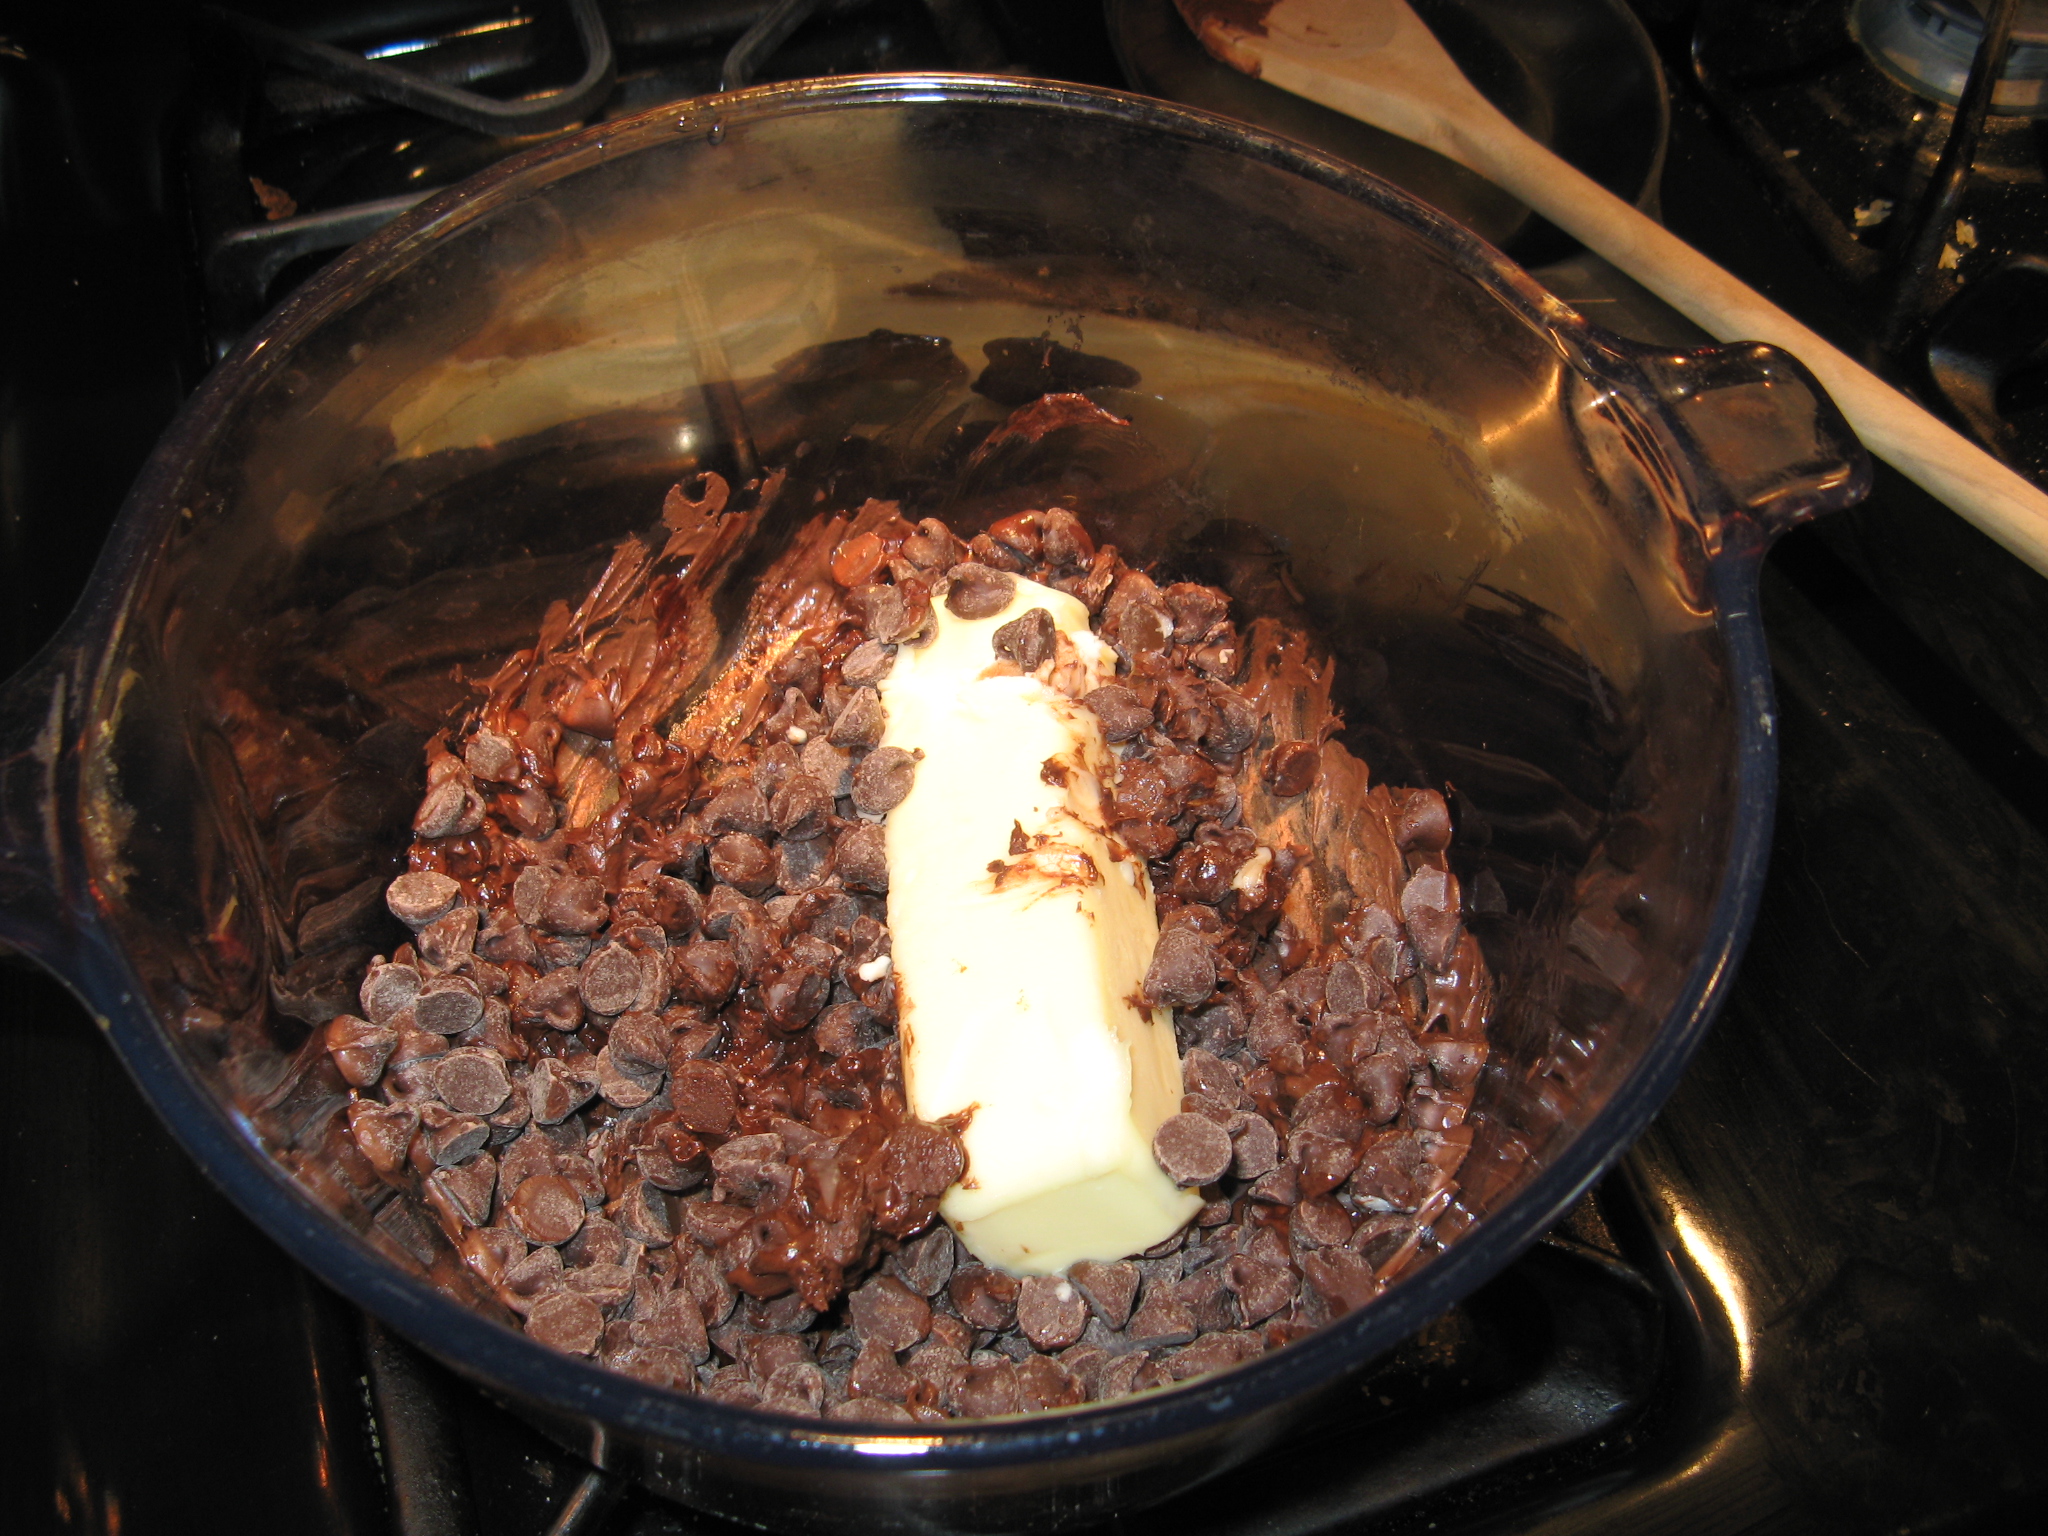
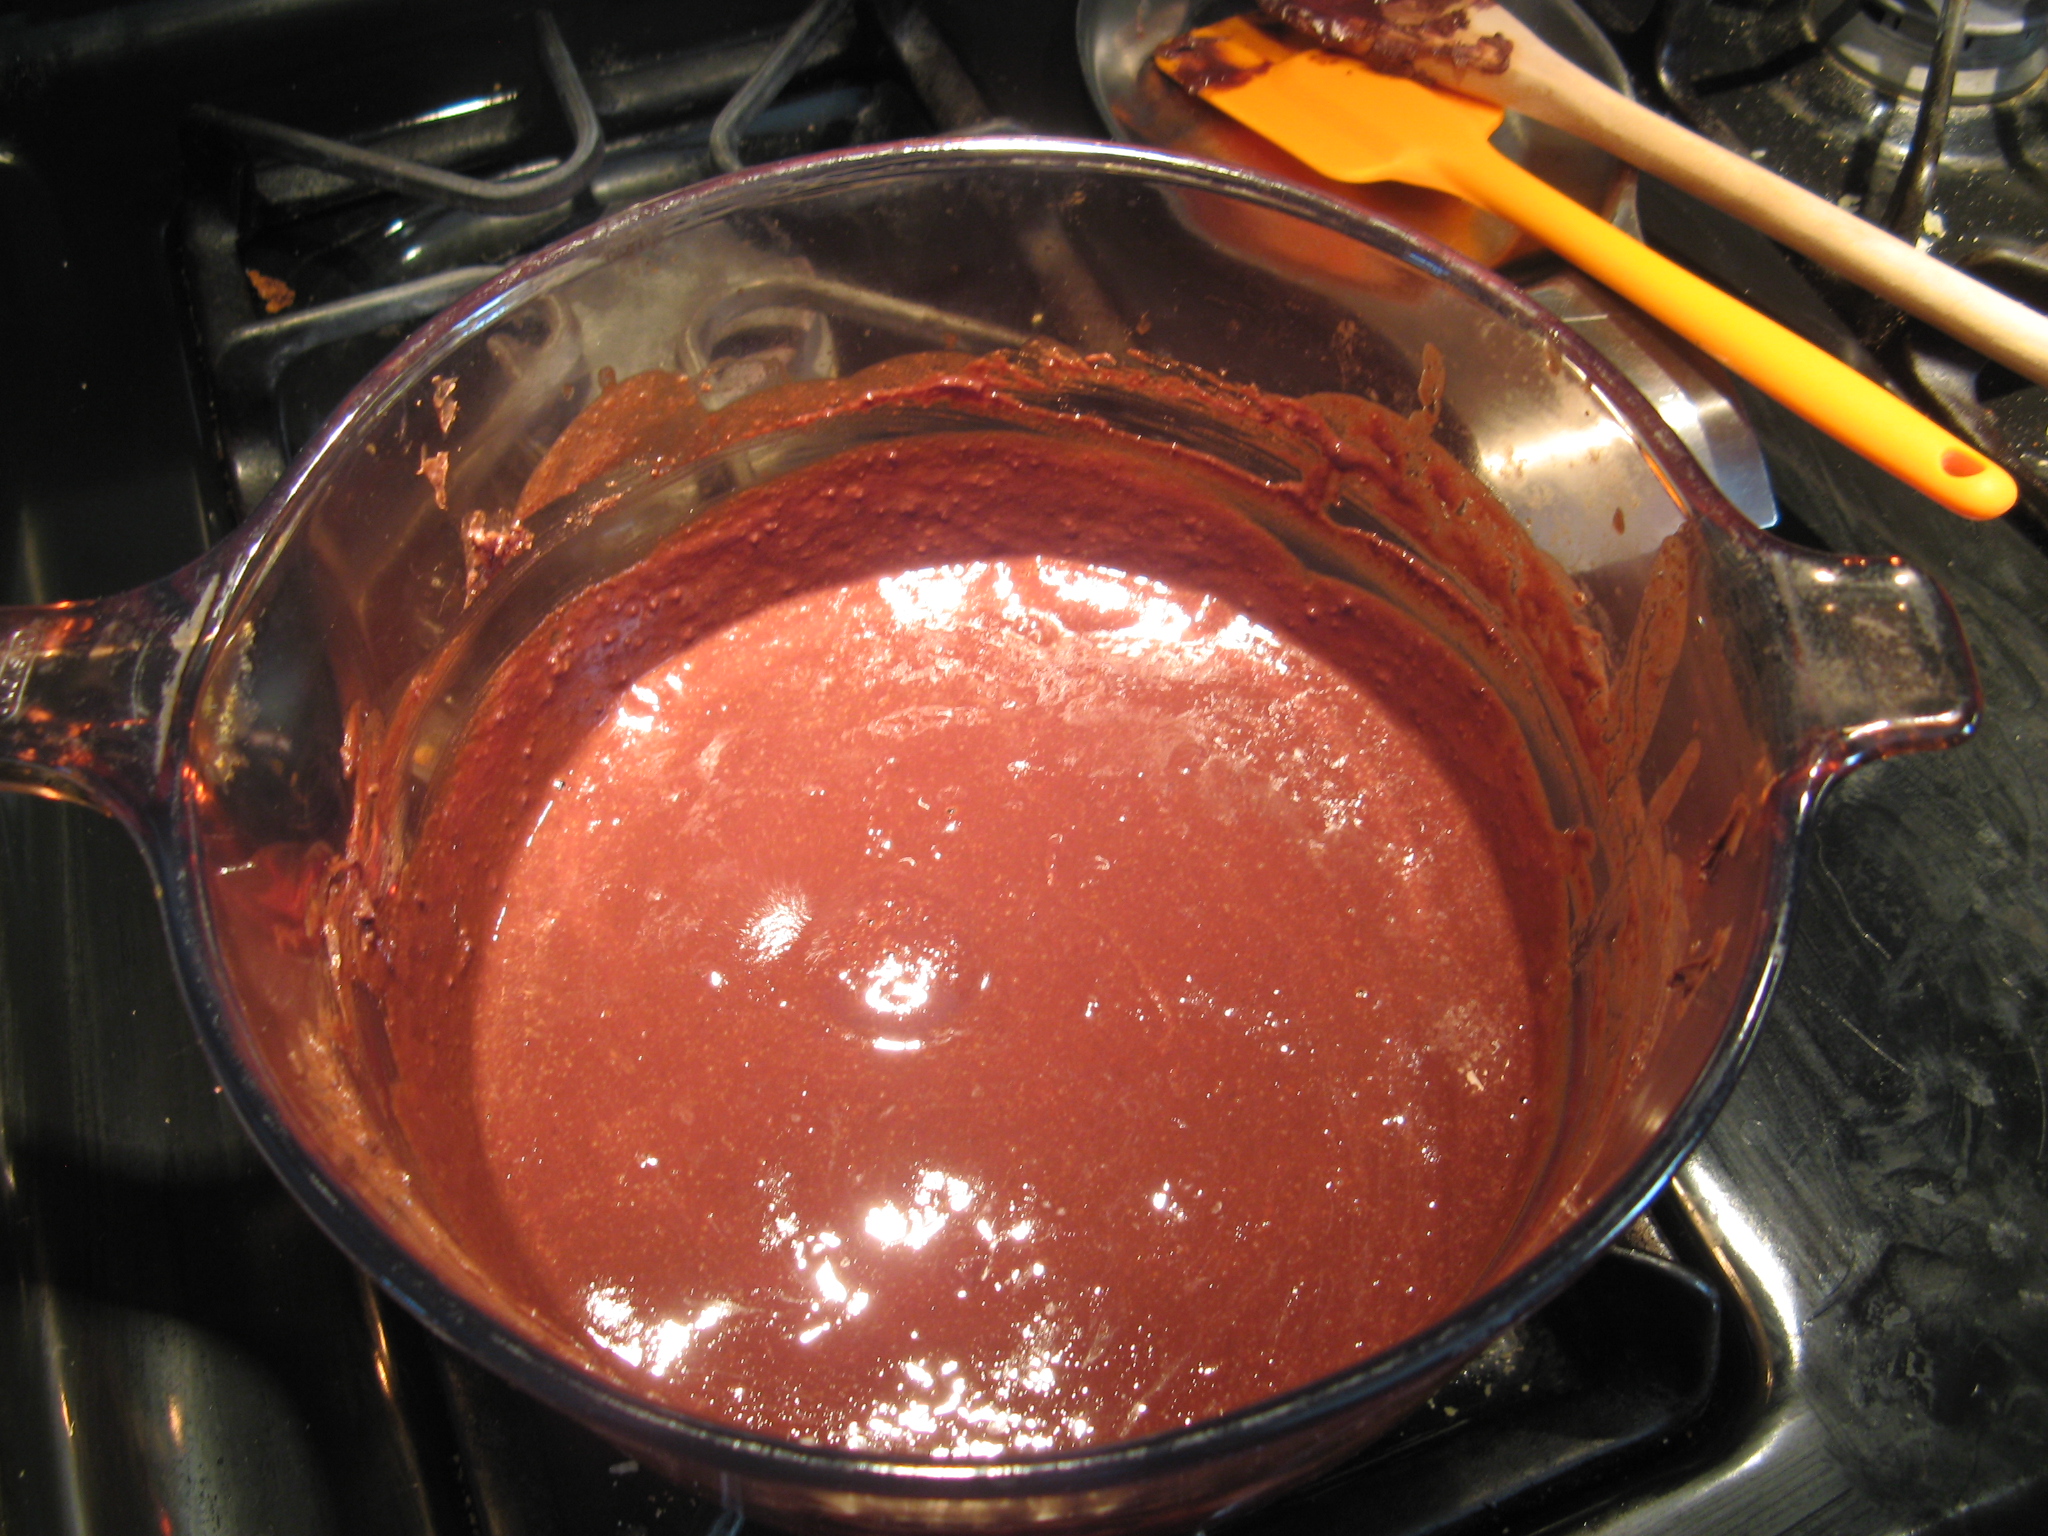
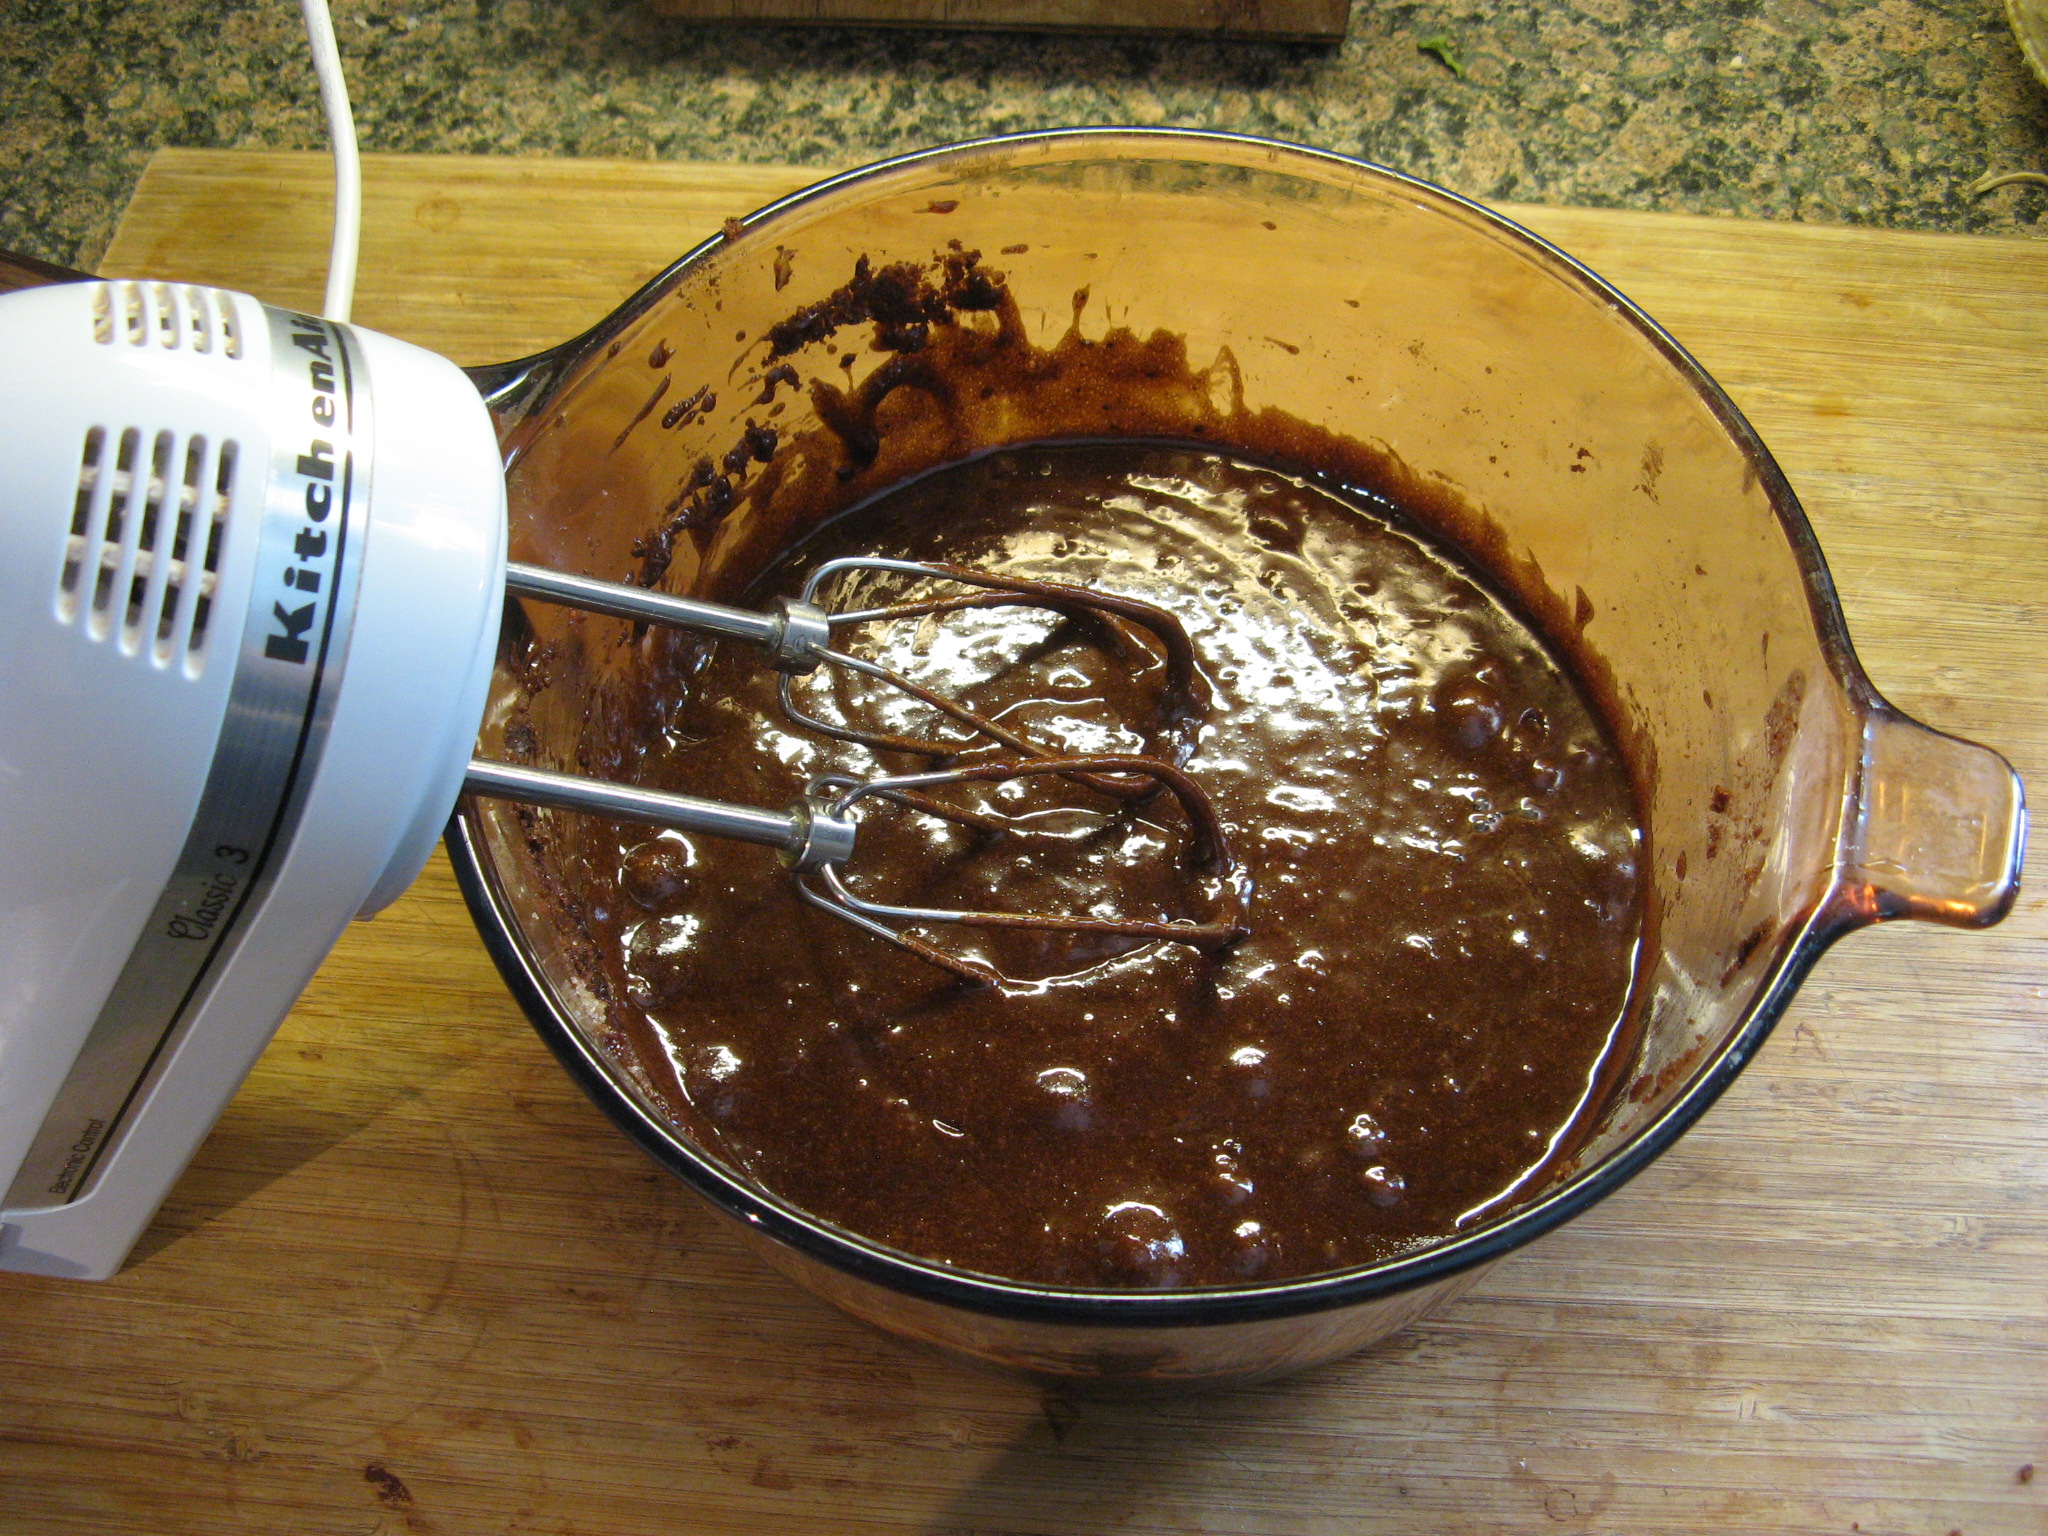
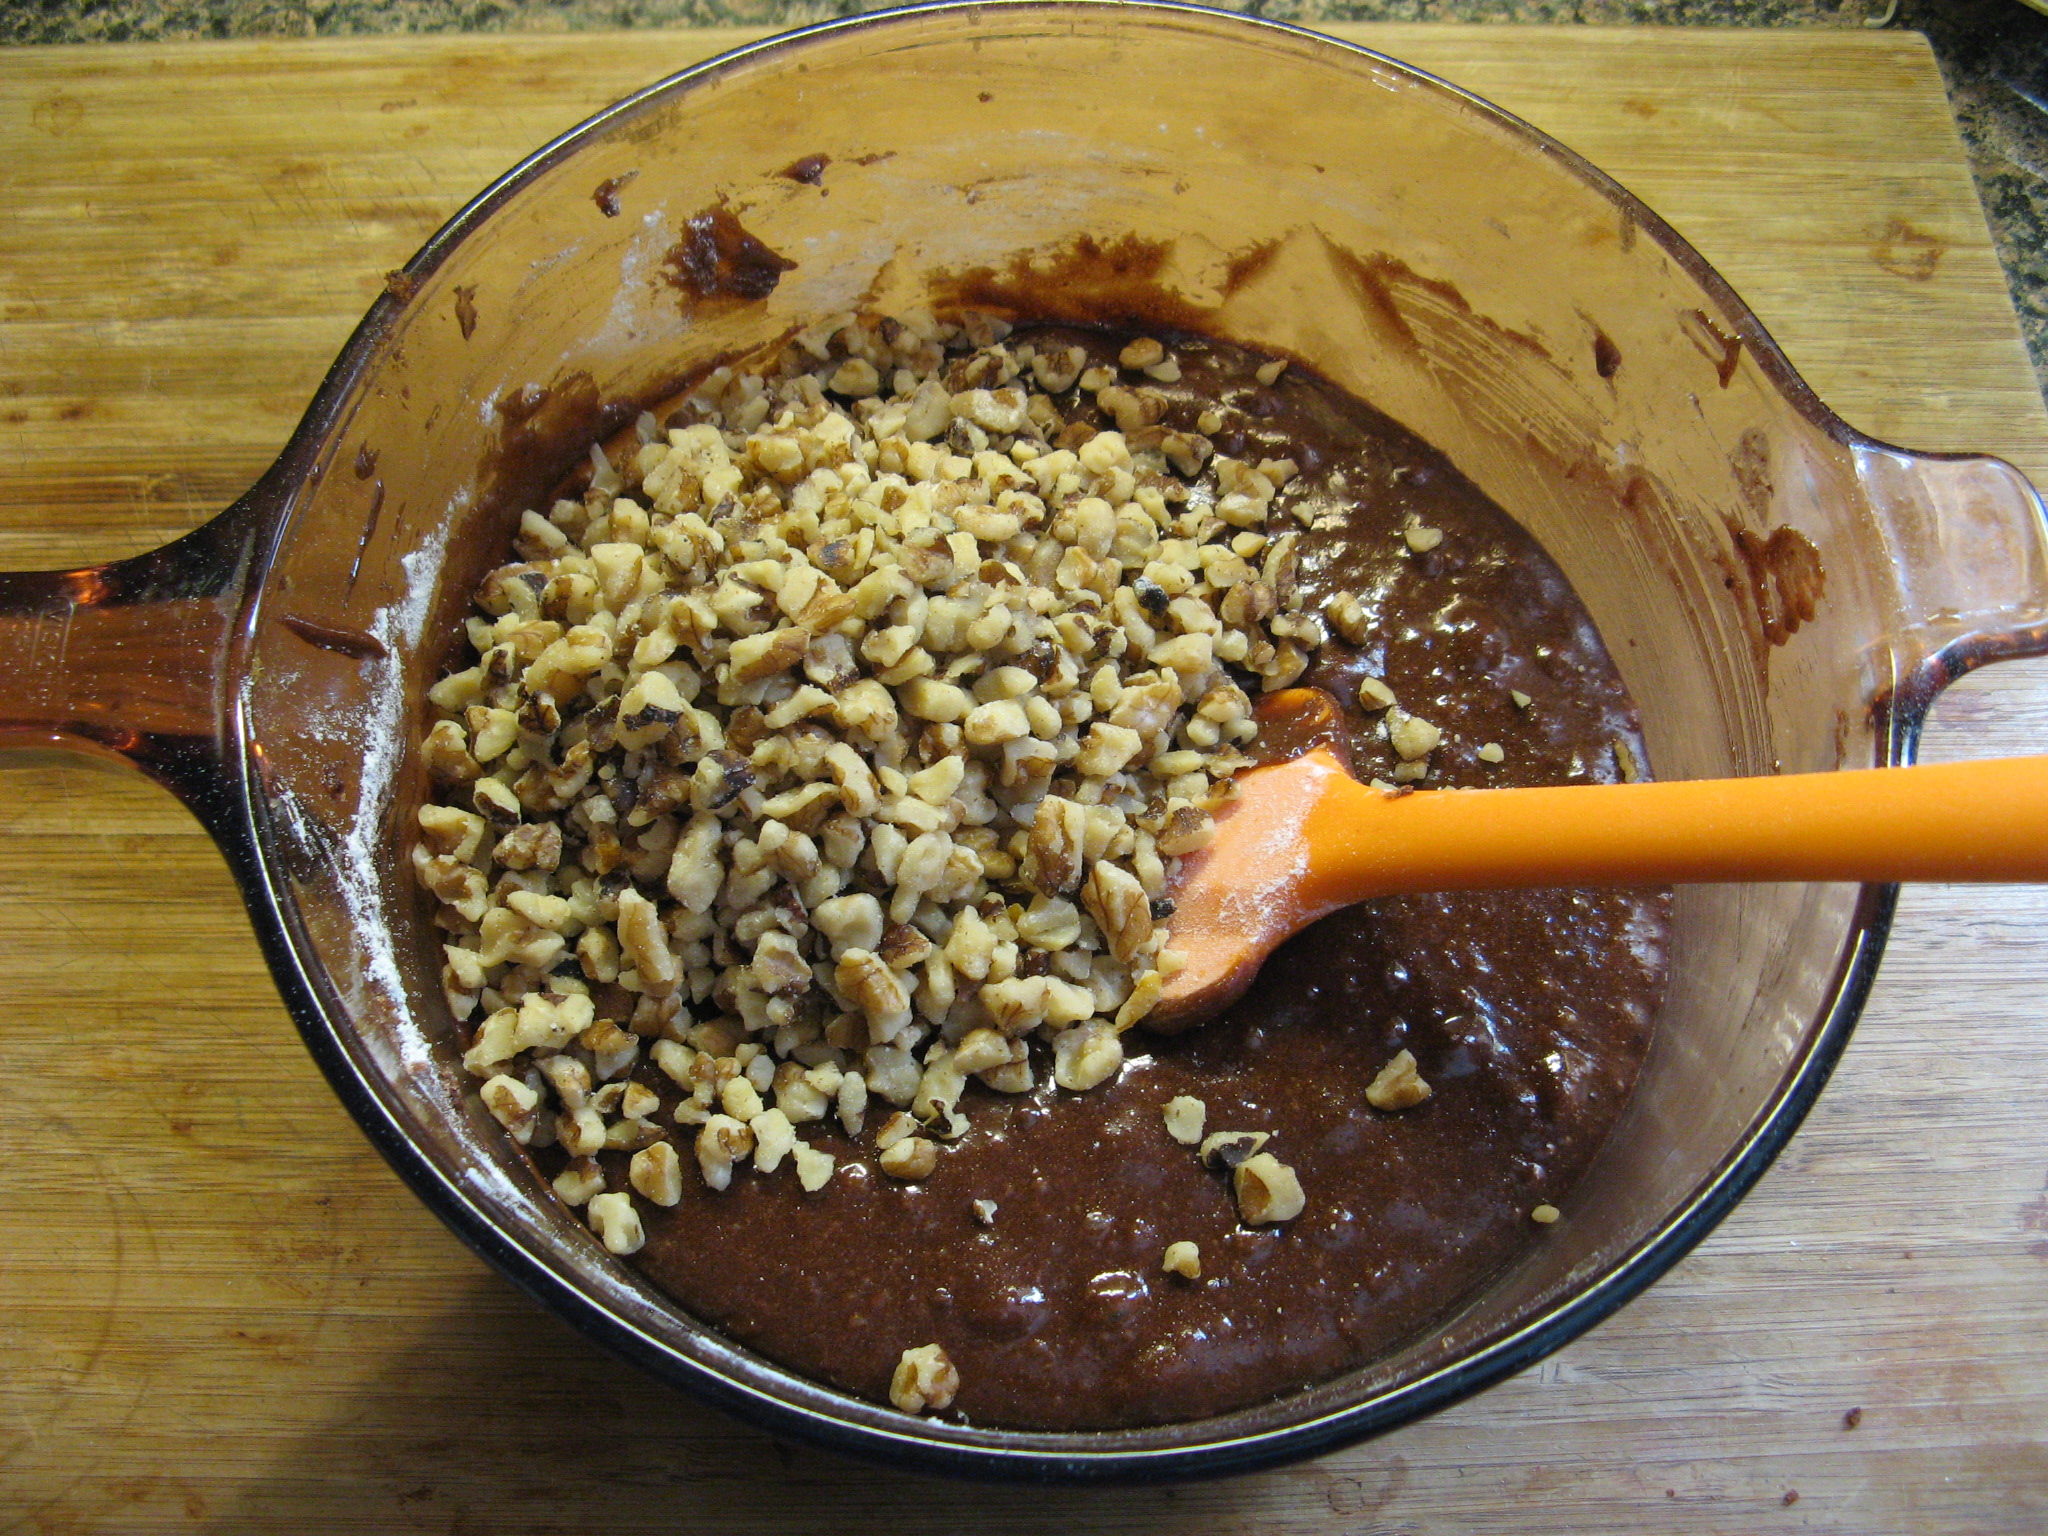
Place the butter and the bittersweet chocolate in a medium microwave-safe bowl and microwave on 30 second intervals, stirring after each, until the chocolate and butter has melted. Add the sugar and stir to combine. Stir in the eggs, then add in the flour mixture, the walnuts and chocolate chips. Stirring everything together until just combined, be sure not to overmix. Transfer the mixture to the slow cooker insert and smooth the top.
Cover and cook on low for 3.5 hours*. Uncover and cook for an additional 30 minutes. Remove the insert from the slow cooker and run a knife around the edges to loosen the brownies. Place the insert on a wire rack and allow the brownies to cool completely, at least 2 hours. Turn the brownies out onto a cutting board / work surface and slice into 14 brownies. Store in an airtight container.
*If using a larger slow cooker your cooking time will be less. I used a 5.5 quart slow cooker and I probably should have uncovered them for the last 30 minutes at around the 3 hour mark.
Recipe from Martha Stewart