Granny Square Tote Bag – Red Heart All In One Granny Square Yarn

Most crocheters / knitters would agree that the worst part of any project is weaving in the ends. If you are unfamiliar with what that means, it’s basically weaving the ends of the yarn into your finished project. This is especially the worst when you create something with multiple yarn colors, like granny squares!

So, I was excited when I saw that Red Heart created a yarn that would minimize ends with granny squares with their new Red Heart All in One Granny Square Yarn. The yarn also takes the guesswork out of selecting colors for the granny squares, although I wasn’t all that thrilled with the color selections. I did find one that I liked, I just had to get my eyes used to crocheting with black yarn. There is a funny saying that goes “If someone makes you something out of yarn, they like you. If they make it out of black yarn, they love you.” Not sure who said it, but there is a lot of truth in it. My mom used to crochet, and she would avoid dark colors (if possible) when working on a project. Working with darker colors requires ample lighting to reduce the strain on your eyes as you work so you don’t miss any stitches. Which can slow your progress down as well. For me personally I can crochet much quicker (and with less mistakes) when working with lighter colors.

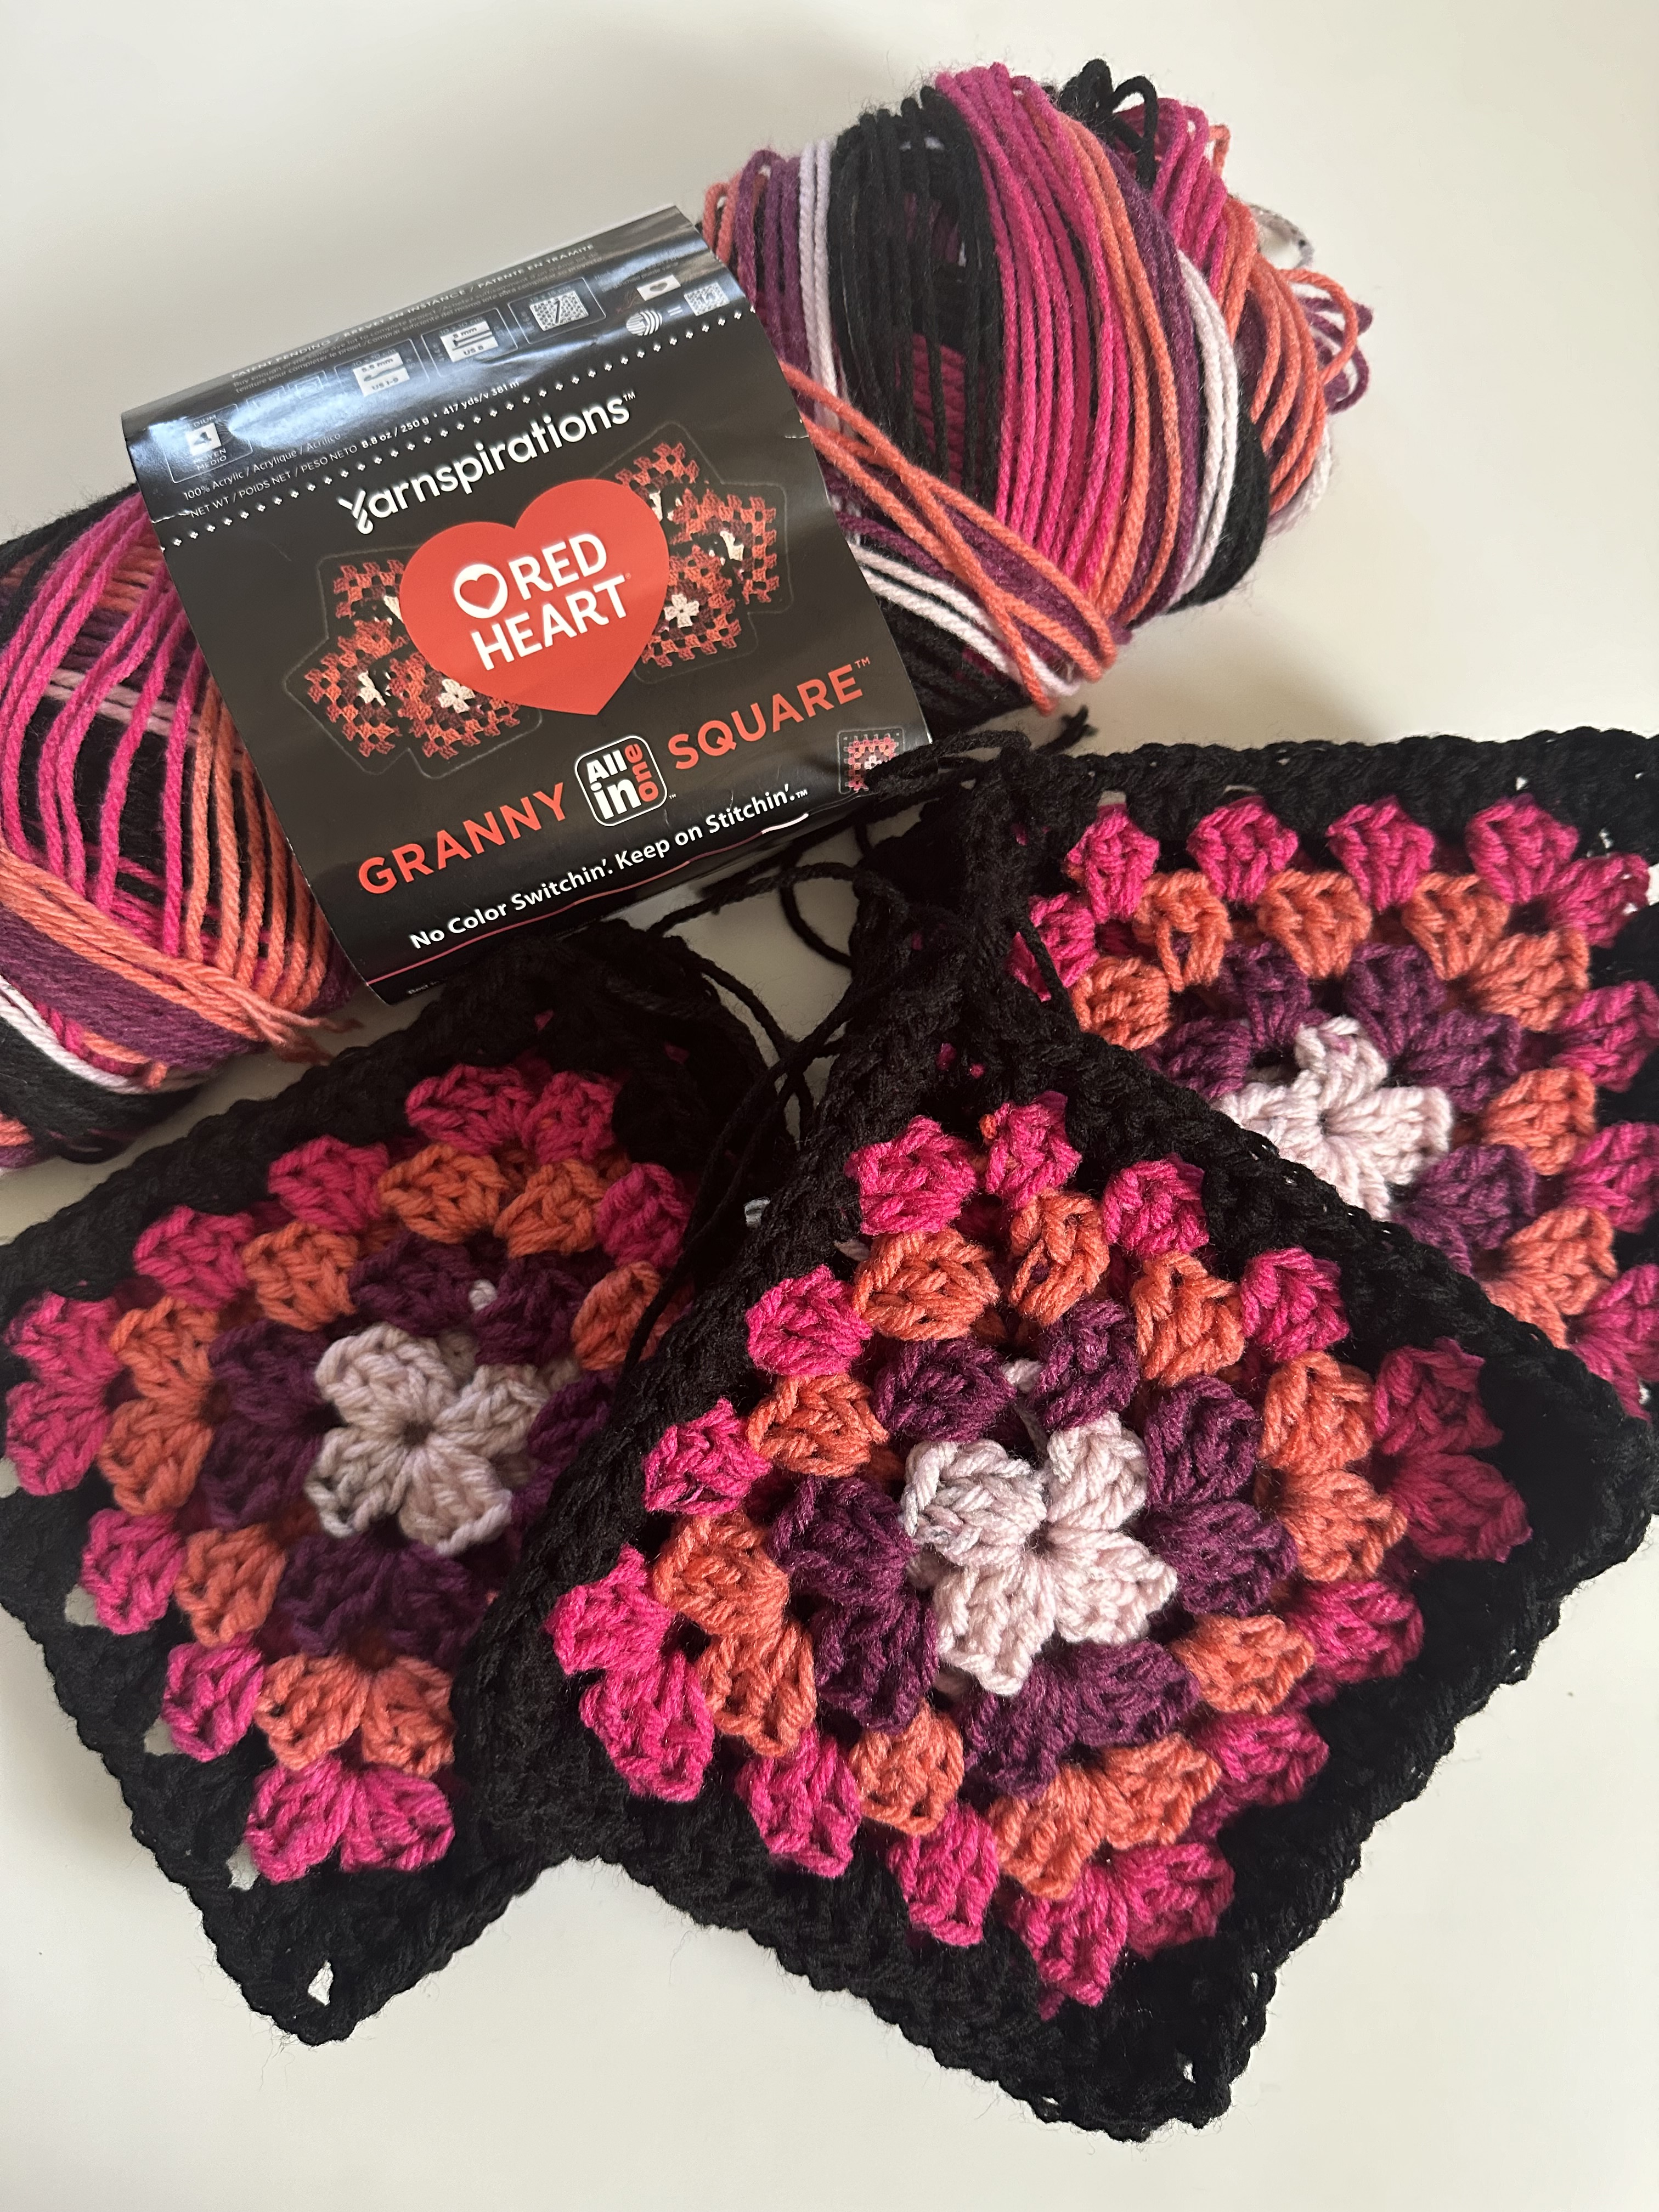
Now, while most patterns for granny squares are the same with just a few tweaks here and there, I opted to follow the pattern that came with the yarn as opposed to the one I normally use just to be sure that my granny squares would work up “properly.” Well, right off the bat I realized that it wasn’t going to be as easy as it seemed. I was constantly frogging (ripping out the yarn) and adjusting my tension to get the colors to line up for the different rounds of the square. There was always a round or two that was off which meant I would have to start the round again. I decided to read the reviews for the yarn on their website to see if there were any tricks or suggestions and what I found was a bunch of negative reviews. I was determined though. Ultimately, I ended up with 15 granny squares that required a lot of patience!

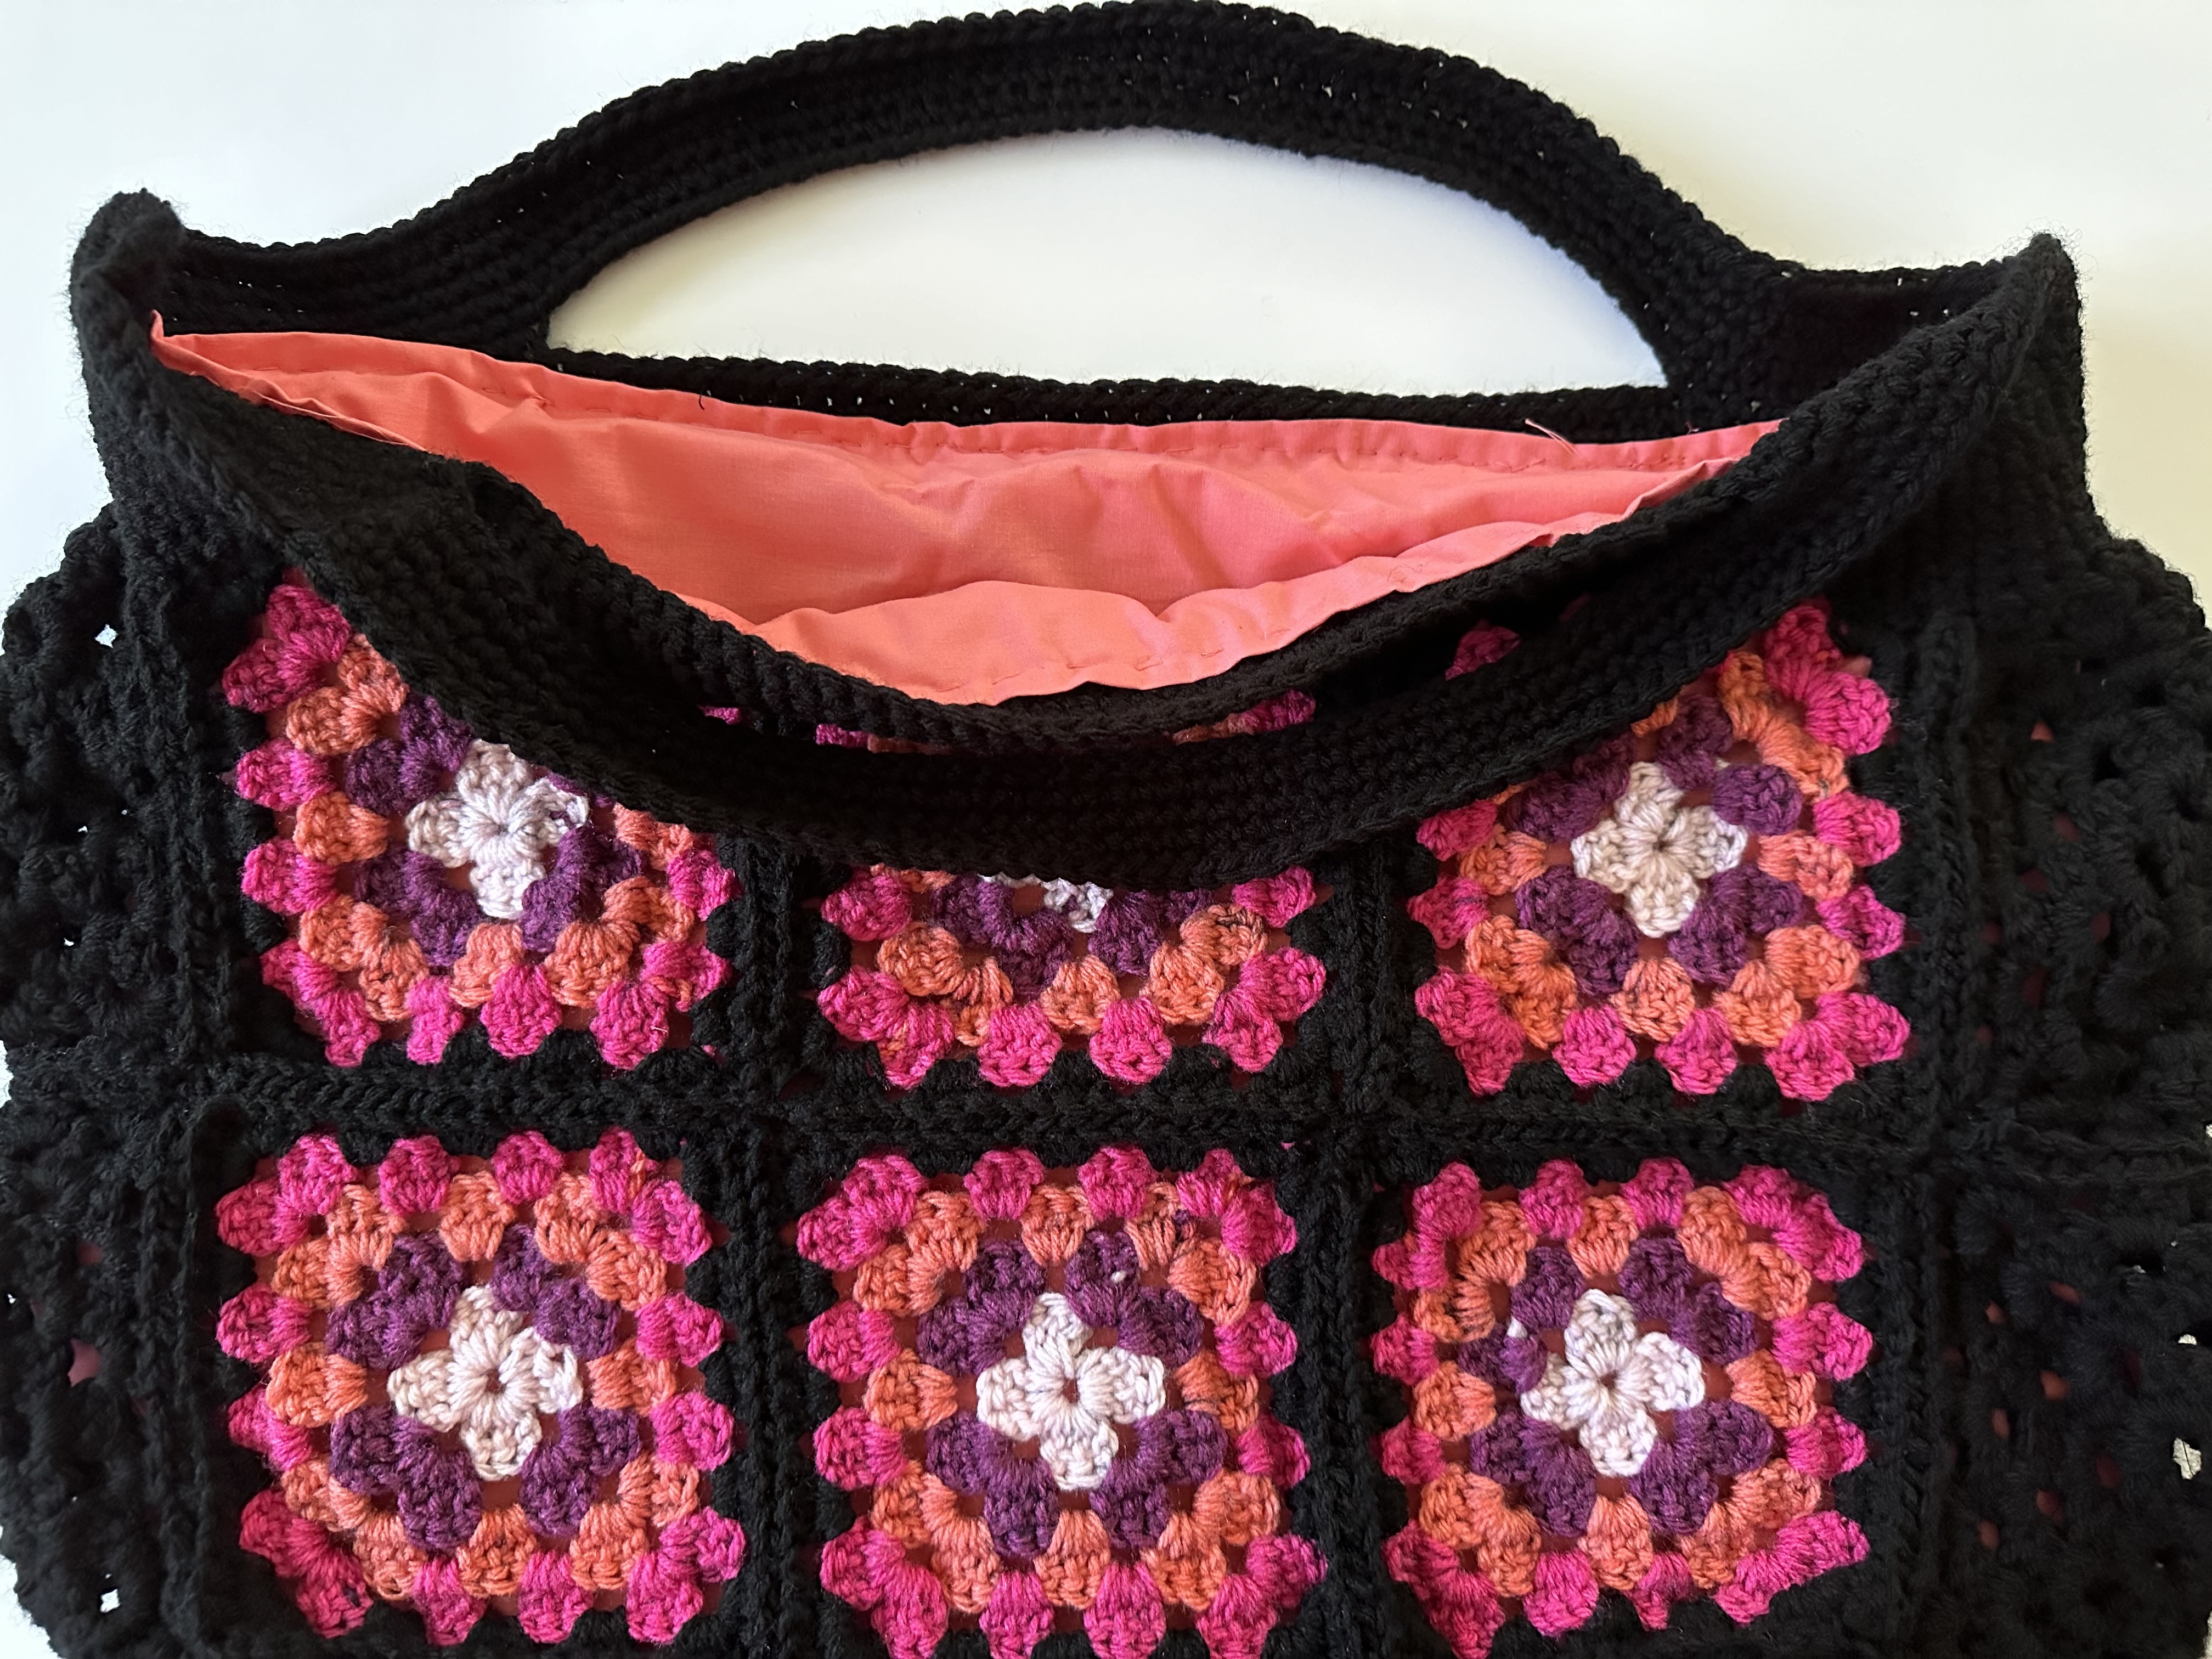
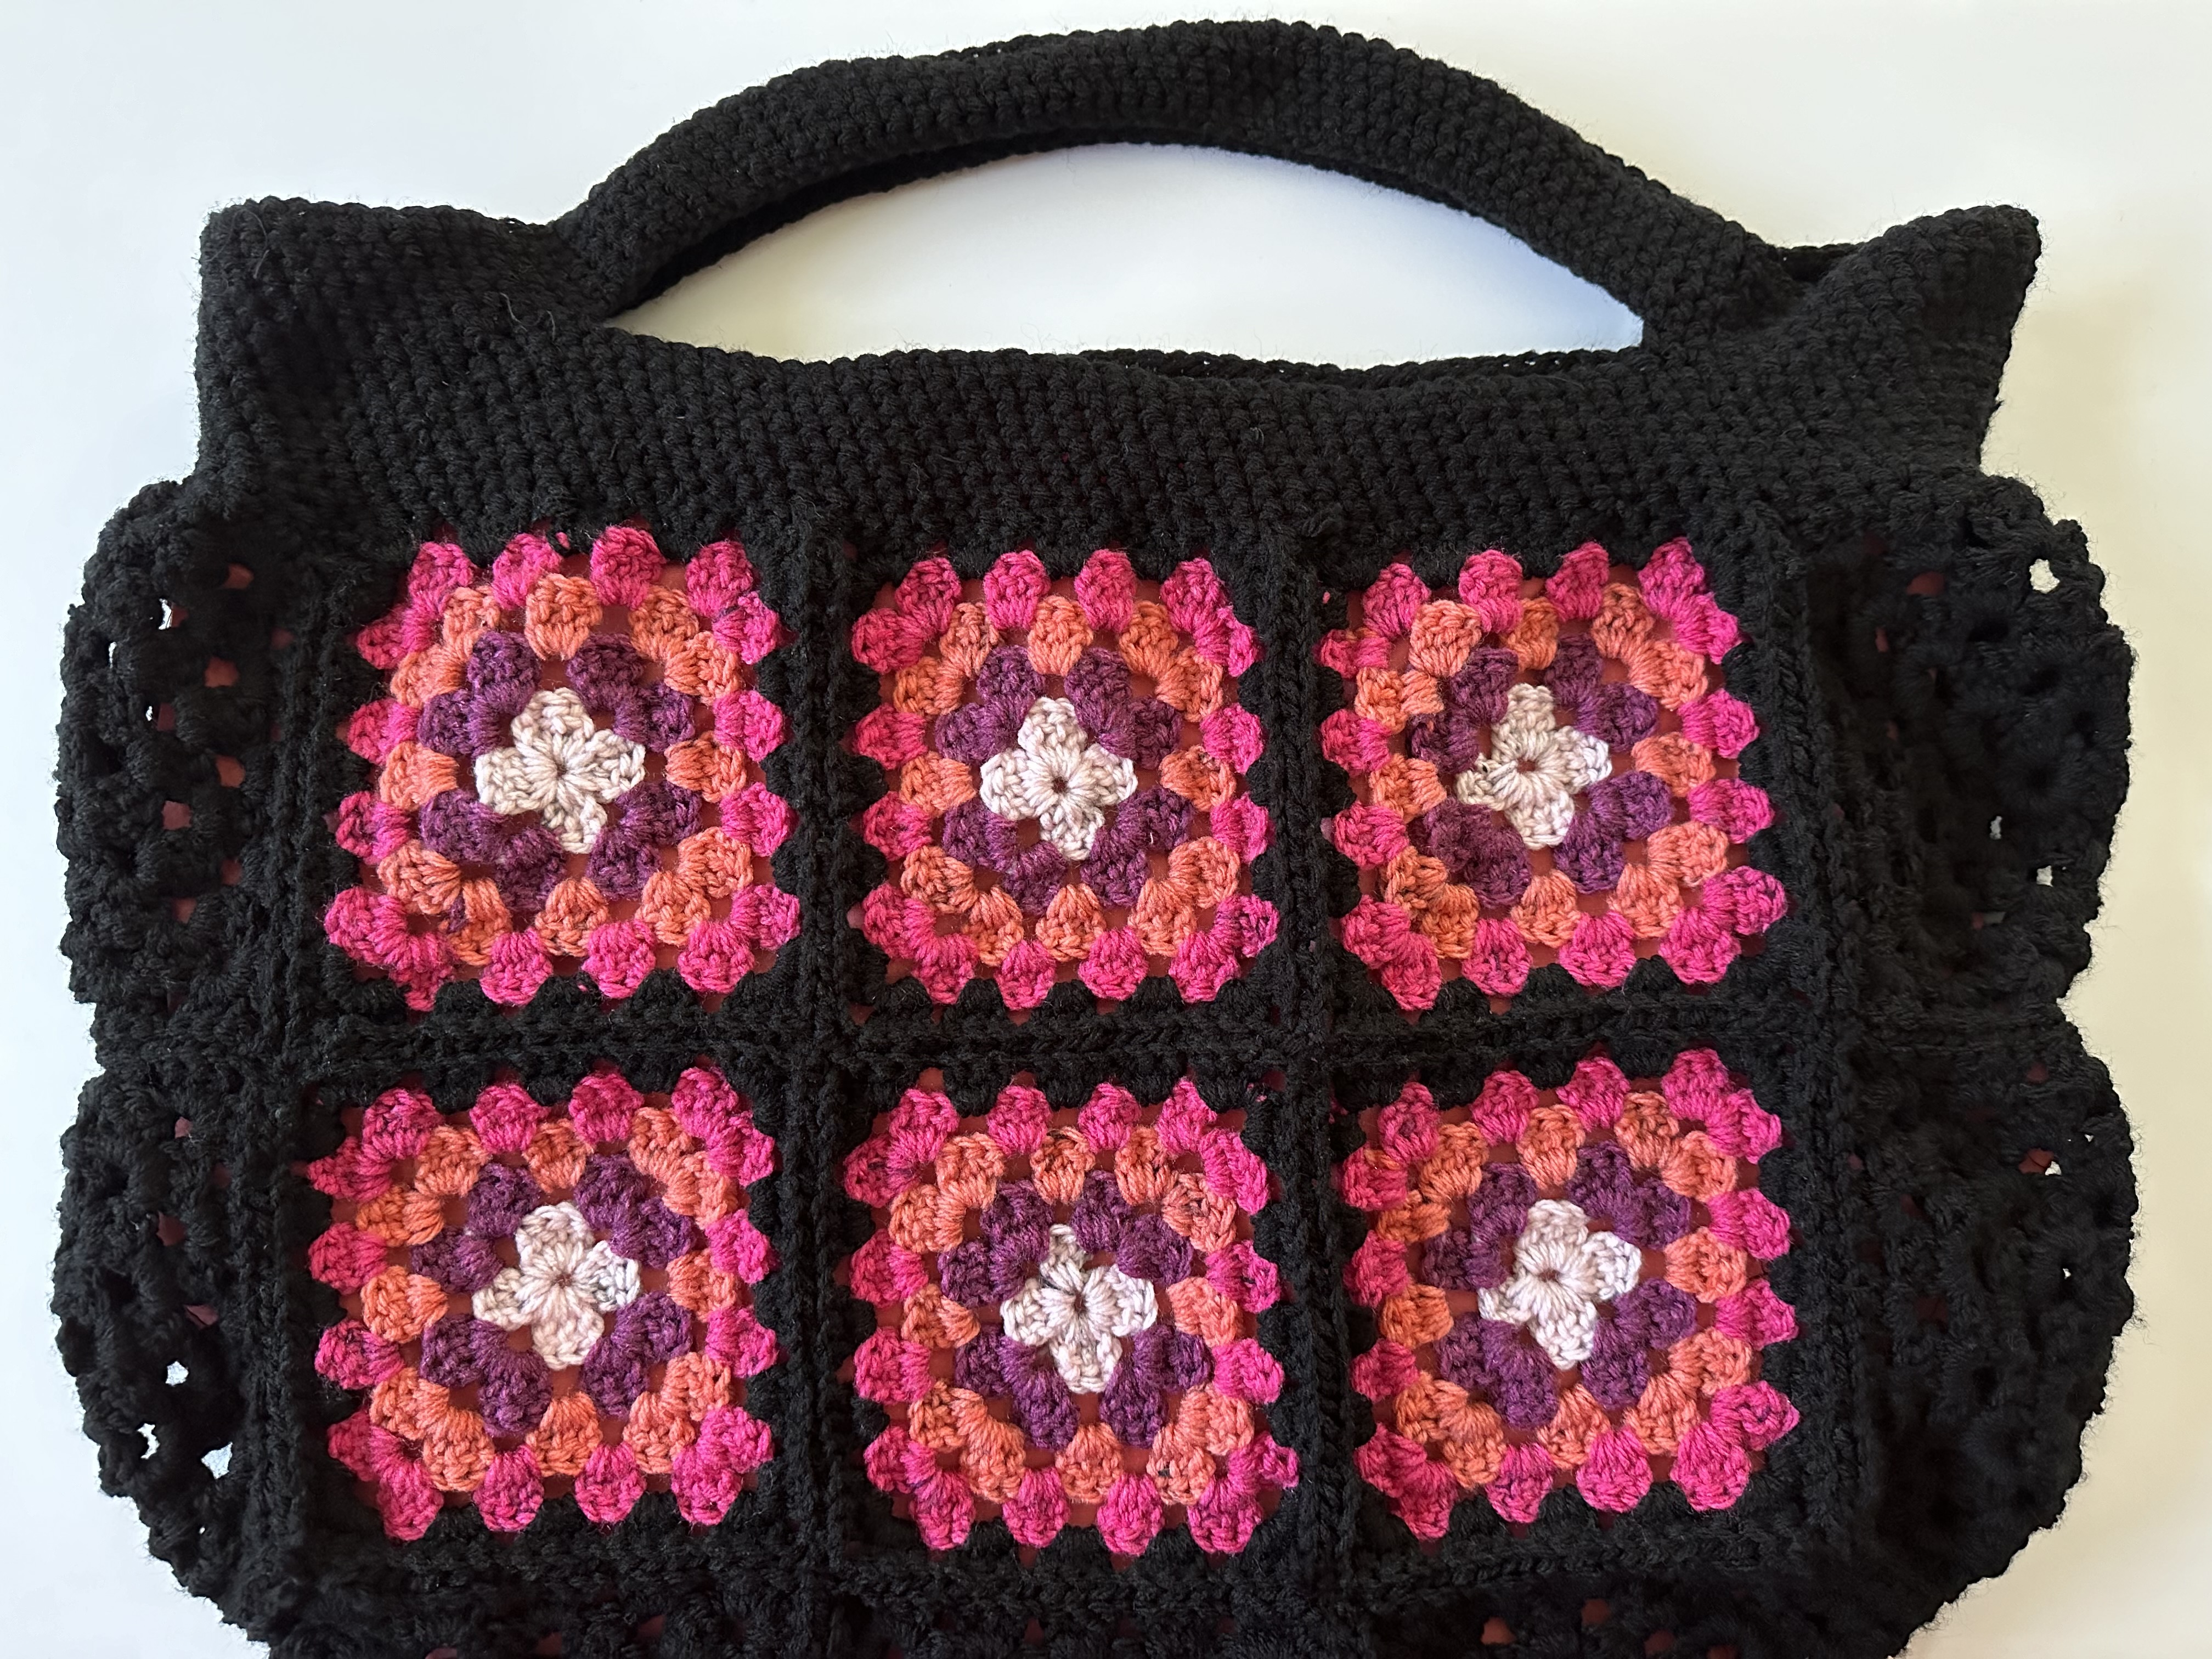
So, what to do with the 15 squares? For a moment I thought of buying a few more skeins of the yarn to make a throw, but I quickly tossed that idea out. I really didn’t feel like working with the yarn again to make more granny squares after all the trouble it was to create the initial 15. I decided on a tote bag instead. I had recently finished another granny square tote bag so why not make another. One thing though, I was going to need more granny squares. I needed a total of 19 granny squares for the basic design I was thinking of. So, I ended up crocheting 7 granny squares in black yarn – straining my eyes once more.

As I mentioned this tote bag was my second granny square bag. After crocheting and stitching together the squares for the first one I decided to add a liner to the bag to give it more structure and to prevent it from stretching when carrying anything in it. This was a daunting task. While I own a sewing machine, I had no clue how to use it for the longest time. I tried once and it was a complete failure. So, to add the liner to the bag I did it completely by hand. Overall, it didn’t come out too bad, but it’s definitely not stitched into the bag completely straight.

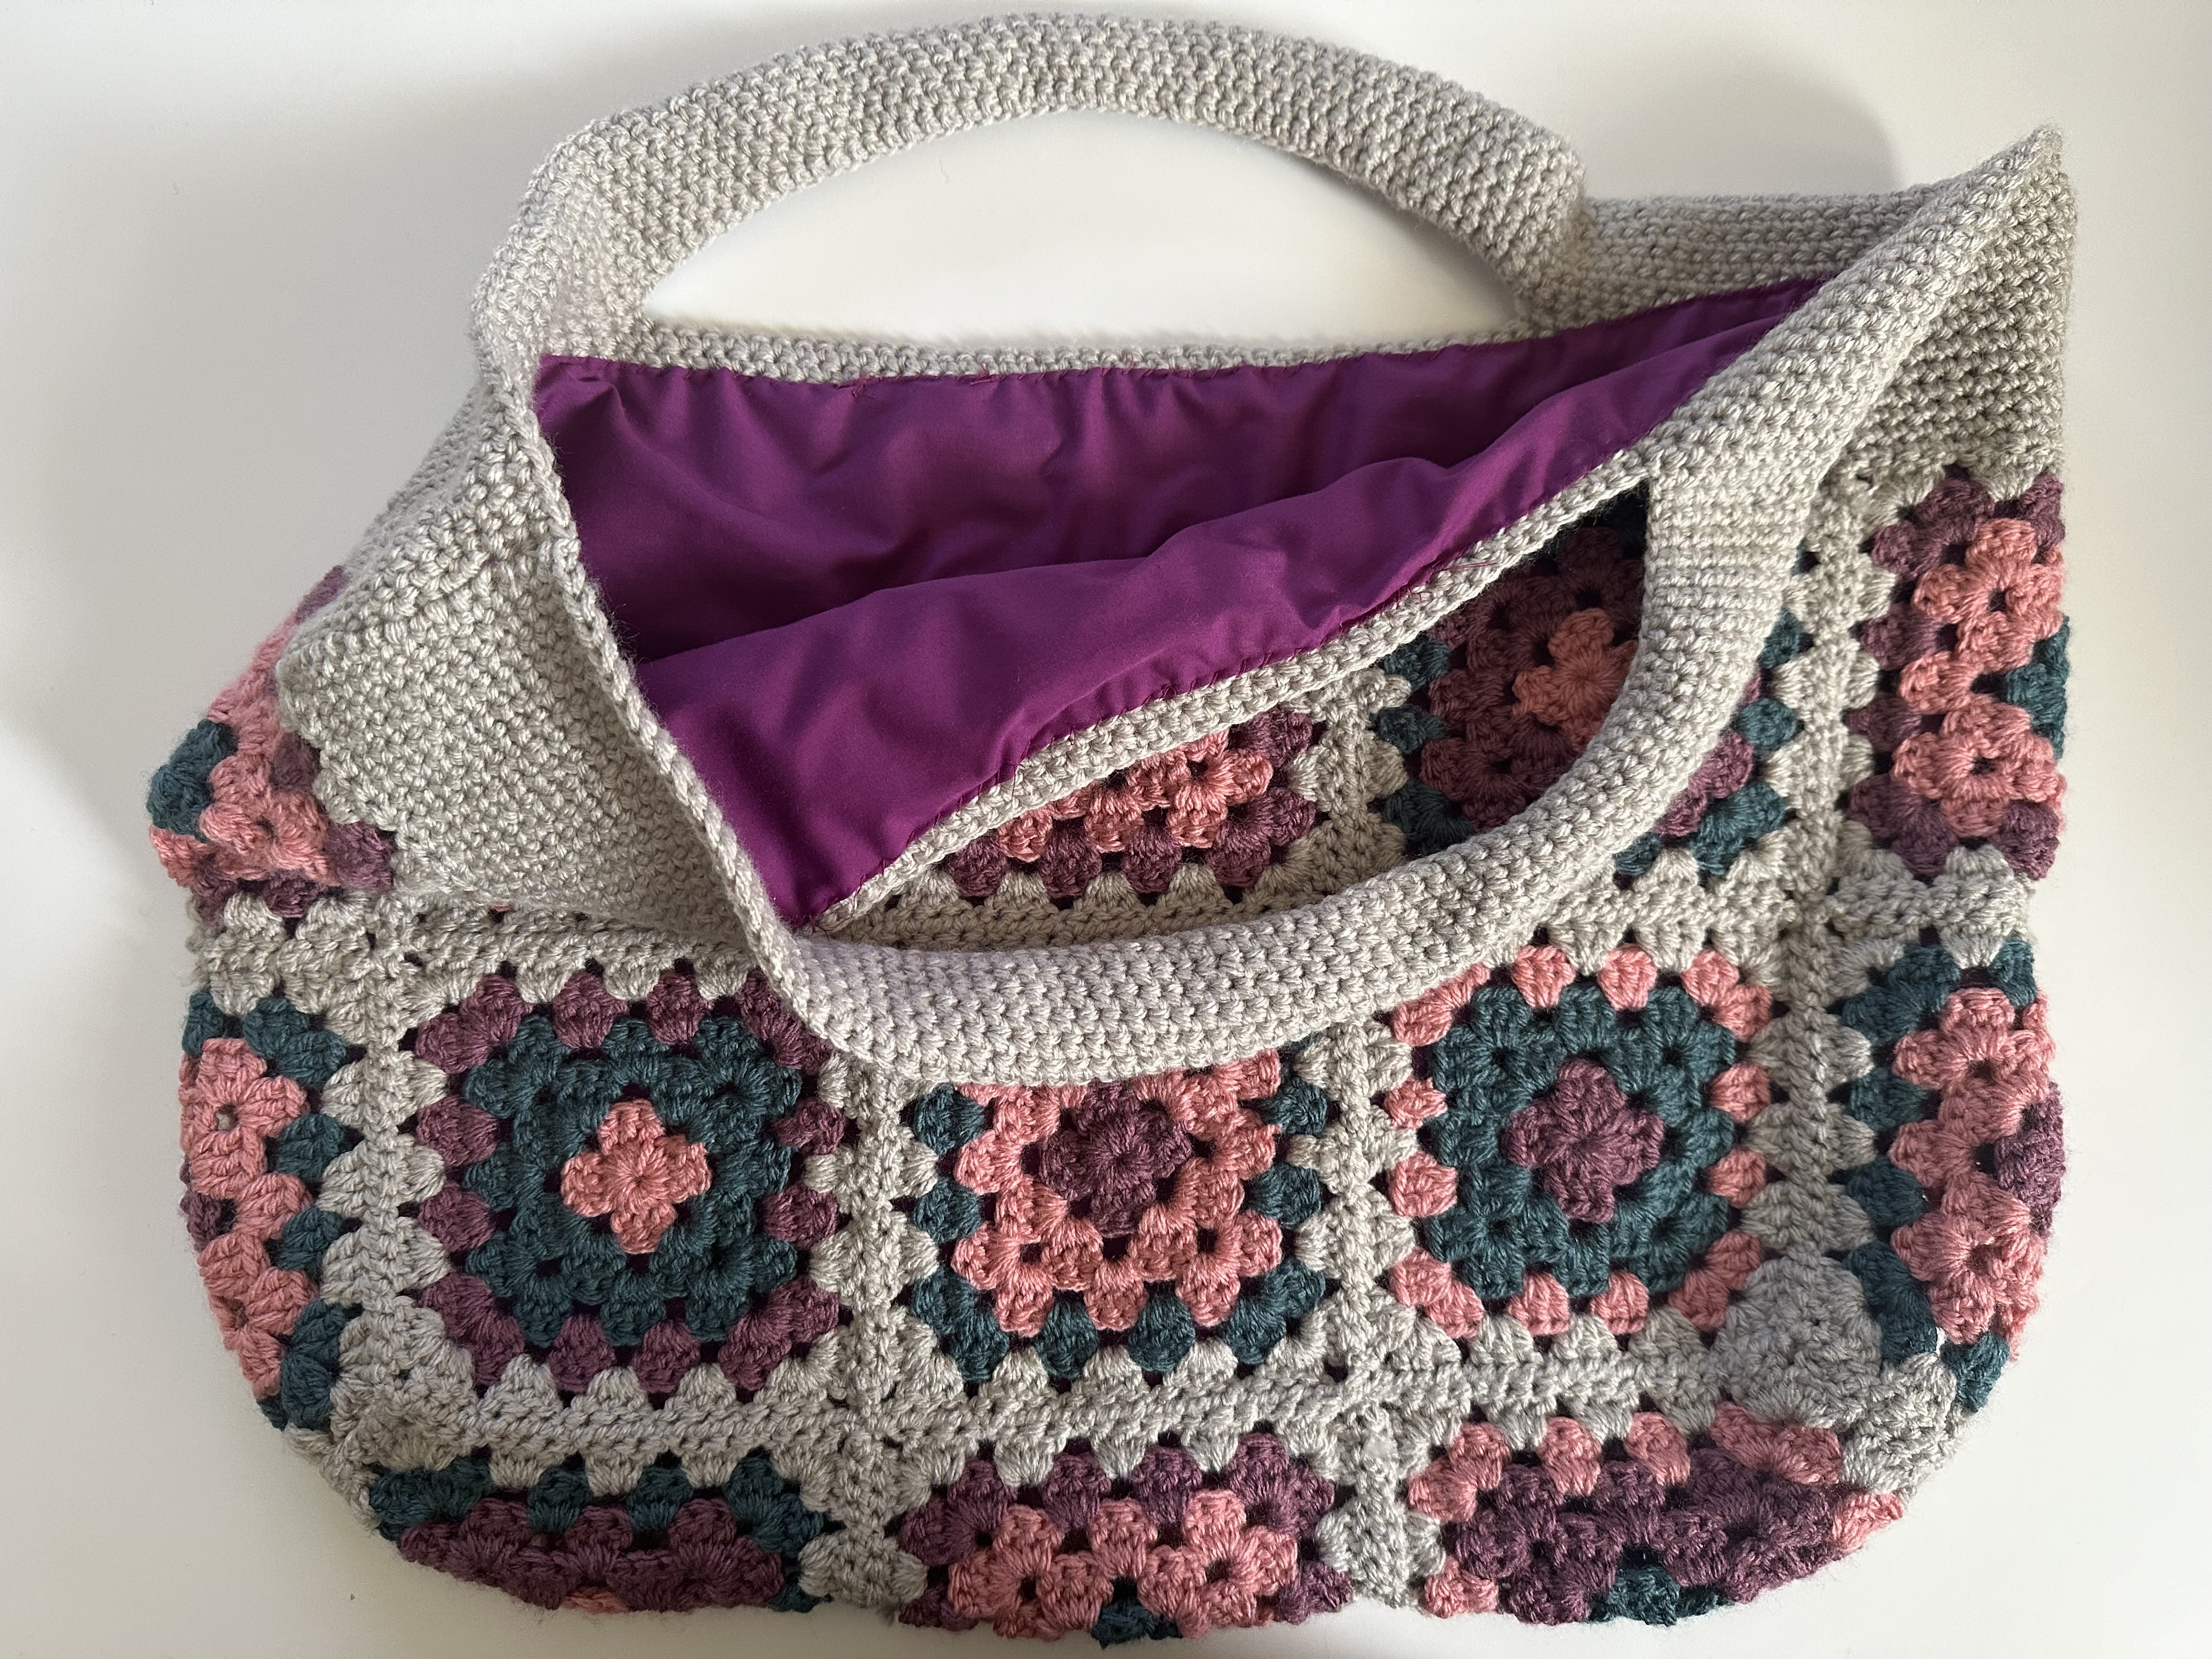
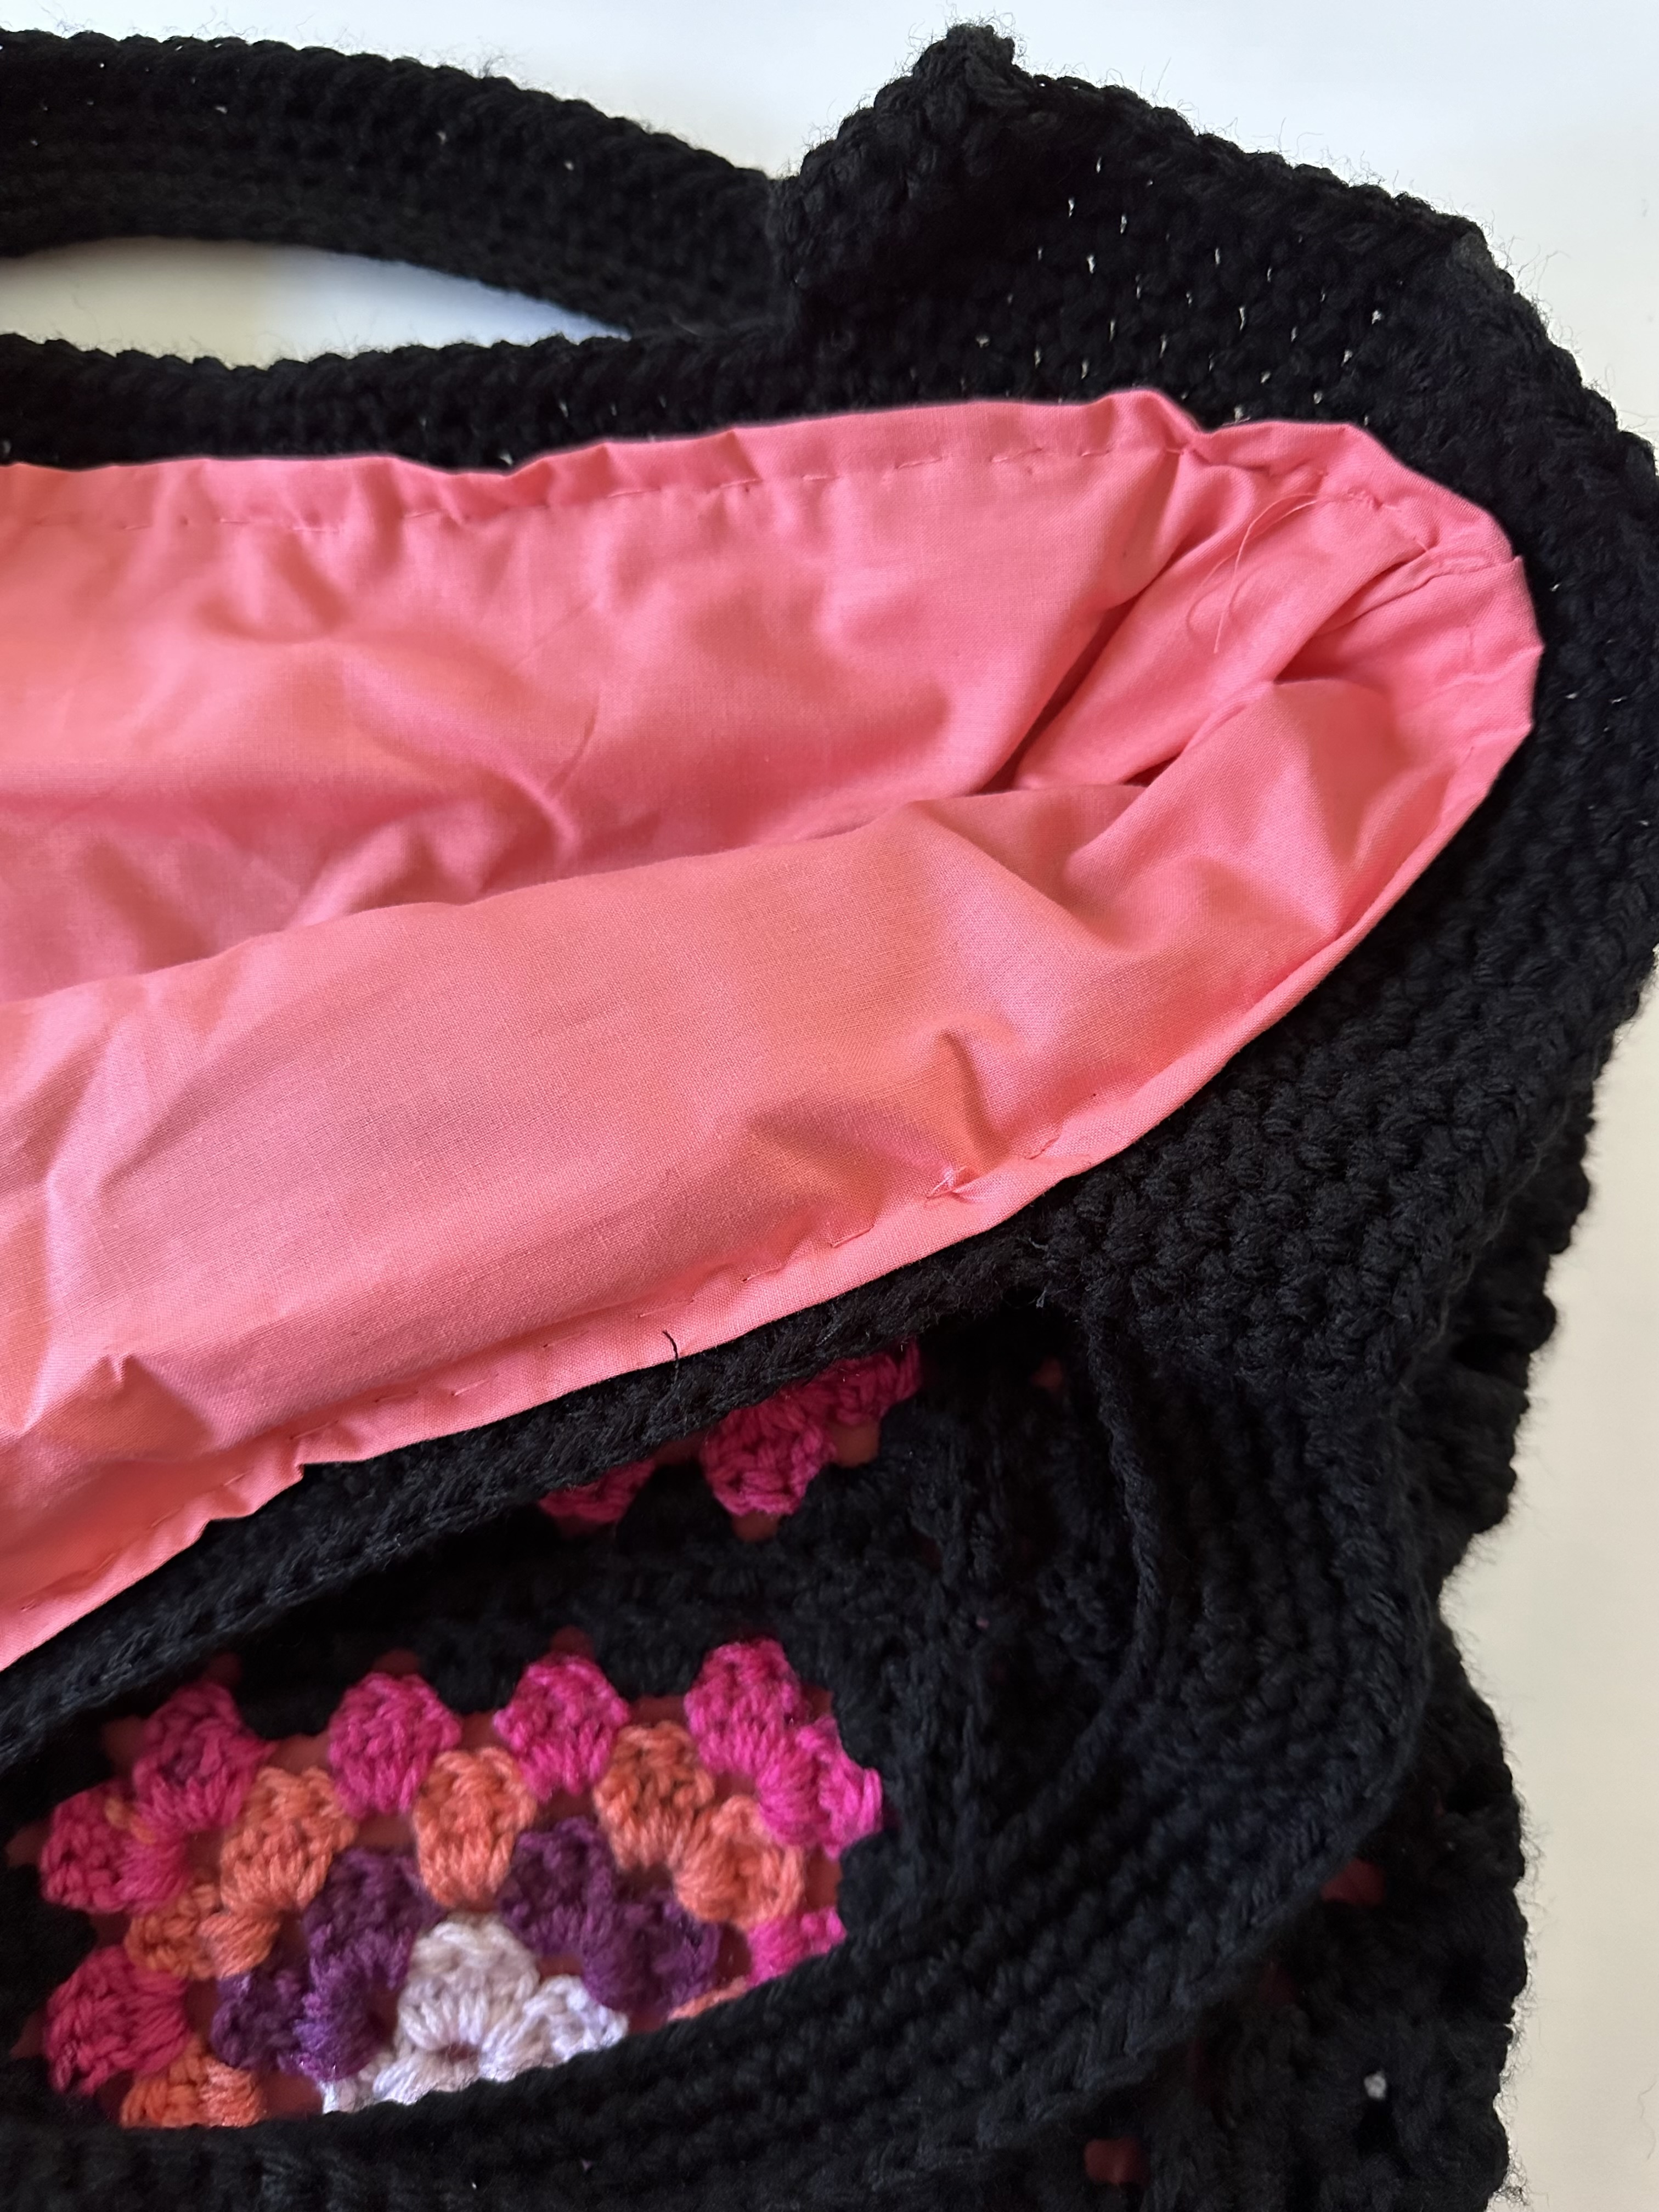
Well, for this new bag I learned how to use my sewing machine. My local library had a “class” where you could bring in your machine and an instructor would show you how to use it. Woo-Hoo! Well, almost! My first attempt at stitching the liner into the new bag was a fail! I practiced with scraps of fabric but then when I got to working on the bag it just wasn’t working out. I sewed the liner in, but it was atrocious! Not one to give up though, I watched a few YouTube videos (which I probably should have done in the first place) to get some tips and decided to rip the liner out of the bag and try again. And my second attempt was much better. I did end up stitching the liner into the bag by hand, but it was much neater this time.

I also ended up making this cute pouch with 2 remaining squares. I even added a zipper to the top!

So, would I use this yarn again? Probably not to make granny squares that’s for sure. While the yarn does cut down on the amount of ends to weave in, I am not all that inspired by the color choices. And I find that lining the colors up for each round is too time consuming and requires me to crochet with a much looser tension than I am accustomed to which I didn’t like. I ended up the squares that were limp and loose.

Crocheted Heart Table Runner & Garland

I normally don’t decorate for Valentine’s Day. The most I do is hang a tinsel heart wreath on my front door. This year though, possibly from spending so much time at home I decided to do a little more than just hang a wreath.

Initially I was just planning on making a crocheted heart garland. I started crocheting hearts in different colors reminiscent of the Conversation Hearts candy using Lily Sugar ‘n Cream yarn. Then I had the hearts I had completed on my coffee table in my living room and the idea came to me to make a table runner.

So, after measuring out another table runner I used on the table over the holidays I determined that I would need 60 crocheted hearts, 4 rows of 15 hearts (or 15 columns of 4 hearts.) Once I had them all crocheted it was time to settle on a pattern.

I ended up crocheting more of the lighter and darker pink hearts since I knew those colors were going to be the ones that would tie the table runner together. I went back and forth about what to do with the other colors but decided on placing them haphazardly. Doing my best to spread them out evenly. This is the pattern that I ultimately settled on.

And then the not-so-fun part… stitching the hearts together. I began by stitching the rows of 4 hearts together. Once I had finished stitching them, I laid the 15 4-heart columns out on my table and it became apparent immediately that I was going to need another row.

I crocheted 15 more hearts, thankfully they work up quickly, and placed them so I could stitch them onto the hearts I had previously stitched together. And instantly I could see that that additional row made my table runner the perfect width.

Next, I needed to stitch together all of the columns.

And finally, it was done. The finished size with the 75 hearts is 12.5” x 47”. This is the type of project though that you can completely customize to make it the size you need.

Also, this project is a great stash buster. While I used 7 different shades of Lily Sugar ‘n Cream yarn you could easily use any leftover yarn in your stash that has a similar weight (Medium/4) and use less or more colors depending on what you have on hand.

And I didn’t forget about that garland I wanted to make. To make the garland I crocheted 9 large hearts in Pretty in Pink and 8 smaller hearts in Rose Pink. Then using a long piece of yarn, I strung the hearts together. It ended up being just shy of 4 feet long. Just like the table runner though, you can adjust the length to fit your needs.

And there was one other thing I did to get my house into the Valentine’s Day spirit… I really didn’t feel like taking down my Christmas Tree, not because I was being lazy or anything, I just like how my tree looks, but, I didn’t want to leave the Christmas ornaments on it so I decided to make it into a Valentine’s Day Tree.


Crocheted Heart Table Runner & Garland

Lily Sugar ‘n Cream yarn in the following colors:

Sage Green – 2.5 oz ball

Tangerine – 2.5 oz. ball

Hot Purple – 2.5 oz. ball

Black Currant – 2.5 oz. ball

Teal – 2.5 oz. ball

Rose Pink – 4oz. ball (Super-Size Ball)

Pretty in Pink – 4oz. ball (Super-Size Ball)


Crochet Hook Size H-8 / 5mm


For the Table Runner I made 75 Larger sized hearts in the following breakdown:

24 Rose Pink, 14 Pretty in Pink, 8 Teal, 8 Tangerine, 7 Sage Green, 7 Hot Purple, 7 Black Currant


For the Garland I made 9 Larger hearts and 8 smaller hearts in the following breakdown:

9 Pretty in Pink, 8 Rose Pink


To make the smaller heart (1.5 inches long) only crochet Round 1, for the larger heart (2.5 inches long) crochet Round 1 & 2.

Magic Ring, Ch2

Round 1: Into the Magic Ring, 3 Treble Crochets, 4 Double Crochets, Treble Crochet, 4 Double Crochets, 3 Treble Crochet. Pull String, Ch2 and Slip Stitch into center. Pull string tight to close hole.

Round 2: Single Crochet in the side of starting Ch2. 2 half-double crochets in next stitch, 3 double crochets in next stitch, 2 double crochets in next stitch, Double Crochet in the next 4 stitches, 3 double crochets in next stitch, double crochets in next 4 stitches, 2 double crochets in next stitch, 3 double crochets in next stitch, 2 half-double crochets in next stitch. Single crochet and slip stitch in the side of last ch2 space.


To assemble the Table Runner:

Lay the hearts out in the pattern you wish and then stitch the hearts in the columns together first and then stitch all of the columns together


To assemble the Garland:

String the hearts, using a long piece of yarn, alternating between a large heart and a smaller heart, starting and ending with a larger heart. Tie a knot, or loop, on both ends of the yarn so the hearts will stay in place.