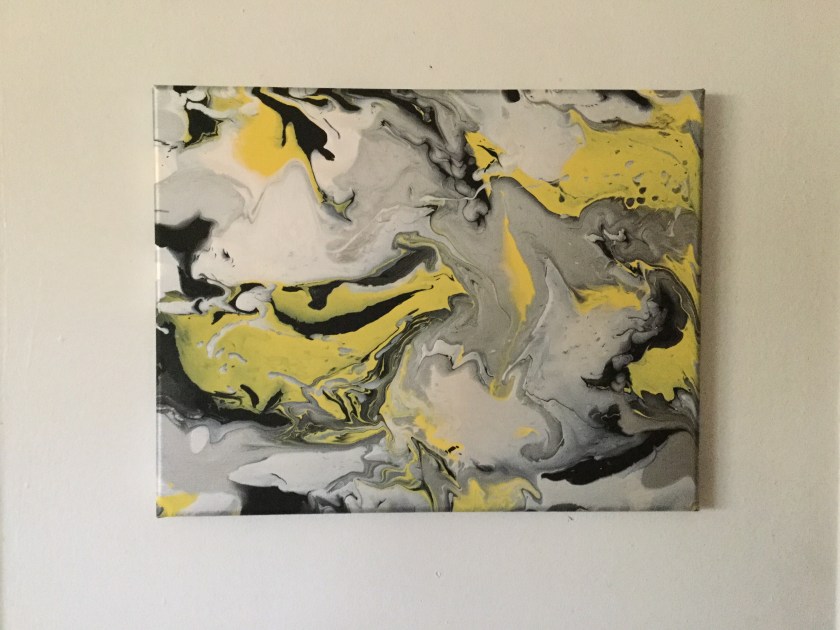
One thing I will never be.. A painter. I’m great at visualizing things but not so great at putting them to paper. I’ve done quite a few paint nights and for me it’s more about the social aspect than the end result. But recently I discovered and tried a type of painting I can do without feeling inadequate about my painting abilities – or should I say inabilities -… Paint Pouring. It’s basically what it sounds like, pouring paint on a canvas to create a picture.
To create your paint pouring masterpiece you will need a canvas (I used an 8 x 8 and 10 x 10 inch canvas – anything bigger and you might need more paint), 2 oz. bottles of acrylic paint (I used 4 different colors), white school glue, disposable cups, a wire rack, an aluminum pan for the wire rack to sit in, disposable gloves and craft sticks. In lieu of craft sticks I actually used plastic knives; disposable cutlery has a lot more uses than just eating.
And while this is a paint pouring project, you can’t just pour the paint on the canvas, you have to mix them with water and glue which will allow the paint to flow easier and bind to the canvas without flaking and also allows the different layers of paint to stick together. To create the mixture you will mix two parts glue with one part water in the disposable cups and then add an equal amount of paint. My ratios were a bit off, I used .75 oz. of water, 1.5. oz. of glue and 2 oz. of paint, just so I could use the entire bottle of paint without having to measure it out. I don’t think my slightly off measurements made that much of a difference. A small hint, I used the same measuring cup for the water and glue, so I measured the water for each of my cups first and then the glue. After adding the water, glue and paint to each of my cups I stirred them together well.
Now it’s time to paint pour. Wearing disposable gloves pour puddles of the paint on different parts of the canvas. Tilt the canvas in different directions to spread the paint. You can use the craft sticks (or disposable cutlery) to create swirls in the paint. Continue to pour the paint and tilt the canvas until you have reached your desired “picture.” Make sure to get the corners and sides of the canvas as well. Place the canvas on the wire rack and allow it to dry completely – about 24 hours.
Hang and enjoy you quick and easy masterpiece.
I’ve made a few of these and I am happy with how each of them has turned out. These are fun pieces that can be personalized and would make great gifts.
Happy Painting!
Paint Pouring
Supplies:
Canvas
School glue
Acrylic paint
Water
Cooling tray
Deep pan
Plastic cups
Craft sticks
Disposable gloves
Directions:
Mix two parts glue with one part water in the plastic cups. Add an equal amount of pain and mix together well. Repeats for all the colors. Place the cooling rack inside of the pan and the canvas on top of the cooling rack. Feel free to lay newspaper below the pain in case of paint splatter.
Pour puddles of the paint in different spots of the canvas and begin tilting the canvas in different directions to spread the paint around. Use a craft stick to swirl the paint. Continue pouring, tilting and swirling until you are happy with the outcome. Make sure the pain reaches all of the corners and the sides of the canvas.
Place on the wire rack and let dry completely.


These are awesome! They are all beautiful paintings, but my favorite is the one with yellow and black.
Thank-you!
Cool!
Thanks!